| Chapter 4 | . |
|---|---|
| Photos | 9 |
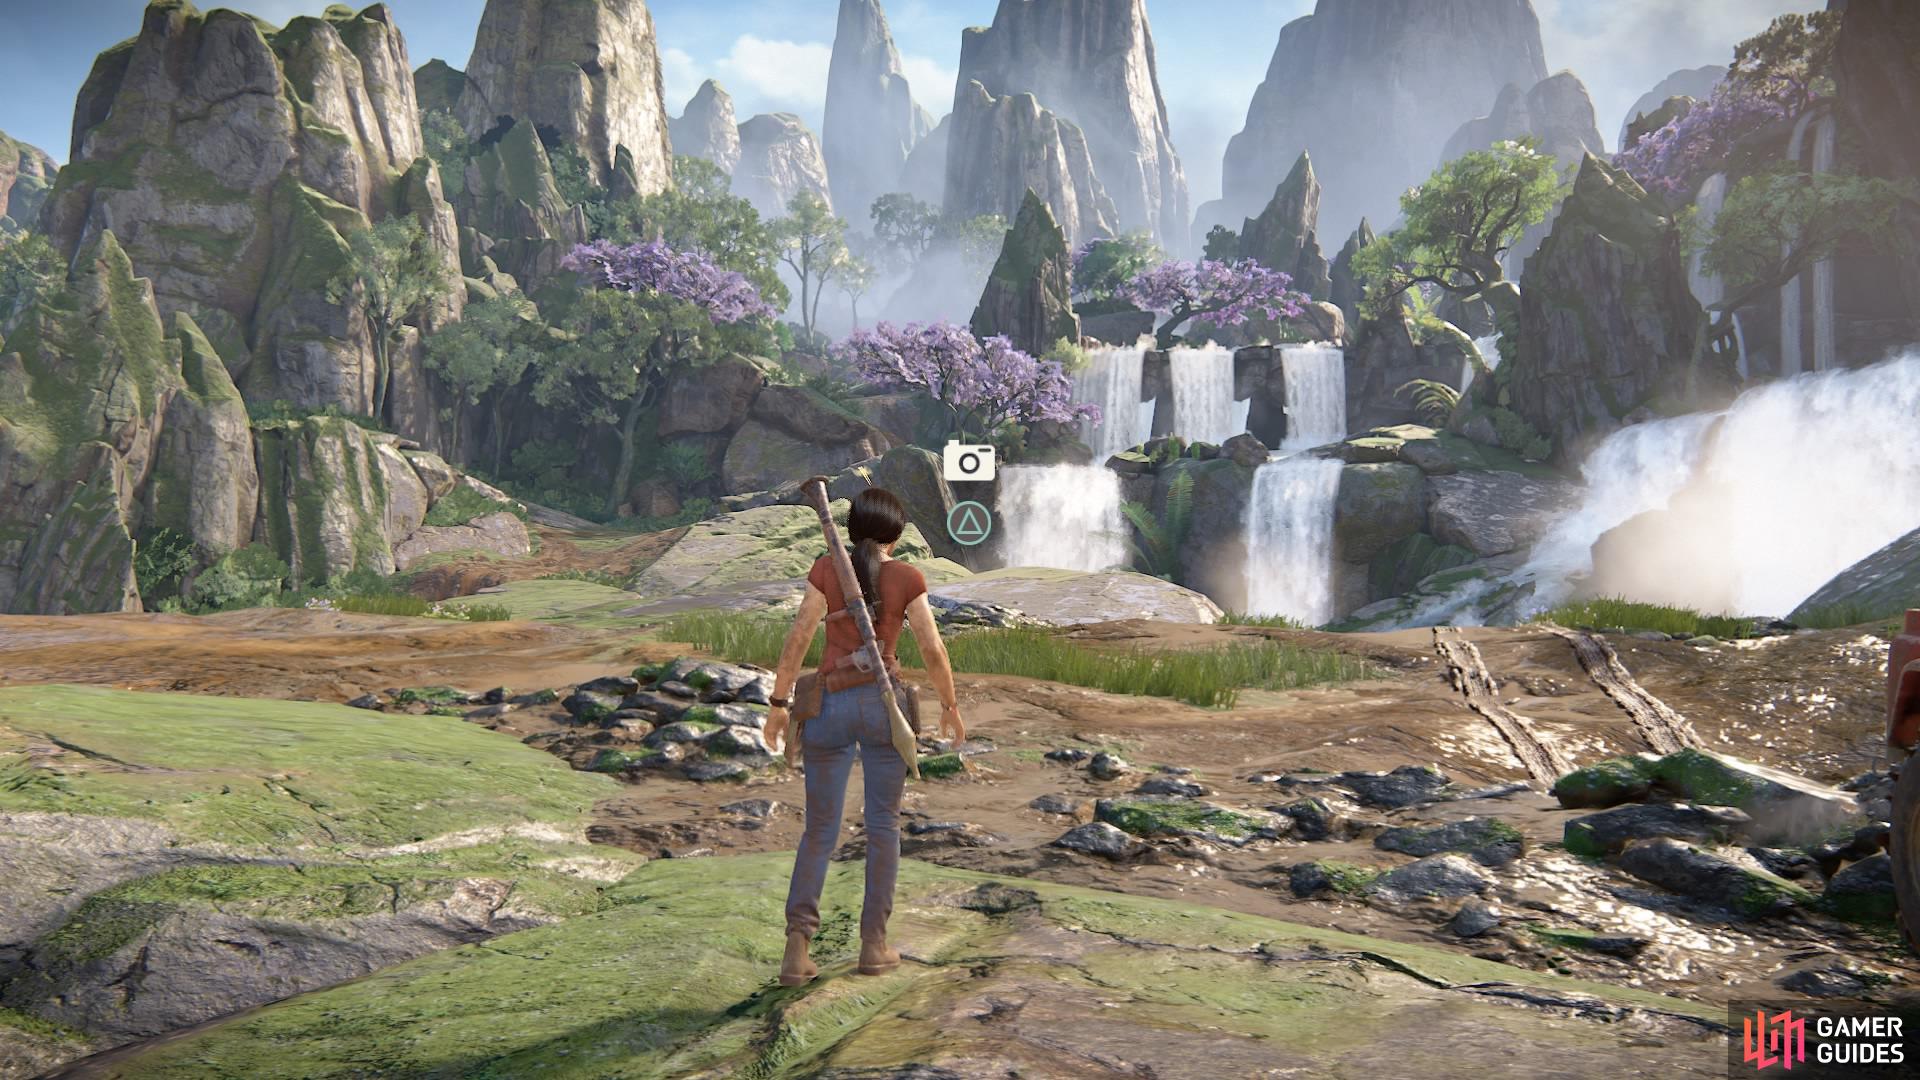
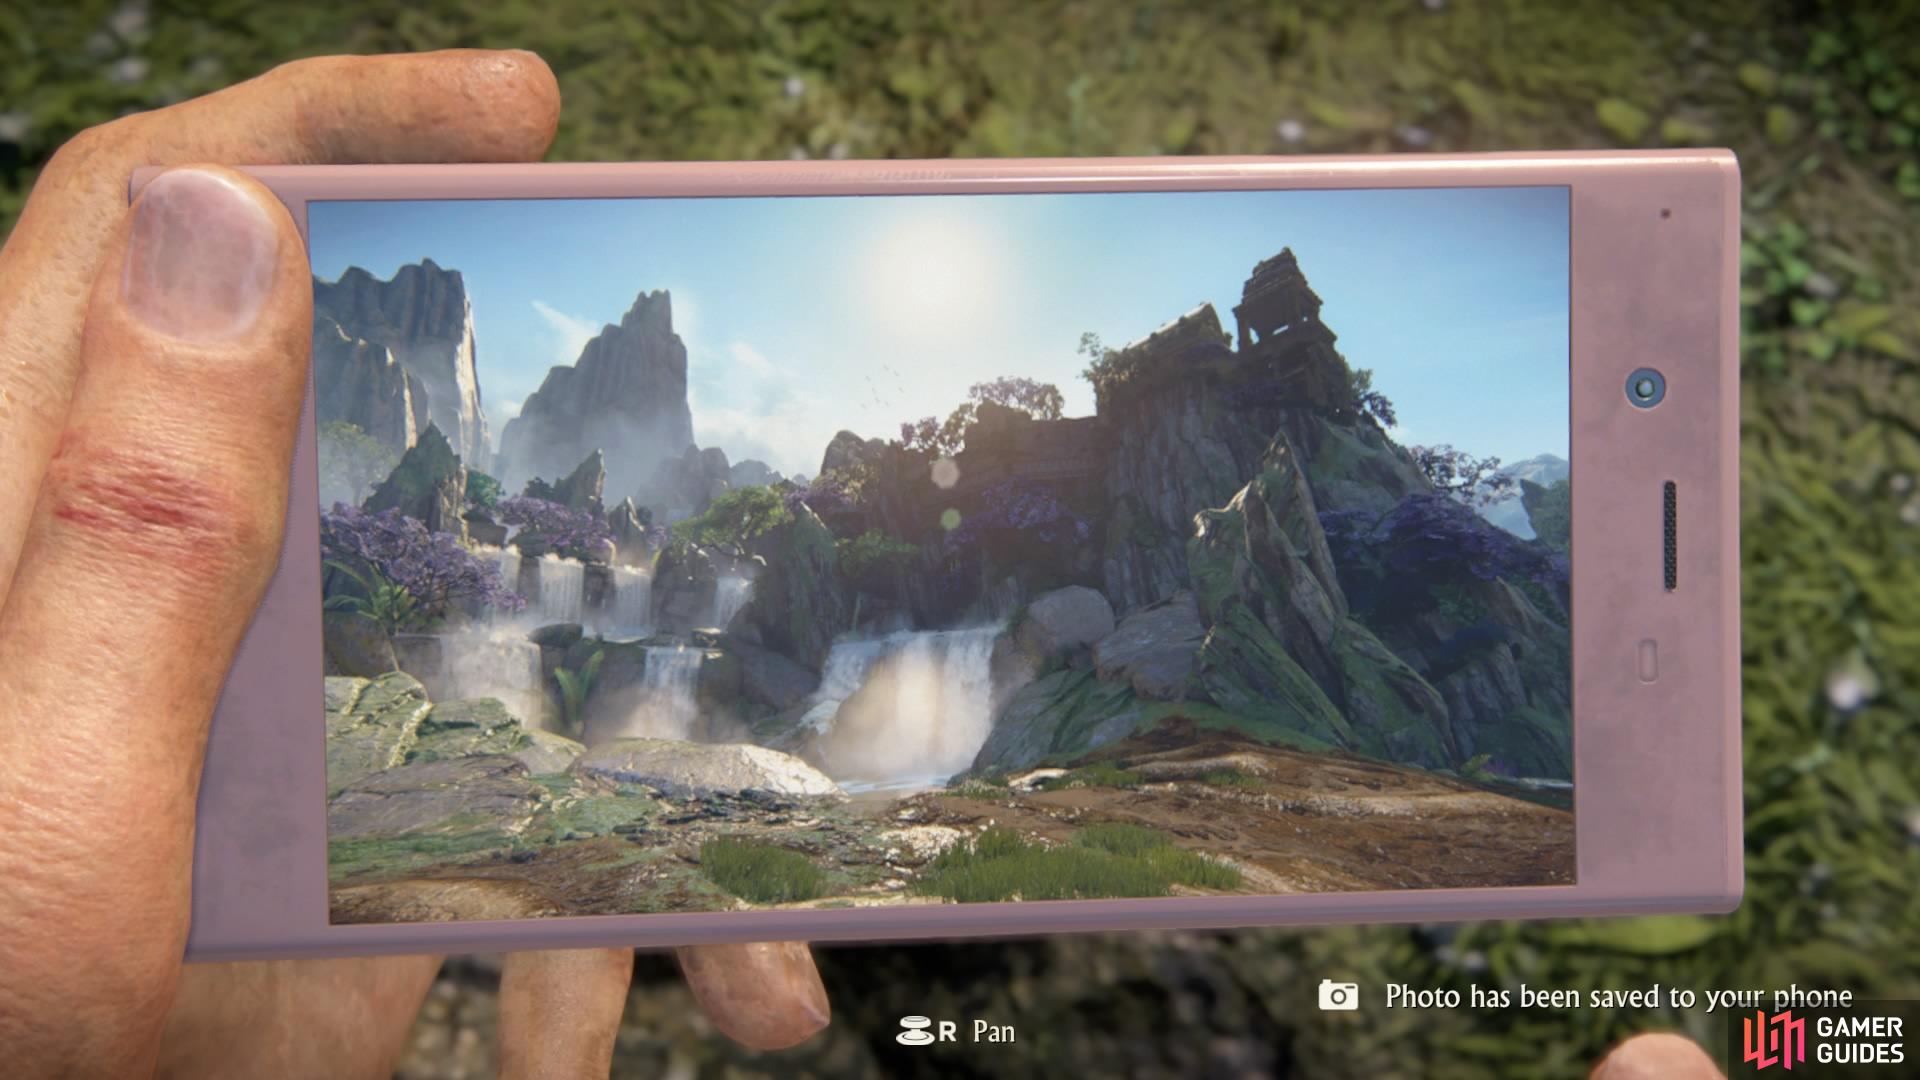
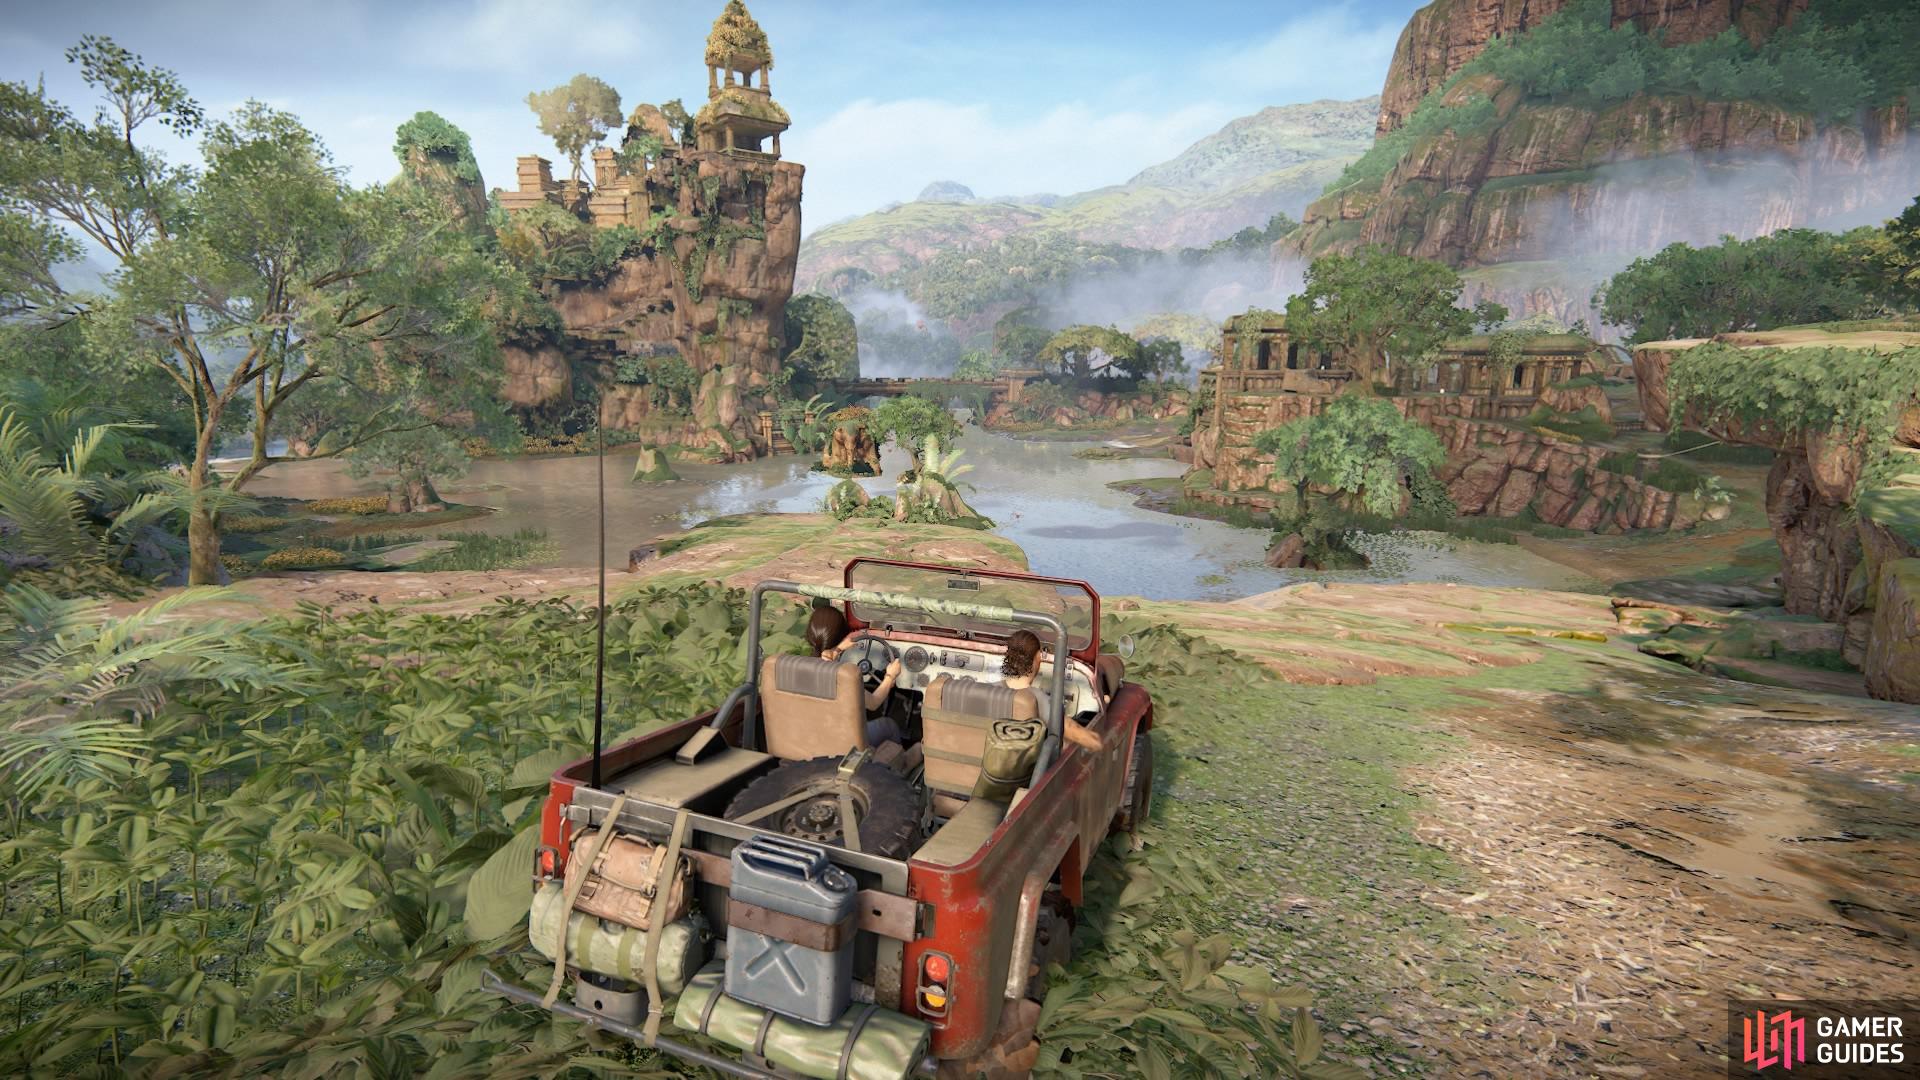
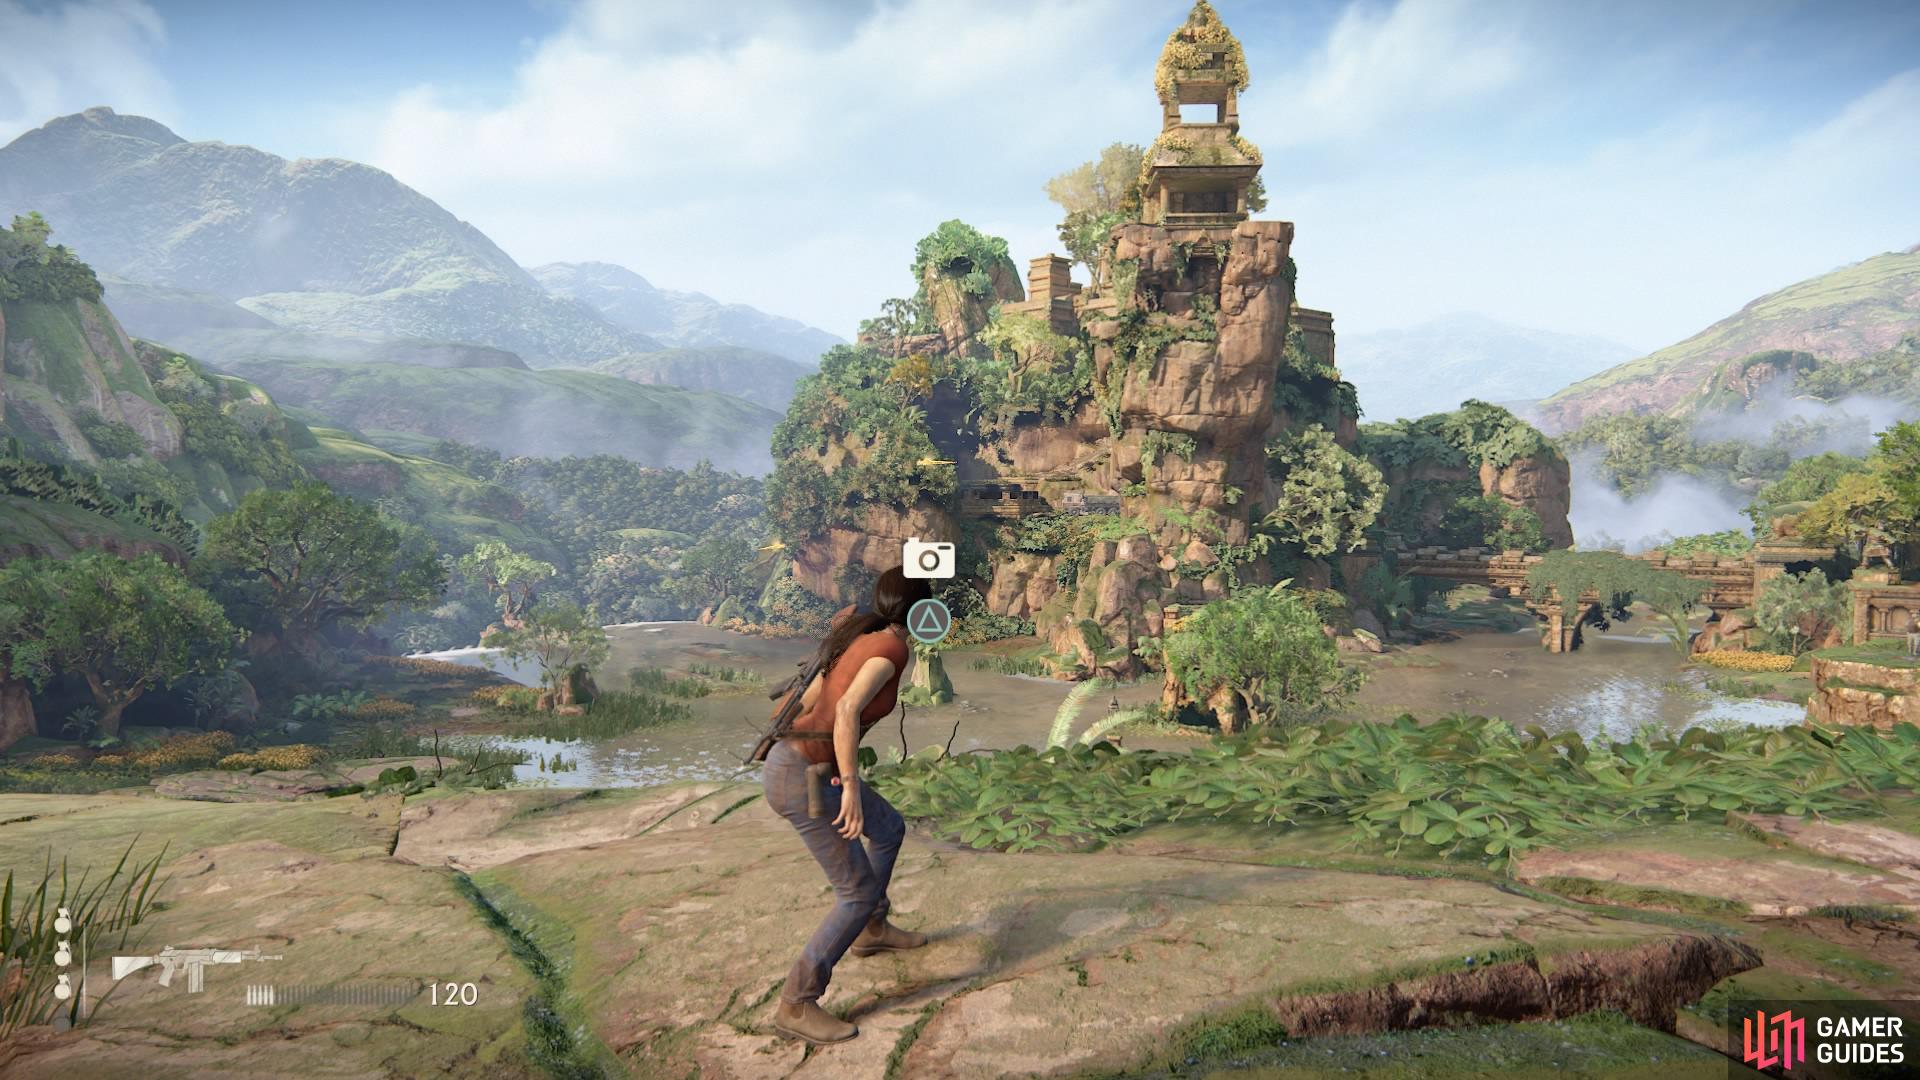
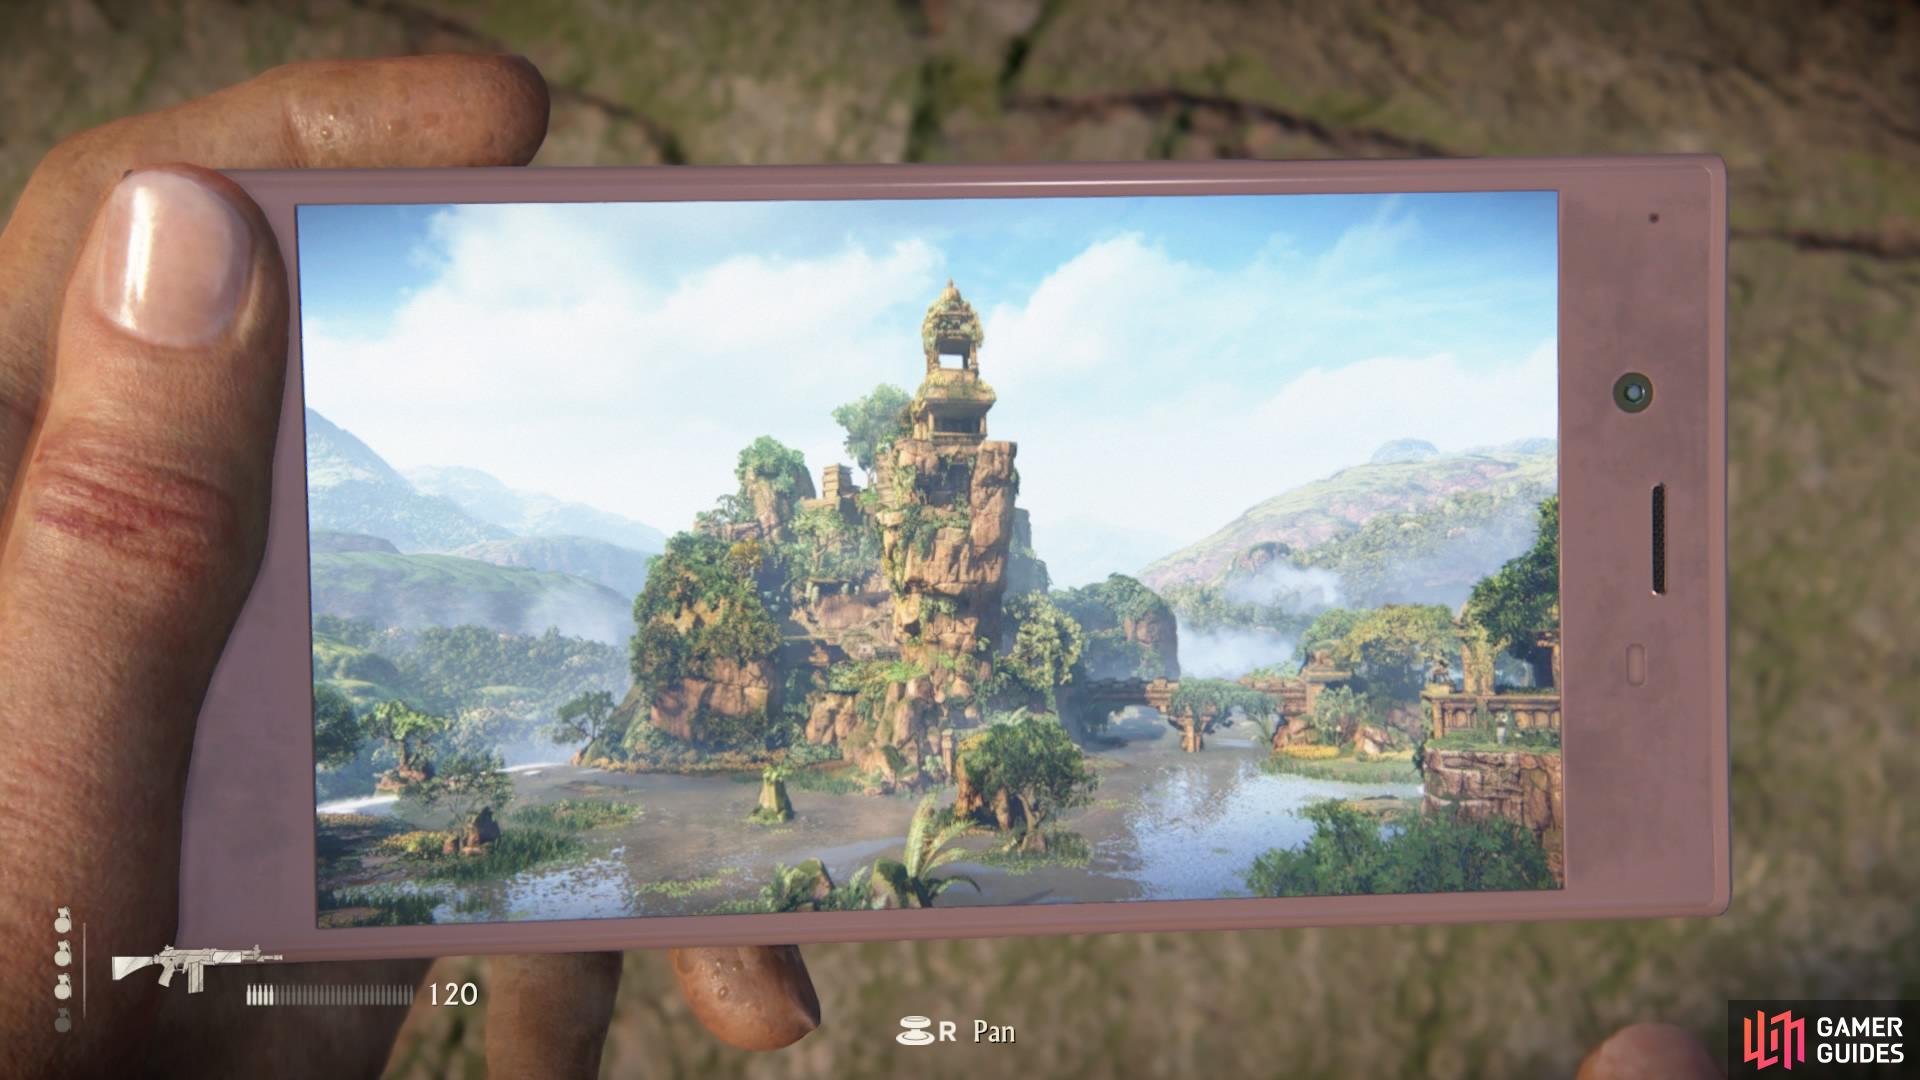
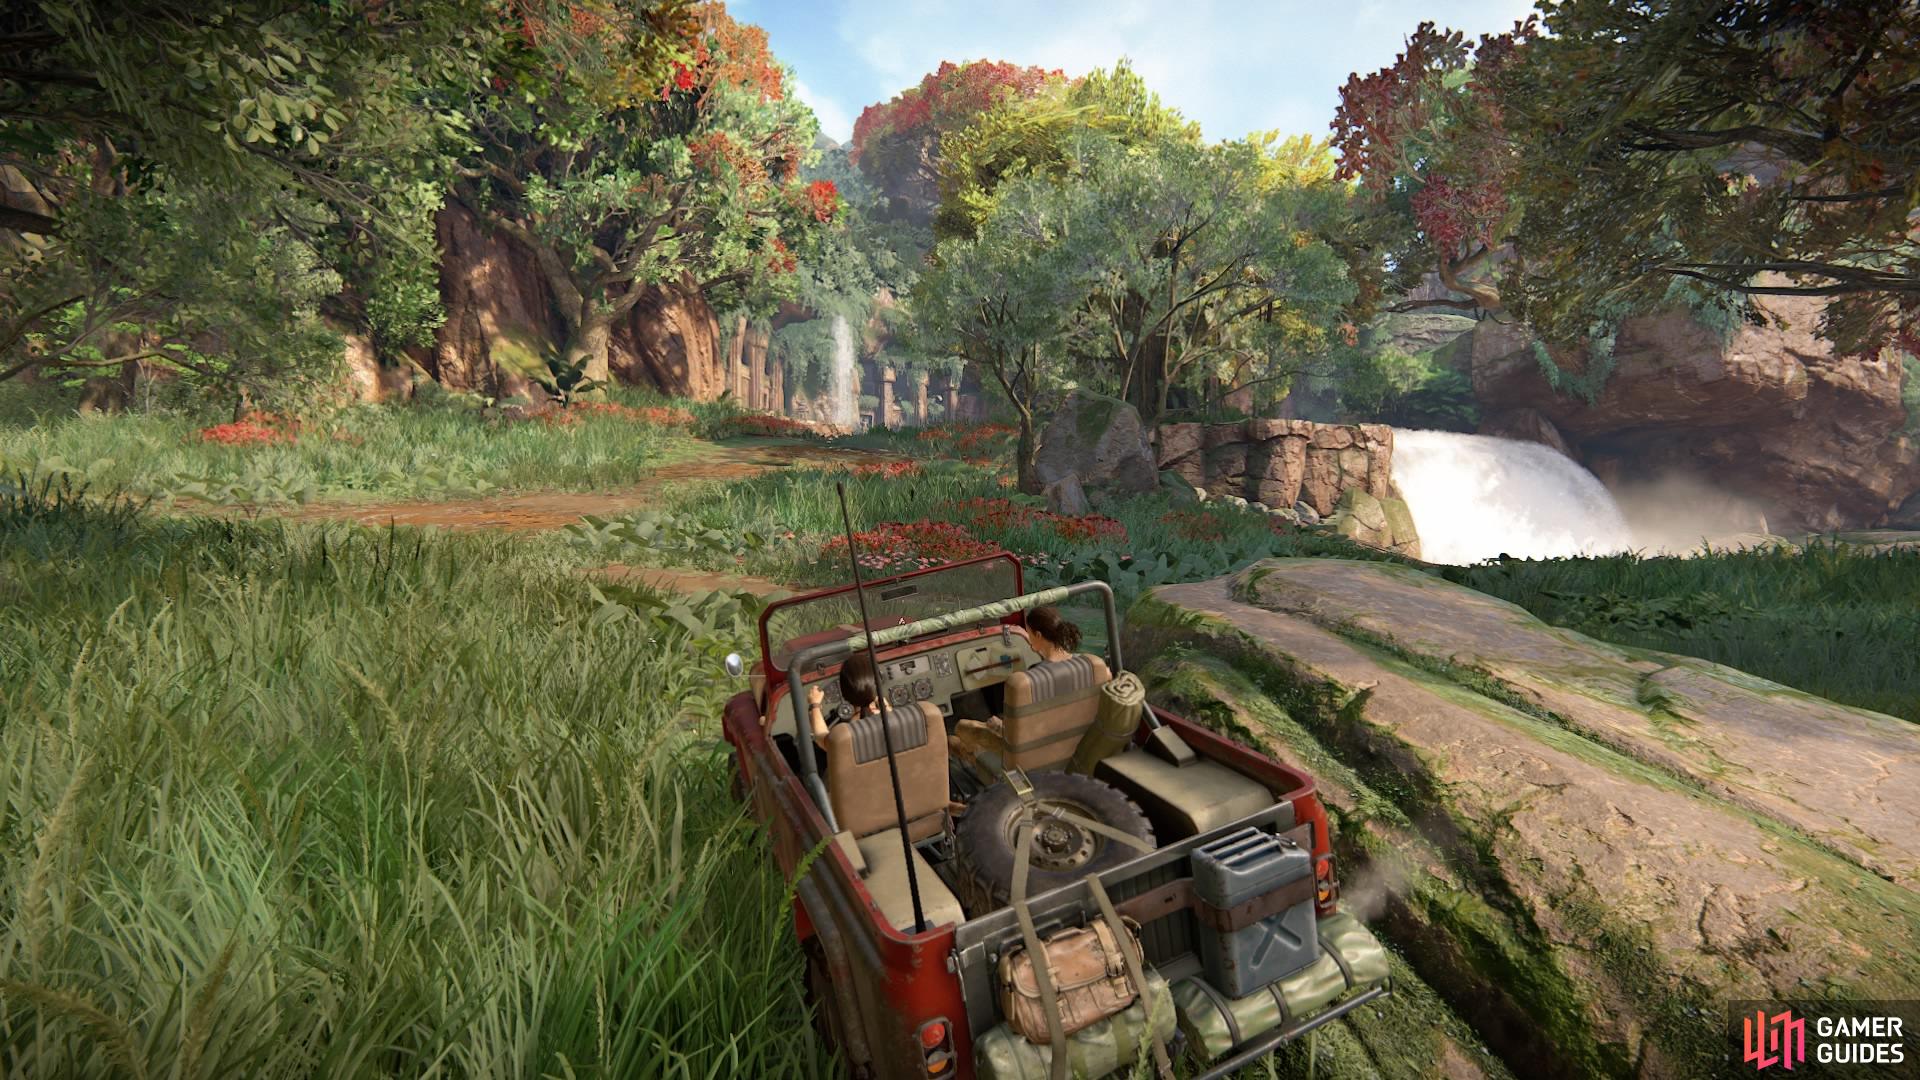
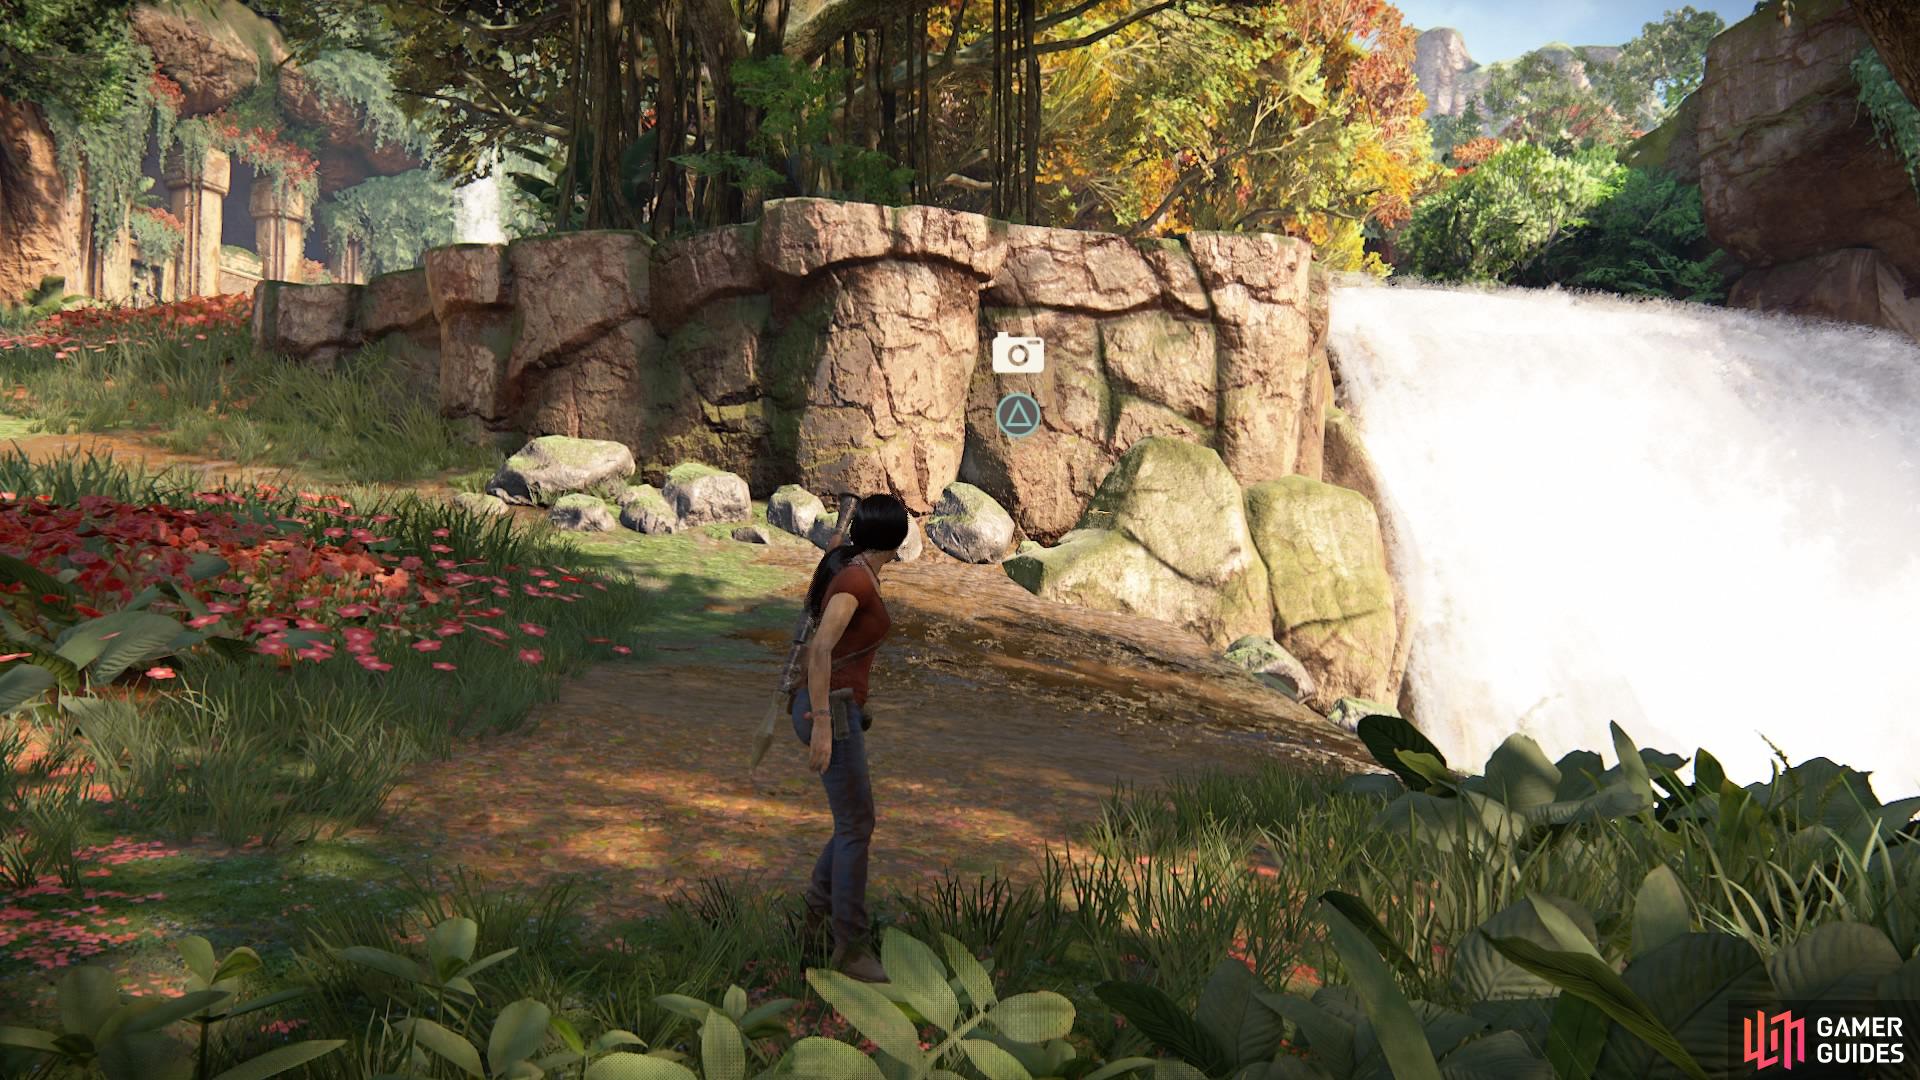
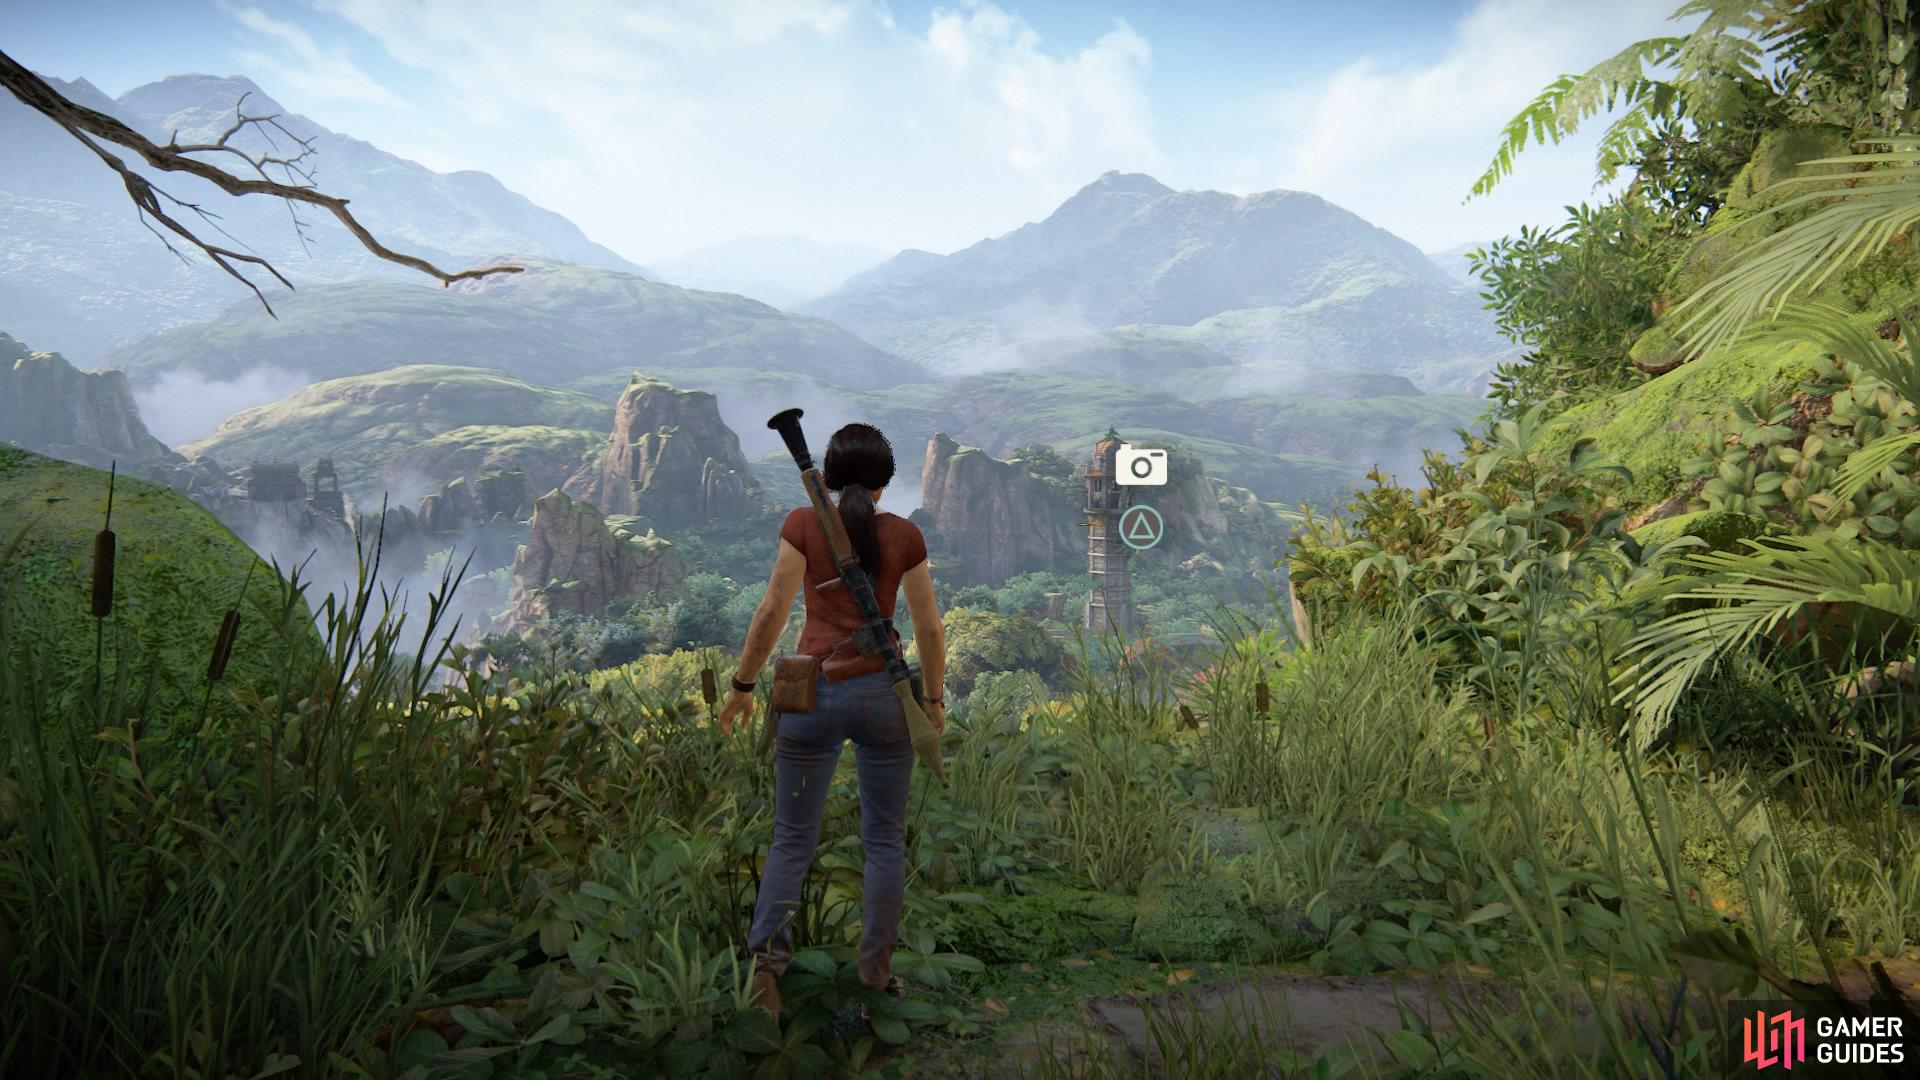
As soon as you begin the chapter, you can jump out of the car from the starting point and go over to the cliff on the left. Walk along until the prompt appears to have Chloe take a photo (#5) of the view with the central tower in the distance.
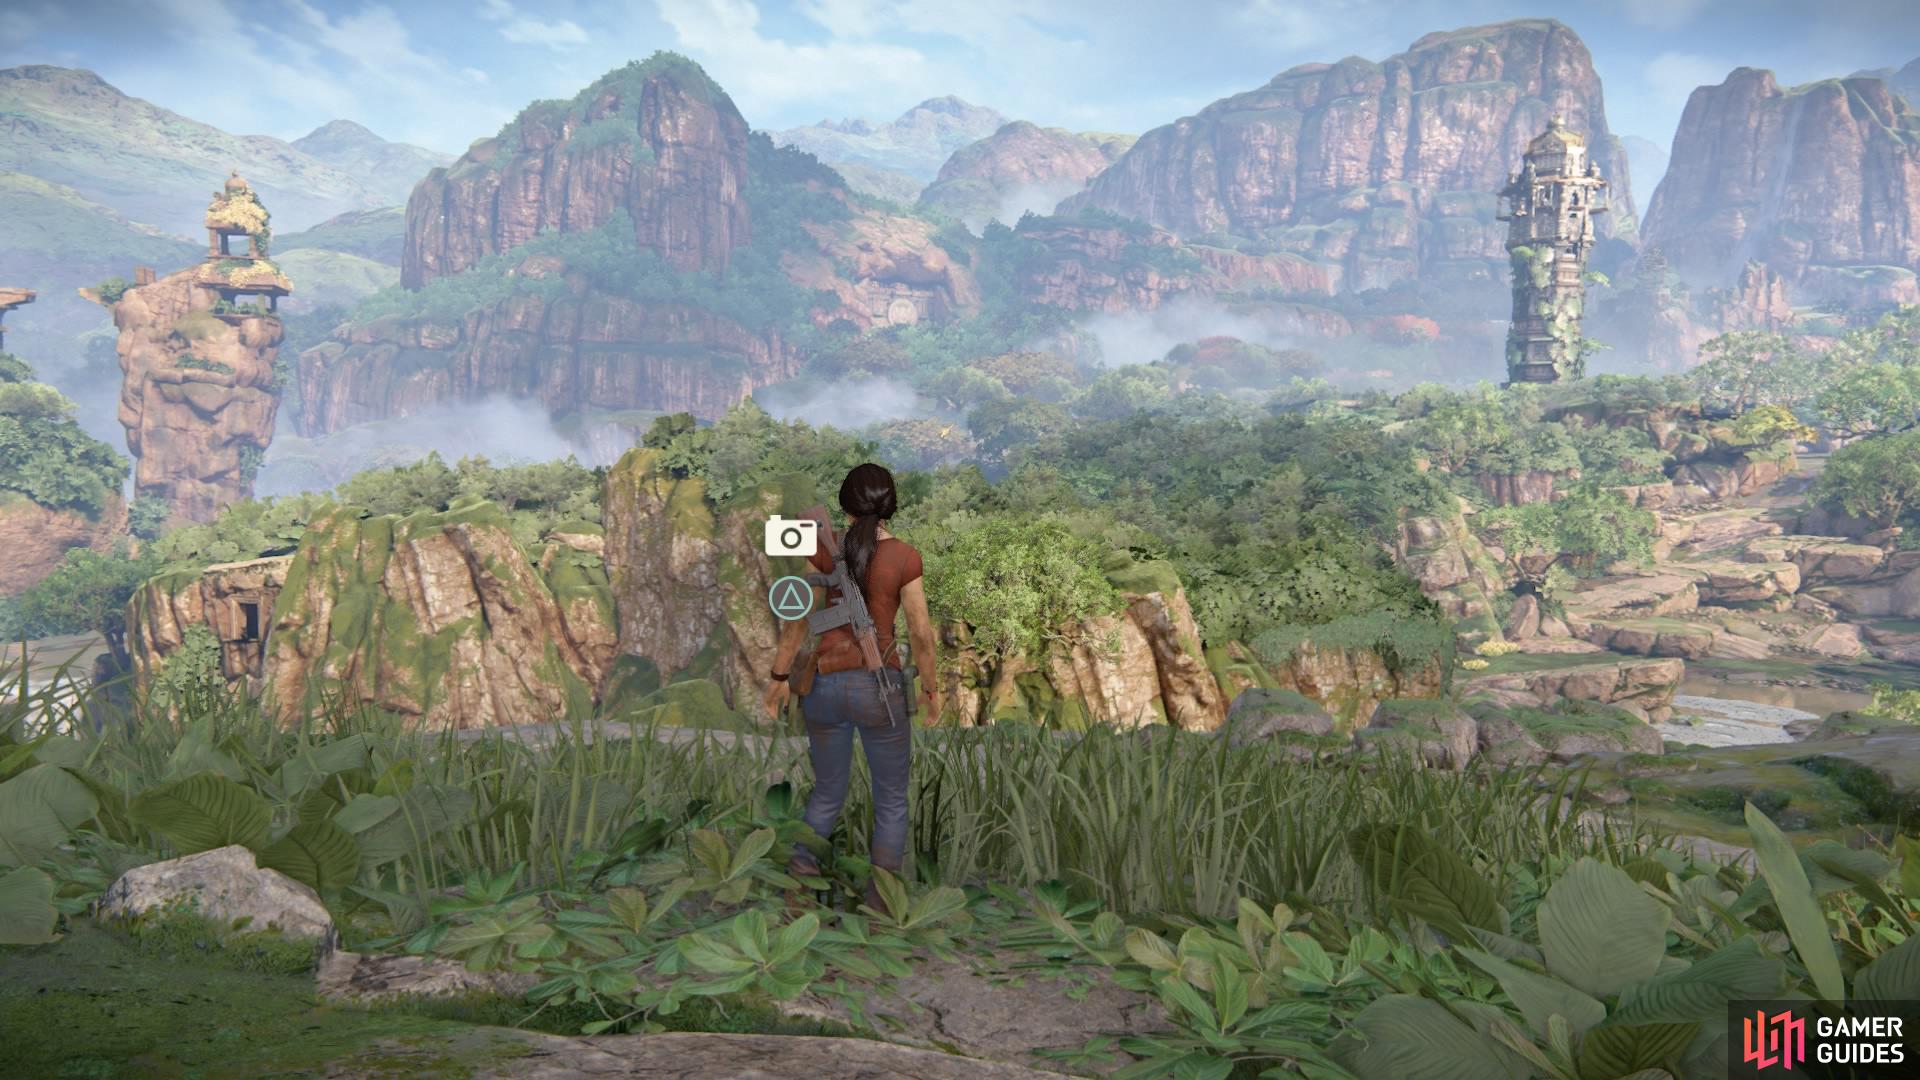
At the start of the chapter once you have control again
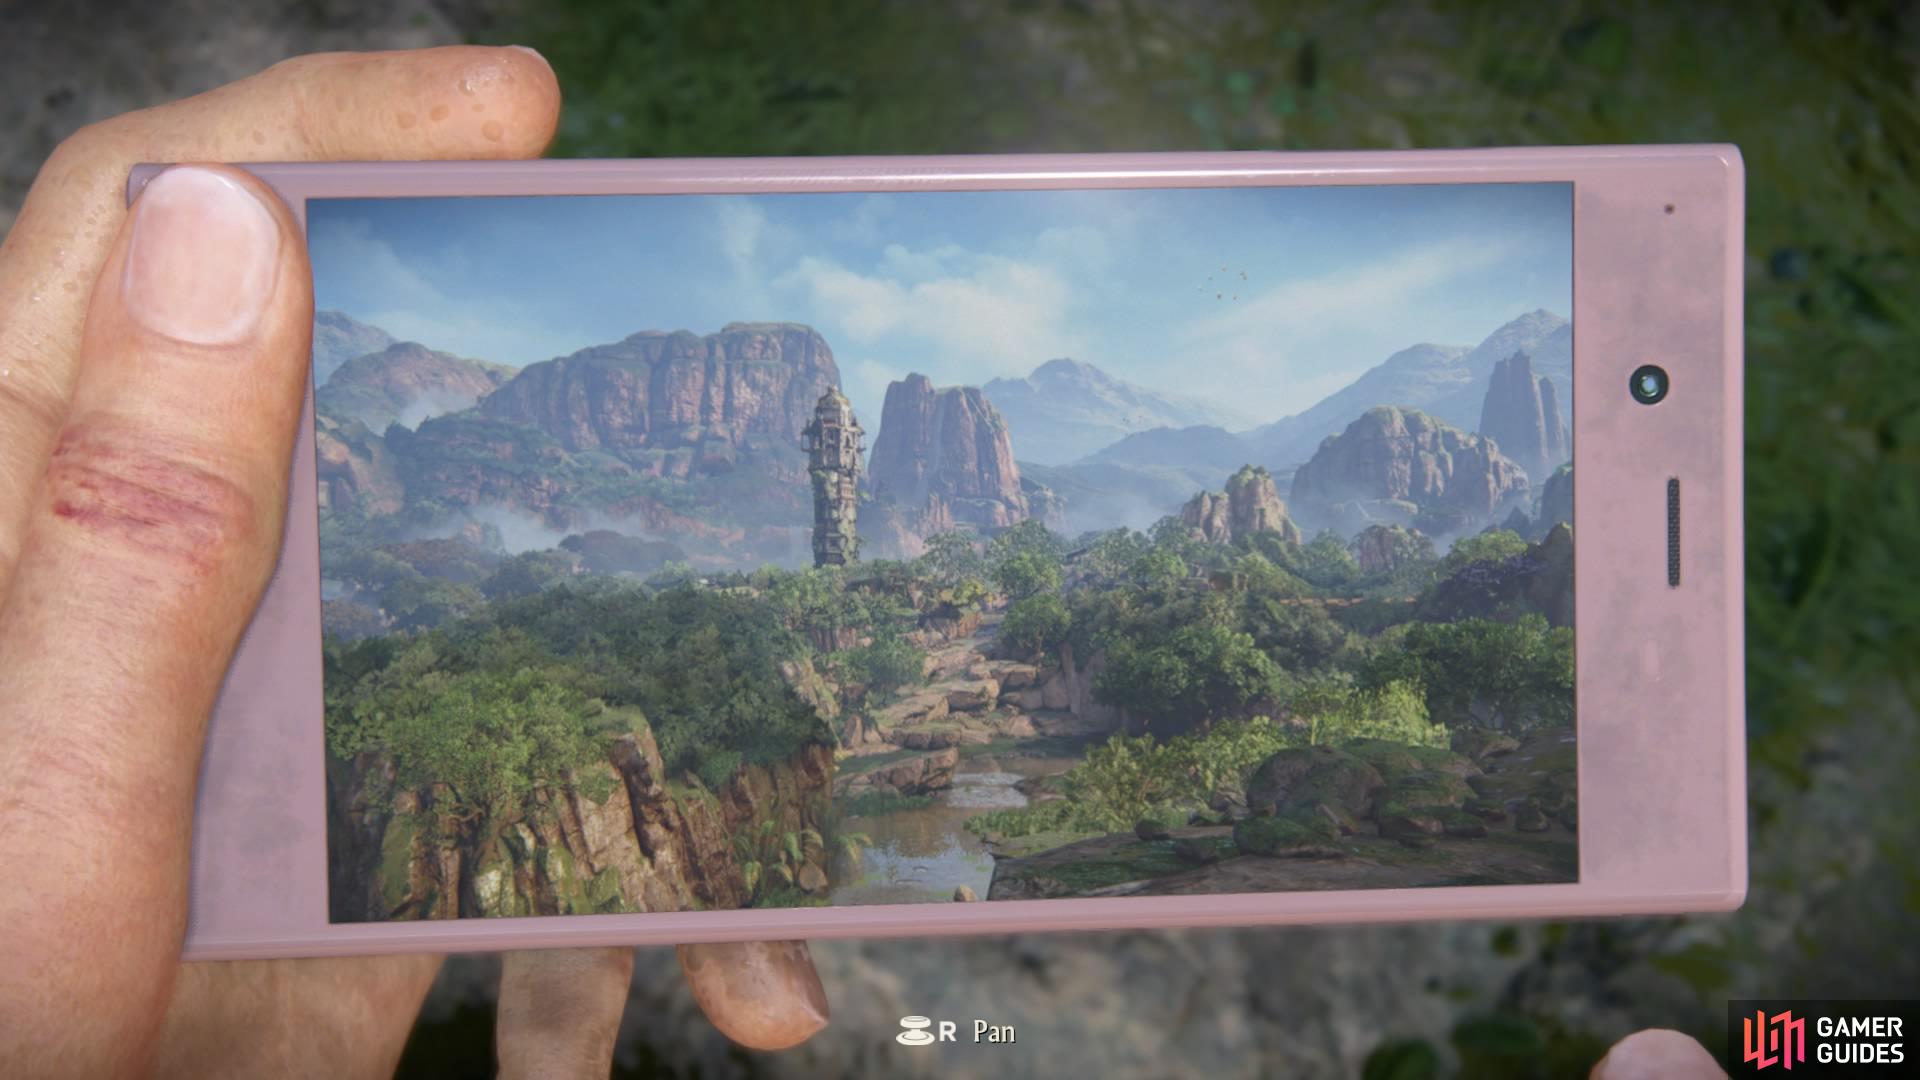
take your first photo
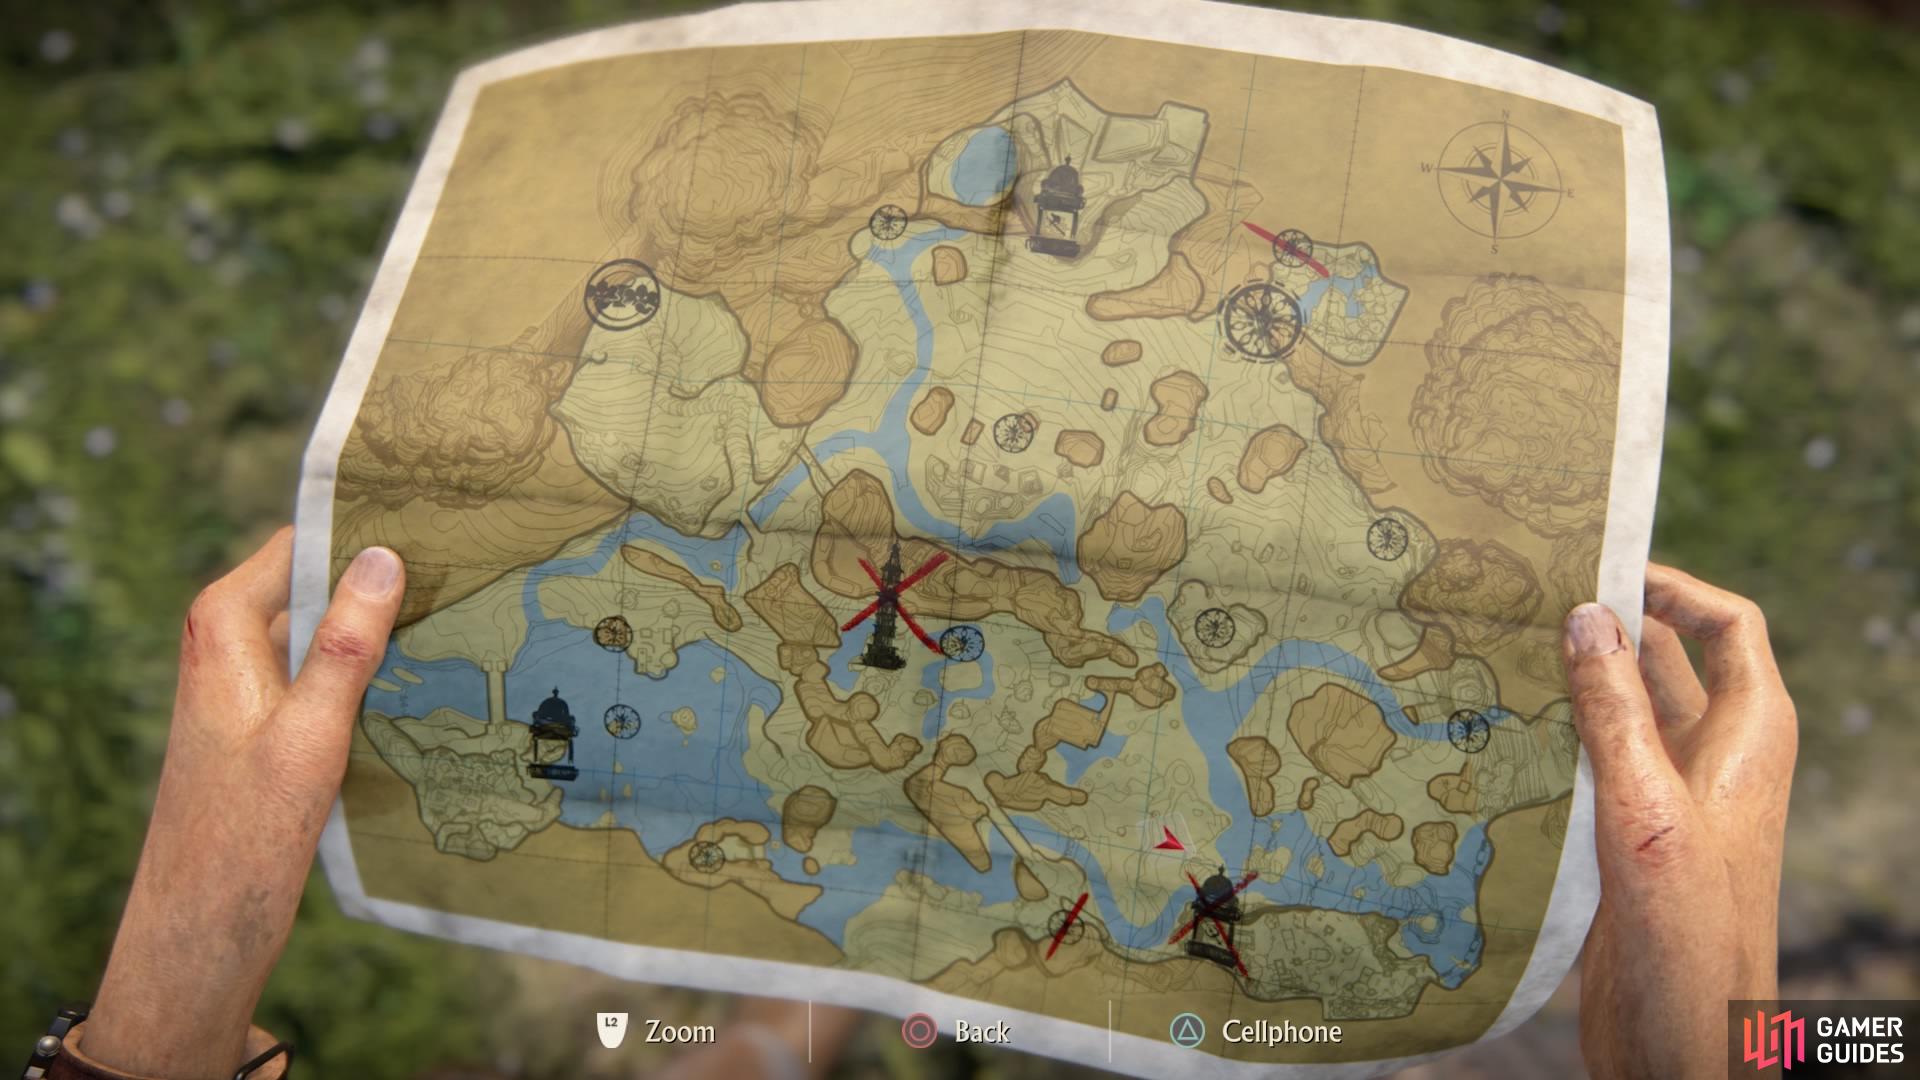
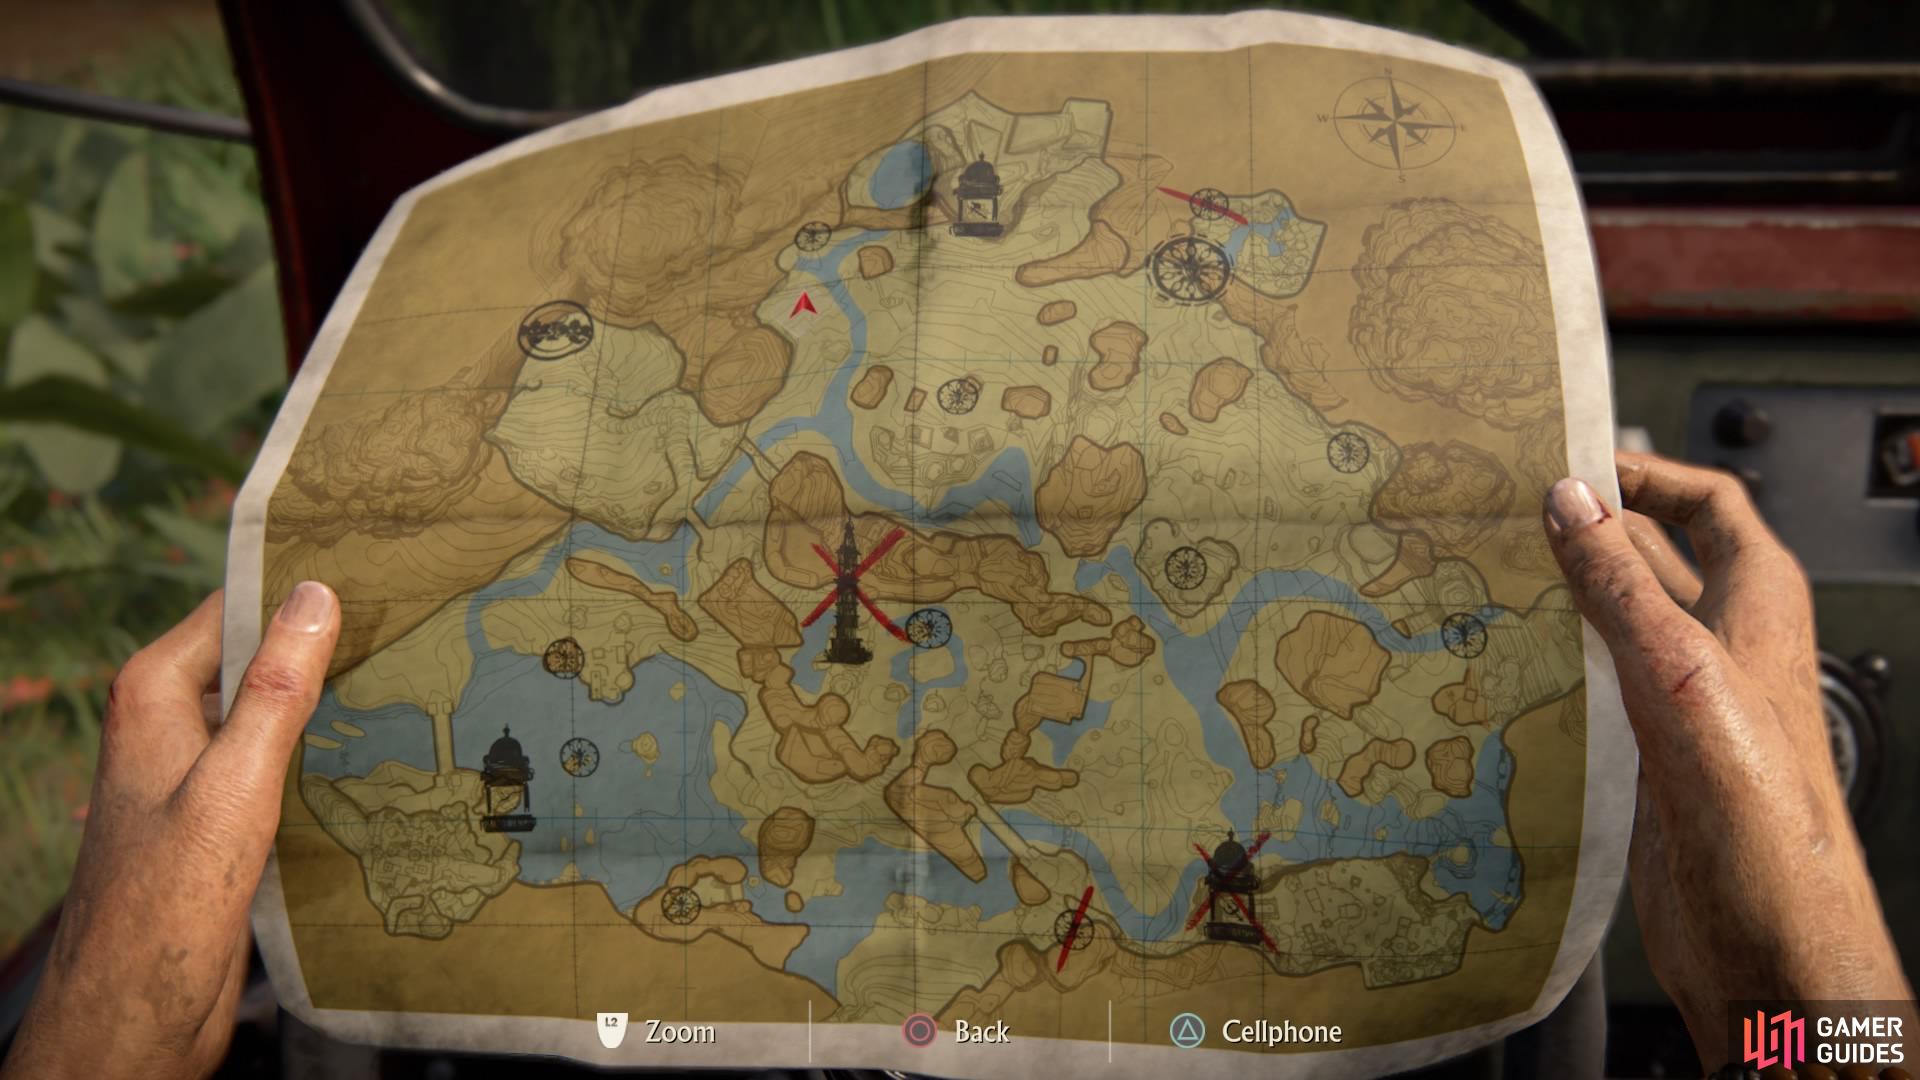
Now continue with the linear path by heading to the tower. Once you’ve unlocked all four ruin locations and marked them down on the map, you can continue.
First, let’s head to the token ruin (drawn on the map with a question mark). As soon as you go through the entrance, face the monkeys on the other side to take a picture of them (#6).
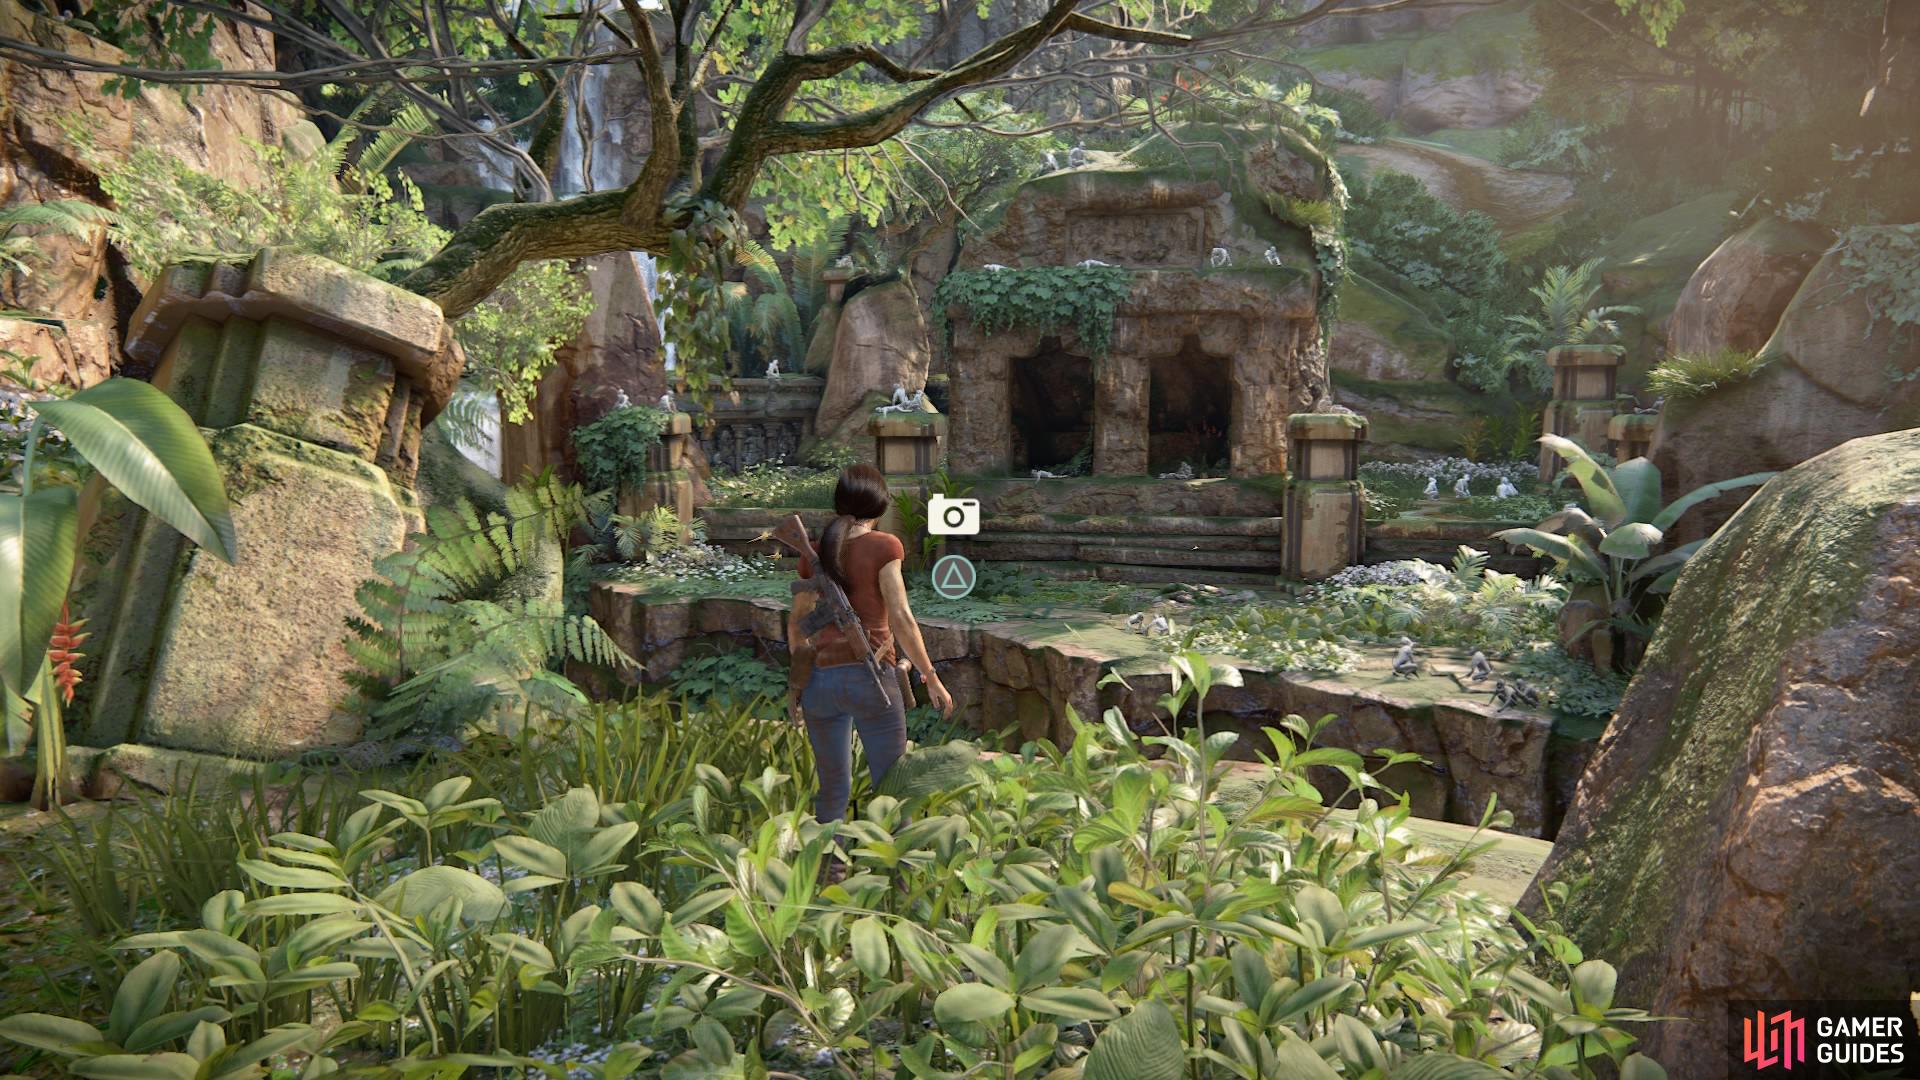
At the token ruin in the north
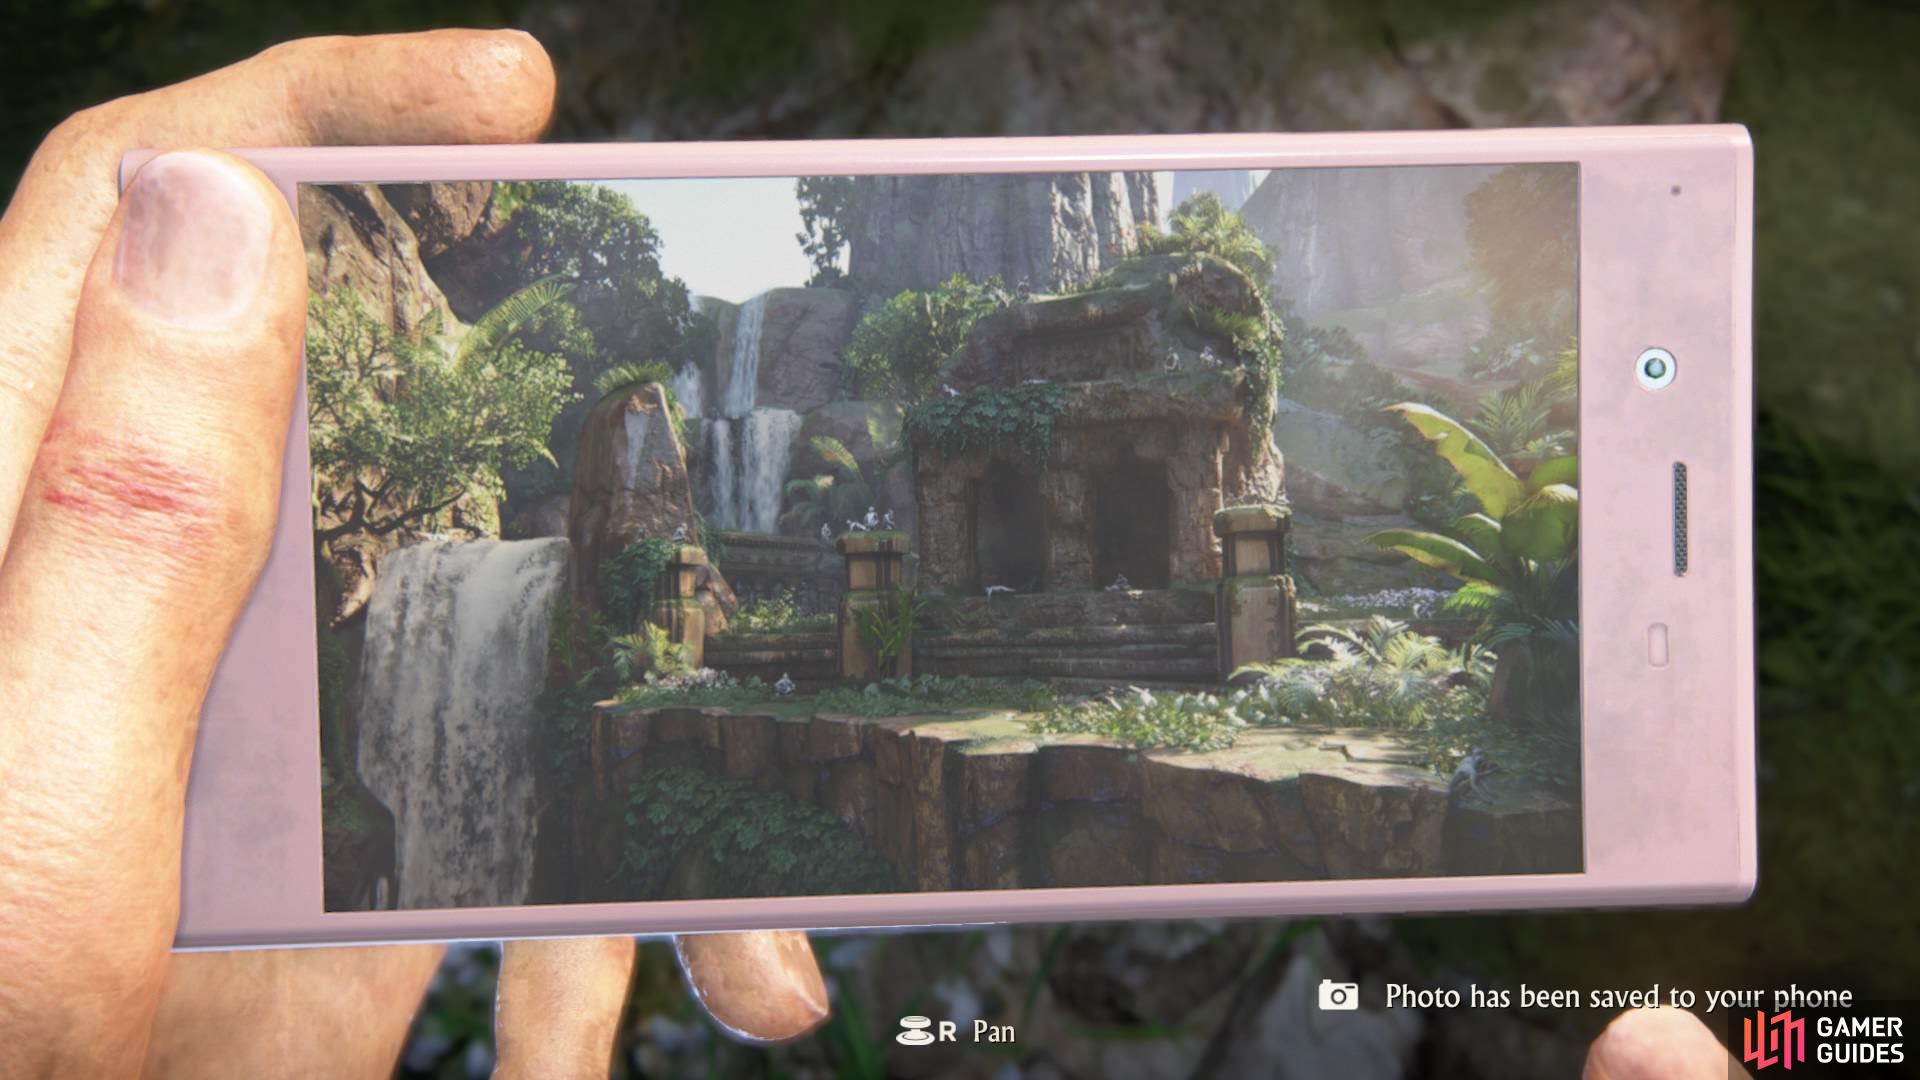
take a photo of the monkeys
There is another photo opportunity in this area, but we’ll be leaving this one til last, as you need to find all 11 Hoysala tokens and unlock the door to access the area with the monkeys.
In the meantime, activate the Hoysala token wall-map while you’re here – the token locations marked on the map will come in handy.
So, for now, let’s move on.
From the token ruin, head to the far southeast of the map towards a token location, next to the trident ruin in the bottom corner.
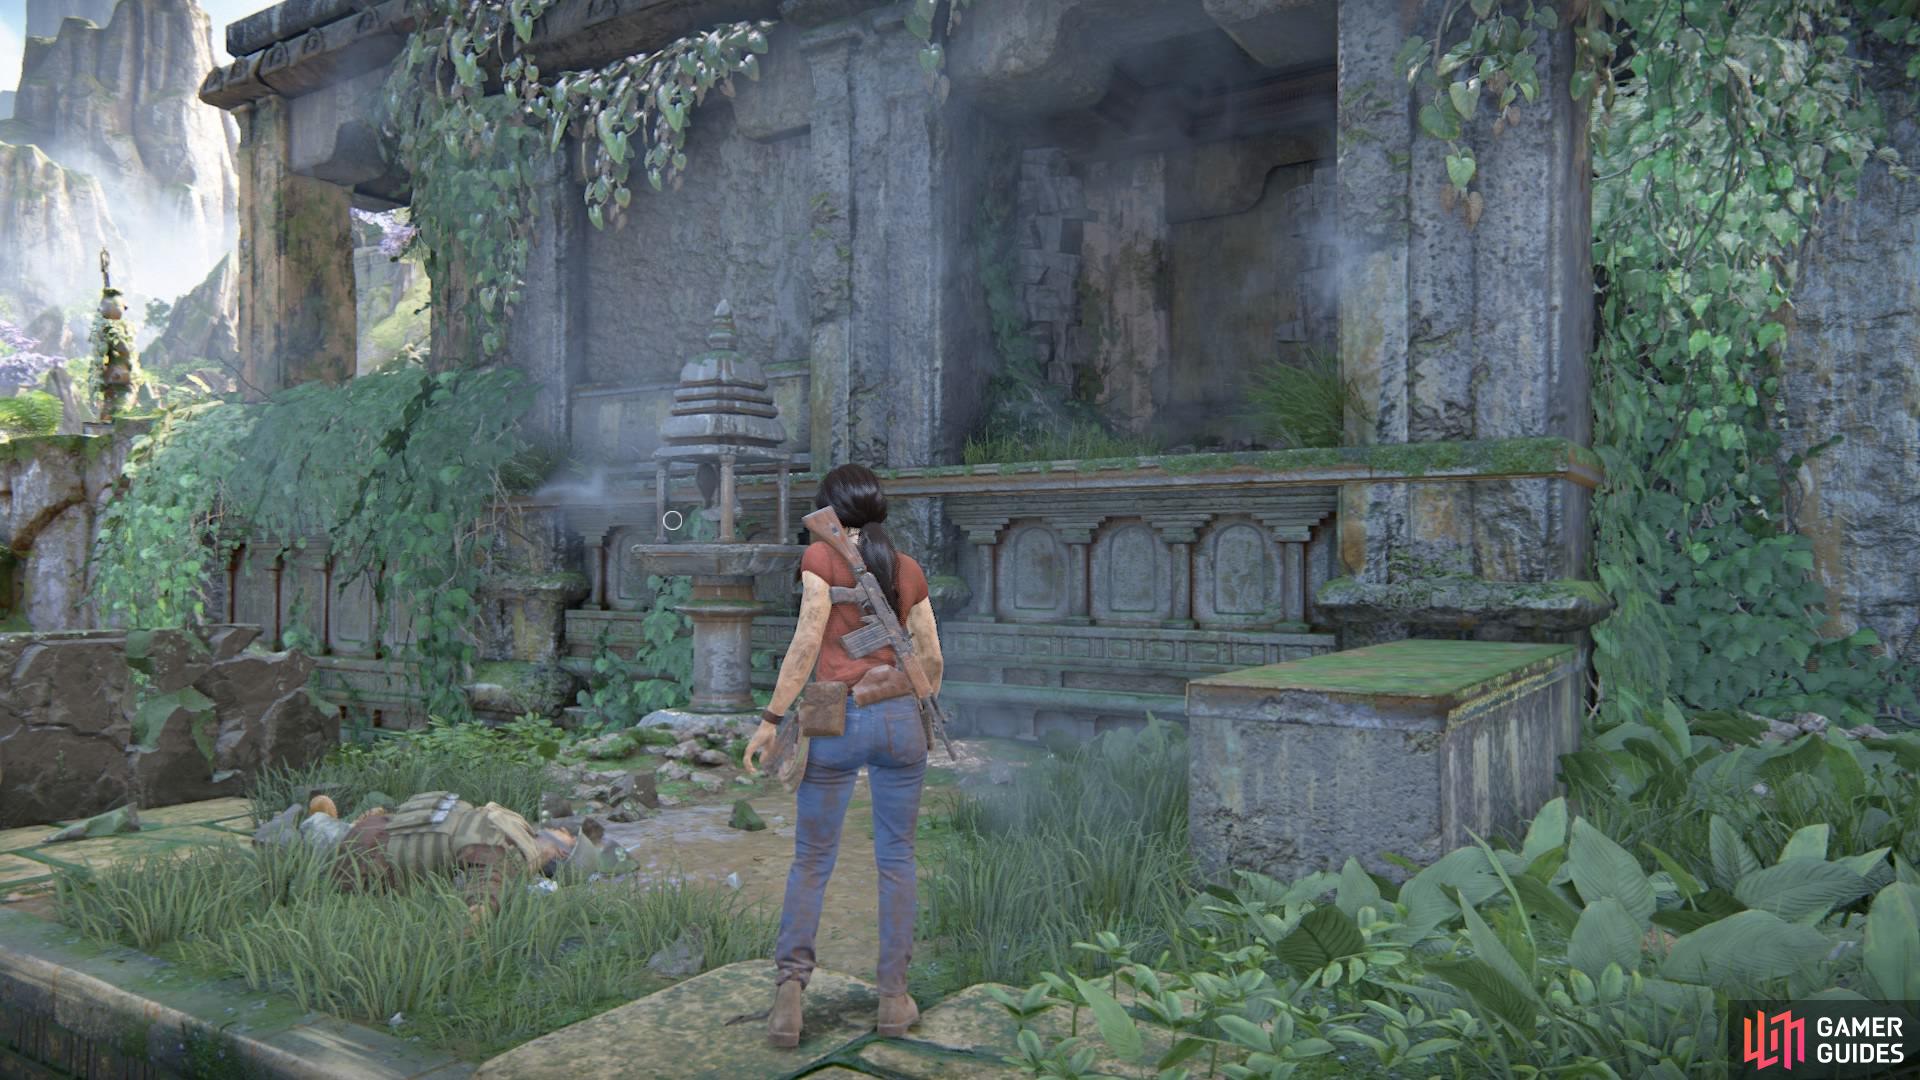
When you arrive, take out the rebels (if you haven’t already) and look for a breakable wall that you can blow open with a grenade. You can collect a token on your way through.
On the other side is a statue holding a trident – stand in front of it to take photo #7.
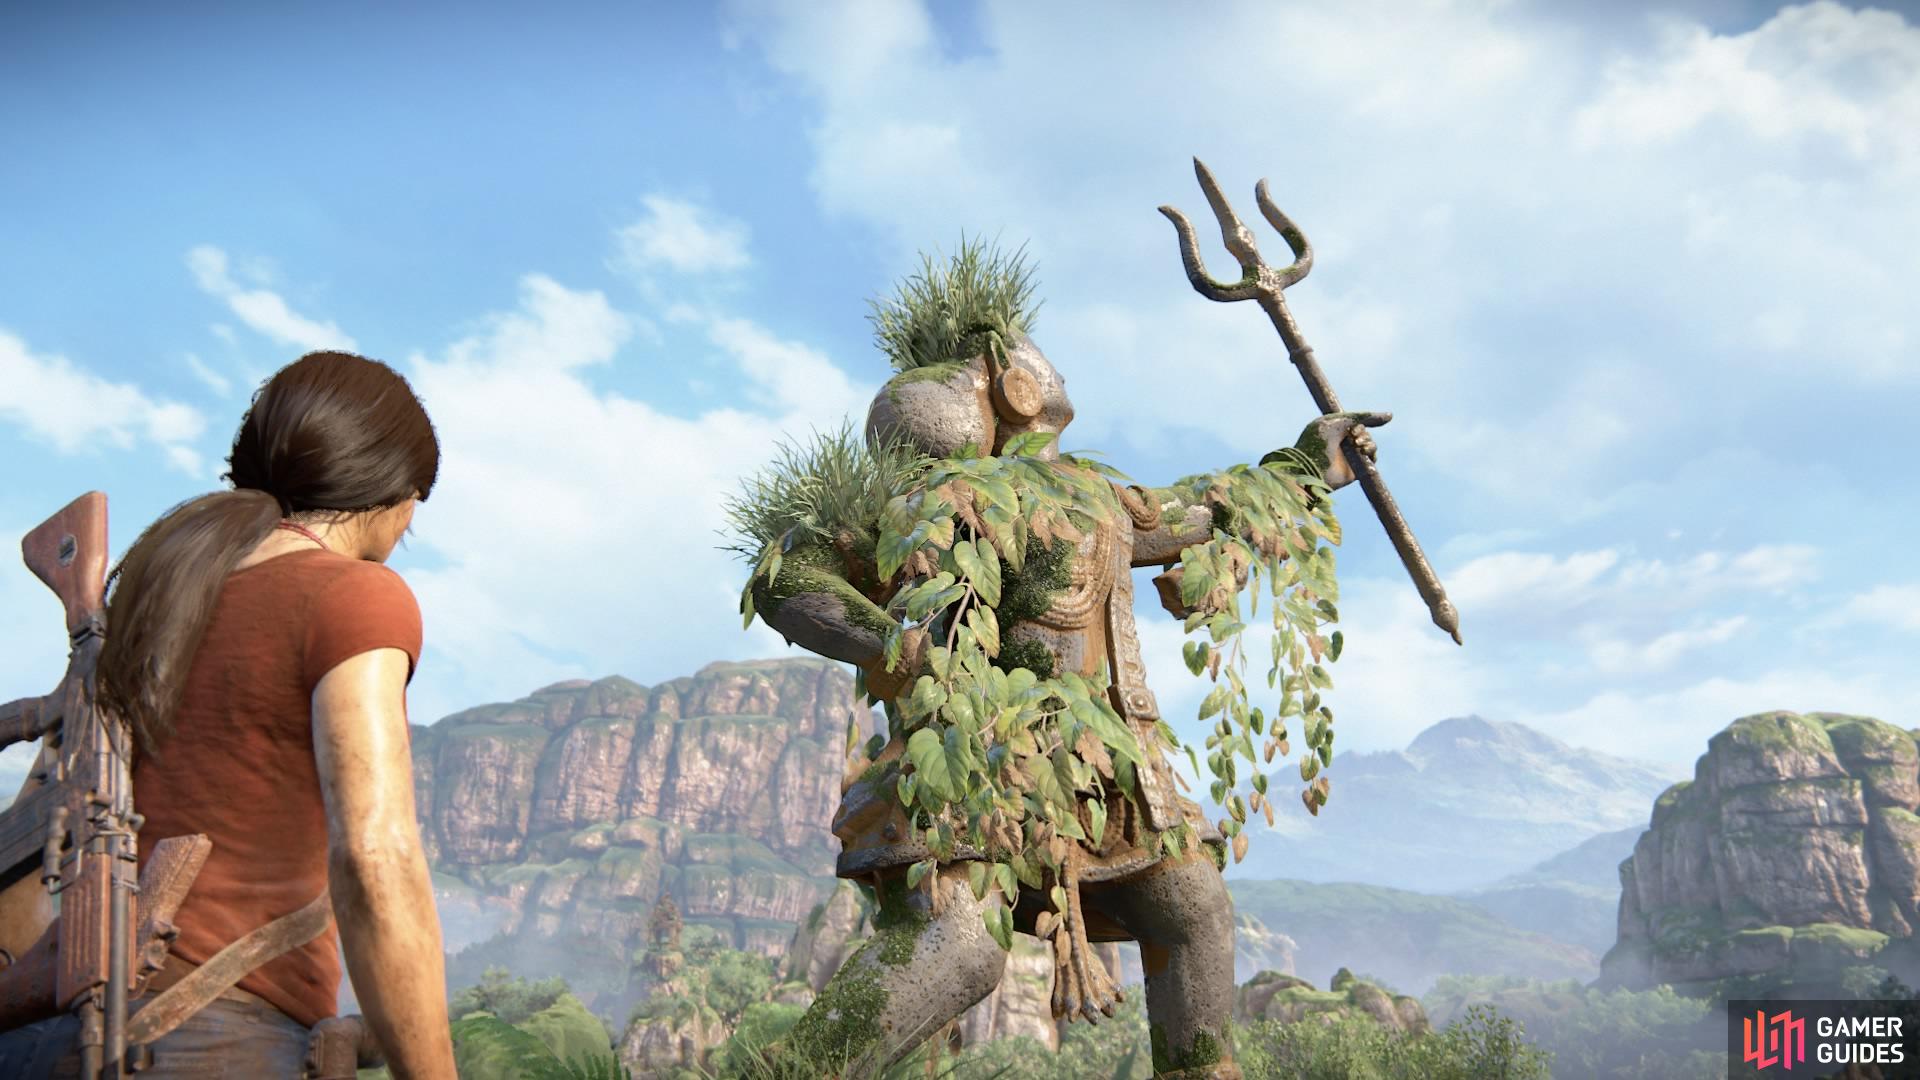
Stand in front of the statue

to take a photo of it
When you come back out of here, jump in the car and drive towards the muddy slopes with the waterfalls in the distance. You should be able to see the trident ruin high up on a cliff in the distance to the right.
What you need to do here is stop somewhere in the middle of all the mud, and just kind of mosey around until another prompt appears.
With the waterfalls ahead of you, take photo #8.
Walk along the muddy area
for this photo of the ruin above
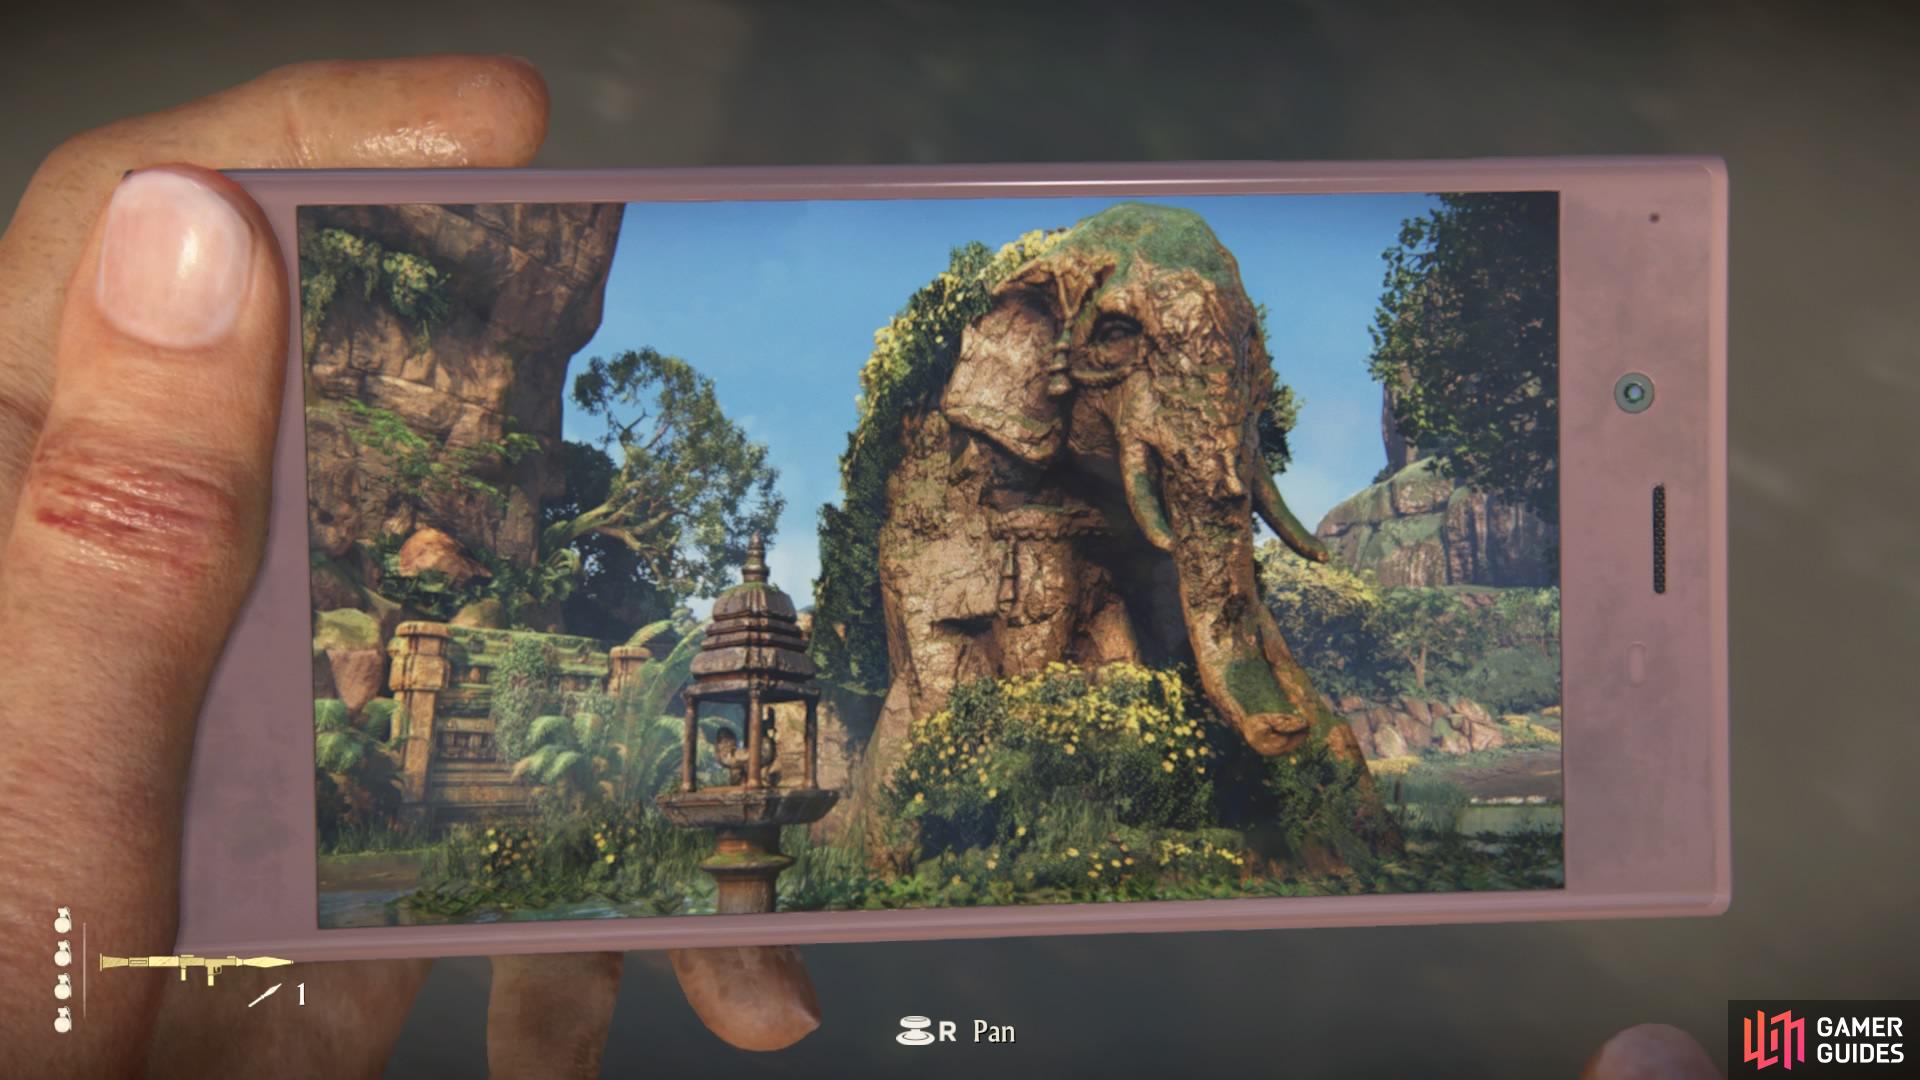
Return to the car and drive along to the west side of the map where three token markers are drawn near one another. The middle one should be in the water, and the area is well established by an elephant statue between two cliff points.
It’s the ruin behind the elephant statue that you’ll be taking a photo of. Depending on which direction you enter the area, find the cliffs adjacent to the ruin – you should be standing high up with the front of the elephant statue in your view.
Locate the elephant statue in the middle of the water
Go along the cliffs adjacent to the ruins behind it
Walk along the edge of this platform until you are prompted with photo #9.
Now head on down towards the statue and stand in front of it to take photo #10.

Stand in front of the statue
to find photo #10
From here, head north towards one of the token locations – the horse token west of Shiva’s fort highlighted by an axe drawing – and stop a short distance away from it. There’ll be a rock with a waterfall and the river on your right.
Stop just before the token location in the north
Have the view of the small waterfall on your right
Jump out of the car and head over to the rock. You should be prompted with photo #11 just in front of it.
Find the photo opportunity in front of the rock
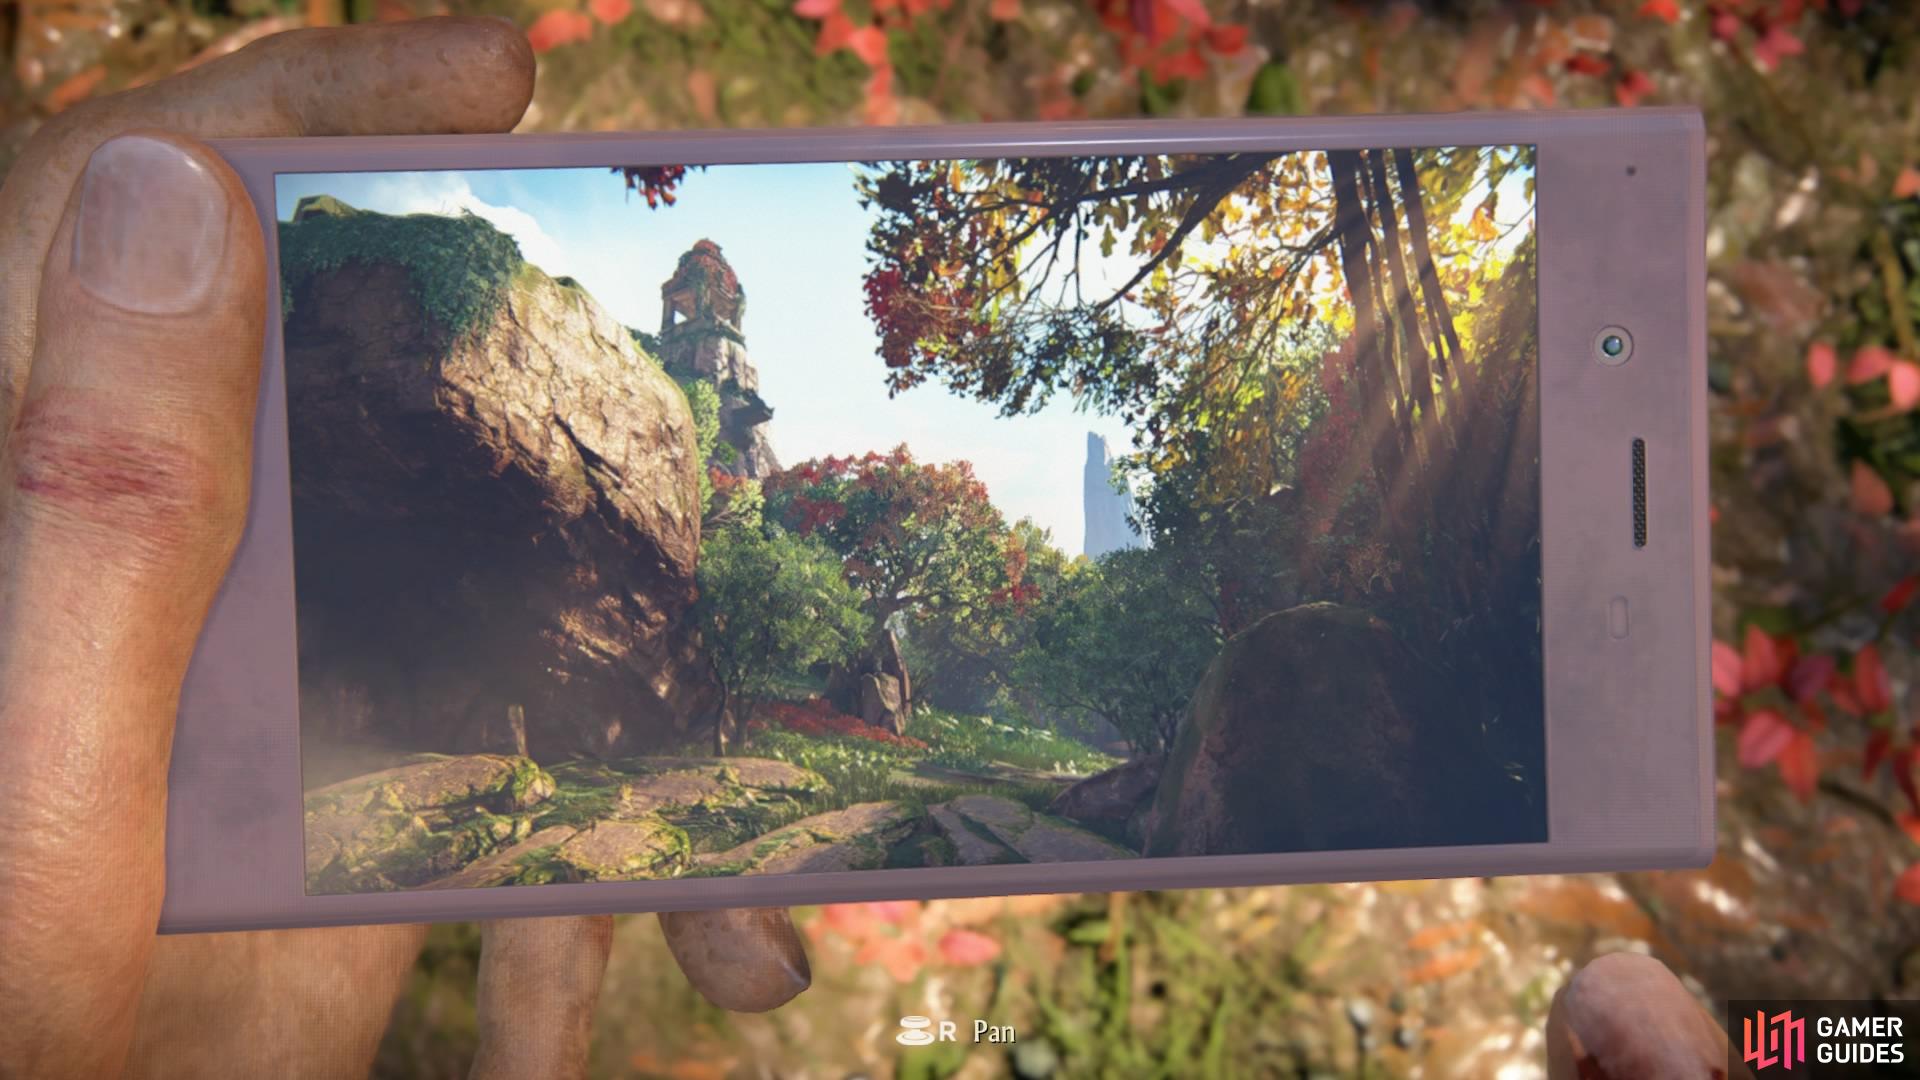
Photo #11
Continue towards Shiva’s ruin now (marked with the axe). Make your way through until you finally reach the first axe puzzle.
You have to complete the puzzle and make it to the other side of the room. Once you’ve done this and you’re back outside, you can take photo #12 on the edge of the cliff before you continue to the second puzzle room.
The photo prompt will appear almost immediately when you get close
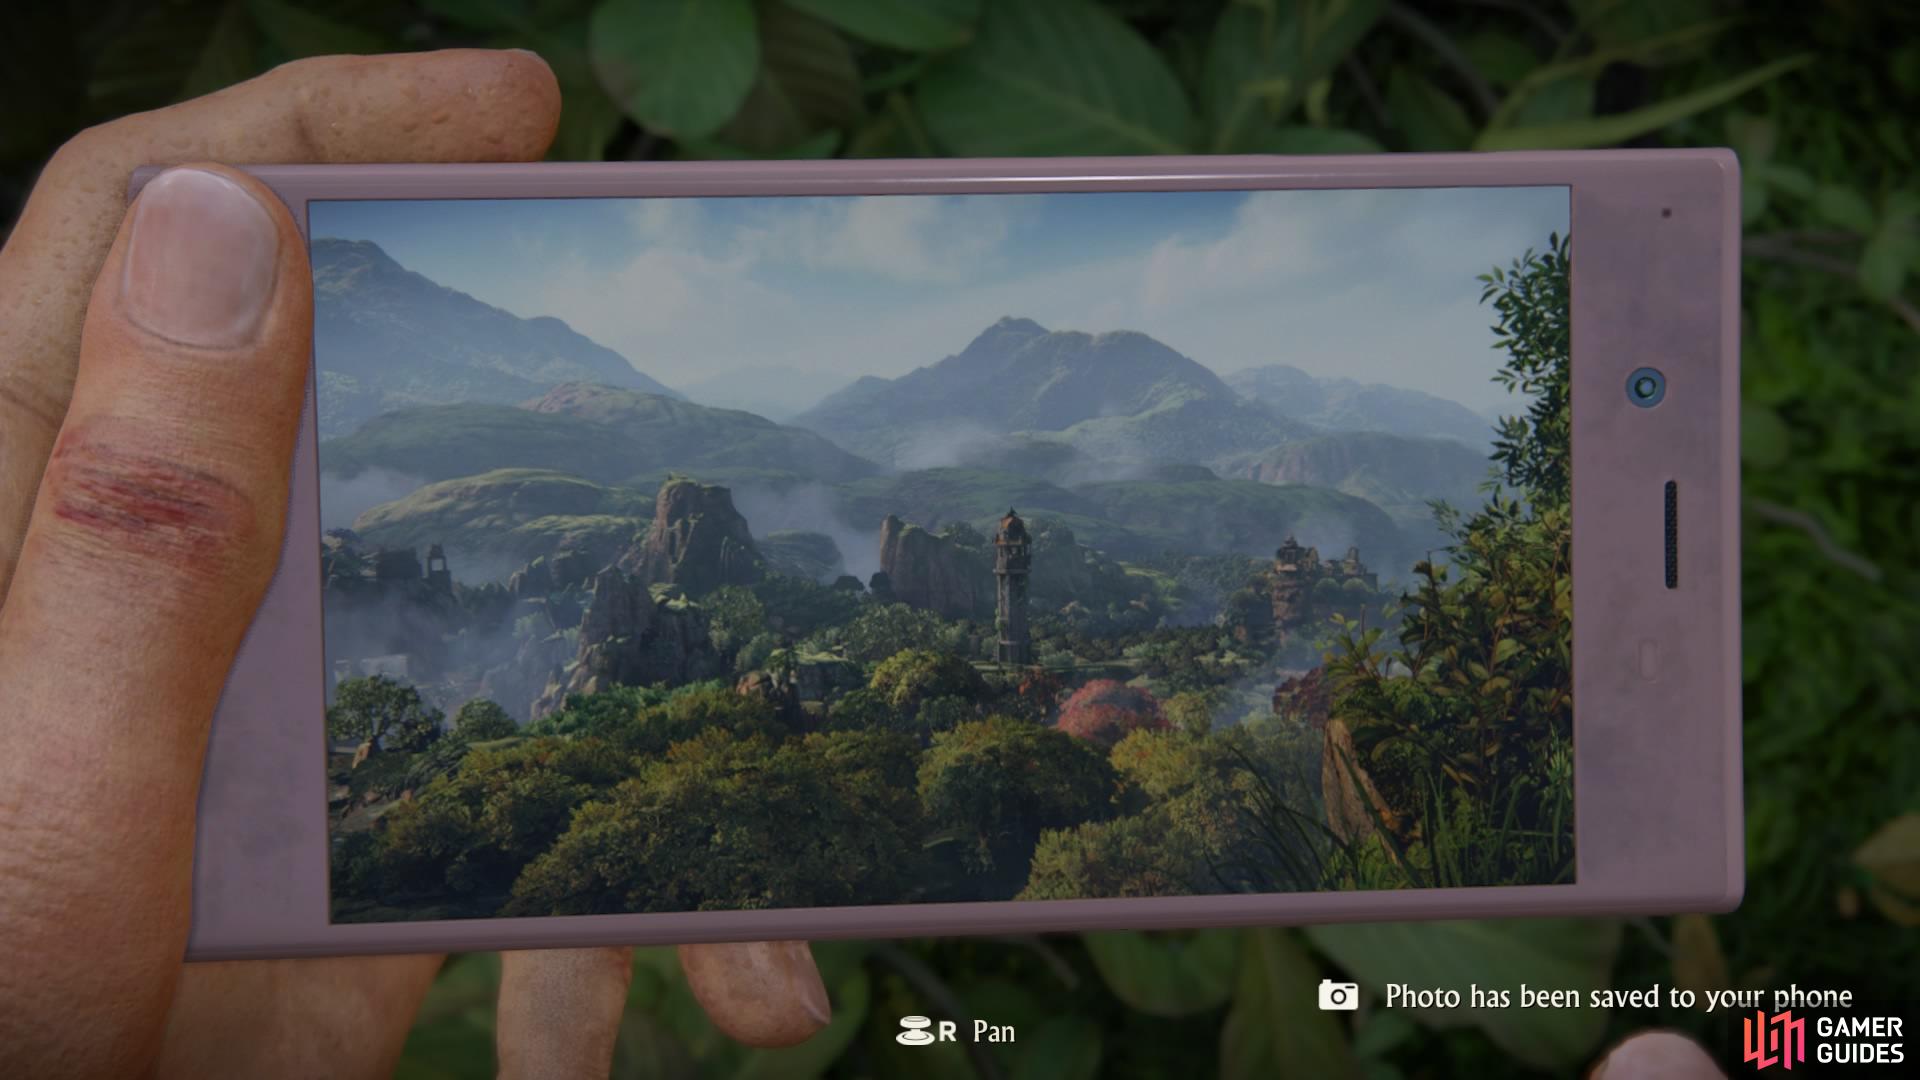
Photo #12
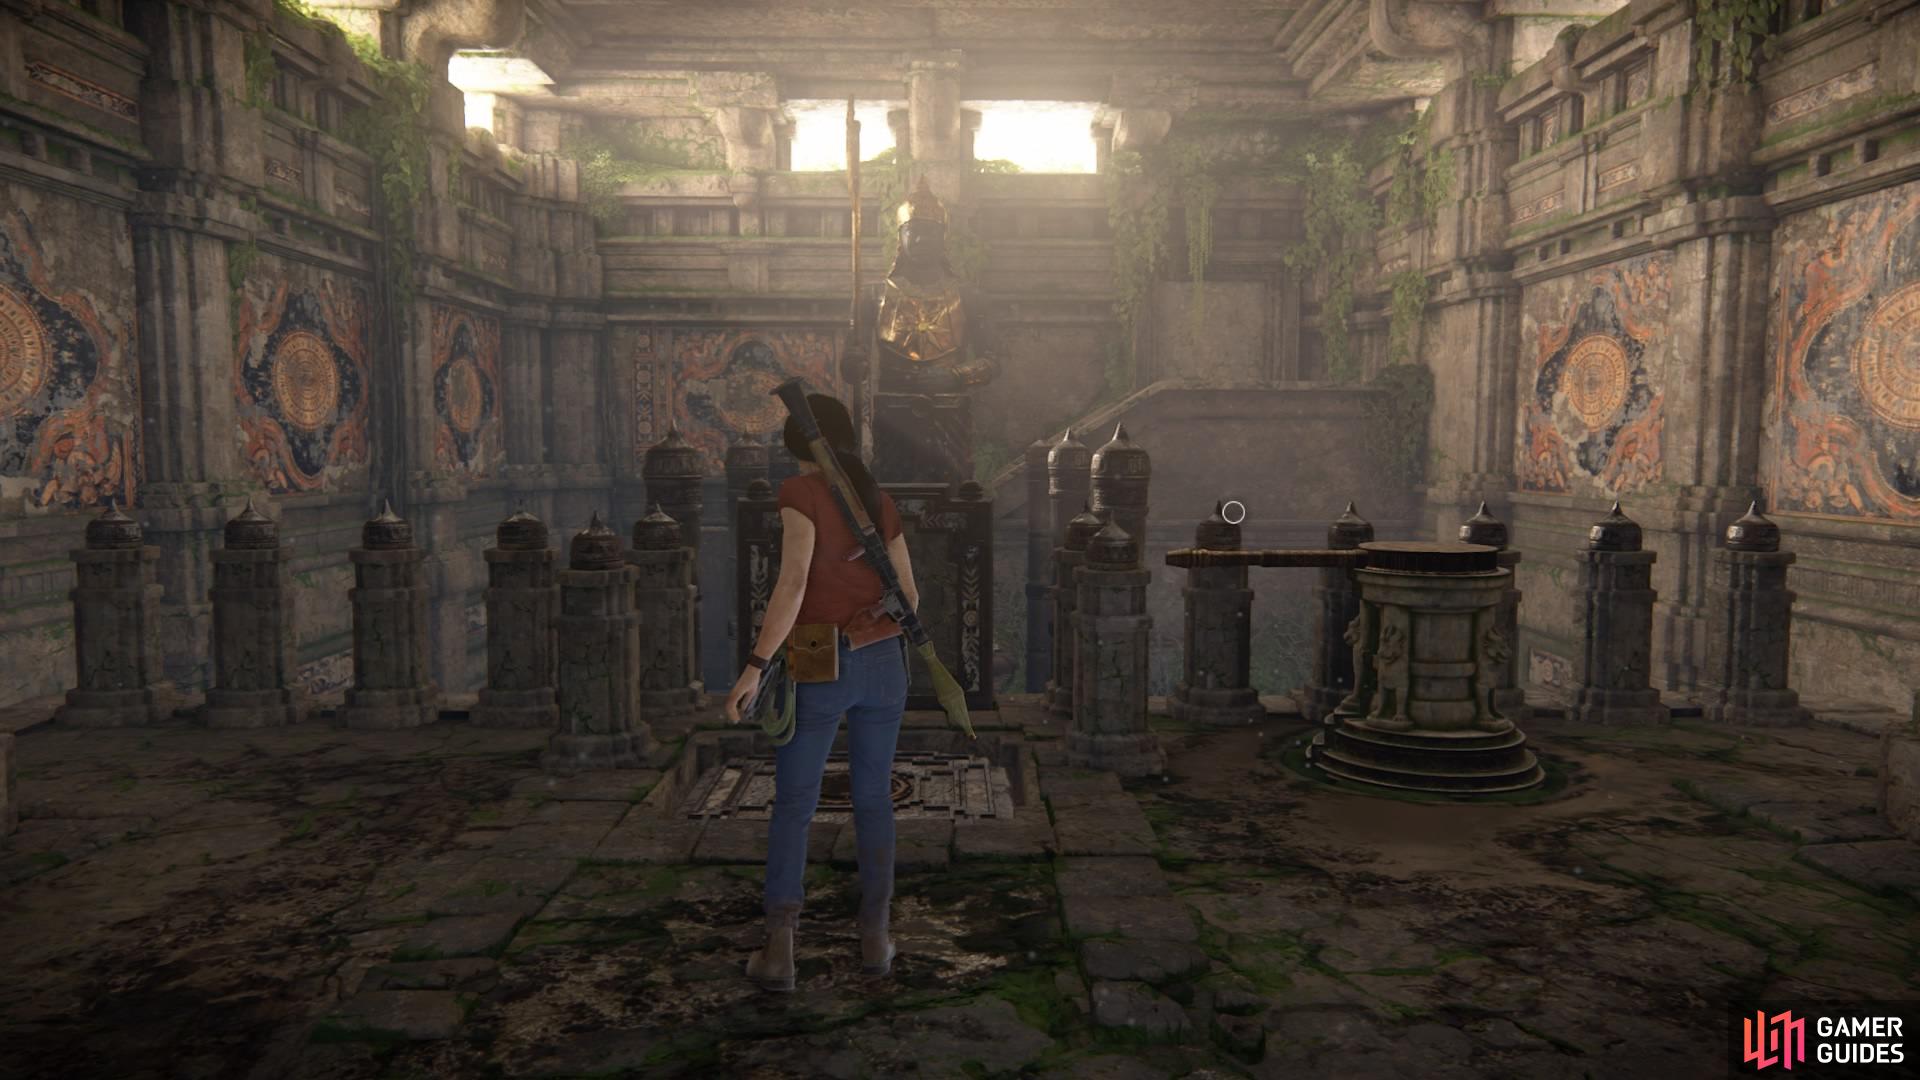
Finally, you need to return to the token ruin with the monkeys. Make sure you have collected all the Hoysala tokens in order to access the door on the right of the wall-map.
If you’ve done this, head on through to the monkeys!
Go towards the pillar in front of the ruin on the right and wait for Nadine to stand near it. You’ll be prompted with an amusing photo opportunity (#13) as a monkey jumps down on to Nadine’s head!
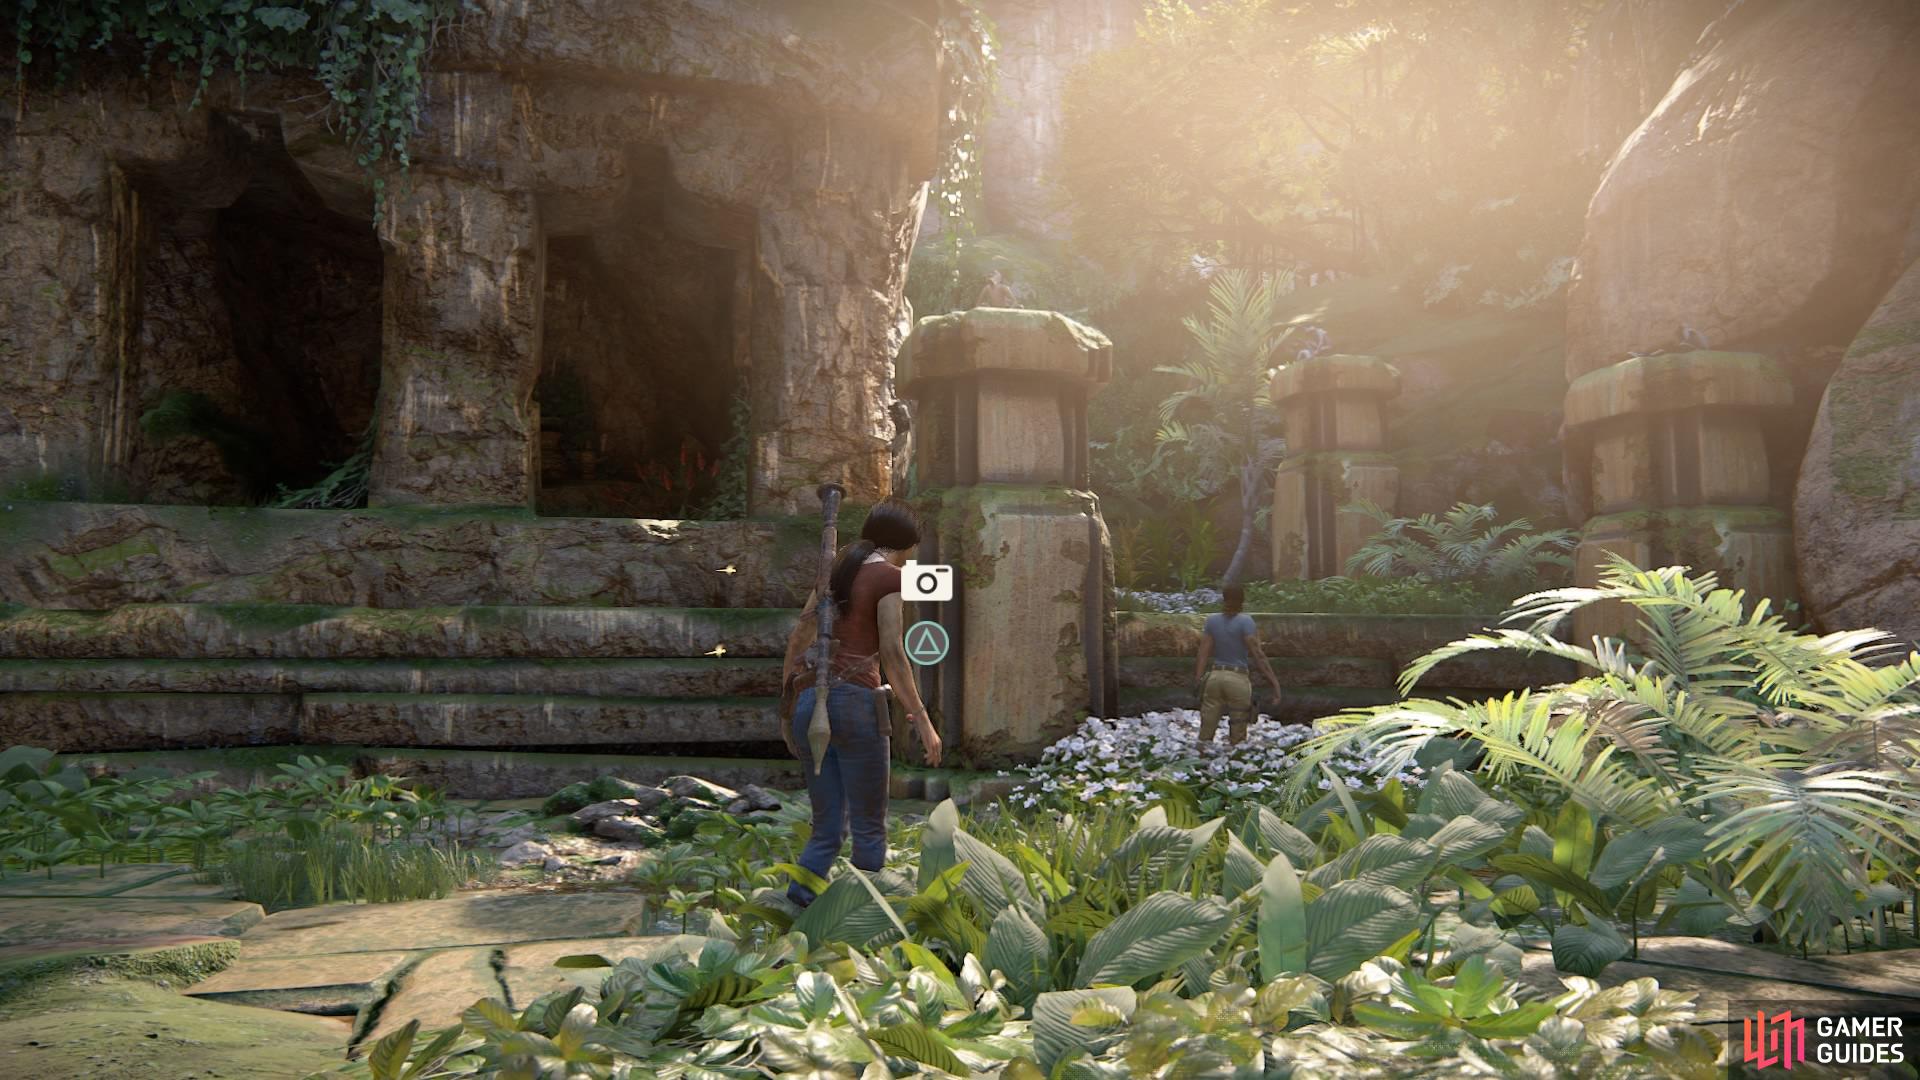
Stand by the pillar in front of the ruin and wait
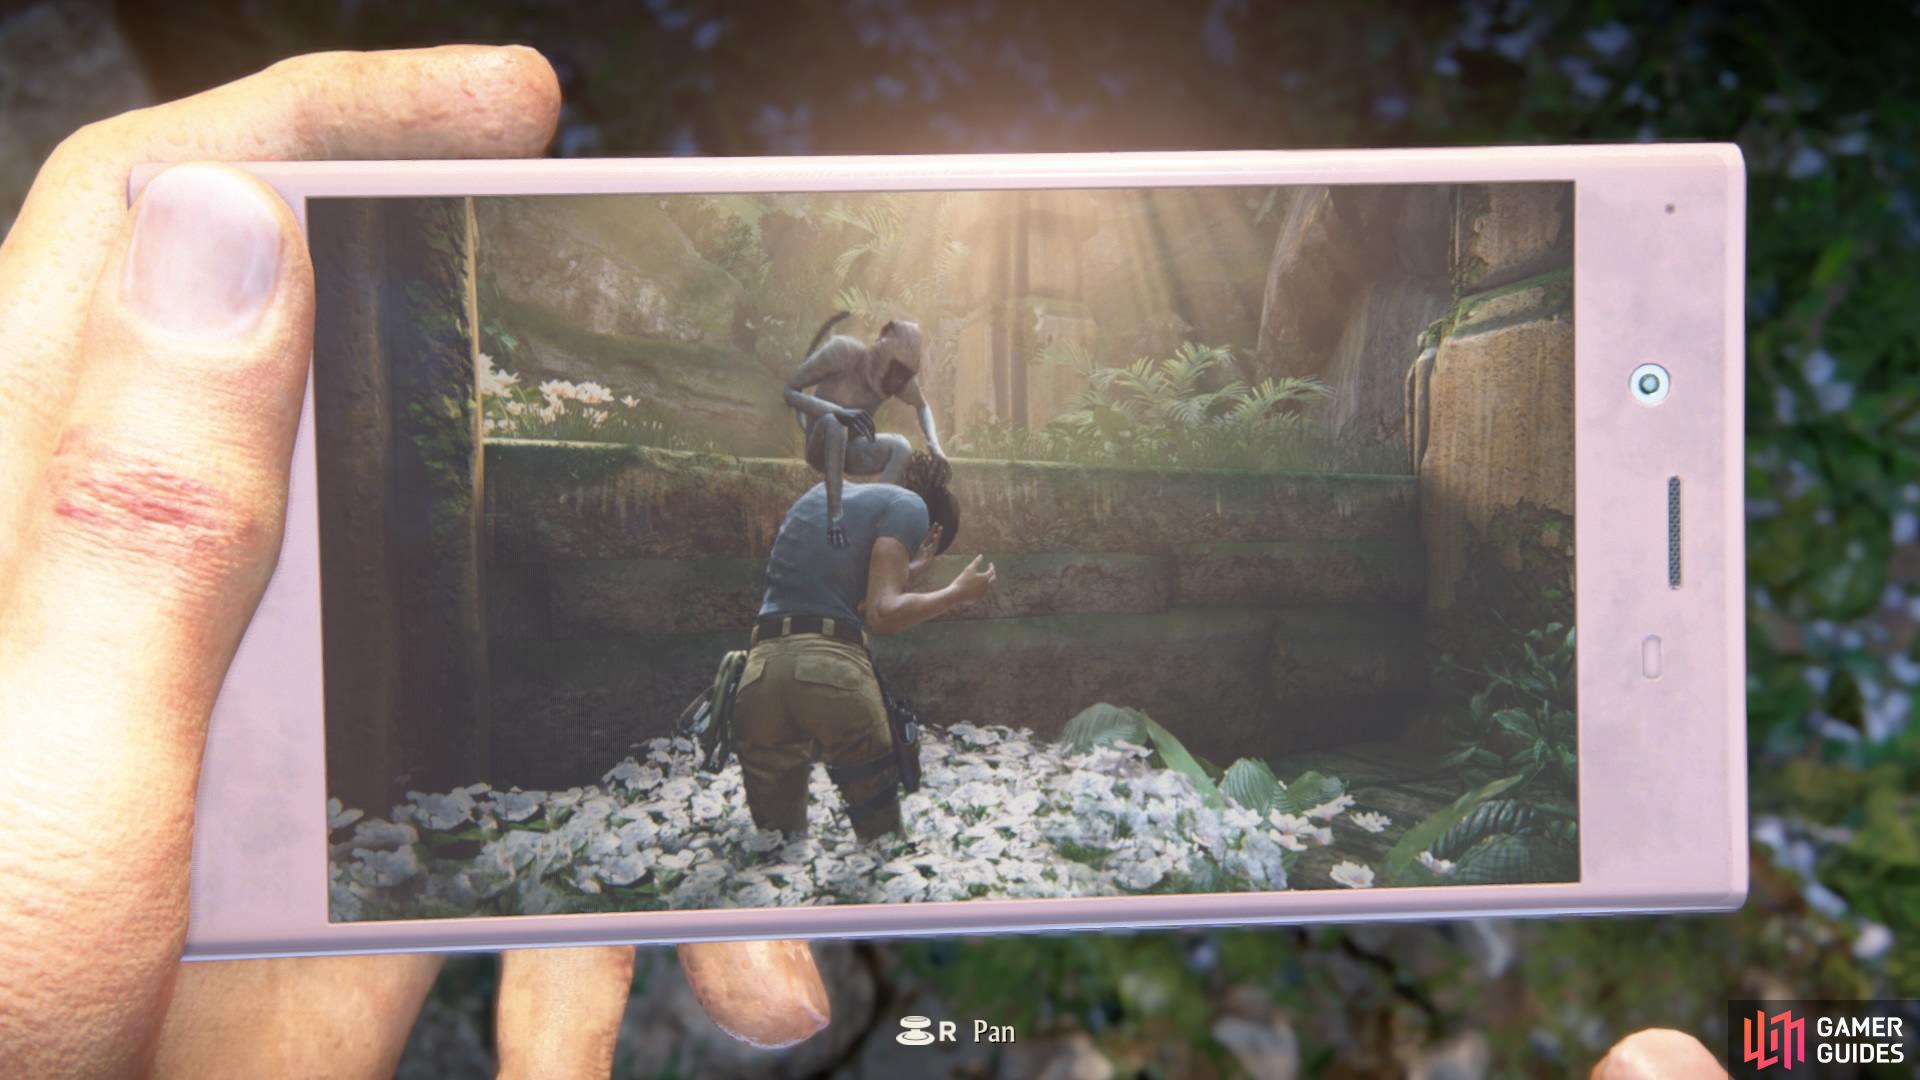
Photo #13
No Comments