| Chapter 4 | . |
|---|---|
| Treasures | 19 |
For this section we’re going to assume that you got the Queen’s Ruby first, in which case we’ll begin the treasure hunt from the token/monkey ruin.
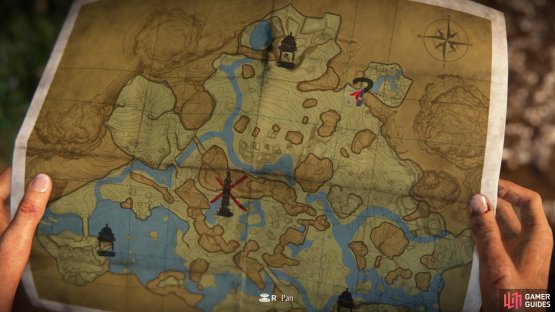
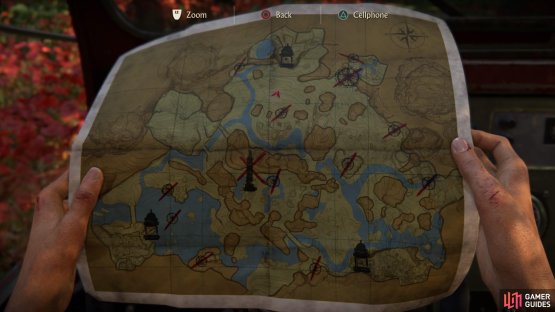
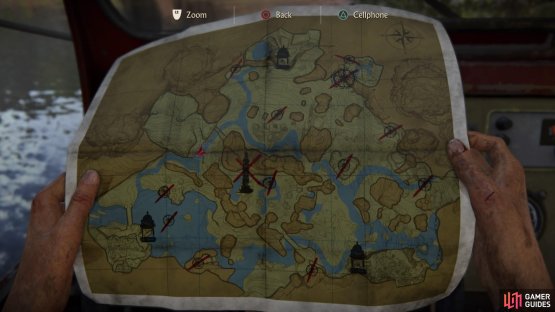
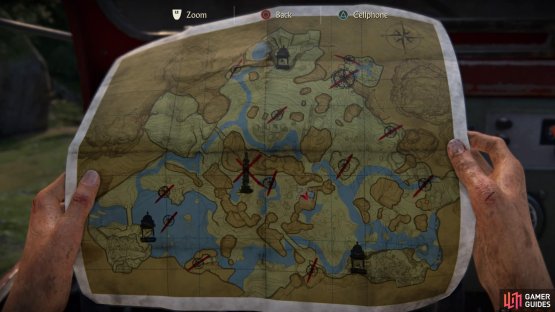
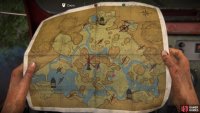
(1 of 2) Initially marked on the map as a question mark in the northeast
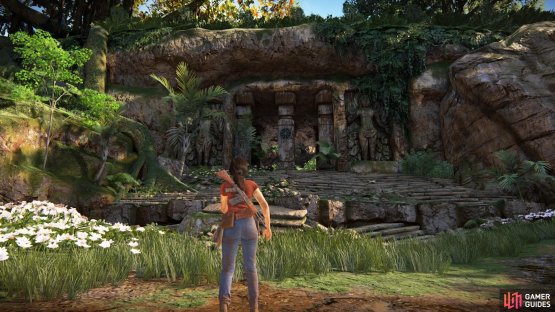
Initially marked on the map as a question mark in the northeast (left), Start at the mystery ruin (right)
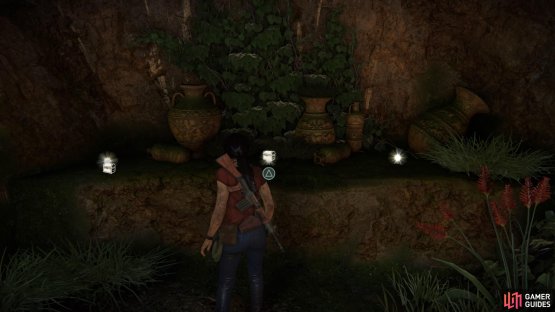
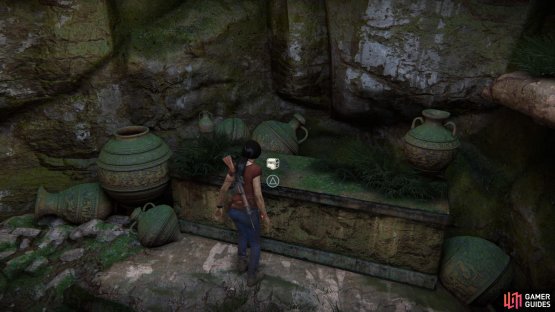
As soon as you obtain the bracelet, the door immediately to your right will now be open. Follow the corridor through to the ruin where the monkeys are and go into the ruin in the middle. On the left is an alcove with the first three treasures (#12, #13, and #14).
(1 of 2) Go to the centre ruin
Go to the centre ruin (left), Treasures #12, #13, and #14 (right)
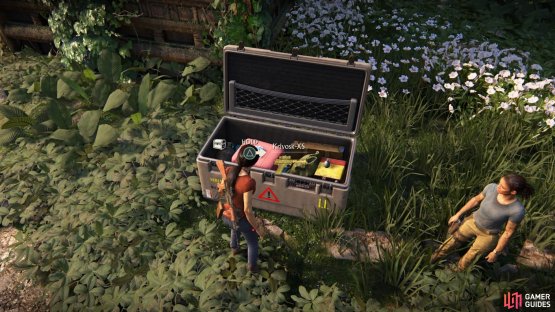
When you leave the ruin, remain in this area. As soon as you come out at the entrance, there is a small tower in front of you with a lockbox. Open the lockbox to find treasure #15 (this will also add the box to your lockbox collection for this chapter).
(1 of 2) Find the lockbox in front of you as soon as you leave the token ruin
Find the lockbox in front of you as soon as you leave the token ruin (left), Open it to find treasure #15 (right)
From here, head left until you see another tower. Climb the tower to find treasure #16 on the platform.
(1 of 2) Climb the tower
Climb the tower (left), Pick up treasure #16 (right)
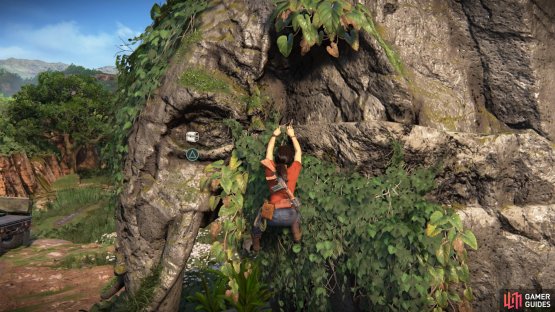
Again, continue left. You’ll come across the ruin with the bells outside, and nearby is an elephant statue made out of rock. Simply traverse the statue to find treasure #17 in the elephant’s eye.
(1 of 2) Look for the elephant statue outside the ruin with the bells
Look for the elephant statue outside the ruin with the bells (left), Treasure #17 is in the elephant’s eye (right)
Jump back in the car – from this point, we’ll be going all over the map, but for now head to Shiva’s ruin marked by the axe in the north.
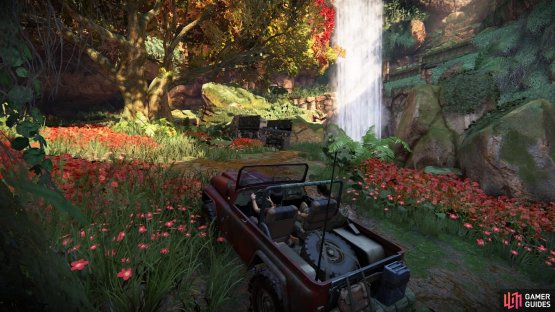
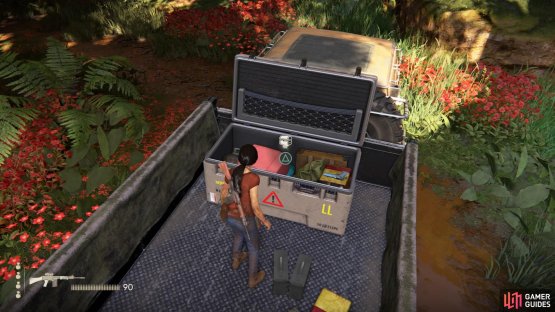
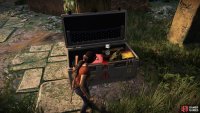
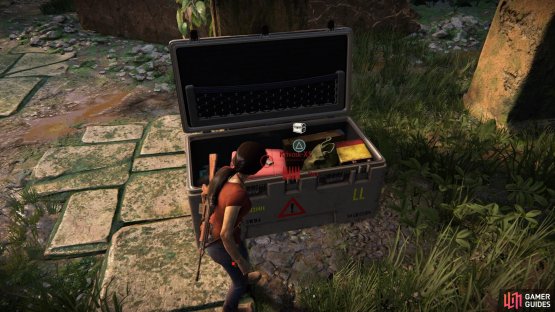
When you arrive, there’ll be a rebel truck parked by a tree – hop into the back of the truck to open the lockbox (which will count towards the lockbox collectibles for this chapter) to find treasure #18 inside.
(1 of 2) Go to Shiva’s ruin
Go to Shiva’s ruin (left), Find the treasure in the lockbox in the truck (right)
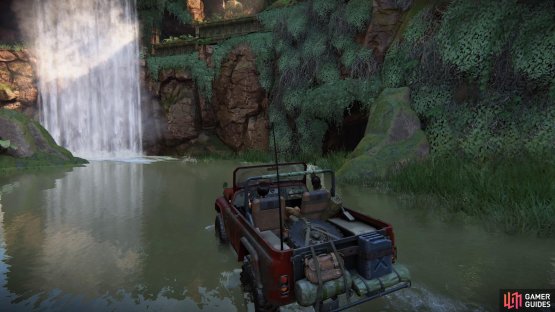
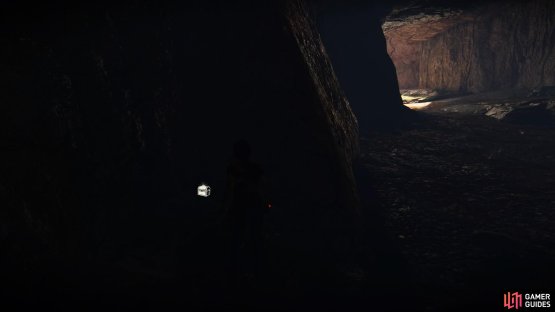
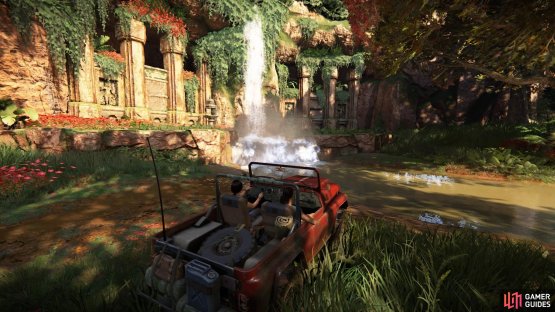
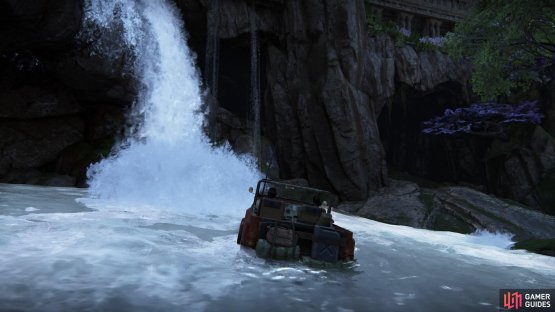
Then, to the right of the truck is a waterfall, where you’ll see a cave entrance next to it. Go inside the cave to pick up treasure #19 halfway through.
(1 of 2) Find the nearby cave
Find the nearby cave (left), Pick up the treasure halfway through (right)
From here, head over to the token location to the left of Shiva’s ruin. If you remember being here before, this is where you solved the wall puzzle for the horse token. This time, instead of climbing up into the left side of the ruin, climb up the right side.
There’s a small blocked off passageway at the top where treasure #20 waits for you.
(1 of 2) Return to the horse token ruin
Return to the horse token ruin (left), Climb up the right side for treasure #20 (right)
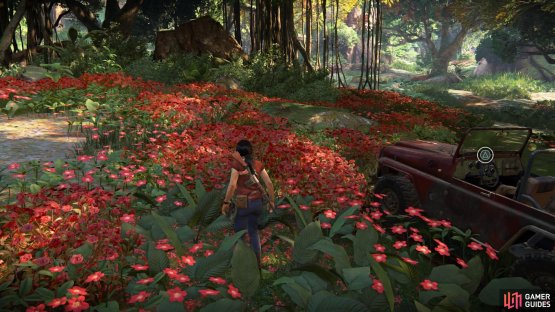
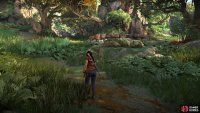
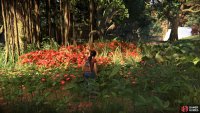
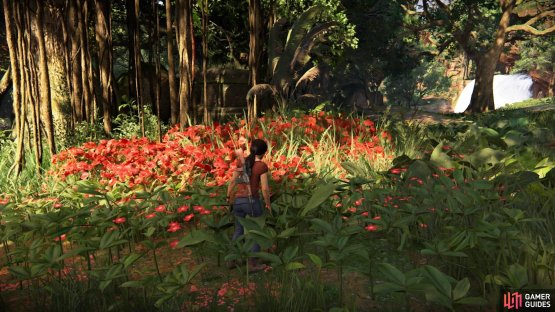
On your way out of this area, look for the circle of trees with patches of red flowers. Your bracelet with ring out when you’re in the right place.
(1 of 2) This is where you’ll be on the map
This is where you’ll be on the map (left), Start off at the area full of red flowers (right)
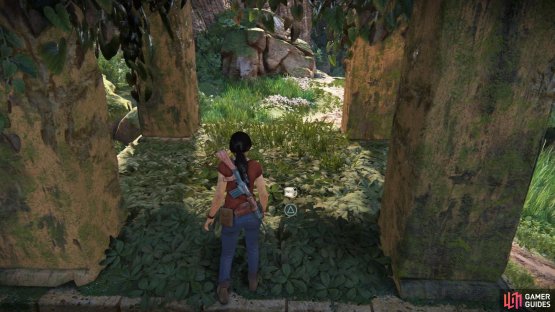
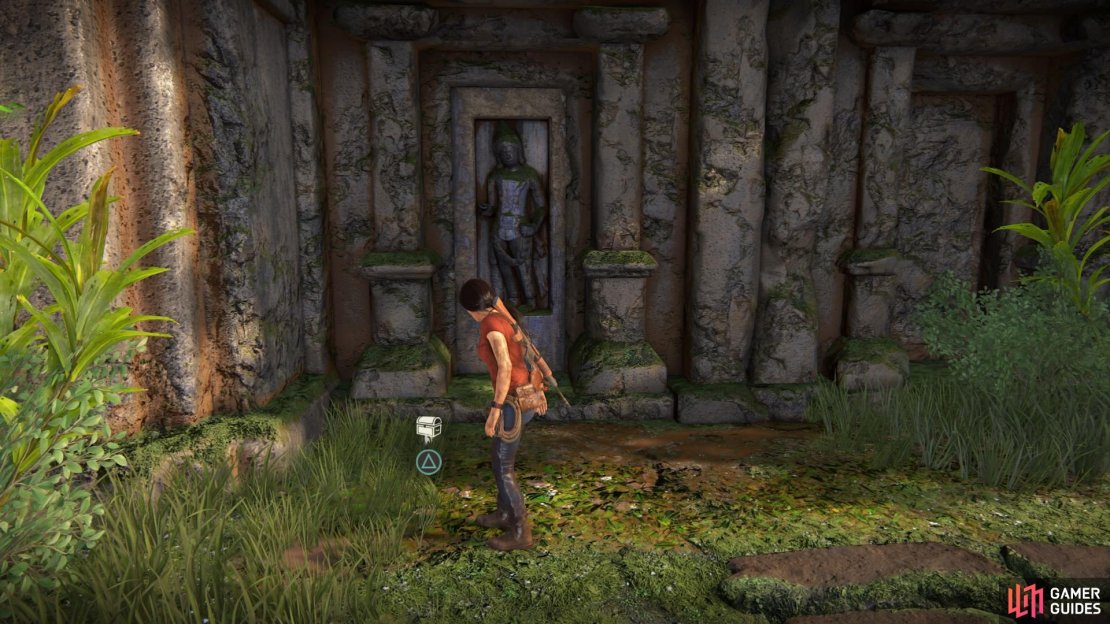
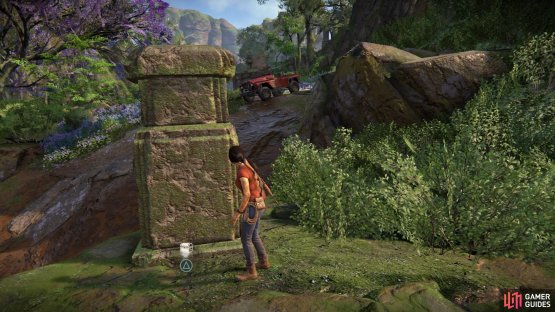
Find a rock to the right of the trees – it’s just before the small ruins along the cliffs at the back, and it stands a few feet high. To the left of this rock is a small podium nestled amongst the edge of the trees.
(1 of 2) Look for this rock
Look for this rock (left), Turn left from the rock to spot the podium (right)
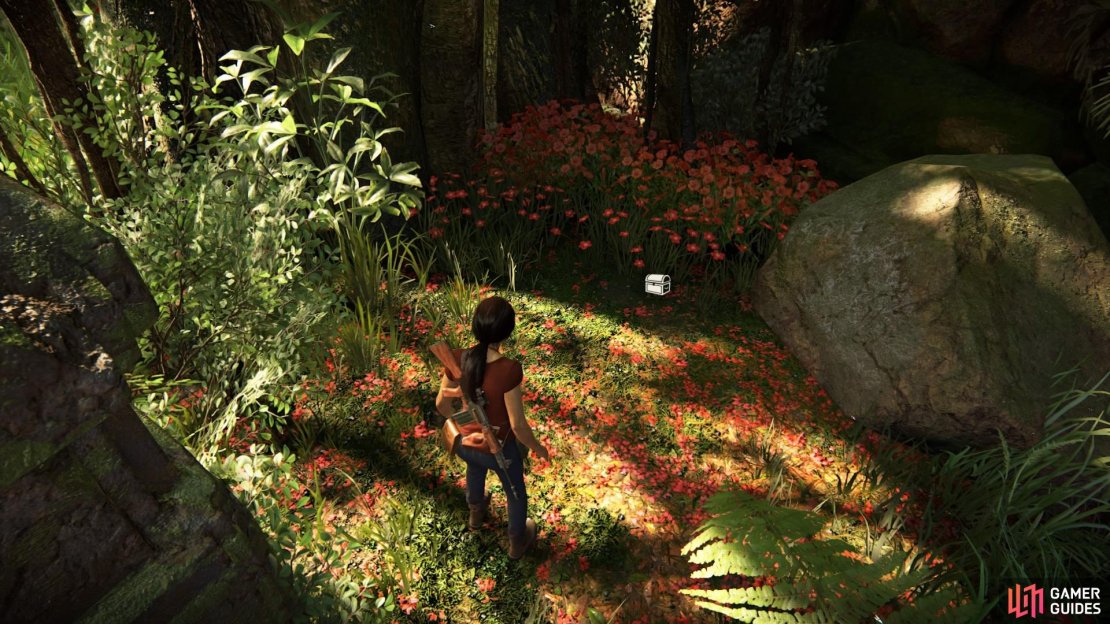
Look for that and go around the right side of it to find treasure #21 hiding in some red flowers behind it.
Bring up the map to look for the two bridges to the west. Head for those, bypassing the first bridge completely, and stop at the second bridge – the tree-bridge.
Underneath this bridge is treasure #22.
(1 of 2) Head for the two bridges
Head for the two bridges (left), The treasure is sitting beneath the tree-bridge (right)
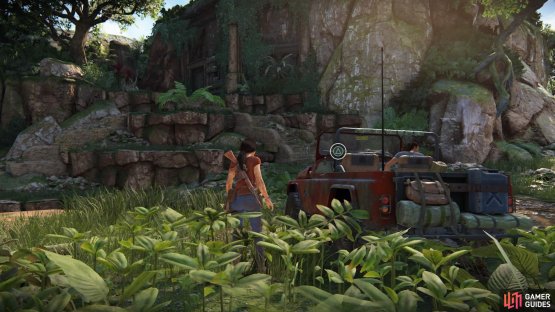
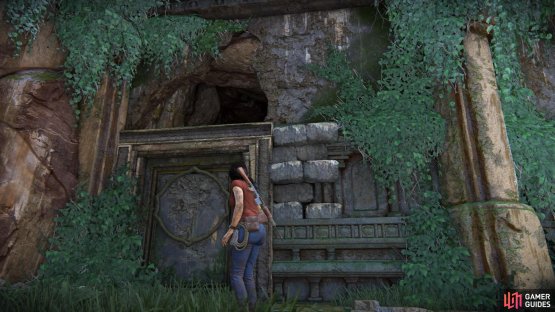
Continue past the bridge and go up the rocky slope. On this platform, you’ll be able to see the tower in the distance to the right. Look left, and you’ll see some steps leading to a door that does not open.
(1 of 2) Treasure #23 on the map above the bridge
Treasure #23 on the map above the bridge (left), Look for the disguised door above the steps (right)
You can traverse the wall and vault through the gap above it, landing in a small room. Go through the doorway in front of you to find treasure #23 sitting on a stone alter.
(1 of 2) Vault through the gap above the door
Vault through the gap above the door (left), Go into the room directly ahead of you to find the treasure (right)
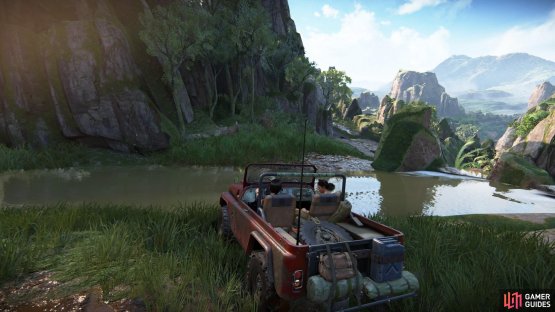
Now go back down the rocky slope and drive through the river ahead of you. Then cut off to the left to go over the waterfall. Keep following the river until you arrive at a massive open area with the elephant statue (you may remember this from when you had to dive beneath the statue to find the token inside the submerged ruin).
Standing in front of the statue, head right up the cliffs. There’ll be a lockbox between four pillars that you will have opened previously for the tiger token.
Treasure #24 is also in here.
(1 of 2) Climb the cliff to the right of the elephant statue
Climb the cliff to the right of the elephant statue (left), Find the treasure in the lockbox between the pillars (right)
Drive back to the middle area of the map where the tower is located. The next treasure is to the right of this area where some stone steps lead to the upper platform.
(1 of 2) To the right of the map by the tower
To the right of the map by the tower (left), Go to the upper platform (right)
There’s a downward slope at the back with some ruins on the lower right side. Hope down here to find treasure #25.
(1 of 2) The ruins on the lower right side
The ruins on the lower right side (left), Treasure #25 (right)
From here, open the map to see the patch of water on the other side of the wall where you’re currently standing. Head here next.
There’s a small ruin tucked into the forestation and you’ll be able to see the top of the tower peeping out from above it in the background.
(1 of 2) Drive to this patch of water from your current location
Drive to this patch of water from your current location (left), Find the small ruin amongst the trees (right)
Park here to go around the left side of the structure and pick up treasure #26 in the corner.
Now we’re going to return to the east side of the map, so make your way between the three token ruins that form a triangle. You’ll be in the right place when you see the ruin with the bells outside.
(1 of 2) Treasure #27 by the triangle of ruins
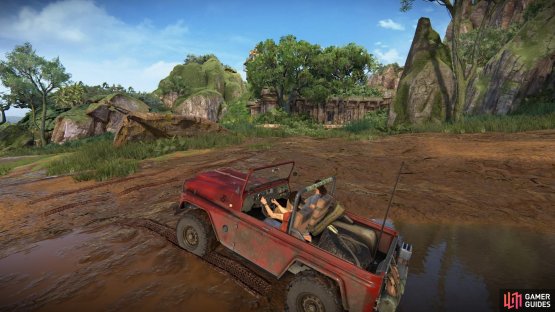
Treasure #27 by the triangle of ruins (left), Start at the ruin with the bells outside and drive up the muddy slope (right)
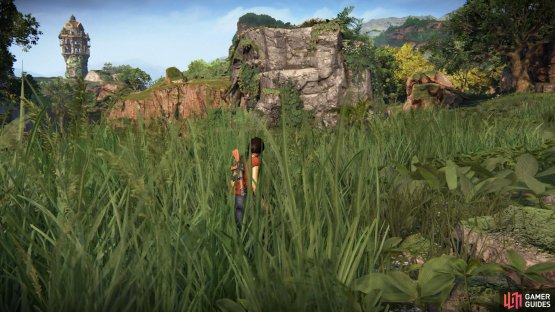
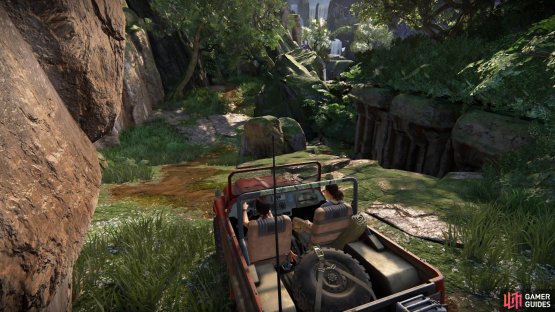
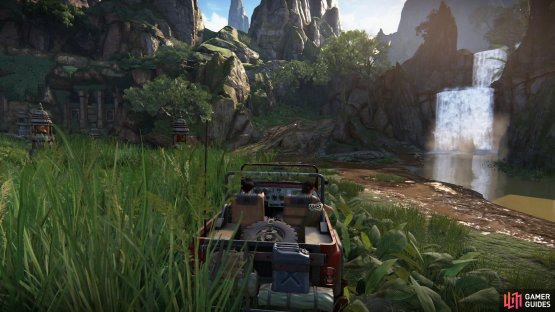
Look for the waterfall to the right – there’s a muddy slope next to it. Drive up the slope and follow the path left until the Queen’s Ruby rings out.
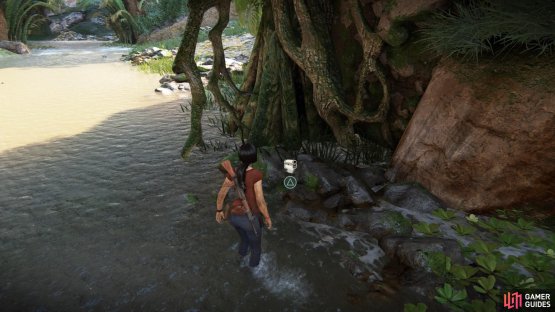
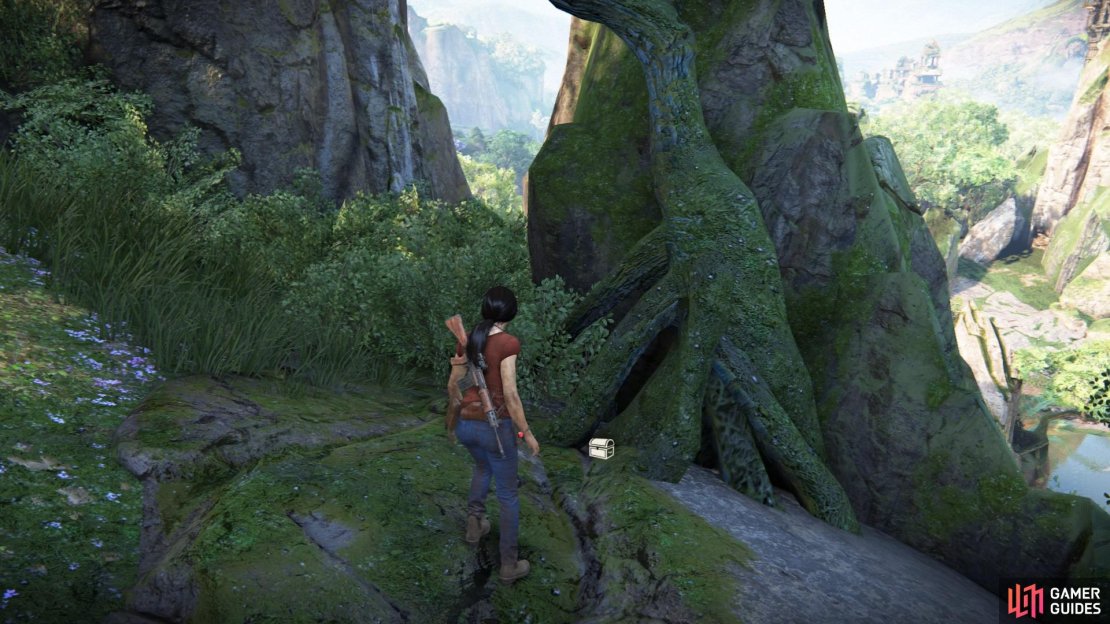
Treasure #27 is sitting at the roots of a spindly tree against a rock.
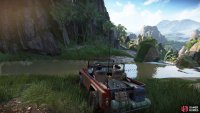
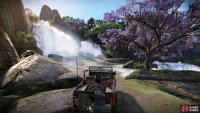
Now turn around and find the path that cuts off to the left before you go over the waterfall and back into the river. We’ll be collecting the waterfall treasures from this point – you’ll be in the right place when you see the purple tree surrounded by several large waterfalls in the southeast area of the map.
(1 of 2) Go left before the waterfall
Go left before the waterfall (left), Southeast of the map, by the trident ruin (right)
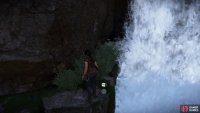
Drive straight through the water and stop just between two waterfalls where there’s a small platform. Vault on to it to pick up treasure #28.
(1 of 2) Head to the small platform between the two large waterfalls
Head to the small platform between the two large waterfalls (left), Pick up treasure #28 (right)
Then head right, towards the back, where there is a sort-of cave. Treasure #29 is in here.
(1 of 2) Go inside the cave at the back
Go inside the cave at the back (left), for treasure #29 (right)
Finally, we come to the last treasure of the chapter!
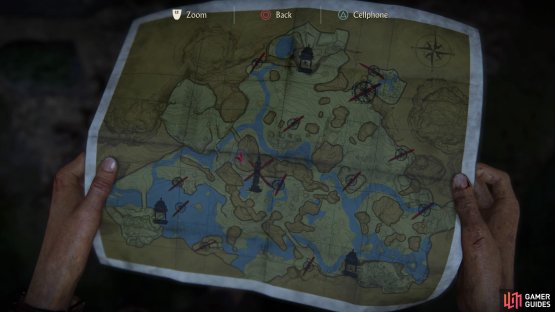
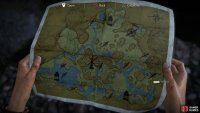
Just above your location on the map is a cliff-like area with several lines – these indicate slopes. From the waterfalls, you need to be making your way up. Keep checking the map to make sure you’re getting closer to the right place.
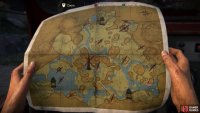
(1 of 2) Treasure #30 on the map
Treasure #30 on the map (left), Locate the podium between the mud-slope and river (right)
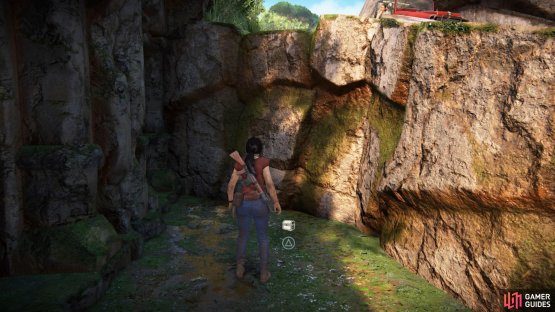
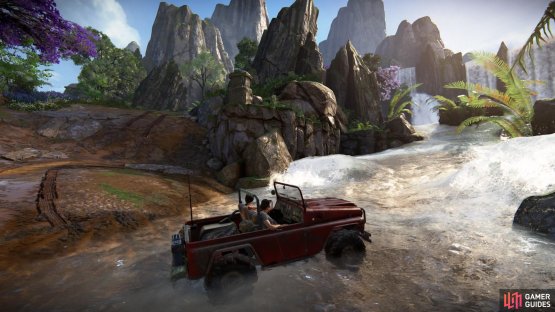
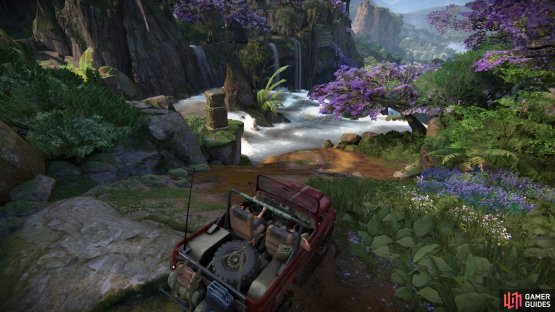
You’ll come to a podium sitting on the edge of a platform – to it’s left is a mud-slope, and to it’s right is the water. Drive up the water side and make your way around to the top of the mud-slope.
You’ll see the podium from here and the treasure is sitting behind it. Use the mud-slope to slide down and jump to the ledge – peek around the podium to find treasure #30!
(1 of 2) Use the mud-slope to jump to the platform
Use the mud-slope to jump to the platform (left), Pick up the final treasure of the chapter (right)




























No Comments