| Chapter 7 | . |
|---|---|
| Photos | 7 |
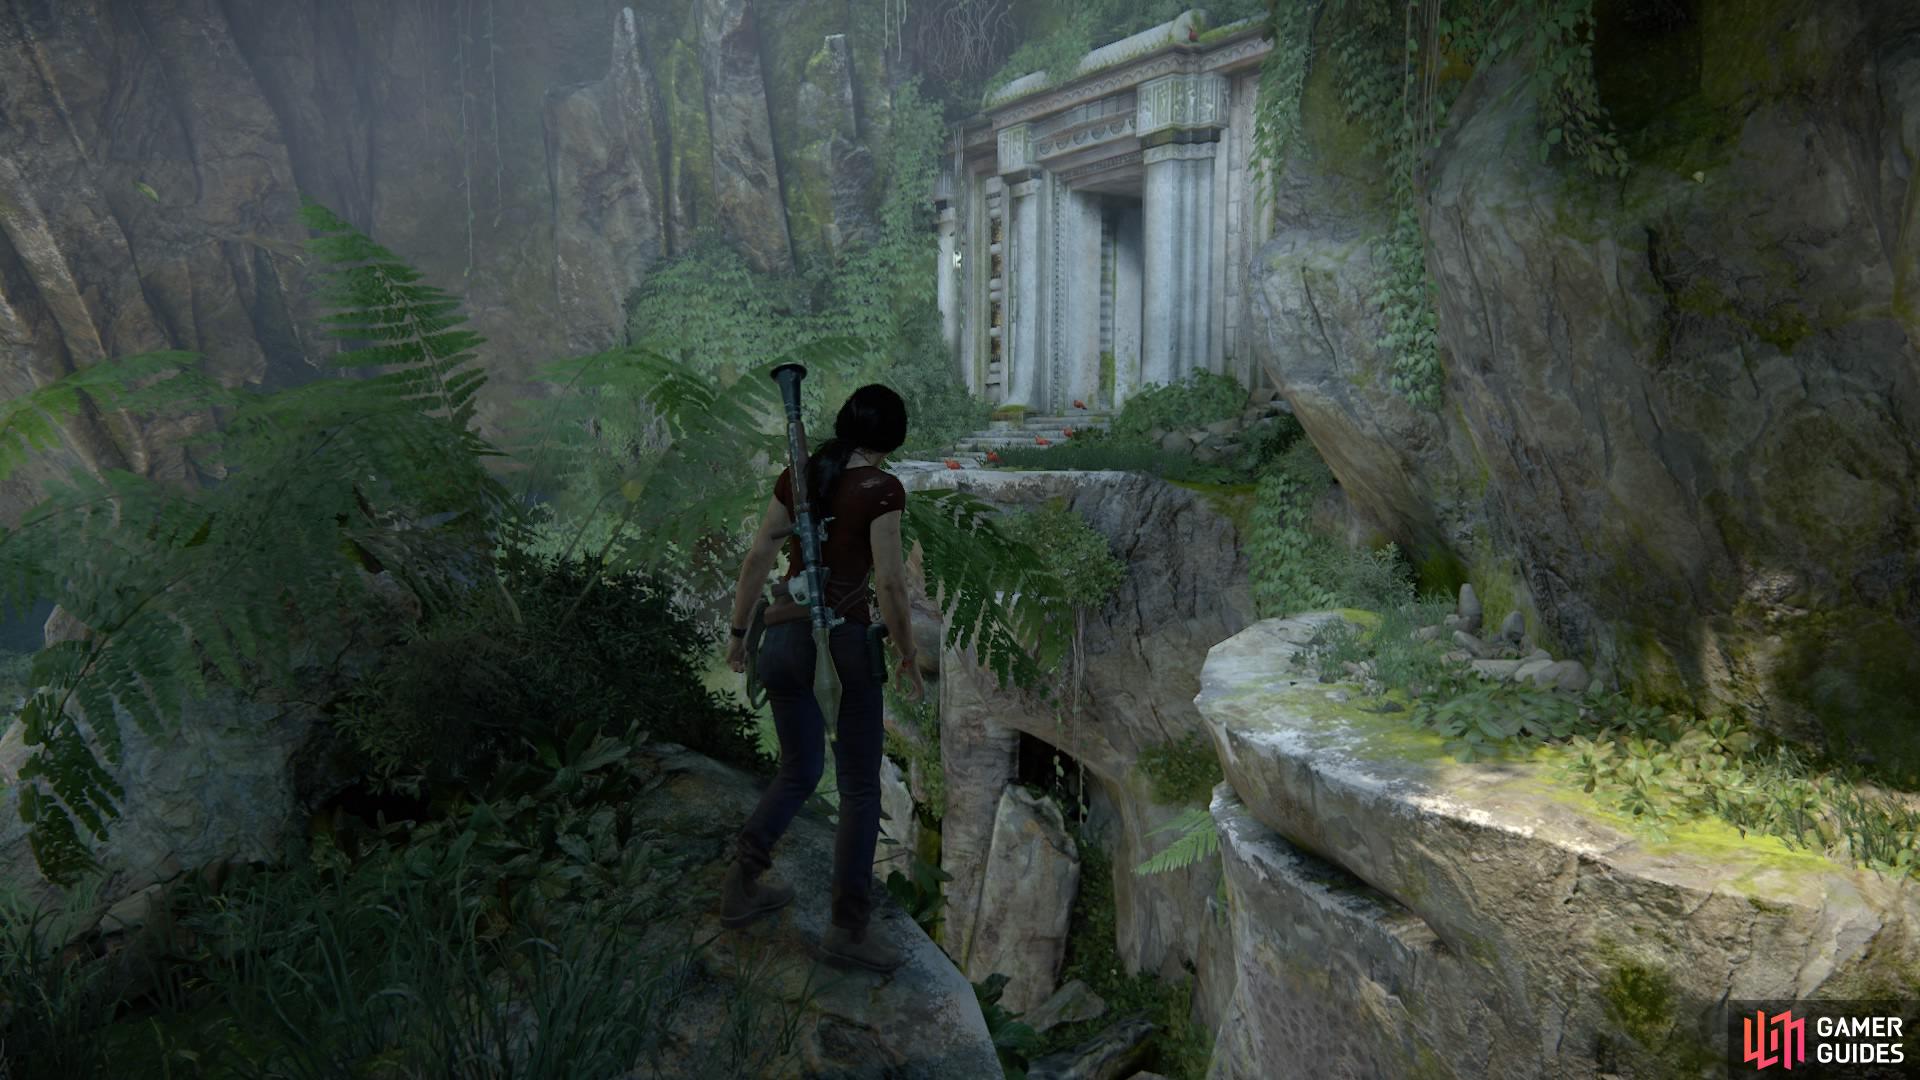
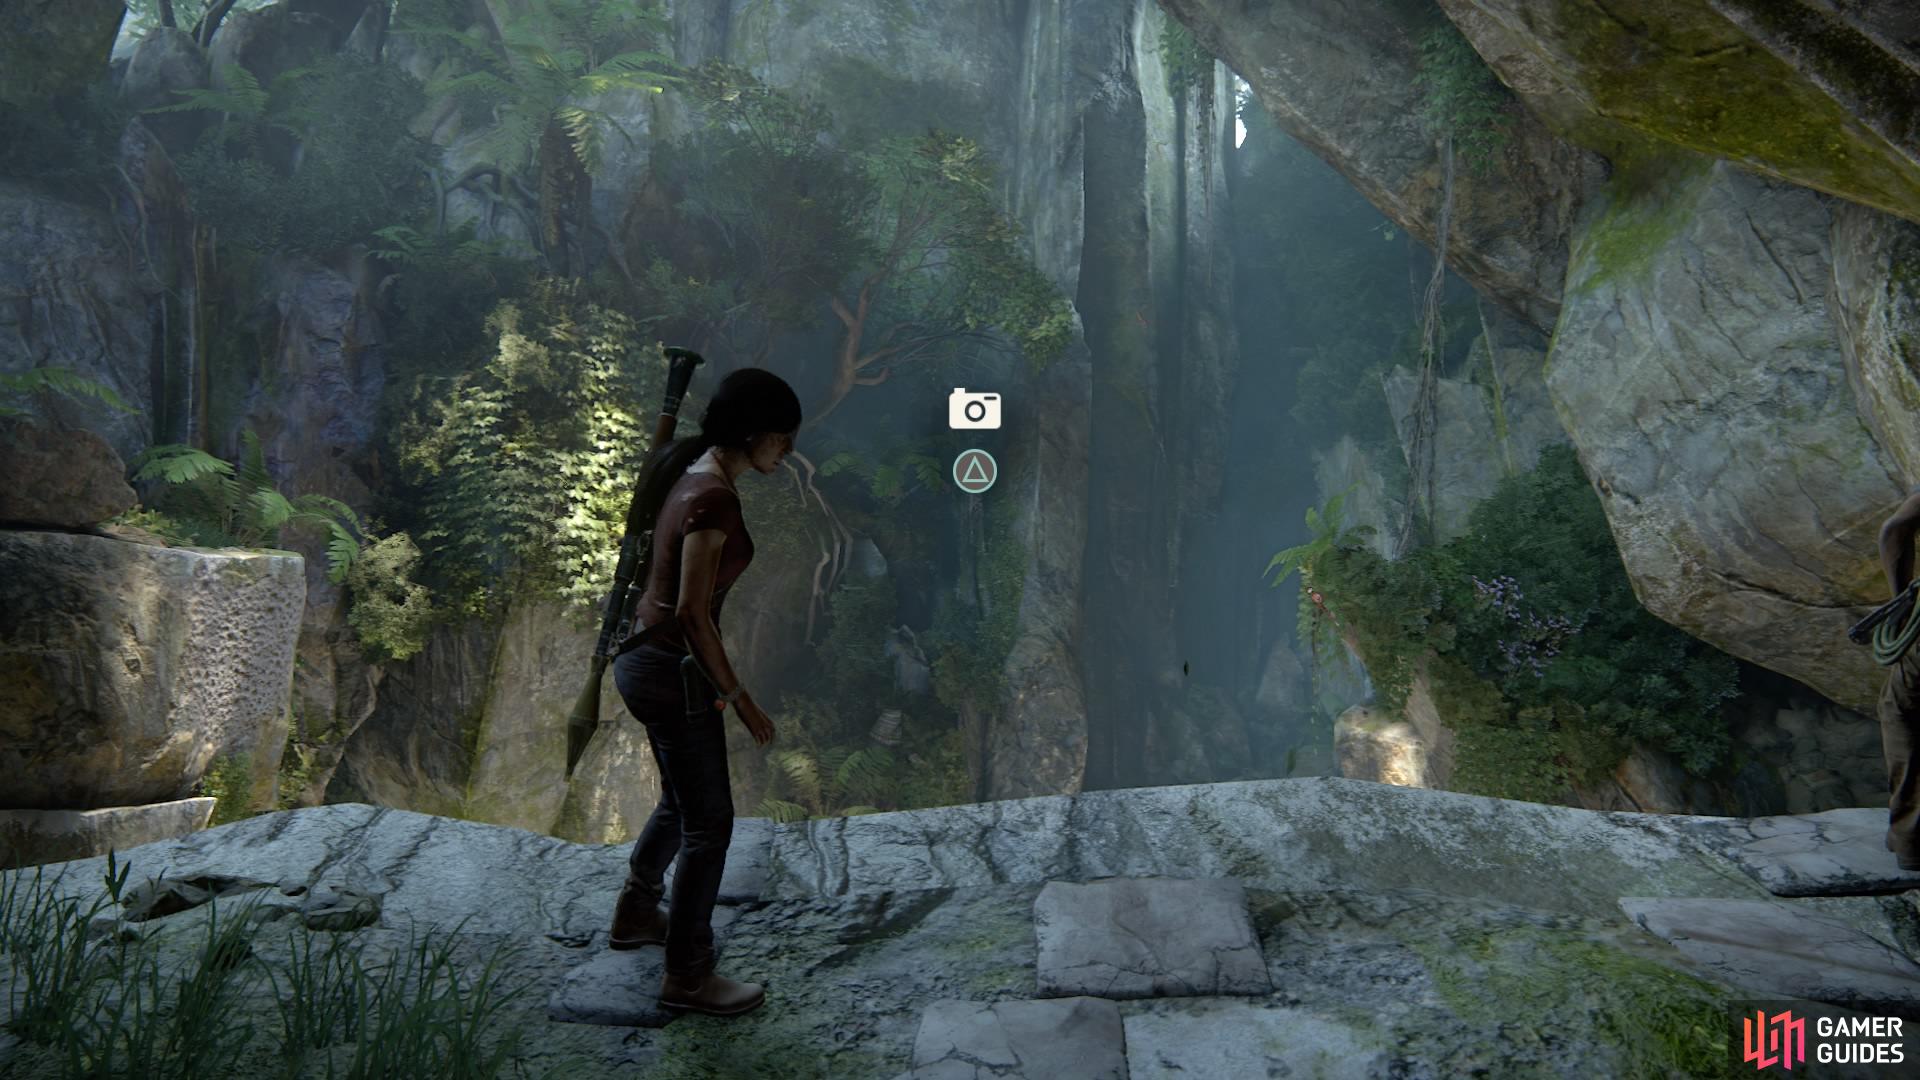
As soon as you have control at the start of the chapter, go forward a little for photo #20 to appear at the edge of where you’re standing.
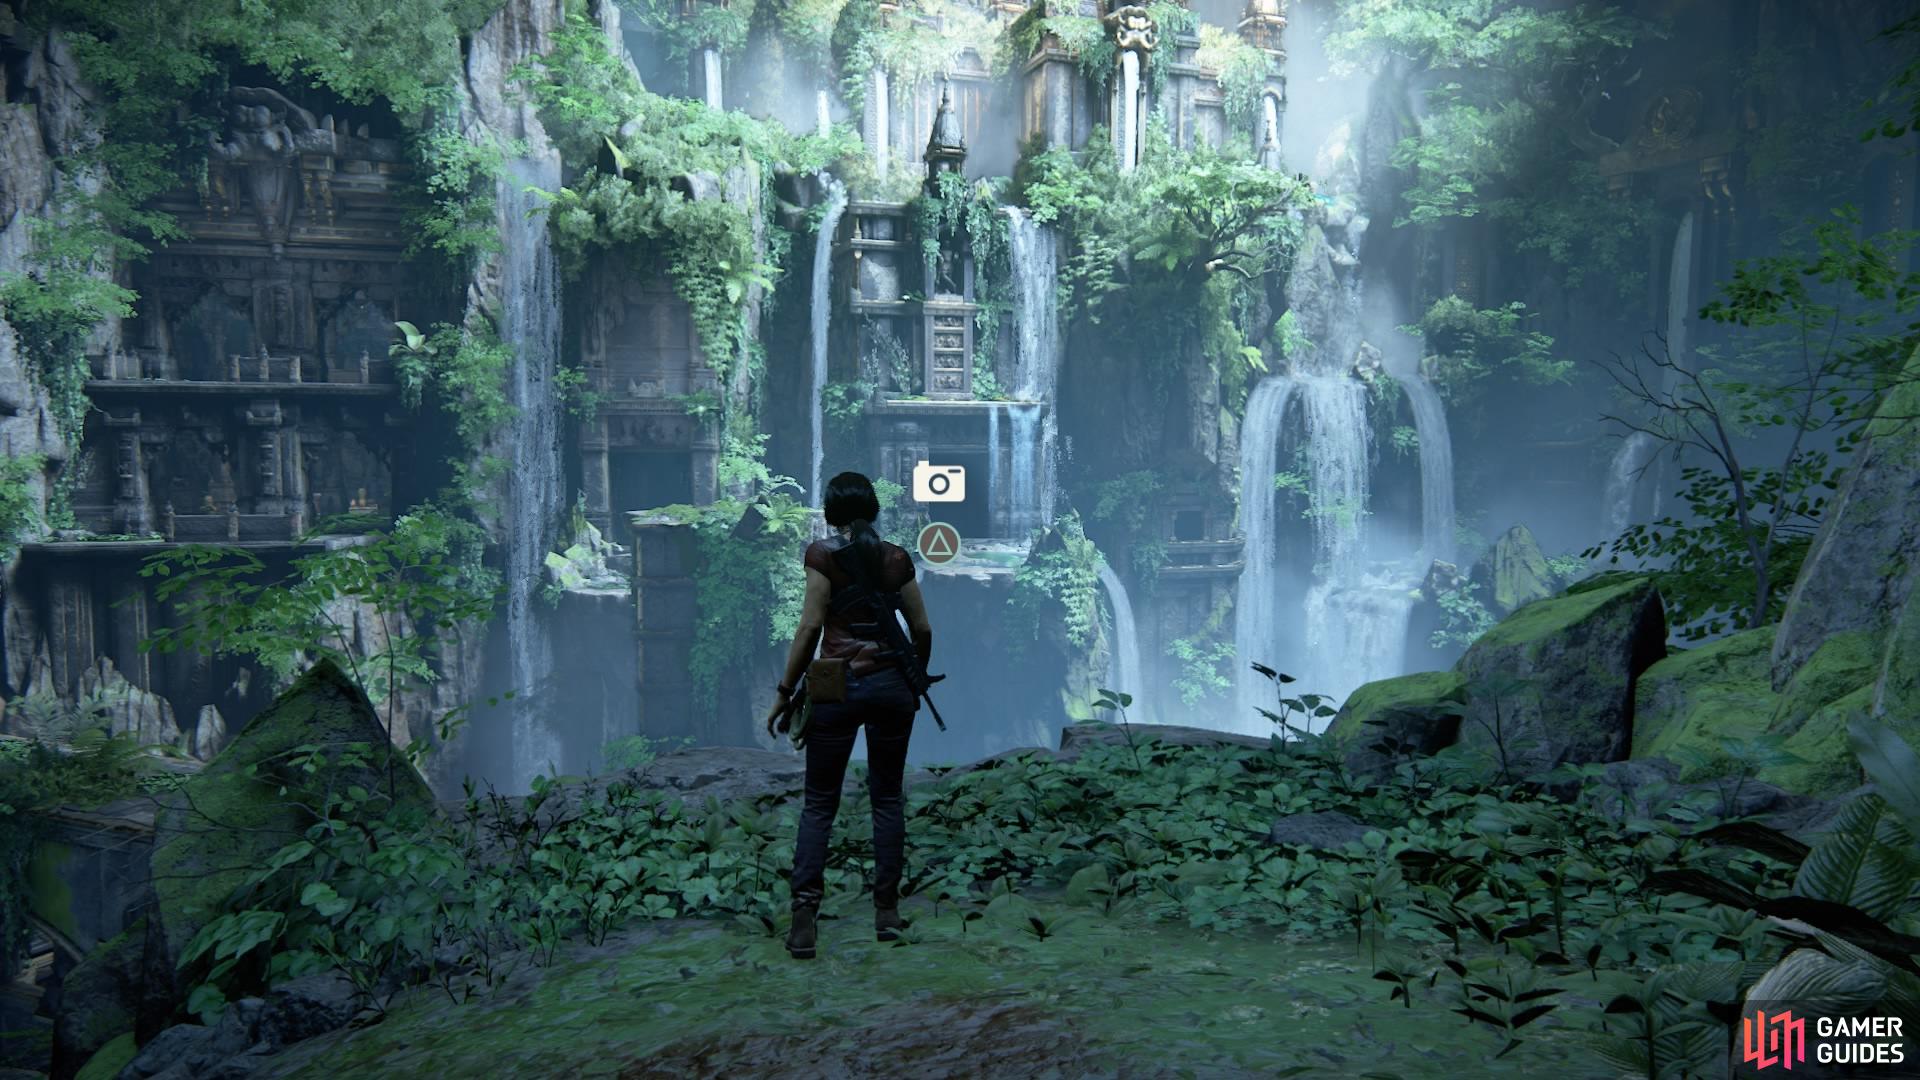
At the beginning of the chapter
you can obtain photo #20
As you continue the linear path you’ll eventually come to a room filled with water, with two rebels setting bombs to cave in the corridor and block you from following.
In the middle of the water is a well for you to swim through. When you come out the other side of the tunnel, you’ll see a mural carving of the Queen and her handmaidens to your right.
Approach the steps leading up to it and go a little to the left. Photo #21 will pop up here for you to snap a picture of the mural.

Face the mural
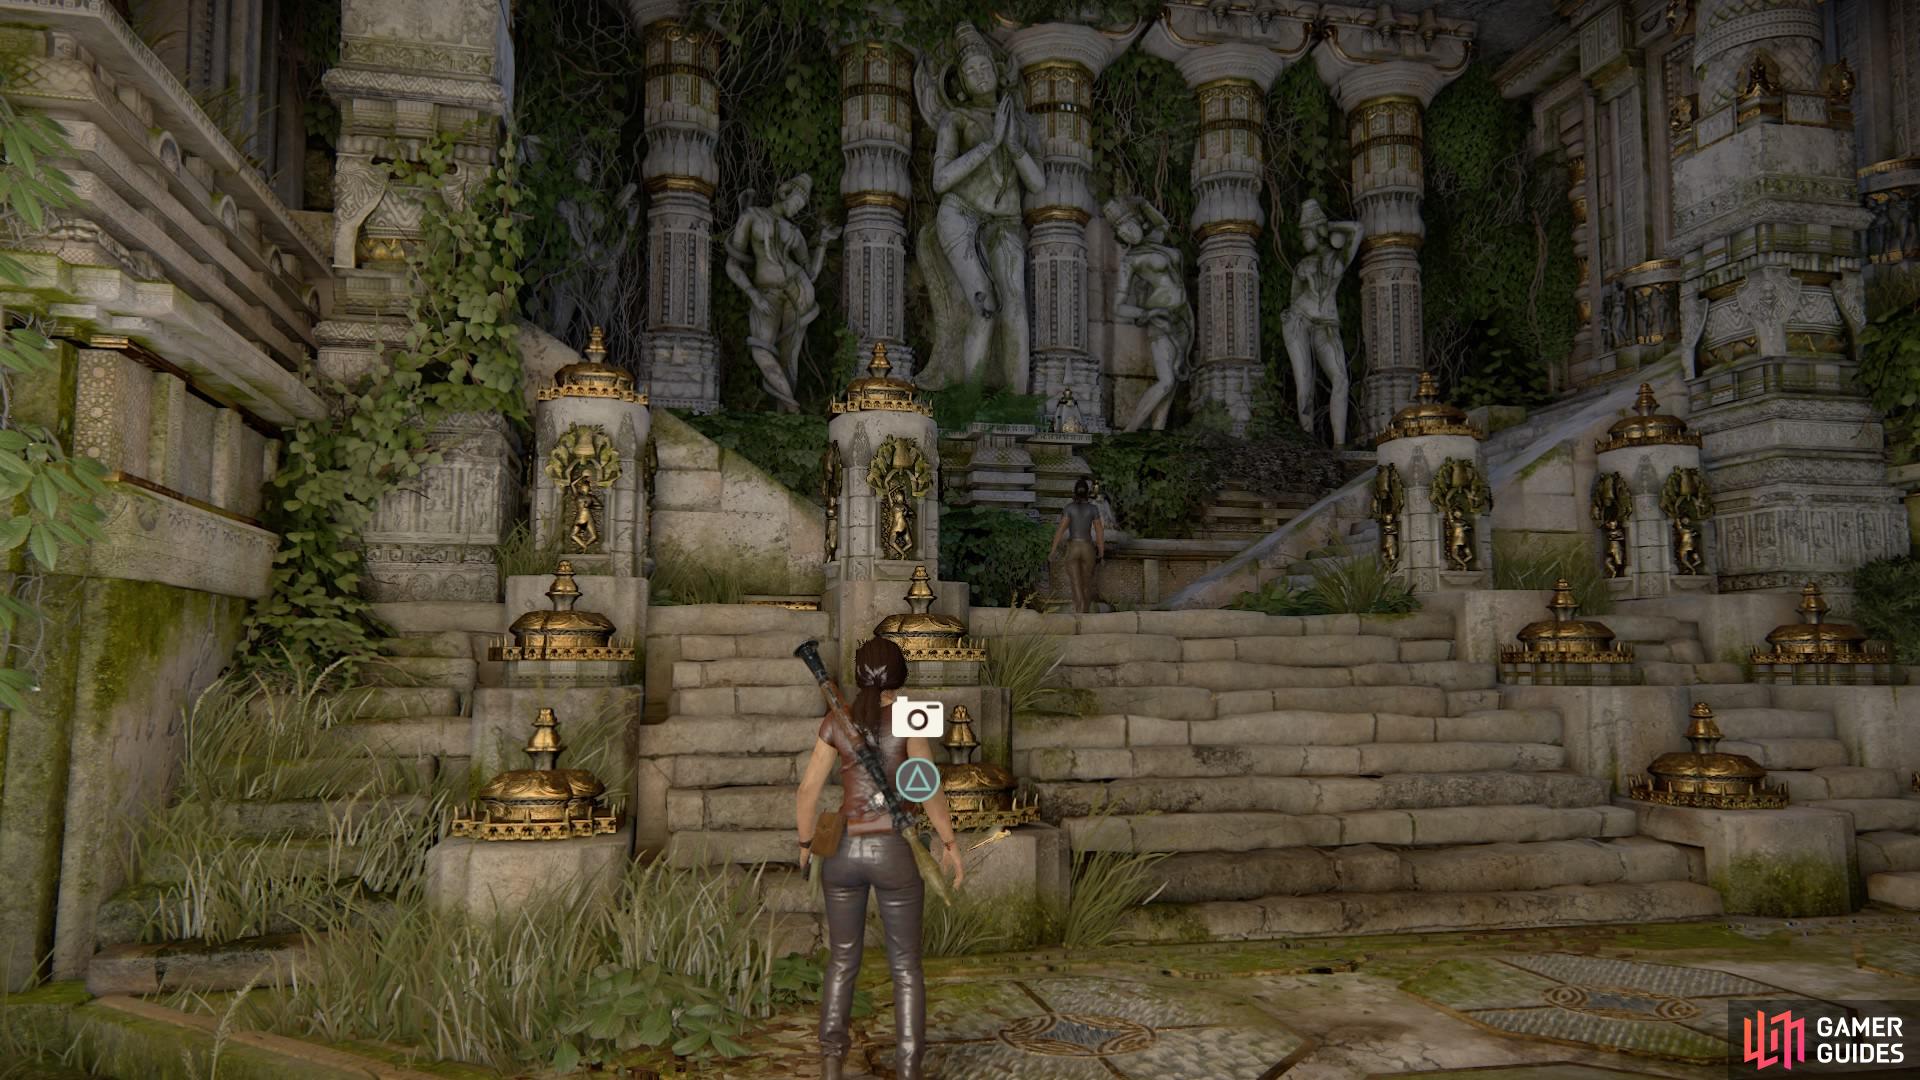
Find the photo a little to the left of the steps
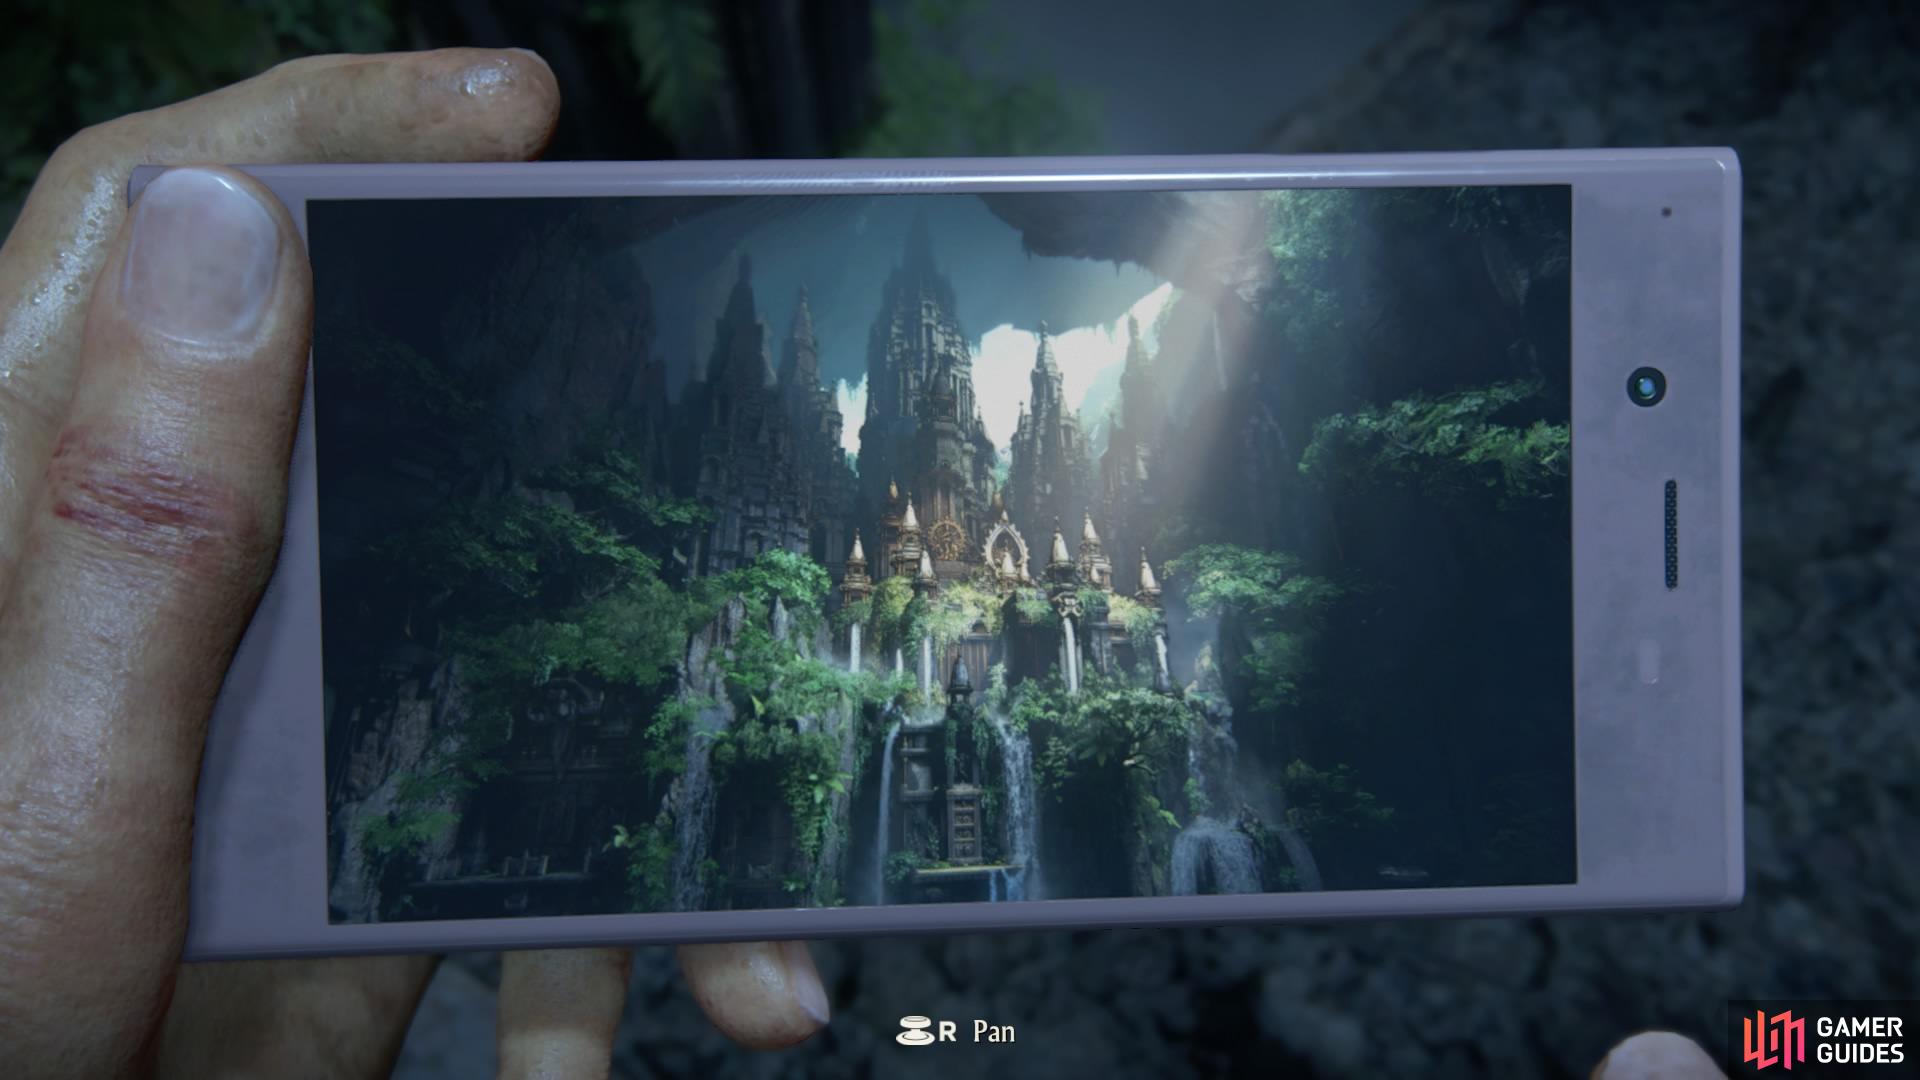
As you leave the treasure trove with the cutscene about the tusk alter, you’ll come to a ledge with water below you and a fountain-like structure on the opposite side.
Walk towards the ledge to take photo #22.
The prompt will appear before you drop down into the water below
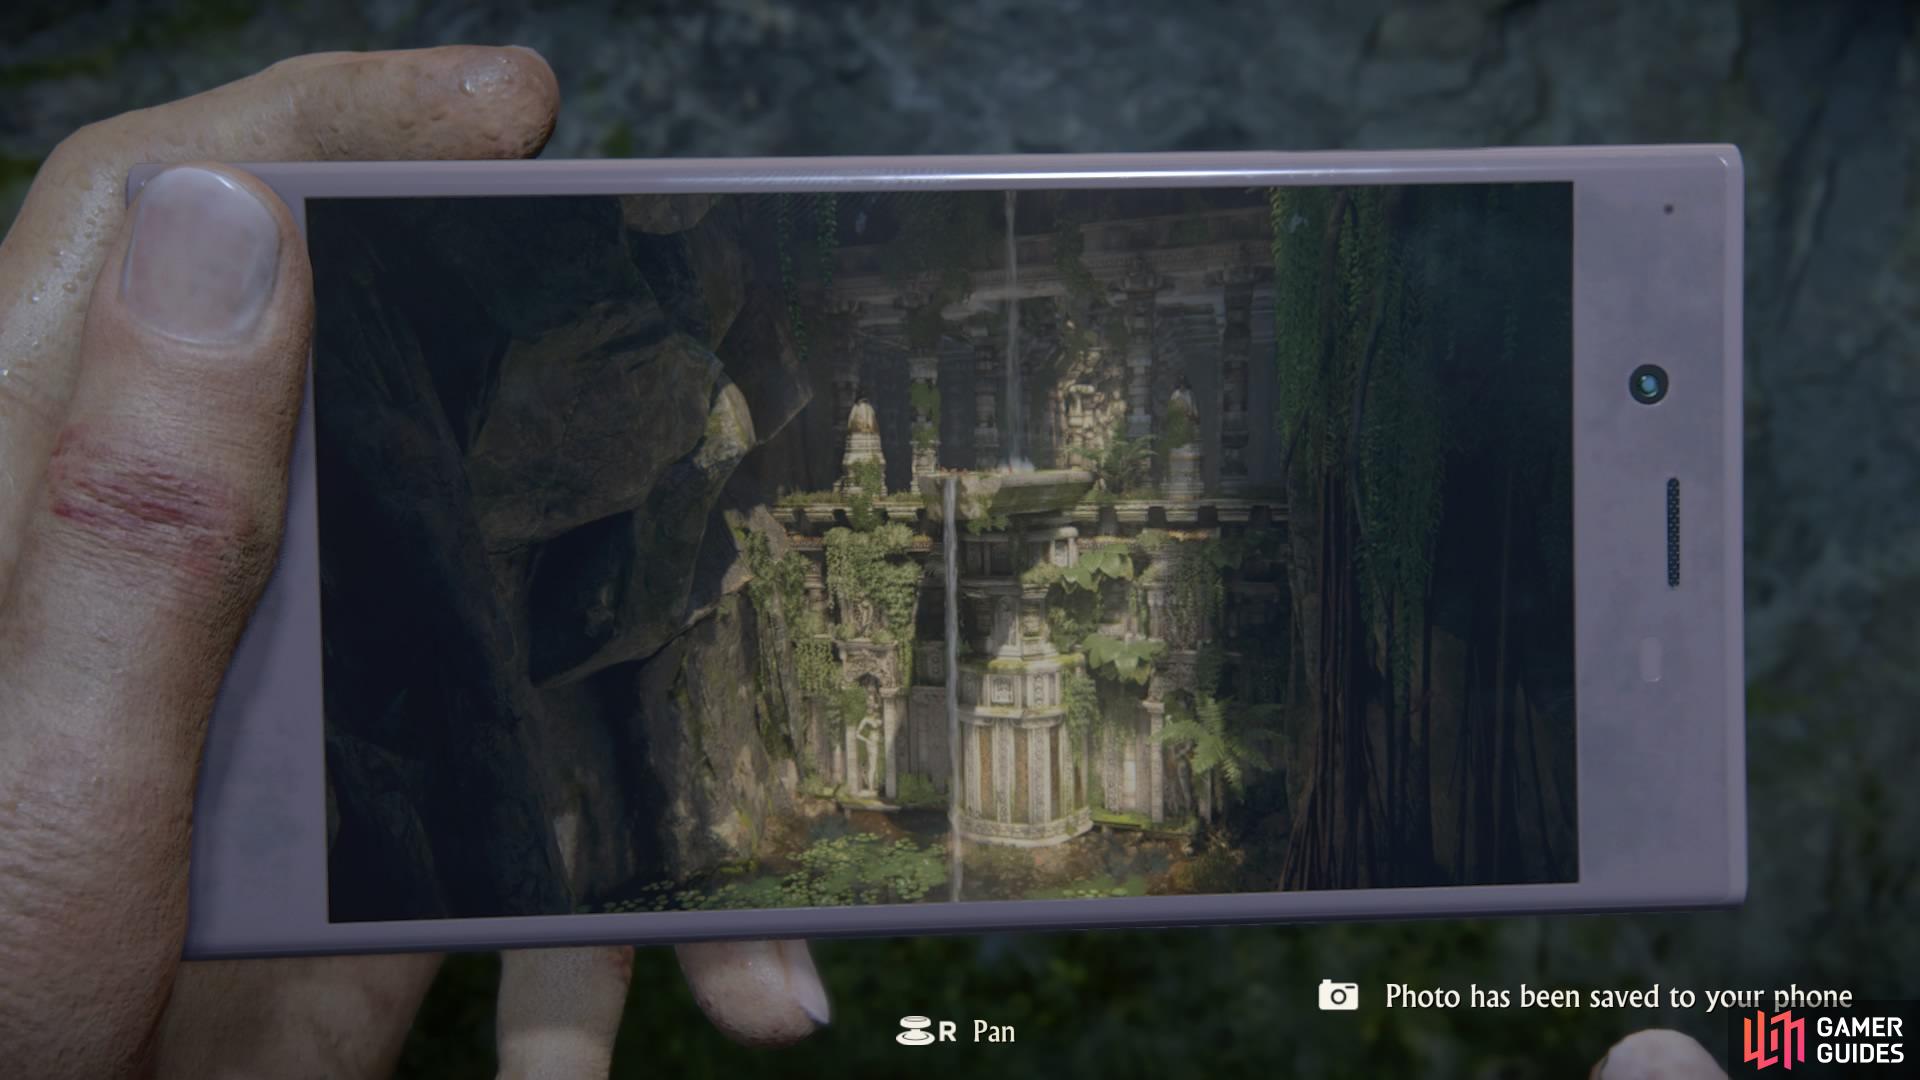
Photo #22
In the next room from here, after pushing past the tree roots in the underwater tunnel, climb the rock structure to the left all the way to the top where the next door is.
At the edge of this upper platform is where you’ll obtain photo #23, just before Nadine playfully pushes you off!
Stand at the ledge in front of the door at the top of the room
Take the photo to have Nadine push you back into the water below!
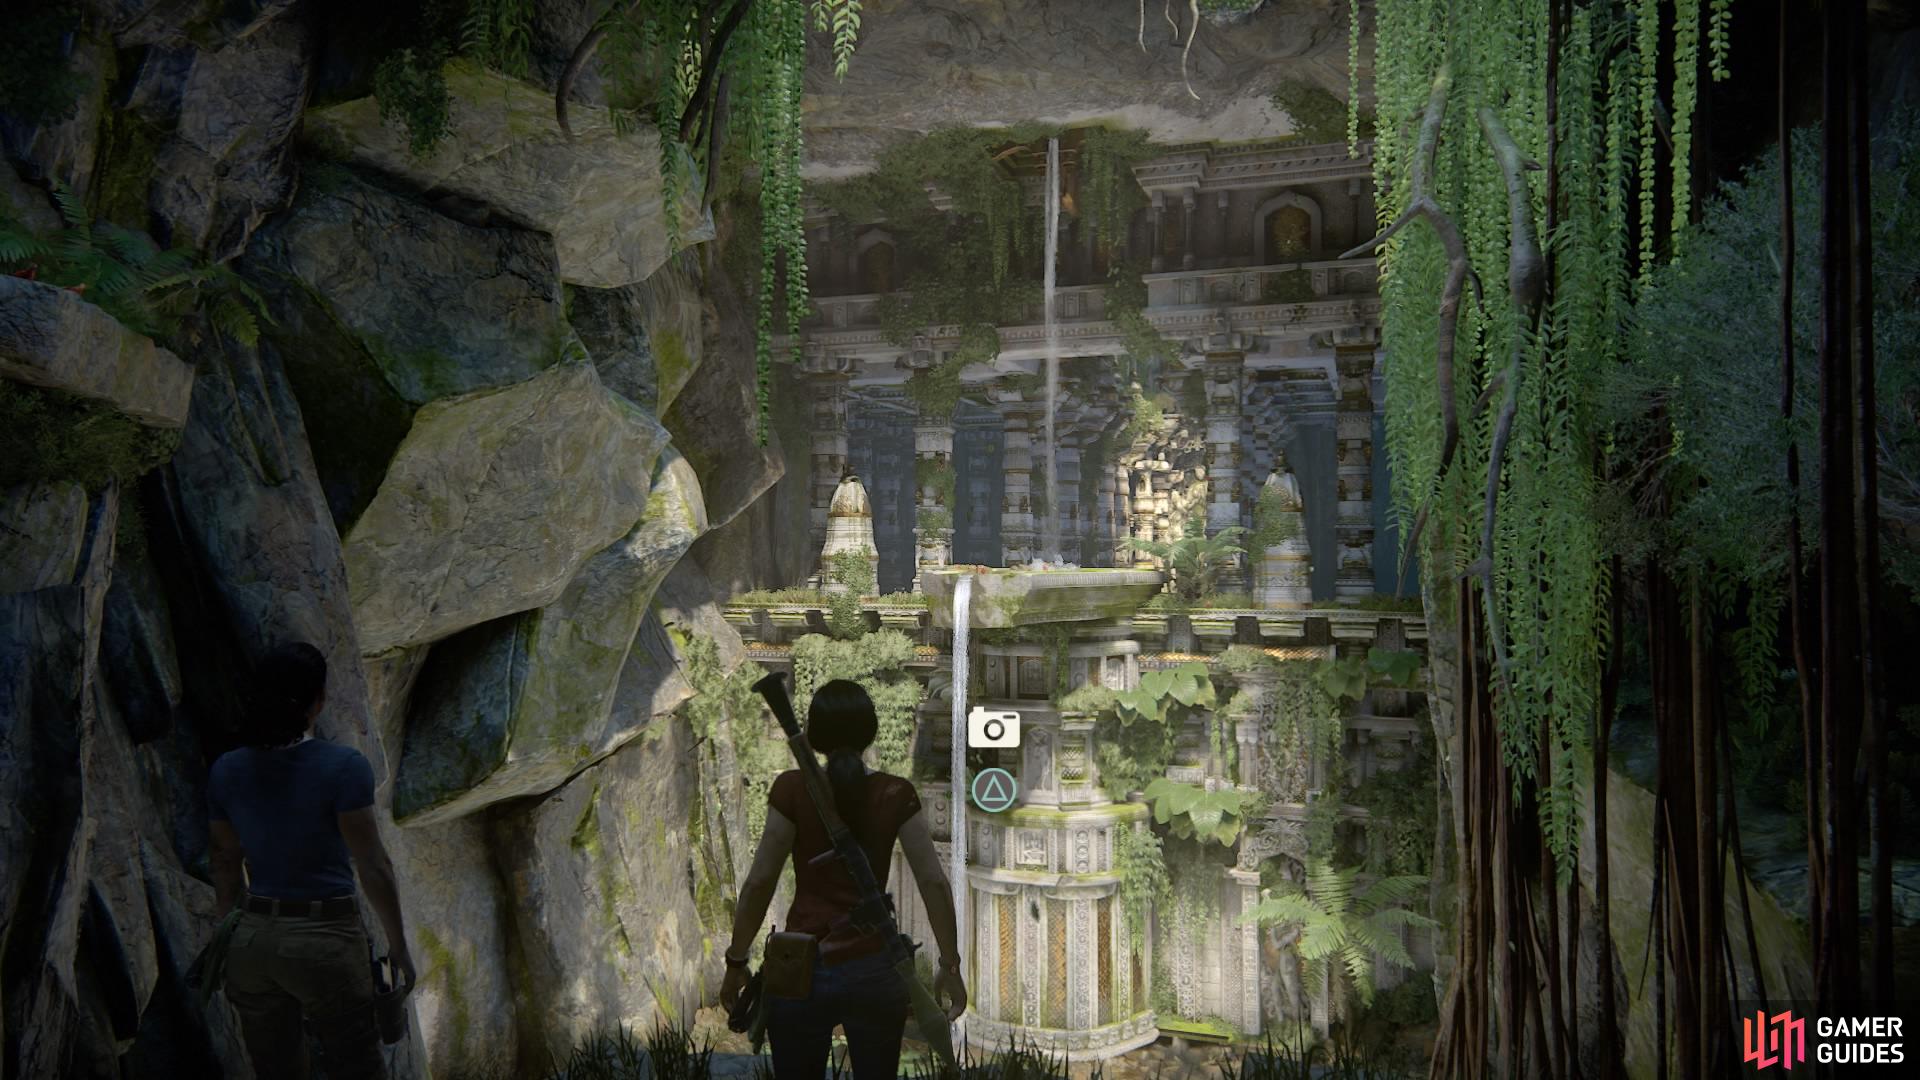
In the next room, once you’ve swung over to the area with another Queen statue surrounded by water and pillars, drop down to the edge of the pool to grab photo #24.
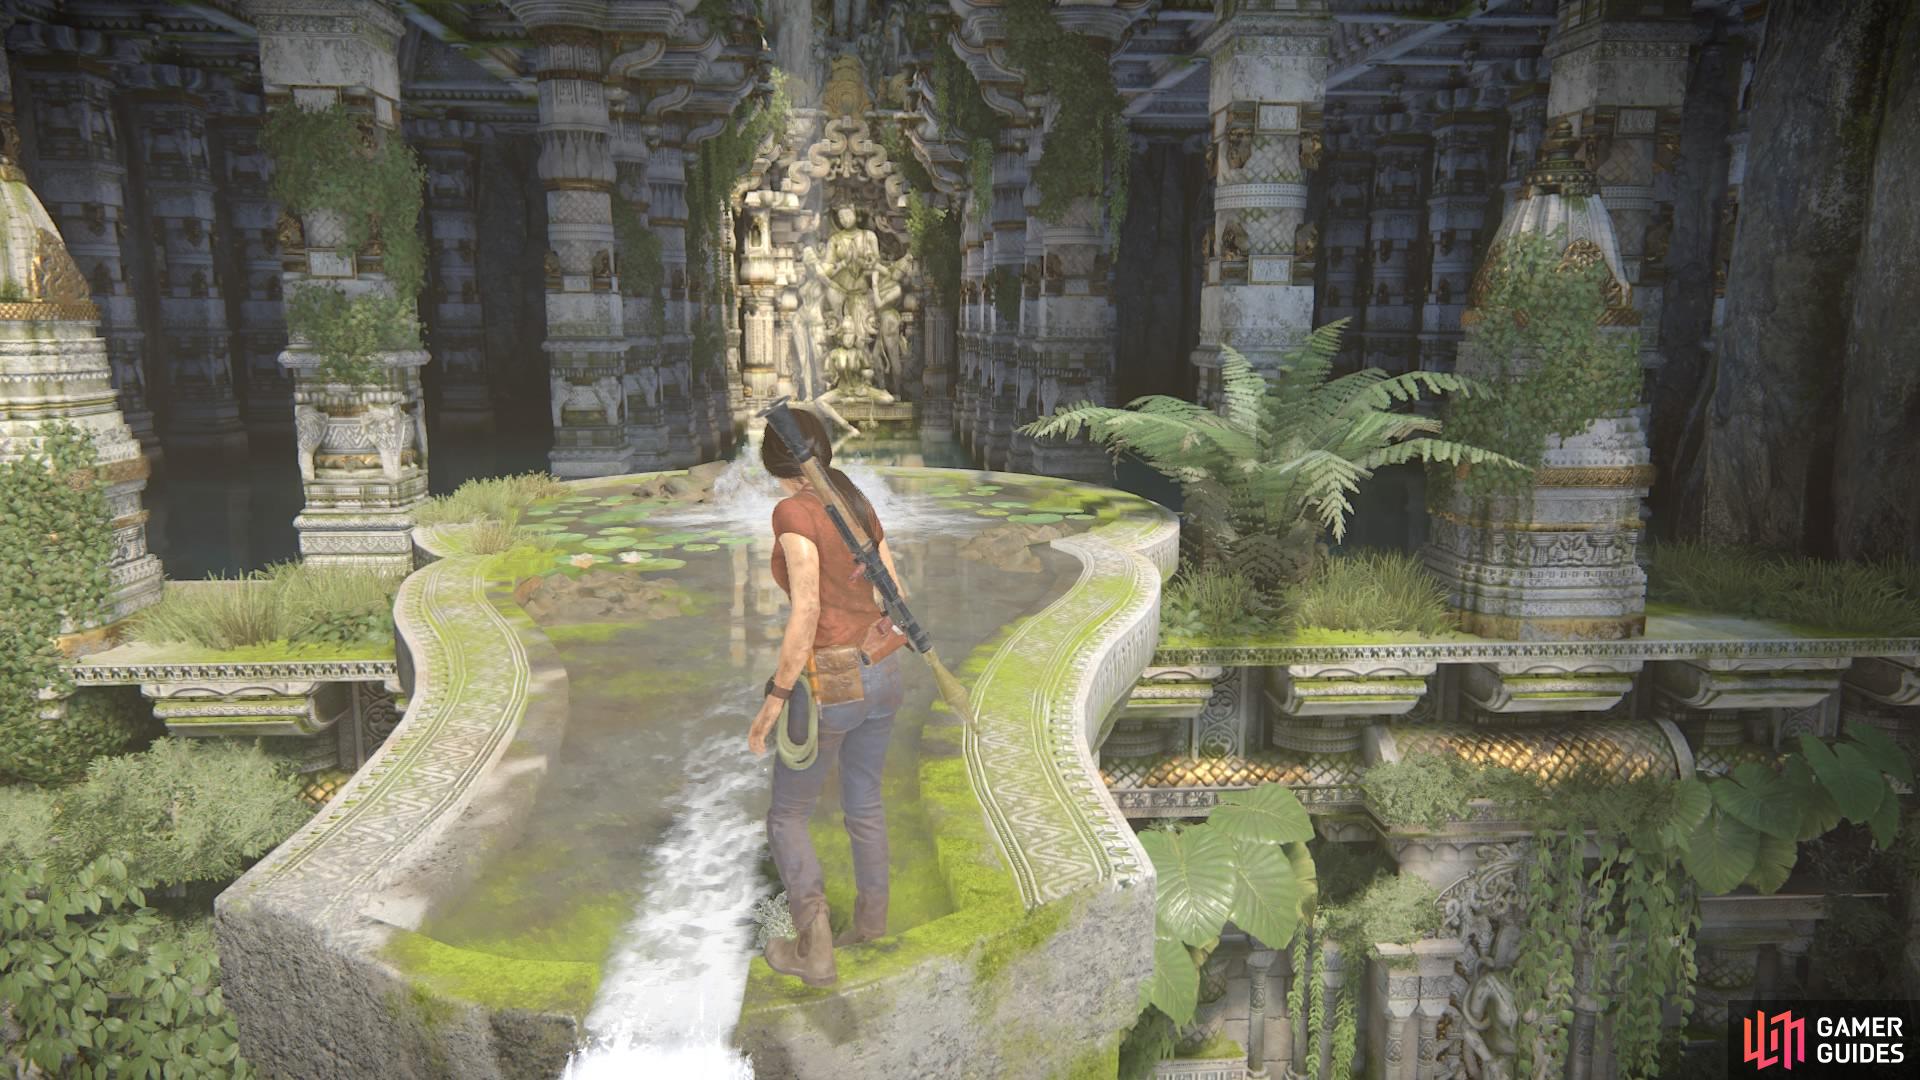
Swing across to the top of the fountain-like structure
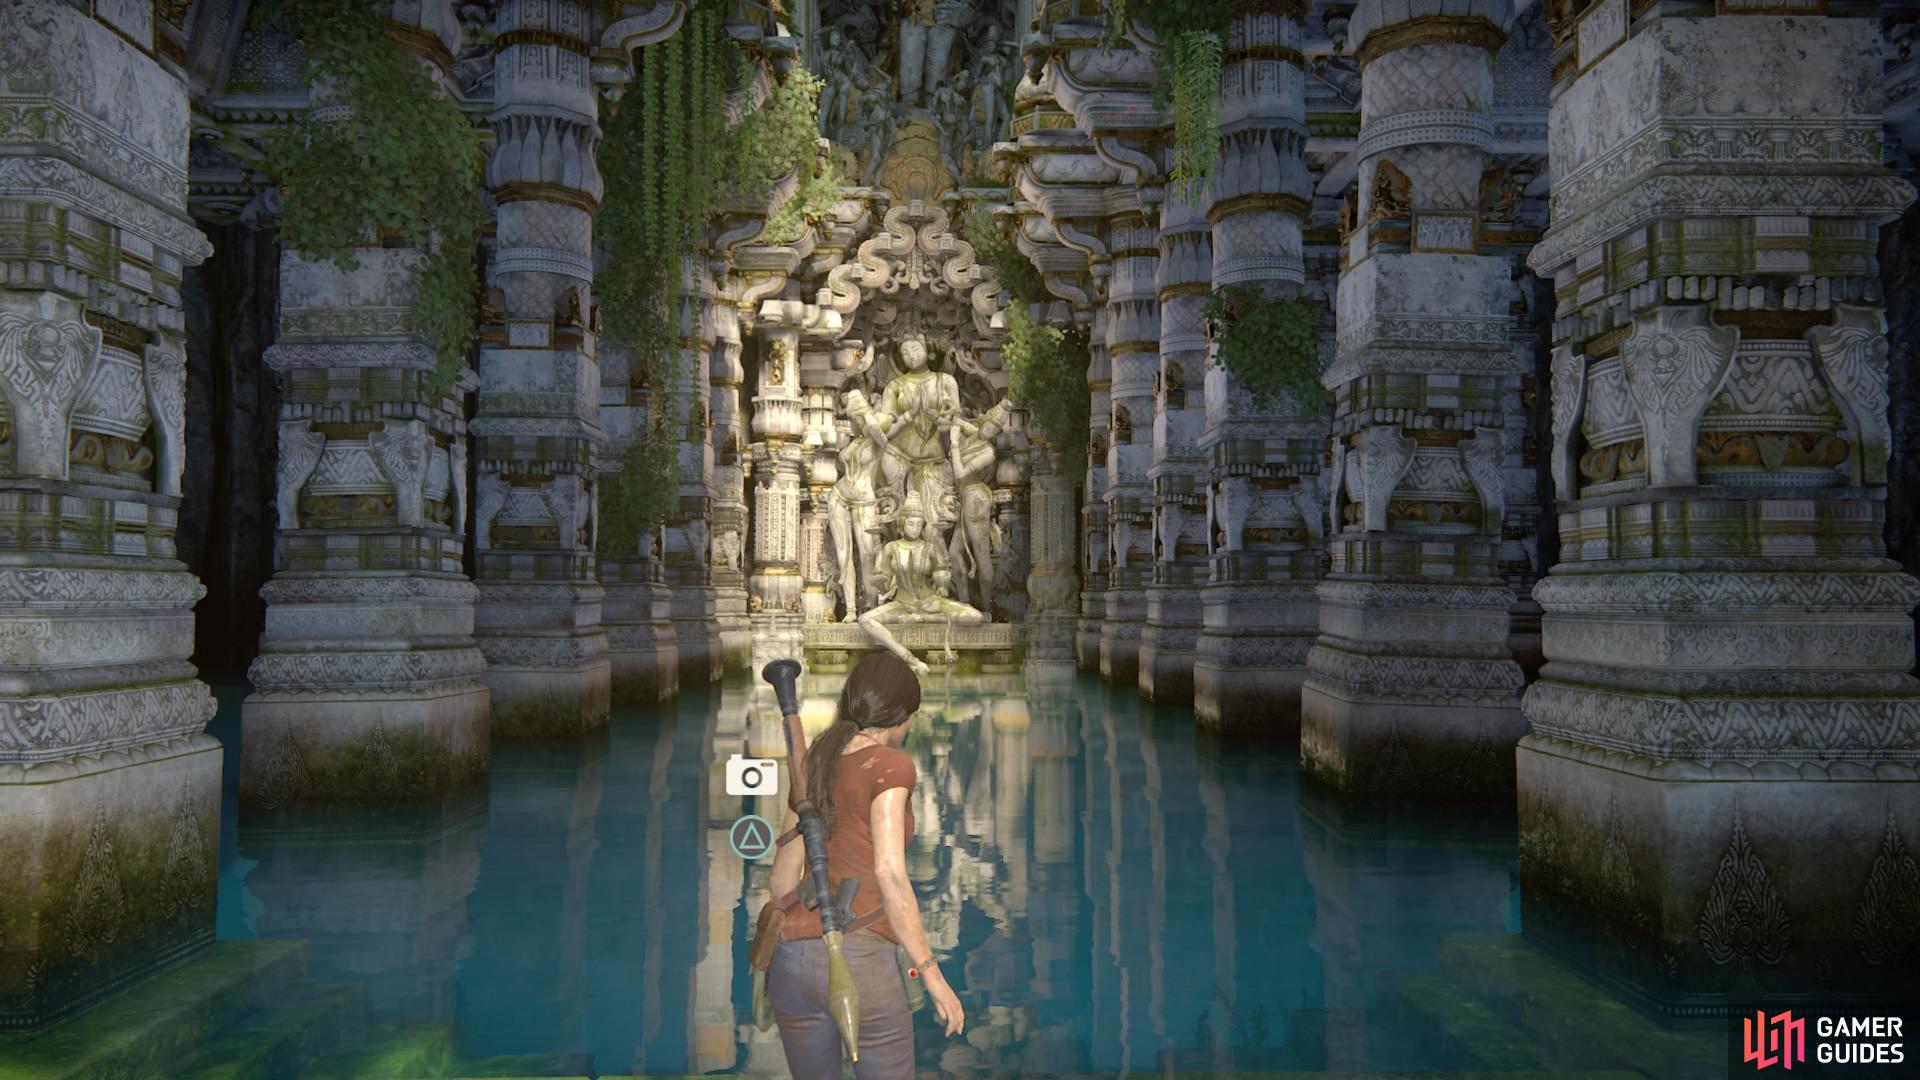
Stand at the edge of the pool for photo #24
After swimming through the next tunnel, you’ll arrive at the throne room with a giant Shiva.
Step out of the water and head left until you see the prompt for photo #25 directly in front of the massive structure.
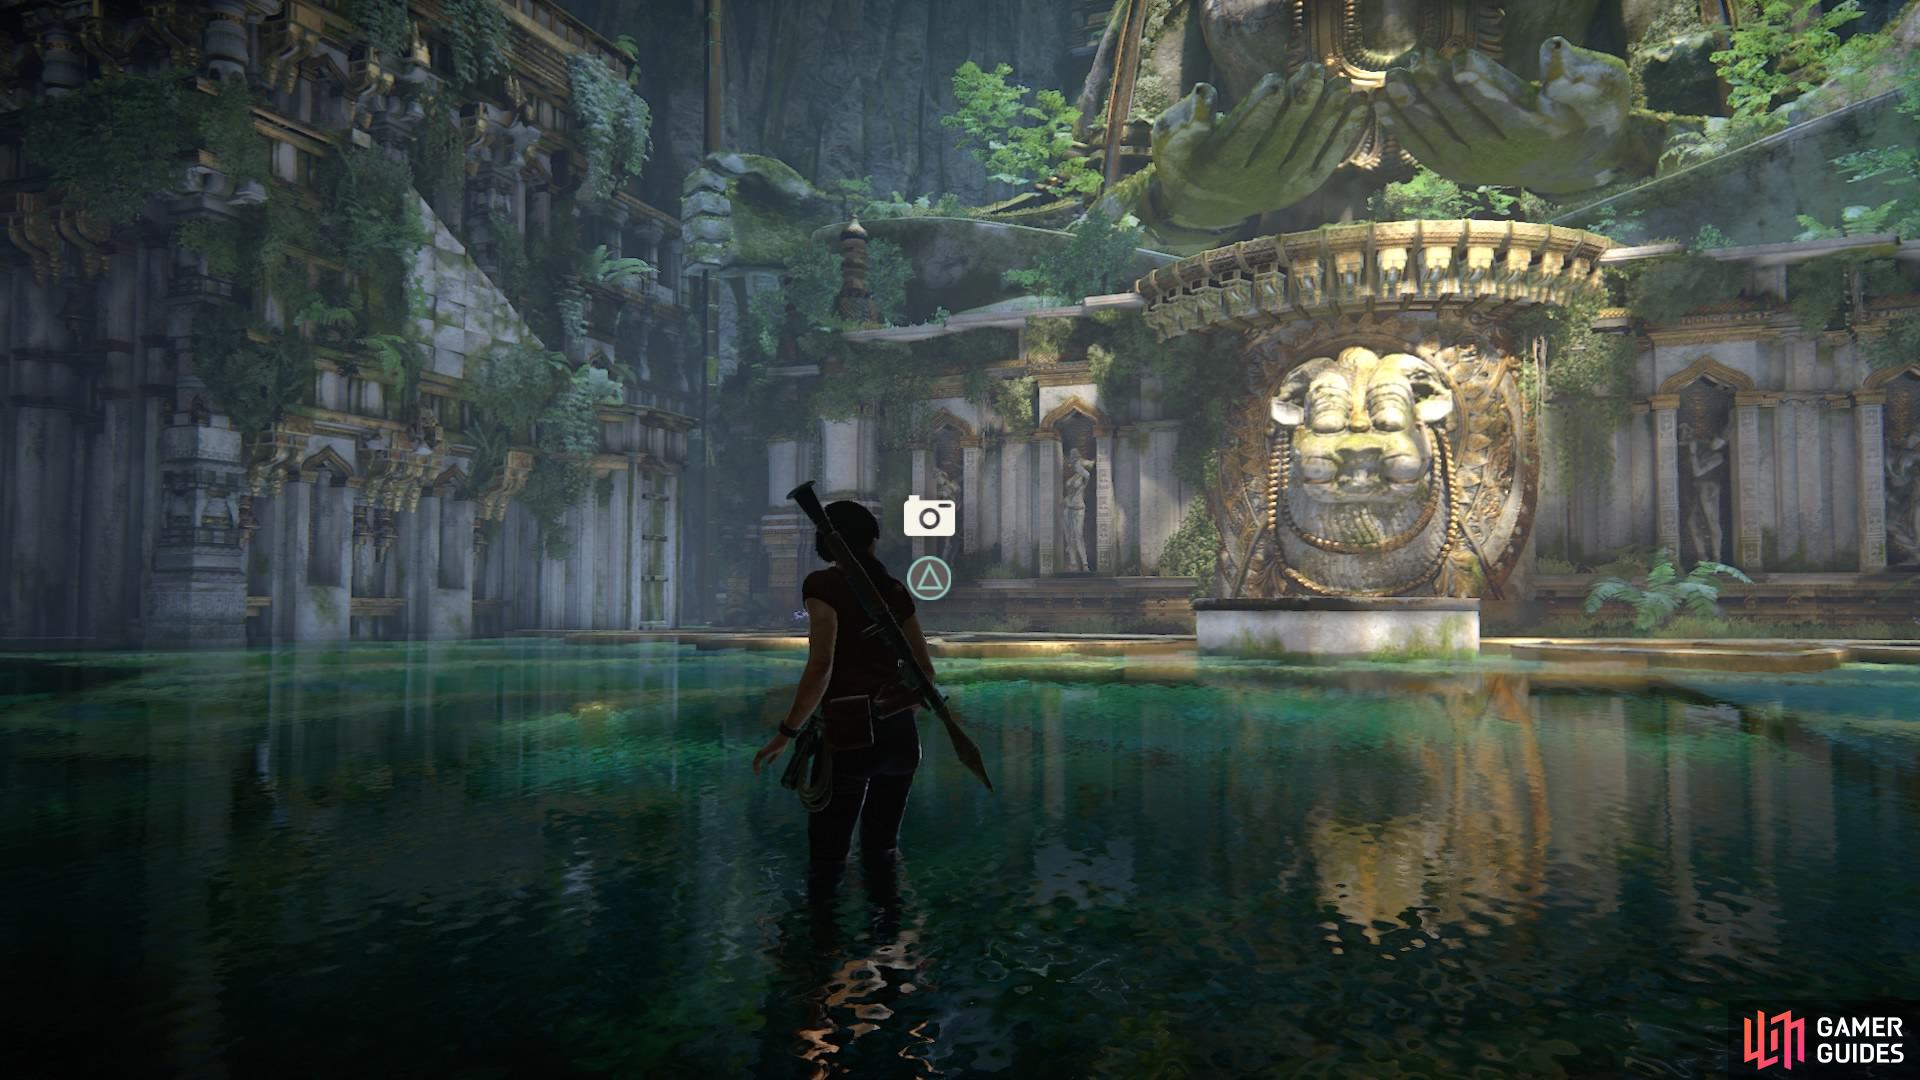
Walk along the water until the prompt appears directly in front of it
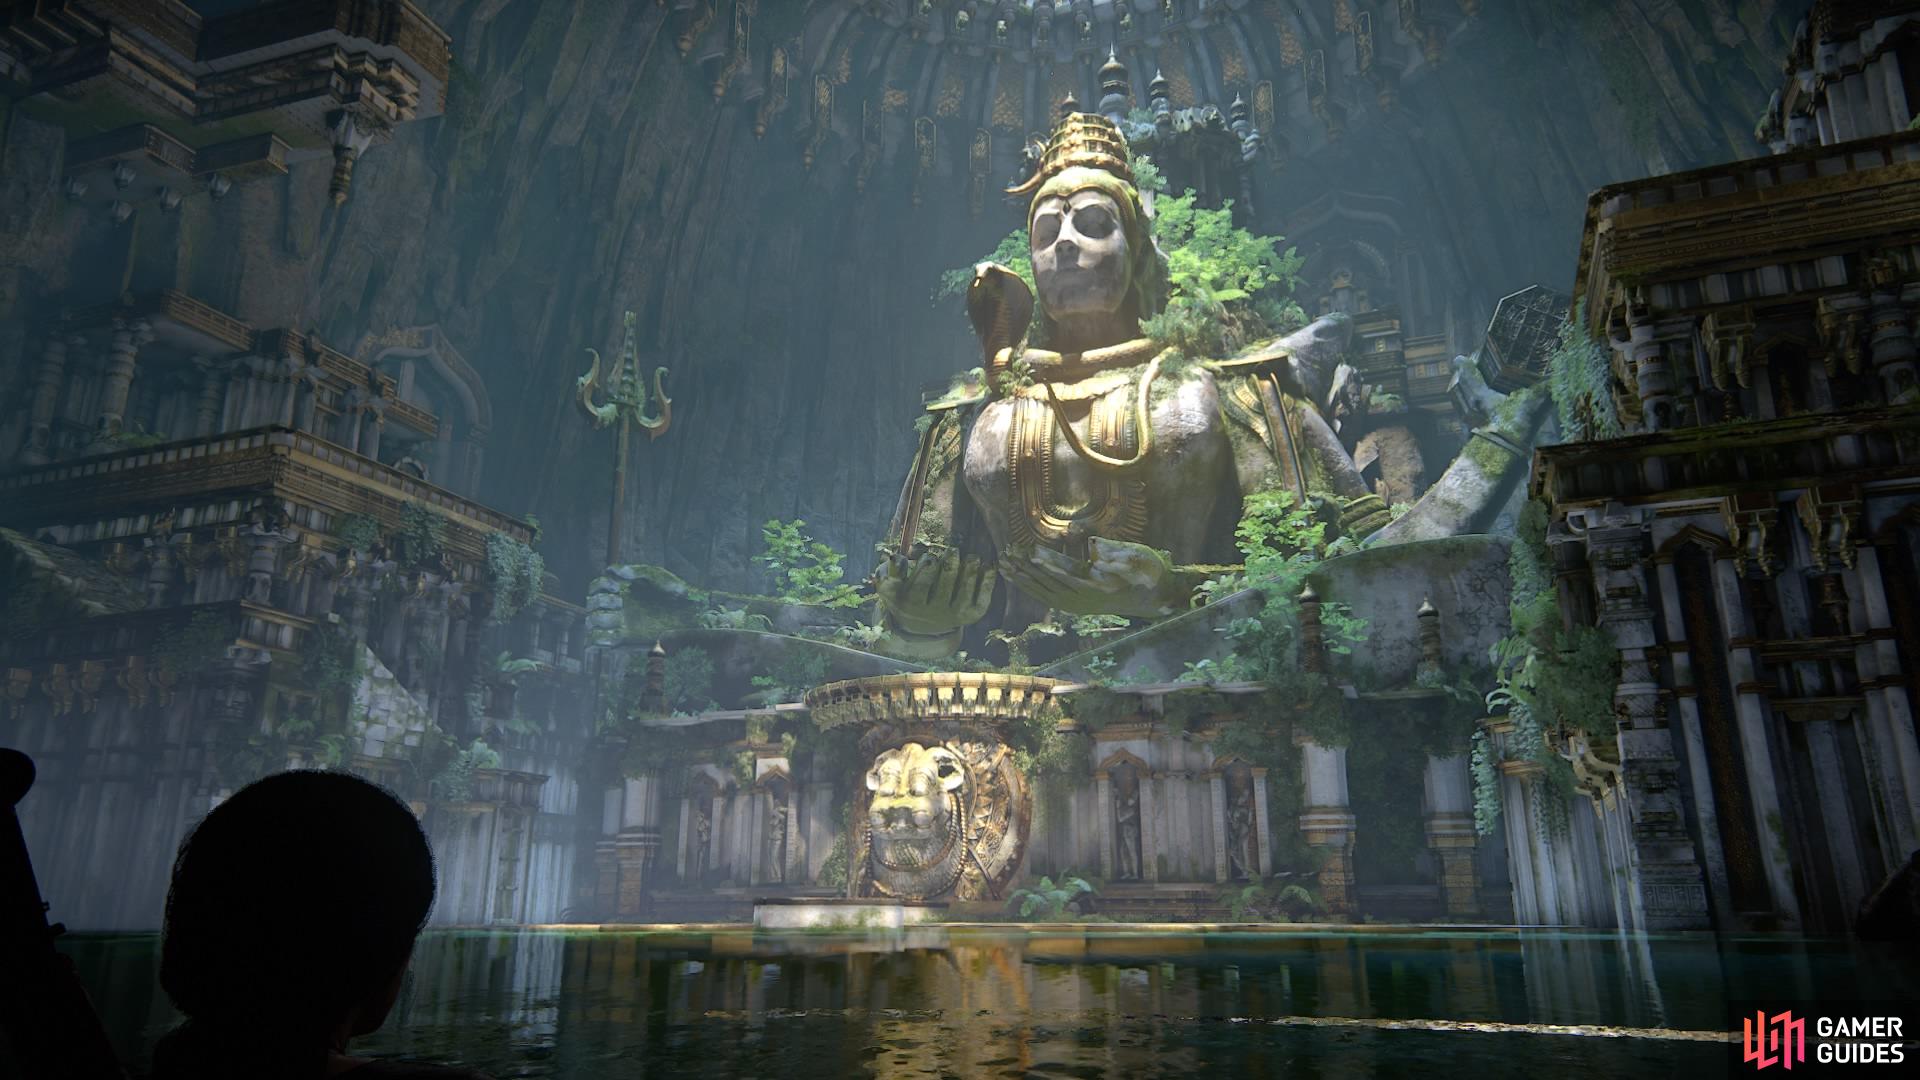
In the next room with the giant Shiva
The last photo in this chapter will occur during the light prism puzzle. You have to reflect all of the lights from the mirrors of each movable statue on the platforms.
In the right corner, the statue is broken. Nadine will take the mirror and stand where the statue is supposed to be so that you can reflect the light from the statue opposite.
As soon as she stands on the platform, you can snap a picture of her (#26) holding up the mirror.
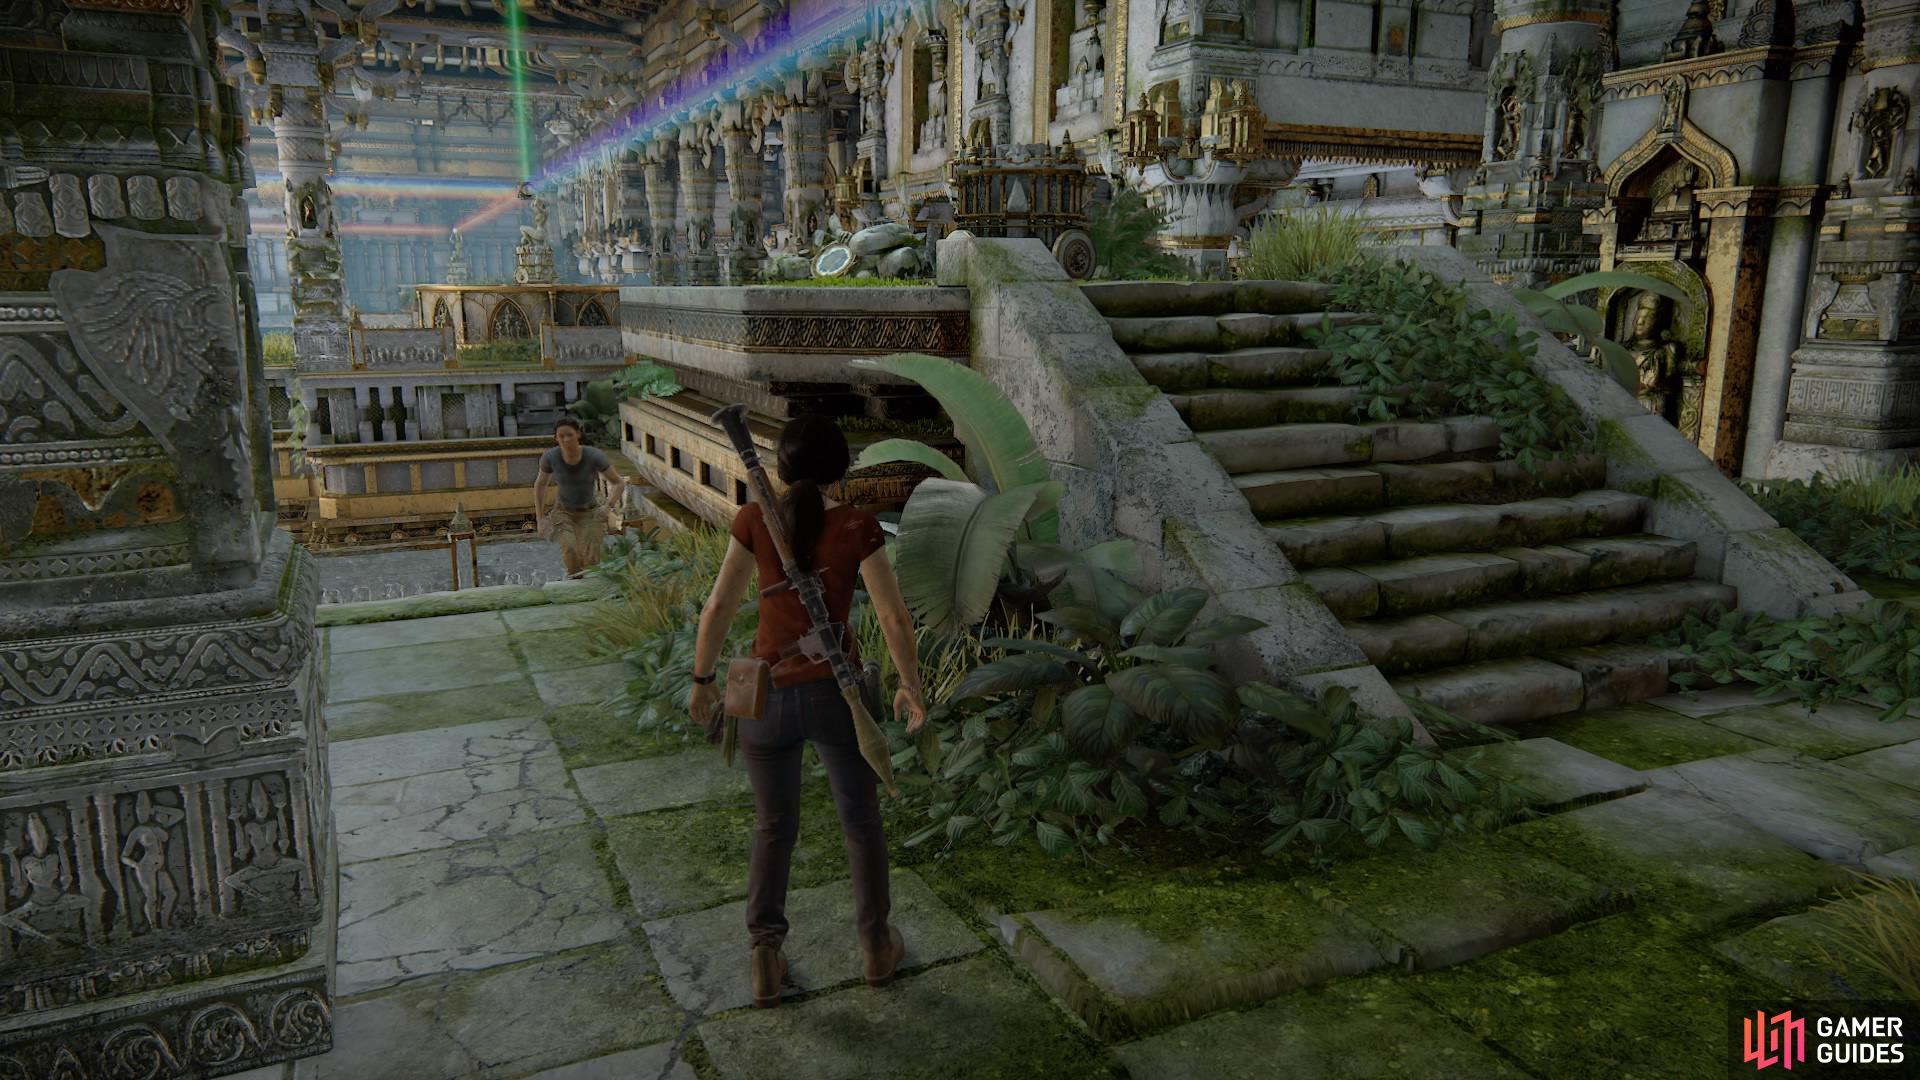
Wait for Nadine to stand on the platform and hold up the mirror
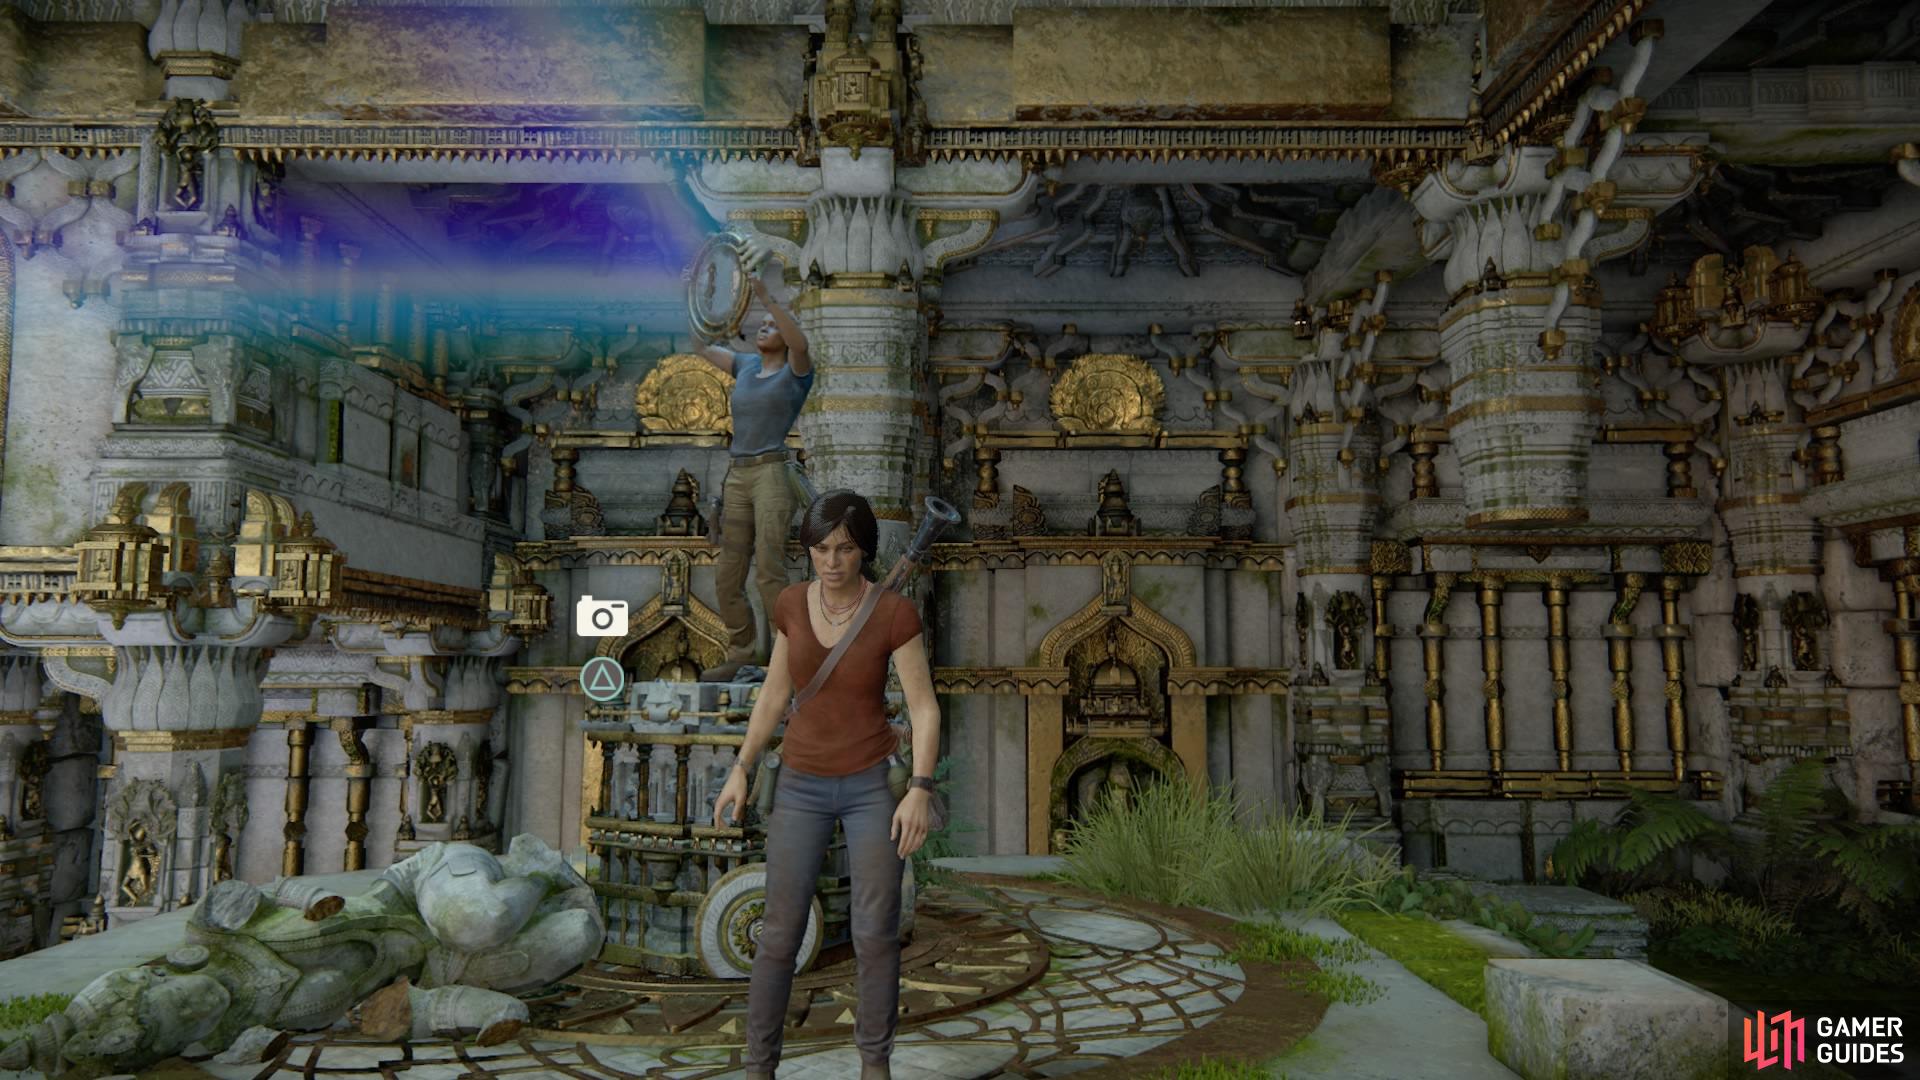
The prompt will appear for the last photo of chapter 7
No Comments