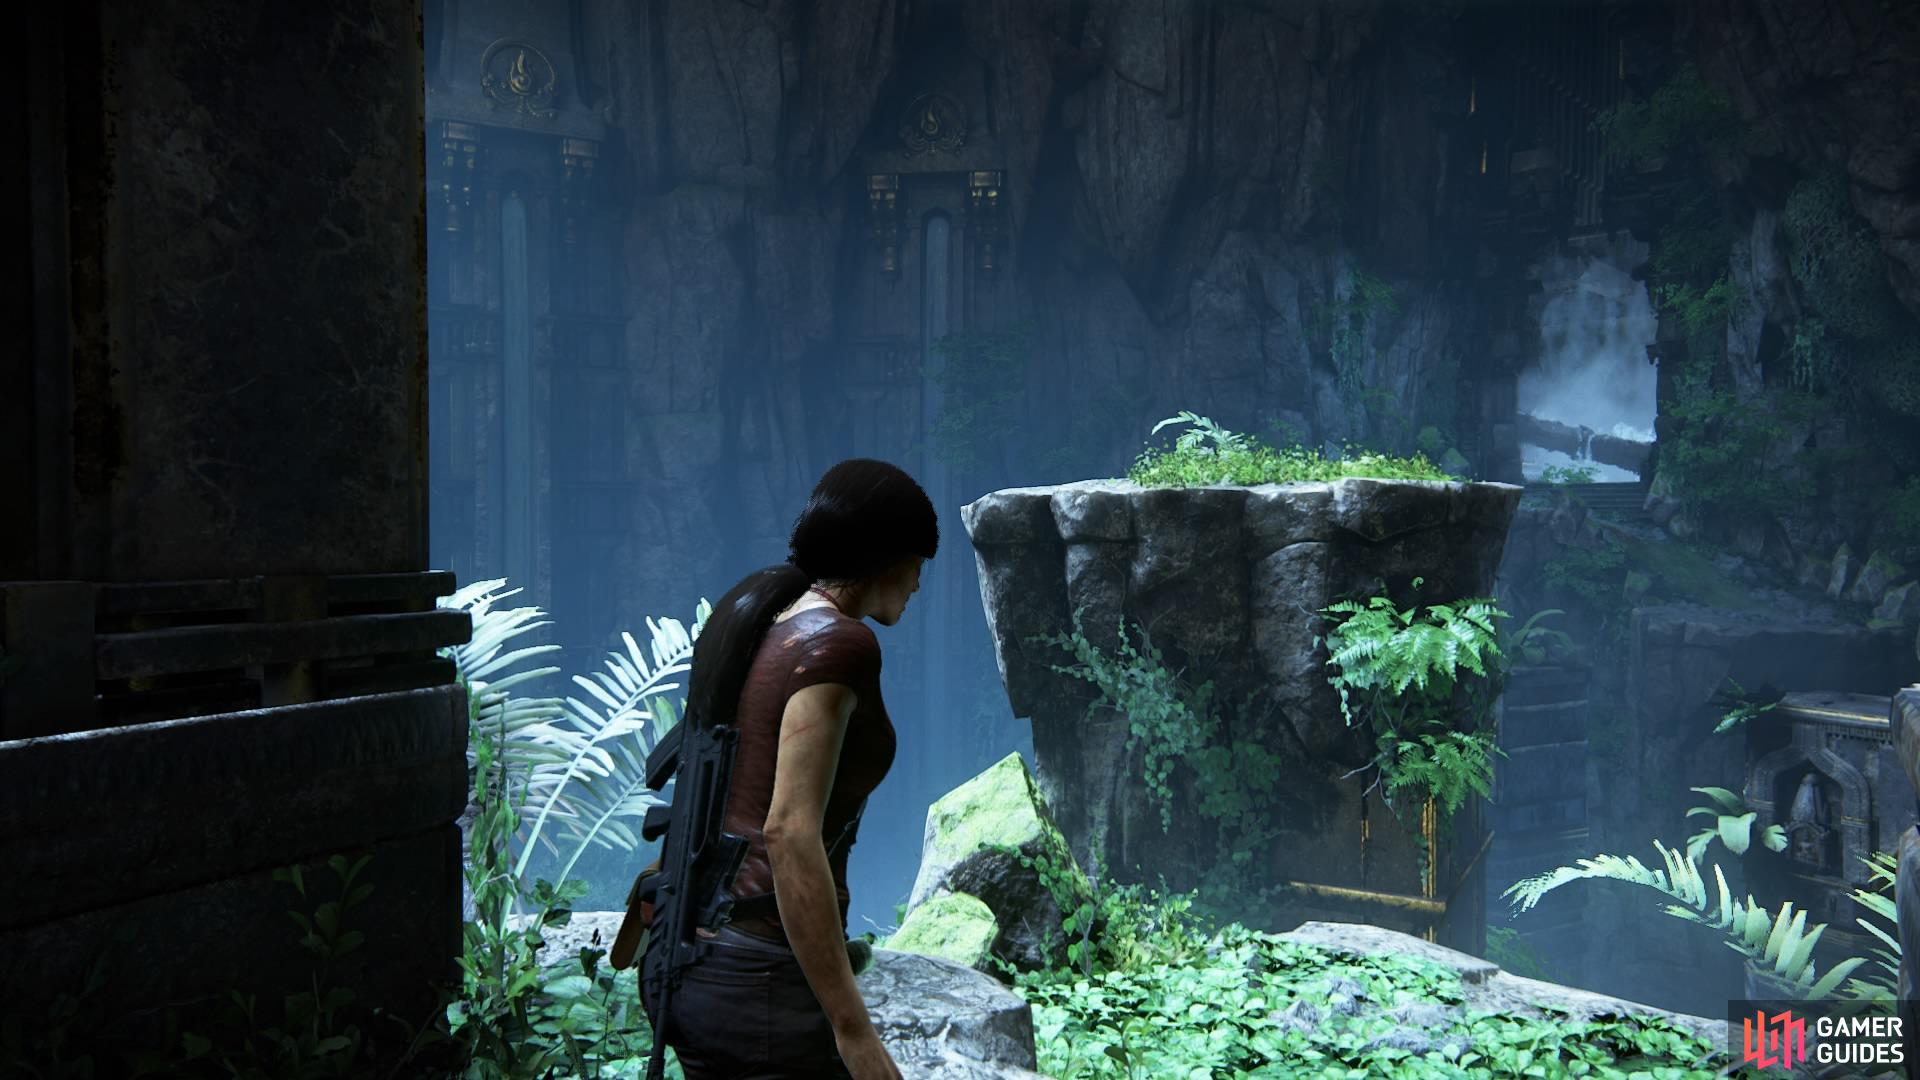
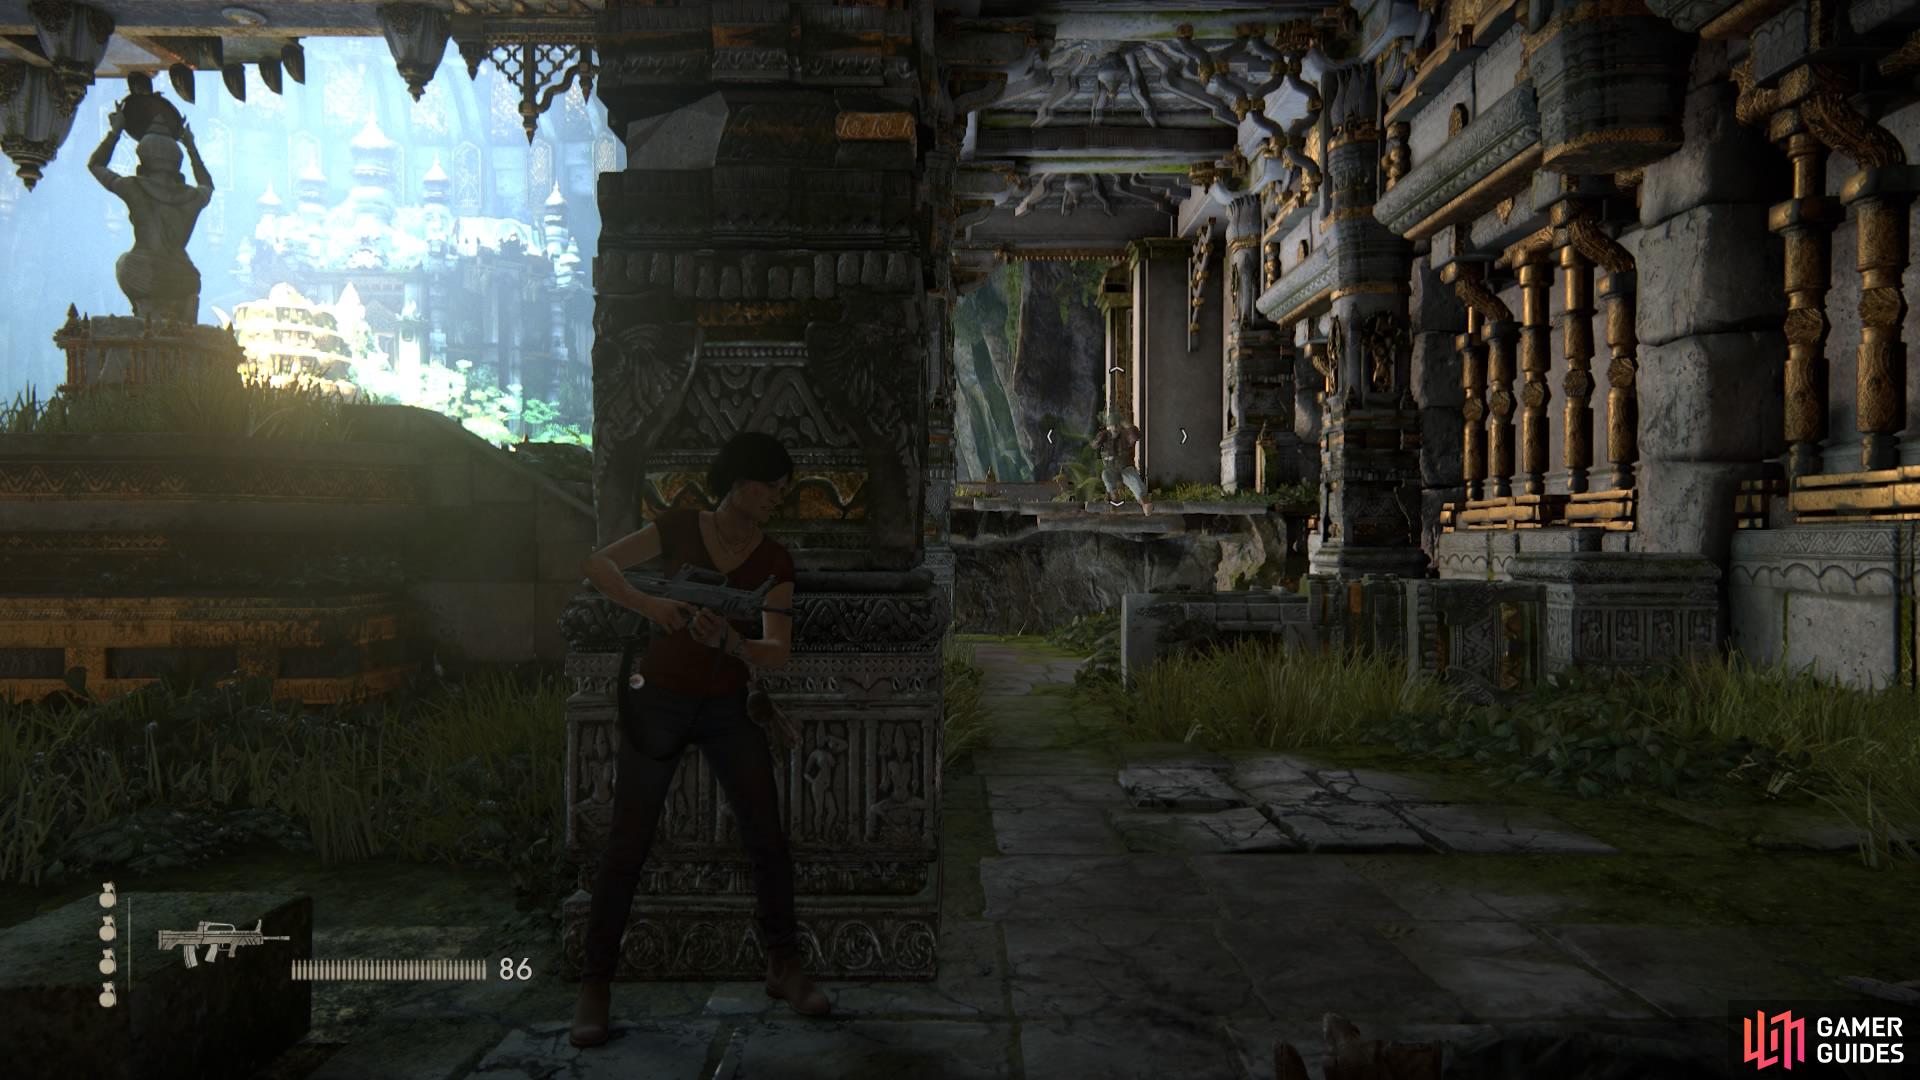
As the game resumes, go left and jump to the platform ahead. Rebels will suddenly appear, scouting the area, with two of them aiming laser sights. Try to shoot them while hanging from the handholds, then vault up and make your way across to the branch protruding from the wall.
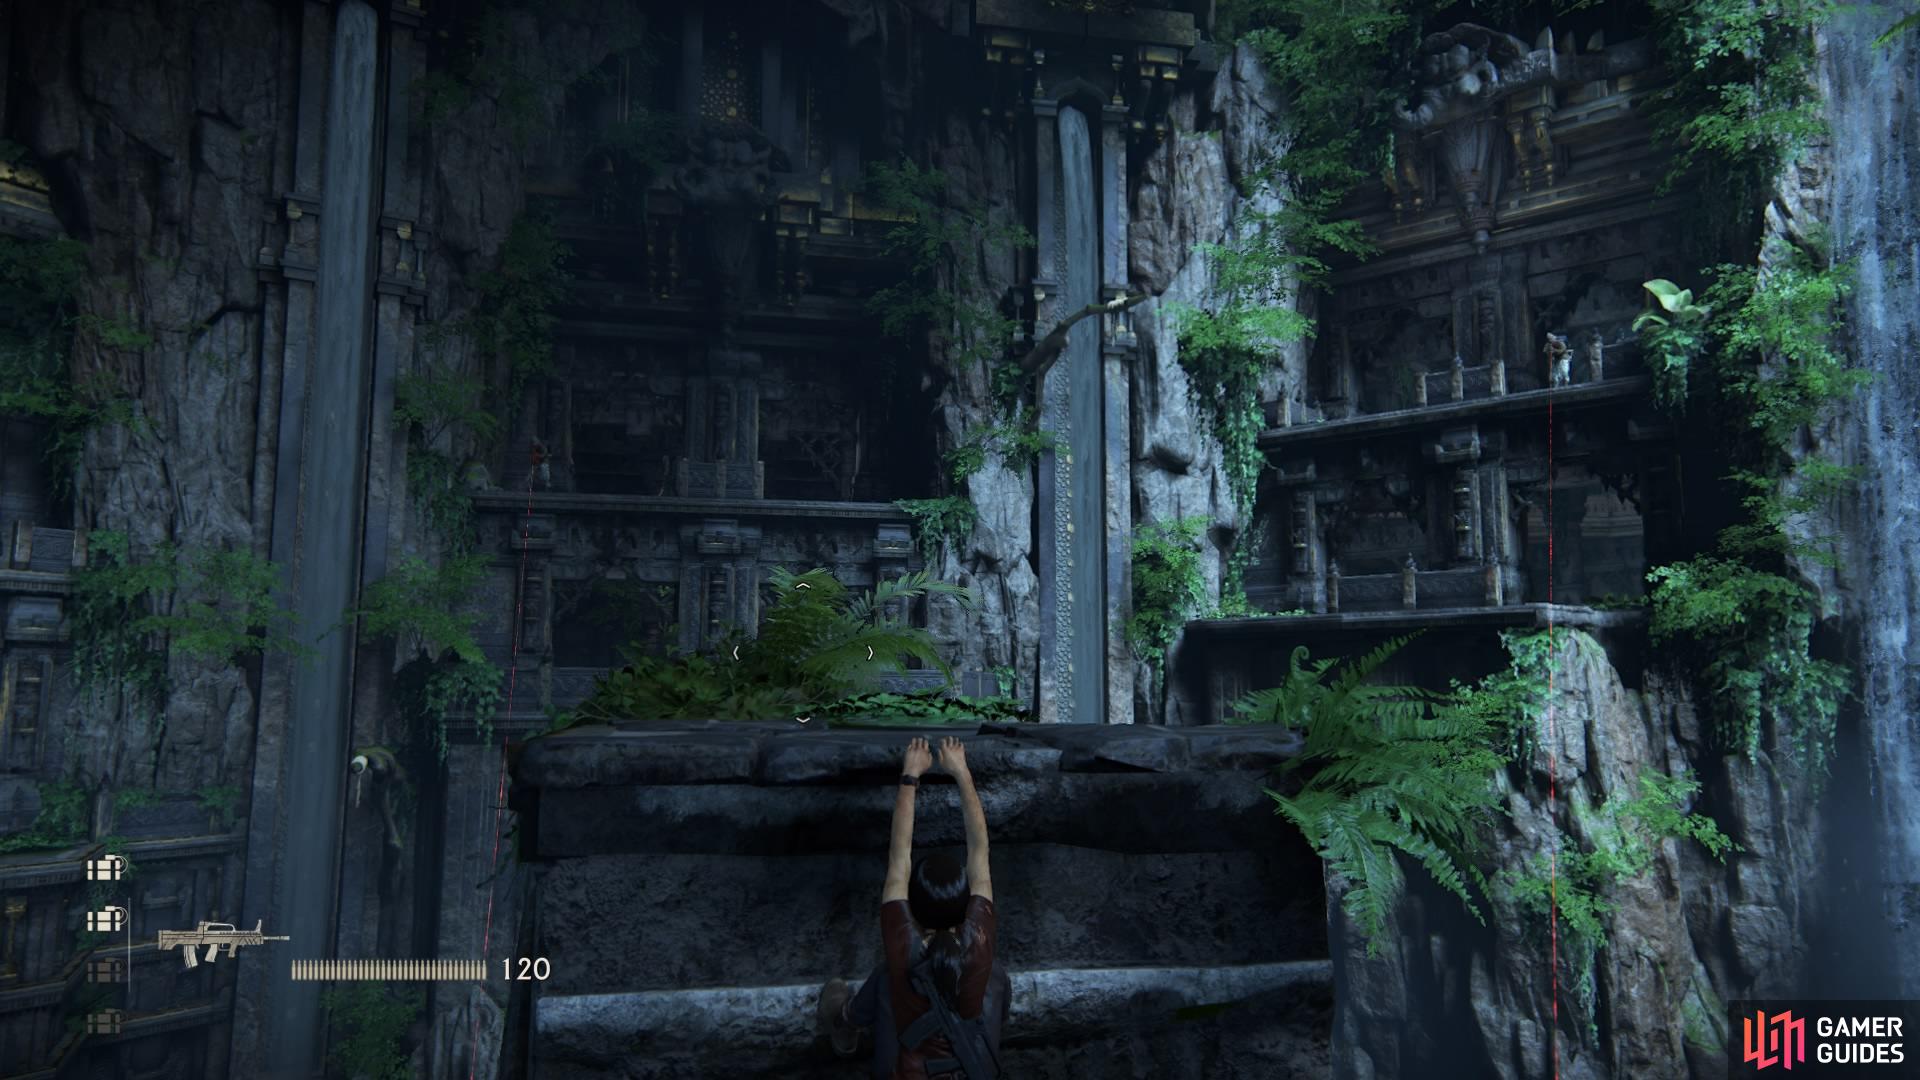
Take out the rebels along the way
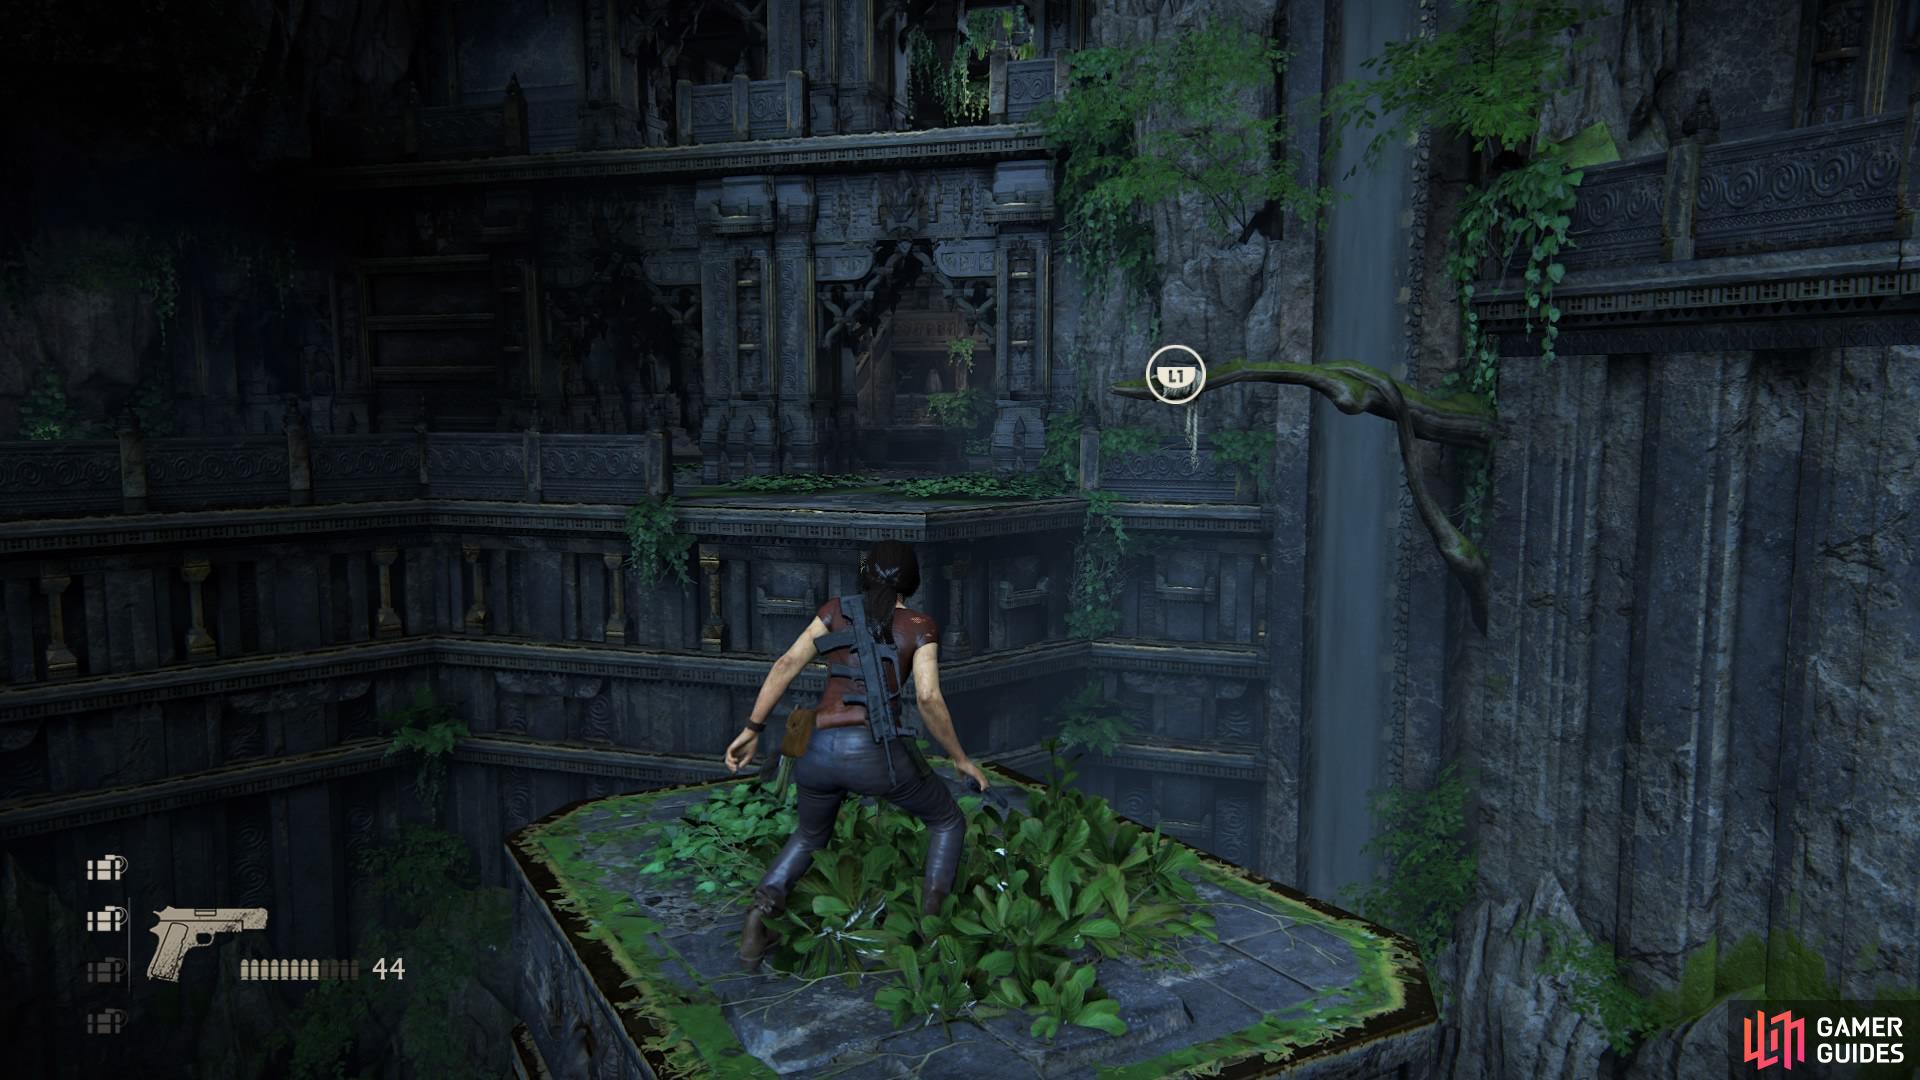
Rope swing to reach the battle area
Rope swing across to the other side and proceed to get rid of all the rebels. You can loot their bodies for grenades, and eventually pick up a heavy gun with infinite ammo to make the process go faster.
Once you’ve cleared the room, head to the back and bust open the door with Nadine to gain access to a stairwell.
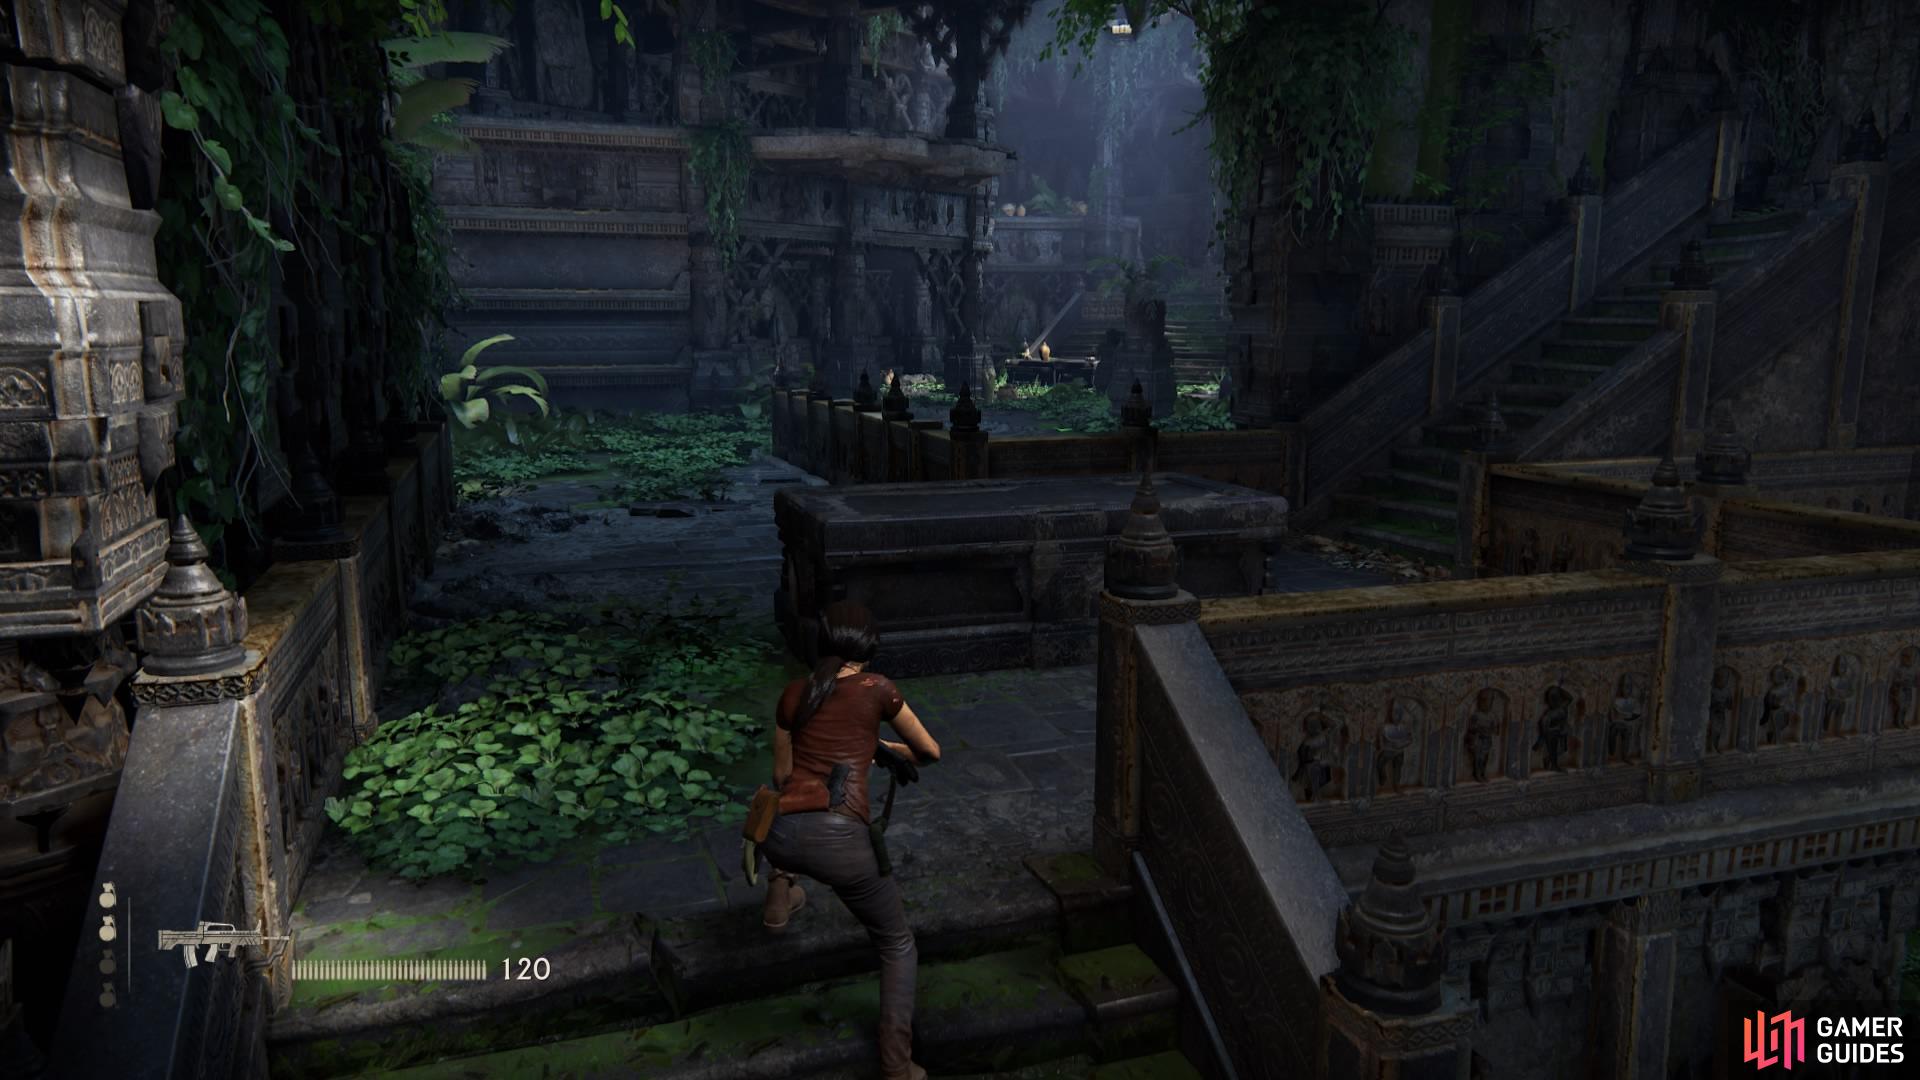
Clear the room
Open the door to the stairwell
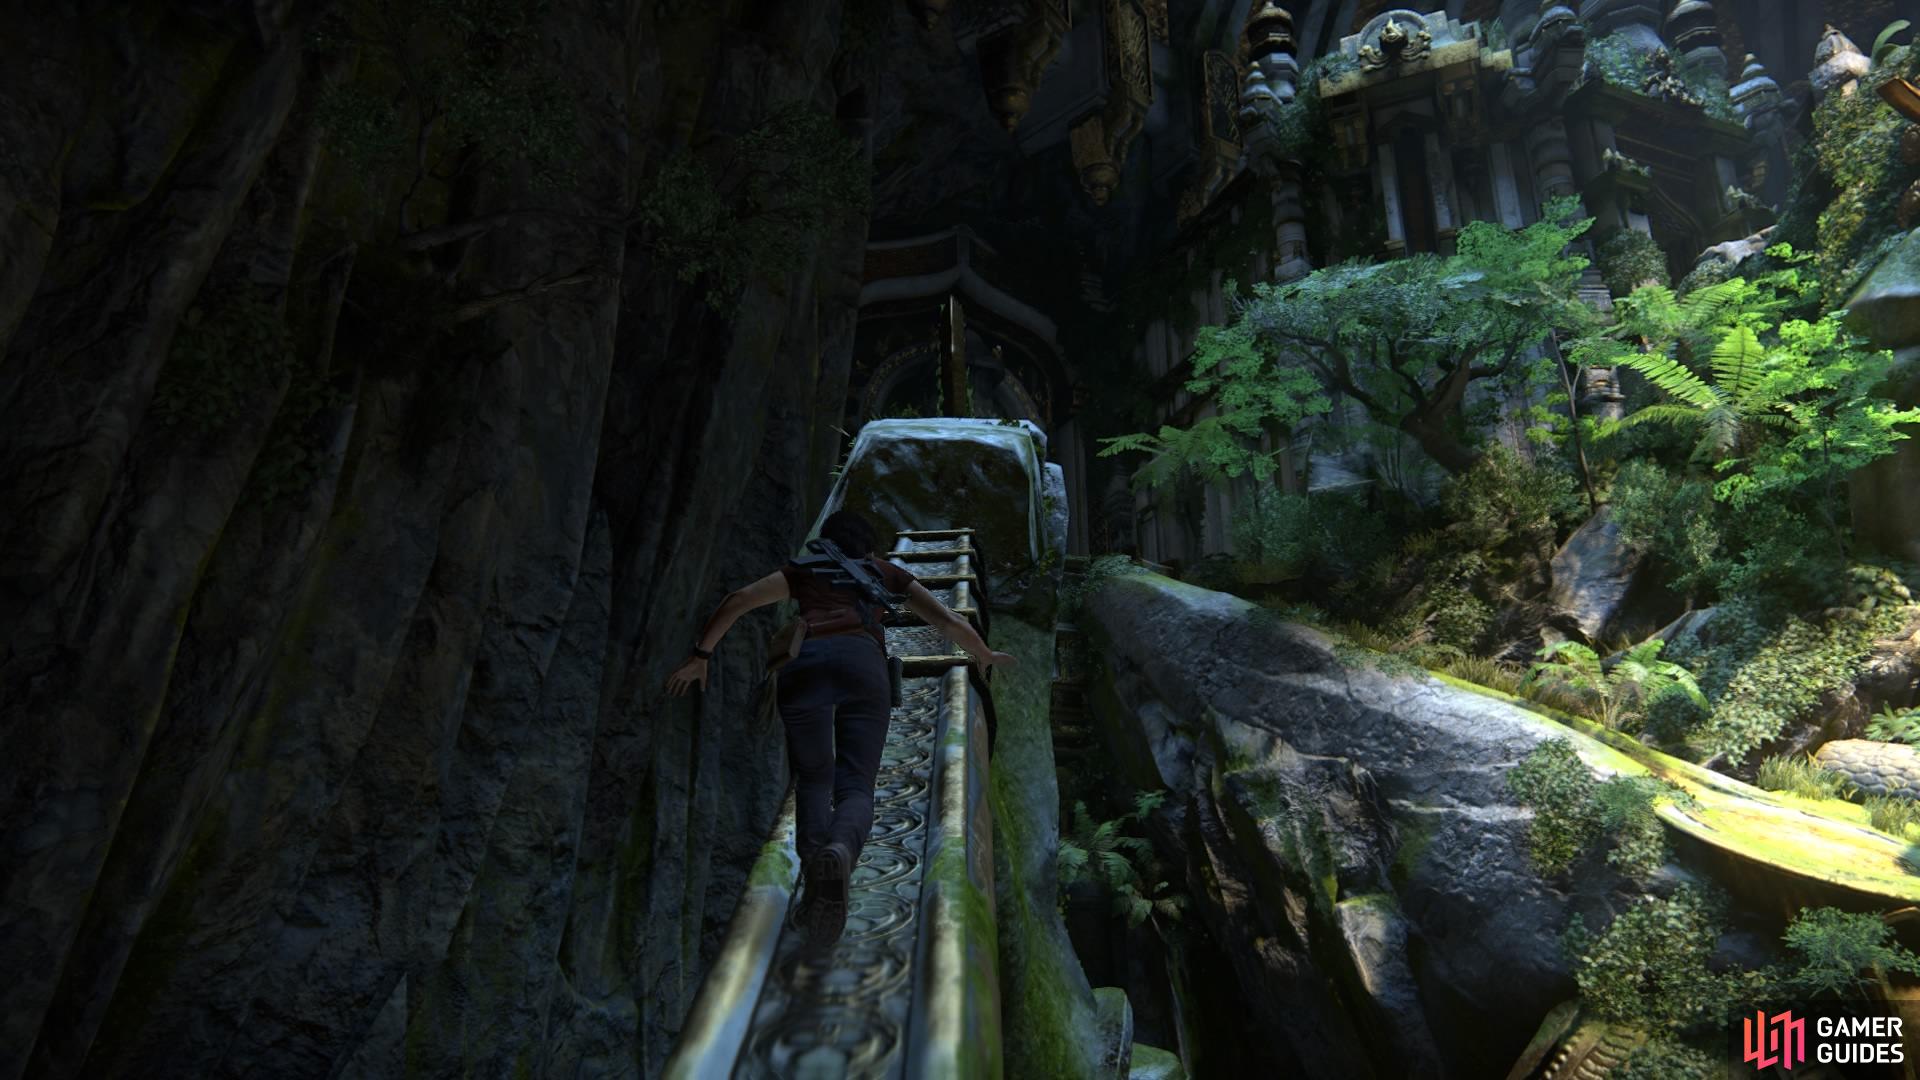
It’ll lead you back into the first area. Jump across to the handholds in front of you and scale the platforms – you’ll be prompted to focus with L3, which will show you where you need to get to. Then jump across to the next platform and head through the door on the left. You’ll have to crawl through a short tunnel, and on the other side climb the handholds on the left and follow the path around.
Continue to jump across the platforms
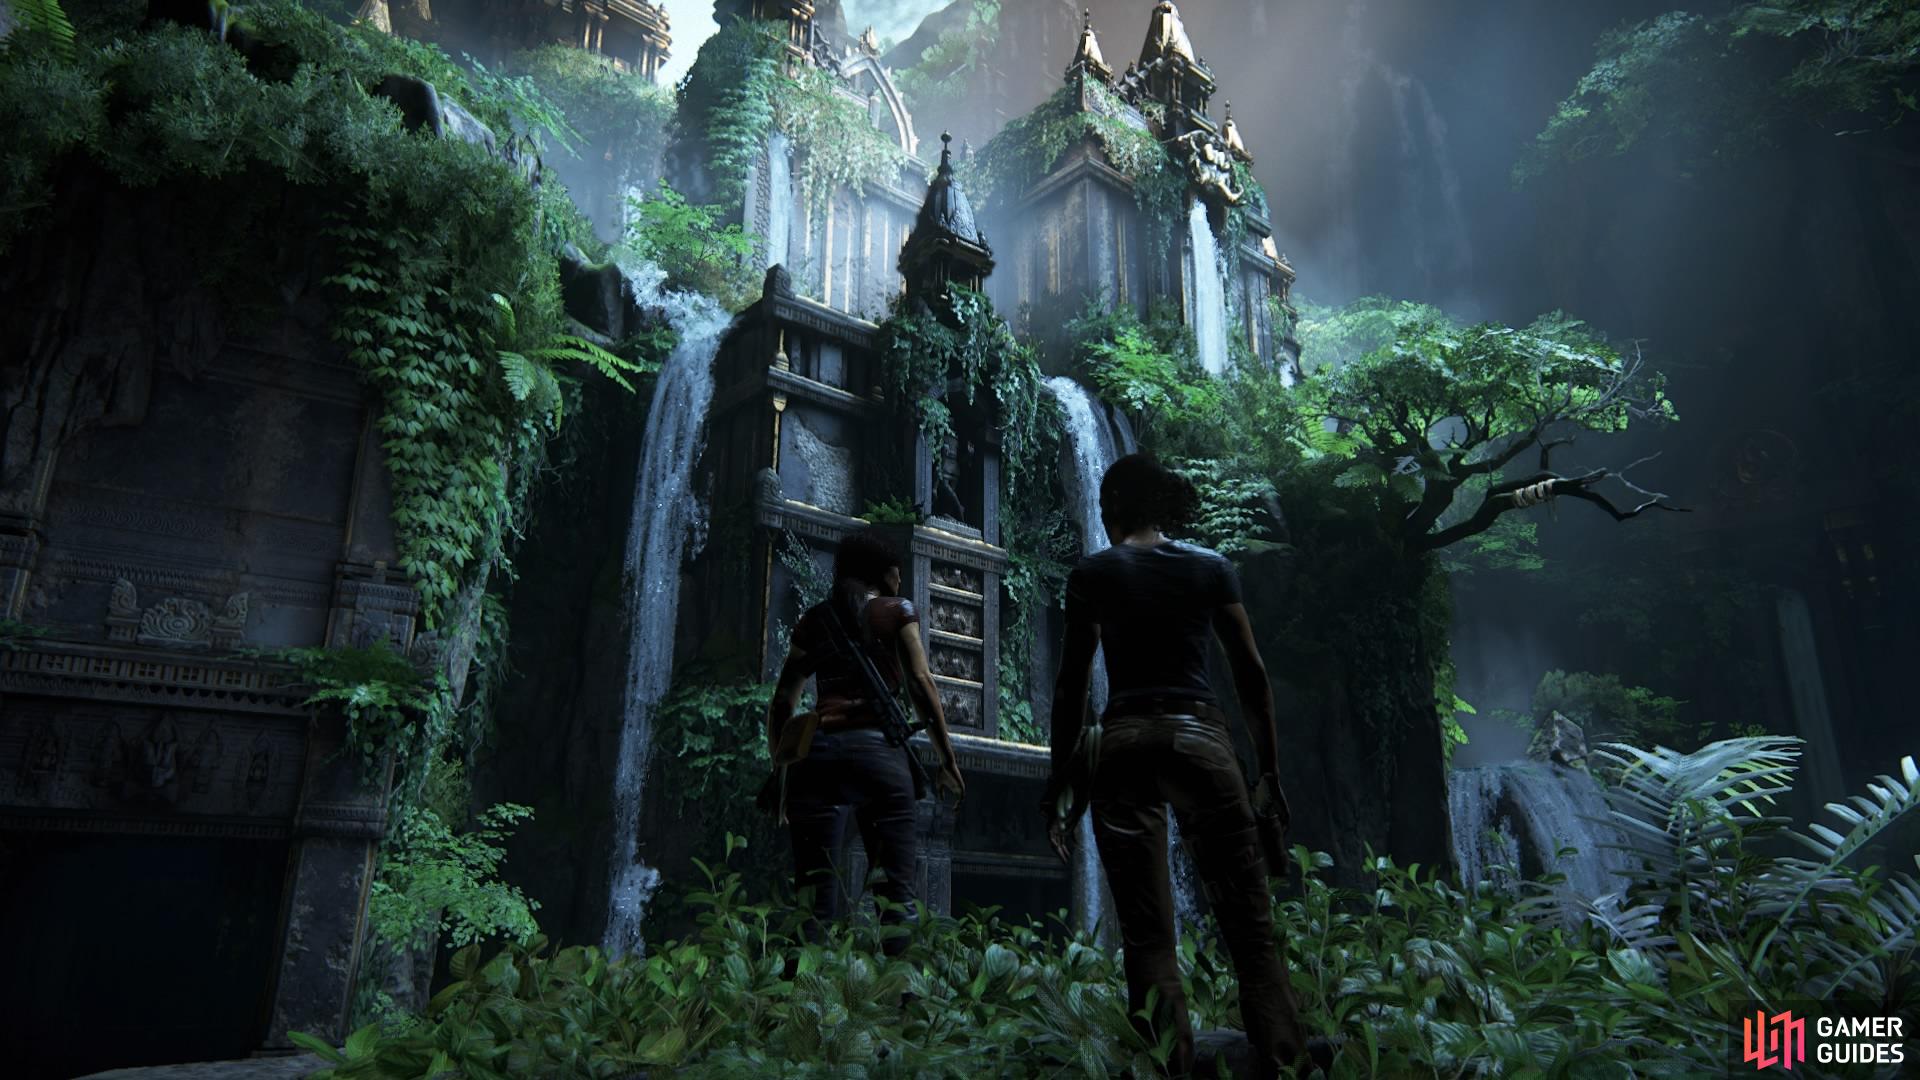
You need to make your way to the top of the structure
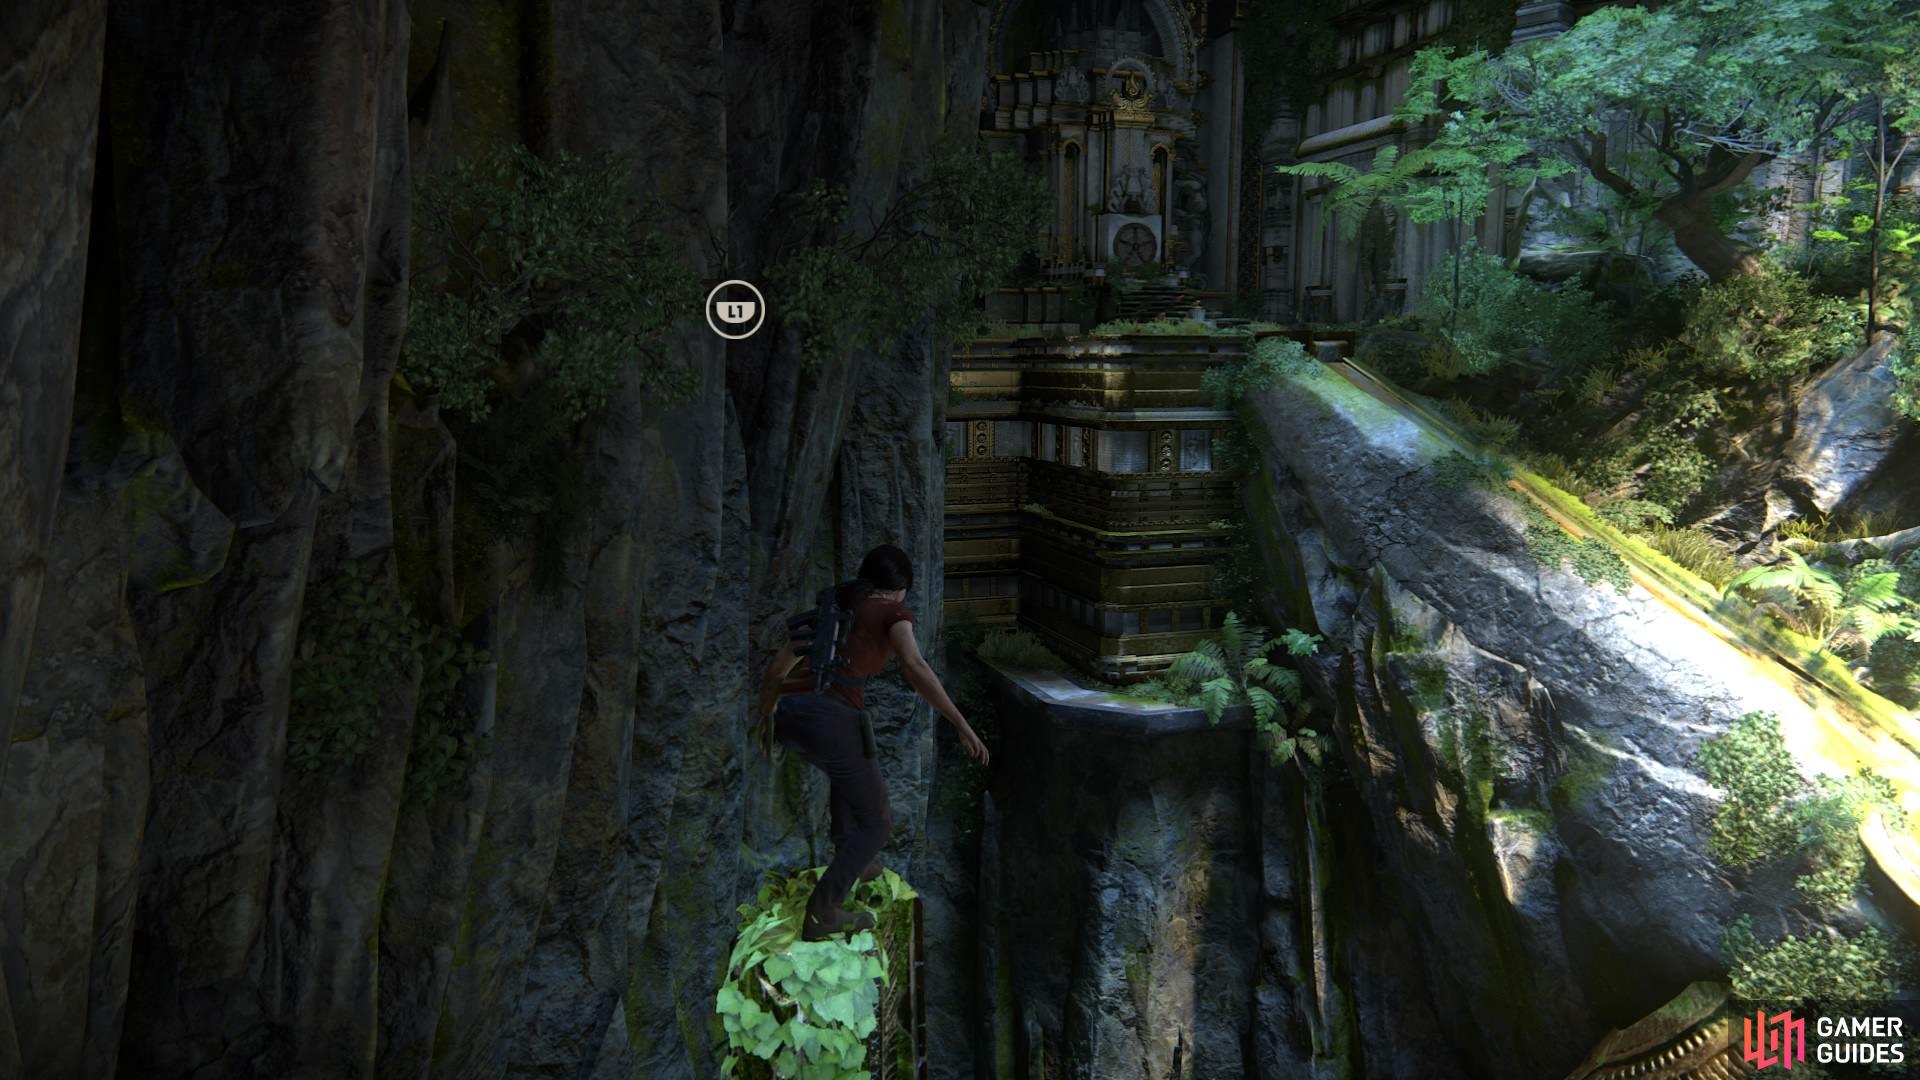
Rope swing around the cliff face to catch the ledge above the door you went through previously, then continue to make your way up until you reach all the golden décor at the top.
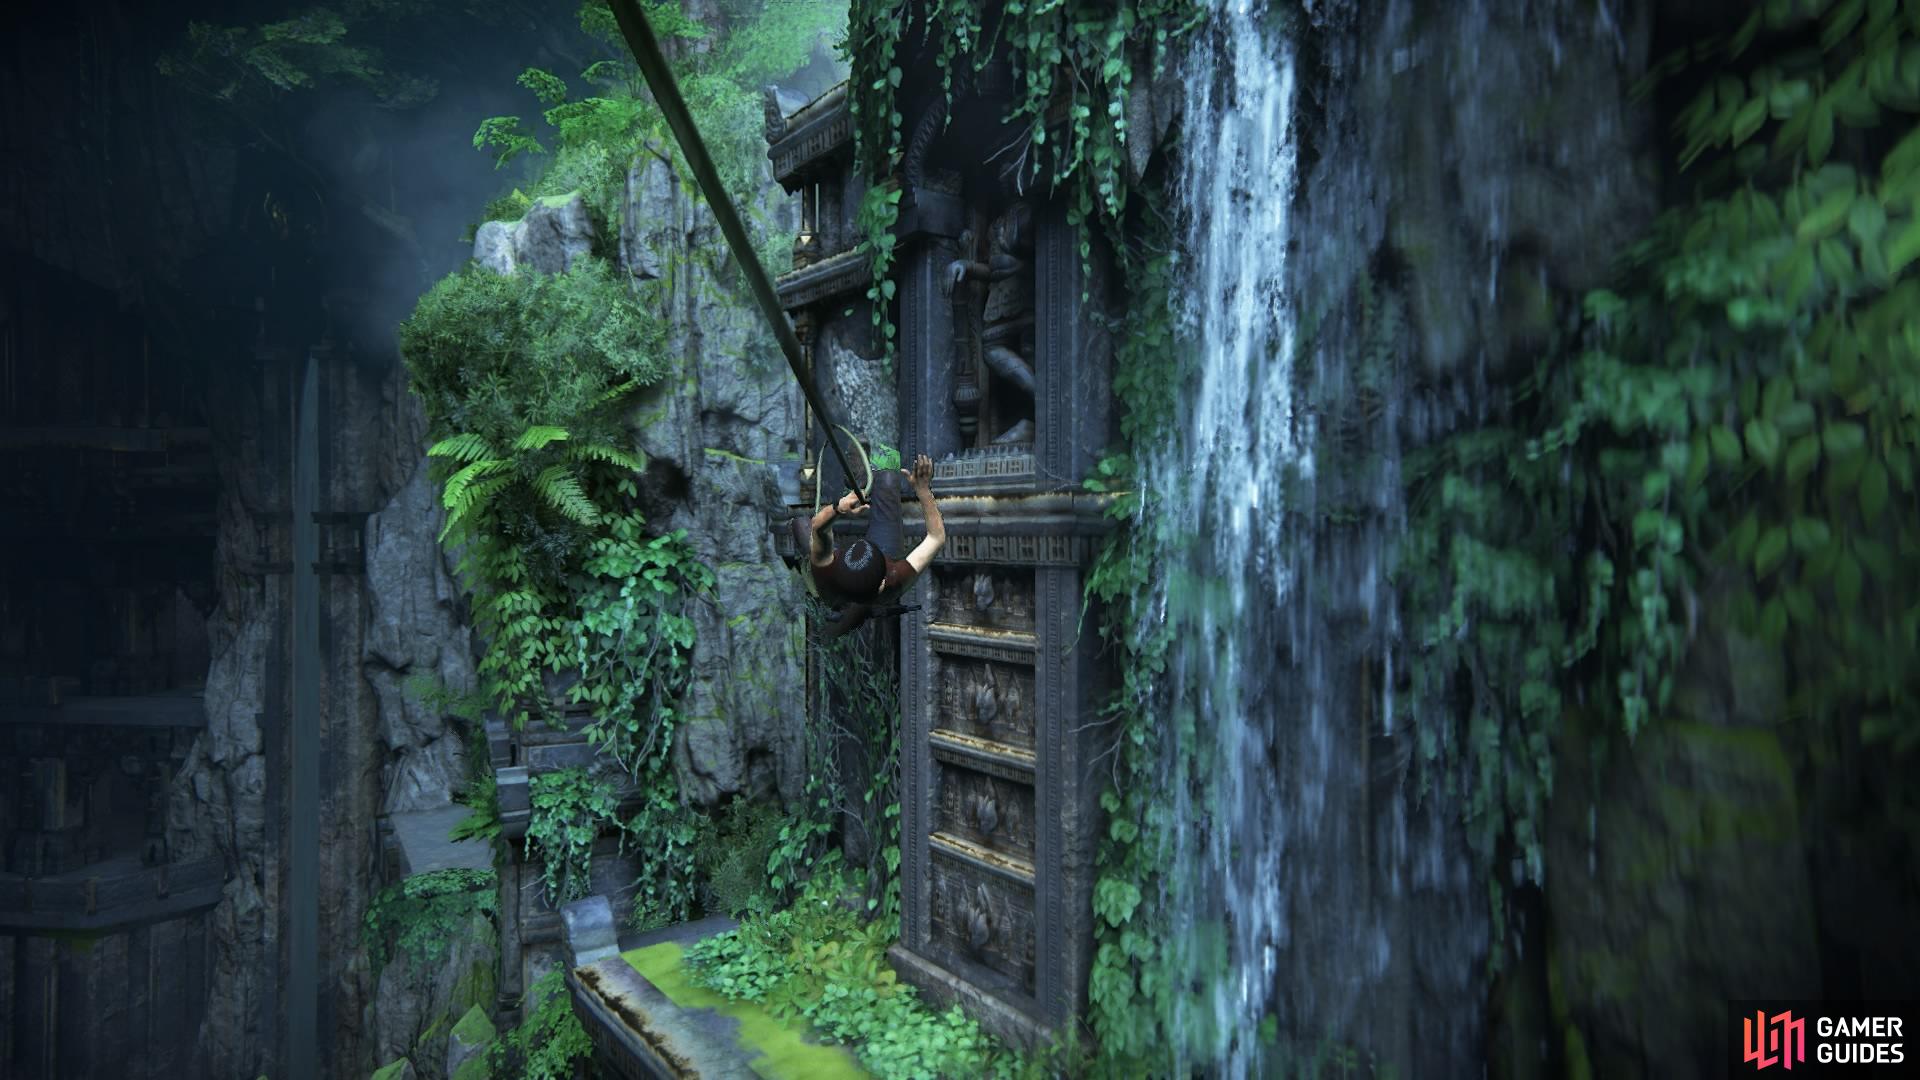
Rope swing to the upper levels
and find a way in
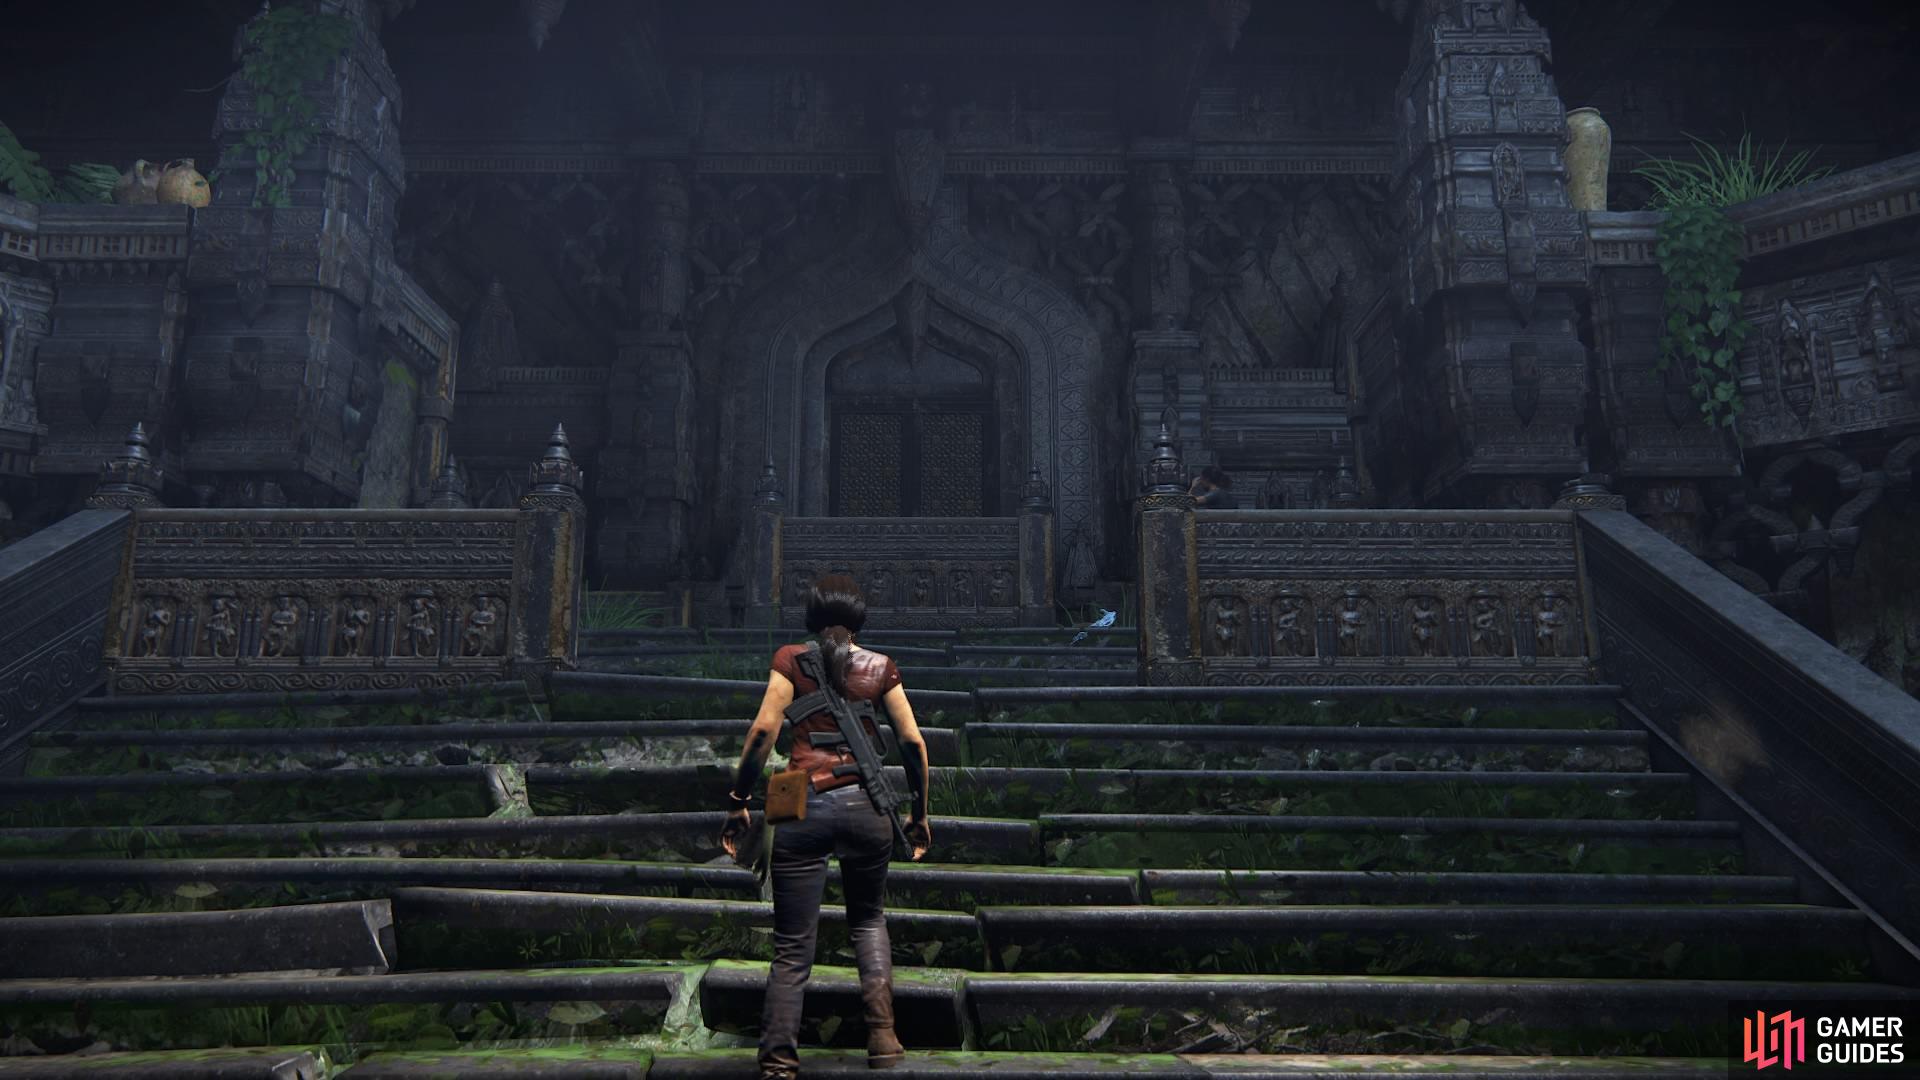
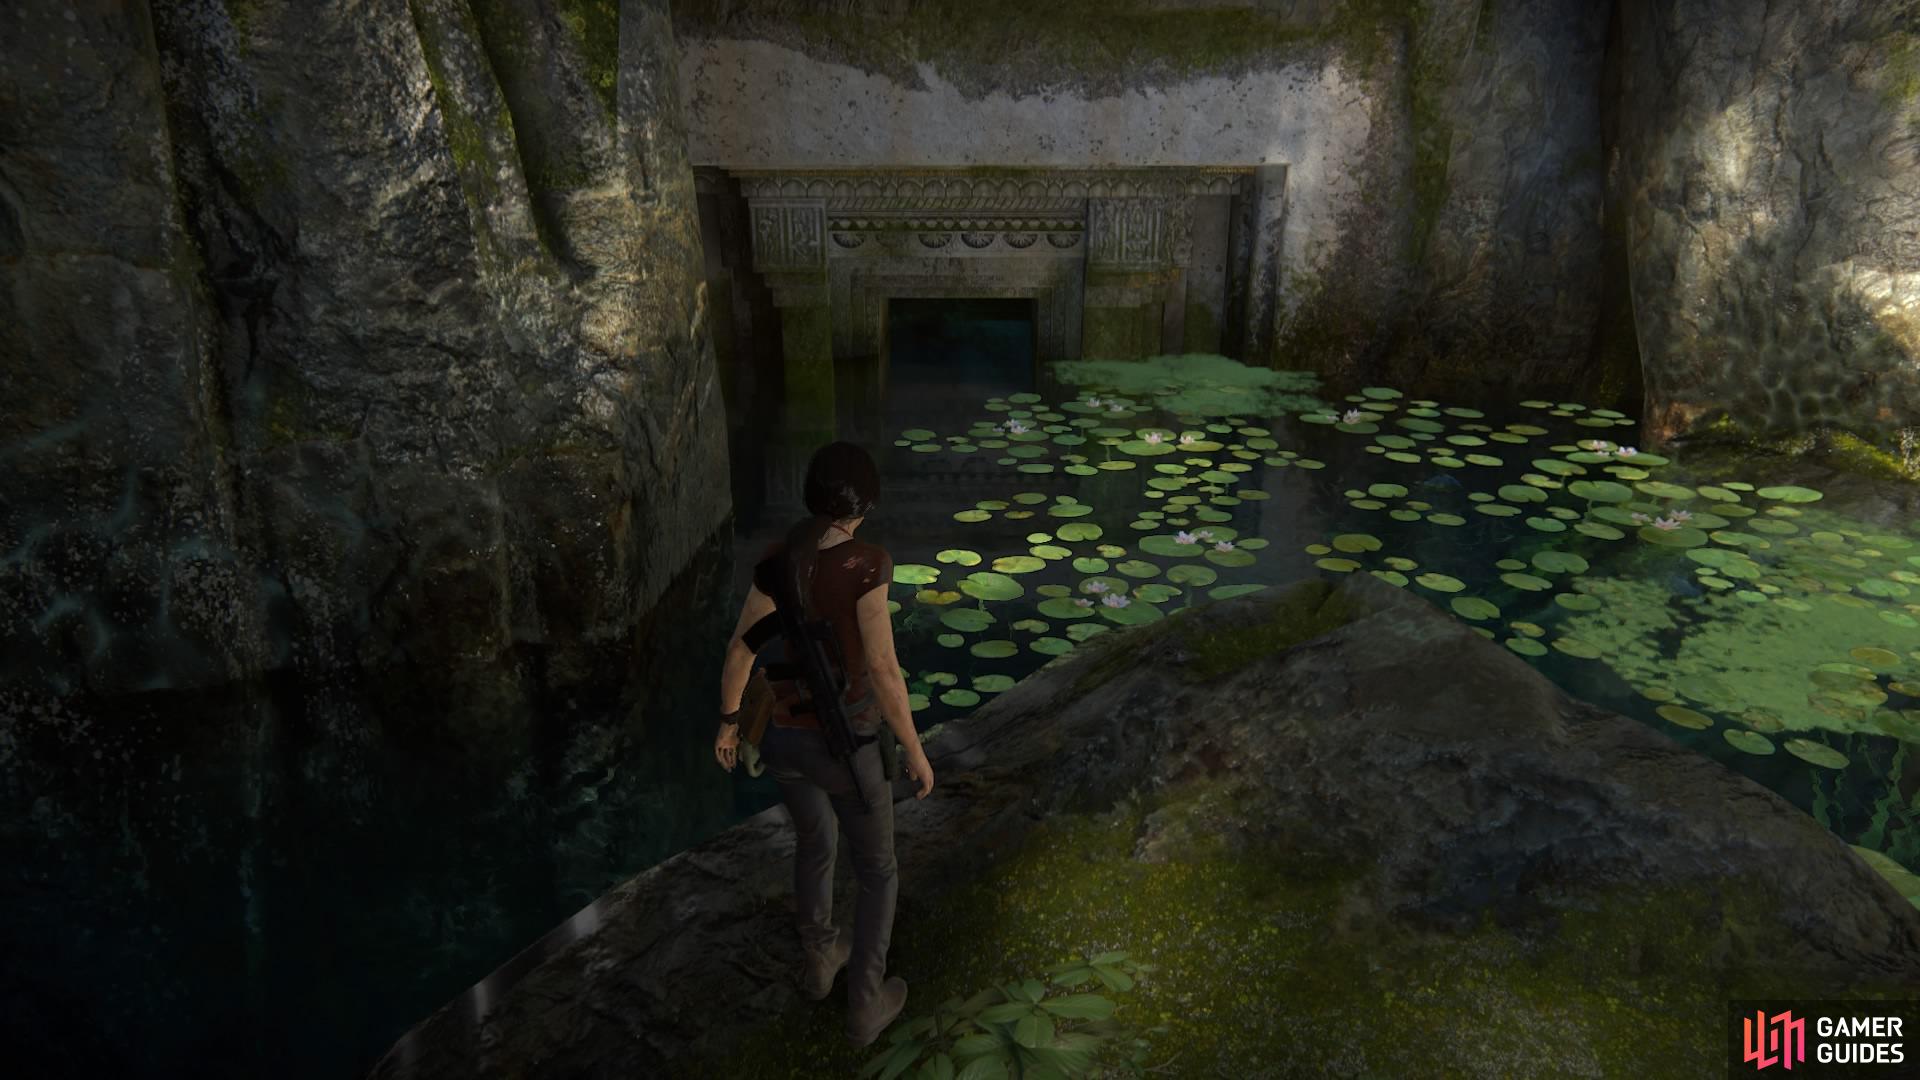
As you go forward, towards the back, you’ll see that Asav and his men have blown the entrance to block it off, so go to the left of the steps to find the window to climb through instead. You’ll drop into a room with a flooded well in the middle, as well as Asav’s men getting ready to barricade the next doorway ahead. Alert them to watch them scarper as the bomb explodes.
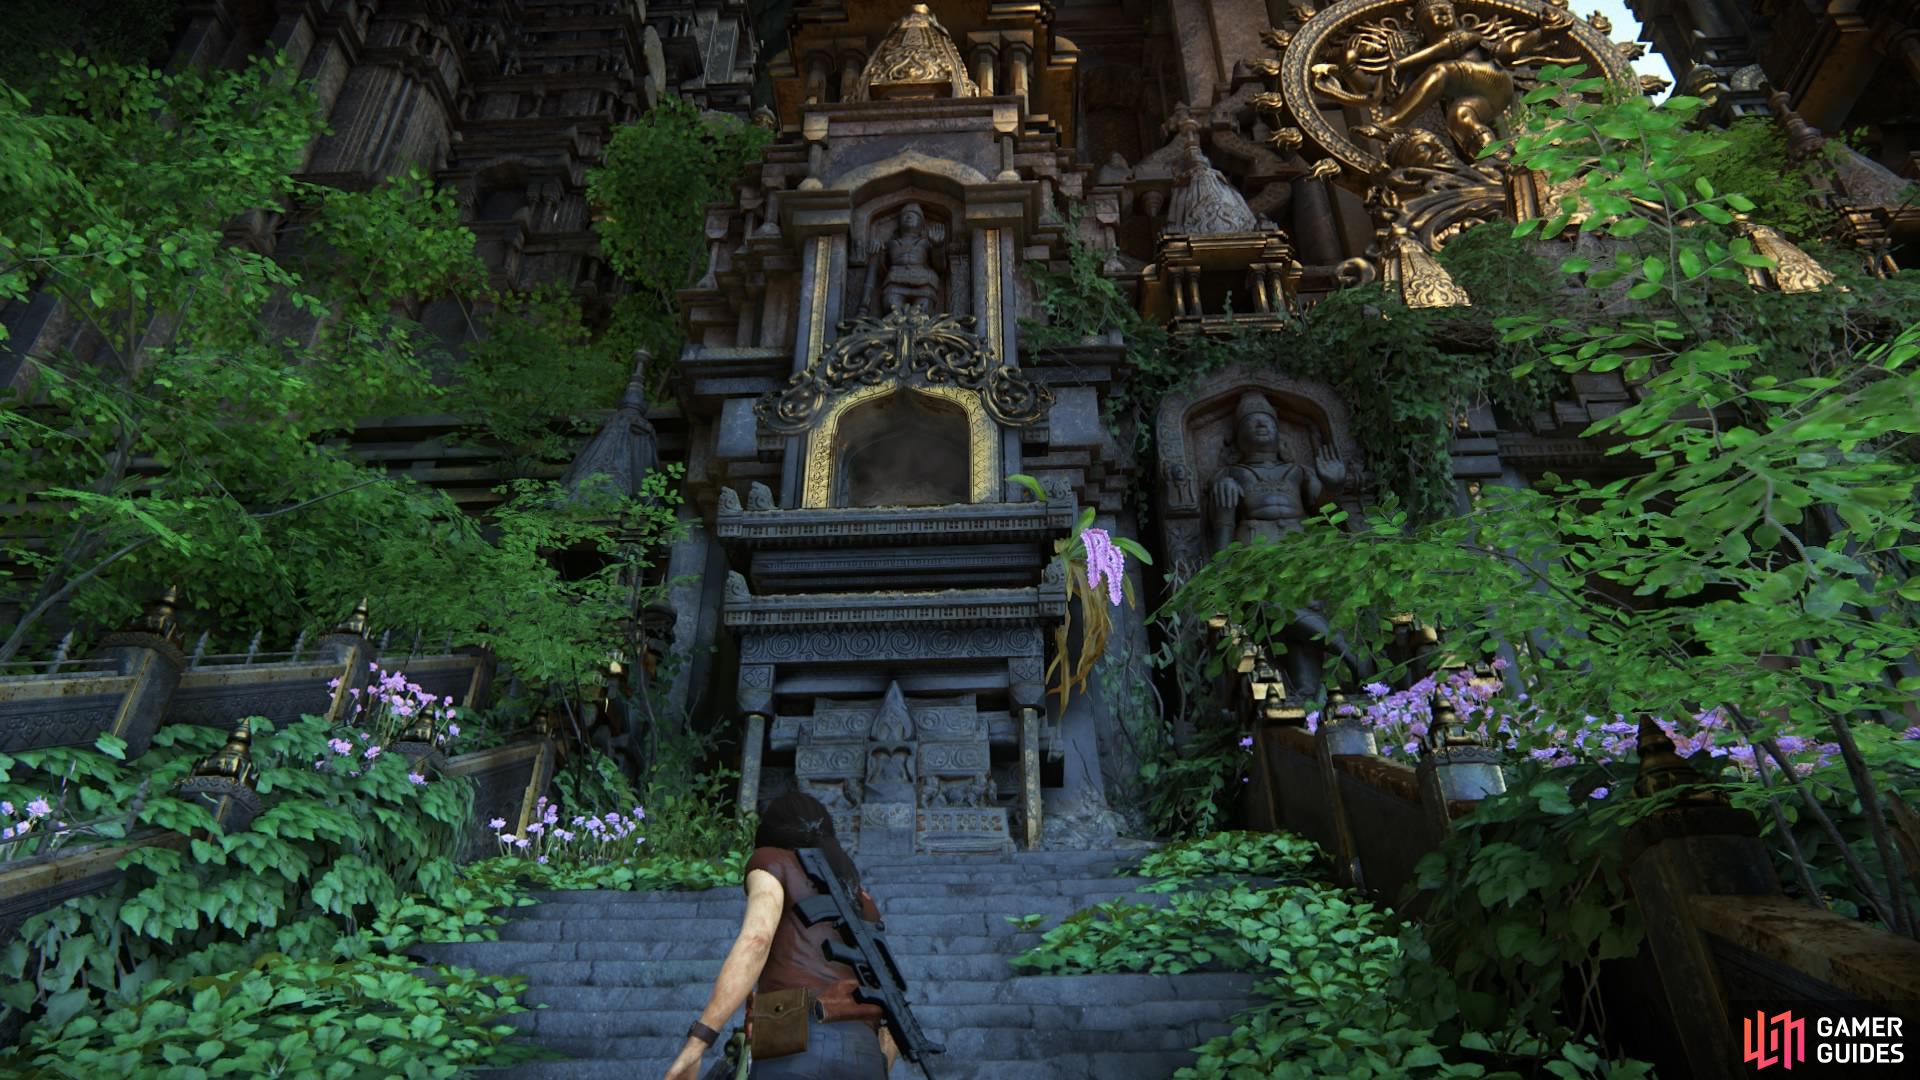
Gain access through the window
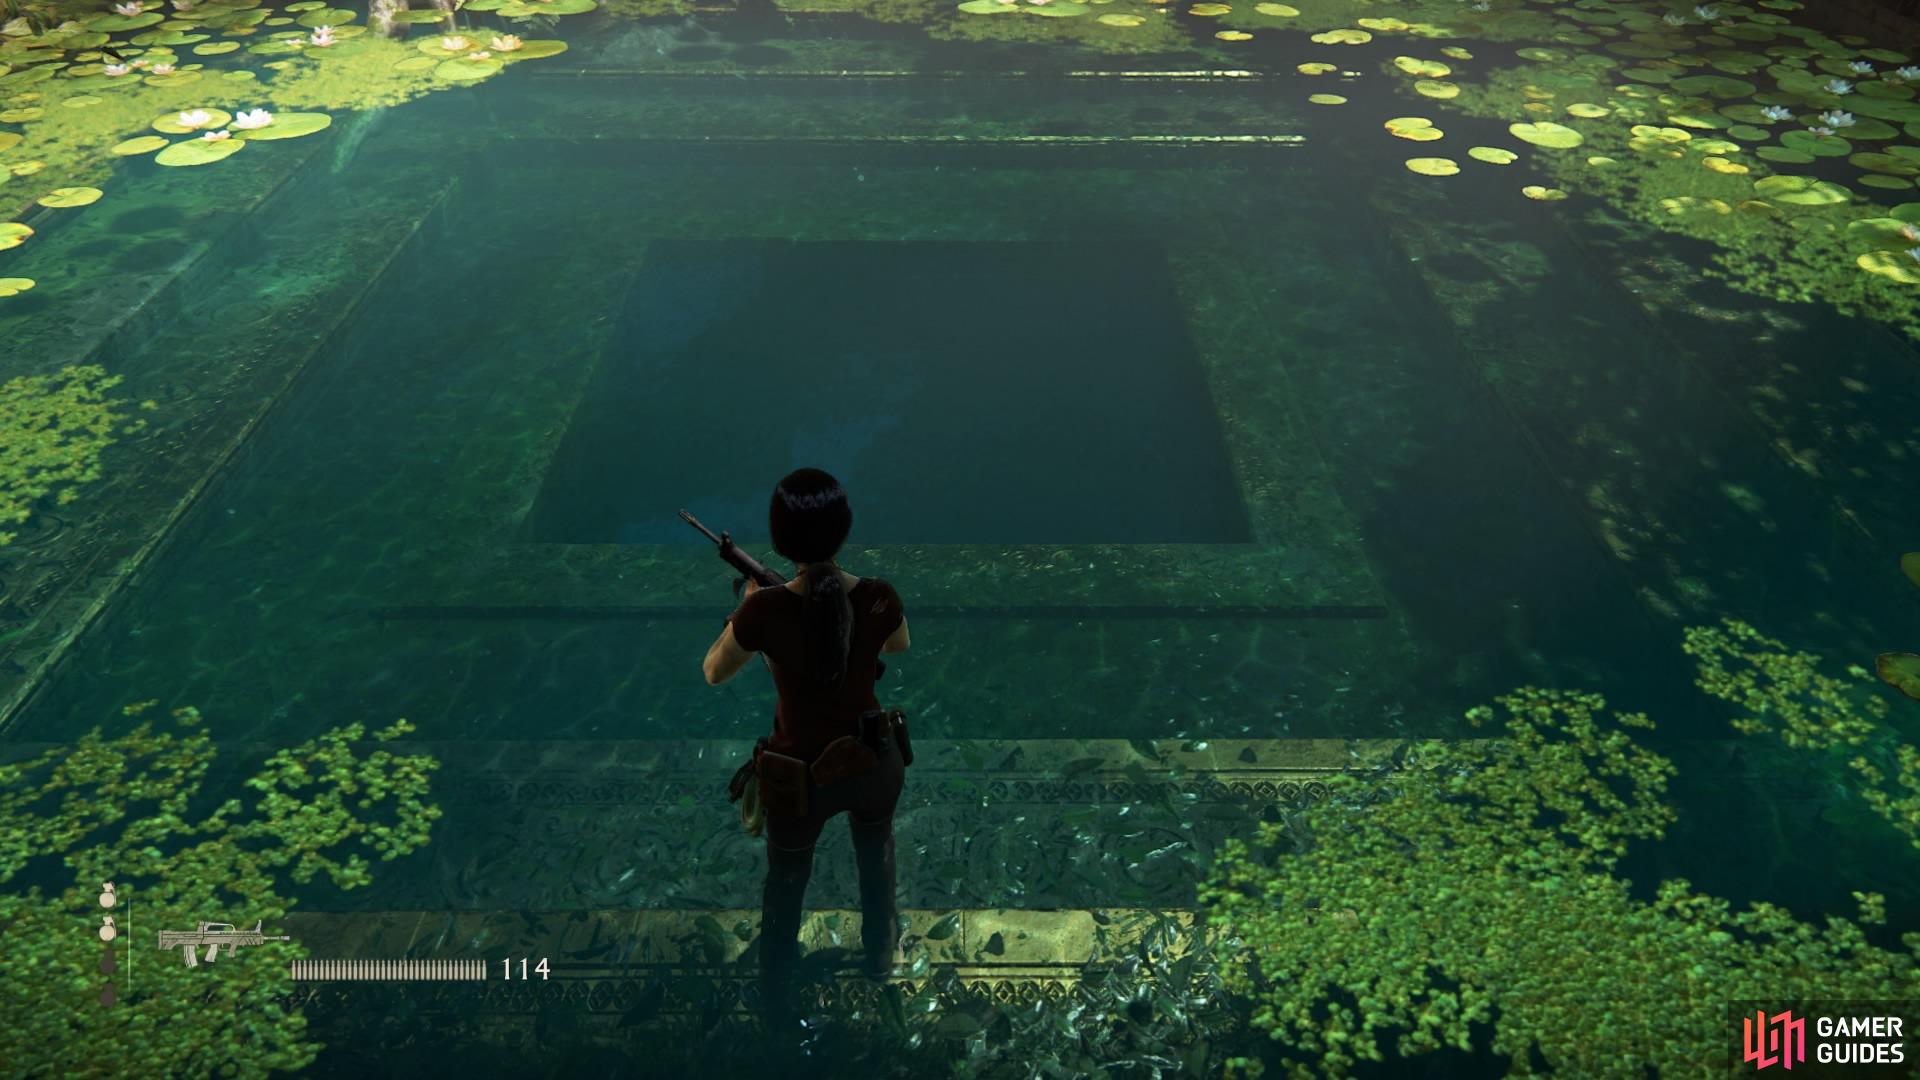
Dive into the well and swim through the tunnels
To gain entrance to the next area you’ll have to dive beneath the well and swim through a tunnel below. When you resurface, head up the stairs in front of you and through the door to the left. You’ll immediately come to a treasure trove with a giant tusk in the middle of the room – watch the cutscene to learn more about it.
Take the stairs to the treasure room
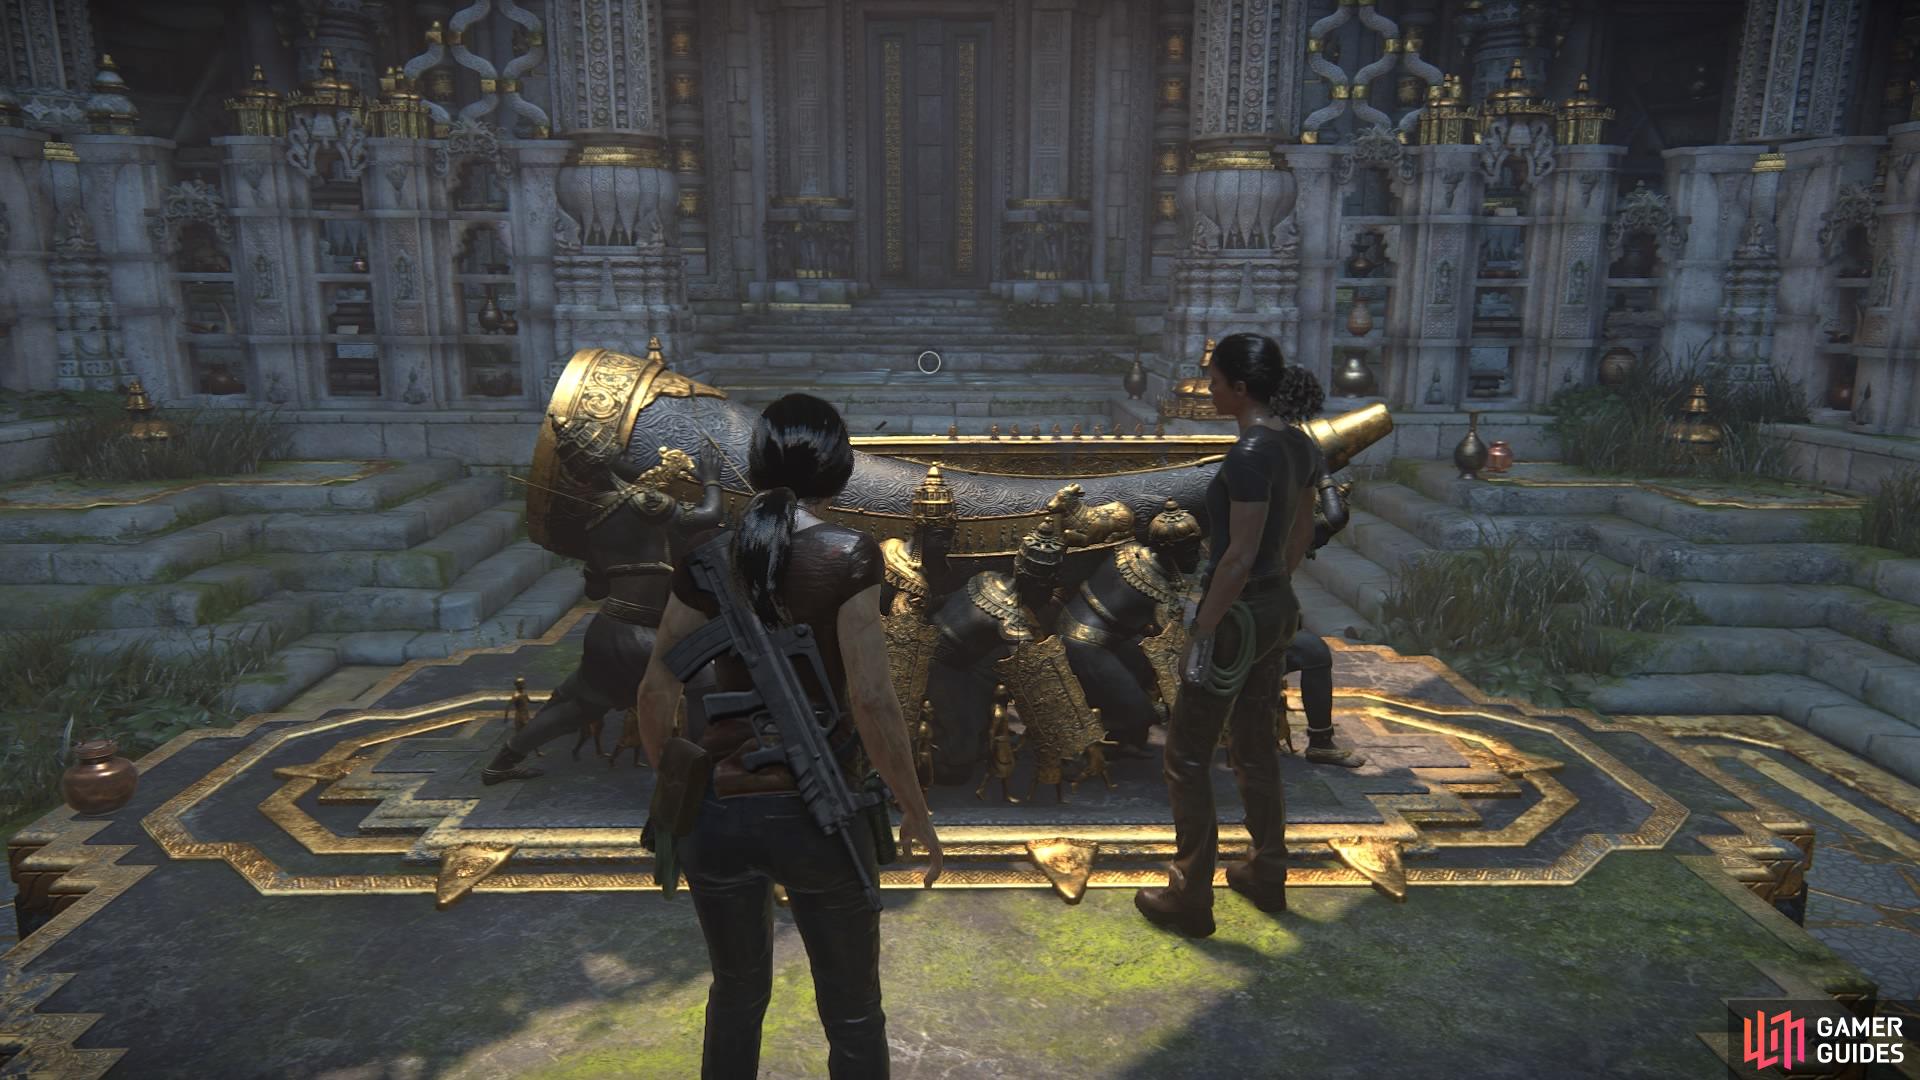
Inspect the alter to activate the cutscene
Afterward, when the door has opened, continue on the linear path to the next room. Jump straight off the ledge into the water below and find the next exit to the left of the room. You’ll have to dive again and swim through the tunnel, as well as push aside some tree roots with Nadine to get passed.
Dive into another tunnel
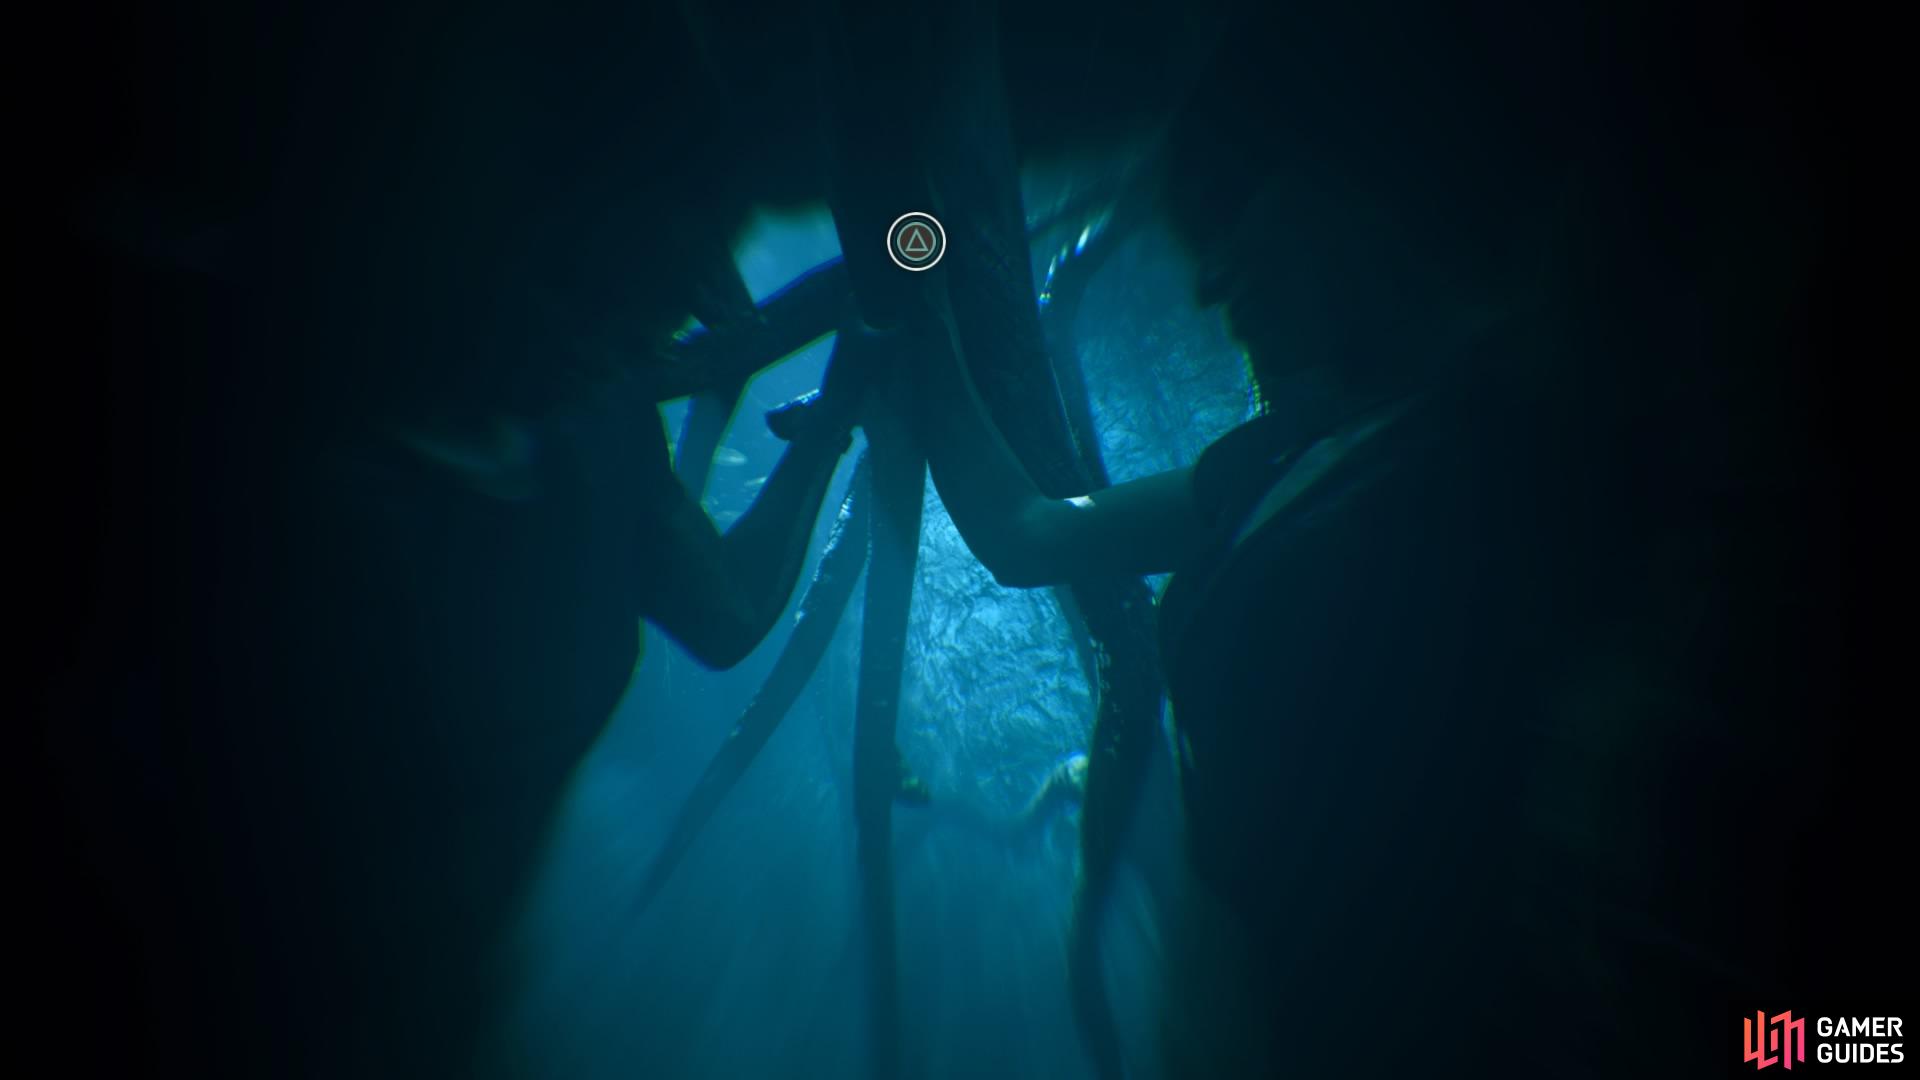
Repeatedly tap triangle to move the debris
Resurface in the next room and look to the left again to see the rock formation you need to climb. Traverse the handholds around to the top of the platform and then jump to the next ledge on the right – the handhold will collapse, but Chloe manages to hold on. Keep going and enter the next door above you.
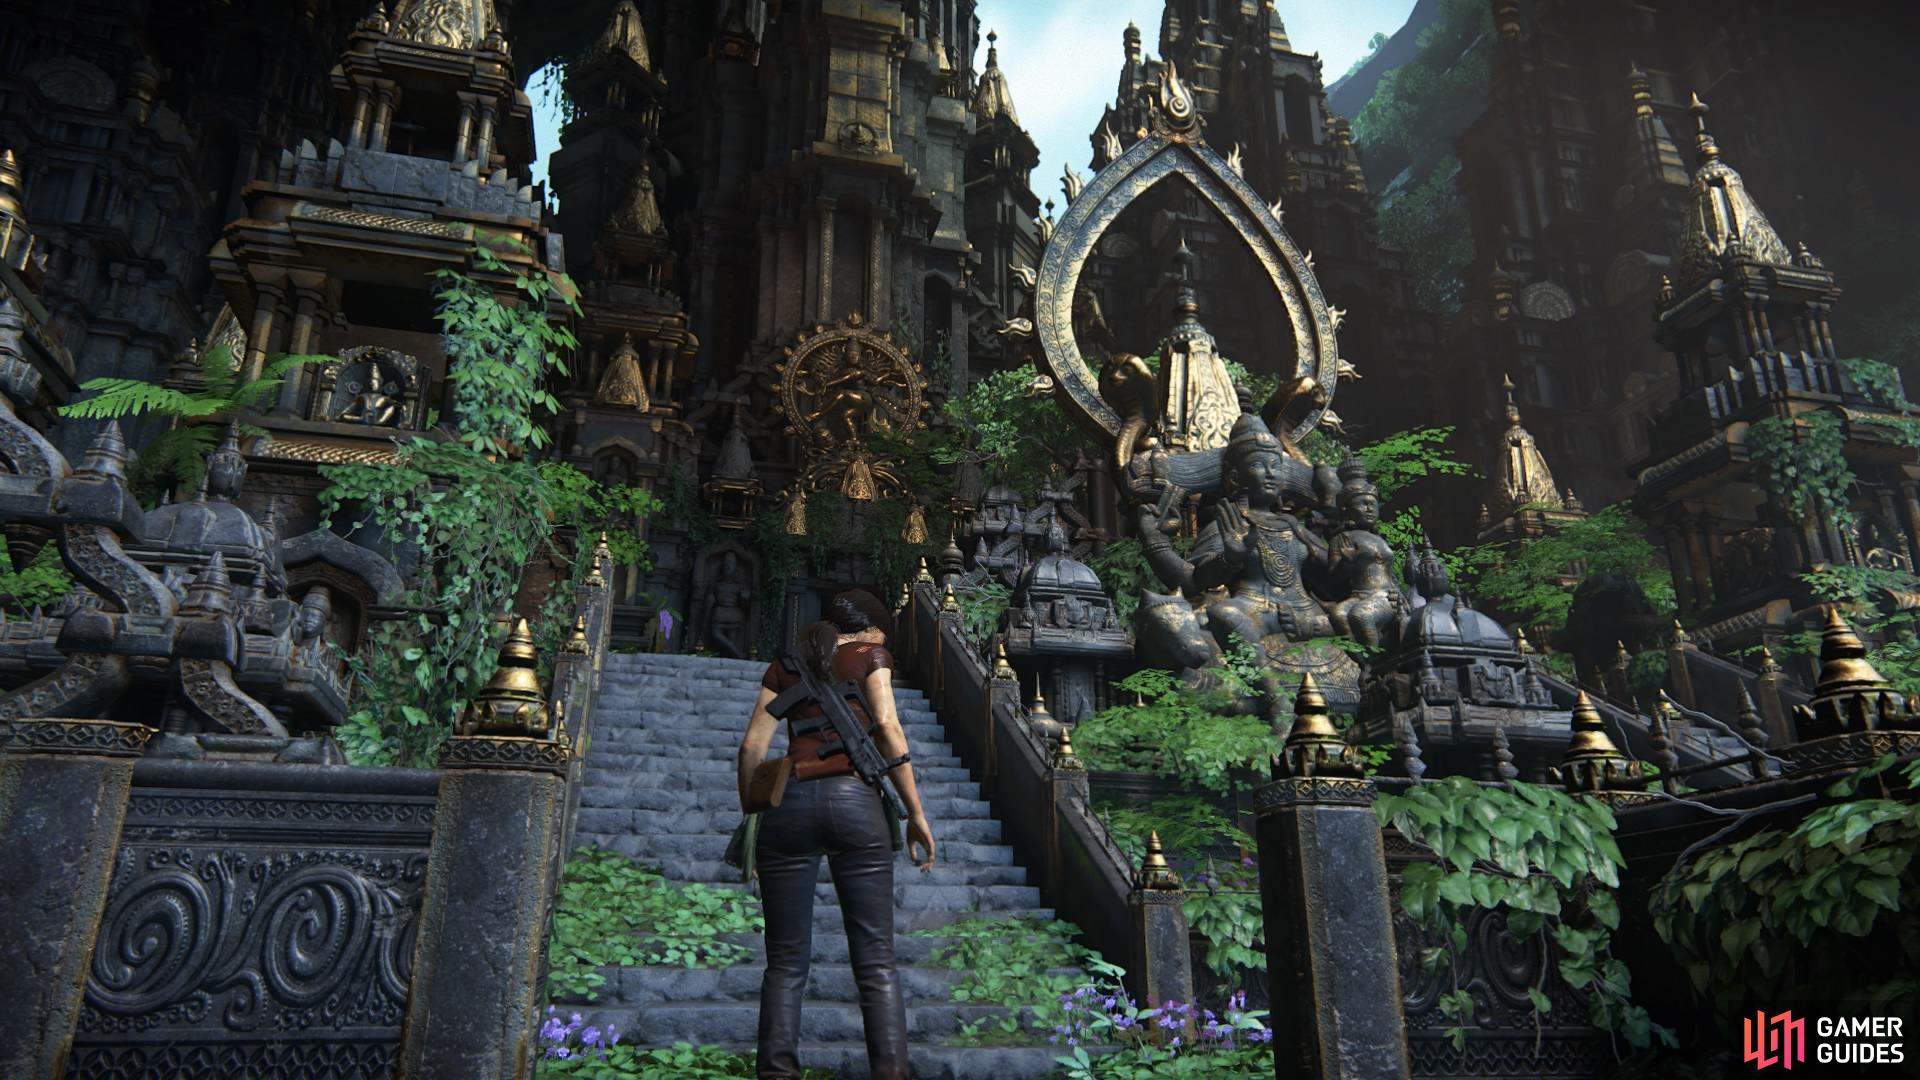
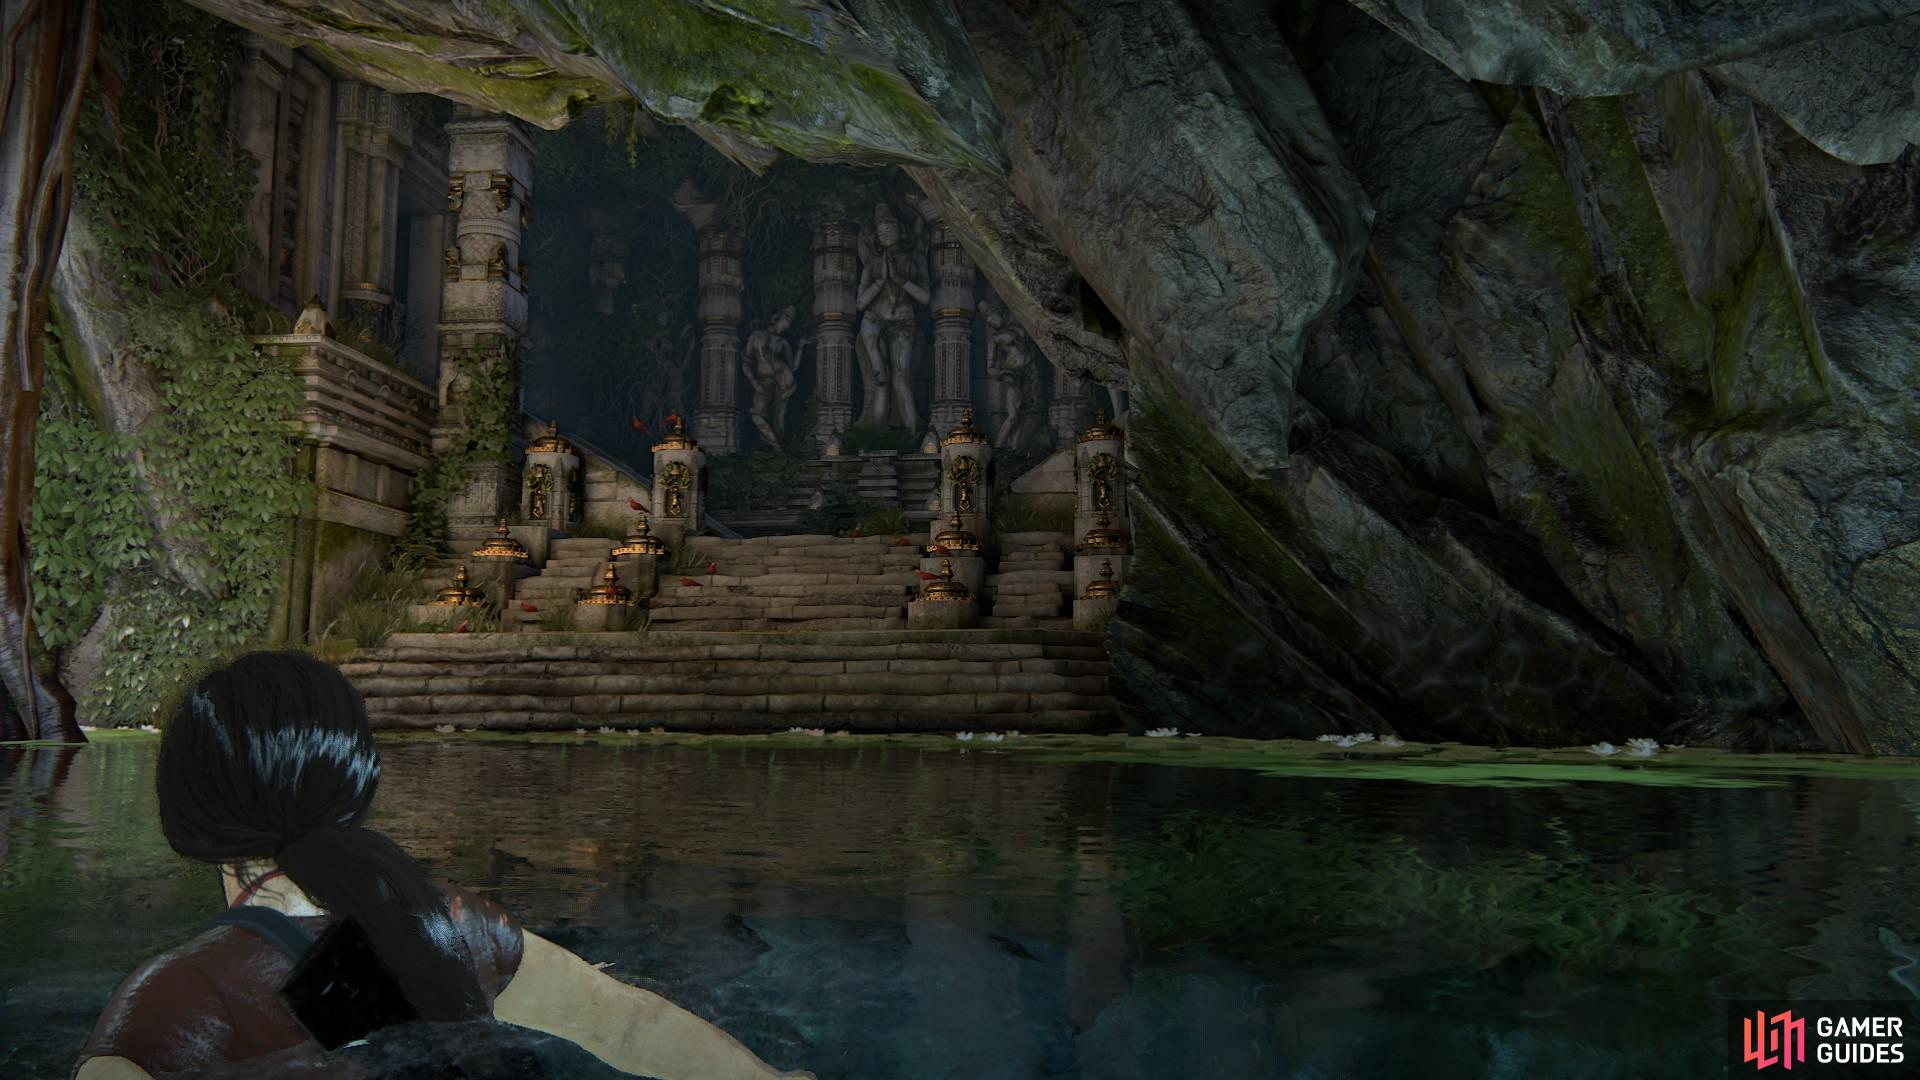
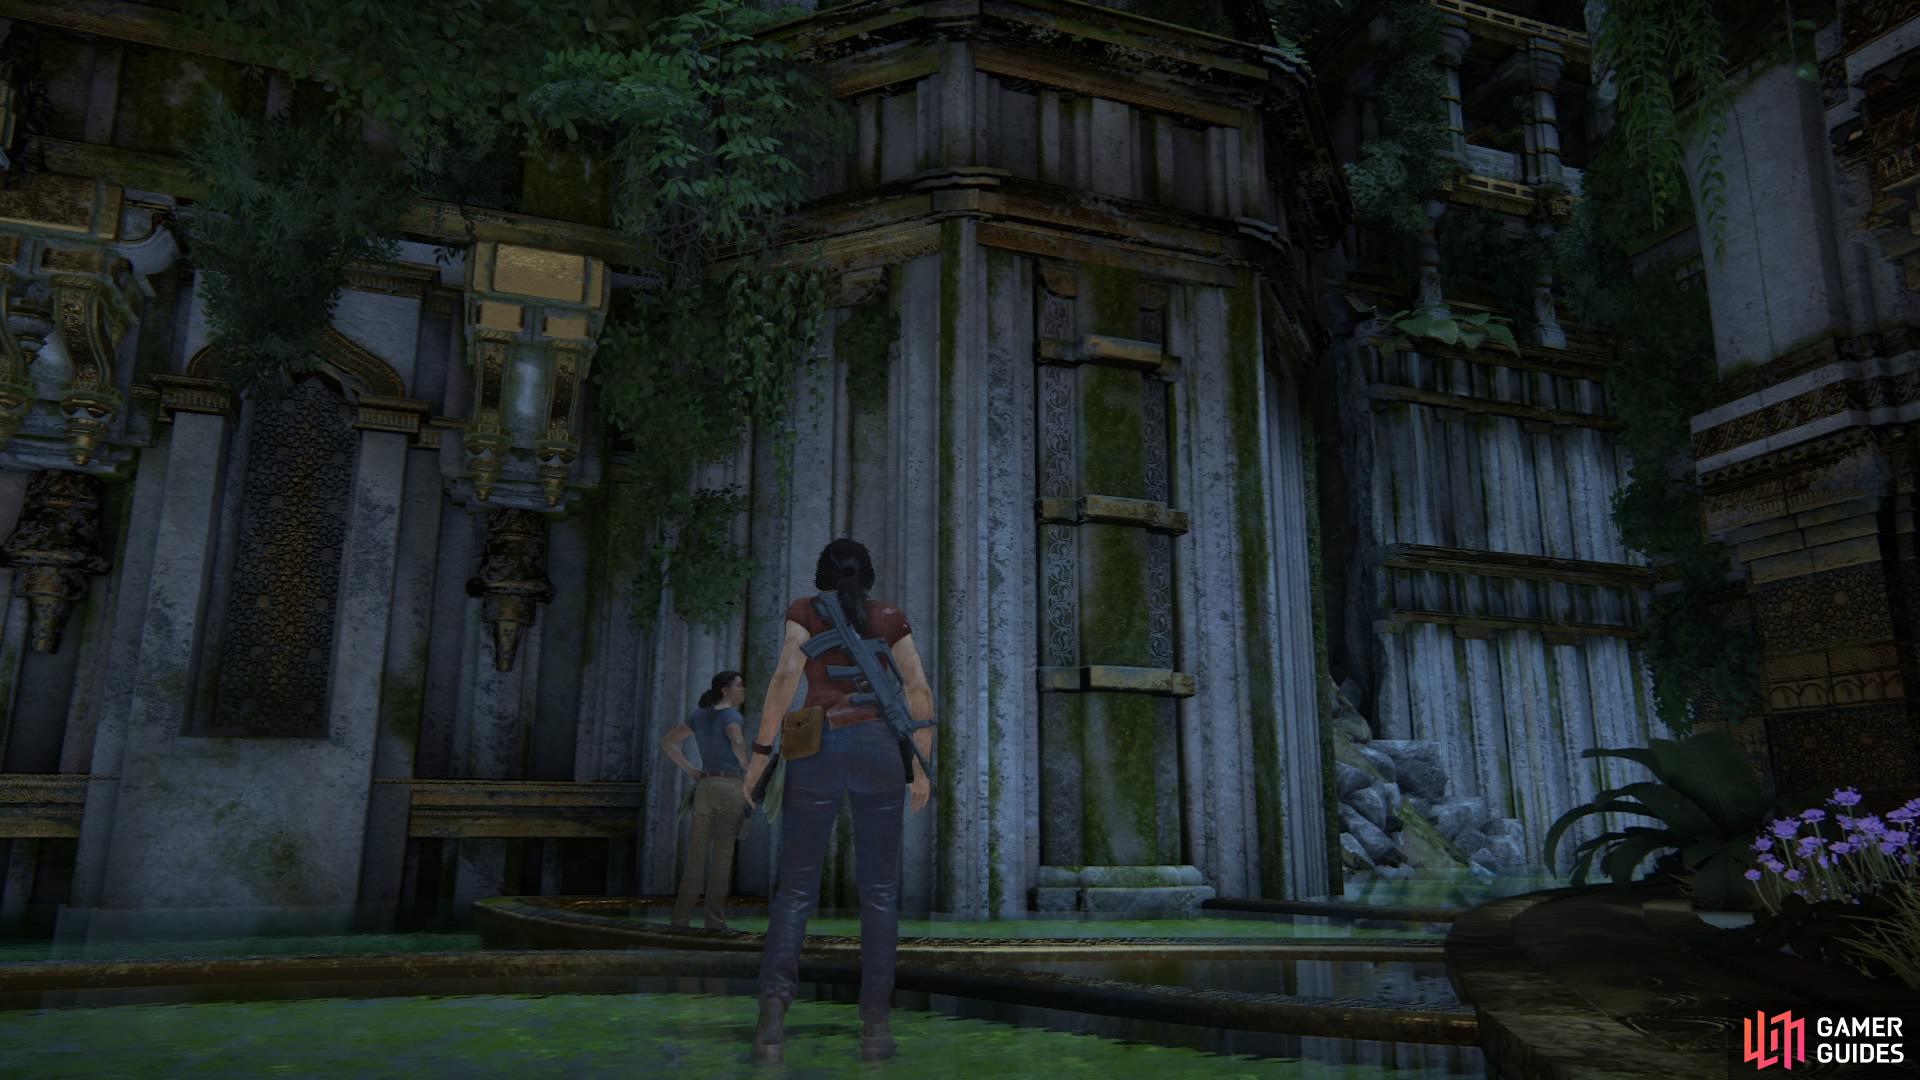
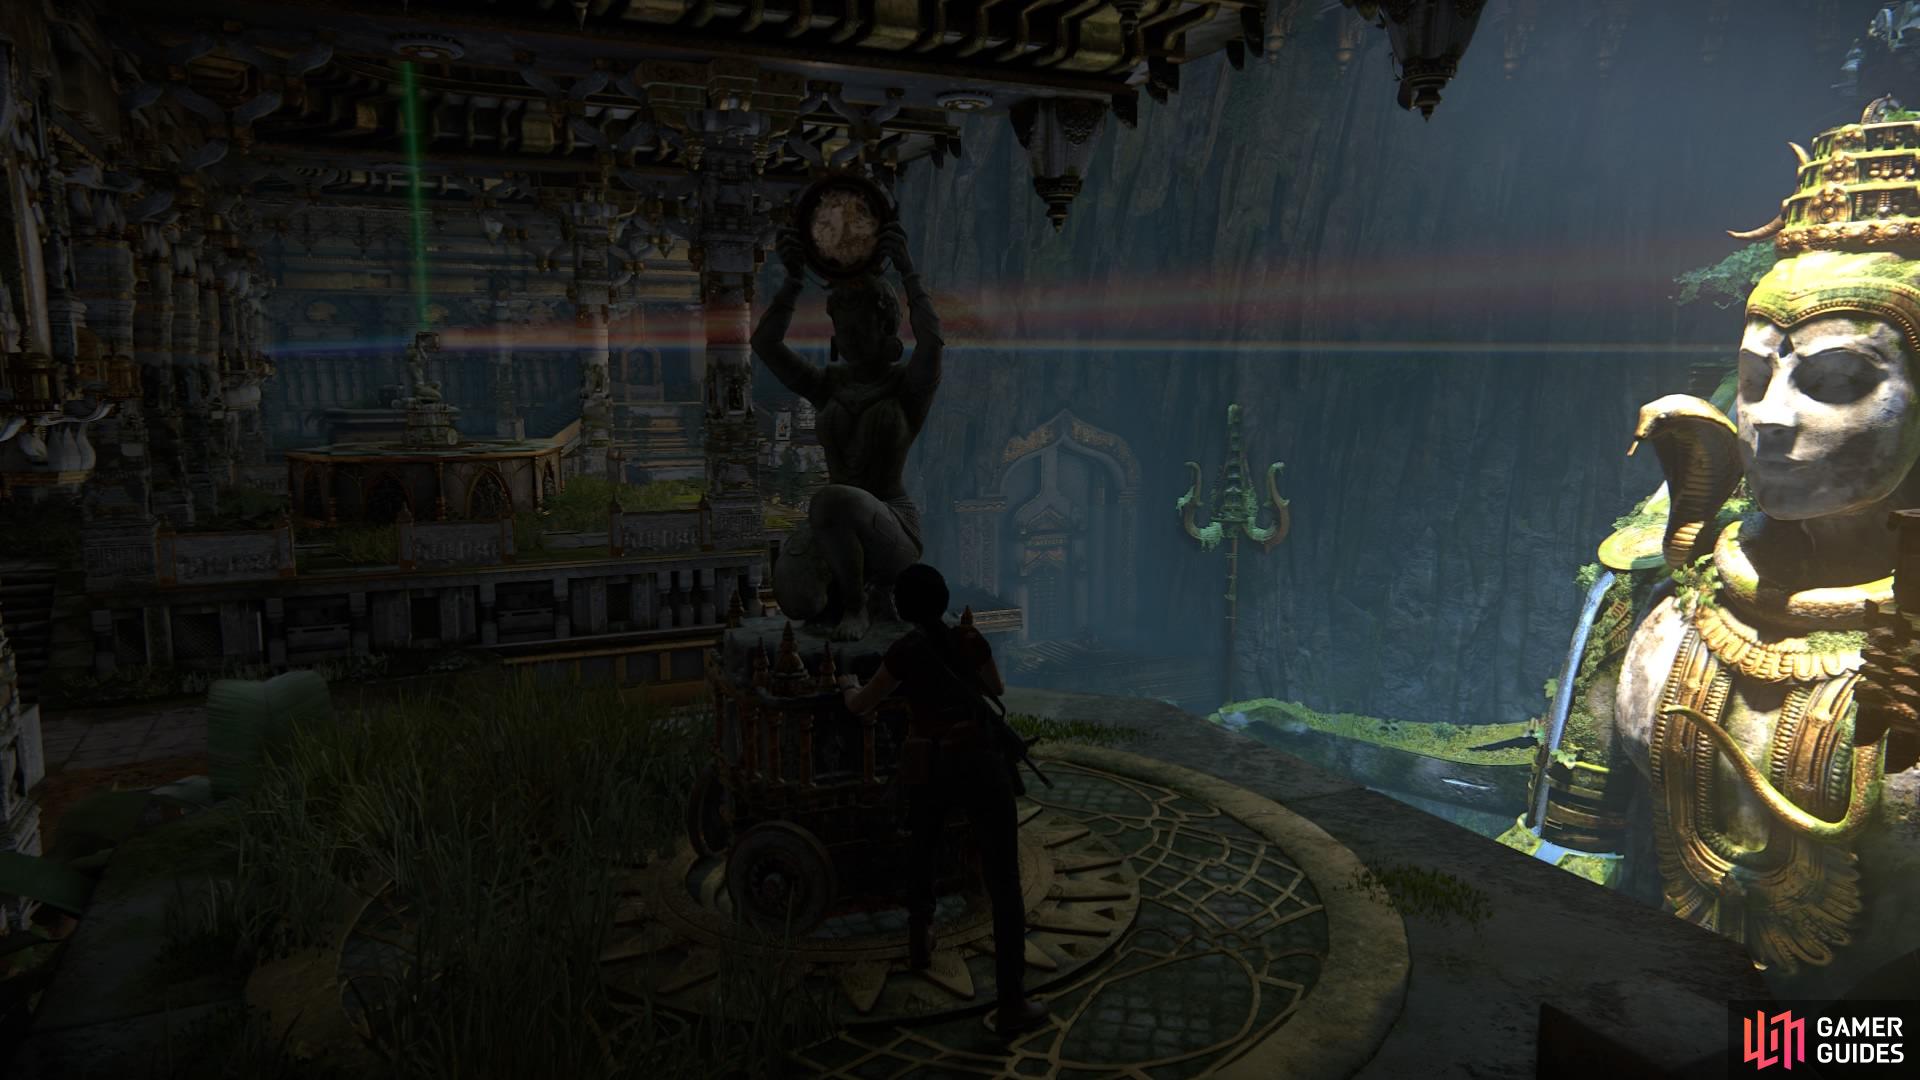
Once you’ve squeezed through the passage you’ll come out at a higher point in the previous room. Rope swing across to the fountain-like platform and make your way into the water to dive into another tunnel below. You’ll have to swim through a second tunnel as well, but you’ll finally come out at what Chloe guesses might be a ‘throne room’. It’s impressive, housing a giant statue of Shiva – and you get to climb it!
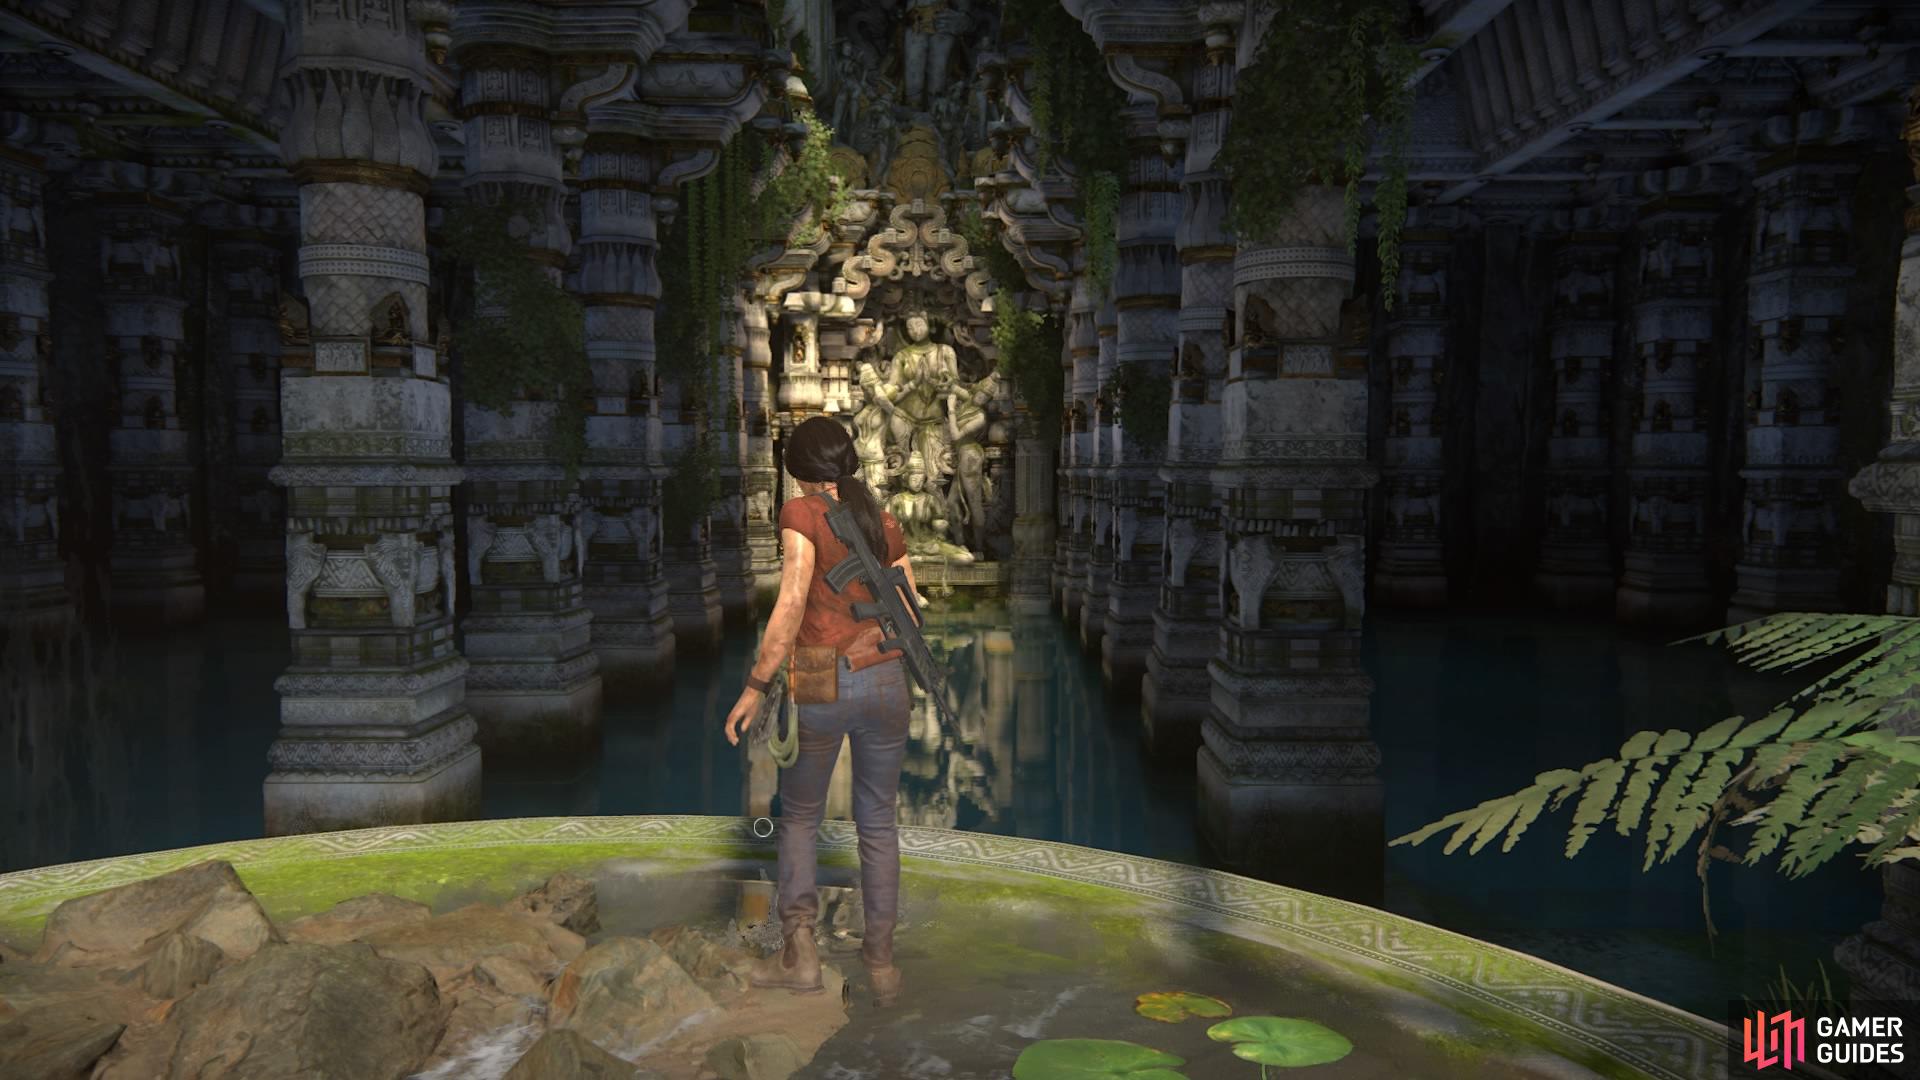
Go towards the statue at the back to find the tunnel beneath the water
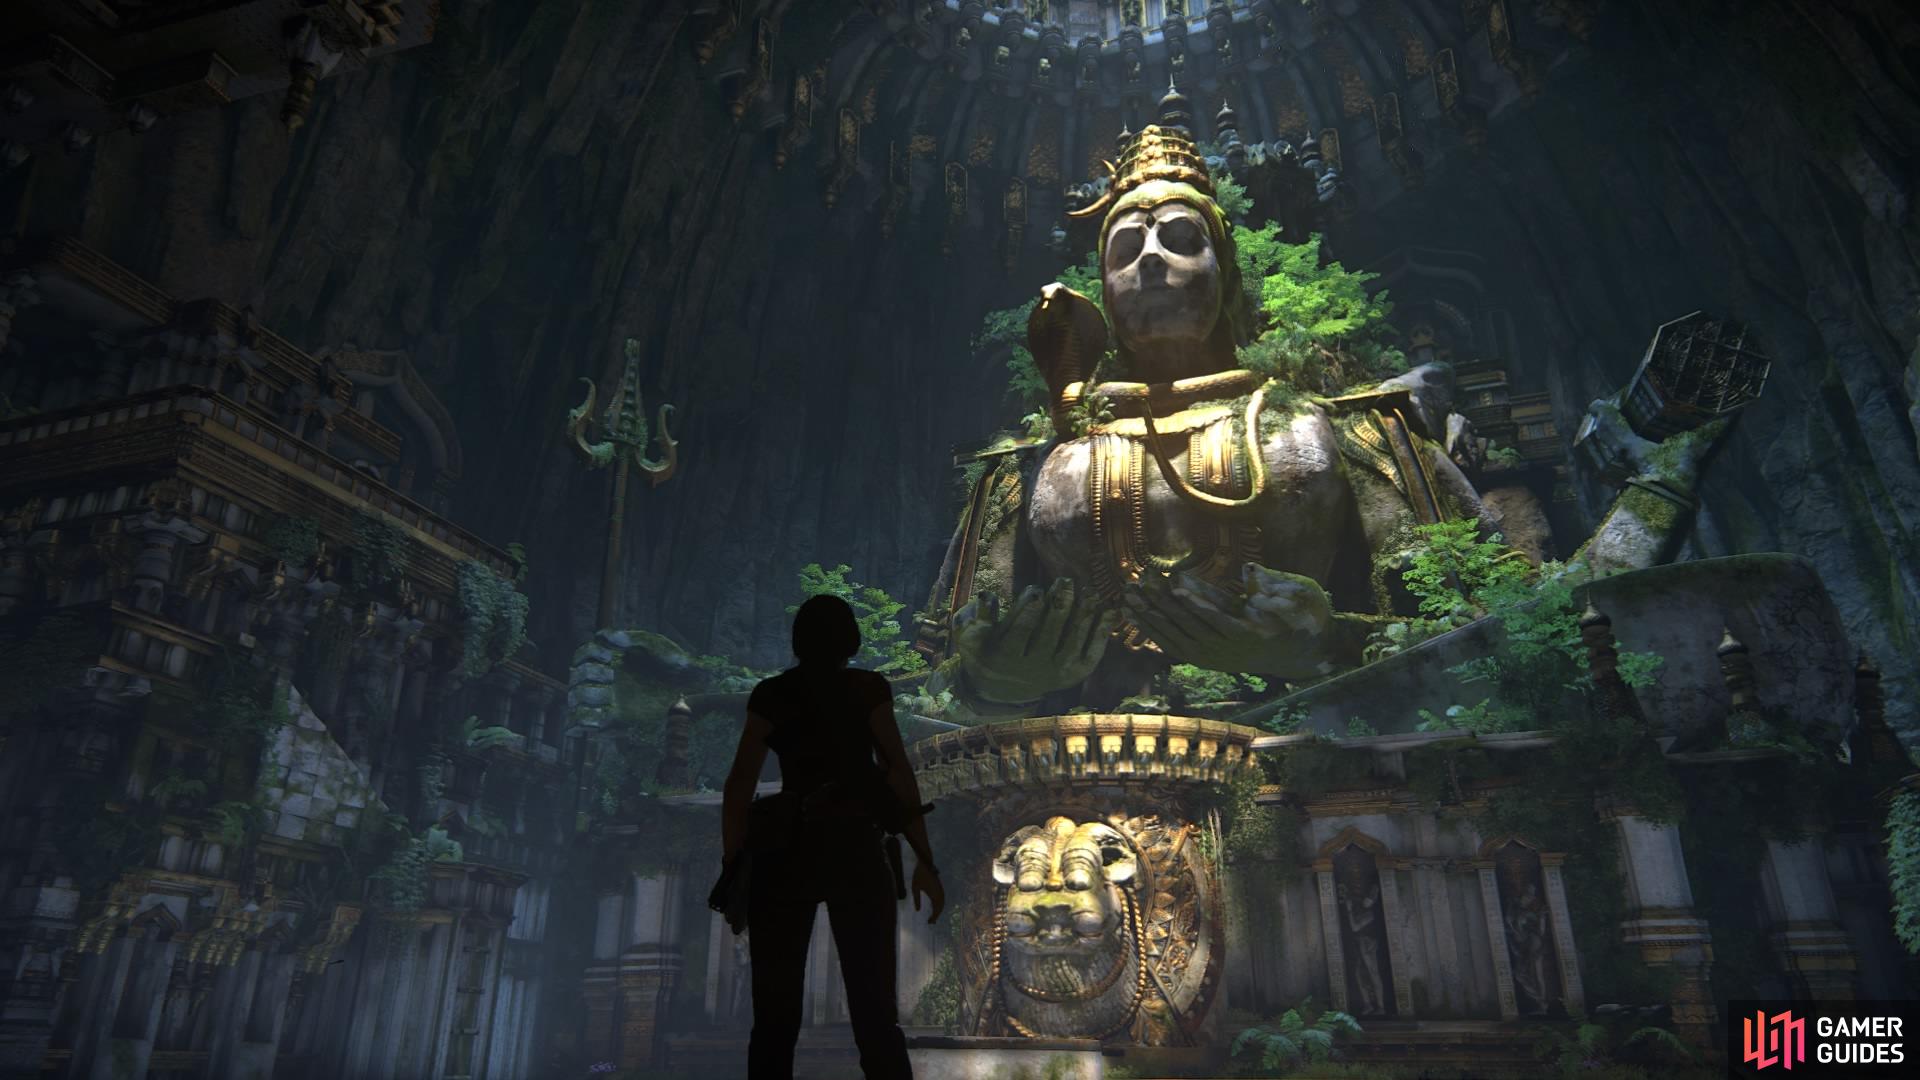
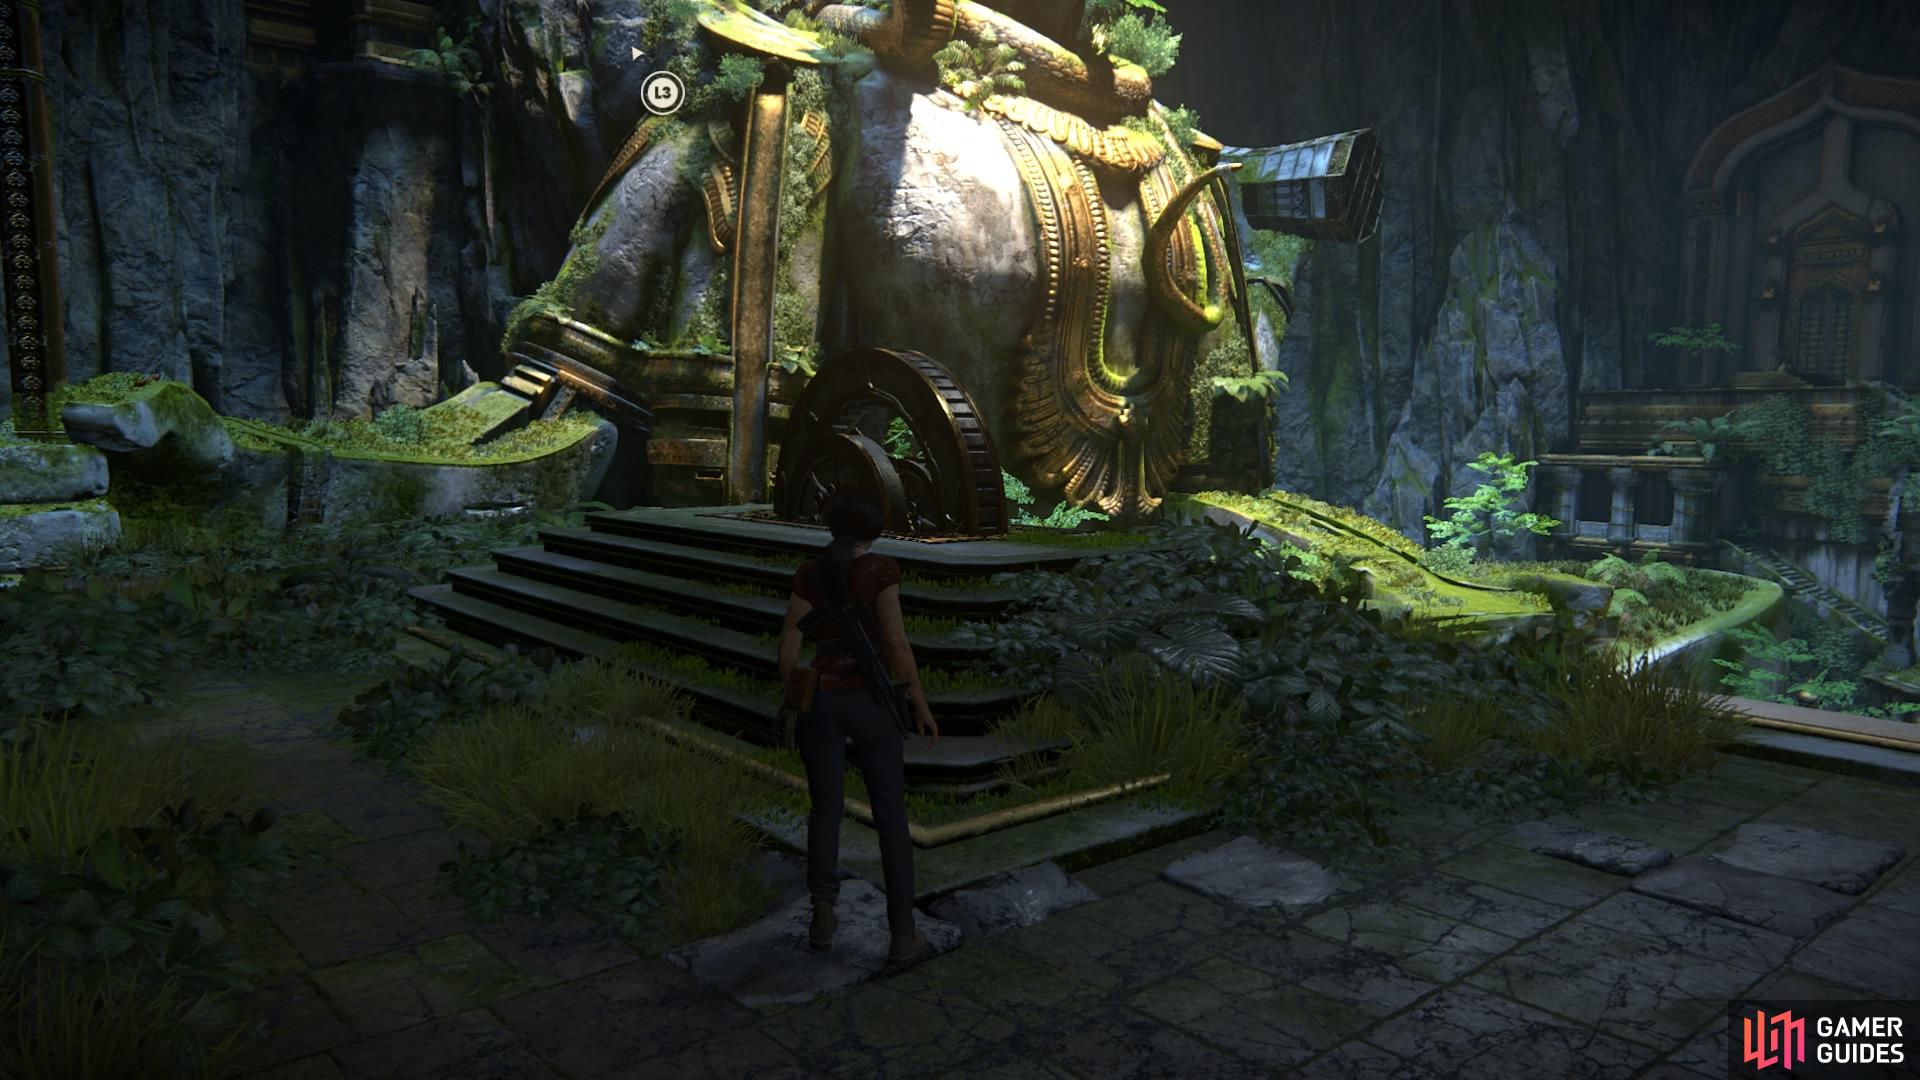
Solve the first step of the Shiva puzzle
The statue is kind of a puzzle, but it’s rather straightforward. You have to move the arms by finding and turning the wheel cranks on either side of the room. They’re located on the upper platforms, so it’s time to begin the ascent.
Head straight to the left side of the room to find the first golden handholds and climb up to reach the stairs. At the top, you can grab the golden décor to keep climbing – vault yourself up on to the upper level to find the first wheel crank. When you turn it, it’ll move one of Shiva’s arms into place – drop down on to the arm and head immediately to the right side of the room.
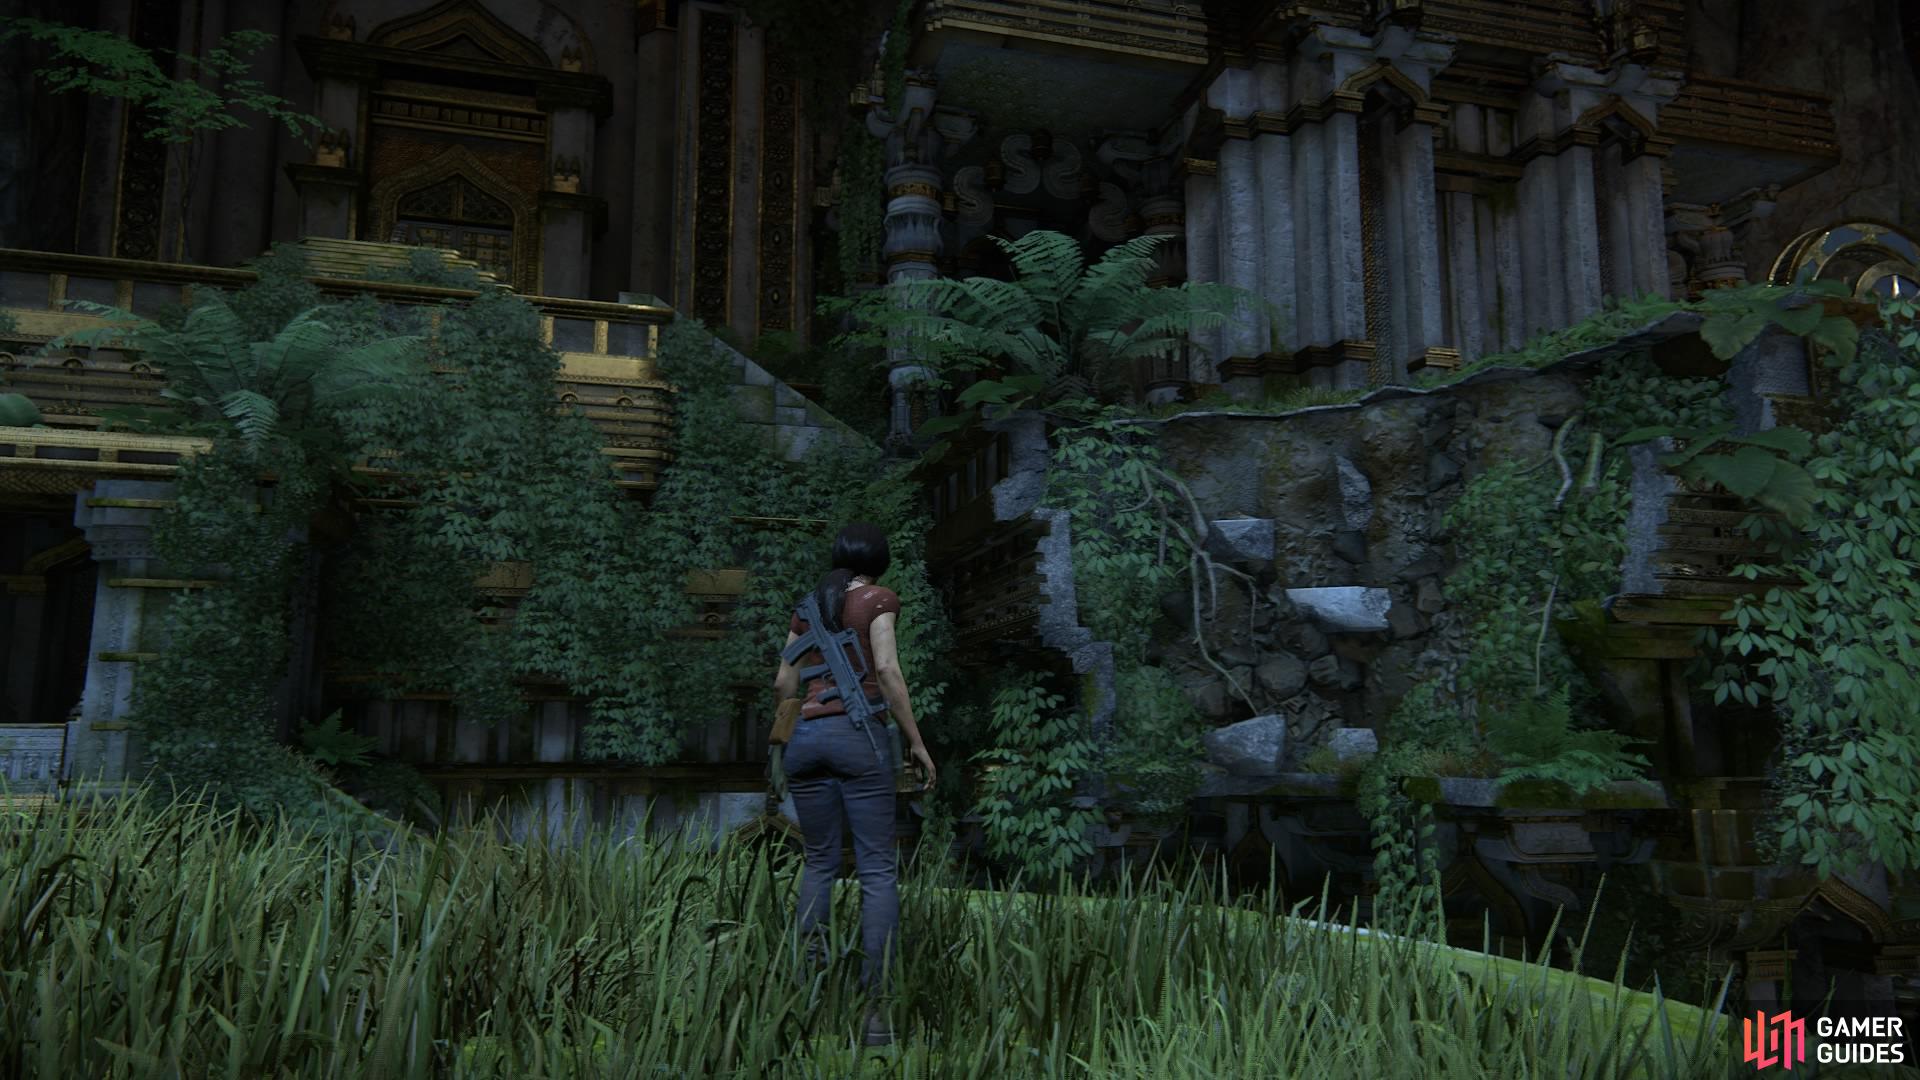
The starting point of the ascent
The first wheel crank
If you look up, you’ll see a wheel crank on the left, and another on the right. You need to get to the left one, so jump down on to the lower level in front of you and make your way to the windows – vault over the window ledge to climb the handholds leading to the crank.
While you spin this one, Nadine will spin the other. Another of Shiva’s arms will lower – the one with the hourglass drum – but it’s timed, so immediately launch yourself towards it to climb up. It will begin to move, but you can ride it to the next platform. Then simply climb up to find one of those familiar five-spoke lock mechanisms in the wall.
On the right side of the statue, locate the next two wheel cranks
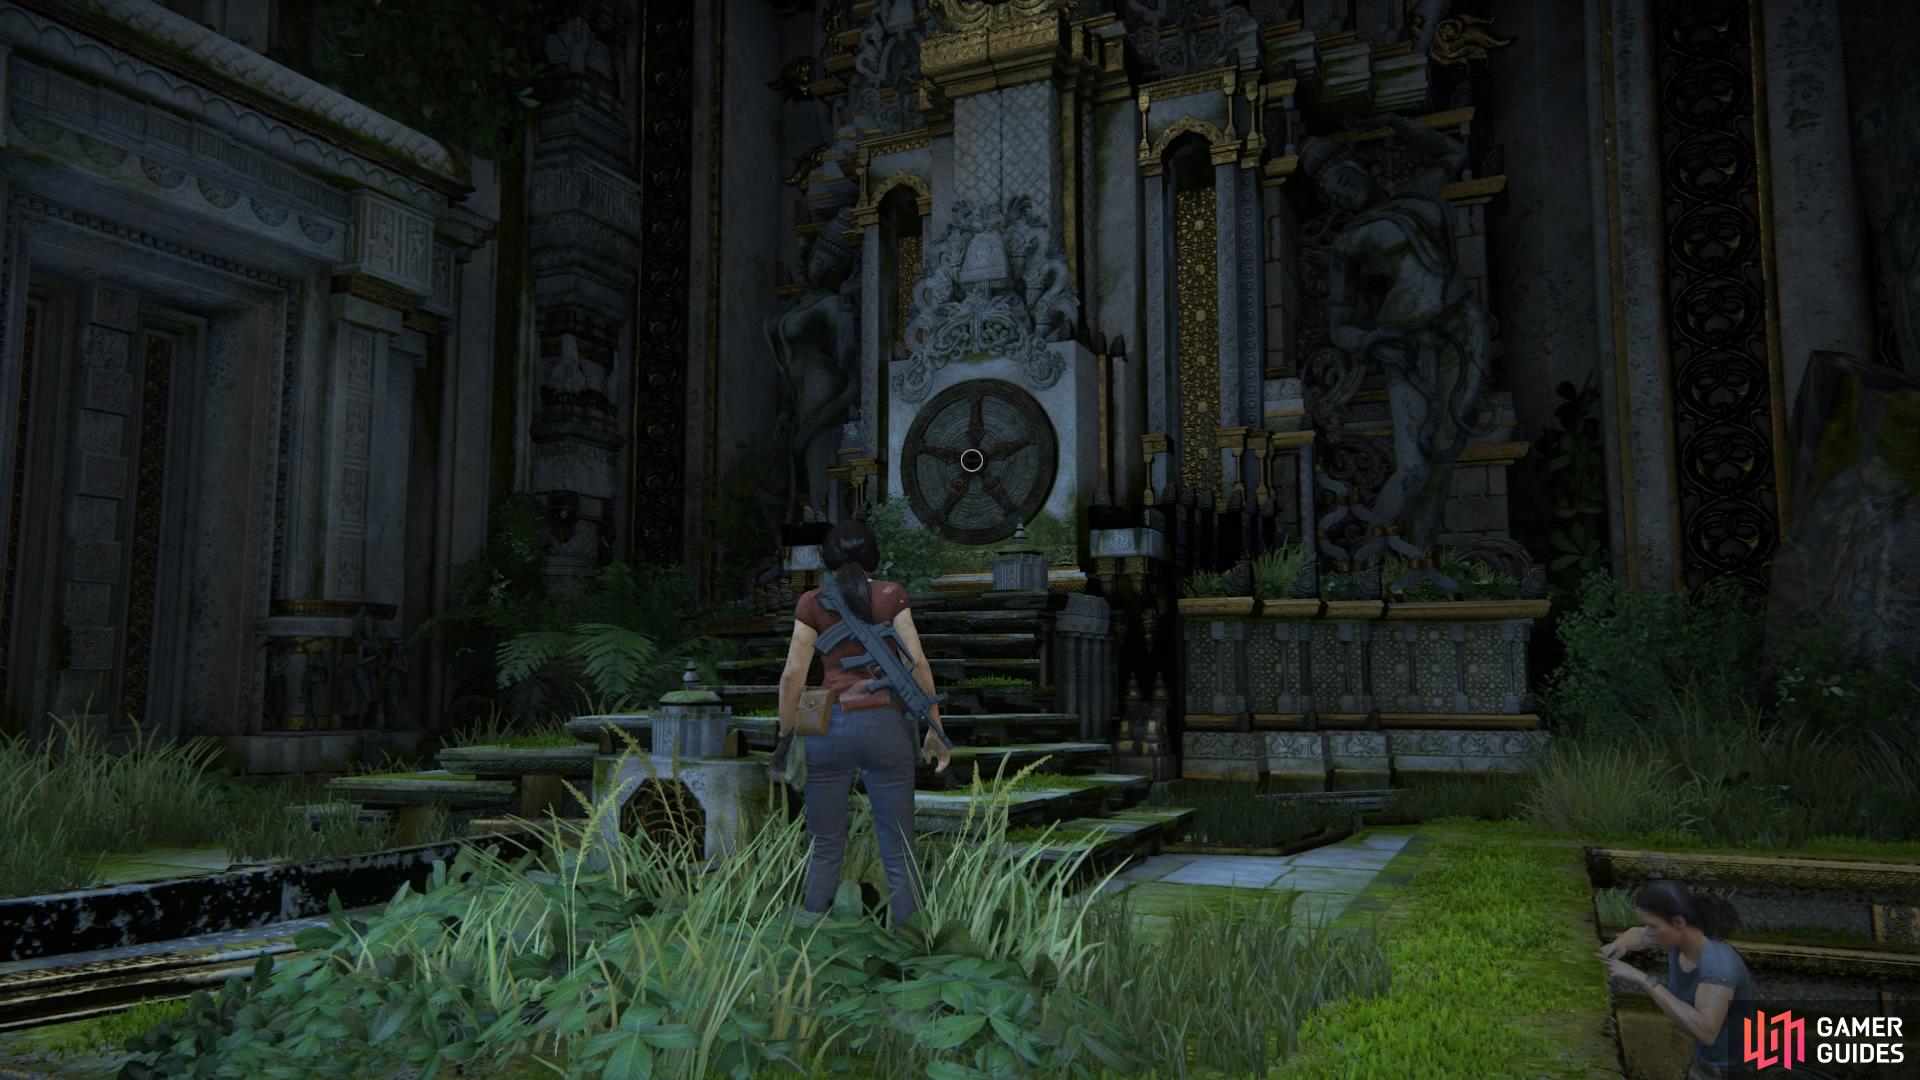
Inspect the lock to activate the water mechanism
Activate the lock to turn on the water, and then leave the platform via the water slide in front of you. Leap off the bottom and throw your grapple hook to swing around the statue and land on the opposite arms. You need to find the fourth wheel crank to lower the arm holding the trident.
Run across this arm to reach the crank easily. Once you’re done turning it, run to the right to jump up the handholds and leap from the ledge to land on the bottom of the trident.
Ascend the trident before the timer runs out
Perch atop the trident’s point to swing to the next lock mechanism
It’s timed again, so you need to do this fast. Once you get halfway it’ll start to move, forcing you to traverse the trident via the handholds. Swing your way across to the next five-spoke lock to activate the water, which will also open a door just next to you. Go through it and turn right into the stairs to spin the final wheel crank.
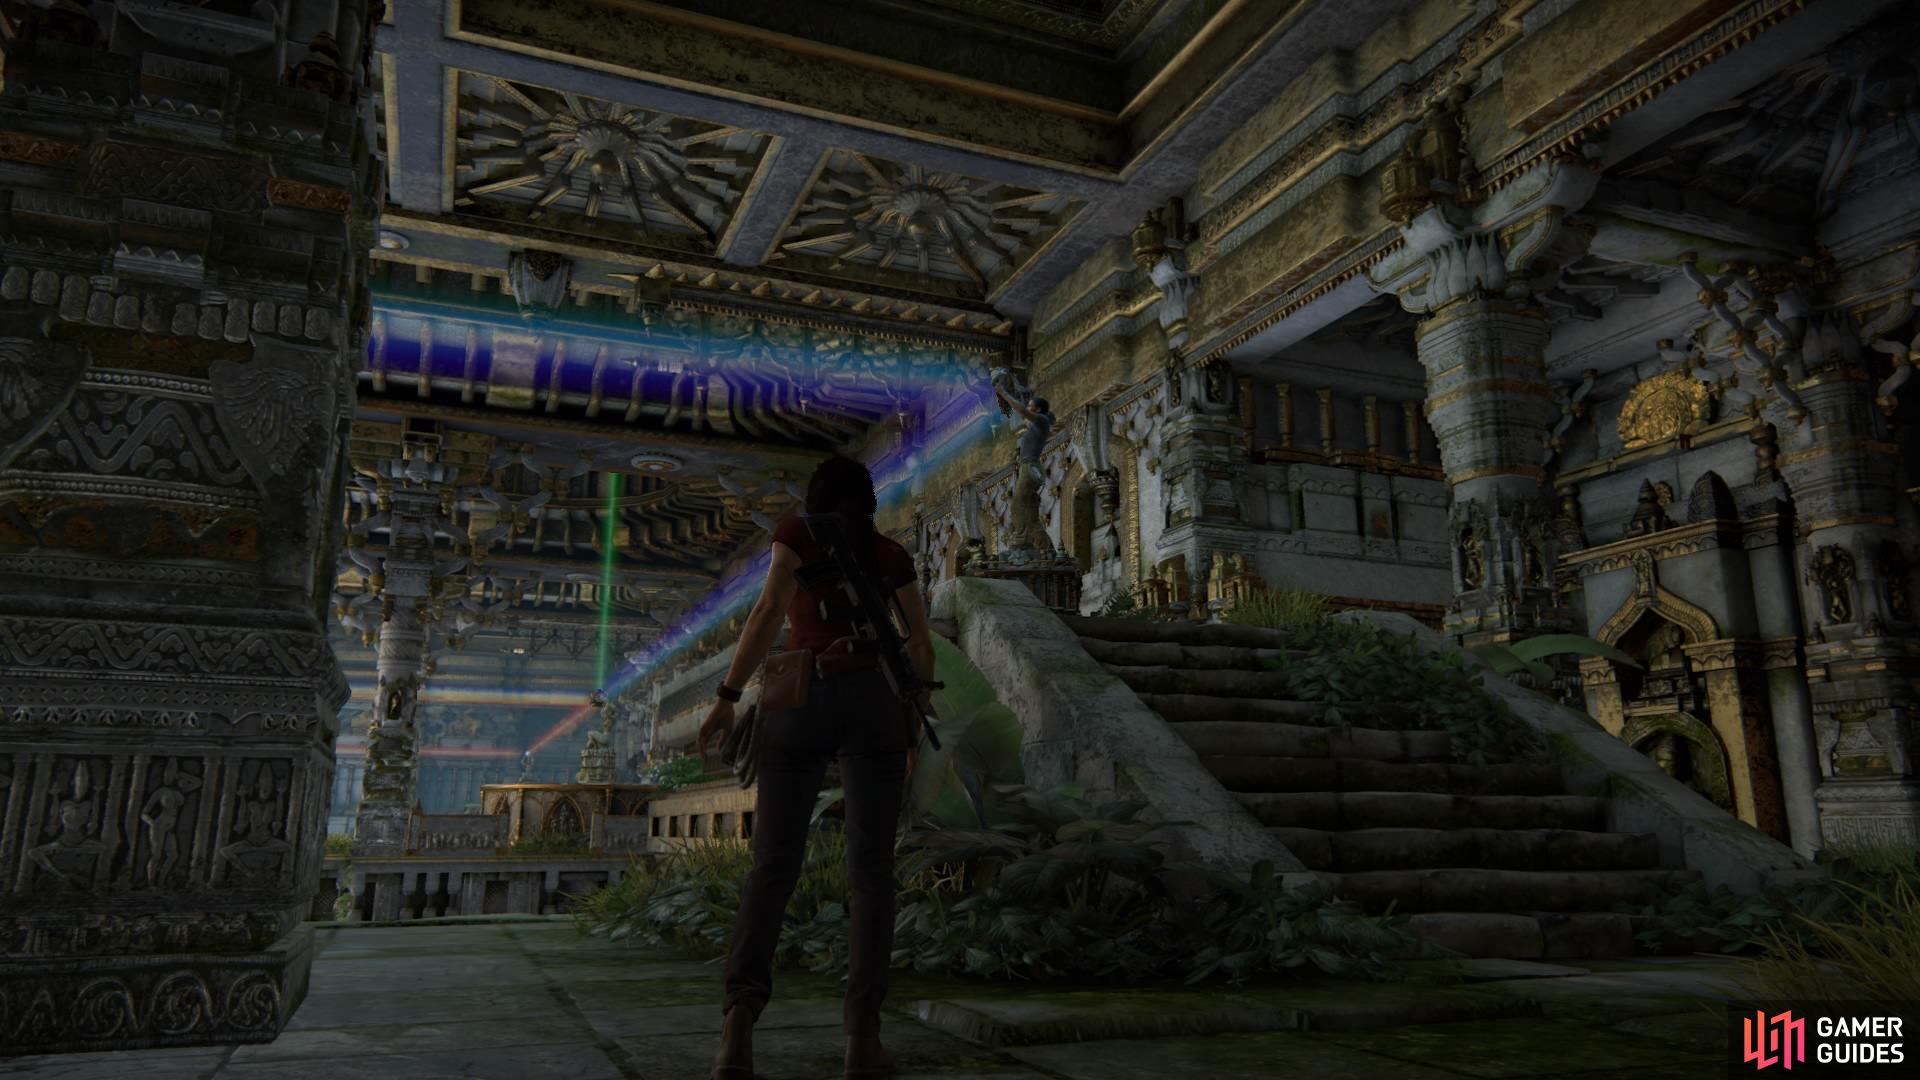
The next stage of the puzzle involves moving mirrors to reflect beams of light around the room. To begin, swing from the iron chandelier on the ceiling to reach the first mirror statue. Spin it around until you see three beams of coloured light, creating a prism.

Swing across to the first statue
Spin the statues until the mirrors reflect a prism of light
Now head to the left side of the room to spin the next statue until the light is reflected. Over the gap ahead of you, you need to align another mirror, so jump on over. This time, grab the statue and pull it along the track until both statues are aligned perfectly.
Run over to the right side of the room now, where you’ll find that the corner statue is a heap of rubble. But with the mirror still in-tact, Nadine hops on to the podium to hold it up for you. All you have to do now is align the opposite statue the same way you did before.
This will activate something on the ground floor, but before you get the chance to go down and check it out, you’ll be attacked by Asav’s men. It’s time to fight your way across the platform as they attempt to RPG it to the ground!
Nadine will help you to complete the prism
Fight off the attack
Unfortunately, Chloe and Nadine don’t make it to the other side. Rather, they plummet to the water below and end up right at Asav’s feet. After the cutscene ends, you’ll be (re)united with treasure hunter Samuel Drake as the insurgents lead you to the next puzzle room.
From here, it’s pretty straightforward again. There’s a dial above you on the wall, much like the ones from the podiums in the Western Ghats, that you have to spin until it forms an image. But first, activate the two levers by the entrance door - they reveal two murals, exactly like the ones from the shadow puzzle room in an earlier chapter.
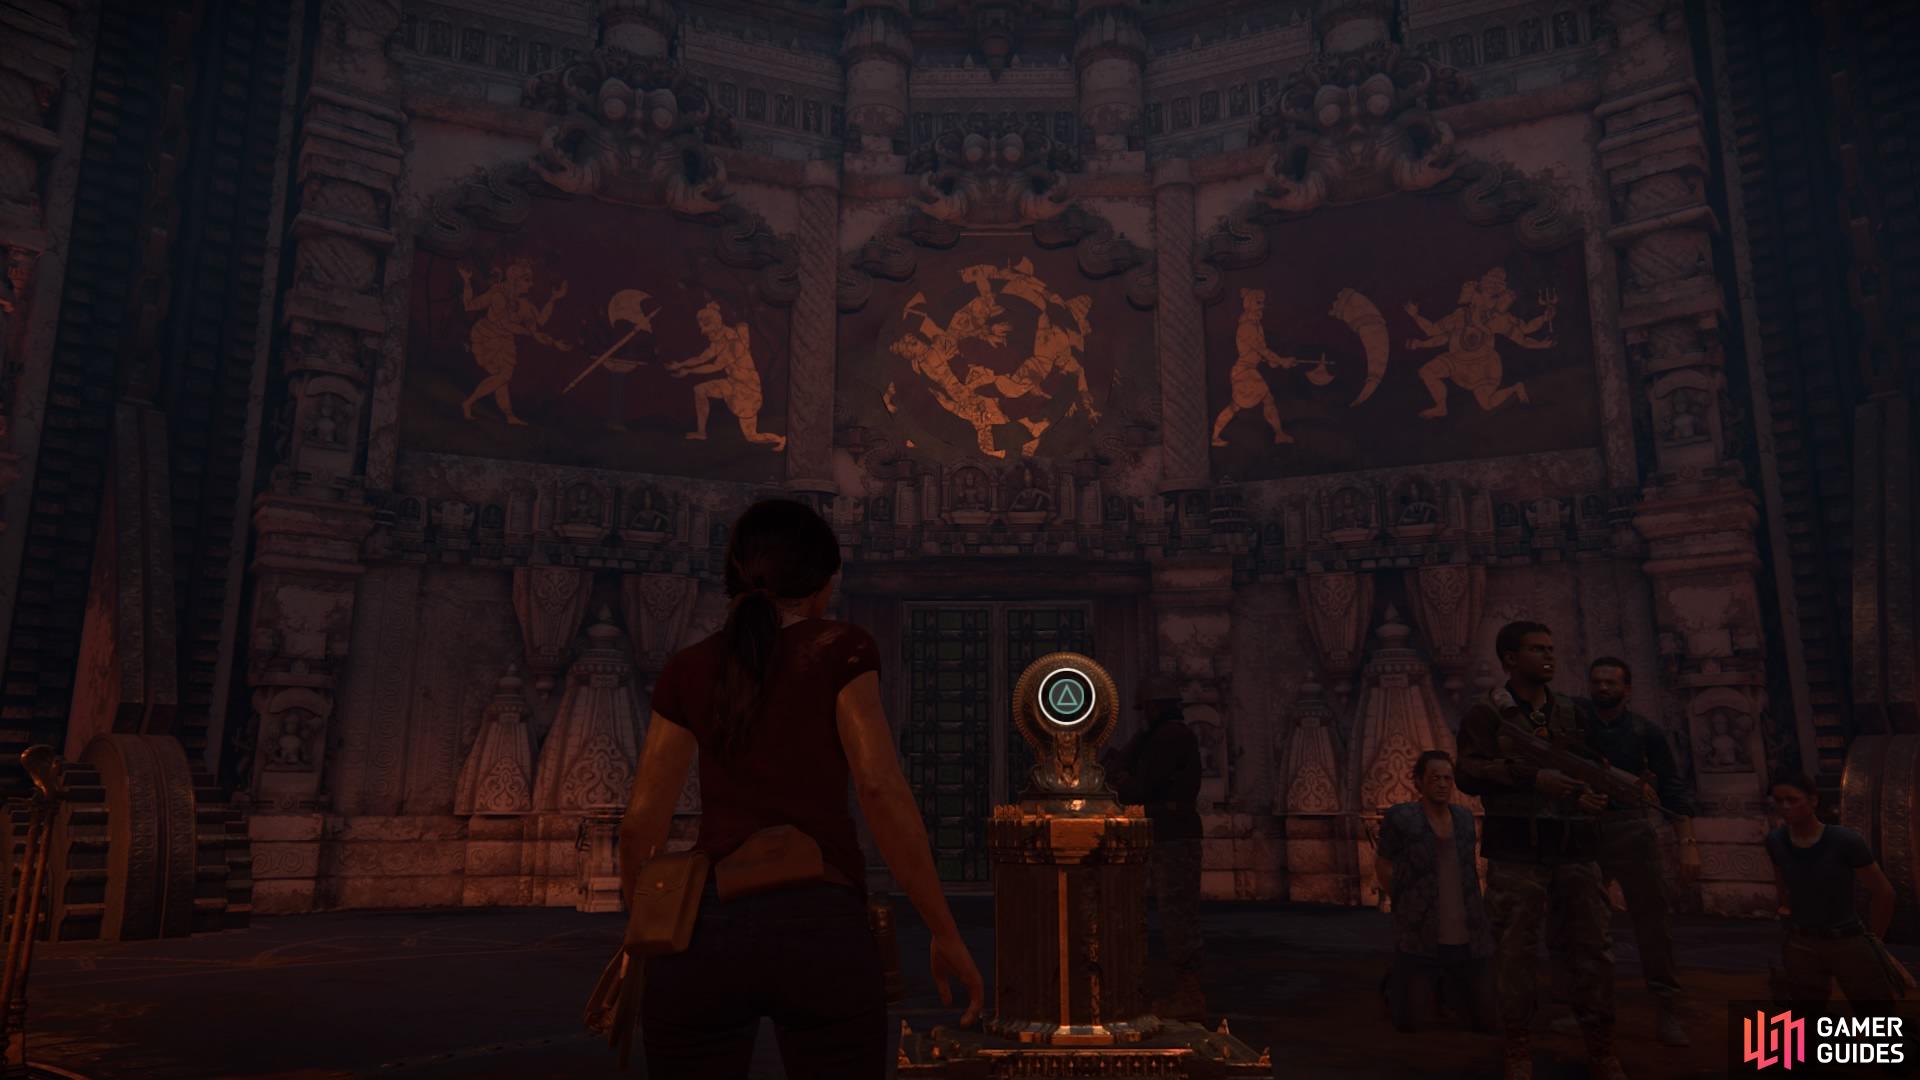
Use the disc to spin the dial
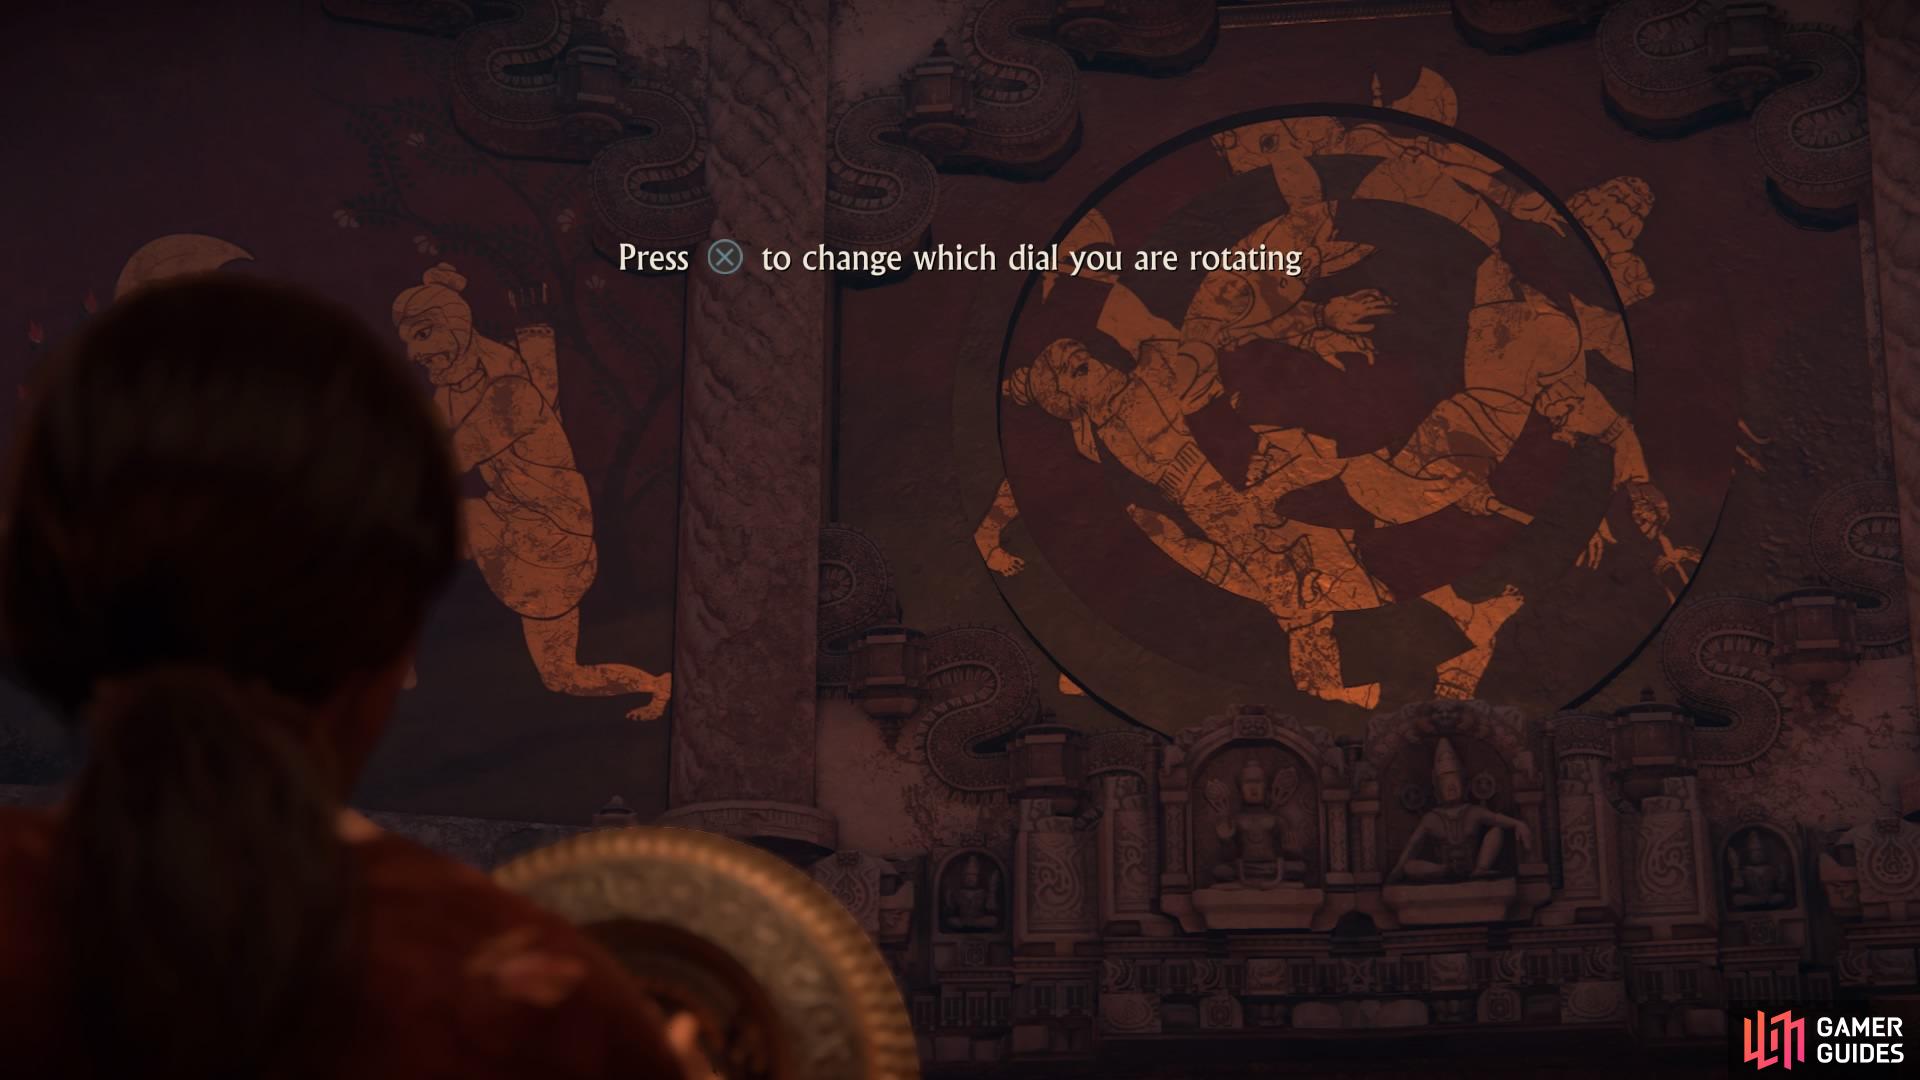
Form the image
Use the disc mechanism in the middle of the room to spin each ring of the dial. When the image is complete, you’ll move on to the second part. Chloe will focus on the statue of Ganesh by her side, and you’ll be prompted to switch between each one of his arms. Lower all of Ganesh’s arms so that they match the image on the wall to activate the next cutscene.
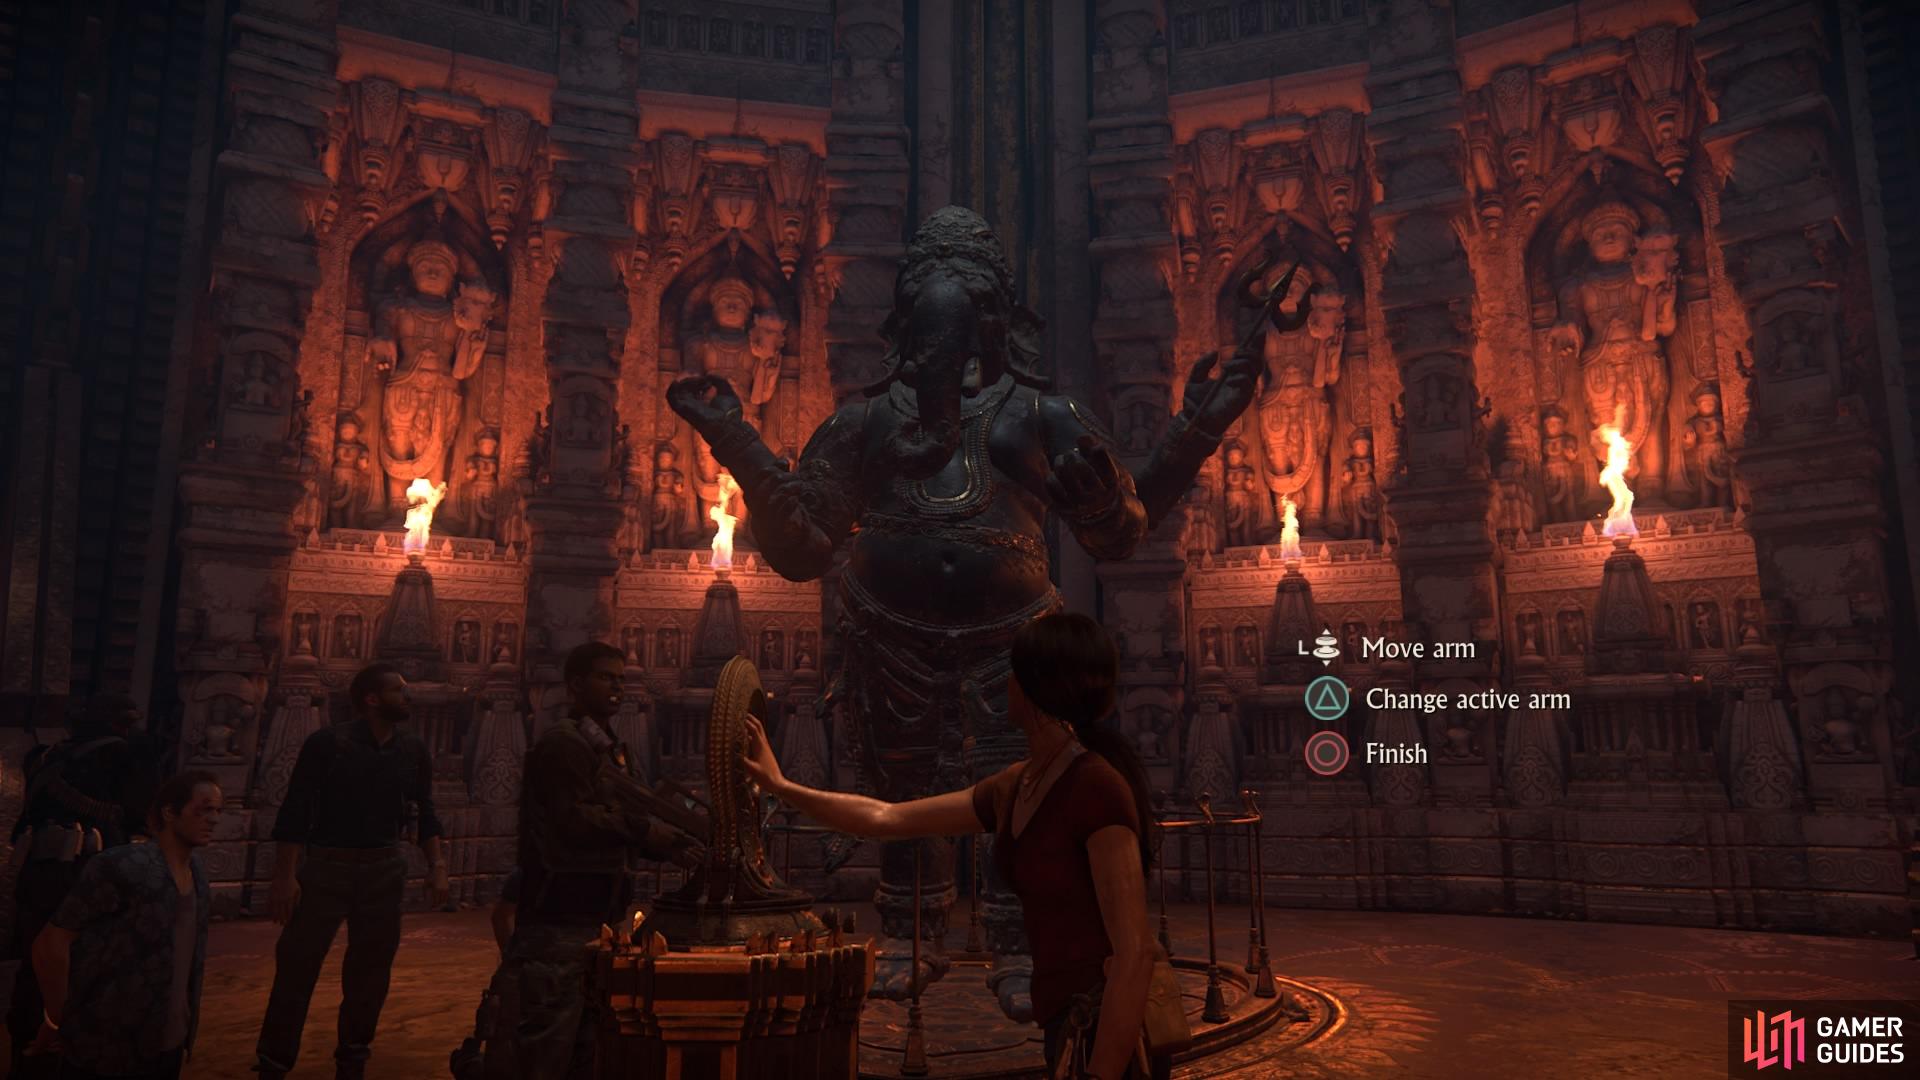
Lower Ganesh’s arms to finish the puzzle
Pick-lock your way out of danger to end the chapter
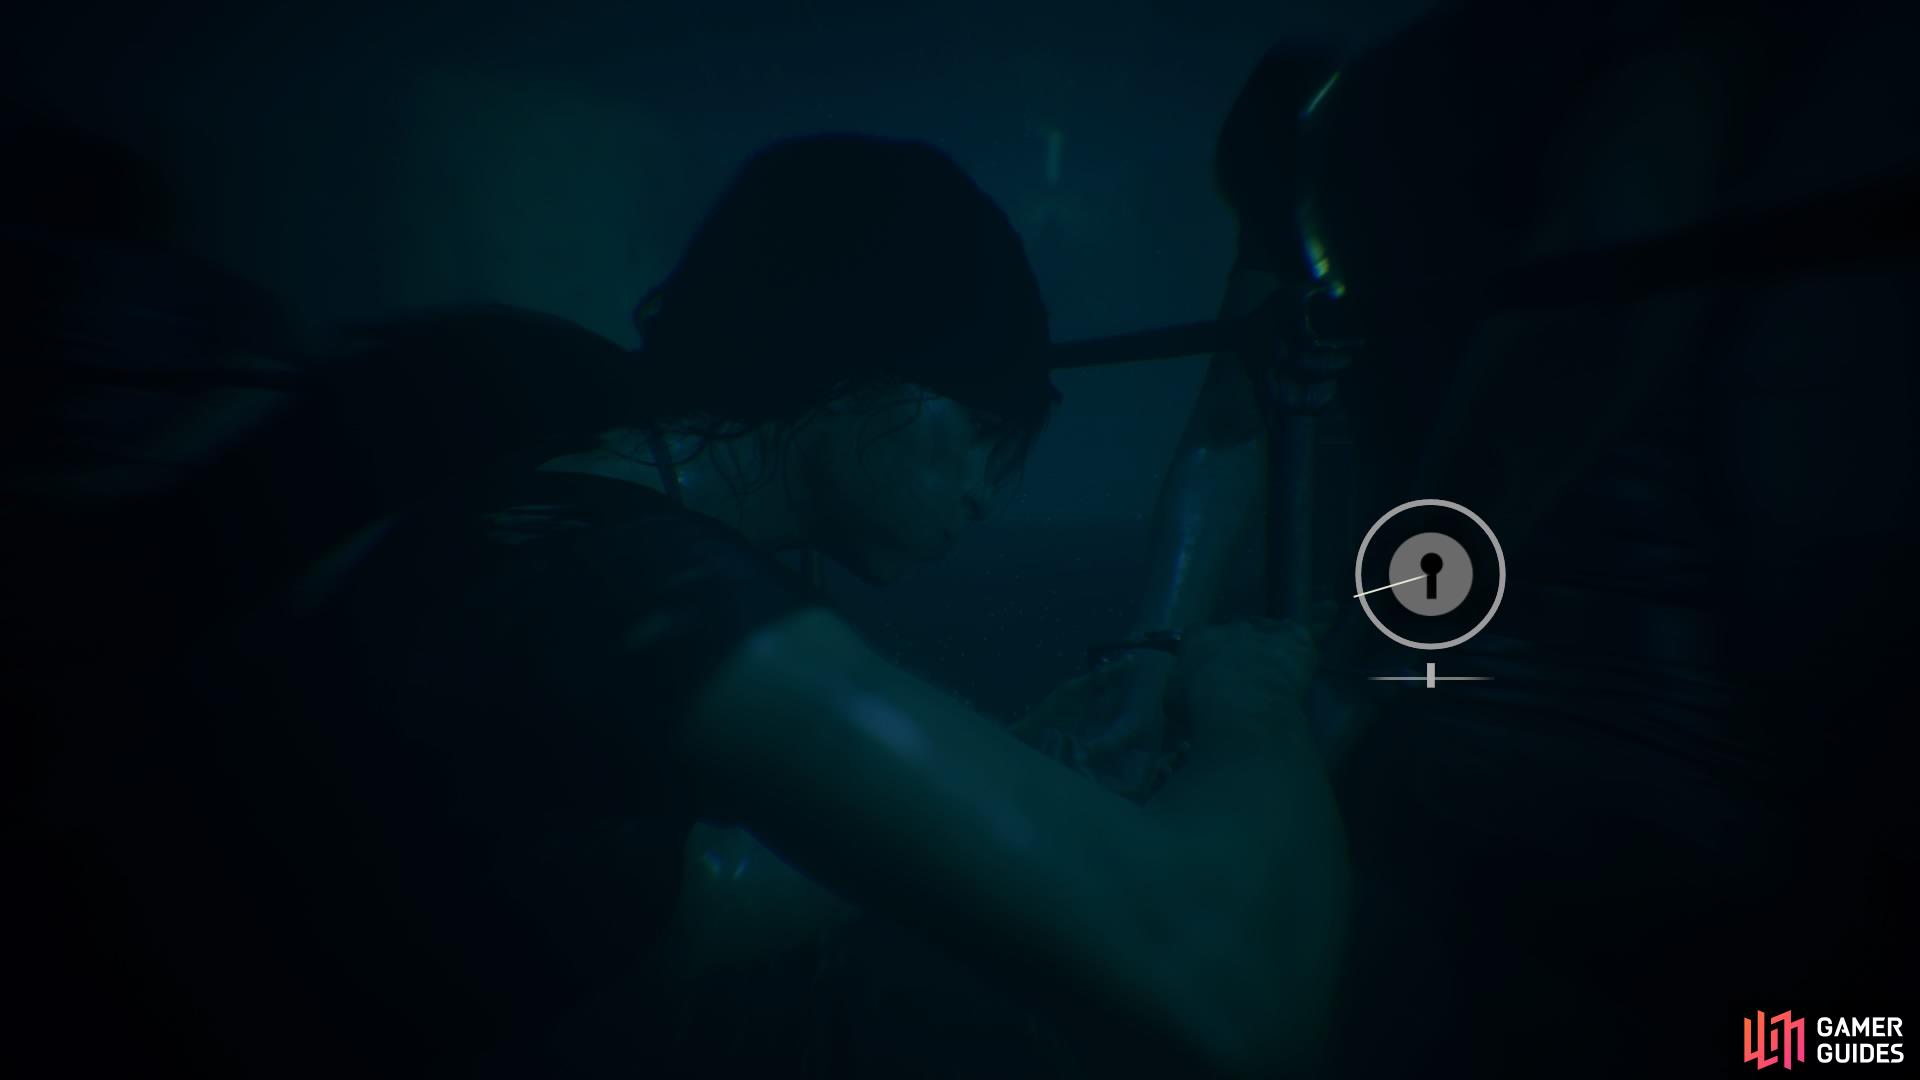
Asav will leave you locked up in the chamber as he and his men escape - when you have control again, it’s time to put your lock-picking skills to the test. The chamber will start to rapidly flood with water, so get out of your handcuffs and then release Nadine and Sam, too.
By this point, the chamber is fully submerged! Once you’re all free, hold X to ascend to the surface, avoiding the sinking debris as you go.
No Comments