In this section of the guide, we’ll be giving you the rundown on how to collect the Queen’s Ruby – a bracelet that rings out whenever you are near a collectible treasure. If you’re returning to previous chapters to collect all available treasures, it’ll be worth picking up the Queen’s Ruby first to help with the hunt.
In order to obtain this handy piece of jewellery, you’ll have to return to The Western Ghats in Chapter 4. If you recall climbing the tower in the middle of the map, you should have opened four doors, one of which opened up to an unknown location. Chloe marks it down on the map with a question mark – this is where you need to be to begin the task for the bracelet.
If you’d like to go after the bracelet first, then go back to Chapter 4 and head straight for the tower to unlock this mysterious location. From there, we’ve got you covered.
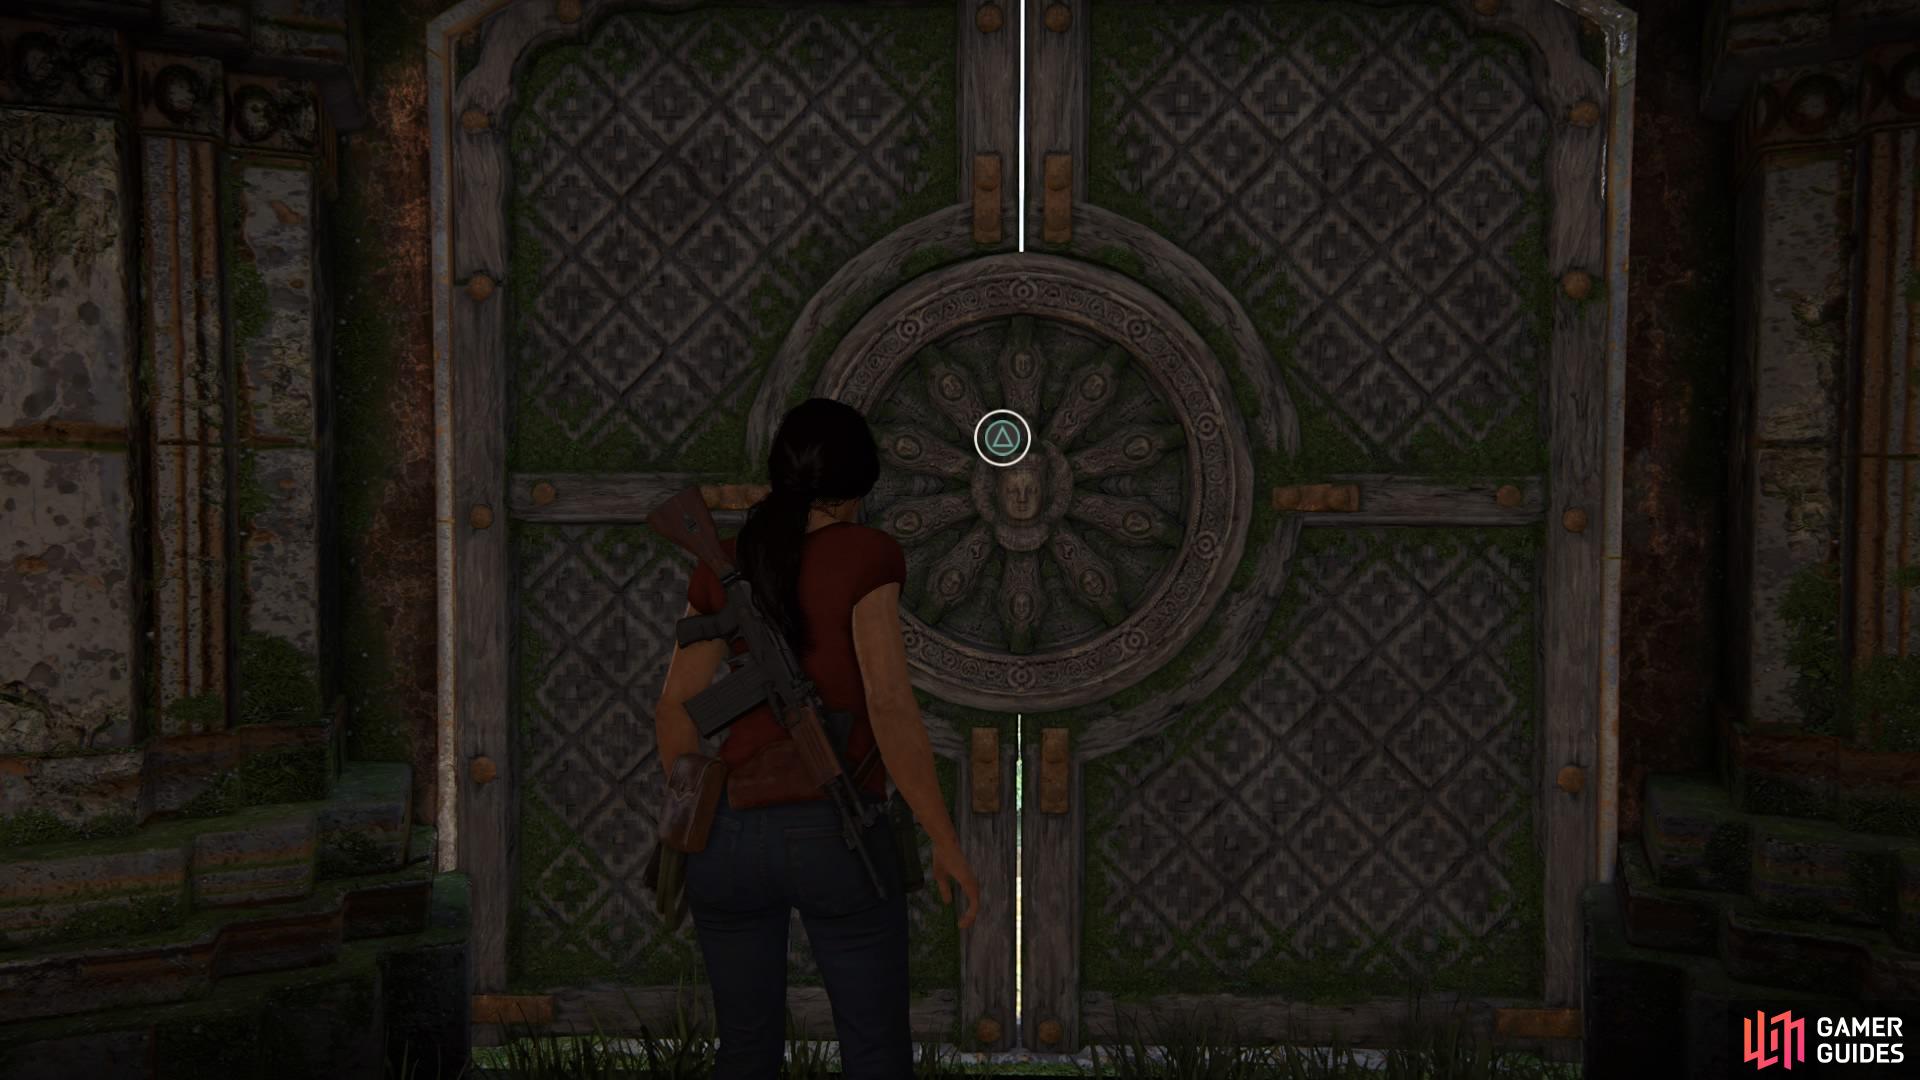
Find this door at the tower to uncover the ruin’s location
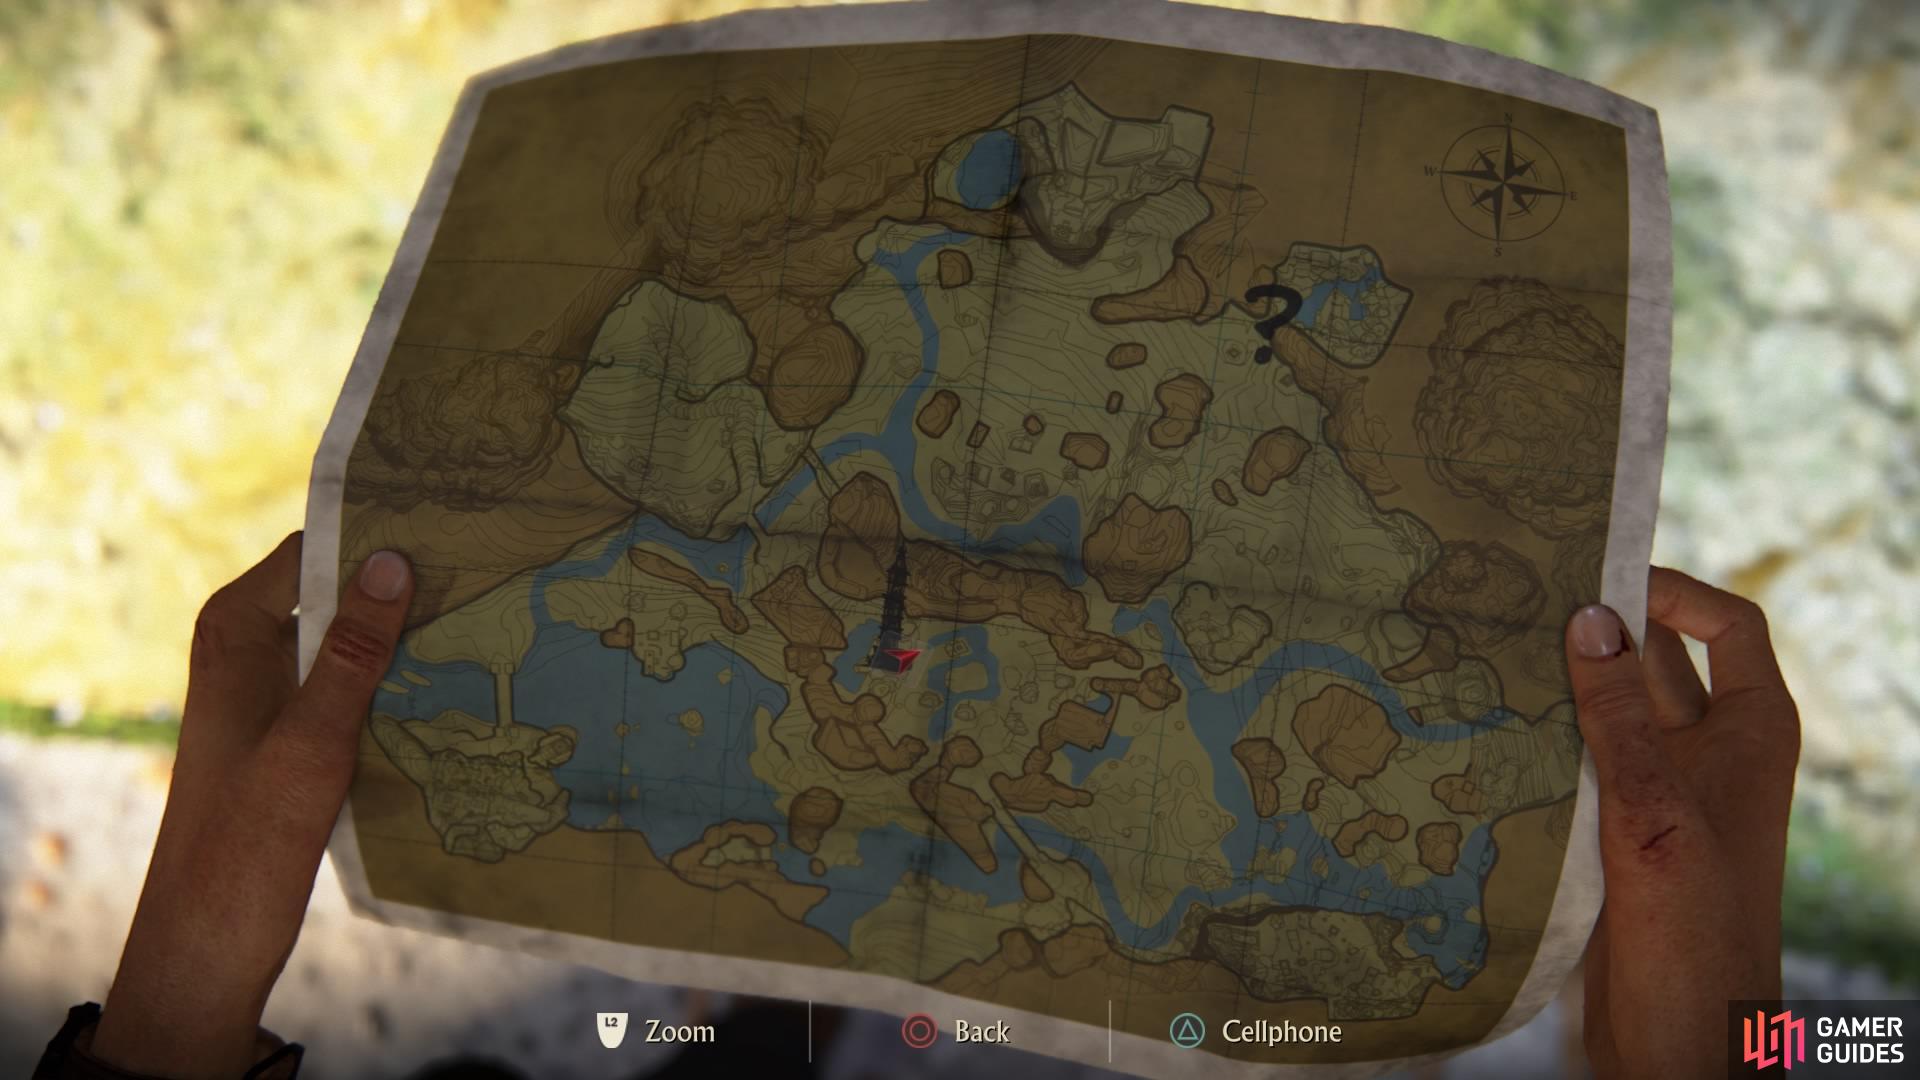
Chloe will mark it down on the map as a question mark
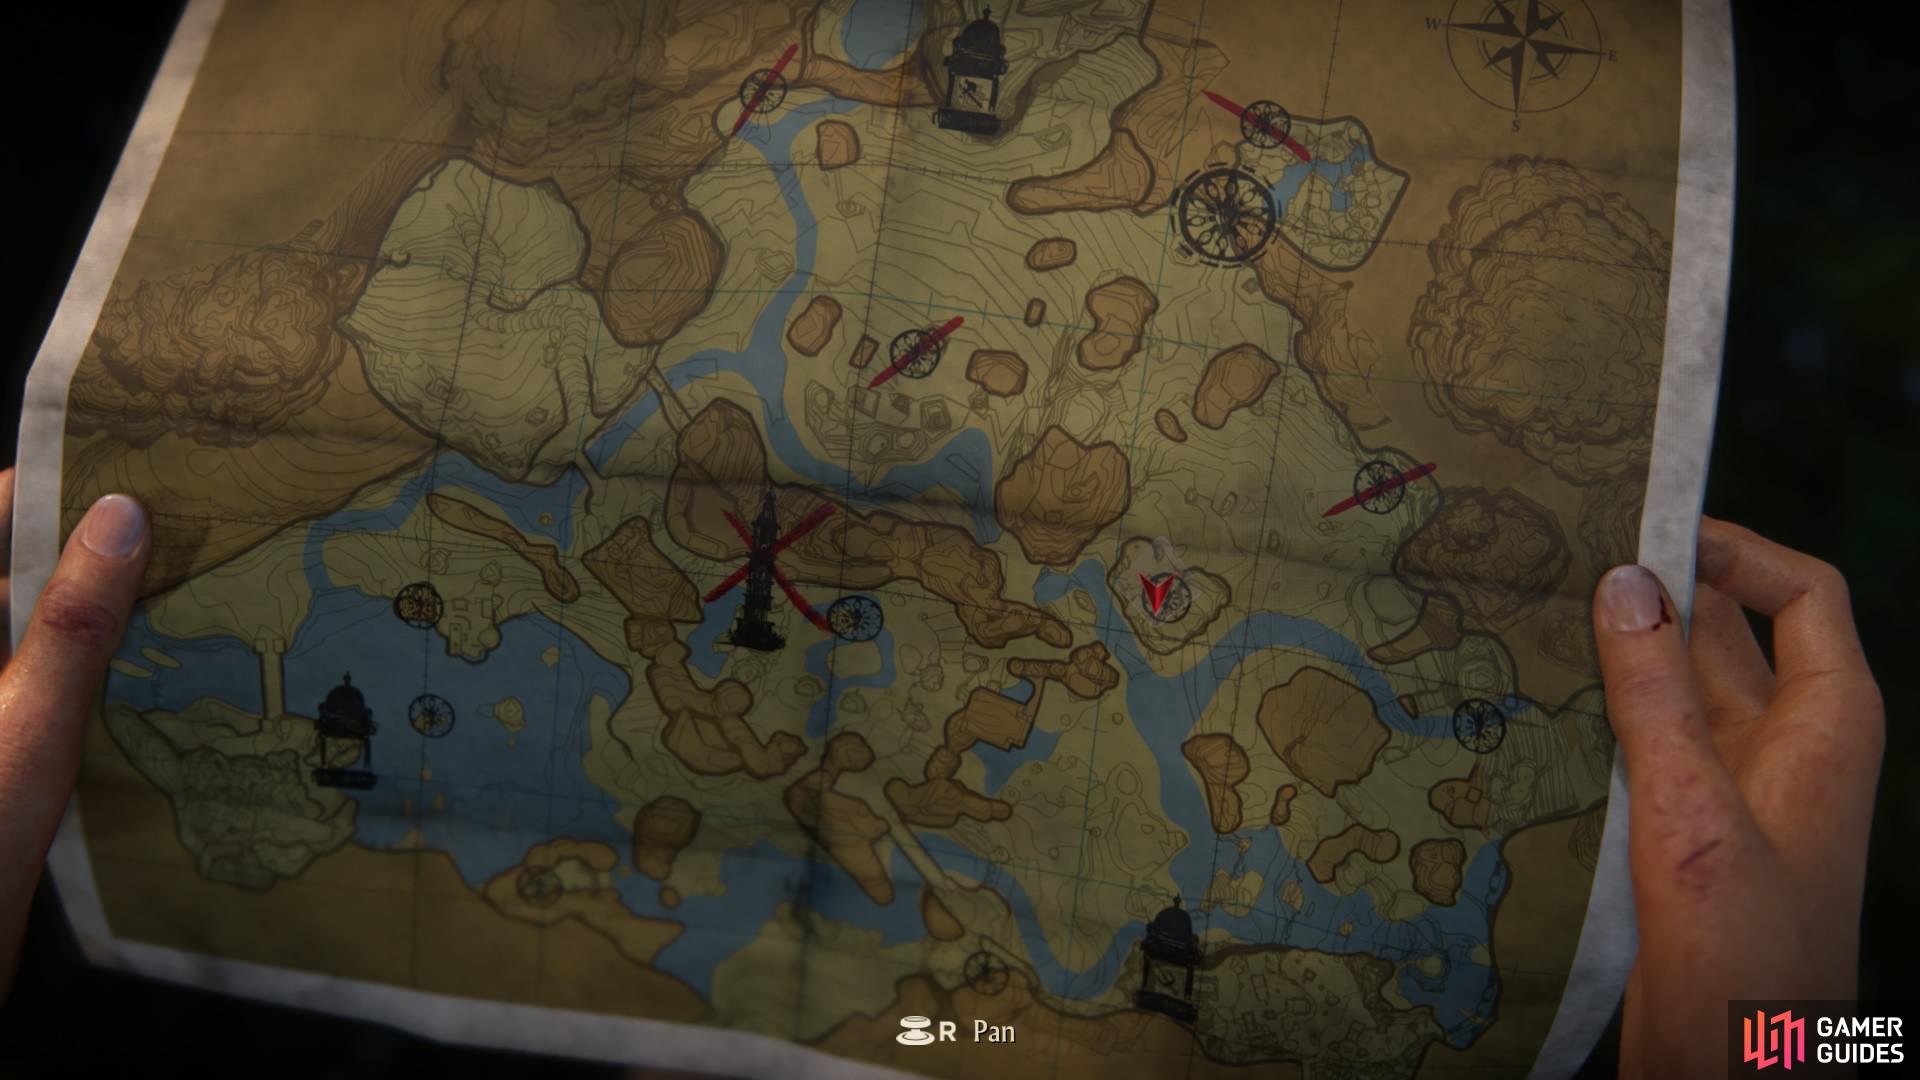
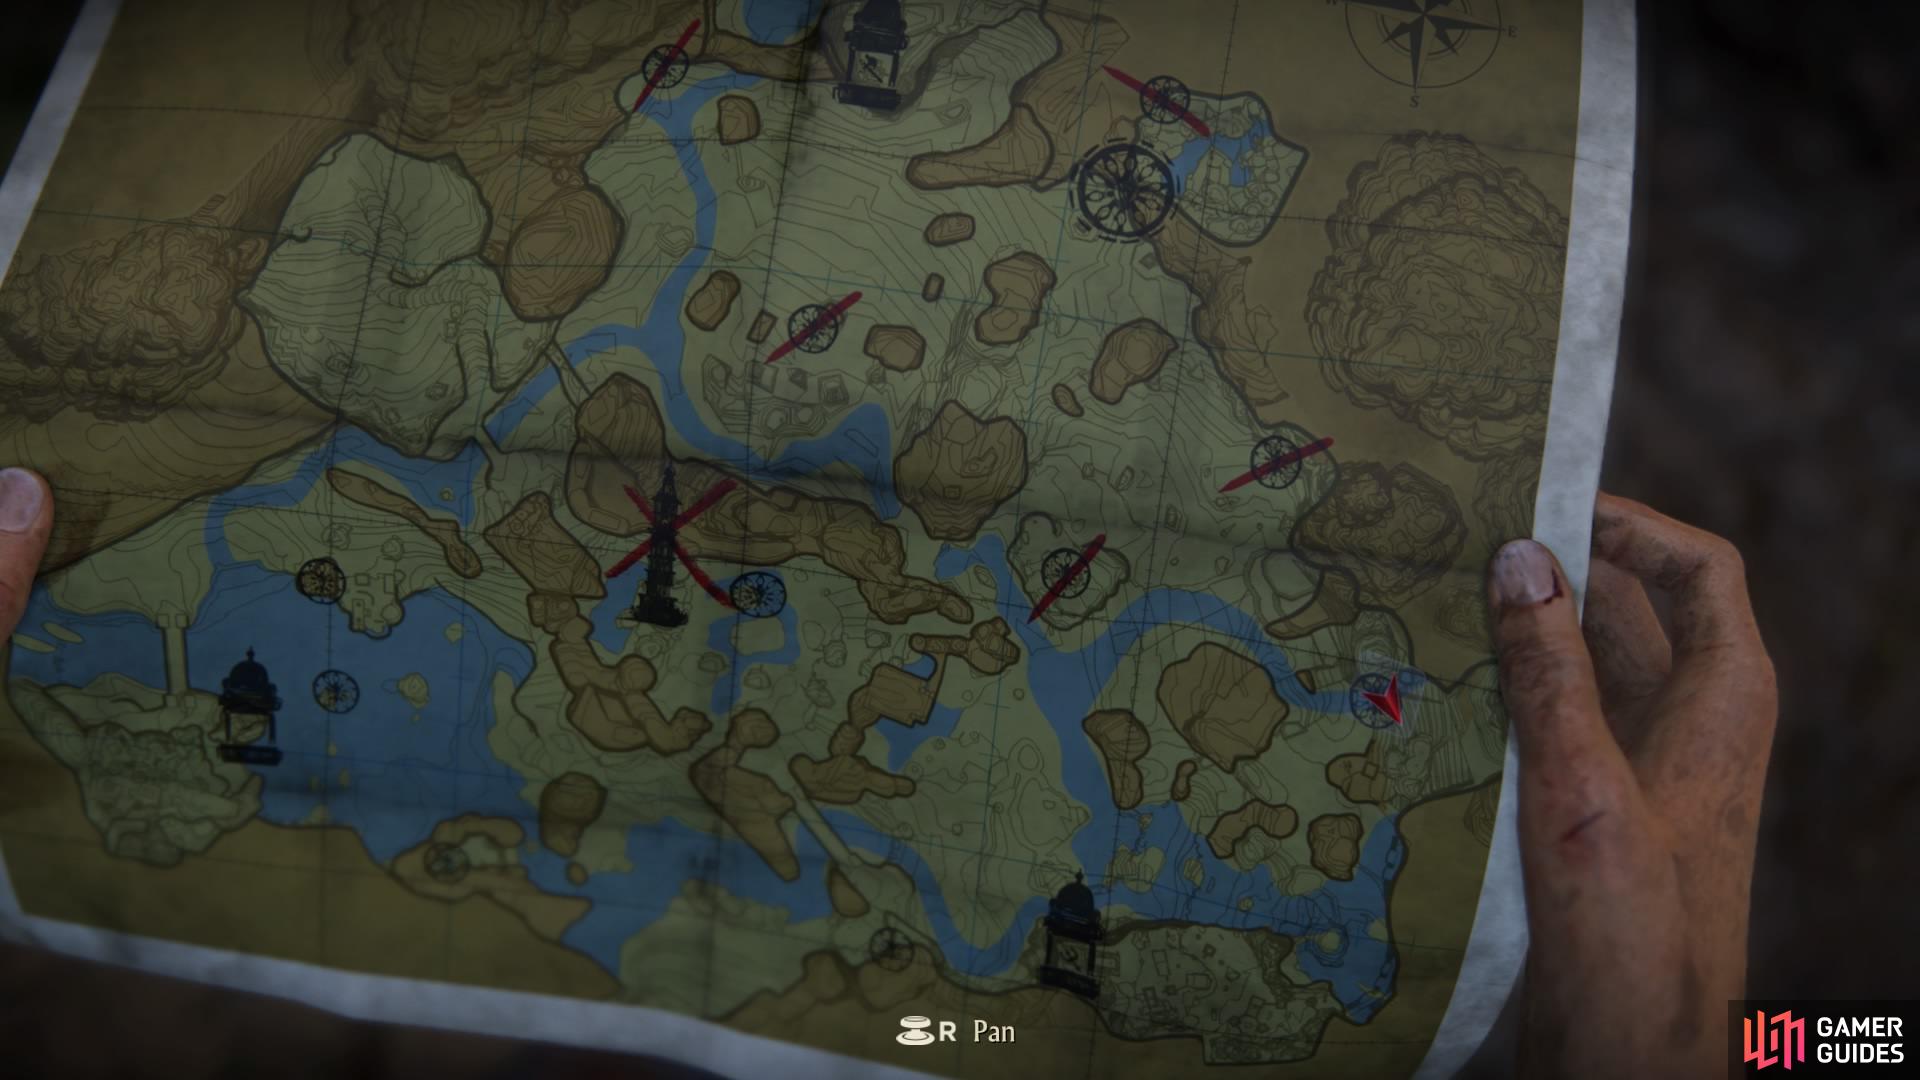
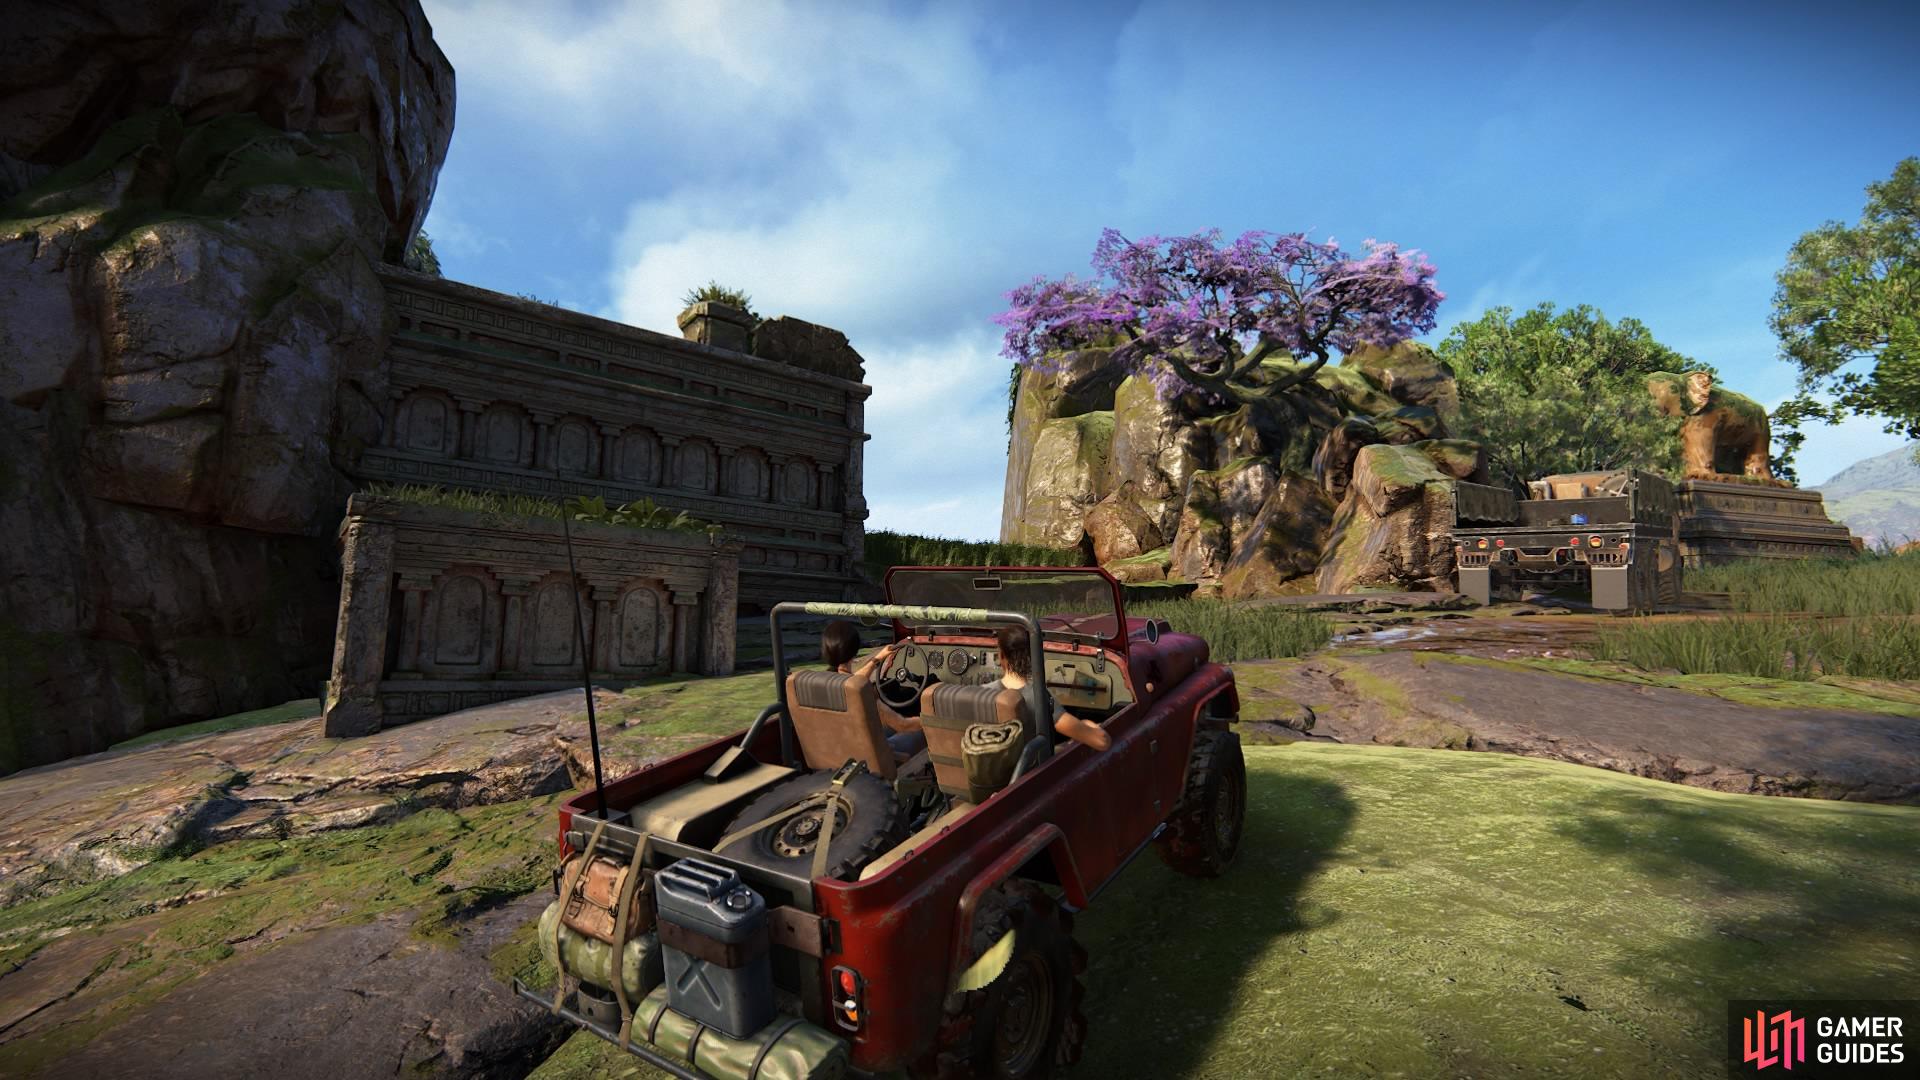
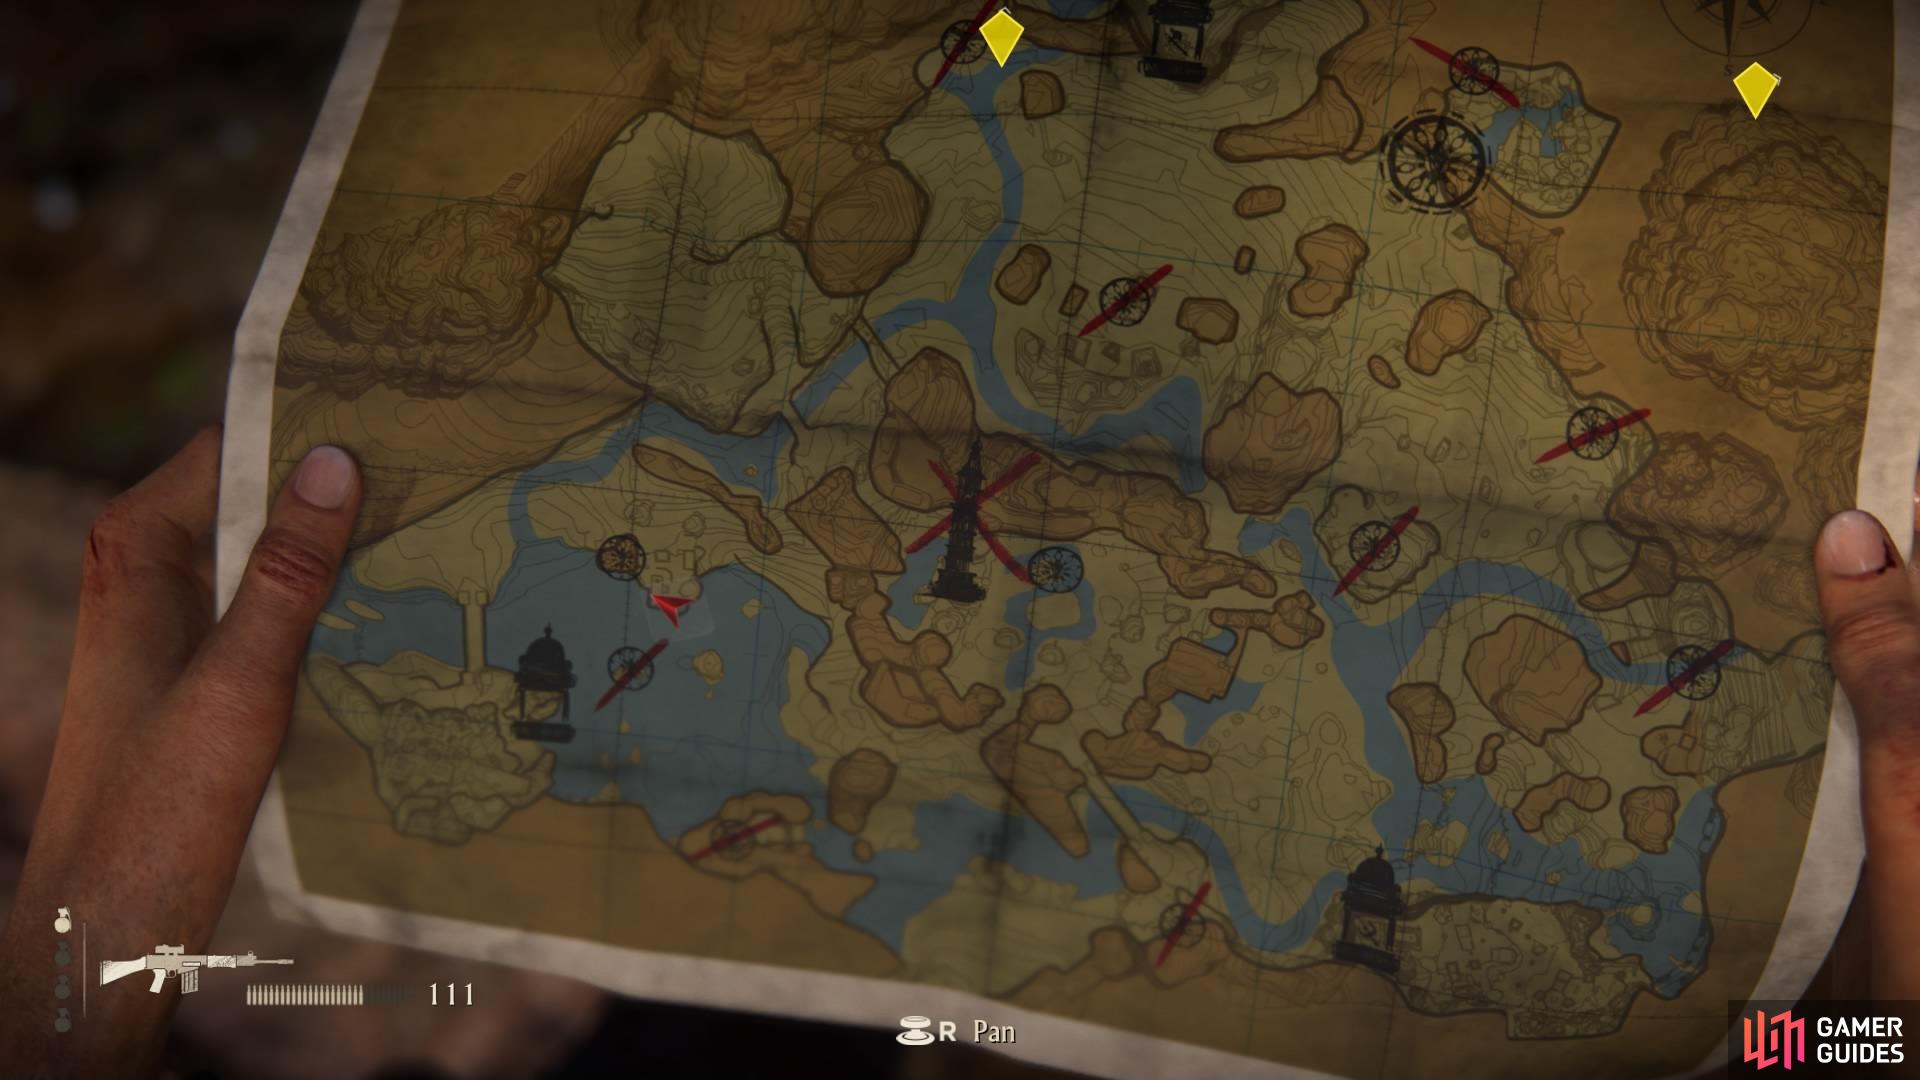
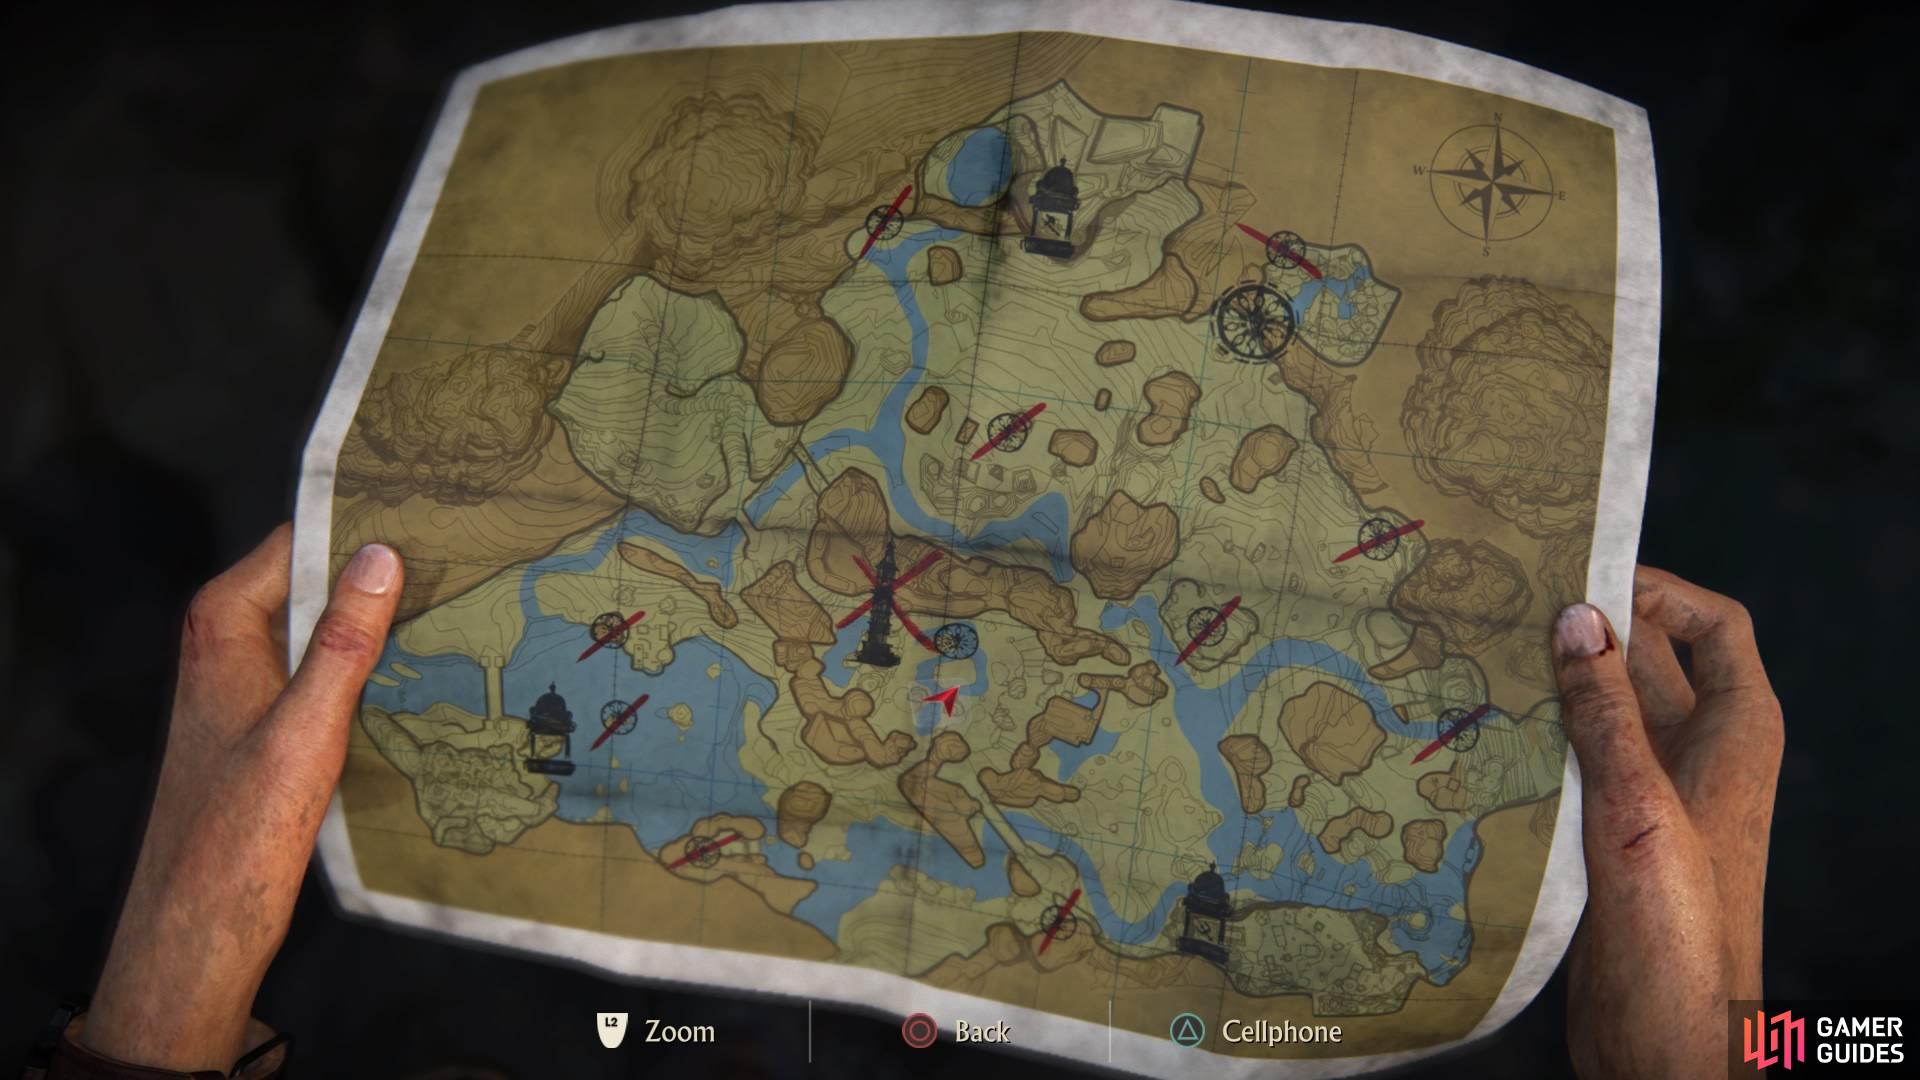
Once the map has been updated, you need to head to the northeast side of the map where the question mark has been drawn. Simply take the car towards this area, taking out the group of rebels posted at some ruins along the way. You may be able to avoid them but you’ll later come to realise that you have to return to this area anyway, so you may as well dispose of them while you can to save some time.
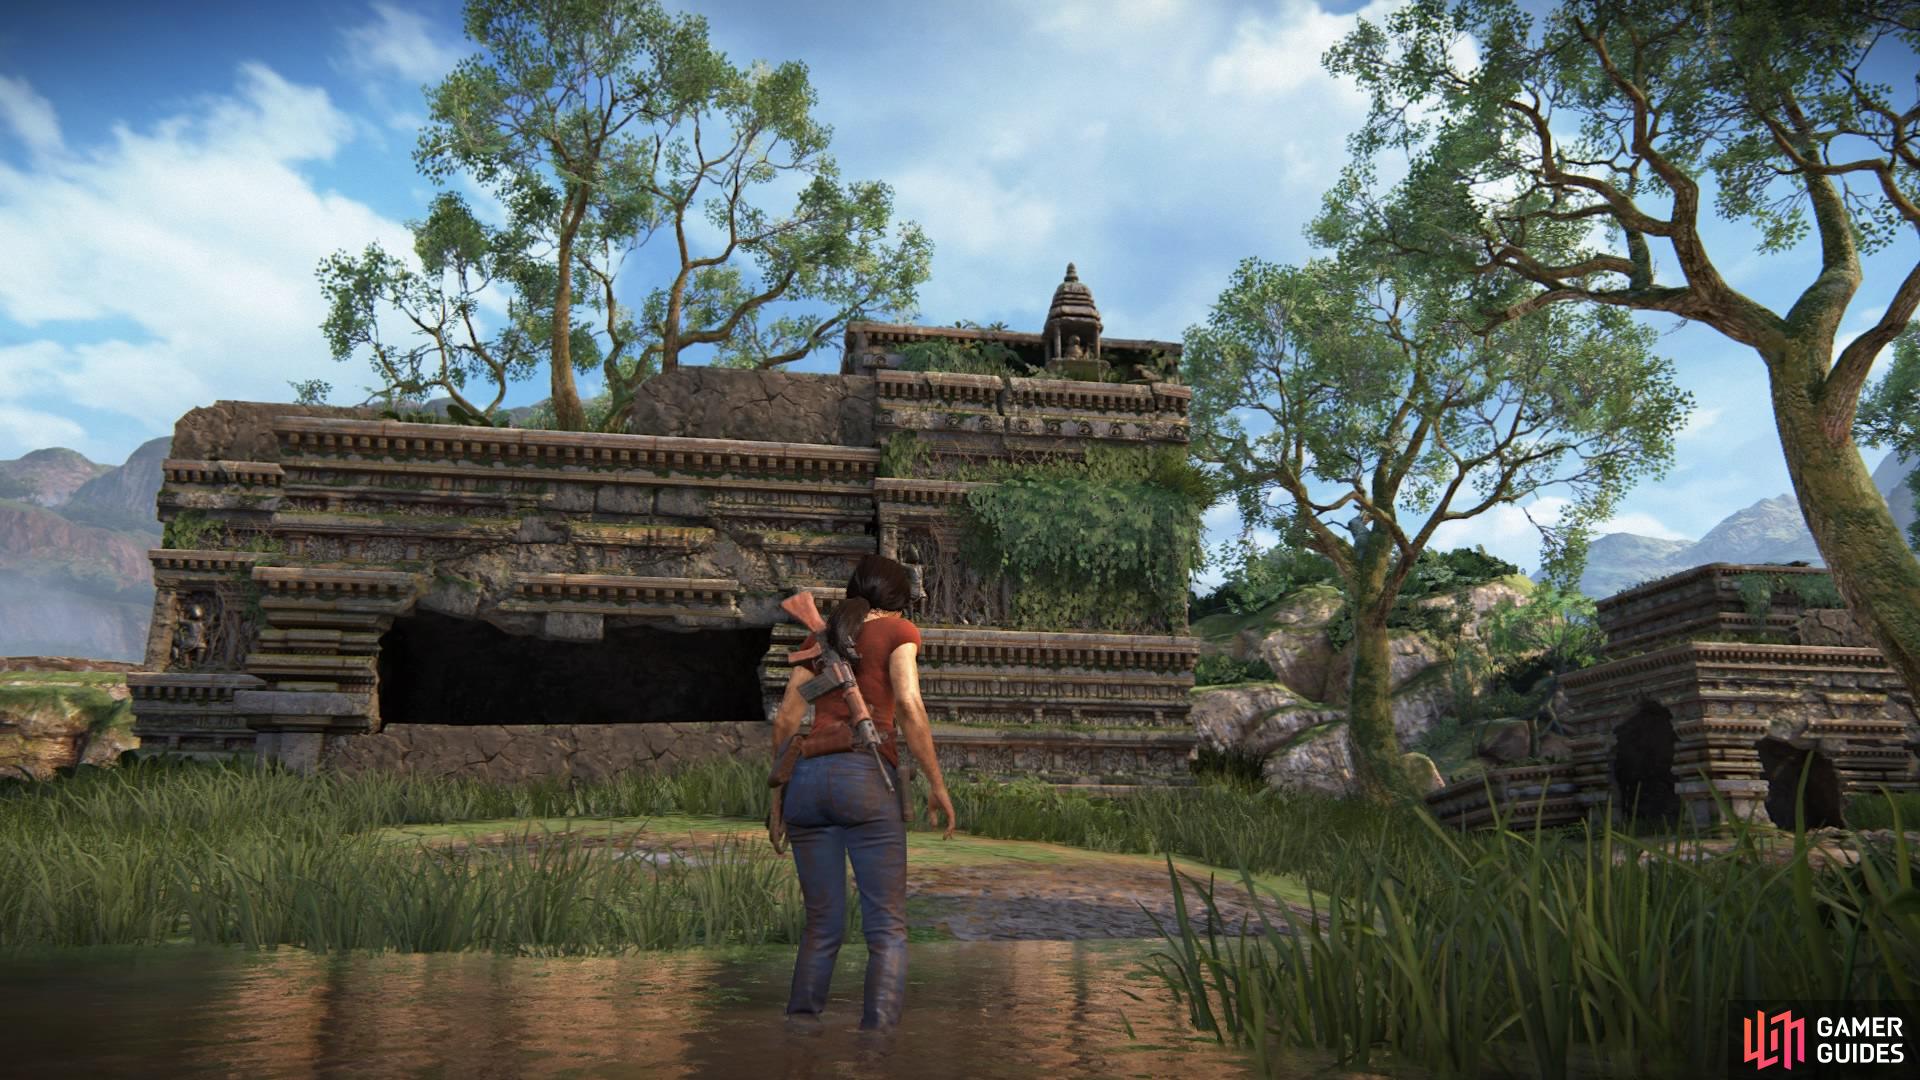
Continue towards the question mark to eventually find a ruin with the same symbol that was emblazoned on the door at the tower.
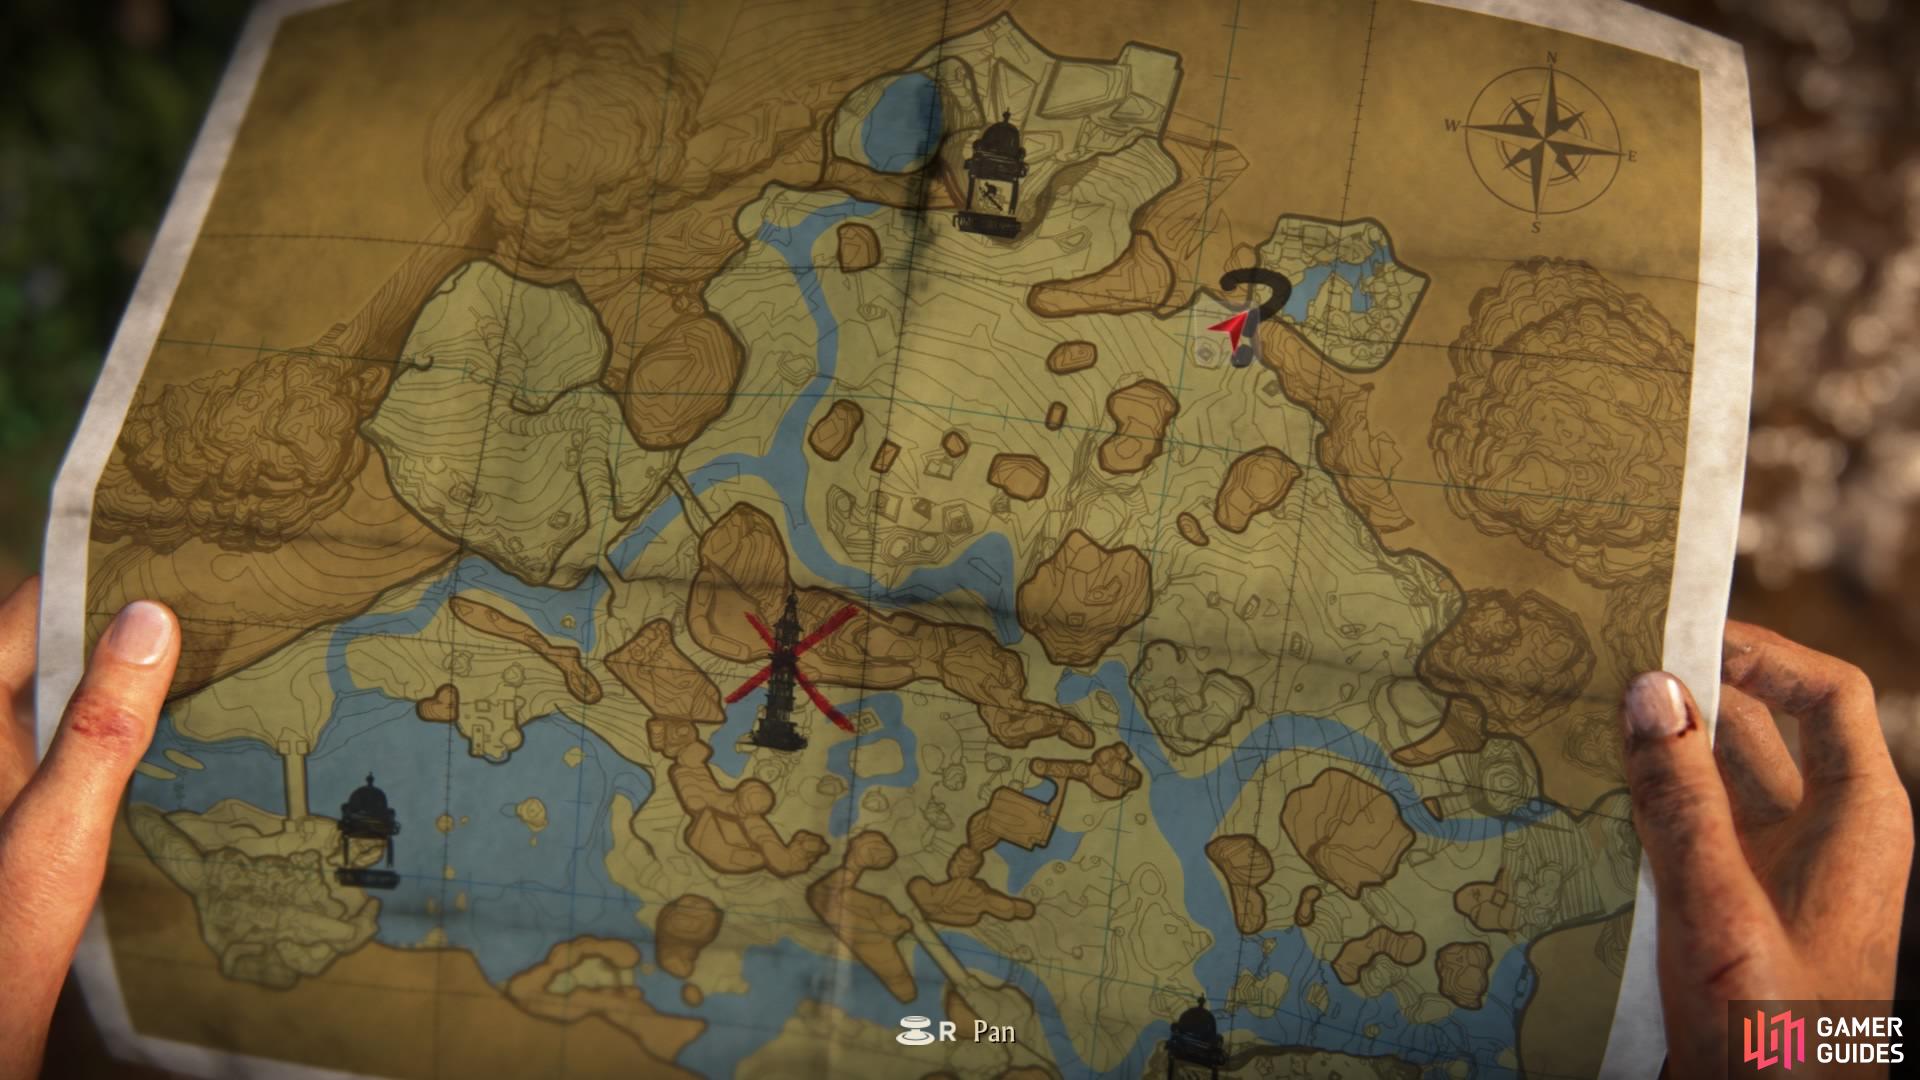
Mystery Ruin location on the map
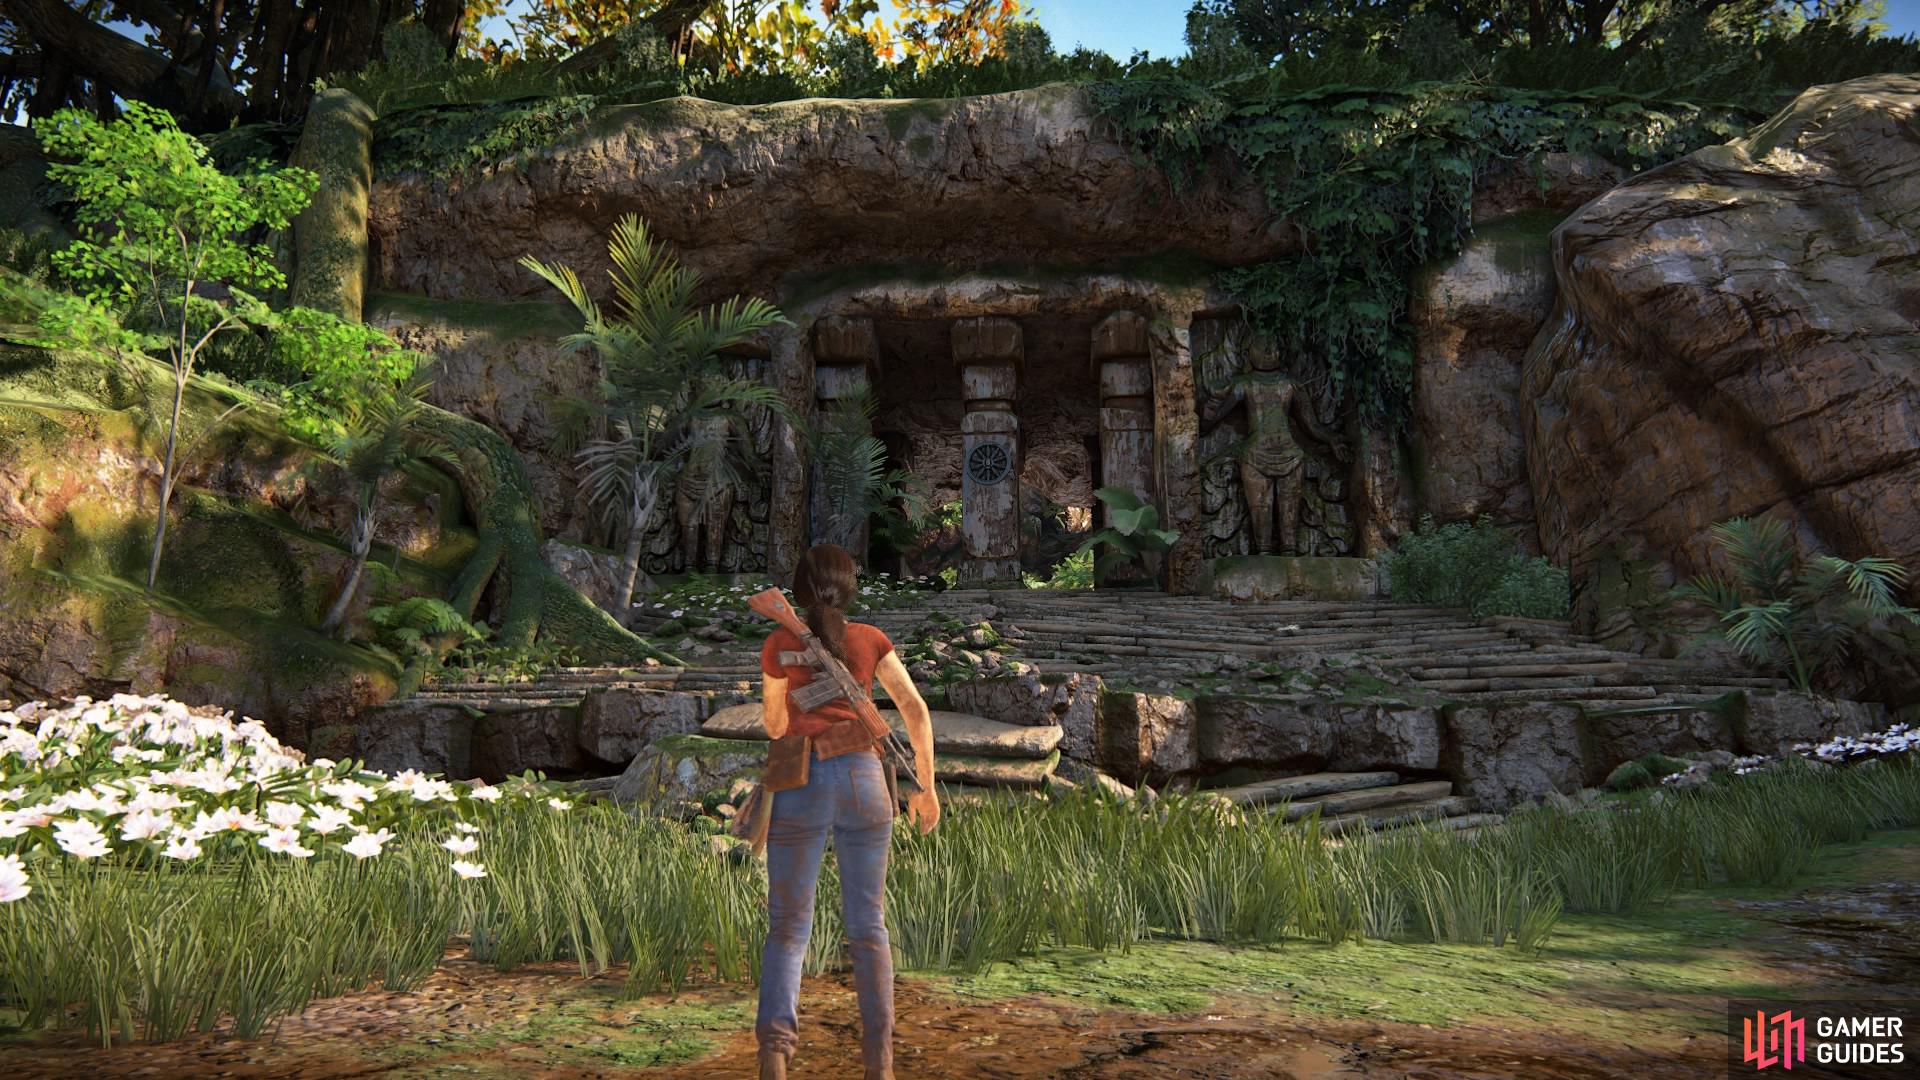
Look for the familiar symbol
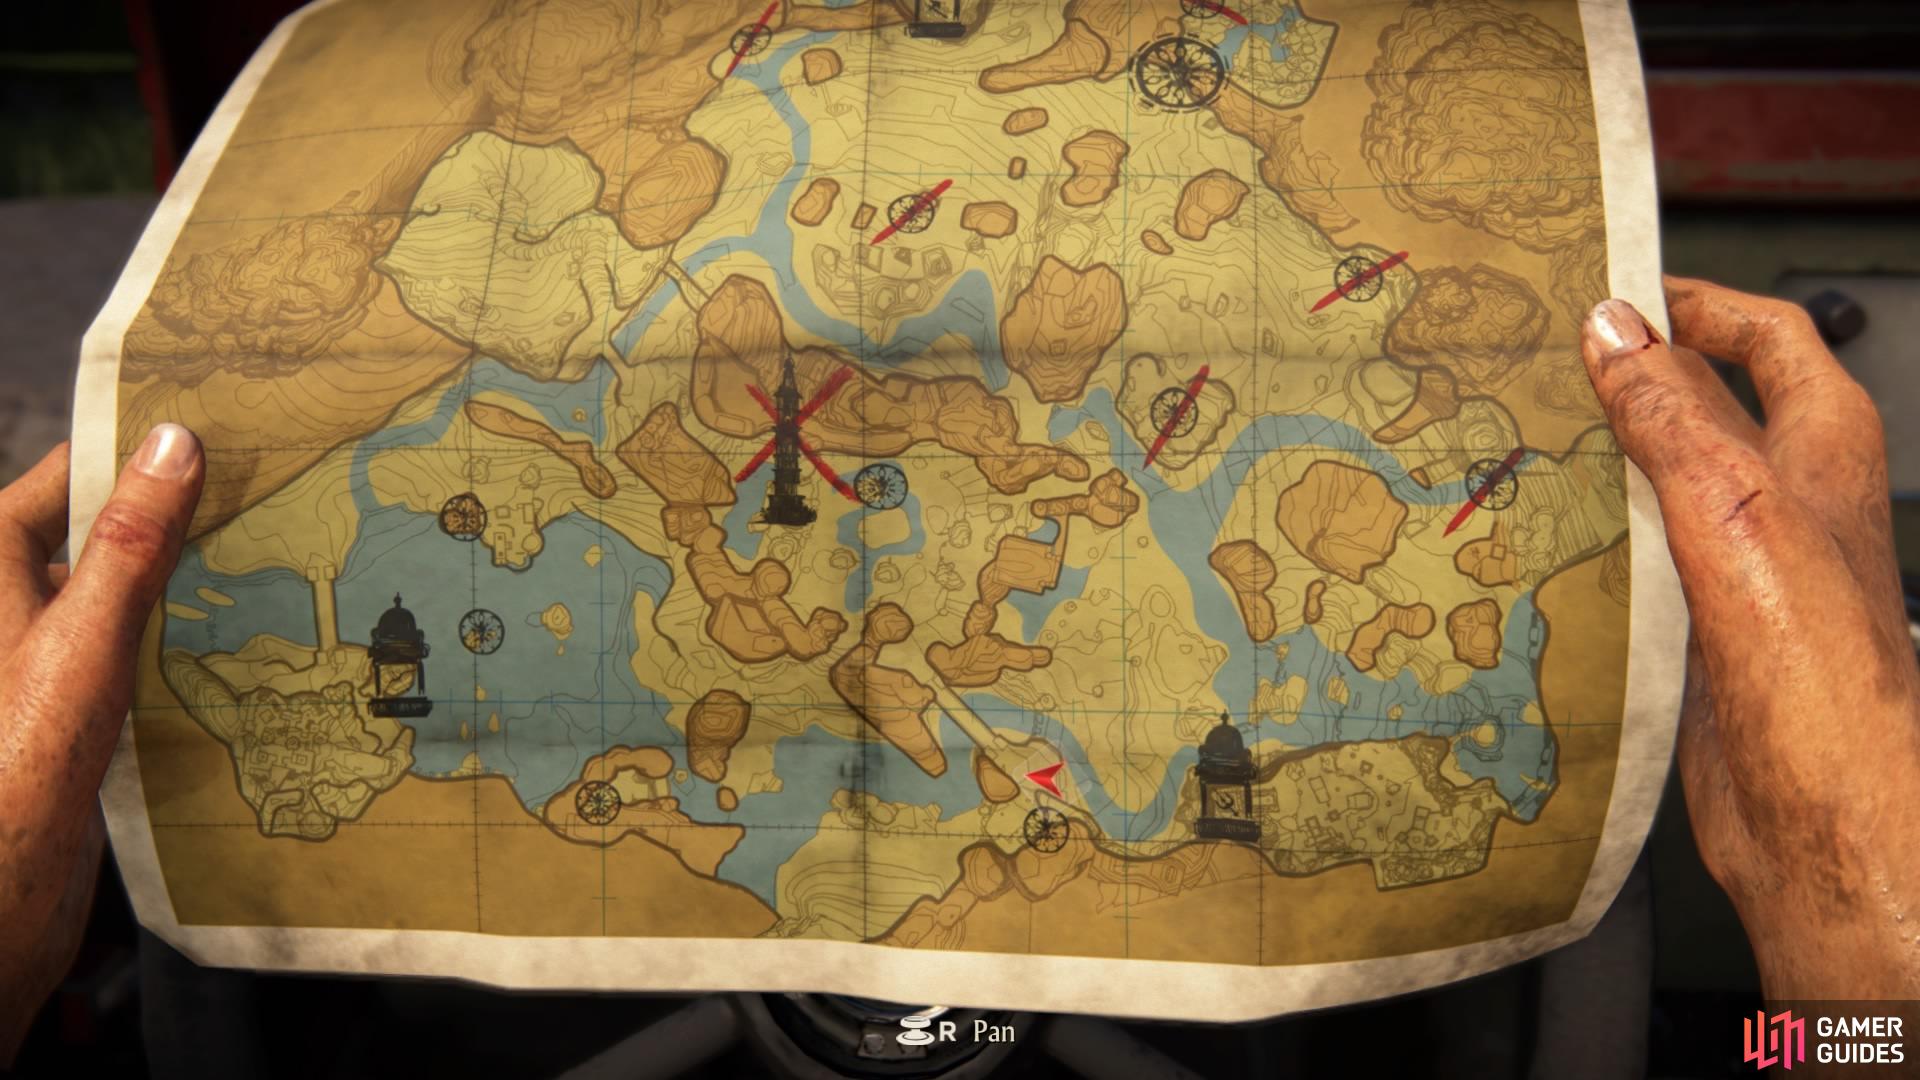
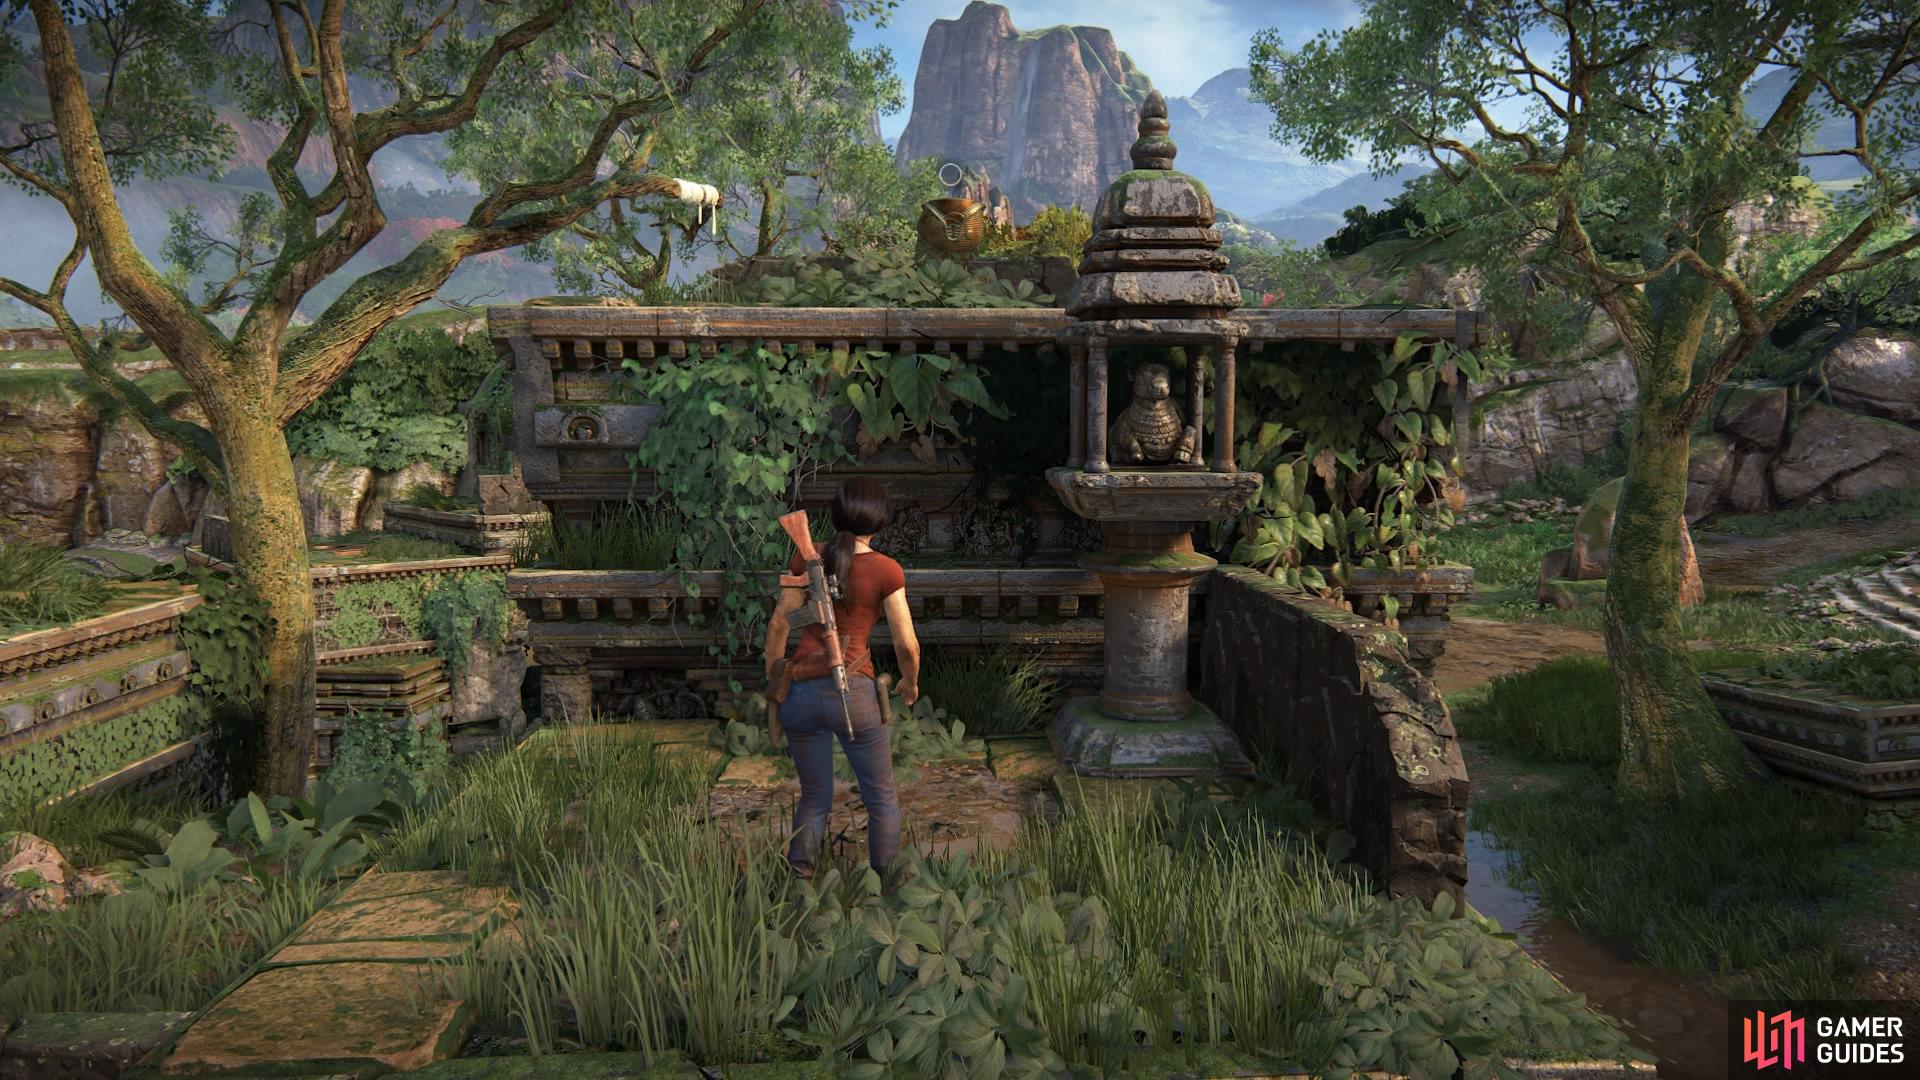
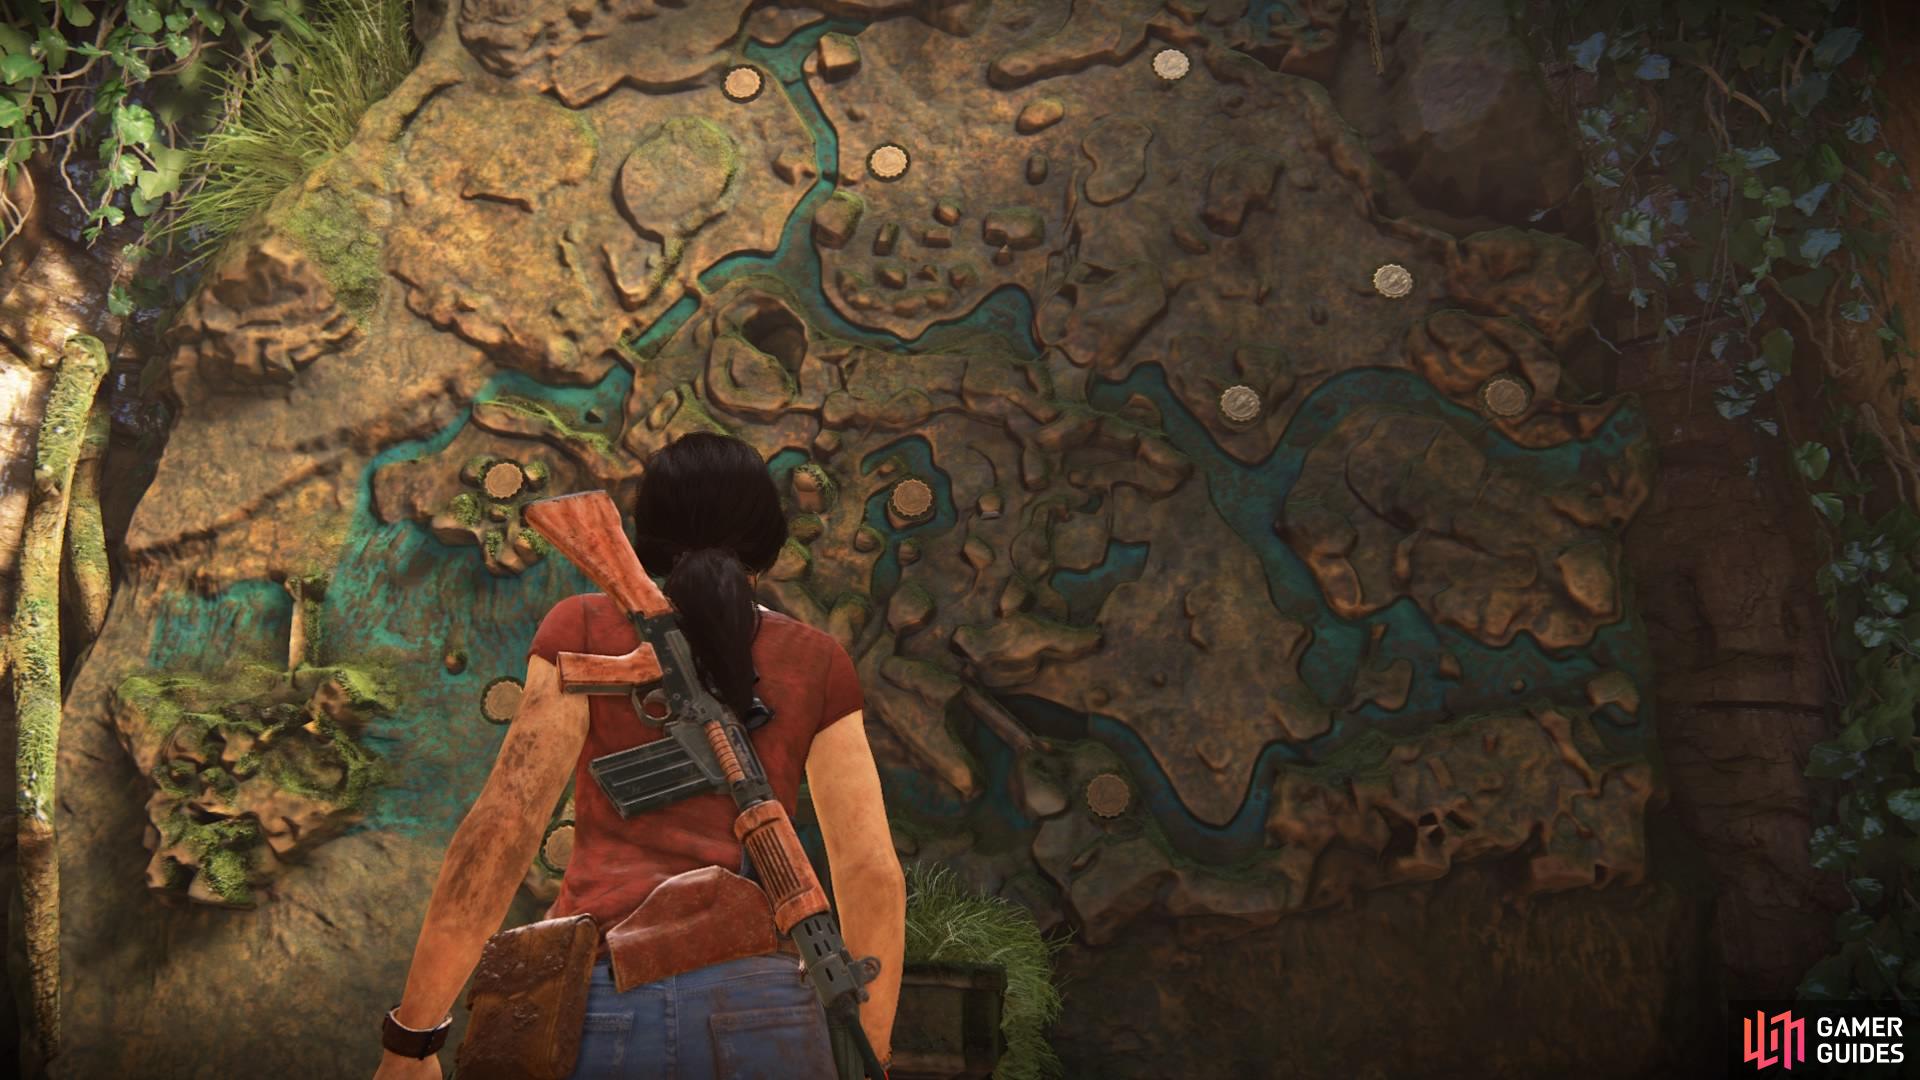
When you head on through, you’ll see that the ruin is inhabited by monkeys, but you can’t get over to the other side yet. Instead, go left to find the entrance to a small room with a giant map carved into the back wall. There are two doors either side and a podium to interact with. Approach the podium and press triangle to activate the wall-map and raise the container holding the Queen’s Ruby.
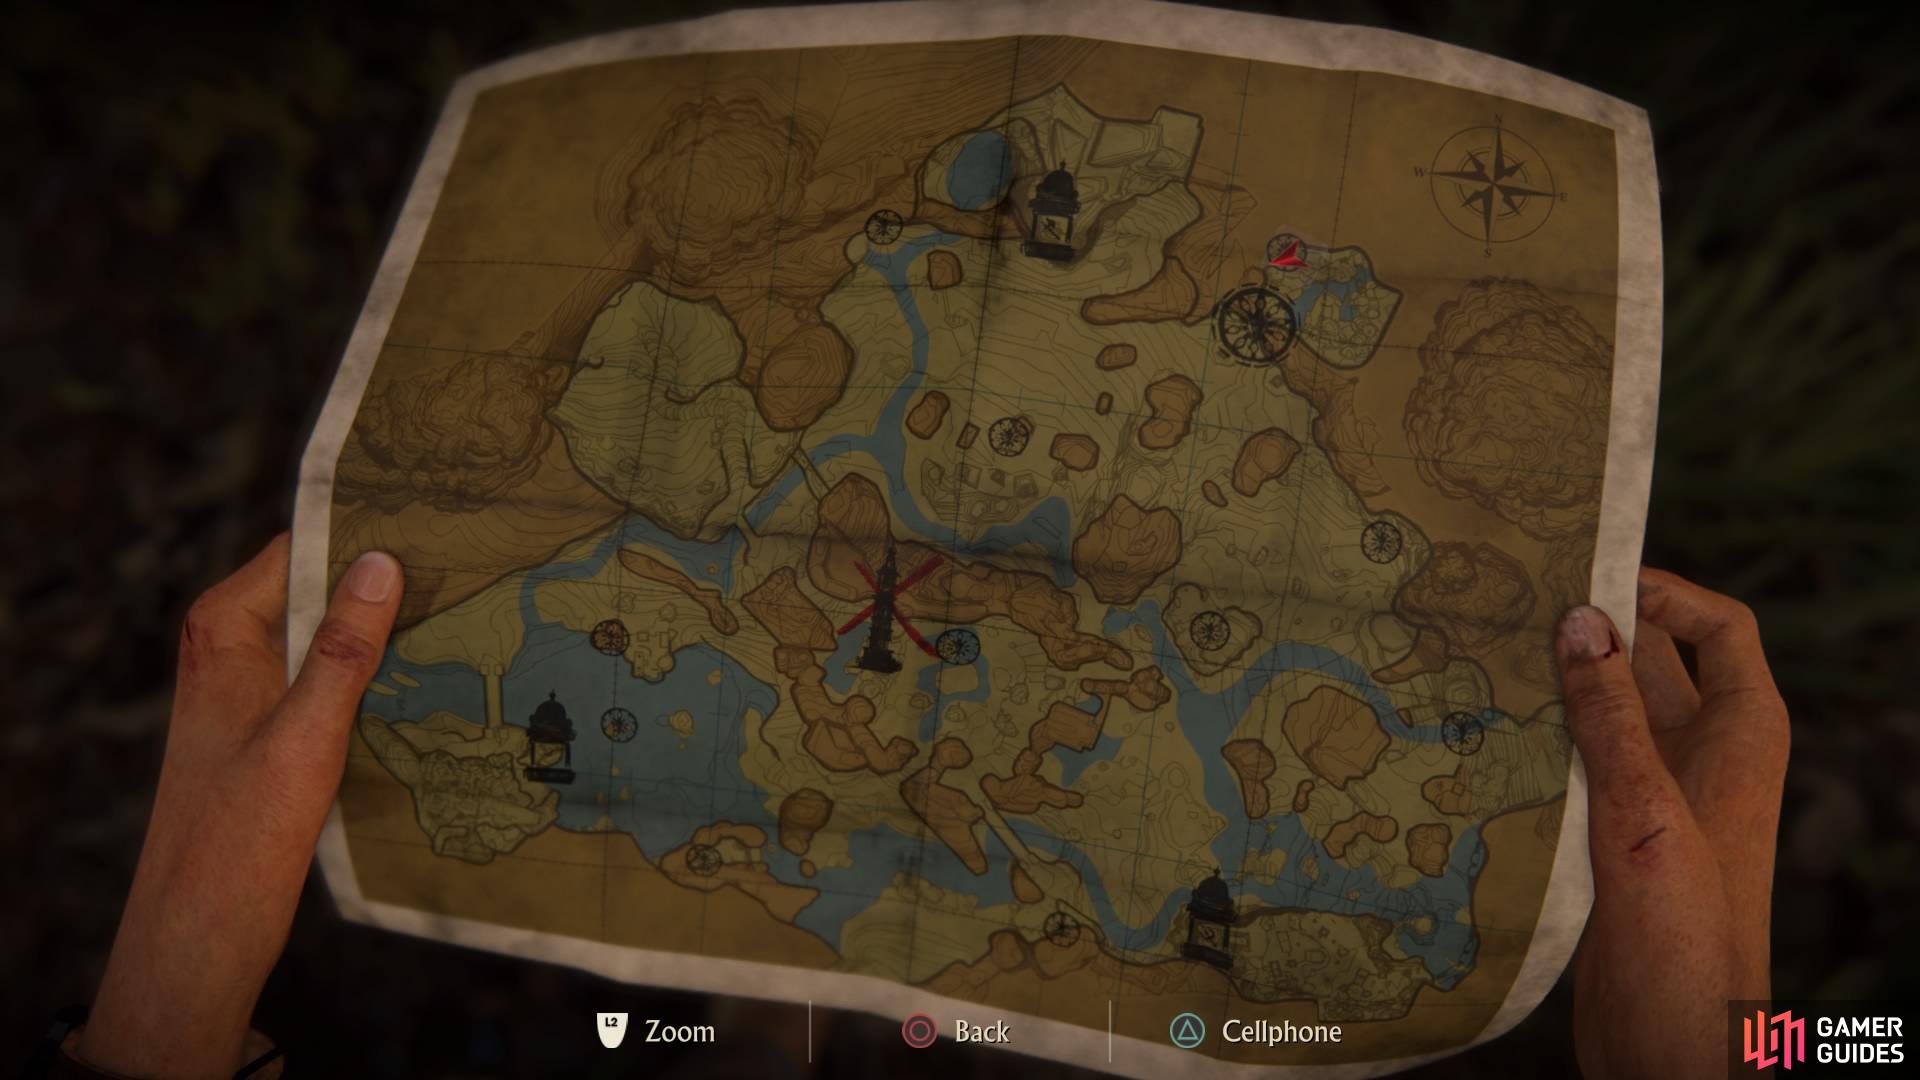
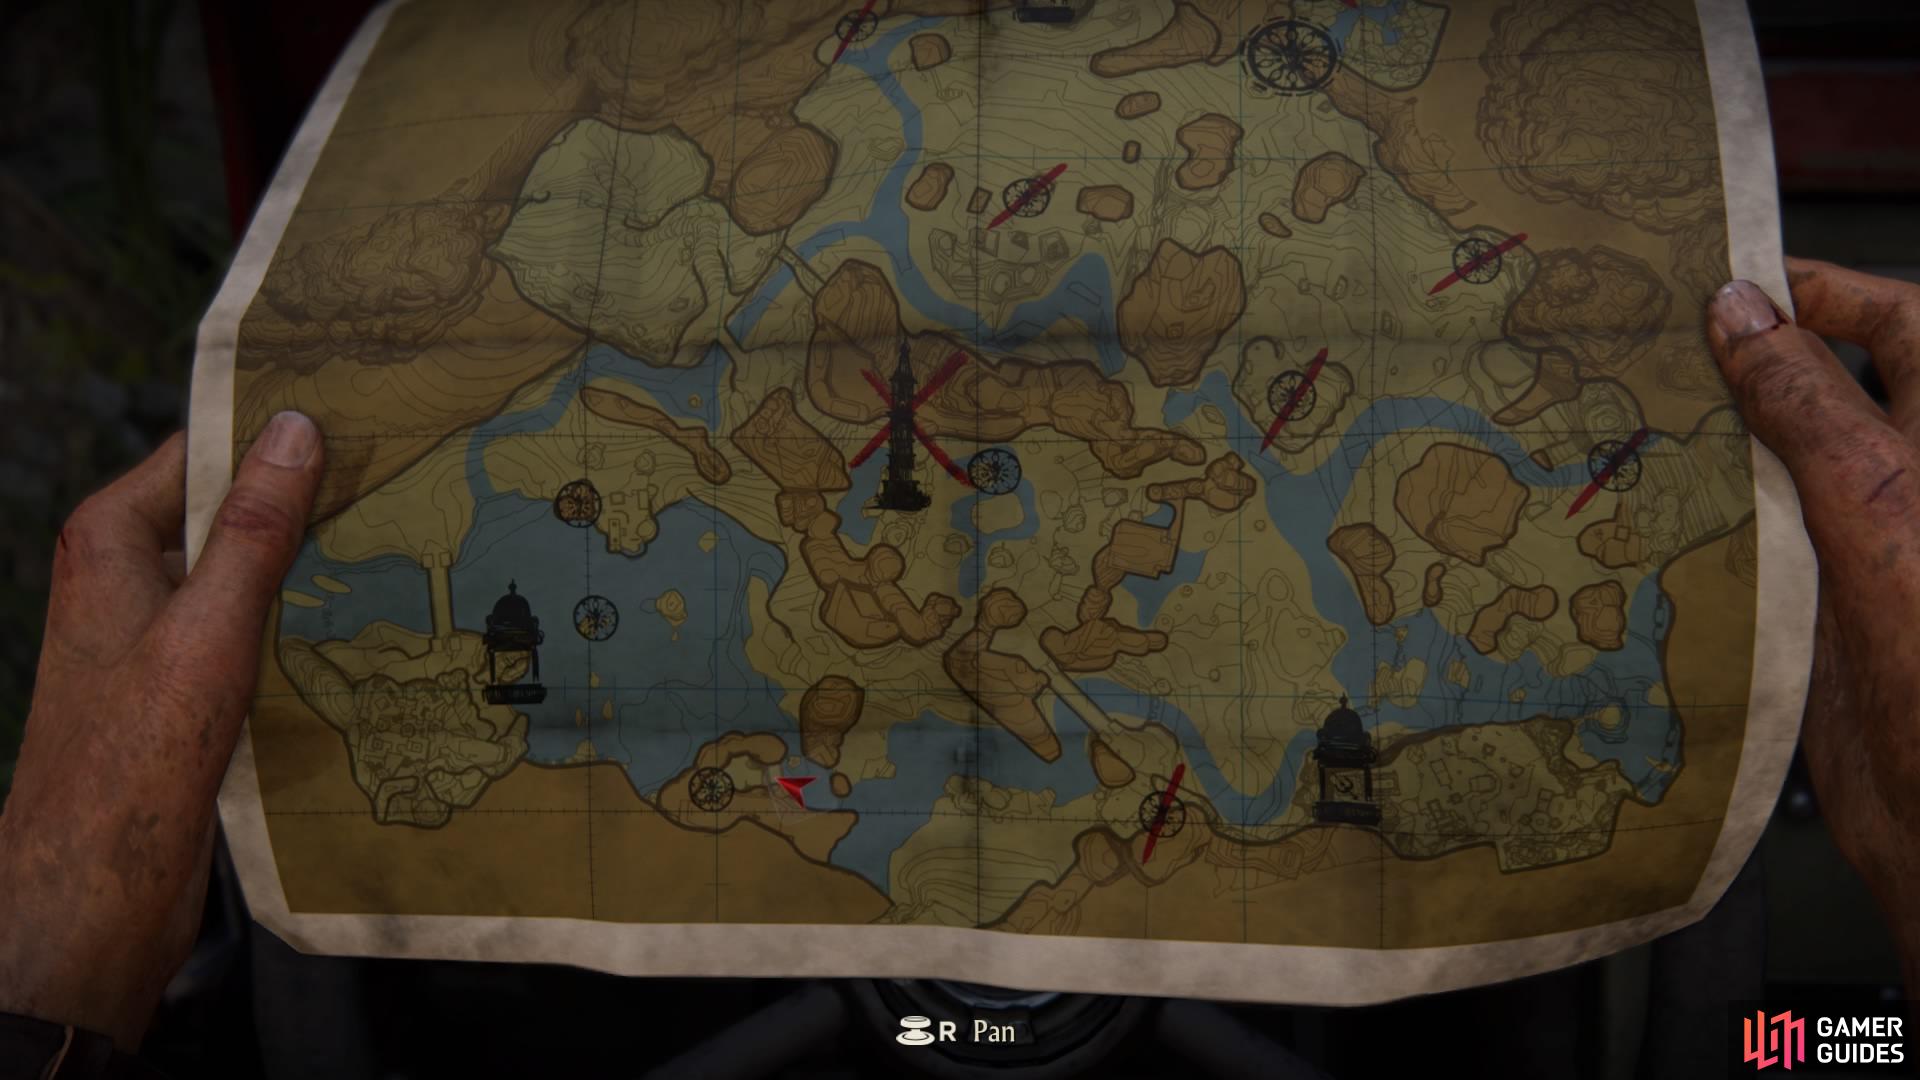
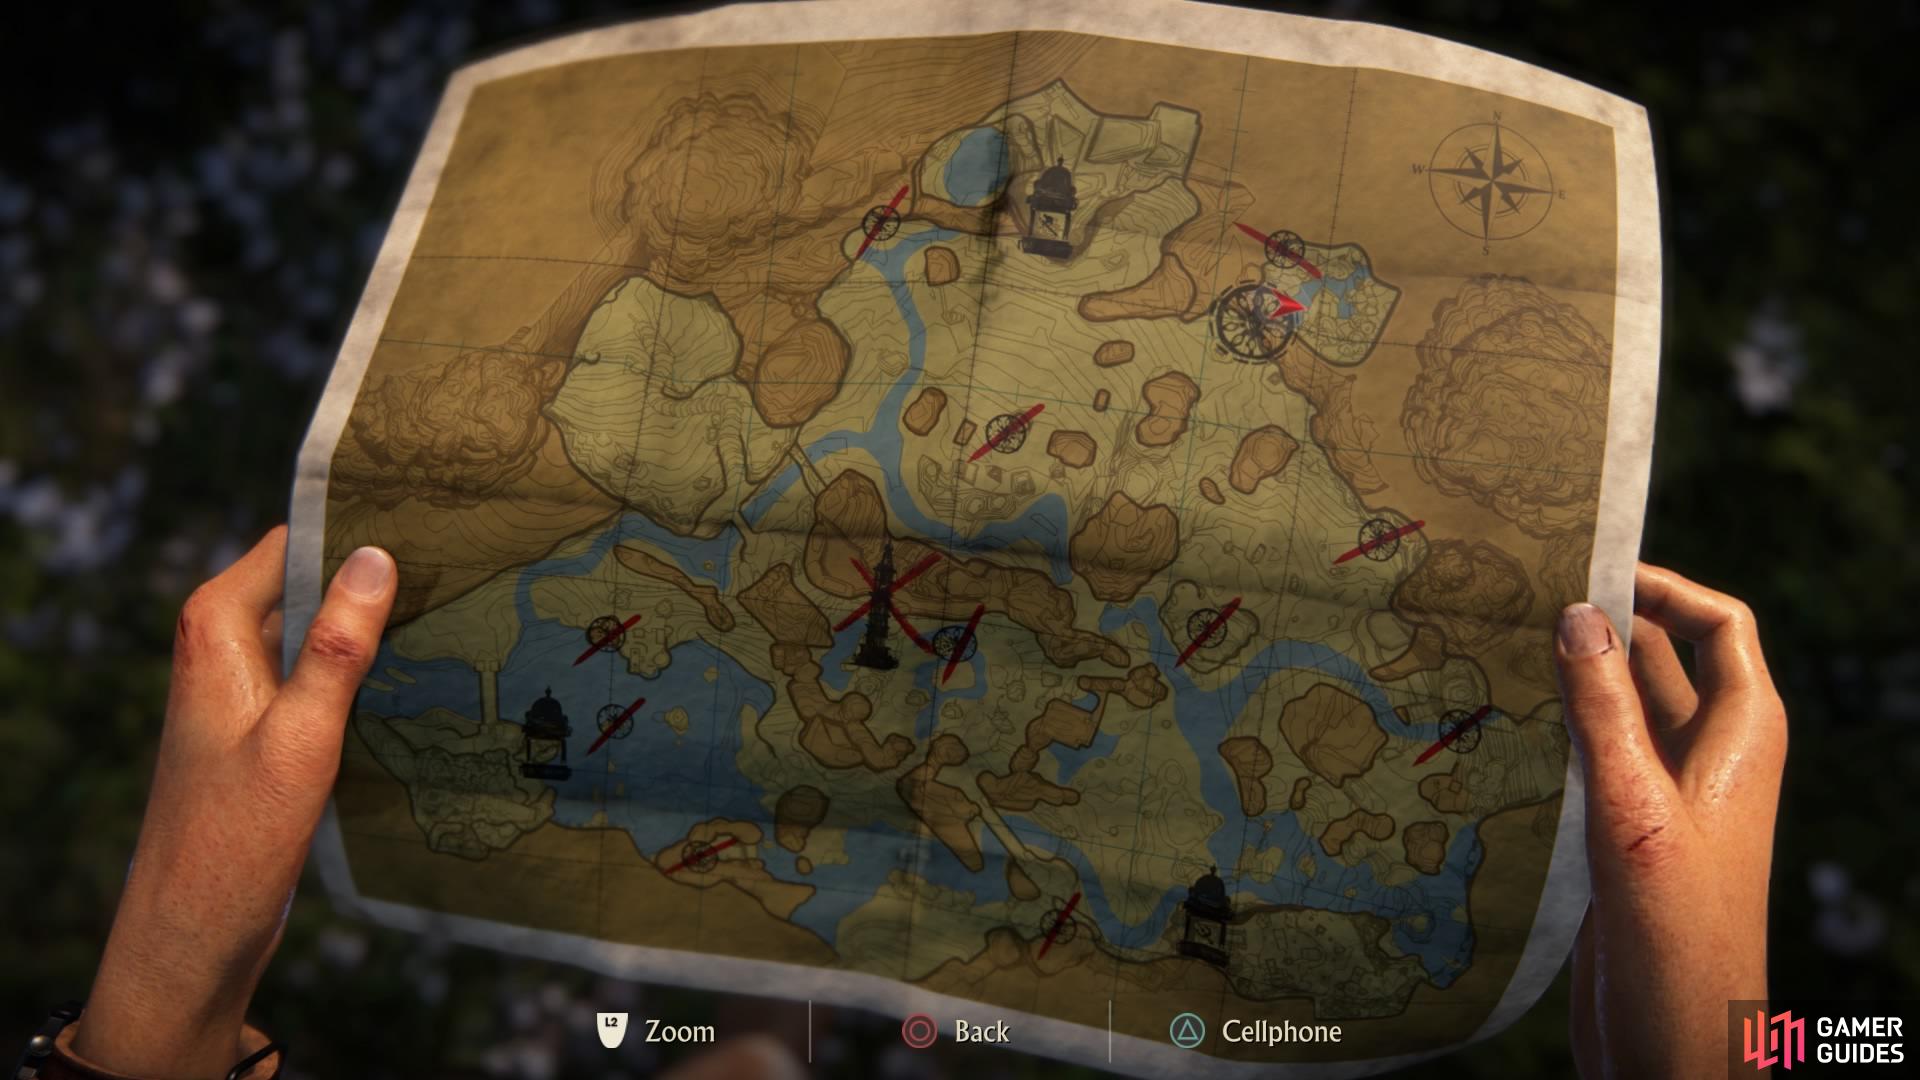
The map will now be marked with each token location
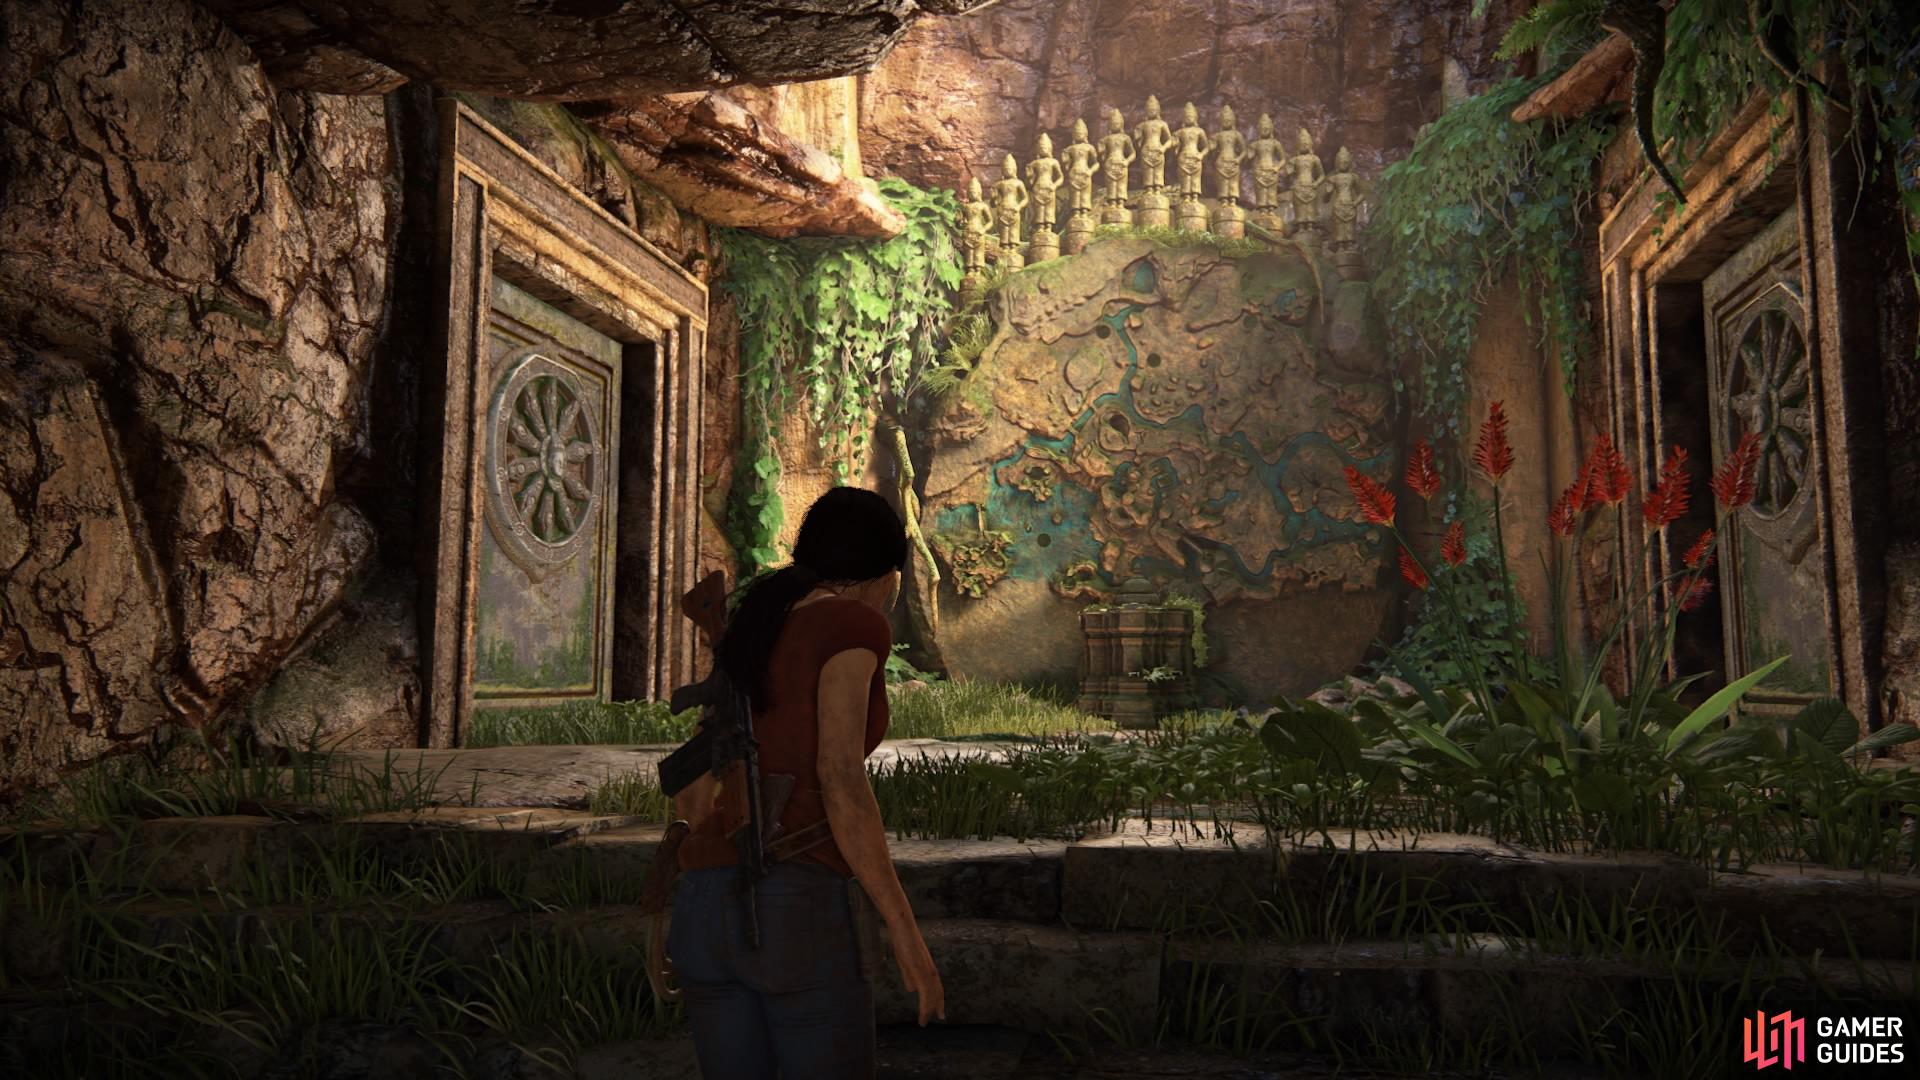
Activate the wall-map
Unfortunately, you can’t take the bracelet yet. In what is probably one of the most interesting additions to the series, the challenge is to find and obtain 11 Hoysala Tokens, marked by the empty holes on the wall-map. Chloe will then mark down these locations on her own map for you to refer to.
Once you have recovered the tokens, you can return here to place them into the wall and unlock the Queen’s Ruby to take with you on your adventure.
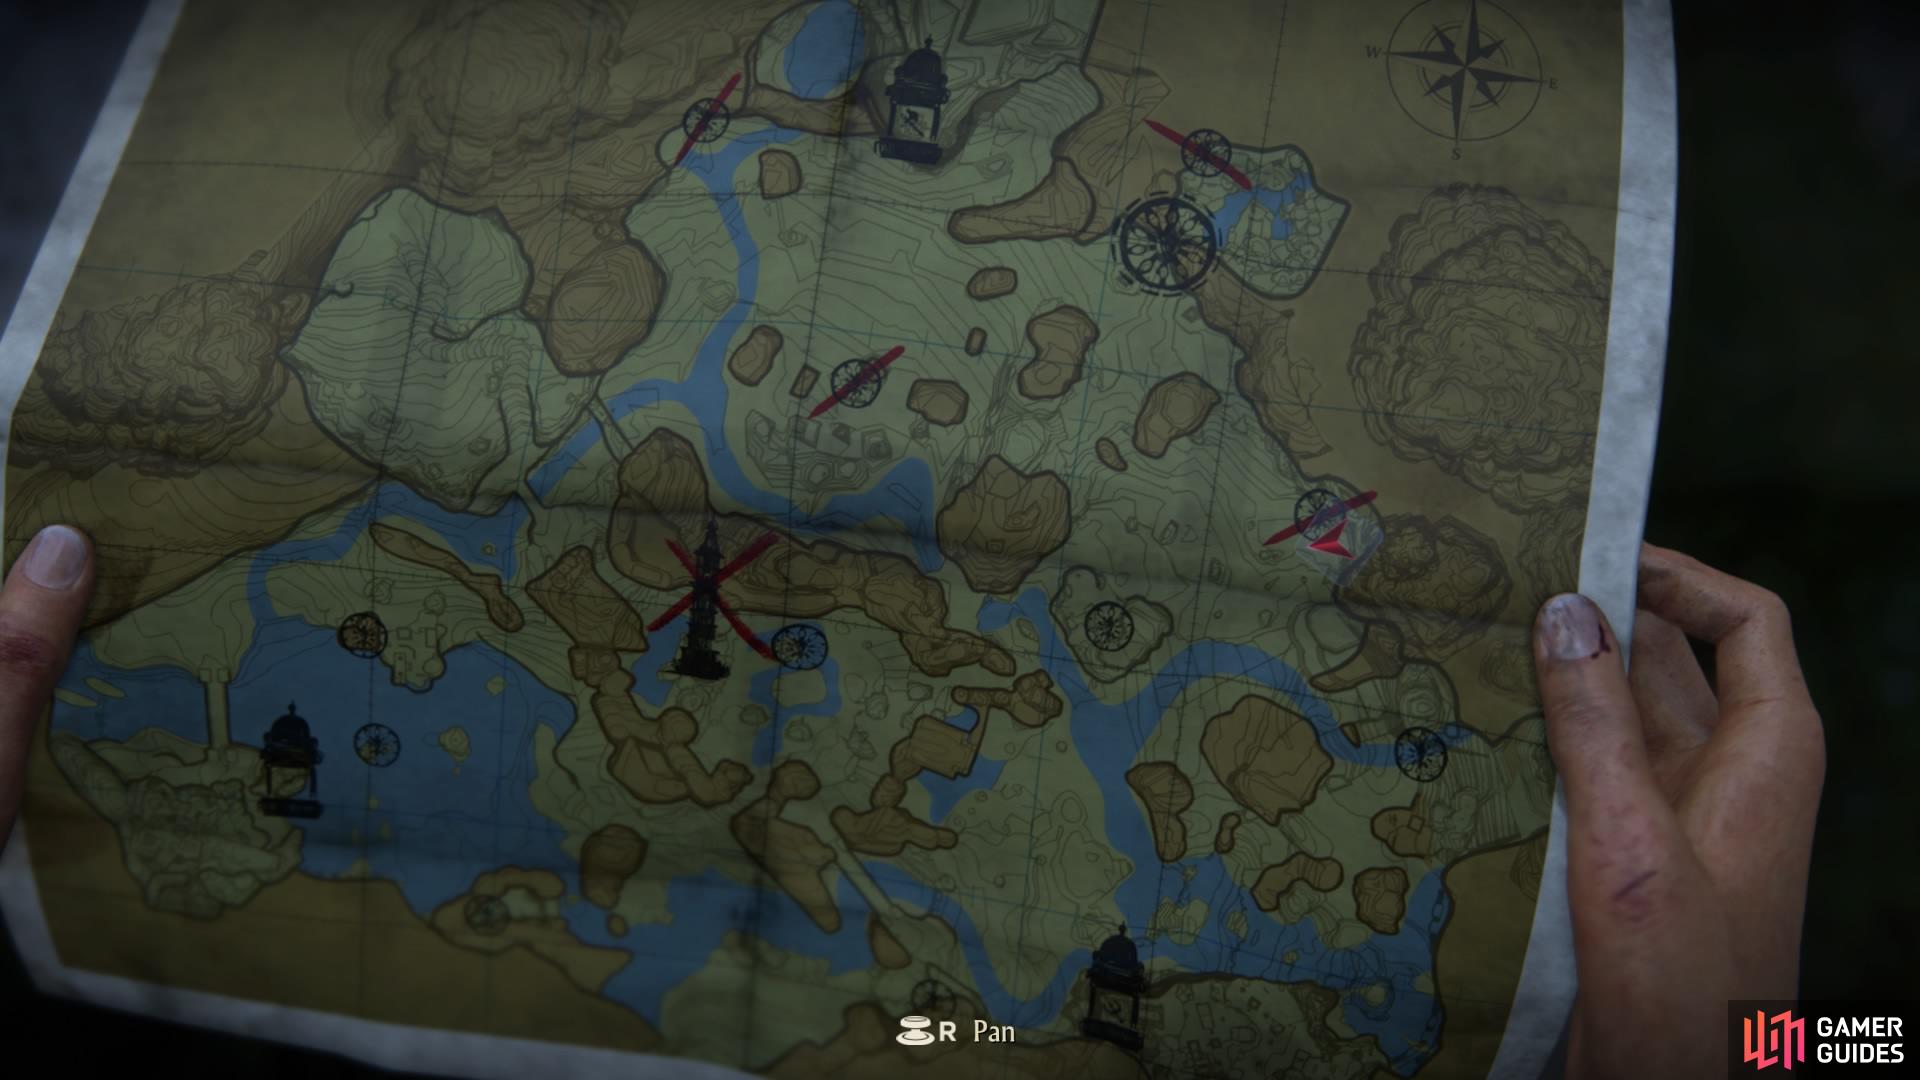
So, going in a clock-wise direction around the map, with a minor detour, we’ll help you to retrieve the tokens. Remember: your location on the map will be marked with a red arrow.
Hoysala Token - Owl
The owl token is the easiest simply because, as soon as you activate the wall-map, the door to your left will open up to reveal it sitting in an alcove. The owl statue is also in here, standing right next to it.
After collecting a token, Chloe will cross it off the map in red to keep you on track.
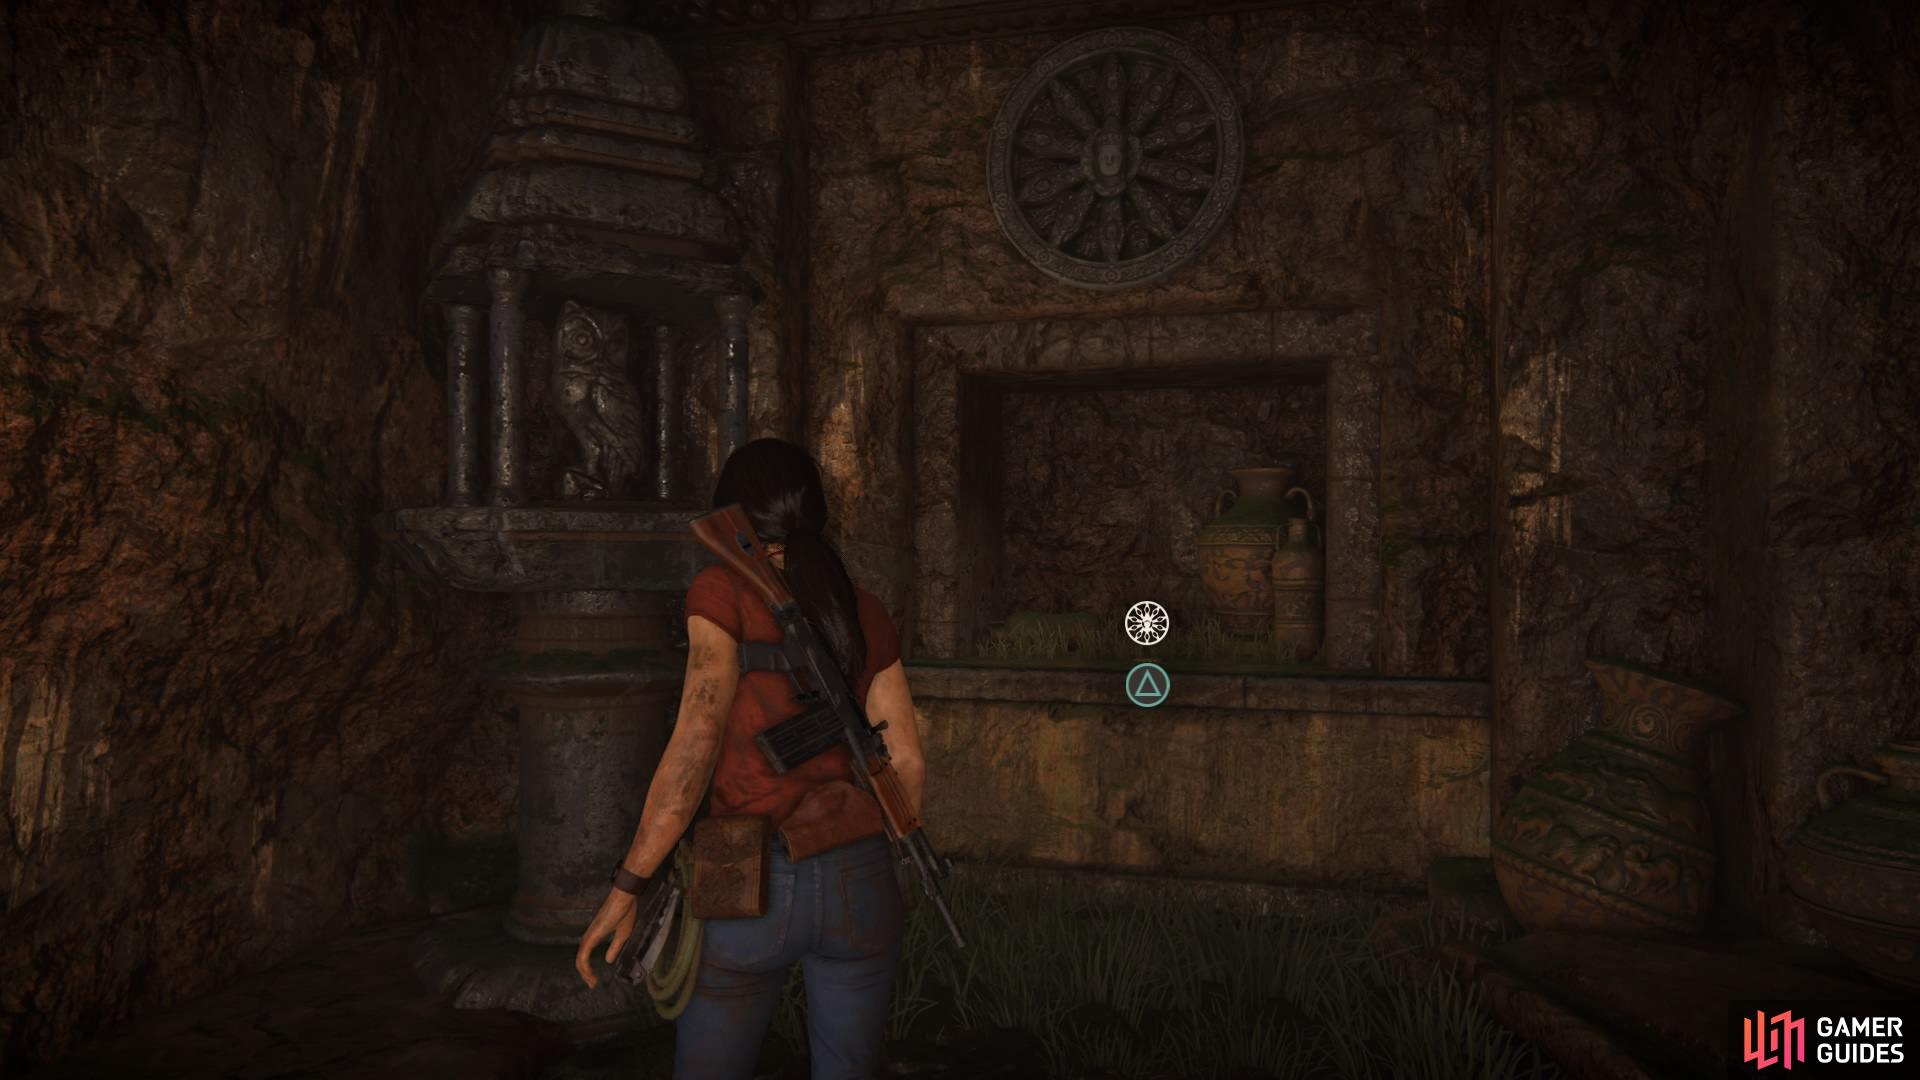
The owl statue in the room to the left of the Queen’s Ruby
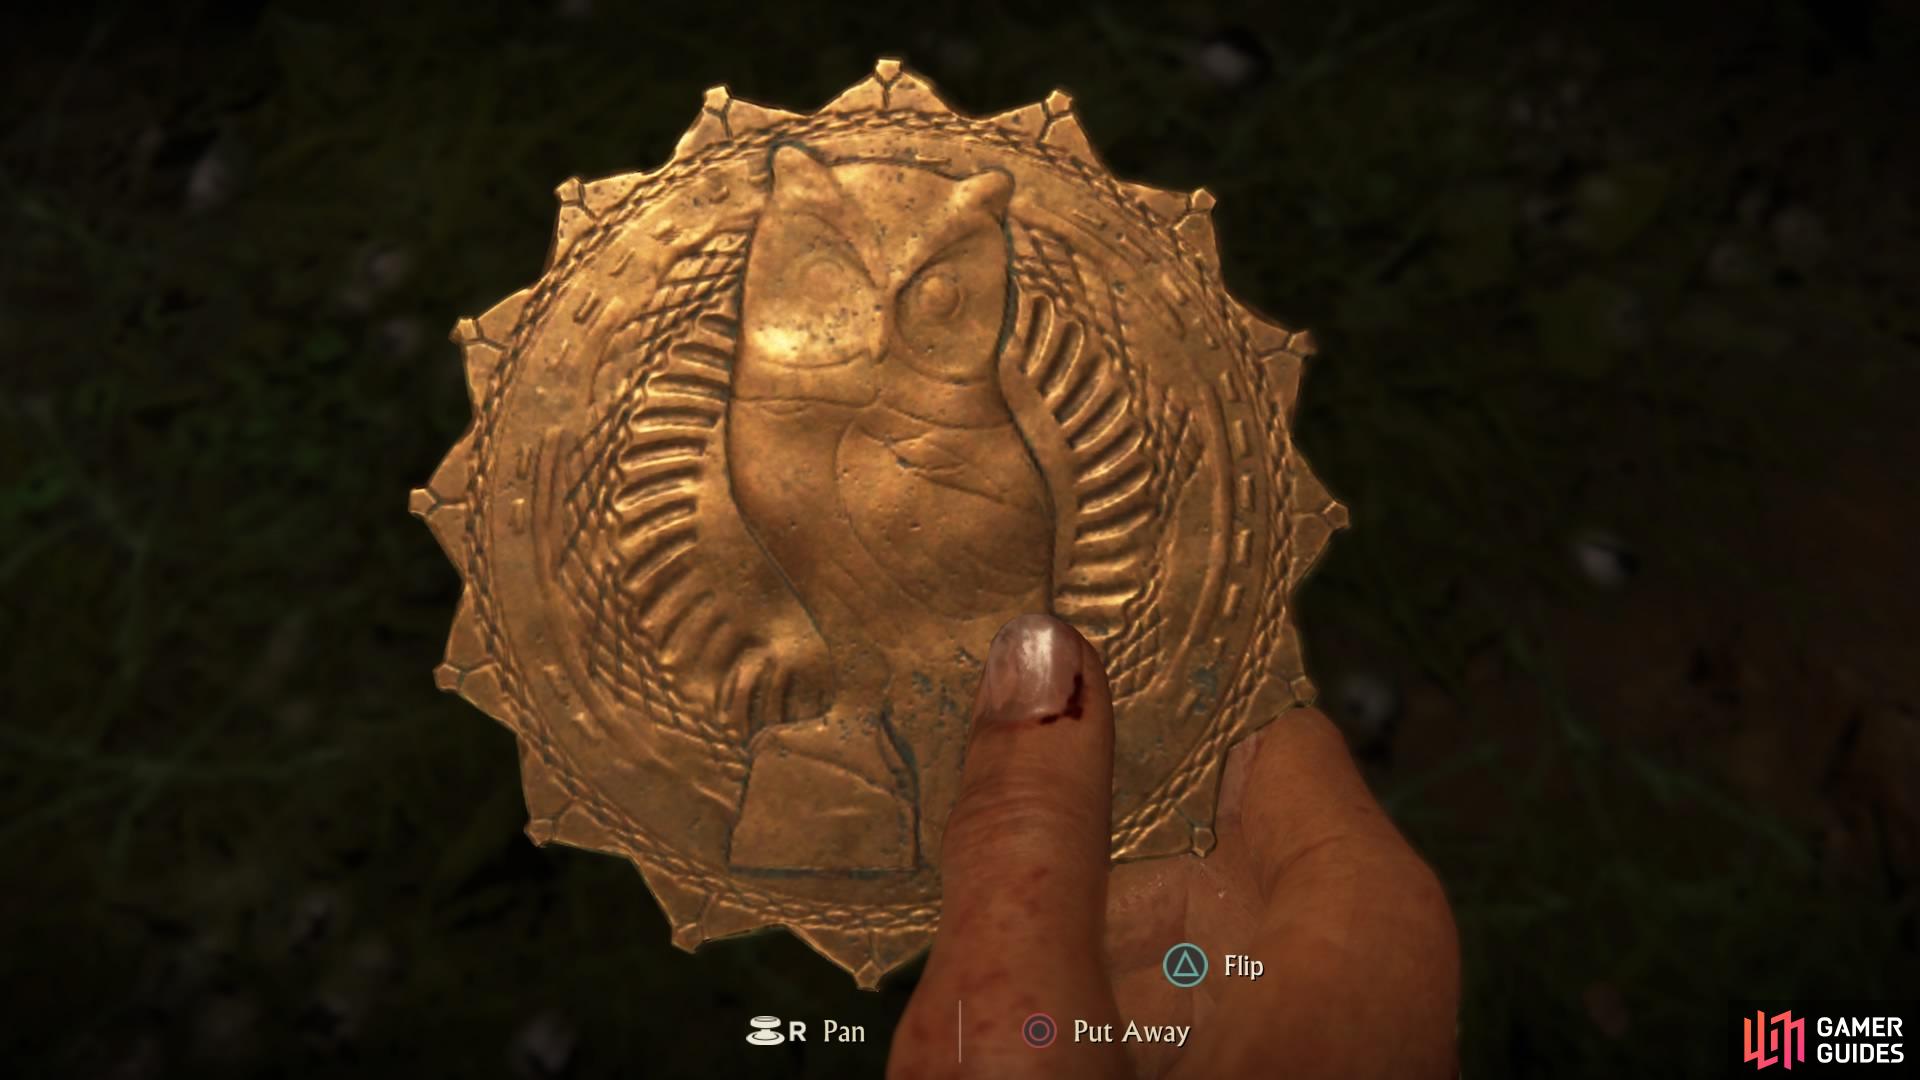
The first Hoysala Token: the owl
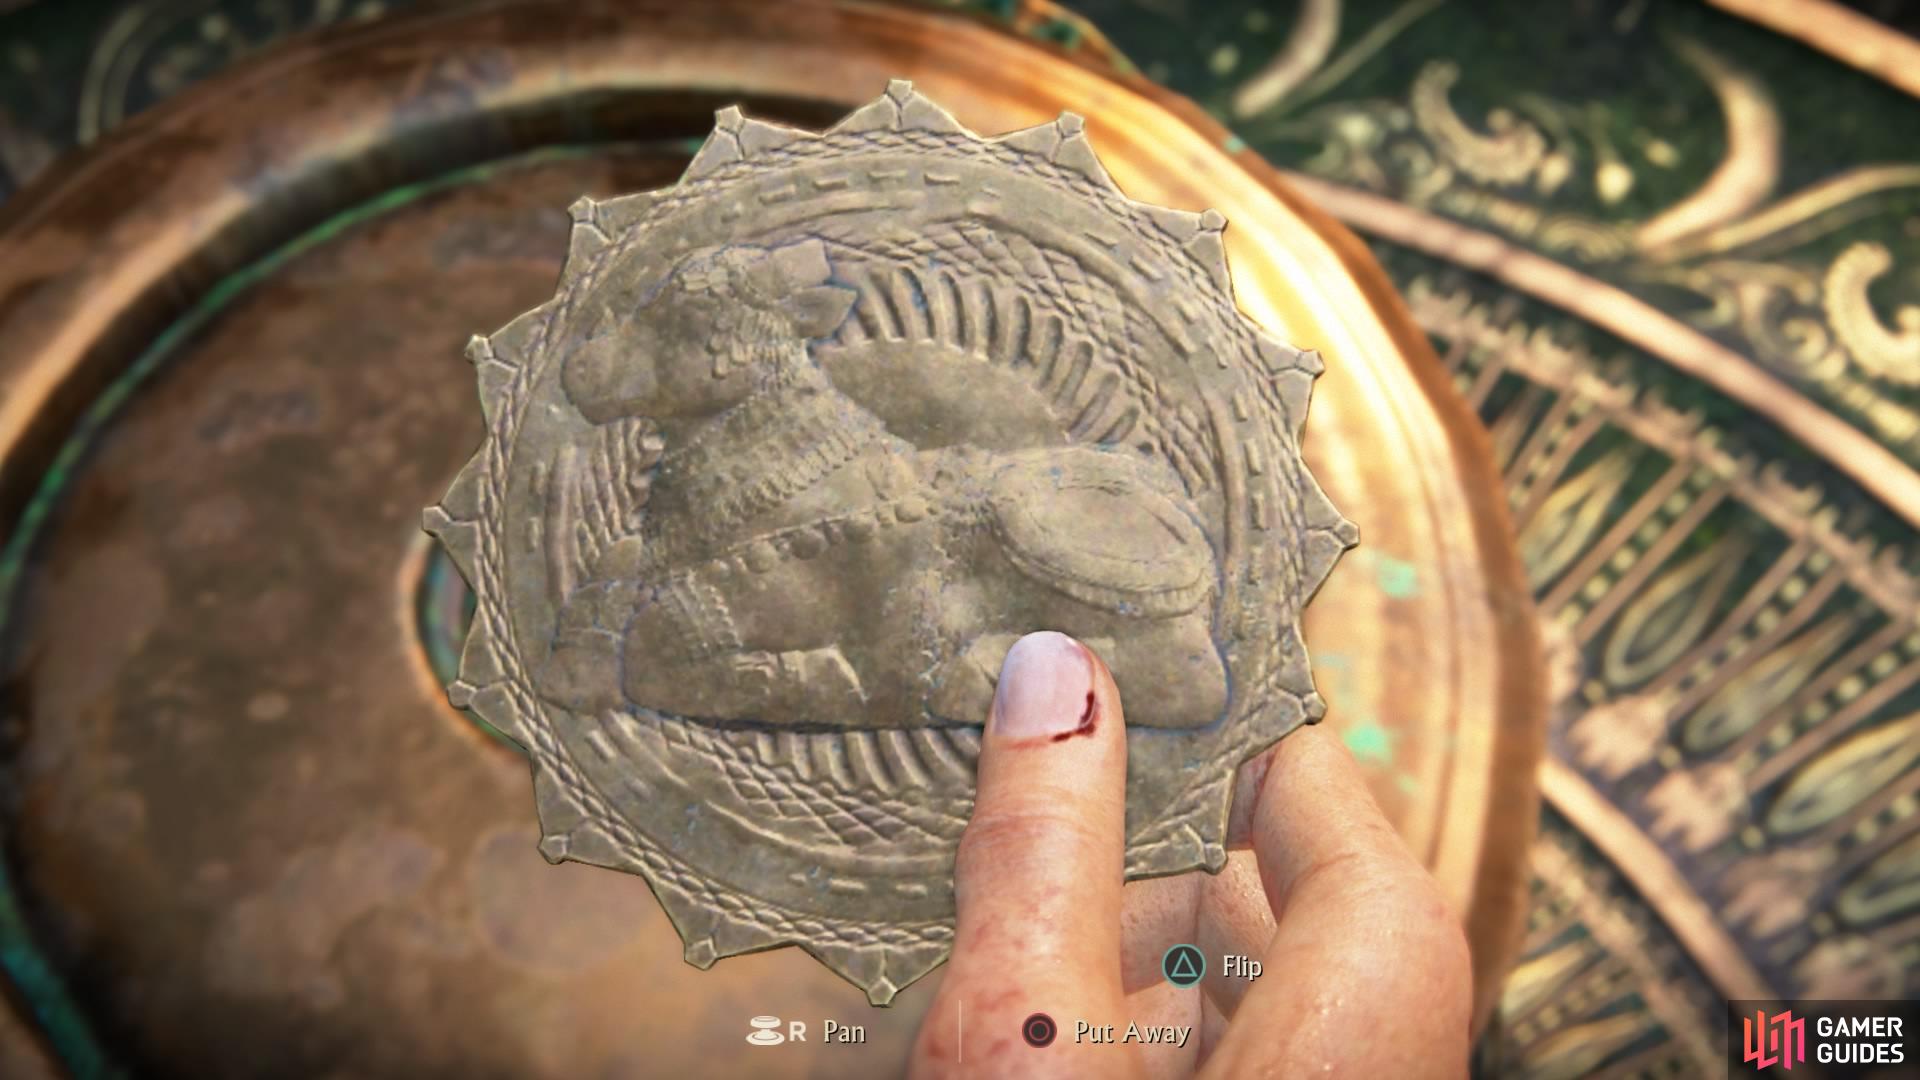
Hoysala Token - Lion
Remember the ruins you came through on your way here with the rebels? It’s time to go back there, which is why we suggested taking out the enemies beforehand.
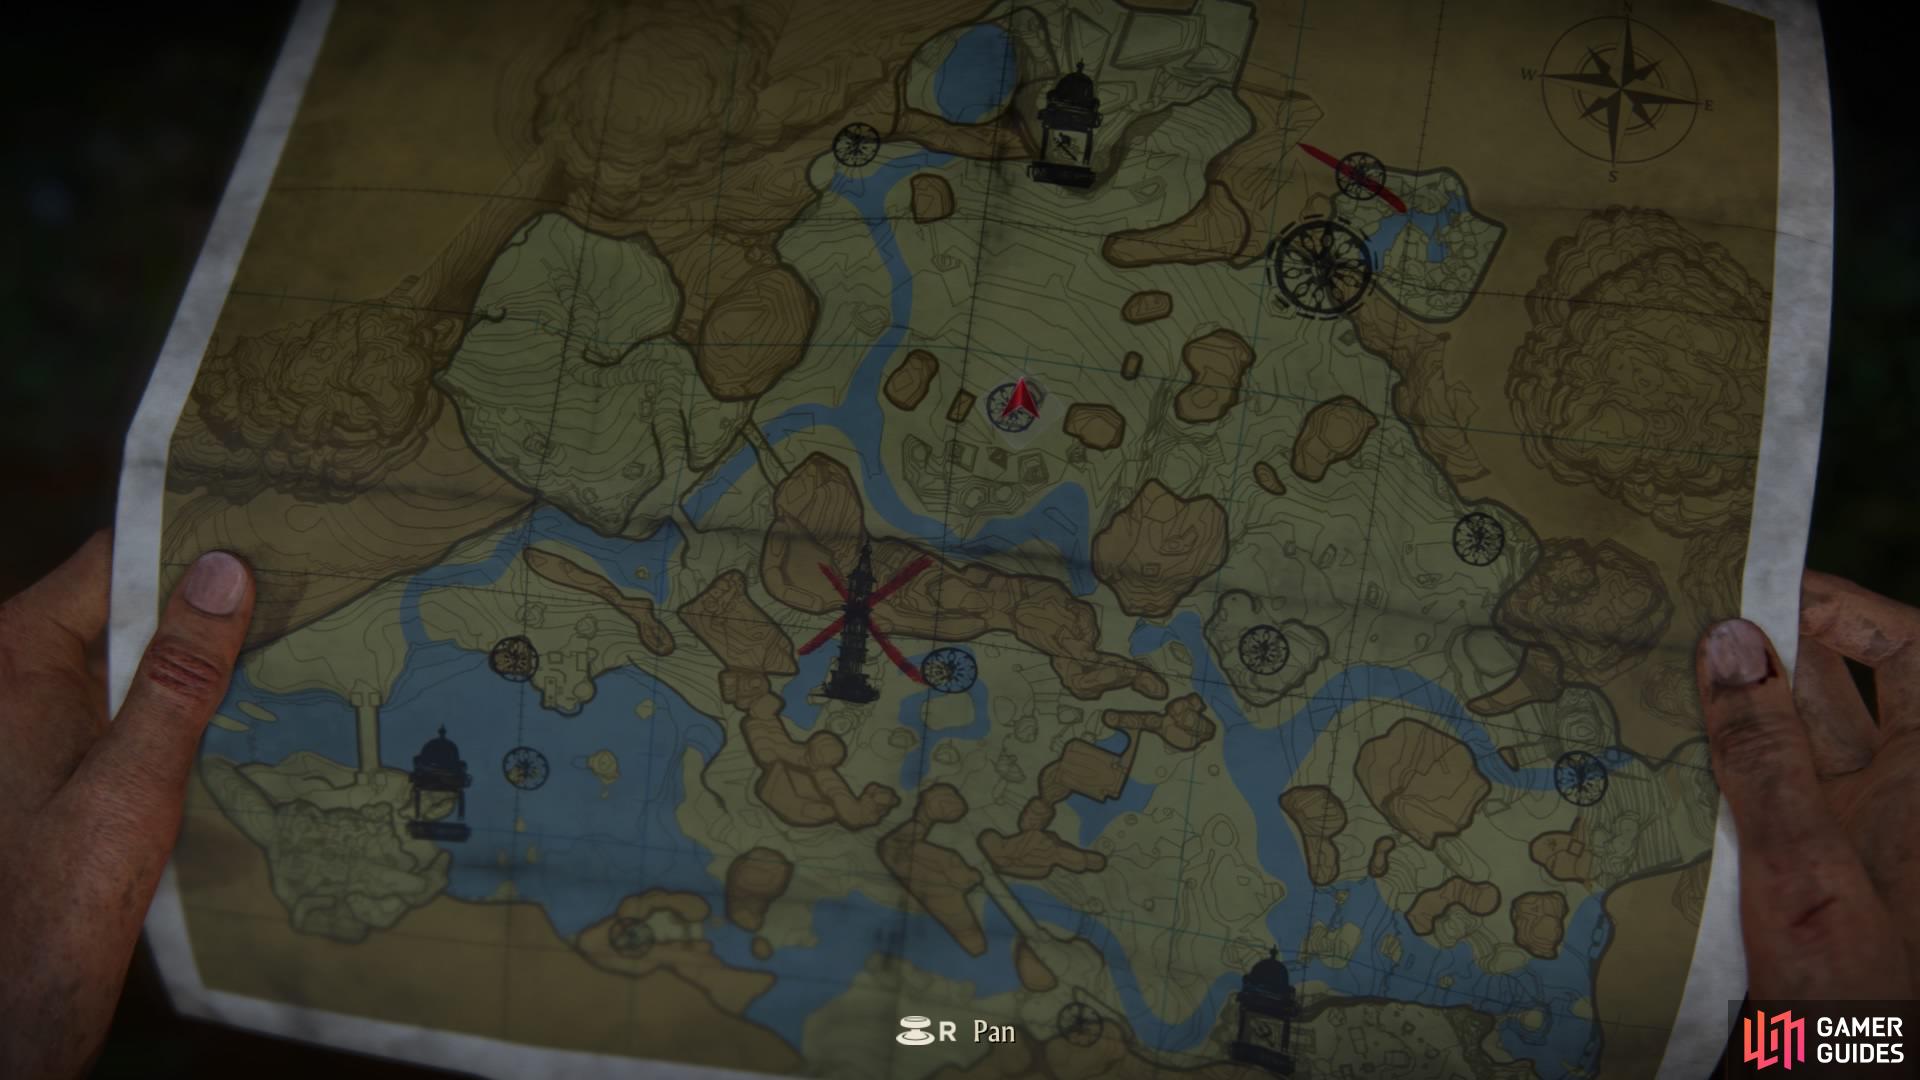
Second token location
Blow down the wall with a grenade
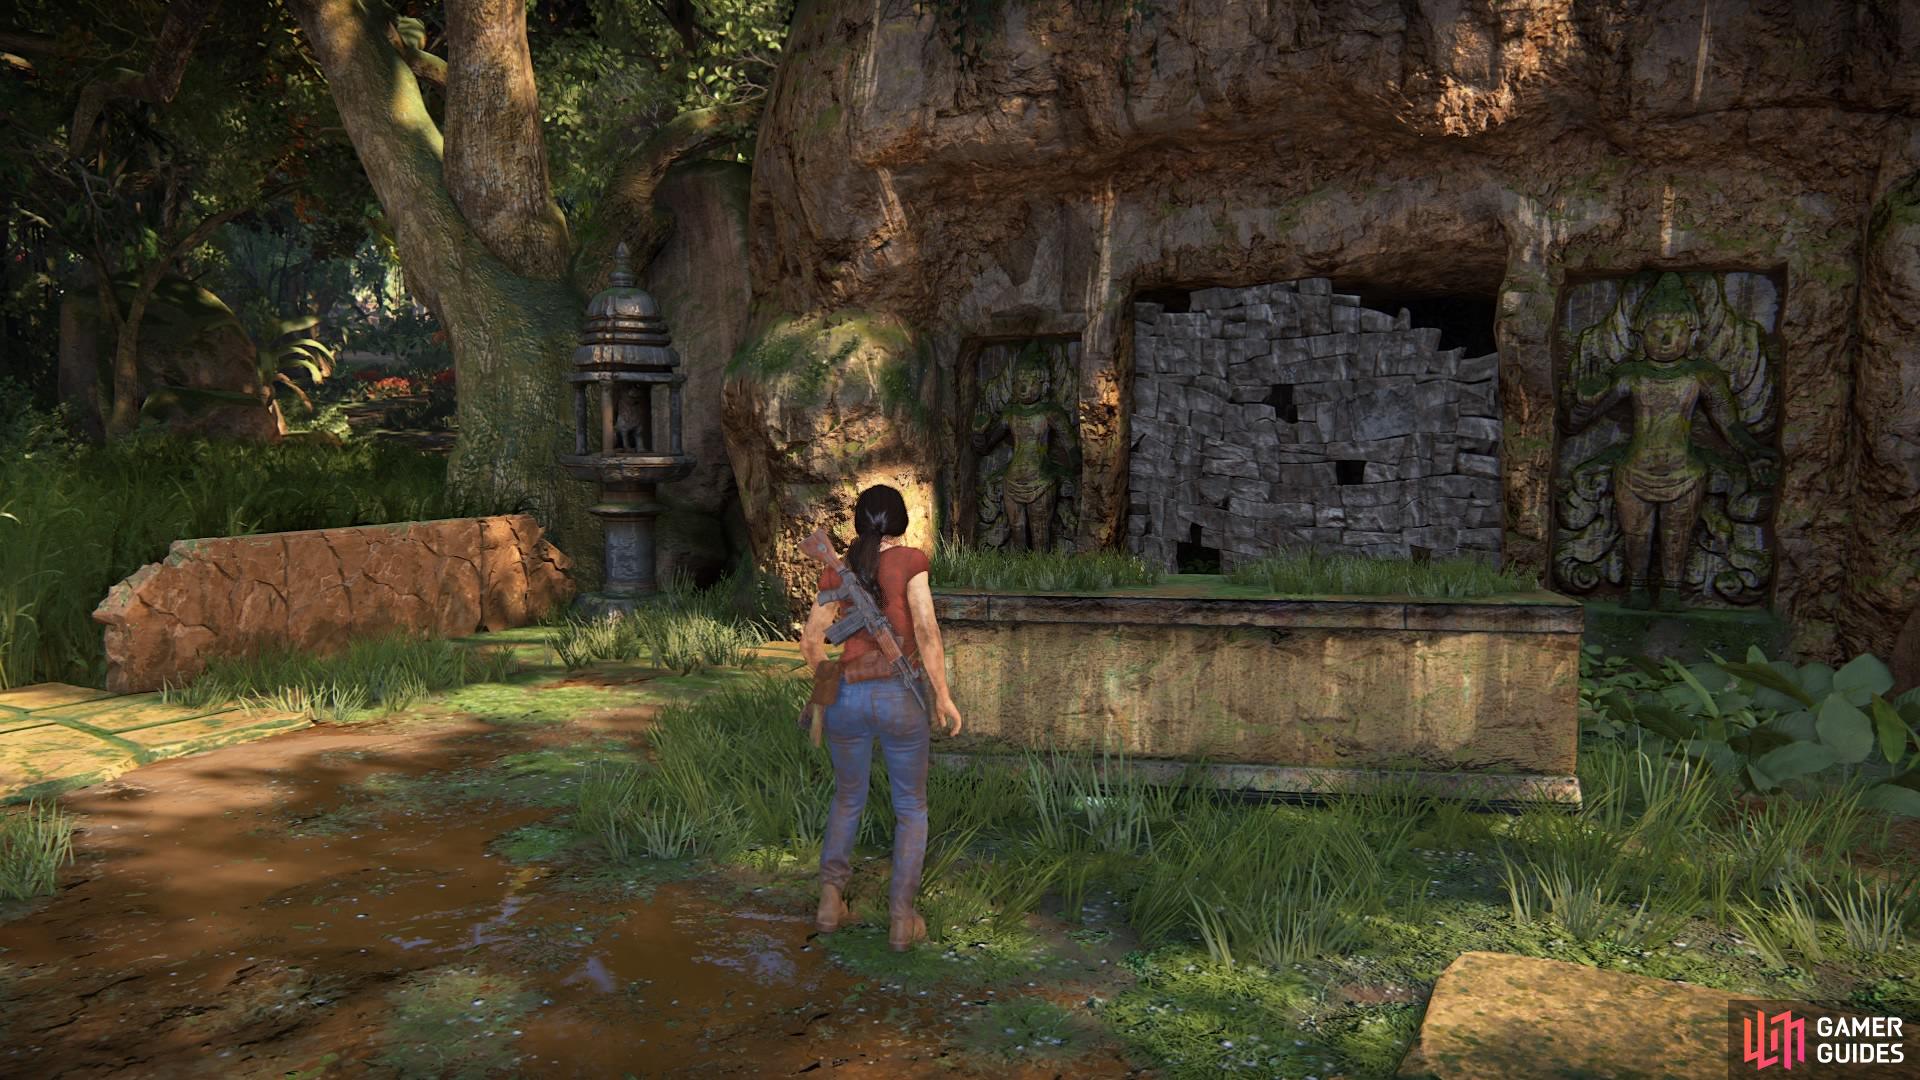
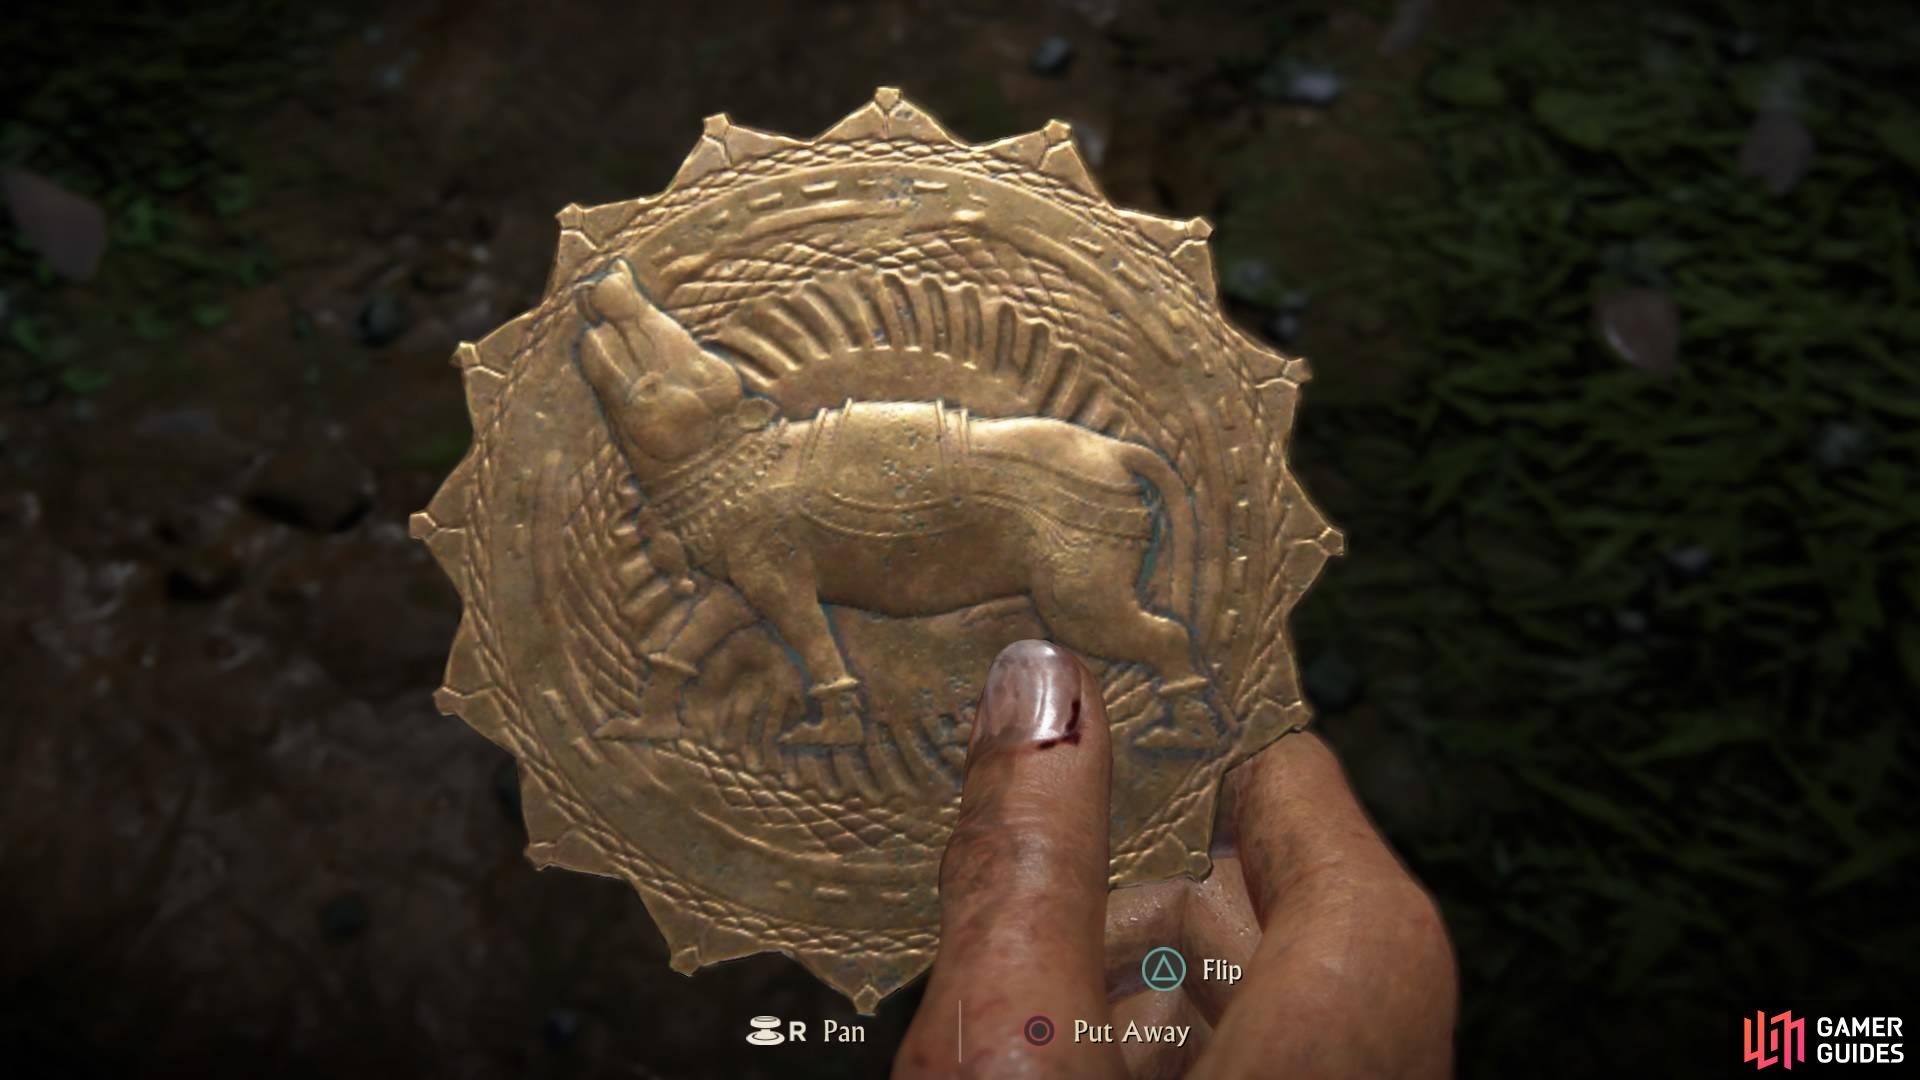
Once there, look for the ruin with the precarious looking wall and an animal statue standing beside it. This is your next token location.
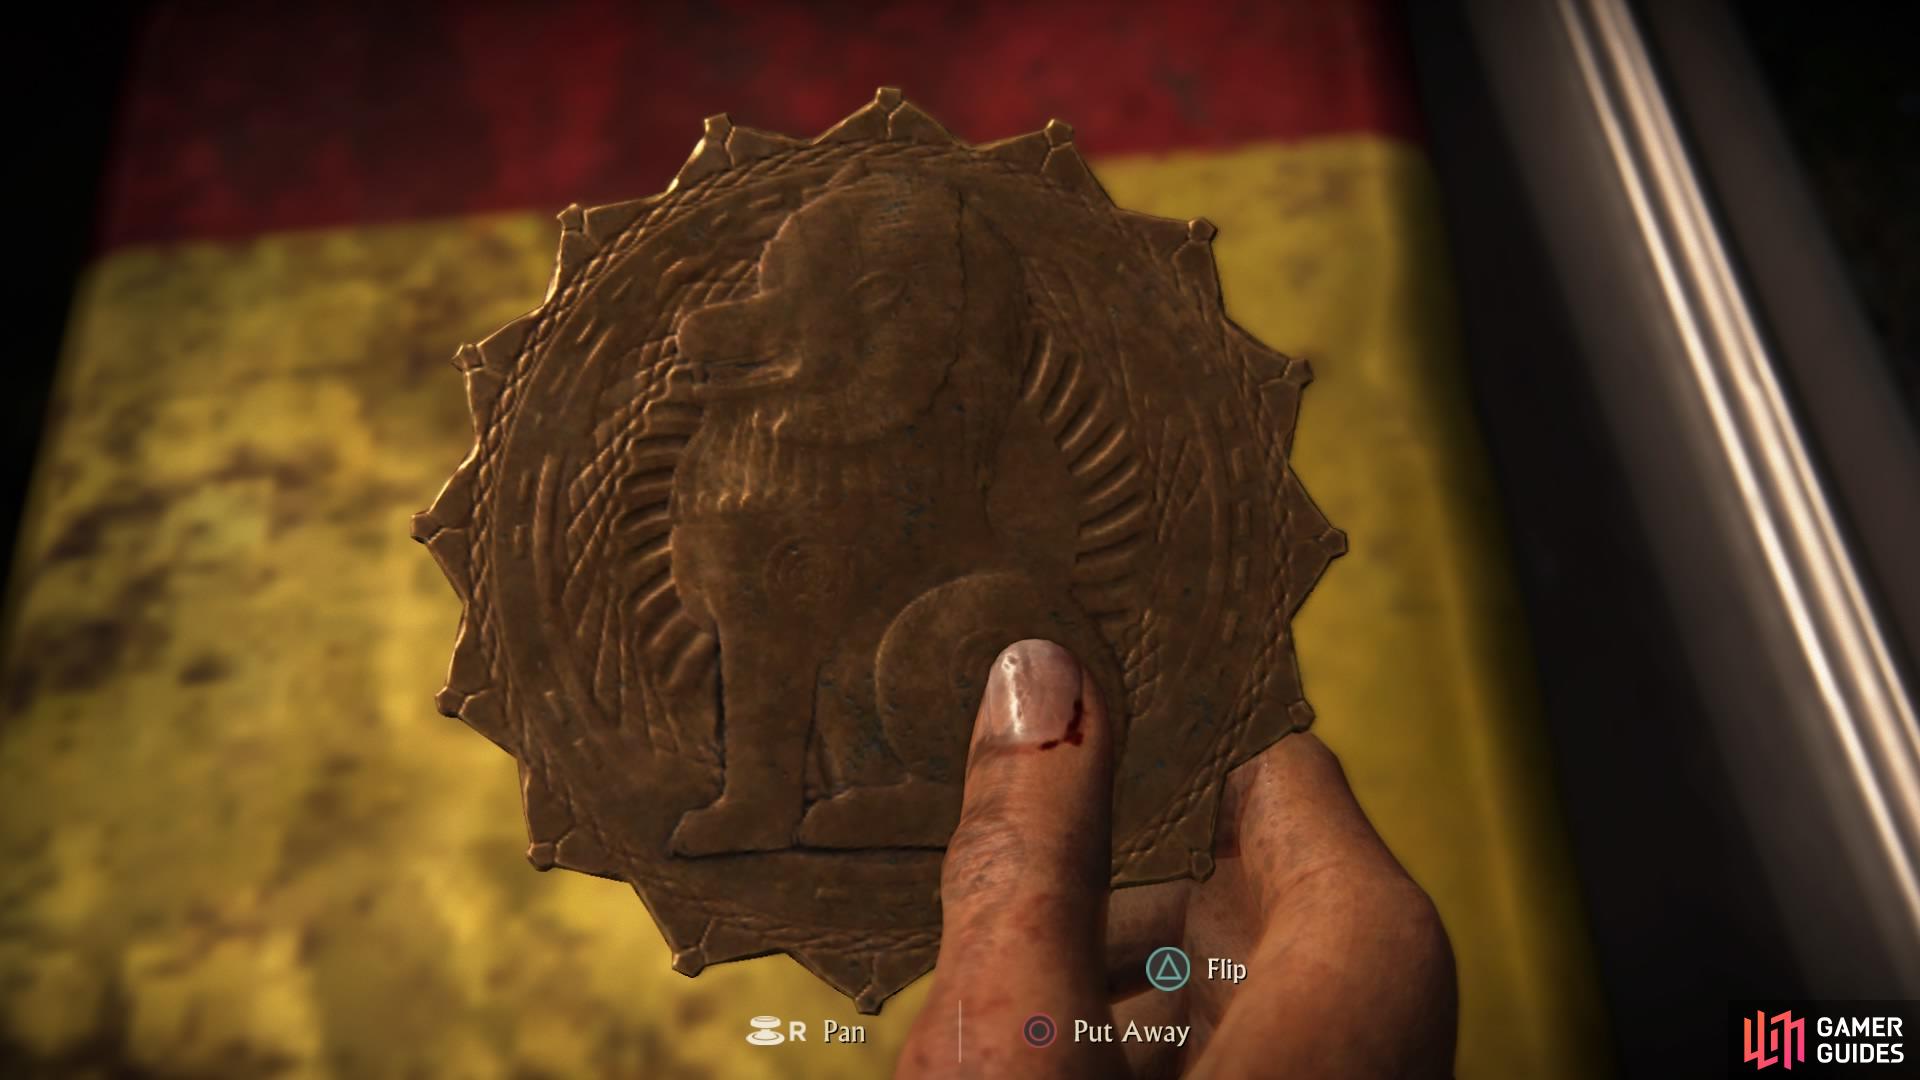
Use a grenade to break down the wall to find it sitting in an alcove.
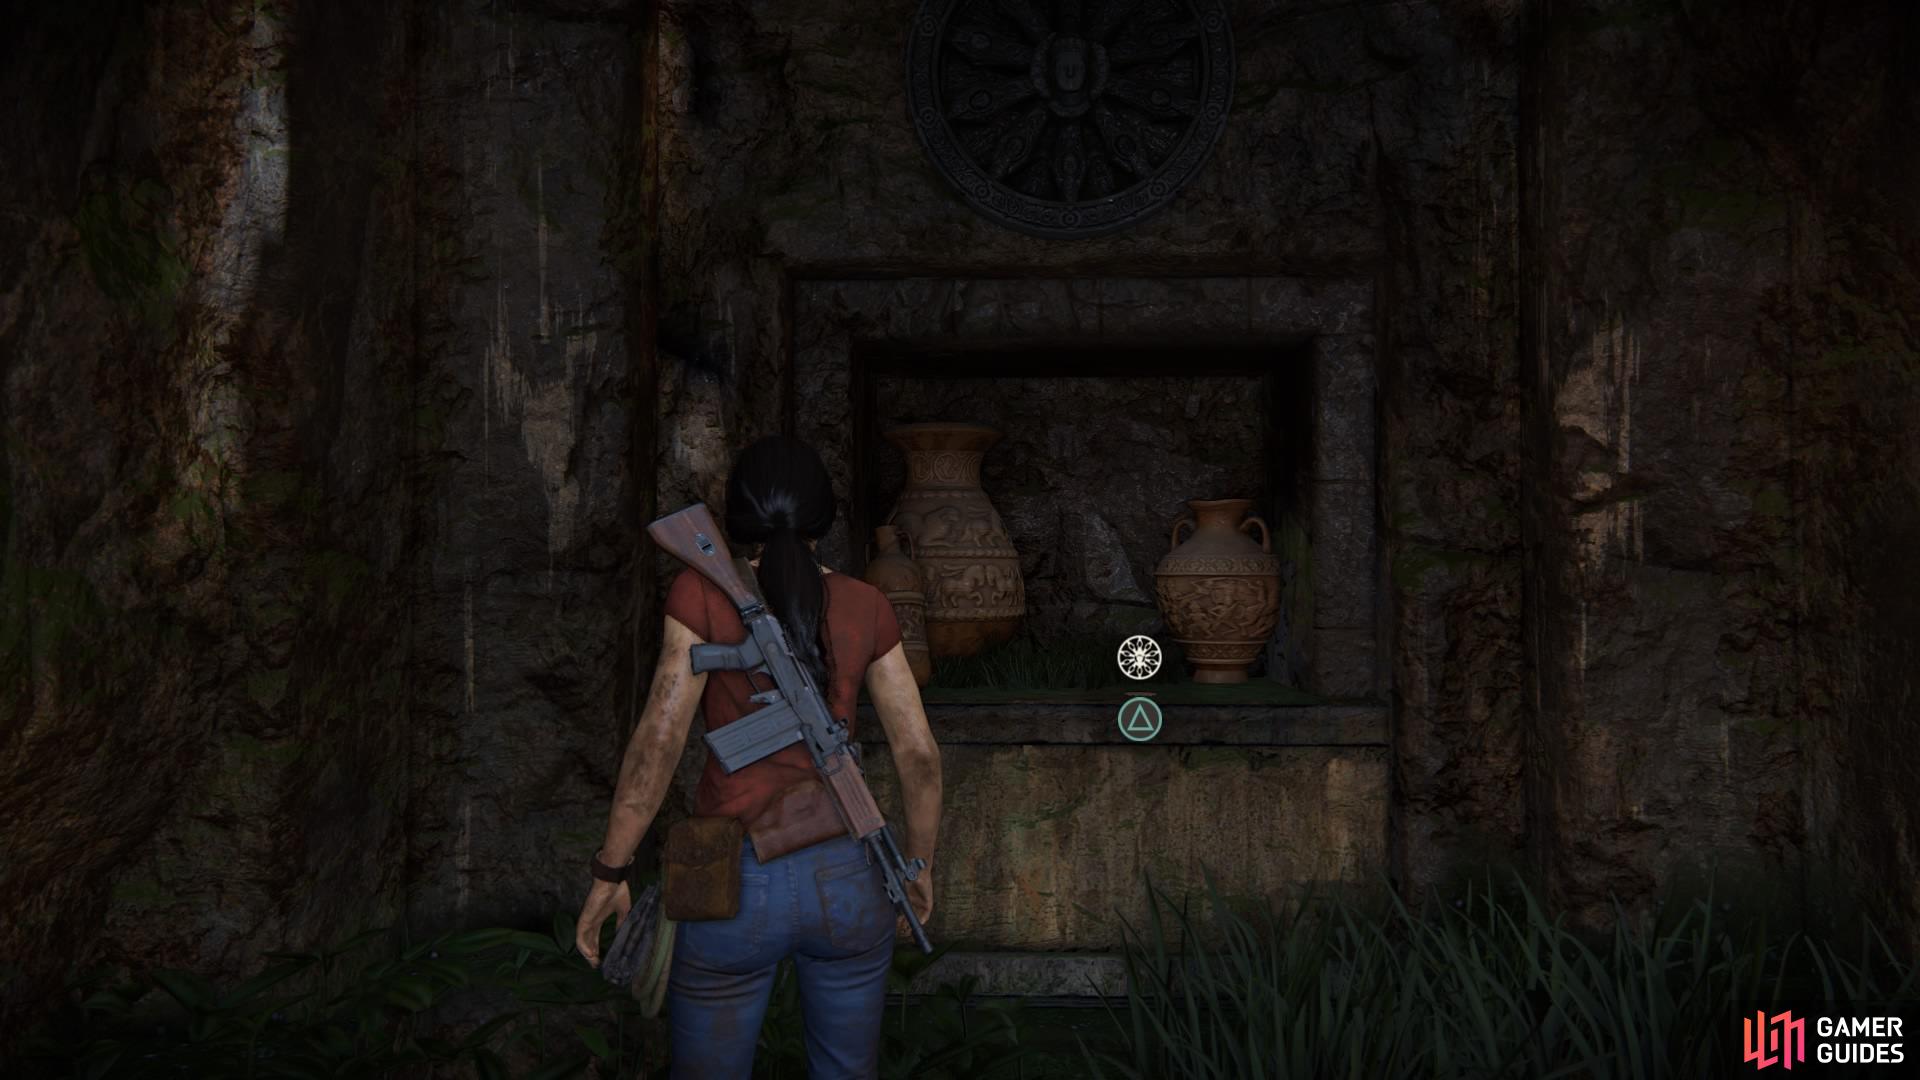
Pick up the token
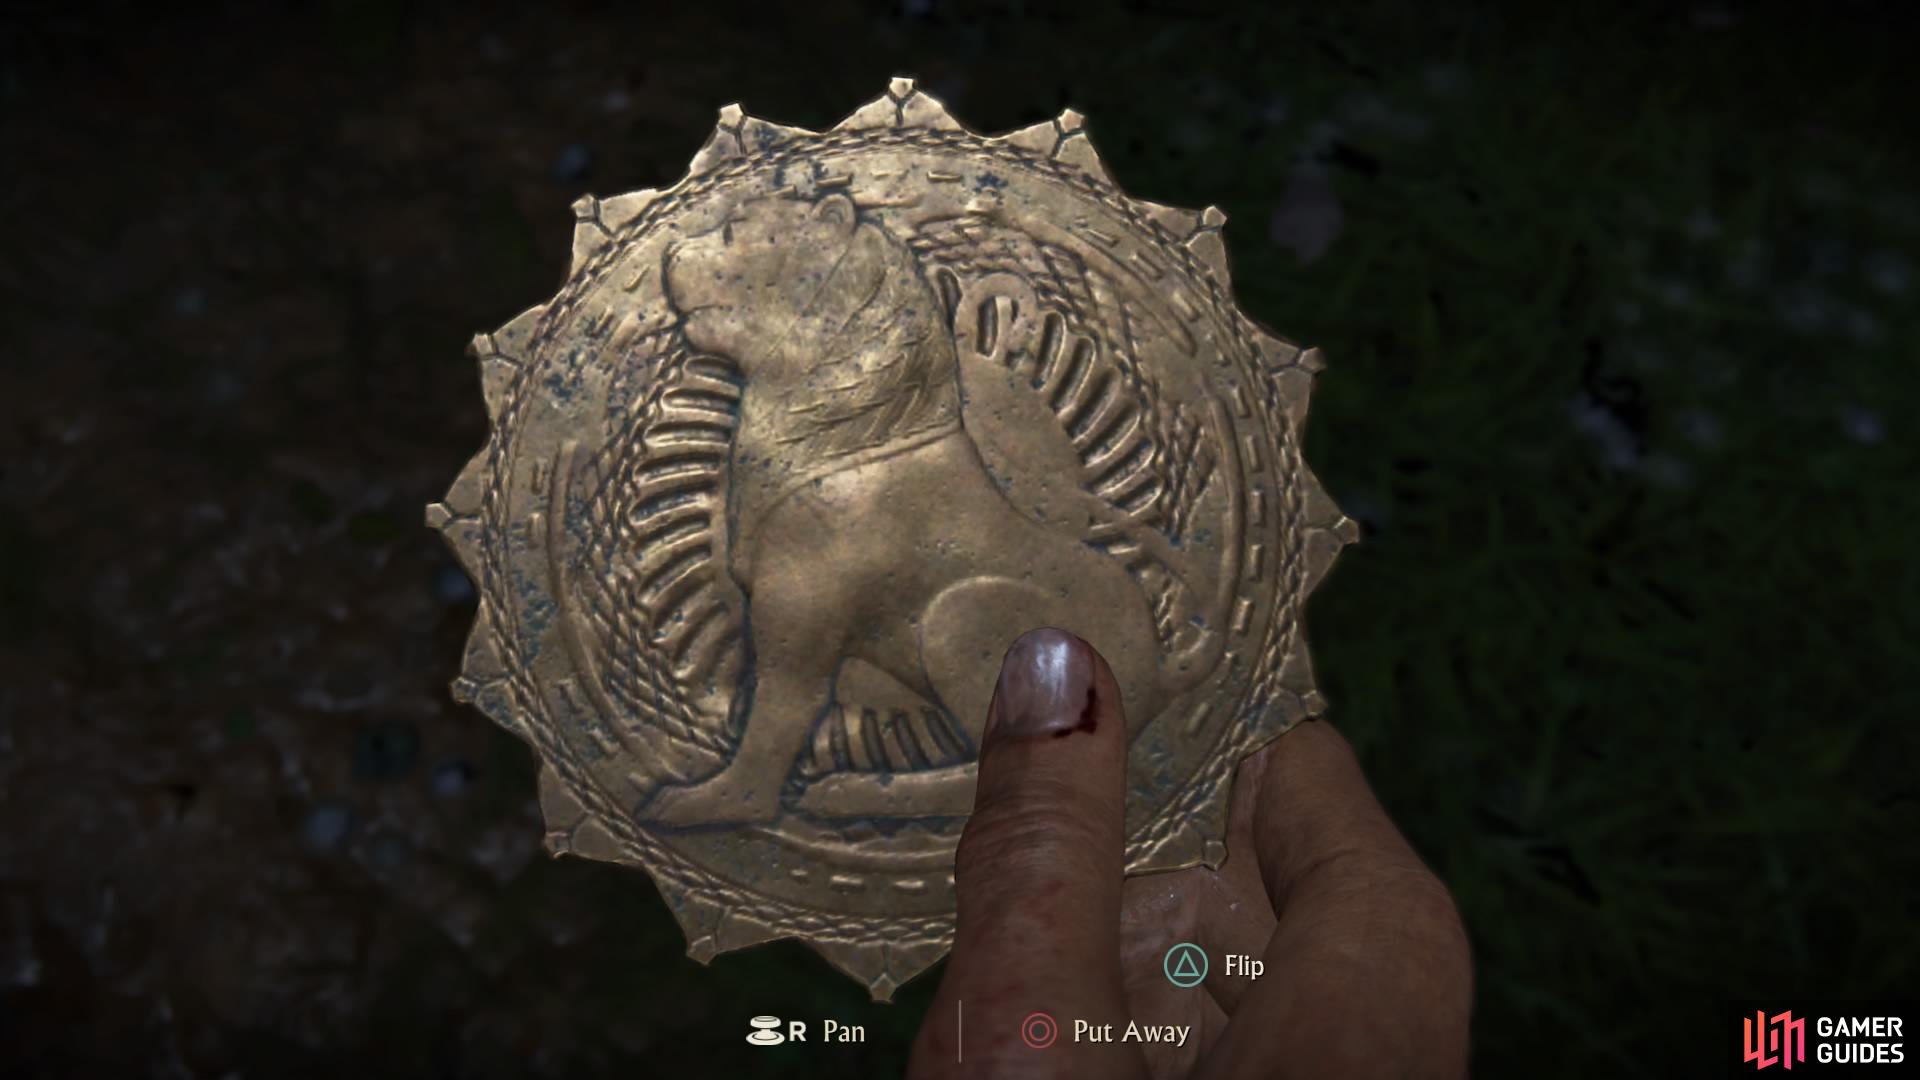
Your prize: the lion
Hoysala Token - Horse
Things will begin to get interesting now, as not all the tokens can be recovered so easily!
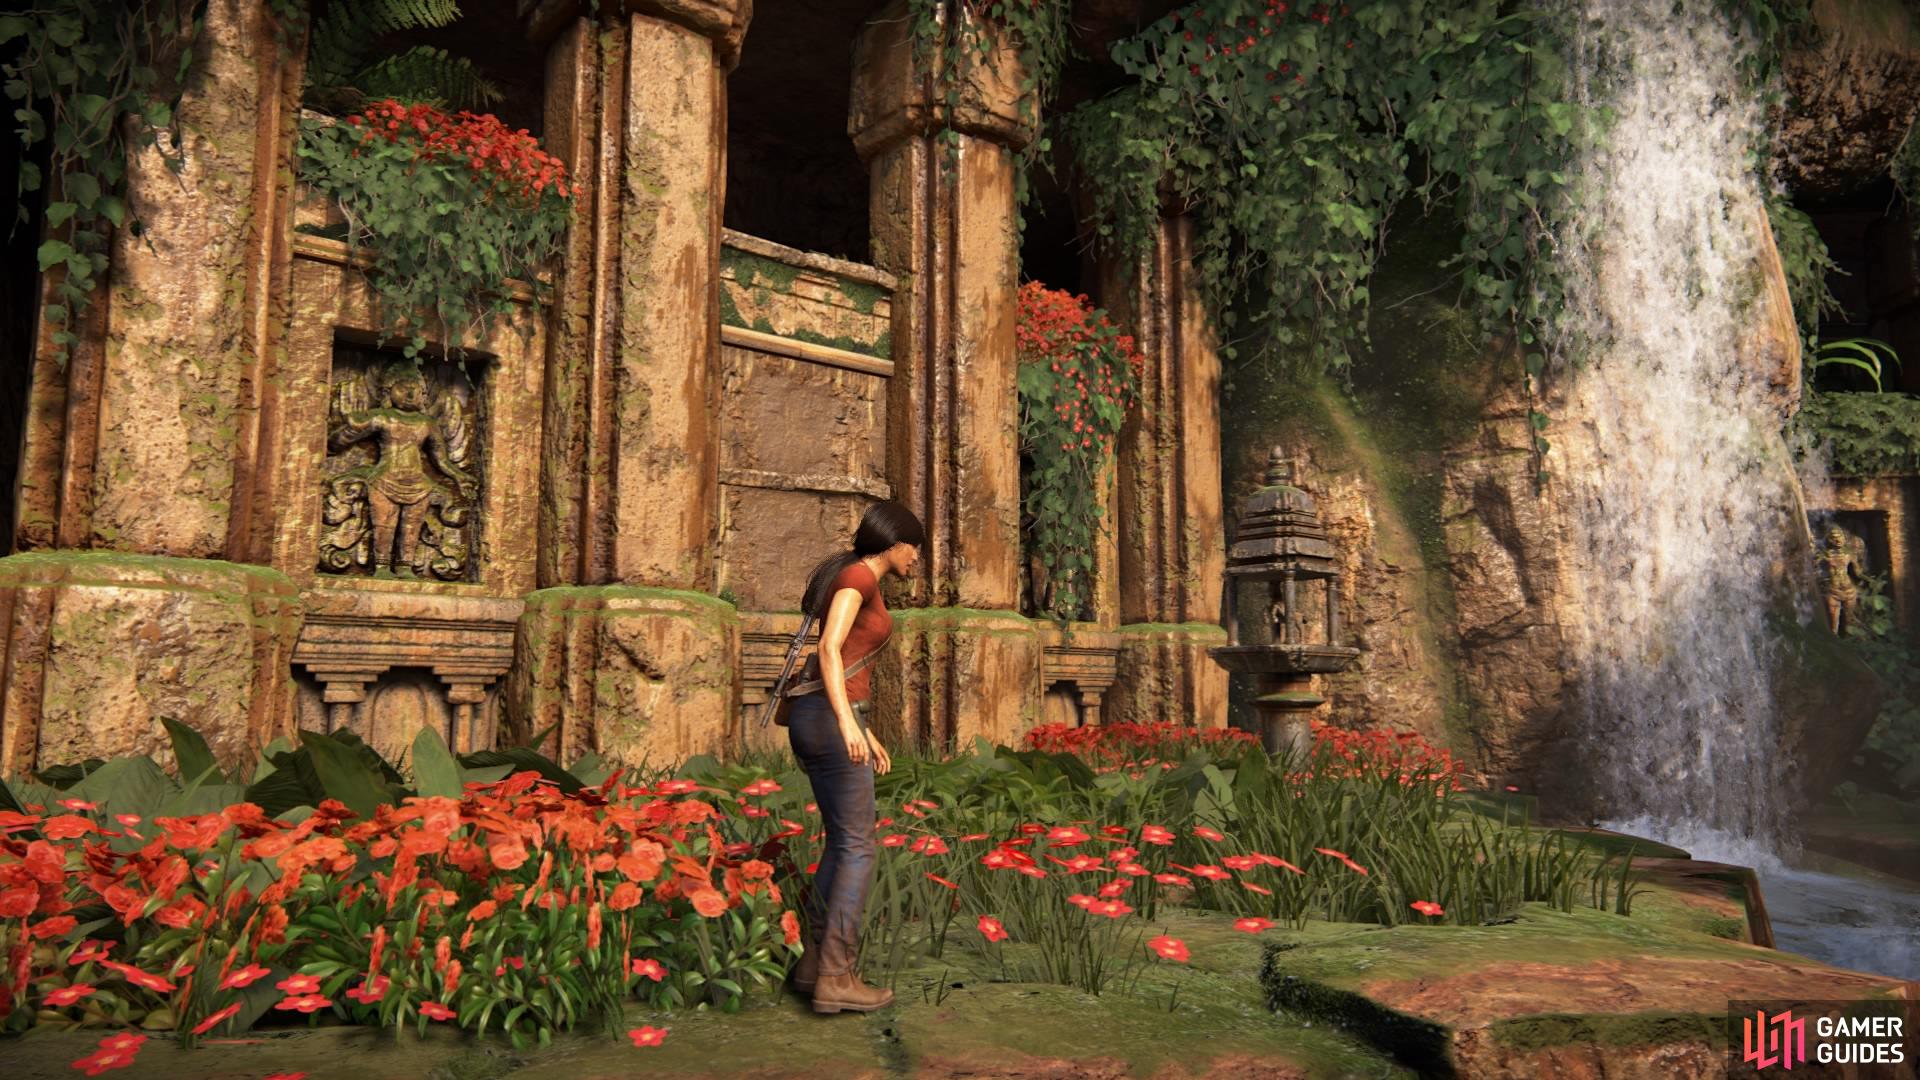
Head to the northwest side of the map, left of the lion token you just received, until you reach the next ruin. It’s split into two with a waterfall running down the middle of the cliff, and as usual will be marked by an animal statue.
Ignore the right side of the ruin and climb up the left one to enter a room with a barred doorway at the back. The token is sitting on a block behind the bars. To your right is a giant puzzle mechanism on the wall – solve the puzzle to unlock the door.
Ruin #3 to the northwest of the map

Solve the puzzle to obtain the token
Like most of the puzzles in this game, you have to switch between and turn the dials until you form an image. In this case, a horse. Also in this case, you have to fit some of the pieces back into their proper places, which requires a lot of moving them around.
There are three pieces to the left of the puzzle – large, medium, and small – that fit into their respective places in the dials. Use the podium in front of you to control the pieces: the left analogue stick spins the dial, press X to switch between the dials, and hit triangle to move the pieces in and out of the puzzle.
– Starting with the large piece, turn the outer dial to the left and hit triangle to move the piece into the ring. Then spin the outer dial to the right and hit triangle to move the piece out. Turn the outer dial back to the left again to make room for the medium piece.
– Switch to the second dial and hit triangle to move the medium piece into the ring – keep it there.
– Switch back to the outer dial, and retrieve the large piece to return it to it’s starting position on the left. Turn the dial back to the right.
– Switch to the second dial and turn it right. Hit triangle to move the piece out of the dial, then turn it back left again.
– Switch to the outer dial and turn that left to move the large piece back into the ring. Then turn it right to move the piece back out. The large and medium pieces should both now be waiting on the right side of the puzzle.
– Making sure that the outer and second dials aren’t blocking the final piece, switch to the third, smaller dial and turn it to the left to move the small piece into the empty slot.
– Now retrieve the large piece and return it the starting position on the left again. Then retrieve the medium piece.
– Retrieve the large piece once again and spin the dials until you have a complete image of a horse.
Congratulations! The door is now open and you can pick up your prize.
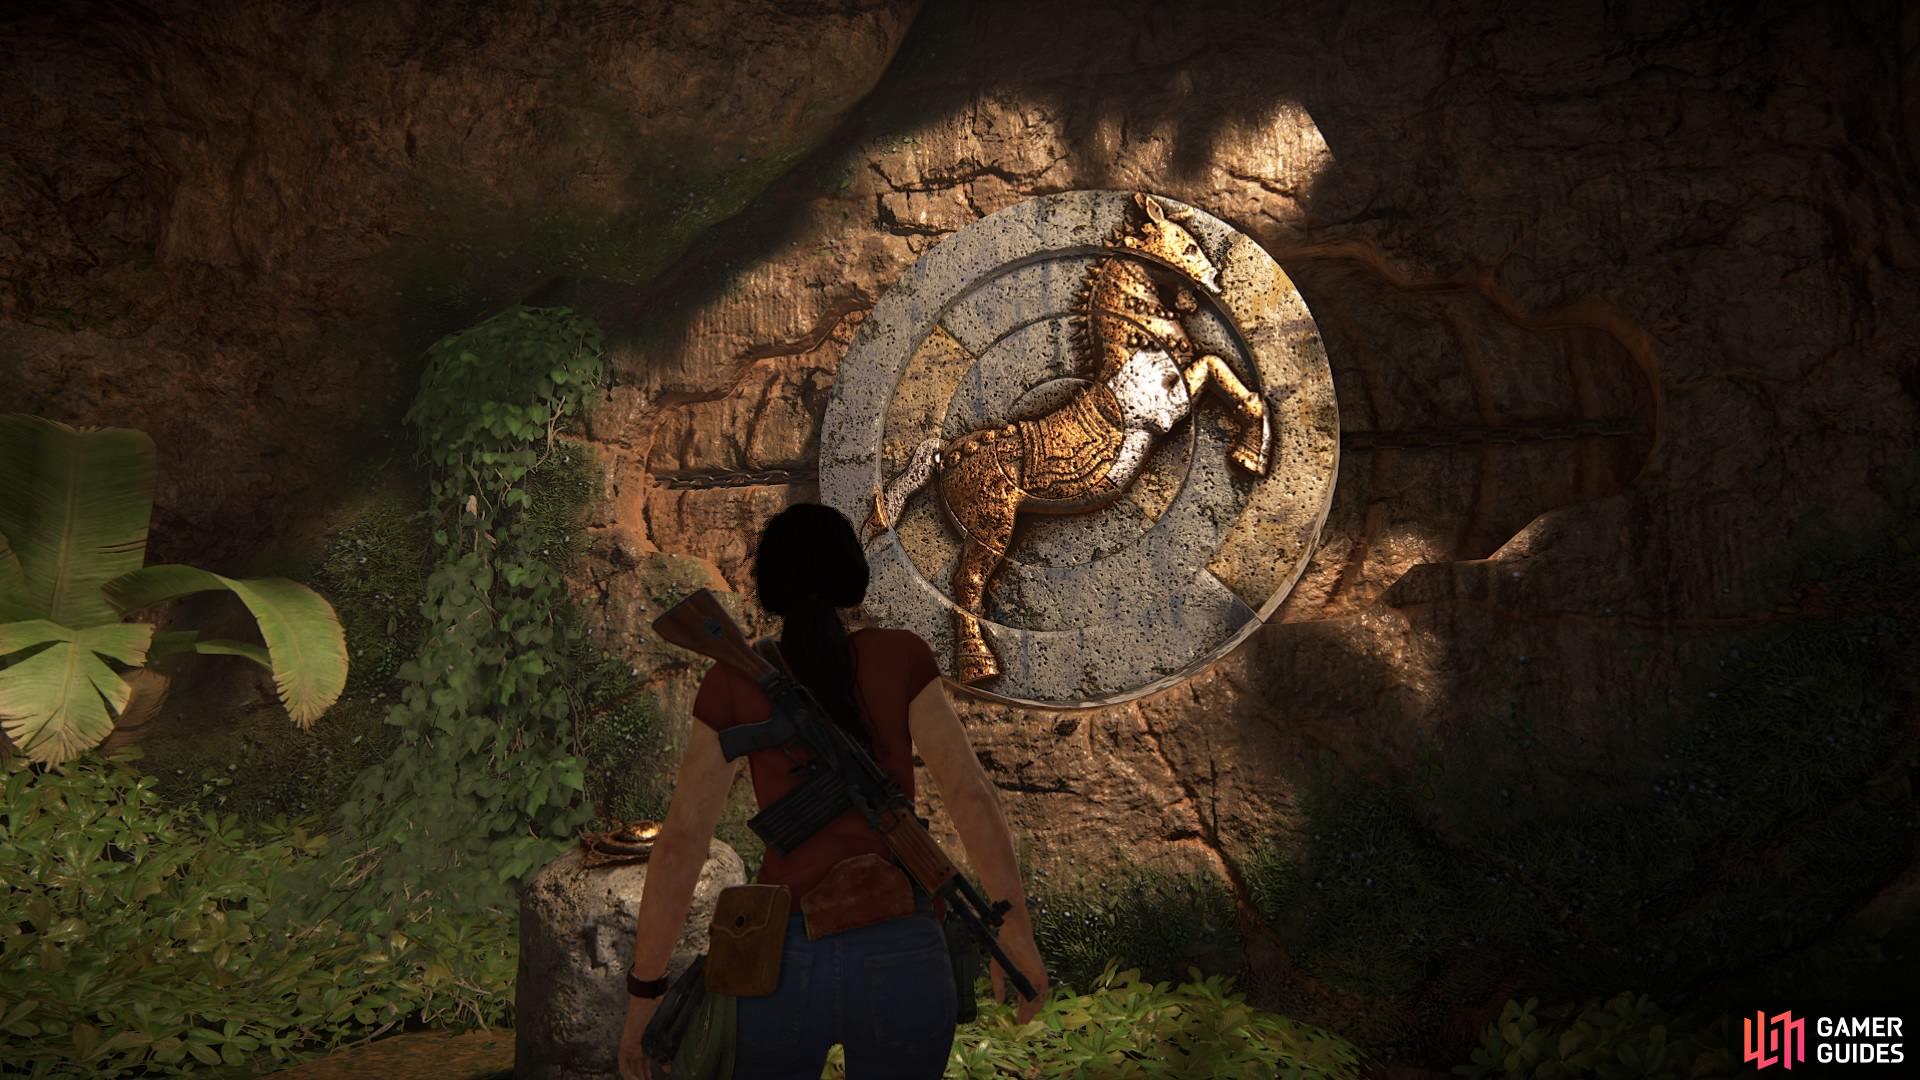
The puzzle, solved
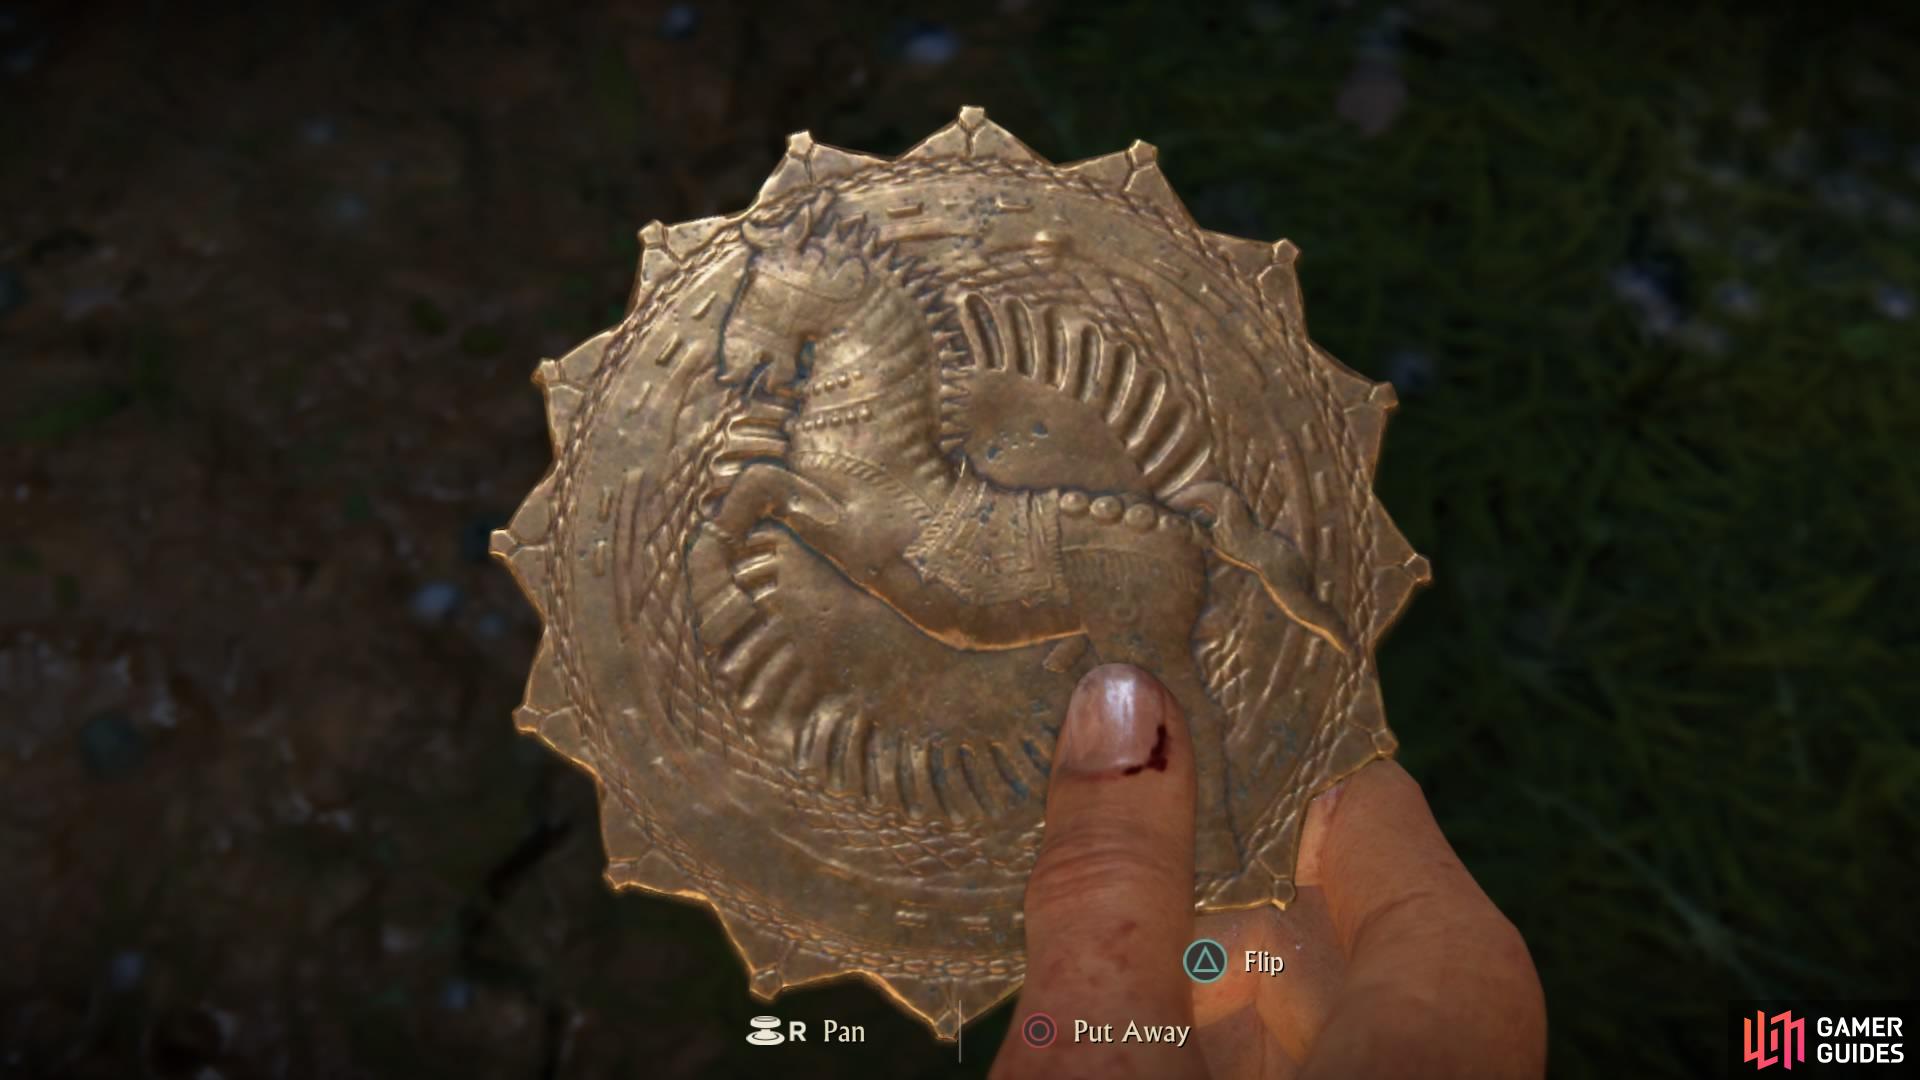
The third token: the horse
Hoysala Token - Cobra
From here, head straight to the east side of the map where there are 3 token locations within short proximity of one another in the shape of a triangle. The cobra token is the top point of said triangle, so let’s head there now.
The cobra token location
The cobra statue
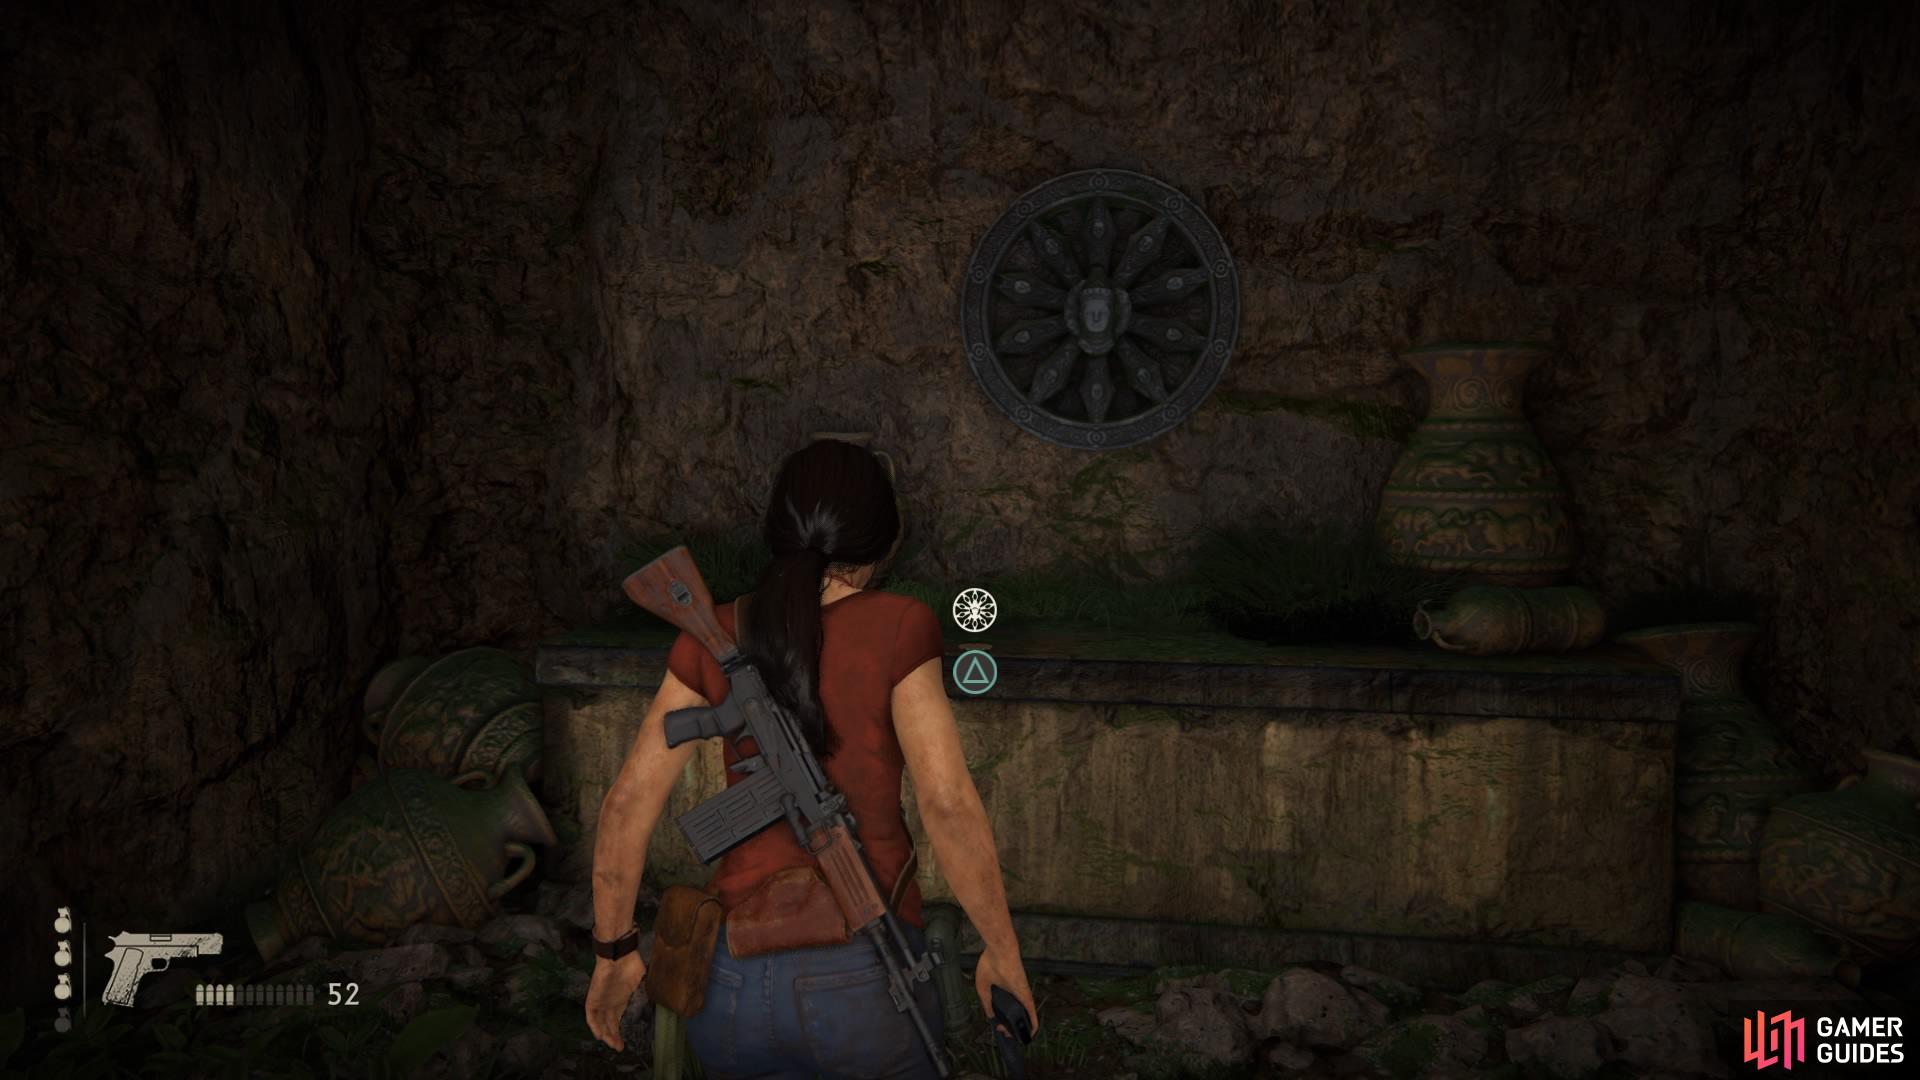
Upon arrival you’ll see a ruin with several bells outside, as well as a cobra animal statue. Climb up the right ruin to find a barred door with a large bell standing beside it.
If you turn around, you’ll be able to see over the other bells outside. You probably guessed by now that you have to shoot the bells to open the door, right?

Unlock the bars on the door
Shoot the bells to have them ring simultaneously
To get this token, all the bells have to be ringing simultaneously to remove each bar on the door, including the one next to it. They don’t have to be in any order, just as long as you get them all – when any of them stop ringing, it’s matching bar on the door will lock back into place.
By standing outside the barred door, you can place yourself to the right between the pillar and the wall to get a good view of each bell. Now simply shoot them all one after the other, not forgetting the one behind you, until the door opens.
Gain access to the room
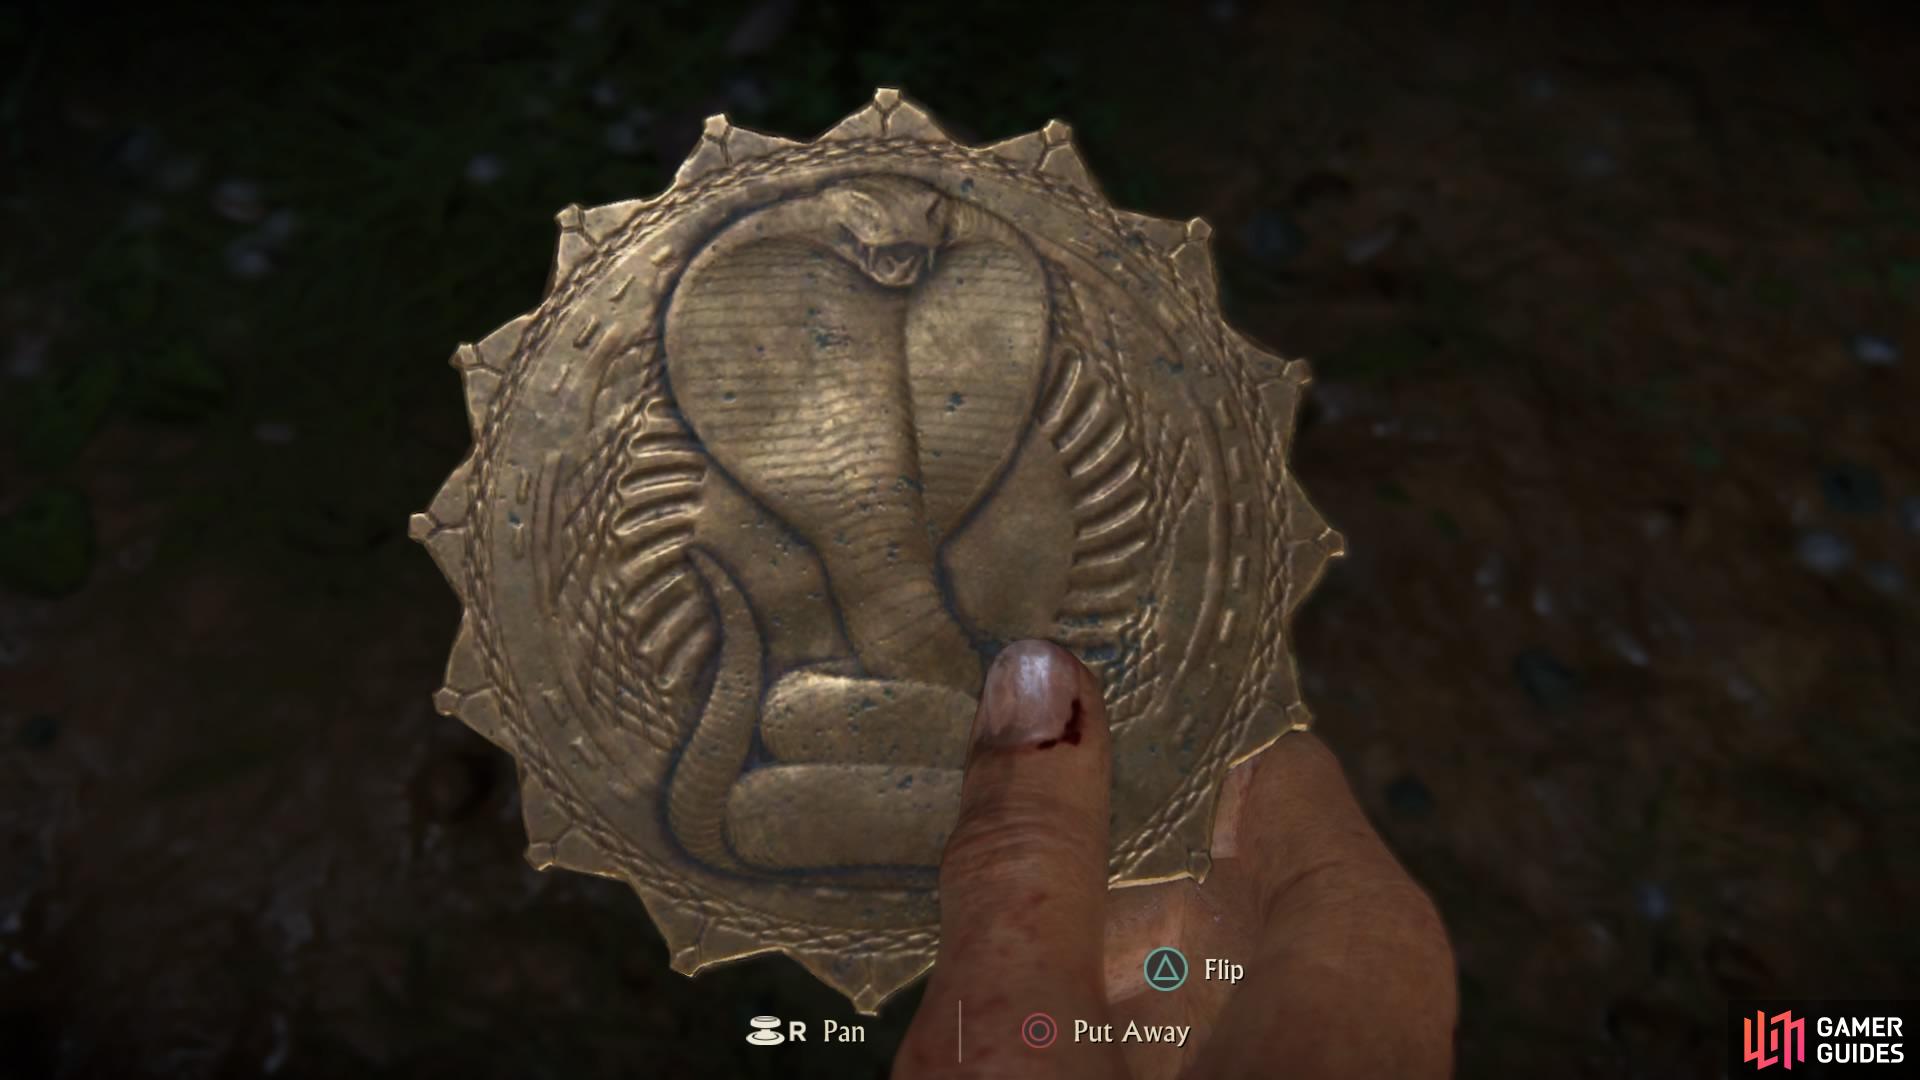
Hoysala Token: the cobra
Now head inside to pick up the token and update the map again.
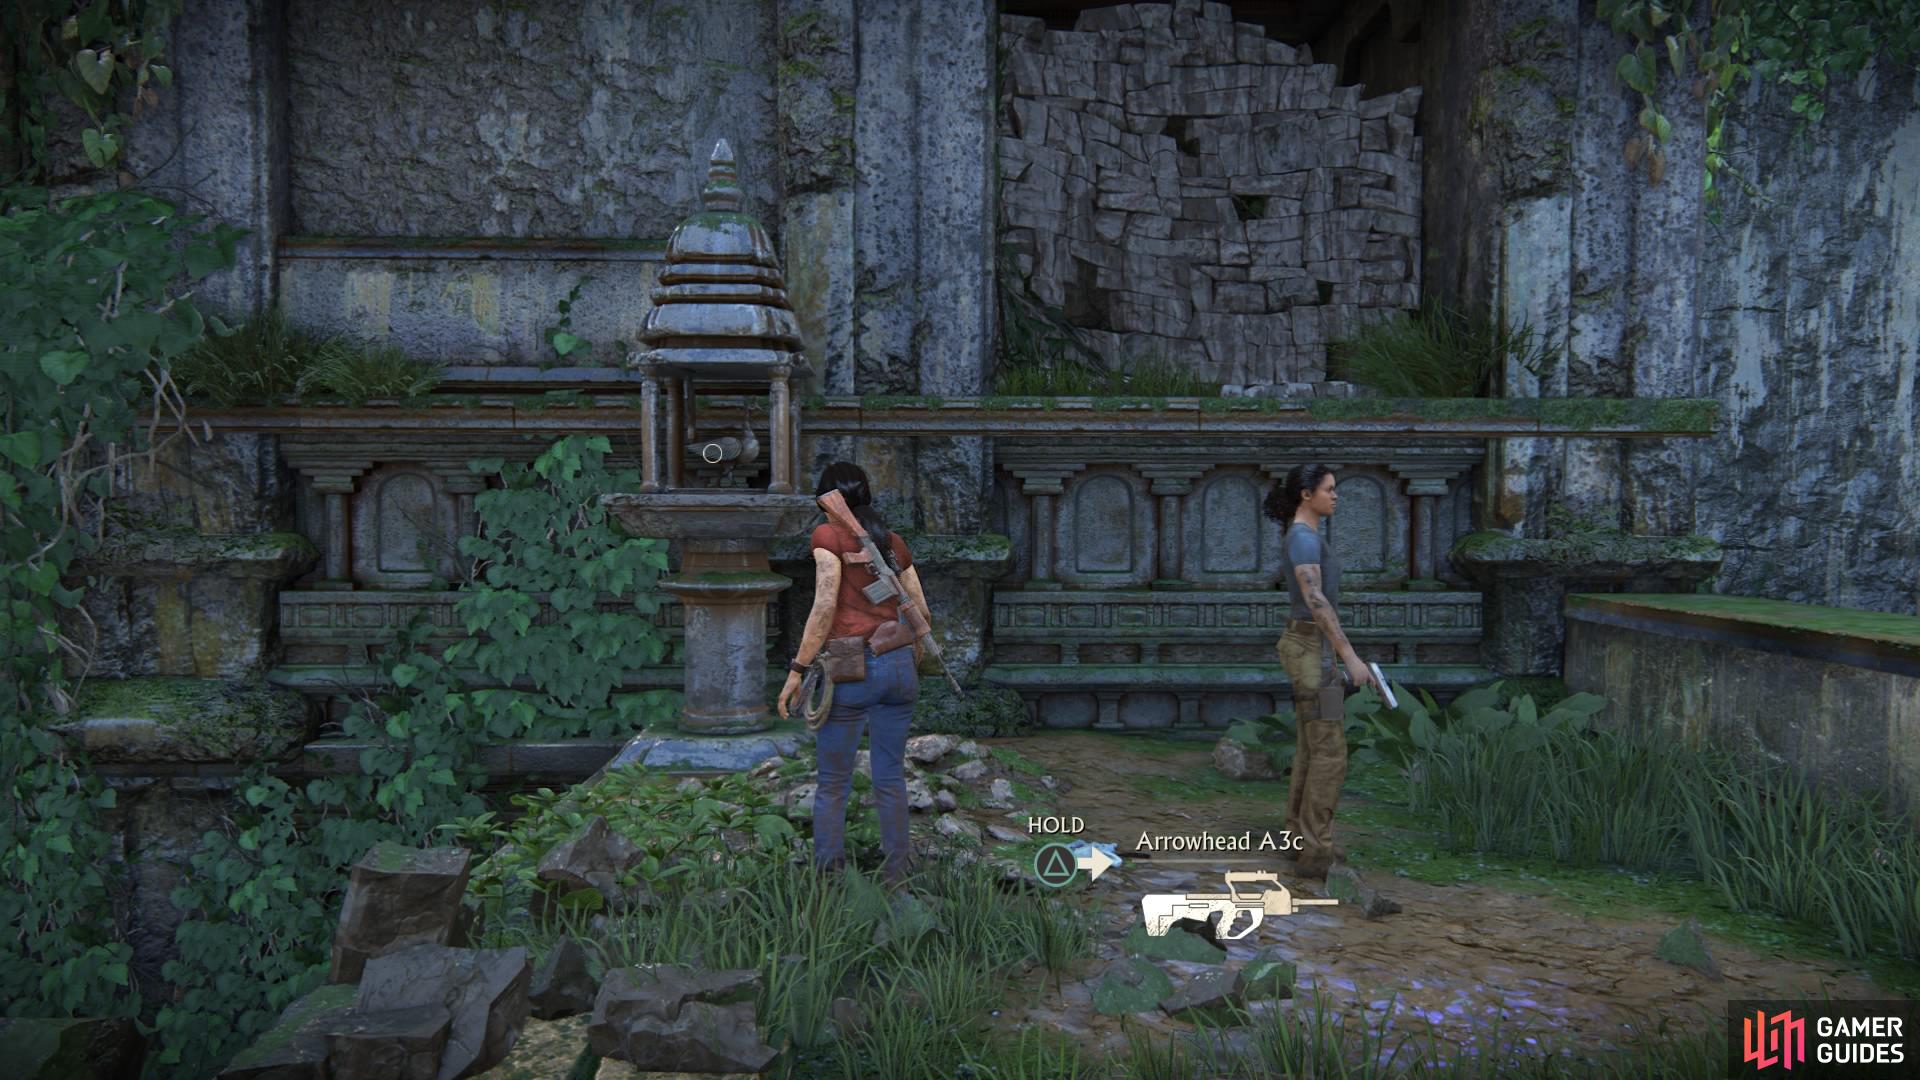
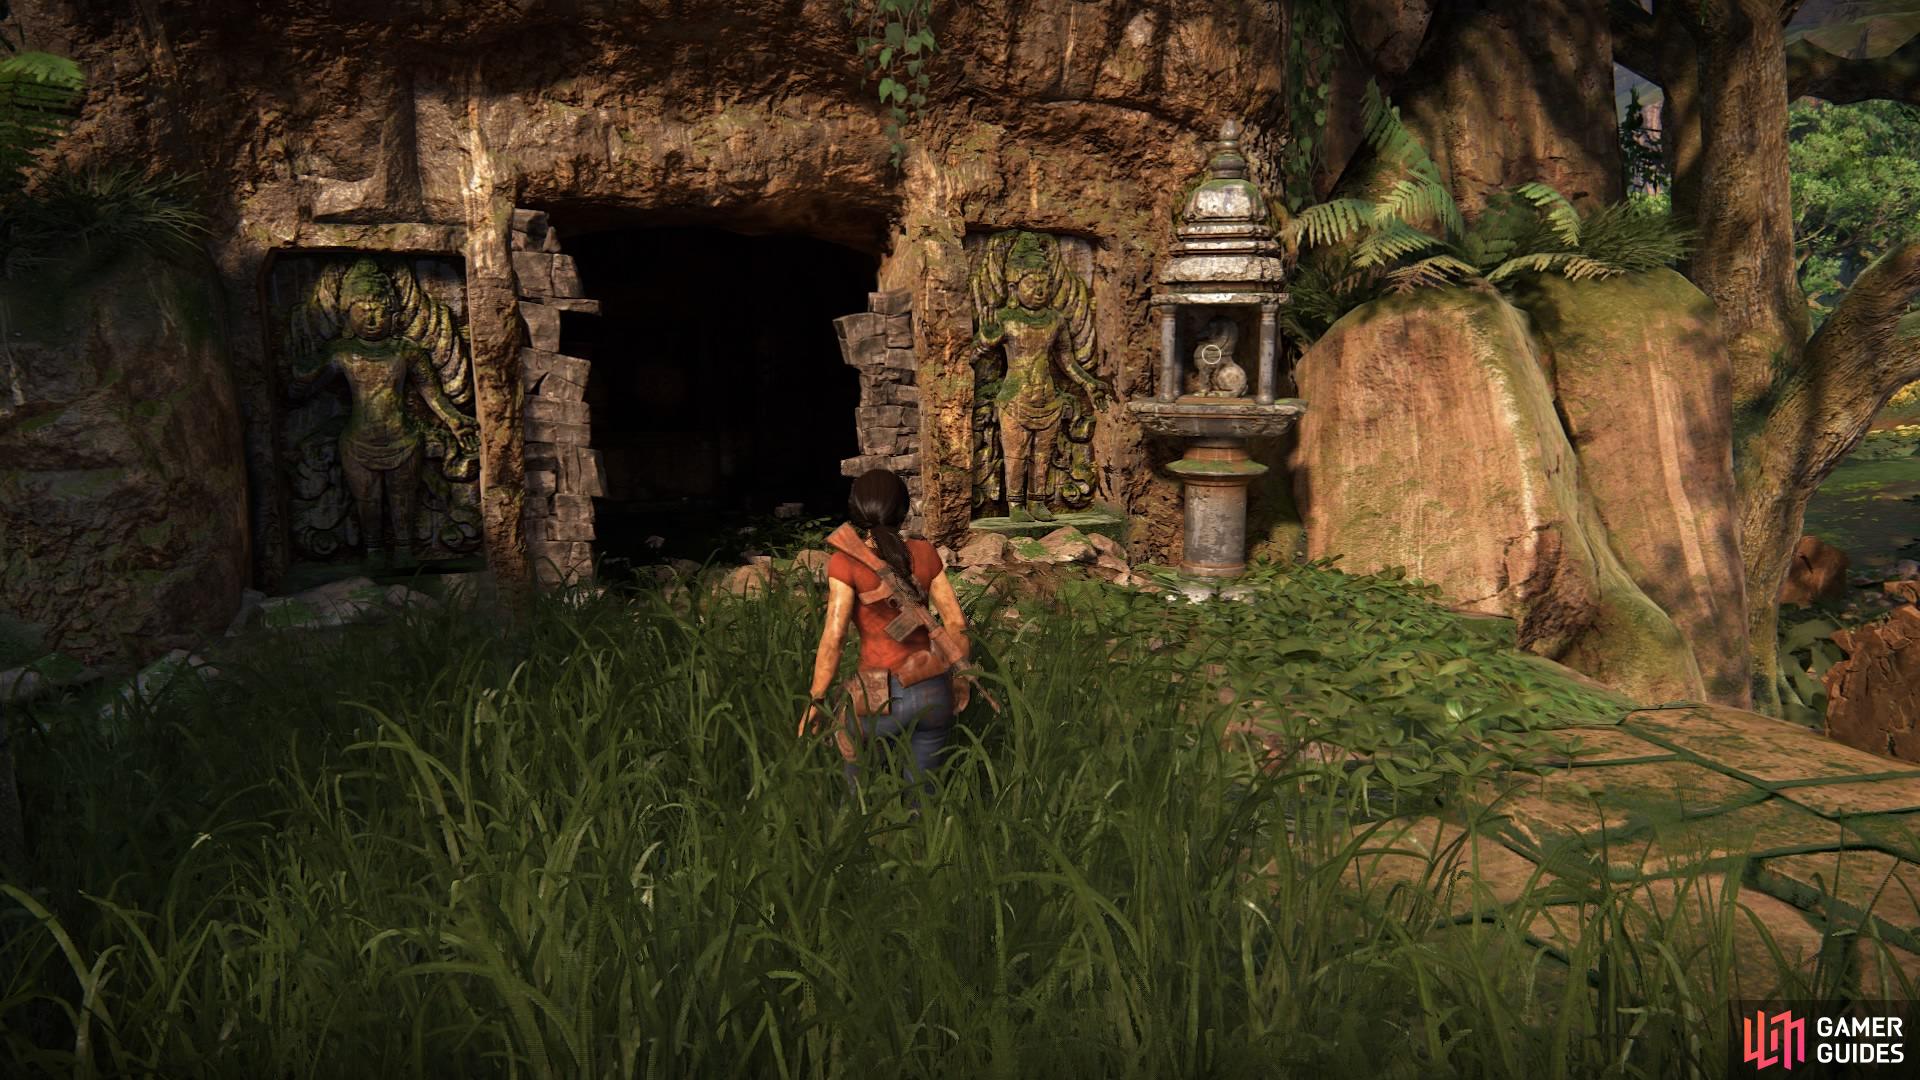
Hoysala Token - Elephant
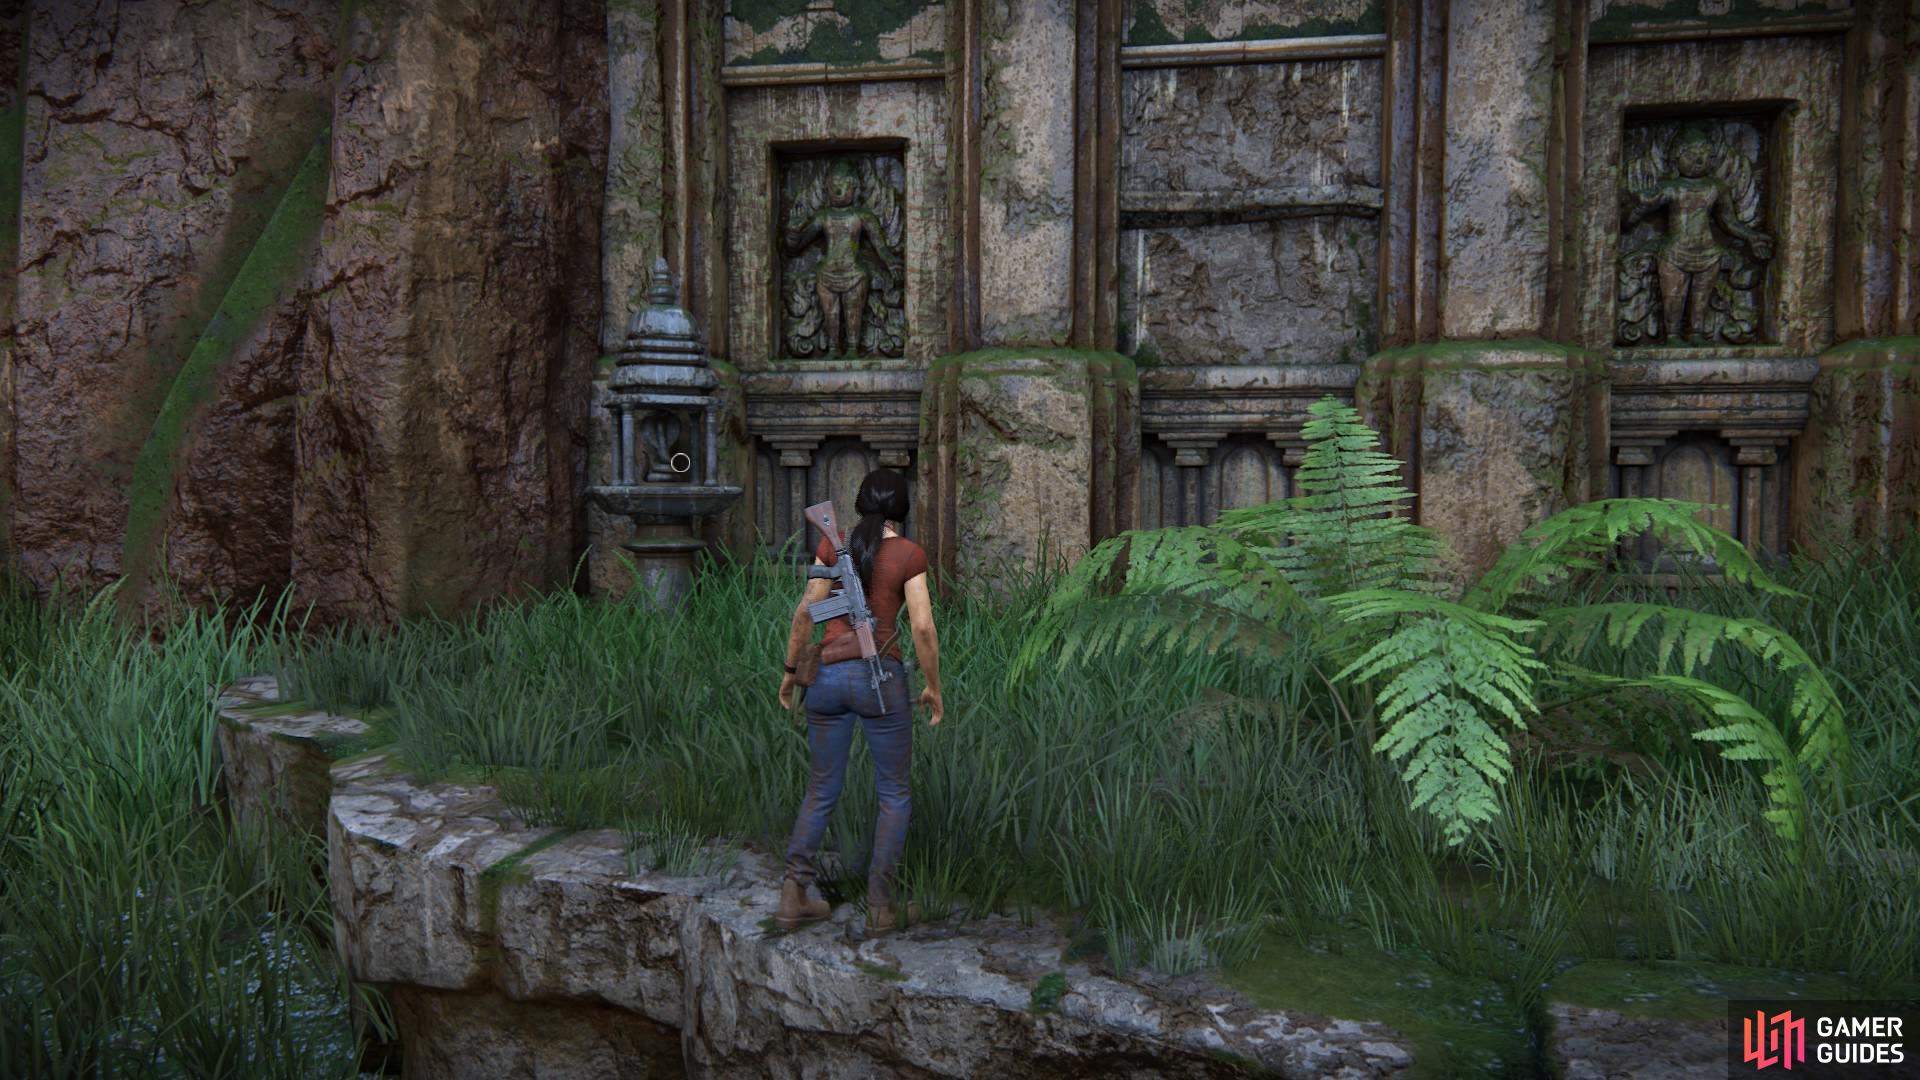
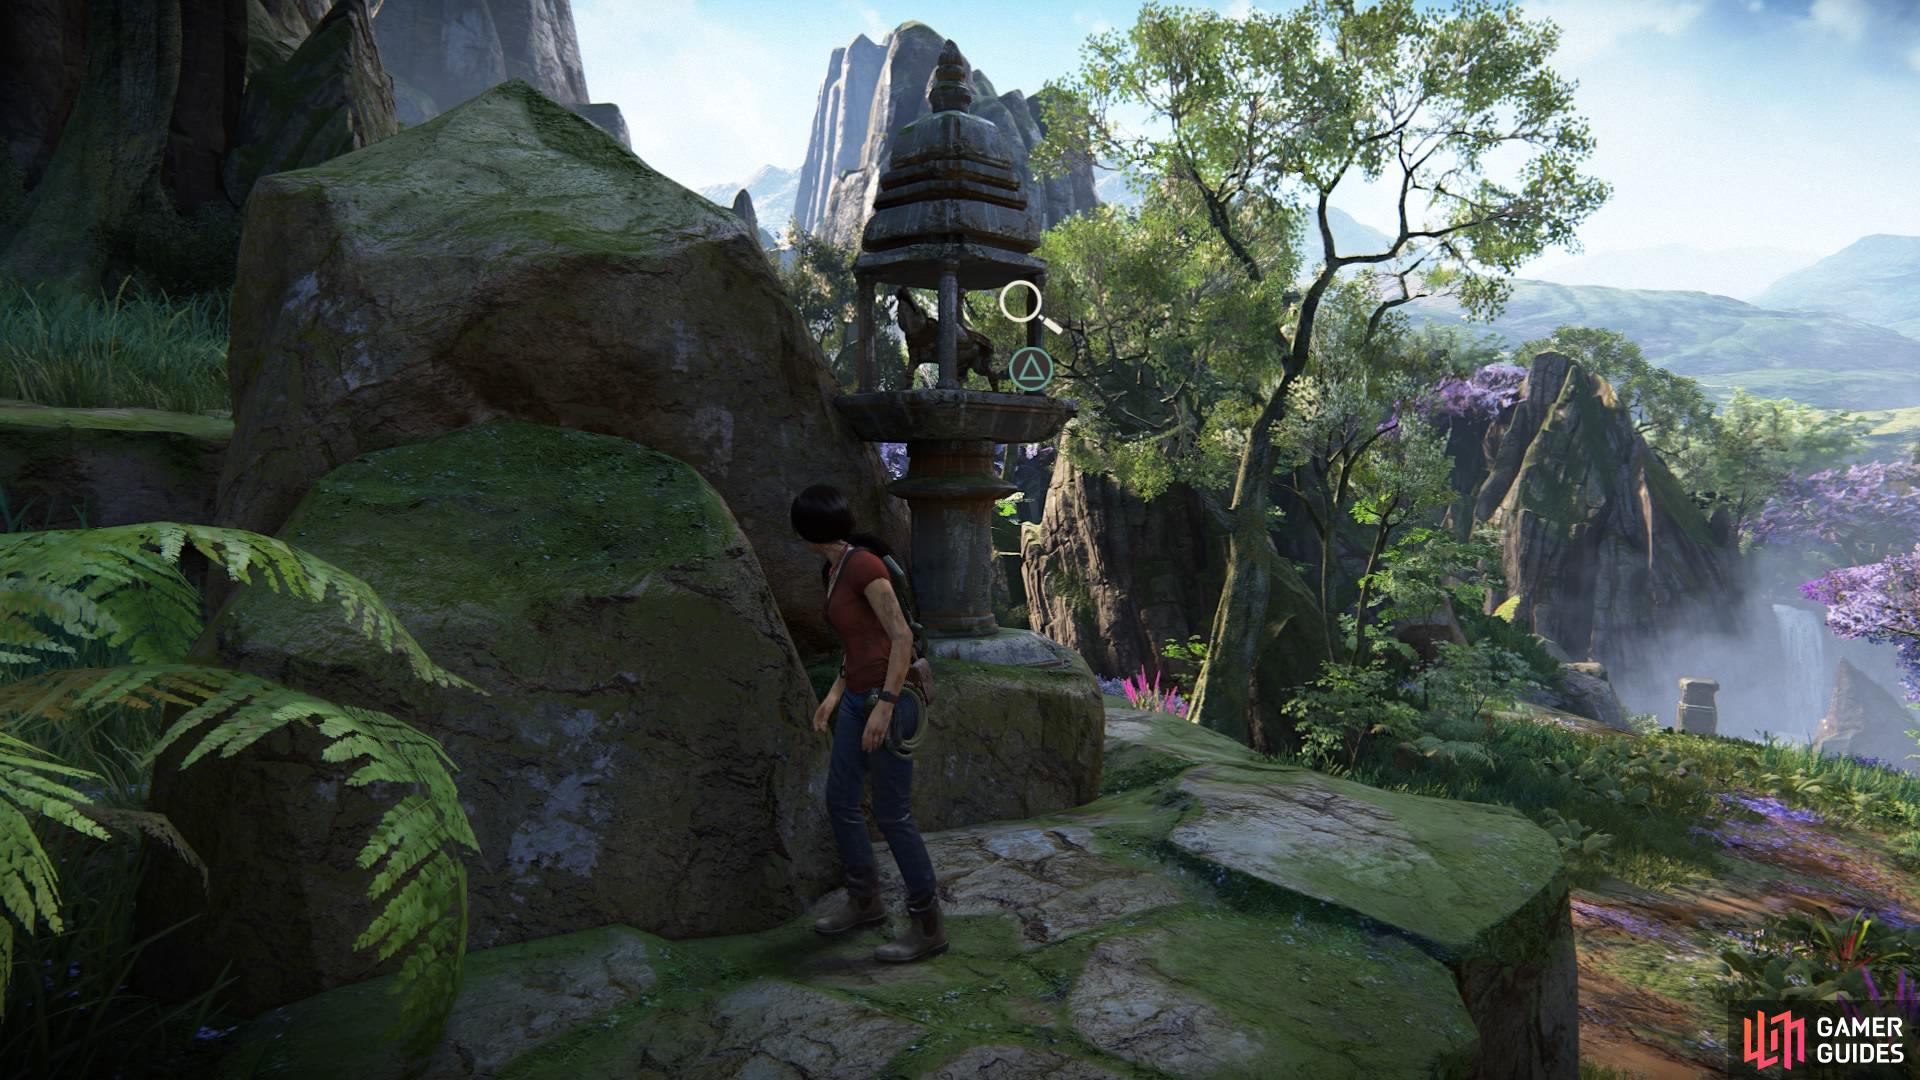
The next destination is directly below you and a really short trip. Like the other tokens, this one is of course located at more ruins. Journey over there to find the animal statue marker in the form of an elephant.
Head to the next location beneath the cobra token
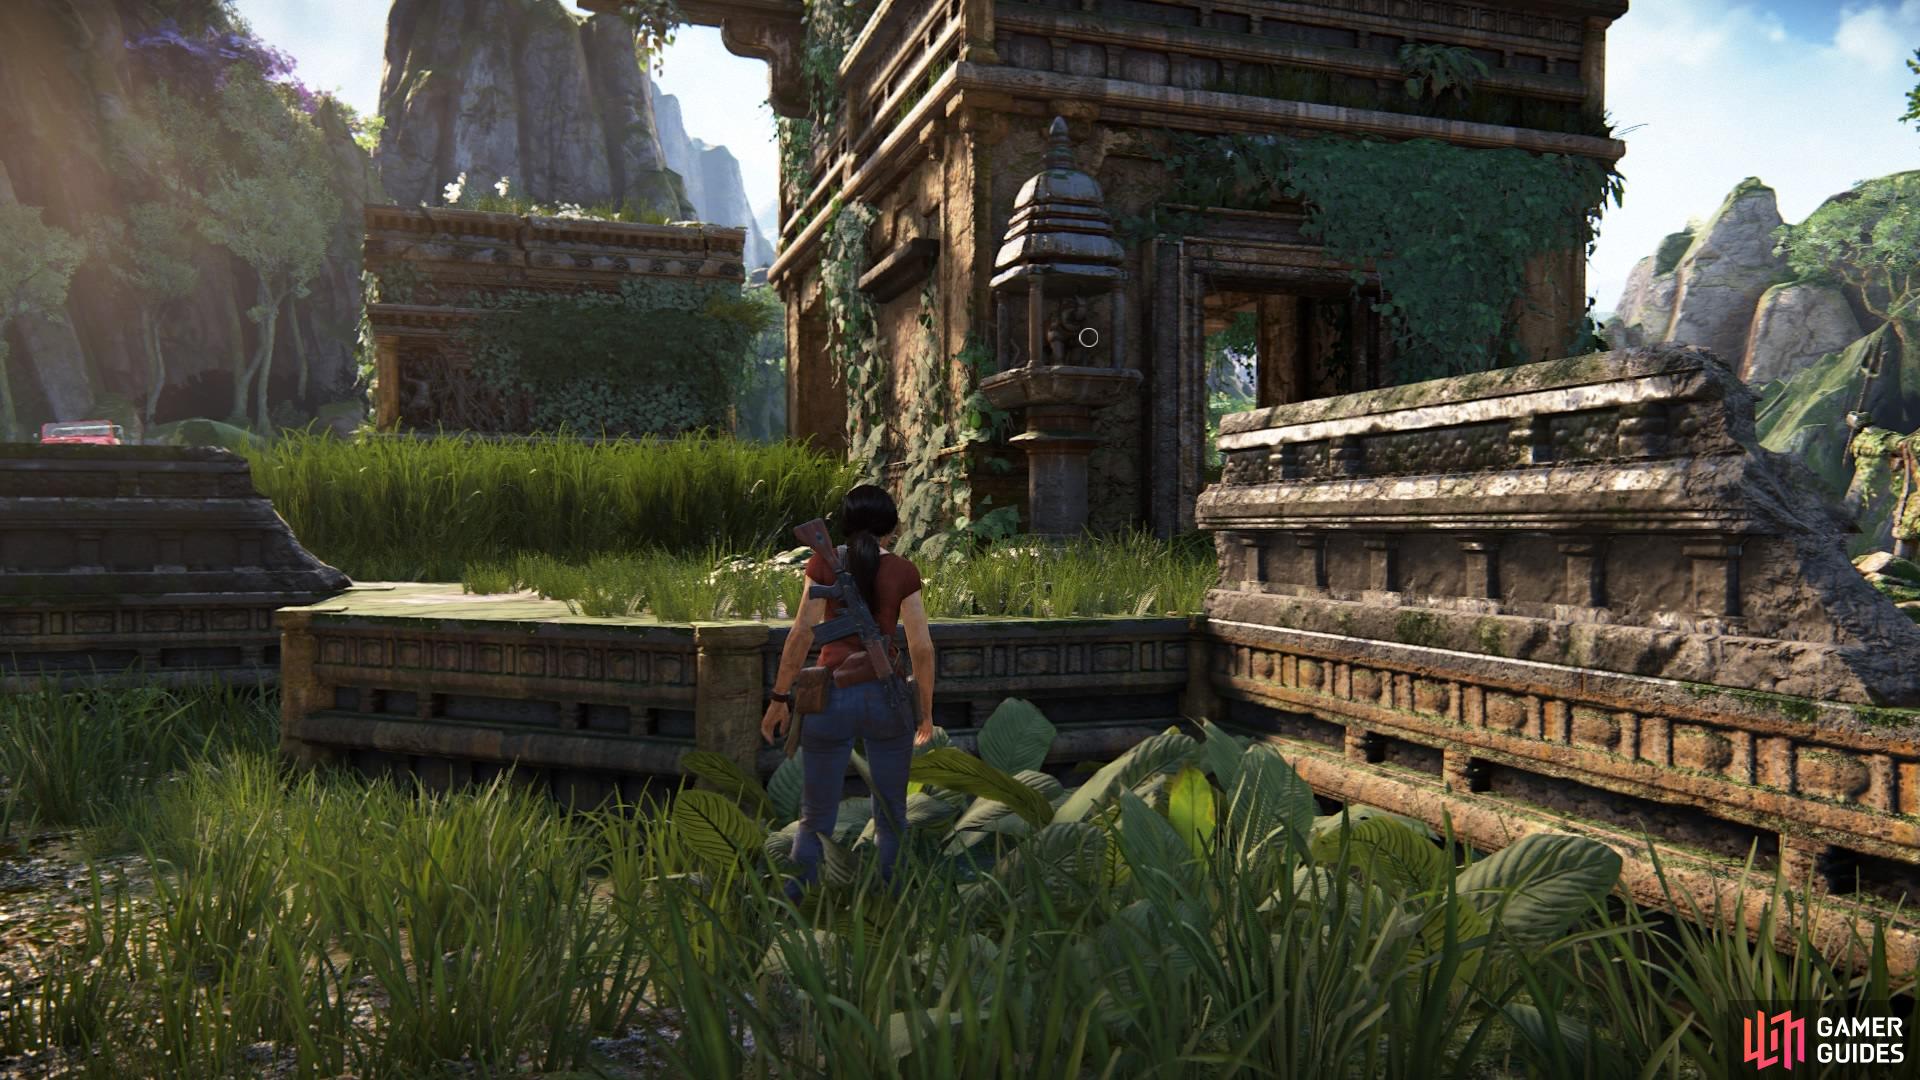
Look for the animal statue
To the left of it you’ll find a blocked off well with a familiar looking grapple hook point. Climb up to the platform next to it with a beam jutting out at the top. If you throw the grapple hook down to the well and try to pull it open, you’ll soon find that it’s not possible. You need more leverage.
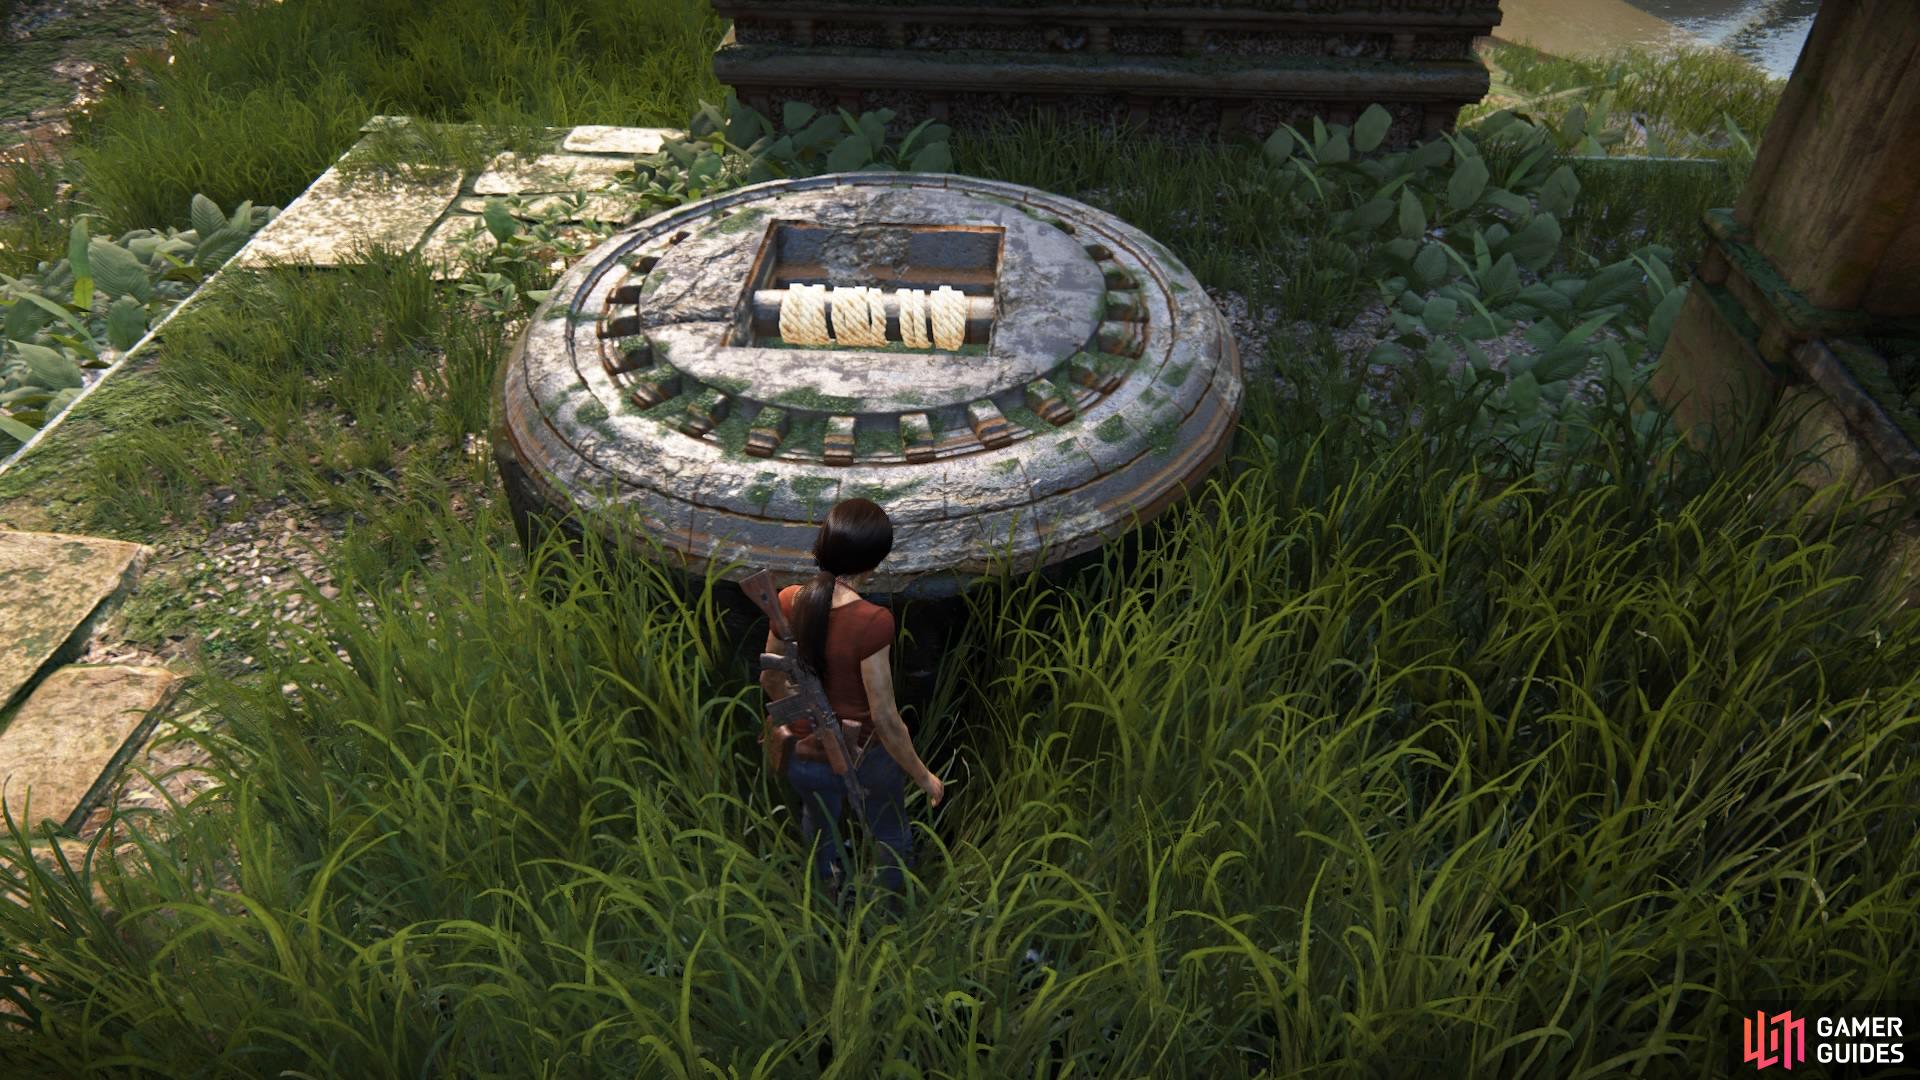
Break open the well
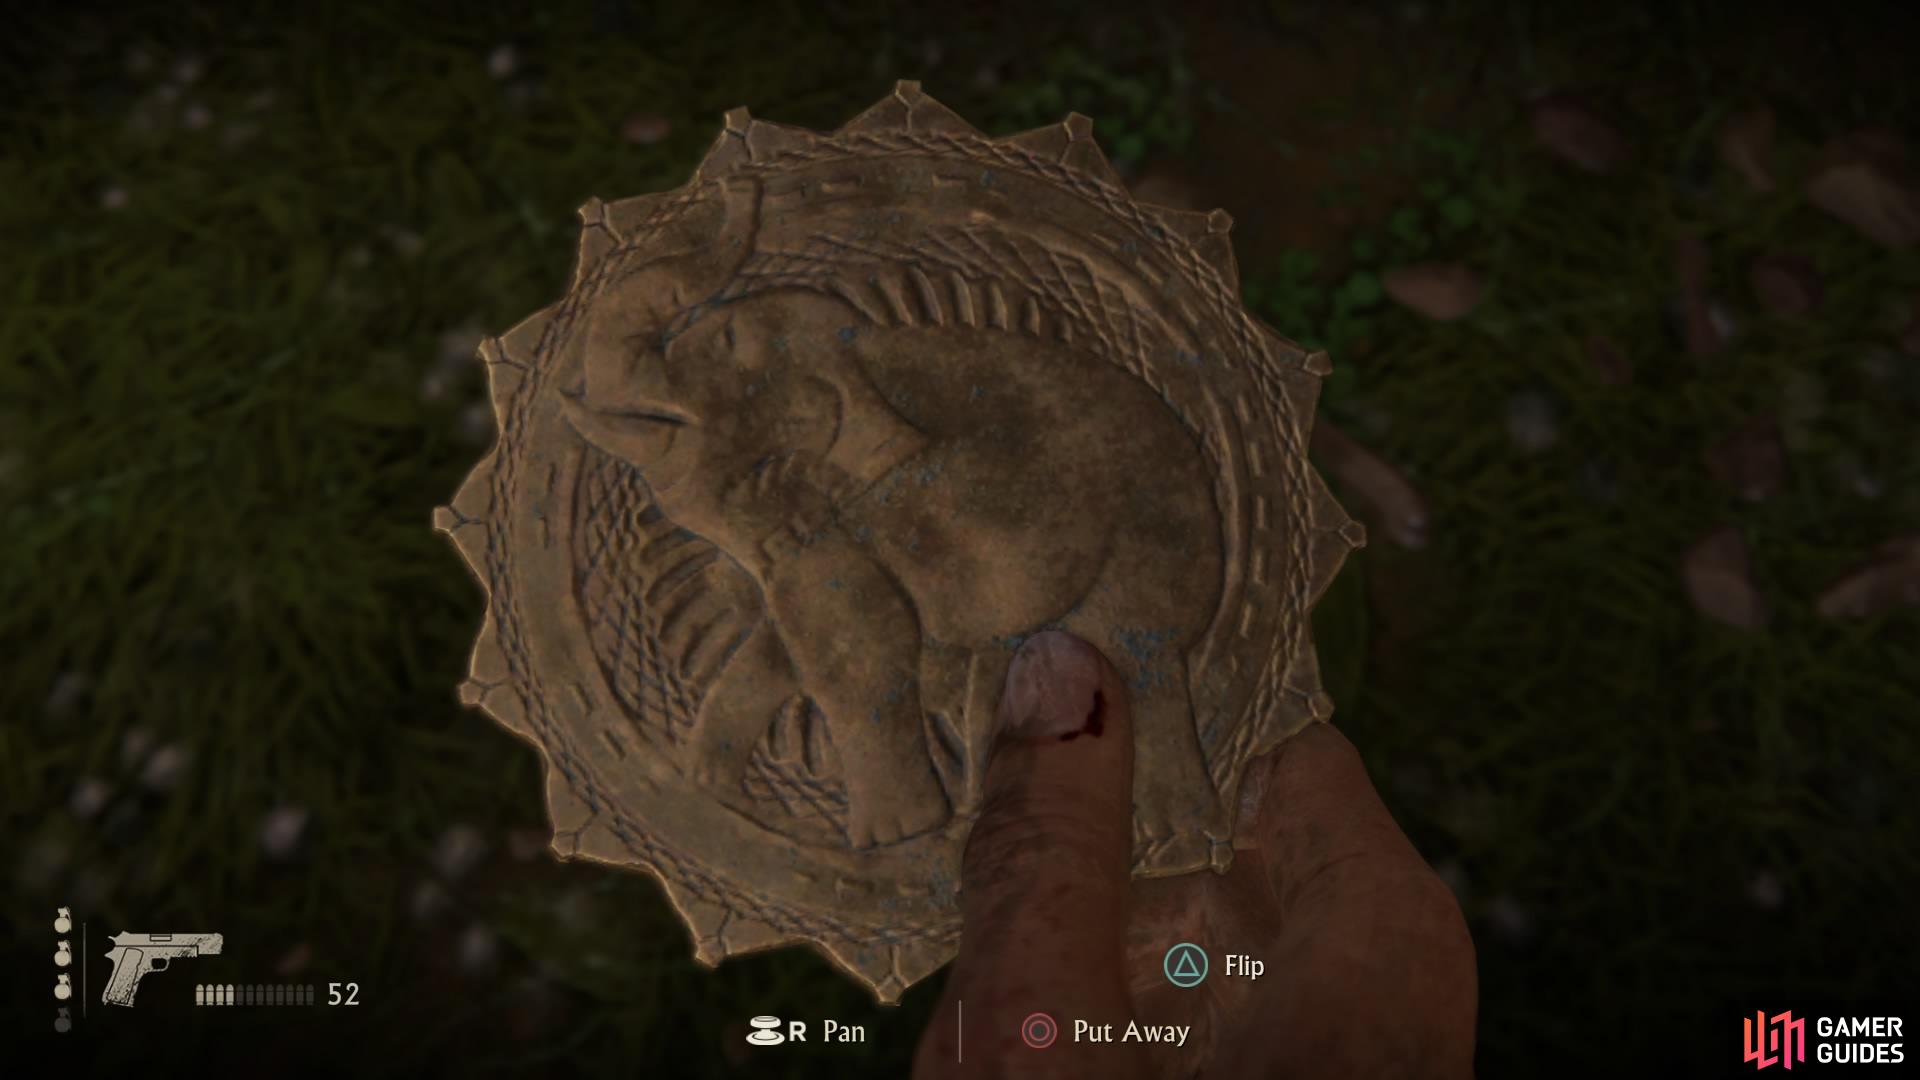
to find the elephant token
All you have to do is attach the grapple hook and jump over the beam next to you. Chloe will swing down, forcing the rope to wrap around the beam, and making Chloe a counterweight heavy enough to remove the lid.
Then simply climb down the well to retrieve the token, and make sure to take out the rebel soldiers that have suddenly turned up once you leave.
Hoysala Token - Boar
Referring to the map, follow the river east until you come upon a small ruin with a bunch of podiums sticking out of a steep mud-slope.
Head to the far east side of the map
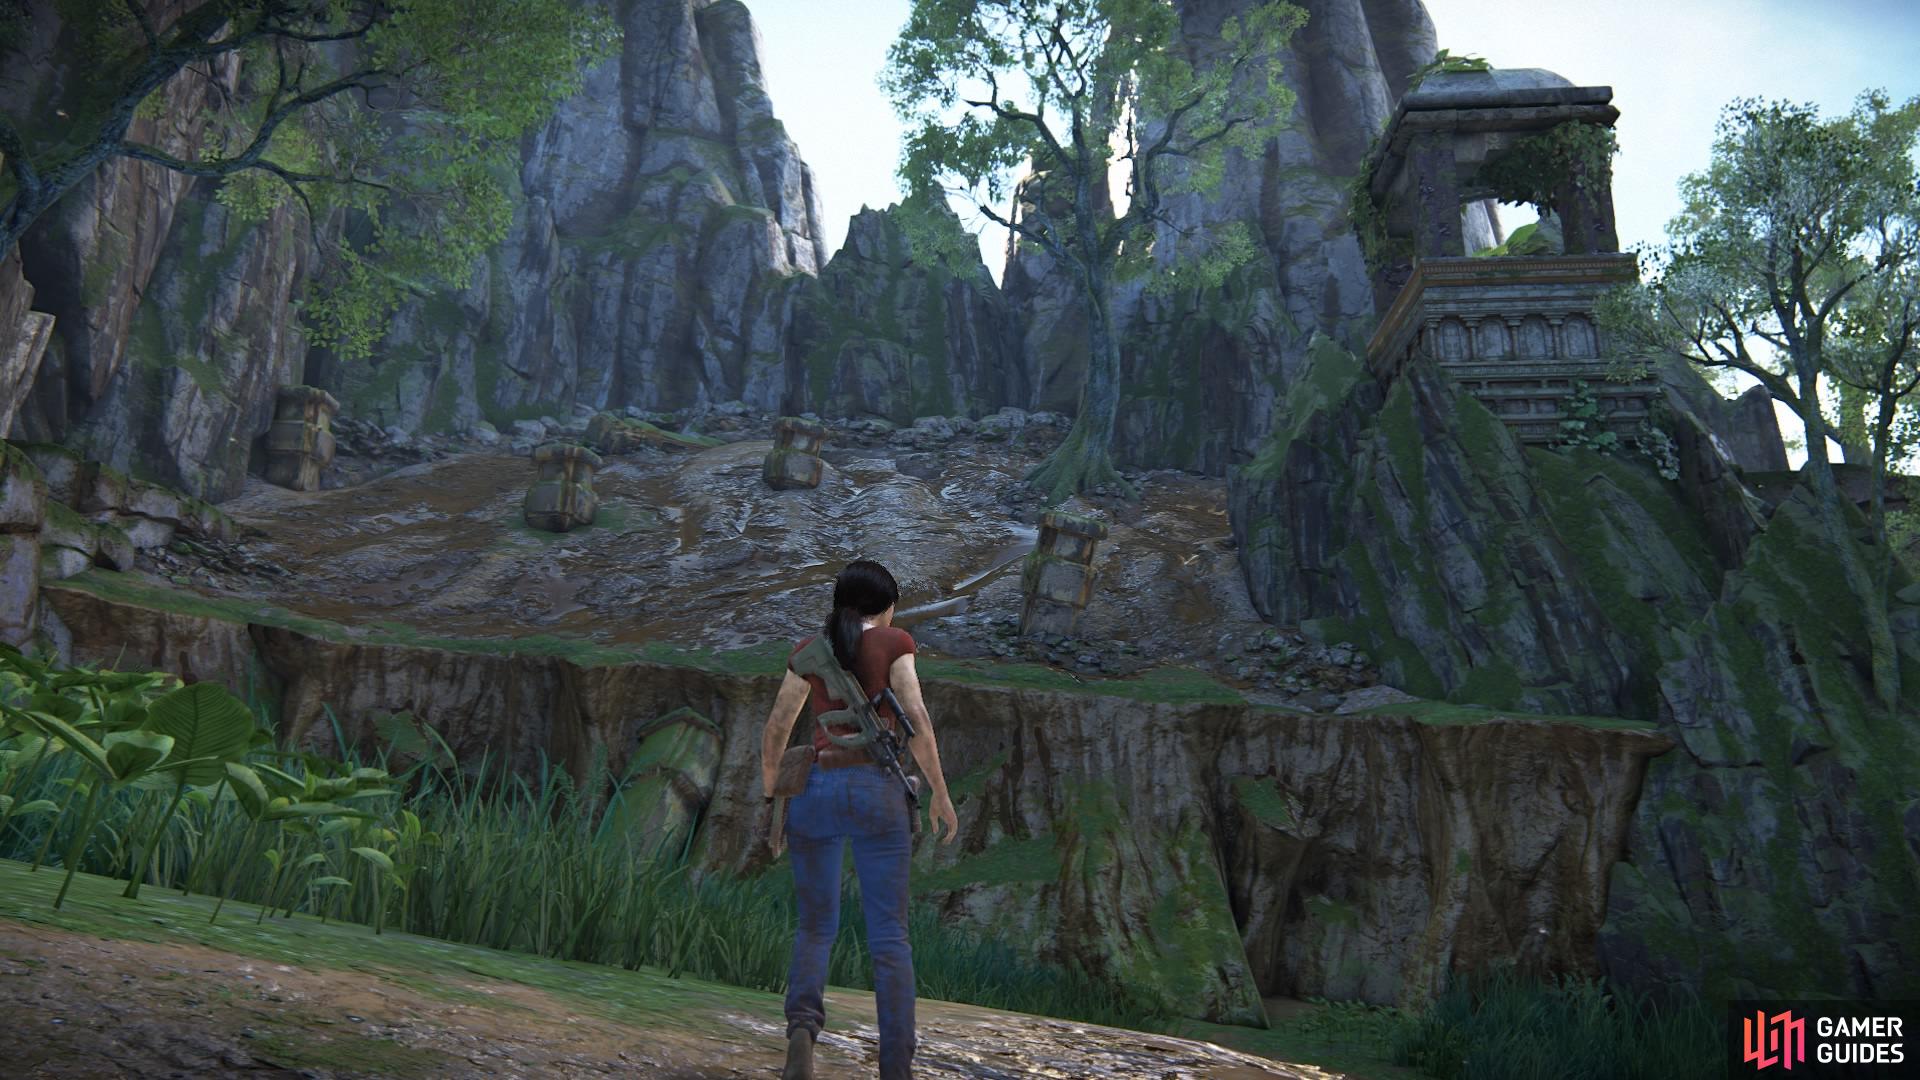
Look for the podiums sticking out of the slope
If you head to the right of here you can climb up the platform to find the animal statue depicting a boar.
The boar animal statue
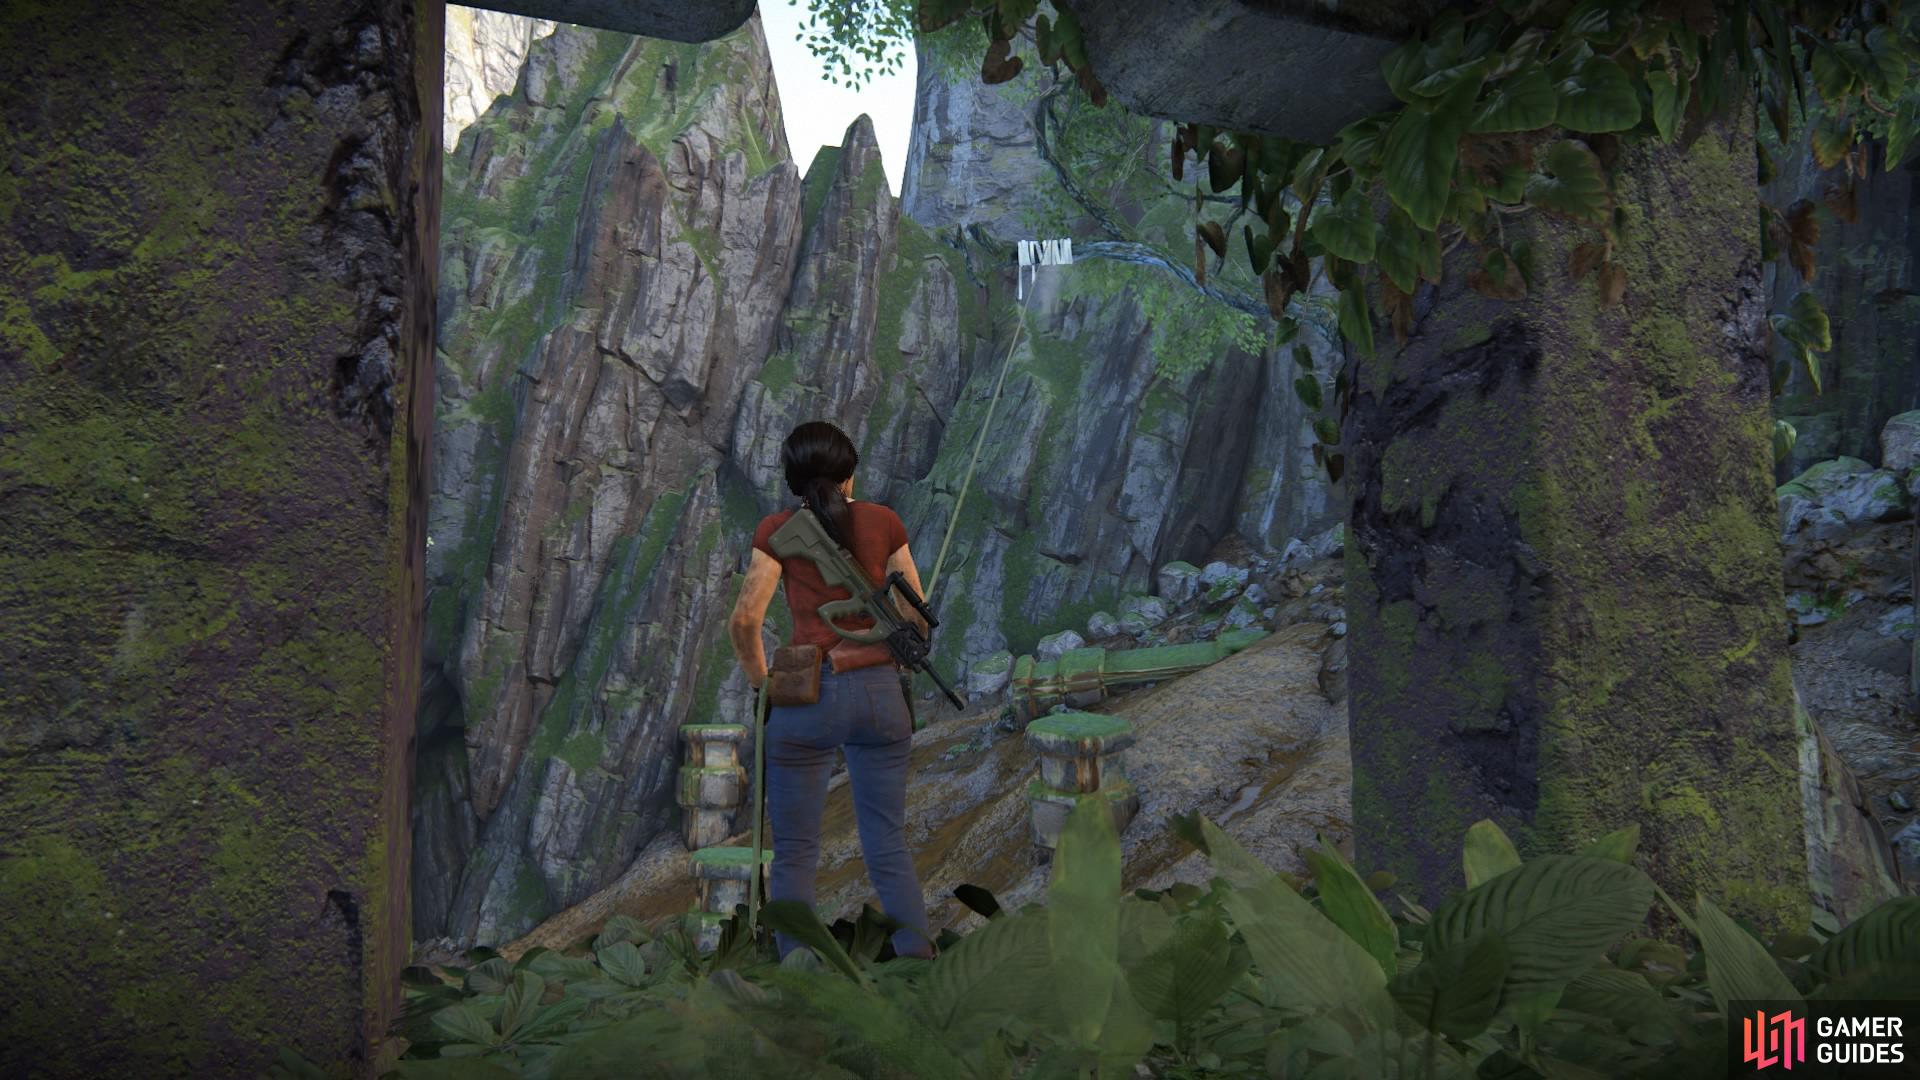
Climb the ruin to find the grapple hook point and swing across to the cave
Then from here, go left to climb up to the ruin where you’ll see a grapple hook point to your right. Simply swing from the branch to jump to one of the podiums sticking out of the slope, and make your way over to the small cave on the other side.
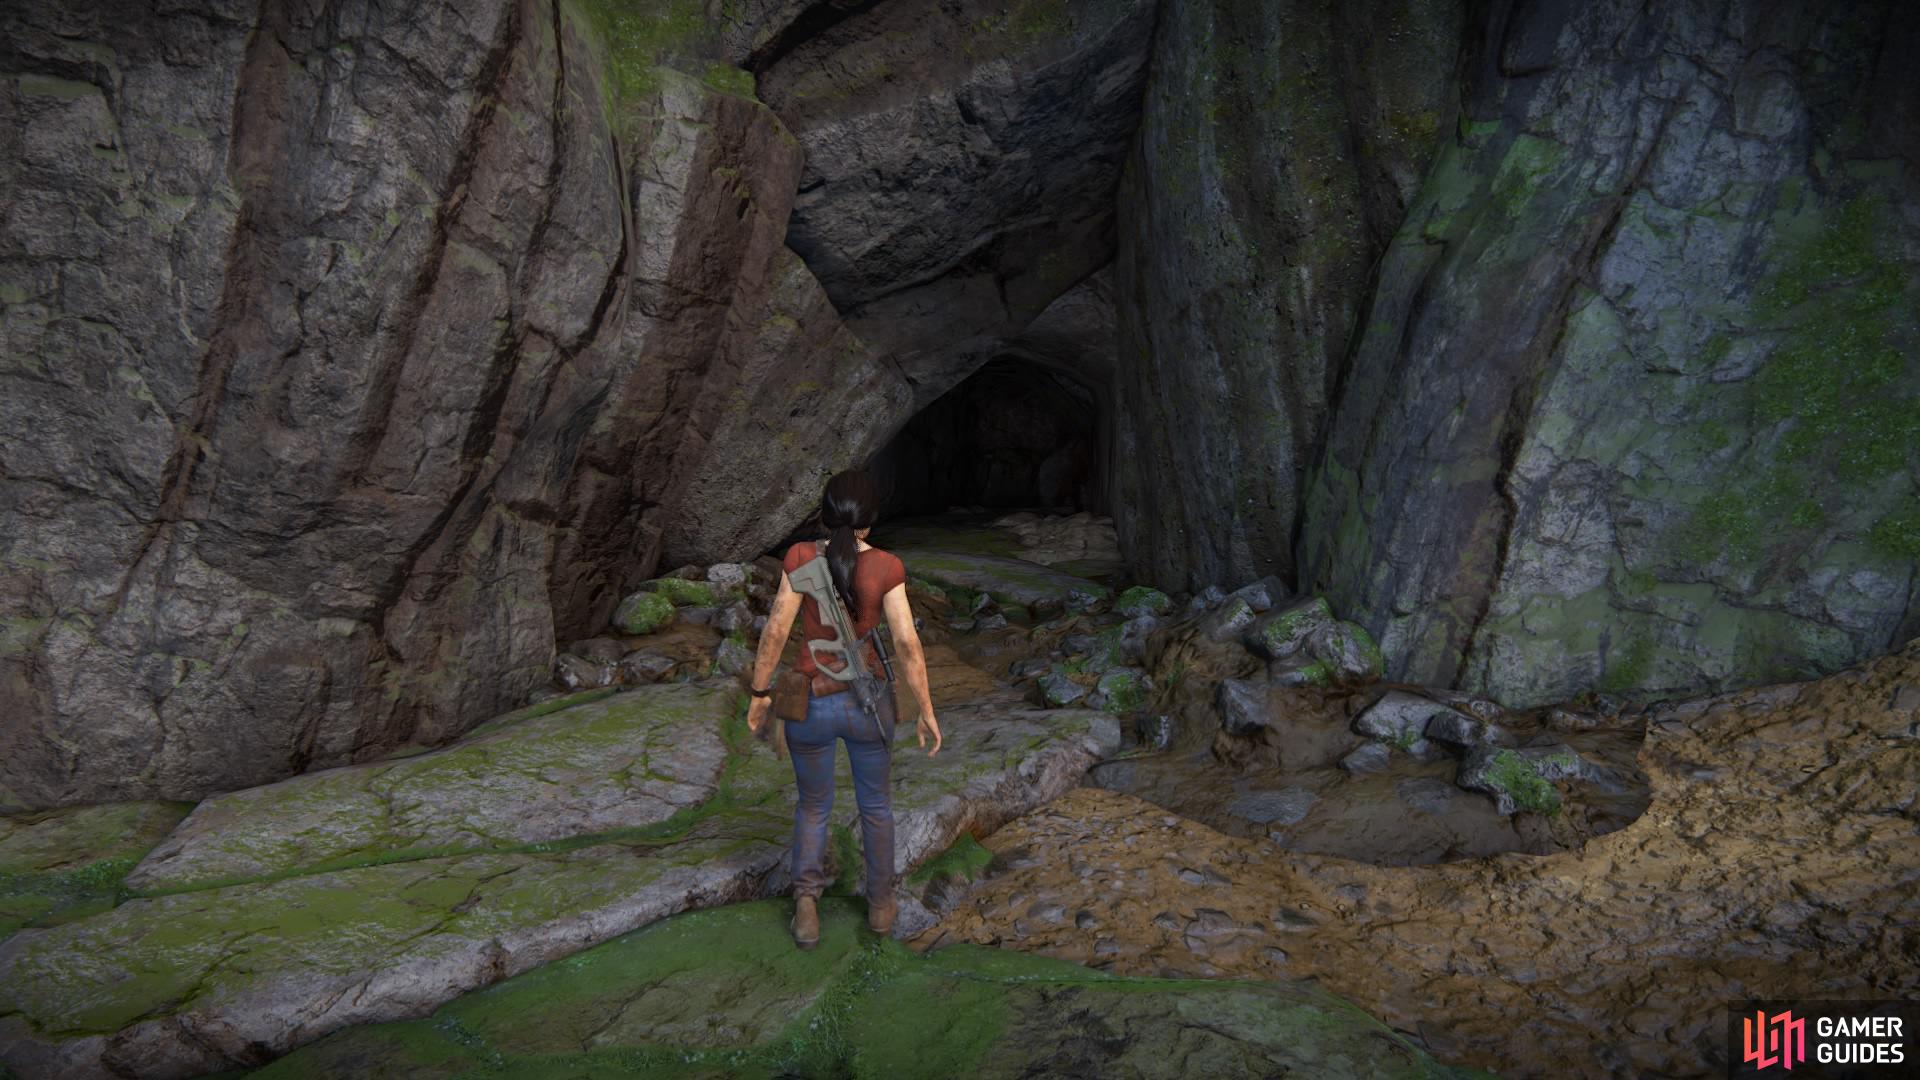
Go inside the cave
Hoysala Token: the boar
Simply head inside the cave to pick up the boar token and leave again.
Hoysala Token - Swan
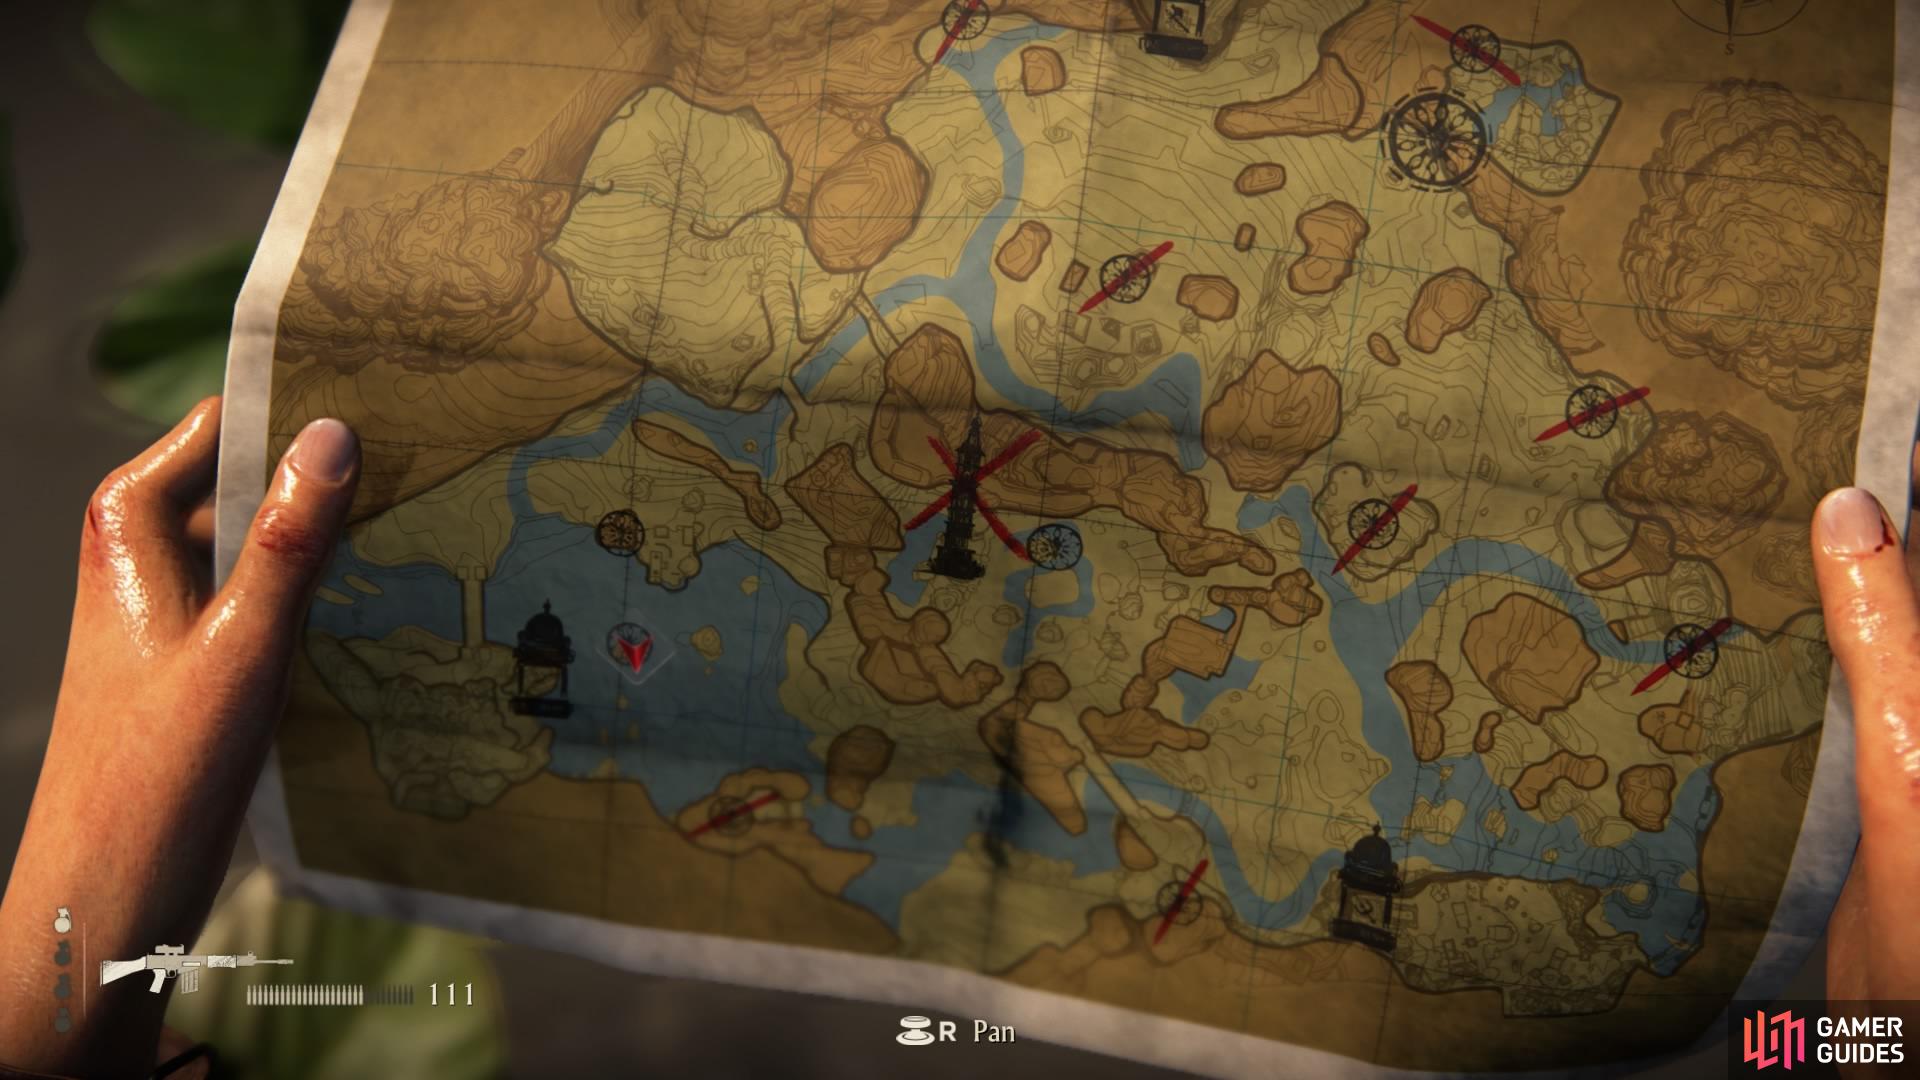
It also looks like a duck or a turkey, but either way it’s some form of bird. Regardless, this is your next stop, so drive towards the south of the map; the token’s location is not far from the trident ruin and is the only token in this area.
Head to the south of the map
Watch out for the rebels upon your arrival
Once you arrive you’ll recognise it to be the area the rebels were scouting when you made your way to the tower via the bridge. Well, these ruins were hiding the token the entire time, as marked by one of the infamous animal statues.
Find the animal statue marker next to the breakable wall
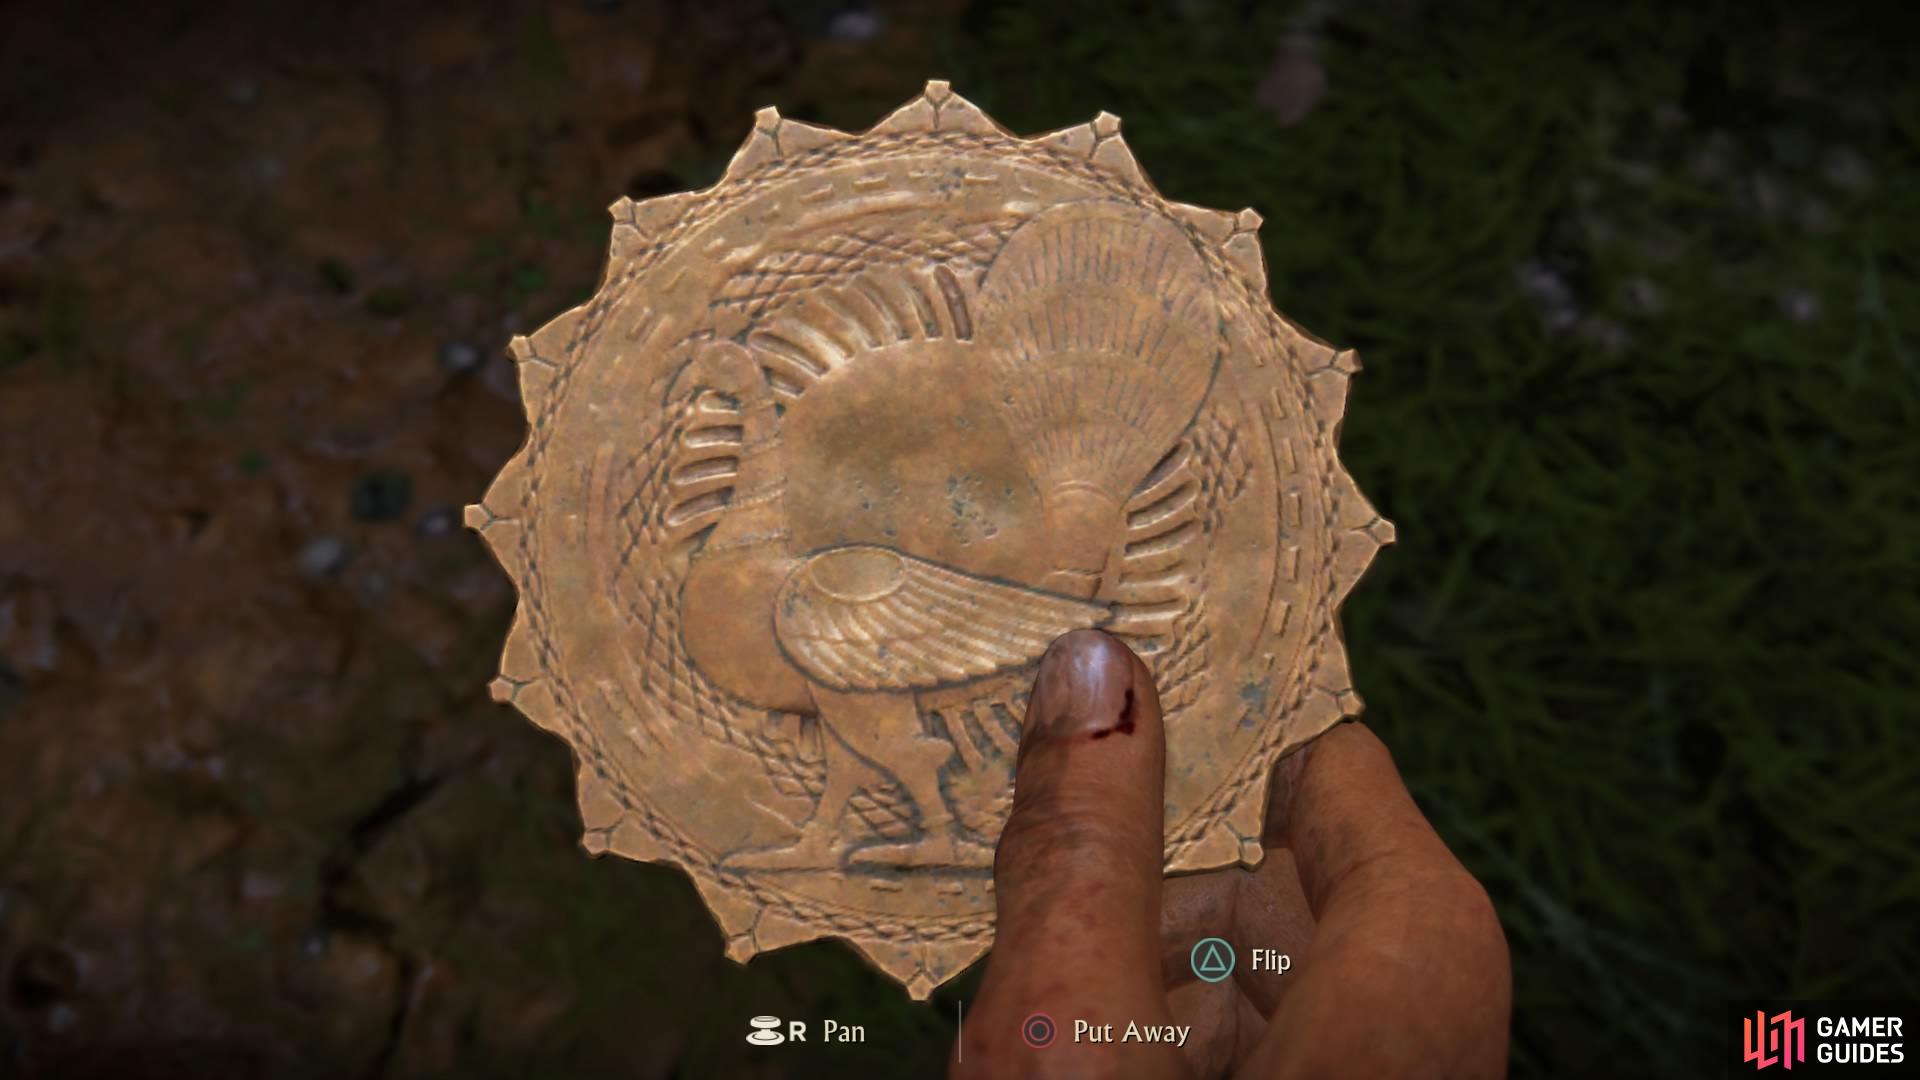
Hoysala Token: the swan
Find the statue standing beside a breakable wall and throw a grenade to blow open the pathway.
Just follow it around to pick up the token in an alcove to the right.
Hoysala Token - Eagle
Back in the car, drive straight towards the west to the next marker on the map. You’ll be going past where you first started in the level and following the water until you reach a pathway through some cliffs.
The middle cliff is where you need to be, so drive around it and get out to find the animal statue of the eagle.
Go to the marked up location to the southwest area of the map

Find the cliff with the eagle statue and make your way up
Climb the cliff face to the left of it and vault up on to a beam jutting out of the side. You’ll have to swing your way over to the ruin from here.
Once on the other side, blow open the breakable wall with a grenade and find the token sitting on a stone table.

Swing over to the ruins on the other side
Find the token behind the breakable wall
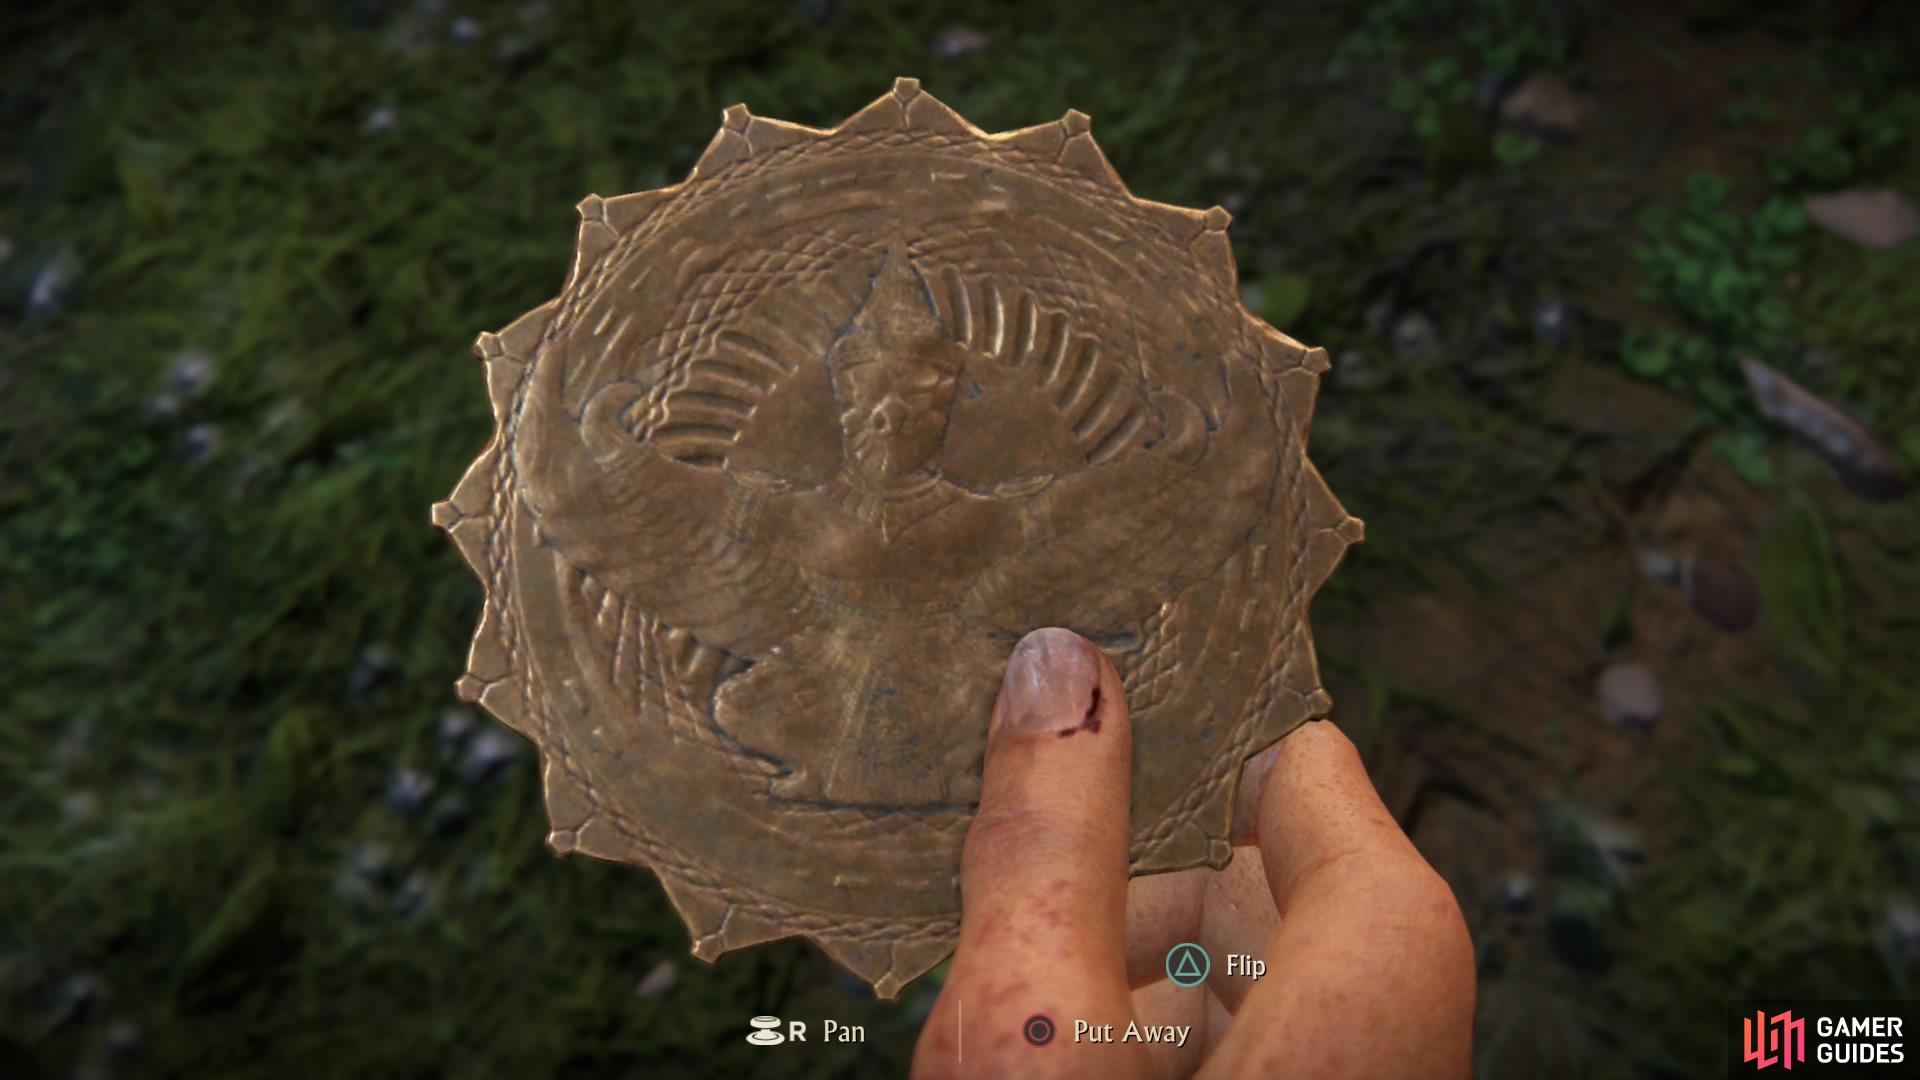
Hoysala Token - Peacock
On the map, you’ll see the next two tokens are very close by. First things first, head to the location marked in the middle of the water. You’ll know you’re in the right place when you see an elephant statue in a wide-open area of water, with the animal statue beside it.
Head to the next token to the west
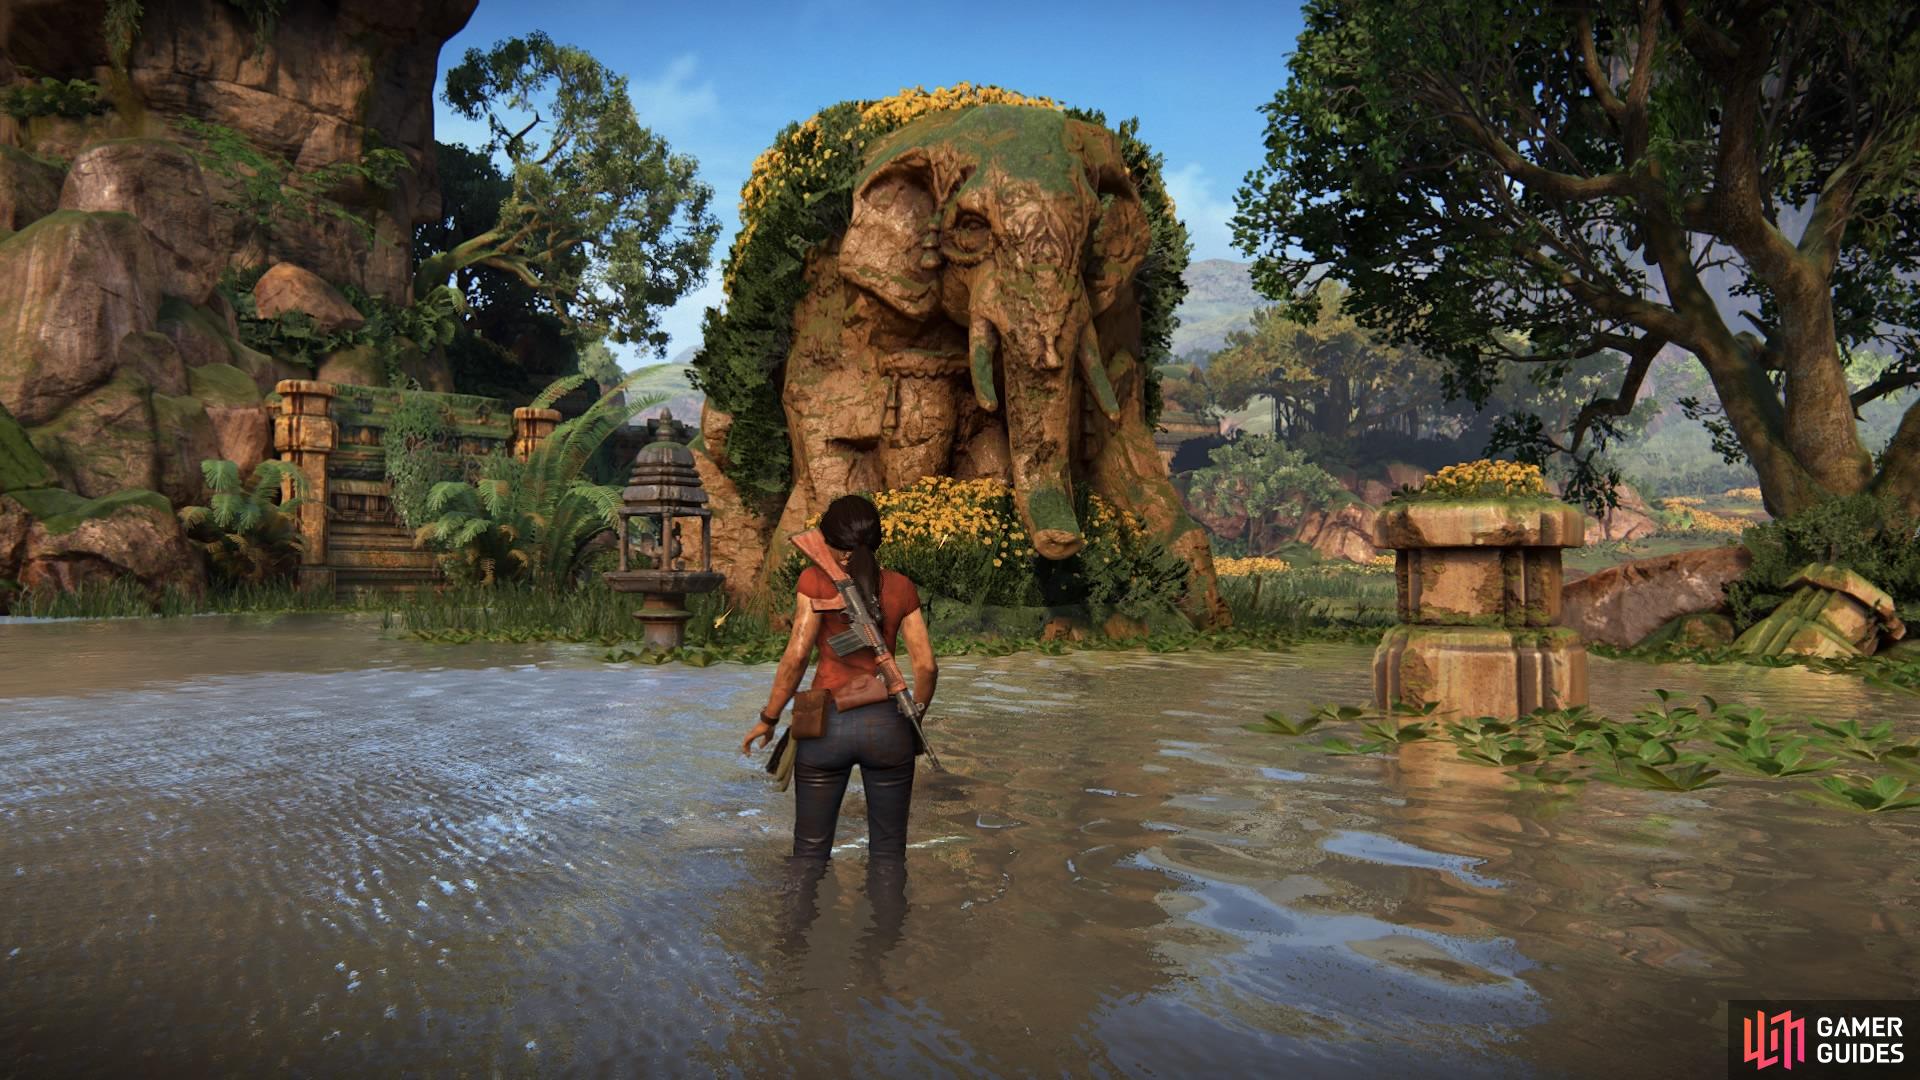
Head straight for the elephant statue
The ruin has been flooded and submerged beneath the water – stand in front of the elephant statue to find the opening that you need to dive into.
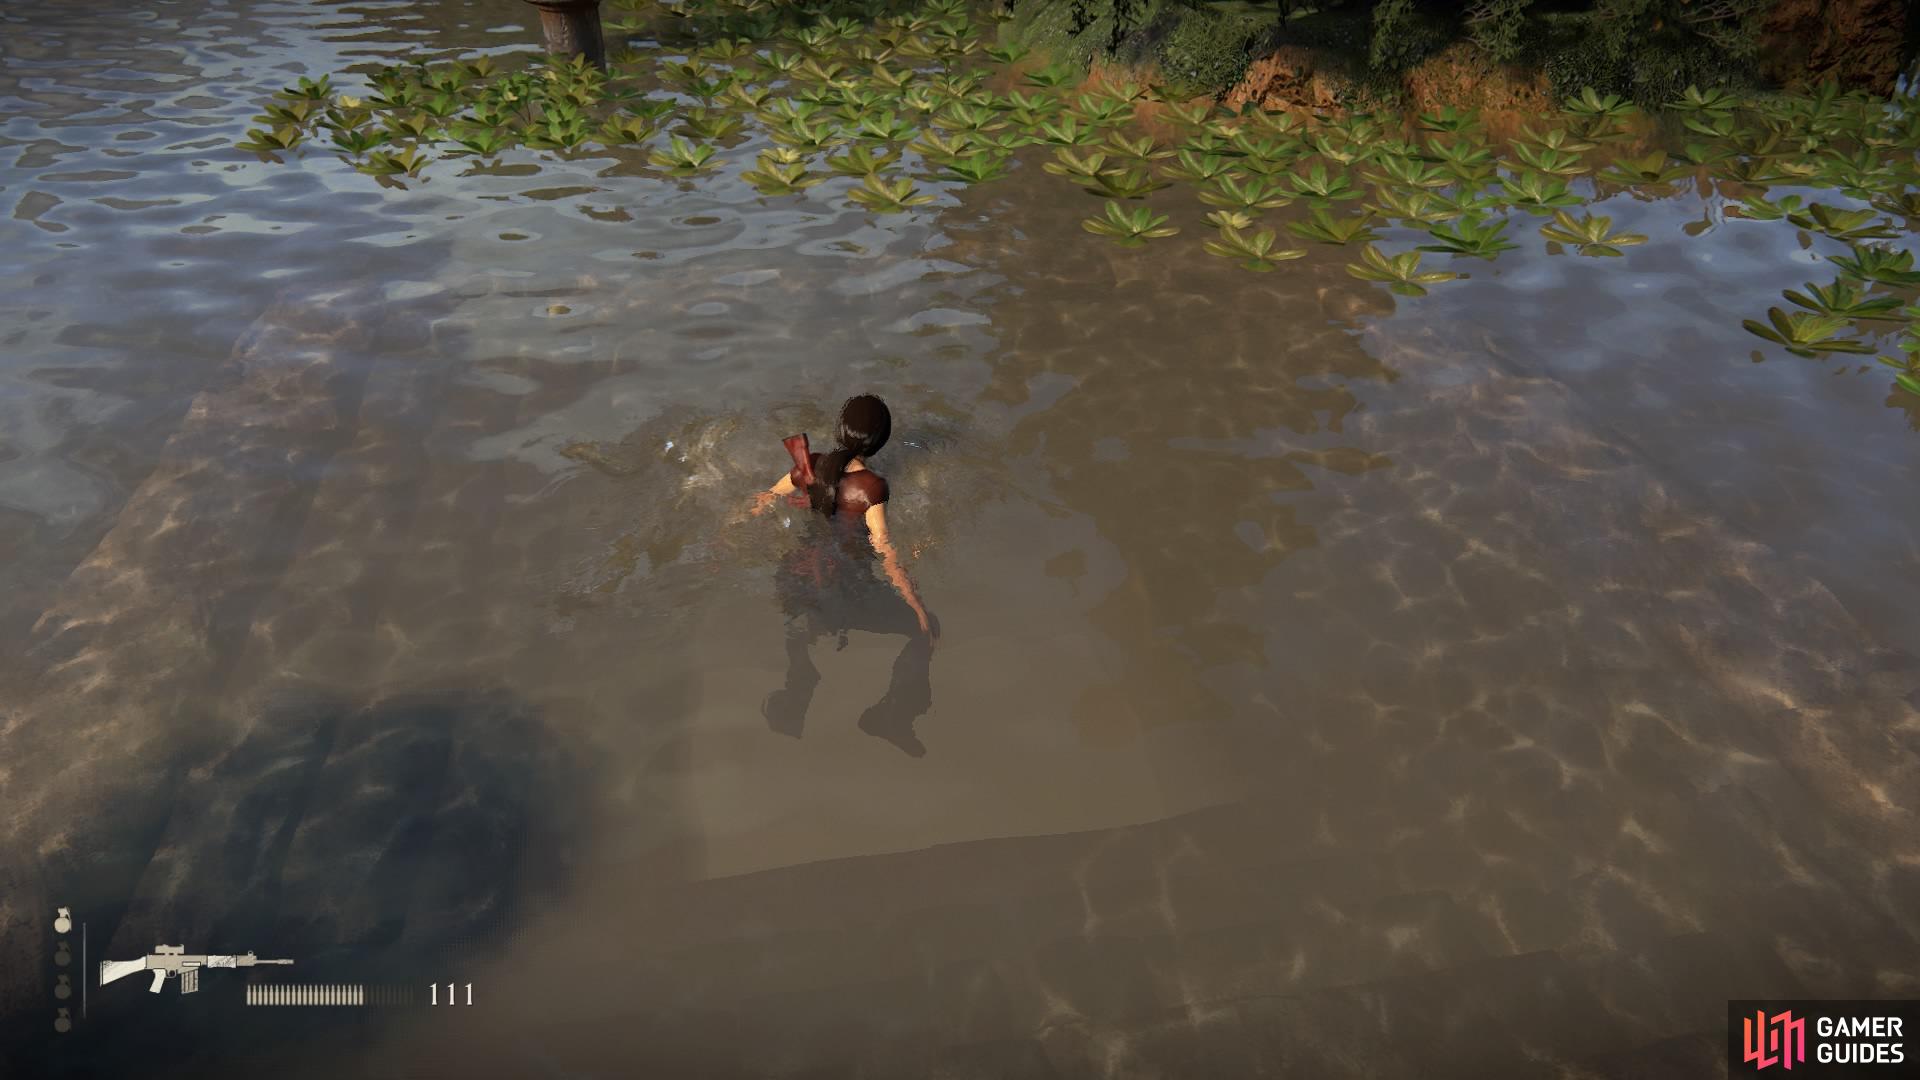
Dive beneath the statue into the submerged ruin
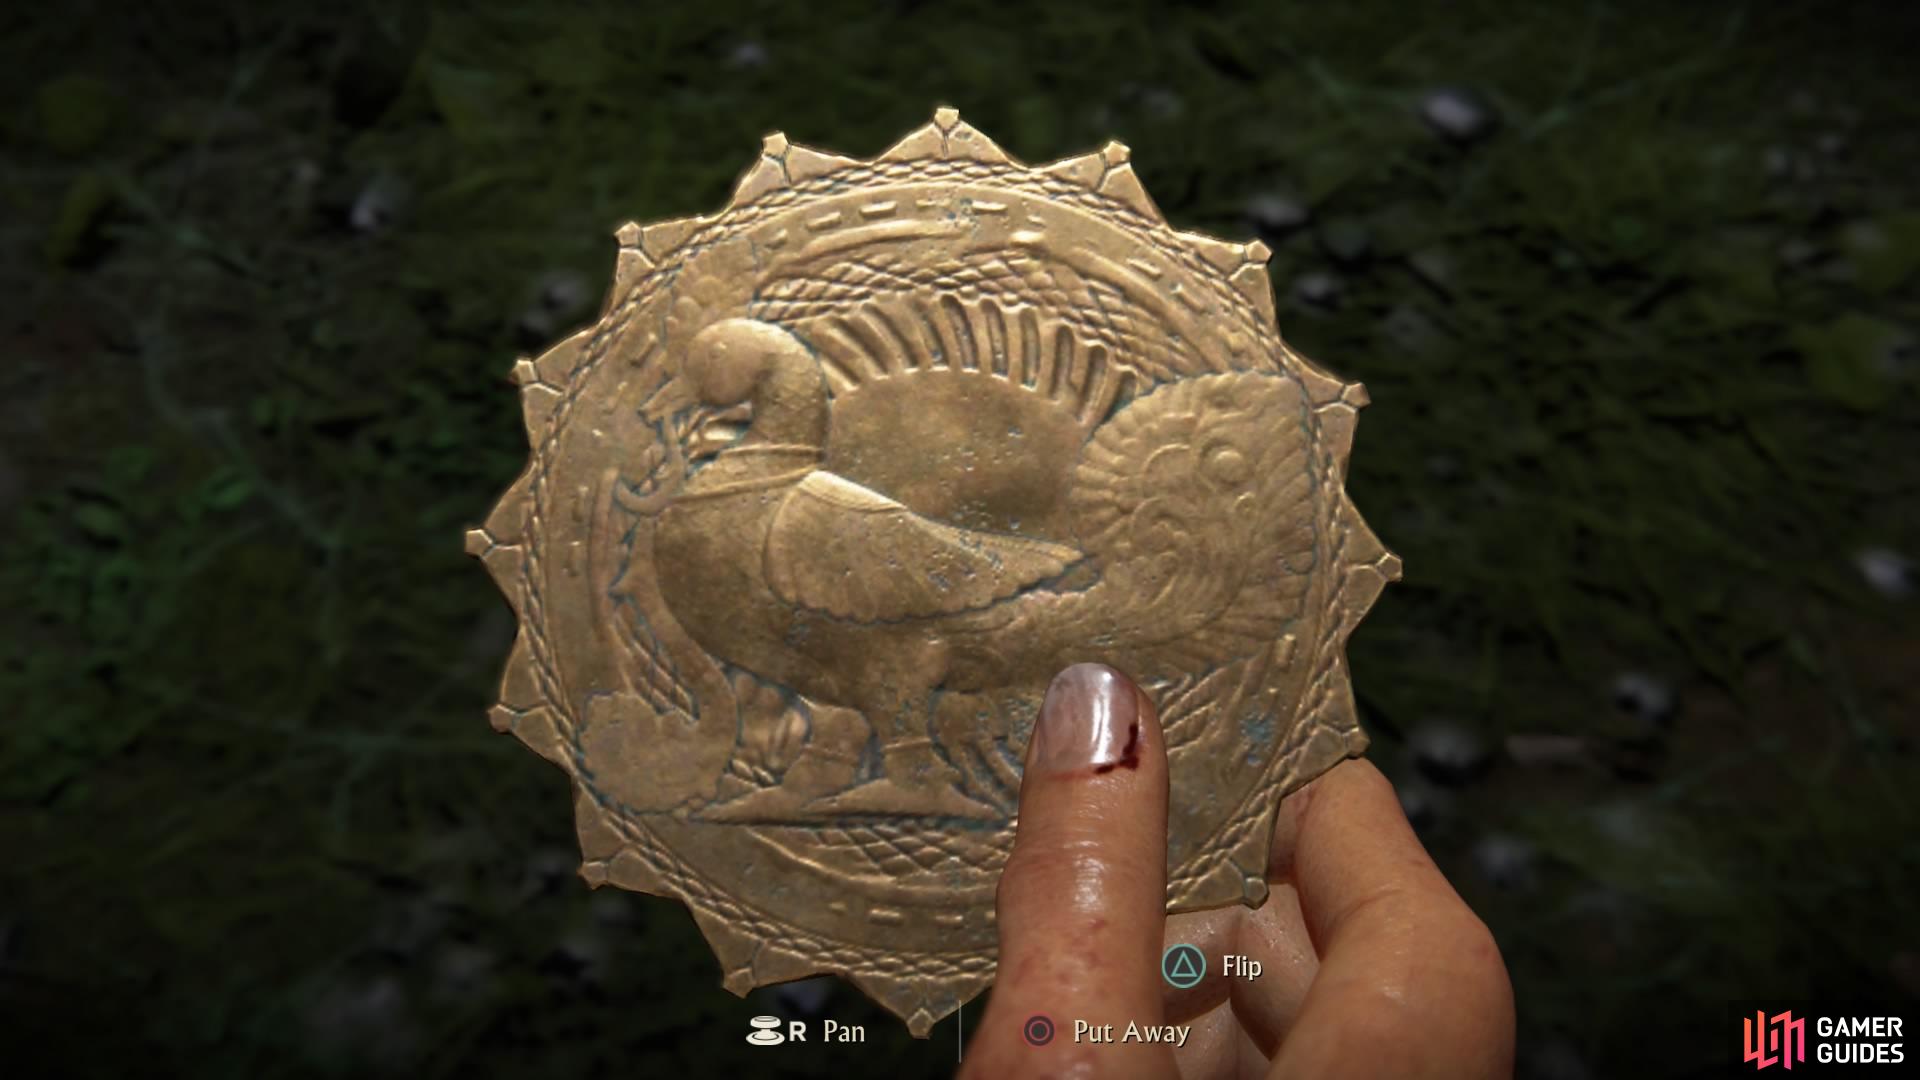
Find the peacock token at the back of the chamber
Swim through the tunnel at the bottom and ascend out the other side into a half-flooded chamber. As you climb out of the water, you’ll see the token sitting in an alcove at the back of the room.
Hoysala Token - Tiger
This is also an easier token to obtain. Once you leave the submerged ruins beneath the elephant, simply head right towards the cliffs where some rebels will be waiting. Take them out whilst climbing up into the ruins.
Go a little north of the elephant statue to the next ruin
The rebels have already stolen the token
Looking for the animal statue, you’ll see that the rebels have already blasted through the breakable wall and taken the token.
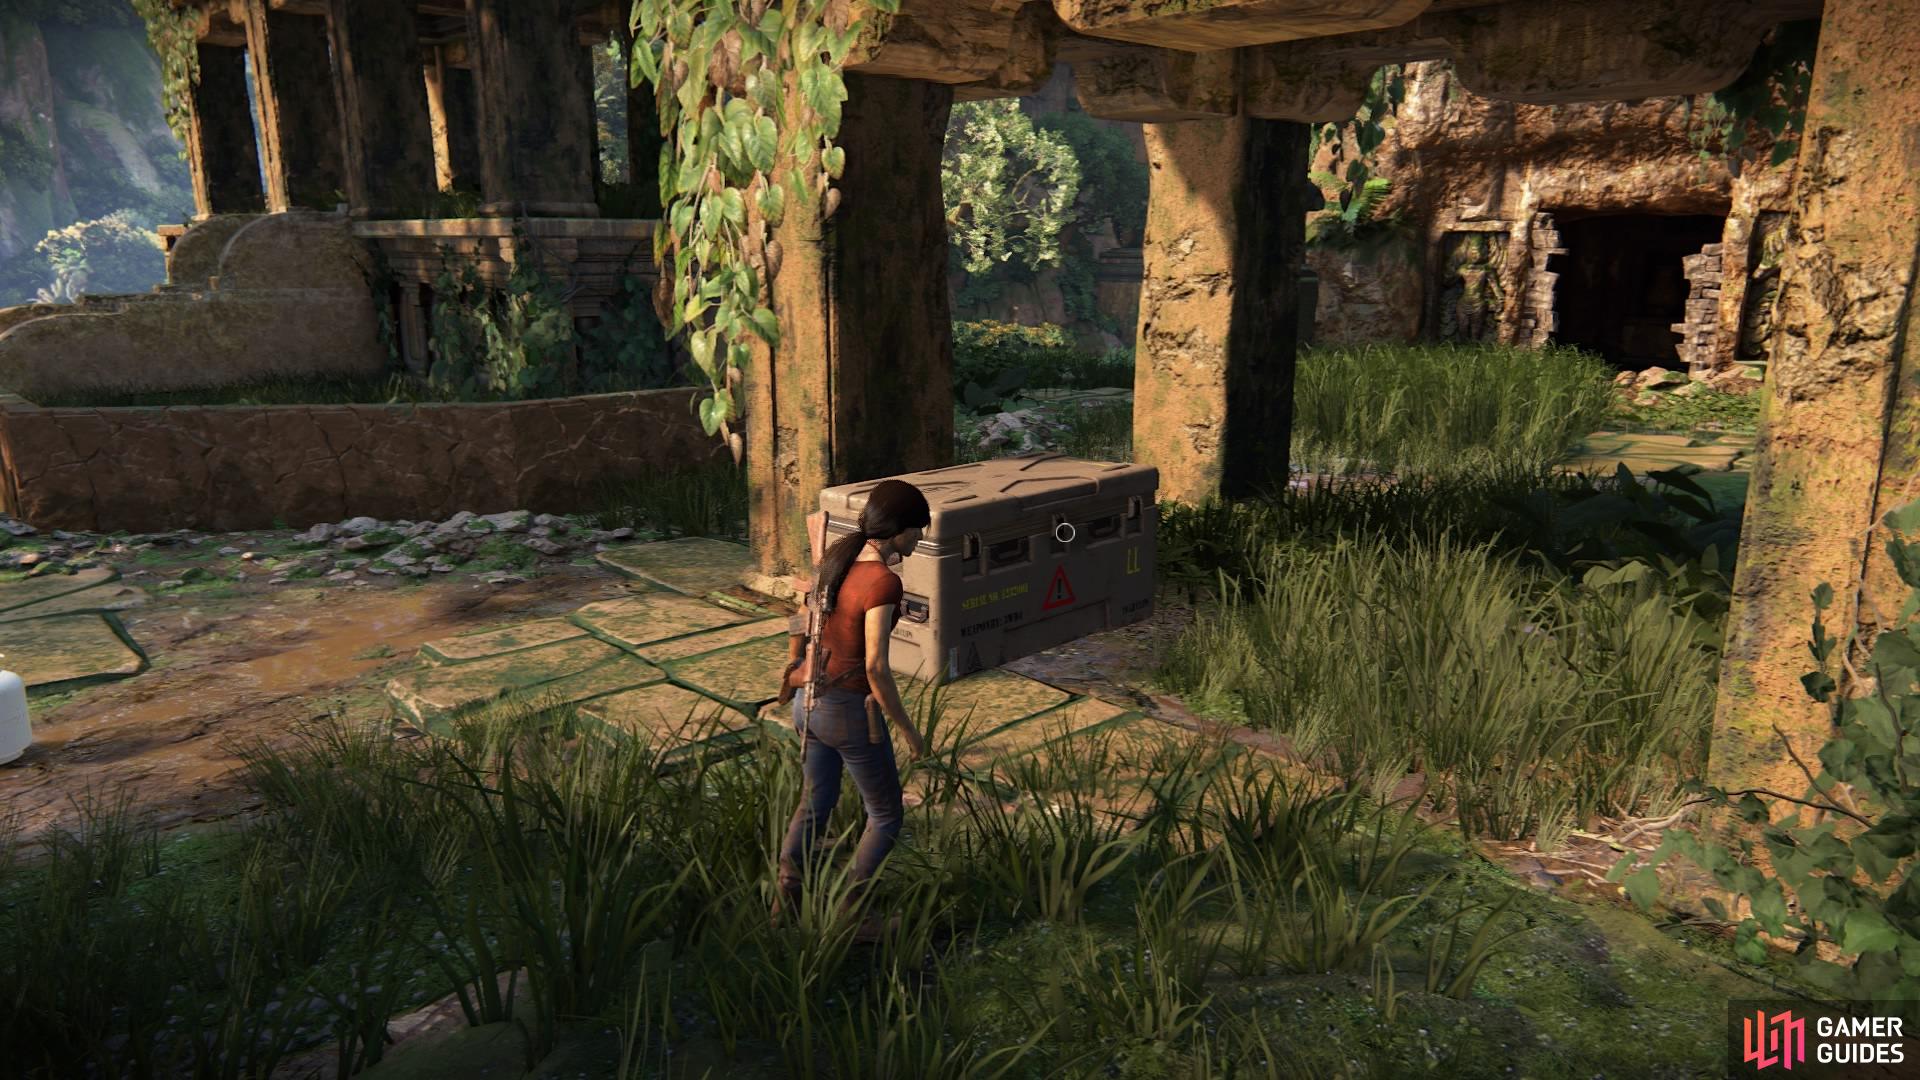
Unlock the box beneath the four pillars
Retreive Hoysala Token: the tiger
But don’t worry – the token lies in a lockbox between the stone pillars. Open it up to retrieve the tiger token from their possession.
Hoysala Token - Cow
The eleventh, and final, token may be the trickiest (and most frustrating) one to get. If you’re fast enough and can time it right, you should be able to pull it off without a hitch! But let’s make our way there first.
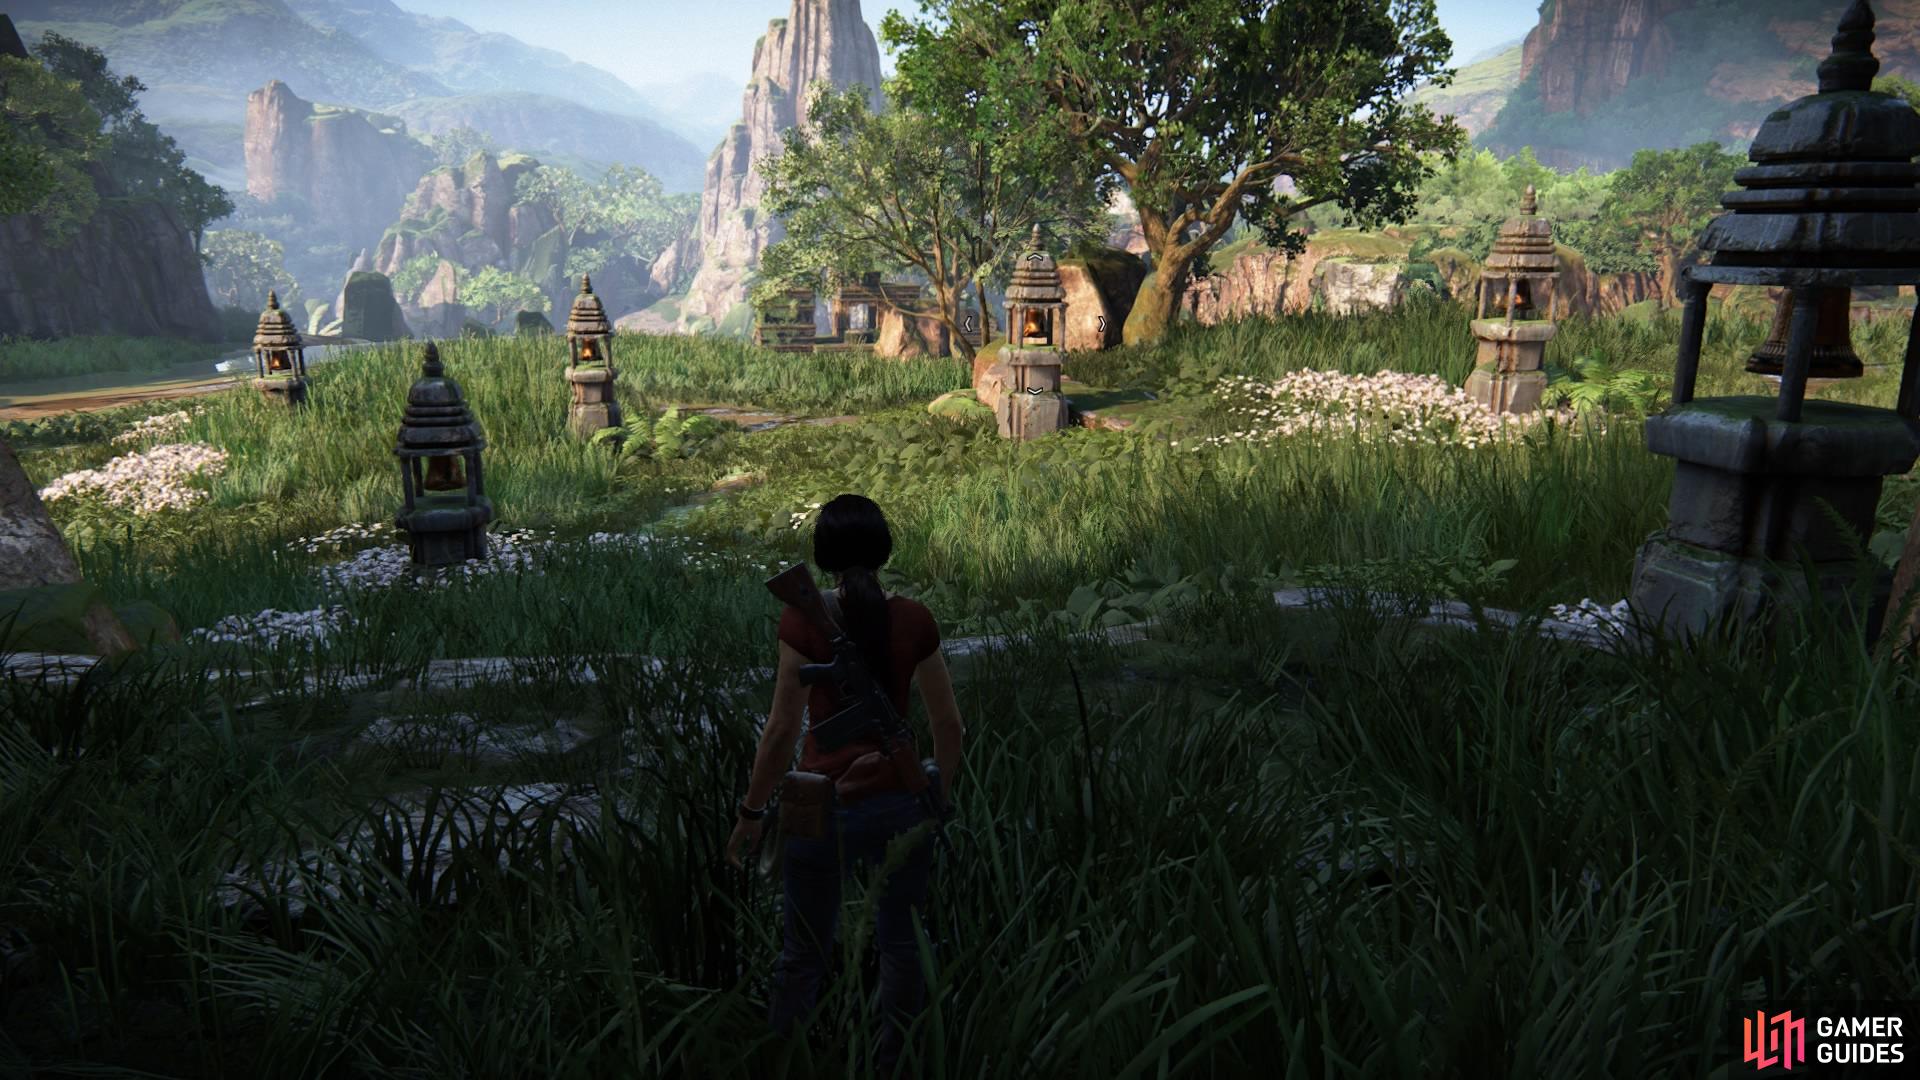
For this one, you need to head back to the tower in the middle of the map. You’ll see a bunch of platforms that you may not have noticed before, scattered around the area in a circular pattern. Or you may recognise it as the area you had to reunite with Nadine against the armoured truck.
Go back to the centre of the map to the tower
Search for the platform with the animal statue
Either way, look for the usual animal statue, this time depicting a cow. This will be your starting point, and you’ll see a fish-shaped podium atop the platform above it. Interact with it using triangle to activate six fountains.
Vault the ledge to the platform above the statue

Interact with the fish podium to activate the fountains
The idea here is to swing from the trees in a clockwise direction to each surrounding platform to stand on (and subsequently disable) the fountains as you go. Once you have done this, you have to swing back to the fish podium - acting as the seventh fountain - to reveal the last token.
But, of course, the task is timed, which will be signified by an audible timer. It might be a good idea to give it a practice run without the timer first, just to get a feel for it and know where all the rope swing points are.
When you’re ready, push triangle at the podium to begin, then immediately swing across the first grapple point directly in front of you. From here, continue to go right in a clockwise direction until you finally have to jump back to the starting point.
Once complete, the podium will reveal the token, and you’ll be ready to return to the monkey ruin for the prized bracelet.
The Queen’s Ruby
Now that you have all 11 Hoysala Tokens, it’s time to return to the ruin that set you on this path to begin with. So, hop in the car and drive back to the mystery ruin at the northeast of the map.
Return to the mystery ruin
Insert the tokens to receive your hard-earned prize
Go straight to the room with the wall-map and the bracelet still locked in a container. Now, when you interact with the podium, Chloe will insert the tokens and they’ll fill the holes in the wall. Doing this unlocks the container, and you’ll finally be rewarded with the Queen’s Ruby.
Congratulations! You should also be rewarded with a trophy for your efforts upon obtaining every token, as well as unlocking the bracelet!

No Comments