| Chapter 7 | . |
|---|---|
| Treasures | 16 |
First things first, get through the immediate encounter with the rebels until you come out of the other side and are prompted with L3 to focus on the explosion taking place above you.
Hop over to the next platform and look a little to the right to see a square hole in the wall framed with gold. This is where the treasure is hiding. In order to get there, go the usual route by entering the doorway in front of you.
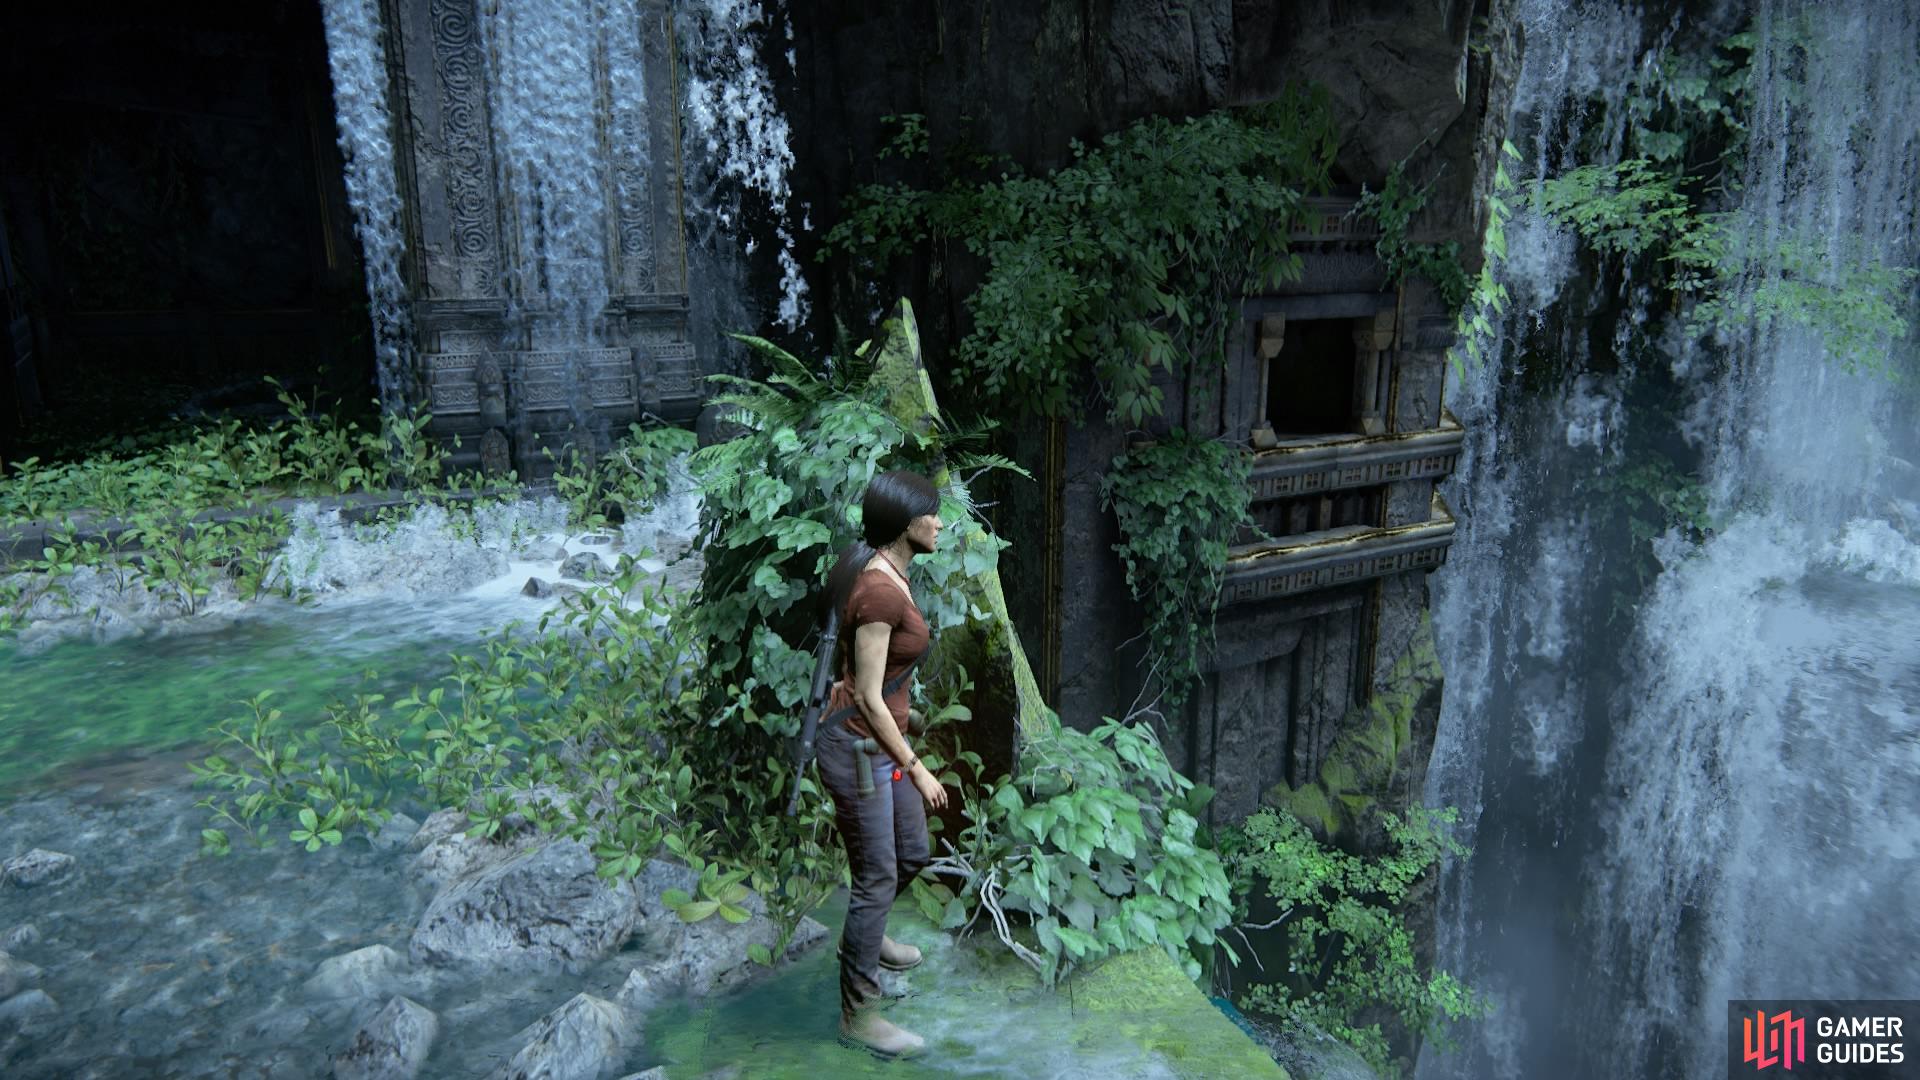
Find a way to the hole in the wall
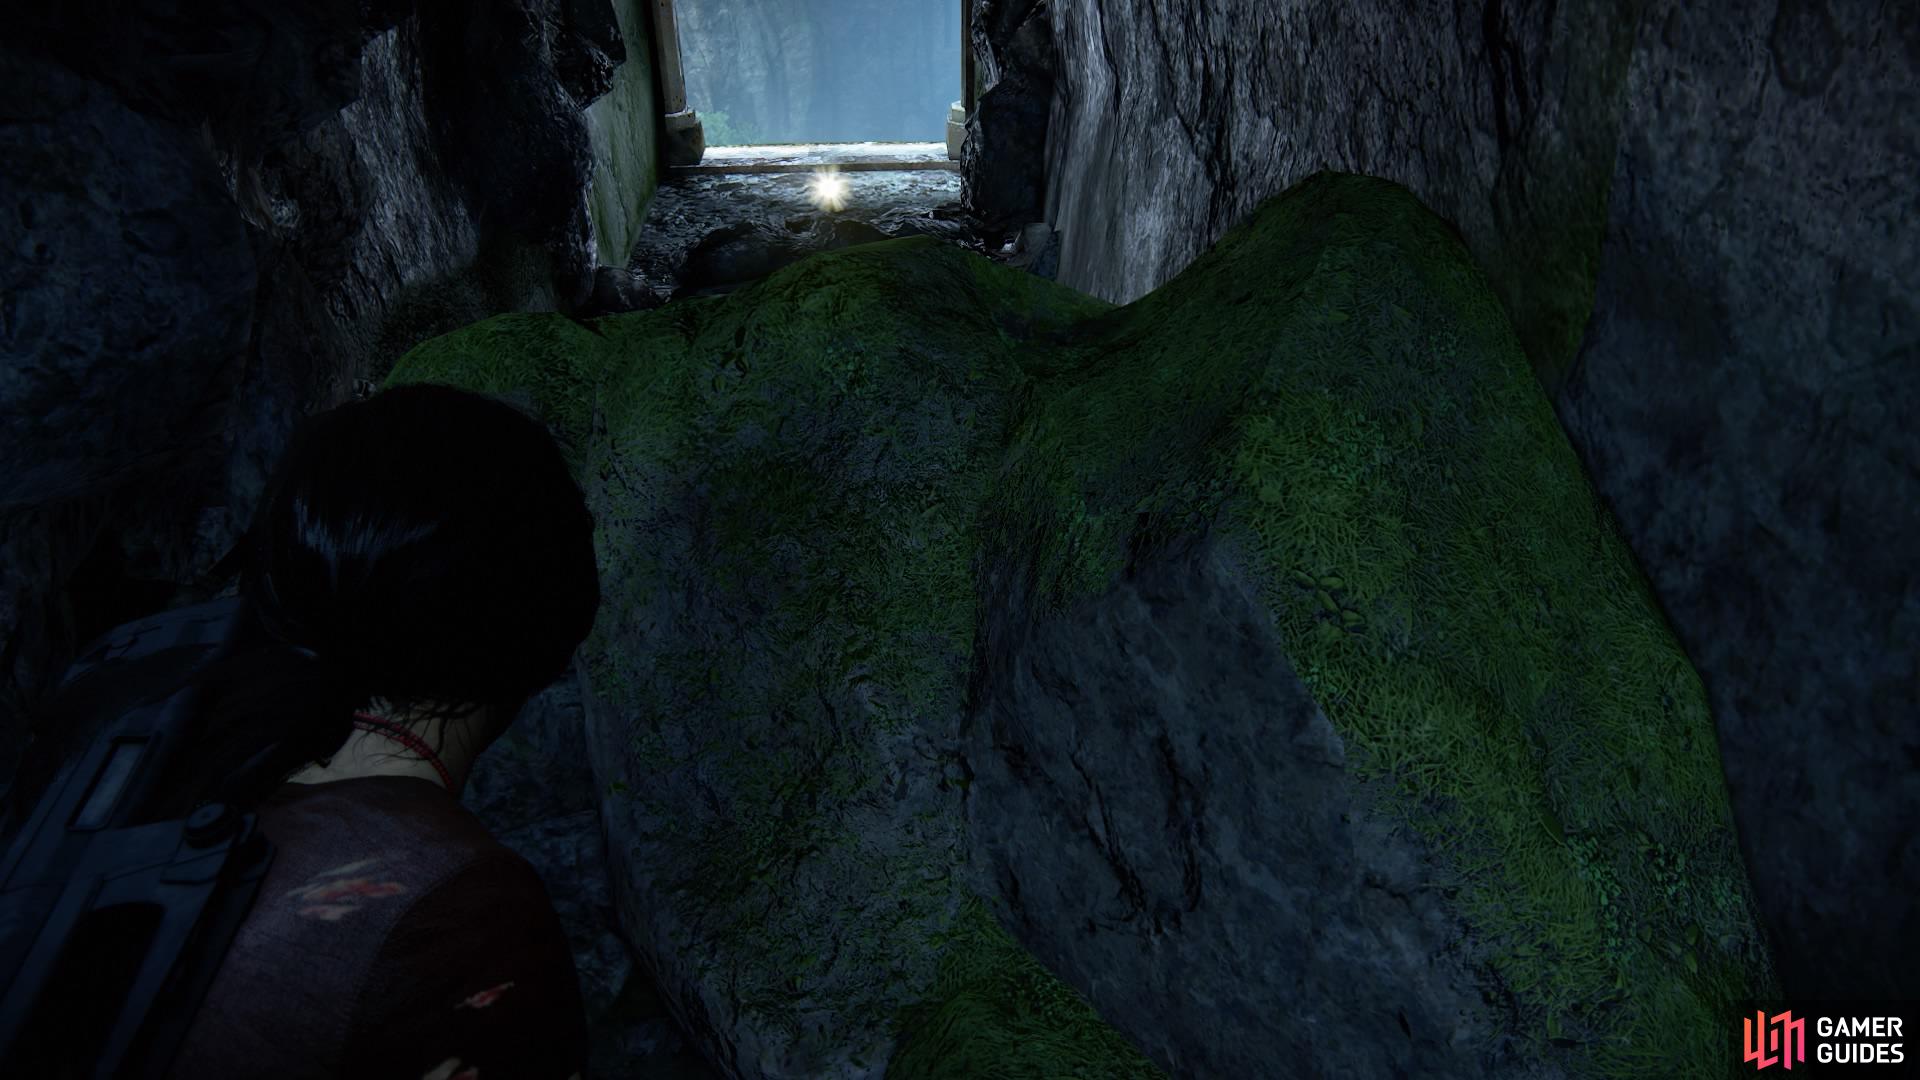
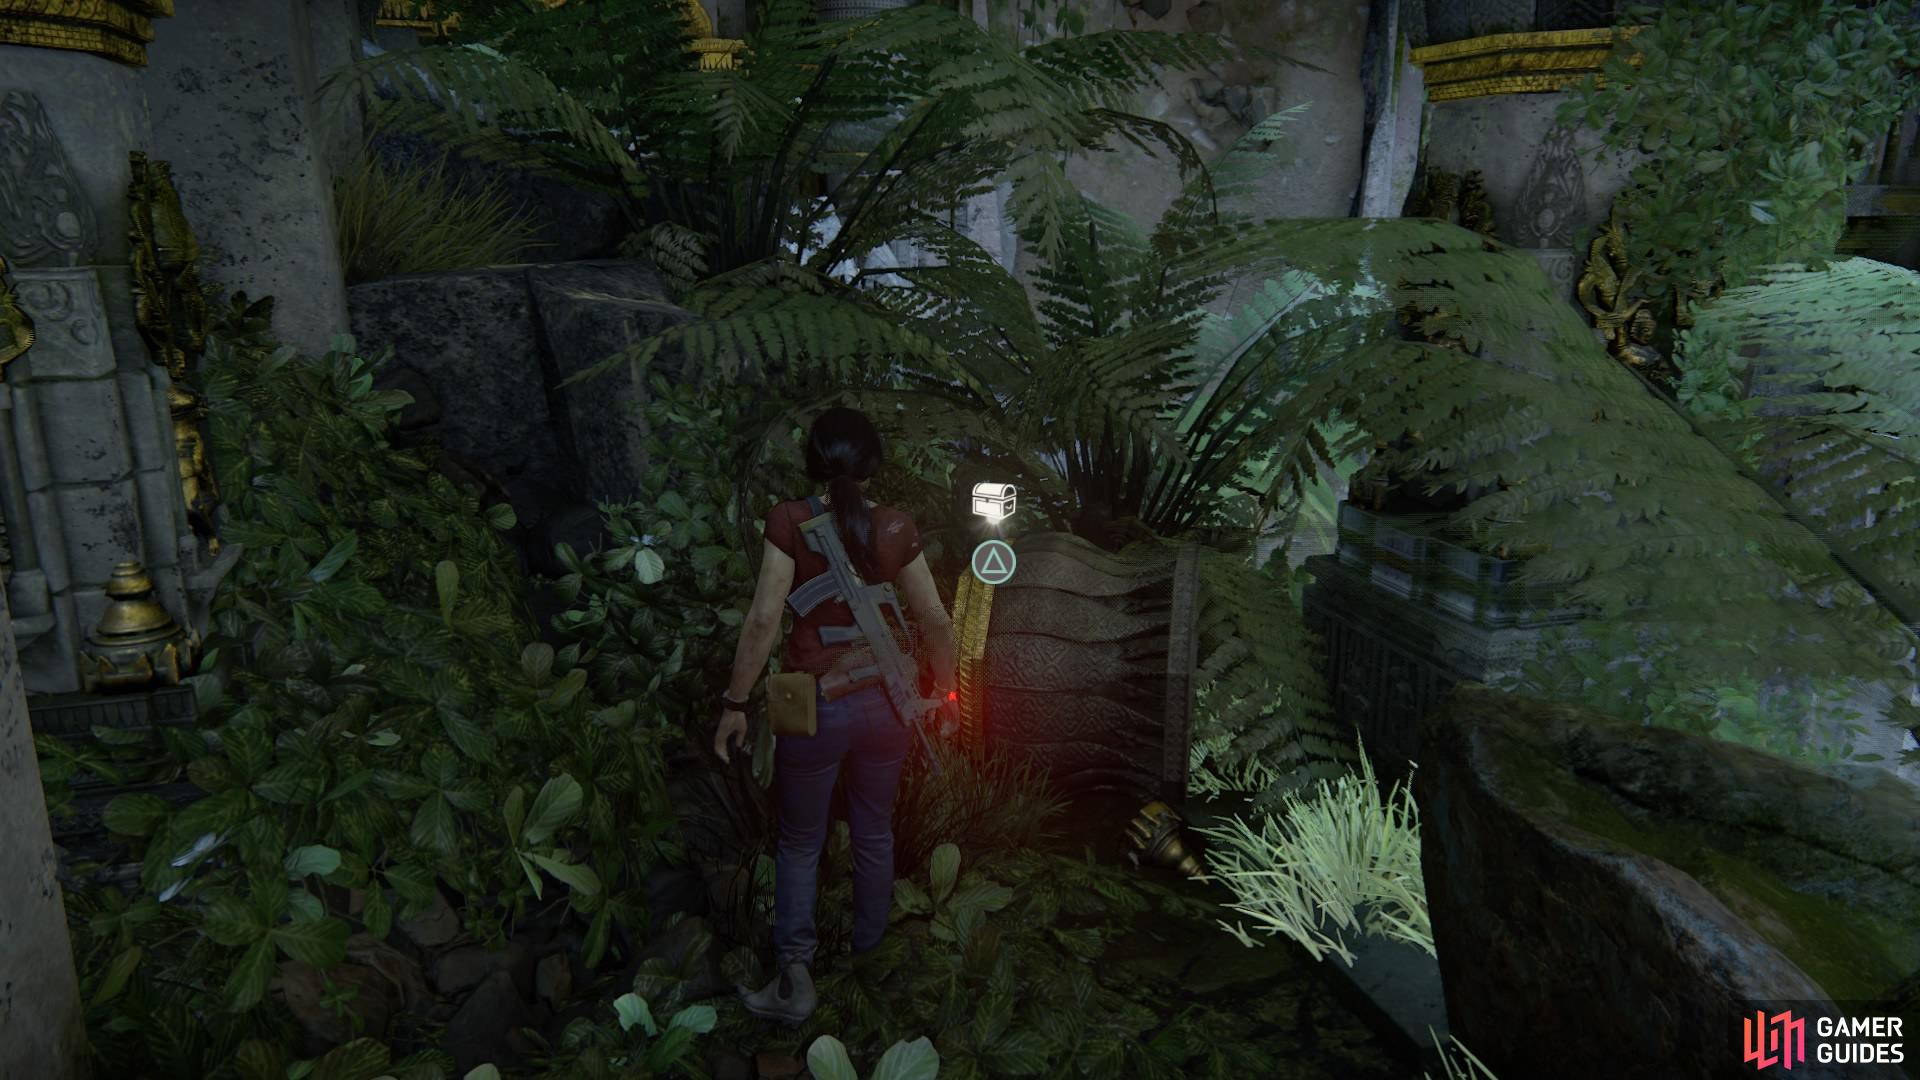
Through the tunnel you can see behind the treasure
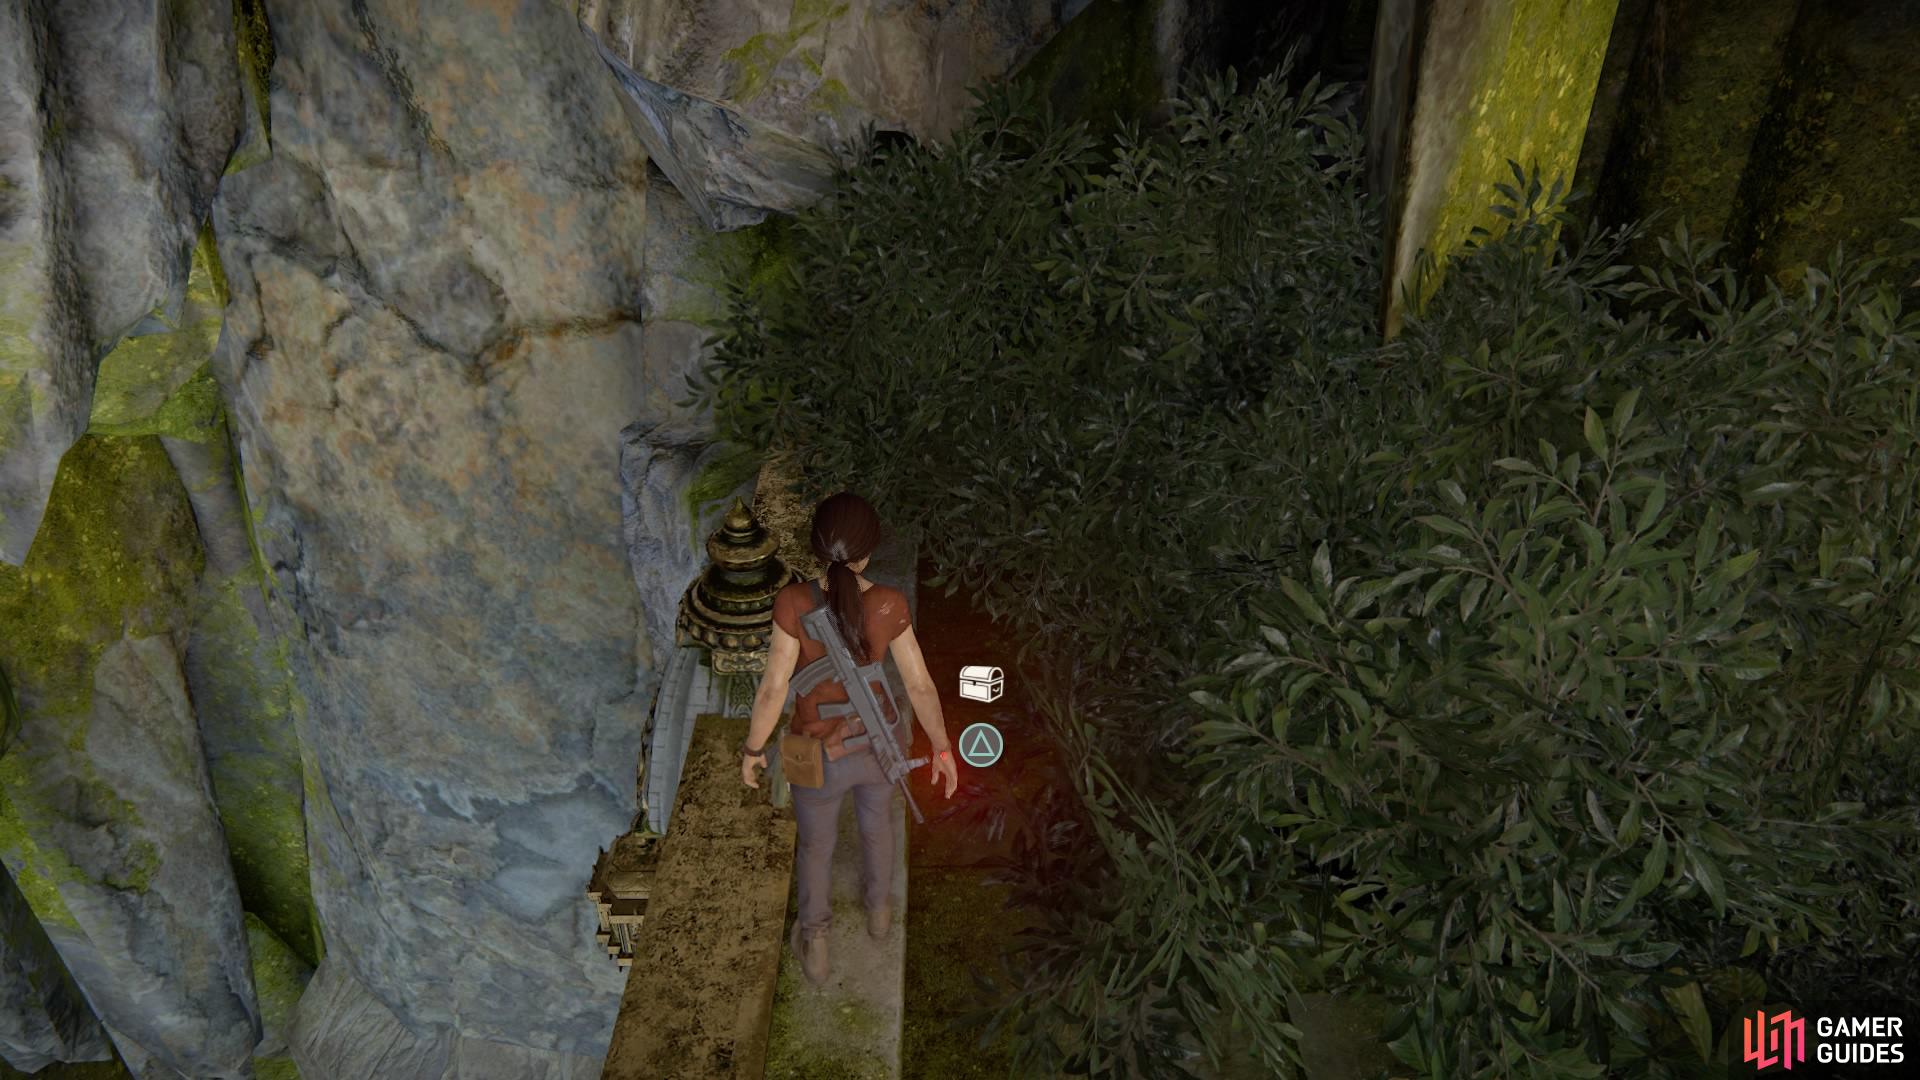
Halfway through the tunnel (you’ll be crouched) will be a hole in the wall to your right where you can spot the treasure on the other side.
Keep making your way through, and as you come out the other side, stand at the ledge to your right. You can jump from here to the golden handholds and shimmy across to the square hole.
Vault up into it to pick up treasure #42.
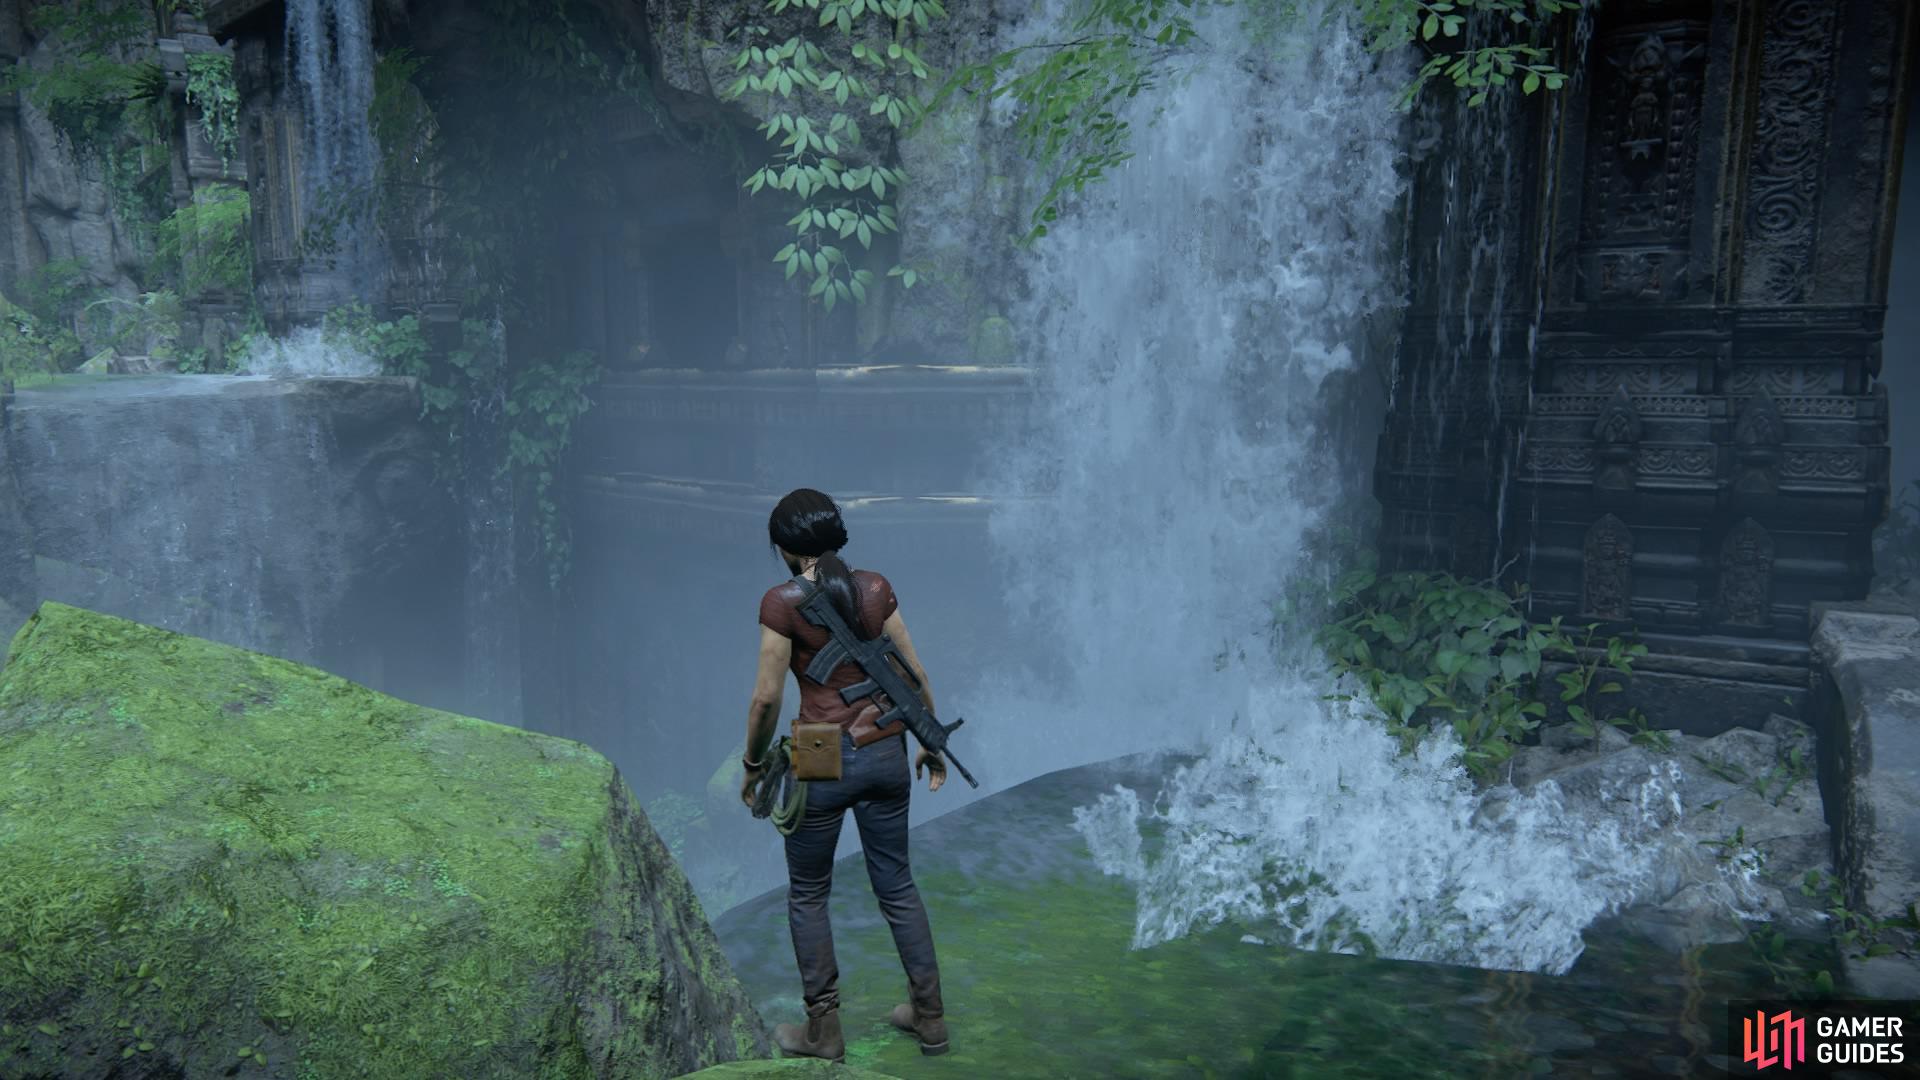
Jump from the ledge to the golden handholds
Then traverse over to obtain the treasure
Continue to ascend the cliffs to the very top. You’ll come to the golden décor with a Shive statue in the middle.
Behind Shiva is a structure wrapped with branches in the middle of the shallow water (look for the lilypads). Go behind this structure to find treasure #43 resting beneath the roots of a tree.
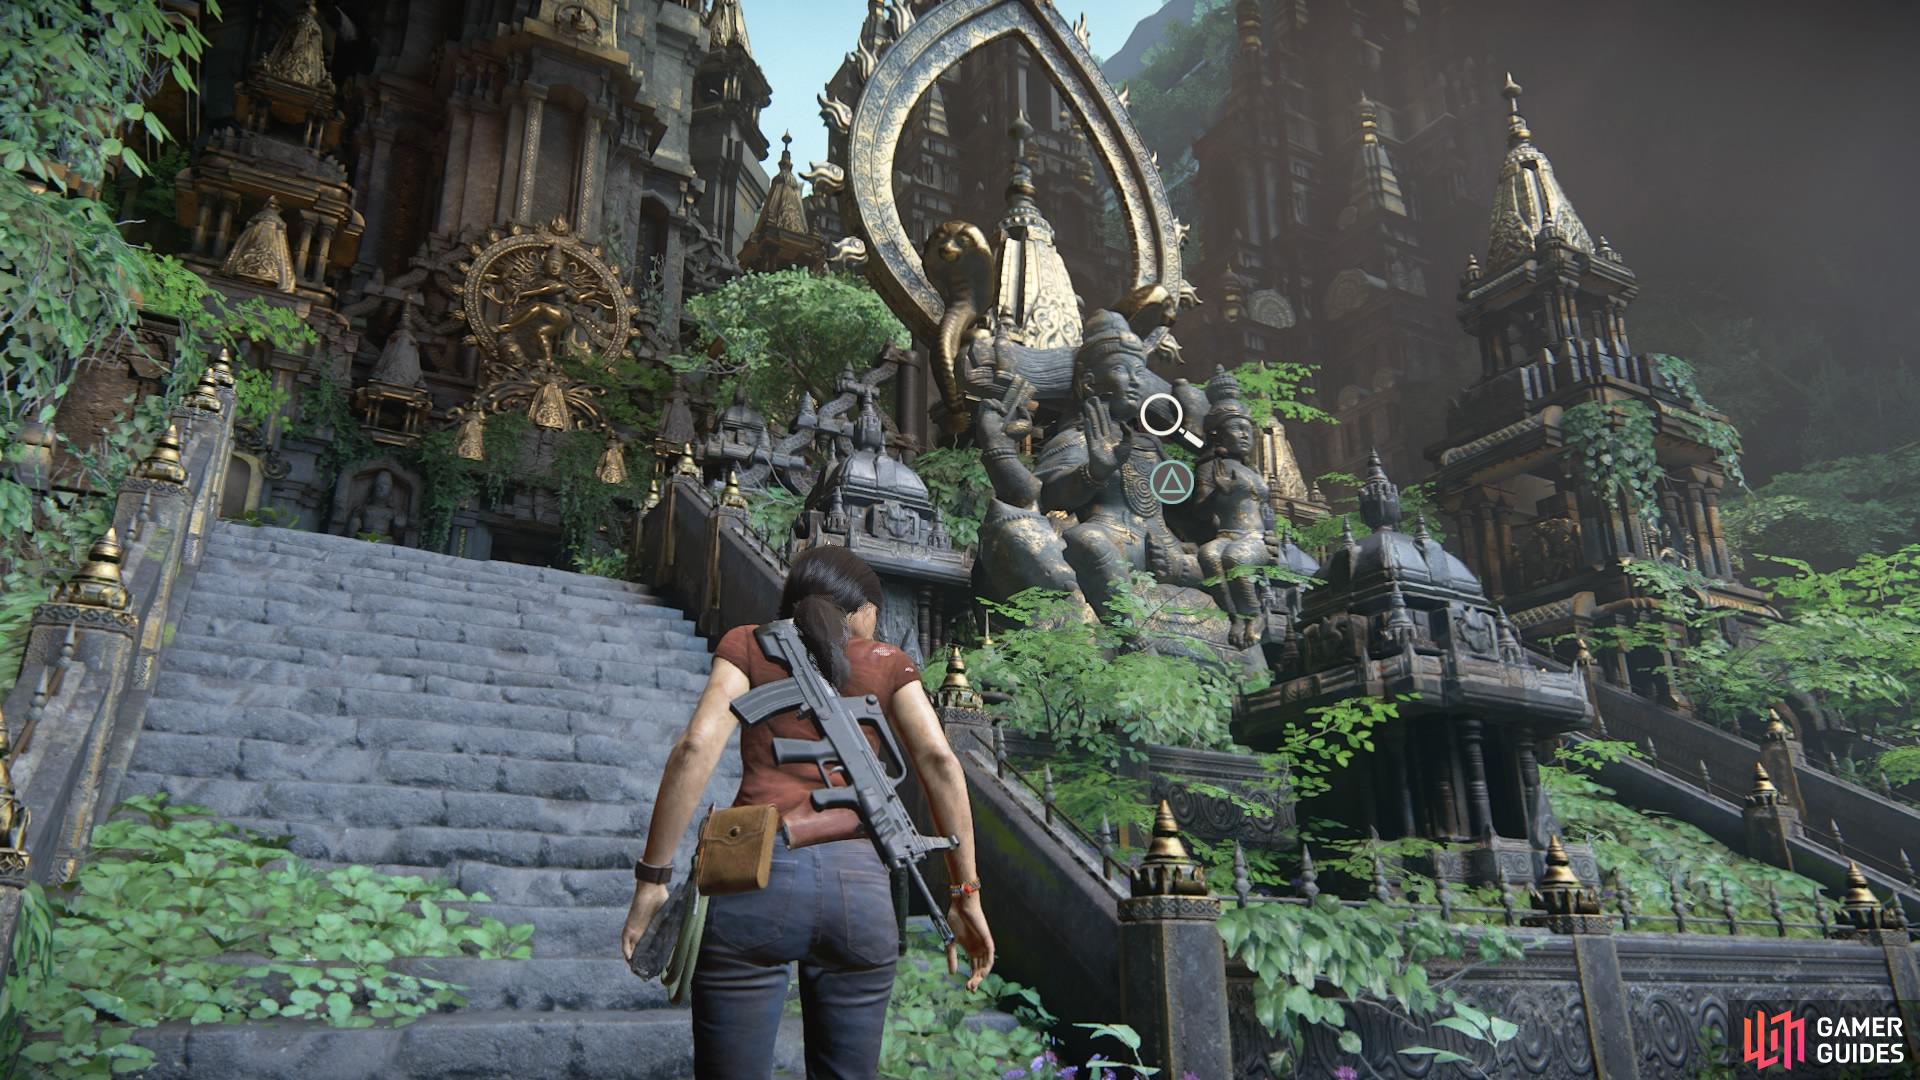
Go past the Shiva statue
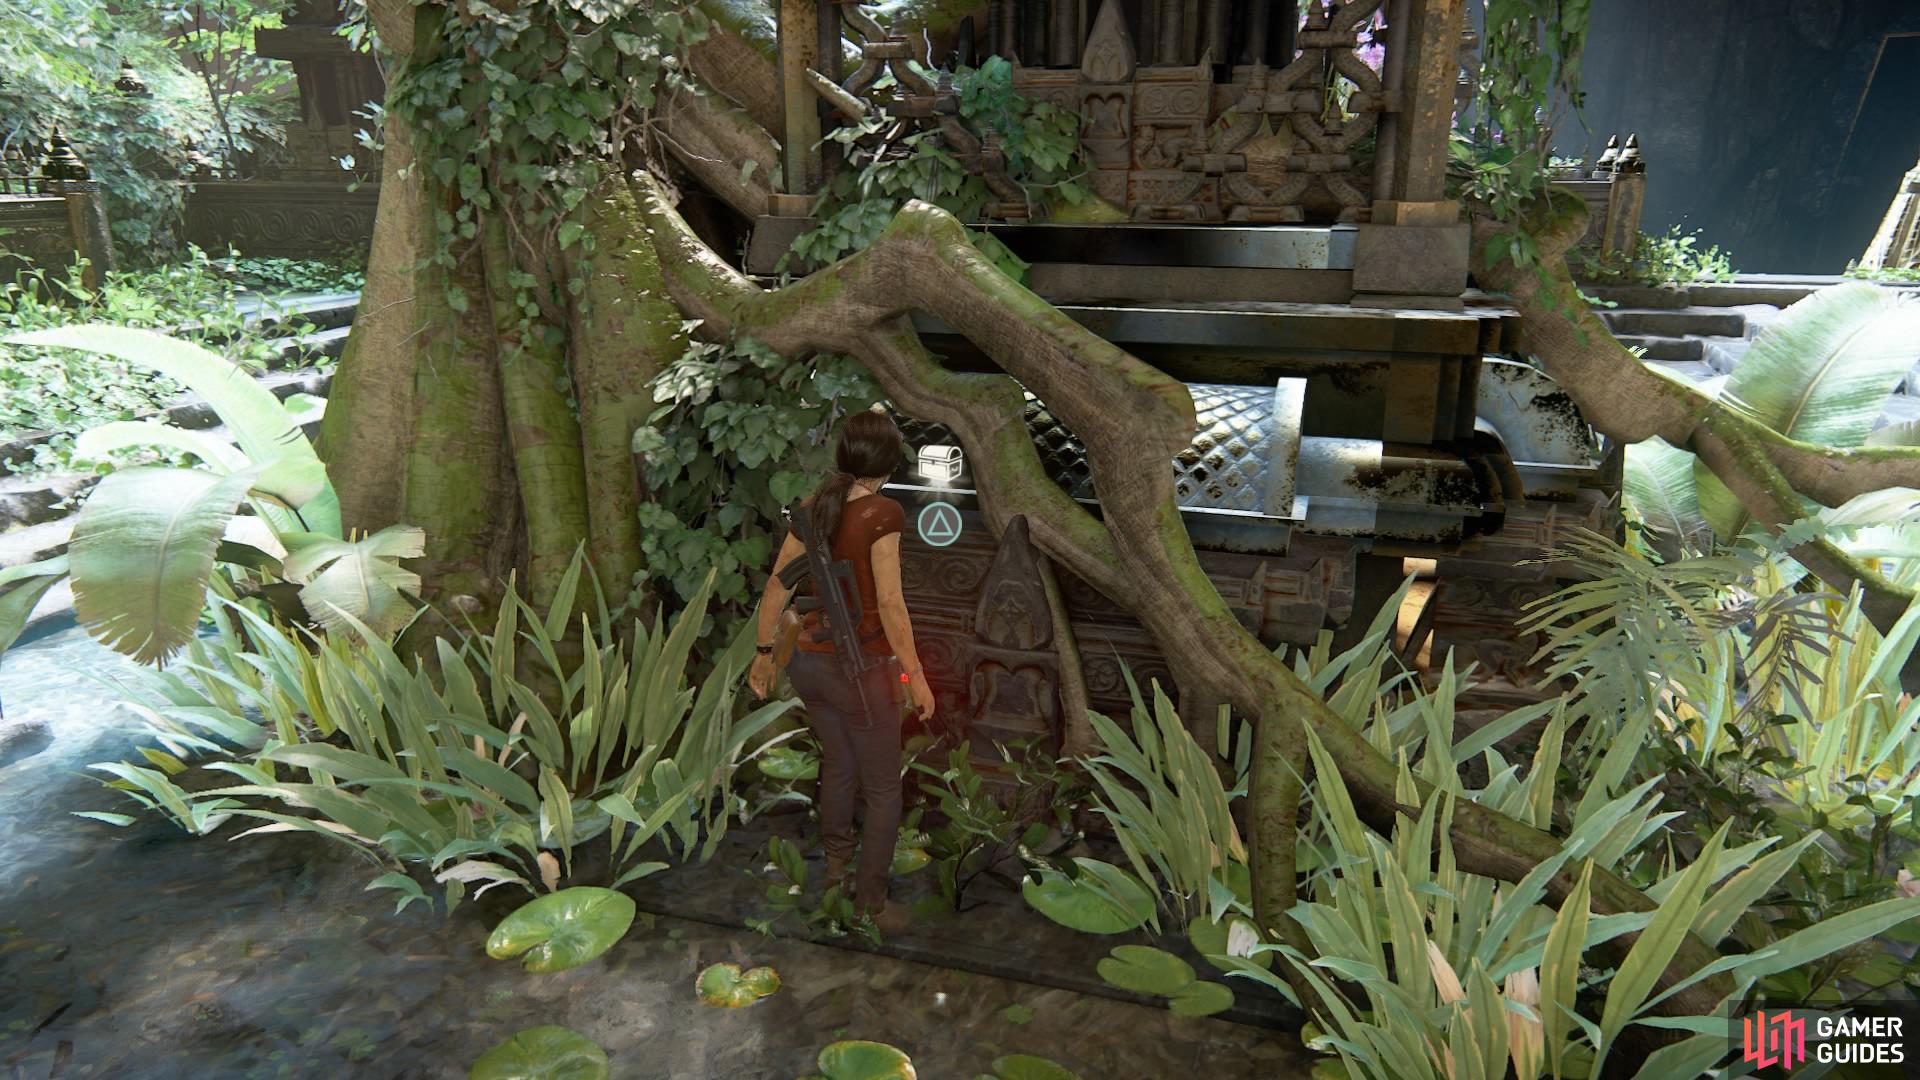
Look behind the structure in the middle
Now make your way inside the building using the window on the left of the blocked entrance. You’ll land in a room with the well in the middle.
Go around the left side of the room to find treasure #44 next to a tree at the back.
Drop into the well room
Find the tree at the back left
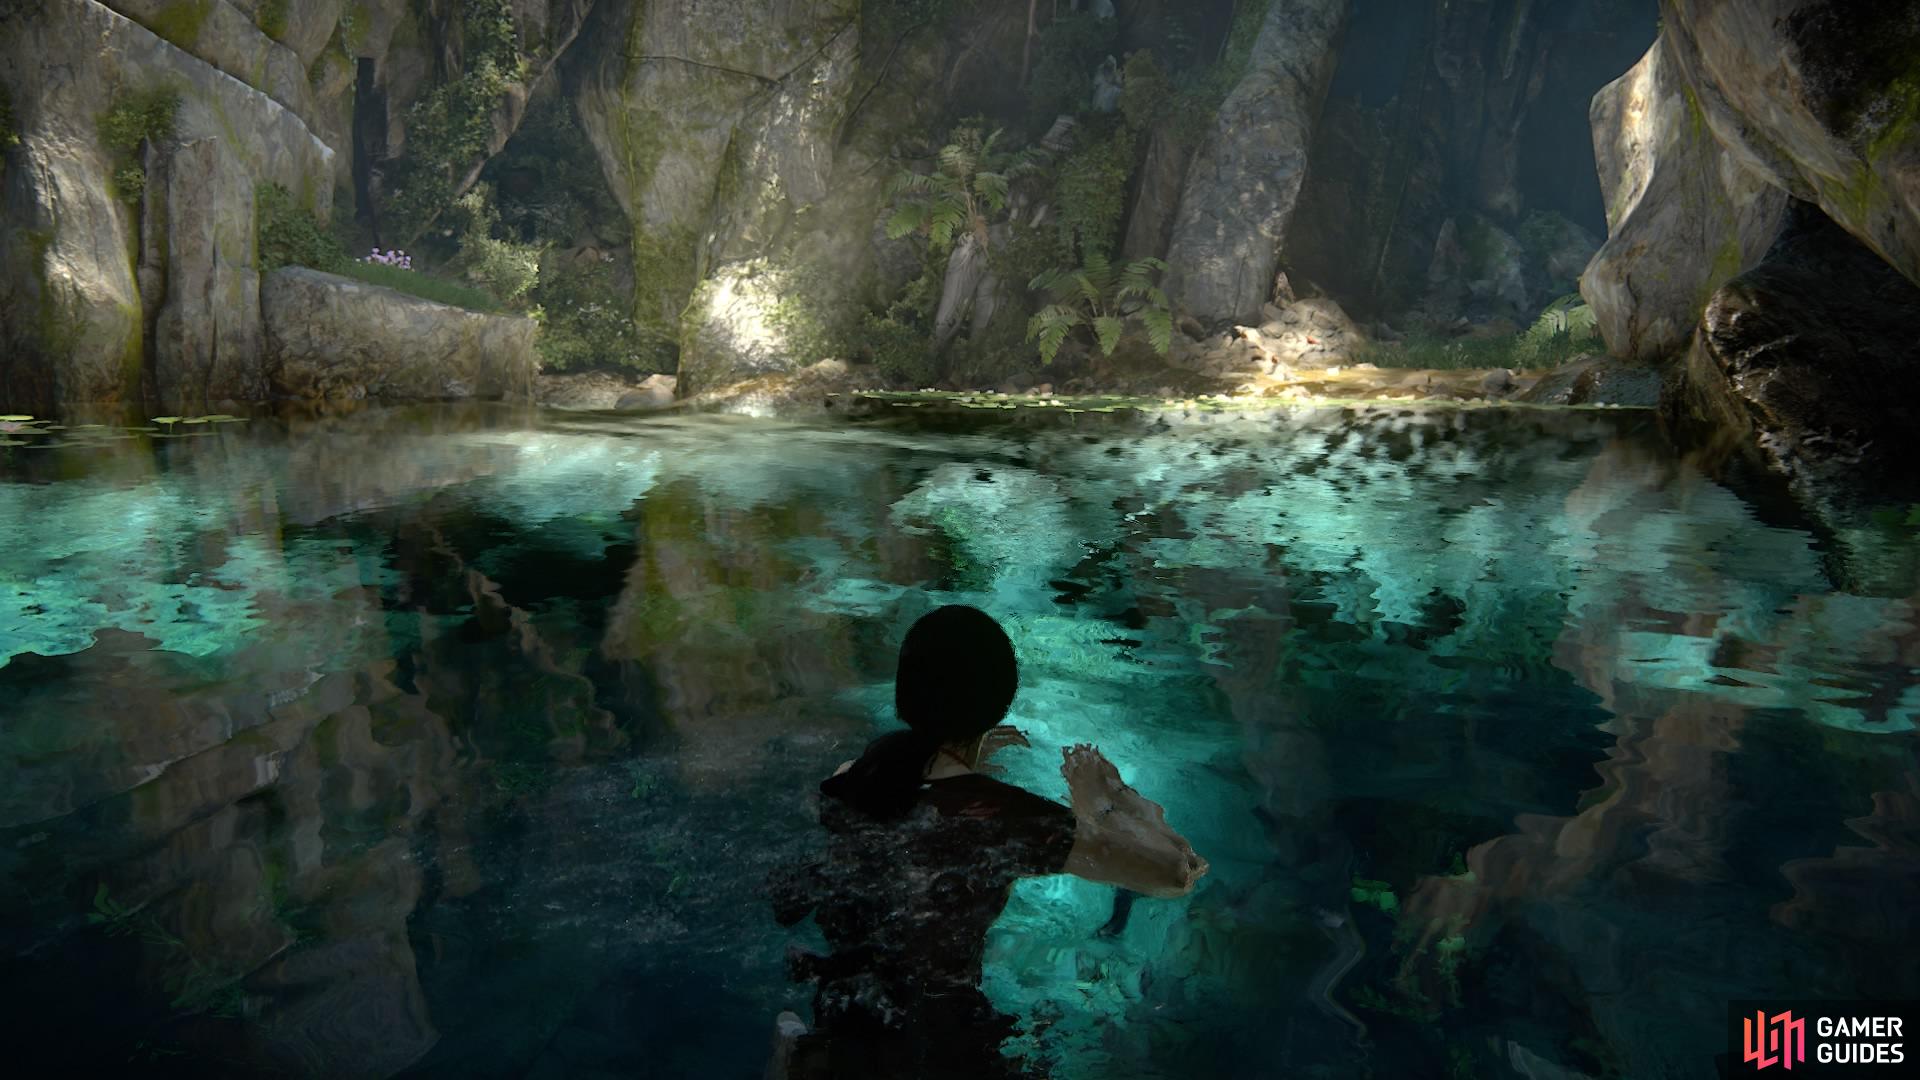
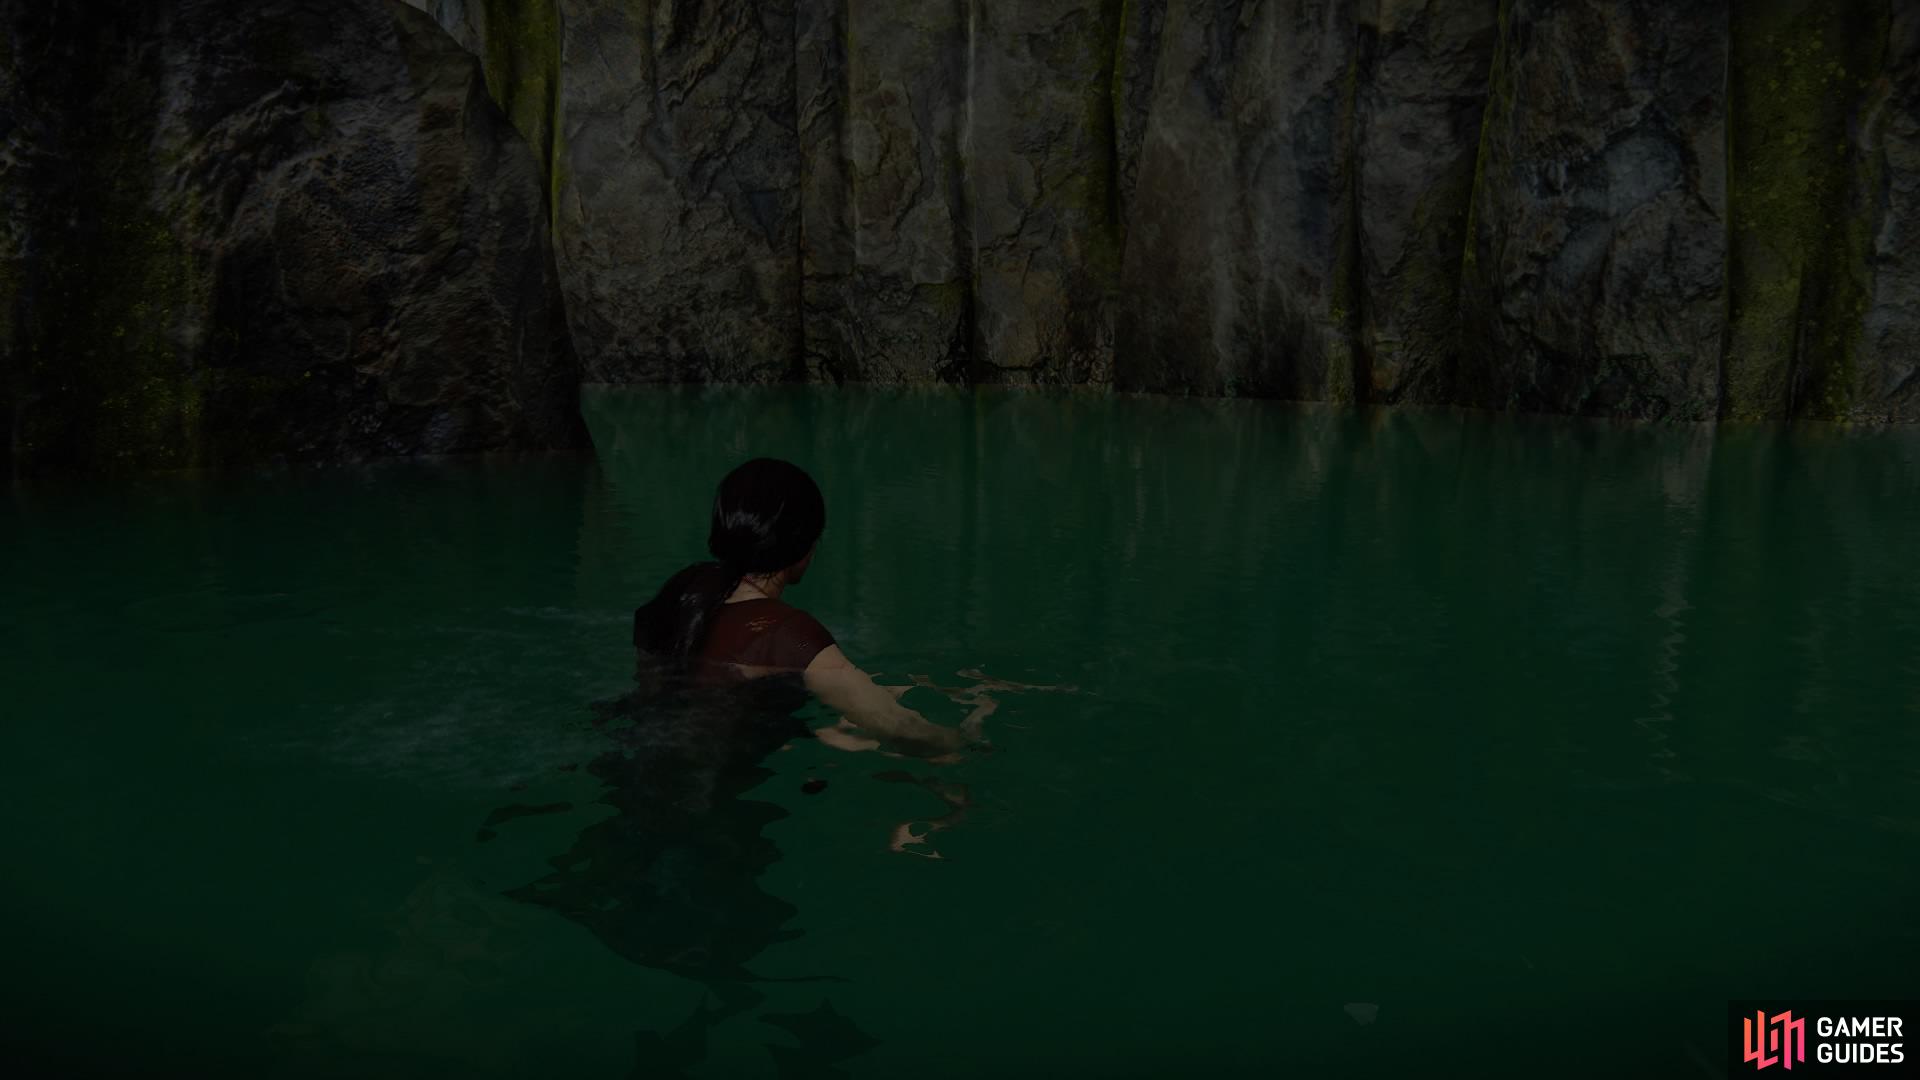
Swim through the well’s tunnel until you come out into the next room flooded with water.
Remaining stationary, directly in front of you will be a well disguised alcove on the left, behind a rock. Swim towards it and dive beneath the surface to find treasure #45.
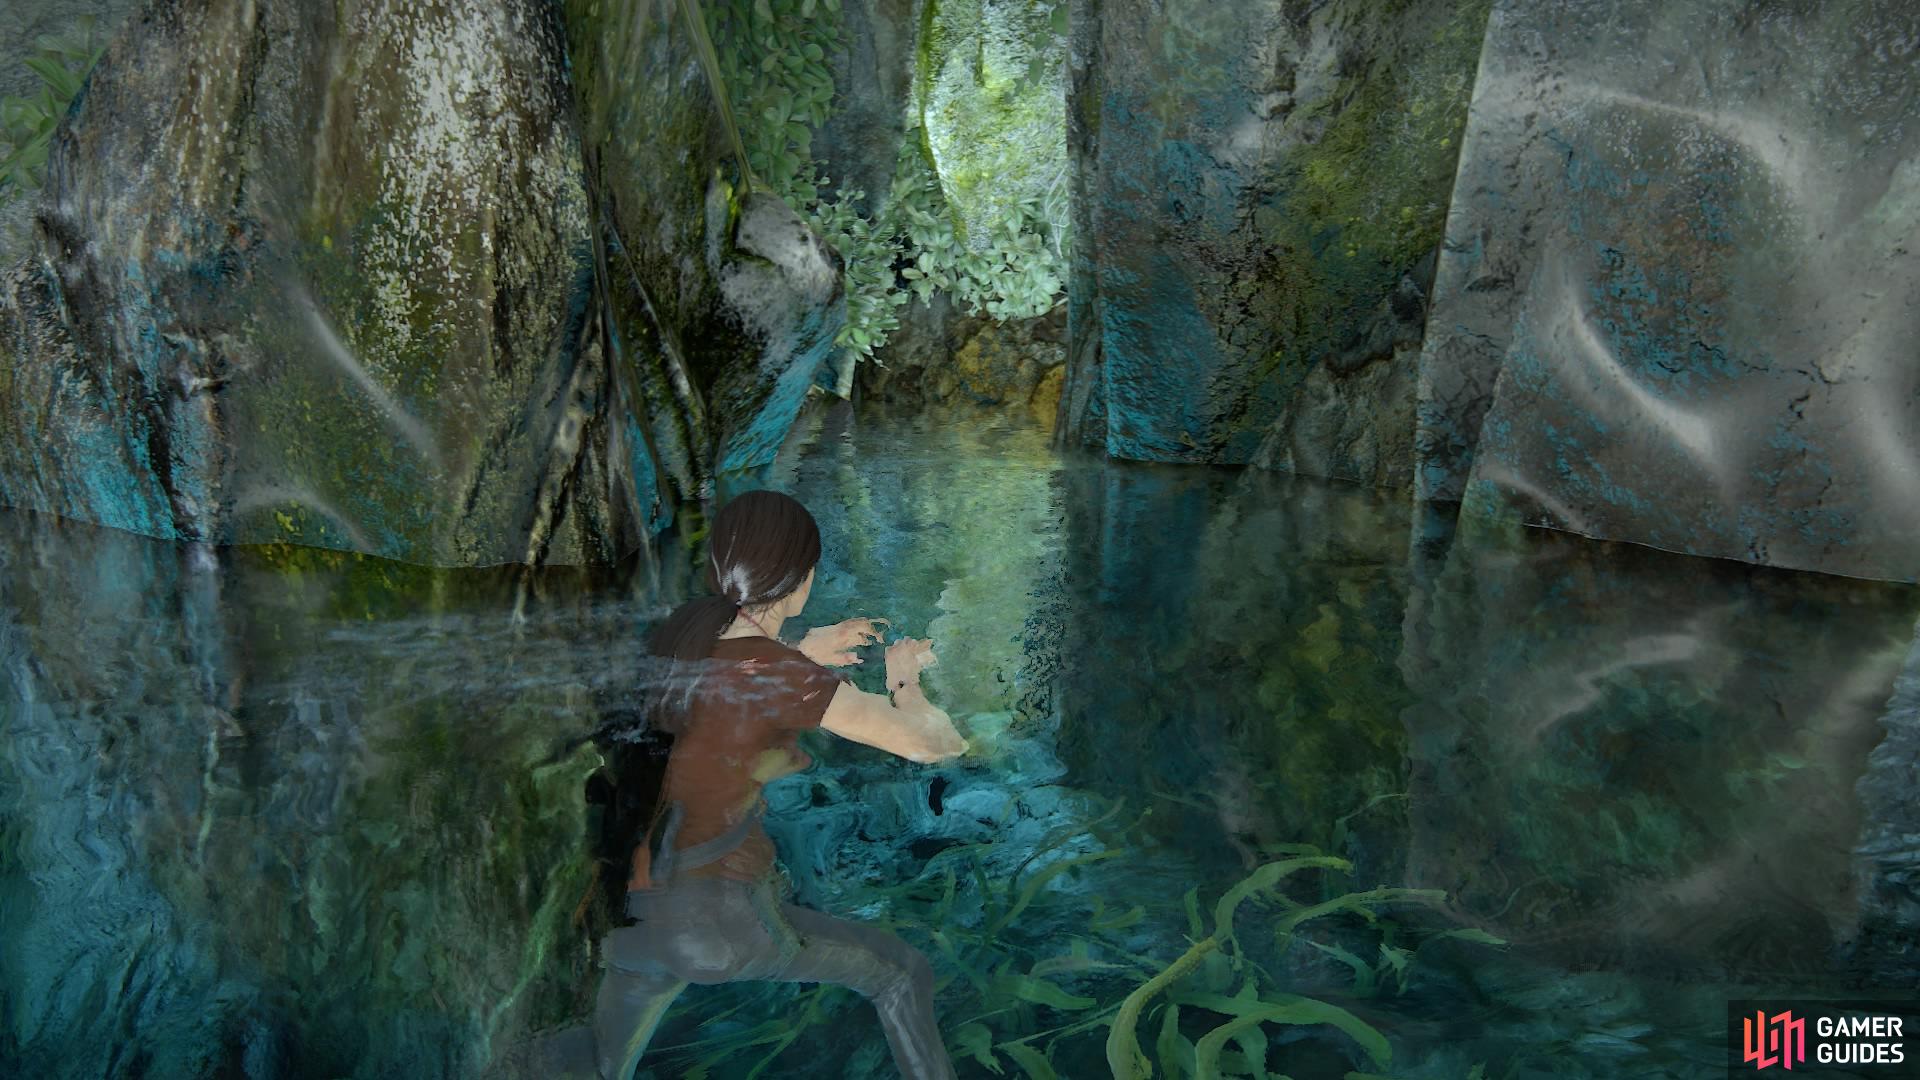
to find the treasure beneath the water at the back
Look for this rock formation on the left
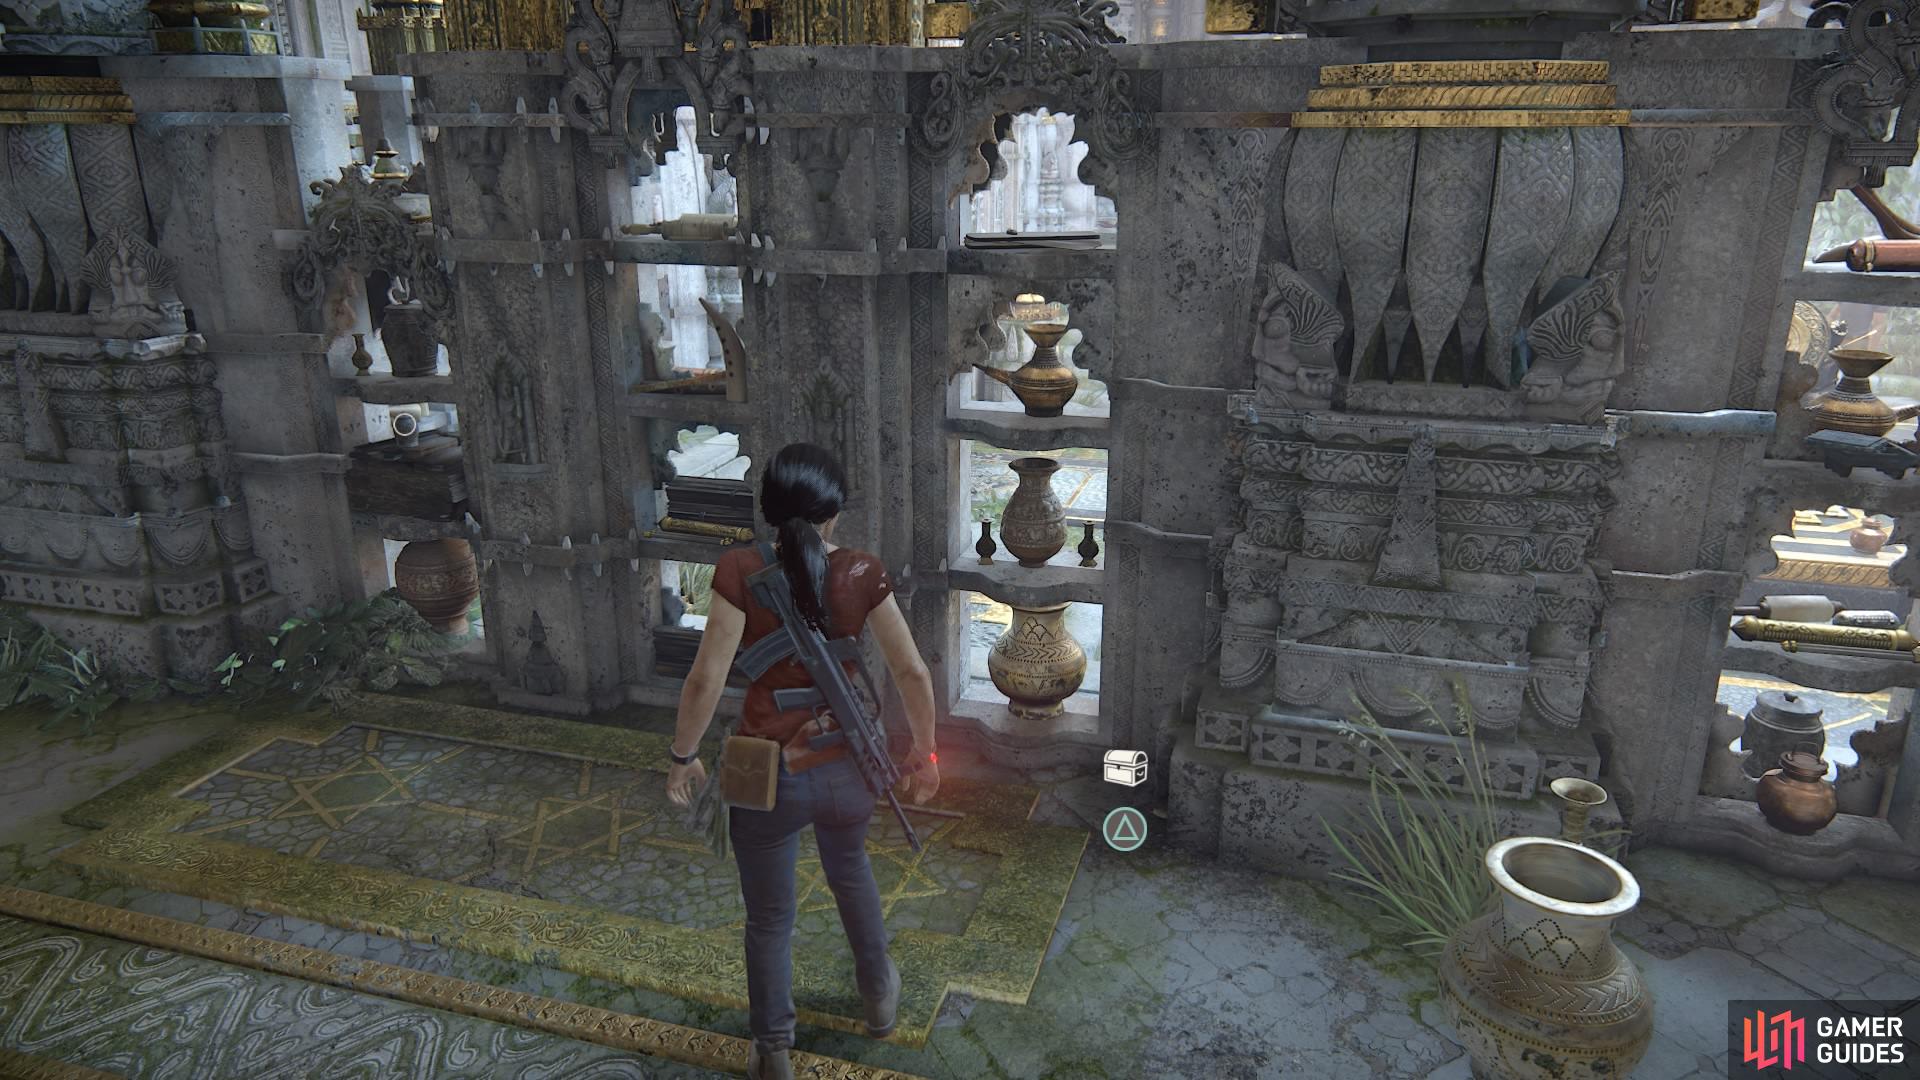
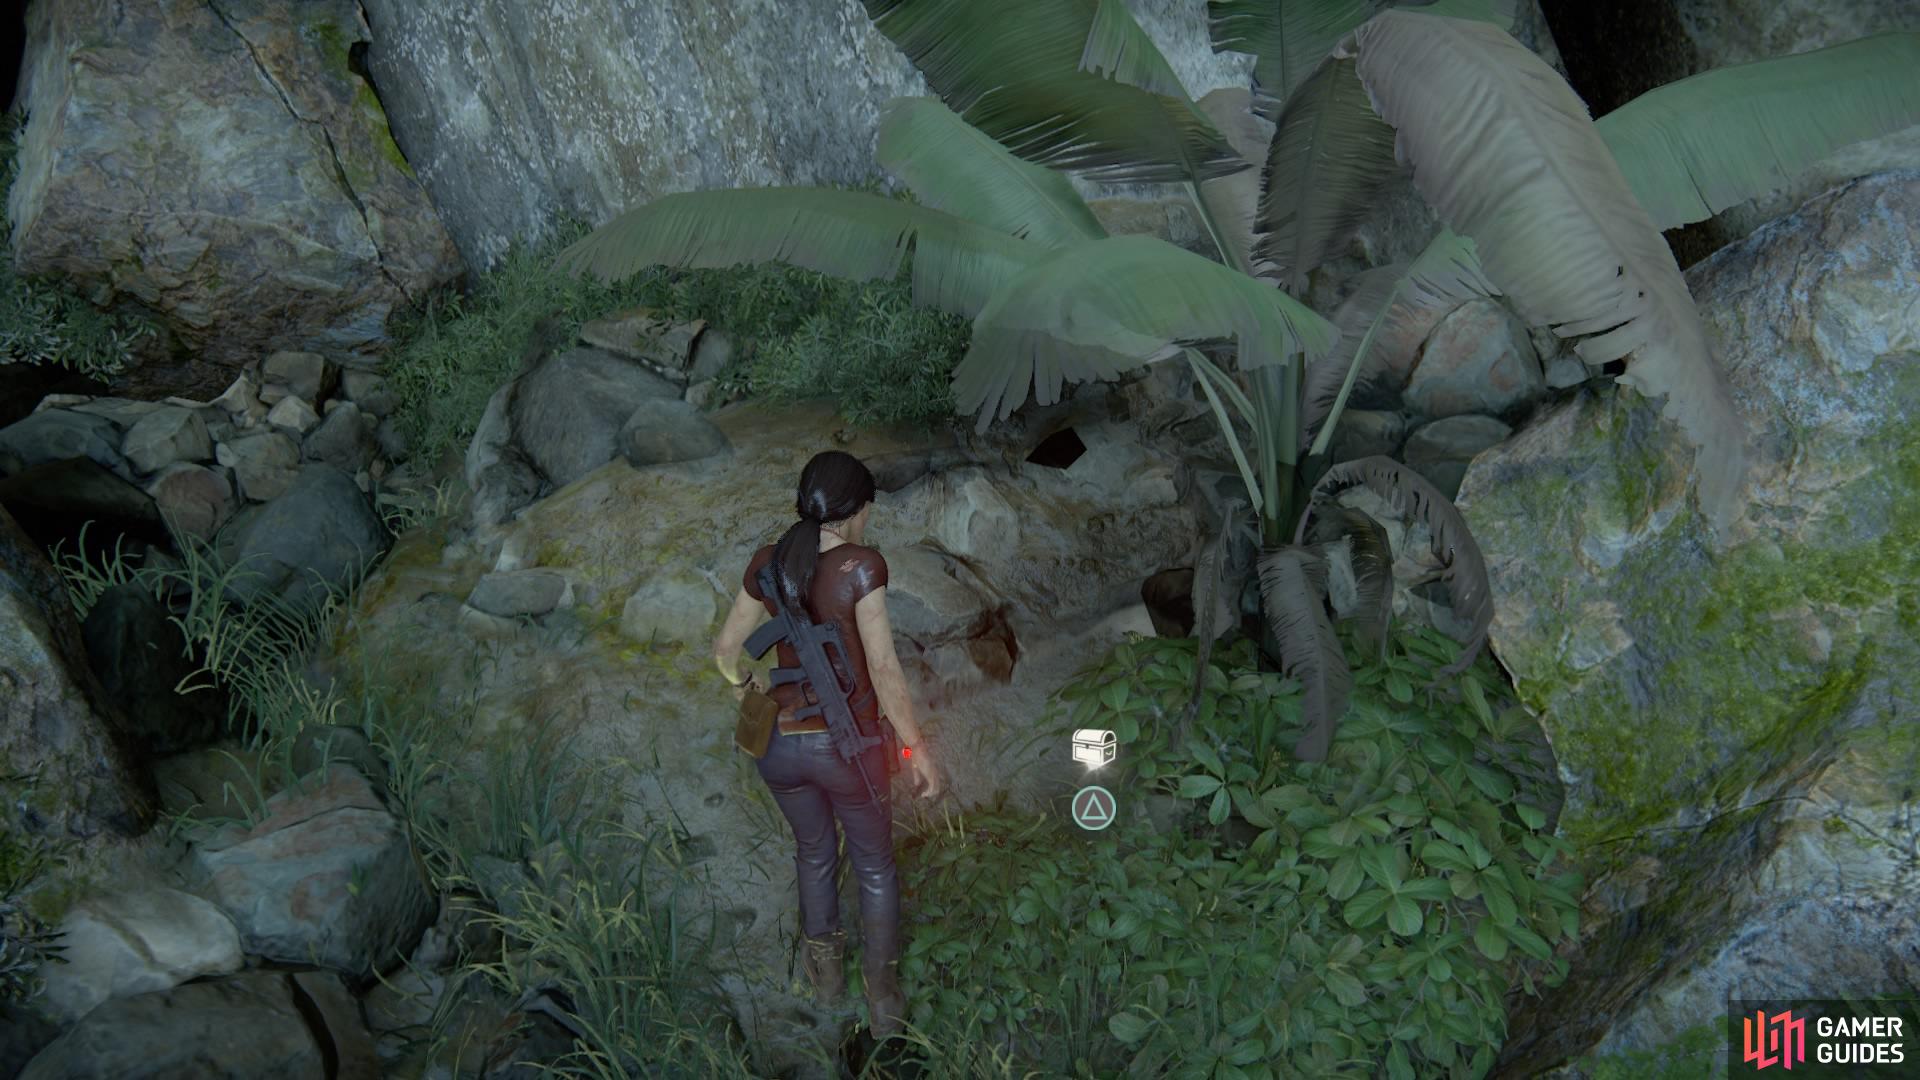
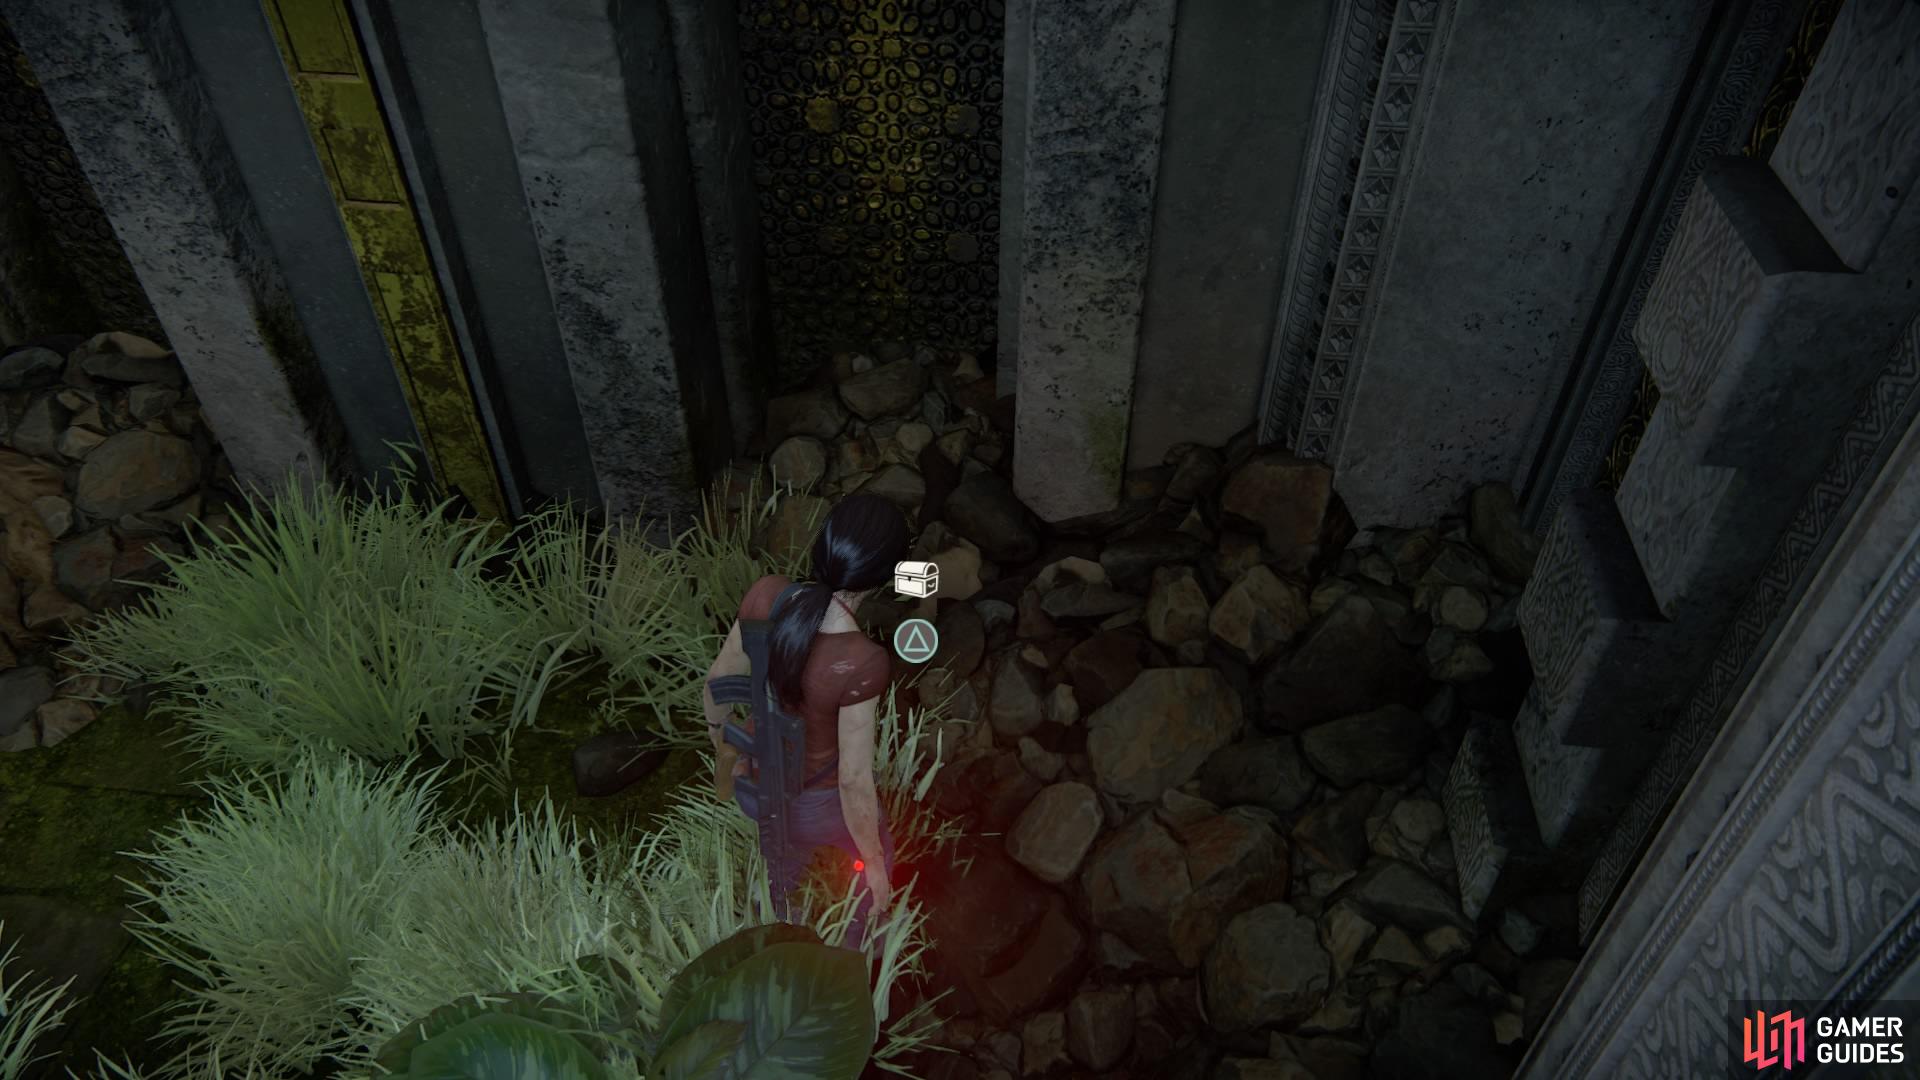
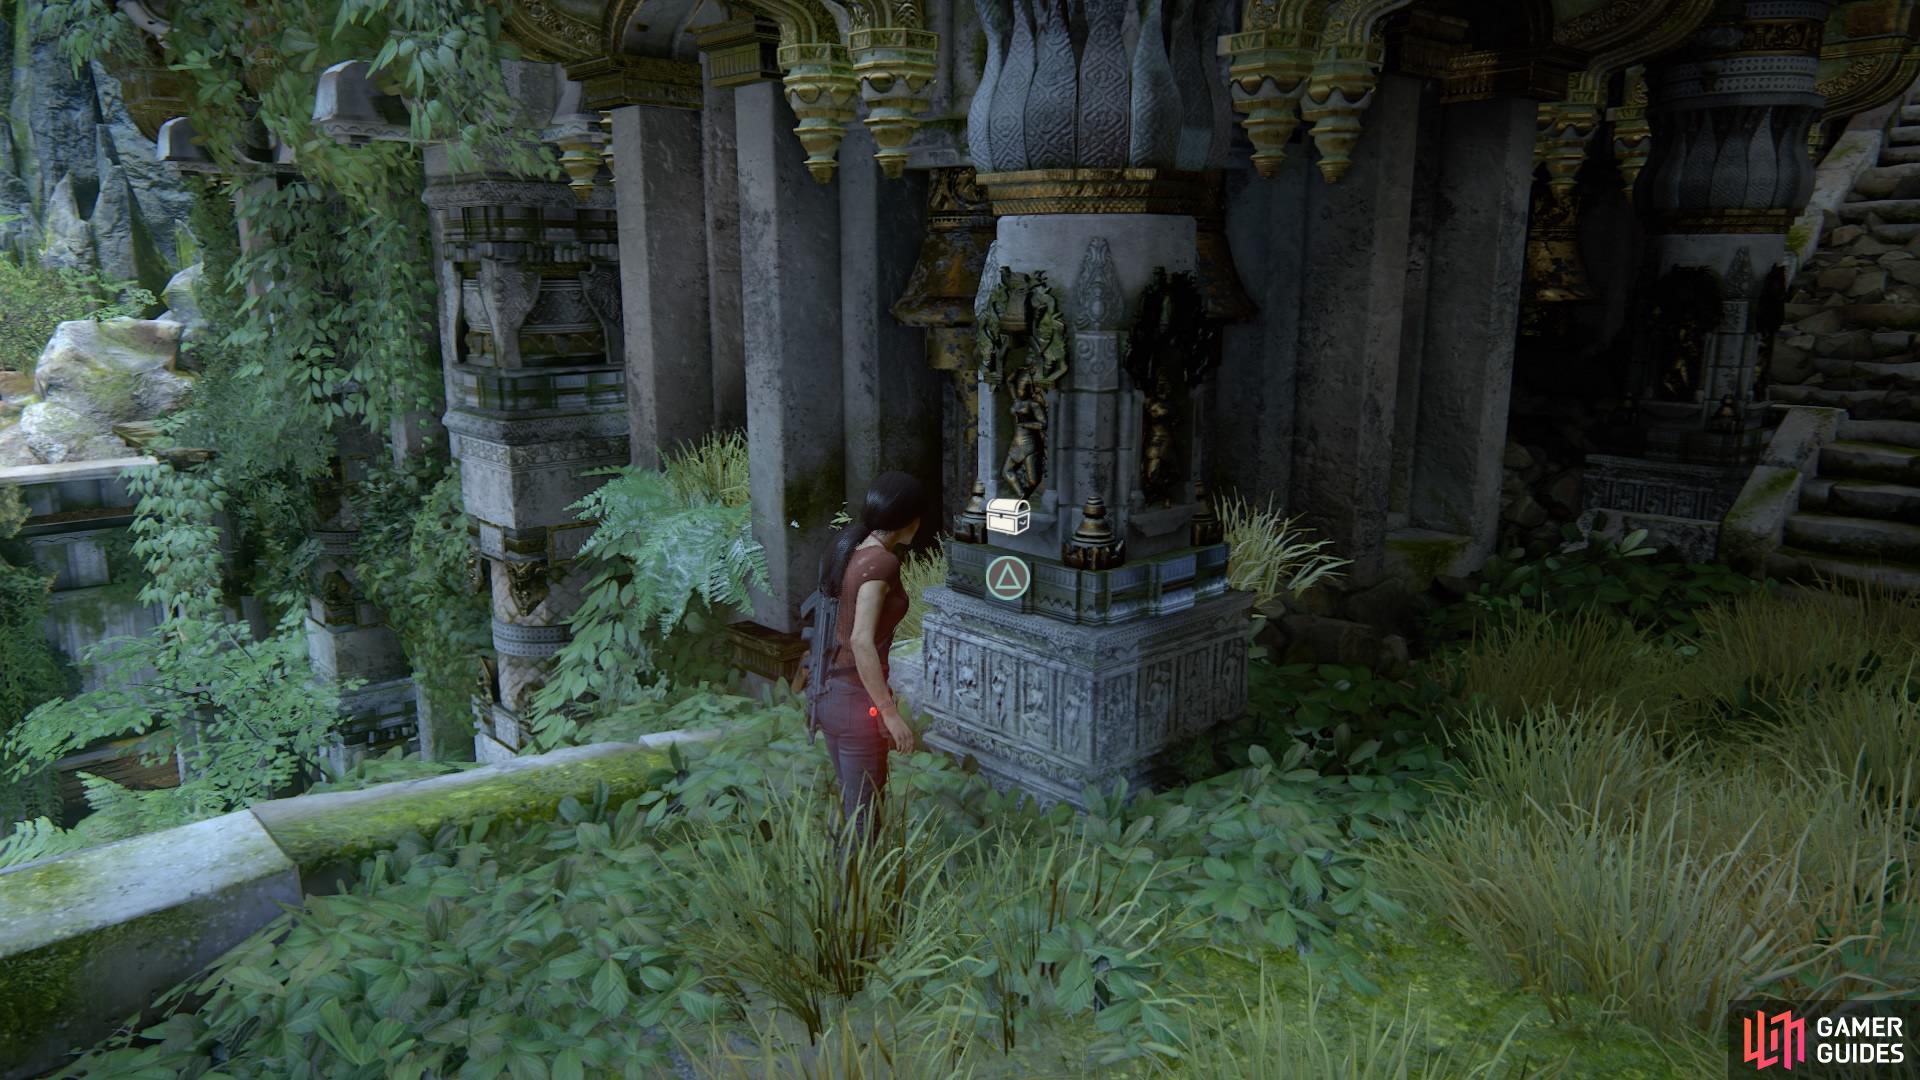
Continue the linear path – you’ll come to a treasure trove next.
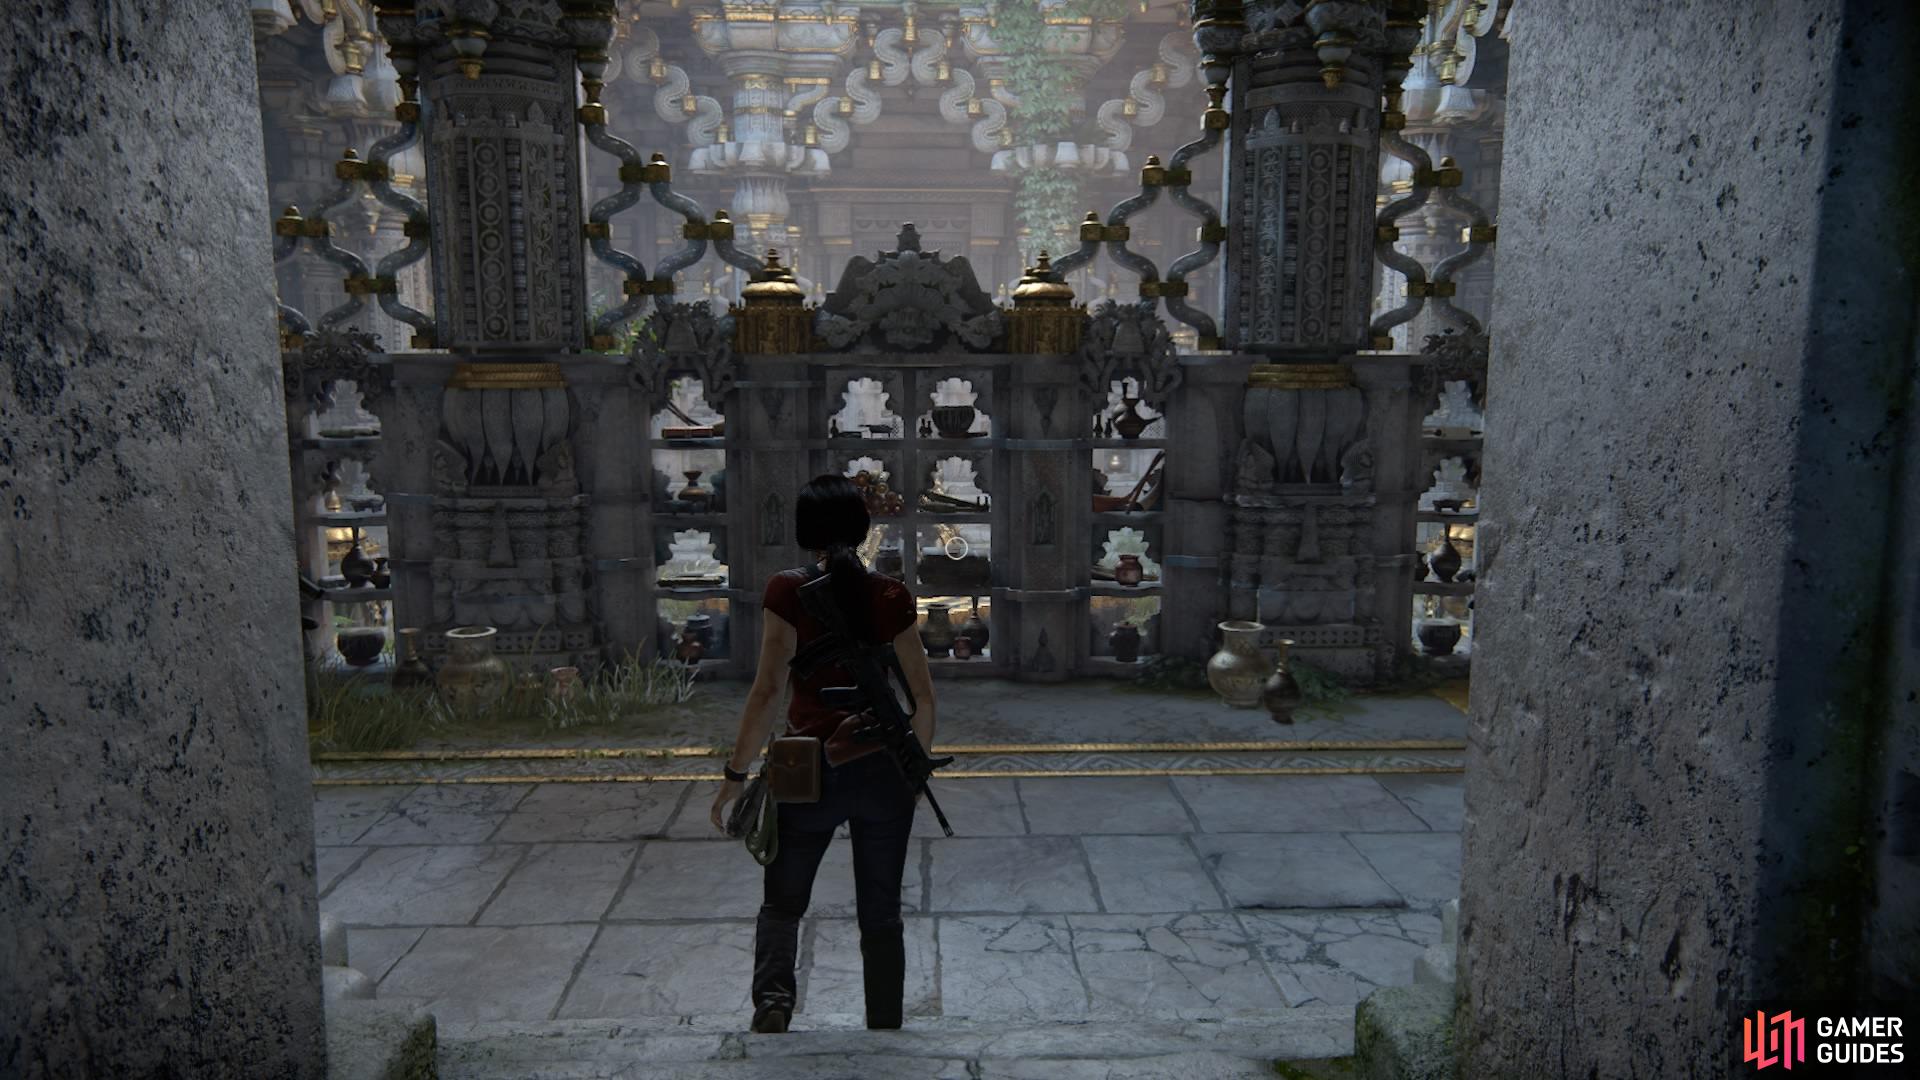
From the entrance, go left and to the back of the room. There will be two storage spaces in the wall (just like all the others) – look in the one to your left.
Treasure #46 is in here, sitting on a box on the shelf.

Go to the back-left corner of the room
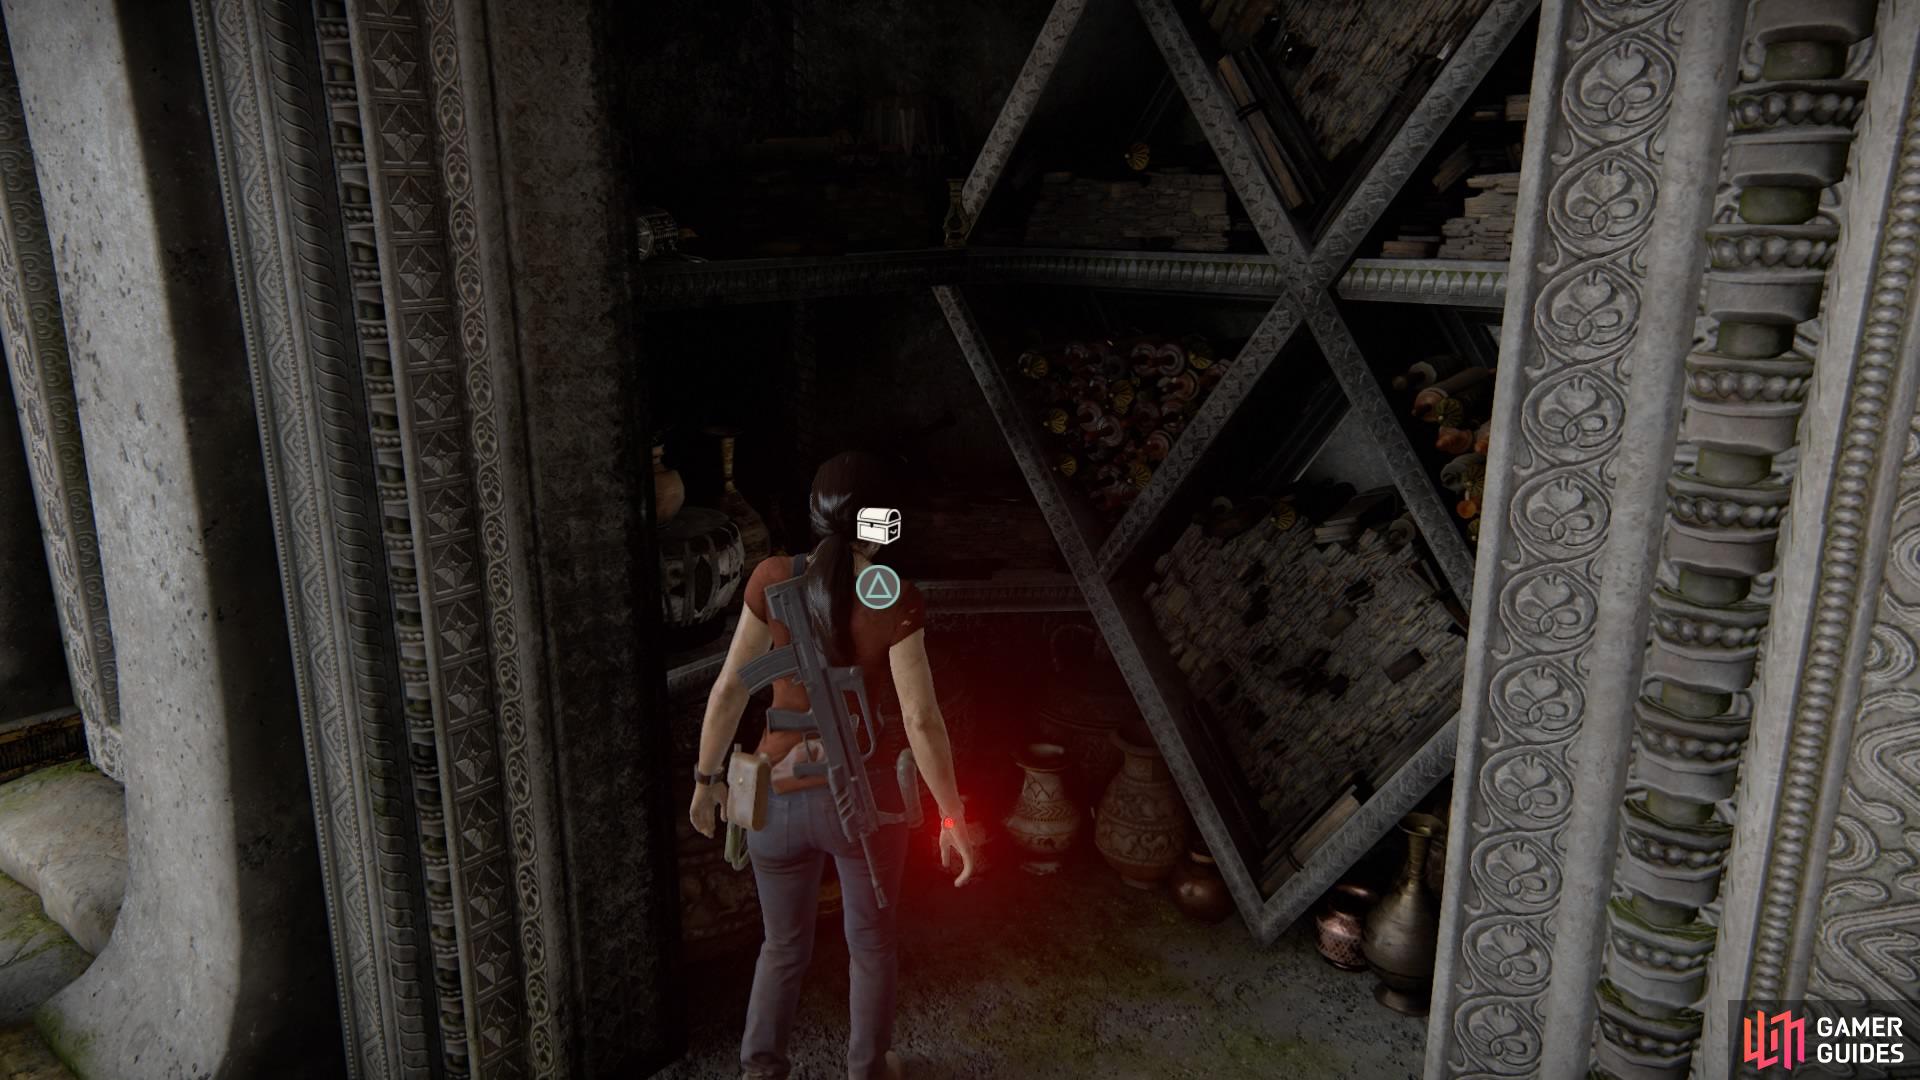
Pick up the treasure from the left cupboard
Now turn around and stick to the stone shelves ahead of you, keeping them on your right.
Along the way will be treasure #47 on the floor.
Follow along the stone shelves
Treasure #47 is on the floor
After the cutscene with the tusk alter in the middle of the room, move on to the next area. Jump straight off the ledge into the water below. Resurface but don’t move anywhere – instead, turn around and swim towards the right corner.
Dive under the surface to pick up treasure #48 at the bottom.
Jump down into the water below
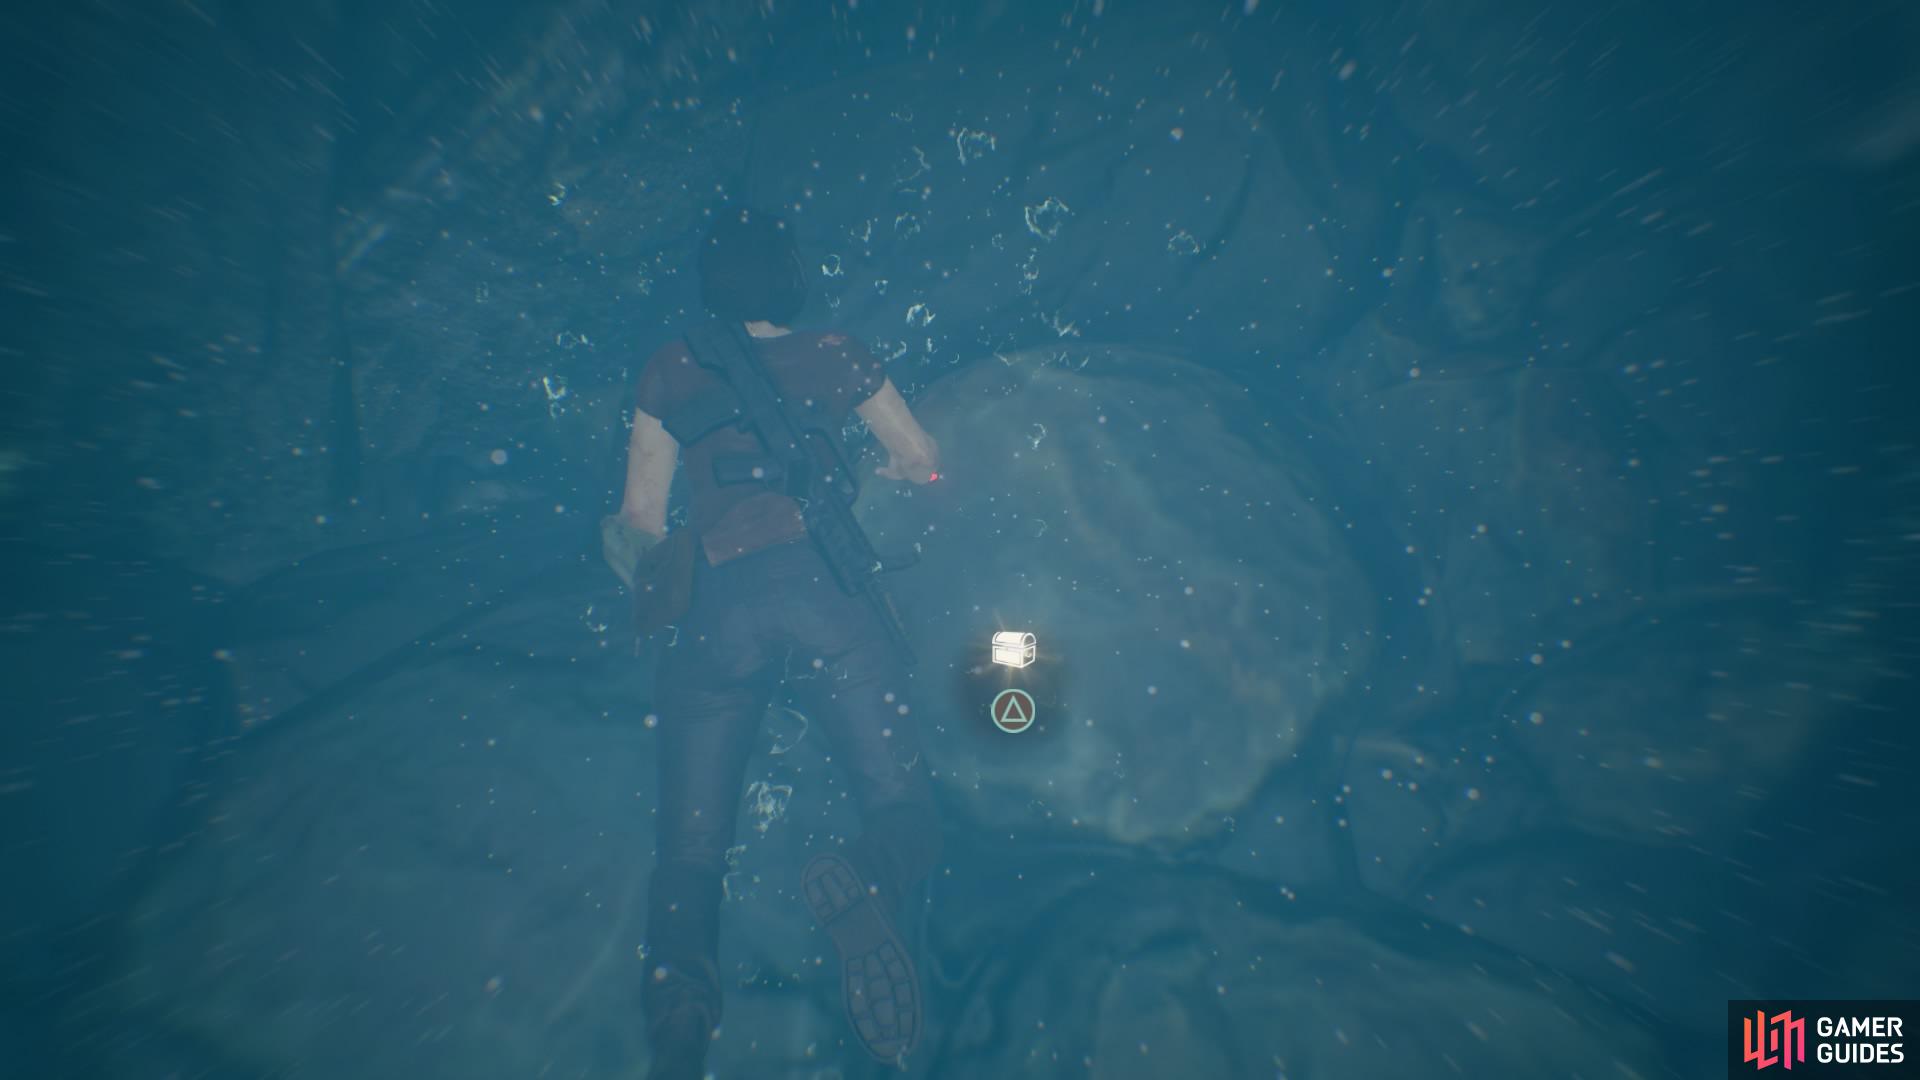
Turn around and dive under the surface for the next treasure
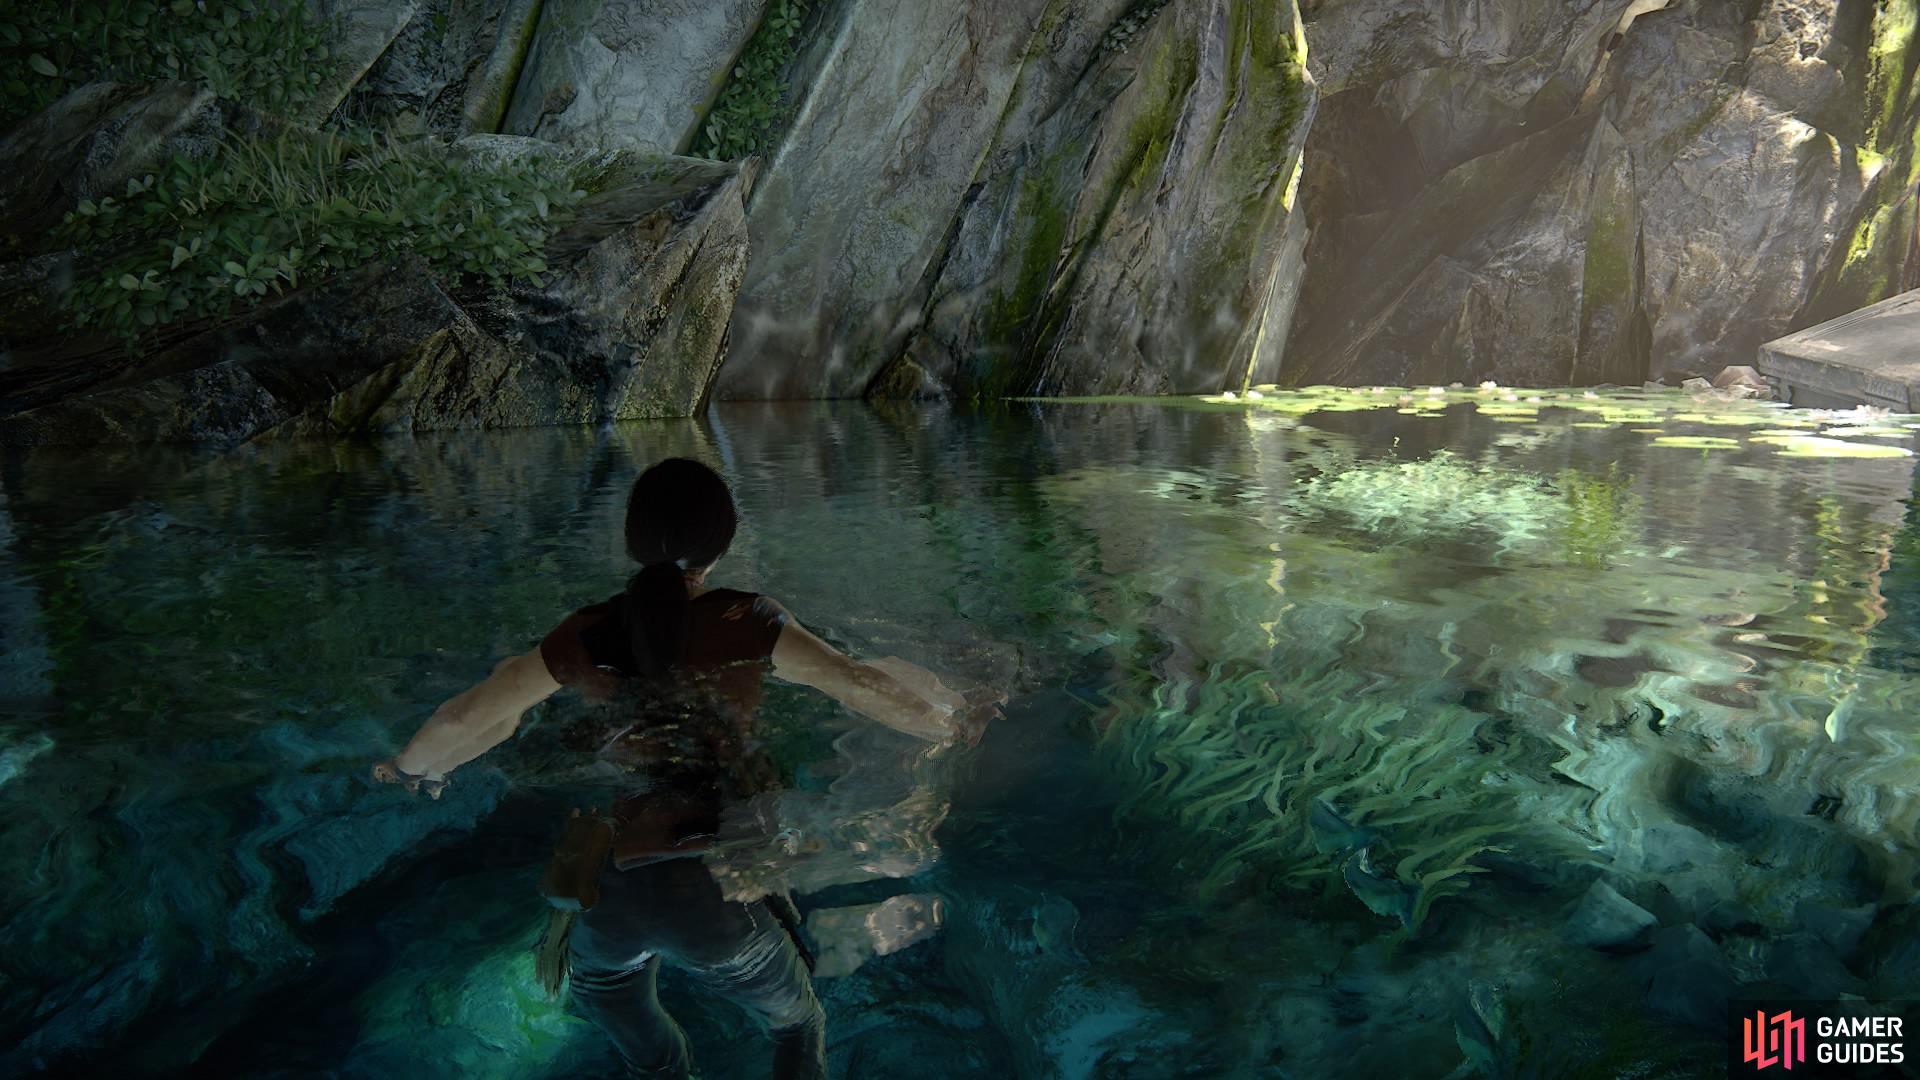
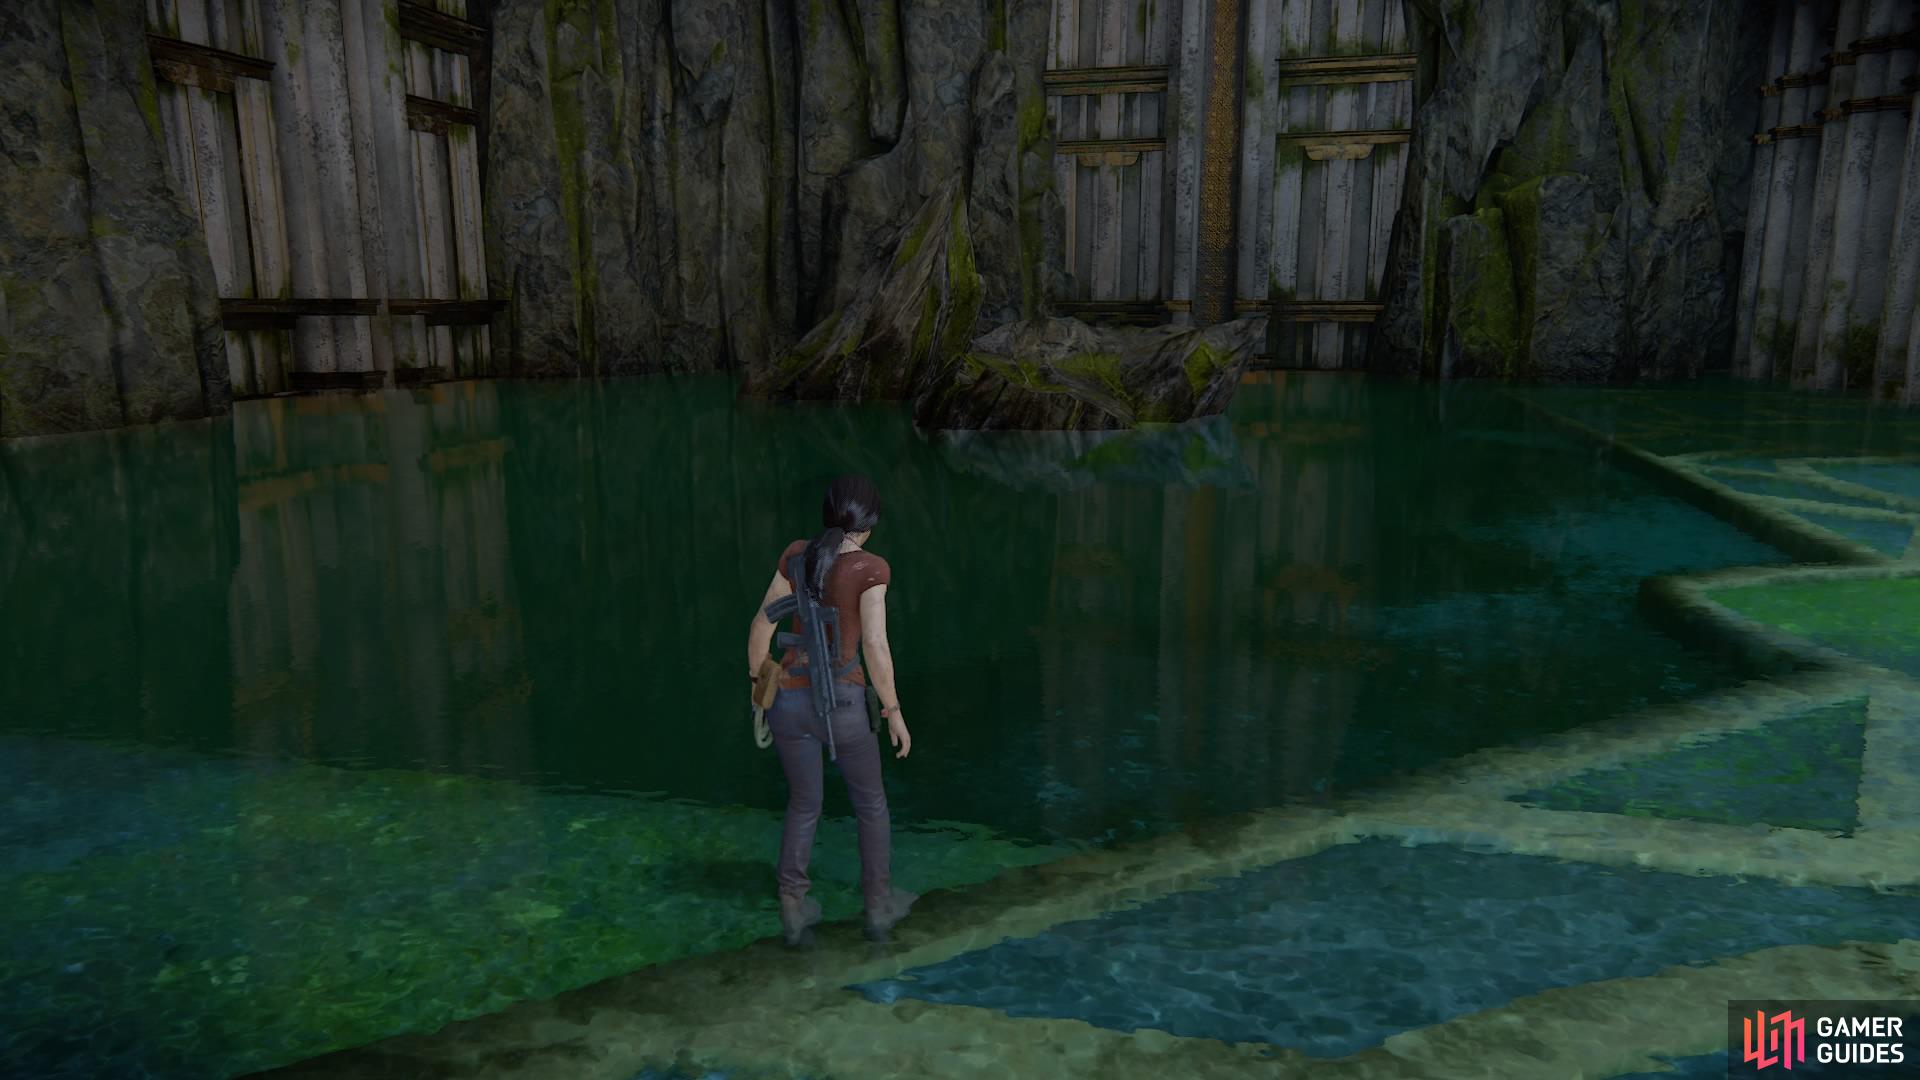
Once you get through the tunnel with the roots that you need to push out of the way, you’ll resurface in another flooded room.
Swim straight for the shore ahead of you and look at the back of this dead-end to find treasure #49.
Go to the shore at the back
The treasure is among the greenery
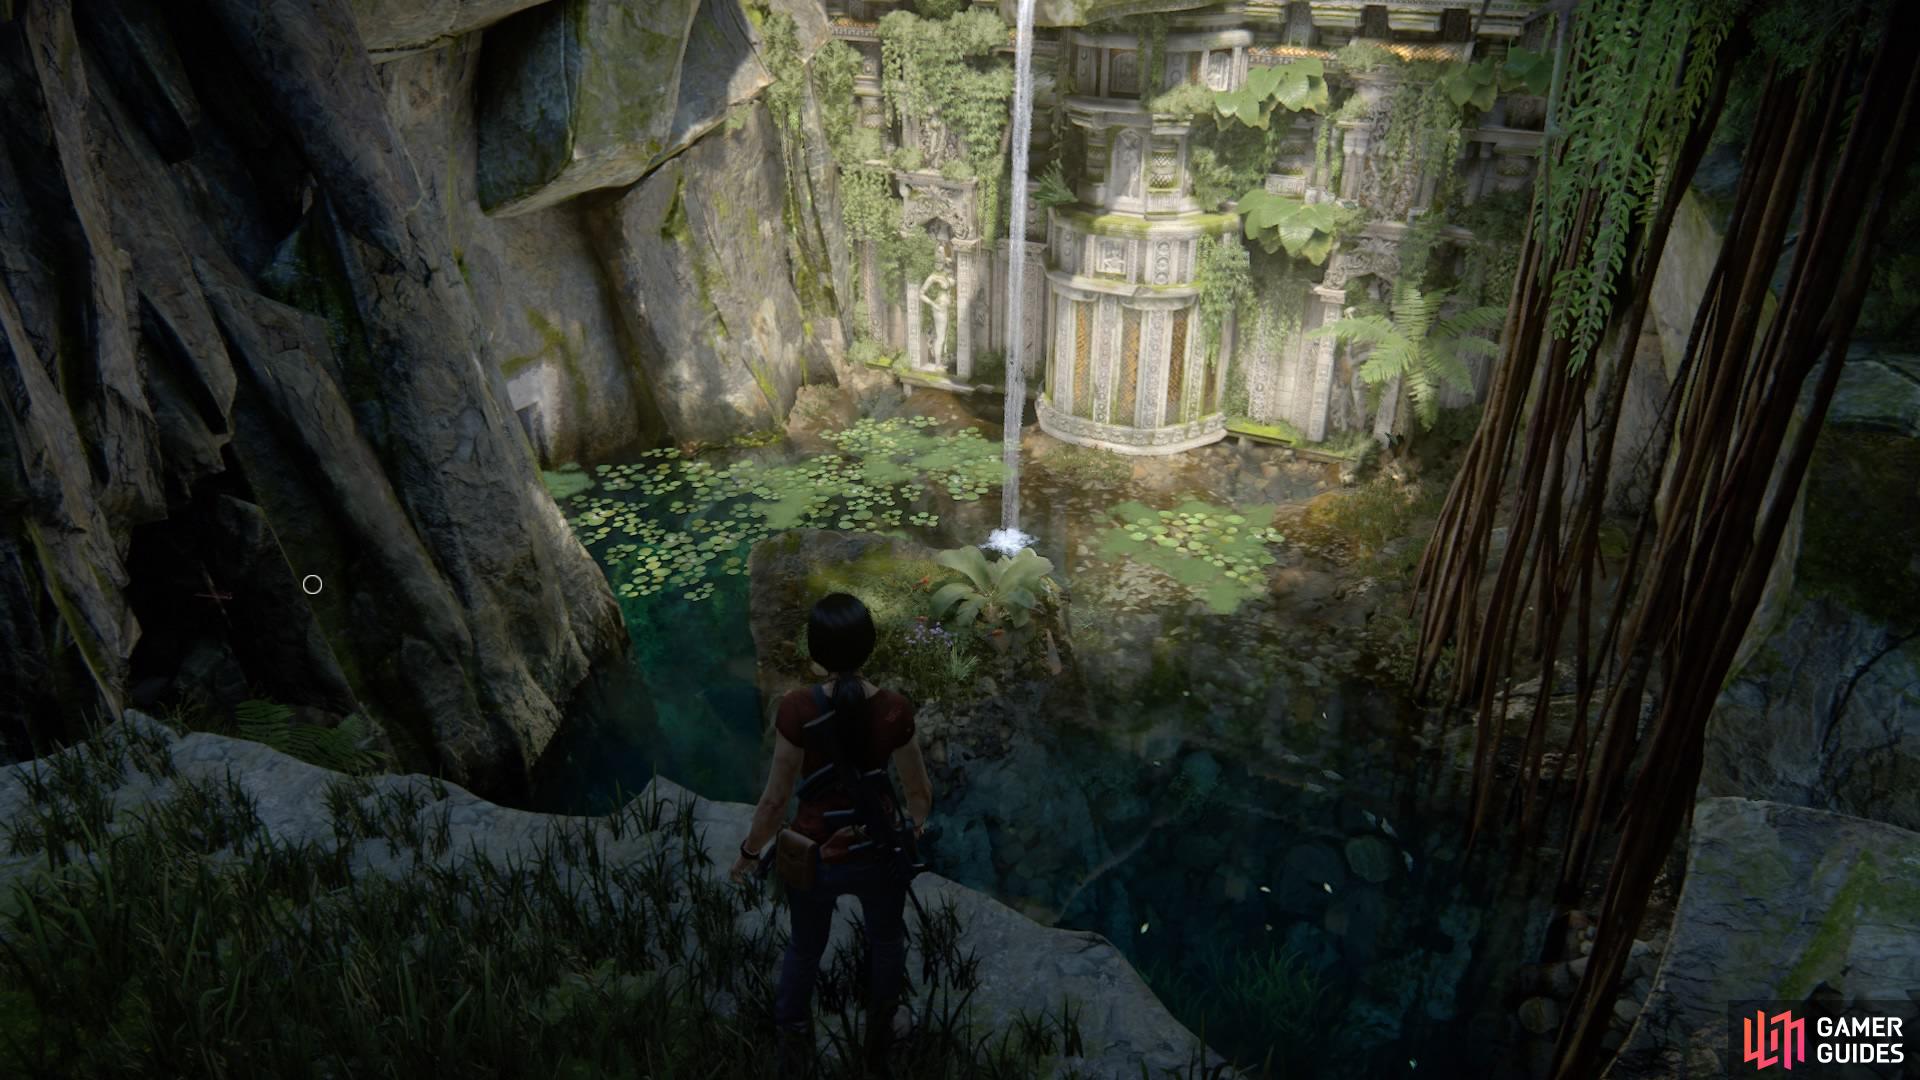
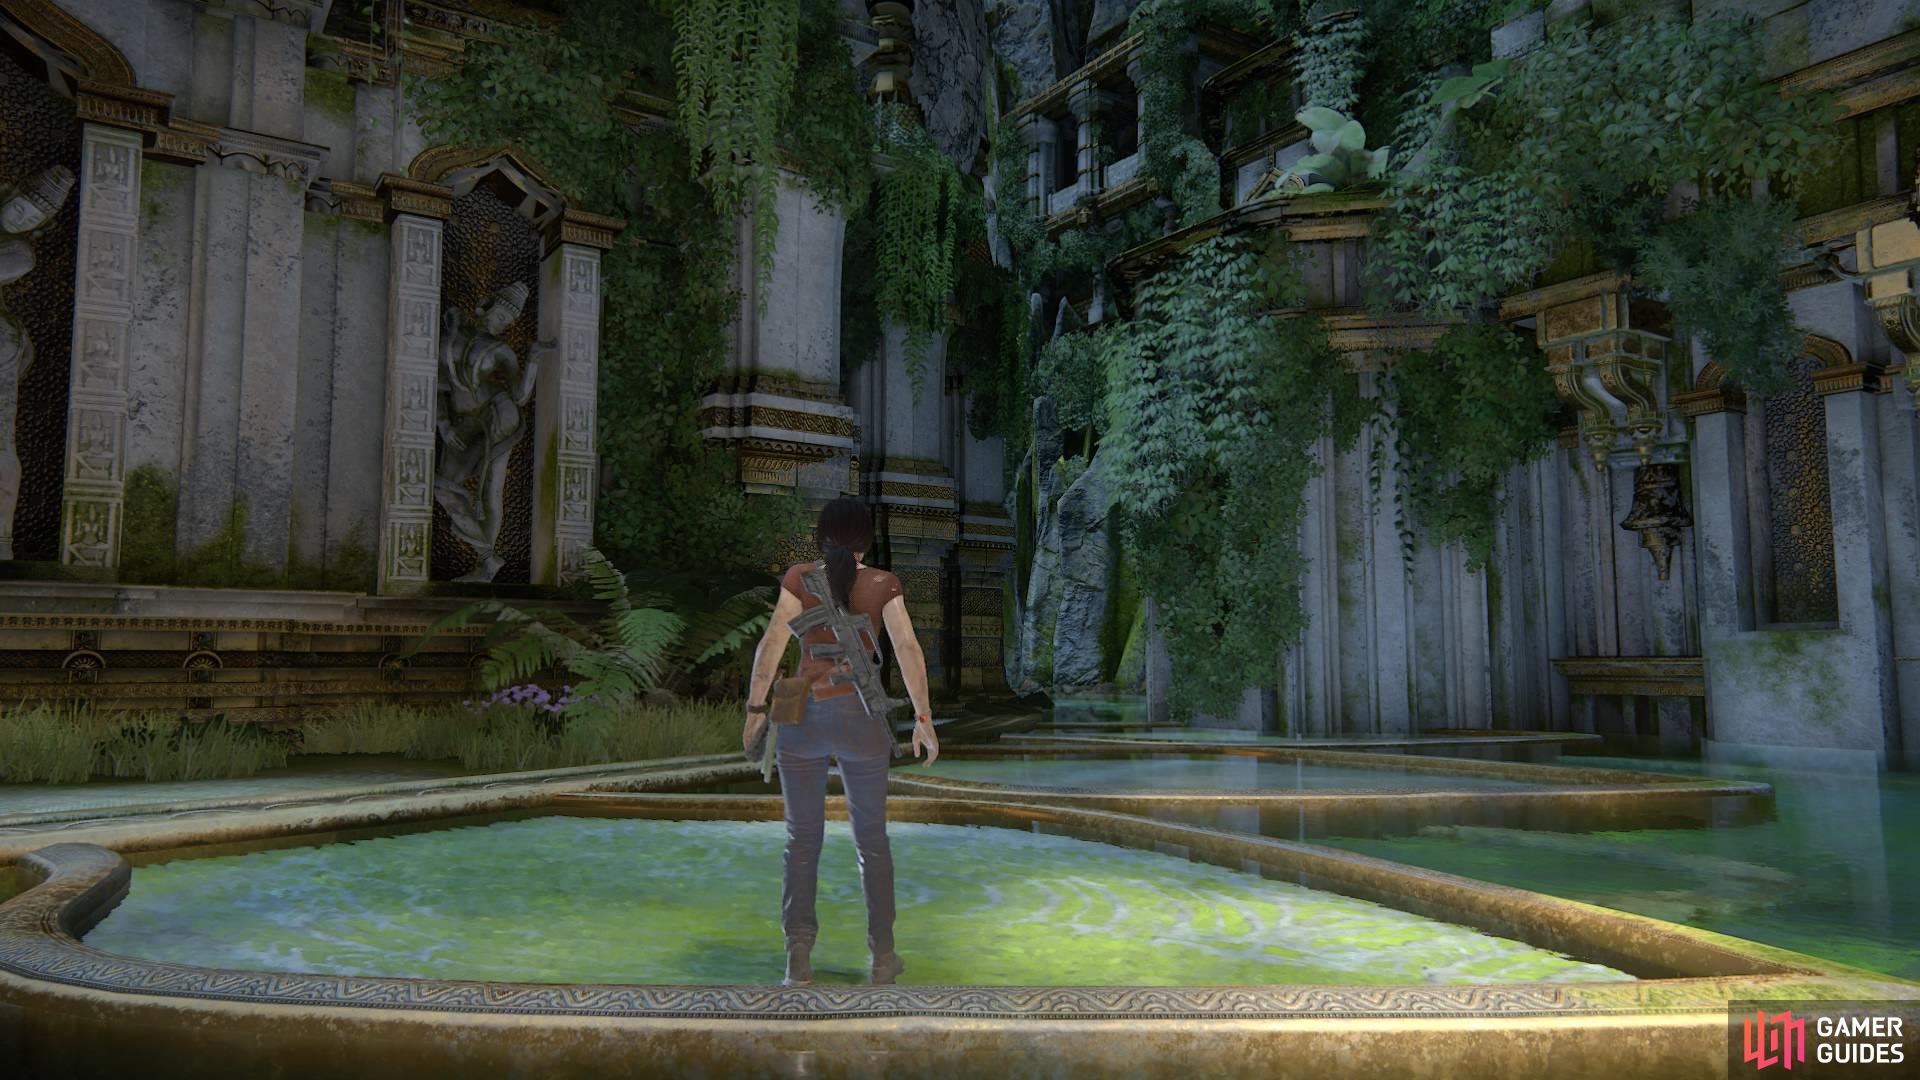
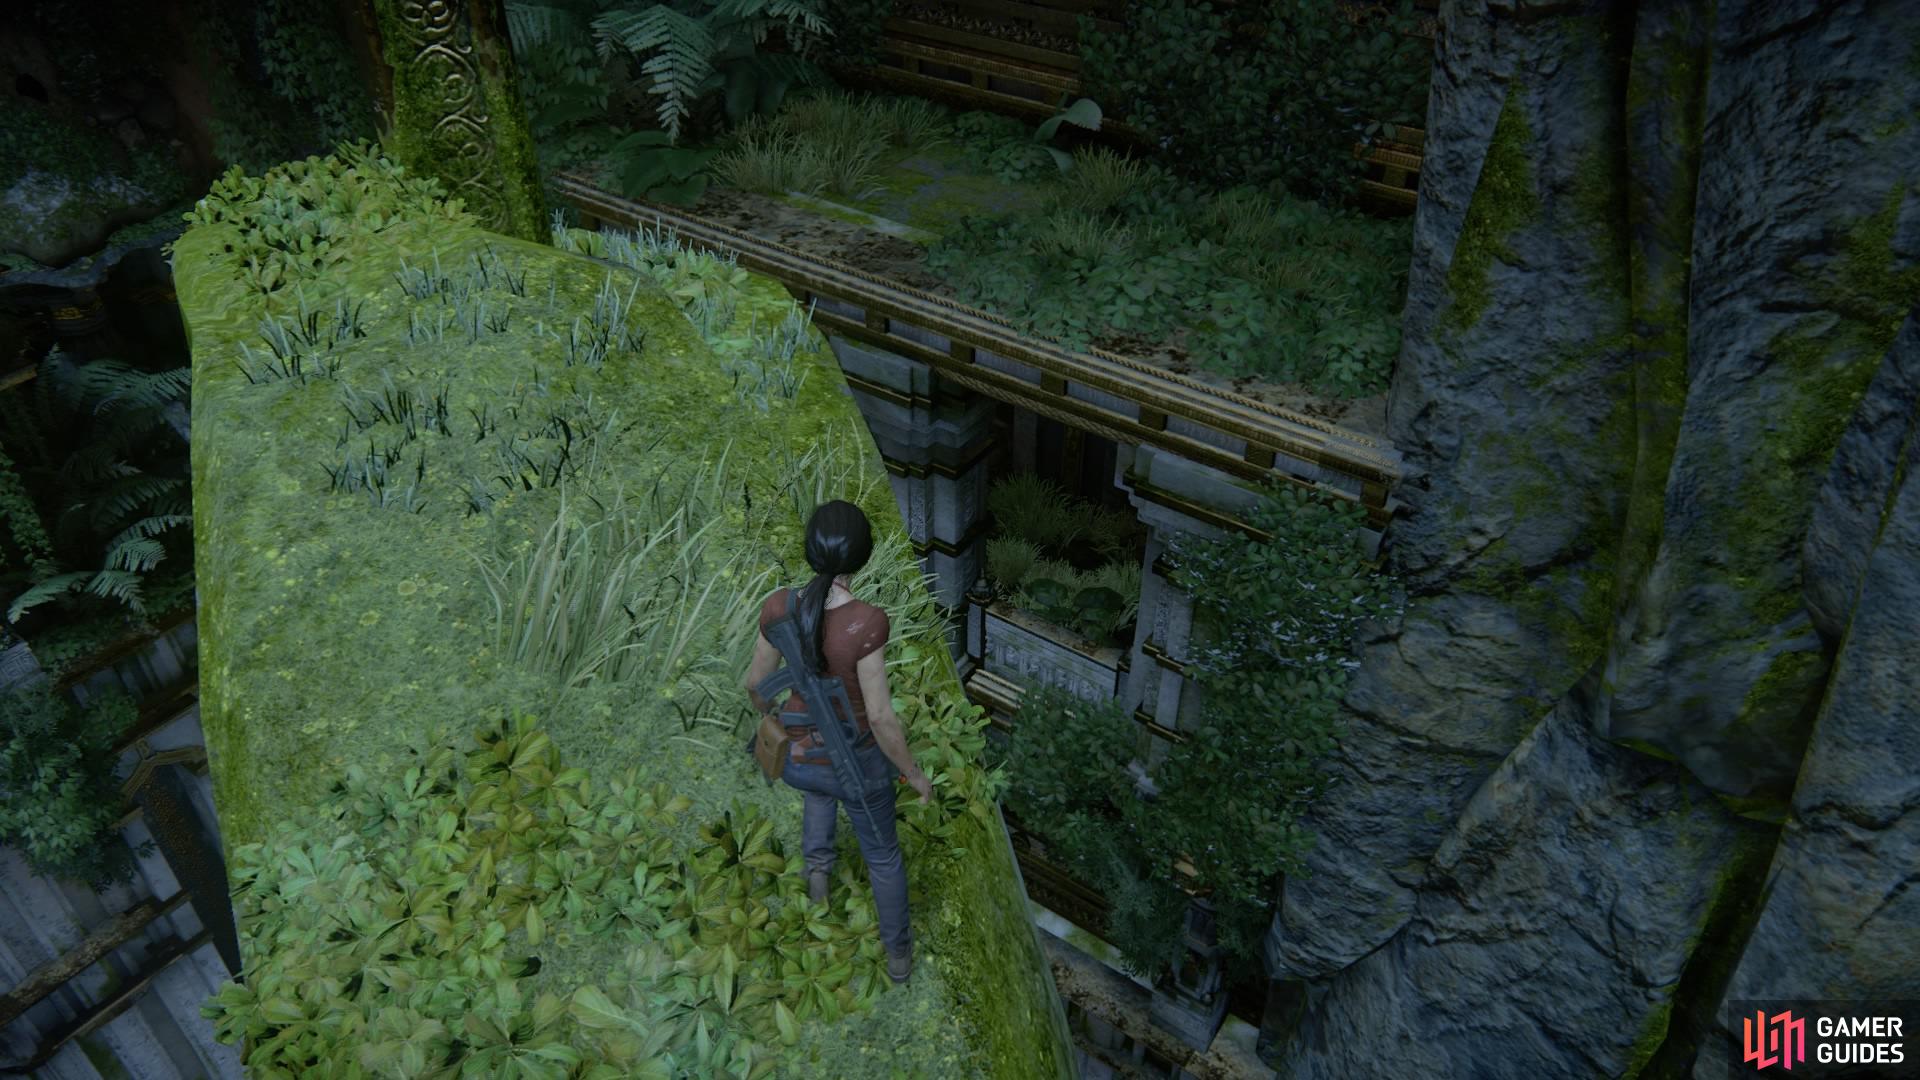
Now traverse the structure to the side of the room to reach the top and squeeze through the passageway. You’ll come out onto a higher ledge.
Swing across the gap to the fountain-like structure on the other side. Go left of the pillars along the water, and swim to the back-left corner for treasure #50.
Swim along the pillars on the left side
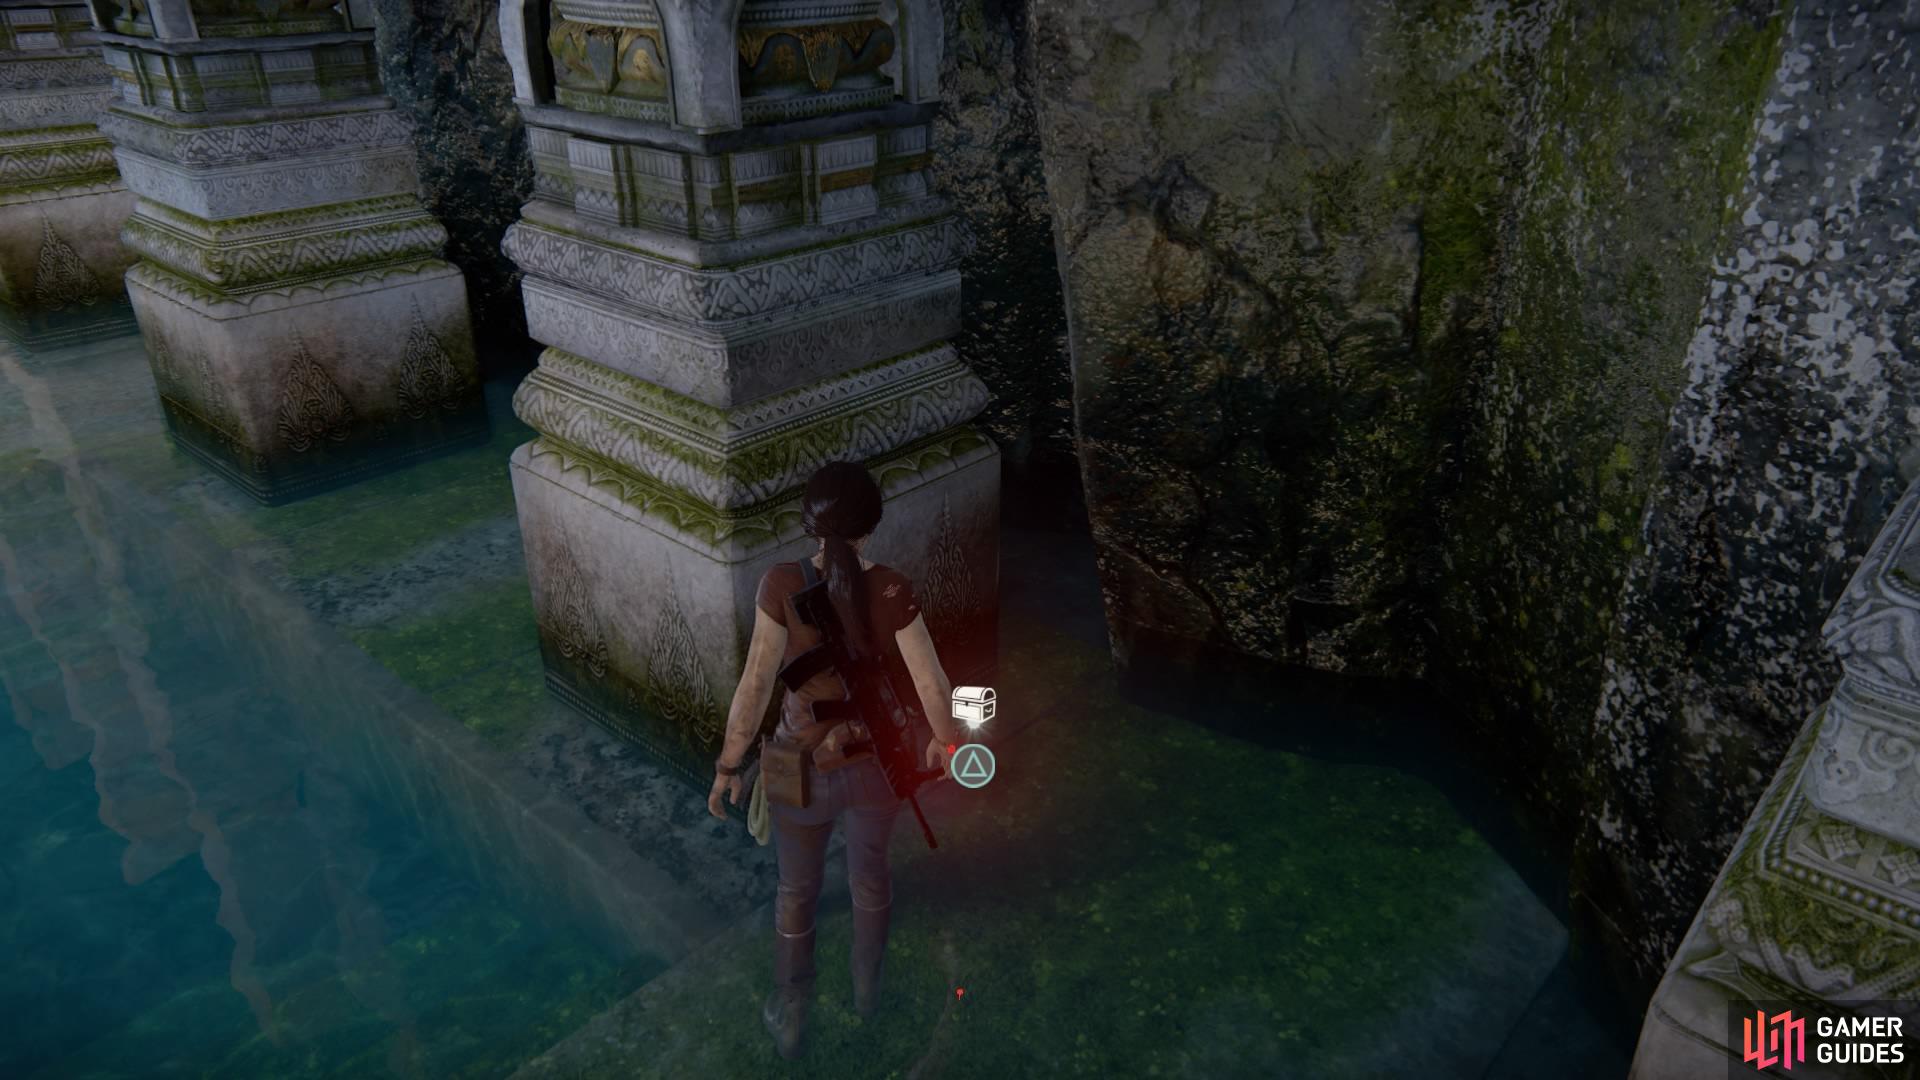
Find the treasure in the back corner
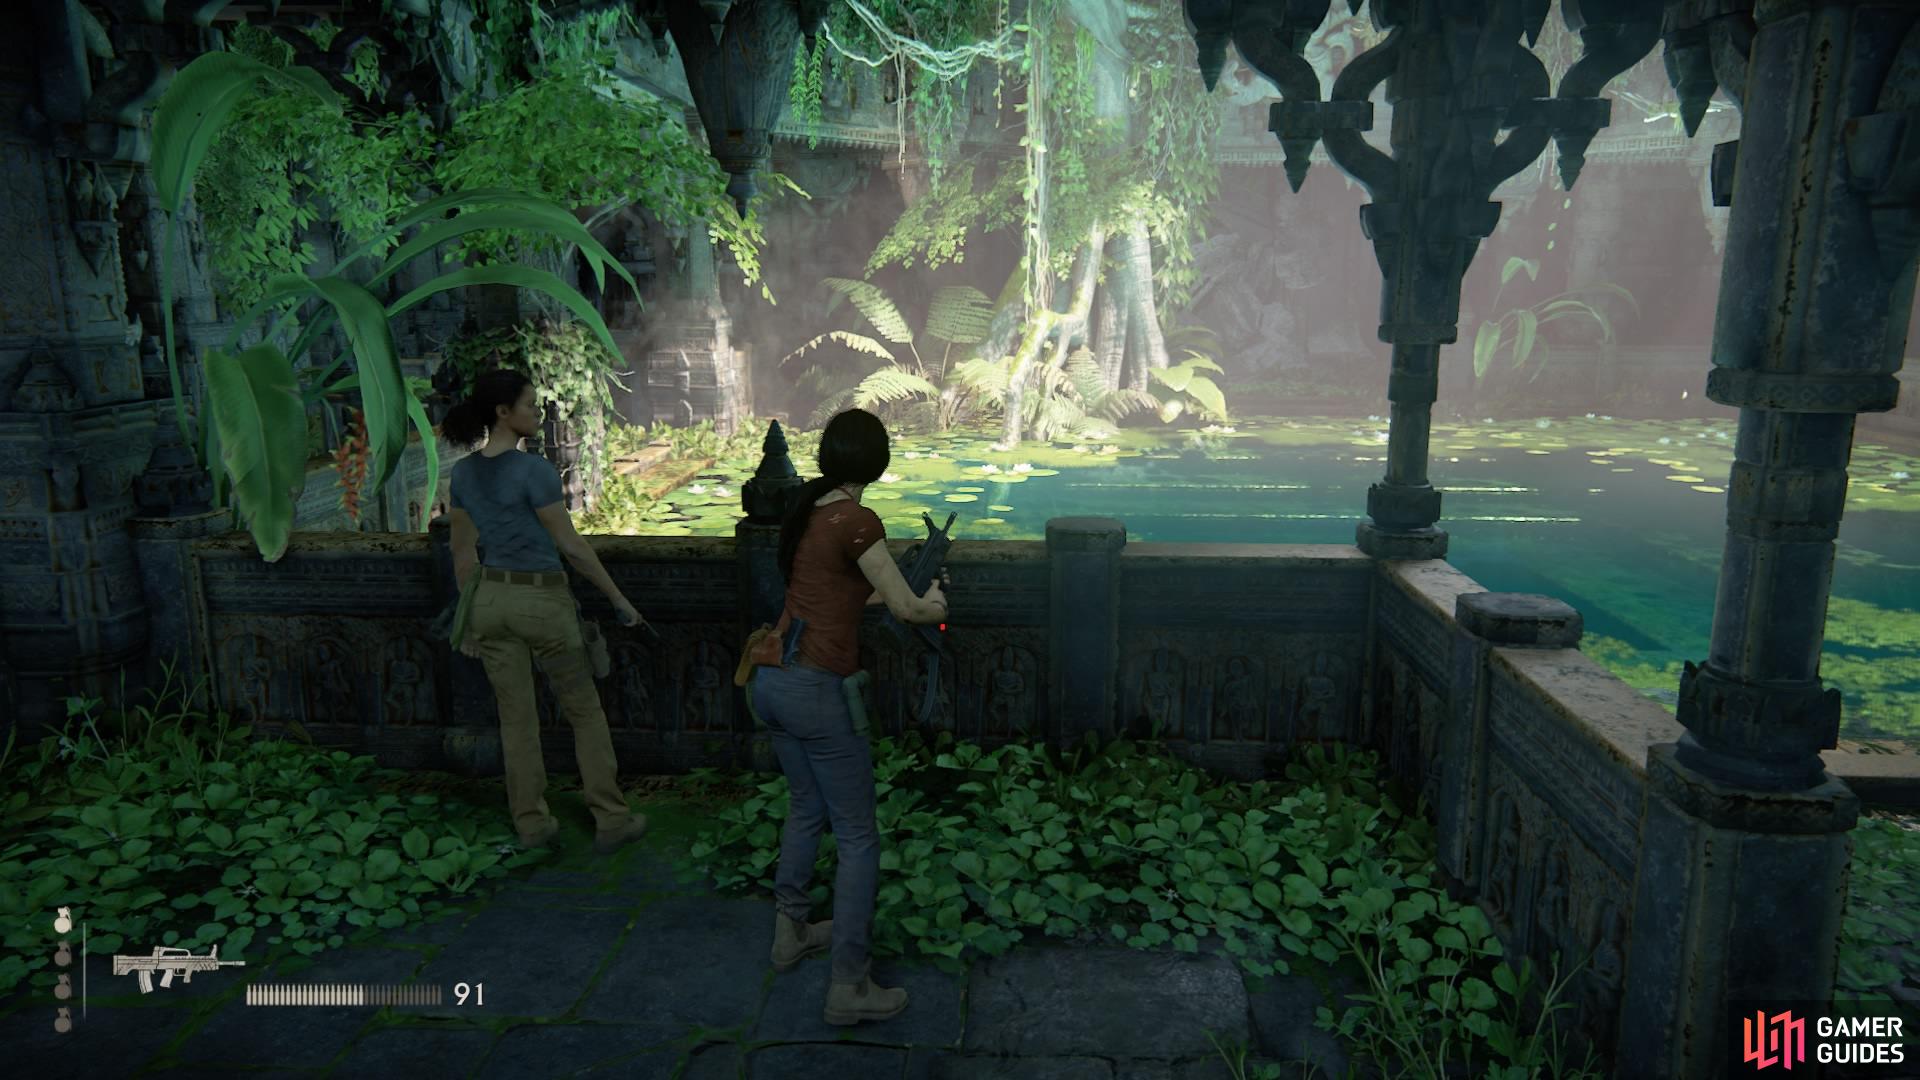
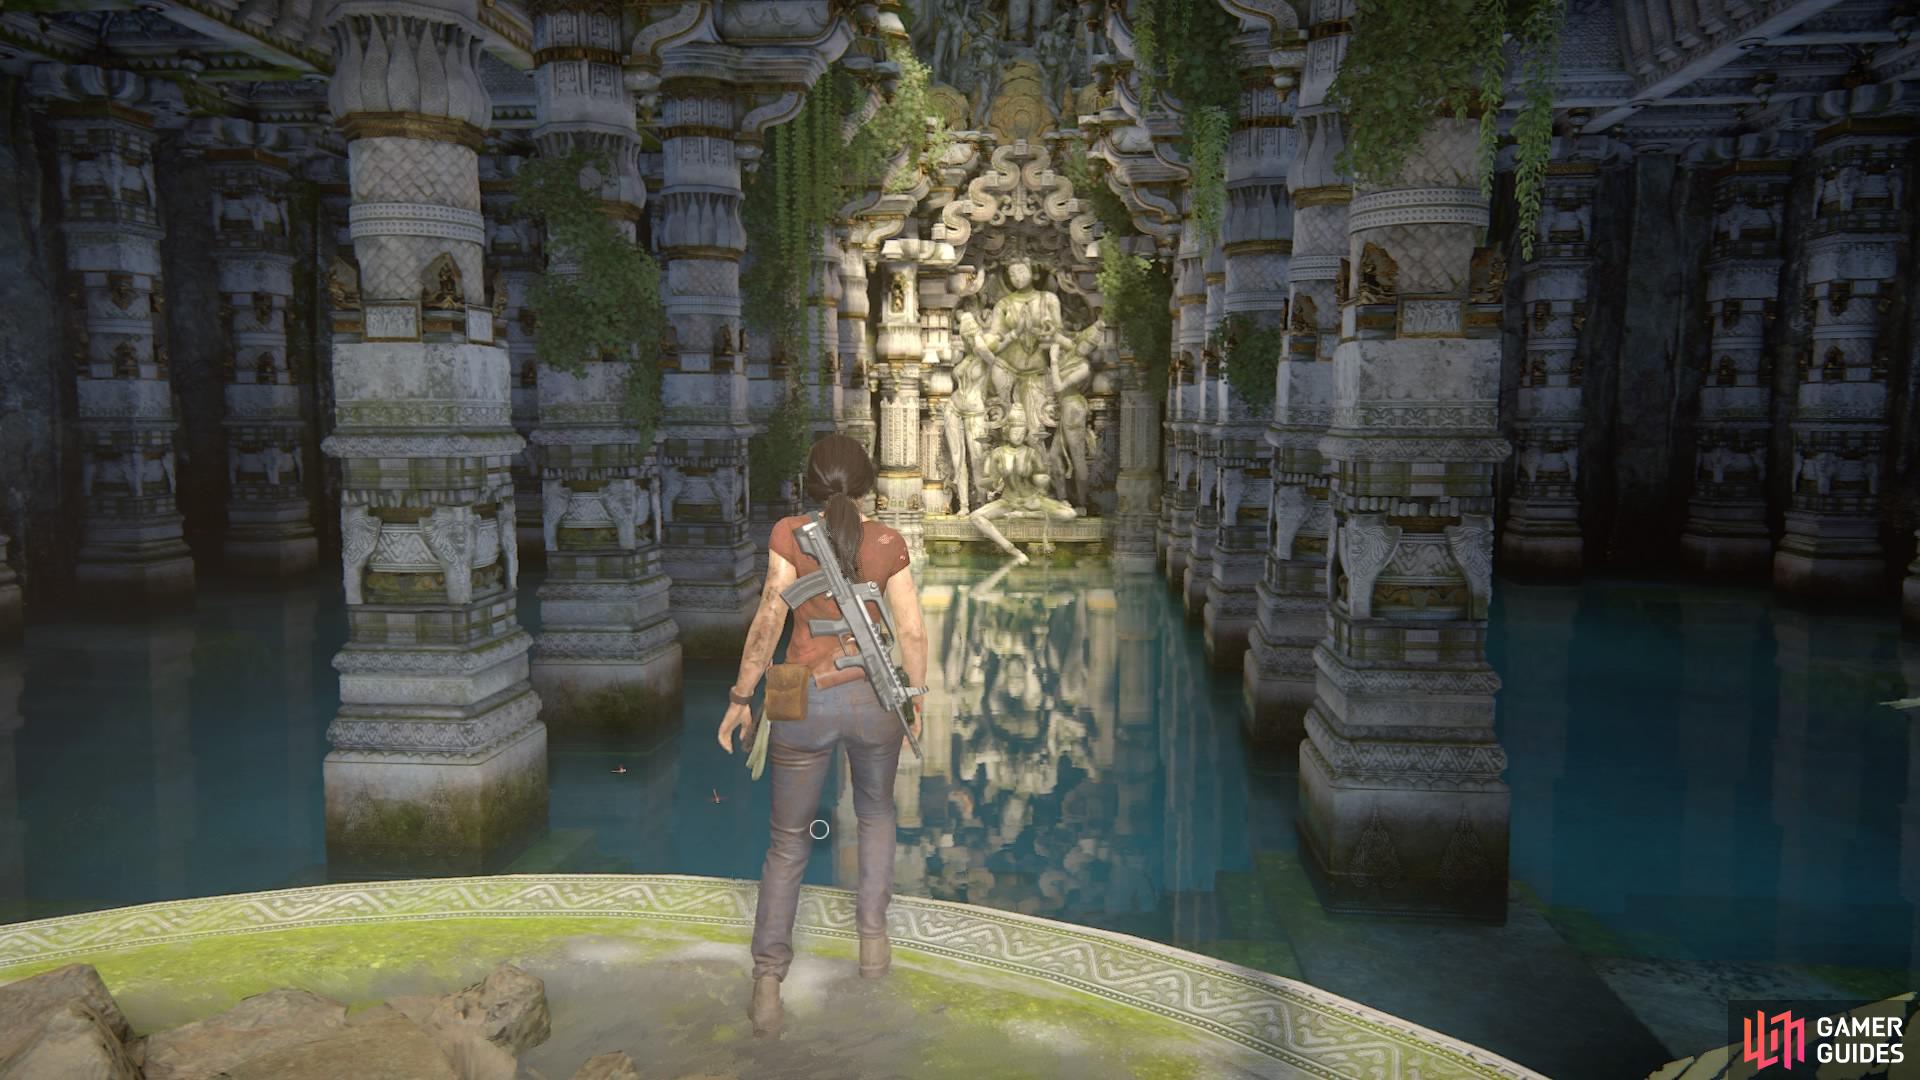
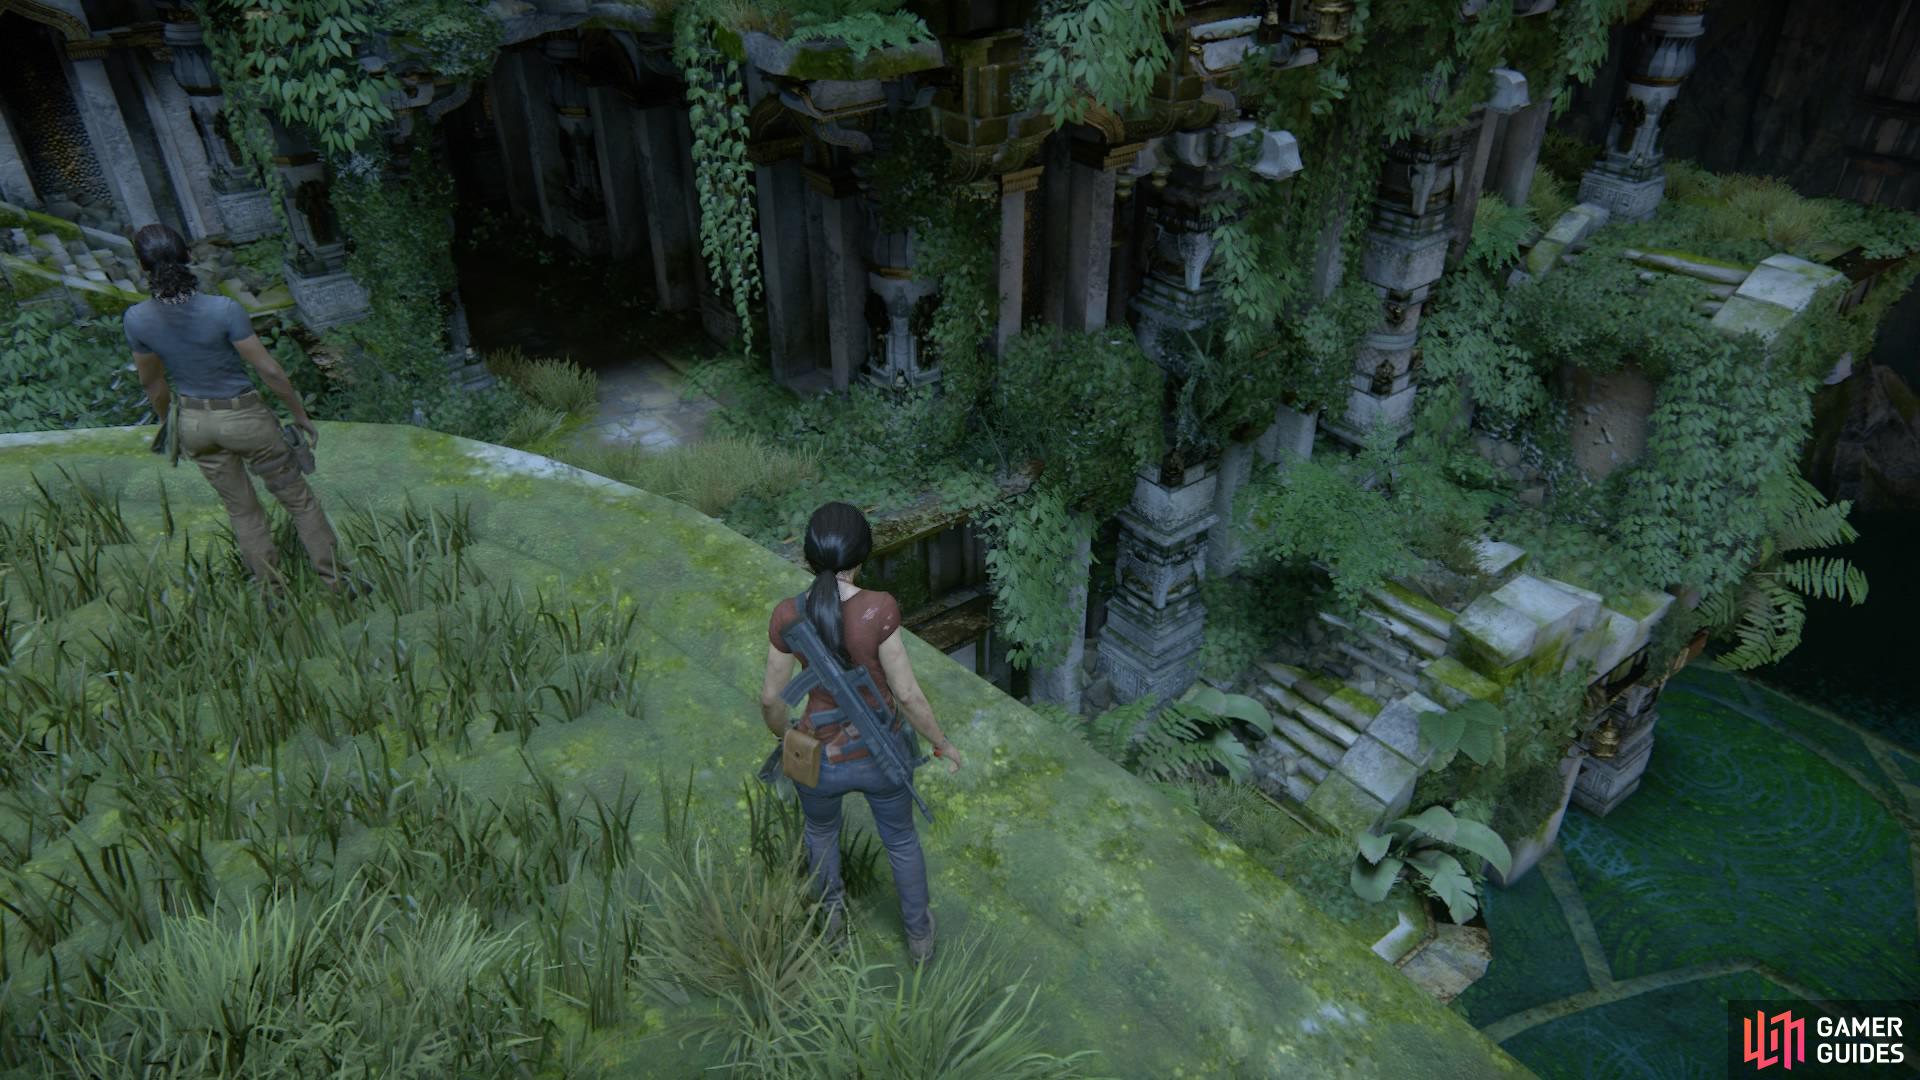
Afterward, continue the linear path until you reach the throne room with a giant Shiva. The rest of the treasures for this chapter are in this room, so let’s get started.
First things first, run forward to the cow head at the front of the magnificent statue. You can vault over the short wall to find treasure #51 beneath the cow head.
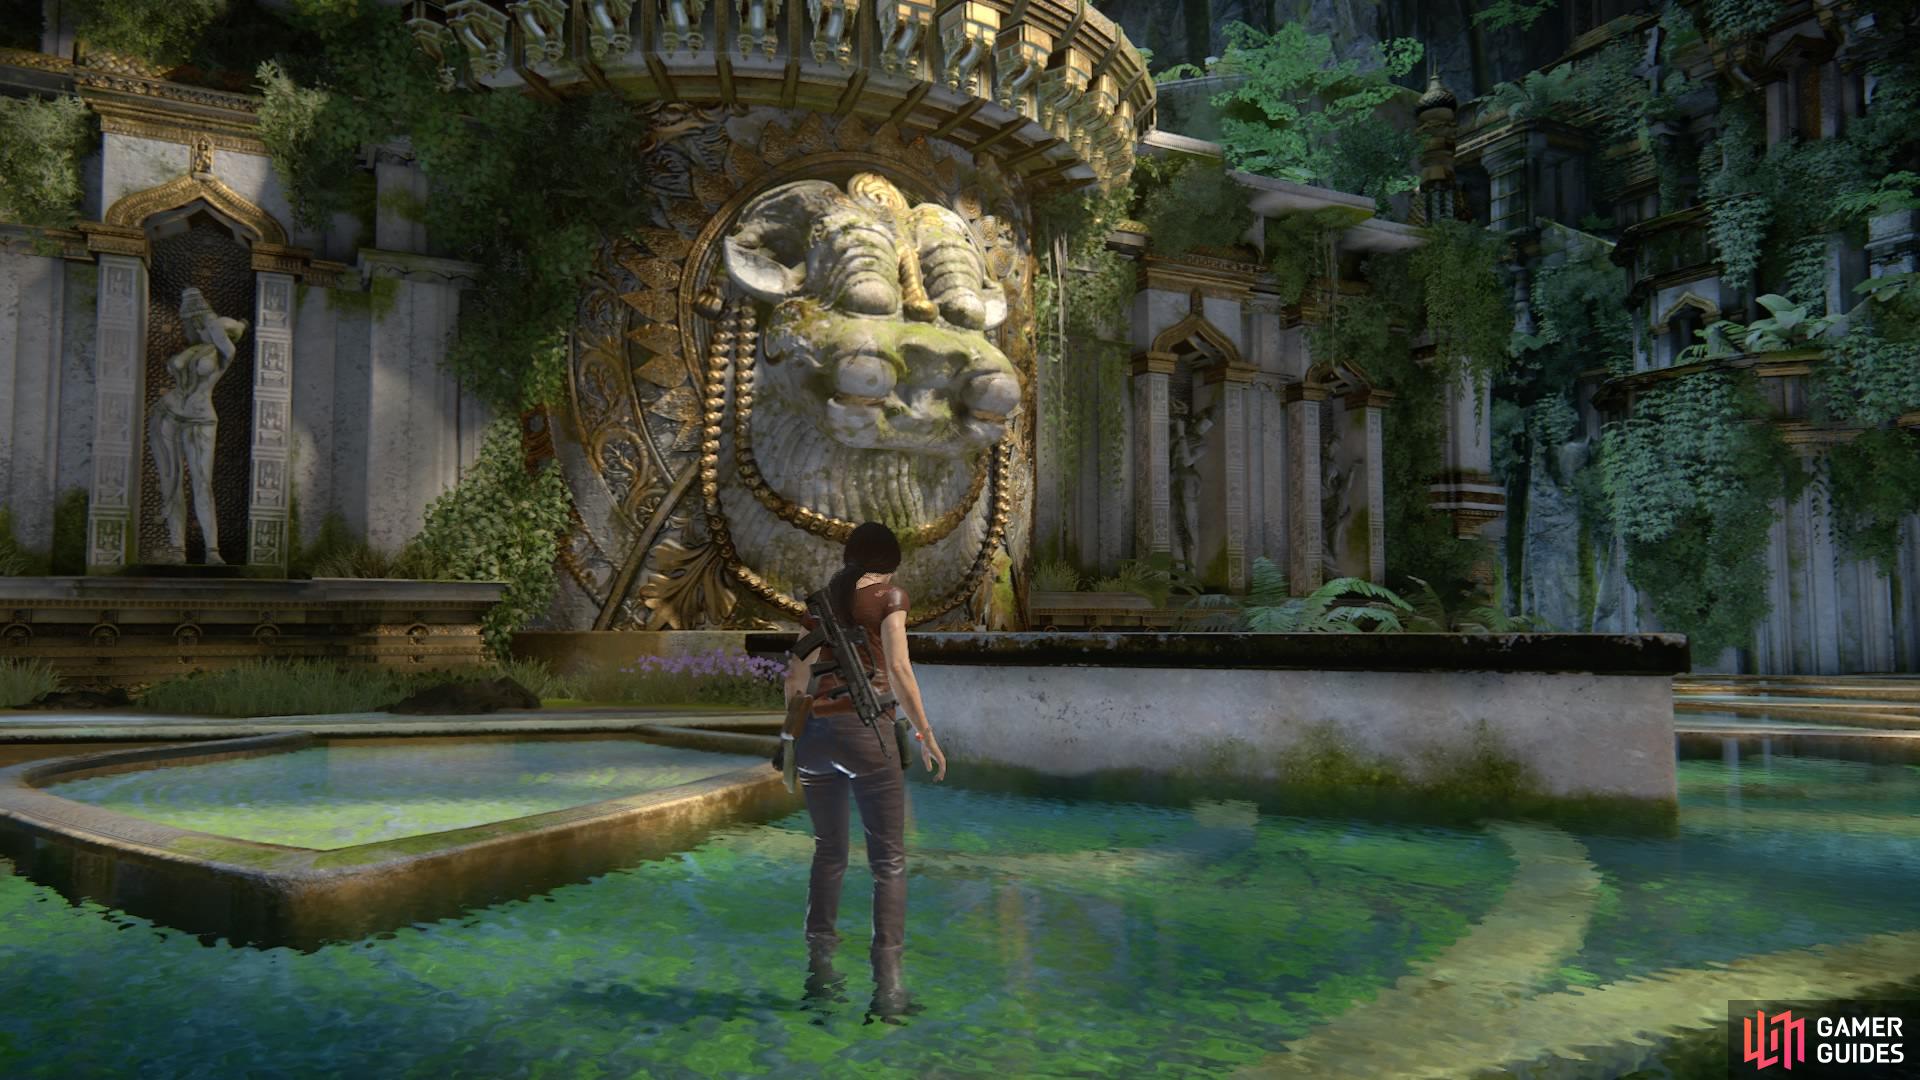
Run towards Nandi
The treasure sits beneath her head
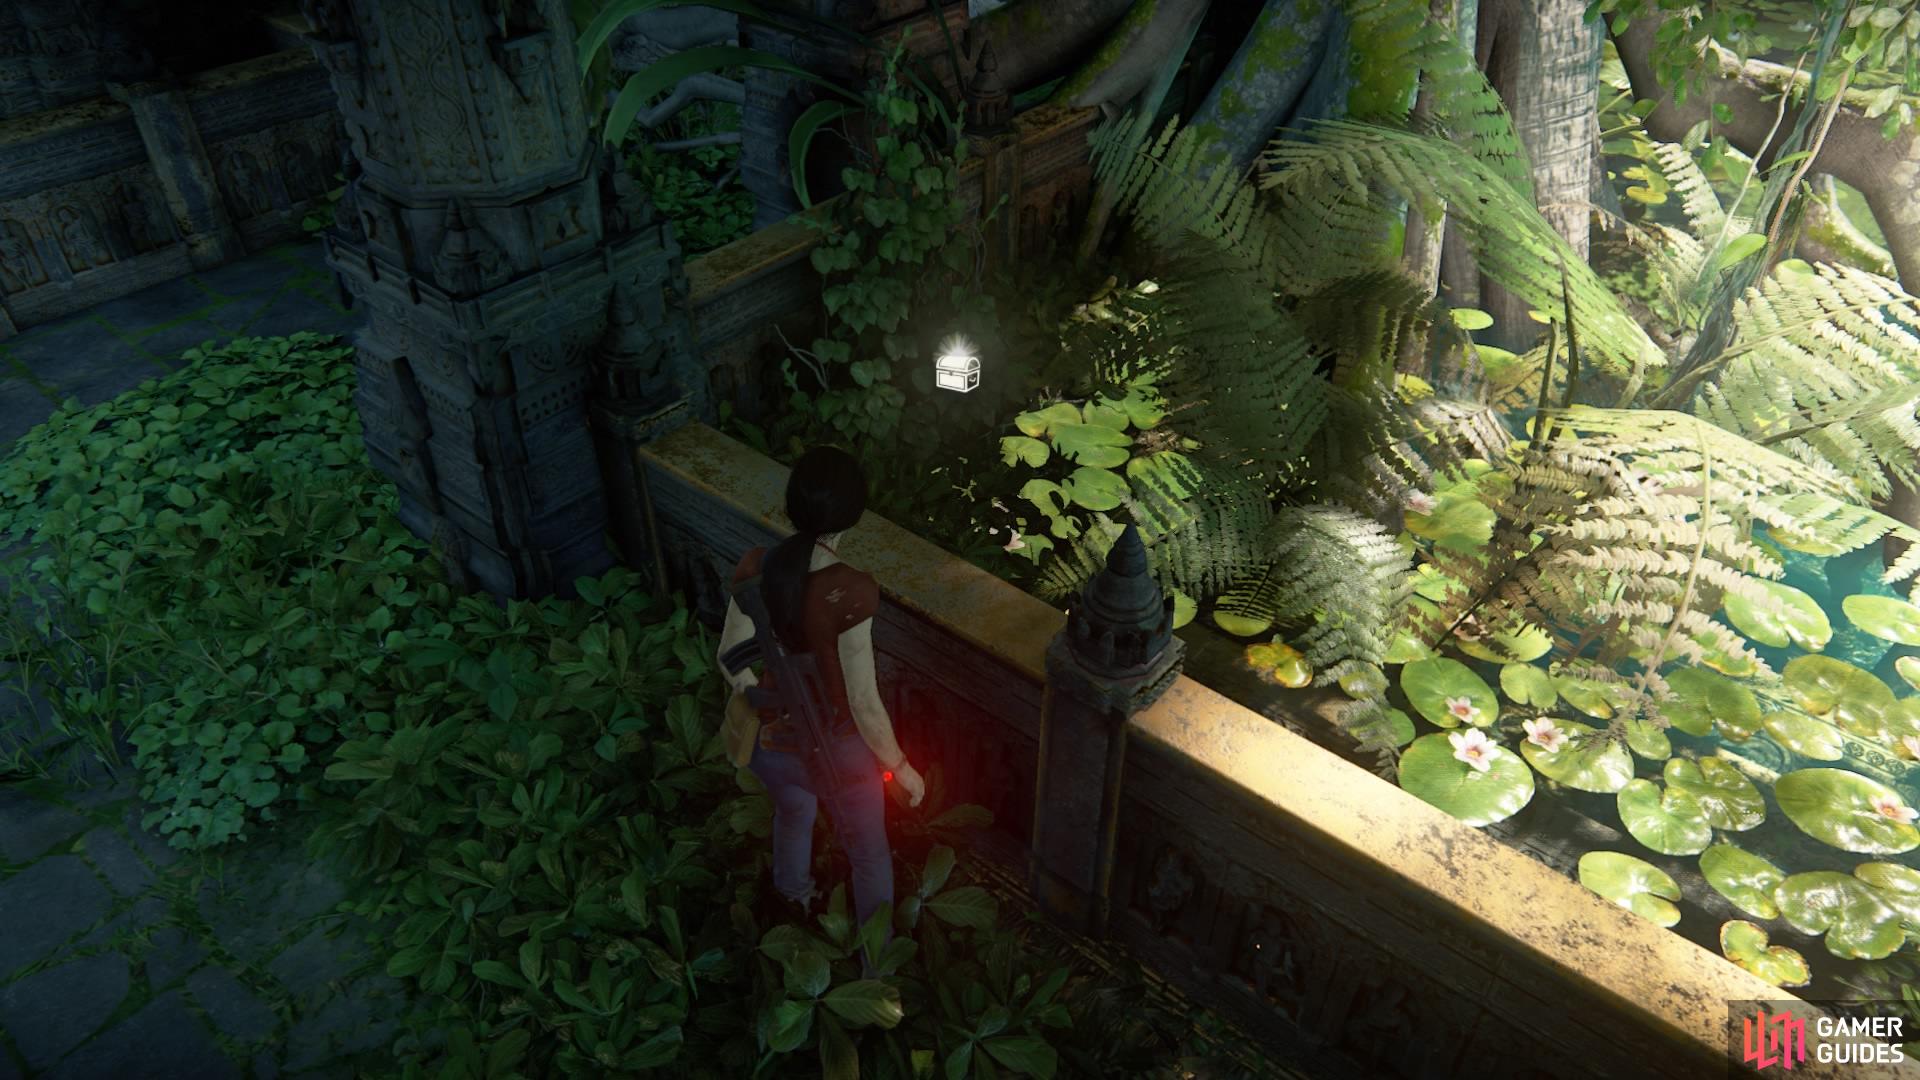
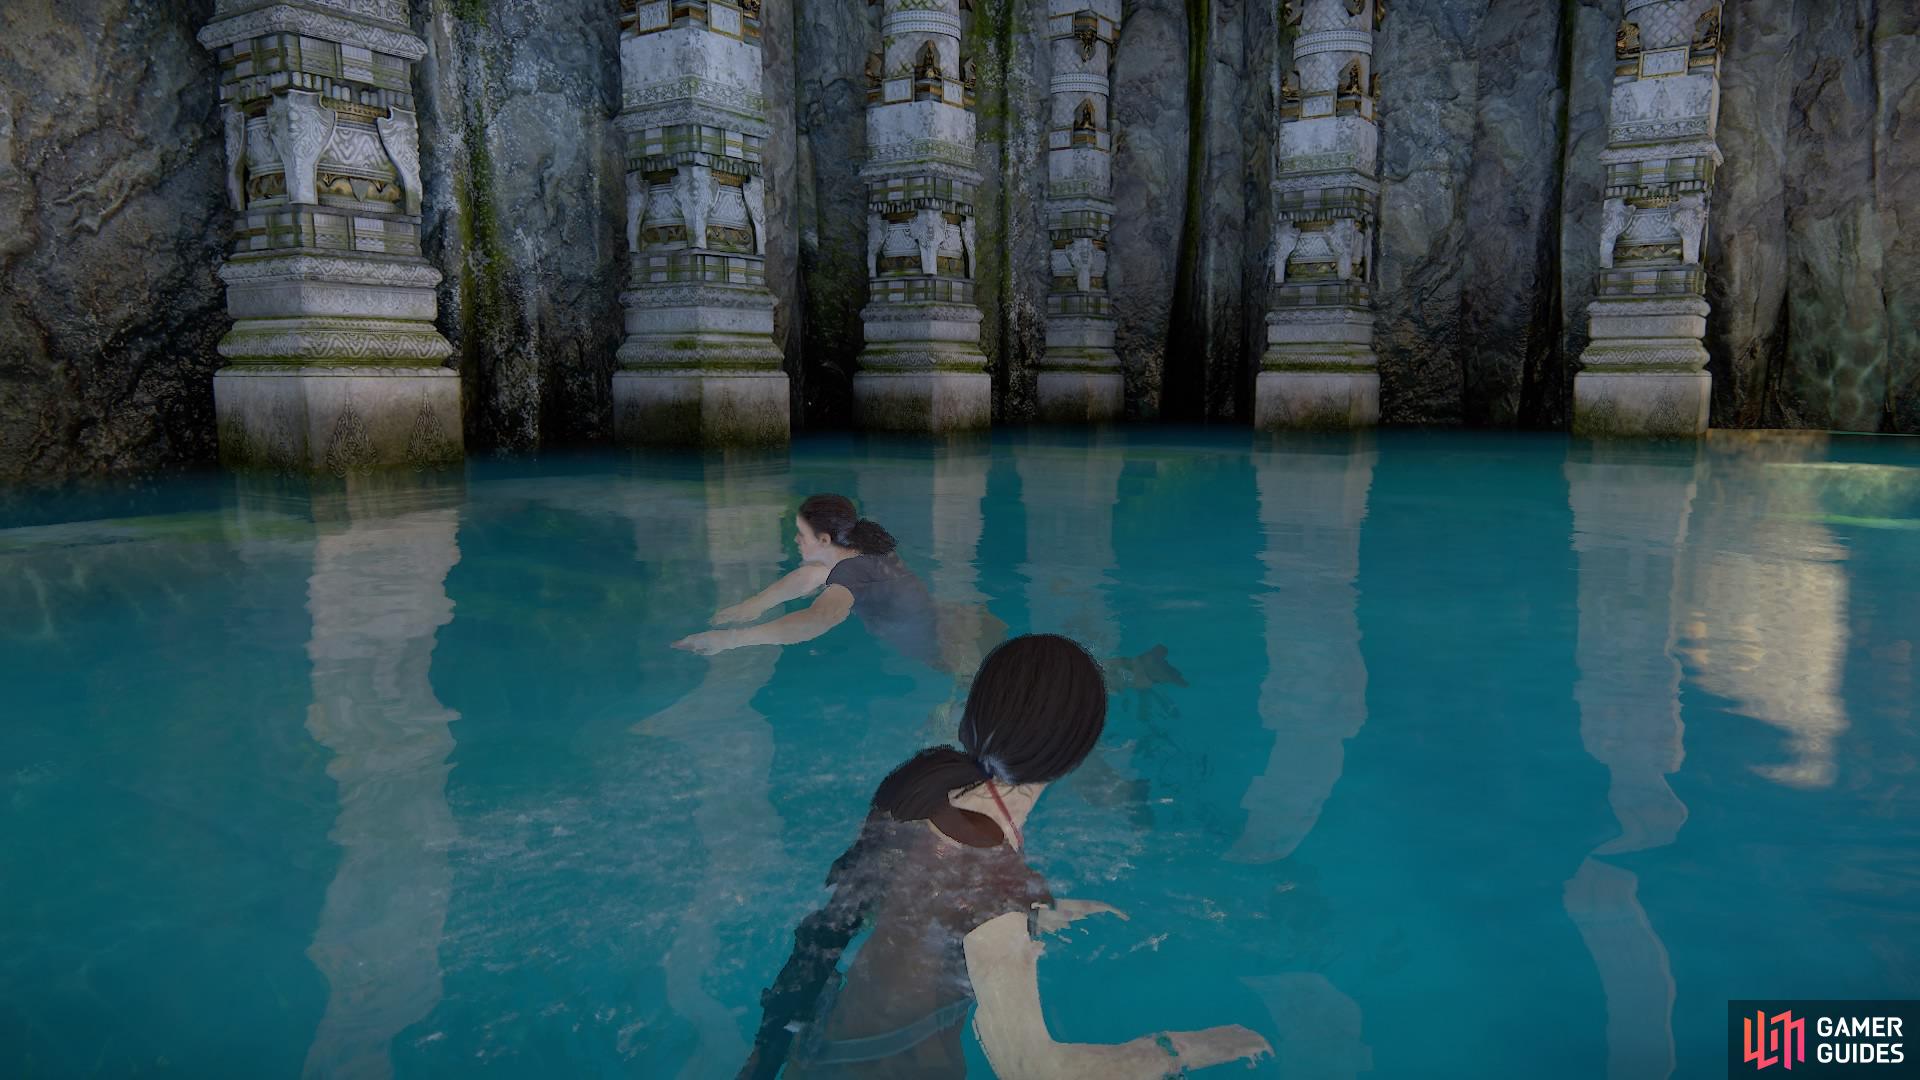
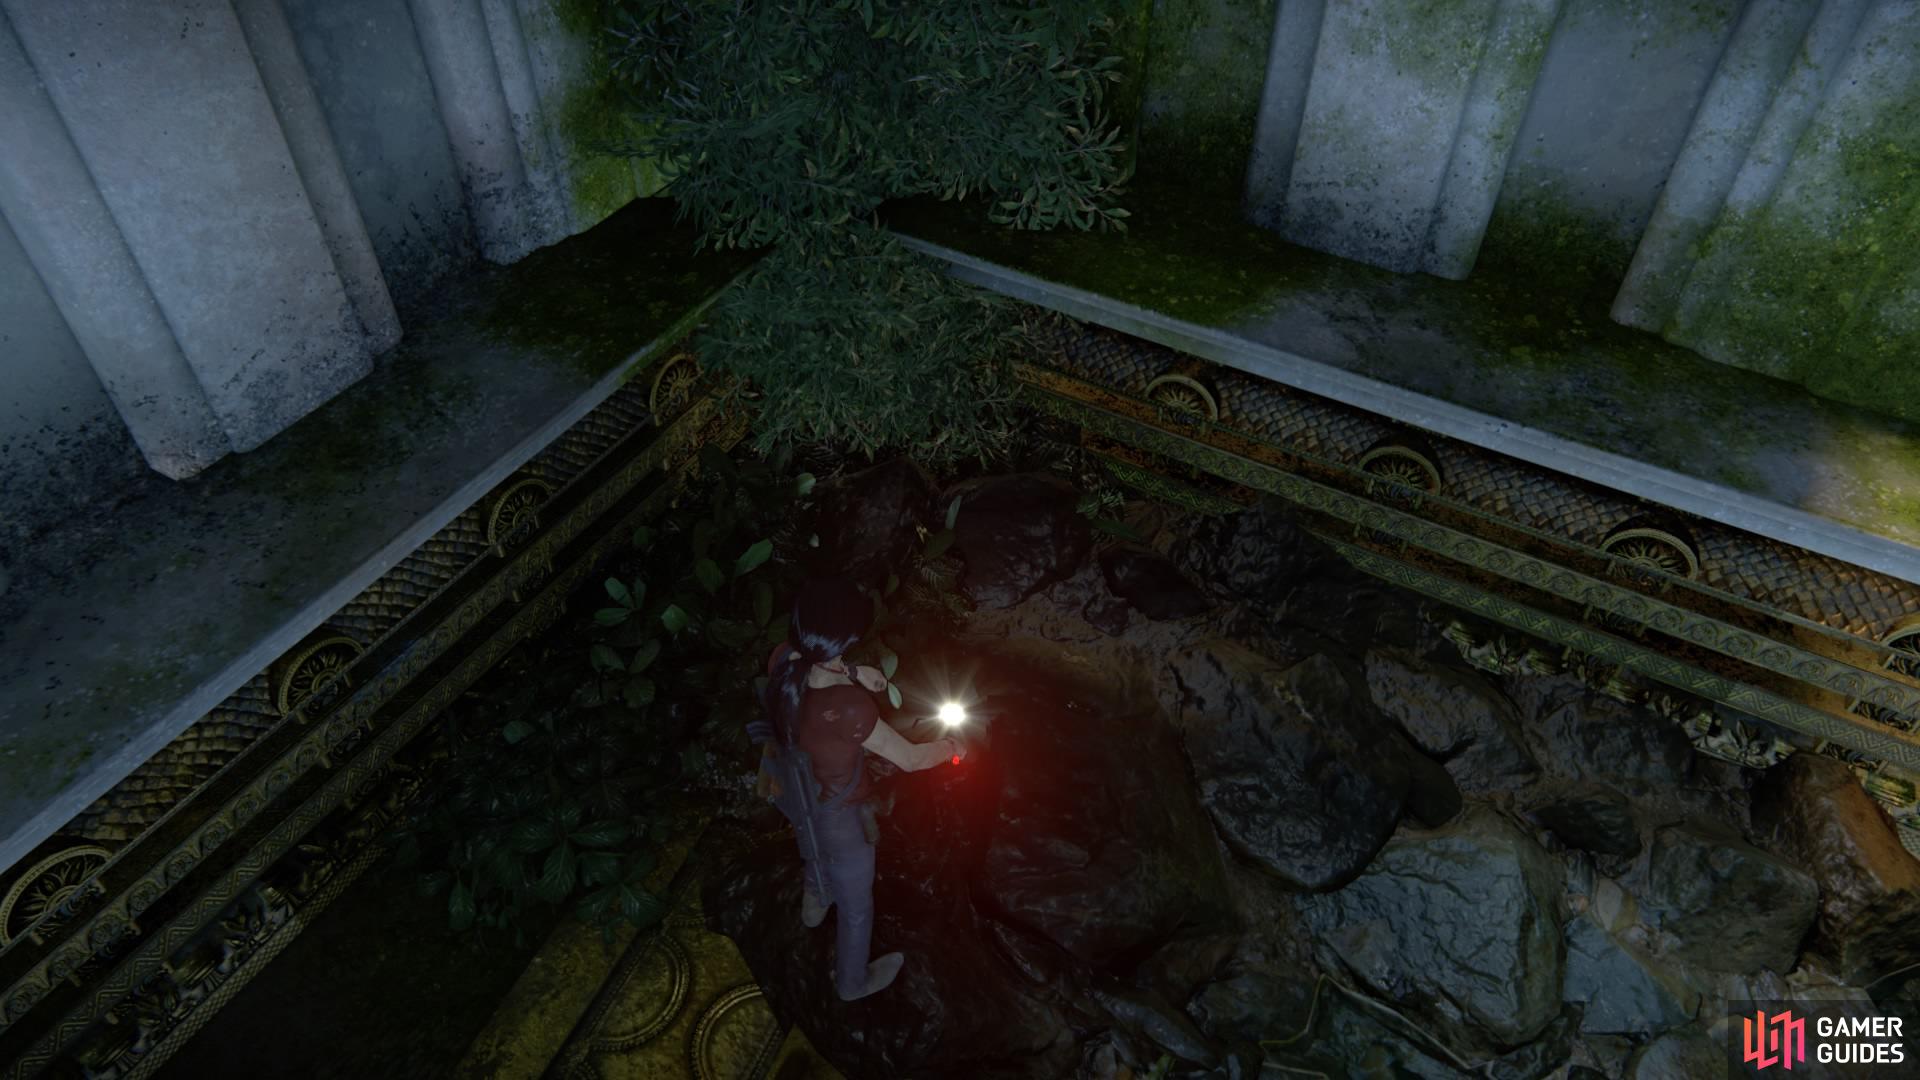
Next, turn around and go towards the rocks in the water on the right.
Swim behind the rocks, then dive under the water to find treasure #52 against the wall nearby.
Swim to the rocks on the right side of the room
Dive beneath the water to seek out the treasure along the wall
Now head over to the right side of the room and follow the path between the platforms. You need to be heading into a back corner.
At the end of here is treasure #53 in the left corner.
Facing Nandi, turn to the space between the platforms on the right
Head down there for the next treasure
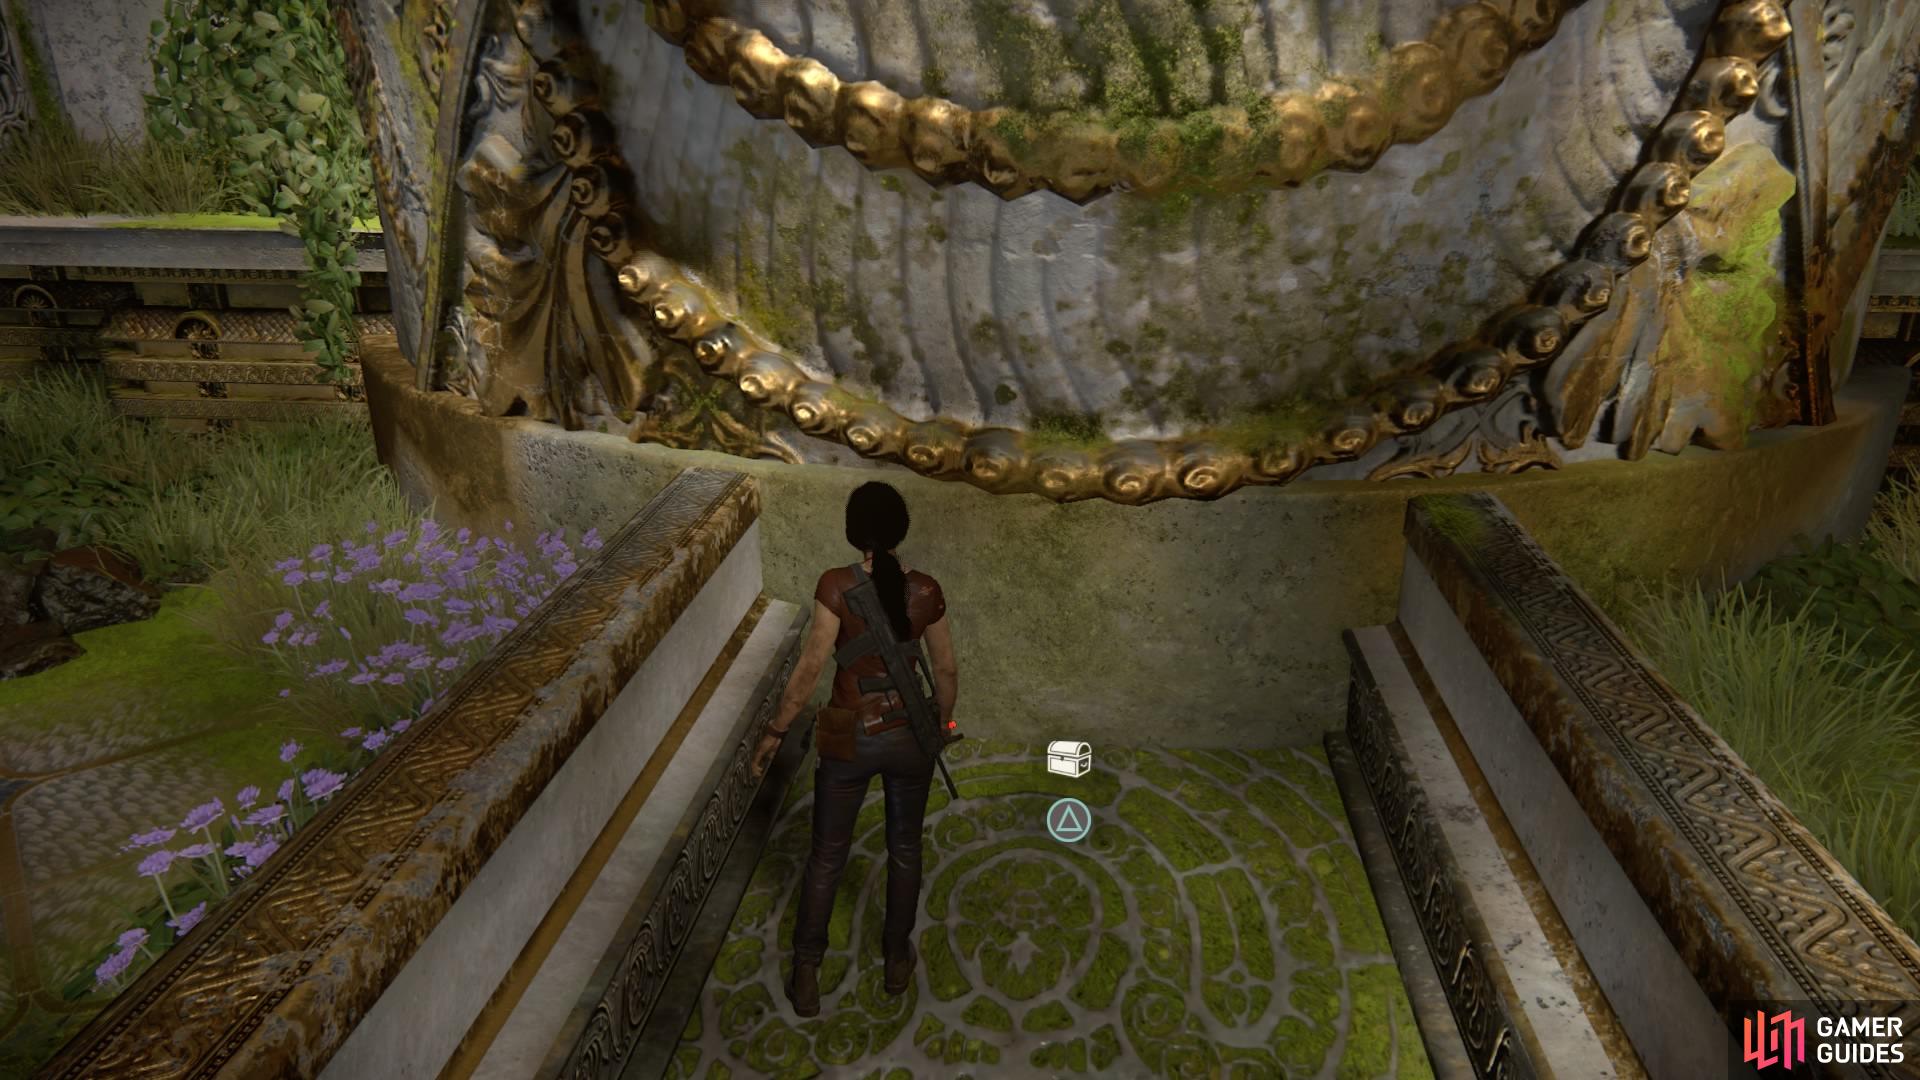
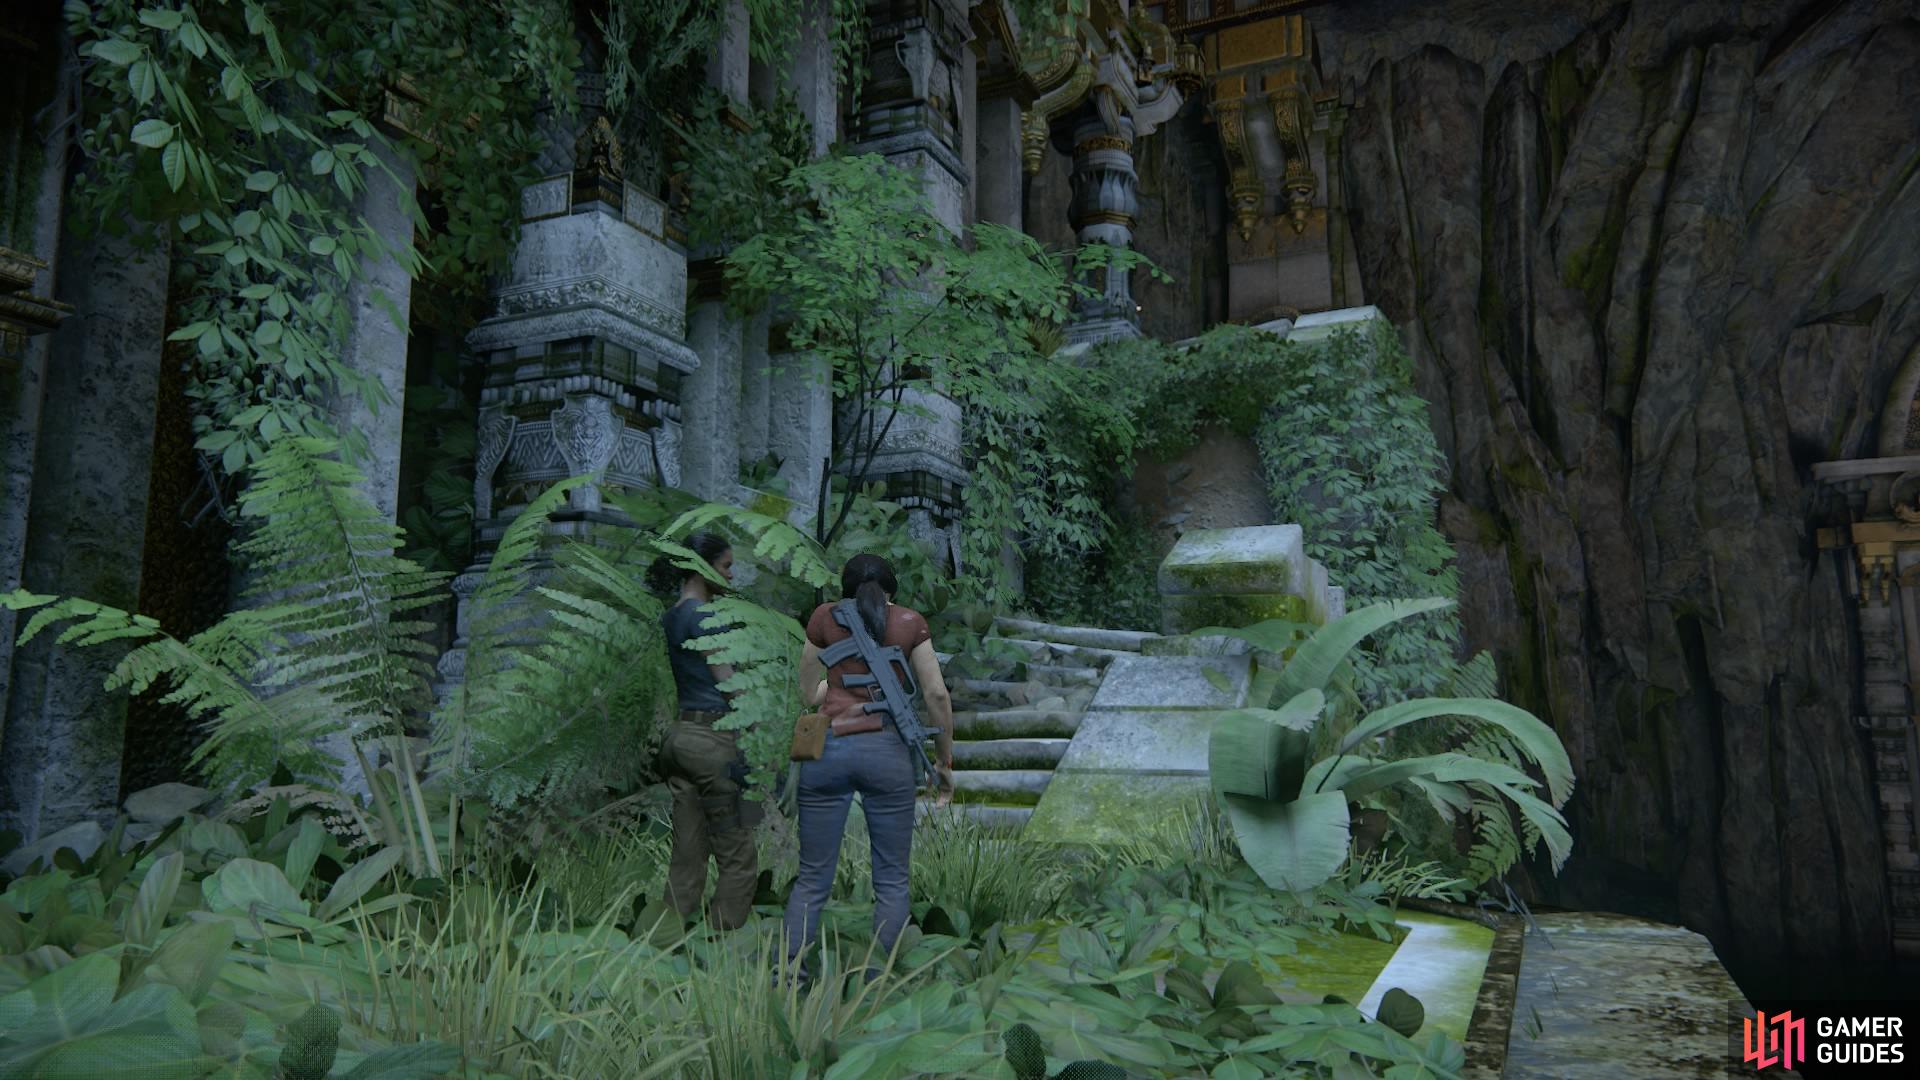
For the next one, you need to climb the golden handholds on the left side of the room – just as you would for the linear progression of this level regardless. From here, we’ll begin making our way up.
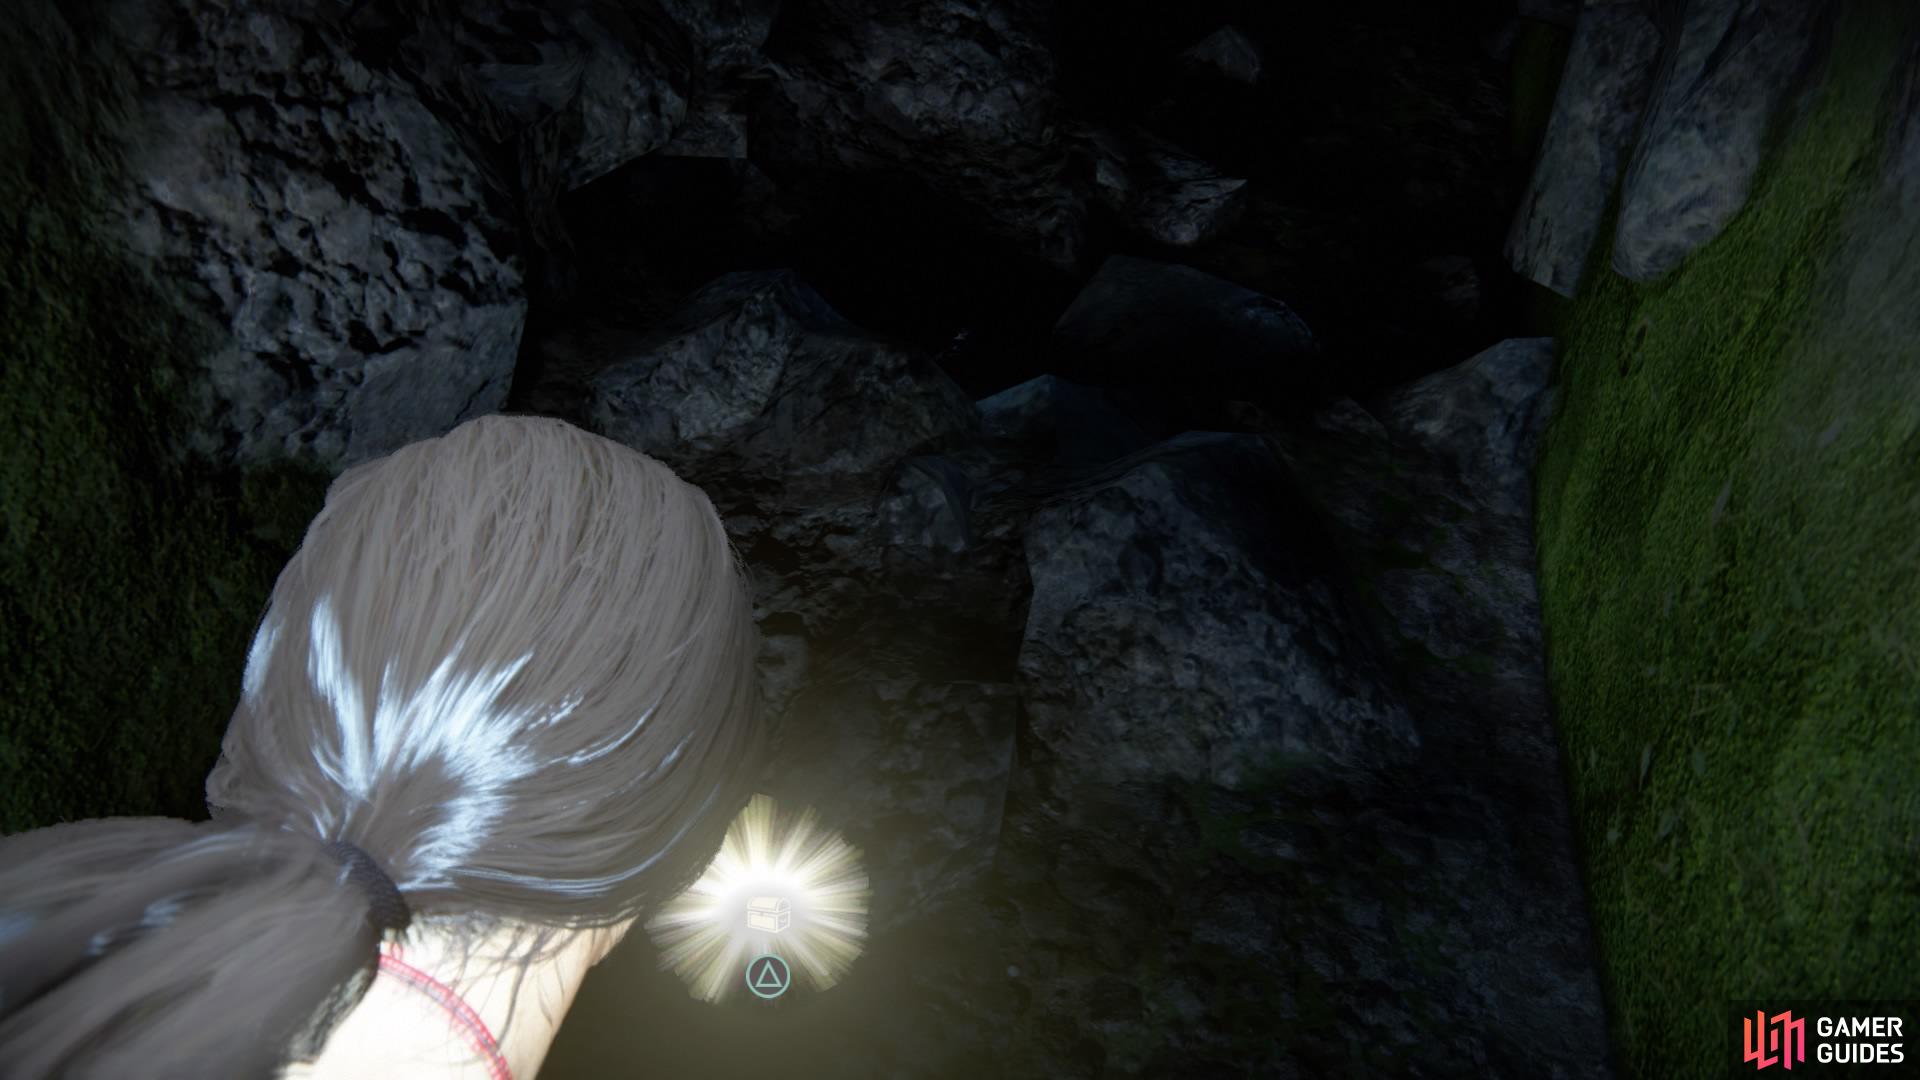
But first, before you head off up the stairs, look at the alcove just in front of you – you can climb this.
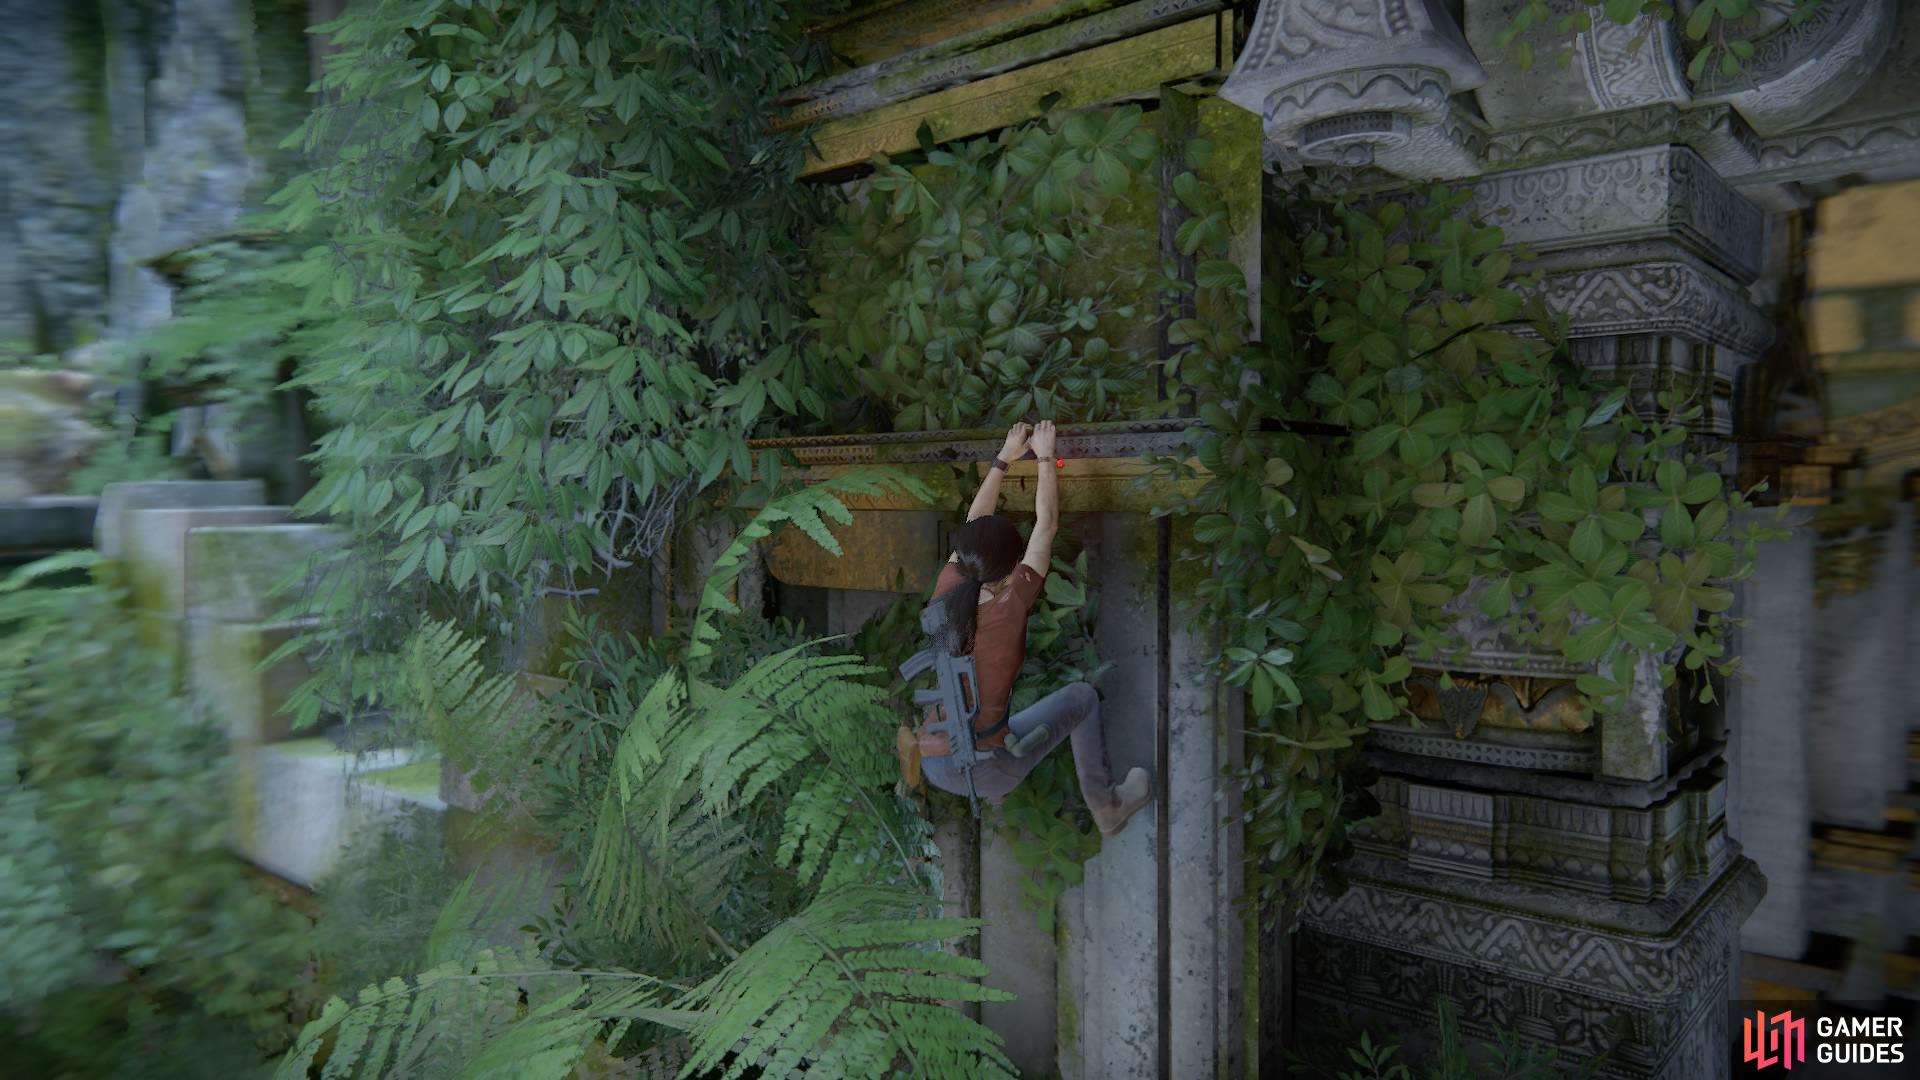
Make your way up here for treasure #54.
Climb up to the small upper platform above this alcove
Pick up the treasure and head back down
Now you can head up the stairs!
Make your way up to the first wheel crank and pull it until Shiva’s arm has moved position. Then jump onto the arm to hop over to the next arm on the left.
If you stand by the hand and look down, you can see the window below you that you need to get to. Carefully jump down to it using the handholds and vault over the ledge for treasure #55.
Make your way down to the window via Shiva’s trident hand
Jump inside for the treasure
From here, climb up to the platform above where the second wheel crank is. Go past the crank and climb up to the next platform.
Jog around to the other side of this platform to find treasure #56.
Climb the platform next to the second wheel crank
Venture around the other side for the treasure by the ledge
Go back to the wheel crank and pull it in order to ride Shiva’s trident. Then climb to the tip and swing across to the handholds on the other side to reach the five-spoke lock mechanism.
Spin the lock to activate the water – then slide down the water shoot and jump off the ledge followed by a quick grapple hook. Swing over and drop down to the other side where Nadine is waiting.
If you stand at the corner of the ledge and look over to the lower right, you might spot treasure #57 twinkling on a pillar. If not, simply jump down to the platform below, then turn around and safely hang from the ledge using circle to climb down to the next lower platform.
Go over to the broken staircase and safely hang from the ledge to your right and shimmy across. From here, keep making your way back up until you reach the pillar with the final treasure of chapter 7.
Climb up the side of the structure
Take the treasure from the pillar
No Comments