As soon as you begin the chapter, a photo prompt will be right next to you, so make sure to grab it to add it to your phone.
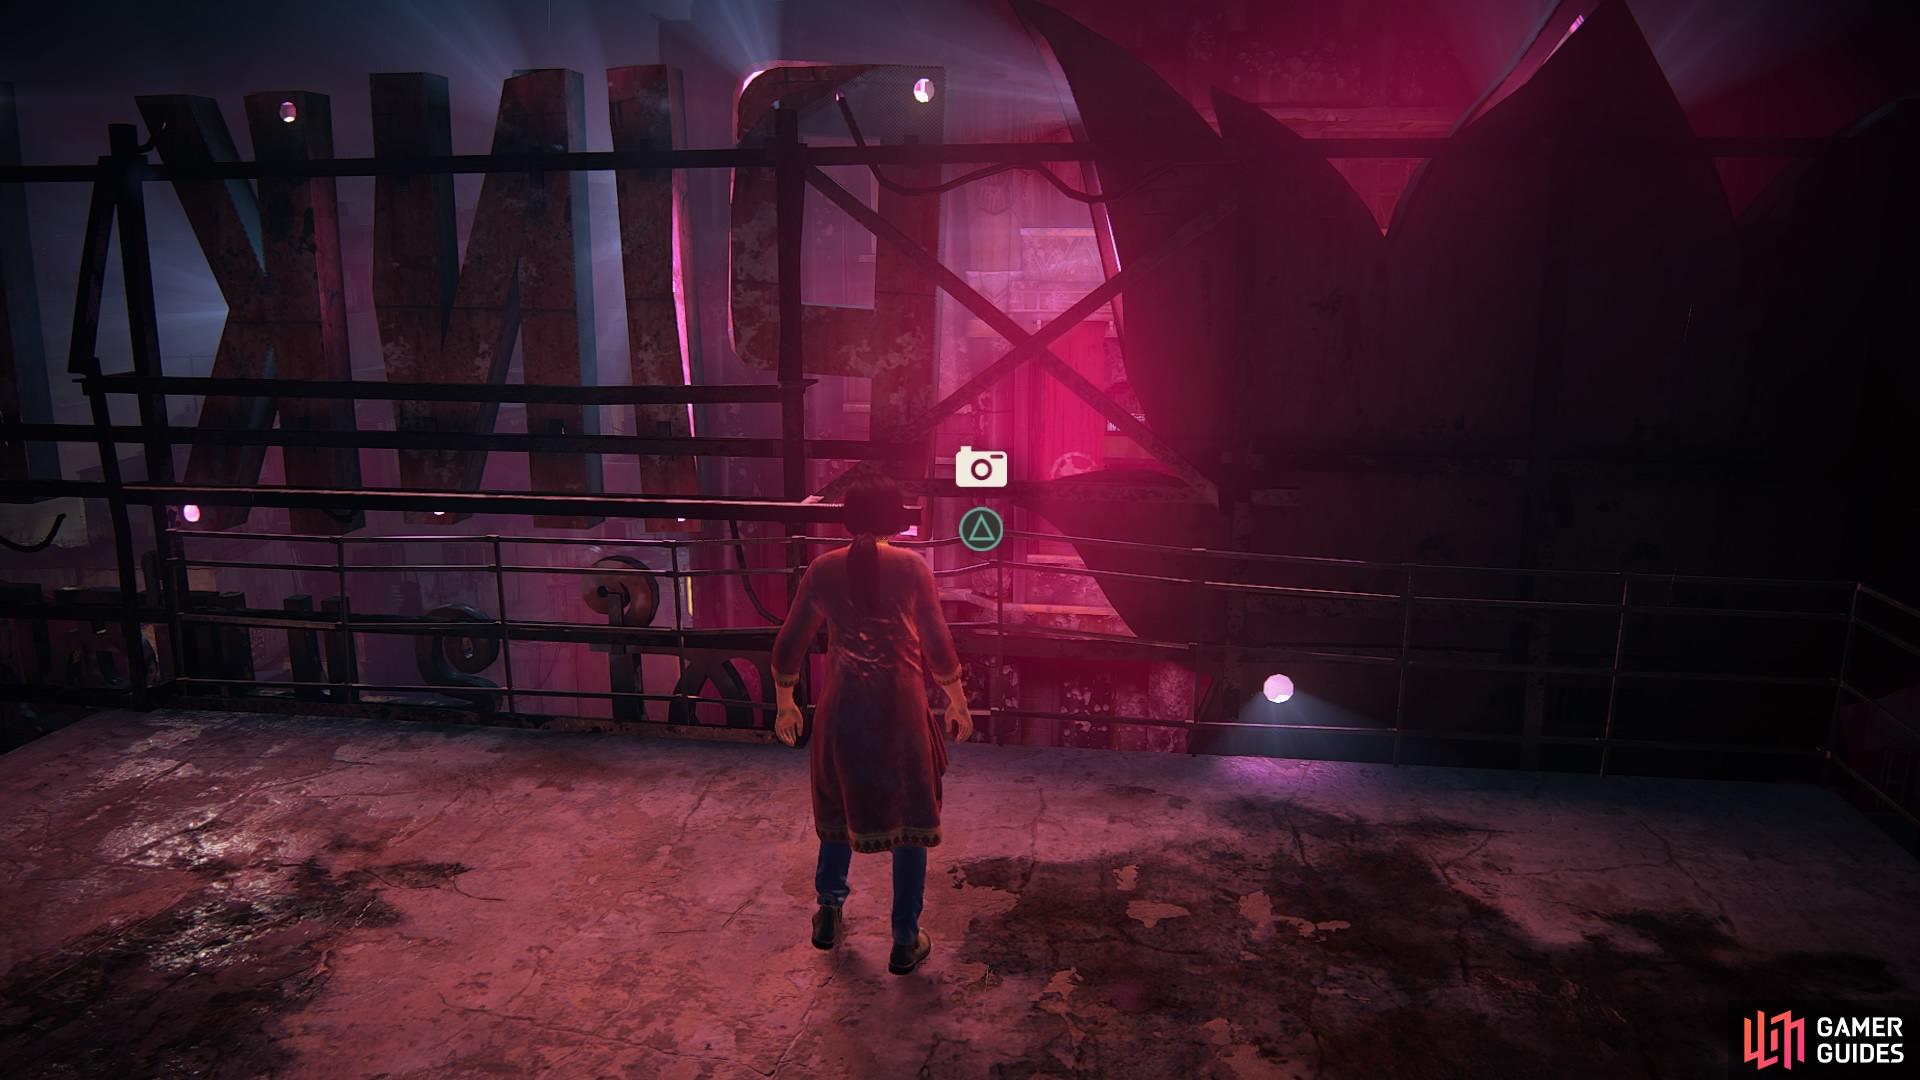
Grab the photo right at the start of the chapter
Find the ladder and boost Nadine up so she can kick it down for you
Look to where Nadine is standing – to her right is a ladder. Boost her up and she’ll kick it down for you. Climb up and jump down onto the slanted roof below to slide down, and jump off the edge to catch the ledge on the other side. Haul yourself up and jump to the handhold on the wall to your right and climb the pipe to traverse the signs.
You can vault over the top of a sign by pressing X, so follow them around until you drop down on to a roof with some clothes that are hanging out to dry.
Find the handholds on the right
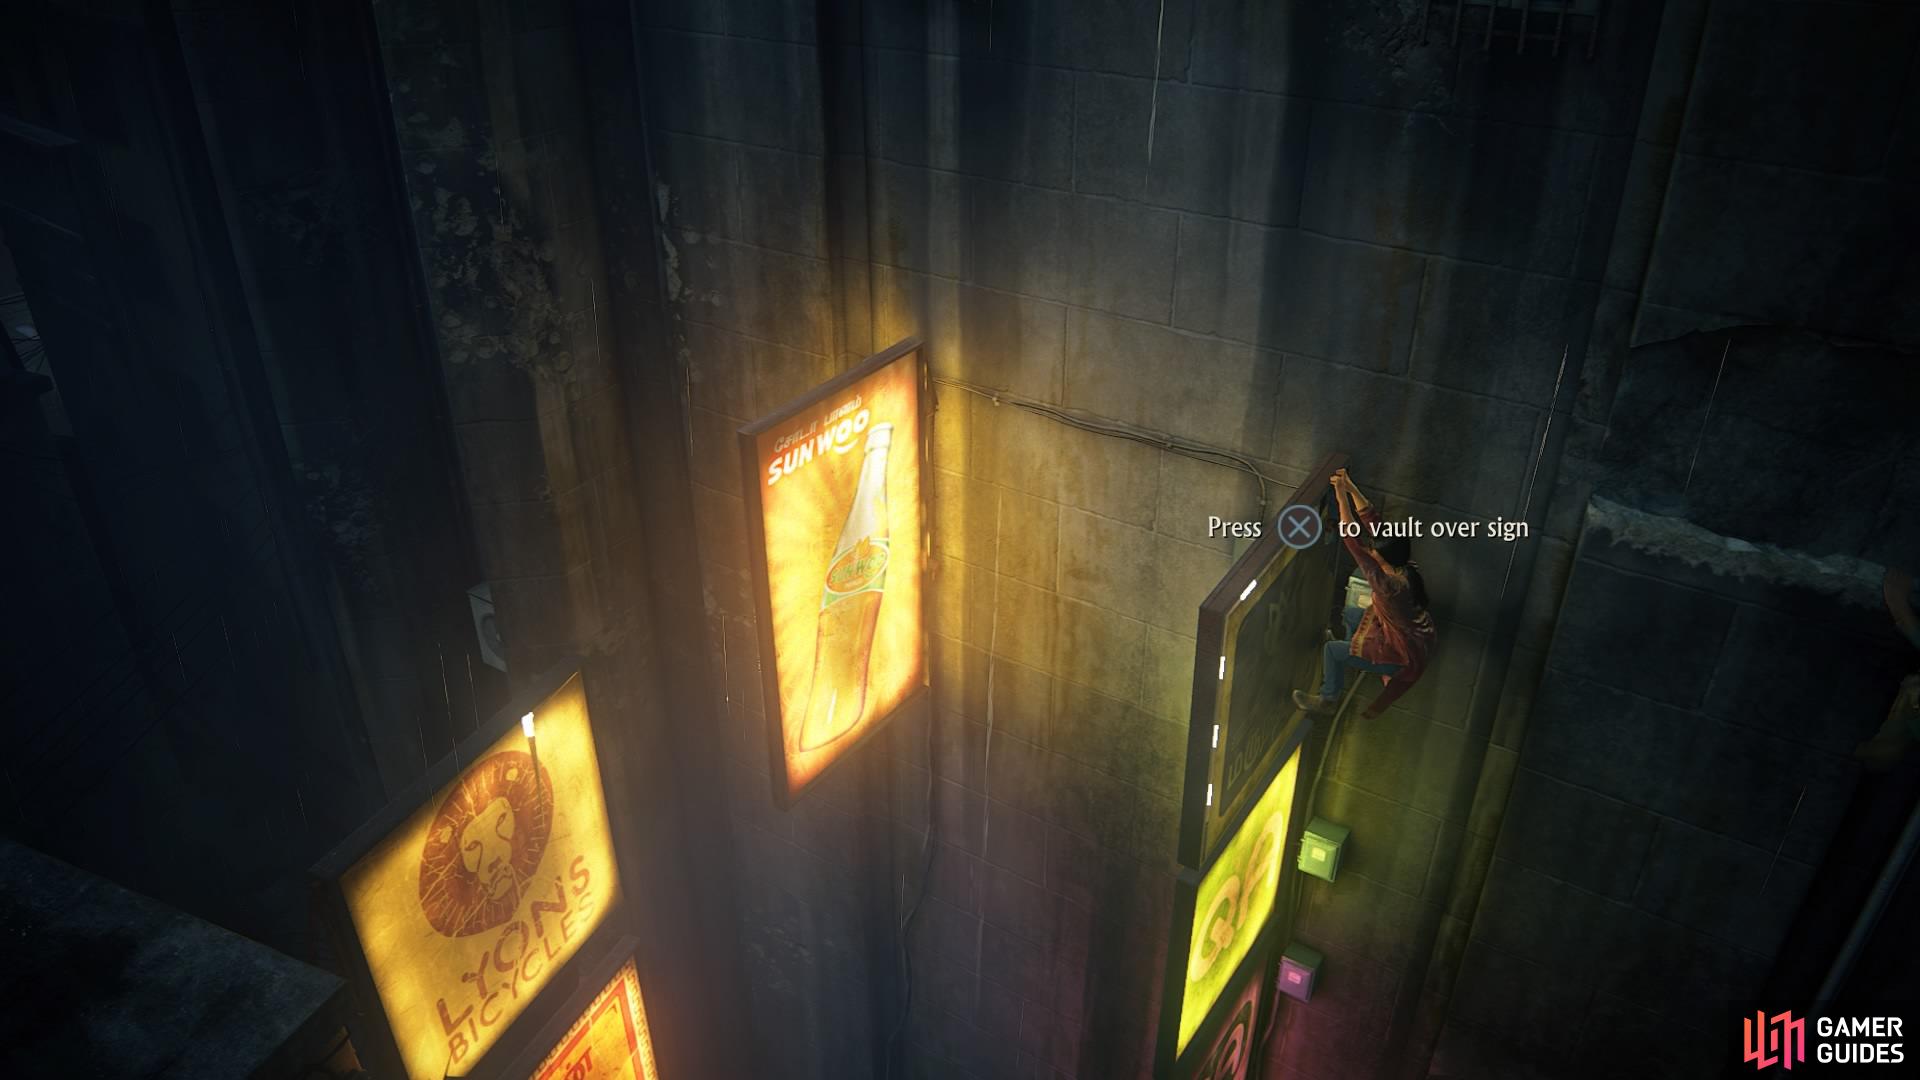
Use X to vault over the top of signs
Go under the clothes and there’ll be a ledge for you to shimmy across. Follow it around until you can jump up to a pipe and again on to another roof. There are some more signs in front of you to jump across – do this, and climb on to the platform with some long grass.
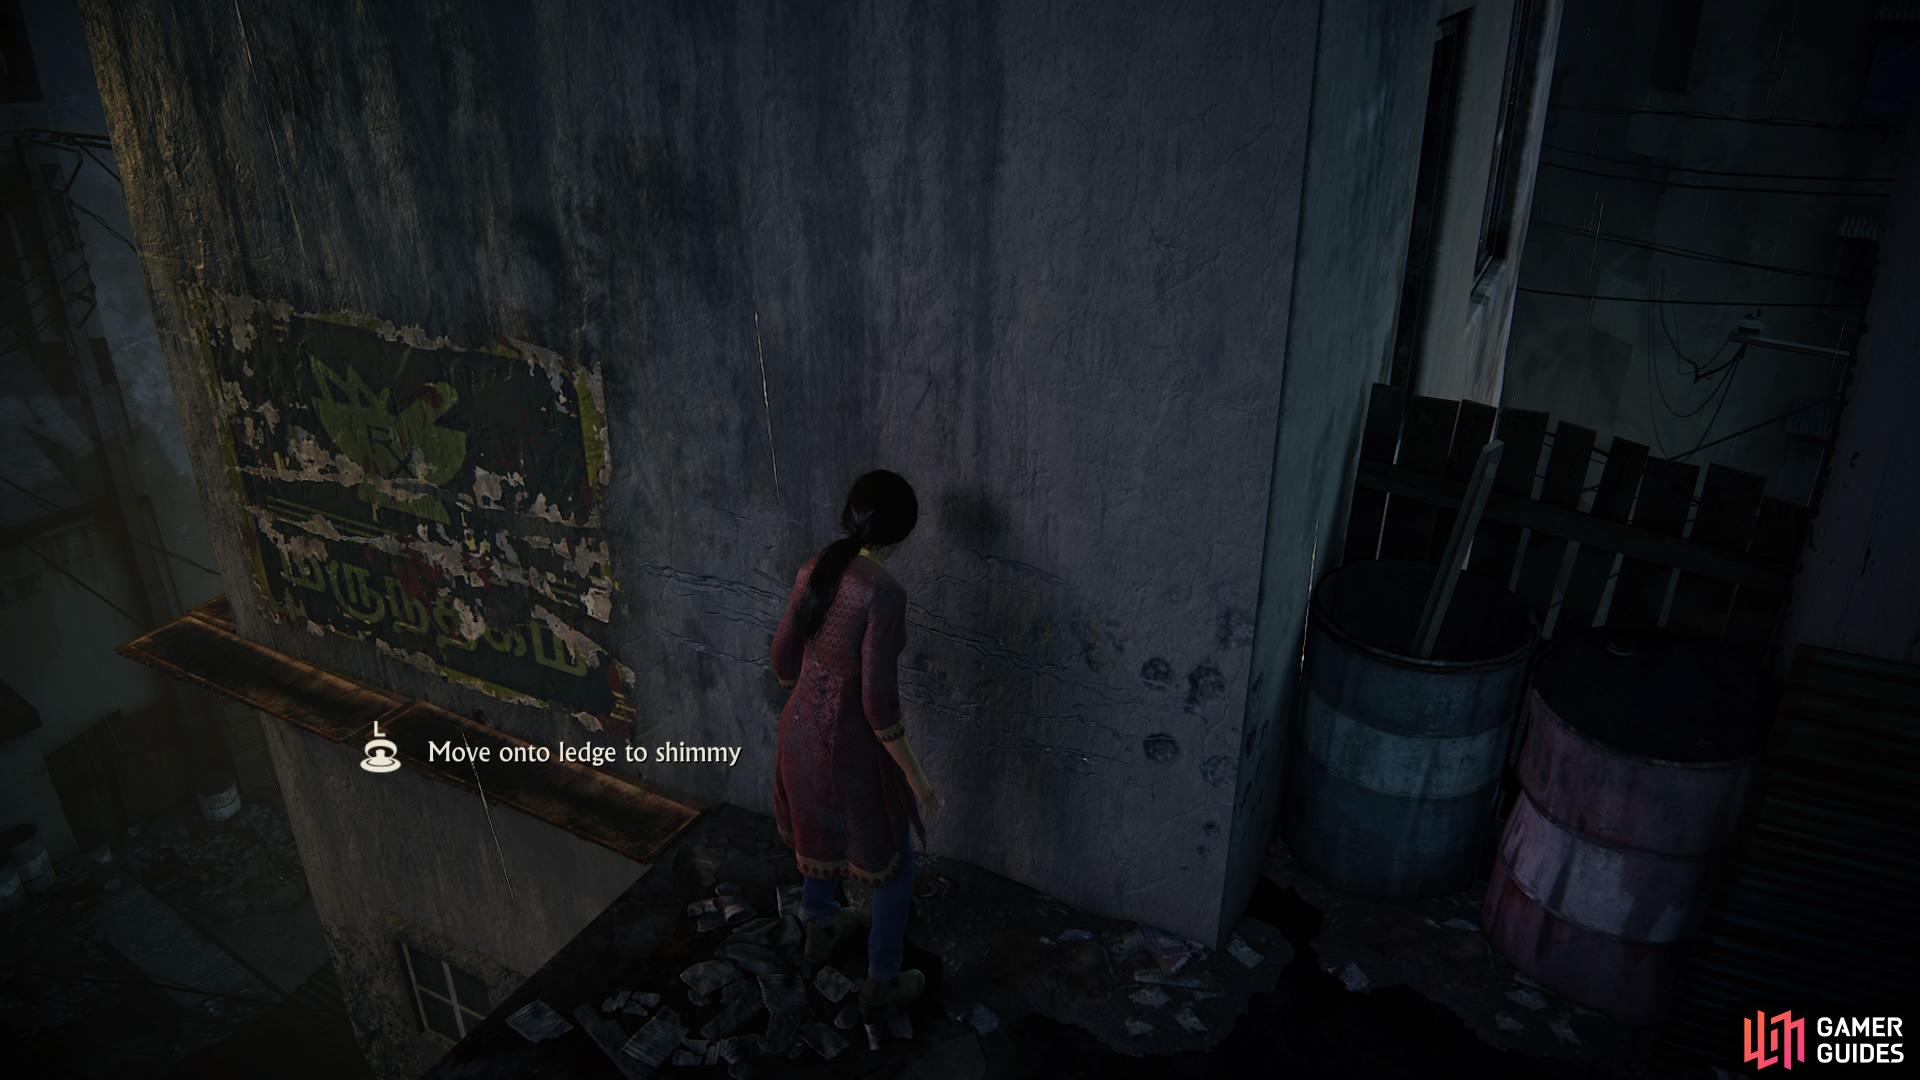
There are some ledges that you can shimmy across
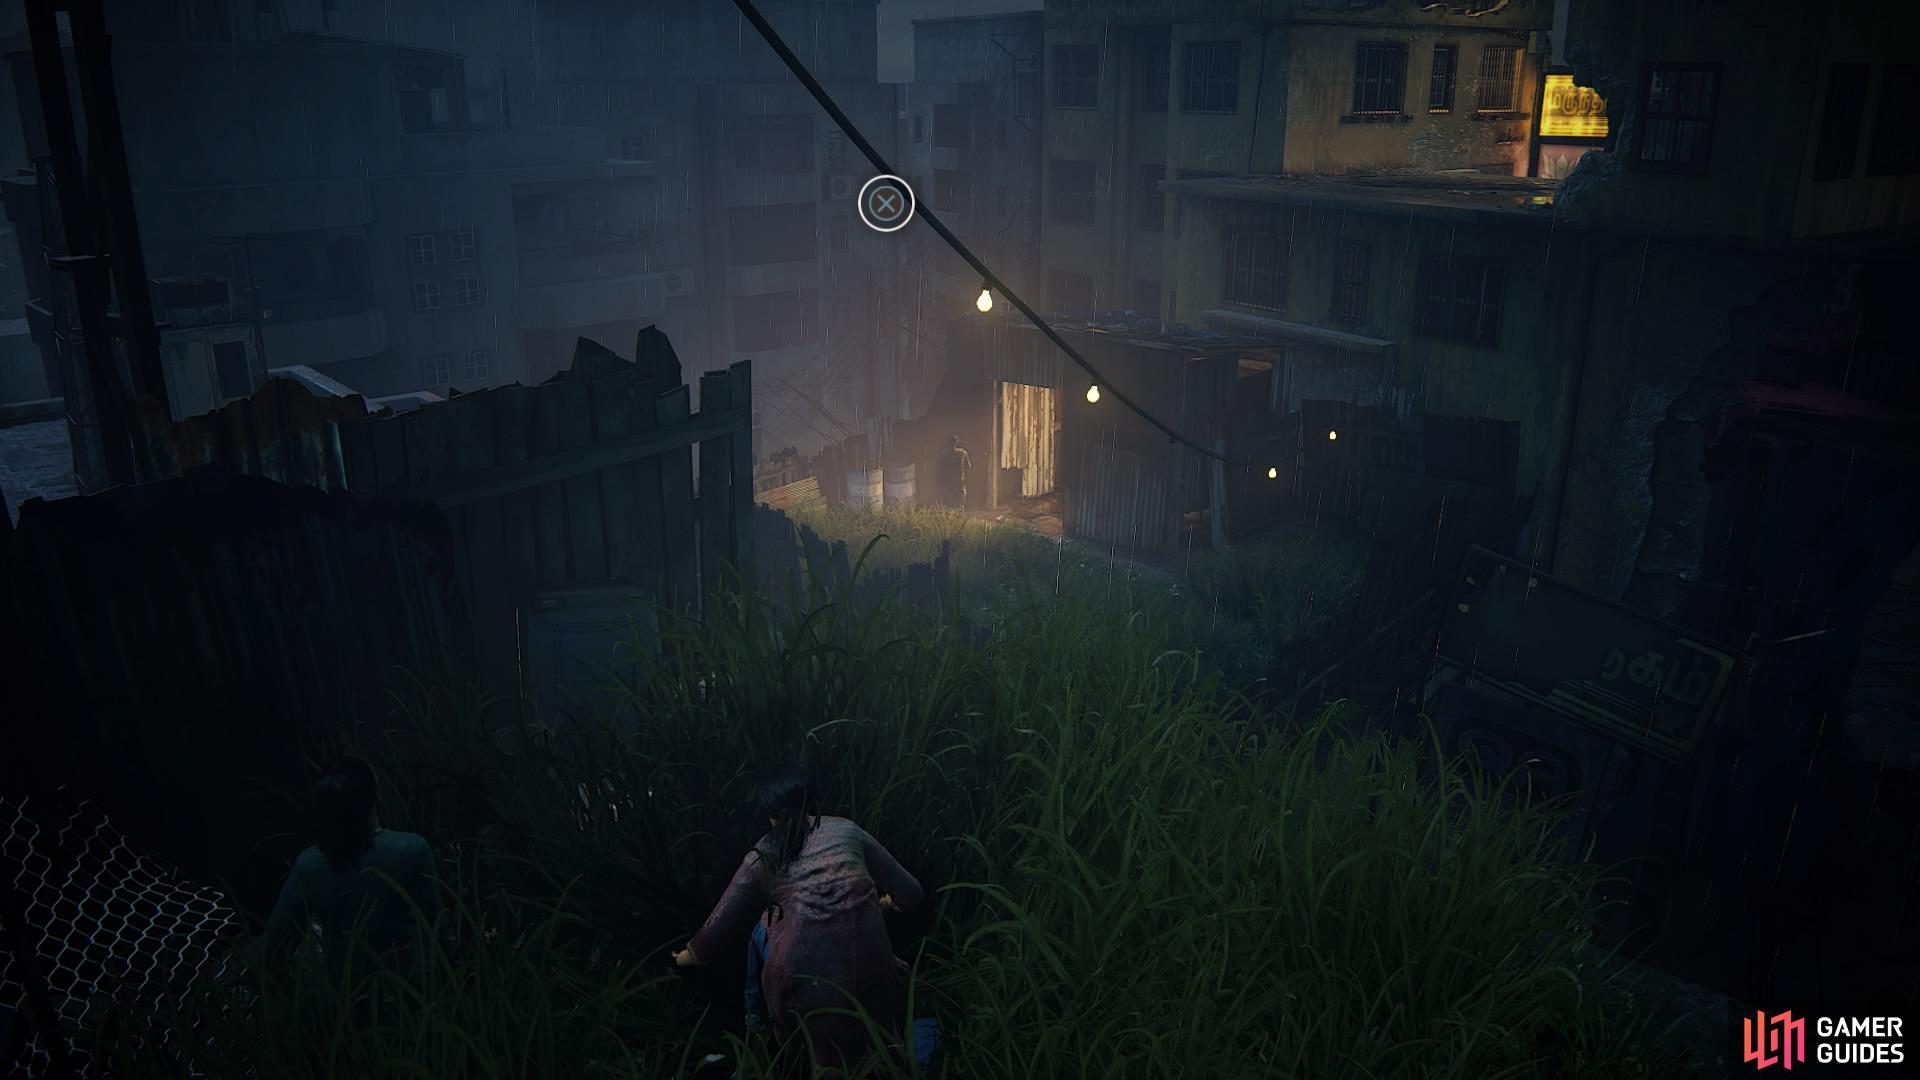
Descend the zip wire and take cover in the long grass
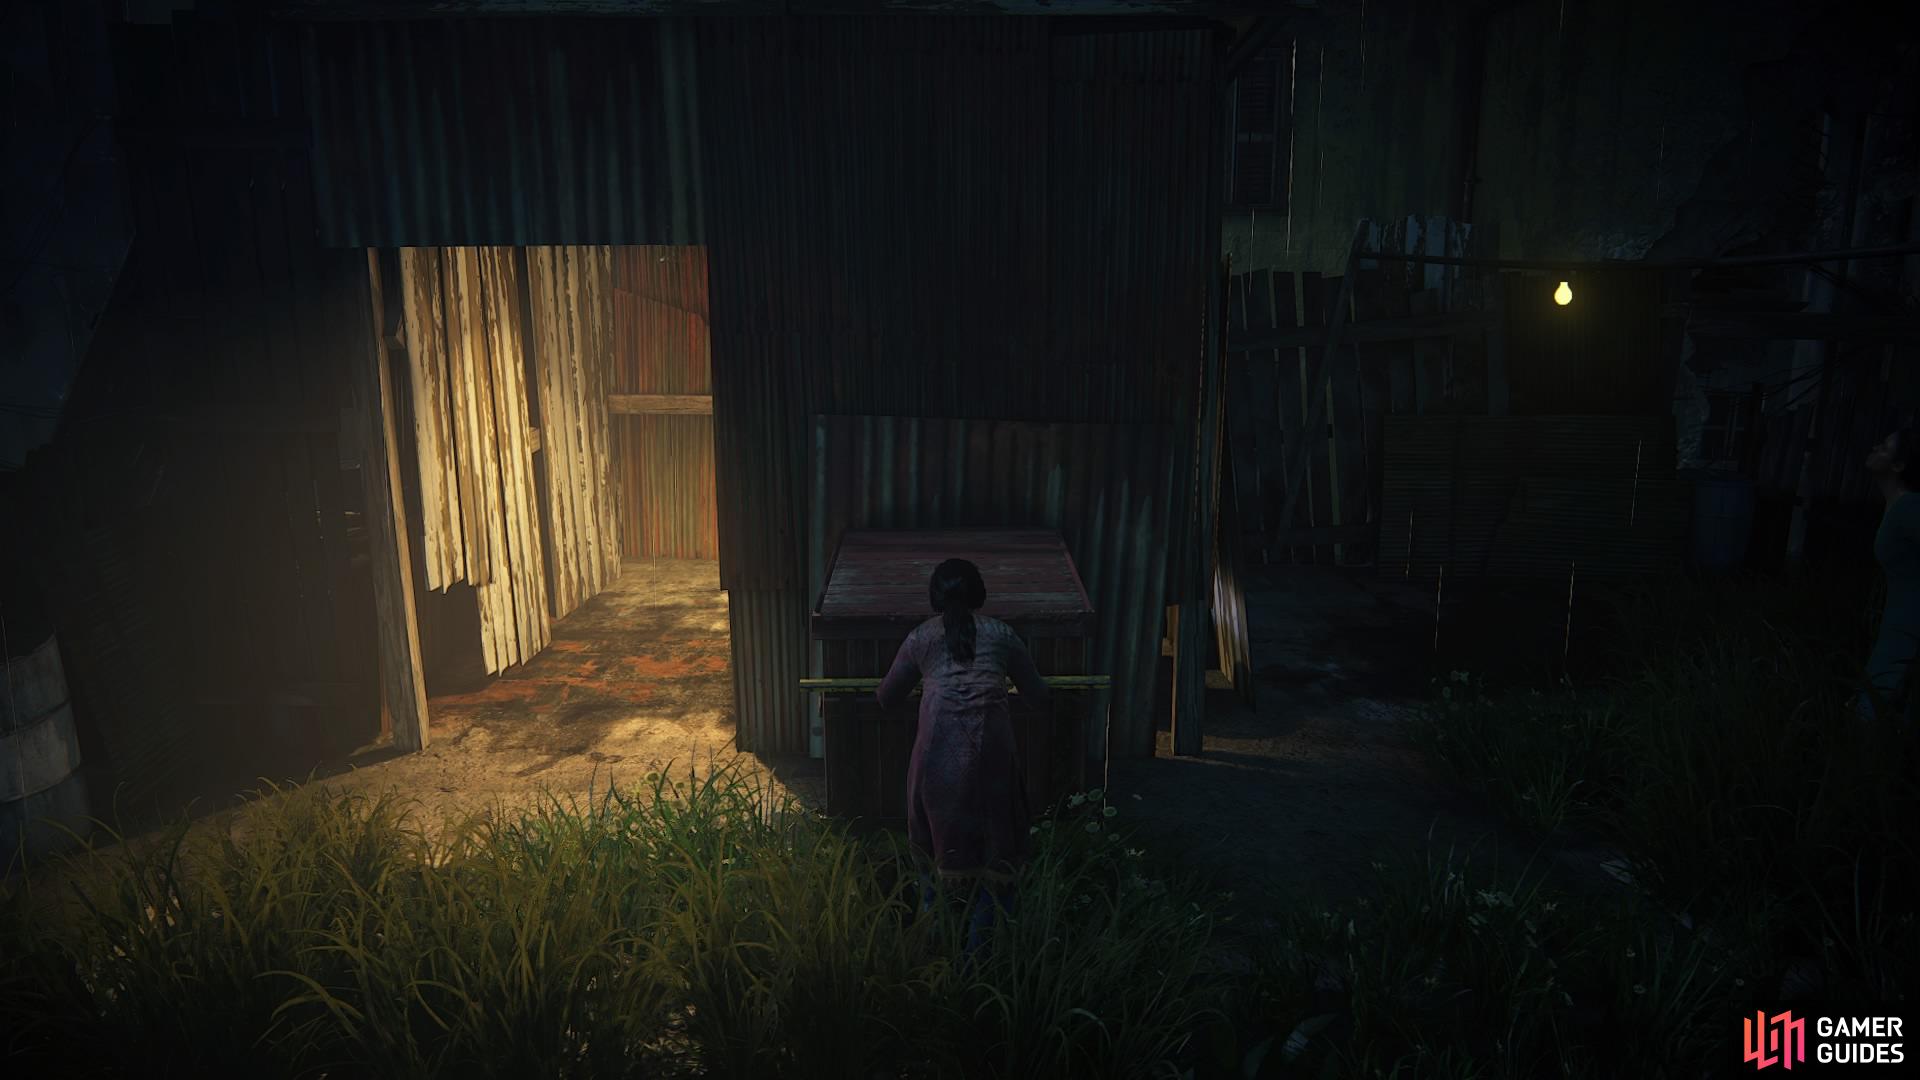
Above you is a wire with some lights hanging from it, and on the other side is a single soldier stationed in a small tin hut. Zipline across the wire where you’ll land in some tall grass at the bottom – you can use the grass as cover from enemies. Take out the soldier and find the red crate with a yellow handle inside the hut. Move it outside the hut and push it against the wall, then hop on it to climb over to the handholds on the other side.
You can move certain objects to help you navigate the environment
When prompted with L3, Chloe will zoom in on the objective
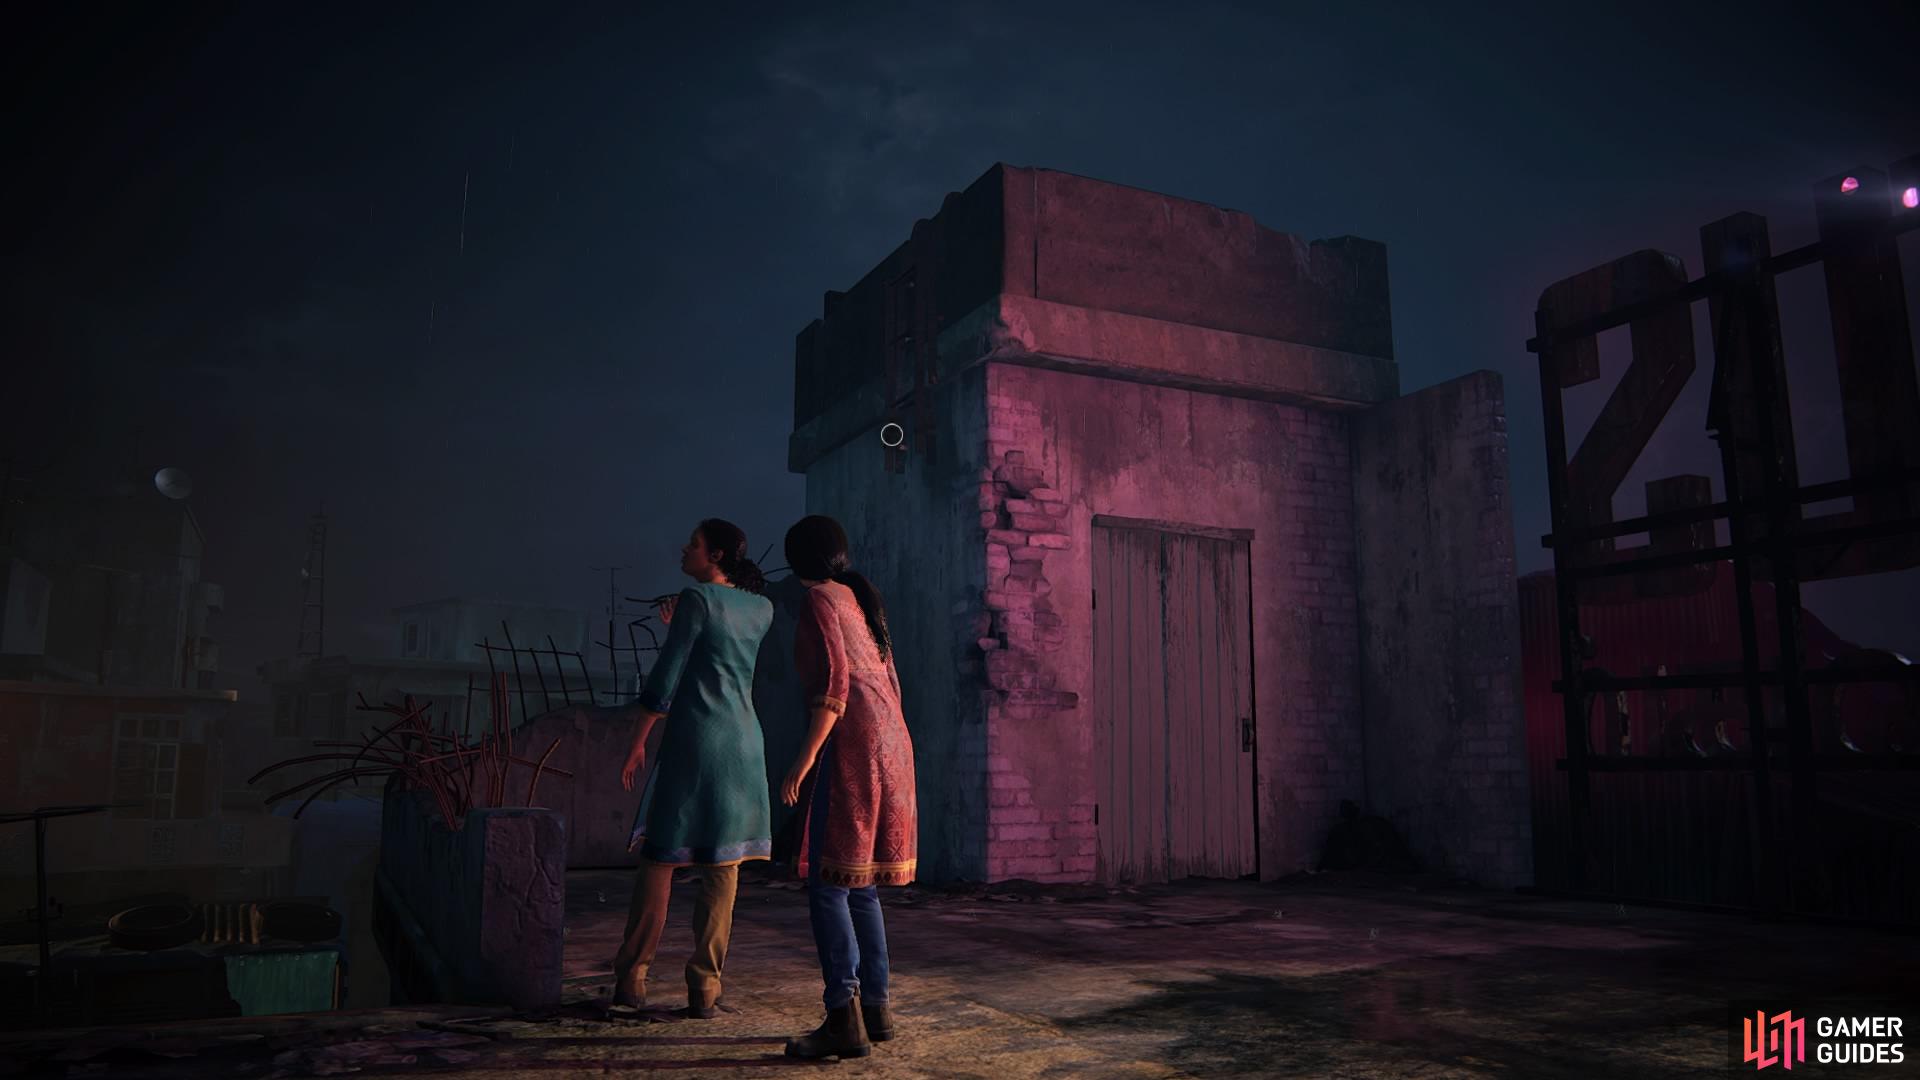
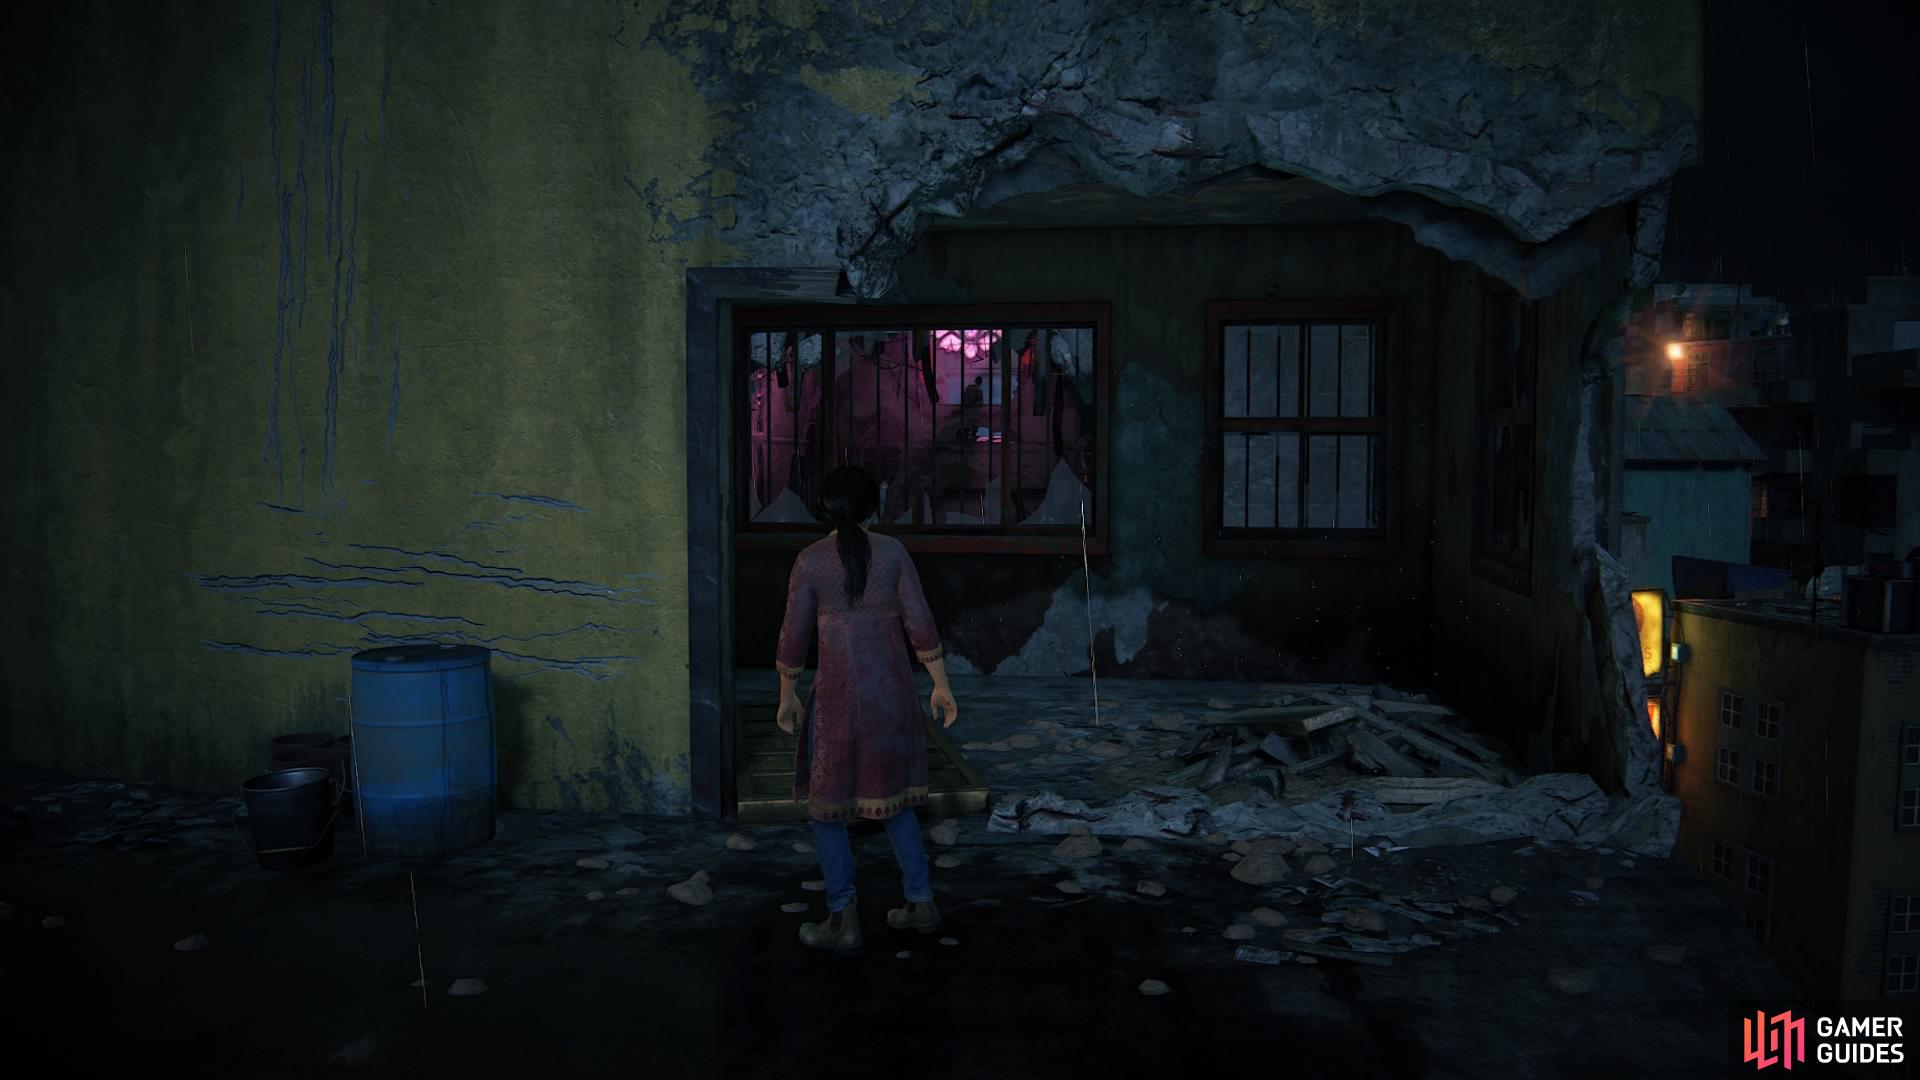
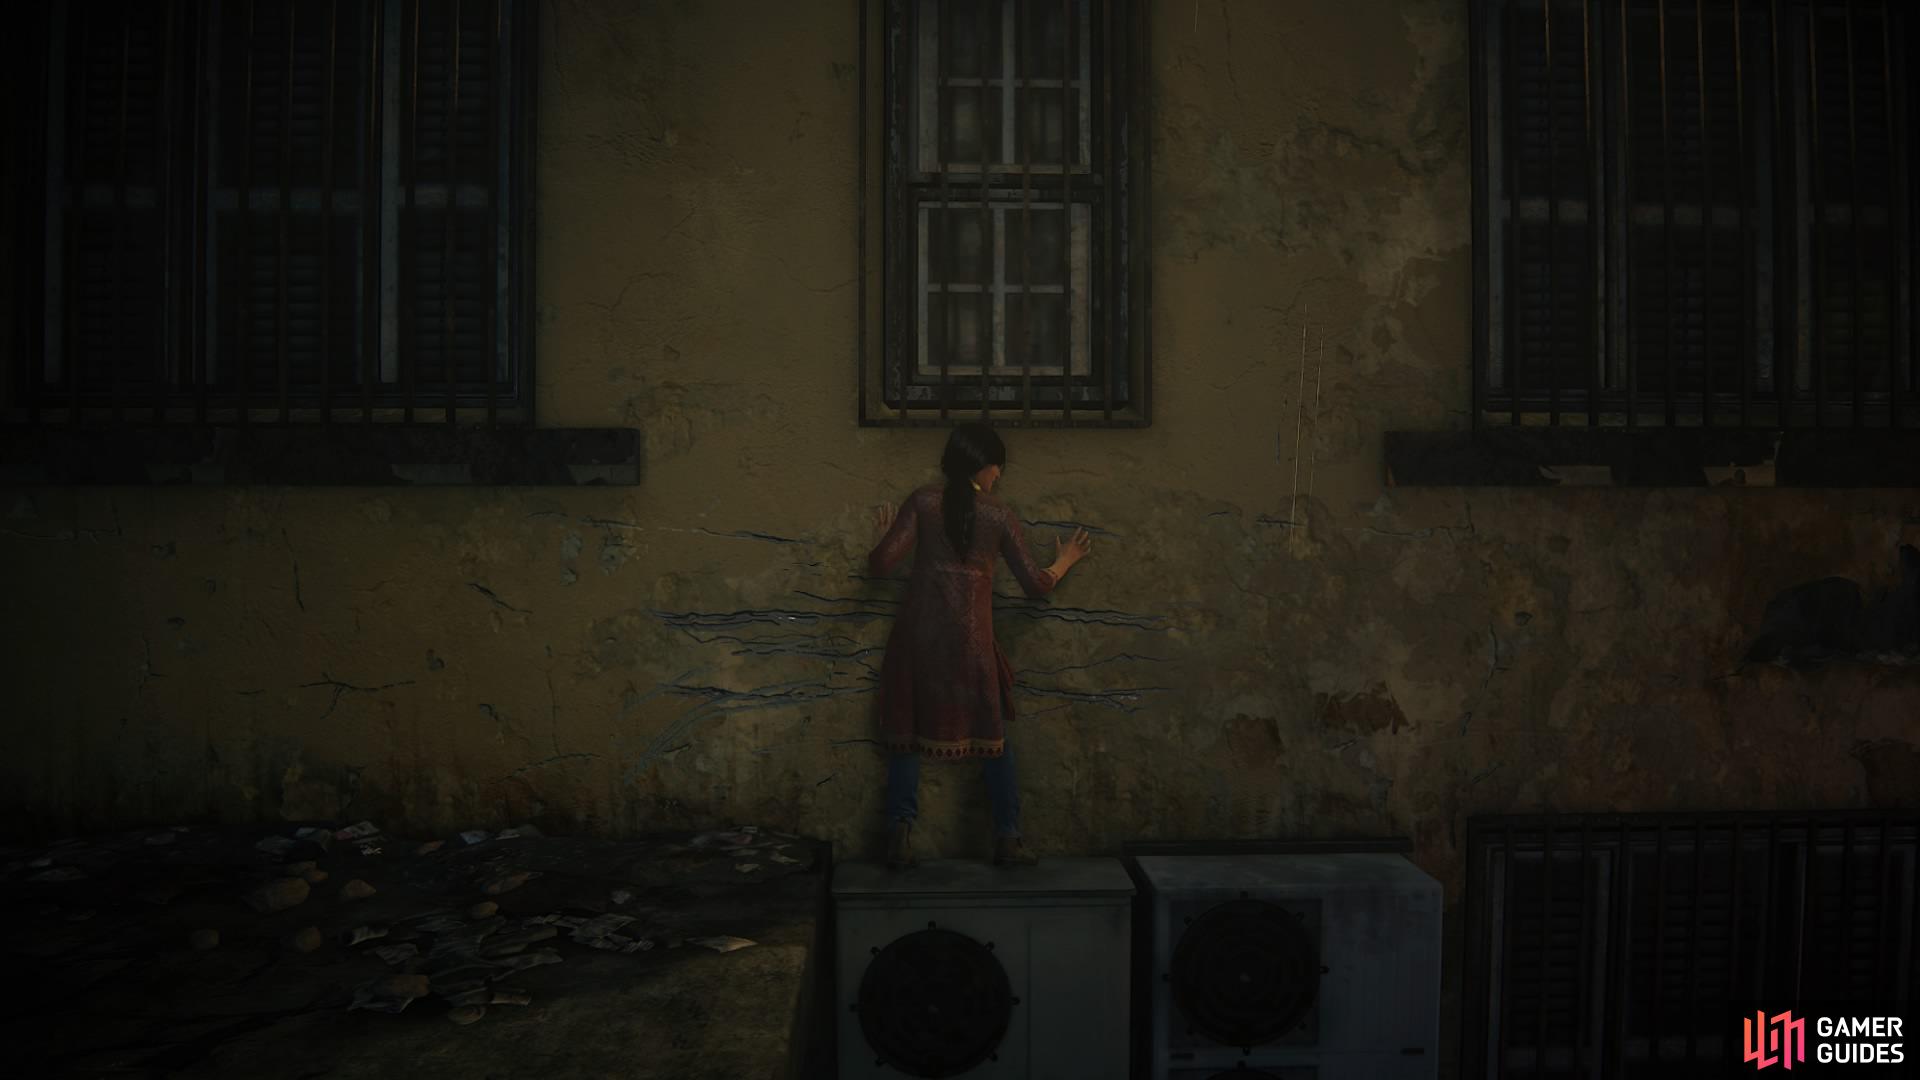
Climb up on to the next roof. To your right is a blown out wall in part of the building where you can see a barred window inside. Press L3 on the analogue stick to have Chloe zoom in on the soldier guarding the building across the way. This is where you need to get to.
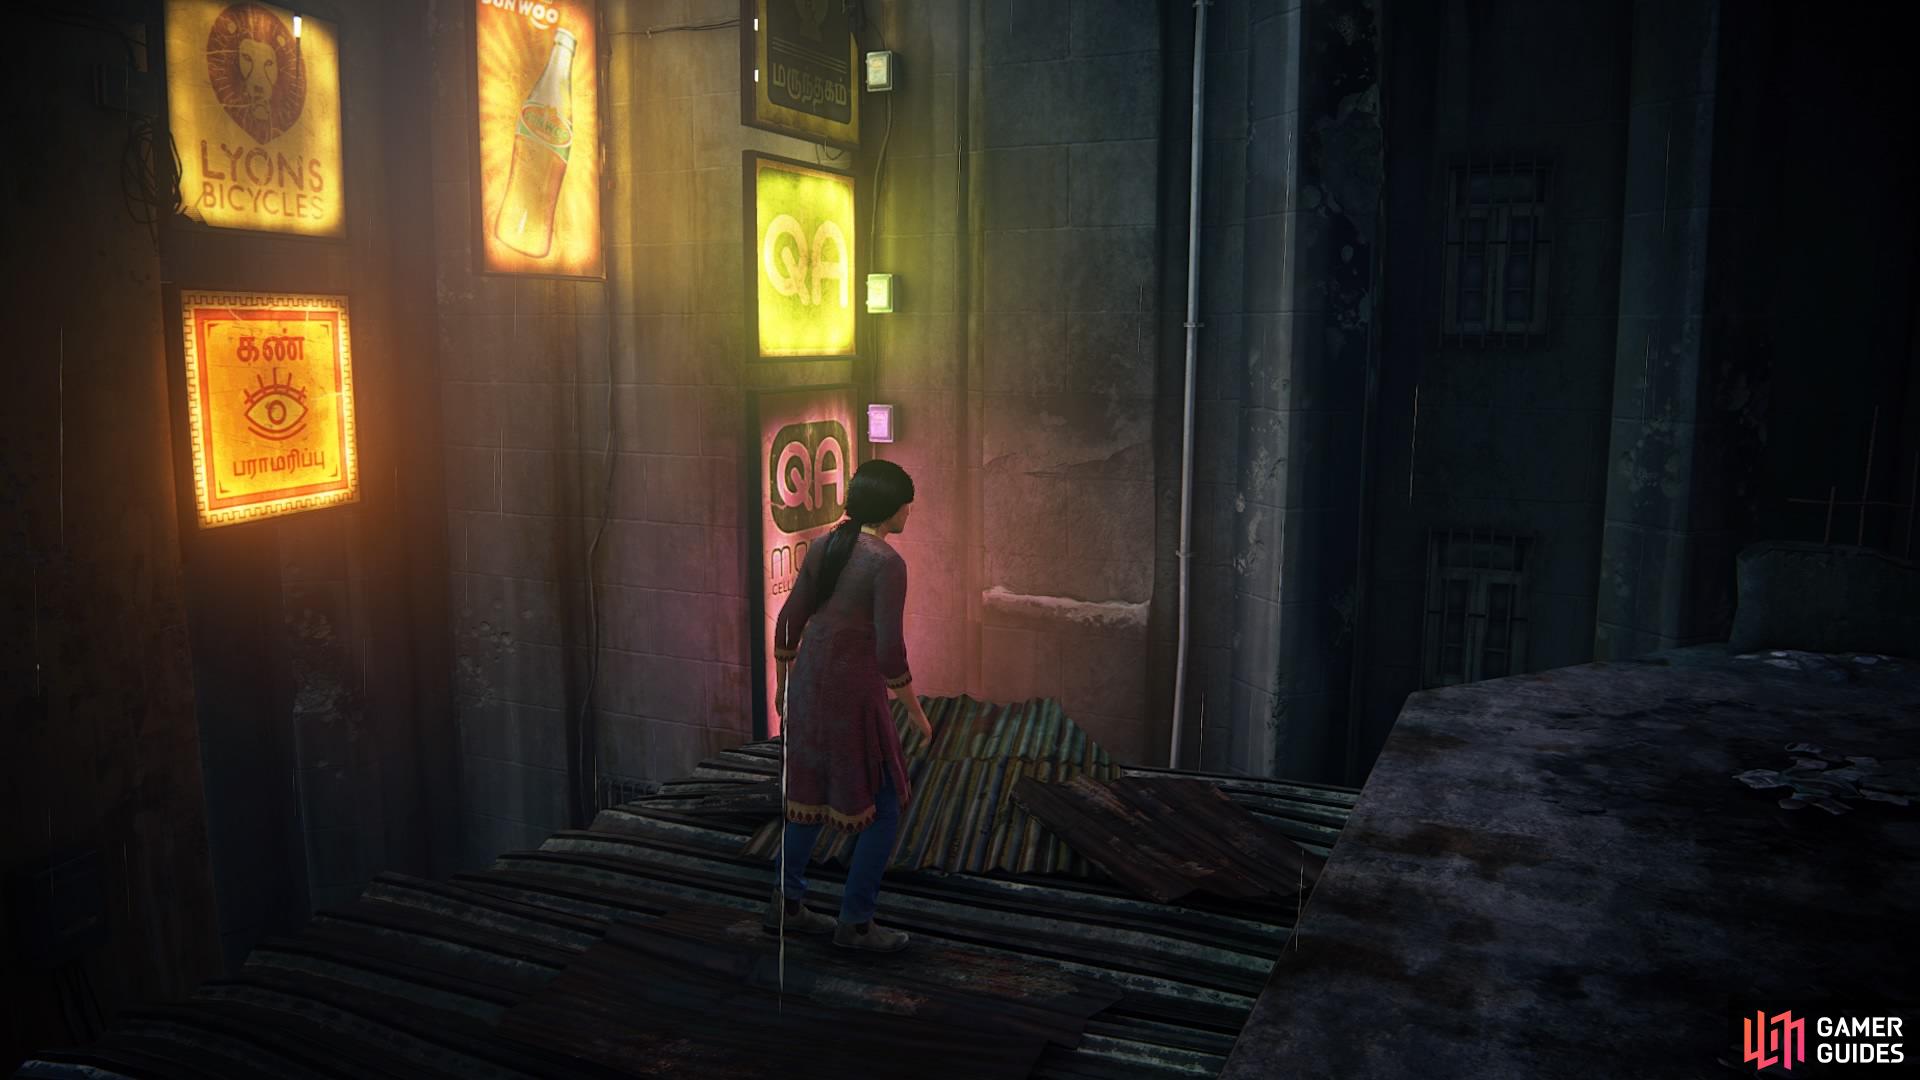
Head for the lit up signs in front of you and use the vents to shimmy closer to them. Traverse the signs and the building by using the handholds and pipes until you reach the top.
Use the air vents to shimmy across

Make your way around and up the building
There’ll be another red crate for you to move – grab it and manoeuvre it to the ledge on the right to push it down for Nadine. But it doesn’t quite work as expected; the crate is surprisingly heavy enough to cause the roof to cave in where Nadine is standing below.
Drop down into this new hole and go forward to balance on the wooden beam ahead. Follow the handholds around and vault up into the building – go straight ahead past the computer desks and through the door on the right. Follow the corridor until you come to another beam. The soldier on guard duty is above you now, so jump across, climb up, and press the square button to knock him out and drag him over.
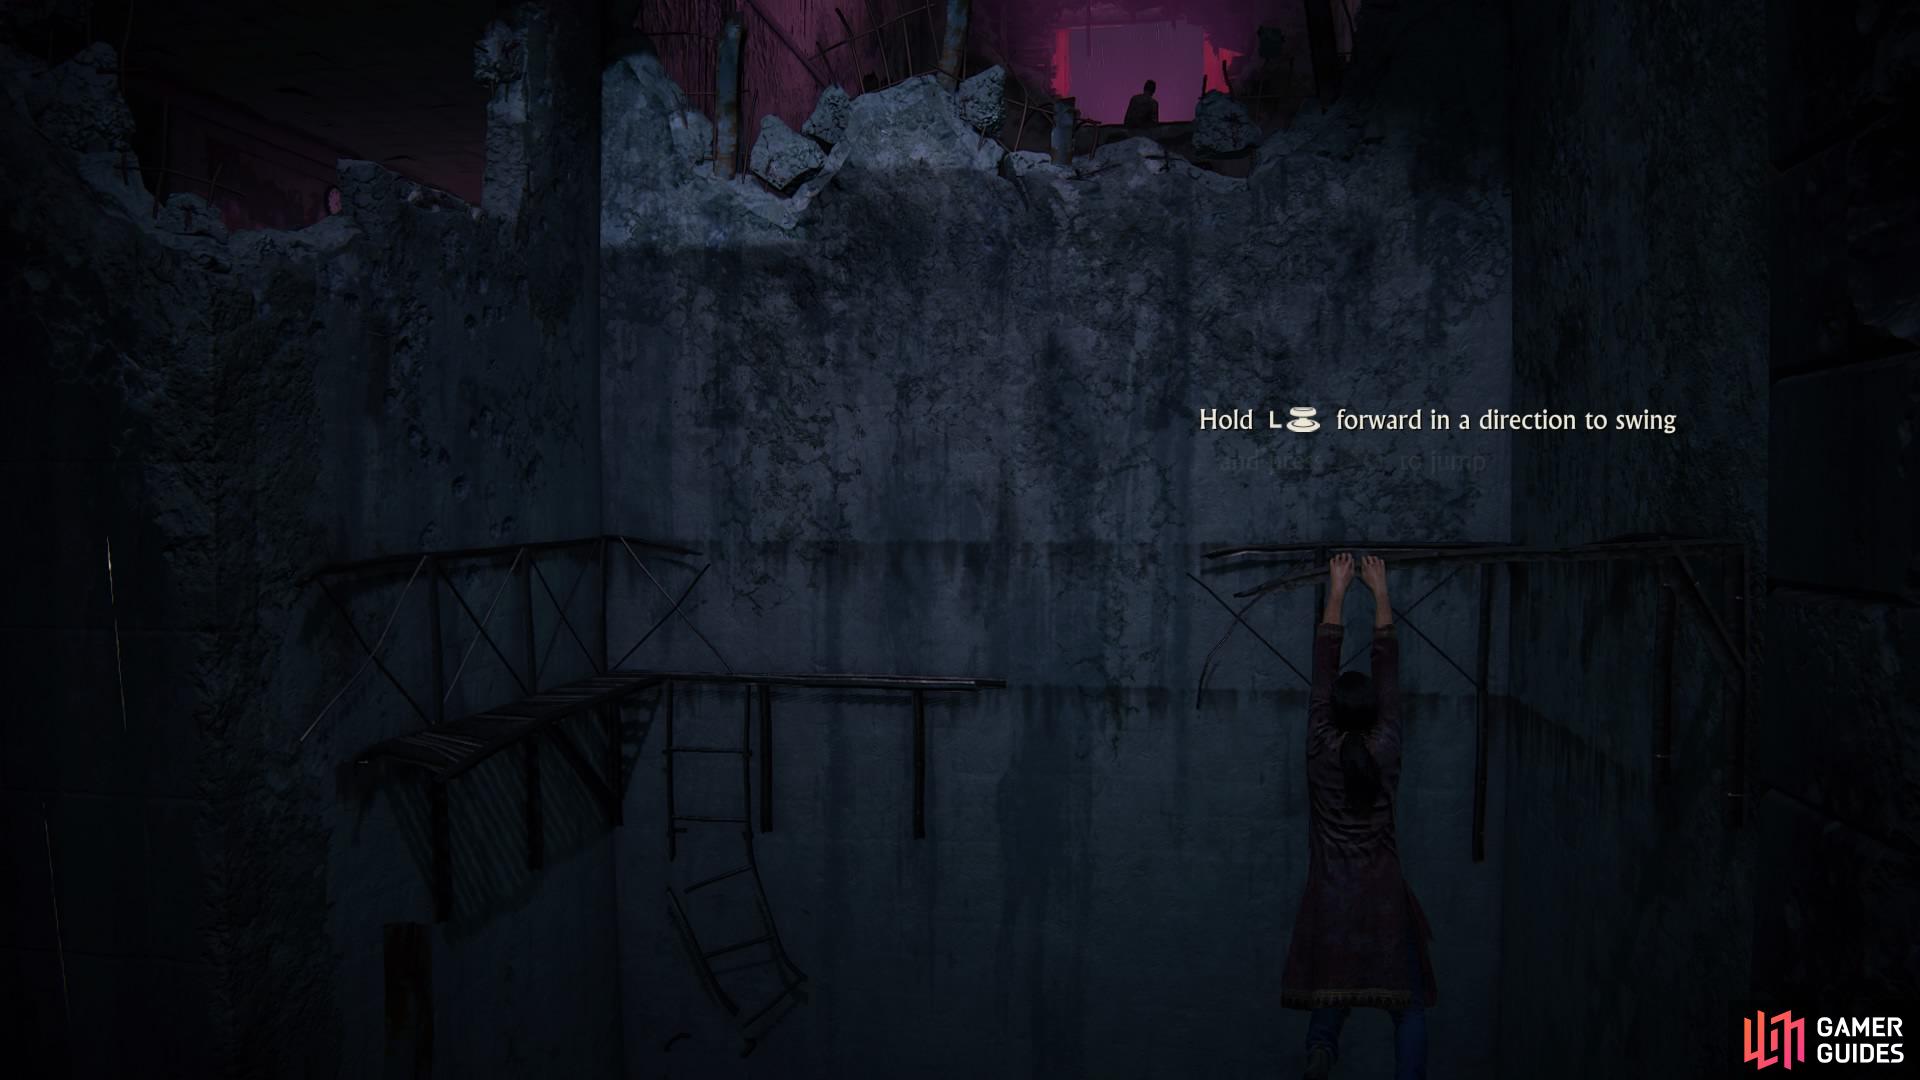
You can swing from certain obstructions while climbing by pressing X
Take out the unsuspecting guard above
Step outside on to the balcony and safely drop to the ledge. You can do this by standing over a ledge and pressing circle. Then shimmy left or right and climb up the building to reach the next balcony above you. You’ll be prompted to picklock a glass door, but Nadine is impatient and decides to break in to save time.
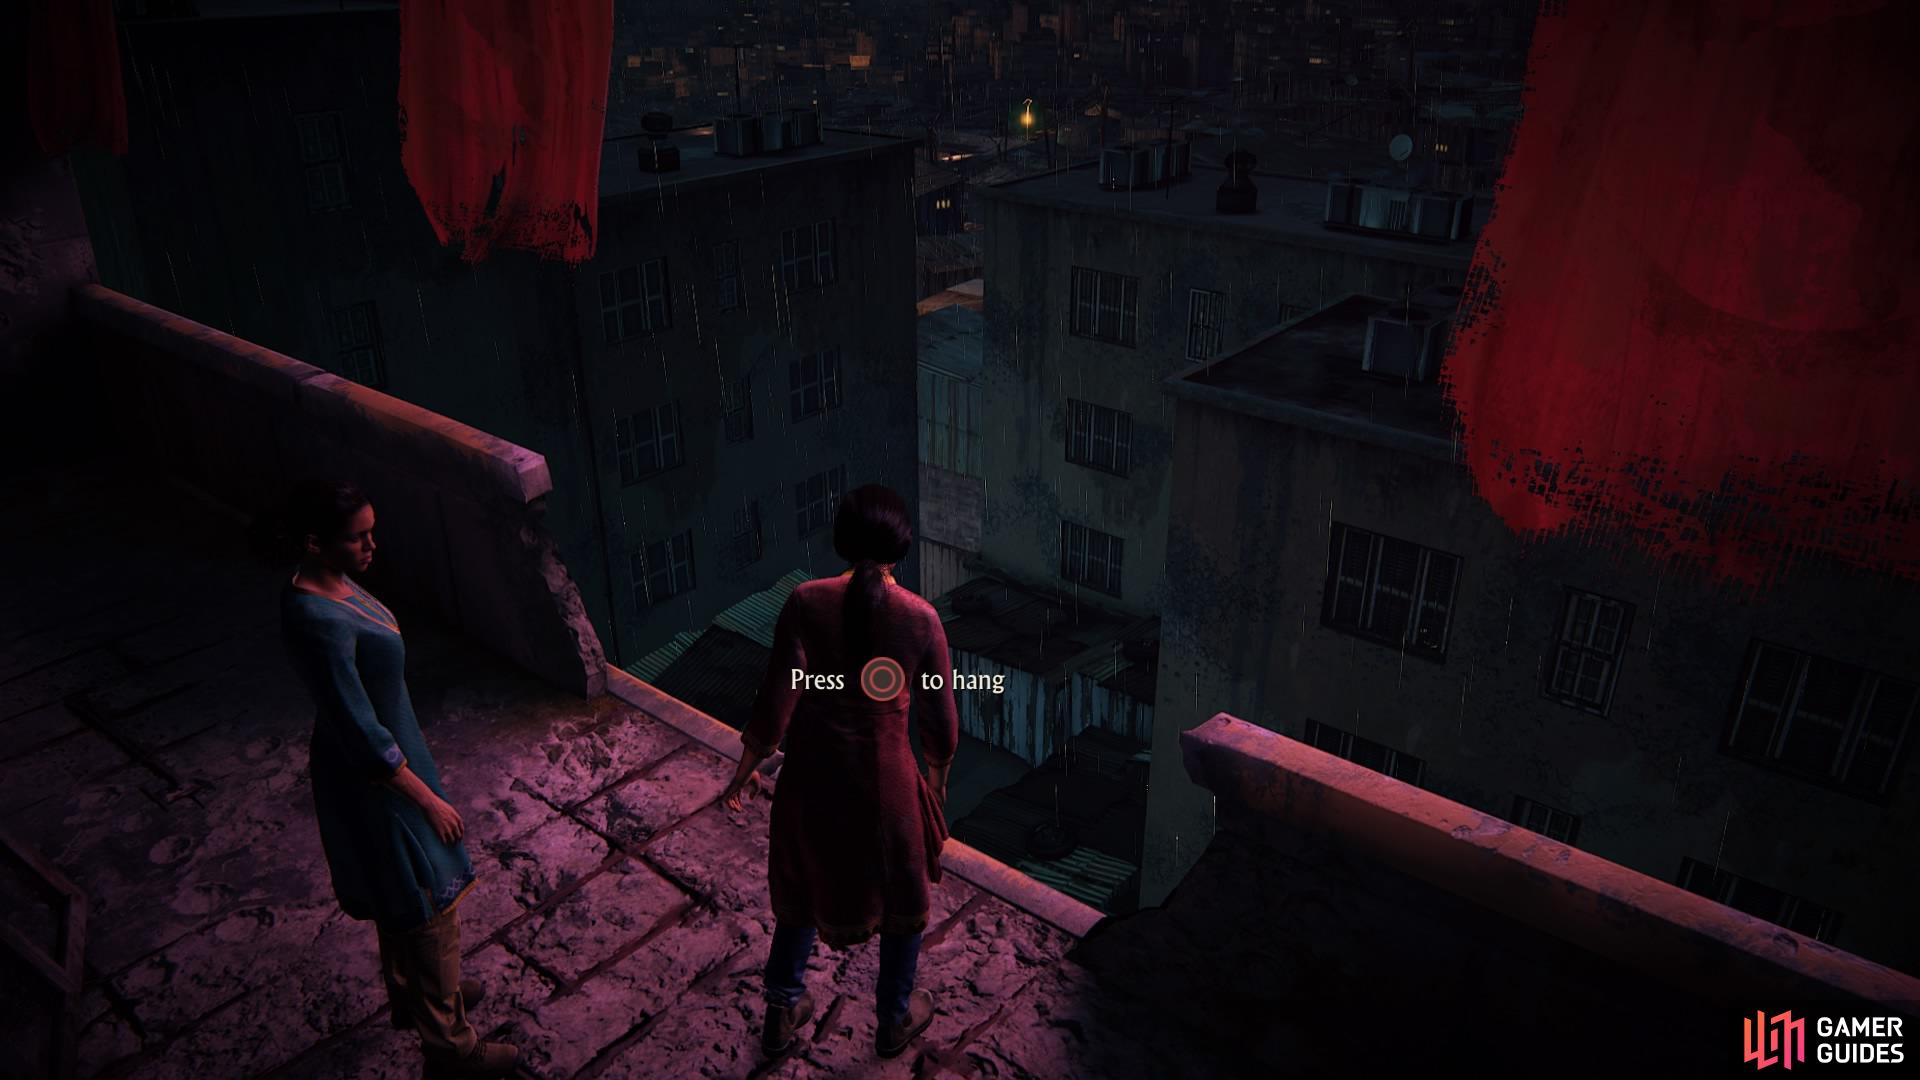
Drop safely to the ledge
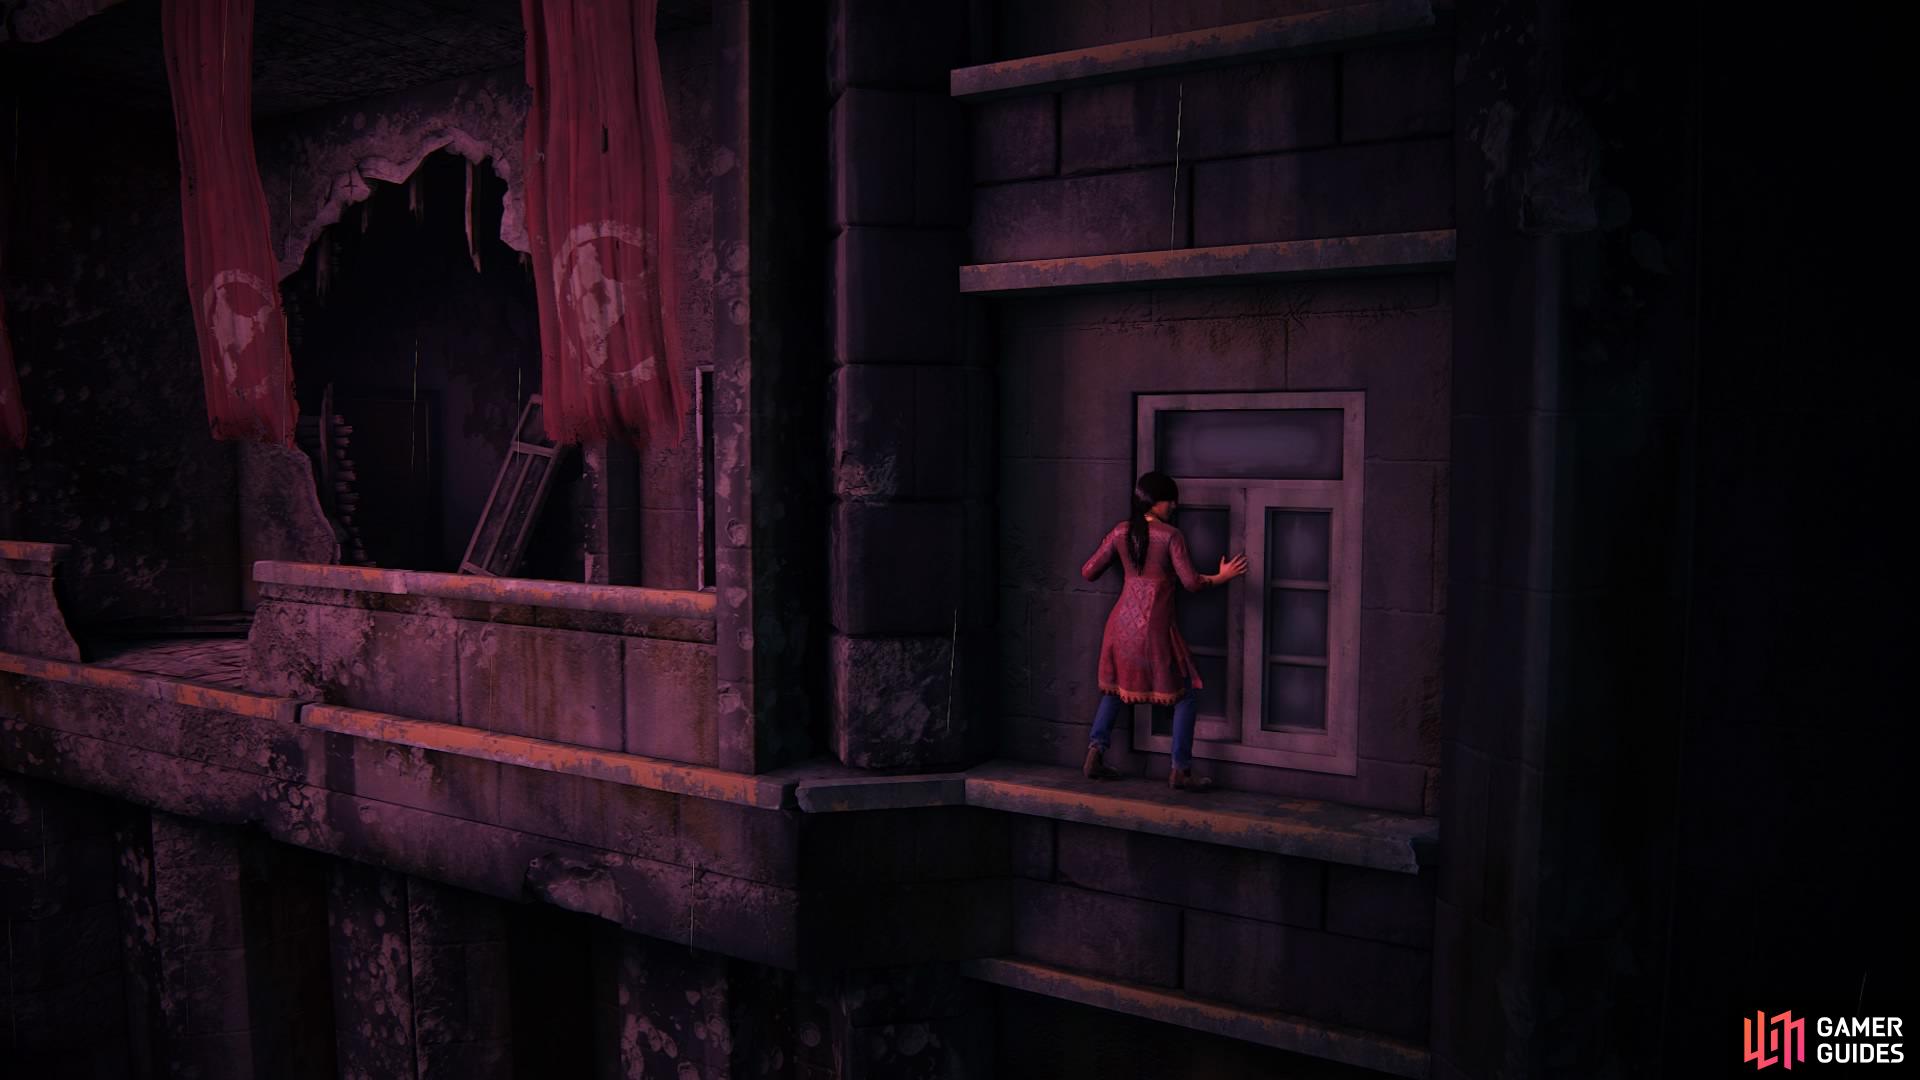
Climb the building to the balcony above
There are shelves full of antiquities, all part of Asav’s collection, and you can even study some pieces by walking over to them and pressing triangle. The only piece of real interest here is the map on the wall – have Chloe acquire the image of the Tusk of Ganesh for Nadine to prompt you with opening a box. Break into it to receive an important object and activate your first cutscene with Asav.
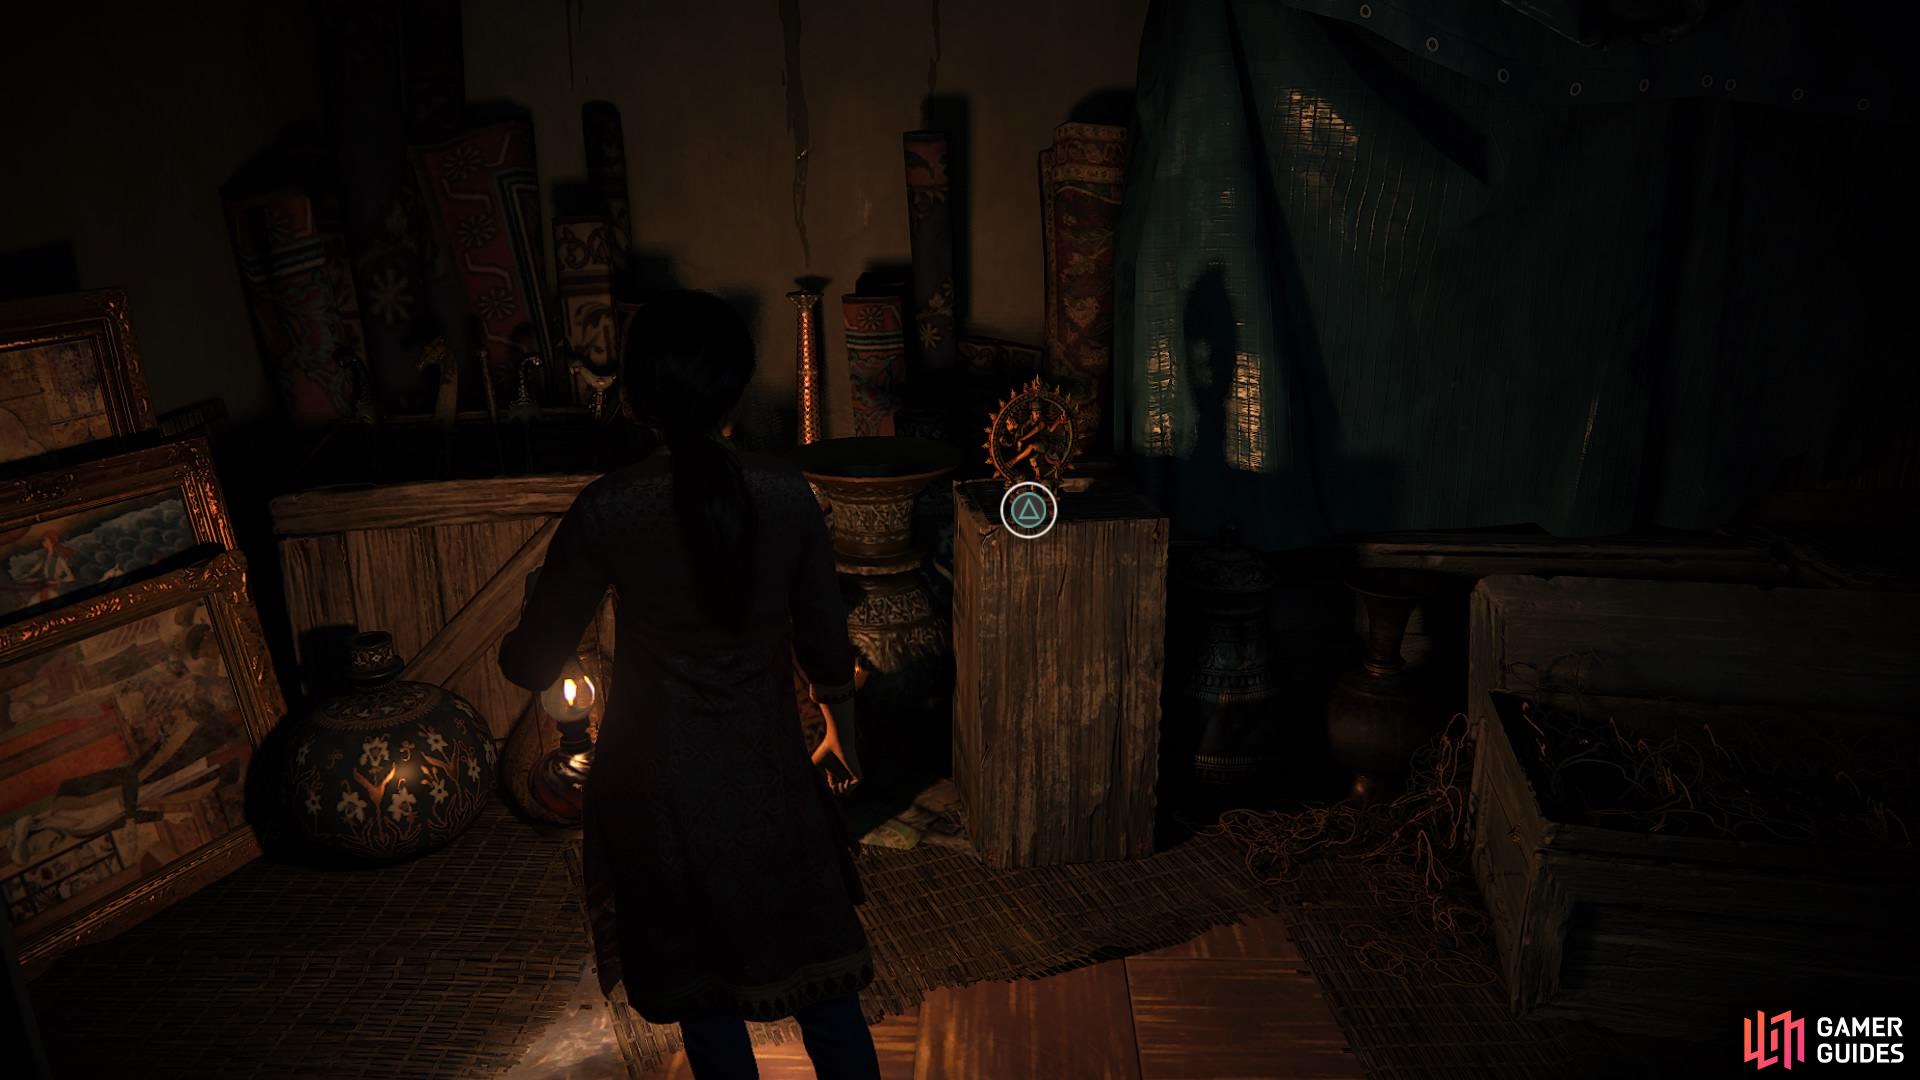
Inspect objects in the game with the use of the triangle button
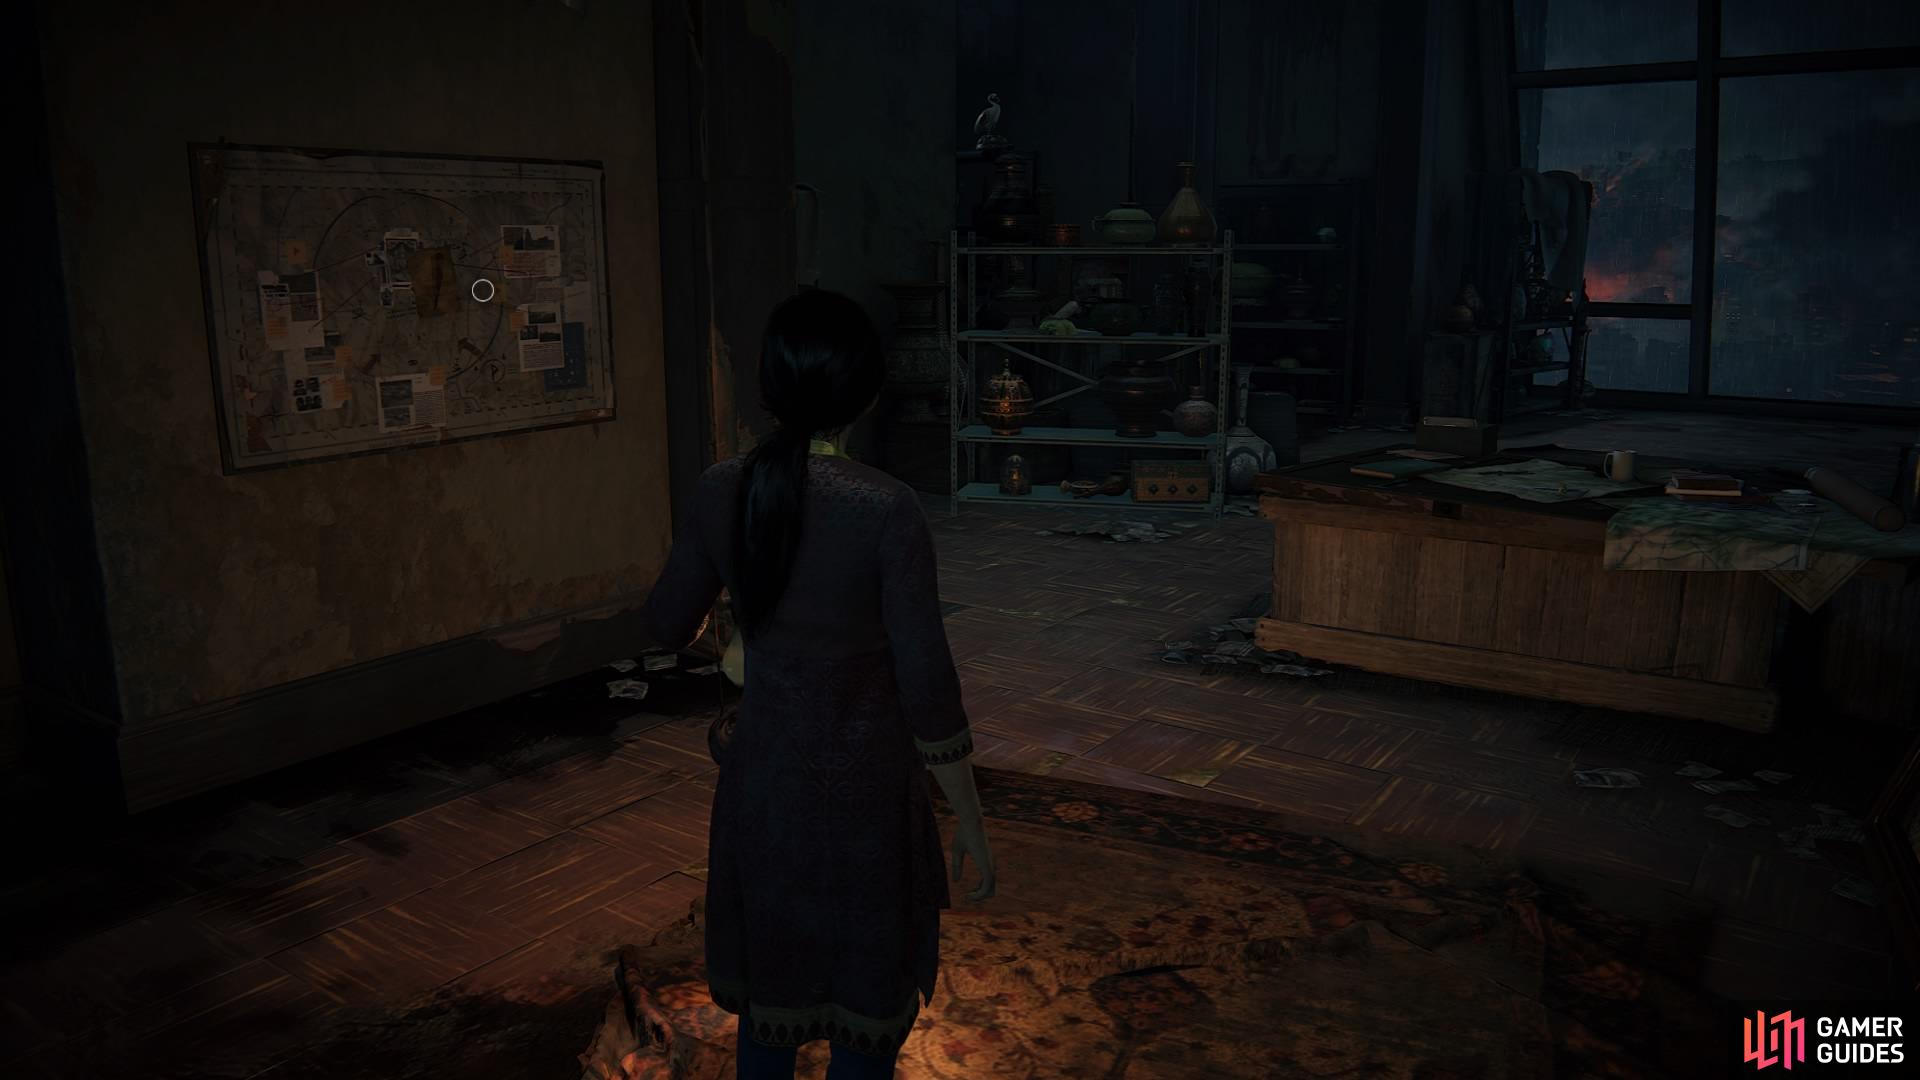
Take the picture of the Tusk from the map on the wall
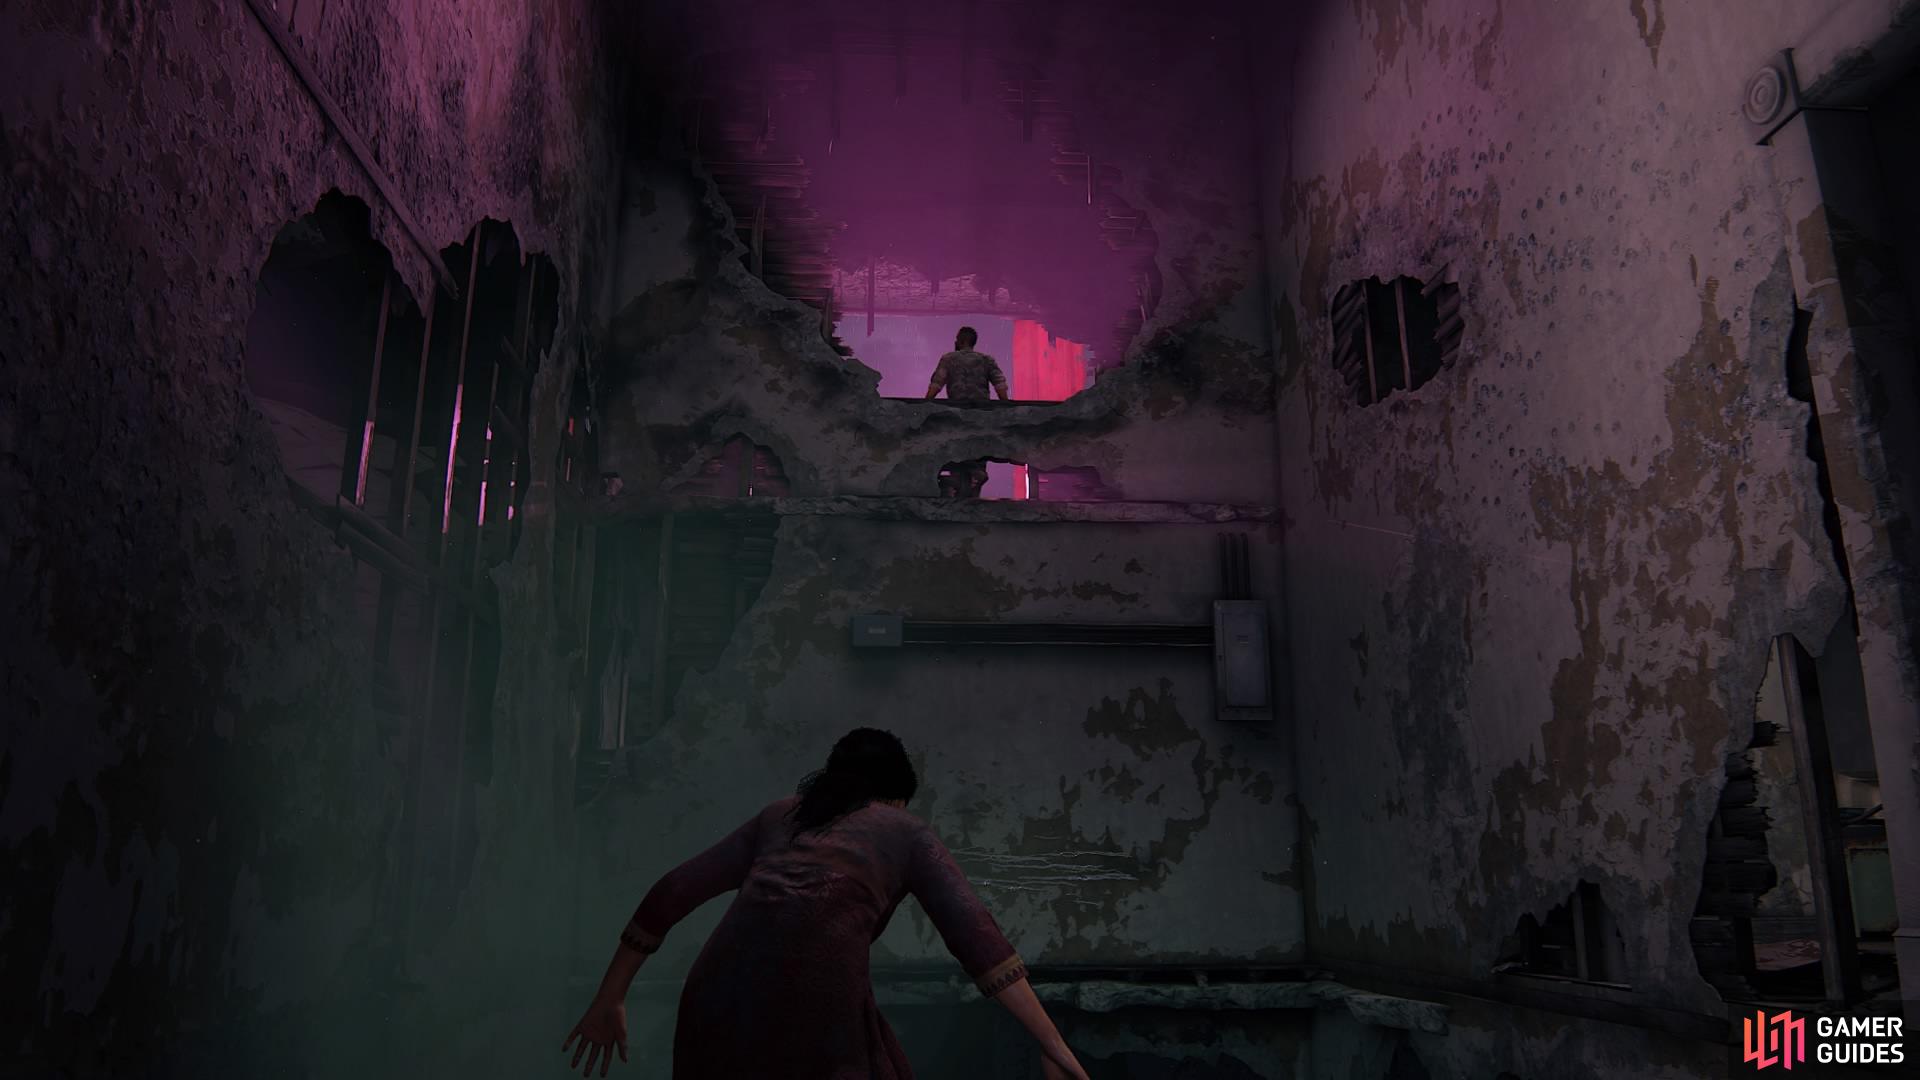
When the cutscene is over, you have to make a break for it! If you’re familiar with these escape scenes from previous Uncharted games, then you know what’s coming.
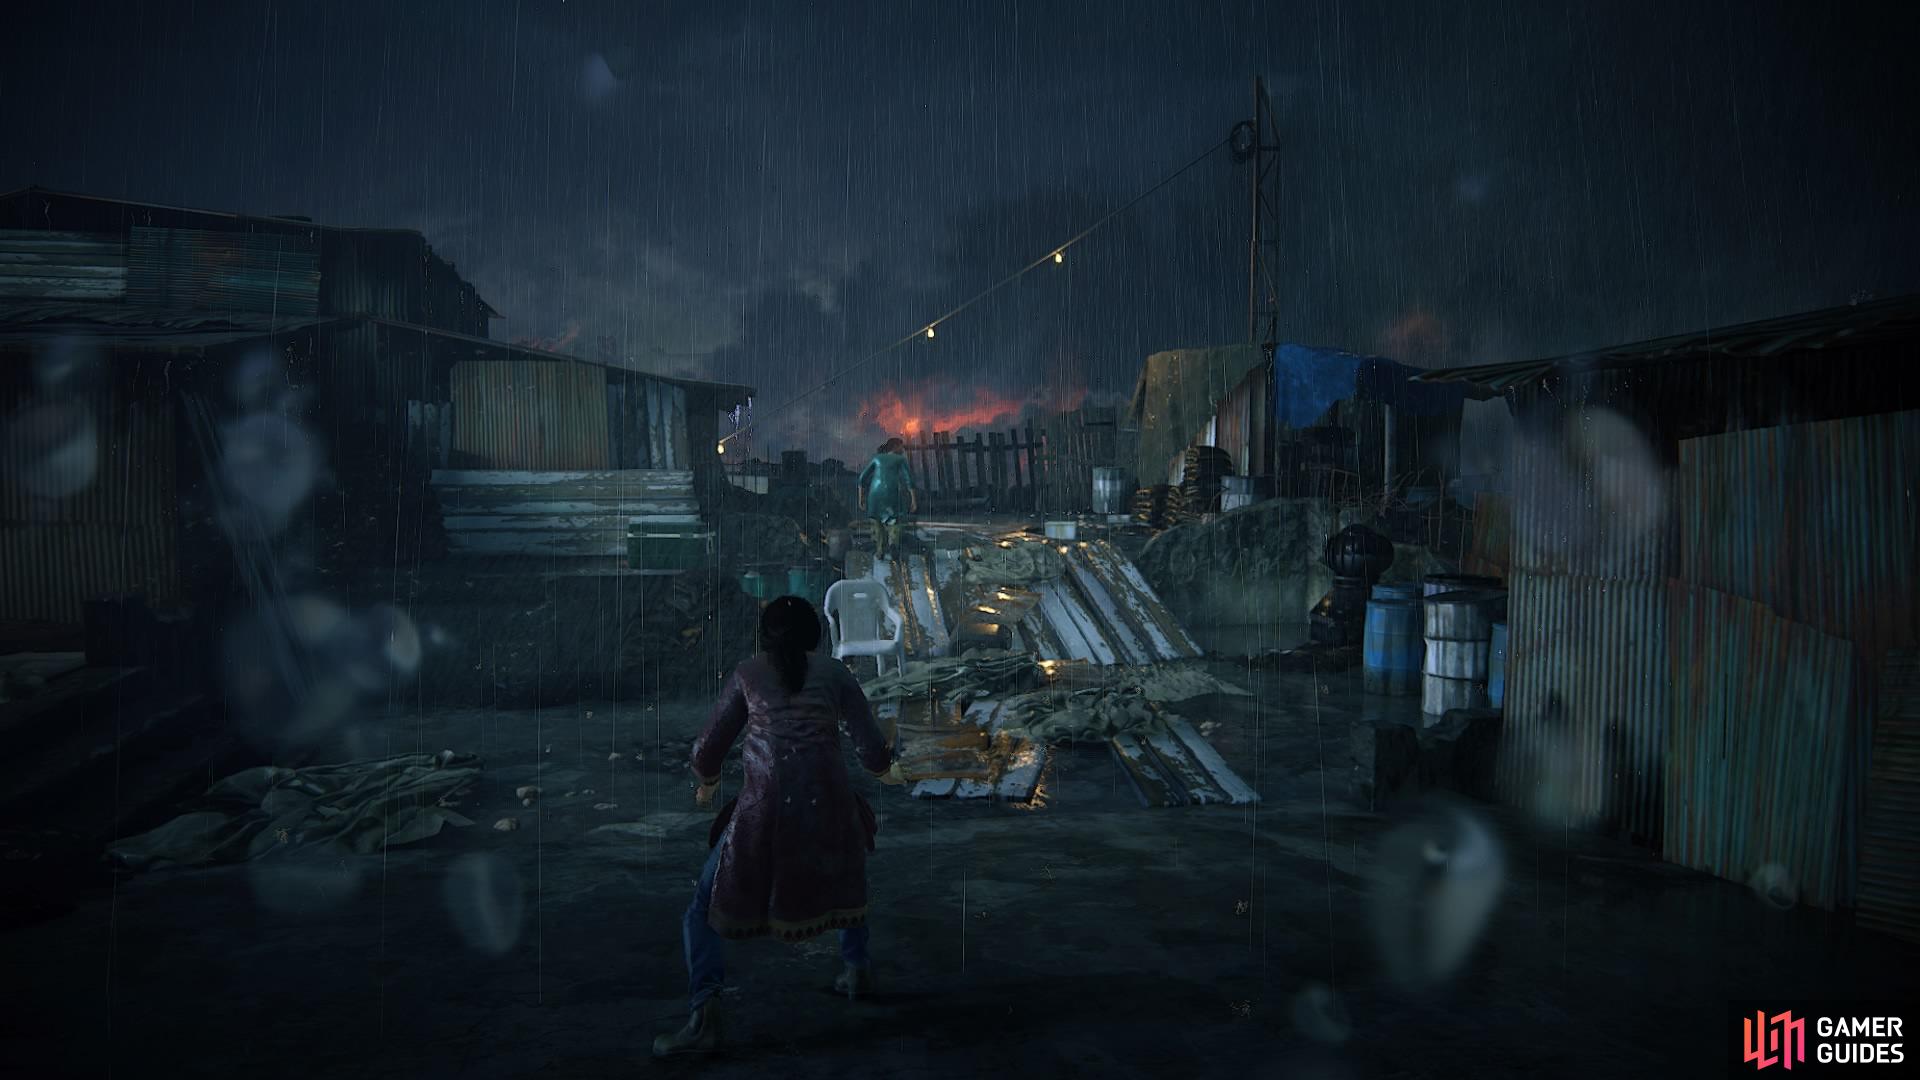
Follow Nadine as she breaks through the giant window to fall through the tin roof below. Jump to the next roof and go down the zip wire. Keep running and roof-hopping – half way through will be a short scene between Chloe and Nadine before you have to make a run for it again.
Fight off the soldiers and keep heading across the rooftops until you inevitably fall into the river. Don’t worry, this is where you need to be, so sit back and enjoy the next cutscene to end the chapter.
No Comments