Grand Strategist Talents
| Icon | Title | Details | Screenshots | |||||||||||||||||||||||||||||||||||||||||||||||||||||||||||||||||||||||||||||||||||||||||||||||
|---|---|---|---|---|---|---|---|---|---|---|---|---|---|---|---|---|---|---|---|---|---|---|---|---|---|---|---|---|---|---|---|---|---|---|---|---|---|---|---|---|---|---|---|---|---|---|---|---|---|---|---|---|---|---|---|---|---|---|---|---|---|---|---|---|---|---|---|---|---|---|---|---|---|---|---|---|---|---|---|---|---|---|---|---|---|---|---|---|---|---|---|---|---|---|---|---|---|---|

|
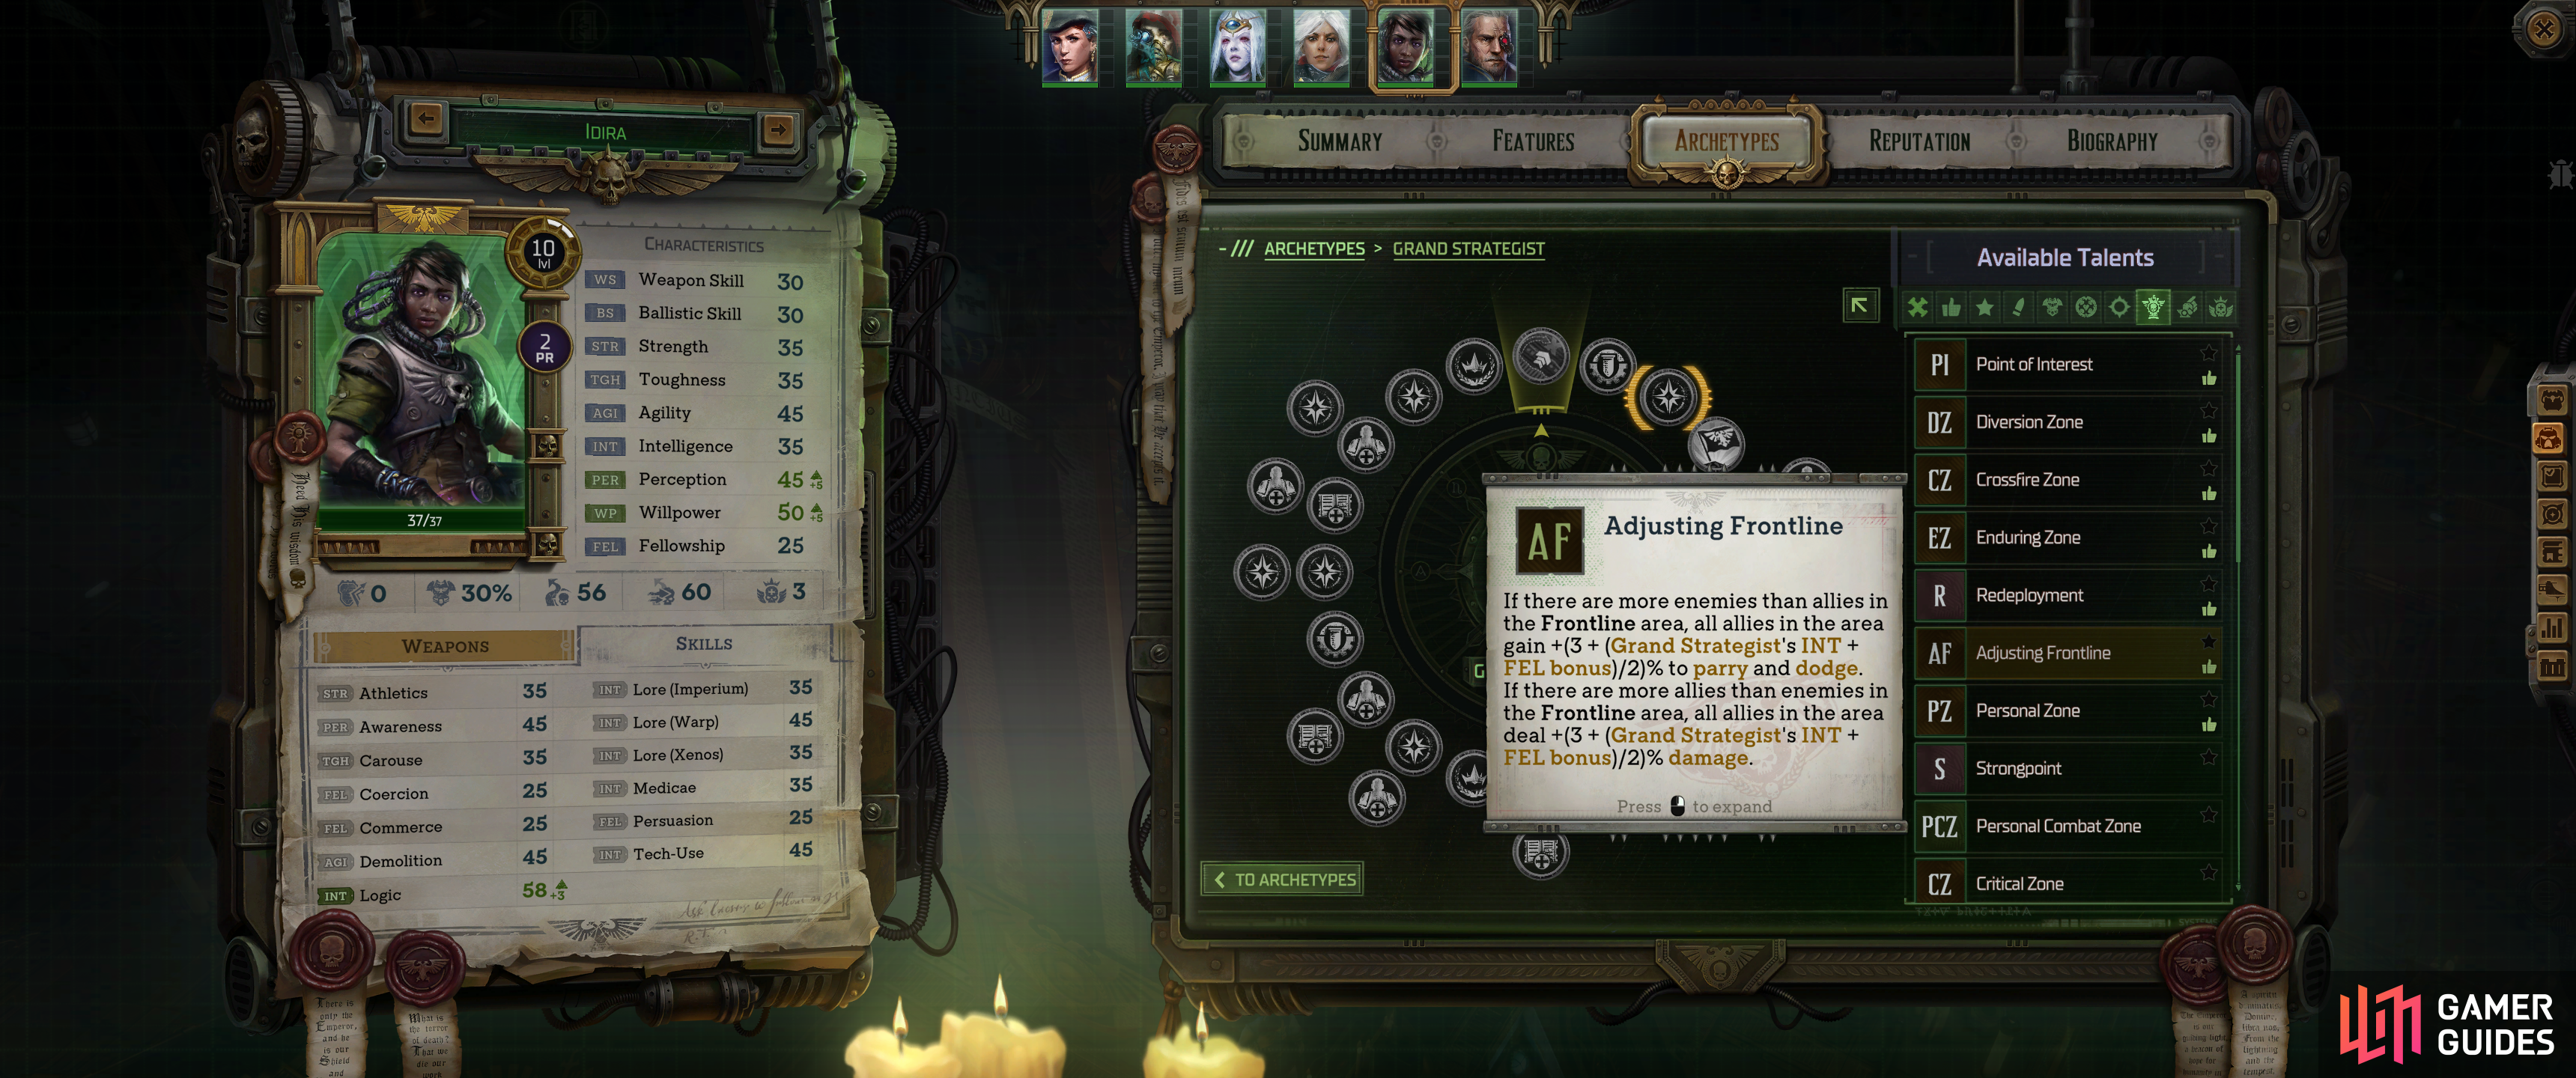
Adjusting Frontline |
If there are more enemies than allies in the Frontline area, all allies in the area gain +(3 + (Grand Strategist’s INT + FEL bonus)/2)% to parry and dodge. If there are more allies than enemies in the Frontline area, all allies in the area deal +(3 + (Grand Strategist’s INT + FEL bonus)/2)% damage. |
|
|||||||||||||||||||||||||||||||||||||||||||||||||||||||||||||||||||||||||||||||||||||||||||||||

|
Blurred Locus |
After the use of |

|
|||||||||||||||||||||||||||||||||||||||||||||||||||||||||||||||||||||||||||||||||||||||||||||||

|
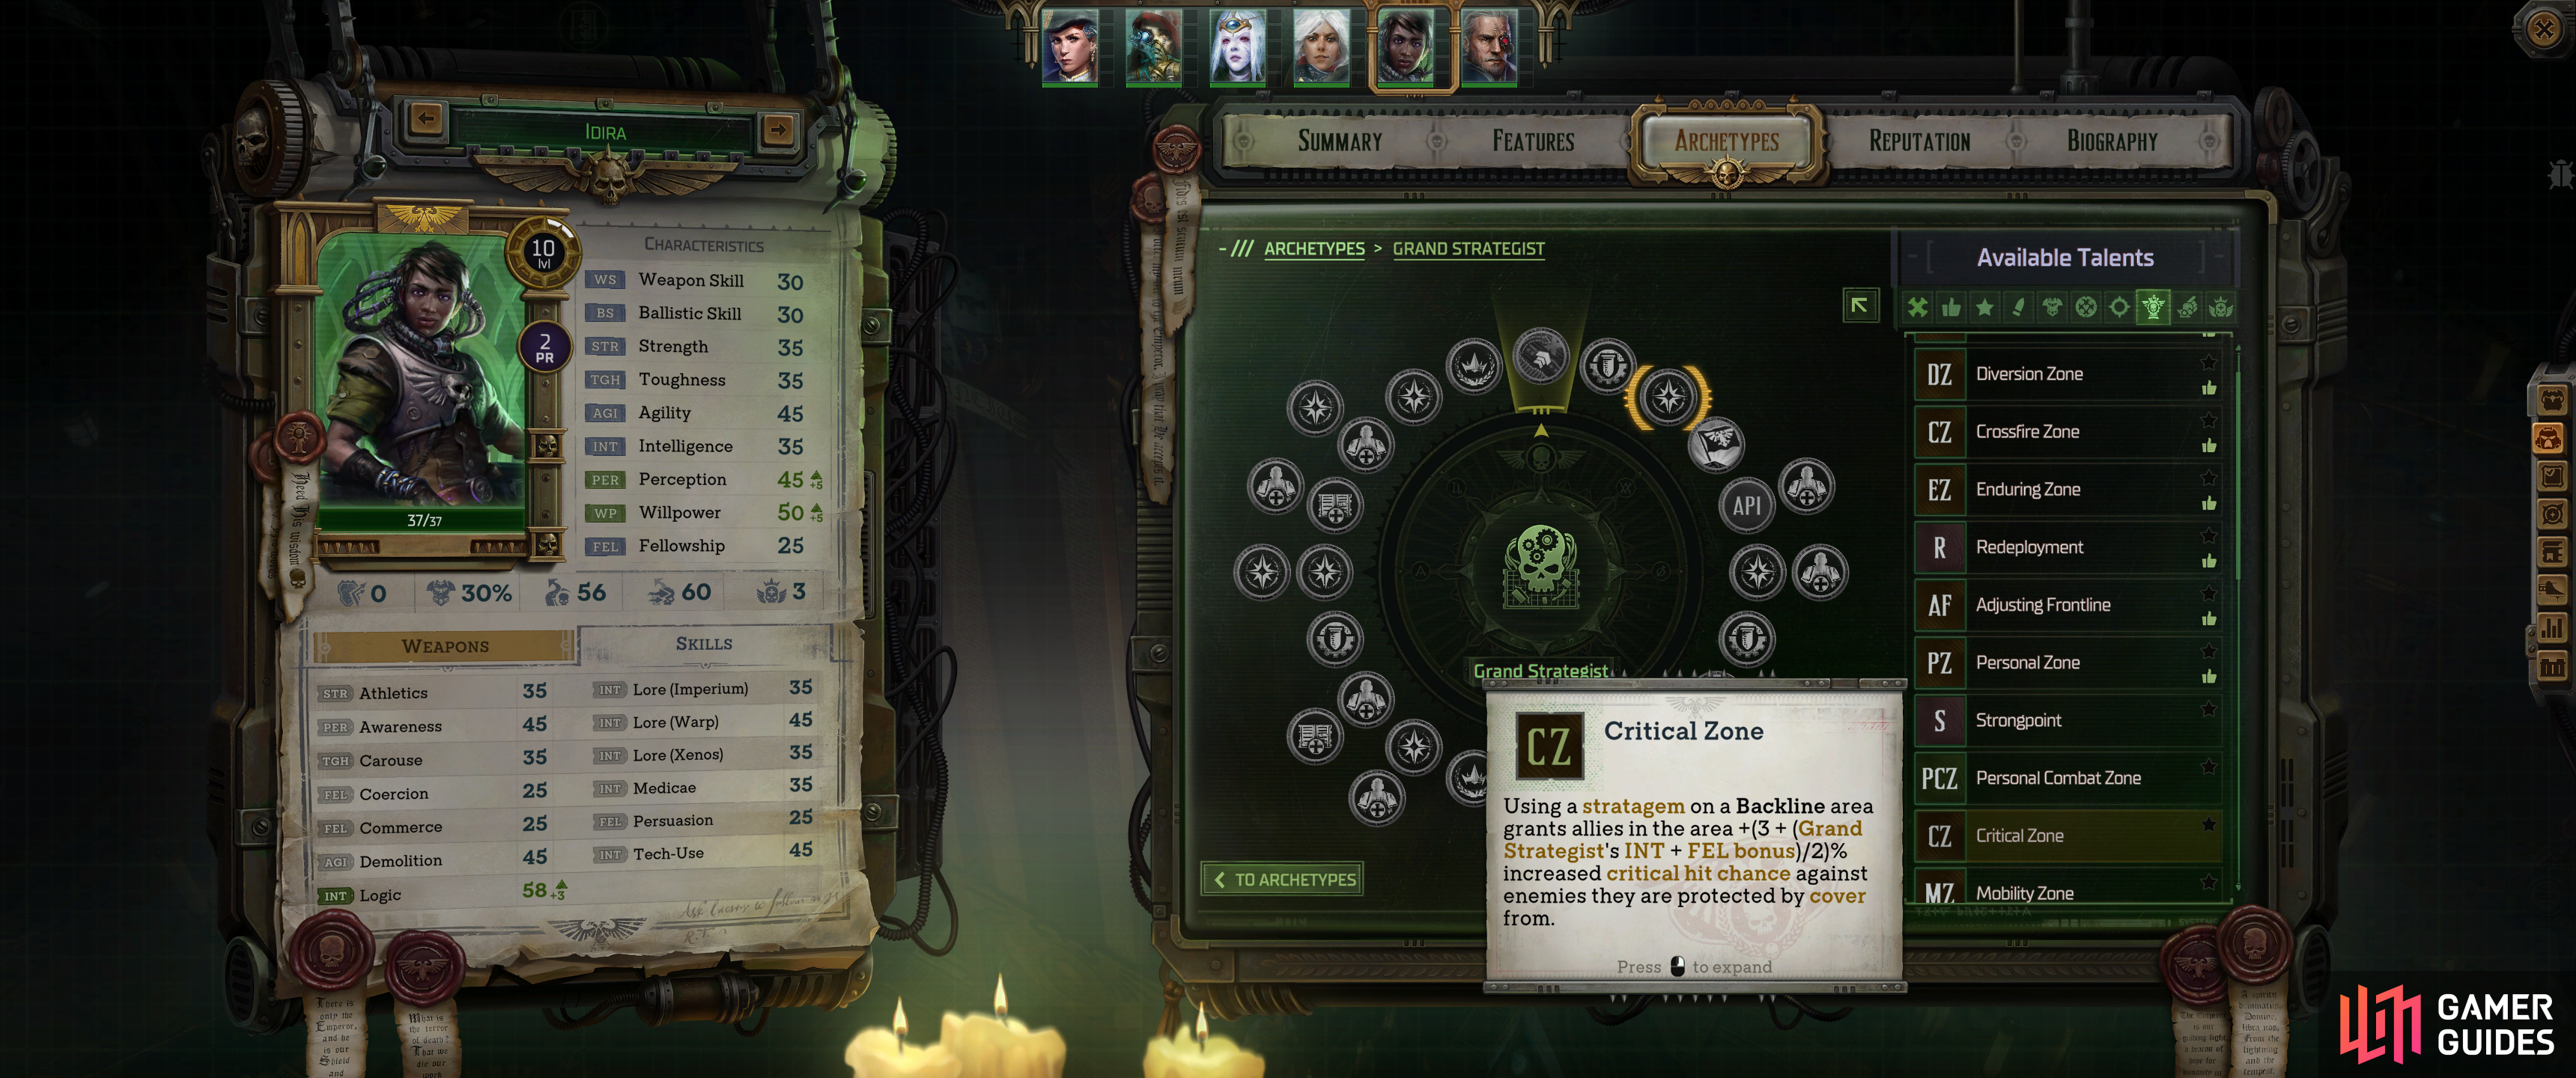
Critical Zone |
Using a stratagem on a Backline area grants allies in the area +(3 + (Grand Strategist’s INT + FEL bonus)/2)% increased critical hit chance against enemies they are protected by cover from. |
|
|||||||||||||||||||||||||||||||||||||||||||||||||||||||||||||||||||||||||||||||||||||||||||||||

|
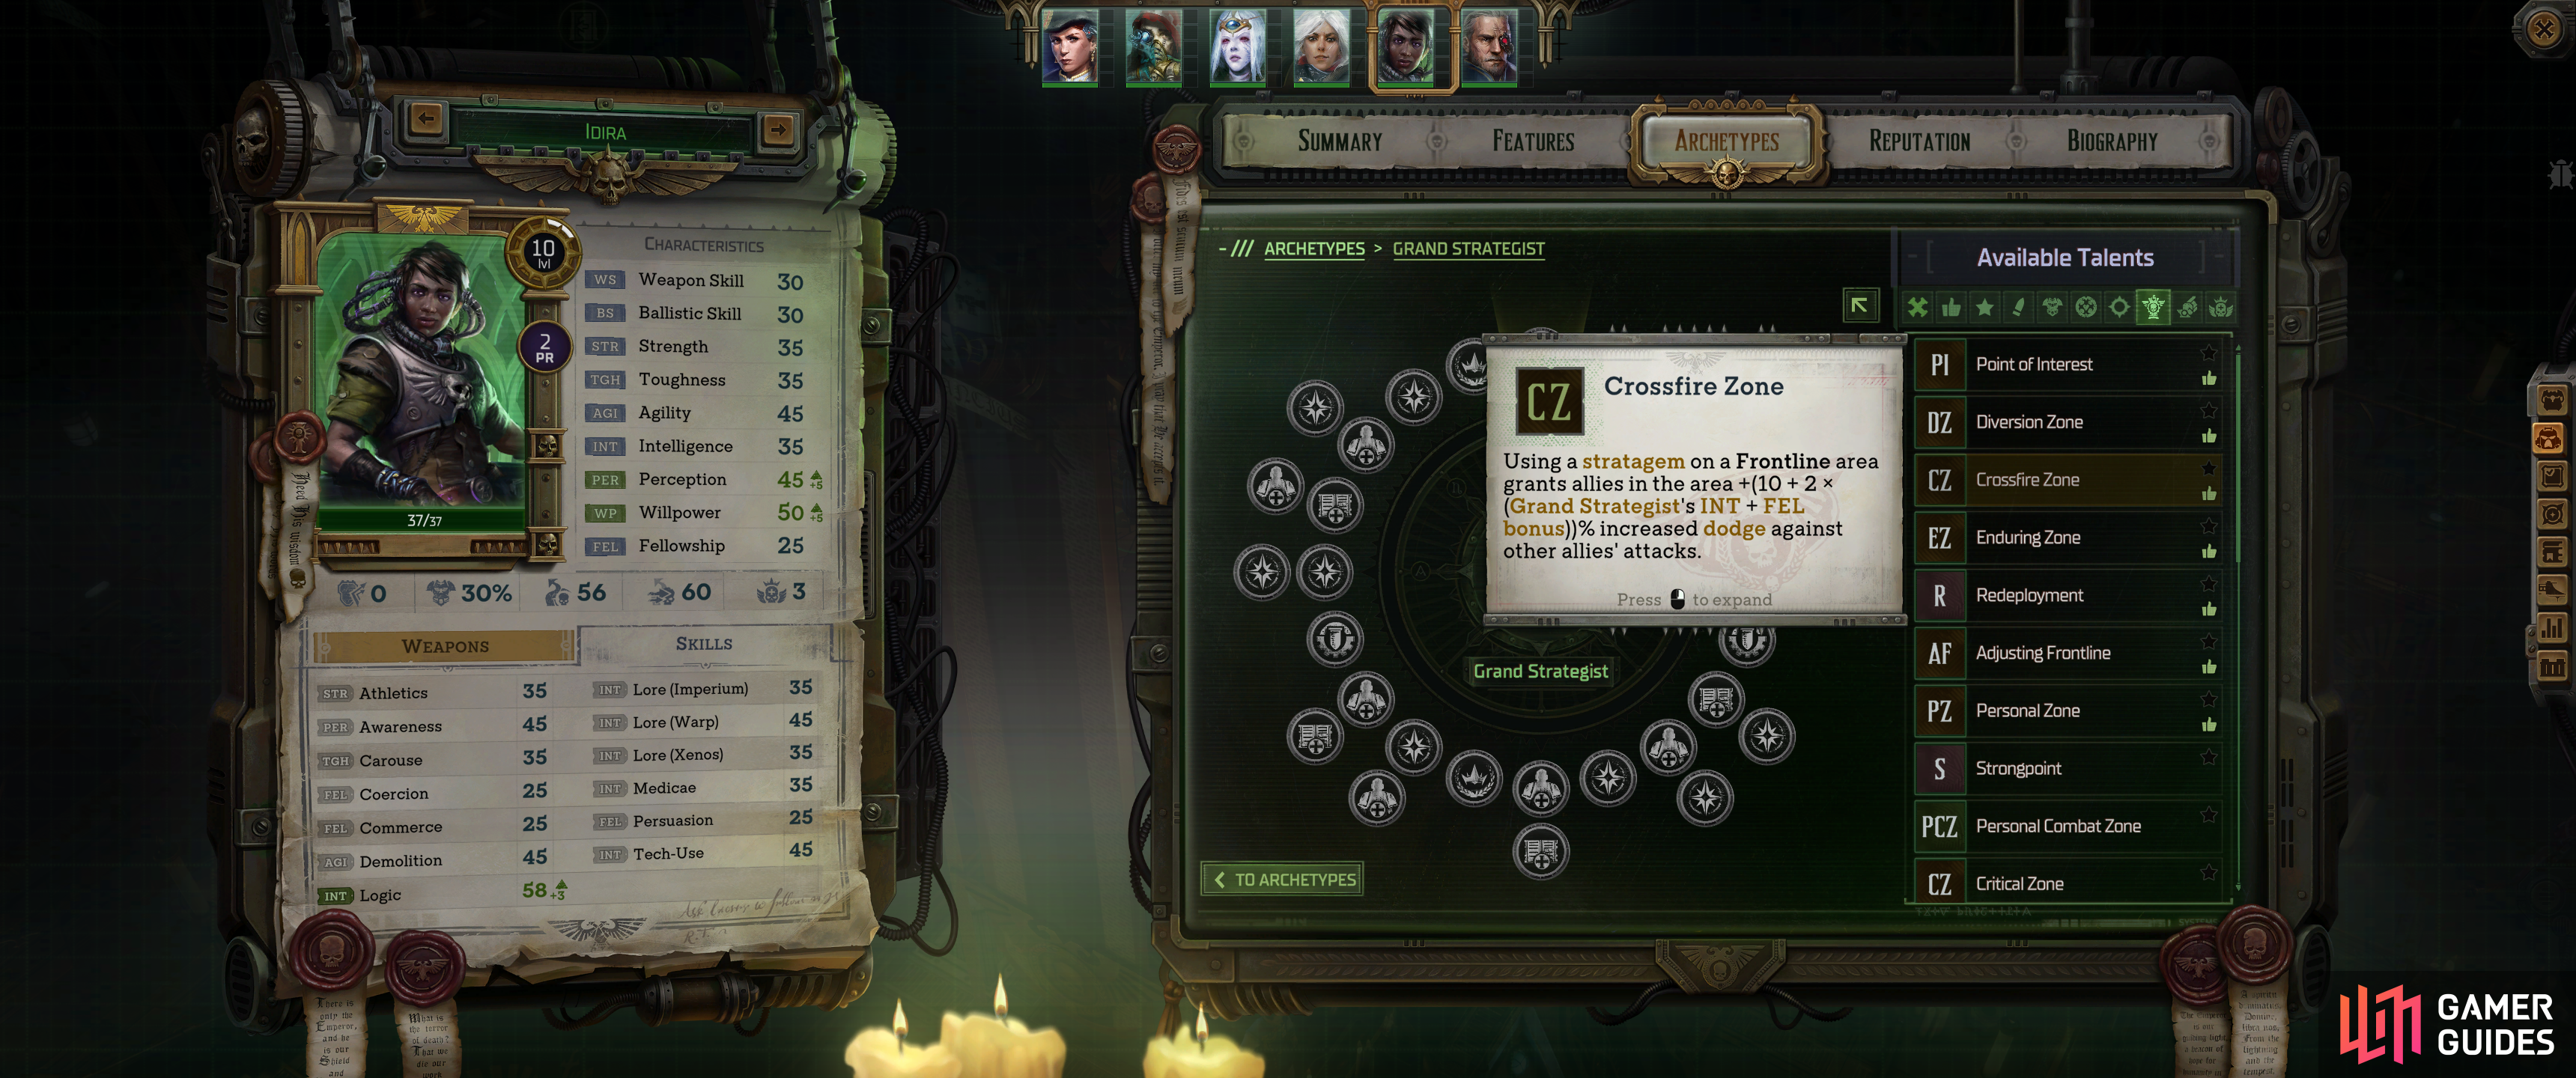
Crossfire Zone |
Using a stratagem on a Frontline area grants allies in the area +(10 + 2 x (Grand Strategist’s INT + FEL bonus))% increased dodge against other allies’ attacks. |
|
|||||||||||||||||||||||||||||||||||||||||||||||||||||||||||||||||||||||||||||||||||||||||||||||

|
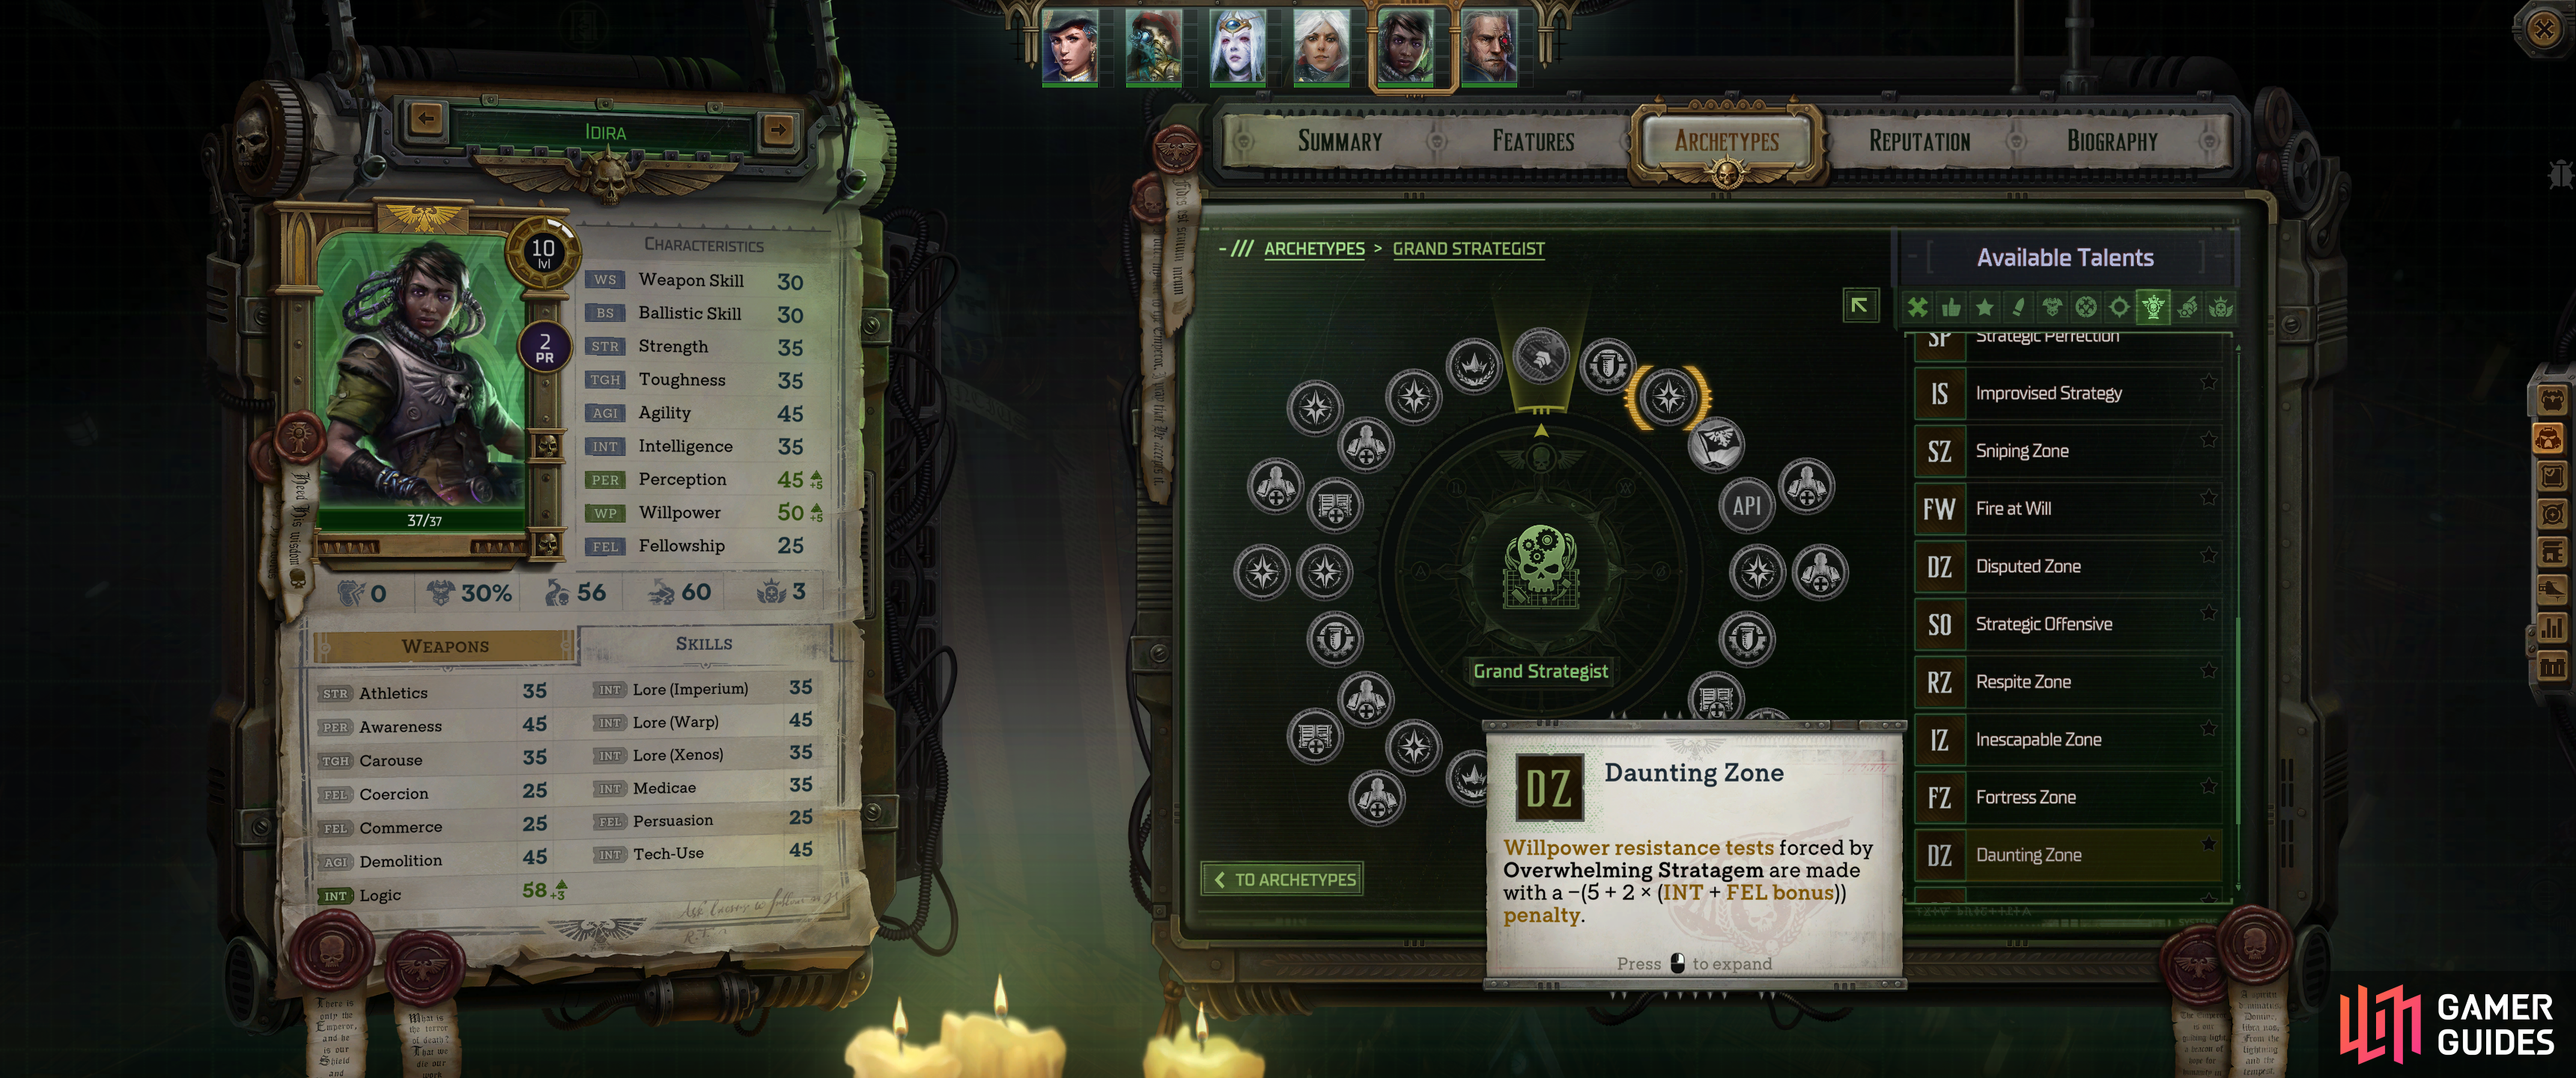
Daunting Zone |
|
|
|||||||||||||||||||||||||||||||||||||||||||||||||||||||||||||||||||||||||||||||||||||||||||||||

|
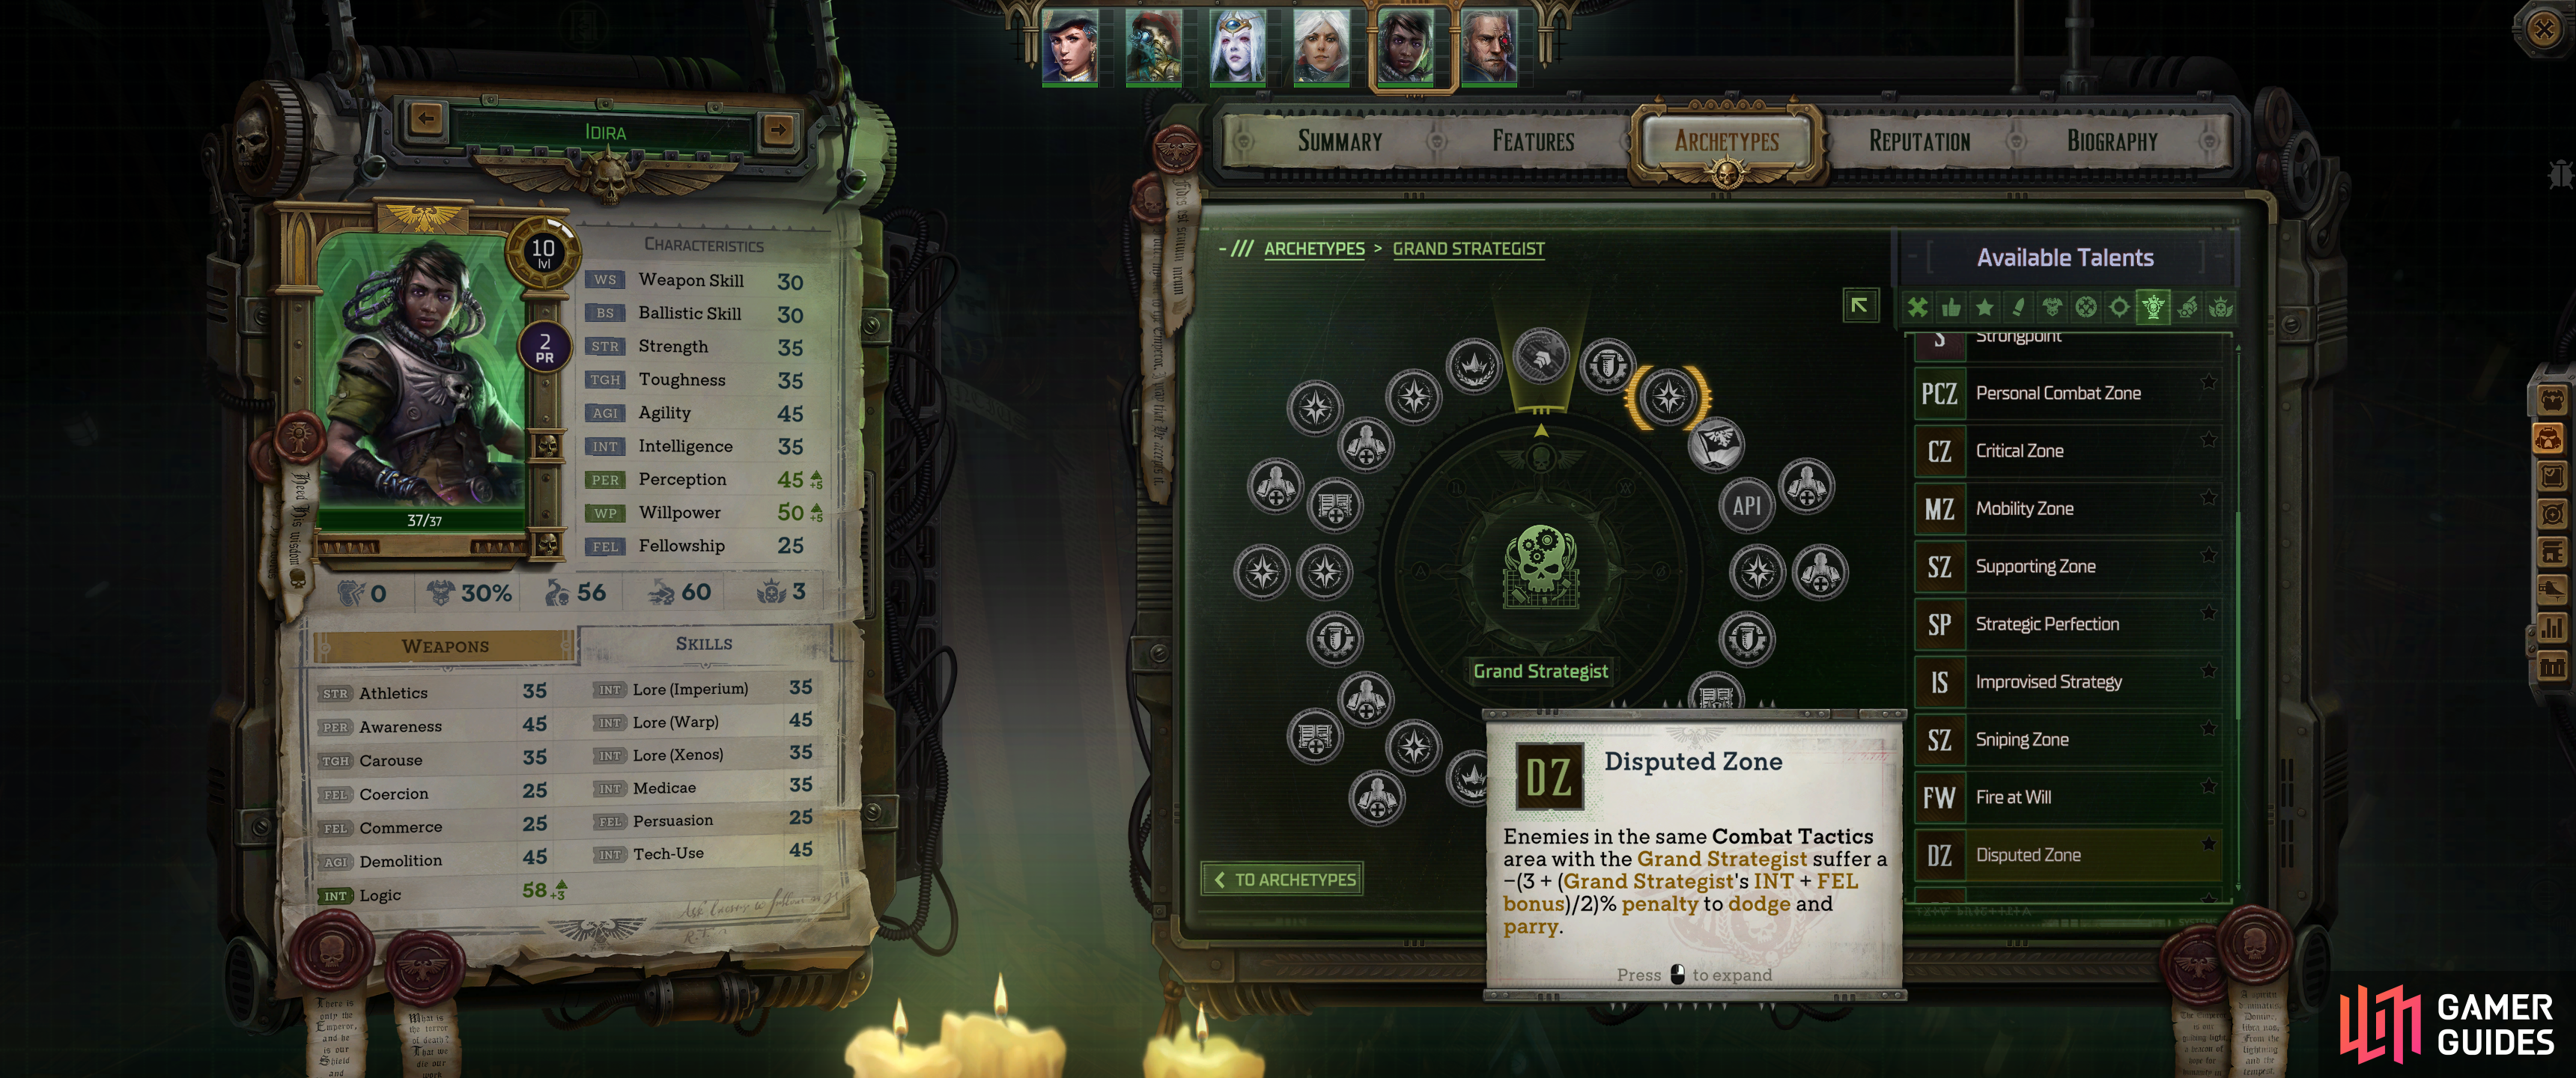
Disputed Zone |
Enemies in the same |
|
|||||||||||||||||||||||||||||||||||||||||||||||||||||||||||||||||||||||||||||||||||||||||||||||

|
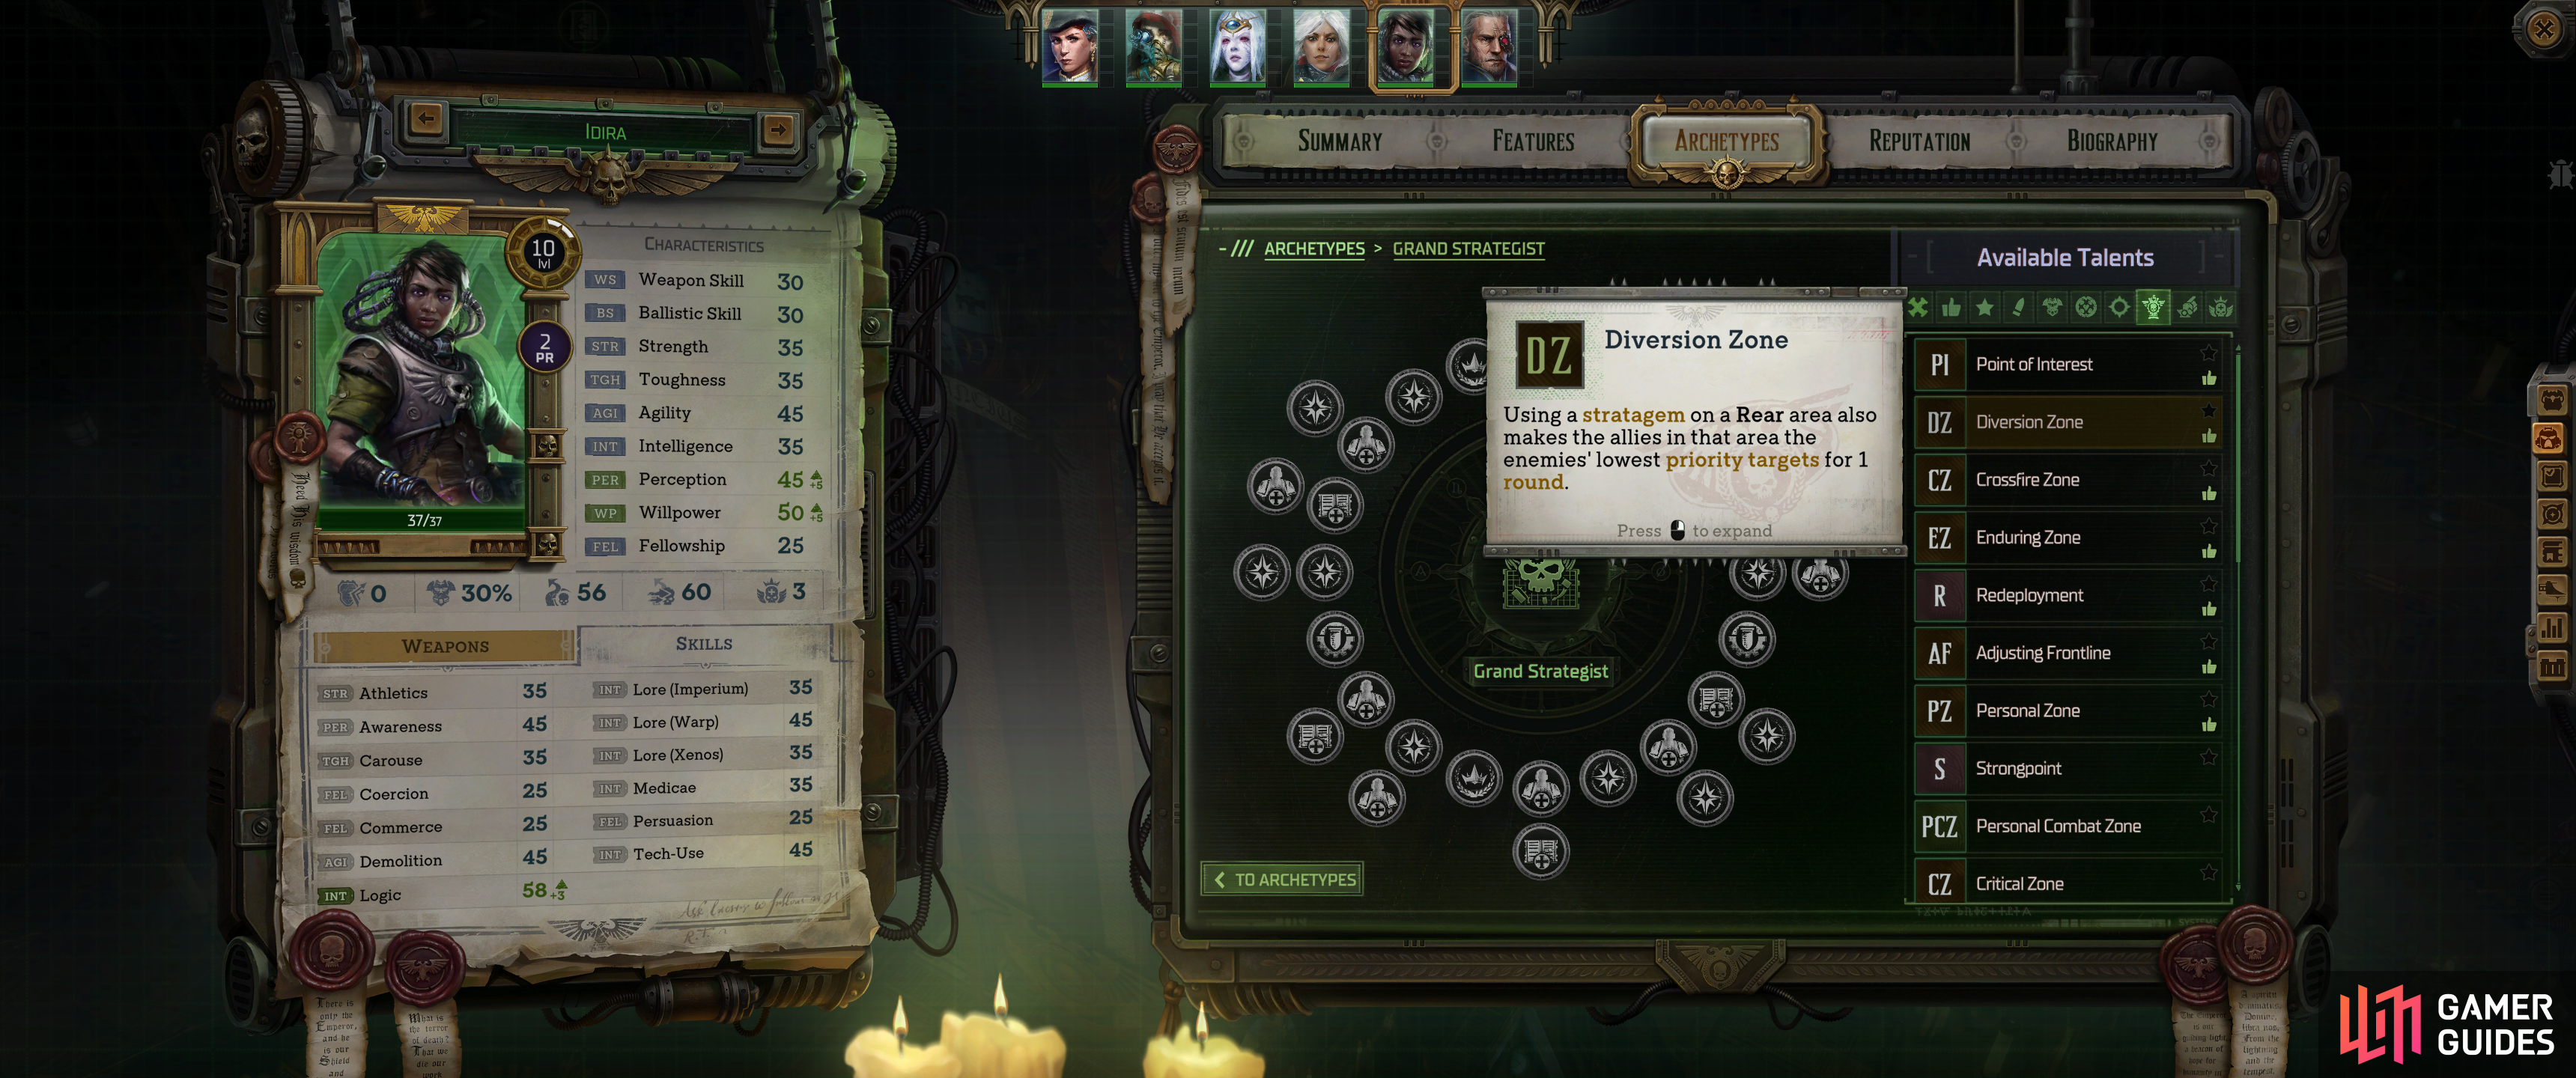
Diversion Zone |
Using a stratagem on a Rear area also makes the allies in that area the enemies’ lowest priority targets for 1 round. |
|
|||||||||||||||||||||||||||||||||||||||||||||||||||||||||||||||||||||||||||||||||||||||||||||||

|
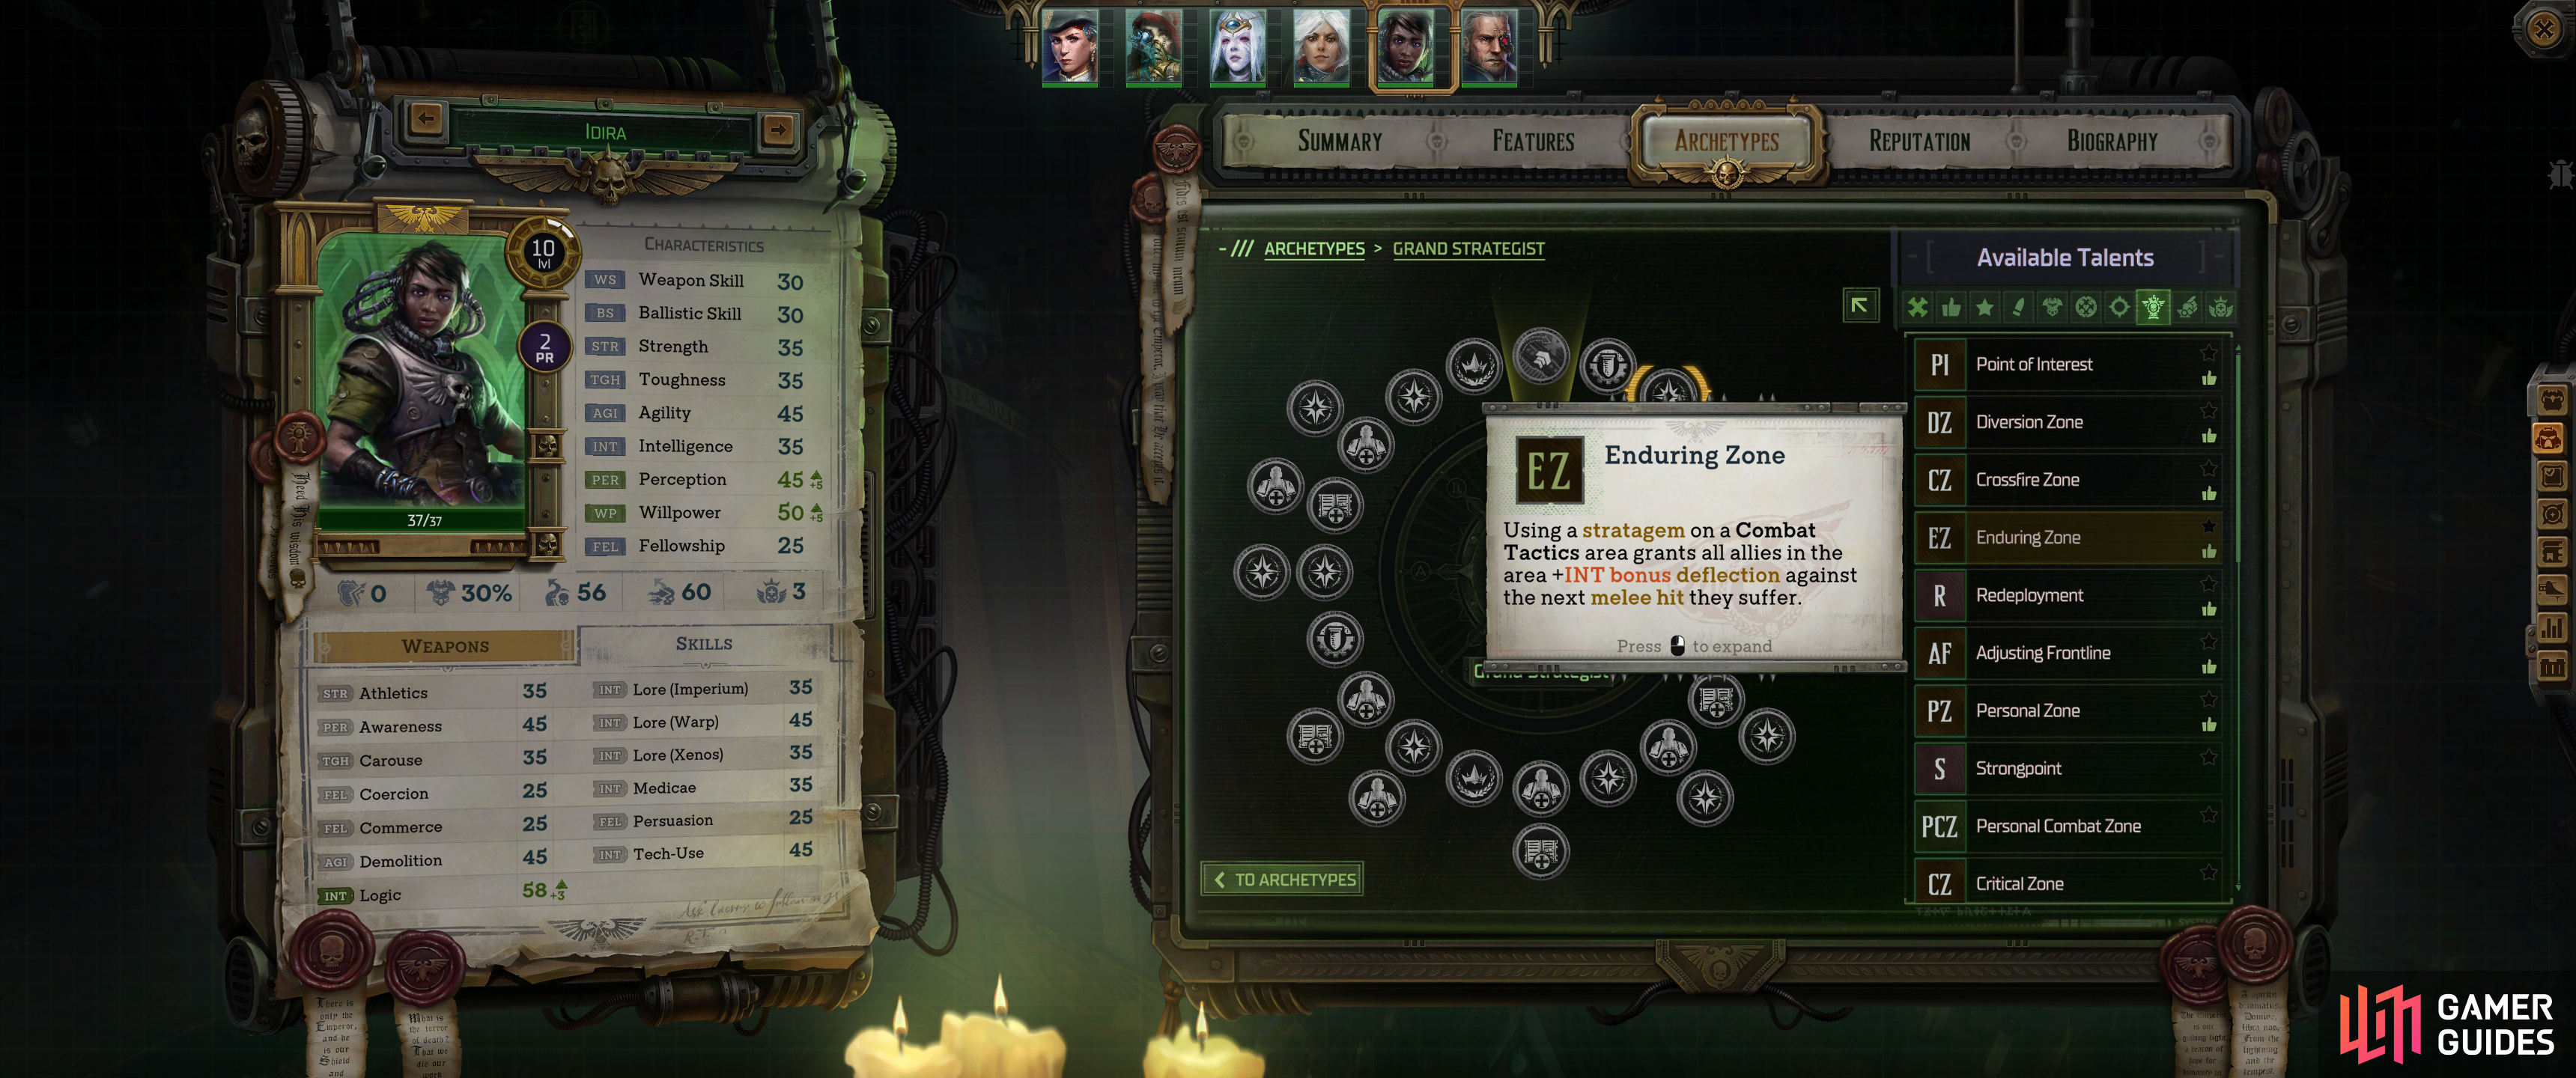
Enduring Zone |
Using a stratagem on a |
|
|||||||||||||||||||||||||||||||||||||||||||||||||||||||||||||||||||||||||||||||||||||||||||||||

|
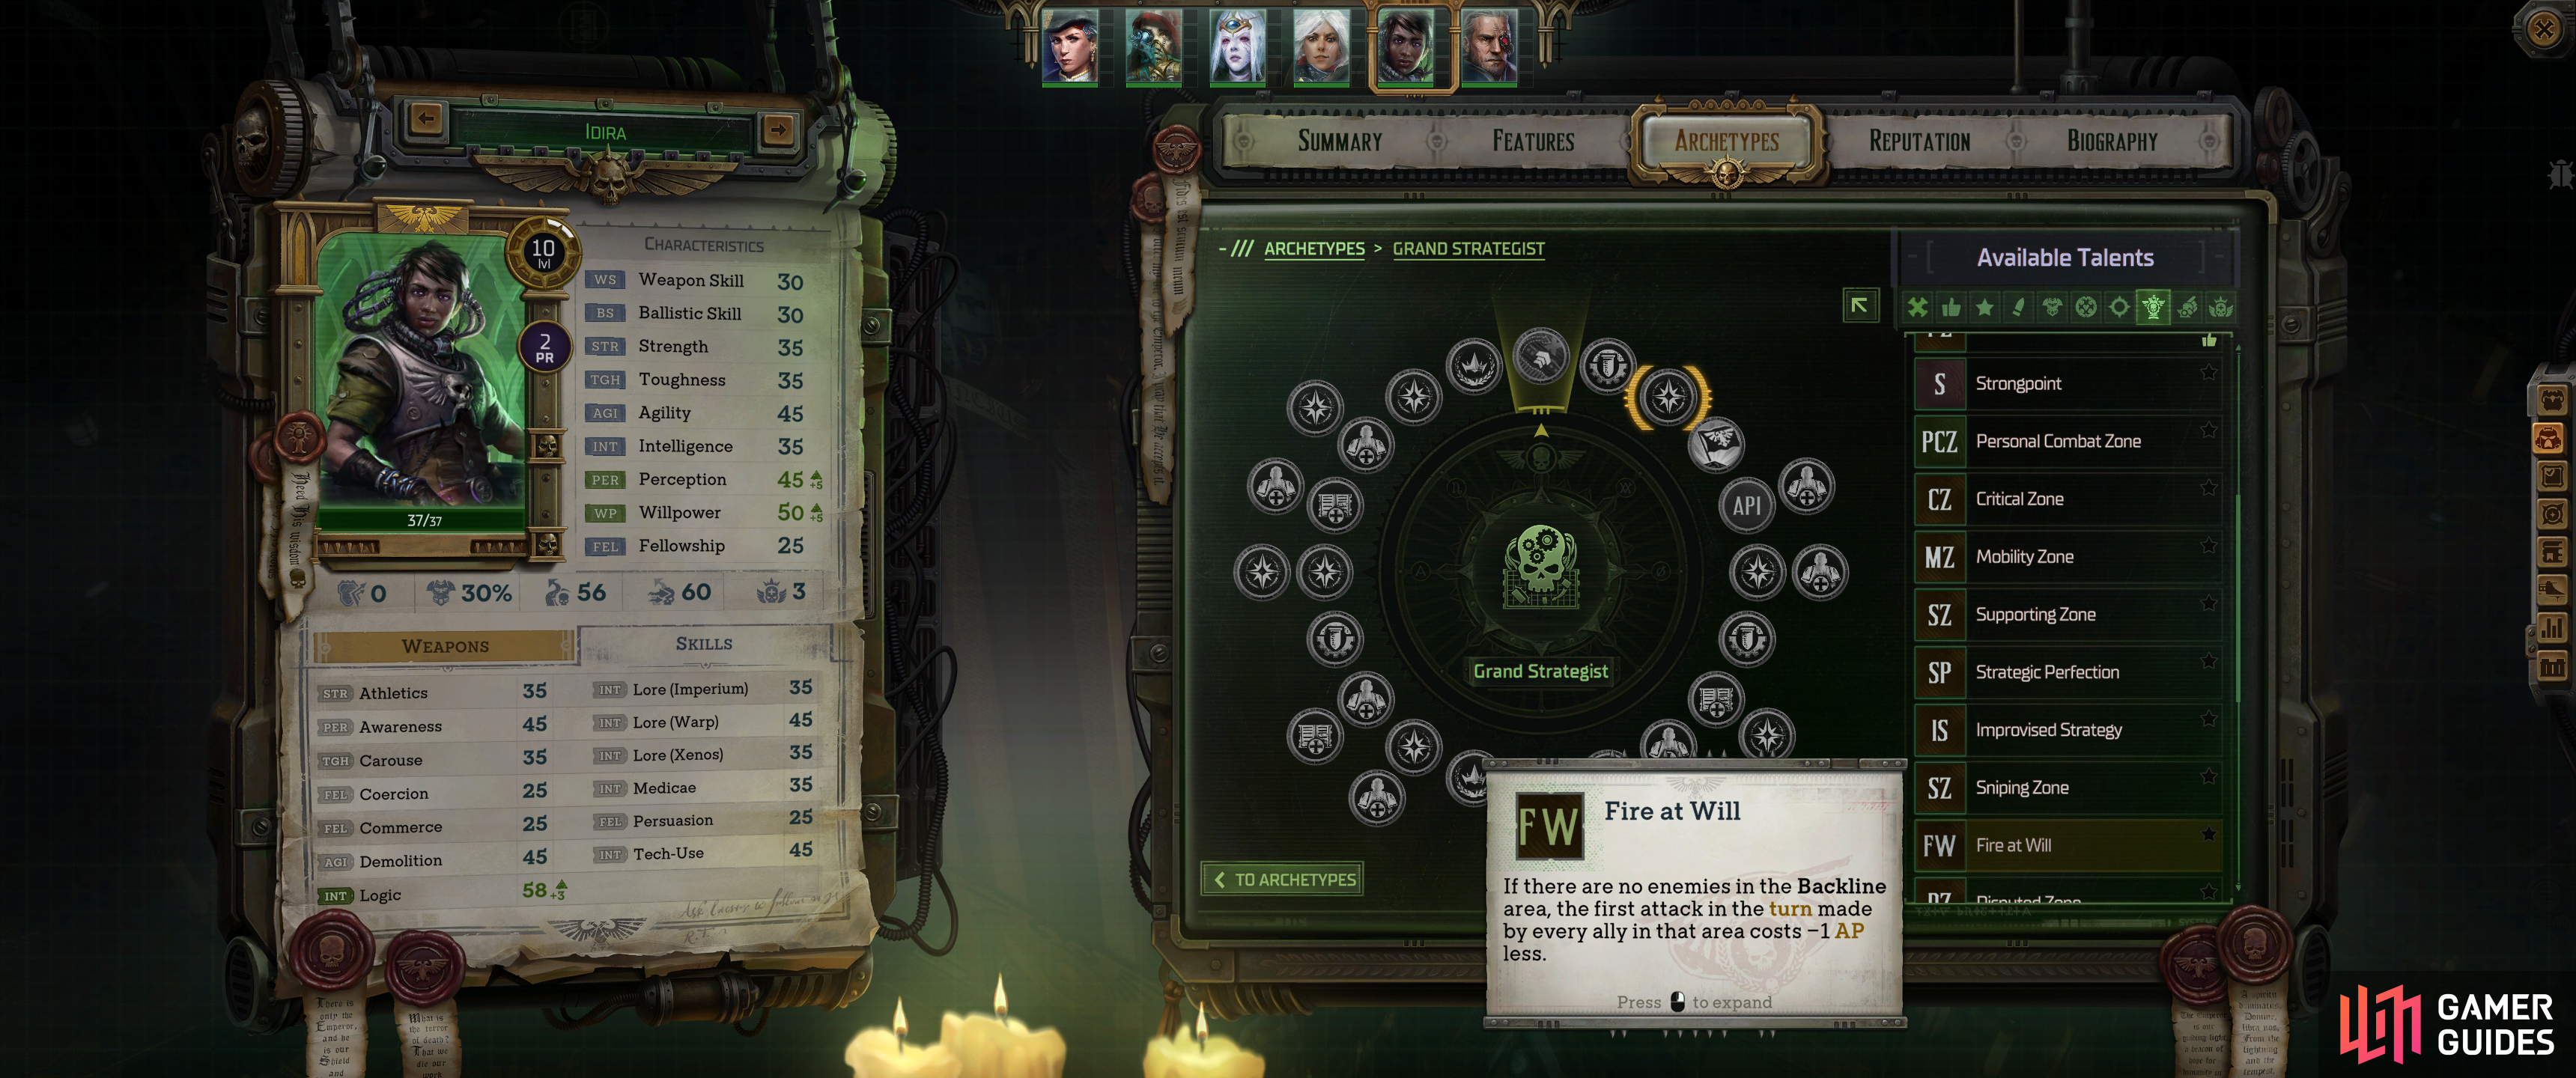
Fire at Will |
If there are more enemies than allies in the Frontline area, all allies in the area gain +(3 + (Grand Strategist’s INT + FEL bonus)/2)% to parry and dodge. If there are more allies than enemies in the Frontline area, all allies in the area deal +(3 + (Grand Strategist’s INT + FEL bonus)/2)% damage. |
|
|||||||||||||||||||||||||||||||||||||||||||||||||||||||||||||||||||||||||||||||||||||||||||||||

|
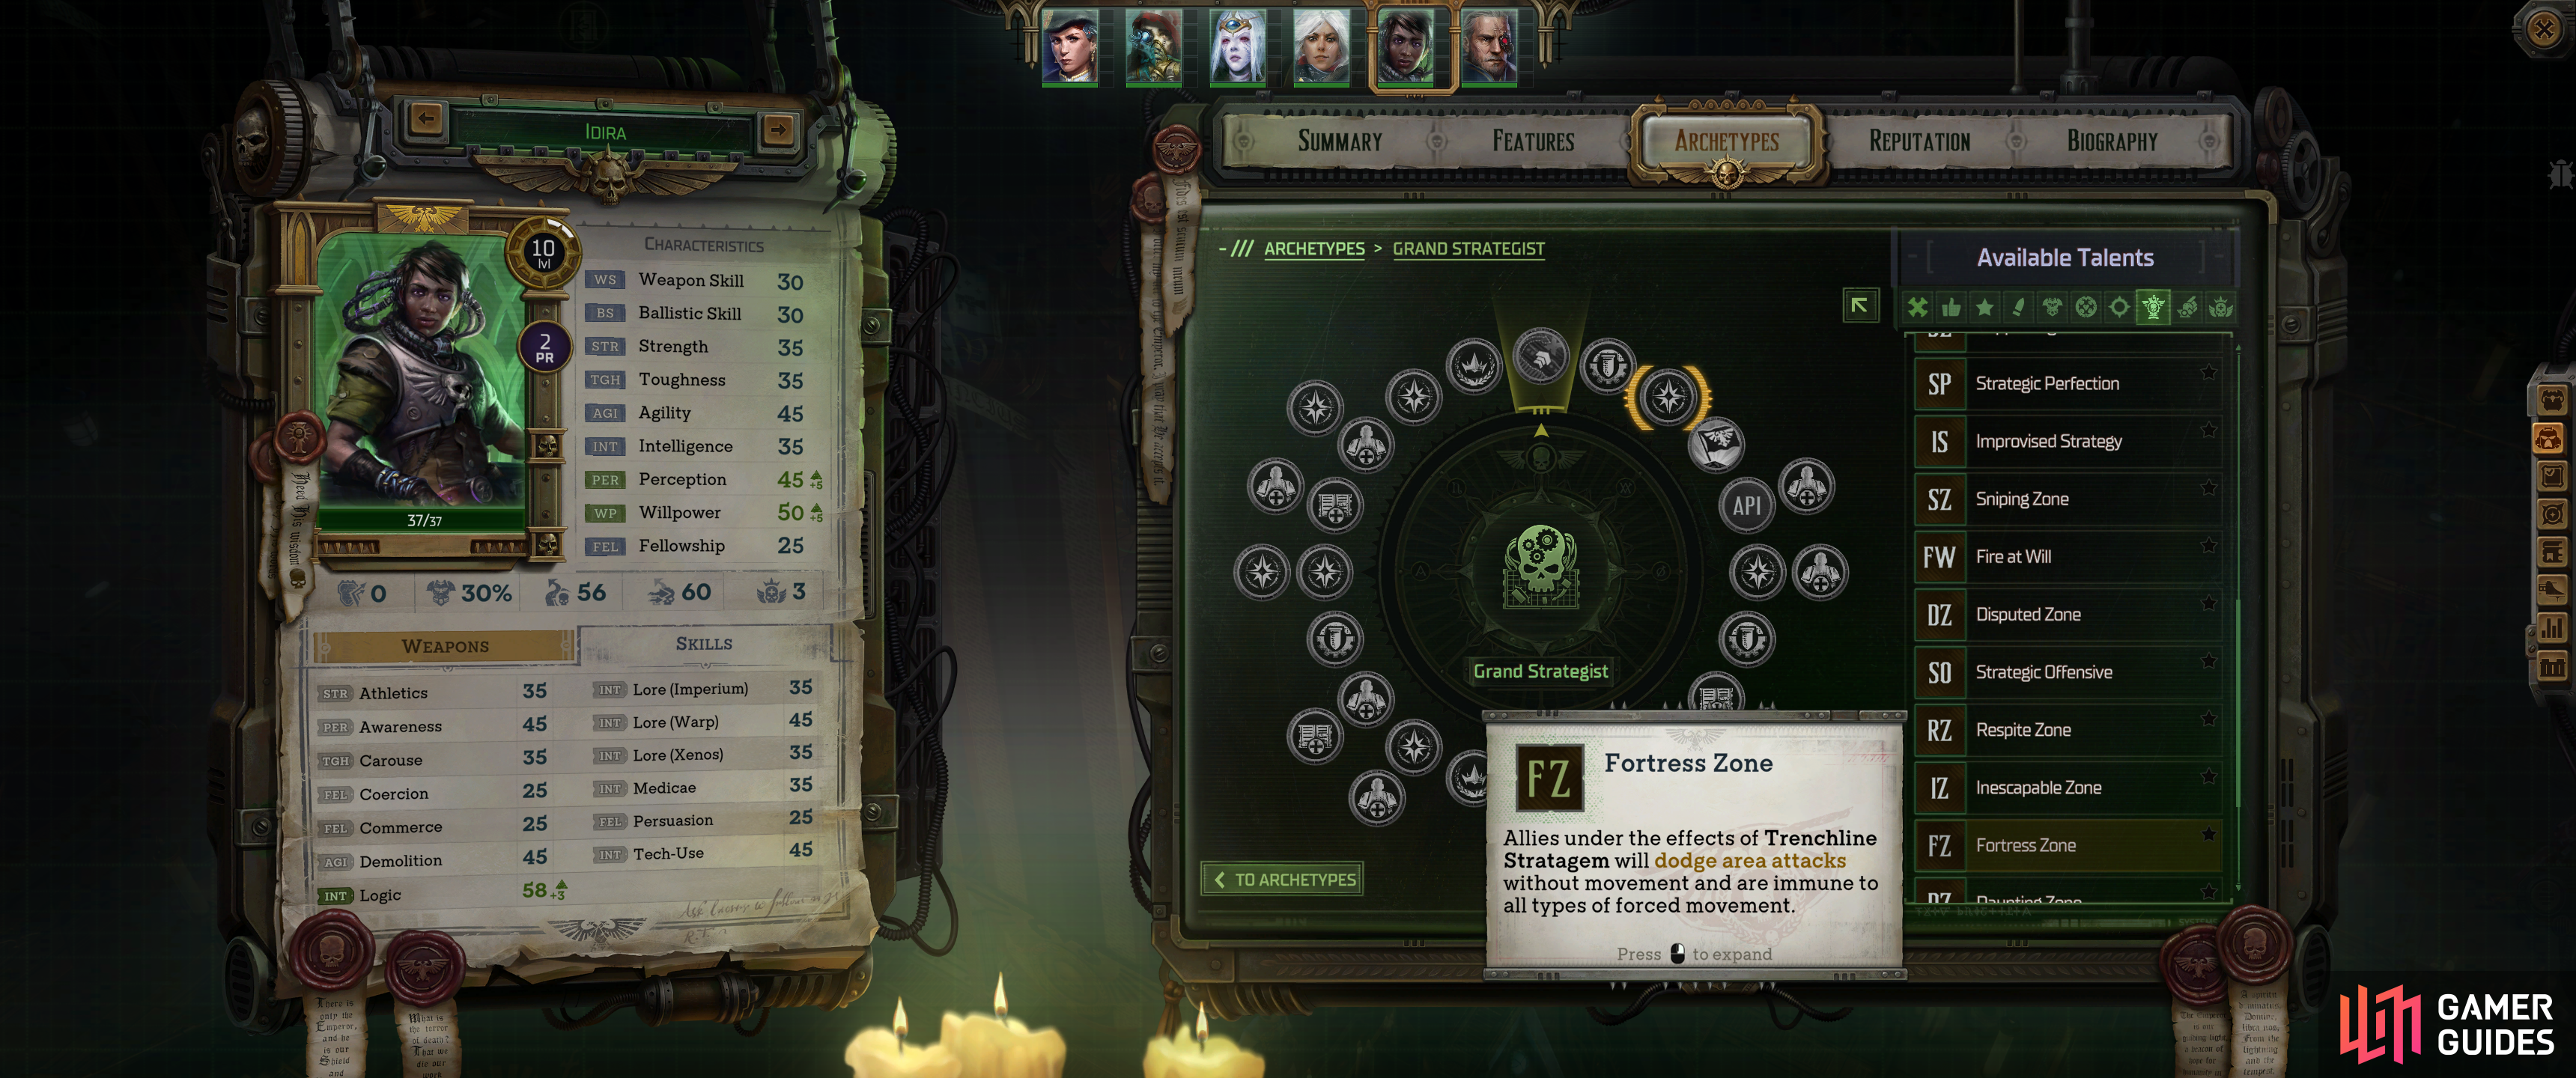
Fortress Zone |
Allies under the effects of |
|
|||||||||||||||||||||||||||||||||||||||||||||||||||||||||||||||||||||||||||||||||||||||||||||||

|
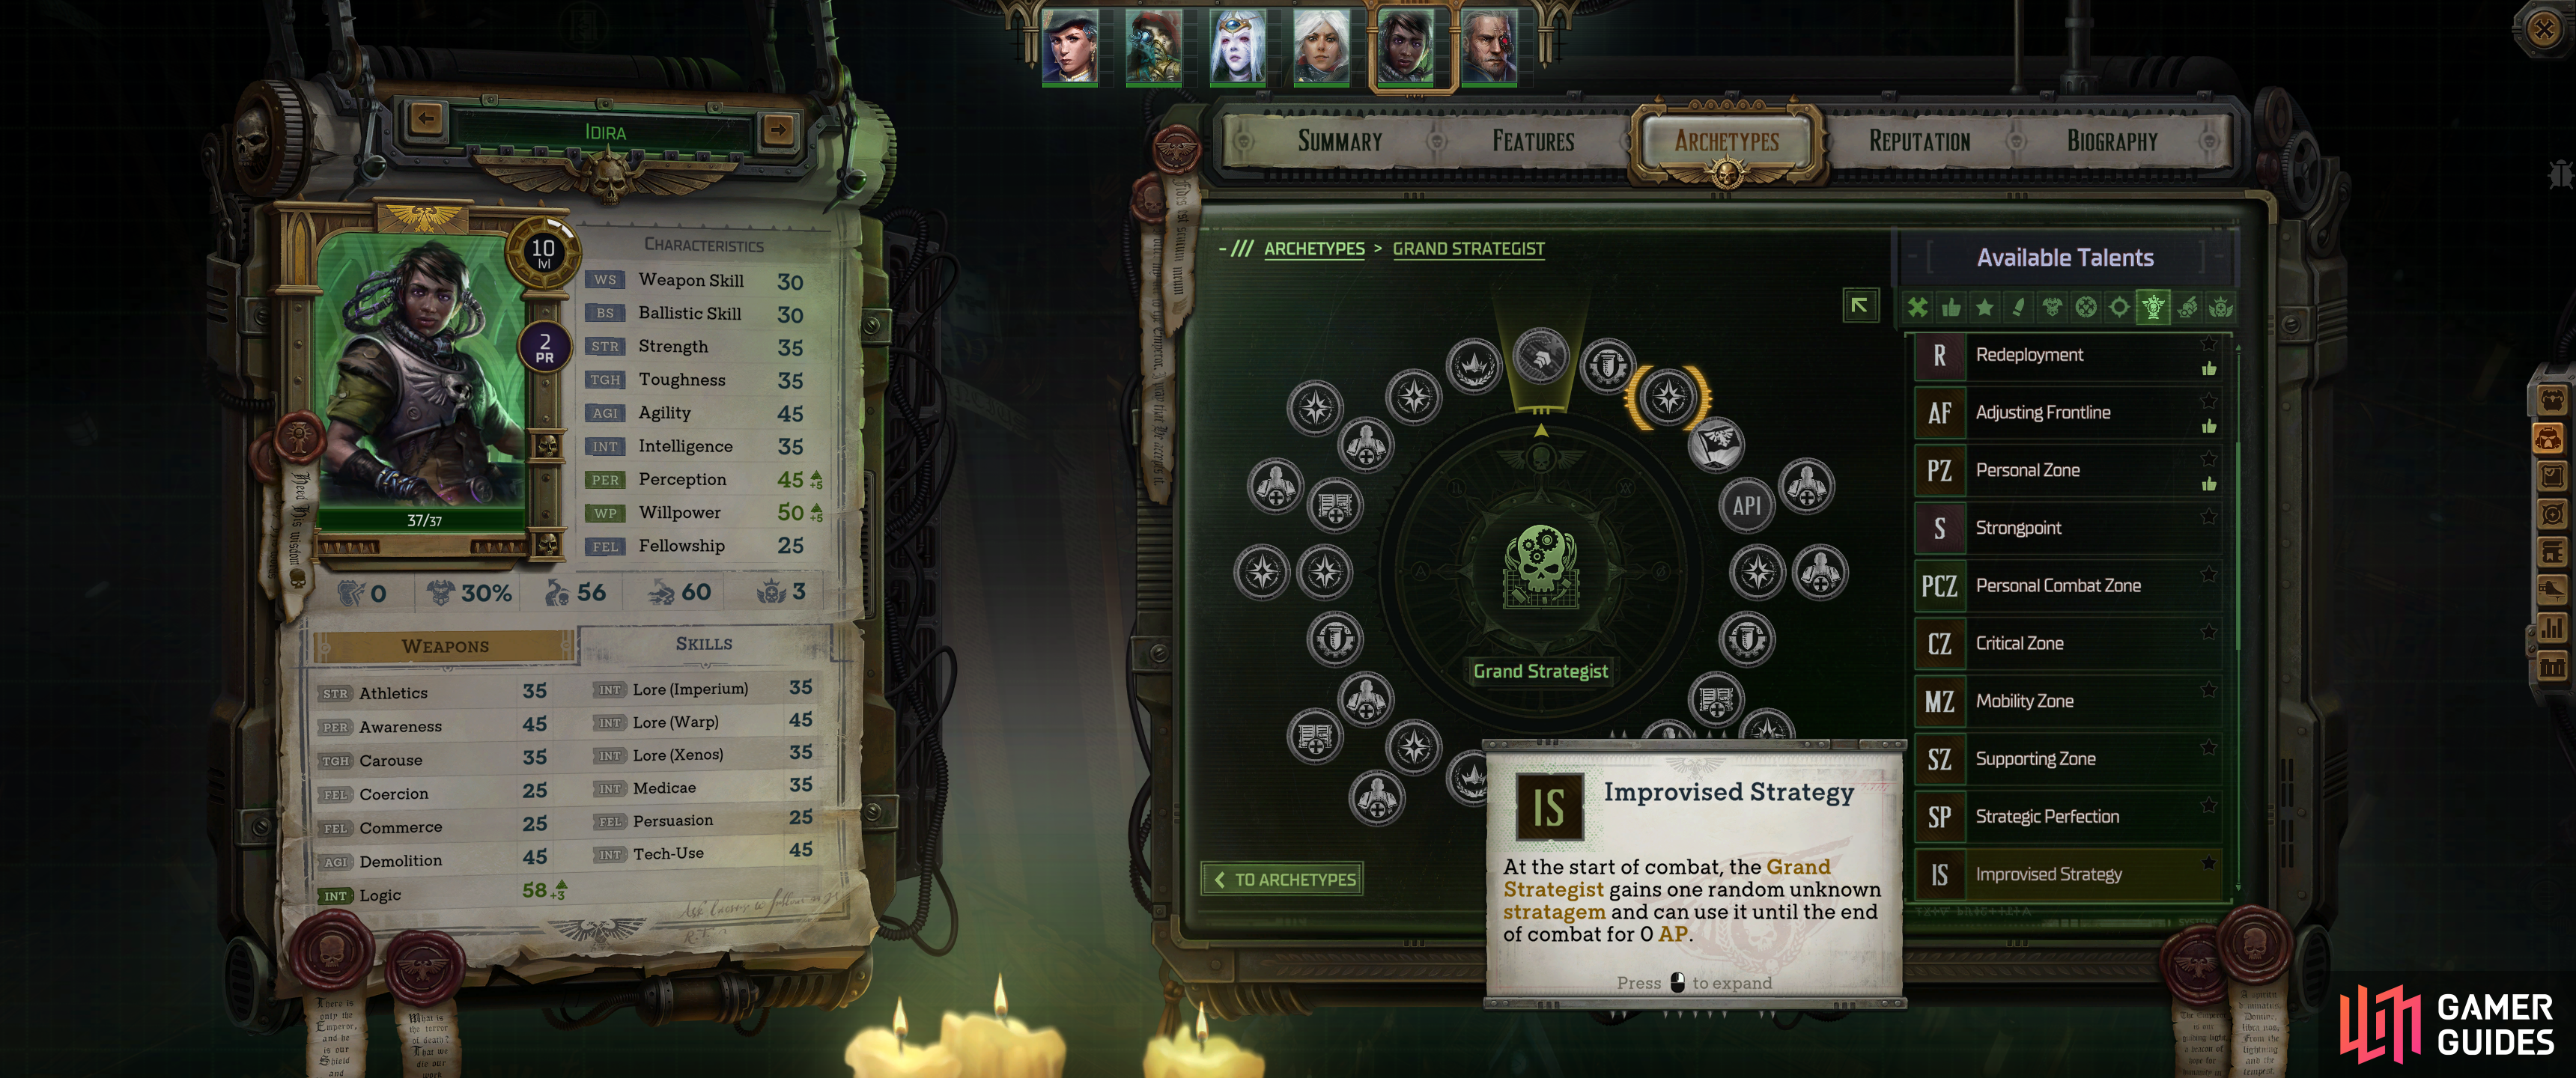
Improvised Strategy |
At the start of combat, the Grand Strategist gains one random unknown stratagem and can use it until the end of combat for 0 AP. |
|
|||||||||||||||||||||||||||||||||||||||||||||||||||||||||||||||||||||||||||||||||||||||||||||||

|
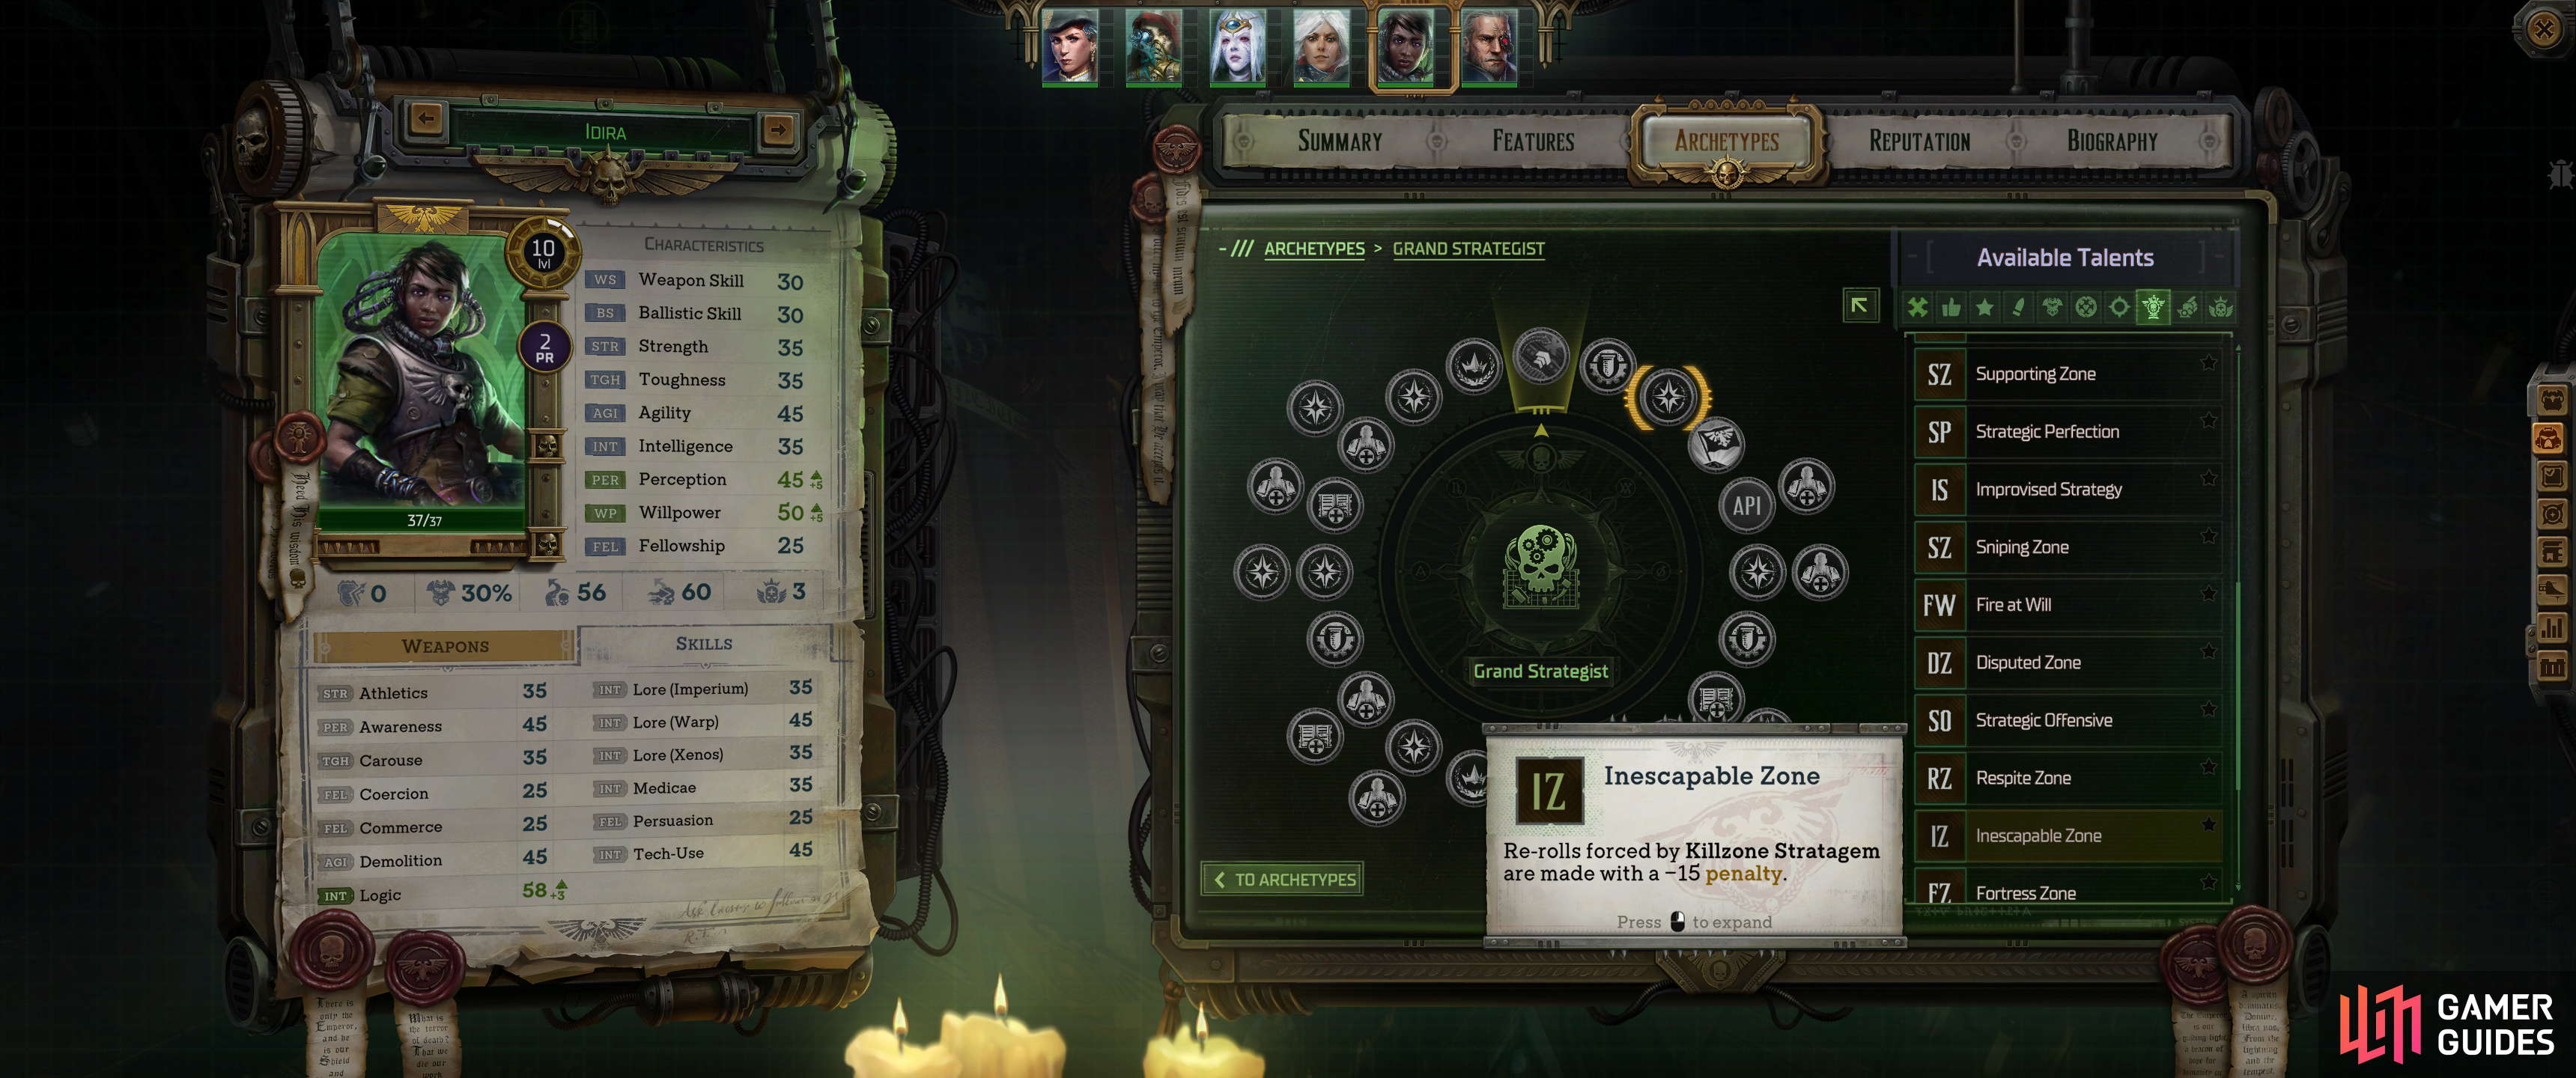
Inescapable Zone |
Re-rolls forced by |
|
|||||||||||||||||||||||||||||||||||||||||||||||||||||||||||||||||||||||||||||||||||||||||||||||

|
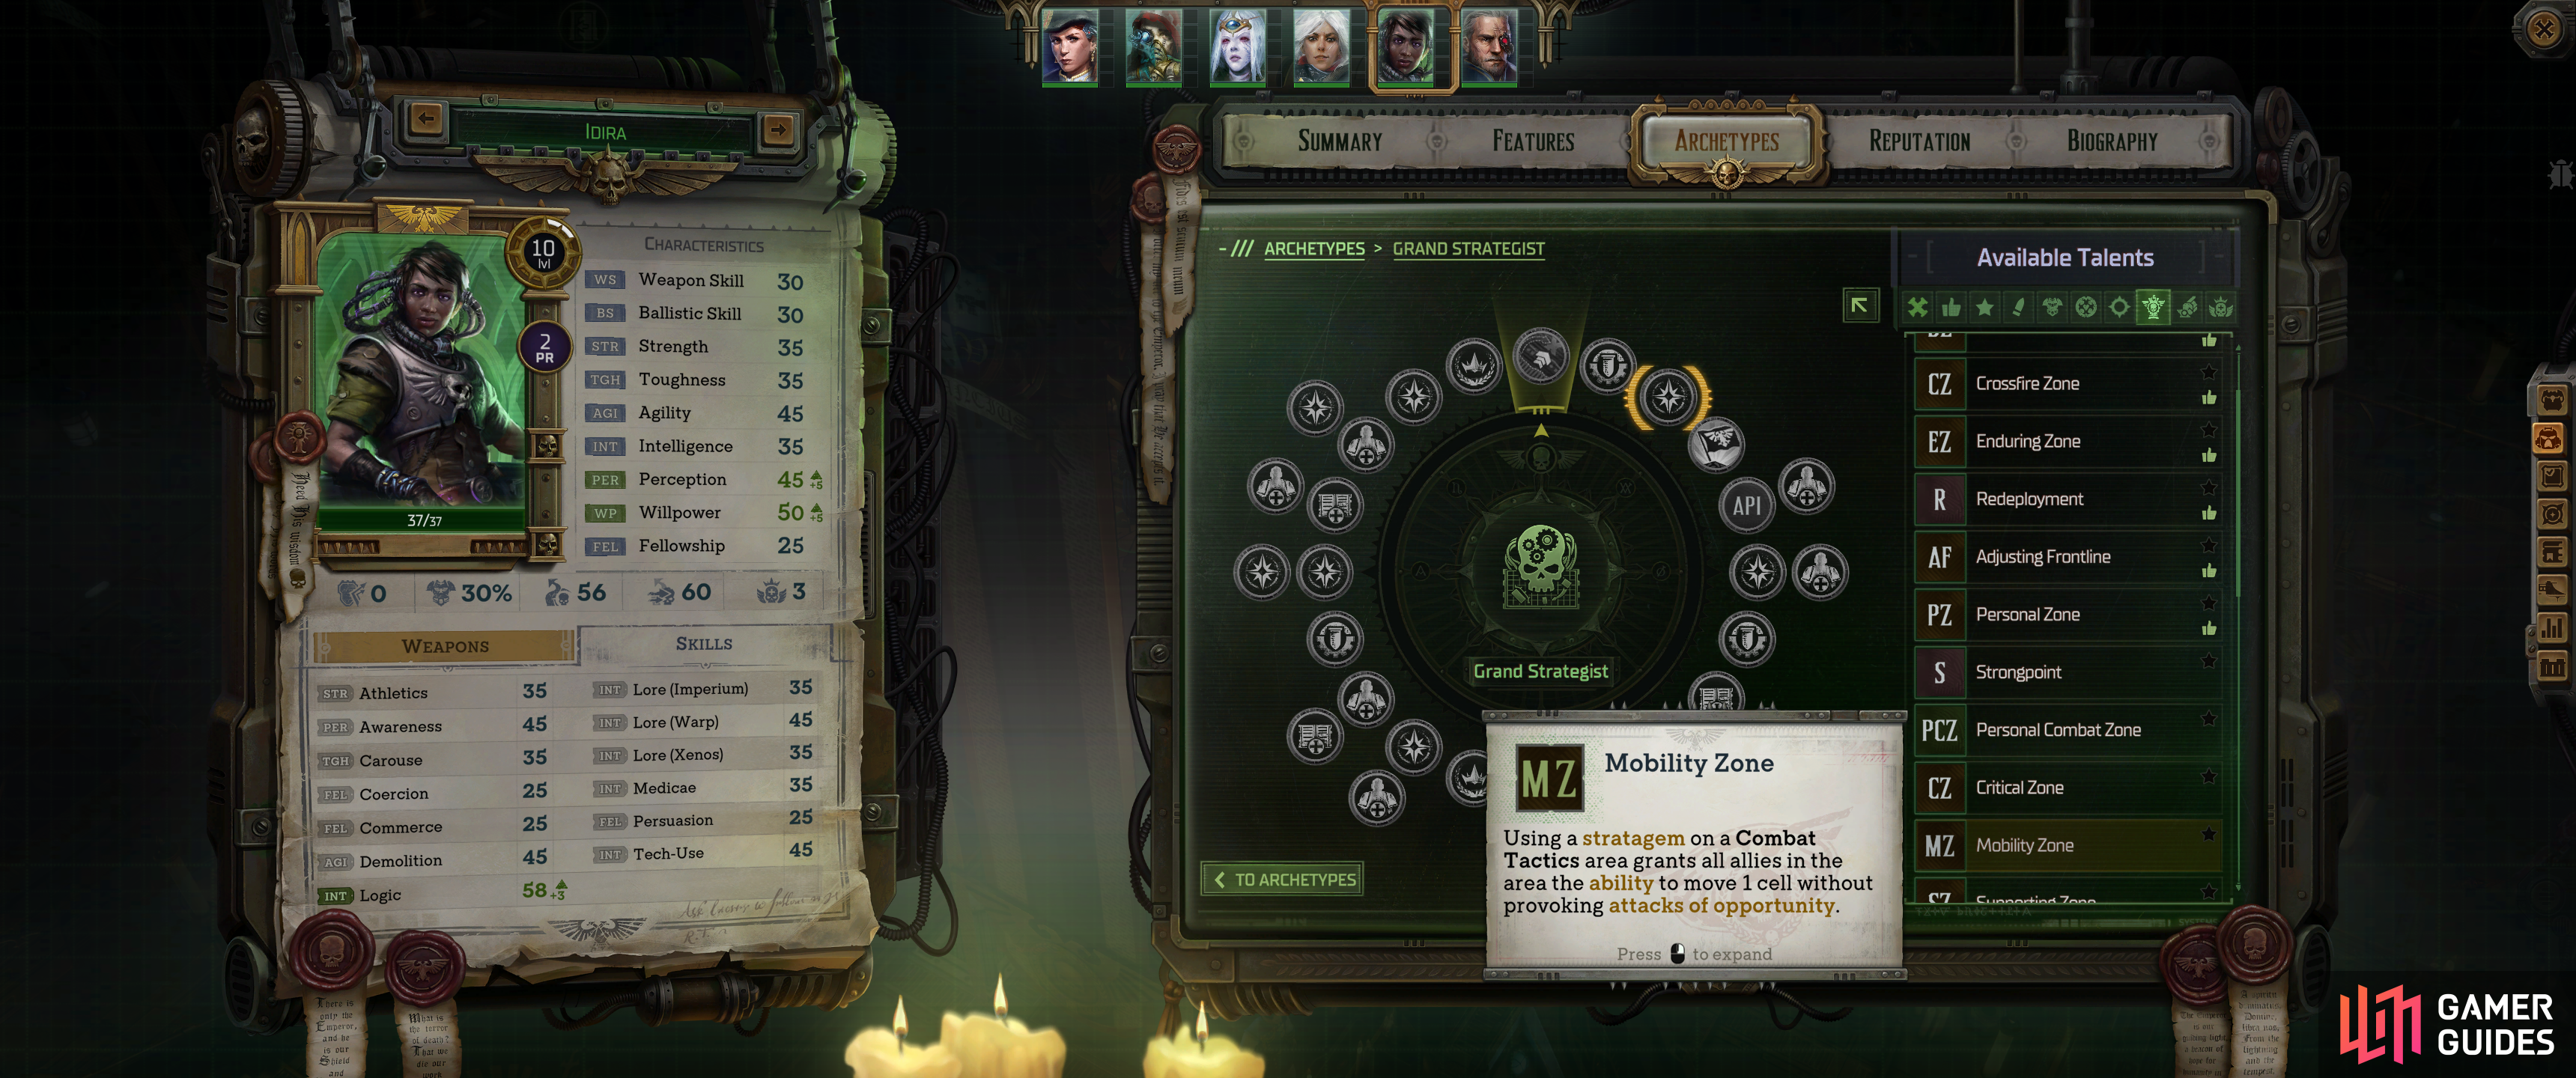
Mobility Zone |
Using a stratagem on a |
|
|||||||||||||||||||||||||||||||||||||||||||||||||||||||||||||||||||||||||||||||||||||||||||||||

|
Opening Strategy |
The first stratagem used in a turn can be used a second time for 0 AP. |

|
|||||||||||||||||||||||||||||||||||||||||||||||||||||||||||||||||||||||||||||||||||||||||||||||

|
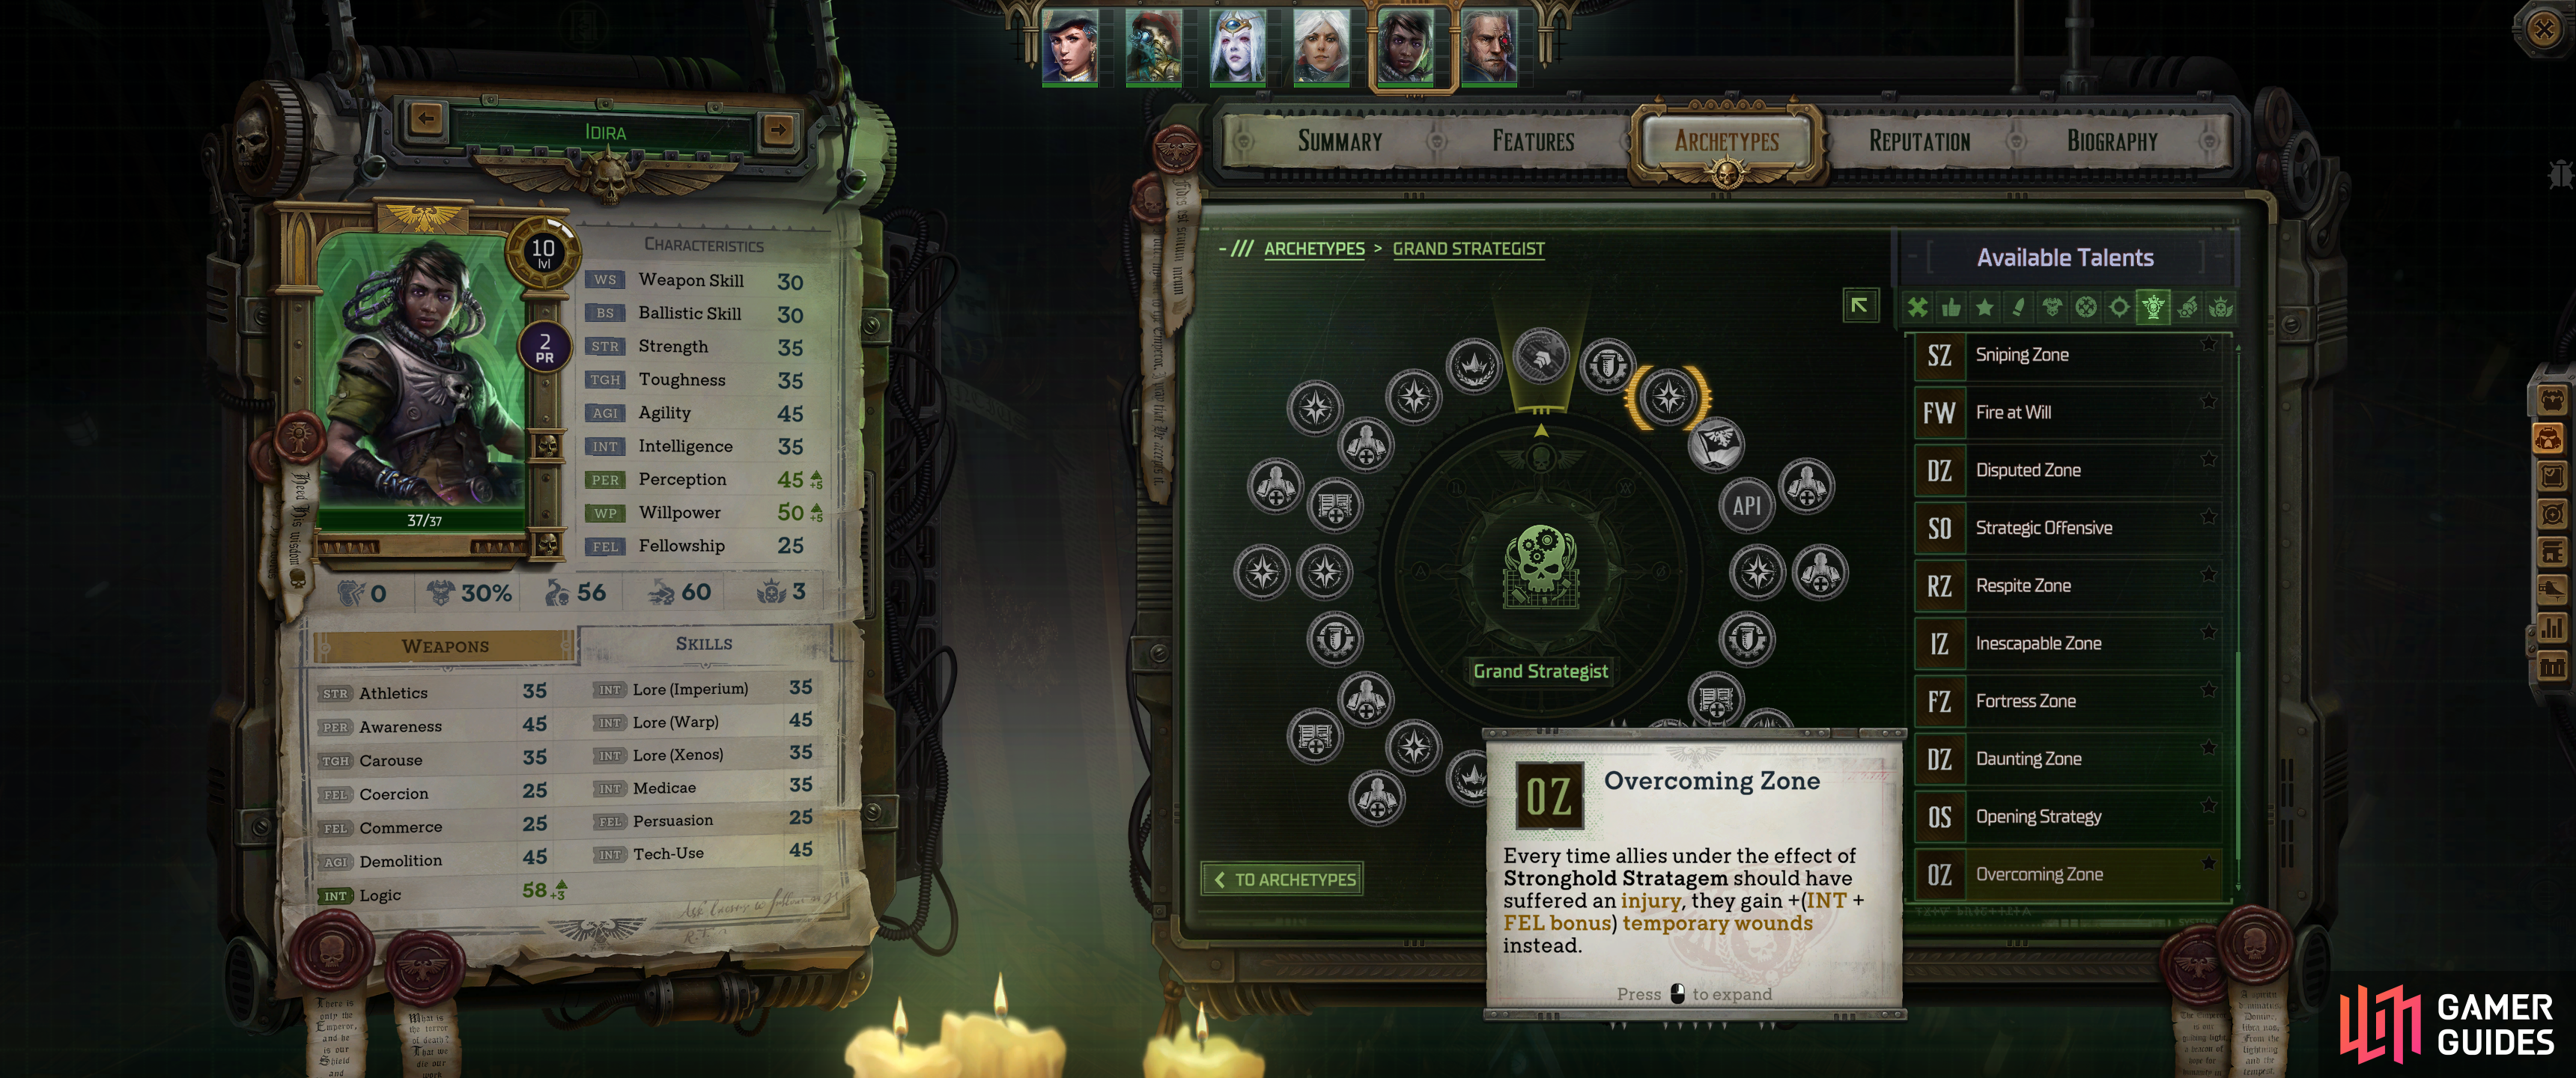
Overcoming Zone |
Every time allies under the effect of |
|
|||||||||||||||||||||||||||||||||||||||||||||||||||||||||||||||||||||||||||||||||||||||||||||||

|
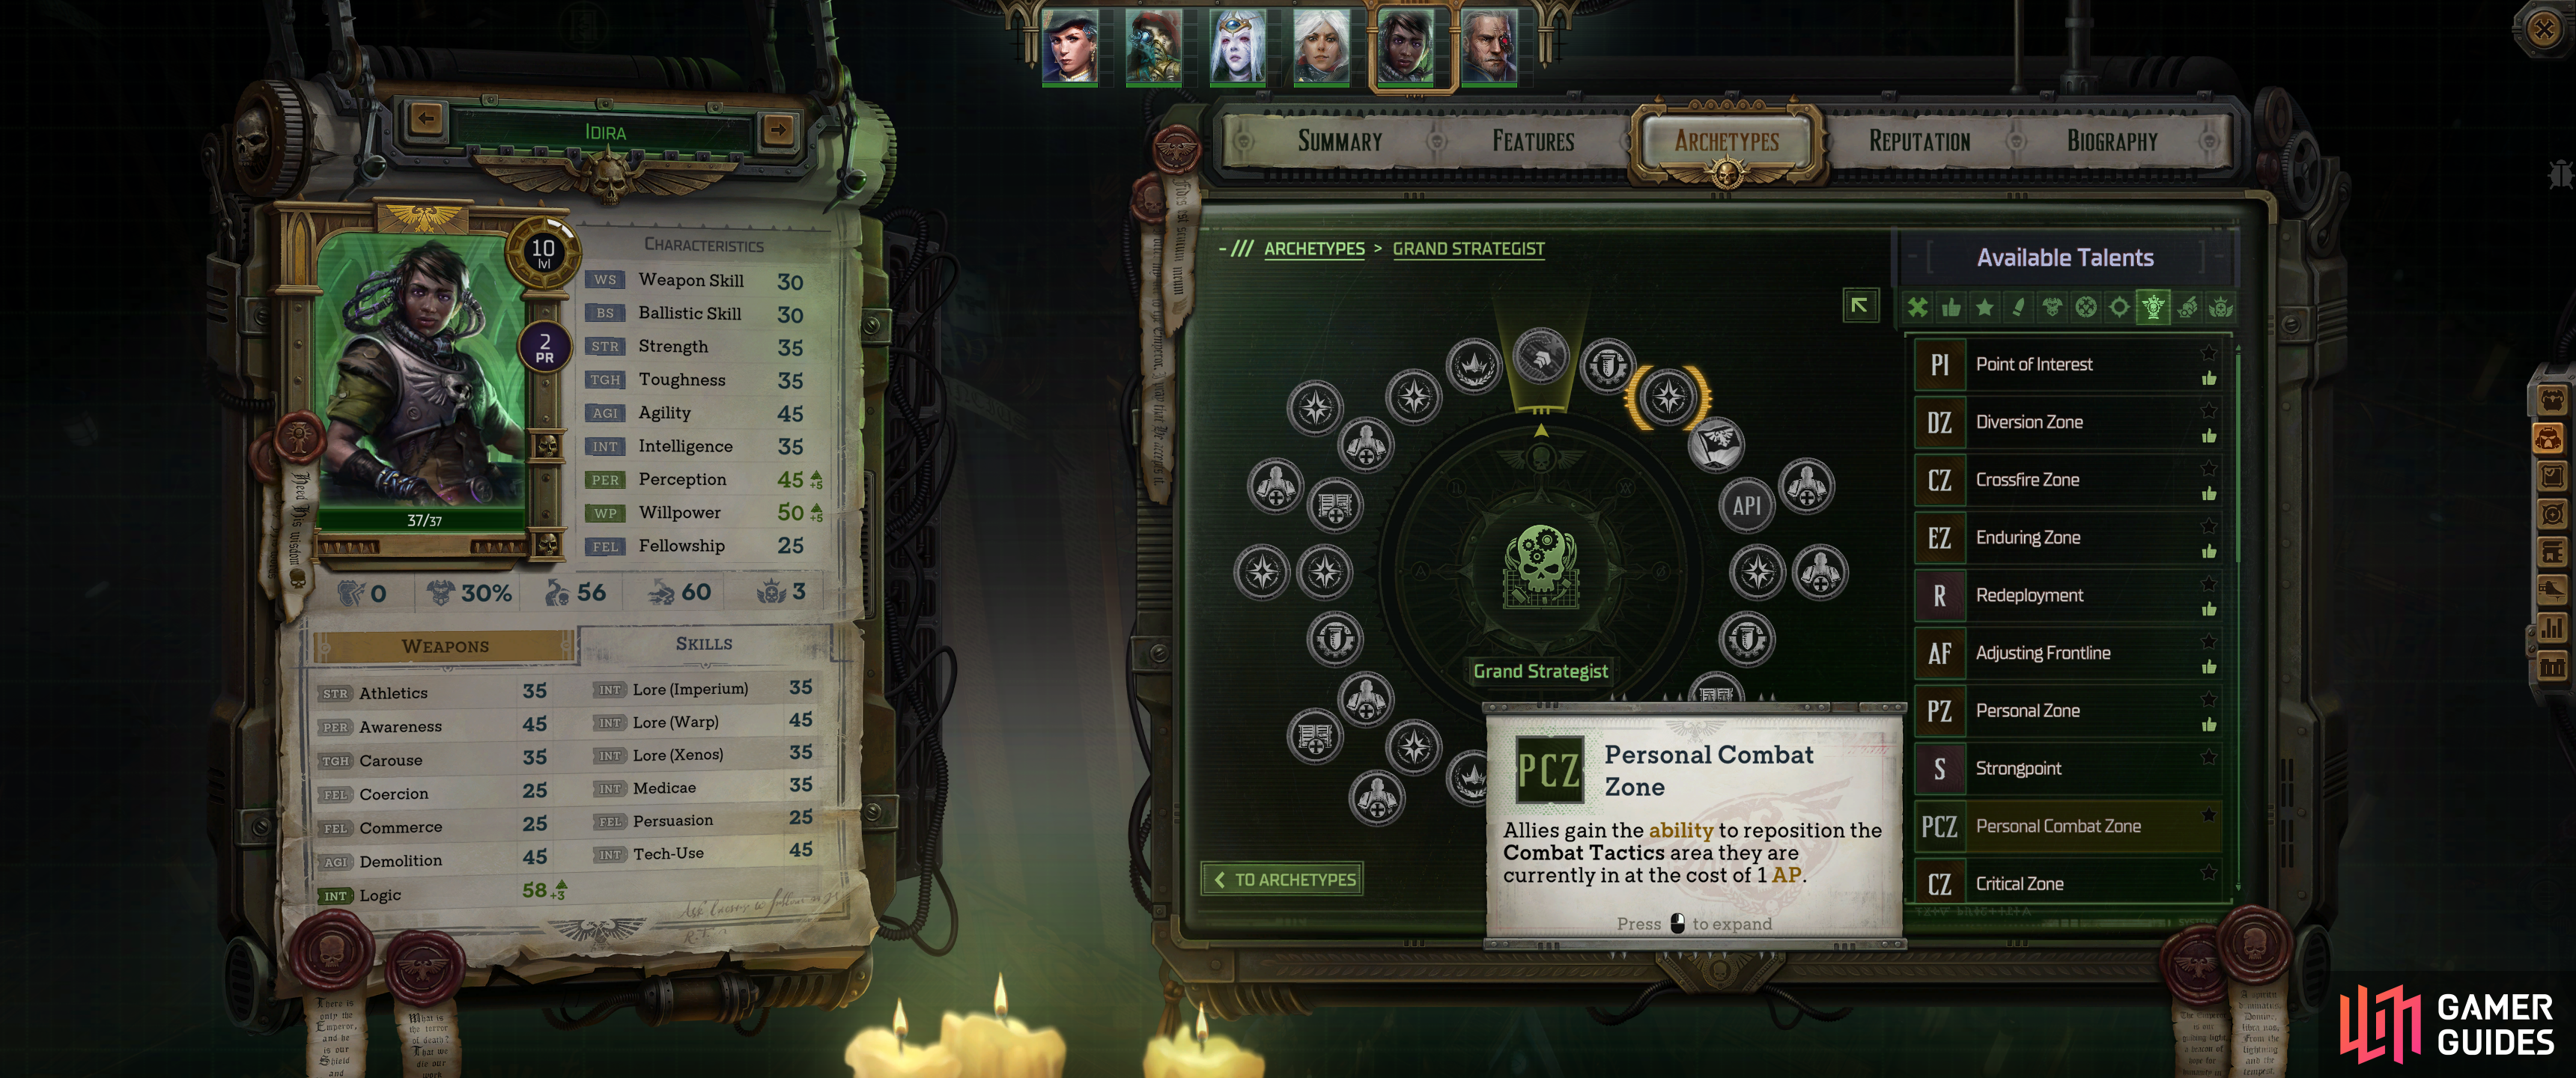
Personal Combat Zone |
Allies gain the ability to reposition the |
|
|||||||||||||||||||||||||||||||||||||||||||||||||||||||||||||||||||||||||||||||||||||||||||||||

|
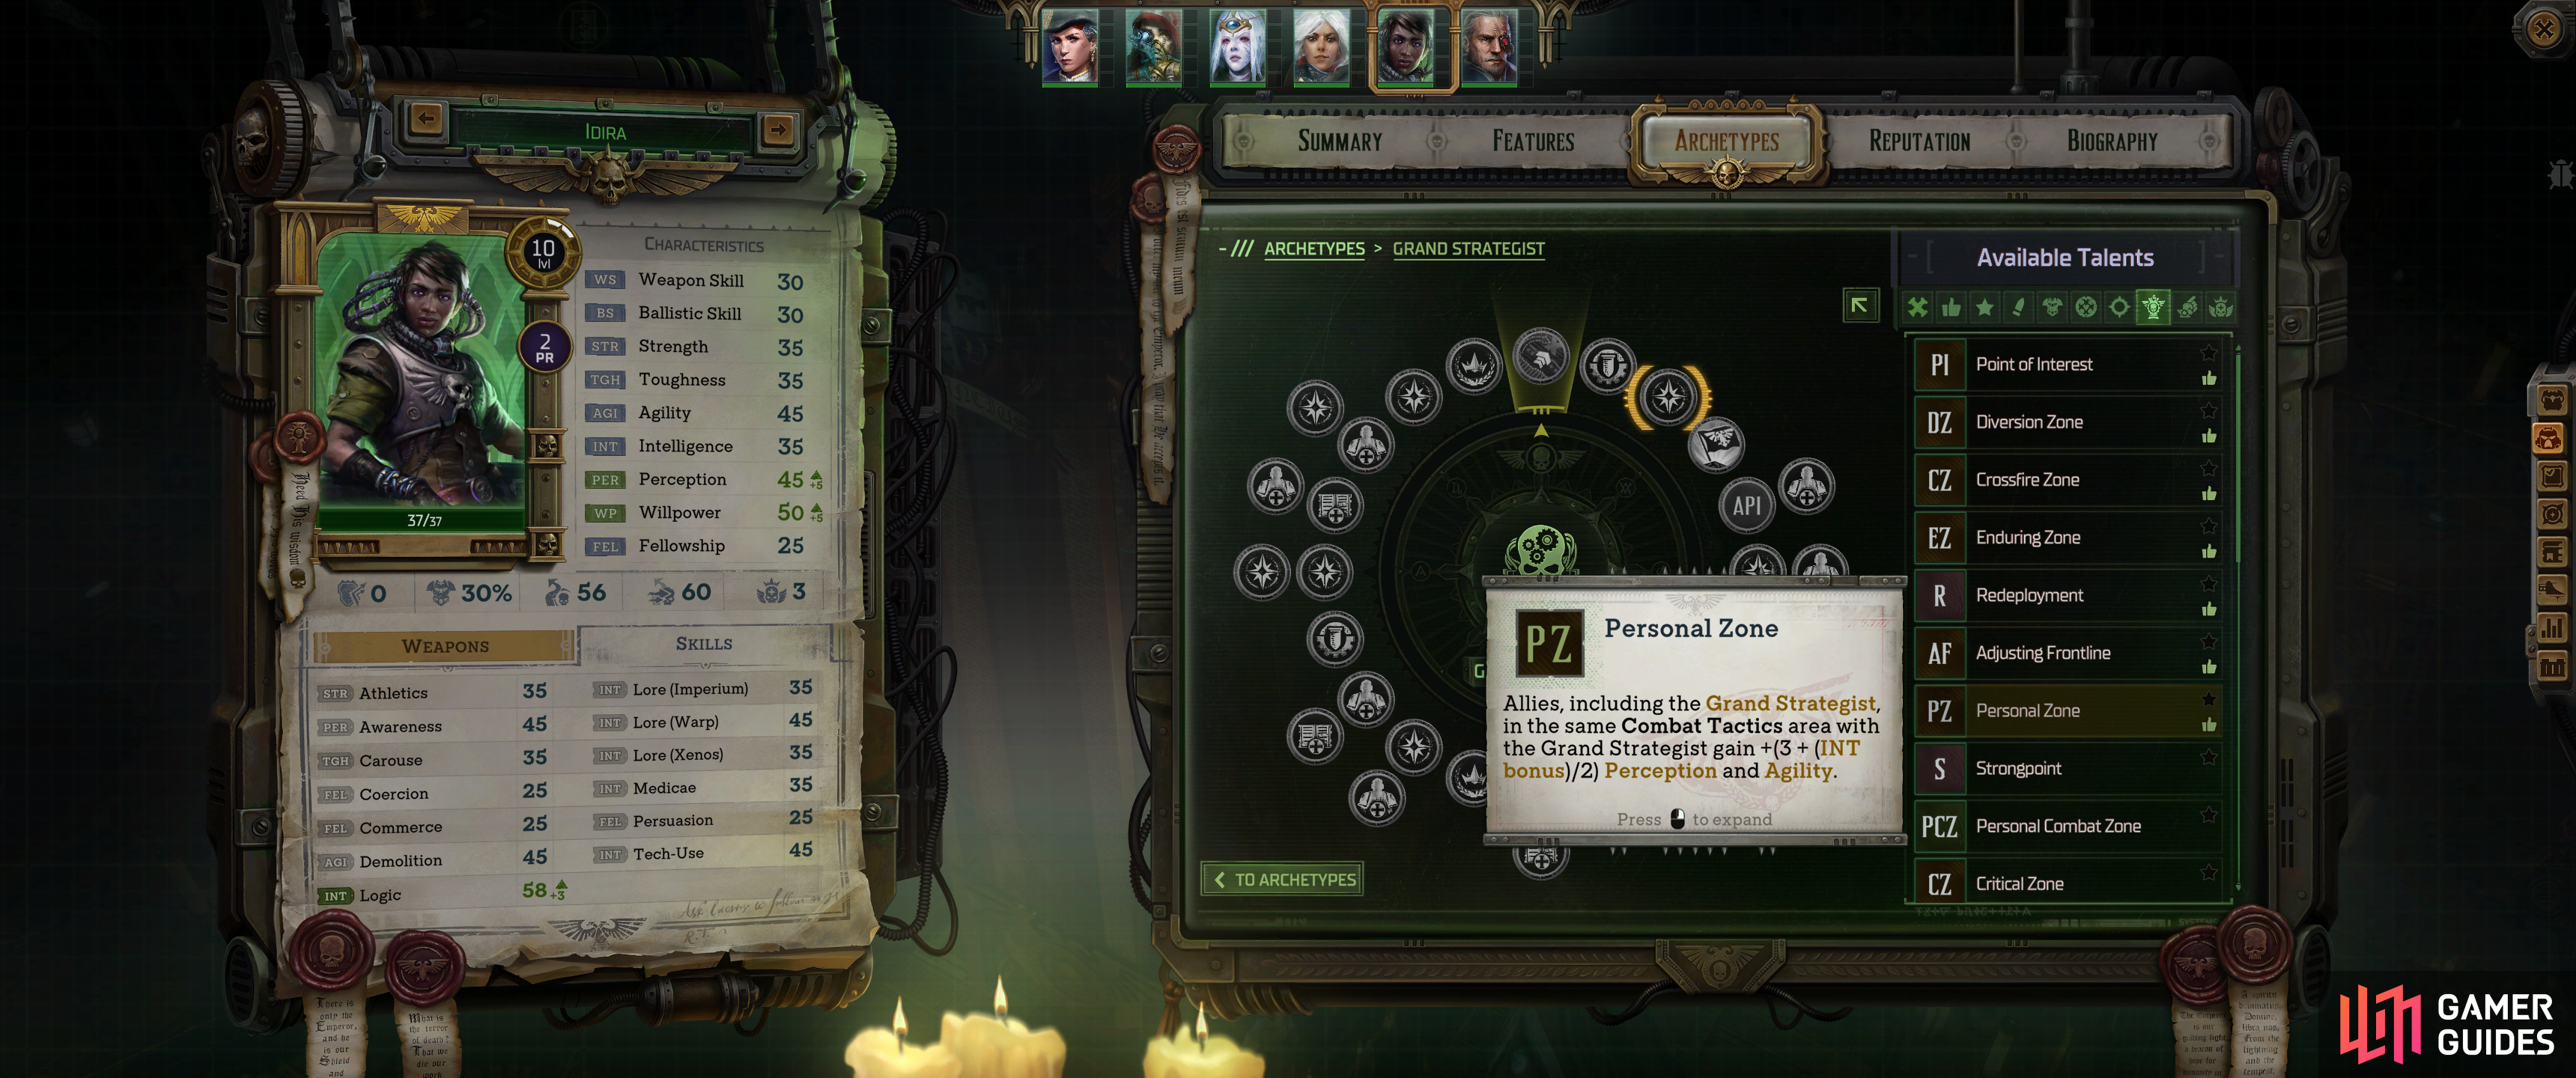
Personal Zone |
Allies, including the Grand Strategist, in the same |
|
|||||||||||||||||||||||||||||||||||||||||||||||||||||||||||||||||||||||||||||||||||||||||||||||

|
Point of Interest |
All |

|
|||||||||||||||||||||||||||||||||||||||||||||||||||||||||||||||||||||||||||||||||||||||||||||||

|
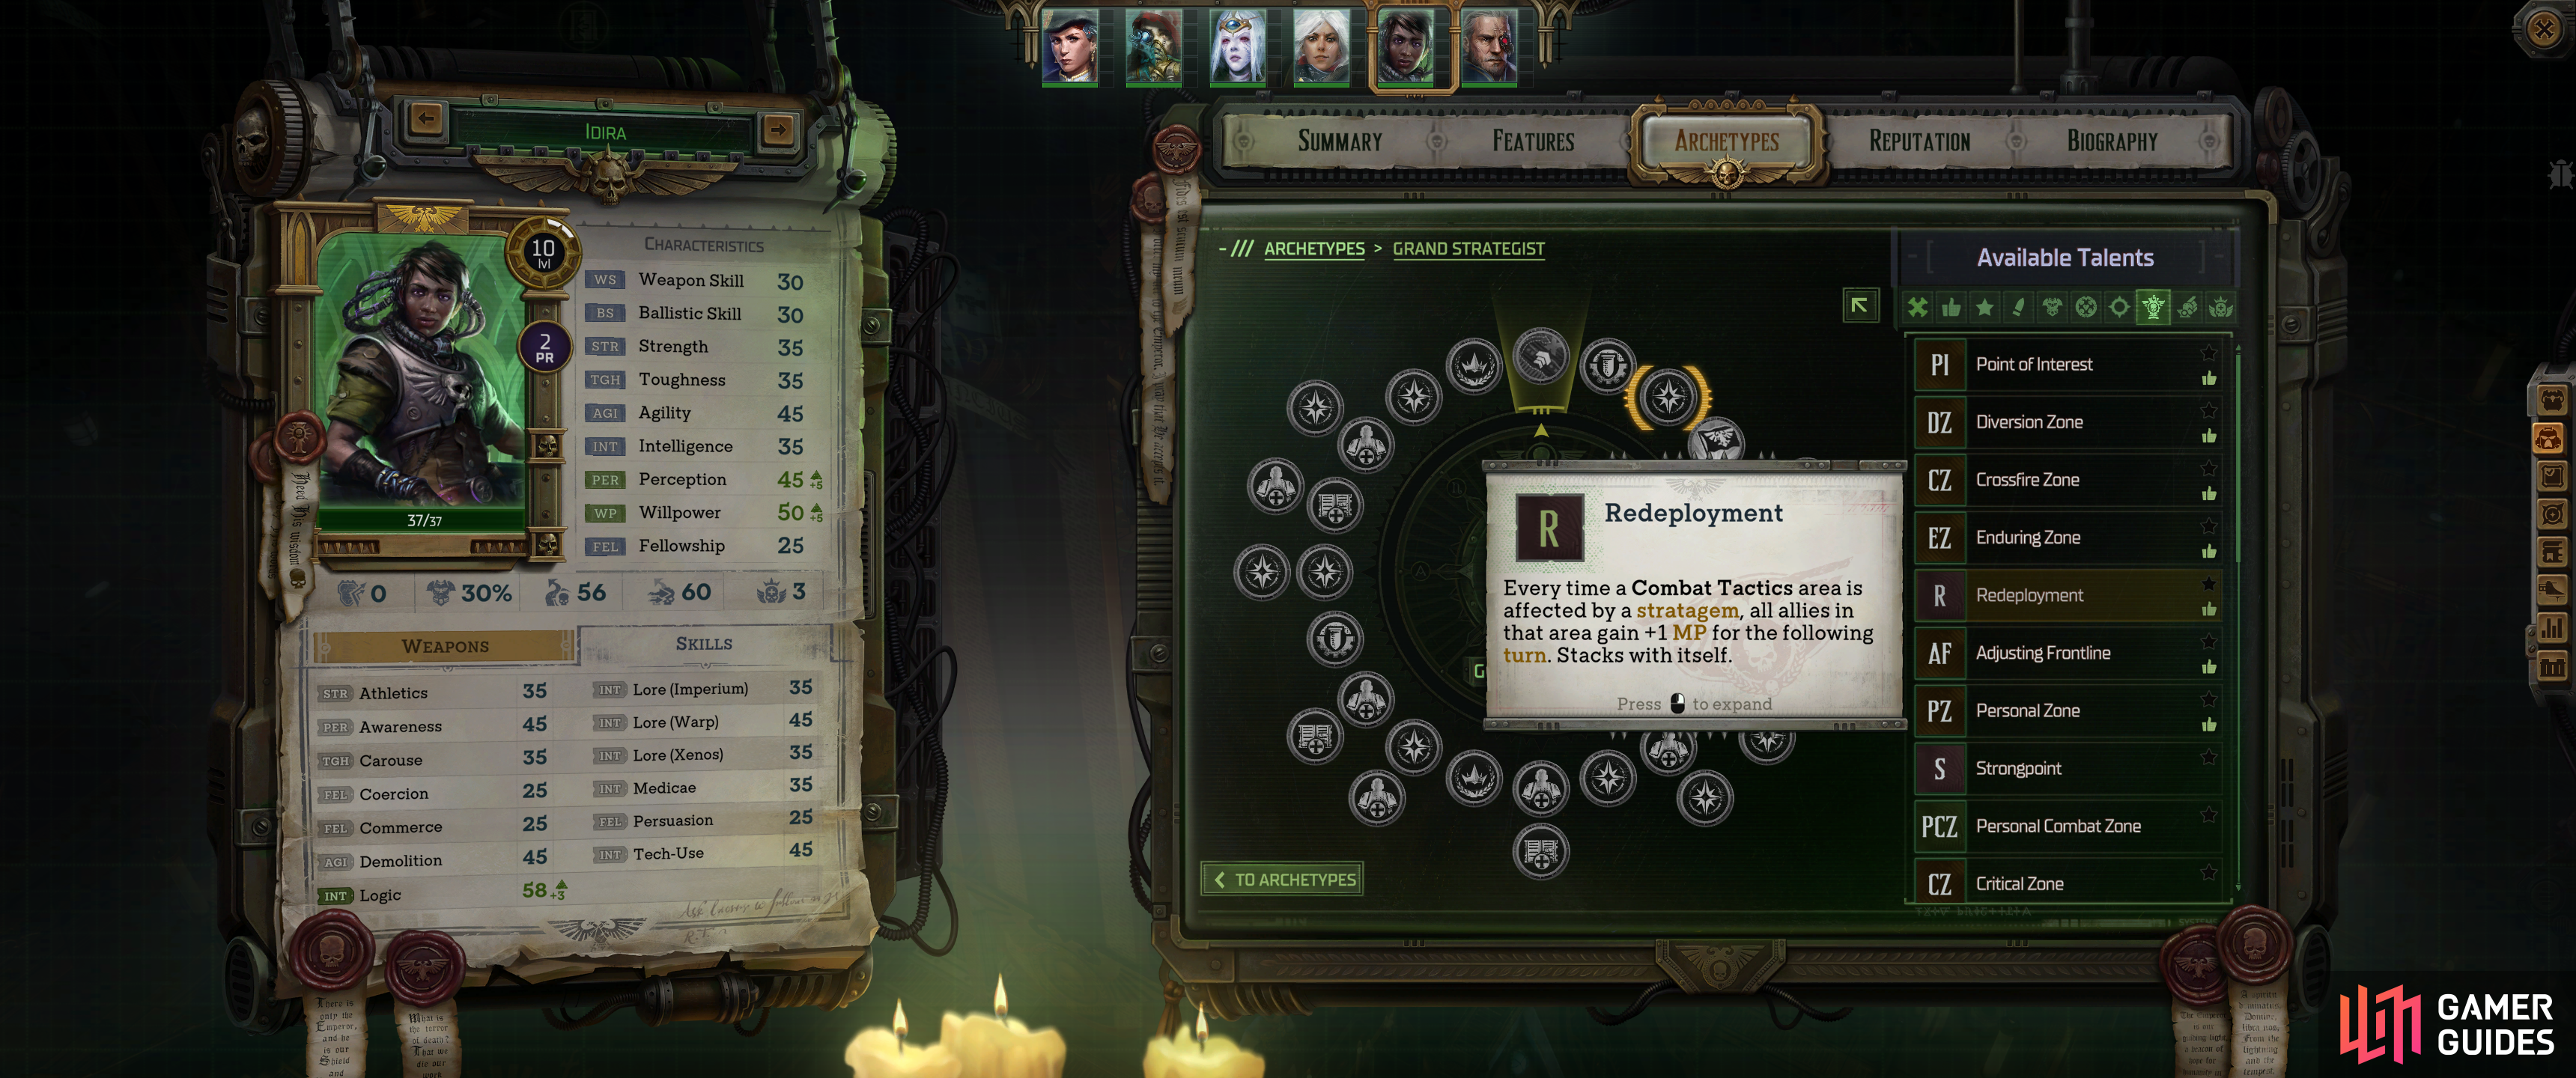
Redeployment |
Every time a |
|
|||||||||||||||||||||||||||||||||||||||||||||||||||||||||||||||||||||||||||||||||||||||||||||||

|
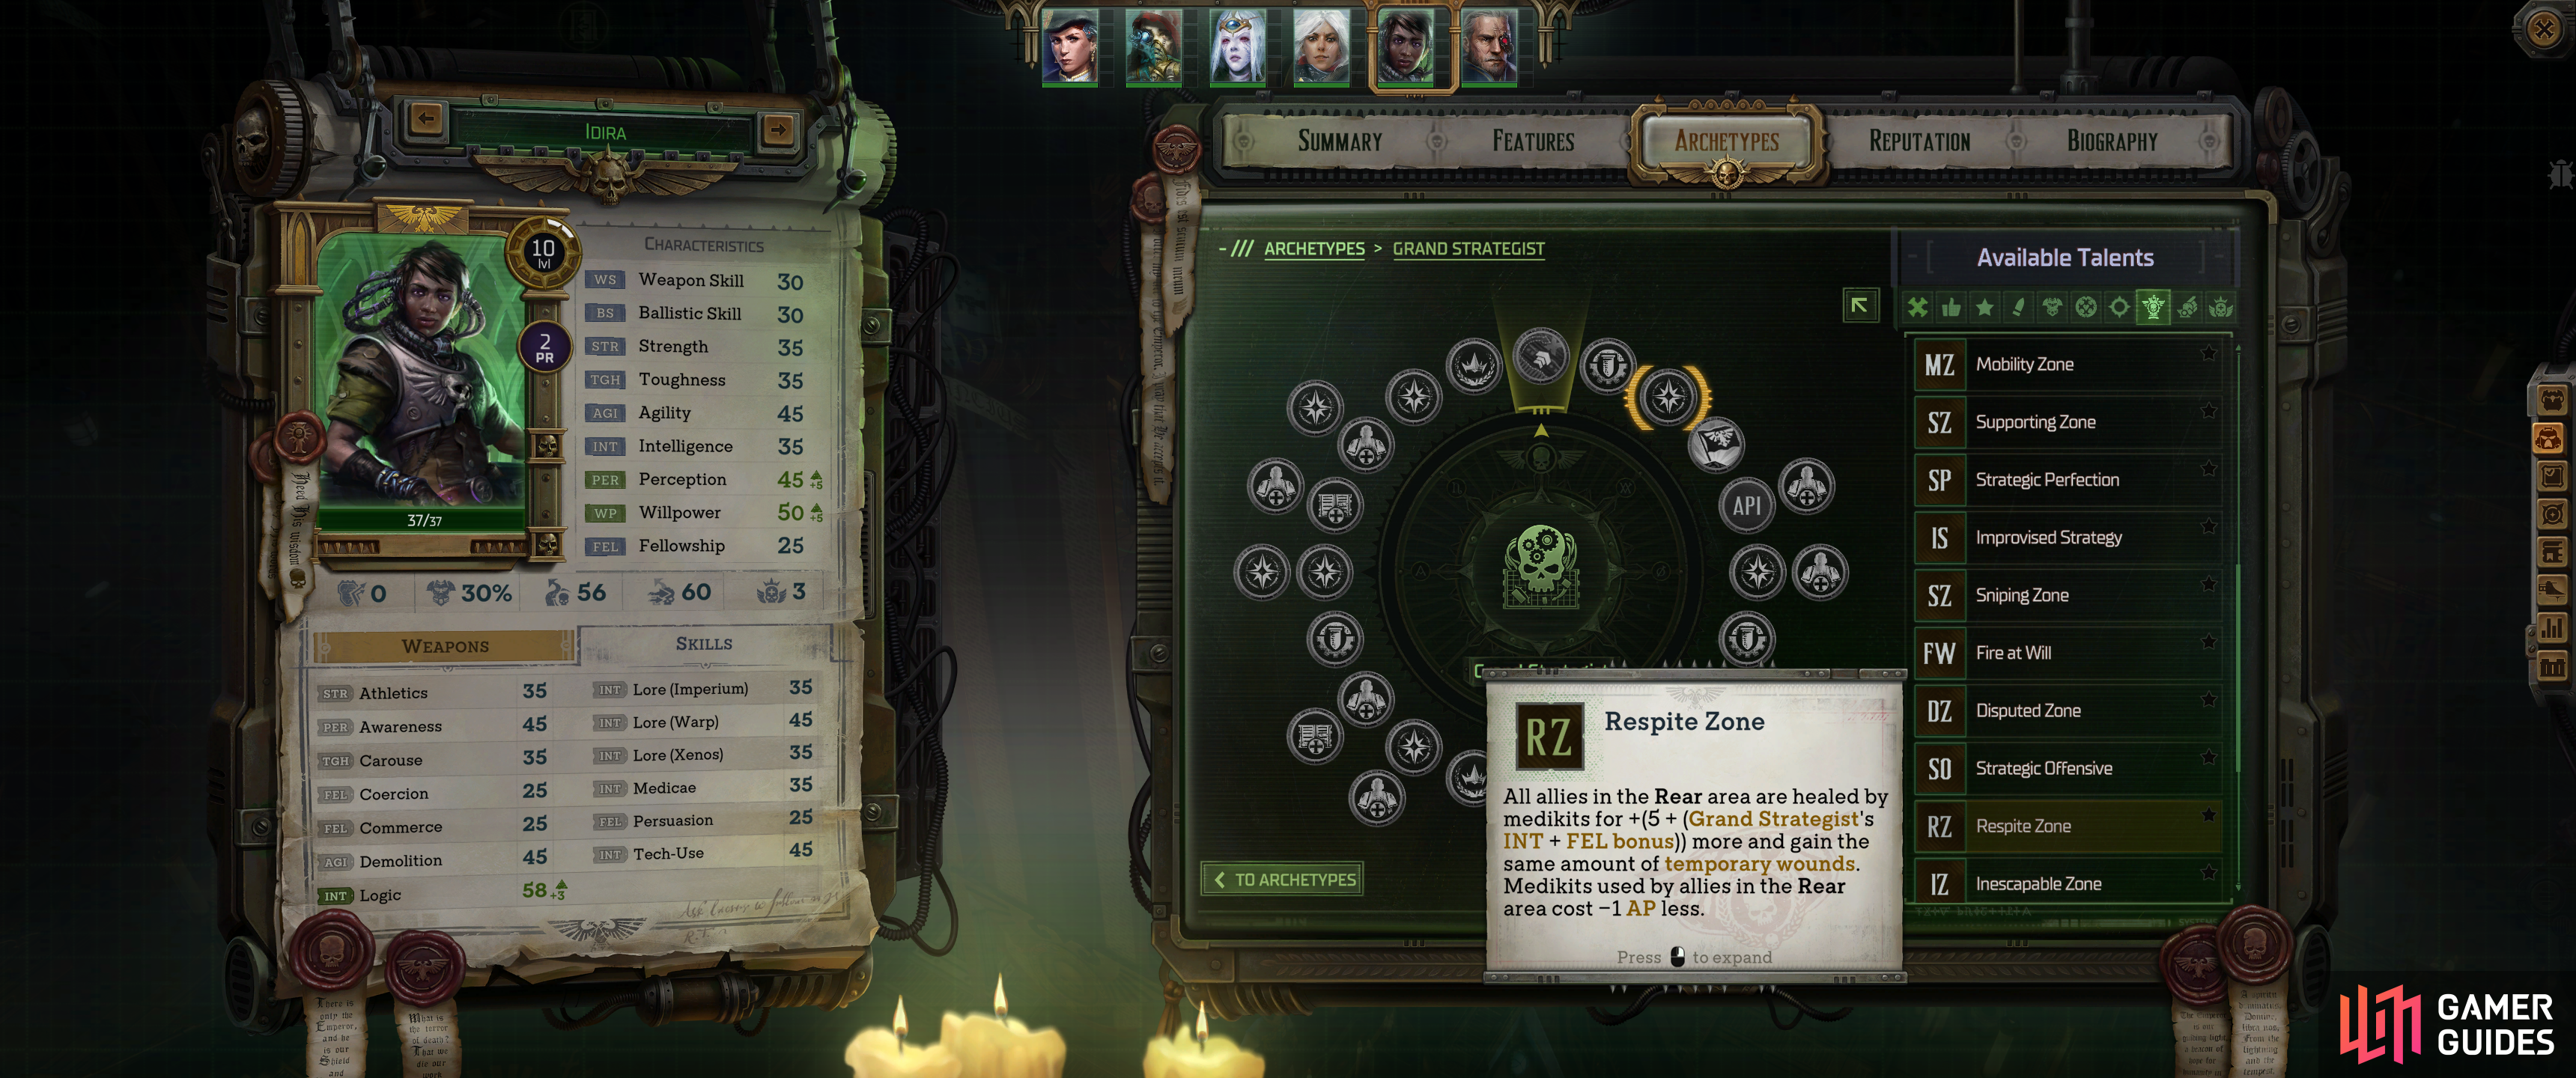
Respite Zone |
All allies in the Rear area are healed by medikits for +(5 + (Grand Strategist’s NT + FEL bonus)) more and gain the same amount of temporary wounds. Medikits used by allies in the Rear area cost -1. AP less. |
|
|||||||||||||||||||||||||||||||||||||||||||||||||||||||||||||||||||||||||||||||||||||||||||||||

|
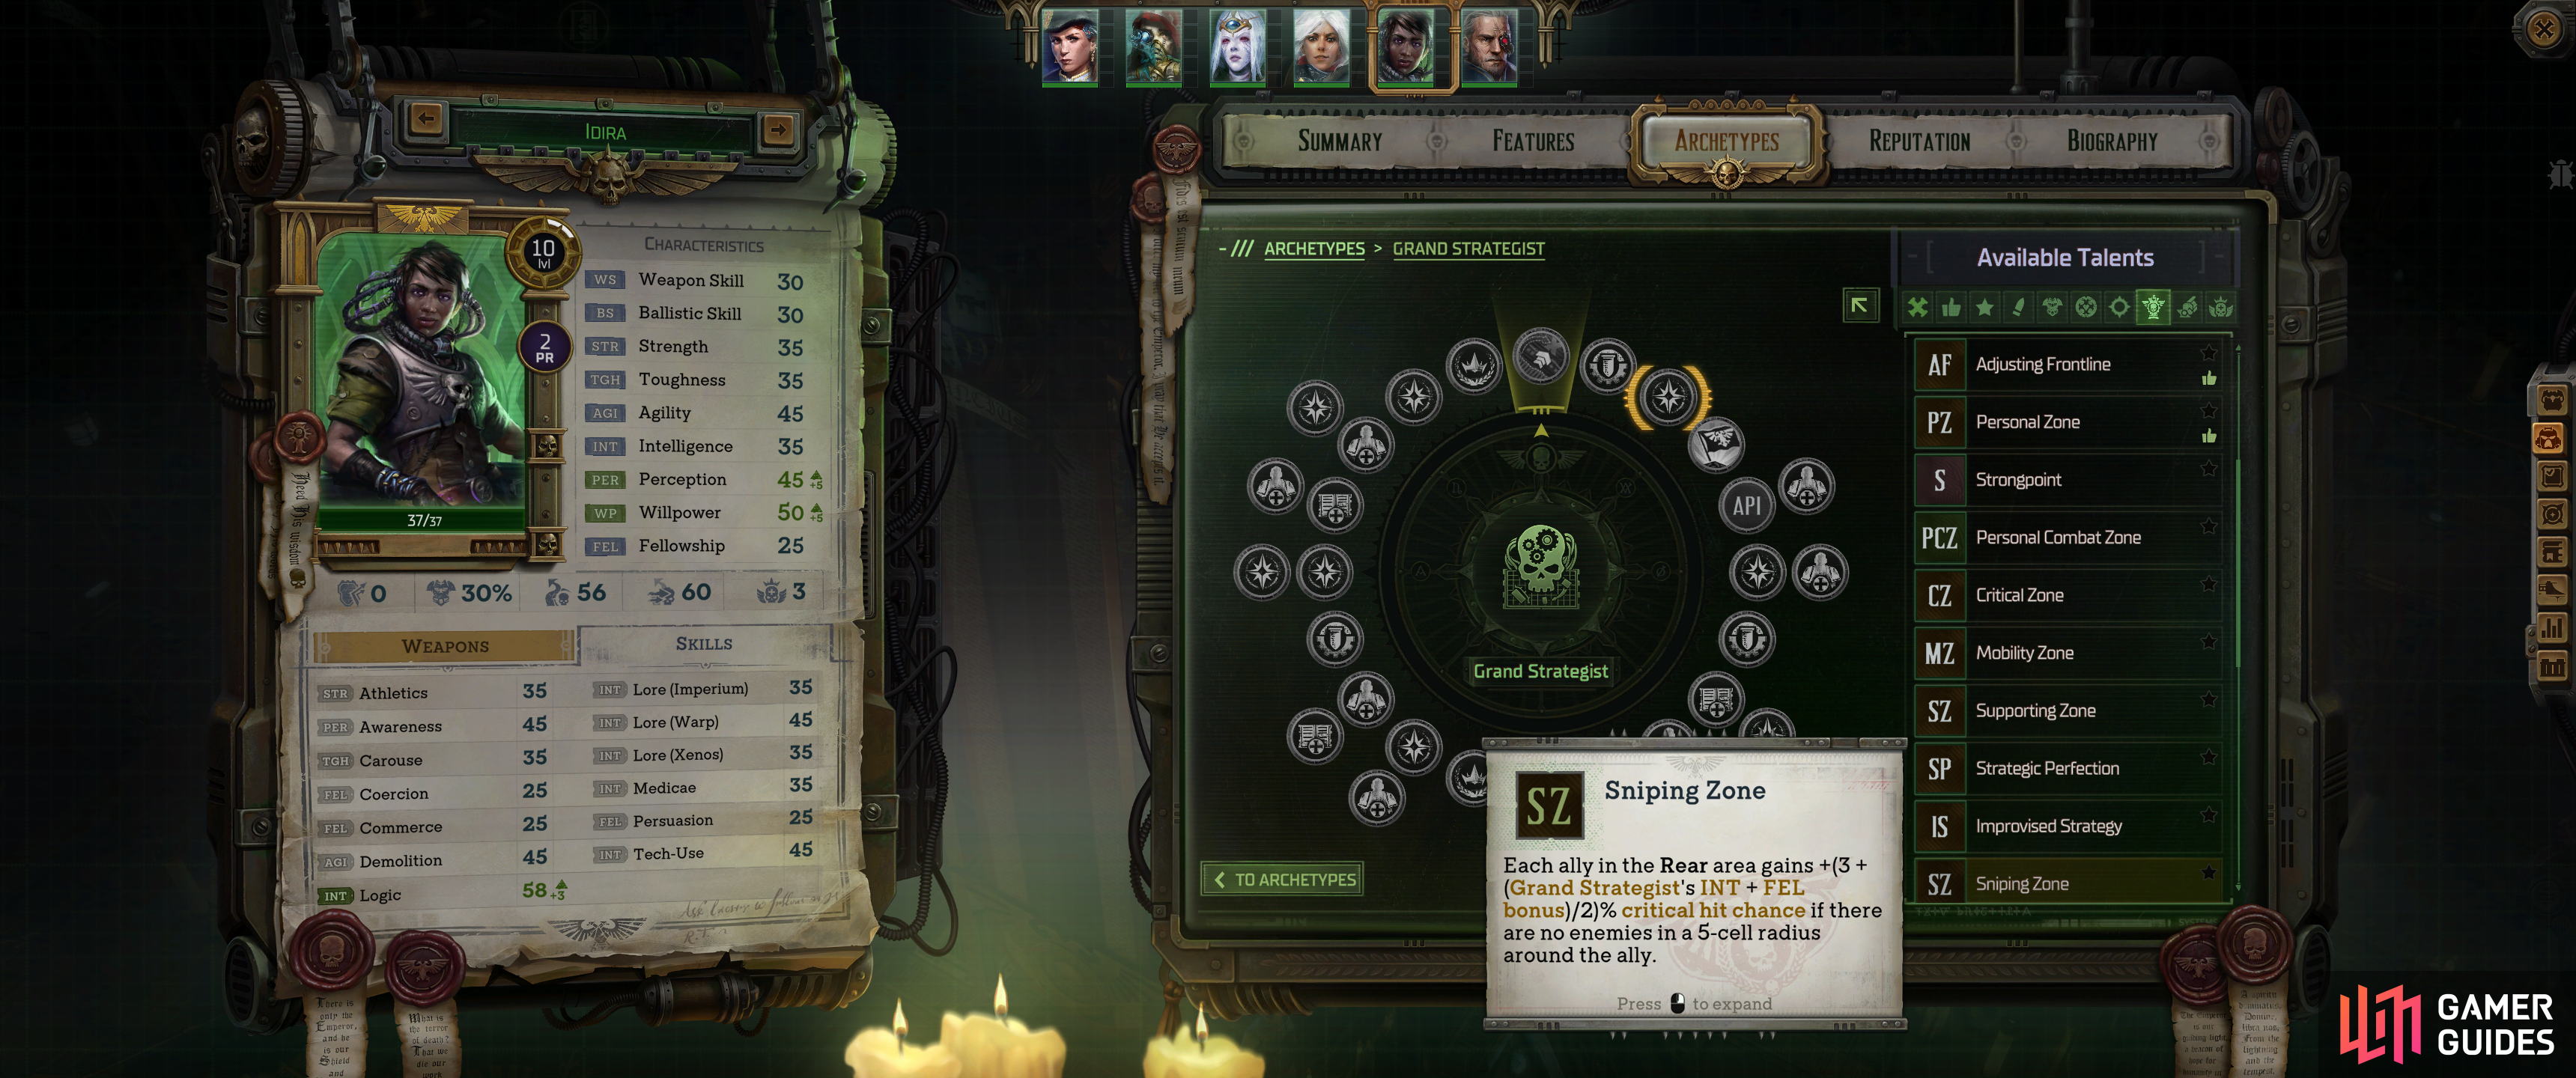
Sniping Zone |
Each ally in the Rear area gains +(3 + (Grand Strategist’s INT + FEL bonus)/2)% critical hit chance if there are no enemies in a 5-cell radius around the ally. |
|
|||||||||||||||||||||||||||||||||||||||||||||||||||||||||||||||||||||||||||||||||||||||||||||||

|
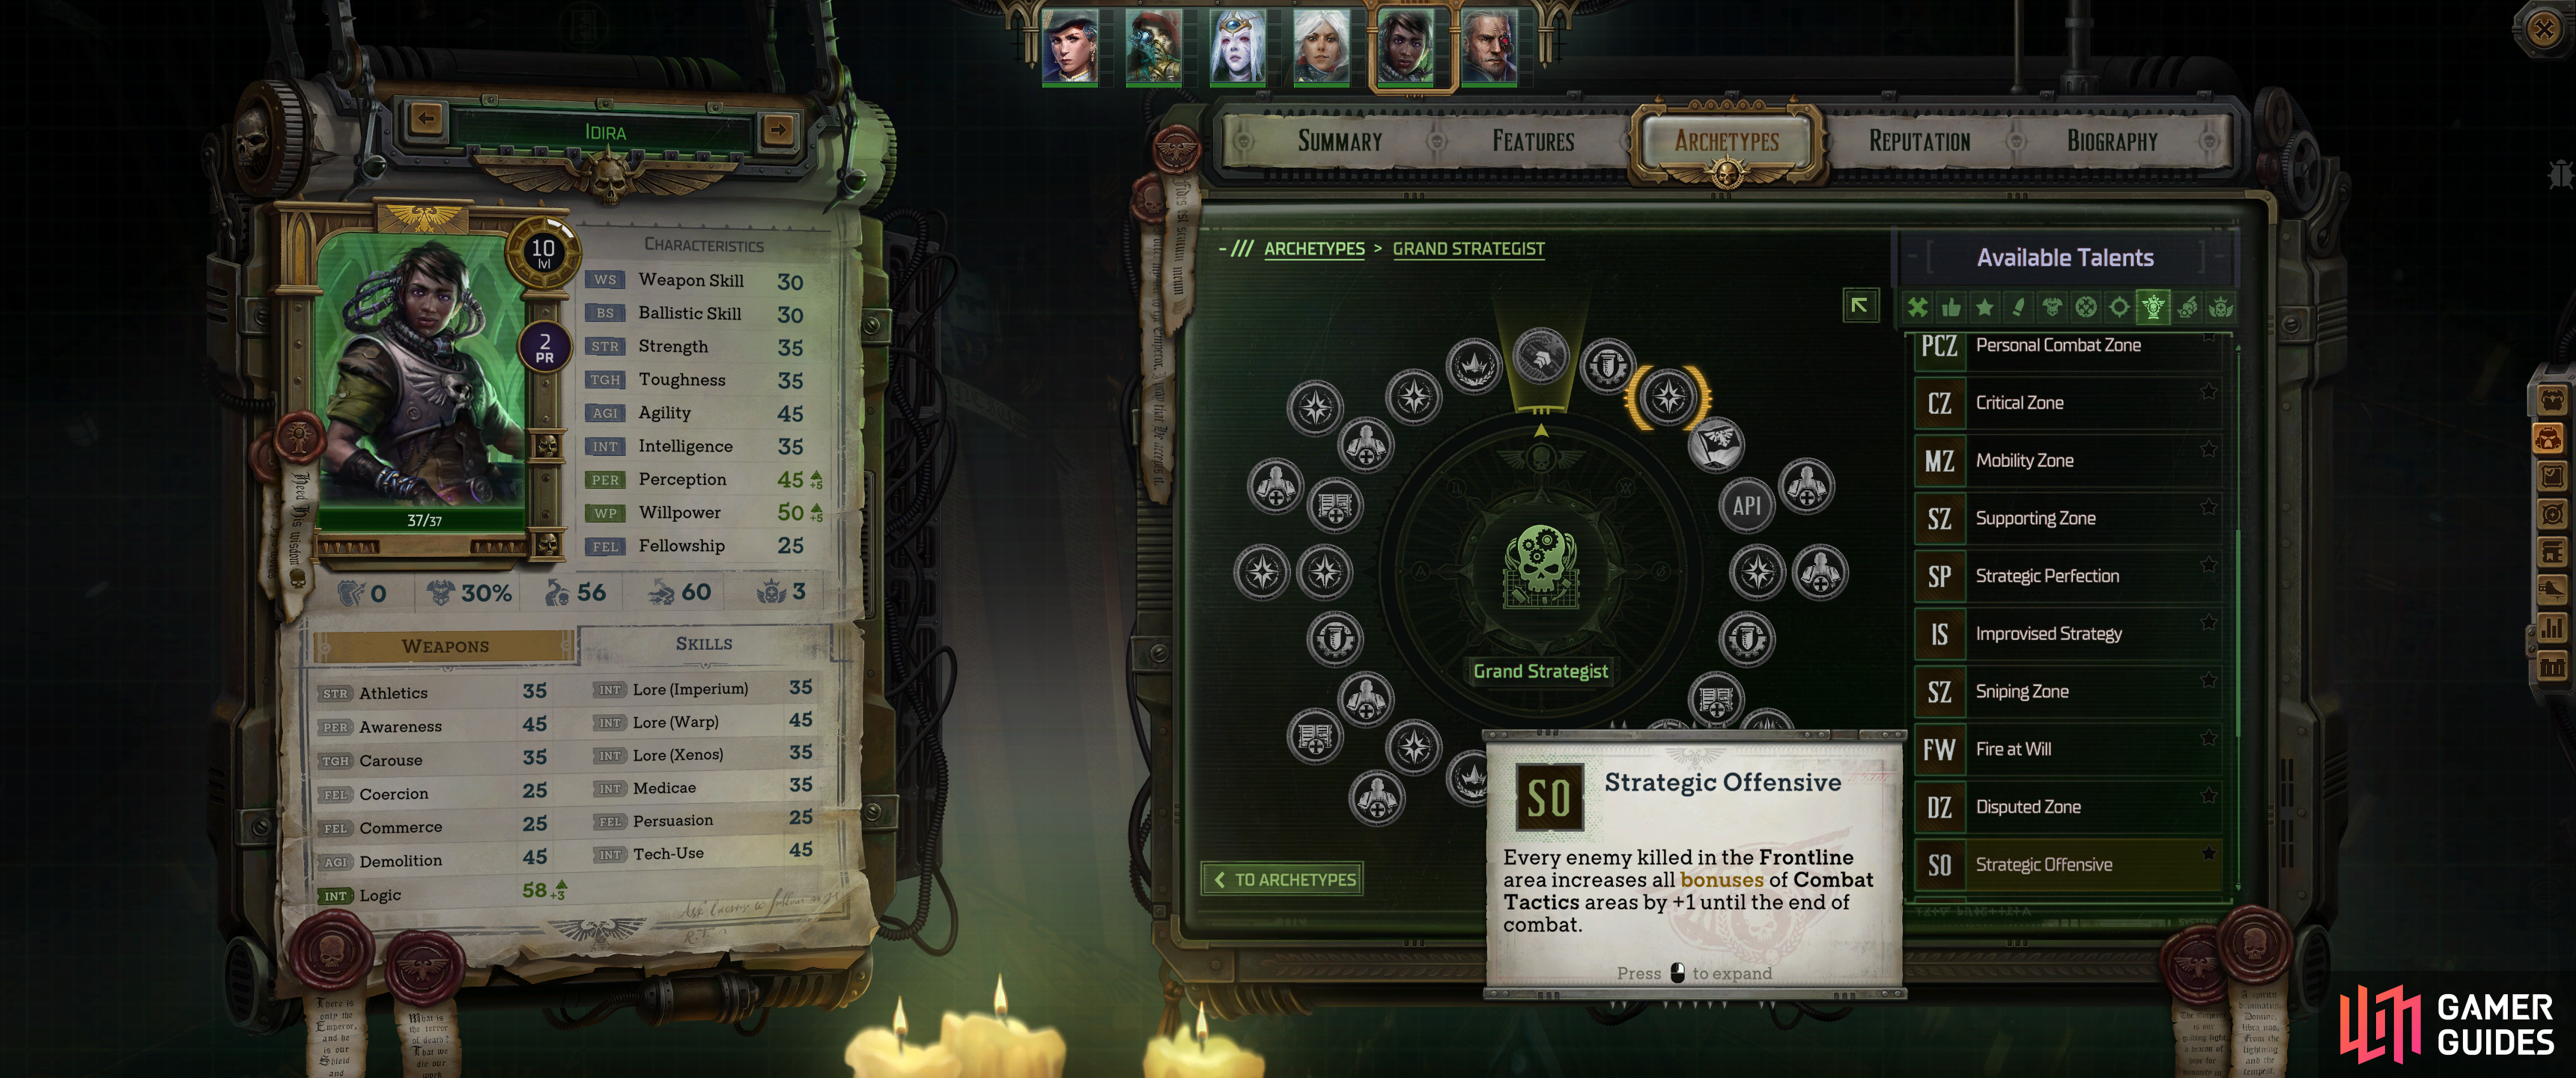
Strategic Offensive |
Every enemy killed in the Frontline area increases all bonuses of |
|
|||||||||||||||||||||||||||||||||||||||||||||||||||||||||||||||||||||||||||||||||||||||||||||||

|
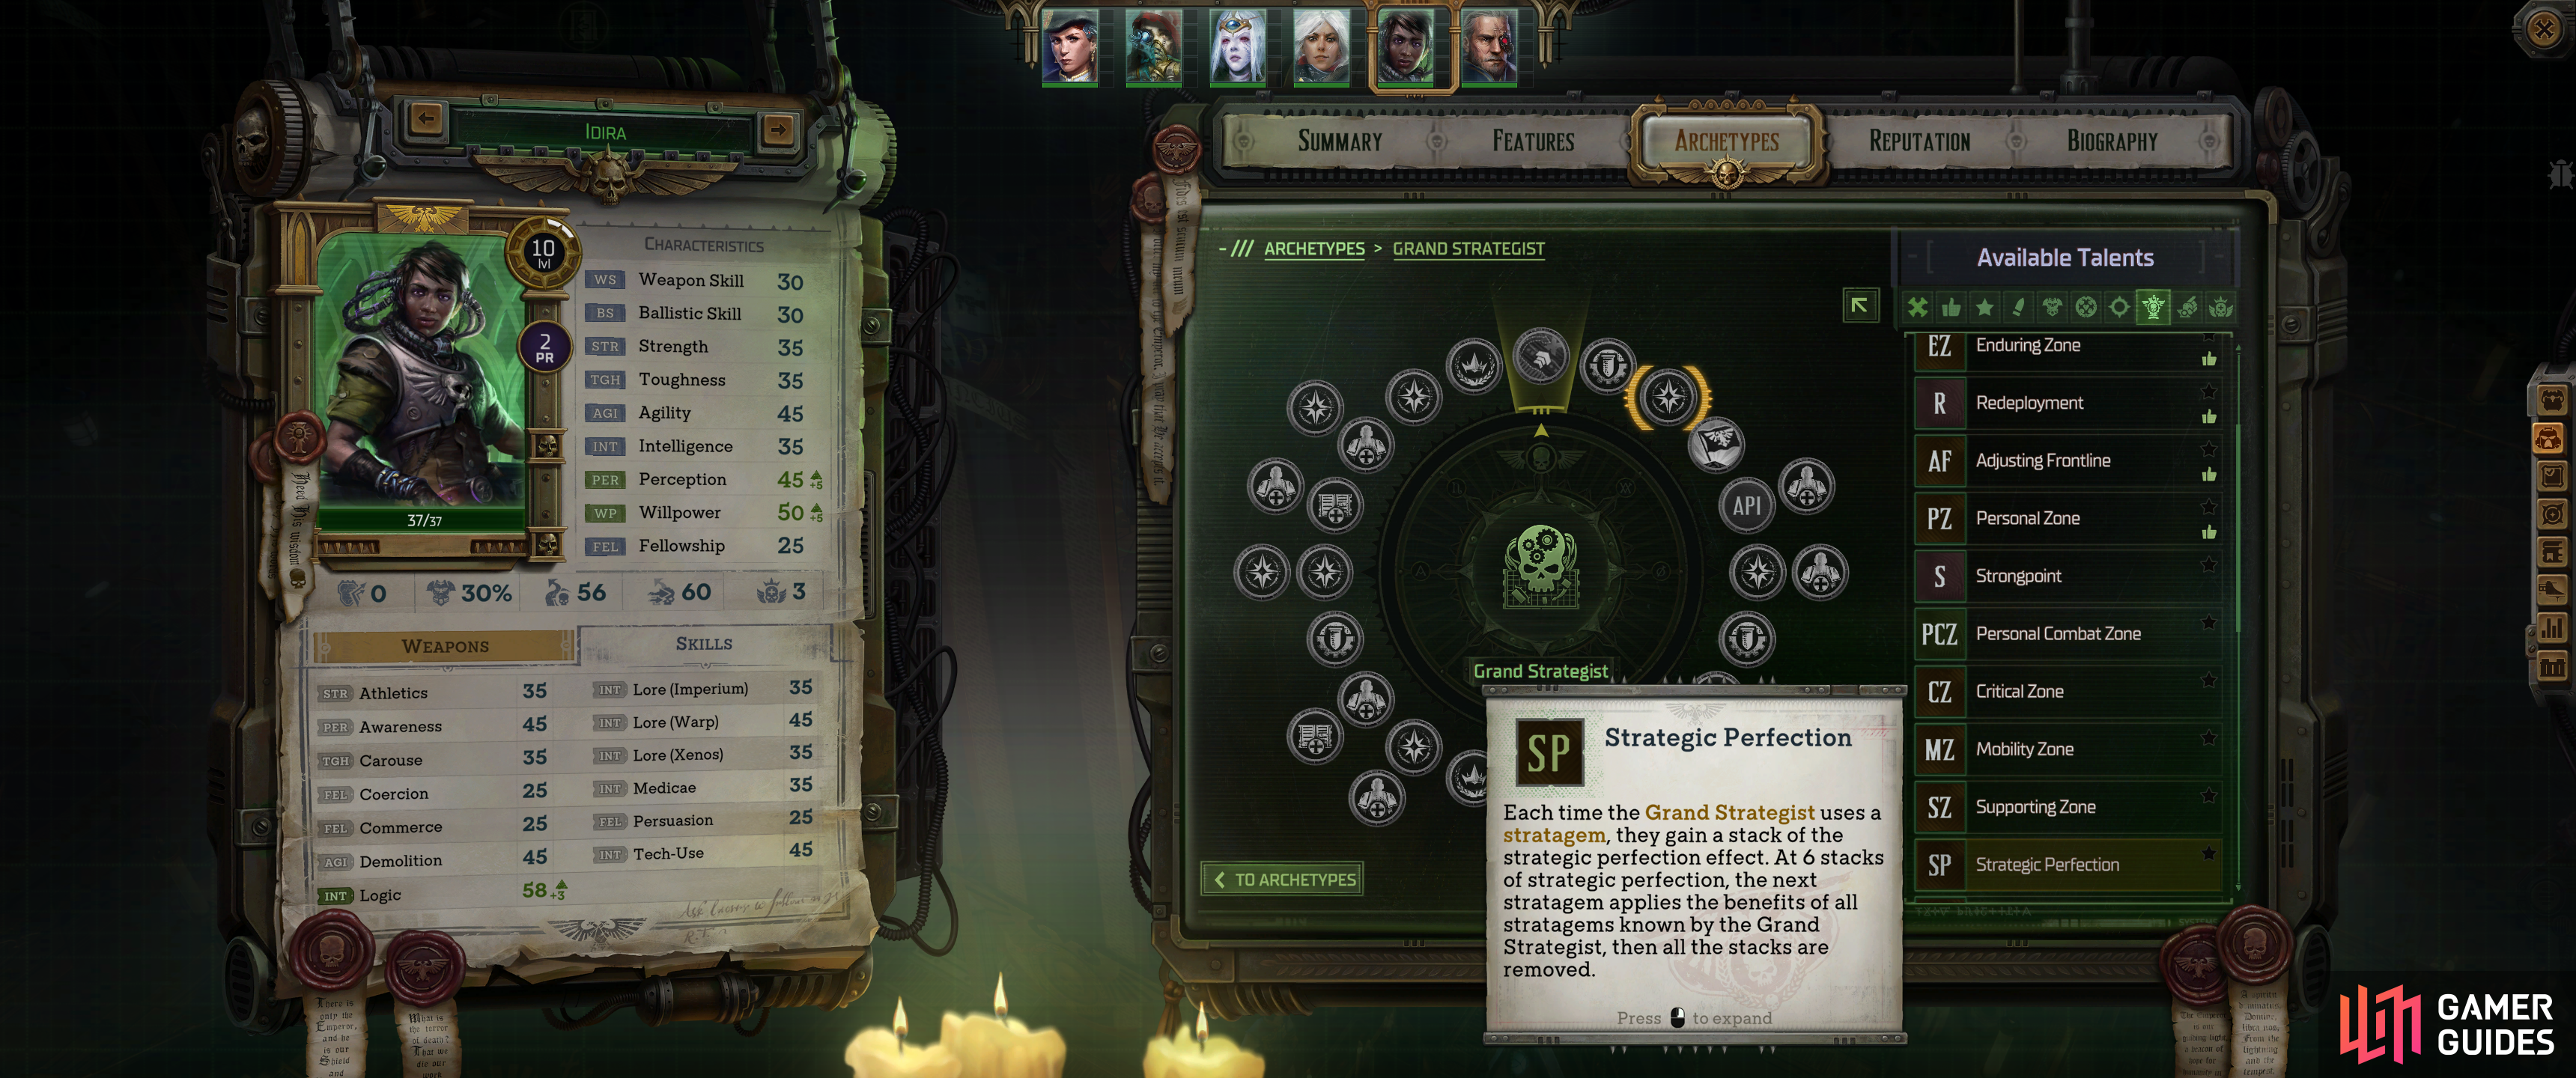
Strategic Perfection |
Each time the Grand Strategist uses a stratagem, they gain a stack of the strategic perfection effect. At 6 stacks of strategic perfection, the next stratagem applies the benefits of all stratagems known by the Grand Strategist, then all the stacks are removed. |
|
|||||||||||||||||||||||||||||||||||||||||||||||||||||||||||||||||||||||||||||||||||||||||||||||

|
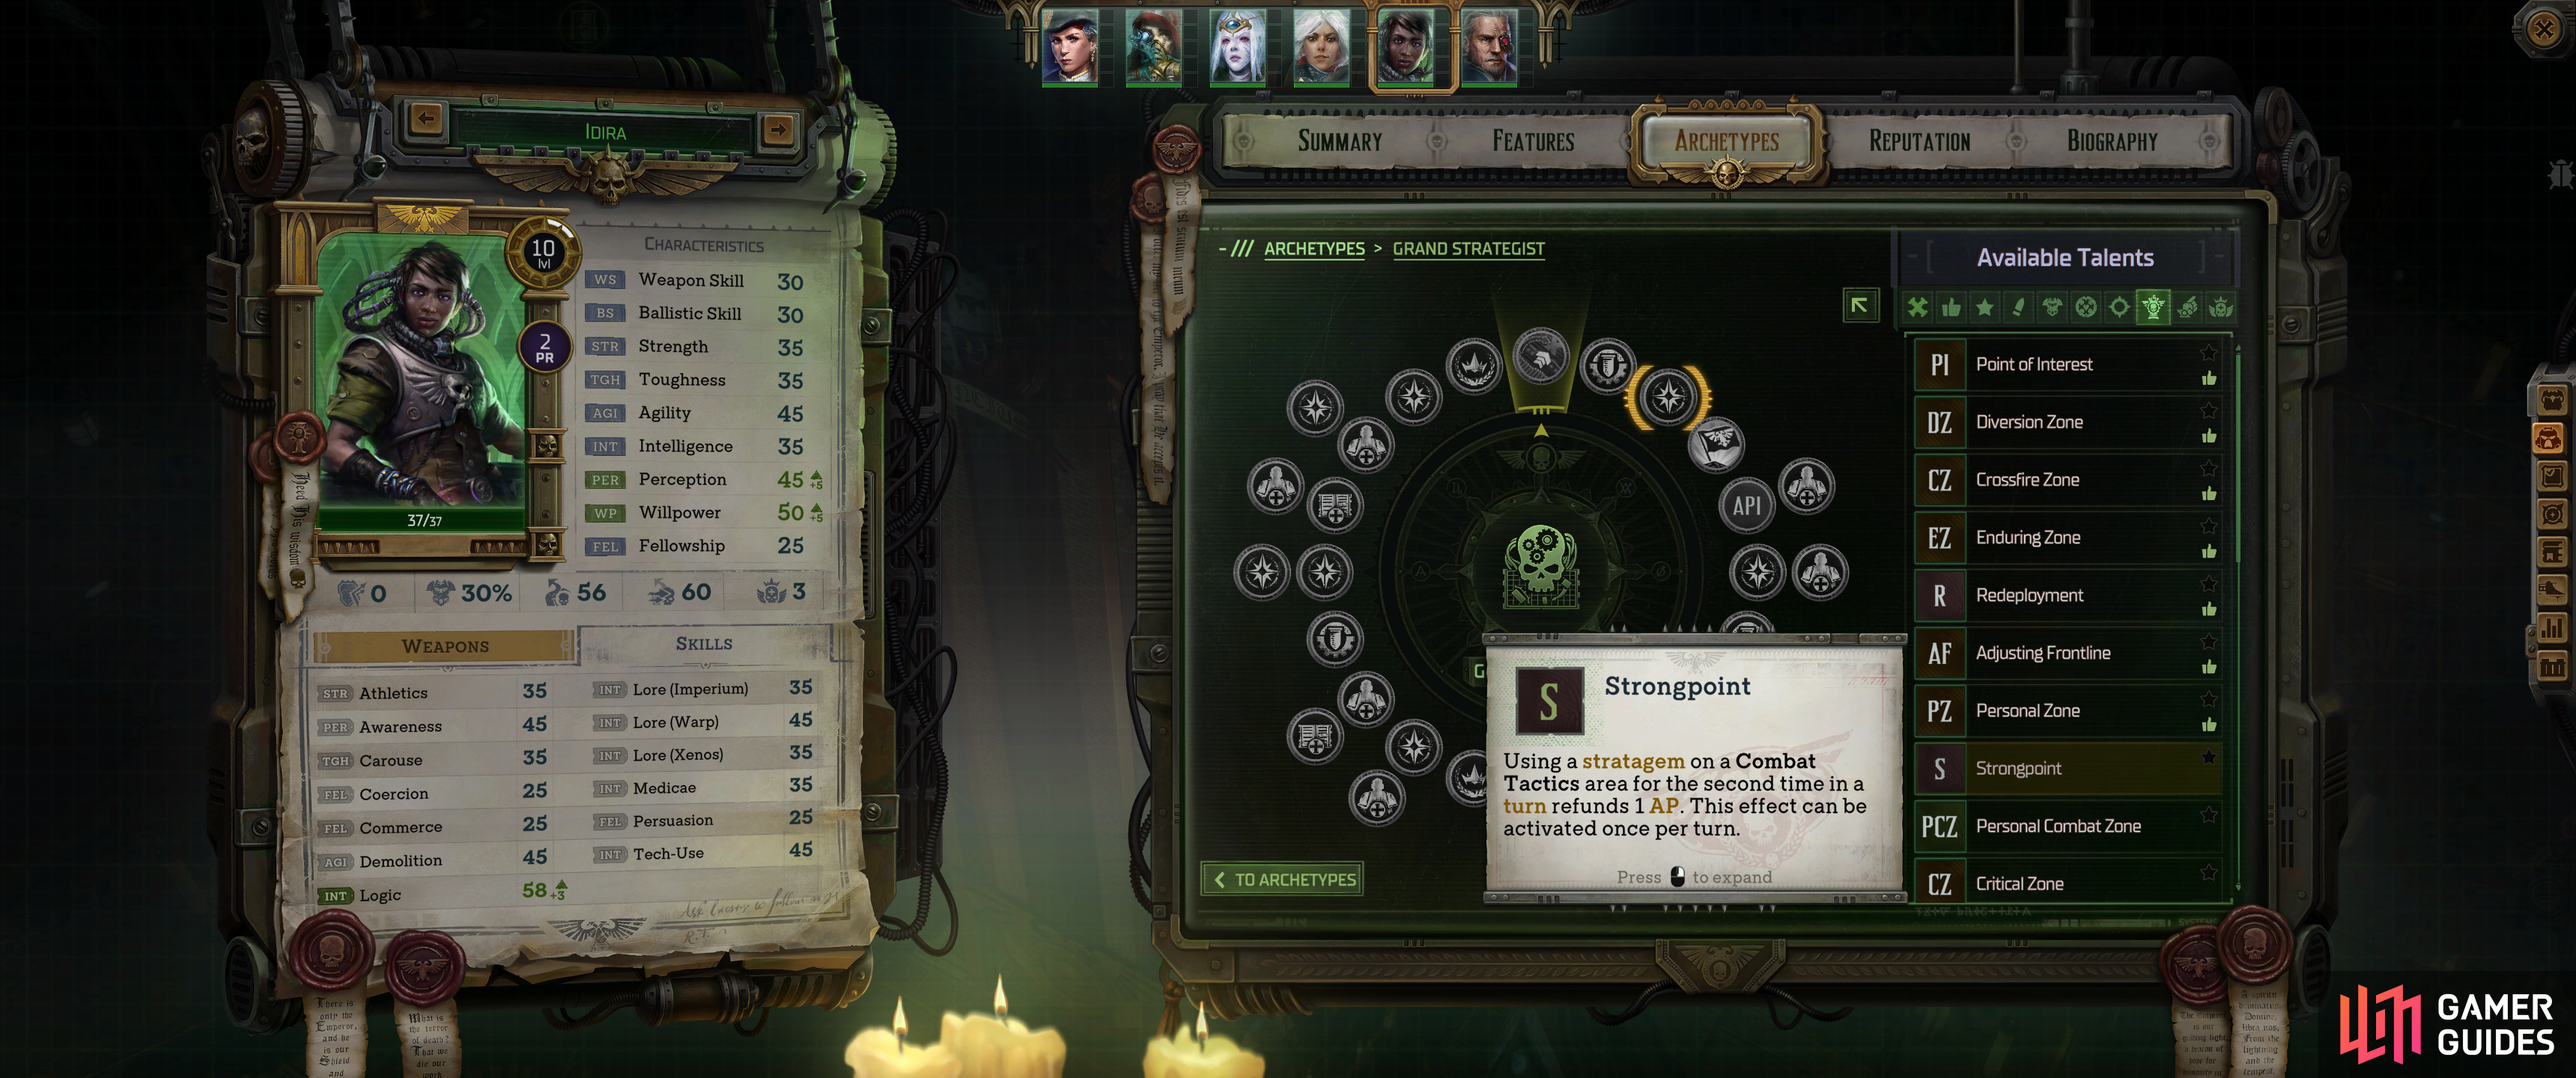
Strongpoint |
Using a stratagem on a |
|
|||||||||||||||||||||||||||||||||||||||||||||||||||||||||||||||||||||||||||||||||||||||||||||||

|
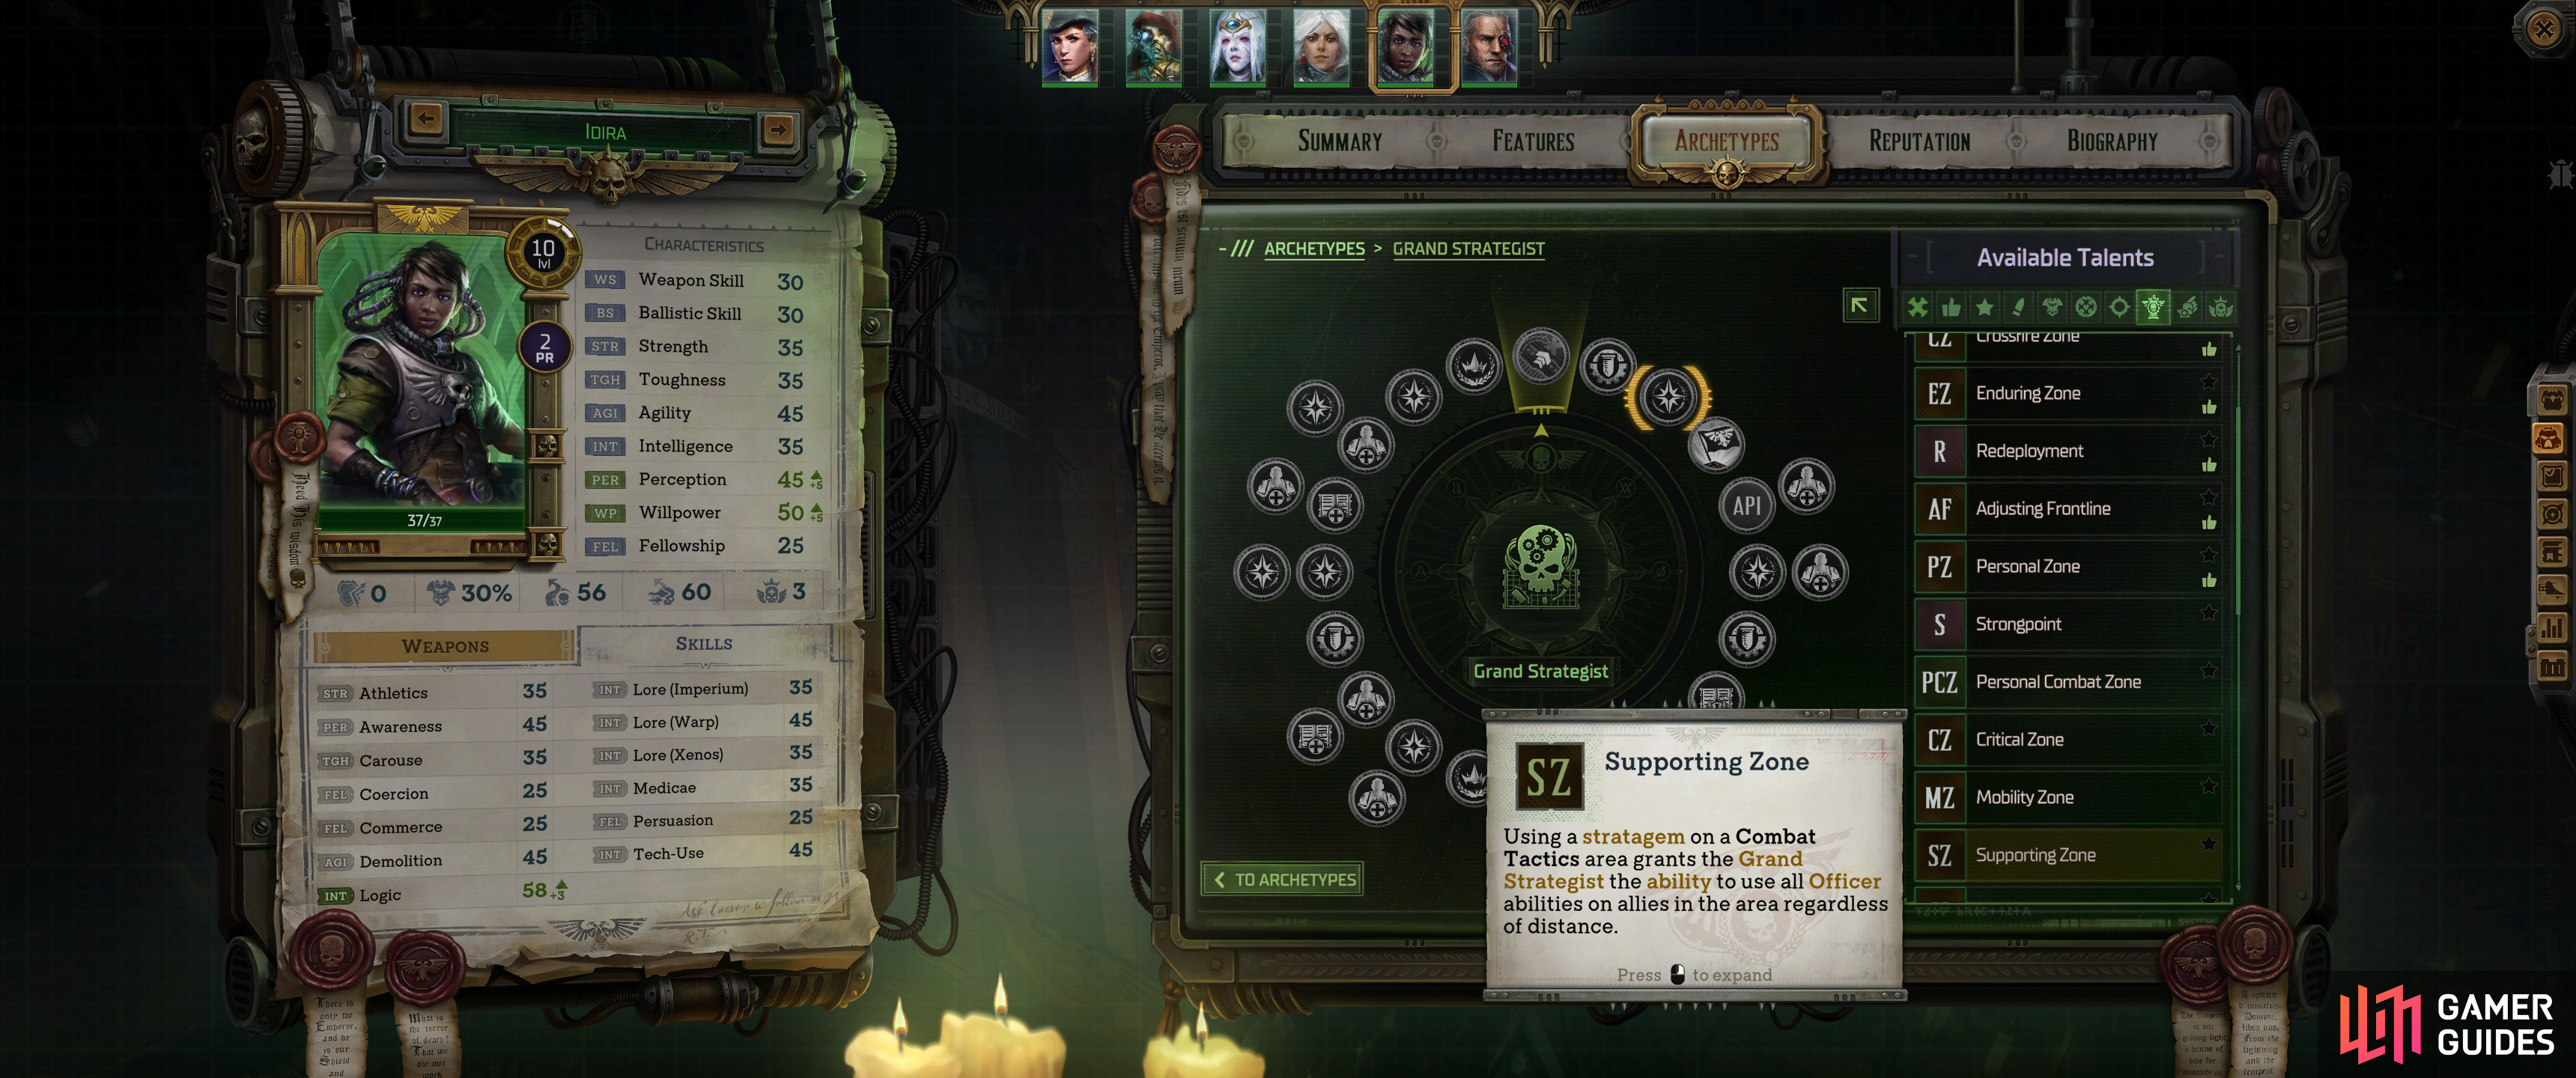
Supporting Zone |
Using a stratagem on a |
|
|||||||||||||||||||||||||||||||||||||||||||||||||||||||||||||||||||||||||||||||||||||||||||||||


