
The Demon Fort of the Yellow Heaven is the fourth mission in Wo Long: Fallen Dynasty. As you progress through the missions, you’ll learn about the Morale system and how it’s tied to the Flags of which there are two types, Marking Flags, and Battle Flags. Not only are these Flags tied to the Morale system, but they’re needed for 100 mission completion from which you’ll eventually unlock the Fly It High trophy/achievement. This page will show you where you can find all 13 Masking and Battle Flags in the Demon Fort of the Yellow Heaven.
The Demon Fort of the Yellow Heaven is the third mission in Wo Long, and has thirteen flags to find in total.
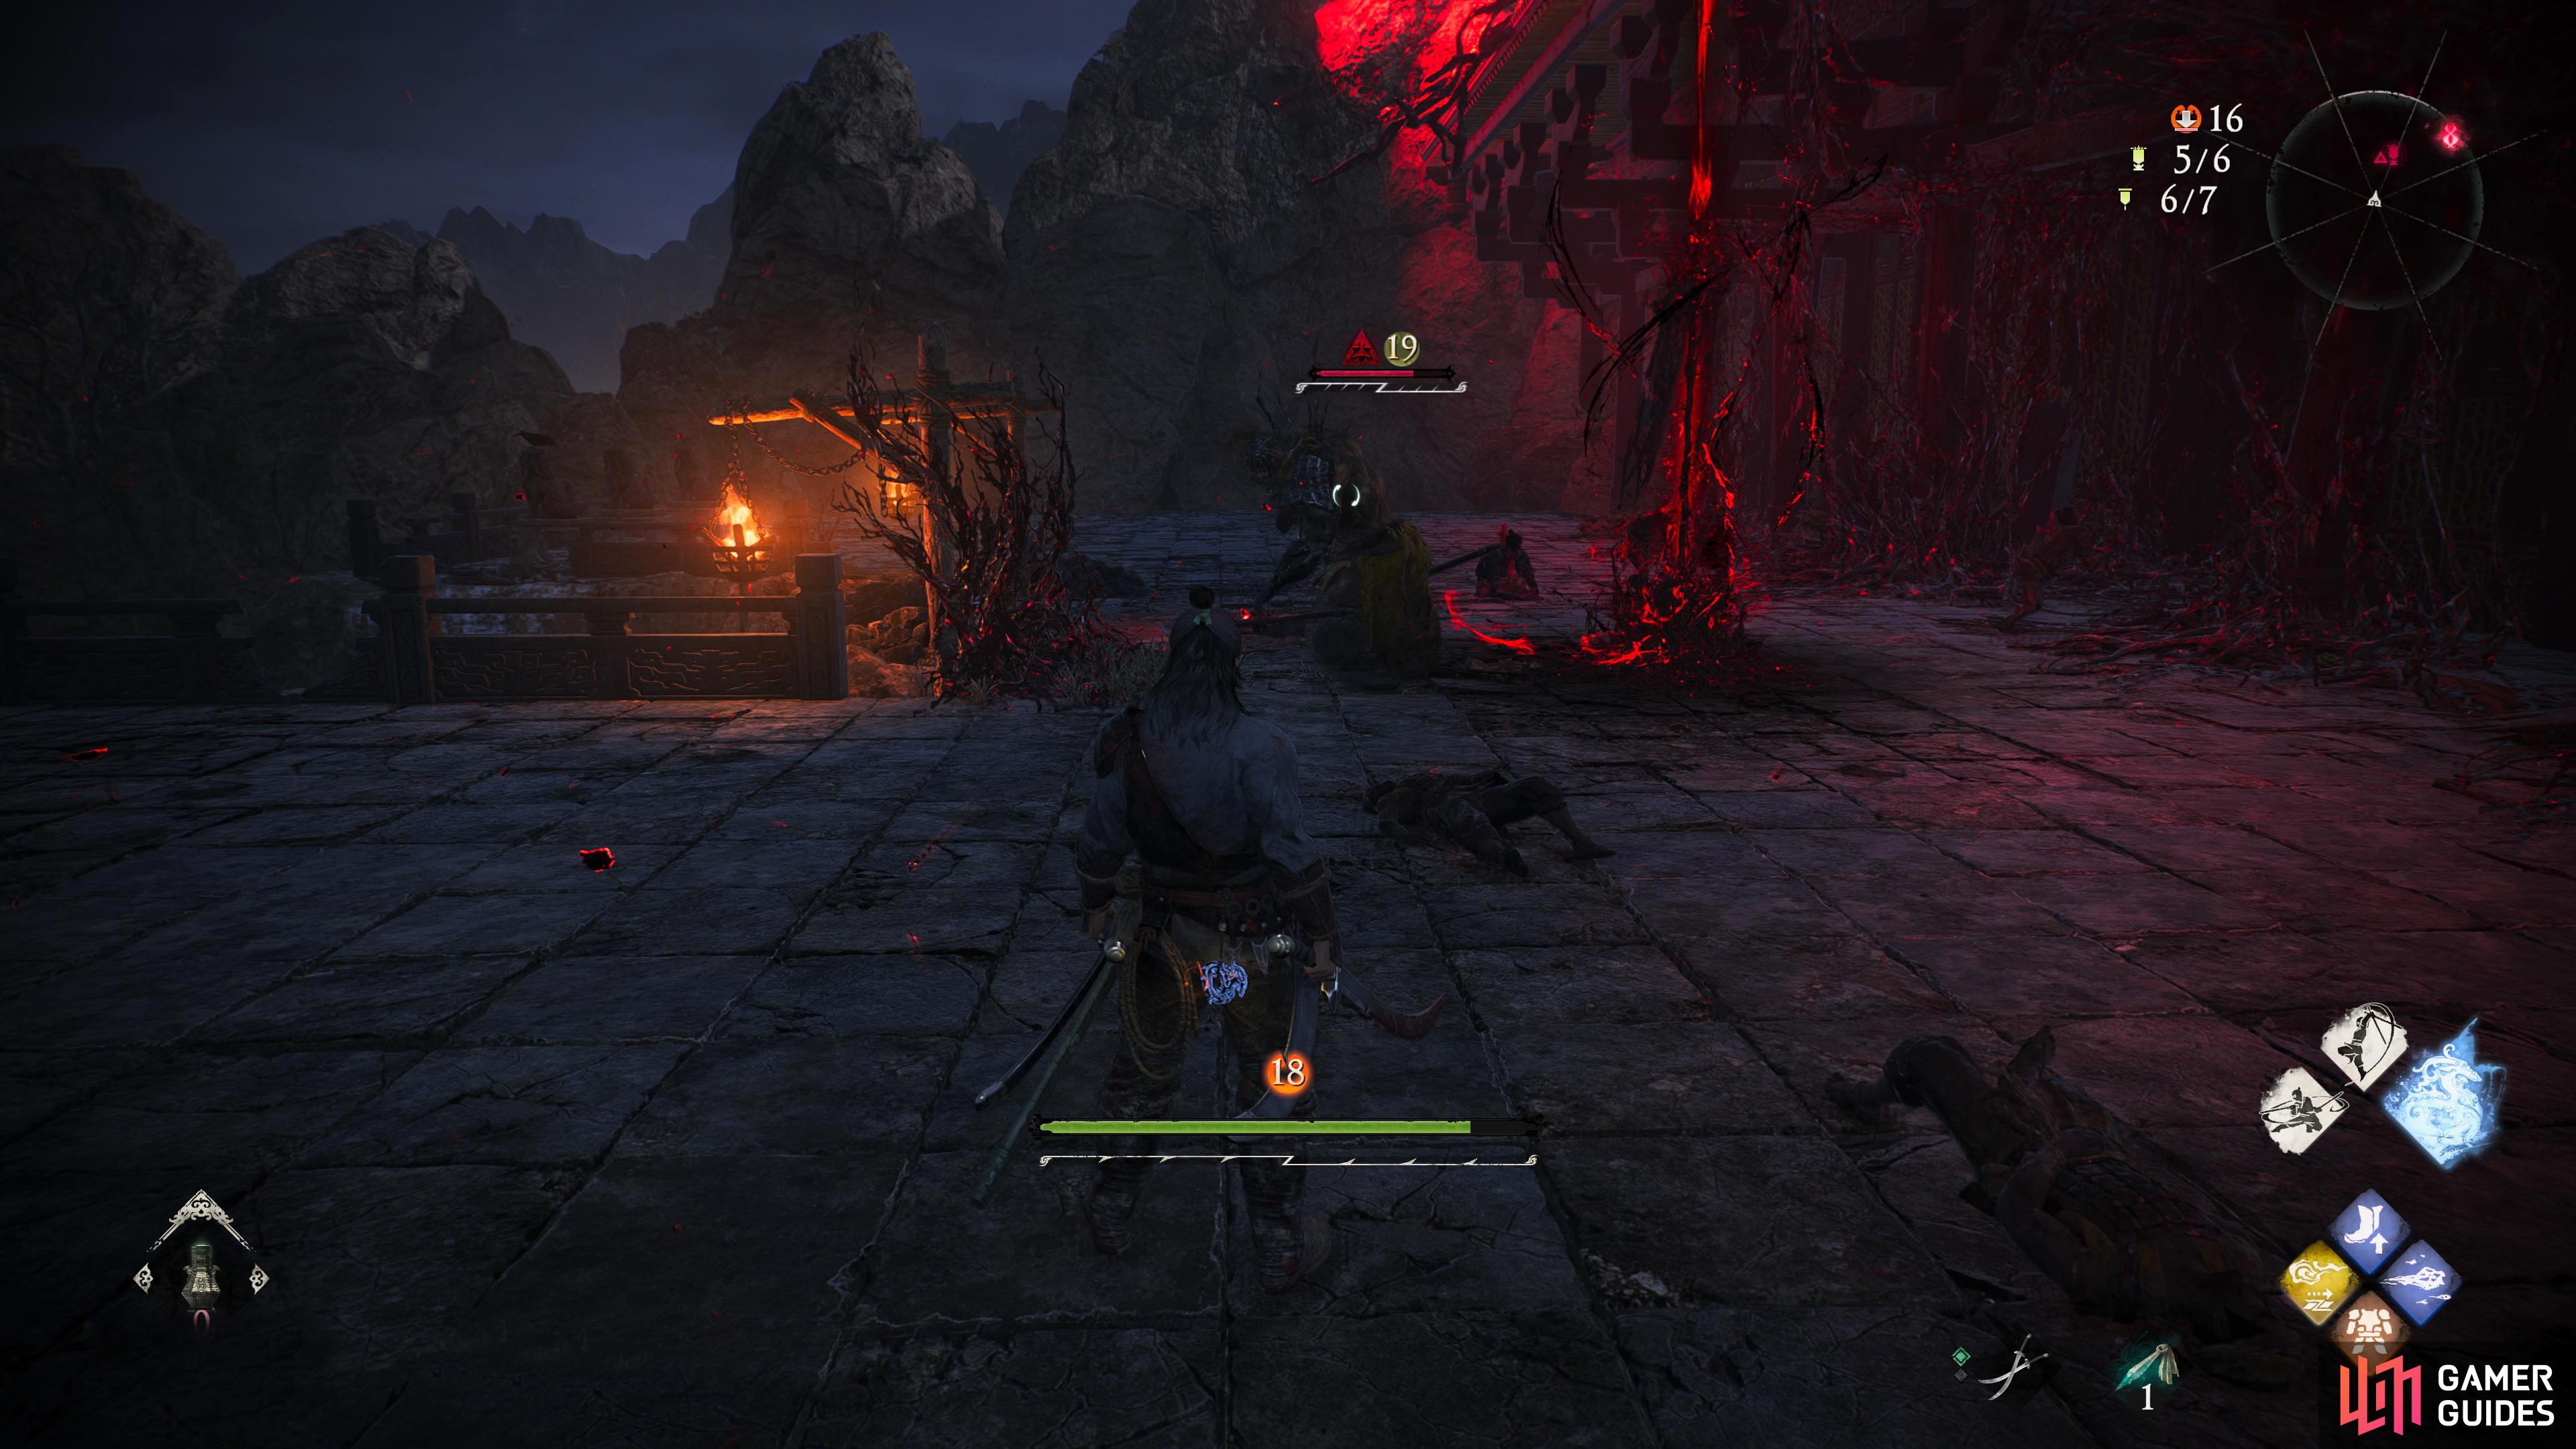
Battle Flag 1 Location
This is the flag you start off with at the start of the mission. Jump up on the rocky platforms on your left, and follow the path to find it.
At the start of the mission, climb up the platforms to the left.
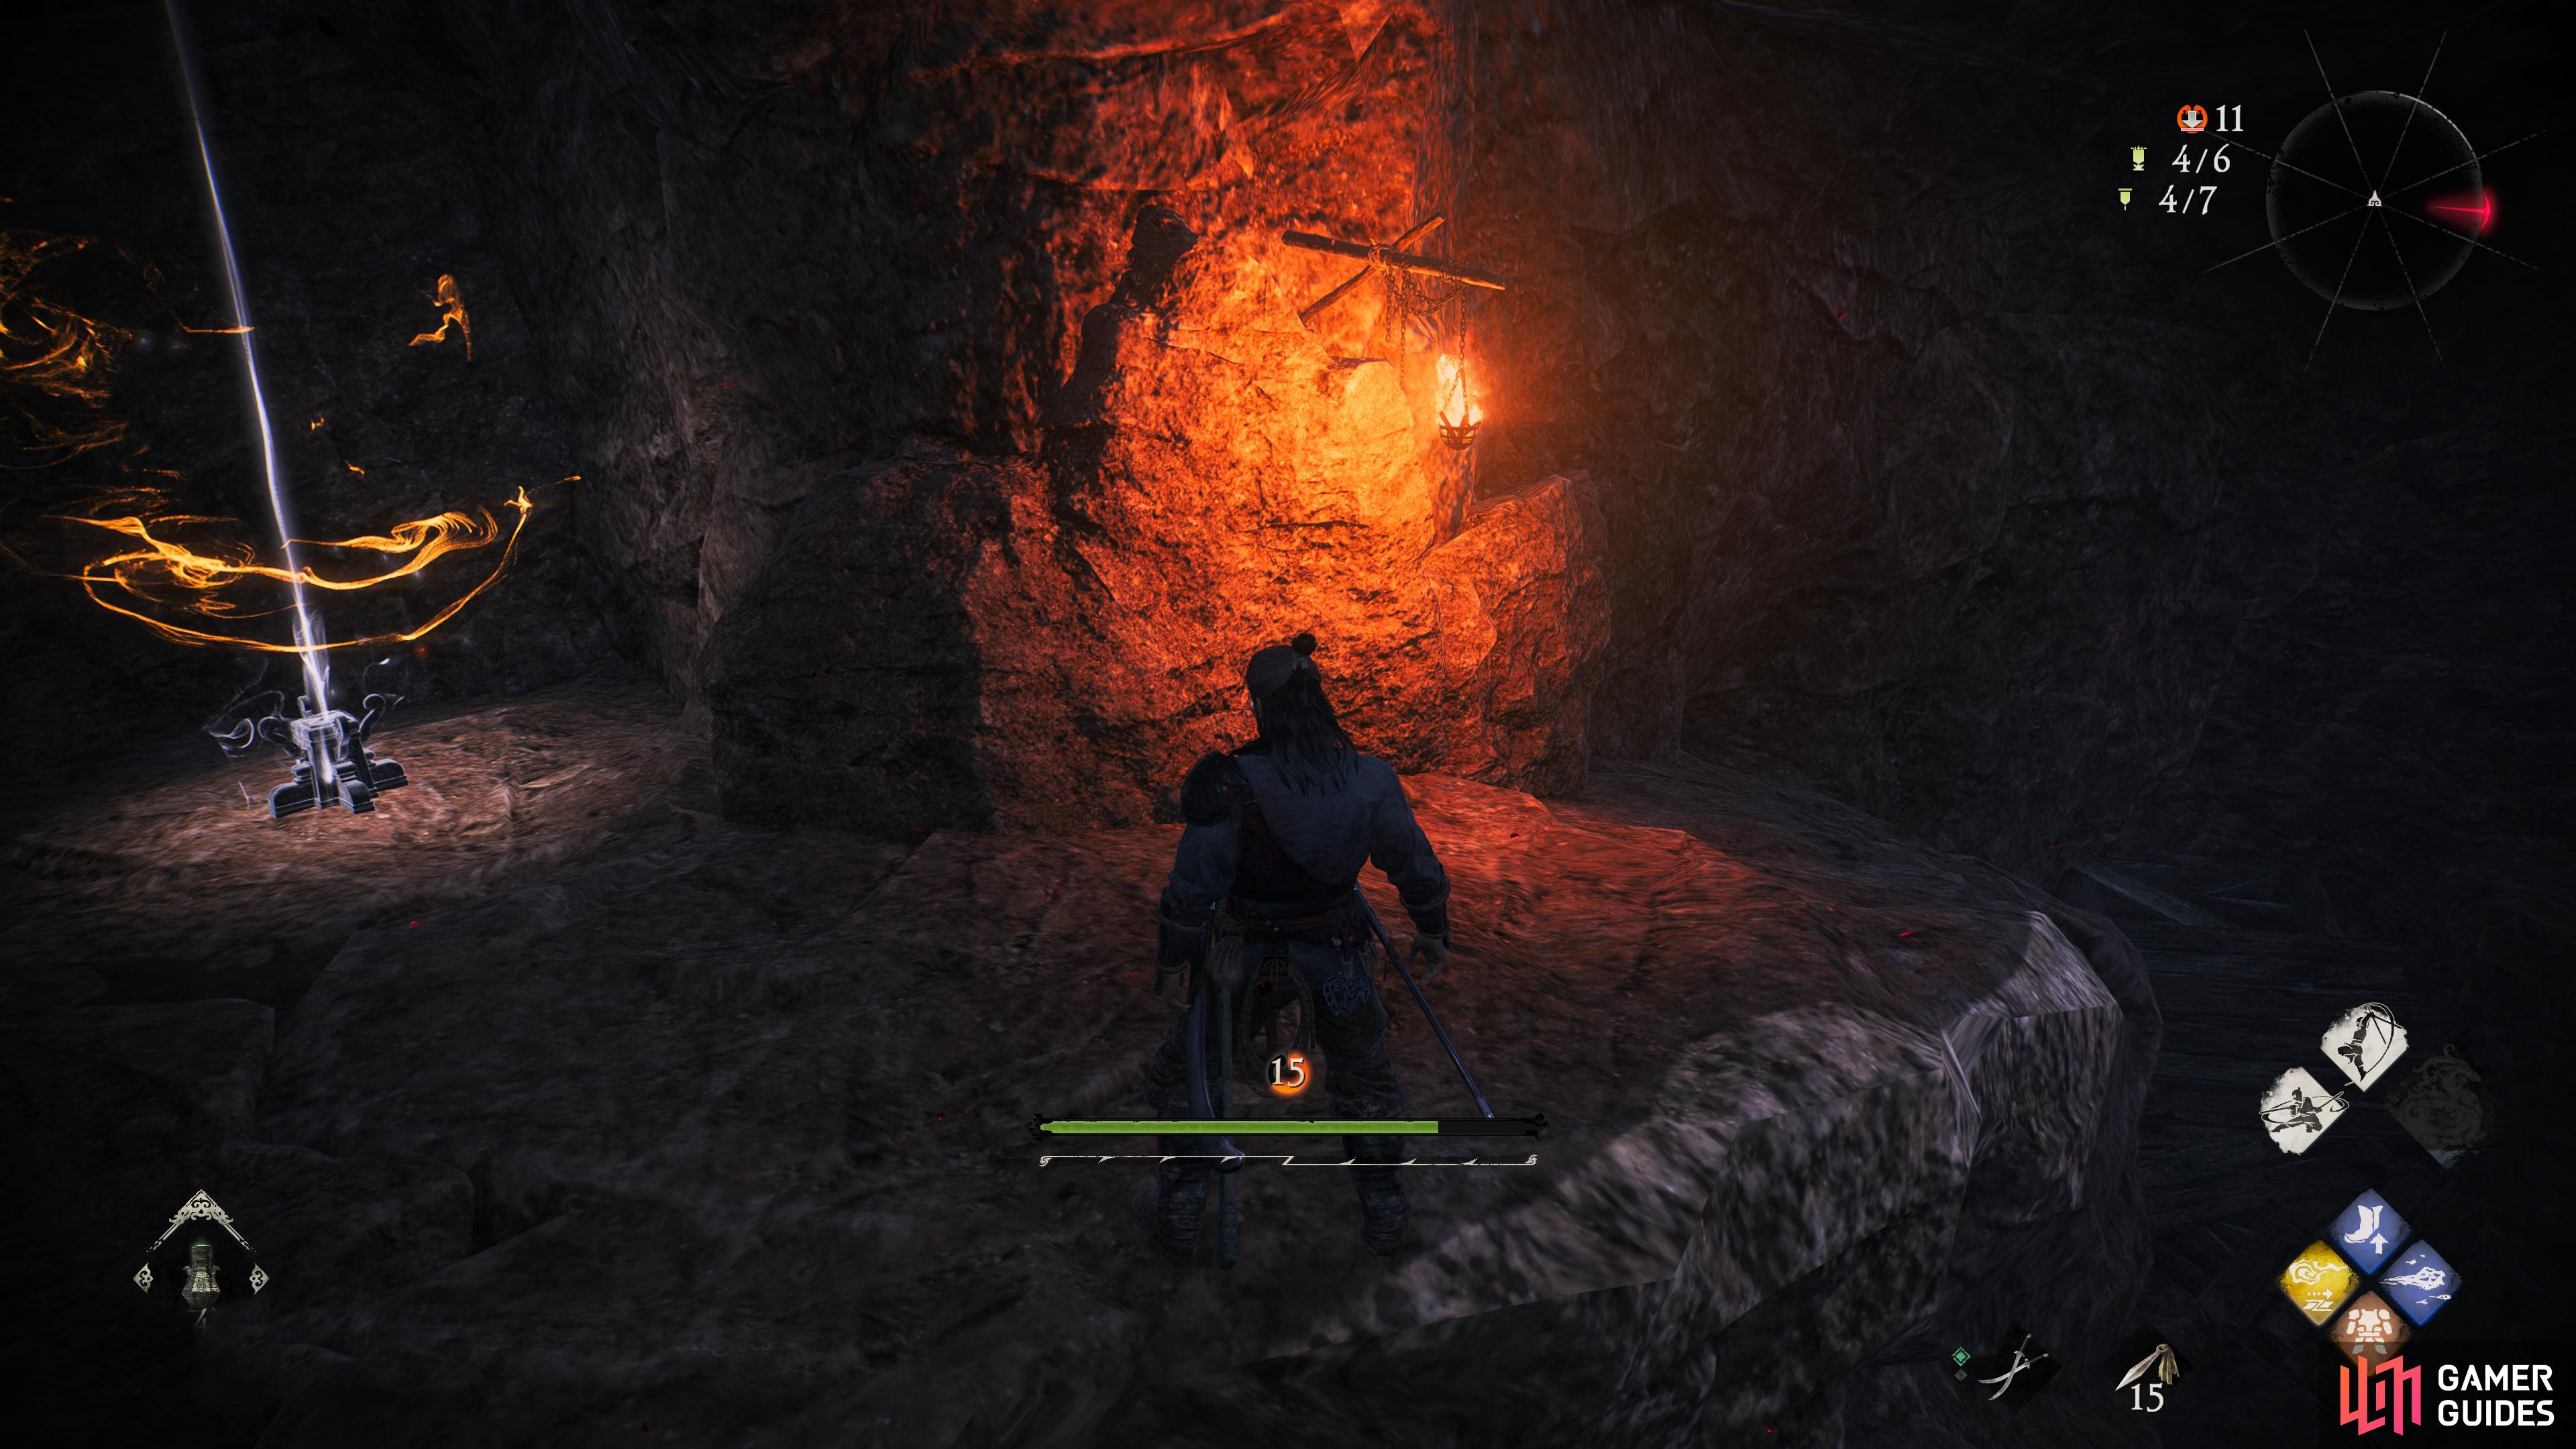
Marking Flag 1 Location
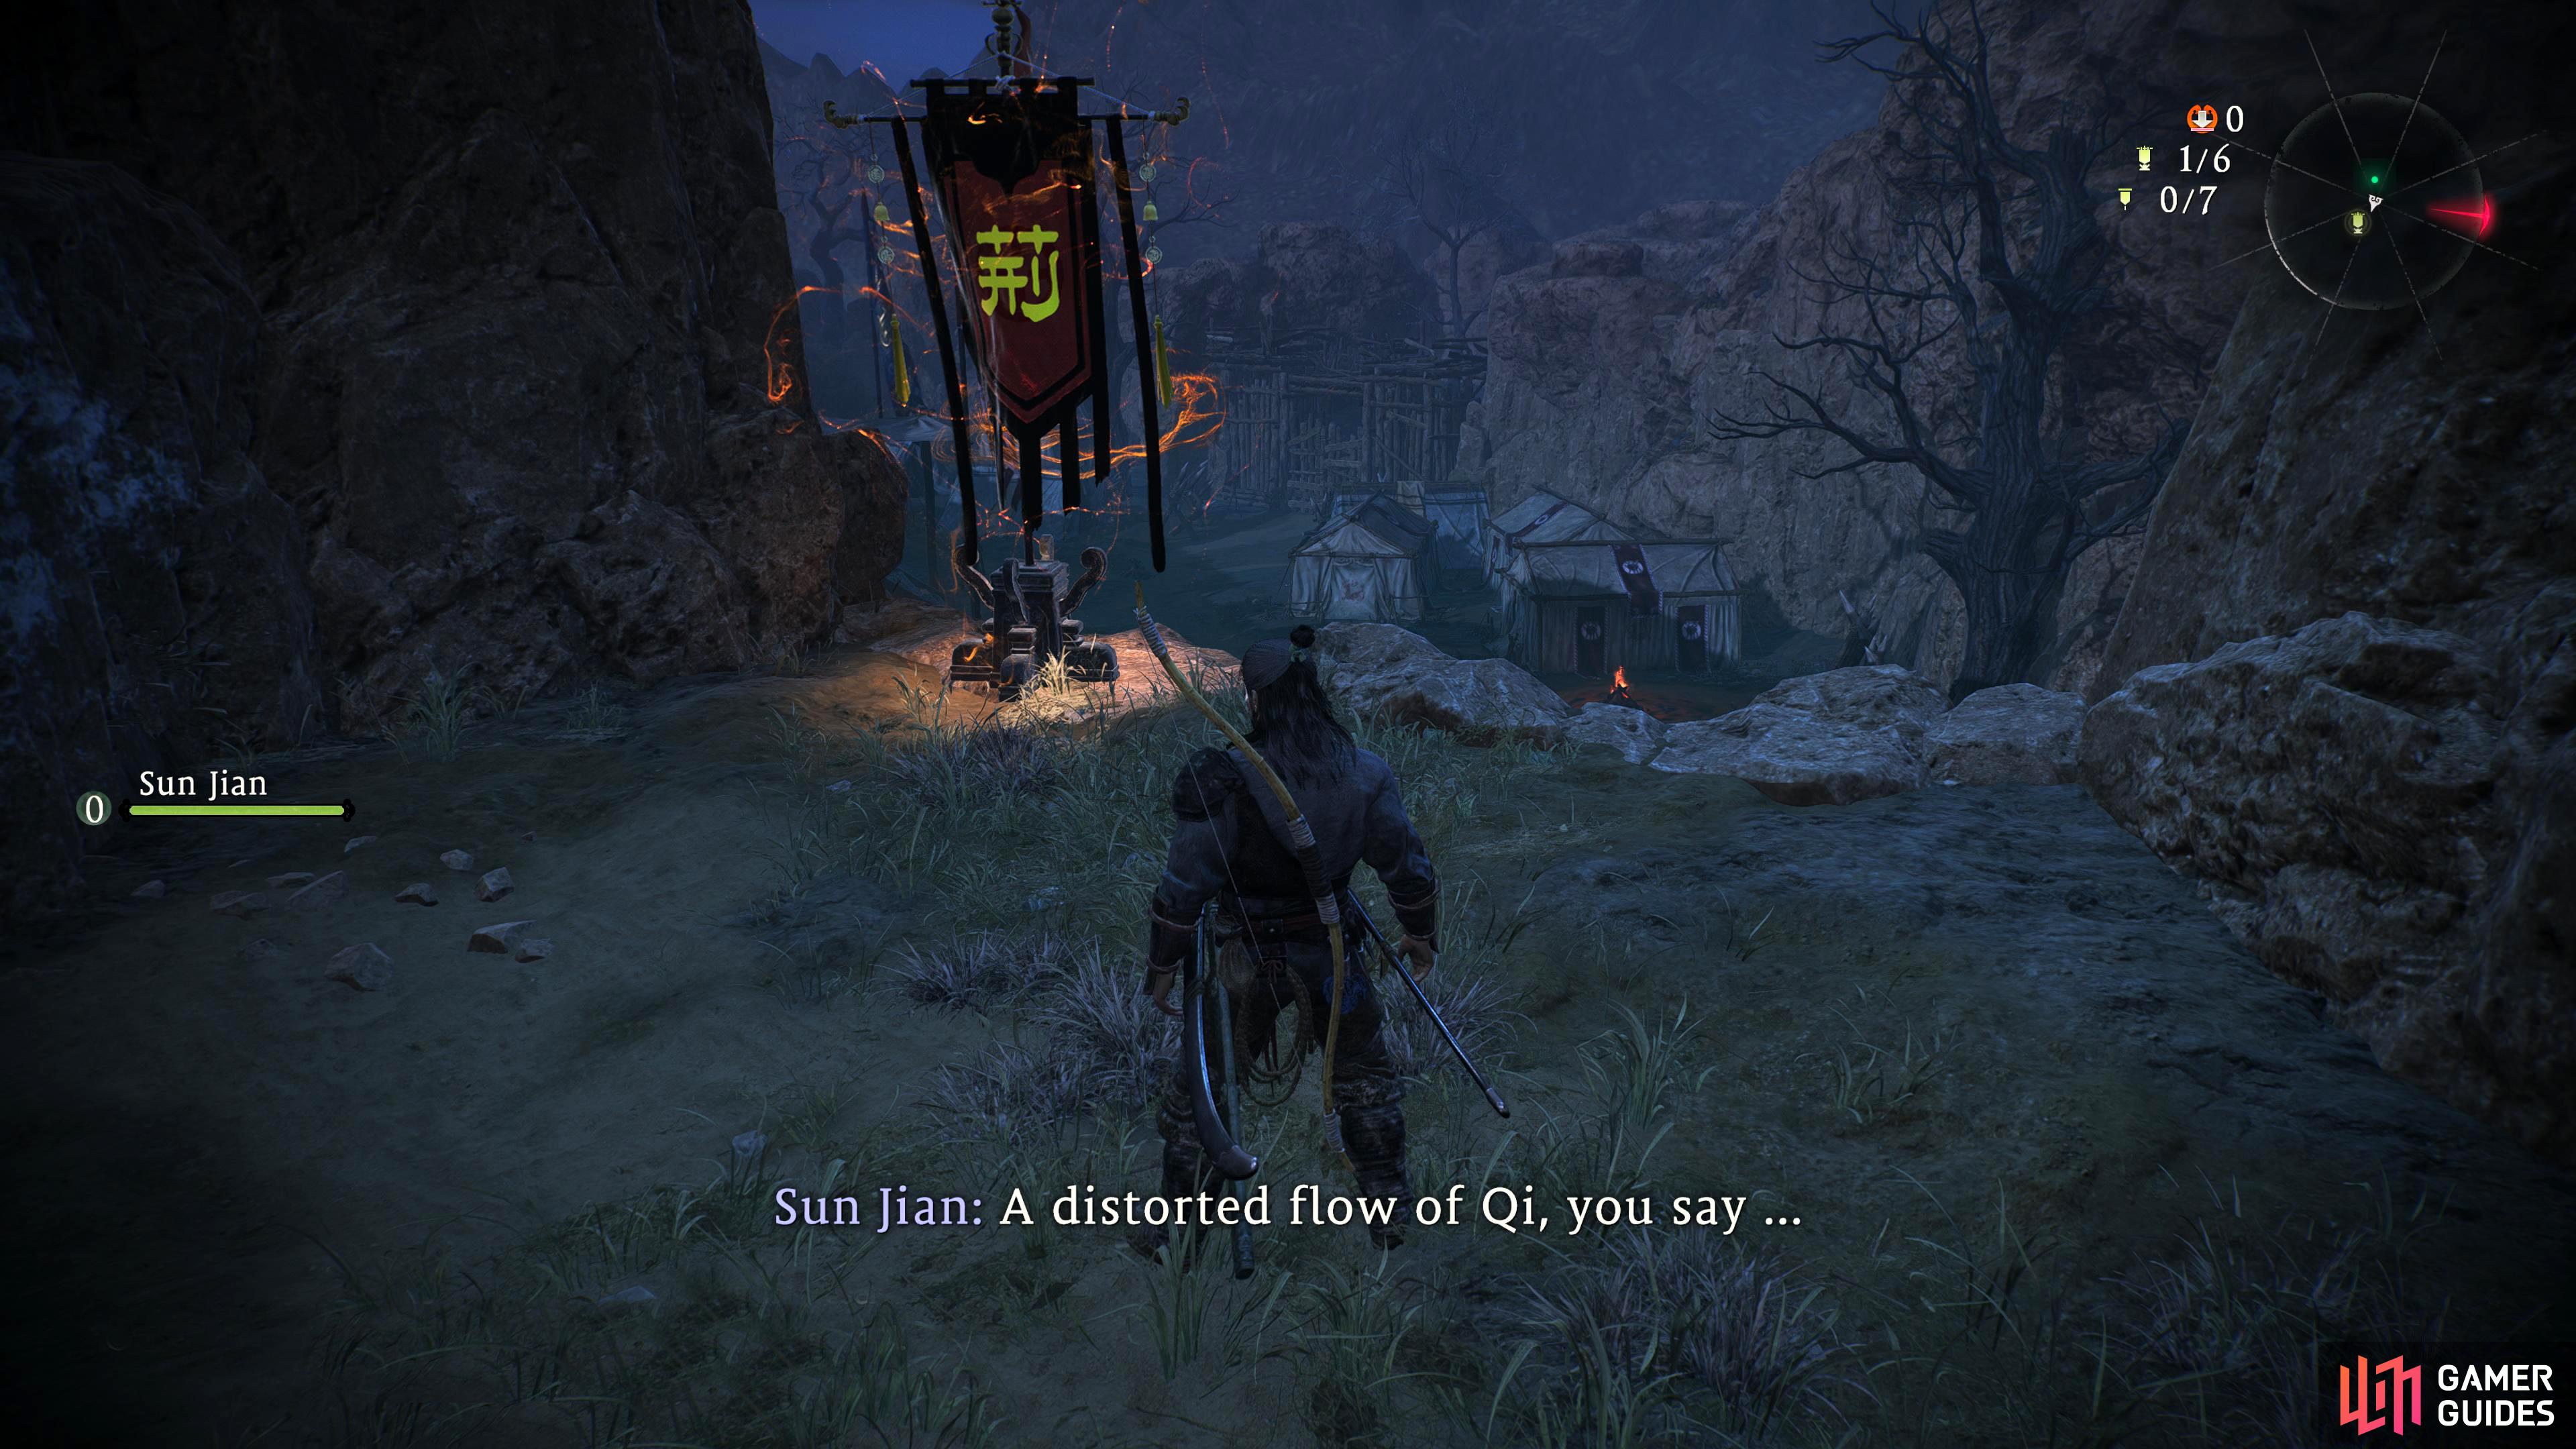
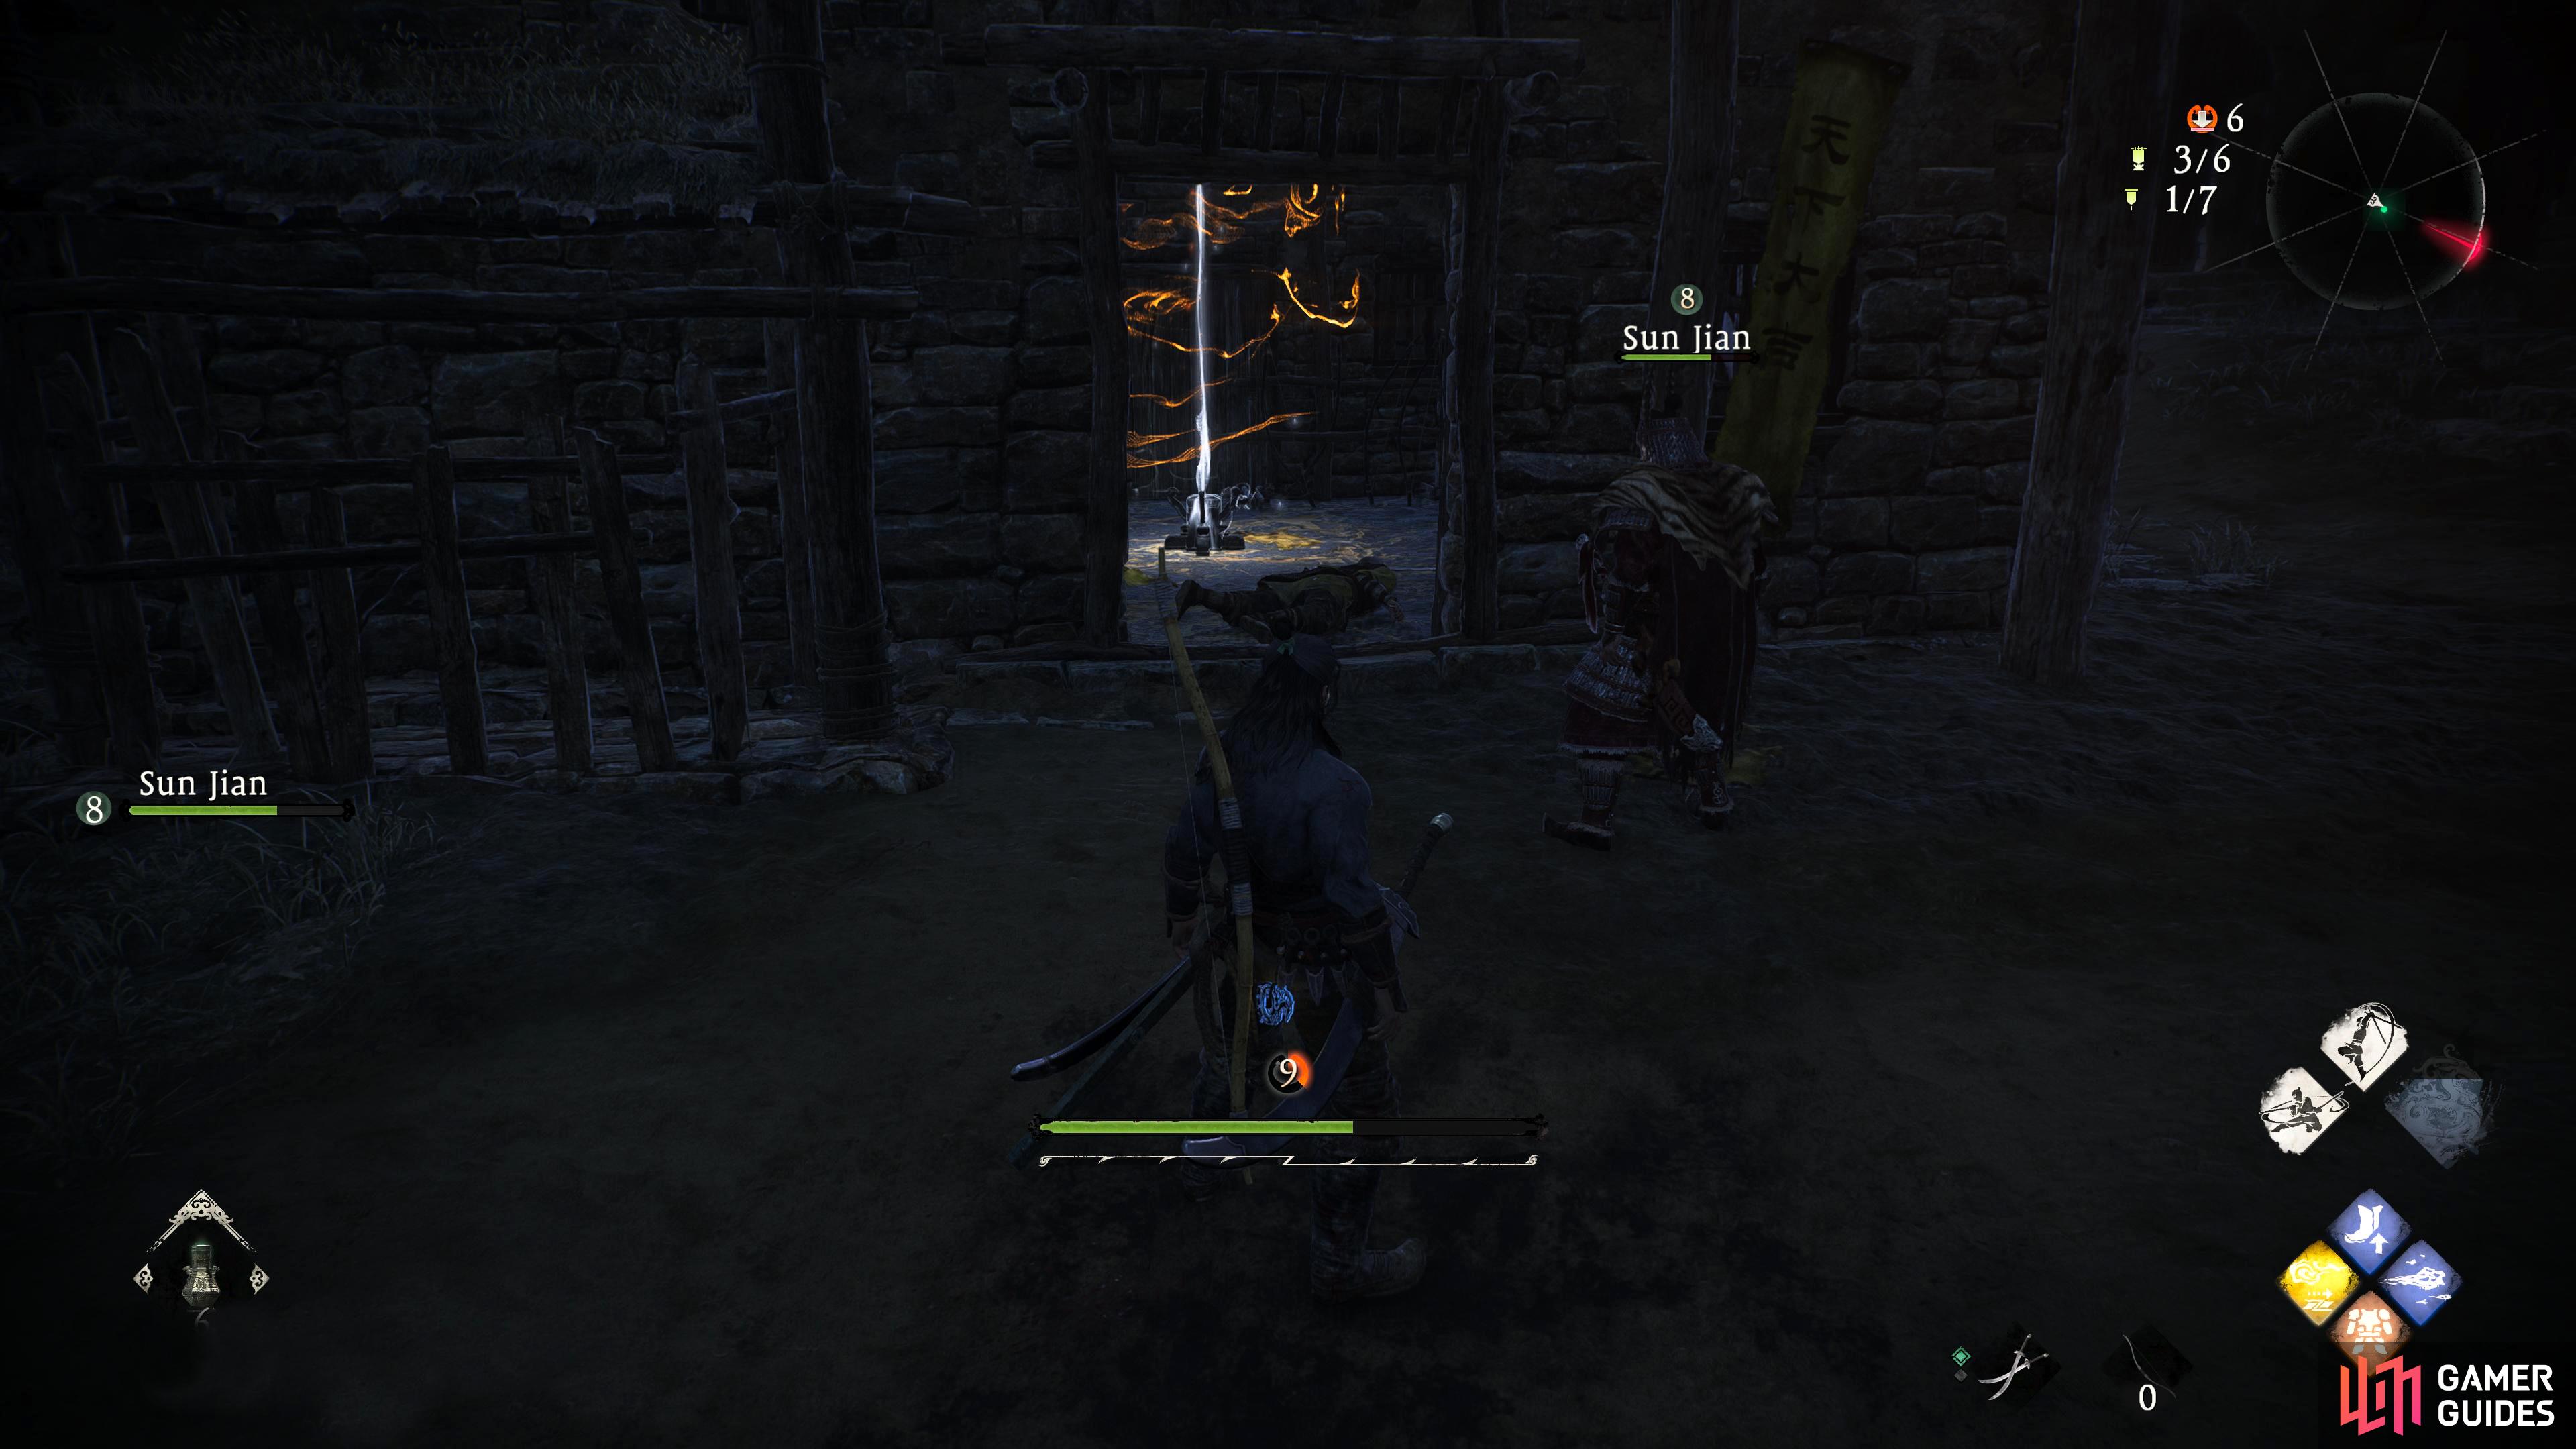
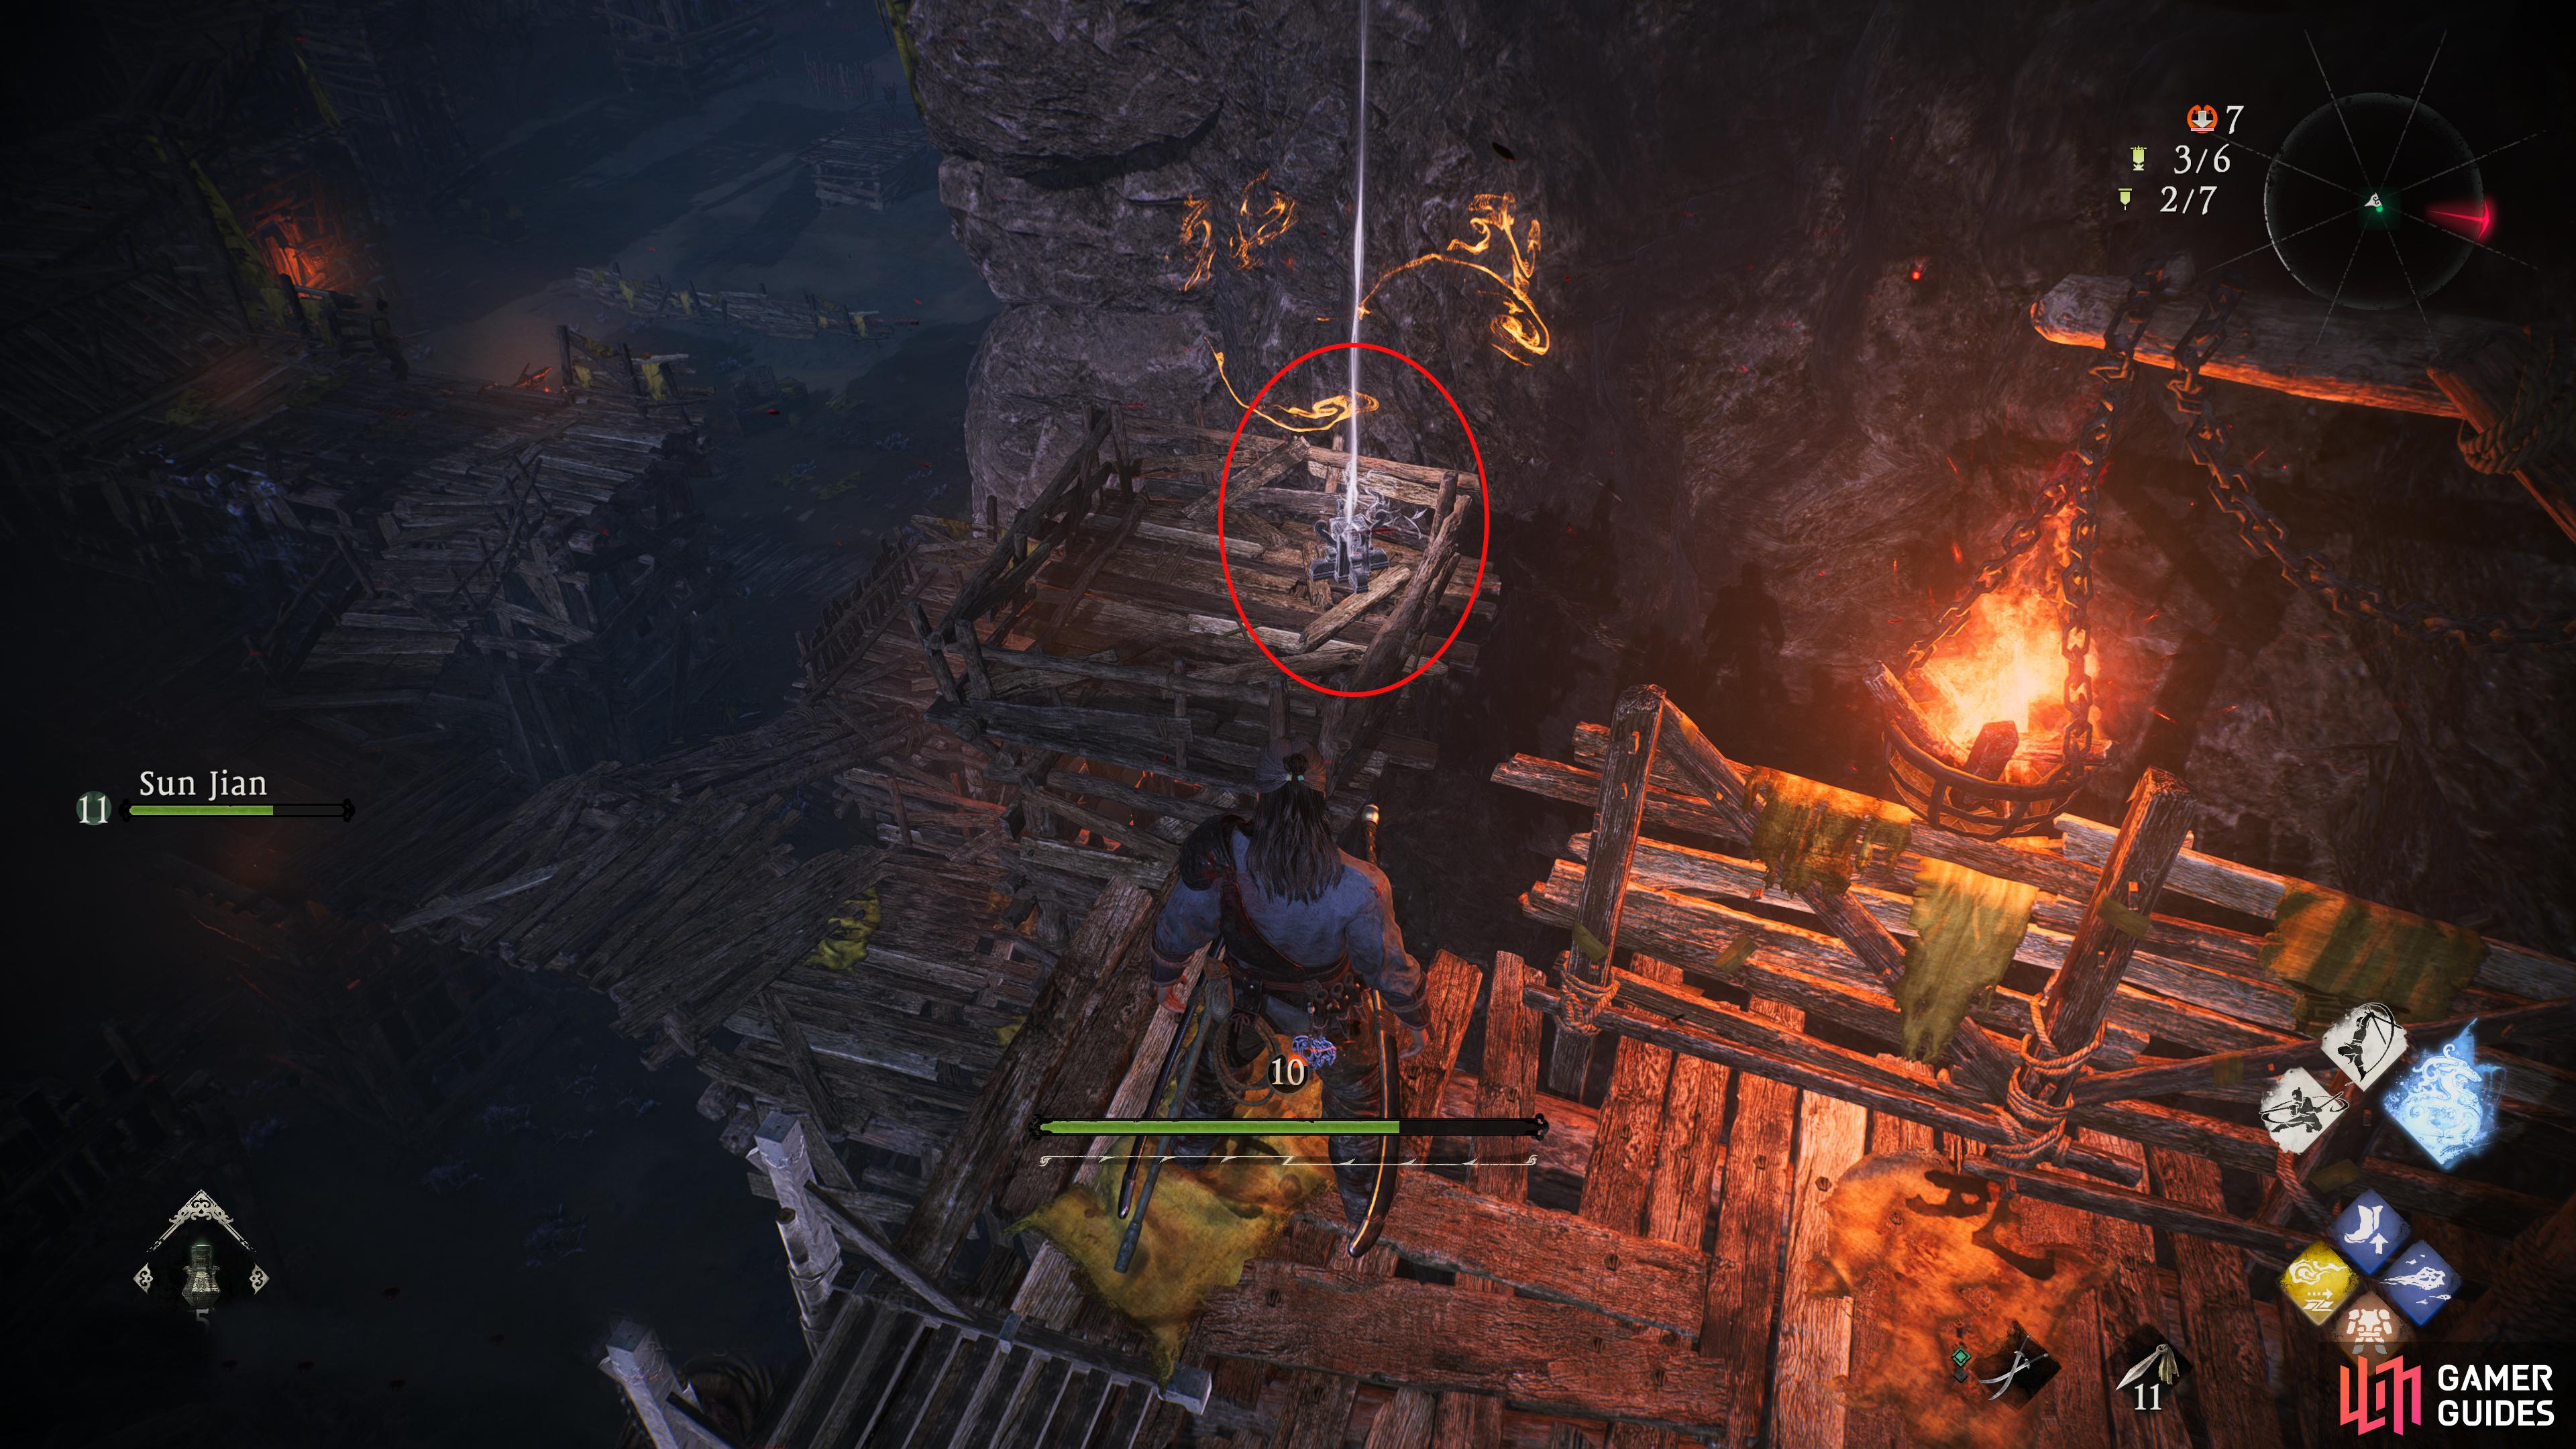
Follow the path until you drop into the caverns below, and defeat all the enemies in the vicinity then follow the path southeast, and jump over the small rock where you’ll find the first Marking Flag. You can get to this by going from the other directions, but this is the direct path to it. Be careful of the enemy above the flag to the left as they will throw fireballs, and ranged Critical Blows at you.

In the middle of the cavern near the first Warlock.
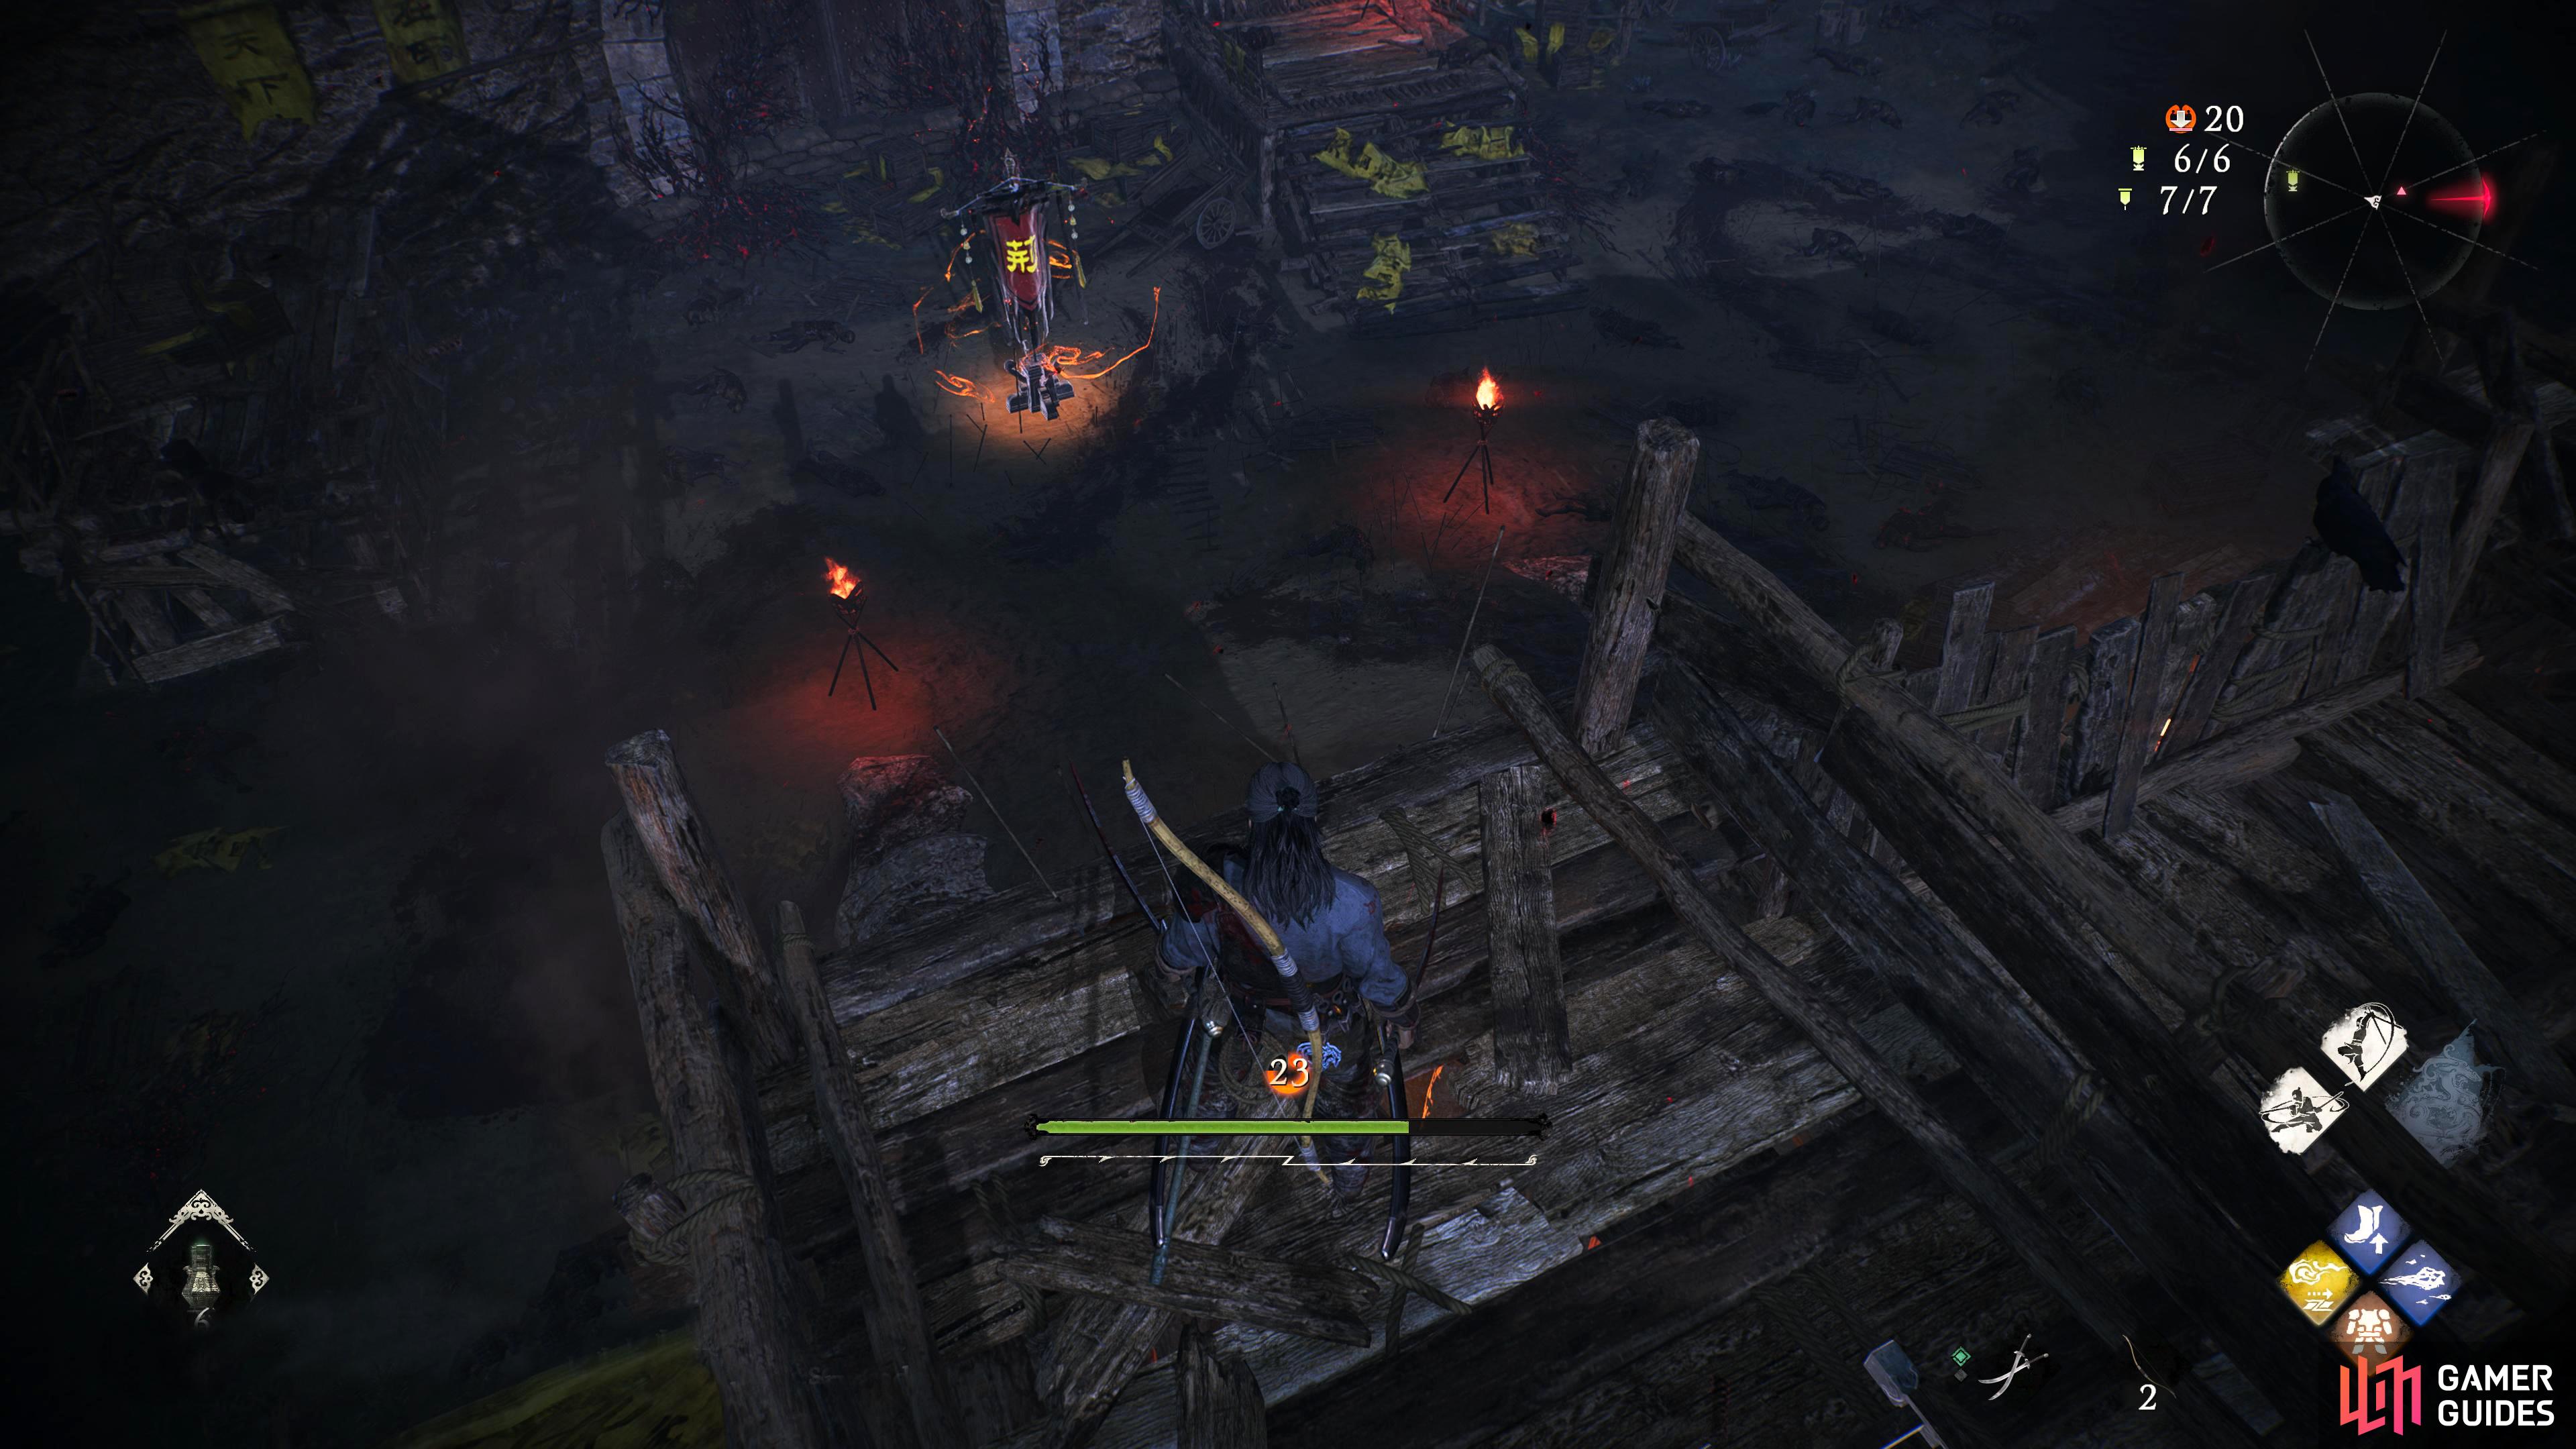
Battle Flag 2 Location
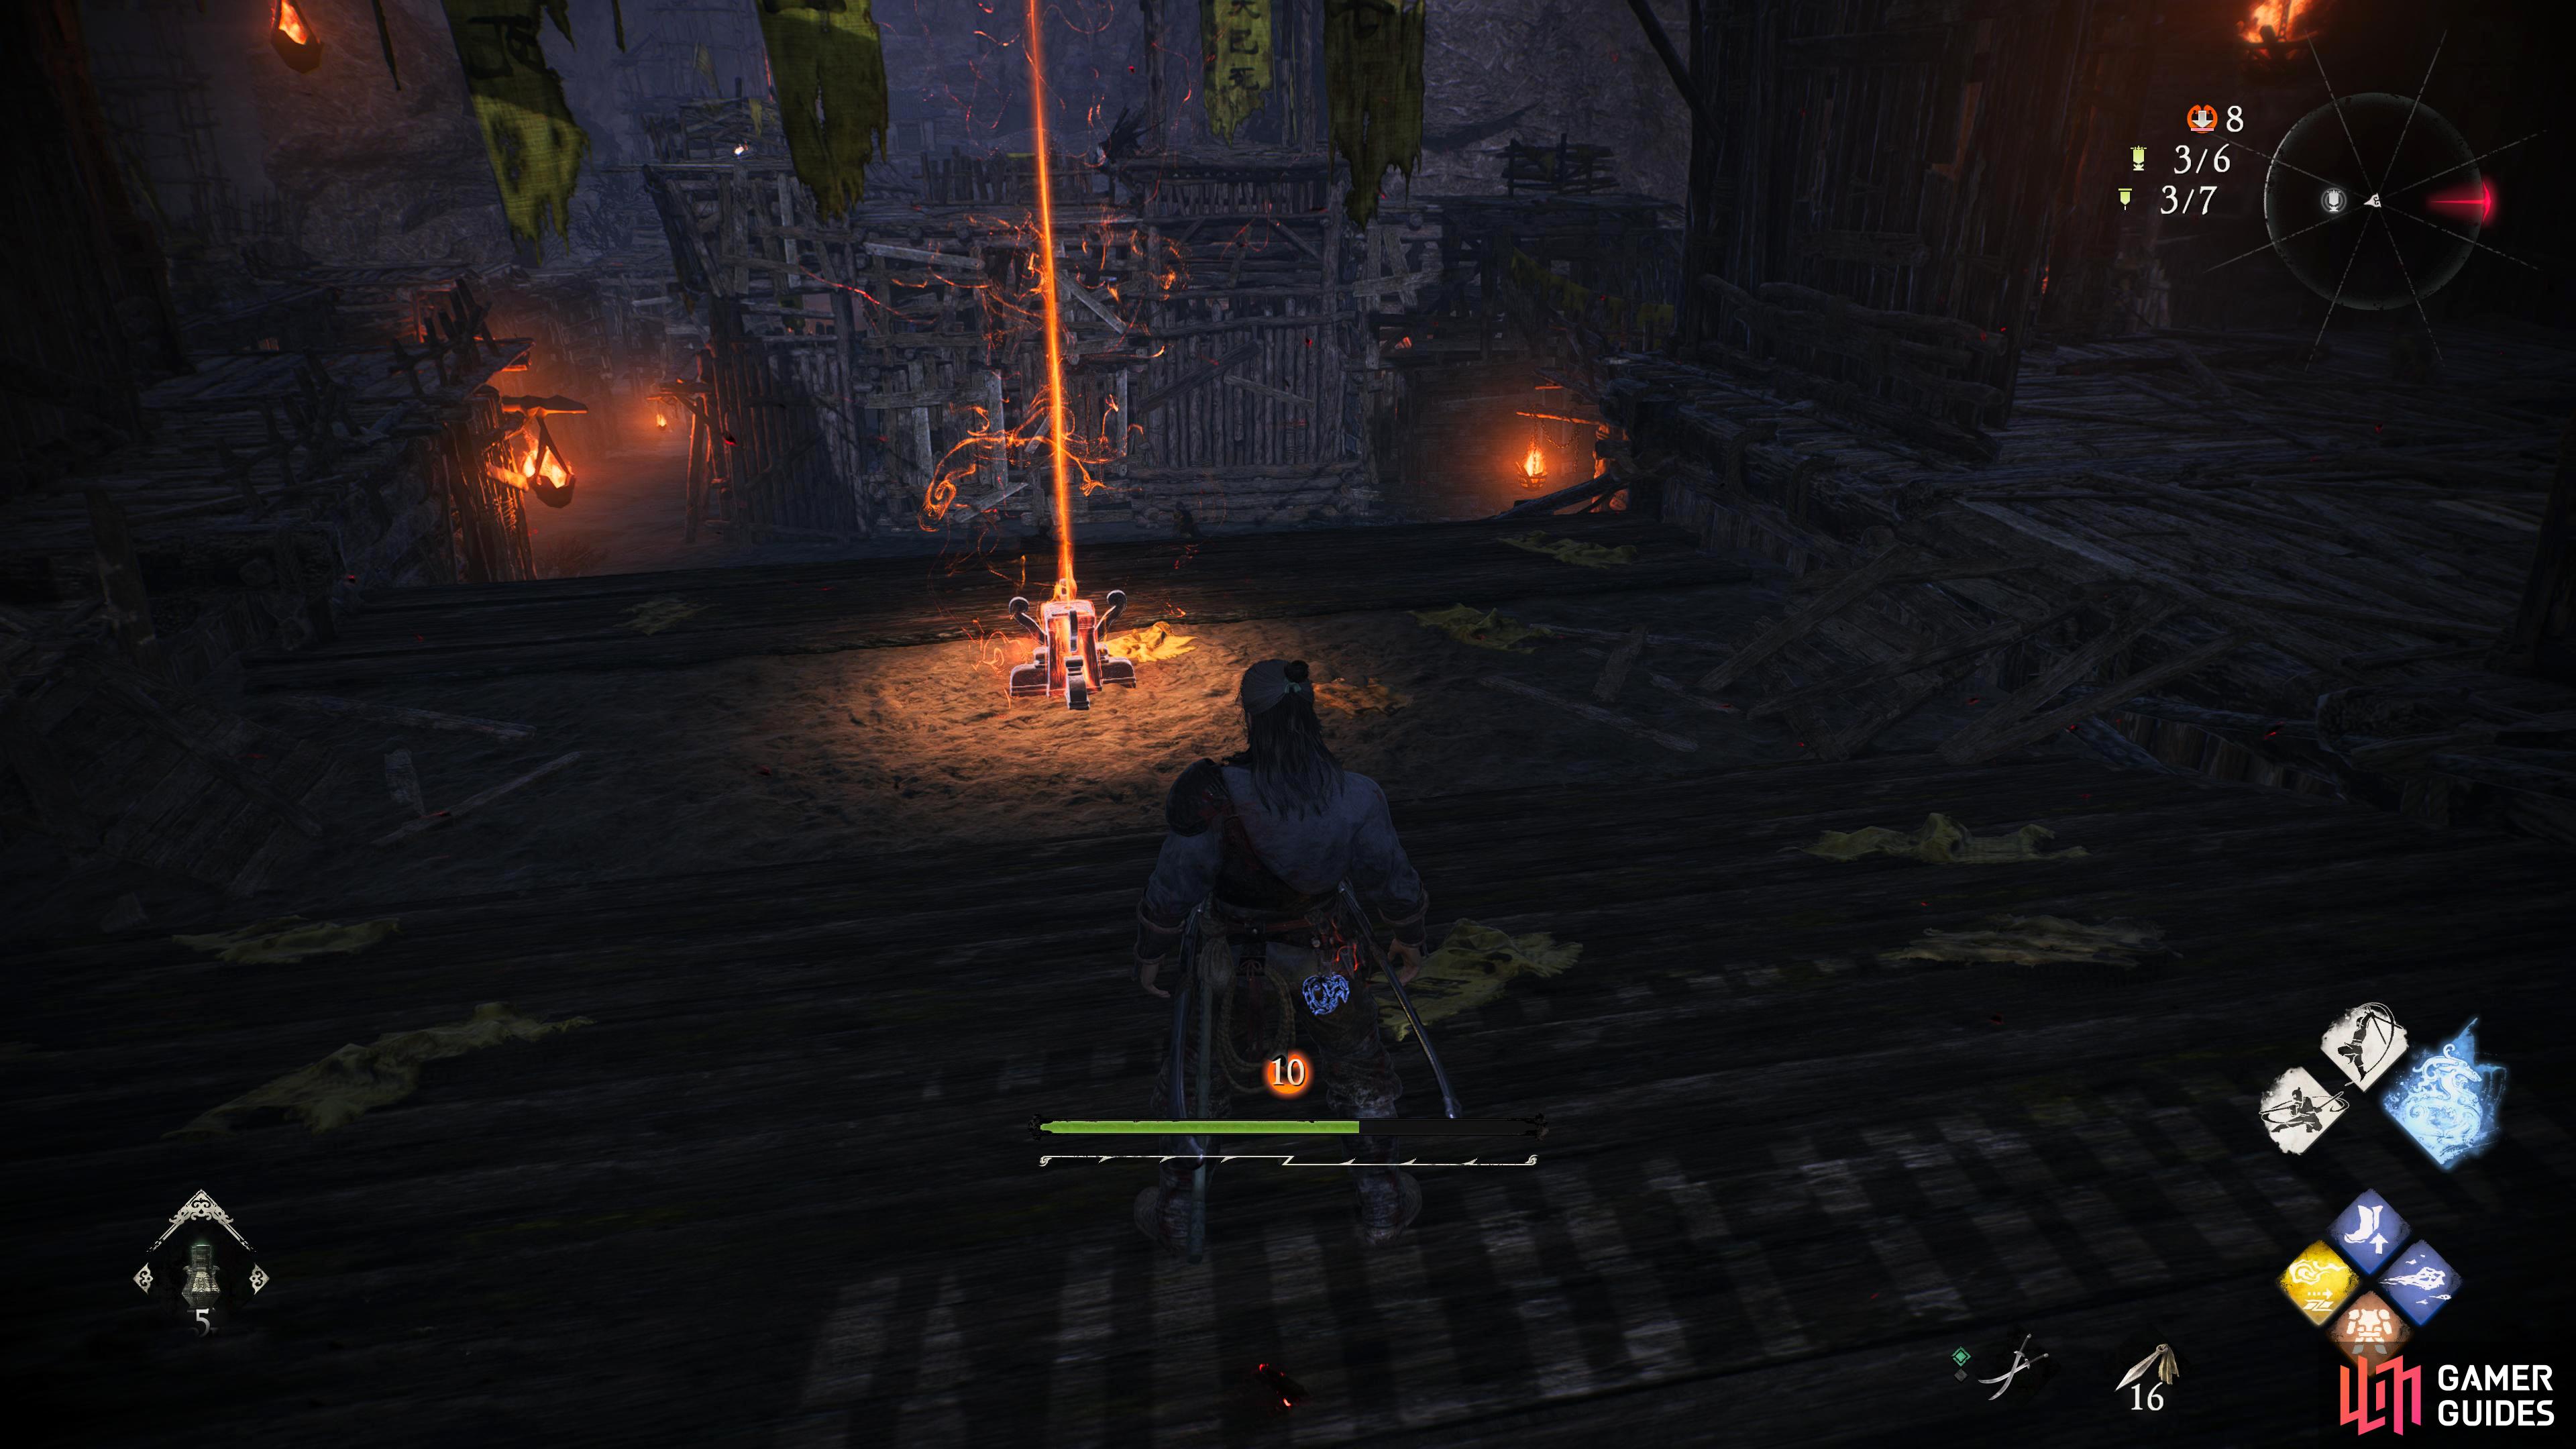
This is near the last flag, jump up the platforms to your left (where the warlock was), and follow the left path up the slope into the open area. The Battle Flag will be next to the rickety fence.
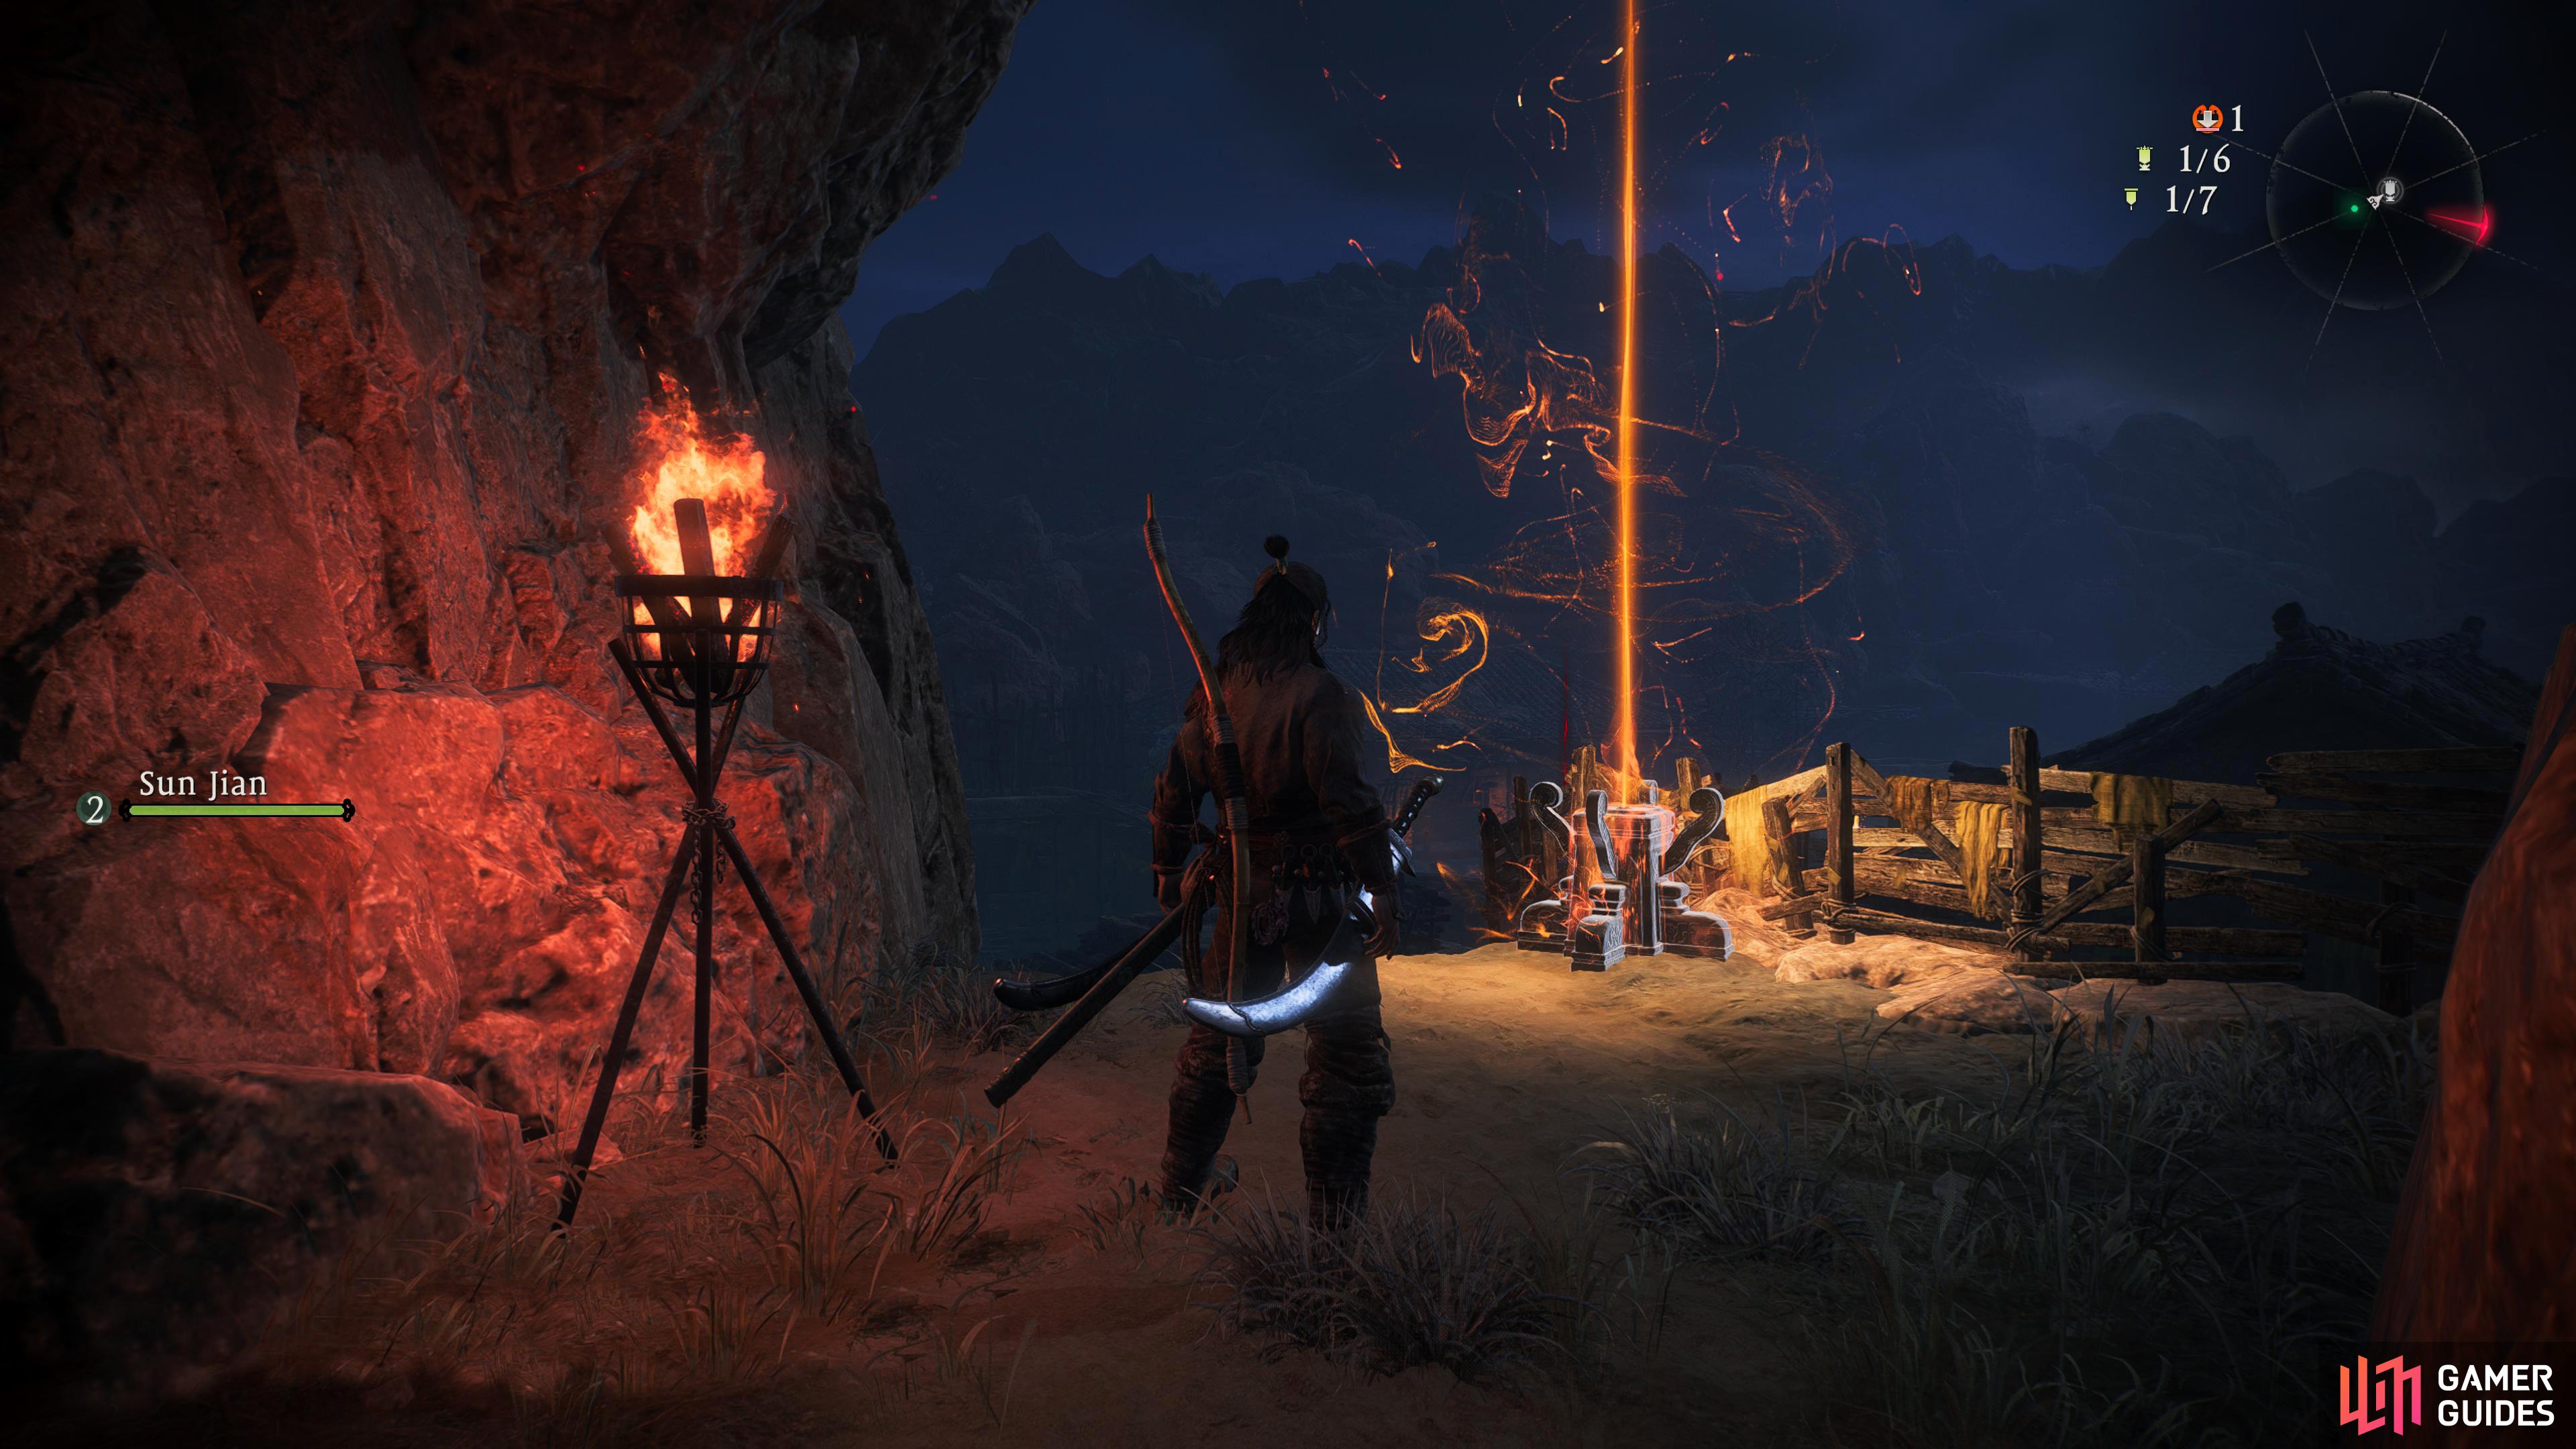
After exiting the cavern.
Battle Flag 3 Location
From the Battle Flag, rotate your camera to the northeast, and if you look carefully you’ll see another Battle Flag by the building in the distance. This is a locked Flag which will require you to defeat the nearby Leader, and followers. Go down the slope, and at the end of it you’ll find a climbable wall immediately to your left. Jump across the roofs while opening the small chest along the way until you can climb up onto the large building above the flag.
There are a couple of the Leader’s followers chilling on the roof, one is a Warlock who won’t do anything but chant, but the other enemy is an over-aggressive spear user. Don’t underestimate them as they can quickly drop you if you’re careless. Once they’re taken care of, attack the Ranged Attacker on the roof to the east to save you from later heartache. With that done, look at the Leader below, next to the flag, and perform a falling Fatal Strike which will reduce their health to half.
There are more followers down here and if you have any ammo in your ranged weapons, you could take them out from the roof before you drop with some well-placed headshots. Once you’ve defeated the enemies, interact with the Battle Flag.
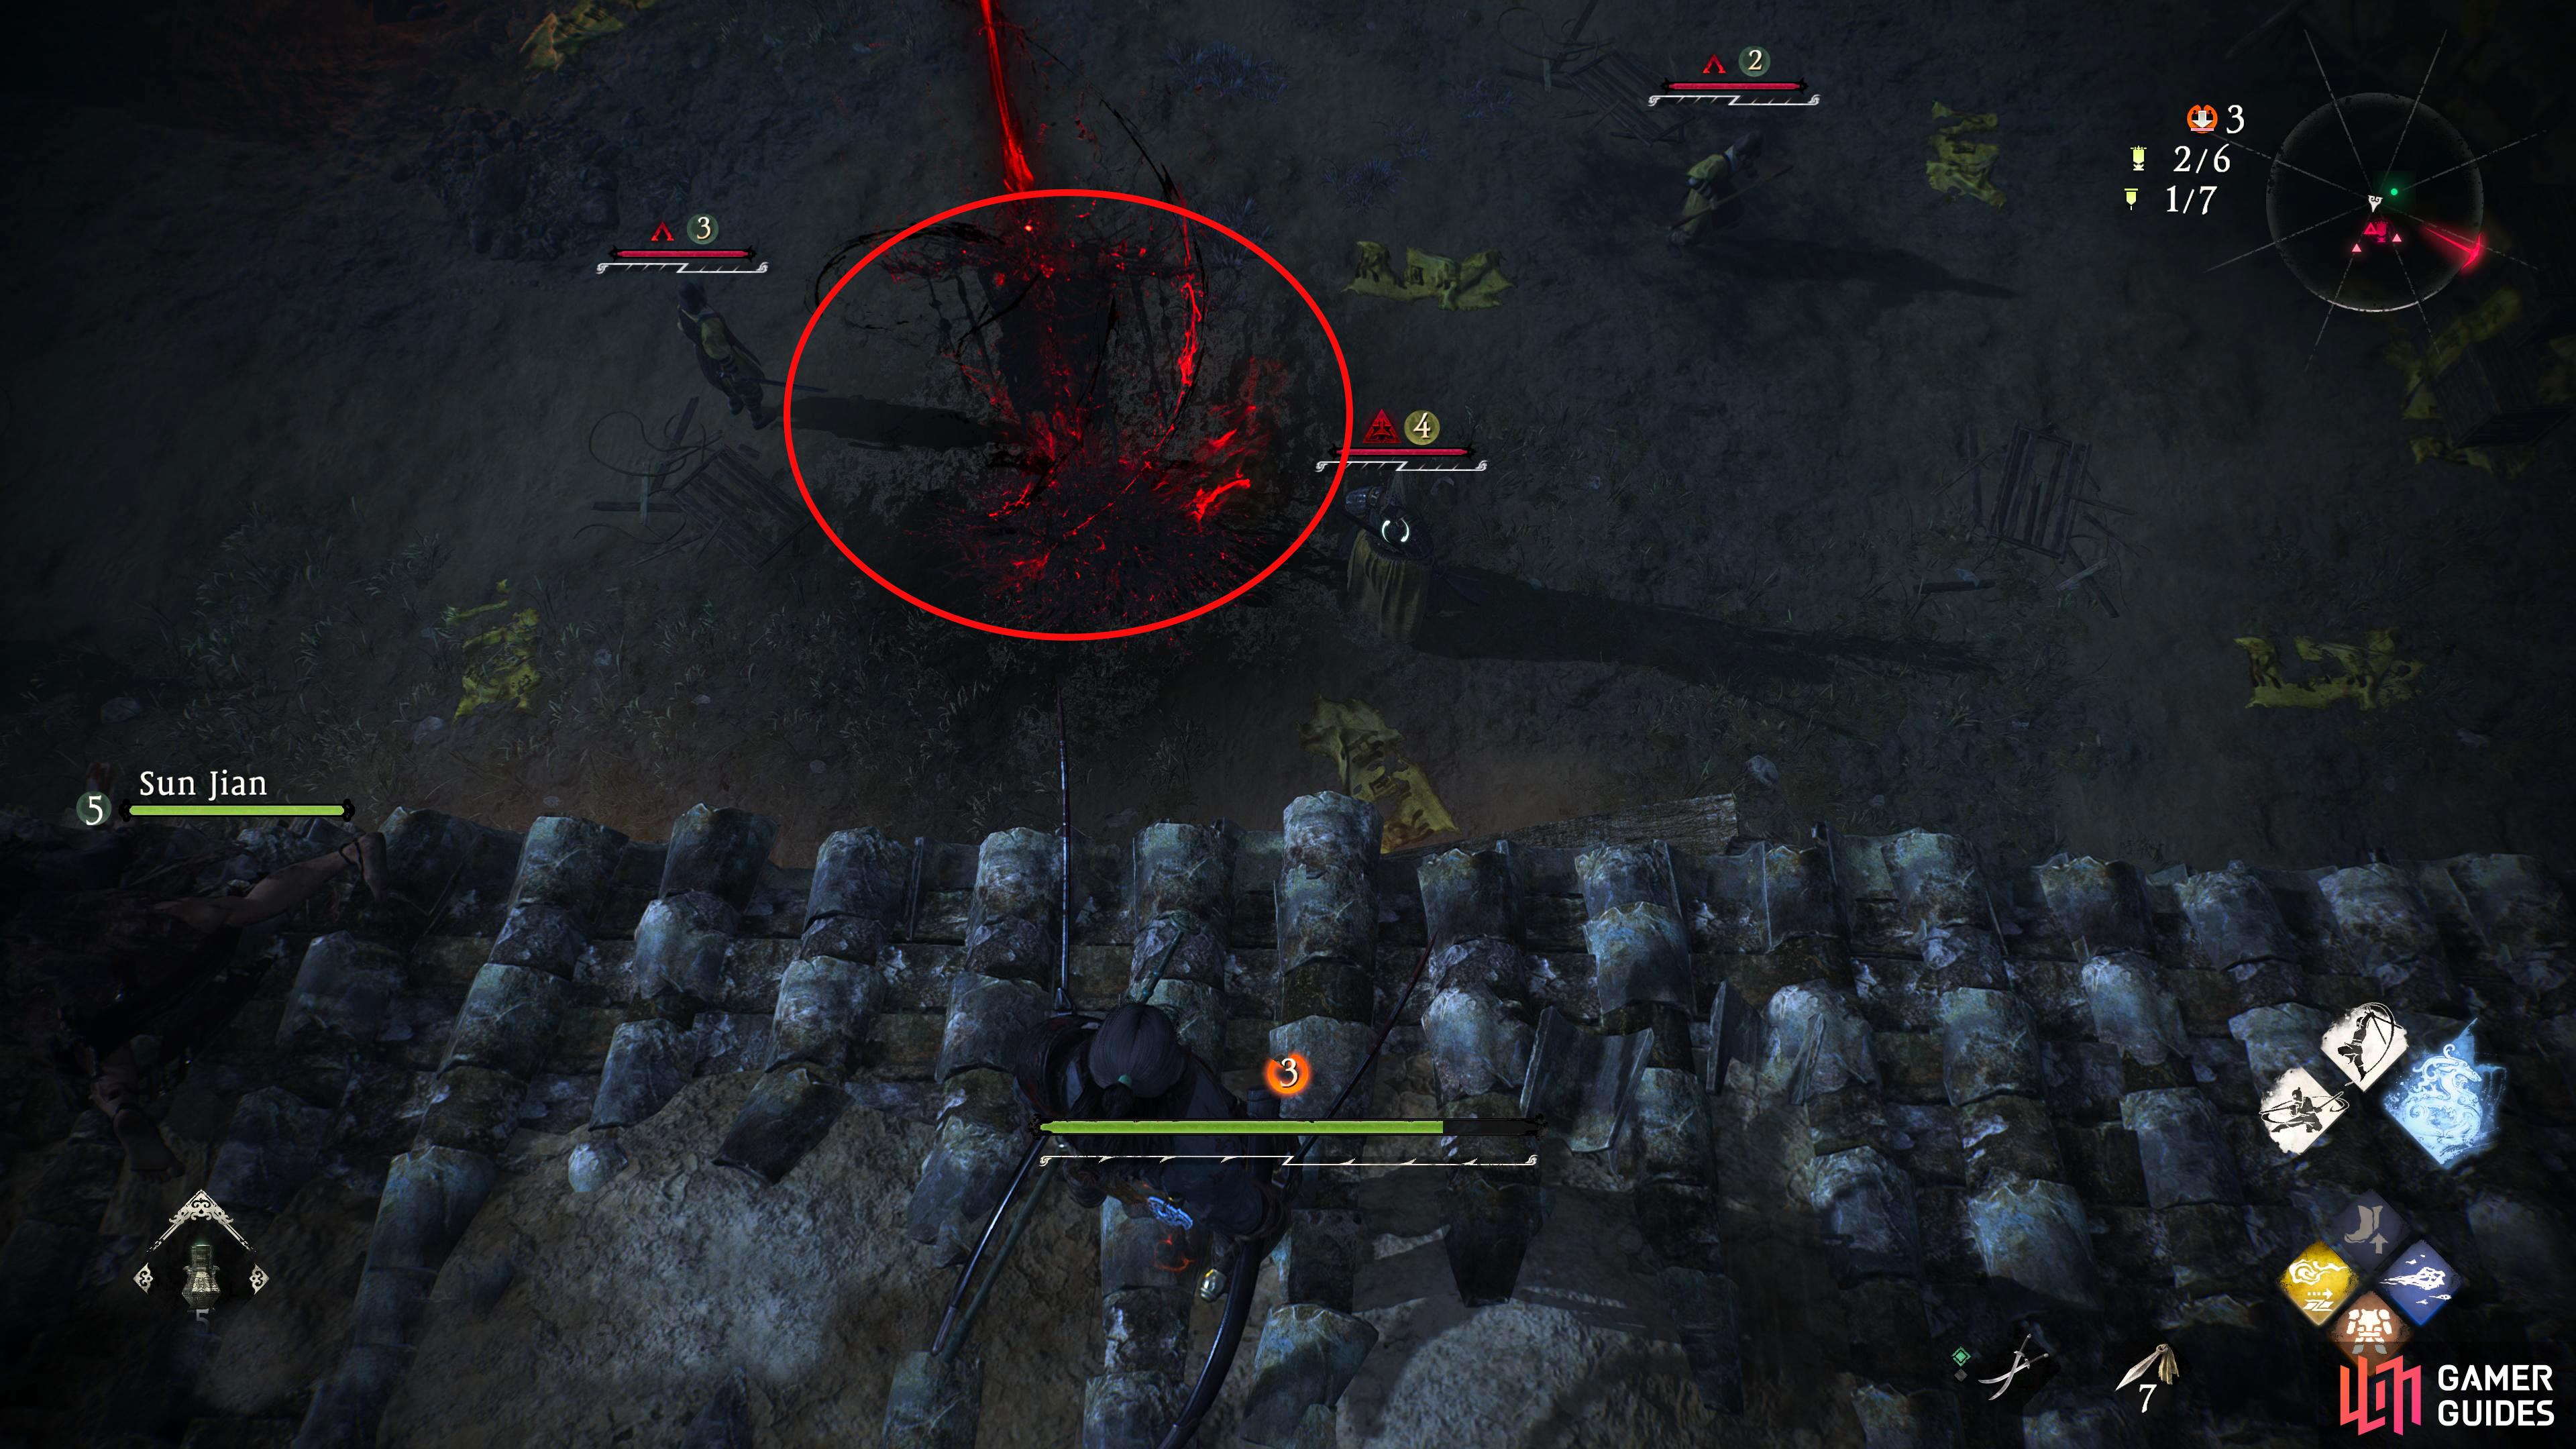
Defeat the Leader to unlock the Battle Flag. Use the nearby roofs to your advantage.
Marking Flag 2 Location
This Marking Flag is on one of the houses nearby, but you’ll need to defeat a myriad of enemies first to get to it. The path of least resistance is to jump on the wall to the west, and head back onto the roof above the Battle Flag, and follow the wooden platforms leading up the eastern wall onto the roof at the back. Follow the rooftops south until you’re on the roof opposite a Marking Flag (you won’t be able to get this one yet) and drop onto the enemies below. There are a group of three enemies here, and the Marking Flag you’re looking for is in the house they’re guarding. Defeat them, and activate the flag.
In a house guarded by three enemies near Battle Flag 2.
Marking Flag 3 Location
That’s it for this area for now. From the previous Marking Flag head through the building to the west where the guard is sitting on the floor with their back exposed inviting you to backstab them. DON’T DO IT! There is a dastardly enemy to the right of the door waiting for you to do it, so they can backstab the backstabber. If you want to ignore their attempt of subterfuge, you can just follow the platforms/roof to the right of the house.
Whatever way you choose, head up the slope in the southwest into the cave where you’ll be immediately met by a hedgehog-type enemy to your right. These don’t have a lot of health, but they will frequently use a spinning roll towards you which for the most part will be a Critical Blow. Around the corner from the hedgehog is another one, but this one has flames coming off it, so be careful of it exploding in your face upon death.
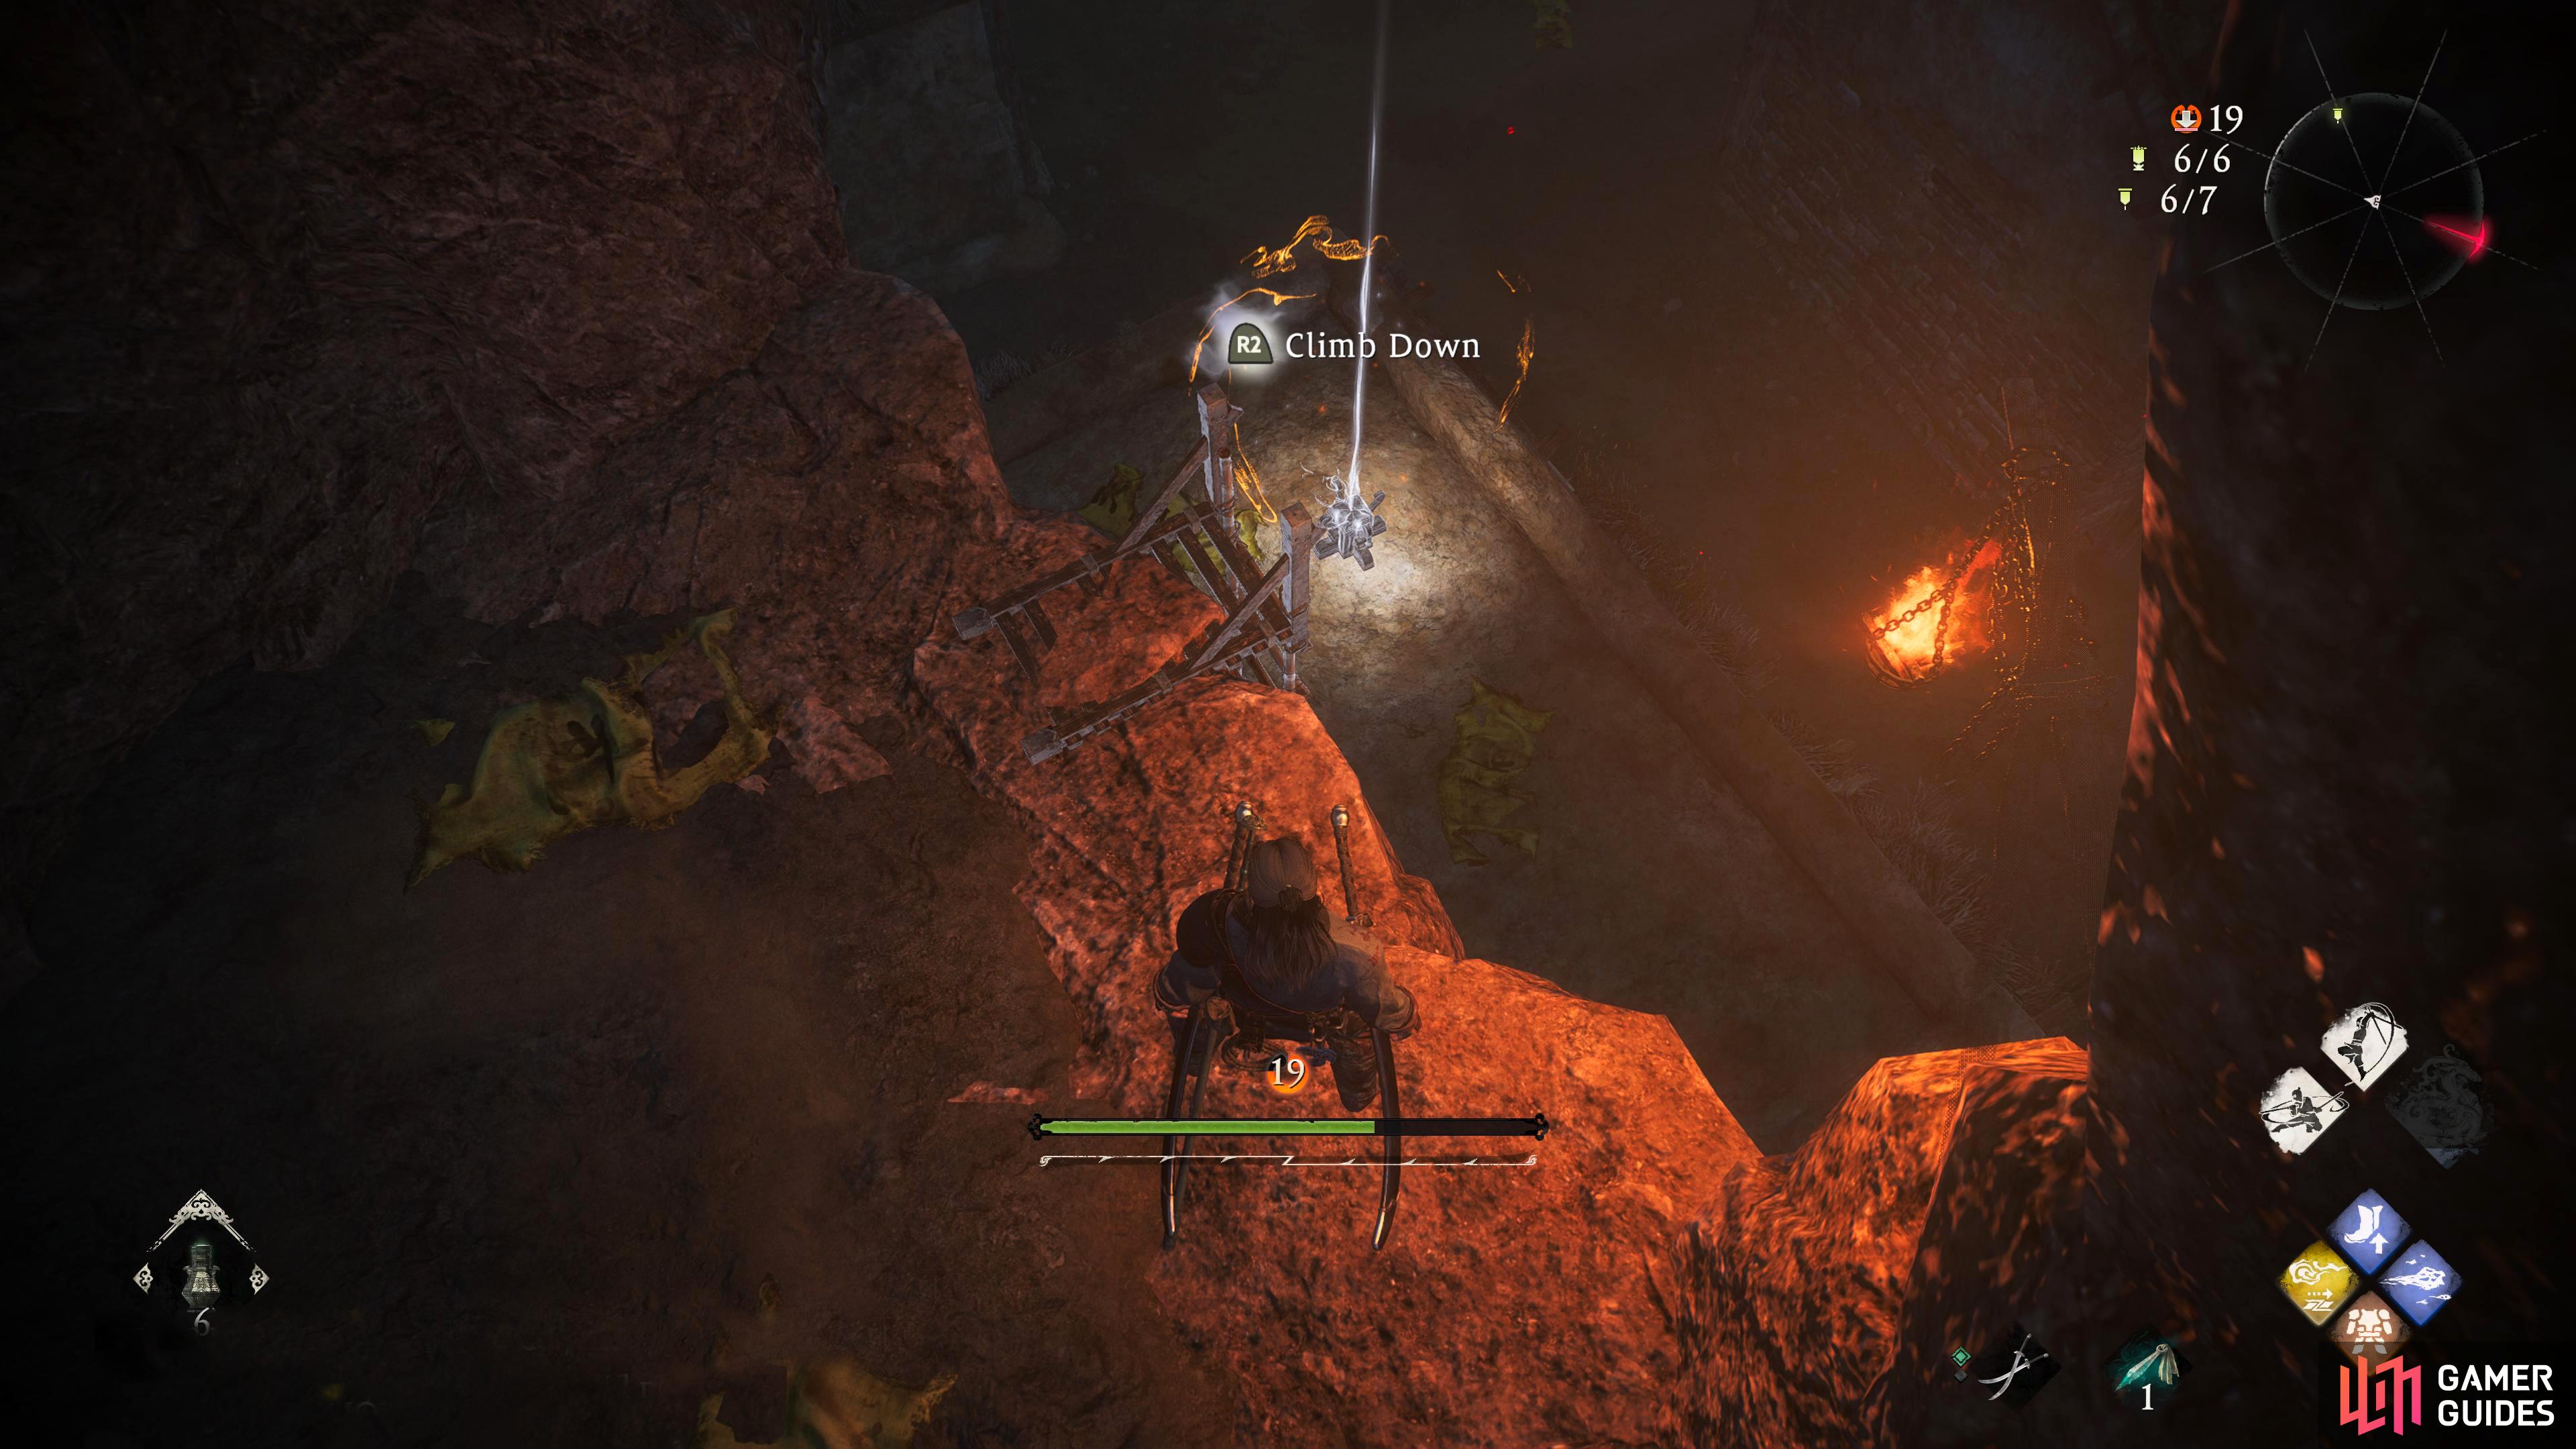
Continue up the slope into the next open area. From here rotate your camera across the vista, and you’ll see a few of the flags. For guide purposes, you’ll want to get the nearby Marking Flag on the wooden tower in front of you. Jump to the eastern ledge below, drop again, and defeat the nearby enemy then climb the long ladder back up. When you reach the top, rotate your camera to the southwest, and make a diagonal jump onto the tower with the flag.
Climb the ladder next to the flag to get on top of the tower then make a diagonal jump onto the flag.
Battle Flag 4 Location
Head back up the ladder you just climbed up, and head east onto the ramparts. There are a couple of enemies up here, but nothing to write home about, although do be careful of one of the enemies lunging stab Critical Blow which may catch you off guard. Follow the ramparts to the south until you reach the narrow wooden bridge to the other side. Look to your left, and jump towards the gate. Turn 180° to find the Battle Flag.
Near the gate to the next area, guarded by a tiger. Jump from the ramparts above to avoid the tiger.
Marking Flag 4 Location
From the Battle Flag, head into the ramparts via the south path (left of the flag if you’re facing the tiger) and follow the path west while defeating the zombie to your left. Walk out onto the wooden platform, but be careful of the axe enemy nearby, and look to your left. The next Marking Flag is hidden in the alcove below, but there is a Demonized officer patrolling the path. Wait for it to move away from the flag, then drop to activate it.
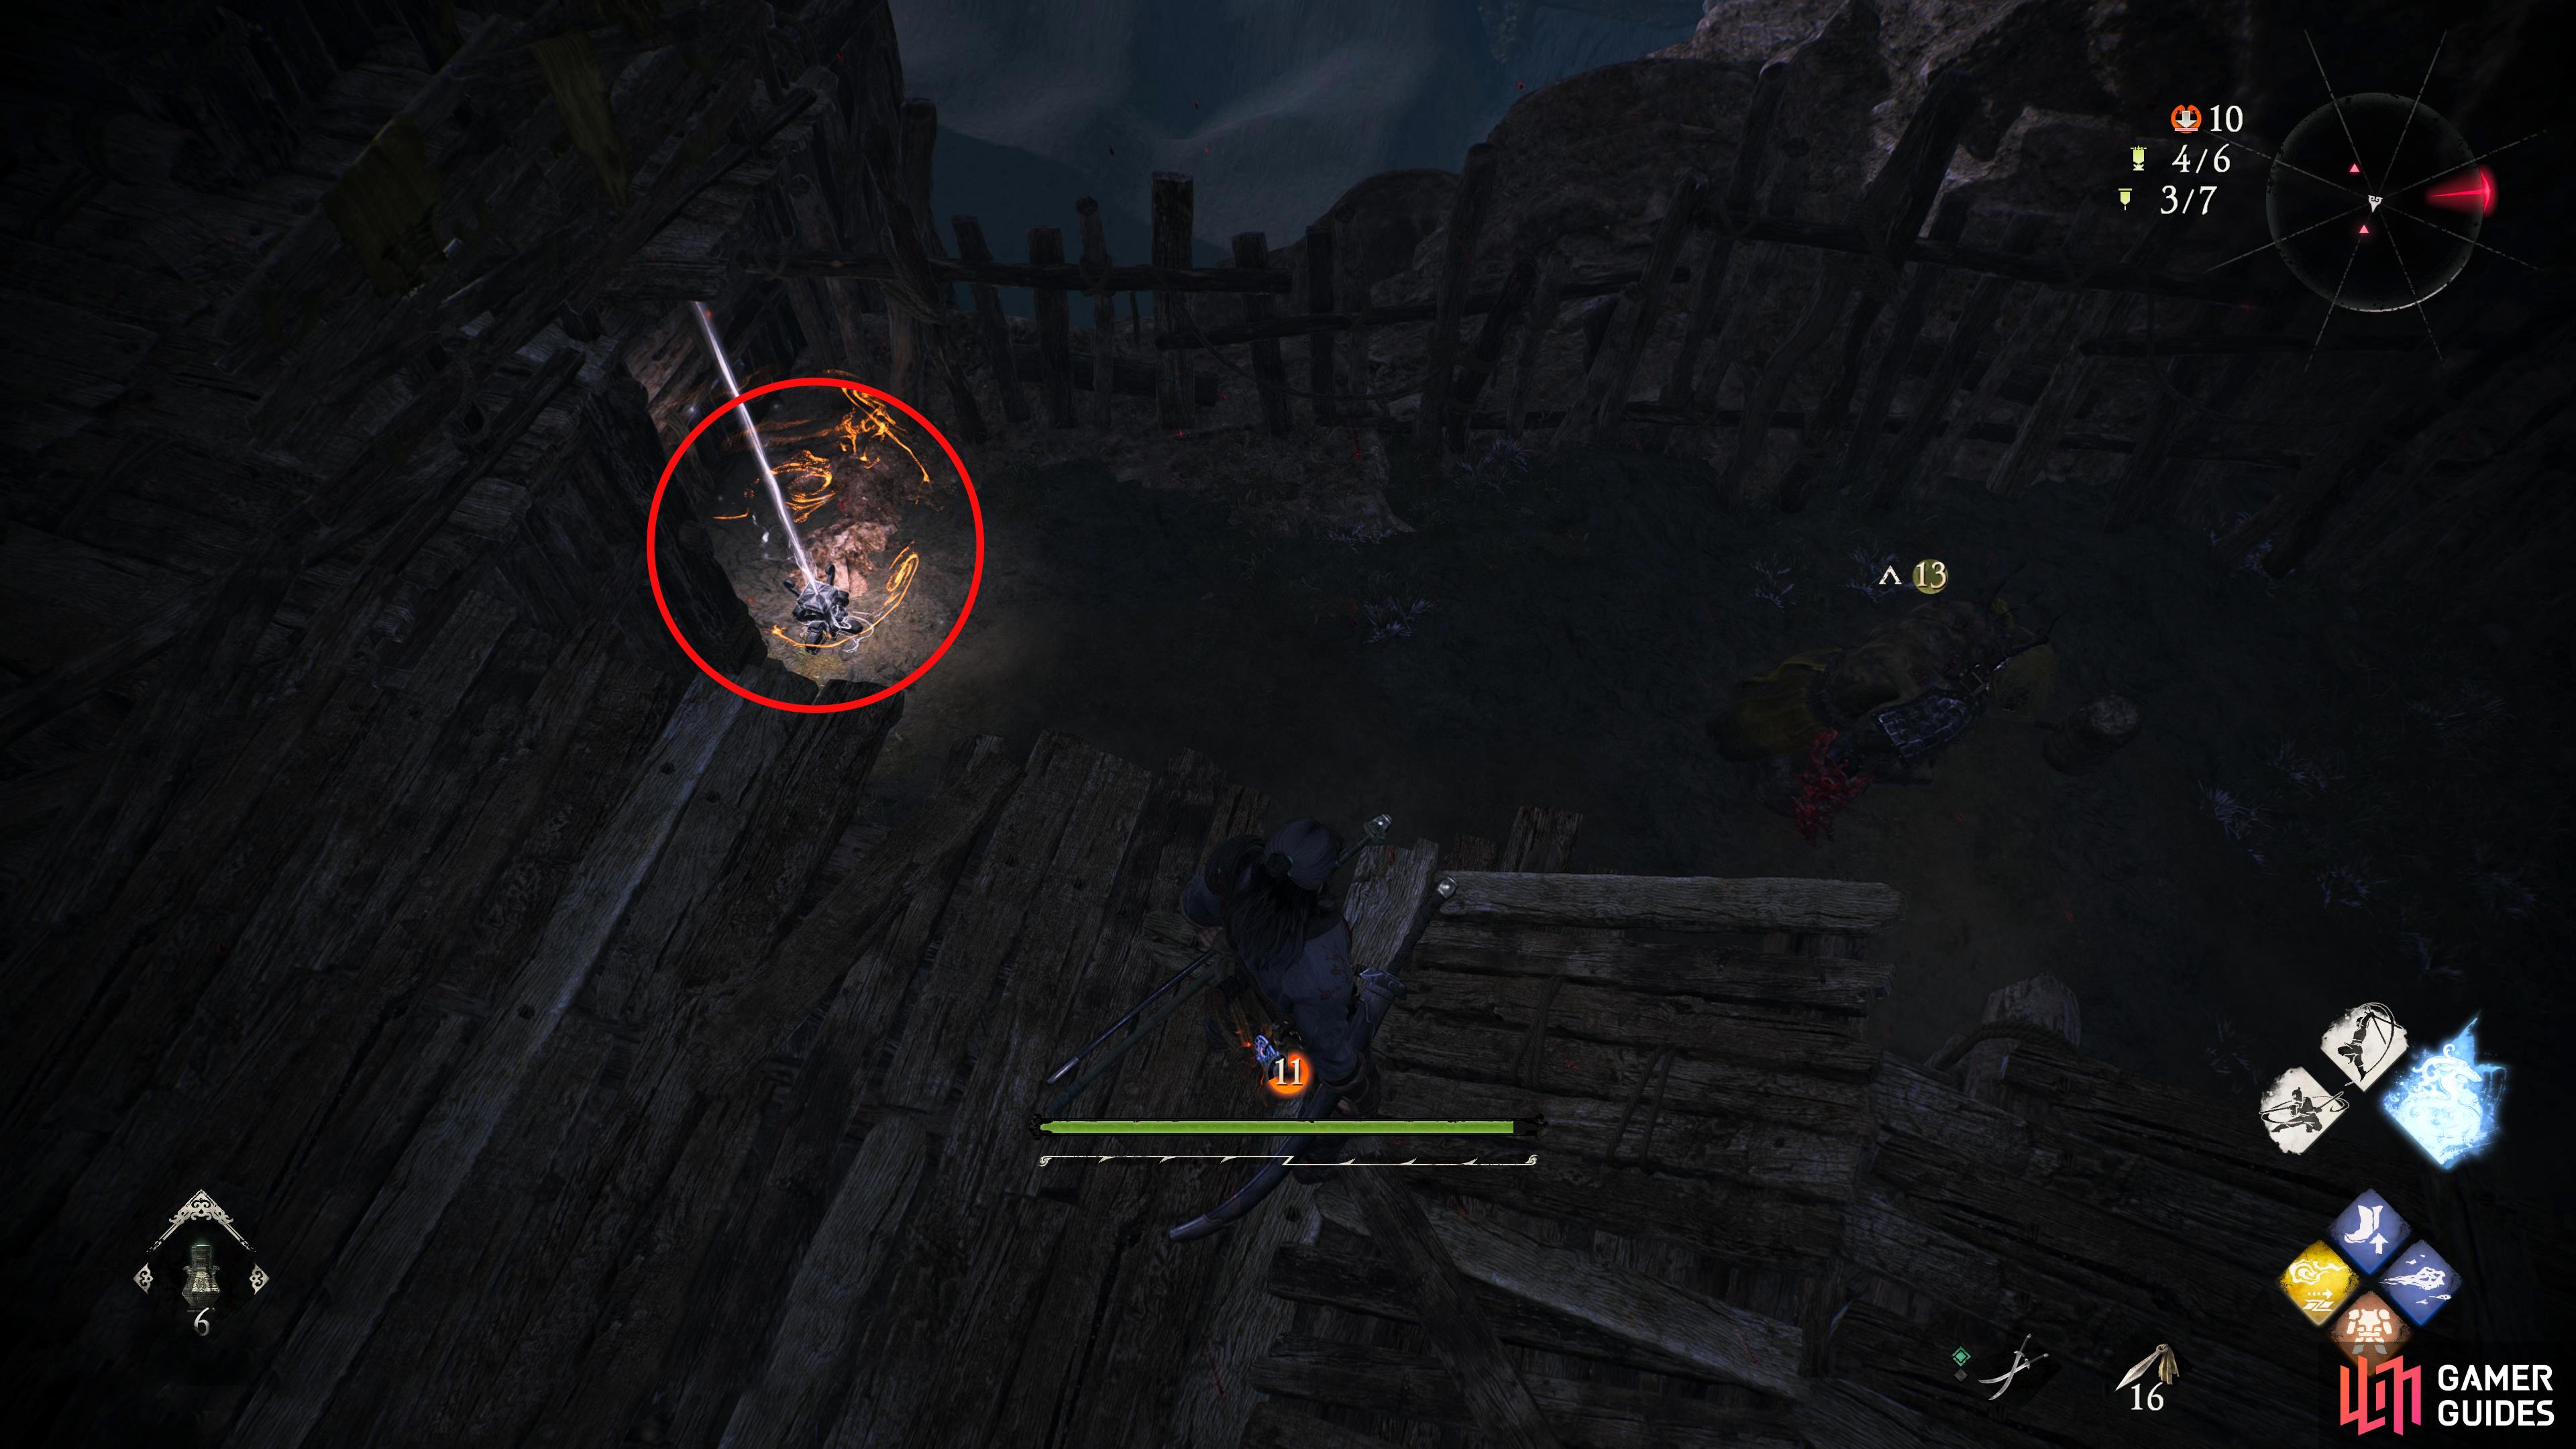
From the southern side of the ramparts, head back along the wooden platform and drop to your left.
Marking Flag 5 Location
You could’ve got this flag when you first entered this area. Anyway, drop to the floor, and follow it all the way to the west. There are numerous enemies down here from zombies and hedgehogs to soldiers, and even a tiger if you’re unlucky to get caught in its patrol path. You can use the platforms to ignore some of these enemies. Once you’ve cleared out the area, head to the ladder in the north (right of the wall). Climb up the next ladder if you want a chest then follow the wooden path east until you can jump onto the wooden platforms to your north. While on the platforms turn your camera west and jump up onto the ledge.
You can get this flag by following the wooden platform to the right when you enter the area for the first time. You can also get there by climbing a ladder underneath.
Battle Flag 5 Location
This is a fun one… Drop off the ledge onto the long wall behind the tower you just climbed up to get the chest, and you’ll find a locked Battle Flag with a large bird, dragon thingy patrolling around it. Before you ask, yes, this is the Leader. The followers are scattered around the area, and you’ll want to take them out first to make the battle against the leader easier. If you have any ammo for your bow/crossbow, start picking them off one by one. Be careful not to get the attention of the leader though because it will attack you from there.
With the followers slain, it’s time to take out the bird-dragon. Most of its attacks are lightning-based, where it will fire down either lightning bolts or lightning orbs which can be deflected believe it or not. Then it has a two-part melee attack where it will attack with its claw then its head which can be chained together in quick succession. Another attack which may catch you off guard is its ranged kunai attack because why does a dragon bird thing have kunai’s? Then it has a couple of Critical Blow attacks, one where it will fling a projectile your way, and the other being a swoop/grapple attack.
Around halfway, it will get enraged, and the two-part melee attack becomes a three hit combo with the final attack being a lunge. Another new attack it’ll gain is a swooping tail attack. The easiest way to deal with the enemy is to stay back while blocking/deflecting it’s attacks until it unleashes its projectile Critical Blow, and throw it back at it. This will drop it momentarily where you can get a couple of Martial Arts off on it.
Another handy tip is you can seal its magic attacks temporarily by using a Wizardry Spell of the opposing element which would be a Wood spell in this case. Once you’ve defeated the leader, activate the Battle Flag. Did you enjoy that battle? Neither did I. When you activate the previous Battle Flag, DO NOT use it to level up, yet otherwise it’ll refresh all the enemies, and you wouldn’t want that, would you?
Found at the opposite end of the ramparts. You’ll need to defeat the Demon Bird Dragon thing to unlock it.
Marking Flag 6 Location
Now it’s time to get the Marking Flag you saw on the roof earlier. Head back to the top of the ramparts, and take the eastern path onto the large roof in the next area. Follow the roof all the way until you get past the hole in the roof. A little further past the hole is a cave in the rock face to your right. Follow the cave until you reach a ladder leading to the roof below with the Marking Flag.
Follow the left building’s roof from the ramparts until you find the cave on your right.
Marking Flag 7 Location
Head back up through the cave and back onto the ramparts. This time, make your way to the southern side of the ramparts then take the northeastern ramp onto the large building on the right. Follow the roof around to the right where eventually you’ll reach a hole in the roof. Drop into the room below to get the Marking Flag then unlock the door.
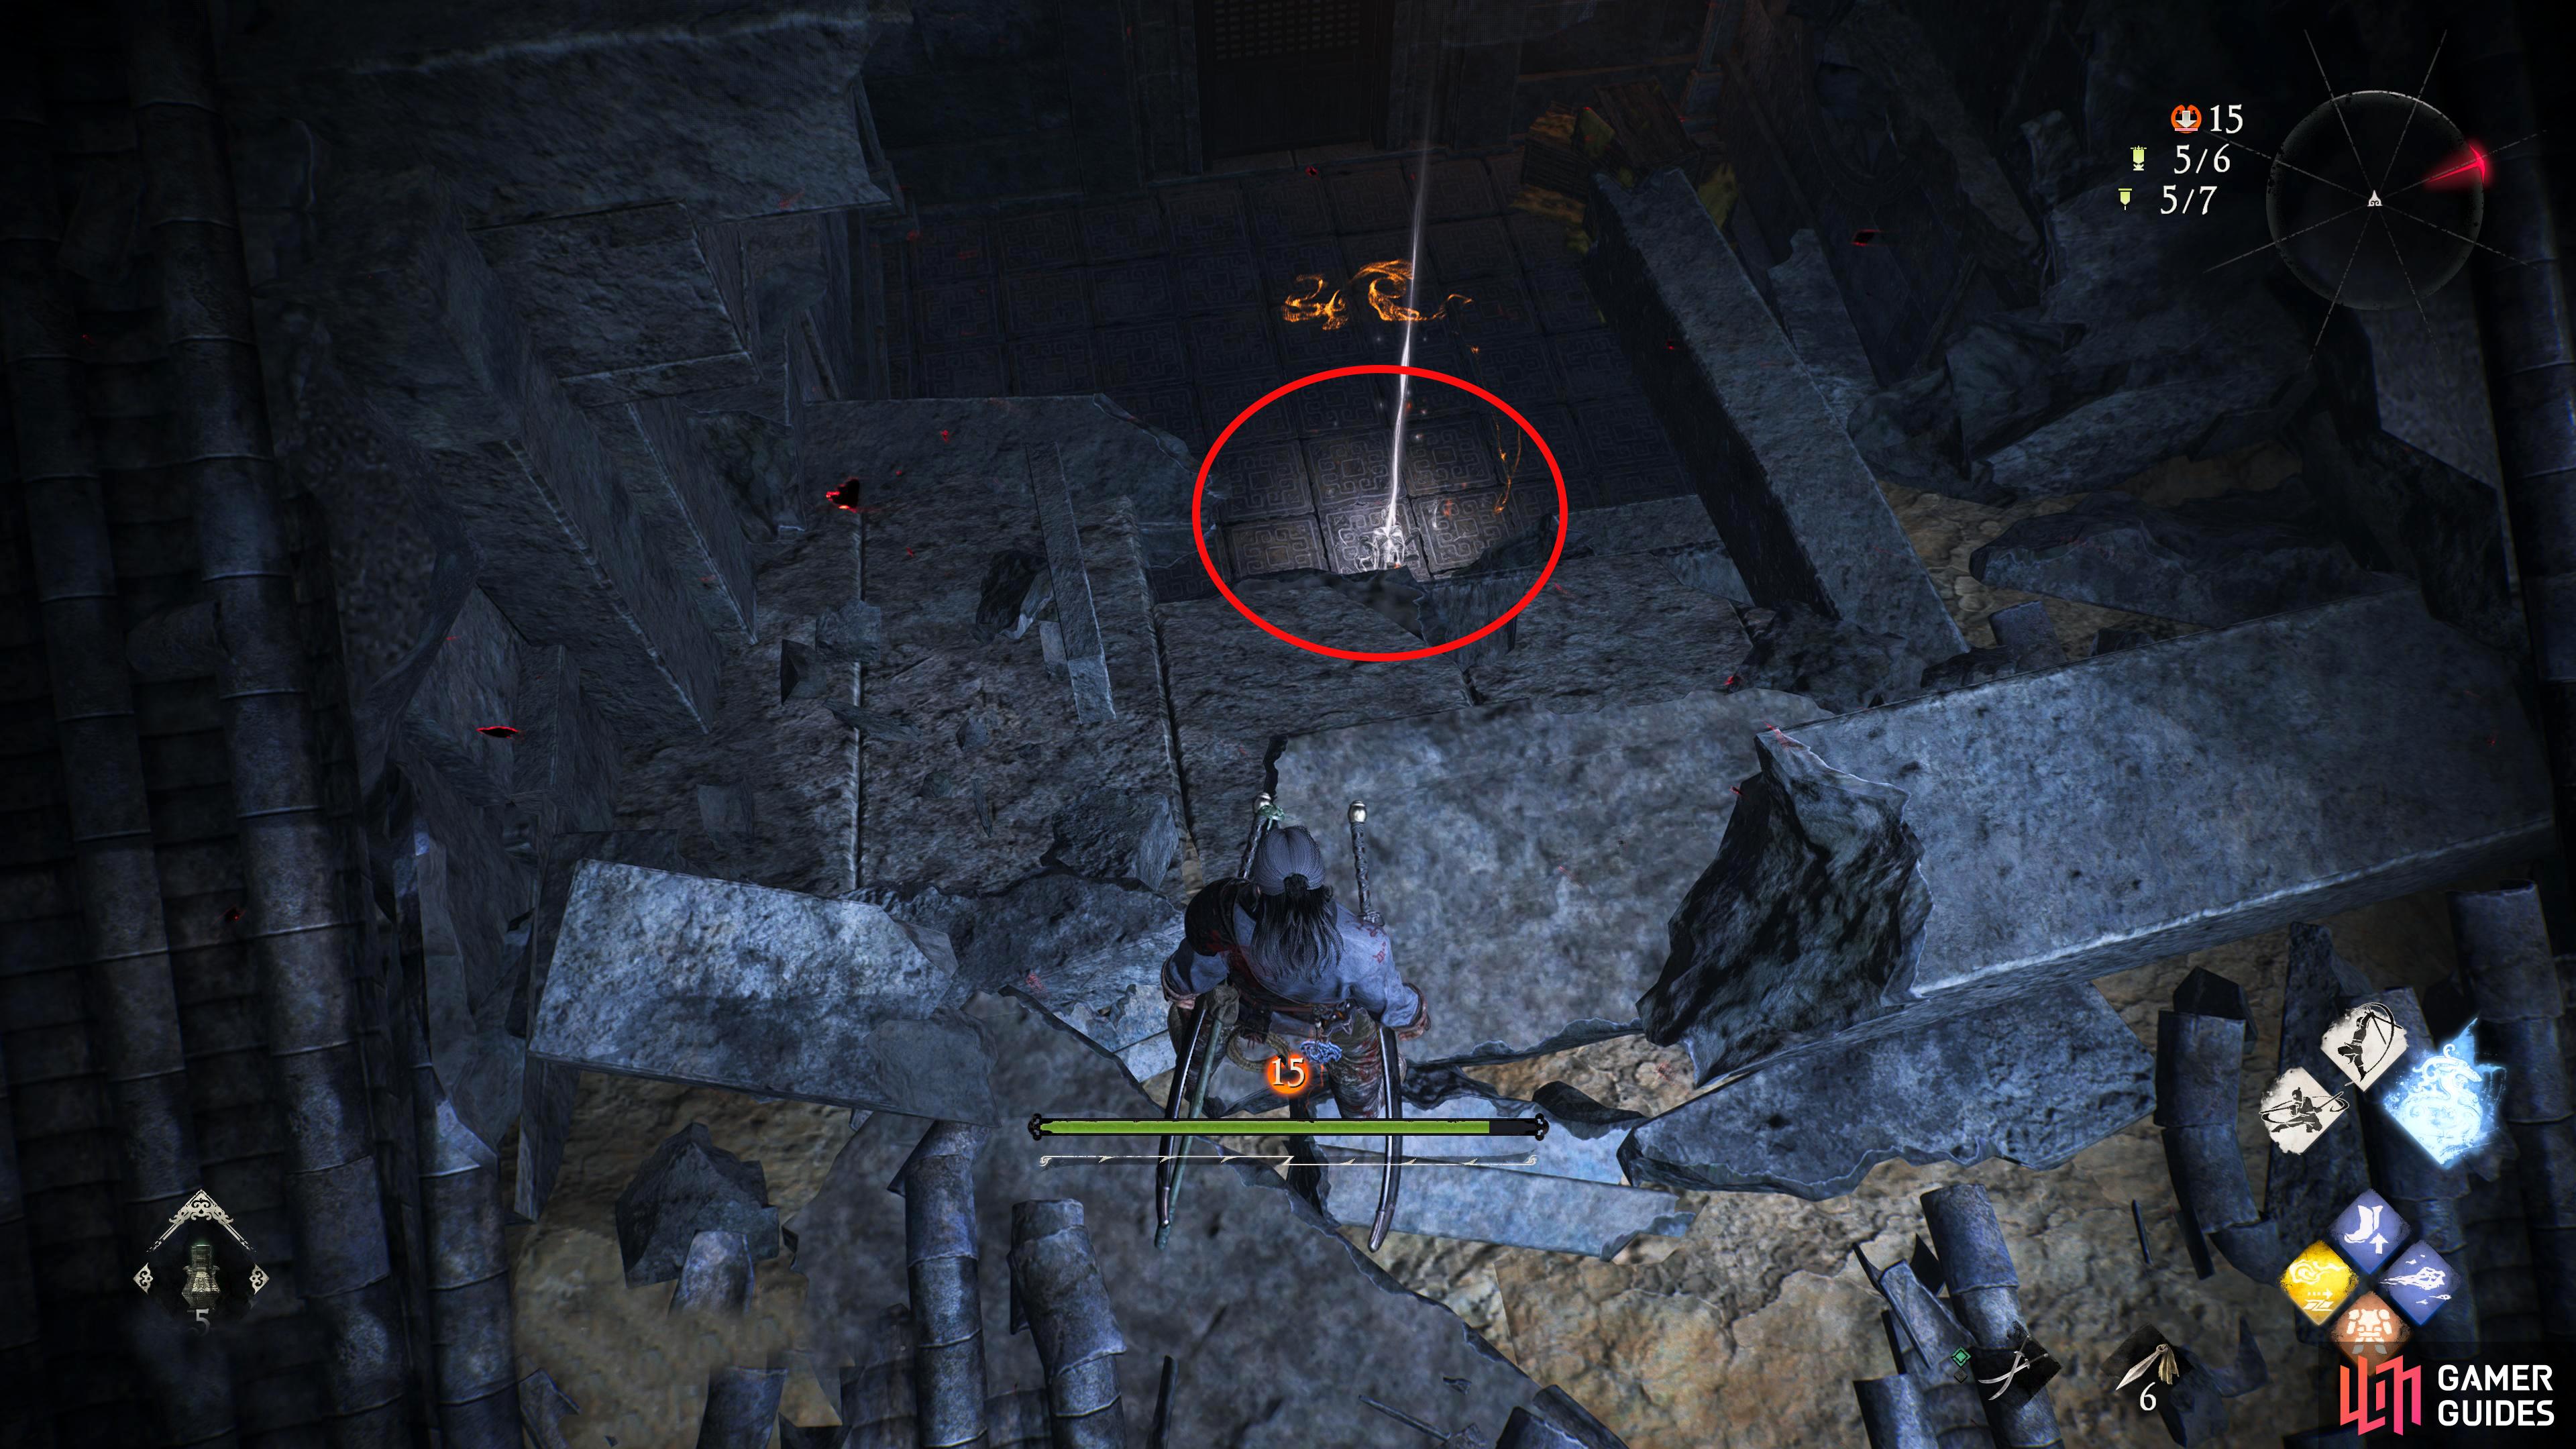
Follow the right side of the right building’s roof from the ramparts and drop through the hole in the roof.
Battle Flag 6 Location
As soon as you exit the room, you may be met with a spear-wielding enemy. Take them out, and loot all the treasures within the room. Head out of the building, and slowly walk towards the Warlock to your left, and backstab them. Rotate your camera around the area to see what you have to work against. See all those Demonized Officers? Ignore them if you can. There is some loot in and around the buildings, so get them if you want, then proceed up the large set of stairs in the east. This will eventually lead to the boss which is through the door at the end.
Before you get there though, you’ll need to defeat some enemies on your way including a Warlock on the platform to your left. When you reach the top, the last Battle Flag will be locked with the Leader being a Demonized Officer, but this one has swords. Try to start the fight with a backstab if you can as it’ll make your life easier. When you’ve defeated the brute, interact with the final Battle Flag.
Final Battle Flag. Found at the top of the stairs near the boss room. Need to defeat the nearby leader to unlock it.
How to Find the Flags
A helpful tip if you happen to miss any flags is to go through the level with one eye kept on the Sense Qi Map (mini-map) in the top-right corner of the screen. At first, this may not seem helpful, but if you turn off the Sense Qi Map rotation it will make your life easier. You can do this by going to the System Menu (cog) > Game Setting > Page 2 > Show Sense Qi Map > Rotation Off.
You may be wondering why you’d want to do this, but it helps navigate where the flags are. See, the flags will show up on the Sense Qi Map, even if you don’t have them yet, then you can follow it on the map. You can tell what direction you’re facing by a faint gray line on the edge of the map.
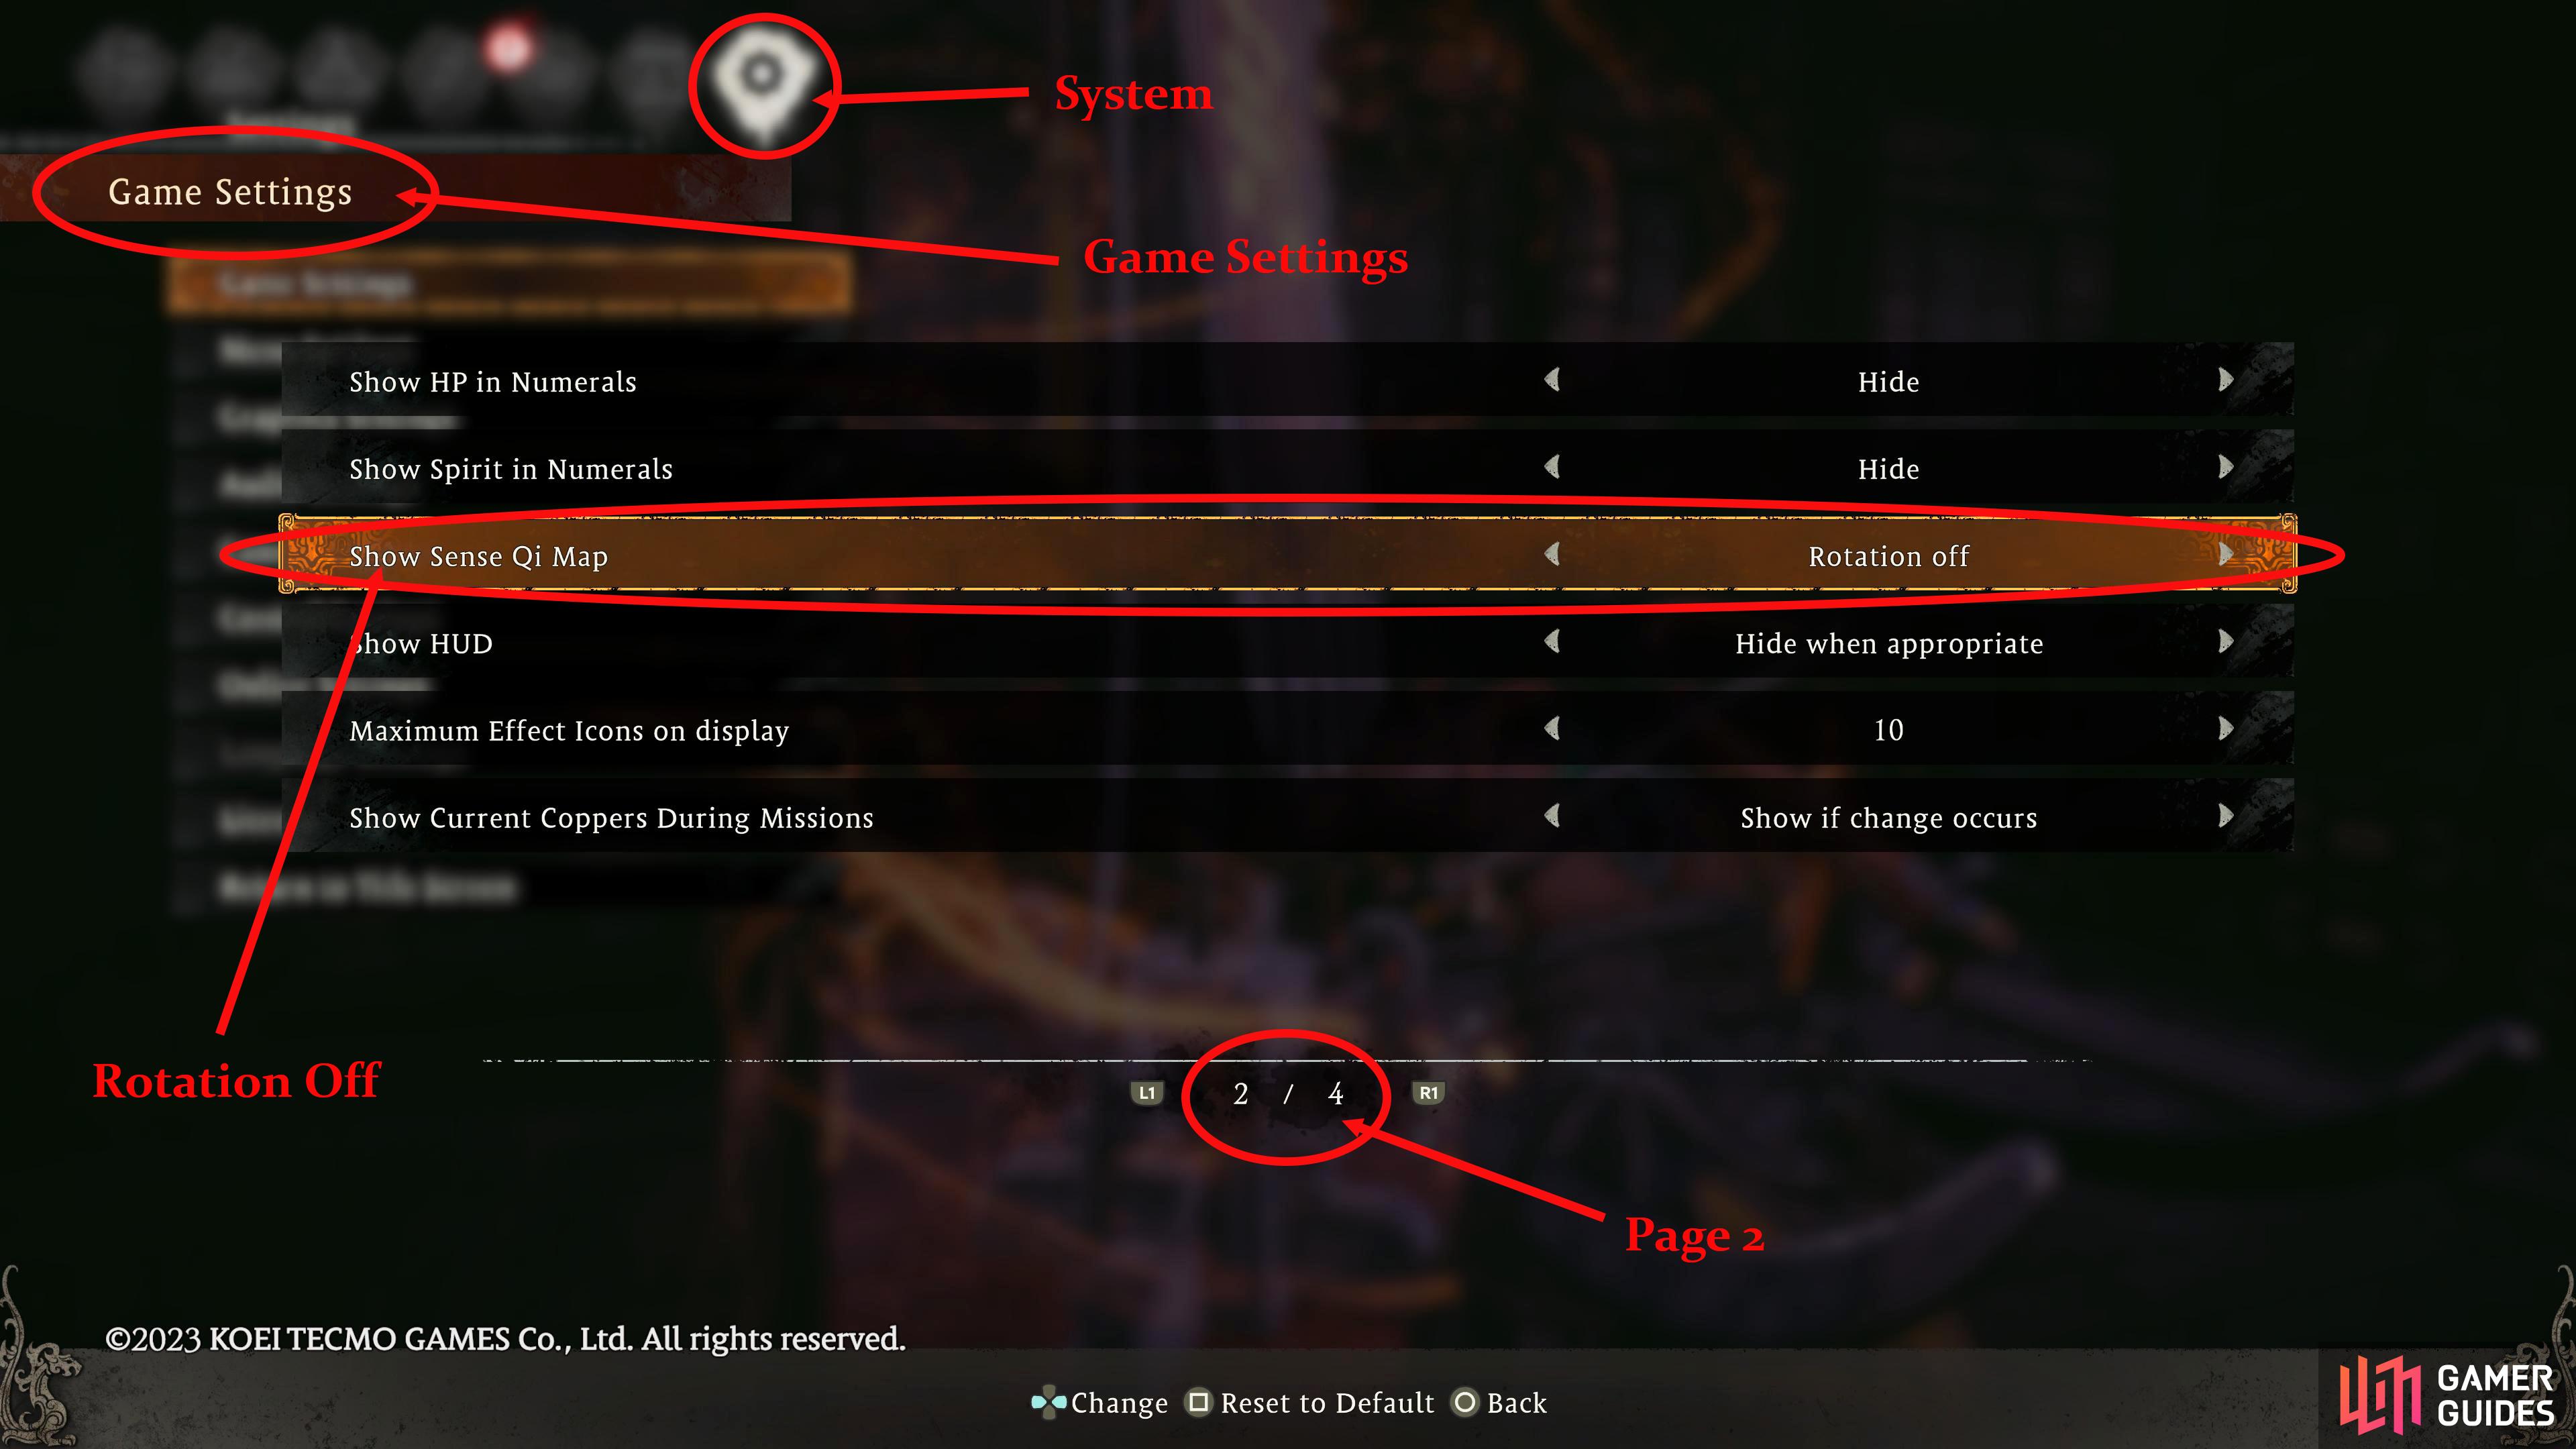
Turn off the rotation on the Sense Qi Map to make finding the flags easier.
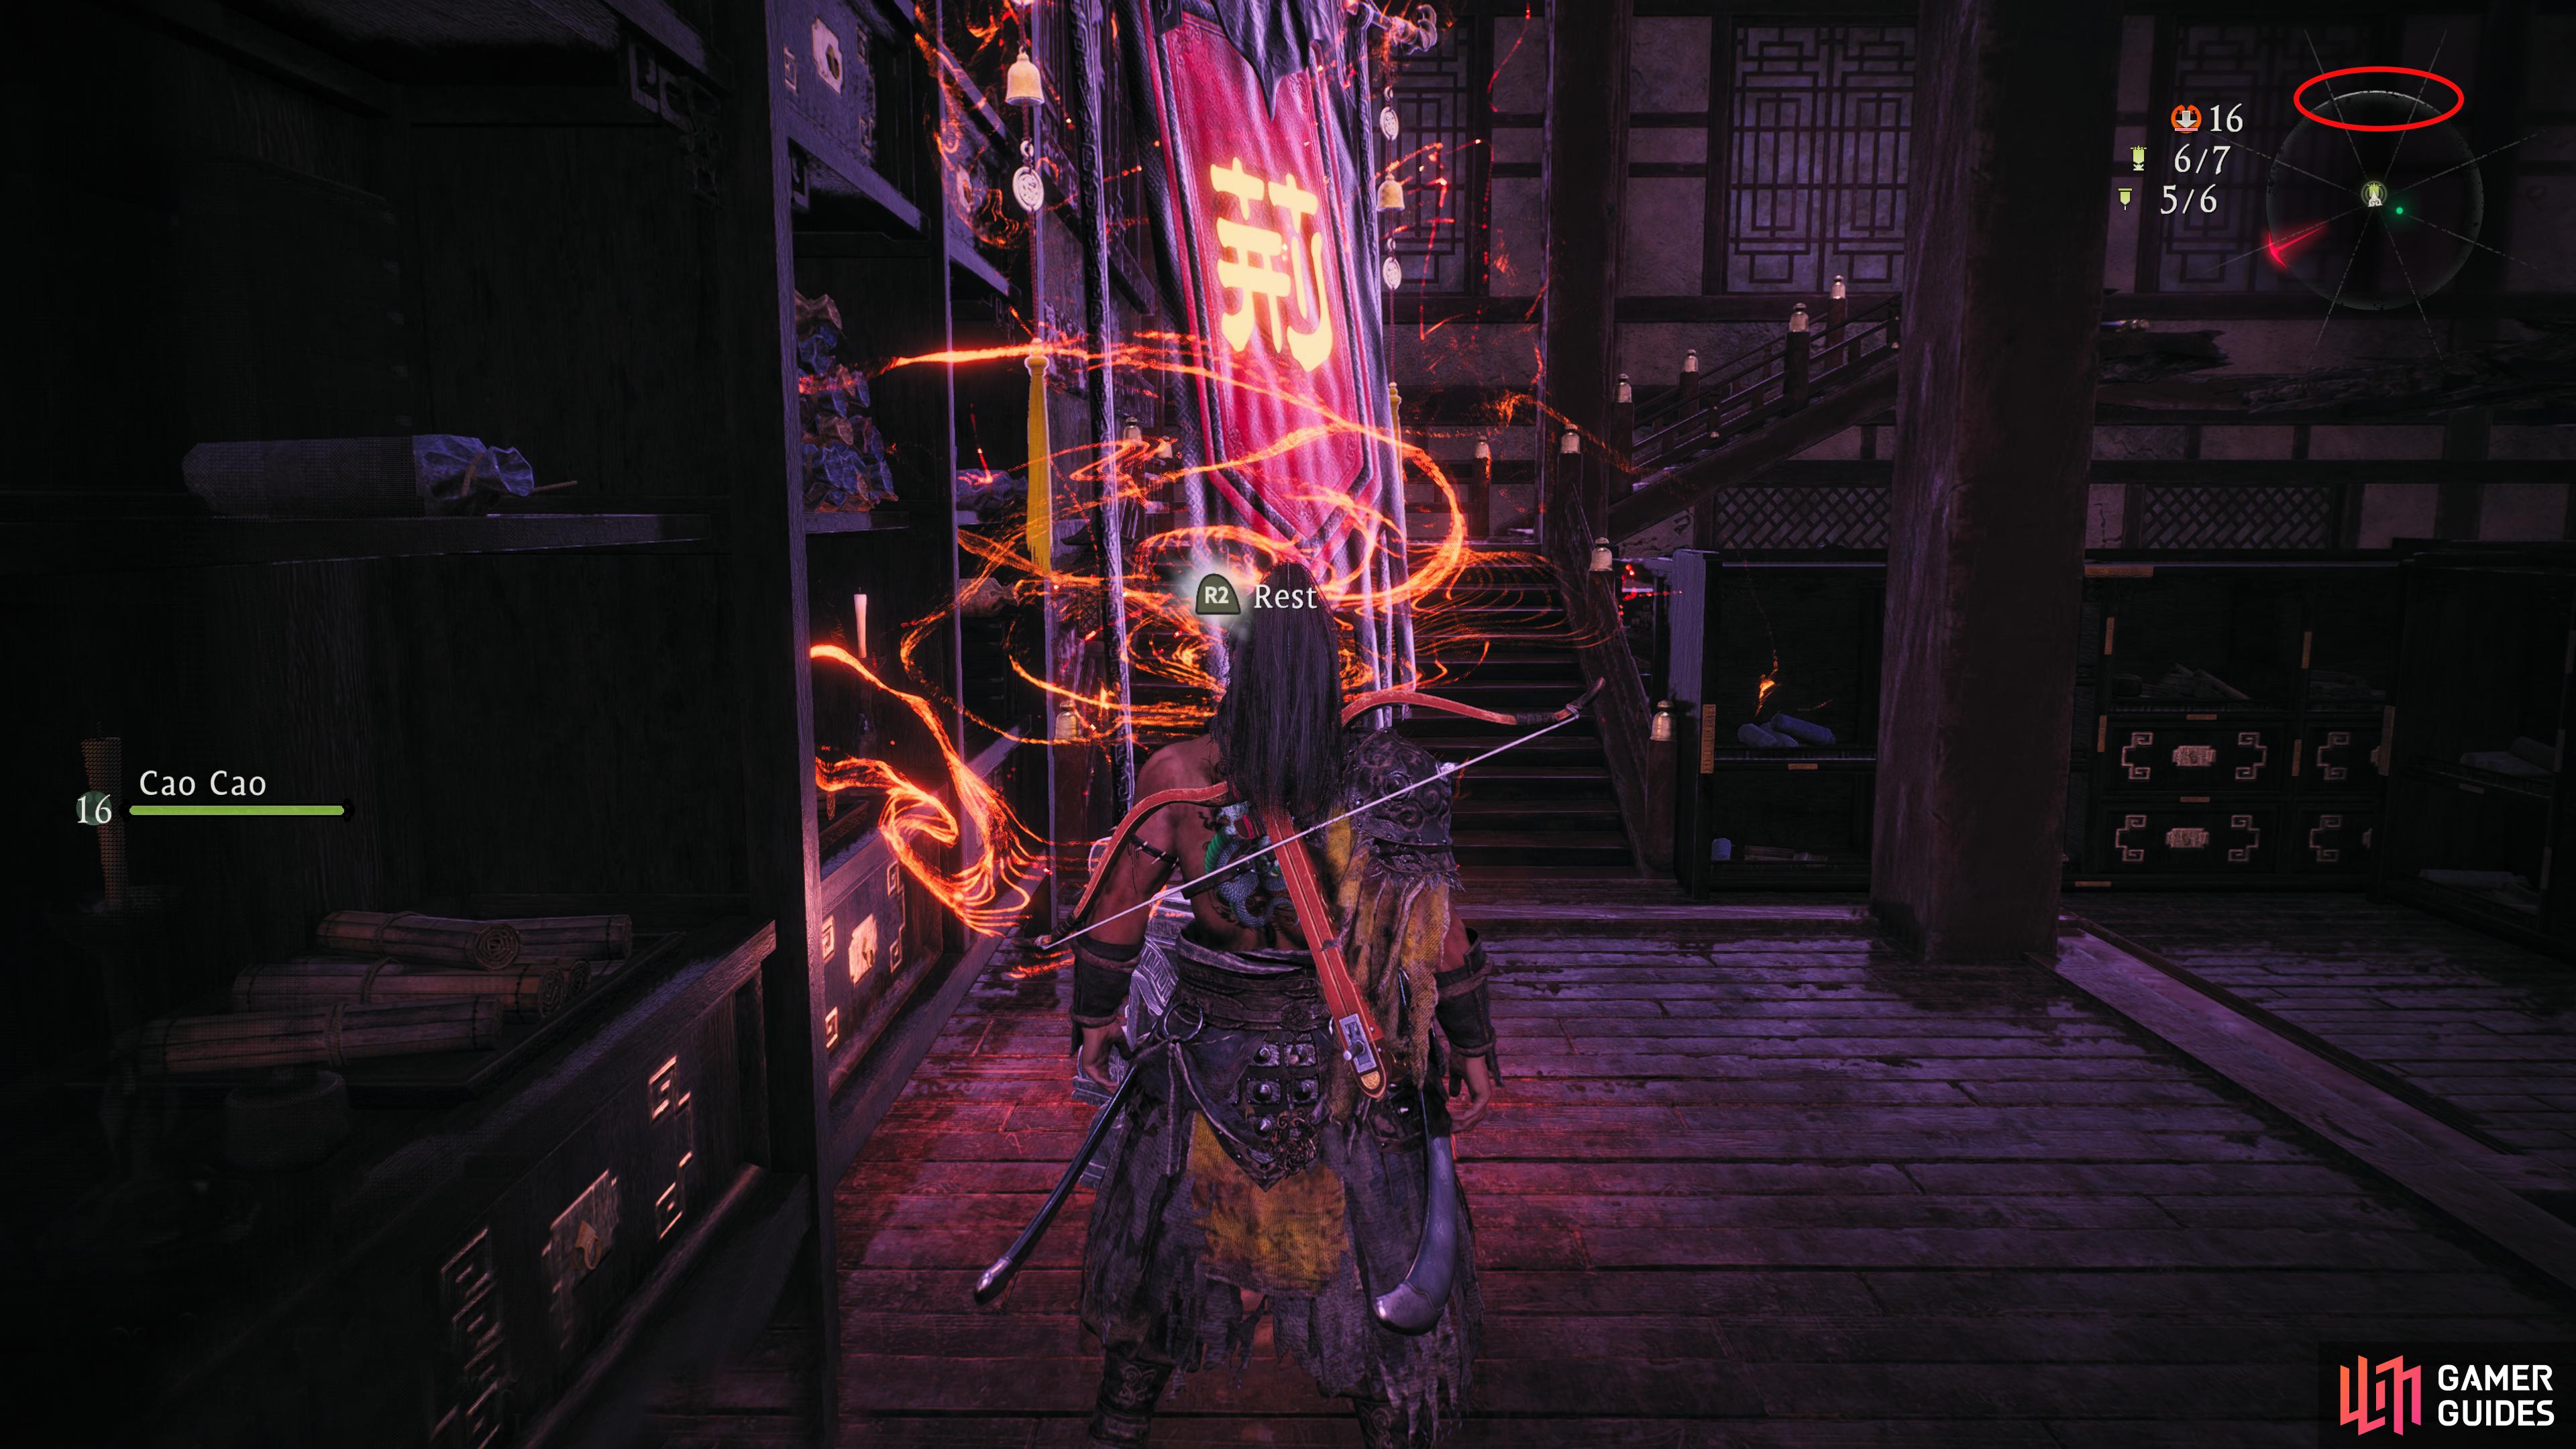
That way, the soft gray line above it will show you what direction you’re facing.
No Comments