
The Fall of the Corrupted Eunuch is a mission in part 3 of Wo Long: Fallen Dynasty. As you progress through the missions, you’ll learn about the Morale system and how it’s tied to the Flags of which there are two types, Marking Flags, and Battle Flags. Not only are these Flags tied to the Morale system, but they’re needed for 100% mission completion from which you’ll eventually unlock the Fly It High trophy/achievement. This page will give you a walkthrough of where you can find all 13 Masking and Battle Flags in the Fall of the Corrupted Eunuch mission.


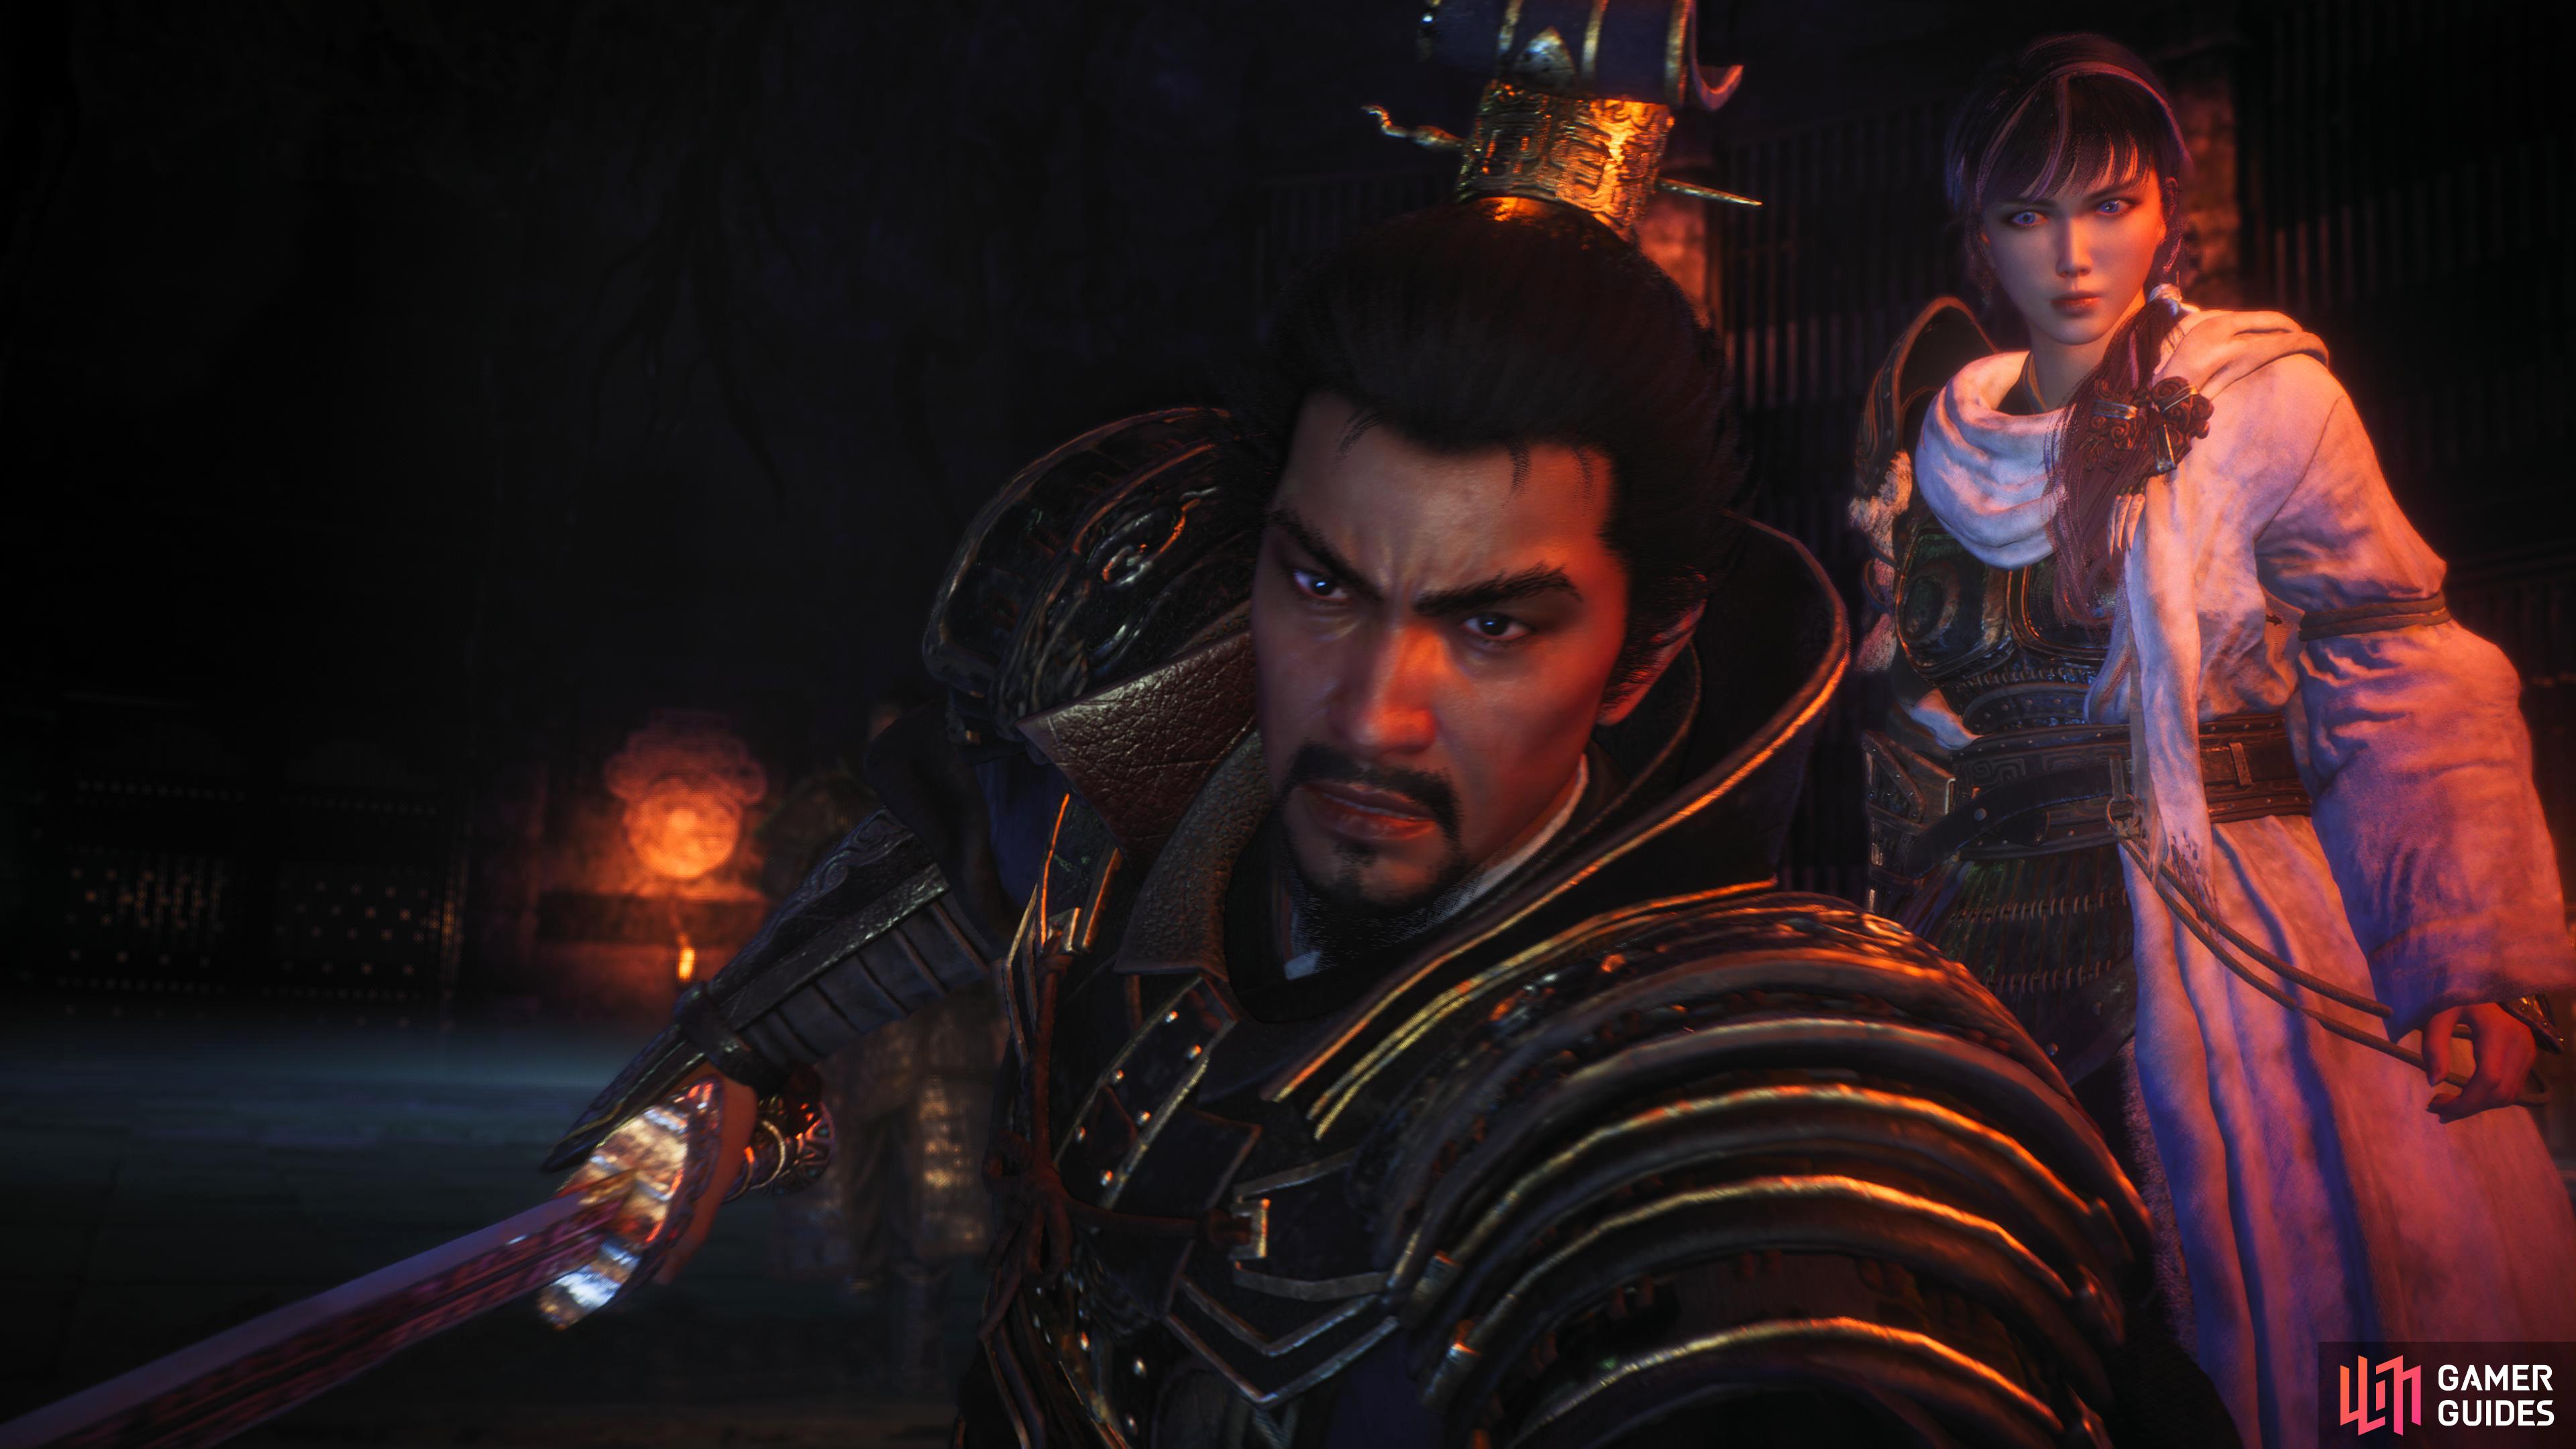
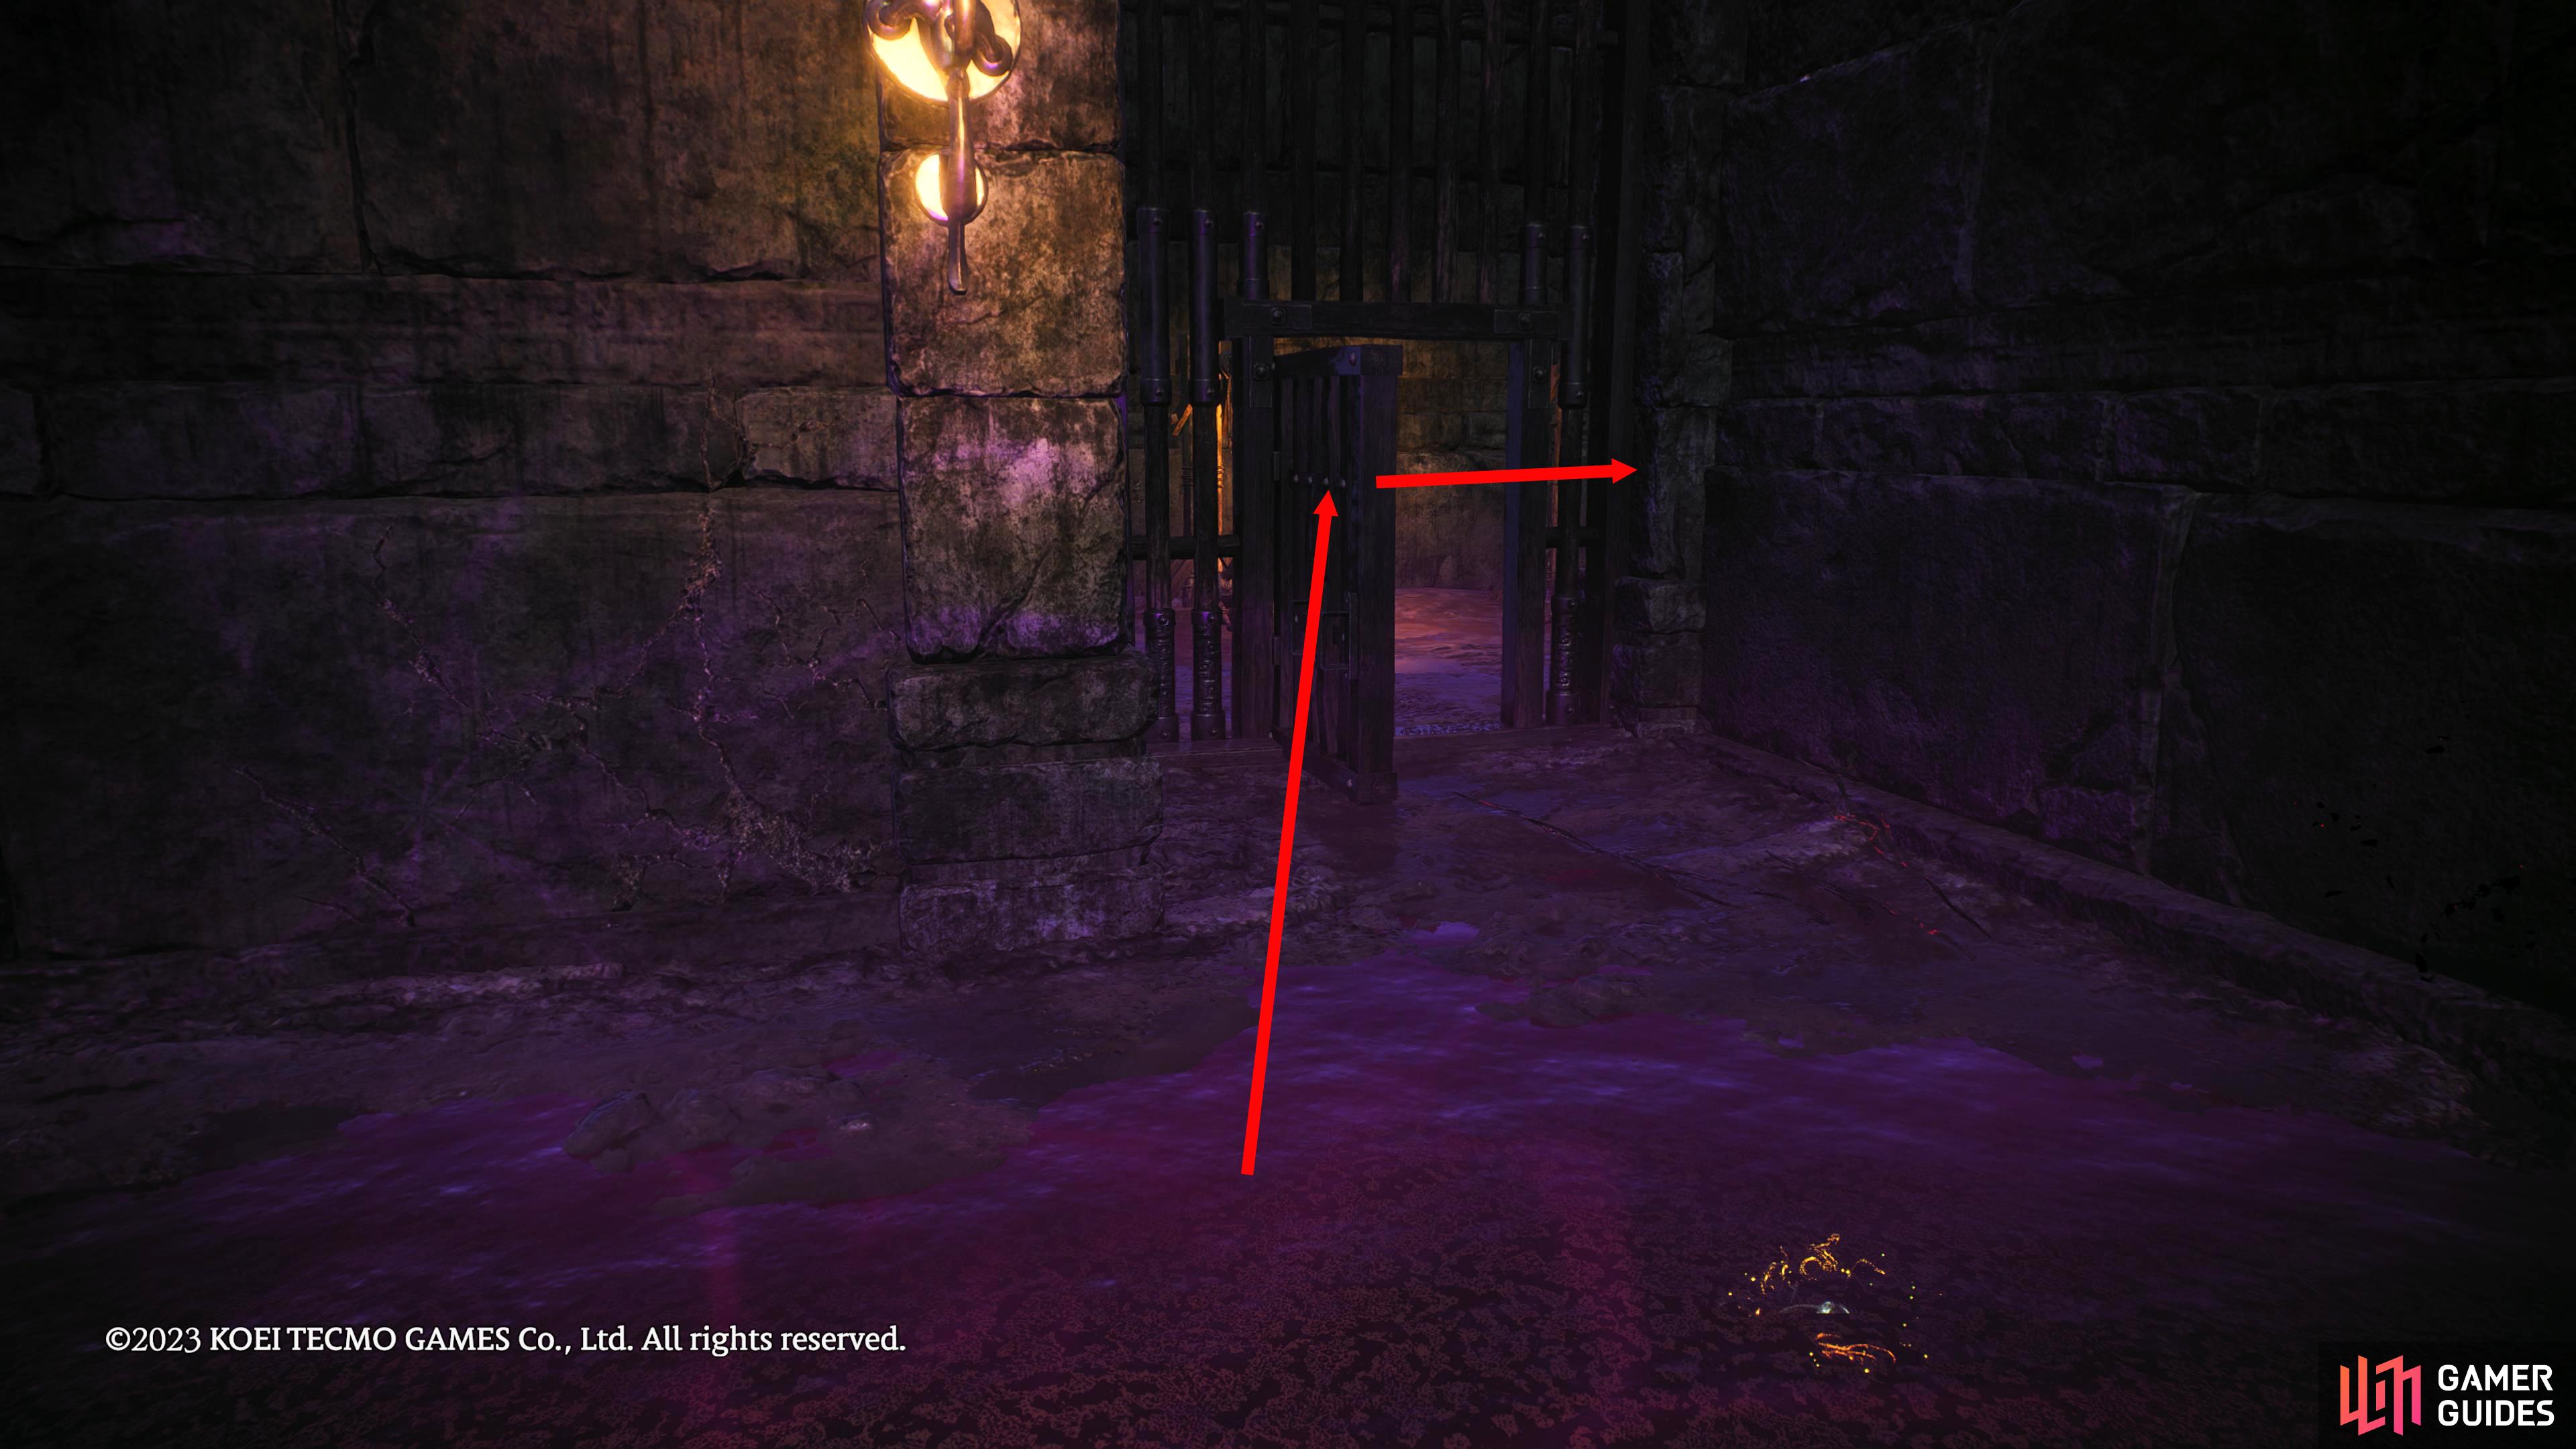
Cao Cao finds a secret hole into another area in this mysterious prison area.
Battle Flag 1 Location
This is the flag you start off with at the start of the mission. Follow the linear path into the purple water (not poison) and into the underground structure.
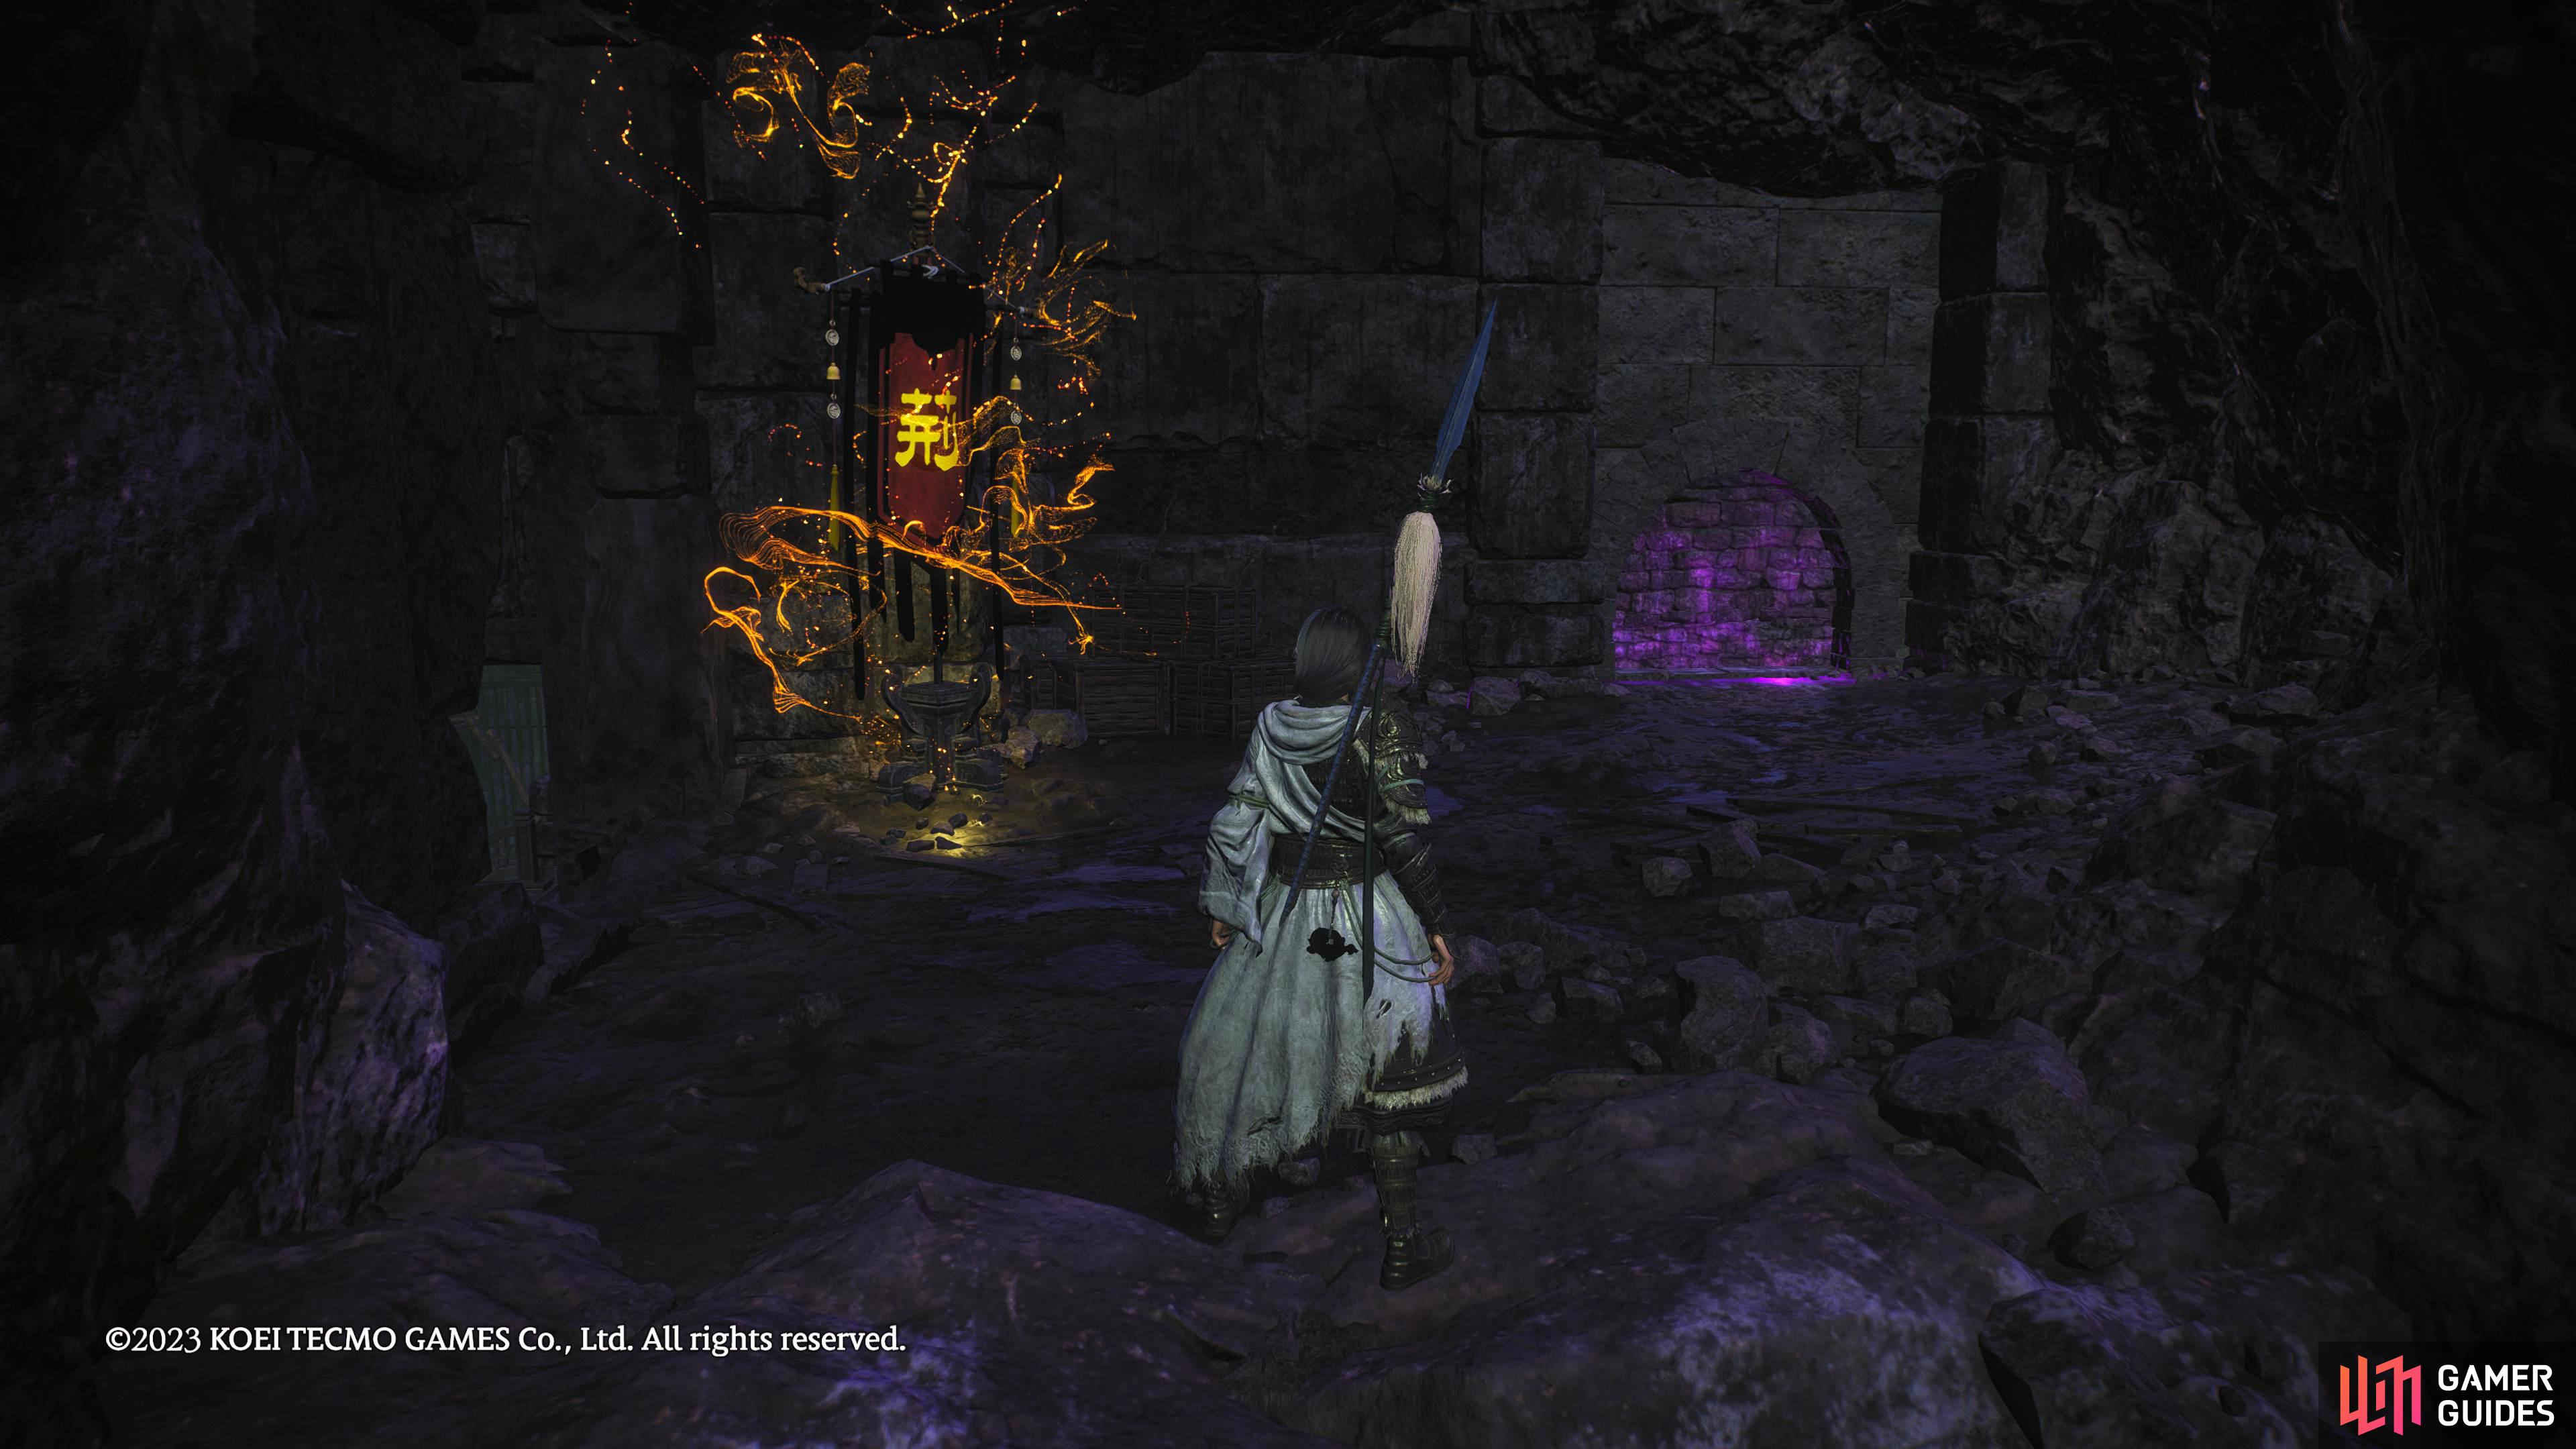
The first Battle Flag can be found by following the linear path into the underground structure.
Marking Flag 1 Location
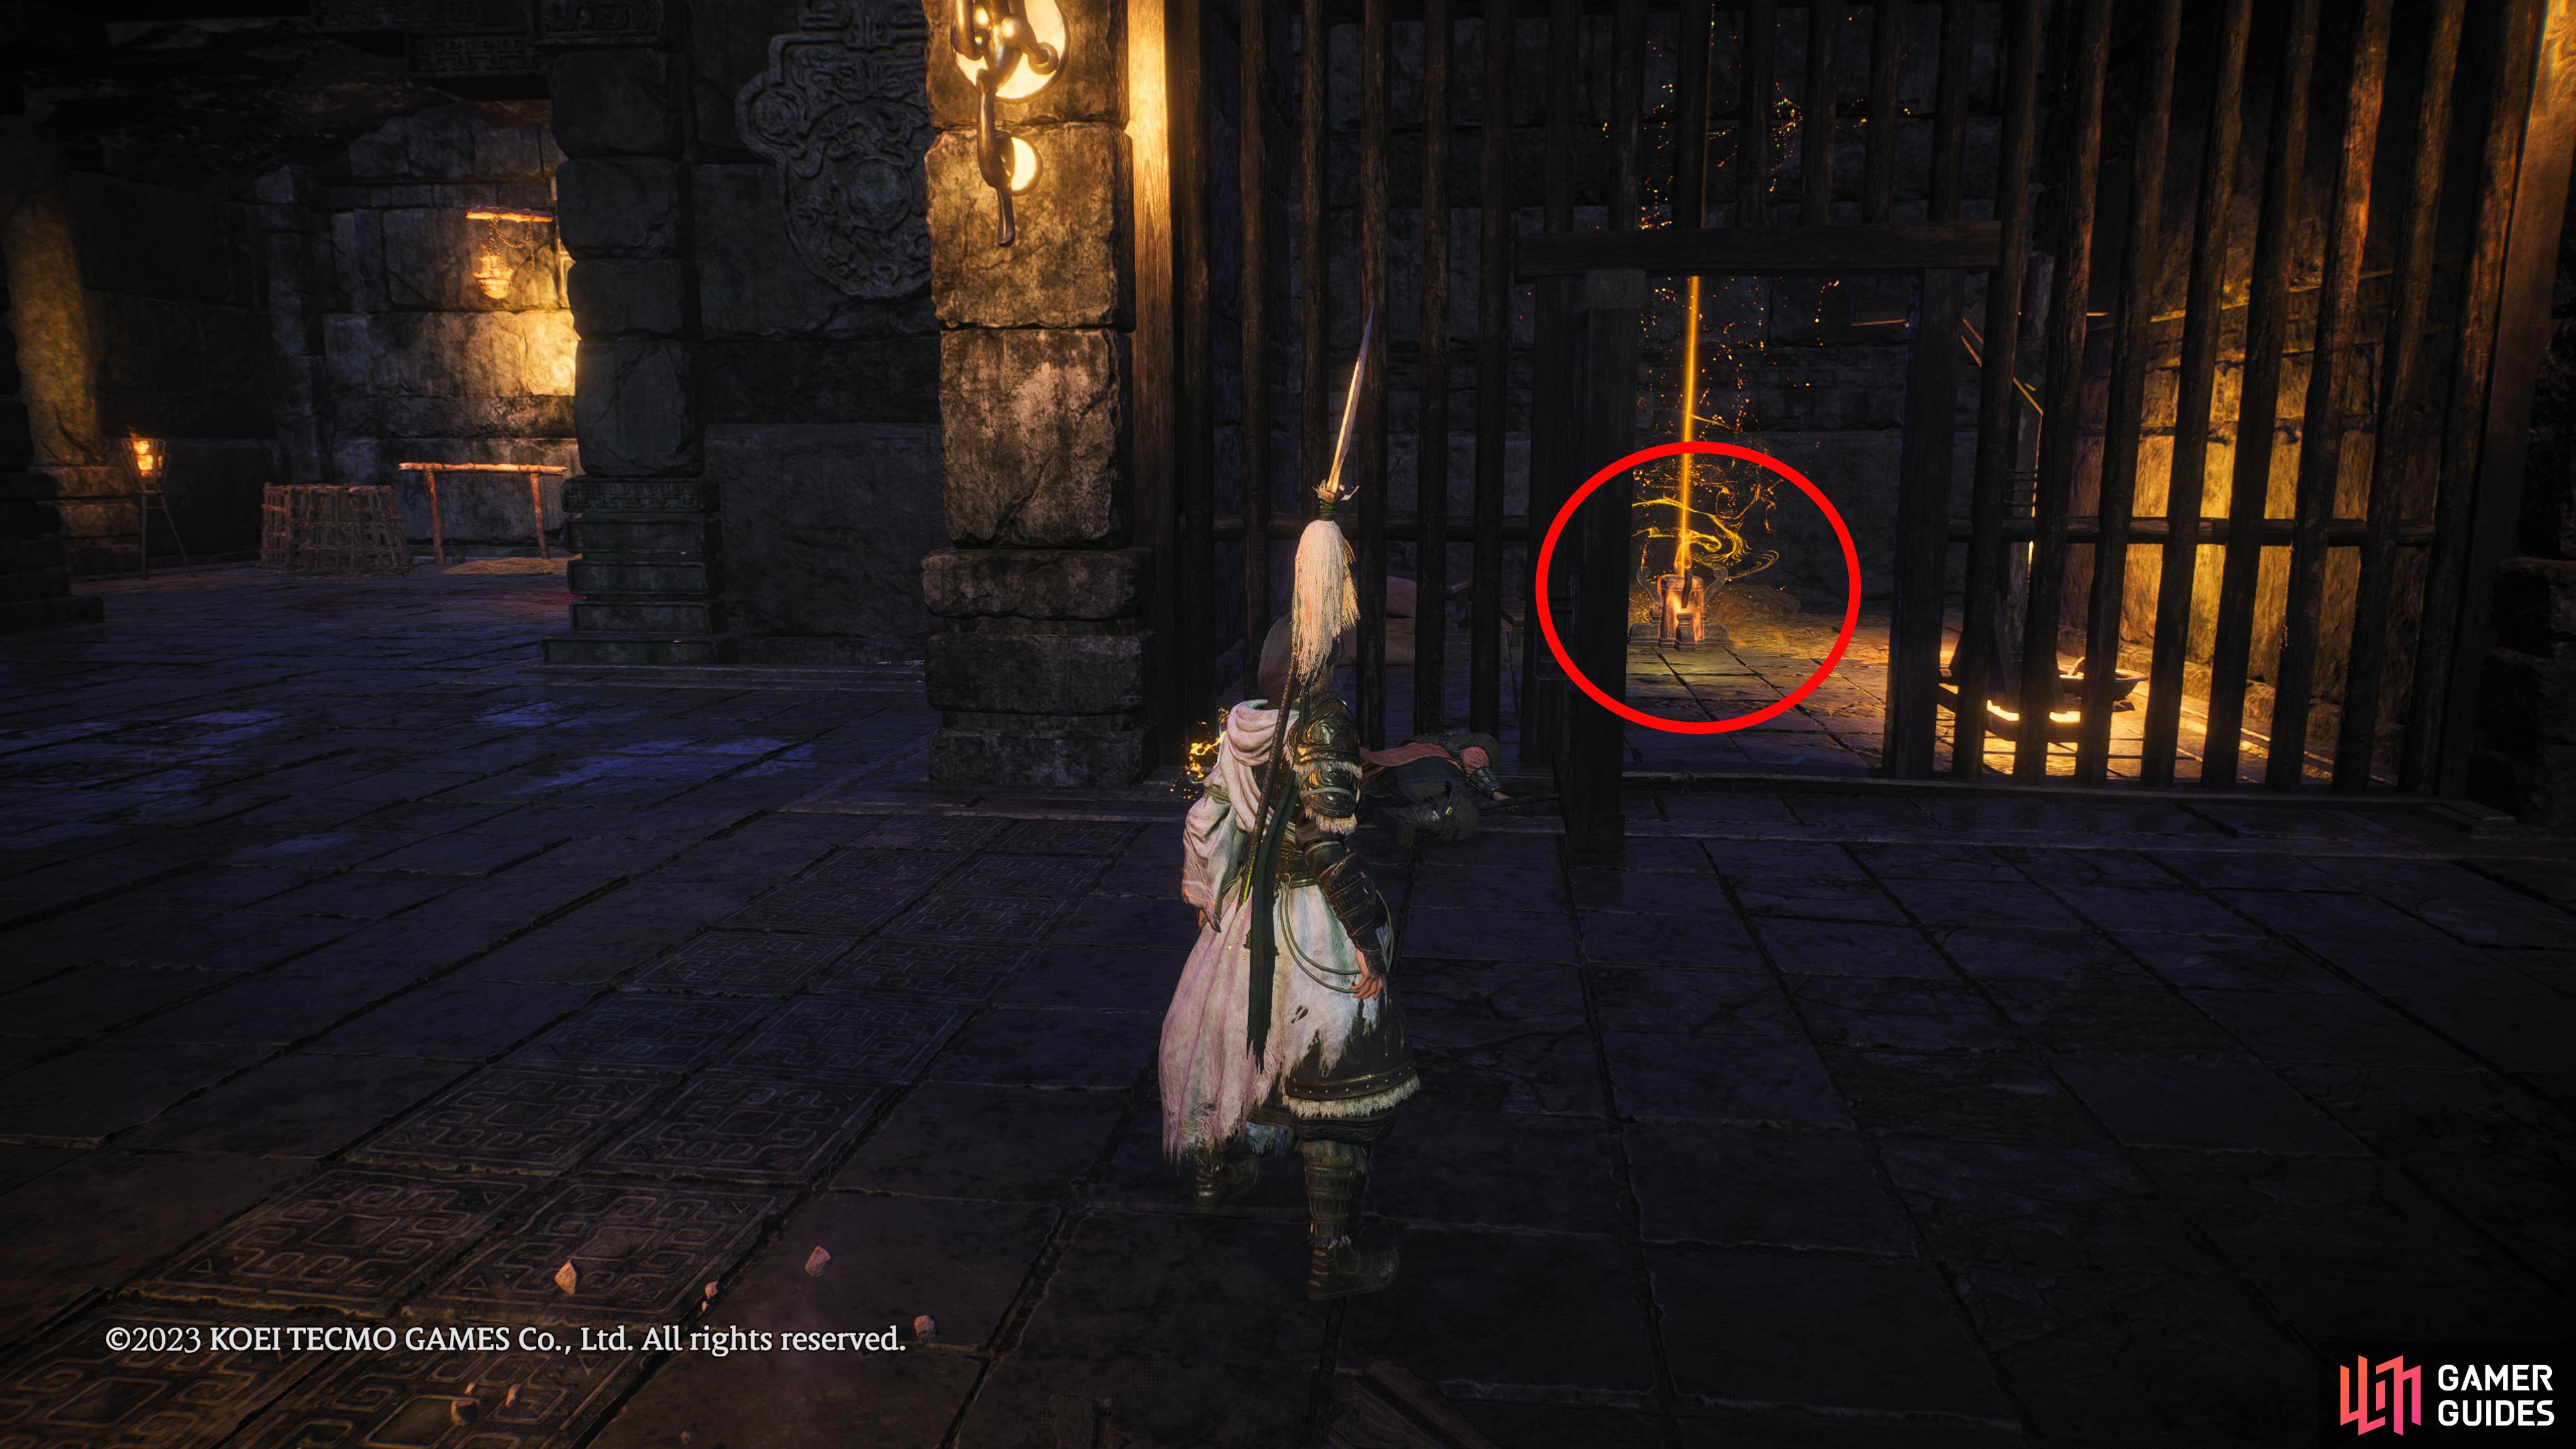
From the first Battle Flag, drop to where the NPC (Yuan Shao) is, and follow the path forward then down the stairs to your left. Defeat the enemies, and follow the western path until you reach a wooden platform bridging the gap in the floor. If you go over the bridge, it’ll collapse, and you’ll fall to the floor below while a Demonized Officer pummels on you. Instead, head to the open cell to the left of the wooden platform and drop through the hole into the cell below. Head into the next cell, jump into the hole in the wall, and you’ll find the Marking Flag resting up against the closed cell door.
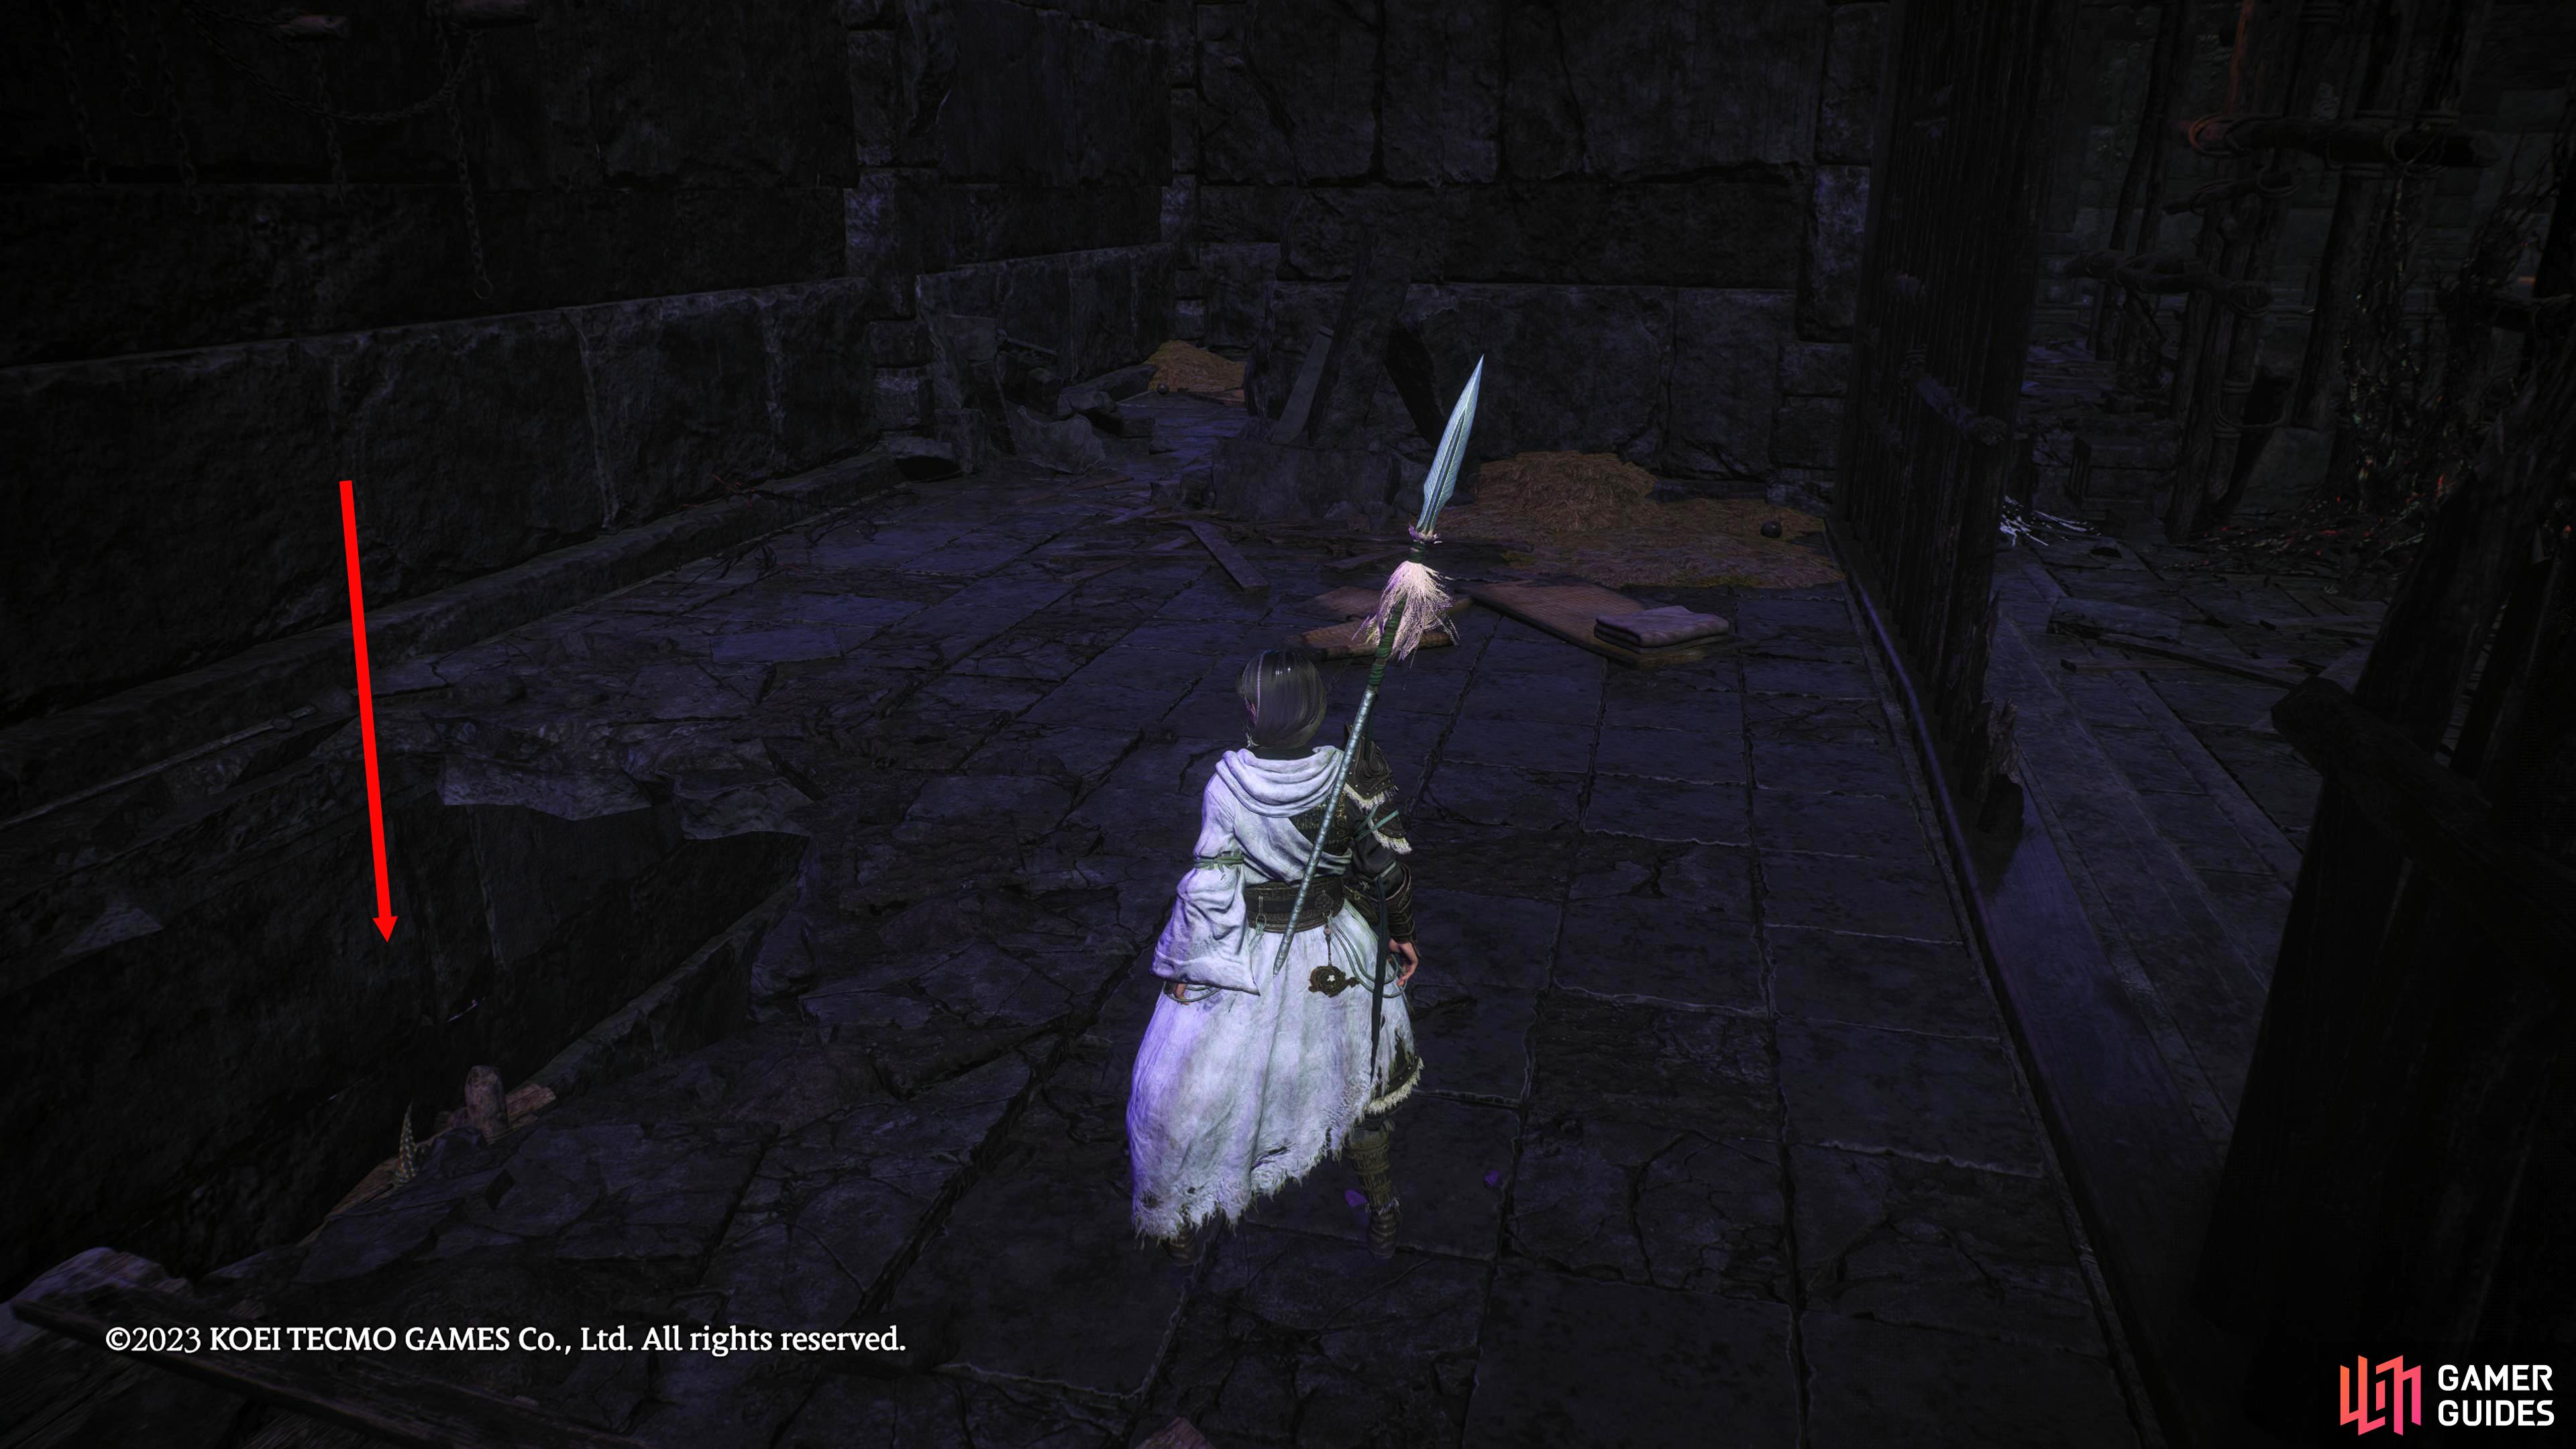
Drop through the hole in the cell.

Head into the adjoining cell and jump through the hole in the wall.
Marking Flag 2 Location
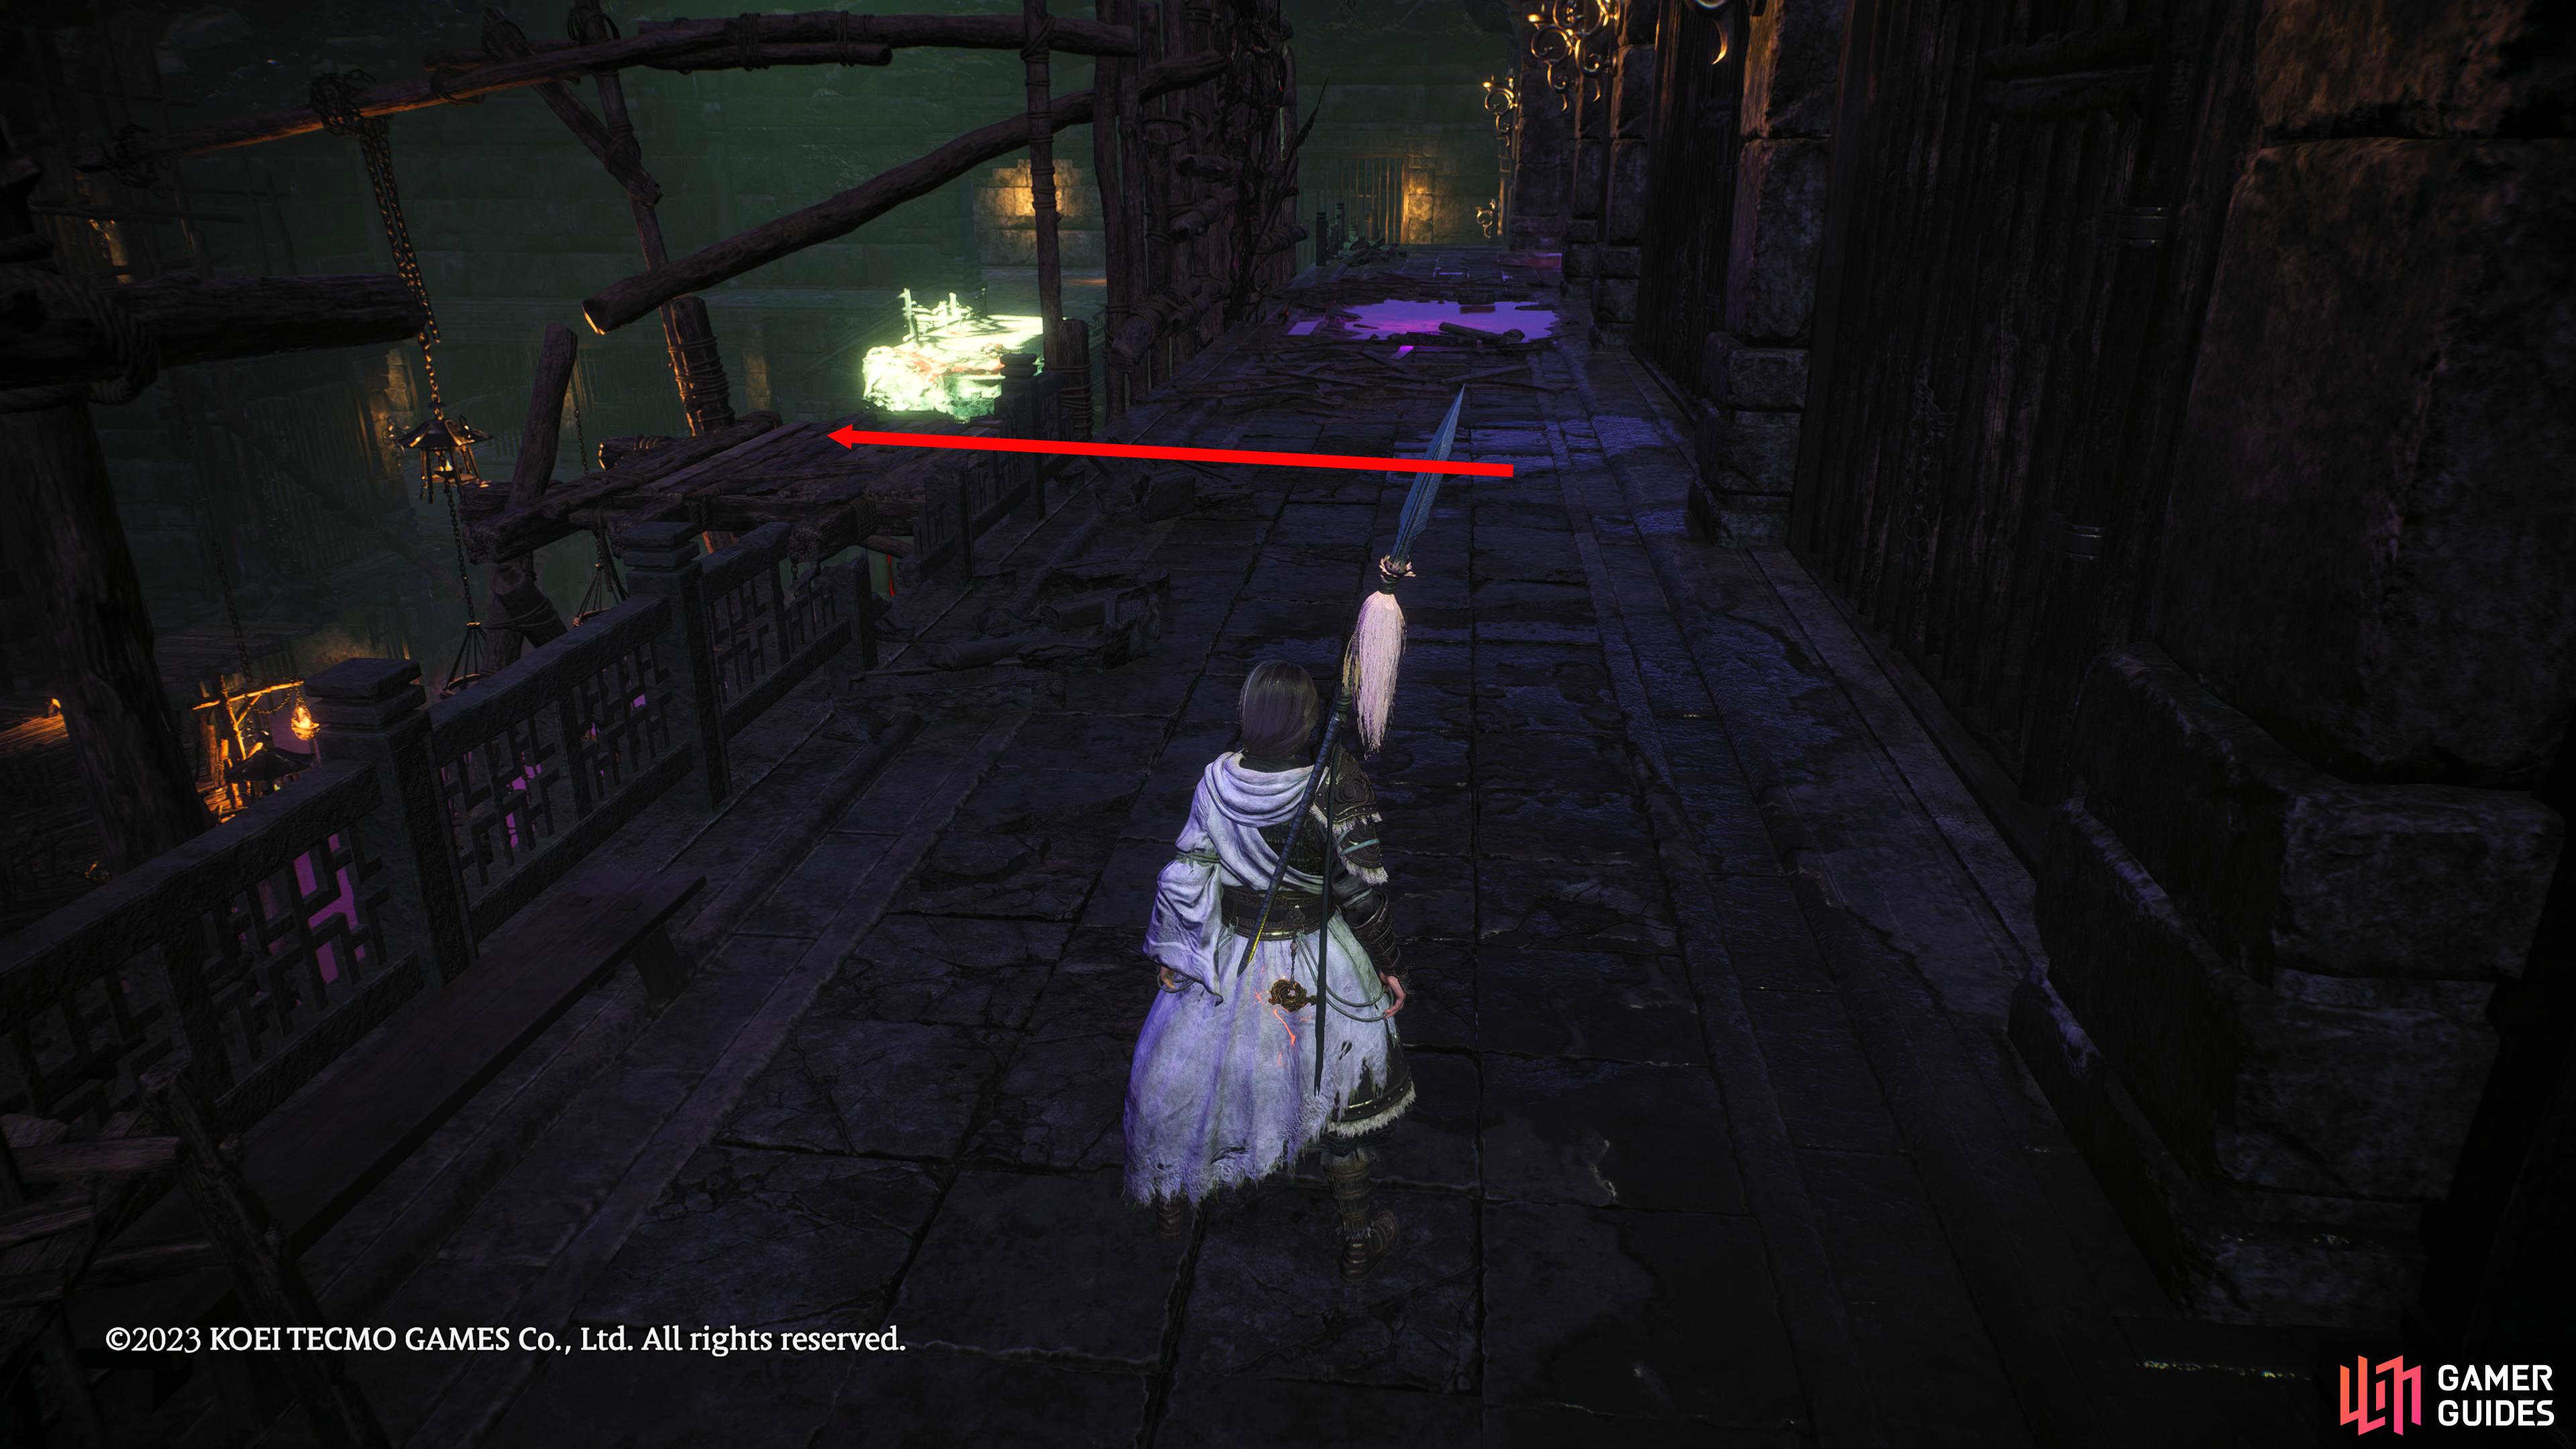
Starting from Marking Flag 1, jump back through the hole in the wall and exit the cell. Head back on yourself and go across the rickety old wooden bridge to the other side of the area. This will lead to an open cell with a Demonized Officer in there with another enemy throwing fire pots at you. Defeat the enemies and proceed to the right of the room where you can reach the floor above via the makeshift platforms.
Exit the cell and follow the western path, but be careful of the large hedgehog which will make an explosive entrance. Defeat the hedgehog, and continue along the path until you reach a small wooden platform leading away from the path to your left. Walk onto the platform, and drop off to the west to get the second Marking Flag.
Head onto the small wooden platform after dealing with the large hedgehog.

Drop below to find the flag.
Marking Flag 3 Location
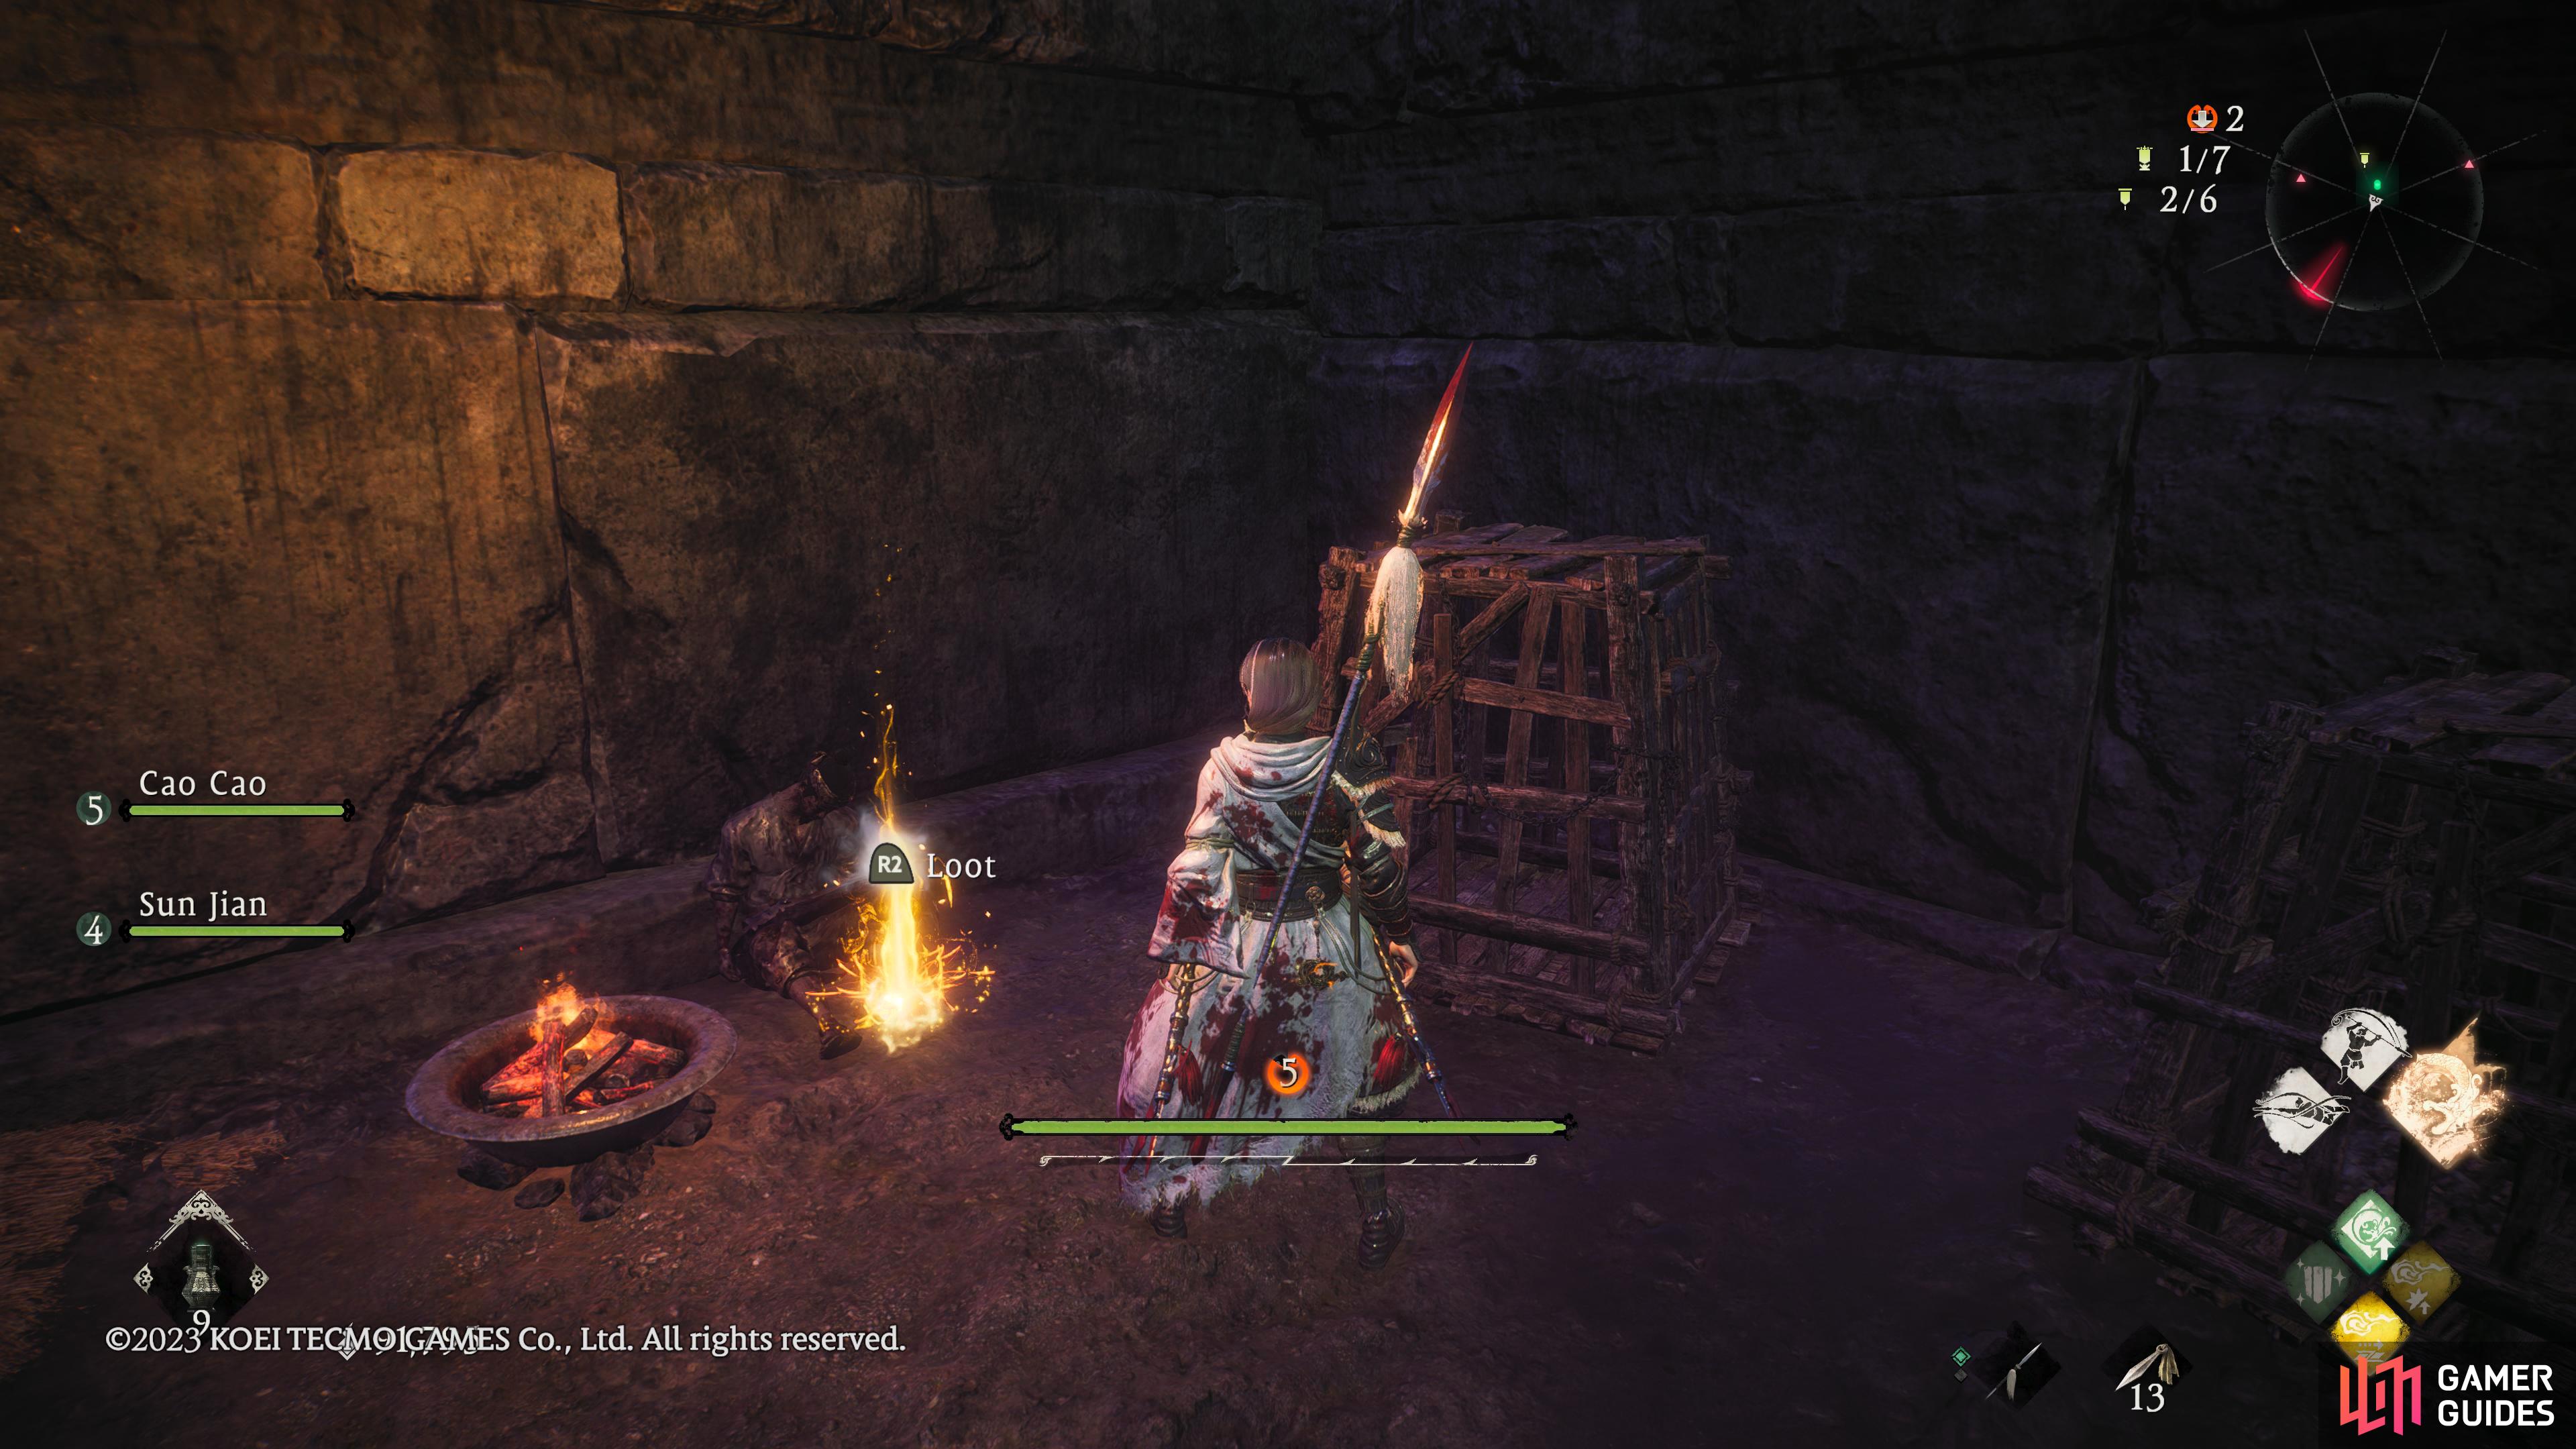
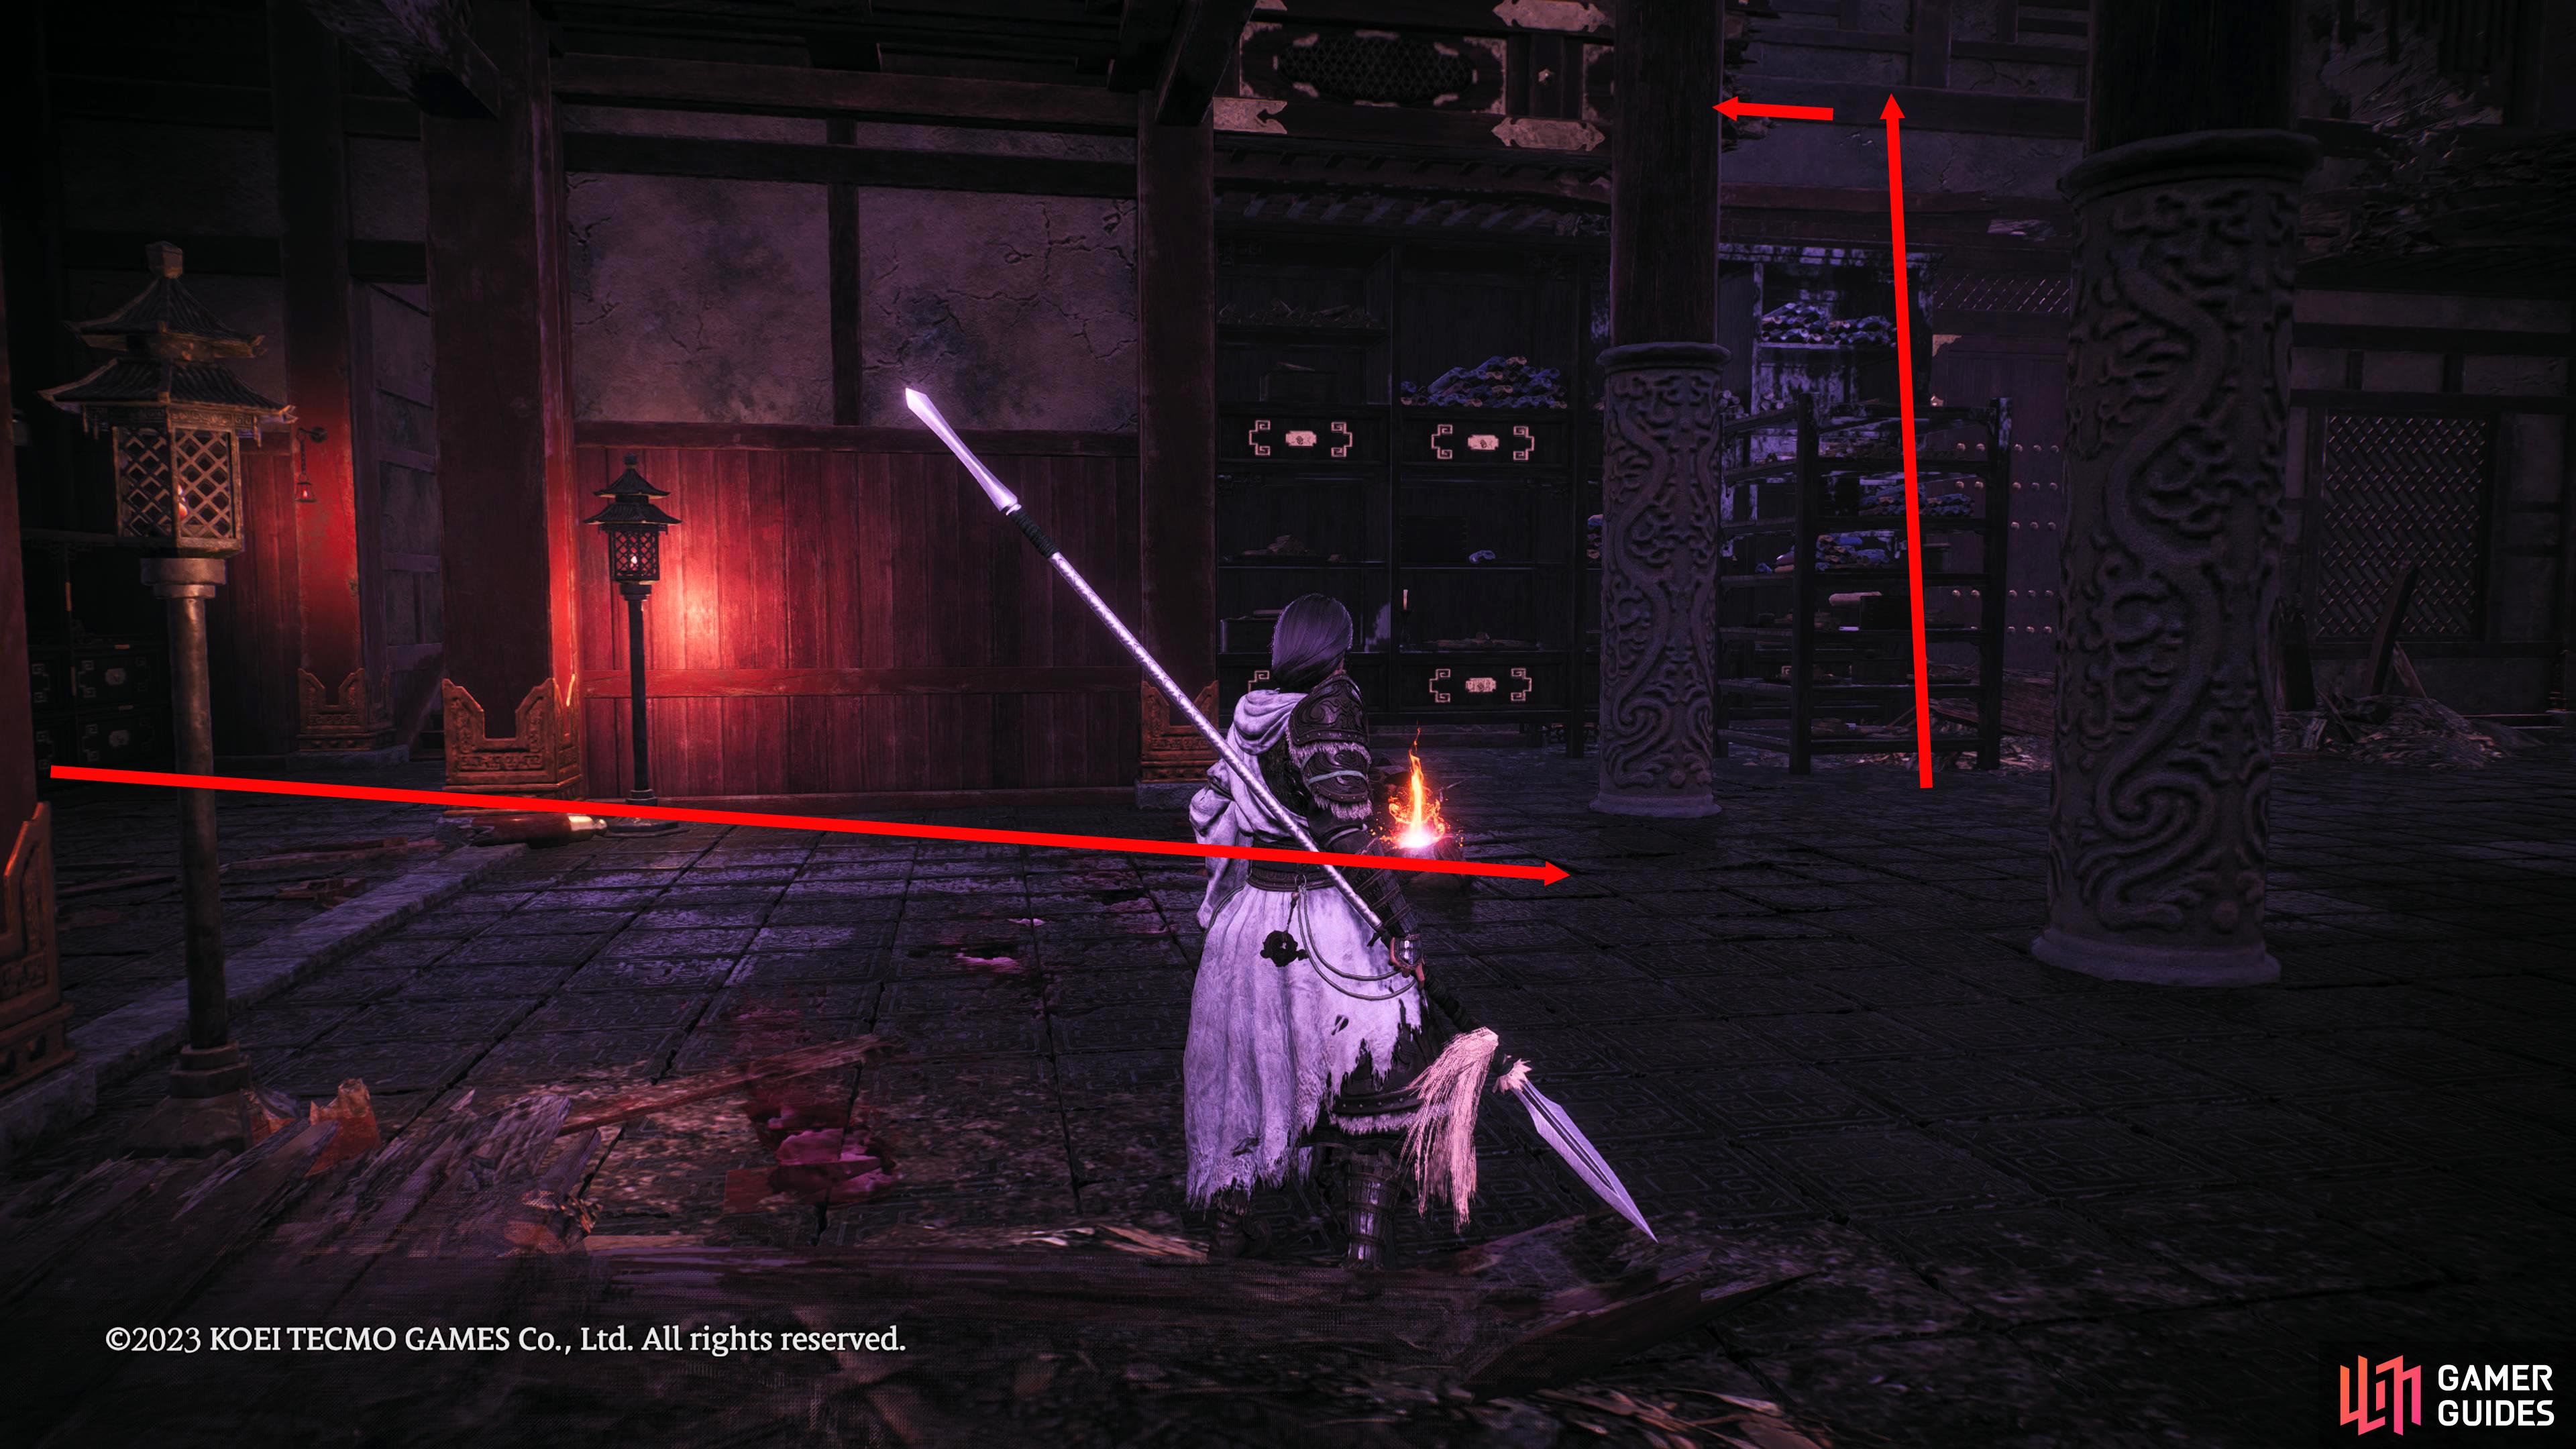
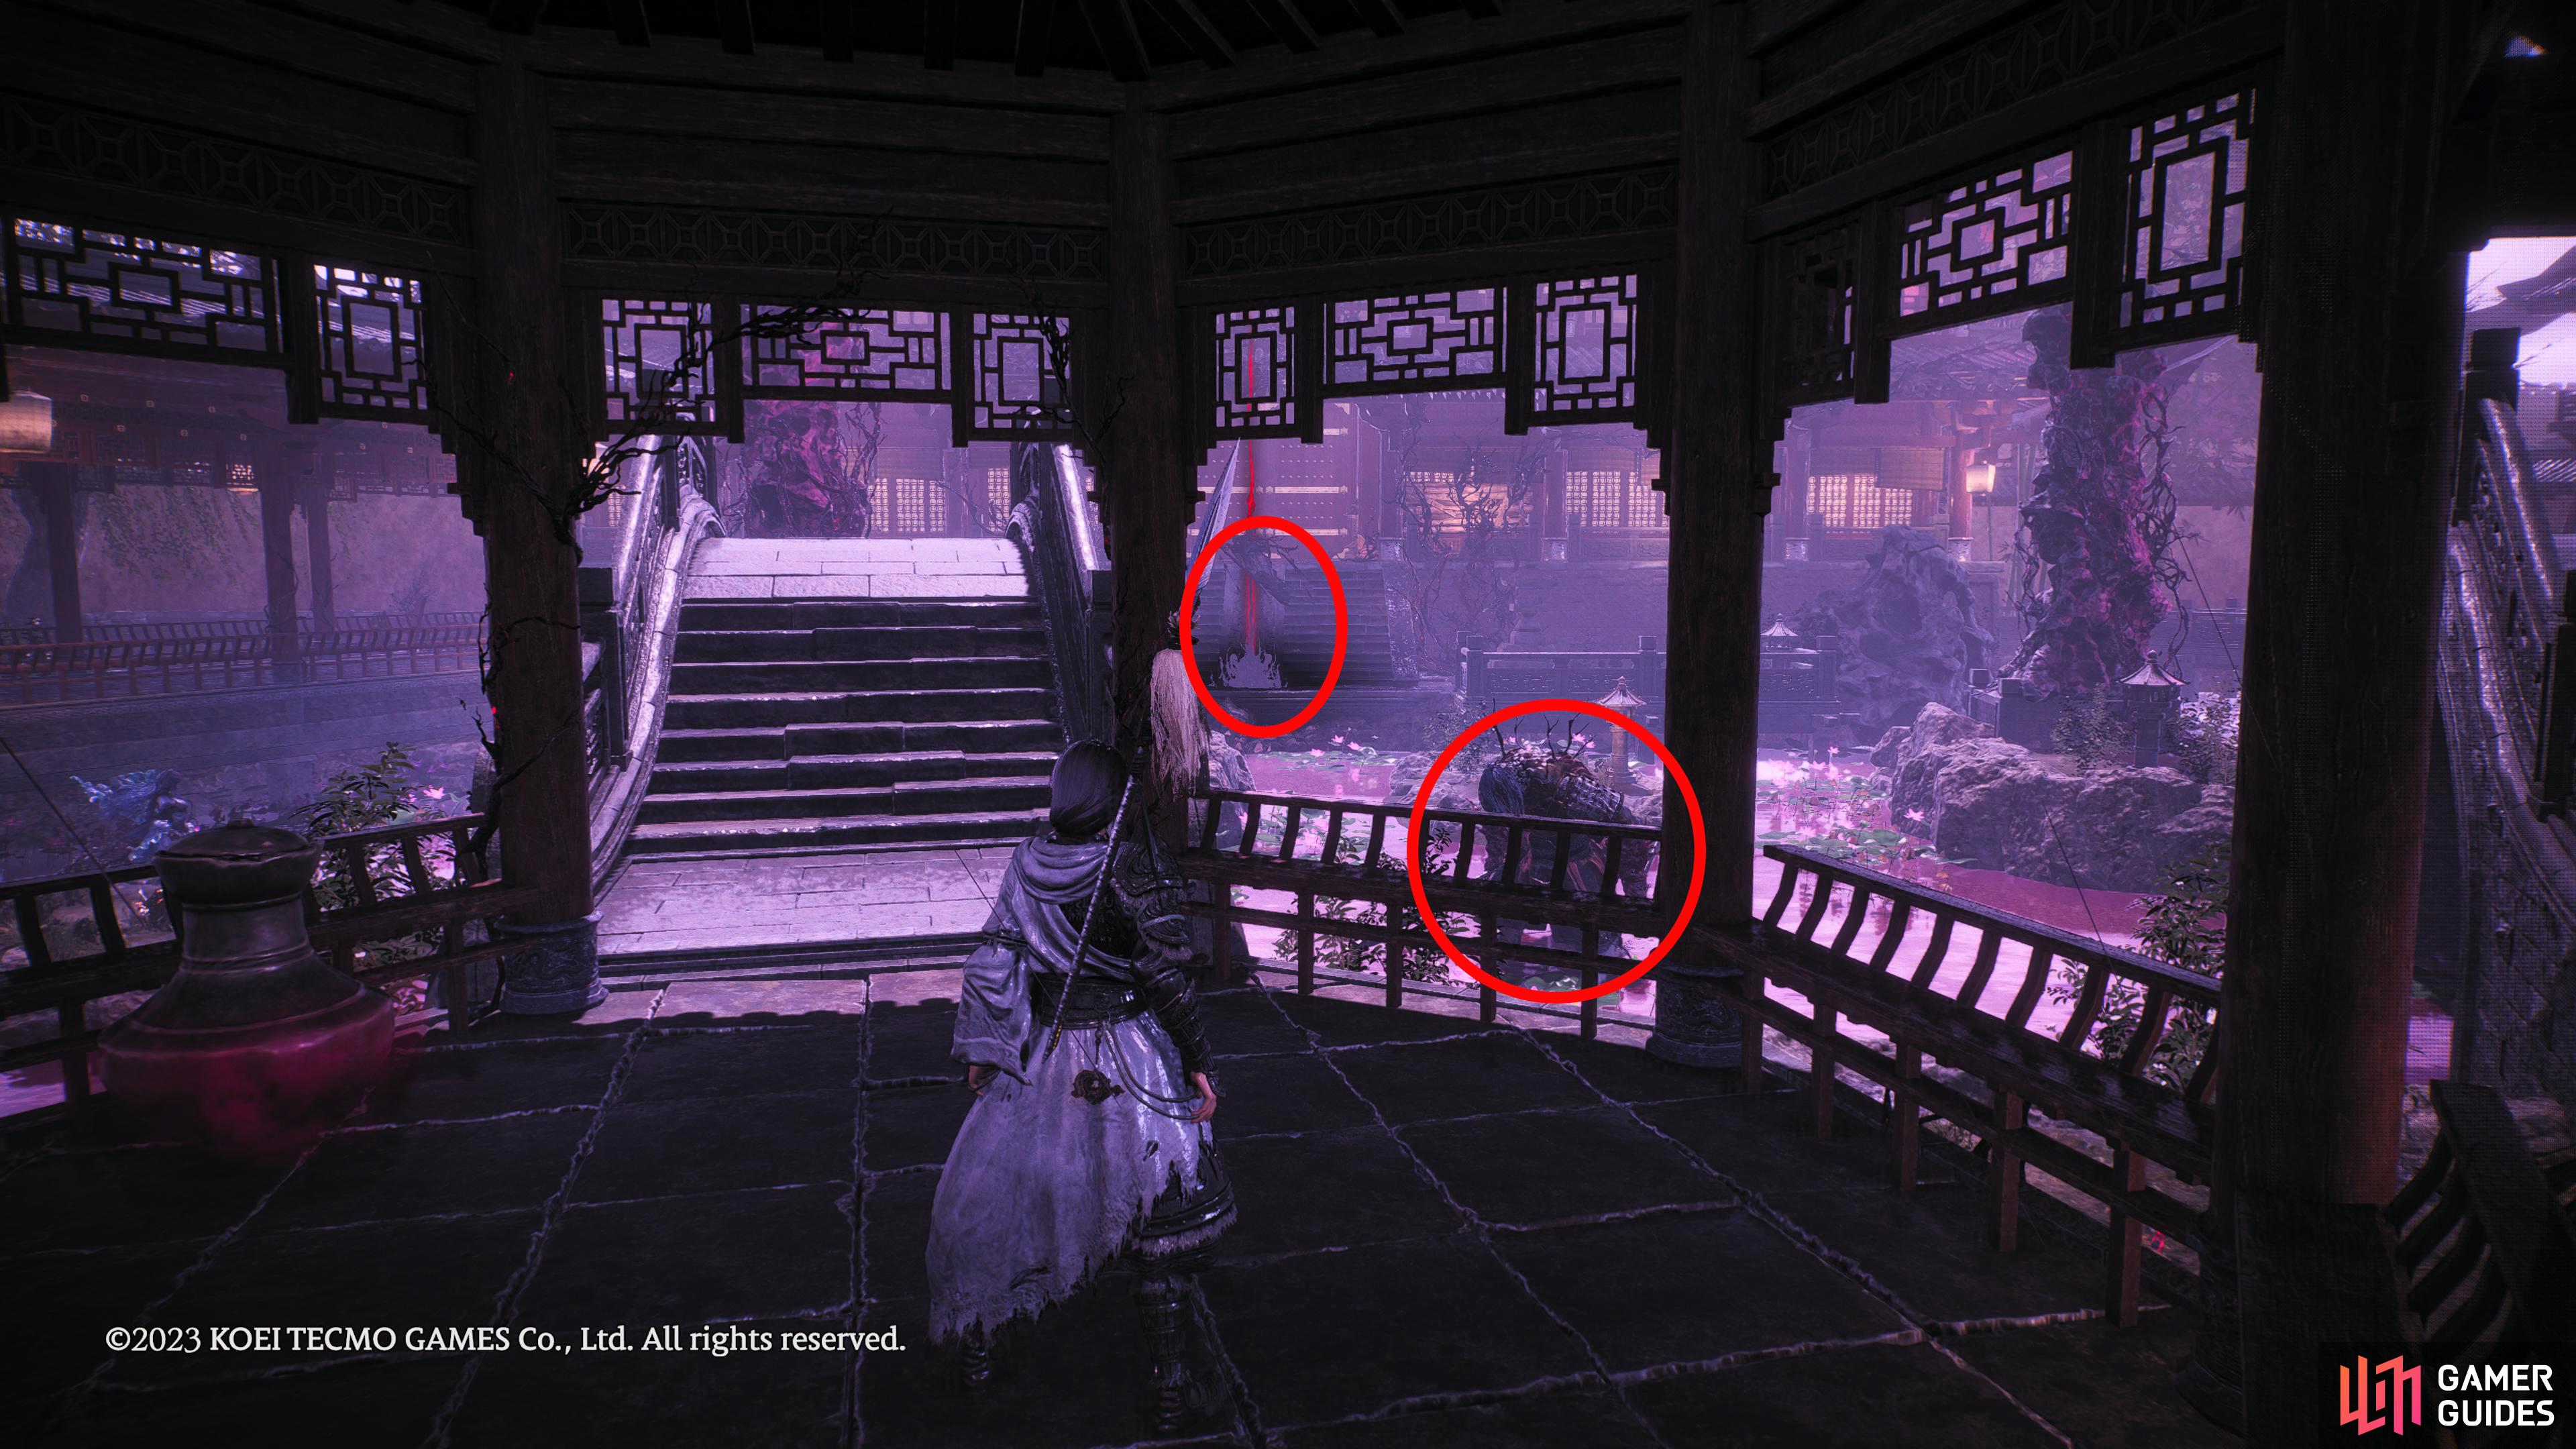
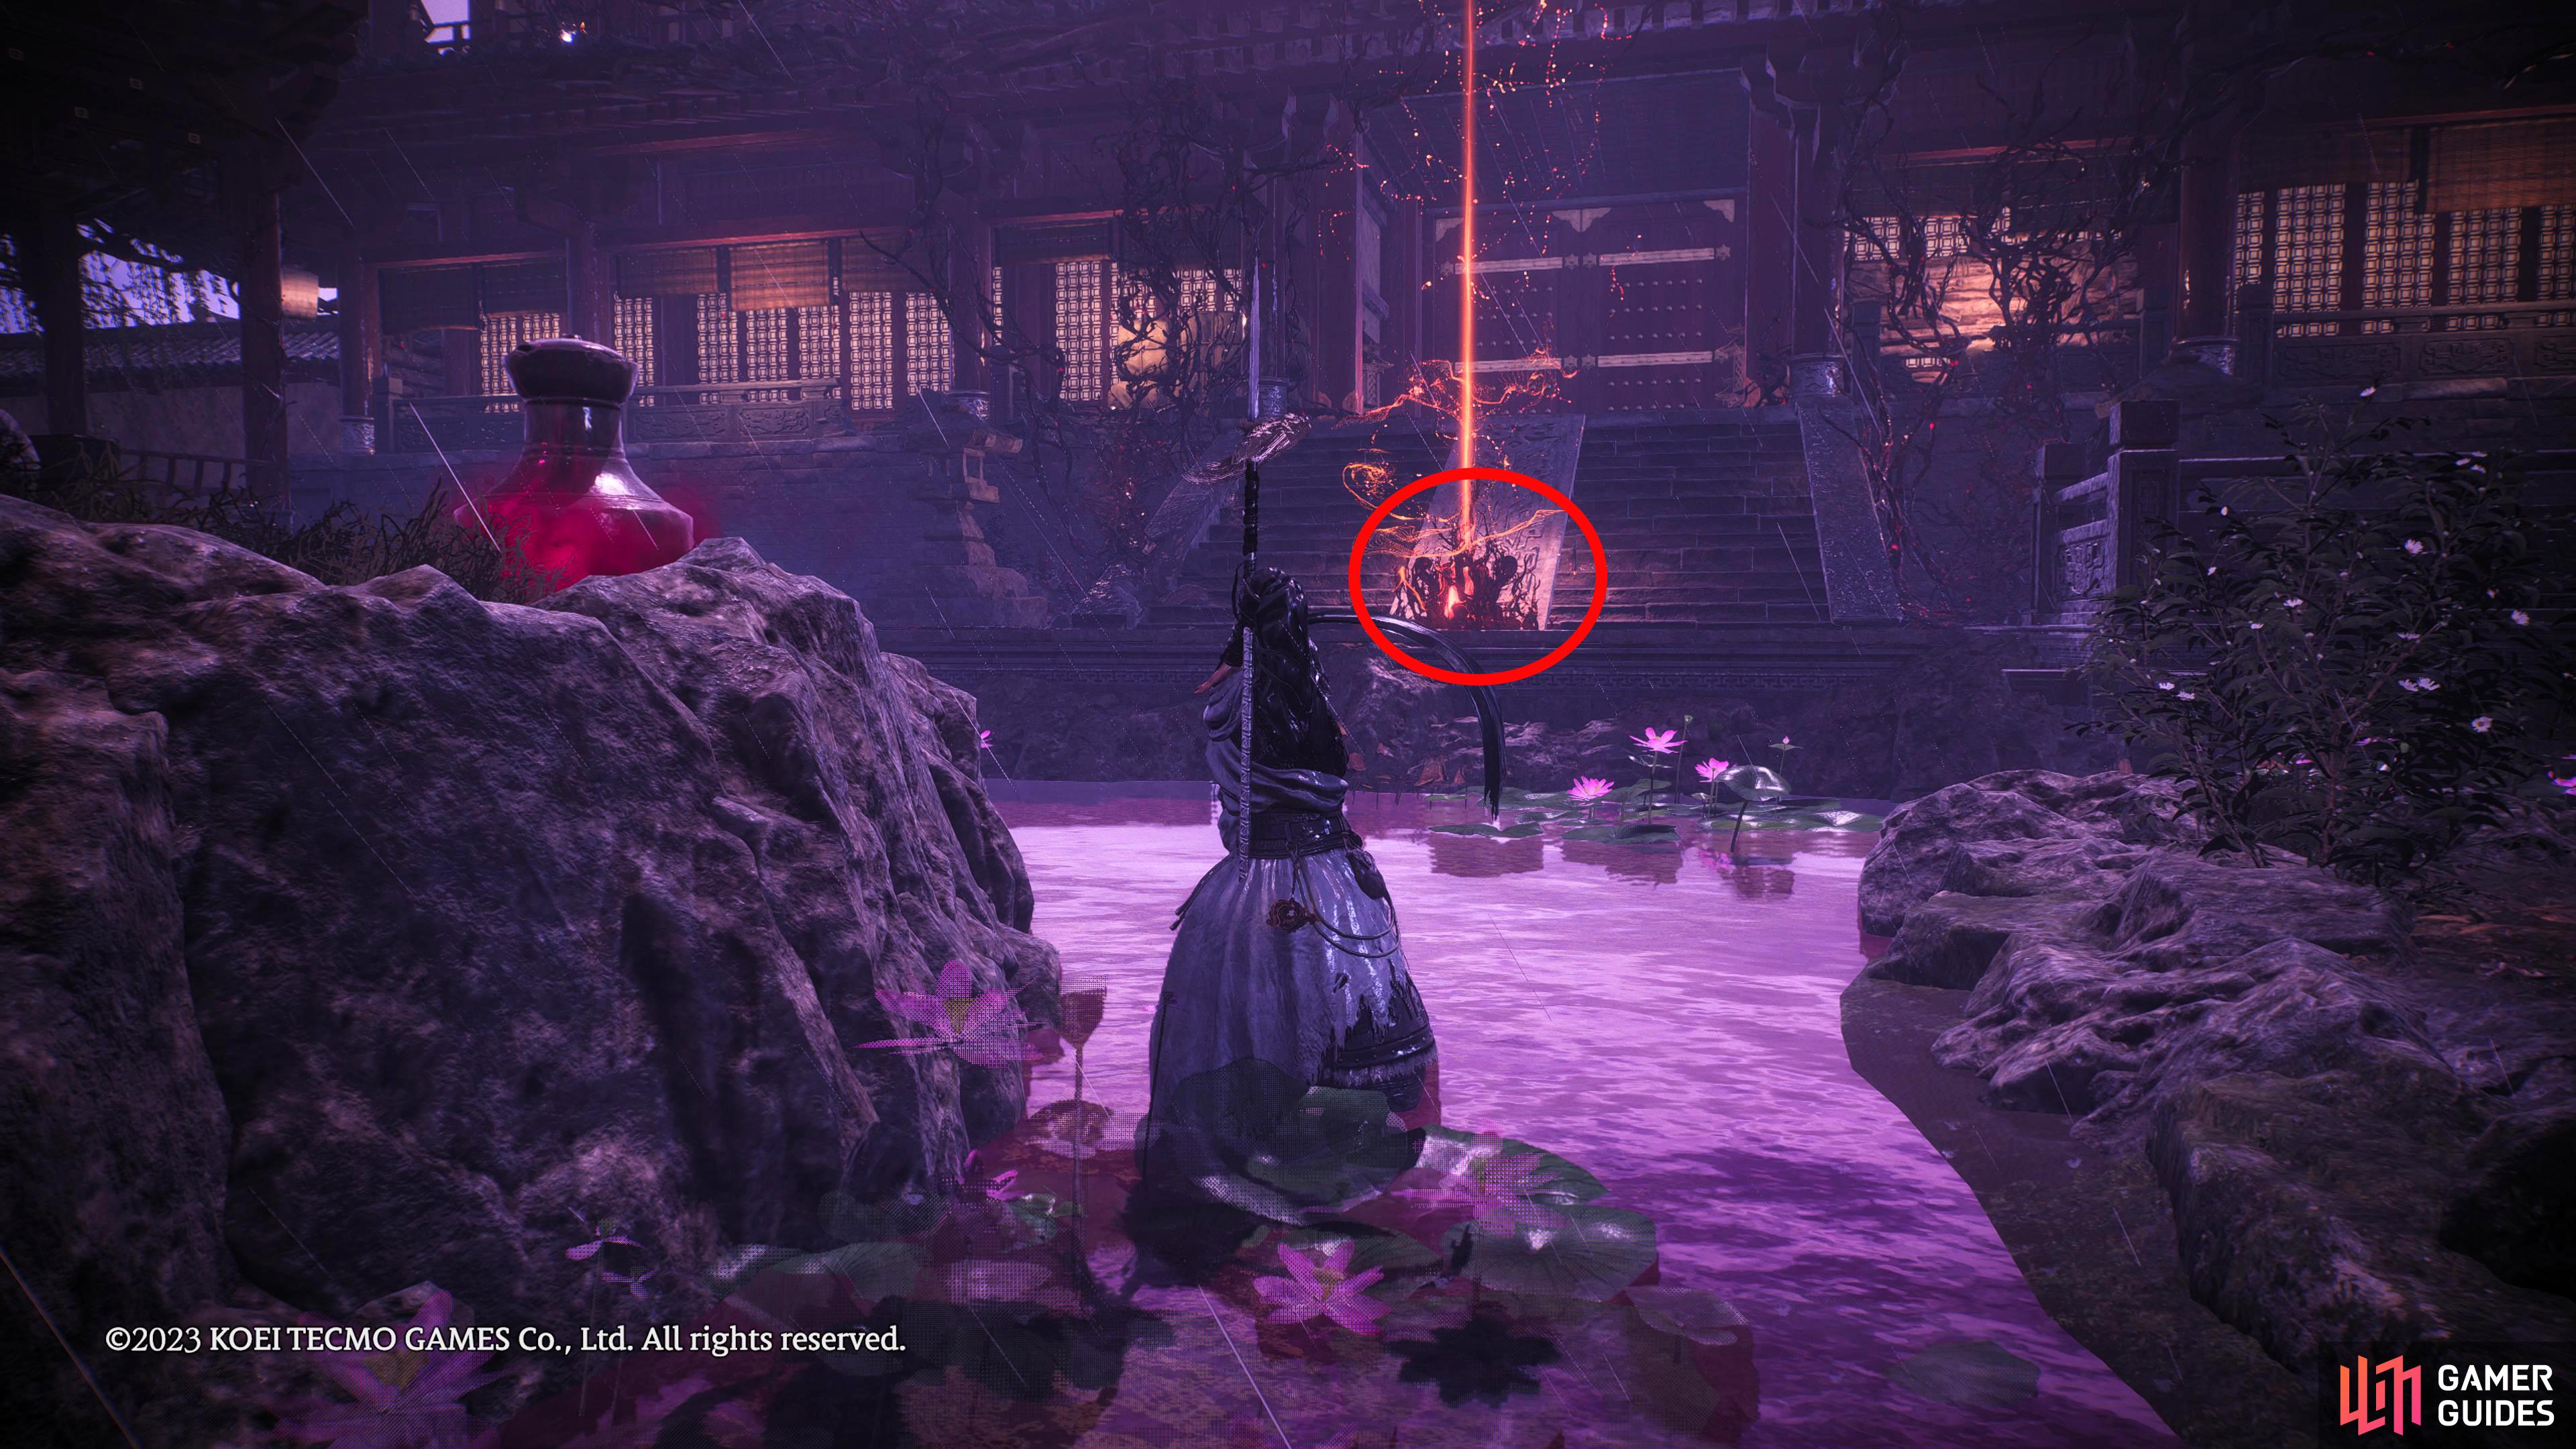
Drop to the area at the bottom with the purple water. This water will increase the amount of Spirit damage you take by a considerable amount, so try not to fight enemies in it if you can. Make your way across the water to the south side of the room (opposite side of the Marking Flag), and follow it west until you reach the second open cell. There will be a corpse that has an item you’ll need for this area, the cell key. When you pick it up, you’ll get ambushed by four enemies. They’re only the basic type, and shouldn’t cause you too many problems.
Once they’ve been dealt with, head to the opposite side of the room, and continue west where you’ll see another Marking Flag. To get this, you’ll need to go through the room to the right of it, and unlock the door at the end. The flag will be to the right inside the room.
The Cell Key can be found in an open cell on the south side of the lower level in the area.
To the right of the Battle Flag, and ladder is a room you can go through. Follow it around and unlock the door with the cell key. The Marking Flag will be to the right of the flag.
Battle Flag 2 Location
Come back the way you came, and you should see a corrupted Battle Flag to the left of the room where you just got the Marking Flag. Unfortunately, the leader is one of those tougher mermaid creatures. Shoot it with a ranged attack to bring it over to you, and fight it on the small piece of land you have there to avoid the purple water, and any other potential enemies. Once you’ve defeated it, drop off the platform to get the Battle Flag.
Found at the back of the lower level. Fight the Leader in the location where the character is standing.
Battle Flag 3 Location
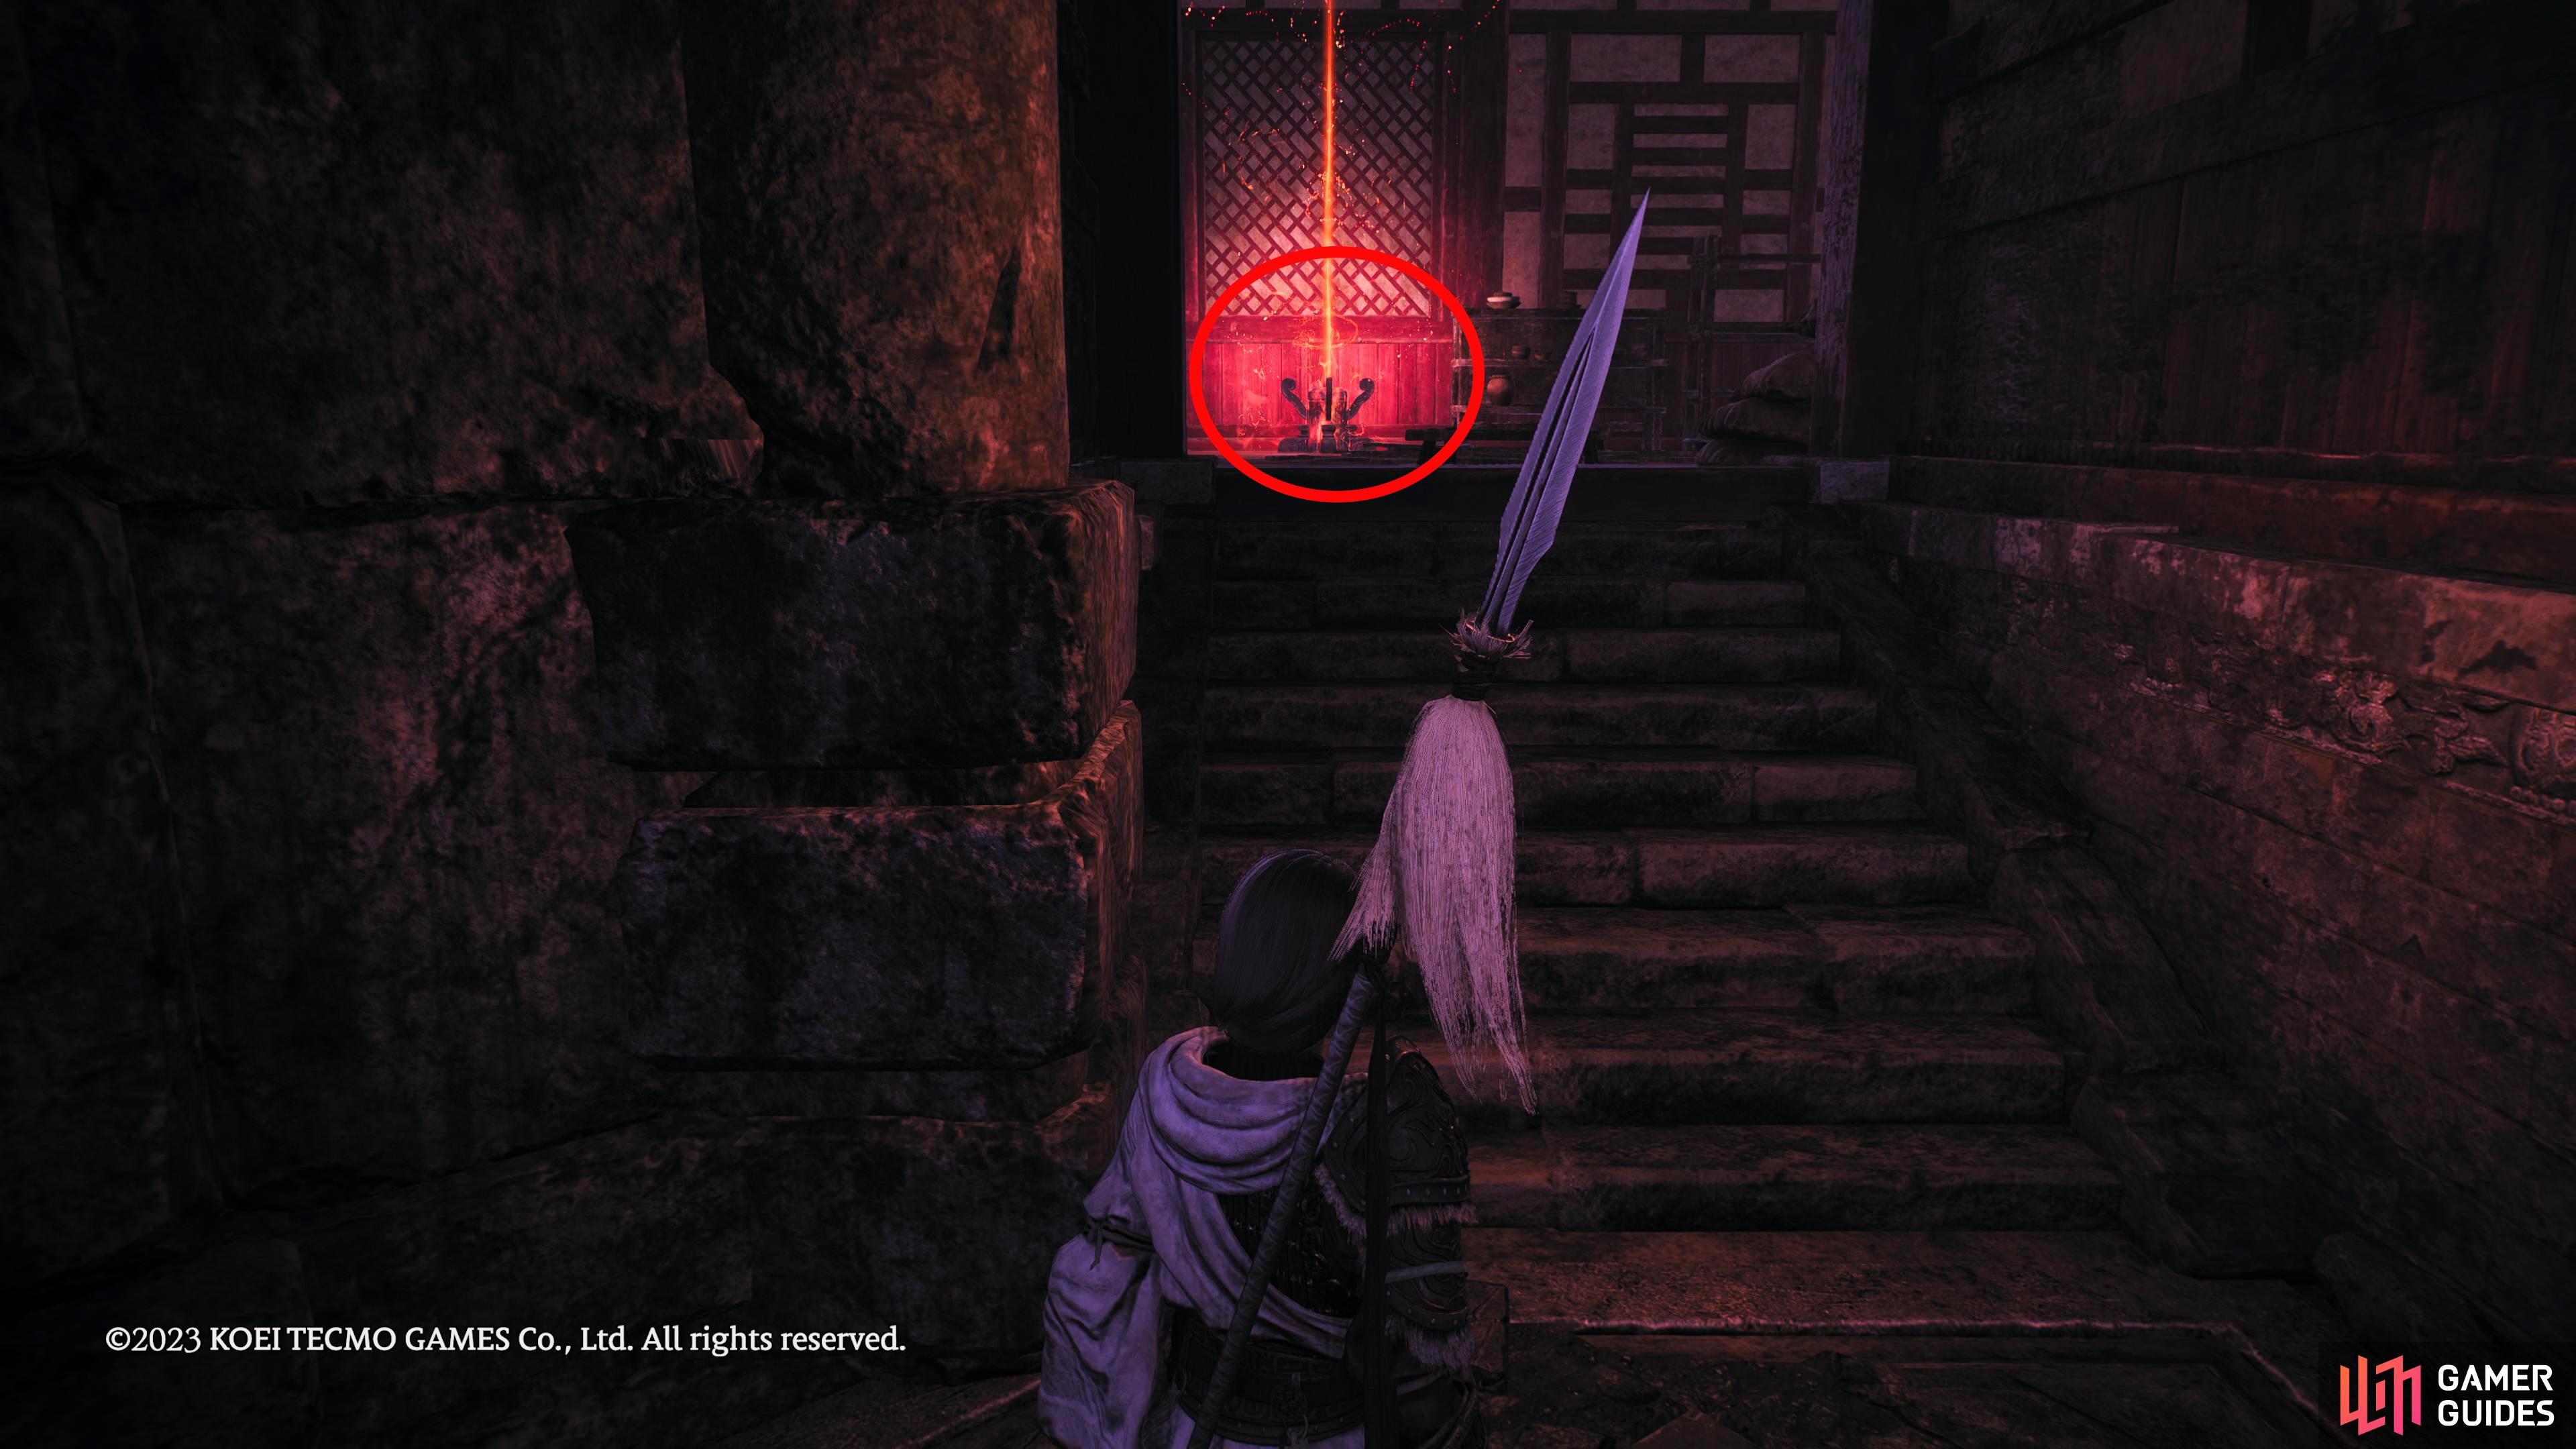
This flag can be obtained instantly. Go back to the area where you got the previous marking flag (to the right of the flag), and there will be a long ladder leading back up. Climb it to the top where you’ll find the Battle Flag locked behind a door. Now that you have the key, you can open it, and get the third Battle Flag.
To the right of Battle Flag 2, climb the long ladder to the right of it.
Then unlock the door directly opposite the ladder when you reach the top.
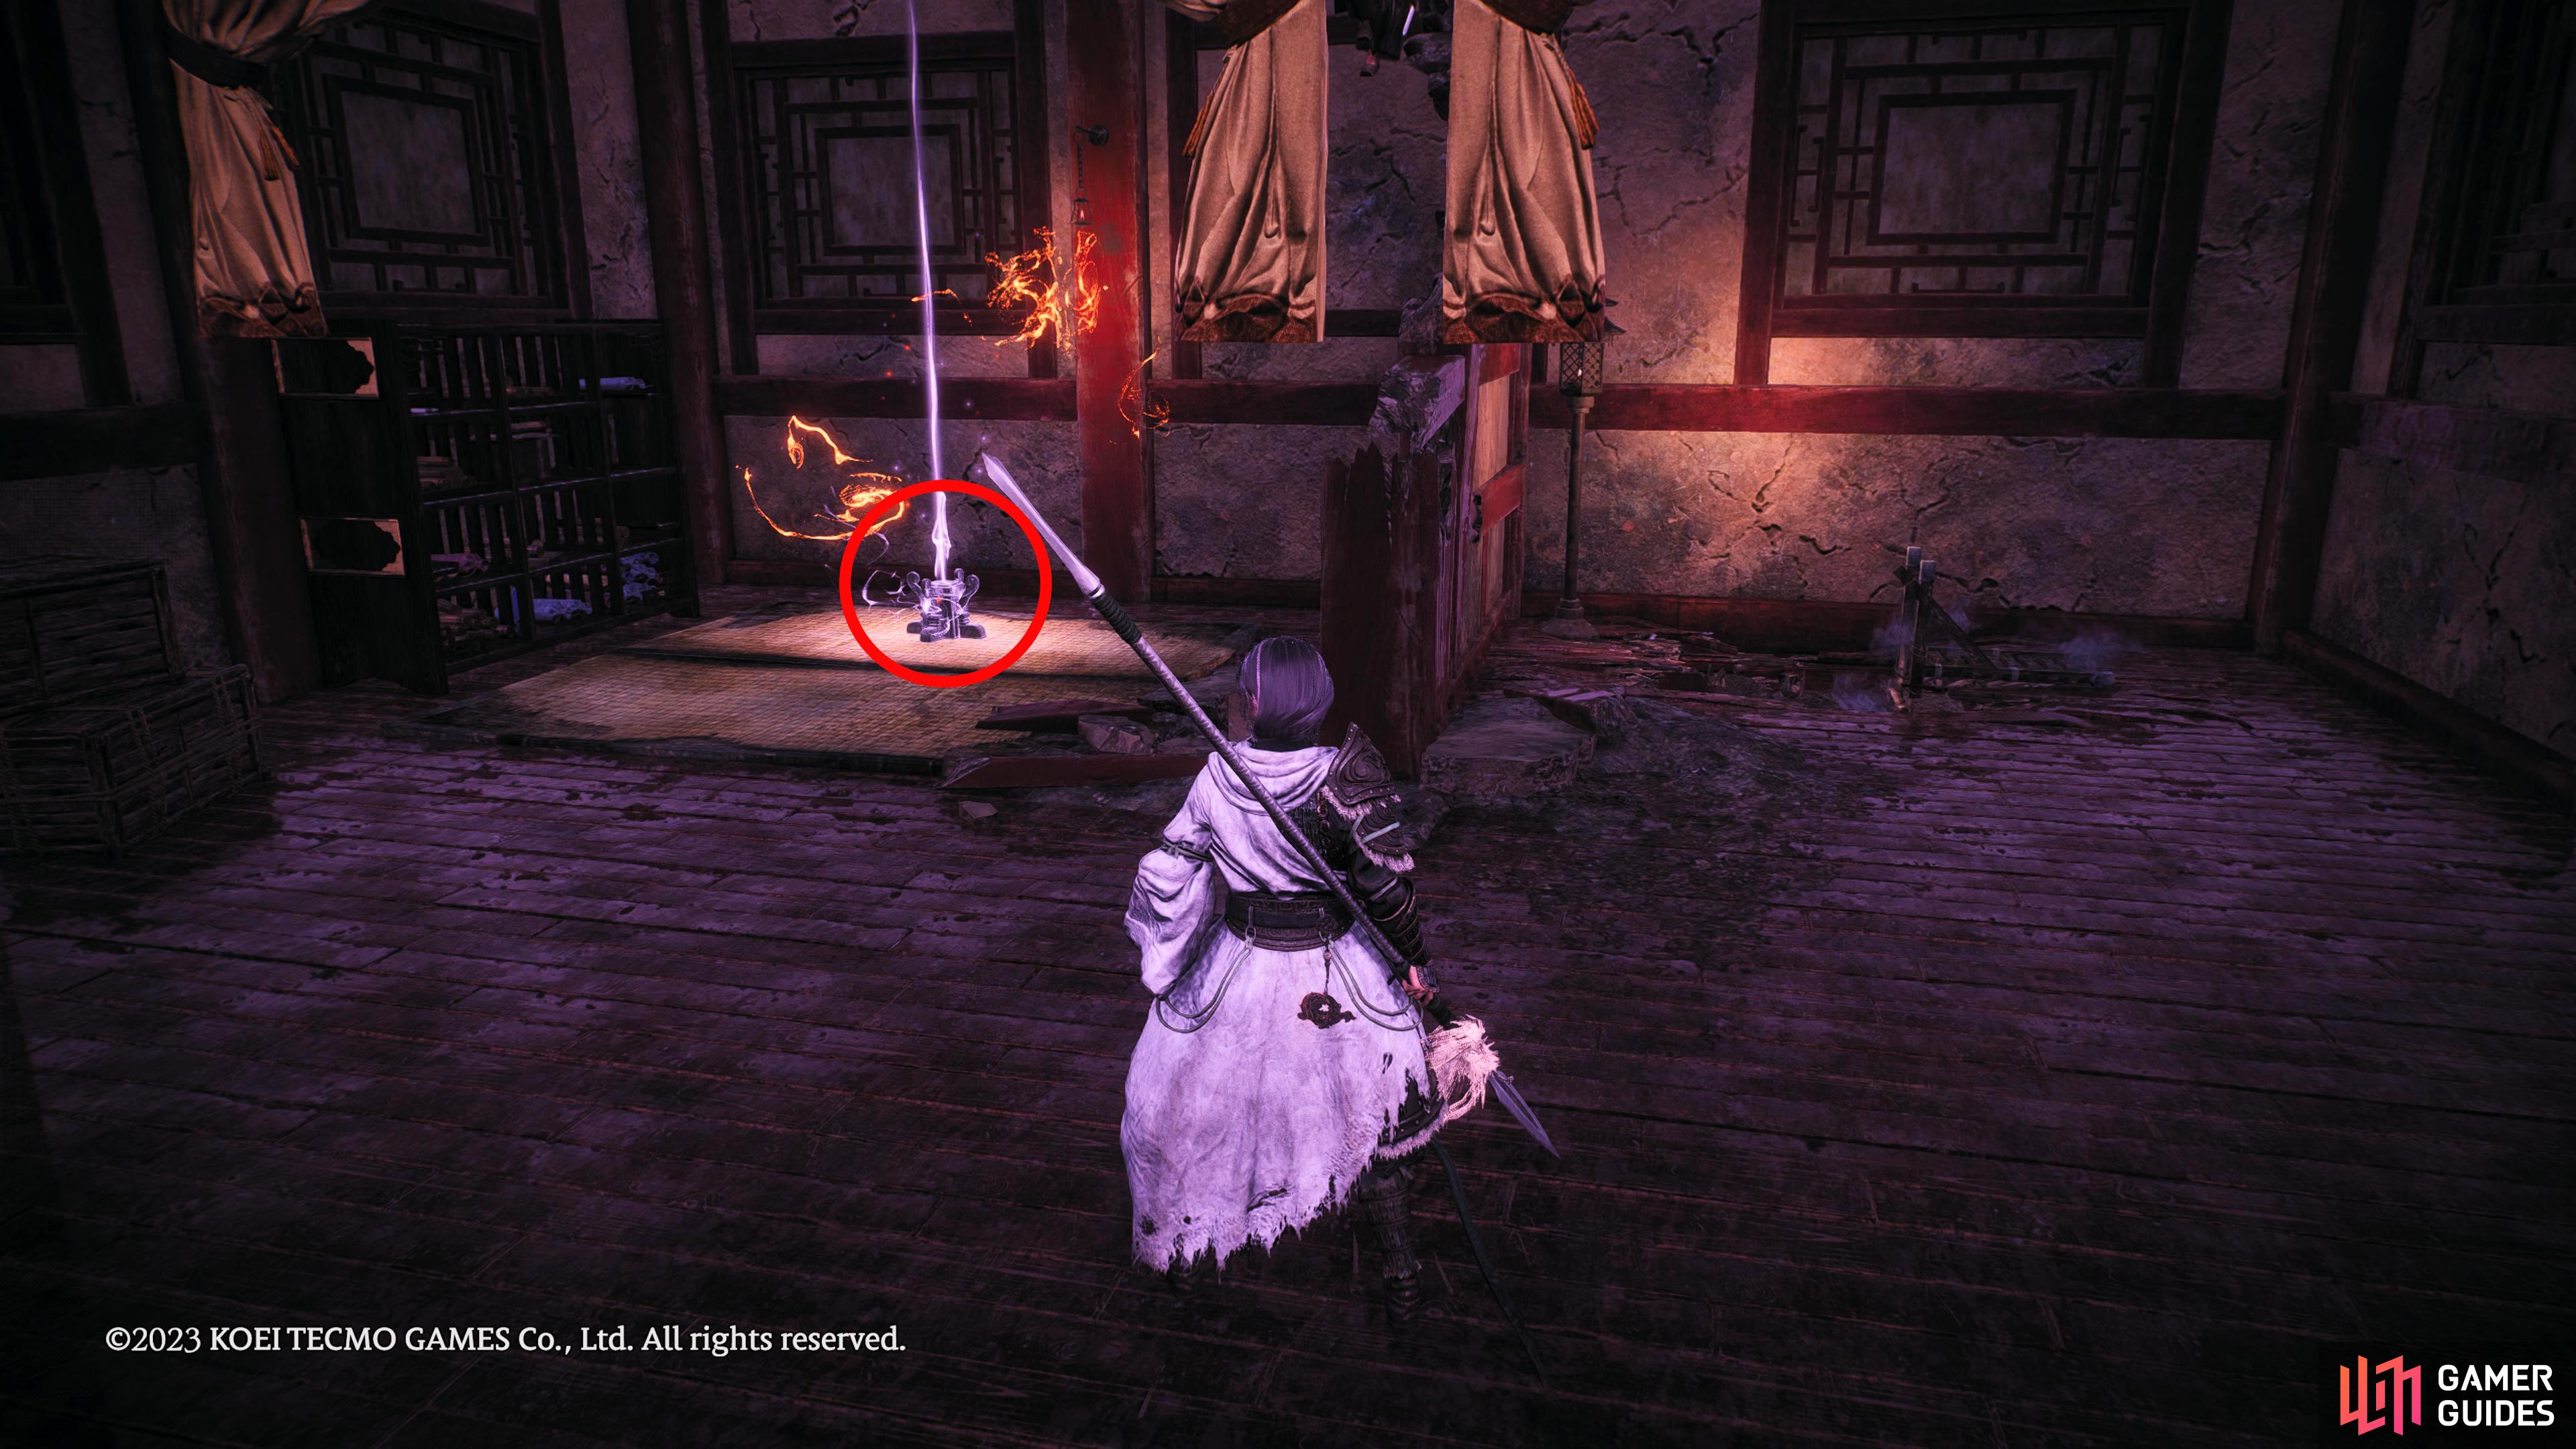
Battle Flag 4 Location
After you’ve defeated the first boss, follow the linear path up the stairs where you’ll find the much-needed fourth Battle Flag in the room at the top.
Follow the linear path up the stairs after defeating the first boss.
Battle Flag 5 Location
From the previous Battle Flag, open the doors which will lead outside then follow the linear path until you reach the next building. Be careful as you will be ambushed by two enemies as you reach the stairs leading to the door.
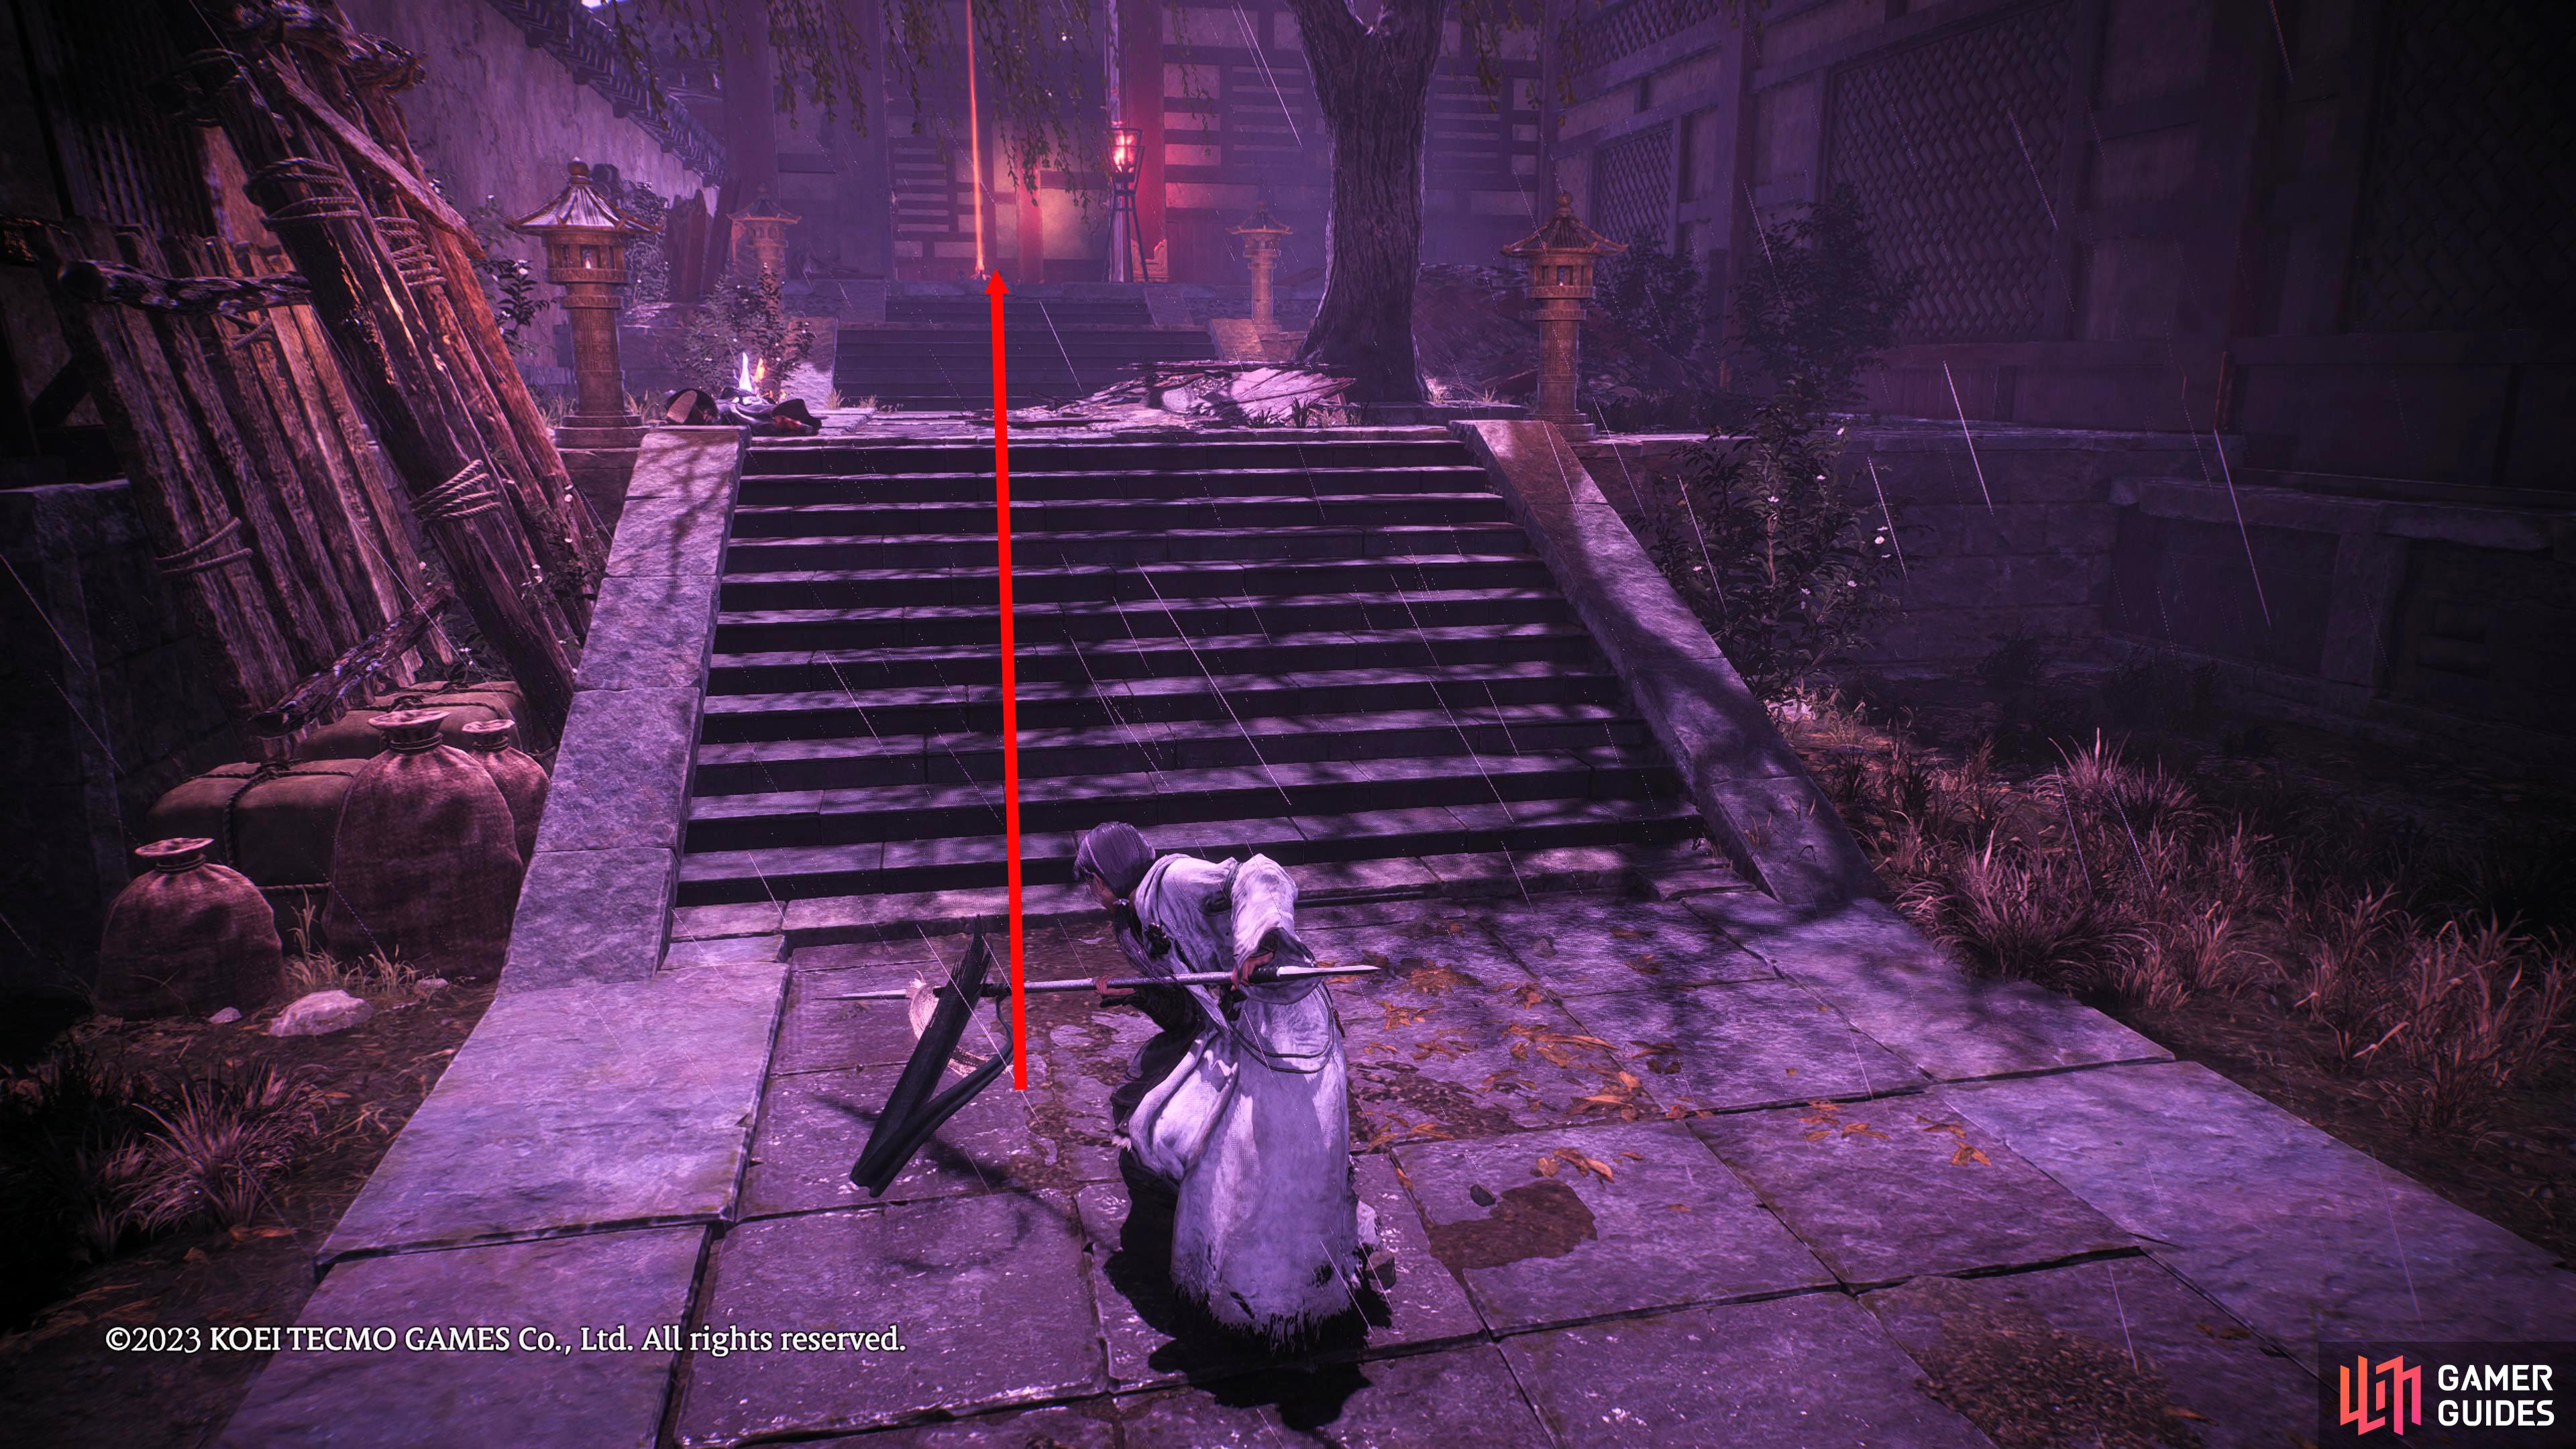
Follow the linear path until you reach these stairs. Two assassins will drop to ambush you.
When they’re defeated, open the door to reveal the next Battle Flag.
Marking Flag 4 Location
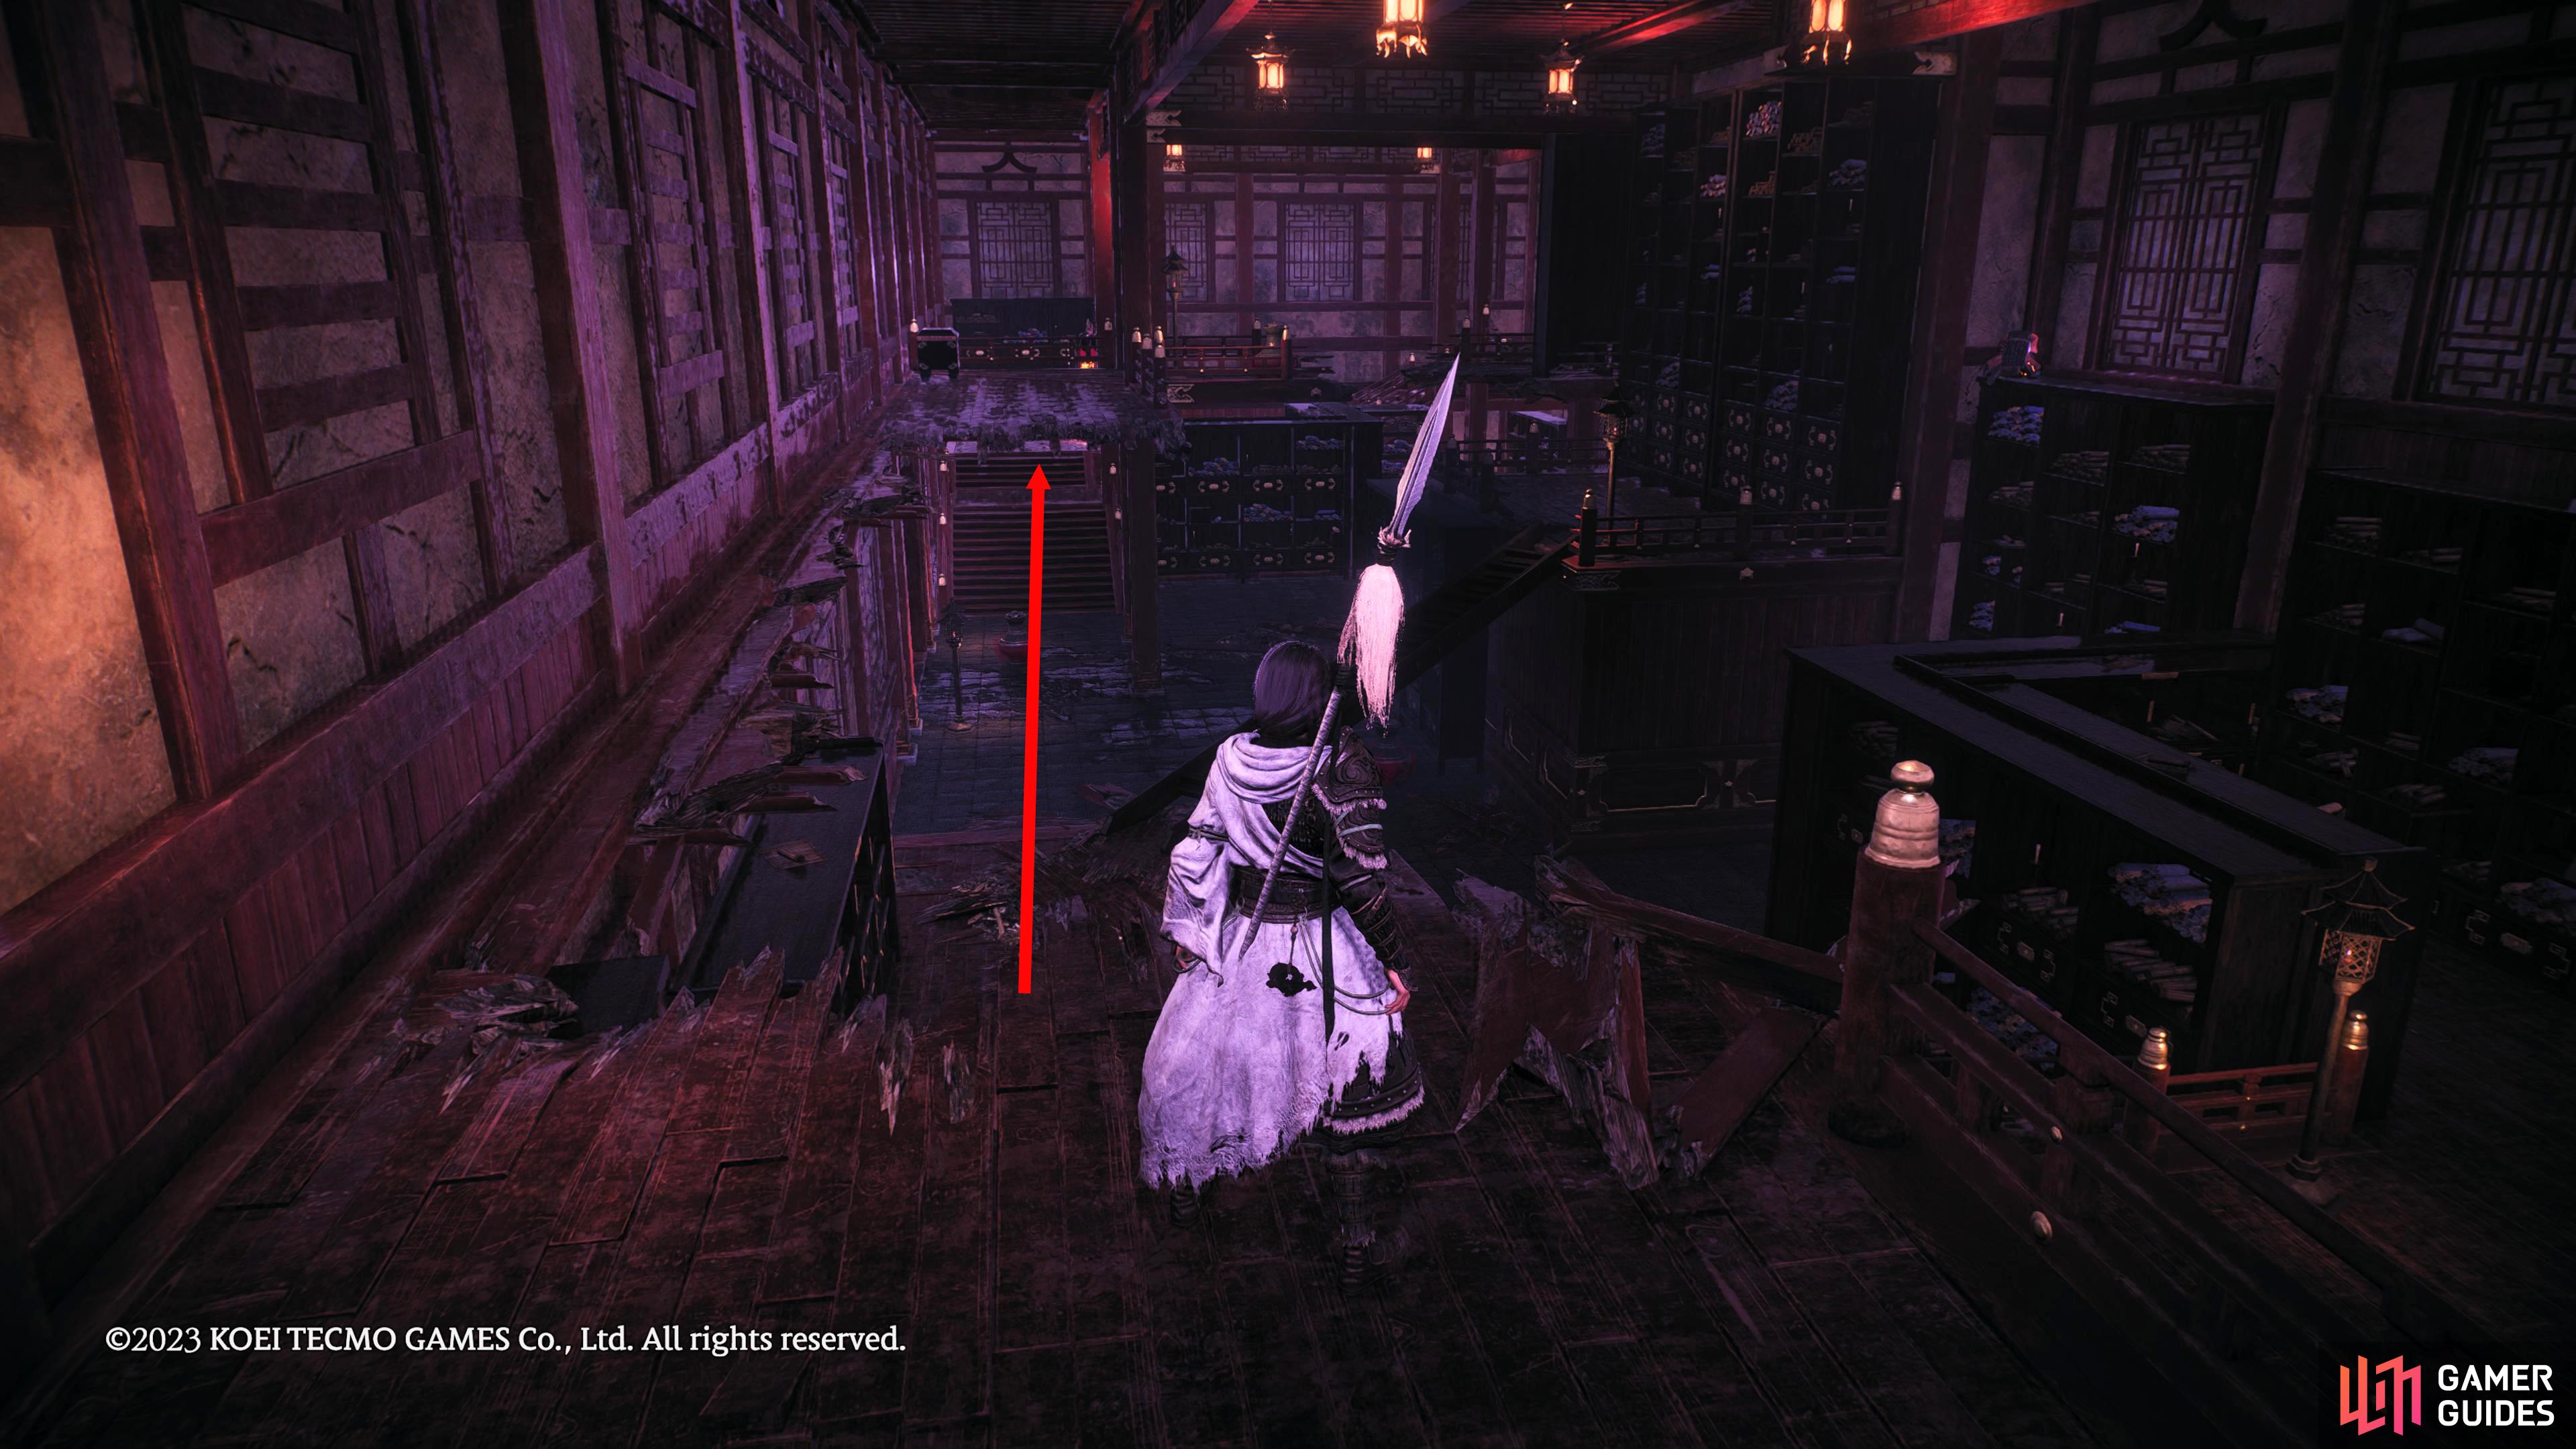
This next area is filled to the brim with enemies, so move around cautiously. From the Battle Flag head into the large room, and make your way toward the stairs in the center. Before going up, turn to your left, and climb the shelves to the next floor where the Marking Flag will be on your left.
From the Battle Flag enter the large area. Make your way towards the stairs, and turn left to climb the shelves to the next floor.
When you reach the next floor, turn left to find the Marking Flag.
Marking Flag 5 Location
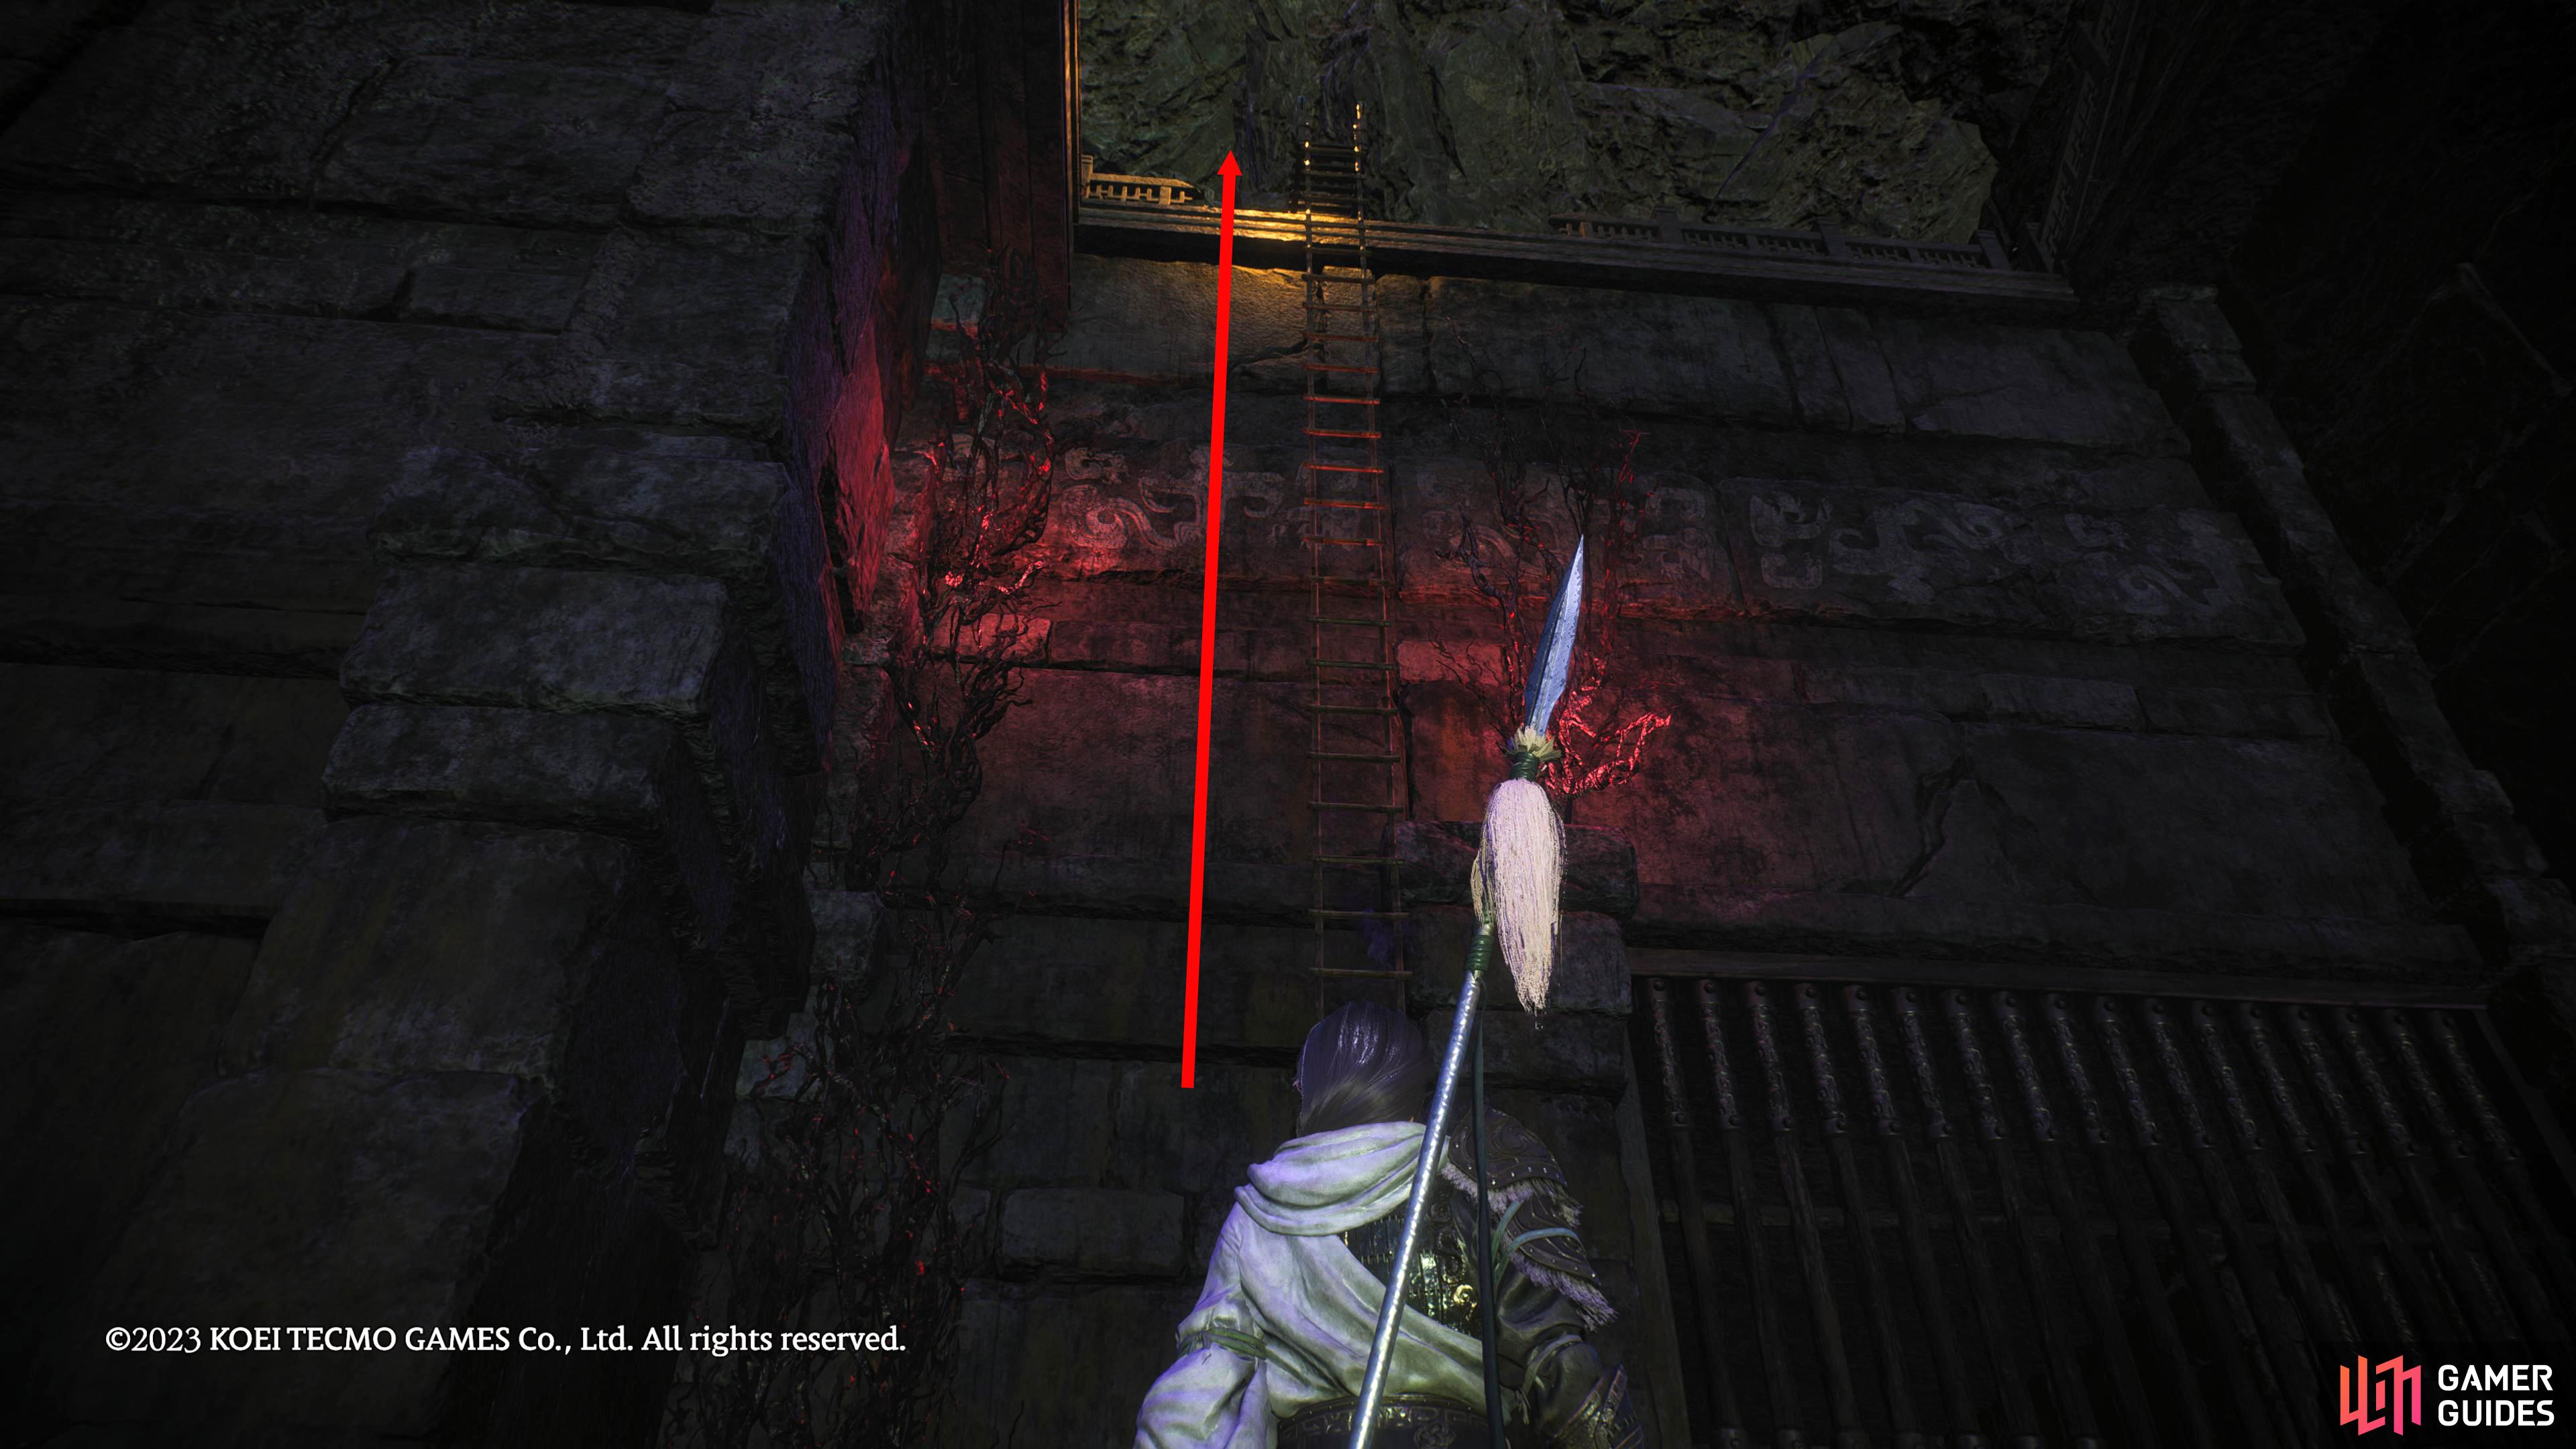
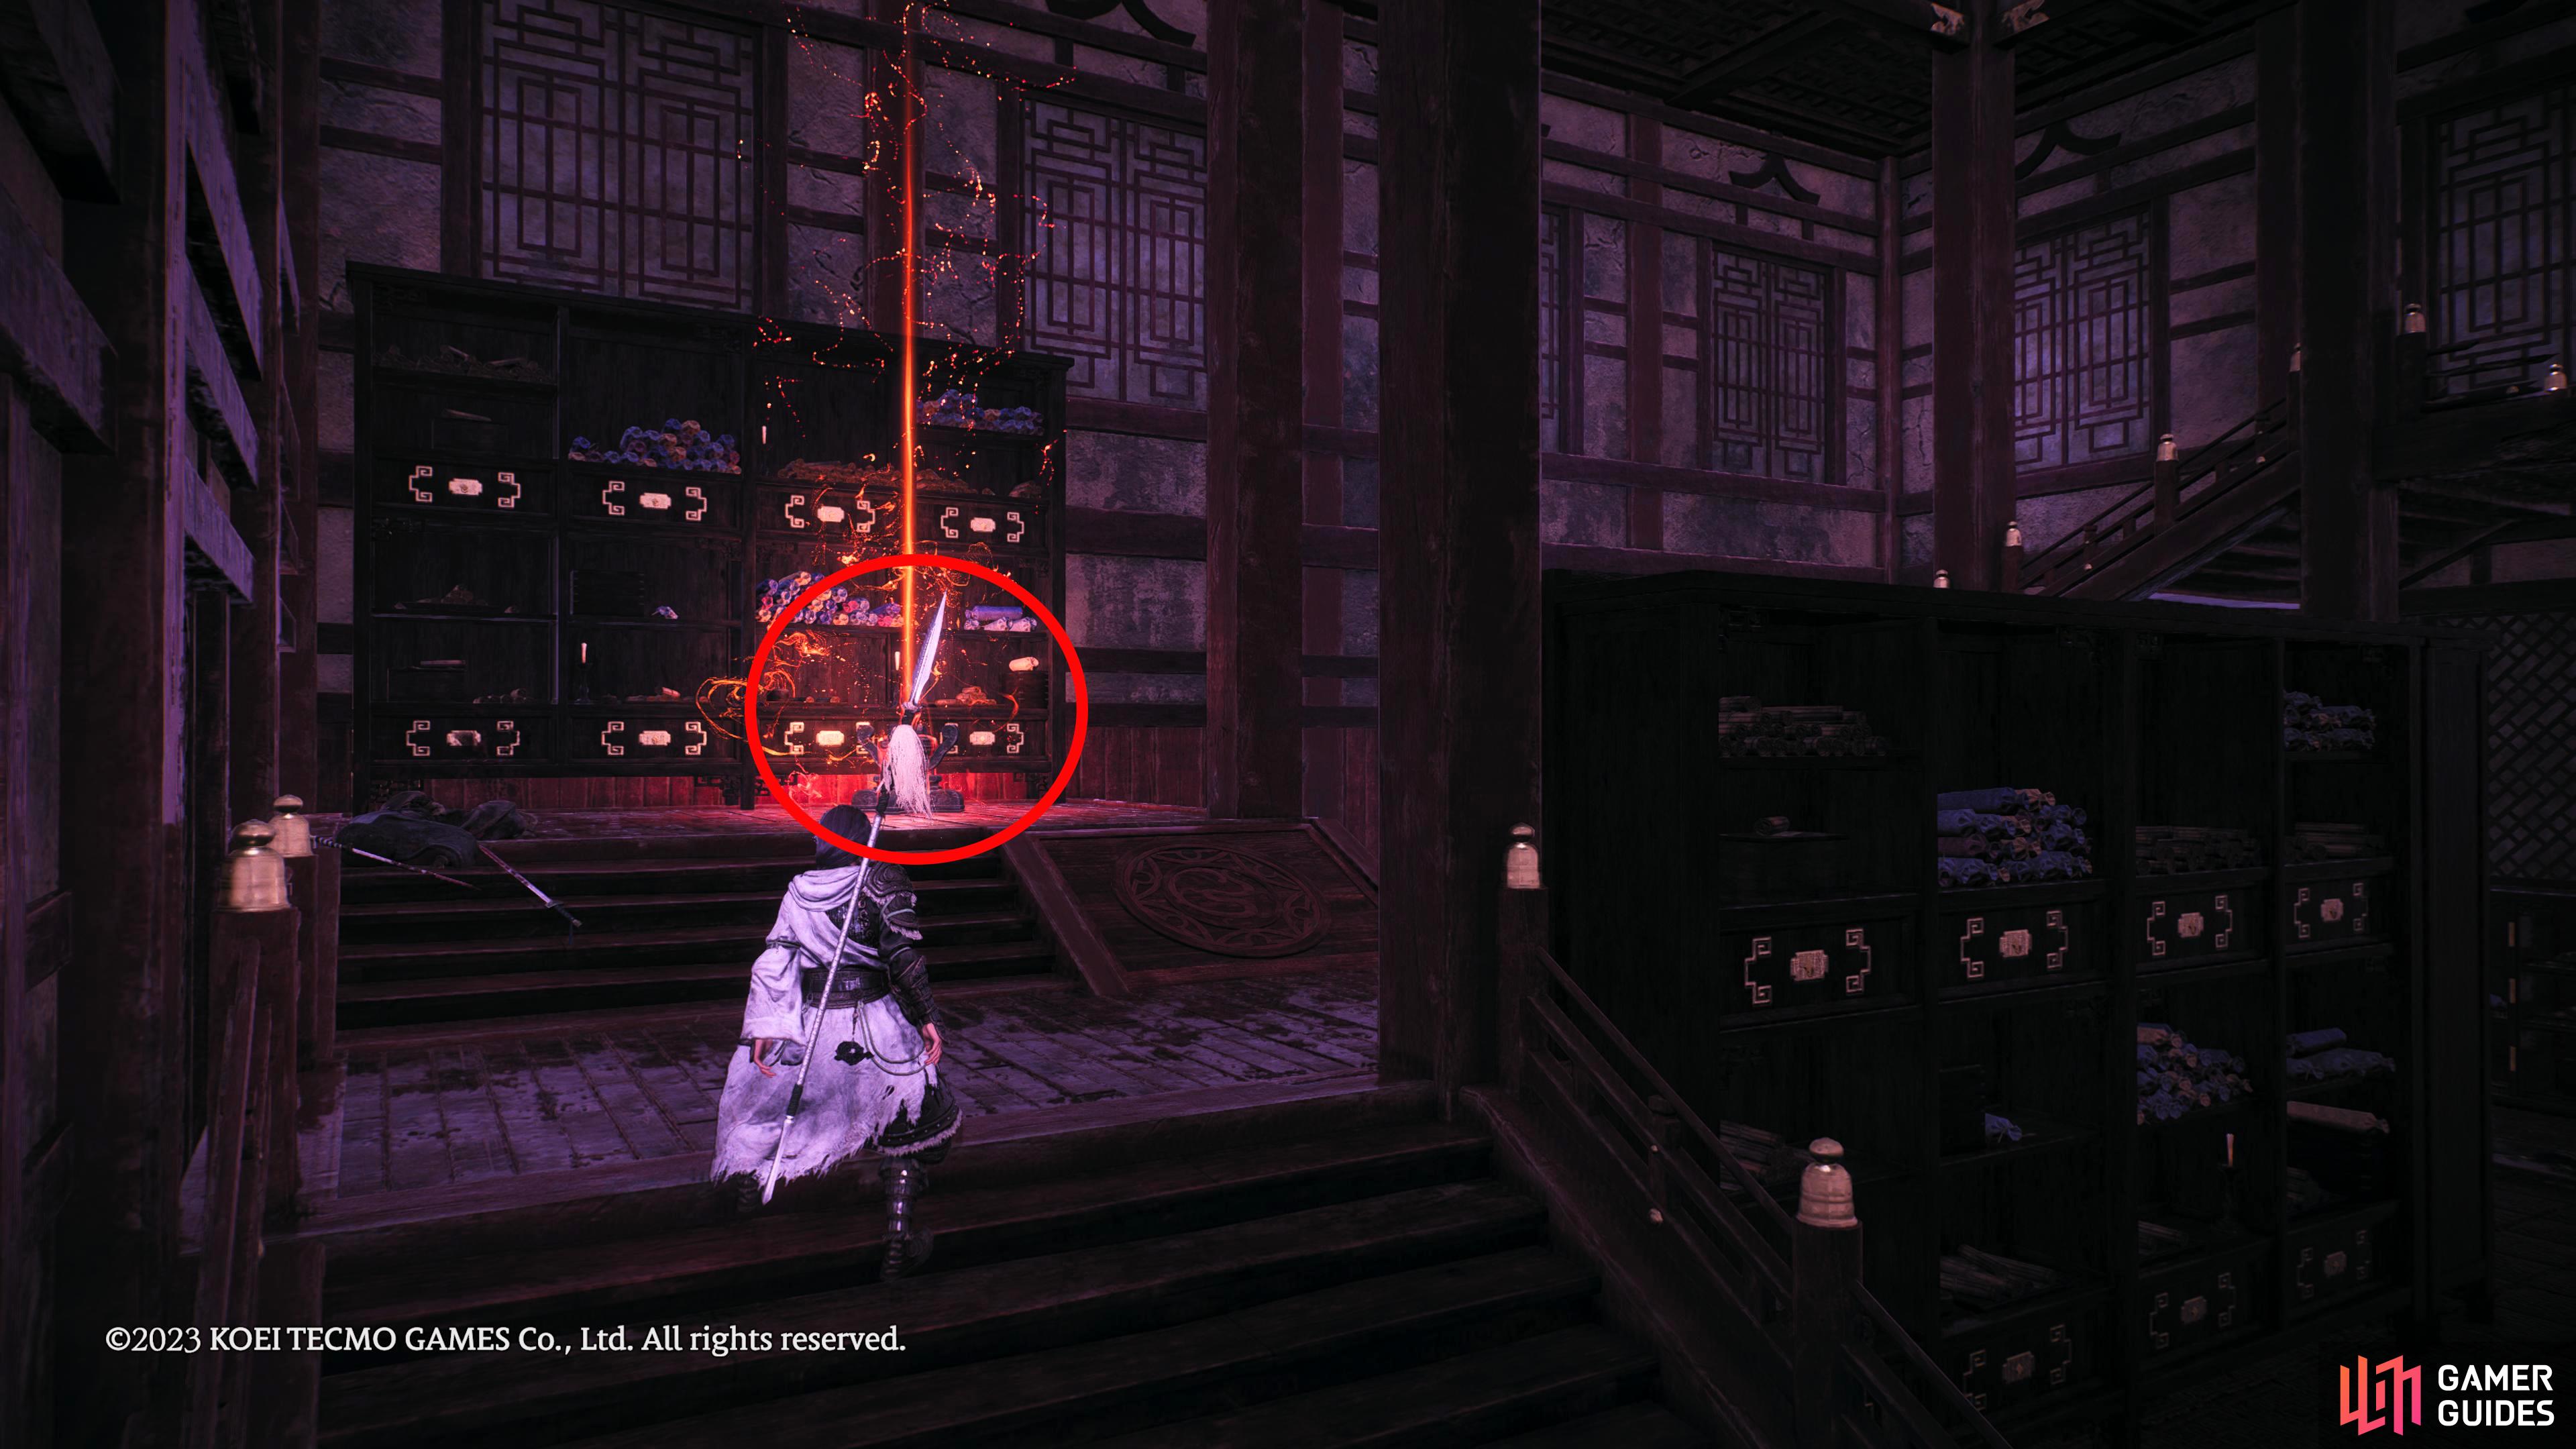
Opposite the Marking Flag is a hole in the wall that leads to a roof. Go through the hole, and follow the thin roof ledge around to the left until you reach another hole in a wall. Inside you’ll find a ladder leading up. Climb the ladder, and the next Marking Flag will be behind the wall to your right. As you approach the Flag, an Assassin will drop from above. You may also get invaded by an NPC up here.
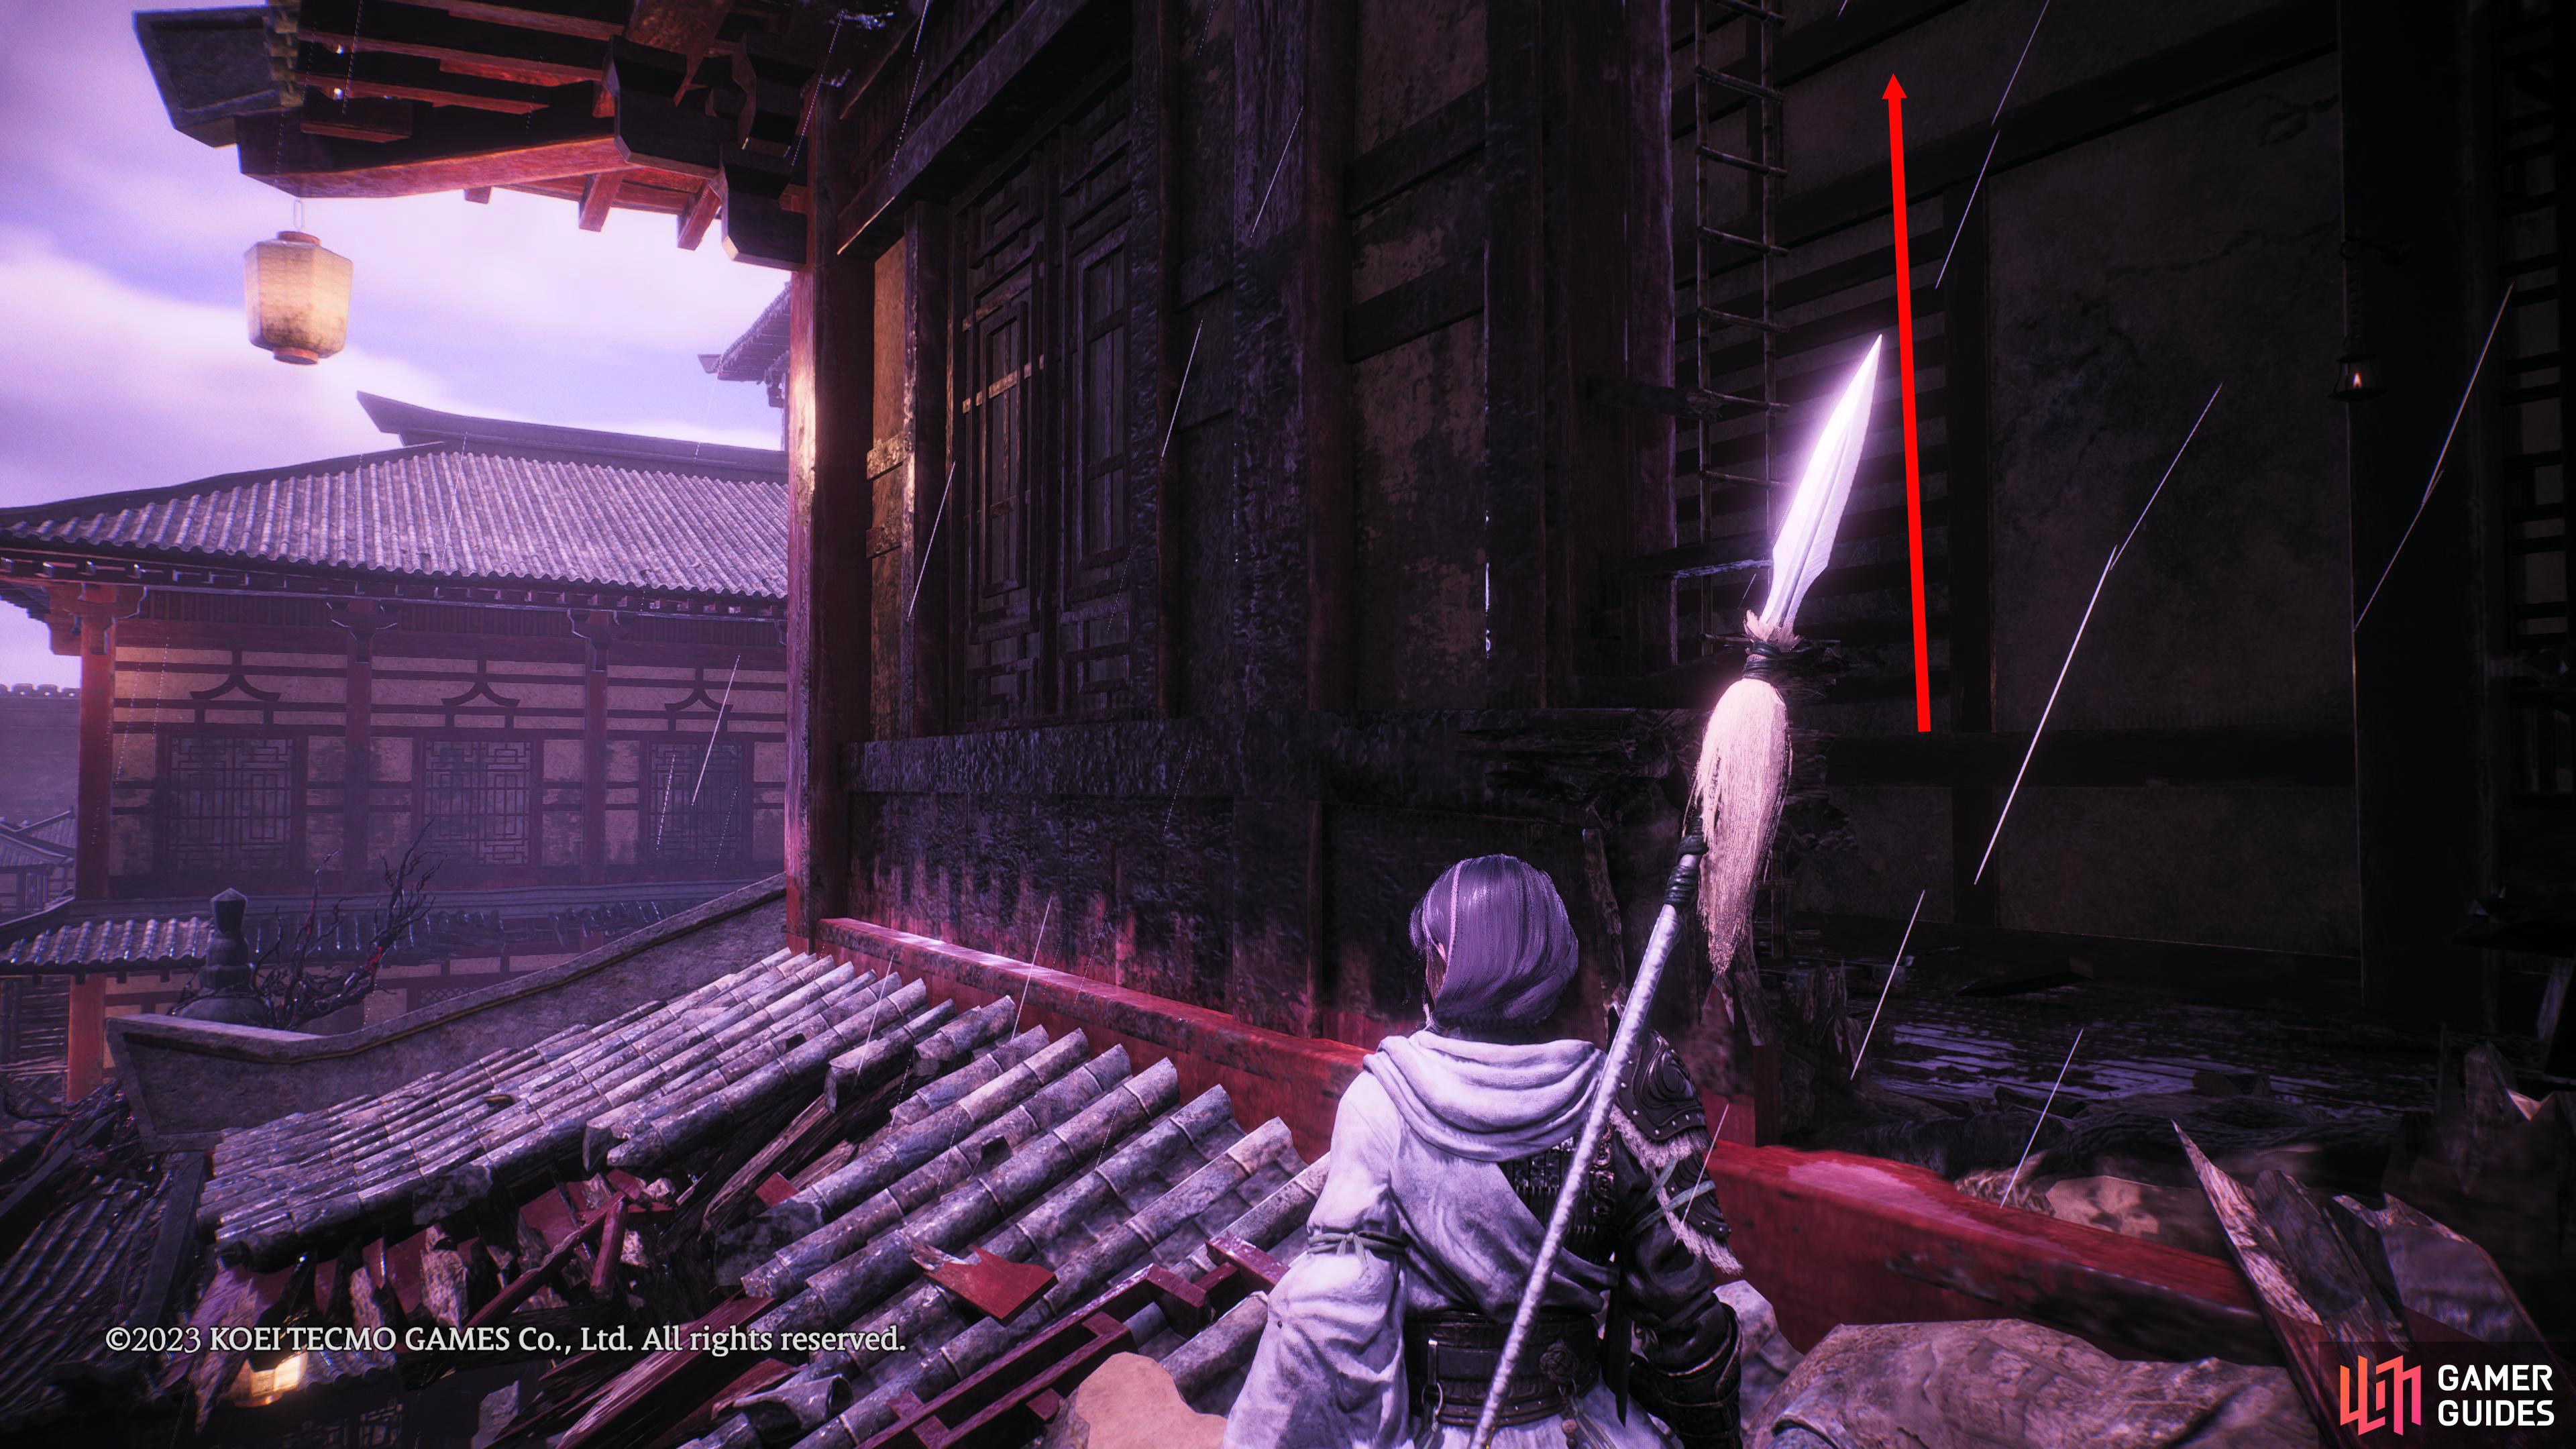
Go through the hole in the wall opposite the Marking Flag and follow the roof around until you reach another hole in the wall.
Climb the ladder where you’ll find the Marking Flag behind the short wall. You will be ambushed here.
Battle Flag 6 Location
Head back to Marking Flag 4 by going back the way you came across the roof. Turn left, and jump over the hole onto the other side (you can use the stairs if you fall) of the floor. At the end of the path, turn left into another large room. If you turn to your left, you can see the next Battle Flag on the other side of the room, but you’ll need to defeat numerous enemies to reach it. Either make a mad dash to the Battle Flag, and hope you can touch the flag before dying, or slowly make your way over to it while defeating every enemy along the way.
The Battle Flag is on the opposite side of the room.
Either run, or defeat all the enemies as you make your way across to unlock it.
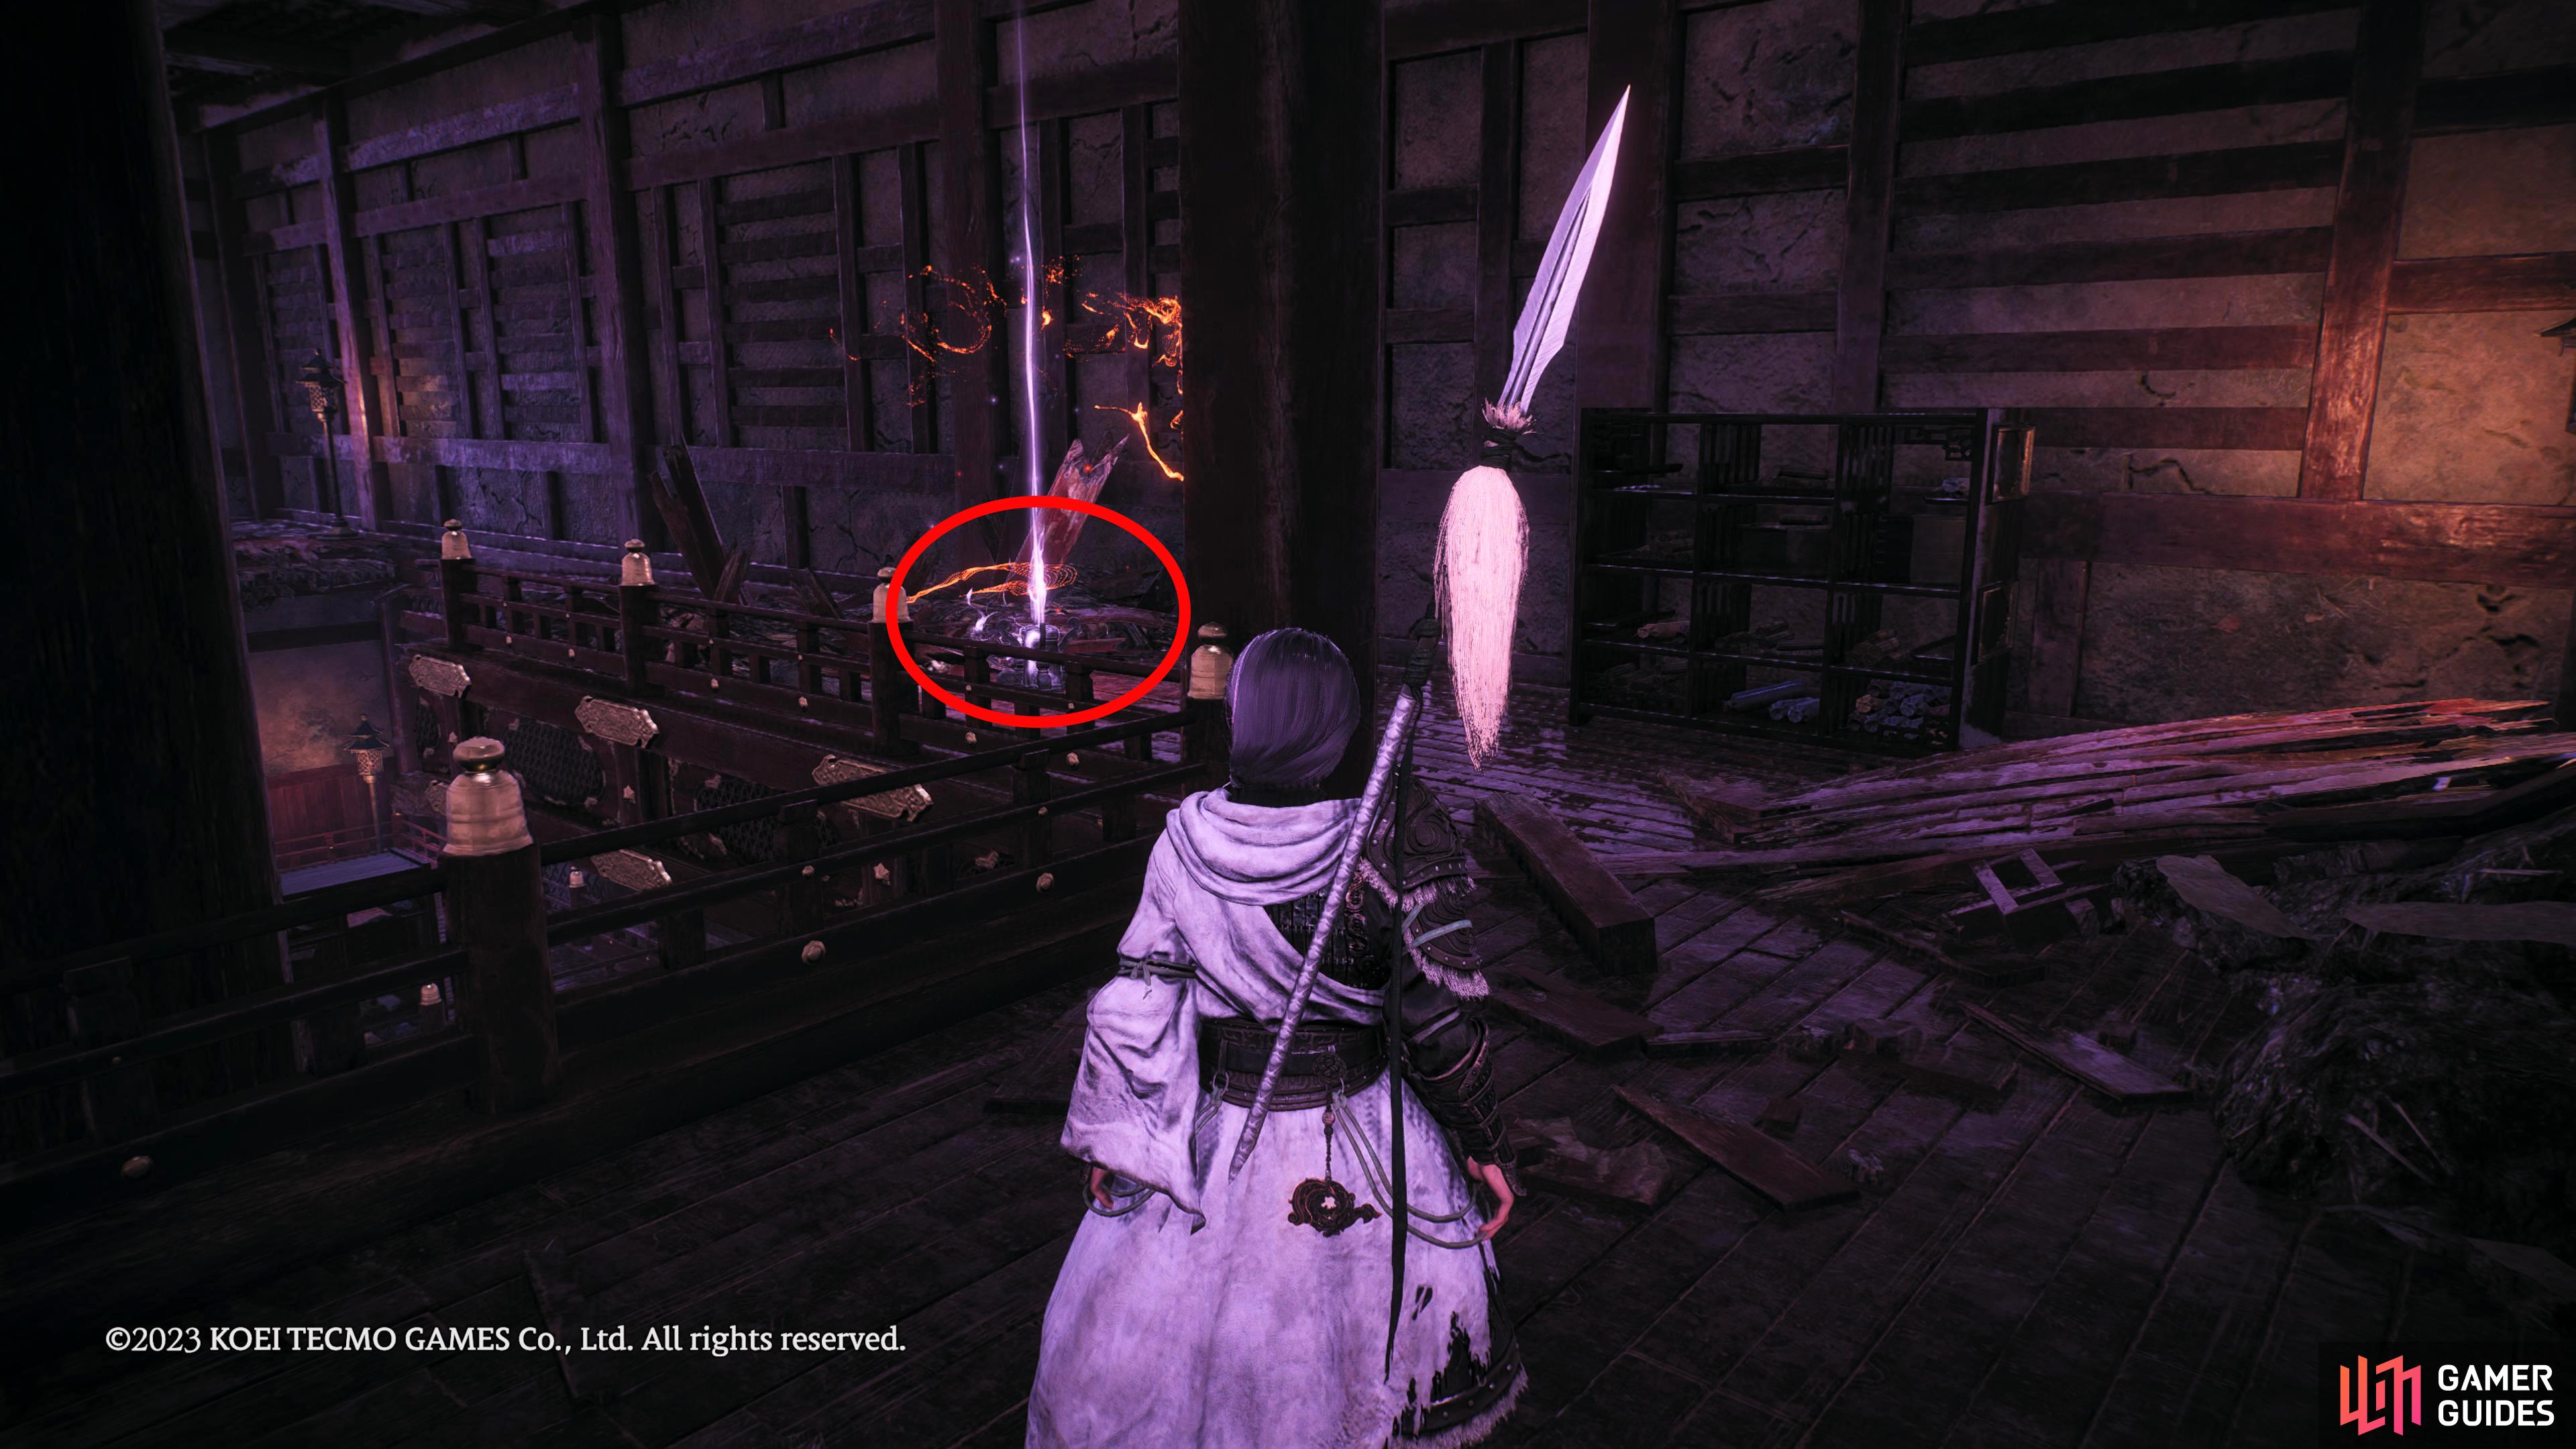
Marking Flag 7 Location
This is a trick flag to find. From the last Battle Flag, head up the nearby stairs to your north. Jump over the hole in the floor, and climb on top of the shelves straight in front of you. If you look carefully, you can see the hole in the wall. Jump through the hole into the room below, and drop into the hole in the room. Follow the linear path to the end where you’ll find the final Marking Flag.
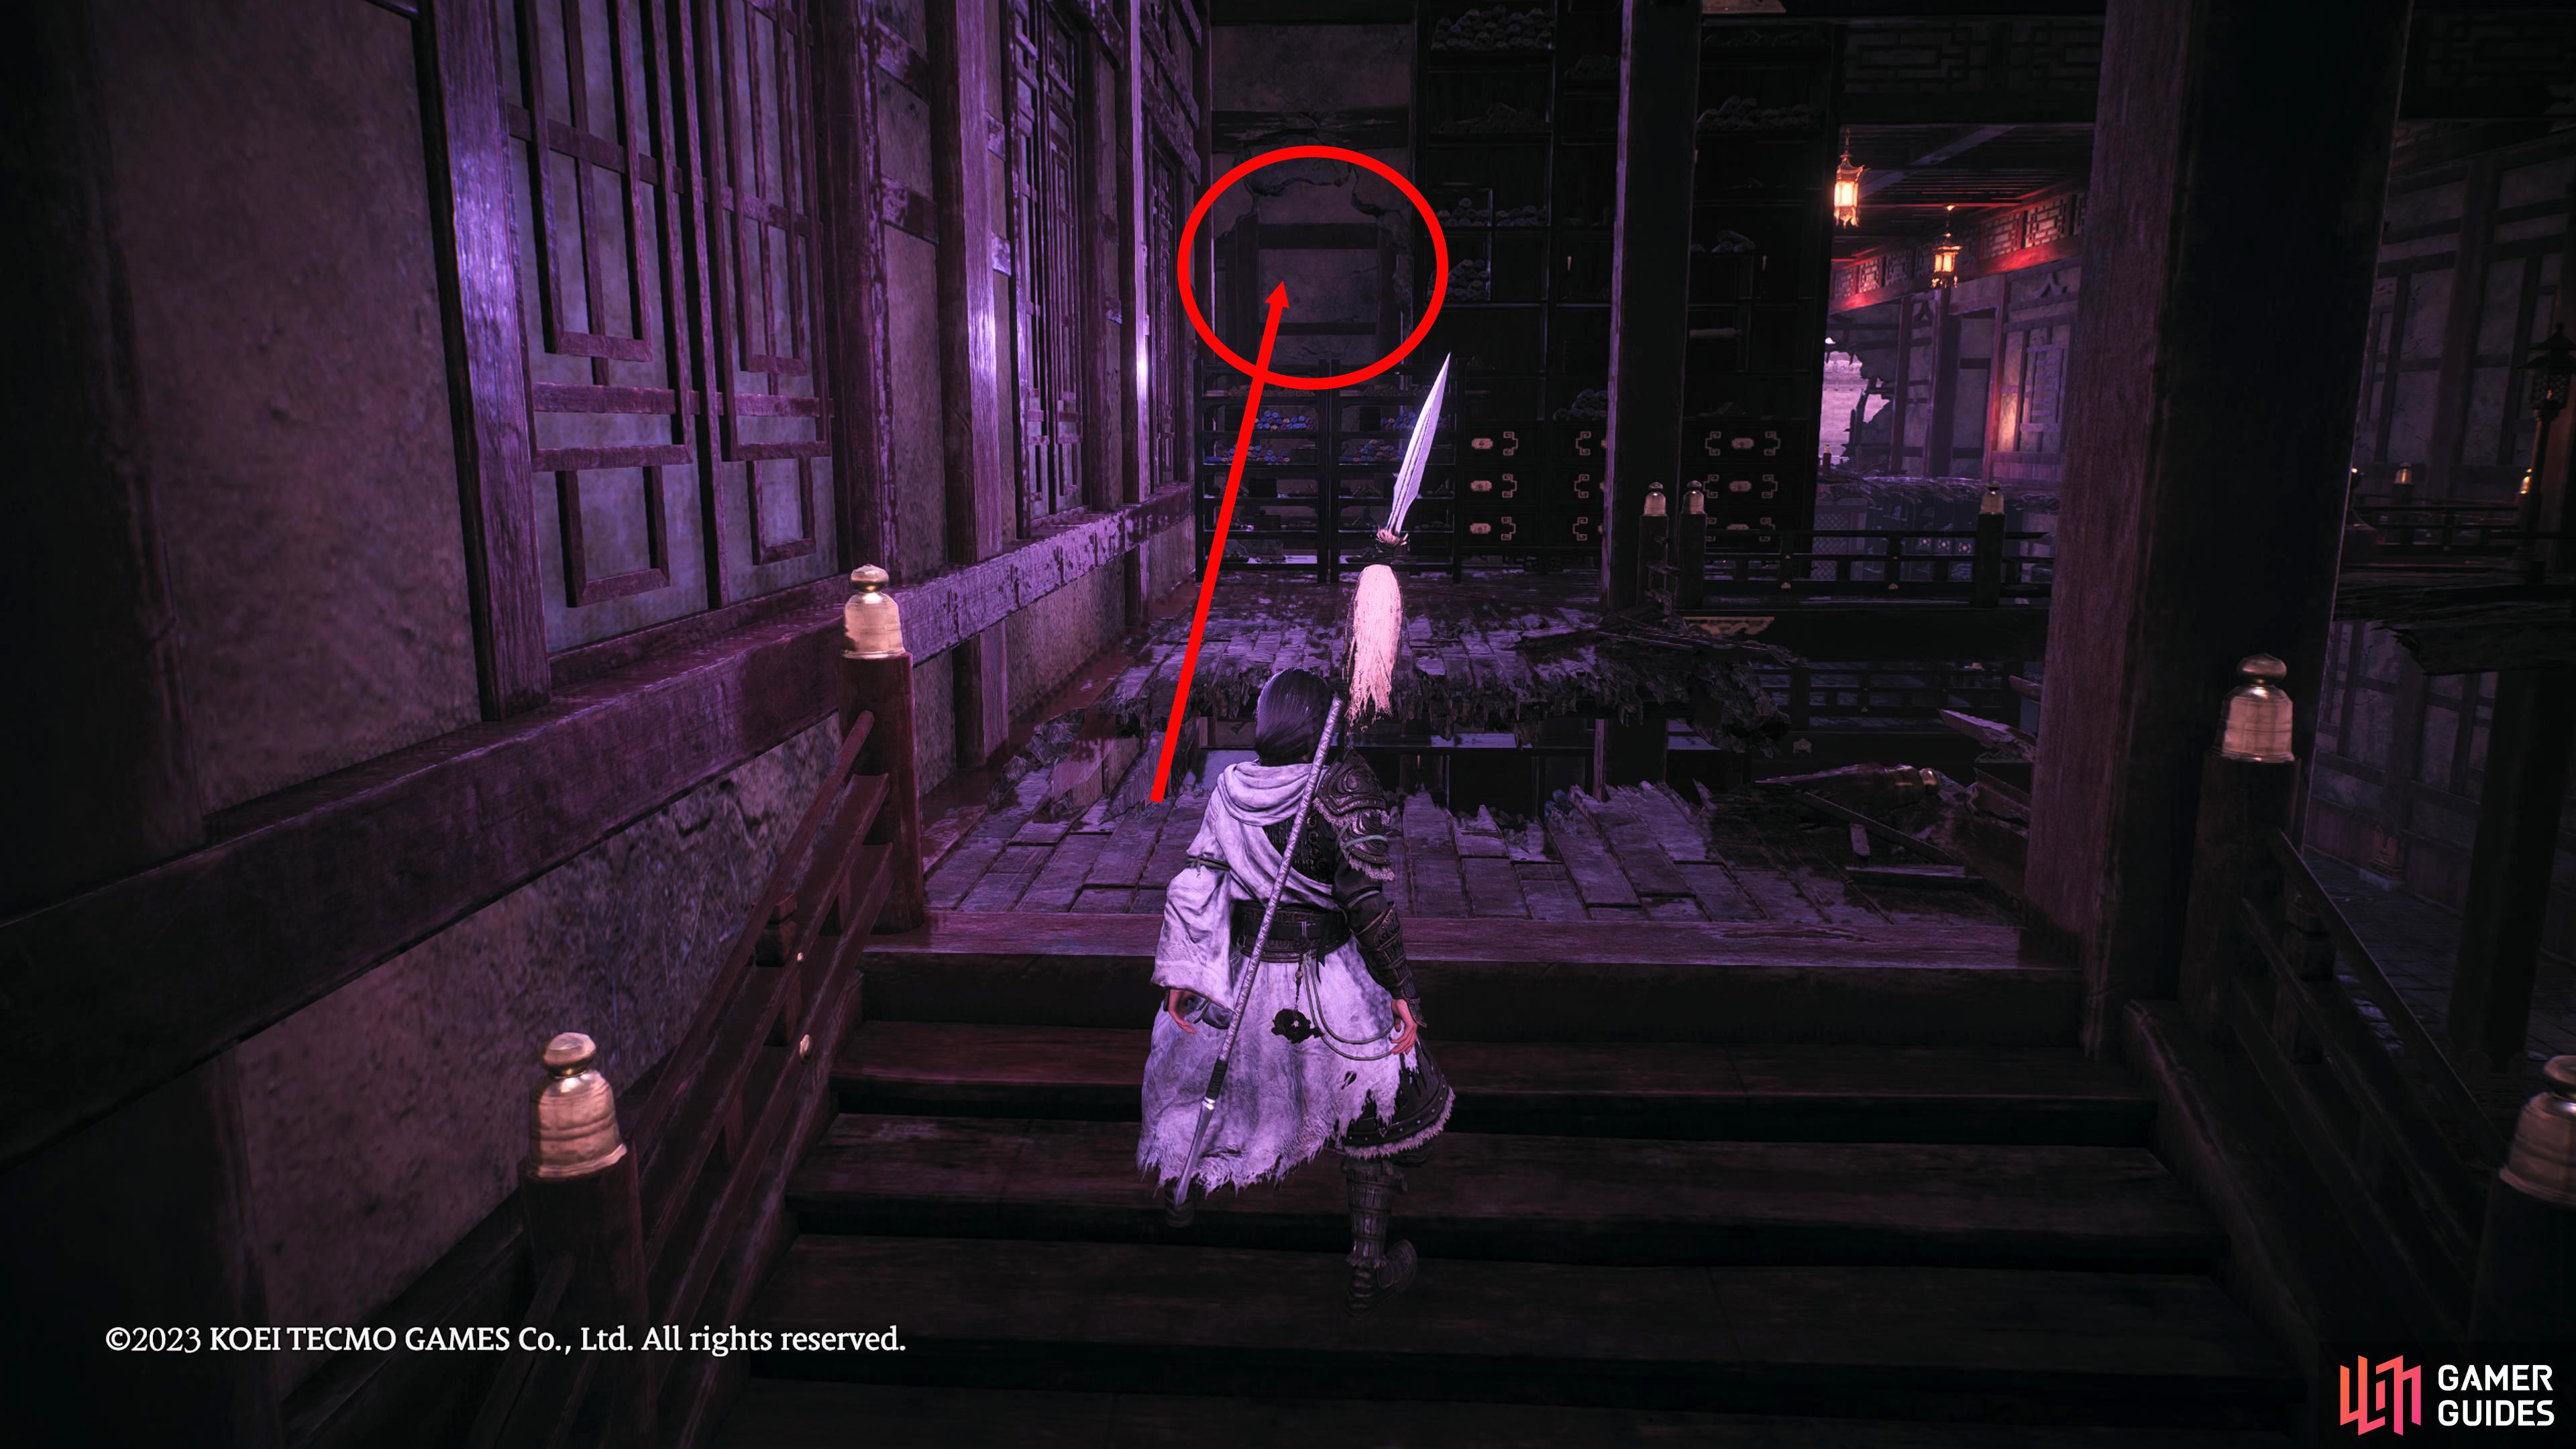
From Battle Flag 6, head up the nearby stairs. Jump across the hole, and head through the hole in the wall into a hidden room.
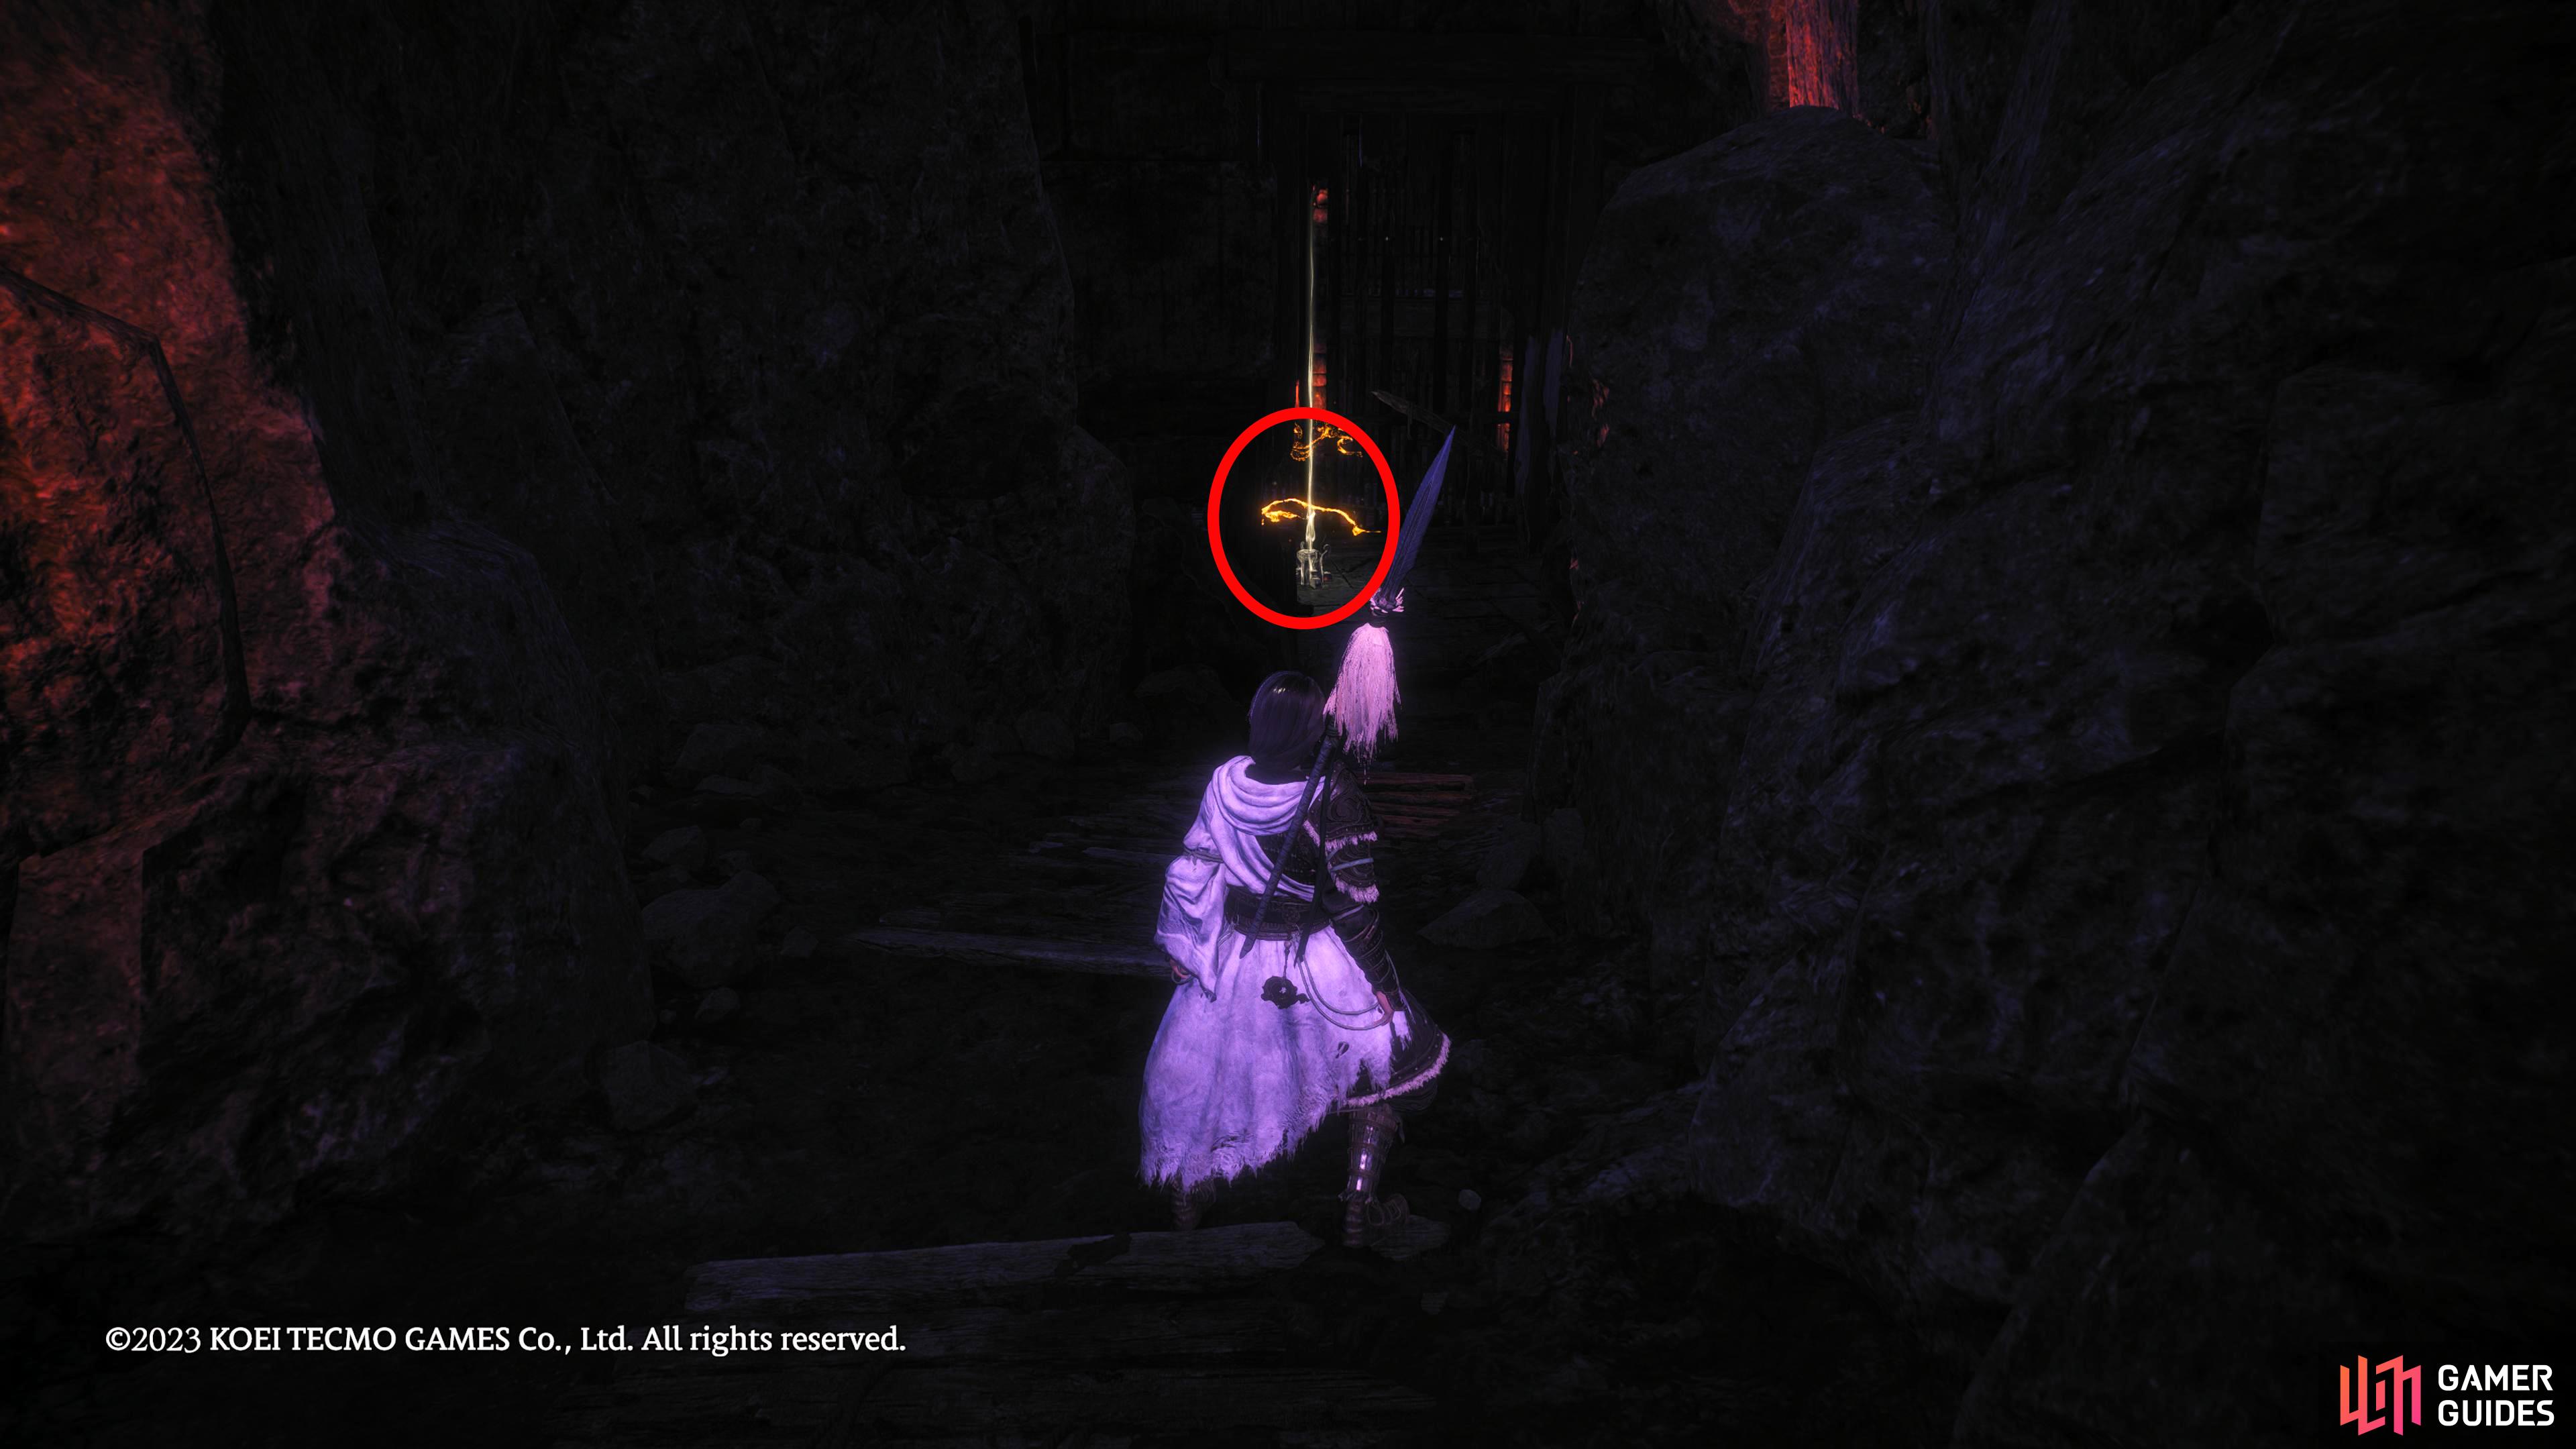
Drop into the hole in the room, and follow the tunnel to the end to find the last Marking Flag.
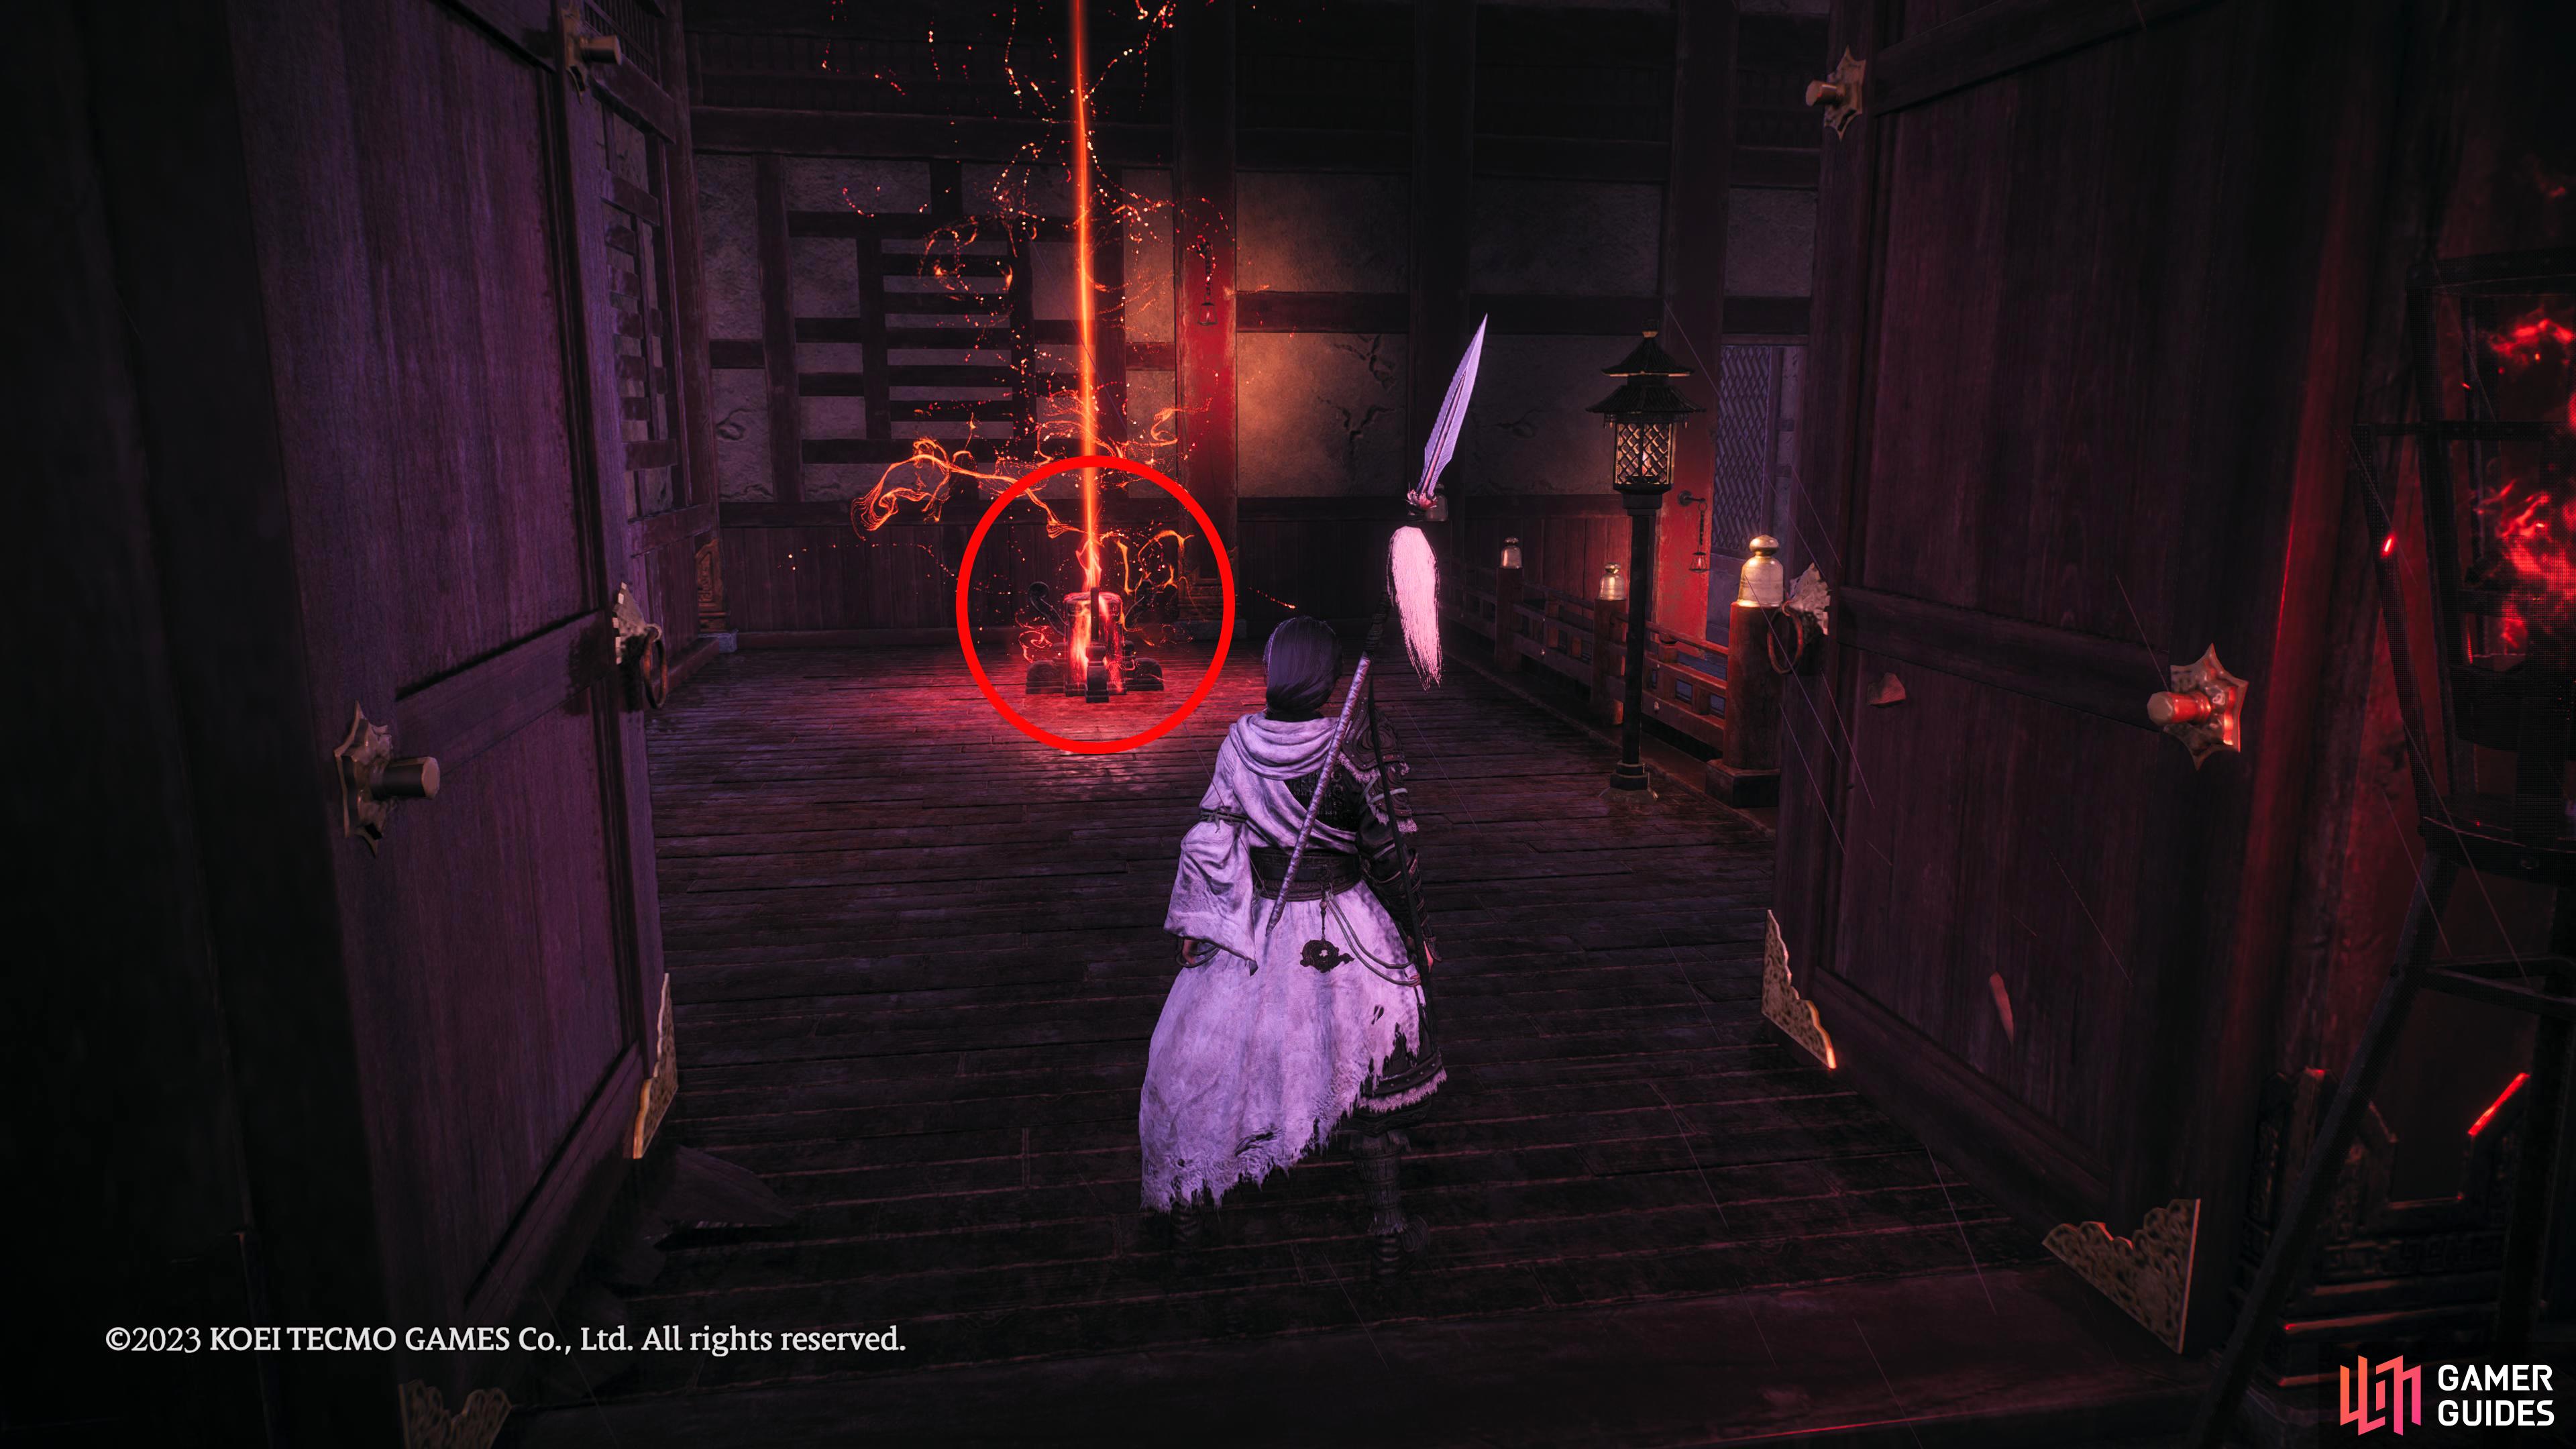
Battle Flag 7 Location
Head back to the previous Battle Flag, and head outside into the courtyard. The final Flag will be outside the boss room which is at the opposite end of the area. Unfortunately, it is a corrupted Battle Flag where you’ll need to defeat a 20 Morale Demonized Officer to unlock it. Note: There are a lot of enemies around here, and it’s recommended that you take your time, so you don’t get overwhelmed.
In the final area, at the opposite side of the courtyard. You’ll need to defeat numerous enemies especially the Demonized Office near the Flag.
With them defeated, get the last Flag.
How to Find the Flags
A helpful tip if you happen to miss any flags is to go through the level with one eye kept on the Sense Qi Map (mini-map) in the top-right corner of the screen. At first, this may not seem helpful, but if you turn off the Sense Qi Map rotation as it will make your life easier. You can do this by going to the System Menu (cog) > Game Setting > Page 2 > Show Sense Qi Map > Rotation Off.
You may be wondering why you’d want to do this, but it helps navigate where the flags are. See, the flags will show up on the Sense Qi Map, even if you don’t have them yet, then you can follow it on the map. You can tell what direction you’re facing by a faint gray line on the edge of the map.
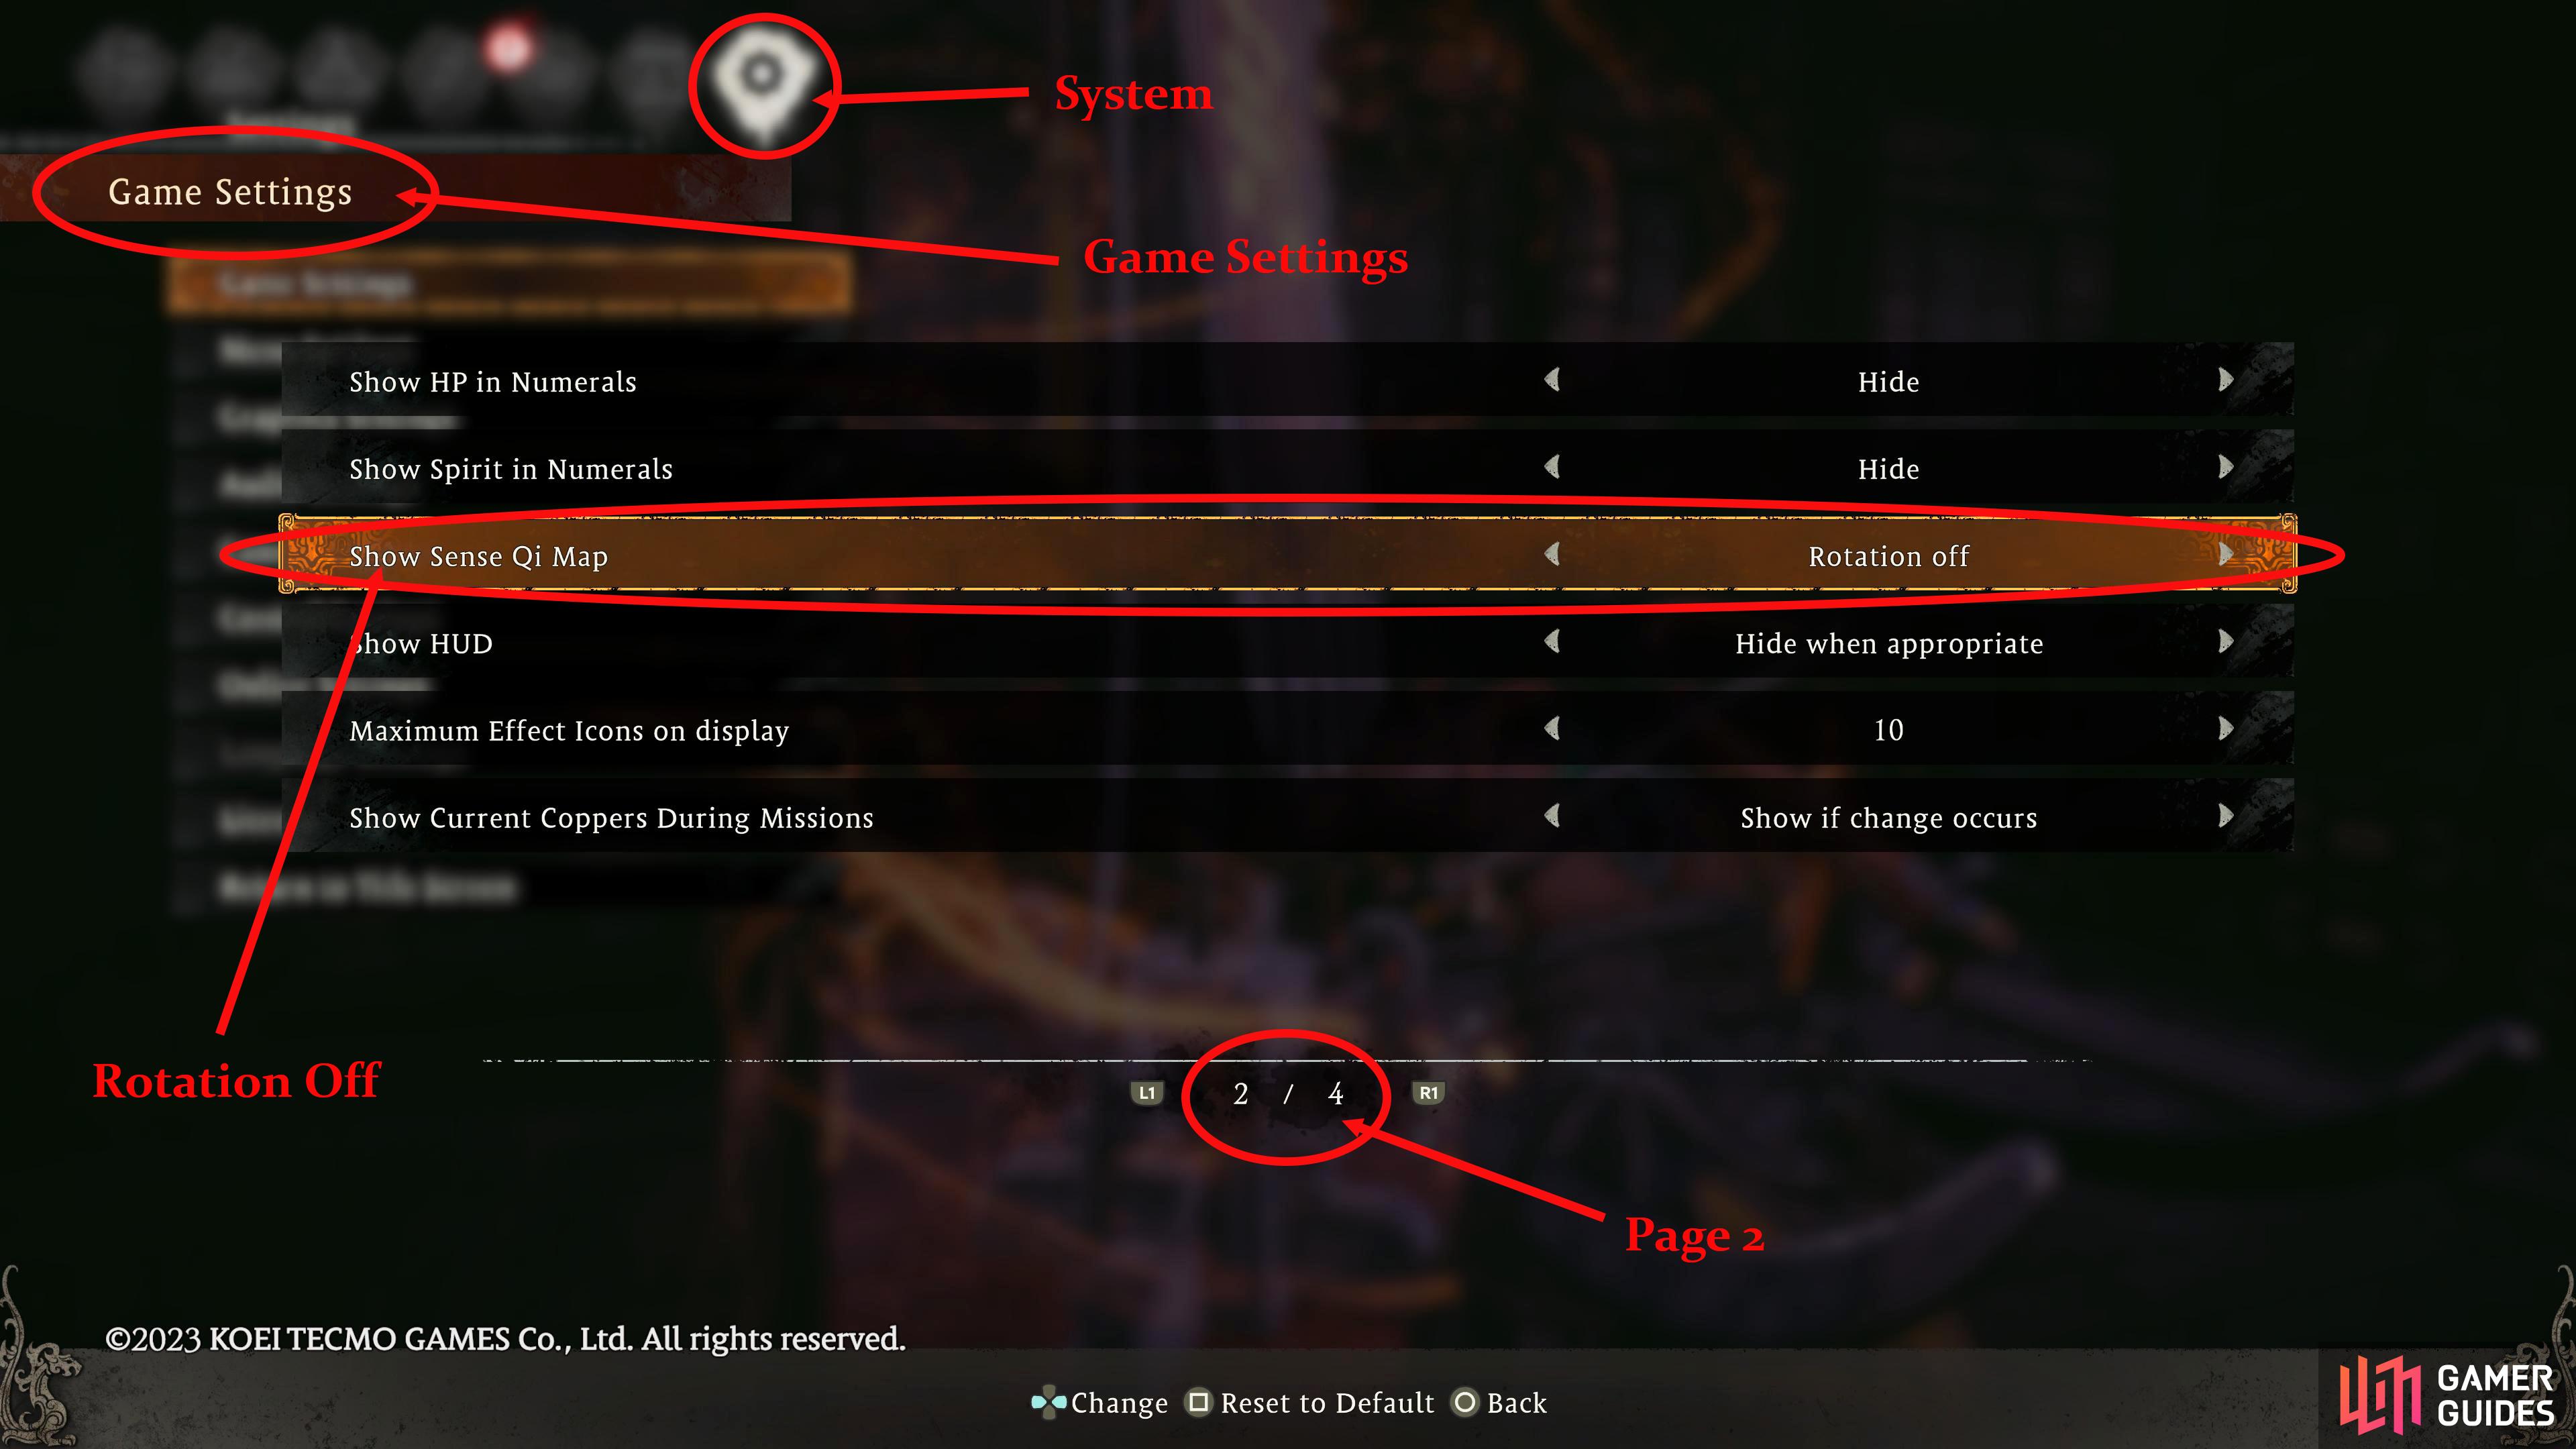
Turn off the rotation on the Sense Qi Map to make finding the flags easier.
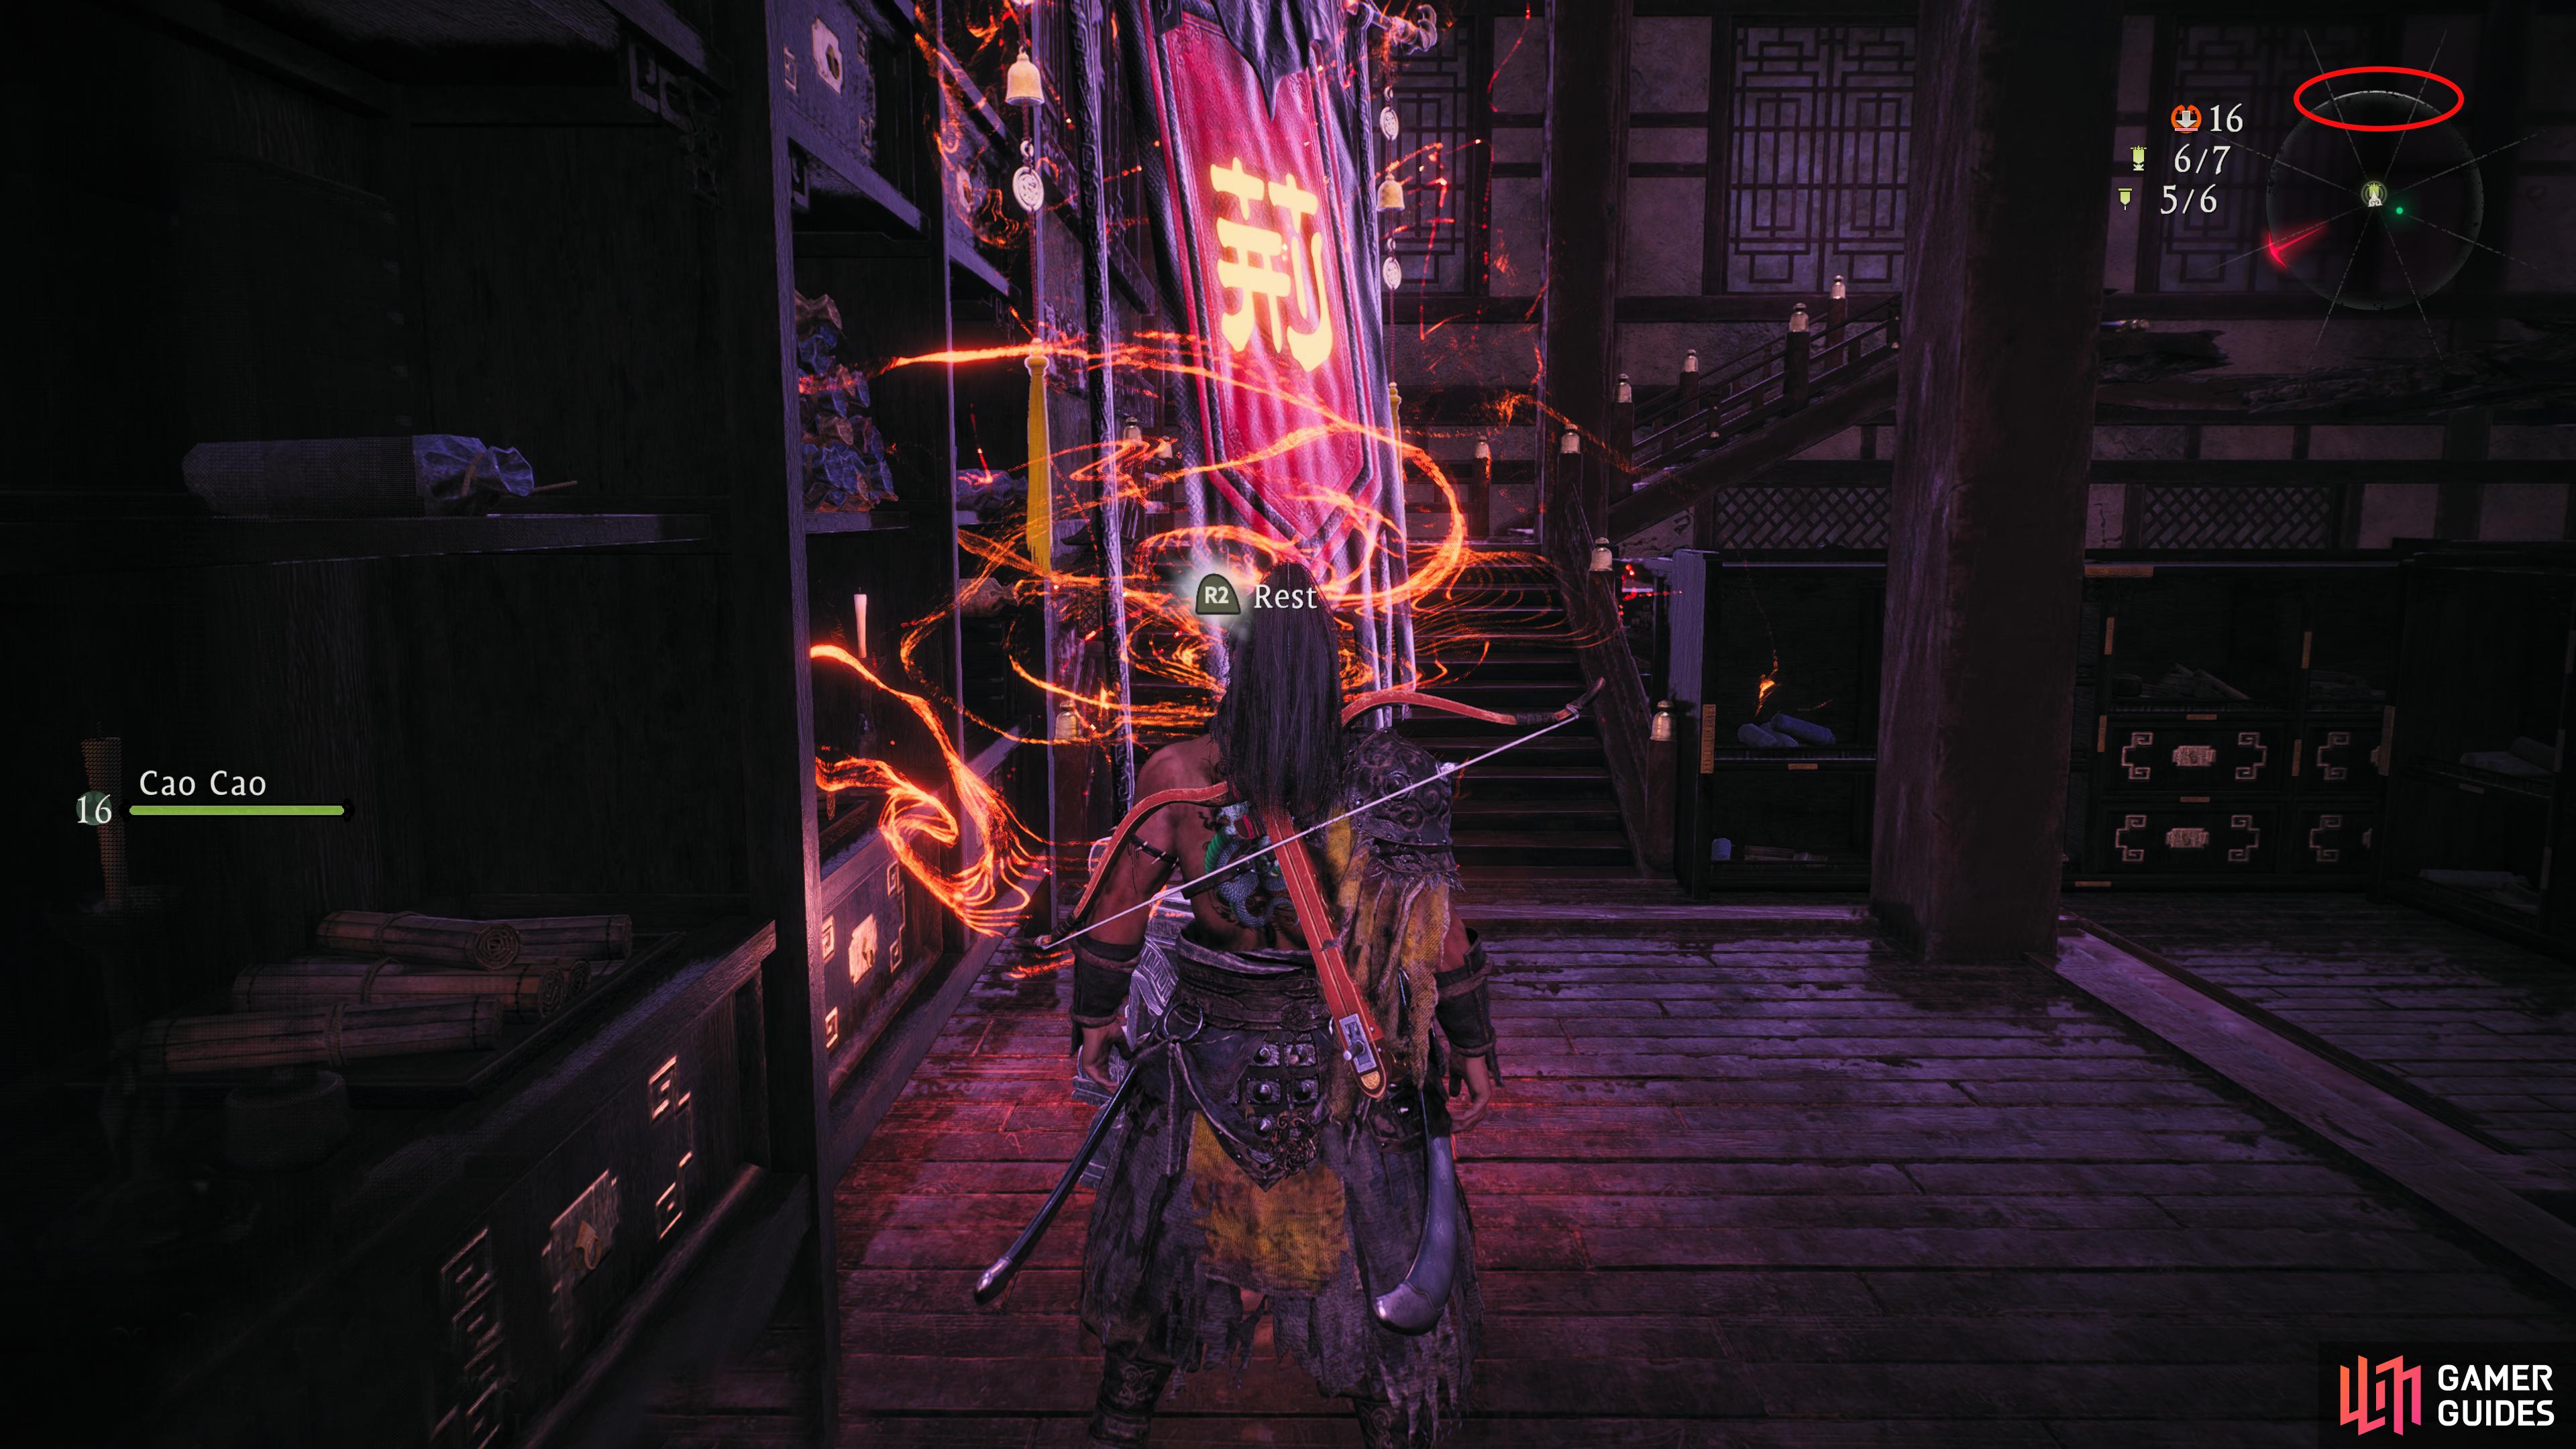
That way, the soft gray line above it will show you what direction you’re facing.
No Comments