
Some of the characters you can recruit in Eiyuden Chronicle: Hundred Heroes will require you to do some extra steps. One such character is CJ, the main character of Eiyuden Chronicle: Rising. After meeting up with her at your Headquarters, you’ll need to dive into a Runebarrows and complete it to actually recruit her to your army. This page will detail how to recruit CJ, as well as how to clear the Runebarrows and defeat the Prometheus boss.
CJ will be the last of the three Rising characters you will recruit.
CJ Location
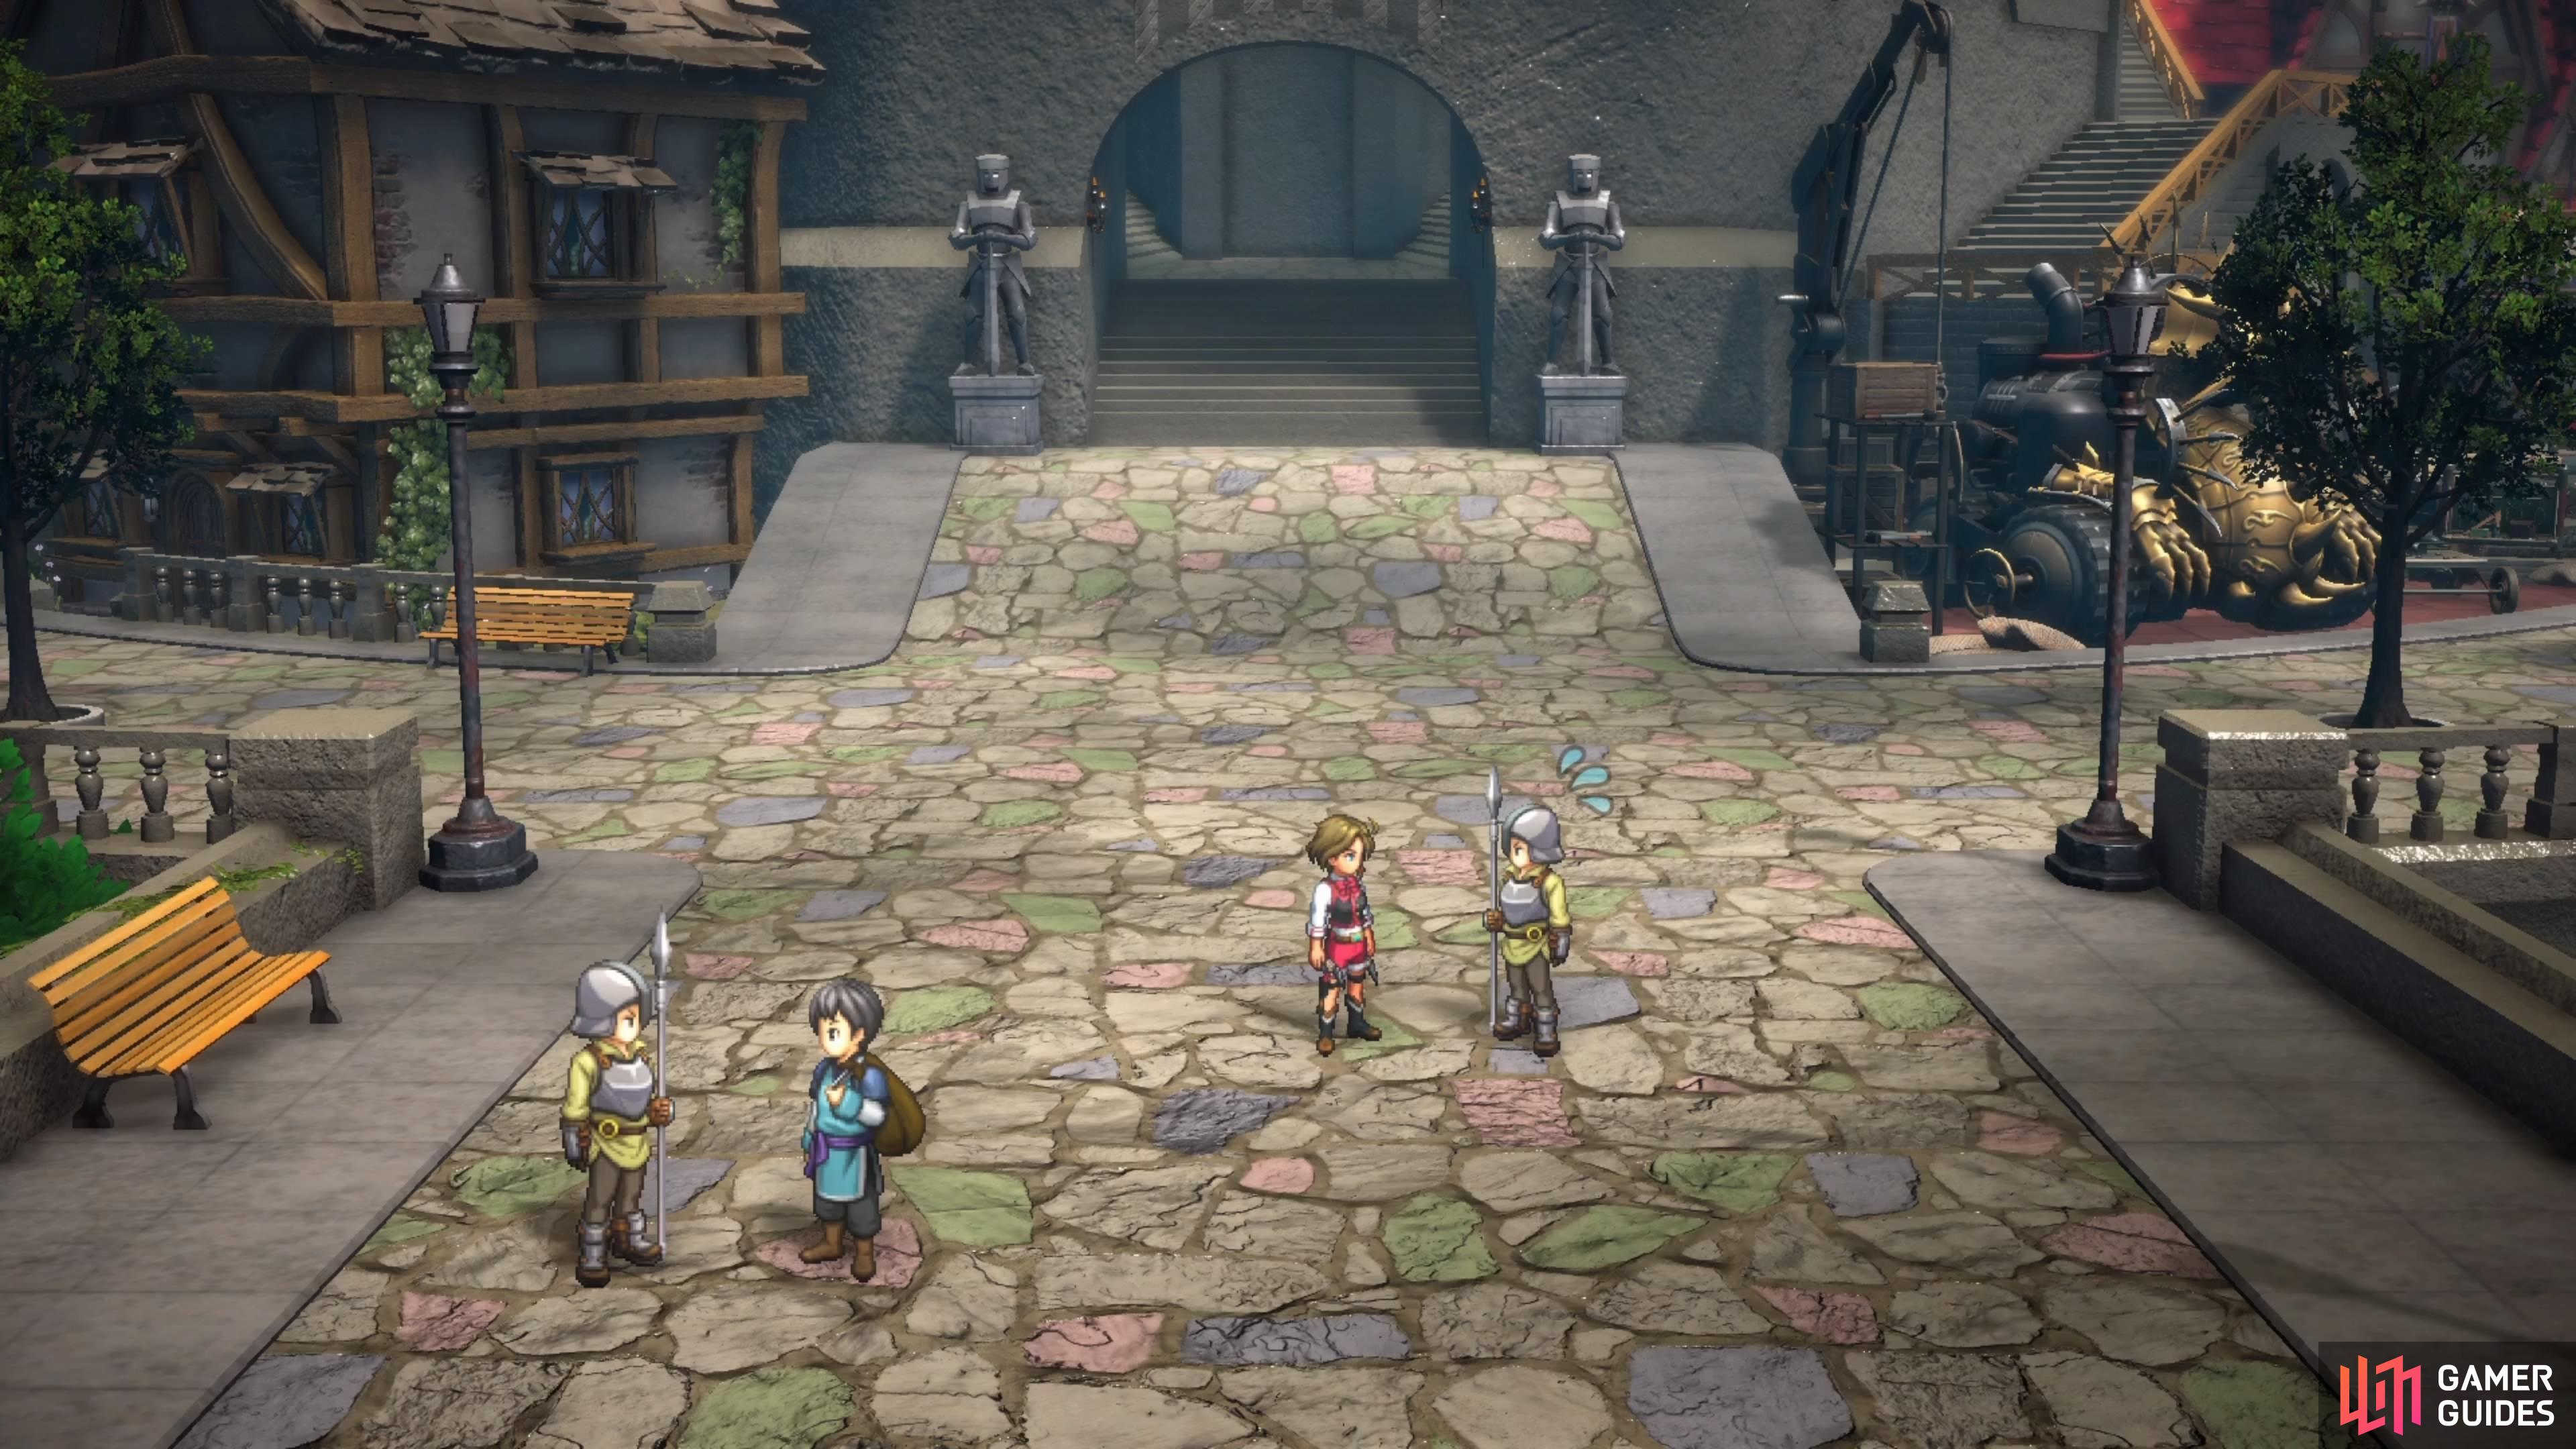
Before you can go after CJ, you will first need to have recruited Isha and Garoo. Isha is an optional character you can recruit (check our Isha Recruitment Guide), while Garoo is someone that automatically joins your party as part of the main story. Once you have both of those characters (you can get CJ right after Garoo/Marisa joins permanently), go to your castle and exit it, then move towards the southern entrance of the castle grounds. You should receive a cutscene here that introduces CJ, with her saying she found a big treasure in some Barrows.
CJ’s Runebarrows Walkthrough
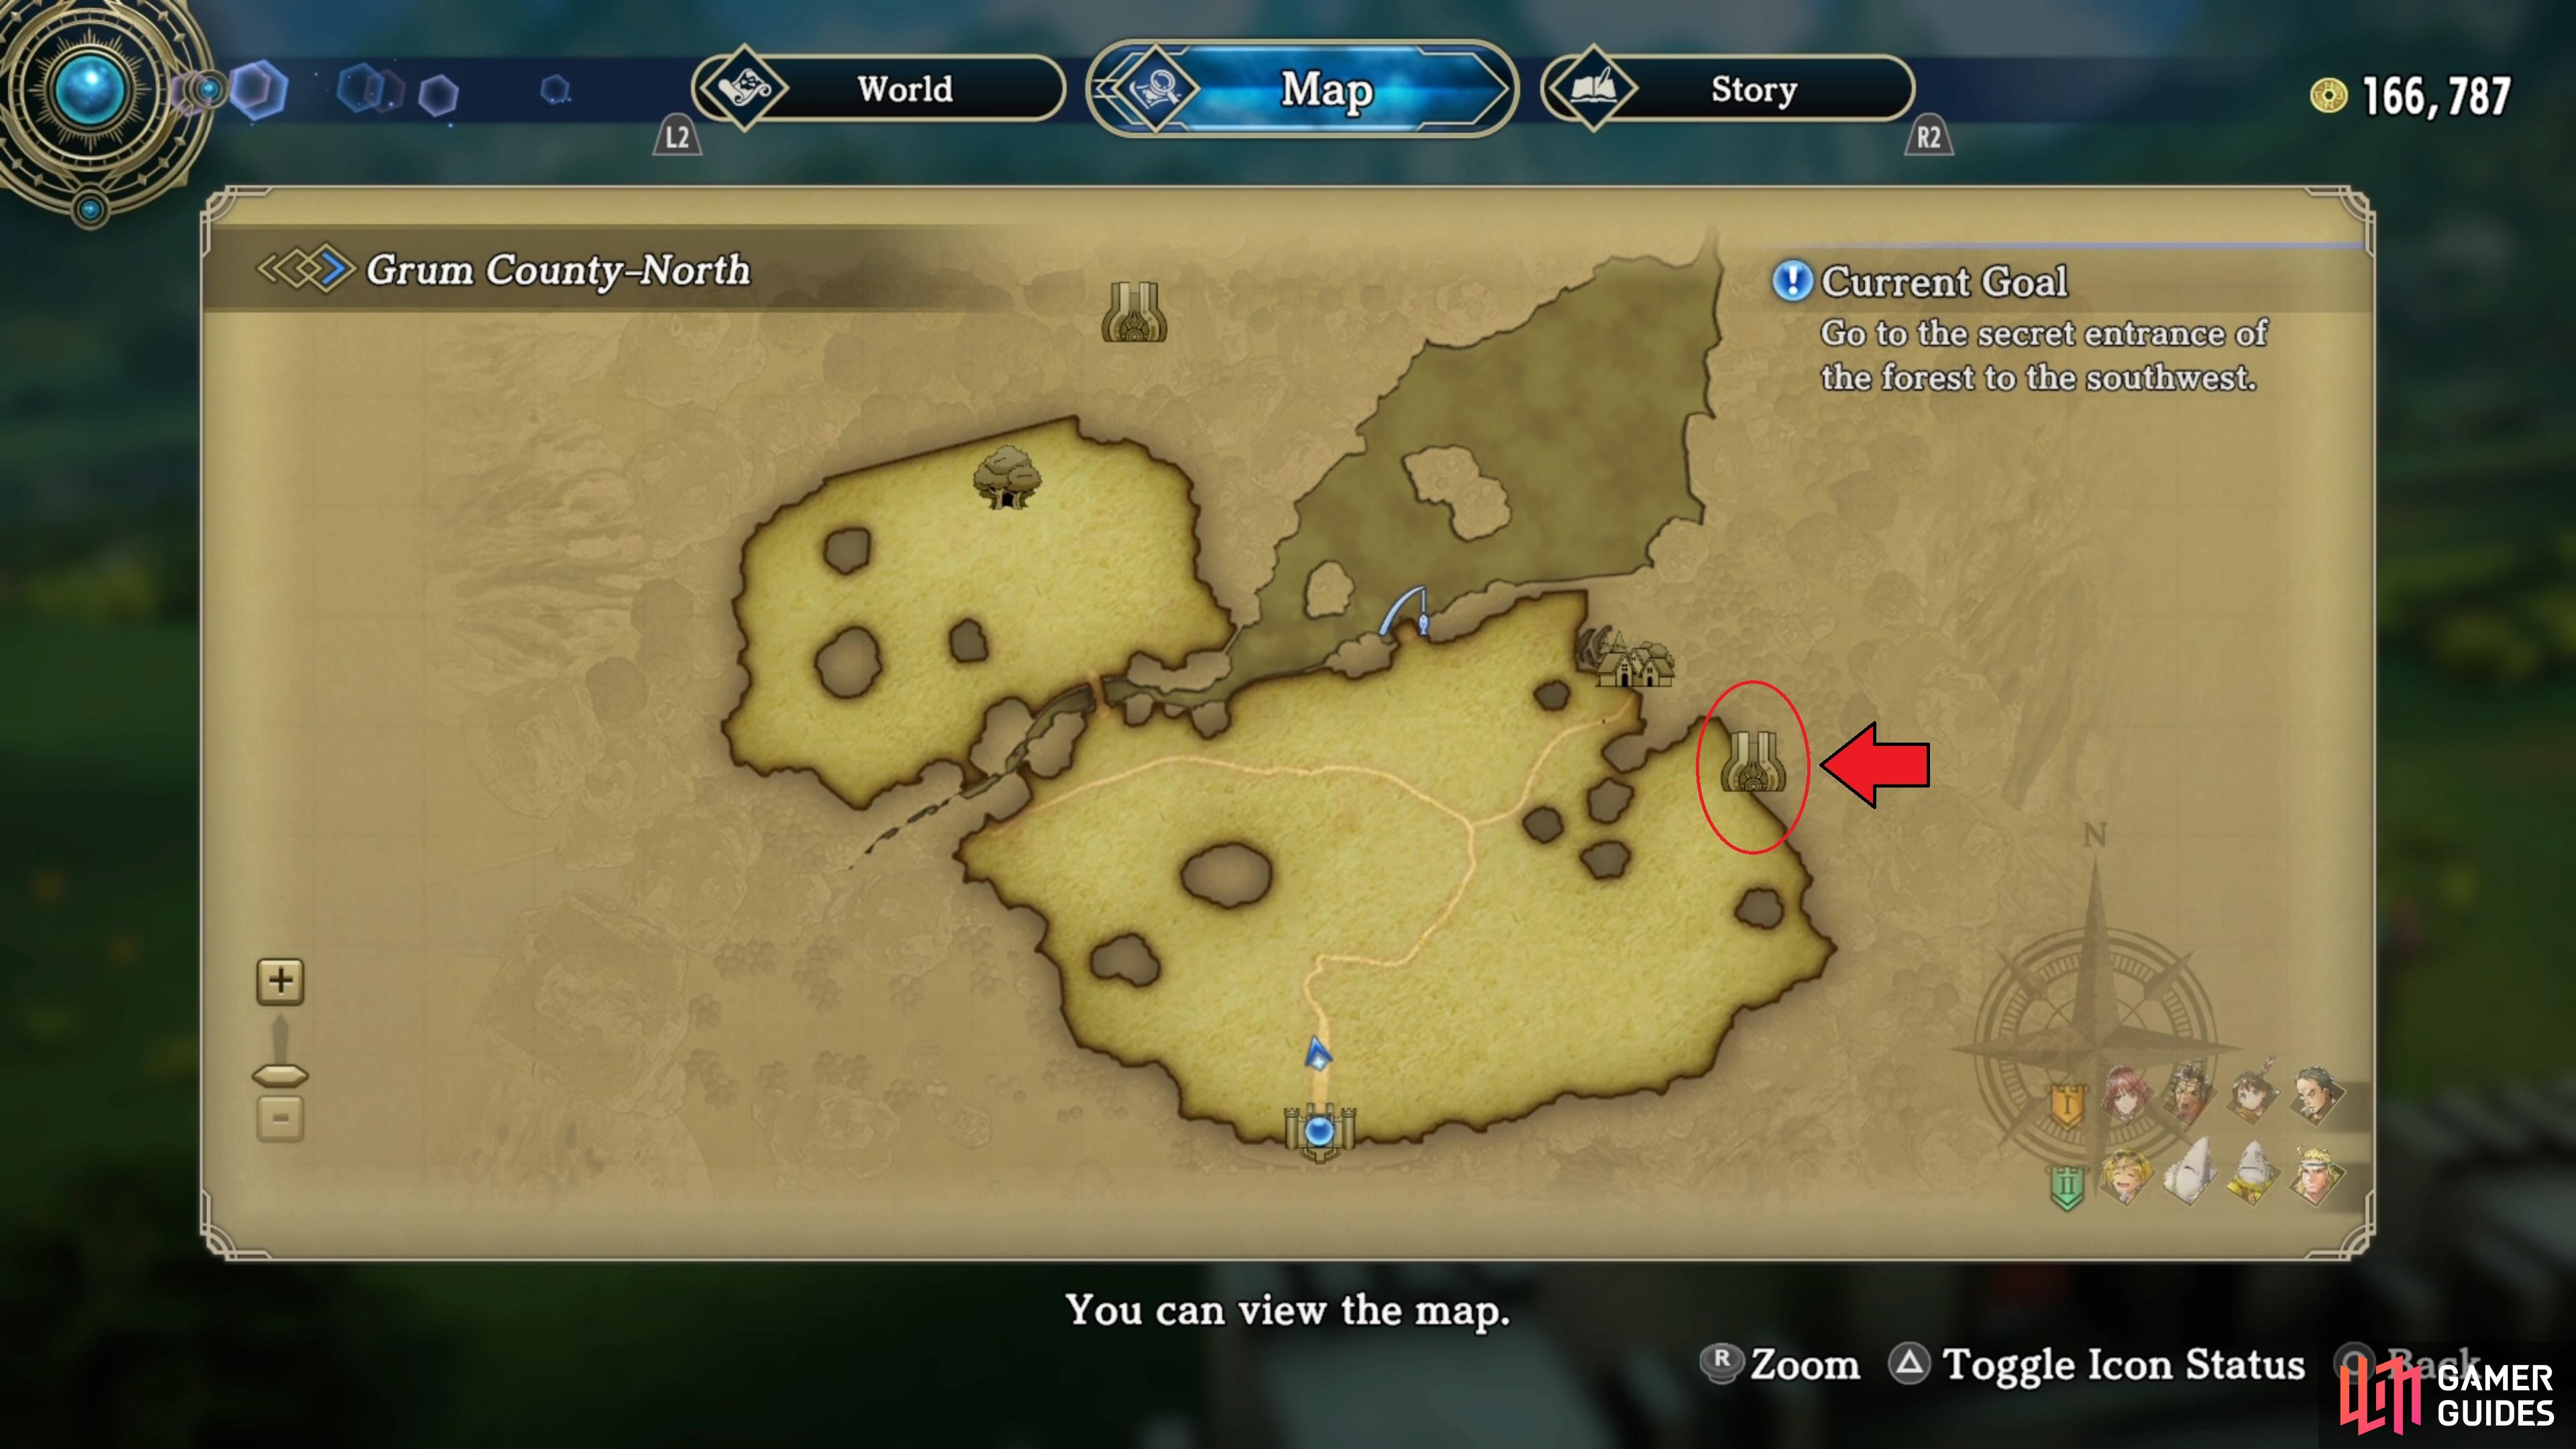
Make sure you put both Garoo and Isha in your active party, then teleport to Arenside, as the Barrows is located in that area of the map. When you open your map of Grum County-North, look just southeast of Arenside to find the location of the Runebarrows. Head inside for a scene, where CJ opens the front door, allowing you to dive into the dungeon. You will need to add CJ to your party at this point, too, but you can just put her in one of the slots on the right side.
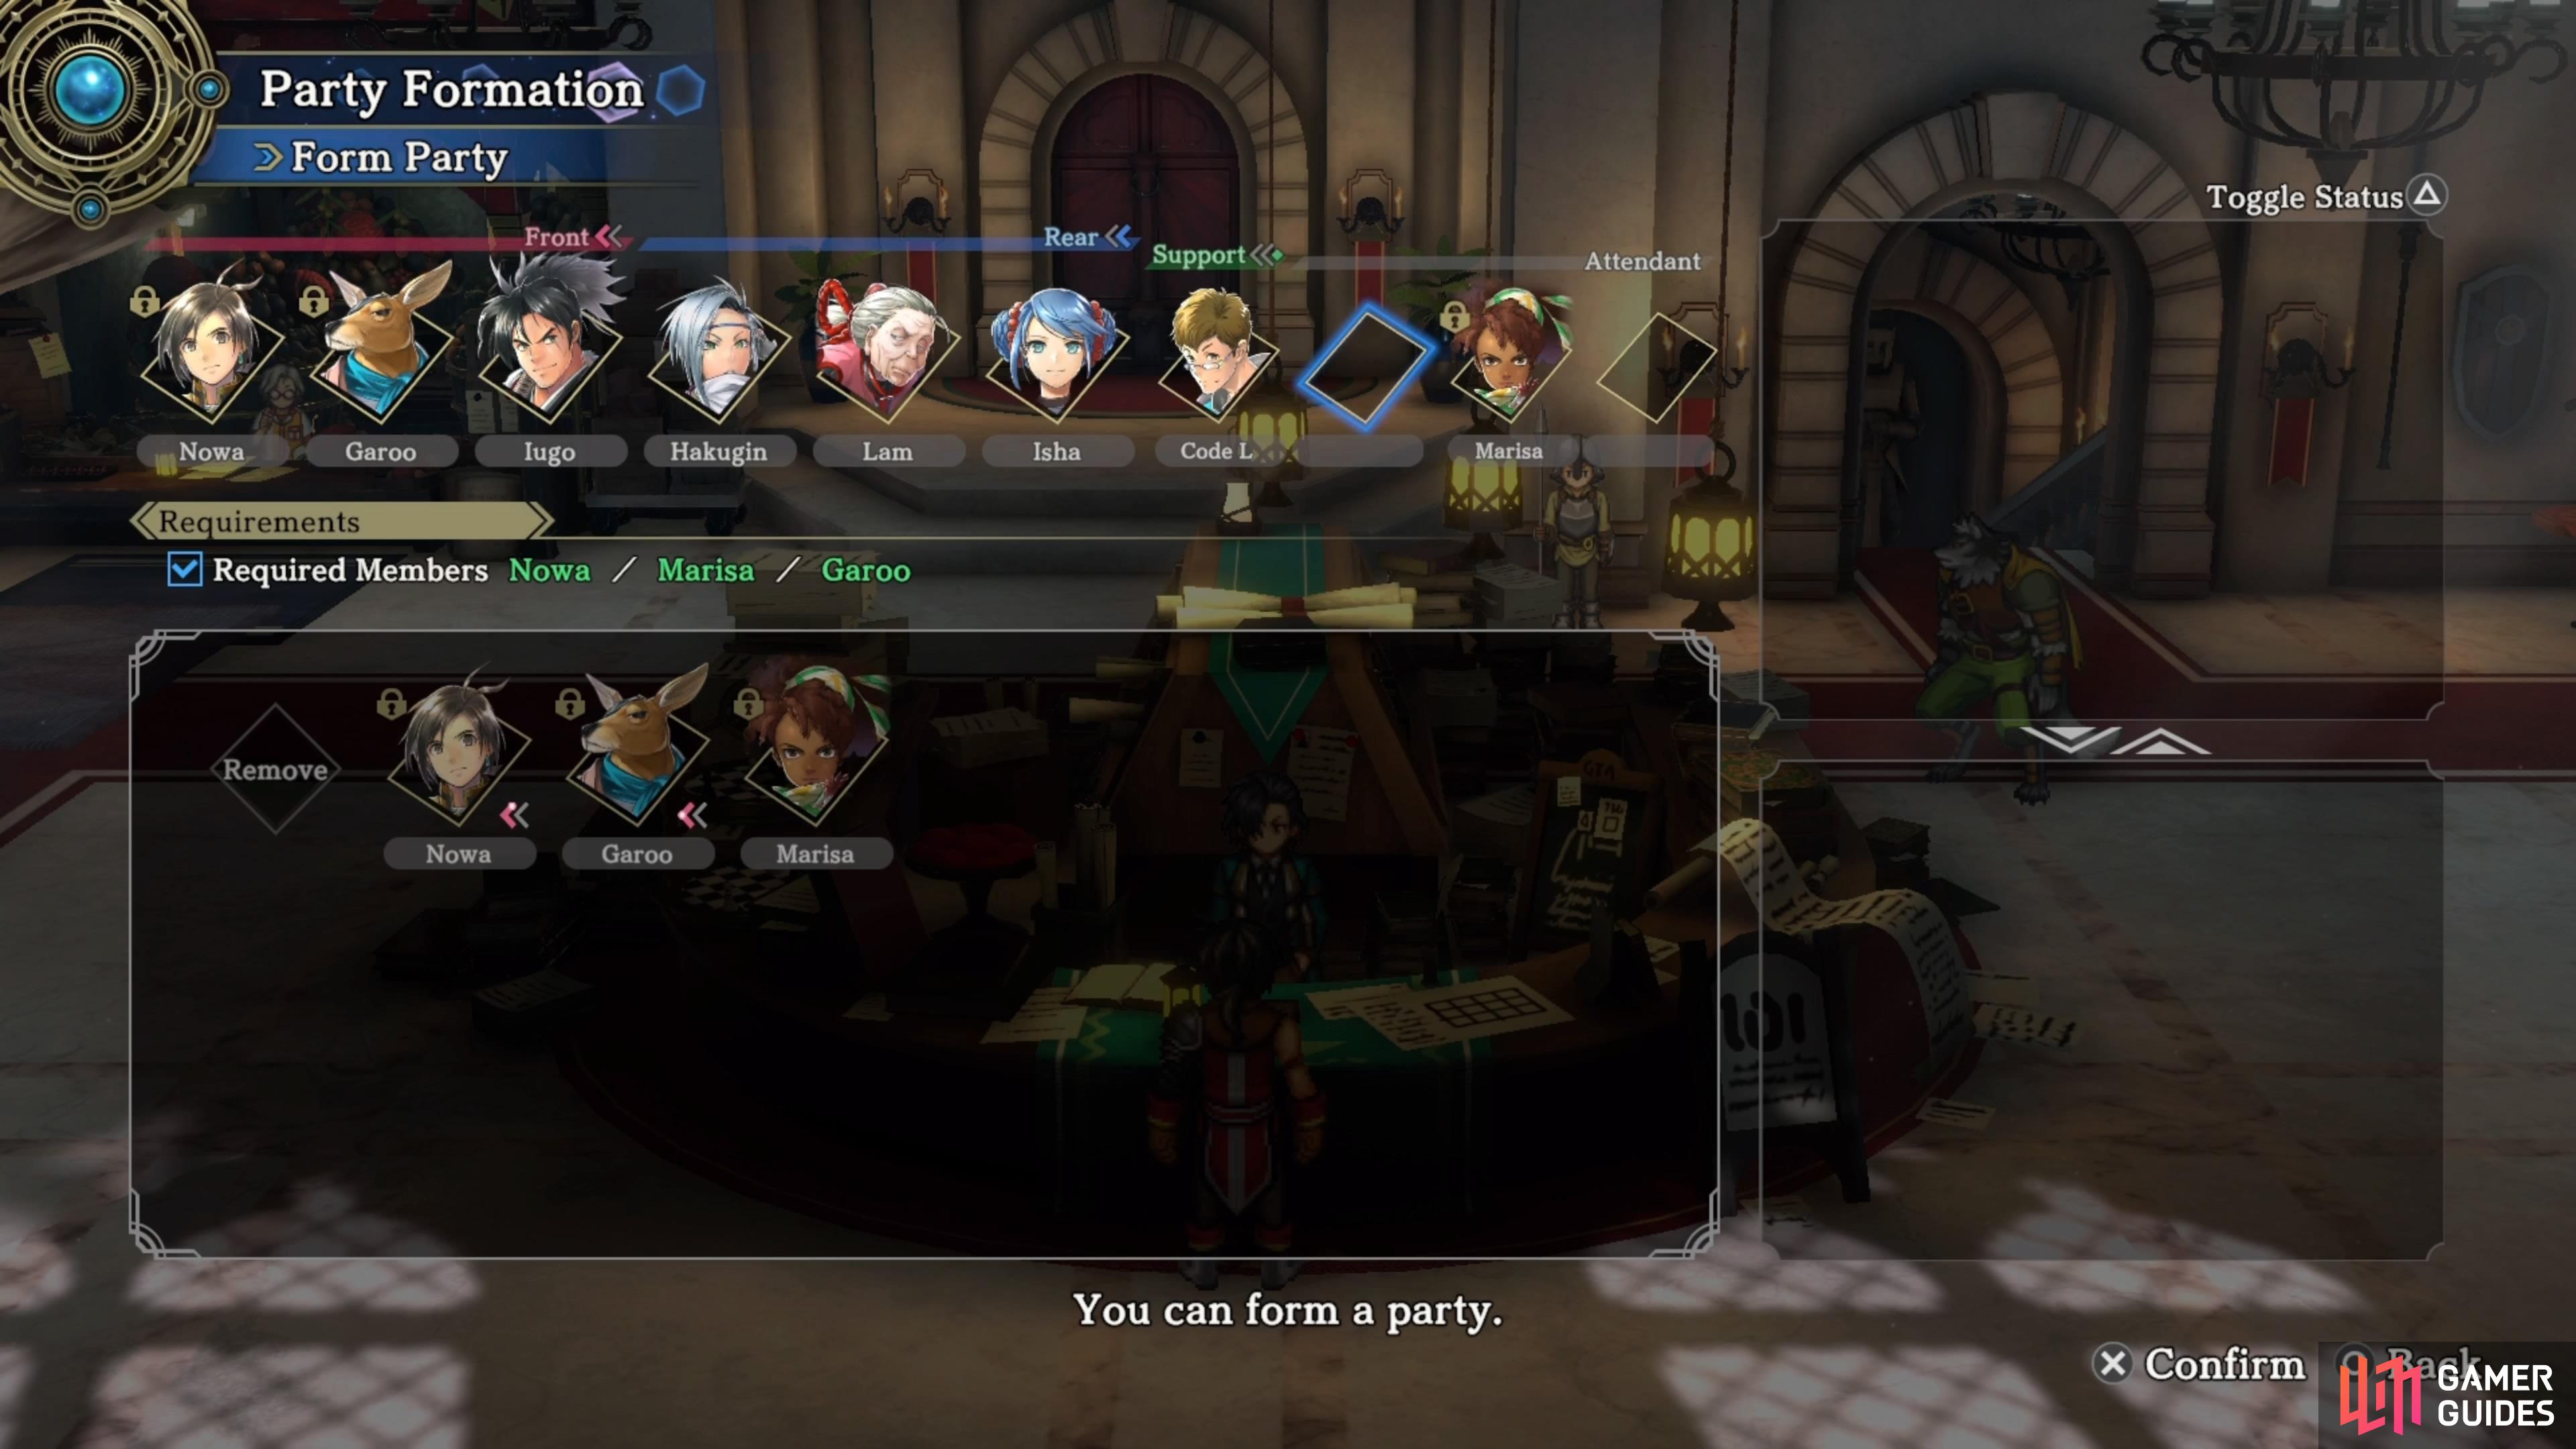


(1 of 4) You will need to have gotten both Garoo and Isha before going after CJ.
Some more scenes will occur inside, then you’ll be forced into a boss battle right away, against a Rune Golem named Prometheus. Unfortunately, you cannot win this battle right now, so, wait a few turns by defending with all your characters. When they tell you that you should flee, that is what you should do, but it might fail once or twice, so keep at it until you get away from the boss. You will now need to go through the dungeon and find out how to stop the boss from absorbing energy. You can head to the left or right now, so let’s start with the right one.
Runebarrows - Right Path
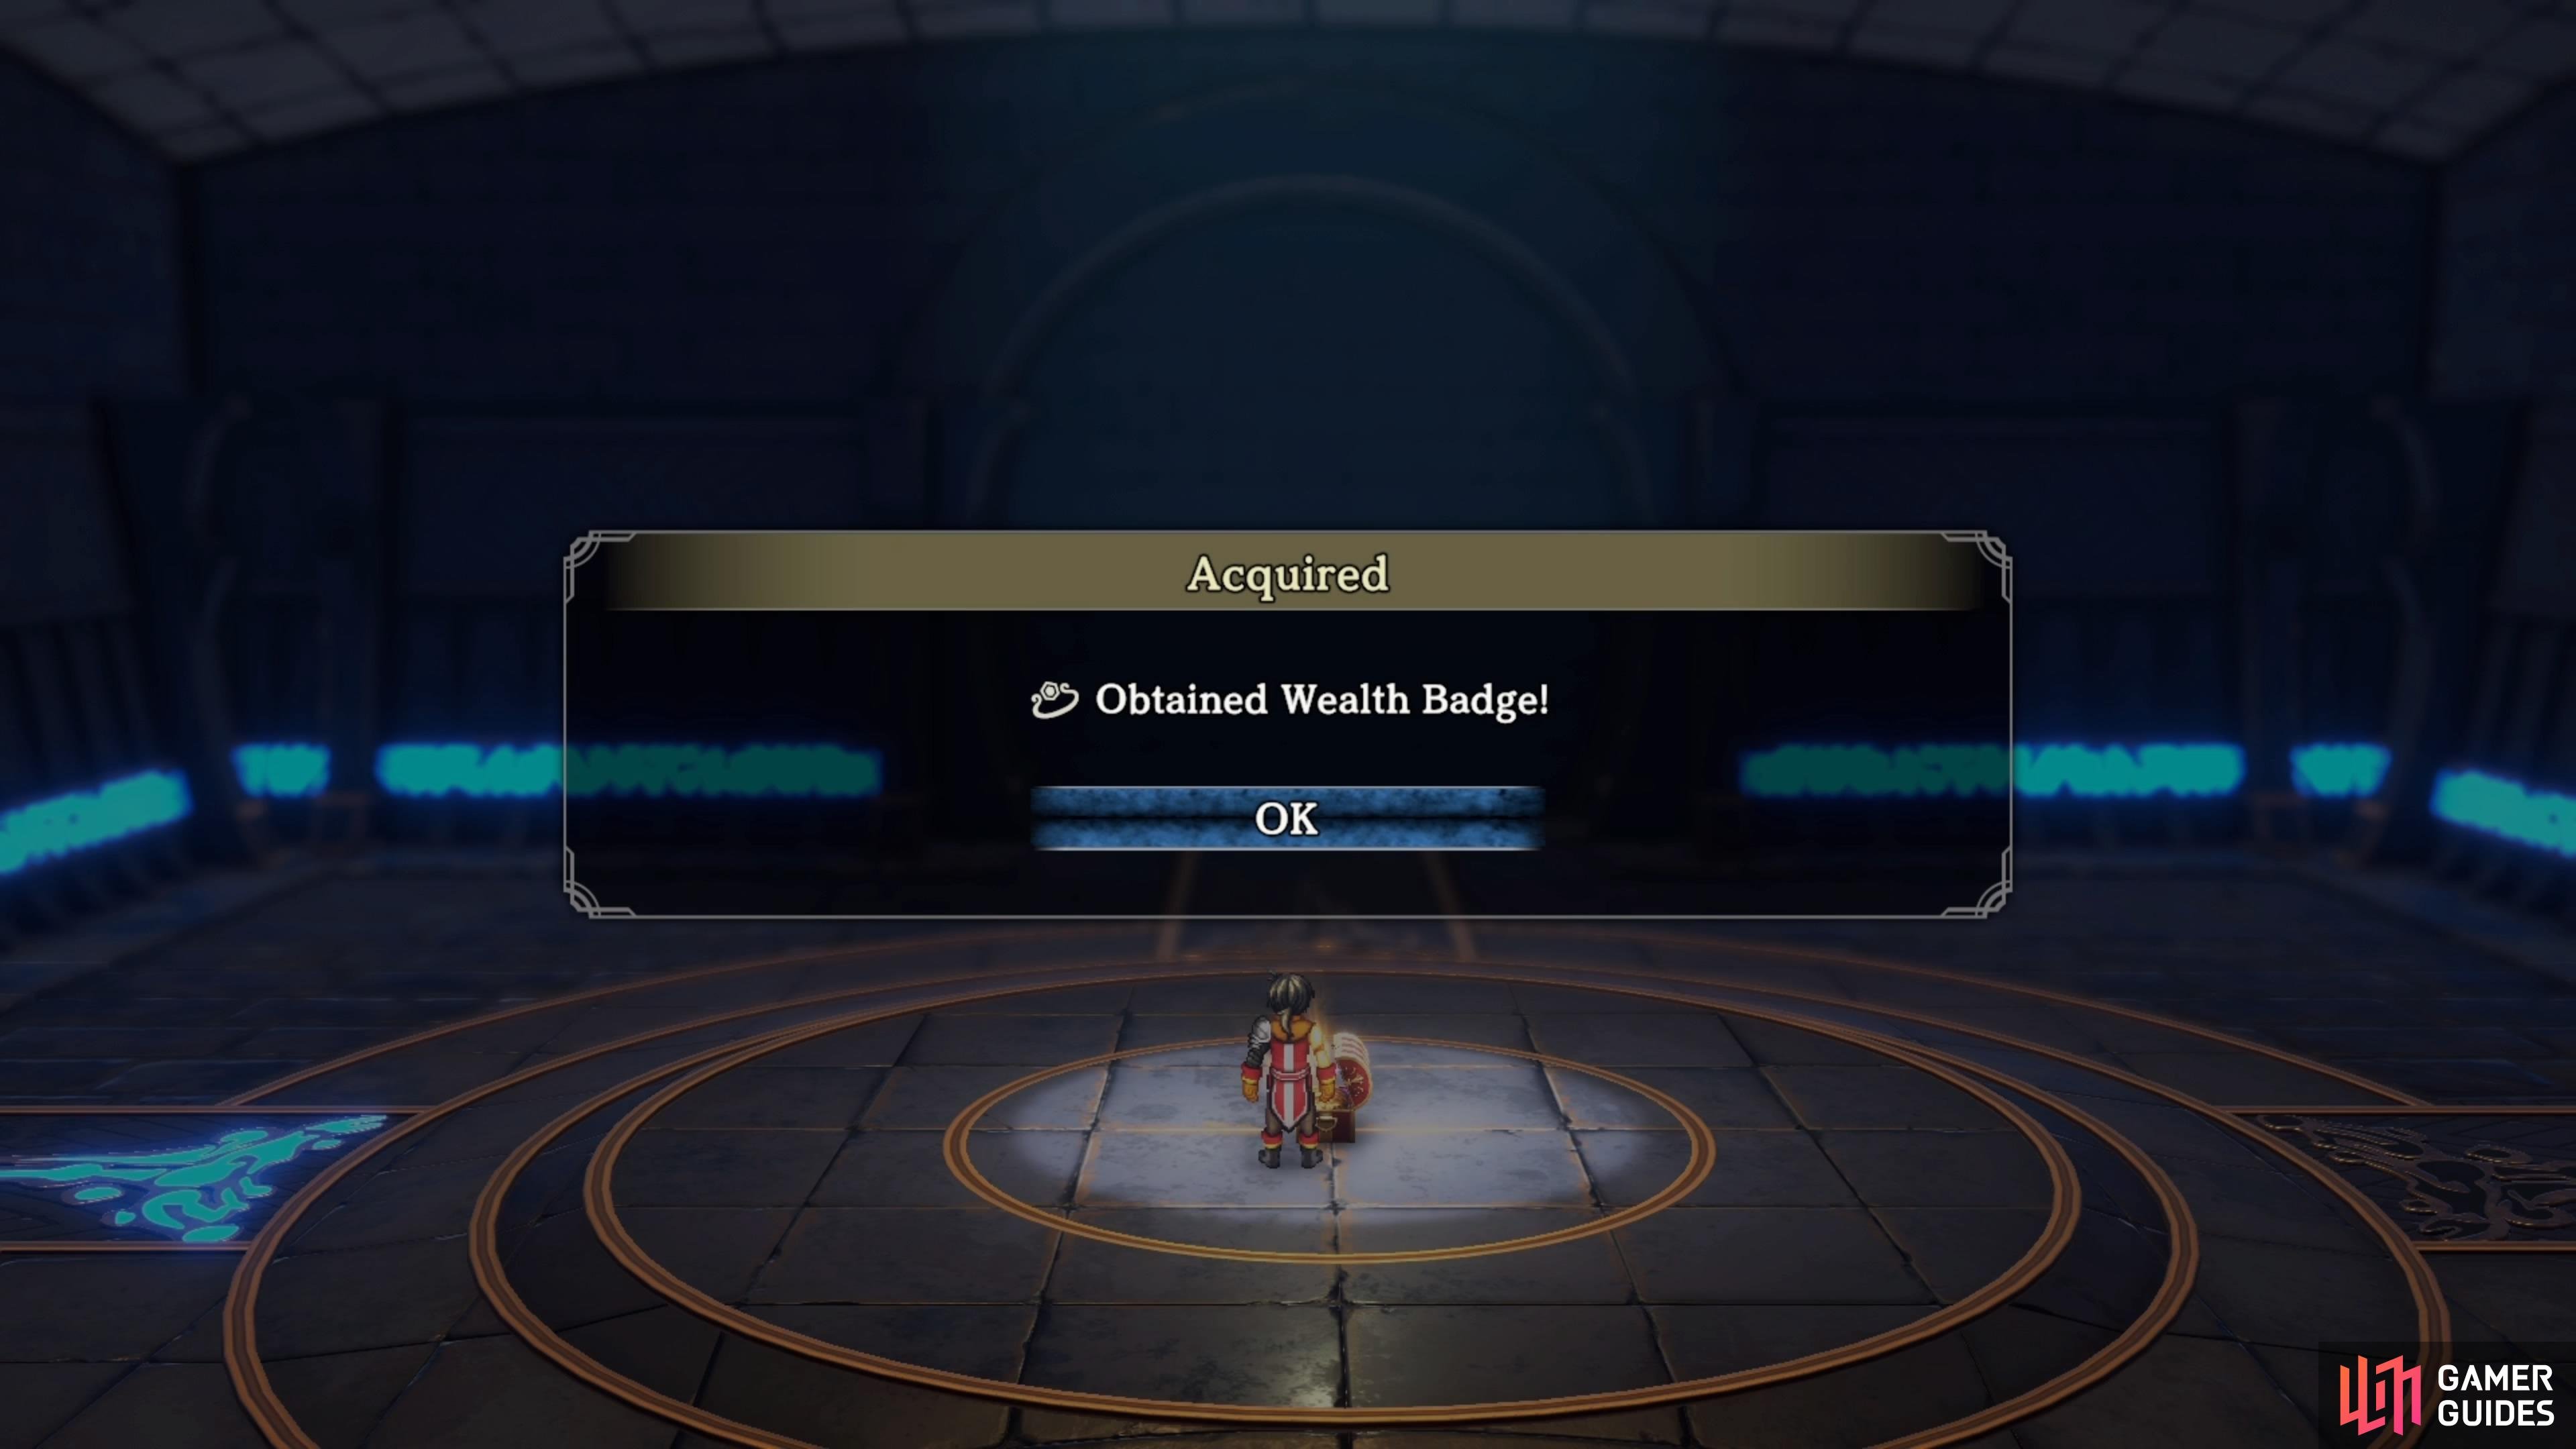
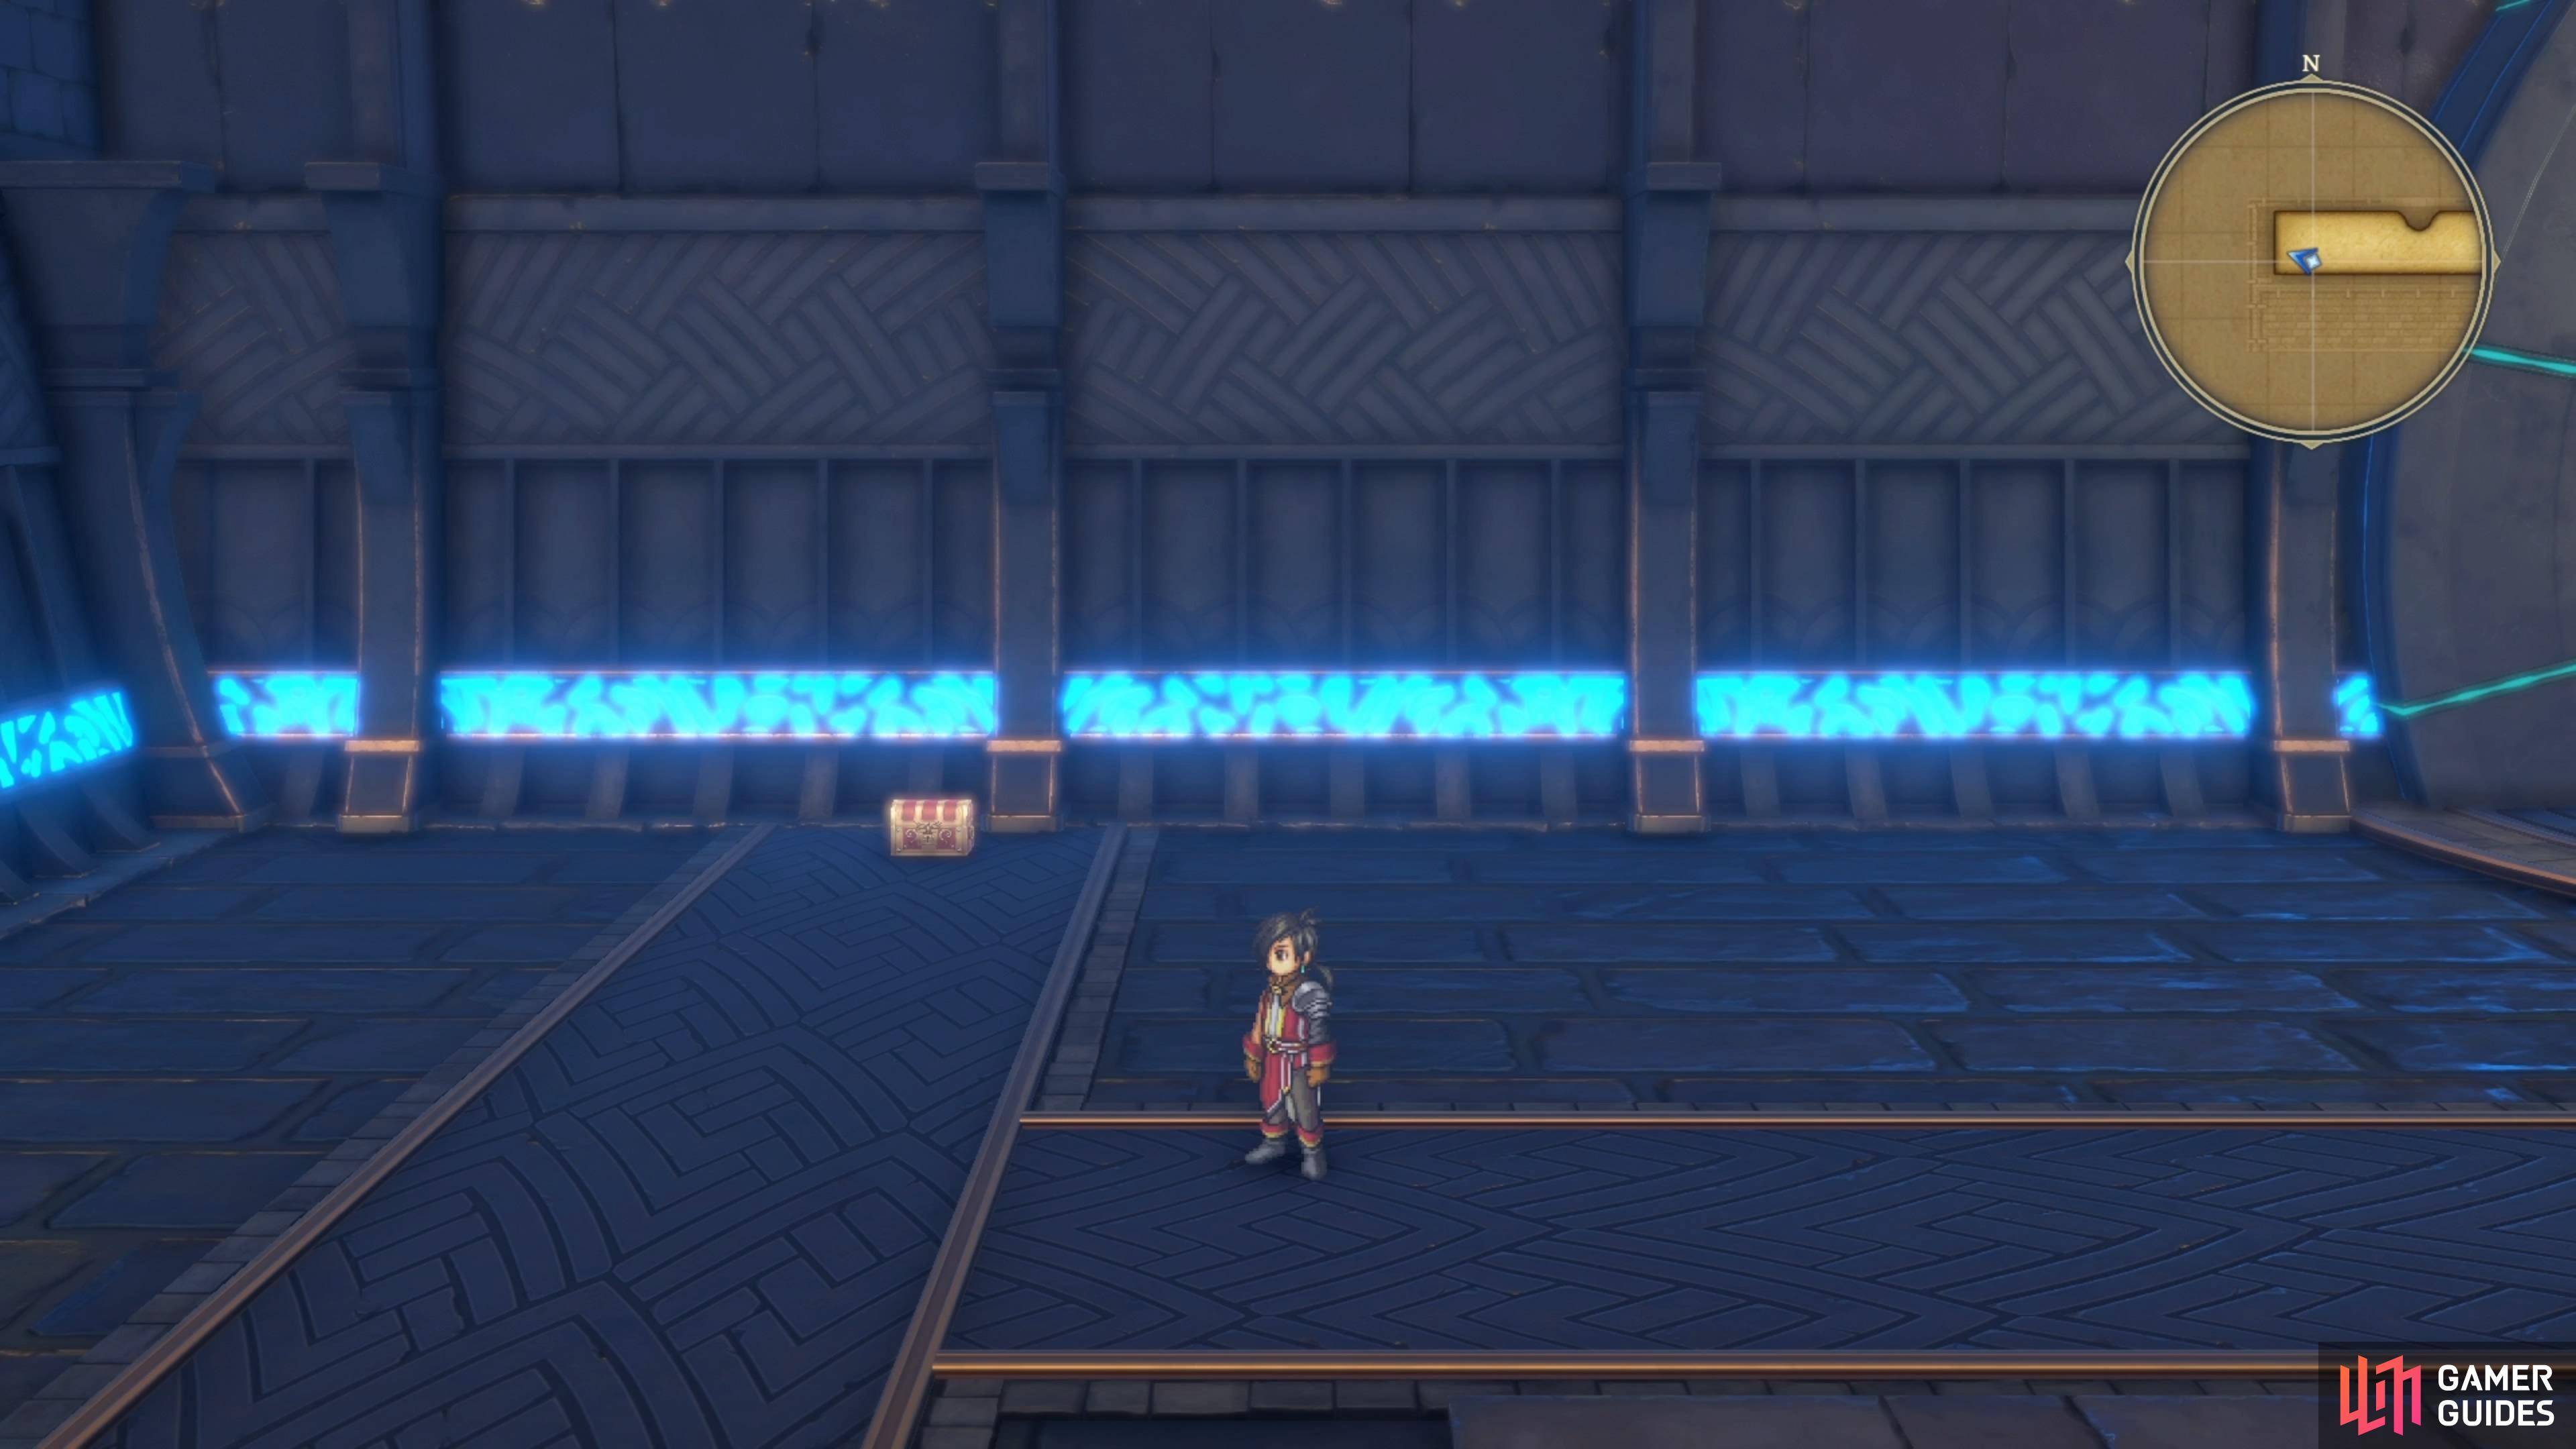
Interact with the smaller button on the ground to open the door, then head inside. If you look at the map in this new area, it’s pretty straightforward. Go straight right at the beginning, to the dead end, where you’ll find a chest with a Wealth Badge. This accessory will increase the amount of Baqua (money) you get from battles, so it’s good to always have it on someone in your active party. Return to the fork and head north this time, stopping on the blue orb thing.
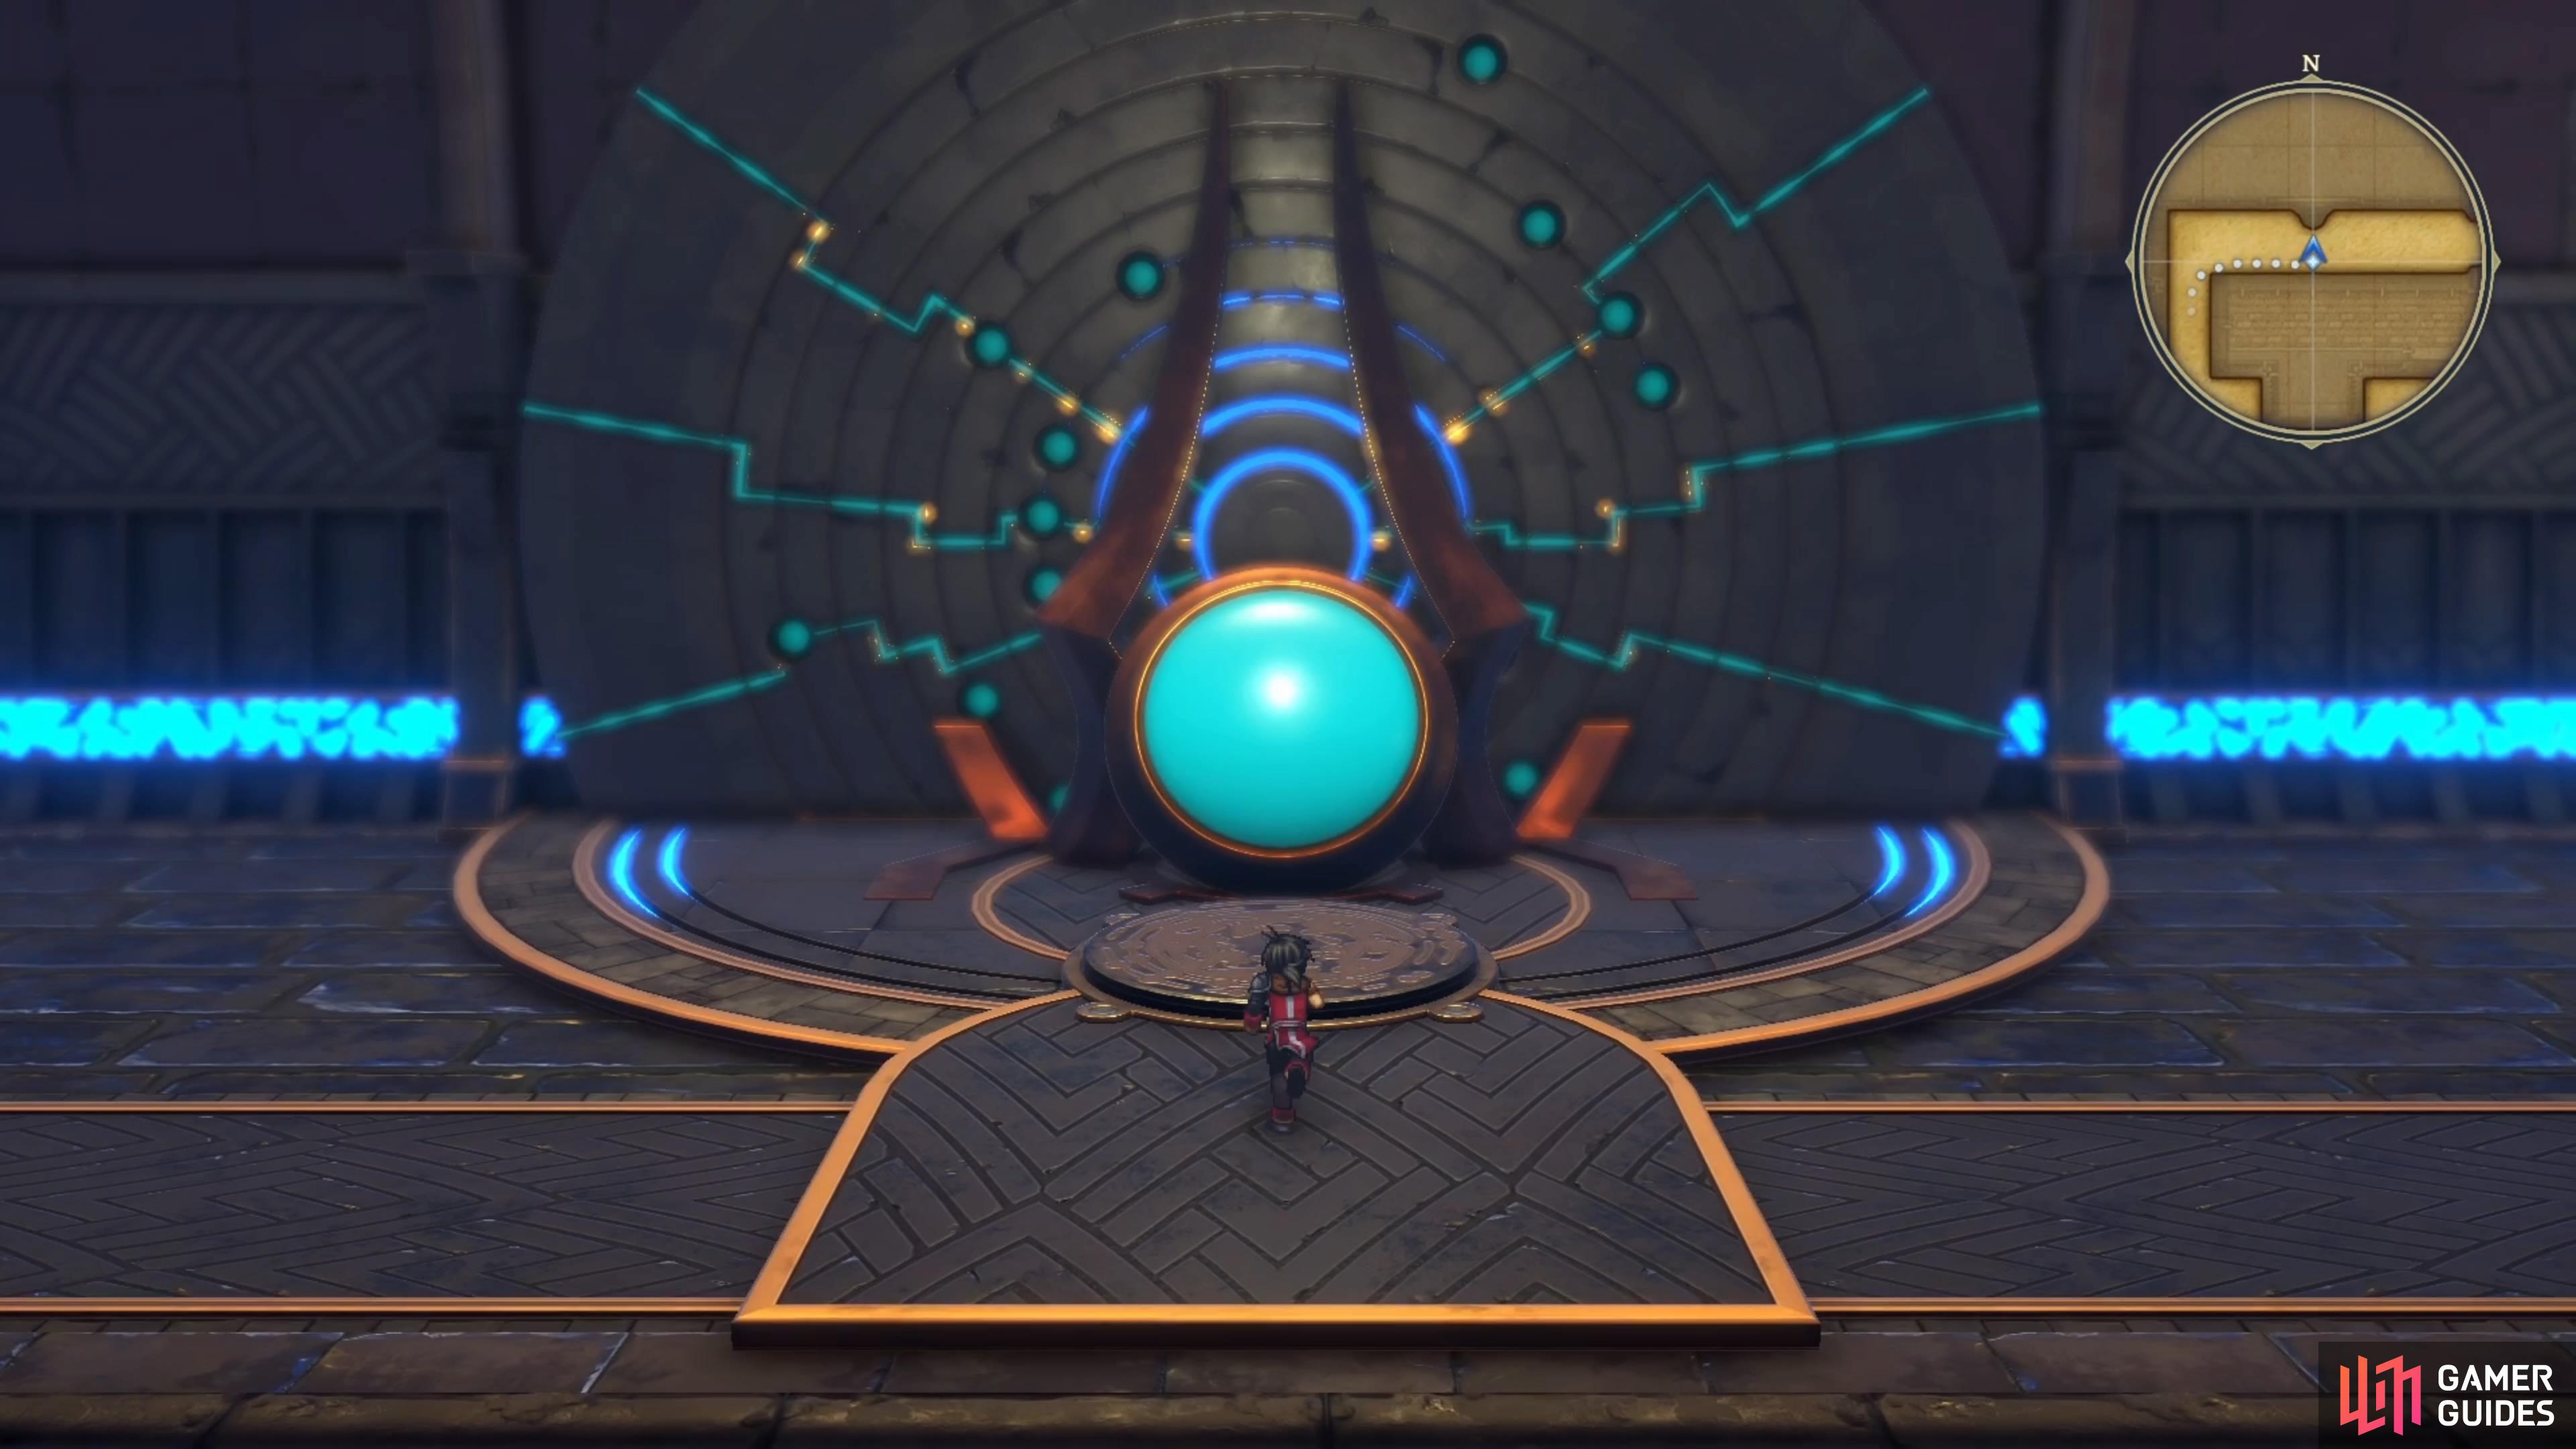
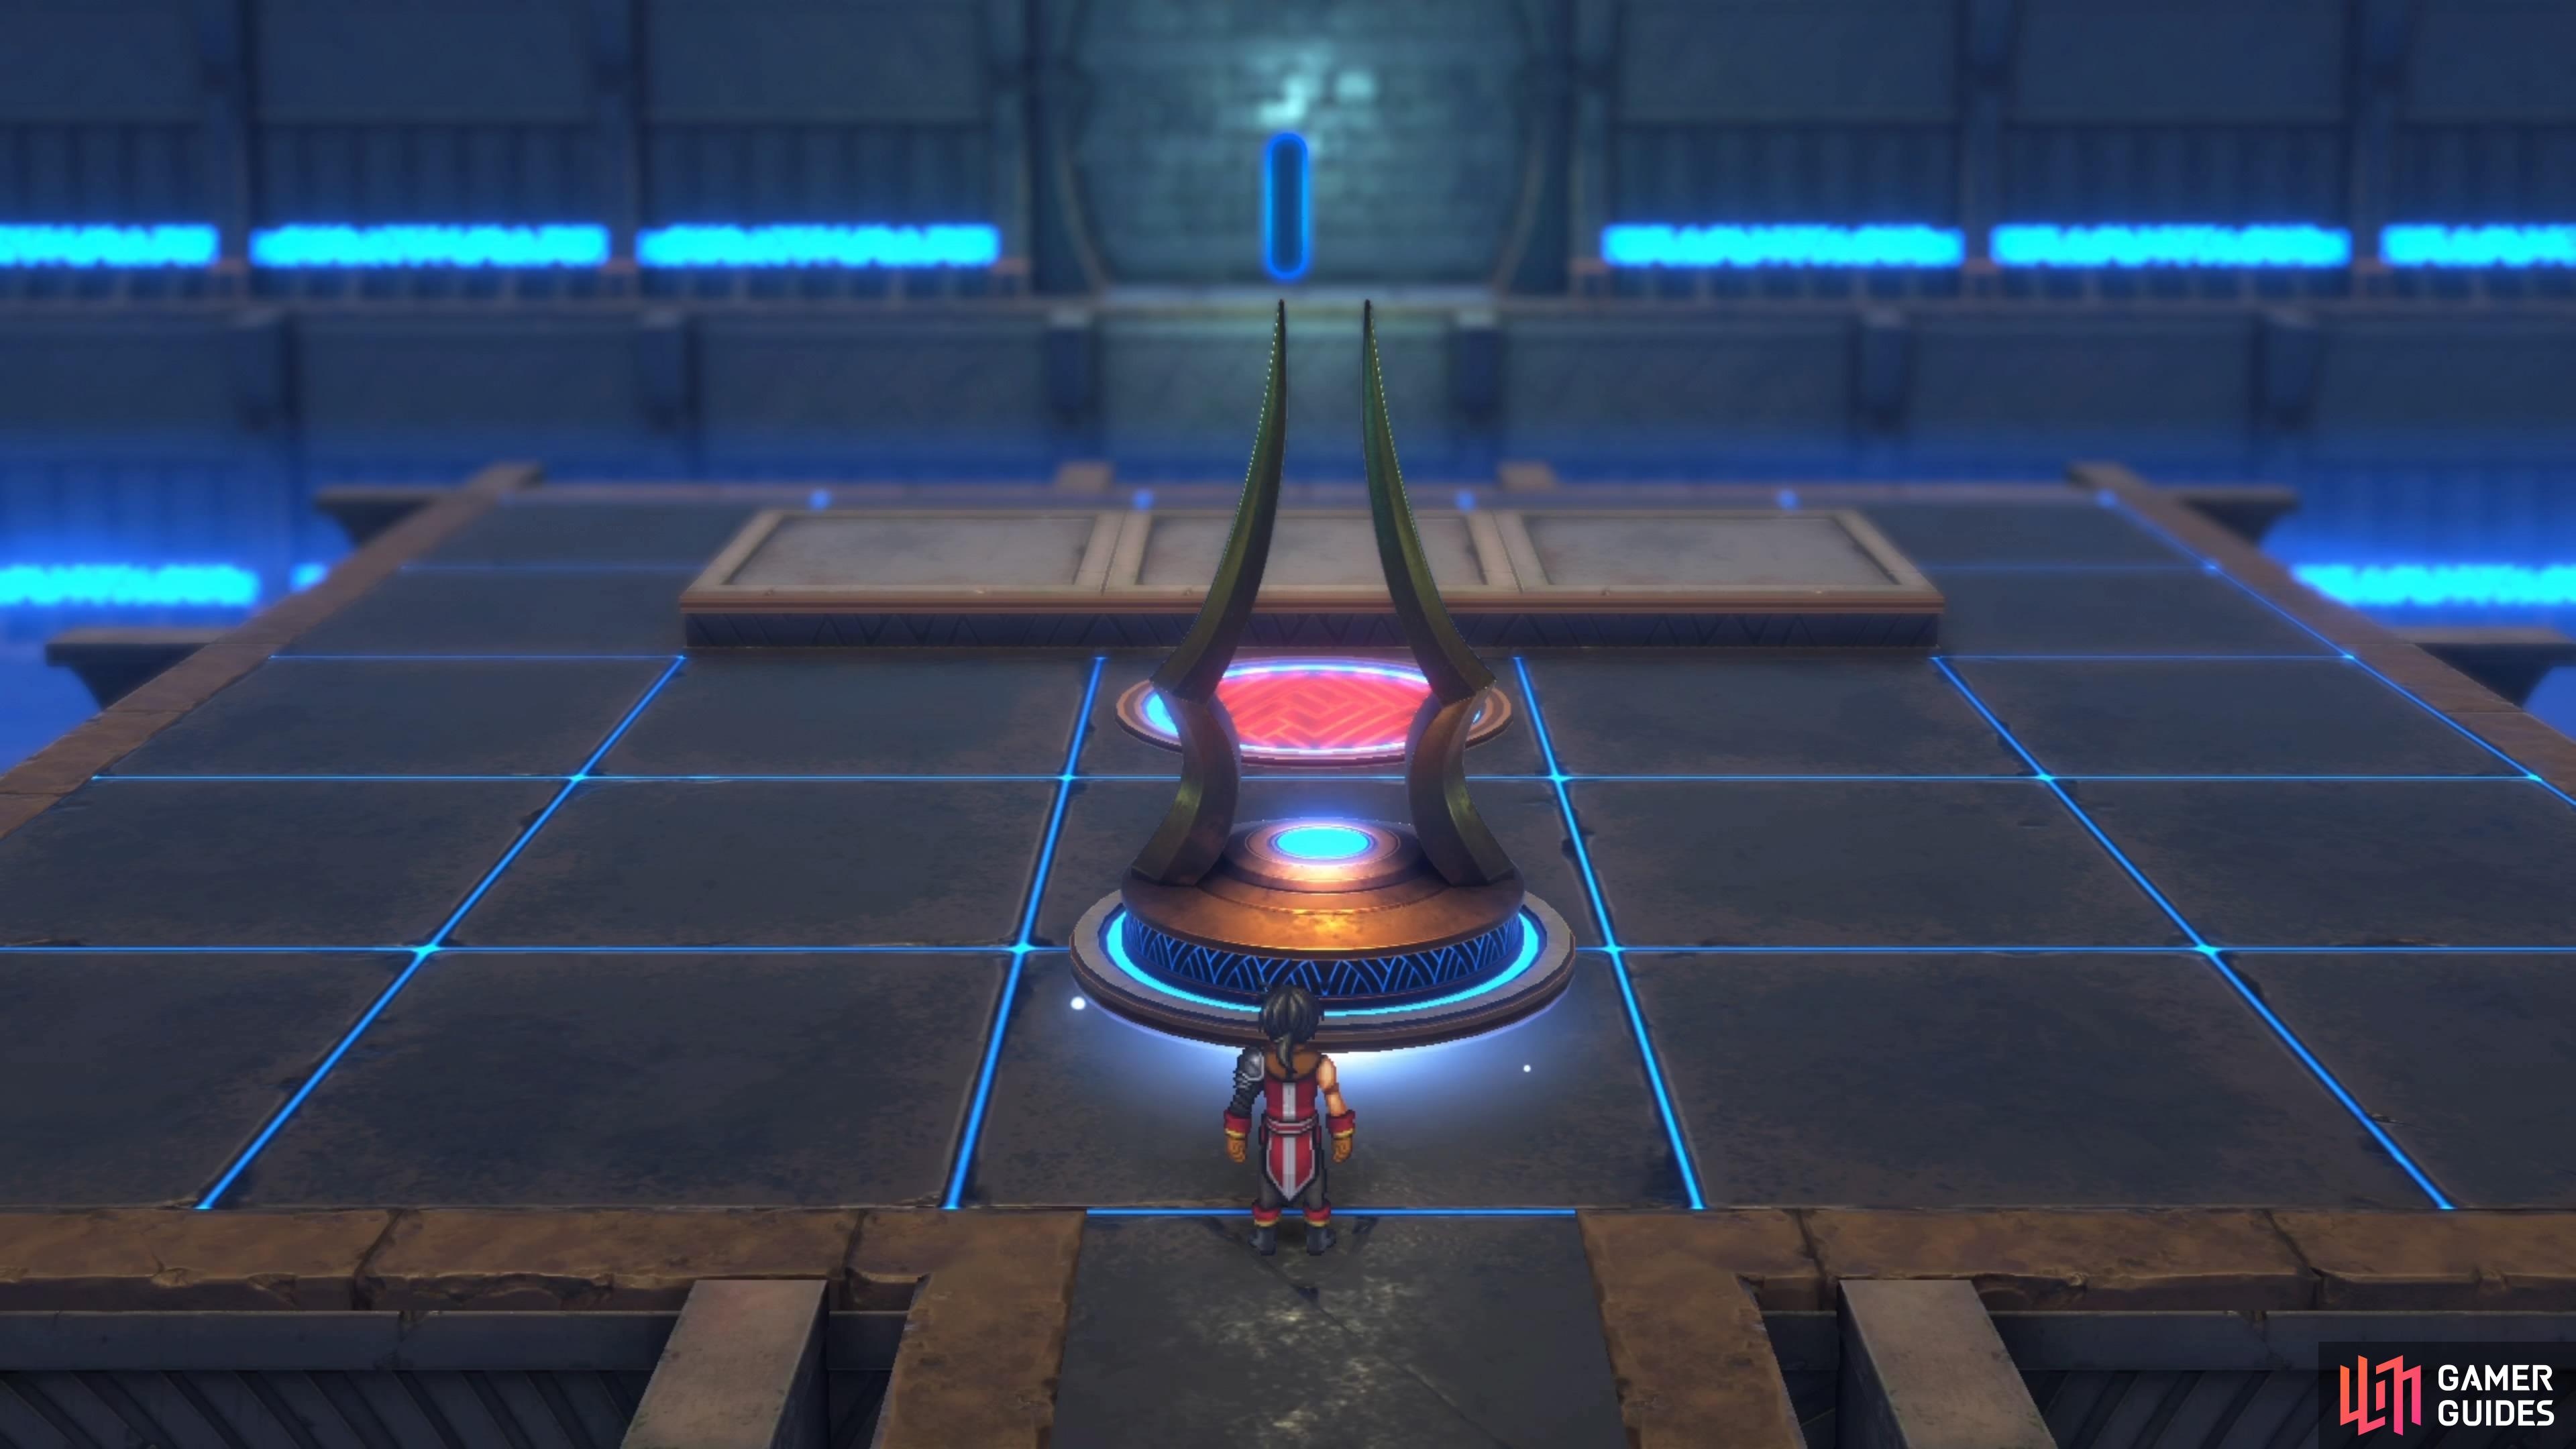
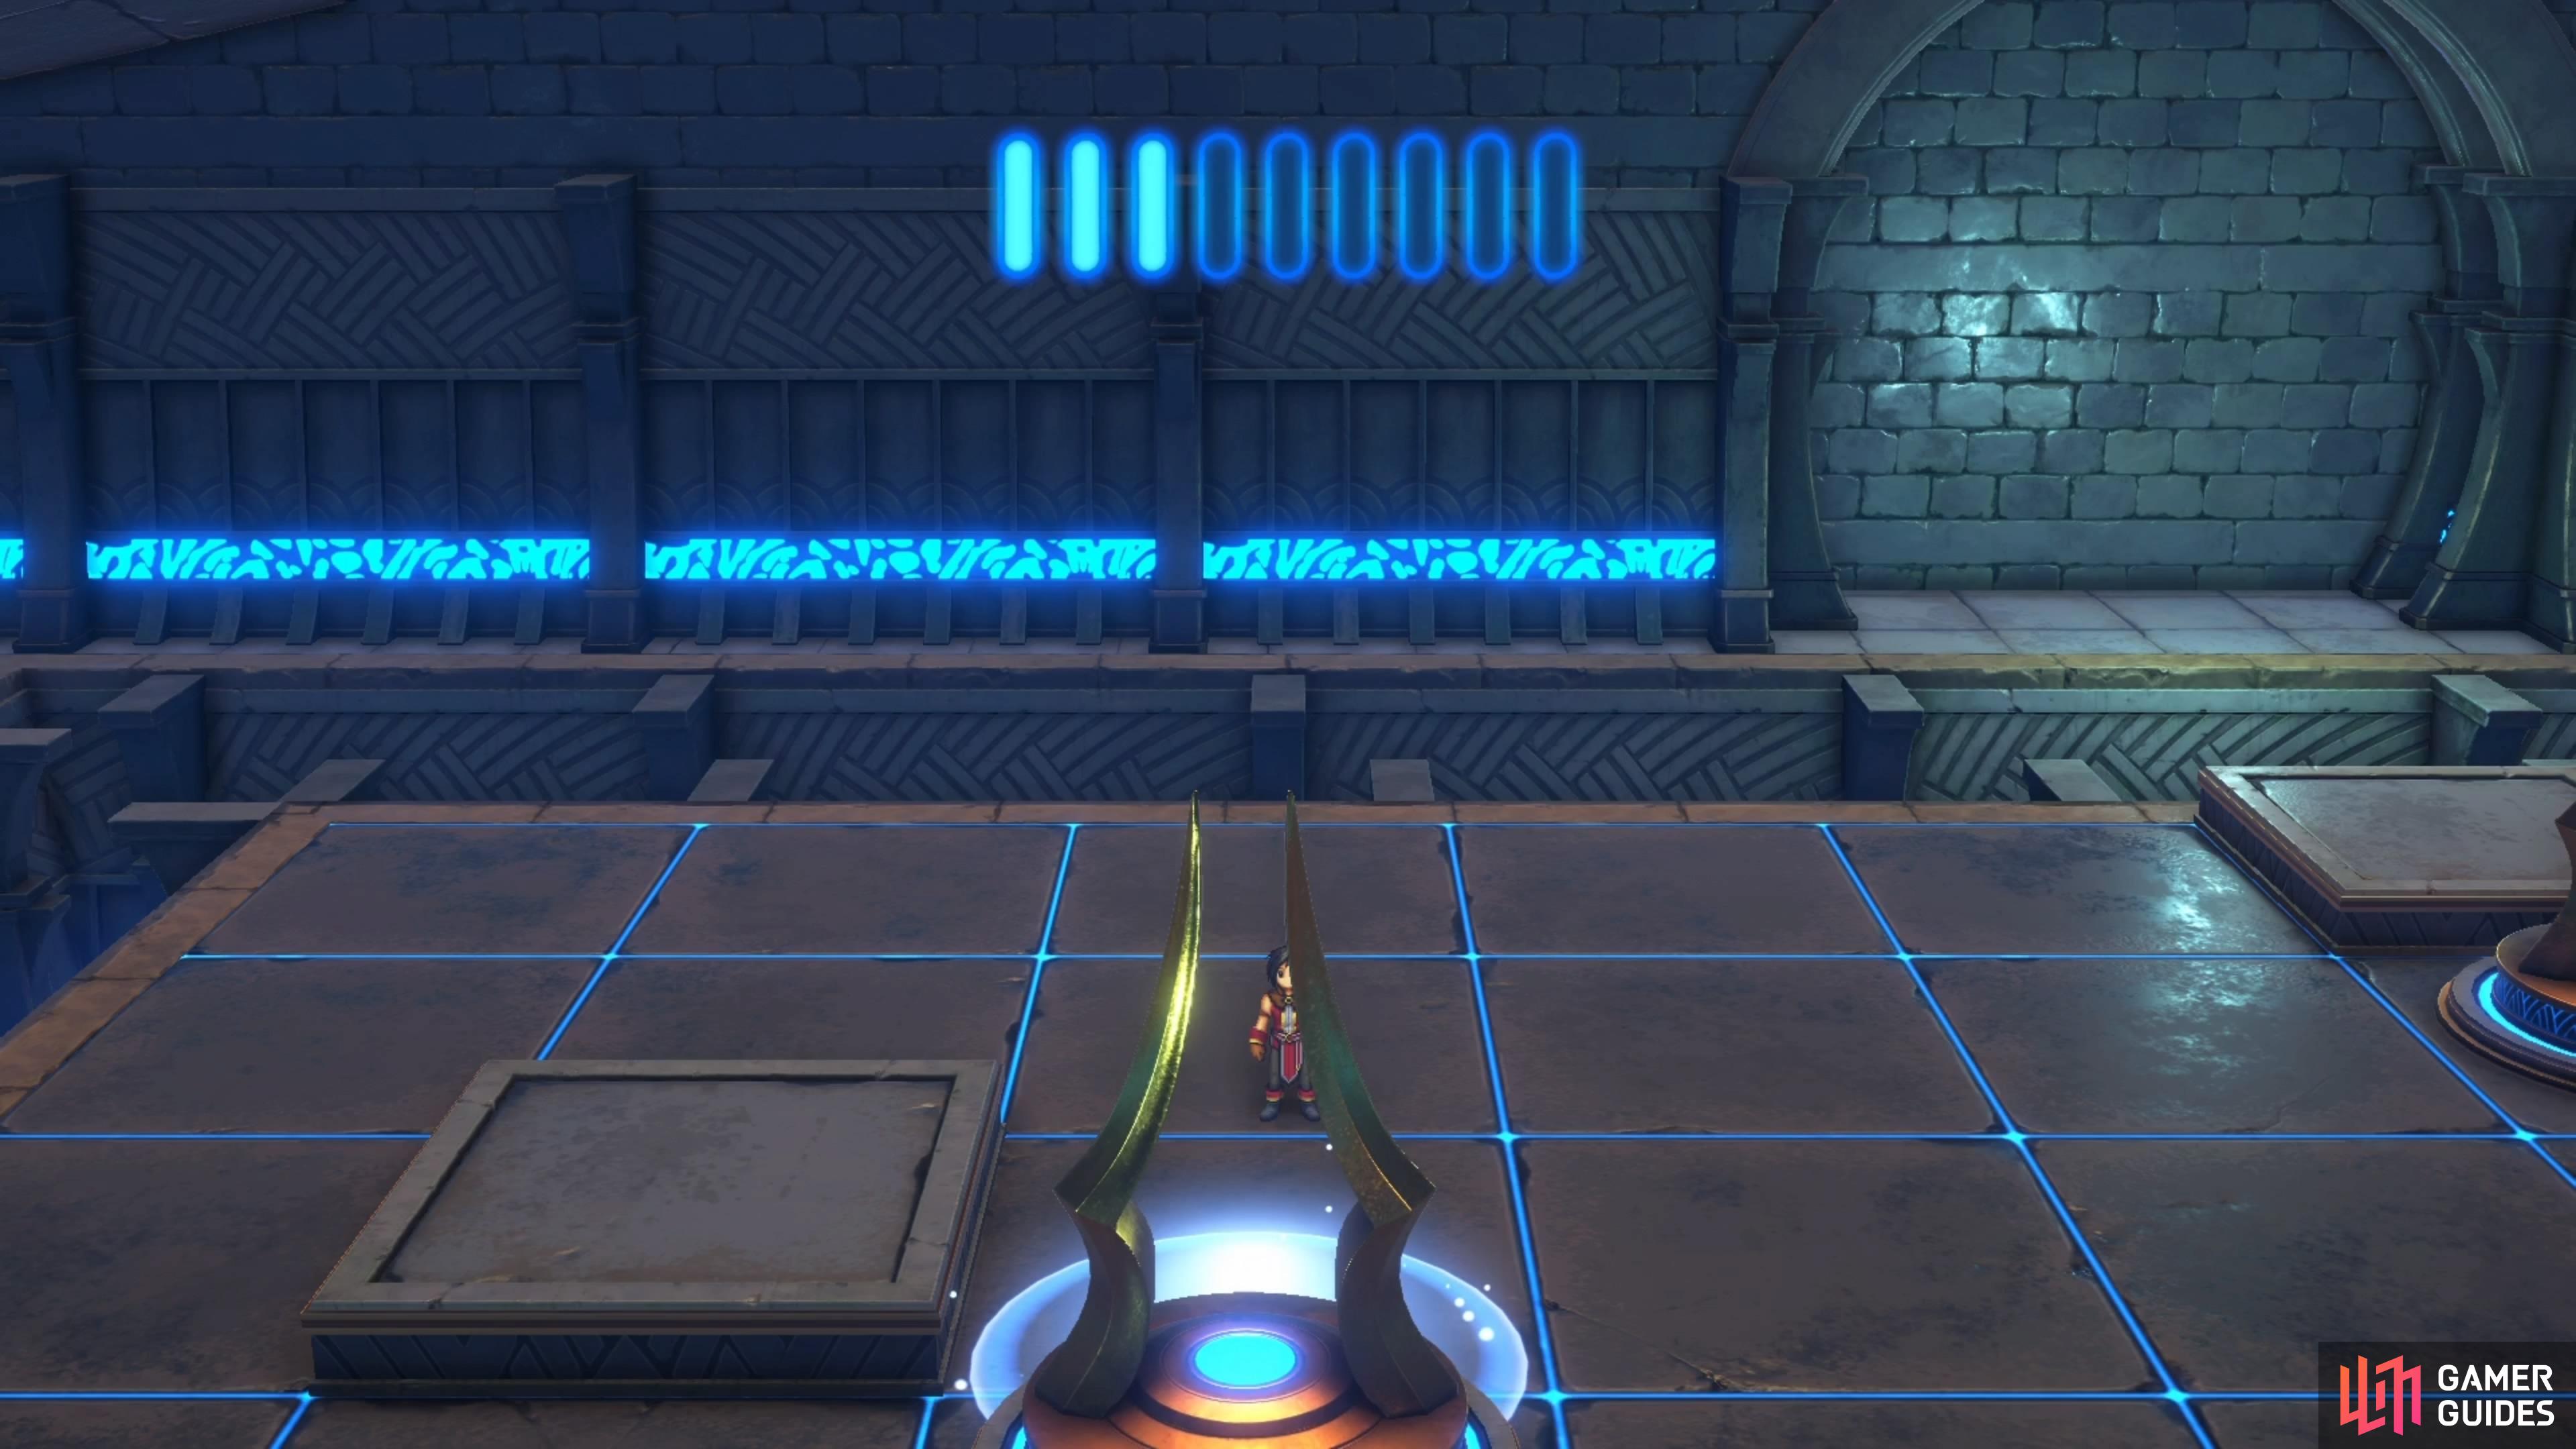
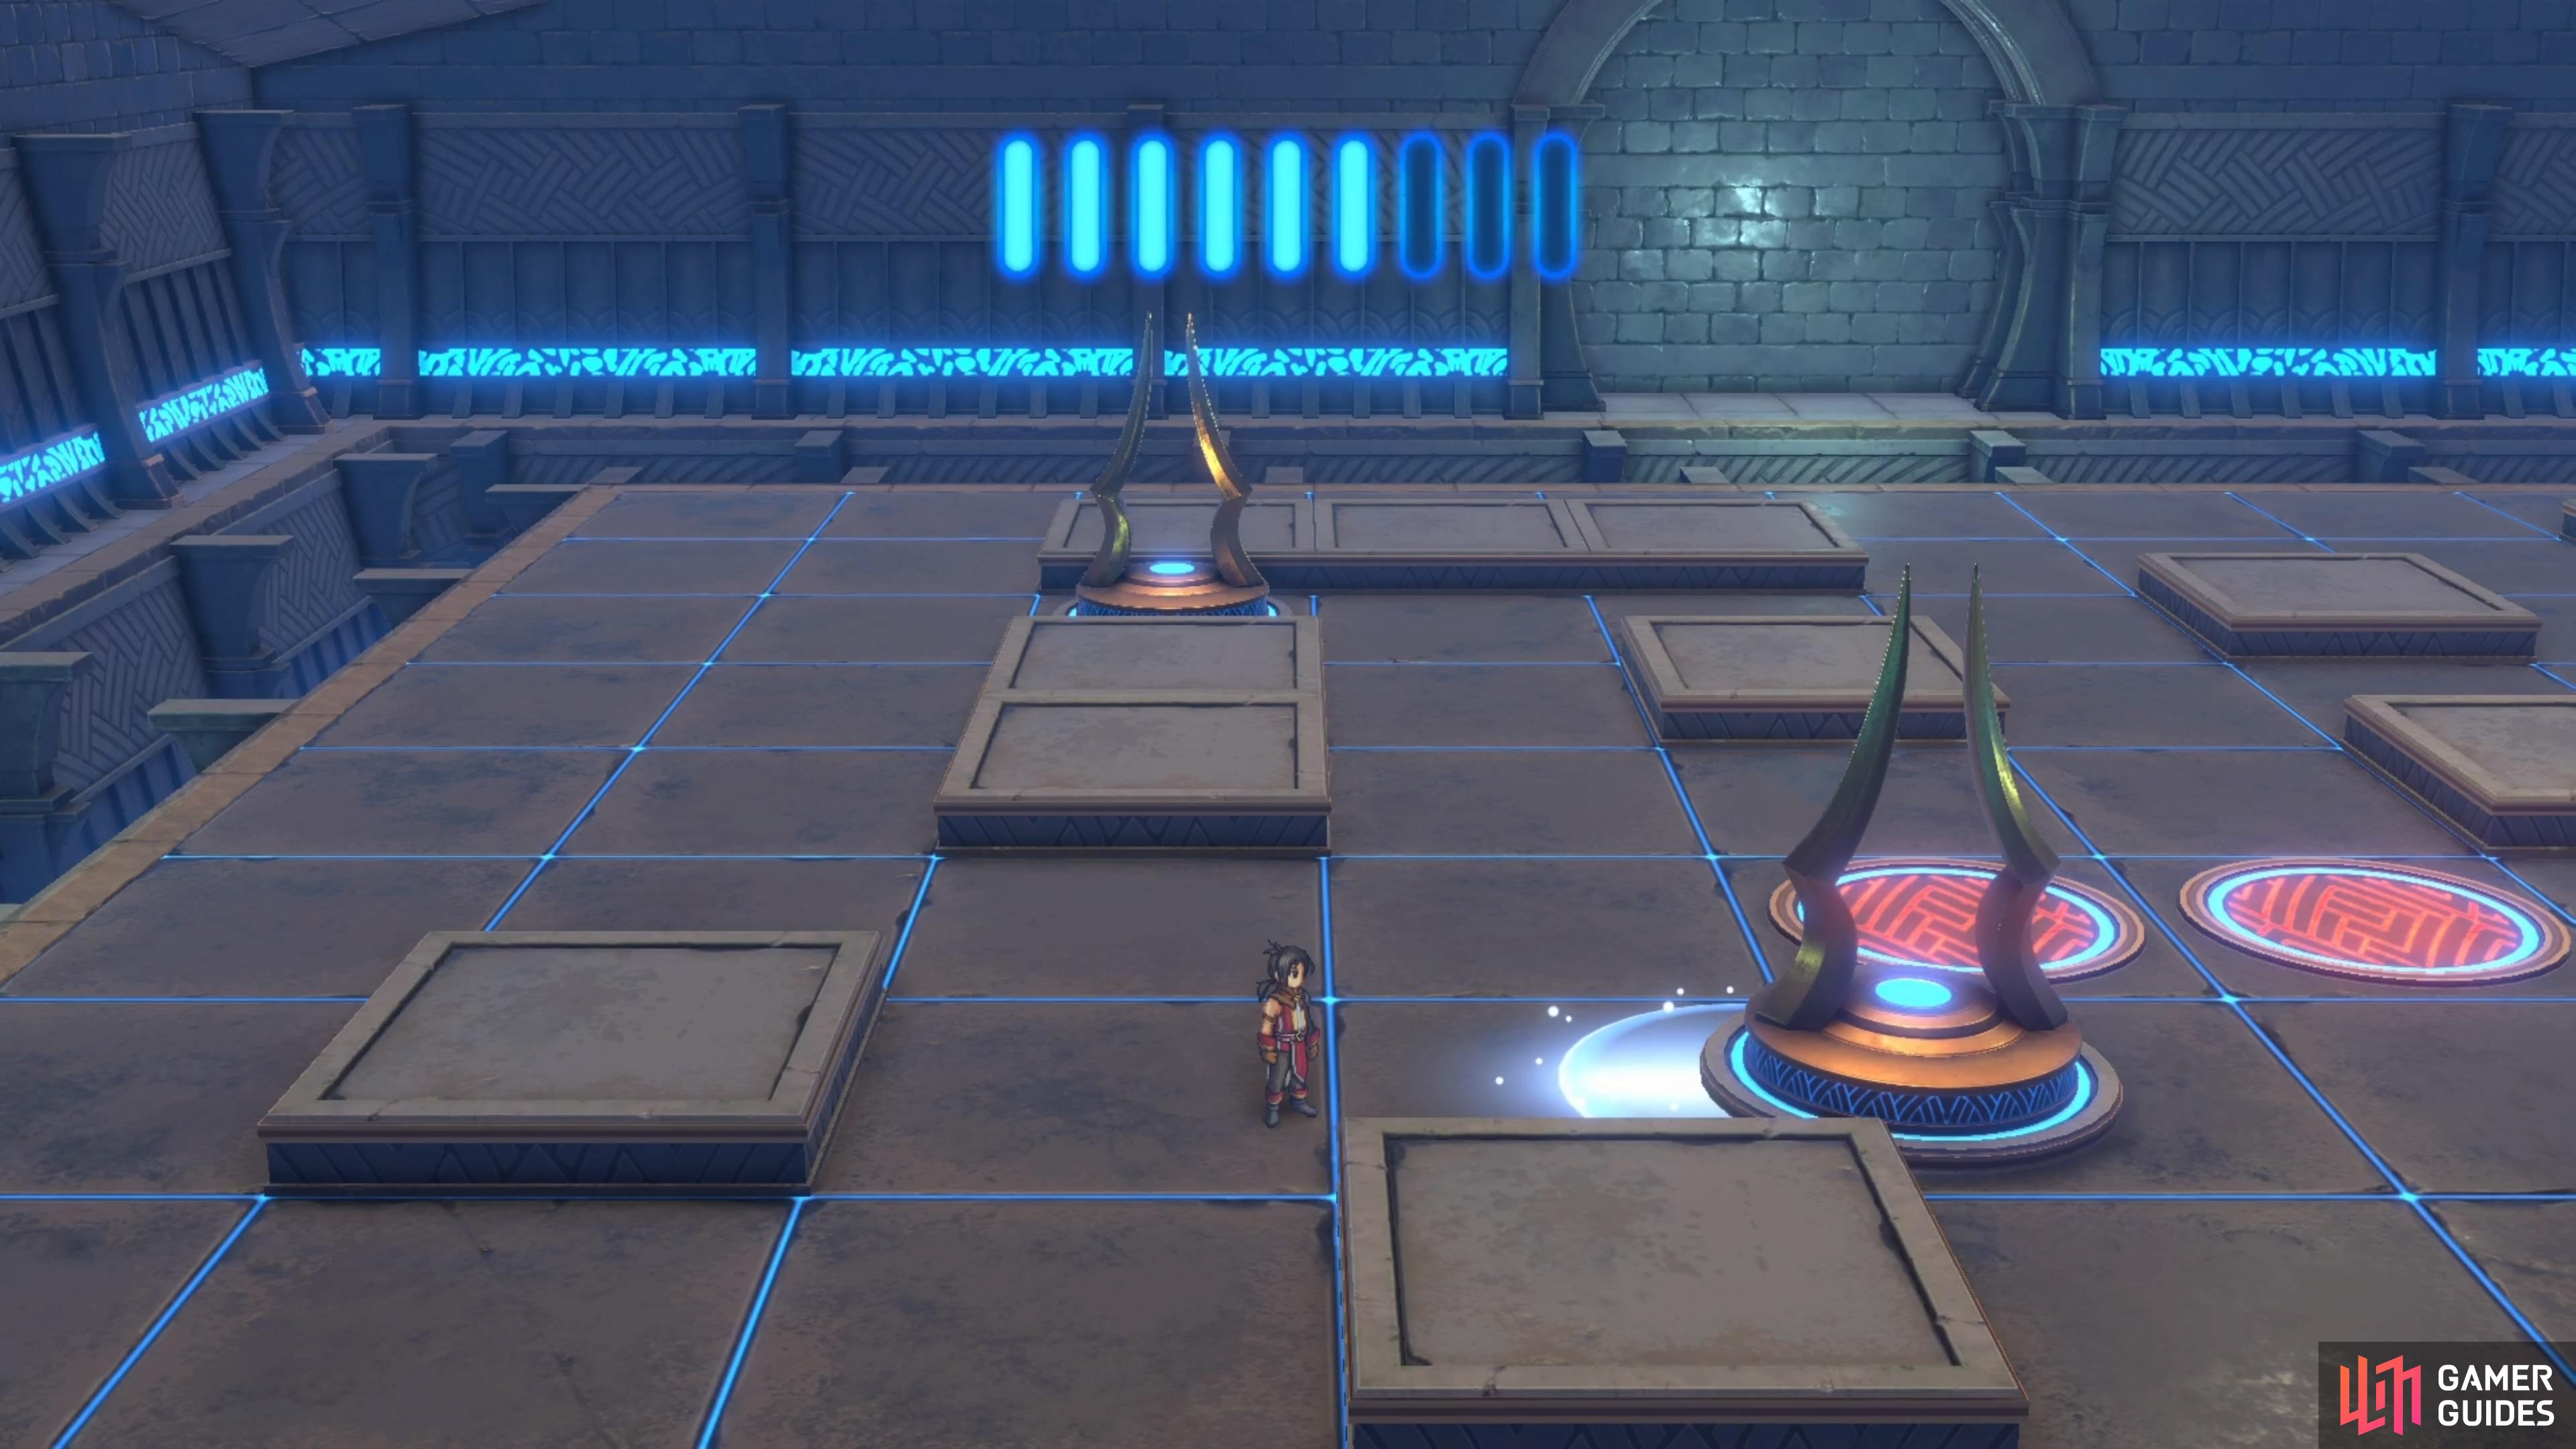
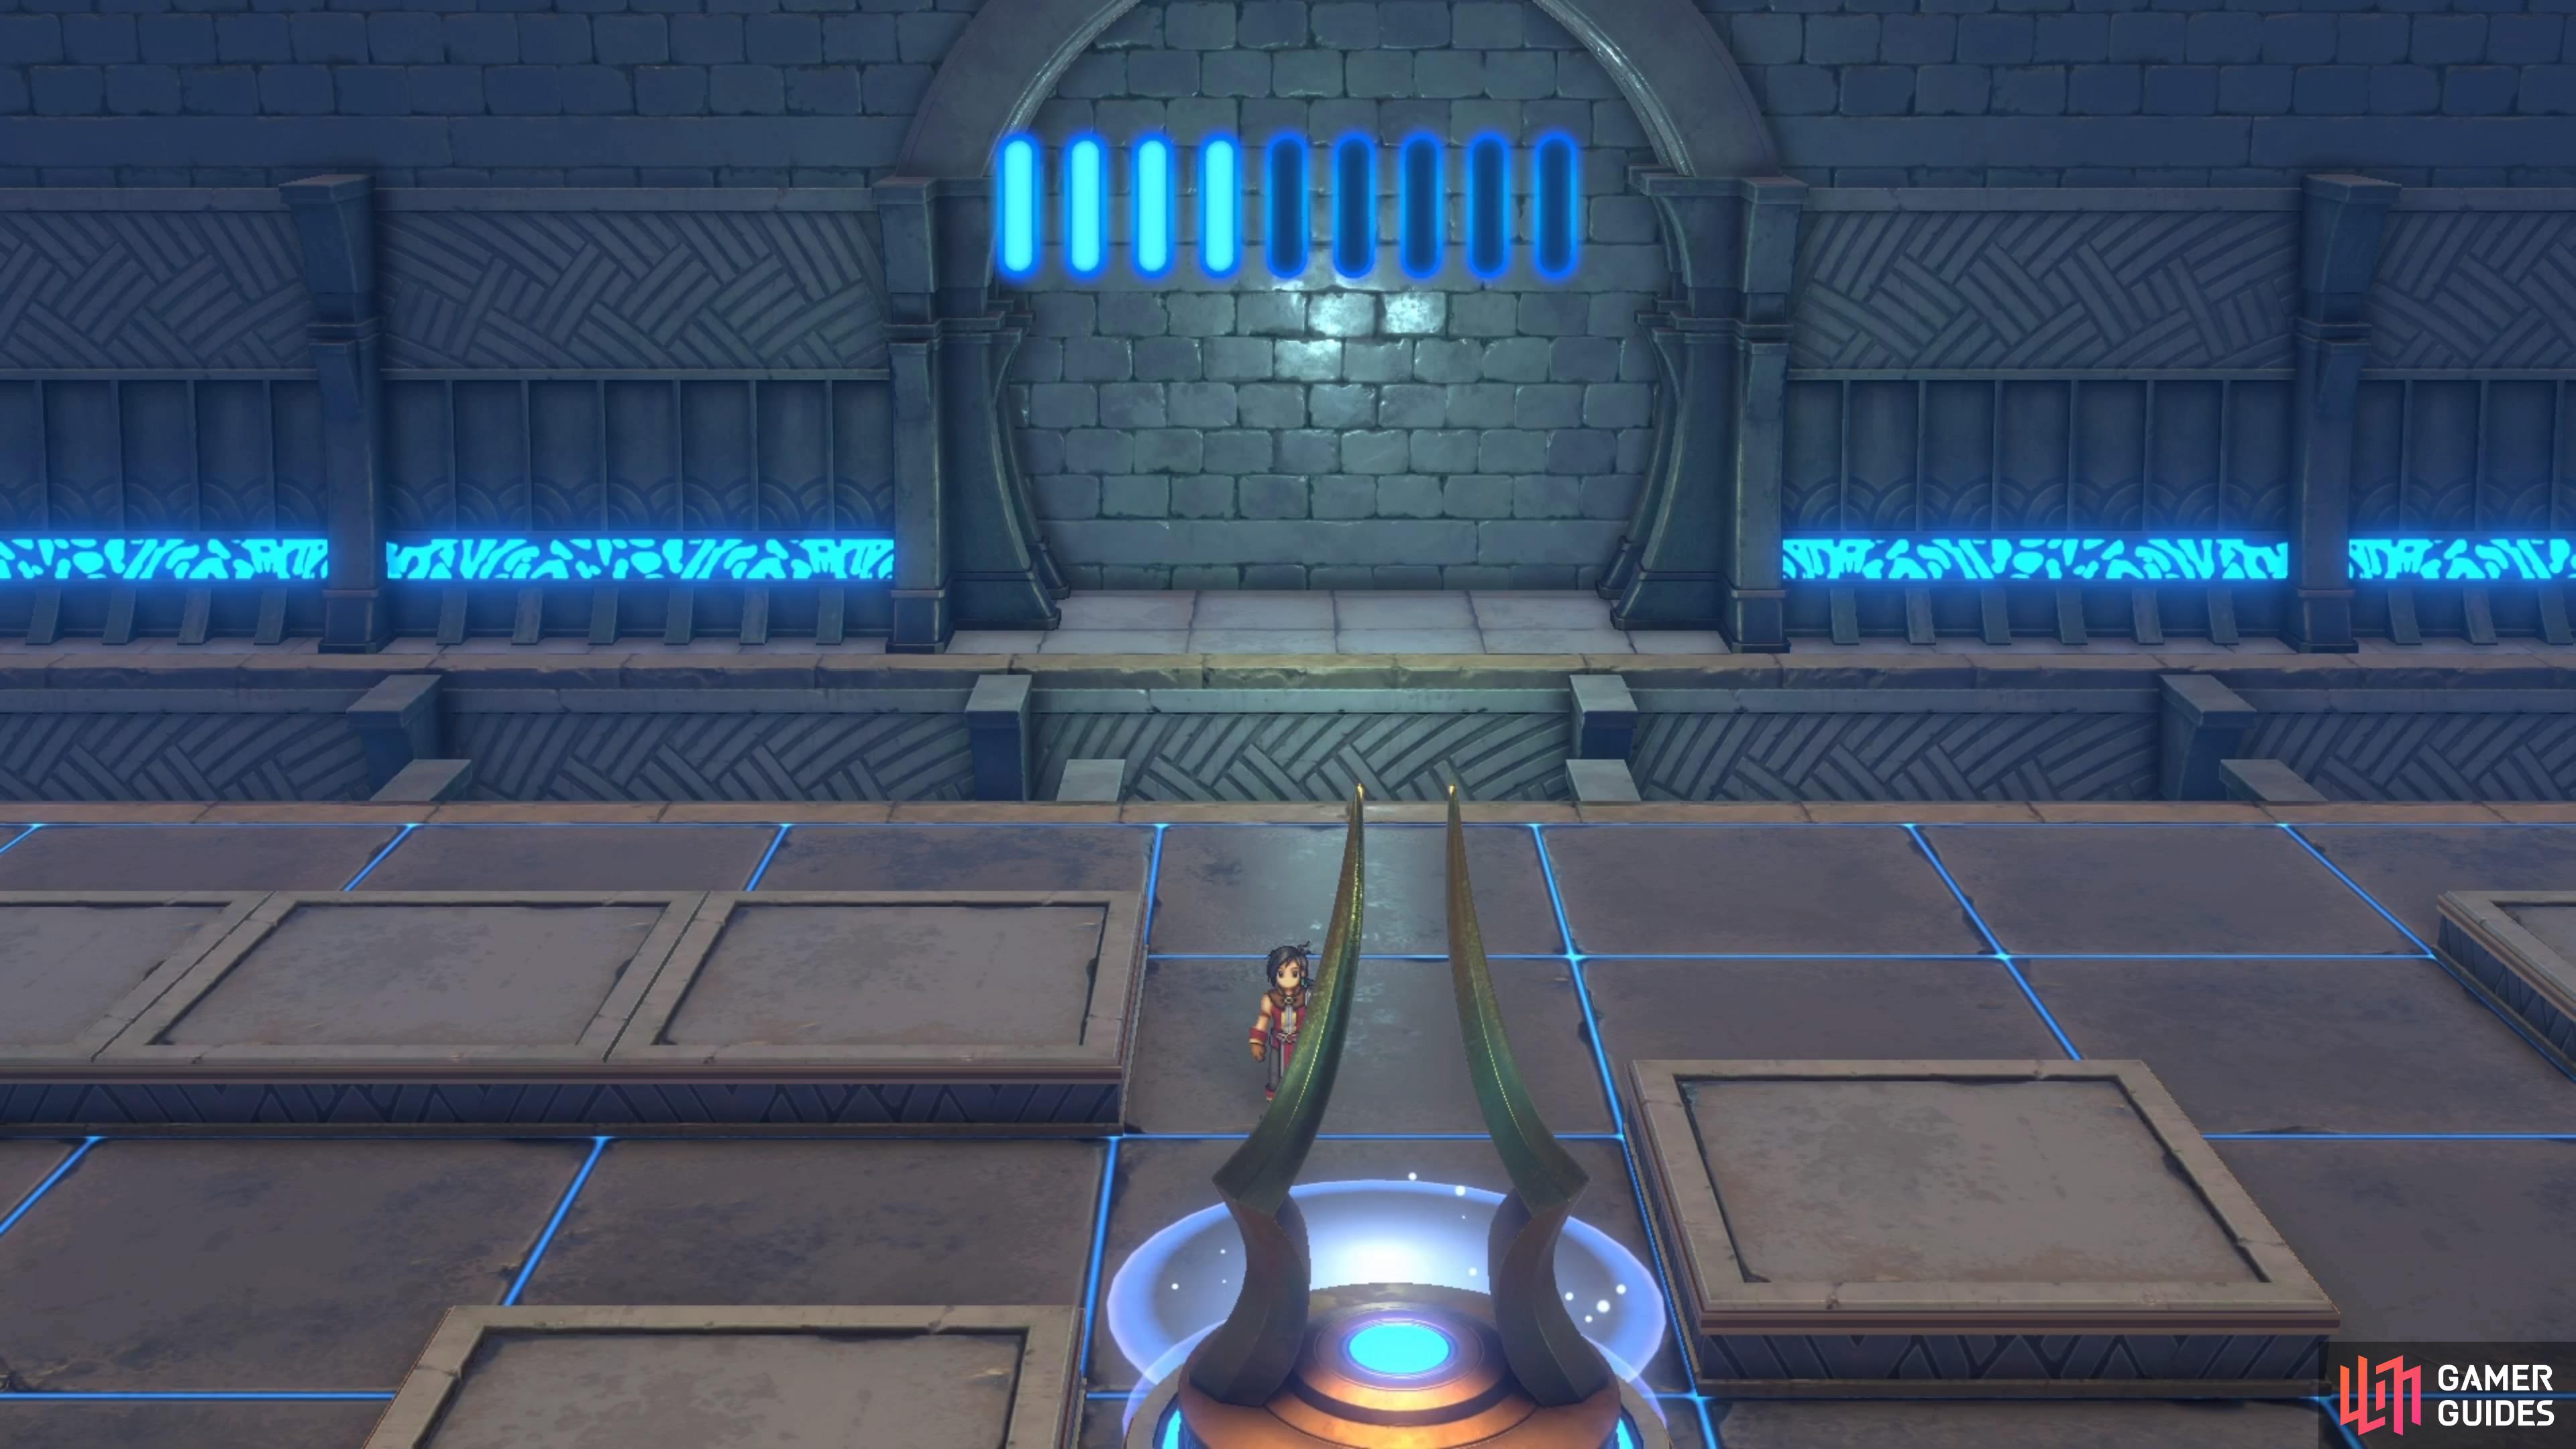
Try to step on the button for a short scene, where the party will be transported to a smaller room. There is a disc-like statue in front of you that you can interact with, which will slide in the direction you push it, only stopping when it hits something. There are a few of these puzzles in this dungeon, with each one getting a little more complicated. At the top of the screen are markings (the blue, cylindrical light) that indicate the number of moves you have left. For the case of this first puzzle, you simply need to push the statue up to have it fall on the red pressure plate.
(1 of 4) There are a number of good treasures in this dungeon, so be sure to open all of the chests.
This will open the door to the right of the mechanism, so pass through the doorway, then head north at the intersection. The room here will have a chest sitting in the middle of it, so open it for Faded Book, Chapter 8. Follow the rest of the path to find some stairs, so go down them and onto the lower floor. The path is fairly linear here, too, with the diversions leading to a chest in the bottom left corner (Dark Chocolate Cake Recipe). Once you have that, head to the very end, but before interacting with the device there, look past it for one final chest on this side (Rune of the Warrior’s Pinnacle).
Runebarrows Right Side - Second Puzzle 1
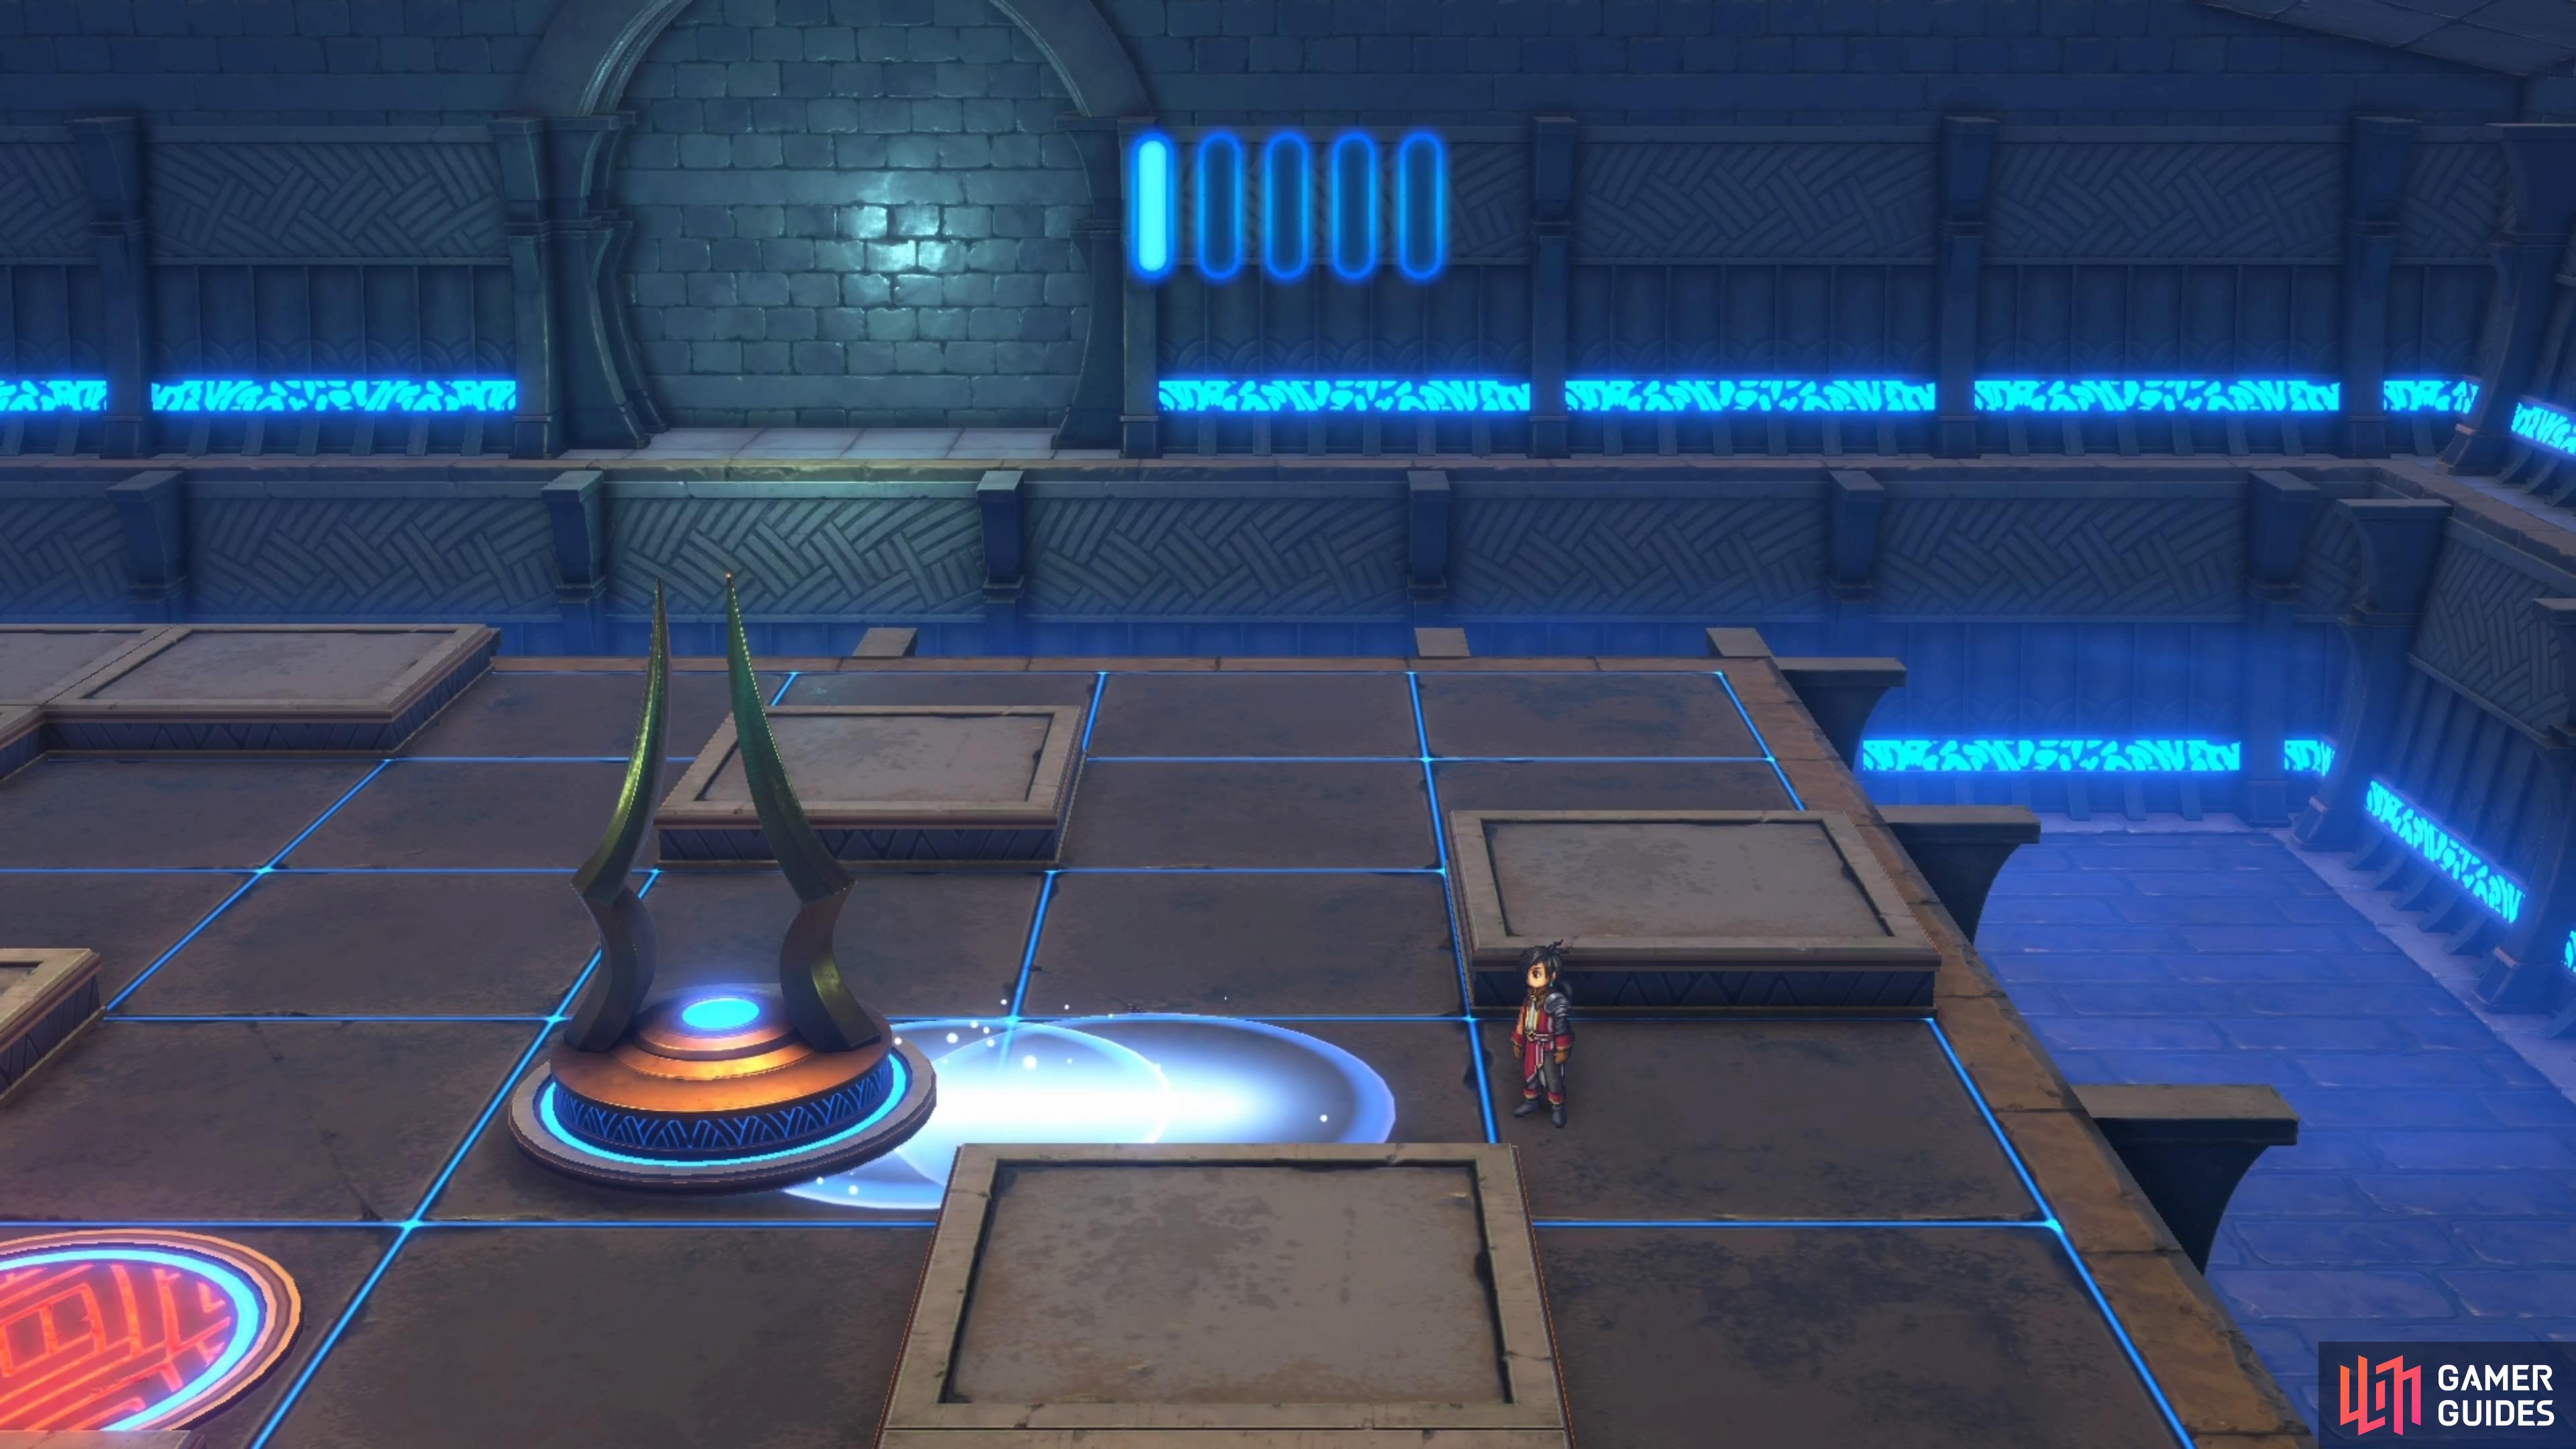
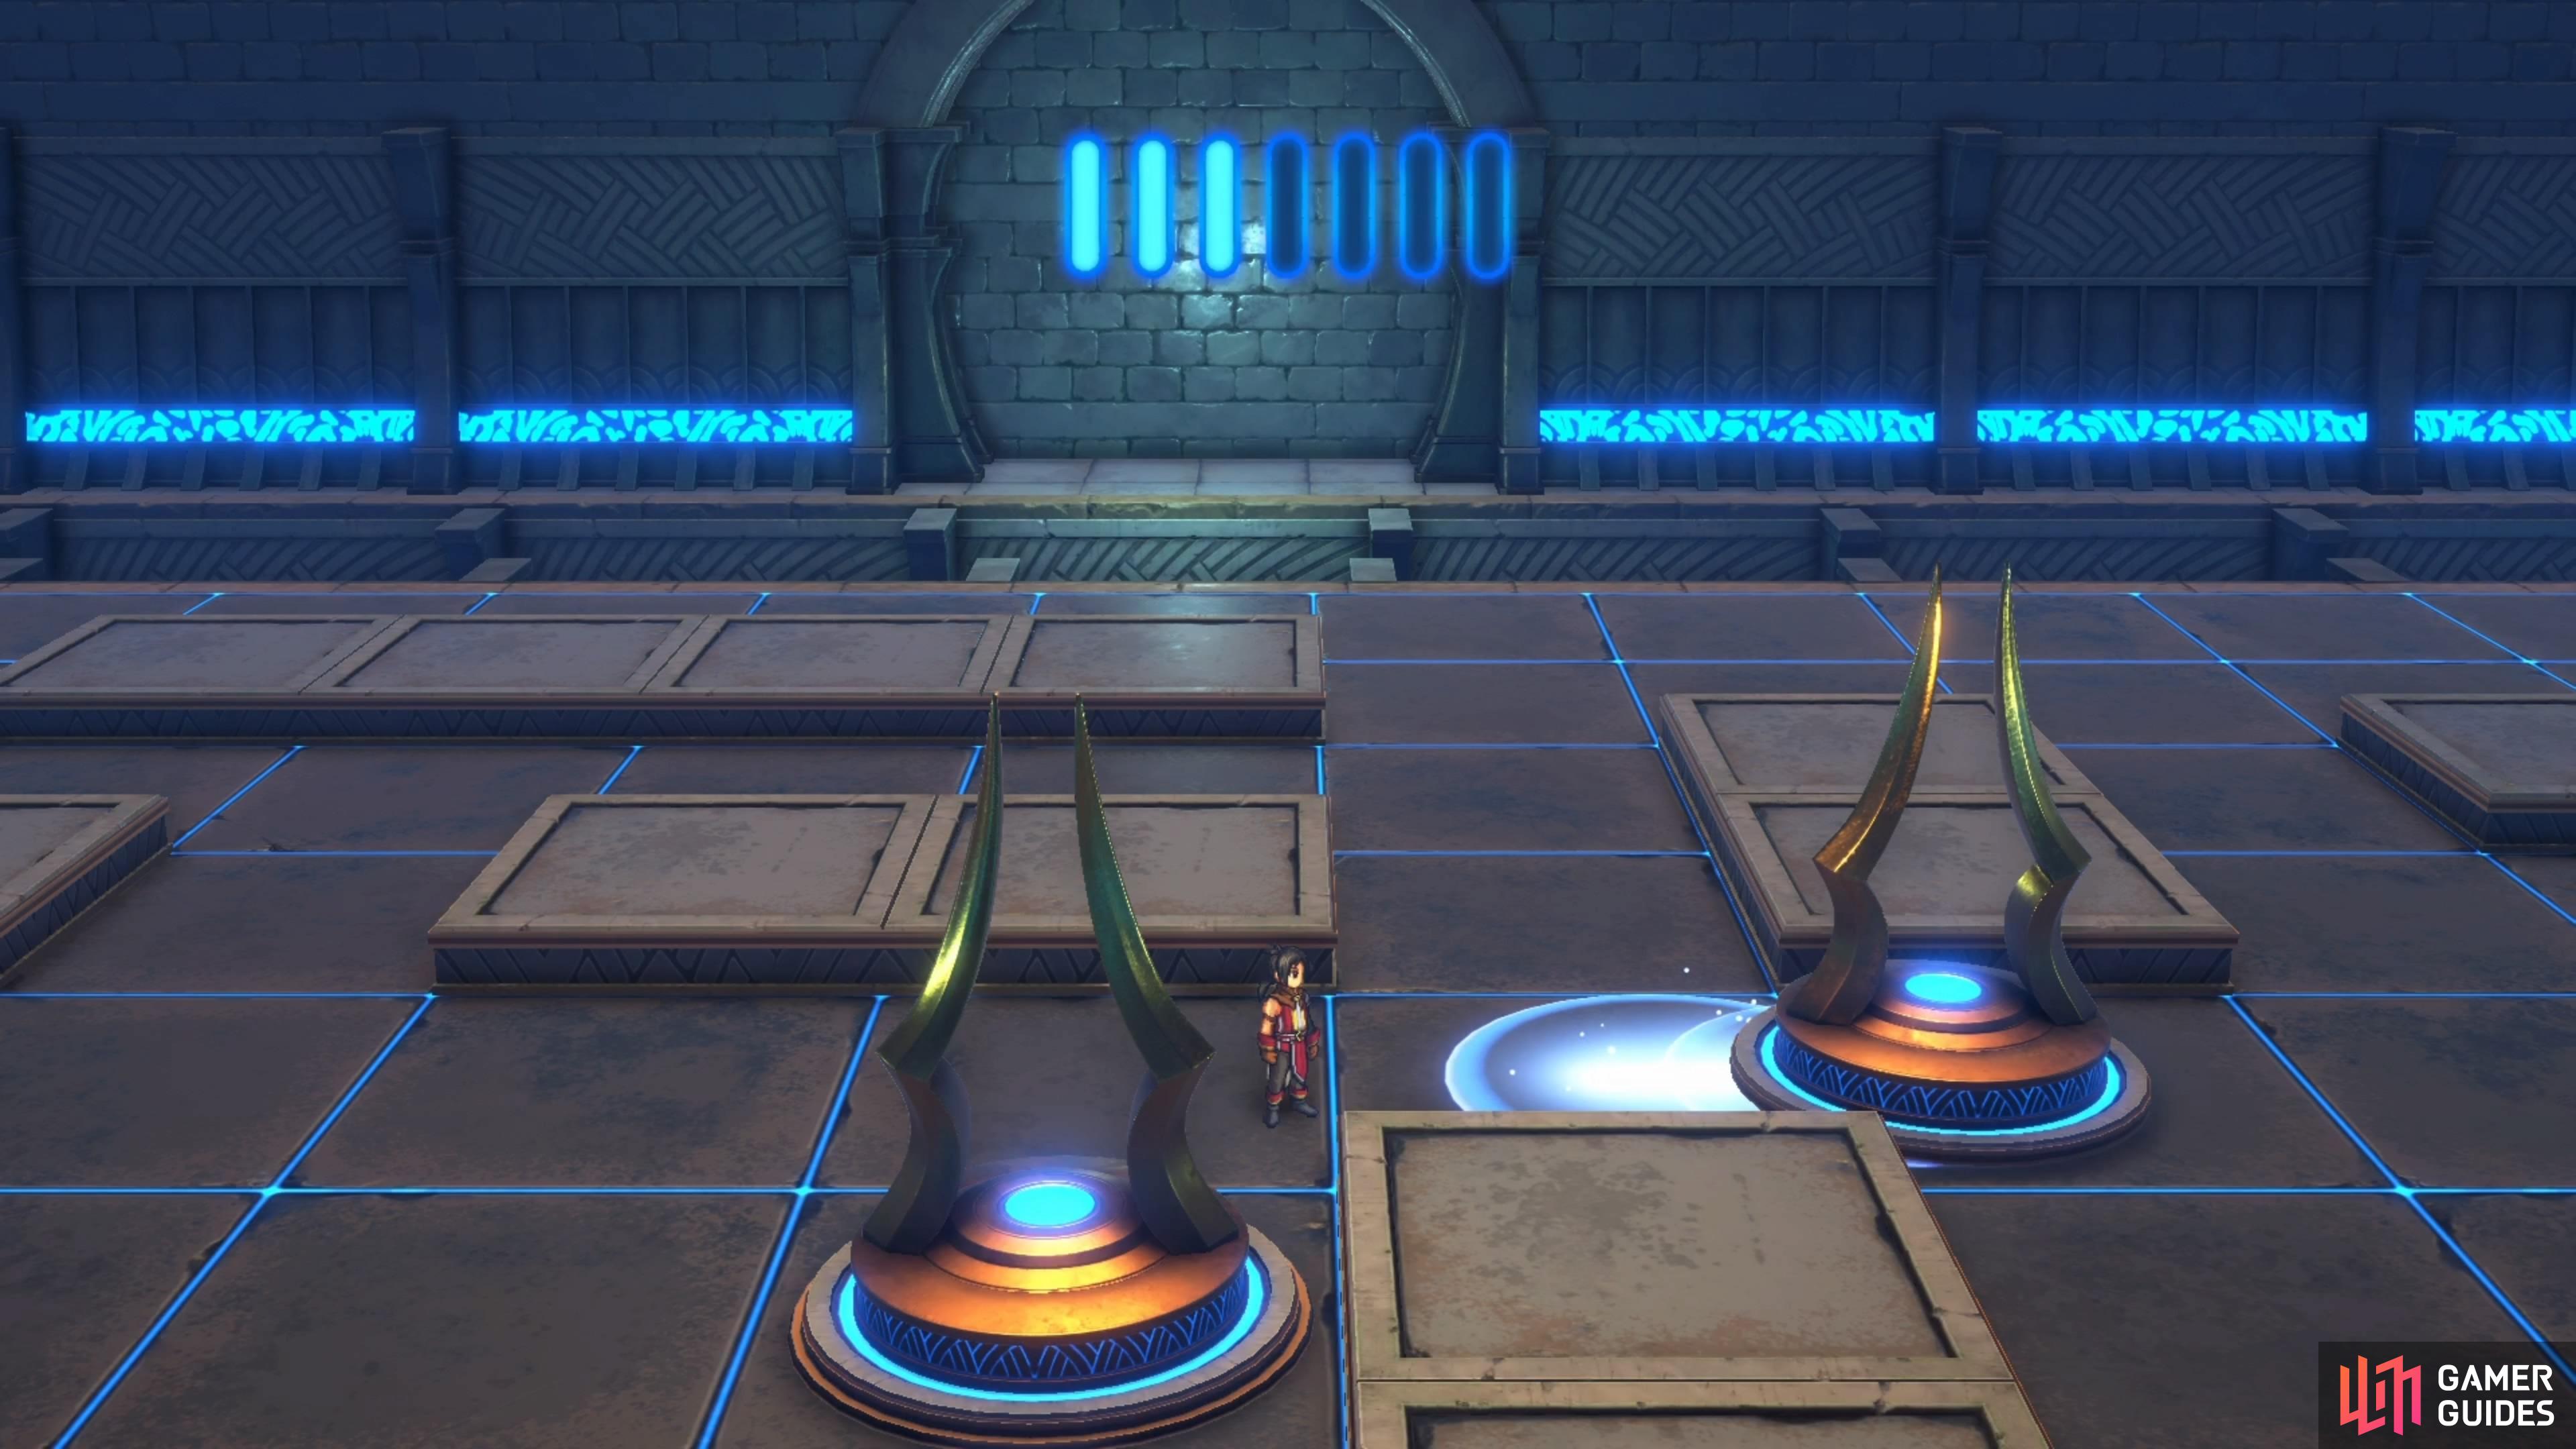
Interact with the device again to be transported to a puzzle. This one will have three statues to move, with you only have a total of five moves to place them all on the switches. To get started, move the one on the left side of the room to the right, putting it on the middle switch. From there, you can push the one at the bottom up to place it on the bottom of the three switches. That’s two moves taken away from you, leaving you three more for the final statue. For the last statue, you will need to push it up first, then push it to the left second and down for the final move.


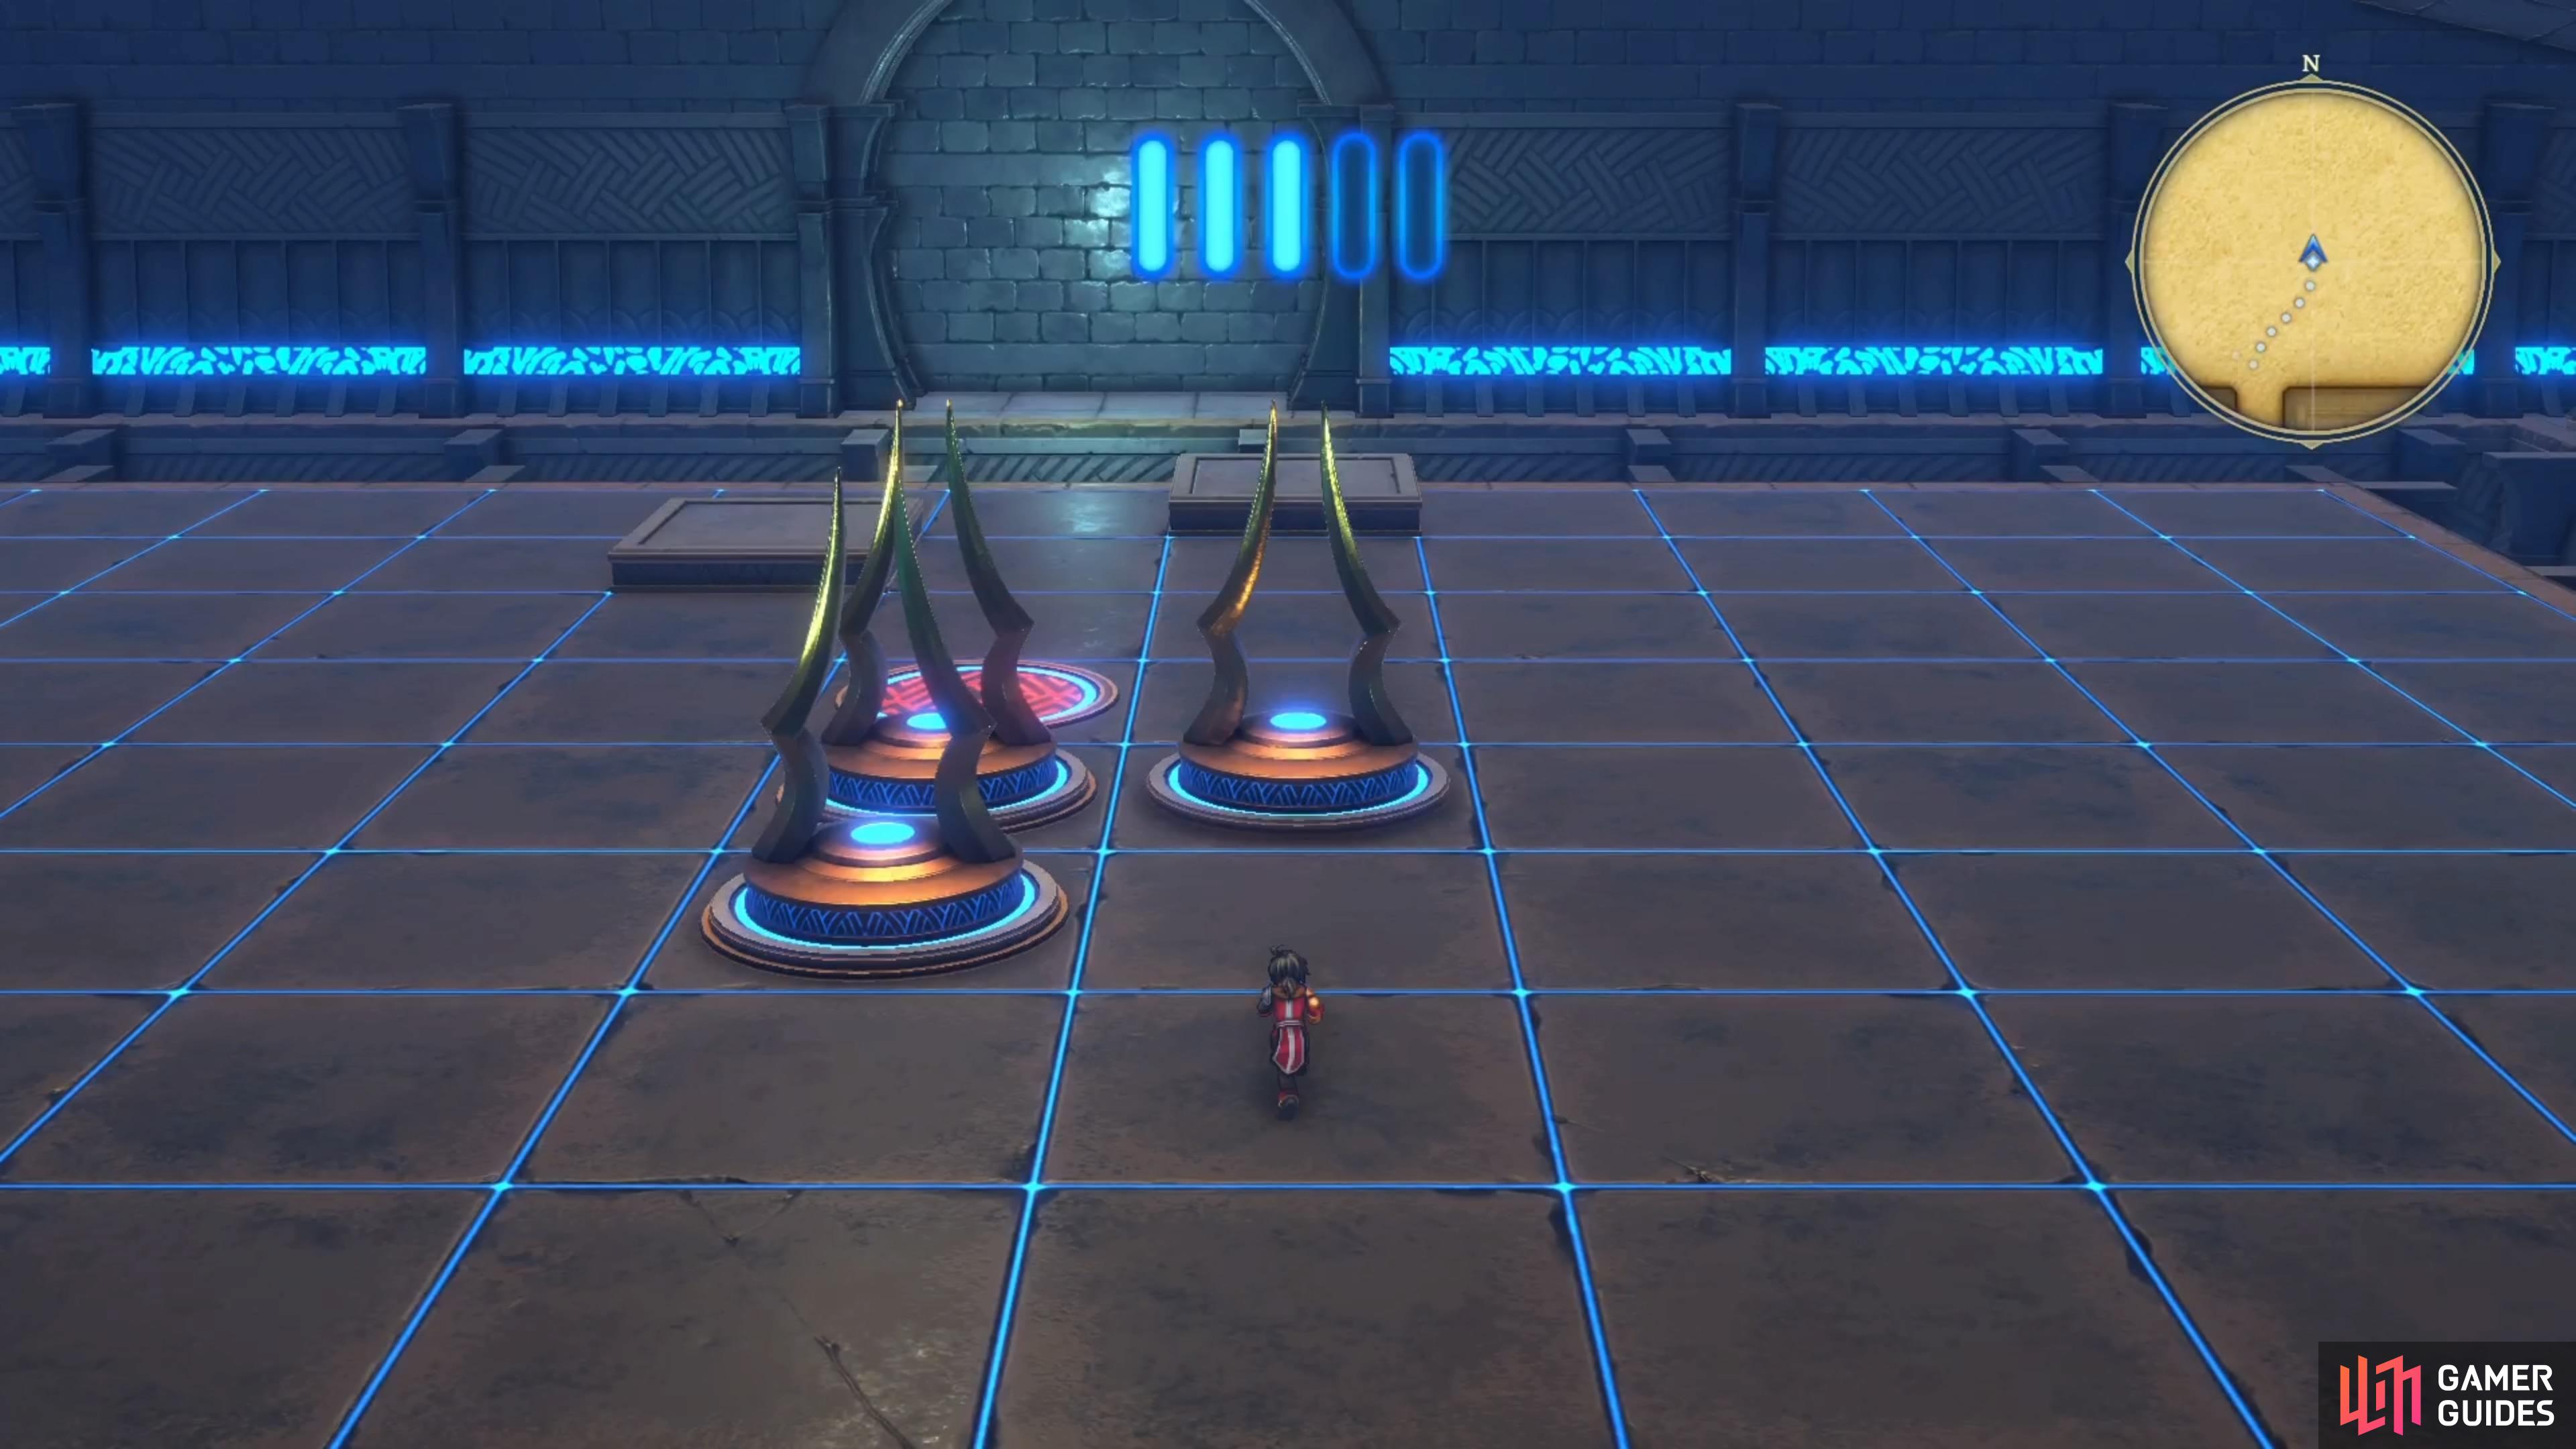
(1 of 3) Push the statue on the left side to the right for the first move.
Runebarrows Right Side - Second Puzzle 2
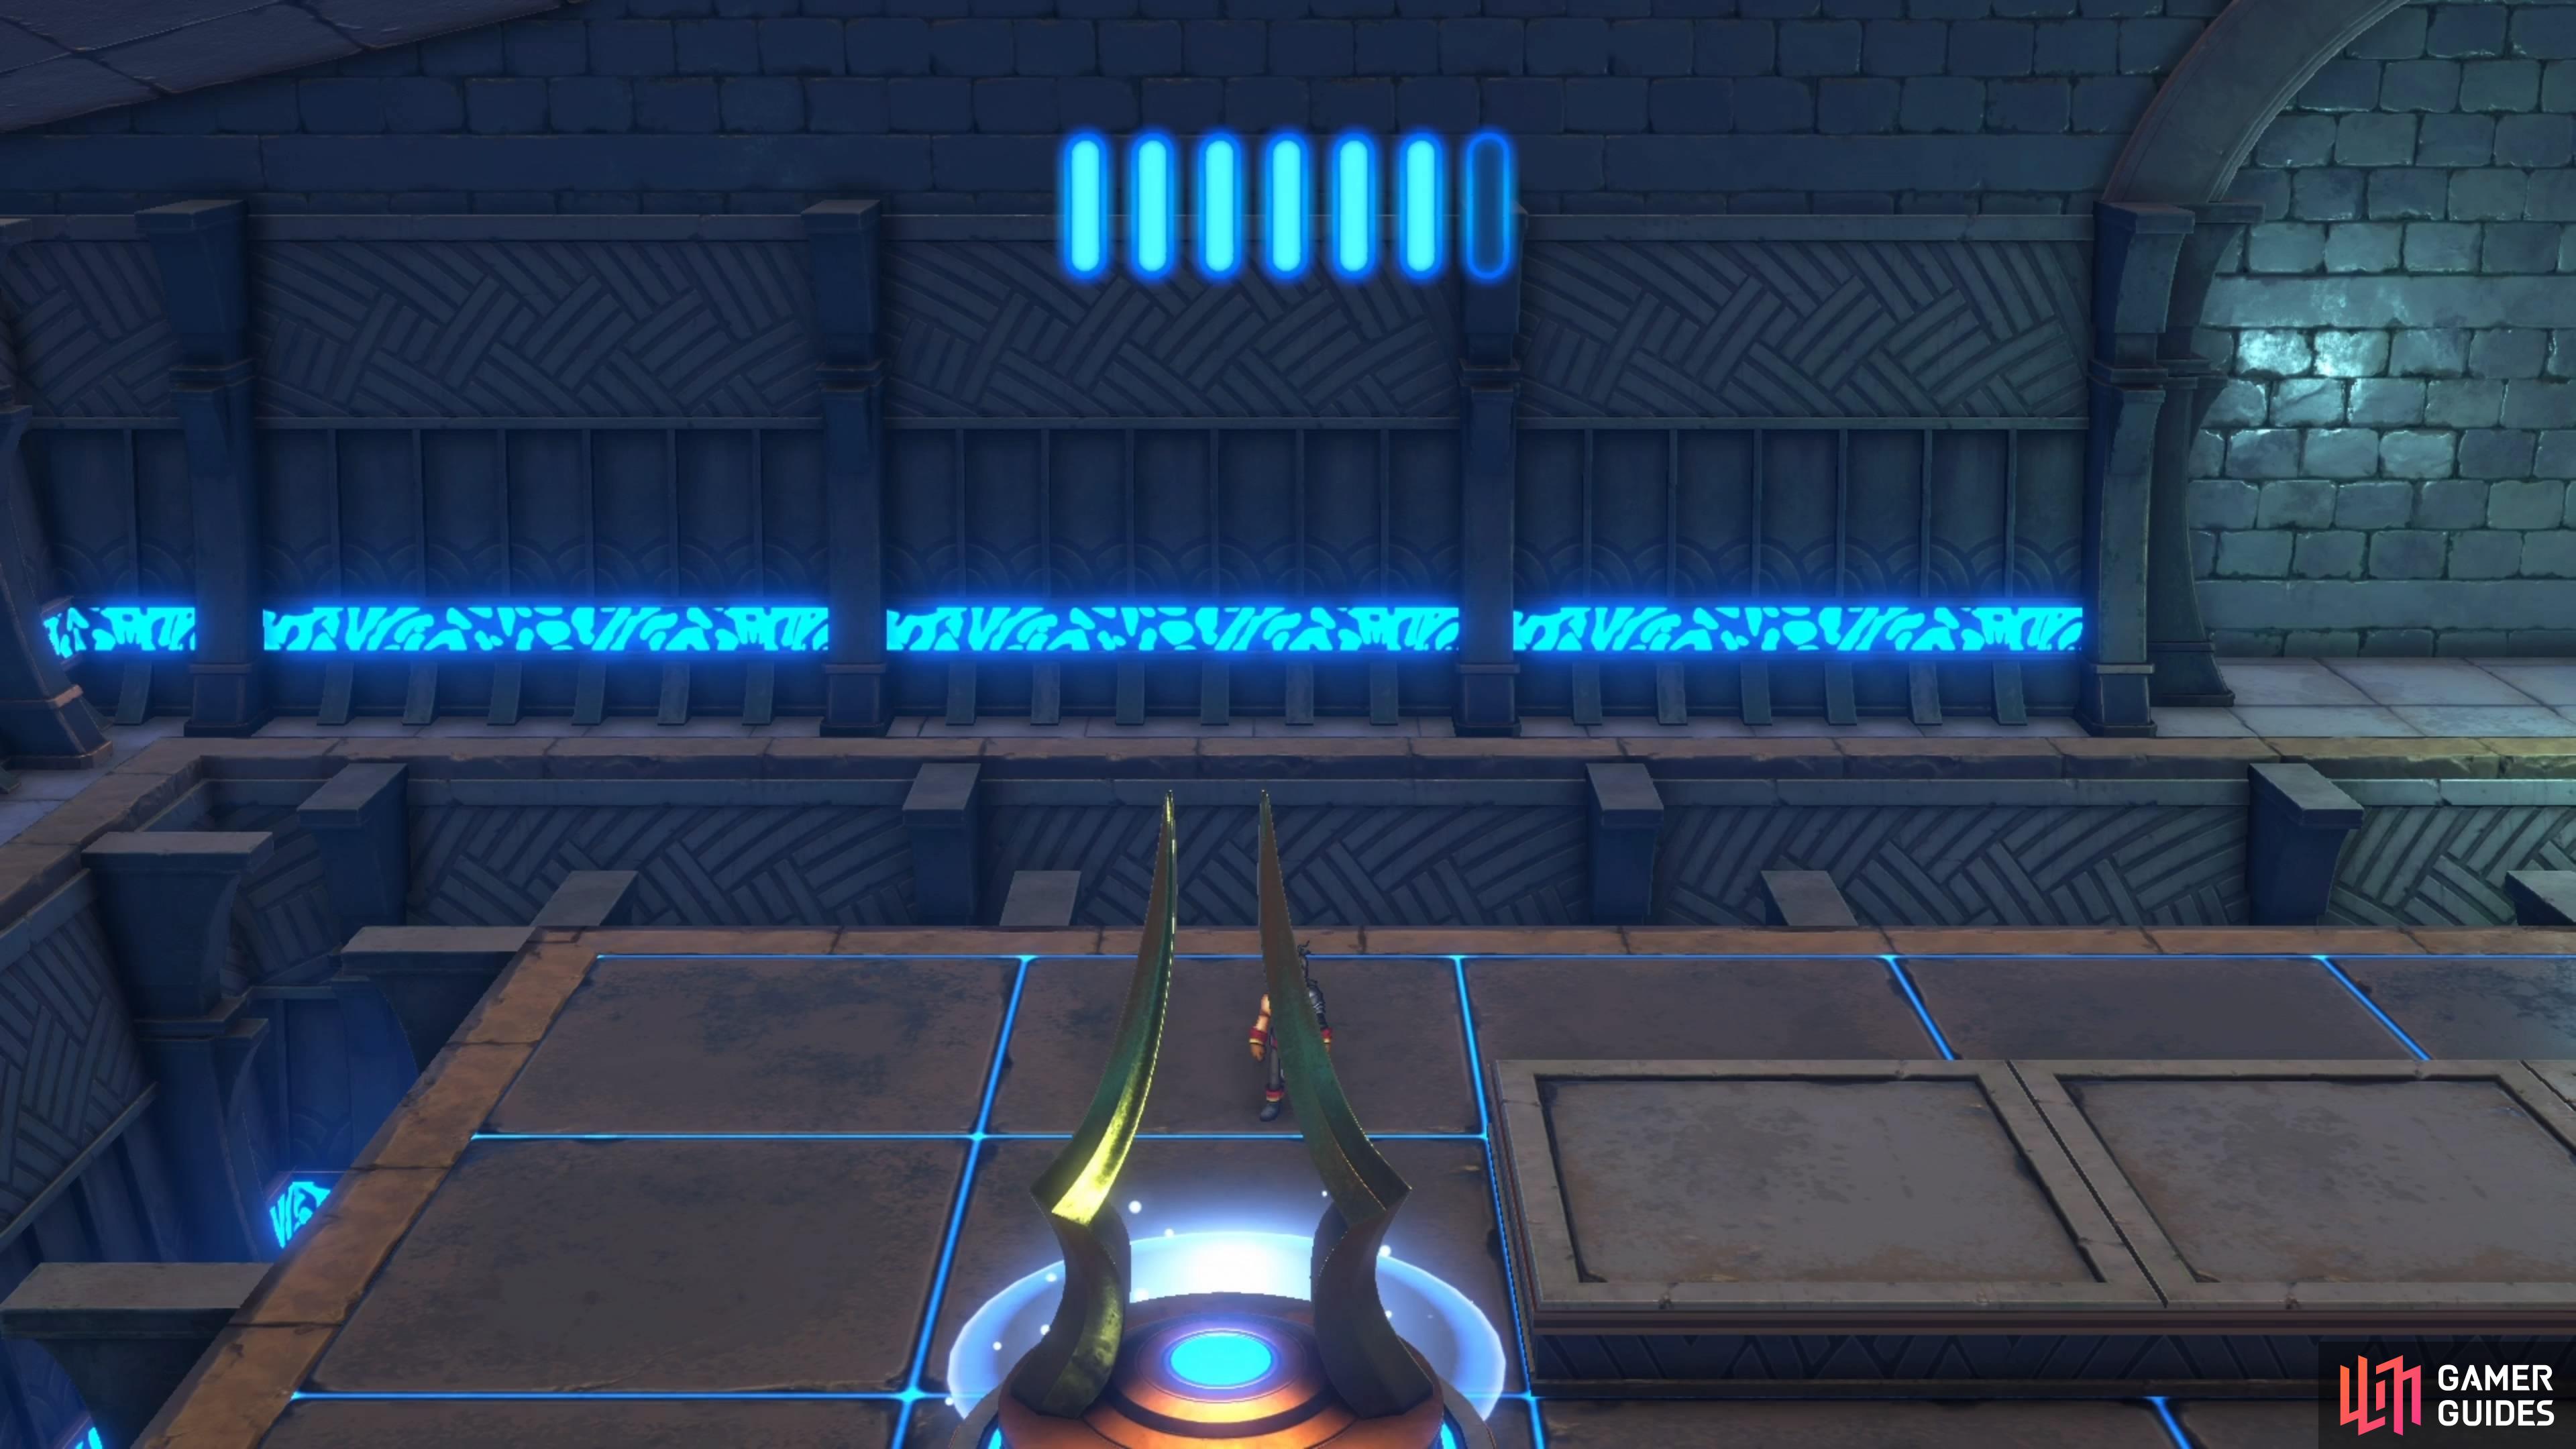
Of course, you’re not quite done yet, as there will be another puzzle immediately following the first. Once again, you have three statues here, but you will have a total of nine moves this time. Start by pushing the statue on the right to the left, then up, left and up, onto the switch at the top of the room. This will put you right next to the statue at the top, so push that left and then down, onto the second switch.


(1 of 3) For the second puzzle, move the statue on the right to the left, up, left and up onto the upper switch.
For the final statue in the bottom left, you can now push that to the right for the first move. After that, push it up and then left, onto the third switch. That will finally shut down the device, so you can return to the starting room by either running back or using a Runeshard of Return.
Runebarrows - Left Path
Interact with the button on the ground to open the door, then step through the doorway to reach the left path. This area is basically a mirror of the other side, so you will find chests in the same locations. The first dead end will have a Super Lucky Badge, which is one of the best accessories in the game, due to it increasing the chance that enemies drop items upon a battle’s end. The other item on the first floor, at the second dead end, is the Nanami Ice Cream Recipe, after deactivating the device.
Runebarrows Left Side - Third Puzzle
There is only a single puzzle here and you only need to move a single statue. In fact, this is a pretty simple puzzle that you can solve by moving the statue up, right, down, left, then down. This will put it on the switch and you will deactivate the device. Head down the stairs once you’ve looted the first floor to arrive at the second.
Move the single statue here up, right, down, left and then down, onto the floor switch.
The first chest, at the dead end, will net you the Monster Repel Charm, an accessory that decreases the random encounter rate. At the very end will be the final device (if you’re following this guide), but as with the other side, there is a chest past it that you should open first. This chest will give you the Rune of the Warrior’s Path. Interact with the final device for more puzzles.
Runebarrows Left Side - Fourth Puzzle 1
There are two statues here and you have seven moves to put them on the switches. Start off with the top left statue first, pushing it down and to the right. For the second statue, move it down, right, down, left, and then up. That will place the statue on the second switch, solving the puzzle altogether.
(1 of 2) The first statue here should be moved down and to the right.
The first statue here should be moved down and to the right. (left), For the second statue, start by moving it down, then go right, down, left and finally up. (right)
Runebarrows Left Side - Fourth Puzzle 2
The second puzzle will immediately follow this, where you need to move three statues, with a total of nine moves given to you. This one will require a little more setting up, instead of just pushing the statues to the switches. Begin by pushing the bottom one to the right, then go to the middle statue and push it down and to the right, where it will be right next to the first one. From there, you can now push the uppermost statue to the right and then down, onto the middle switch.
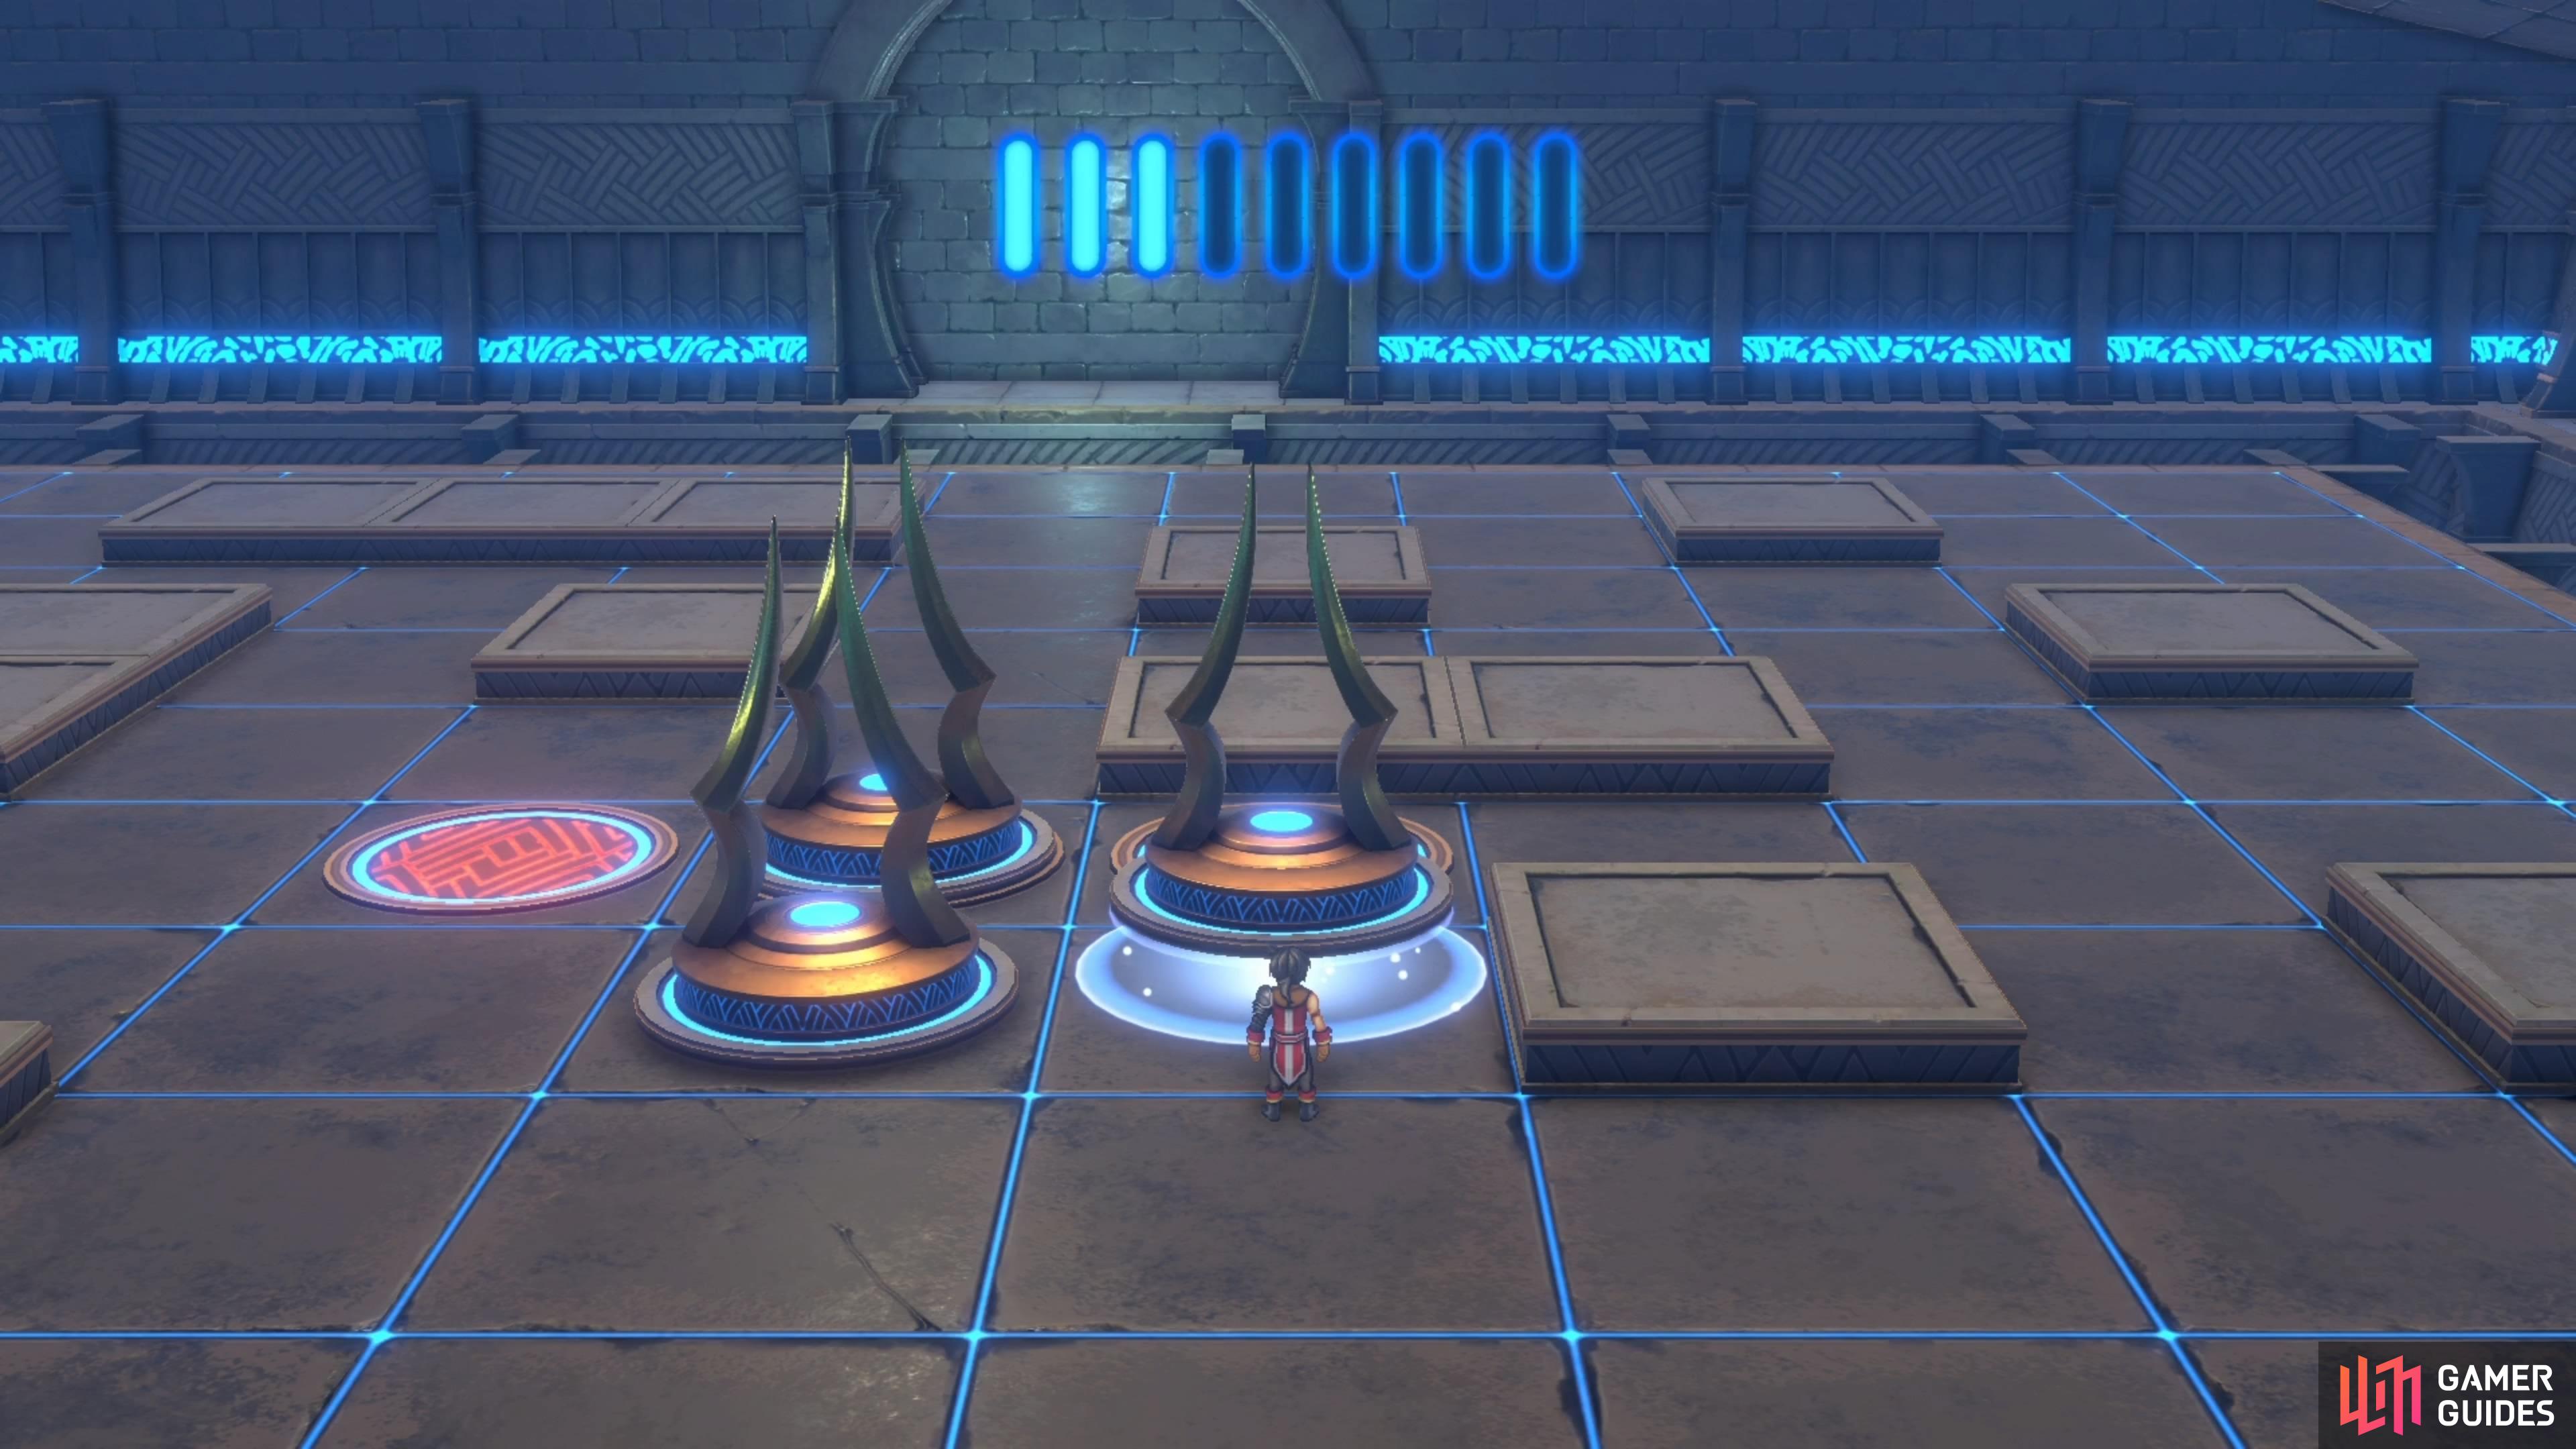

(1 of 4) Push the two statues on the left, so they sit below the middle and right switches.
That was the initial set-up needed for this puzzle, so the rest of it will fall into line now. Push the right statue onto the switch just above it, then the remaining one can be pushed left, up, and then right. Note that as soon as you solve the fourth puzzle, the game will take over and force you straight into the boss fight.
Prometheus Boss Fight
Unlike your first introduction to this boss, it is now sufficiently powered down and definitely won’t be hitting you as hard. As you will see from the outset, there is a gimmick to this battle, where you can have some characters hide behind the pillars. Only the two characters on the right side can do this, though, but you really shouldn’t be having much trouble with this boss at all. The pillars are probably there for your characters to hide from the Obelisk Edge attack, but there is no tell at all for it, so it’s tough to predict.
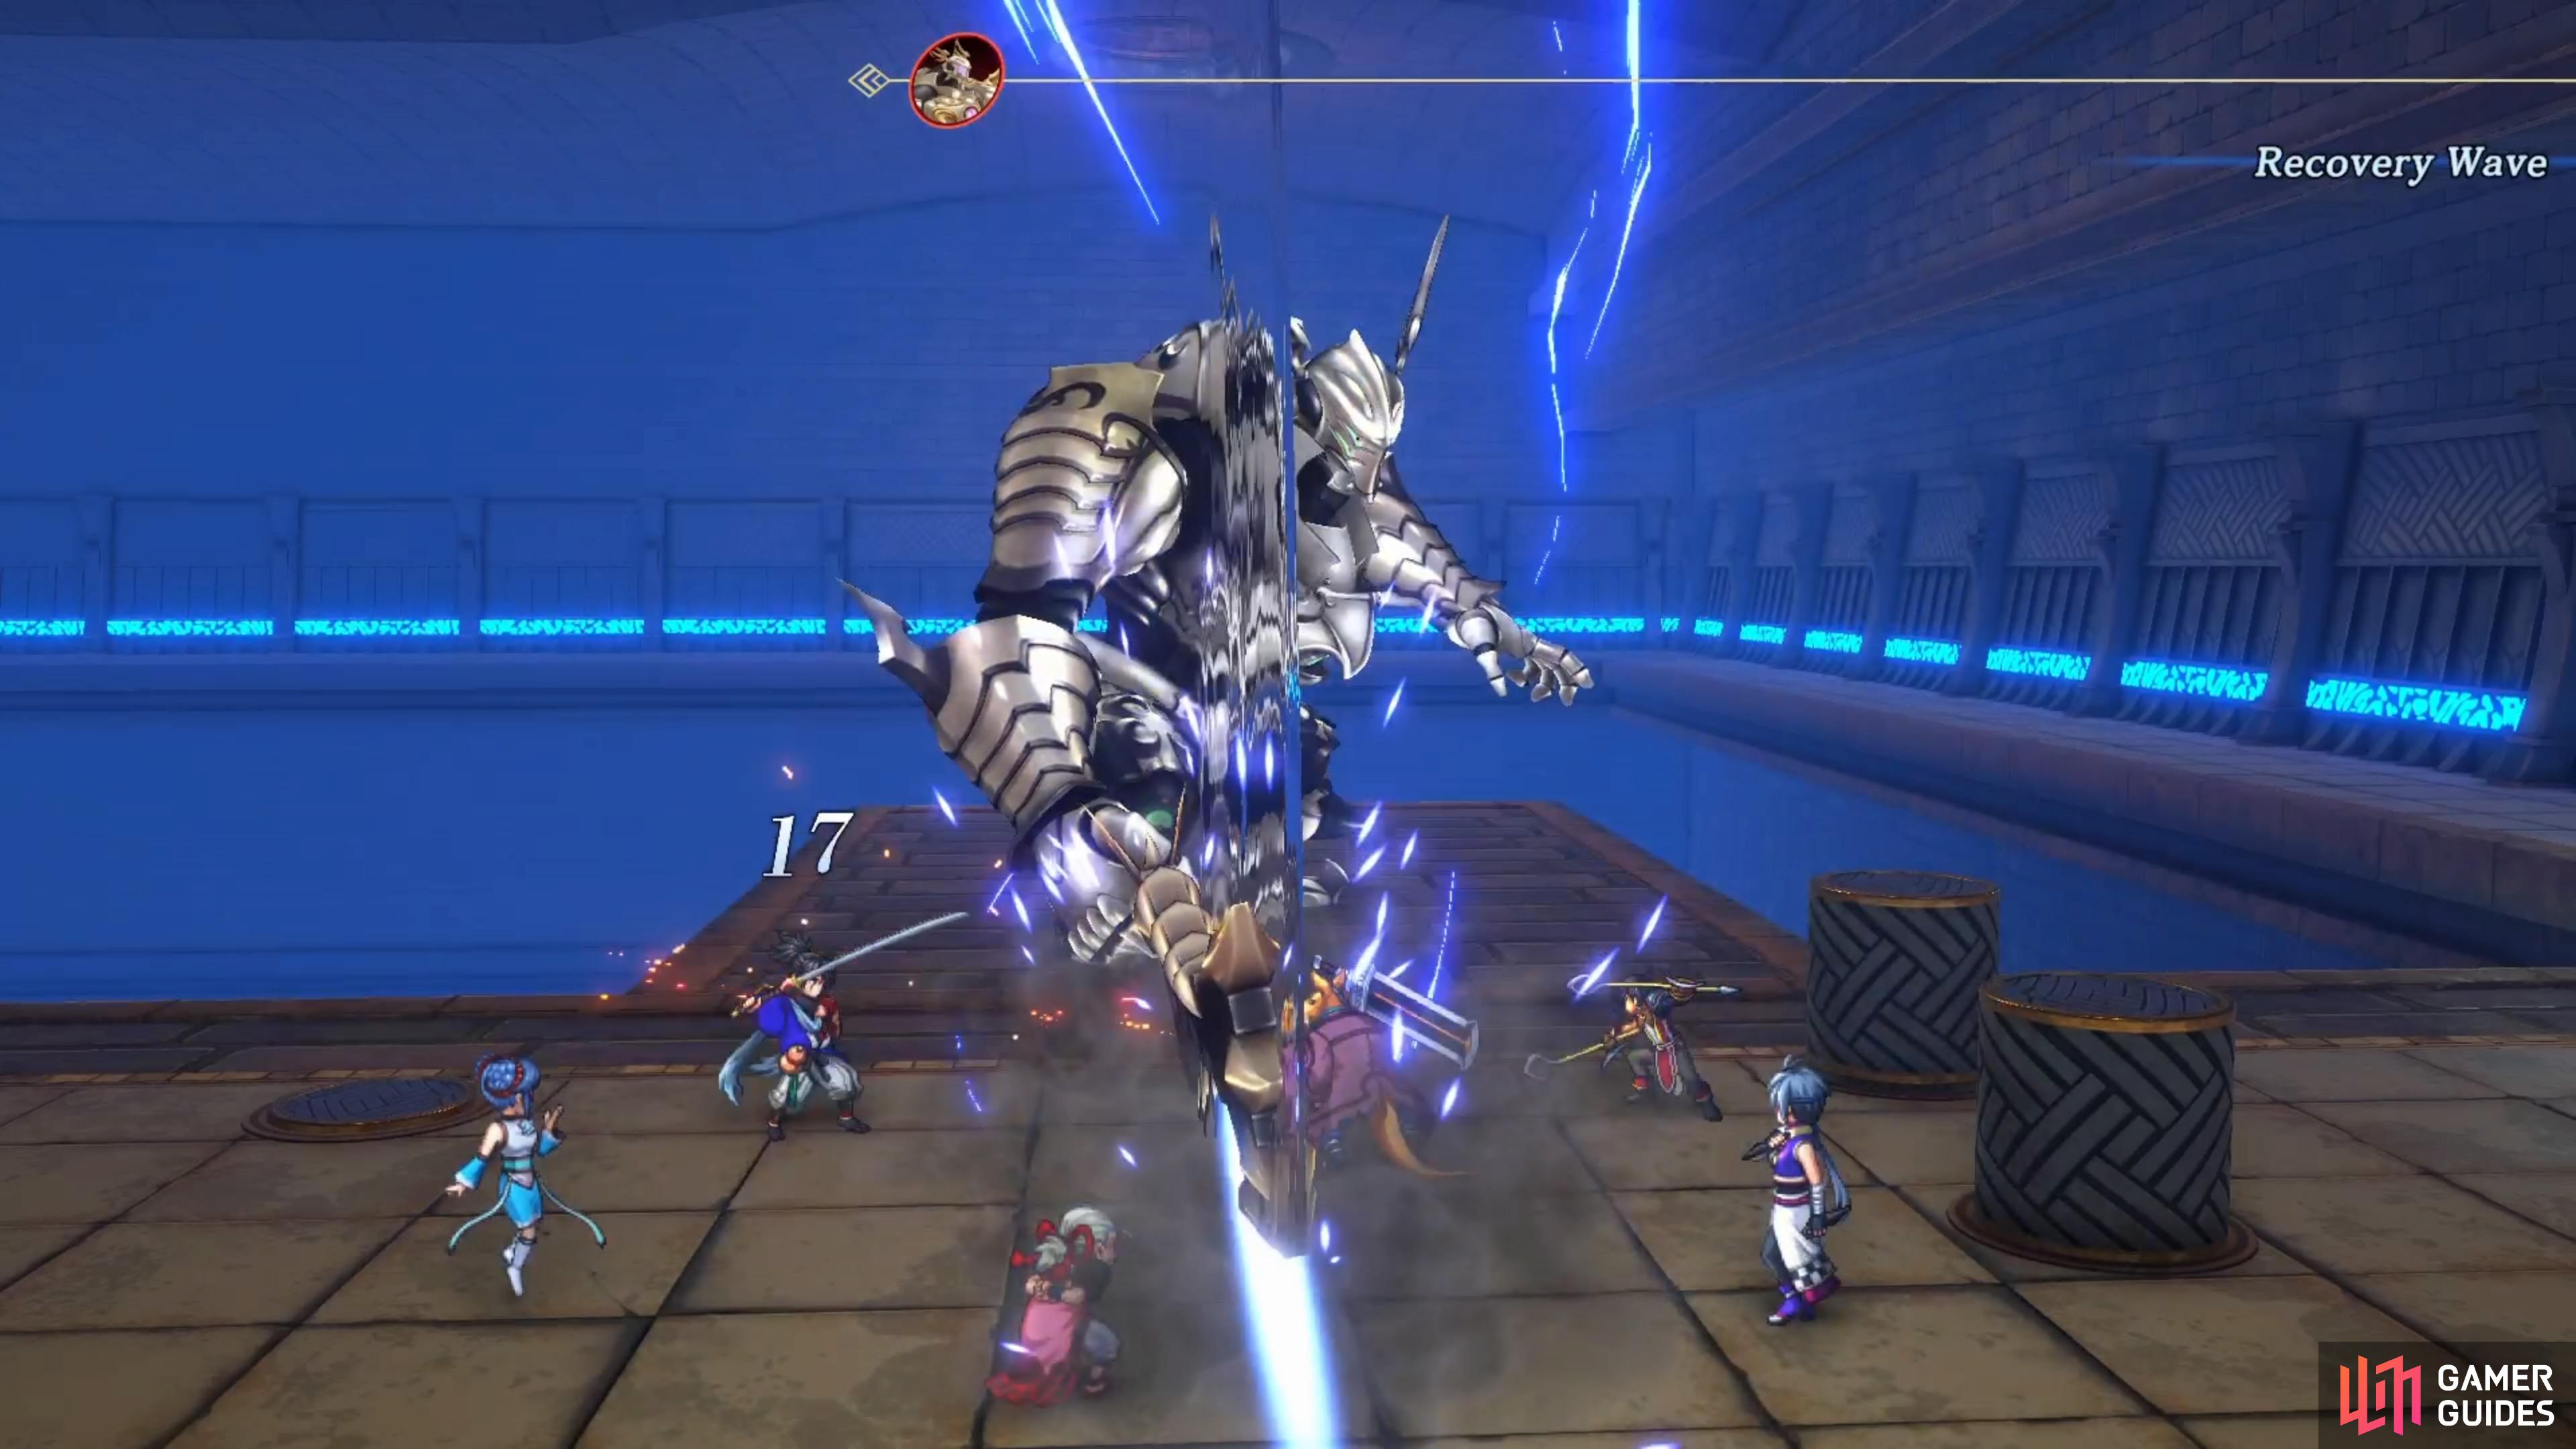
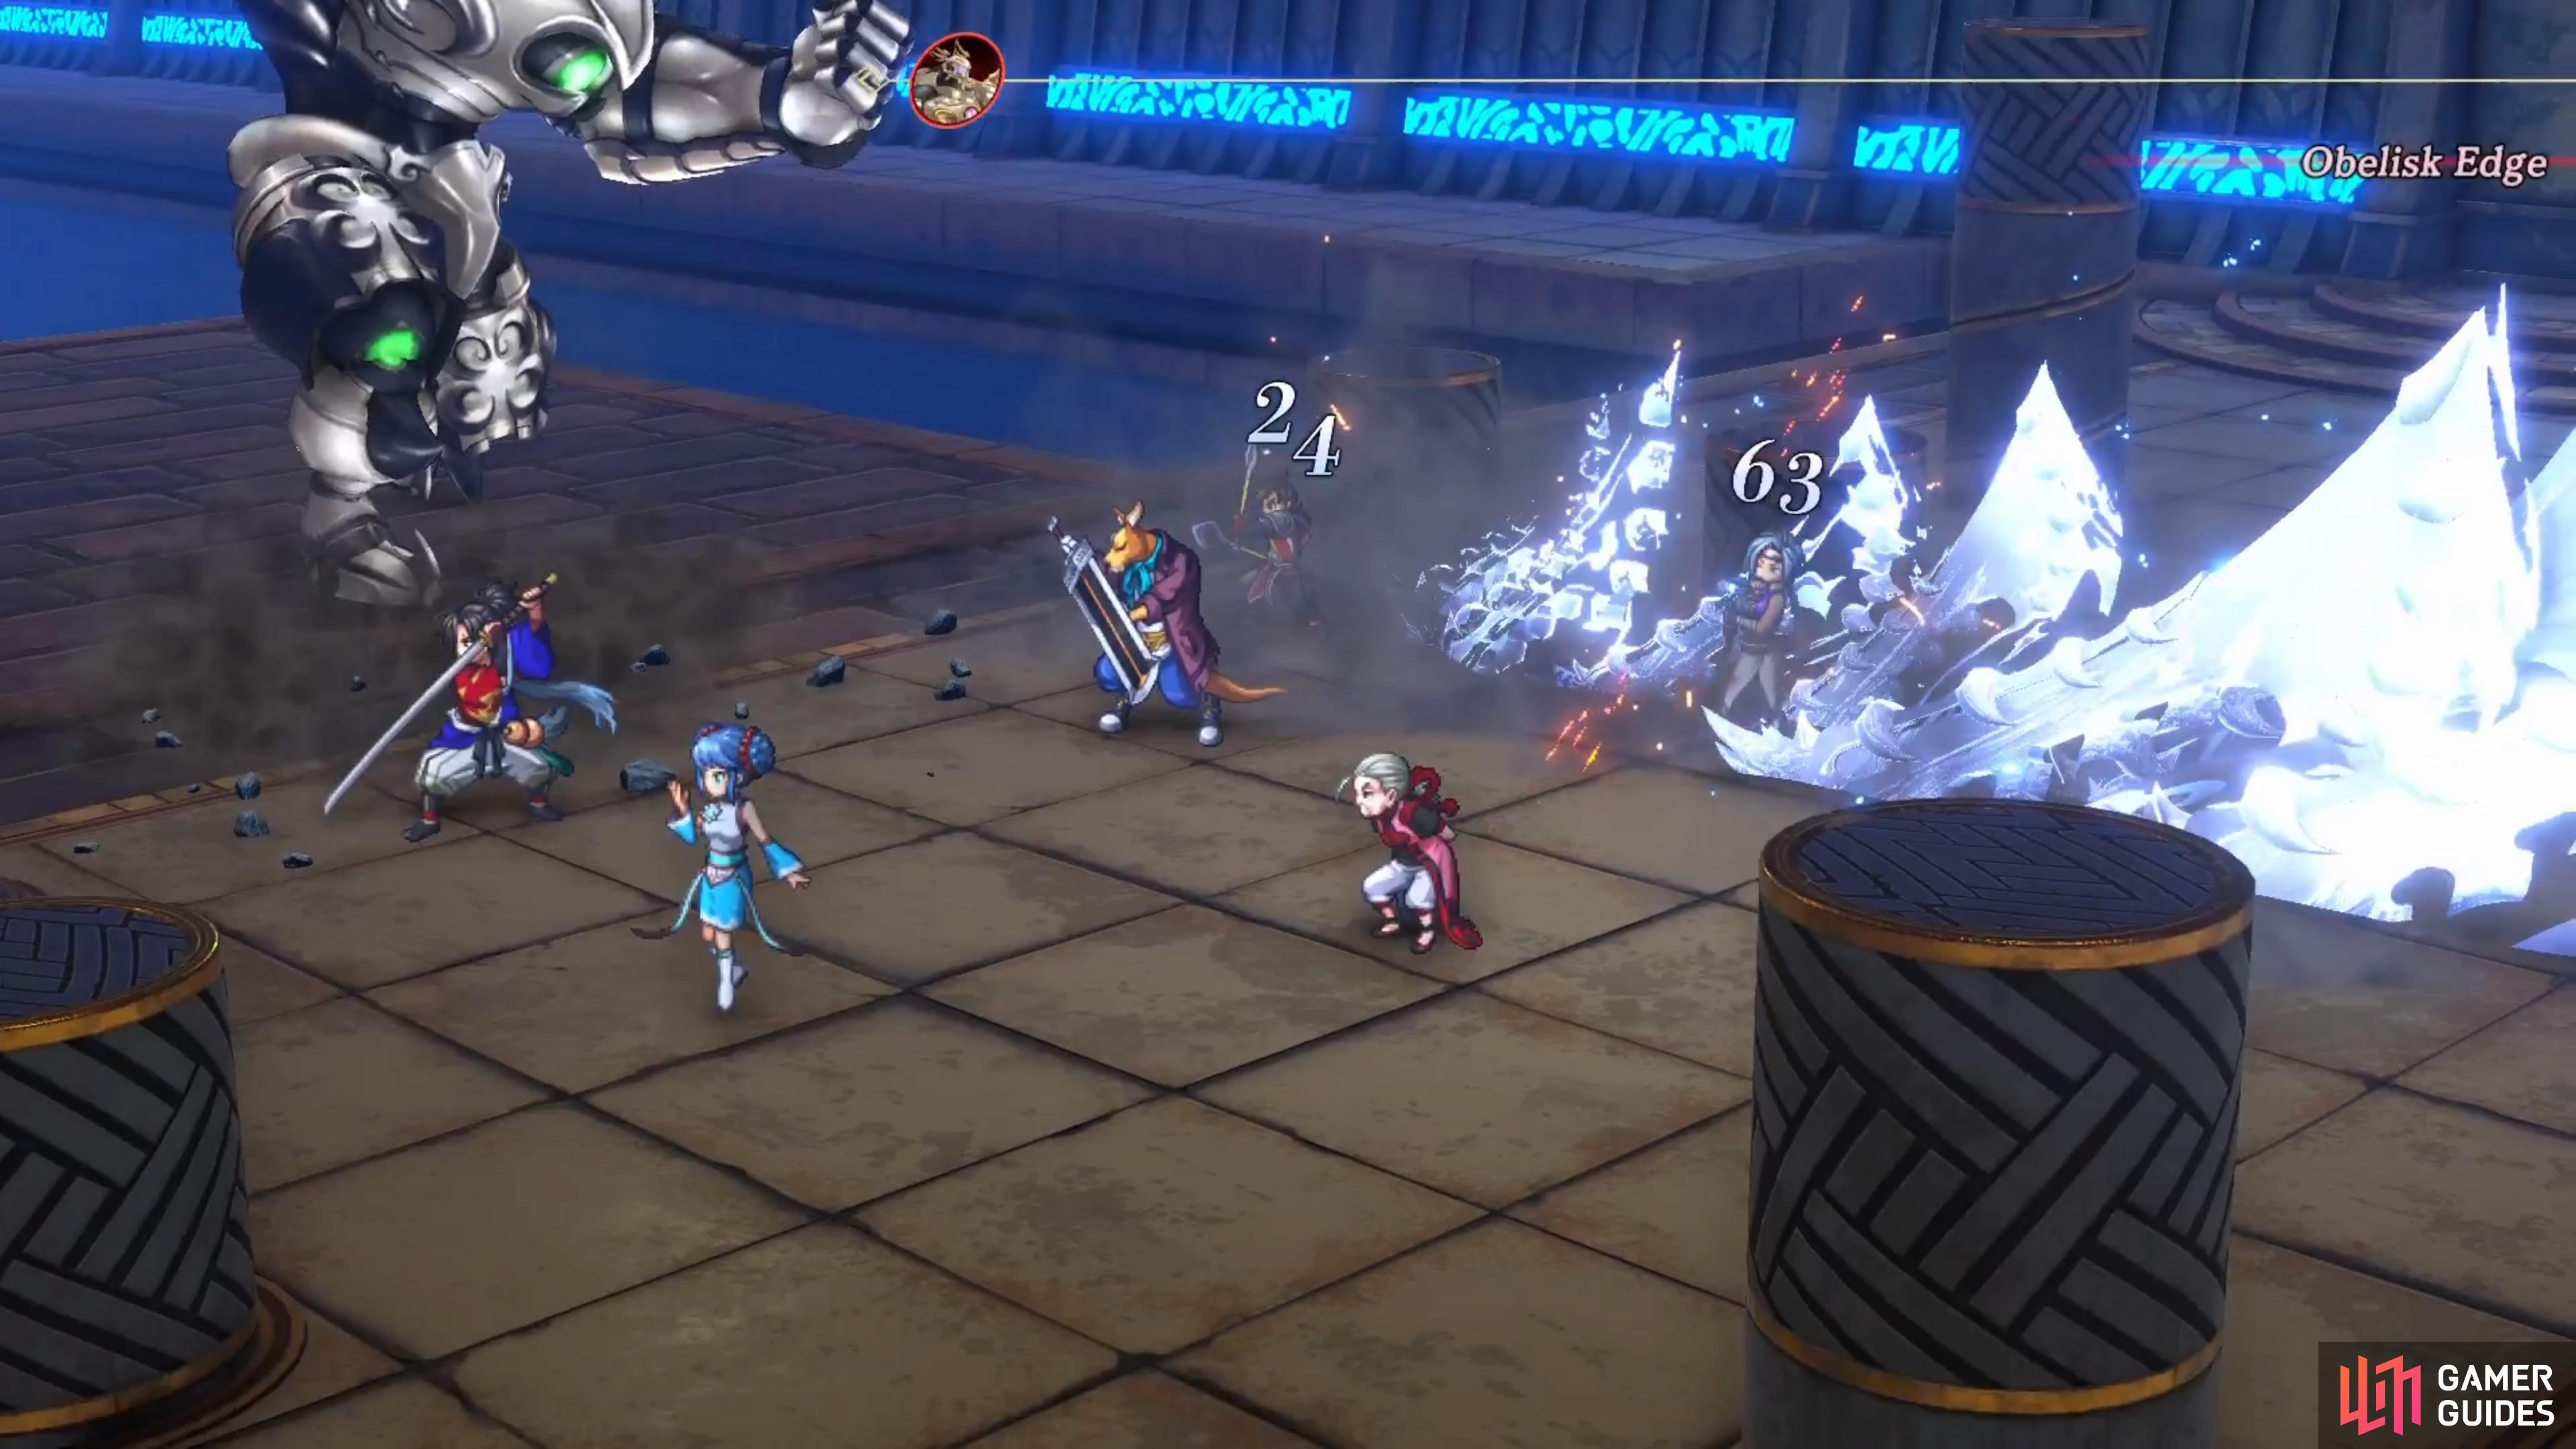
(1 of 2) Prometheus becomes fairly easy after powering it down via the dungeon.
Prometheus becomes fairly easy after powering it down via the dungeon. (left), Obelisk Edge will hit a column of characters for some okay damage. (right)
Also, depending on your levels, your characters might not be taking much damage at all from the boss’ attacks. It only has the normal sword swing attack, which does about 40-50 damage (depends on their defense). Obelisk Edge hits a column of characters, but because there isn’t anything indicating the move will be used, you can’t do anything about it. It doesn’t do that much damage, though, so just heal accordingly. Prometheus also doesn’t carry over his armor/shield from the first fight, so you can pretty much use anything in your arsenal to take it down.
After the battle is over, there will be a few scenes, and then CJ will finally join your party for good.

 Sign up
No Comments