
As you arrive in Athrabalt and do some of the story there, you will be forced to head up north, to the village of Skriss. It appears some kids went inside the cave there and the monsters are preventing a search party from finding them. Being someone who meddles, Nowa offers to help search for the missing kids, so your next stop is the Ice Cave. This dungeon can be a little confusing at first, but once you get the hang of the mechanic, it’s not too bad.
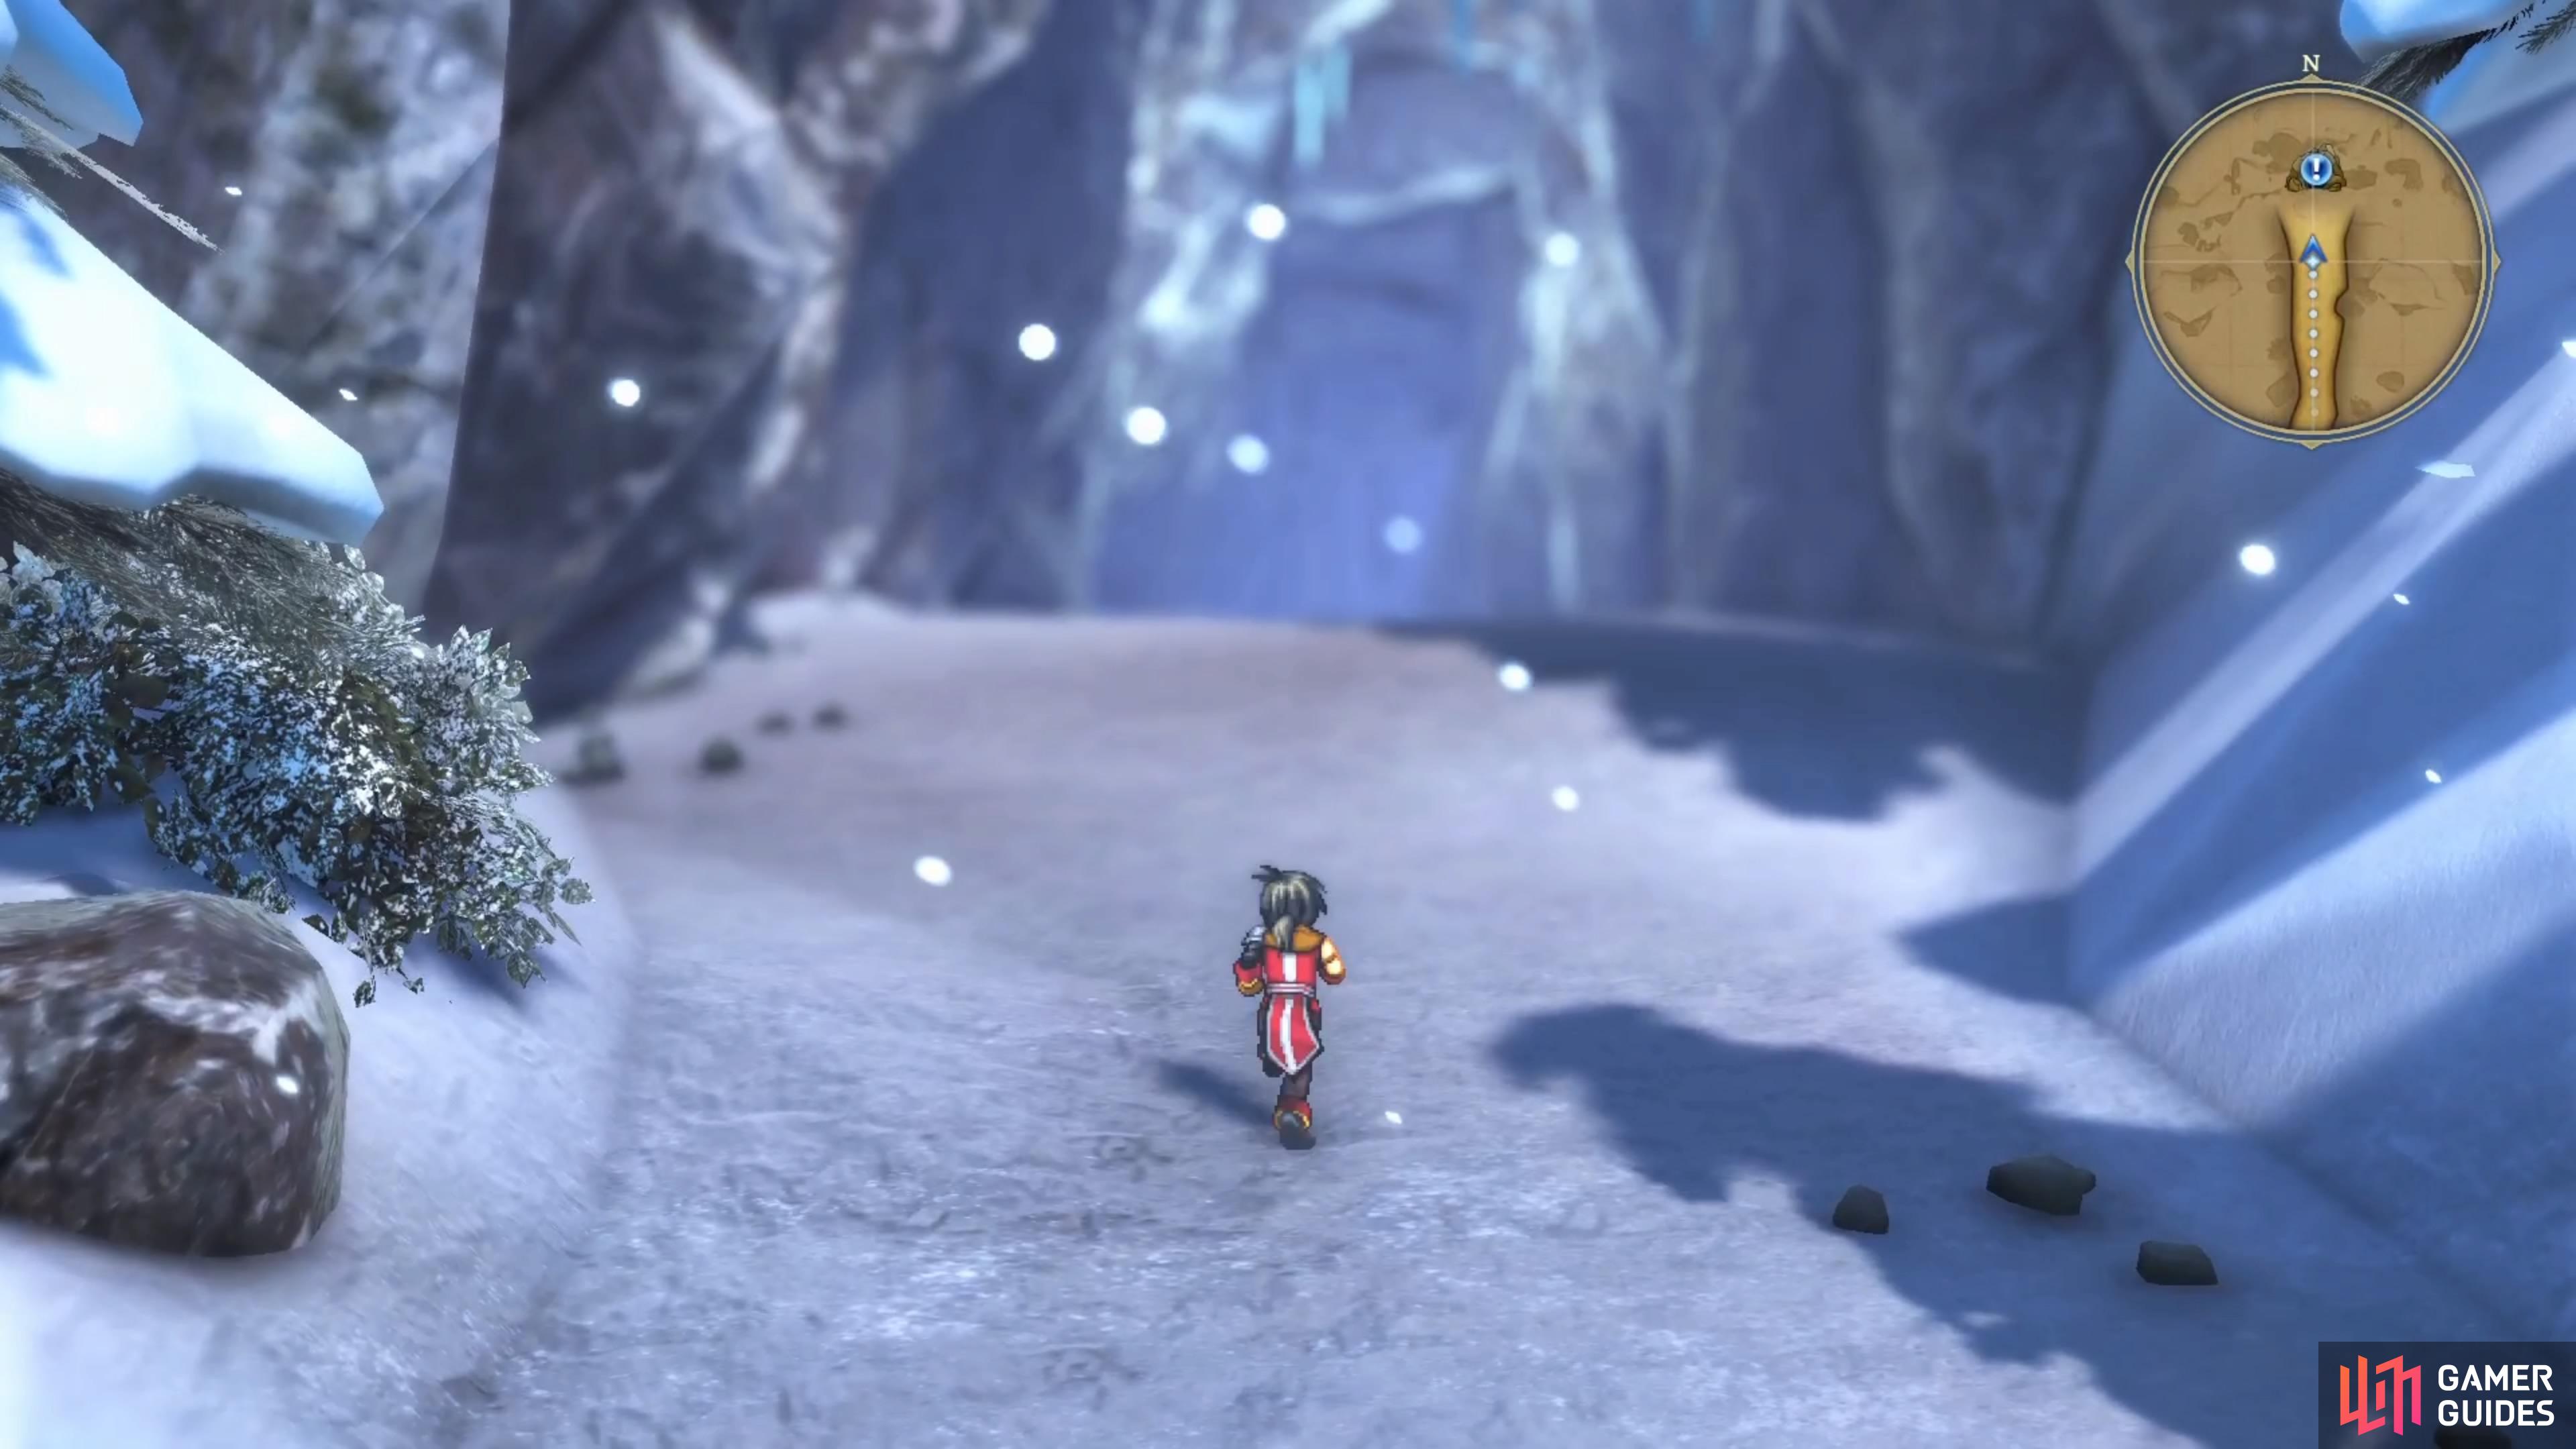
The Ice Cave is found at the back of Skriss Village.
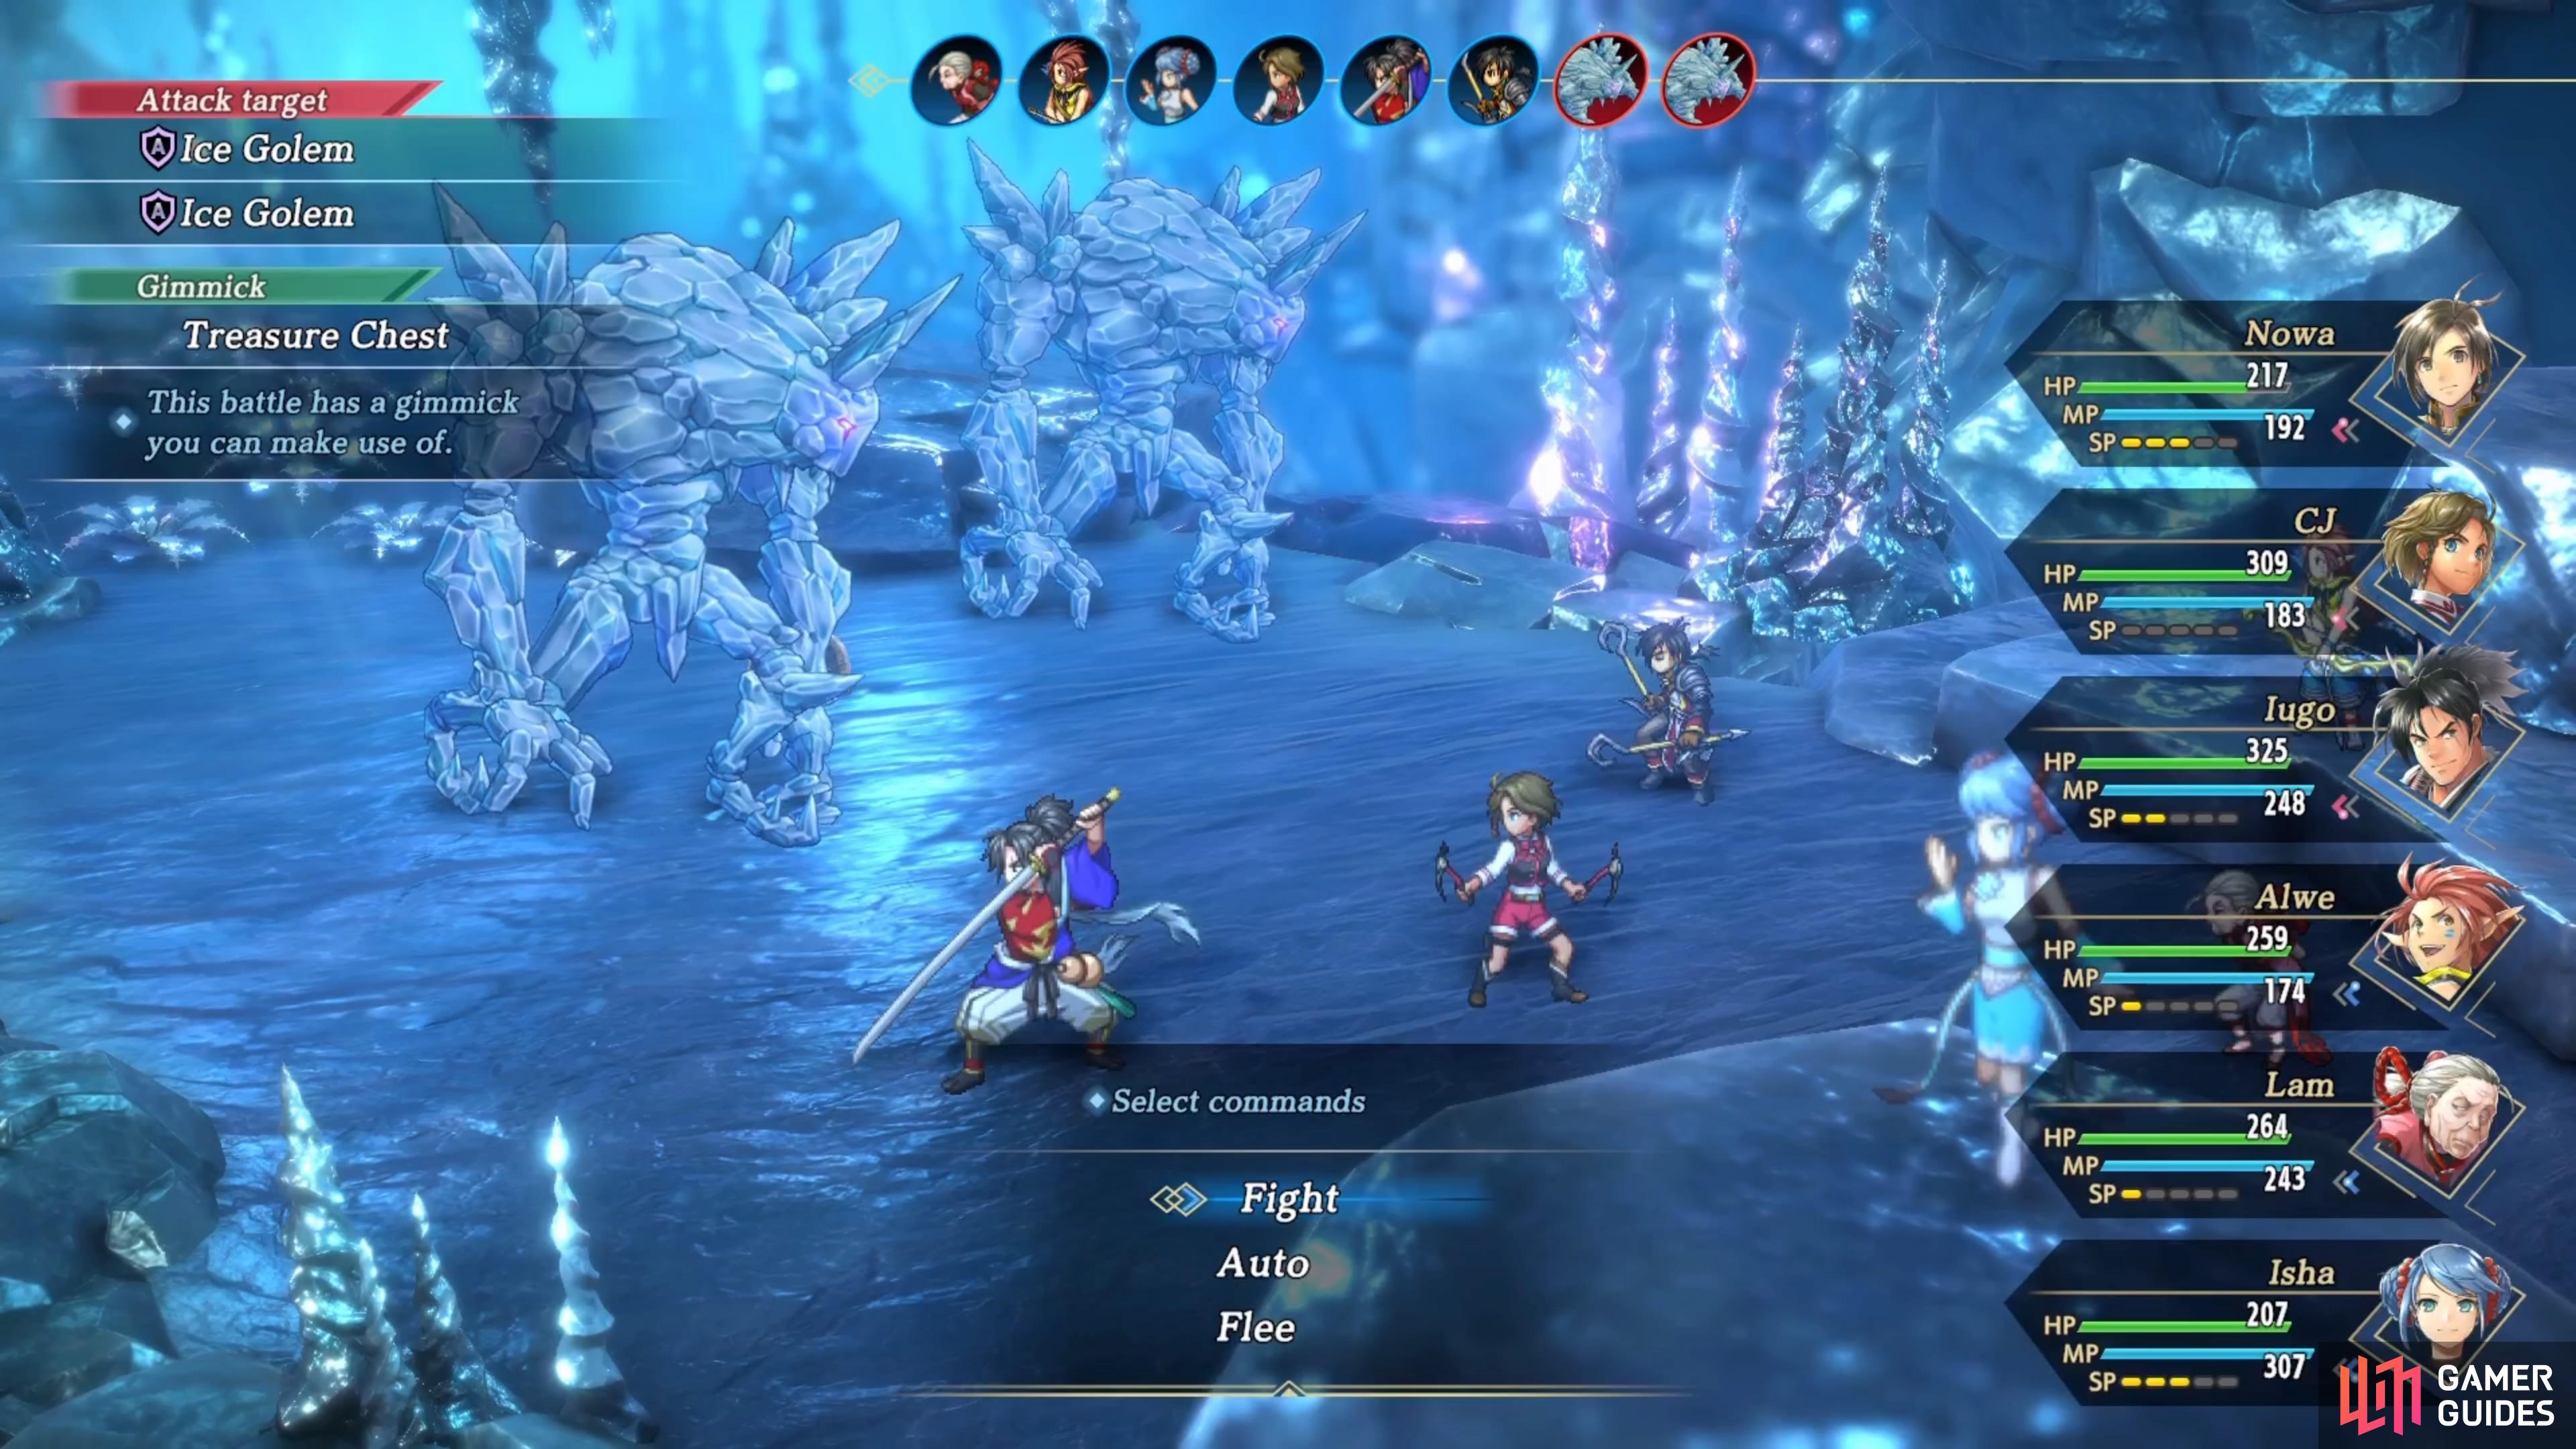
Enemies in Ice Cave
These are all of the enemies you will find inside the Ice Cave. If you plan on getting all of the trophies/achievements, then you will need to defeat at least one of every enemy.
| Enemies |
|---|
| Carbuncle |
| Snow Wolf |
| Frost Slime |
| Ice Golem |
| Ice-Soul |
Treasure Chests in Ice Cave
| Items |
|---|
| Rune of Quick Slash |
| Ancient Shield |
| Blue Symbol |
| Rune of Currents |
| Anti-Paralysis Scarf |
| Eyepatch |
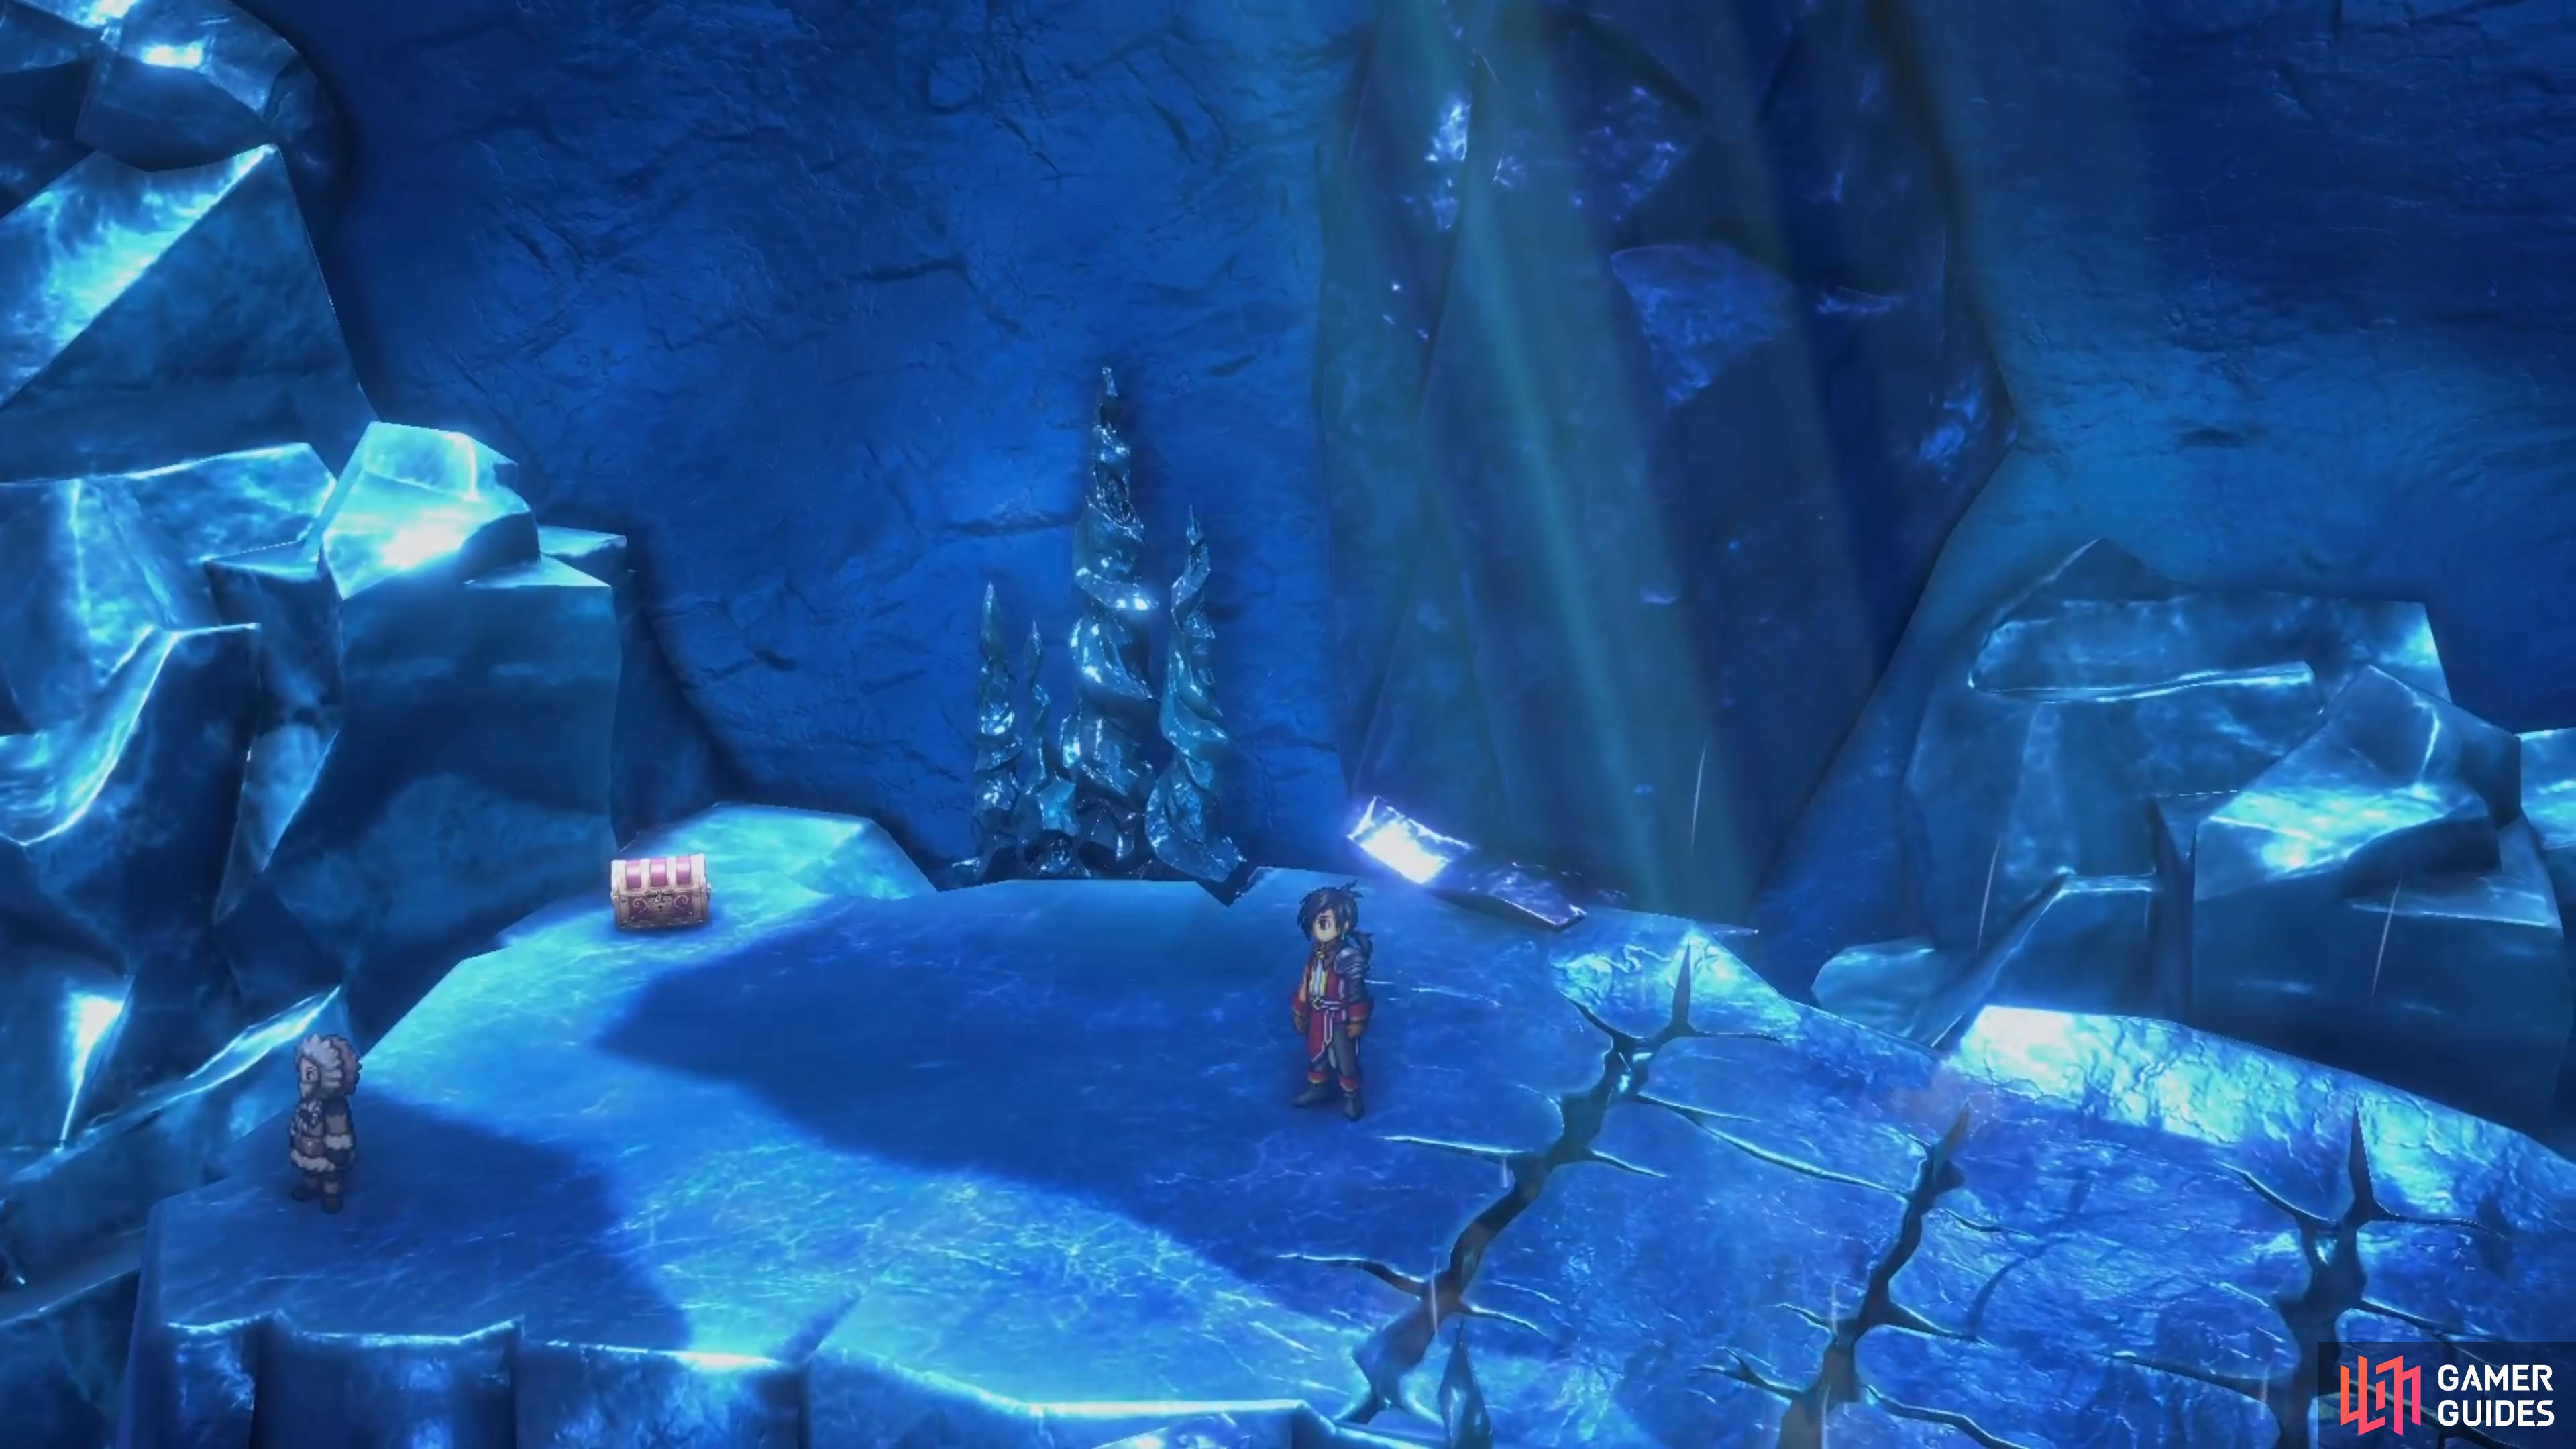
Upon first entering the cave, there will be a short scene, then you will be back in control. Move forward and just past the save point will be one of the first kids you need to rescue. There will be another scene right after that, showing you the icy winds coming out of the cracks on the ground. Step on the crack when the wind is blowing and you will be frozen in a block of ice. Should this happen (it’s required to get through this dungeon), then wiggle the left analog stick back and forth to get free. As just mentioned, this is an important mechanic to get through this dungeon, so make sure you understand it.
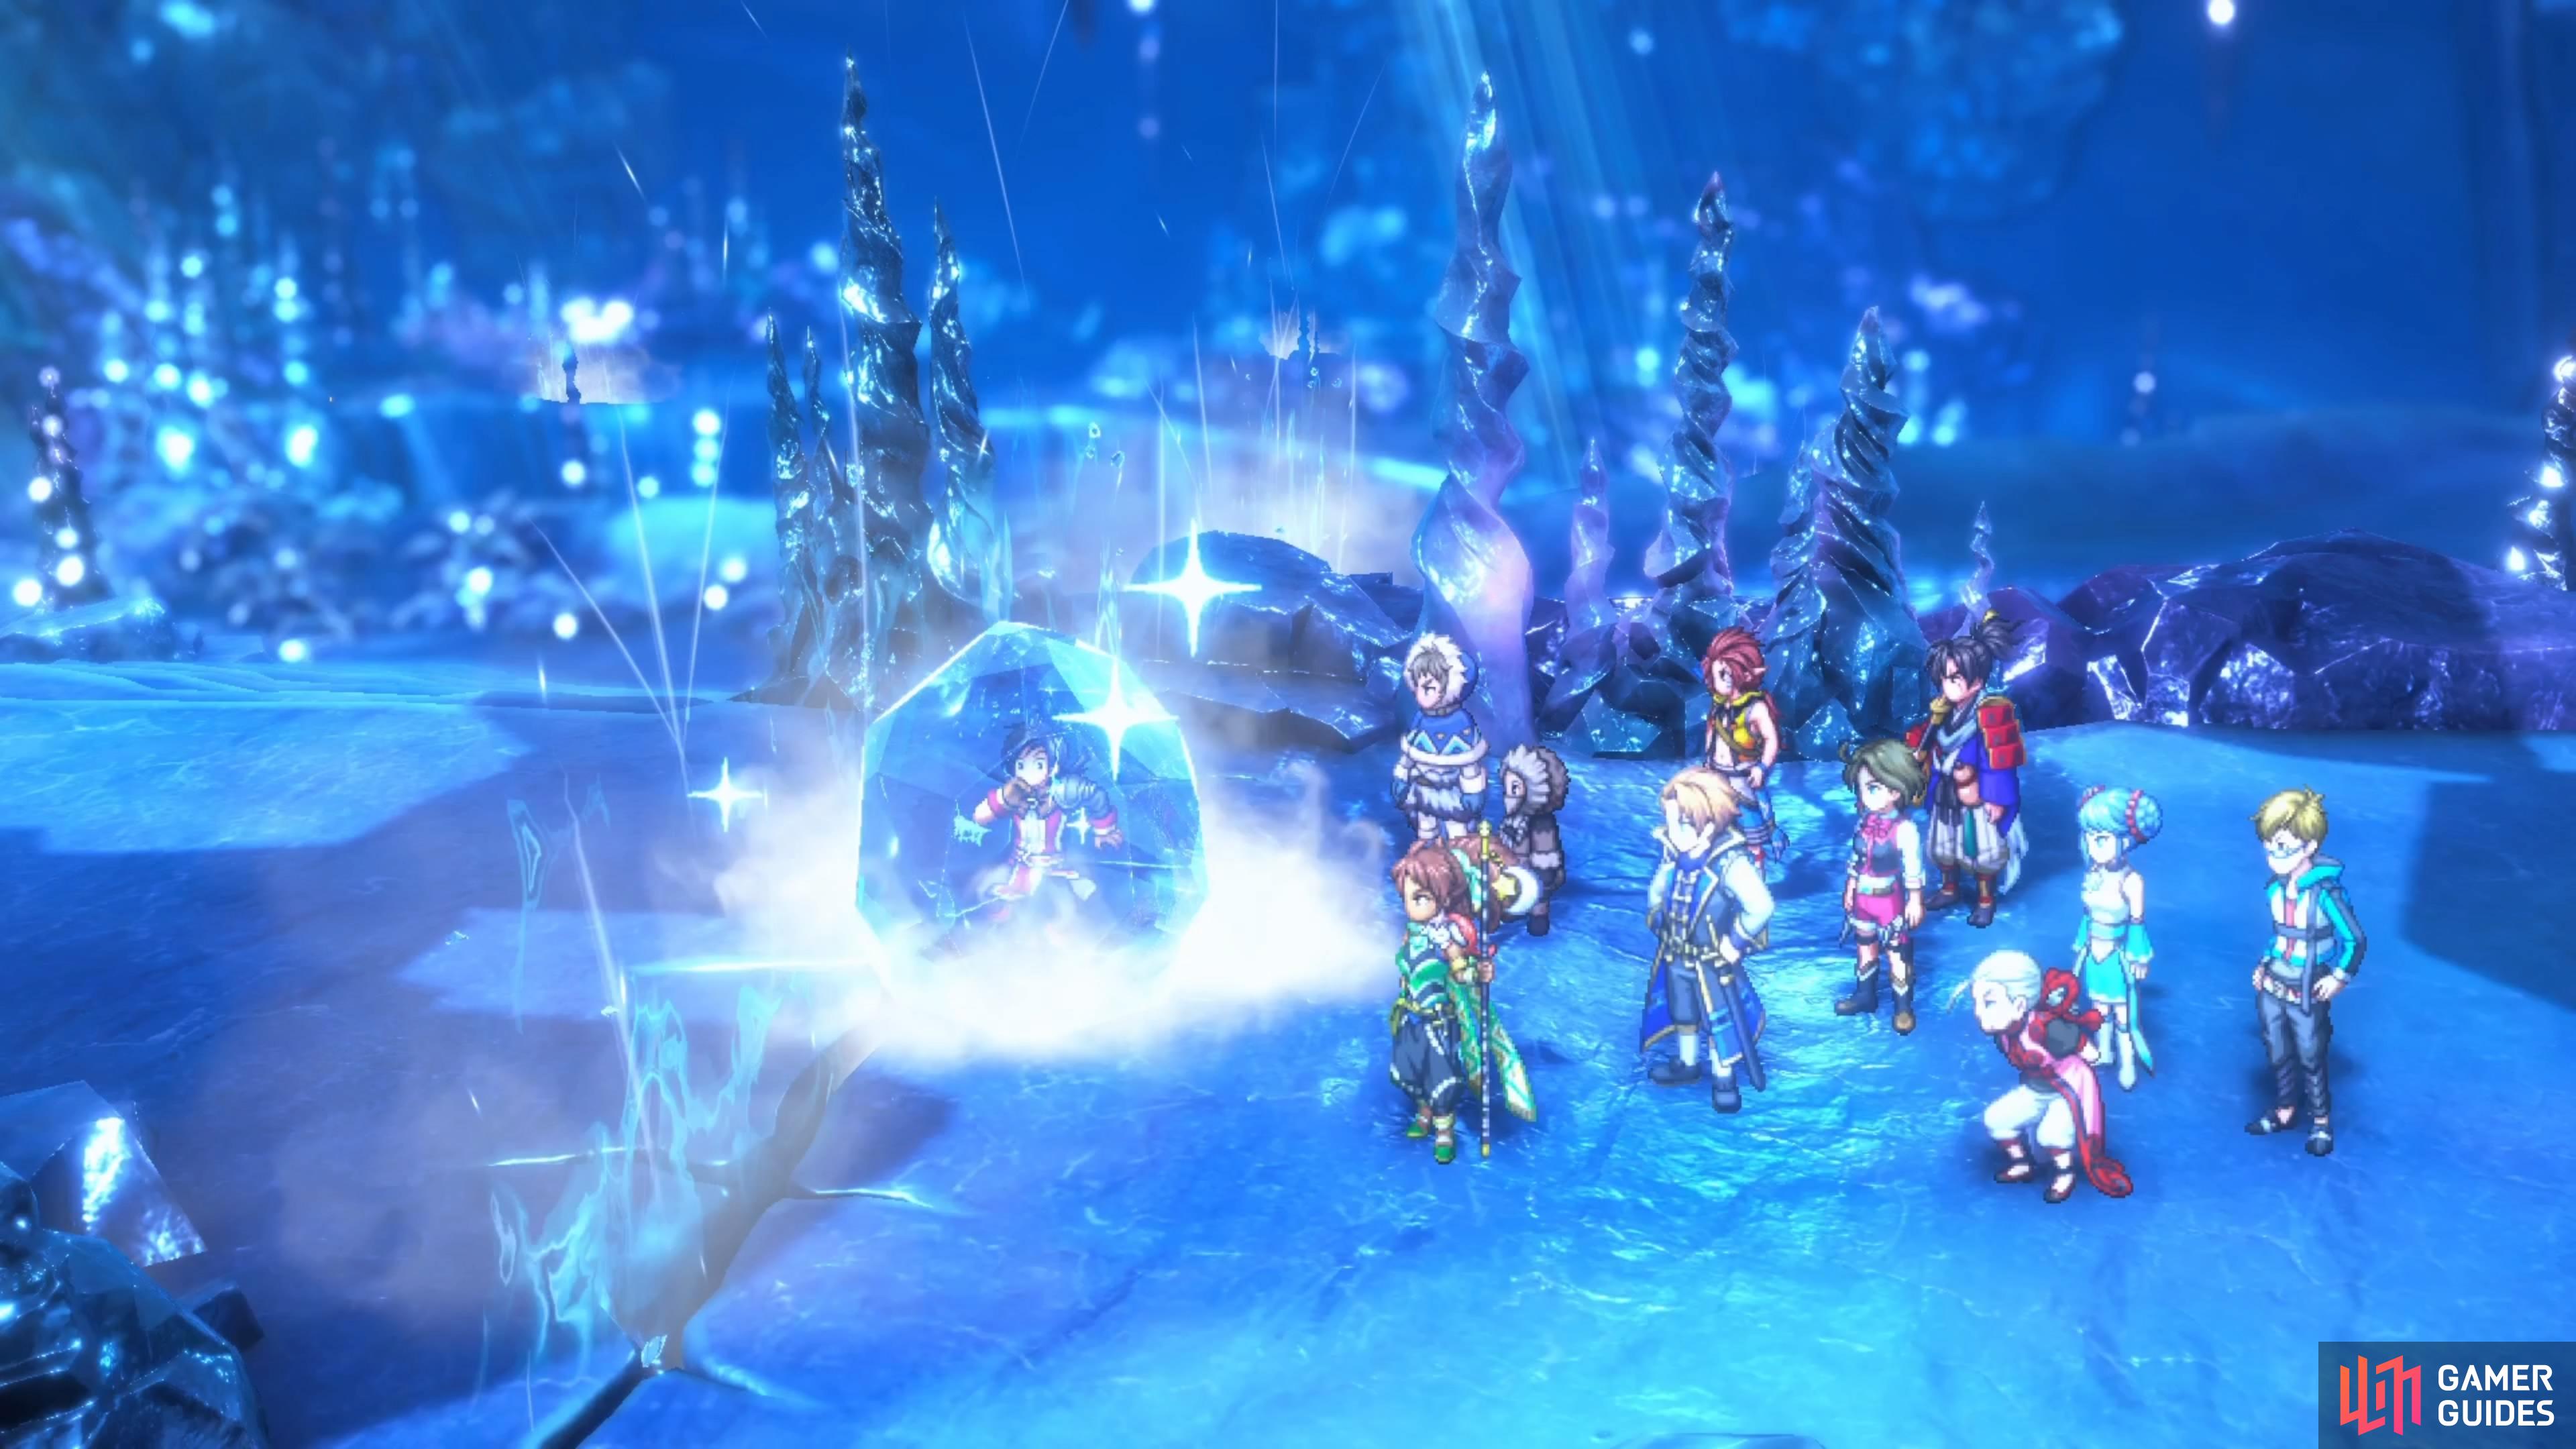
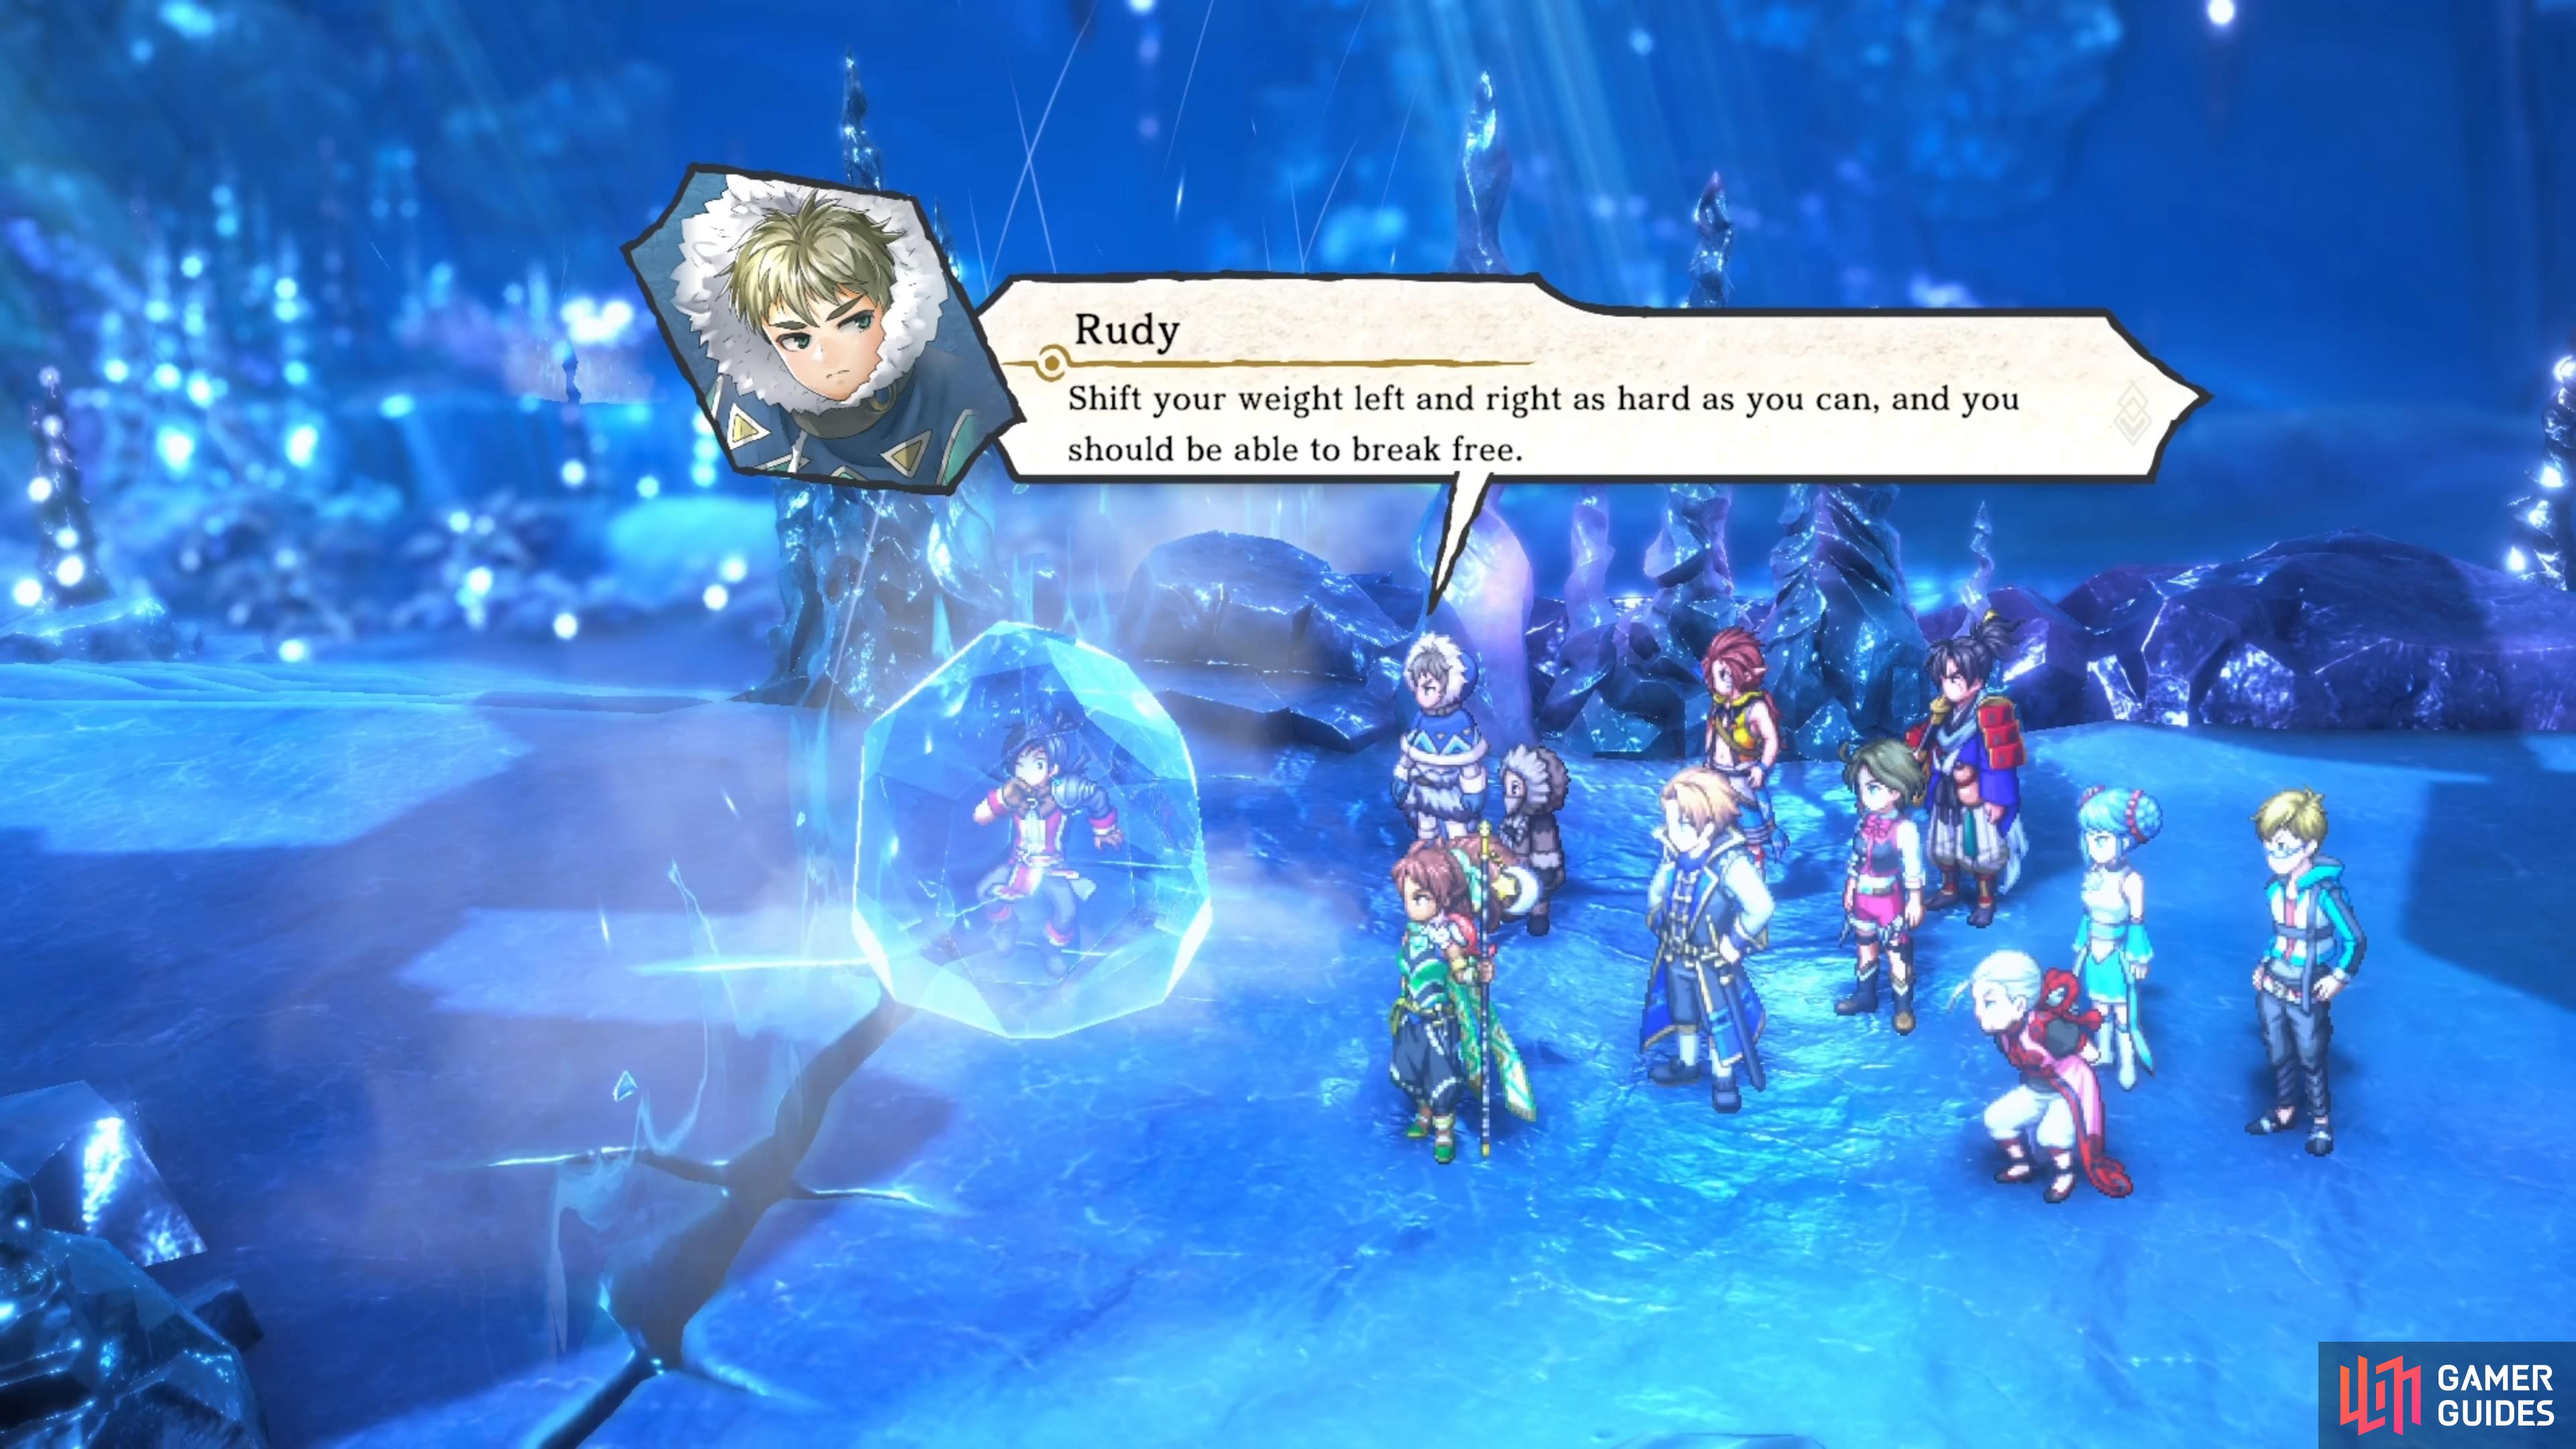

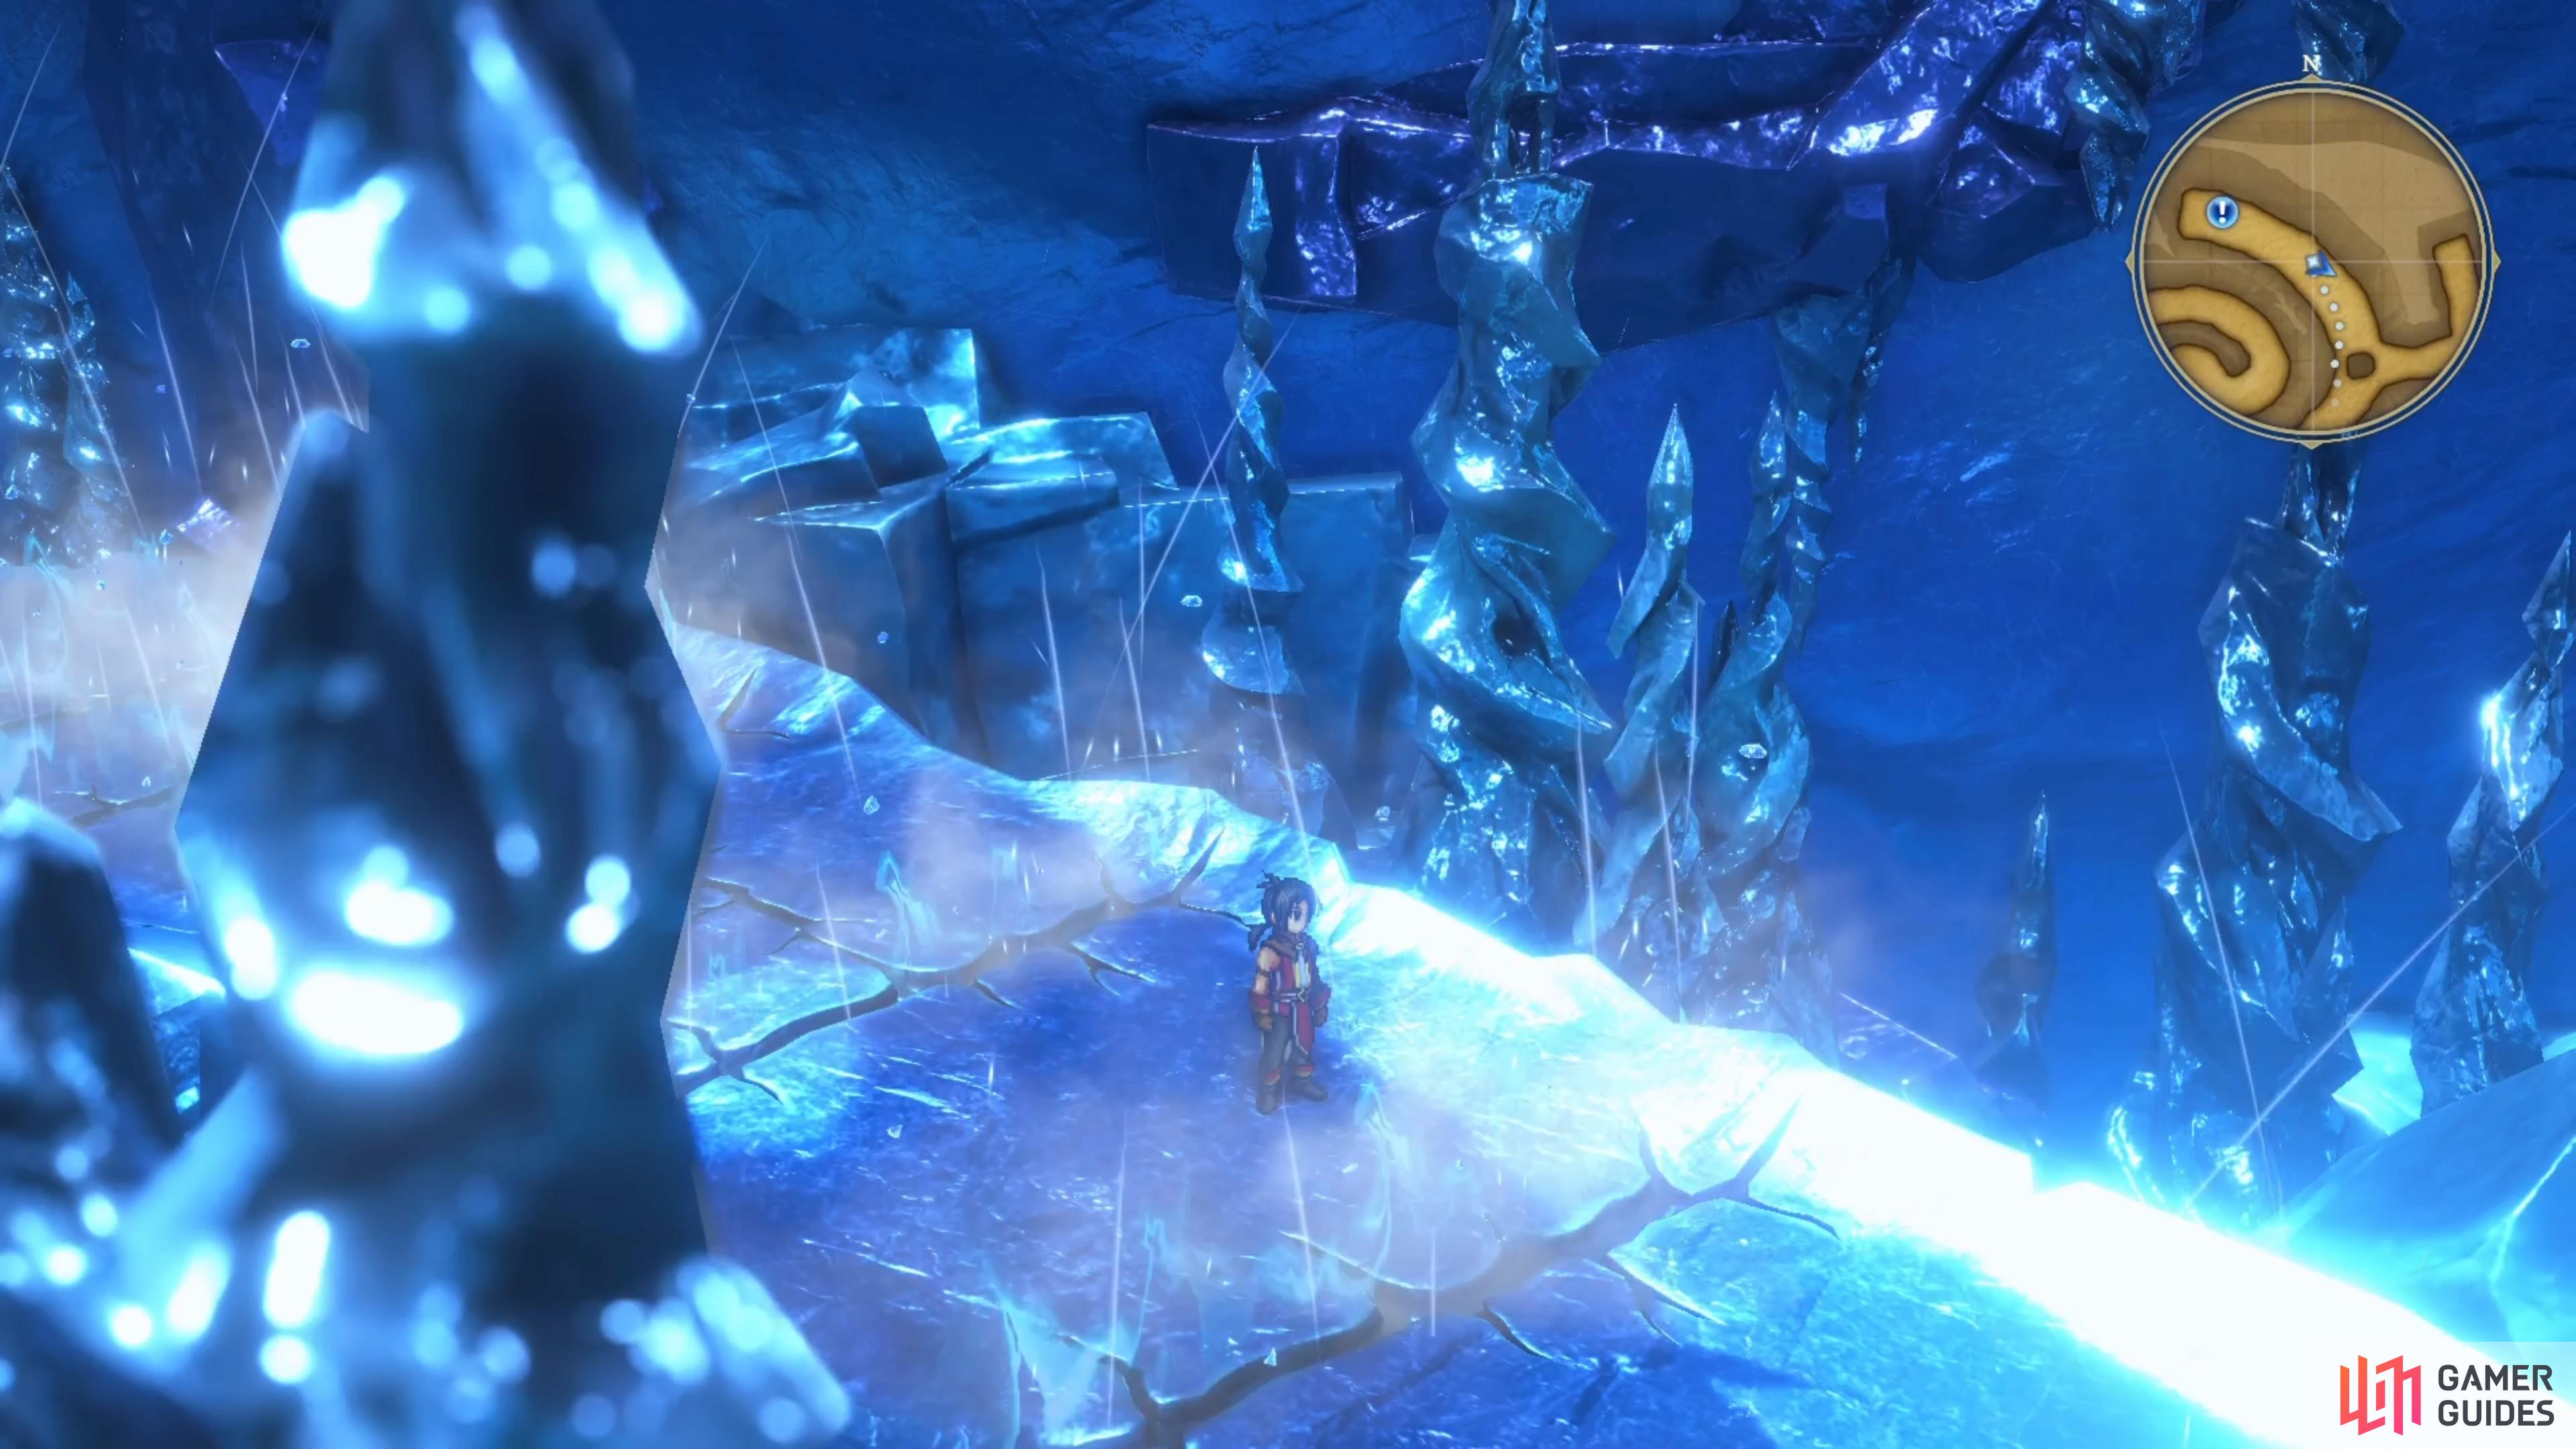
(1 of 3) The wind coming out of the cracks will freeze you.
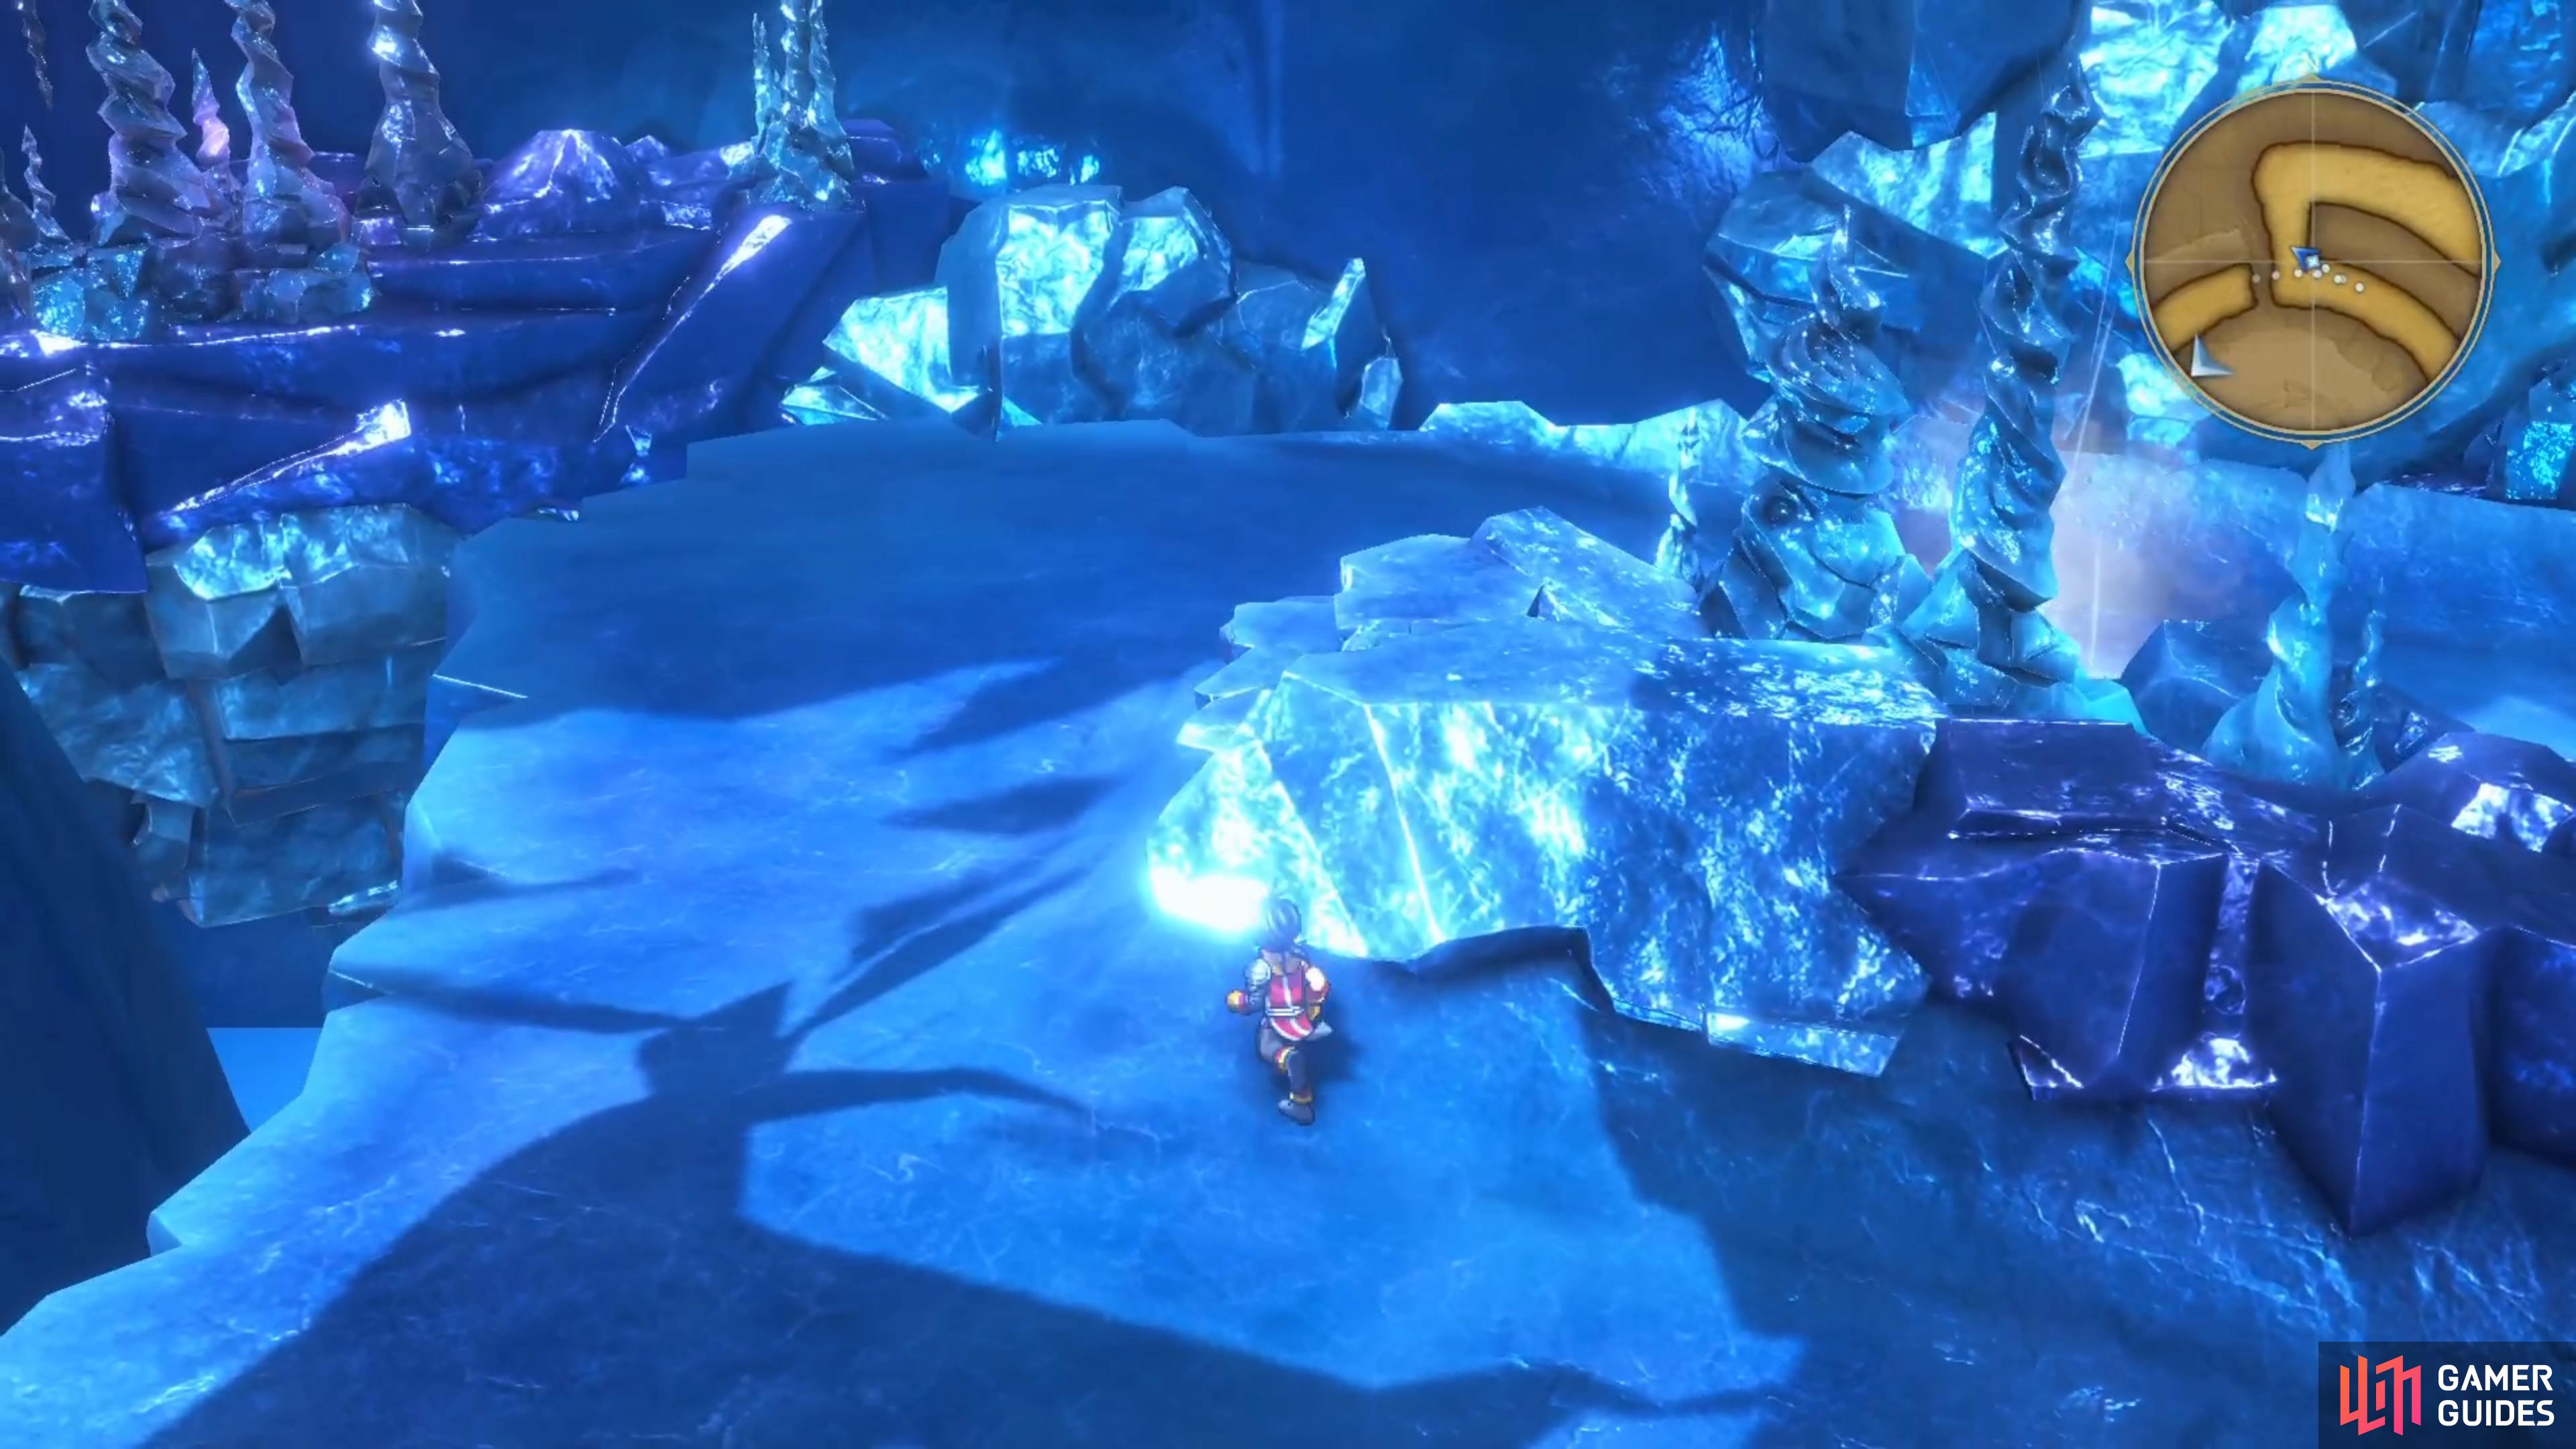
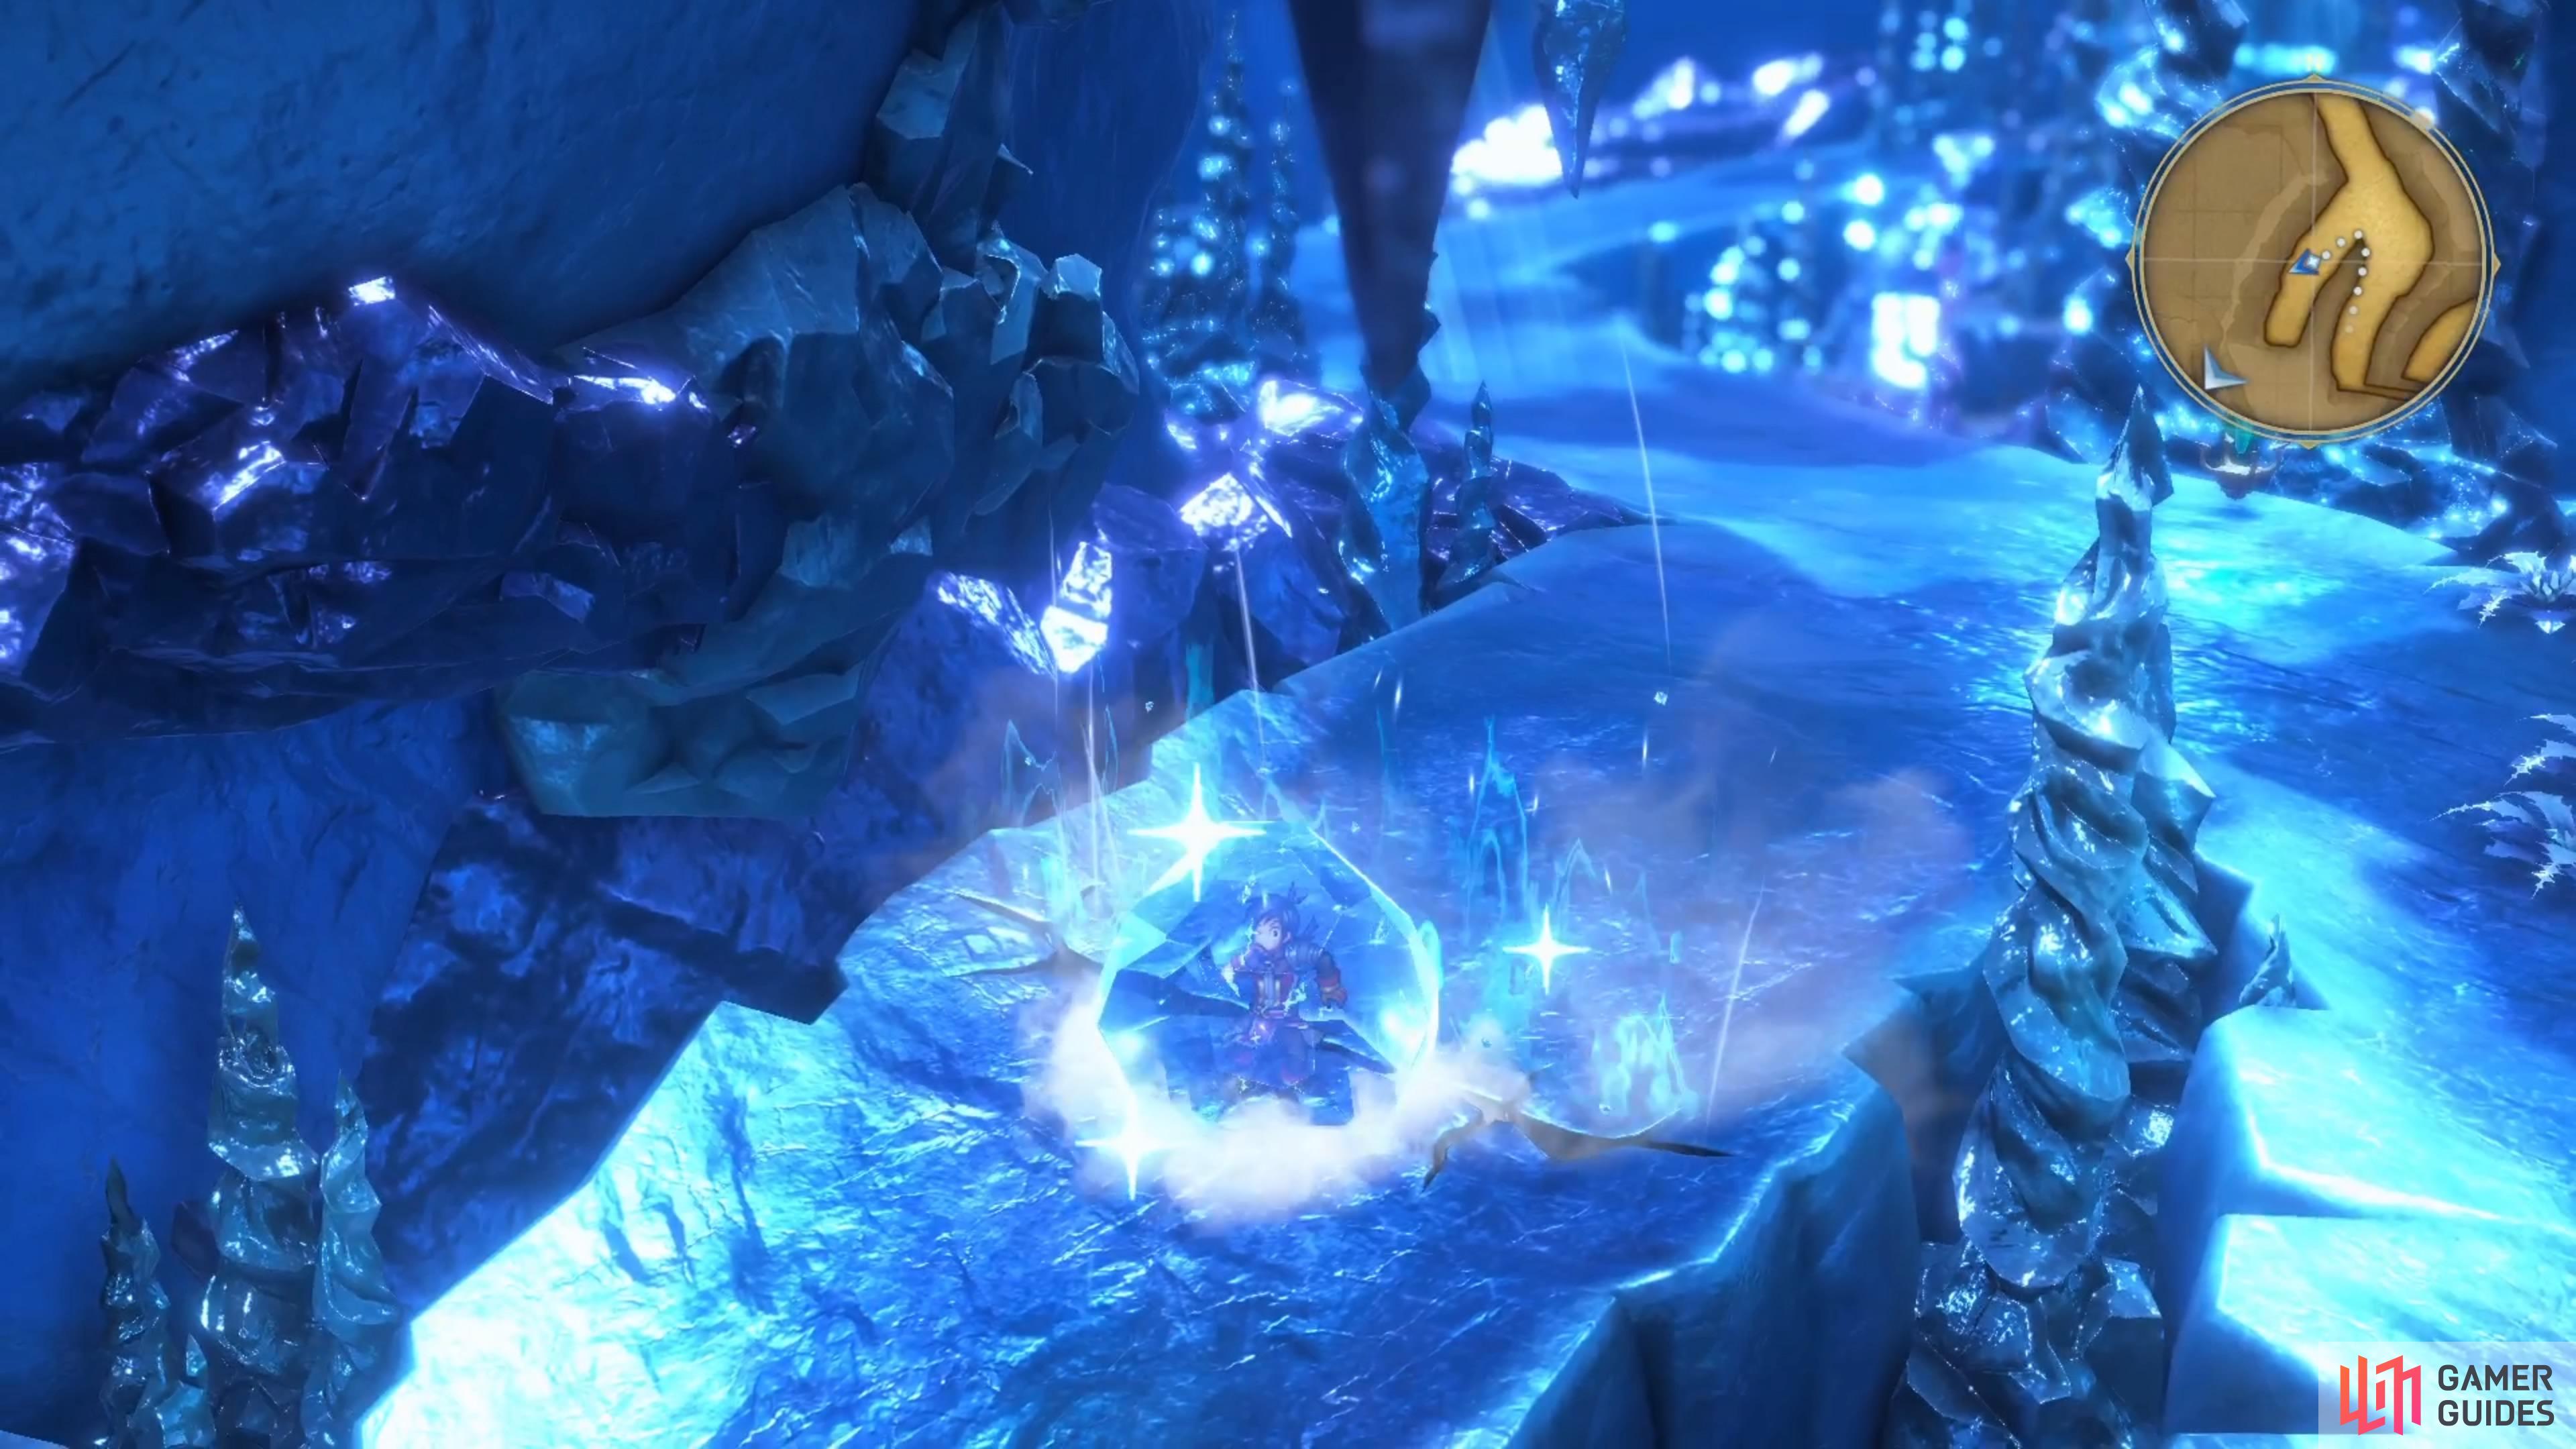
If you look at your map, you will see the area you’re currently in is separated from the rest of the dungeon. Go north and then to the west, to the edge of the path, to trigger another scene, where Rudy will mention encasing yourself in ice to carry your party across the gaps. Double back up the hill a little bit, past the fork, and to the wind vent to the east. Stand on it to get frozen and it will send you all the way down, to the bottom of the ice cave.
There is another scene at the bottom and you will land right next to a chest, so open it for a Rune of Quick Slash. You won’t find another way to go here, so stand on the next vent to slide down to the very bottom of this room. Inspect the large greenish-colored icicle to be shown it has a big crack in it, which will come into play a little later. There’s nothing else to do here now, so head south and use the screen transition to get to another screen.
Breaking the Ice
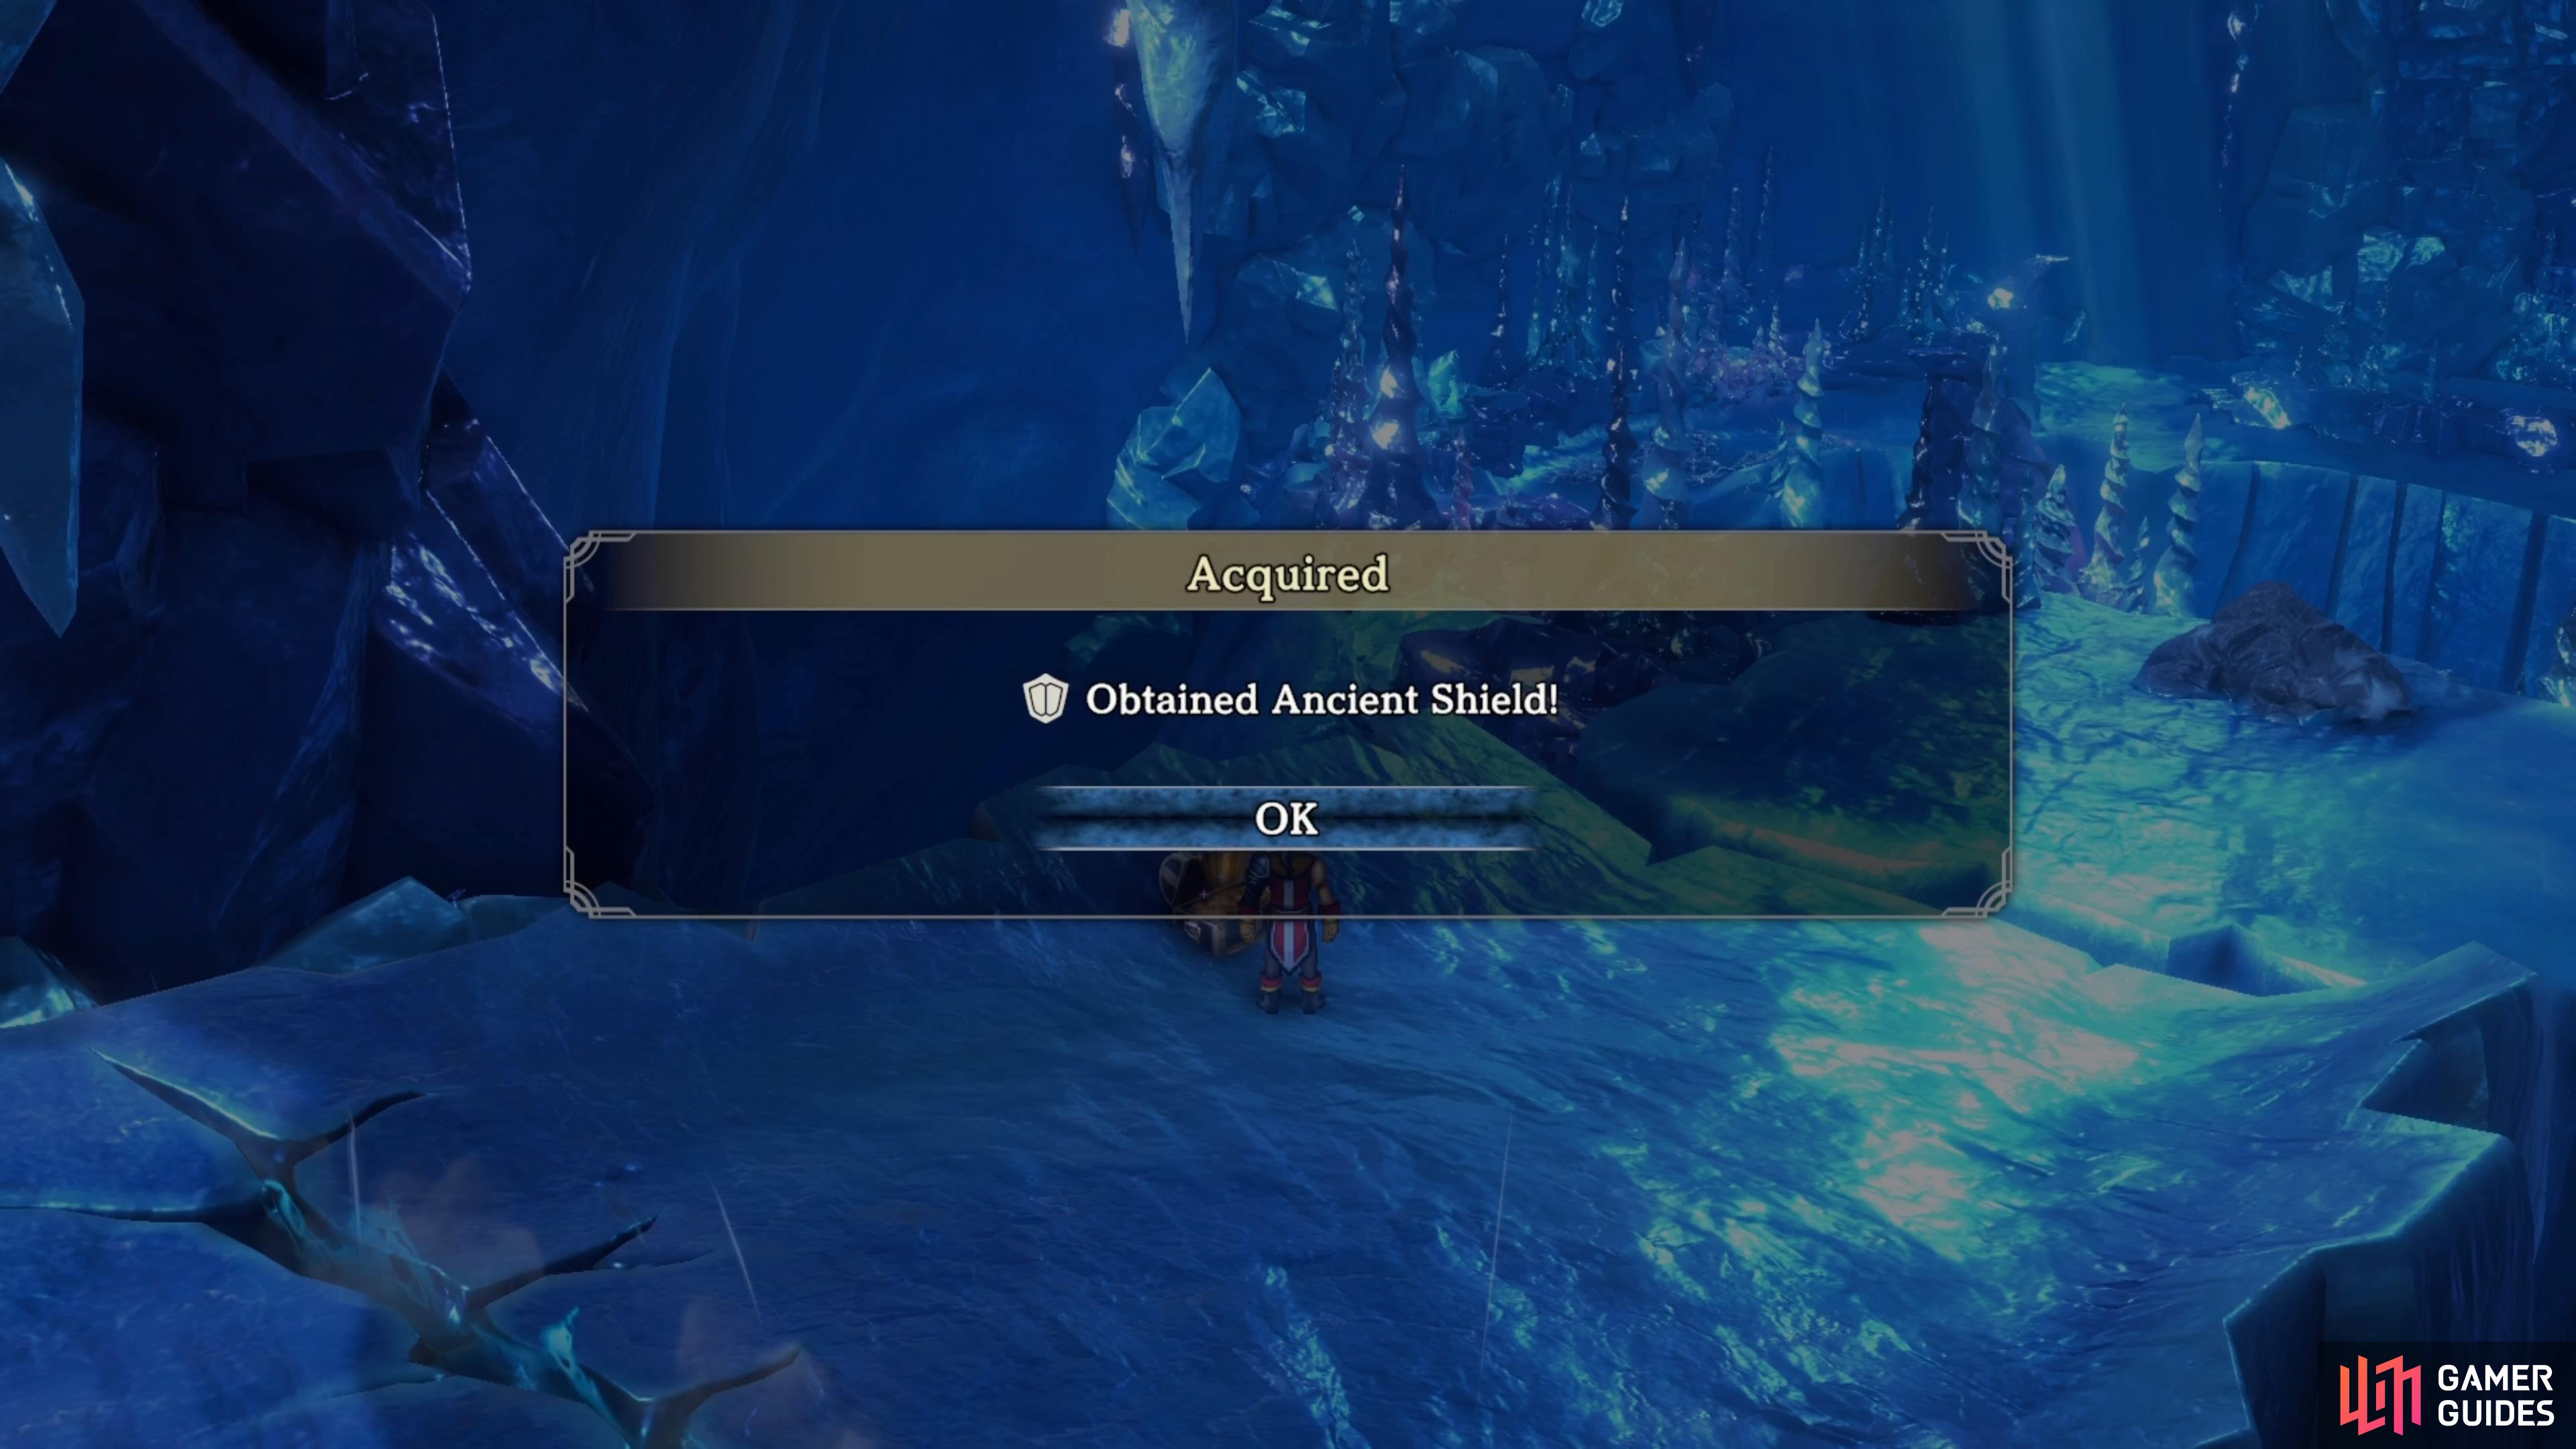
Wait for the icy wind to stop, then move past it to open the chest there (Ancient Shield). This is where this dungeon becomes a bit confusing, as you need to recall the tip by Rudy at the beginning to make any real progression. If you don’t, then you will simply be going in circles by visiting the bottom of the cave, then returning to the top. Return to the initial wind vent and get turned into ice, but as soon as you do, start wiggling left and right.
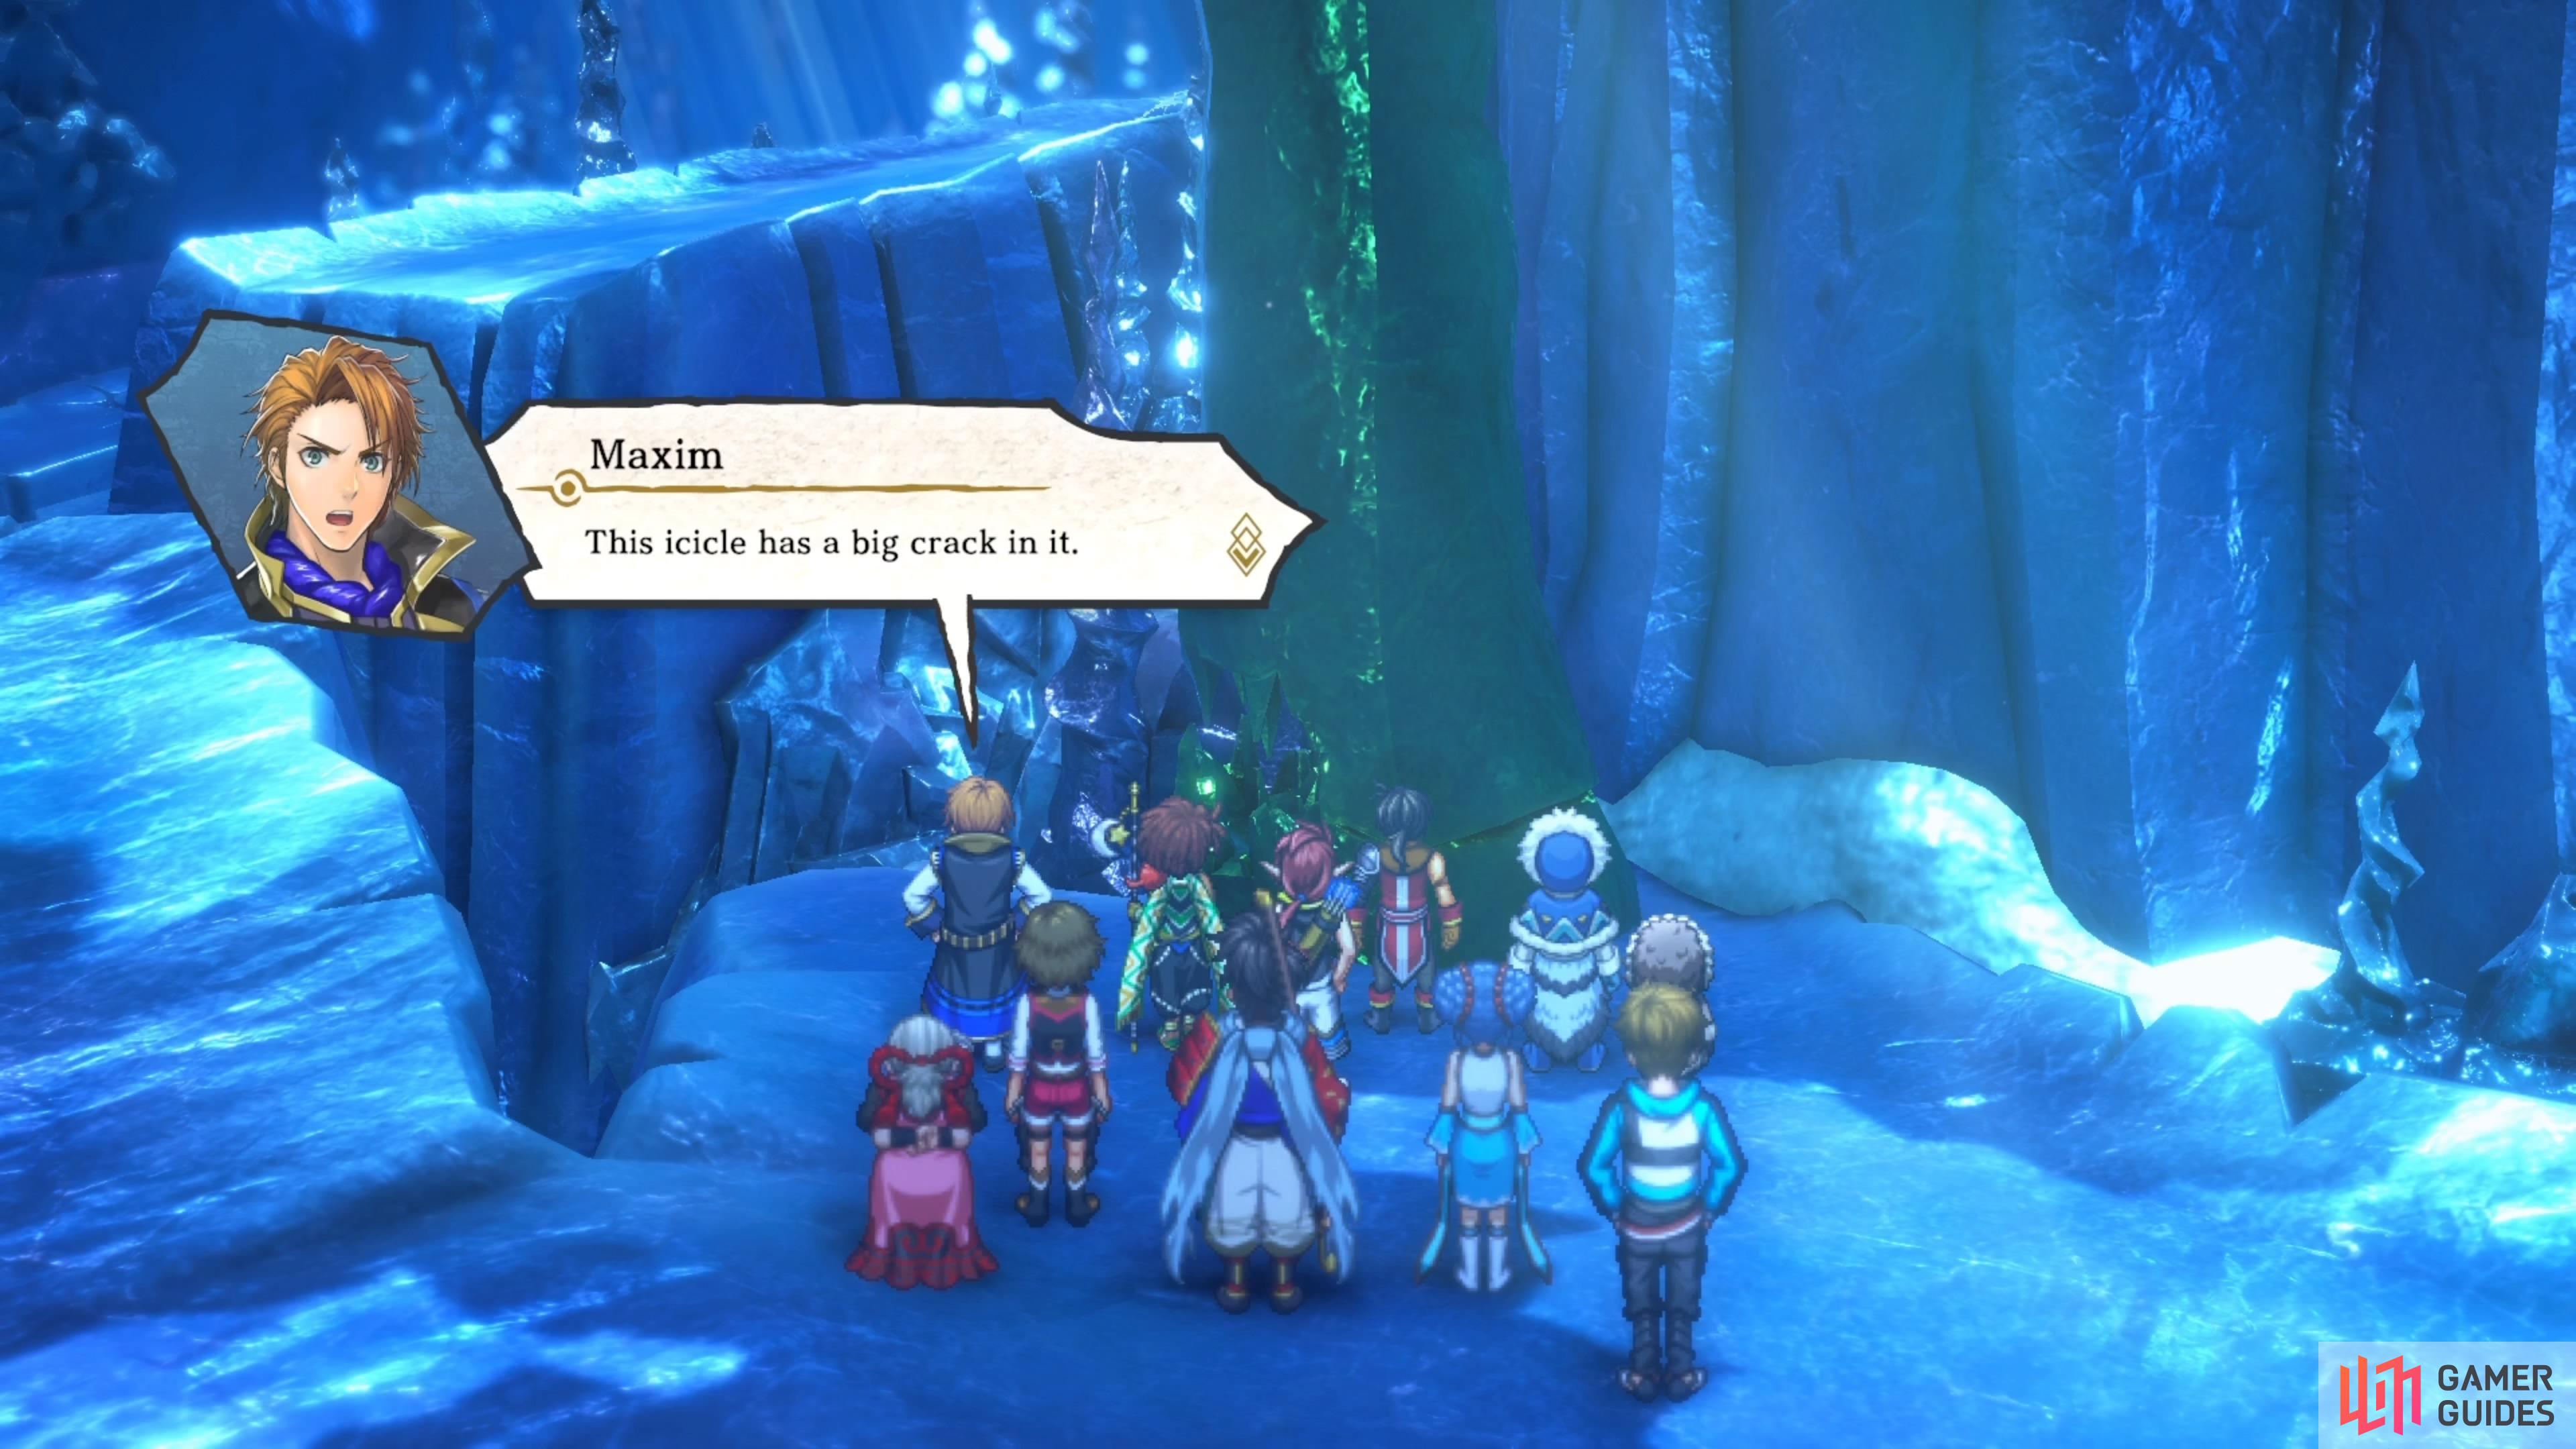
(1 of 3) This icicle with the big crack will come into play later.
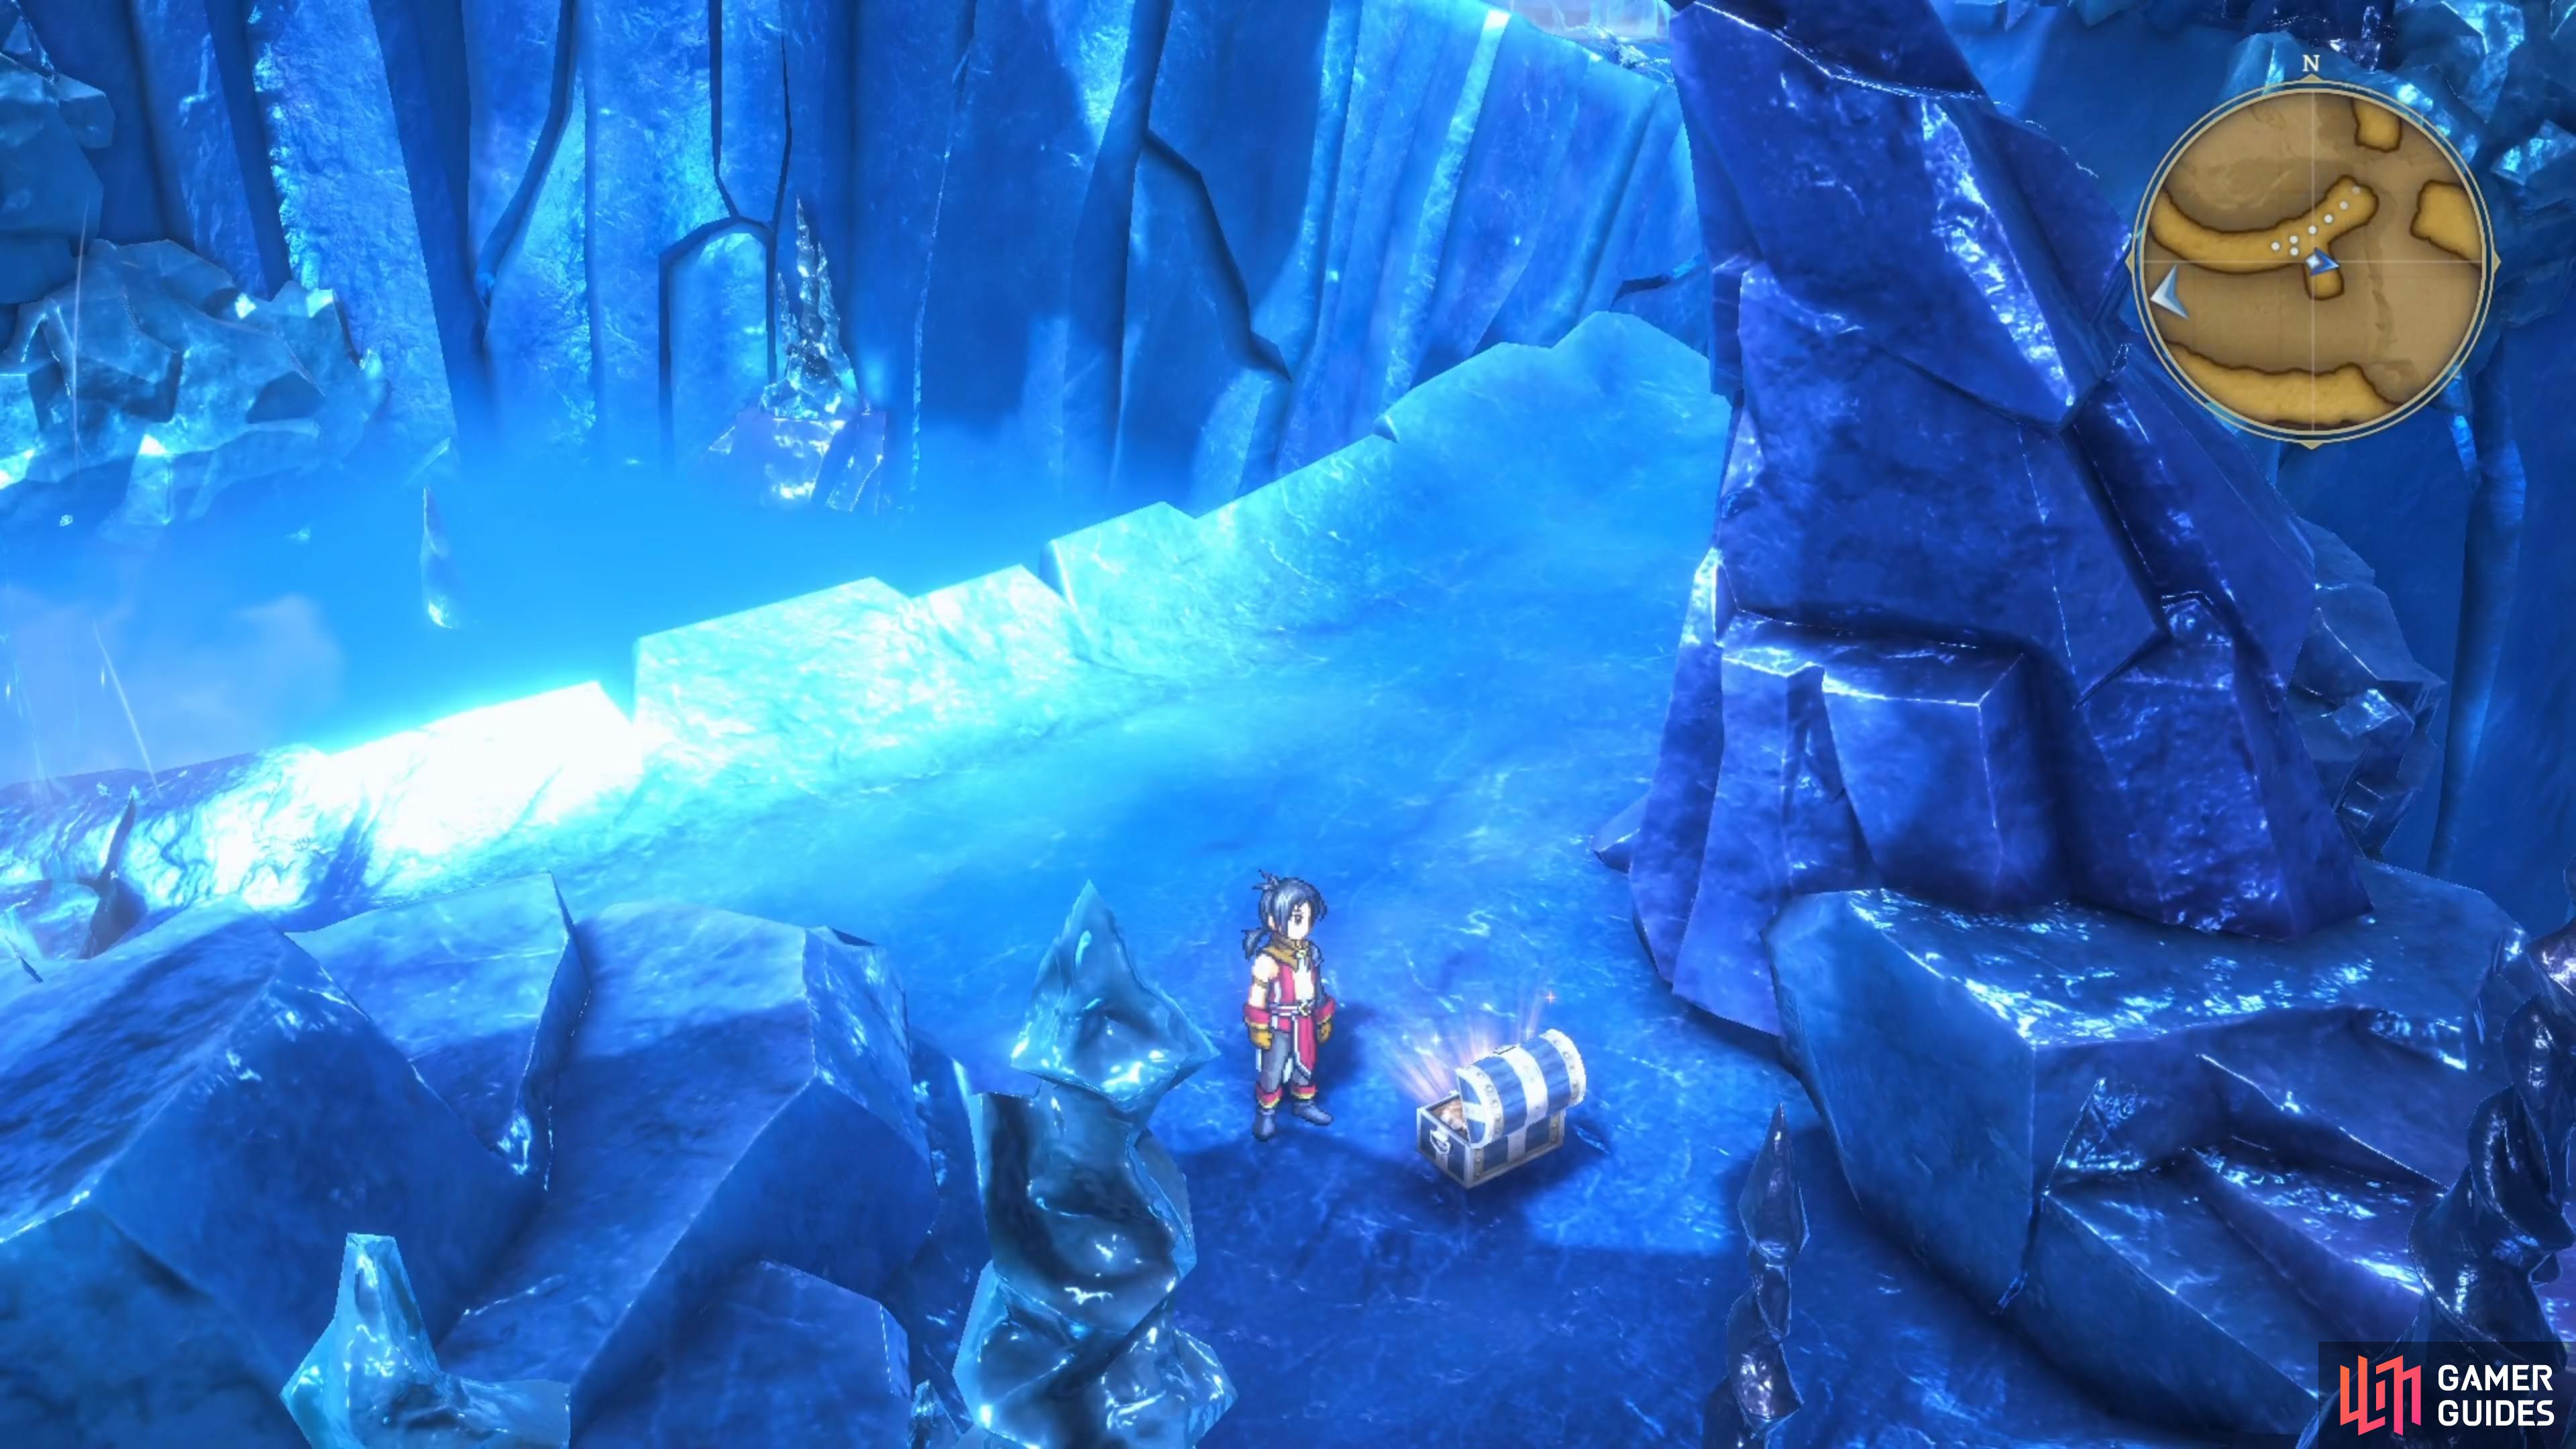
If done right, the ice will break after jumping over the first gap and you will see a chest right next to you, so open it for a Blue Symbol. Do the same thing as with the first to get to the next section of the spiraling track, where you should see a northern path, in addition to the normal one. Ignore that for now and continue to the next portion, where you will see another chest off to the side (Rune of Currents). The wind vent here will take you back to the bottom, where you still can’t do anything.
For now, return to the beginning of the cave and take the route down to where the previously mentioned northern fork was pointed out just above. The vent here will take you to a different section of the lower area of the caves. There won’t be any wind from the southern crack here, so navigate your way past the many cracks along the upper path to find another of the kids. Once the scene is over, loot the chest next to the kid for an Anti-Paralysis Scarf. Feel free to use the ice to get back down this short path, where you should now see wind blowing out of the non-functional crack now.
Use this to slide down to the bottom, with the cracked icicle, which will now break and fall over, forming a bridge. Cross it and head north to a save point, so use it to save your game. The other path to the south of you cannot be progressed, so ignore it for now and continue north. There will be another fork here, so take the smaller of the two paths and use the ice to slide down to another new trail. Follow it to the east/north to find a third kid, leaving one more to go.

Leave this area via the screen transition, then use the ice to get back down to the section with the fallen icicle. Cross it once more, then look on the path leading south to see that wind is blowing out of the crack now. This will put you in the final section of the cave, so be ready. Move past the cracks in the ground, trying to avoid the wind. When you get to the eastern bend, you will find a chest there that can be hard to see, due to the foreground (Eyepatch). Continue to the save point, heal up, then go to the waypoint, triggering the boss fight against Fenrir.
Fenrir Boss Guide
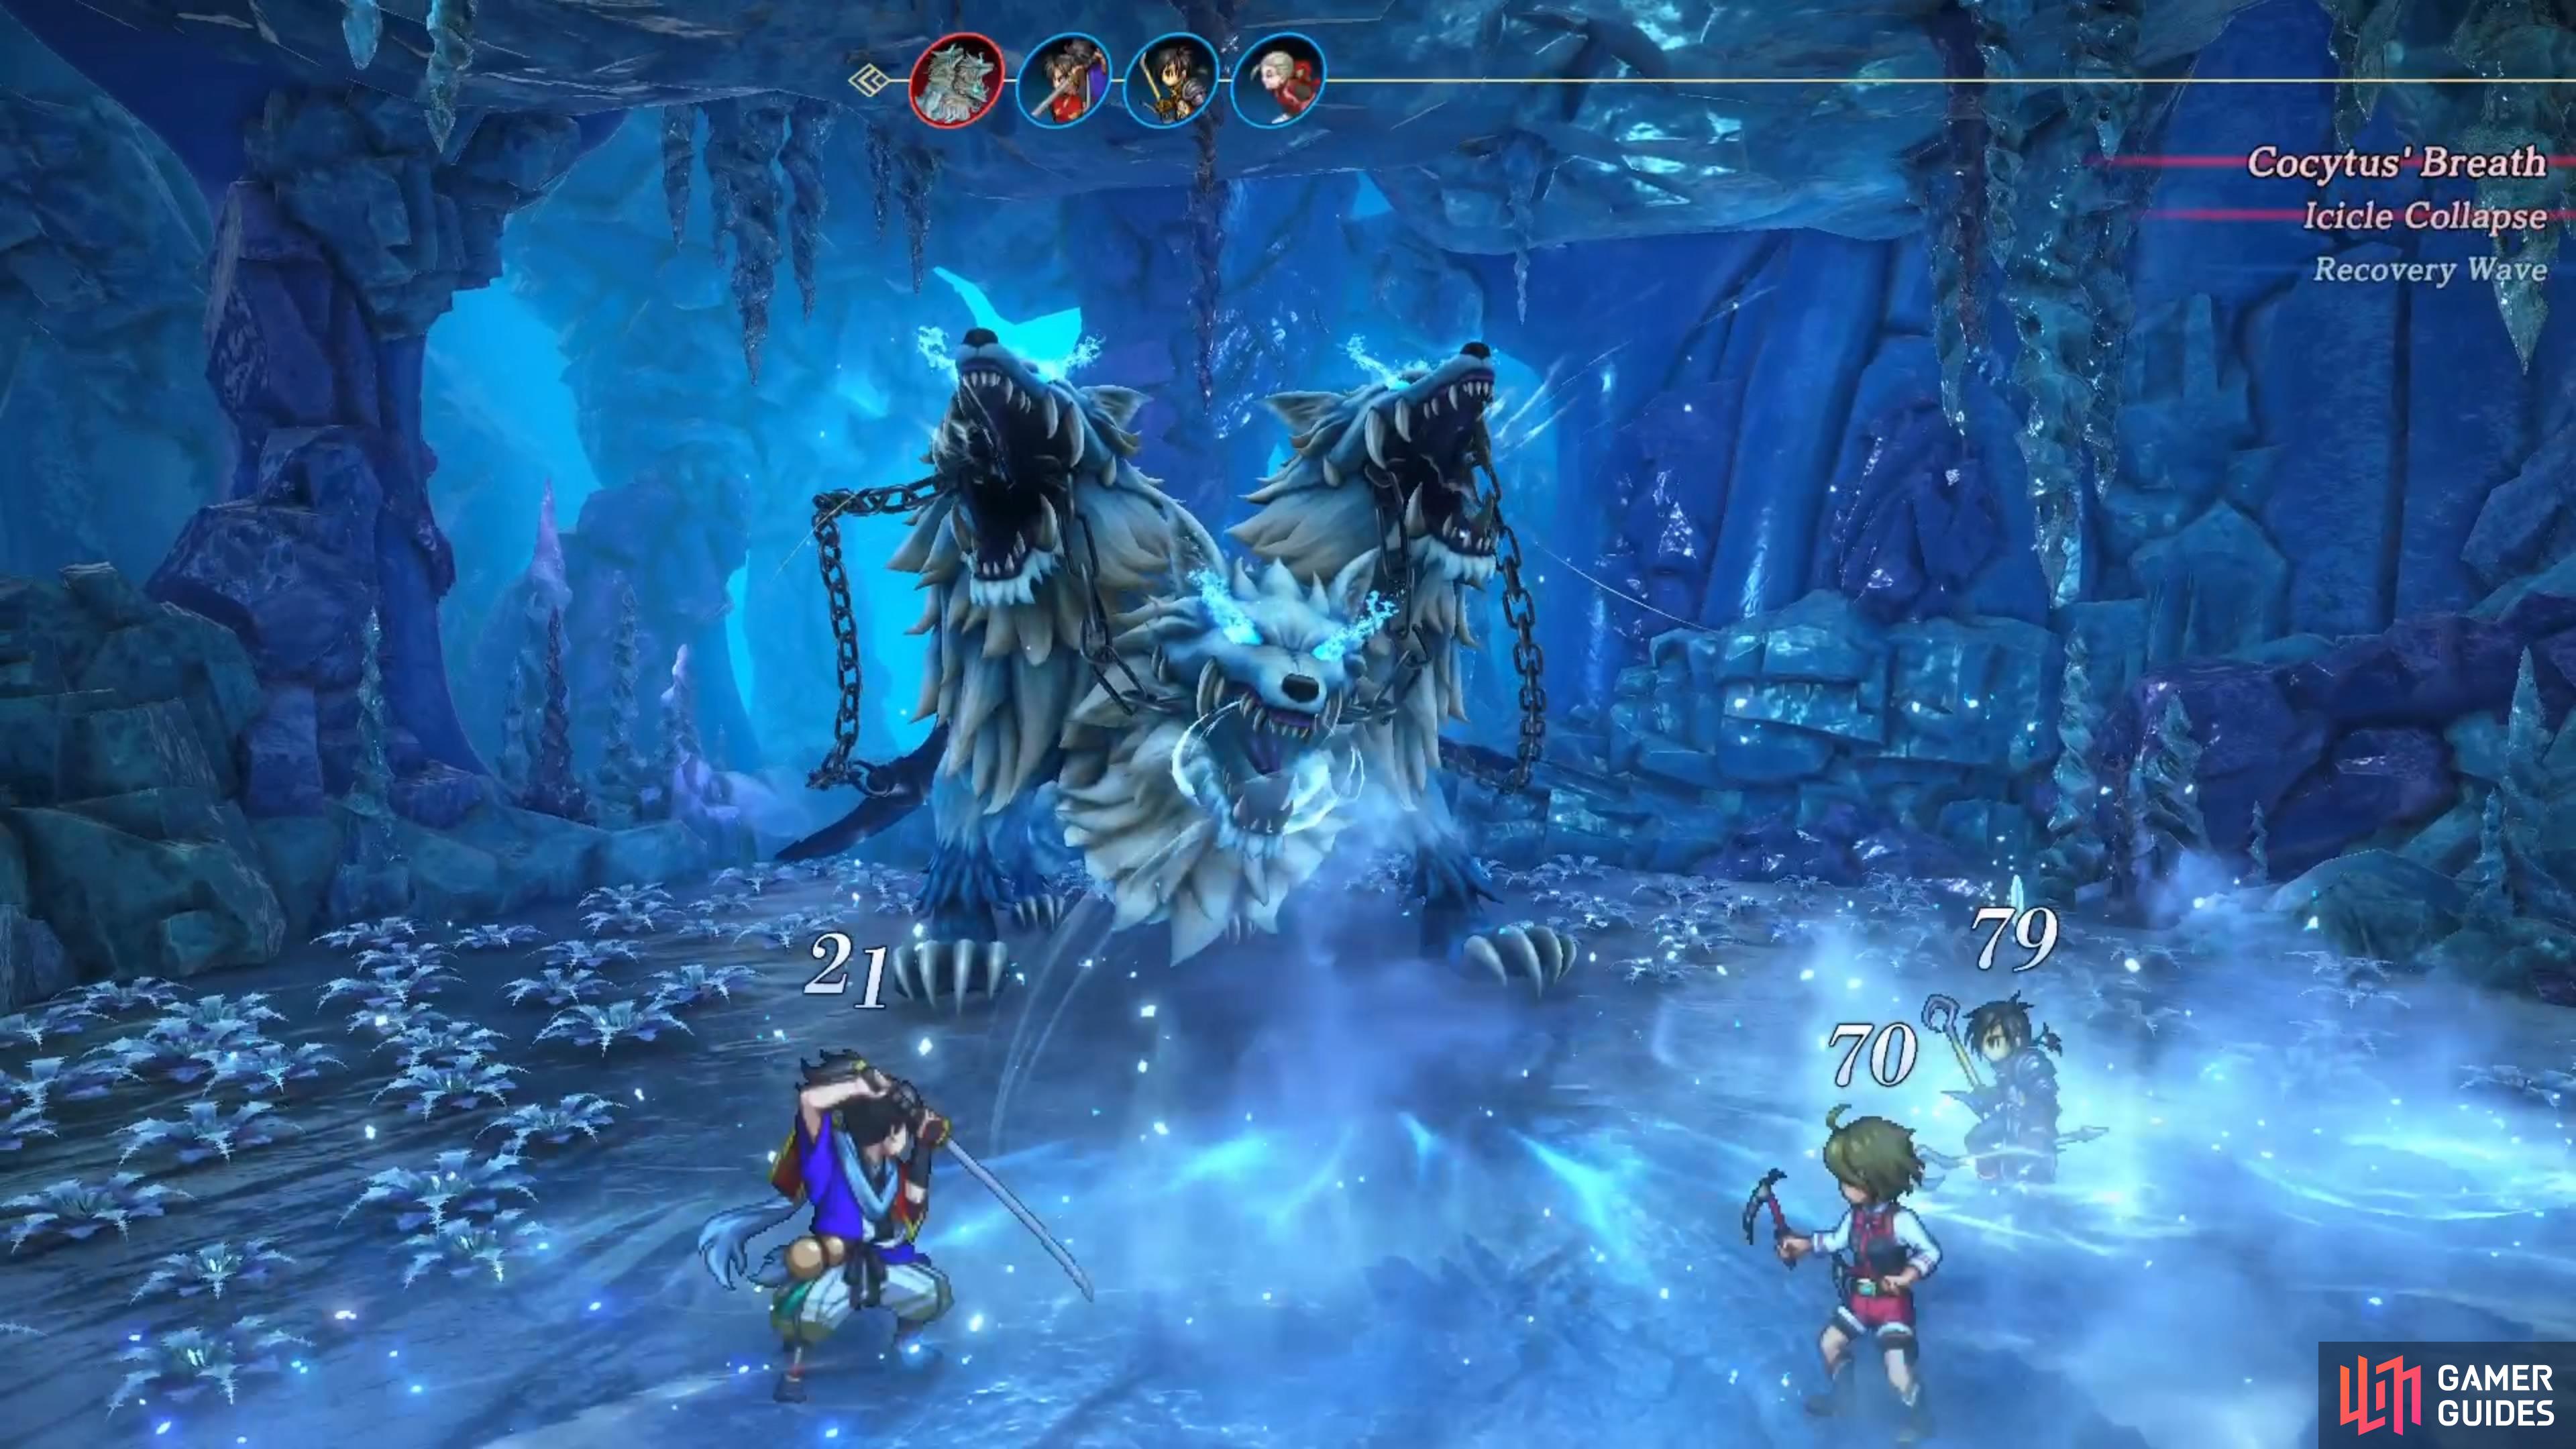
One of the first things you will notice in this boss battle is that there’s a gimmick. This gimmick comes in the form of a giant icicle on the ceiling, which you can attack with a character to have it drop on the boss for a good chunk of damage (300). Fenrir seems to teeter back and forth on only getting a single attack in a round, to getting two actions per turn. His normal attack shouldn’t be too bad, although that depends on the character’s physical defense.
Icicle Collapse is a move he can use to hit your back row, which seems to deal magical damage. Once the third head wakes up, he will start using Cocytus’ Breath, another ice-based move that will hit your front row. He will also use another front-row attack, called Anchor Dance, which seems to be physical in nature. At this point, you should have someone equipped with a Rune of Water, so they can use Recovery Wave to heal the party. If not, then you can use the AoE heal items to do the same thing.

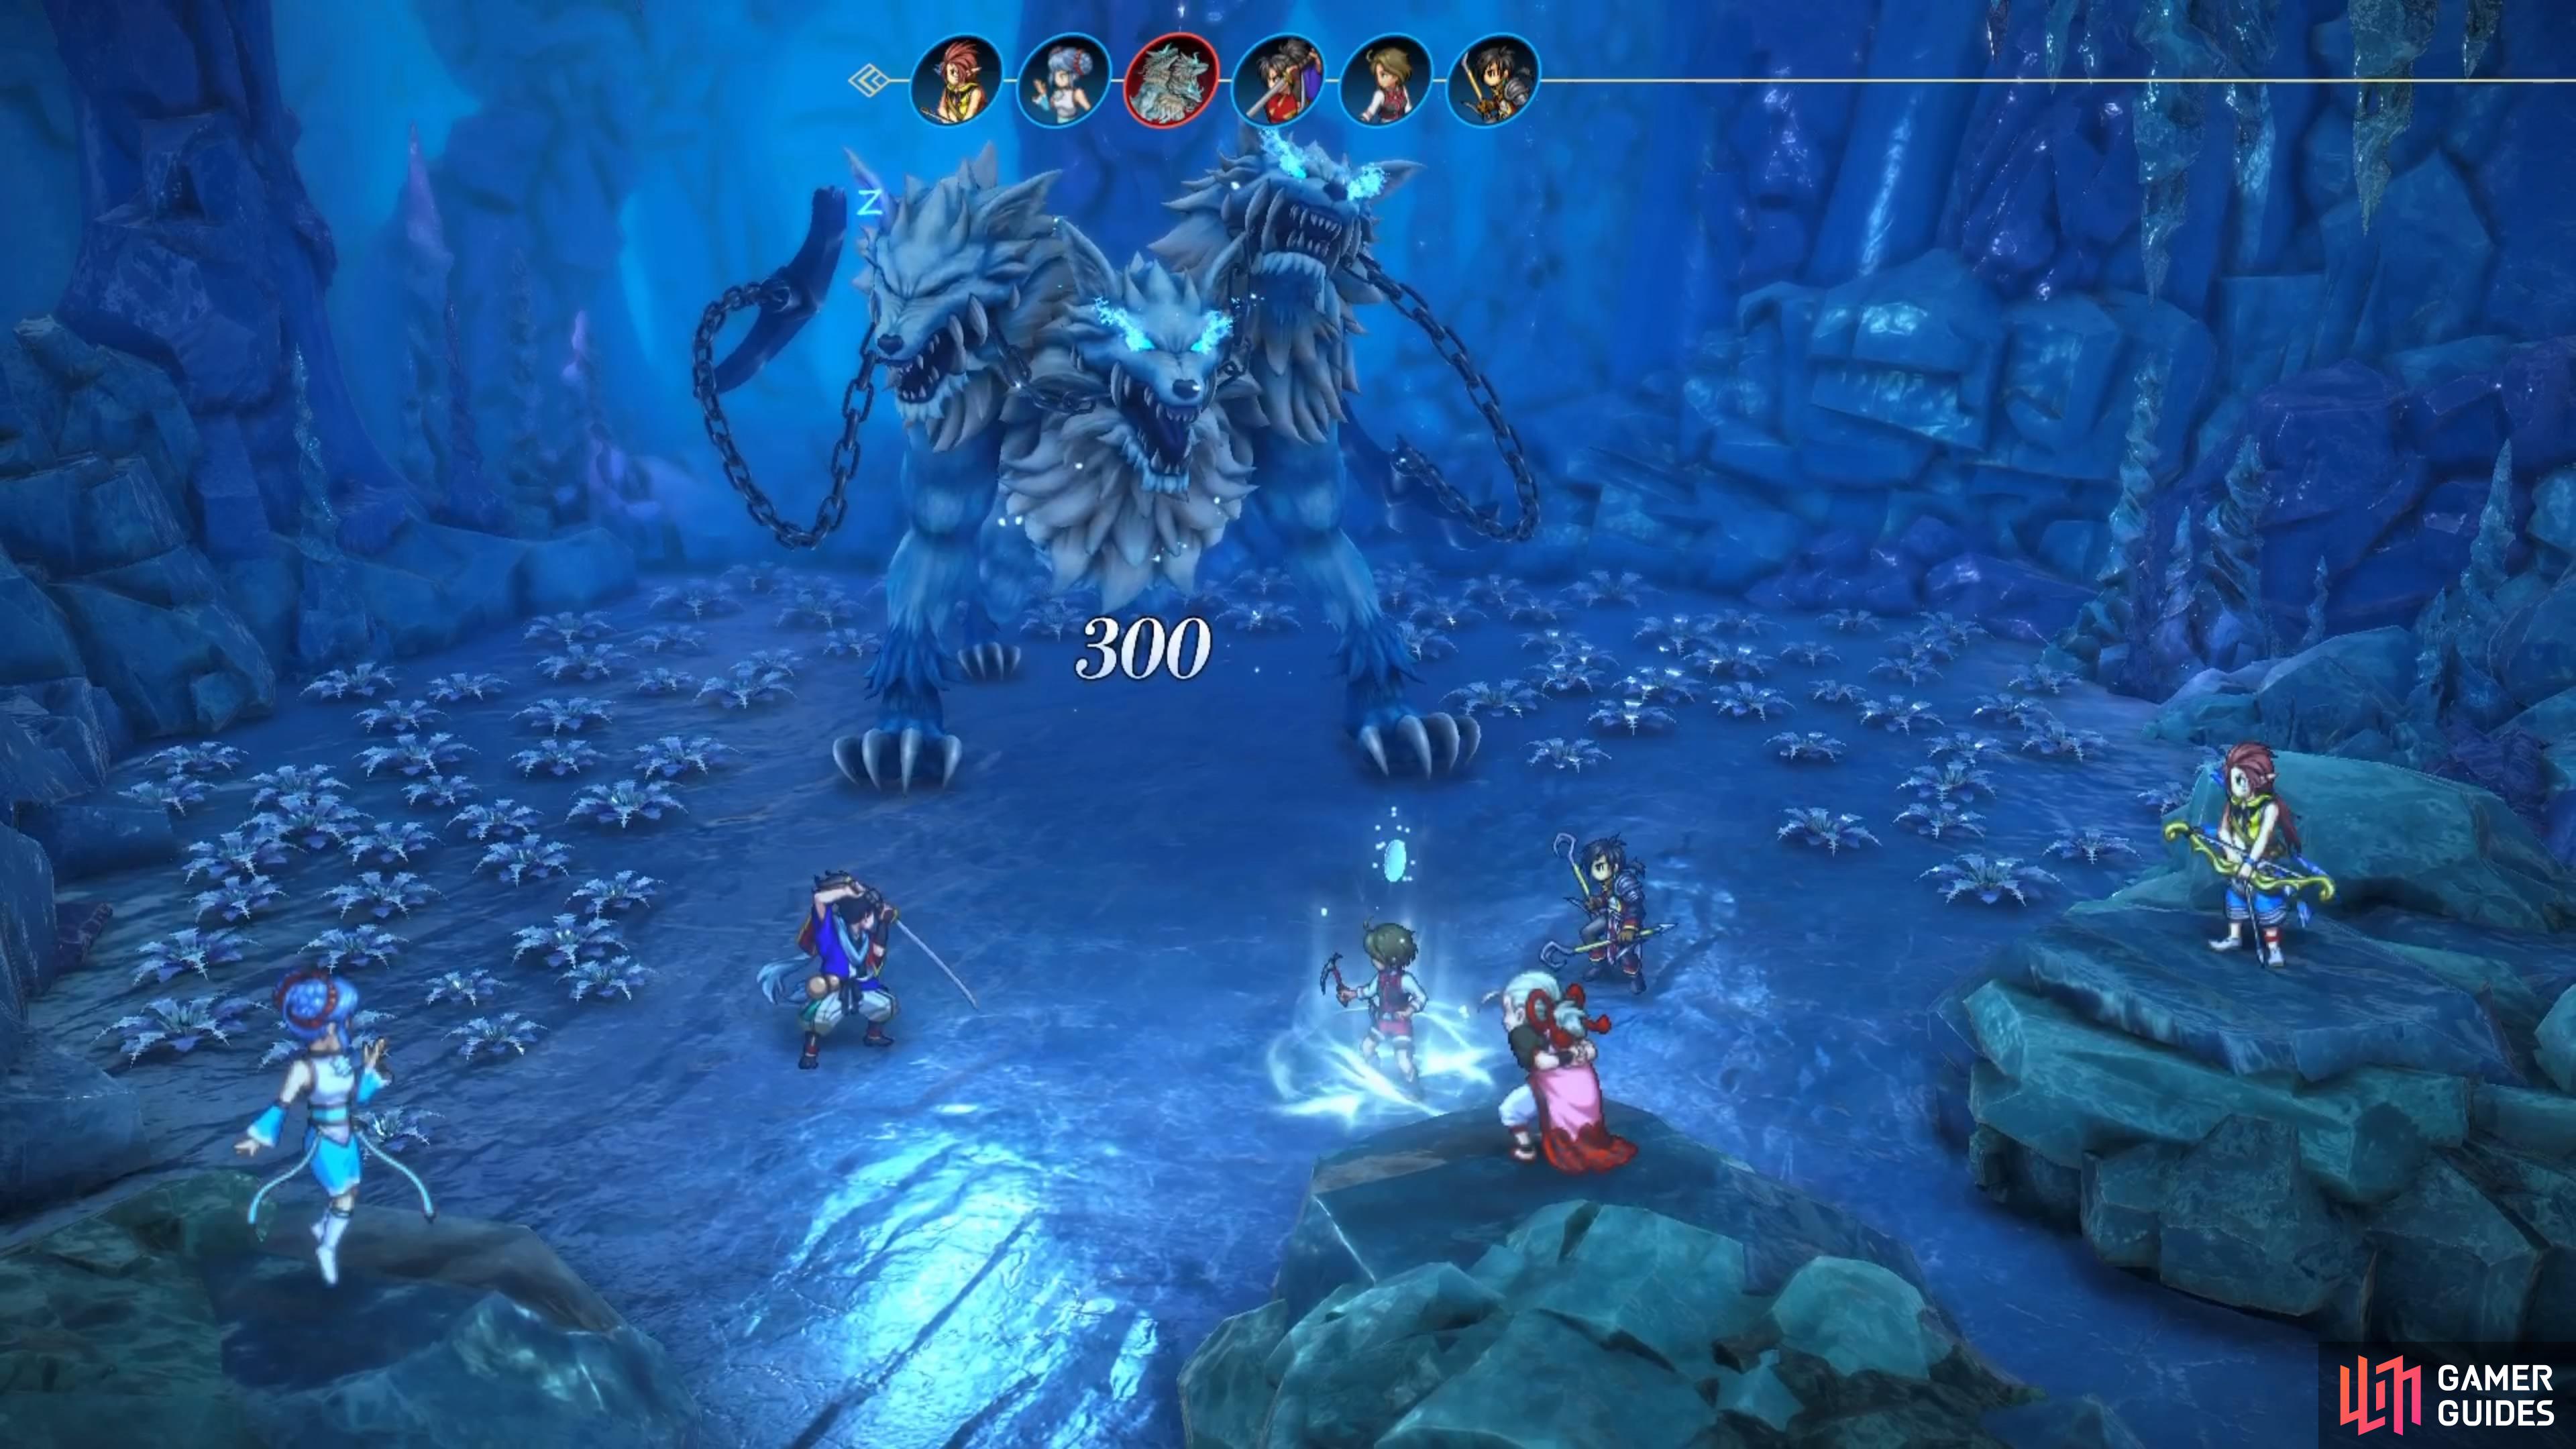
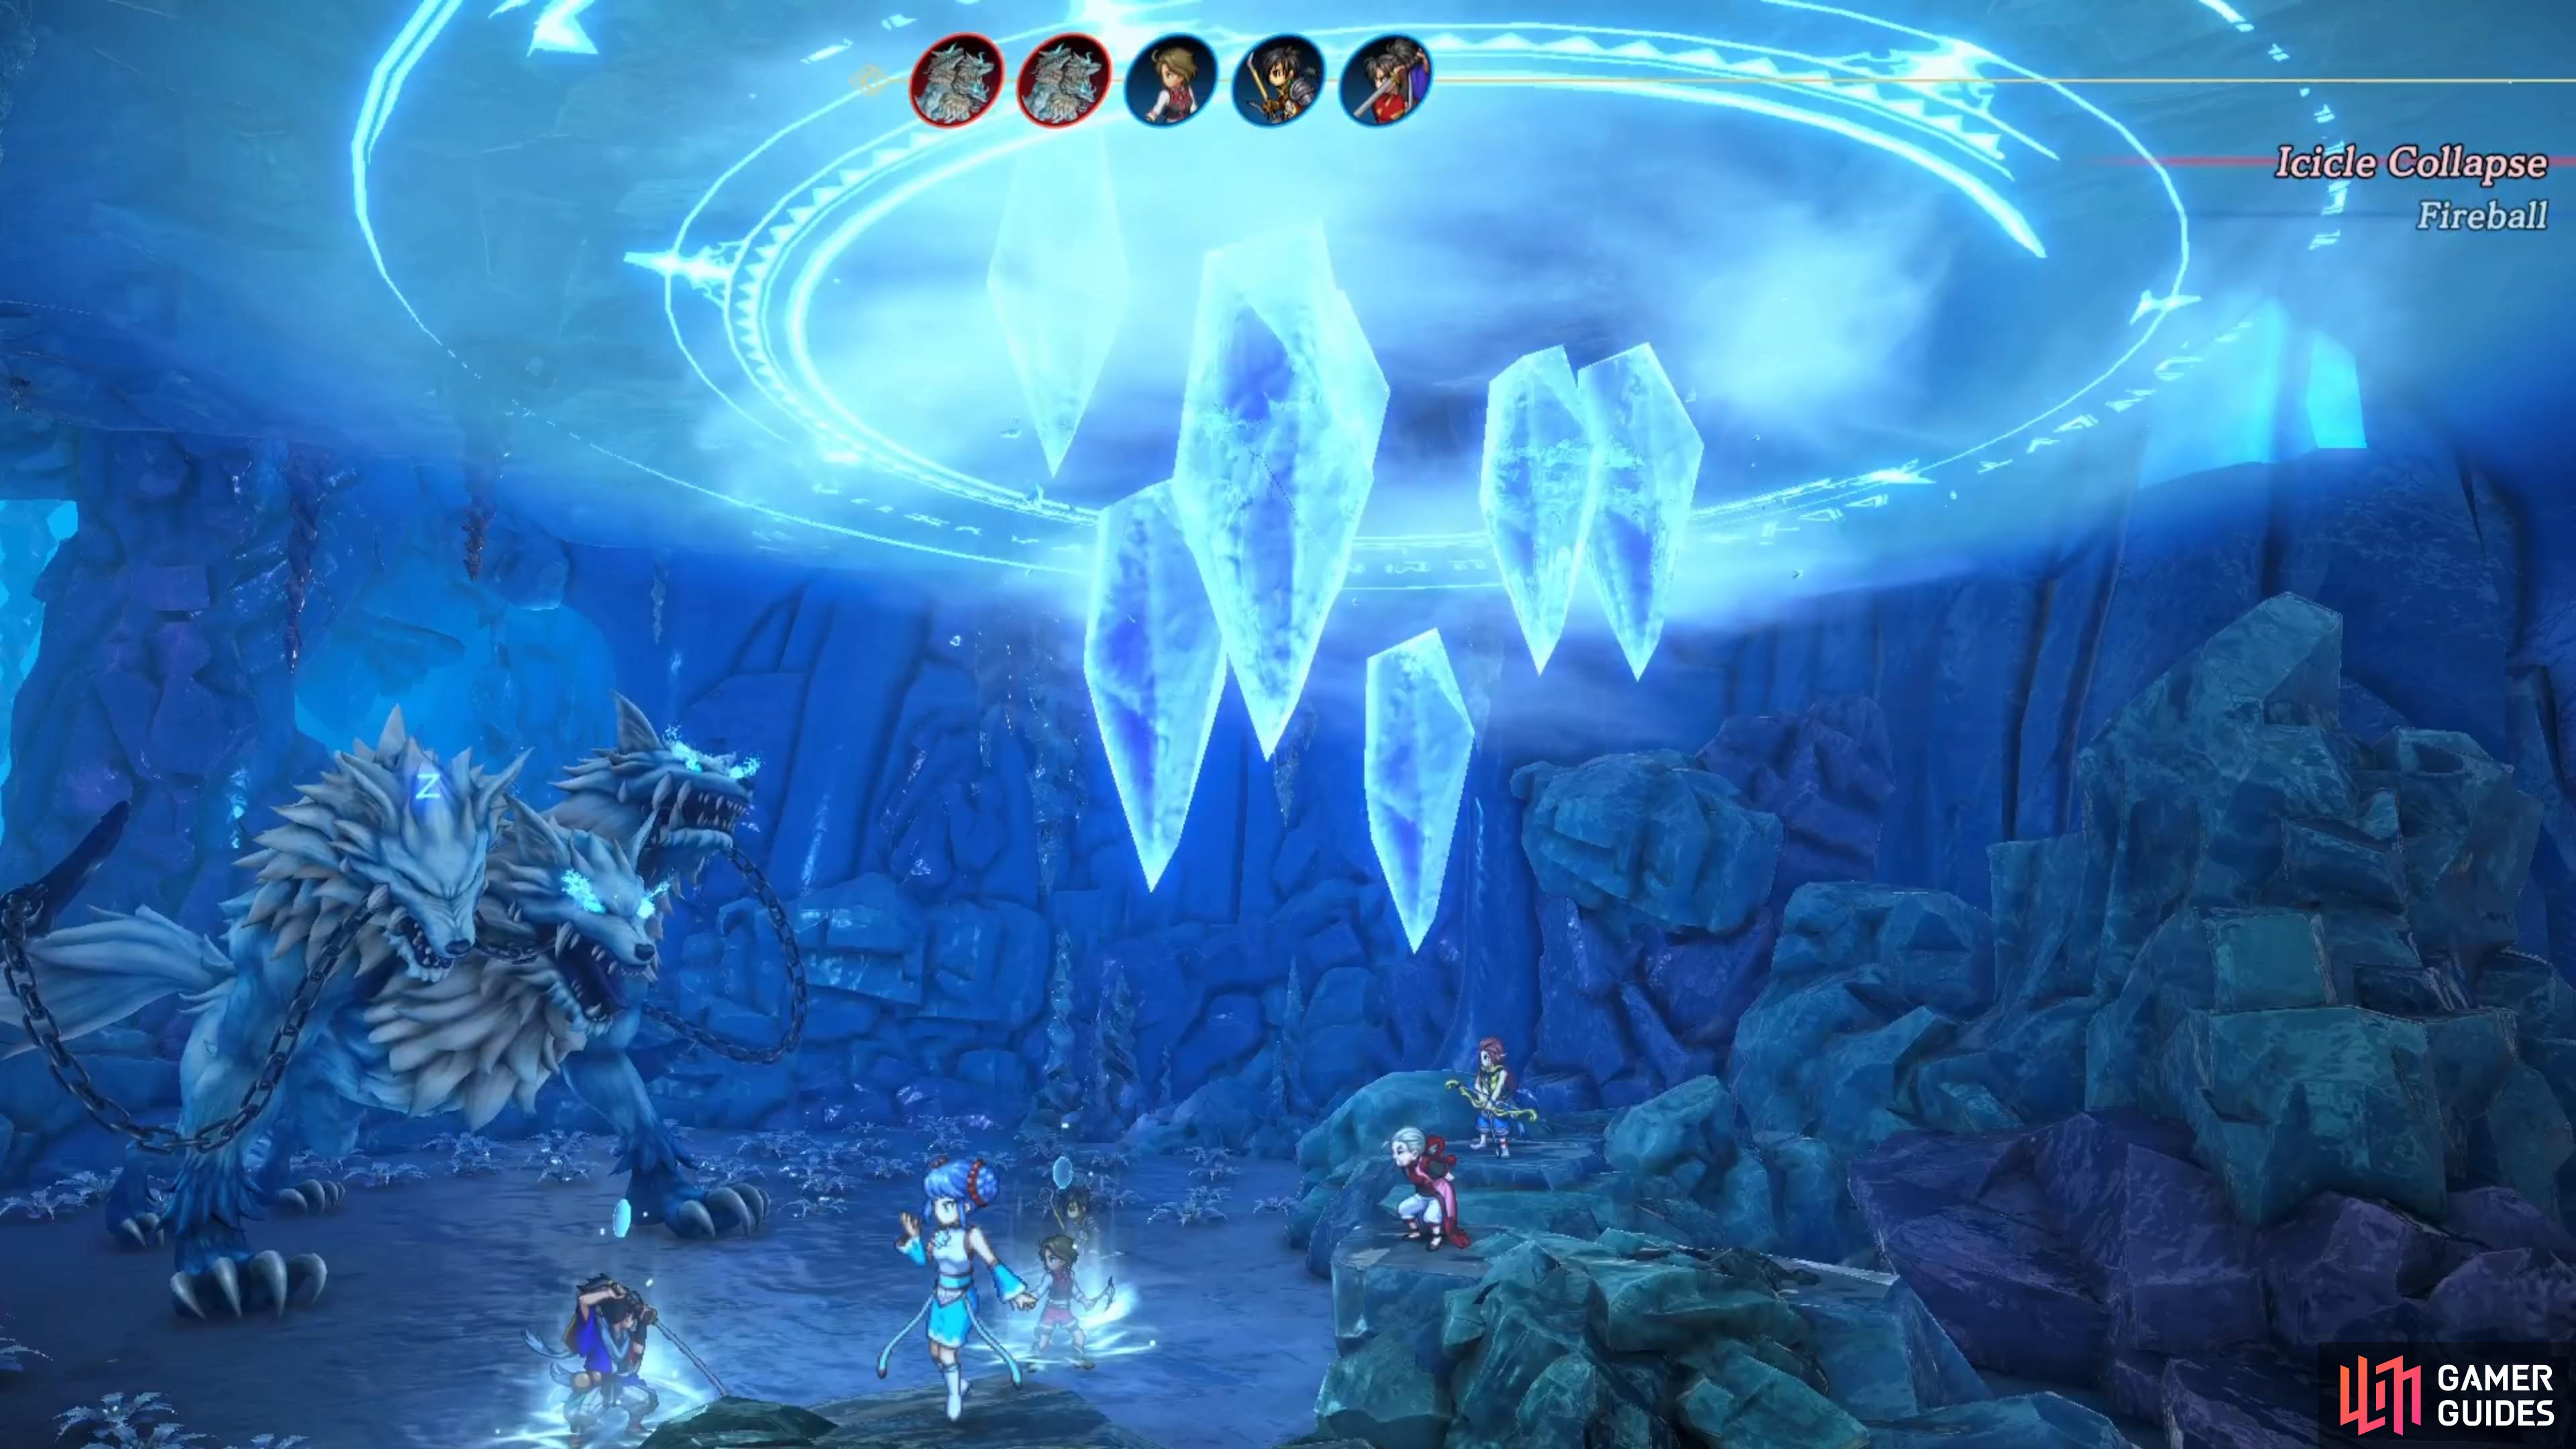

(1 of 6) The gimmick for this battle will have you dropping a large icicle on Fenrir.
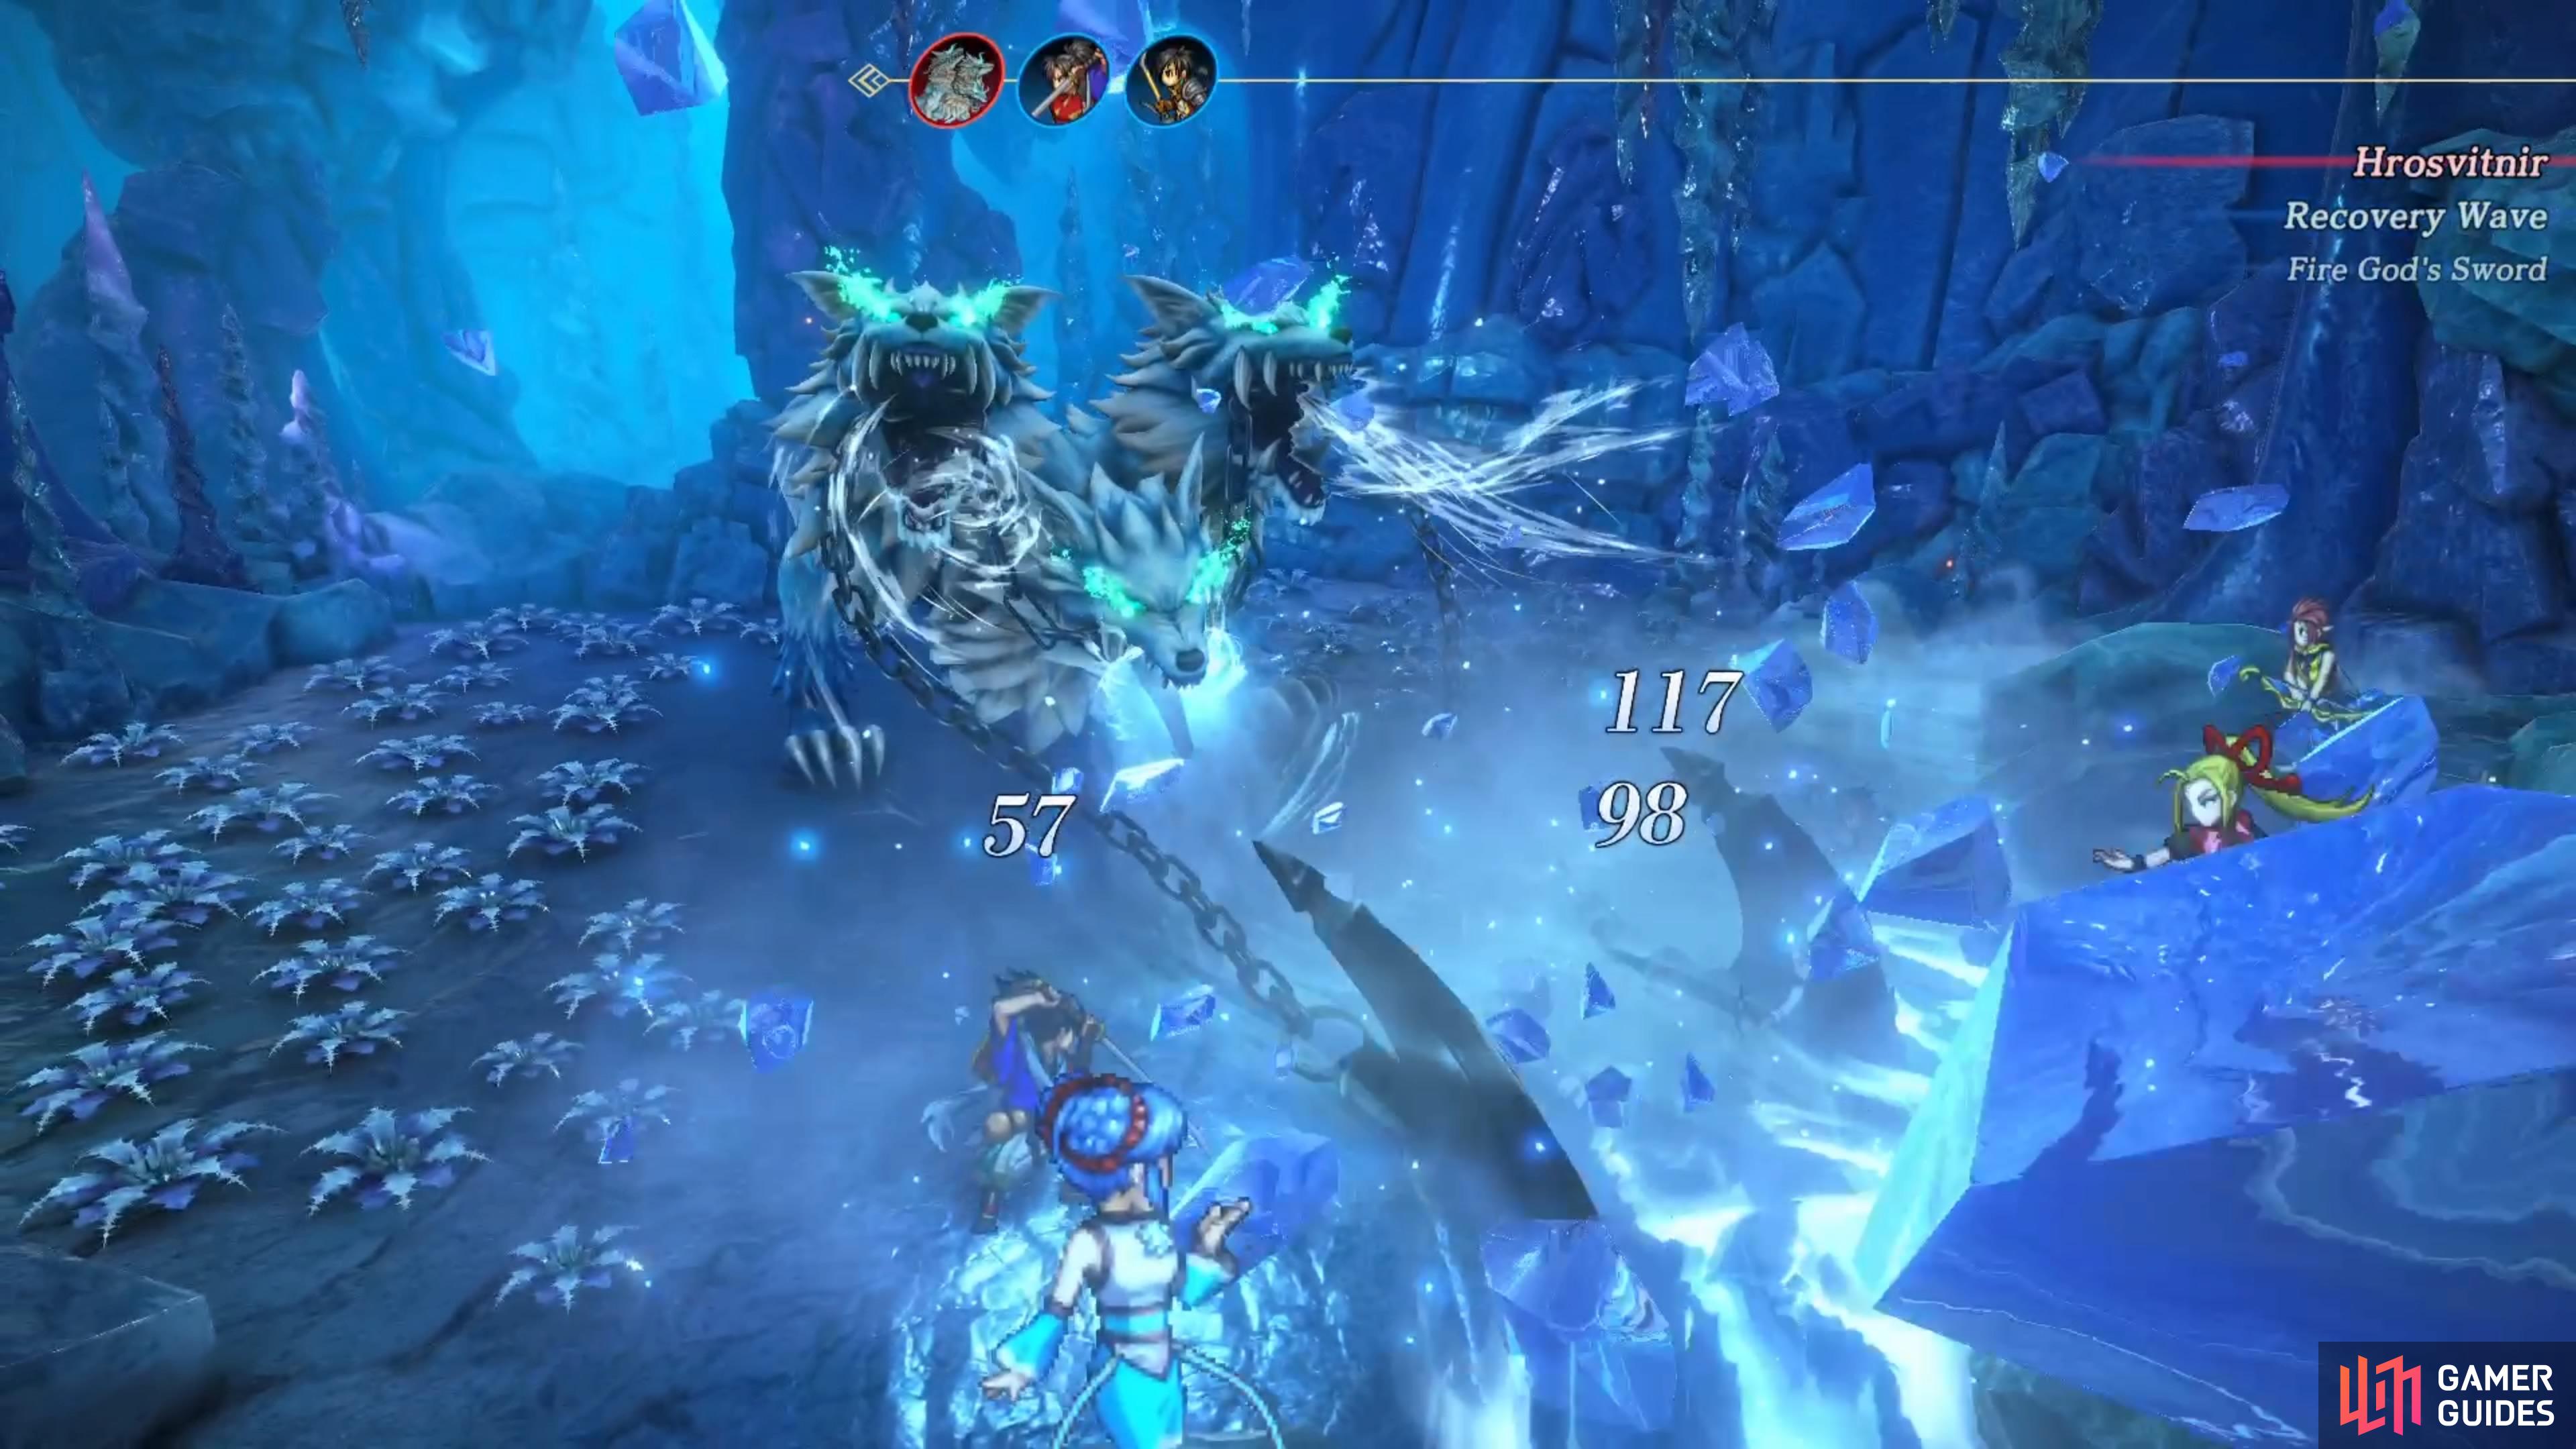
Once you get Fafnir to where his name is yellow, you will see a power-up animation. He will start using Hrosvitnir here, a move that only seems to hit the front row, but it can do more damage than the other moves. Just keep using items and Recovery Wave to heal, and you should be more than fine for this boss battle.
You’ll receive a Rune of Armor Break as a spoil from Fenrir, and you’ll finally rescue the final child. Your party returns to Skriss automatically and Rudy will join your army permanently now. Your next goal is to return to Athrabalt.

 Sign up
No Comments