
The time has come. The Alliance has managed to corner Dux Aldrich at his home in Gardhaven Castle and if the realm is to know any true peace, he must be dealt with before he has the chance to regain his strength and continue his twisted experiments. Gardhaven Castle is the final dungeon in Eiyuden Chronicle: Hundred Heroes and this page will tell you how to find every treasure chest, all of the enemies you will face, and where to find Dux Aldrich for a final showdown!

Gardhaven Castle is the final dungeon in Eiyuden Chronicle: Hundred Heroes.
Gardhaven Castle Treasure Chests
As Gardhaven Castle is a lengthy dungeon (the longest in the game), you can expect to find a whopping 17 chests while exploring the area. The table below will show you what you can obtain from them.
| Chest No. | Item |
|---|---|
| 1 | Rune of Supersonic Speed |
| 2 | Holy Circlet |
| 3 | Blessed Shield |
| 4 | Sacred Helmet |
| 5 | Blessed Armor |
| 6 | Rune of Medical Studies |
| 7 | Rune of the Knight’s Path |
| 8 | Rune of SP+ |
| 9 | Rune of Tremendous Power |
| 10 | Ascent Badge |
| 11 | Osechi Recipe |
| 12 | Blessed Heavy Helm |
| 13 | Book of Knowledge |
| 14 | Book of Power |
| 15 | Book of Fate |
| 16 | Rune of Quick Movement |
| 17 | Faded Book, Chapter 17 |
Gardhaven Castle Enemies
As this castle is where the last of Dux Aldrich’s forces are holed up, you can expect to run into soldiers, in the form of the Imperial Elites. They’re simple foes who will simply attack twice, but more importantly, they have a 5% chance to drop Runeshard of Fire/Light/Darkness 5, potent items to use. If you fight Imperial Elites with a bow, then they have a chance to drop the other element Runeshards, of special note, Runeshard of Earth 5. If you have the Super Lucky Badge, equip it and farm these to trivialize the rest of the game.
Ogres are no different from where you fought them in the Imperial Headquarters, Mine Orbs, however, can pose a threat. They can target any of your party members and will often Self-Destruct, easily dealing around 200+ HP to the target, if you can, prioritize them first. Both Modified Specimen H_008 and Synthetic Specimen R_0901 and H_008 can be a nuisance as they have the ability to stun with their regular attacks and will often act first.

(1 of 2) Imperial Elites with bows will drop the incredibly useful Runeshard of Earth 5
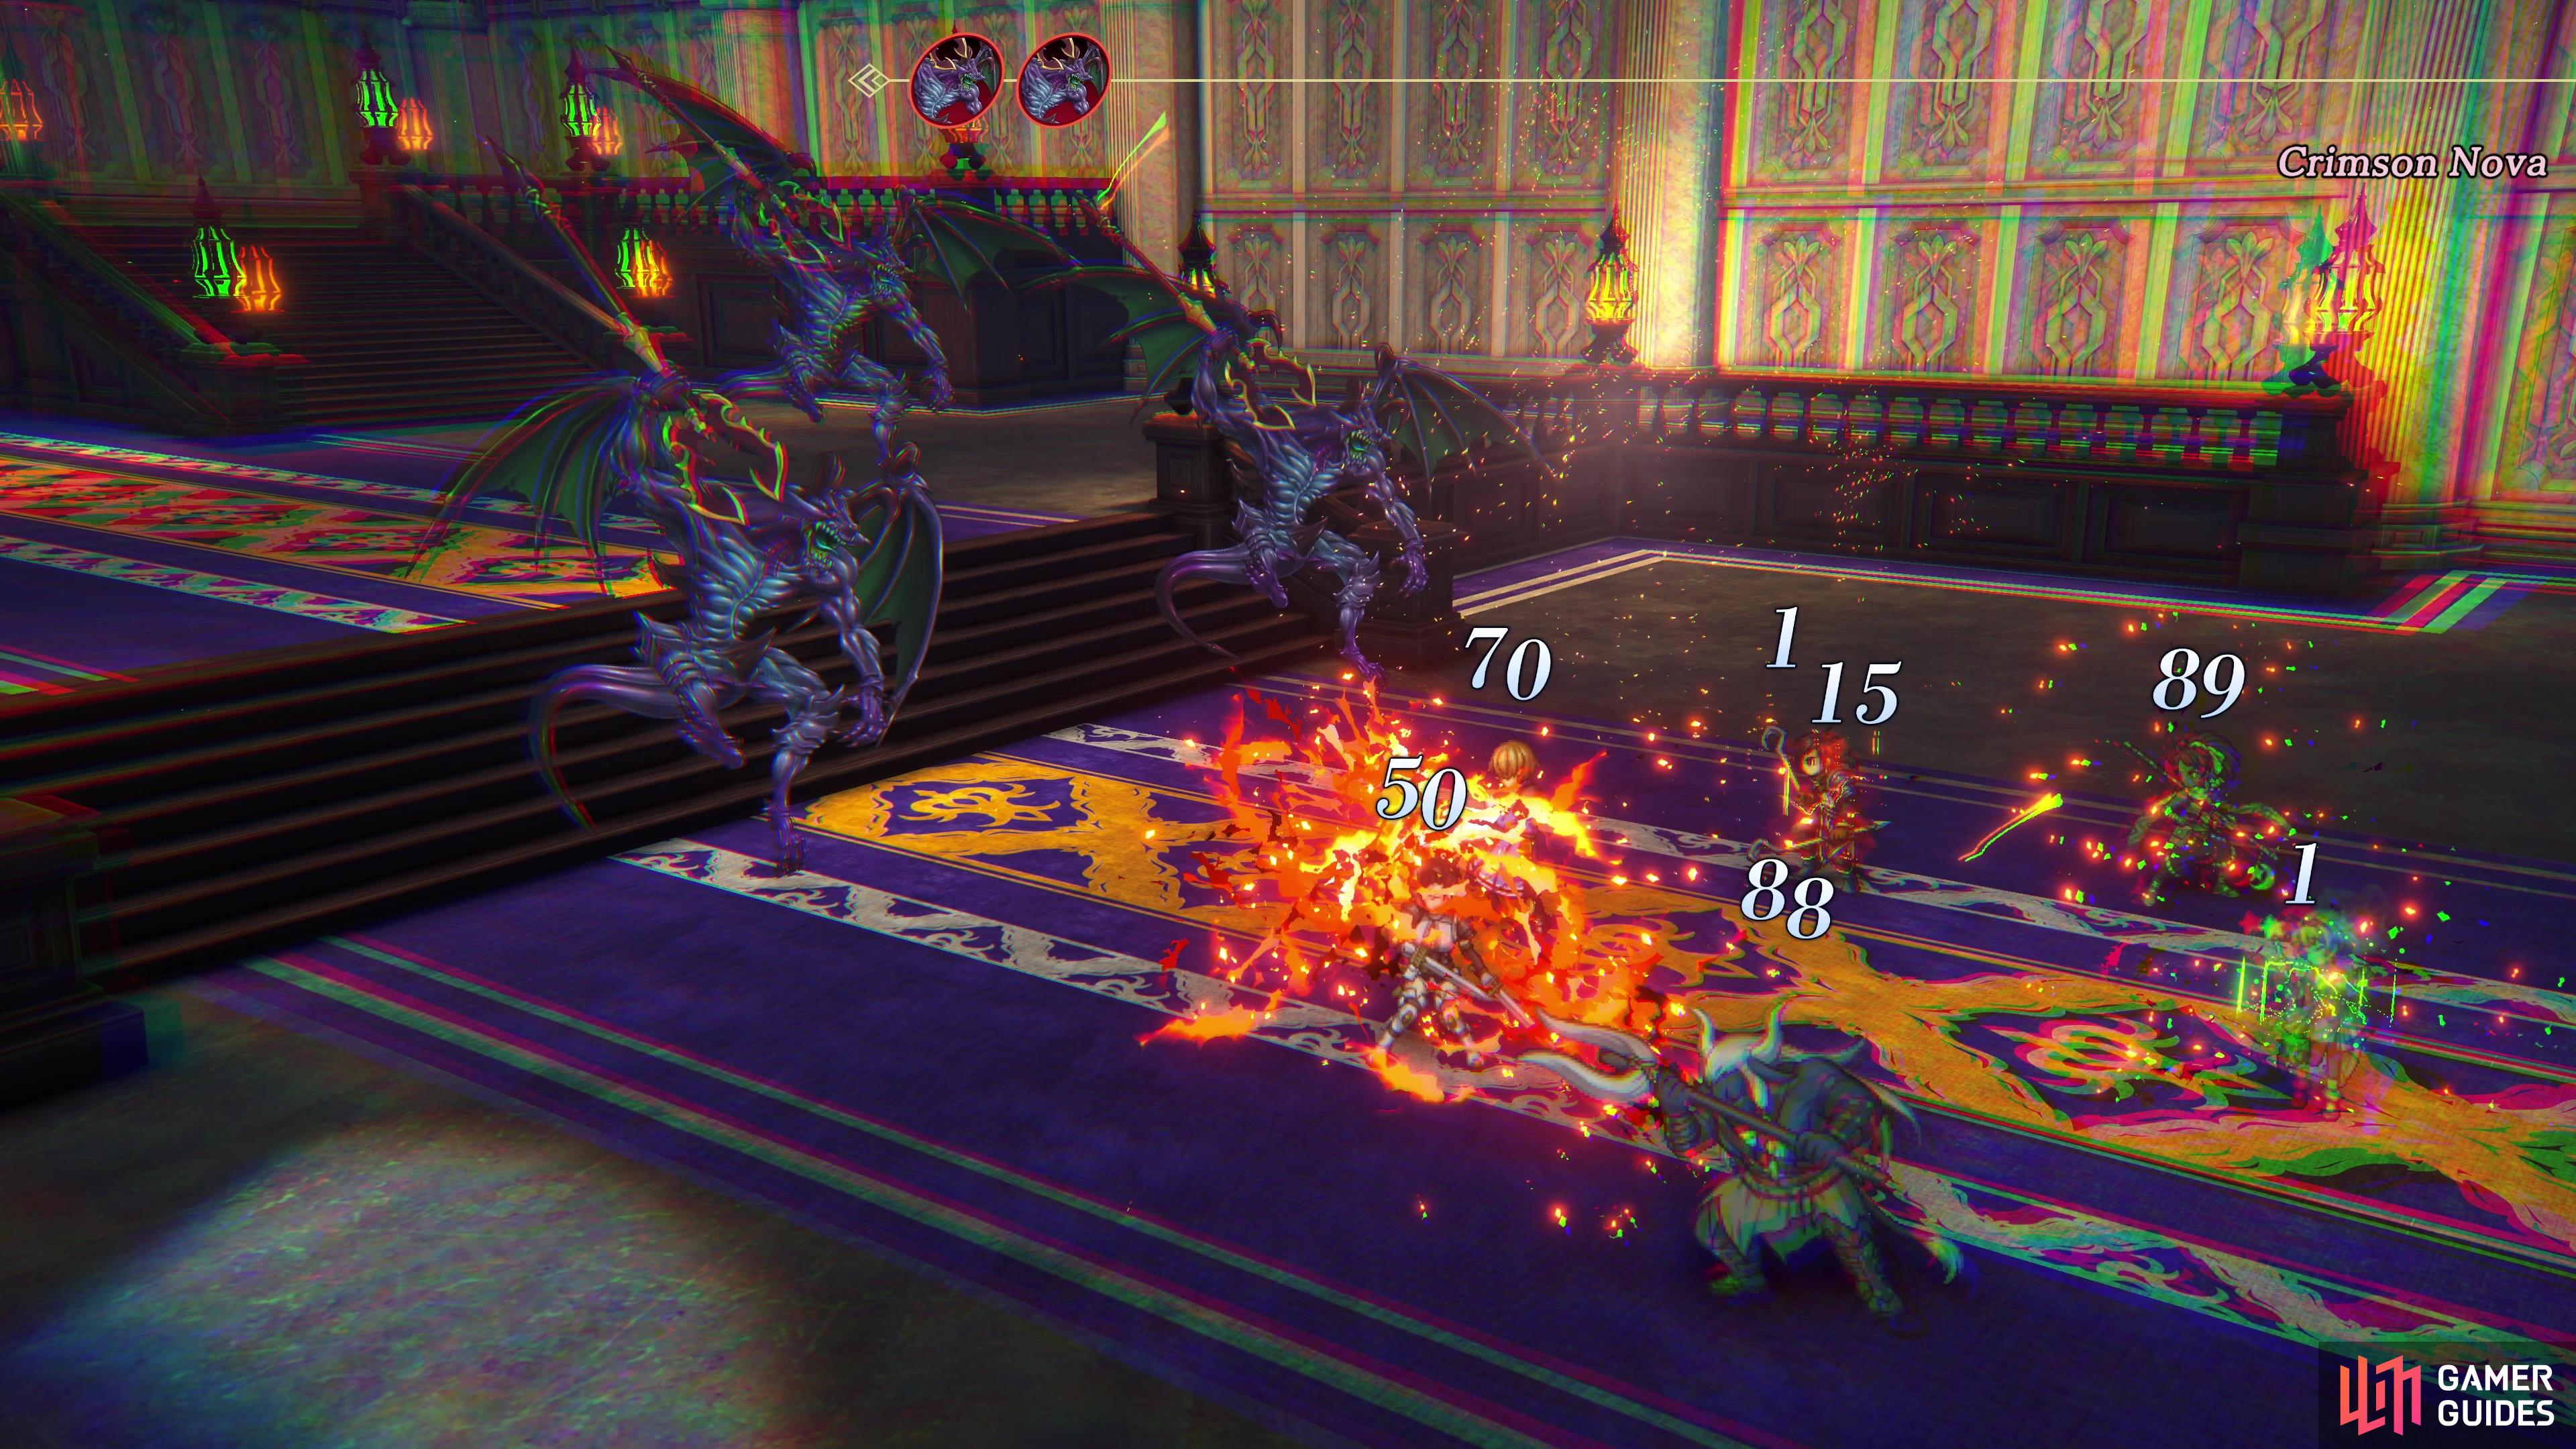
Imperial Elites with bows will drop the incredibly useful Runeshard of Earth 5 (left), beware of Arch-Demons that use Crimson Nova against you. (right)
The final new enemy in this area is the Arch-Demon, who you will start encountering in the Library. These are particularly nasty, especially if you encounter three of them at once as they use Crimson Nova for heavy fire damage against the entire party. As a general rule, if Nowa has high attack power, you can get through the majority of these battles simple enough by using the Friendship Hero Combo with Seign.
Obtaining the Blue Lens
As you proceed through the main hall of Gardhaven Castle, you’ll quickly find your progress impeded by a door with two symbols, red and blue. After examining it, you’ll soon learn that if you want to get into the heart of the castle, you’re going to need to track down a Red and Blue Lens to release the lock. As you explore the 1F and 2F of the castle, you’ll also encounter more colored doors that require these Lens, so expect a fair bit of backtracking if you want to bag all of the treasure here.
You have two options available to you at this point, the eastern or western paths. You’ll need to backtrack regardless, so there’s no wrong answer here, but for the sake of this walkthrough, begin by heading east. Follow the path to the end and then start heading north and enter the second entrance to the left (the first is locked with the Red Lens) to find some stairs leading up to the 2F.
This is a part of the floor that is separate from the rest of the floor, but the all important Blue Lens can be found here. Return to the main hall and follow it north, past another locked red door to your left and enter the next area to the left (you’ll be back for the Lens in a moment). Follow the path all the way to the end and you’ll find a chest containing a Rune of Medical Studies, this will increase the effect of healing items by 50%. Return to your right and check the statue to claim the Blue Lens.
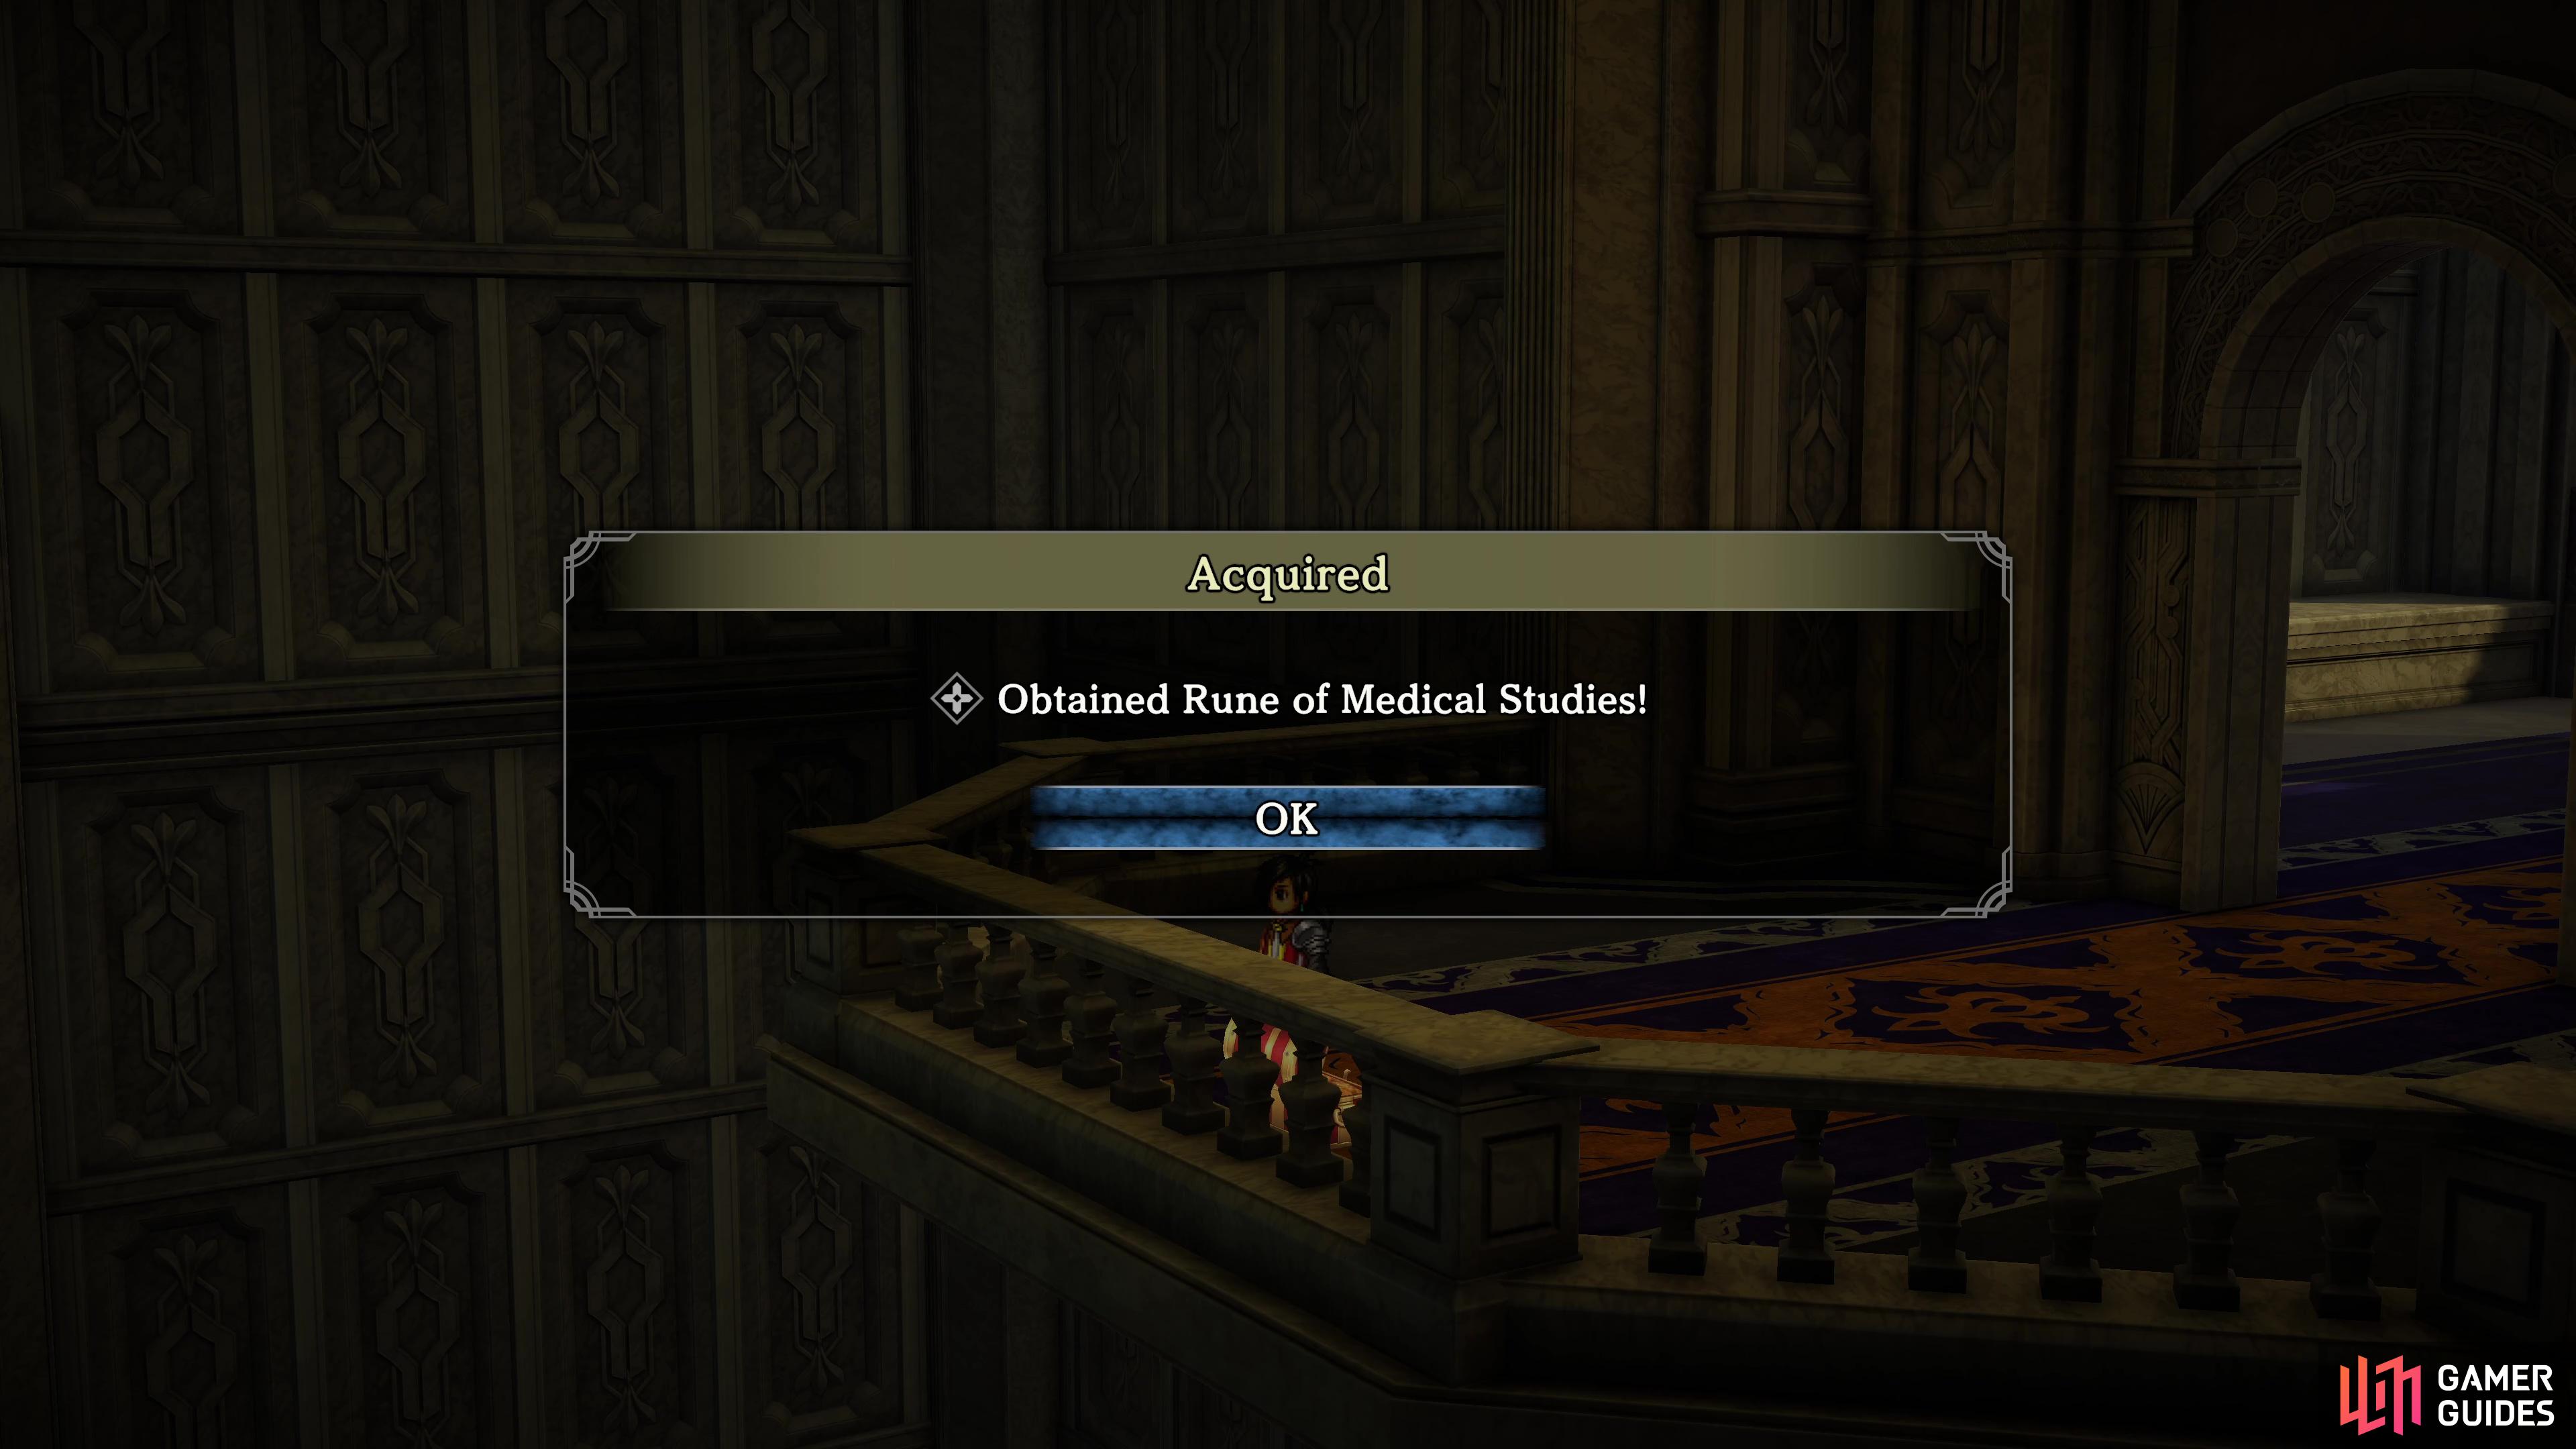

(1 of 2) The Rune of Medical Studies will increase the potency of healing items
The Rune of Medical Studies will increase the potency of healing items (left), the Blue Lens will allow you to unlock blue doors. (right)
With this in hand, return to the 1F via the stairs and head north in the main hallway to find a blue door on your left. Open it with your new Lens and search the Treasure Chest inside to obtain a Sacred Helmet. Return to the main hall once again and go all the way back to the Rune Lens door and save your game before heading off to find the Red Lens.
Obtaining the Red Lens
As you may expect, you’ll need to search the western side of the castle to locate the Red Lens, although this involves a lot more work than the Blue. Follow the main hall left and then start going up and you’ll come across another blue door on your right, go inside and loot the chest to obtain a Holy Circlet. Continue north and ignore the next path for now and open the next door on the right with the Blue Lens, inside you’ll find a chest with a Blessed Shield. Leave this area and go north to find another chest in the corner, open it to obtain a Rune of Supersonic Speed. Return to the path you skipped now and use the Blue Lens to open the way to the main part of the 2F.
Head west, south to the bottom (ignore the path on your right for now), and then go all the way east to find the next chest, this one containing a Rune of the Knight’s Path. This is an excellent Rune for a tank, cutting their attack stats by 50% in favor for a boost in defensive stats. Bag it, and then return to the path you skipped a moment ago and head into it.
(1 of 2) The Ascent Badge will make it much easier to gain levels in this final dungeon
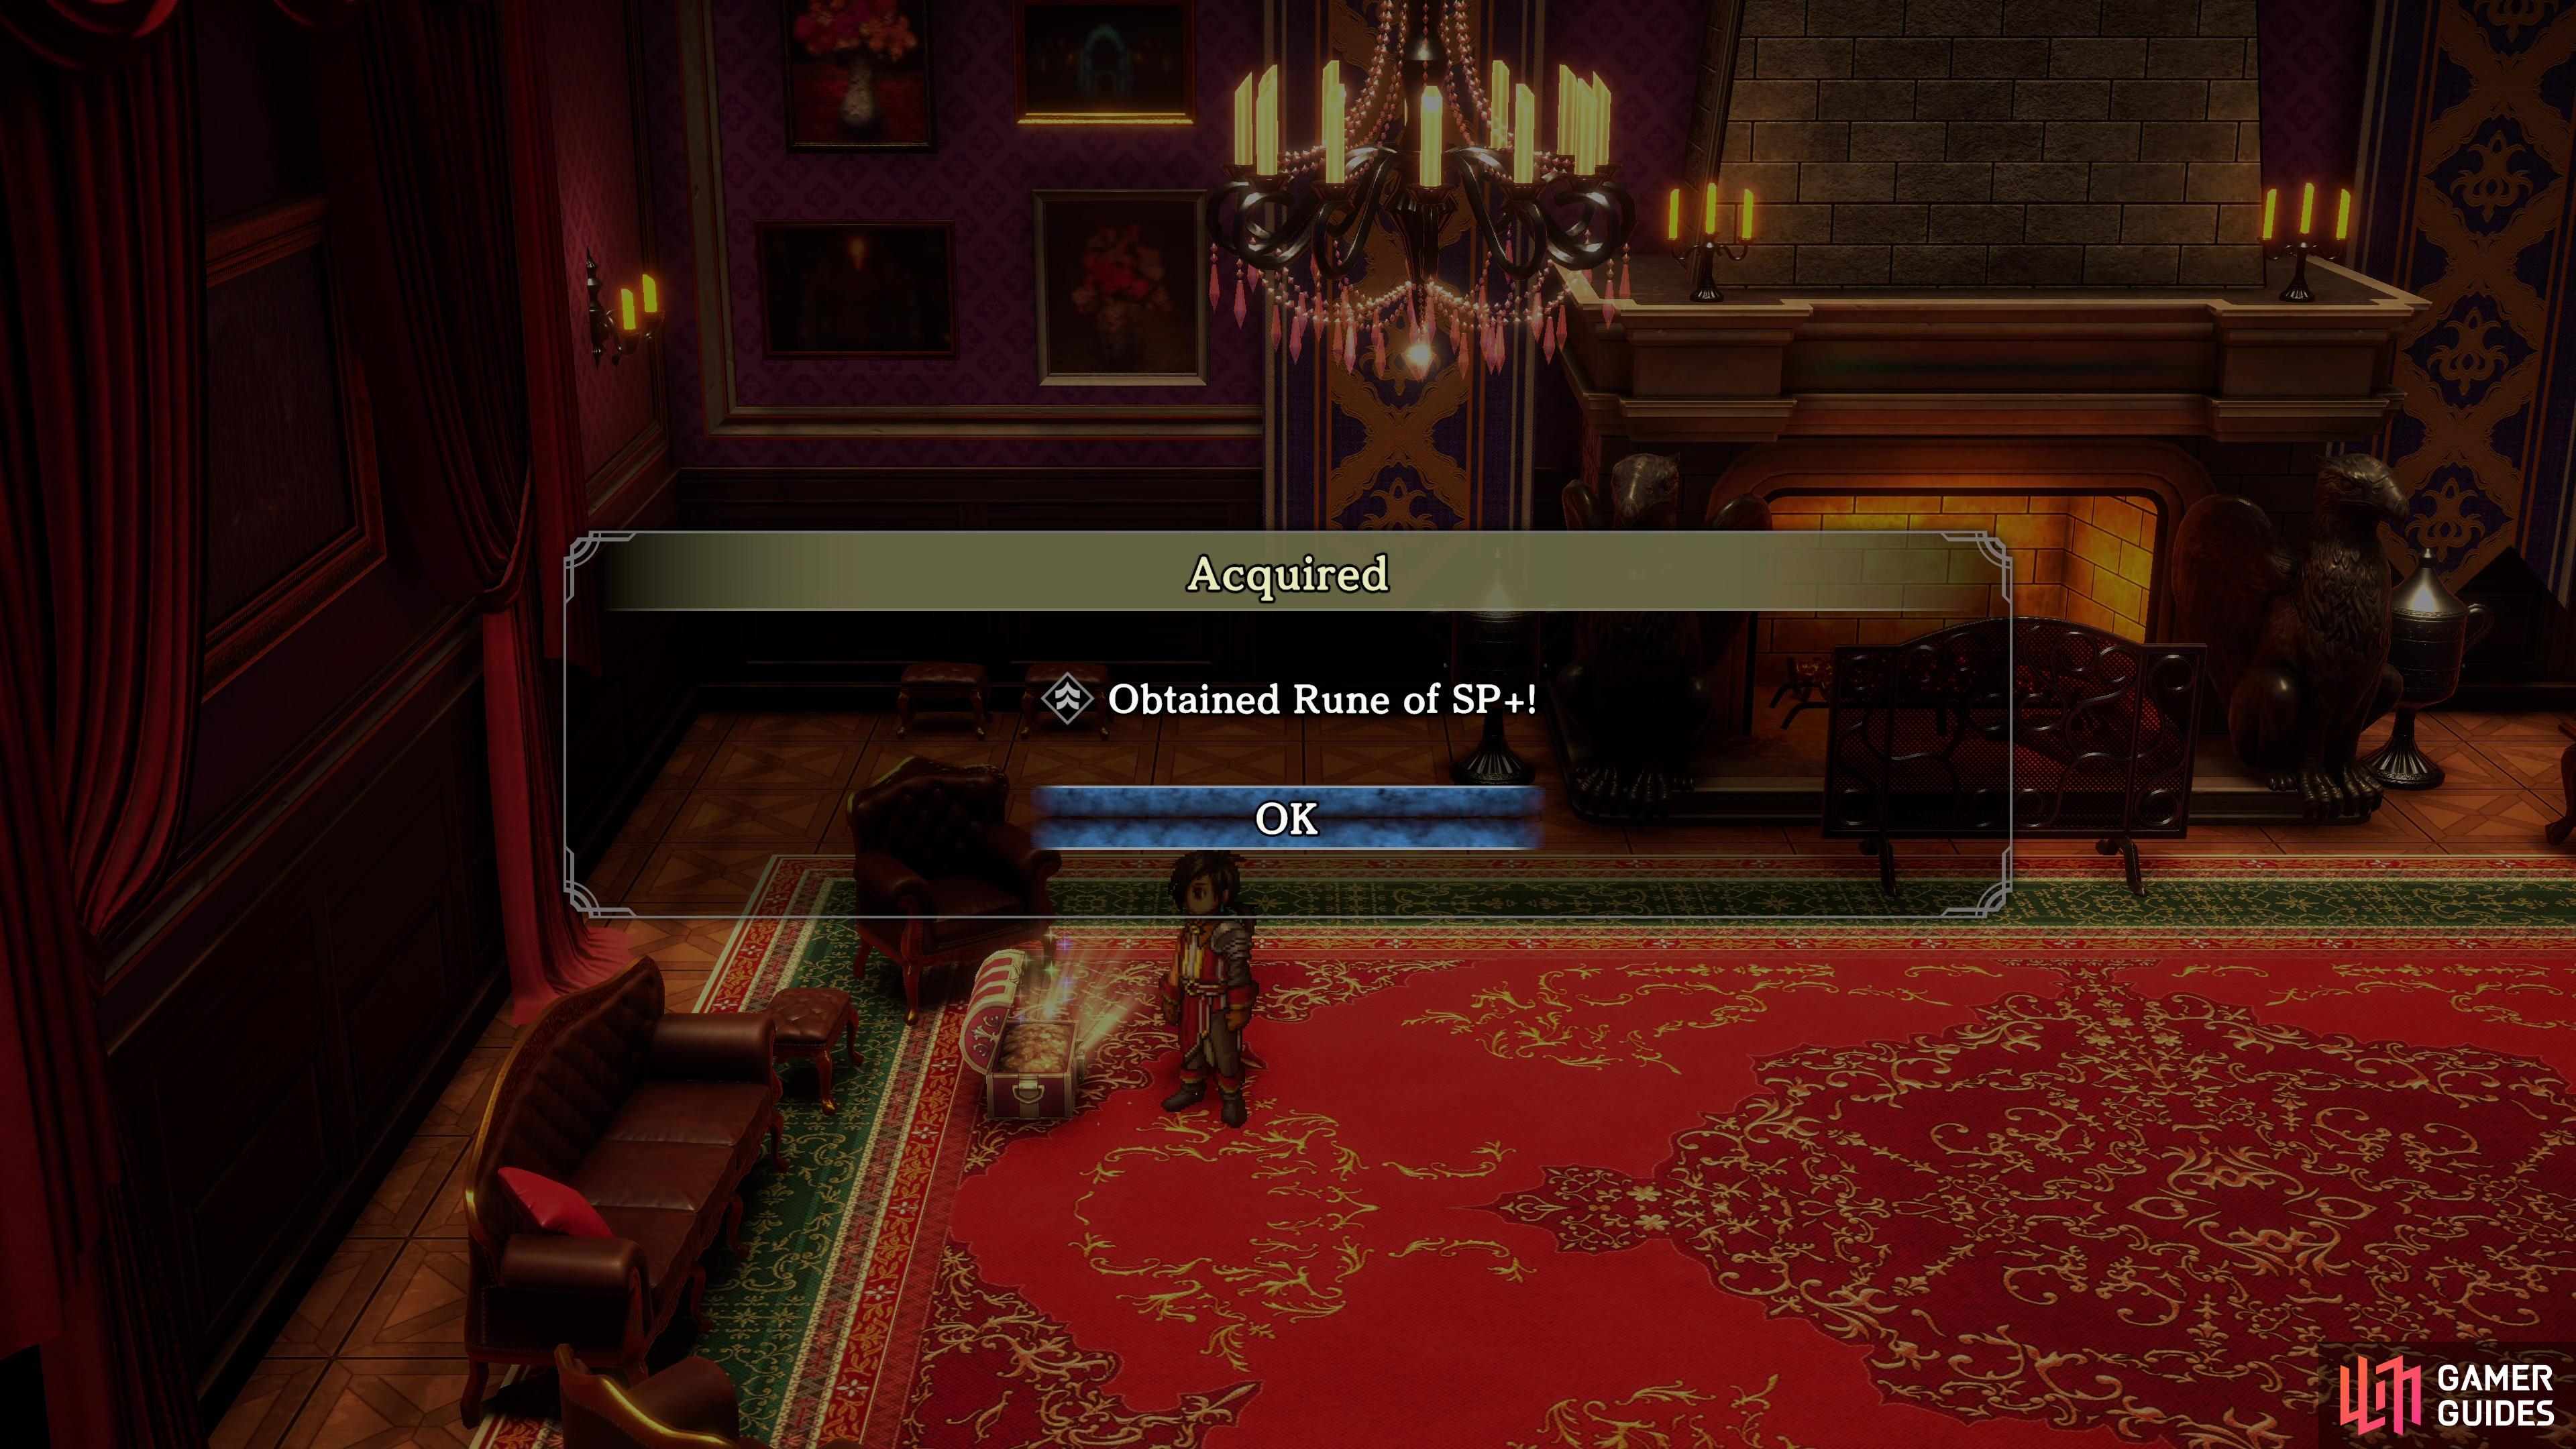
The Ascent Badge will make it much easier to gain levels in this final dungeon (left), while the Rune of SP+ will allow you to start battles with more SP. (right)
Continue east and enter the first room to find a chest containing the Osechi Recipe, then return to the hallway and follow it right to the next room, this contains an Ascent Badge. Equipping this will massively boost the EXP the party receives from the battle, be sure to make use of it if you’re below Level 60 (try to achieve a minimum of this for the final battle). One final room awaits in this hallway, to the far right, and the chest inside houses a Rune of SP+, useful for starting battles with some extra SP.
Back in the main hallway, follow it south and then west (ignoring the stairs for now) to spot another chest, open it to obtain a Rune of Tremendous Power, the highest tier of strength boosting Runes (15%). Return to the stairs now and take them up to the 3F.
Solving the Library Puzzle
You’ll find yourself in a grand library, where you’ll need to solve a puzzle to open the way forward to the top of the castle. If you take a look in the center, you’ll spot three statues which all have a book-shaped indentation. Your goal, then, is to track down the three books inside this massive library and return them to the right statue. This is a lengthy process, and you’ll go back on yourself multiple times and to make matters worse, battles are more frequent now so you may want to consider equipping a Monster Repel charm if you have one on hand.
Head up the stairs to the north and hug the wall to the right, following it back toward the screen and examine the bookshelf here to open it and loot a chest containing the Book of Knowledge. Head over to the west side now, ignore the stairs and check the bookshelf just beyond it for another button to reveal another chest containing a Rune of Quick Movement, as you may expect, this will increase your movement speed. Finally, follow the stairs to the top and follow the path to the end for a chest housing Faded Book, Chapter 17.
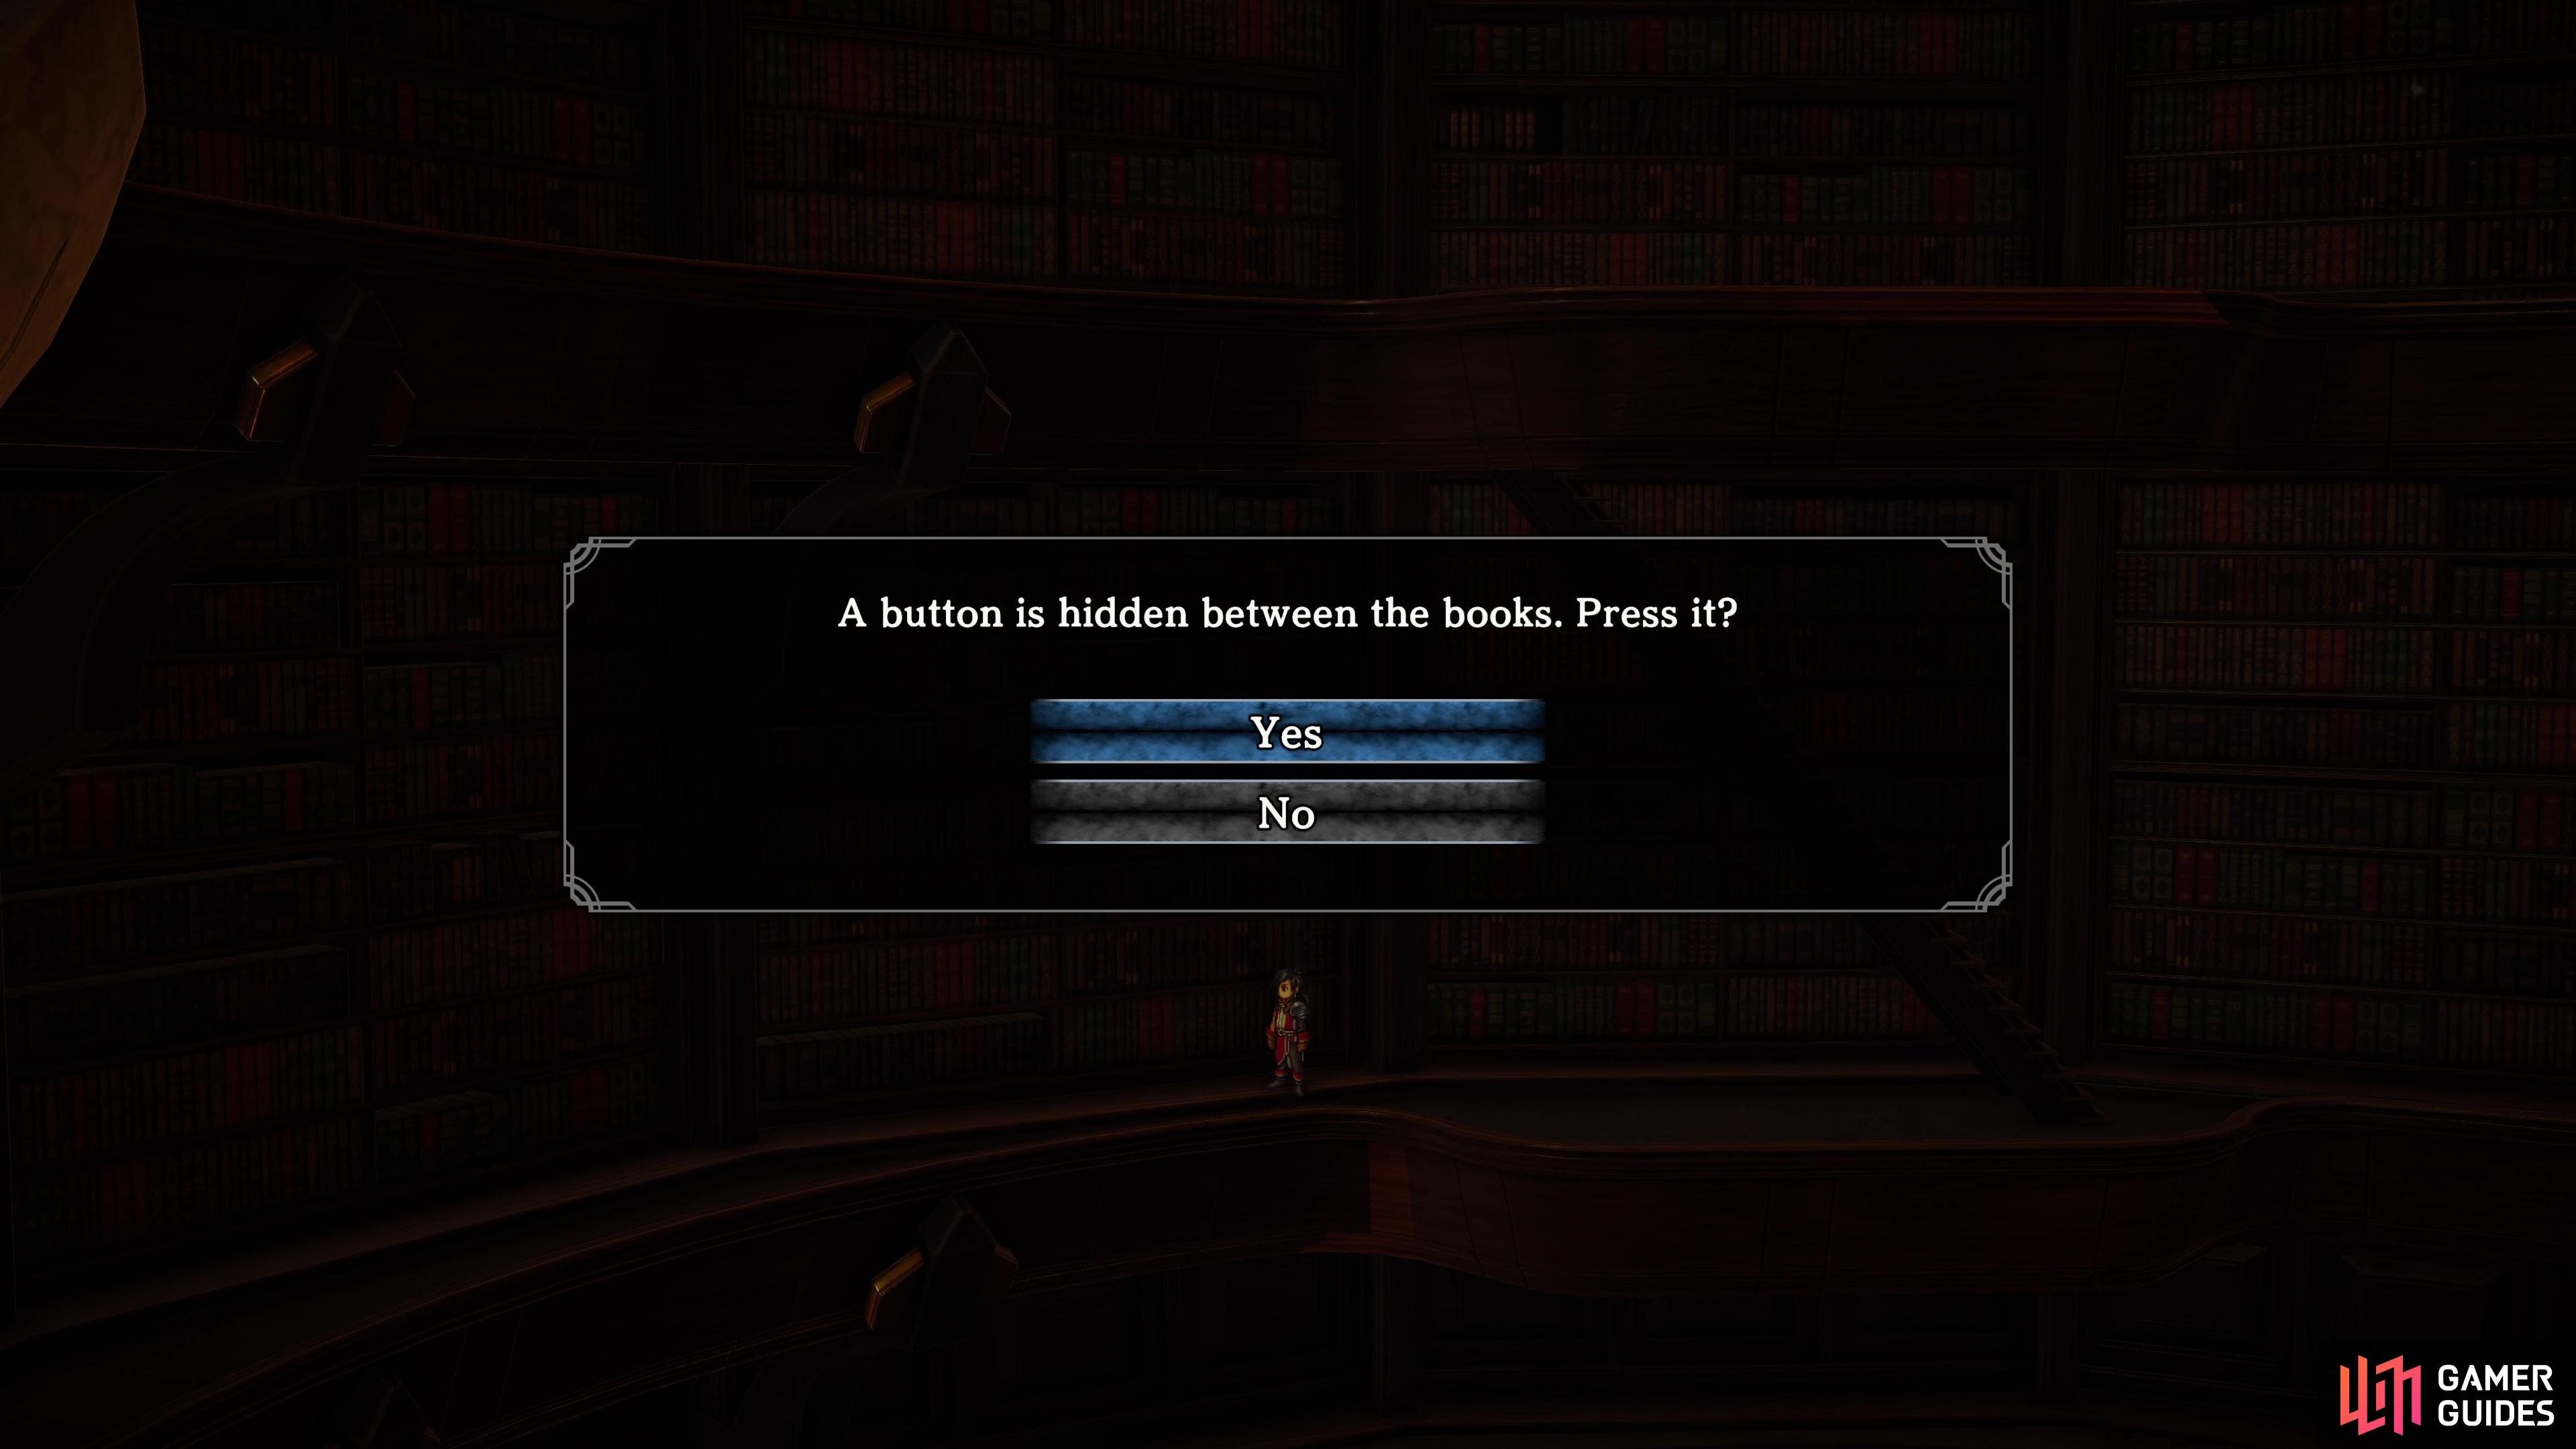

(1 of 2) You will need to press buttons on bookshelves
You will need to press buttons on bookshelves (left), to gain access to new paths and the books that open the way forward. (right)
Make the long walk back to the statues and place the Book of Knowledge into the statue on the left to open a passage on the west side of the library. Return to the stairs on the west side, take them up and enter the new path. Follow this path all the way over to the east side of the library and down some new stairs where you’ll find a chest to the right of them containing the Book of Power.
Return to the statues and place this book into the statue on the right to open up a passage on the right side of the library. To reach these, you’ll need to take the western stairs once more and follow the path until you reach where you opened the previous chest. Go left of the stairs to reach the new path and once you go down, go to the left and examine a bookshelf to reveal a chest containing the Book of Fate. Make the long walk back to the statues and place it in the final indentation to open the way forward. Take the northern path to find yourself outside and make use of the save point because just beyond it, Narungarde awaits.
Narungarde Boss Strategy
Your final showdown with Narungarde takes place on the battlements of the castle, and despite her being on her own, she has plenty of AoE attacks up her sleeve. On the Normal difficulty, Narungarde has 6905 HP, which isn’t that much for a boss at this stage of the game provided you’ve set your characters up with useful Runes.
As mentioned in the tip box near the top of the page, if you’re going the route of using Earth Runeshard 5 to give your party invulnerability for three turns, then you can pretty much ignore all strategies and just wail away at her until she’s defeated. If you’re not going that way, keep reading to learn more about her attacks.
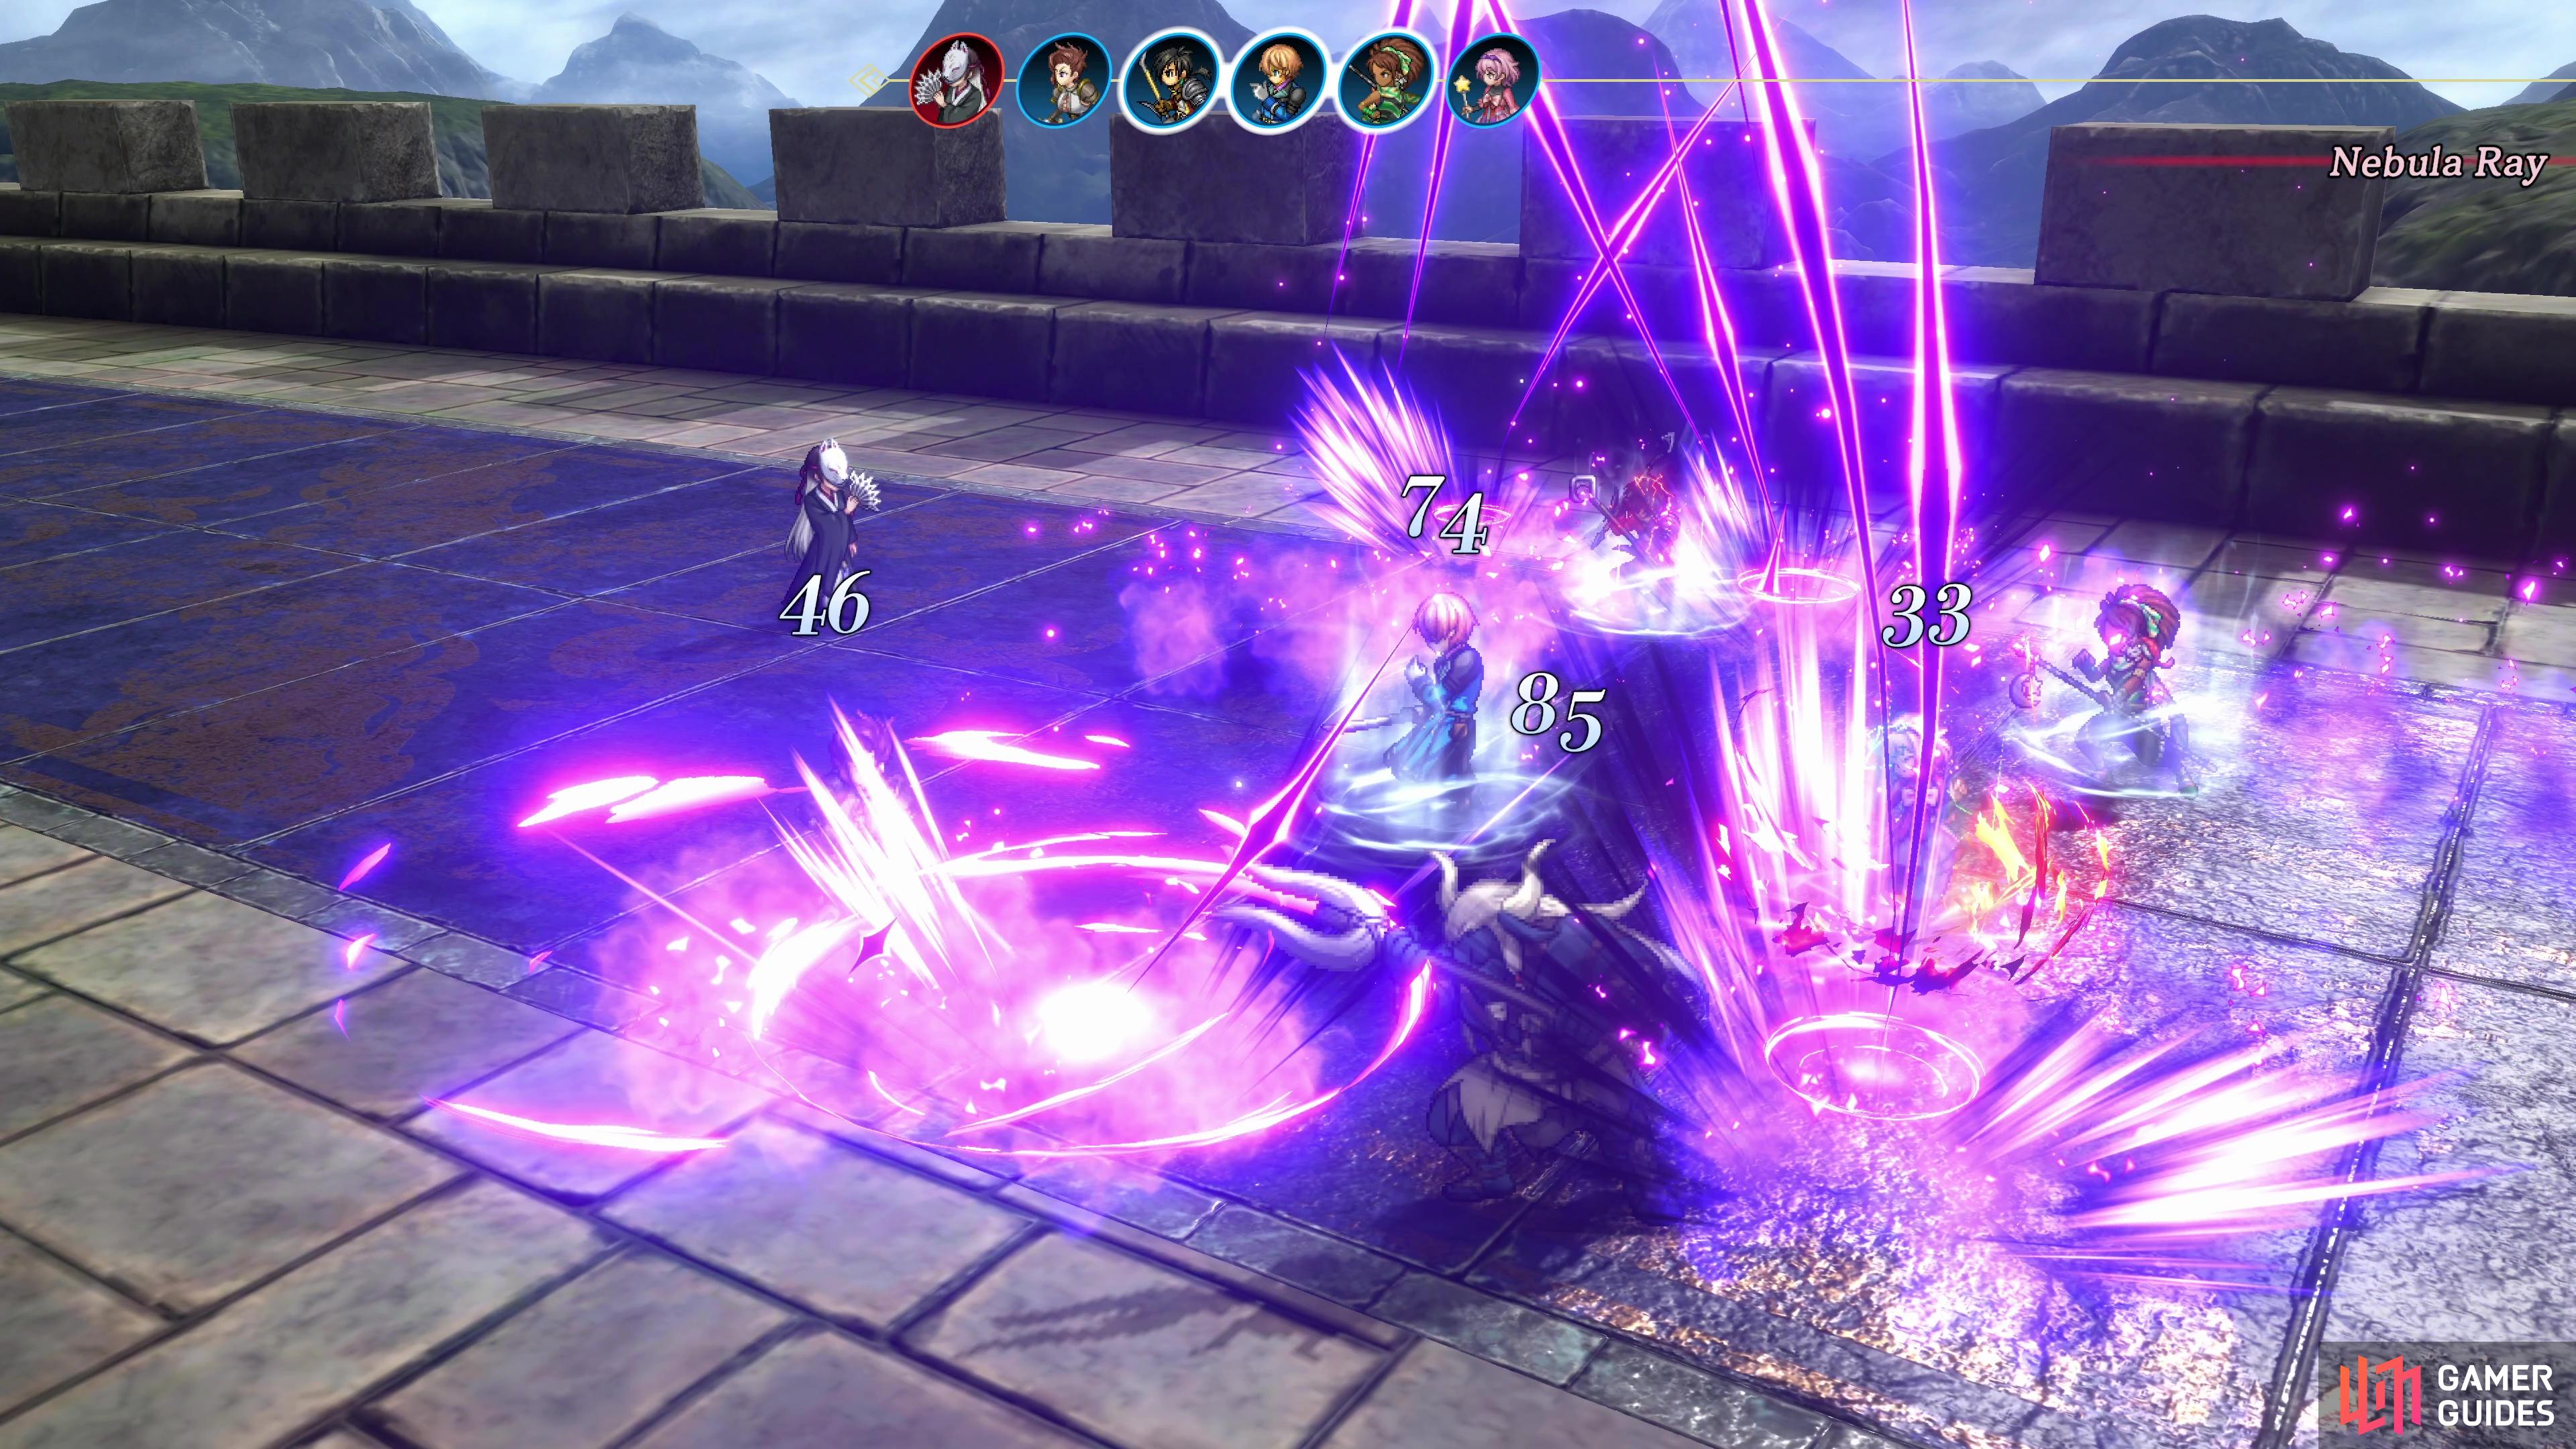
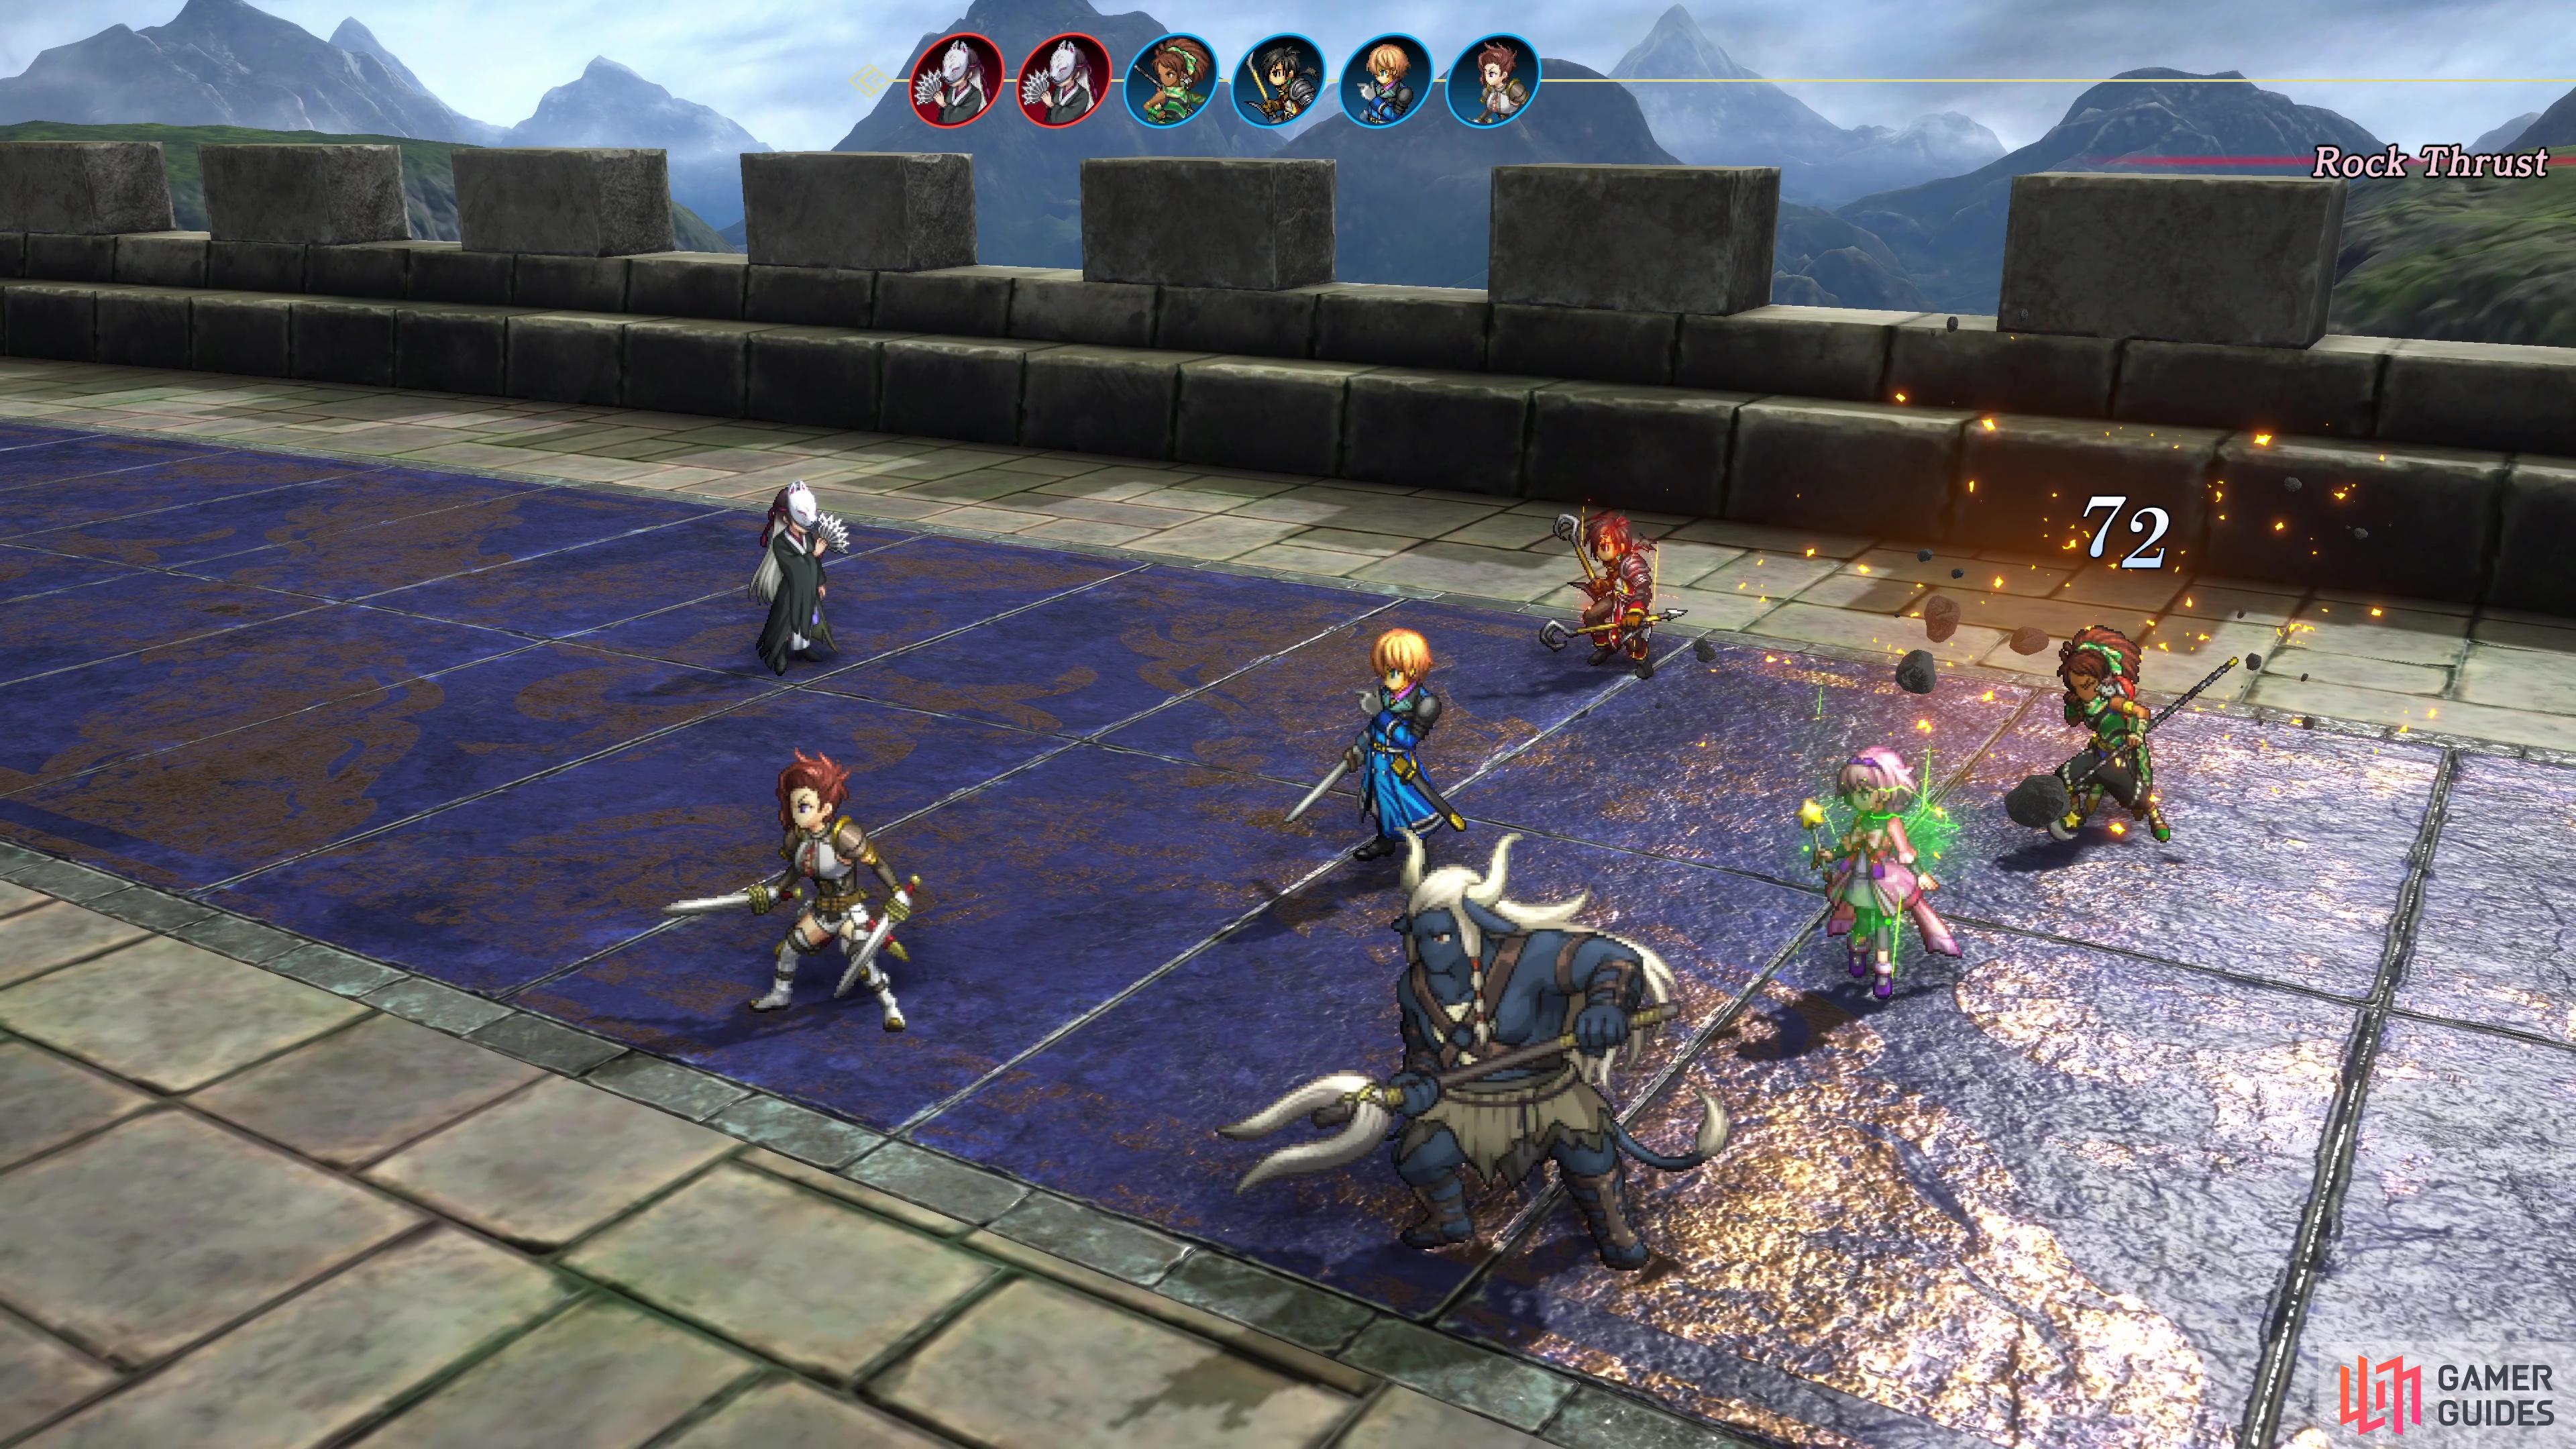
(1 of 2) Nebula Ray is Narungarde’s deadliest attack, hitting the whole party
Nebula Ray is Narungarde’s deadliest attack, hitting the whole party (left), while she can use Rock Thrust twice in one round. (right)
Being darkness-attuned, Narungarde naturally has access to the highest level Dark spells and will often use Nebula Ray against the party. This will rain down multiple bolts of darkness, hitting for 200-300 damage to the whole party, needless to say, you’ll want to group heal on the following round. Rock Thrust is a basic Earth spell, dealing around 50-100 HP to a single ally, although she will often use this twice in a combat round. The final attack she has available to her is her basic attack, this is magical-based and can easily deal around 200+ damage to a character with low magic defense and like Rock Thrust, will be used twice in a round.
If your party consists of Nowa, Seign, and Marisa, making use of Heroes Combo (2 SP) can easily deal upwards of 1100+ HP if your Nowa has a Rune of Warrior’s Pinnacle and has been buffed up with attack spells or Powerful Warcry from Dijkstra. So long as you keep your HP using either items or the more powerful healing spells, Narungarde shouldn’t pose too much of a threat at this stage of the game. We were able to take her out in just under three full combat rounds with a Level 59 party.
Red Lens and the Final Treasure Chests
Watch the scenes that unfold as Narungarde makes her exit from this conflict and follow the path to the room at the end to finally claim the Red Lens. This will also open a secret passage, go through and take the stairs down to the bottom where you will find a Save Point. If you’ve recruited Dr. Corque and seen the Beigoma Scenario to its conclusion, then you can challenge Dr. Corque in the nearby room for the Infinity Force Beigoma.

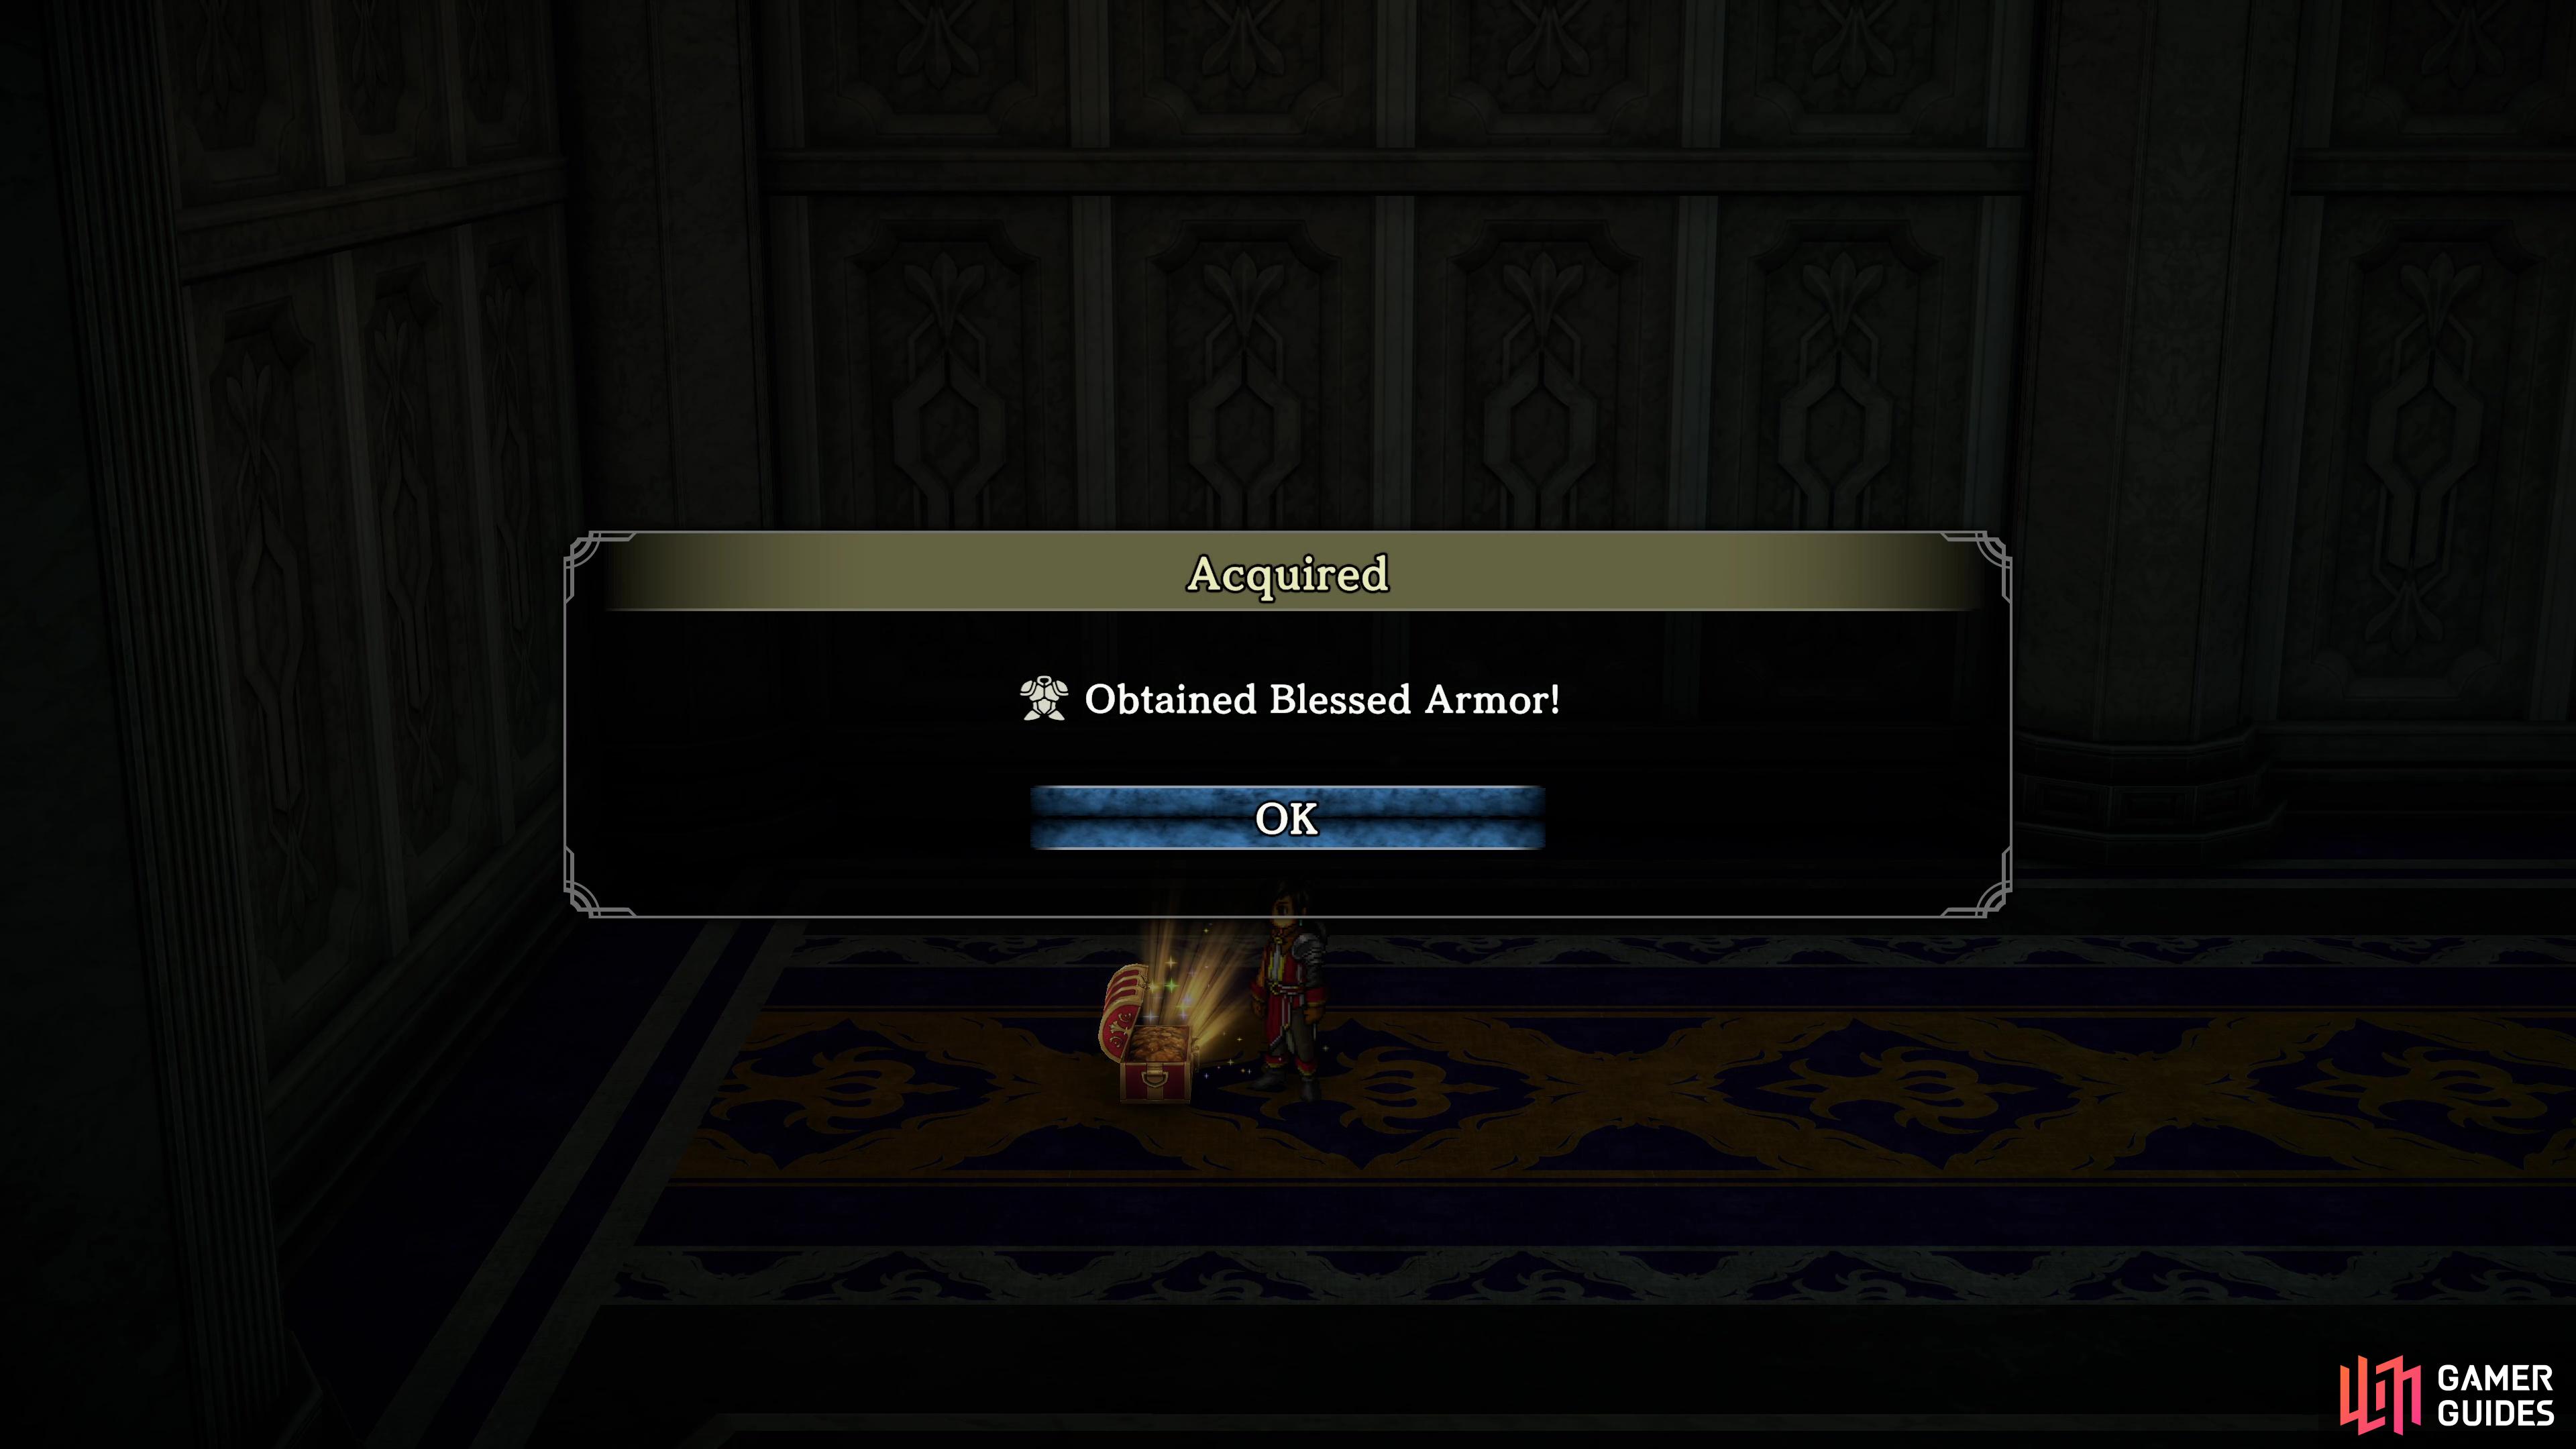
(1 of 2) Follow the path after beating Narungarde to finally pocket the Red Lens
Follow the path after beating Narungarde to finally pocket the Red Lens (left), this will allow you to open the red doors and open chests such as this one containing the Blessed Armor. (right)
Whether you challenge him or not, continue to the west and down the stairs to find yourself back in the northeast of the 2F. Head south and enter the first door on the left to unlock it with the Red Lens, inside is a chest containing a Blessed Heavy Helm. Make your way back down to the 1F and then go south in the main hallway and open the next red door for another chest, this one housing Blessed Armor. With that, you should have all of the Treasure Chests in Gardhaven Castle, spend some time farming Runeshard of Earth 5 from Imperial Elites (Bow) if you want an easy time with the final battles, otherwise heal up and save your game before heading through the door on the 1F to kick off the final battles.

 Sign up
No Comments