
There are plenty of characters to recruit in Eiyuden Chronicle: Hundred Heroes, but some of them require you to go an extra mile for them. Dijkstra is someone you meet while trying to recruit Quinn, but it isn’t until much later in the game that you’ll be able to get him. In order to fully recruit Dijkstra, you will have to clear an optional dungeon, Chelonian Goliath, Vilashnu.
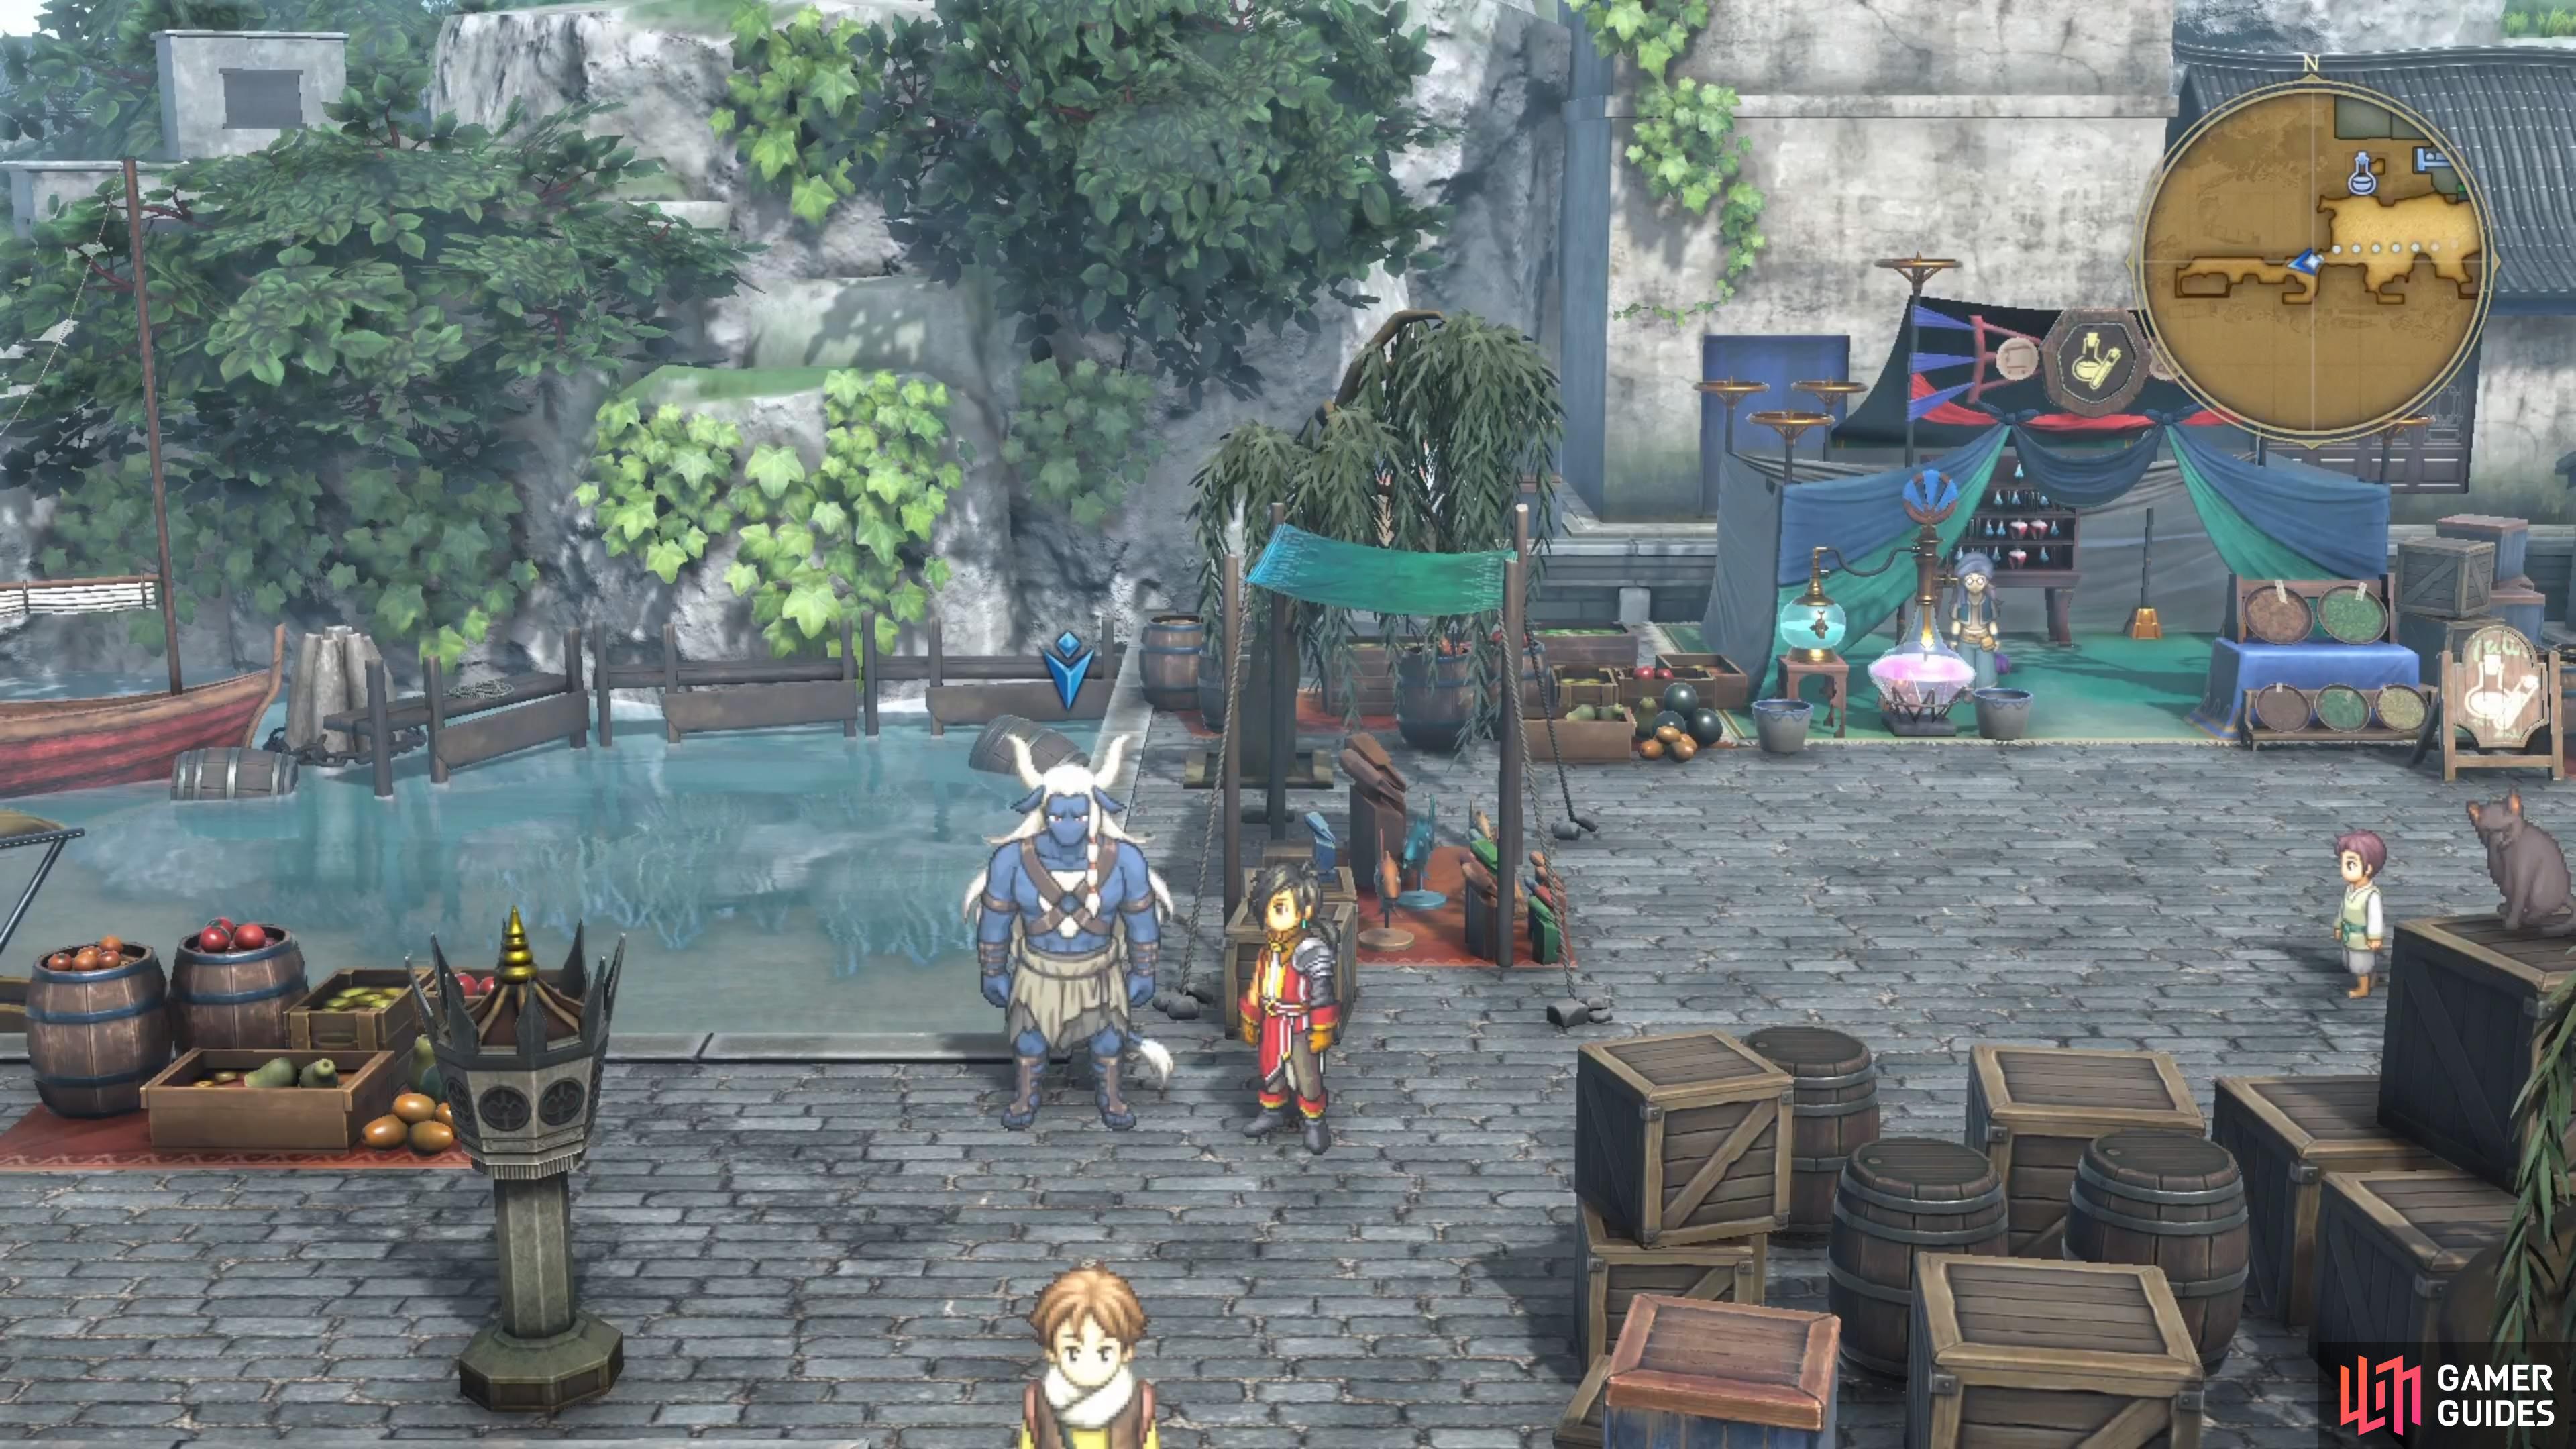
You’ll find Dijkstra in Twinhorne East, after the events in Norristar.
Dijkstra Location
Near the end of the main story, after all of the events in Norristar, you will be ready to recruit Dijkstra. It’s unclear if you need to have recruited Quinn already or not, or just need to see Dijkstra as part of her recruitment process. To be safe, it’s better to just recruit her first. Once you’ve done that, head to Twinhorne East and you will find him on the western side of the town. Speak to him and he will ask you to help him find some treasure at the Chelonian Goliath, Vilashnu.
This optional dungeon is quite challenging and Dijkstra will join your party as a guest. If you have a lot of physical attackers, putting him in your active party is a bright idea, as his Warcry ability will buff the physical attack of everyone else for that round. He is also quite defensive in nature, so he can withstand taking hits, too.
Chelonian Goliath, Vilashnu Enemies
The majority of the enemies here are large ones that are more like minibosses than normal enemies. You will want to take each one seriously for the first few battles, since you will likely be leveling up until around 53-55. Mach Eggs are quick and they have a chance to stun your characters; they are also the weakest enemies in the dungeon. The Asterion, Earth Dragon, Azhdahag, and Nidhoggr are all larger enemies and beefier.
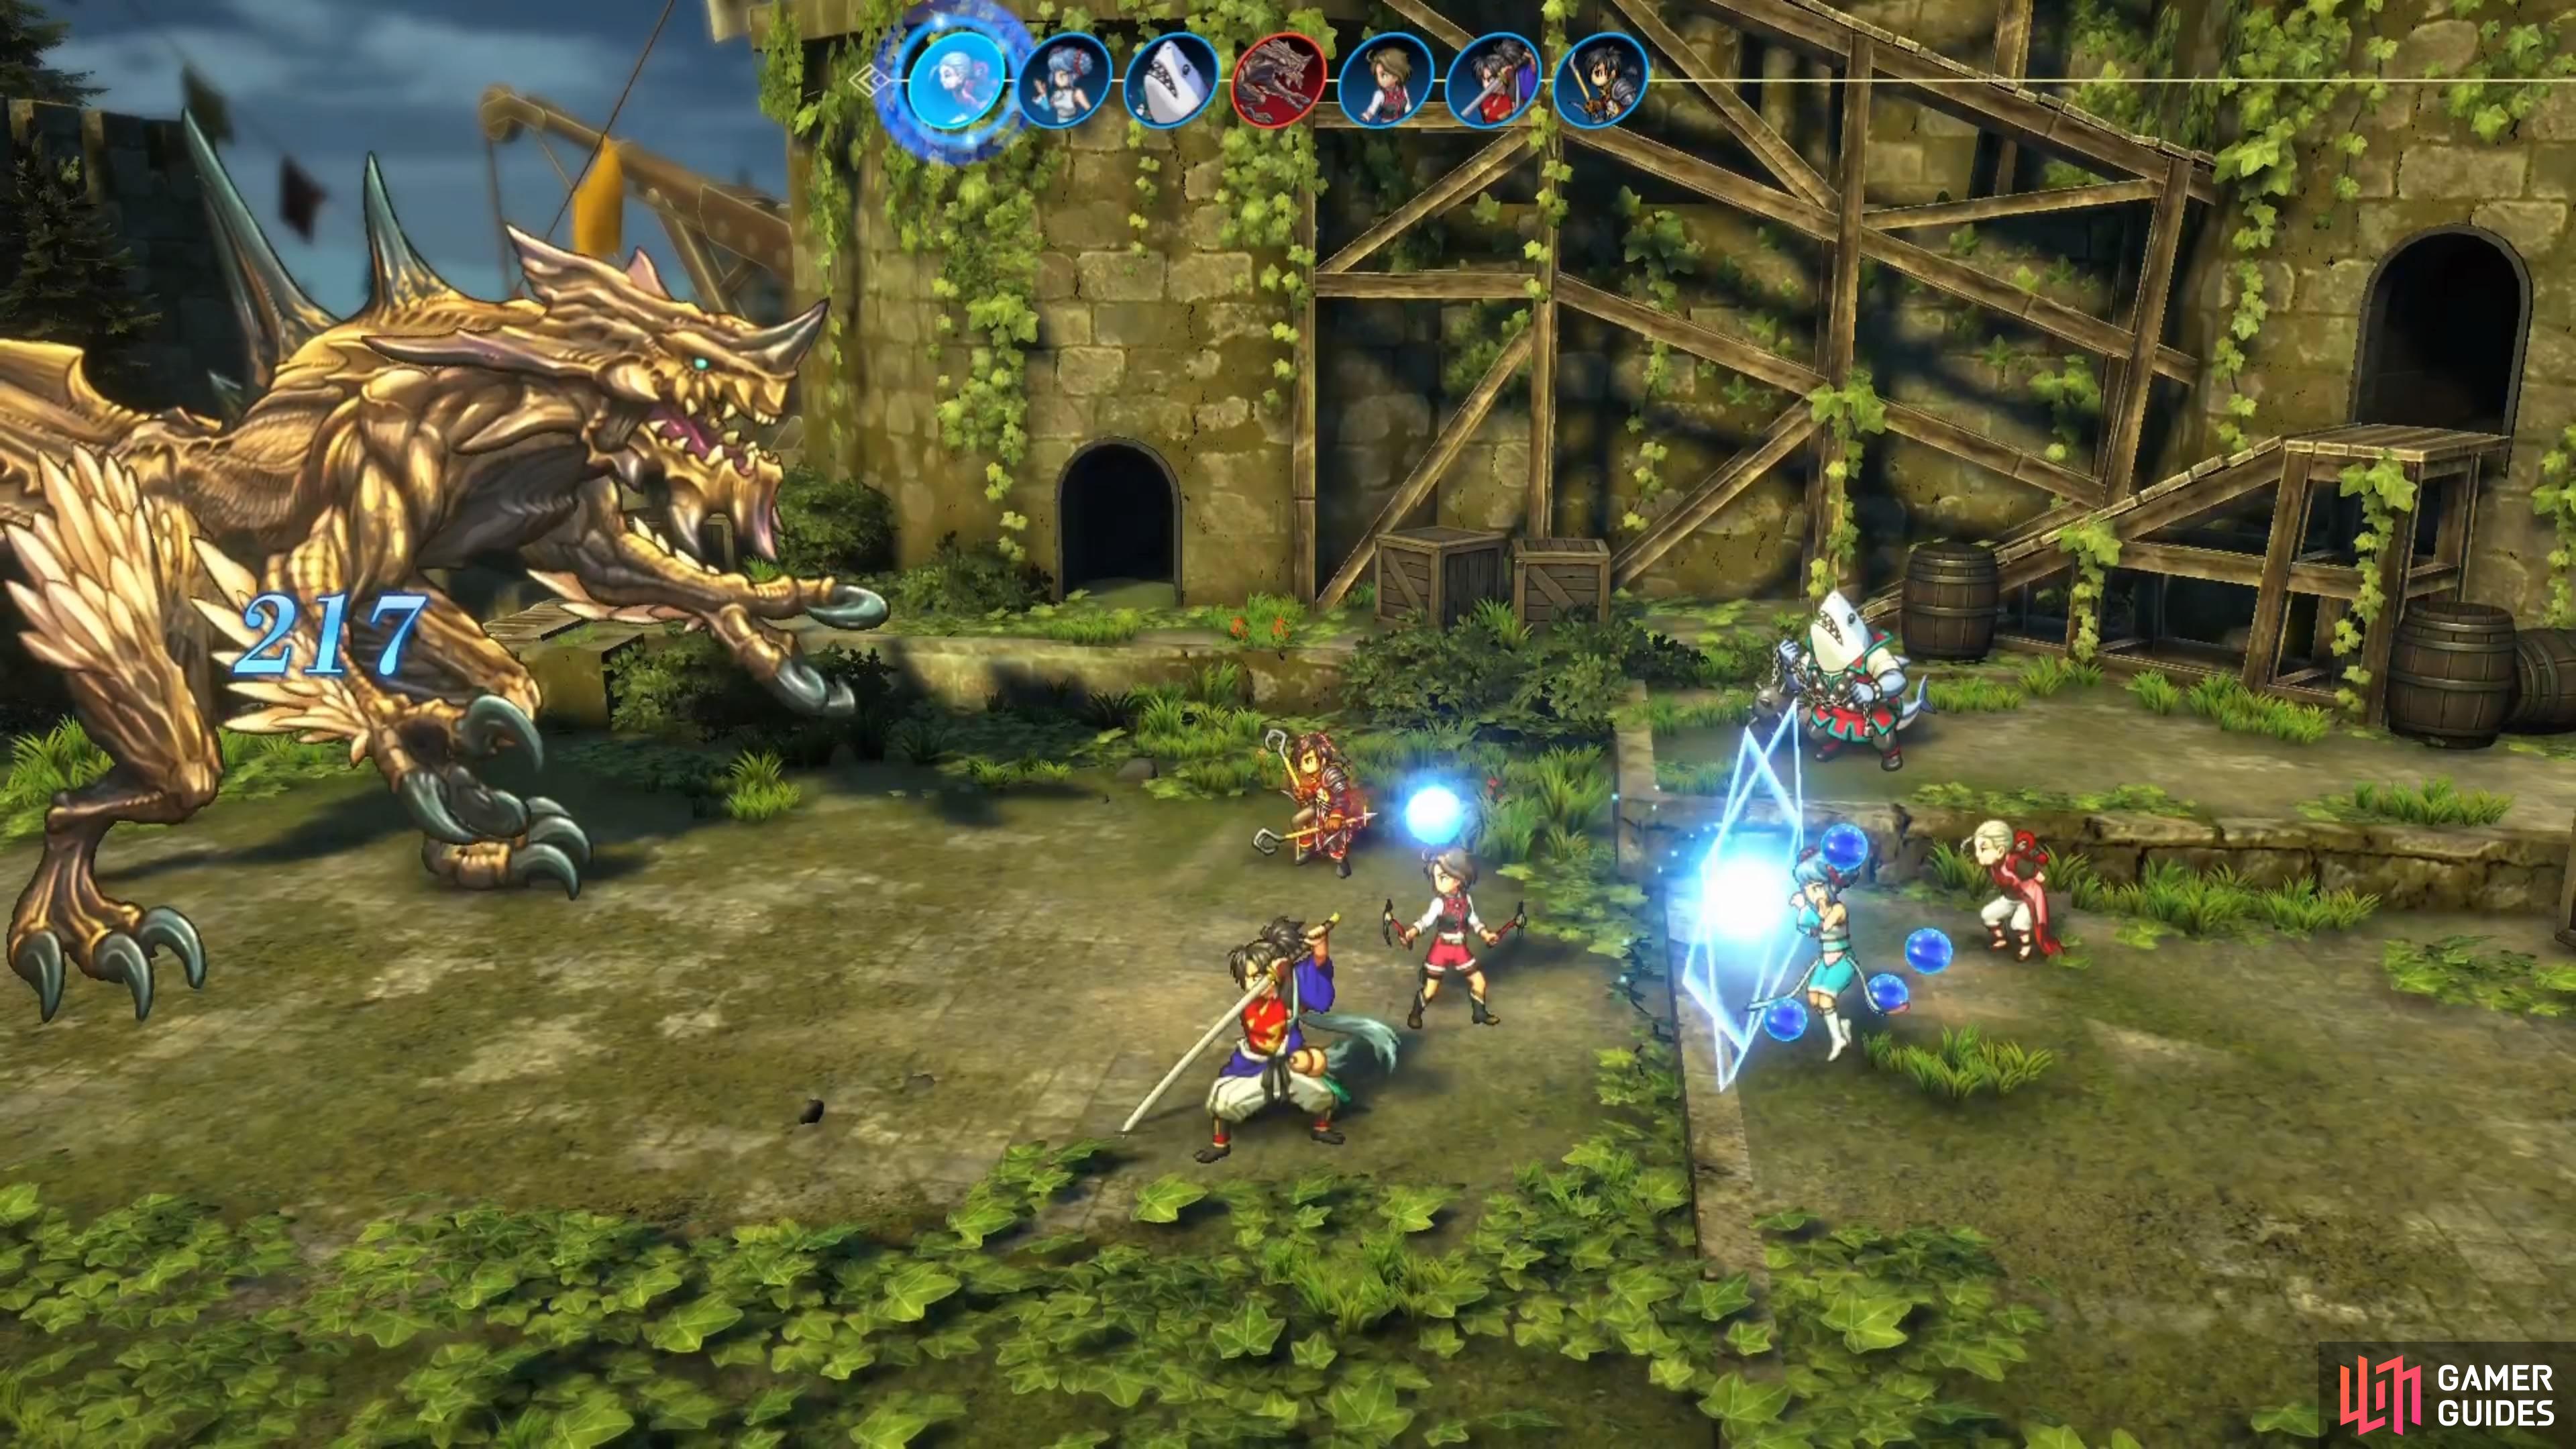

(1 of 3) Most of the enemies here are large ones that aren’t pushovers.
Chelonian Goliath, Vilashnu Walkthrough
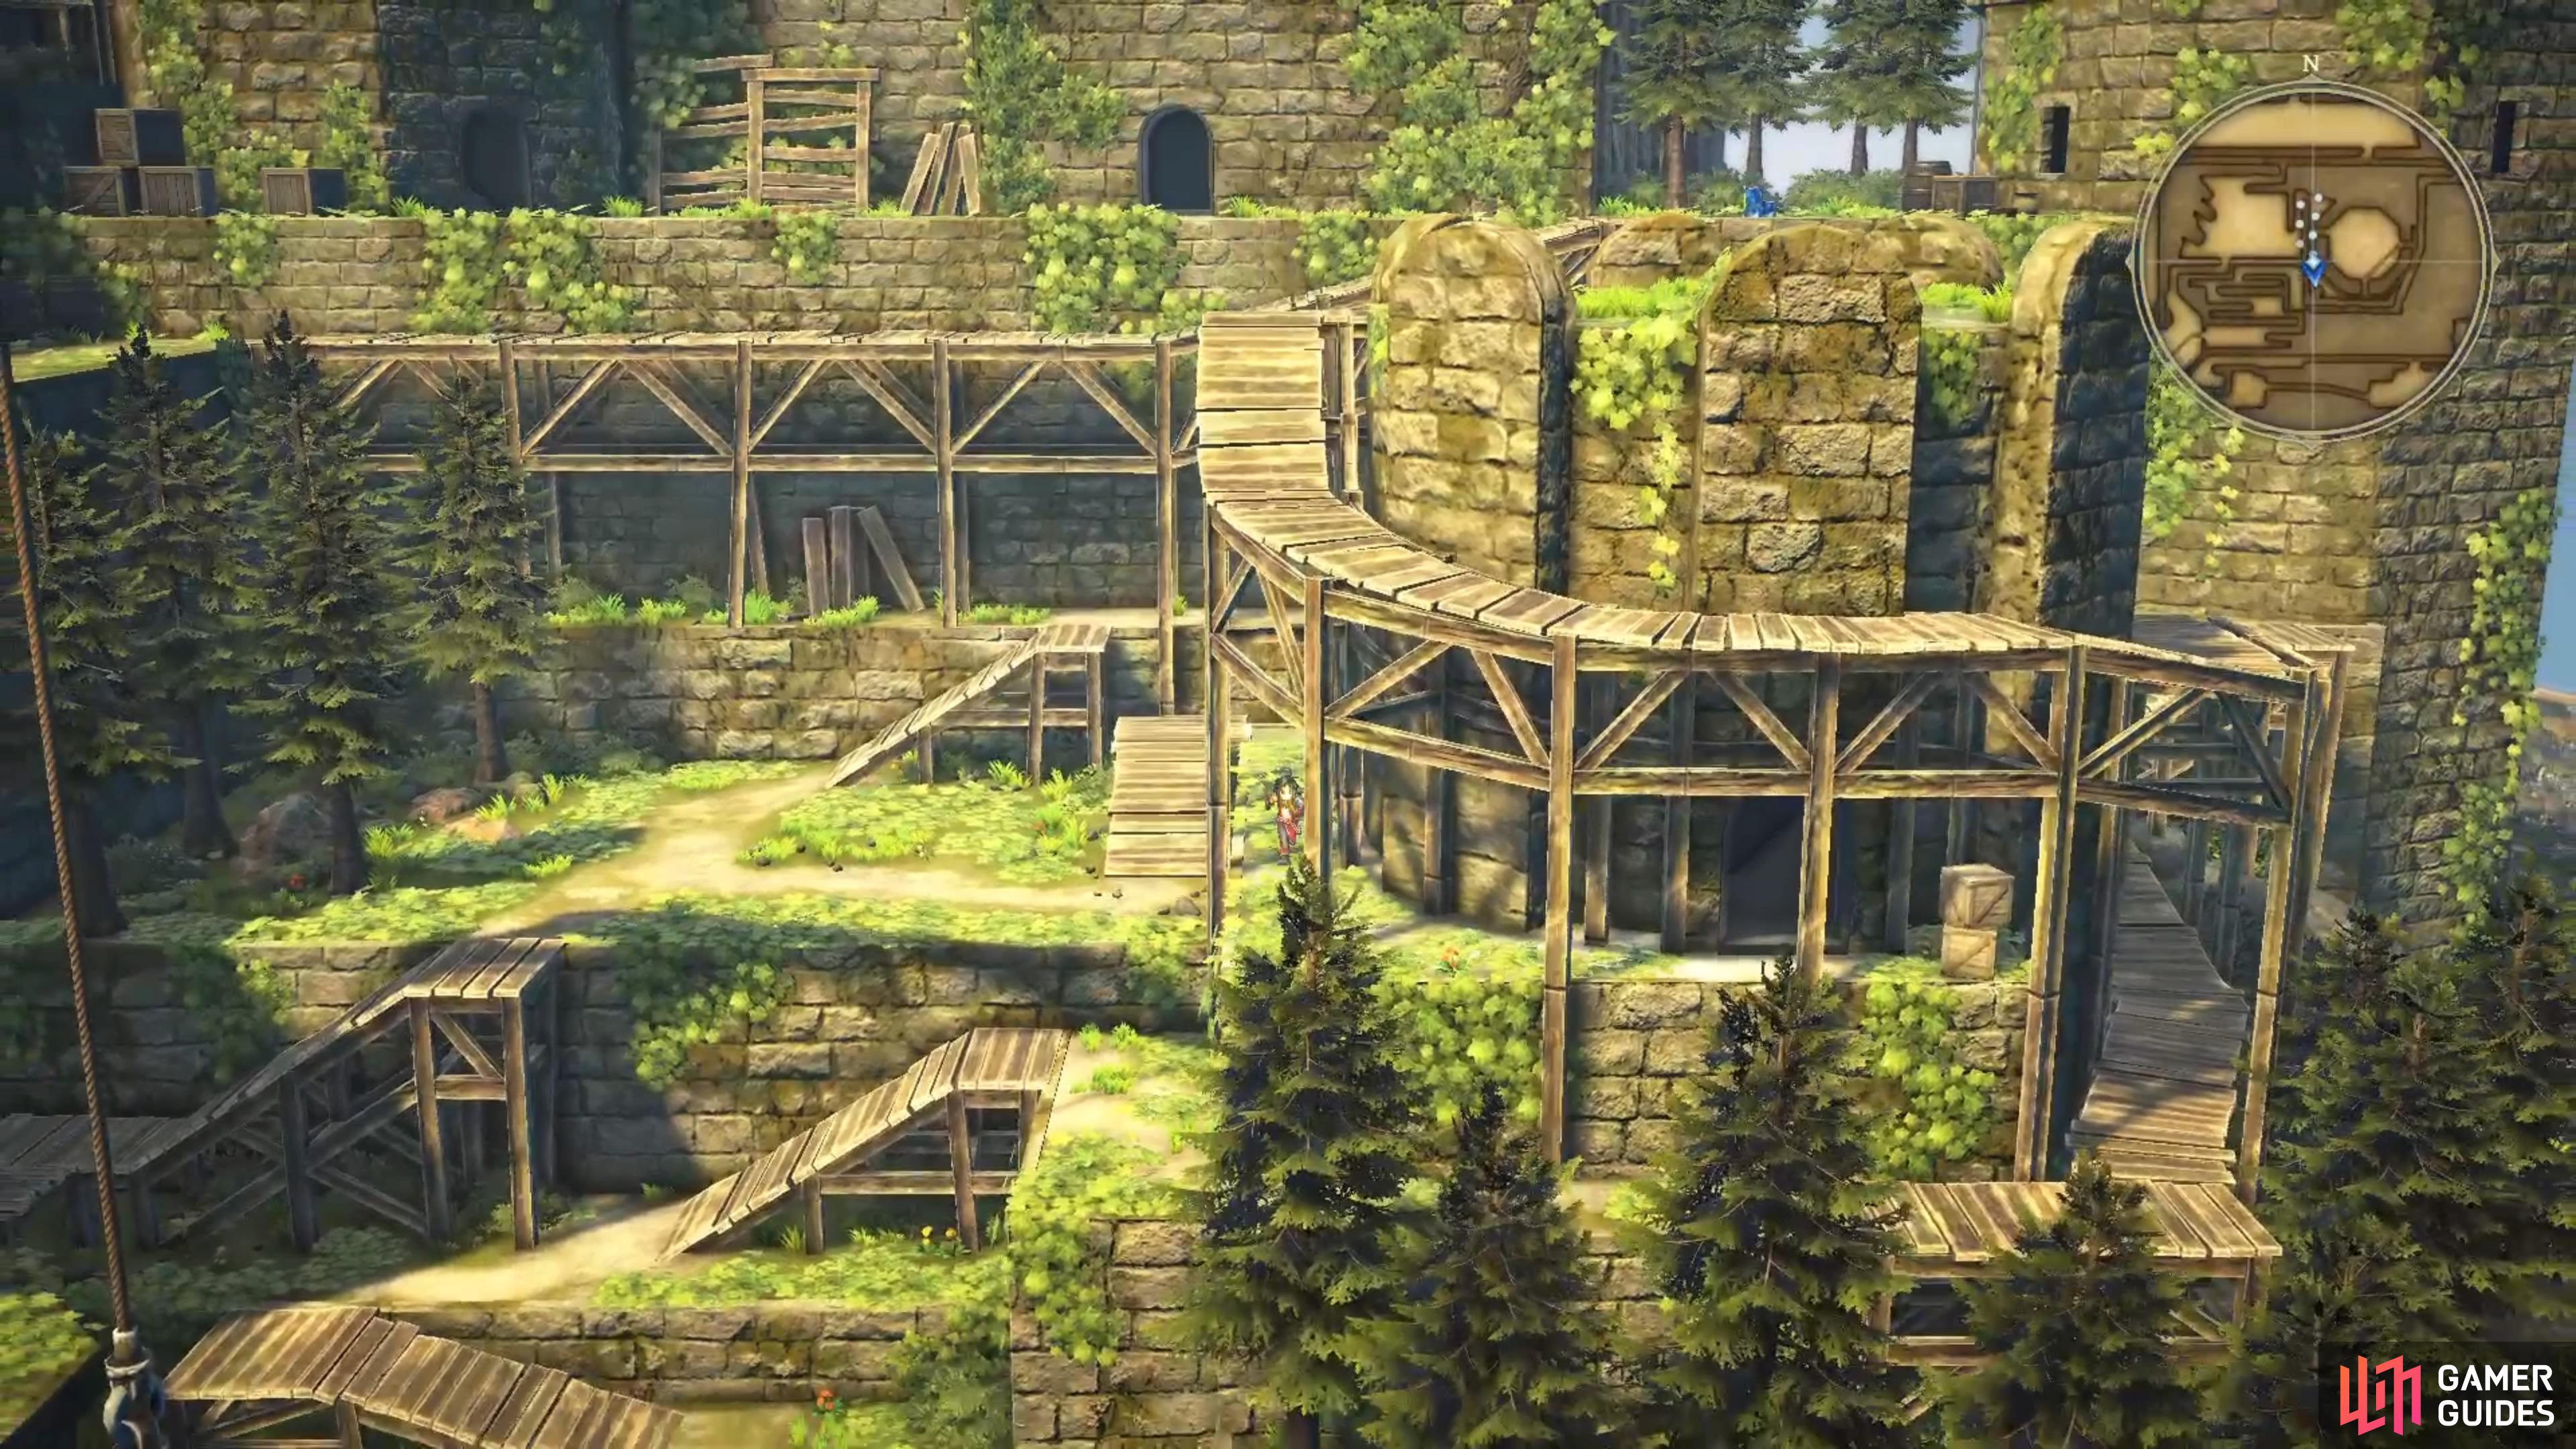
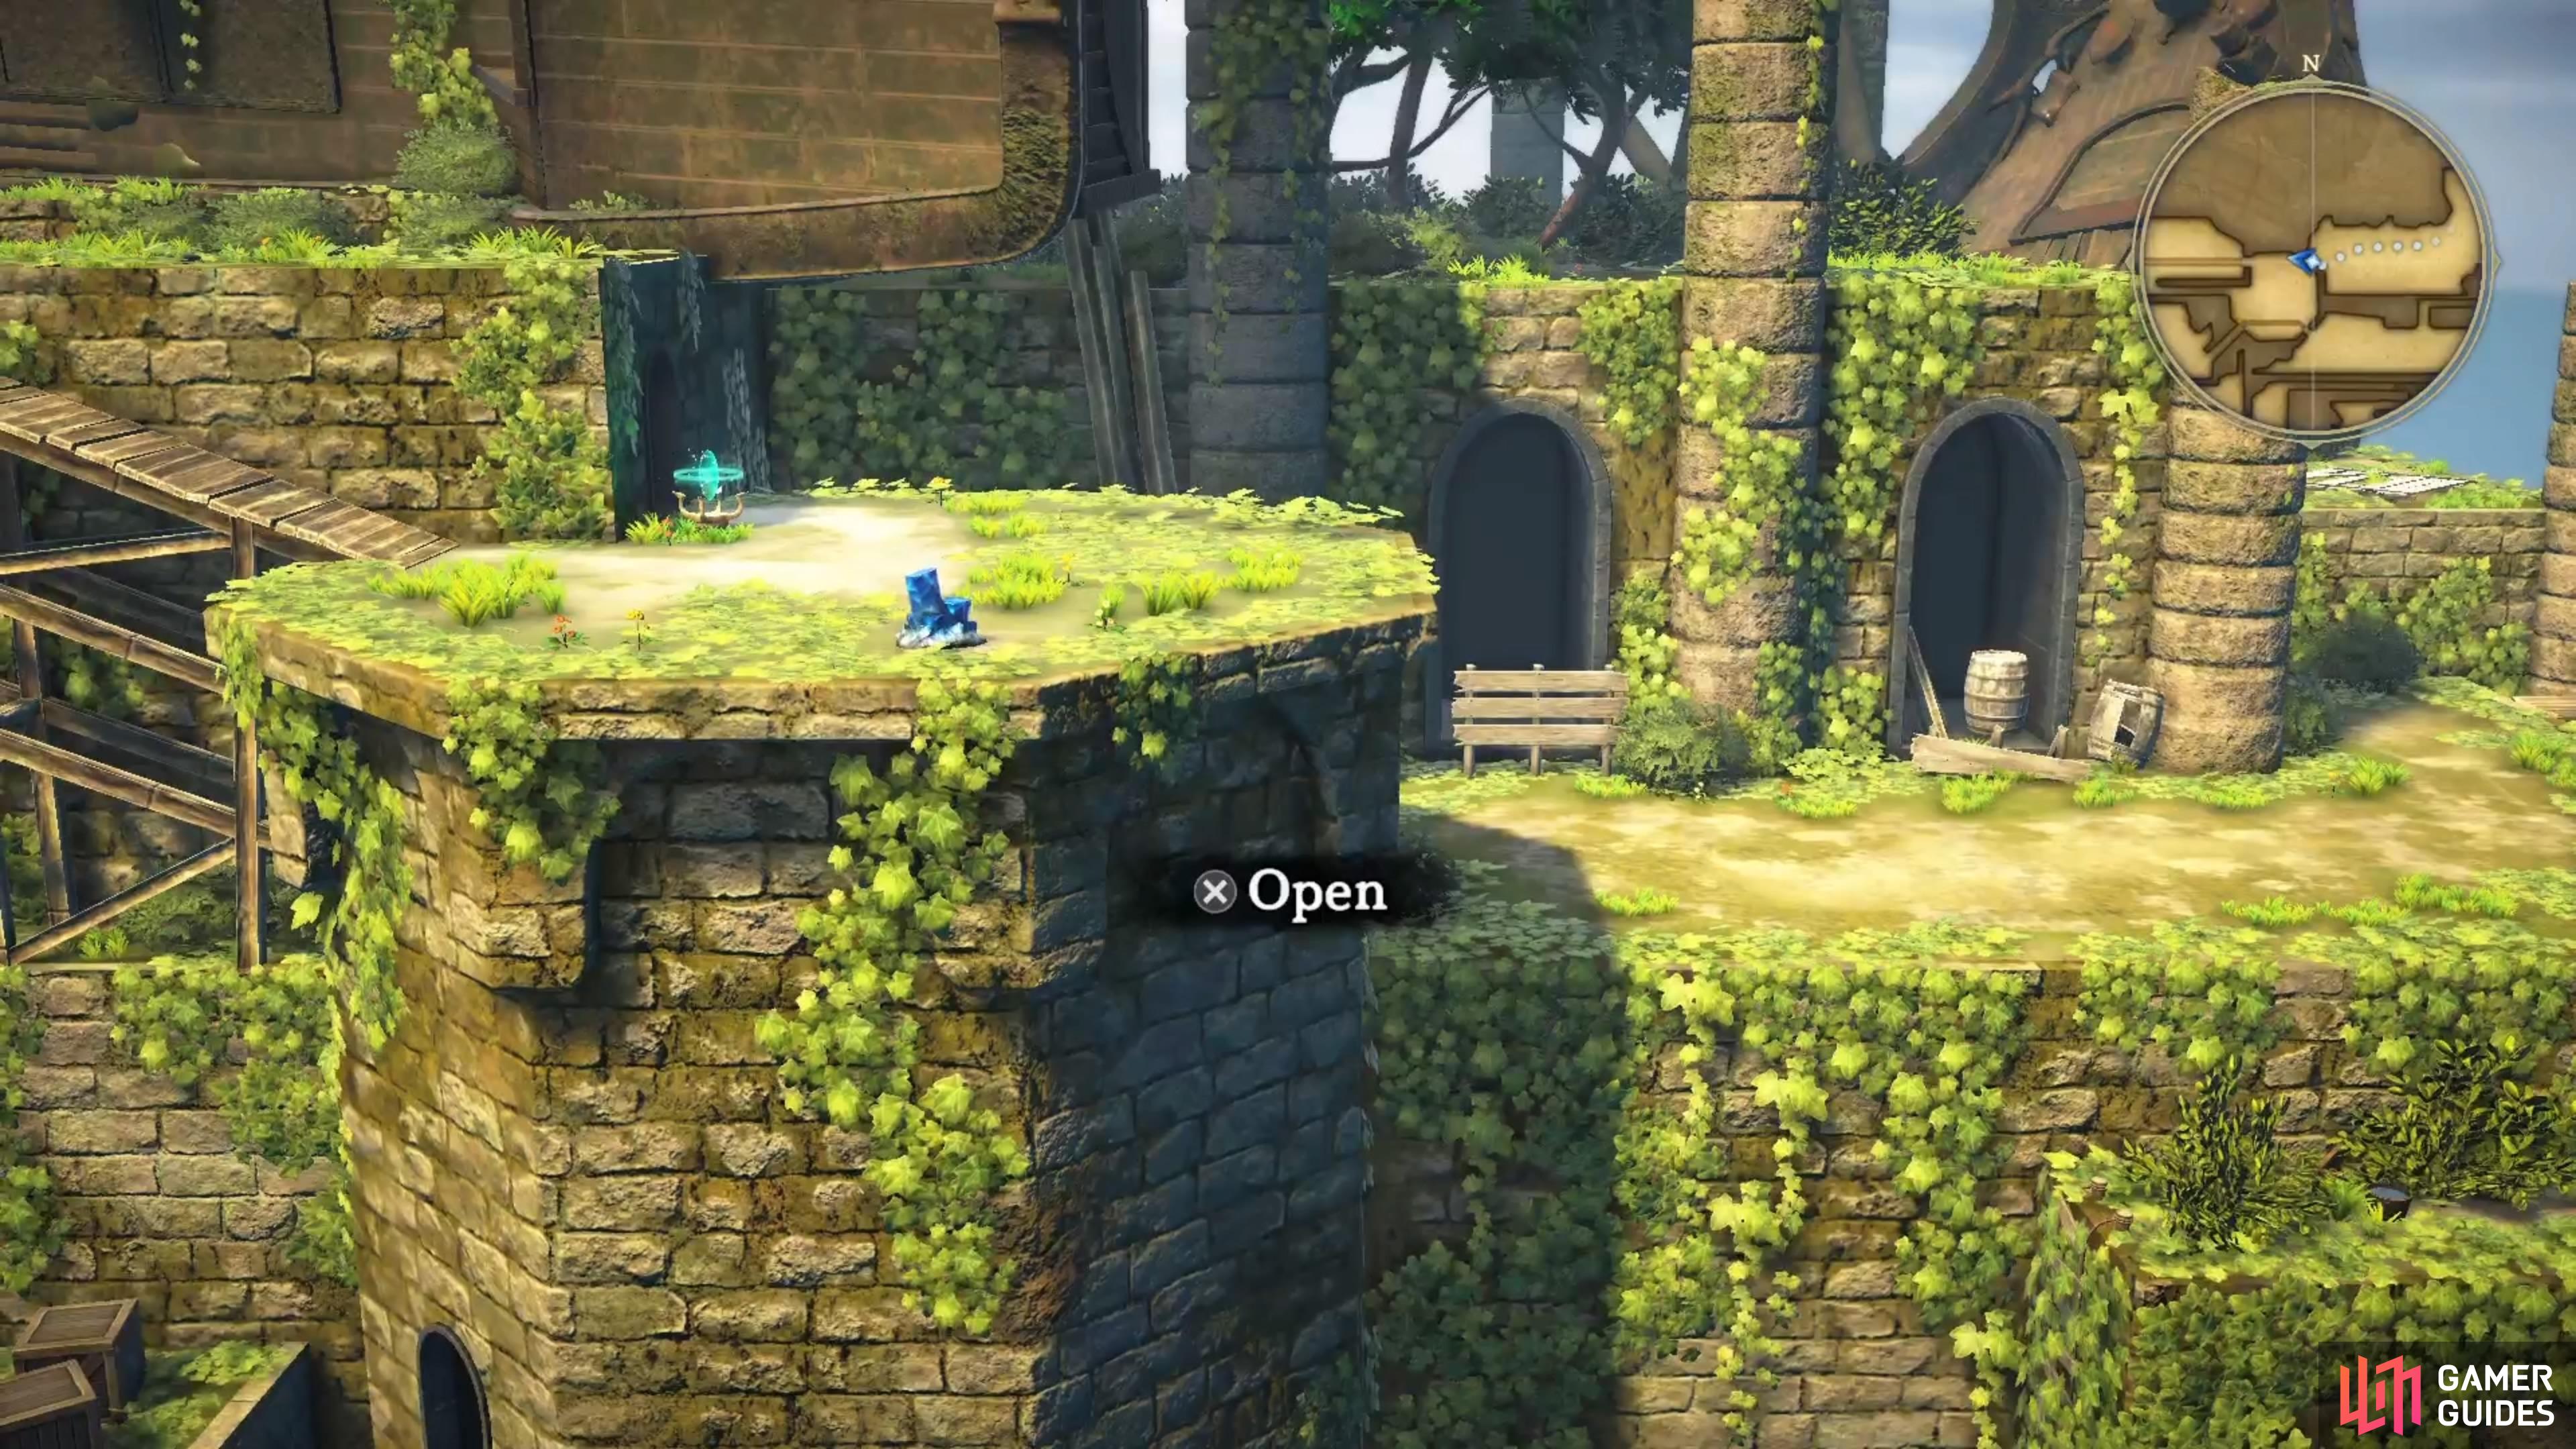
When you first arrive, you can go left to trigger a scene that gives you an option to leave, should you need to do that. You can always head back to Dijkstra at Twinhorne East to return to this dungeon. When you look at the map of this dungeon, it looks a bit like a maze, but it’s fairly straightforward and not that confusing. There is a save point at the beginning, so use it if you want, then start moving right. The first resource node here just gives some Stone, so loot it and continue right, all the way until you reach a dead end.
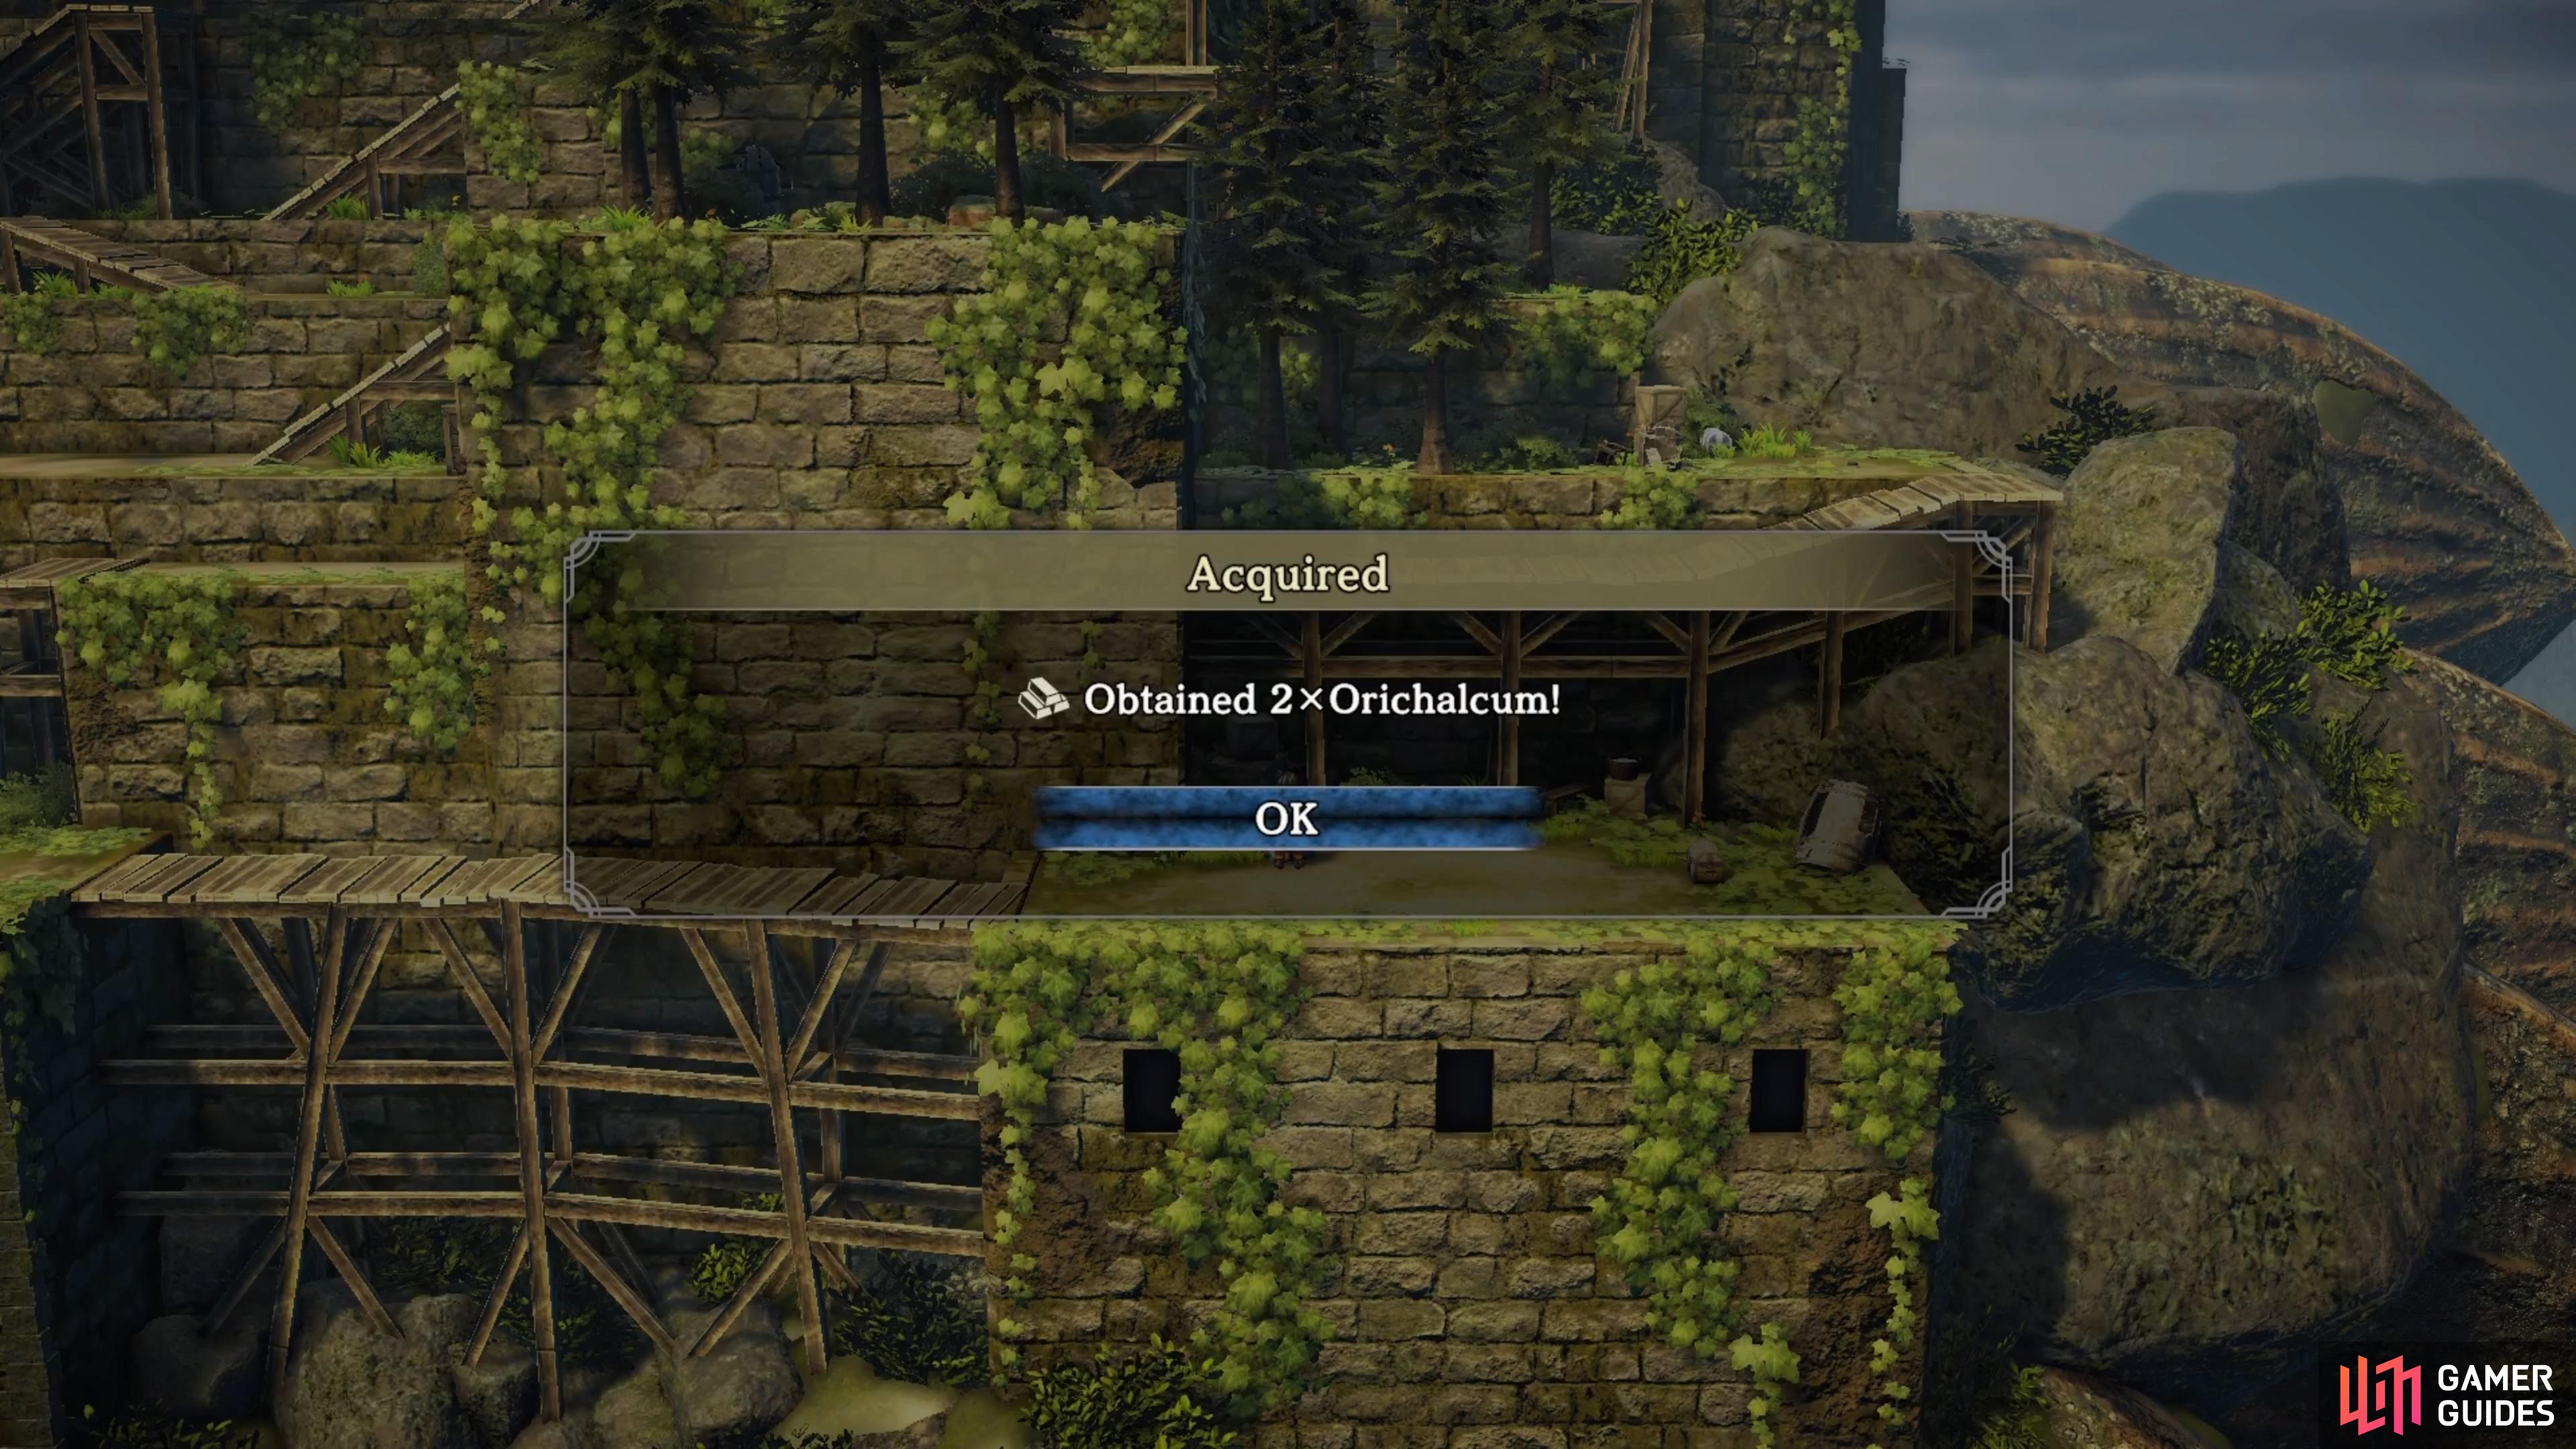
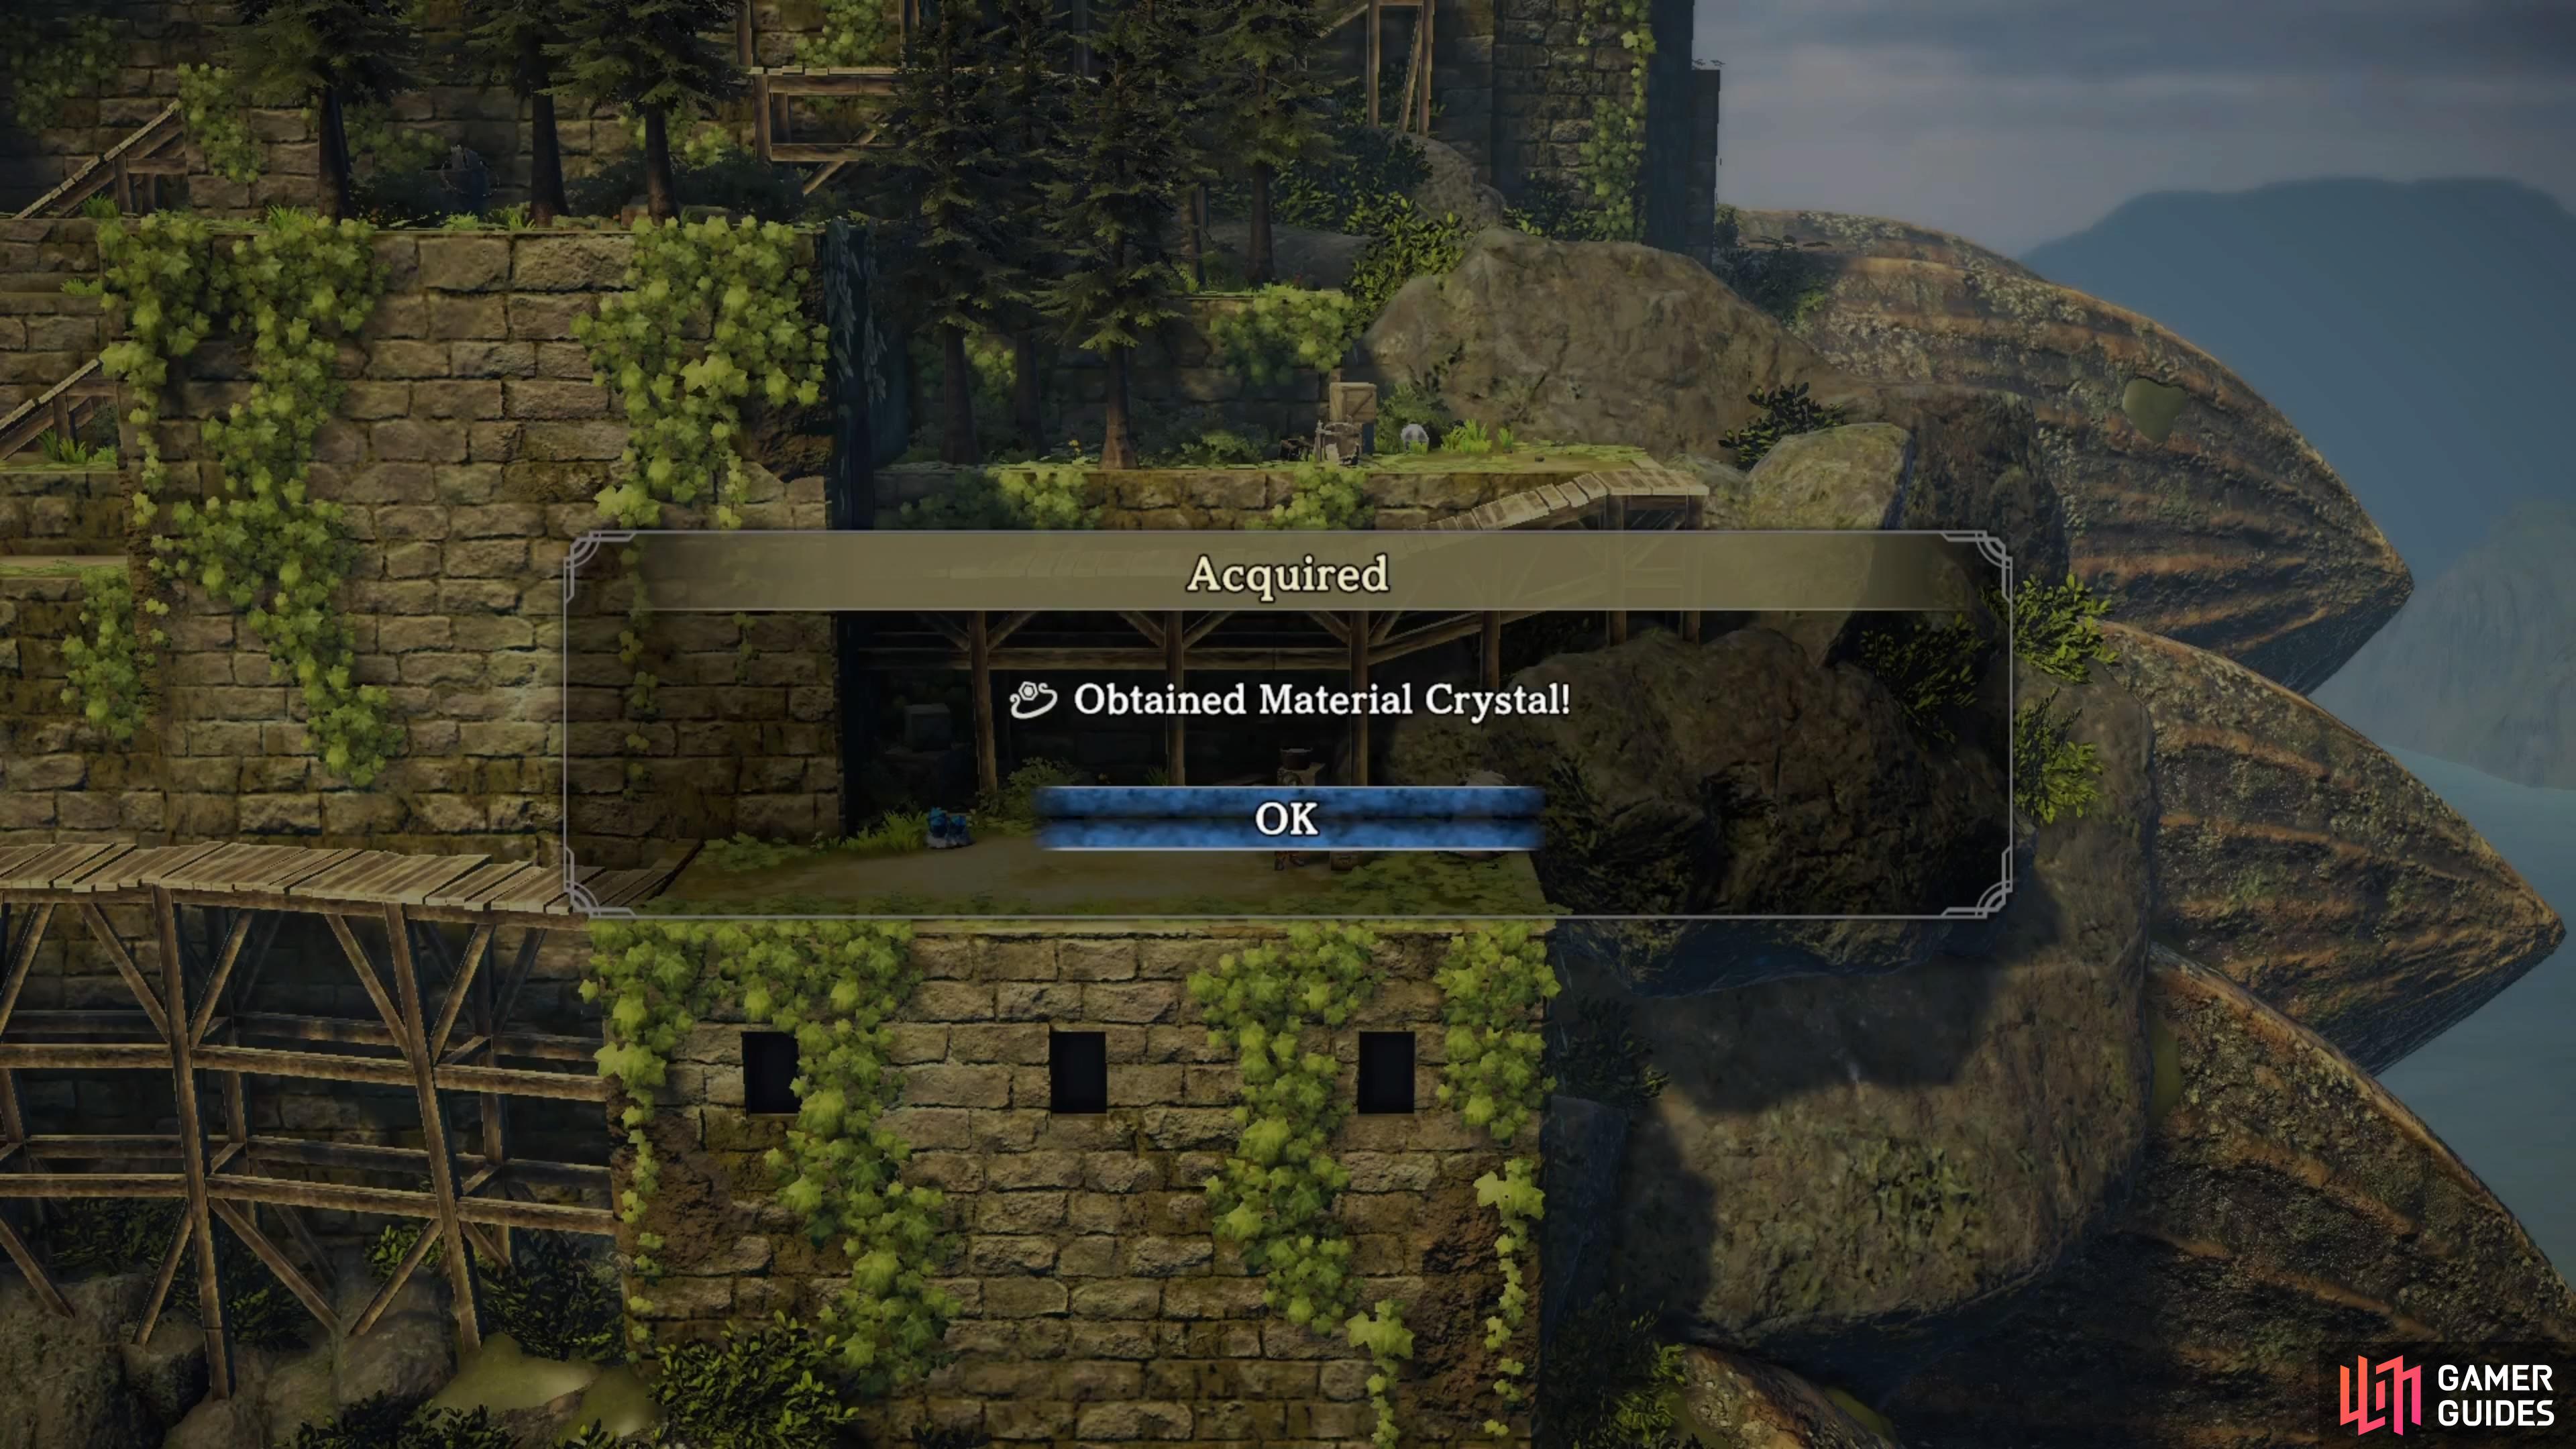
There’s another resource node here, which will give you some Orichalcum, an item you cannot get elsewhere right now. There is also a chest at the dead end, which yields a Material Crystal. Backtrack across the wooden bridge nearby, then go up the ramp, where you should see a doorway to your left, as well as another doorway to your right. Use the right doorway to find another dead end with a chest, with this one containing the Pasta Carbonara Recipe. The previously mentioned left doorway will take you further into the dungeon, where you will eventually see another fork.

The ramp to the right seemingly takes you nowhere, though, as it brings you to the top of the tower and there is nothing there. Instead, take the ramp going down and follow this path until you see another ramp heading downwards. At the bottom will be another chest, containing a Rune of Impregnable Defense. Loot that, as well as the resource above you (Stone), then continue west. You’ll pass through another tower and when you reach the next doorway, look to the right of it for a chest (True Sight Glasses).
Use the doorway just left of the chest and follow the trail until you find another resource node (Stone). Just north of that node will be some trees that are hiding a chest, so go back there and open it for a Rune of the Mage’s Pinnacle. Look to the left now to see two more doors to take. The western of the two will move you along in the dungeon, so take the right one for now. You’ll emerge on top of the nearby structure and it looks like nothing is there, but a keen eye will catch a glimpse of a chest hidden behind the tower on the left side up here (Forceful Armband).
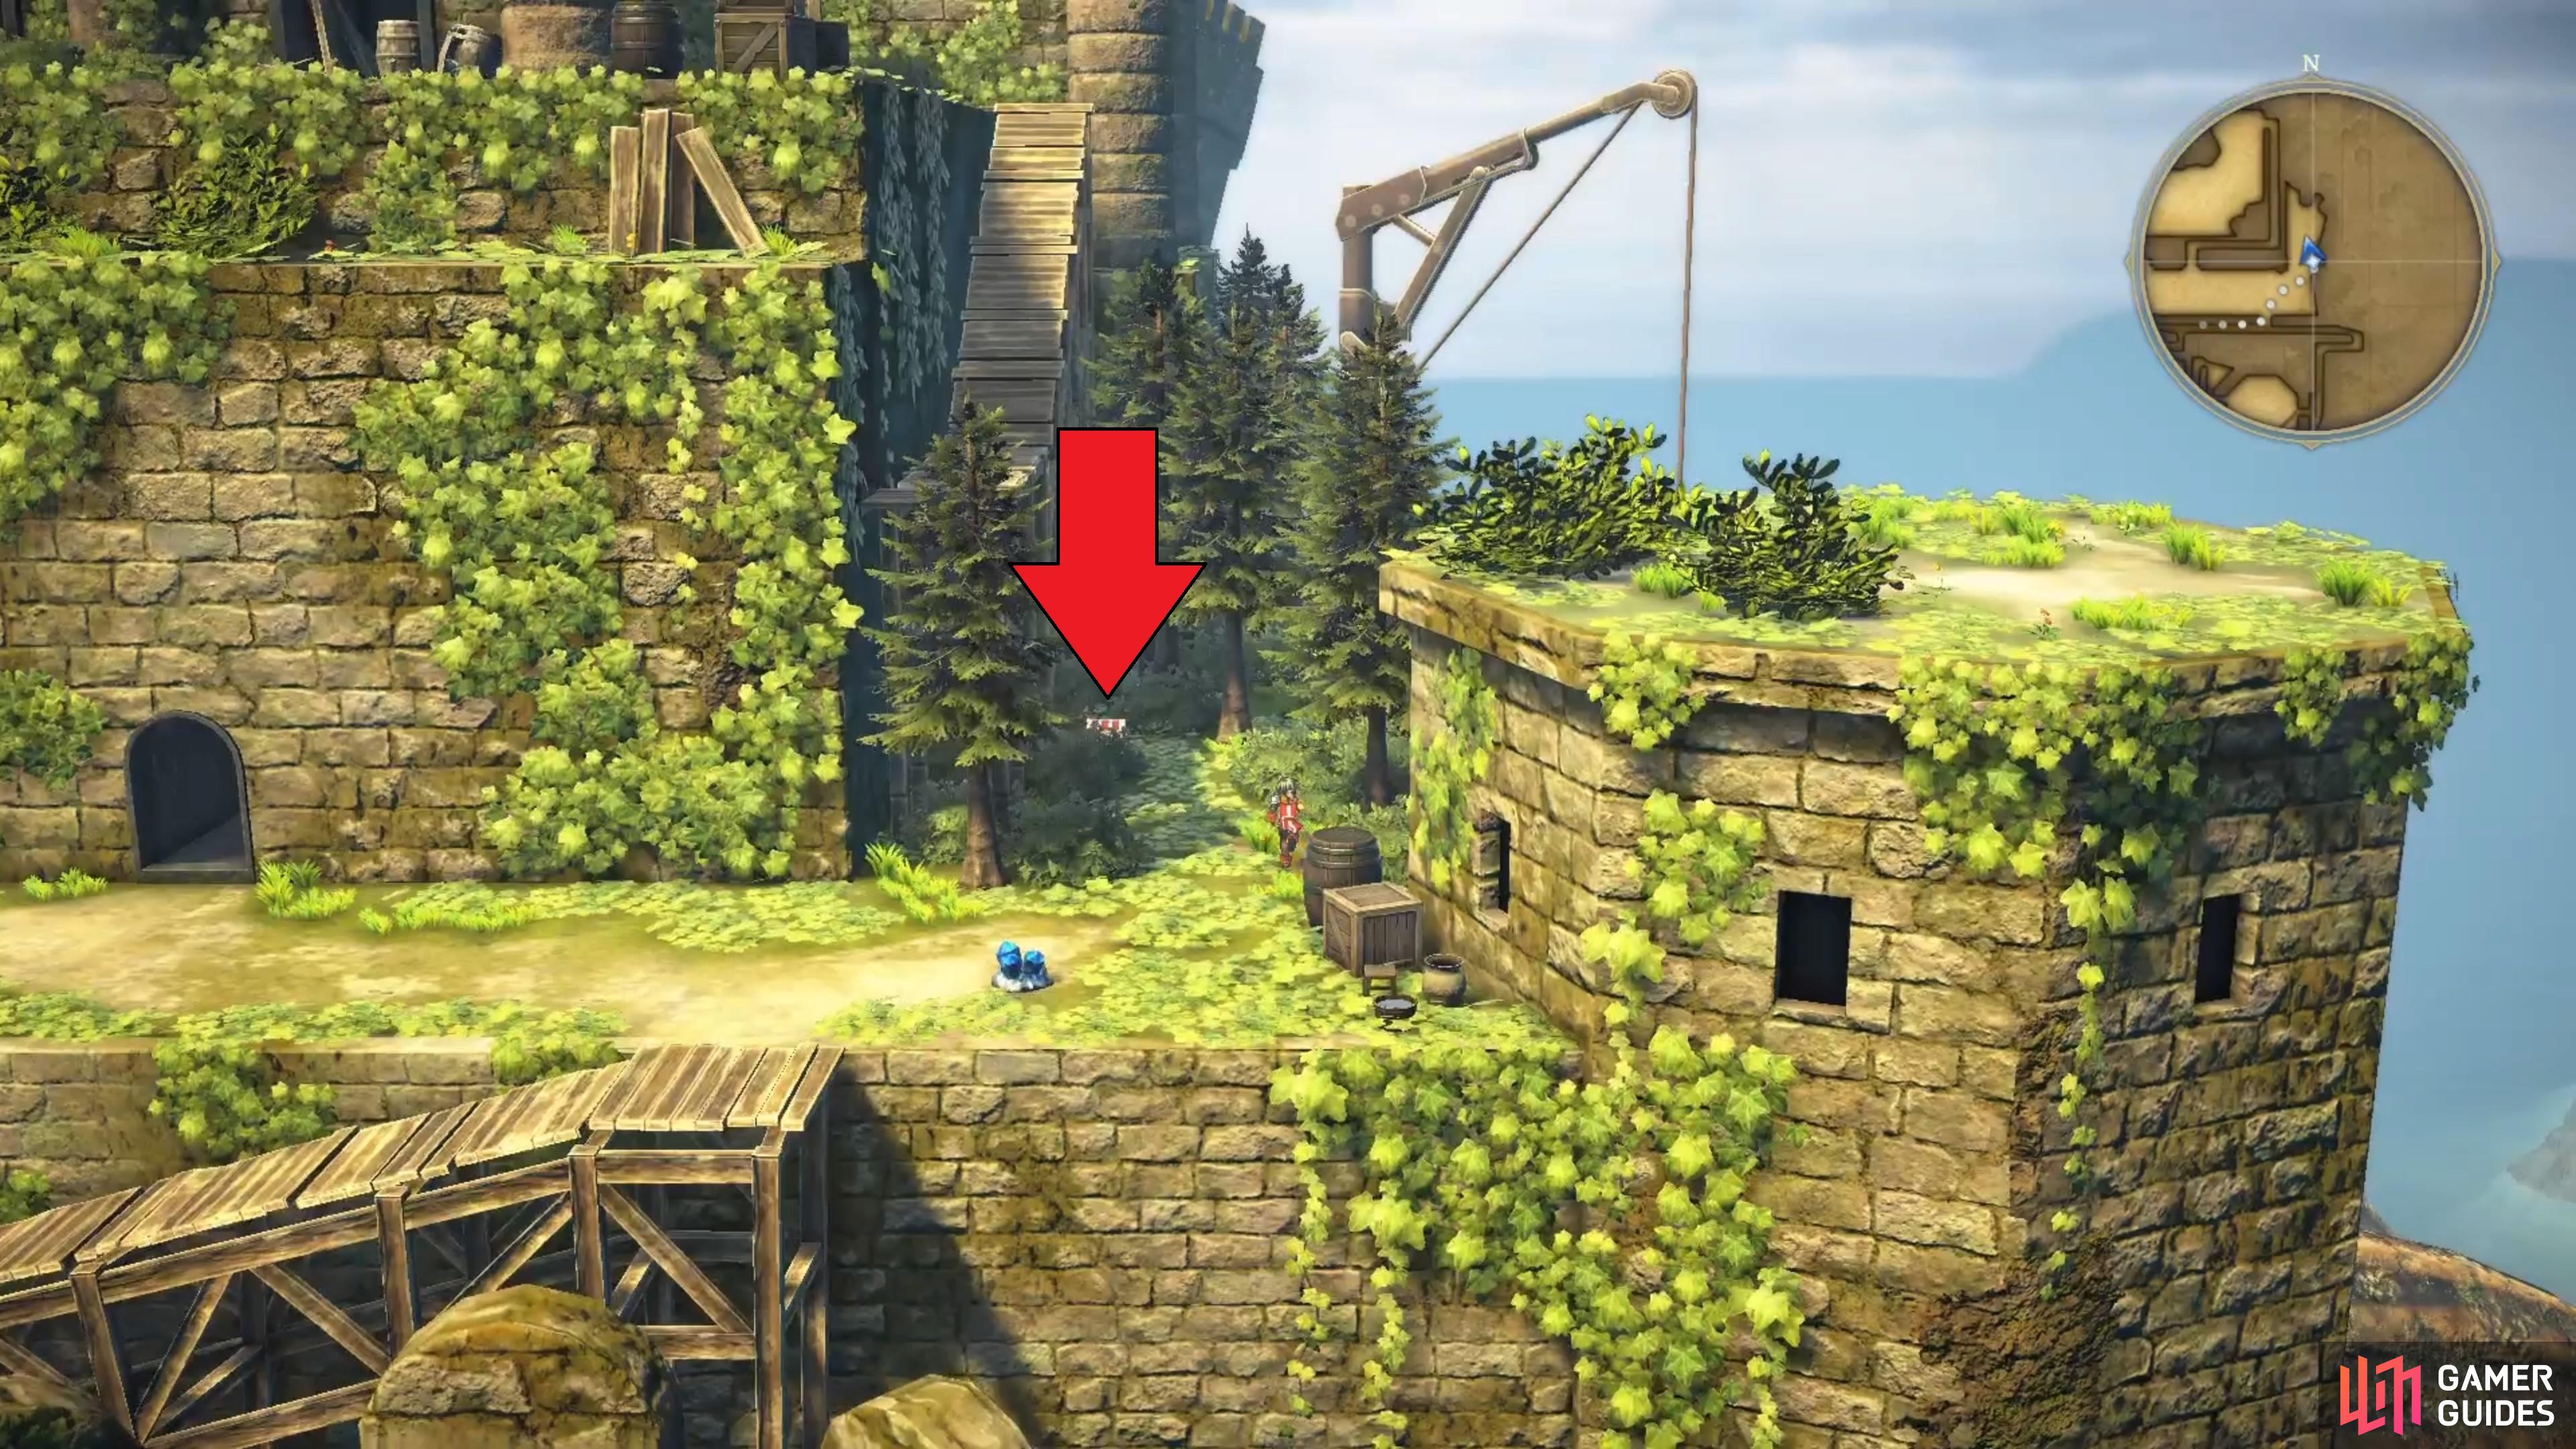
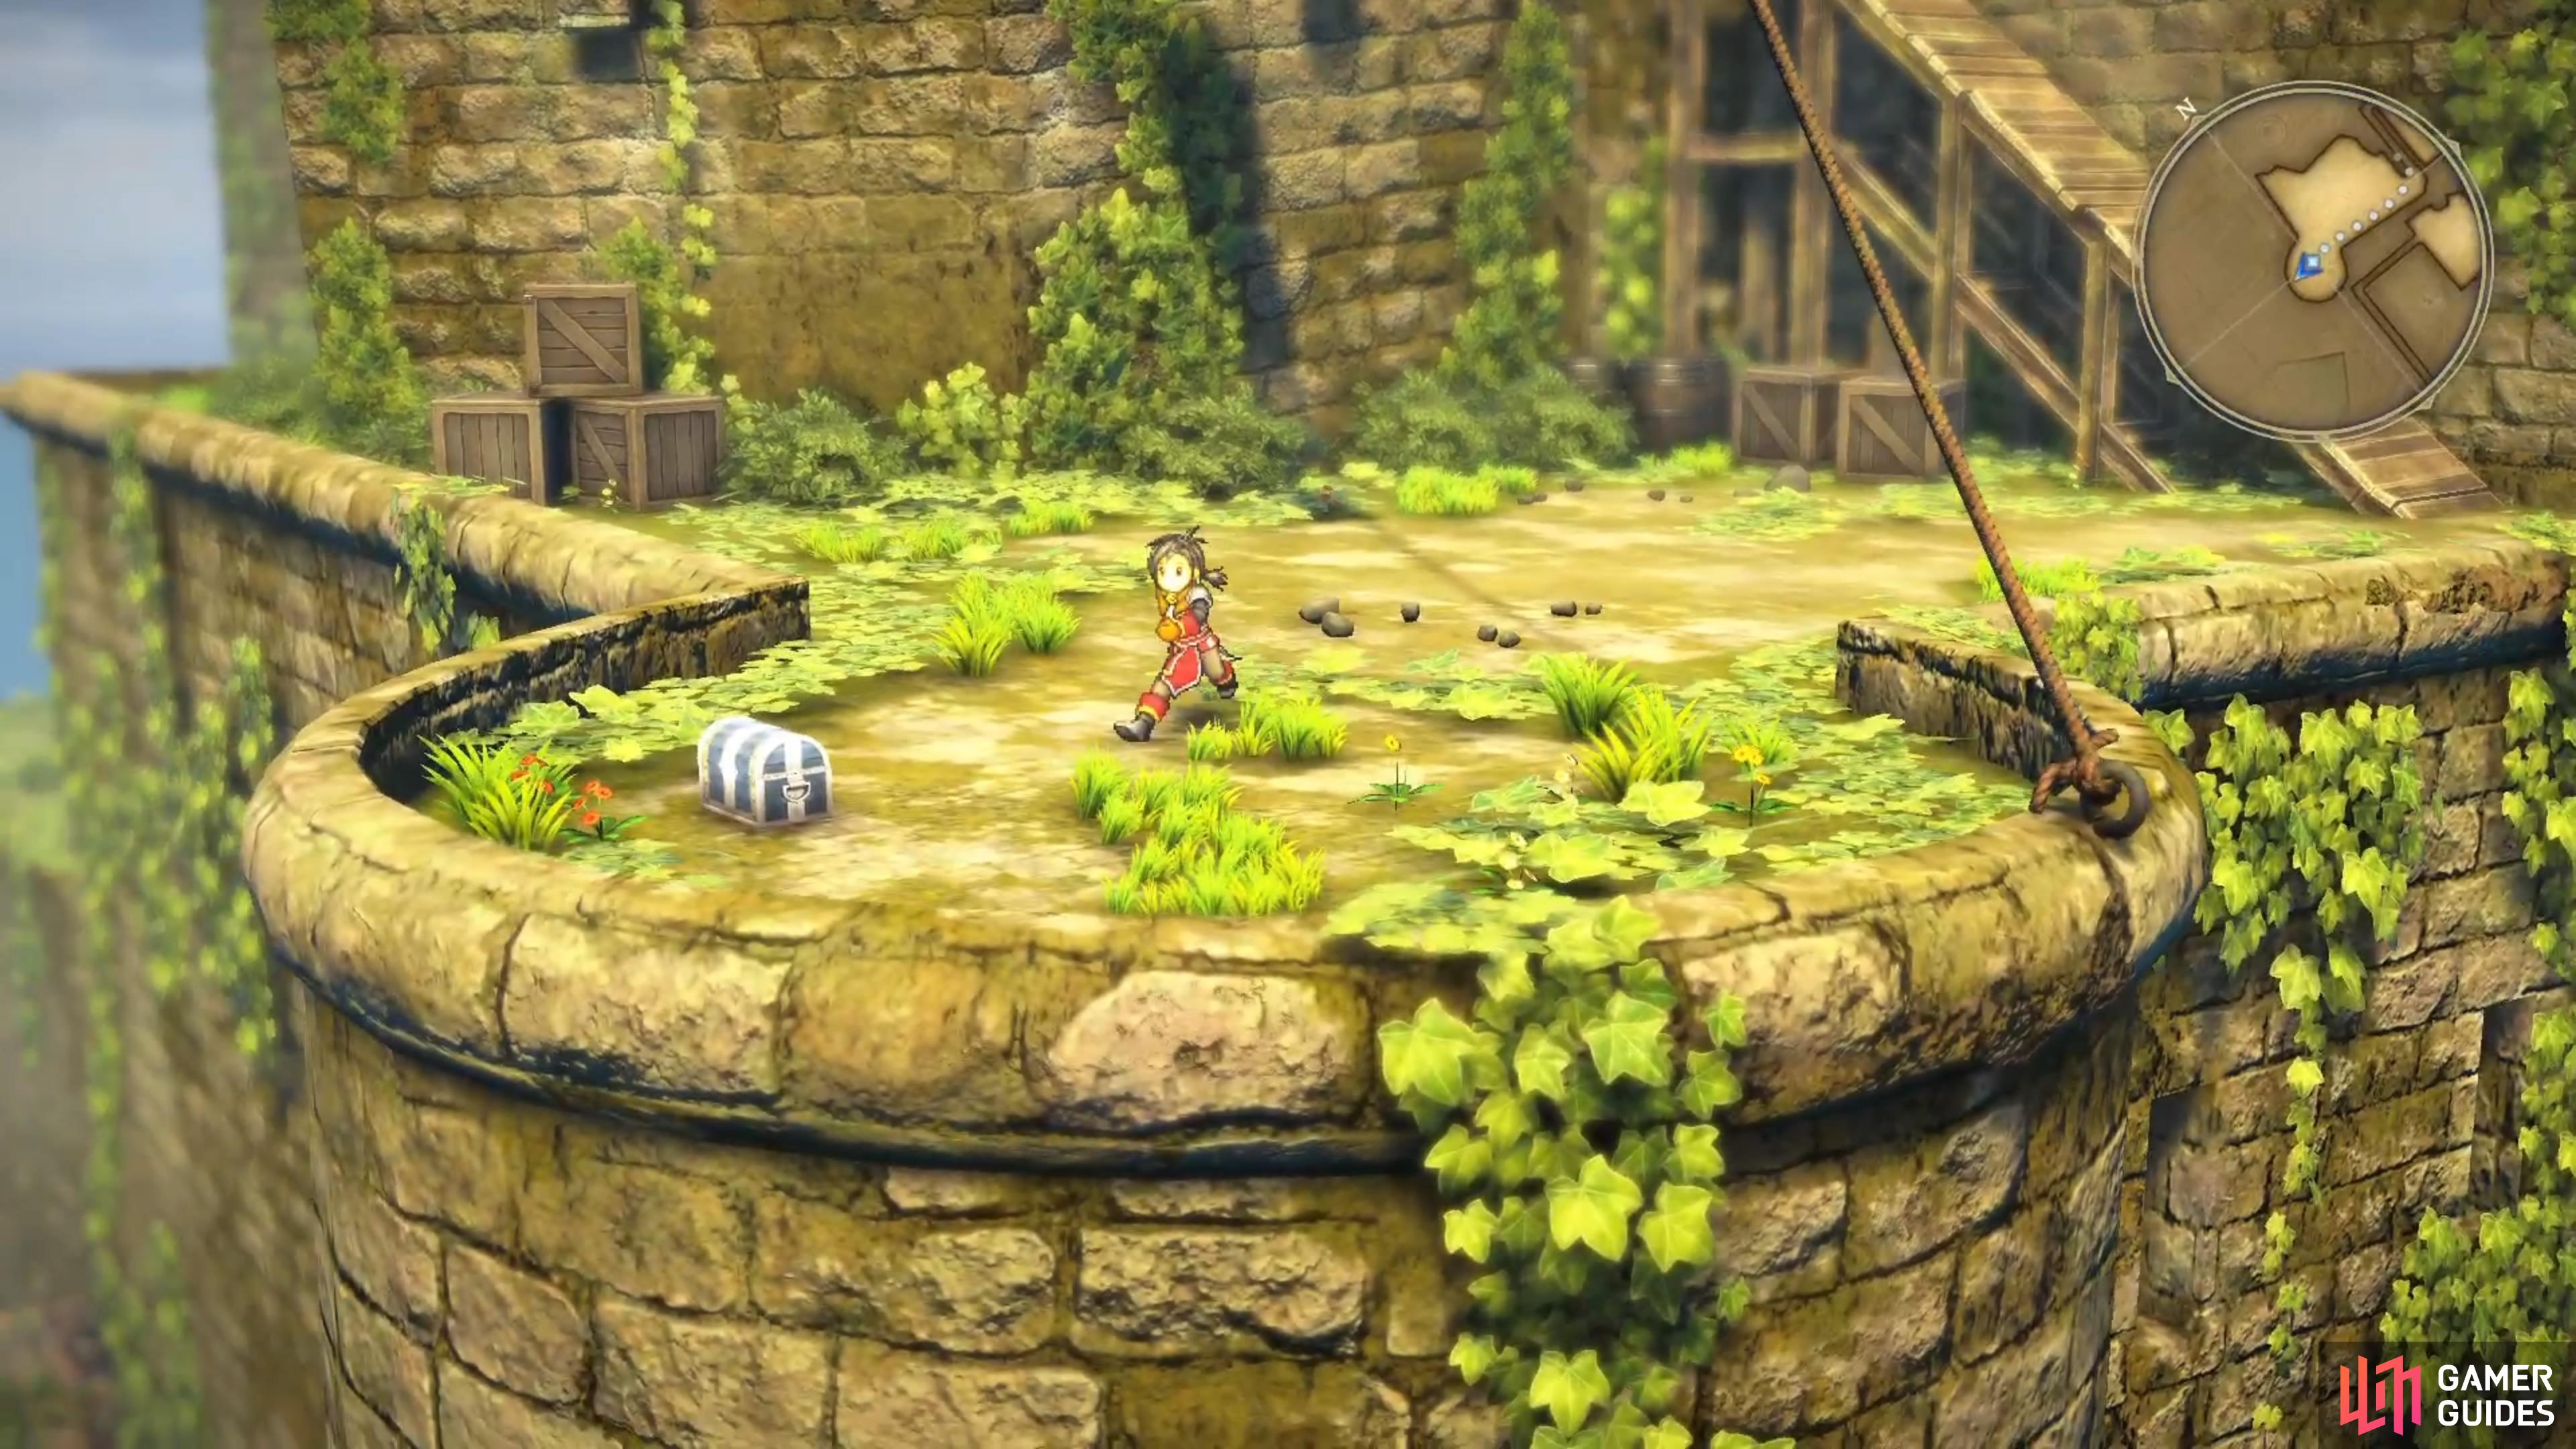

(1 of 4) There is a chest hidden behind the trees here that can be hard to see.
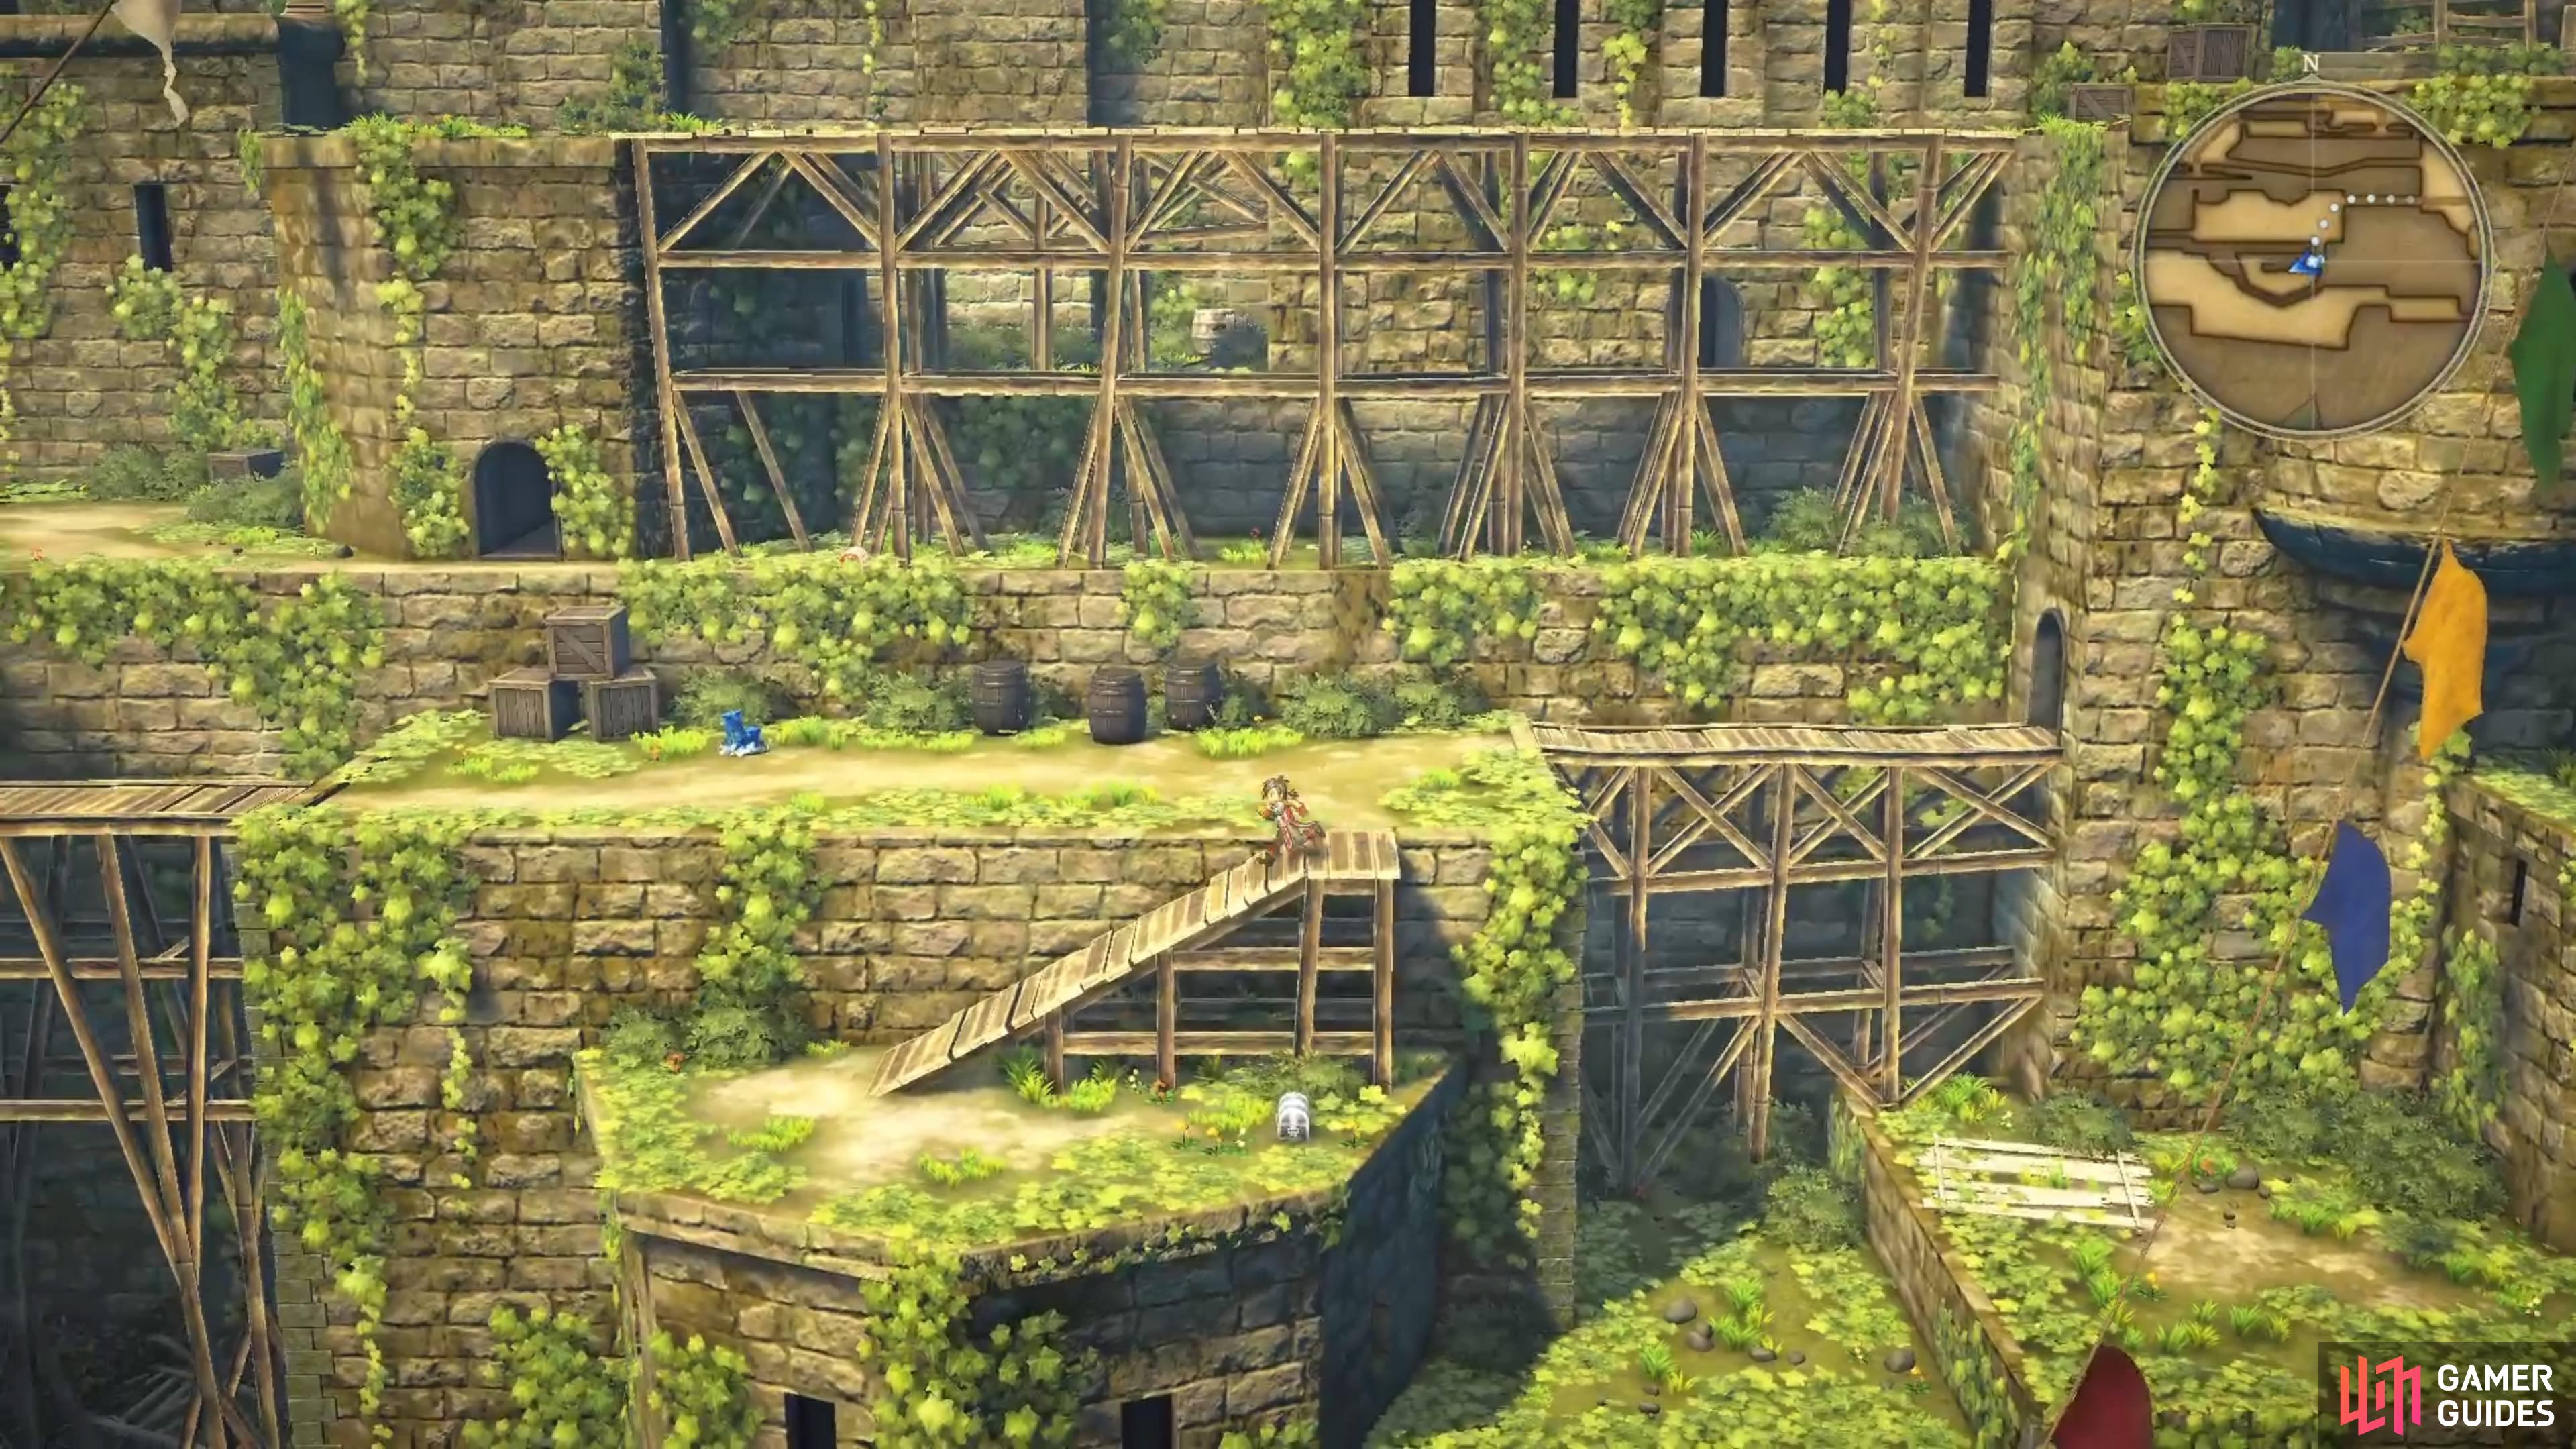
The left door, as mentioned above, will bring you further into the dungeon. Bypass the first ramp going down as you continue (nothing’s there), then go past the next door, opting to descend the ramp beyond. There will be another chest down here, which contains the Blueberry Pie Recipe. Return to that door you passed and go through it, stopping to collect the next chest you see along the way (Malachite Bangle). Keep going to reach a second save point, as well as another Orichalcum resource node. Heal up, save your game, then head to the end of the dungeon to face the boss.
Goblomancer and Letus Boss Guide
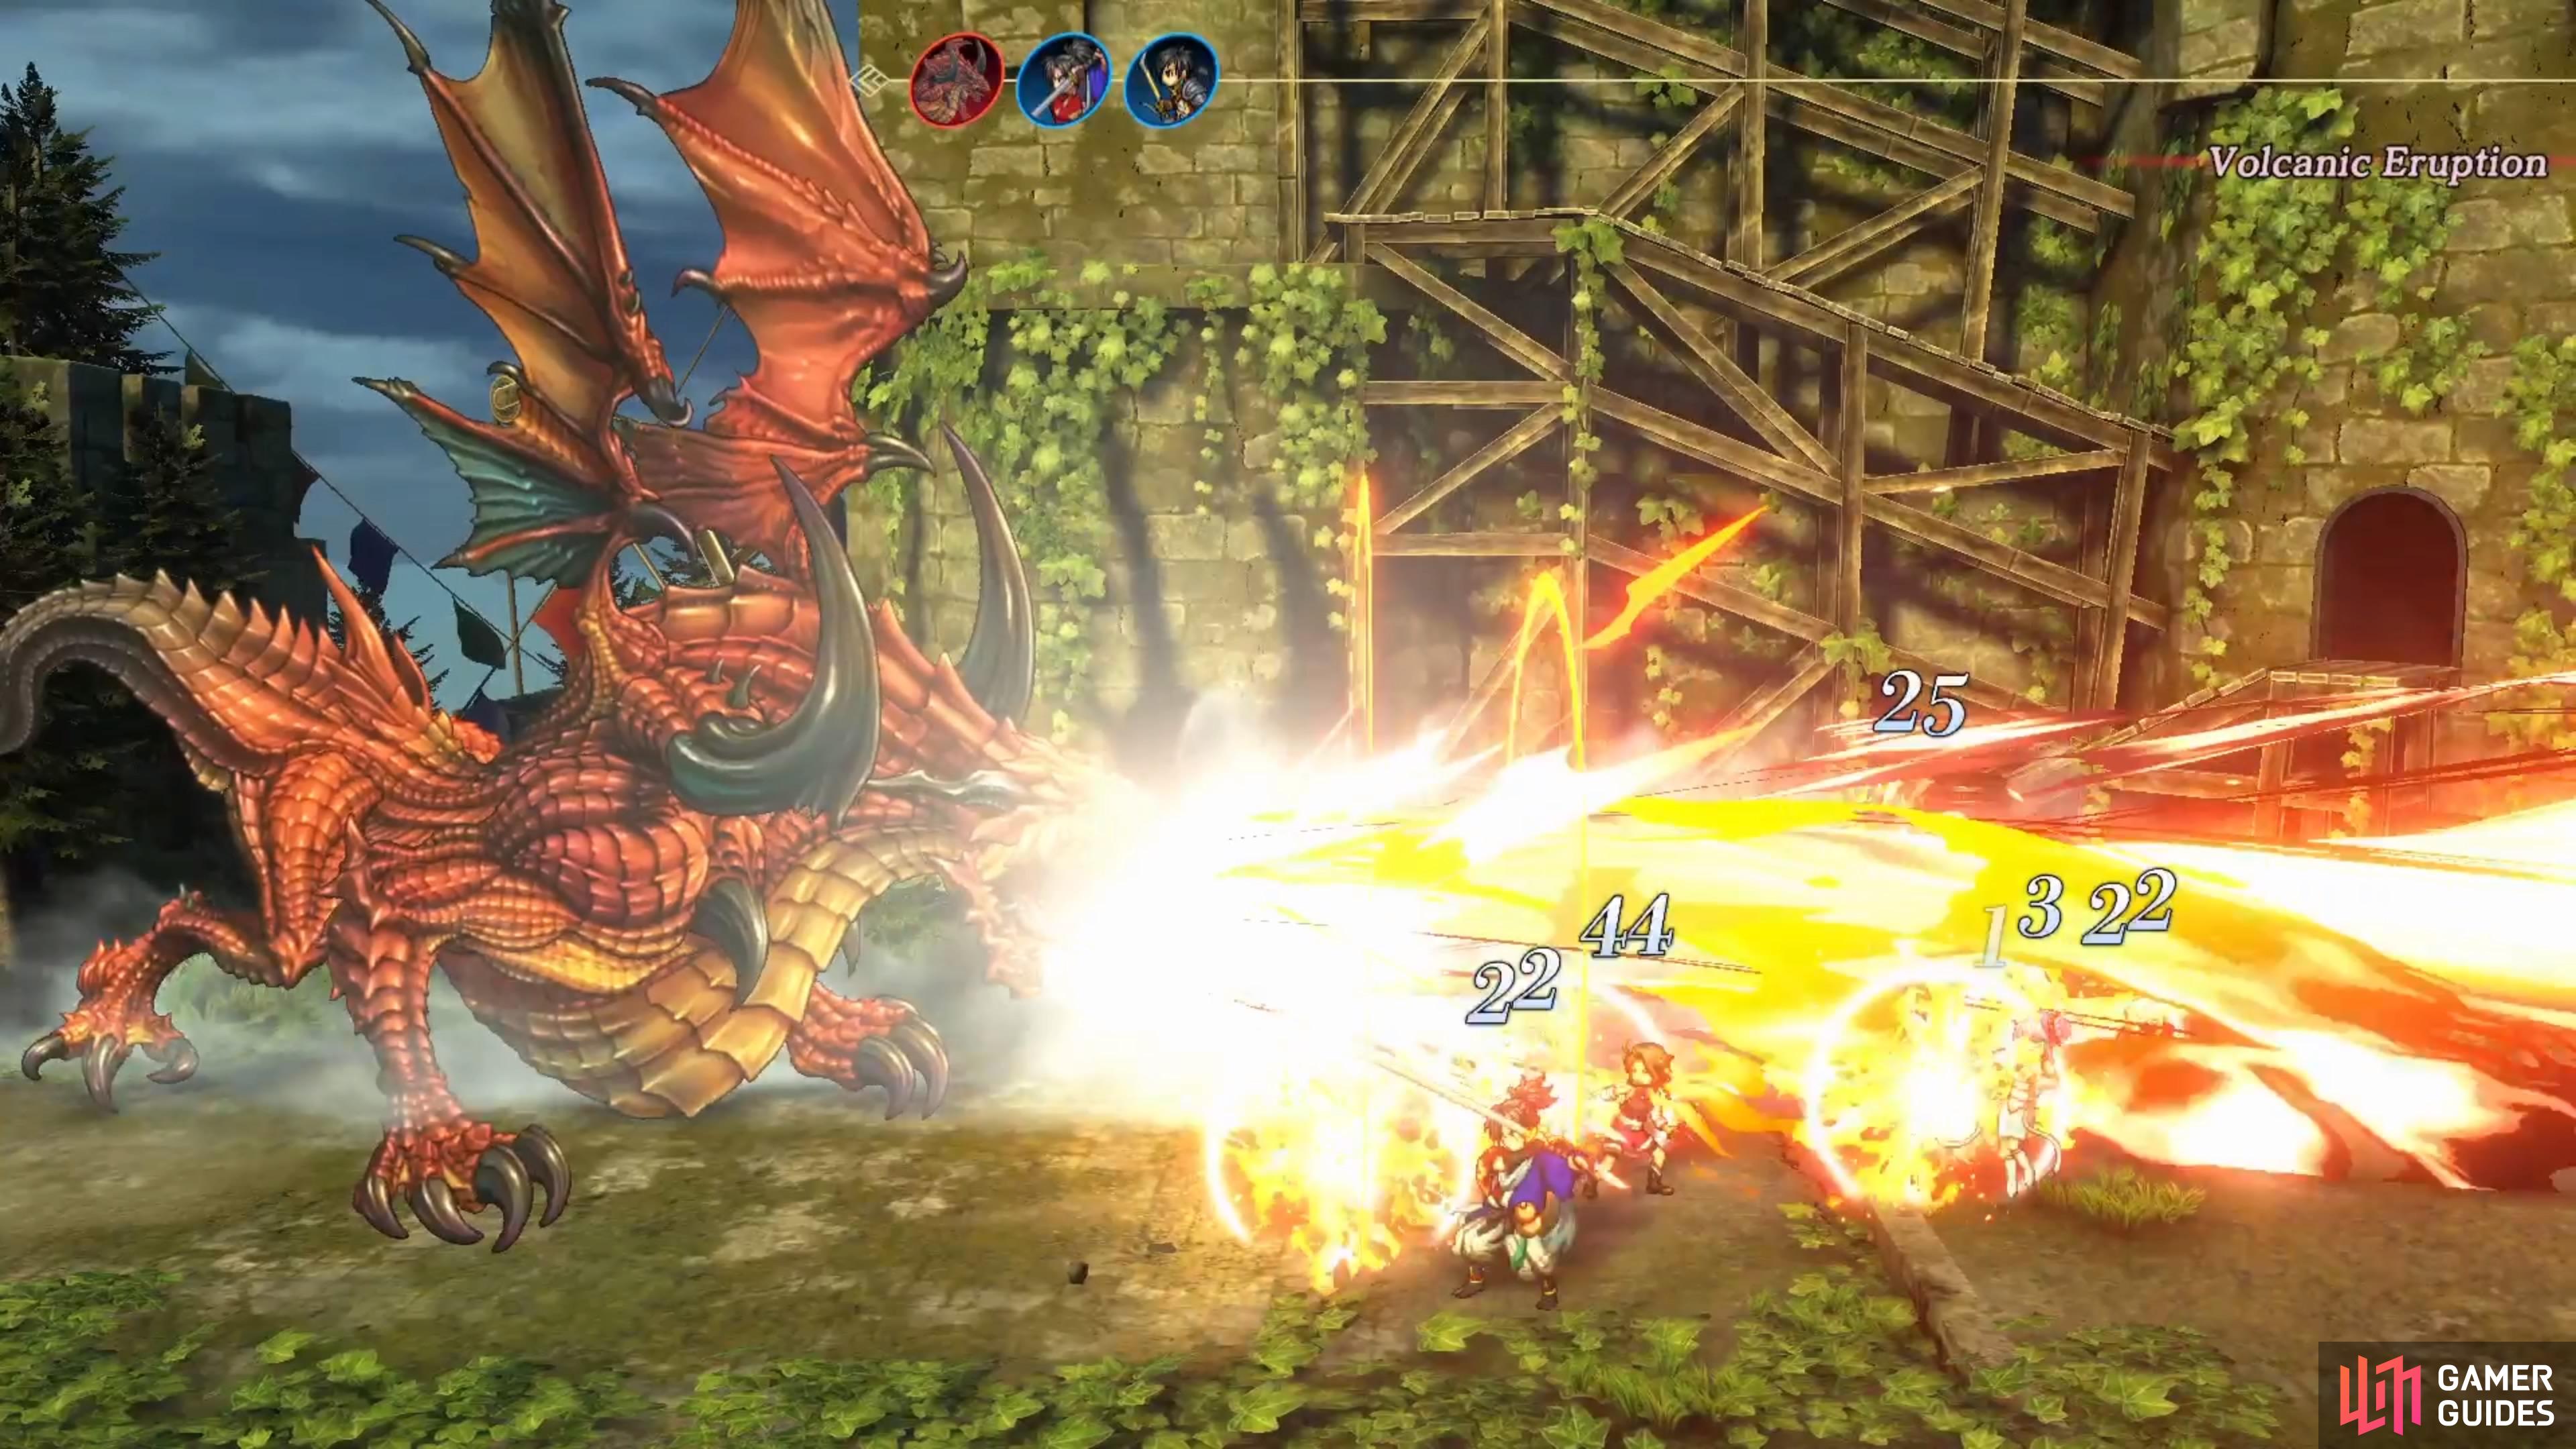
This can be a very challenging boss fight, depending on what you do here. The Goblomancer is the enemy in front, while Letus is the abomination in the back. The former only gets a single attack per turn, while the latter will always get two (except for one circumstance). The Goblomancer isn’t the problem in this fight, as he will normally just do Sacrificial Brand with his actions. This is a darkness-based spell that inflicts some damage on cast, but it can also do damage at the end of the round; it also hits a single column.
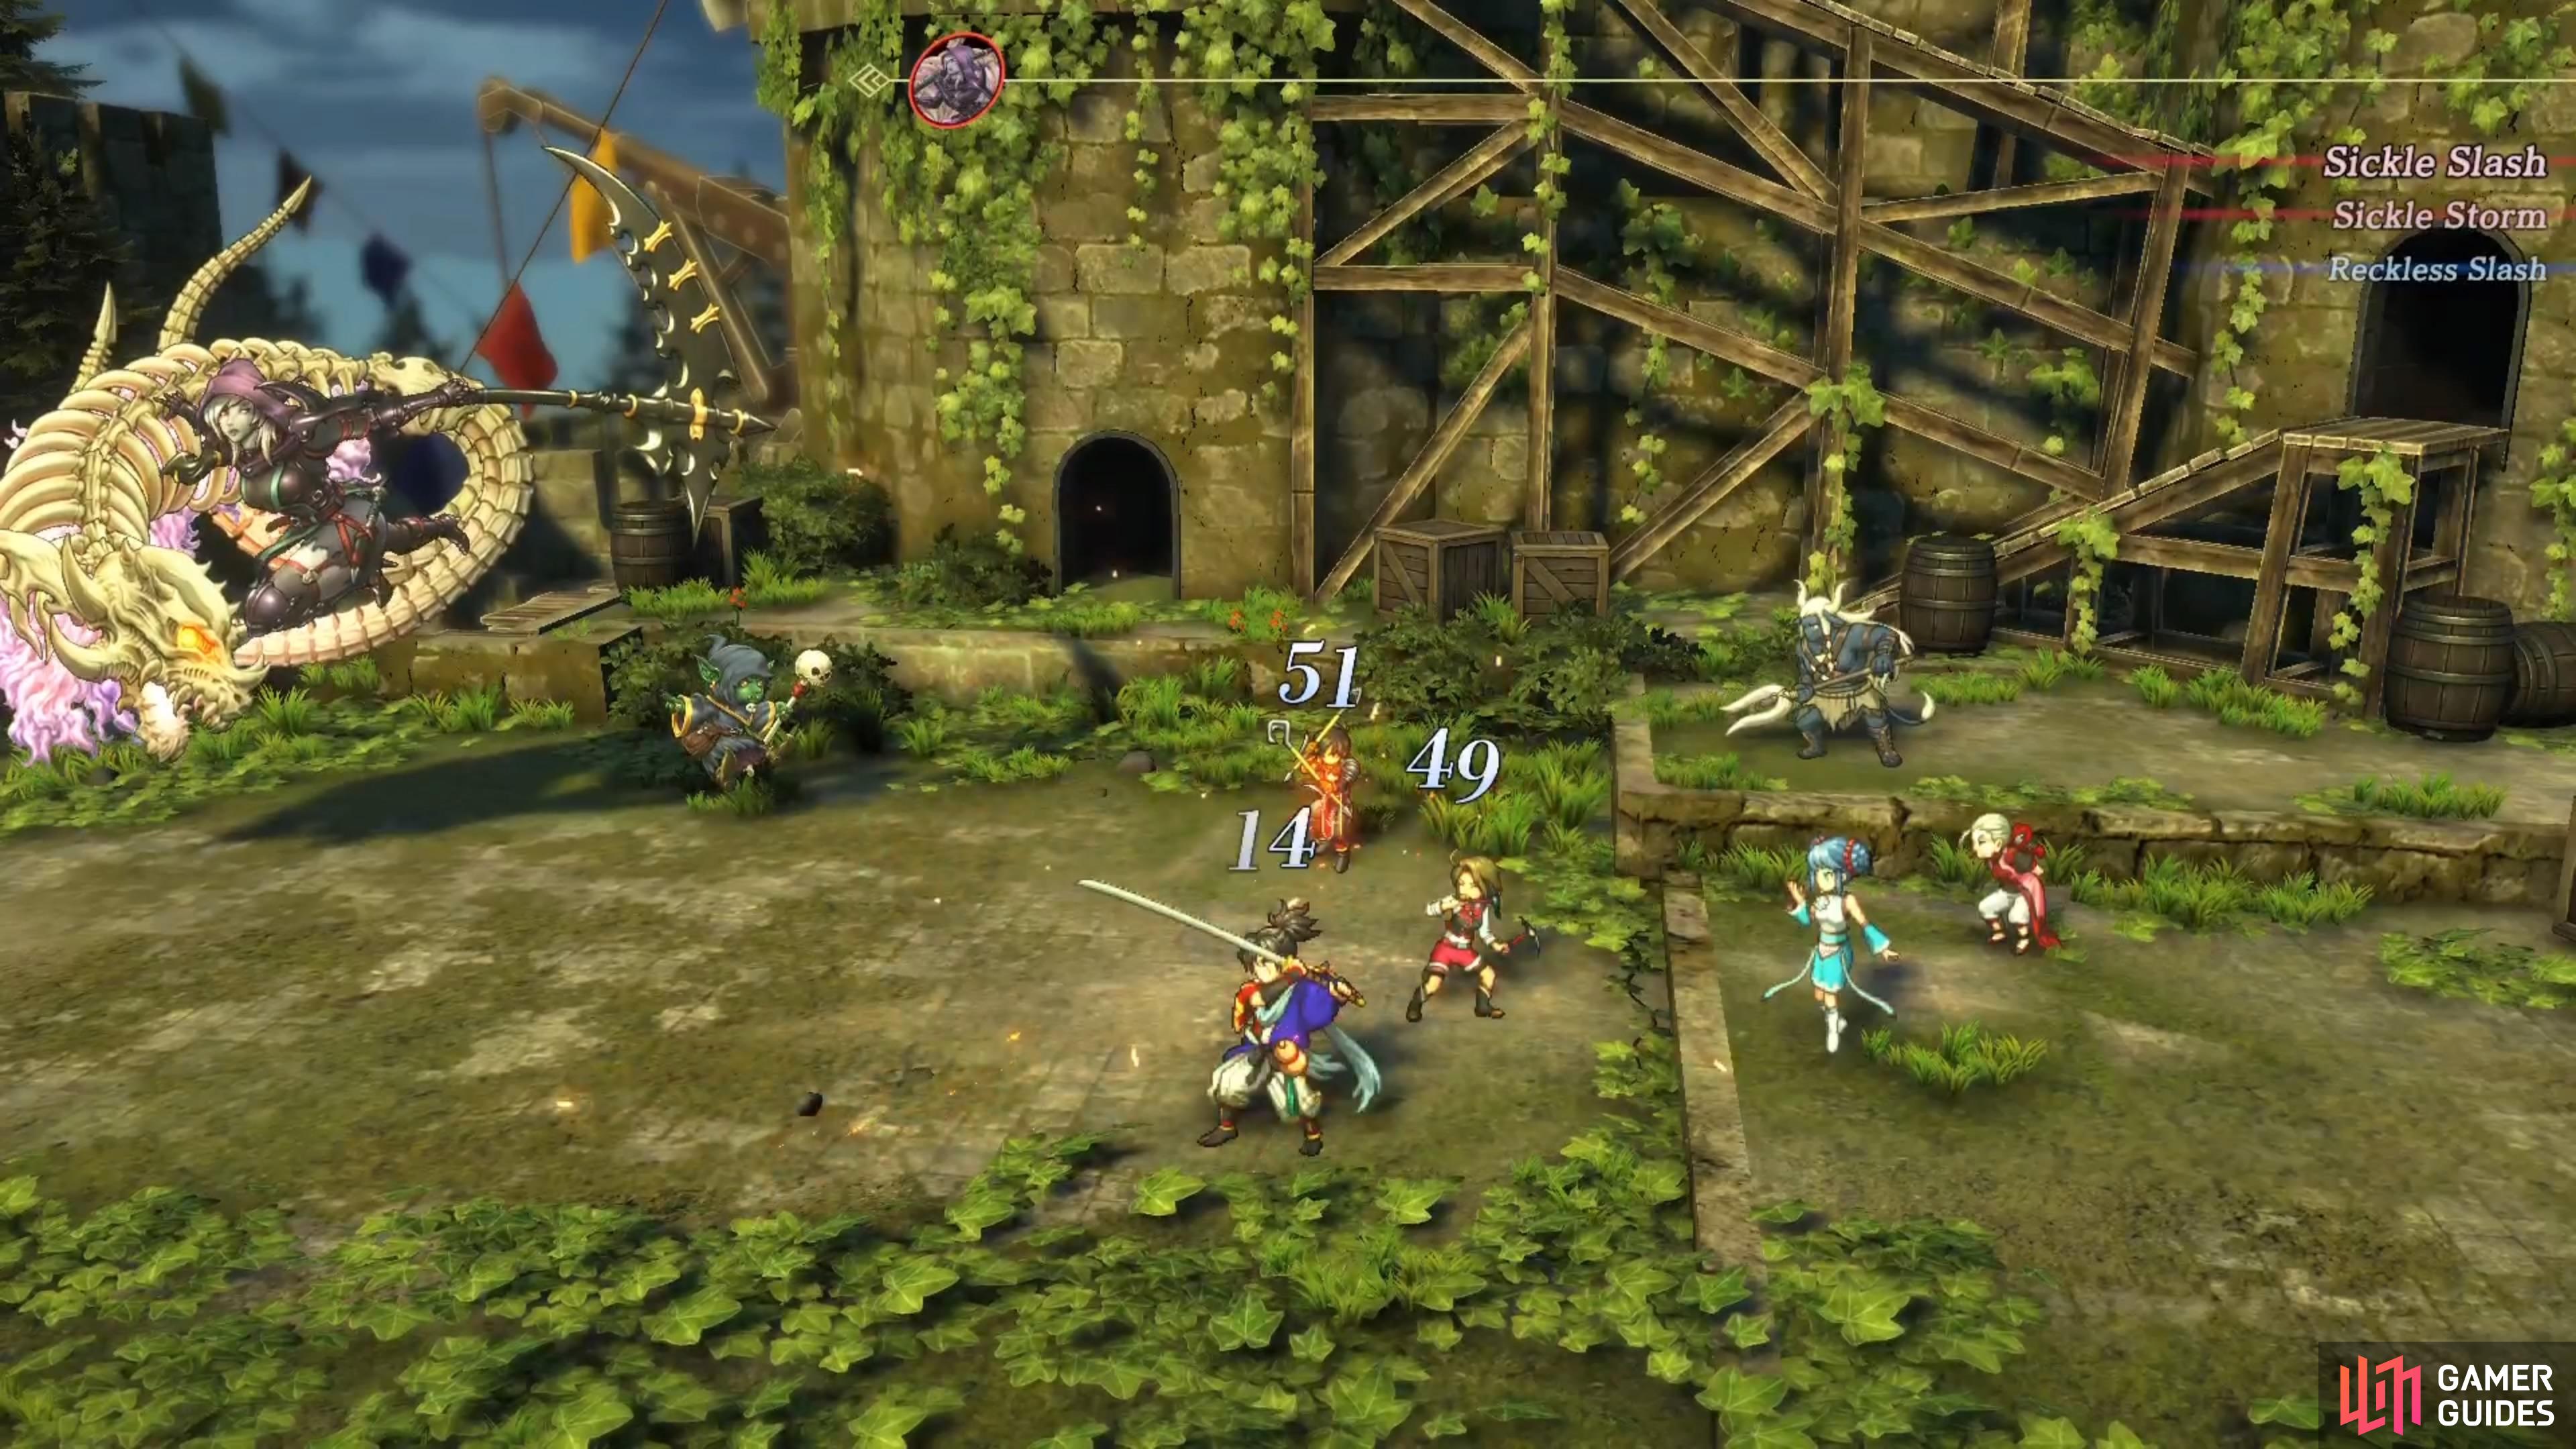
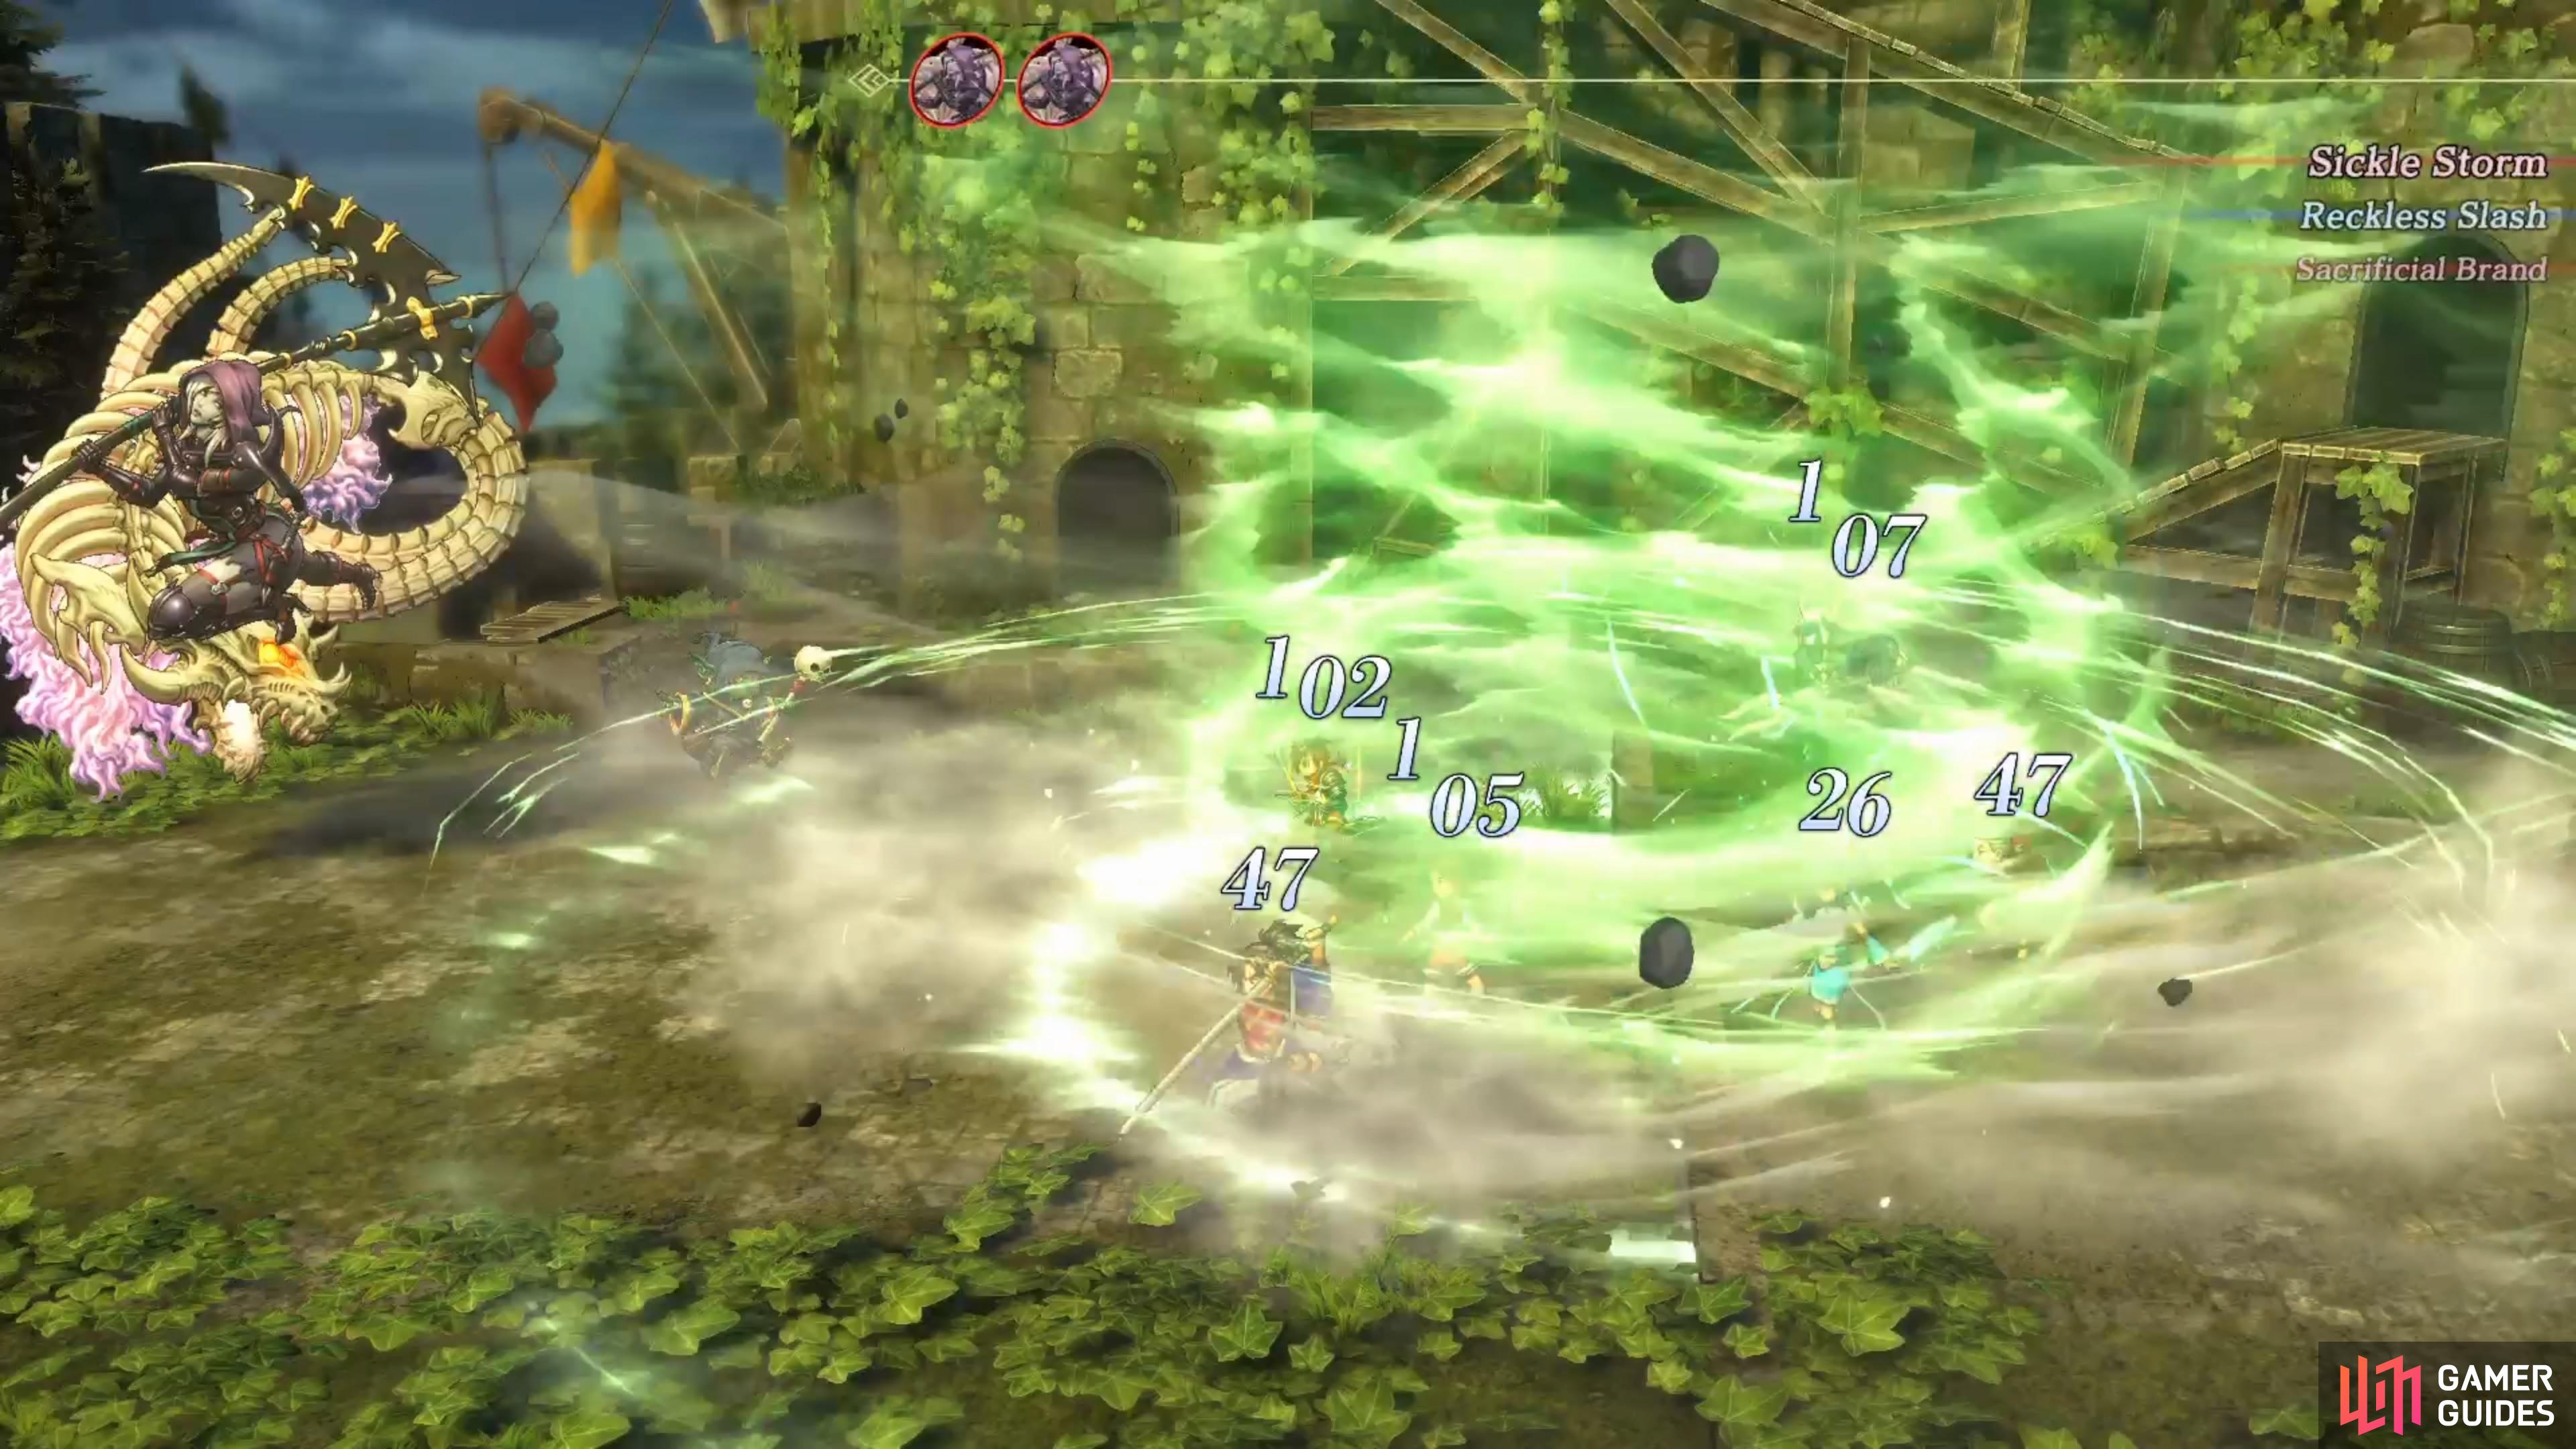
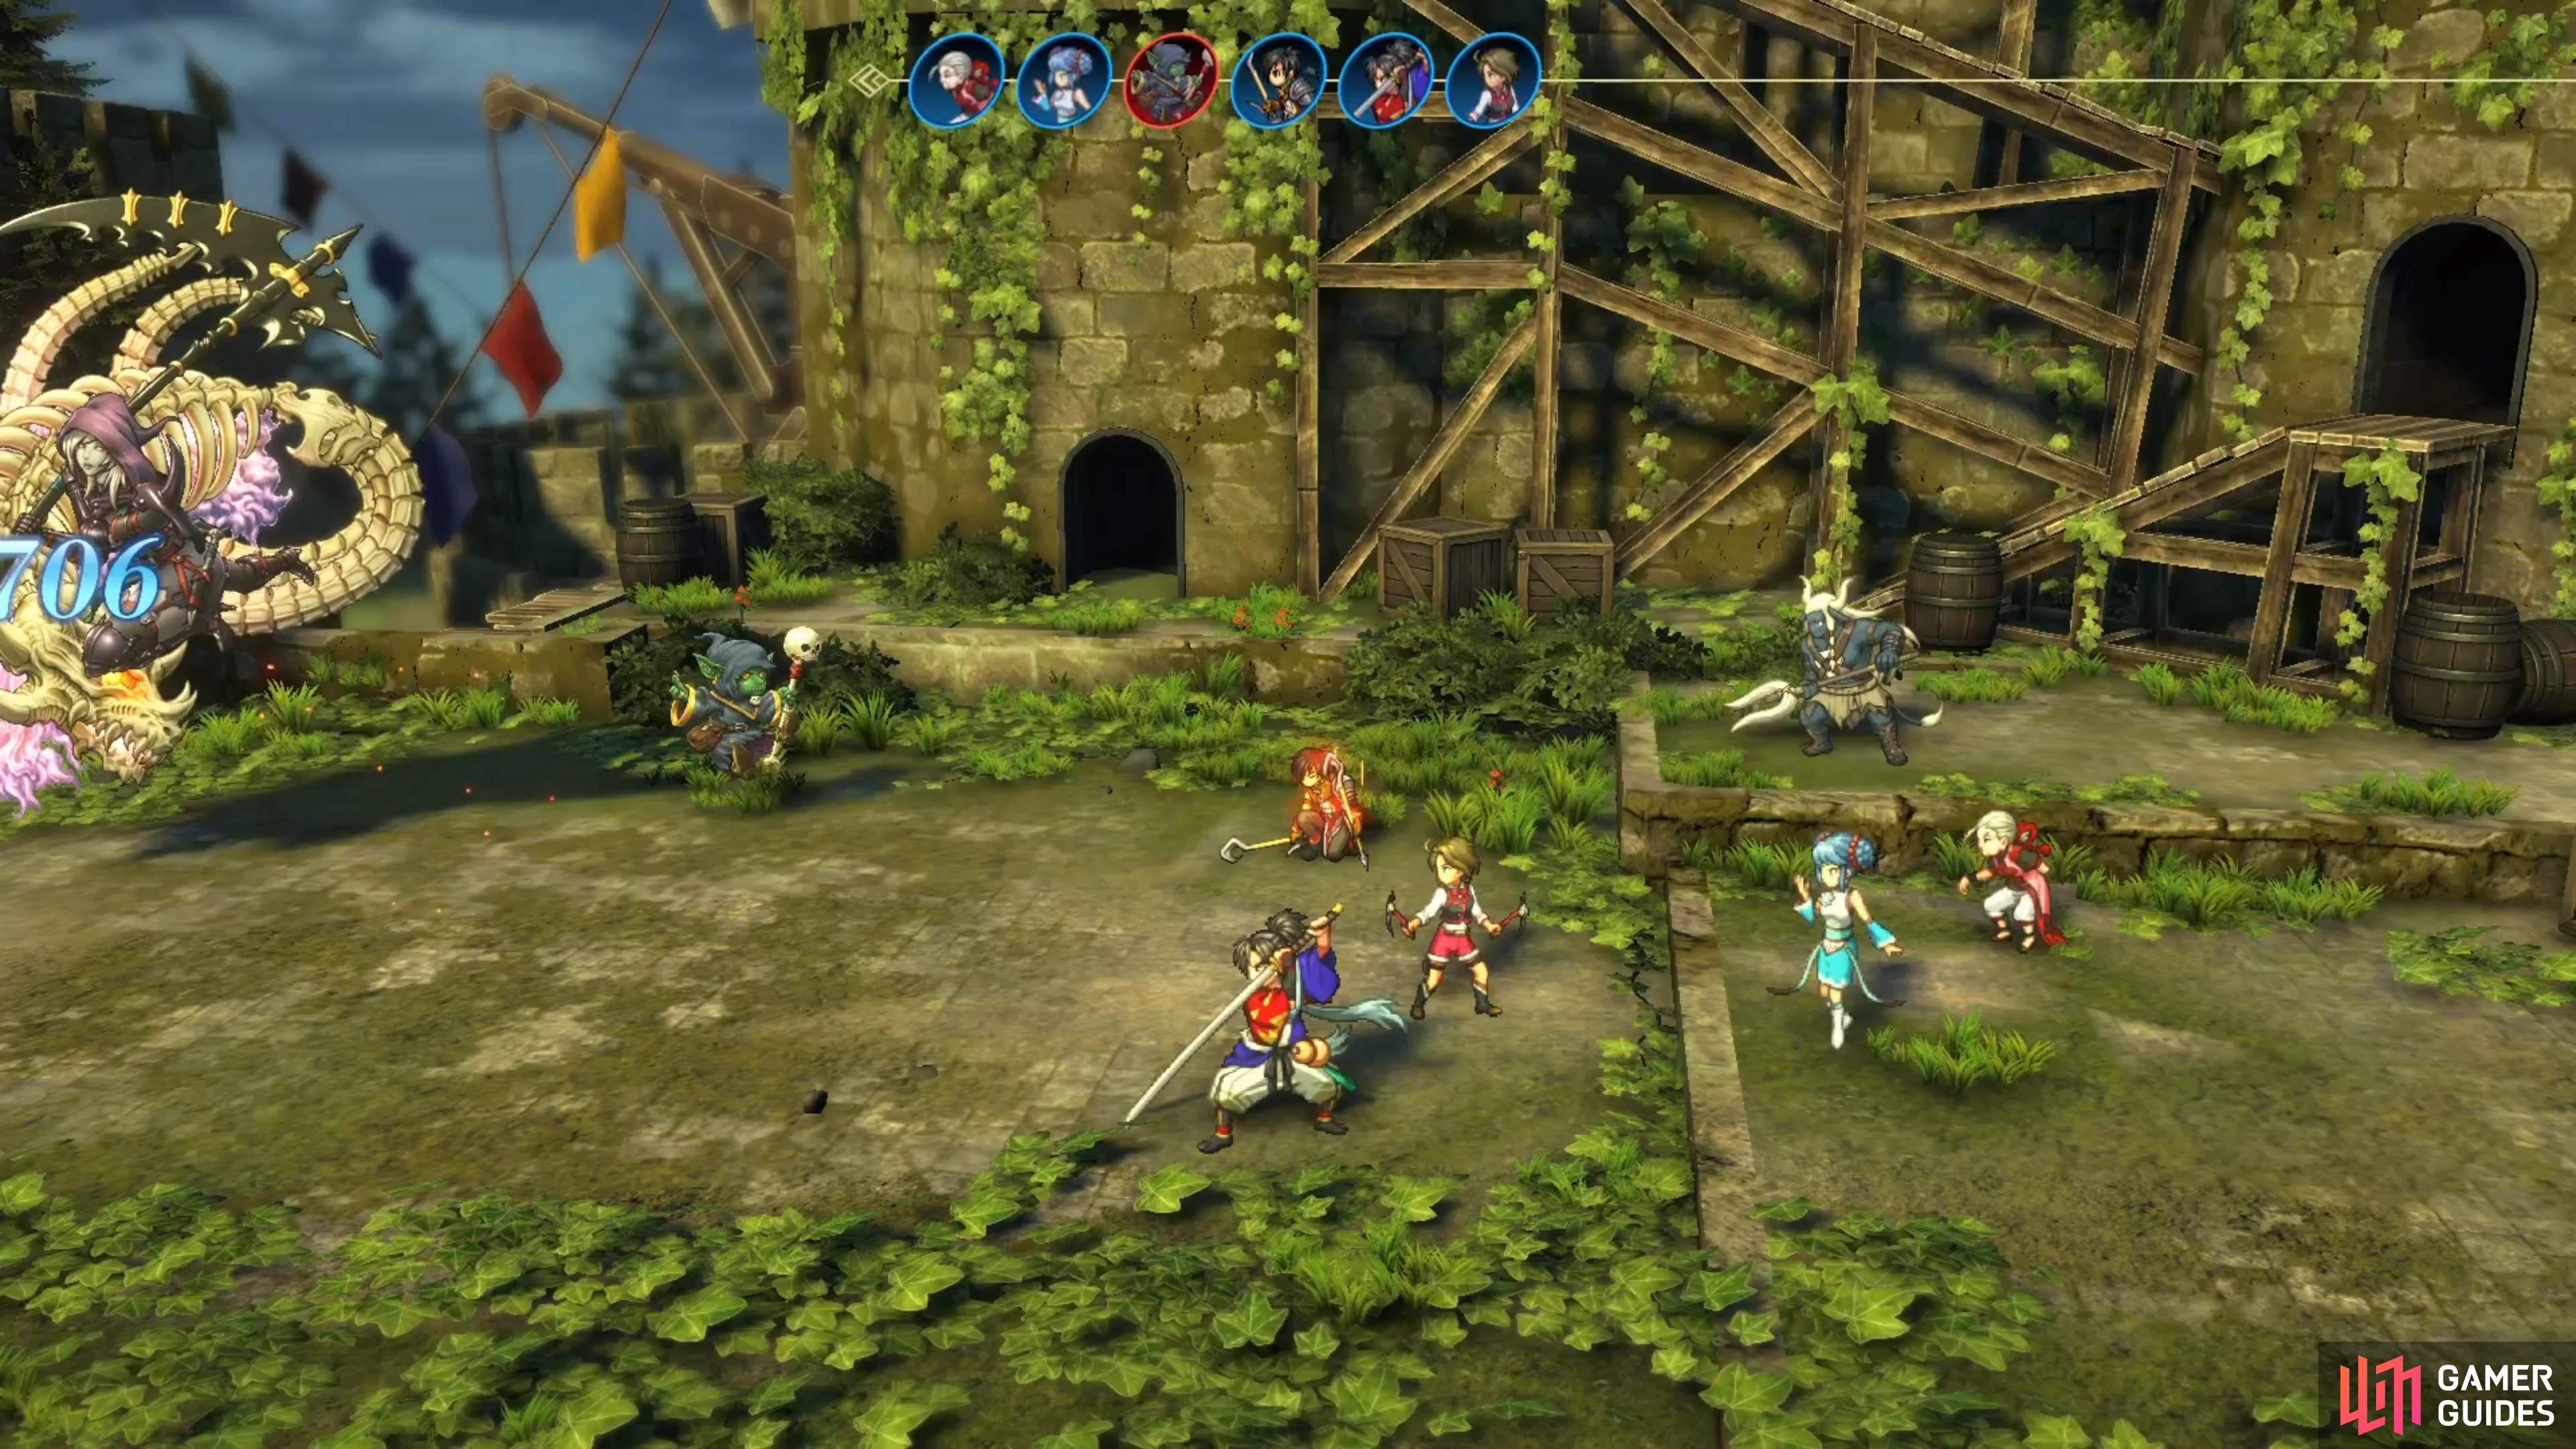


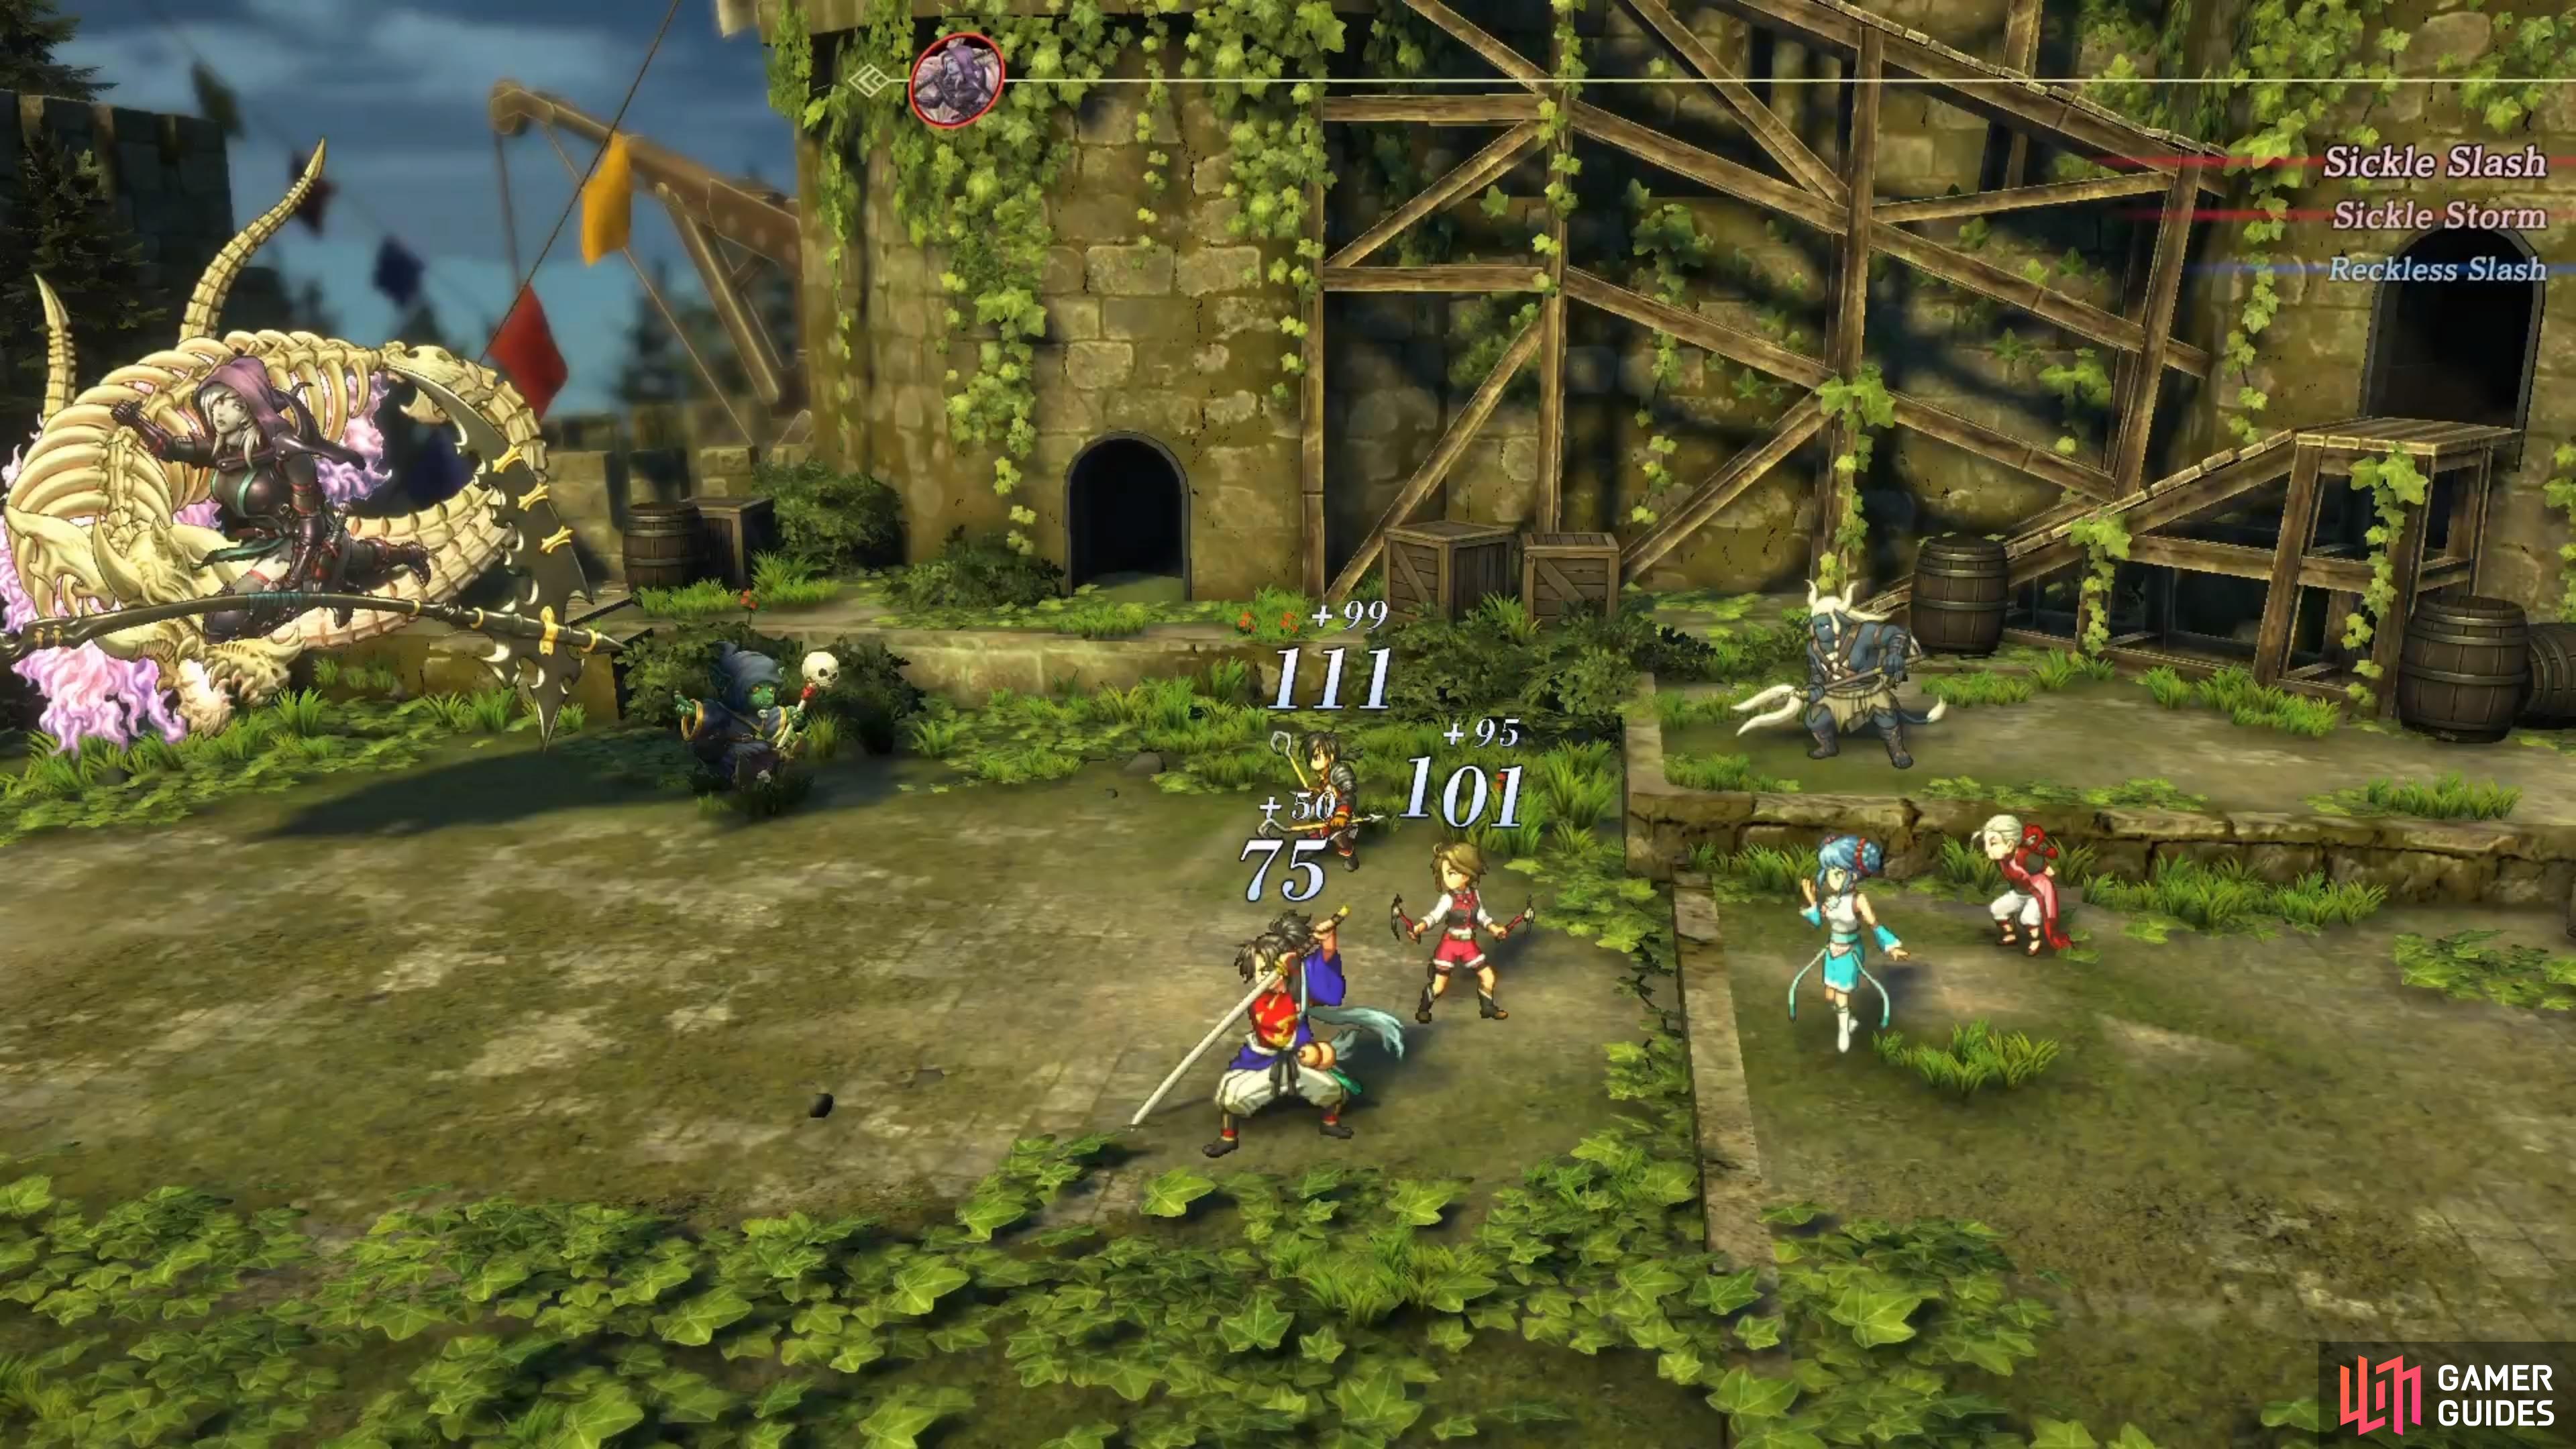
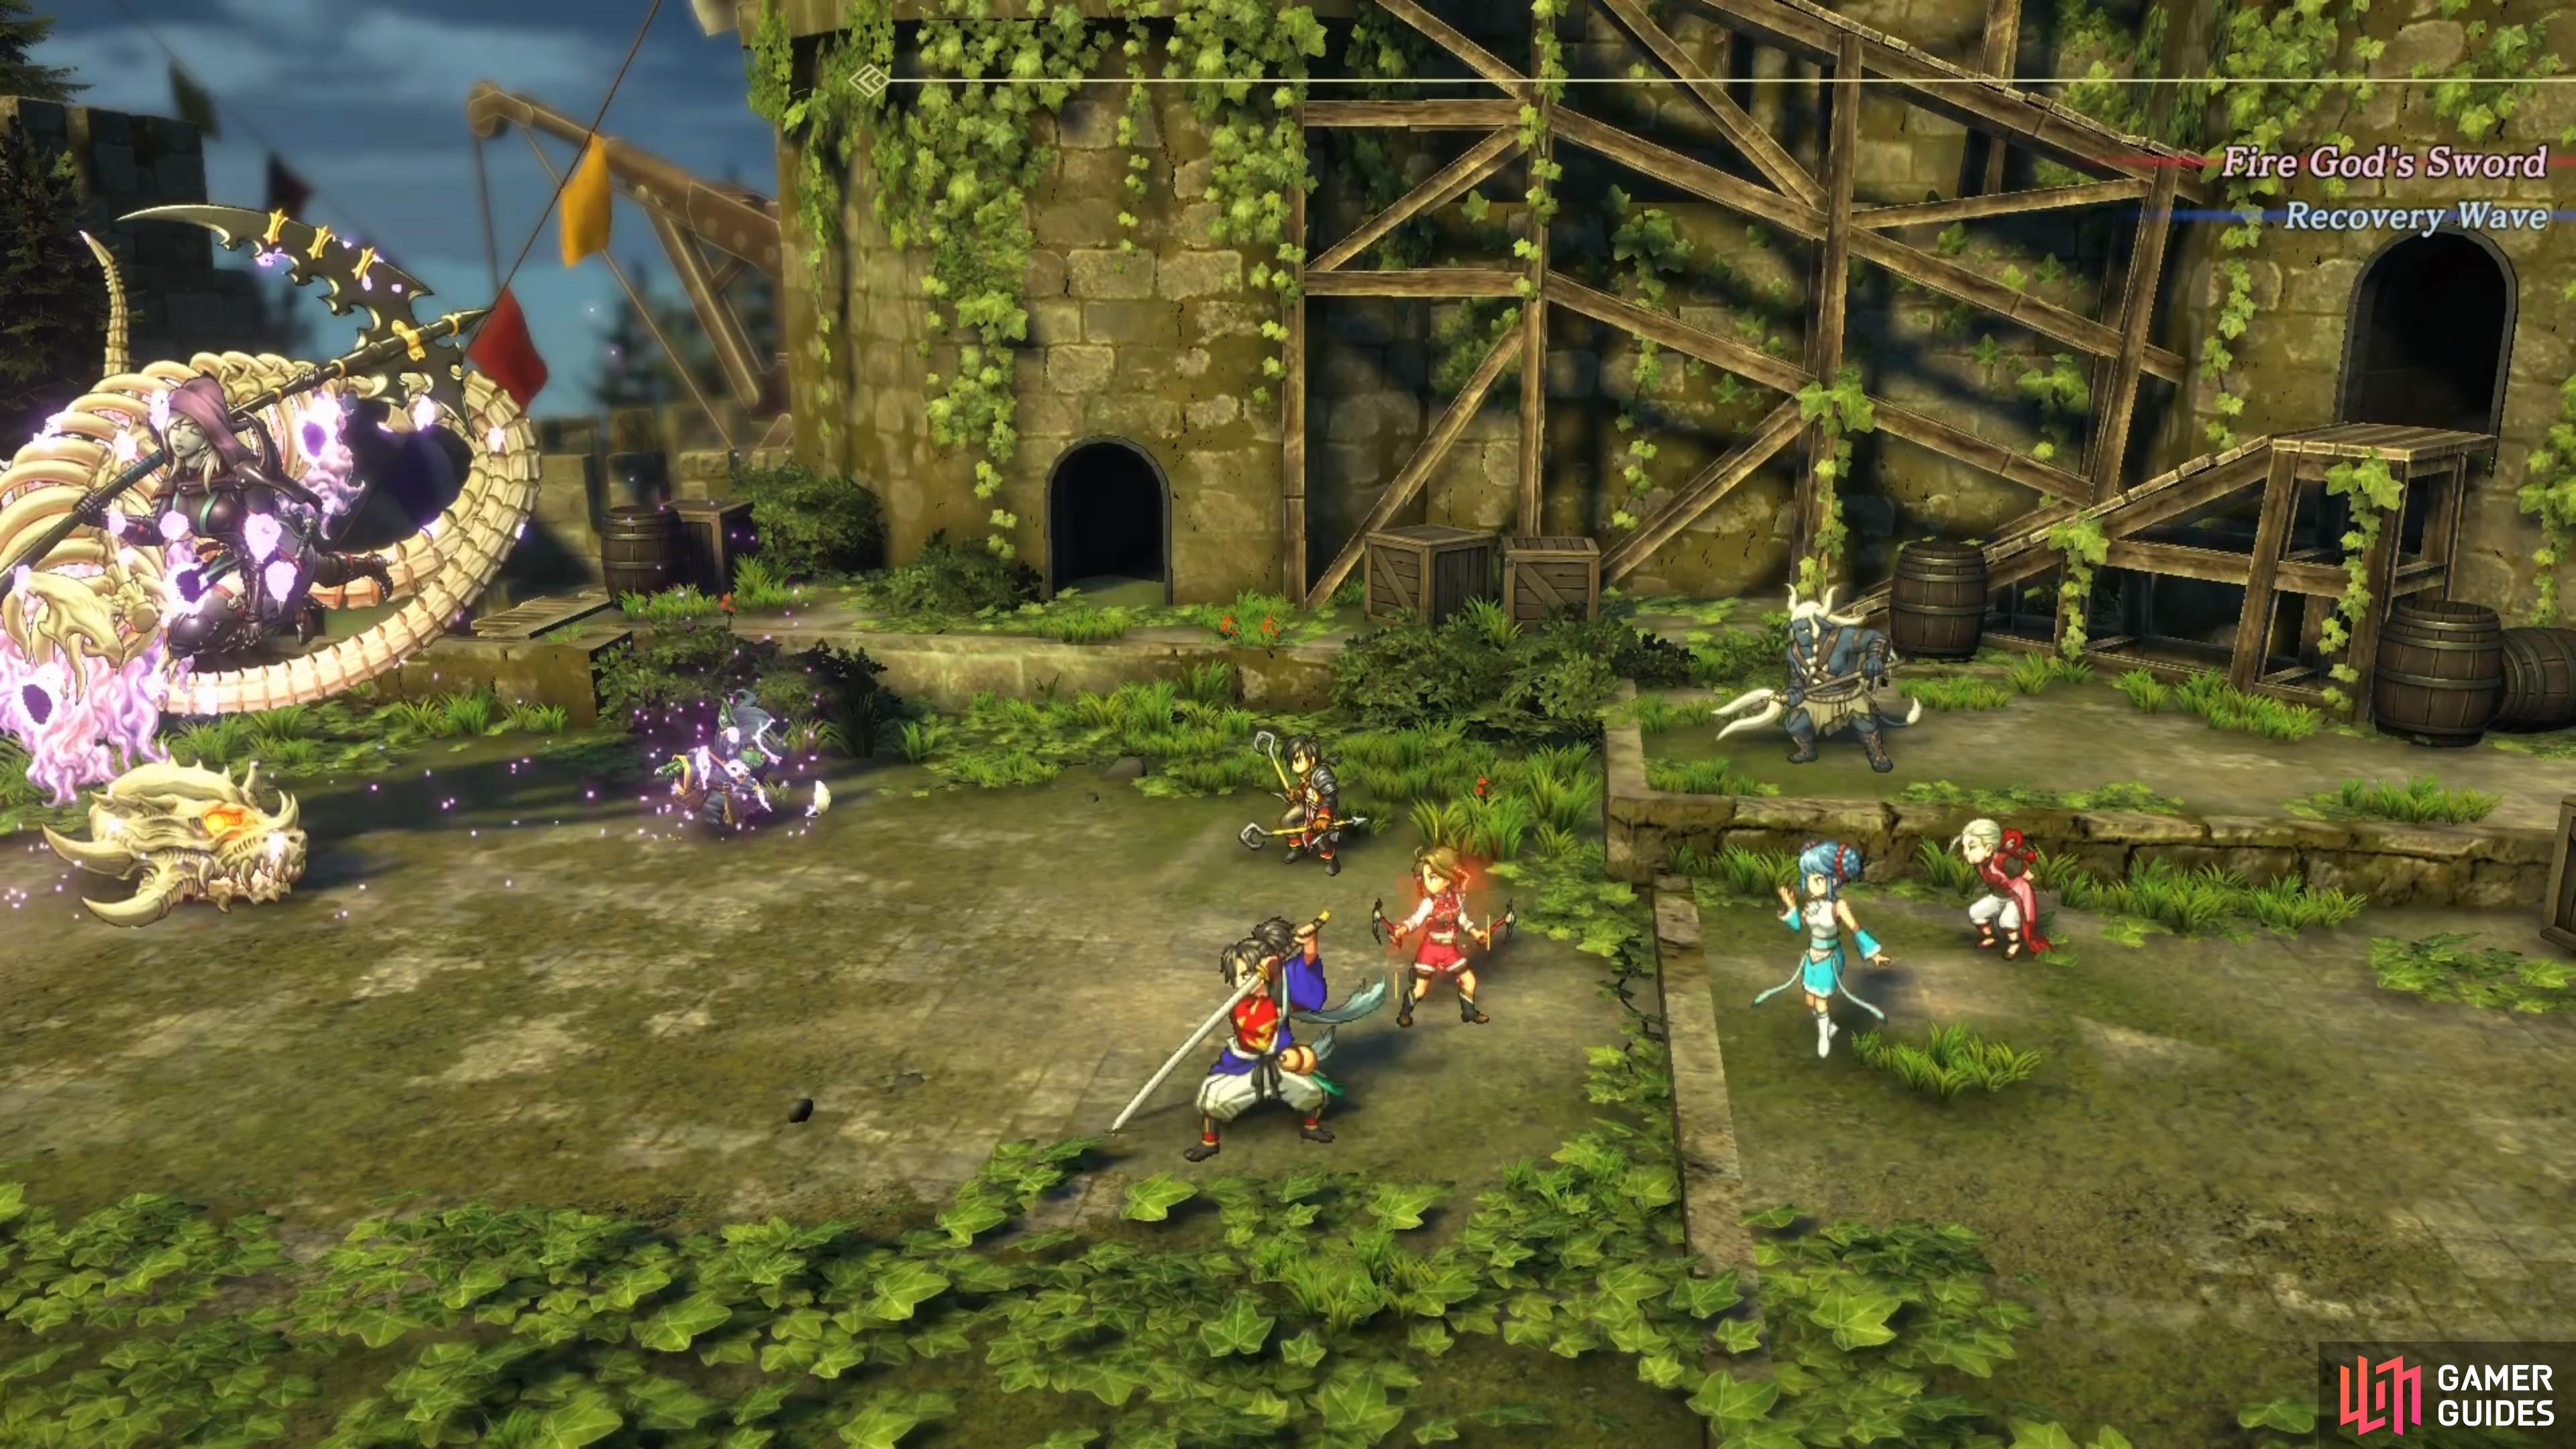
Letus will use either Sickle Slash, an attack that hits your front row, or Sickle Storm, which hits all of your characters. With that in mind, you may think that going after Letus to get rid of it is the best option. However, there’s a catch with doing that, as it appears you can’t actually defeat the creature. Whenever you get Letus’ health to near death, the Goblomancer will heal it for a huge amount, even if you think you can defeat Letus. What makes this even worse is that this can trigger the Goblomancer to use Fire God’s Sword on himself and Letus, increasing their attack.
You definitely don’t want that happening, either, as this can spell doom for your party, since Letus’ attacks will deal even more damage. With all of that in mind, the best strategy is to completely ignore Letus and go straight after the Goblomancer. Attack him with everything you have, healing with one or two characters (if needed), and both enemies will disappear upon the Goblomancer’s health being drained.
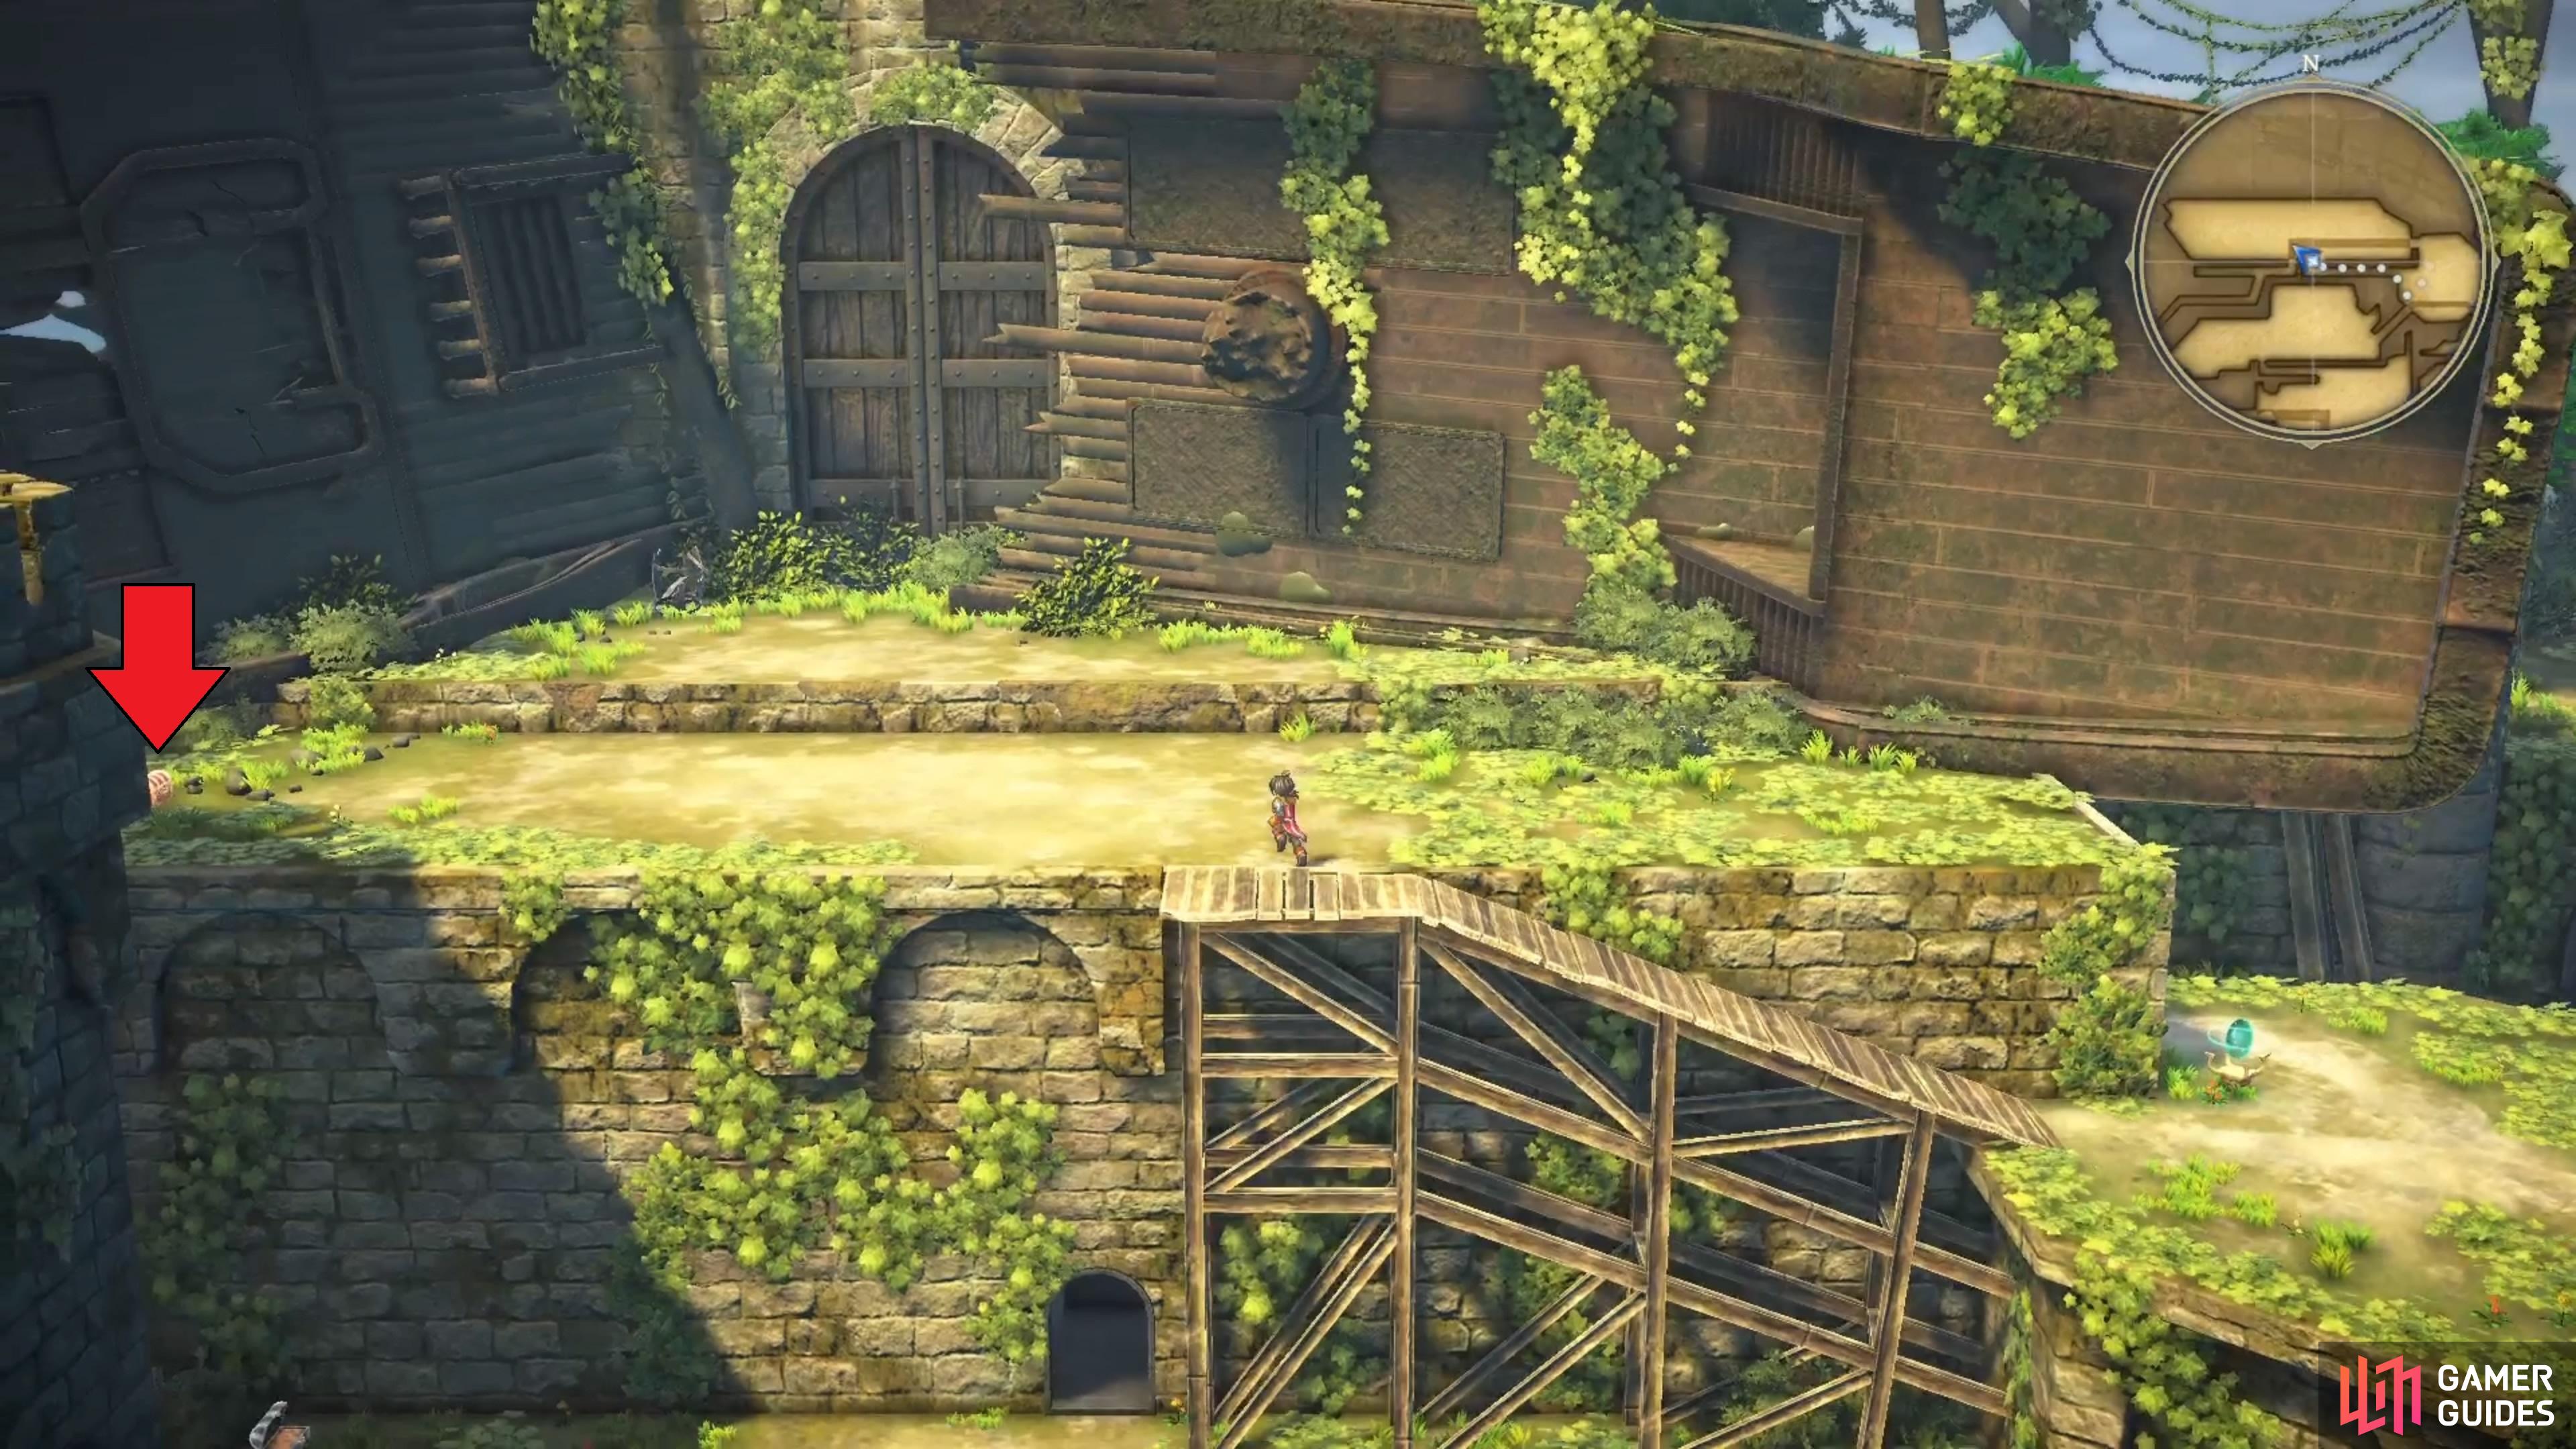
Return to the spot where you fought the boss to find a hidden chest with a Faded Book.
For winning the battle, you will receive a Rune of the Mage’s Path, plus you will return to Twinhorne East and finally get Dijkstra as a permanent party member. You can speak to the NPC where he used to be to return to Vilashnu, which you will want to do. Right where you encountered the boss, at the very end, there is a chest hidden on the left side. This one will contain Faded Book, Chapter 18.
 Sign up
No Comments