Limgrave Bosses - Elden Ring Database
| Icon | Title | Category | Subcategory |
|---|
Limgrave Bosses
| Icon | Title | Details | Type | Runes | HP | Strong Vs | Weak to | Screenshots | ||||||||||||||||||||||||||||||||||||||||||||||||||||||||||||||||||||||||||||||||||||||||||
|---|---|---|---|---|---|---|---|---|---|---|---|---|---|---|---|---|---|---|---|---|---|---|---|---|---|---|---|---|---|---|---|---|---|---|---|---|---|---|---|---|---|---|---|---|---|---|---|---|---|---|---|---|---|---|---|---|---|---|---|---|---|---|---|---|---|---|---|---|---|---|---|---|---|---|---|---|---|---|---|---|---|---|---|---|---|---|---|---|---|---|---|---|---|---|---|---|---|---|
|
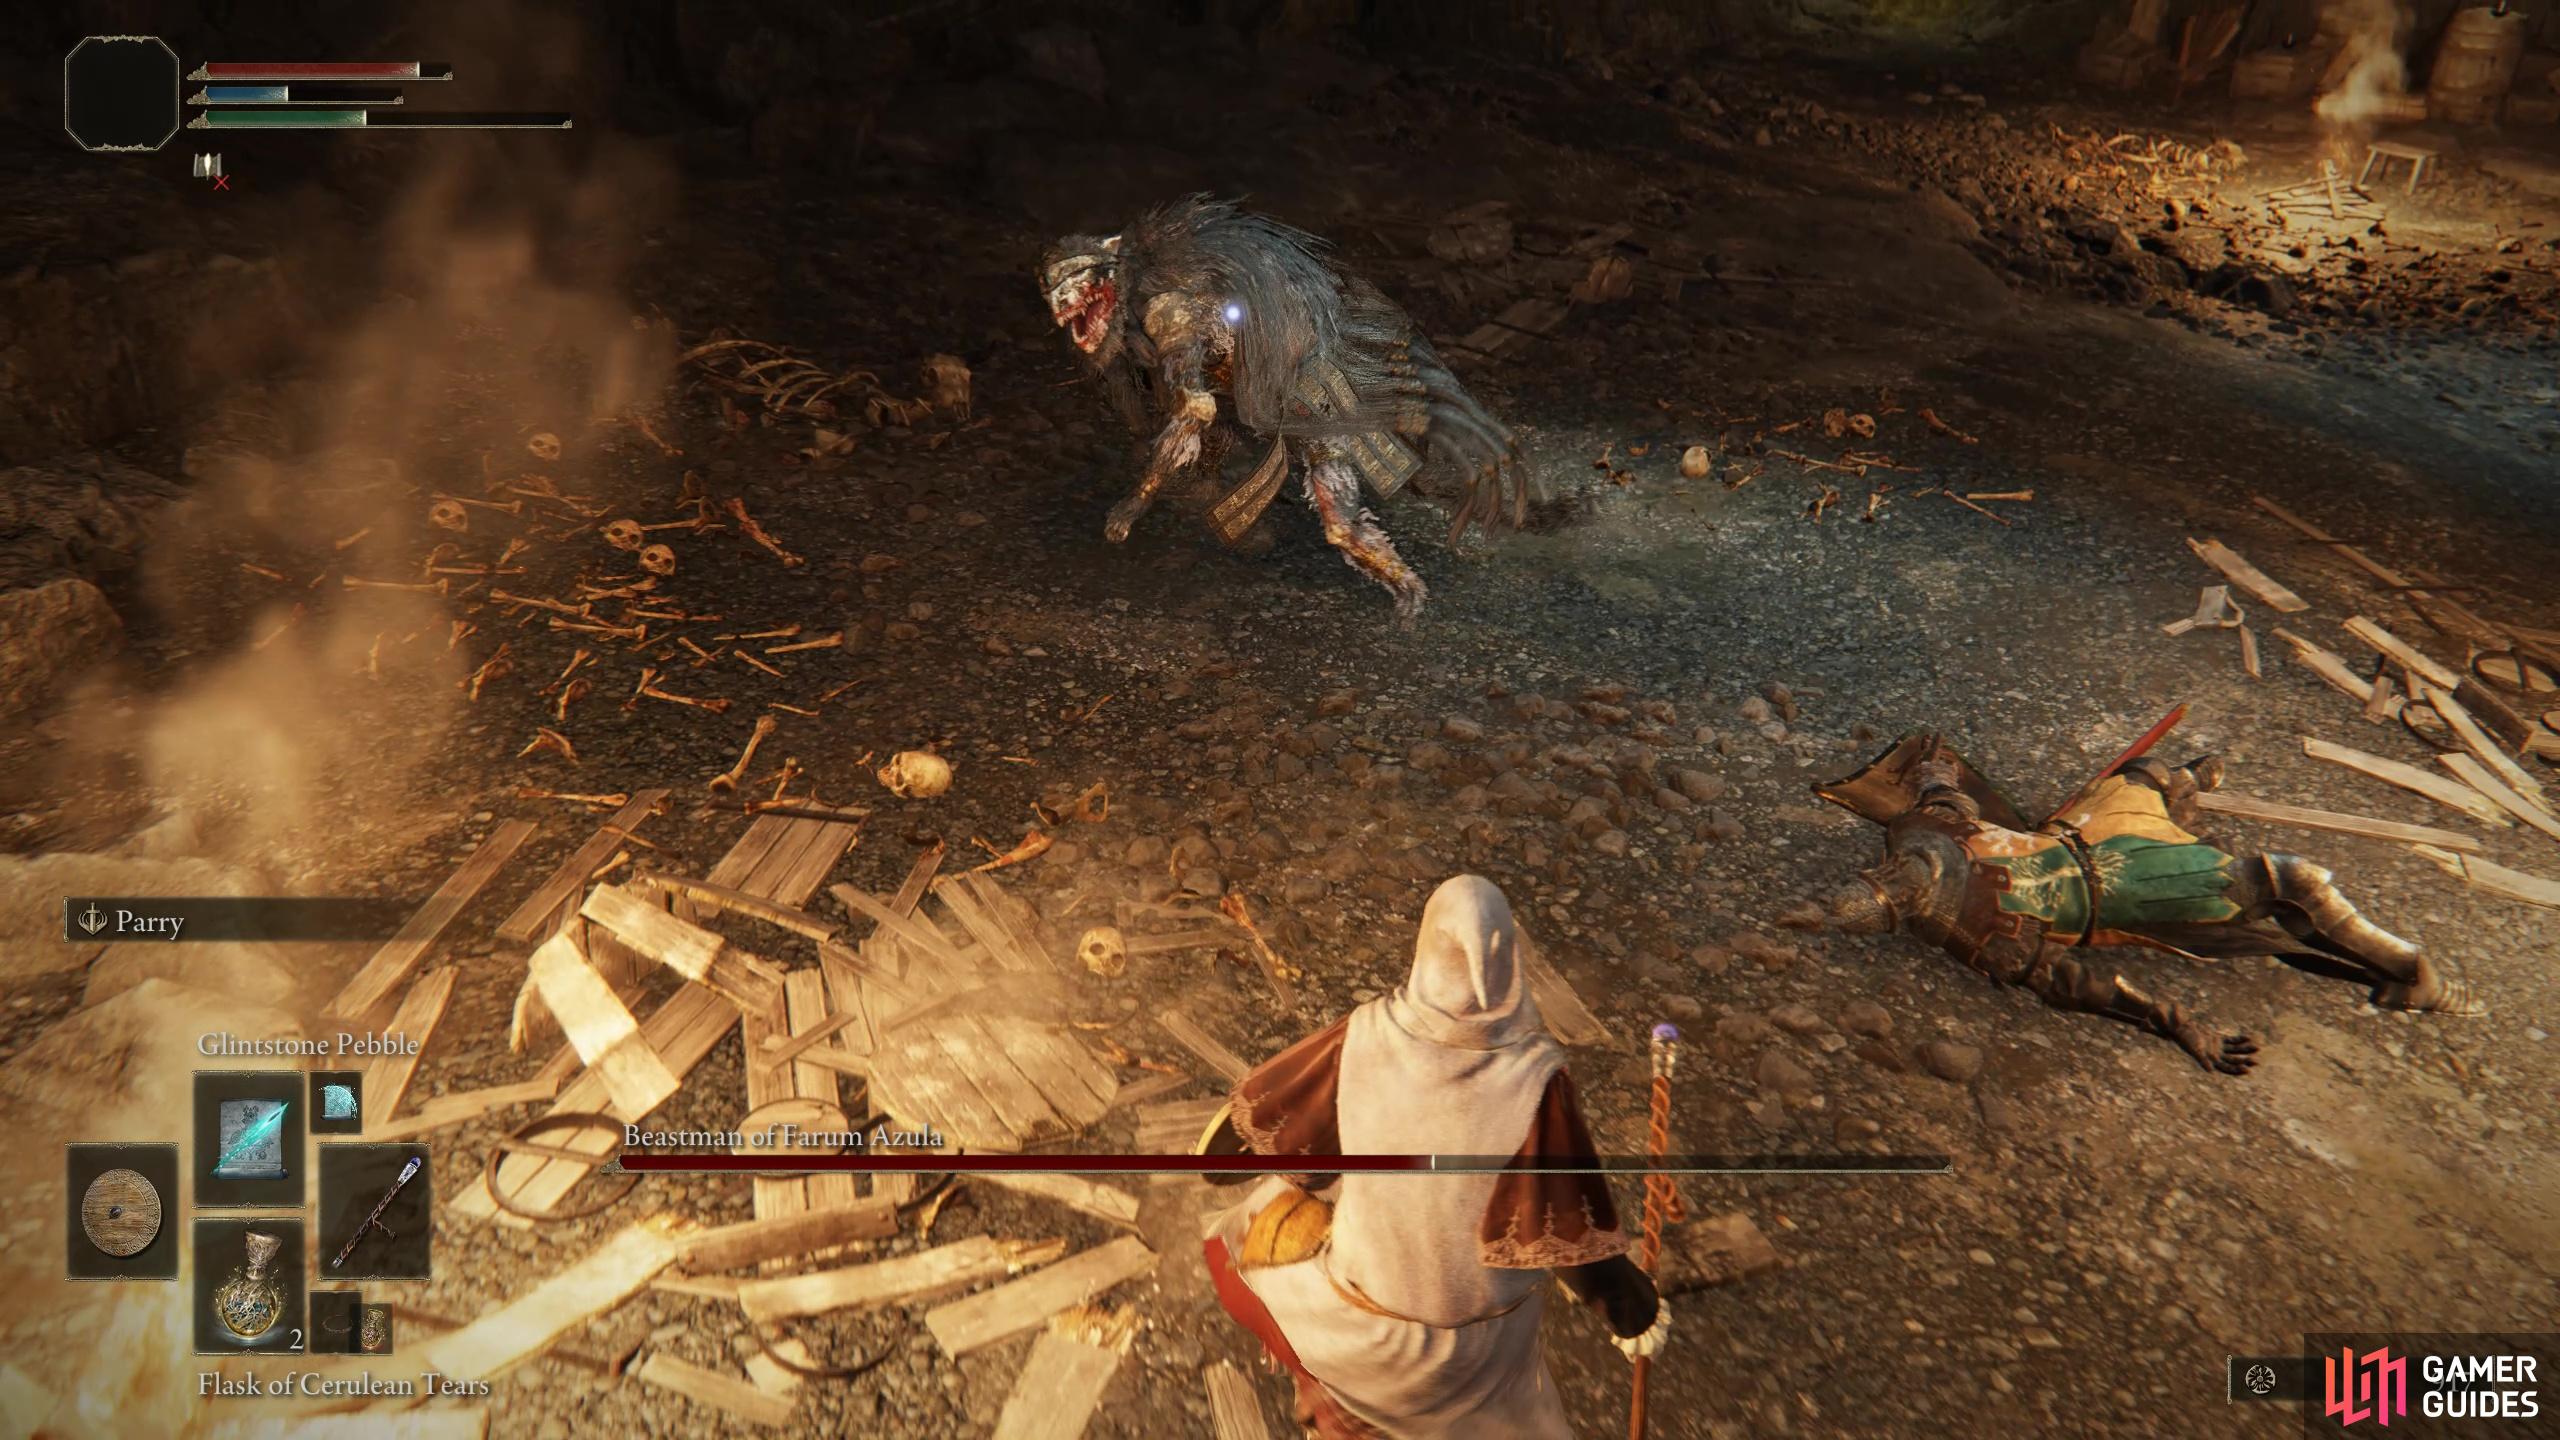
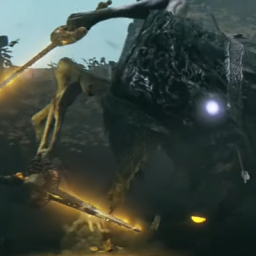
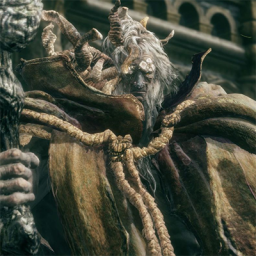
Beastman of Farum Azula (Limgrave) |
This is one of the first bosses that you’re likely to encounter in the game, so it’s a good learning experience for basic mechanics. The Beastman has quite a few varied attack combos, making him sometimes difficult to predict. However, if you’re a melee user with a shield you’re in luck, since almost all of these attacks can be blocked with a shield. This allows you to face them head-on, retaliating with your own attacks between each flurry from the boss. However, you’ll need to keep an eye on your stamina bar to ensure that it isn’t entirely depleted. Using a shield is one of the easiest ways to defeat this boss, but it can also be done with relative ease if you’re using a two-handed melee weapon. You’ll just need to replace the blocks with dodges and rolls. The key is knowing when to time the dodges so that you don’t waste too much stamina in the process. If you’re familiar with the attack patterns, you’ll begin to learn when you can sneak in a few flurries of attacks before you need to get moving again. Pay attention to the animations and don’t underestimate the amount of attacks that the Beastman can use at once. The last thing you want to do is stop too soon and get caught in the flurry of spinning attacks. For a full strategy guide, see our boss page here.
Lore
Underground-living creature found at Groveside Cave.
Location
This boss appears multiple times. The first is inside Groveside Cave in Limgrave. The second is in Dragonbarrow Cave in Dragonbarrow. Each encounter with the Beastmen of Farum Azula awards different items upon their defeat. They also have varying setups for weapons used, whether or not they have adds with them and some encounters are even fought against two Beastmen simultaneously.
Info
Location
1×
Item Drops
1×
|
Field Boss |
1,000 |
1,960 |
|
||||||||||||||||||||||||||||||||||||||||||||||||||||||||||||||||||||||||||||||||||||||||||||
|
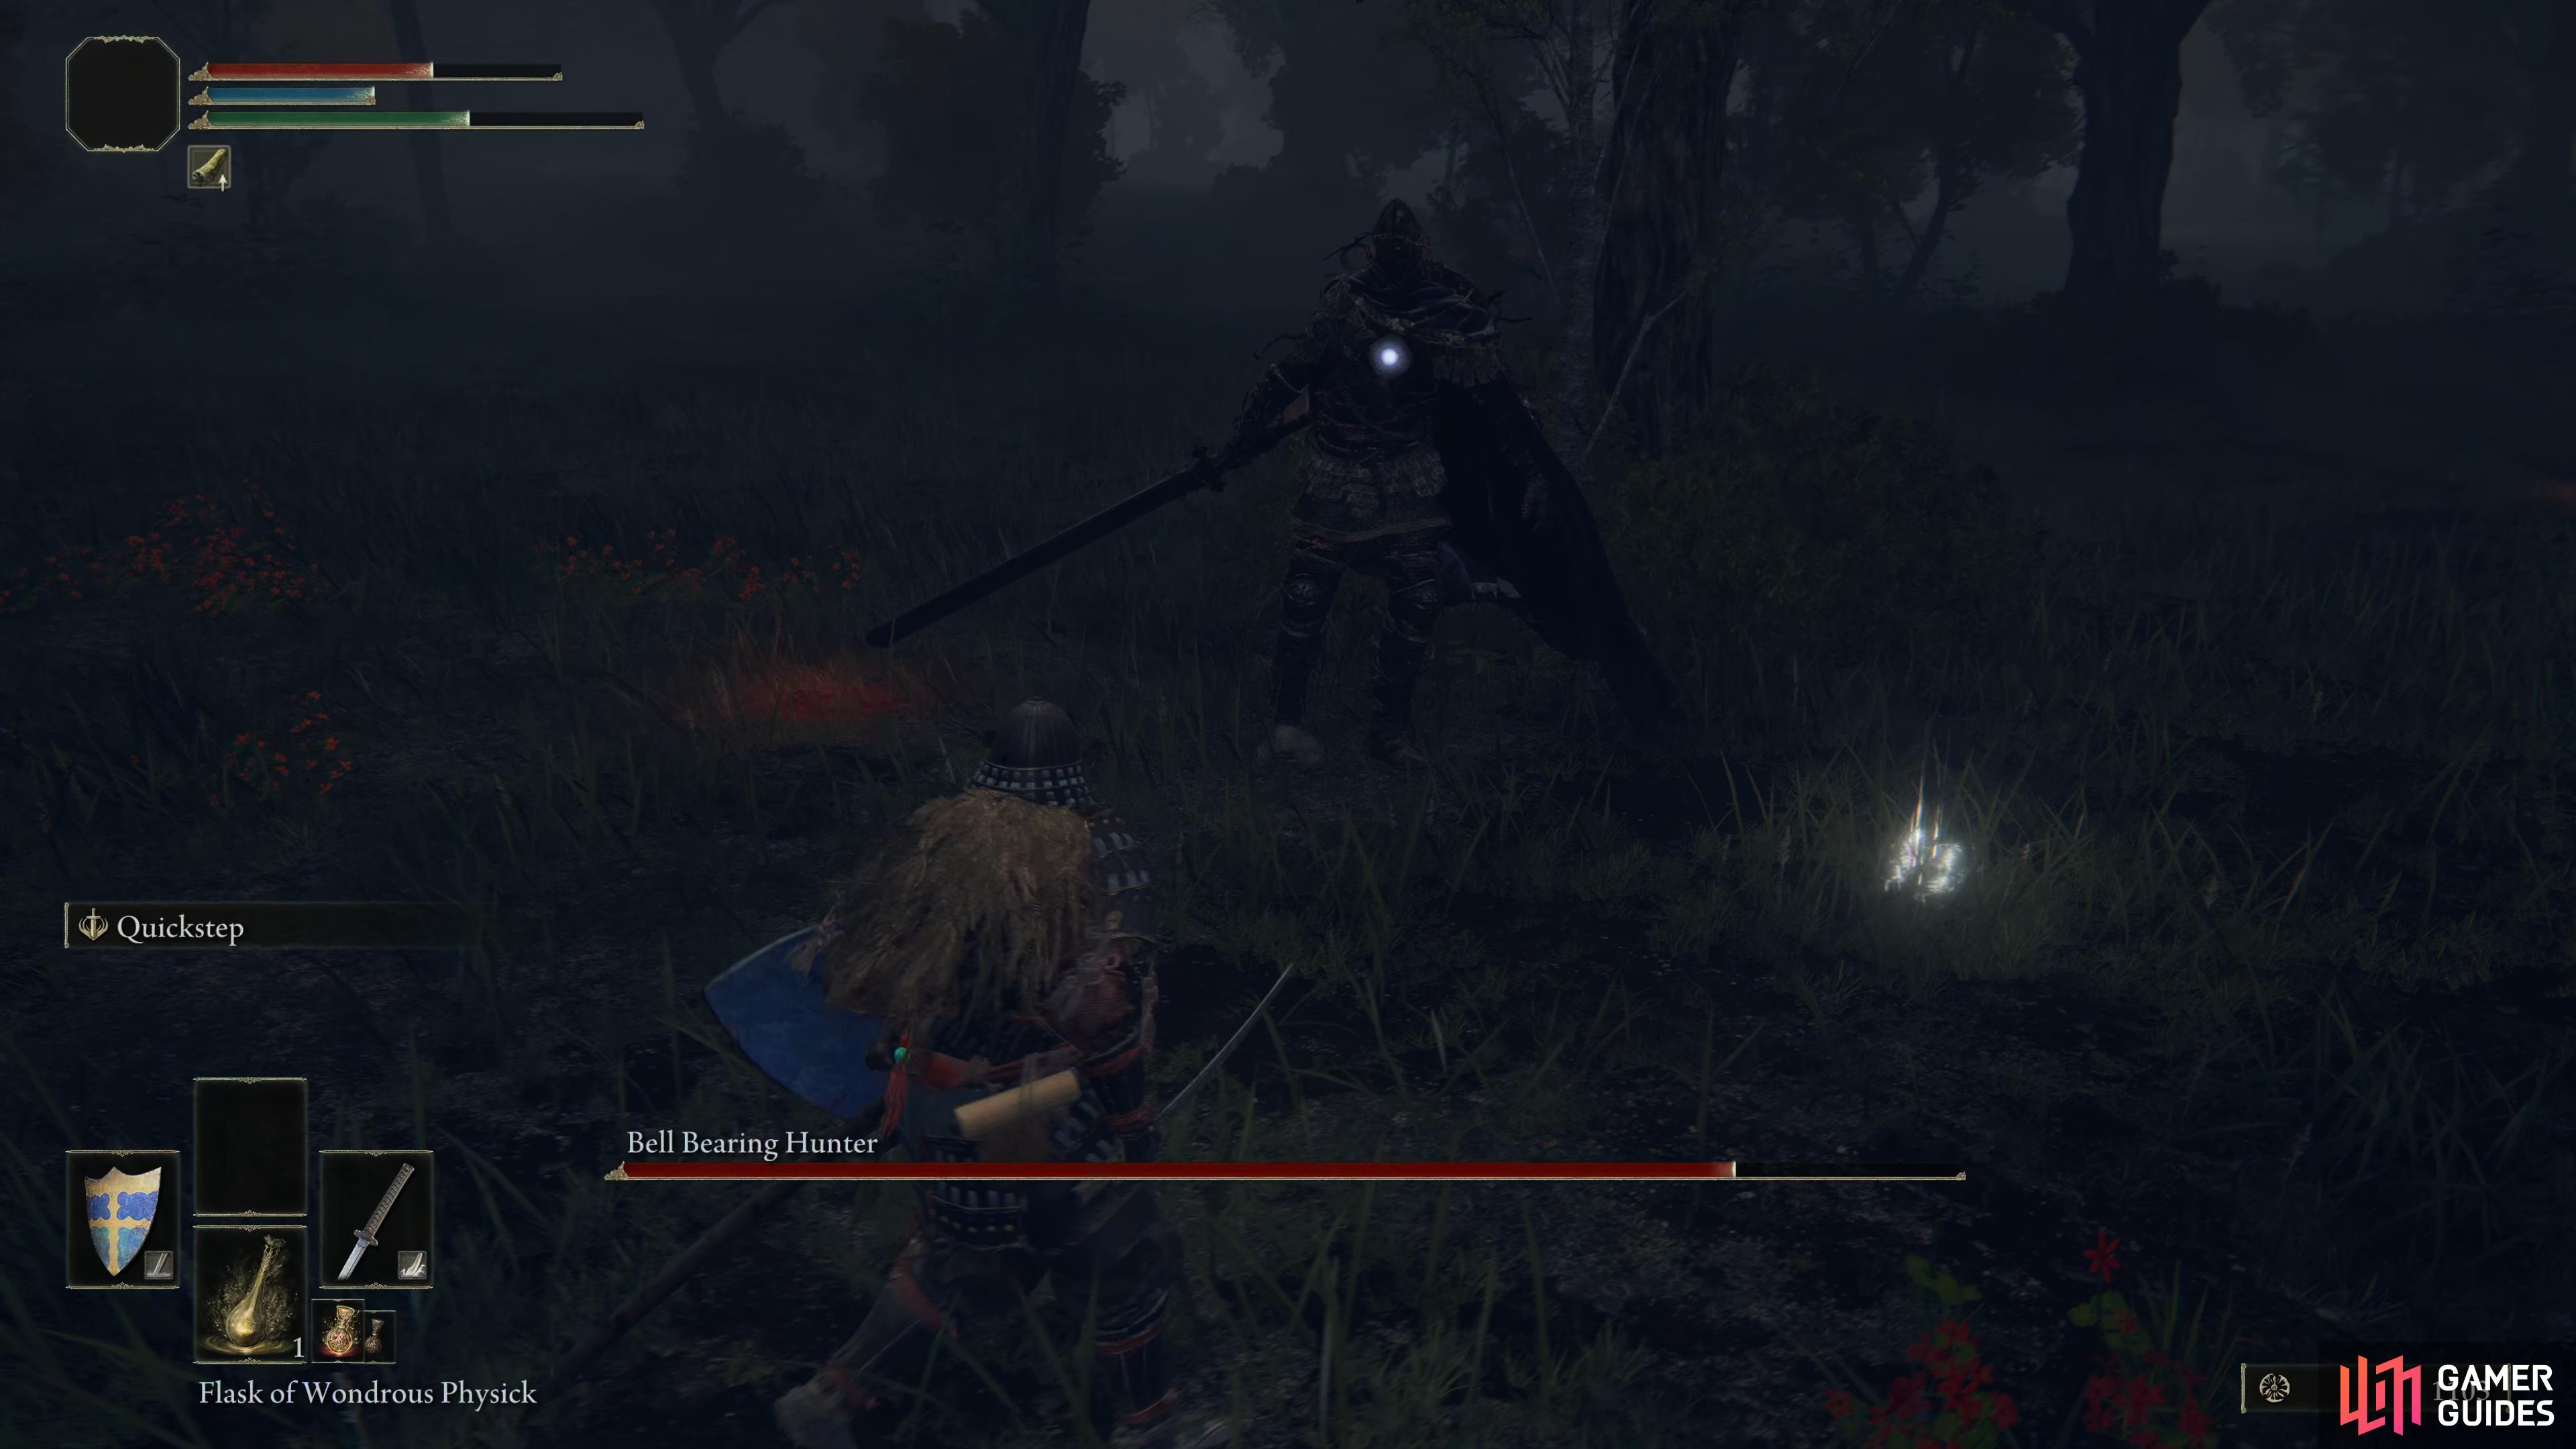
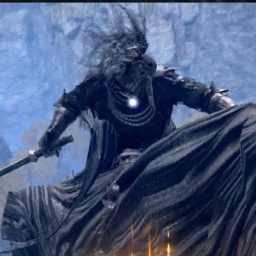
Bell Bearing Hunter (Limgrave) |
You should be aware that this is one of the toughest bosses in Limgrave and you’ll have to learn his attack patterns to stand a chance at beating him. There’s no shame in leaving him until you’ve taken the time to develop your Tarnished a little more. You may also want to consider mixing the HP restoration and Attack Up mixtures for your Flask of Wondrous Physick. Now before you begin the battle, if you’re melee, consider going two-handed (for the extra damage) and as you walk into the shack to spawn the Bell Bearing Hunter, you can get around 6 strikes on him before you need to roll out of the shack. Be sure to switch back to one-handed at this point if you’re using a shield, you’ll want it handy. The name of the game against the Bell Bearing Hunter is patience, never get greedy and go for more than one attack, and only when there’s an opening as he can quickly overwhelm you. You’ll also need to be careful of your surroundings, as there are plenty of trees that can get in your way and to the east and west you may attract the attention of spellcasters or a pack of wolves. Take the time to learn his attack patterns, the Three-hit Combo is the best time to get a strike on him once you learn how to roll through the attacks. Likewise, when he does his Shield Rush, once you know how the timing, you can roll at the last minute to land next to him and leave him wide-open. For a full strategy guide, see our boss page here.
Lore
Menacing and slow-paced, it wields a large, red-glowing sword and a shield combined with a full body armor and a chilling cape.
Location
The Bell Bearing Hunter will actually show up in more than one location in the Lands Between, but this particular boss will appear at the Warmaster’s Shack at night. There’s more to this however, as if you just head to the Site of Grace and change it to night, you’ll notice that Knight Bernahl is still standing inside the shack. Sit back down at the Site of Grace again and get back up to notice that the knight is now missing, and in his place, the ominous Bell Bearing Hunter.
Info
The Bell Bearing Hunter can be encountered in multiple locations in the Lands Between, but this is the most challenging due to your own power level in the early stages of the game.
Location
1×
Item Drops
1×
|
Field Boss |
2,700 |
|
|||||||||||||||||||||||||||||||||||||||||||||||||||||||||||||||||||||||||||||||||||||||||||||

|
Black Knife Assassin (Limgrave) |
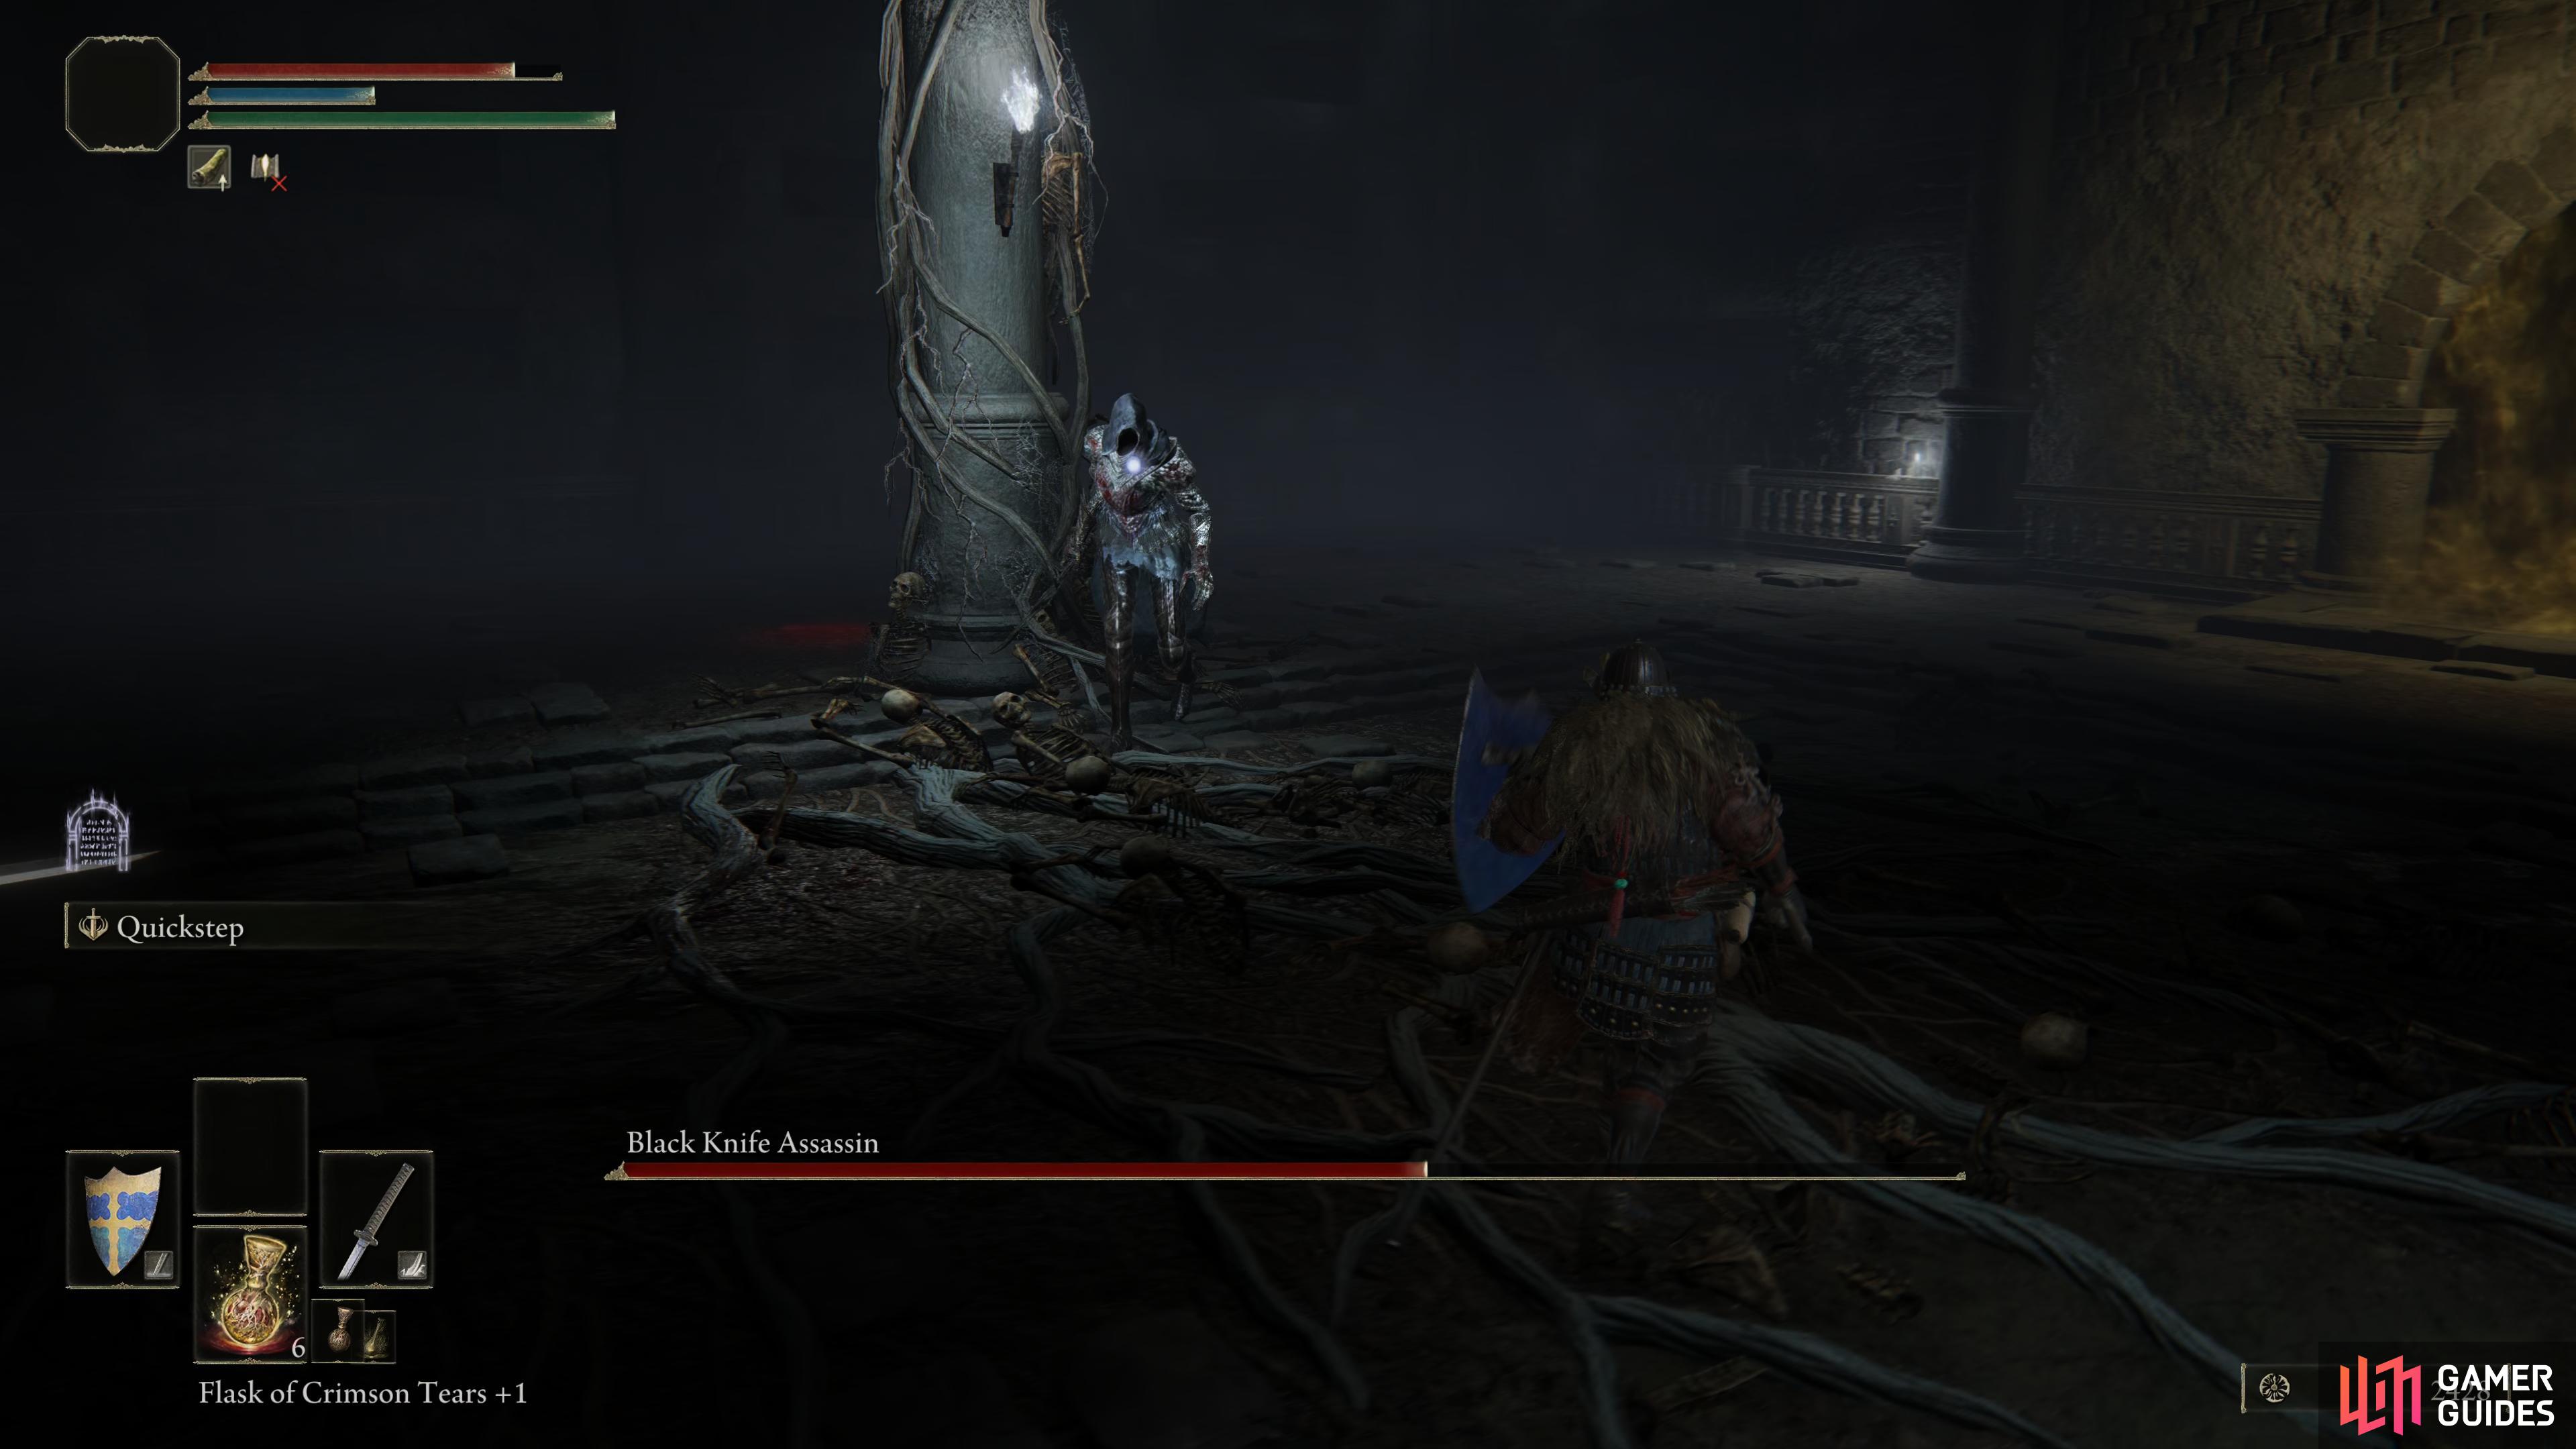
The Black Knife Assassin is one of the easier bosses you’ll face in the early stages of your journey throughout the Lands Between. He’s nothing more than a regular soldier enemy with one attack, the Lunge, that can catch you out. To make matters even simpler, he doesn’t start with full HP (there’s no trick to be had here) and you could possibly use the Lone Wolf Ashes to make the battle completely one-sided and wail on him as the Wolves take his attention away from you. The Black Knife Assassin does have one thing going for him, he’s fairly quick, but so long as you remain on guard, his attacks are easy to roll through and his strikes don’t inflict much damage to your stamina when guarding. He also appears to have little in the way of Poise, so most melee player’s strikes will constantly stagger him, leaving him often open to multiple strikes at once. For a full strategy guide, see our boss page here.
Lore
The assassins that carried out the deeds of the Night of the Black Knives were all women, and rumored to be Numen who had close ties with Marika herself.
Location
Black Knife Assassin will actually show up in three different locations in the Lands Between, but this particular boss will appear at the bottom of the Deathtouched Catacombs. You can find this dungeon to the east of Stormhill, directly to the east of the Warmaster’s Shack or by heading west from the Saintsbridge Site of Grace. The dungeon itself can be tricky, you’ll have to find the lever while navigating through hordes of Skeletons, just remember to finish them off before they can reanimate.
Info
Black Knife Assassin will not have full HP upon the start of the battle and is one of the easier to defeat optional bosses in Limgrave.
Location
1×
Item Drops
1×
|
Field Boss |
1,600 |
|
|||||||||||||||||||||||||||||||||||||||||||||||||||||||||||||||||||||||||||||||||||||||||||||
|
Bloodhound Knight Darriwil |
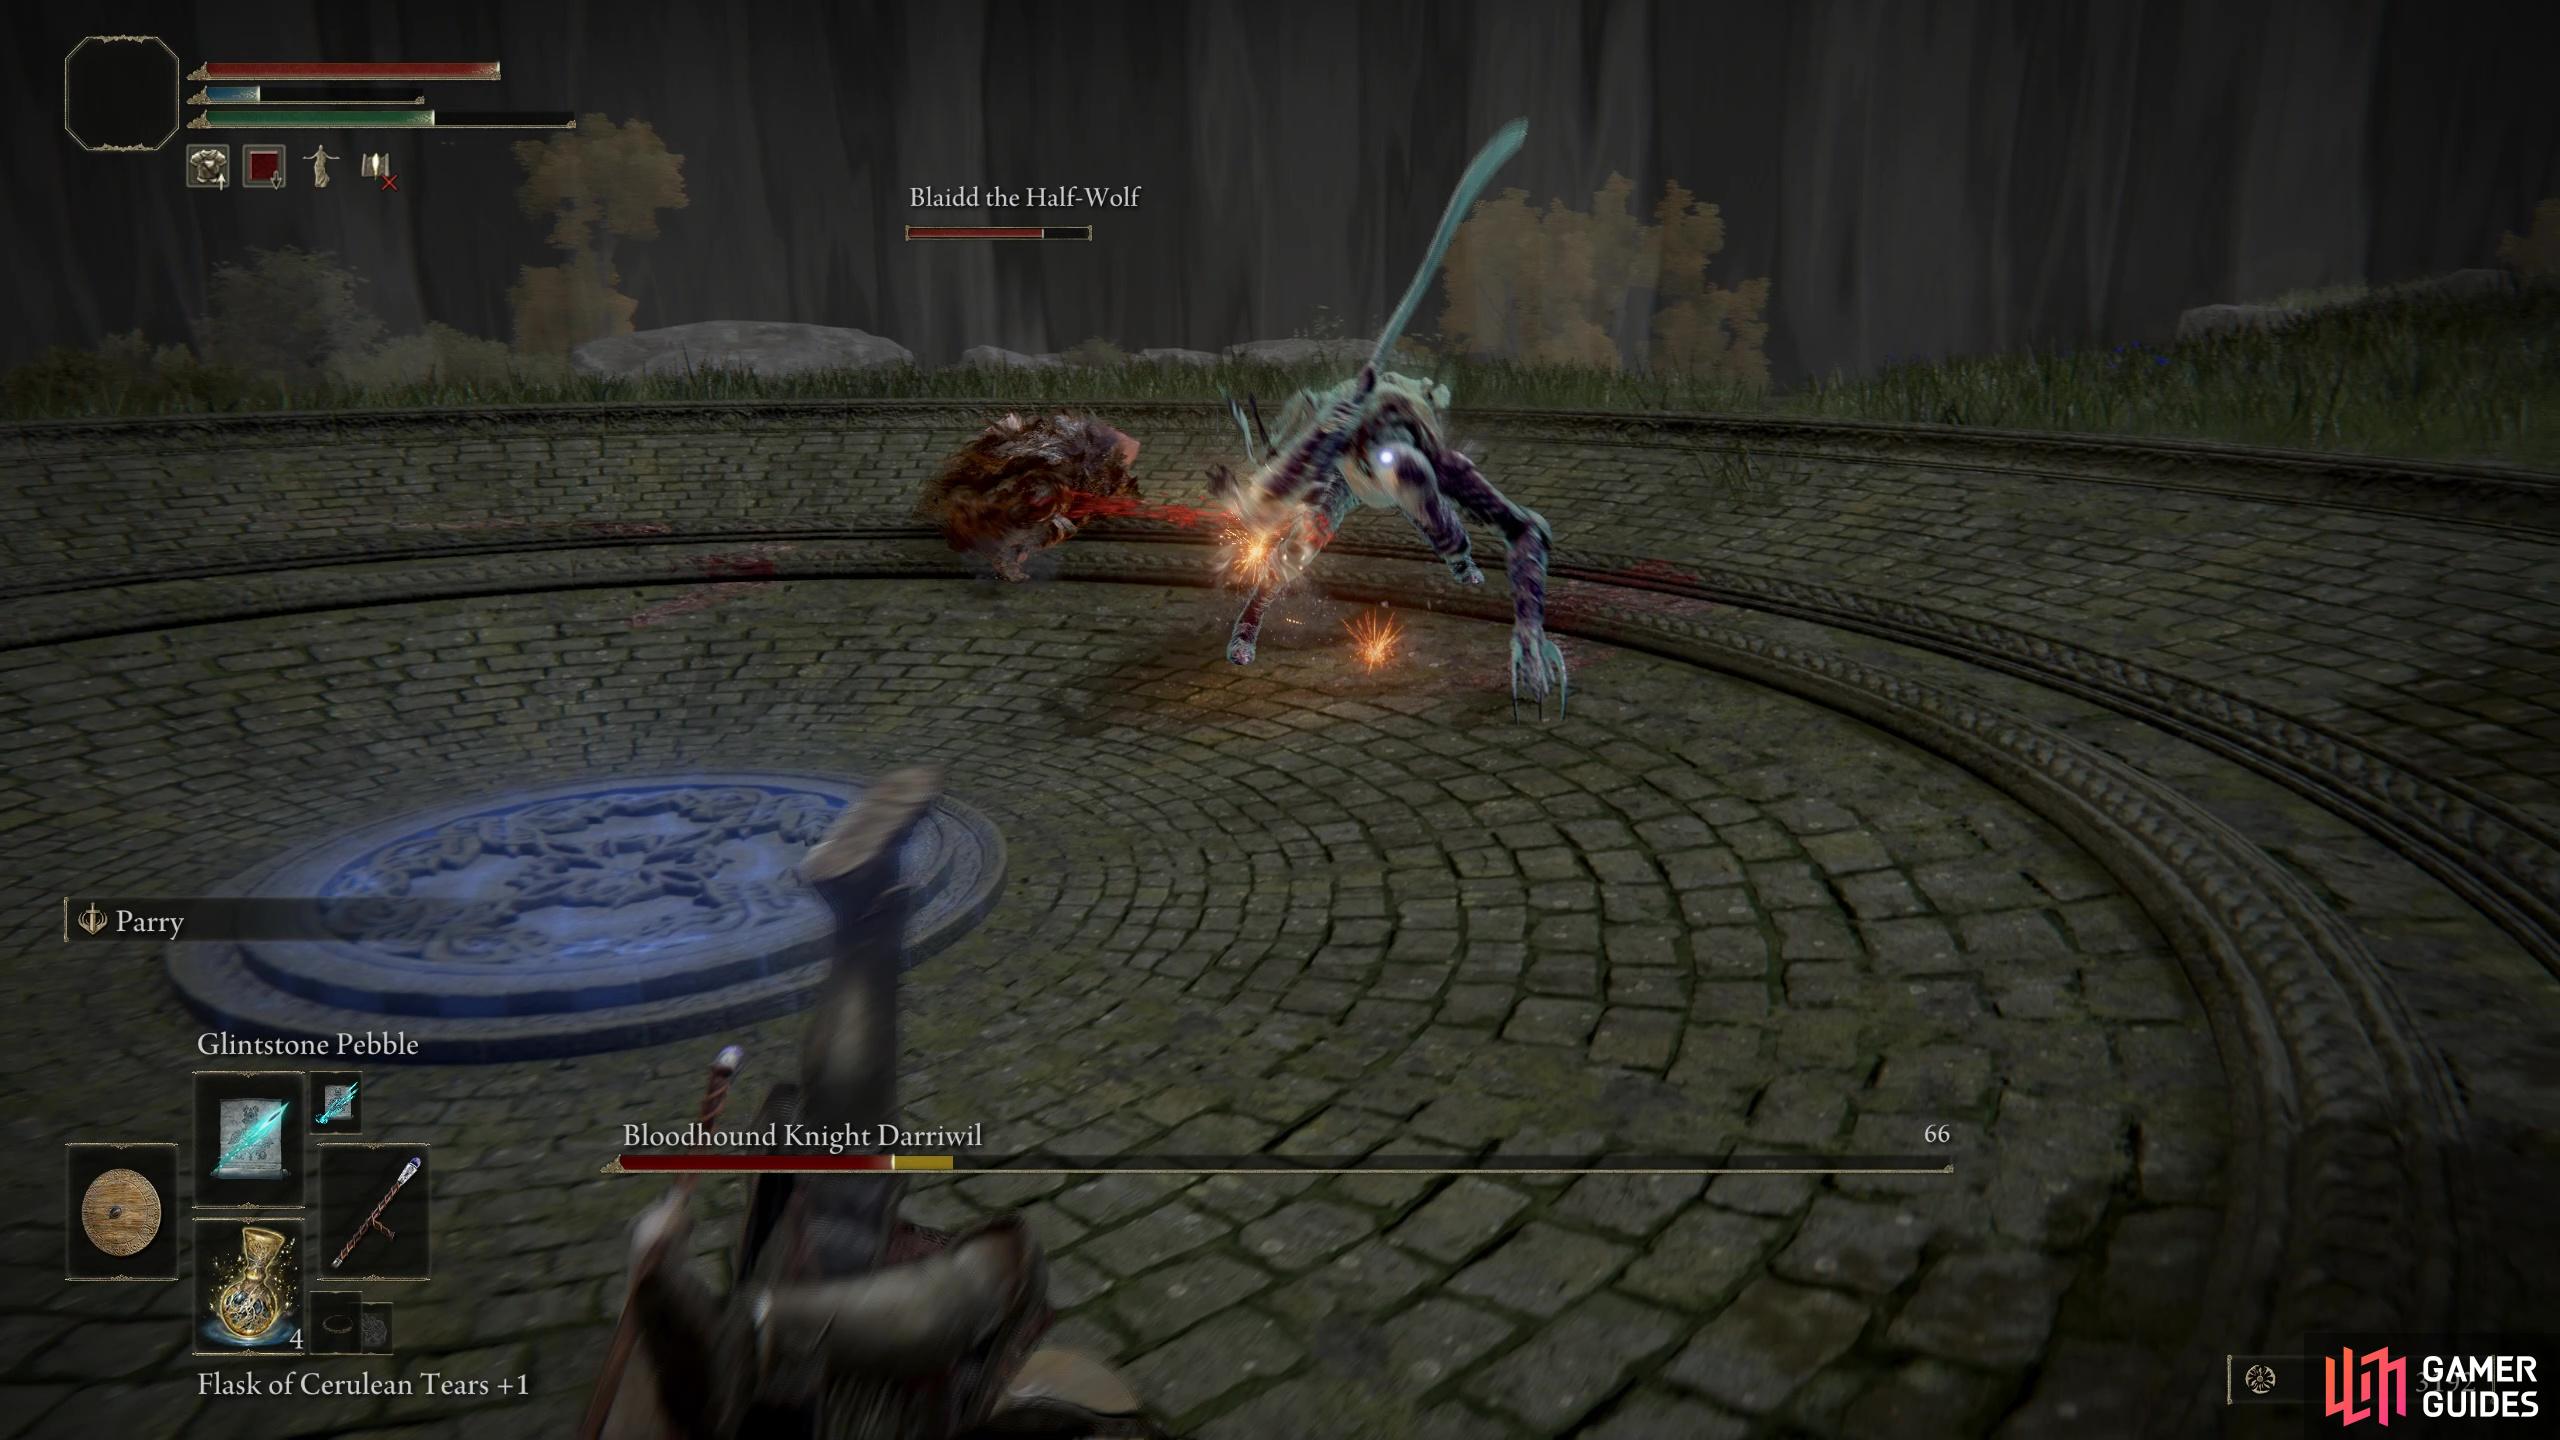
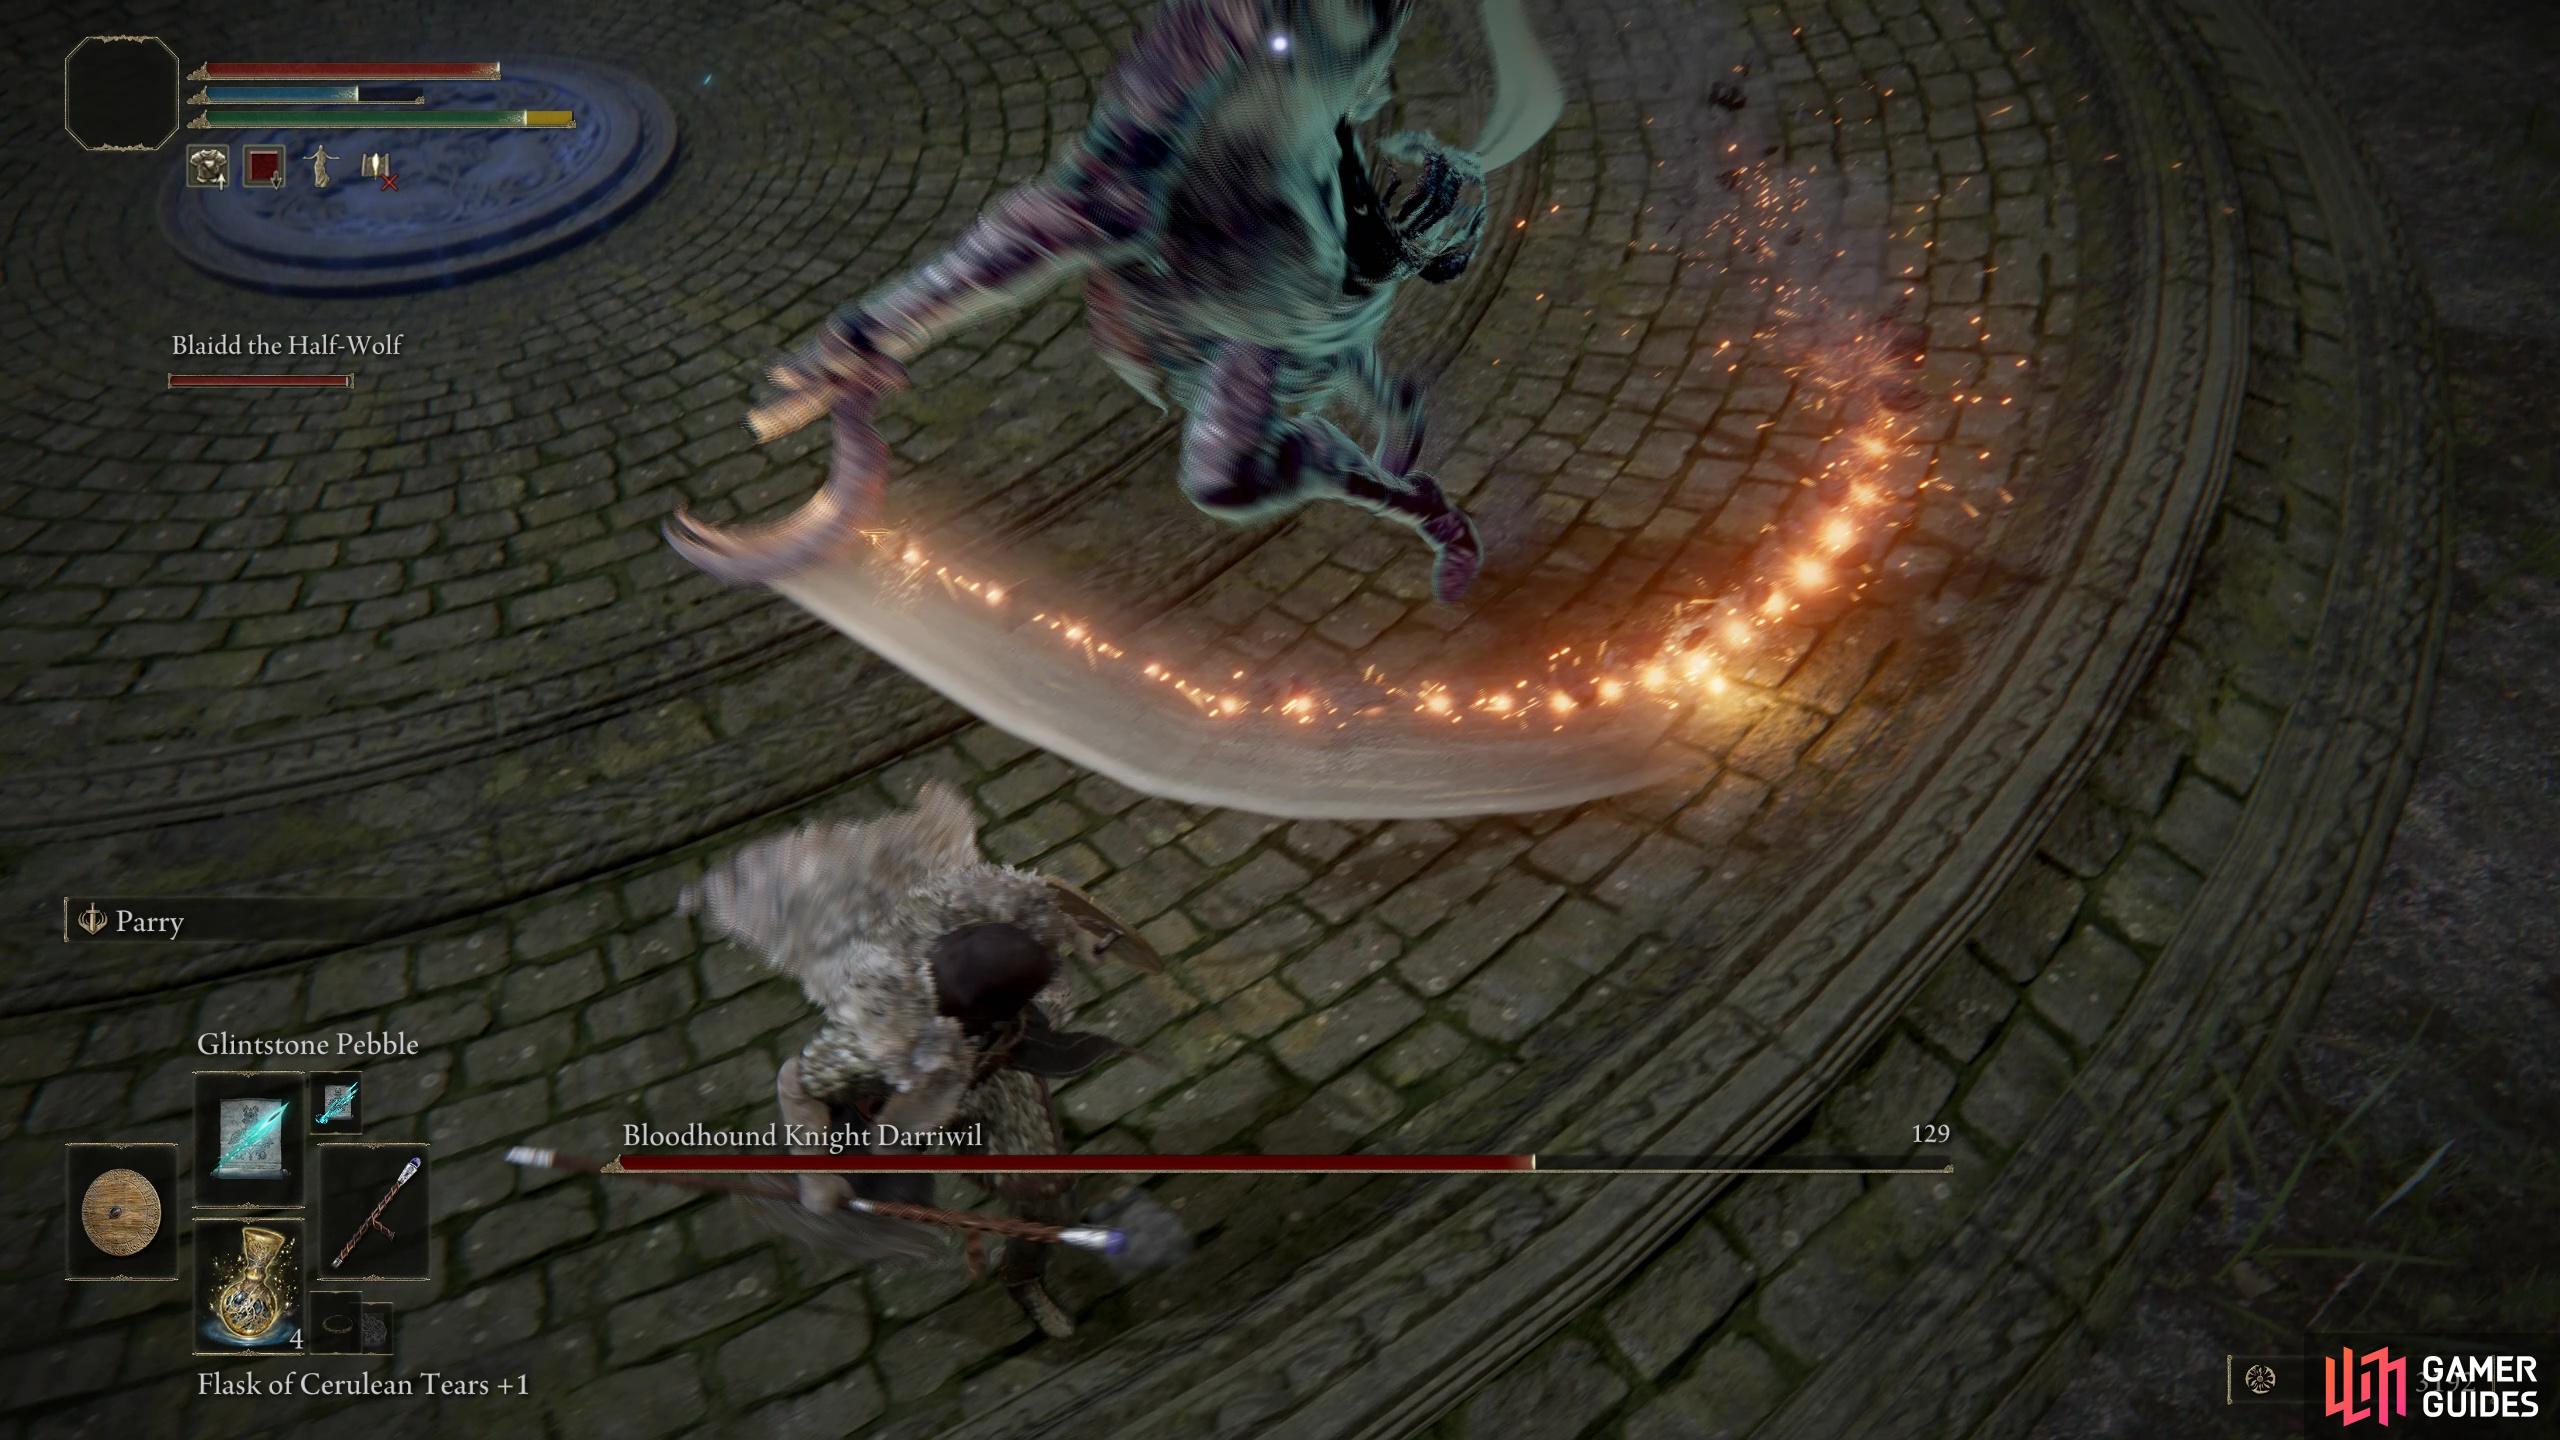
If you progress Blaidd’s Quest, you can bring him into the battle with you. With BlaiddIf you have been following Blaidd’s quest line, you can summon him for the battle. This battle then becomes trivial as you can have Blaidd initiate and tank the battle whilst you get some attacks, even some backstabs when his back is to you. Without BlaiddThis battle becomes a lot tougher when you go at it alone. Darriwil is extremely agile, and he has alot of sweeping attacks. He’ll often chain some of his attacks back to back. The best way to deal with him is to keep close and be ready to avoid his attacks by rolling through them or block with a shield. Your best chance to land any hits is when he does his Jumping Slam attack, as you’ll be able to get one or two hits on him depending on your weapon. If you try to make anymore attacks, you’ll end up trading damage. For a full strategy guide, see our boss page here.
Lore
Coming Soon.
Location
Bloodhound Darriwil is best found by following Blaidd’s quest. His actual location is at the Forlorn Evergaol, south of the Agheel Lake South Site of Grace. From there, follow the path south until you find a circular stone floor with a blue glyph in the center. Interact with the glyph to enter the ‘arena’. Once inside the arena, walk towards the faint blue line at the edge to initiate the encounter.
Info
It’s suggested that players opt to take in Blaidd for this battle, especially as you’re unable to use Spirit Ashes or Summon partners.
Location
1×
Item Drops
1×
|
Field Boss |
1,900 |
1,480 |
Hemorrhage, Poison, Scarlet Rot |
Lightning |

|
||||||||||||||||||||||||||||||||||||||||||||||||||||||||||||||||||||||||||||||||||||||||||

|
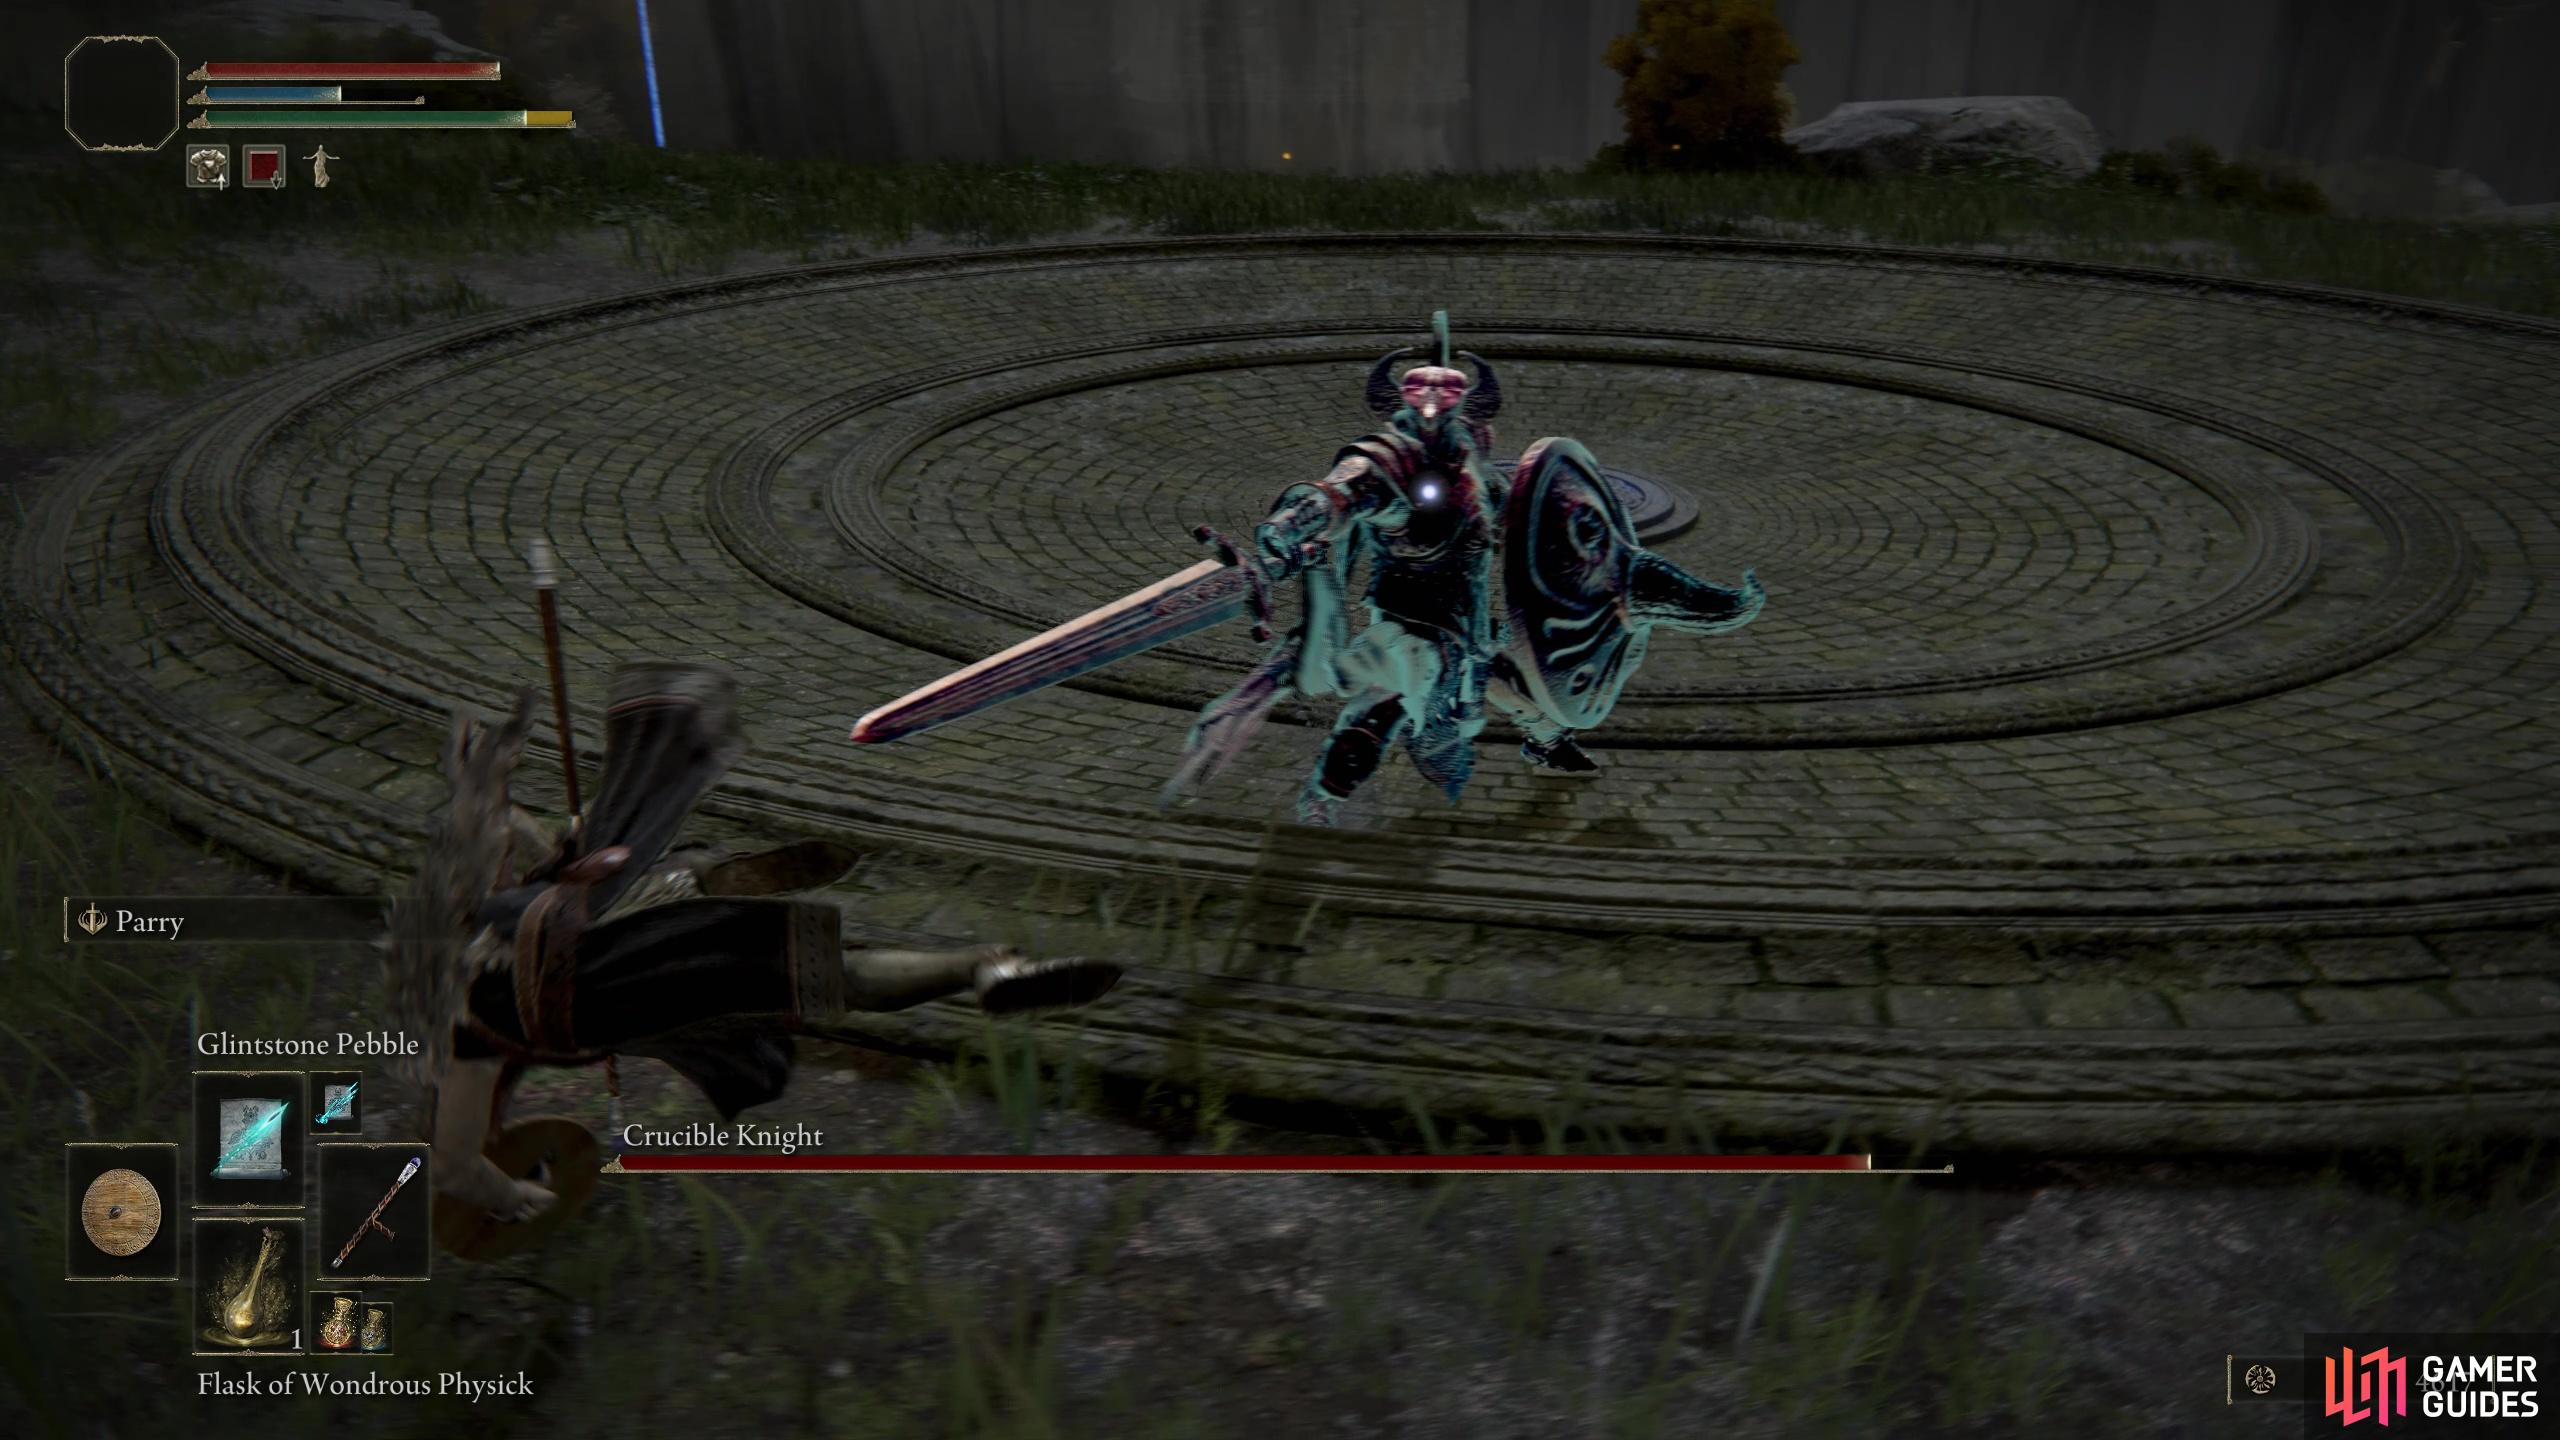
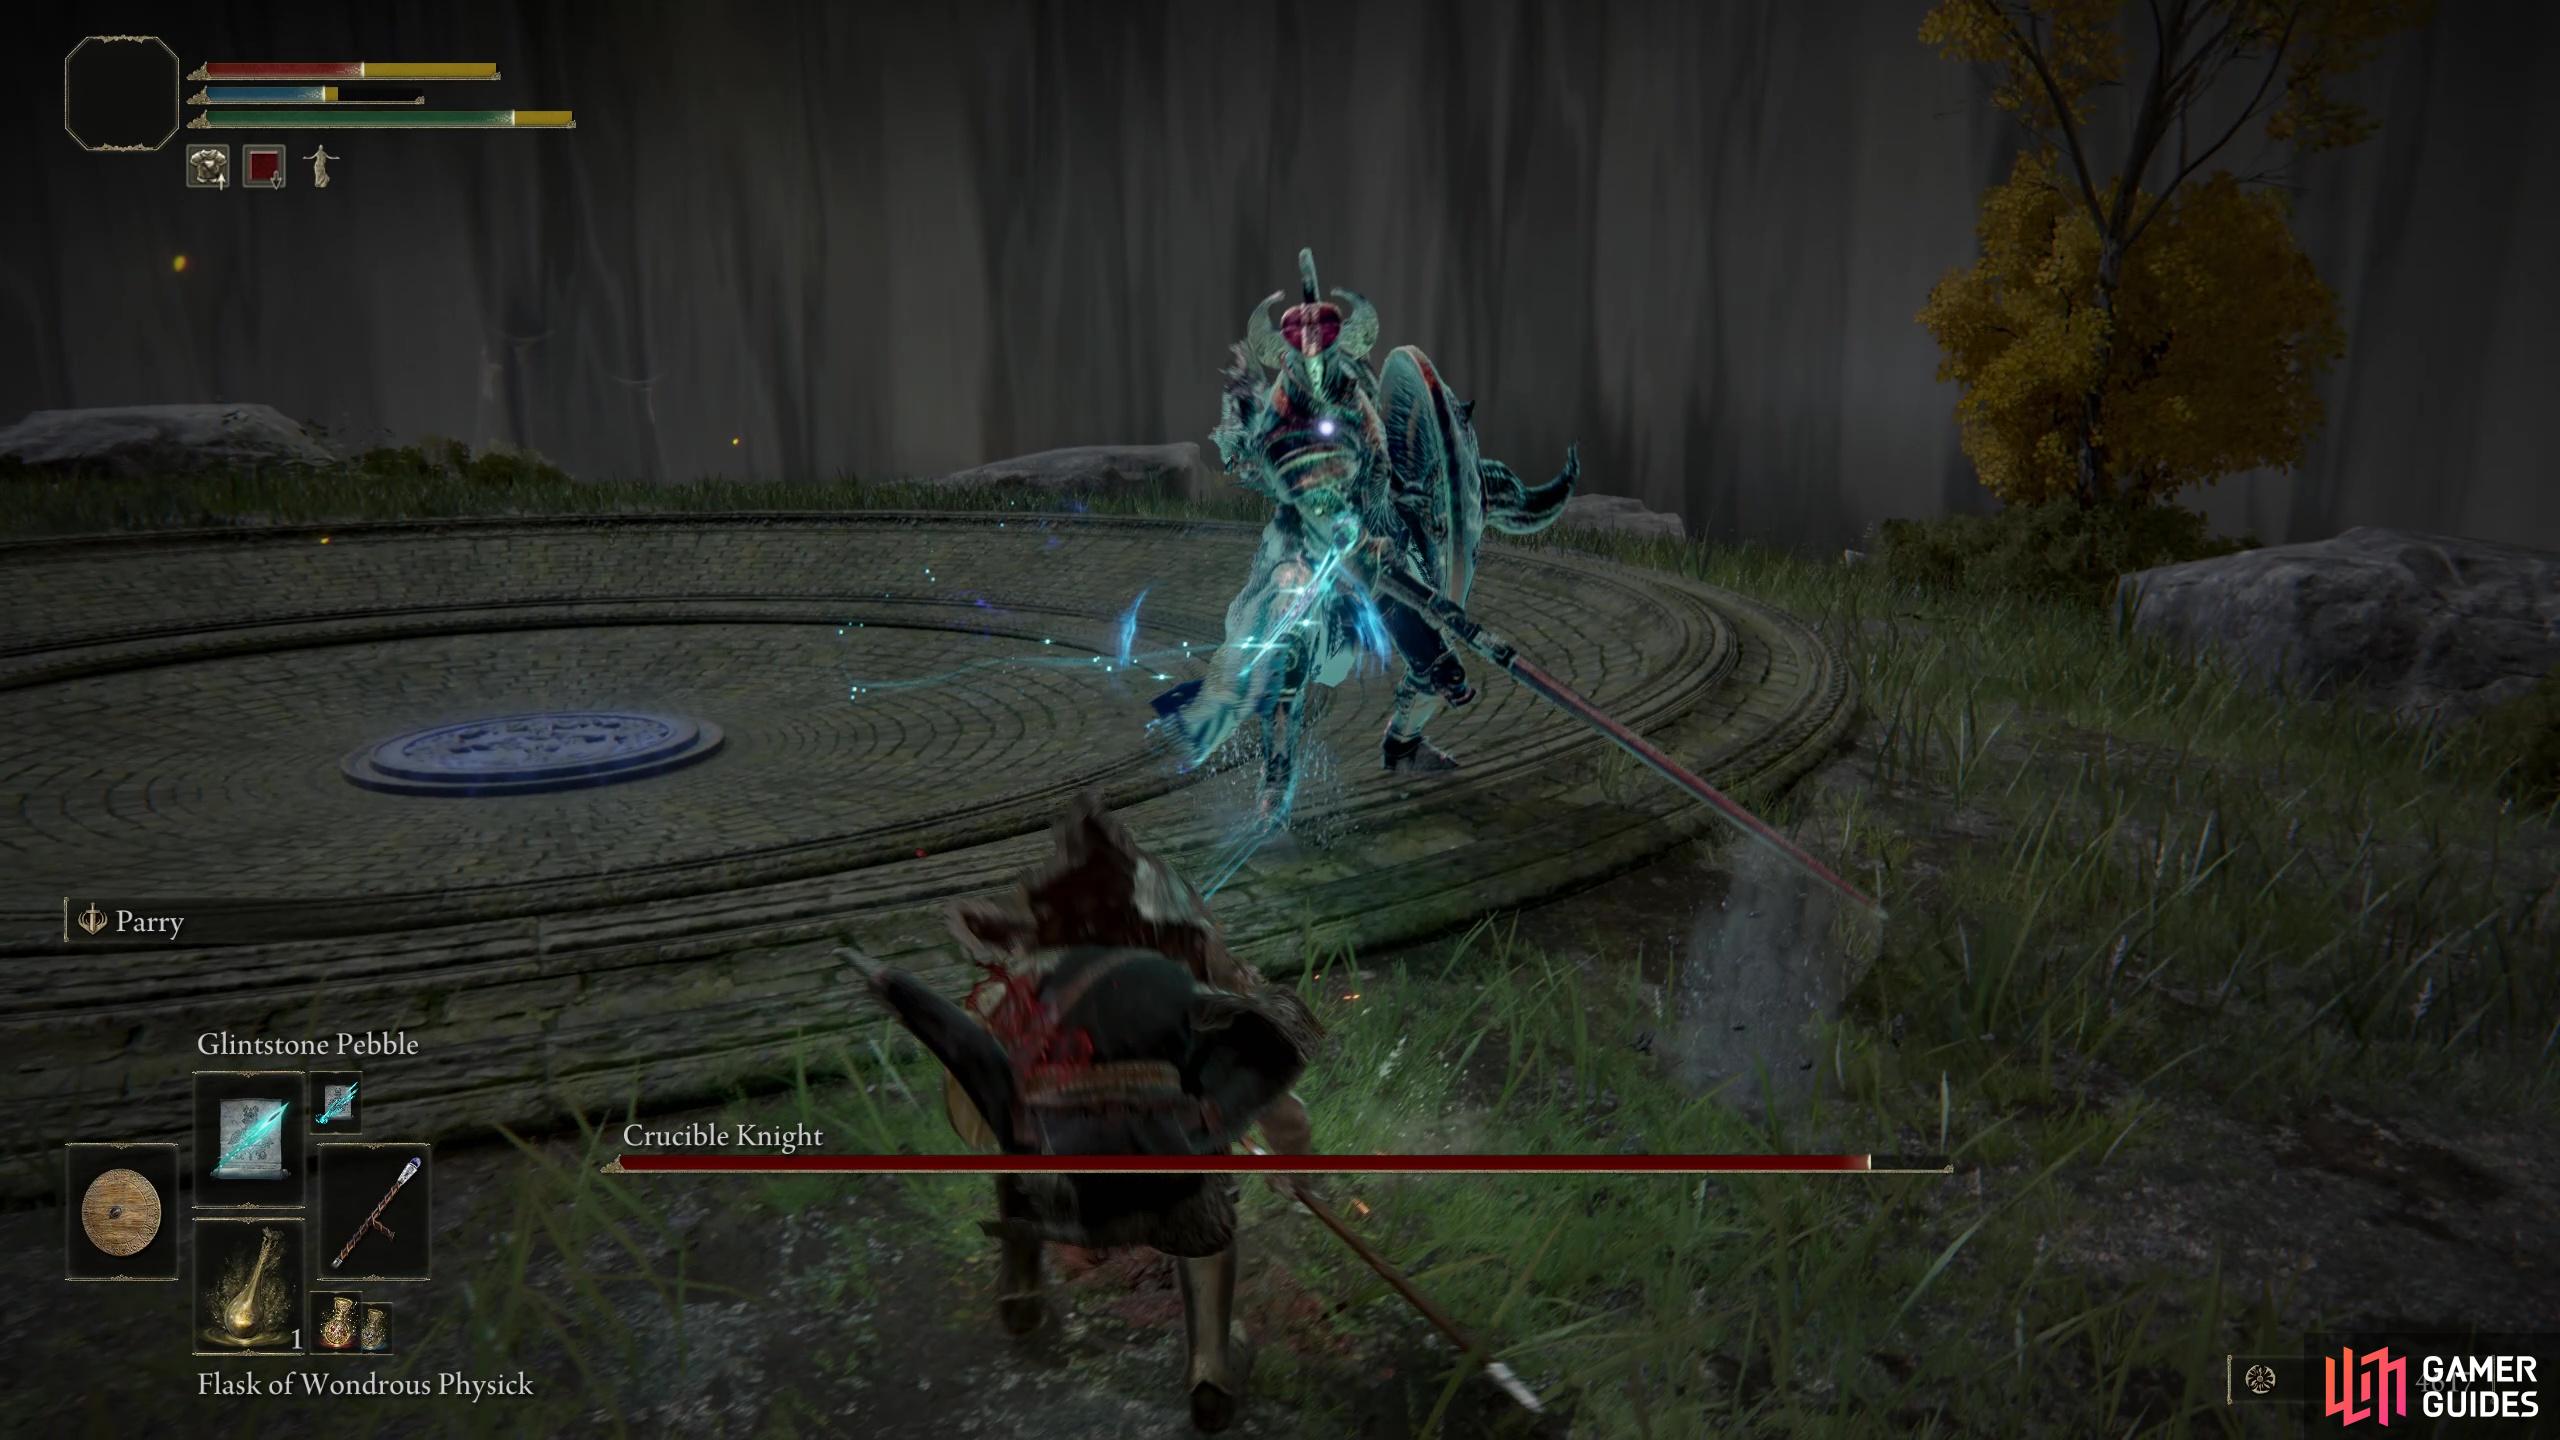
Crucible Knight |
Crucible Knight has two phases, and the second phase is triggered when you’ve damaged him to around 60% health.
Lore
The Crucible Knights served Godfrey, the first Elden Lord. They hold the power of the crucible of life, the primordial form of the Erdtree. In time, the strength shown by these knights, and even their appearance, was seen as chaotic and deserving of scorn.
Location
It’s up on a cliff to the east of Gatefront Site of Grace. To head into the Evergaol you’ll need to interact with the glowing runic circle at the center of the brick circle. You’ll then be transported to a relatively small area where you can fight the Crucible Knight.
Info
You’ll fight Crucible Knight at other locations too, but this is the toughest version due to your relative power level when you can encounter it. During the first phase, Crucible Knight acts like a pretty standard (still tough!) knight enemy. He has a large shield and a longsword, meaning he’ll use standard knight moves like forward lunging with his sword whilst he has his shield up. The best way to face this fight is to be patient and try to wait for an opening when the knight’s body is visible and he isn’t about to swipe at you with his sword. He isn’t a chaotic or messy fighter so you’ll need to follow his lead on this and also be calculated in your swings. The only place you might get in some free uncontested attacks is when he uses his shield bash. For a full strategy guide, see our boss page here.
Location
1×
Item Drops
1×
|
Field Boss |
2,100 |
|
|||||||||||||||||||||||||||||||||||||||||||||||||||||||||||||||||||||||||||||||||||||||||||||

|
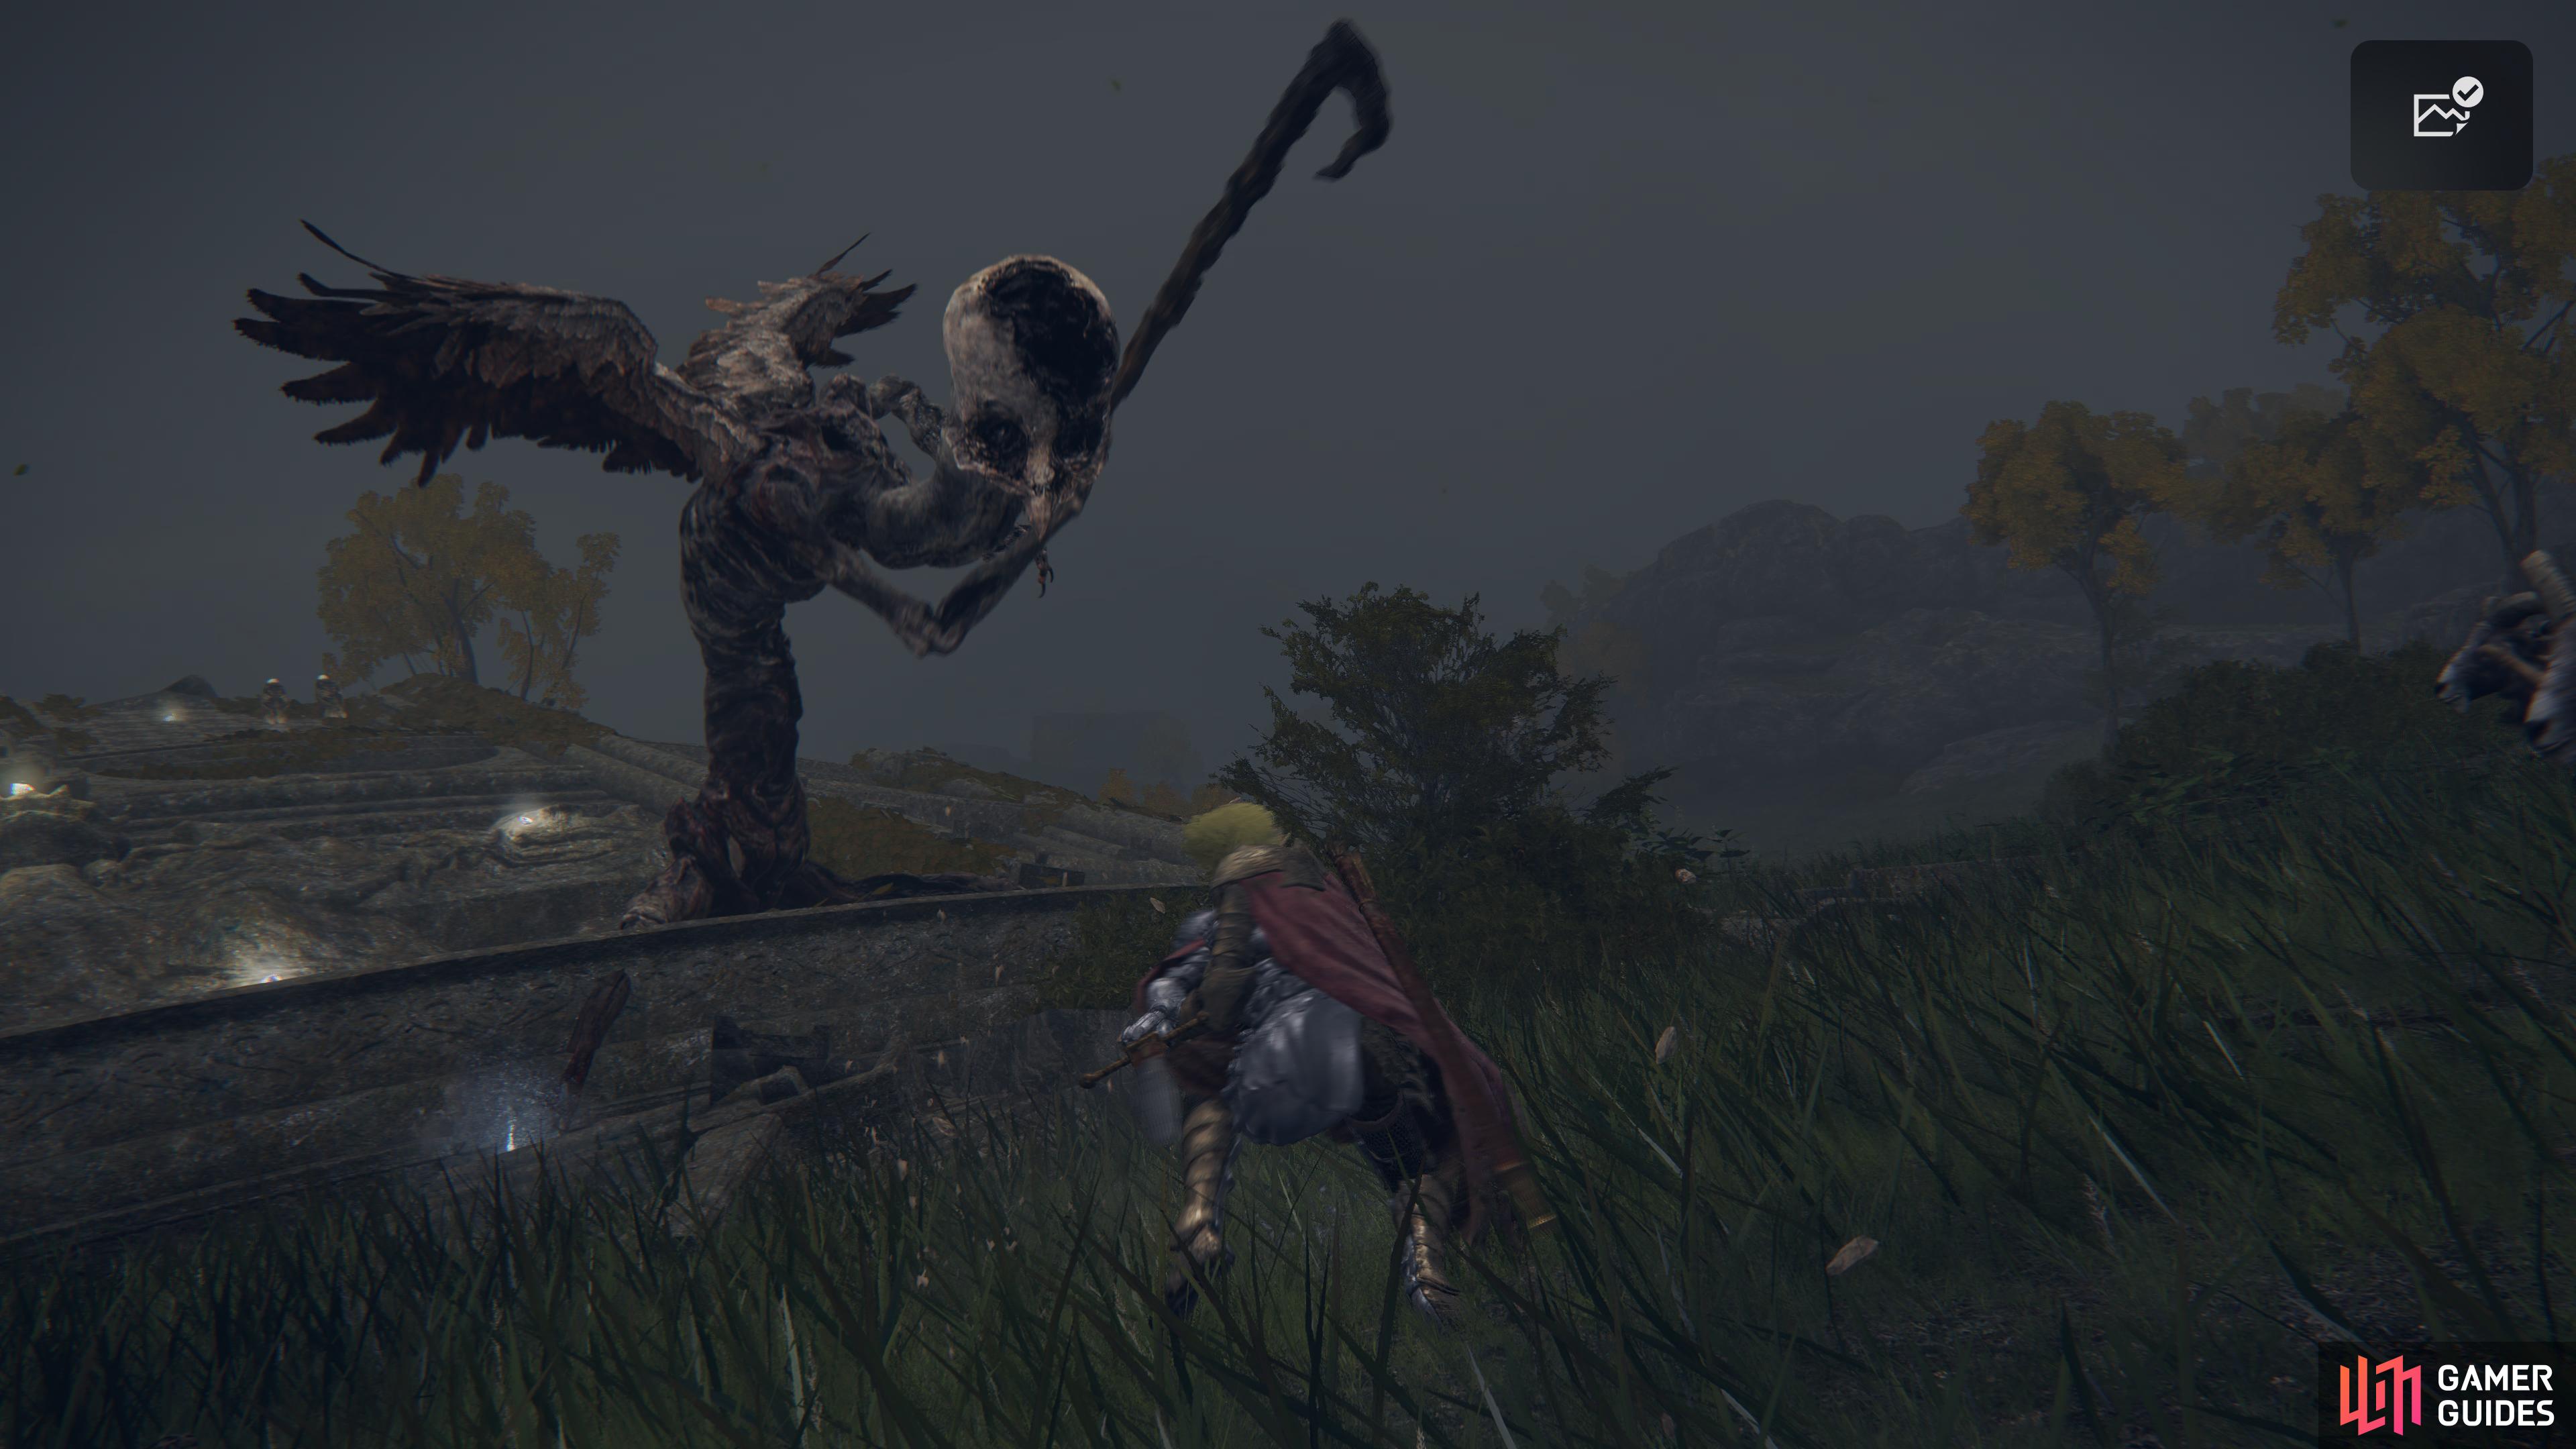
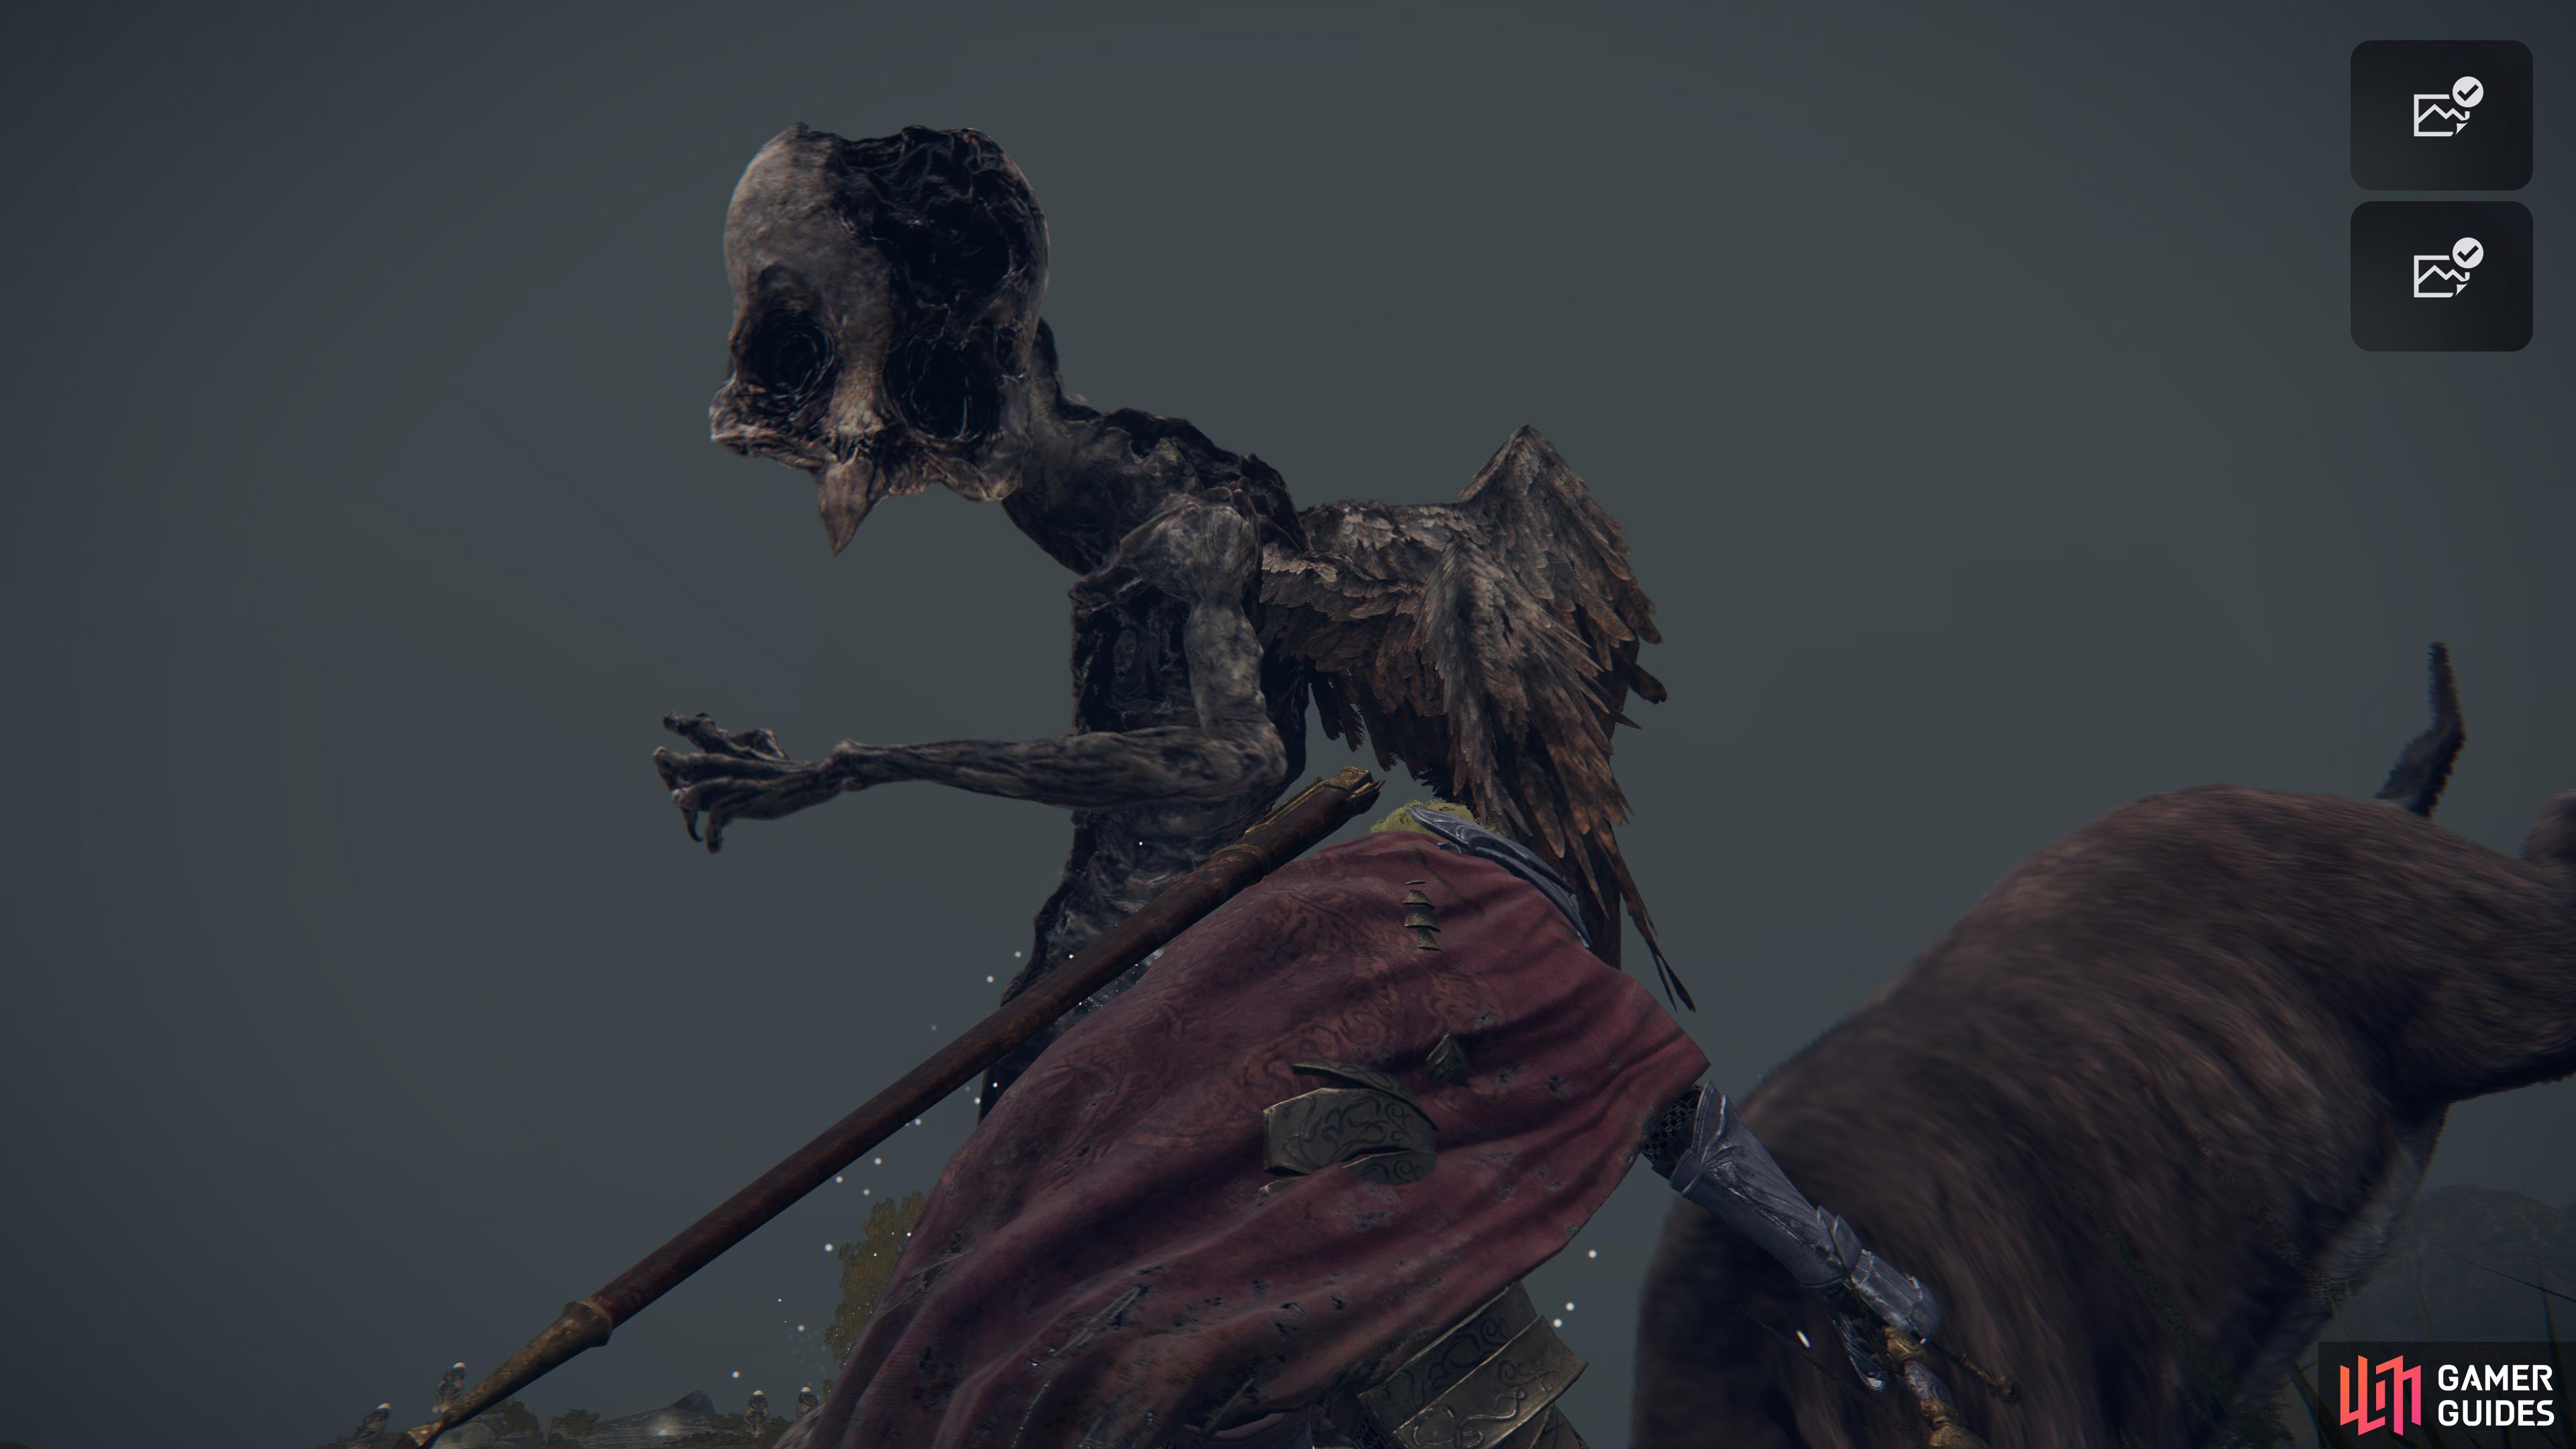
Deathbird (Limgrave) |
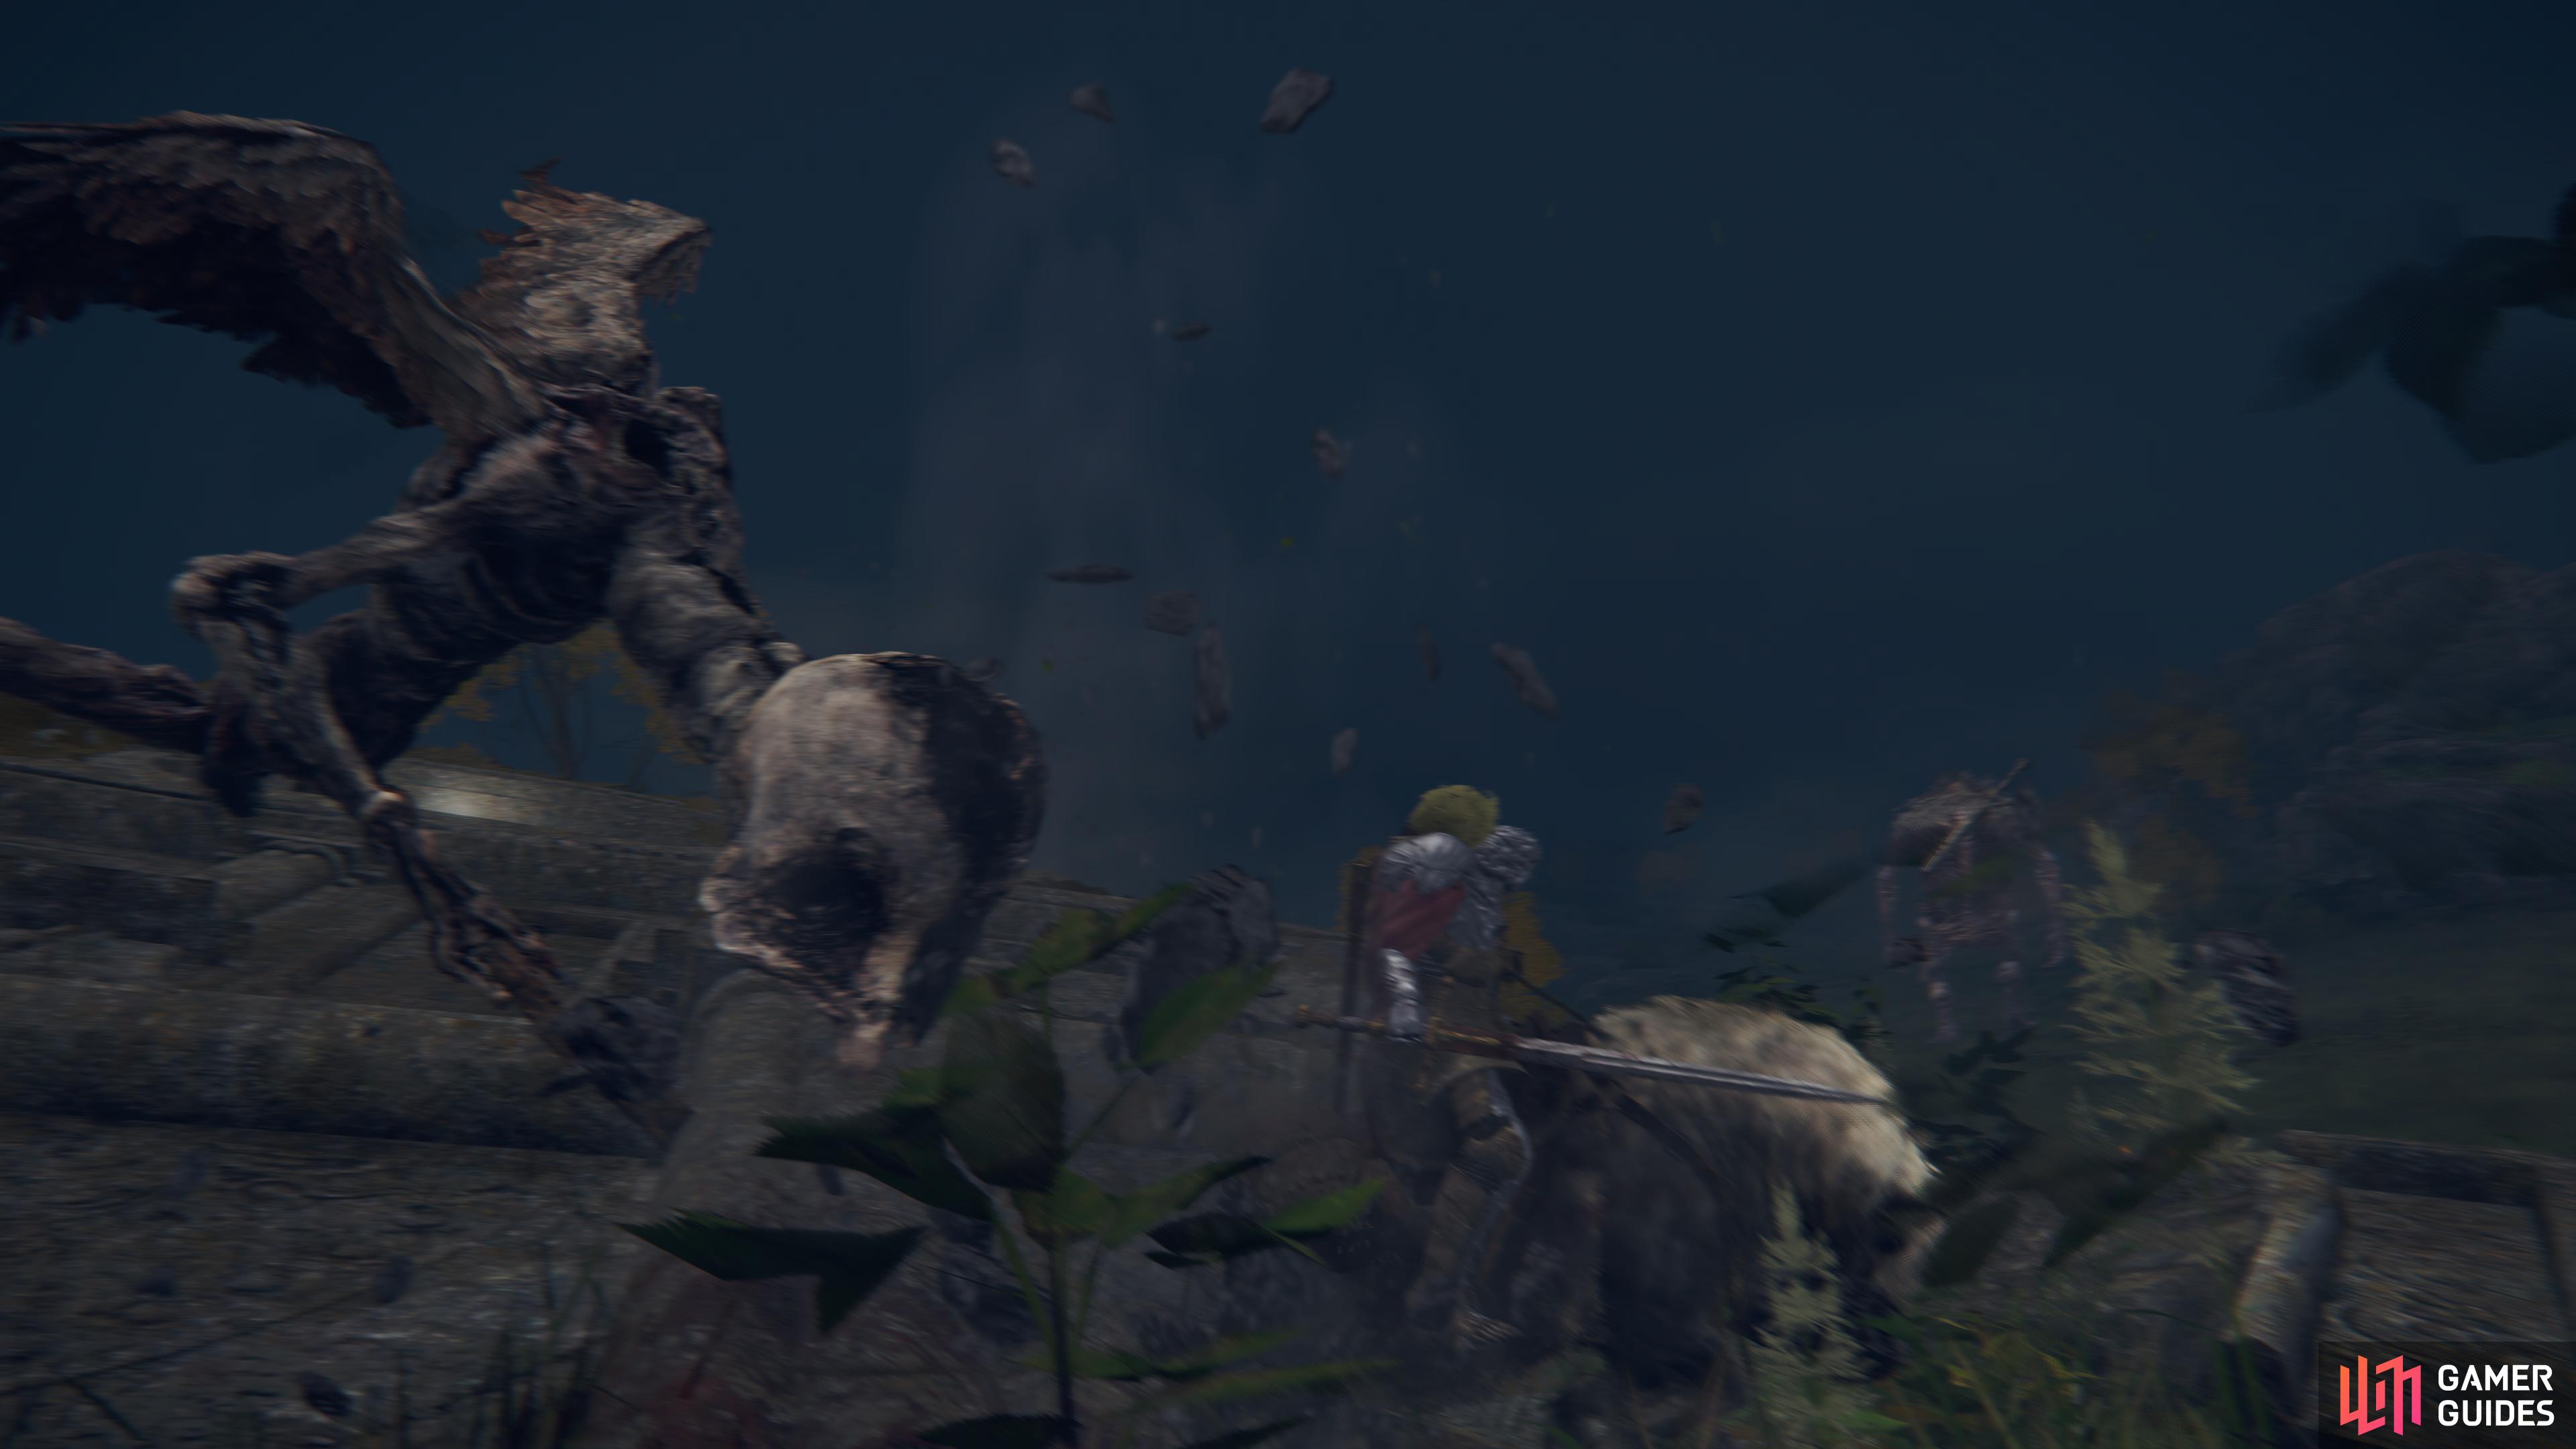
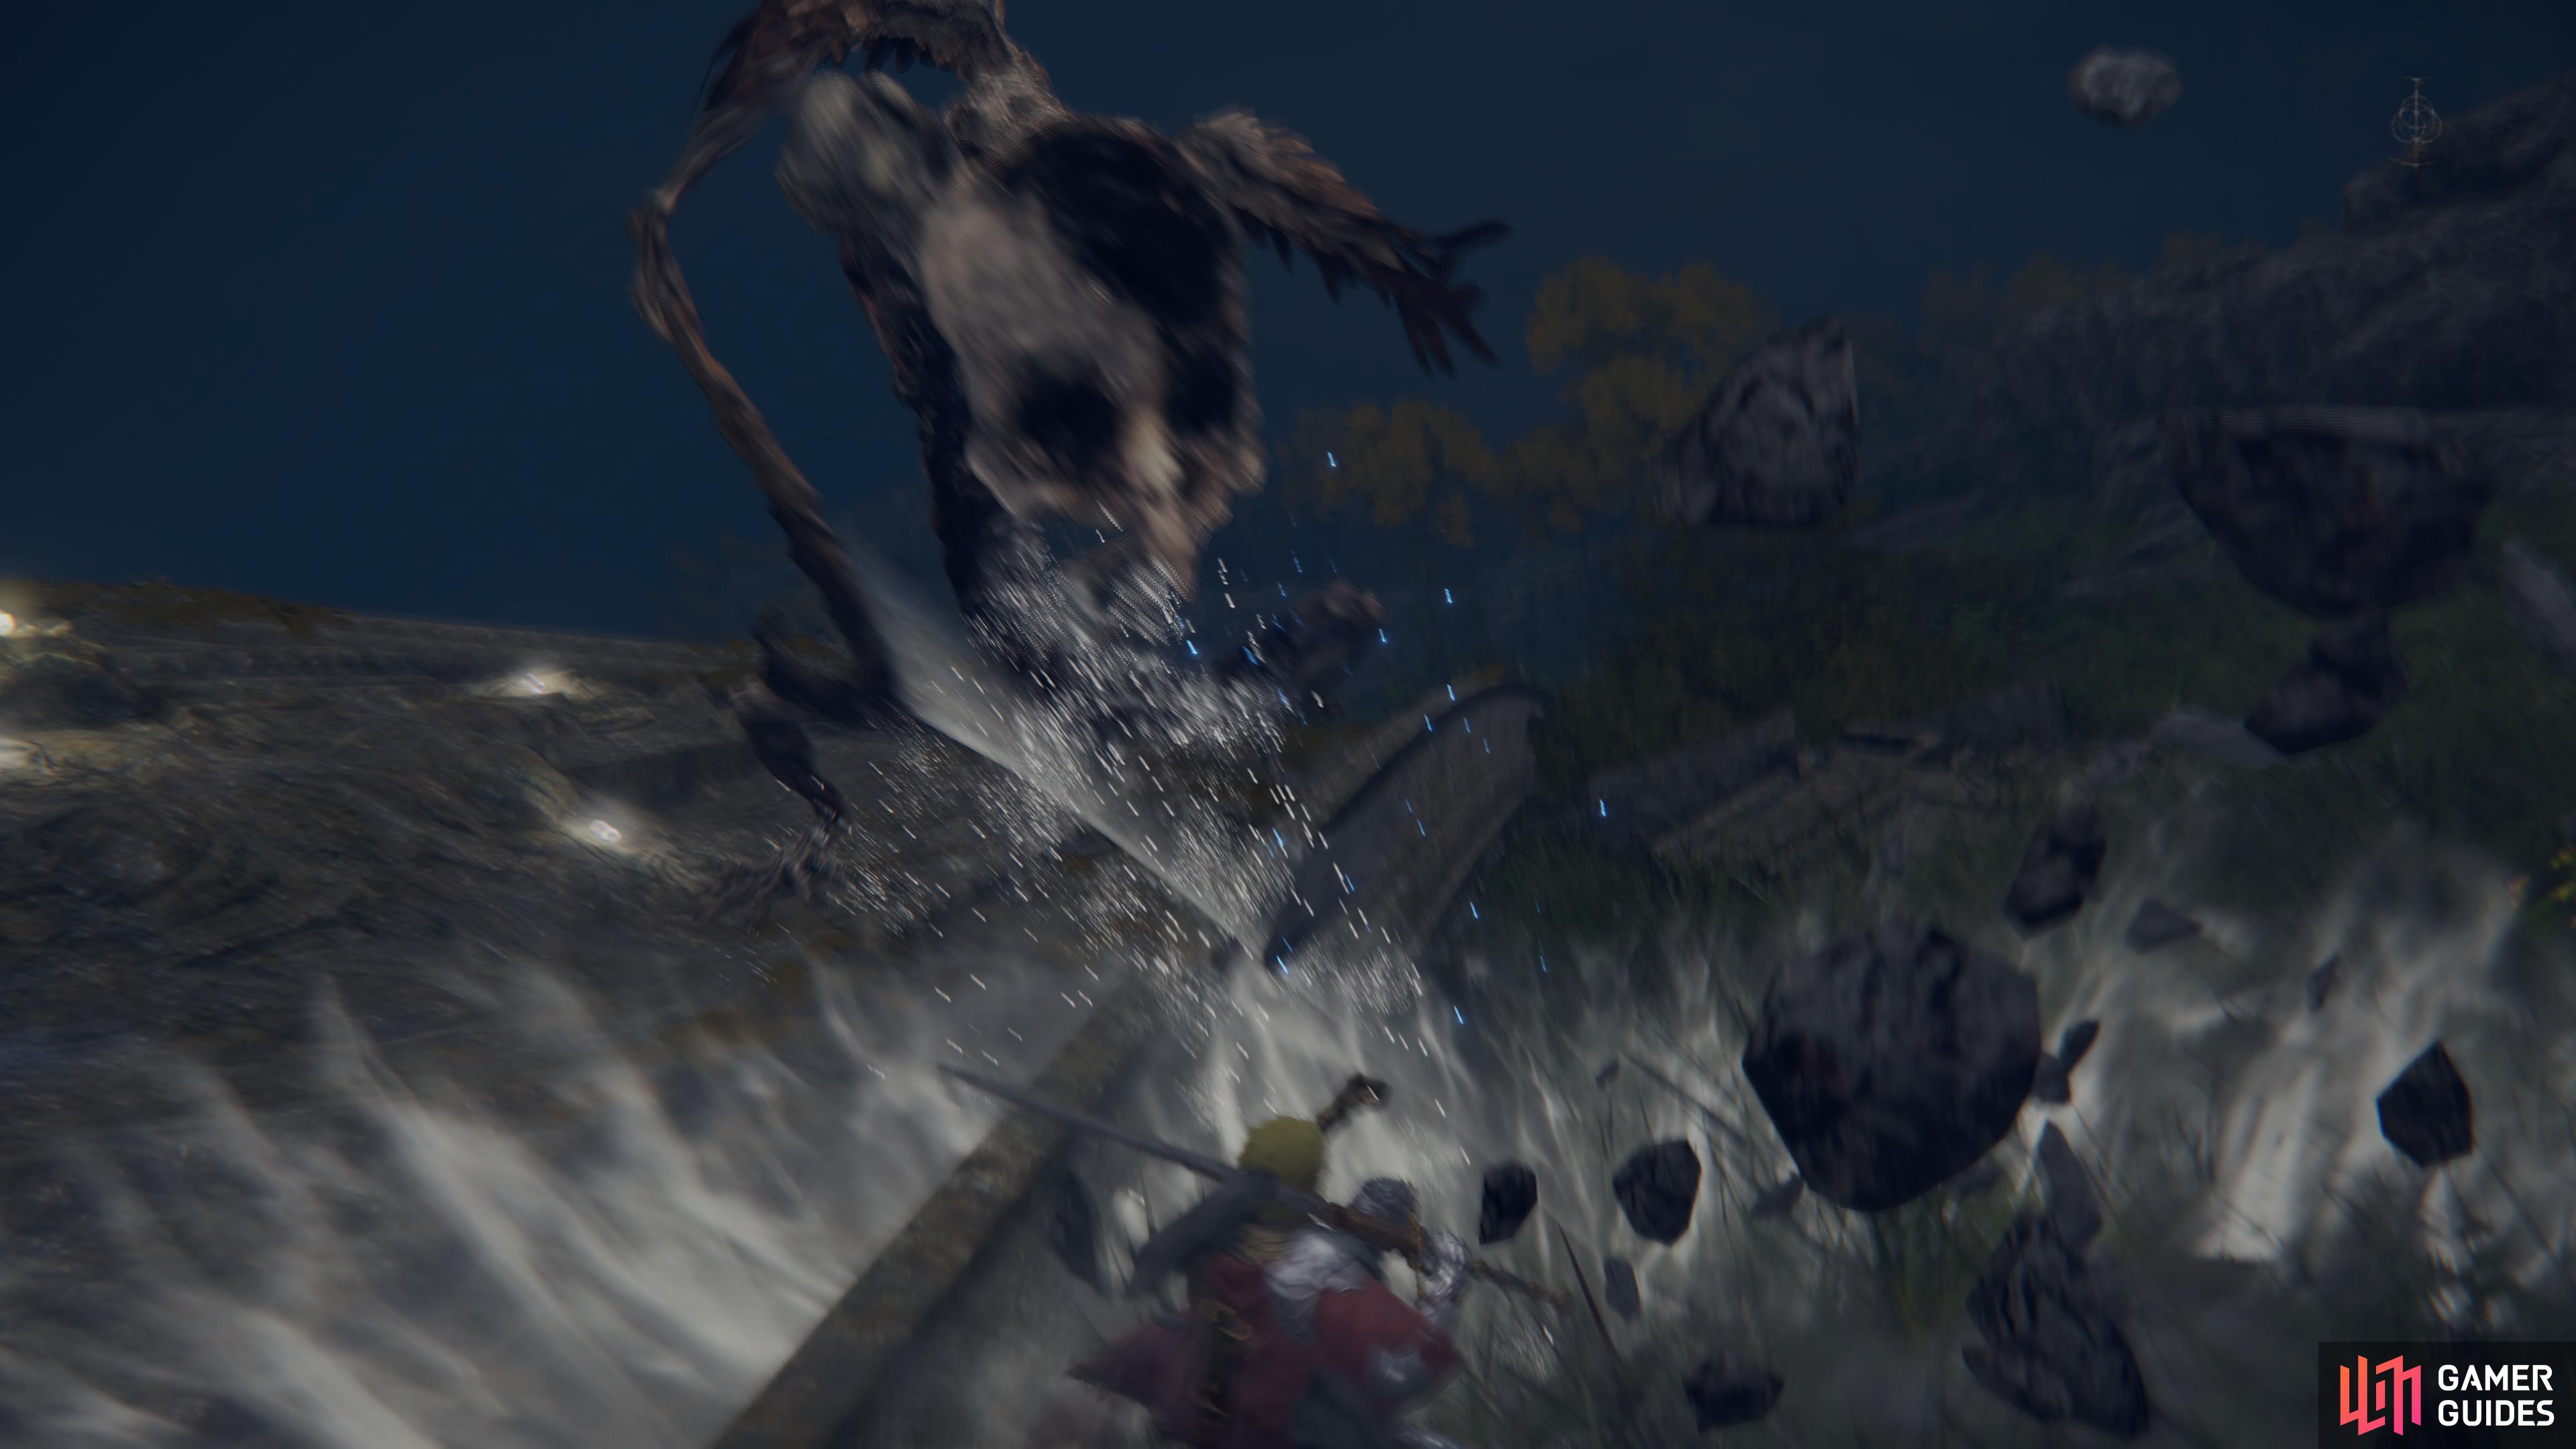
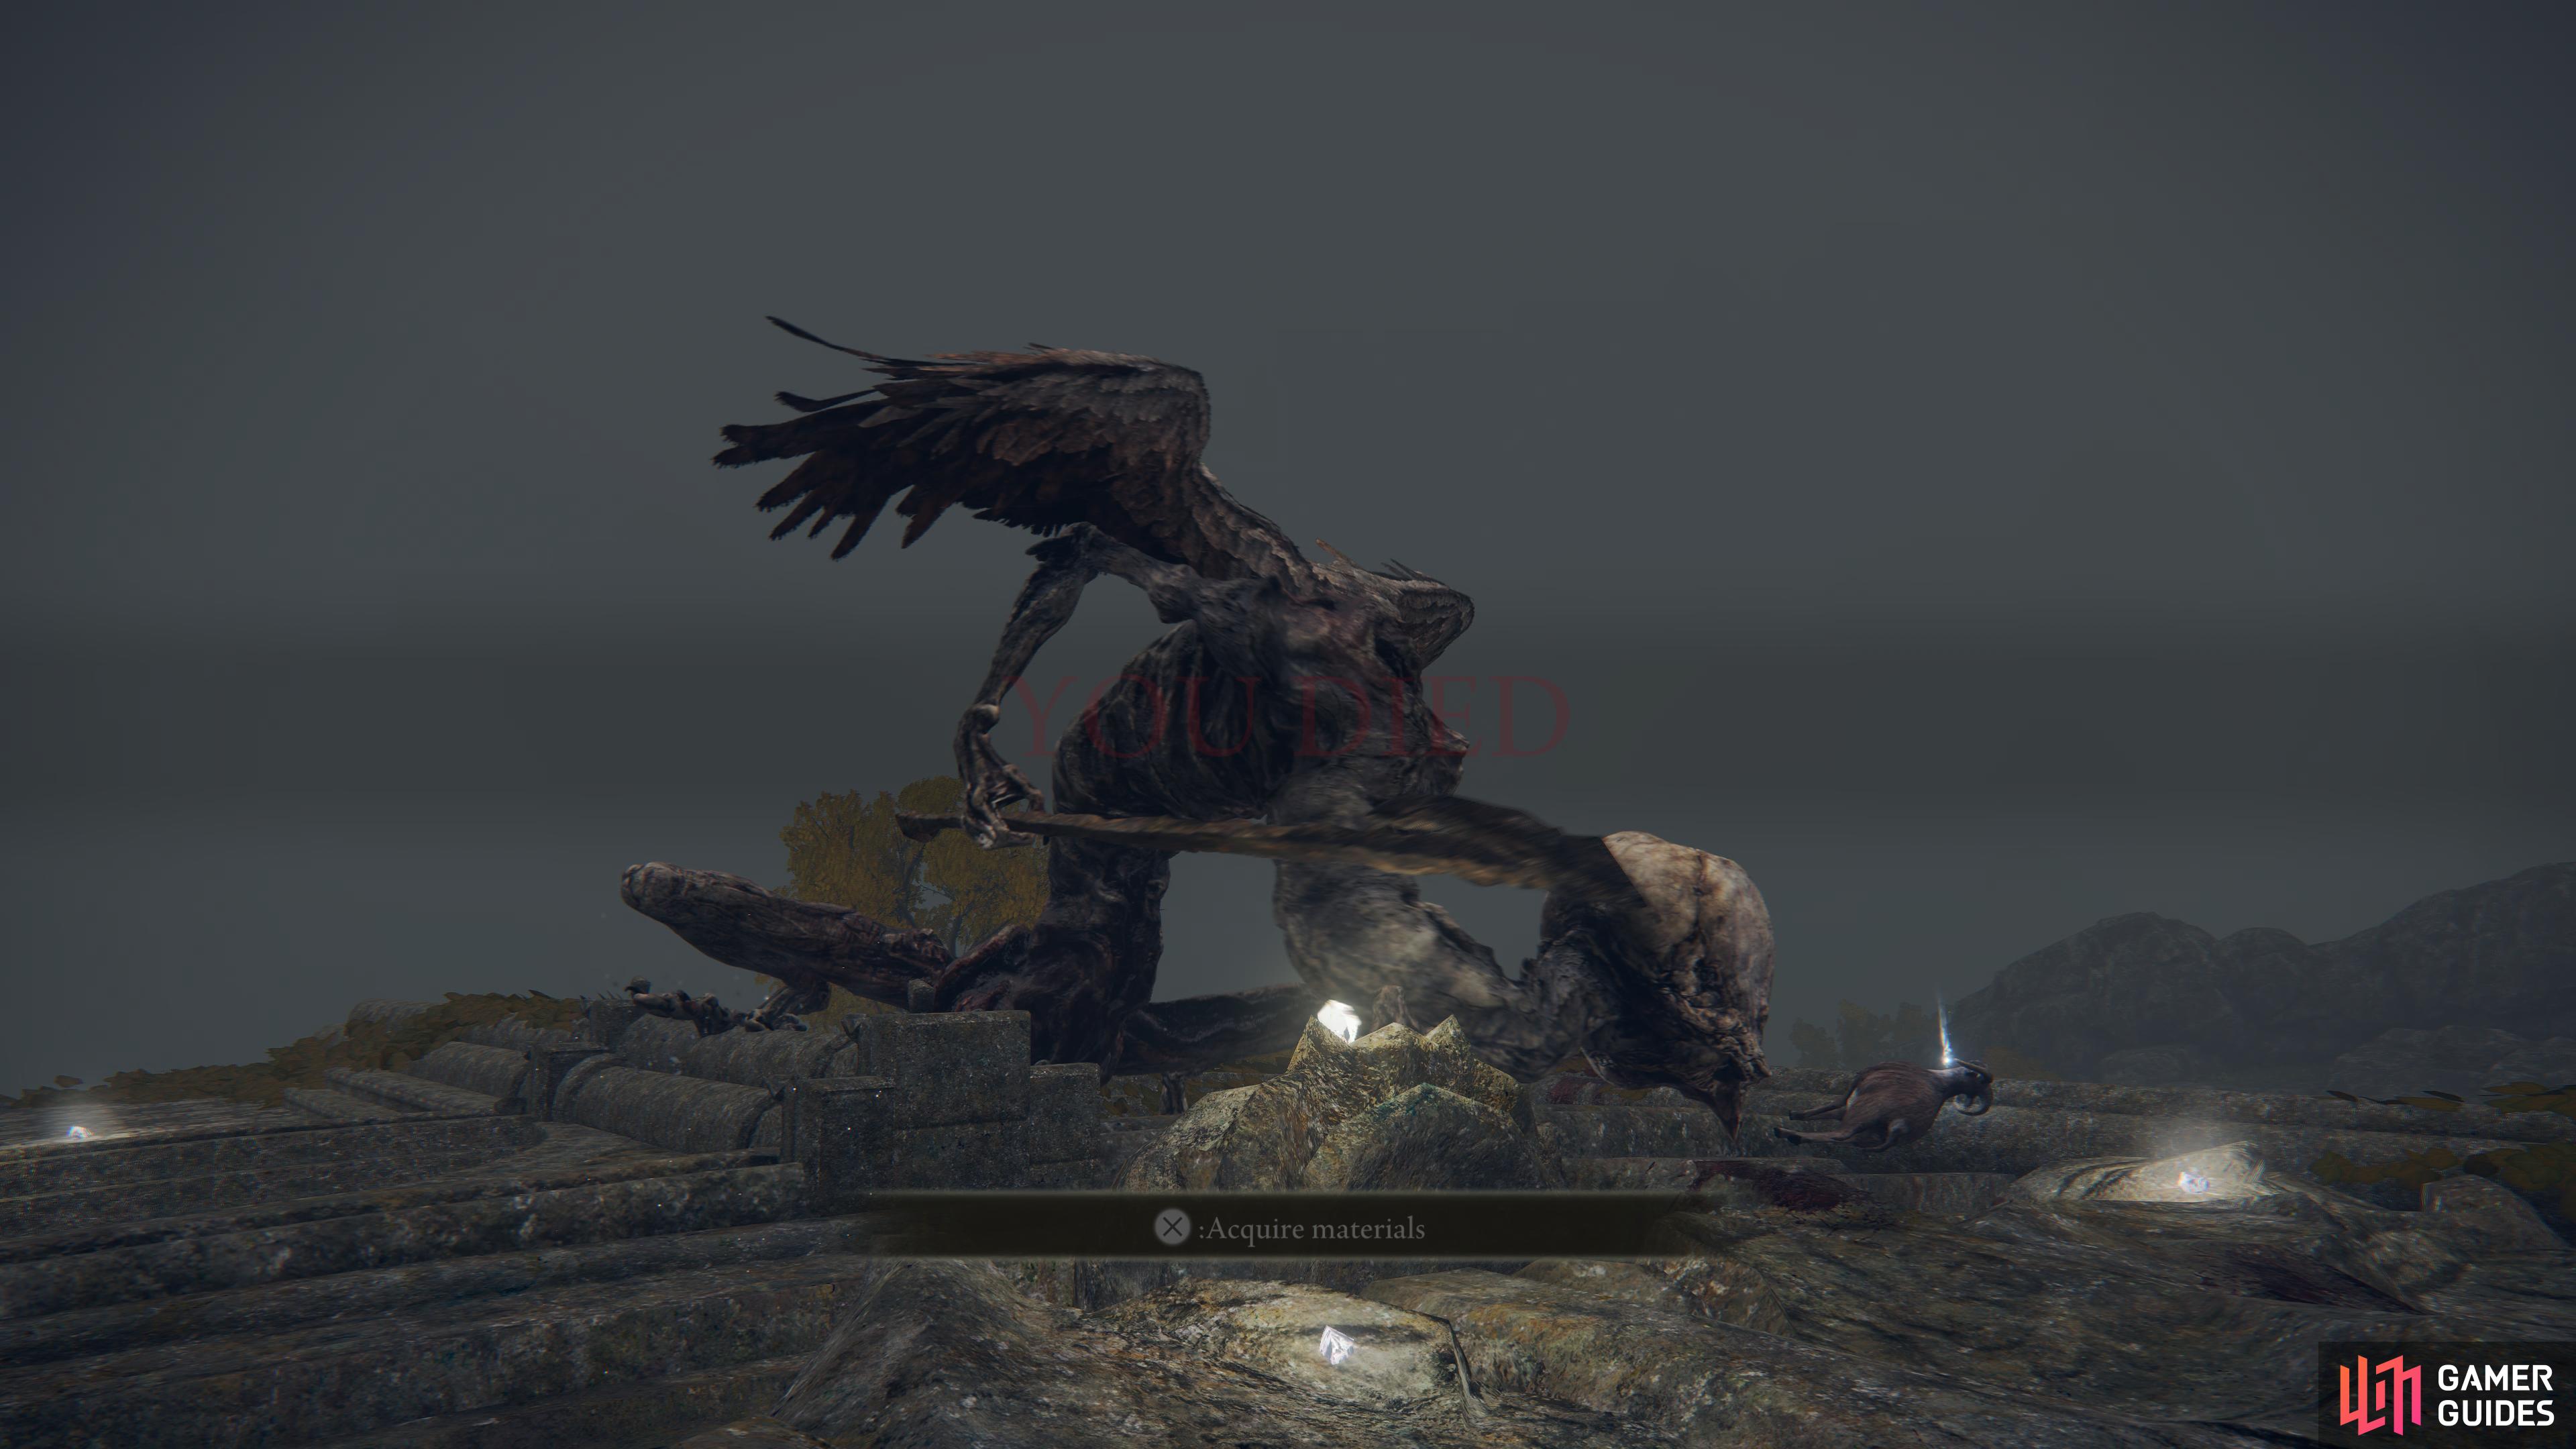
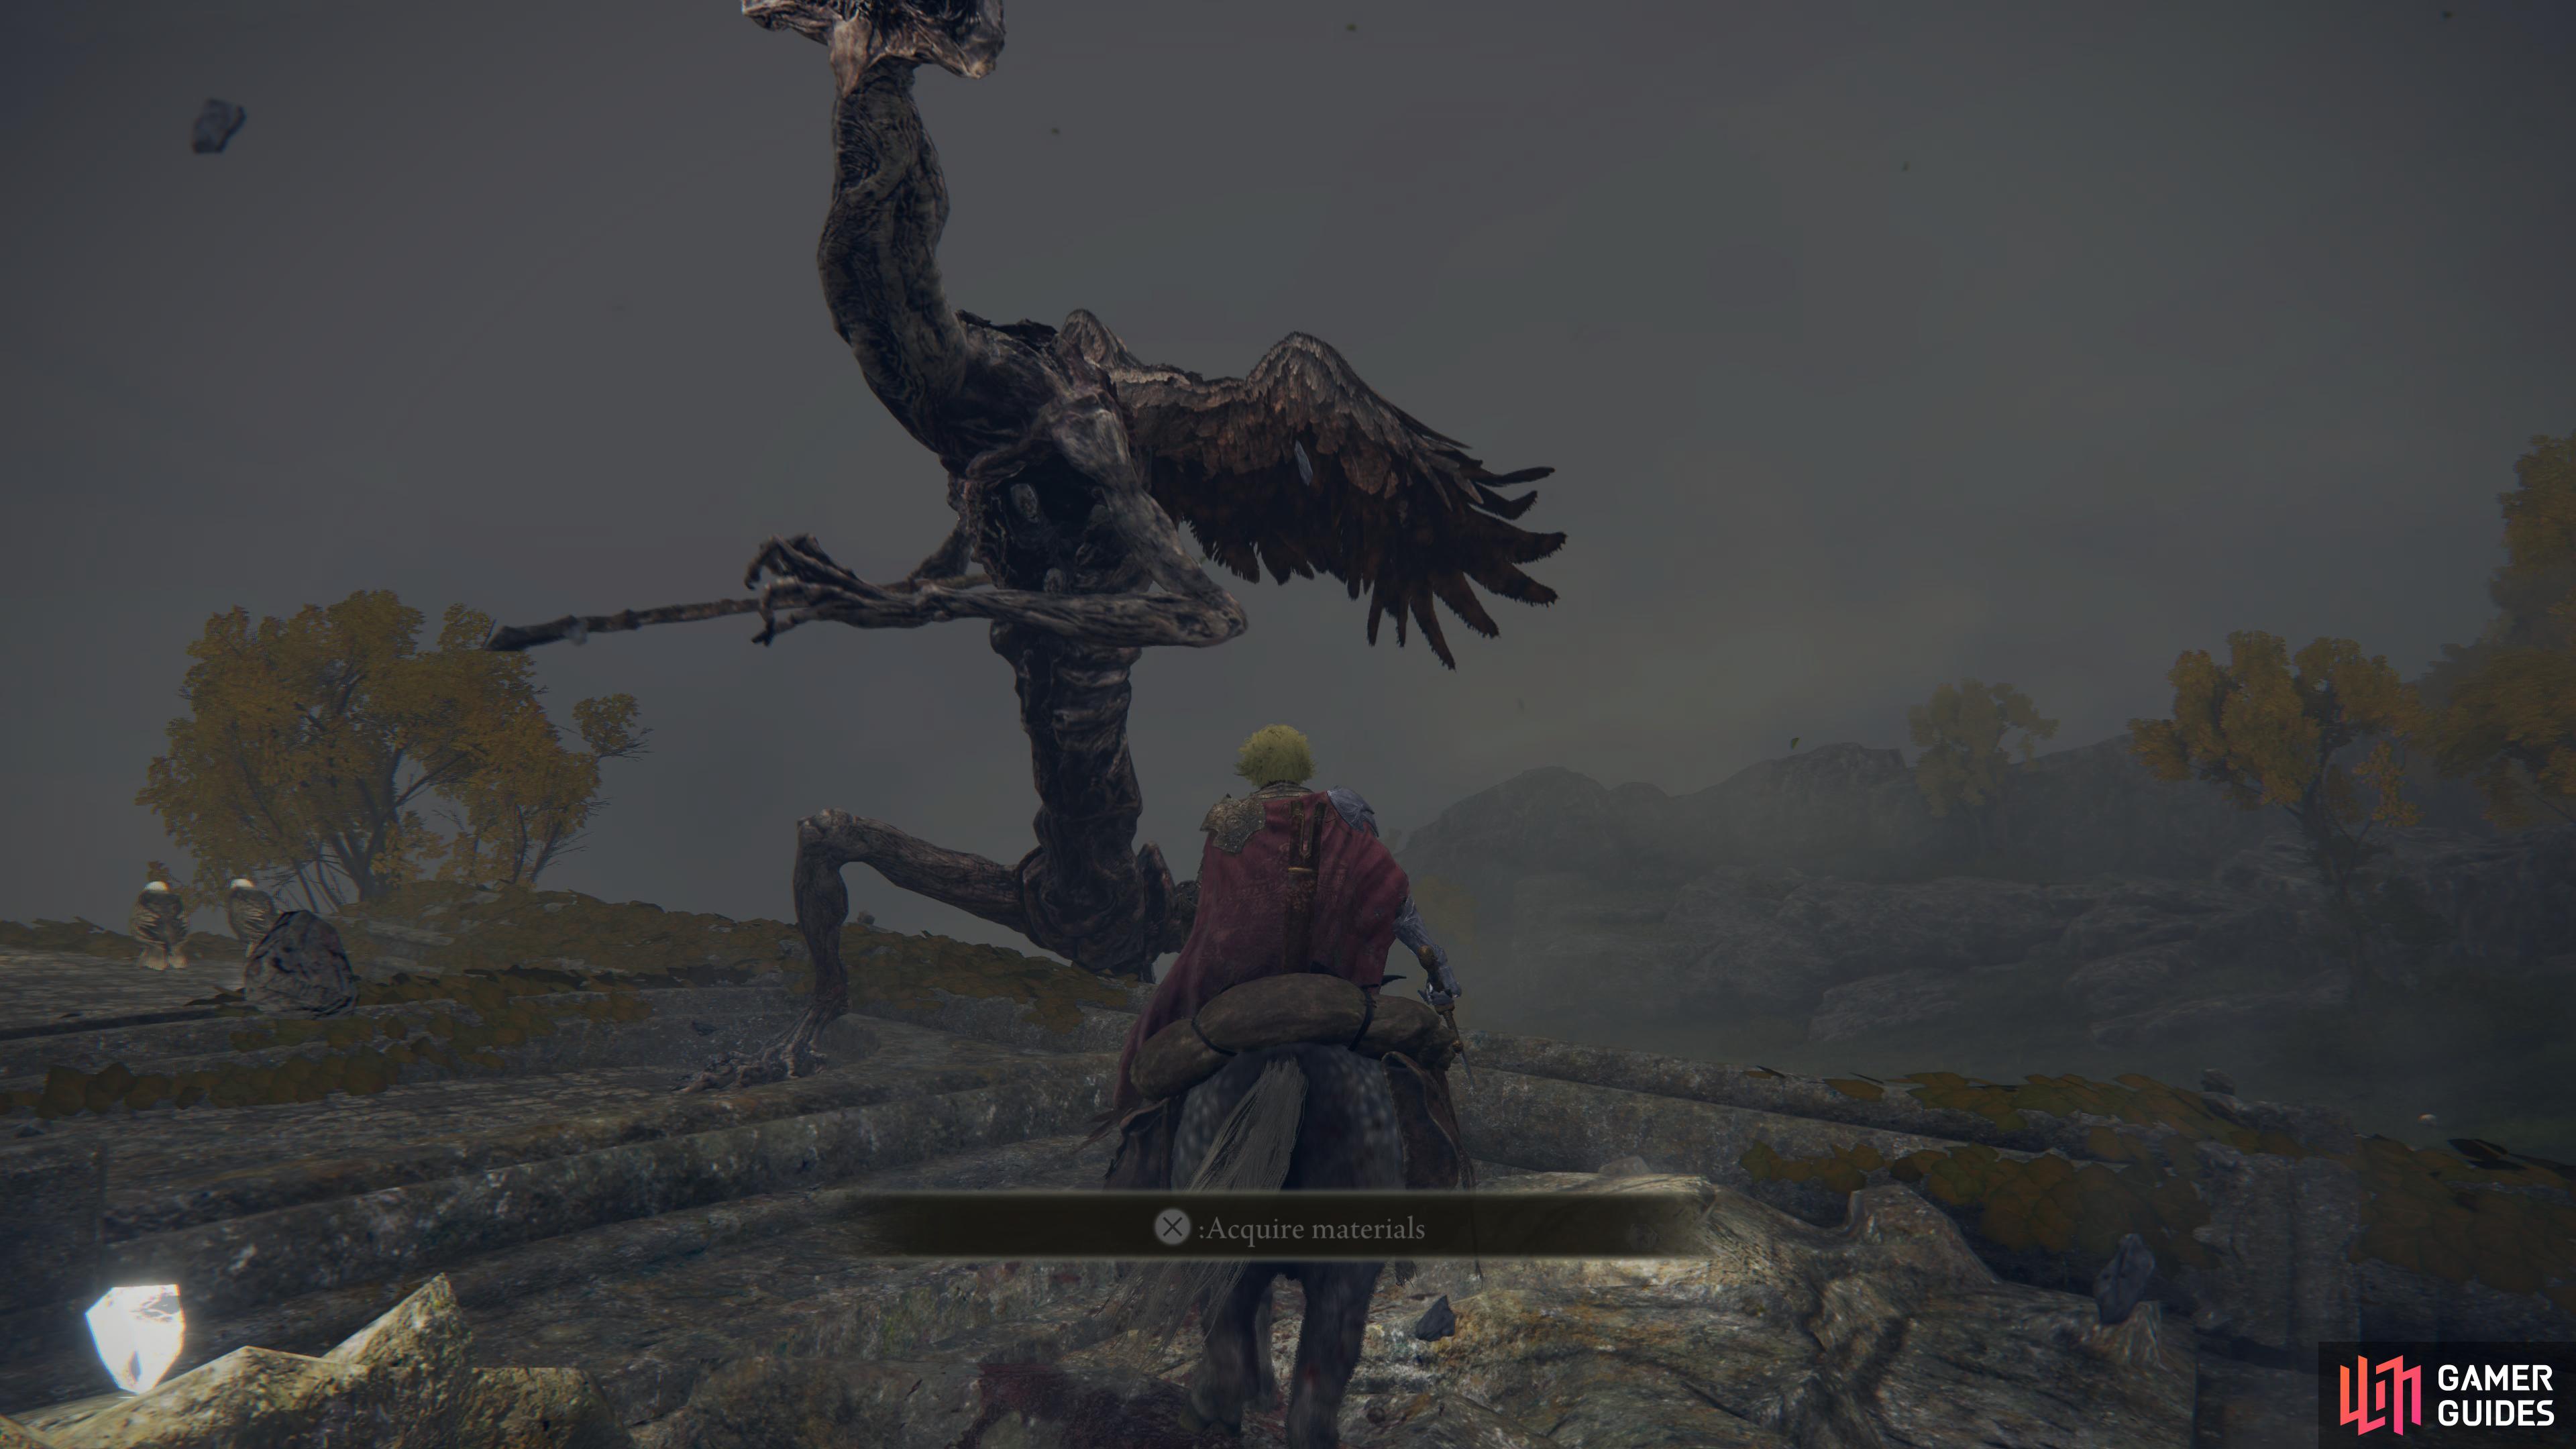
Deathbird’s difficulty can vary based on how you wish to tackle it and what your playstyle is. If you’re a mage with long-range magical capabilities, you can stay on Torrent, keep medium distance and pelt it with spells, its weak to most forms of magic and even attacks like Ash of War: Sacred Blade will put huge dents into its HP. If you’re a straightforward melee however, you’ll want to go toe-to-toe as the best place to be is directly under its legs. With that in mind, your goal should be to find yourself around the legs of the Deathbird at all times, the only attack you’ll have to watch out for at this point is the Sweep and Leap, but that can be avoided by rolling through the first sweep. Just be wary not to find yourself standing under its head, it will use Peck on you and if it it uses it multiple times, the damage can really add up, especially as you won’t be able to guard through it. For a full strategy guide, see our boss page here.
Lore
The birds are graveyard fire keepers; it is said they rake out the ashen remains of the dead from their kilns.
Location
Deathbird will actually show up in multiple locations in the Lands Between, but this particular boss will appear south of Warmaster’s Shack at night only. Head to the Grace at the shack and change the time to night, then head south where the Trolls usually roam and you’ll soon be attacked by Deathbird.
Info
Although you can use Torrent in this battle, you should fight this battle on the ground if you are melee, opting to keep under its legs. As a mage, it’s safe to stick to horseback and pelt it with magic from range.
Location
1×
Item Drops
1×
|
Field Boss |
2,800 |
|
|||||||||||||||||||||||||||||||||||||||||||||||||||||||||||||||||||||||||||||||||||||||||||||
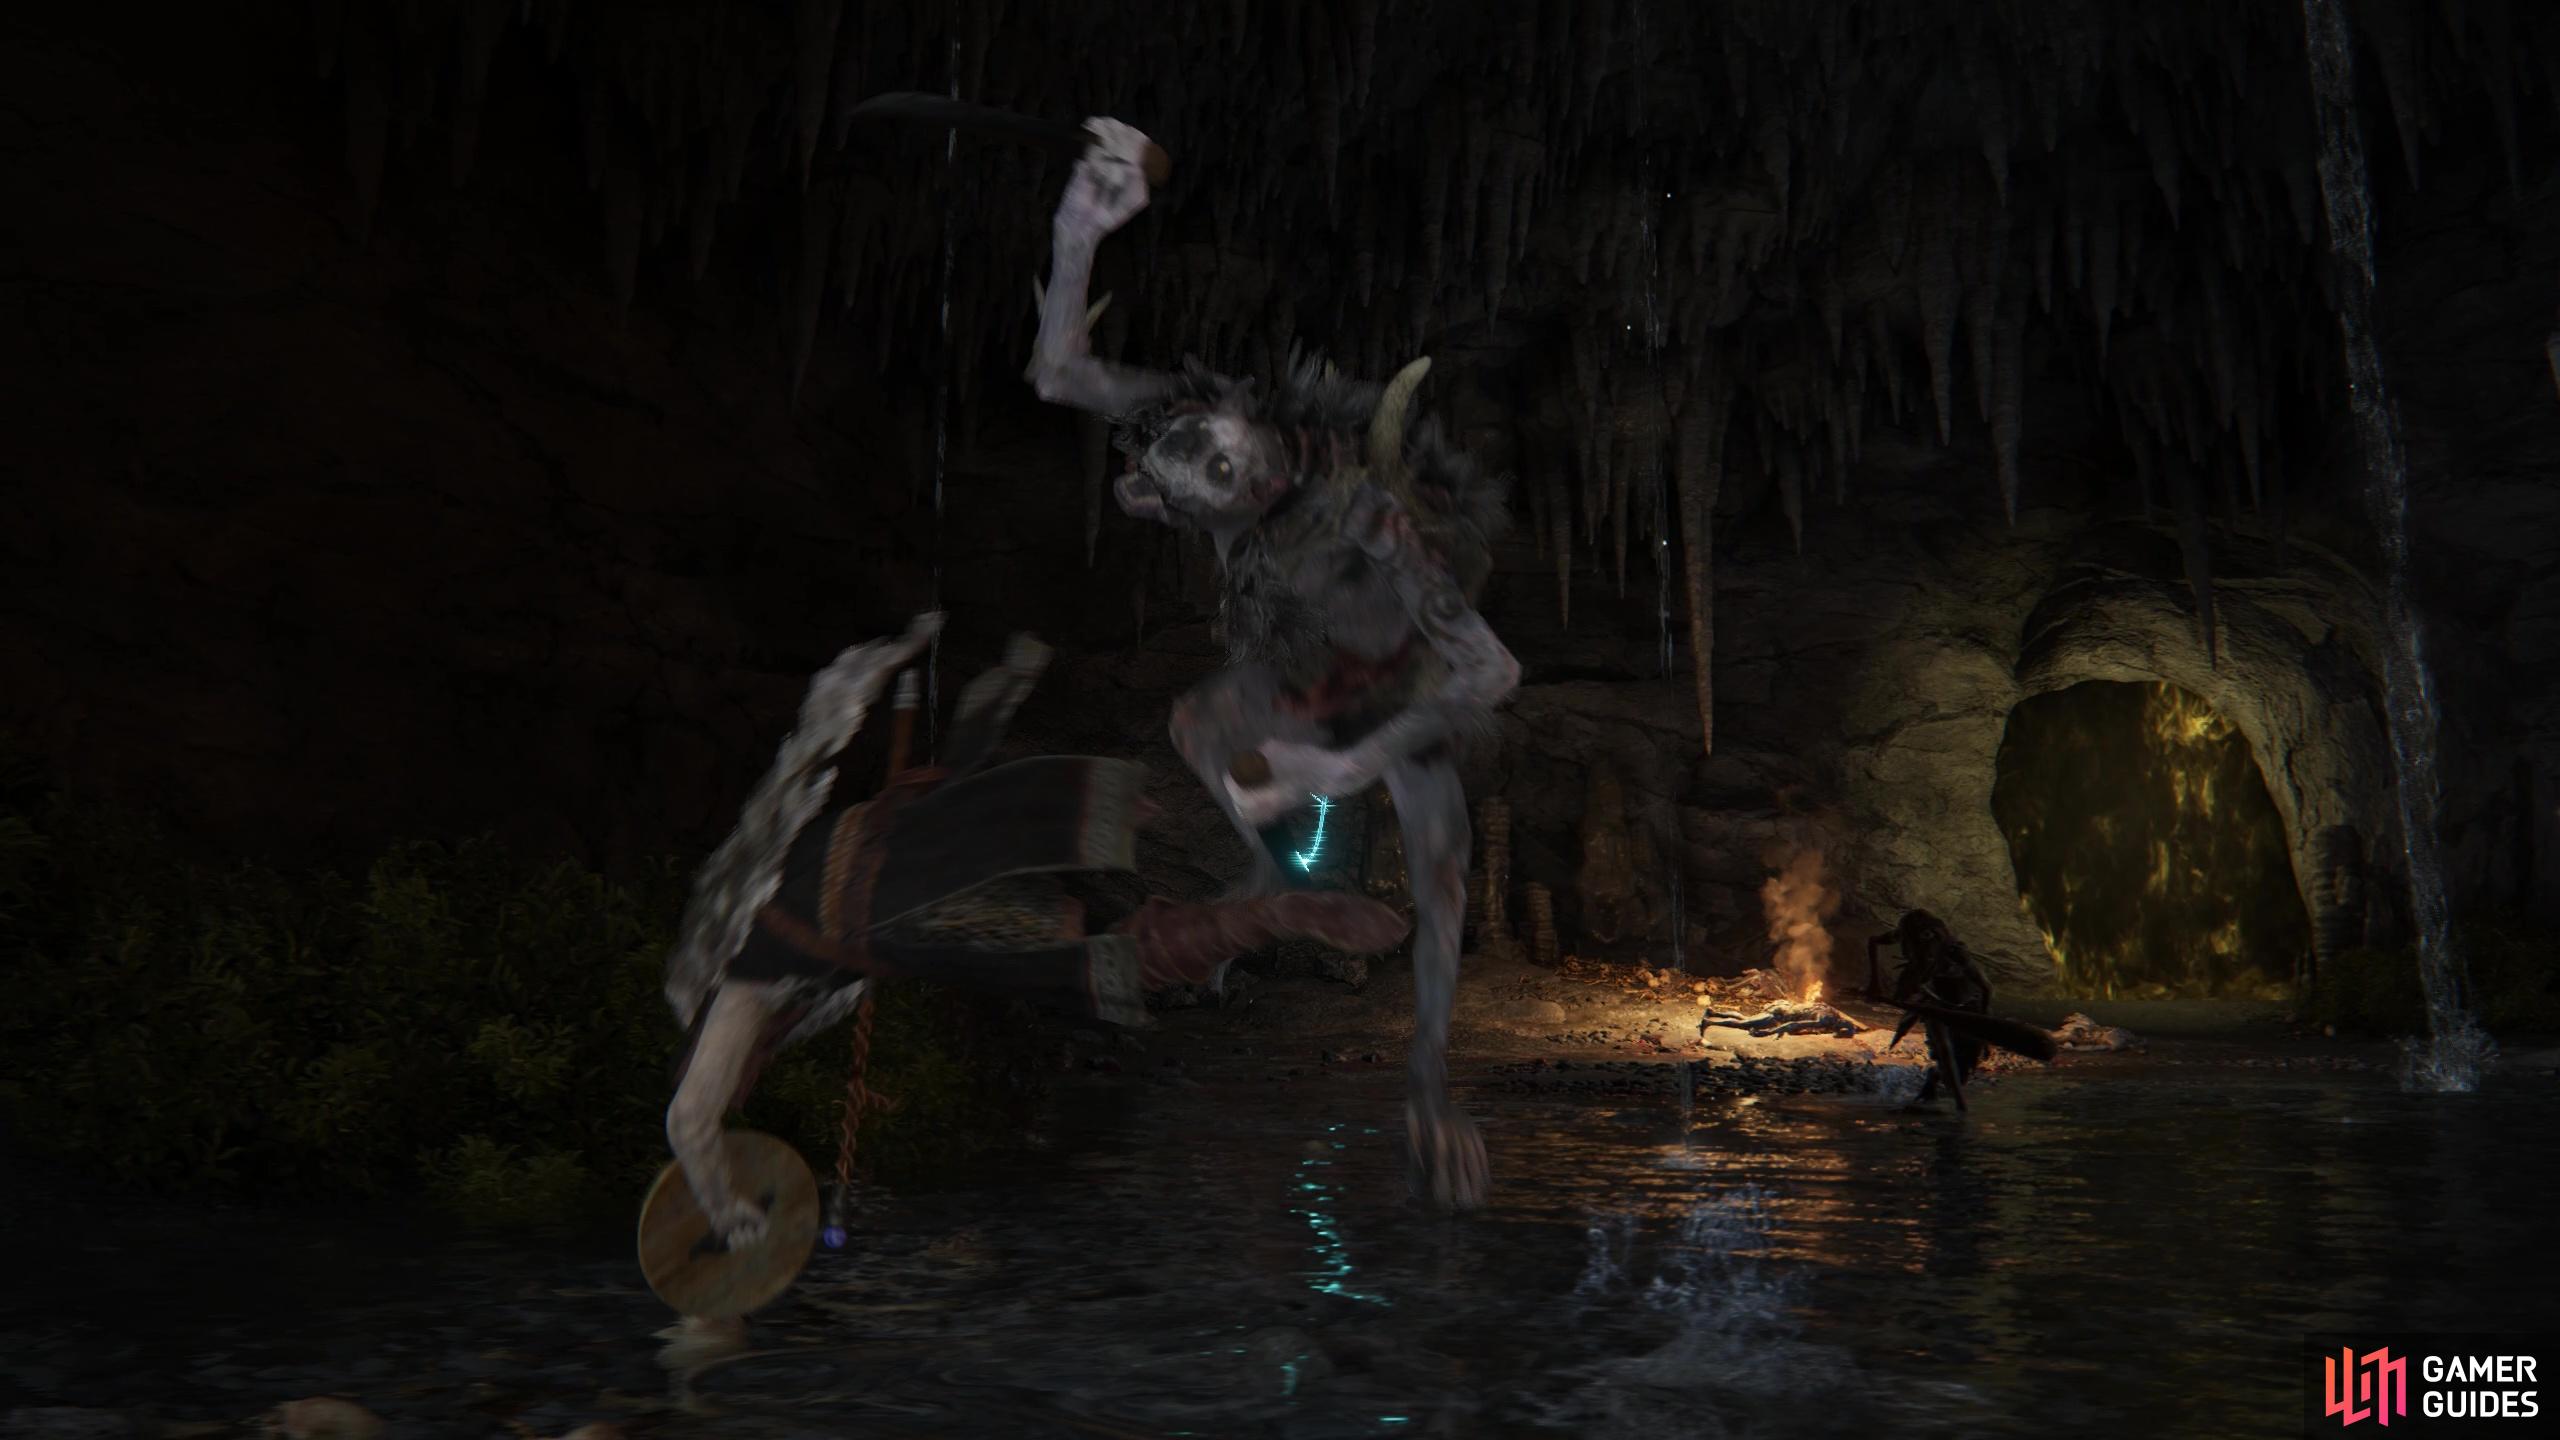
|
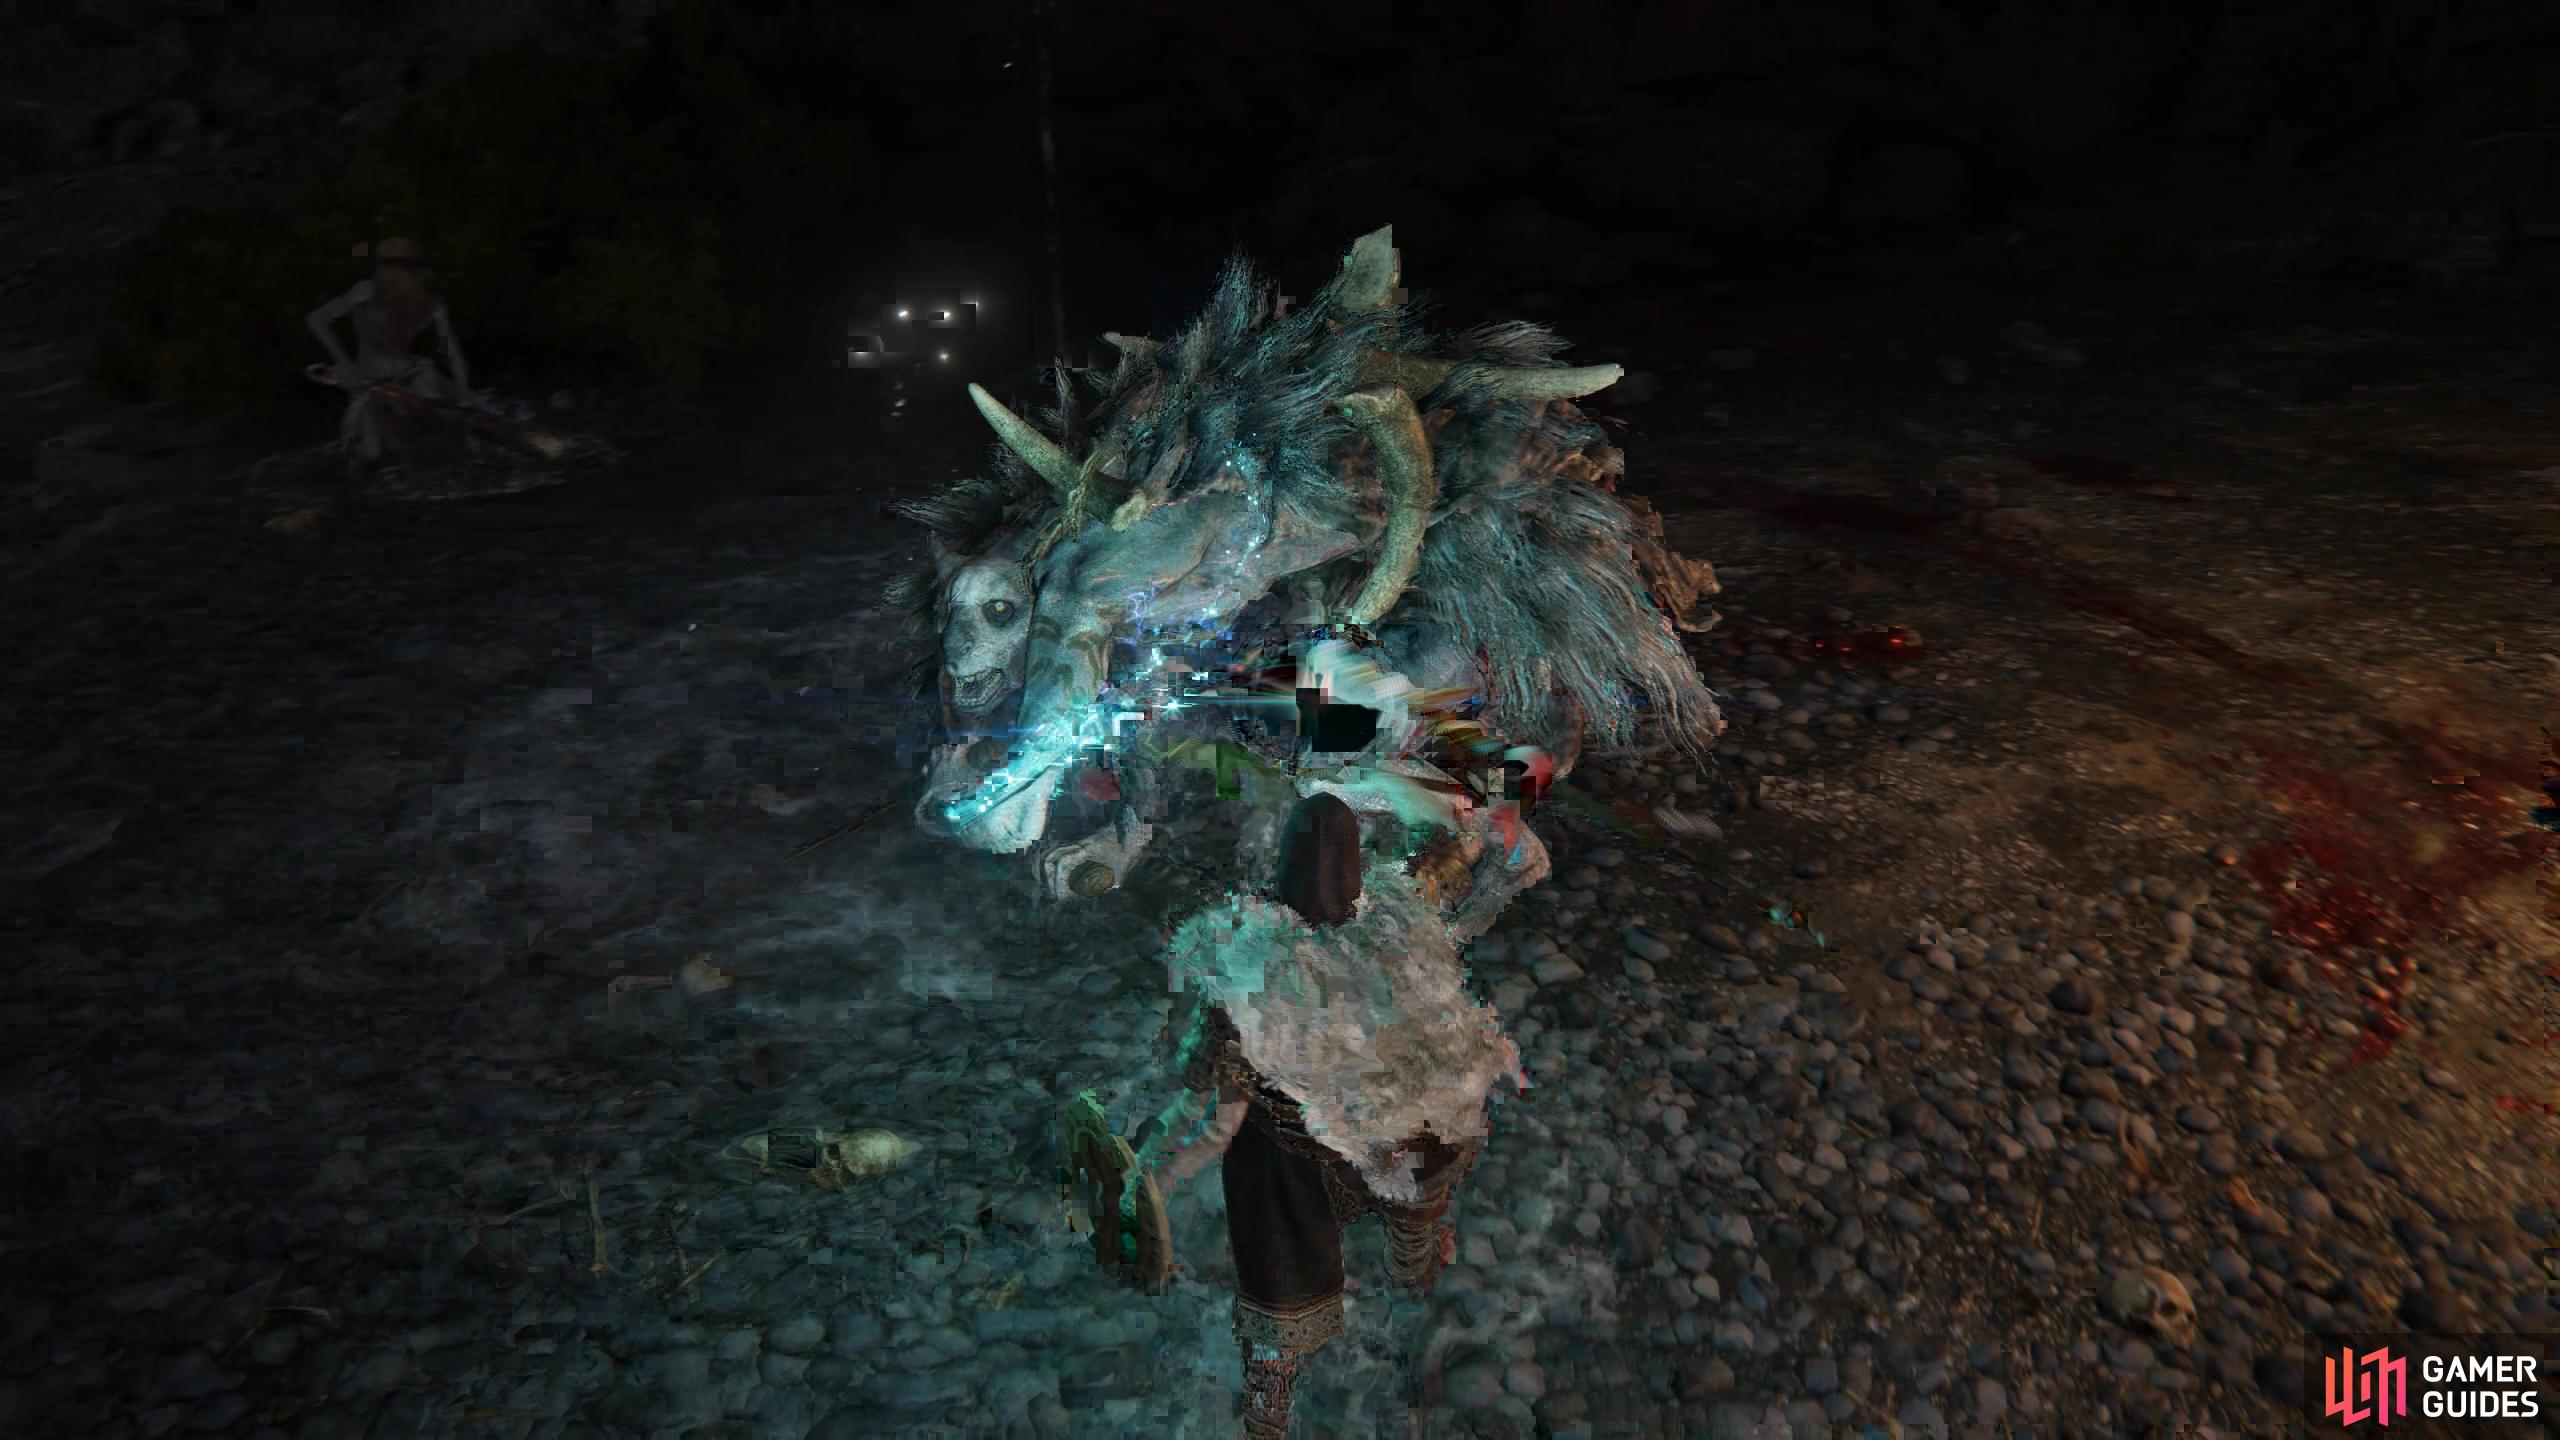
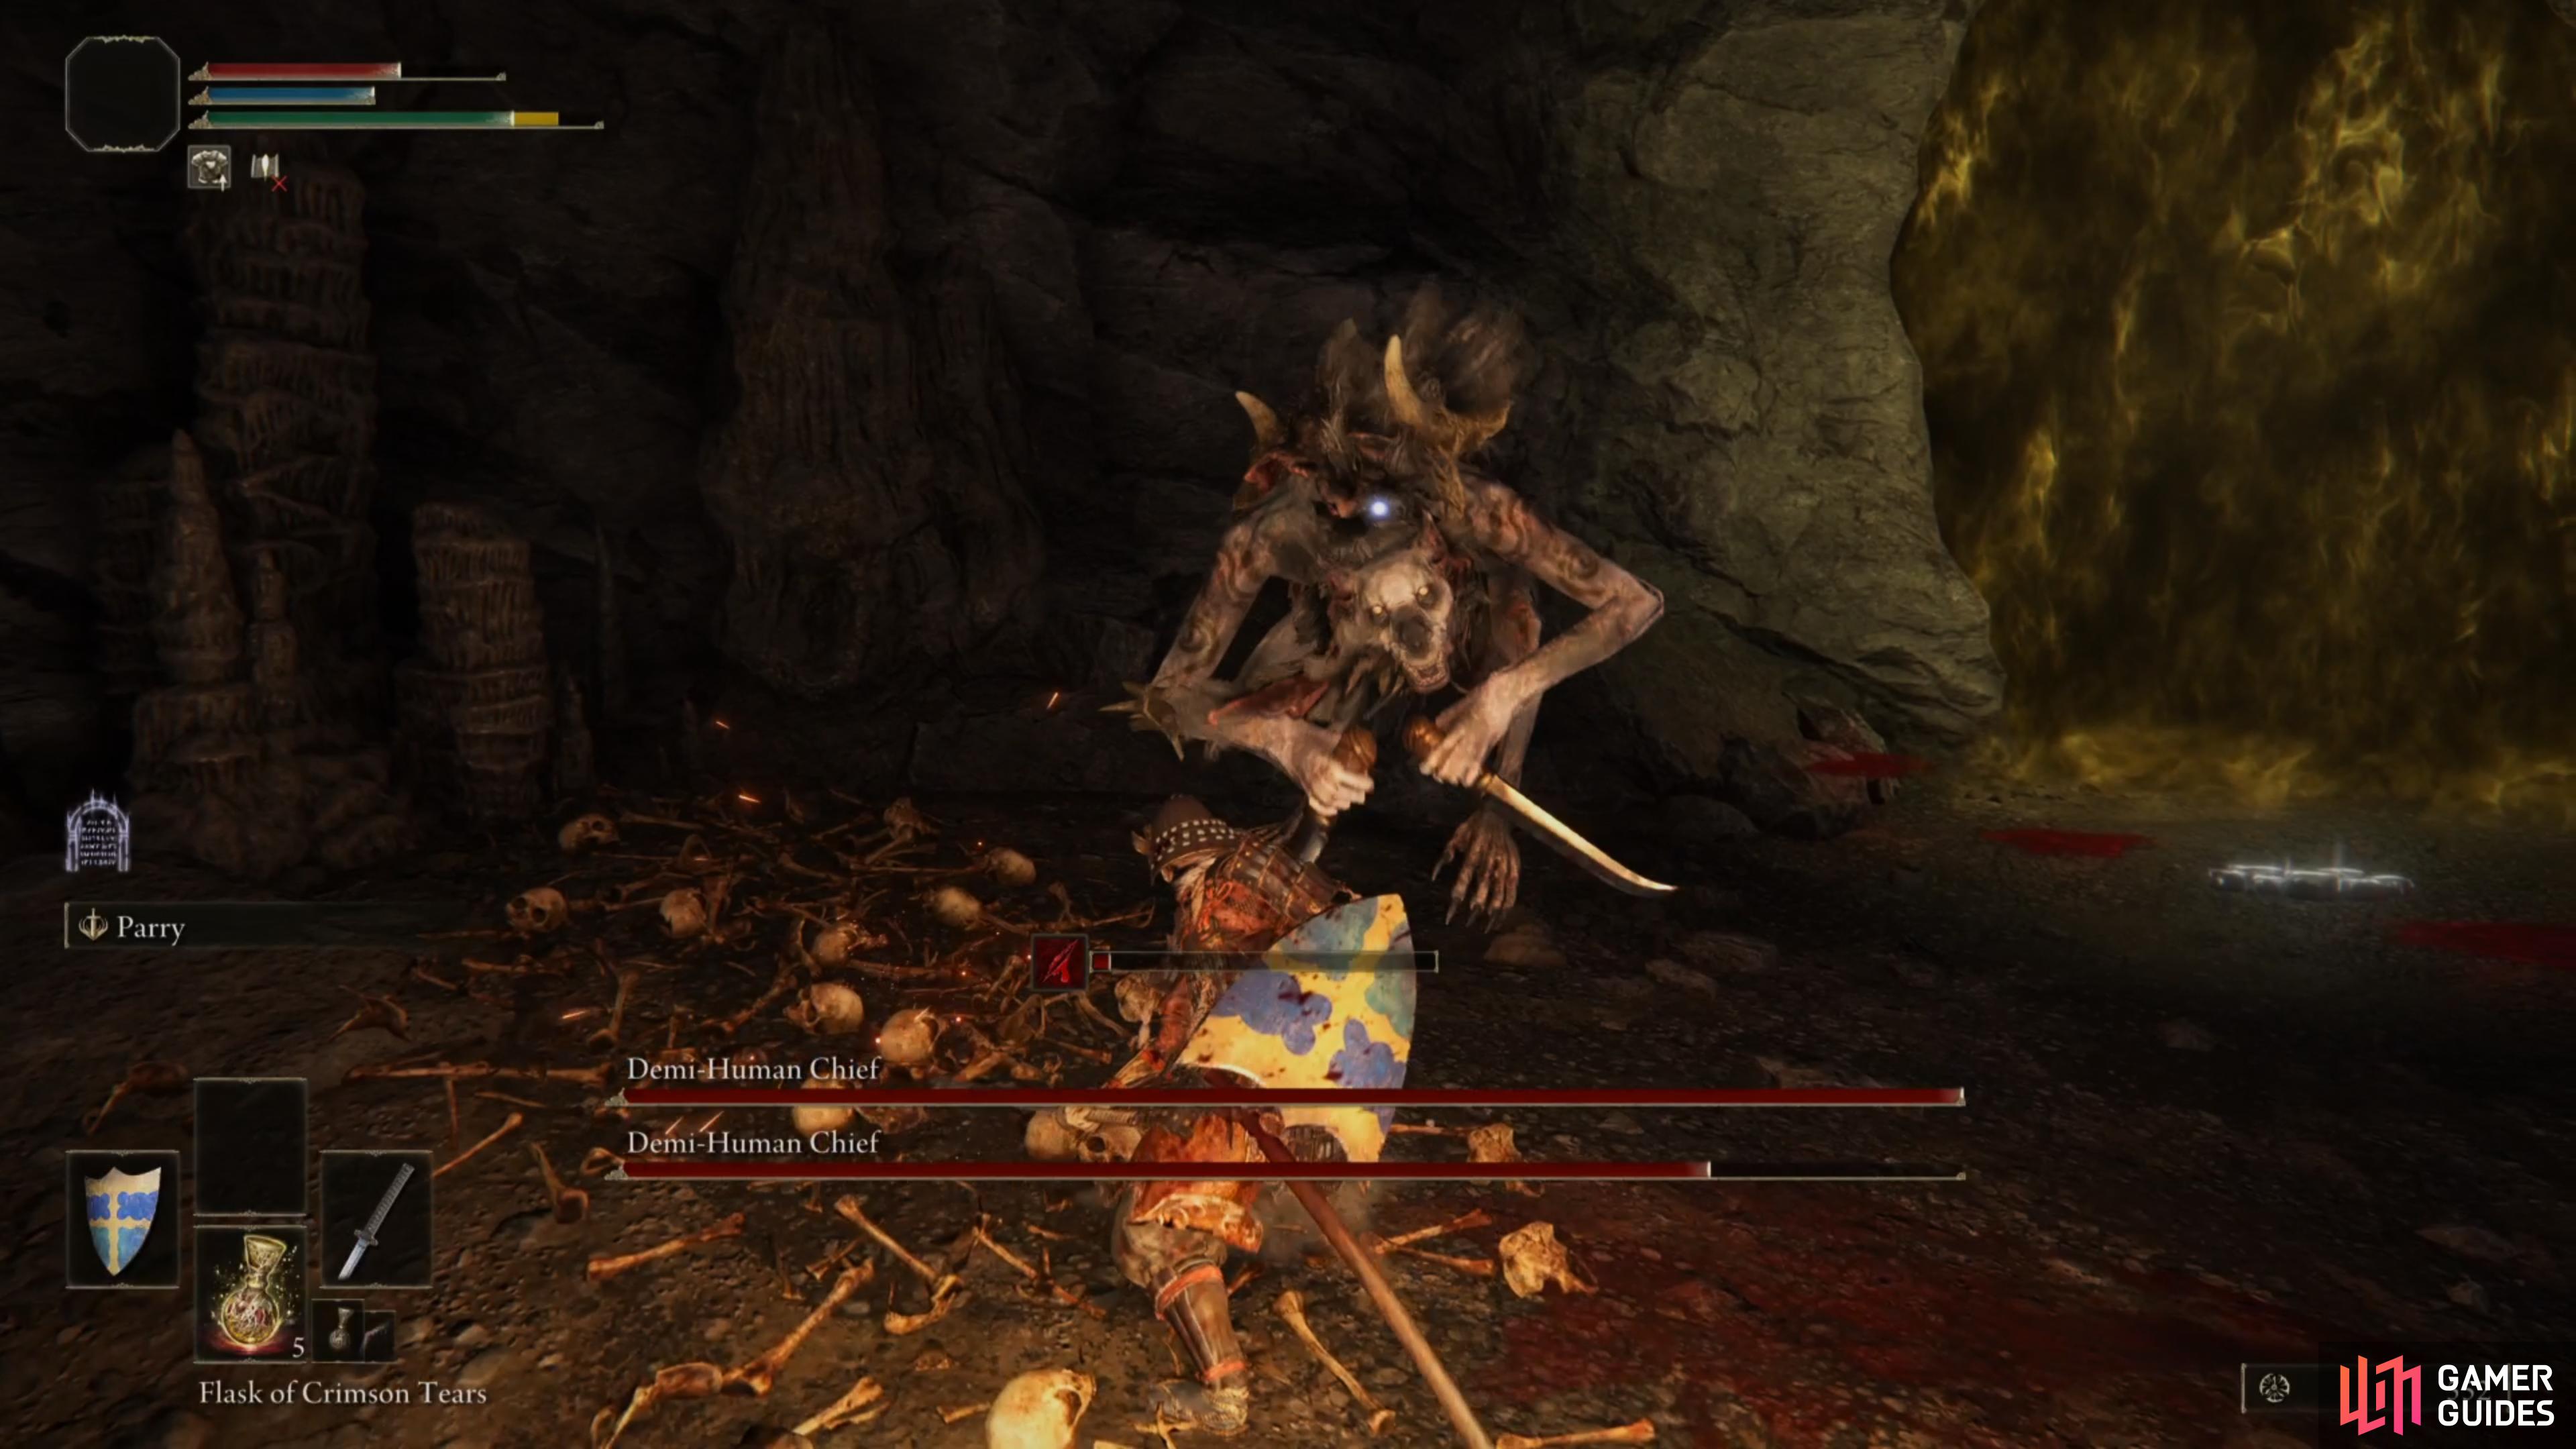
Demi-Human Chief |
As a general rule, it’s a good idea to focus on one boss at a time when you’re facing two of them. This applies here, and it is made easier by the fact that both of the Demi-Human Chiefs have a fairly small amount of health. However, you’ll notice that there are a number of lesser Demi-Humans in the cave which you’ll need to fight alongside the bosses. If you can, it’s a good idea to focus on killing these first so that they don’t cause problems later on. If you’re a magic user, an AoE spell will work well to take a few of them out at the beginning of the fight. As a melee user, try to start the fight by hitting at least two of them with a swipe attack. The Demi-Human Chiefs are fairly quick on their feet, but the attacks are easy to avoid if you keep moving. Try to create some distance between yourself and the bosses before you take out some of the lesser enemies, and don’t get too greedy with chain attacks. You can execute 1-2 attacks each time you stop, but you’ll want to move on again to preserve stamina and avoid being overwhelmed by any enemies that might have caught up at this point. Once all the lesser enemies are dead, try to focus on one of the bosses first. For a full strategy guide, see our boss page here.
Lore
The chief of the the local demi-humans of Limgrave, who have attempted to foster relationships with the rulers of Limgrave.
Location
You’ll find the Demi-Human Chief boss at the Coastal Cave in southwestern Limgrave, southwest of the Church of Elleh. The cave hosts a number of lesser Demi-Humans that you’ll need to defeat as you make your way through. You’ll also be fighting a number of these lesser enemies alongside the two Demi-Human Chiefs in the main chamber.
Info
If you haven’t done so already, be sure to find and speak with Boc the Seamaster, who can initially be found disguised as a small tree / bush just northwest of Murkwater Bridge. This Quest will eventually lead you to Coastal Cave.
Location
1×
Item Drops
1×
Item Drops
1×
|
Field Boss |
900 |
|
|||||||||||||||||||||||||||||||||||||||||||||||||||||||||||||||||||||||||||||||||||||||||||||

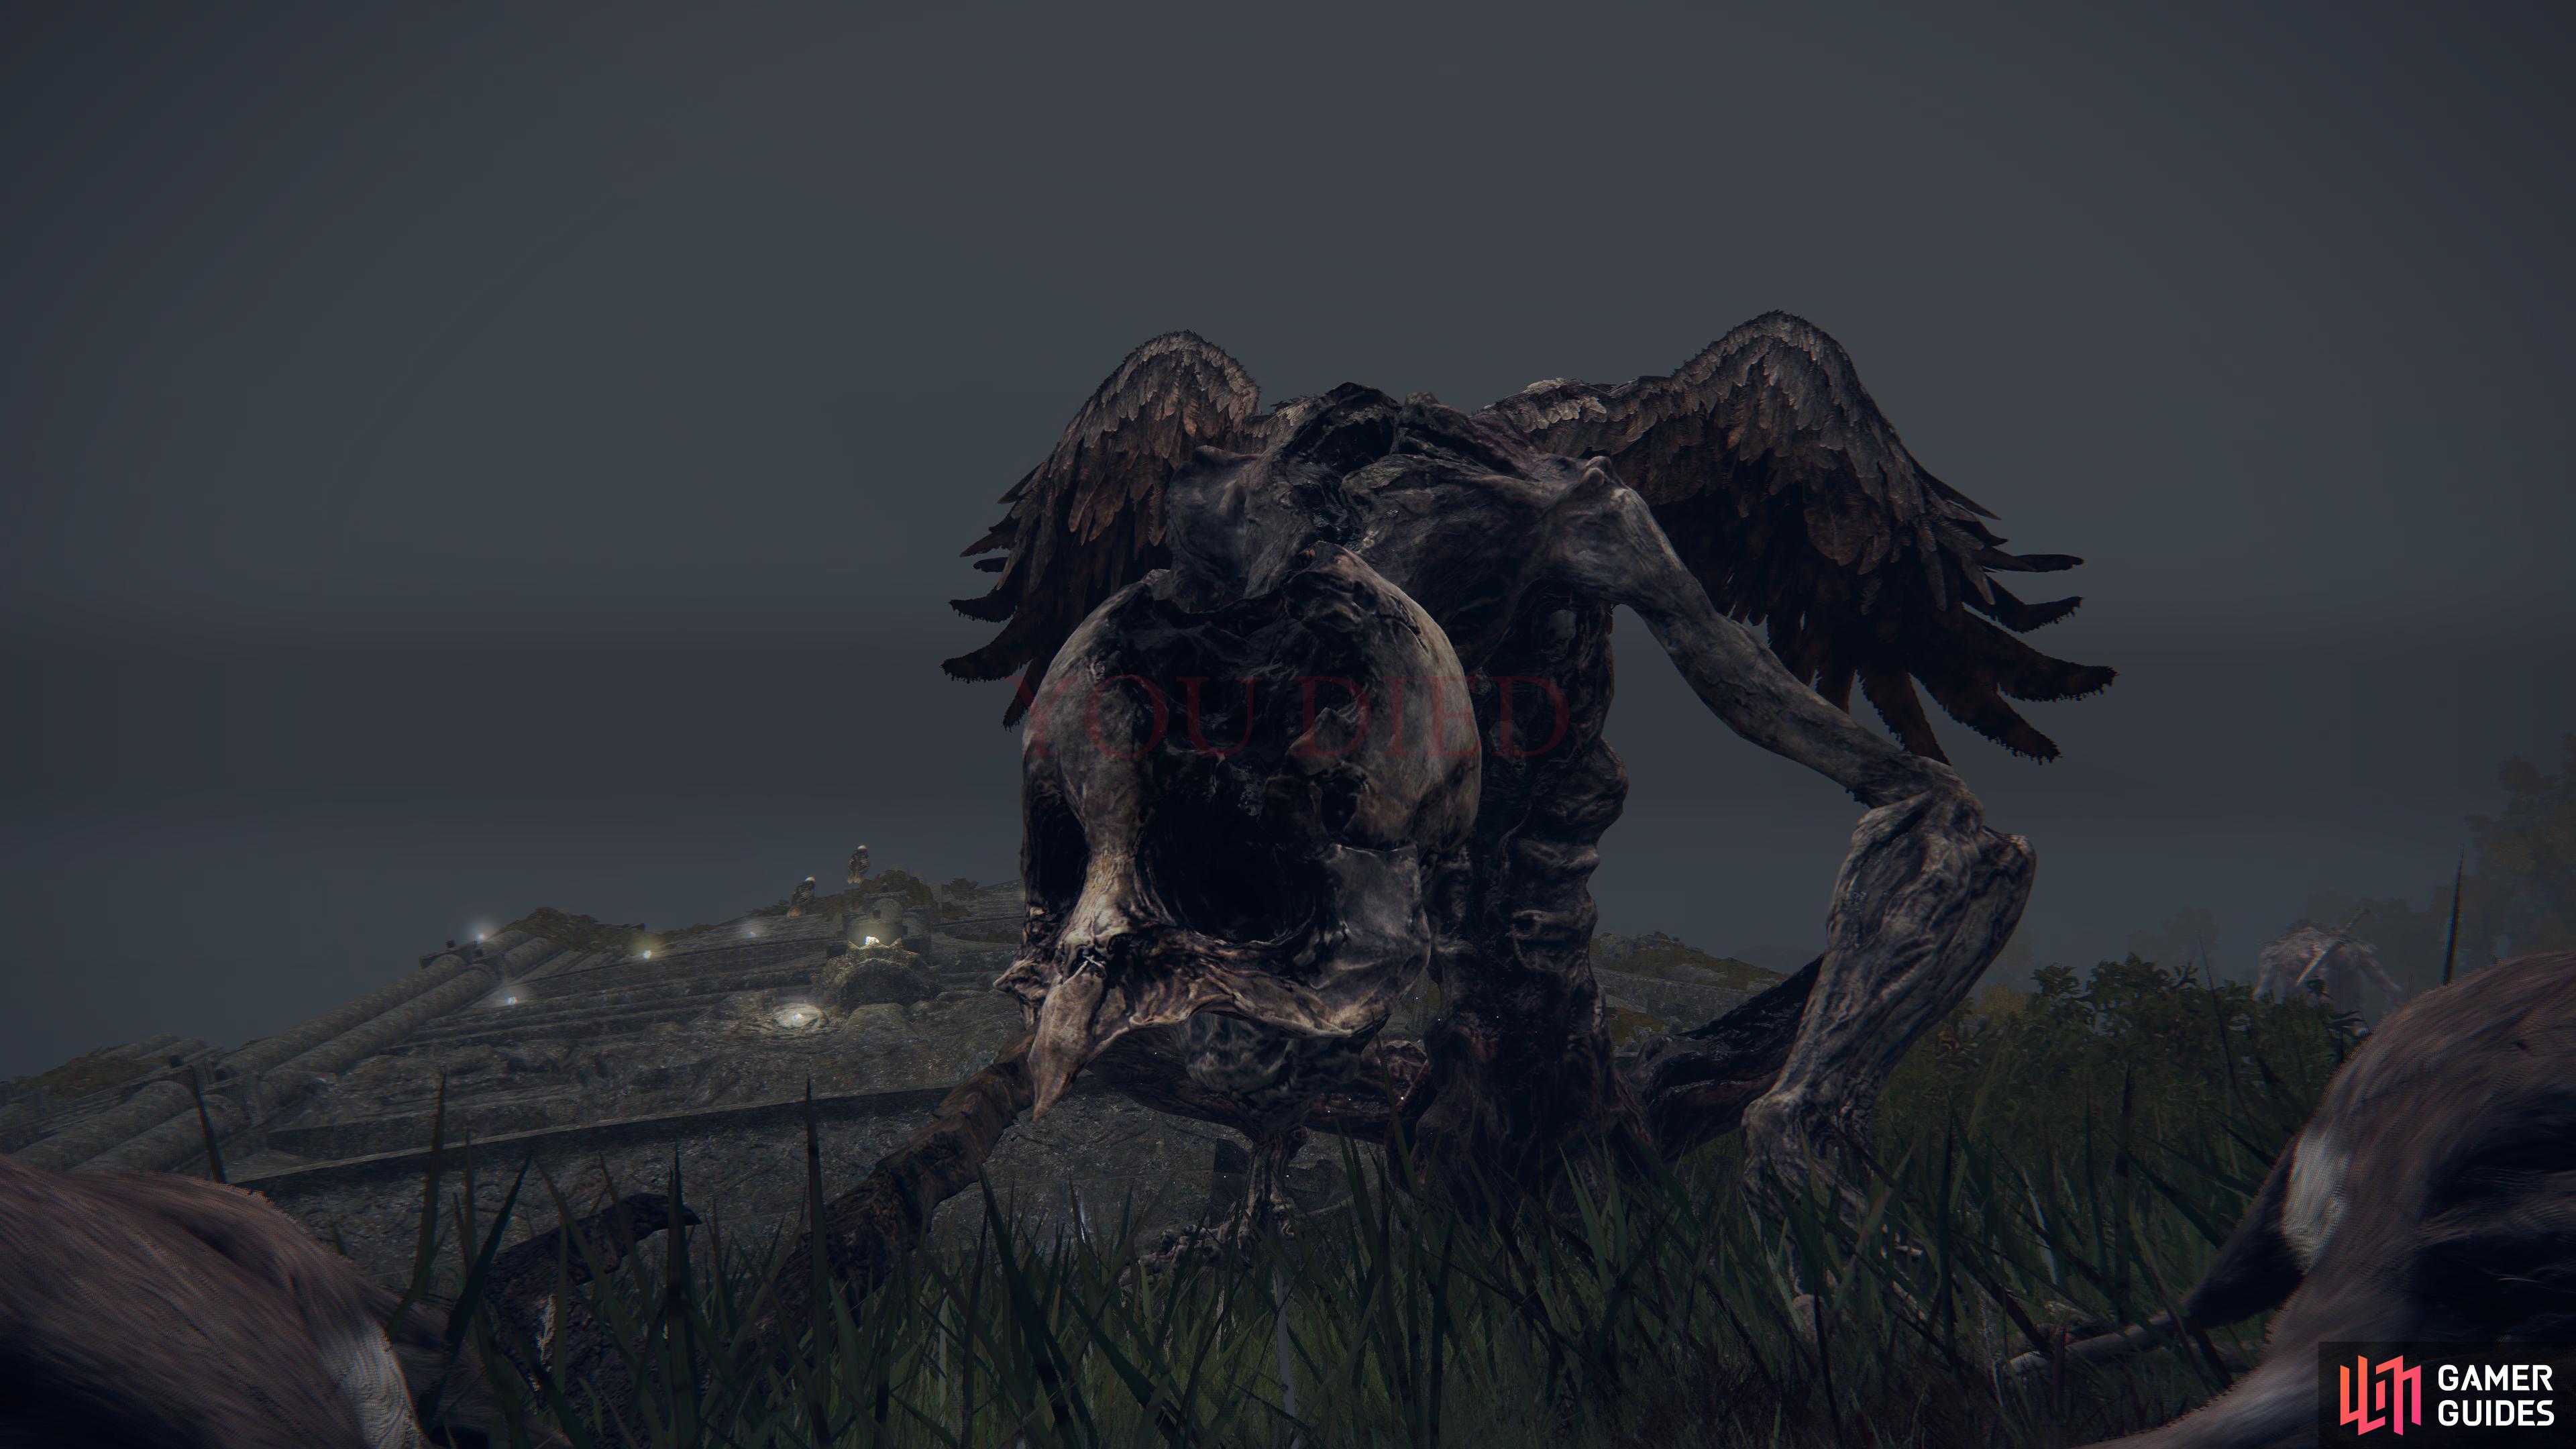
|
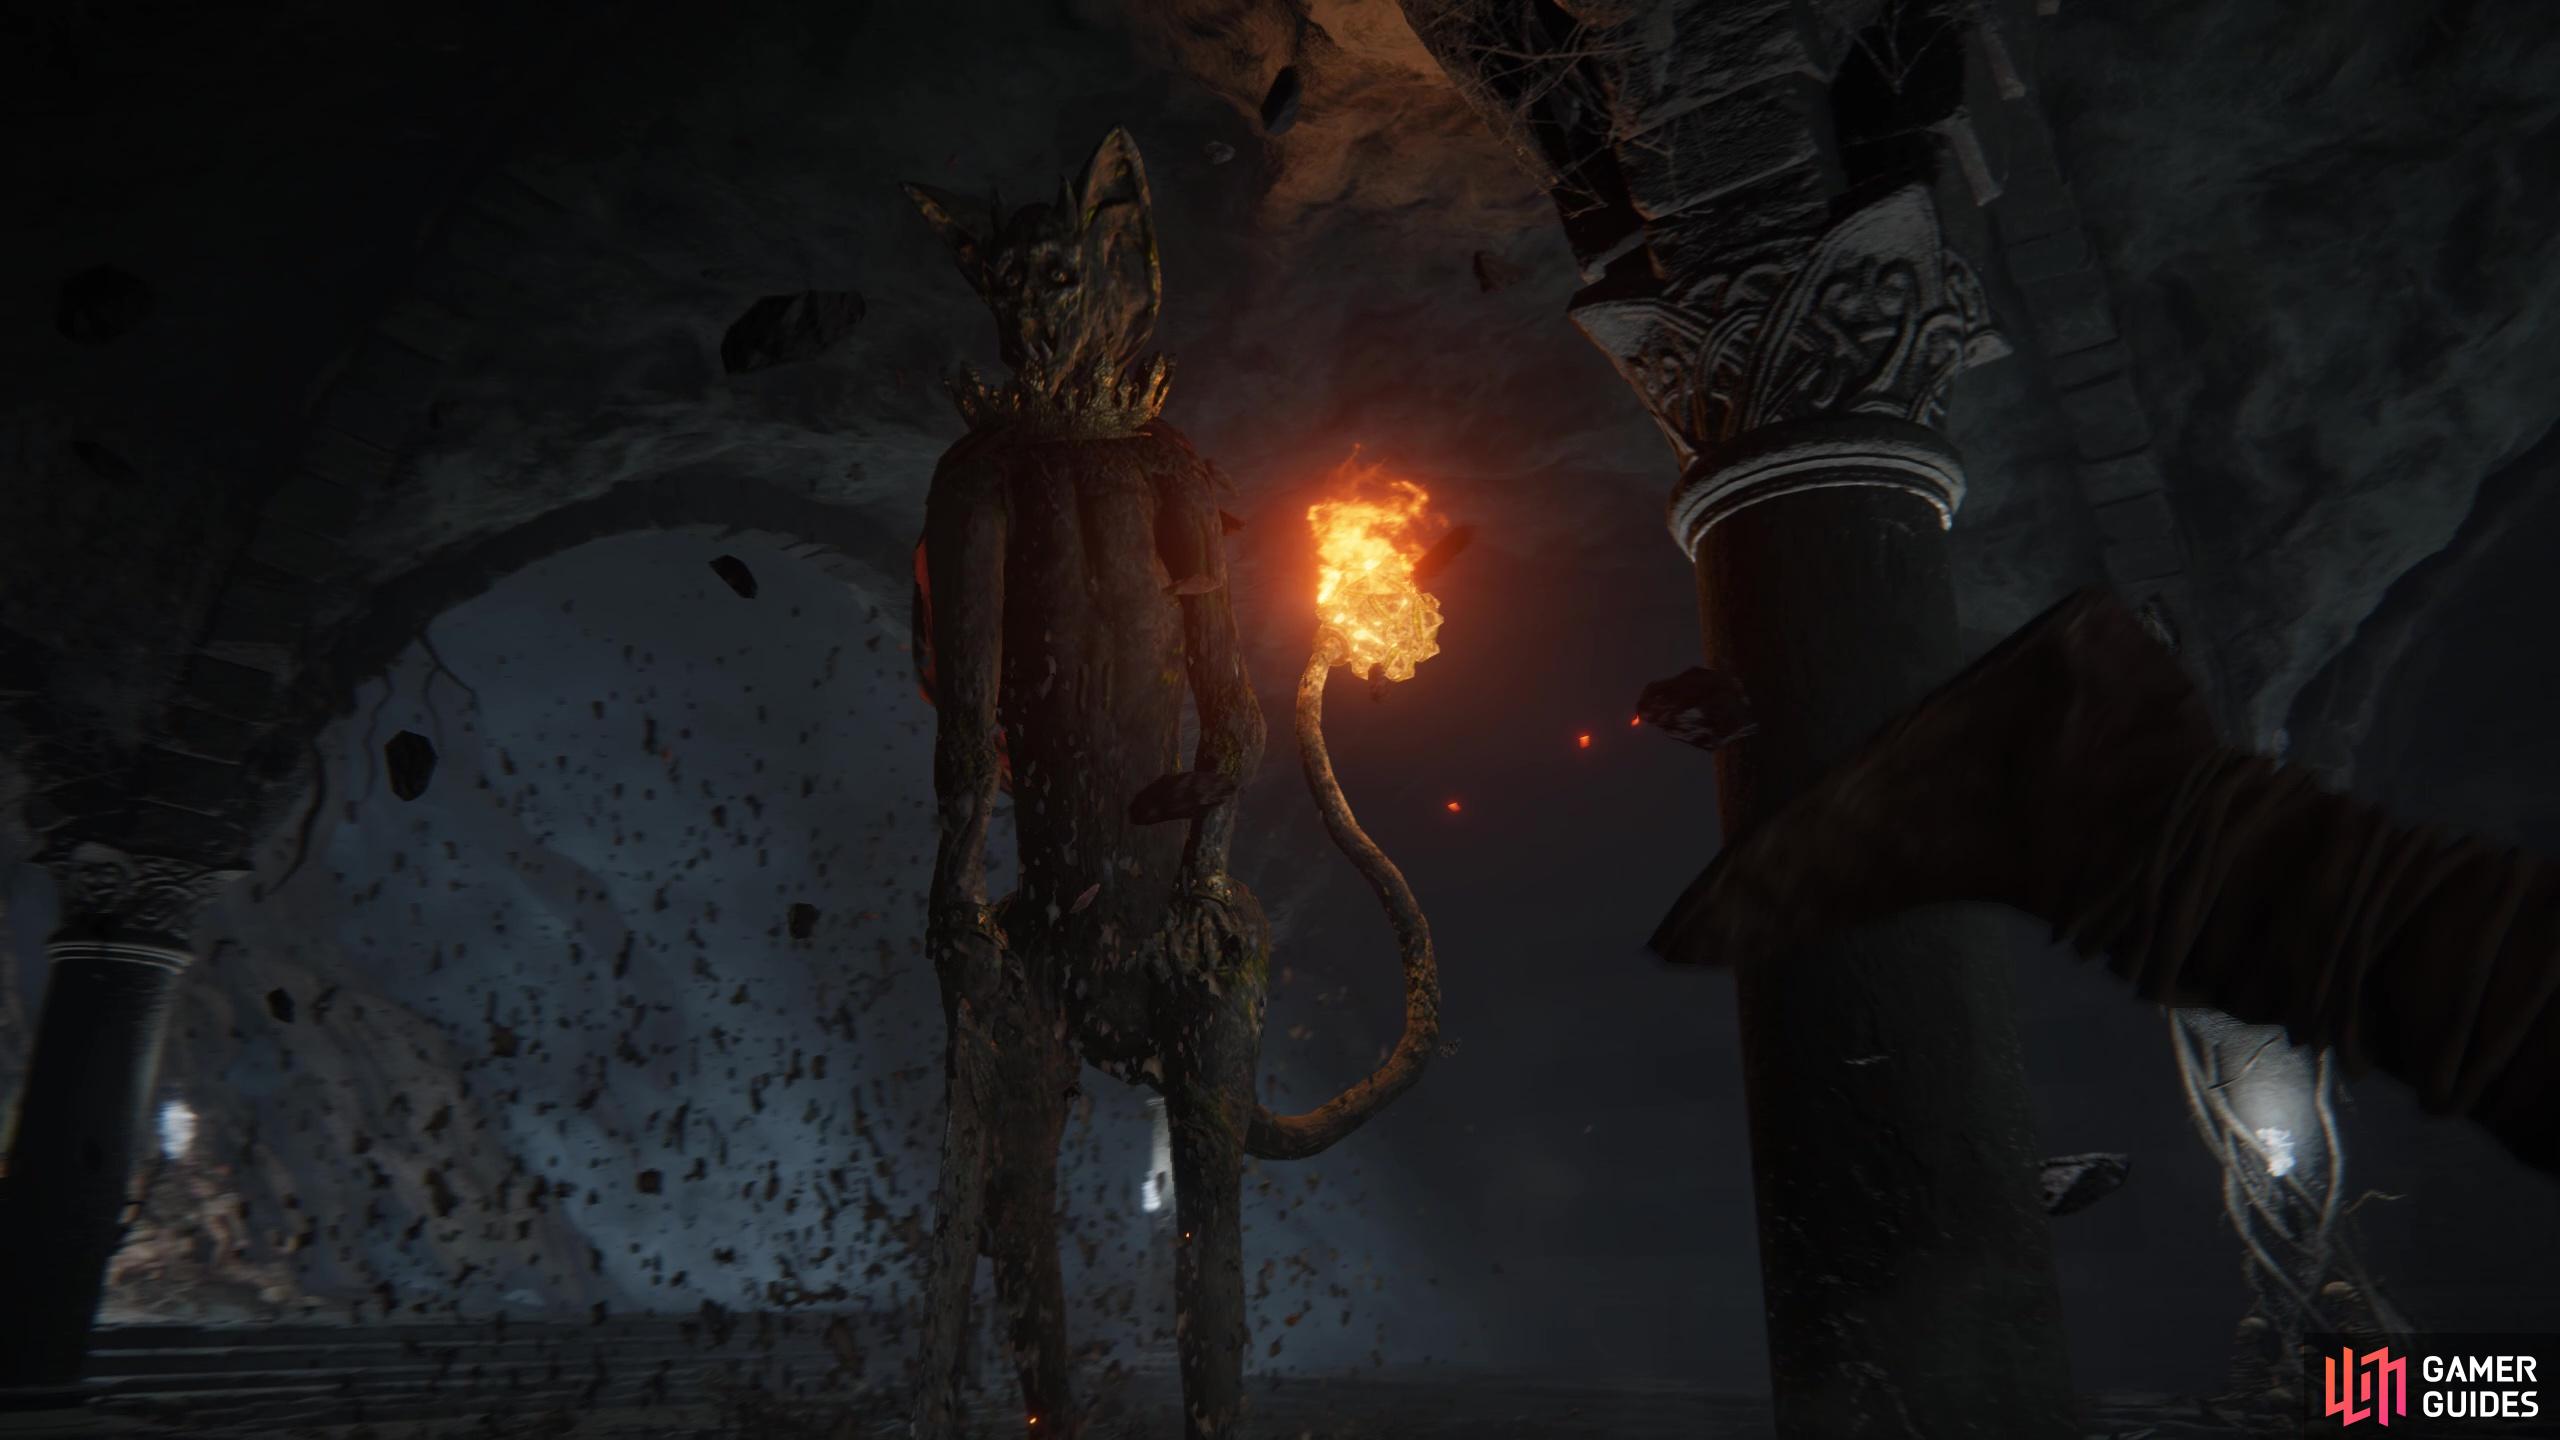
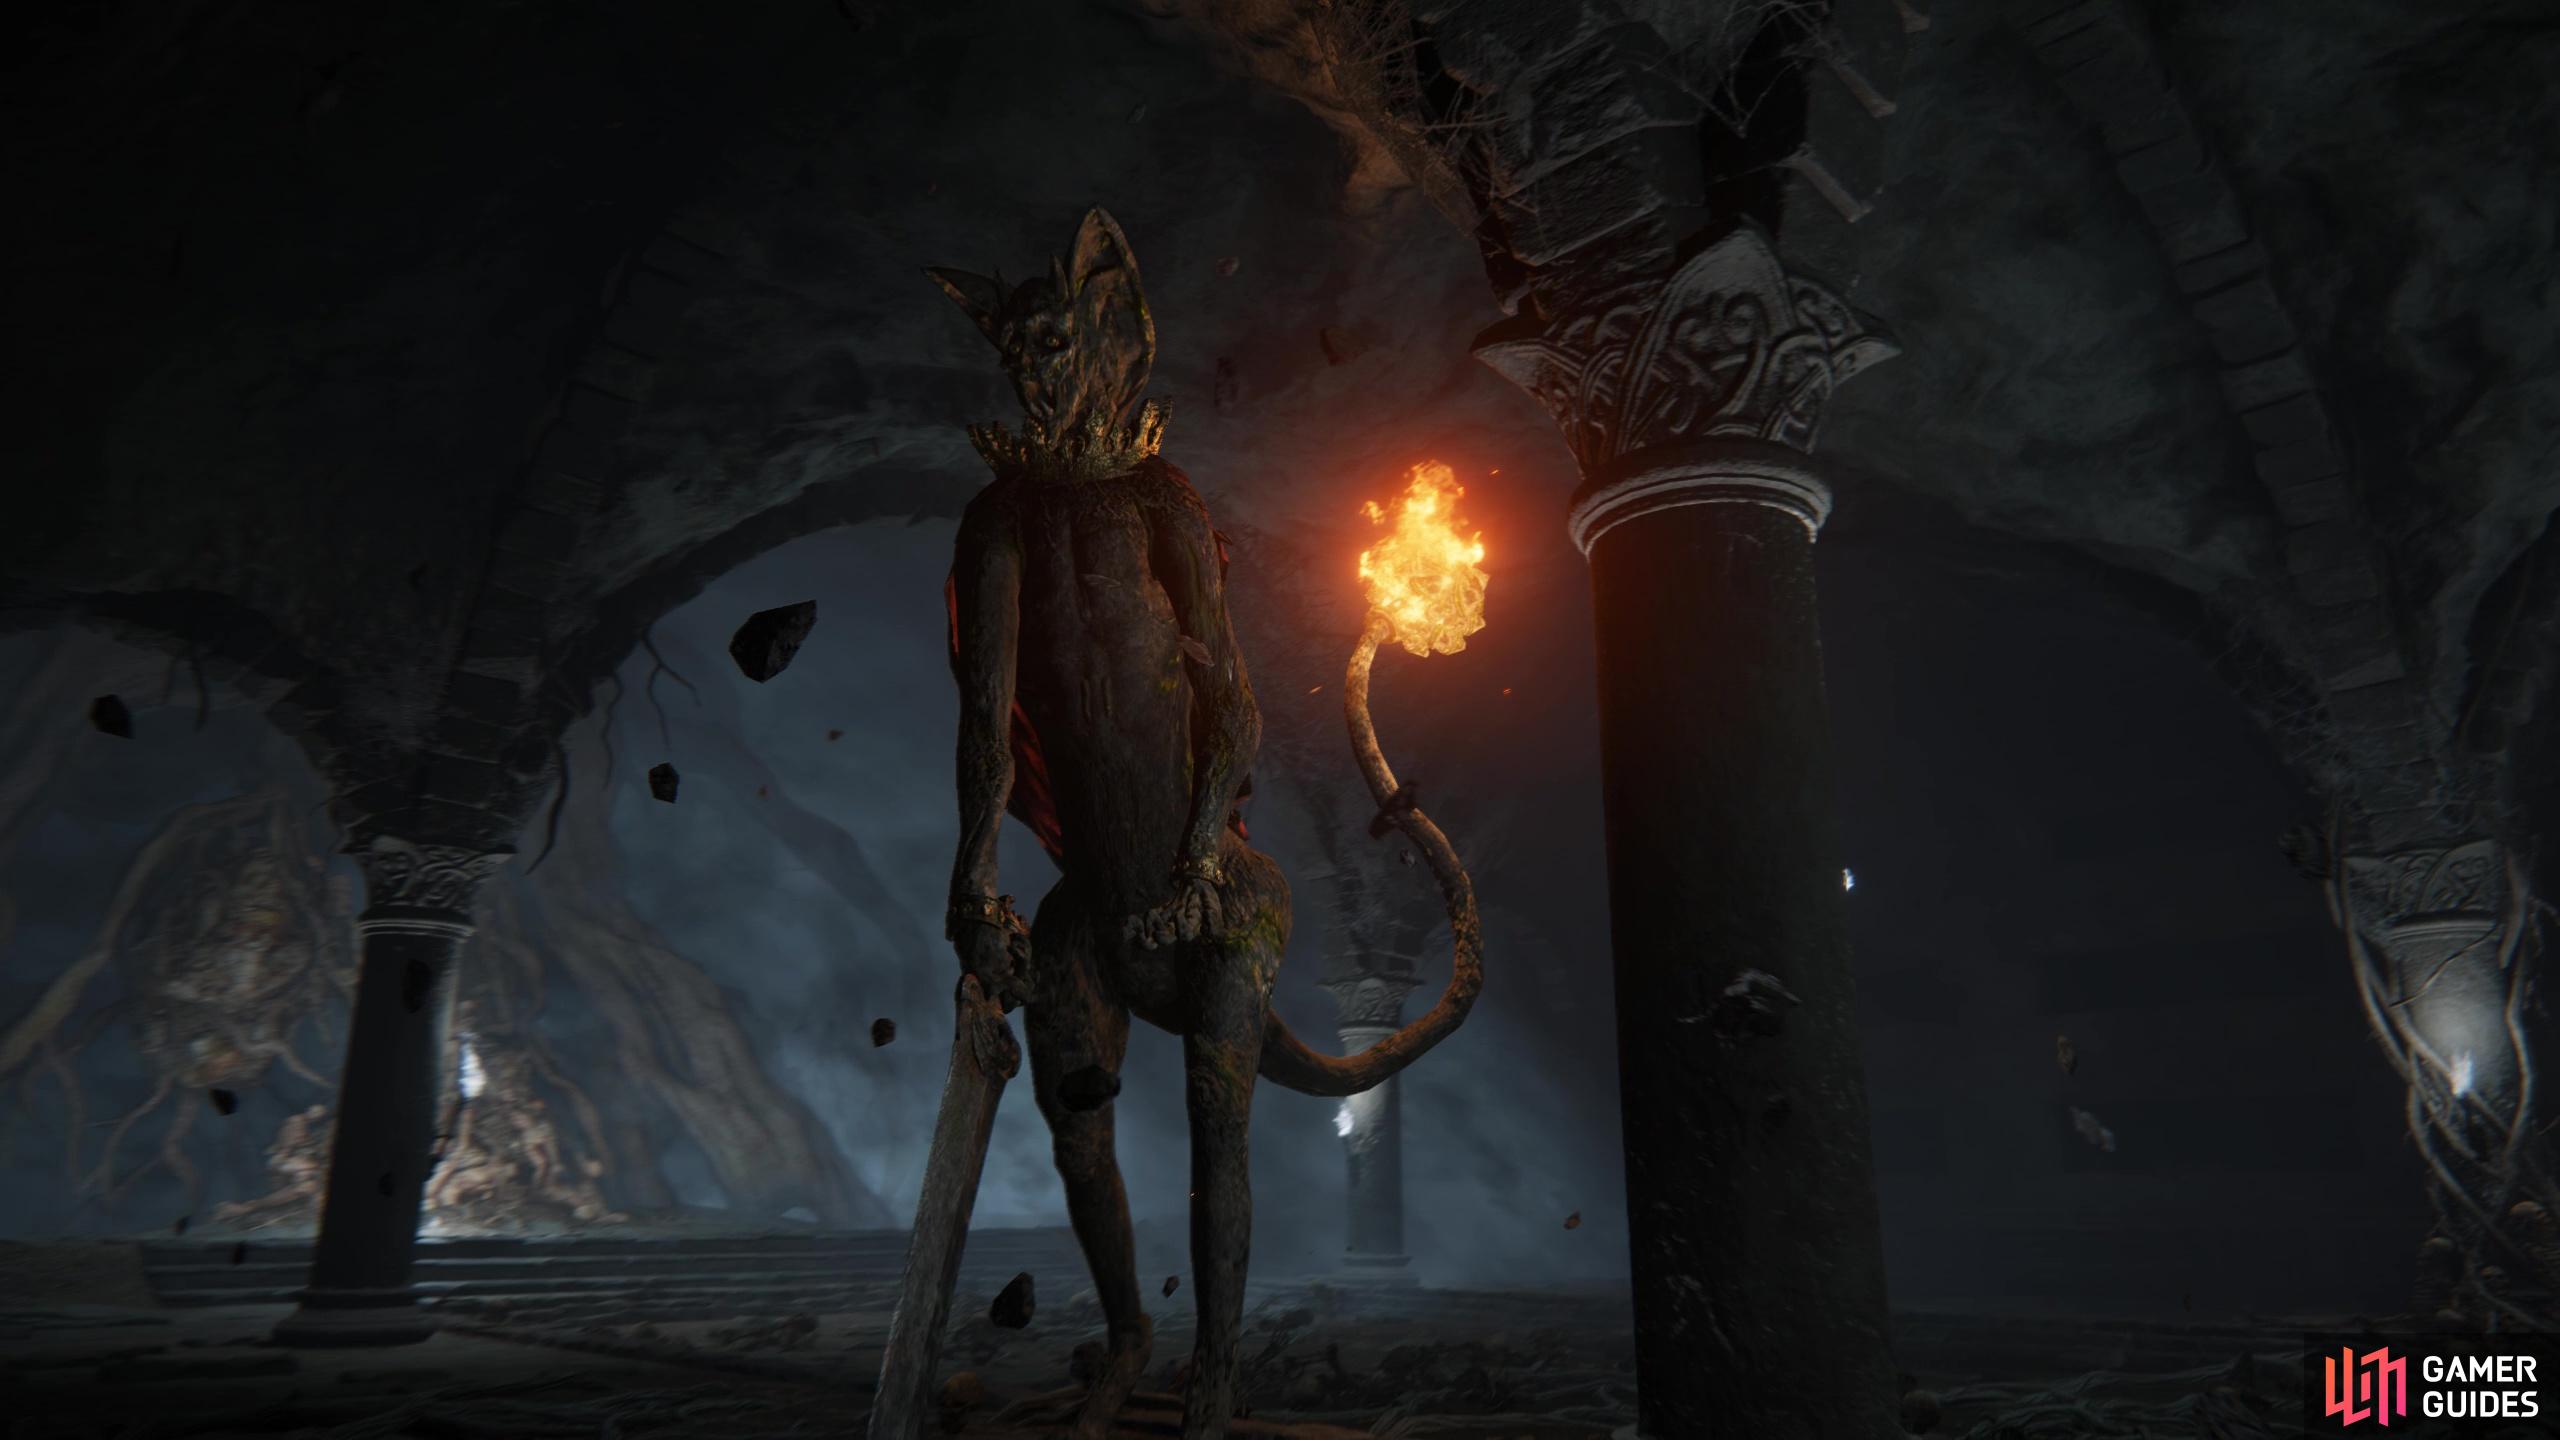
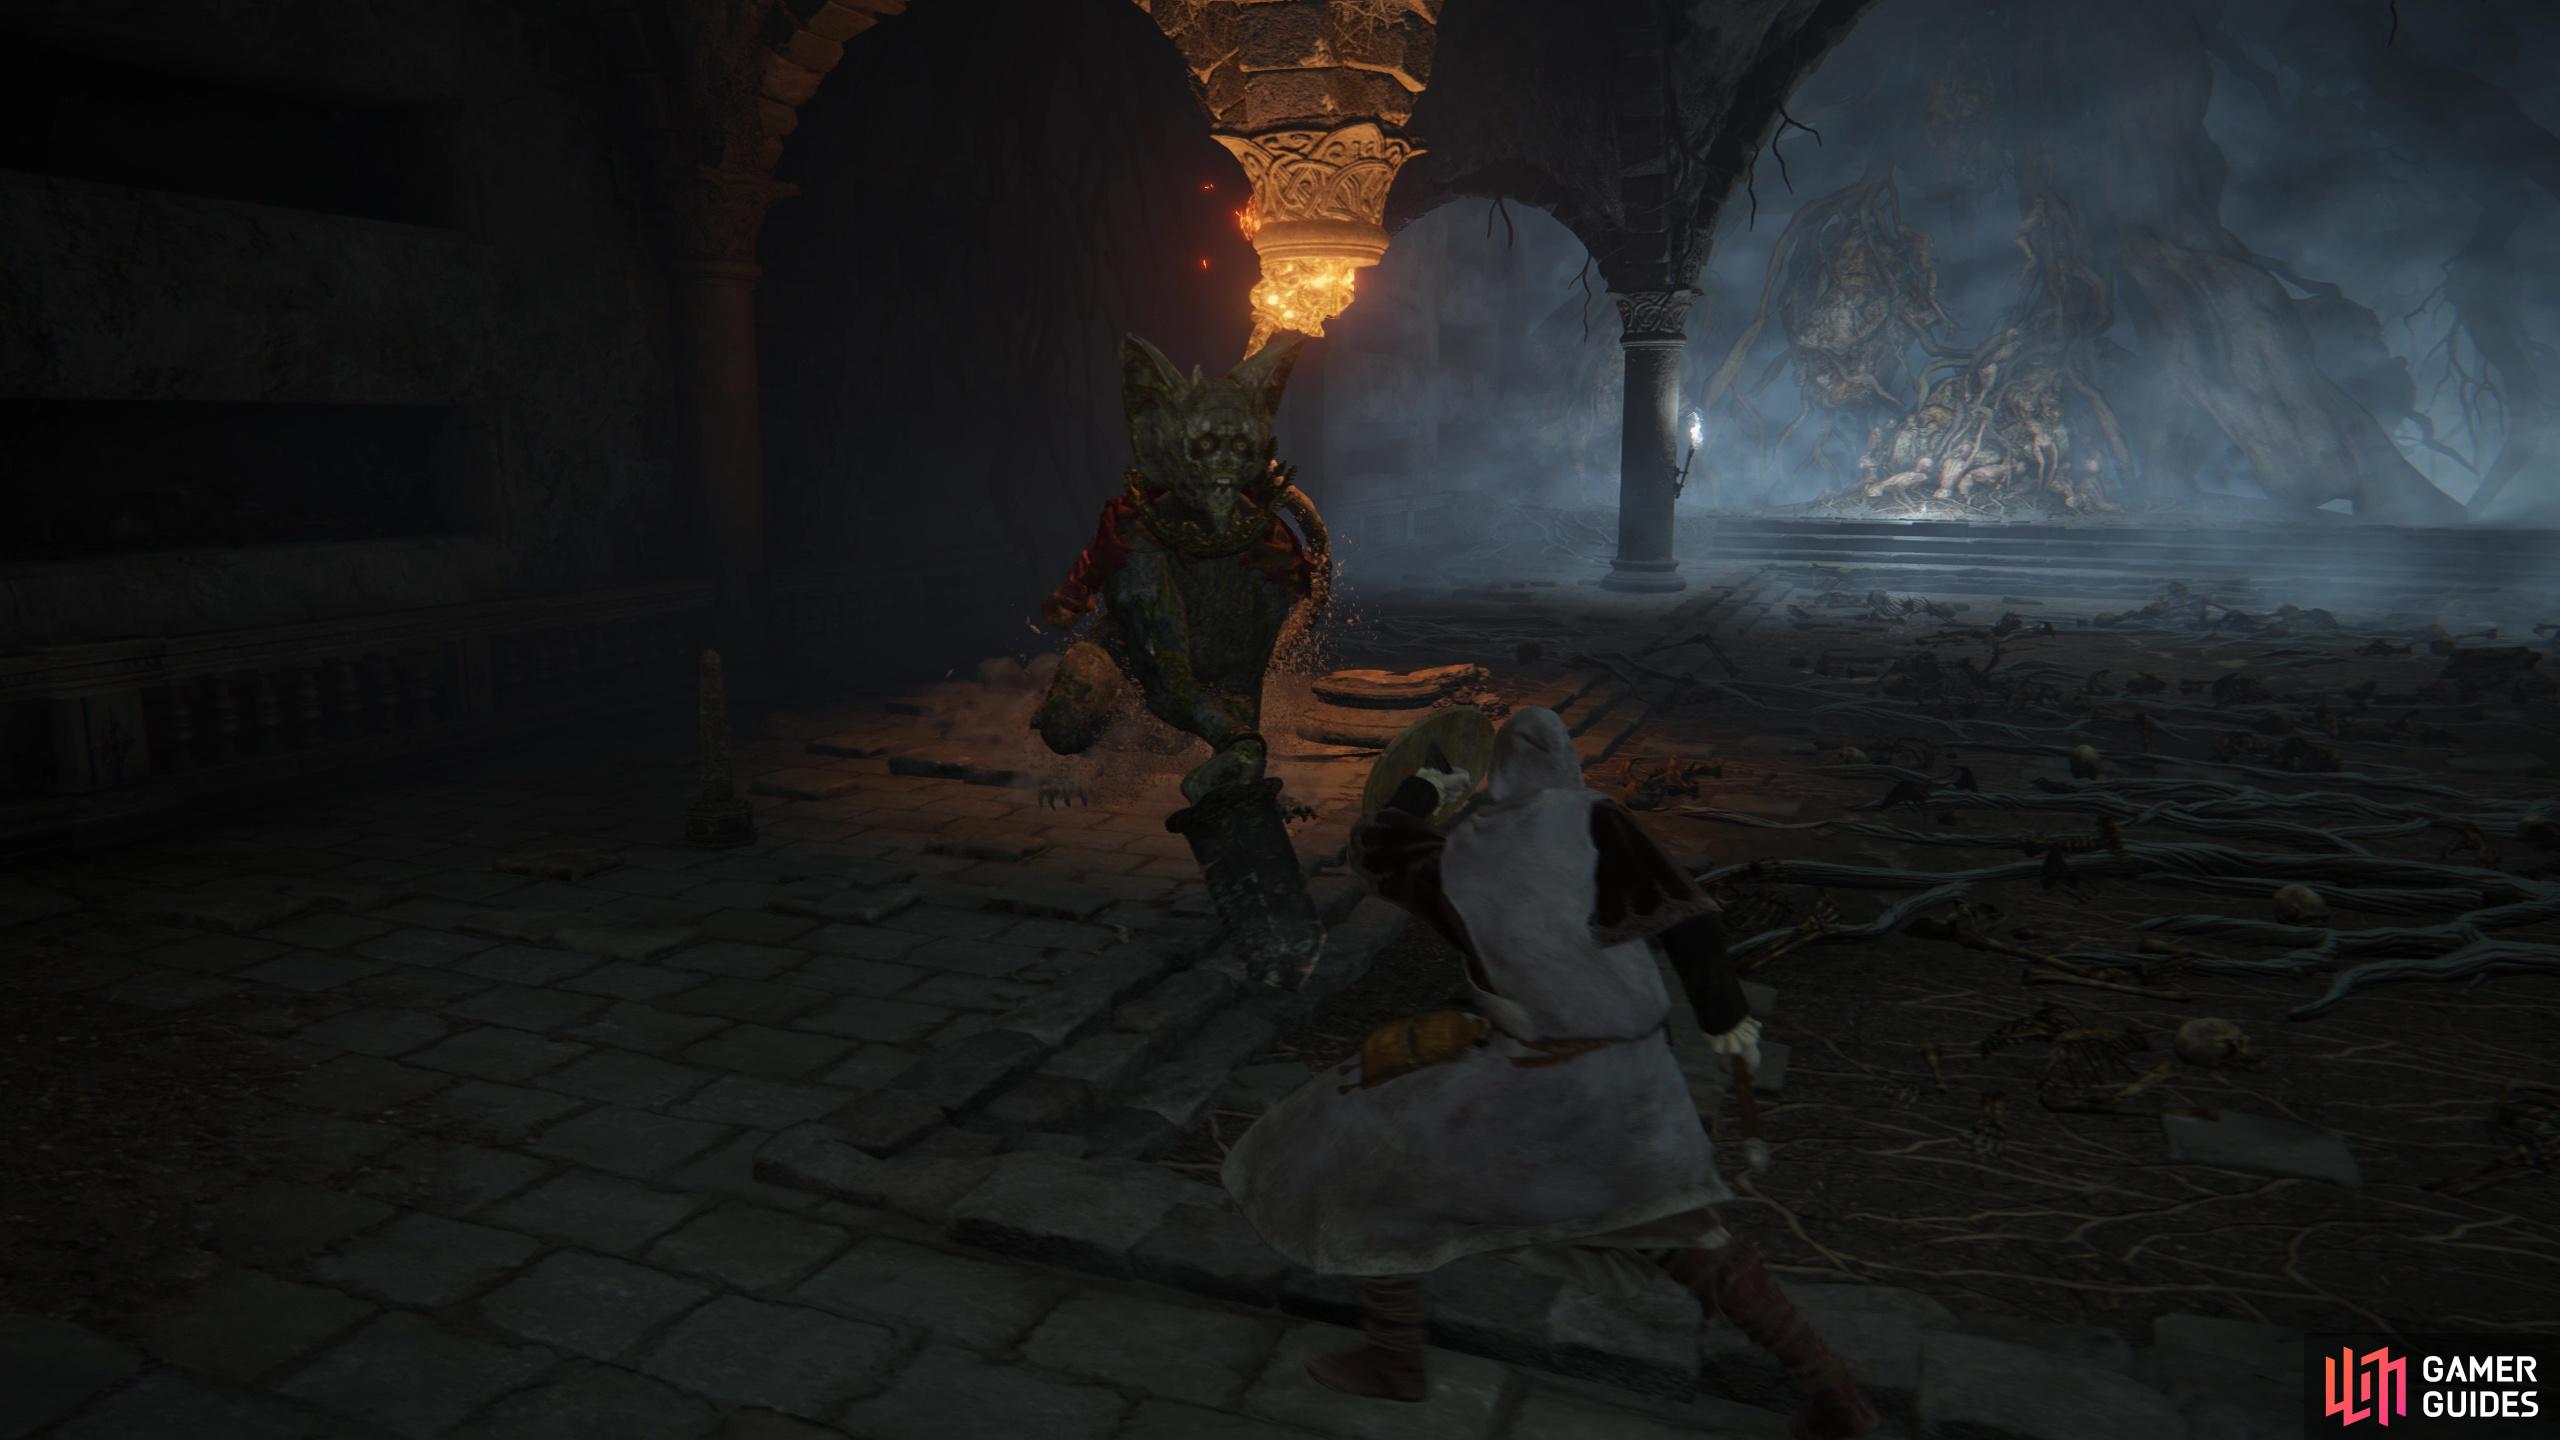
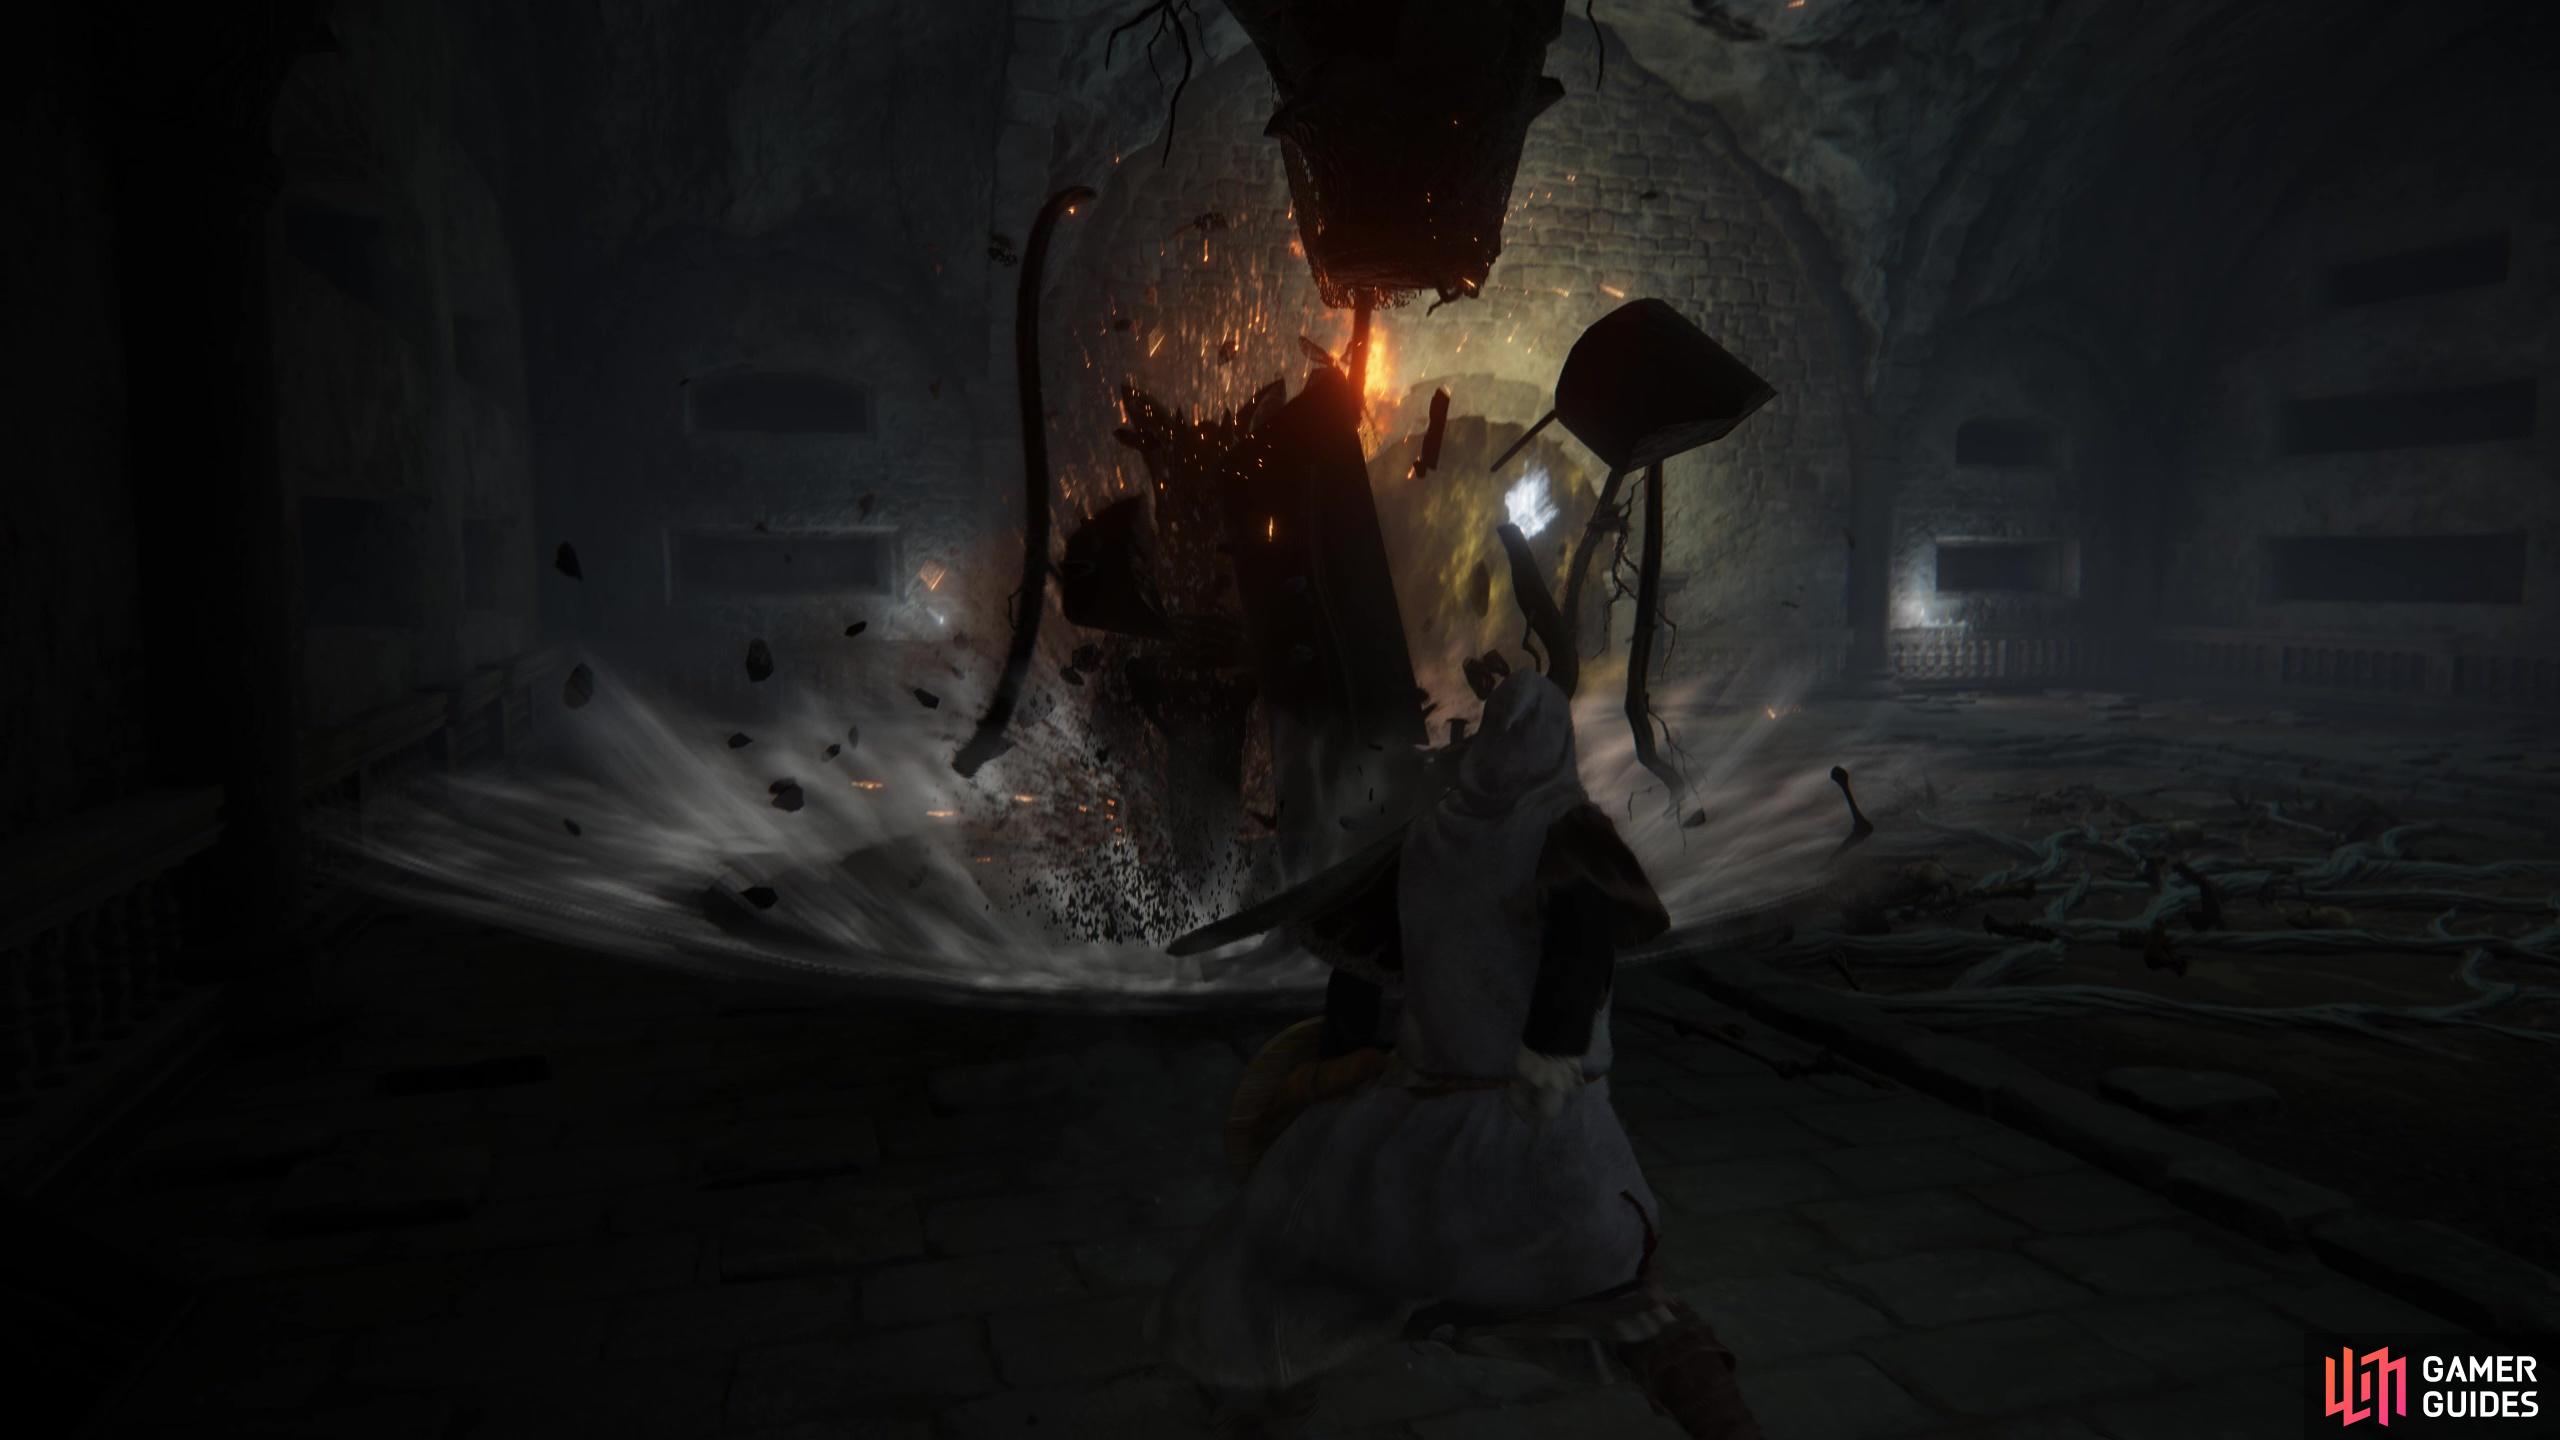
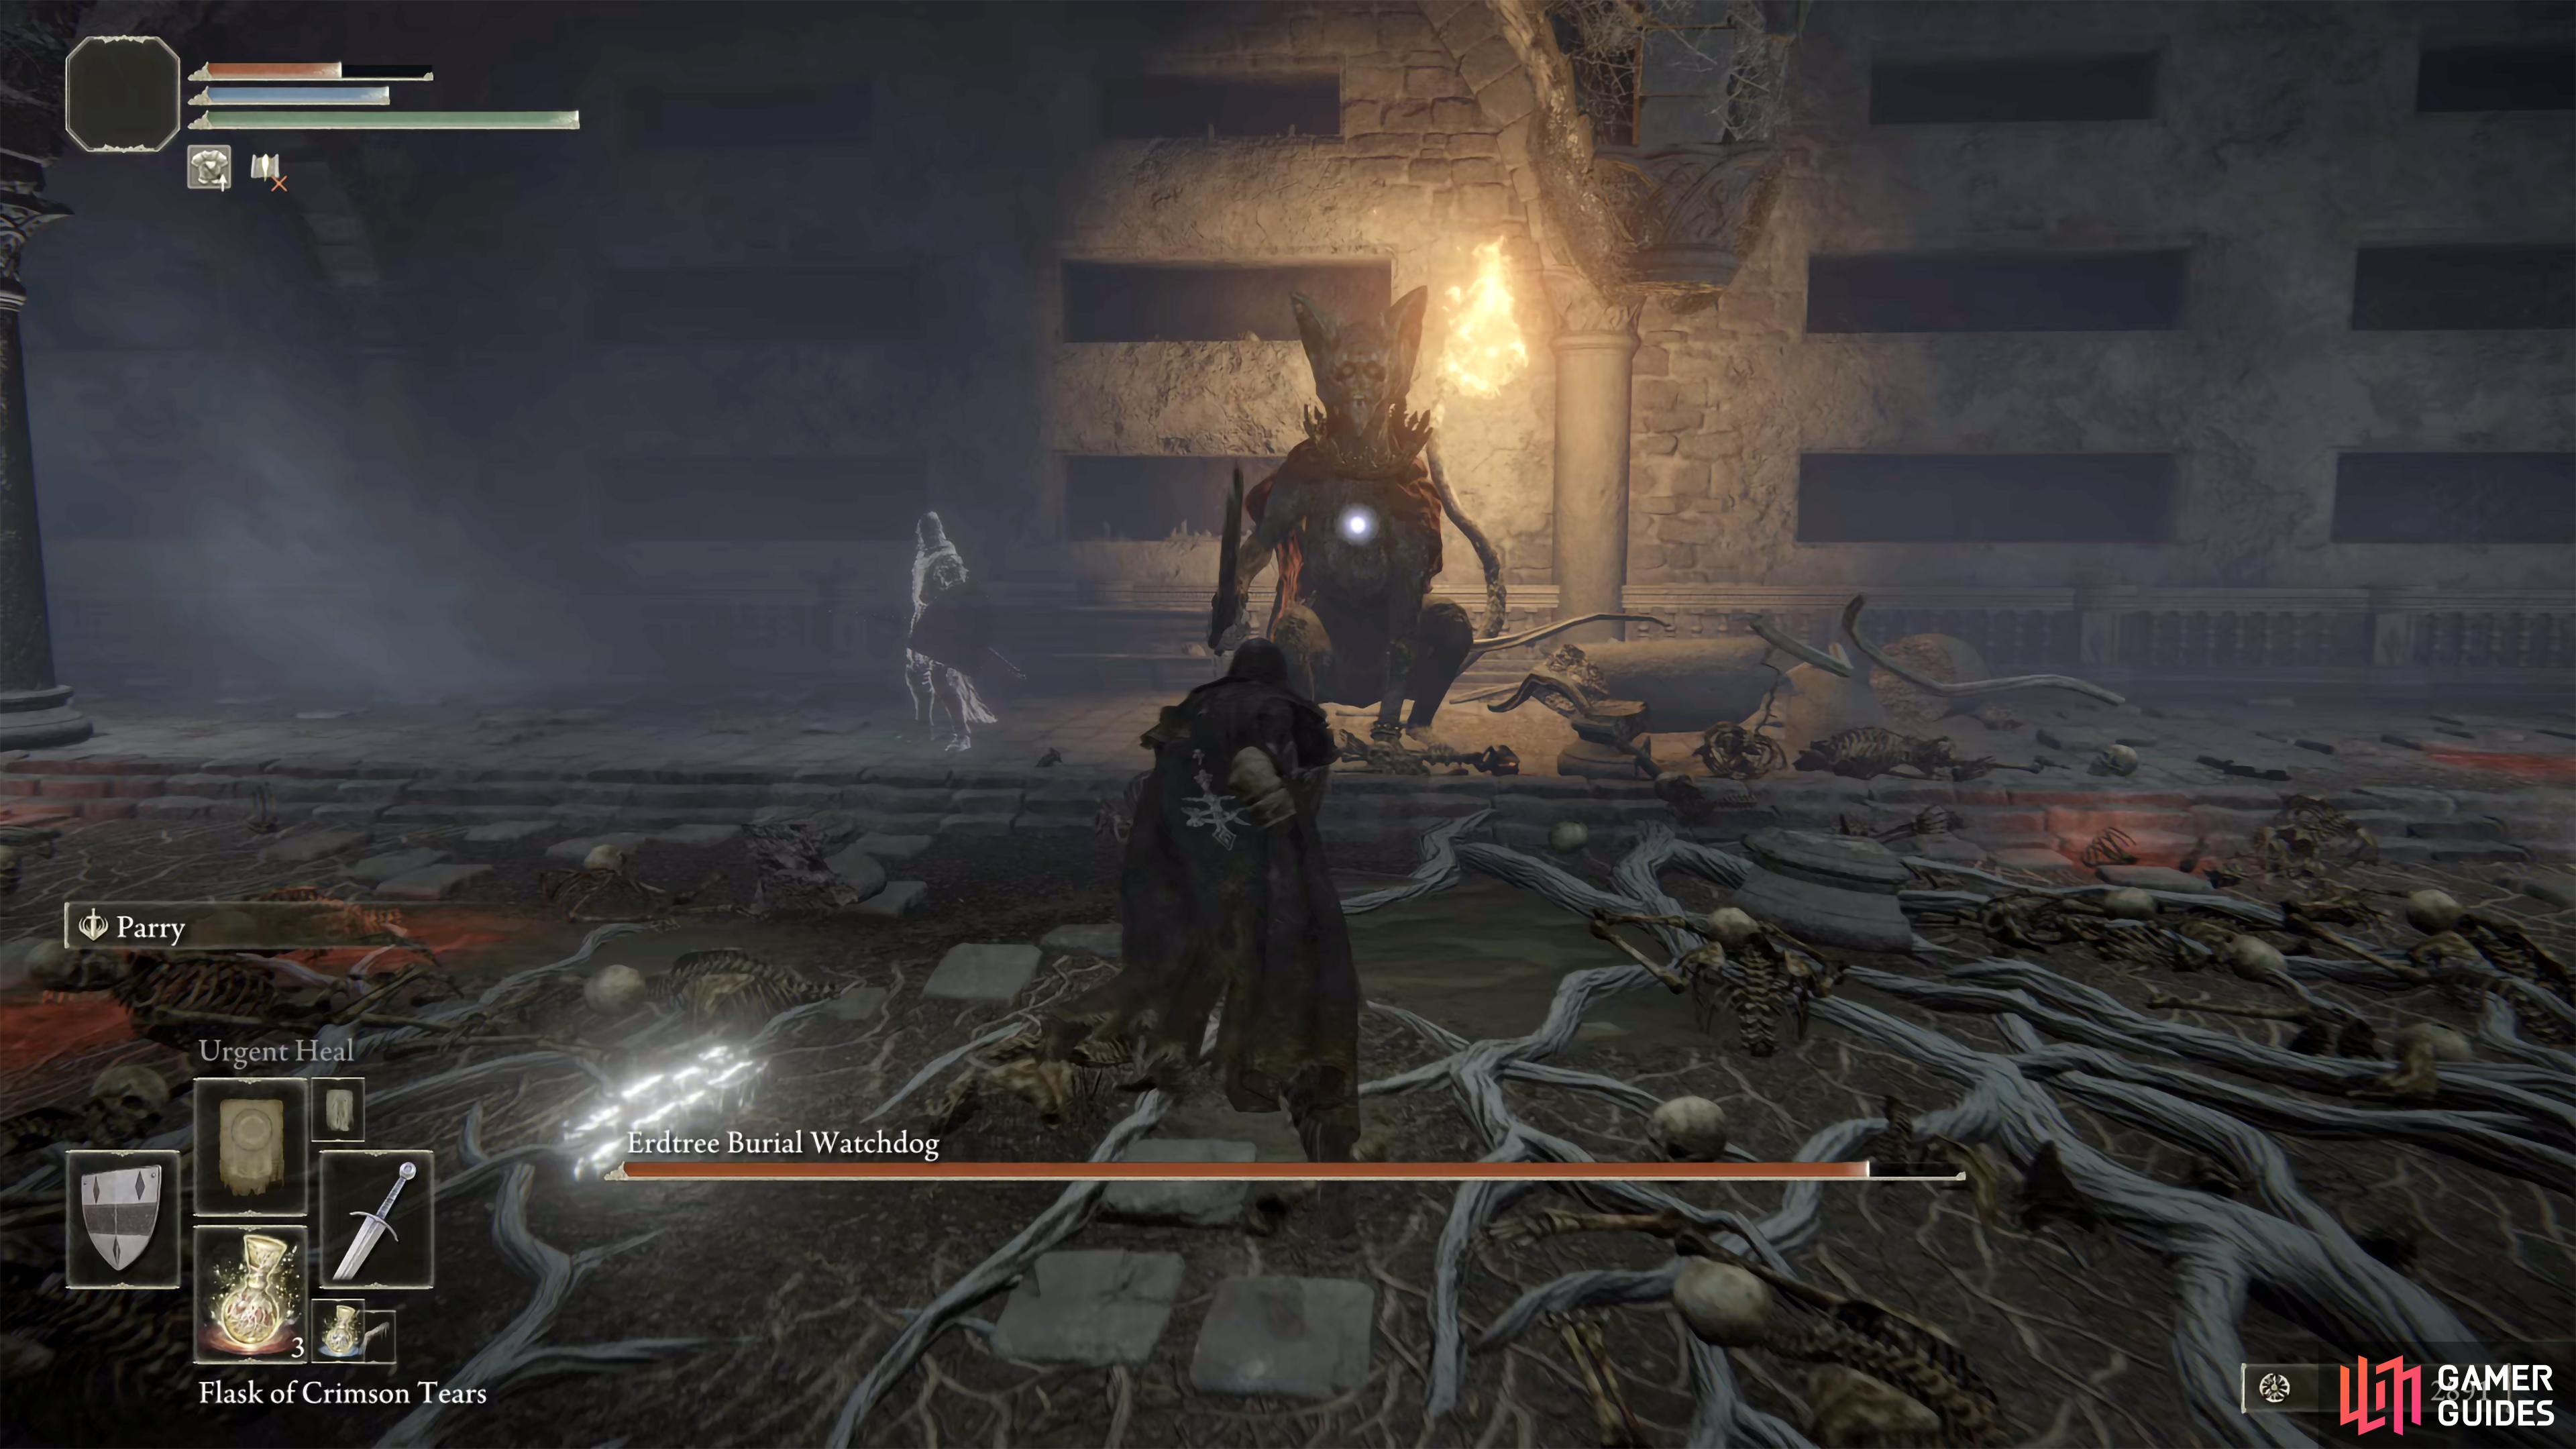
Erdtree Burial Watchdog (Limgrave) |
Except Pounce, most of these attacks can be blocked or rolled away from with relative ease. For Pounce, either run/roll away from it. The harder part of the battle is finding an opportunity to get some damage in. It appears that the best time is when it’s either doing Pounce or Pyro Spin, as you can hit the boss whilst it’s doing the animation for its attack. To do this, during Pounce. Keep near enough to the boss when it lands where you won’t get hit, but you’re not too far away either, this’ll allow you to get a singular attack for each Pounce it does. With Pyro Spin, keep walking to its right in a circular motion attacking away, and when the fire starts getting close to you, start sprinting to get some distance. You can get a minimum of two hits on the boss here. Finally, if you need to heal, try to keep a bit of space from the boss, as it’ll try to interrupt you with its Thrust attack. For a full strategy guide, see our boss page here.
Lore
A large feline-hound looking guardian that serves as a “Watchdog” for the Burial Tree of the Stormfoot Catacombs.
Location
Info
You can also encounter the Erdtree Burial Watchdog in the Weeping Peninsula, where it will be accompanied by multiple imps!
Location
1×
Item Drops
1×
|
Field Boss |
1,300 |
|
|||||||||||||||||||||||||||||||||||||||||||||||||||||||||||||||||||||||||||||||||||||||||||||
|
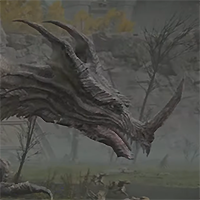
Flying Dragon Agheel |
The absolute best way to defeat Agheel is on horseback. You’ll really appreciate having the speed and agility of your mount as you fight Agheel. Otherwise, you’ll be dodging like a madman trying to get away from his flames. If you’re a melee champ you can swipe at him and move quickly before he has time to arrive. Another big tip is to avoid the Dragon-Burnt ruins camp whilst you fight Agheel. If the dogs catch sight of you they’ll chase you forever, and they’re just a big nuisance that’ll distract you from Agheel. Agheel doesn’t have any definite phases, but it does seem like he uses fire breath attacks a lot more when he’s at a lower health. But if you’re on horseback you shouldn’t have any issues running out of the way of the fire. The most effective way of doing melee damage to Agheel is to head right under his body and hit at his wings and his legs. They’re pretty large targets so you won’t have to be super precise in your hits. Just make sure you watch out for his stomps or tail whips. You’ll be able to get a lot of damage in this way when he dives from the sky as he’ll be temporarily incapacitated by the force of his dive. For a full strategy guide, see our boss page here.
Lore
The dead gazed at the skies over the lakes of Limgrave, praying that the dragons’ flames would burn them to ash.
Location
Info
Location
1×
Item Drops
1×
|
Greater Boss |
5,000 |
||||||||||||||||||||||||||||||||||||||||||||||||||||||||||||||||||||||||||||||||||||||||||||||
|
Grafted Scion (Chapel of Anticipation) |
Grafted Scion is an amorphous blob that wields two swords and a shield and is found in Tutorial Area, as well as Stormveil Castle. This is an optional boss as players don’t need to defeat it to advance in Elden Ring.
Lore
An amorphous blob that wields two swords and a shield, and appears to be grafted with multiple arms.
Location
Info
Location
1× Chapel of Anticipation
Liurnia of the Lakes
Item Drops
1×
Item Drops
1×
|
Field Boss |
3,200 |
||||||||||||||||||||||||||||||||||||||||||||||||||||||||||||||||||||||||||||||||||||||||||||||
|
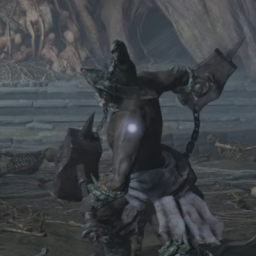
Grave Warden Duelist (Limgrave) |
The strategy for defeating Grave Warden Duelist will depend on your class, but as with most of these boss fights, it will come down to how well you anticipate the attacks, and how quickly you avoid or counter them. Whether you’re a melee or ranged focused class, using your Spirit Calling Bell to summon assistance from your spirit allies will make the fight much easier, especially Northern Mercenary Ashes. Not only will these inflict extra damage, they’ll also serve as a distraction, keeping him away from you for much if not most of the fight. Another good strategy if you have access to a shield is countering. After you successfully block an attack, you can use your strong attack to counter him, if you succeed with three counters it will down him, opening him up for a riposte attack dealing some major damage to him. For most of his attacks, he’ll be using multi-hit combos but stays relatively stationary whilst performing them, keep your distance and use some ranged attacks on him for some free damage. For a full strategy guide, see our boss page here.
Lore
The duelists were originally soldiers used in gladiatorial combat but who were later exiled from the colosseum.
Location
You’ll find Grave Warden Duelist at the end of the Murkwater Catacombs, which is located north of the Murkwater Cave site of grace, at the end of the ravine.
Info
The Grave Warden Duelist is one of the tougher optional cave bosses in Limgrave.
Location
1×
Item Drops
1×
|
Field Boss |
1,700 |
|
|||||||||||||||||||||||||||||||||||||||||||||||||||||||||||||||||||||||||||||||||||||||||||||
|
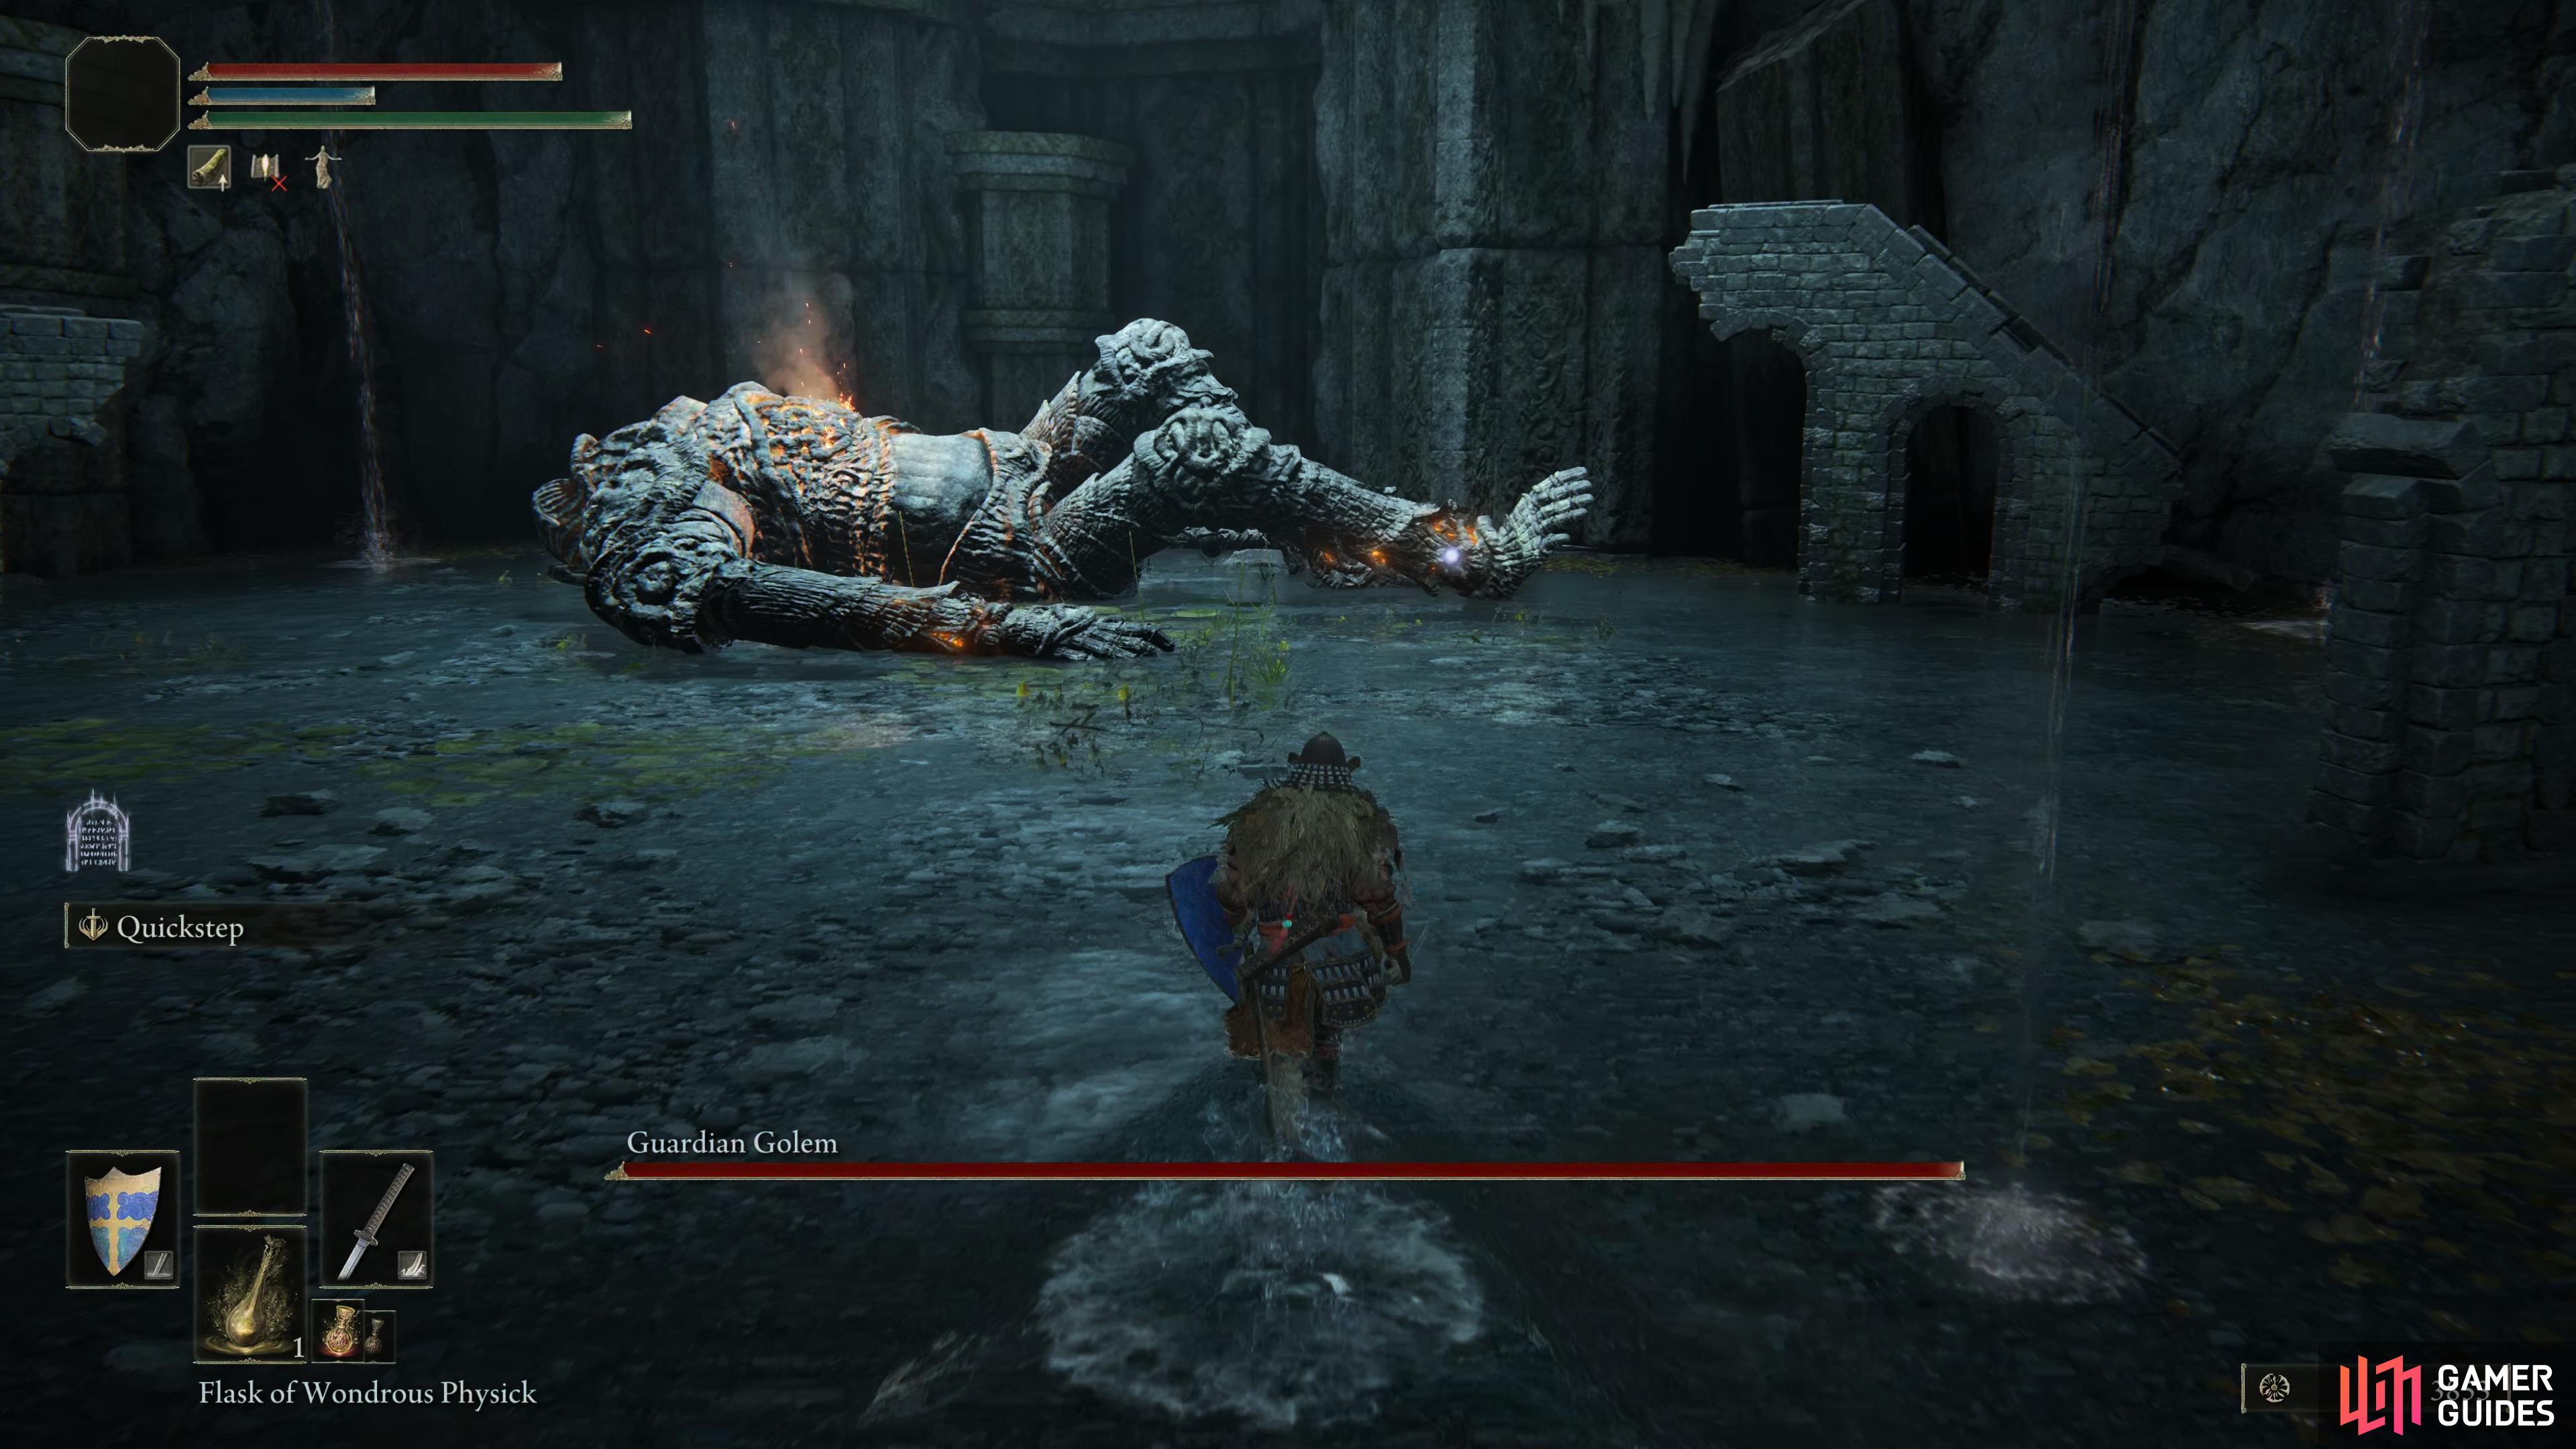
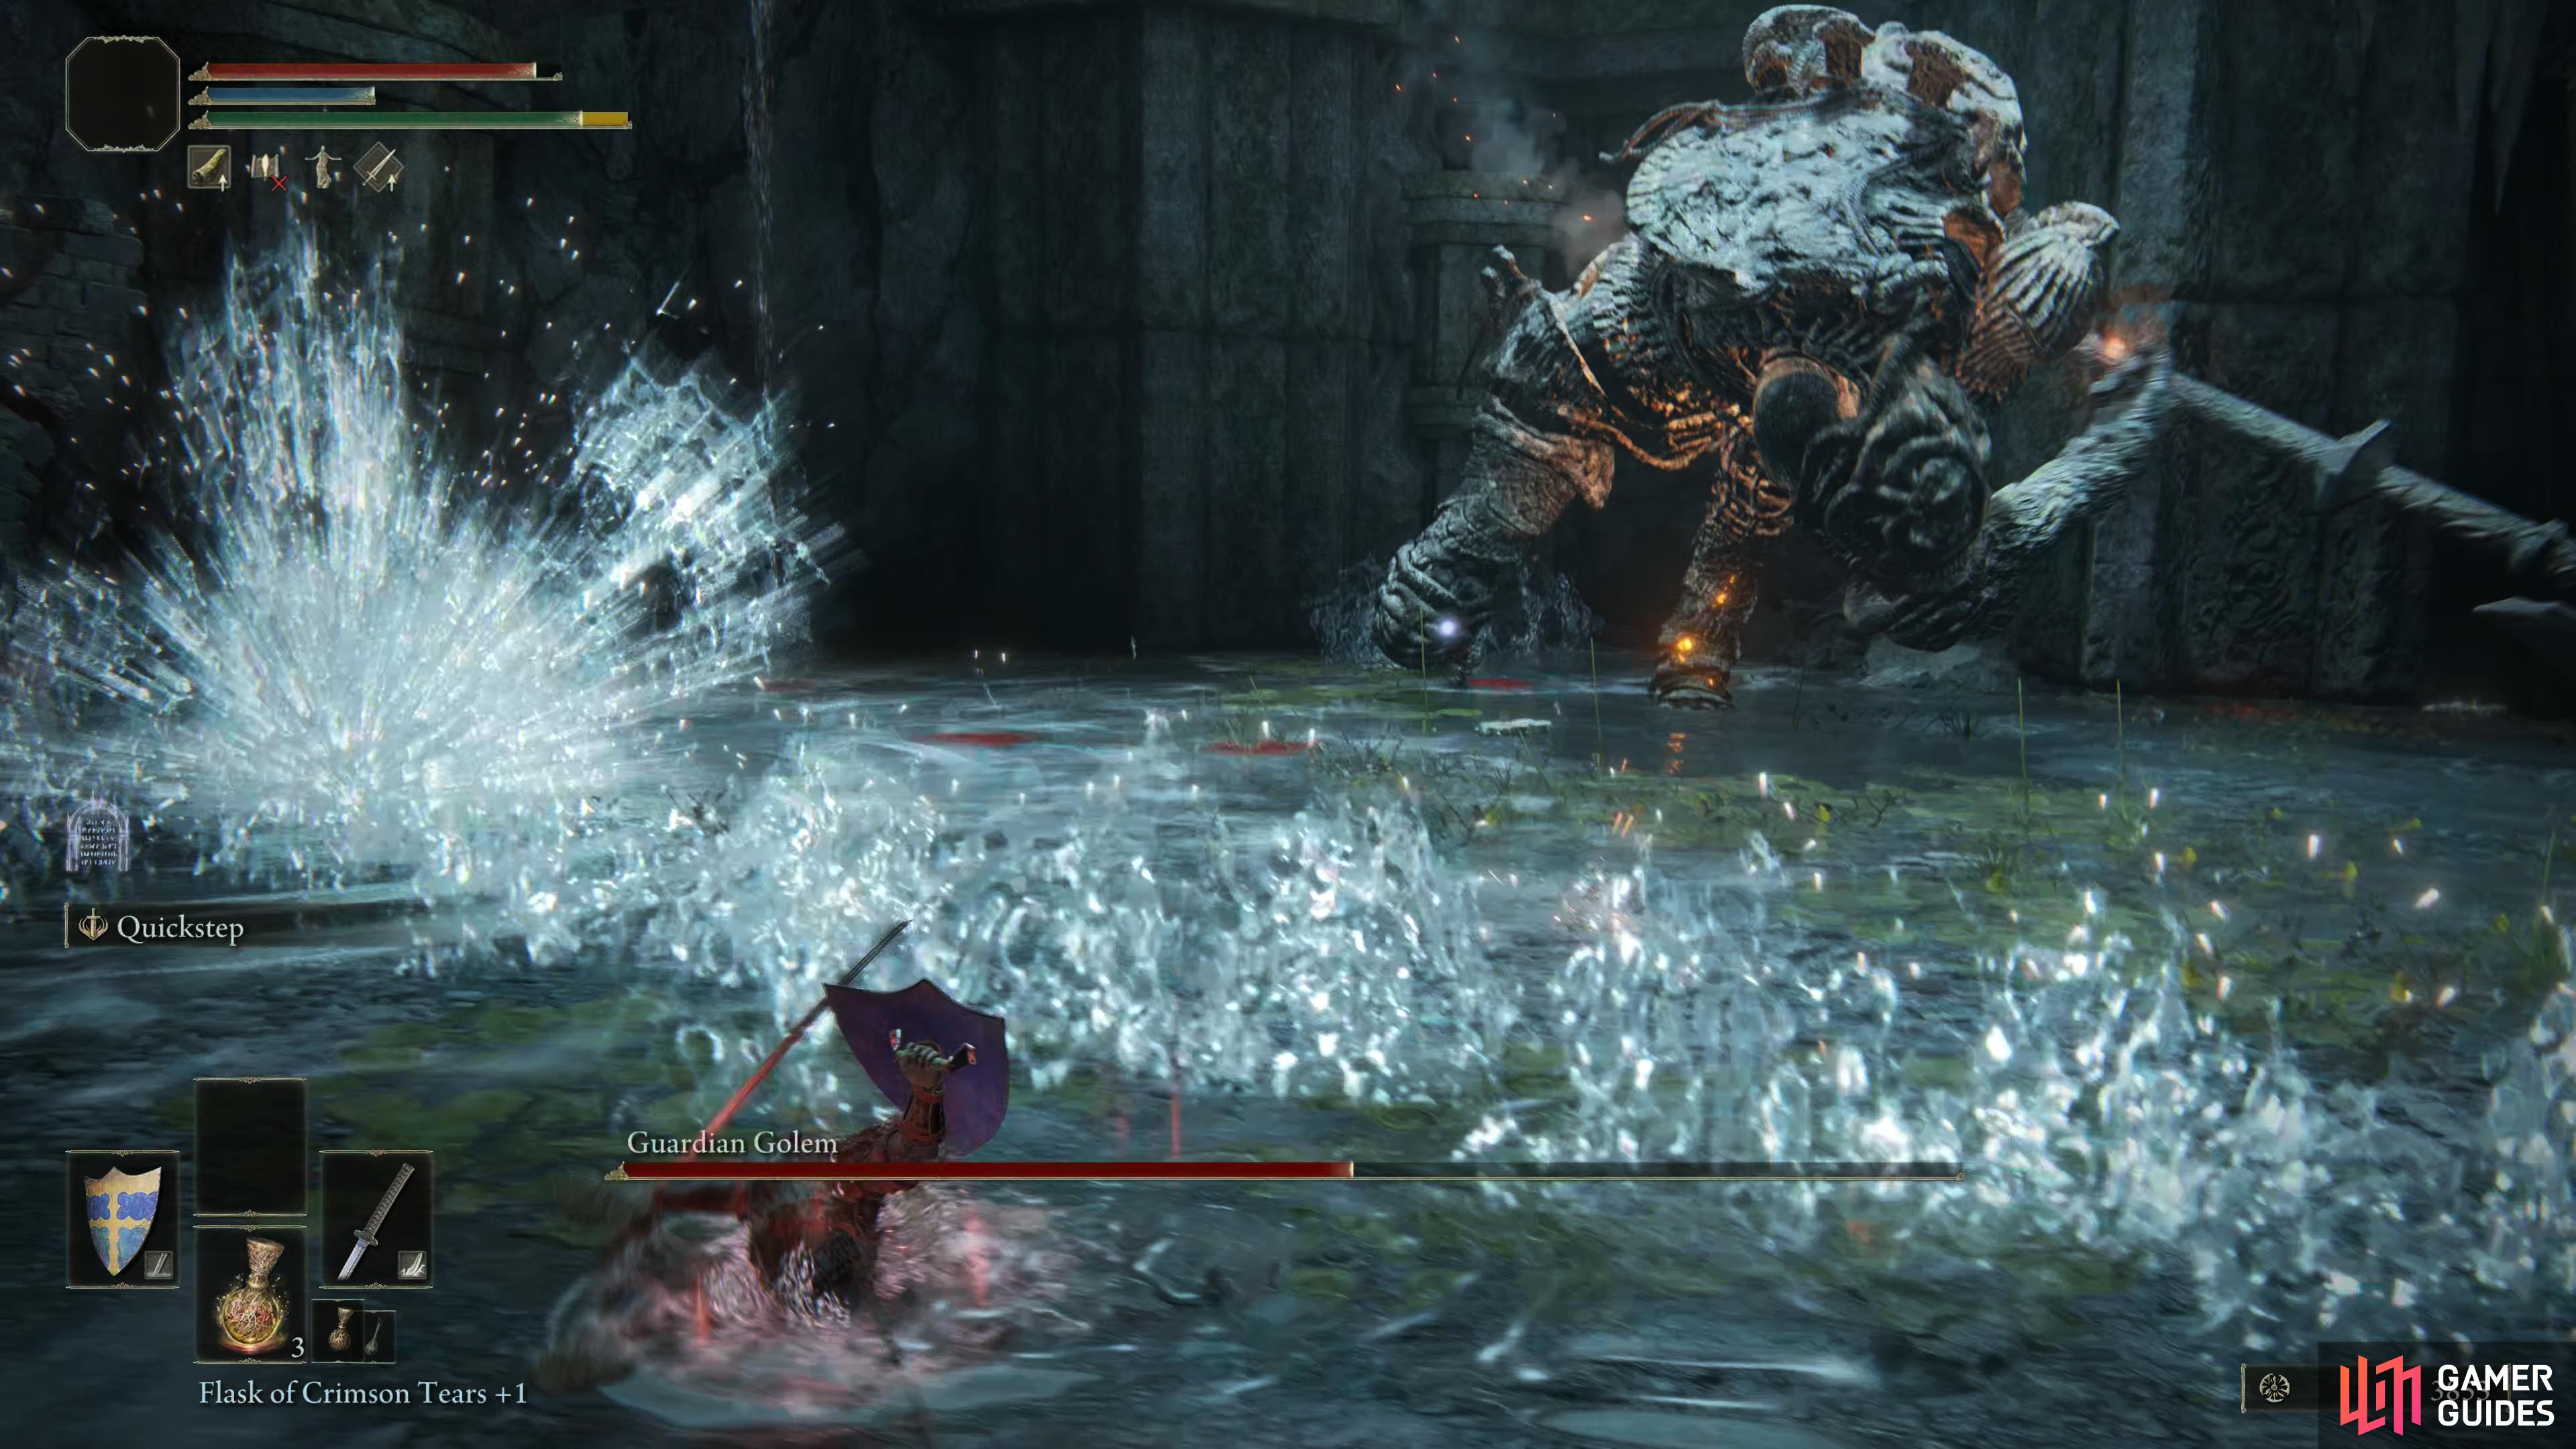
Guardian Golem |
The boss is particularly weak to magic damage, so you’ll have an easier time if you have some spells at your disposal. In this scenario you can essentially stand at the edge of the boss room and cast spells from a distance. The only thing you need to worry about is the fire breath, as this will reach you wherever you’re positioned unless you dodge out of the way to either side of it. The rock throw can also hit you from a great distance, but this is easier to avoid since the animation building up to it is easier to see. The boss doesn’t have much health, so it shouldn’t take too many spells to bring him down. As a melee user you can get close enough to the boss to consistently attack its legs without needing to back off too much. So long as you’re ready to dodge the main melee attacks and run from the fire breath, you can easily maintain hits. In this scenario you should focus on using heavy attacks rather than light attacks, since this will break the poise of the boss much quicker. Once you’ve staggered the boss, you can execute a critical hit to inflict massive damage. For a full strategy guide, see our boss page here.
Lore
The Guardian Golem, magical constructs that has been cut and chiseled from stone. It is the sole guardian of the Highroad Cave who holds a precious item.
Location
You’ll find the Guardian Golem in the depths of the Highroad Cave, in northern Limgrave. To reach the boss room you’ll need to head down a number of passages where you’ll face wolves, bats, and octopus enemies. They shouldn’t pose too much of a threat, but you’ll need to be careful not to fall down some of the holes on the way down, and instead use the ledges to jump down gradually. A final piece of advice would be to ensure that you use a torch on your way down. You’ll be left in near total darkness otherwise.
Info
The Talisman reward from this battle is highly recommended for those using a Light Equipment Load Build.
Location
1×
Item Drops
1×
|
Field Boss |
1,700 |
|
|||||||||||||||||||||||||||||||||||||||||||||||||||||||||||||||||||||||||||||||||||||||||||||
|
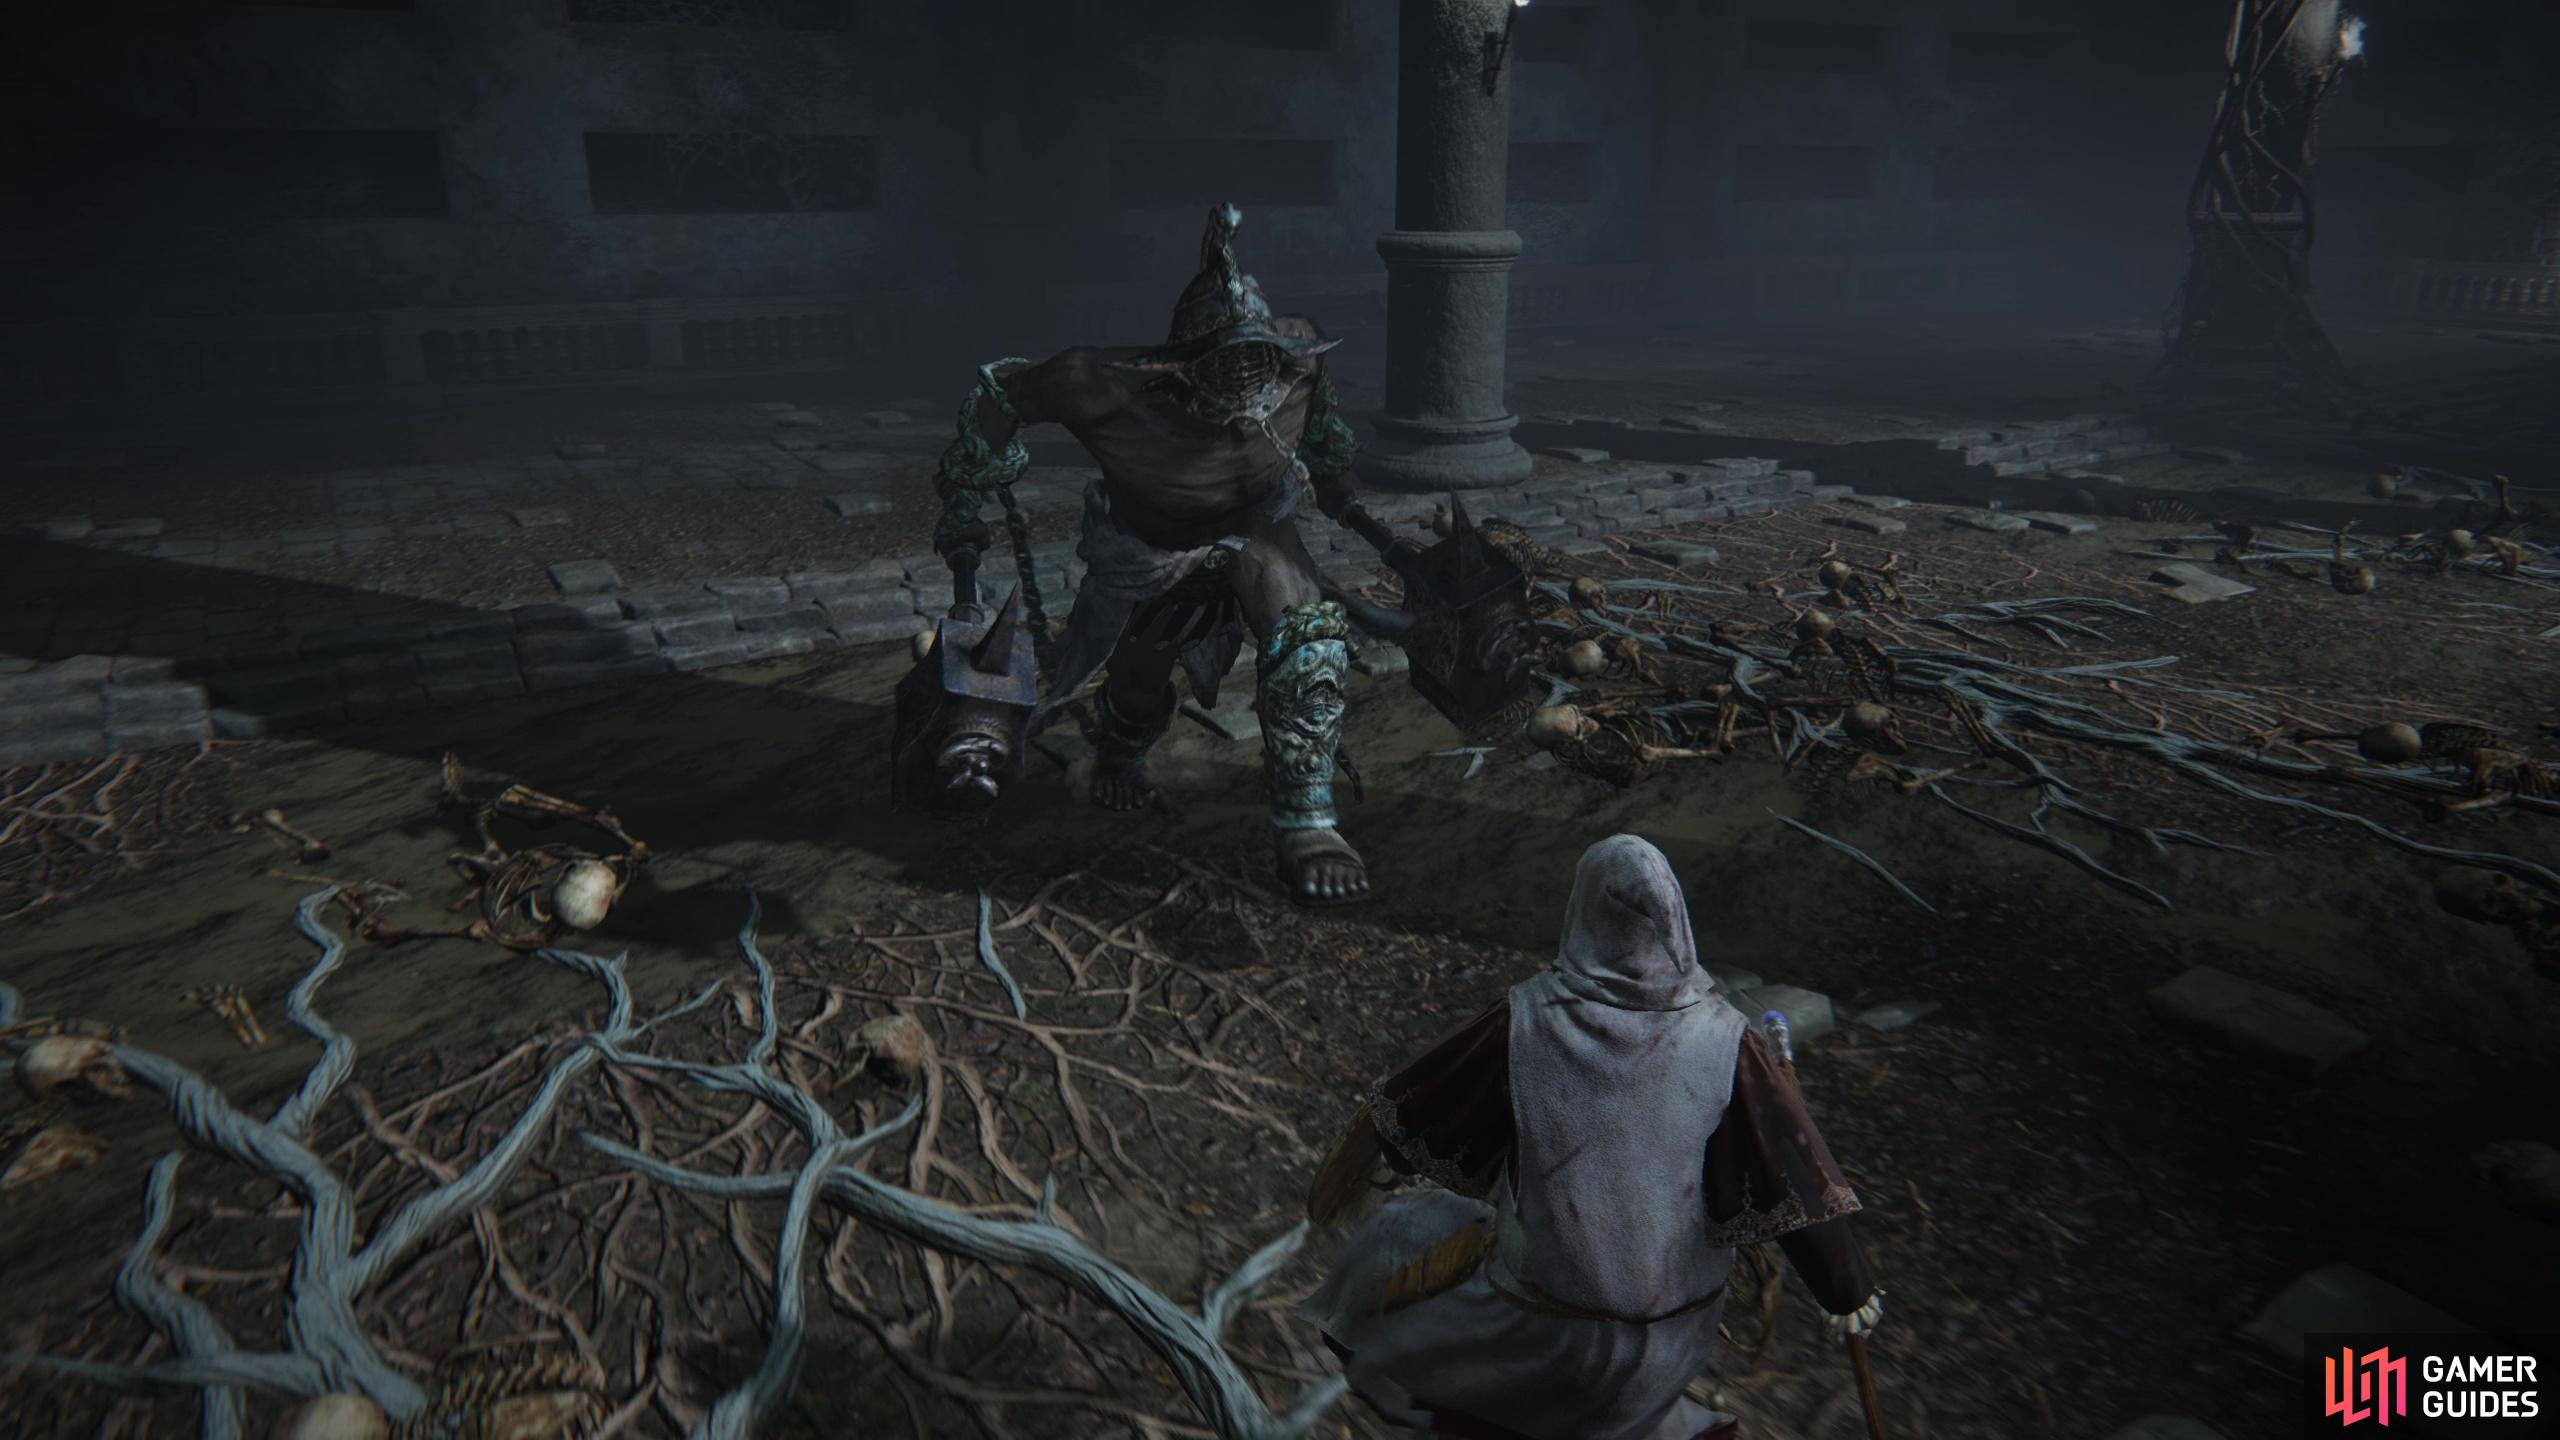
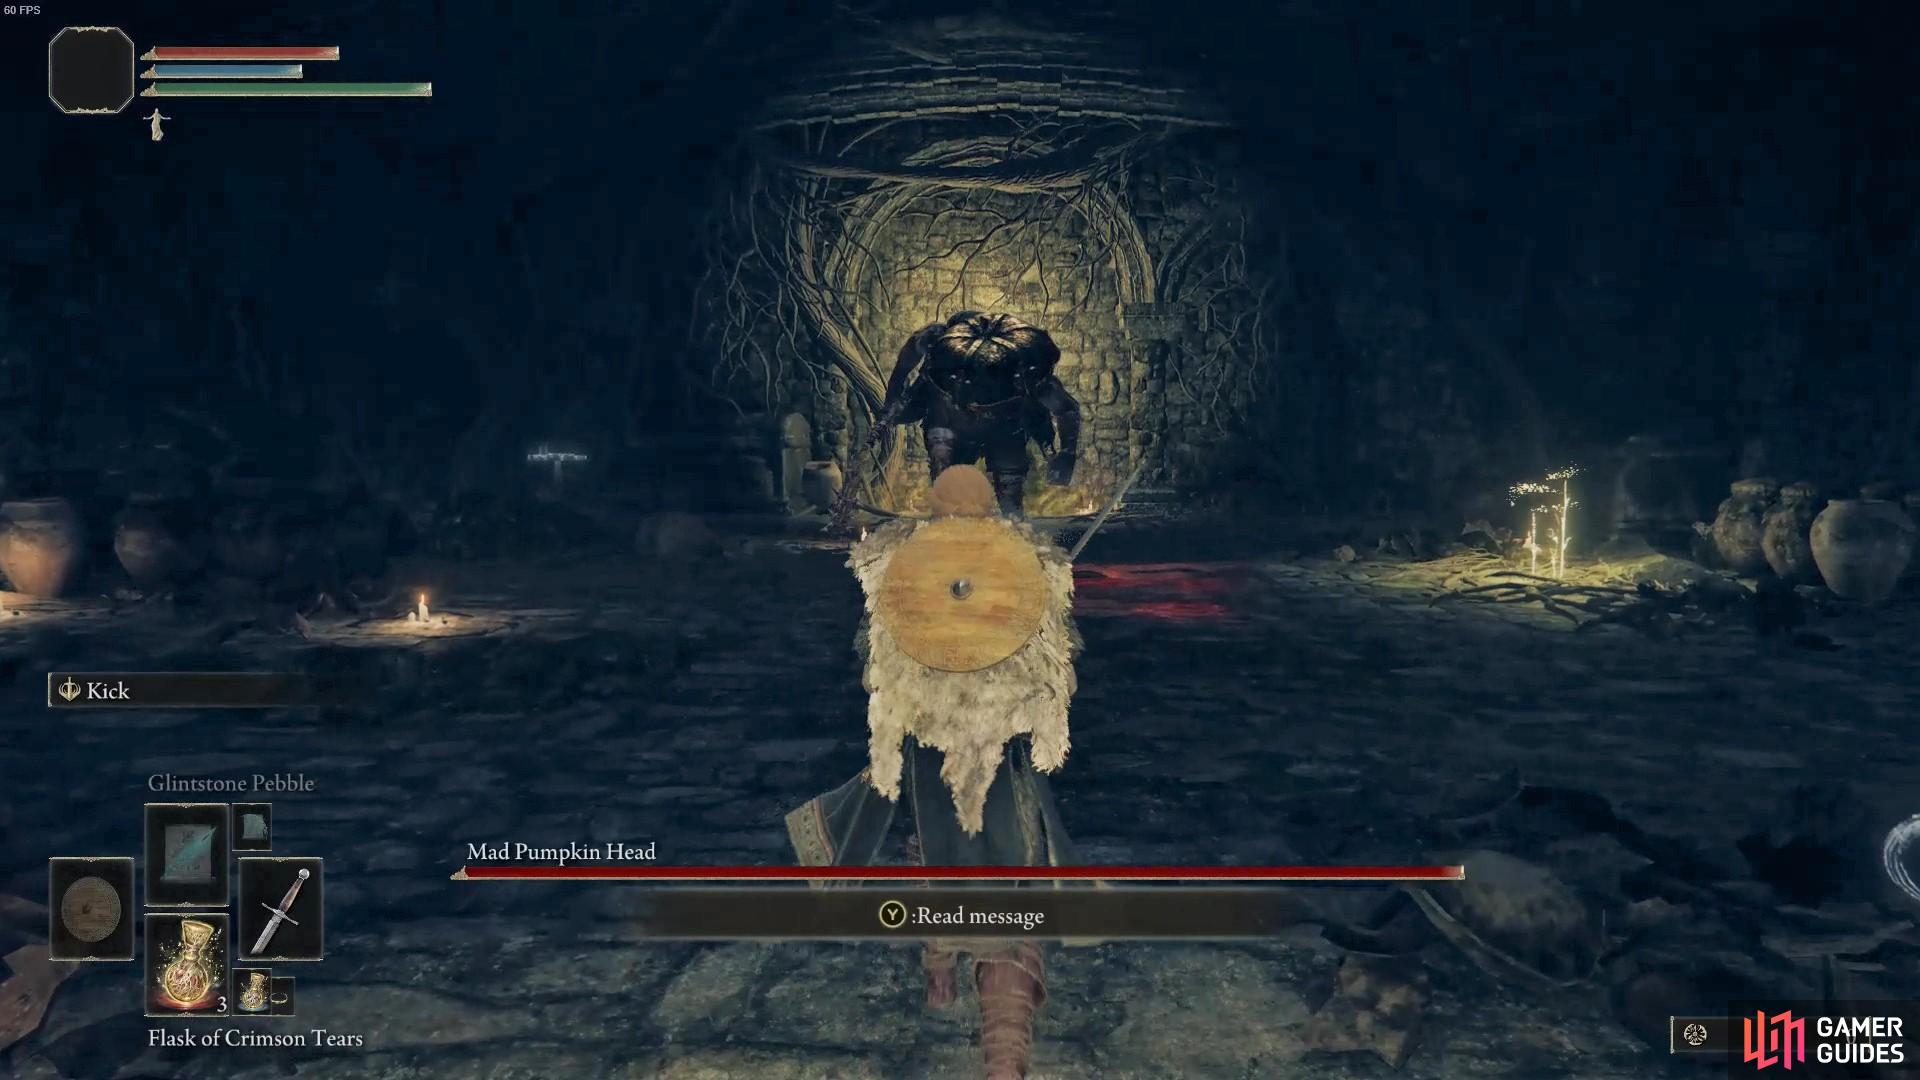
Mad Pumpkin Head |
The strategy for defeating Mad Pumpkin Head will depend on your class, but as with most of these boss fights, it will come down to how well you anticipate the attacks, and how quickly you avoid or counter them. Whether you’re a melee or ranged focused class, using your Spirit Calling Bell to summon assistance from your spirit allies will make the fight much easier. Not only will these inflict extra damage, they’ll also serve as a distraction, keeping Mad Pumpkin Head away from you for much if not most of the fight. Now comes the interesting part. If you’re a melee user, you can strike at Mad Pumpkin Head from behind as your spirit allies retain his attention. He will almost certainly turn to you at some point however, and you can deal with his attacks in different ways depending on your gear. If you have a good shield which negates 100% of physical damage, you can block most of Mad Pumpkin Head’s attacks without taking any damage. This gives you the confidence to wait for his attacks to finish before striking with a series of swift blows or a heavy attack as he recovers between attacks. If you’re a magic user, keep in mind that any attacks aimed at the Mad Pumpkin Head’s armored head will inflict only a small amount of damage at best, or often none at all. You’ll need to aim for the rest of his body, which is comparatively exposed, to inflict the most damage possible. For a full strategy guide, see our boss page here.
Lore
Though he has stifled his panic within the dark confines of his helmet, he rampages as if driven mad when agitated by bloodshed or the humming of insects. This mad soldier is all that is left of a broken gladiator.
Location
You’ll find Mad Pumpkin Head in the Waypoint Ruins Cellar, which is located on the other side of the lake to the east from the Church of Elleh, or just northwest from Fort Haight West.
Info
Mad Pumpkin Head is well worth seeking out early on, especially if you’re a sorcery user since you’ll gain access to Sorcererss Sellen upon your victory.
Location
1×
|
Field Boss |
1,100 |
|
|||||||||||||||||||||||||||||||||||||||||||||||||||||||||||||||||||||||||||||||||||||||||||||
|
Margit, the Fell Omen |
There are two phases to this battle, with the second phase being triggered at around 60-70% damage. During this first phase, he’ll perform big blows with his staff and use a conjured blade to either swipe at you when you’re in melee combat or throw them if you’re at a distance from him. The speed of his staff can range from being a relatively quick attack to a slow but incredibly powerful and incapacitating hit. The tell tale sign is how long he holds up or “charges” up the attack - the longer he takes to hit the more powerful it’ll be. In any case, you’ll want to be dodging all the attacks regardless, but knowing when it’ll land is crucial so you can perfectly time the roll. The second phase is where it gets extra tricky. During this phase, he’ll be able to conjure up a large hammer and a longsword. The large hammer and longsword increase his reach making dodging the conjured weapons a lot harder to dodge. If you’re a melee character, this means you’ll want to increase the distance between yourself and Margit somewhat so you’re able to dodge his attacks more effectively. For a full strategy guide, see our boss page here.
Lore
Foul tarnished, in search of the Elden Ring. Emboldened by the flame of ambition. Someone must extinguish thy flame. Let it be Margit the Fell!
Location
Margit is the first big boss of the main story. You’ll find him at Stormhill, blocking the entrance to the Legacy Dungeon: Stormveil Castle. He is not an optional boss, since you’ll need to defeat him to progress through the main story by going through Stormveil Castle. Right before you head through into the open space where you fight him, you’ll find a Site of Grace just down the tunnel heading towards the castle (Castleward Tunnel).
Info
You can purchase Margit’s Shackle from Patches’ shop in Murkwater Cave, you can use this twice in the first phase to bind Margit to the ground allowing you to get some free strikes against him.
Item Drops
1×
|
Greater Boss |
12,000 |
||||||||||||||||||||||||||||||||||||||||||||||||||||||||||||||||||||||||||||||||||||||||||||||
|
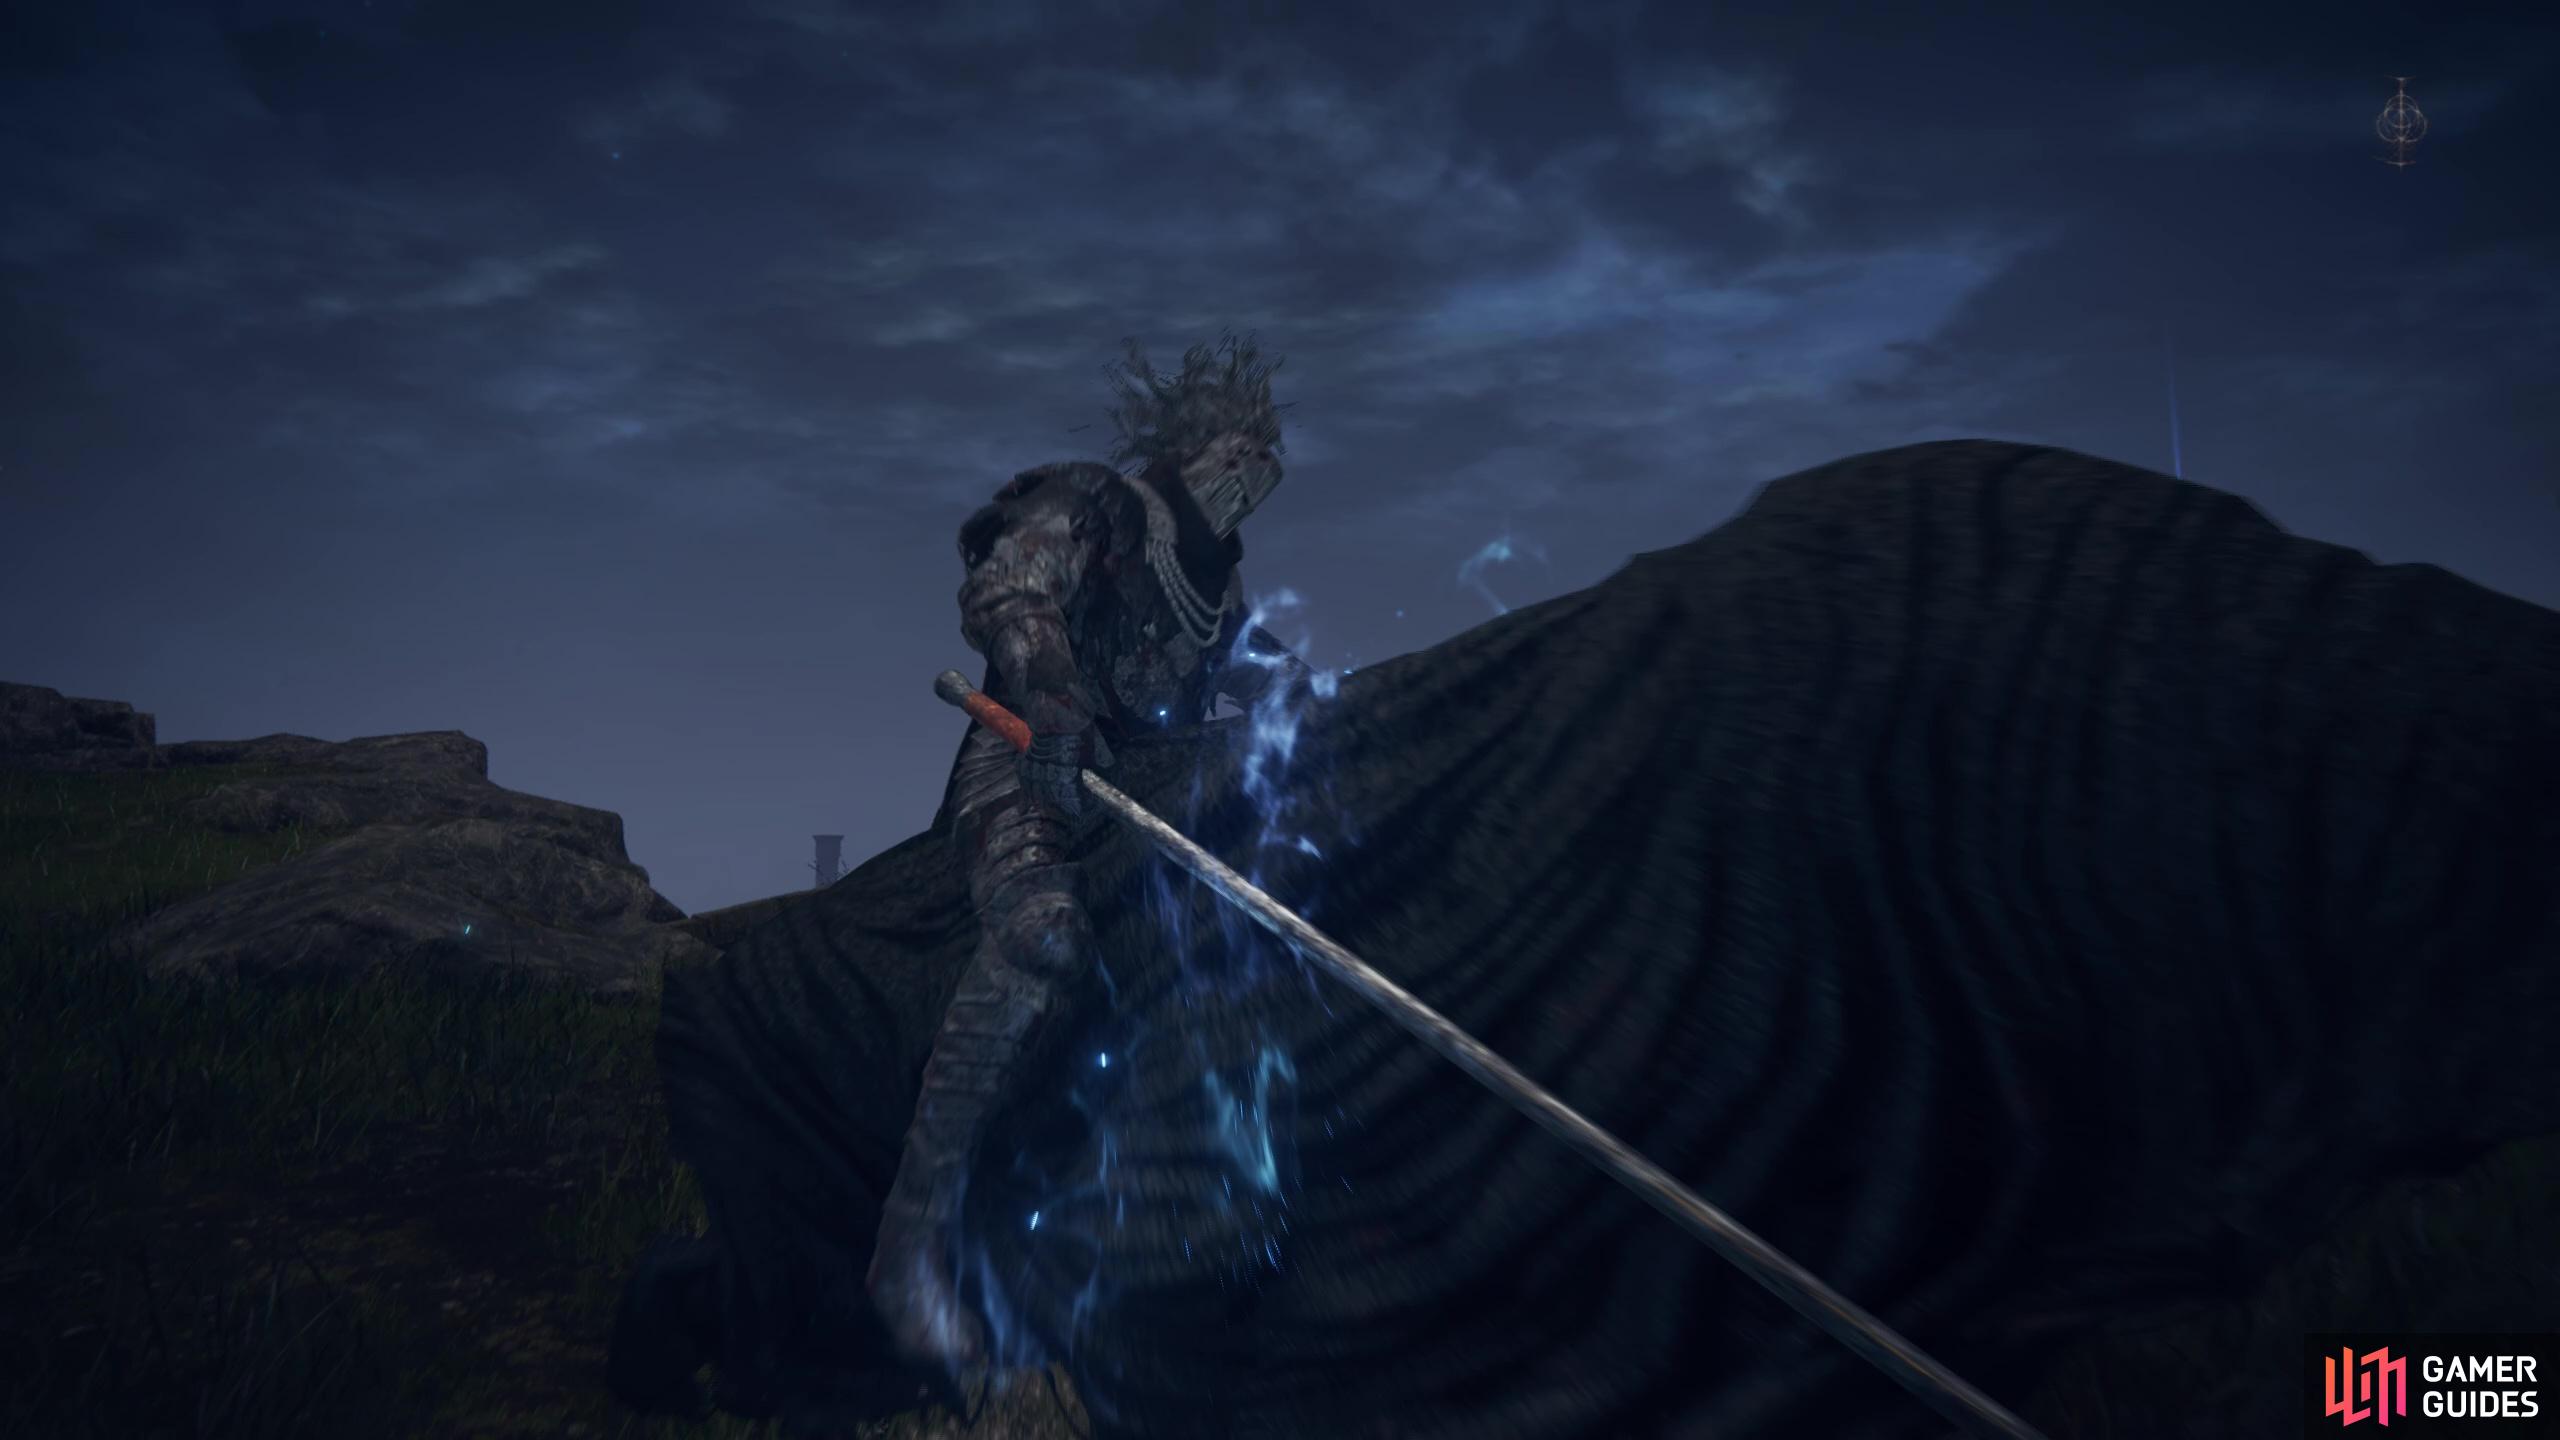
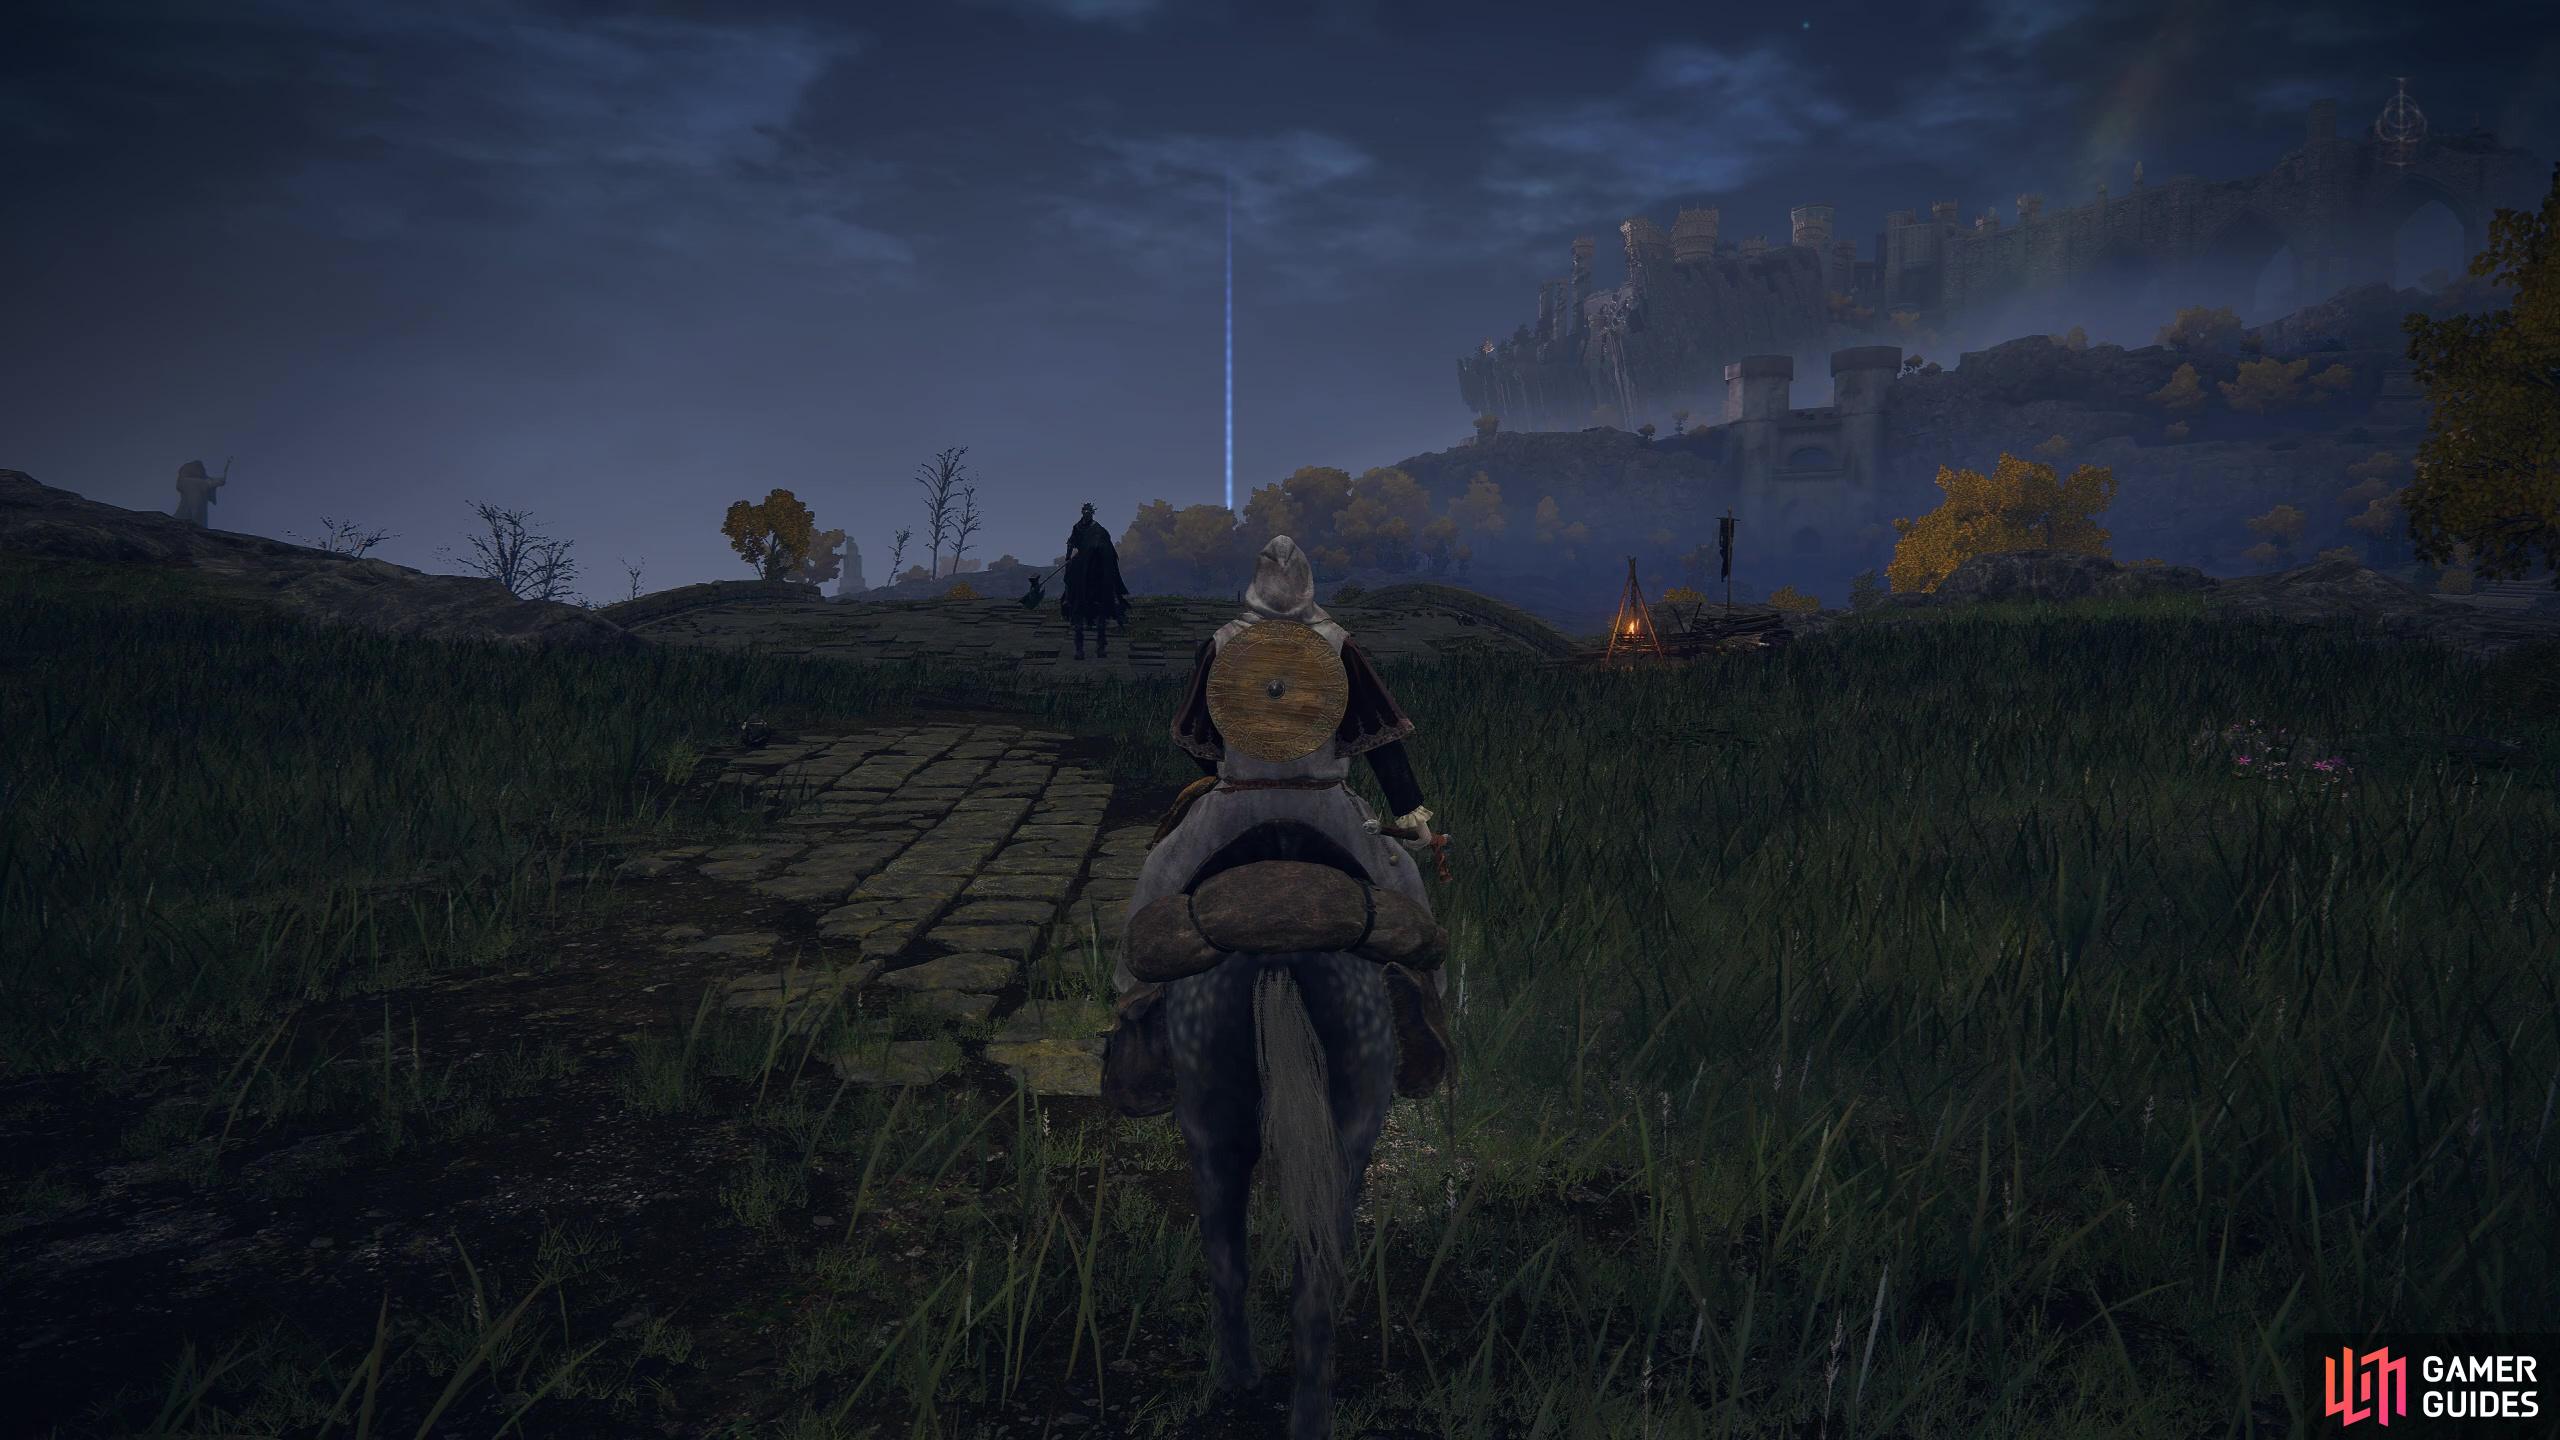
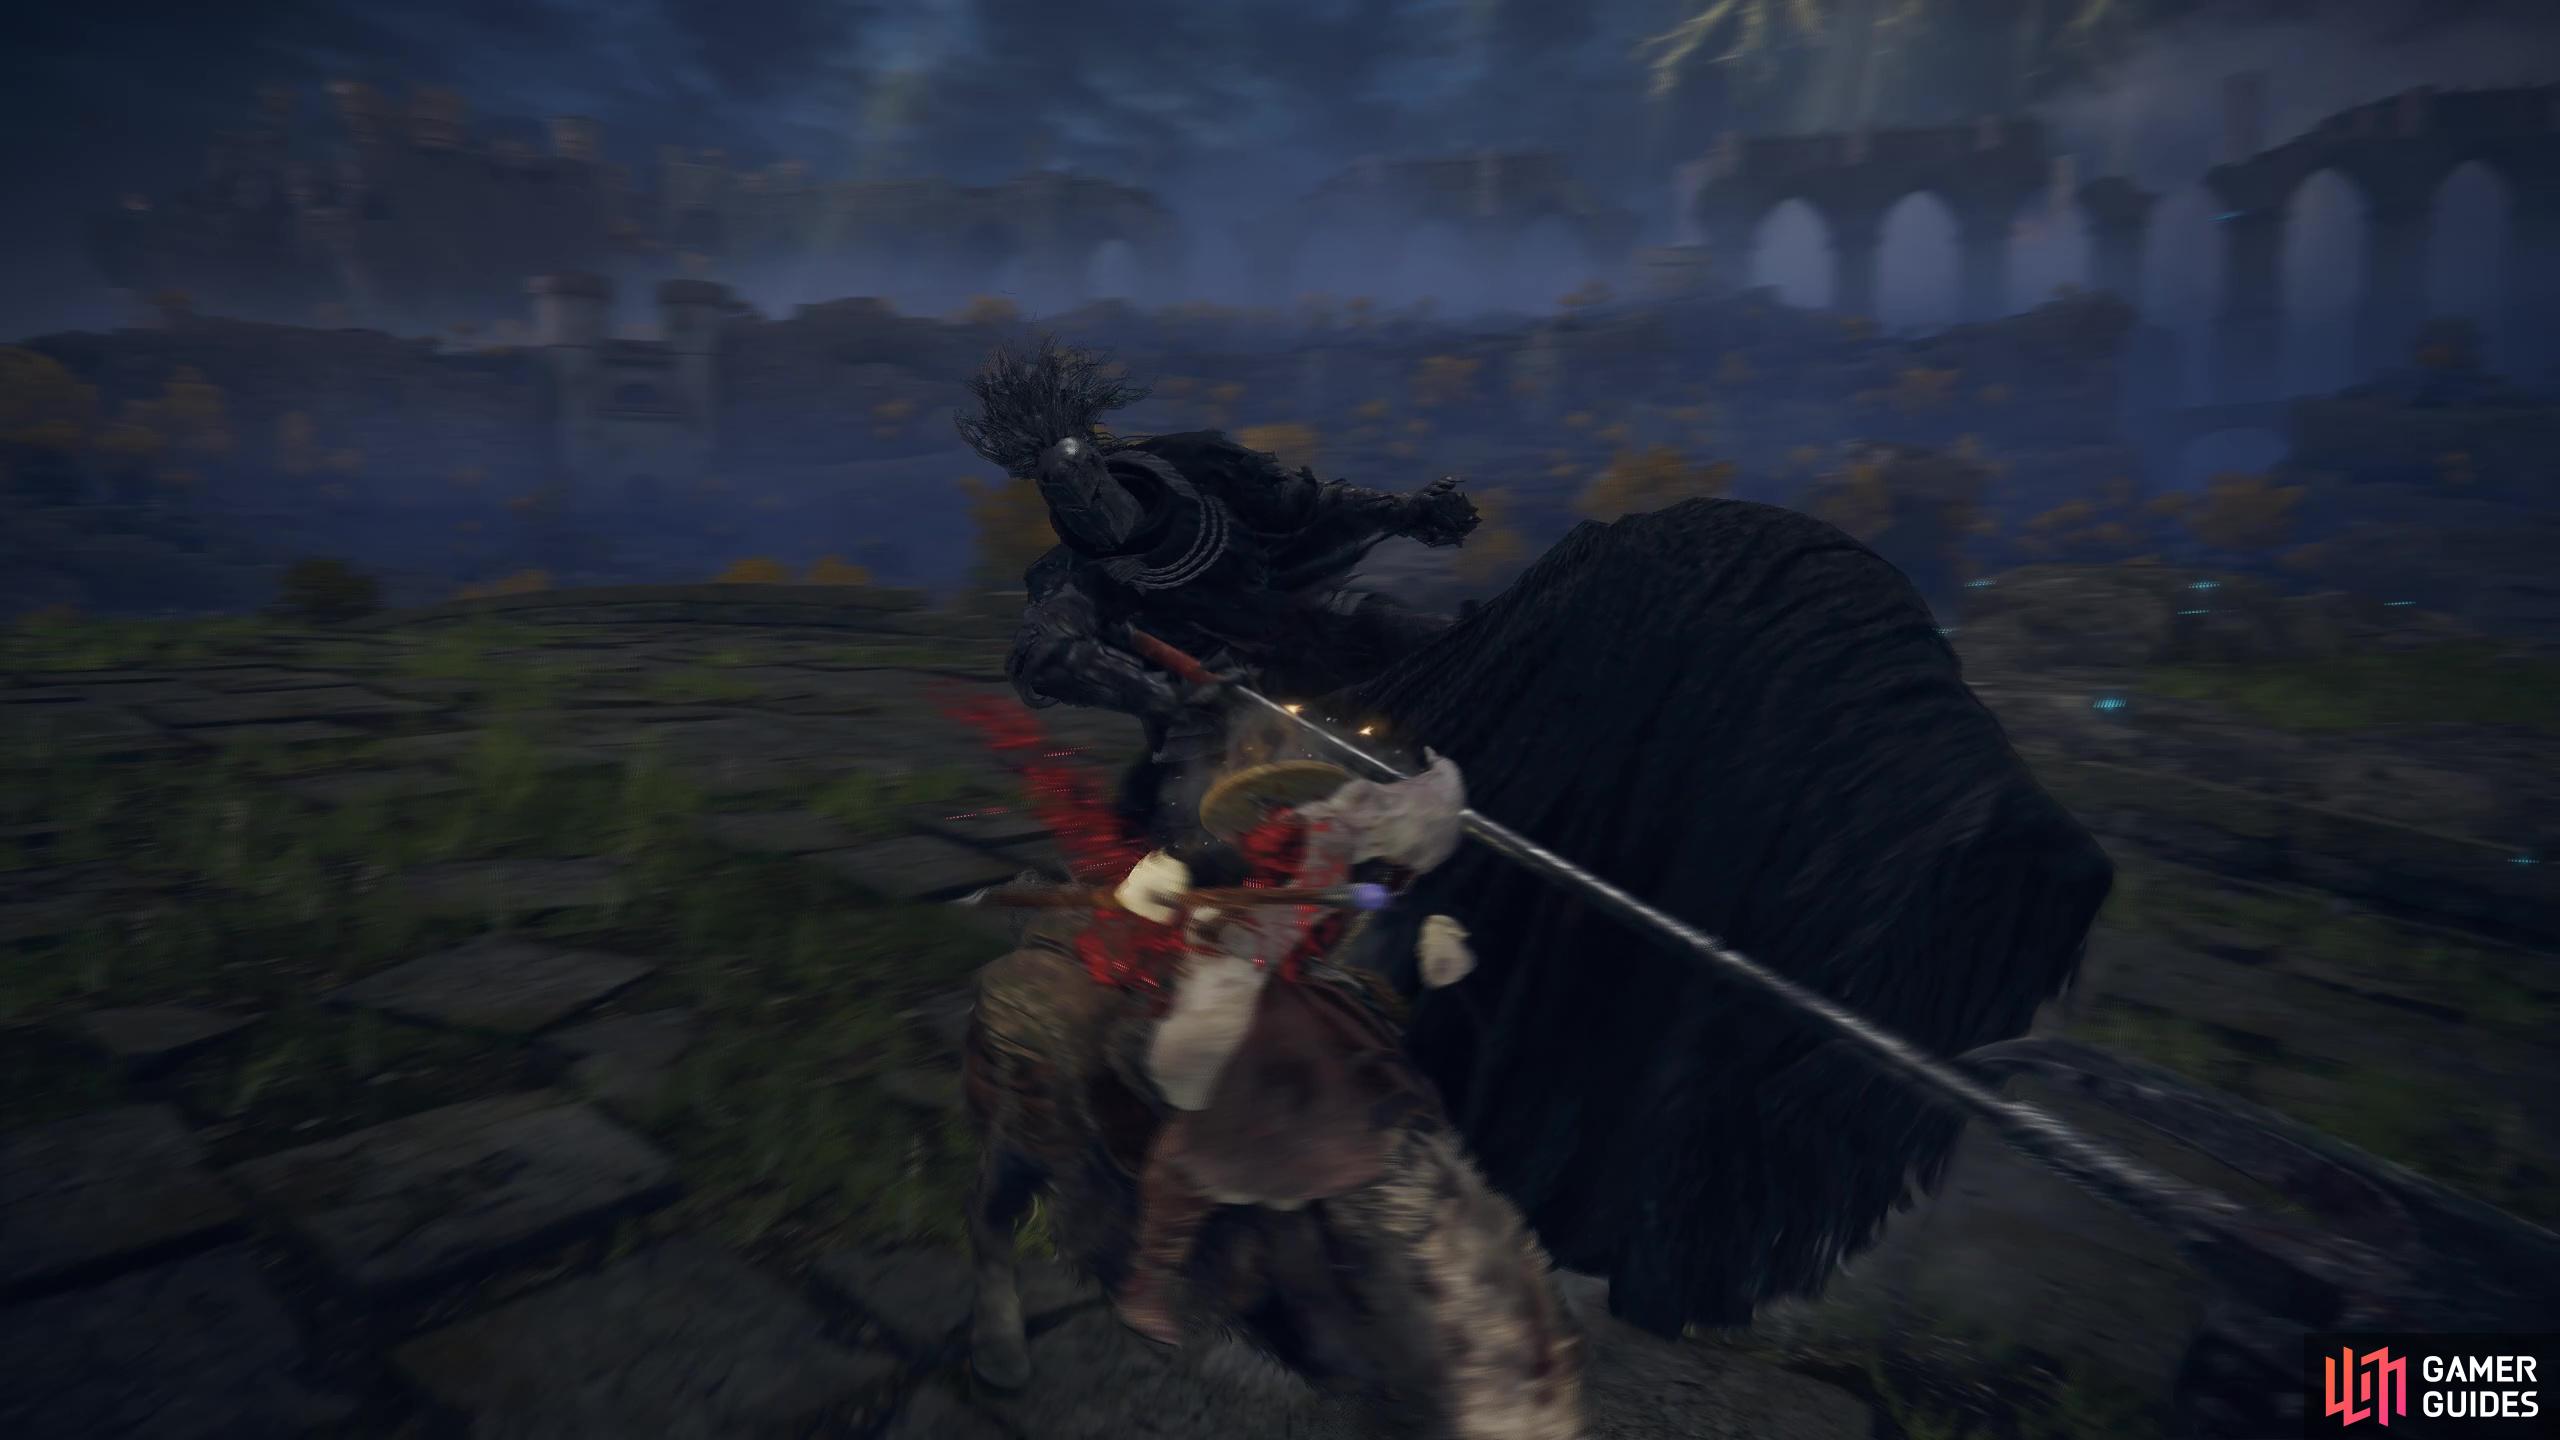
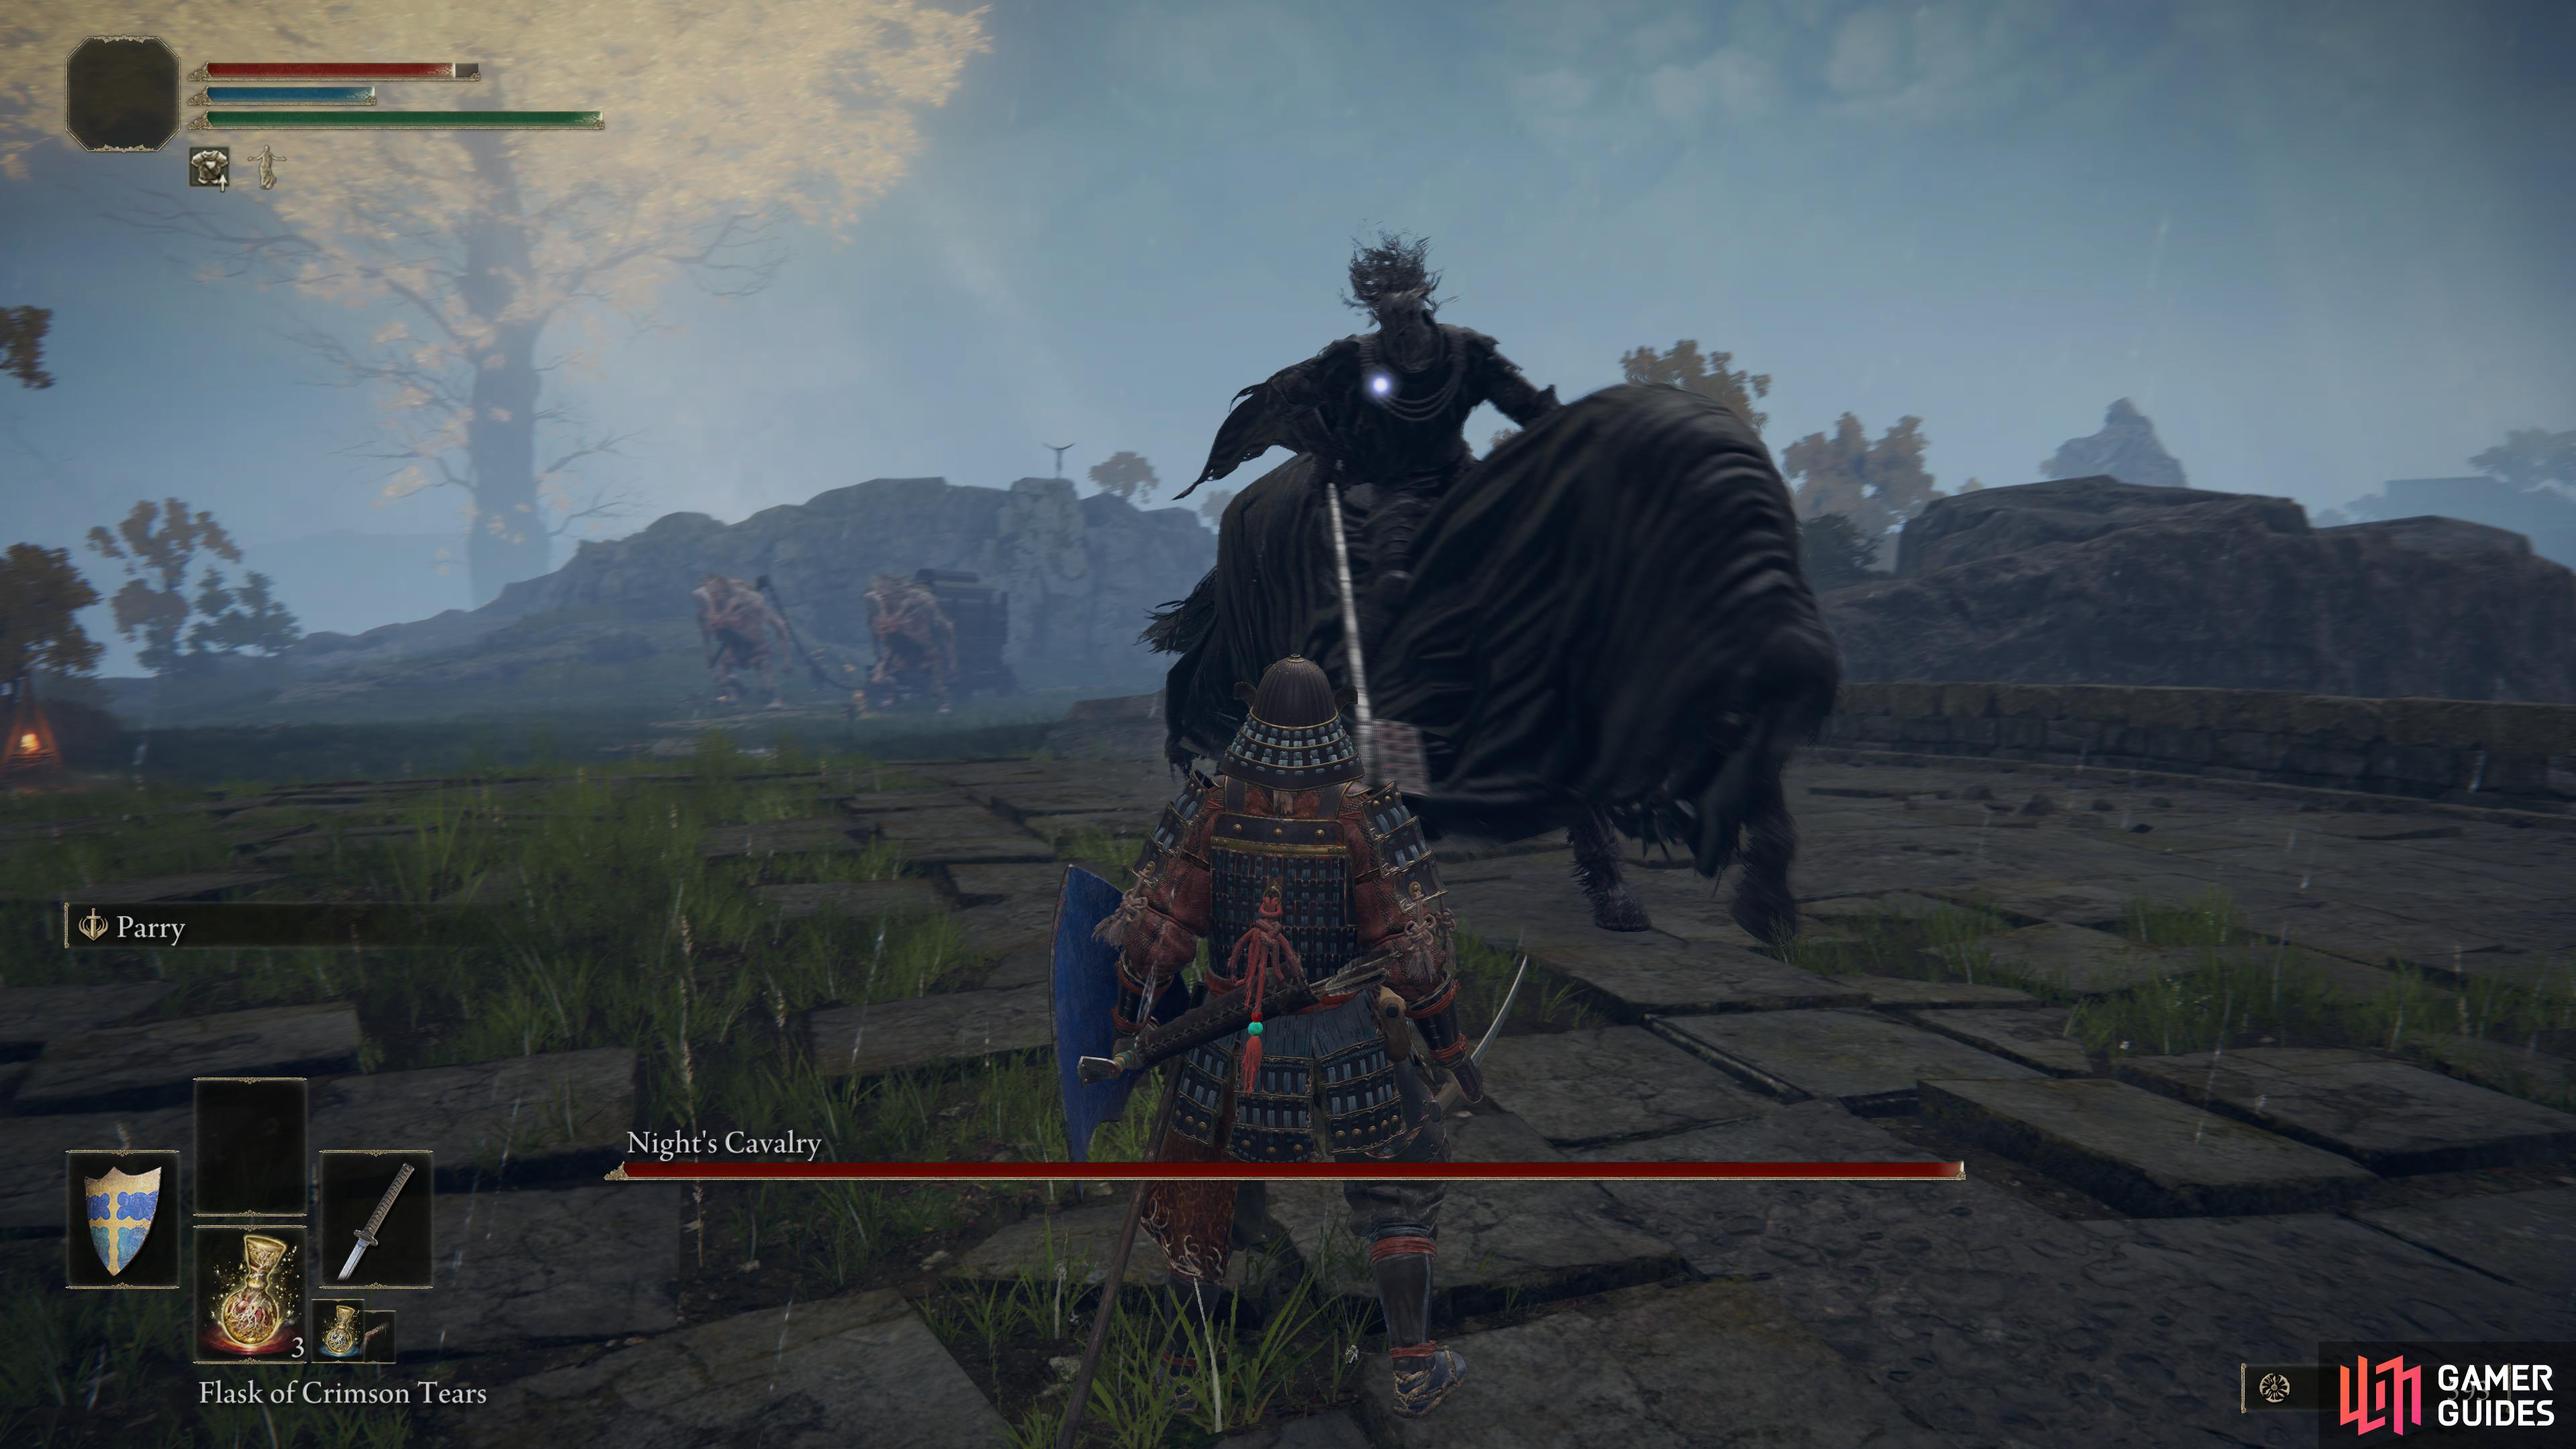
Night's Cavalry (Limgrave) |
The strategy for Night’s Cavalry is fairly simple and straightforward. If you’re on your Torrent mount, which we’d highly recommend for this fight, you can relentlessly attack the boss by jousting him continuously. So long as you ride towards him on his right side (to the left as you’re facing him), you can avoid most of his attacks and quickly strike as you pass by to inflict a chunk of damage. All you need to do is repeat this process to gradually whittle his health down, while avoiding contact with any other enemies in the area. The only attack that you need to be more careful to avoid is the Drag Attack, since this can catch you off guard if the Night’s Cavalry moves slightly as he’s riding towards you, or if he finishes the attack with a slam attack on the ground. To ensure that you don’t get hit by the drag attack, it’s generally safer for you to run away from it rather than try to avoid it as you charge towards Night’s Cavalry for the next joust.
Lore
Coming Soon.
Location
You’ll find Night’s Cavalry patrolling across a large bridge near the centre of Limgrave, along the road southeast from Gatefront, as shown in the image below. However, it is important to note that the Night’s Cavalry will only appear at night, and there’s a chance they may disengage in battle if morning breaks while you’re fighting them.
Info
There are multiple versions of Night’s Cavalry, each of which will wield different weapons and have different drops, even if their battles don’t change much.
Location
1×
Item Drops
1×
|
Field Boss |
2,400 |
|
|||||||||||||||||||||||||||||||||||||||||||||||||||||||||||||||||||||||||||||||||||||||||||||
|
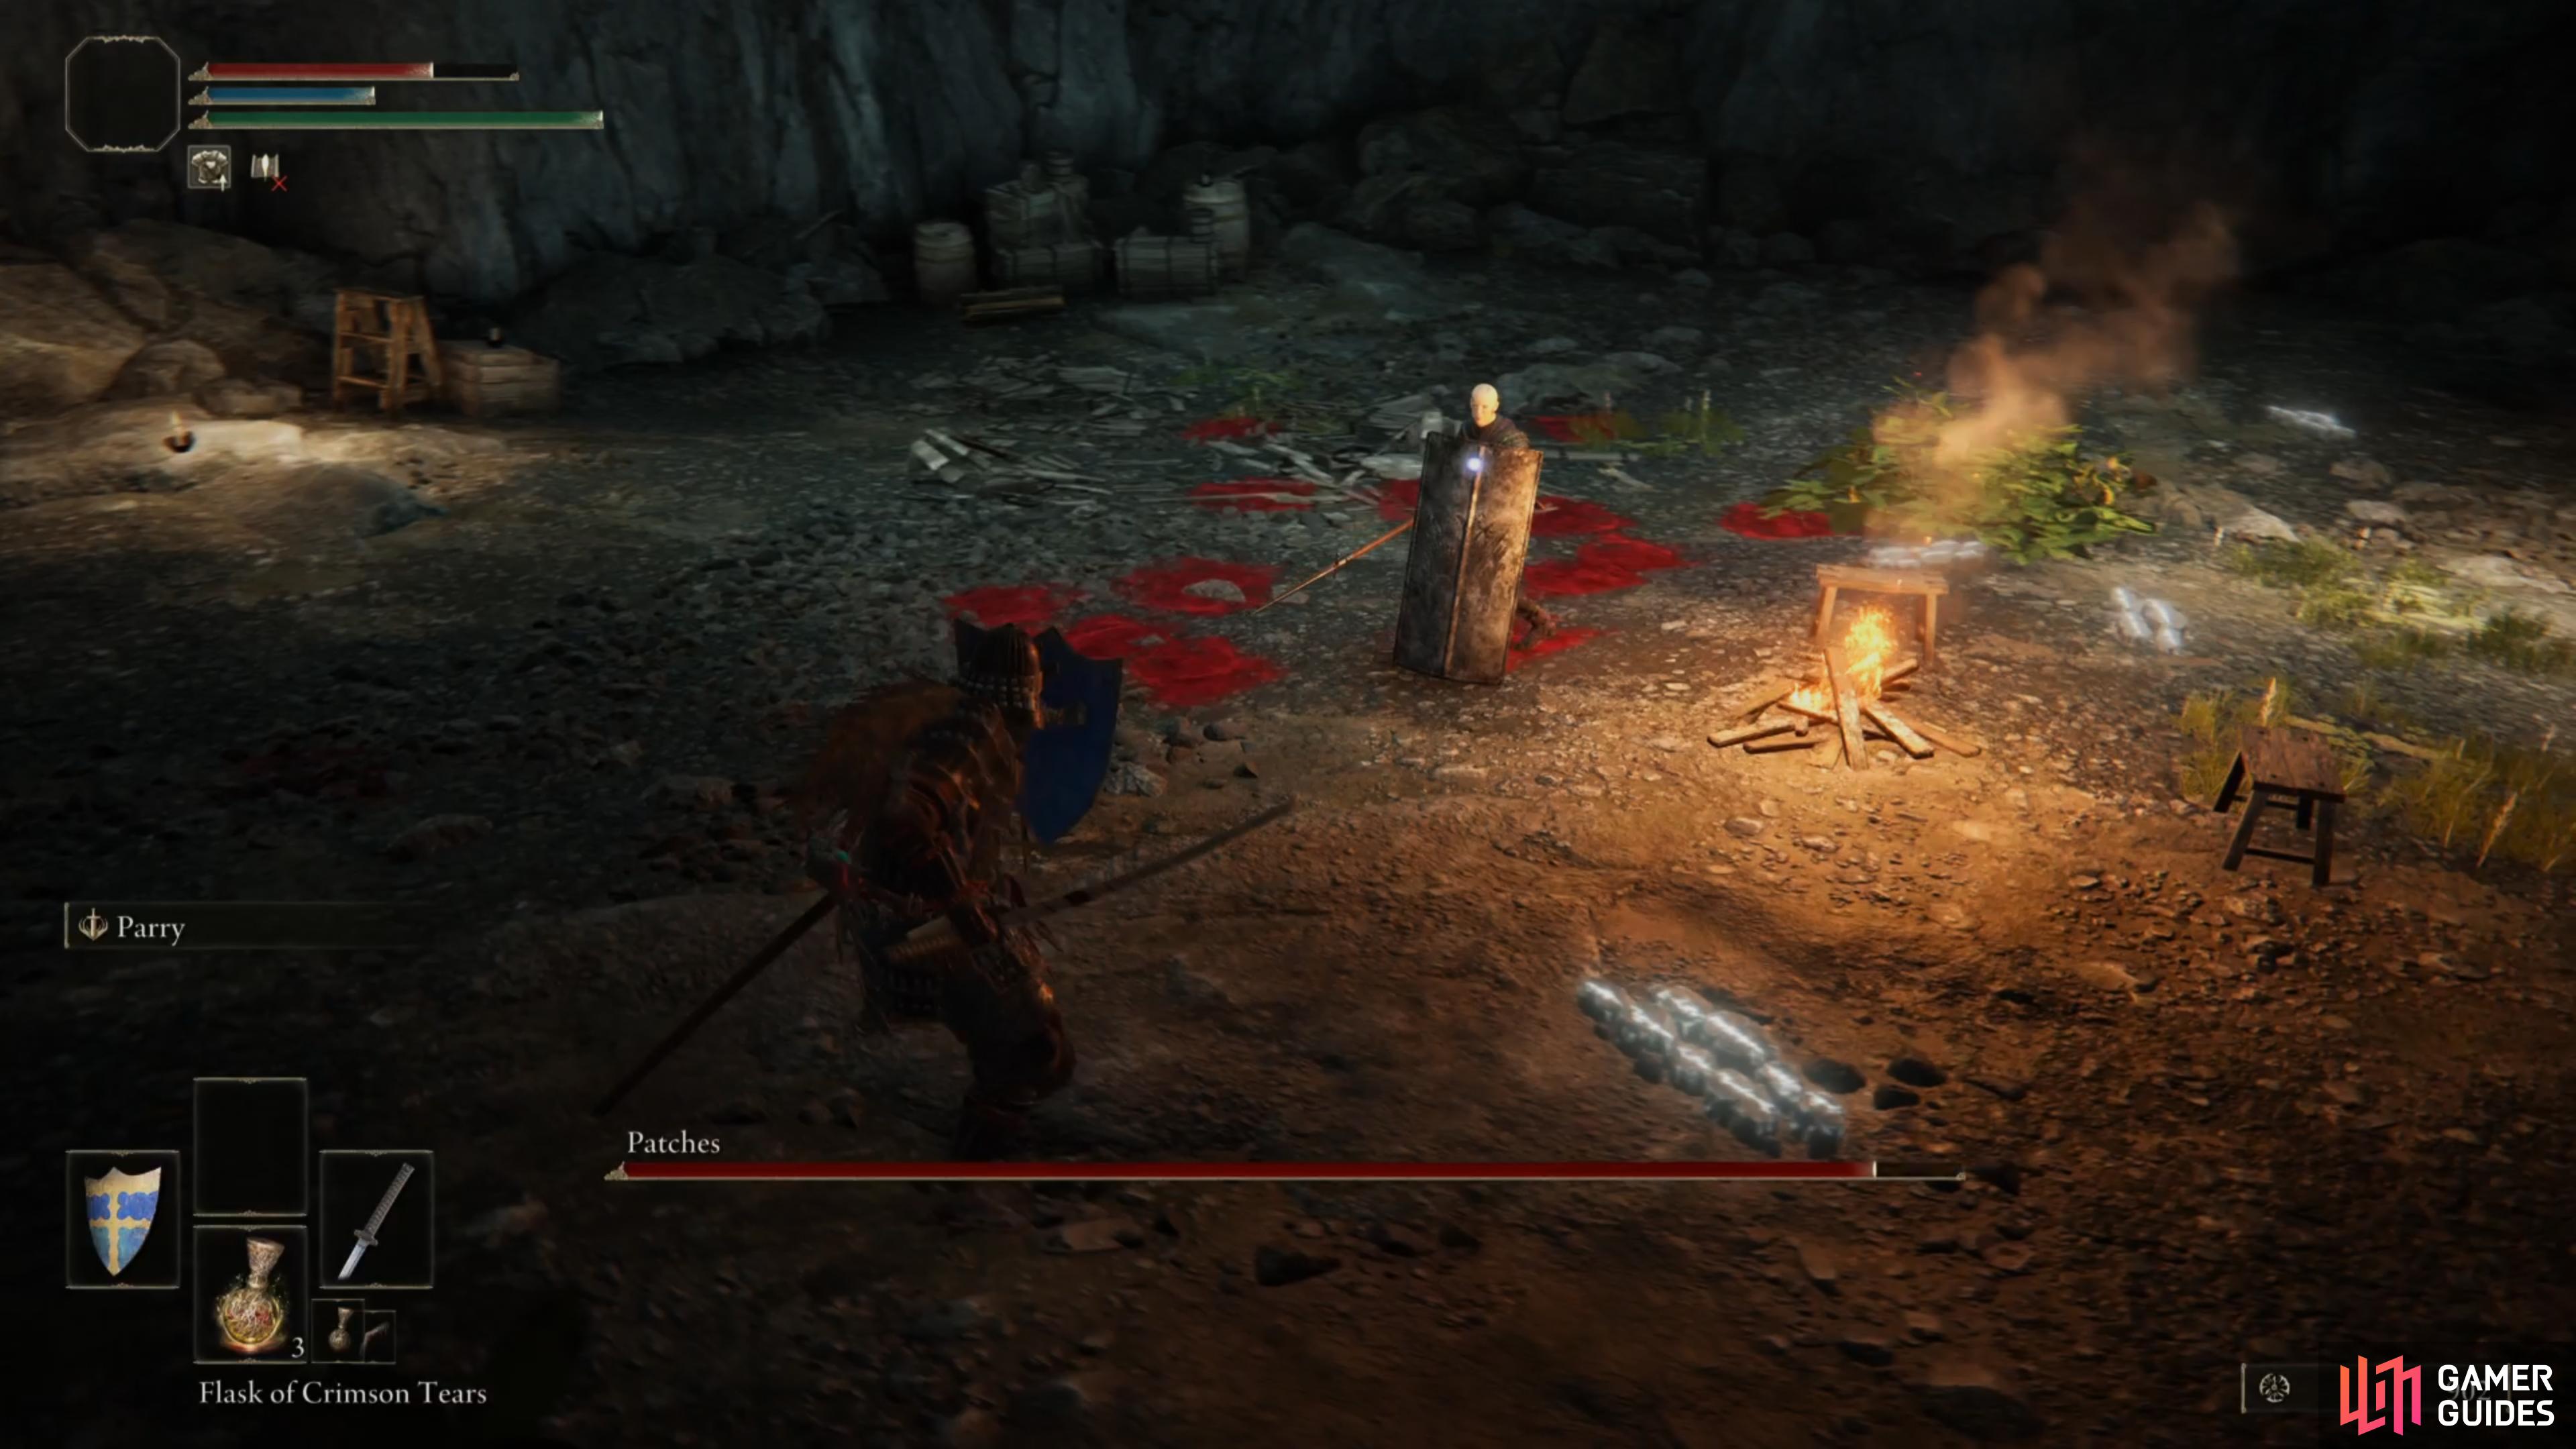
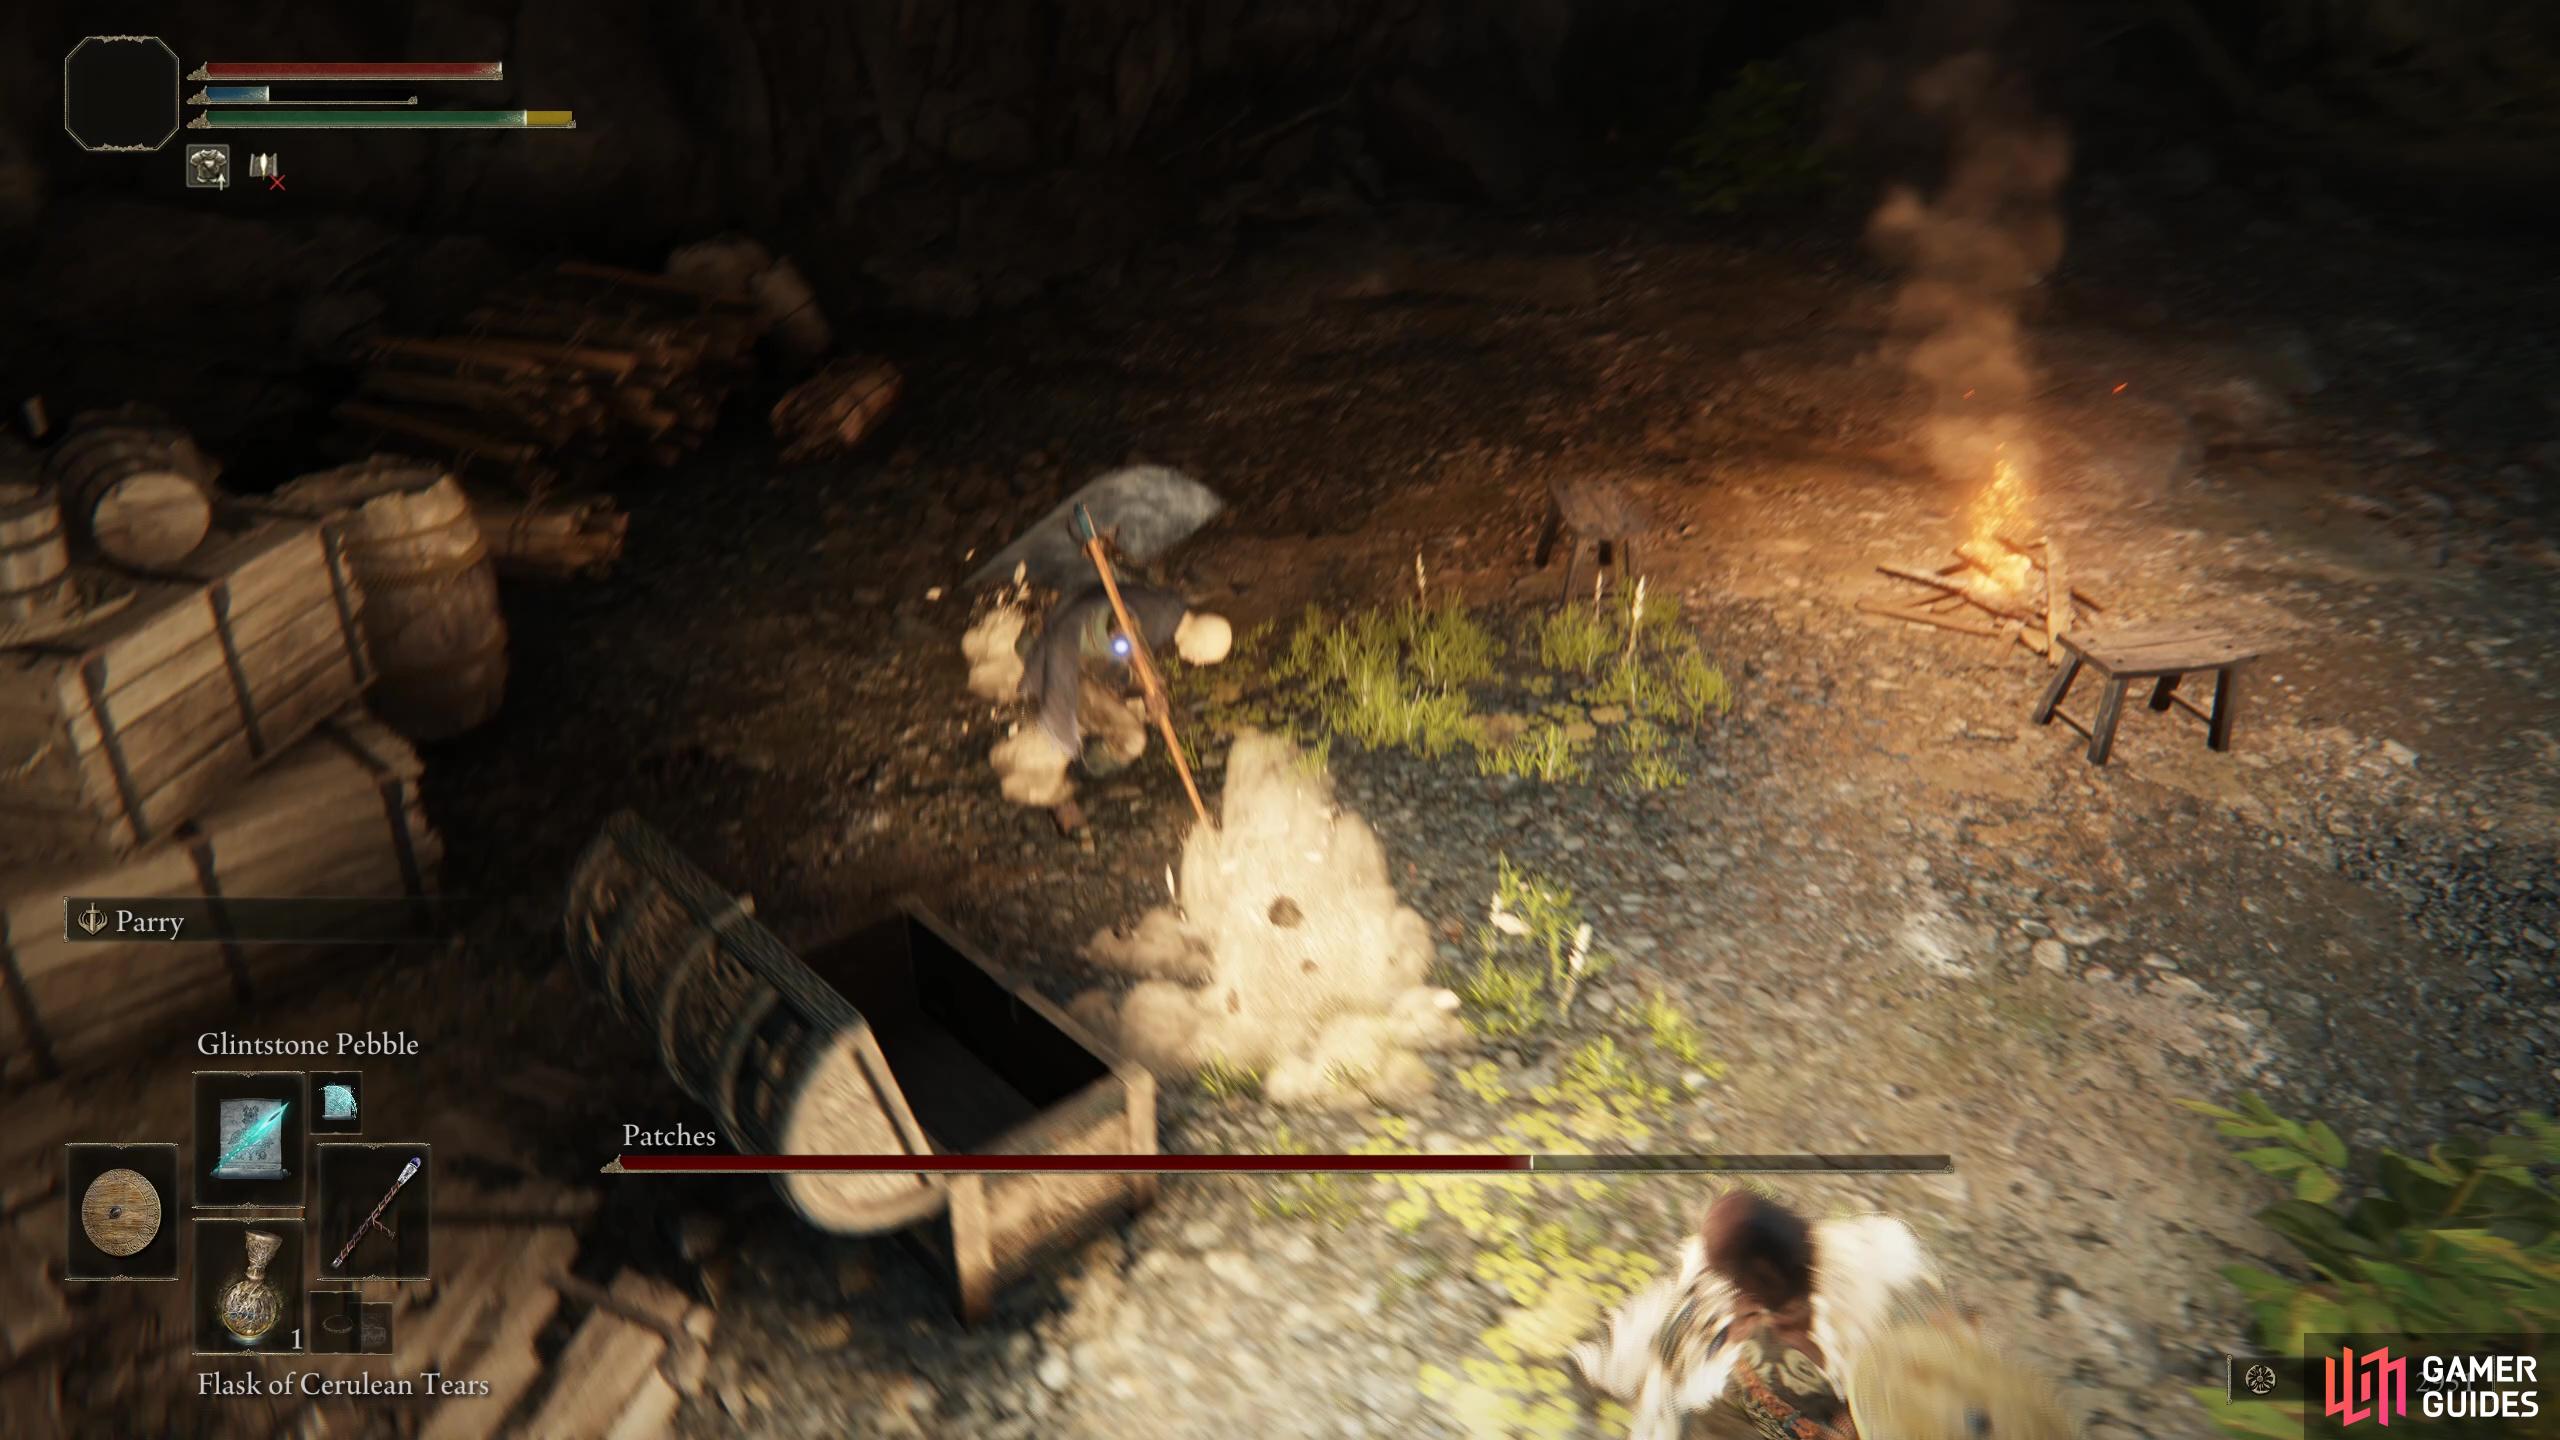
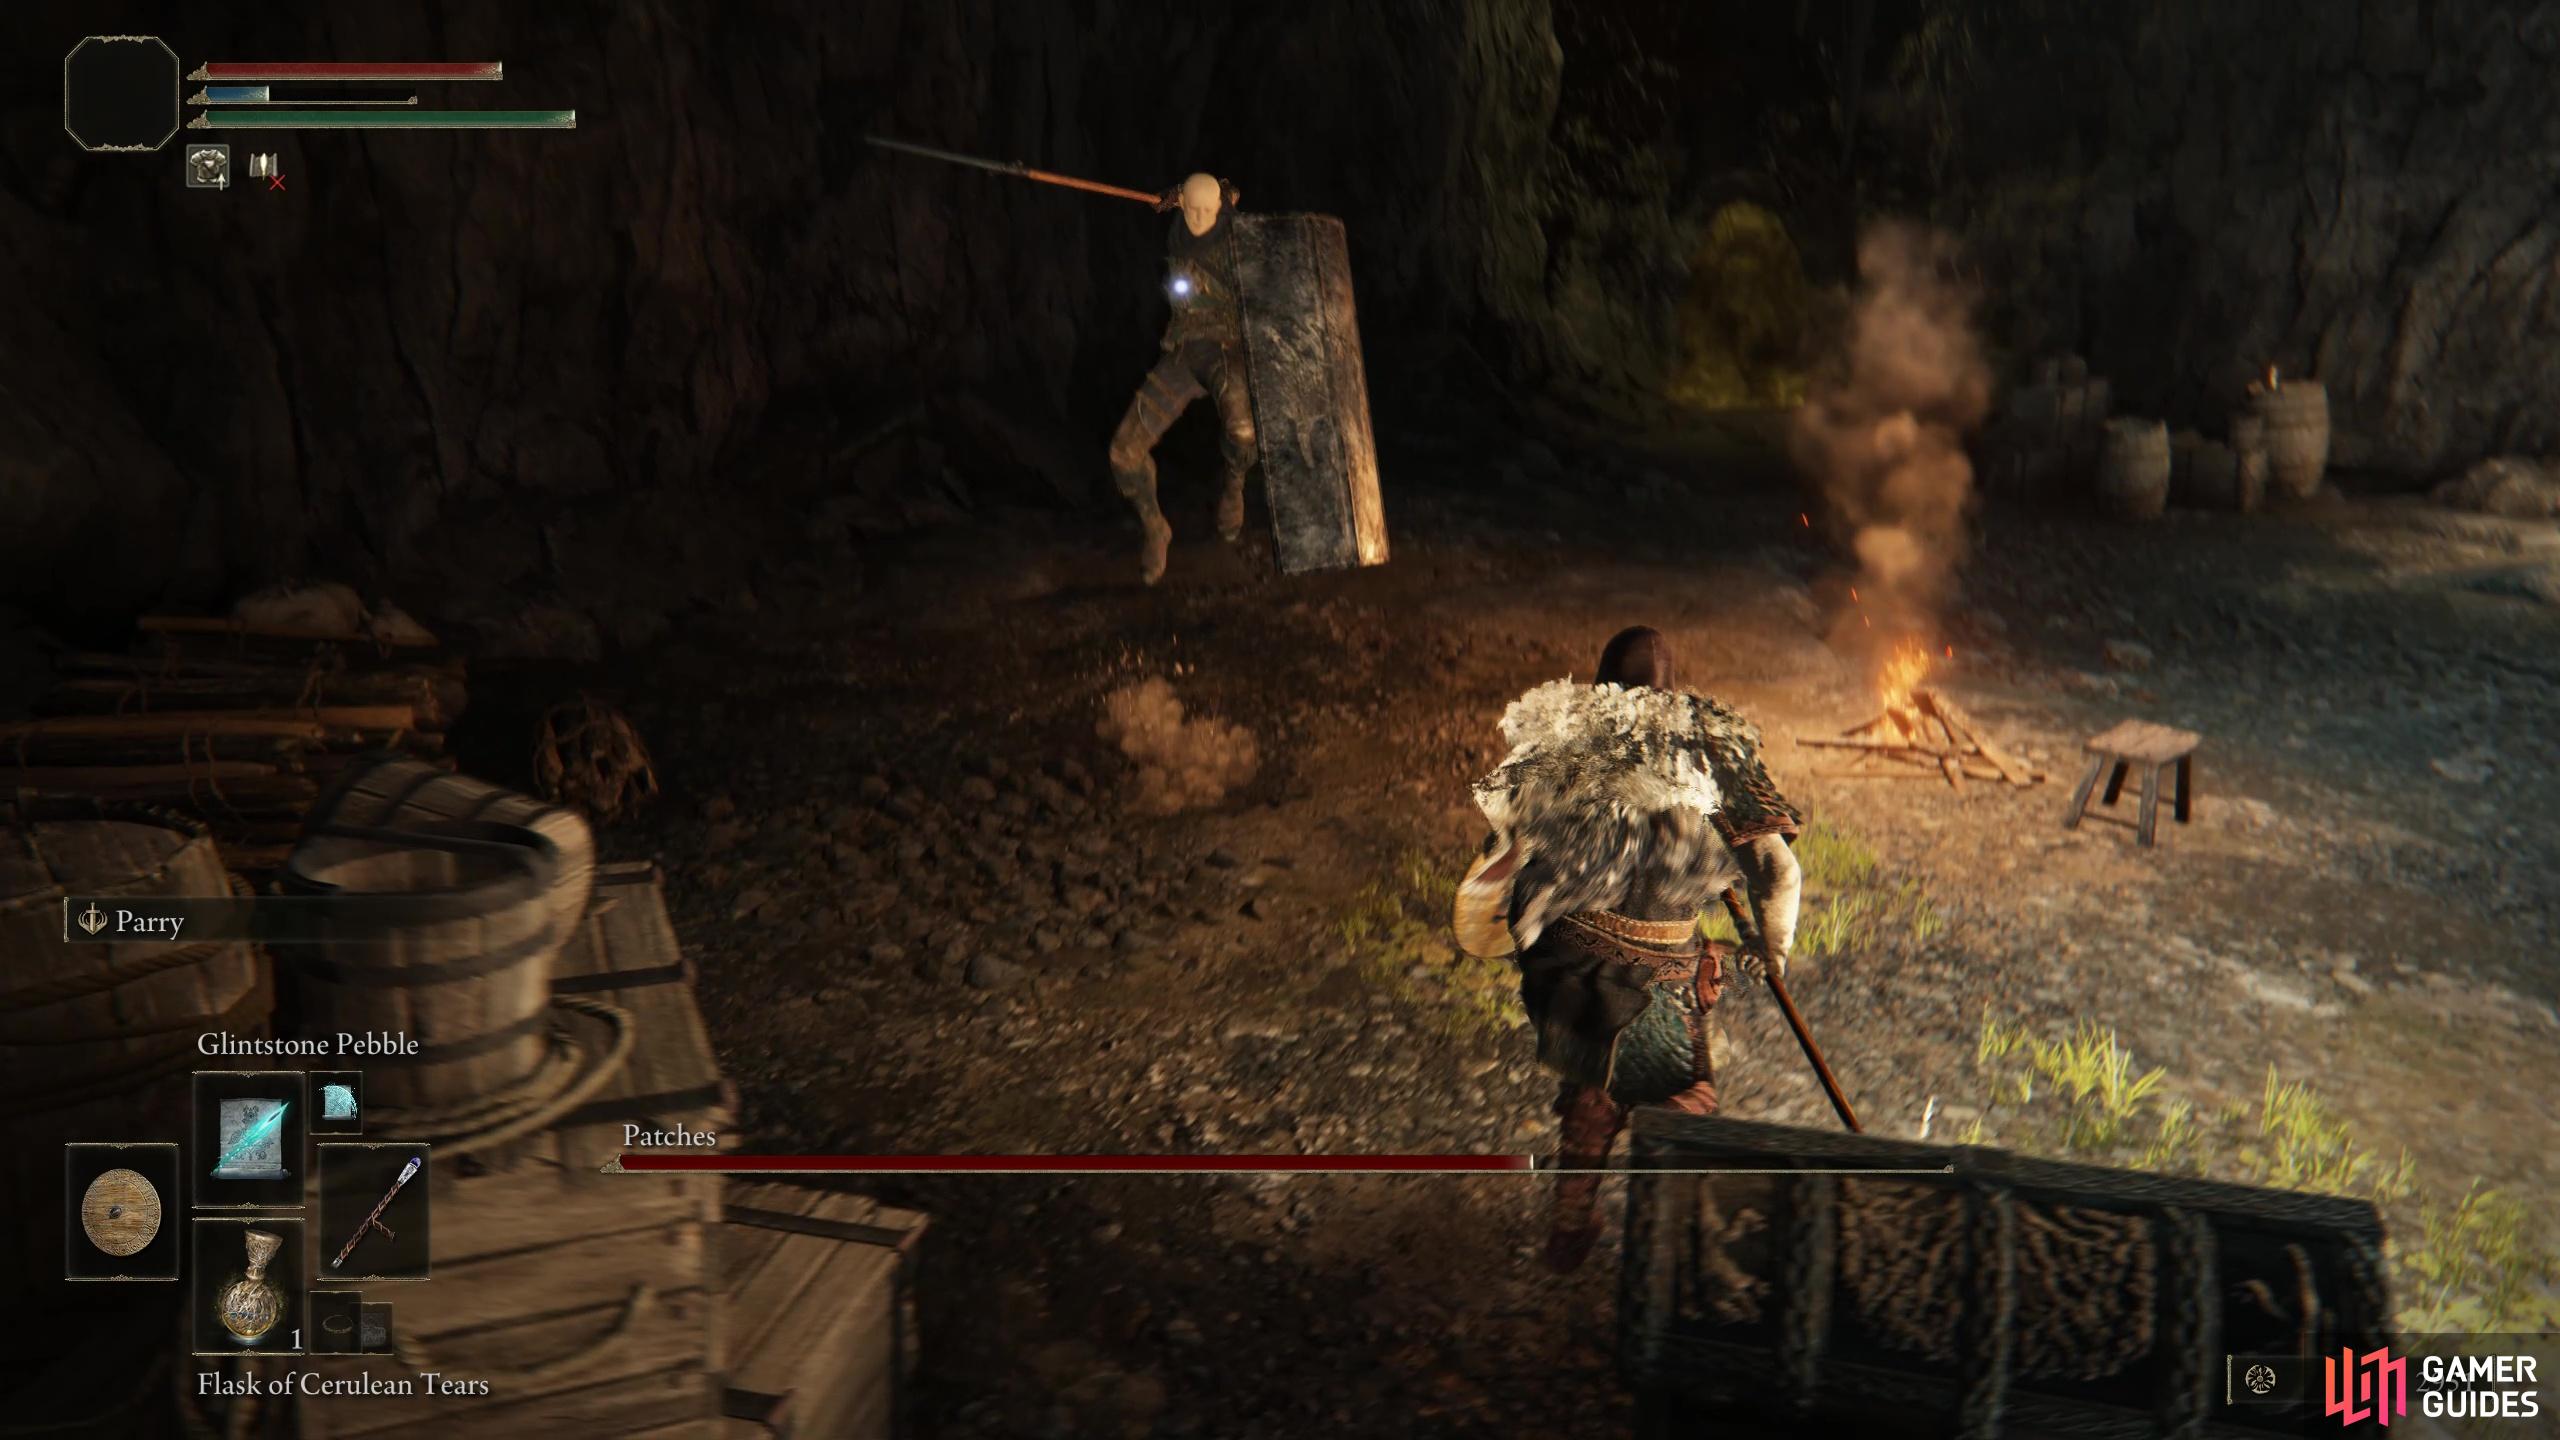
Patches (Boss) |
Patches should not be an overly difficult battle, and you only need to lower his HP to around half to have him surrender, which you should take him up on if you wish to pursue his Quest. For a full strategy guide, see our boss page here. Should you kill Patches in Elden Ring?Generally speaking, you should not kill Patches in Elden Ring. If you do kill him, you’ll get a Spear +7 and some Leather Armor, which is a good gain in the short-term. But if you don’t kill him you much more in the long-term. If you spare him he’ll become a merchant, with better goods for sale than Kale at the nearby Church of Elleh, including Margit’s Shackle. You’ll have to leave his chamber, then come back again for him to become a merchant. Also if you kill Patches, then at least one key quest won’t spawn later in the game, and you won’t be able to get the Great Horned Targoth’s armor set, which is one of the best armors in the game.
Lore
I’m Patches. Patches the Untethered.
Location
Info
During combat, when Patches reaches low health, he will offer to surrender. If the surrender is accepted he will open up a shop in Murkwater Cave.
Location
1×
Item Drops
1×
Item Drops
1×
|
Field Boss |
0 |
|
|||||||||||||||||||||||||||||||||||||||||||||||||||||||||||||||||||||||||||||||||||||||||||||
|
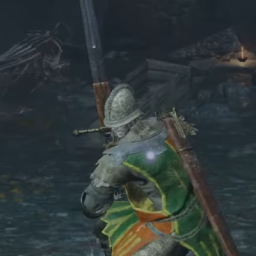
Soldier of Godrick |
Location
1× Stranded Graveyard
Limgrave
|
Field Boss |
400 |
384 |
Phy (Sla) |
Phy (Thr) Lightning, Scarlet Rot, Poison. |
|||||||||||||||||||||||||||||||||||||||||||||||||||||||||||||||||||||||||||||||||||||||||||
|
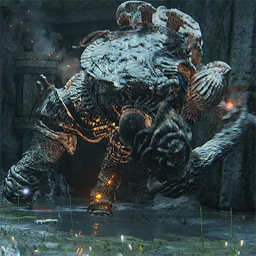
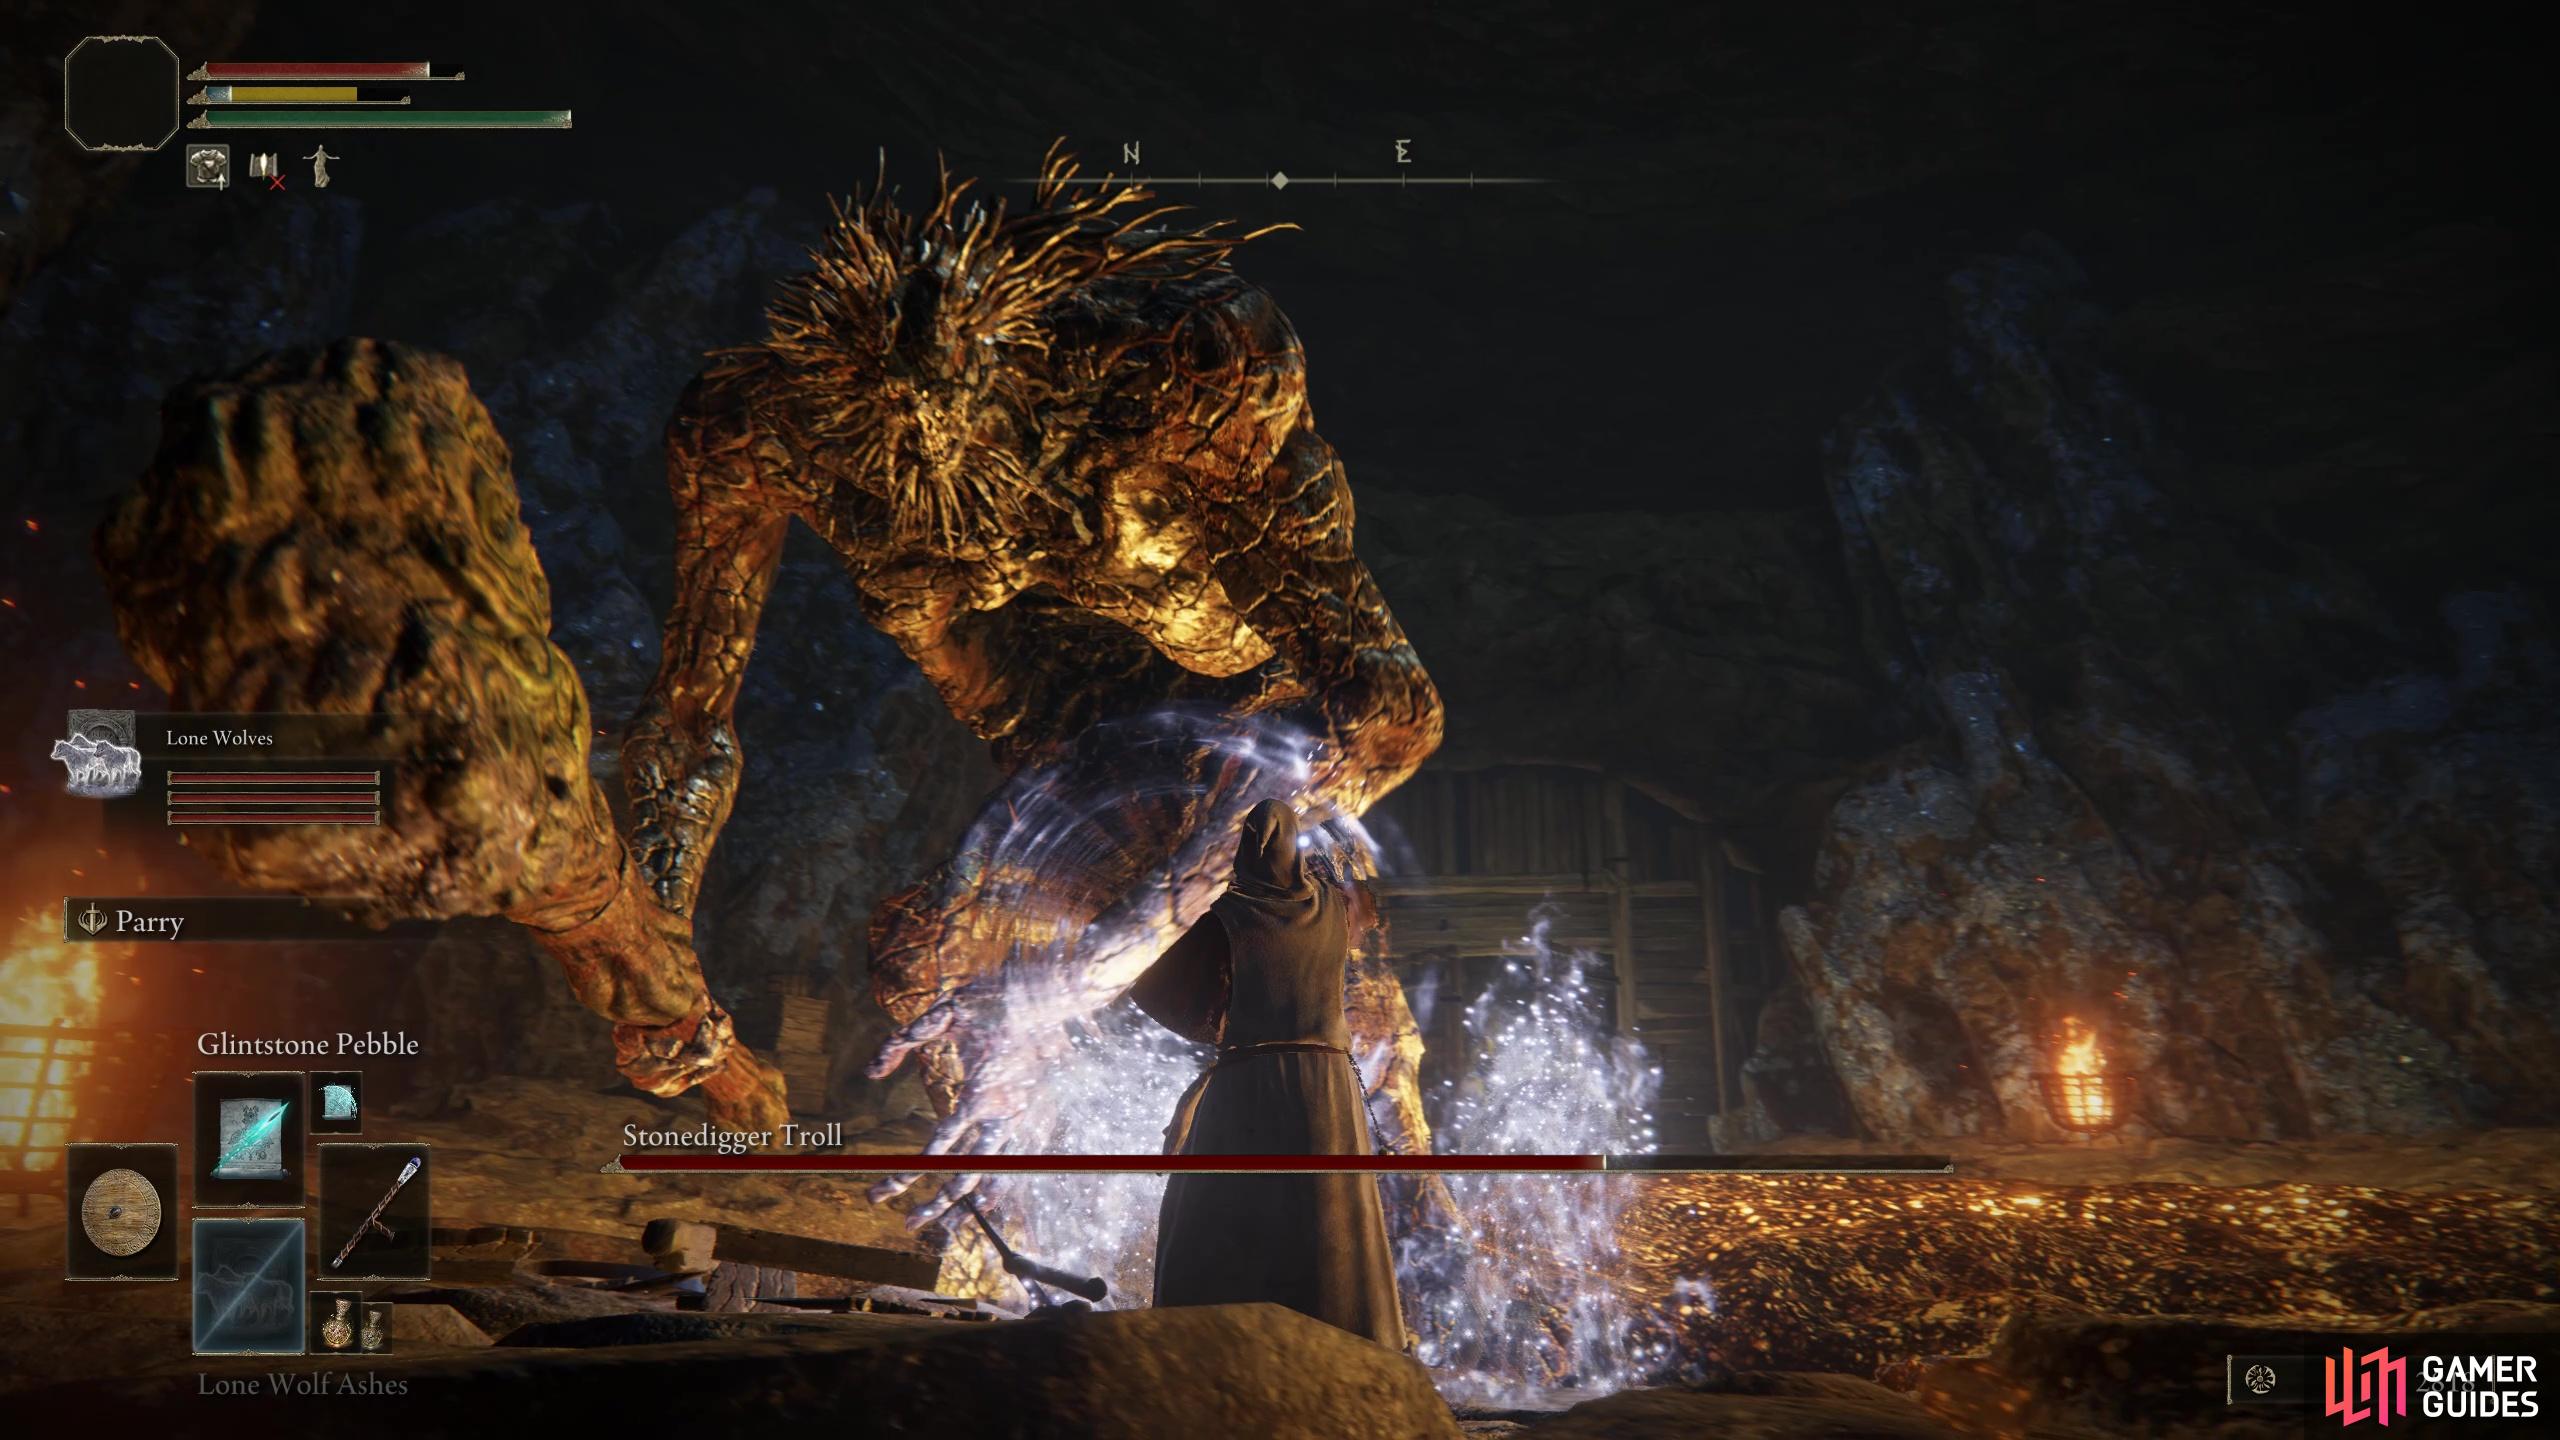
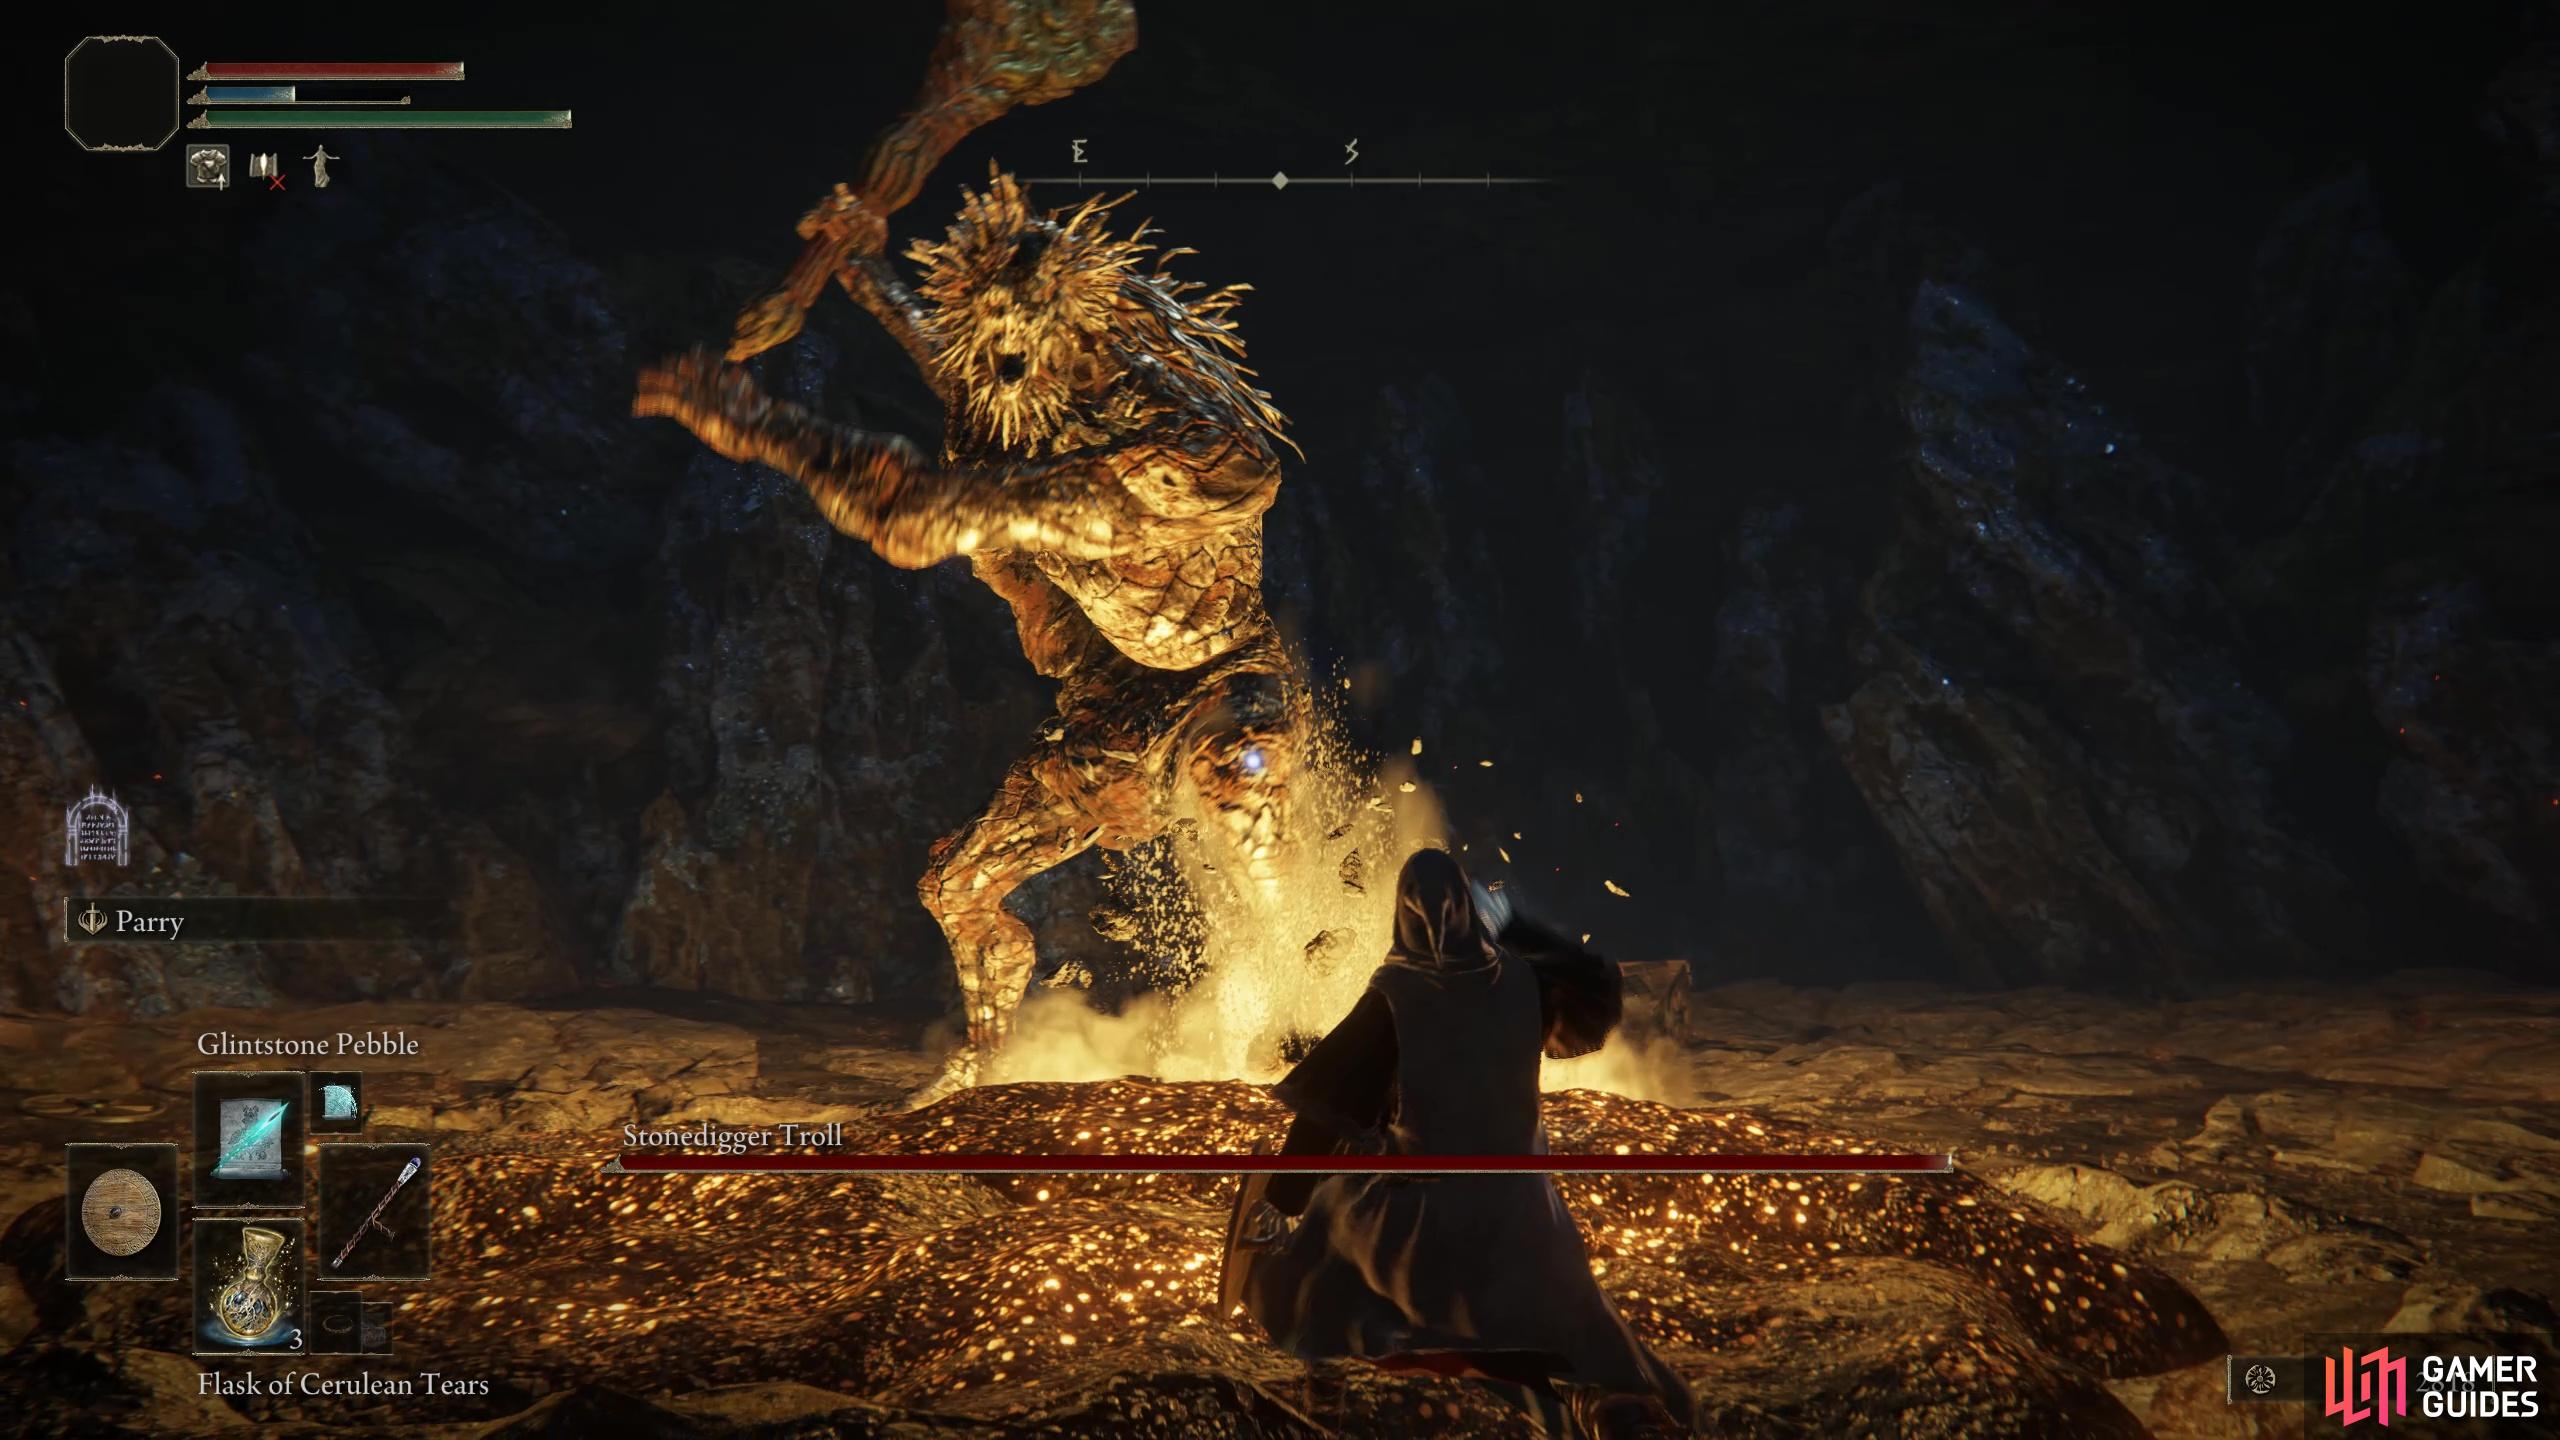
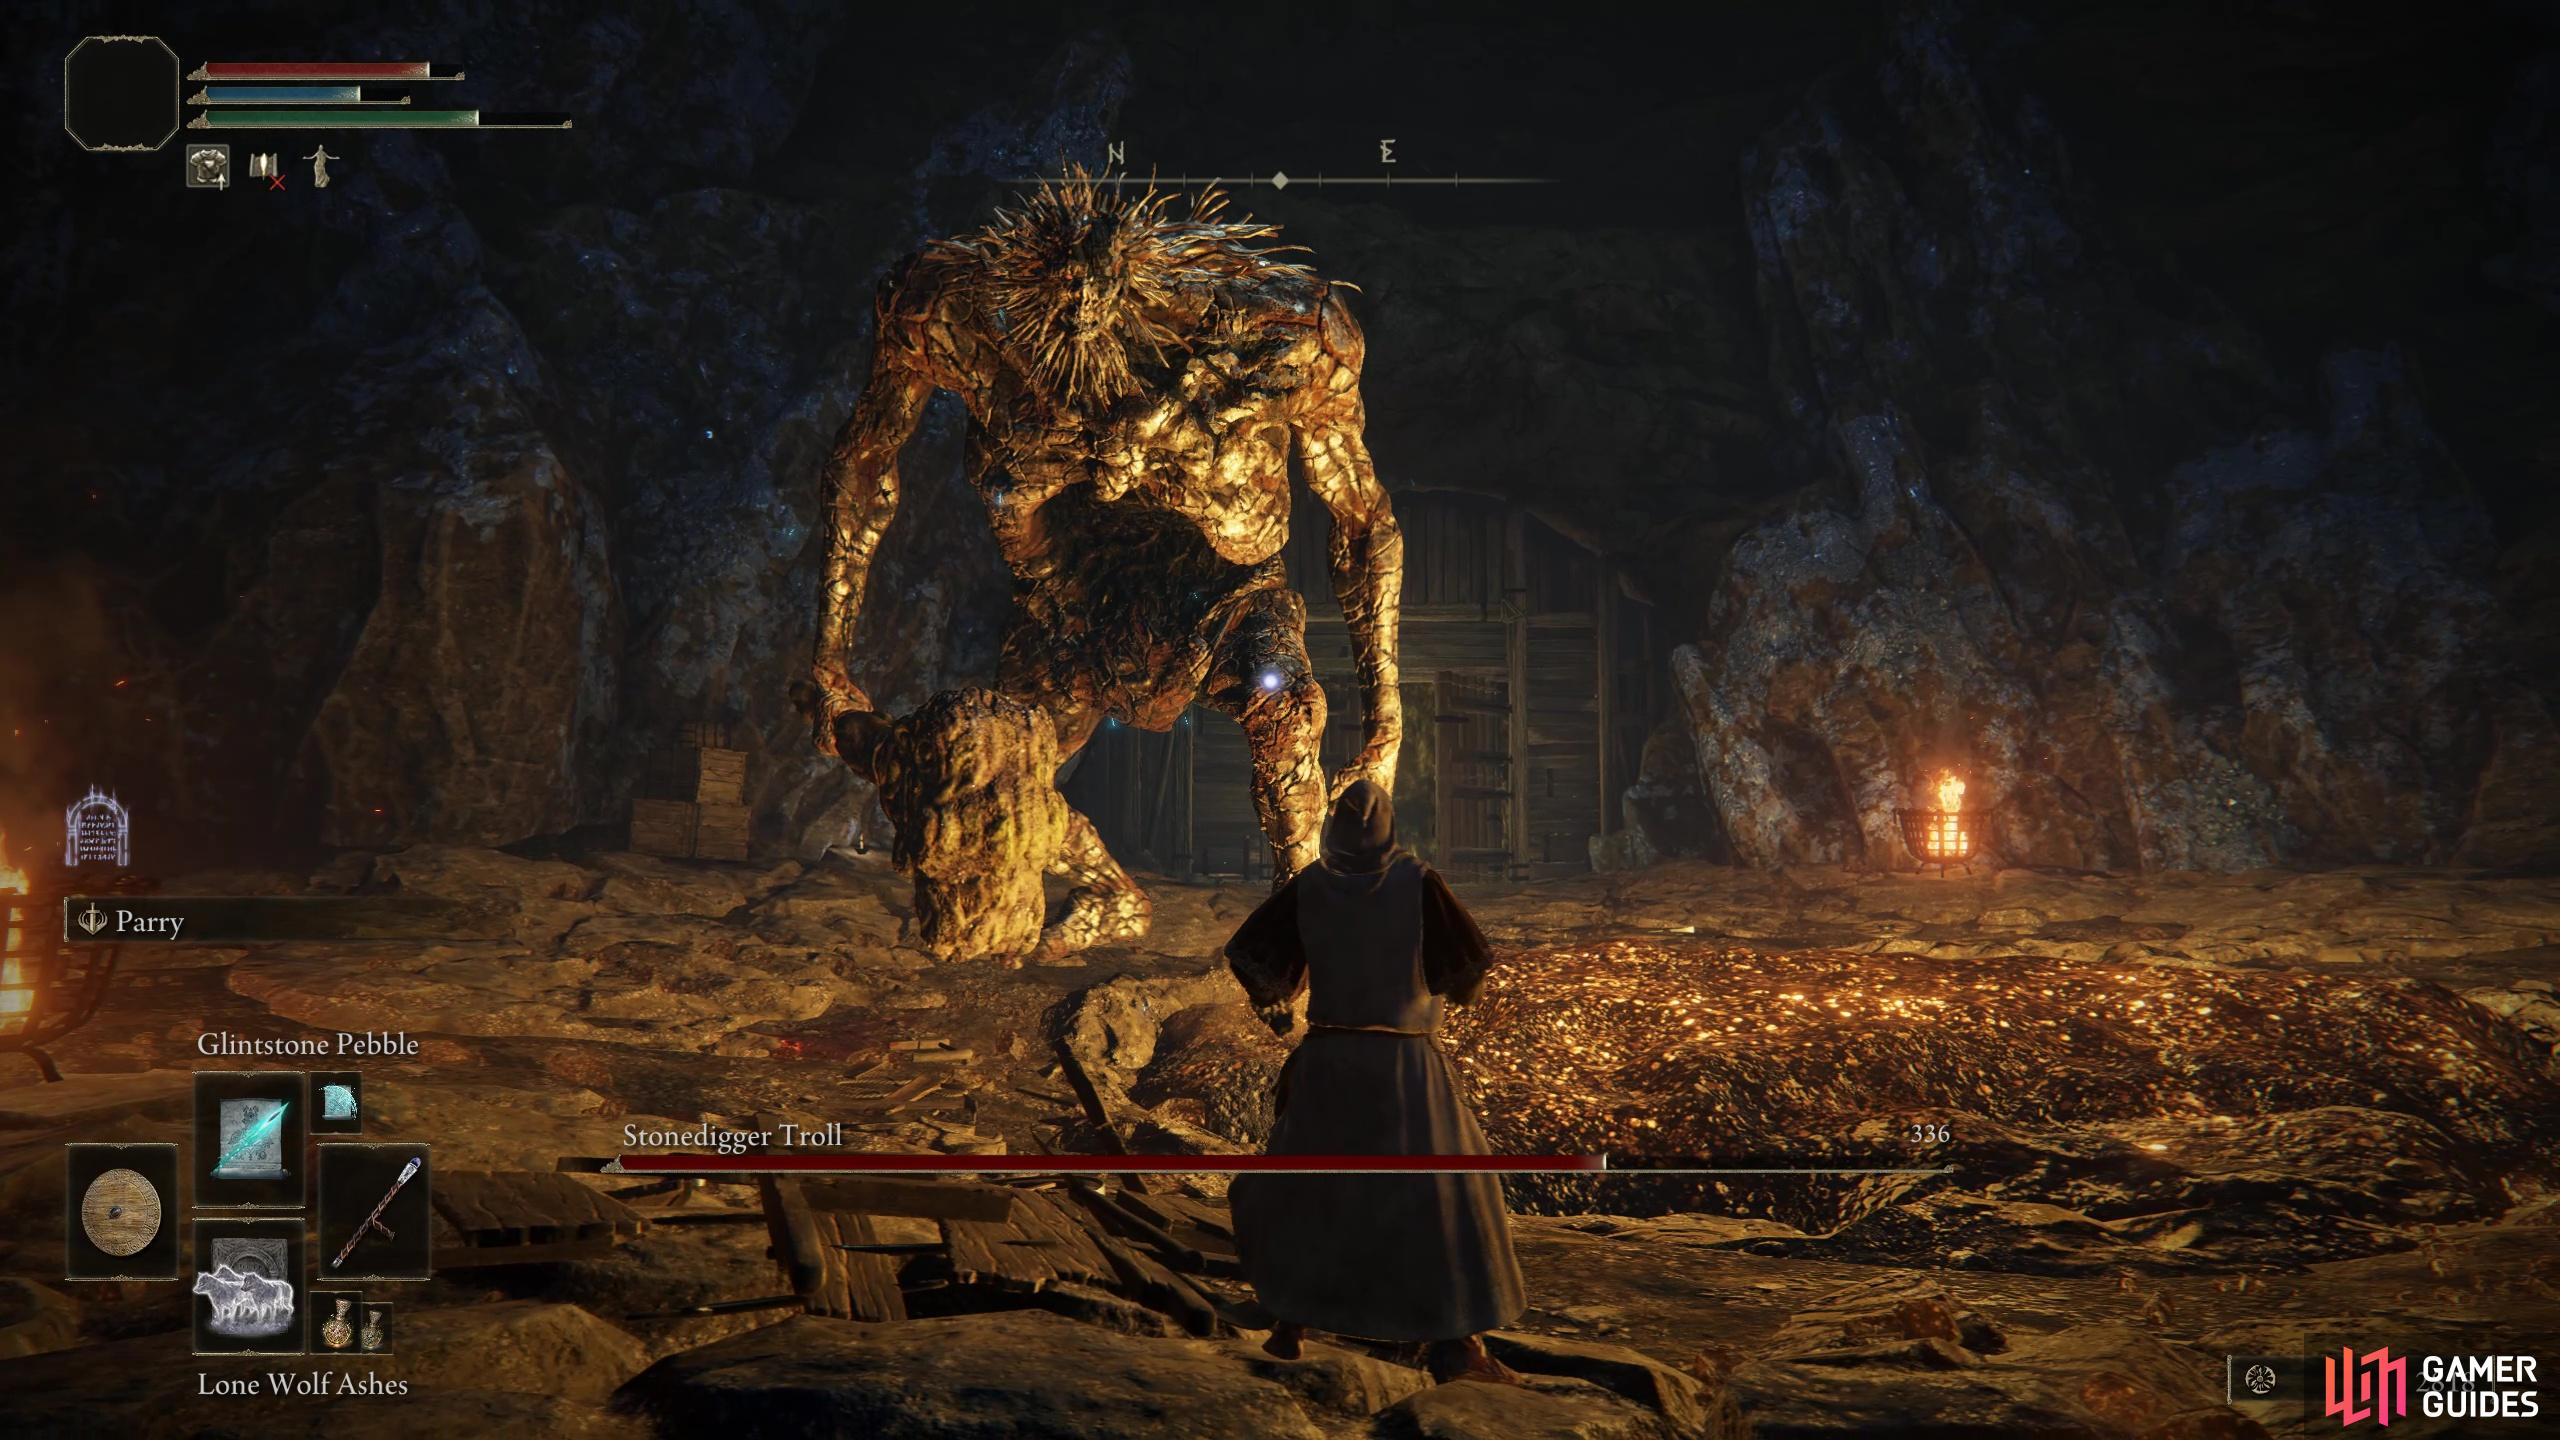
Stonedigger Troll (Limgrave Tunnels) |
This boss is extremely vulnerable to magic damage, with Magic Glintblade proving particularly effective, but any form of magic will inflict high amounts of damage here. If you can manage to hit the troll in the head, you’ll stun it for a few seconds, giving you a window of opportunity to land some additional ranged or melee damage without fear of retaliation. If you’re a melee based class, you’ll find that the boss is more resistant to your attacks. However, he still has a relatively small amount of health, so it shouldn’t take long to bring him down. The only potential disadvantage as a melee user is that you’ll need to be confident in dodging the boss attacks, since you’ll be within range of them more often. An interesting thing to note and a useful tactic to employ regardless of class is that if you an goad the troll into hitting the sides of the room, he’ll stun himself for a few seconds, giving you time to land a few hits. For a full strategy guide, see our boss page here.
Lore
Coming Soon.
Location
You’ll find the Stonedigger Troll in the depths of the Limgrave Tunnels. It’s not immediately obvious how to reach the boss room, since you need to jump off a moving elevator to reach the tunnel leading to it.
Info
You can bait the Stonedigger Troll into striking the edges of the arena, this will stun it for a second, giving you a chance to strike it.
Location
1×
Item Drops
1×
|
Field Boss |
1,800 |
|
|||||||||||||||||||||||||||||||||||||||||||||||||||||||||||||||||||||||||||||||||||||||||||||

|
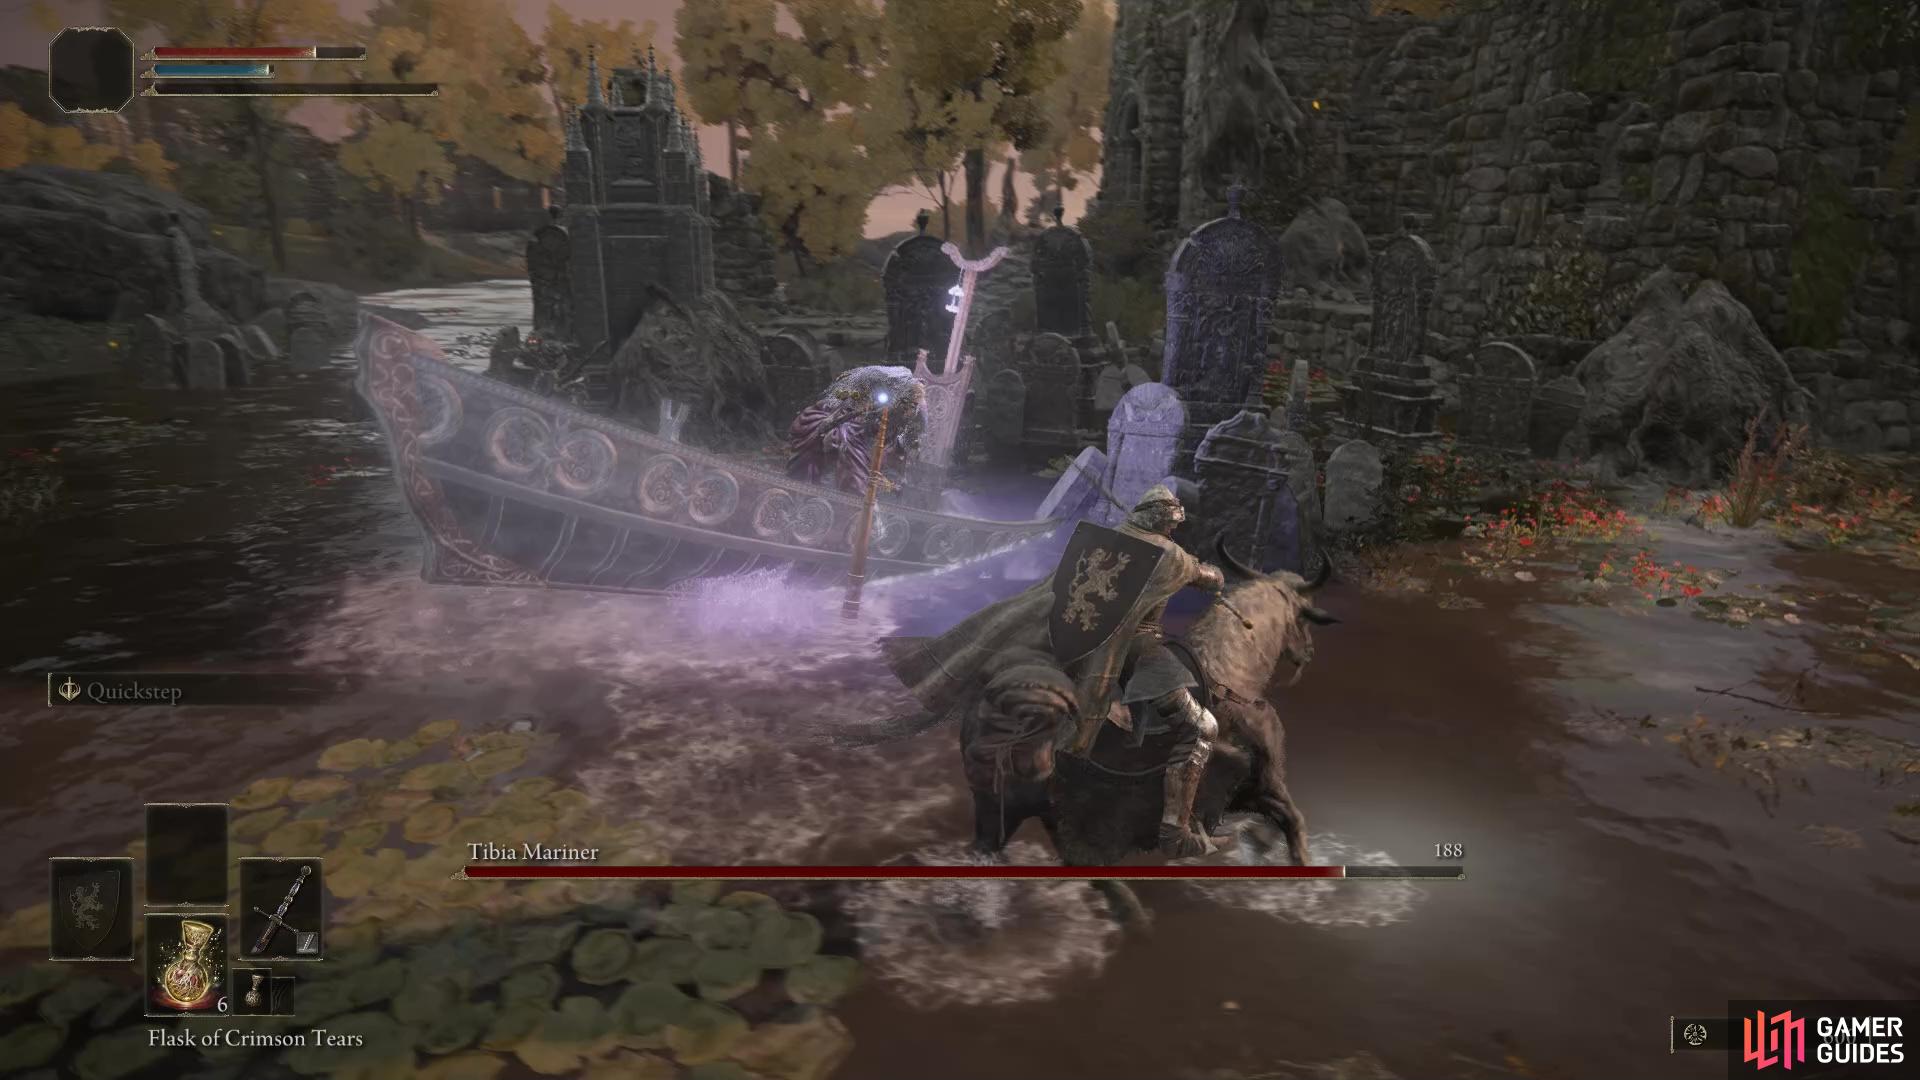
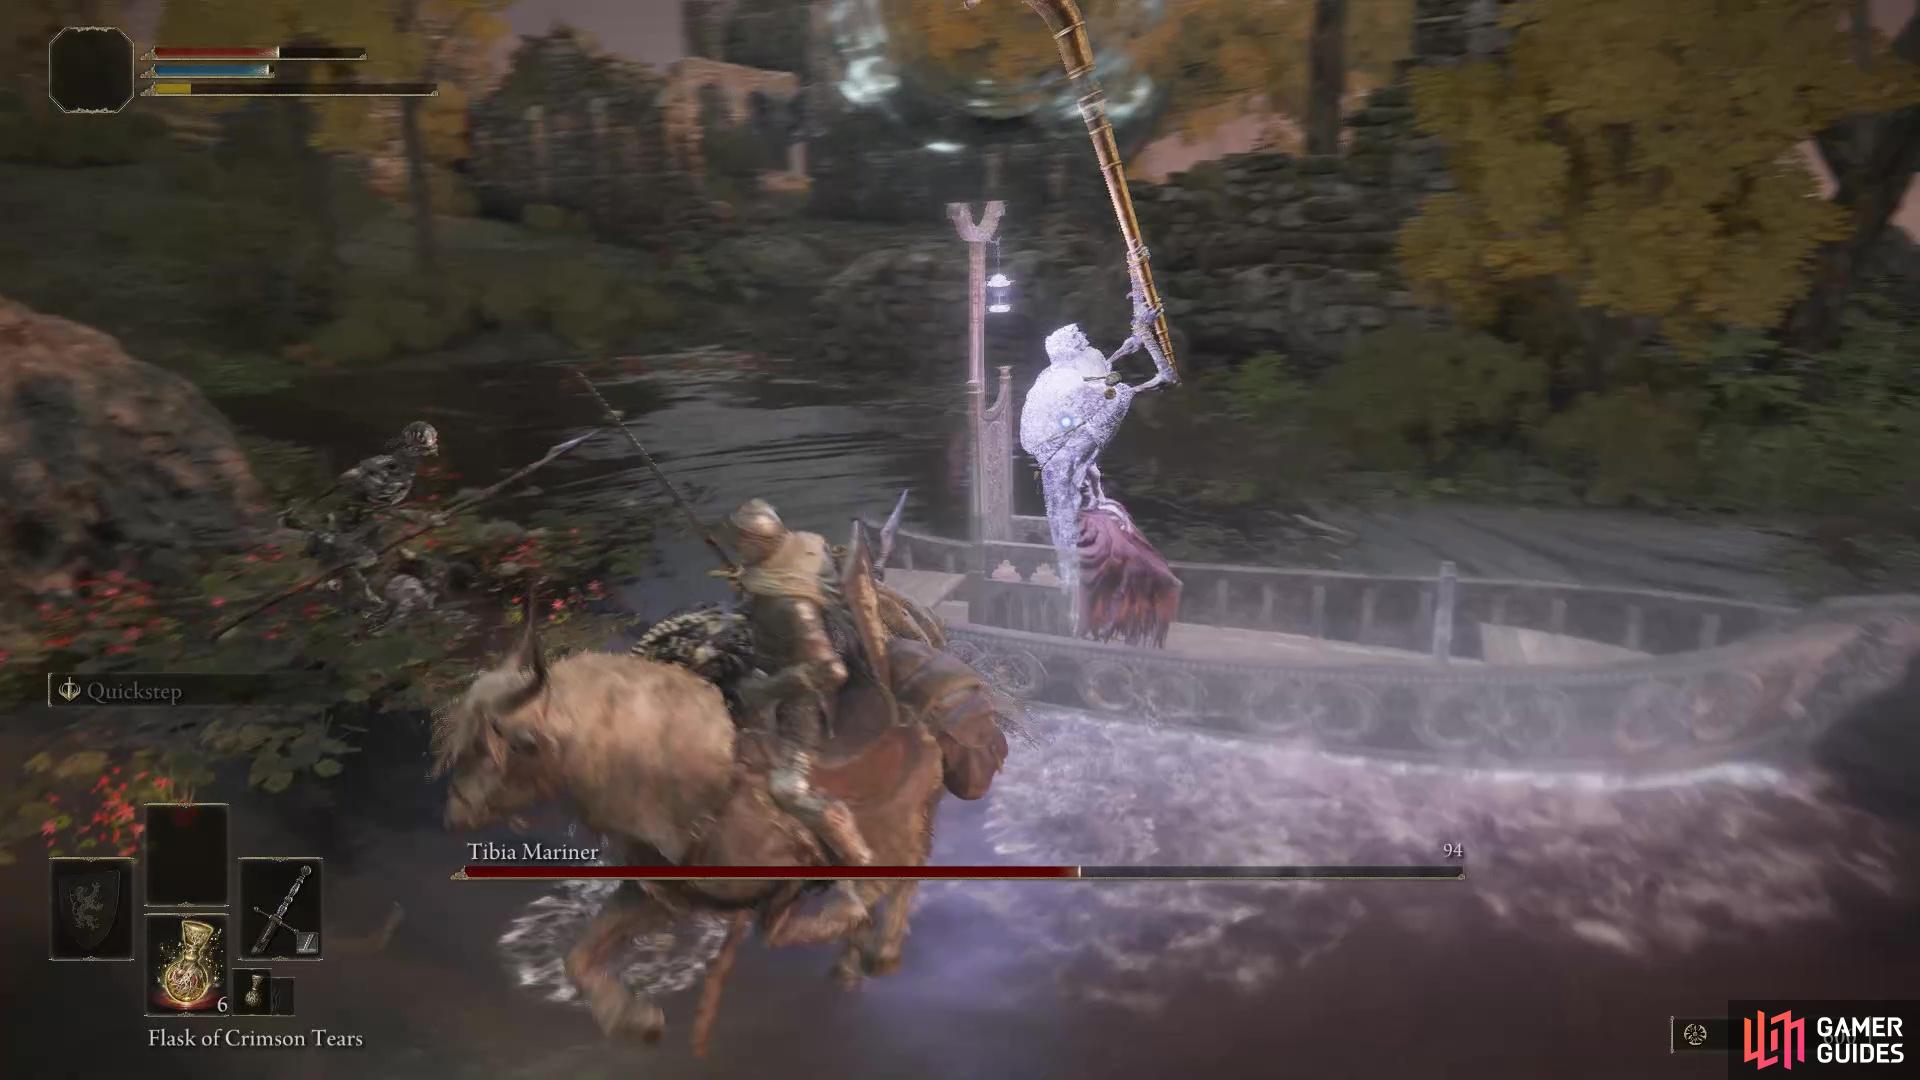
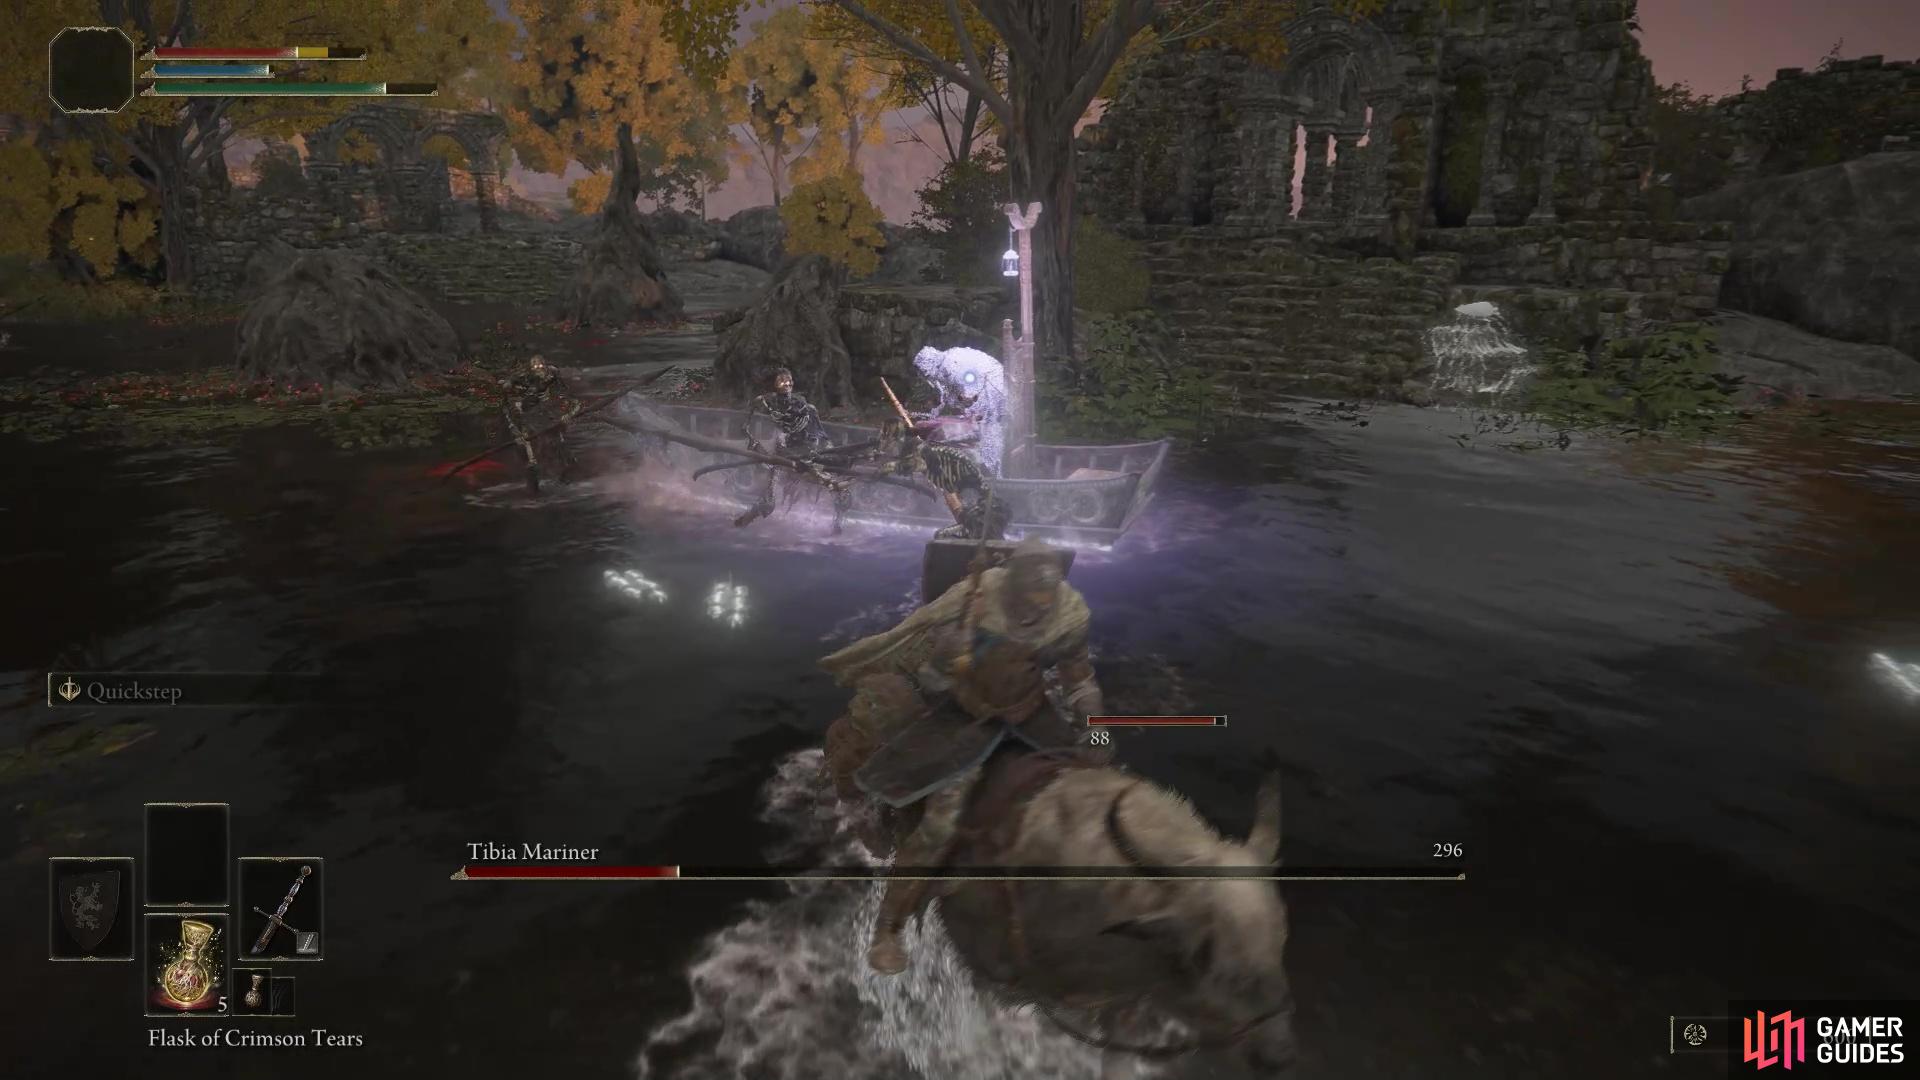
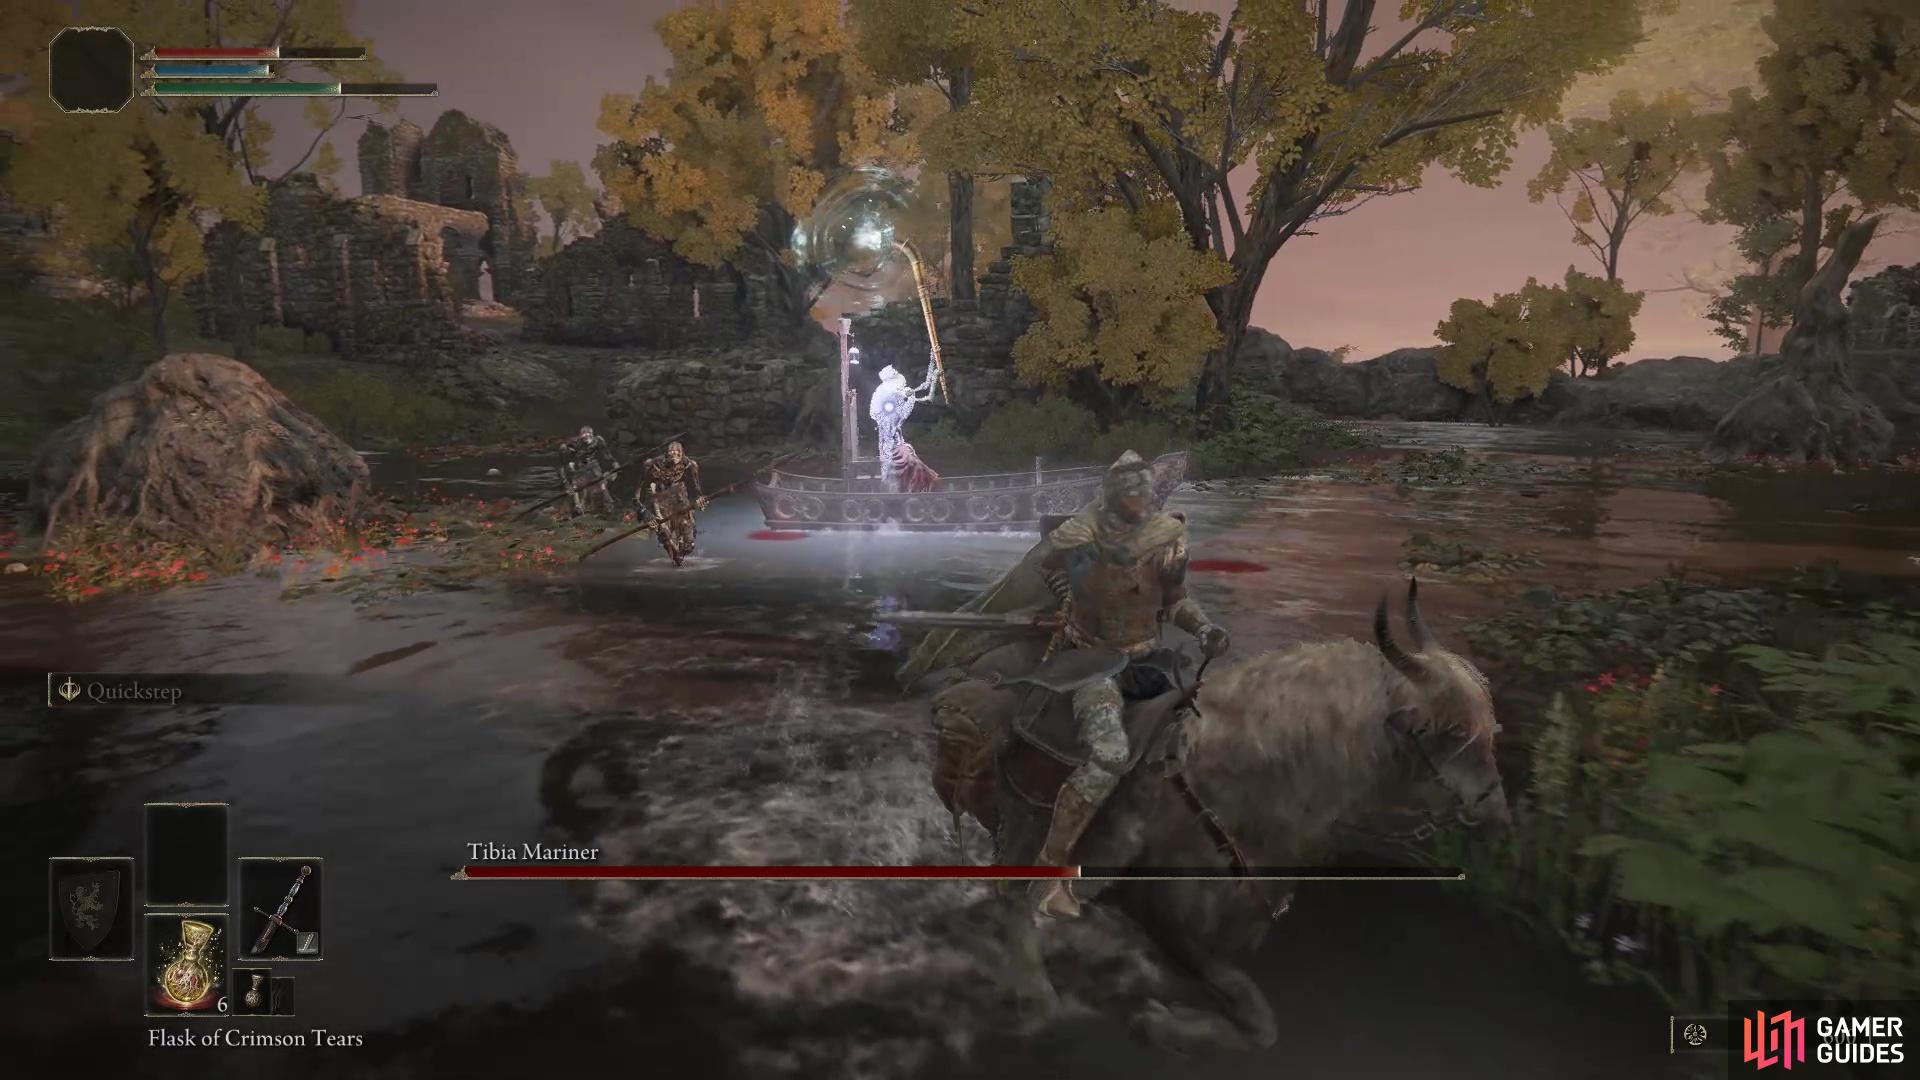
Tibia Mariner (Summonwater Village) |
The Tibia Mariner isn’t an overly difficult encounter, so you can take him out early on in your journey, but you can make life much easier for yourself by opting to fight the battle on Torrent, especially as the Tibia Mariner can teleport, allowing you to dash in and out at will. Tibia Mariner will always open the fight by summoning skeletons to aid him, this actually gives you time to ride up to him and get some quick strikes on him. Keep alert however, if it raises the front of its boat, dash away from the front to avoid the impact. It’s safe to ignore the skeletons if you’re on Torrent, you’ll often find that many of Tibia Mariner’s attacks will take them out and it can always call more at will so it’s a exercise in fruition to focus on them. For a full strategy guide, see our boss page here.
Lore
Coming Soon.
Location
Tibia Mariner will actually show up in three different locations in the Lands Between, but this particular boss will appear when you enter Summonwater Village. You can find this death touched village in the northeast of Limgrave, you’ll find the aptly named Summonwater Village Site of Grace nearby.
Info
This is a battle that is best fought while on Torrent and shouldn’t pose a great threat to players in the early stage of the game.
Location
1×
Item Drops
1×
Item Drops
1×
|
Field Boss |
2,400 |

|
|||||||||||||||||||||||||||||||||||||||||||||||||||||||||||||||||||||||||||||||||||||||||||||
|
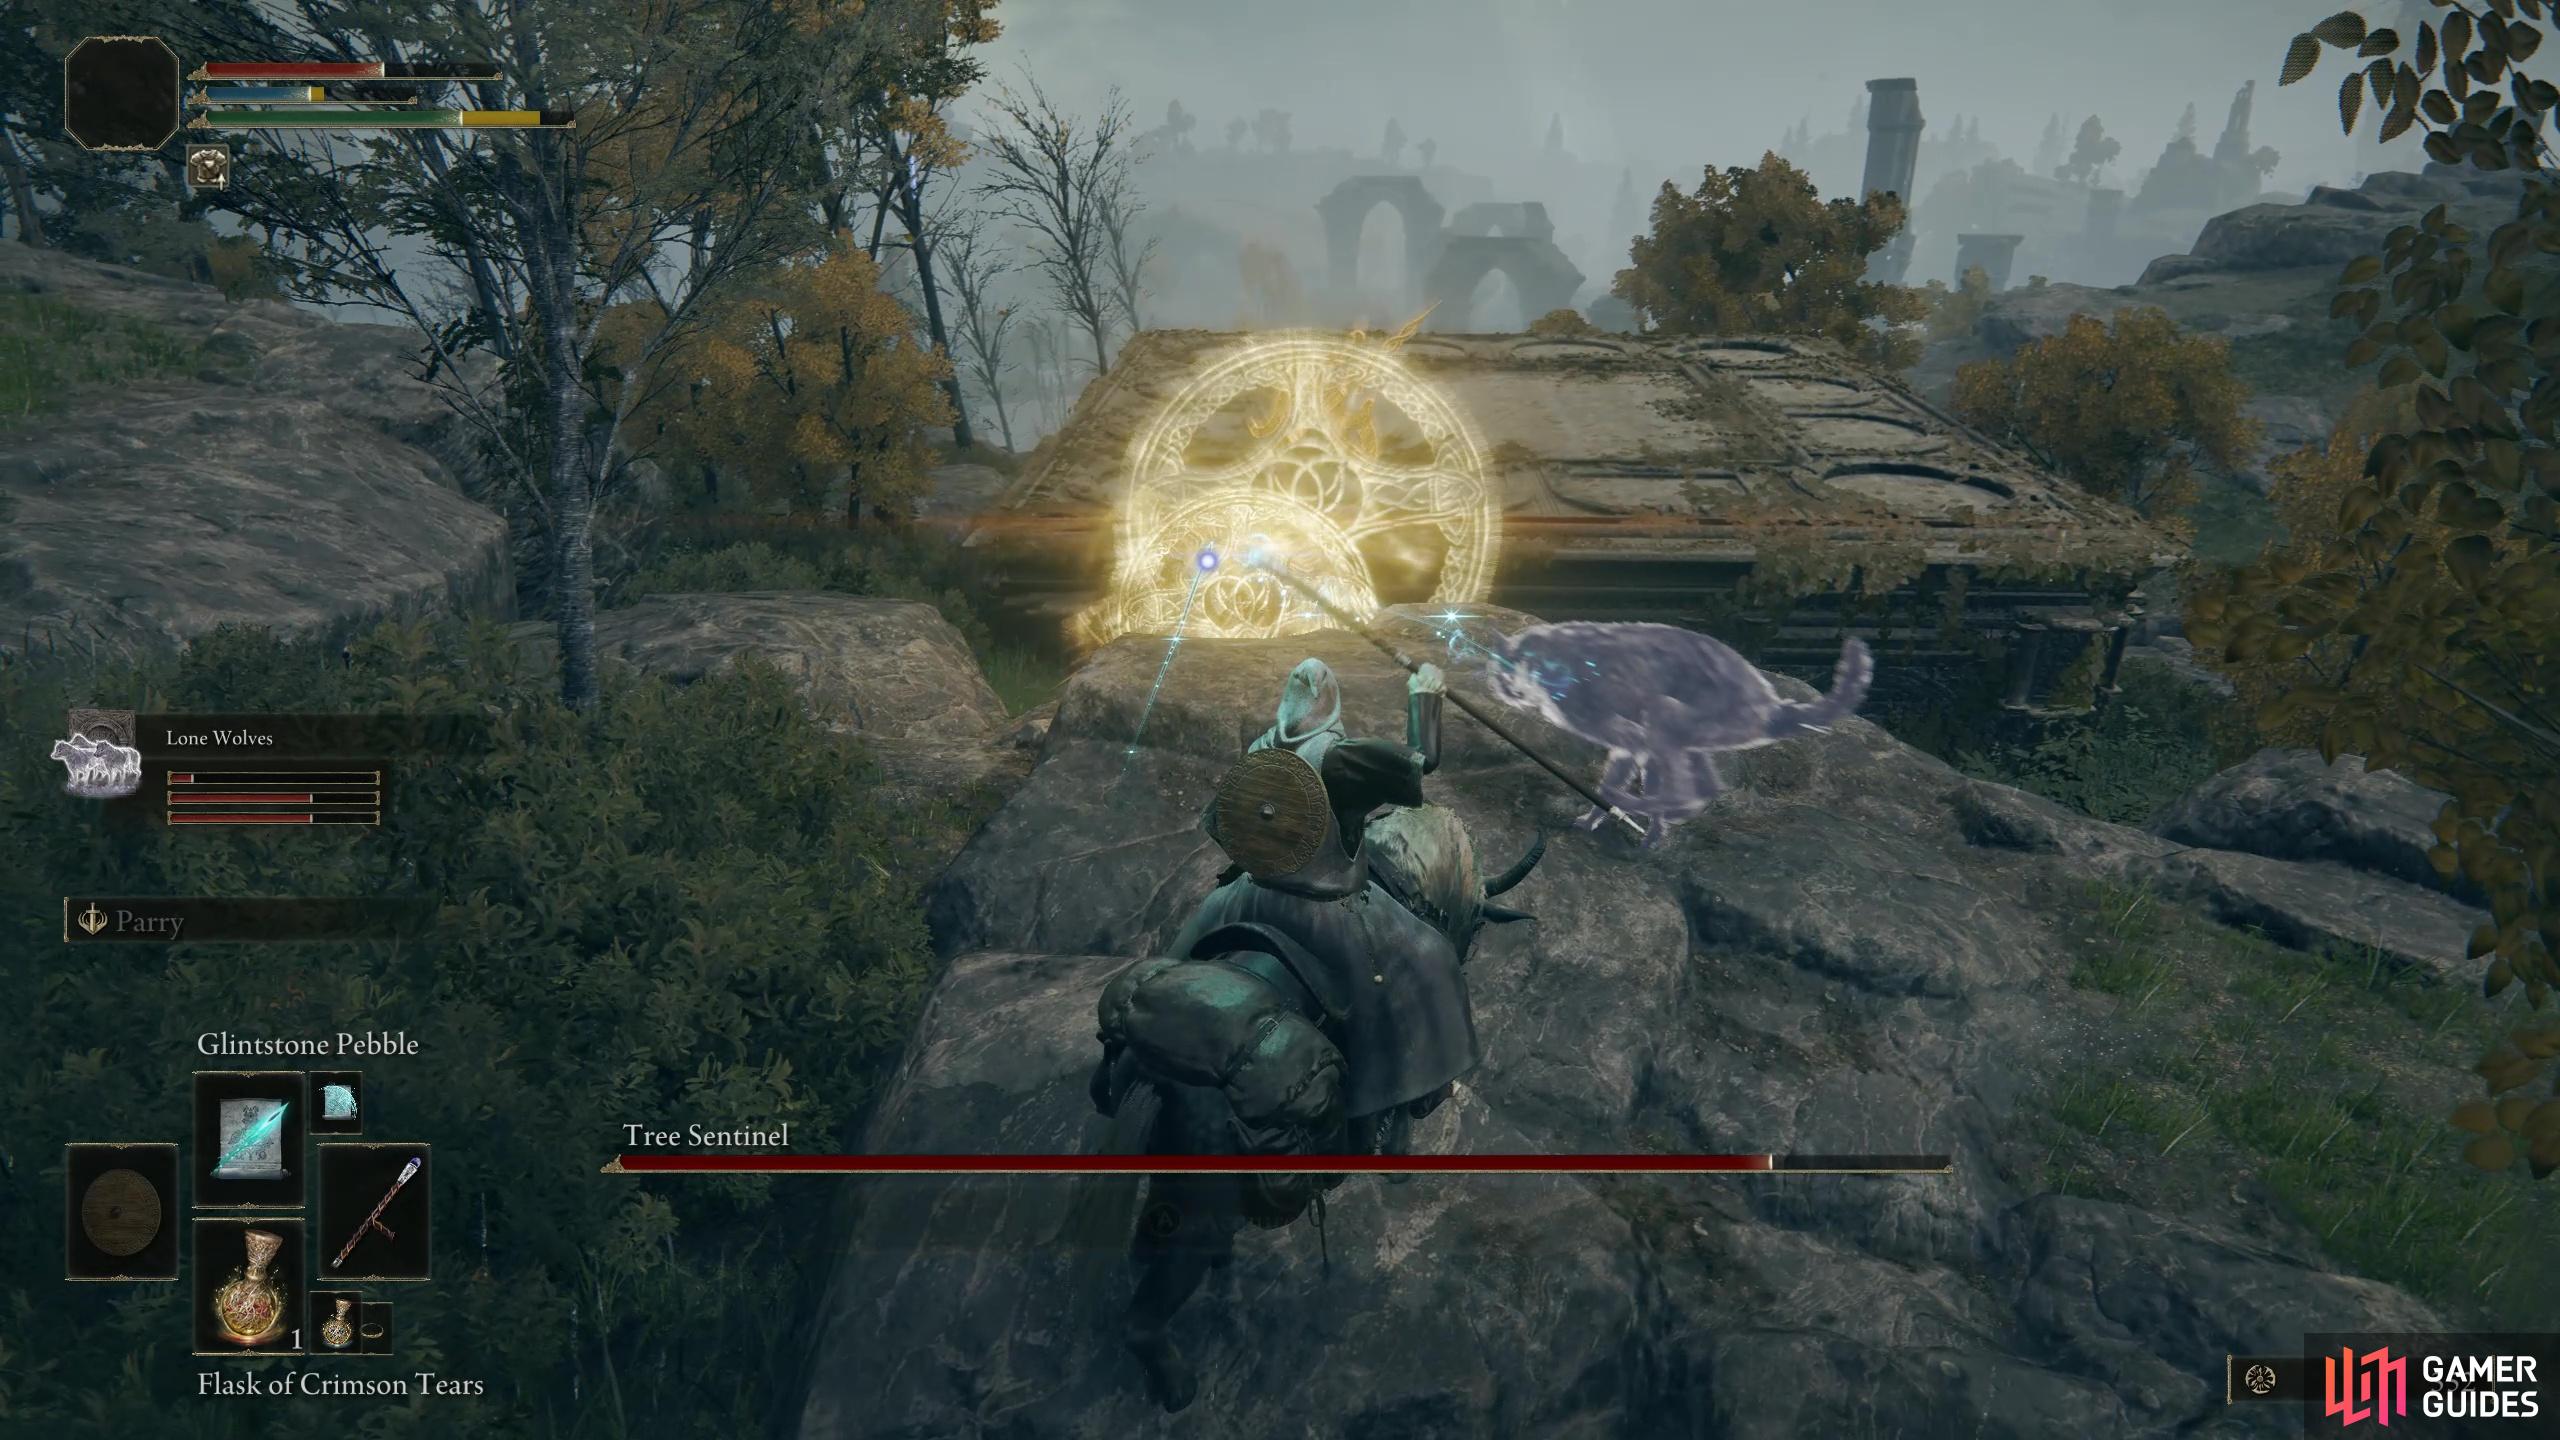
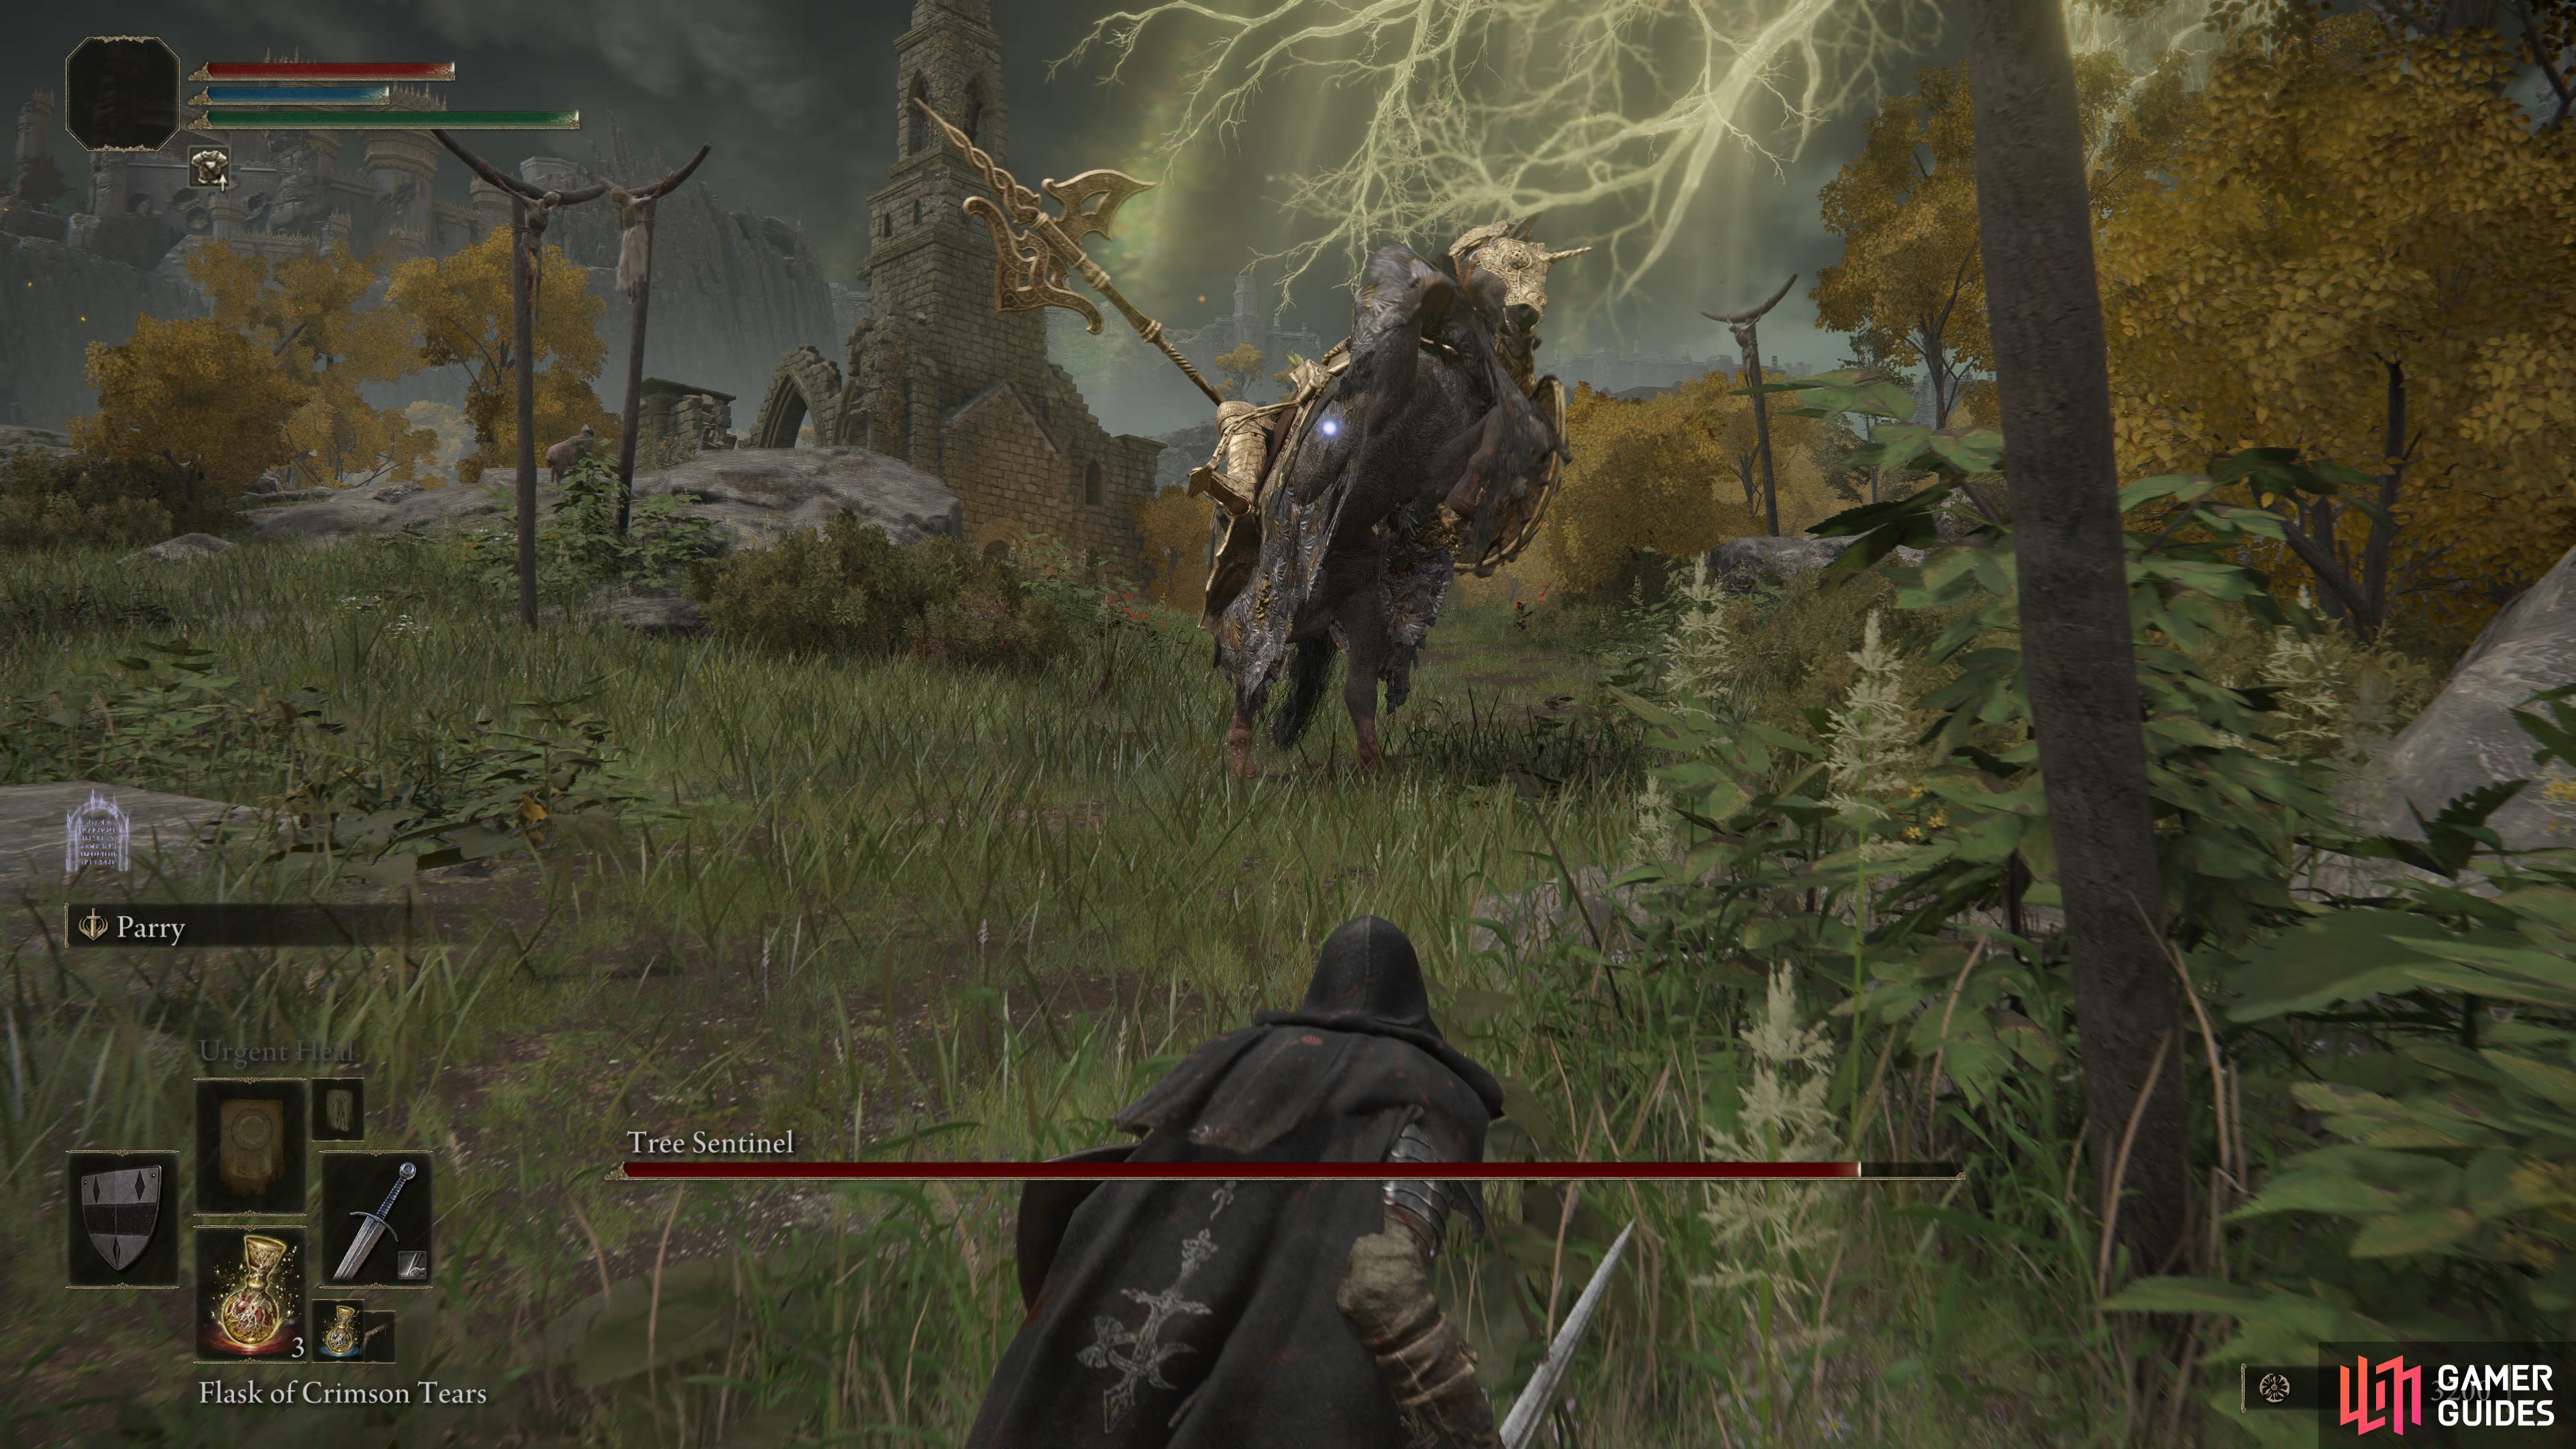
Tree Sentinel |
Even though this boss is one of the first you’ll spot when you first enter Limgrave, don’t think that this means he’s an easy fight or that you should take him on at such a low level. It’s advised that you wait a little bit to fight this boss as he’s a fair bit stronger than you would expect. In fact, you should wait until you’ve at least got your mount, Torrent, as fighting him on horseback is definitely one of the easier ways to go about this boss fight. When you’re on horseback you’re a lot more agile and can move as quickly as Tree Sentinel. You can also jump or double jump to help navigate around his blows - use the rocky terrain to gain height and give yourself some time to heal if needed. Being on horseback also means you can have a sort of jousting match with him. As he runs at you, you can run at him and dodge his attacks whilst also trying to get in some hits on him. Running circles around him and hitting the side without the shield is a pretty solid strategy for this fight!
Lore
Coming soon.
Location
Tree Sentinel is found right near where you first enter Limgrave - in the fields between The First Step site of grace and Church of Elleh. He’s pretty easy to spot as he’s a pretty large knight on a big horse - and they’re both clad in gold armor.
Info
You will later encounter two Tree Sentinels at the same time, but these are purely optional and only for those seeking a challenge!
Location
1×
Item Drops
1×
|
Field Boss |
3,200 |
1,954 |
|
||||||||||||||||||||||||||||||||||||||||||||||||||||||||||||||||||||||||||||||||||||||||||||
|
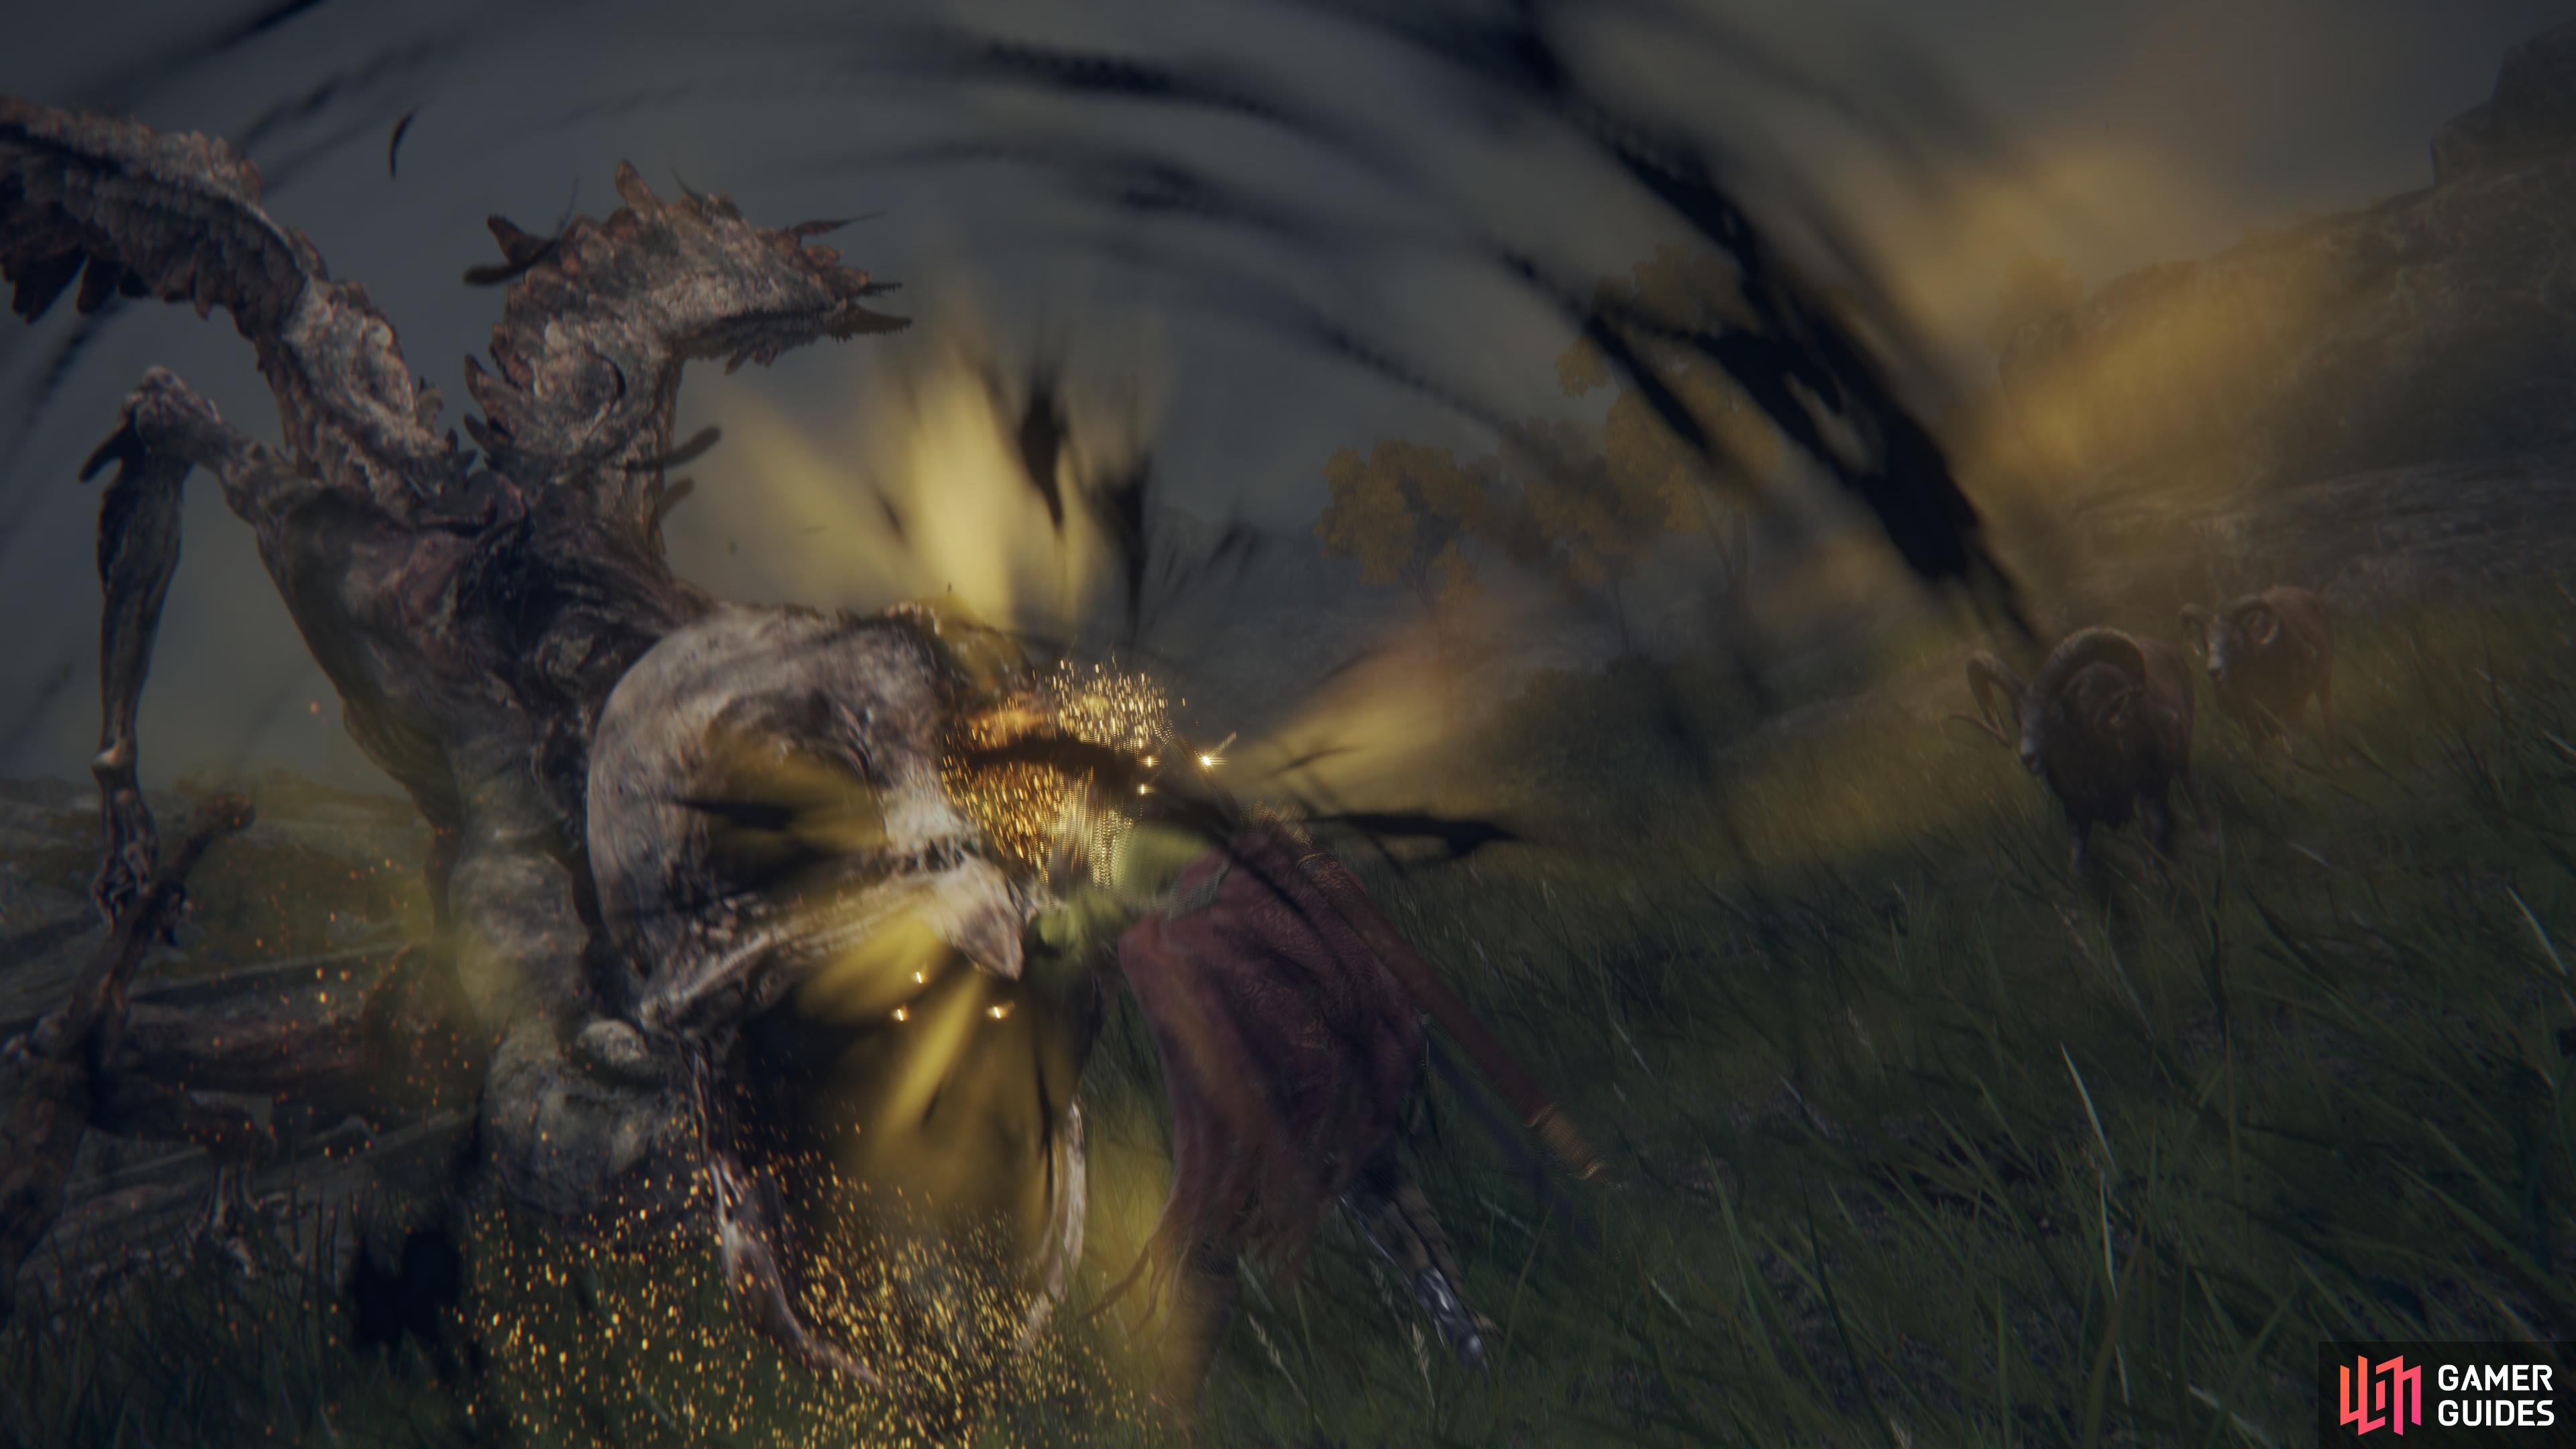
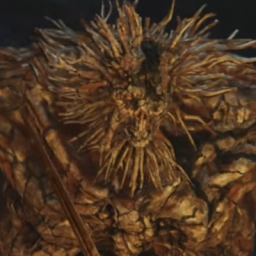
Ulcerated Tree Spirit (Limgrave) |
This is one of the toughest bosses in the game, especially if you’re low level. It has numerous deadly attacks including a Claw Swipe, Tail Swipe, Stomp, Head Slam, Head Swipe, Roar & Bite, Explosion, and Fire Breath. Each of these can kill you in 1-2 hits, so you’ll need to be extremely careful to avoid them with dodges or blocks. As a melee class, a setup which will inflict massive amounts of damage is the Uchigatana weapon combined with the Bloody Slash Ash of War. The Uchigatana is the starting weapon for Samurai class, but it can also be found at the Deathtouched Catacombs. The Bloody Slash Ash of War is dropped from the Beast Crest Heater Knight at the top of Fort Haight. With the bleed from the Uchigatana combined with the considerable poise impact from Bloody Slash (and massive damage output), this has the potential to bring the boss down incredibly quickly, especially with a Fire Grease coating. You can still use a shield as a magic user, so long as you have your primary casting weapon in your right hand. A shield is incredibly useful here since it allows you to block the attacks much faster and more reliably than a dodge. However, you gain this advantage at the cost of stamina, so you might want to incorporate some dodges when you’re completely out of stamina, as taking a hit in this scenario will inflict damage even if you’re still holding your shield up. Once the boss has a golden aura, it will inflict chip damage with each attack even if you have a shield with 100% physical resistance. The damage incurred from the explosion can be mitigated by holding up your shield if you’re within range. The explosion is perhaps the most deadly and difficult to predict attack. Aside from the visual cue of the golden aura, there’s actually a sound you can listen out for when this attack is about to happen: the boss will roar in a high-pitched tone for a split second before it begins to light up. For a full strategy guide, see our boss page here.
Location
Encountered at Fringefolk Hero’s Grave, which is located next to Stranded Graveyard’s Site of Grace. You’ll need two Stonesword Keys to remove the fog and enter the dungeon beyond to the boss room. You’ll find the Ulcerated Tree Spirit at the Stranded Graveyard, in the southwest of Limgrave. This is actually one of the first bosses that you can encounter if you chose the Stonesword Key as your keepsake at the beginning of the game. However, at this early stage the boss will be too powerful for most players, so we’d recommend tackling it once you’re at least level 20. In this case, you’ll still need a Stonesword Key to access the boss. You’ll find at least two of these that you can loot in Limgrave, at the Dragon Burnt Ruins on the southern shores of Agheel Lake, and on the Bridge of Sacrifices, which leads to the Weeping Peninsula region from East Limgrave. However, if you’d rather just buy a Stonesword Key, you can purchase one for 4000 Runes from the Twin Maiden Husks at the Roundtable Hold. (1 of 3) The location of the Ulcerated Tree Spirit, at the Stranded Graveyard.
Info
This variant of the boss drops 15000 Runes, Banished Knight Oleg’s Spirit Ashes and a Golden Seed. It can be fought in multiplayer.
Location
1×
Item Drops
1×
Item Drops
1×
Item Drops
1×
|
Field Boss |
15,000 |

|
|||||||||||||||||||||||||||||||||||||||||||||||||||||||||||||||||||||||||||||||||||||||||||||


