The Gongaga region in Final Fantasy VII Rebirth has several simulation battles that you can unlock by battling the various monsters in the region. Each simulation has you face off against a variety of enemies from the region, and beating them can be difficult without knowing their weaknesses. Below we take a look at every Gongaga simulation and some tips on how to beat them.
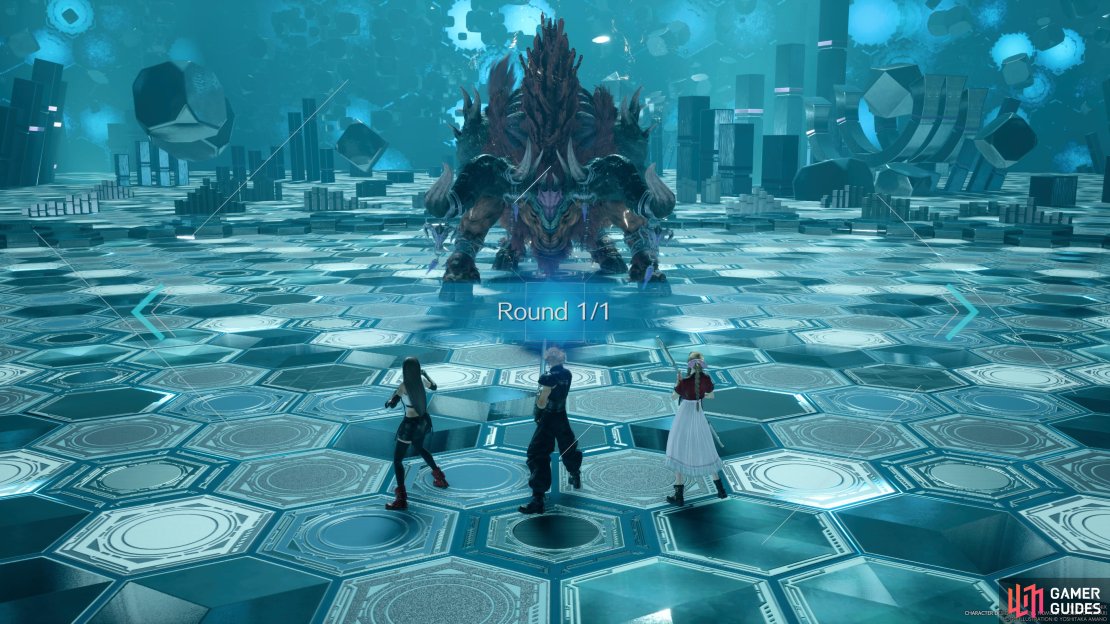
Kujata is the simulation boss of the Gongaga region.
Kujata Simulation
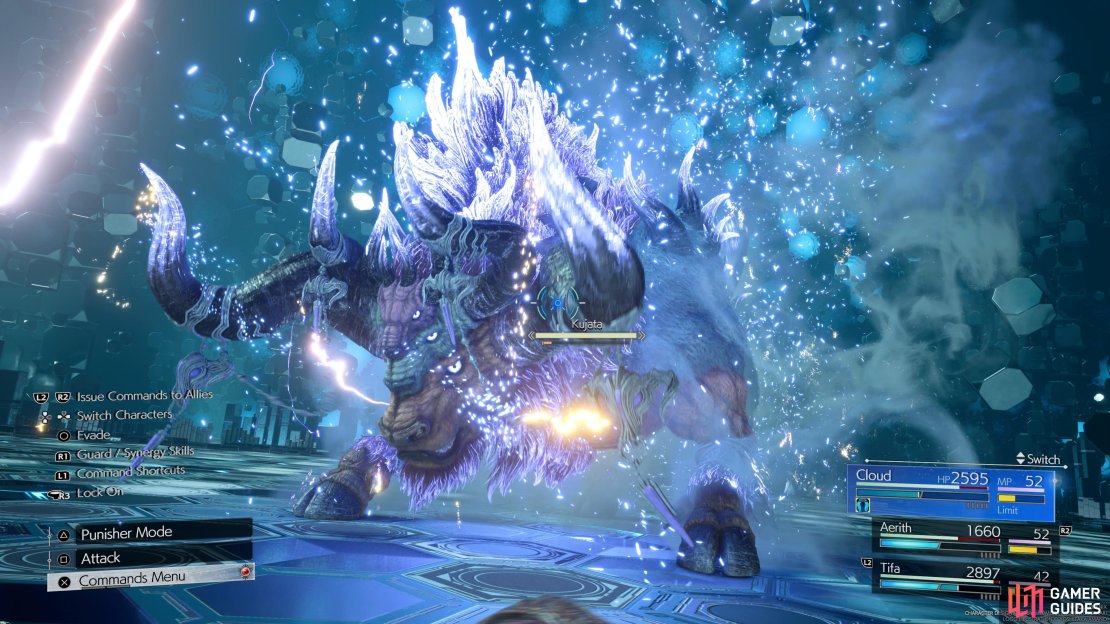
![]() Kujata is the premier summon boss that unlocks as soon as you reach the Gongaga region. Kujata is a bit more difficult for most players as he loves to stampede around the battlefield. He will also switch between three different forms:
Kujata is the premier summon boss that unlocks as soon as you reach the Gongaga region. Kujata is a bit more difficult for most players as he loves to stampede around the battlefield. He will also switch between three different forms: ![]() Ice,
Ice, ![]() Fire, and
Fire, and ![]() Lightning. You will want to combat each of these with their weaknesses. Fire is weak to Ice, Ice is weak to Fire, and Lighting is weak to
Lightning. You will want to combat each of these with their weaknesses. Fire is weak to Ice, Ice is weak to Fire, and Lighting is weak to ![]() Wind. Use these to pressure Kujata into being staggered so that you can use your synergy and limit attacks to deplete his health bar quickly.
Wind. Use these to pressure Kujata into being staggered so that you can use your synergy and limit attacks to deplete his health bar quickly.
You can use Yuffie for her different elemental abilities to help pressure Kujata, and Tifa always does great alongside Cloud for synergy. Be sure to use ![]() Fire and Ice Materia along with the
Fire and Ice Materia along with the ![]() Wind Materia. This will ensure that you hit all of Kujata’s weaknesses. As for dealing with his various attacks, be sure to move out of the way when he’s running towards you. You will essentially want to attack in between Kujata’s attacks to avoid taking too much damage. If you’re having trouble dodging in time, you can sub-in
Wind Materia. This will ensure that you hit all of Kujata’s weaknesses. As for dealing with his various attacks, be sure to move out of the way when he’s running towards you. You will essentially want to attack in between Kujata’s attacks to avoid taking too much damage. If you’re having trouble dodging in time, you can sub-in ![]() Red XIII for his speed and throw the above Materia on him to pressure Kujata. Once you complete this battle, you will be given the Kujata Materia.
Red XIII for his speed and throw the above Materia on him to pressure Kujata. Once you complete this battle, you will be given the Kujata Materia.
Gongaga Battle Intel: Lethal Combo
To unlock Lethal Combo, you will need to find and fight at least one ![]() Pastel Amphidex and one
Pastel Amphidex and one ![]() Fulvum Varanus. Once you do, you will be able to take on this three-round simulation where you fight these enemies together. Fulvum Varanus are big tanky dragons that can be pressured by using Ice, bringing an
Fulvum Varanus. Once you do, you will be able to take on this three-round simulation where you fight these enemies together. Fulvum Varanus are big tanky dragons that can be pressured by using Ice, bringing an ![]() Ice Materia into battle to quickly stagger them will help. Pastel
Ice Materia into battle to quickly stagger them will help. Pastel ![]() Amphidex are a little more irritating as they can turn you into a frog. You can use the White Cape accessory to combat this, and they are also pressured by Ice attacks. If you find yourself chasing around the frogs, try Red XIII for a speed boost or a ranged character like Barret. Once you complete this simulation, you will obtain the
Amphidex are a little more irritating as they can turn you into a frog. You can use the White Cape accessory to combat this, and they are also pressured by Ice attacks. If you find yourself chasing around the frogs, try Red XIII for a speed boost or a ranged character like Barret. Once you complete this simulation, you will obtain the ![]() Spirit Up Materia.
Spirit Up Materia.
Gongaga Battle Intel: Rooted in the Planet
Unlocking Rooted in Plant has you seek out the ![]() Brumeflower and
Brumeflower and ![]() Grandhorn Warden to fight. Once this is done, you will fight them both again in a three-round simulation. Brumeflower will quickly morph into a larger form during the duration of the battle and get stronger each time. The strategy here is to use Ice to pressure them into a stagger quickly. Once again, an Ice Materia is essential here. The
Grandhorn Warden to fight. Once this is done, you will fight them both again in a three-round simulation. Brumeflower will quickly morph into a larger form during the duration of the battle and get stronger each time. The strategy here is to use Ice to pressure them into a stagger quickly. Once again, an Ice Materia is essential here. The ![]() Grandhorn Warden is a tankier enemy that can hit harder. Luckily, it is weak to Fire, so a
Grandhorn Warden is a tankier enemy that can hit harder. Luckily, it is weak to Fire, so a ![]() Fire Materia will work well. Tifa is a great choice here, as she can quickly deal damage to both enemies. If you have the Fire and Ice Materia, go ahead and equip it (link a
Fire Materia will work well. Tifa is a great choice here, as she can quickly deal damage to both enemies. If you have the Fire and Ice Materia, go ahead and equip it (link a ![]() Level Boost Materia if needed) to kill two birds with one stone. Once you complete this fight, you will receive the
Level Boost Materia if needed) to kill two birds with one stone. Once you complete this fight, you will receive the ![]() Speed Up Materia.
Speed Up Materia.
Gongaga Battle Intel: Distant Tremors
Distant Tremors will unlock once you have defeated the ![]() Savage Grandhorn and
Savage Grandhorn and ![]() Maloceros. Like in Rooted in Plant, use fire-based attacks to pressure the Savage Grandhorn, so a Fire Materia is a great choice here. The Maloceros is also weak to fire, making this a very easy battle to remember in terms of weaknesses. Tifa is still a great choice here, just make sure to dodge as much as possible to avoid being hit by heavy attacks. For completing this simulation you will get the
Maloceros. Like in Rooted in Plant, use fire-based attacks to pressure the Savage Grandhorn, so a Fire Materia is a great choice here. The Maloceros is also weak to fire, making this a very easy battle to remember in terms of weaknesses. Tifa is still a great choice here, just make sure to dodge as much as possible to avoid being hit by heavy attacks. For completing this simulation you will get the ![]() Elemental Materia.
Elemental Materia.
(1 of 3) Kujata will switch between elemental forms and change weaknesses.
Gongaga Region Intel: Level 1
The Gongana Region Intel: Level 1 will unlock when you have defeated twelve Gongaga enemies. This is a five-round battle that puts you up against a variety of enemies, mostly from the Gongaga region. The battles above will help prepare you for this, and bringing a Fire and Ice Materia is a great idea since many of the stronger enemies in the region can be pressured by these elements. Party composition is mostly up to you, as needs will change from round to round, but it’s always good to have a ranged character when you’re dealing with multiple enemy types to cover all your bases. Completing this simulation will earn you the two-star ![]() Poison Up Materia.
Poison Up Materia.
Gongaga Region Intel: Level 2
To unlock the Gongaga region level two Intel, you must first complete level one and defeat 20 enemies in the Gongaga region (you won’t be able to achieve this feat until Chapter 12). This is a ten-round battle, and for the most part, you should follow the same advice as level one. Bring a Fire and Ice Materia as enemies in the region are weak to it. Use Yuffie or Barret in your party to give you some range, and bring Aerith if you’re struggling and need extra healing. For completing this simulation you will get a three-star ![]() HP Up Materia.
HP Up Materia.
Biological Intel: Head Case
This is the final bit of Intel for the Gongaga region, and it requires you to have defeated the ![]() Mindflayer in the Junon region, assess 14 Gongaga enemies, and have a three-star
Mindflayer in the Junon region, assess 14 Gongaga enemies, and have a three-star ![]() Enemy Skill Materia. Once this is met you will enter into a one-round battle against the Mindflayer. The problem is that you need to defeat the Mindflayer first, and there are two
Enemy Skill Materia. Once this is met you will enter into a one-round battle against the Mindflayer. The problem is that you need to defeat the Mindflayer first, and there are two ![]() Experimental Varghidpolis that you can’t kill until after the Mindflayer is dead. The problem is that even if you don’t attack the weaker enemies, your party will. To circumvent this, you should equip the
Experimental Varghidpolis that you can’t kill until after the Mindflayer is dead. The problem is that even if you don’t attack the weaker enemies, your party will. To circumvent this, you should equip the ![]() Binding Materia (for its
Binding Materia (for its ![]() Sleep spell) paired with the
Sleep spell) paired with the ![]() Magnify Materia and put the two other enemies to sleep. Recast this immediately if they wake up.
Magnify Materia and put the two other enemies to sleep. Recast this immediately if they wake up.
When an enemy is asleep, your party members should leave them alone. Be sure to try and only attack the Mindflayer when he’s away from the Varhidpolis duo, you can try and lead him away by moving around the battlefield. After you reach a safe distance, focus on the Mindflayer. It’s very similar to the previous battle against it so focus on using synergy abilities to pressure it. Tifa can build up synergy fast, and if you have any trouble, use our guide here to refresh your strategy.


No Comments