
Mission #1
You will see a mysterious Conduit calling out Delsin’s name, so start following her. Keep following her until she eventually leads you to a crime scene. From where you stop, take the three necessary pictures and then head to street level.
The cops will stop you here and begin opening fire on you, so either subdue or kill them depending on your Karma alignment. Once that’s over with, you will need to go and collect some evidence. If you remember the pictures you took, the first piece is on the ground and is the victim’s wallet, while the other one is a paper dove to the right of the body. Head to the marker to begin the next phase.
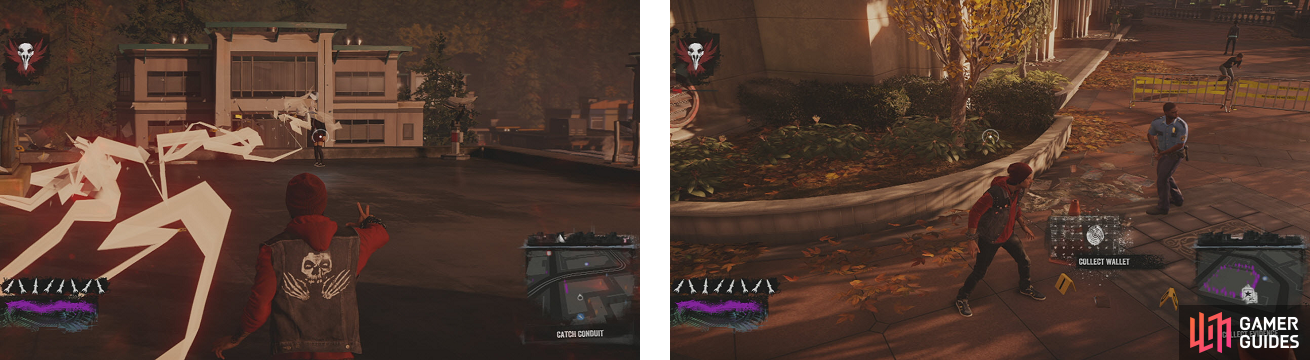
The mysterious Conduit you have to follow (left), and one of the pieces of evidence you need to pick up at the crime scene (right).
Go to the Infamous Paper Trail website and onto your profile, where you should see some new options. Have a look at the dove and the crime scene photos, then take a look at the wallet. You should see various objects you can zoom in on, so make sure you check them out clearly, as you will be needing them soon.
To continue with the browser portion, check out the business card and head to the website listed on it. It is a detective agency’s site, so open a new tab/window and go to it. Scroll to the bottom and click on “Employees Log In Here.” This will bring you to a log-in screen, but you don’t know the password.
Click on “forgot password” to be brought to three questions. These questions differ from person to person, but all the answers are from the various objects inside of the wallet you found. Once you’ve gotten all three questions right, you will be brought to a list of cases, with only one of them still being open.
Go to this case and you’ll see a few options. Feel free to check around, but the one you want is “Killian Czalov Mobile ID.” Click on that to get a number, which is what you need to input back on the Paper Trail site. Input the number on Delsin’s Phone and you’ll finish this portion of the quest, allowing you to continue onto the second mission.
Mission #2
After finishing mission #1 and entering the number into Delsin’s phone, you’ll be able to start this part. At the beginning, you will have to track Czalov’s position, so just follow it until you get to a spot with a bunch of drug dealers. Take them all down, then snap some pictures of the new crime scene.
As soon as you’re finished, you will now have to follow a modified drone. Luckily, it stays at ground level, so keep following it until it enters a tunnel. Take out all of the drug dealers in the tunnel, then pick up the item and head to the marker to upload the data to the Paper Trail site.
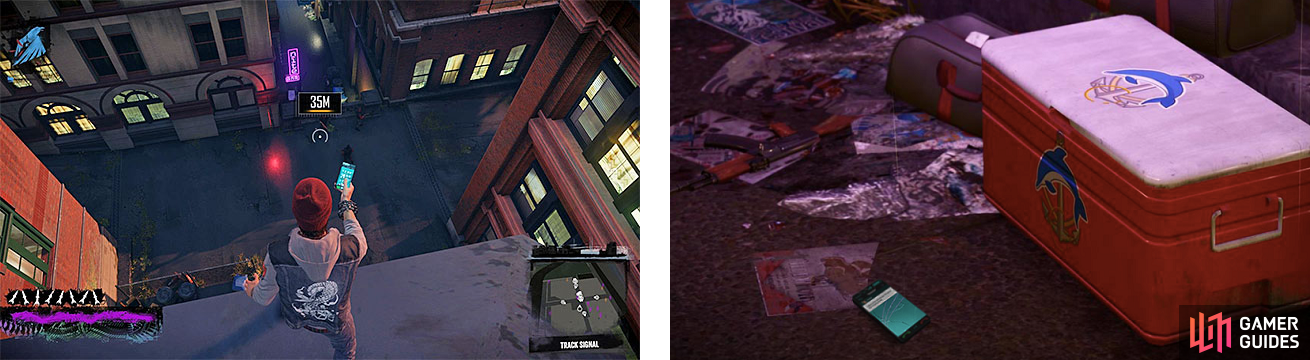
Tracking Czalov’s position will bring you to a spot with a lot of thugs guarding a second crime scene, where you will be required to take more pictures, like the drugs (right).
It’s time for the second round of investigation to commence. You have three options here, but the only one of important is the drone, so click on that. If you click on the keypad, you should see a screen that says to input a 6 number code.
You have two options here in order to get the code, one of which is easy and the other is a little more difficult and involves trial and error. If you right click on the keypad and go to View Source, you will be able to easily find the code. You want to use CTRL + F and search for “ var currpd ,“ which should have a 6 digit code after it.
The second option requires you inputting any 6 digit code and then pressing the check sign. Note that no numbers should be repeated. If the number is yellow, it’s a part of the code, but in the wrong position. If there’s an X, then the number doesn’t belong at all. If it’s green, then the number is in the right spot.
However you get your code, input it and a secret compartment will open, revealing some money and a letter. You’ve finished this portion and can move onto the third mission of Part 1.
Mission #3
Once everything has been cleared, you can continue with mission #3, where you have to go to the Crocodile to search for Killian’s former employer. When you get there, some drug dealers will be out front, so take them out and head inside.
Yet again, there will be another murder victim, so take the three necessary pictures and then Celia will show up again. She drops off another origami dove, so pick it up and head back outside. This will deliver your evidence to your Paper Trail account and that’s the end of Part 1.
No Comments