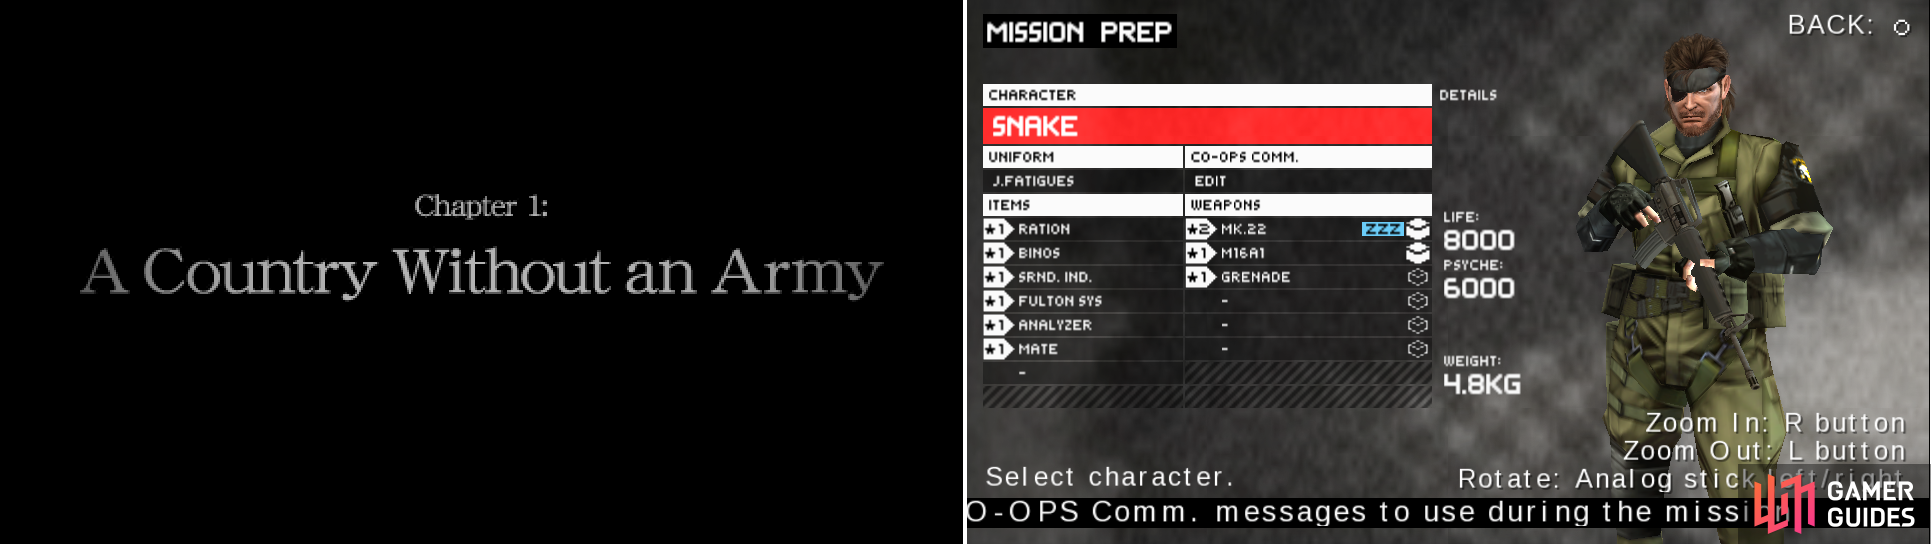
And we officially start Chapter 1 (left picture). You can also see the equipment and Uniform I use for this OPS (right picture).
As we start, you’ll immediately see an enemy soldier walking in front of you. Let him go. After the little talk of Miller, move forward and equip the Surround Indicator. You’ll see that the first soldier is looking away from where you’re coming. Approach him and use CQC to knock him down.
Once you’ve taken care of him, move to the southwestern part of the truck there and stay there until you see the northwestern soldier move to the northeast. Once he starts doing that follow up and CQC his ass too. Now go northeast through the narrow path to find Anest x8 . Now move northwest to get to El Cenegal: Ravine . Start going east. Go east at the first fork and next to the second log there is Ration*5 x3 . Now move forward to get to El Cenegal: Swamp .
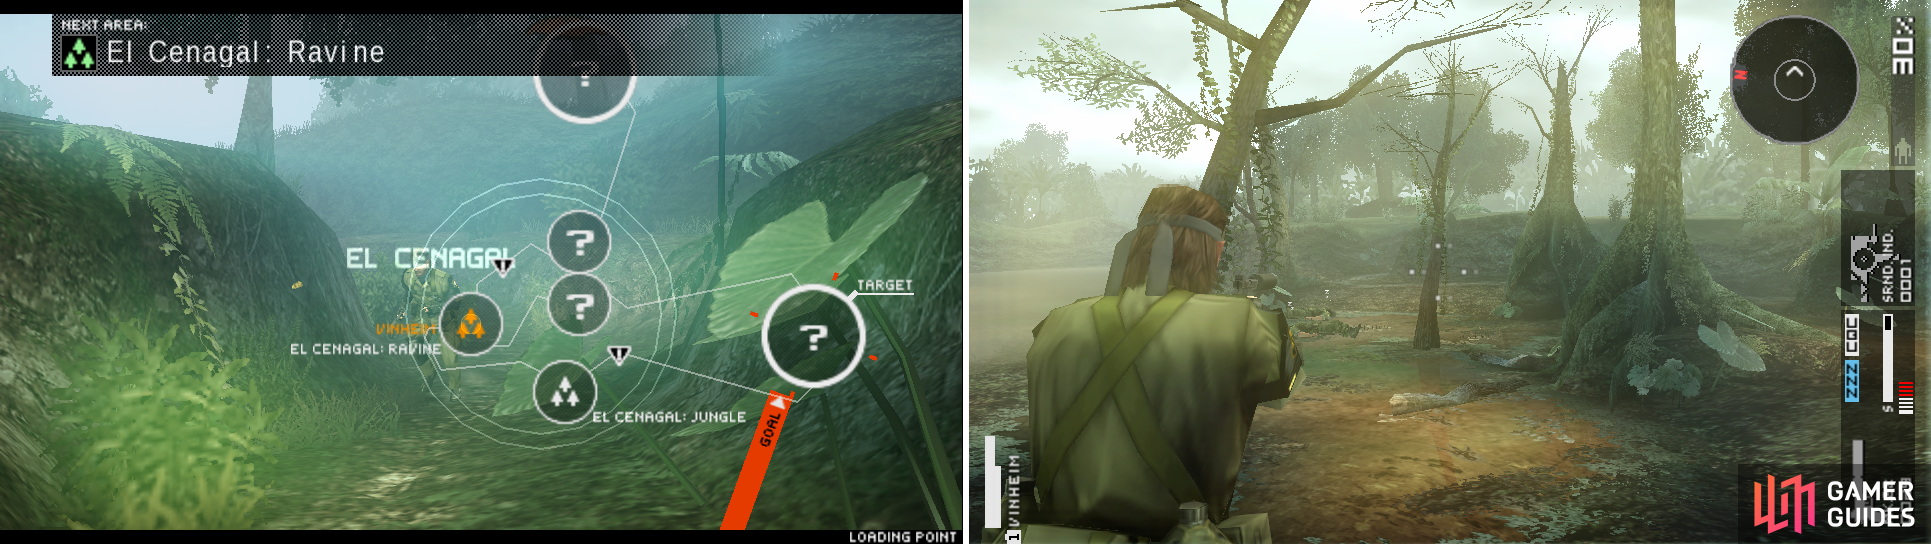
Entering El Cenegal: Ravine where there are no enemies (left picture) and once at El Cenegal: Swamp (right picture) which is marked as the best place to shoot down all 3 enemies.
There are 3 enemies here this time. From the entrance go northeast a little and take out the enemy near the destroyed boat with the Mk22. Once you’ve done this go east some more and take out the next enemy. Now there’s one patrolling the southeastern part.
If he noticed a downed enemy, quickly make use of this and while he gets to them, shoot him in the head. Nicely done. Check the northern side behind the boat to find ammo . Now move northeast to get to Rio Del Jade , which is the last area of the mission.
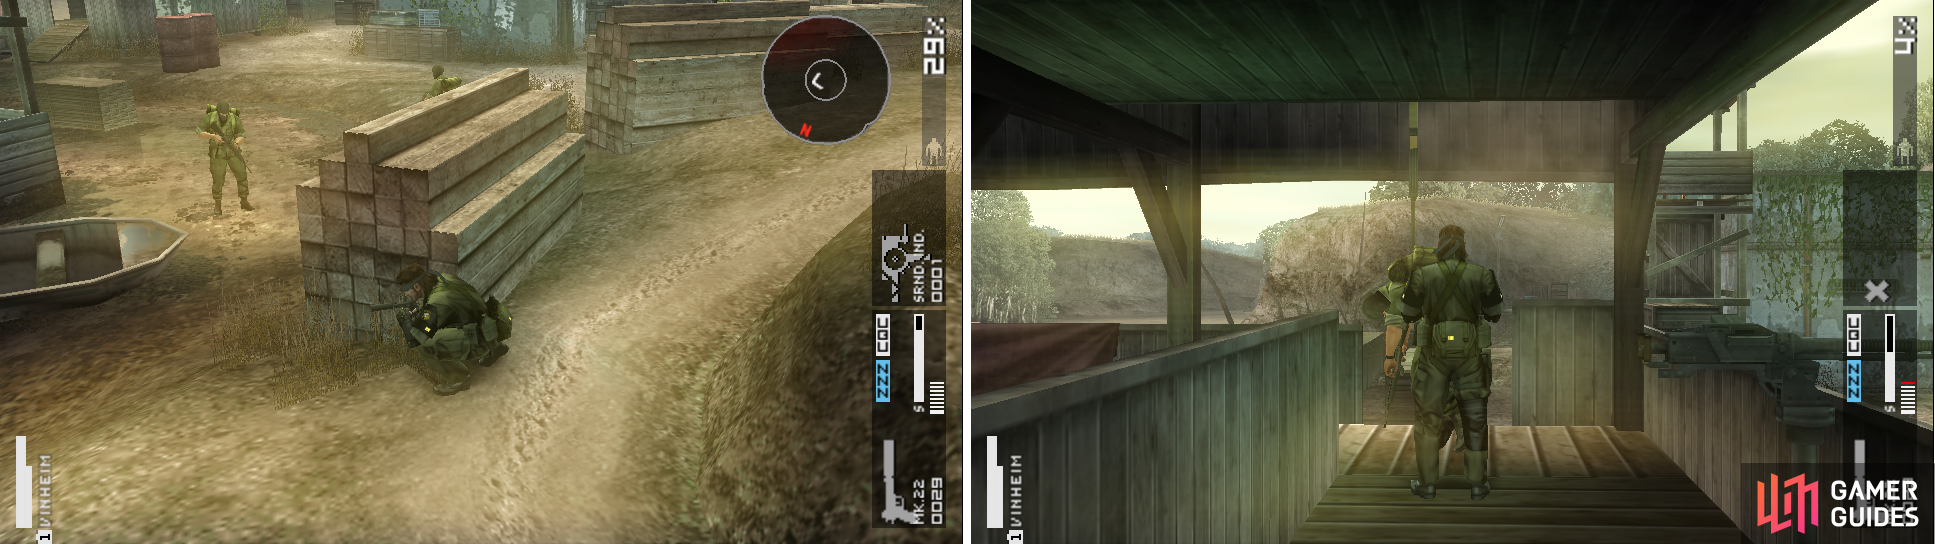
Hide behind these wooden pillars (left picture). I’ve always wondered how the Fulton Recovery System works under a roof haha (right picture).
First of all, move south a bit and stay behind the wall of wooden pillars (like shown above) . Once done that stay close to this little piece of “wall” and you’ll see 2 enemy soldiers a little south of your position. They move from west to east (one of them) and the other the opposite direction, meaning that they always meet each other near you.
What to do? Mmm… wait until they go in separate directions (they’re separating from each other), chase the one going to the east, CQC him and KO him. Once done that quickly hide ‘cus you’ll be in range of sight of the other soldier. Once he turns around, follow him too and CQC his ass. Nicely done. Now for the other ones. Near this second one a little bit more to the south and also near the western wall is another soldier. Approach him using the wooden walls near the wall.
Now go all the way to the southern part of the area and next to the house is a search tower with a guard on top. Move up the ladder when the enemy is facing north and CQC him. Down here is another enemy that moves slowly. Take him out too.
Before taking care of the last soldier, go inside the house near the southern search tower to find ammo and Anest x8 . Now wait for the soldier to move north inside the house on the east side to take him out as well. Once you’ve done that, the mission is over and a scene triggers.
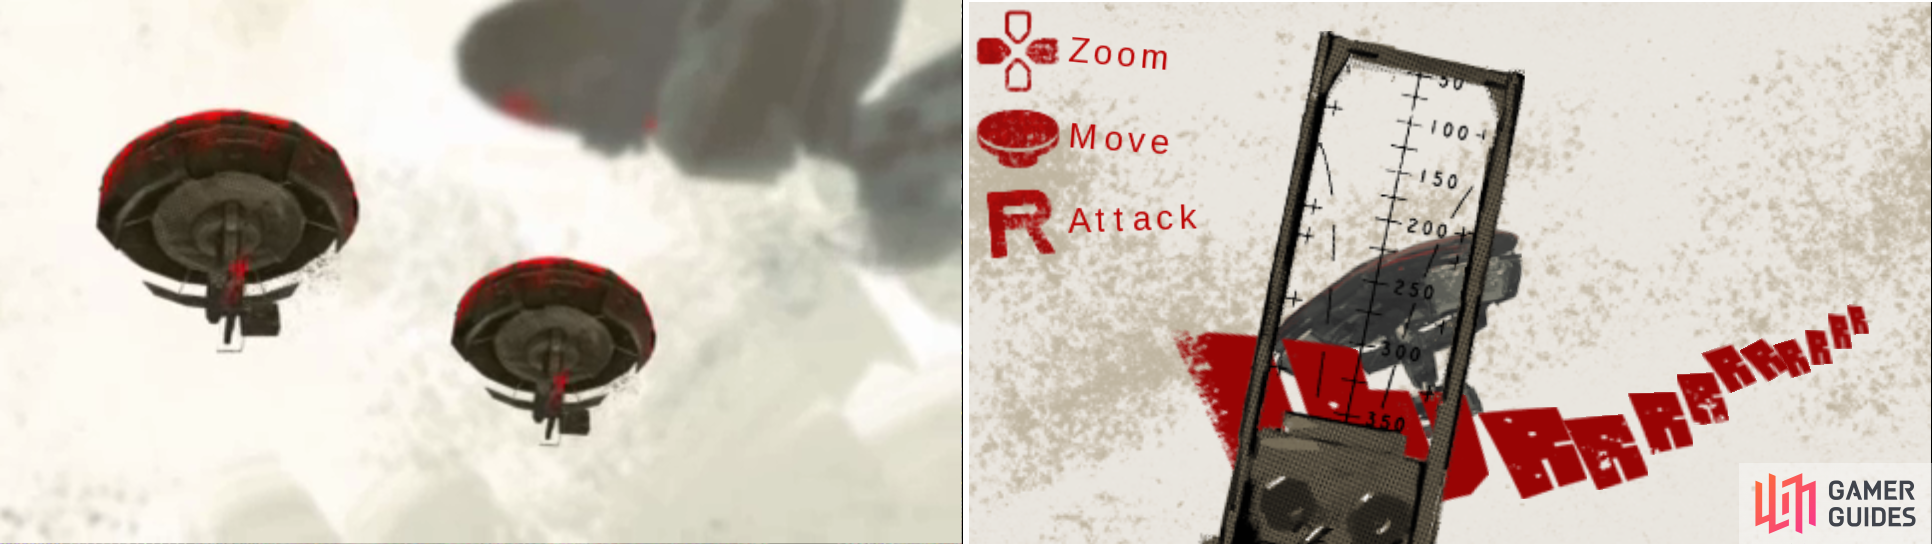
During the scene you’ll have to shoot down 2 hovercrafts (left picture). Aim at them carefully and shoot them down (right picture).
No Comments