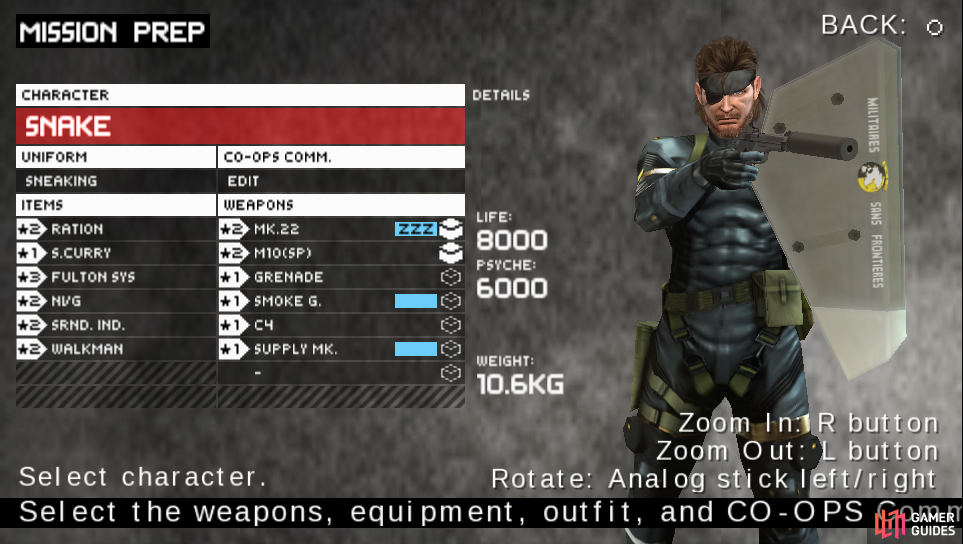
Bring the Sneaking camo. It’ll muffle your steps making it easier to move around the mission.
Start by proceeding west and you’ll hear some soldier saying to search for Snake and to guard the elevators. Great. Proceed west across the bridge and keep looking north to find another soldier. Take him out at a distance with the Mk22 and at the end of the path, look south down the stairs to find yet another soldier. Take him out and check behind the boxes on the S end to find a POW.

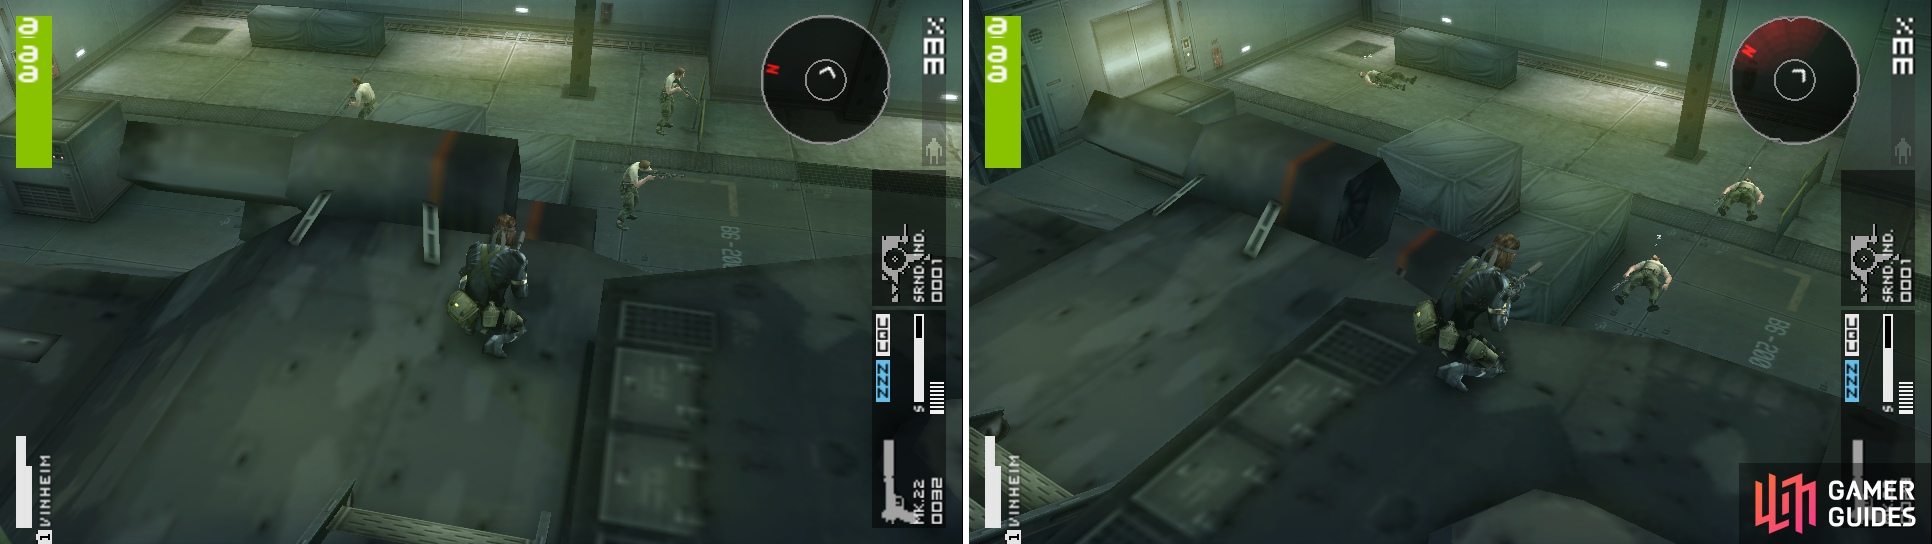
Four soldiers protecting the elevator in the northeast corner (left picture). Make sure to save the POW in the lower left corner (right picture).
Now proceed north past the stairs and go up the ladder on the right side when you get to it to find the first soldier you Mk22’d. FRS him and jump on the tank in middle of the room. If you look northeast you’ll find the 4 soldiers guarding the elevator. Take out the one on the northern side and another soldier will go see him. Use this time to quickly Mk22 the second one.
FRS them both and now it’s time to take care of the next one. One is only standing there looking south while the other one is patrolling. Wait for the patrolling guard to move south, shoot the standing one and quickly CQC the patrolling one. Now the area is secure. Now activate the elevator to the north and go to Underground Passage A .
Or if you are really good with the Mk22, snipe them all out from on top of the tank. The before and after :).
Not a big area. As you start, you’ll see a soldier to the east of you. Ignore him and quickly go east behind the crates near him. Stick to the crates and another soldier arrives. They both then run to the elevator you just used and they’ll stay there. Equip your Surround Indicator and start going east.
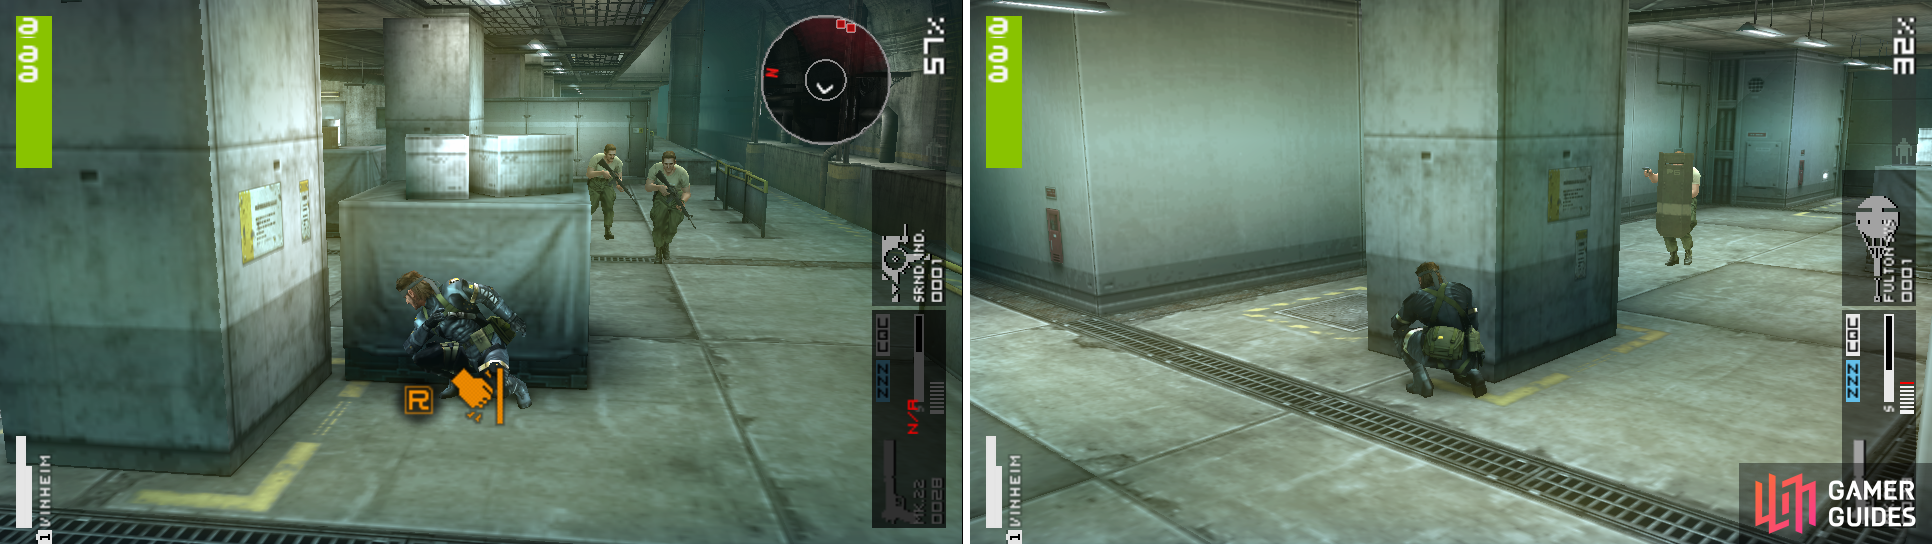
Stick to the crates! there’s also a shielded enemy in the next area. Be careful.
Watch out because there will be soldiers moving towards the elevator so you’ll have to hide from them as you move east. Try not attacking them. As you reach the end of the area you’ll find a POW in the middle of the room, but there will be 2 soldiers that will quickly run west. Hide, wait them to pass, FRS him and proceed east to Underground Passage B.
This area is not that difficult but the shielded soldiers that Miller told you about in the Briefing Files are here. Start going east and take out the soldier before the little room. Go inside and you’ll see another soldier right outside the room. Take him out as well. Move to the far right to find a soldier with a shield and one without one. First take out the one without the shield and then the shielded one (take care of him from behind).
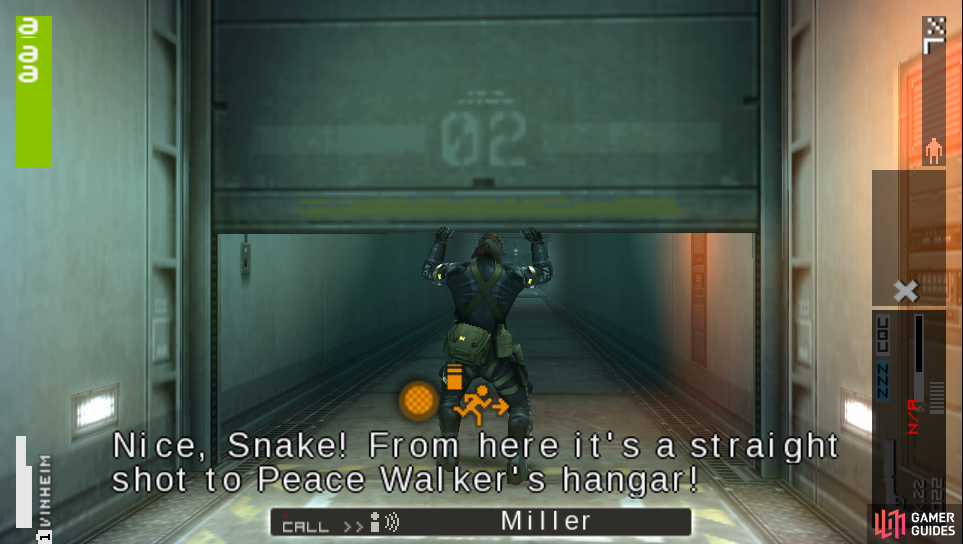
Press the Action button… a lot!
Now go east, press the Action button near the shutters and quickly tap it. Afterwards proceed inside to finish the mission.
No Comments