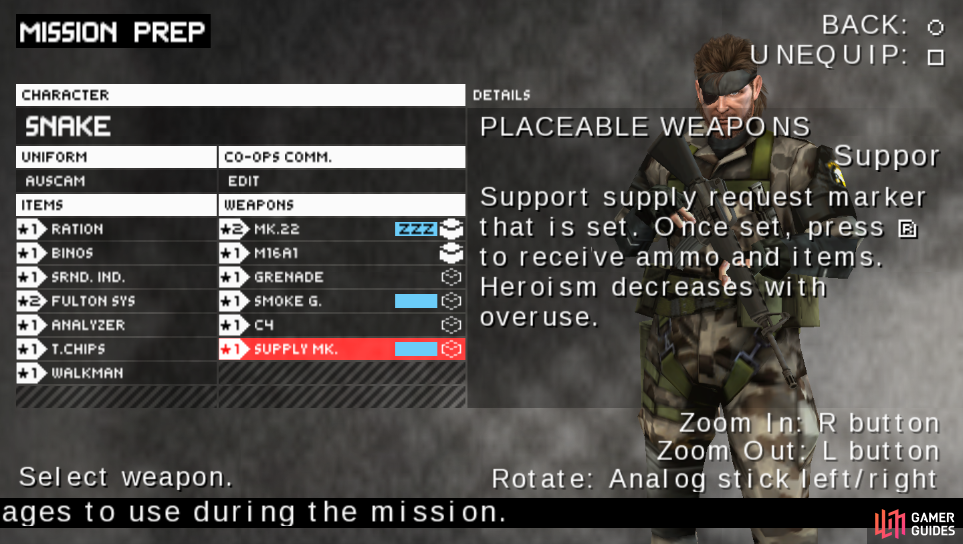
Bring the Supply Mark for ammo and rations if needed.
From where we start move forward and when you’re on the bridge, drop down from the left side and you’ll fall right next to Ration*5 x3 . Once this done proceed north and hide behind the fallen bridge, grab Anest x8 and look north (be careful of the soldier on top of the broken bridge). You’ll see two soldiers to the N. Wait for the one moving around to turn away from you, approach them and combo CQC them. Now carefully go up the ladder, take care of the one up here and proceed north to the next area, Los Cantos: Ridge .
This area is a bit tougher. Proceed forward and you’ll see a soldier in middle of the road looking east. Approach him really carefully and CQC him. Now move to the front of the truck and CQC the soldier walking around here. There’s also a soldier that walks to the back of the truck all the way to the right side of it. Take him out using your Mk22 if you want, or CQC him. Whichever way is best for you.
Now go up the little ledge southwest of the truck and you’ll come to a house with Ration*5 x3 and a POW. Now go north a little bit from the truck and you’ll see another path forking to the southwest. Follow this path and enter the little bunker to find ammo . Now simply proceed north to Fuerte La Ladera .

Perfect spot to hide from the soldier (left picture). Don’t forget about the POW near the truck before you leave the area.
To start, run north and you’ll see an enemy standing in the middle of the road. Move behind the wall on the right side and he’ll start walking east. Once he passes by approach him and CQC him. Now move to the eastern side of the area and follow the narrow path north to find Anest x8 . Now move to the left side of the area and look up the roof of the building.
You’ll see two enemies up here (there are actually 3). Approach the building and get to the ladder on the left side. wait for them to look south (climb up fast or they’ll spot you). Once up here they’ll both be next to each other and the other one north of them. Grab one and throw him to the other soldier to KO them both, then move on to the lone one. That’s the easiest way to do it.
Now move to the right side and drop down the hole in the floor. FRS the POW down here. Enter the little room to the west and grab ammo . Now go inside the little room to the northeast to find *Ration 5 x3 and then proceed northwest to reach the end of the mission.

Among the trucks you’ll find some nice Easter Eggs like Metal… Gear… ? and Hideo Kojima himself which you recruit.
You’ll have to find the truck where the nukes where, so here’s a list of all the trucks and what they have:
| Truck | Content |
|---|---|
| 57577 | Fish |
| 48273 | Metal… Gear… haha |
| 63824 | Kojima. You can recruit Hideo Kojima inside this truck. |
| **64779** | **This is your truck.** |
| 00000 | Something that screams **sunlight!** haha |
| 777 | Casino chips |
| 140.96 | A picture of Mei Ling from MGS 1. |
| 66447799 | Nothing |
You can also create M1928A1 when the mission is over.
No Comments