We have another sniper, but he’s changed his position. Locate him and take him out.
As you start you’ll be right next to a soldier so wait a few seconds for him to turn around and FRS him. Just to let you know the enemies are in the same place as in the previous mission. As for items you’ll find Anest x8 on the east side and ammo ;on the west side. Now go south on to Camino de Lava: Junction .
As you enter, go east behind the tree and look south to find a soldier. Now look at the dummy doll in middle of the area and you’ll see that a sniper is shooting at it. Hop on to the train (where the POW was in the previous mission) and look southeast to see him. There’s also a soldier on the southern side for you to FRS him. Now go northeast and proceed to Cafetal Aroma Exncantado: Entrance.
This area is pretty big. As you go north you’ll see a fence with a part of it missing. There’s also a soldier here patrolling the entrance towards the center of the first part of the area. Wait for him to go west to intercept him. Now go inside and locate the soldier patrolling the west side of this first area. Take care of him as well.
Go to the lower left little room to find Anest x8 . Before going north, check the northern side to find a POW. FRS him out of there. As you go north up the little hill you’ll see a soldier on top. Take him out and go east from the truck up here to find ammo .
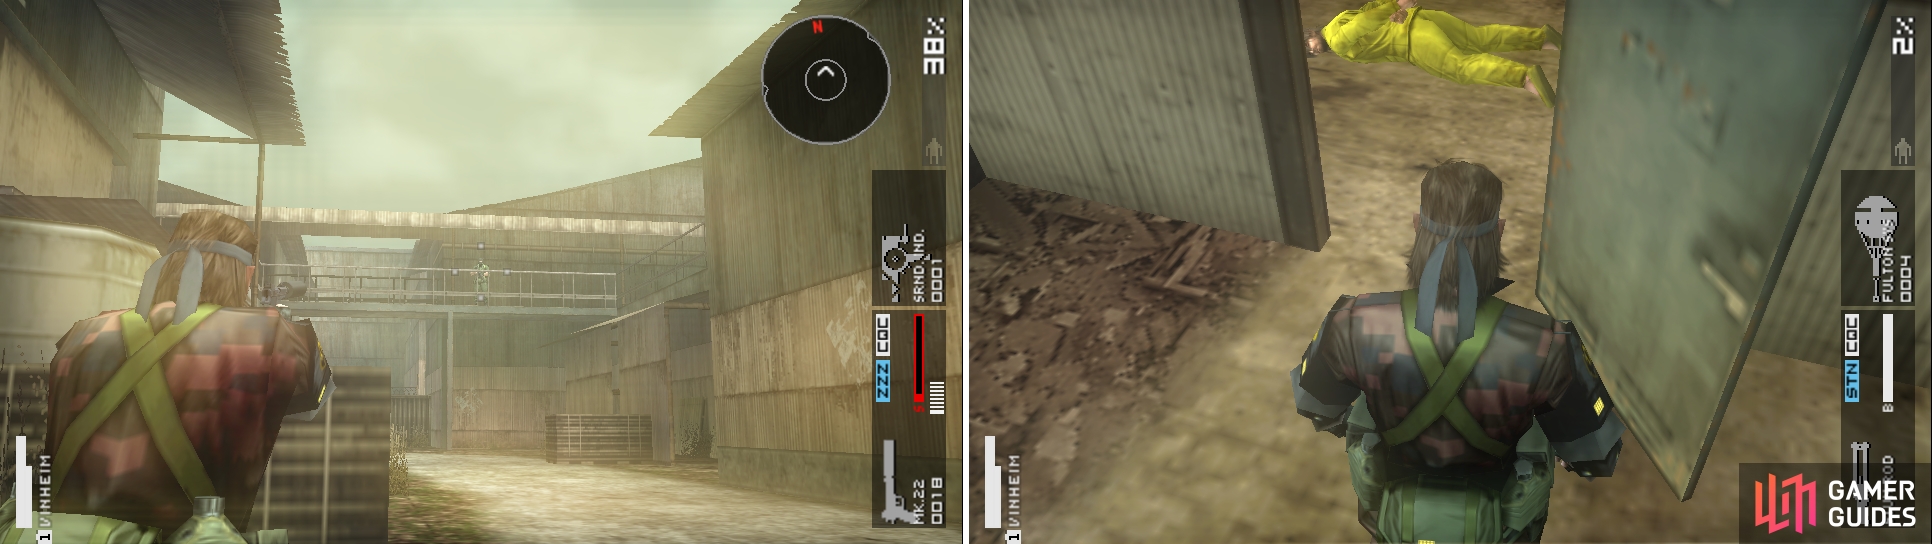
Be careful of the enemies watching from the catwalks above (left picture). There’s a POW in an alcove here. Don’t miss him!
Now, before going Inside the building locate the soldier on the second floor stationed right in front of the entrance. Take him out as well. As you go inside, once you’re like halfway through the first building on the right locate the soldier in front of you on the second floor. You know what to do. Go north some more and you’ll see a POW in a small alcove to the right. Now proceed all the way north to the Mill .
This area is easy as pie. From where you start, go north a little bit and you’ll have a soldier patrolling the west side on the first floor and you’ll have 2 more soldiers patrolling the second floor. Take care of them and enter the room to the left to find another POW. Move to the northern side of the first floor to find yet another POW. Go up to the second floor and exit the warehouse. Now down the stairs and go east down here to find *Ration 5 x3 . Now simply go north to El Cadalso which is the final area of the mission.
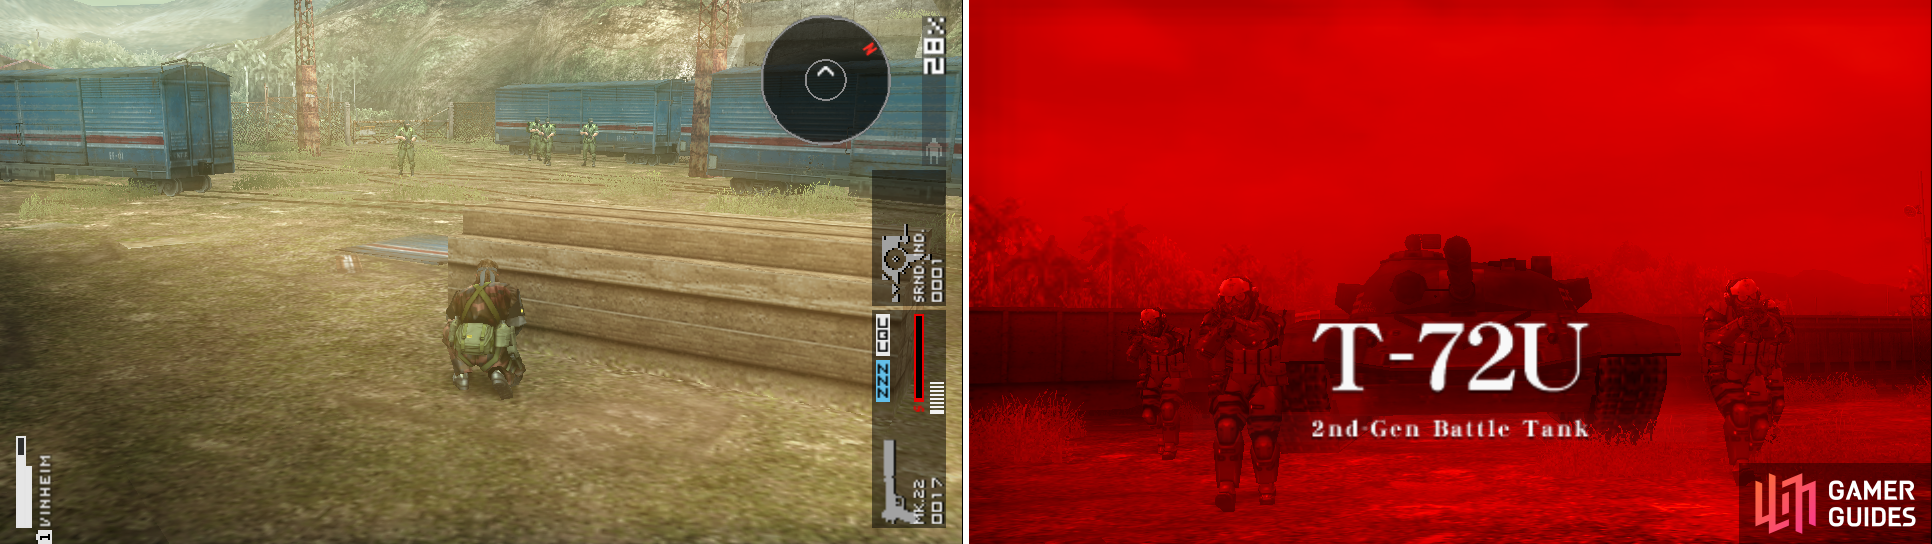
The soldiers waiting for you (left picture) and a surprise for you for the next OPS (right picture).
After the little scene, we now have to secure the train and take care of all the soldiers. I did it with my Mk22 which is rather easy. From where you’re left stand up, aim your gun and shoot in the head to both soldiers standing in the middle. The two other ones near the train to the north will notice and go see them. Take care of them and approach the final one on the northwestern side which shouldn’t even notice the other dudes laying around. See? Piece of cake ;).
Now watch the scene and it’ll continue in the next mission. After the mission, you’ll be able to develop the M60 and the Sonic Eye .
No Comments