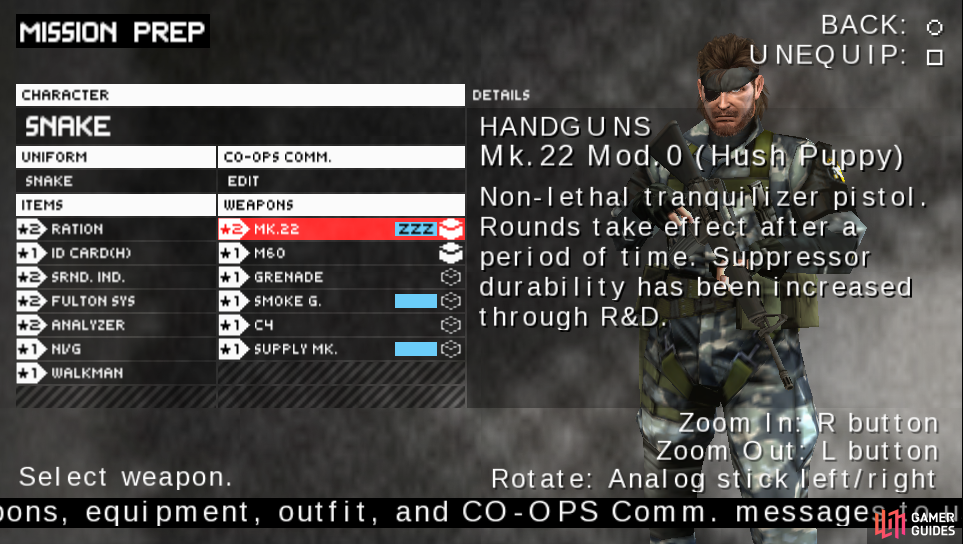
Bring the NVG so you can spot the enemies hidden among the bushes.
Start by going northwest into the Bottom of the Cliff . Down here equip your NVG and proceed north hiding behind the broken walls. You’ll see a sniper laying down on an elevated platform to the far northern side of the area. If you stay behind the second large boulder in the middle of the area and look northwest you’ll find another sniper laying down. These are the only 2 snipers of the area.
I recommend taking the one on the left side of the area first, using the boulder as protection. FRS both of them and now proceed north to the Top of the Cliff .
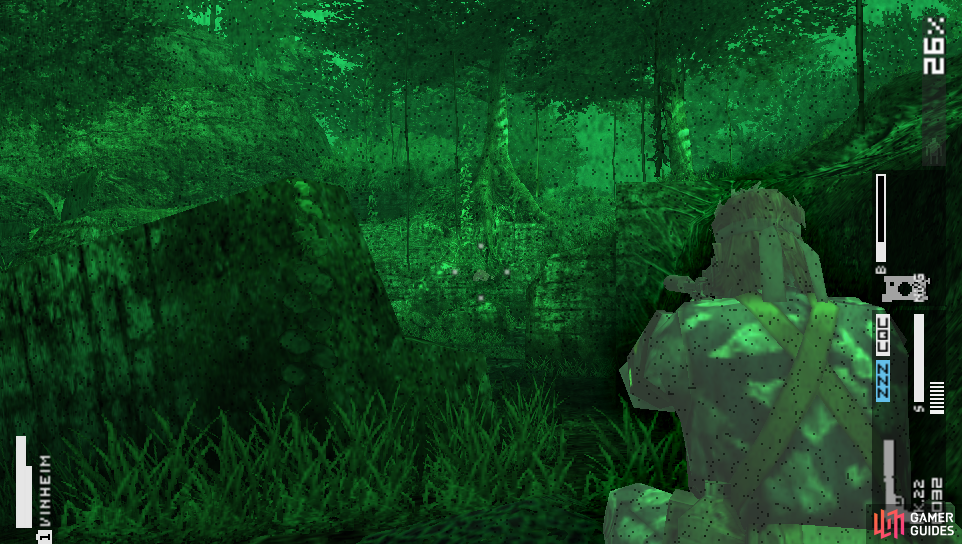
The snipers looks like in the picture. A different shade of green barely perceptible. This comes in handy as there is no Thermal Goggles.
Another large area. From the southwestern walls, go east a little bit – quietly and look north to find a scout behind the large tree. Approach him, Mk22 him and FRS him out of here. From where the scout is/was, look east from the northern side of the wall to find a sniper at the distance. Also, do you see the “room” in the center of the area? Go in there from the western side to find a POW. FRS him out of there. Go out from the eastern side, follow the southern wall and go up the ledge when you get to it.
Up here there’s a sniper next to the ledge you just used looking north. Take care of him and move to the southeastern corner to find *Ration 5 x3 . Now go north following the eastern wall and take care of the first sniper you saw. Now proceed east to Ruinas de Xochiquetzal.
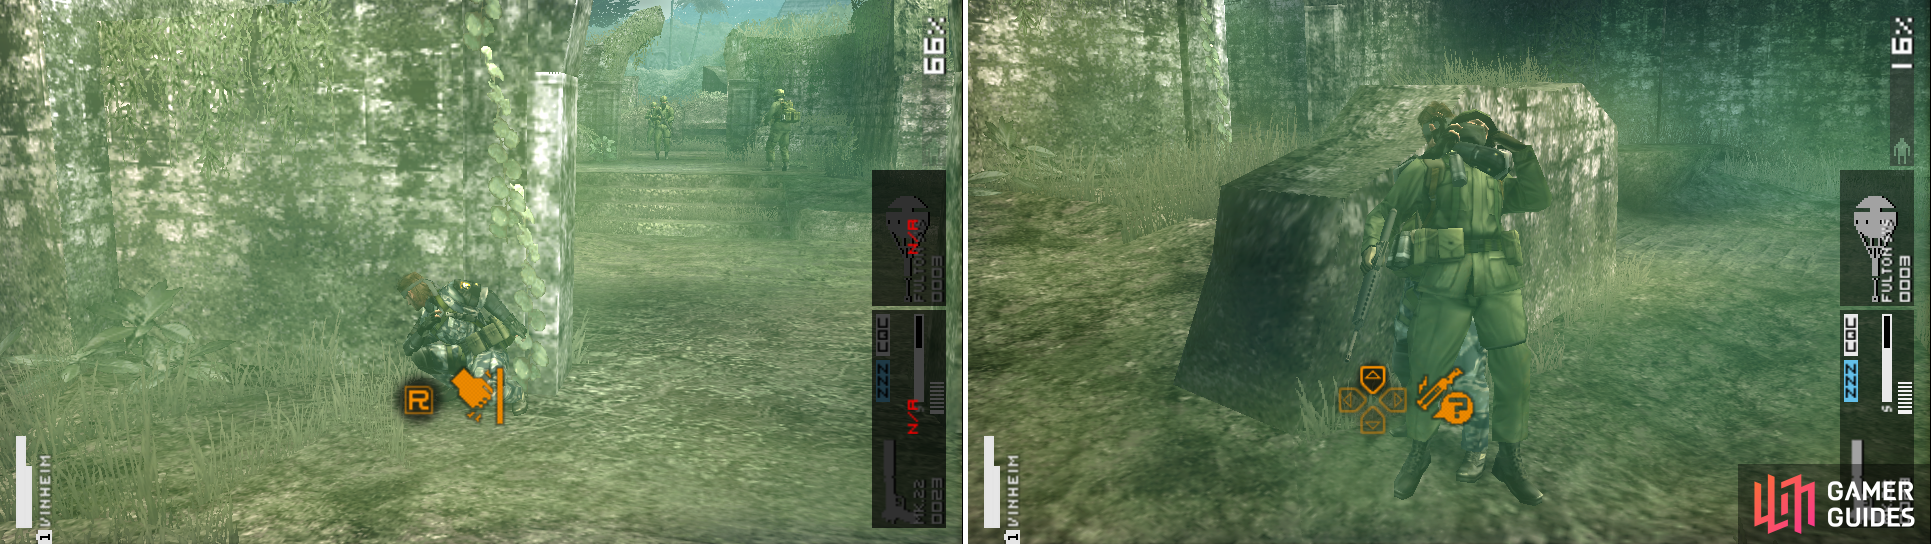
Lure the enemies so you can CQC them one-on-one. Don’t shoot them as they have helmets on.
Once the scene is over, go east a little bit and you’ll see a soldier patrolling. Now go to the eastern side to the entrance of the ruins, but be careful because there are 2 more soldiers patrolling the entrance (inside). The best thing to do is to knock on the wall when a soldier is near you (not both) to lure him. When he’s getting near you, move to the broken wall south of the entrance and knock again so he moves away from the entrance. CQC and FRS his ass.
When you see that the other soldier is moving away from the entrance, go in and go west right away. You’ll be at a fork. You’ll see asoldier in this path (up to the north). If you go west from this fork you’ll find a lone *Ration 5 x3 .Return to the previous fork, go north and look east near the end of the path to find a POW. FRS him out of here. East of this POW is the main path with 2 soldiers.
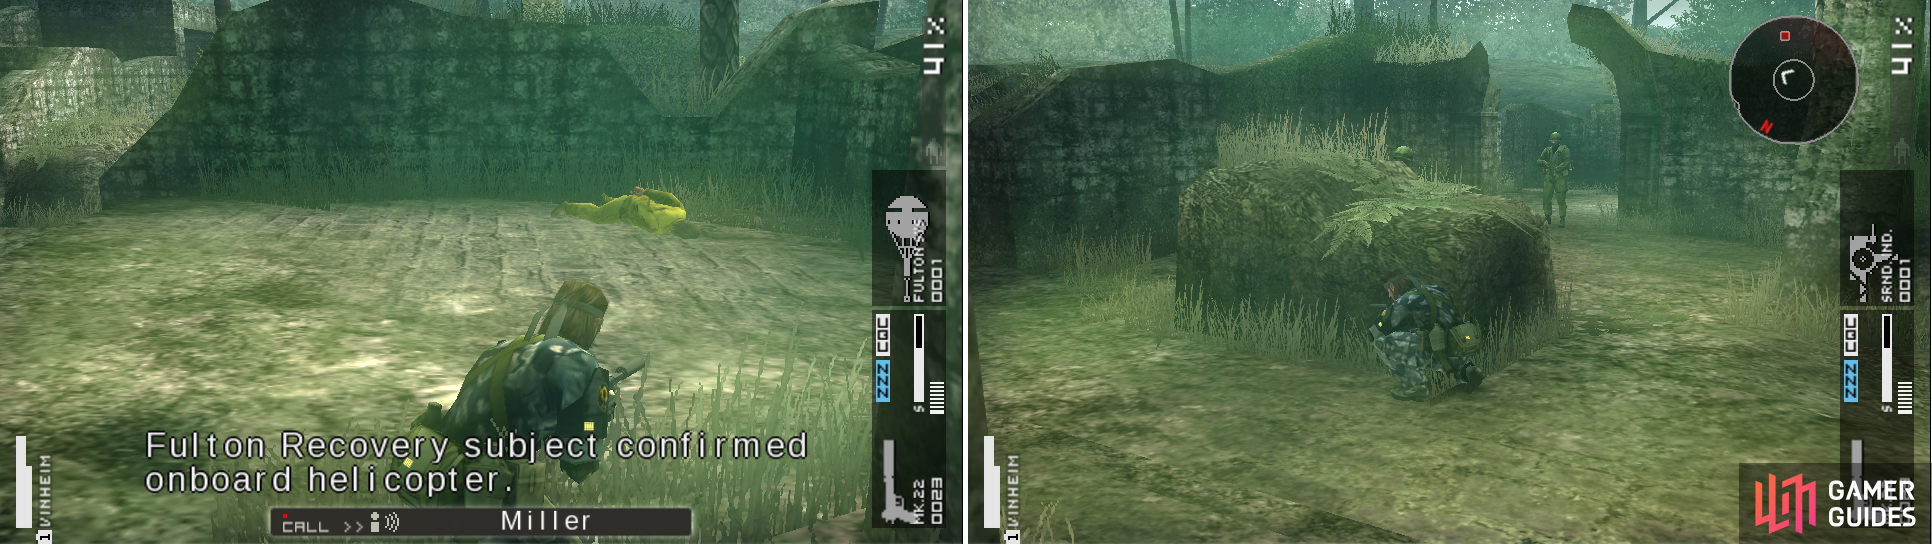
The location of the POW, just waiting for you in the corner (left picture). Stand behind this little wall to CQC the soldiers one by one.
One’s just standing while the other one is patrolling. Wait for the one patrolling to move towards the entrance and CQC the one standing. Quickly move south and take out the other soldier. Now move to the northeastern corner of the area to find *Ration 5 x3 . Now move north to the AI Laboratory .
Watch the scene and the OPS is over.Now you’ll be able to develop Support Strike Marker (Thrown) and Support Supply Marker Rank 3 .
No Comments