
One of the more iconic (and arguably, interesting) guild questlines in The Elder Scrolls IV: Oblivion is the Dark Brotherhood, where players can cast off the trappings of a heroic adventurer in favor of stalking Cyrodiil as a bloodthirsty assassin. Serve the Night Mother and Sithis with the help of this Dark Brotherhood questline guide, including details on completing every quest and earning bonus rewards, whenever possible, with map links to points of interest to help with navigation!
Page Breakdown
Kill any non-hostile NPC (acts of self-defense don’t count),
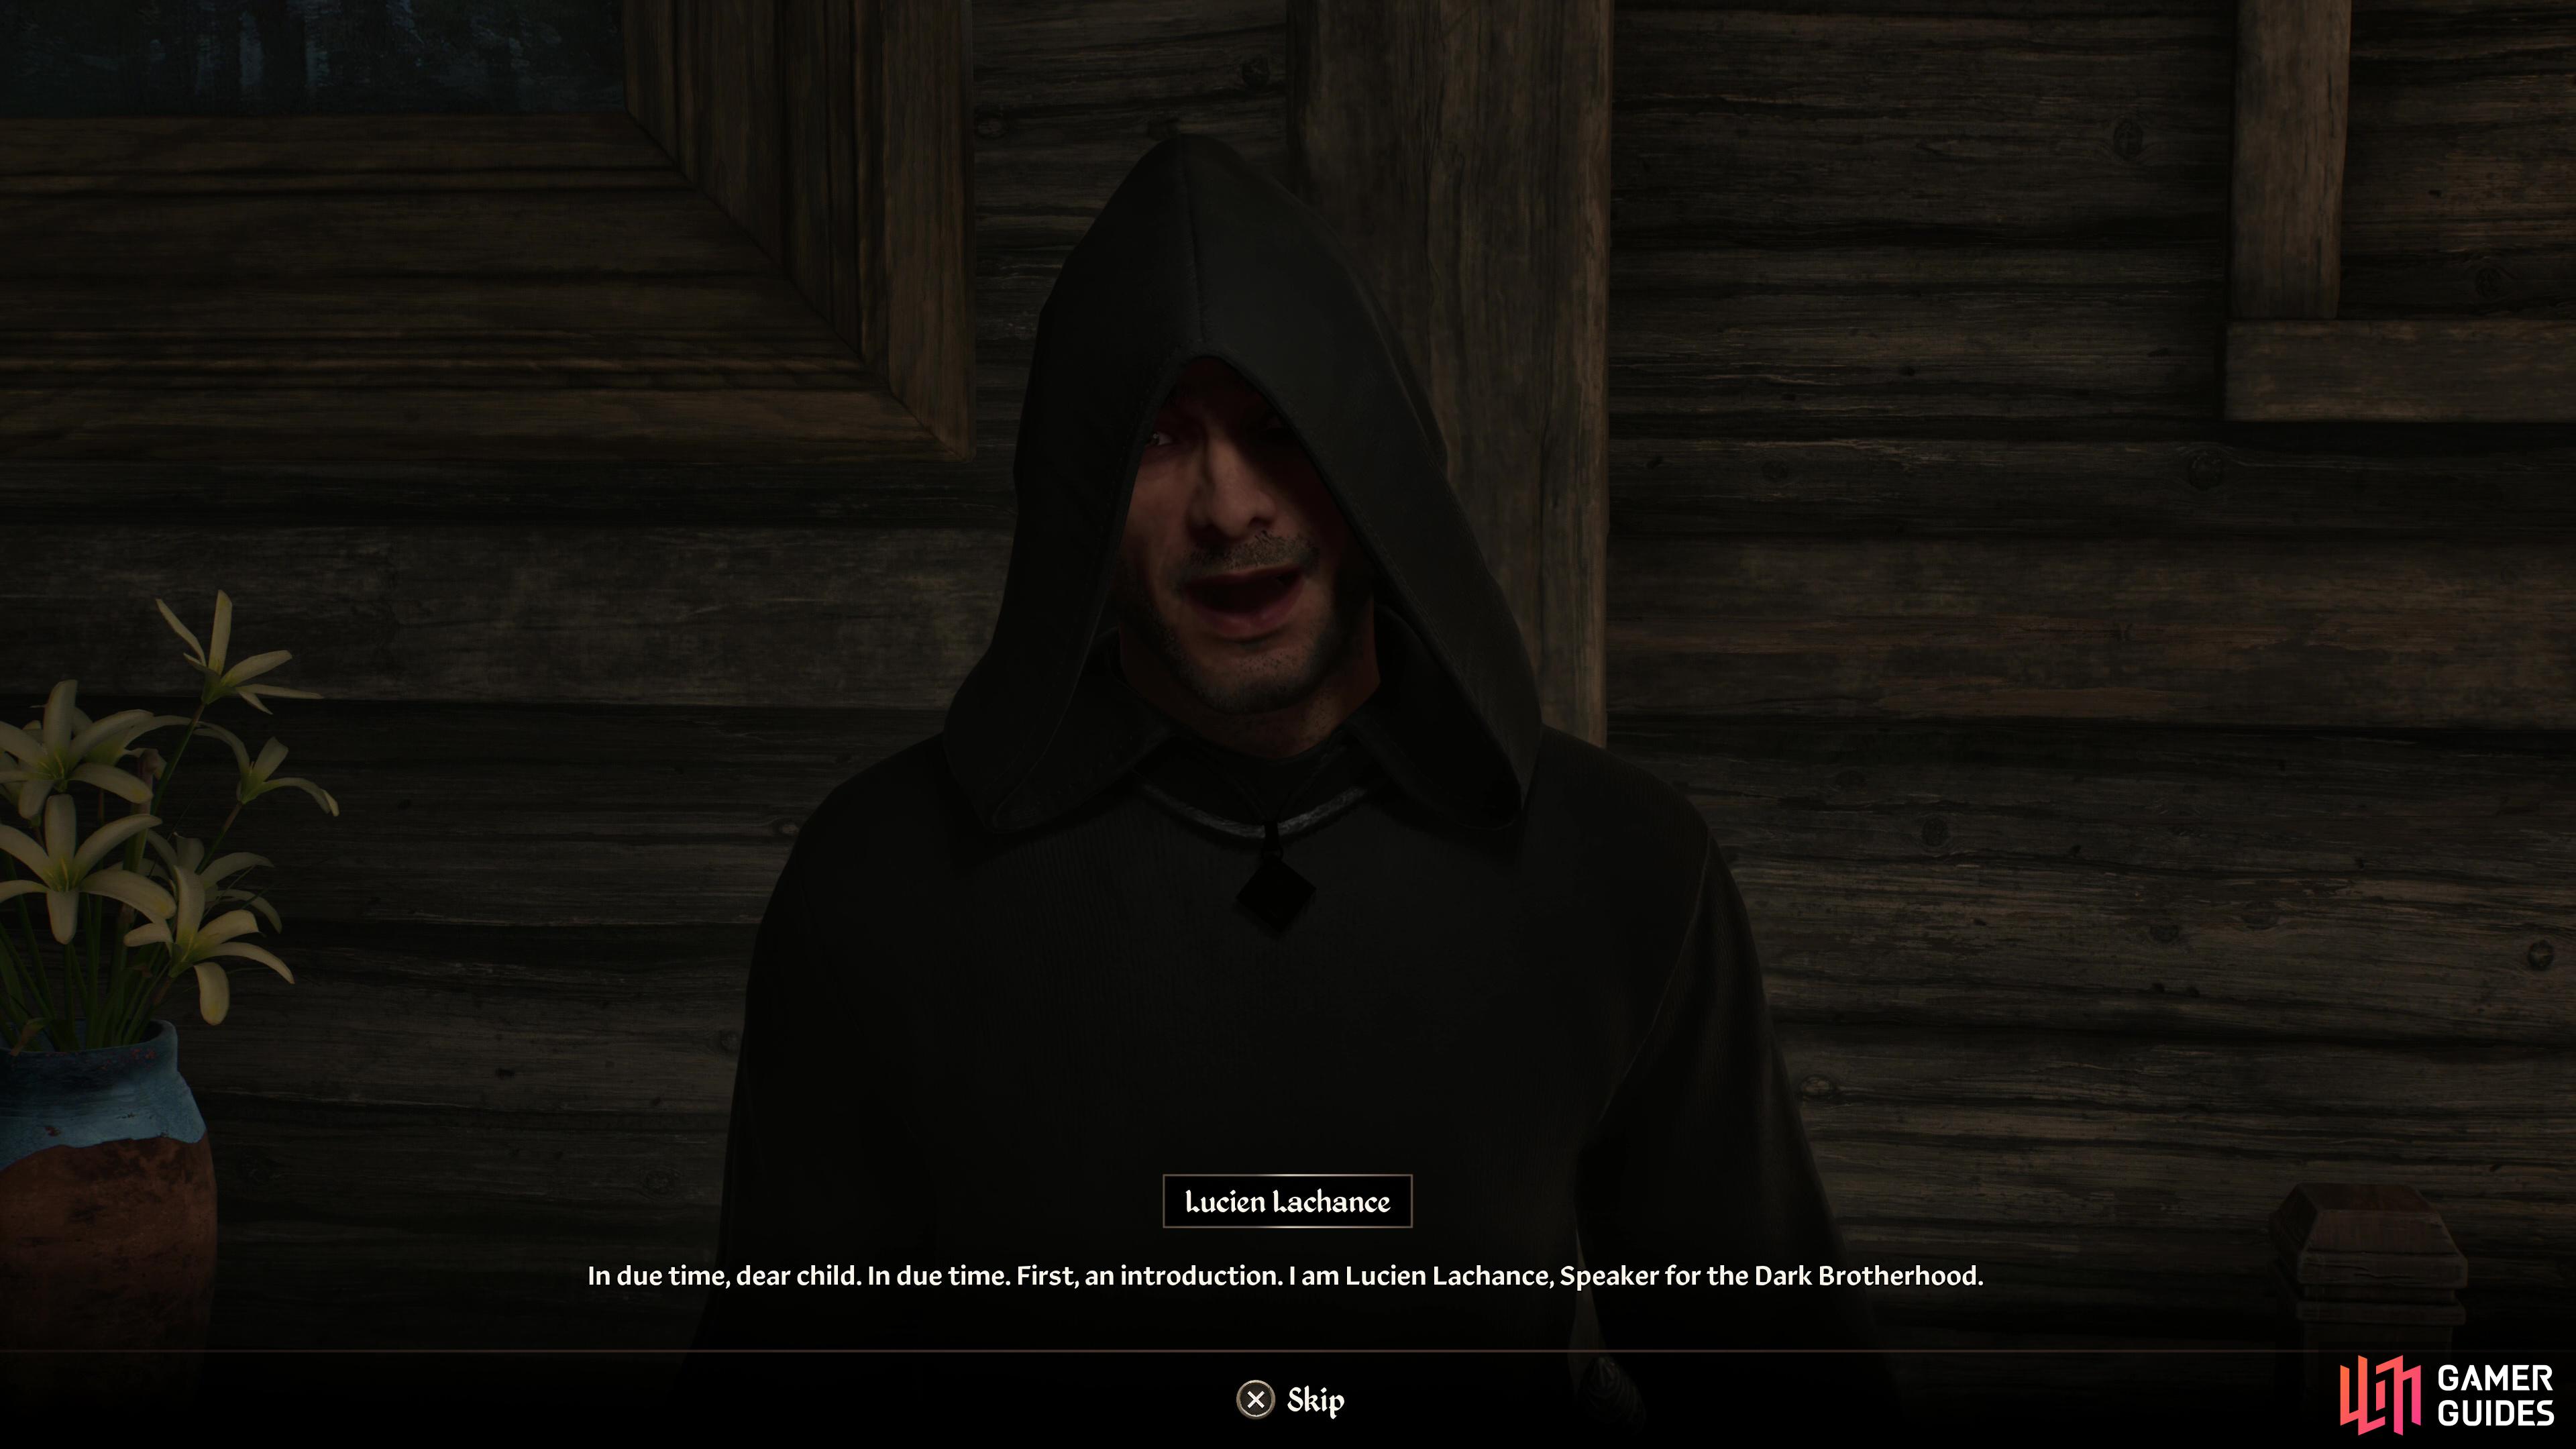
and the next time you sleep in a bed you’ll be visited by Lucien Lachance, giving you a chance to prove yourself a proper assassin.
Joining the Dark Brotherhood
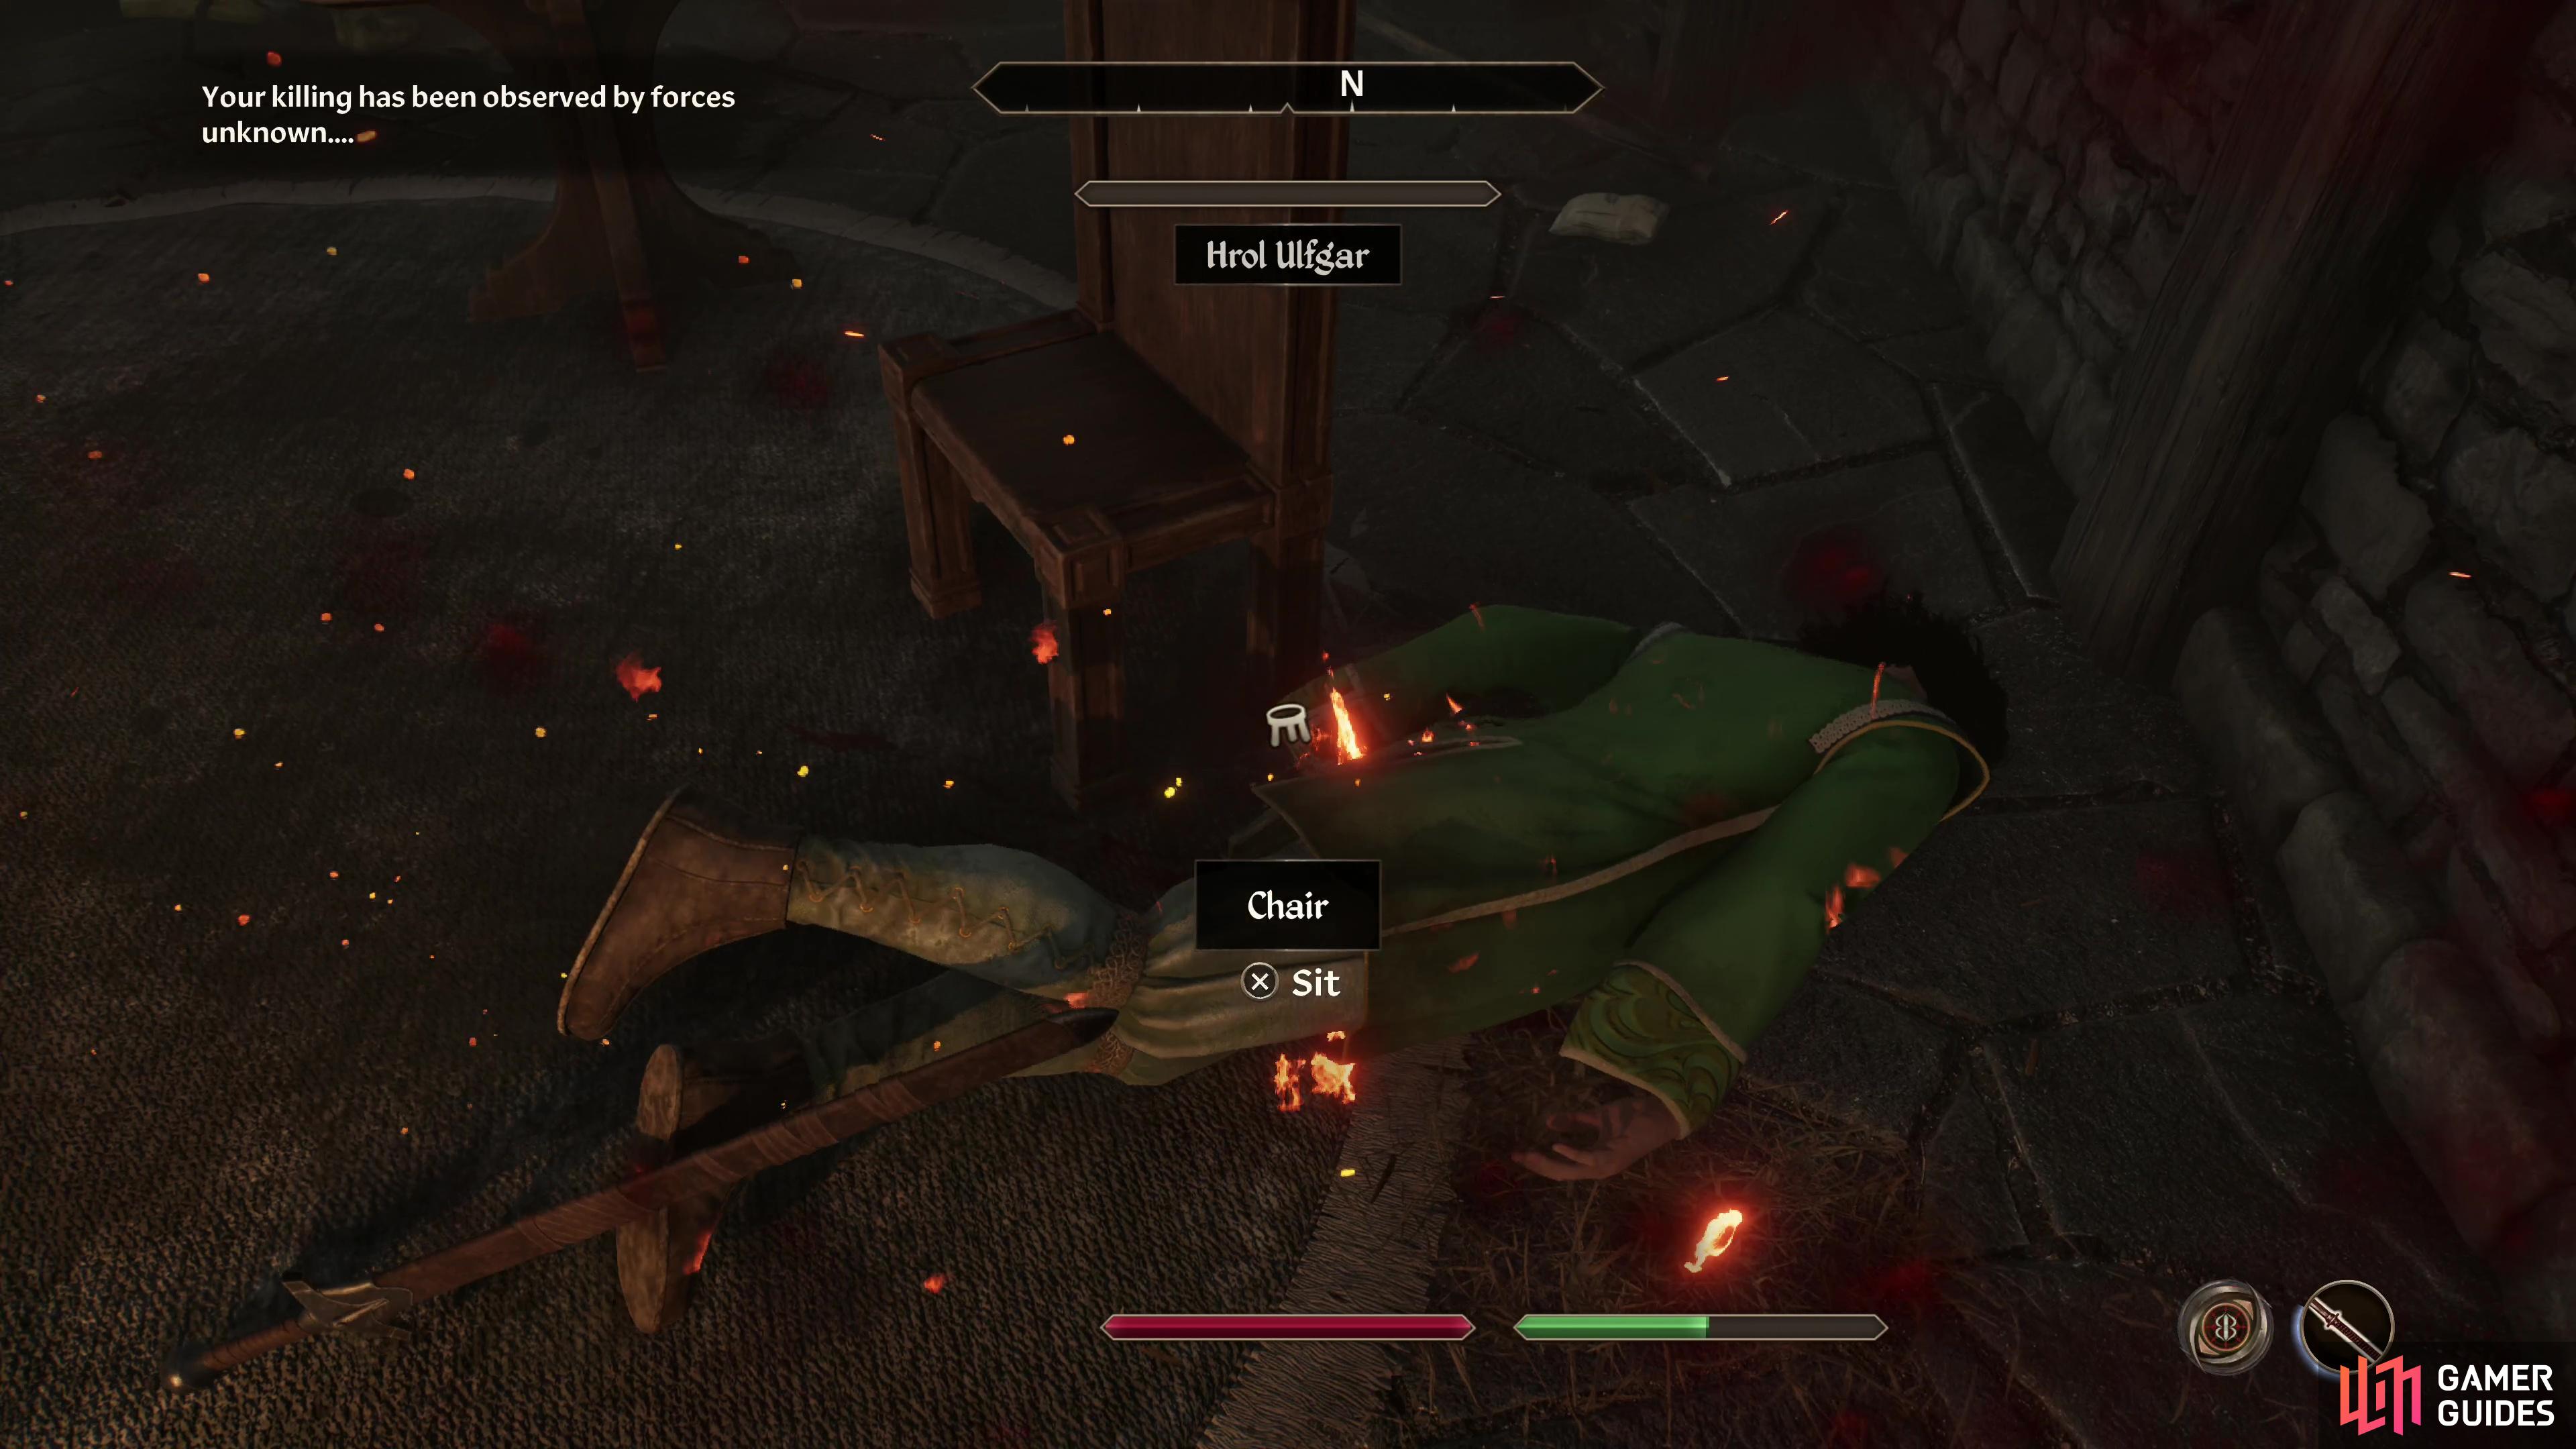
Your career as a killer starts simply enough - murder any non-hostile NPC and you’ll see the text Your killing has been observed by forces unknown on the top left of the screen. Many NPCs will turn hostile on you as part of a quest, but provoked kills in self-defense do not count, which includes the majority of named NPCs you’ll kill during normal gameplay, as well as Bandits, Marauders, [Conjurers], etc. If you don’t want to risk killing an important NPC, you can always settle for killing generic guards or Imperial Legion Soldiers, but this will almost certainly earn you a bounty and infamy… not the end of the world, but a potential downside. One of the least consequential ways of drawing the attention of the Dark Brotherhood is by completing Mephala’s quest - killing either Hrol Ulgar or Nivan Dalvilu will count as murders that draw the Dark Brotherhood’s attention, and if you’re a completionist you’ll want to complete this Daedric Shrine quest anyways. Kill them properly (in their homes with no witnesses) you’ll also incur no serious penalties with the law, and these two NPCs serve no other purpose in the game save as murder-fodder for Mephala’s quest. Fairly consequence free, as far as murdering NPCs god.
After you commit your first murder and see the aforementioned message, the next time you rest at a “safe” bed - usually a rented bed in an inn or a bed in a house your own - a dark brotherhood representative will appear and give you your initiation quest, A Knife in the Dark. You will also be given the Blade of Woe, but you don’t have to use it to kill anything, ever, if you prefer to murder with some other implement. Before we get to that, however, we’ll provide some notes on completing Dark Brotherhood quests as easily as possible. Killing your targets stealthily isn’t usually required, but it can make things simpler inasmuch as you won’t have to flee from guards or run up bounties, and you may gain bonus rewards, depending on the quest:
Difficulty Settings
Perhaps the least appealing and most obvious method is to lower the difficulty. Oblivion’s difficulty slider just changes player damage dealt and received, and at the lower difficulty you’ll sustain 1/6 the normal damage and deal 6x the damage. This makes one-shotting most foes trivial and vastly reduces the chance that they’ll be able to fight back.
100% Chameleon
Somehow even less sporting is getting yourself 100% Chameleon, but on the upside this takes work to achieve. At 100% Chameleon enemies will be functionally incapable of detecting you while you sneak, responding to your attacks, or targeting you. In rare cases you can still accrue bounties and NPCs will notice if you botch pick pocketing attempts, but they cannot engage you in combat.
To get 100% Chameleon you will likely need to level up a good bit (Lv20+) in order to get the drops and spawns required, as you will want to farm for higher-quality gear like a Crystalline Cuirass (30% Chameleon), Rings of Shadow (25% Chameleon), Greater Rings of Shadow (30% Chameleon) enemies that yield Grand Souls when Soul Trap is used. In the latter case, you will also need access to the Arcane University, where you can enchant items - which requires you to earn a recommendation at every Mage’s Guild Hall. A Grand Soul Gem can allow you to apply 20% Chameleon on gear. Most importantly, you need to complete Meridia’s Quest to obtain the Ring of the Khajiit. Any combination of gear that gets you to 100% Chameleon will work, but if you can’t quite get there, using a spell that gives Chameleon (Illusion) can temporarily get you across the threshold - it’s just a bit higher maintenance.
Even if you can’t reach 100% Chameleon, any amount makes it easier to sneak around, so get what you can… provided you care to be sneaky at all, that is.
Invisibility
A simpler version of doing some of what 100% Chameleon does, Invisibility makes it so enemies can’t attack you, but if you take almost any action, the effect will end. If you just need to sneak past some characters, Invisibility will more than suffice, and as long as you level up Illusion a bit, you’ll be good to go - not nearly as good as 100% Chameleon offers, but much, much easier to manage.
Skills
Obviously the more killy you are, the easier it’ll be to assassinate targets cleanly. Your choice of attack doesn’t really matter - Blade, Blunt, Destruction, Marksmanship, all work just fine, but Marksmanship can come in handy if your Sneak is low, as you won’t have to get quite as close to your target. Speaking of which, Sneak is very useful if you want to do anything stealthy, as is Security - be a shame if your career as an assassin was cut short by a simple lock.
Again, if you want to just run up to enemies and hit them with a warhammer until they die, consequences (and bonus rewards) be damned, you’ll get through the Dark Brotherhood questline just fine, but to get the best results and display the finesse the game sometimes requires, consider the suggestions given above. With that out of the way, let’s get to the Dark Brotherhood questline.
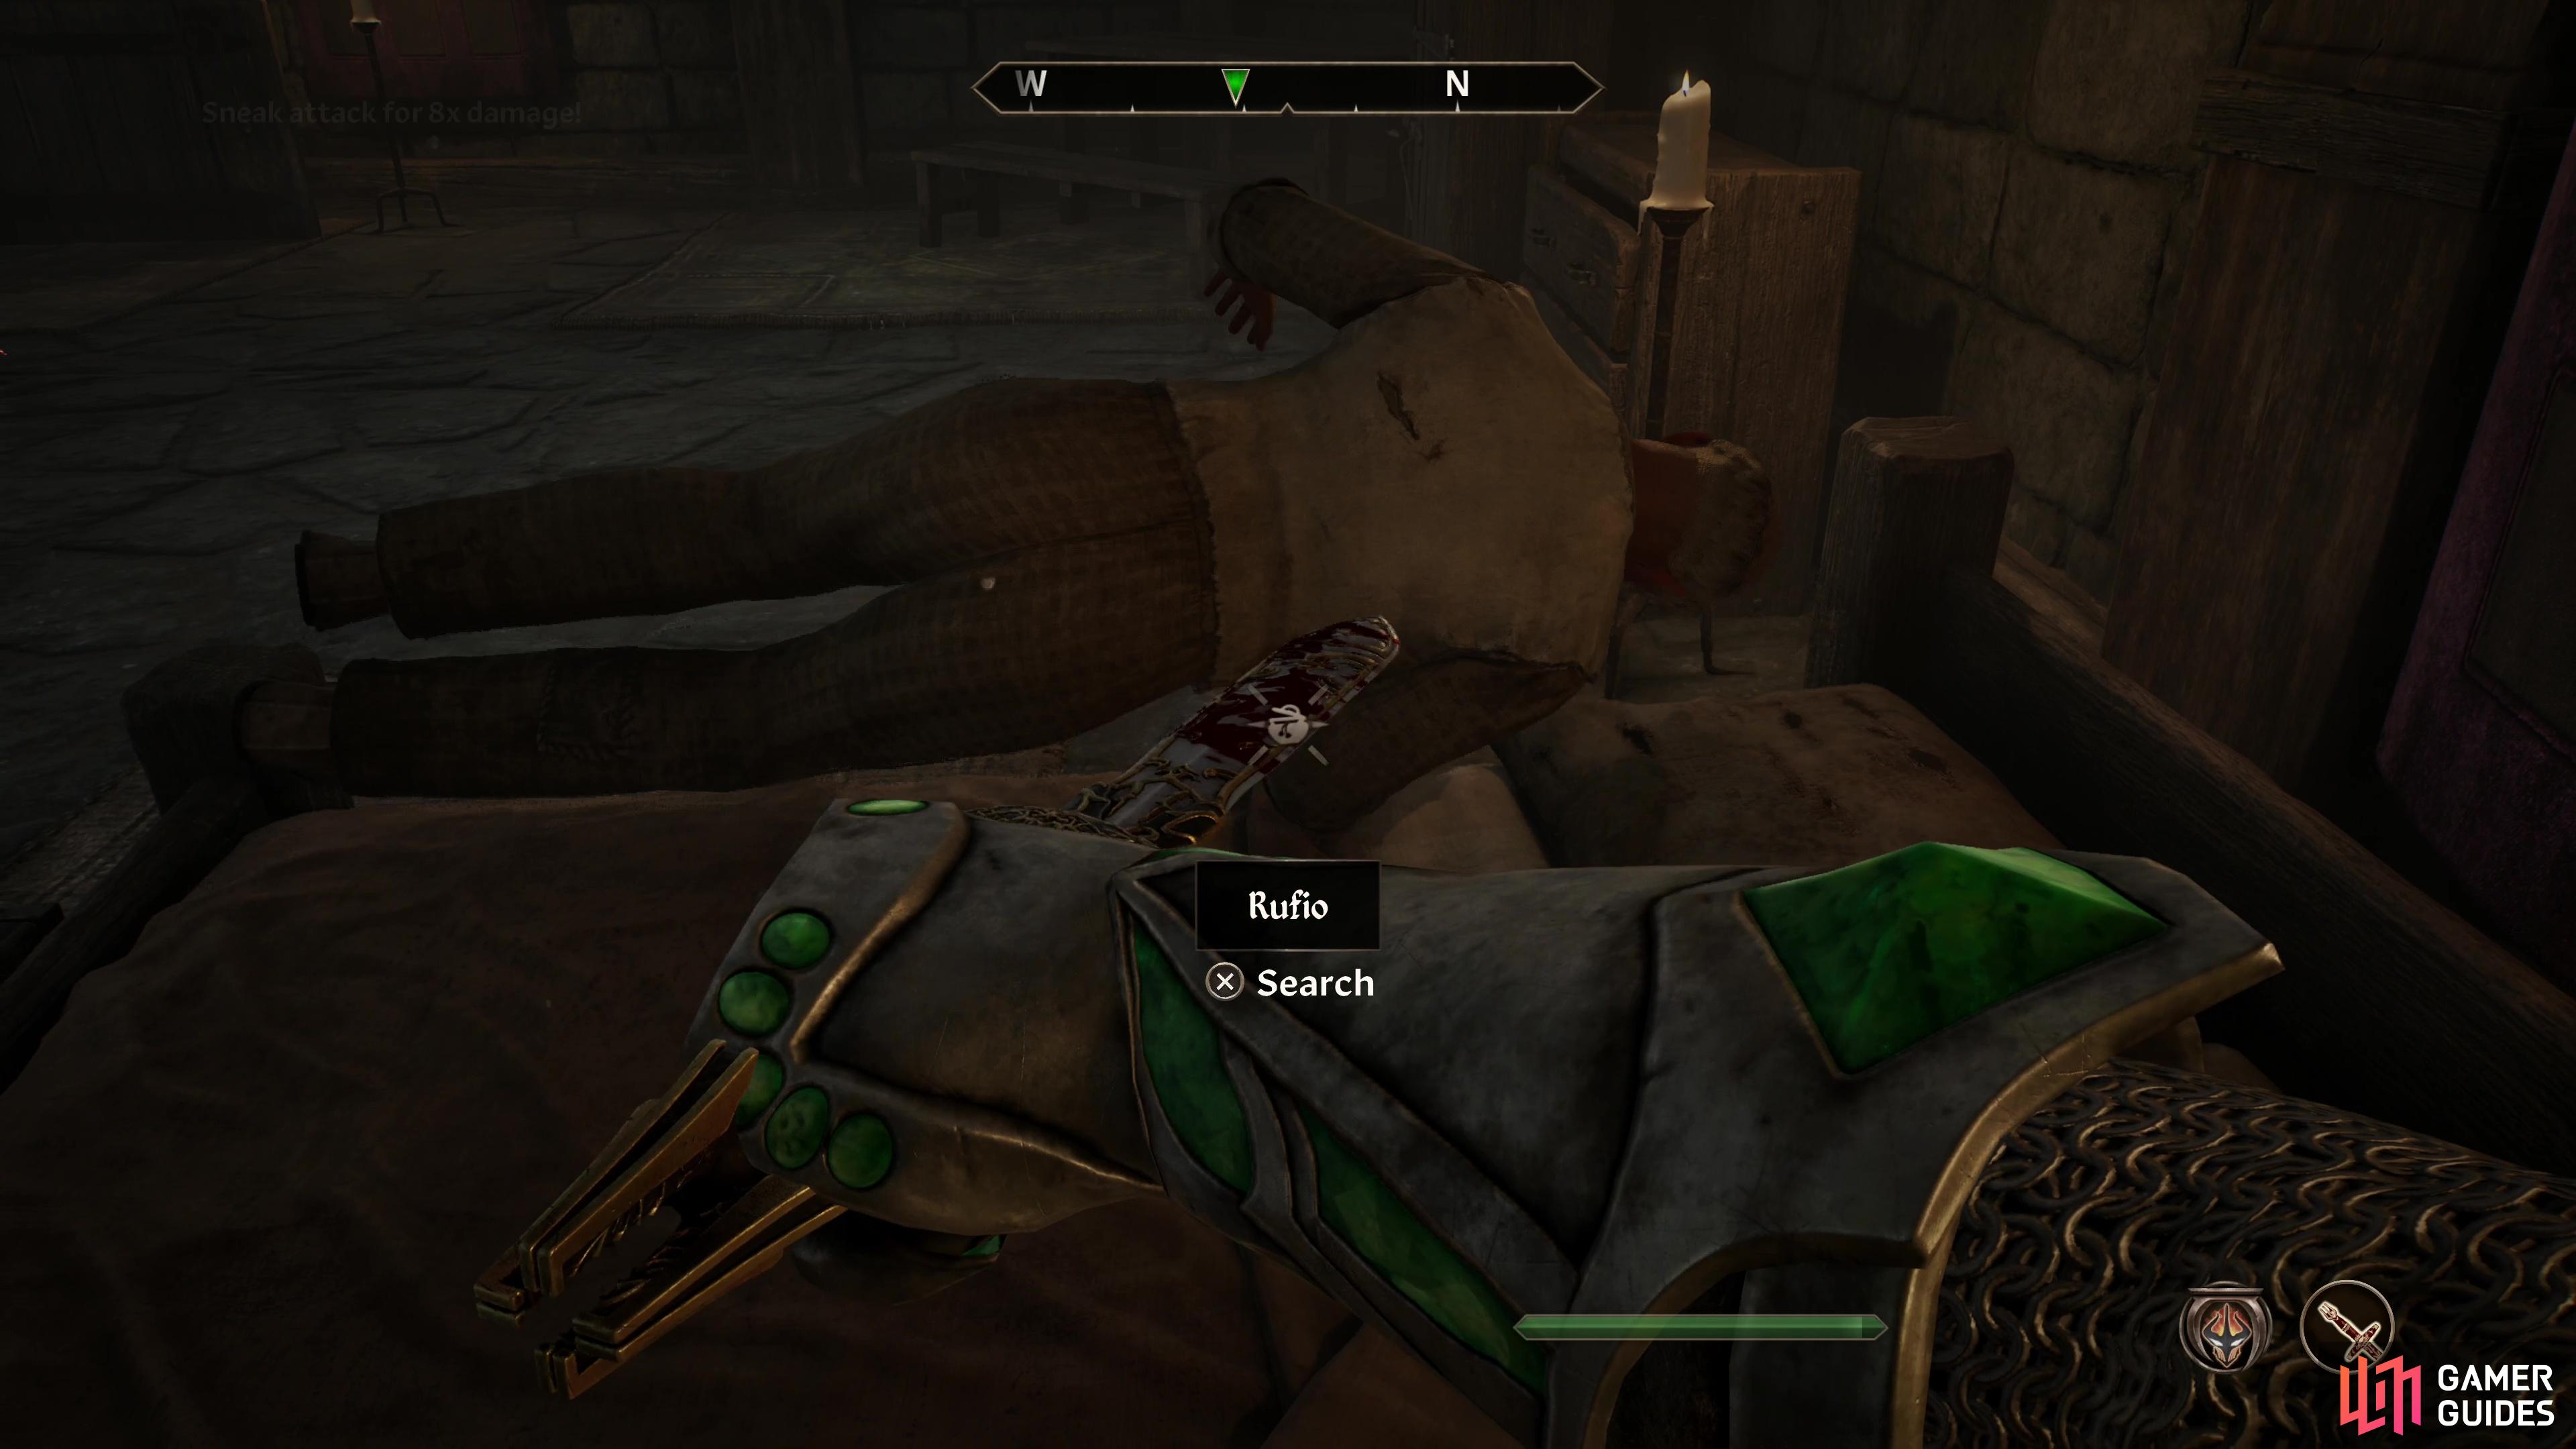
Kill Rufio in the basement of the Inn of Ill Omen,
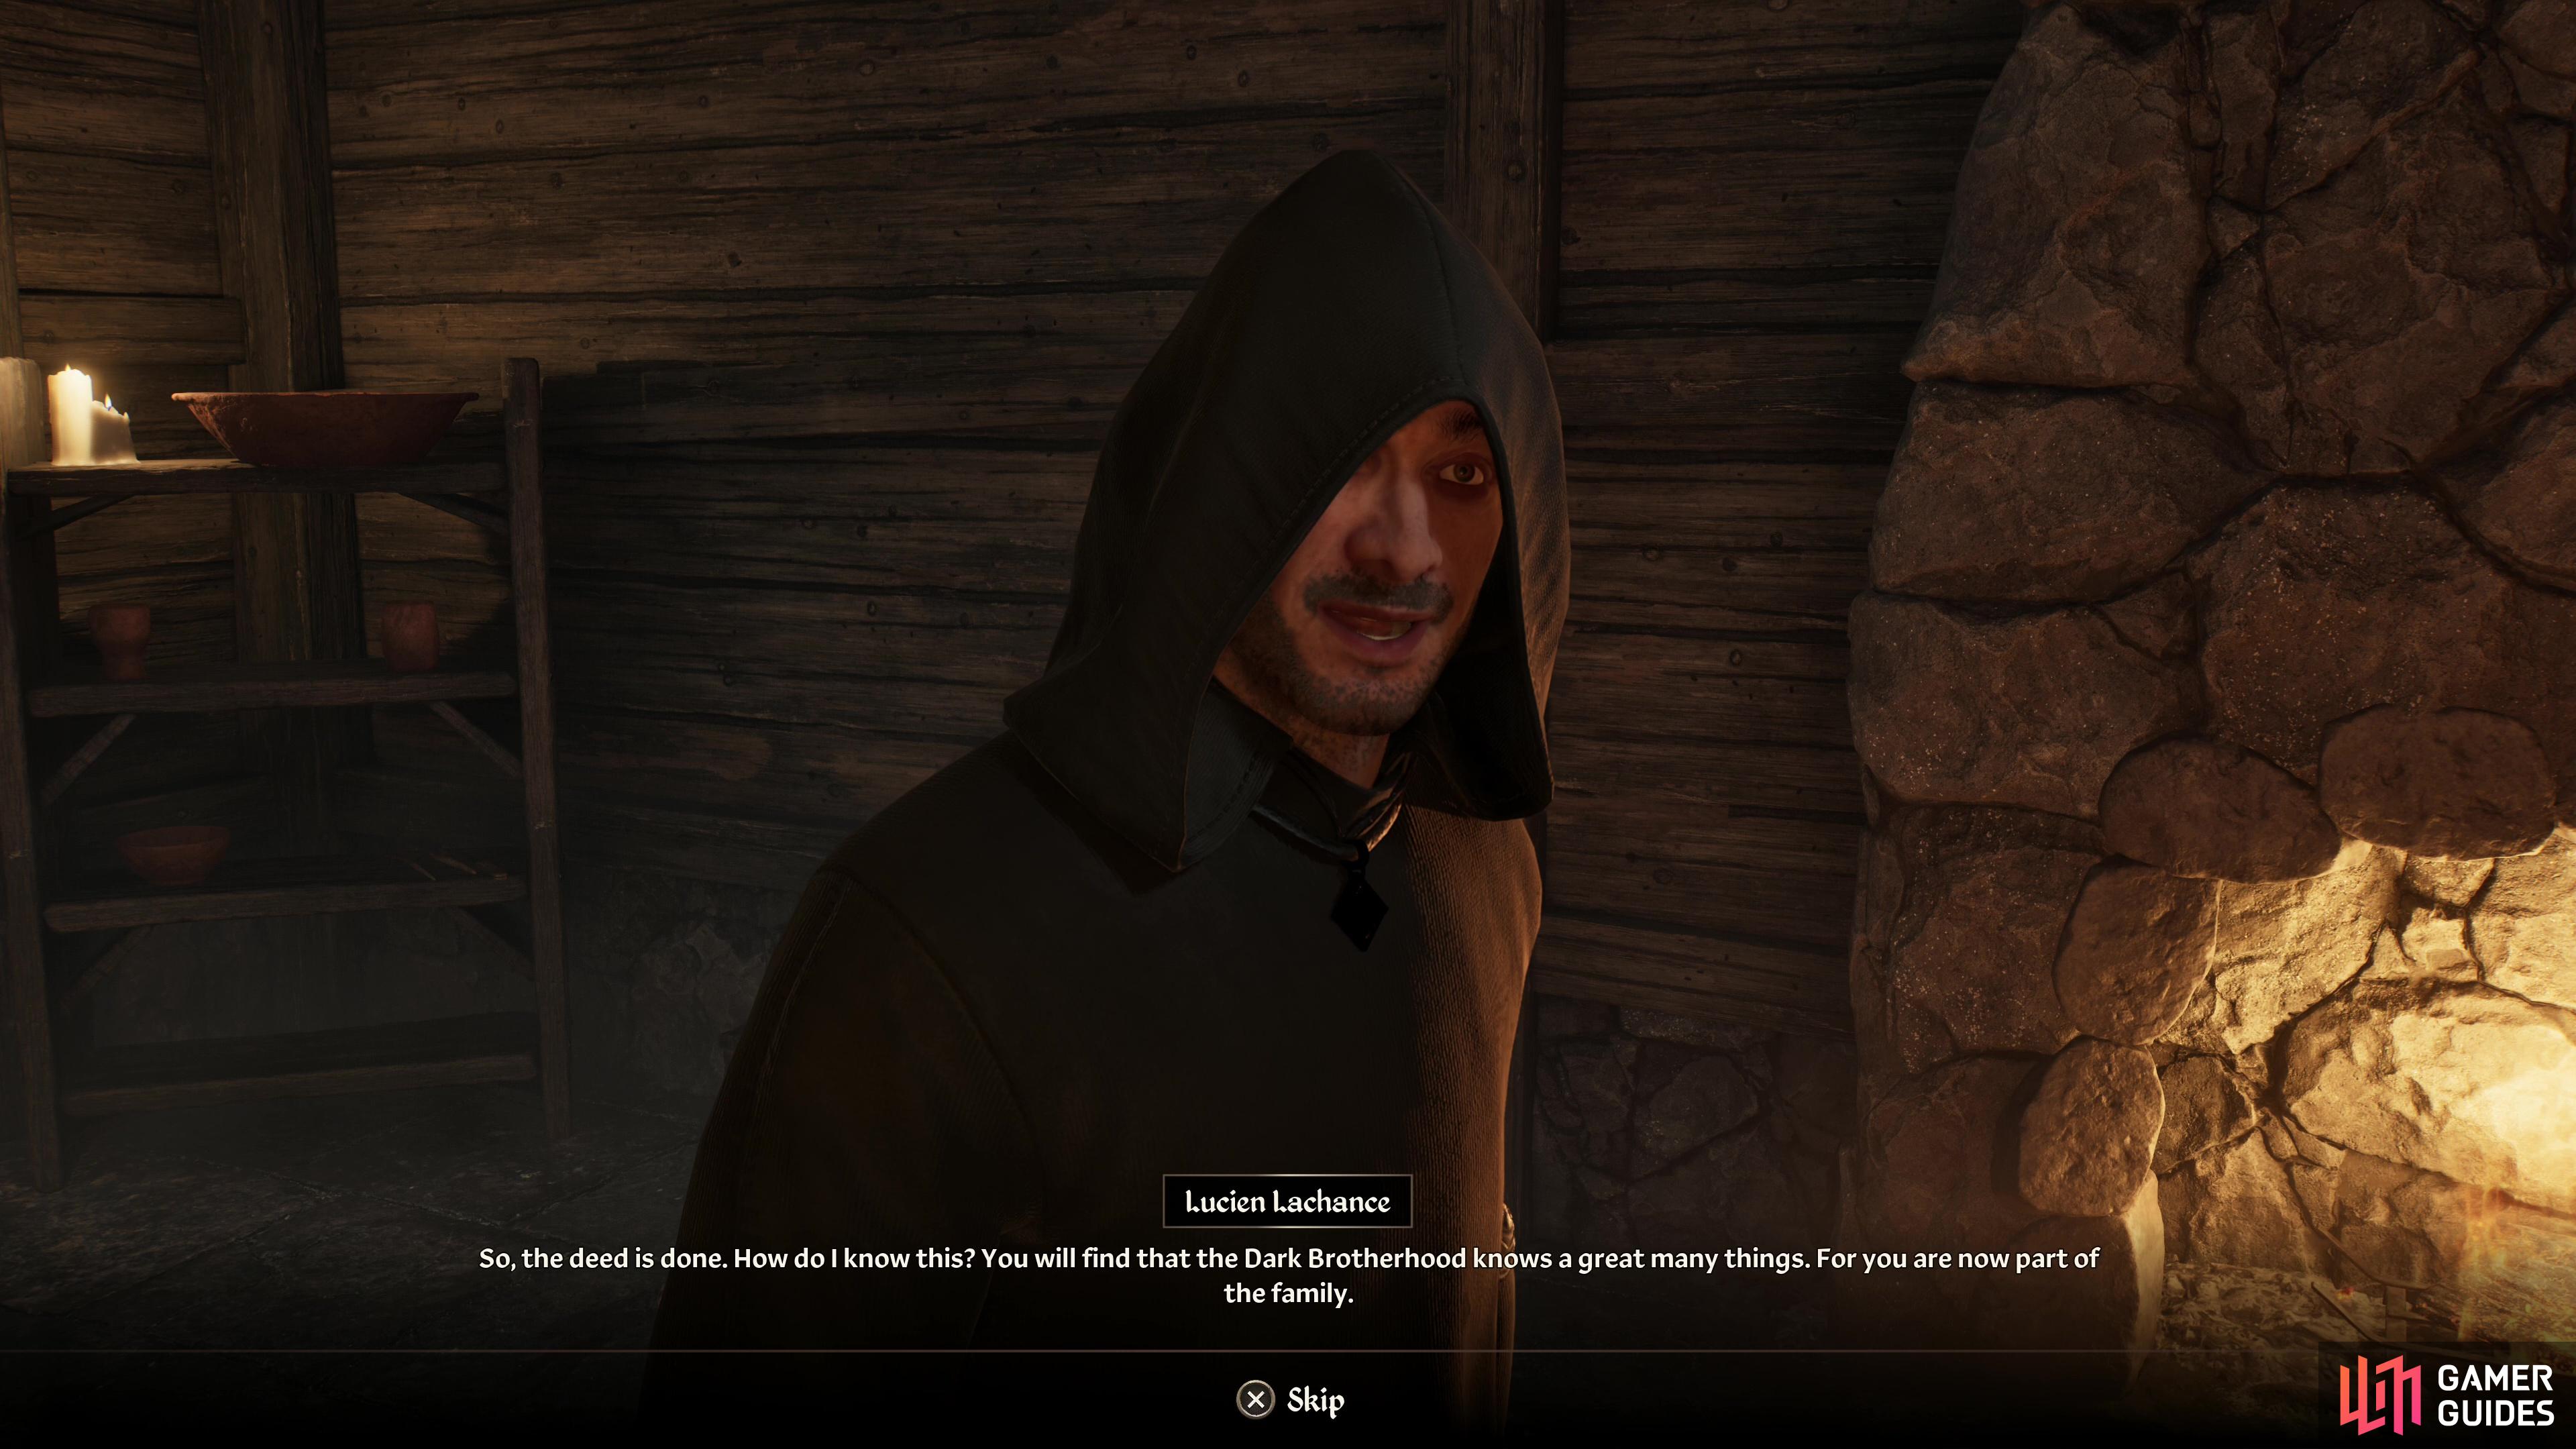
then sleep in a safe location to get another visit from Lucien Lachance, inviting you into the Dark Brotherhood.
A Knife in the Dark
After your wake-up meeting with Lucien Lachance, travel to the Inn of Ill Omen on The Green Road leading from Lake Rumare to Bravil. Head downstairs, catch Rufio while he’s sleeping, and kill him. Go sleep at a “safe” location again and Lucien Lachance will appear again and induct you into the Dark Brotherhood. You will earn the trophy/achievement Murderer, Dark Brotherhood at this point.
That said, this quest isn’t quite over yet. Head to Cheydinhal - East Gate and head east from the Great Chapel of Arkay to find an Abandoned Home. This is the entrance to the Dark Brotherhood Sanctuary. At the ornate door downstairs, give the answer ”Sanguine, my Brother” to gain entry and talk to Ocheeva to complete this quest.
A Watery Grave
After completing A Knife in the Dark, talk to Vincente Valtieri and accept this contract, which tasks you with boarding the Marie Elena moored off the western edge of the Imperial City Waterfront. If you try to board the ship directly, you’ll be attacked by First Mate Malvlis and the nearby pirates - not that it matters much. If you want to be sneakier, approach the crates nearby and you can climb into one, if you want to be smuggled aboard, or if your Acrobatics are high enough, jump onto the balcony on the stern to find a door leading to the Captain’s Cabin (very hard). However you go about it, enter the Captain’s Cabin and kill Gaston Tussaud, then return to Vicente Valtieri to complete the quest. You will obtain the Black Band as a reward..
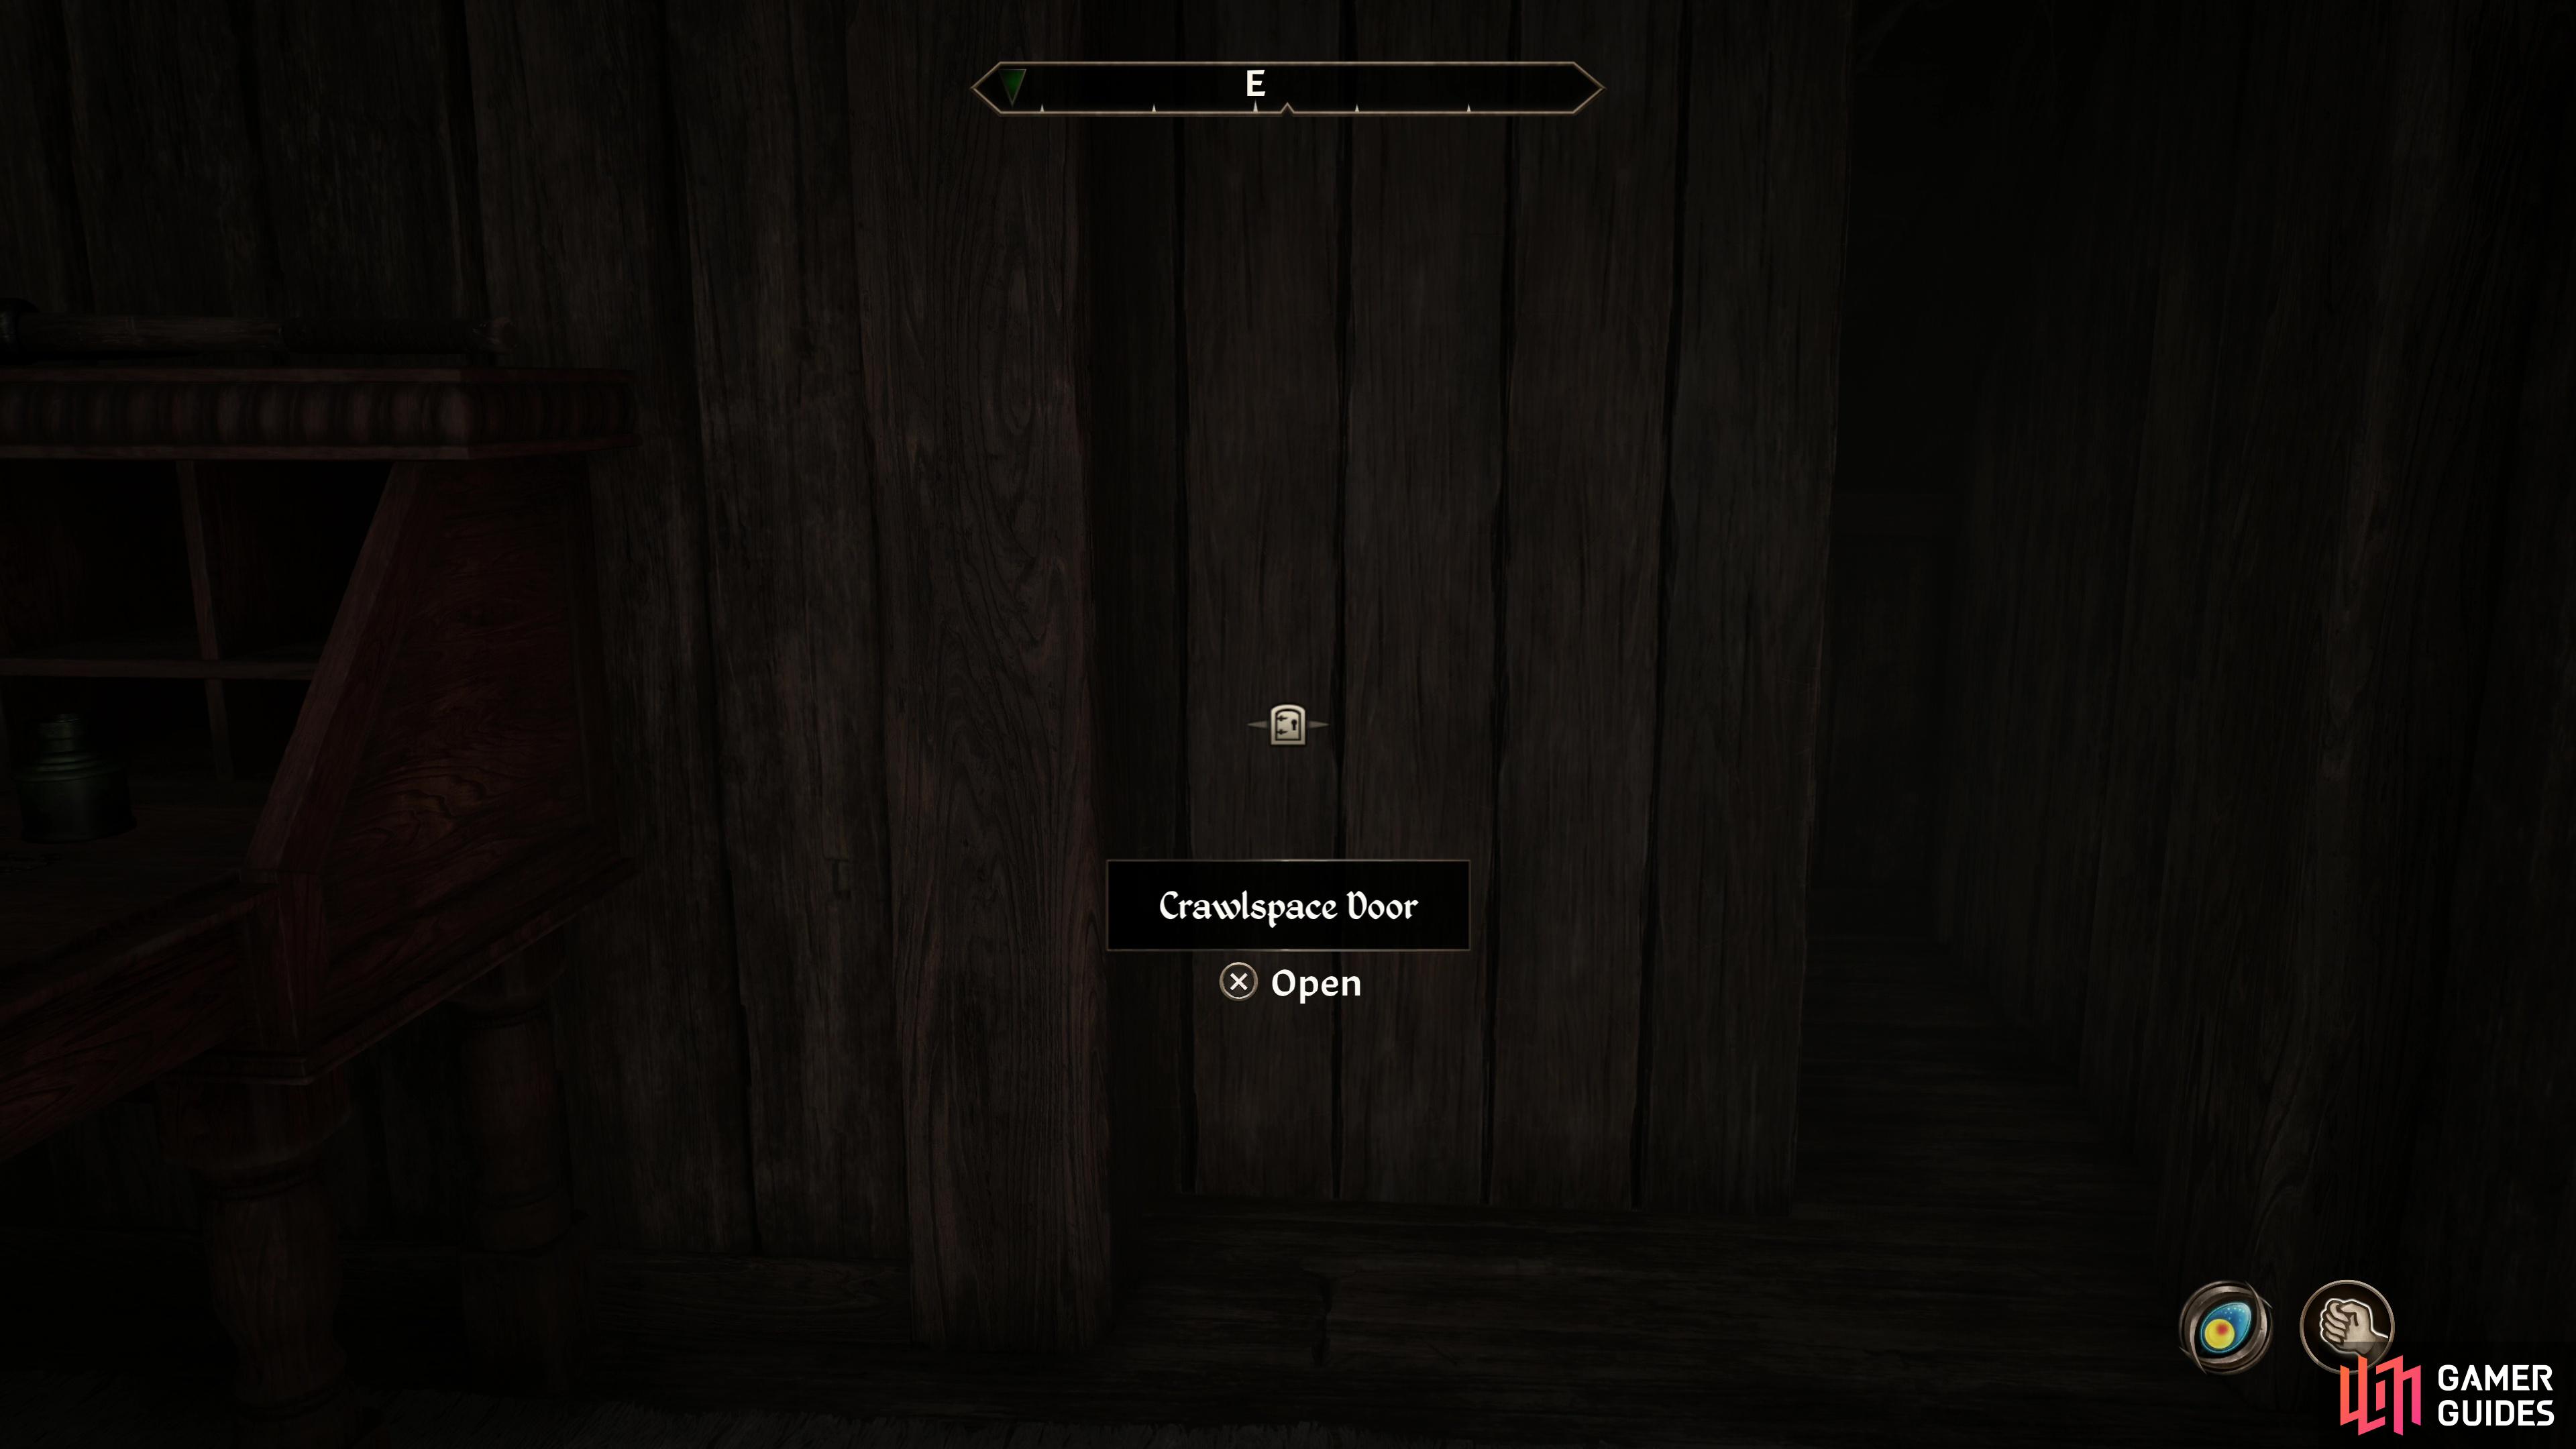
Sneak upstairs and enter the crawlspace.
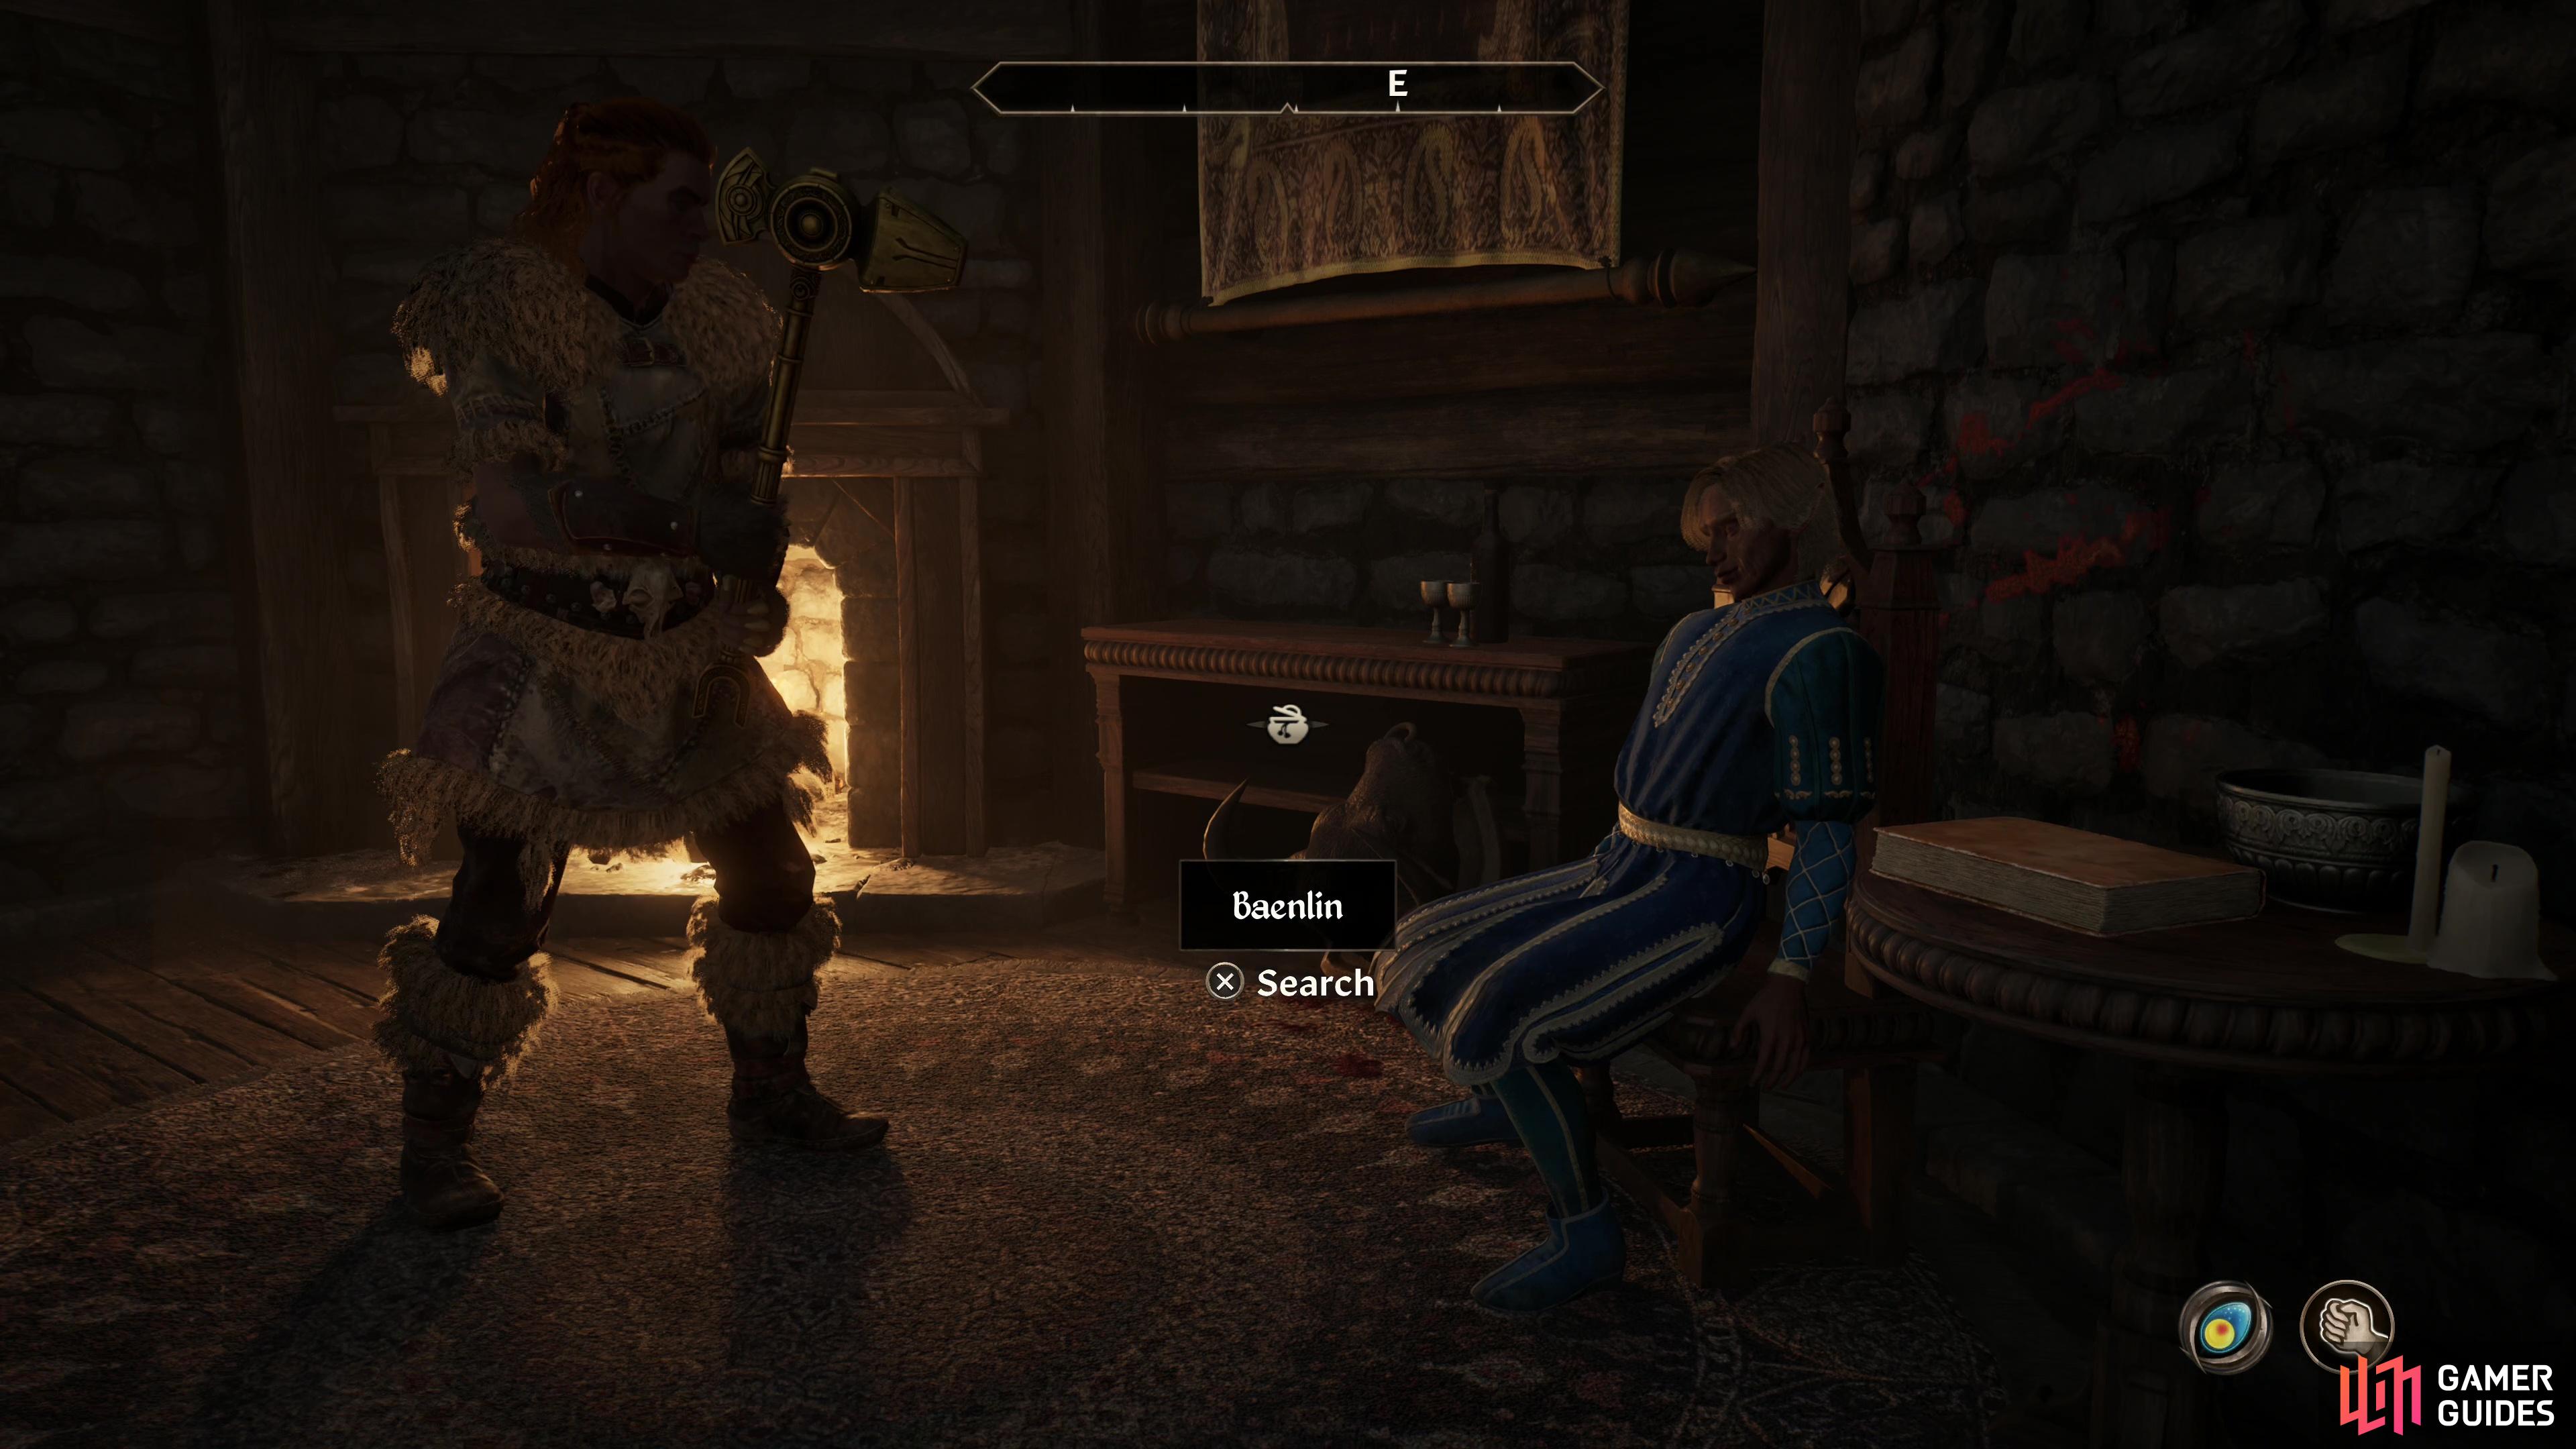
Drop the trophy head between 8:00 PM and 11:00 PM to make Baenlin’s death look like an accident.
Accidents Happen
You can start this quest by talking to Vicente Valtieri after completing A Watery Grave, whereupon you’ll get your first contract with a bonus reward. To complete the quest you need to kill Baelin, a wood elf dwelling in Bruma, to earn the bonus reward, you need to stage the murder as an accident and avoid being detected by or killing Baenlin’s manservant, Gromm. The easiest way to do this is via 100% Chameleon or Invisibility, but patience and stealth will work fine. Sneak upstairs and search the southeastern corner of the southeastern room to find a Crawlspace Door, at the end of which are some Mounted Head Fastenings. Drop the mounted head between 8:00 PM and 11:00 PM and Baenlin will be slain, and all you need to do now is sneak out without being detected by Gromm, who will rather be preoccupied with the death of his employer.
Return to Vicente Valtieri and you will receive up to 600 gold (depending on your level) for killing Baenlin, and if you staged his demise as an accident and weren’t caught by Gromm you’ll also obtain the dagger Sufferthorn. You will unlock the Slayer, Dark Brotherhood trophy/achievement at this point.
Avoid the guards in the Imperial Prison - they don’t see you they can’t attack you and if they can’t attack you, you don’t have to worry about killing them.

Once past the guards, get some long-delayed revenge on Valent Dreth, who is just as miserable as ever.
Scheduled for Execution
Perhaps the most gratifying quests in the Dark Brotherhood questline, talk to Vicente Valtieri after Accidents Happen and you’ll be tasked with assassinating a mouthy dunmer prisoner in the Imperial Prison. Refrain from killing any guards and you’ll also get a bonus reward. This quest can be quite tricky without 100% Chameleon or Invisibility, so you may want to train up your Illusion a bit before starting it.
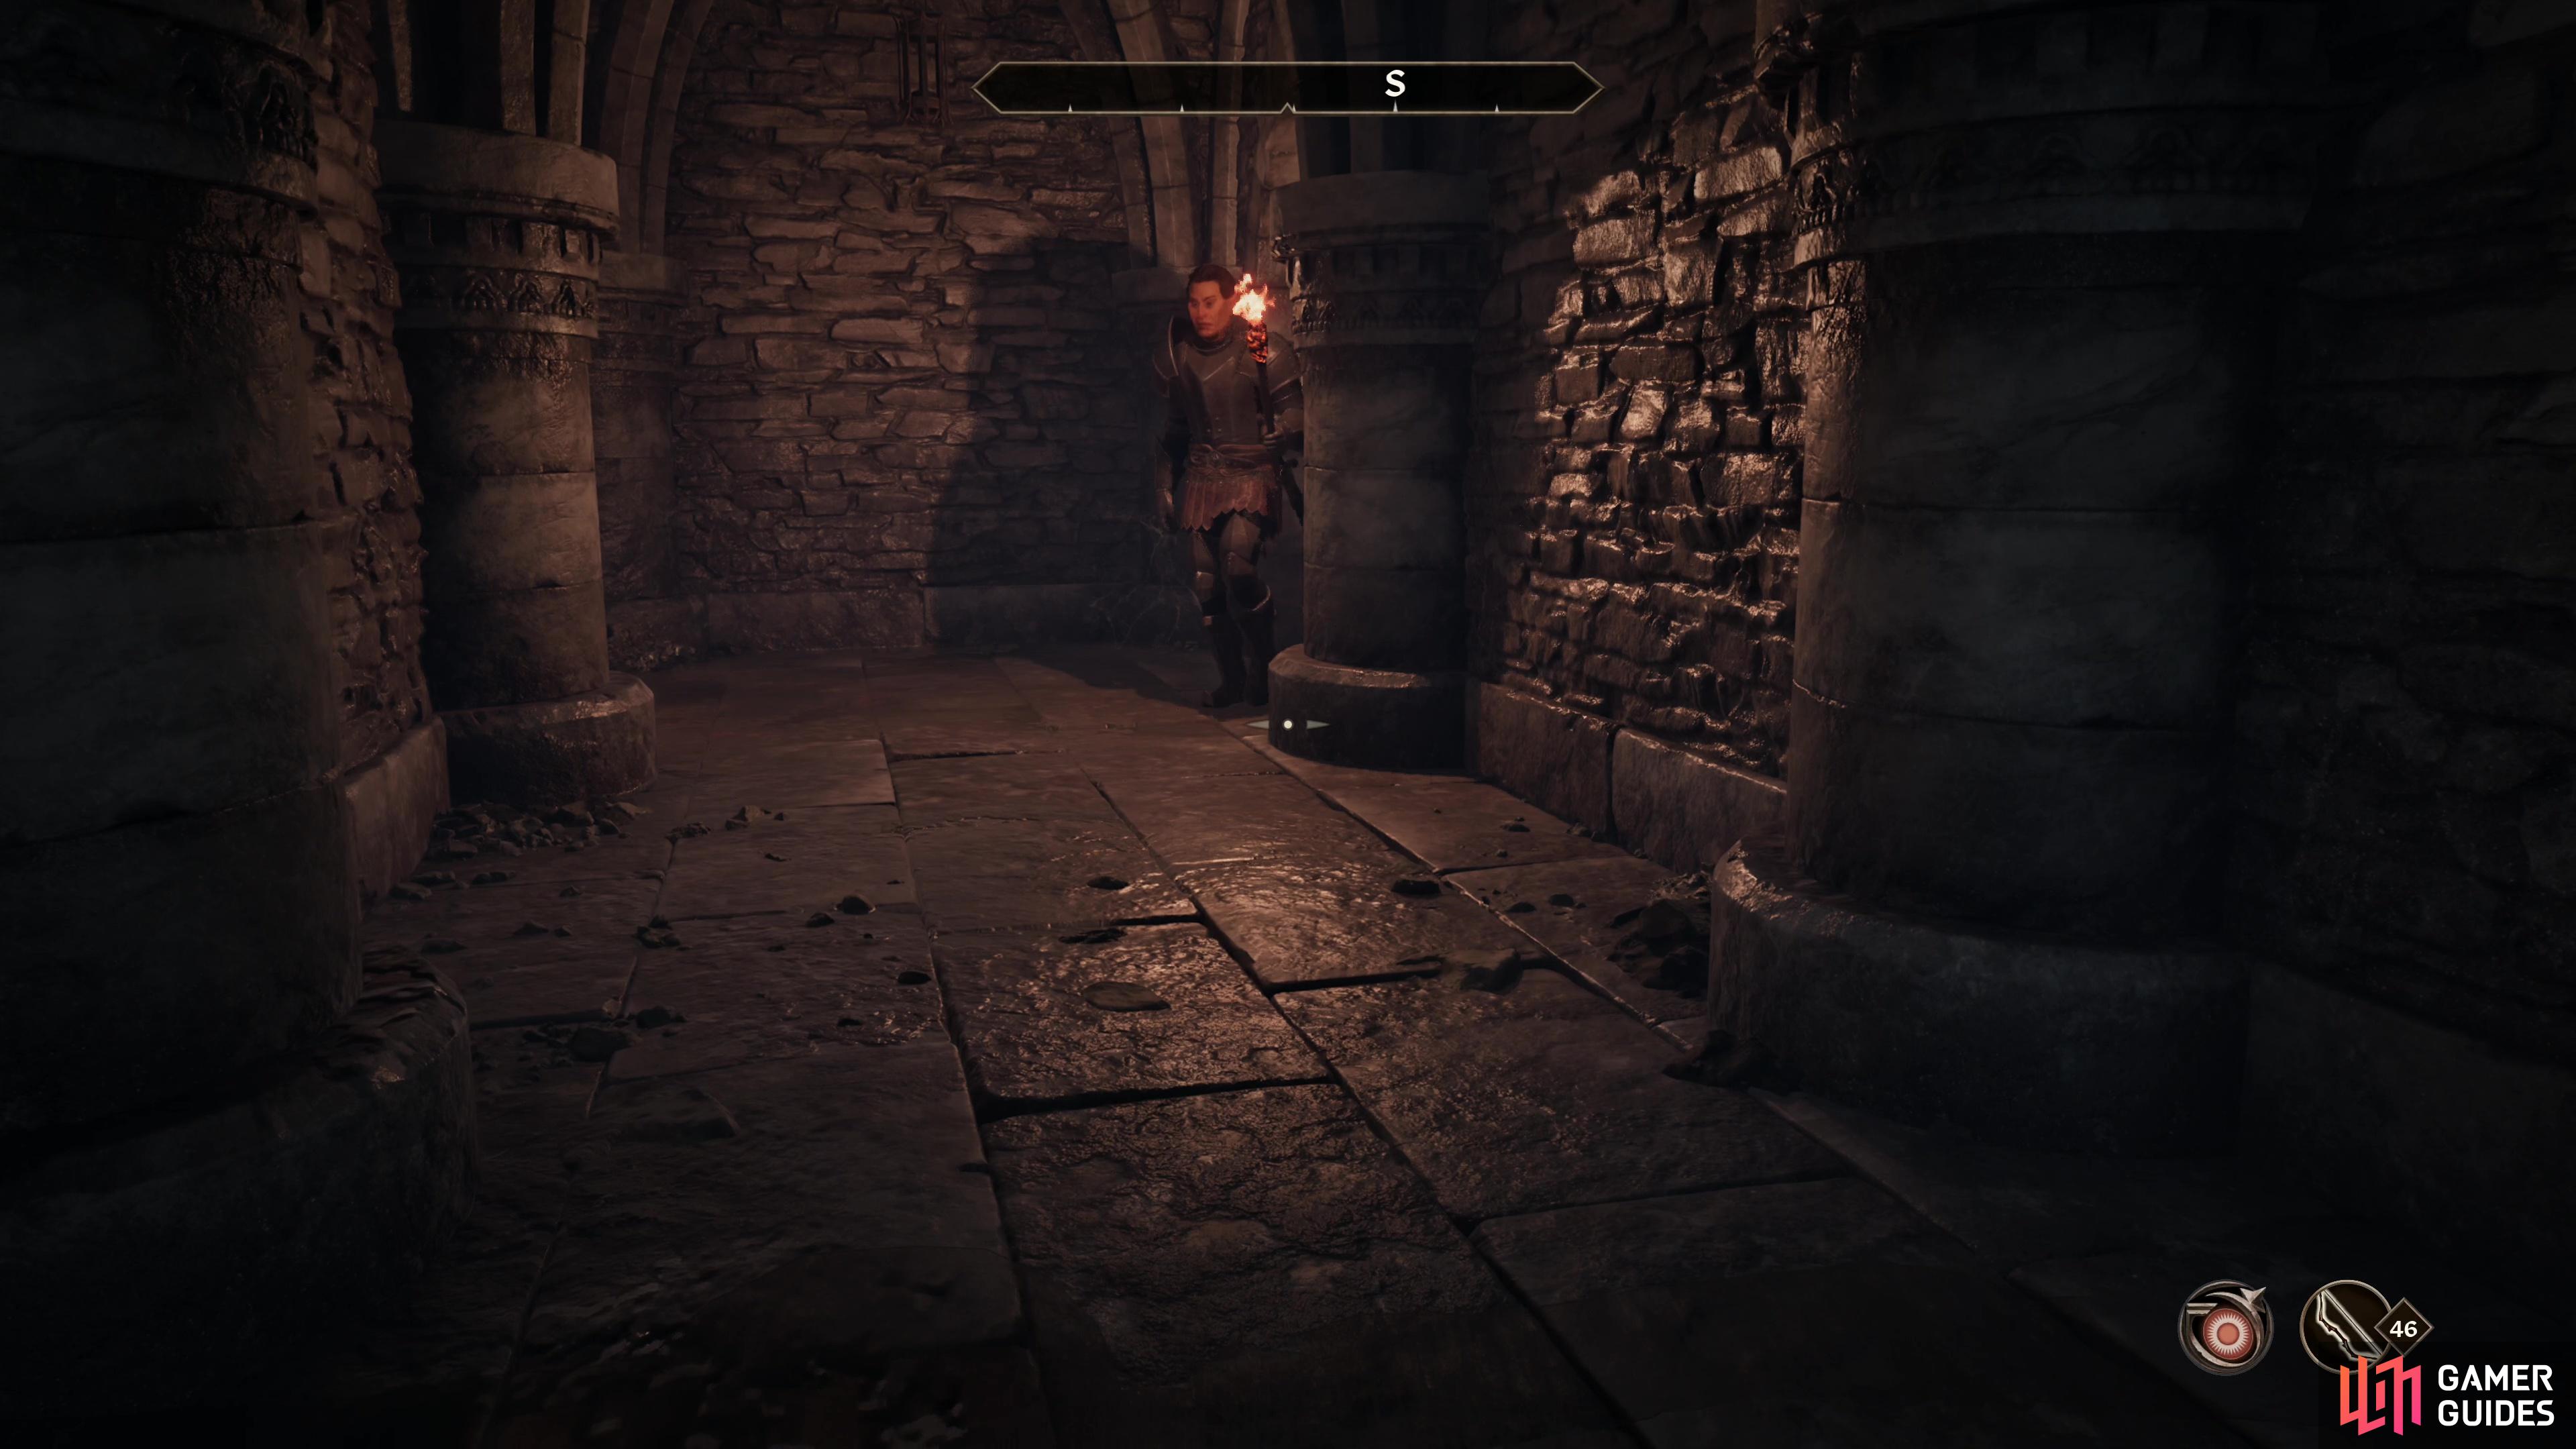
Enter the Imperial Prison Sewer and work your way back to the Imperial City Prison - you’ll largely be treading new ground here, and you’ll encounter Mud Crab and Rats (which you can freely kill) before exiting the sewers and reaching the area patrolled by guards (which you need to avoid if you want to claim the bonus reward). Avoiding conflict is your best bet, and casting Invisibility every time you zone in or the duration is about to end should suffice for this.
Return to the Imperial City Prison, wait for Valen Dreth to finish exchanging barbs with his captor, then kill him and escape to complete the quest. For killing Valen Dreth you will gain up to 600 gold and if you avoided killing any guards, you’ll also obtain the Scales of Pitiless Judgement.
The Renegade Shadowscale
An optional quest in the Dark Brotherhood quesltine, this doesn’t affect your ability to complete the Dark Brotherhood questline nor does it offer any significant rewards or long-term outcomes. Skip it if you don’t care to. If you want to complete it, it’s simple enough - talk to Teinaava and he’ll ask you to kill a rogue Shadowscale and bring back his heart. This treacherous argonian is now hiding out in Bogwater, a camp southeast of Leyawiin.
You have a few options for completing this quest, and none of them really matter much: either kill Scar-Tail, who was weakened by a previous encounter and should be little threat, or find his would-be assassin’s corpse and take that argonian’s heart, instead. If you spare Scar-Tail, he’ll tell you the location his hidden treasure, or you can just find it on your own - it’s in the Hollowed-Out Rock near the campfire and contains 200 gold. Return to Teinaava with an Argonian Heart to obtain the Boots of Bloody Bounding and complete the quest.
Stab Motierre with the Langourwine Blade to fake his death,
then give him the antidote a day later and escort him to safety.
The Assassinated Man
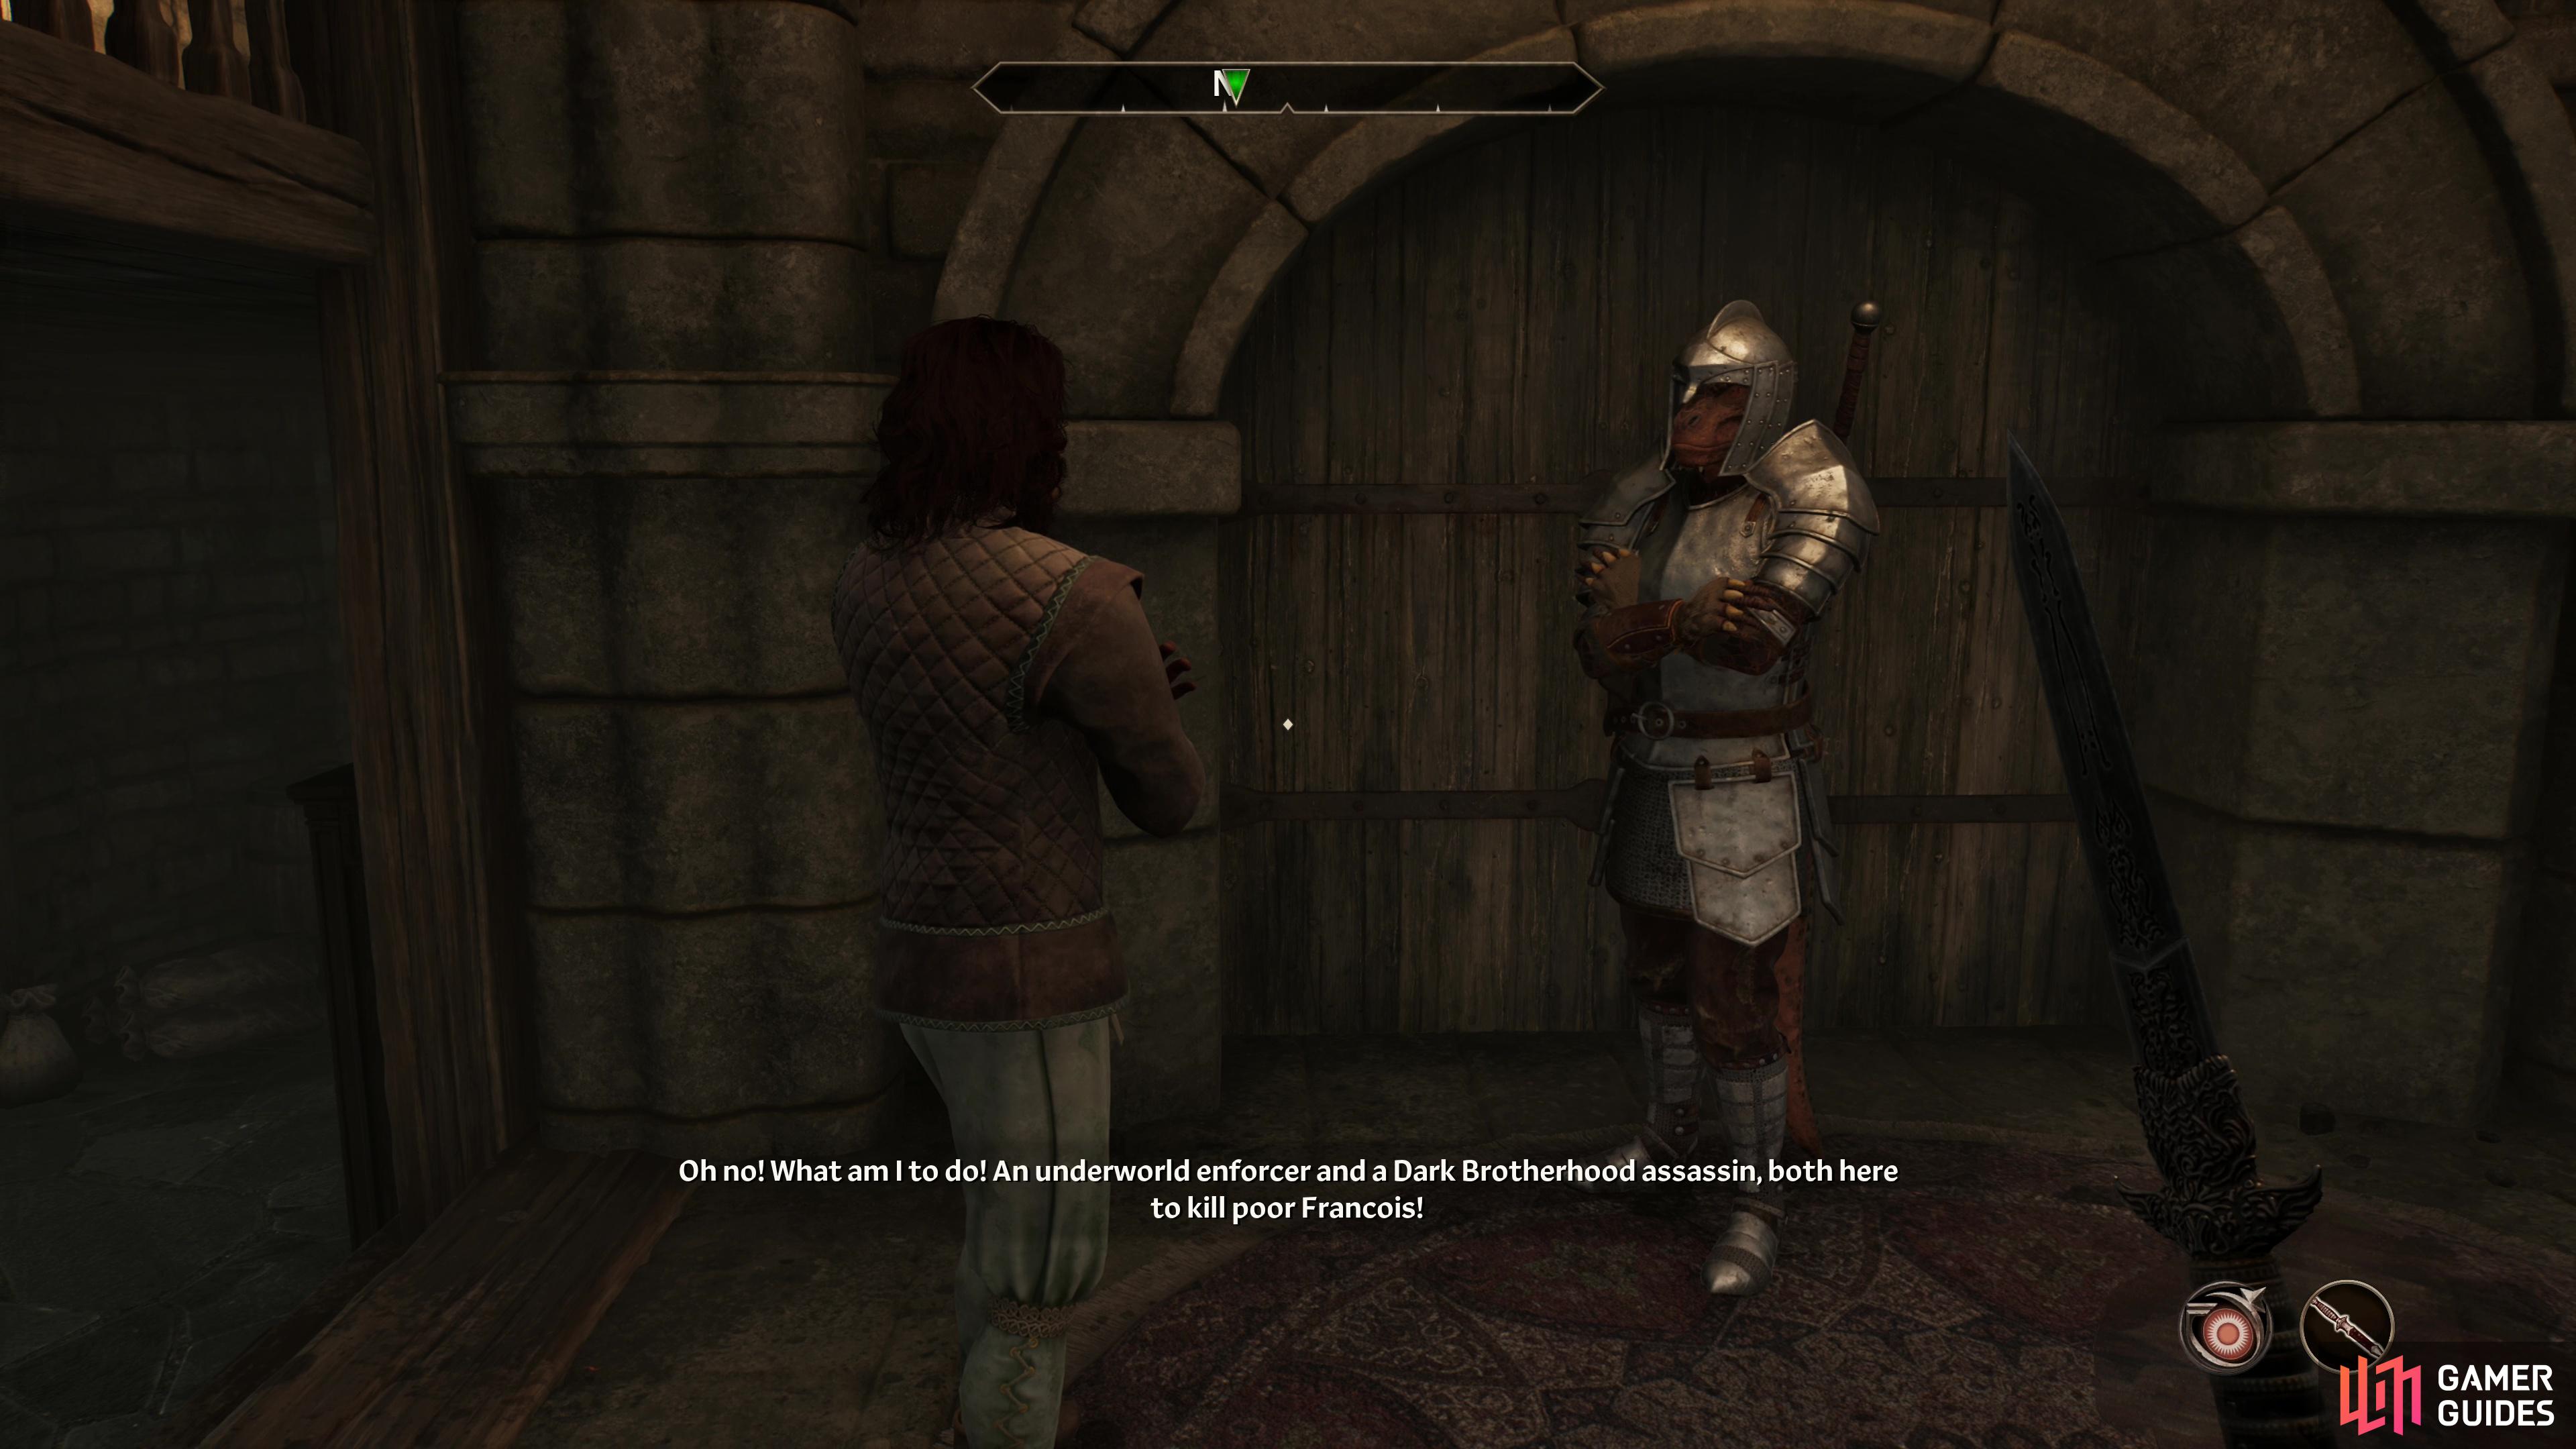
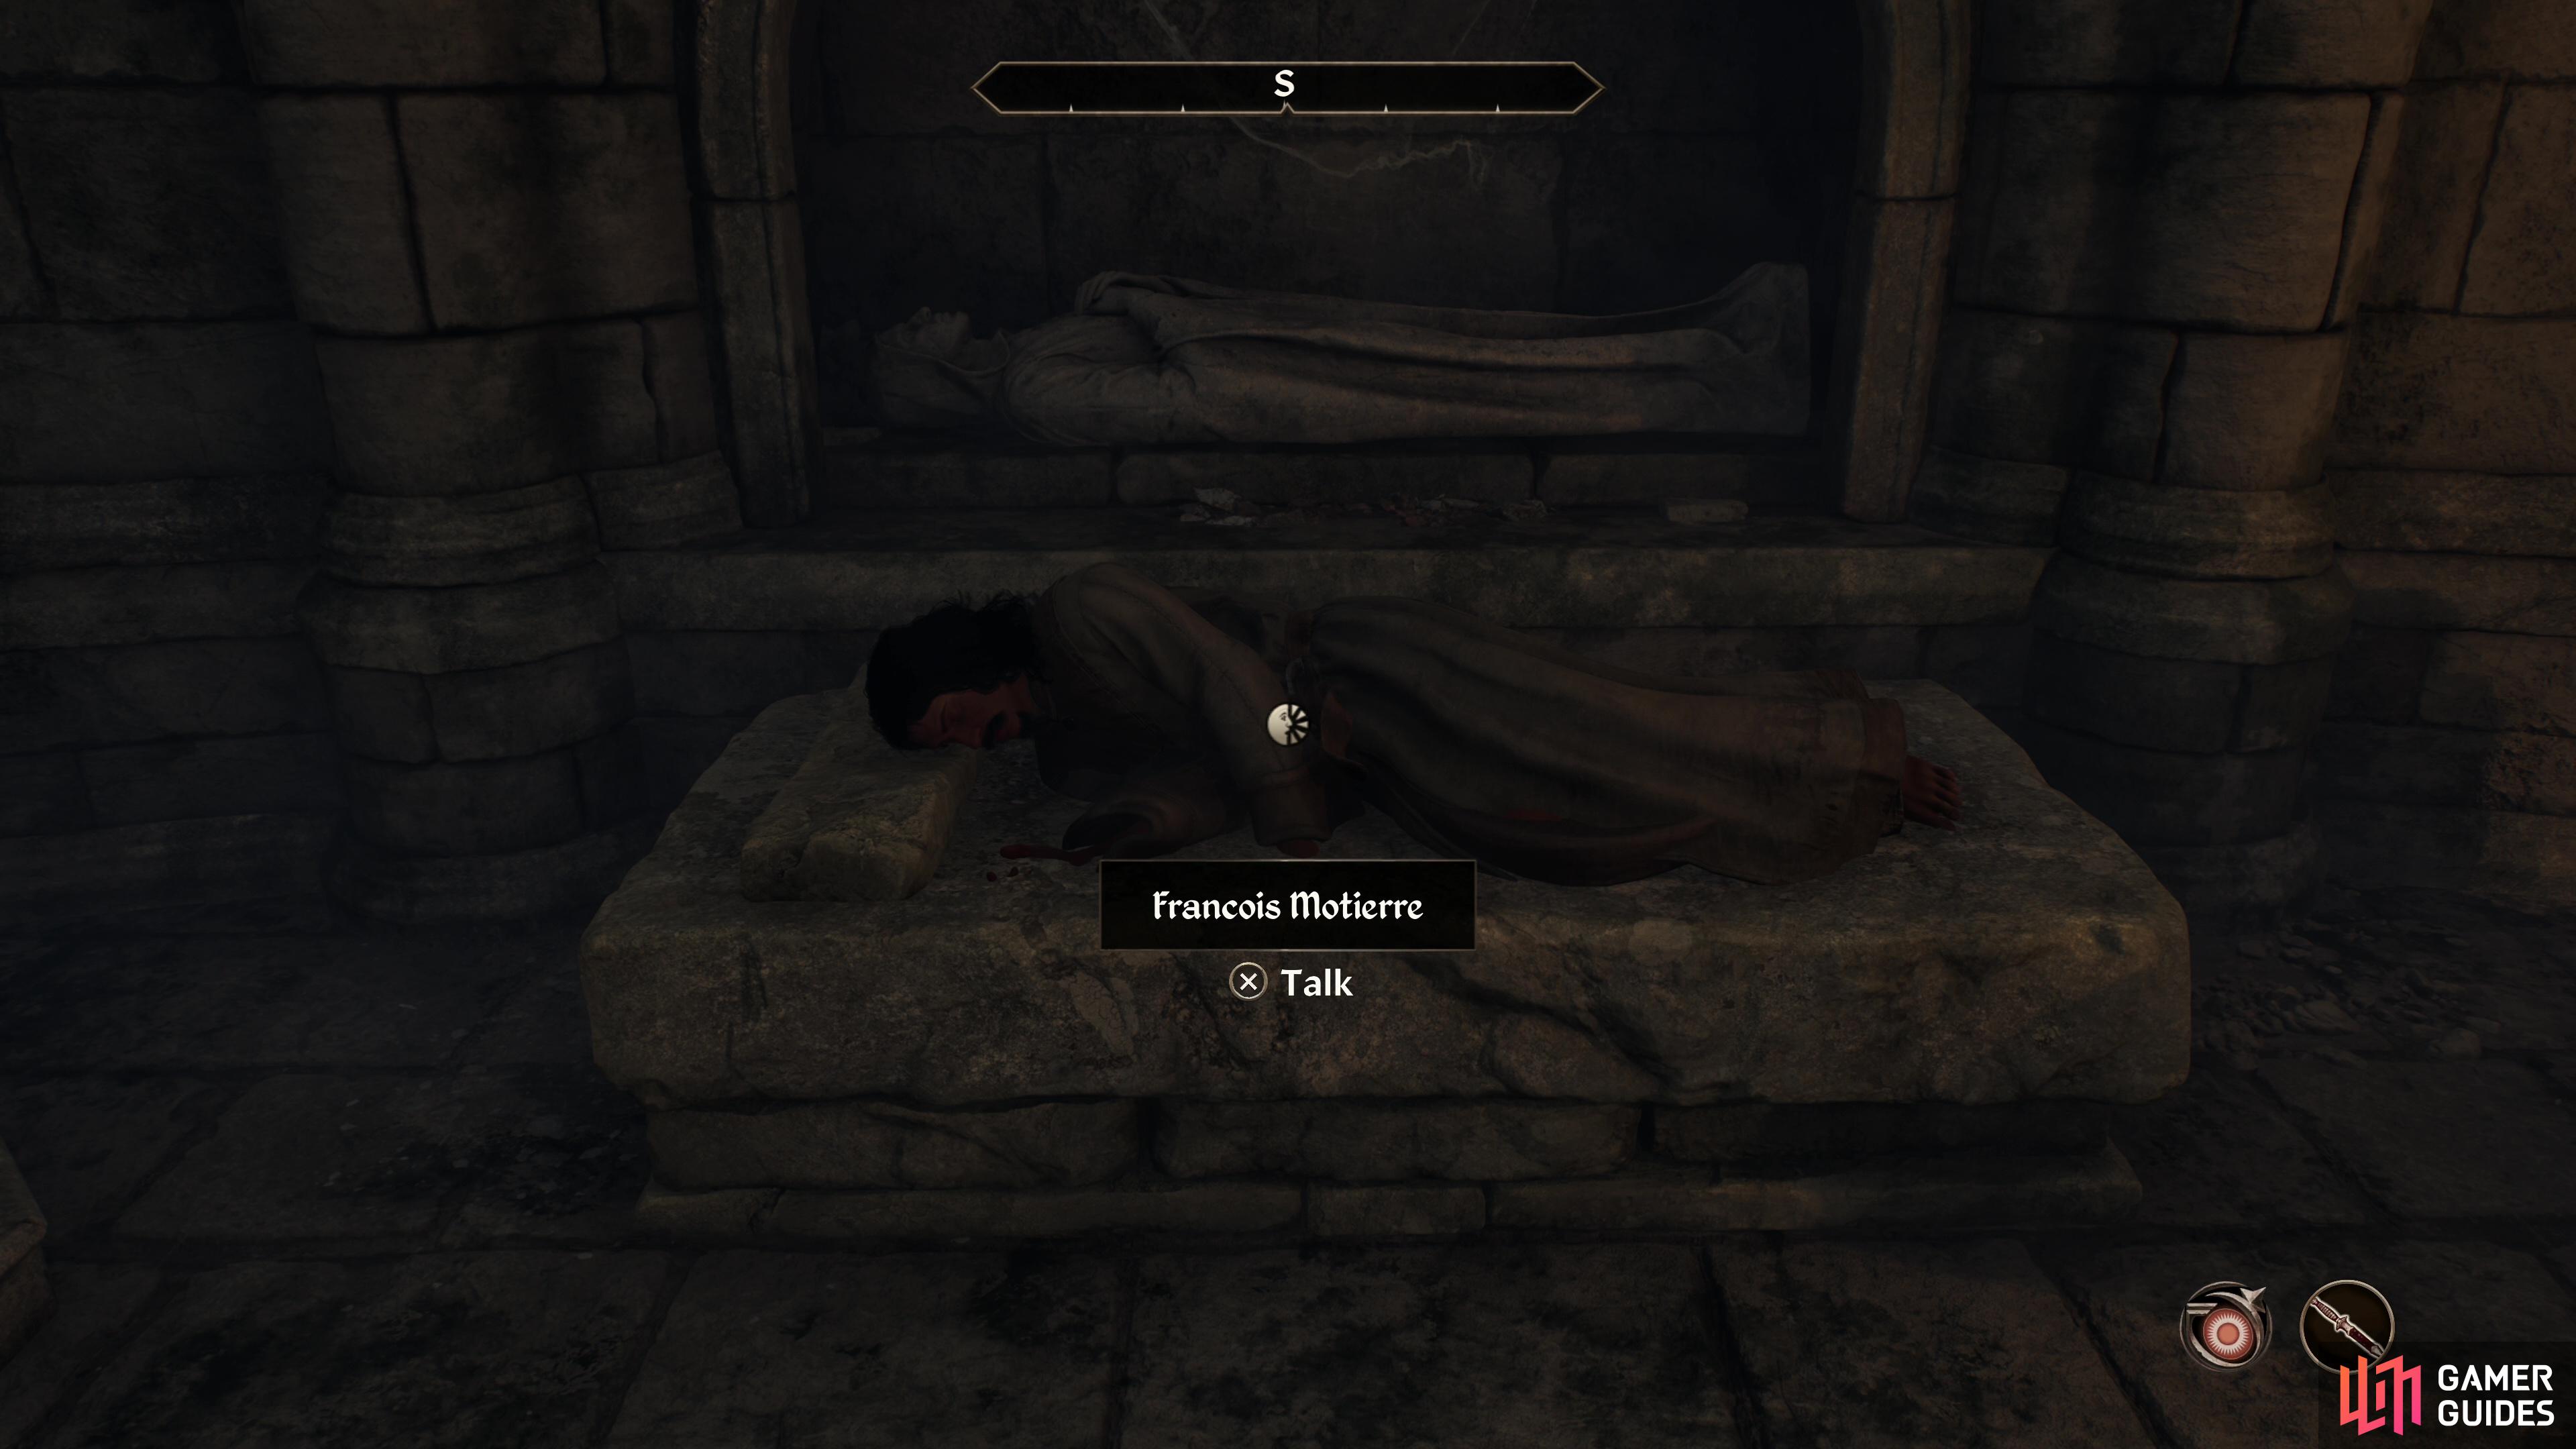
An odd Dark Brotherhood quest in that you’re expected to save a life, not take one. Talk to Vicente Valtieri after Scheduled for Execution and he’ll give you the details for this job, along with the tools you need to see it through. You must stab a man named Francois Motierre while he’s being confronted by another assassin with the Langourwine Blade, then a day later revive him with the Langourwine Antidote. You must also refrain from killing the other assassin so he can report Motierre’s murder to his own masters, throwing them off the trail.
Travel to Chorrol, enter Francois Motierre’s House, then talk to Motierre to learn more details, which are basically just an elaboration on what we’ve already covered. Wait around until the other assassin, Hides-His-Heart, shows up, then stab Motierre (the Langourwine Dagger is weak, so it shouldn’t kill him) then flee the scene without attacking Hides-His-Heart. Leave Chorrol and once you’ve lost Hides-His-Heart, wait for a day, then return to Chorrol.
Enter the Chapel of Stendarr, take the door to the Chapel Undercroft and turn east to find Francois Motierre lying in state. Give him the antidote, defeat any undead angered by his scheme, and escort Motierre out of the Chapel of Stendarr and over to The Grey Mare, which is located east of the Chorrol South Gate. Talk to Motierre one last time ,then return to the Dark Brotherhood Sanctuary and report to Vicente Valtieri, who will give you Cruelty’s Heart, the Sanctuary Well Key and promote you, unlocking the Eliminator, Dark Brotherhood trophy/achievement.

The Lonely Wanderer
From now on you’ll accept contracts from Ocheeva, and the first of these is for The Lonely Wanderer quest. You have to track down a high elf named Faelian, who dwells somewhere within the Imperial City. The only lead you have is that the elves of that city are a close-knit bunch and one may know of this Faelian. Kill Faelian somewhere indoors with no witnesses and you’ll earn a bonus reward.
To complete this quest, we travelled to the Imperial City Market District and talked to an elf named Mandil, who should be walking around during the day. Any elf may give you the same information Mandil does and refer you to the Tiber Septim Hotel in the Talos Plaza District. Inside the Tiber Septim Hotel you’ll find Atraena, who will tell you that Faelian now visits Lorkmir’s House in the Elven Gardens District. Wait until about 11:00 AM and Faelian will appear - you can easily and discreetly kill him when he arrives.
Killing Faelian in this manner will earn you the standard gold reward (up to 600 gold) and the bow Shadowhunt as your bonus reward.
Bad Medicine
Talk to Ocheeva after completing The Lonely Wanderer to start the next contract, another stealth-heavy contract with a bonus reward. You will have to infiltrate Fort Sutch and kill a warlord named Roderick without being detected, by switching the medicine which sustains him with a poison, which Ocheeva provides. The important thing is that Roderick dies, but if you remain undetected and swap out the medicine with the poison, you’ll obtain a bonus reward.
Again, this can be made trivial with 100% Chameleon or even Invisibility. Enter Fort Sutch, cast Invisibility, and seek out the Medicine Cabinet, where you can replace Roderick’s Medicine and leave behind Roderick’s Poison. There are a few Marauders in your way, but since your objective is on the same floor you enter on, this shouldn’t be hard - just move quickly and keep Invisibility up and you won’t have to engage in any combat. Return to Ocheeva afterwards to obtain the standard gold reward (up to 600 gold) and The Deceiver’s Finery as a bonus reward.
Whodunit?
An unusual contract in that you have five targets instead of one, and success here can rely on your Personality score as much as your combat stats and stealth. How deep your pockets are can also play a big role. You will need to attend a party at Summermist Manor and kill every guest secretly to obtain a bonus reward. This means you have to kill each guest out of sight of the others and kill them quickly before they can alert anybody else. Once again, 100% Chameleon makes this laughably simple, but Invisibility may not suffice - this really depends on your ability to isolate your prey and kill them quickly.
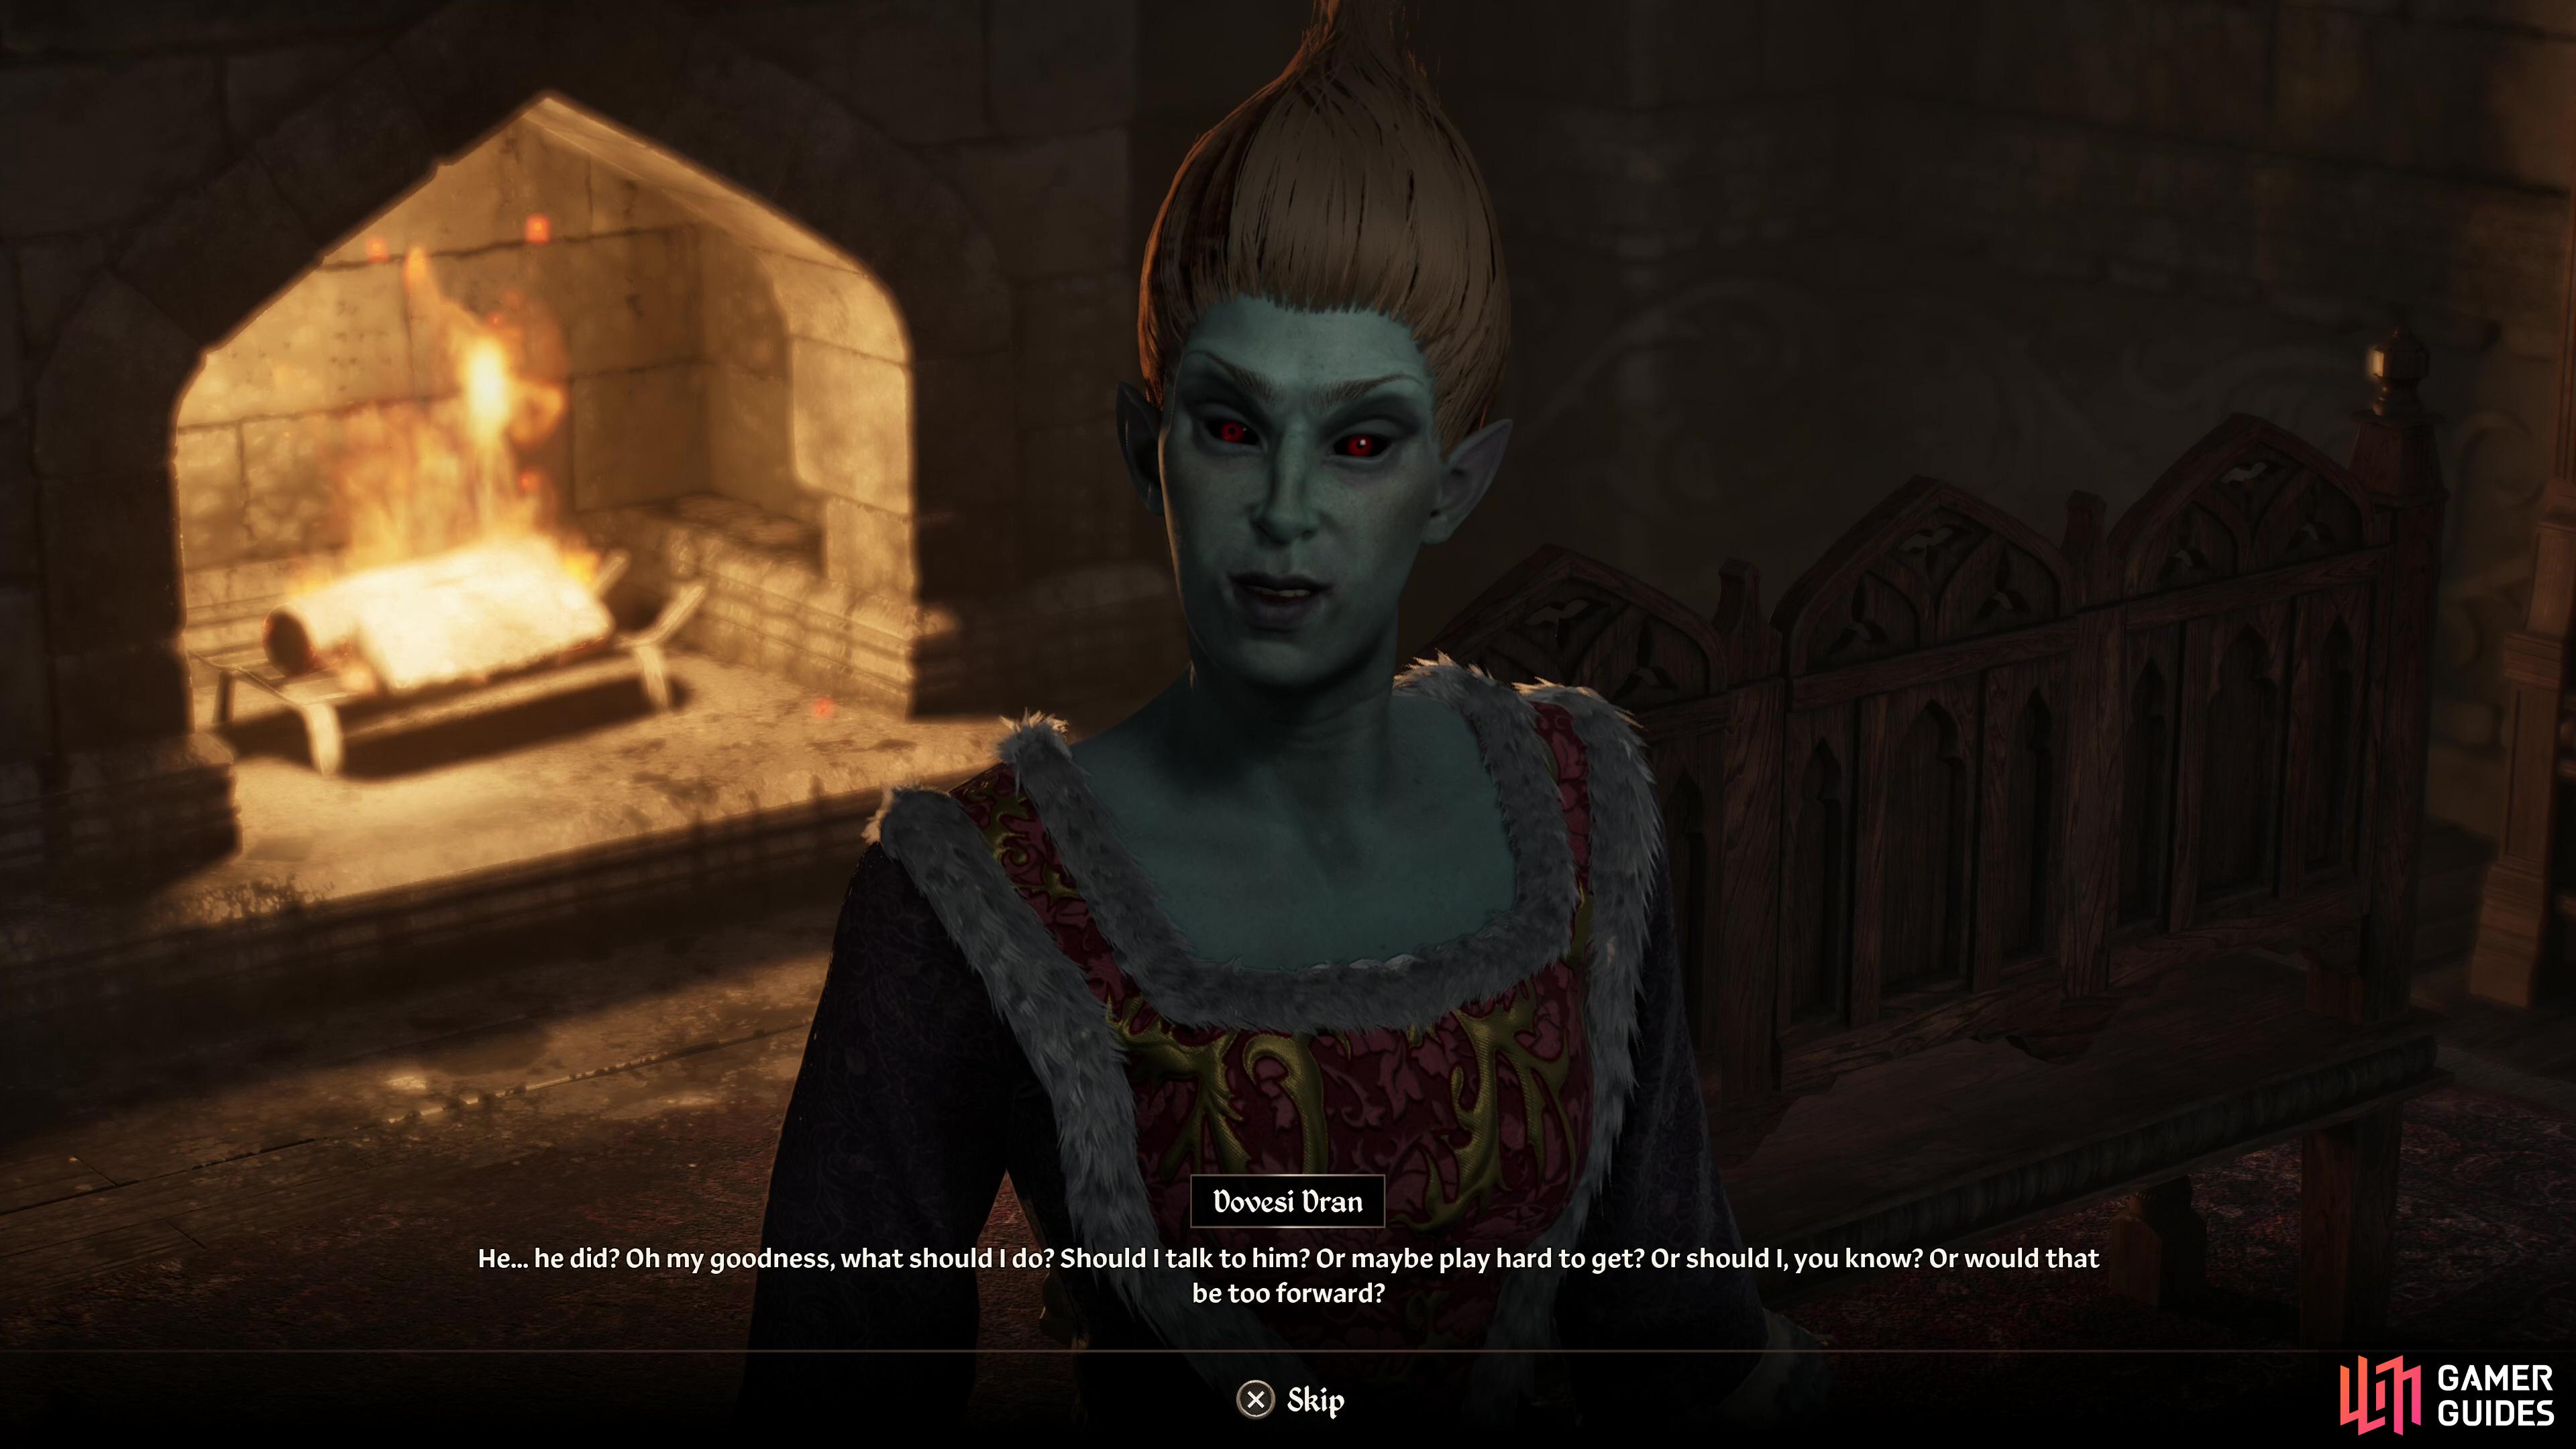
When you arrive at the manor you’ll be greeted by Matilde Petit, who will, like every other guest, talk about her fellows. The best thing you can do at this early phase of the quest is just talk to everybody and play the Persuade minigame to boost their disposition scores as high as possible. This will help you convince your targets into compromising positions and keep them from suspecting you, both of which can help you avoid detection and make some easy kills.
How you go about things after this is something of a matter of personal taste. Dovesi Dran can be convinced to go upstairs to wait for the attentions of Primo Antonius and another can probably be slain in their sleep. After the first two kills, the rest become significantly more paranoid, and you may have to play the waiting game for them to separate - ideally you’ll wait until they’re on other floors before striking, and if you’re really paranoid about them fleeing and alerting their fellows, you’ll use paralysis spells to prevent them from fleeing. When you’re down to two, their disposition will start to matter - if their disposition towards you is low they may end up pegging you as the assassin (they’re not wrong, but their accusations don’t necessarily have to have merit to come to the right conclusion!) or one survivor may turn on the other, and murder by proxy still counts in your favor! Once there’s only one left you’re pretty much done - just make the final kill and leave the manor.
Return to Ocheeva and you’ll get the standard 600 gold reward (leveled, varies) and if you weren’t pegged as the killer by allowing another party-goer to witness your murders, you’ll also gain the permanent Night Mother’s Blessing effect, which gives you the following bonuses: Fortify Acrobatics, Blade, Marksman, Security, Sneak +2, which you get to passively enjoy for the rest of the game. Note that this bonus doesn’t increase those skill by 2, it serves as a permanent +2 modifier to said skills, making their cap effectively 102. Not a bad reward for a little persuasion and discretion.
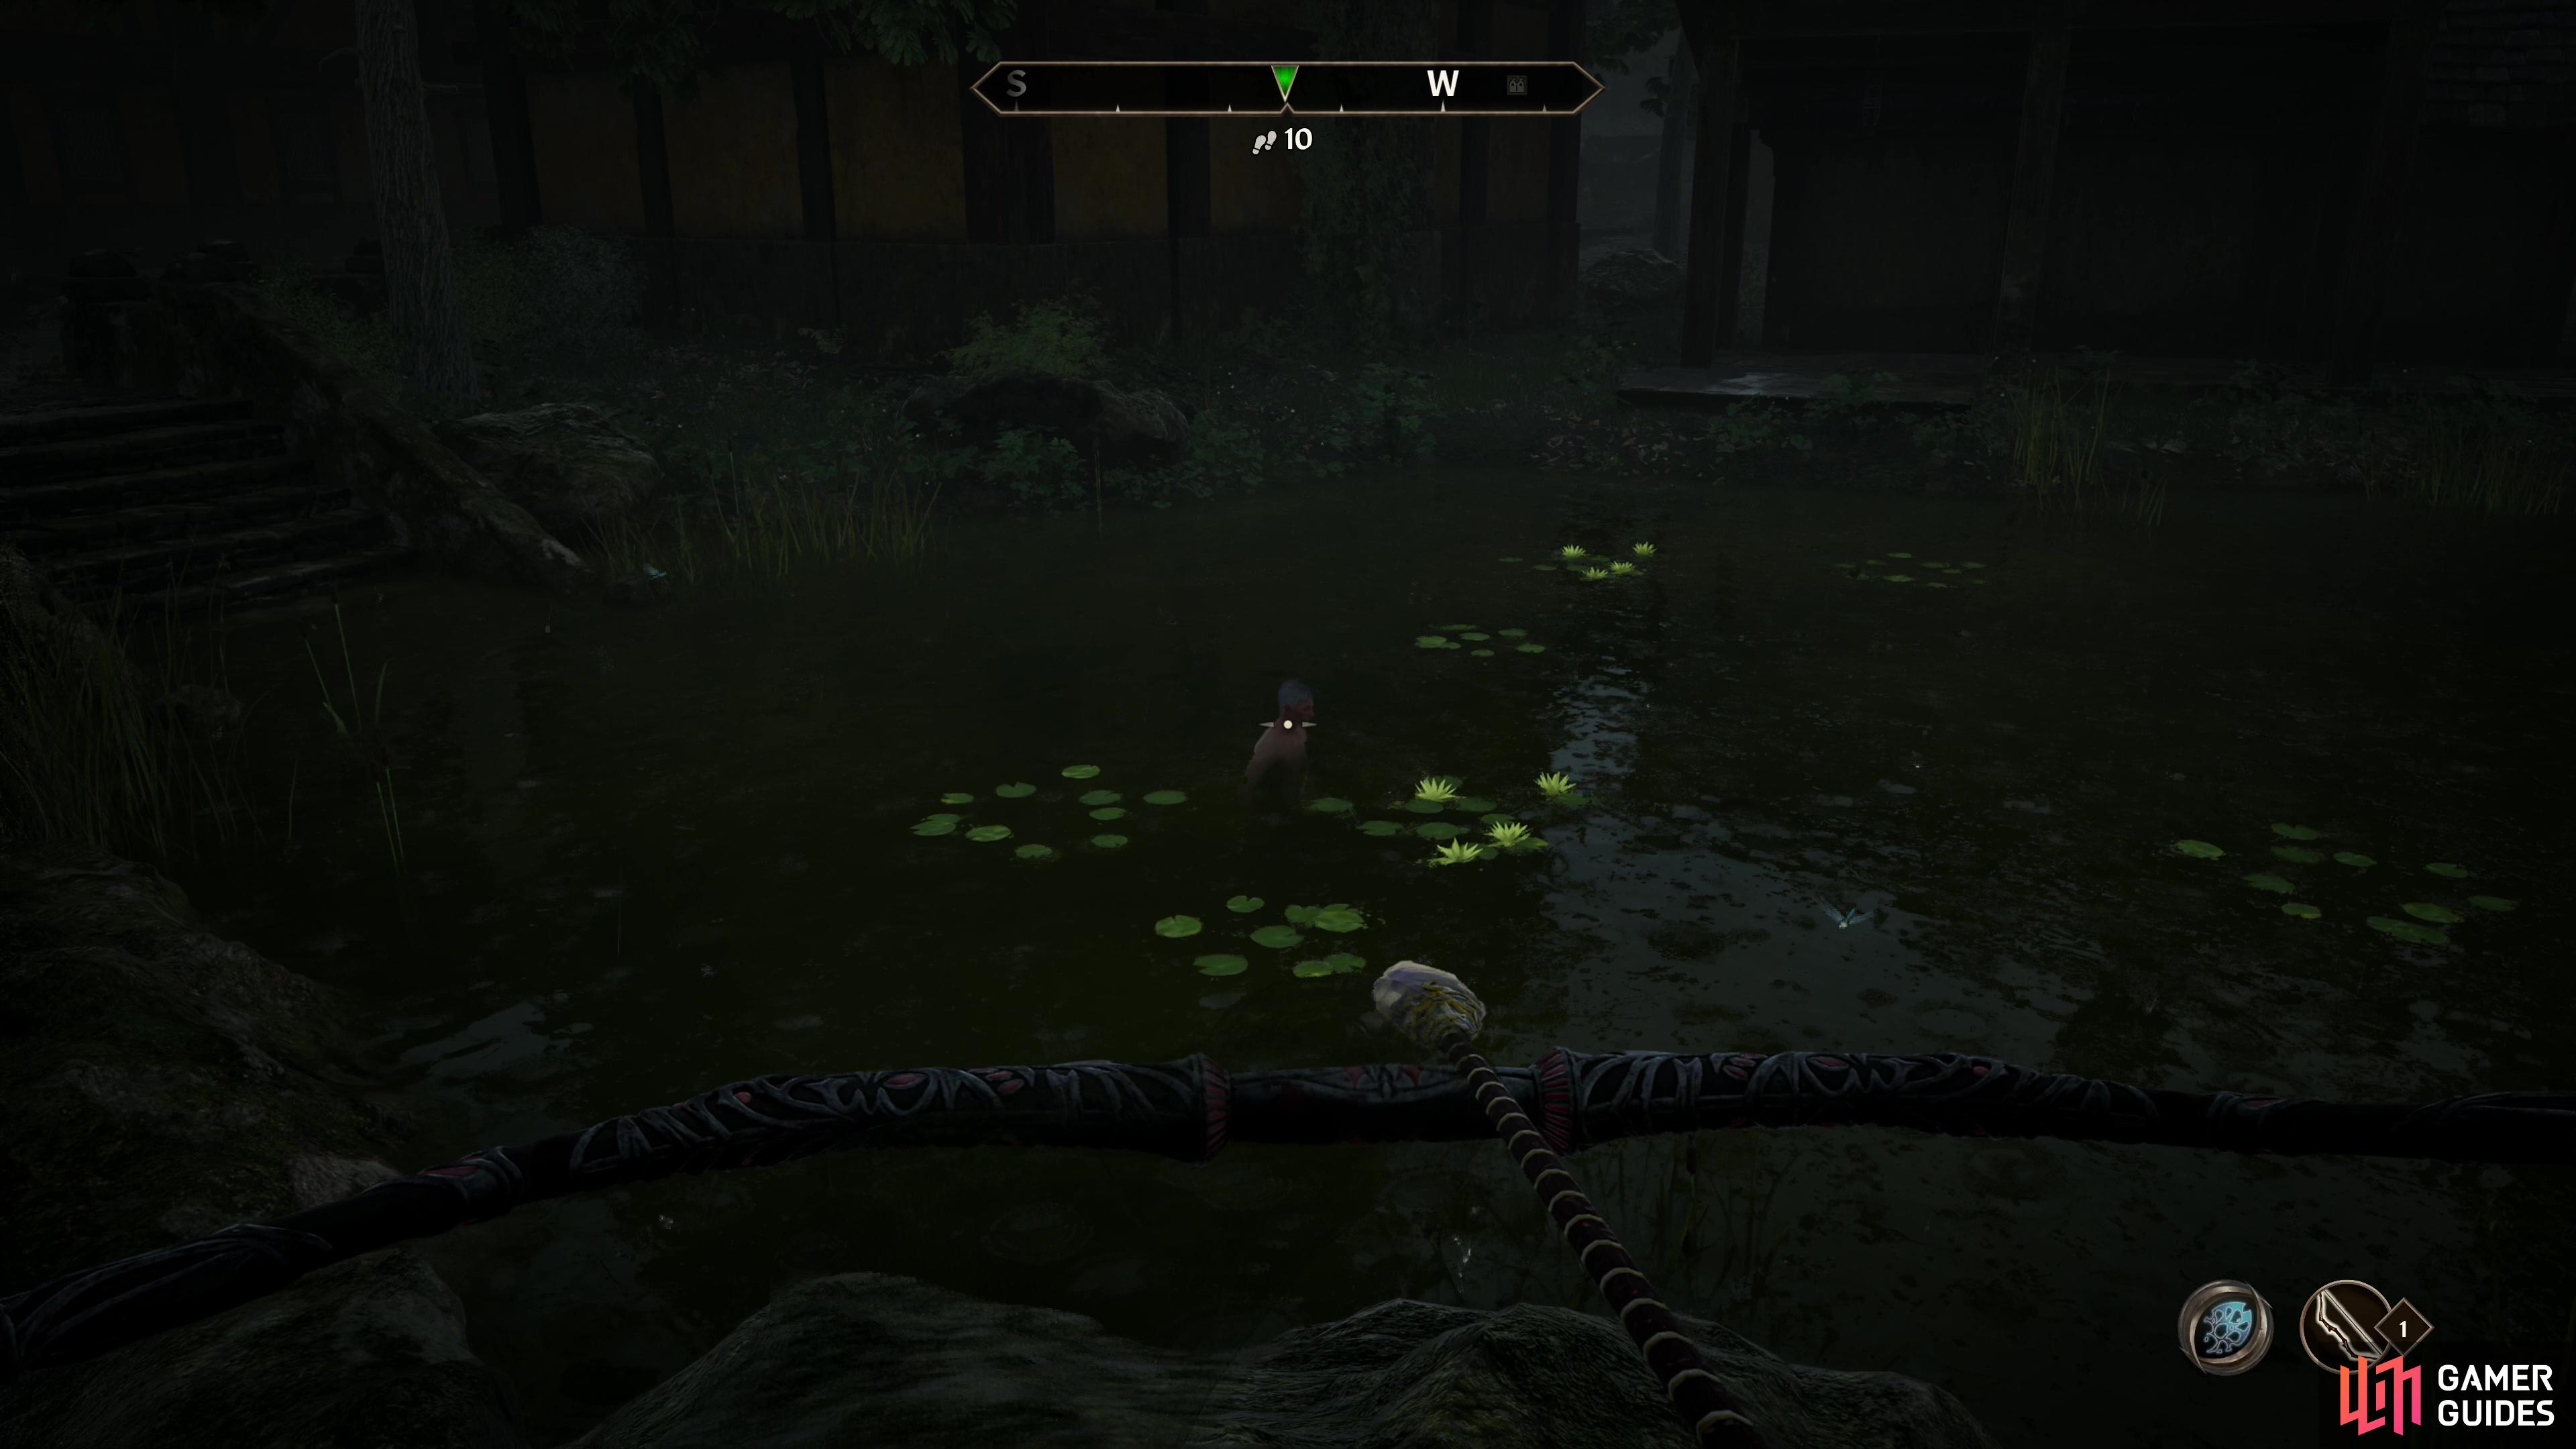
Assassinate Phillida by any means you wish - the easiest is to shoot him with the Rose of Sithis while he swims,

then take his finger and leave it in the desk of his successor at the Imperial City Prison.
Permanent Retirement
Complete Whodunit? and Ocheeva will give you your next contract - assassinate a retired Imperial legionnaire named Adamus Phillida who spent his career bothering the Dark Brotherhood. An easy retirement would be an insult to the Dark Brotherhood, so you need to assassinate him, and you’ll be provided with the Rose of Sithis - an arrow that will kill Phillida in a single hit. There’s a catch, however: he can’t be wearing his armor and the Dark Brotherhood doesn’t know his schedule, so a bit of sleuthing is in order if you want to find the opportune time to strike.
Of course, most of this doesn’t really matter. Killing Phillida with the Rose of Sithis is fun, but not required. If you want to avoid being accosted by the watch and the subsequent bounty and bother that comes from it, the Rose of Sithis is an excellent tool, but if that’s not something you care about, direct, unapologetic butchery works just as well. What is important is the message you send after Phillida’s assassination - take his finger and leave it in the desk of his successor at the Imperial City Prison to get the bonus reward for this quest.
Travel to Leyawiin and either ask around, or just wait until around 7:00 PM, then find Phillida swimming in a pool on the eastern end of town, north of Ahdarji’s House. Kill him with the Rose of Sithis while he swims, or via any other method at any other time, but make sure to loot him for the Finger of Adamus Phillida. Once this gruesome trophy is yours, travel to the Imperial City Prison and enter the Imperial Legion Offices building. The office you’re looking for is to the north, and you’ll either need to pick some difficult locks to get in. Deposit the finger in a U-shaped desk on the ground floor and leave to complete this objective.
Report back to Ocheeva and she’ll give you 600 gold for completing the quest as well as an additional 500 gold if you used Phillida’s finger to send a message. Not much of a bonus reward this time around, but you’ll unlock the achievement/trophy Assassin, Dark Brotherhood for your work.
Fight your way through undead and traps in Fort Farragut,
and Lucien Lachance will give you a purge order for the Cheydinhal Dark Brotherhood Sanctuary.
The Purification
Complete the quest Permanent Retirement and talk to Ocheeva, who will give you some Orders from Lucien Lachance, which in turn instructs you to meet him at Fort Farragut, warning you ahead of time of the undead sentinels you’ll face along the way. Survive or avoid the traps and undead in Fort Farragut and talk to Lucien Lachance who will give you the order to purge the Cheydinhal chapter of the Dark Brotherhood.
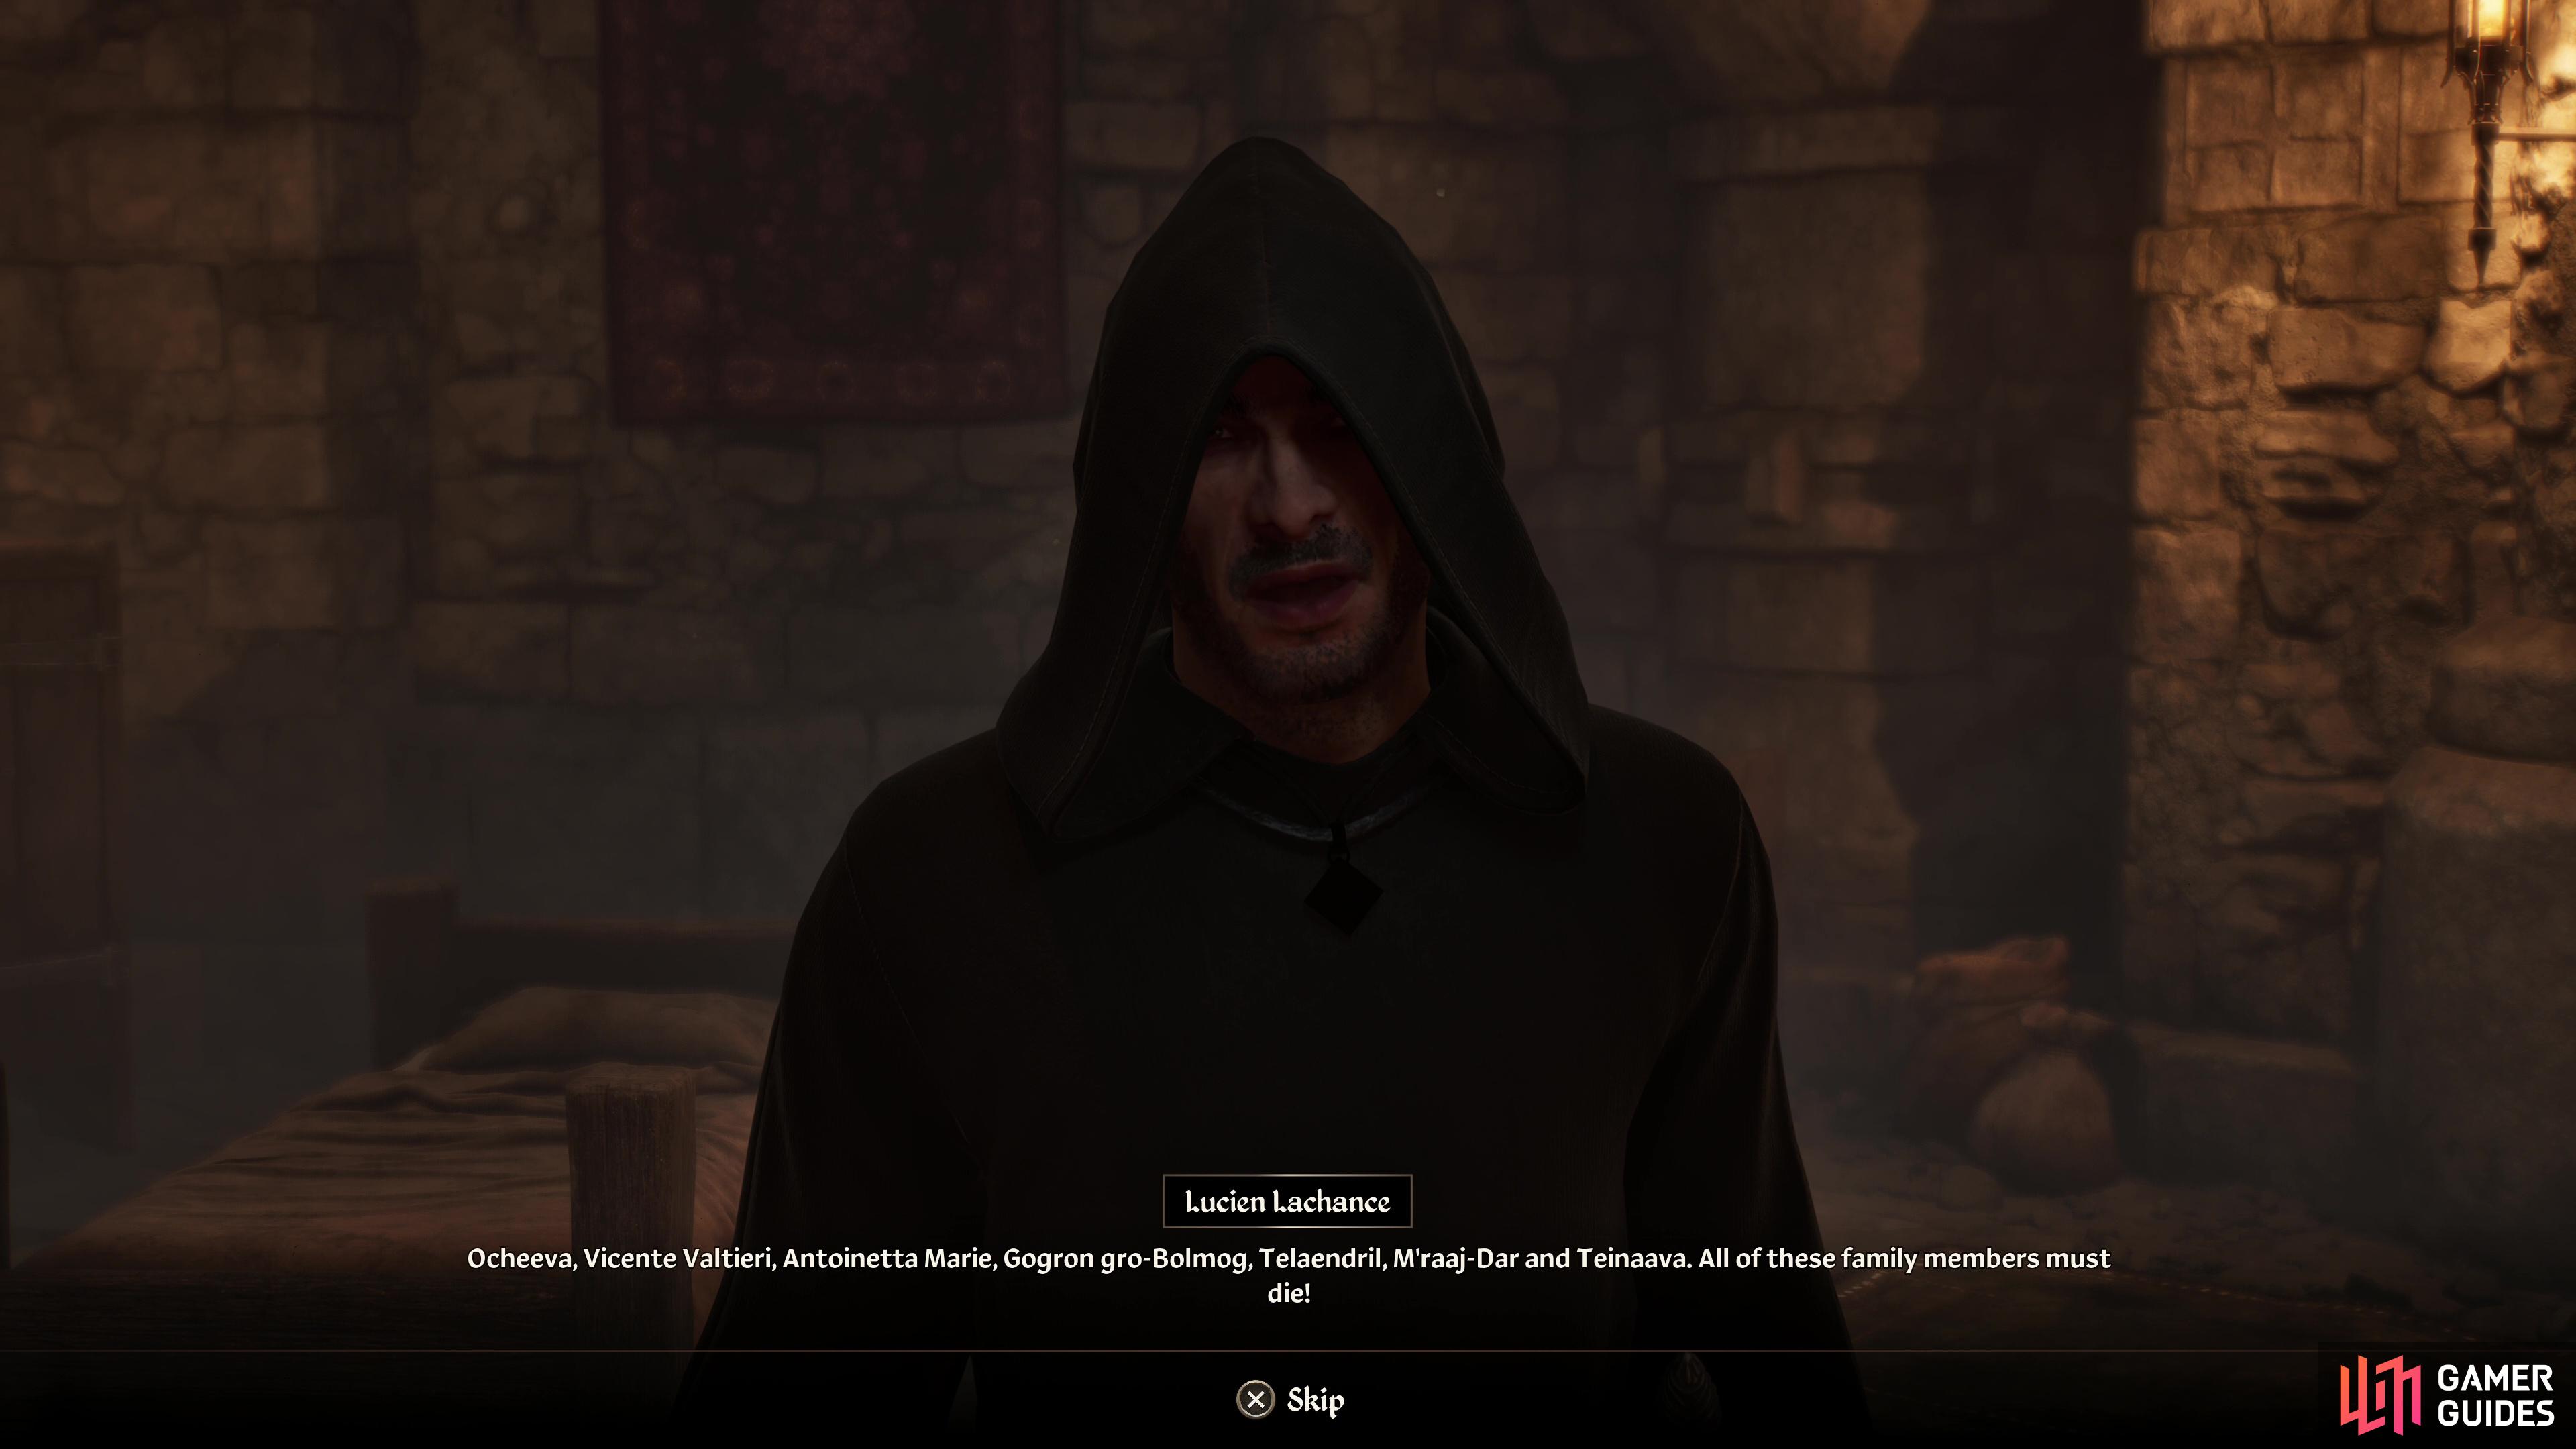
Return to the Dark Brotherhood Sanctuary and kill Ocheeva, Vicente Valtieri, Antoinetta Marie, Gogron gro-Bolmog, Telaendril, M’raaj-Dar and Teinaava via any means at your disposal. You can get some Poisoned Apples you can reverse pickpocket onto most of them (Vicente Valtieri may, for obvious reasons, not be susceptible to this) or you can pick them off sneakily as they provide the opportunity, or just go in swinging. Once they’re all dead, return to Lucien Lachance to unlock the trophy/achievement Silencer, Dark Brotherhood.
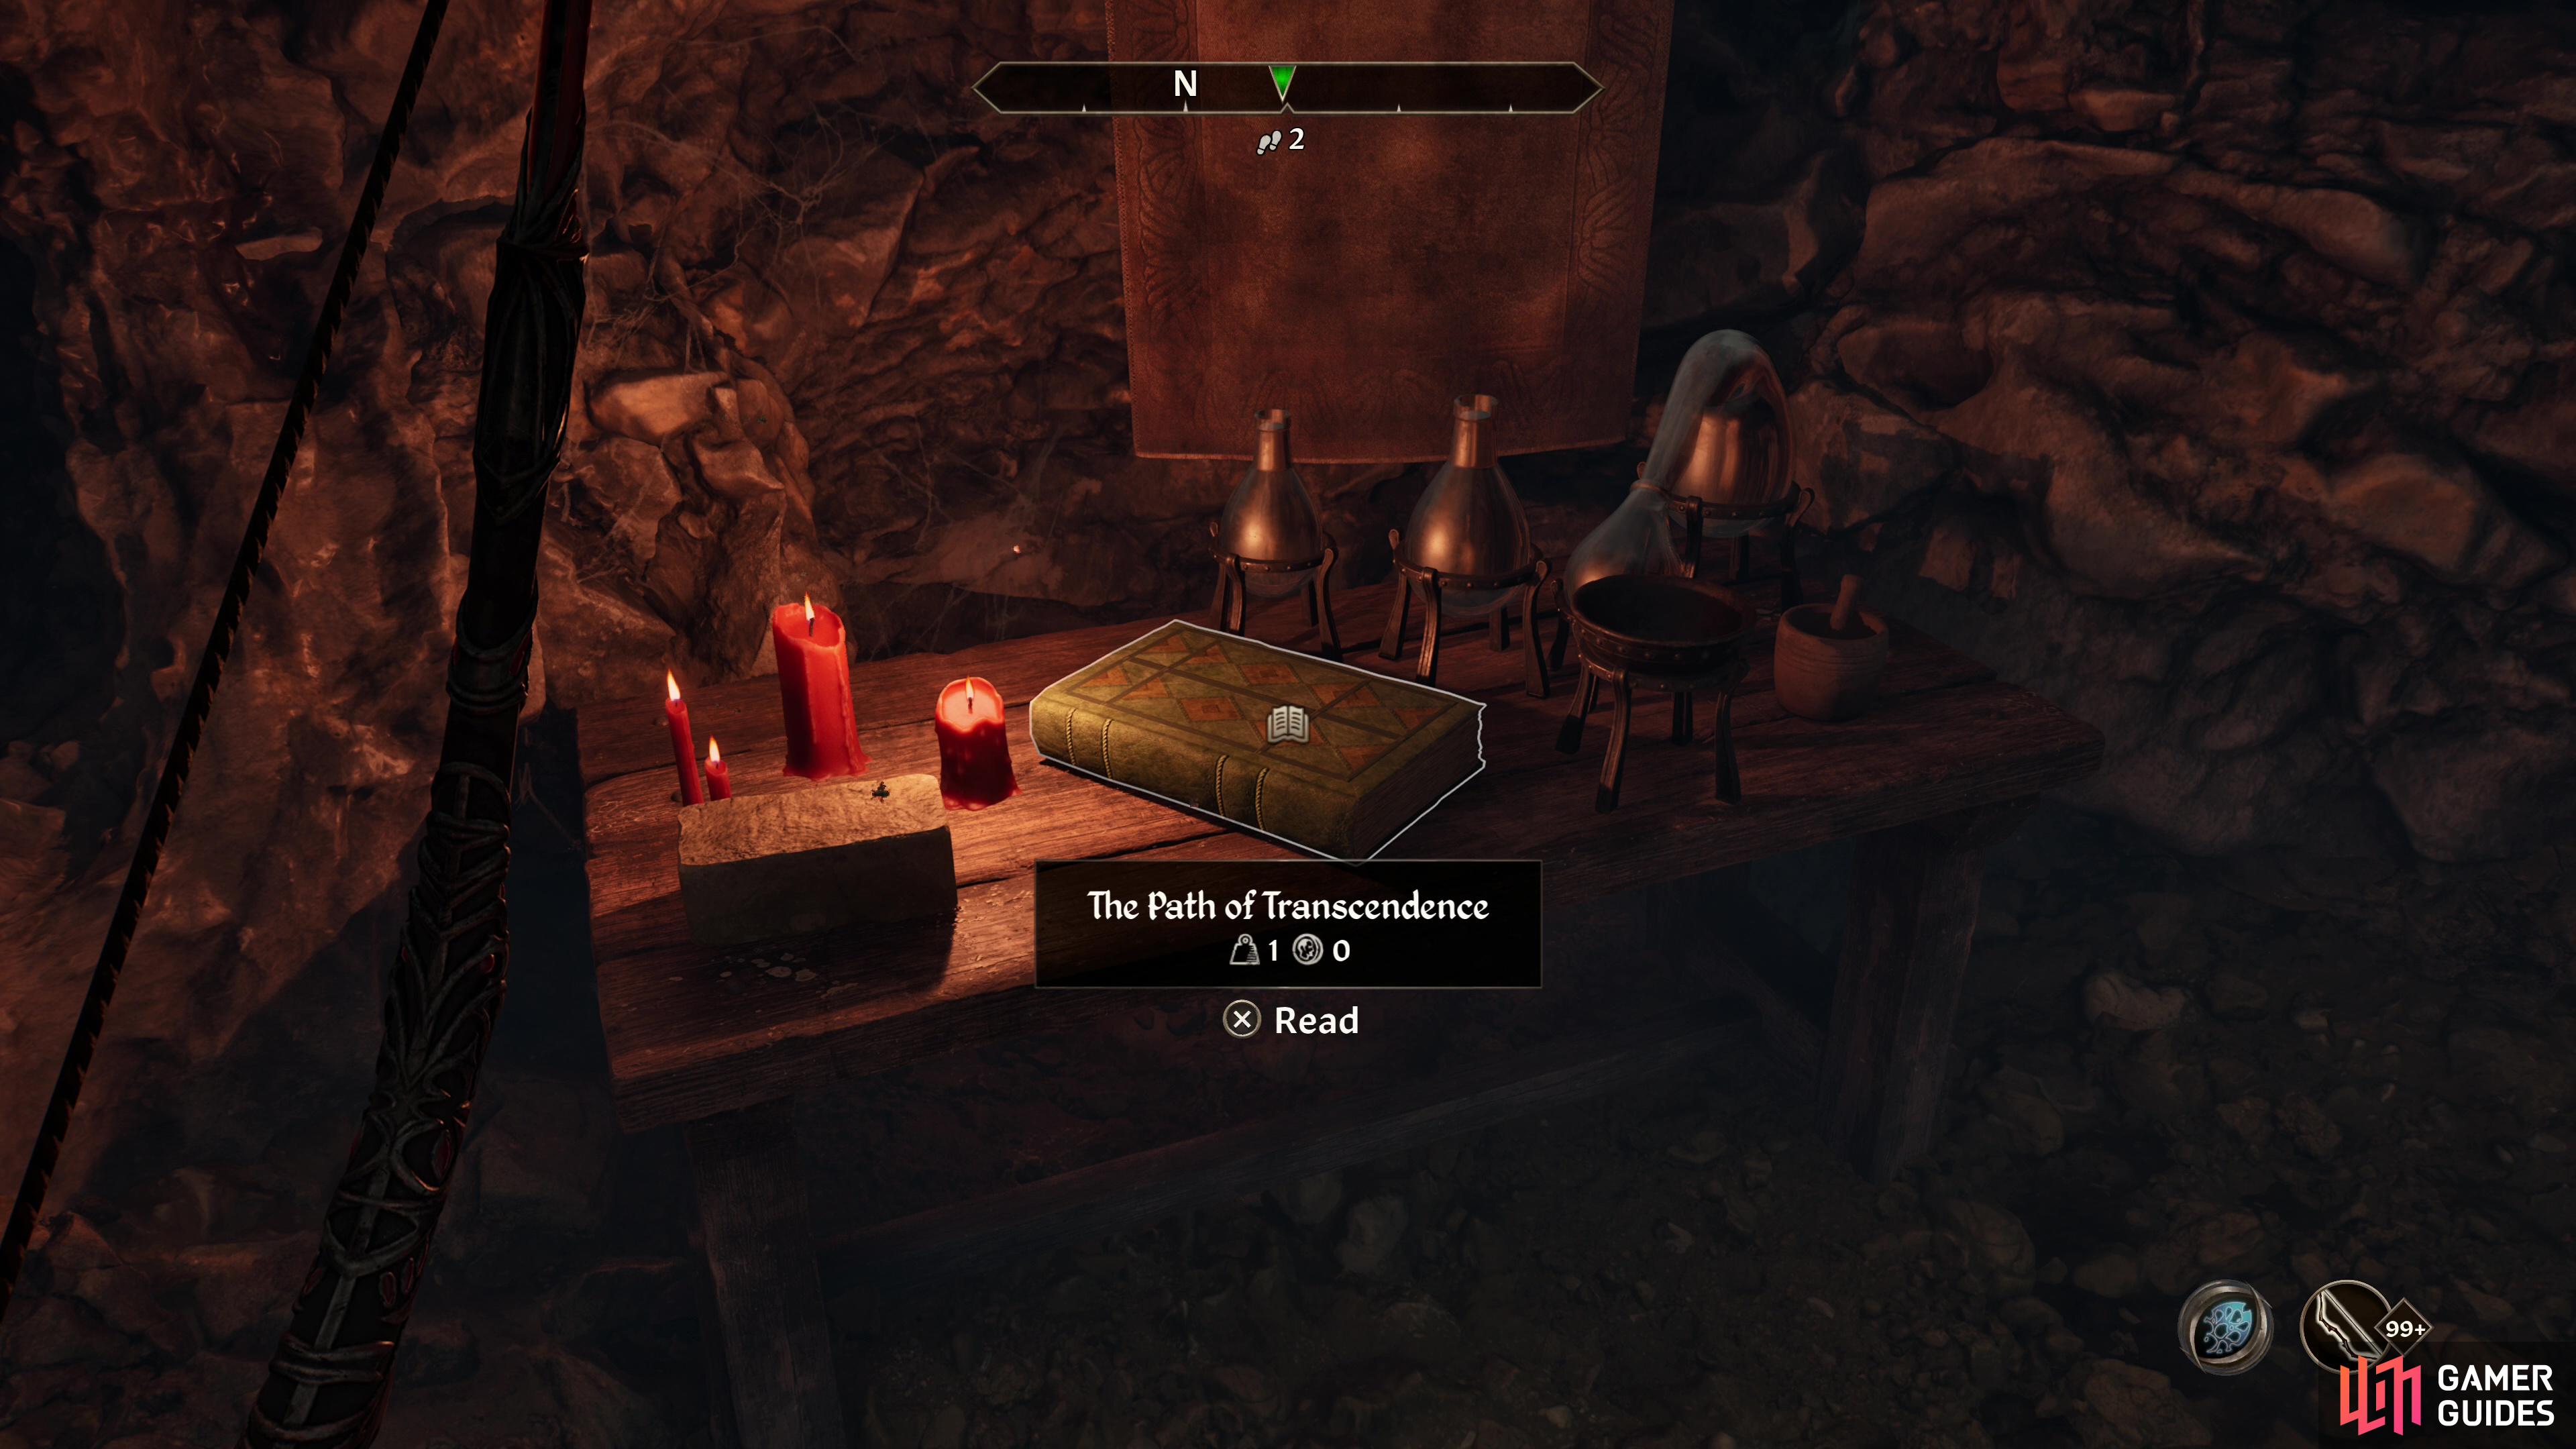
Enter Leafrot Cave and read The Path of Transcendence,
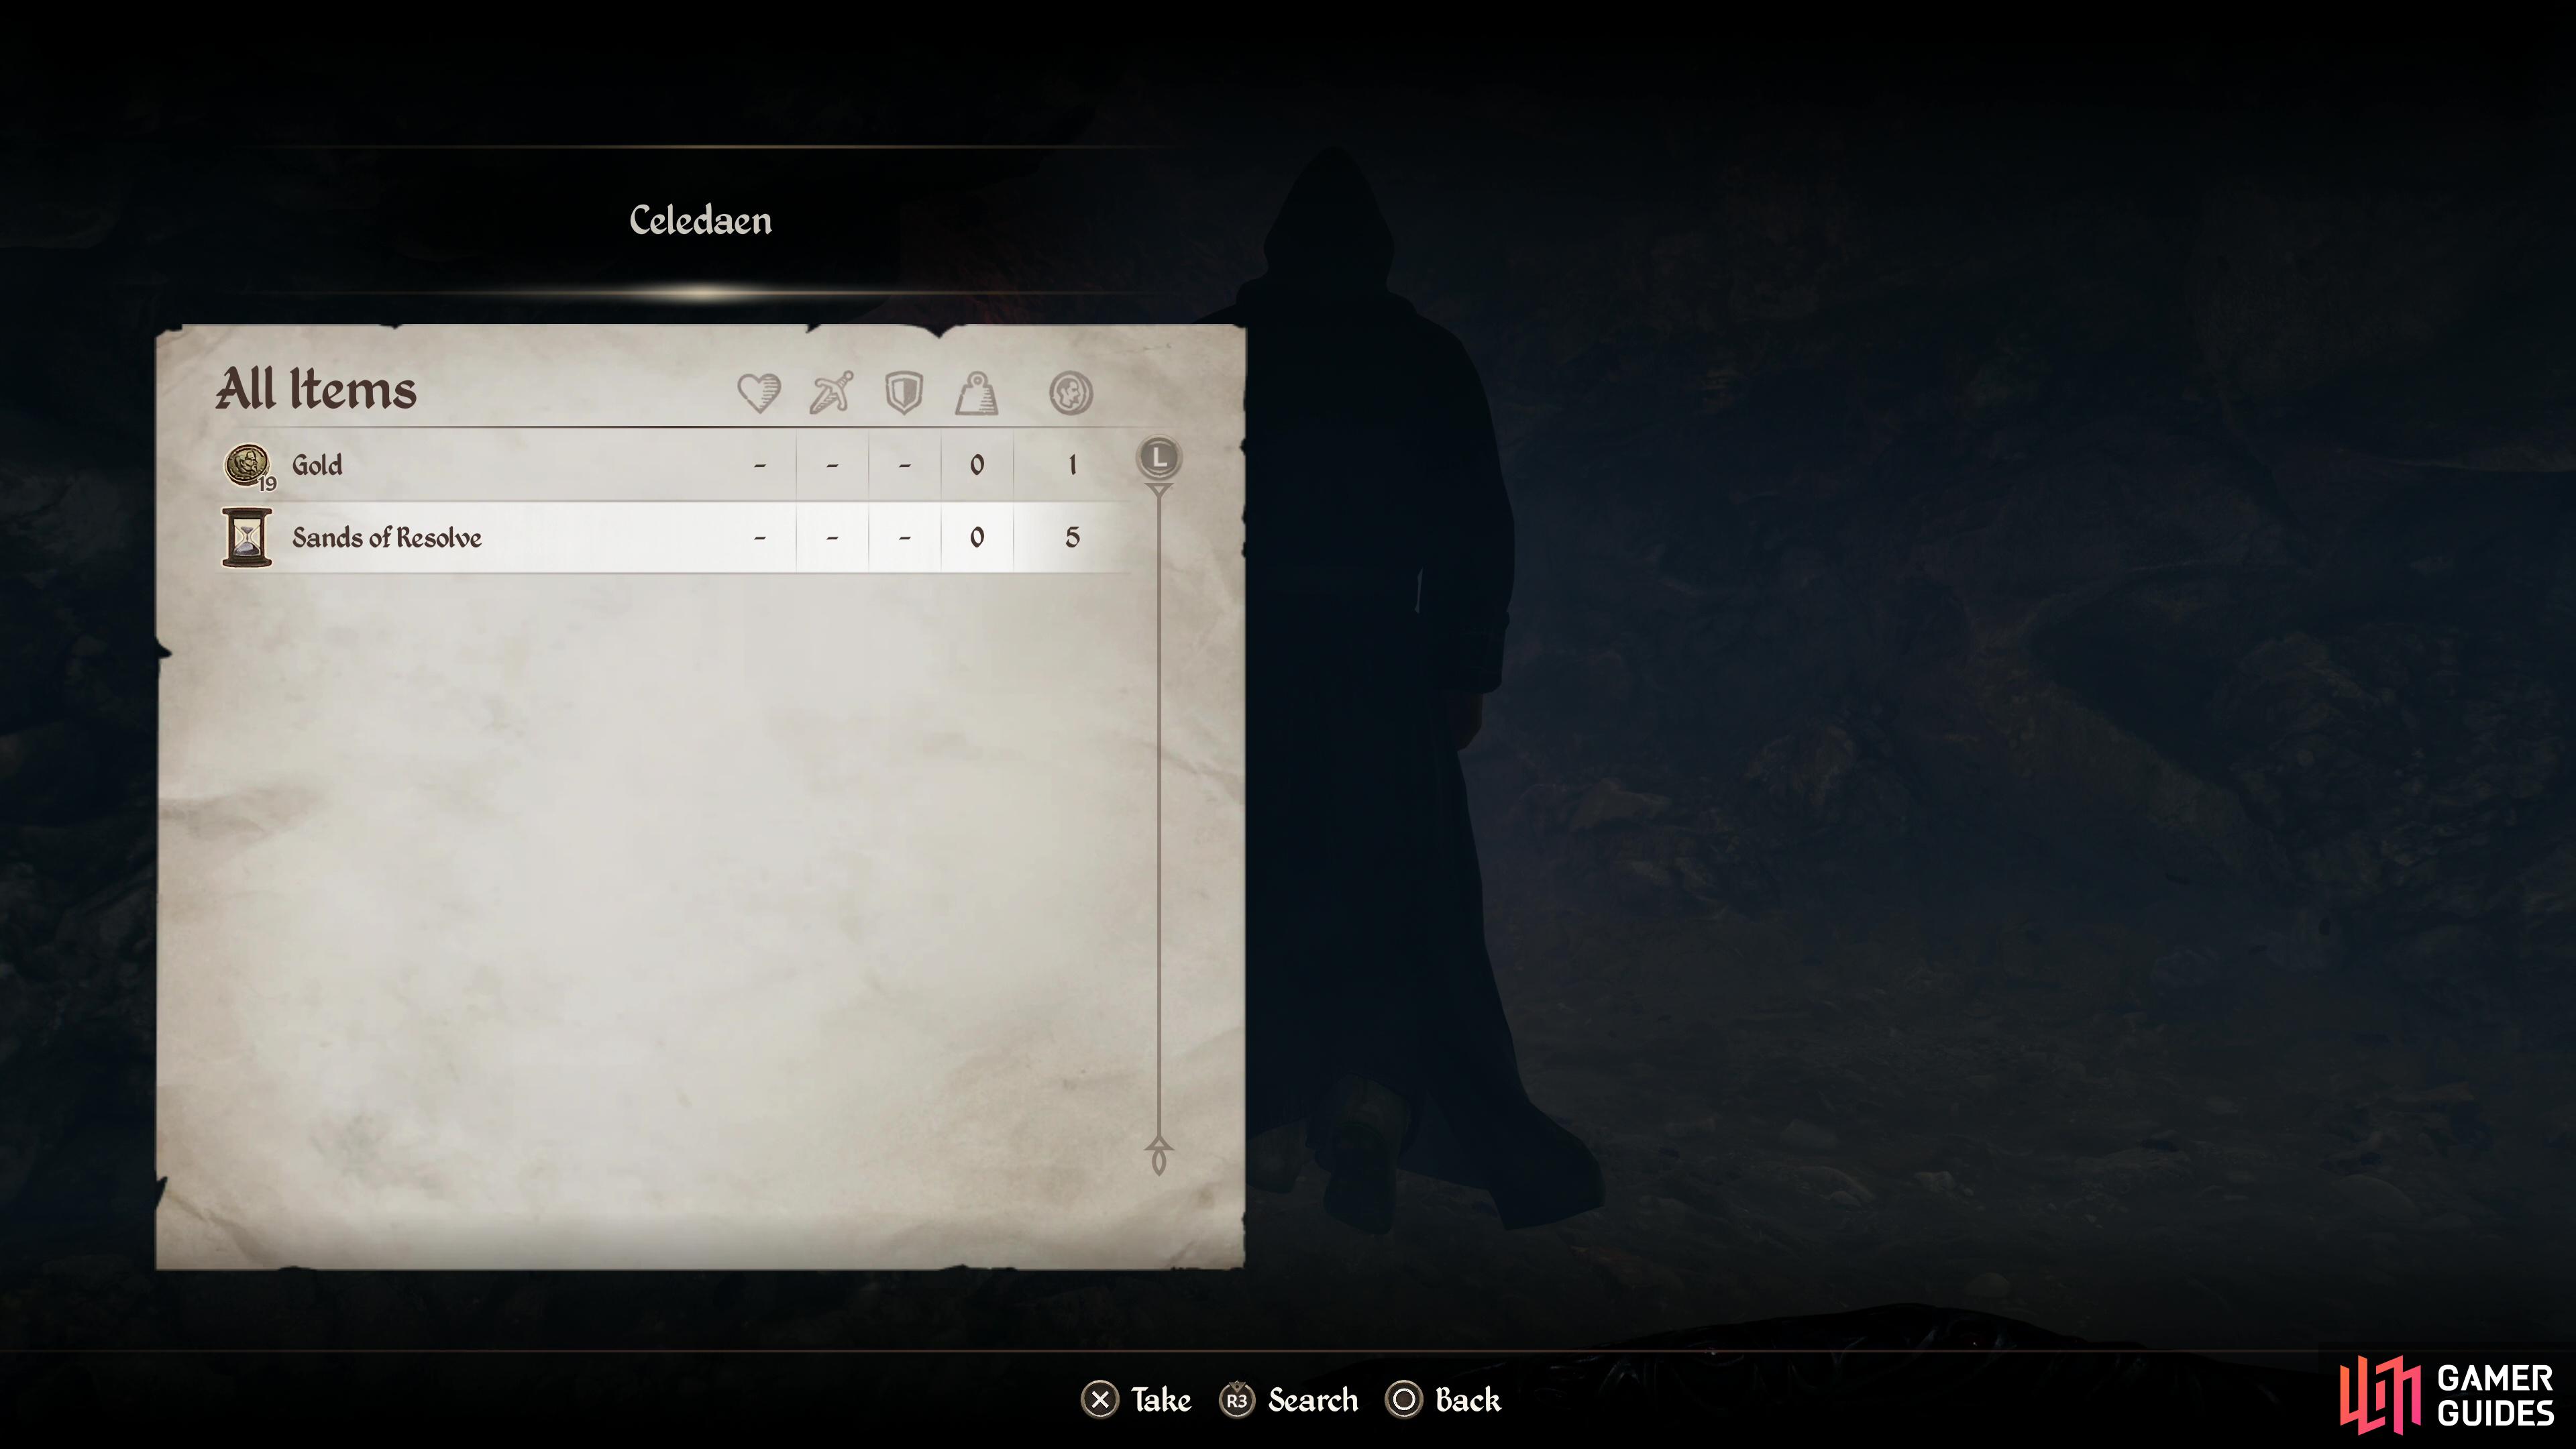
then steal the Sands of Resolve from Celedaen’s inventory to terminate his attempt at lichdom - and his life.
Affairs of a Wizard
At the end of The Purification, Lucien Lachance will inform you that going forward you’ll receive quests remotely, via dead drop, at specified locations. The first of these can be found in Hero Hill southeast of Fort Farragut. When you’re ready to start the next quest, head over there and grab the Dead Drop Orders #1 out of a Hollowed-Out Rock to start this quest.
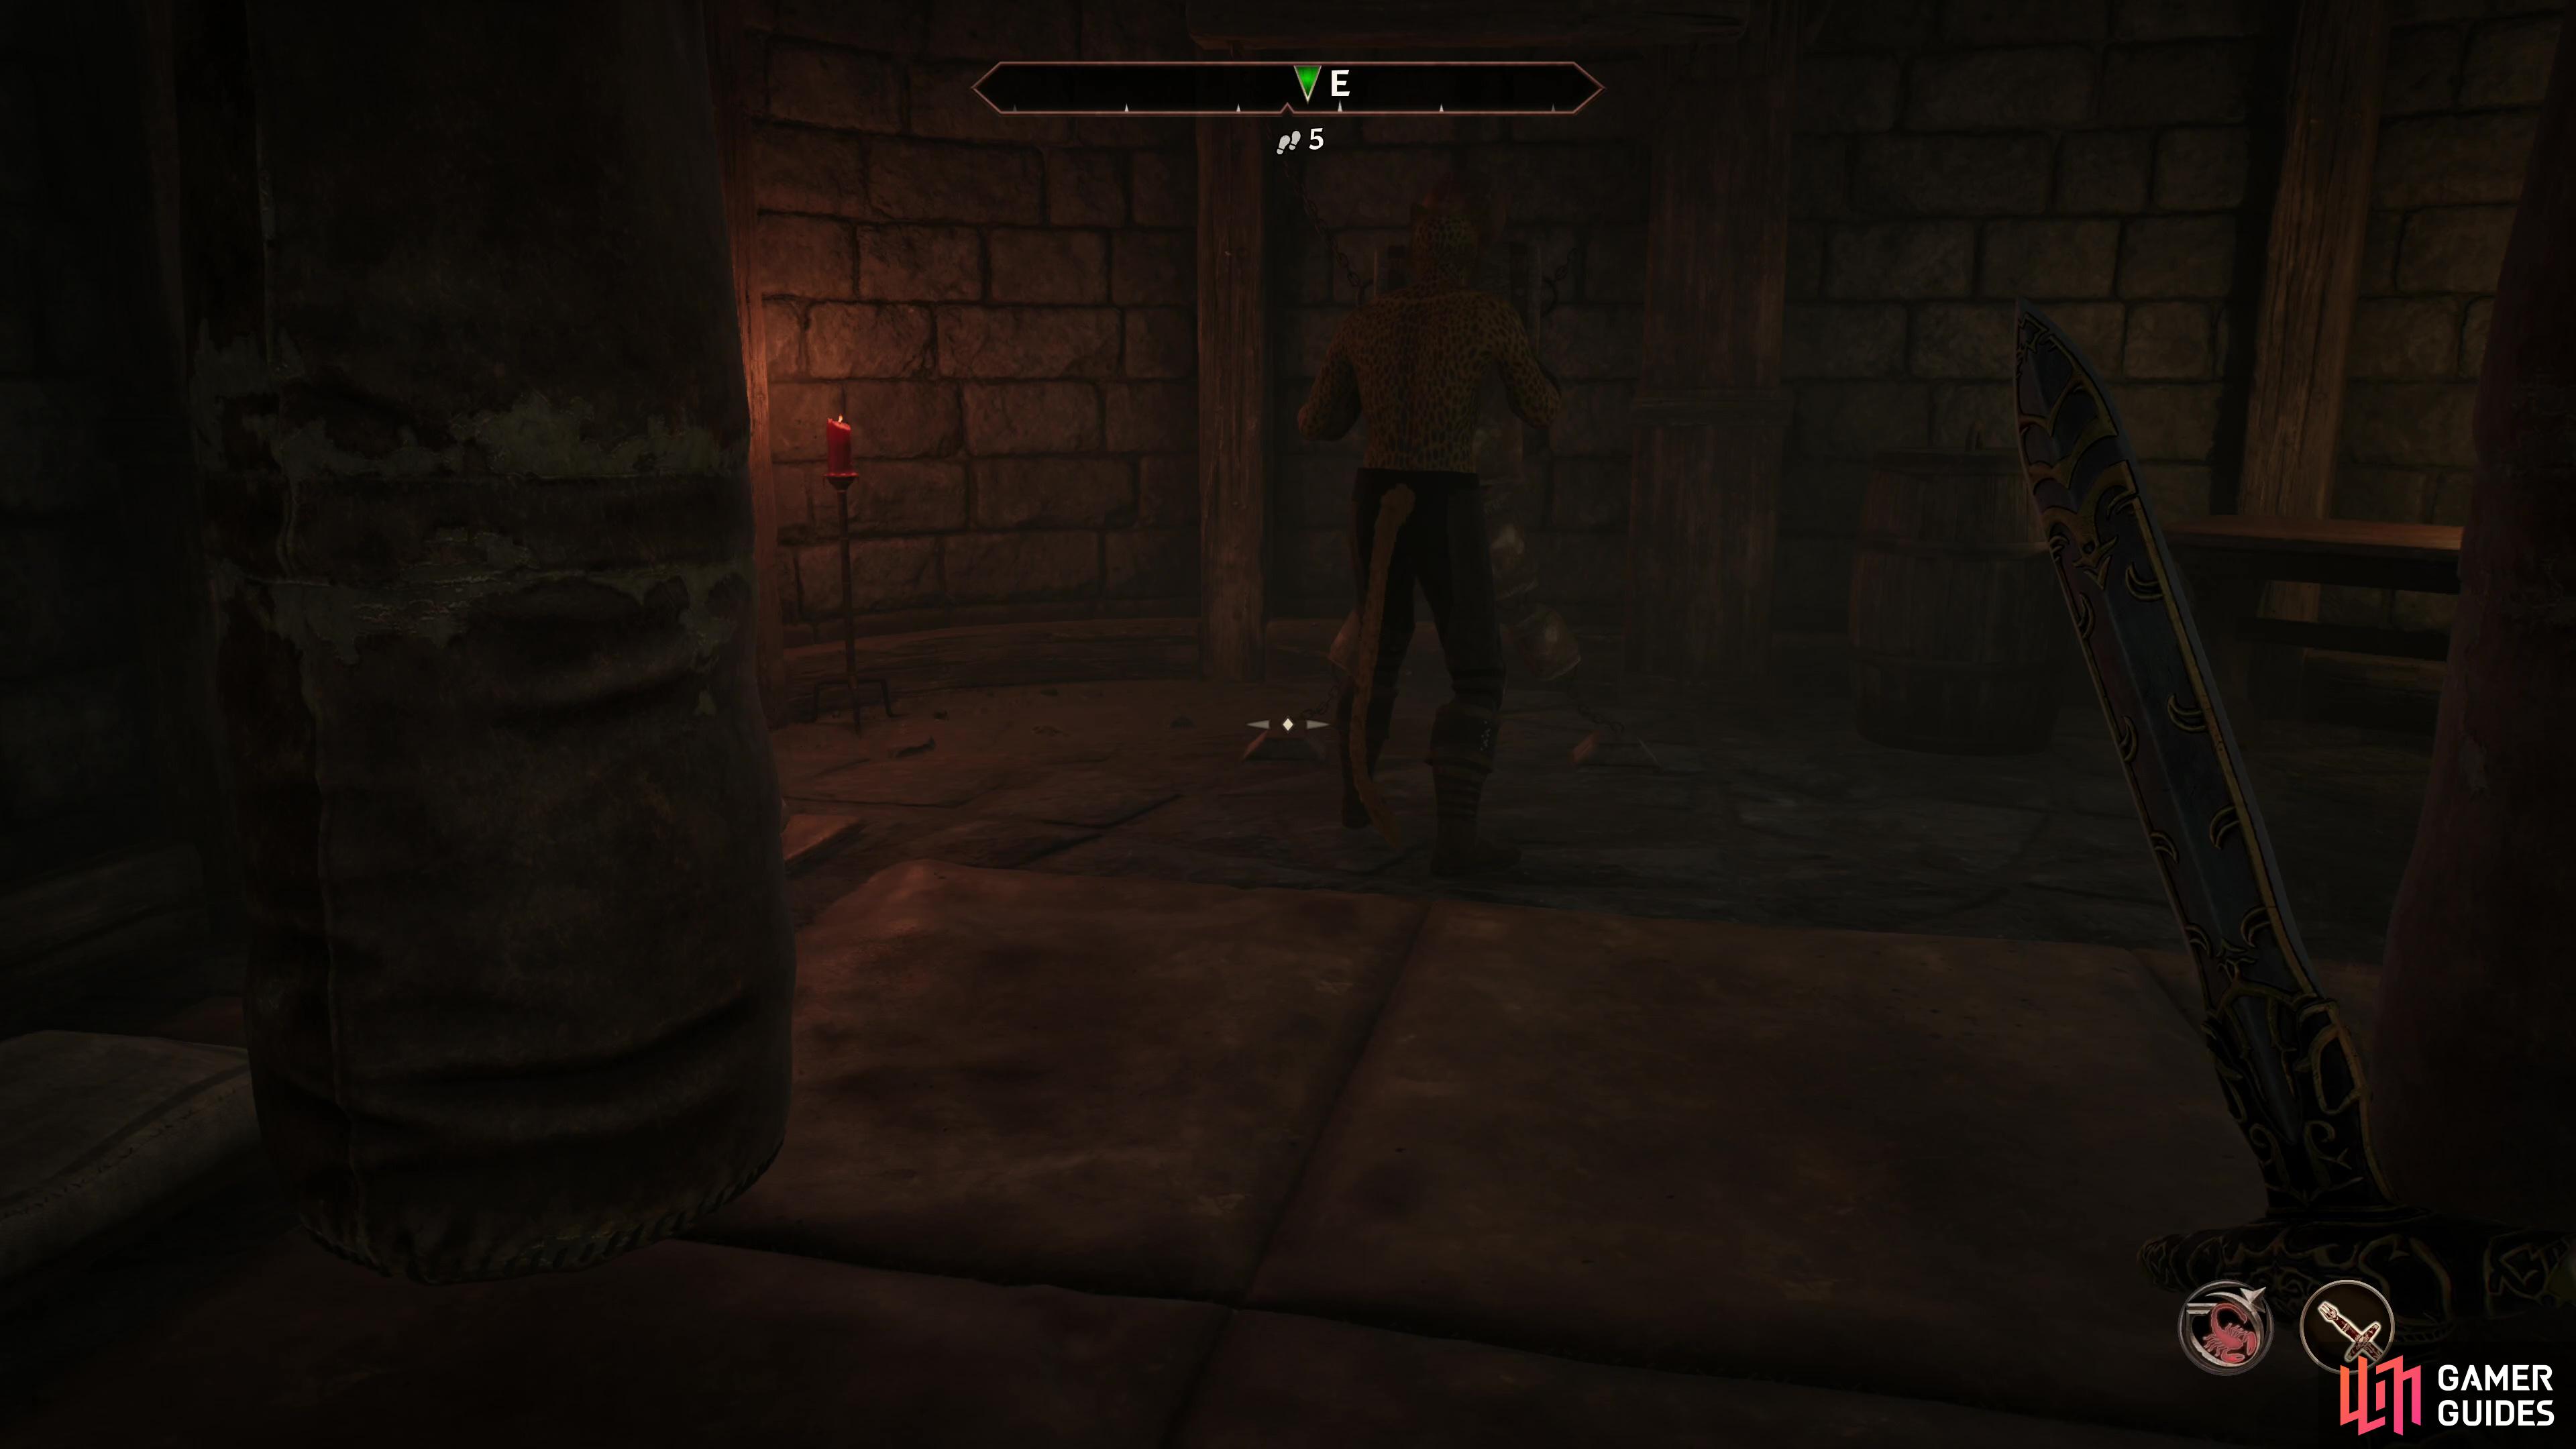
Compared to the last few assignments, this is relatively simple. You need to kill a mage named Celedaen dwelling in Leafrot Cave, and combat will take a backseat here to stealth and skullduggery. Enter the cave and head down a winding corridor to reach a chamber, defeat or avoid any undead and search a table to the north to find the tome The Path of Transcendence, which will tell you how to kill Celedaen.
Head down to the lower level - Leafrot Hollow - find Celedaen and pick his pockets. You need to steal the Sands of Resolve from his inventory, and Celedaen will die the moment you successfully lift it, making this assassination a matter of your Sneak and Security skill scores more than anything else. Once Celedaen is dead, head to the Great Oak along the northern end of Chorrol and search the bushes around the tree to find the next dead drop, containing Dead Drop Orders #2 and up to 500 gold.
Next of Kin
Another long quest with multiple targets, this one begins when you read Dead Drop Orders #2 after completing Affairs of a Wizard. After reading the orders, travel to Applewatch west of Bruma and talk to Perennia Draconis who will just… give you a list of all her children and their locations due to serendipitous misidentification. Hey, makes our job easier. Read the note, then kill Perennia Draconis - one down, four to go:
-
Matthias: Head to the Imperial City Talos Plaza District, where you will either find Matthias at his own house in the southern corner of the district, or at the Umbacano Manor northeast of the central fountain. The latter case is ideal, as you can descend to Umbacano’s Basement and kill Matthias out of sight of any interlopers.
-
Andreas: Make your way to the Drunken Dragon Inn southeast of Bravil to find Andreas working the counter. Wait for the coast to be clear and cut him down. Easy and straight-forward.
-
Sibylla: A standard dungeon crawl, enter Muck Valley Cavern to the east of the Imperial City, kill the woodland critters infesting the cave, then kill Sibylla.
-
Caelia: A Leyawiin guard, head to Leyawiin and look for the rare female guard - she’s not wearing a helmet, so she should be fairly easy to spot. Unlike most of your marks, she roams almost exclusively in public areas, she’s armored, and reasonably competent in combat. Aside from brief periods of isolation in the Three Sisters Inn she’ll be roaming about town and if you can’t kill her quickly - ideally in a single hit - she’ll inform other guards and peg you with a 1,000 gold bounty. Even 100% Chameleon won’t suffice here, and this may be one of the few instances where you have to lower the difficulty or just pay the bounty in order to accomplish your goal.
Wipe out the Draconis family, then head to Castle Skingrad to find the next dead drop in the well. You’ll obtain Dead Drop Orders #3 and 500 gold.
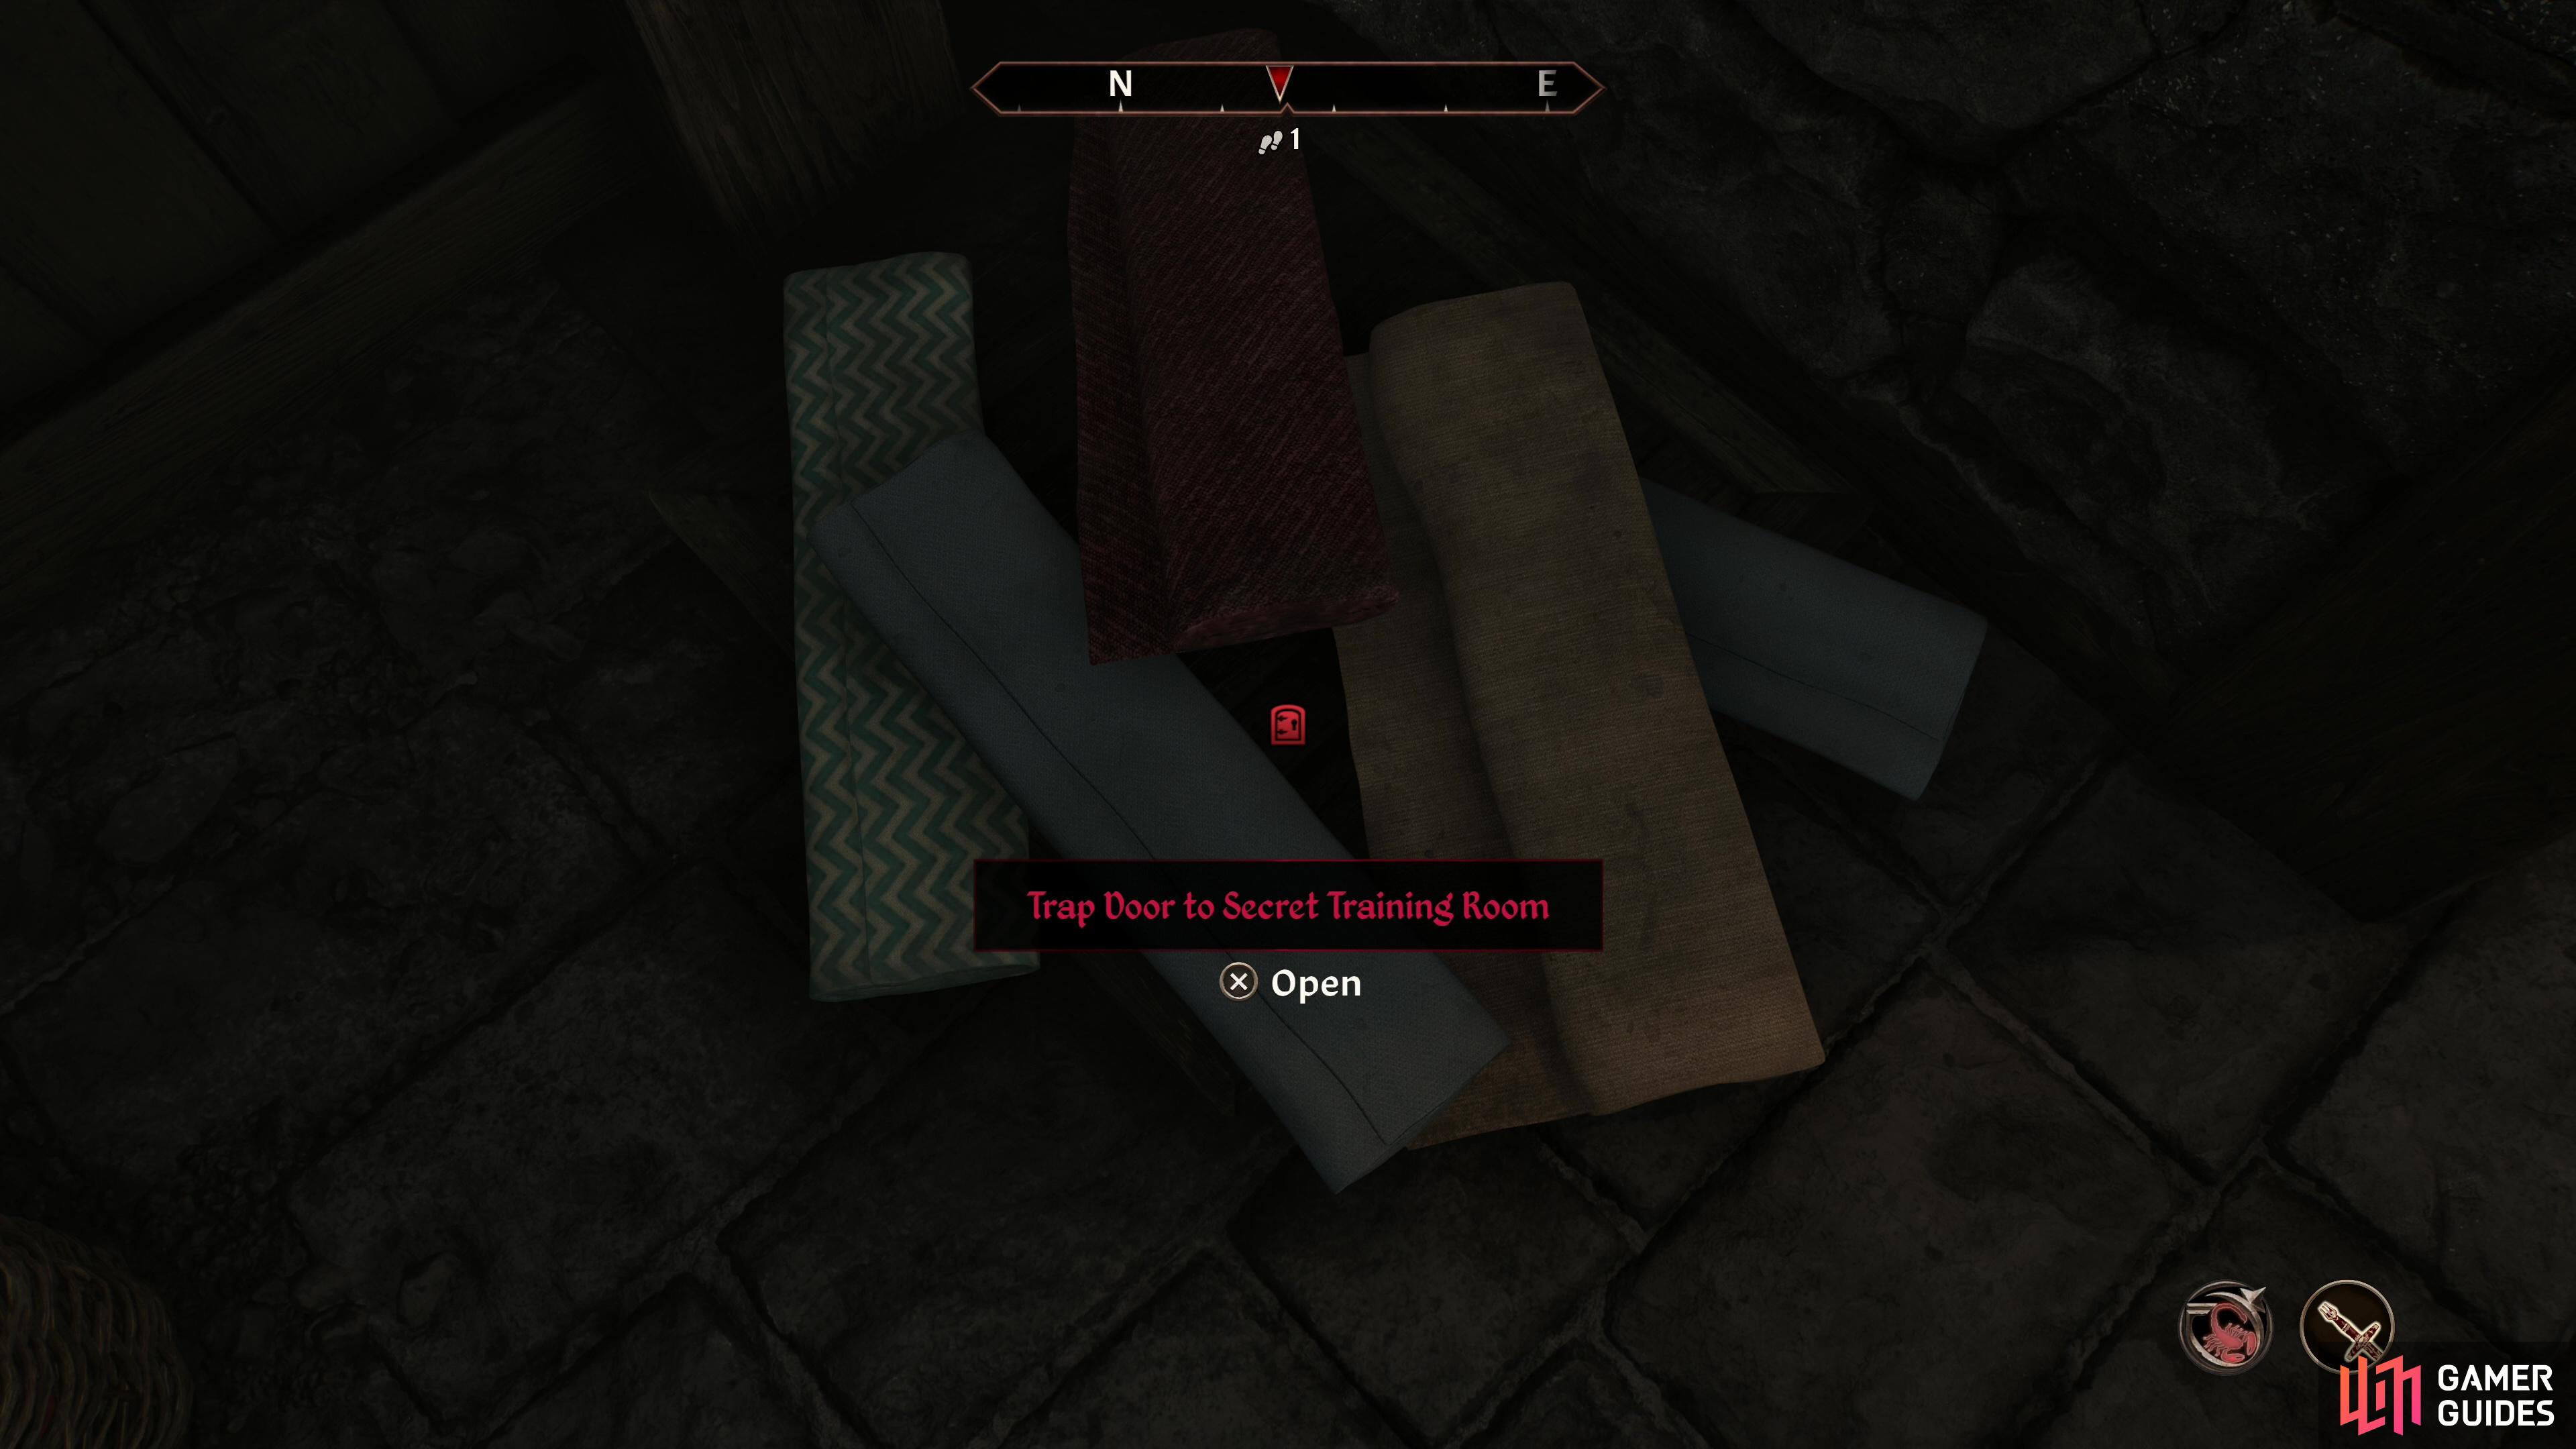
Find a trap door buried under some cloth,
and kill J’Ghasta.
Broken Vows
The third set of Dead Drop Orders instructs you to kill J’Ghasta, who can be found waiting for you in his house along the southern edge of Bruma. No need to worry about the guards this time, or even much in the way of stealth, really. Just enter the house, go downstairs, and search behind the northern stairs to find a trap door under some cloth. Enter this Secret Training Room and defeat J’Ghasta, then head to the Old Bridge south of the Imperial City and search a Rotten Box to find Dead Drop Orders #4 and 500 gold.
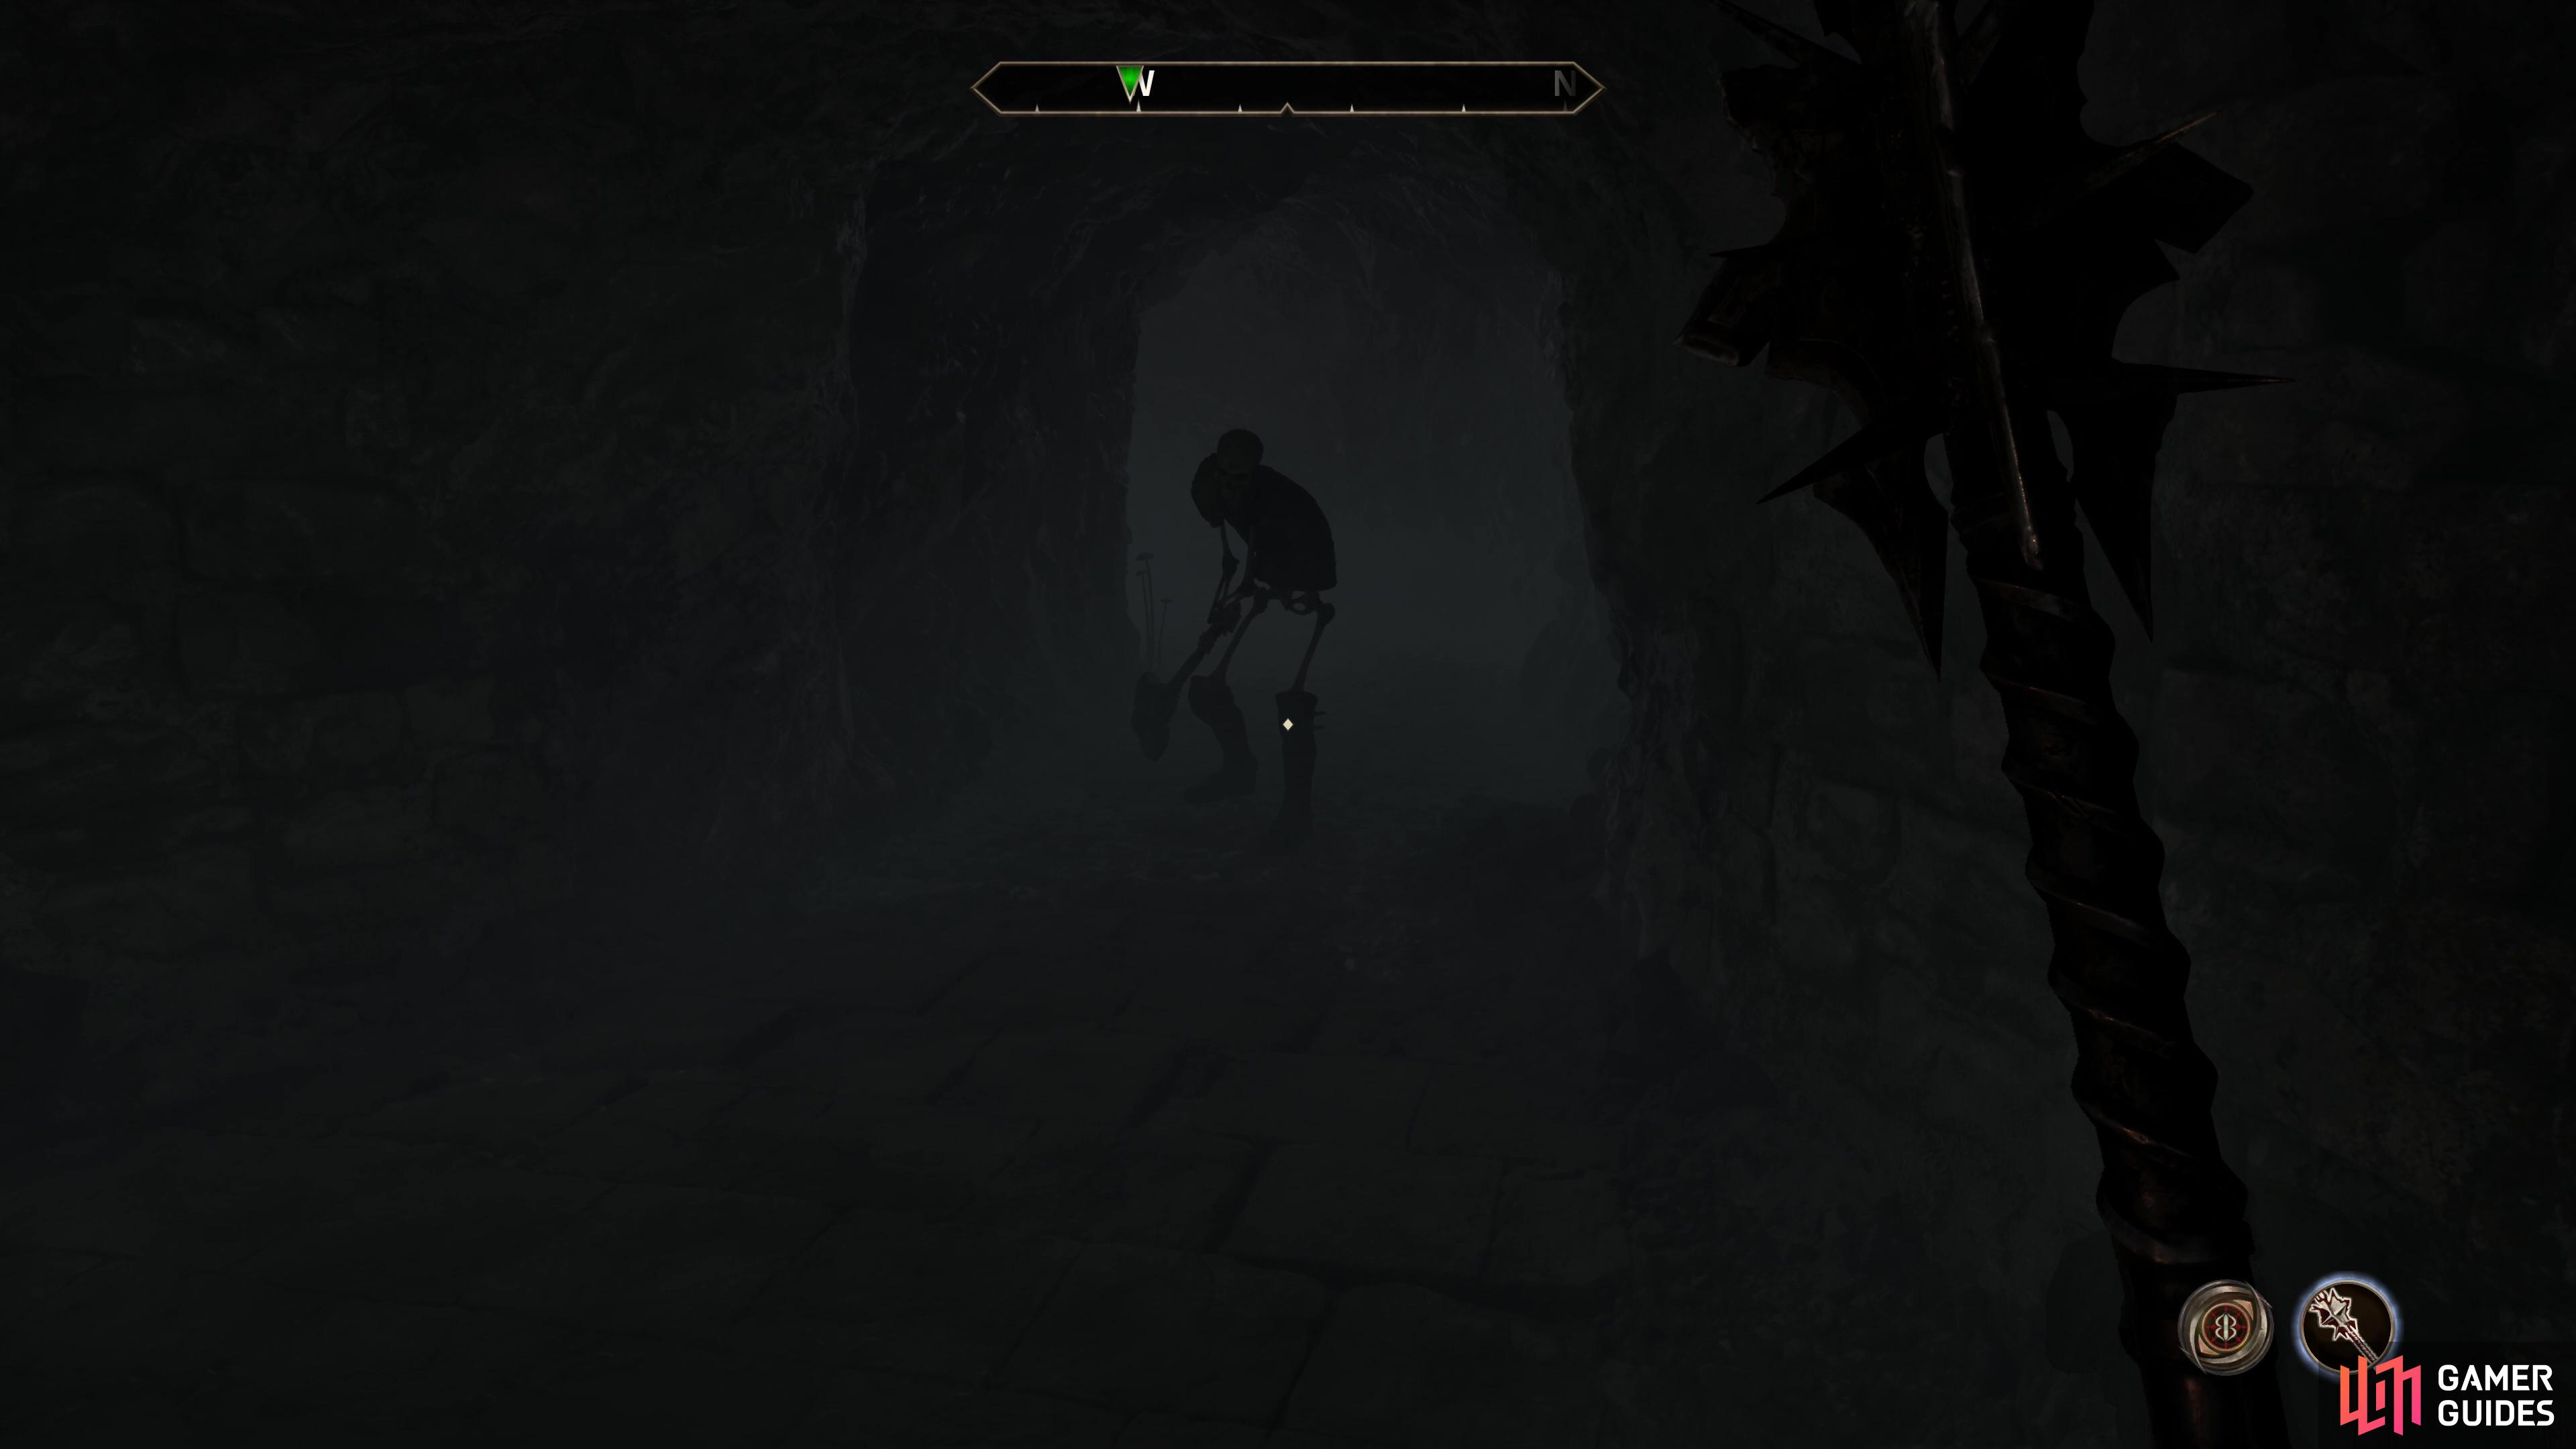
Swim through the Flooded Mine - water breathing effects are encouraged,
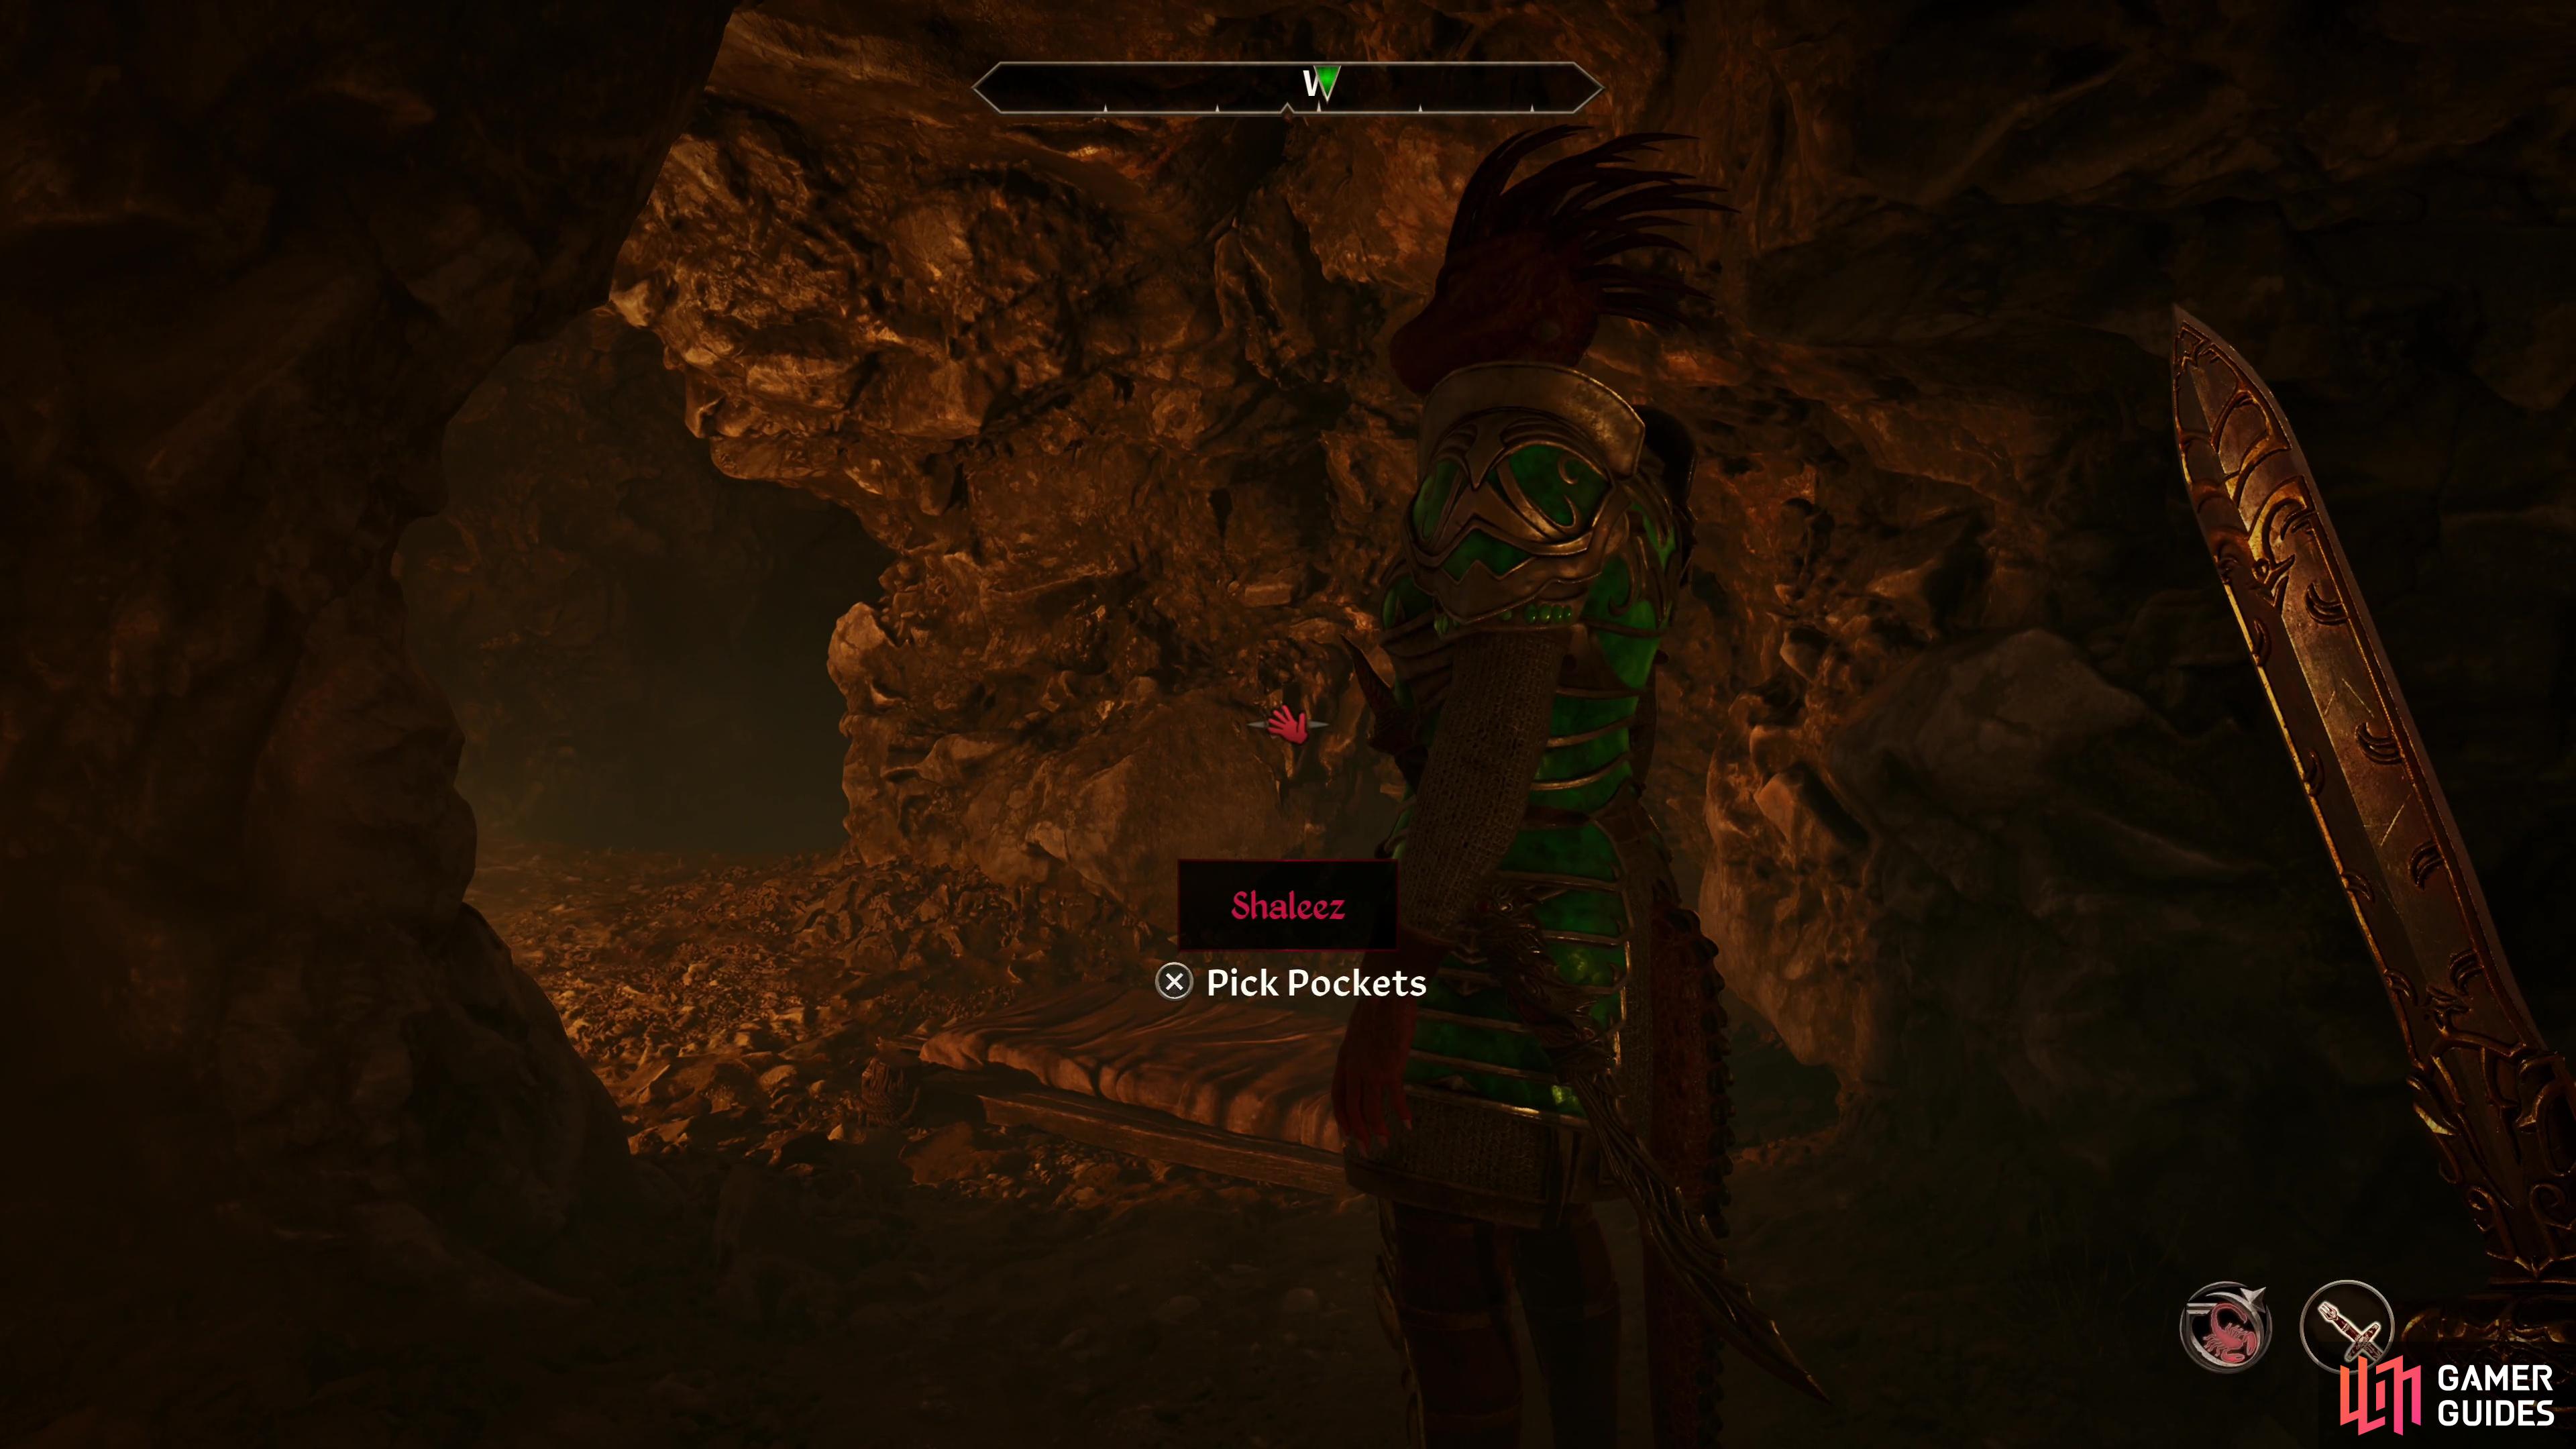
and assassinate Shaleez.
Final Justice
The fourth set of orders will direct you to the Flooded Mine a dungeon north of Bravil. You should try to get a Water Breathing spell (or enchanted item with the Water Breathing effect on it) before going here, as mine is… well, rather flooded. Your target - an argonian named Shaleez, doesn’t use her native affinity for the aquatic, but does wait in a cavern beyond some flooded tunnels, so you shouldn’t have to worry about fighting underwater. Find and kill Shaleez, then swim out of the cave and travel to Fort Redman (north of Leyawiin, on the east coast) and search the coffin near the entrance to the dungeon to find Dead Drop Orders #5, Alval Uvani’s Schedule and 500 gold.
A Matter of Honor
A quest with a simple objective, made somewhat interesting by open-ended game design. You need to track down and kill Alval Uvani, a travelling merchant. Read Dead Drop Orders #5 and Alval Uvani’s Schedule and you’ll get a map marker pointing towards where this dunmer merchant - also curiously deadly with Destruction magic - can be found at any given time. If you want to just follow said marker, intercept him, and kill him, you can do so easily enough. He will visit the following cities/inns on his journey: Lonely Suitor Lodge in Bravil, West Weald Inn in Skingrad and Olva’s Tap and Tack in Bruma. If you can find him in some civilized locale, you can make the upcoming fight easier by placing Mead in front of him while he’s gorging at an inn - he’s allergic to honey and consuming Mead will paralyze him. If you can’t be bothered to goad him into drinking Mead, you can always just cut him down on the road between towns, where it’s less likely you’ll be witnessed by authorities. However you do the deed, when Alval Uvani is dead, head to the Imperial City Market District and find Dead Drop Orders #6 and 500 gold.
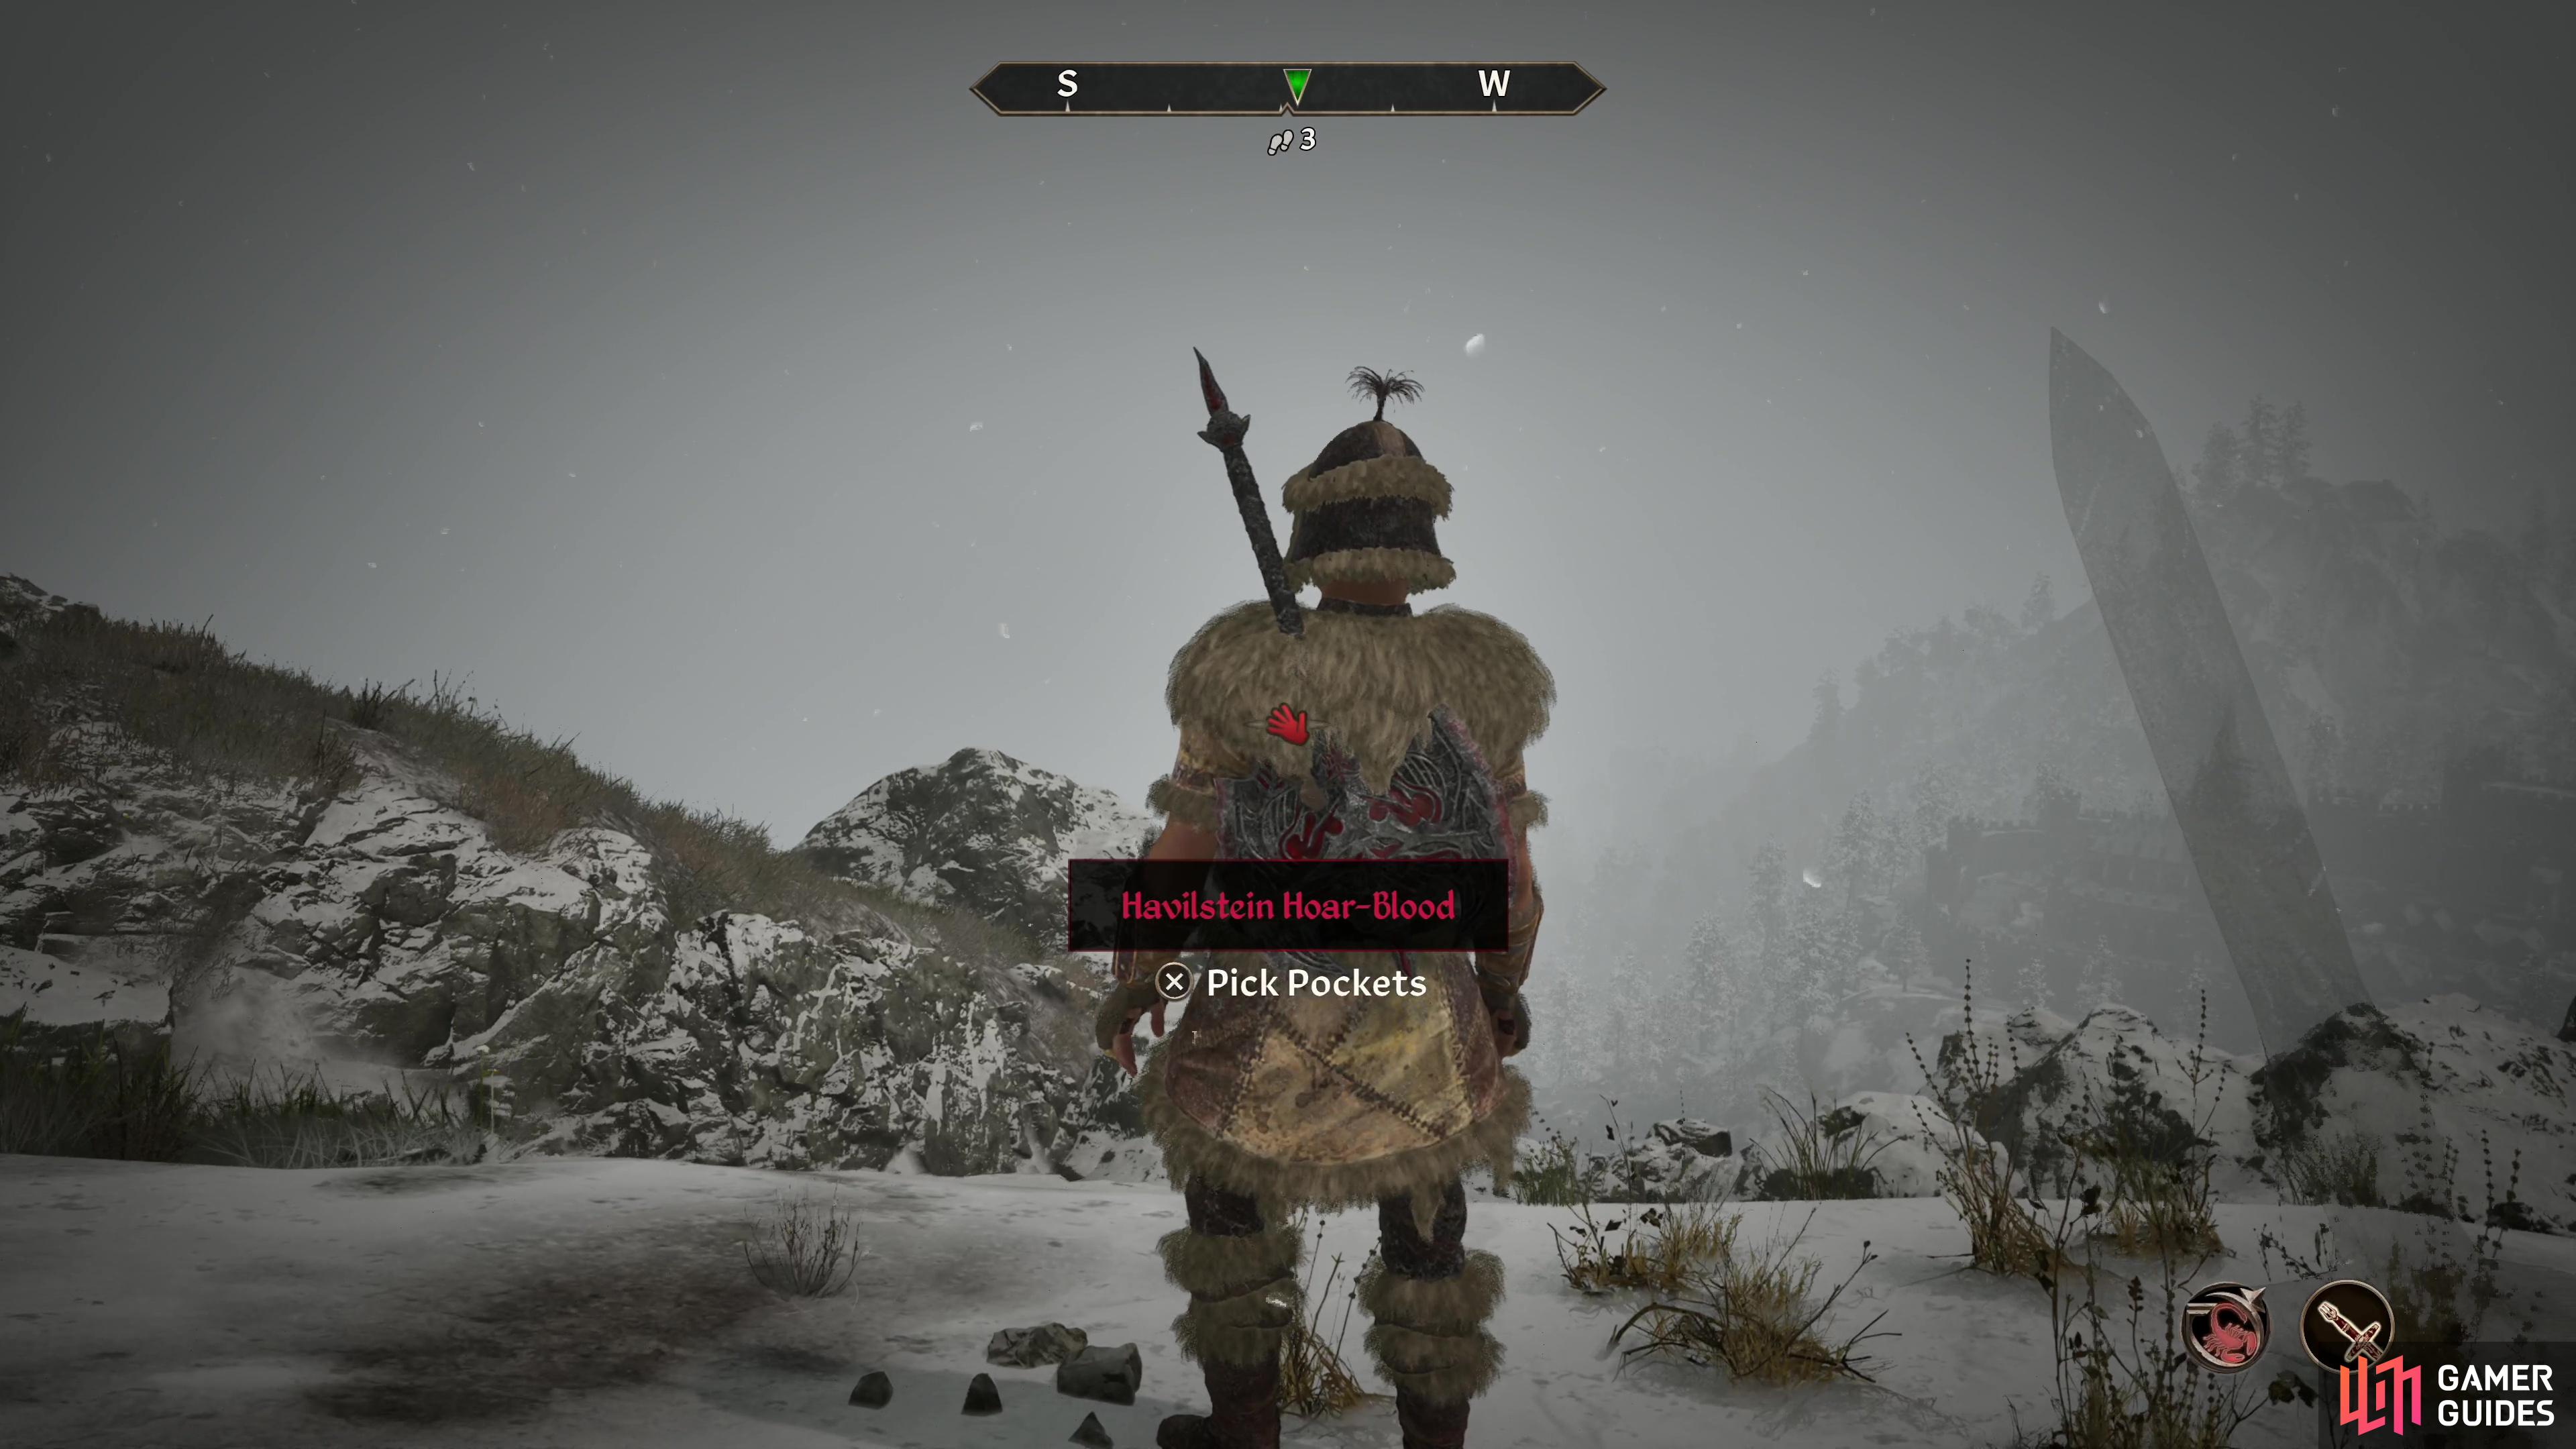
Head to Gnoll Mountain and defeat Havilstein,
then find an inconveniently-located dead drop in Nornal.
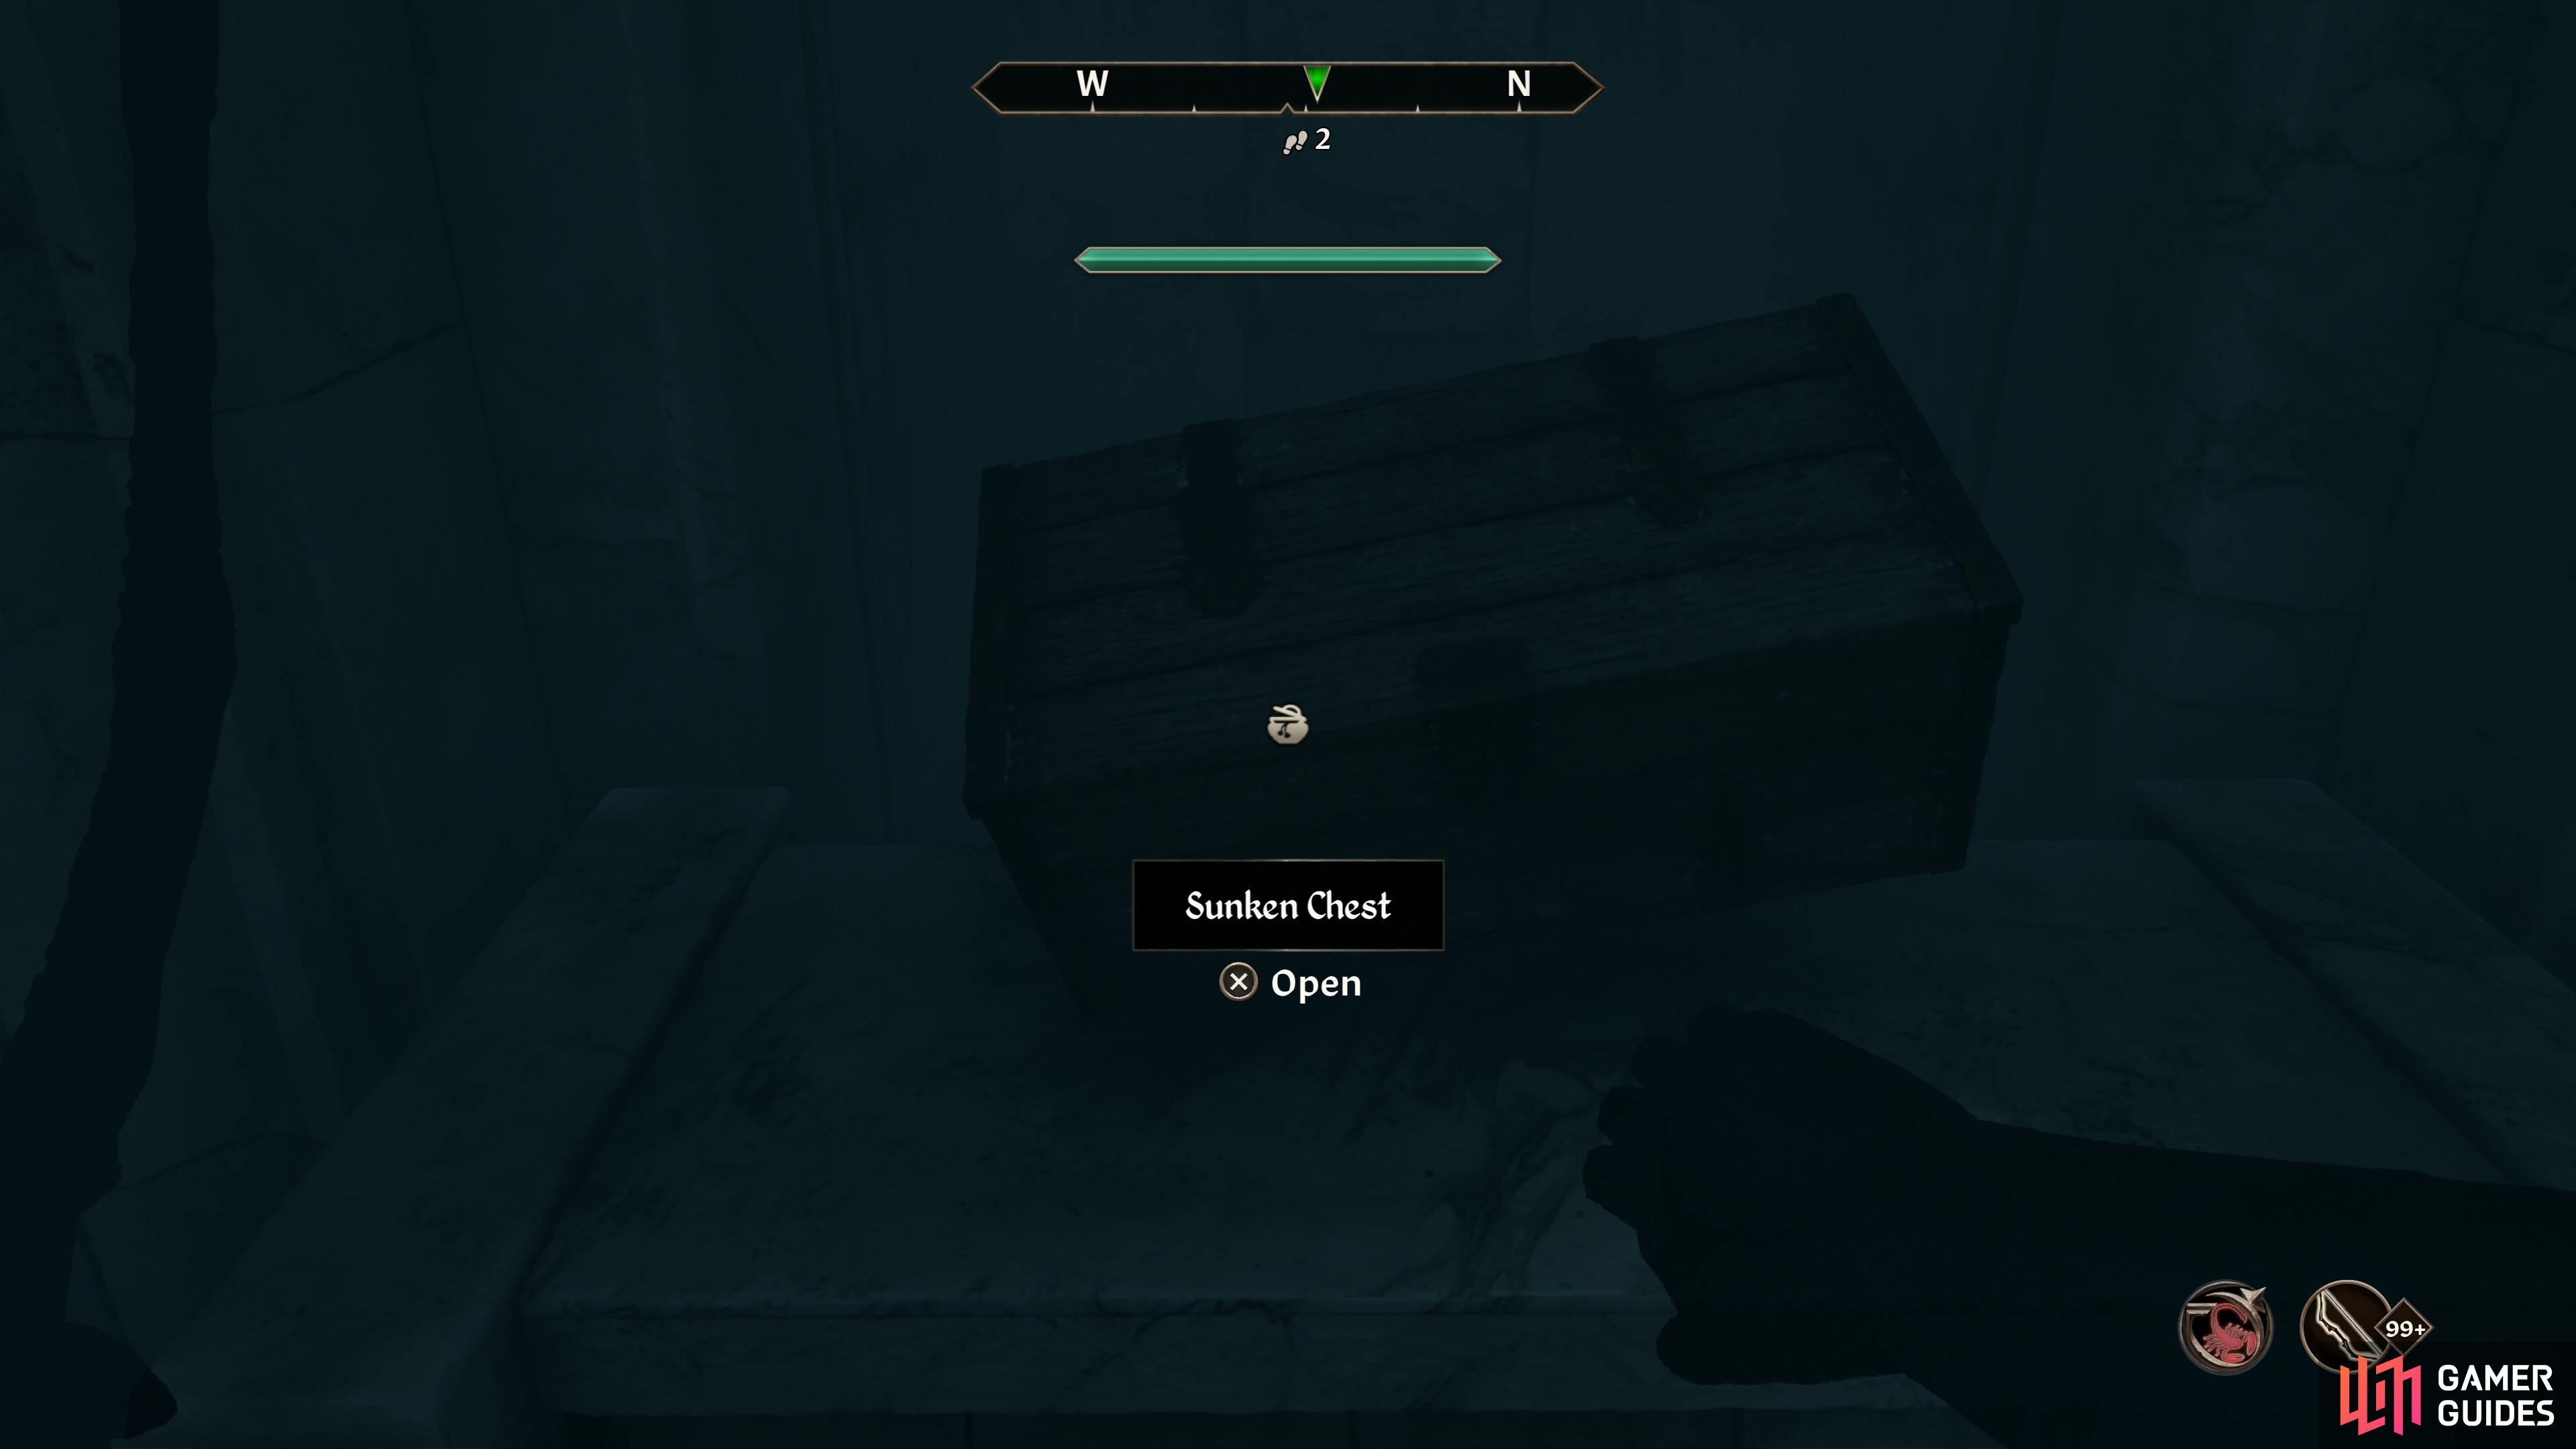
The Coldest Sleep
One of the simpler quests in the Dark Brotherhood questline, all you need to do is travel to Gnoll Mountain east of Bruma and kill Havilstein Hoar-Blood and his mangy mutt, Redmaw. Havilstein, oddly enough, is clad in a full suit of Fur armor, which makes him oddly squishy if you’ve leveled a bit, but otherwise there’s not much of note to say about him. The most interesting thing about this quest is the next dead drop, which can be found within the elven ruins of Nornal. From the entrance head down the linear path ahead until you reach a fork, then dive into the flooded tunnel to the northwest, open a door and loot the Sunken Chest beyond to obtain Dead Drop Orders #7 and 500 gold.
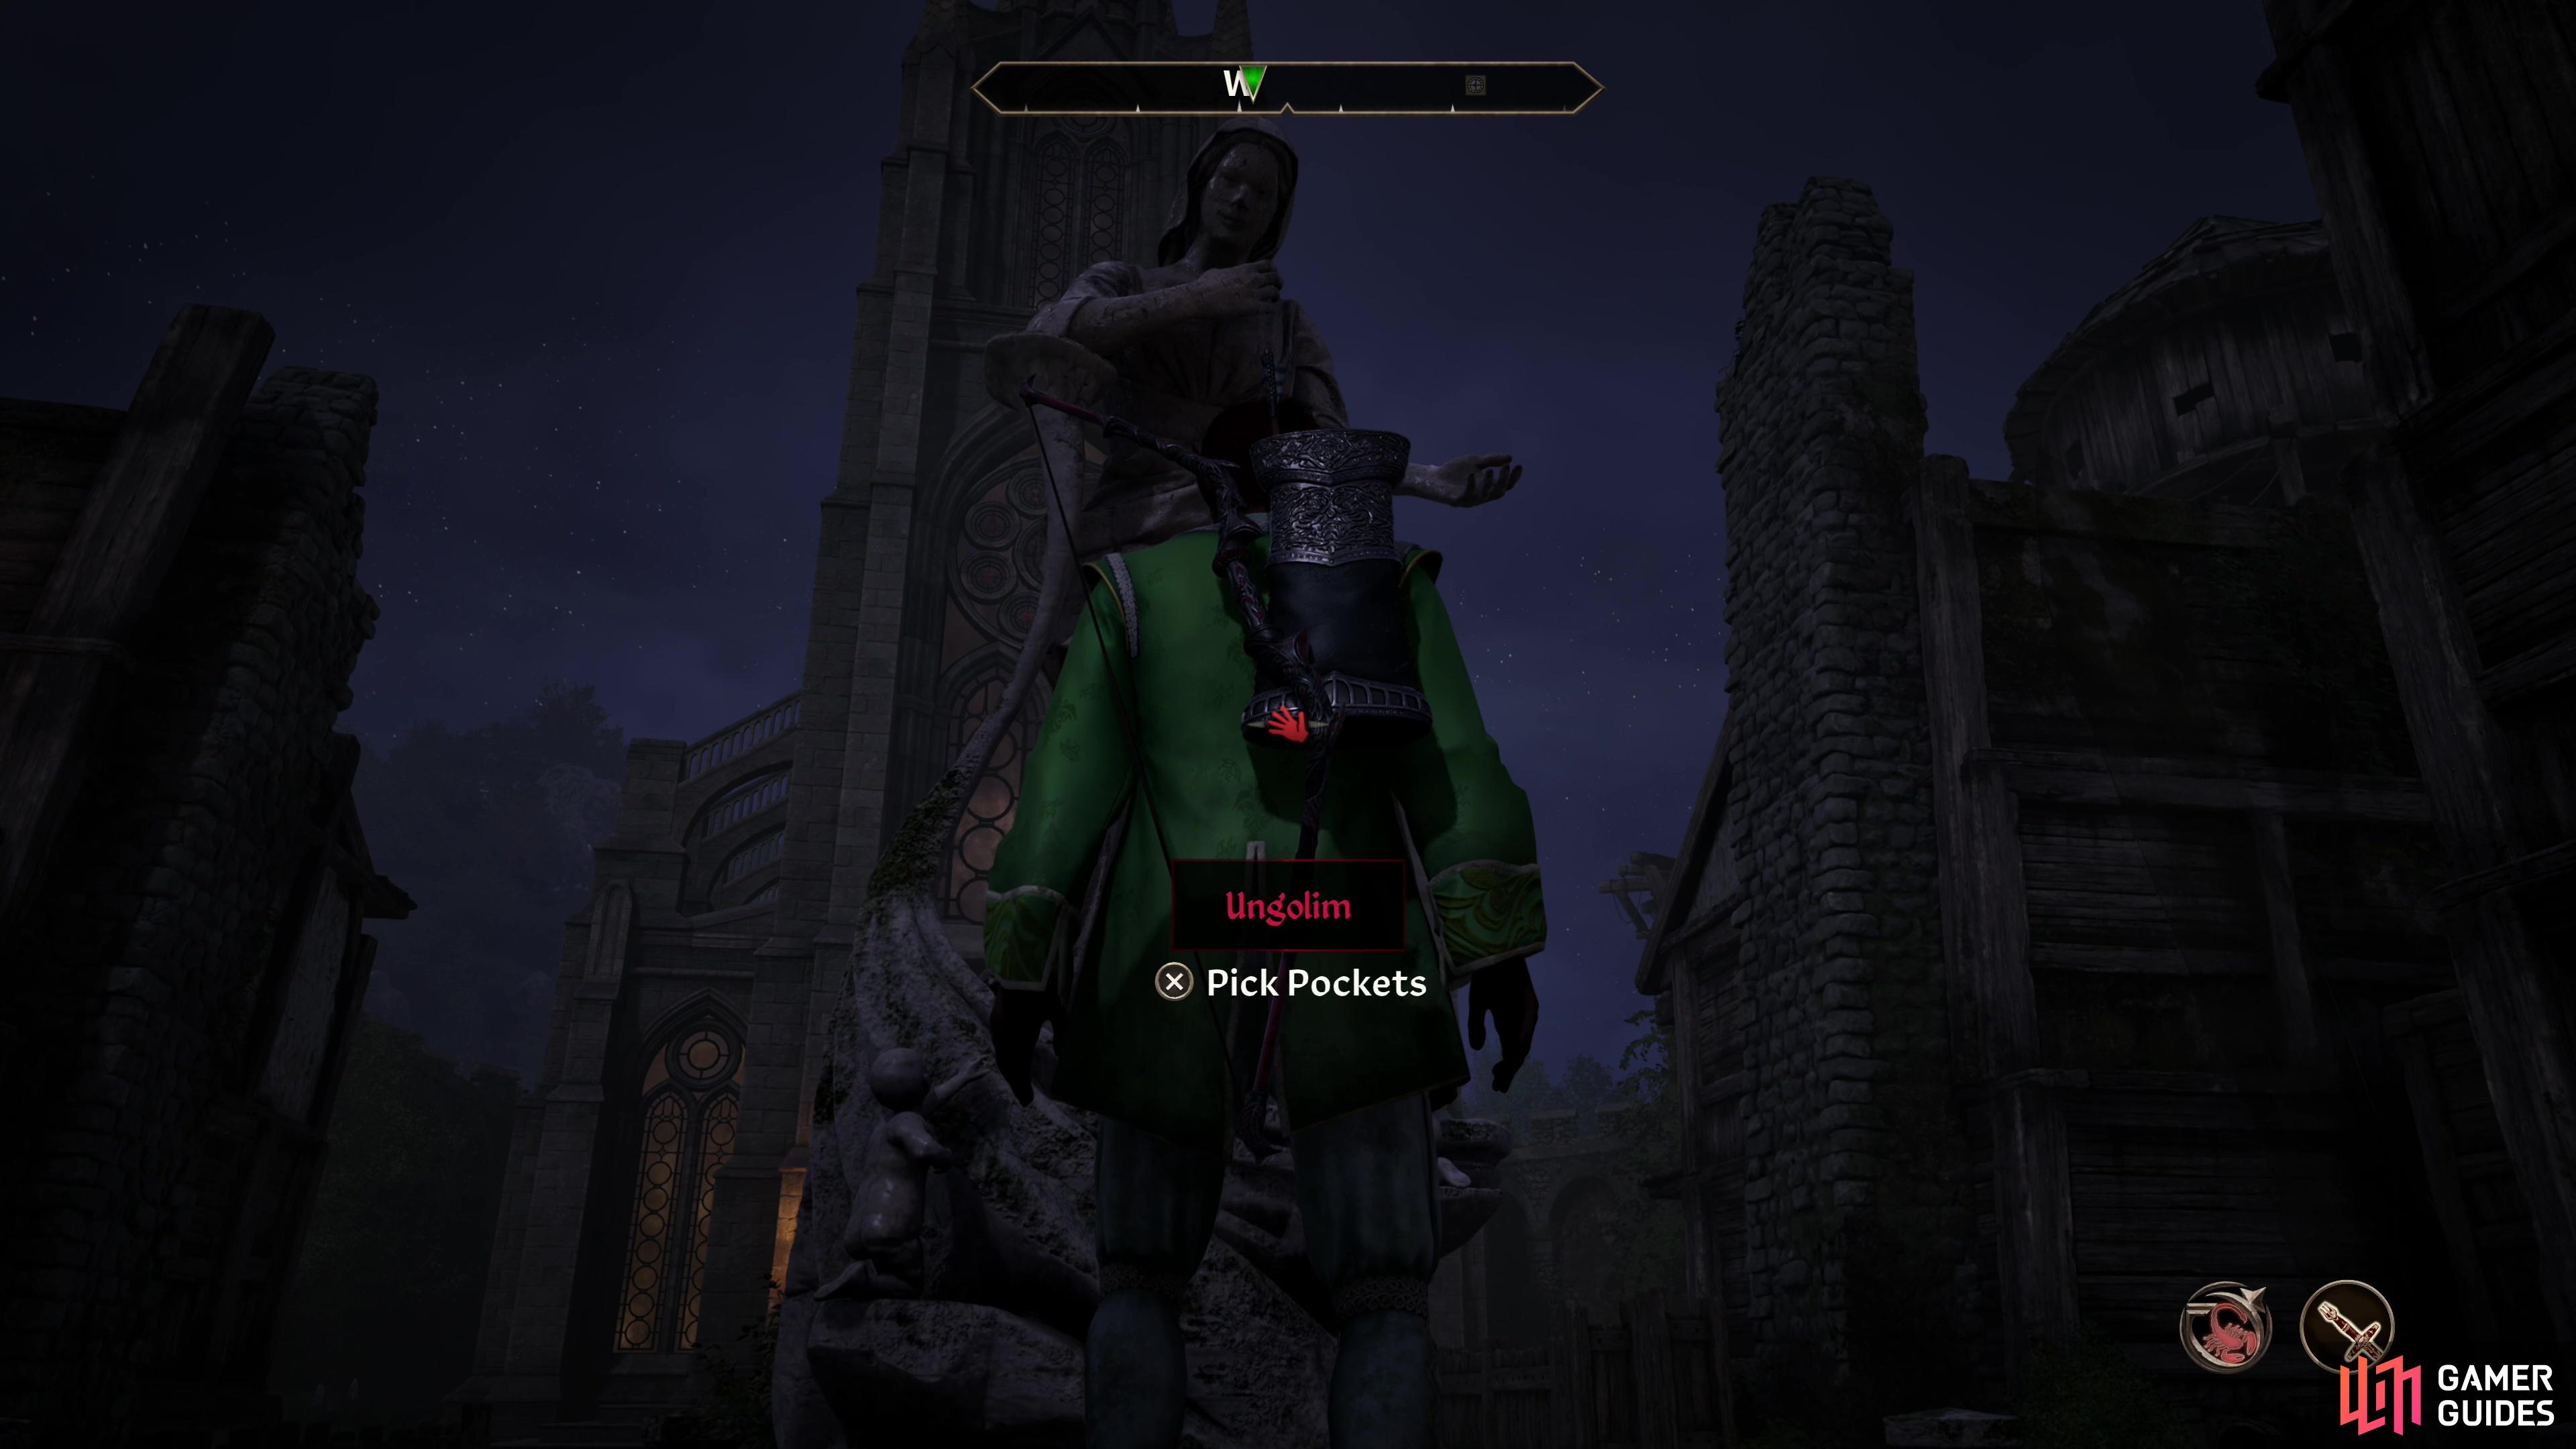
Find and assassinate Ungolim as he offers a prayer to the Lucky Old Lady,
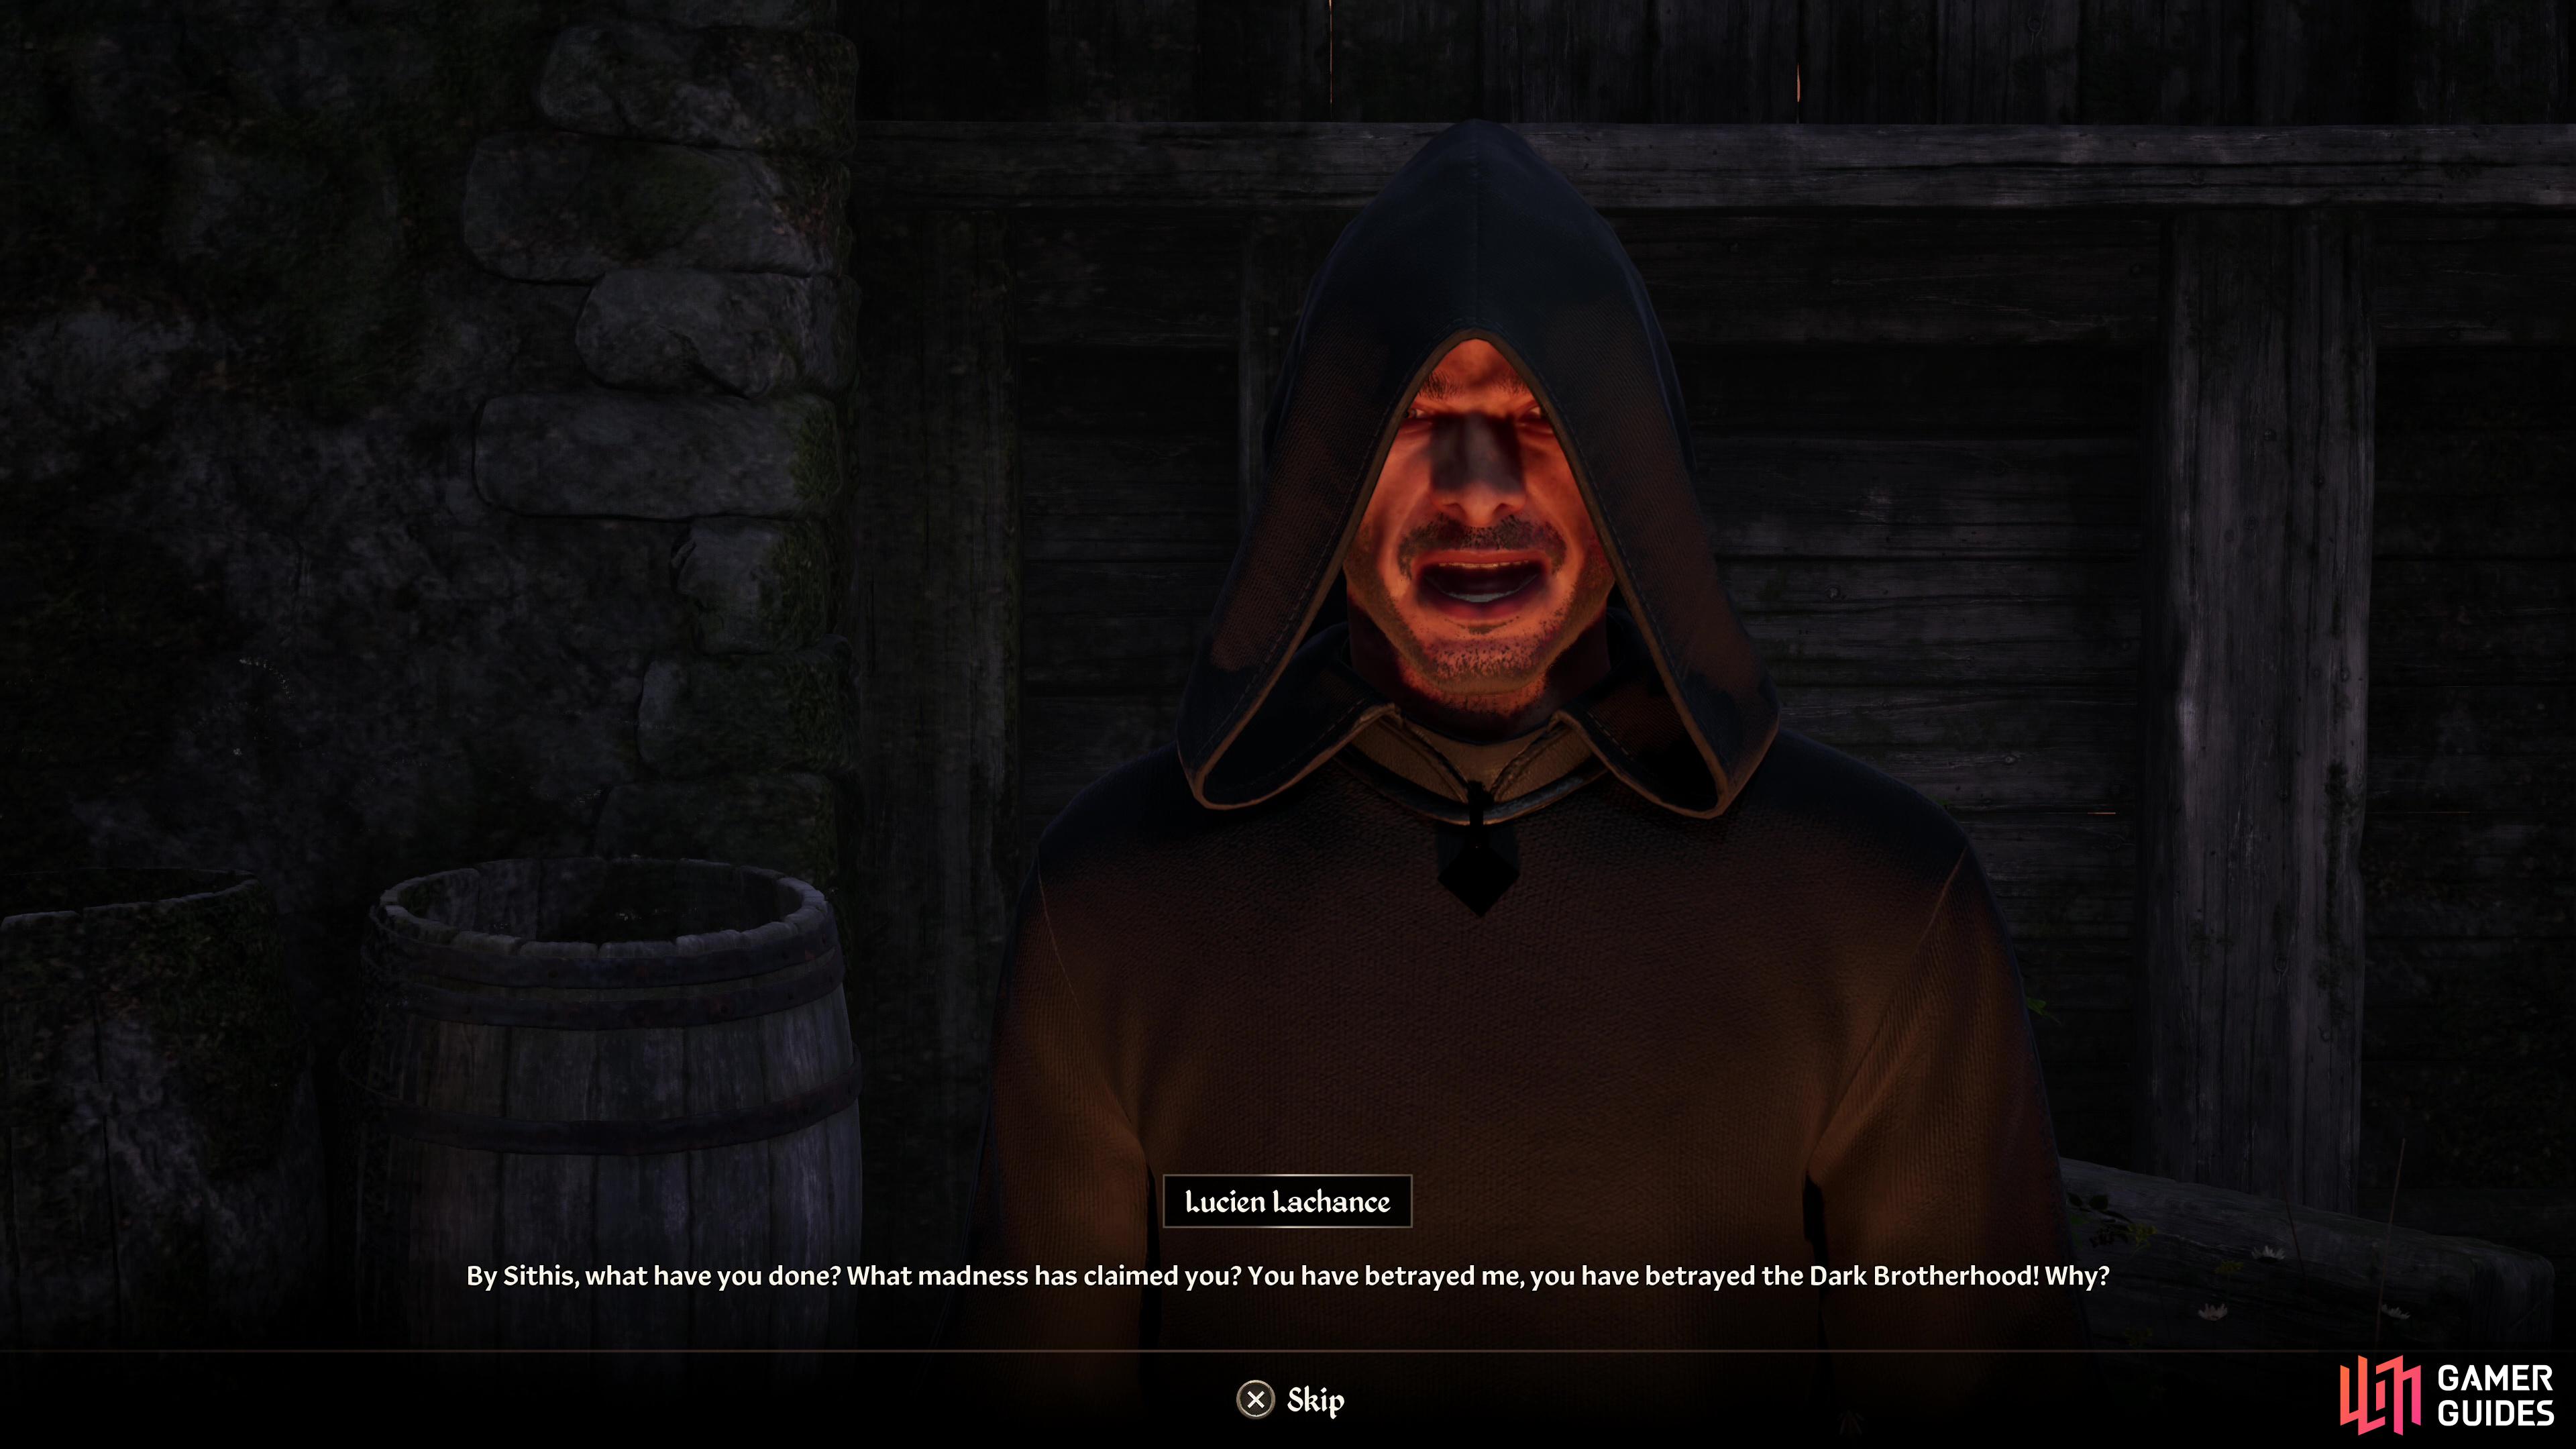
and Lucien Lachance will confront you with an unexpected revelation.
A Kiss Before Dying
Another straight-forward quest, like J’Ghasta, your current target, Ungolim has paid off the guards, so you don’t need to worry about being sneaky. Just head to Bravil between 6:00 PM and 1:00 AM to find the green-clad elf waiting for you near the Lucky Old Lady statue. Kill him and you’ll be chastised by Lucien Lachance, who reveals some shocking information about the last several dead drop assassinations.
Following a Lead
This quest flows fairly seamlessly from A Kiss Before Dying - Lucien Lachance will confront you after you assassinate Ungolim, after which you’ll be tasked with finding out who has led you and Lucien astray.
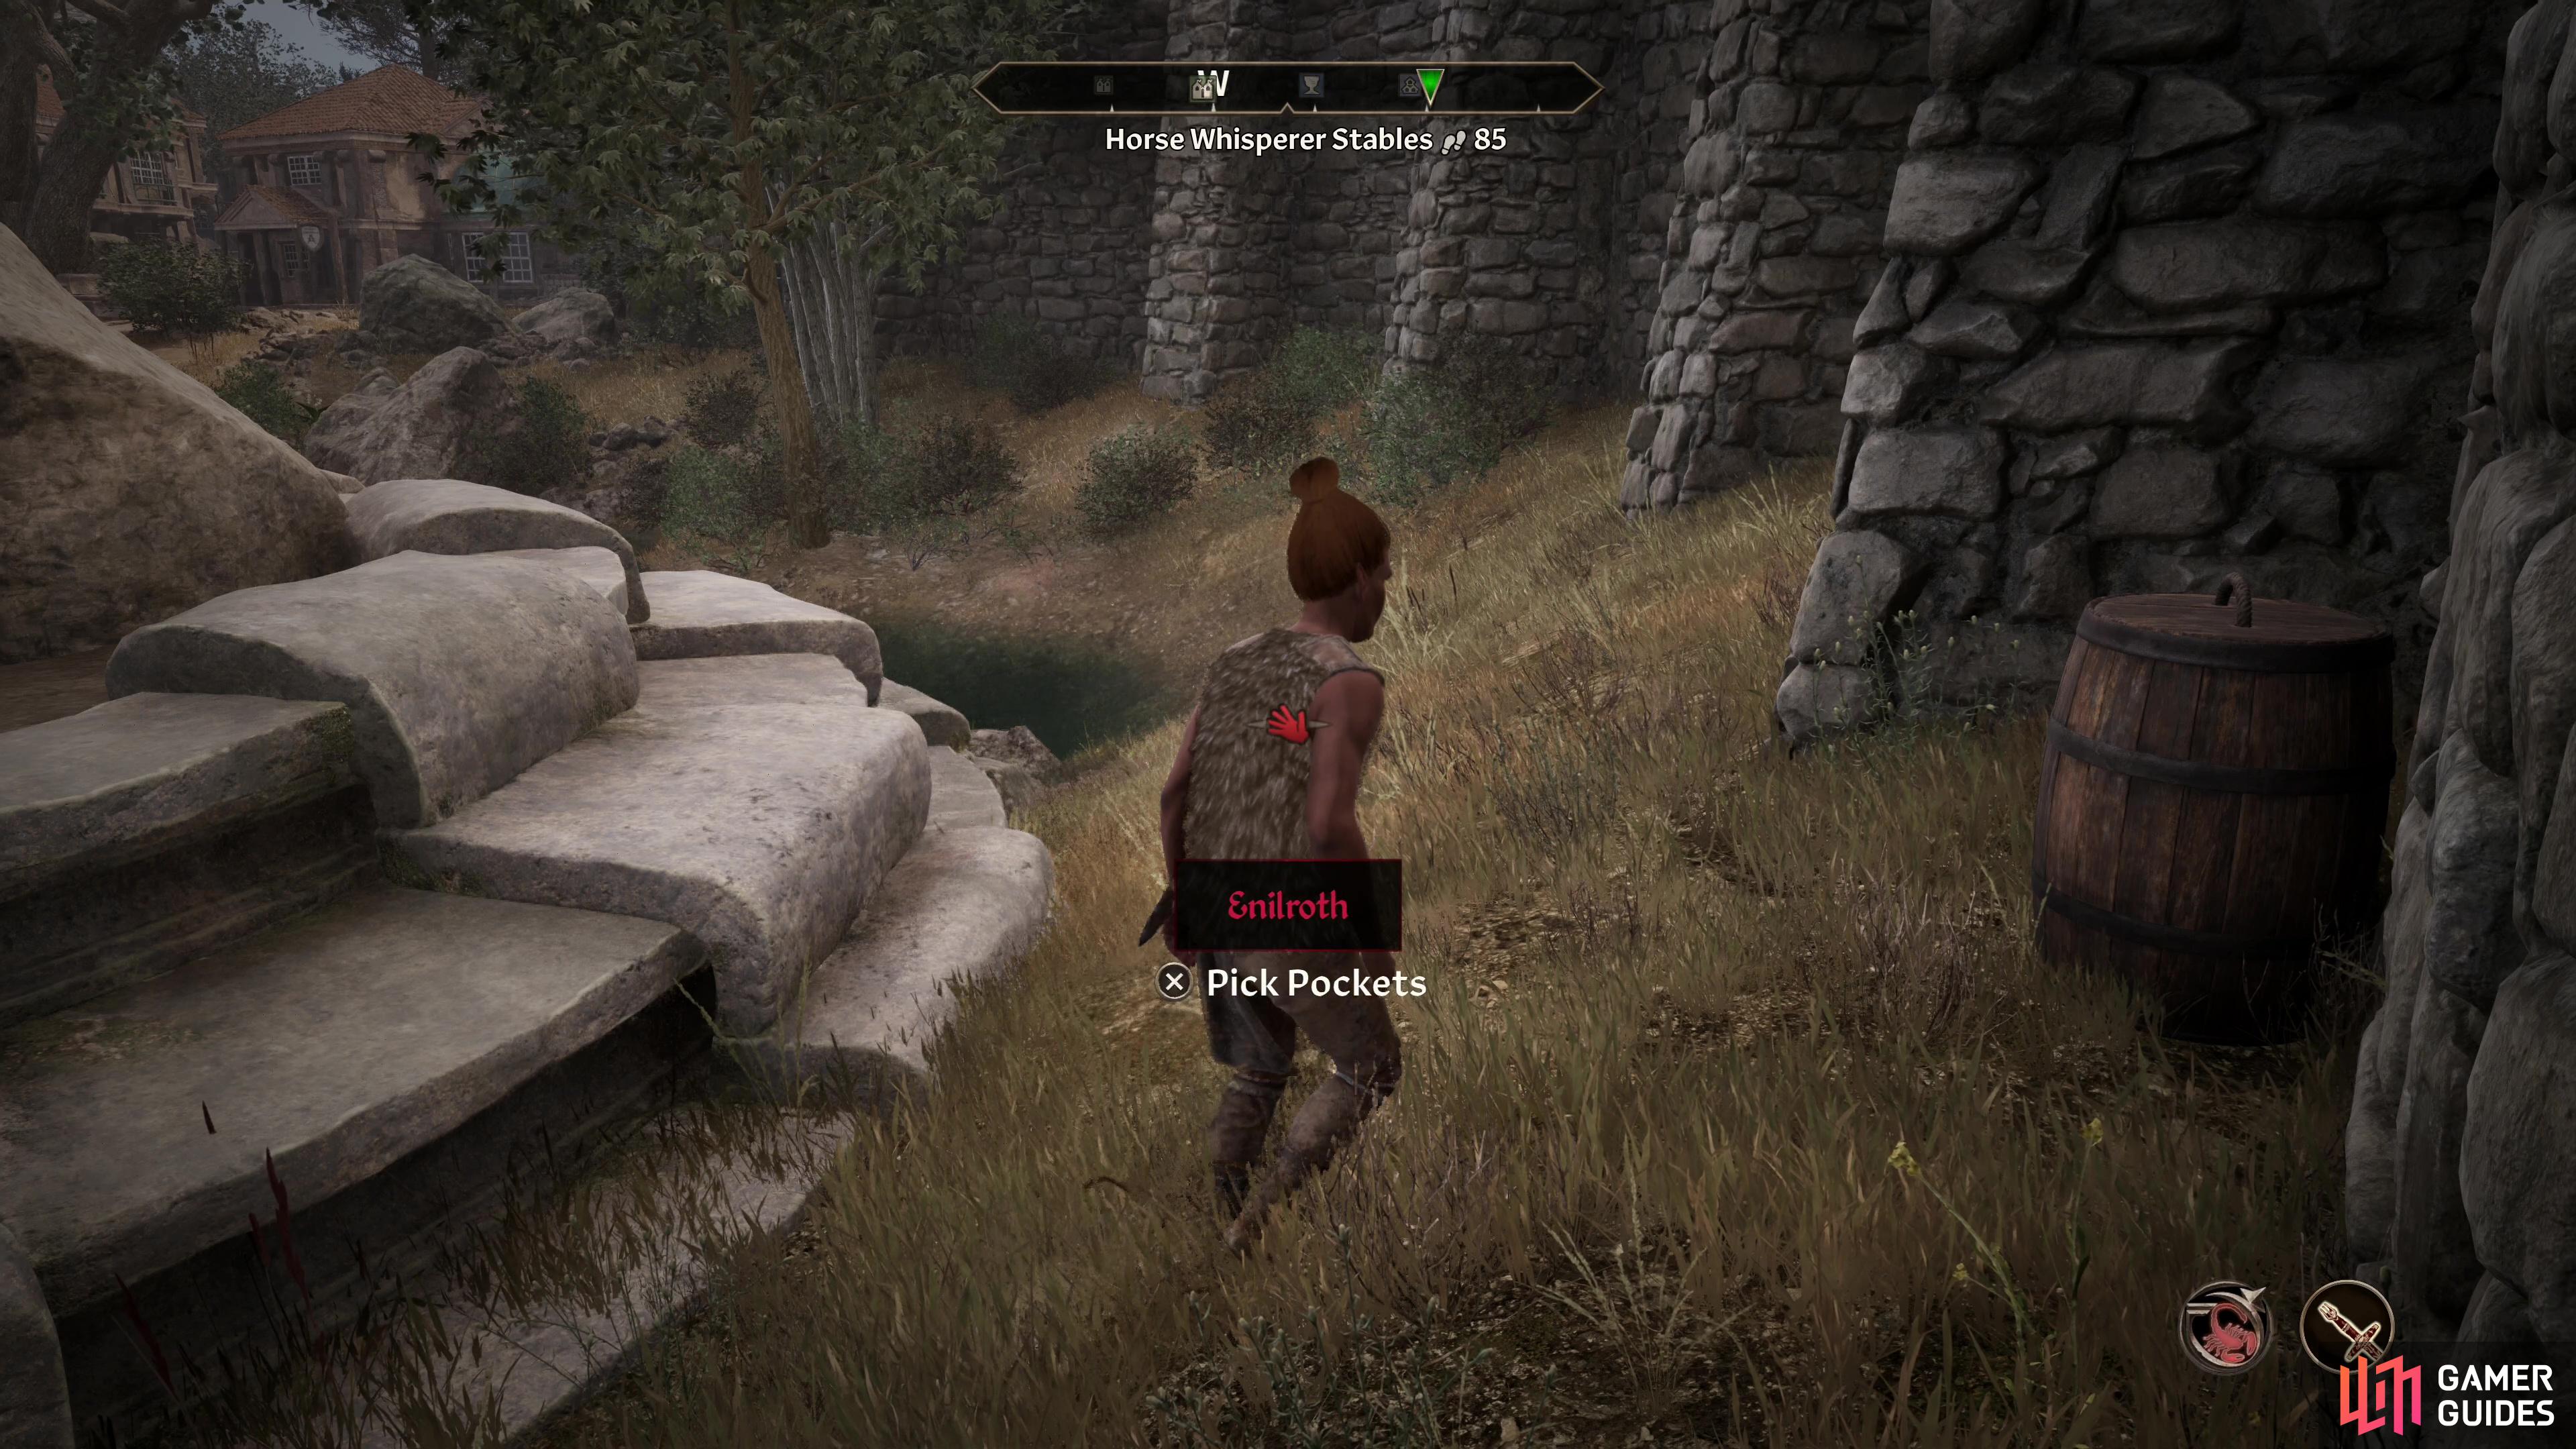
First head to Anvil and search along the northern wall, east of the Anvil Main Gate. You’ll find a Barrel behind a mermaid statue near a pond. Wait until an elf named Enilroth arrives and deposits something in the barrel, then confront him. You can grab Dead Drop Orders #8 out of the barrel, but obviously we have no intention of following through with them. Fool me once, shame on you, fool me twice, shame on me, fool me five times…
In any event, the panicked Enilroth will refer you to the cellar under the Anvil Lighthouse, which you can gain access to by talking to the lighthouse keeper Ulfgar Fog-Eye and threatening him.(or you can steal it off him, if you think that’s nicer). Enter the cellar once you have the key, explore the depravity within, and be sure to grab the Traitor’s Diary and read it before leaving. Taking Mother’s Head is optional.
Leave the cellar under the lighthouse and return to Applewatch to talk to Lucien, only to meet with other members of the Black Hand, instead. Arquen will speak to you and give you a set of Black Hand Robes and a Black Hand Hood and you’ll unlock the trophy/achievement Speaker, Dark Brotherhood.
Honor Thy Mother
Talk to the Black Hand and investigate their handiwork, if you wish. Talk to Arquen between 12:00 AM and 3:00 AM and this quest will begin. You’ll travel to Bravil, witness a scene, then descend into a small dungeon, and when another scene plays out kill your assailant. Talk to the Night Mother, loot the dead and the chests (and anything else you care to in here, really) and you’ll unlock the trophy/achievement Listener, Dark Brotherhood. After you leave the dungeon you’ll appear back in the Cheydinhal Dark Brotherhood Sanctuary, where you need to talk to Arquen to learn the nature of your duties moving forward.
Discover the truth of the Lucky Old Lady and root out the traitor in your midst!
Whispers of Death
The Dark Brotherhood questline is effectively over, there’s one repeatable task for a recurring reward you can busy yourself with. Once per week, head to Bravil at night and talk to The Lucky Old Lady statue, hear the Night Mother’s wishes, then return to the Dark Brotherhood Sanctuary in Cheydinhal to inform Arquen. That’s it, no more hands-on assassination quests. You’ll collect some gold for your errand, and can recruit some of the new assassins in the sanctuary to accompany you as companions, even if they are a bit lacking in personality compared to the old ones. May the Night Mother watch over you, dear Listener.
No Comments