The Beast Attacks
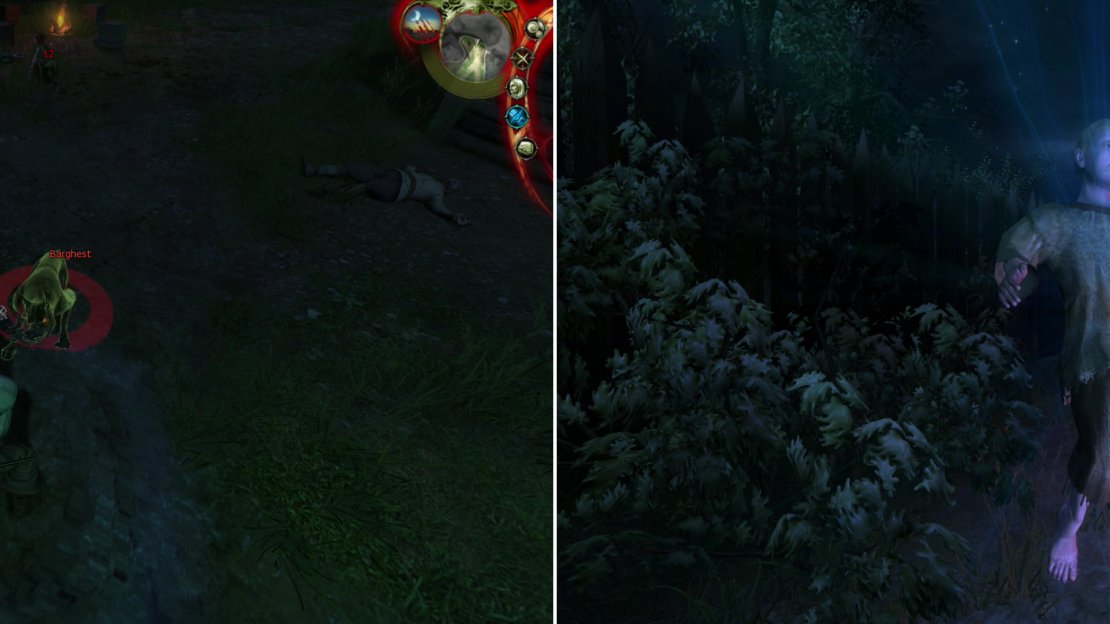
This chapter starts with a fight, so don’t get too complacent during the cutscenes. You’ll have to deal with four Barghests as soon as you gain control of Geralt again, and although you’ll initially have help, don’t expect them to last too long… and be careful not to attack your allies. Even though the Mercenaries suck at dealing with Barghests, they can sure as hell cause Geralt enough trouble. Just switch to the Group Style and you shouldn’t have any trouble taking the Barghests down. When most of them are dead, deal with any stragglers by switching to the Fast Style.
| Objective | Reward |
|---|---|
| For fighting off the Barghets assaulting the Country Inn | 500 XP |
Fight off the Barghests that make it through tha palisade using the Group Style or the Fast Style, depending on how many are nearby (left) then witness the orphan’s recital of the Ithlinne’s Prophecy (right).
Once the Barghests are dead, the redhead in green we saw earlier will talk to us, and the now-orphaned boy who escaped the Barghests will start glowing and uttering the Ithlinne Prophecy. As mysterious as that is, his outburst of magical energy seems to have driven off the Beast… for now. Shani-the redhead-will tell us that the Reverend, the community leader here, might know about some men with Salamander badges… and he might be worth talking to about the Beast. Seems kind of like a monster Witchers should deal with, doesn’t it? Continue talking to Shani and she’ll tell you a bit about herself, Alvin (the creepy magical boy), and Salamander activity in the outskirts.
Now you’re free to go do whatever you wish, and for the first time in the game it’s starting to feel like an RPG. You have plenty of quests to pursue in a fairly non-linear fashion, you can grind, you can run around and loot, or you can just talk to NPCs. Sounds fun, right? The first thing we should do when we get to a new area is find the biggest monsters and kill them-repeatedly. That’s right, the good old grind. No, it’s not necessary, but since quests give static experience, and monsters give less experience each level, it’s a good idea to grind first, then complete quests. Before we begin grinding, however, there are a few things we must do first.
The Country Inn
Head into the Country Inn, and ignore the Notice Board for now. Yes, it’s full of delicious quests we’ll want to complete eventually, but for now it’ll start quests we don’t need to start yet. Also ignore Vesna Hood if you see her-she’s worth talking to later, but for now, she’ll just complicate things for us in the short-term.
Inside the Inn, talk to Innkeeper Olaf, who after a rather unfriendly introduction will finally speak with you. We don’t need to pursue pleasantries with him right now, however. Instead, click on chest to the left of the text options to bring up the storage screen. This is where you can-and should-store all the crap you’re carrying which you do not need to walk around with… which is pretty much everything.
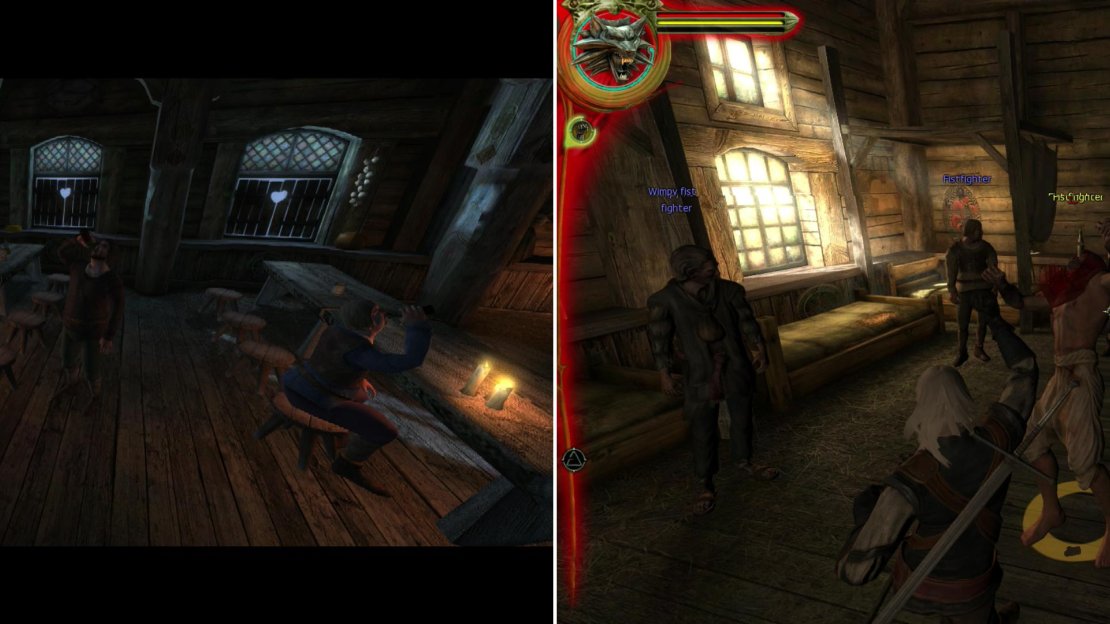
Once everything is stored, head over to the corner of the Inn where boxing matches are being held. Not only is there loot to be stored, but you can engage in some boxing matches. We should avoid fighting Fat Fred until we’re done grinding, since felling him will advance the quest “Fistfight” and give us juicy, static quest experience. Your fists need not be lonely, however, as this still leaves two Fist Fighters and a Wimpy Fist Fighter for me to box with. Most boxers will go up to at least double their inital wager, and for this collection of thugs it means we can score 50 Orens each visit. It’s going to be one of the few ways to earn money until we start doing quests, so get used to it.
Help keep a Drunkard off the wagon (left) and when he inevitably loses a drinking contest with a poison-resistant mutant, take his copy of “The Tome of Fear and Loathing, volume I”. Before that, though, indulge in some fist-fighting (right), and be sure to return regularly to show the locals who’s boss… and keep your coin purse fattened.
Once you’re done fighting, go talk to a “Drunkard” who should be sitting around one of the tables. When the beer mug icon appears to the left of his text options, click it to start a drinking contest with him. There are quite a few characters you can drink with in this game, and some are pretty heavy hitters. For this guy, however, just be sure to have some Kaedwenian Stout or Viziman Champion in your inventory. Whenever possible, you should ensure that you use weak alcohol when you try to out-drink somebody, to avoid passing out yourself… and to cut down on costs. After downing five mugs of Viziman Champion, he’ll concede defeat and give you “The Tome of Fear and Loathing, volume I” . This book would have cost you 250 Orens if you have to buy it at an Antiquary.
Now that we’ve stashed our loot, fought for some Orens, and got drunk for a book, it’s time to rest. Either pay Innkeeper Olaf five Orens to sleep, or head outside and attempt to mooch off somebody else’s fireplace, if one’s lit. If not, you can always use some Flint to start a fire up. Rest and distribute more talents. Everybody should be level three, closing on level four right now. This time you should pick Monster Lore (in the Intelligence tree), Strong Steel (level 2), and Stun (in the Aard tree)… all for a very specific endeavor we’re about to to embark upon. Once done, rest until the afternoon.
Once you wake up, head over to the Dwarven Blacksmith who is lurking to the north of the gate. Listen to him rant about discrimination and when he’s done whining, ask him about weapons and he’ll offer to sell you some oil for 35 Orens. At that price, it’s a steal, and he won’t just give you some oil, he’ll give you the Crinfrid Oil recipe so you can make it at will.
Enroute to the Reverend
Head through the gate of the palisade surrounding the Country Inn. It’s time to go see the Reverend… and to loot abandoned houses along the way. There are two routes we can take to reach the Reverend’s House, either by going north from the Country Inn, or by going west. In order to complete some minor encounters along the way, take the western route-past the Royal Huntsman, rather than past Abigail’s Hut, being sure to collect herbs and search houses to score minor loot along the way. Below are listed some random encounters you might find if you’re diligent about talking to NPCs along the way.
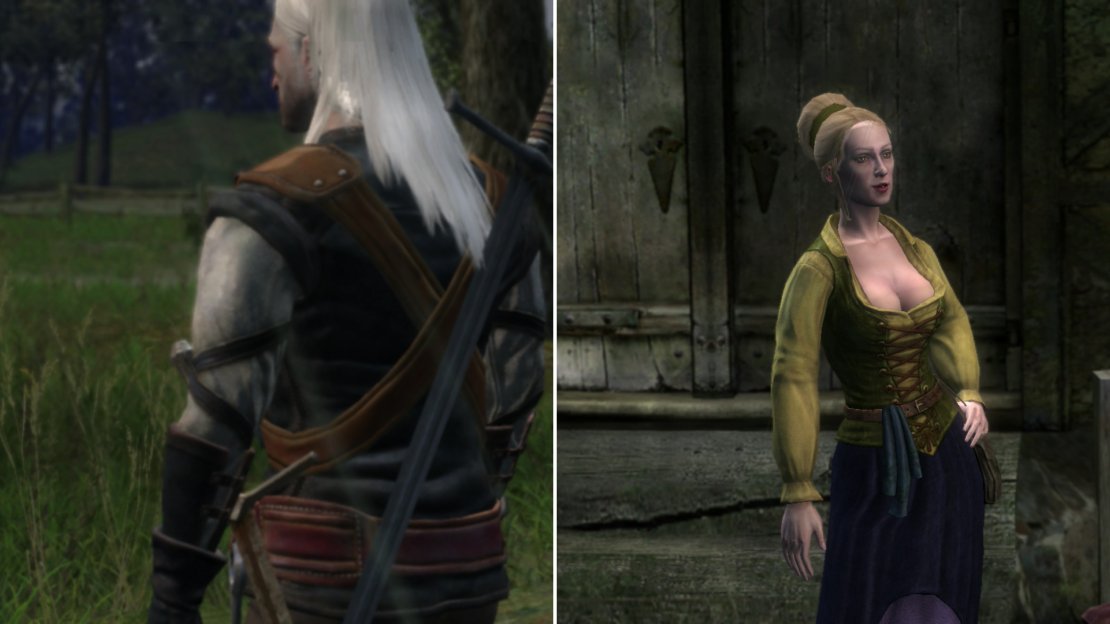
Talk to people as you explore! You never know what goodies you’ll get. Case in point, a random “Traveller” will pay an old debt (left) and this lady will indulge in some carnal pleasure in exchance for some flowers (right).
Along the way you might find a “Traveller” who will recognize you if you talk to him. Recognizing you as the legendary Witcher Geralt who helped him out in the past, he decides to repay you for services rendered. It’s a nice-and unexpected-way to score 100 Orens from a stranger.
Near some of the houses along the way (or perhaps in town) you’ll find a “Beggar”, an old lady who will ask you to provide a White Gull Potion so her dying grandson can expire less painfully. If you provide one she’ll give you the “Eternal Fire Signet Ring” she stole from the Reverend-who refused to help. This is an item we’ll obtain at less cost to ourselves later, but hey, it’s always nice to make note of alternatives.
Also along the way you might encounter a blonde “Peasant Woman” with a green and yellow top. You’ll know it’s the right lady because she’ll greet you with “Greetings, handsome traveler.” Give her some Tulips (which can be found in one of the houses, or obtained from a “Townswoman” wearing white by giving her some other flowers) and she’ll ask if you find her fetching. Suggest that you find a nook somewhere to get the “People of the Outskirts” Sex Card . If you’re having trouble finding flowers, the Viziman Herbalist near the Country Inn sells Daisies (10 Orens) and Orchids (50 Orens) which might work to get you some Tulips from the Townswoman in white. Or if all that’s too much for you, Declan Leuvaarden, a merchant staying at the Country Inn (find him during the day, usually around noon) will just sell you some Tulips (20 Orens).
Lastly, along the way you can find an ‘Old Woman’ who insists she doesn’t talk to strangers. What she really means is that she doesn’t talk to strangers unless they pay her about 20 Orens, first. She’ll only tell you one thing, either she’ll tell you about a random herb, including Hellebore Petals, Sewant Mushrooms, Celandine, Verbena, and Beggartick Blossoms come up, or she’ll tell you a story about plagues and cannibalism. Frankly, you’ll get all these herbs from other sources, most of them can be obtained by reading the book “Field Plants”, and the last two mentioned won’t even come up until Chapter 2. Still, if you want to bribe some info out of her, this is an option.
The Outskirts Village
When you finally reach the outskirts of the… outskirts village, you’ll be harassed by some Village Militia, who ultimately decide that you’re not worth messing with. Continue past them to find the Reverend, who is most likely outside of the Chapel. He’s not too friendly, and he tells you that to earn his trust you’ll need to light to fires at the five “Eternal Fire Shrines” around the outskirts. Of course, this has to be done at night while it’s most dangerous… but we’re not here to do his stupid quests. At least, not yet.
Pick dialogue option #1 and he’ll tell you to solve the problems of Mikul, Haren, and Odo, three prominent residents of the outskirts before he’ll tell you more about Salamandra. To prove that he sent you, he’ll give you the “Eternal Fire Signet Ring” , which is what we came for. Equip it now and prepare to do some more running around.
Since we’re at this village, we might as well loot it, too. There are several books to find, but more importantly there are some “Old Townswomen” who complain about not having any food. Give them some and they’ll tell you old stories-one tells you about a Miller’s daughter killing herself and becoming a Drowned Dead, another tells you about Barghests, a third will tell you about Fleders, and a fourth will tell you about Werewolves, and gives you journal information about Werewolf Fur . What morbid people.
On the other hand, if you talk to a “Townswoman” clad in white she’ll ask for some flowers. Give her some and she’ll give you Tulips in return, and tell you about some Salamanders lying in wait for you. Lastly, talk to a Stall-Keeper and she’ll tell you about another Witcher who talked to Reverened, which the Reverend himself talked about. You can also buy food from her, if you’re so inclined.
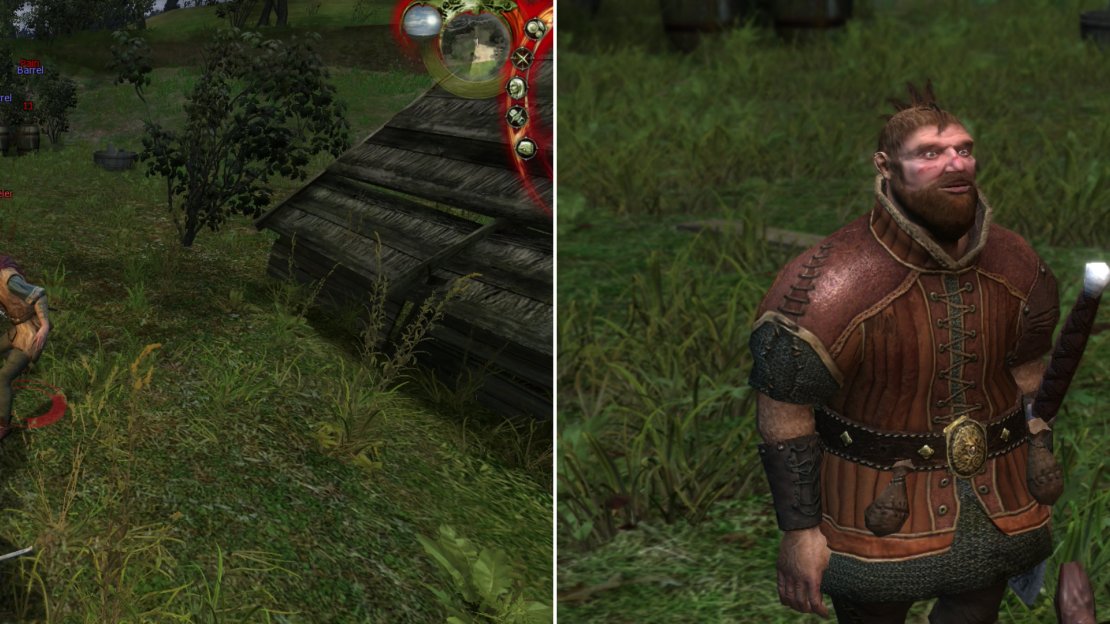
Fight off the racists harrassing the Dwarf (left) then reunite with your old pal Zolan Chivay (right).
We’re done with the village for now, so head north-east past the Stall-Keeper and head down to the riverside. There are more houses to loot, but most importantly you’ll find Zoltan Chivay, who is being harassed by several human racists. Getting close (and the word “close” should be taken very loosely in this case) will start the quest “Racists” , one of the few quests we’ll do before grinding. Get close to the encounter and a human will question your intent, or wait around and a fight will start.
If you’re playing a strictly neutral Witcher, you might want to sit this one out. Racists are bad, sure, but they’re not the sort of “monsters” that should concern a Witcher. Besides, if you try to defend every non-human in Temeria, you won’t be much of a neutral Witcher for long.
After the racists are dead, Zoltan will talk to you (and be understandably upset if you just sat back and watched), where he’ll reveal that he’s yet another old friend of yours. Exhaust all of Zoltan’s dialogue options and he’ll leave. He’ll stay at the Country Inn for the rest of the Chapter, and we’ll have more to do with him later, but for now, we’ve got other things to bother with… namely grinding, helping out the three men the Reverend told us to help, and lighting the “Eternal Fire Shrines.”
First, however, loot the bodies for some Dice Boxes, which will start the quest “A Game of Dice” . You can also pick up a Rusty Sword, if you missed your old one. Loot the rest of this fishing village, just avoid talking to Haren Brogg for now… although don’t be afraid to loot his house.
| Objective | Reward |
|---|---|
| For helping Zoltan Chivay fight off the racists | 2000 XP |
Mikuls Mission
Agree to help Mikul-the lazy guard-by doing his job for him (left). When you arrive in the Crypt, the cause of the Ghoul infestation becomes abundantly clear (right).
Continue north-east along the river bank until you reach a bridge. Cross the bridge to reach the Merchant’s Gate, outside of which you’ll find Mikul. Talk to him and he’ll tell you that there’s a quarantine in effect and that only folks with passes are allowed in. He’s not too bright, and before he really gets chatty he demands proof that the Reverend sent you. Show him the ring you were given (if you have it equipped you can click on the “hand” icon to the left of the dialogue options) to get him to open up. Pick dialogue option #1 and he’ll tell you that he was supposed to kill some ‘dead’uns’ in the crypt down the road. Offer to kill the undead for 200 Orens and he’ll give you a key, which will open the door to the crypt.
From the Merchant’s gate, cross the bridge again and continue down the road to the east, again, looting houses as you go. Eventually you will come to a fork in the road near an “Eternal Fire Shrine”. From this shrine (which should be marked on your map with an obvious red circle) head along the eastern road until you reach the Crypt Entrance. Save your game and head inside.
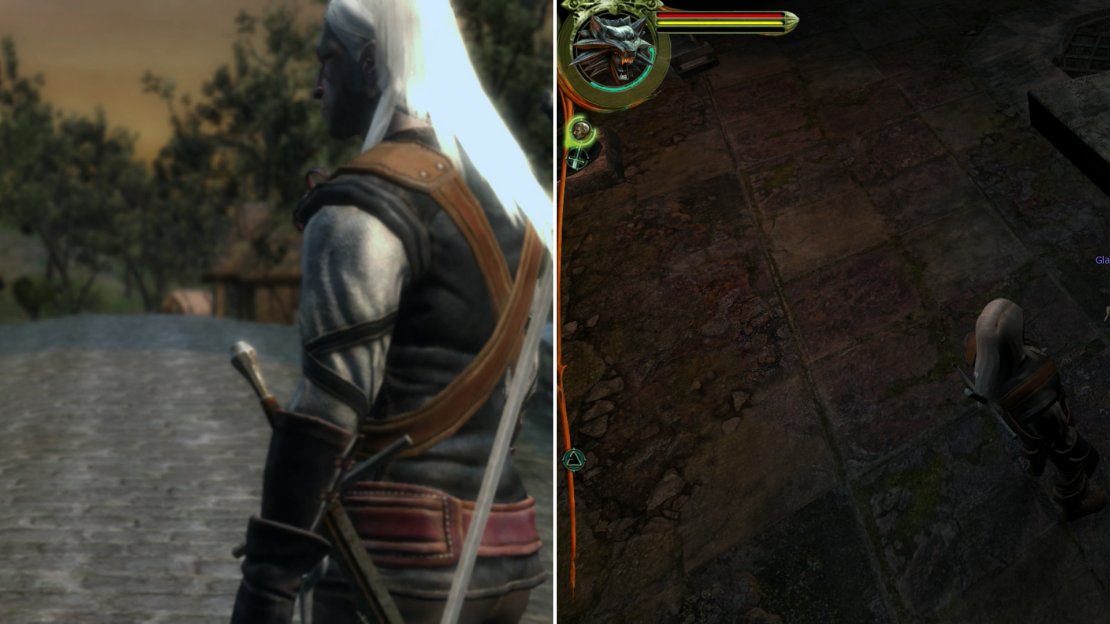
Once inside you’ll get a custcene showing the body of a dead girl, who obviously poisoned herself. The troublesome Ghouls Mikul was supposed to kill were drawn to her corpse. The game also helpfully tells you to drink a Cat Potion… which we’ll do when we come back here to full explore this place, but until then, setting the gamma up to 2.00 in the options/video options menu will work fine for now. Anyways, grab the Glass Vial off the floor before you do anything else.
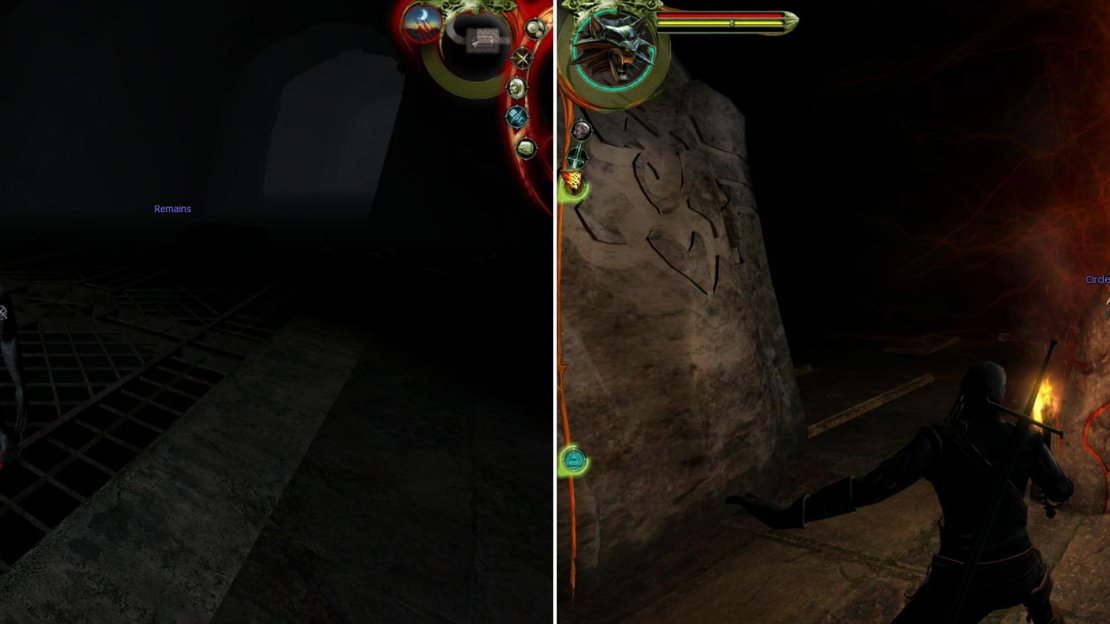
Ghouls might be tough at this point in the game, but a lucky shot from Aard can leave them vulnerable to a coup-de-grace (left). Fight your way through a half-dozen Ghouls to reach the prize: the “Circle of Inner Fire”, which will teach you the Ingi Sign (right).
Head deeper into the Crypt until you stumble upon a Ghoul. Ghouls are fairly tough at this point in the game, but a single Ghoul isn’t much of a threat. Get used to fighting it, then continue to the east until you reach some branching tunnels. Very carefully head into the room to the north. Once you’re inside enough, three Ghouls will pop out and attack you. Run back to the entrance and hopefully you’ll lose some of them-three Ghouls can be a hell of a fight at this level. If not, with a little luck your Aard sign will stun one of them, which you can then finish off with a coup-de-grace. Two Ghouls shouldn’t be too much trouble, but three at once are lethal. Use the Strong Style (you won’t deal enough damage with the Group Style to defeat them, most likely) and use Aard whenever they group up. With some tactics, a little luck, and patience you should be able to win this fight, even at level three. And if you fail, try, try again-after all, you saved, right?
In the room where the three Ghouls spawned you’ll find a corpse with some goodies worth looting, but best of all is the “Circle of Inner Fire” . Activate it the learn the Igni sign. It’s a handy sign, but for our present purposes, we’ll use it to rest between grinding runs without needing to use any Flint, or without having to pay the Innkeeper five Orens to rest.
| Objective | Reward |
|---|---|
| For killing the Ghouls in the Crypt | 1000 XP |
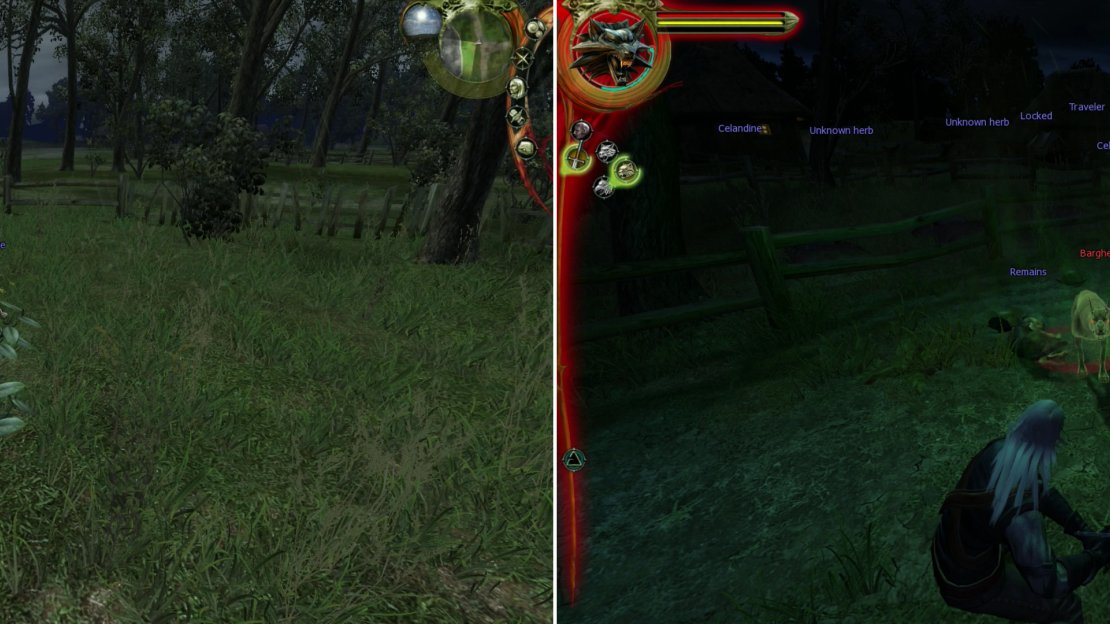
Be sure to stock up on herbs while you run around-having ample resources will come in handy later (left). The main goal, however, is to kill Barghests as you run the loop of the Outskirts (right).
Finally, after all that work we can begin to grind. If you didn’t talk to Vesna Hood in the Country Inn (and hence don’t have her in your Journal under the “Characters” section) her quest “She’s No Early Bird” won’t start. How to grind this area? Just run circuts around the map at night, killing Barghests and Drowners (near the river) and the occassional Ghoul lurking around. If there’s more than three enemies, use the Group Style, against Barghests and Drowners use the Fast Style, and against Ghouls use the Strong Style. After you’ve done a full circut, return to the Country Inn and rest by lighting a campfire in the palisade with Igni. Also considering doing some boxing once per run… Just don’t stay out too long or else the area will become safe during the day-which means you can’t use your Igni sign to start fires. If that’s the case, you’ll have to run around hoping to bum a fire off of others, or you’ll have to light one yourself with some Flint, or you’ll have to pay the Innkeeper to rest.
To make these runs extra worthwhile, you might consider buying the book “Field Plants” from the Viziman Herbalist who stays outside the Country Inn. It’s 200 Orens, but if you start collecting the herbs growing around (Celandine, Berbercane, Balisse, Hellebore) you can stock up quite a horde while grinding. It’ll come in handy later. Also, keep some of the Barghest Skulls you’ll find, as they’ll be needed in an upcoming quest, as well as in a quest much later.
Consider leveling up until about level six or so, after which point Barghests just aren’t giving enough experience anymore. Sure, you can still focus on the Drowners near the river, but it’s more tedious, and really, just not worth the time. As you level up, you should buy ranks in Dexterity (levels one and two), Fast Steel (level two) and Group Steel (level two), which will make further leveling easier. After that, bring Igni and Aard up to level two, then focus on the damage boosting talents within the combat style trees.
No Comments