Primary Objectives
Picus Helipad
Before entering the door, considering exploring the small area behind the fence. You can either hack the LVL4 security device, or use some power boxes to jump over the fence (with Jump Enhancement) [EXPLORER 200XP]. You can find a [CYBERBOOST PROENERGY BAR], [100 CREDITS], an [AMMO CAPACITY UPGRADE] and two [BEER] here. Yet an alternative way to get inside this area is to smash the breakable wall from the maintenance room inside the building (first door on your right), but that does cost an energy cell. There’s an Ebook (Uniting the World) on your way down the hall, but little else.
Picus 7th + 6th Floor
There are three rooms to your right. One office contains an Ebook (Synthetic Thought: The Human AI), [100 CREDITS] on a briefcase lying on a bench, and [40 CREDITS] inside the desk. The unlocked PC contains background info.
The meeting room contains a [POCKET SECRETARY] with a PC login (PKANE/staxx), while the other room [1x STUN GUN DART] and [60 CREDITS] in the drawer.
The north part of this floor contains a [CYBERBOOST PROENERGY PACK], and two desks contain [110 CREDITS] and [15 CREDITS]. There’s also a vent on the northwest side of the floor that leads to two offices on the 6th floor [TRAVELER 100XP]. The southern office contains [40 CREDITS] in one of the filing cabinets, and there’s a [STUN GUN] on the desk. The other office desk contains a [TRANQUILIZER DART] and [40 CREDITS]. Another [2x TRANQUILIZER DARTS] can be found behind the filing cabinet, and the LVL1 PC holds background info.
Room 404 is on the west side of the area, but consider exploring the main office hall first. The northern area has various drawers that contain: [35 CREDITS], [10 CREDITS] and a [CYBERBOOST PROENERGY BAR], plus there’s a [POCKET SECRETARY] with several PC logins lying on a small table. A drawer to the far right side contains a [TRANQUILIZER DART]. Explore the middle area for the following items:
[40 CREDITS], [80 CREDITS], [40 CREDITS], [50 CREDITS], [40 CREDITS], [40 CREDITS], [20 CREDITS], [PRAXIS KIT]!!, [40 CREDITS], [40 CREDITS], and [25 CREDITS]. The Praxis Kit is obviously most important and can be found in one of the center desks. Don’t forget that the filing cabinets next to the stairs also hold credits.
The southern part of the office holds the following items in drawers: [NUKE VIRUS SOFTWARE], [75 CREDITS], [1x STUN GUN DART], [2x STUN GUN DARTS], [5 CREDITS], and a [POCKET SECRETARY] lying in the corner. Feel free to use the PC’s in the area, then head to the west part of the area.
Room 402 contains [10 CREDITS] and [1x STUN GUN DART] in the drawers, a [POCKET SECRETARY] on one of the benches, and a [WINE] on the desk. The PC has background info. A desk in Room 403 contains [1x STUN GUN DARTS] and [30 CREDITS].
Enter Room 404 (note that 404 is the html code for “missing”; how apt) [250XP]. After the cutscene, naturally the entire office is filled with mercs. First use Eliza’s PC to turn of two cameras, then be on your way.
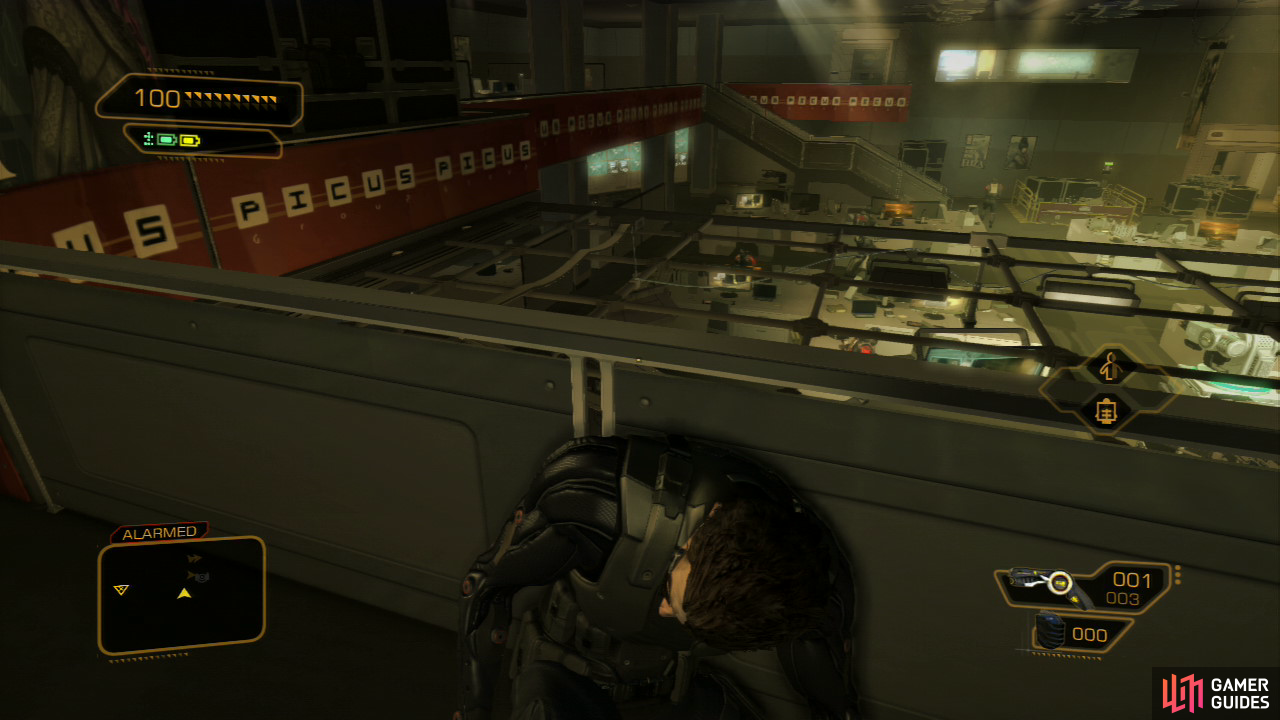
Use the vent in the nearby offices to reach the upper level and wait for the two guards here to finish their conversation. Hide behind the plant ans wait for the guard to move away. Hug the wall to your right and stay out of sight while making your way down to the southern hall. Hide behind the corner and wait for the right moment to take out the guard patrolling this hall.
Head downstairs to the lobby and sneak to the counter on your right. After the guards finish their conversation, take down the one who patrols this area and hide his body behind the chairs to your right. Taking out the second guard isn’t too hard now. You can find [5x MACHINE PISTOL AMMO] on the counter you hid behind.
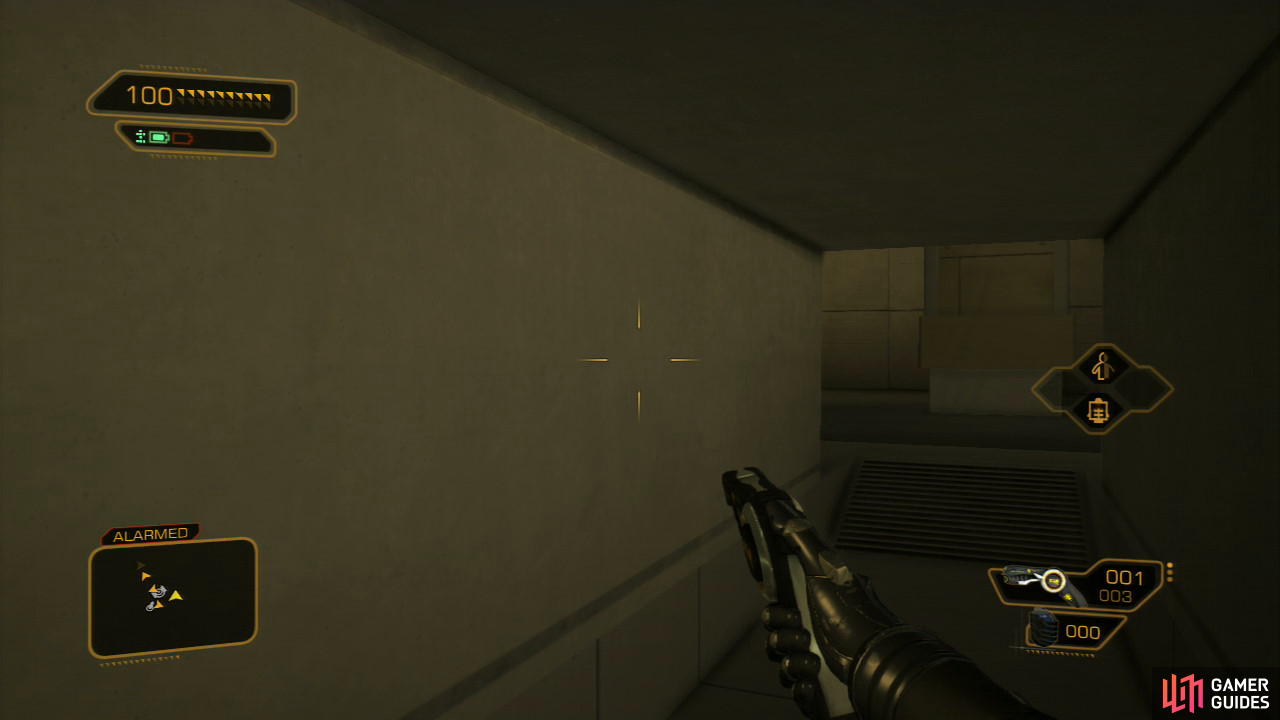
Look for a vent on the northern side of the area and enter [TRAVELER 100XP]. The toilets it leads to contain a [RATE-OF-FIRE UPGRADE]. You can now either take the elevator in the lobby down to the third floor, or you can explore the Data Server room, which is optional.
Data Server/5th Floor
The Data Server room can be reached by moving from the lobby into the main hall, hugging the left wall. It’s easiest to switch on cloak and run/hop over the desks, then take a left at the end. Inside you can find a [STOP! WORM SOFTWARE], [NUKE VIRUS SOFTWARE], [PAINKILLERS], and [VODKA] on or near the desk, and a bottle of [SPIRITS] in the corner diagonally opposite to the desk. There’s also a breakable wall here that leads to the third floor as well, but the second wall forces you to KILL a guard (which prevents you from getting a certain trophy/achievement).
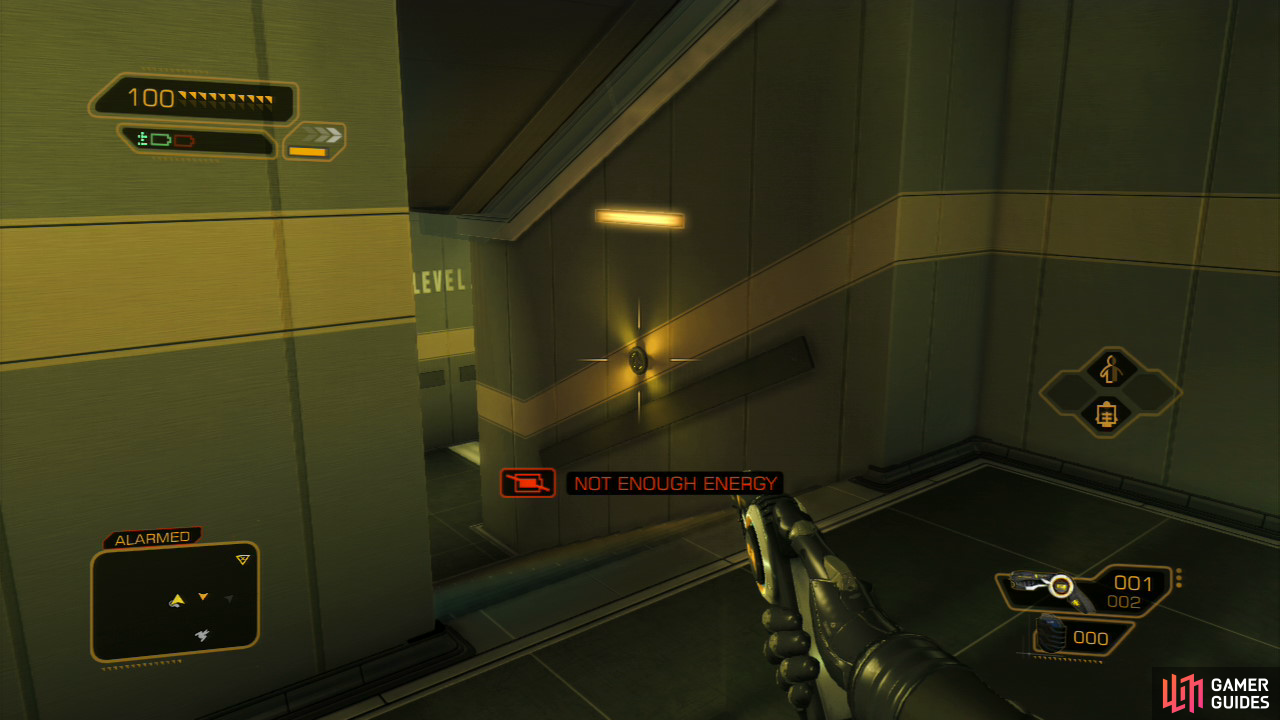
There are two options from here: If you have the Icarus Landing System you can drop down the elevator shaft [PATHFINDER 300XP] to find [50 CREDITS] and a [CYBERBOOST PROENERGY PACK] and use the vents and ladder to reach the fourth floor of Picus. Or you can use the elevator to ride it down to the third floor.
Picus 4th Floor
When you exit the vent you’ll be in a control room of some sort. Search the place to find [2x TRANQUILIZER DARTS] and [4x REVOLVER AMMO] in the ammunition case in the shelving, a [REVOLVER] and [4x SNIPER RIFLE AMMO].
There’s a [HUGH DARROW EBOOK] (HUMAN EMPOWERED - Autonomous Energy Reclamation Systems) underneath the large screen that you’ll want to check out too.
Make your way across the area and take out the two guards. There are plenty of hiding spots here, so this shouldn’t be an impossible task. You’ll also come across a [SNIPER RIFLE] and [5x SNIPER RIFLE AMMO]. Head down the stairs on the south and use cloak to get past the camera (otherwise you’ll have to take one of the other stairs. This merges the path with the breakable wall path.
If you don’t want to tackle too many guards you can use cloaking and hop over here, dropping down and sliding past your foes.
Picus 3rd Floor
The nearby room contains [40 CREDITS] and a [STUN GUN]. The PC allows you to switch the camera around the corner off (should you want to go (back) to the fourth floor). There are quite a few mercs in the main office hall, and there’s a turret there as well, so be careful as you head down the hall.
The small storage room contains a [TRANQUILIZER DART] in one of the lockers, and you can find - near the exit of the hall - a [POCKET SECRETARY] and [STUN GUN DARTS] on some boxes.
While the lobby on the far east doesn’t contain anything except an Ebook, the two rooms in this hall do. Hack the LVL 2 system and go inside. The stairs lead to the control room you visited earlier on (if you took that path, otherwise explore it now). Look around for a [POCKET SECRETARY] in the lower control room, as well as [200 CREDITS].
Your goal is now to reach the northwest part of the office hall. You should be able to take out the guard closest to you (patrolling the east side) without the turret firing at you (it’ll probably briefly detect you though). Tranquilizing the guards here also works well.
There are a total of nine places that hold [CREDITS] here, and you can also find a [SILENCER] and [STUN GUN] plus [TRANQUILIZER AMMO]. You could also skip these items if you don’t feel like taking out every single guard. The easiest way to get to the Funicular area is to switch on cloak to get past the guards.
There’s a breakable wall here [TRAVELER 100XP], but you can also use the stairs to go down a level [2500XP], [GHOST 500XP], [SMOOTH OPERATOR 250XP]. The vent at these stairs leads (back) to the breakable wall, so you can also get the XP this way, saving an energy cell.
Picus 1st Floor
There are two guards up ahead that have the ability to use stealth (sneakers). A double takedown would be useful, otherwise try two swift single takedowns or tranquilize one and take down the other.
The locker room on your right contains [2x REVOLVER AMMO], [2x STUN GUN DARTS] and a [CYBERBOOST PROENERGY BAR]. The breakable wall leads to the adjacent room, which is otherwise a LVL3 hack. It contains a [HEAVY RIFLE] and [40x HEAVY RIFLE AMMO].
The next room up ahead contains [2x REVOLVER AMMO] and [4x 10MM PISTOL AMMO] in the ammunition case, along with a [REVOLVER]. Open the door up ahead from either the side (so the guard can’t see you), or use cloak. As he investigates, turn on cloak and take him down (otherwise just be really fast).
Use the stairs on your left to get to the far end of this room and hack the PC to switch off the camera (and turret). Take down the guard and you’re good to go.
You can find [1x MINE TEMPLATE], [2x CONCUSSION MINES], a [GAS GRENADE] and [5x COMBAT RIFLE AMMO] on the boxes here. The ammunition case contains [2x STUN GUN DARTS] and [3x 10MM PISTOL AMMO]. Calling the elevator will summon quite a lot of mercs into the room, so prepare in advance by laying some mines around the area (concussion or gas mines work well) [250XP], [GHOST 500XP]. [SMOOTH OPERATOR 250XP].
The easiest way to get past this part is to switch on cloak, hide behind the pillar nearby the PC on the right, turn cloak off (and turn it back on if anyone comes investigate), then use cloak to enter the elevator and ride it down. If done correctly, you can even use your first energy cell several times. It’s easiest to sometimes replenish cells when necessary though [2500XP], [GHOST 500XP], [SMOOTH OPERATOR 250XP]. Ride it down completely [250XP].
Restricted Area 2nd + 3rd Floor
Hiding under the stairs on in the nearby vent are also great ideas, and mean you won’t have to keep cloaking. Optionally, hack the PC before calling the funicular and tune the turret to target enemies. Job done.
After a ridiculously long ride, explore this area but beware of the camera. Find an [EMP GRENADE], [3x REVOLVER AMMO] and [5x MACHINE PISTOL AMMO] in the ammunition case to your right. There’s a [MACHINE PISTOL] and [2x STUN GUN DARTS] to be found on the left side. The [POCKET SECRETARY] on the bench holds a PC login.
Two guards will soon approach the area. You can either take them down (with a double takedown), or break the breakable wall to the left of the laser beams and take this route [TRAVELER 100XP].
From this hall, enter the room on your right and search around for a [POCKET SECRETARY], [1x TRANQUILIZER DART], [40 CREDITS], [1x STUN GUN DART], [80 CREDITS] and a [MACHINE PISTOL]. Use the second PC to shut down two cameras, including one directly above the nearby door. Take out the guard outside this room, after which you can either go up to explore the first floor, or head south and continue exploration of the second floor.
This area is heavily guarded once again, so you’ll want to use cloak when taking down enemies, and hide their bodies well. Beware of the camera here, and especially take note of the guard on the first floor, who you might want to take out first. Head upstairs and wait for the second guard to move away, then take out the first guard, hide his body, and go for the second guard.
The first office nearby the stairs you climbed contains a locker with a [MACHINE PISTOL], [10MM PISTOL] and [3x 10MM PISTOL AMMO]. The meeting room contains [1x STUN GUN DARTS], [15 CREDITS], a [CYBERBOOST PROENERGY BAR], [25 CREDITS] and a [POCKET SECRETARY] with a keycode to the armory (1980).
The other room contains [100 CREDITS] and a security PC that allows you to shut down the two cameras in this area.
It’s actually not a bad idea to let one guard hear your footsteps, making him come to the third floor. As long as you’ve hidden the bodies, this allows you to easily take him out. You could do this for the other guards too, making things easier. Cloak can be helpful for taking down the last one or two guards, although it isn’t necessary.
In any case, continue down the hall and avoid being seen by the camera here. Enter the armory to your immediate left. The PC (LTODD/titom) allows you to shut down the camera outside, and the armory’s code is 1980. Inside you’ll find [TRAILBLAZER 400XP]: [PEPS], [PEPS ENERGY PACK], [MACHINE PISTOL], [COOLING PACK], [2x TYPHOON AMMO], [7x SNIPER RIFLE AMMO], [2x REVOLVER AMMO], and [30x HEAVY RIFLE AMMO].
Watch out for mines as you head further down, they won’t kill you but they will disorientate you and maybe make you jump.
The next office [TRAVELER 100XP] contains a [NUKE VIRUS SOFTWARE] and [65 CREDITS]. The PC gives access to the armory PC. With the cameras shut down below, it shouldn’t be too hard to take down the remaining three guards.
Head downstairs to your left (coming from the armory) and take out the guard straight ahead (hide behind the pillar). Then go back and move behind the stairs, then take out the second guard. The last one is a piece of cake.
The main office contains eight drawers with [CREDITS], and you can also find a [MINE TEMPLATE], [STOP! VIRUS SOFTWARE], [PAINKILLERS] and [TRANQ DARTS].
In the small office in the northwest corner [EXPLORER 200XP] you can find a [HUGH DARROW EBOOK] (Healing Thyself - Health Preservation Implants), [40 CREDITS] and [2x REVOLVER AMMO].
The small office up in the center of the area contains a [P.E.P.S. ENERGY PACK] and [140 CREDITS].
With this floor fully explored head through the double doors on the southwest side of the area. The stairs are rigged with an [EMP MINE] and [CONCUSSION MINE], which you might also want to bring along (the EMP mine in any case).
Restricted Area 1st Floor
There’s a breakable wall to your immediate right as you enter this hall, which leads to the office to your left. There is an Ogre guard patrolling the hall around the corner, and a camera is in place too. Take cover behind the wall and quickly leap over to the other side - the camera will only go into the suspicious mode. Enter the door and move in the small area nearby to access the security hub, which can shut the camera down. This allows you to take the Ogre down without any problems.
You can find a LOT of items in this area. The desk with the security hub contains a [MACHINE PISTOL] and [2x STUN GUN DARTS], as well as a [POCKET SECRETARY].
The other desks in this area contain: [VODKA], [CYBERBOOST PROENERGY PACK], [NUKE VIRUS SOFTWARE], [STOP! WORM SOFTWARE], [5 CREDITS], [35 CREDITS], [5 CREDITS], and an [EMP GRENADE]. The latter will prove especially useful soon.
The first office in the hall (code: 0101) [PATHFINDER 300XP] contains a lot of items too: The lockers hold a [MACHINE PISTOL], [2x REVOLVER AMMO], [100 CREDITS], a [REVOLVER] and a [RELOAD SPEED UPGRADE]. The desk contains [40 CREDITS], and [3 TRANQUILIZER DARTS]. This office also connects back to the breakable wall (which grants you [PATHFINDER 300XP], and to the other office.
Inside this office you can find an Ebook (Blood on the Snow), a [POCKET SECRETARY] and the PC contains a password. Search the lockers for [3x 10MM PISTOL AMMO], a [10MM PISTOL], a [NUKE VIRUS SOFTWARE] and a [STOP! WORM SOFTWARE].
Head right at the intersection and beware of the guards in the next room as you move forward. Hide near the stairs and wait for the guard on the lower level to come near. When the other guard is moving away, and this guard is about to as well, quickly go in for a takedown (if possible combined with stealth, although this isn’t mandatory). The camera will only go into suspicious mode. Drag the body underneath the stairs, then take out the other guard when he’s far away from the camera.
The door nearby the steps leads to a room with a [POCKET SECRETARY] and a LVL3 security terminal (PCORBO/spitfire). The adjacent room has a breakable wall but you can also just continue through the previous room after shutting down the camera(s). Look for a [MINE TEMPLATE], [15 CREDITS], [3x TRANQUILIZER DARTS] and [3x REVOLVER AMMO] in this office, then proceed down the halls. You can either hack the LVL3 doors or use the vent to get past. Before entering room 802, check out the small storage room to your left to find a [HEAVY RIFLE] and [170 HEAVY RIFLE AMMO].
It might be a good idea to, well, drop your Sniper and Tranquilizer Rifle for the moment, and take the Heavy Rifle equipment with you. It’s also an EXCELLENT idea to upgrade your Typhoon augmentation, preferably to level 2. Head through the double doors and a cutscene will play [1750XP], [GHOST 500XP], [SMOOTH OPERATOR 250XP].
Boss Battle: Yelena Fedorova
Yelena is an agile and quick opponent, armed with two machine guns and deadly Claymore and Cloak augmentations. You’re definitely in for a challenge here! How to deal with this lethal lady?
o Notice that the environment - the core of Eliza Cassan - has walls you can use to hide behind, and that the floor is covered with a fluid, allowing you to spot Yelena when she’s cloaked.
o The four large power generators on the walls are destroyable. The electric current releases and flows through the fluid on the floor, damaging Yelena (and you). This will deactivate her Cloak temporarily. Jumping/EMP Shielding Aug decrease the damage incurred.
o You can collect items from the lockers spread throughout the area.
o Yelena has three main attacks. She’ll wildly fire her machine guns at you whenever she’s not preparing to rush towards you to perform her deadly Claymore augmentation, causing a large explosion that will instantly kill you if it hits you directly. The further you are from Yelena when the explosion kicks in, the less damage you incur.
o Yelena also has a counter attack that she’ll use if you attempt to perform a takedown on her. So, ehm.. don’t do that.
o The P.E.P.S., as does the Stun Gun, will stagger Yelena considerably,allowing you to switch to a heavier weapon, or Frag Grenades. Doing this when she rushes forward is an excellent way to buy yourself a few seconds time to empty a clip on her.
o A solid way to anticipate Yelena’s deadly Claymore attack is to run towards her as she’s preparing for the explosion, sprint past her, and as she slides onward the explosion will be less harmful. Alternatively you can use your own Typhoon as a counterattack; time its usage so that the explosion hits Yelena when she’s closest to you. This obviously inflicts heavy damage. Otherwise, turn around after sprinting and pump her full with .. lead.
o Repeat this until Yelena runs out of energy and start searching the lockers for Mine Templates, EMP Mines and Typhoon Ammo. Place the EMP Mines in corridors to stun Yelena, then place two regular Mines for massive damage.
o It’s also possible to lure Yelena towards the generators and have her stun herself by performing the Claymore attack. While stunned, do your best to hurt her in every possible way (that the game allows, mind you).
o Should all else fail, stay out of Yelena’s sight with the help of your own cloak augmentation and use surprise attacks.
The lockers contain the following items:
Locker #1: [SHOTGUN], [60x COMBAT RIFLE AMMO], [EMP MINE], [HYPOSTIM], [40x MACHINE PISTOL AMMO].
Locker #2: [CYBERBOOST PROENERGY JAR], [60x MACHINE PISTOL AMMO], [15x SHOTGUN CARTRIDGES], [50x HEAVY RIFLE AMMO].
Locker #3: [2x TYPHOON AMMO], [EMP MINE x2], [REVOLVER], [5x REVOLVER AMMO].
Locker #4: [50x HEAVY RIFLE AMMO], [30x MACHINE PISTOL AMMO], [15x REVOLVER AMMO], [CYBERBOOST PROENERGY PACK].
A [HEAVY RIFLE] lies next to this locker.
Locker #5: [15x SHOTGUN CARTRIDGES], [HYPOSTIM], [10x REVOLVER AMMO], [2x MINE TEMPLATE].
Locker #6: [SHOTGUN], [MACHINE PISTOL x3], [10x SHOTGUN CARTRIDGES].
After defeating Fedorova, dump the Heavy Rifle (or keep it, whichever you prefer) and collect your primary weapons where you left them. You’re also rewarded with [2500XP] for defeating Fedorova. Don’t forget to loot her body for [2x TYPHOON AMMO] and [1300 CREDITS]. Head for the helipad to exit Picus [750XP].


No Comments