Primary Objectives
OMalley’s Apartment
Now’s a good time to head back to Omalley’s apartment (from the downtown apartment crossroad, his apartment is on the first floor of Tindall’s apartment building, behind the security gate). Entering his apartment is worth [300XP] . In his bedroom, grab the [WEAPON SHIPMENT] and [PACKAGE OF DRUGS] [100XP] . You might also want to grab a few crossbow bolts if you hadn’t already.
While you’re in the neighborhood, enter the apartment building nearby the basketball court and head to the top floor. If you’ve already knocked out several MCB gangers, good for you, because we’re going to enter their apartment [100 XP] .
It’s difficult to take out all members, that is, knocking them all unconscious so that Jenny can make a case with Double-T as a witness. It certainly helps to get the Reflex Booster augmentation, allowing you to take out two targets at once. It’s filed under “Back Augmentations”, and the good part is that it nets you an extra 45 XP per successful combo in the form of the “Two Against One” XP bonus. It costs two praxis kits, though.
Let’s put this to practice, shall we? Double-T and the Gang Leader are in the bedroom. Wait for them both to stand near each other (watch the blue quest, icon until it stops moving and is relatively close to the other), then rush in and perform the combo. You can knock out the other two guys with takedowns or tranquilizers - whichever you prefer, just make sure you have enough energy [300 XP] .
Derelict Row
Having done all that, it’s time to finally pay D-Row a visit. There are several paths you can take, some which require augmentations.
-
The main entrance isn’t a good idea because this blows your cover. It is, however, possible to jump on the dumpster and sneak through the concrete pipe. Your goal is straight ahead, so if you can manage to sneak past the other members - timing is everything - perhaps with the help of the Cloak augmentation.
-
You can go through the door at the far end of the street (Chiron Building Street), where you found Omalley’s weapon. While it looks like you need the “Move/Throw Heavy Objects” aug, you actually don’t. Look for a barrel in the alley across the street (with two dumpsters against the wall) and drag it all the way back. Place it in front of the leftmost crate, crouch, and jump twice to get over the crate. Note: Jump Enhancement works fine too. If you have the “Multiple Take-Down” aug, rush over to the two gang members to toast them both at once. You can find [10MM AMMO x4] on one of the road blocks. Go through the door and you’ll spot a fire escape to your left.
-
From Chiron building, look for the alley across the street with 2 containers; you can climb the fire escape in this alley. This path does require the Jump Enhancement augmentation (2 praxis kits). Make your way through the apartment and you’ll reach the roof [EXPLORER 100XP] . From here you can jump (with enhancement) to the fire escape on the other side of the street - just be sure to sprint fast enough.
From here there are actually two routes:
-
This requires (should you want to be stealthy), the “Punch Through Walls” augmentation. Climb the fire escape and enter the building. Punching through the wall clears the way (but, and this is important if you care about a non-lethal playthrough, it also KILLS the gang member standing against the wall within the same combo). The other gang member isn’t alerted, and can be taken down regularly. Unfortunately, the nearby shaft is of a deadly height, and there’s little else but a [SHOTGUN] here. You must have the “Icarus Landing System” augmentation in order to survive the fall, but this costs 2 praxis kits - a pricey entertainment. This only grants you [EXPLORER 200 XP] . We personally wouldn’t recommend this path.
-
The second route requires you to sneak past the D-Row members near thecrossroads. Of course, this is ultimately done with a little help of the “Cloaking System” augmentation (2 praxis kits), although it’s not impossible without it either. Hug the left wall and sneak behind the large container to the left (it’s not a disaster if they tell you to “stay out of this”, just don’t stick around). Head through the door.
[Although this guide now continues with path #2, it’ll be mentioned when path #1 and #2 merge, since #1 is essentially a little shortcut.]
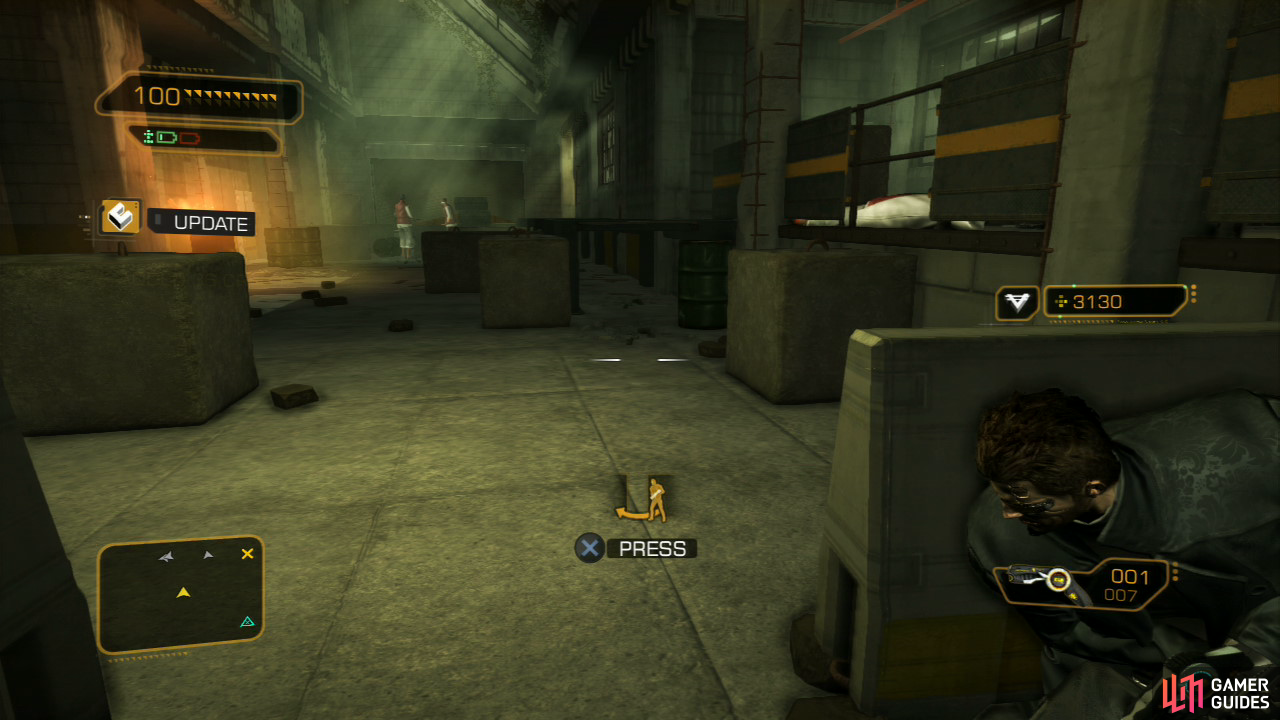
The first guard is easily taken down, but up ahead are two guards in conversation, complicating matters. You can overhear their conversation by crawling/hugging the right wall, but this isn’t a good spot to take both of them out at the same time. Hide behind the large block of concrete and right after they finish their conversation, take both of them out with a combo takedown. This requires skill and timing, so it’s a good idea to save your game before this part. It is, however, necessary in order to fulfill the “Remain Undetected While In D-Row” secondary requirement for S5/Jenny. If you can’t get it done, try tranquilizing them both one after another.
When in the main area there is a door if you carry on straight from the two talking guards (straight if you enter the Territory from the front) which will take you here, around the back of the main area. The walkway on the right is the most effective way to slip through here.
You can go two ways from here:
There are several options at this point:
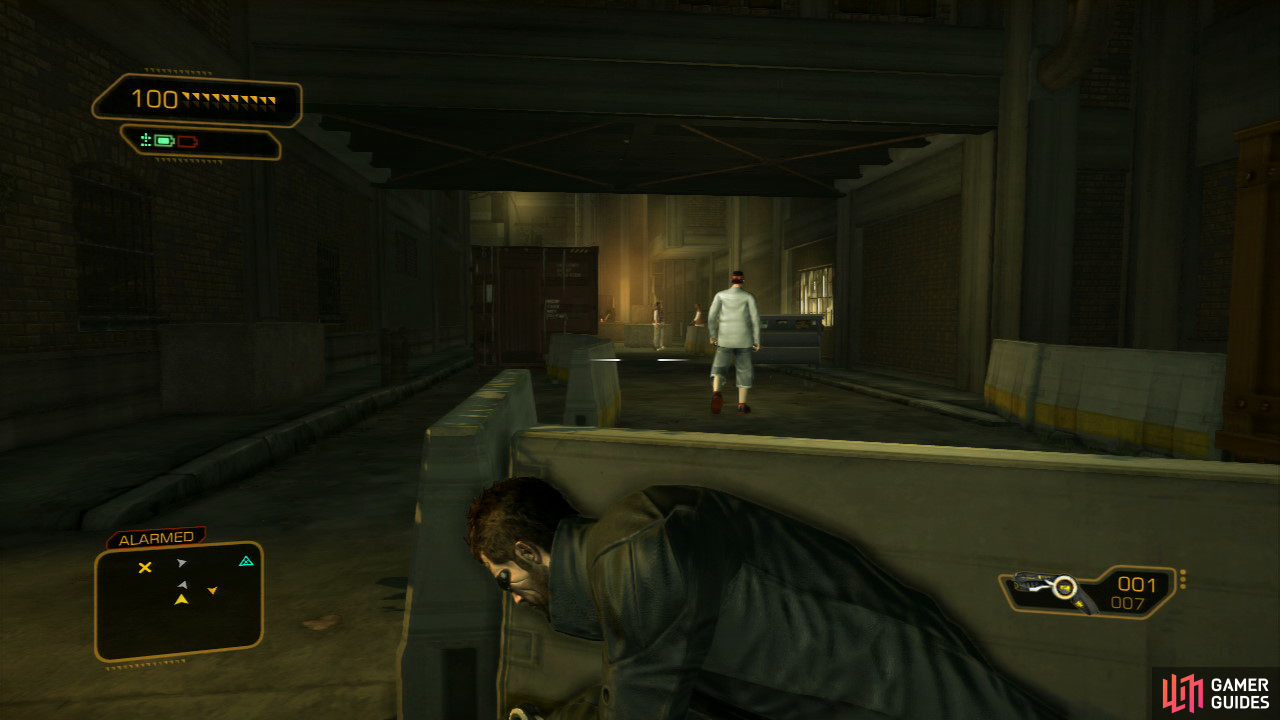
You can’t continue straight ahead, so backtrack a few steps and sneak behind the large red container again. Around the corner, wait for the other two gang members to finish their conversation (or, perhaps if you’re uber buffed, put on cloak and take them down at once, although I haven’t done this personally). Continue sneaking by hugging the building’s wall, wait for the guard to move away from your location, and follow him by crawling through the concrete pipe, taking him down in this safe location. Taking out the other solo guard shouldn’t be a problem now.
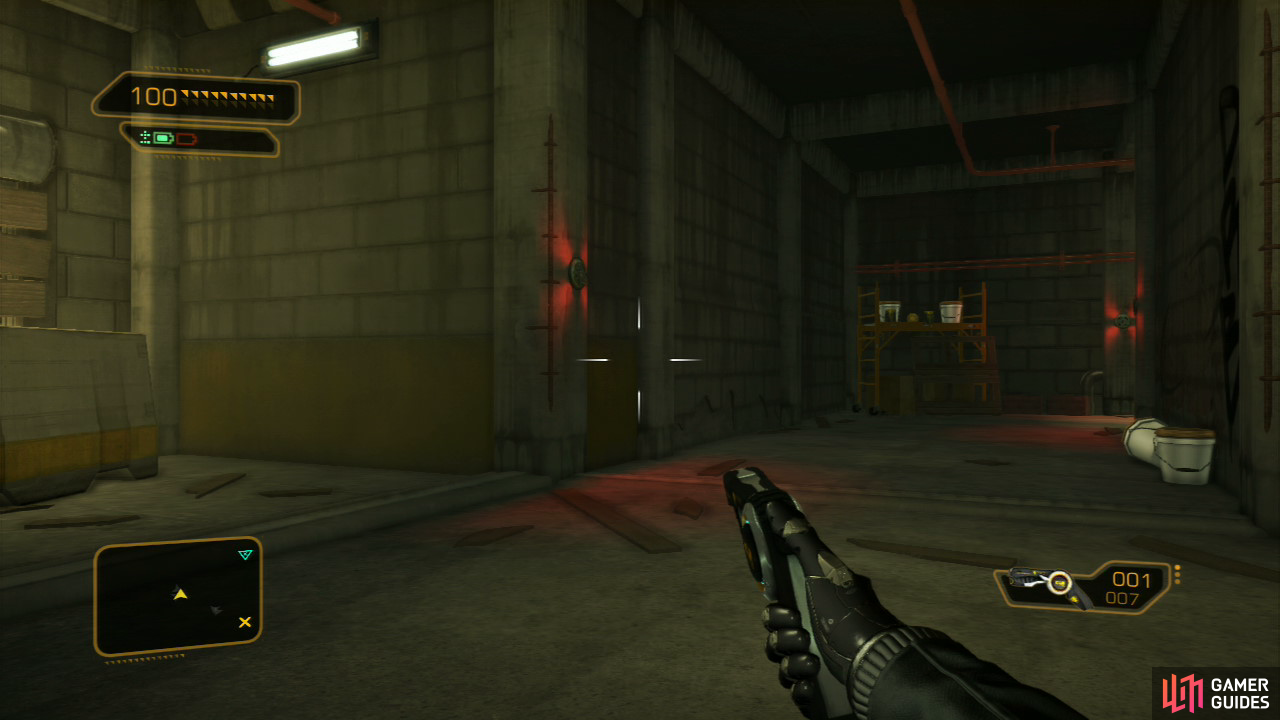
Head through the hole in the fence and remove the two green barrels from the wall to reveal a hidden area with the DRB weapon stash inside [300 XP], [TRAVELER 100XP] . There’s a [MACHINE PISTOL] , [COMBAT RIFLE] , [10MM PISTOL] , [10MM PISTOL AMMO x5] , [AMMO CAPACITY UPGRADE] and [FRAG GRENADE x2] here. Inspect the [WEAPON SHIPMENT] for [100XP] .
If you find yourself here, use the left wall and follow it around in a clockwise motion. ducking through the fence when you find the gap will lead you o th weapon stash.
Cloak & Daggers
Now is actually an excellent time to head back to Jenny and wrap her sidequest up. Note: Although it is possible to return to the main D-Row streets by the small sewers accessible through the manhole here, it does require the Cloak aug, preferably at level 2 since there is a large group of gang members guarding this area. Otherwise, just backtrack regularly.


You get [1000XP] regardless of your actions, and another [750XP] for finding the drugs and weapon shipment in his apartment, and giving her the crossbow. You can either have her arrest OMalley, or you can do it yourself. The latter requires you to head to his apartment [100XP] , where you can either arrest him (worth [100XP] + [1000XP] ) or agree to his bribe (only if you don’t immediately choose to fight), which nets you [100XP] , [1000XP] for the quest, and [3000 CREDITS] , located in your apartment, along with a bottle of [WINE] . It’s your call - good or evil.
Back at D-Row
Back at where we were, infiltrating D-Row, use the concrete pipes to hide and take out the remaining two solo guards. The two guards nearby the burning barrel can be taken out together at once (by moving around the left side of the rubber tires), but only if you’ve cleared the area earlier on (otherwise they can spot you through the windows).
Optional: A Rocket Launcher
There are two buildings in this area; one has a door and is on the far end side of the area, the other has a destroyed fire escape hanging high above ground level. This is actually the building that the vent mentioned earlier - the one you need to remove a large heavy crate for - leads to. You can access it by jumping onto the large red container by making good use of the tires and then hopping onto the fire escape, entering the building by a broken window.
Ignore the door to your right and open the door around the corner - carefully, since there are two gang members in this room (check the map whether or not any of them could possible be facing the door). If possible, (which is when the icons on the map are close to each other, indicating they’re both on the bench) sneak up to the first pillar in the room, then hide behind the bench as the other gang member steps up and walks out of the room. Follow him and swiftly down him, then quickly take down the other gang member. If you take too long, he’ll take a pose and it’ll be trickier to down him from this position. With Cloak it’s still very possible, though. Your reward? A [ROCKET LAUNCHER] and two [ROCKETS] ! Unfortunately (realistically), the launcher takes up 24 slots in your inventory, so it’s hardly worth the effort unless you’re willing to spare two praxis points to expand your inventory by 28 slots (but I advise against this at this point). You could, however, if you have the patience, sell the Rocket Launcher at one of the shops. This requires some backtracking, though.
The other door in this building leads to a back alley [TRAVELER 100XP] with some hobos. The manhole leads to the sewers - a valve can be turned here to stop the poisonous gas in the nearby vent. Inside you can find [125 CREDITS] .
Destroying the Interference Signal
Go through the building’s door and take out the first guard while he’s in the corner. The other two guards watching TV can essentially be snuck by, although you can always take them out for the XP. Also grab the [CYBERBOOST PROENERGY PACK] lying here. The ladder on the left leads to an area rigged with four explosives; shoot them to clear the way. Alternatively, hurl one of the barrels at them. Wait for the two guards to go out of their alerted state, then take them both down.
If you don’t want to make such a racket you can very slowly walk towards each mine to disarm it and then pick it up if you want (mines come in very handy for bosses).
Hack the level 1 device that’s jamming Sarif’s network [SCRIPT KIDDIE 25XP] , and you’ll be picked up by Malik [2500XP] . Agree to leave when you’ve absolutely done everything and she’ll take you the area where the terrorists might’ve been hacking from [750XP] .

No Comments