


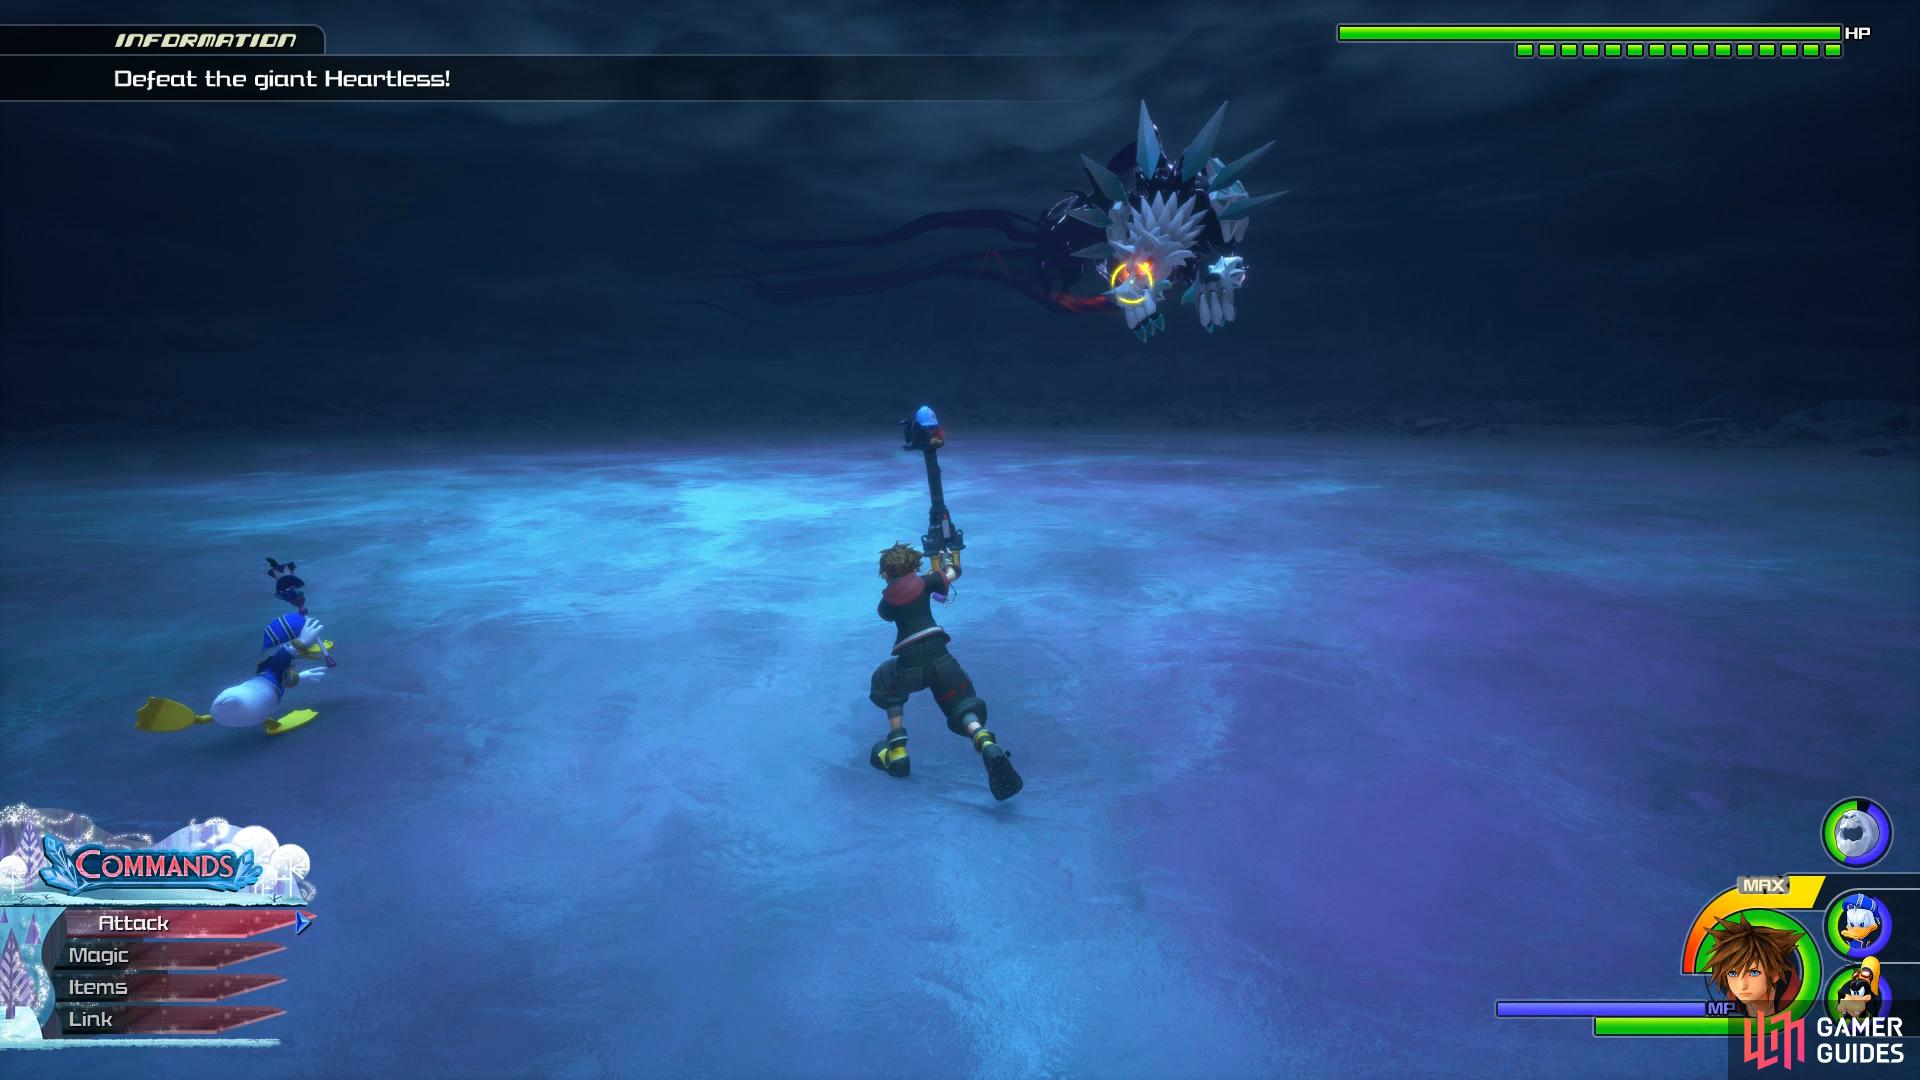
Be sure to spend some time out in the Misty Stream Galaxy to Level up your Gummiship a little more, as soon as you reach the Arendelle marker on the map, another Heartless will attack.
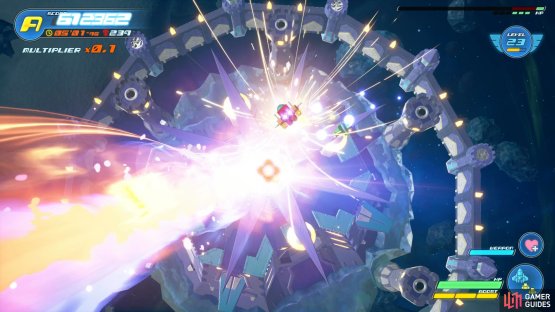
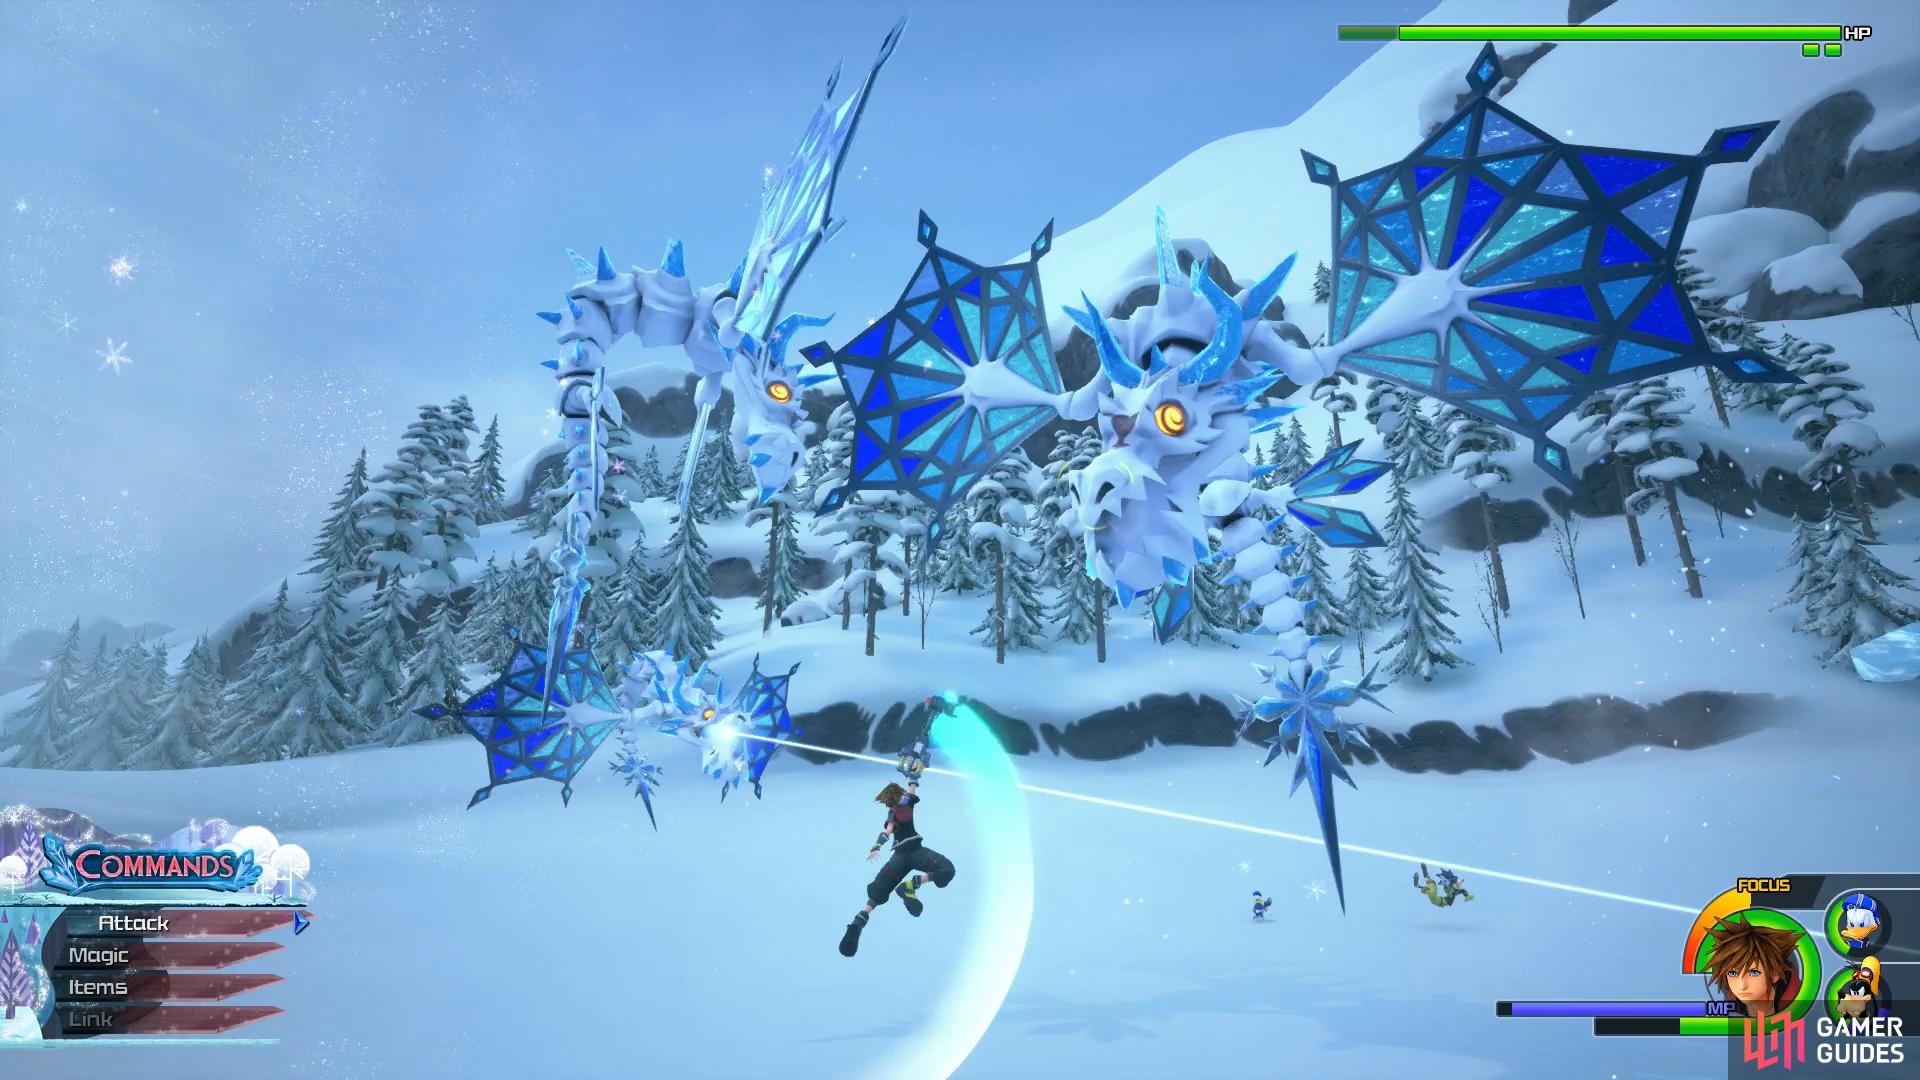
Boss: Glacial Fortress
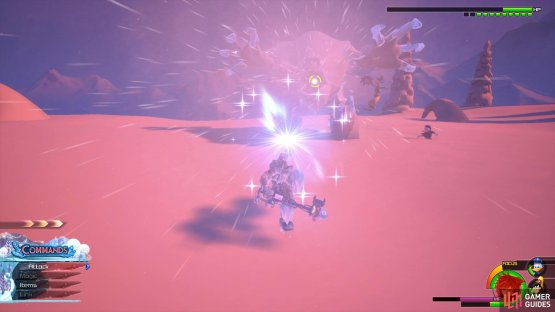
This is the largest and toughest Gummiship boss you’ve faced yet and if you’ve neglected the Gummiship completely then you’ll need to take the time to explore the other galaxies some more and create (or use a Special Blueprint) an improved Gummiship.
To begin with, you’ll rotate around the Glacial Fortress and your main objective are the crystal pillars creating the barrier. While shooting at these pillars, you’ll have to contend with regular ships (that will drop HP pickups upon defeat) and the lasers that the Fortress itself shoots out. Keep on the move and lock on to as many of your targets as possible and this first phase should pose little threat.

(1 of 2) Shoot the crystal towers to remove the barrier

Shoot the crystal towers to remove the barrier (left), the central cannon is the weak point. (right)
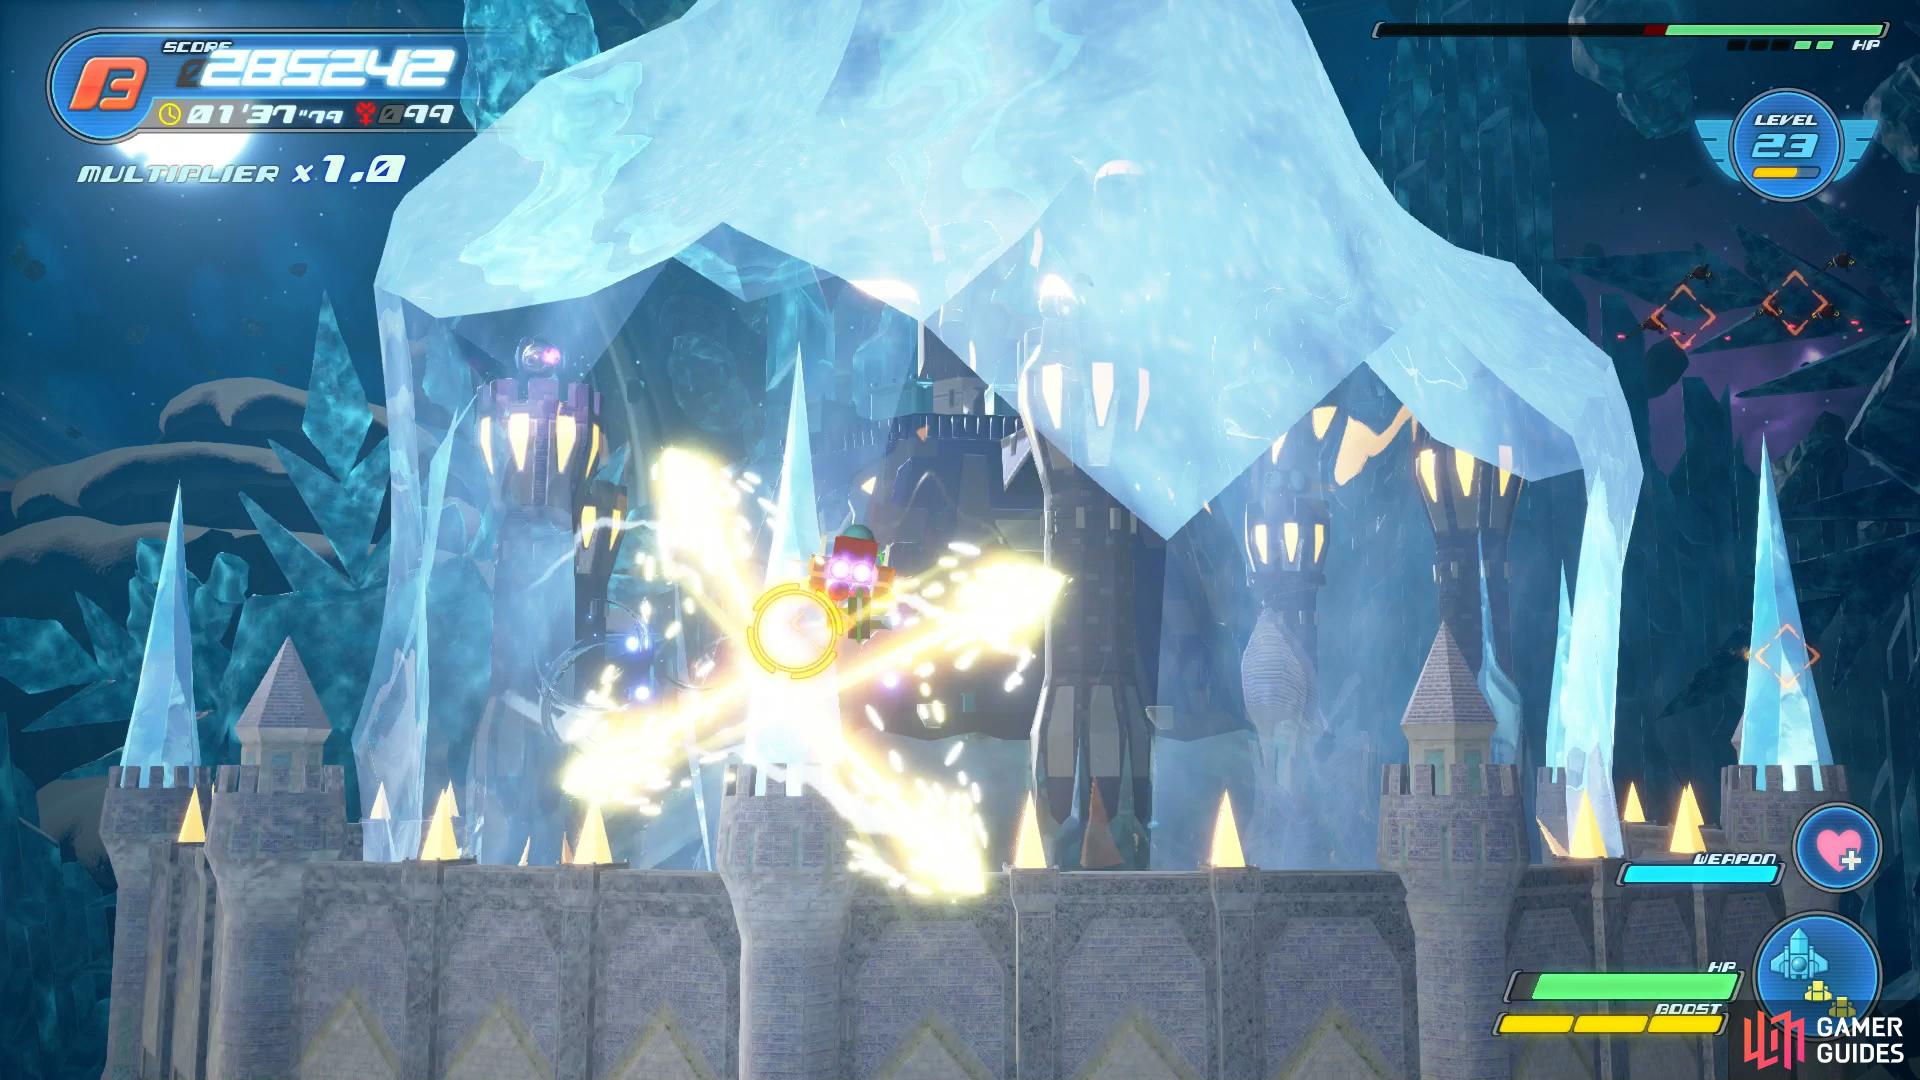
Once the barrier falls, you’ll be able to target the cannons on the outside of the Fortress. Heartless will appear on the central platform and you’ll have a larger central cannon to deal with, this is the main threat here. Once the cannon has charged, it will shoot a large sweeping laser across the screen, make sure you barrel roll out of the way to avoid heavy damage. If you need HP during this phase and don’t have the Repair Kit equipped then focus on the Heartless in the central platform, these will drop HP pickups upon their defeat.
Once you defeat the central cannon, you’ll fly higher and take on the final phase of the Glacial Fortress. The top tower will open up to reveal another large cannon and this the time the laser will persist longer so be ready to continually barrel roll to avoid heavy damage. Shooting the cannon itself will deal heavy damage to it due to it being the weak point. How long this battle takes for you to win is all dependent on your setup, if you find yourself struggling then consider taking the time to invest more in the Gummiship.
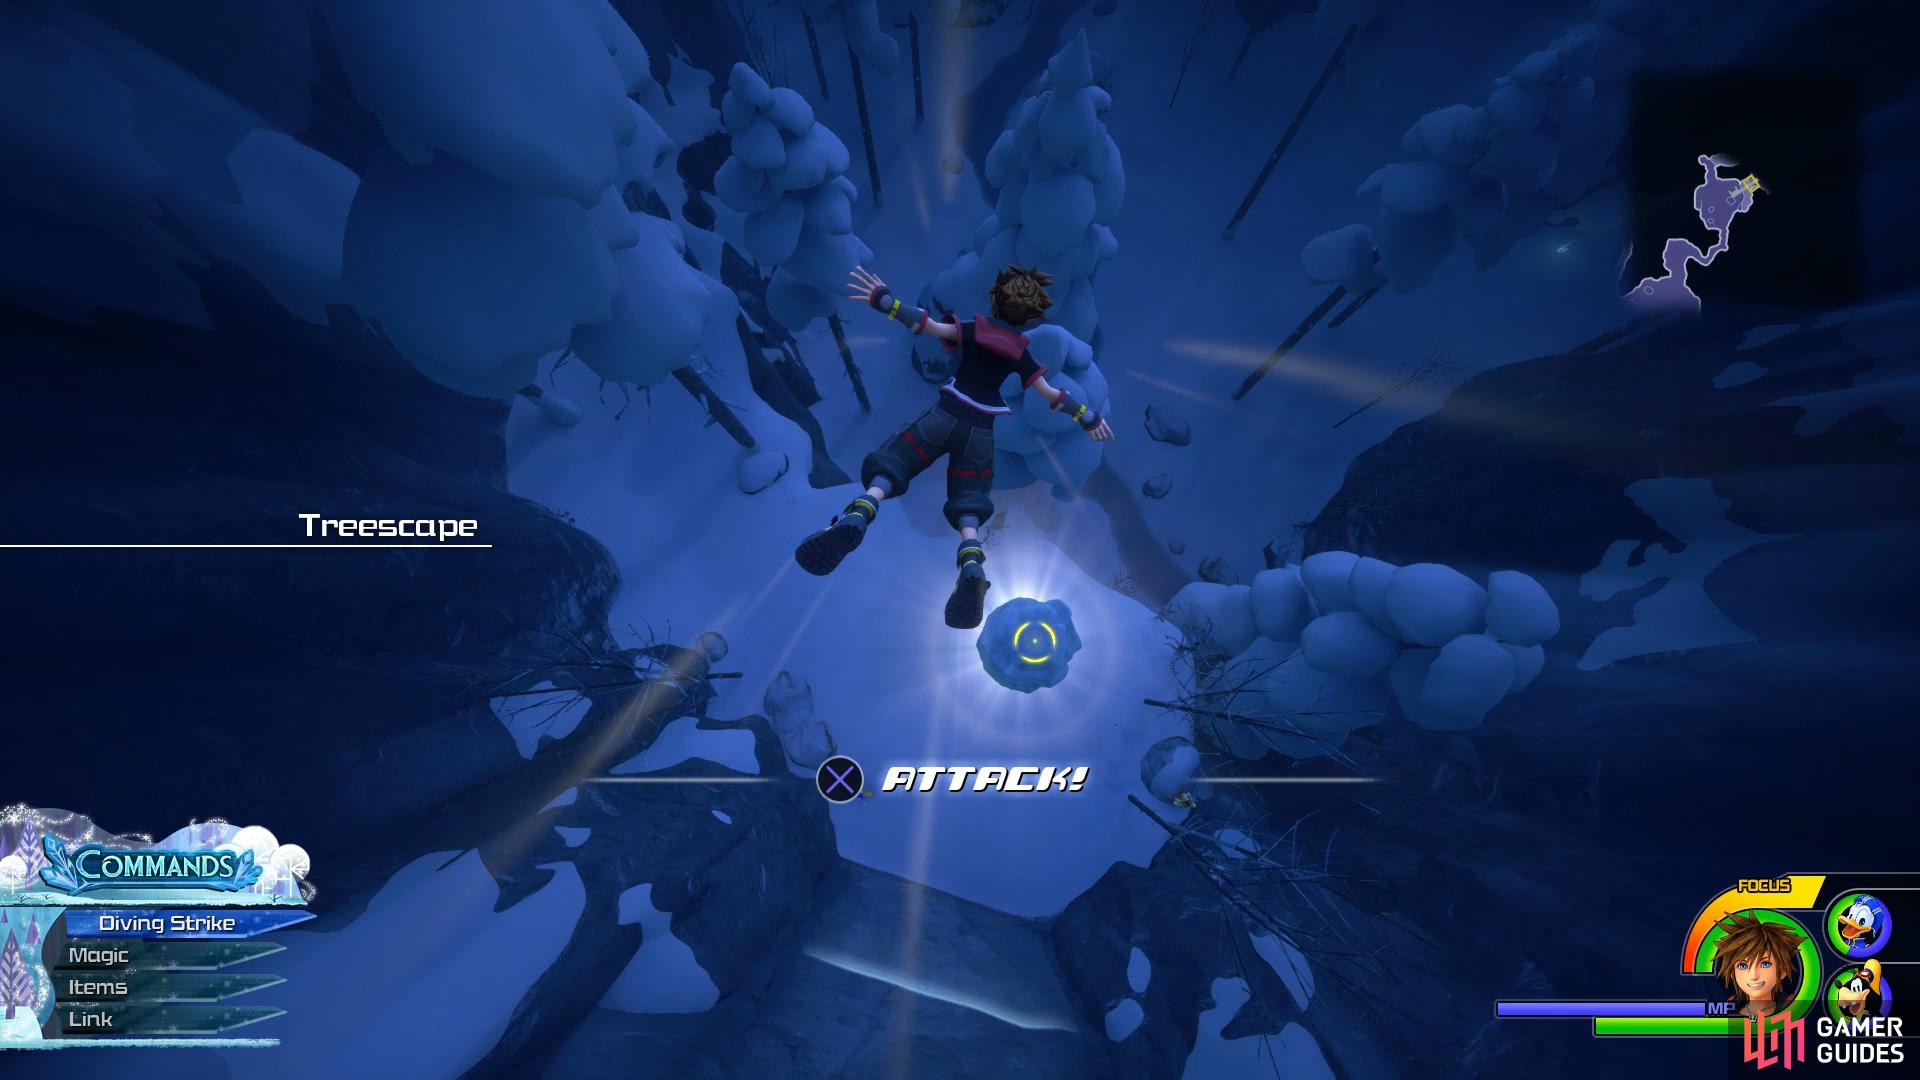
The North Mountain Part 1
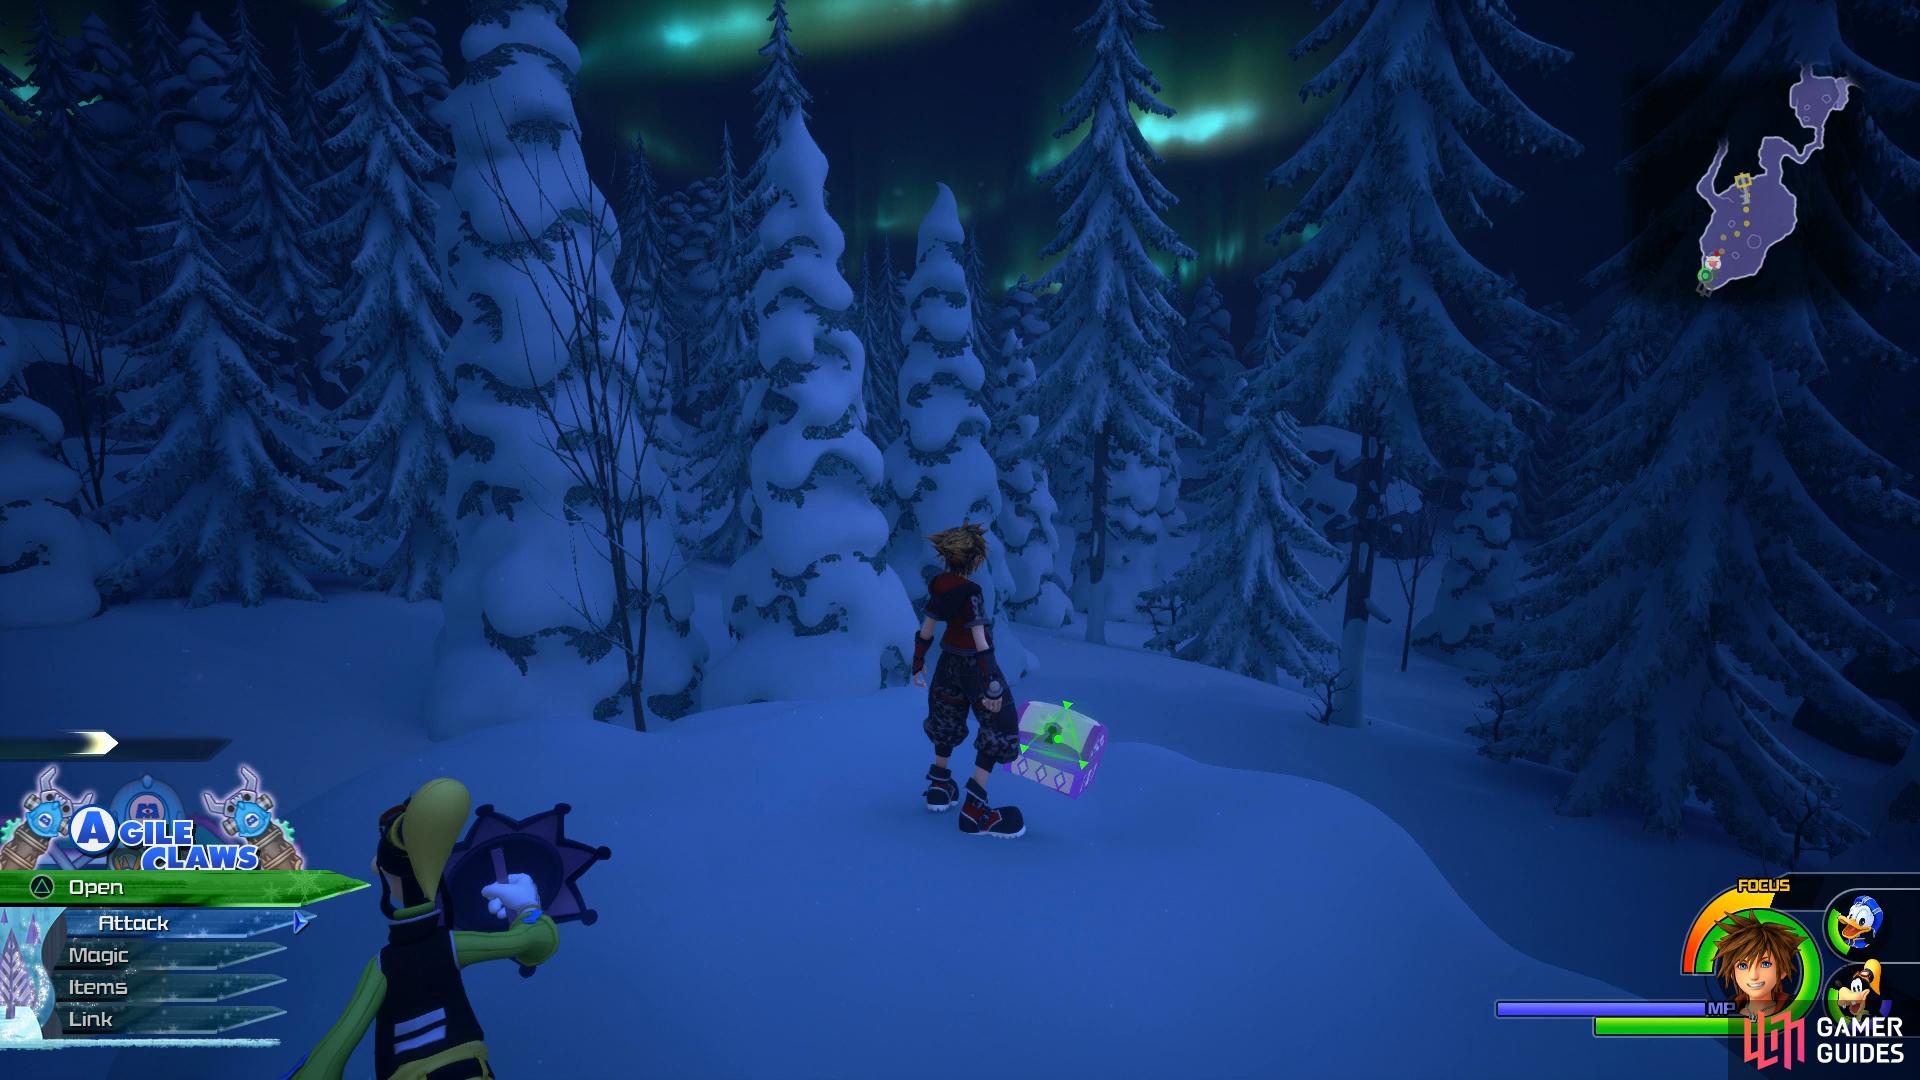
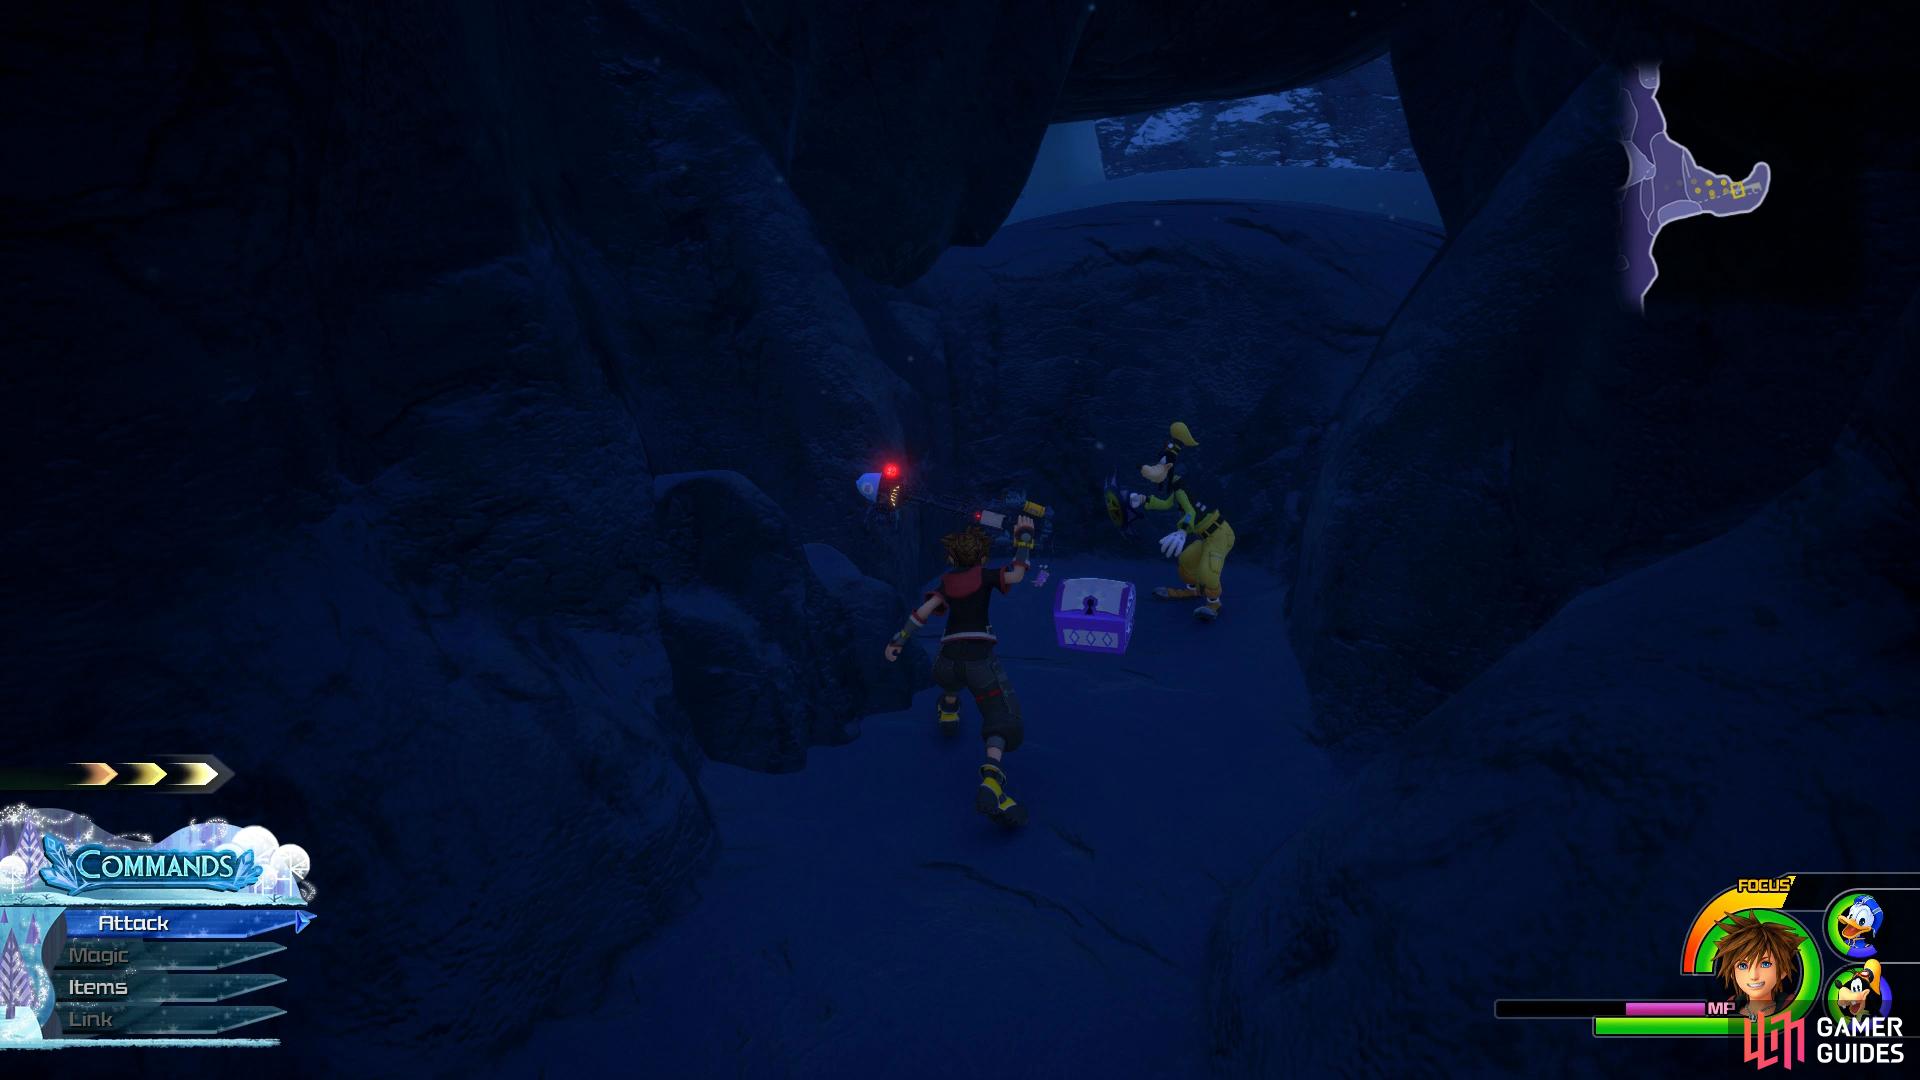
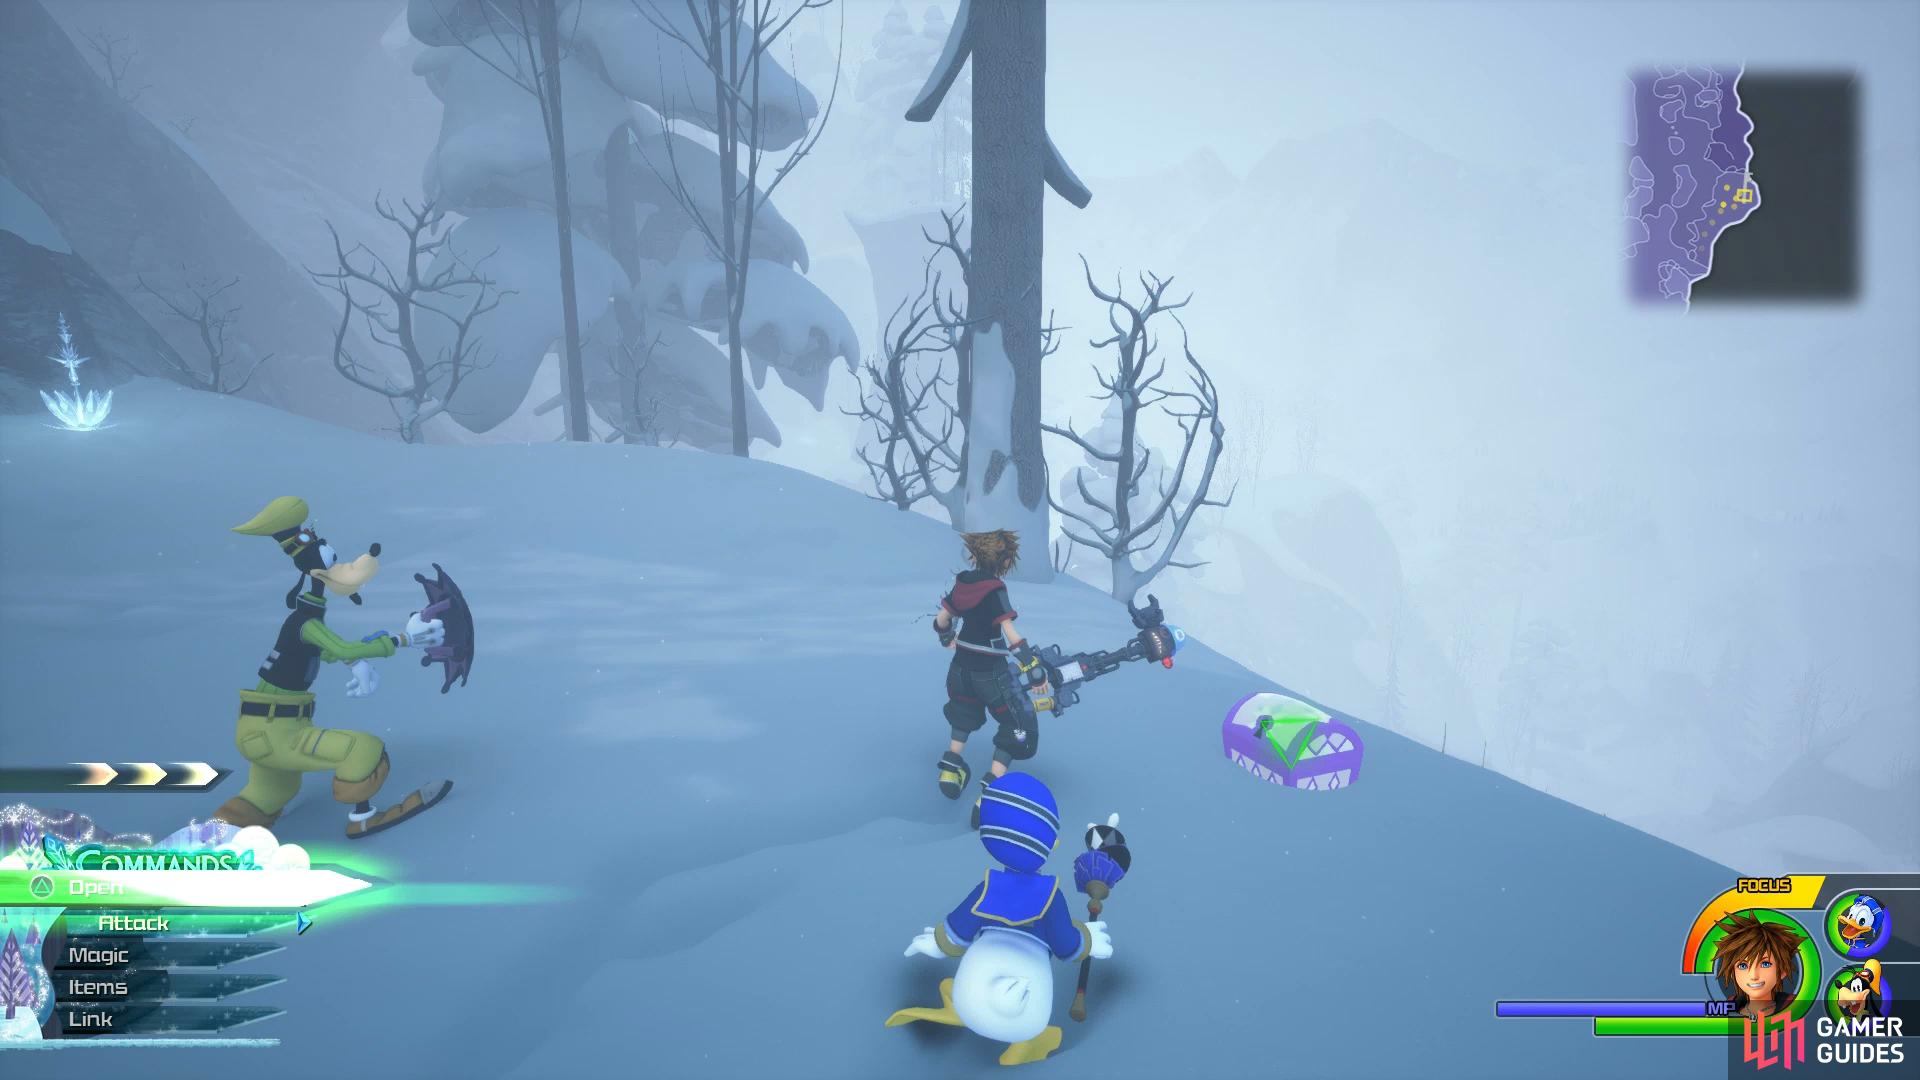
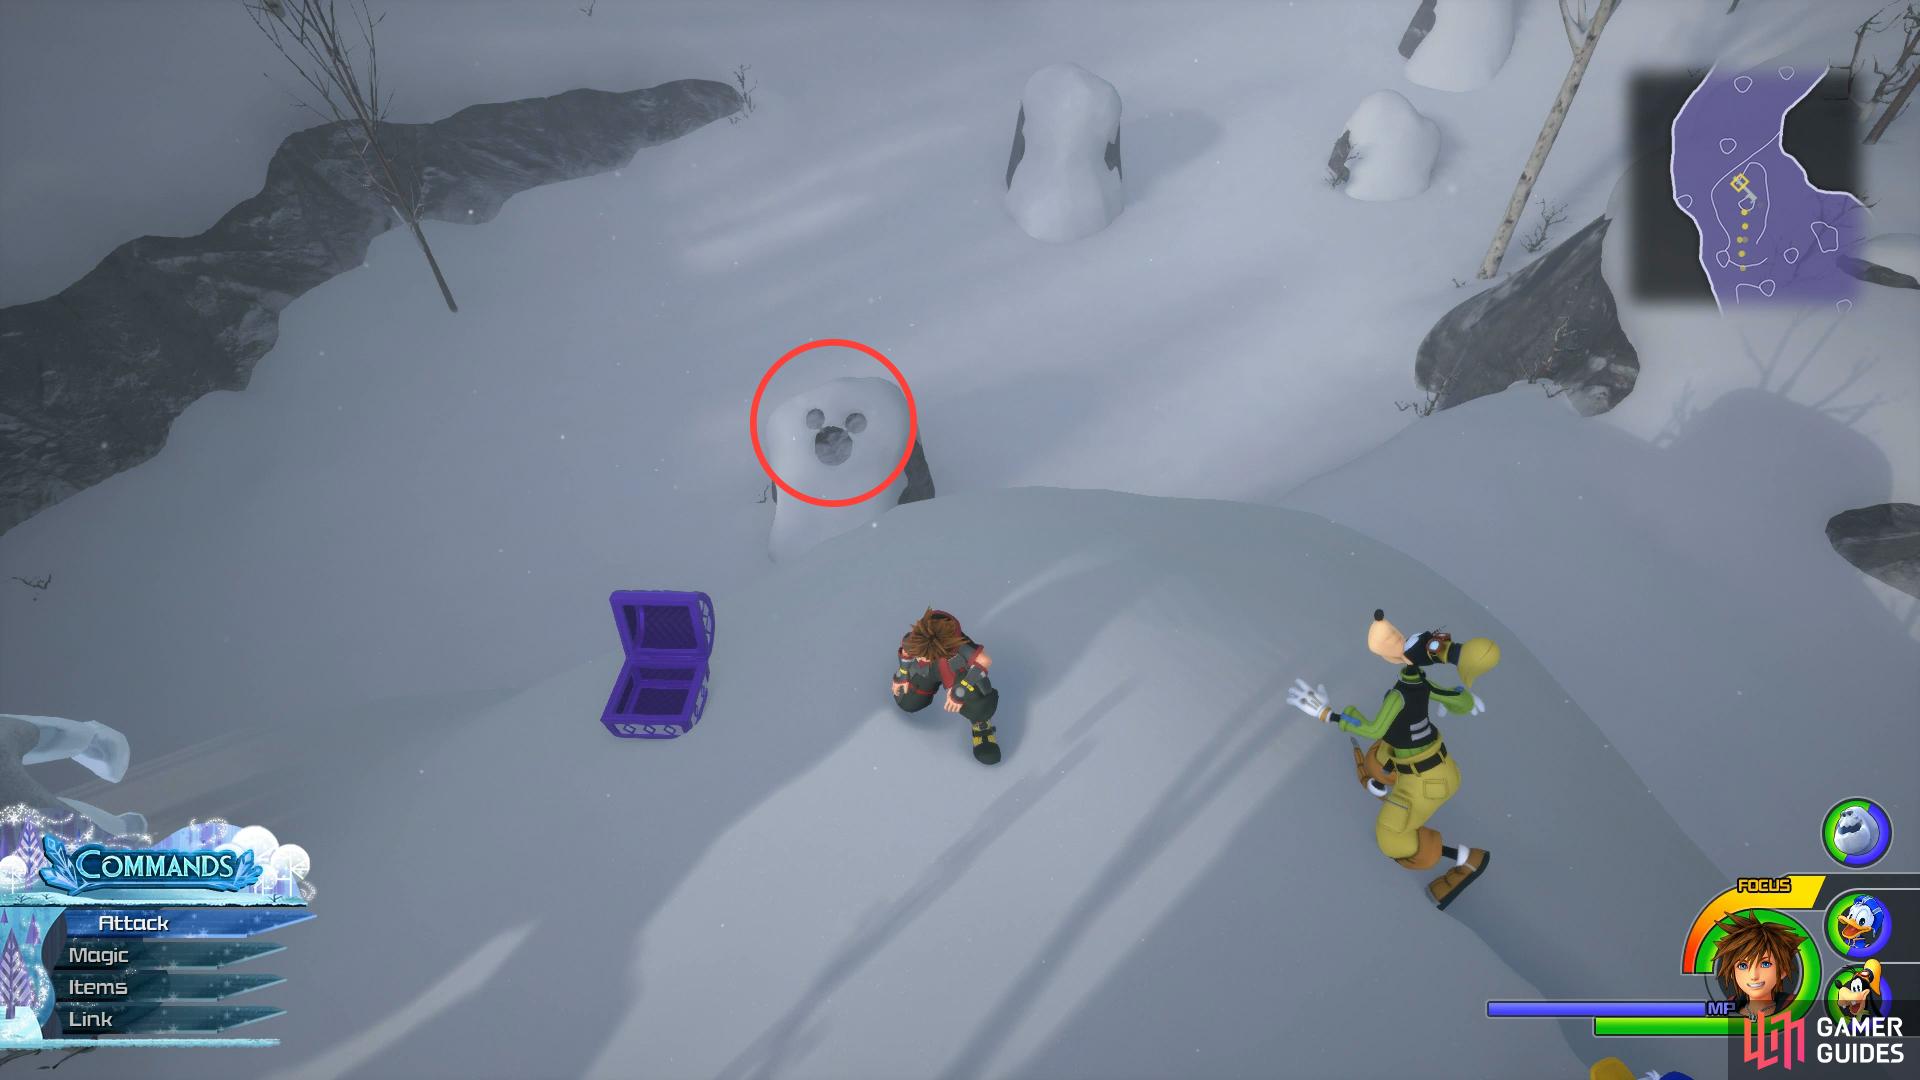
After fending off some Heartless, Sora notices someone running across the sea, transforming it to ice in the process. Once you regain control, make use of the Save Point and Moogle Shop before opening the chest next to it to obtain Treasure #1 - Map: The North Mountain.
Head north from here and defeat the large group of Heartless that spawns, as you may have guessed, Fira is a spell you’ll want to use a lot of while in Arendelle. Continue heading north and into the trees to find a large boulder, sitting on top of this is a chest containing Treasure #2 - Blizzard Choker.

(1 of 2) Search on the rock to the north of the save point for this chest

Search on the rock to the north of the save point for this chest (left), while another sits on the linear path further north. (right)
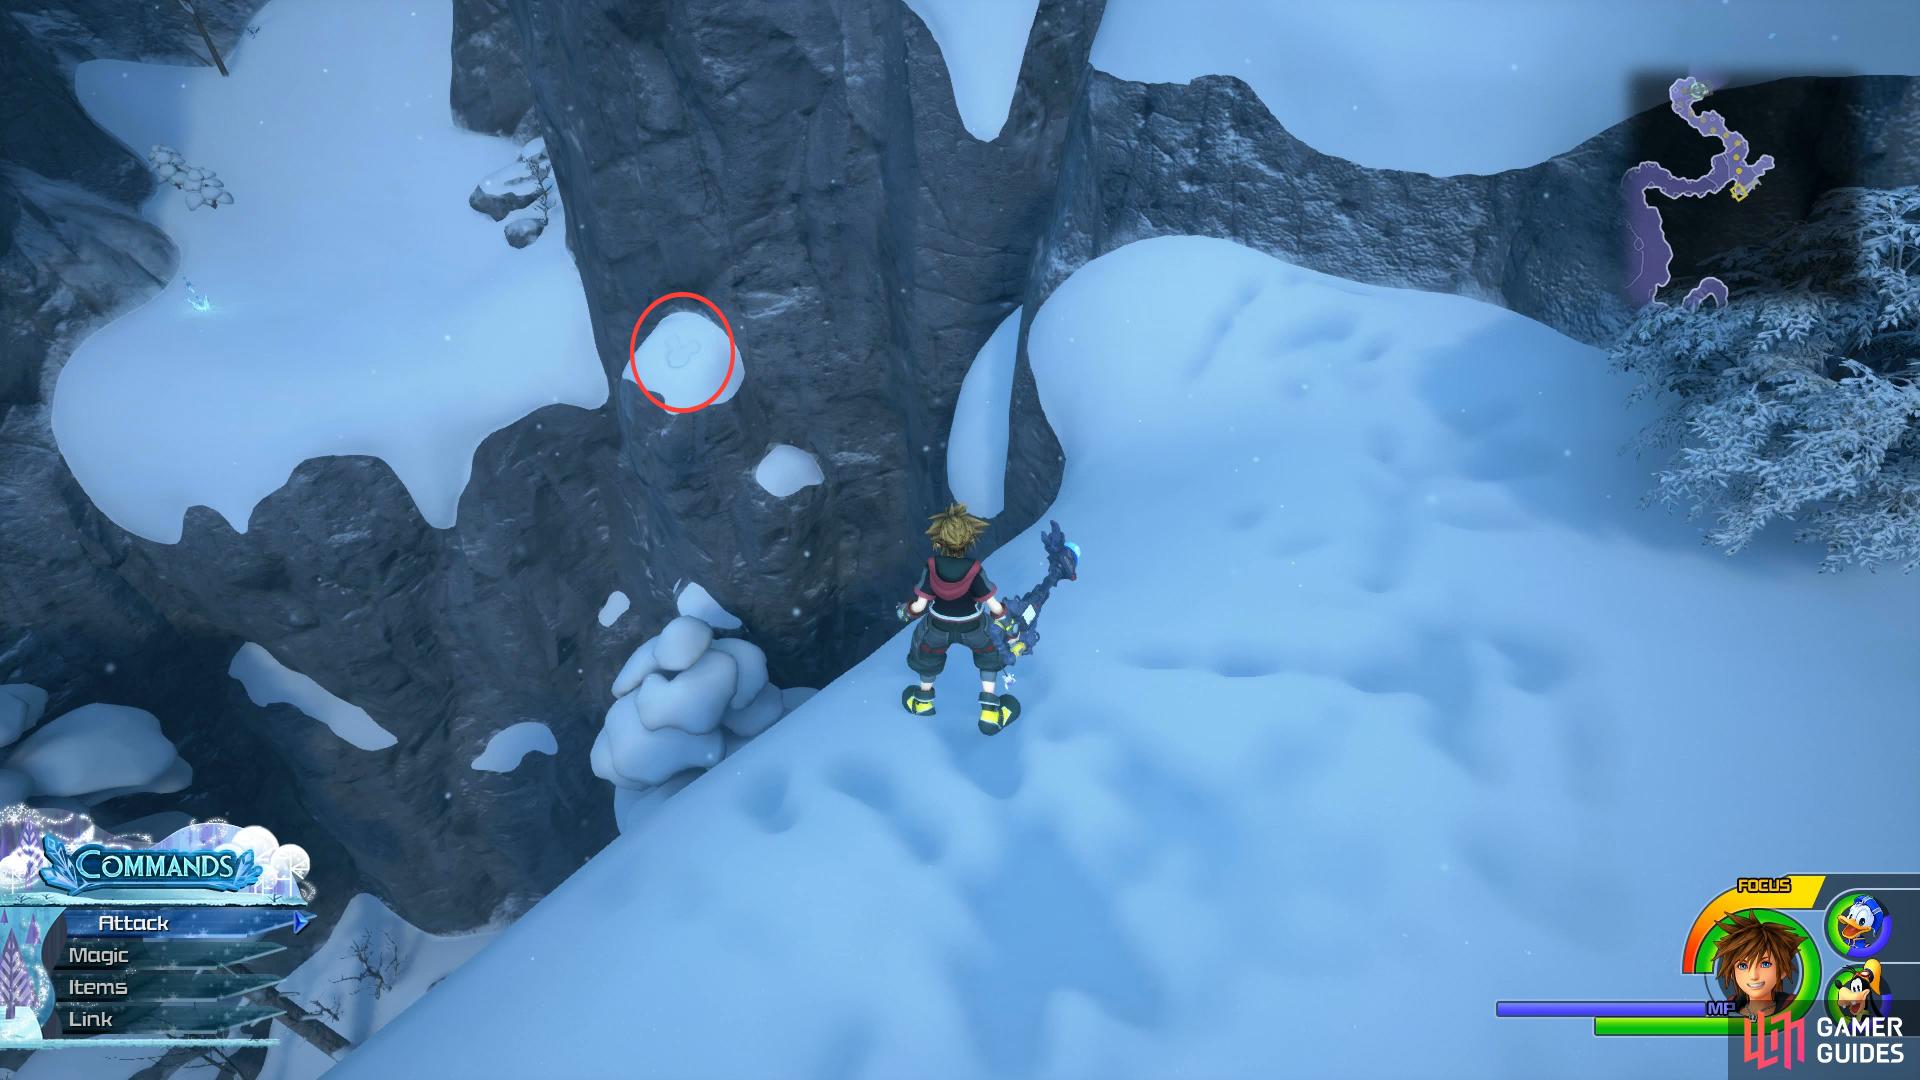
Continue north from here as the path becomes linear and you’ll be introduced to the first new adversary of Arendelle, the Winterhorns. These bucks will drop icicles as they leap around the place, you can disable these attacks by using Fire based spells and you may want to consider equipping Frost resistant armor. With this group of Heartless defeated, continue north and you’ll come across four bushes you can strike, sitting behind these is another chest containing Treasure #3 - Damascus. Another large group of Heartless await in the next clearing, focus on clearing out the Parasol Beauties first before turning your attention.
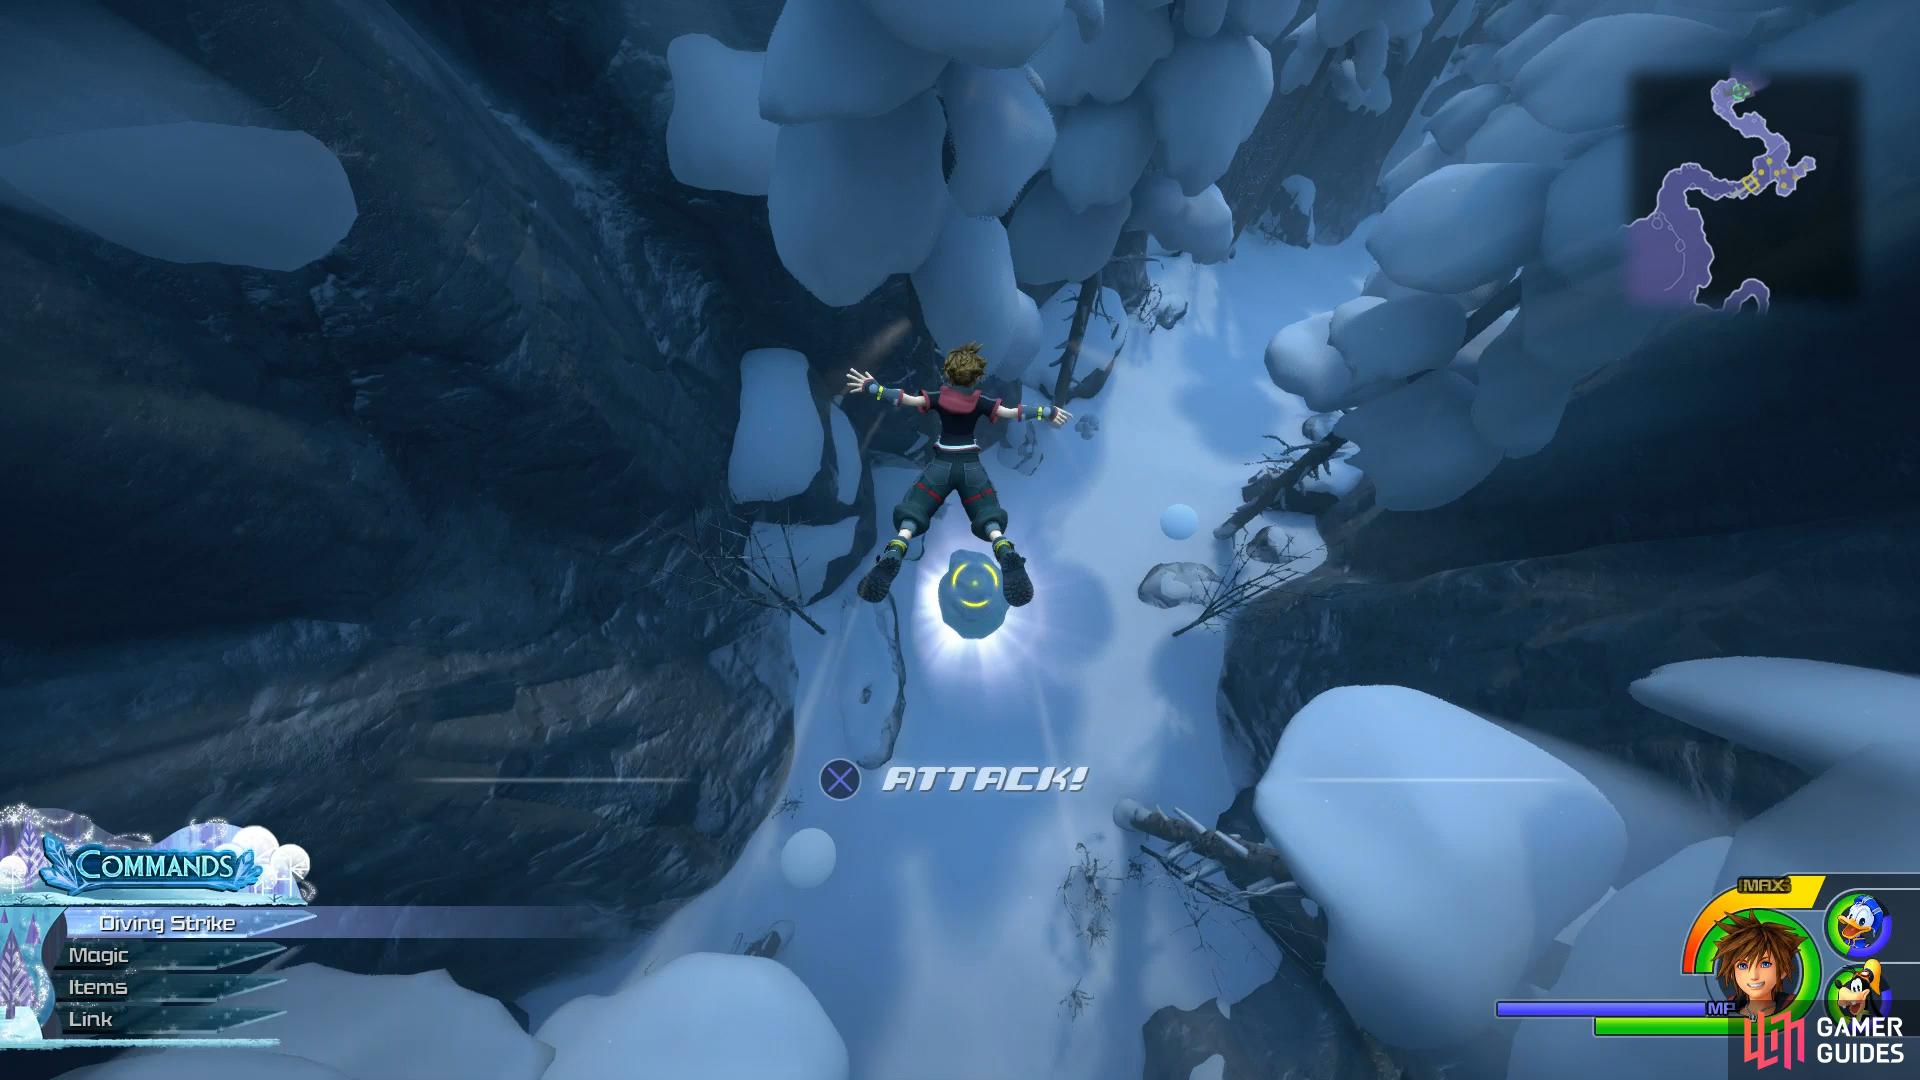
Continue forward and run up the wall at the end and then head right at the intersection. Leap off the cliff here and strike with the Keyblade when the prompt appears to reveal a large chest containing Treasure #8 - Classic Kingdom: The Klondlike Kid. While still on this ledge, head to the southern most tree to find Lucky Emblem #1. Head back up the wall and follow the linear path to the next clearing to run into the woman from before, Elsa. In the battle that follows, focus on using Fira to cut down the amount of enemies before focusing on the Satyr himself.


(1 of 2) Strike the ice while falling to reveal the chest
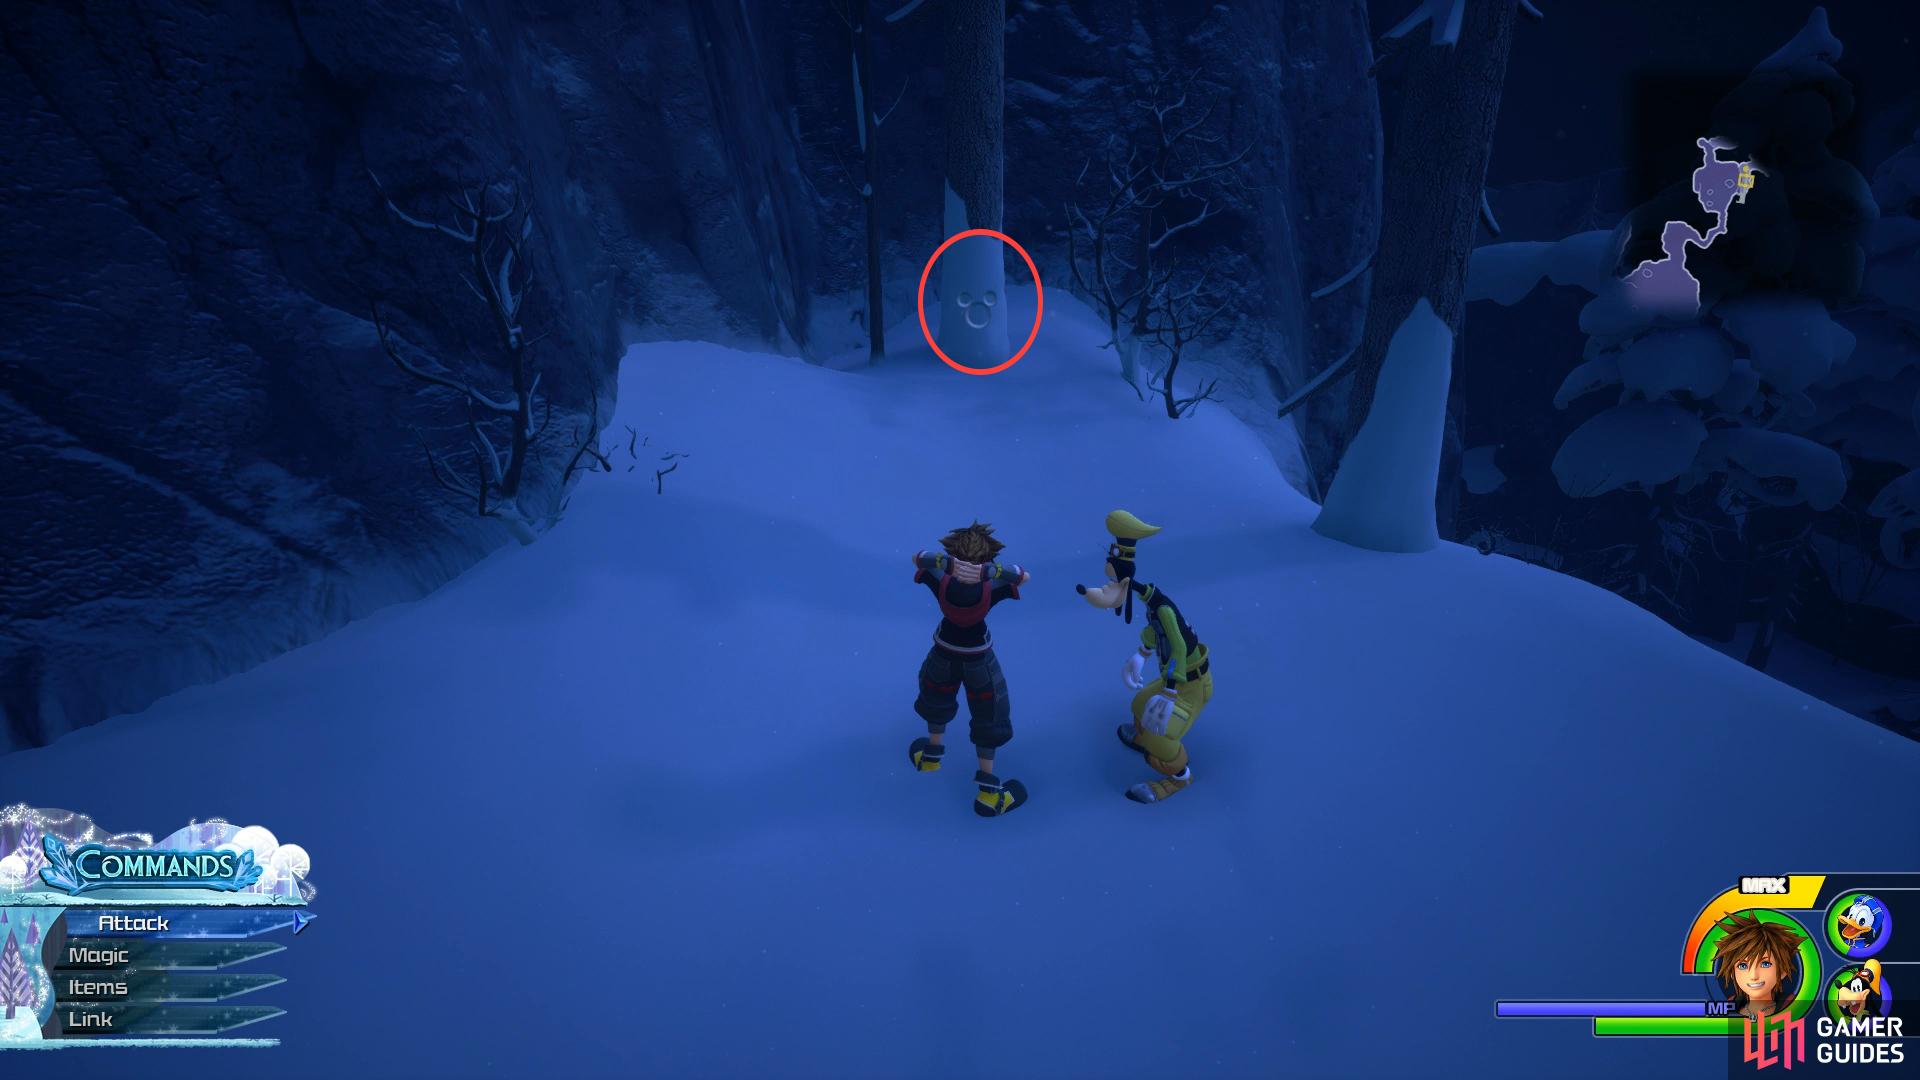
Strike the ice while falling to reveal the chest (left), the tree to the left of this has a Lucky Emblem. (right)
| Character | Ability |
|---|---|
| Sora | Groundbreaker |
Following the introductions, you’ll meet up with another member from the Organization before finding yourself trapped in a new location.
The Labyrinth of Ice
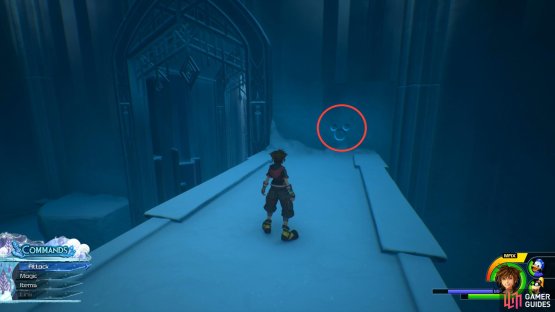
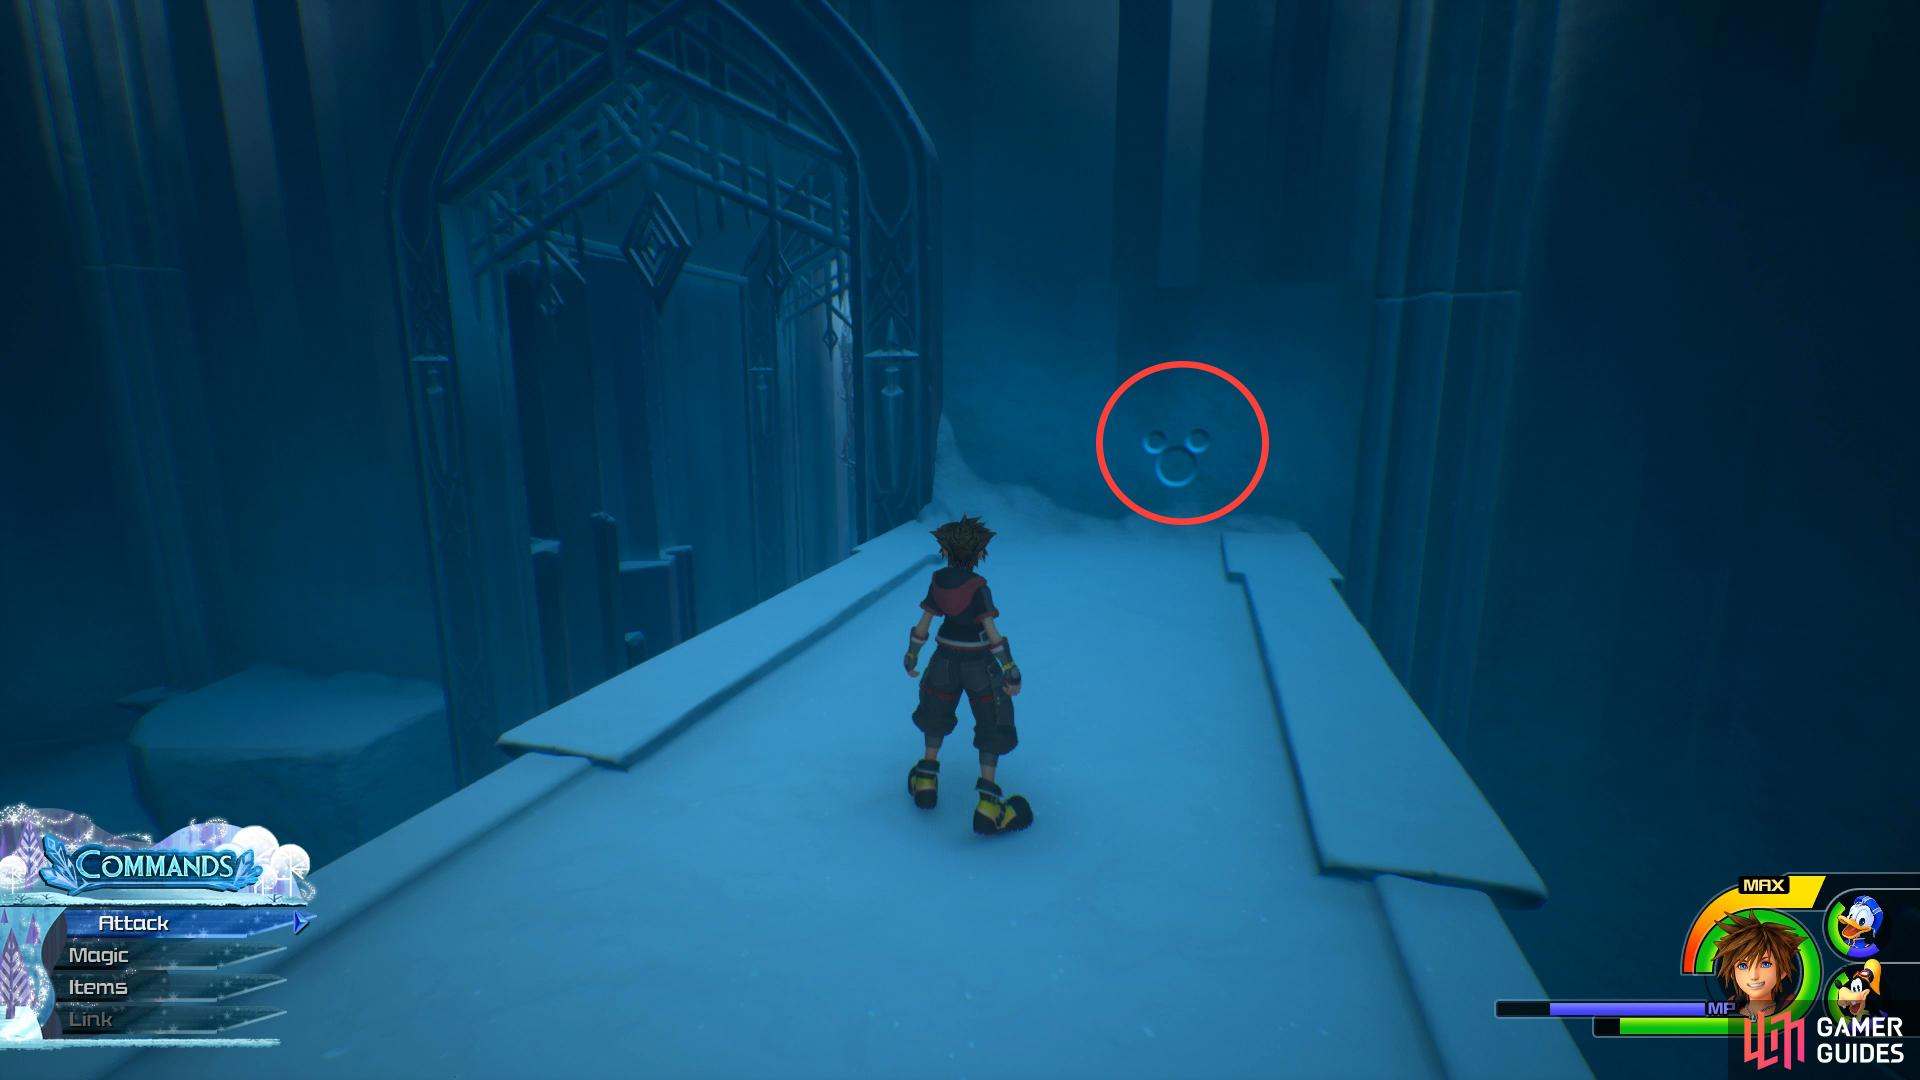
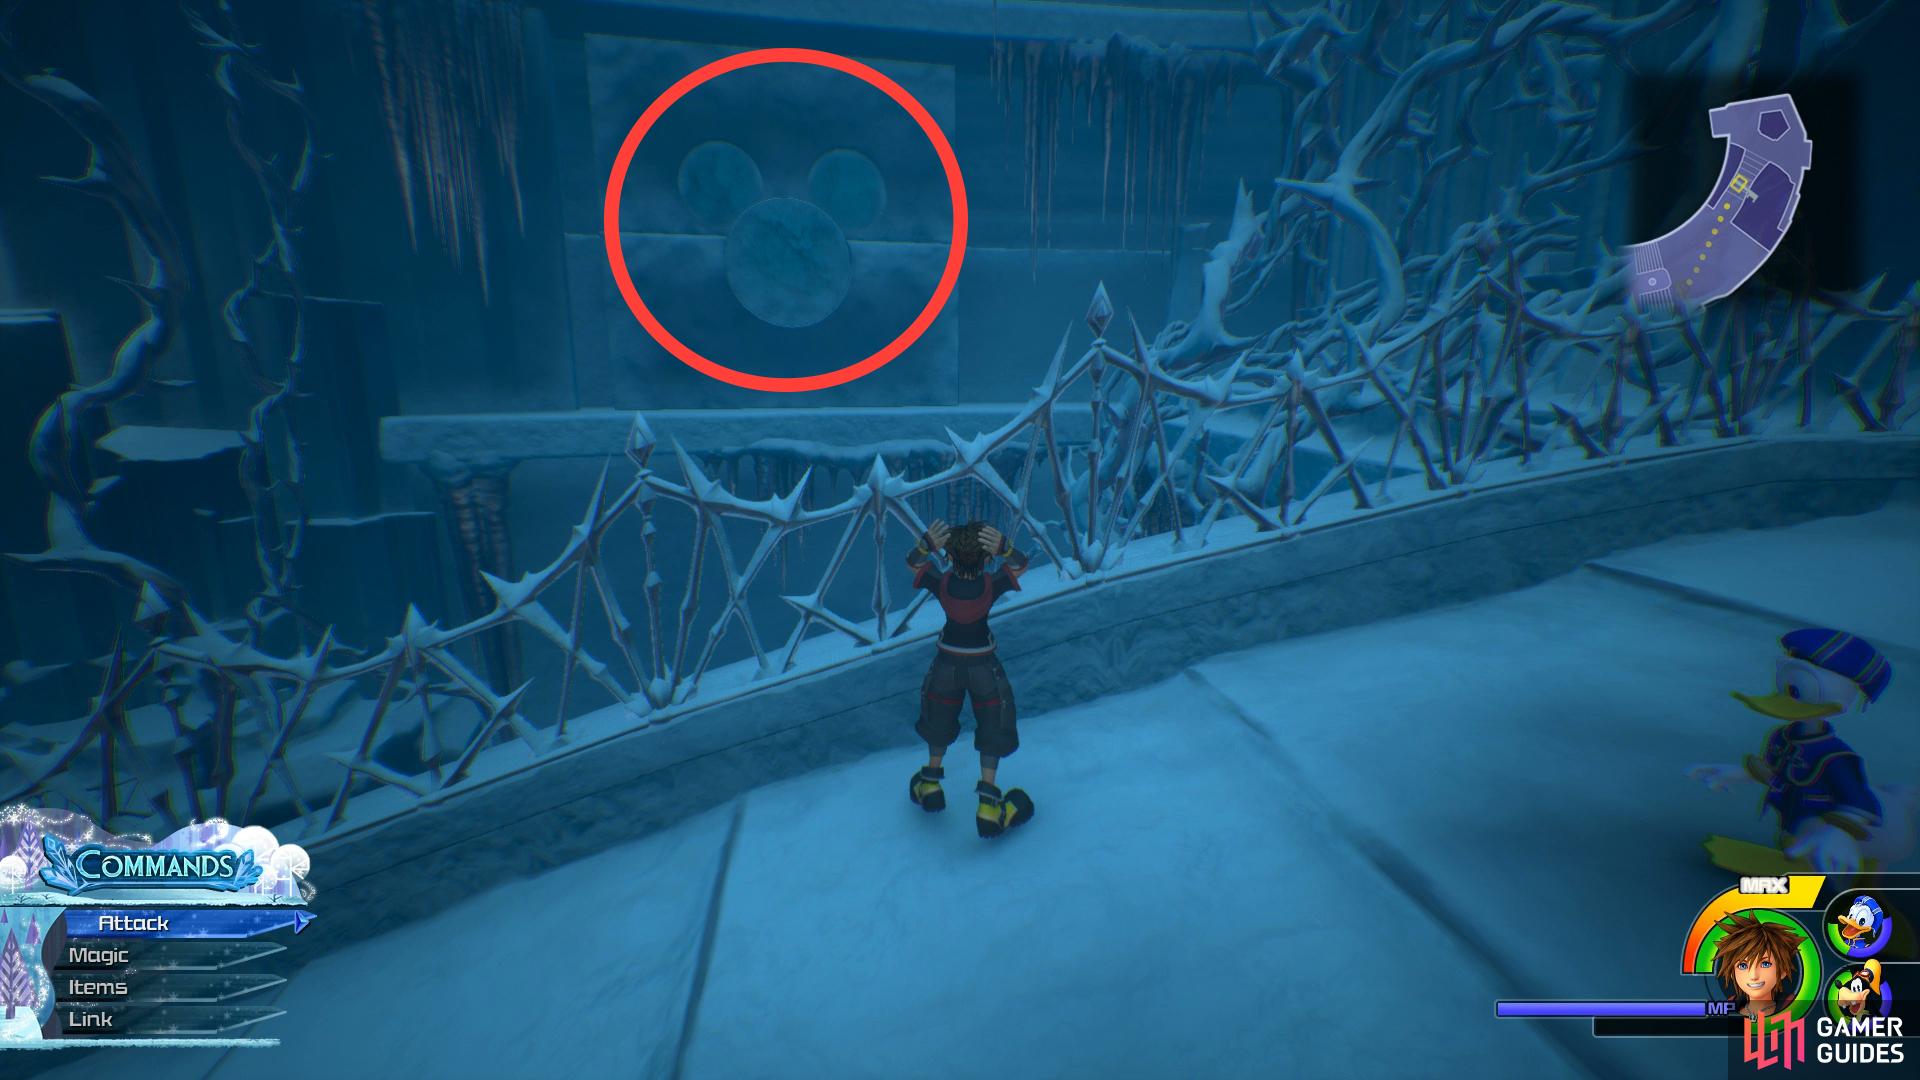
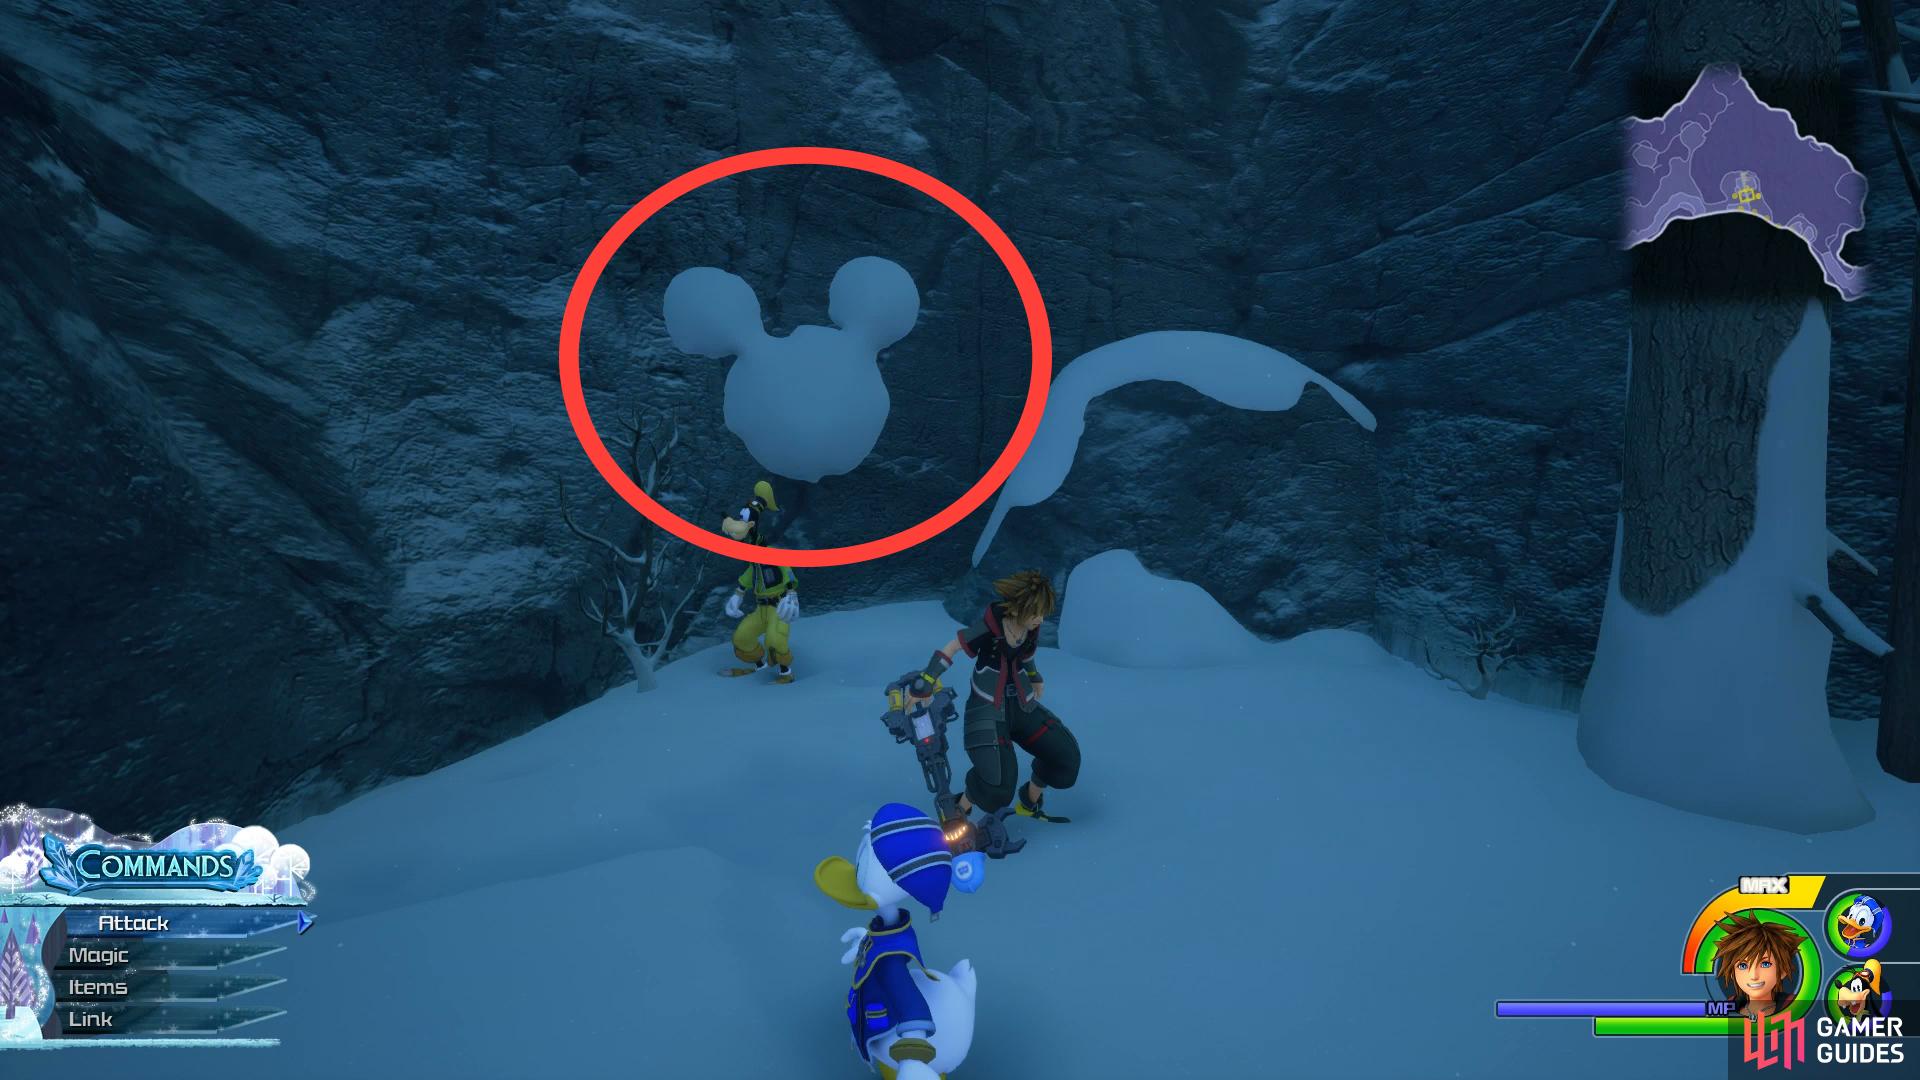
In your new surroundings, take the path in front of you as it slopes upward and defeat the Heartless in the next room. Following the battle, break the wall of ice and then continue up to break another wall of ice on your left. Defeat the Heartless in here and then leap onto the platform above you, at the end of the walkway is Lucky Emblem #2 on the wall.
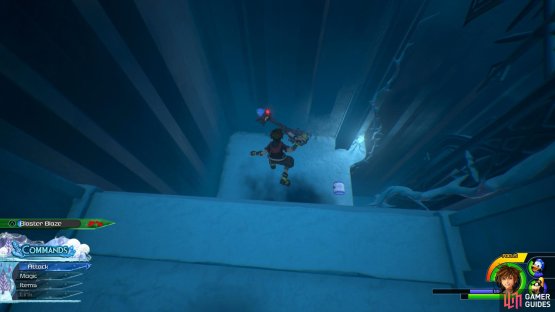
Return to the walkway before you entered this room and continue to head up to reach an intersection. Take the left path up the stairs first and you’ll reach another ice wall on your right, break this and drop down to the platform below to find a chest containing Treasure #10 - Map: The Labyrinth of Ice.
(1 of 2) Look on the wall at the end of the walkway
Look on the wall at the end of the walkway (left), drop down to the chest here. (right)
Drop back down to the room you found the Lucky Emblem in and head back up to the first intersection, this time heading into the room on your right and defeating the Heartless inside. Once free of enemies, climb to the top of the platform in the northeast corner of the room to find a chest containing Treasure #12 - Snowman Rosette.
Break the ice wall in this room and then follow the path up the stairs through the western passage. You’ll reach a large room full of a new type of Nobody, the Ninja. These tricky adversaries can summon clones of themselves so you’ll have to focus on the real deal to take them out. Beware of the ice columns that will strike out from the ground during this battle as they will inflict heavy damage to Sora.
| Character | Ability |
|---|---|
| Goofy | Max HP Increase |
Following the battle you’ll be in a dead end with just a pillar in the center, use Flowmotion to rotate around it and alter the layout of the Labyrinth. Head through the new passage to the southeast now and you’ll find a large slope, slide down this while avoiding the icicles and taking out the Heartless. Eventually, you’ll reach a large drop down to the Lower Area, turn around to face the southern wall to spot Lucky Emblem #3.
Turn around after dropping to the bottom to find this Lucky Emblem.
Head forward and you’ll be ambushed by another large group of Ninjas with icicles once again piercing the ground. The arena here is large so you should have no trouble avoiding the attacks and Attraction commands work well to thin out the ranks of Ninjas.
| Character | Ability |
|---|---|
| Sora | Thundara |
Be sure to add Thundara to your Shortcuts right away, it’s incredibly useful as a tool to clear out large groups of enemies at once, especially when you trigger Thundaga with Grand Magic after a constant barrage of them. Save your game and make use of the Moogle Shop to stock up on any necessities. You’ll notice there are two pillars in this room, go ahead and spin on both of them to alter the layout of the room and then head through the opening to the northeast to find a chest containing Treasure #14 - Classic Kingdom: Barnyard Sports.
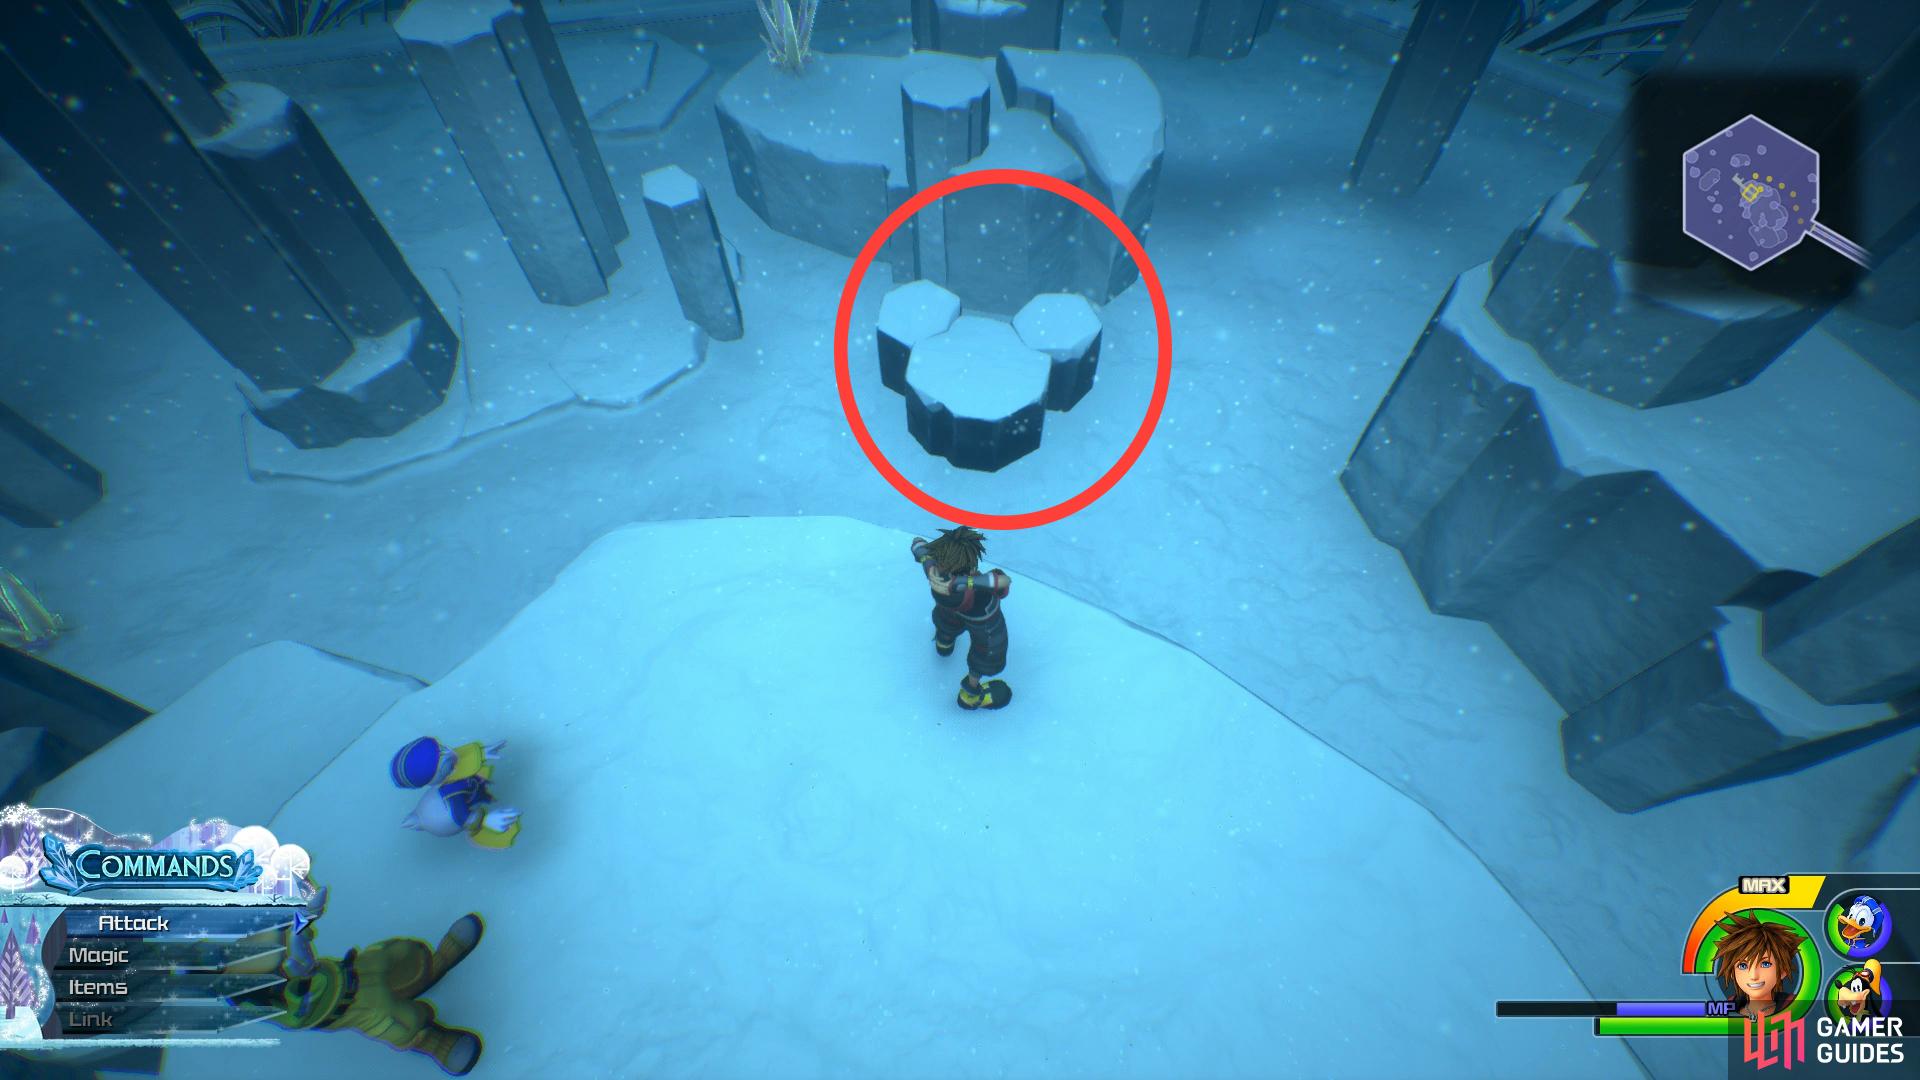
Head back and take the western path now and Airstep to the top and return to the Middle Tier once more. Cross the bridge to the north and dispatch the Nobodies in the next room before you turn your attention to the pillar.
| Characters | Ability |
|---|---|
| Donald | Max HP Increase |
| Goofy | Hyper Healing |
Once the enemies are defeated, swing on the pillar and then head back to the bridge you crossed a moment ago. Take a look at the eastern wall to spot Lucky Emblem #4. Return across the bridge and head down the newly opened path and you’ll come across a Rail Gauntlet. Once you begin grinding, lookout for another rail that appears overhead and jump to it. Once you land, drop to the platform below you to find a chest containing Treasure #15 - Blizzard Cufflink.

(1 of 2) This emblem appears after using the pillar

This emblem appears after using the pillar (left), leap to the higher grind rail to reach this platform. (right)
Drop down again and follow the path to the south to reach another large area where you’ll be ambushed by more Ninjas. You should be used to how to deal with these enemies by now while avoiding the icicles that pierce the floor, Thundara/aga works well on clearing them out if you find they’re bunched together.
| Character | Ability |
|---|---|
| Sora | Risk Dodge |
| Goofy | Item Slot |
Following the battle, swing on the pillar to raise the ground you’re standing on and ascend to the Upper Tier. You’re presented with three paths here, begin by taking the northwest one and climb the rocks in the middle of the next room. Once at the top, position the camera to the northwest to spot Lucky Emblem #5, this should be your 60th and award you the useful Orichalcum Ring.


(1 of 2) Face the camera down from the central rock
Face the camera down from the central rock (left), the final two chests lay before the exit. (right)
Return to where you entered the area and this time take the southern rail this time. You’ll find the final two chests of the labyrinth here containing Treasure #11 - Dark Anklet and Treasure #13 - Damascus along with the exit. You’ll find yourself back at the Gorge from earlier, make use of the Save Point before you press on.
The North Mountain Part 2
As you pass through the linear path, defeat the Heartless that spawns and then run up the wall before leaping over to the east to run up a second wall. You’ll see in front of you a large group of Popcats, make good use of Thundara to clear them out and then check the cave to find a chest containing Treasure #5 - Guardian’s Belt. Leave this cave and leap over to the next wall to the northwest and run up this one too. At the top, turn around to face the direction you came from to find some hanging icicles you can Airstep to. At the end of this icicle path is a small ledge housing a chest containing Treasure #4 - Elixir.

(1 of 2) destroy the Popcats to find this chest in the cave behind them

destroy the Popcats to find this chest in the cave behind them (left), use the icicles and head right to find this chest. (right)
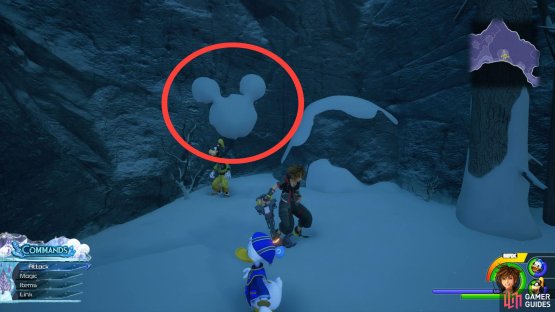
Return to the previous platform and look to the northwest to find another path of icicles you can use to proceed further up the mountain. After running up the next wall, you’ll be ambushed by the Heartless again, take them out and then run up the next two walls to reach the Mountain Ridge.
As soon as you arrive here, you should spot Luck Emblem #6 on the wall directly in front of you. Proceed up the path here to trigger a cutscene as Elsa creates a palace of ice for herself featuring a rather iconic song from the movie itself.
You’ll find this Lucky Emblem at the top of the mountain.
Following the cutscene, the group will find themselves stranded on a mountain as an avalanche begins. With some quick thinking from Goofy, you’ll begin sledding down the mountain. You’ll need to avoid the Heartless’s Ice Breath attack by moving from side to side or else you risk falling back towards the avalanche and losing HP. You’ll also have to jump over the ice breaths once you start facing more than one at a time to avoid damage. After escaping the avalanche, you’ll find yourself on a course with less danger, try to get a familiarity for the course as you’ll be able to replay this section later for special rewards.
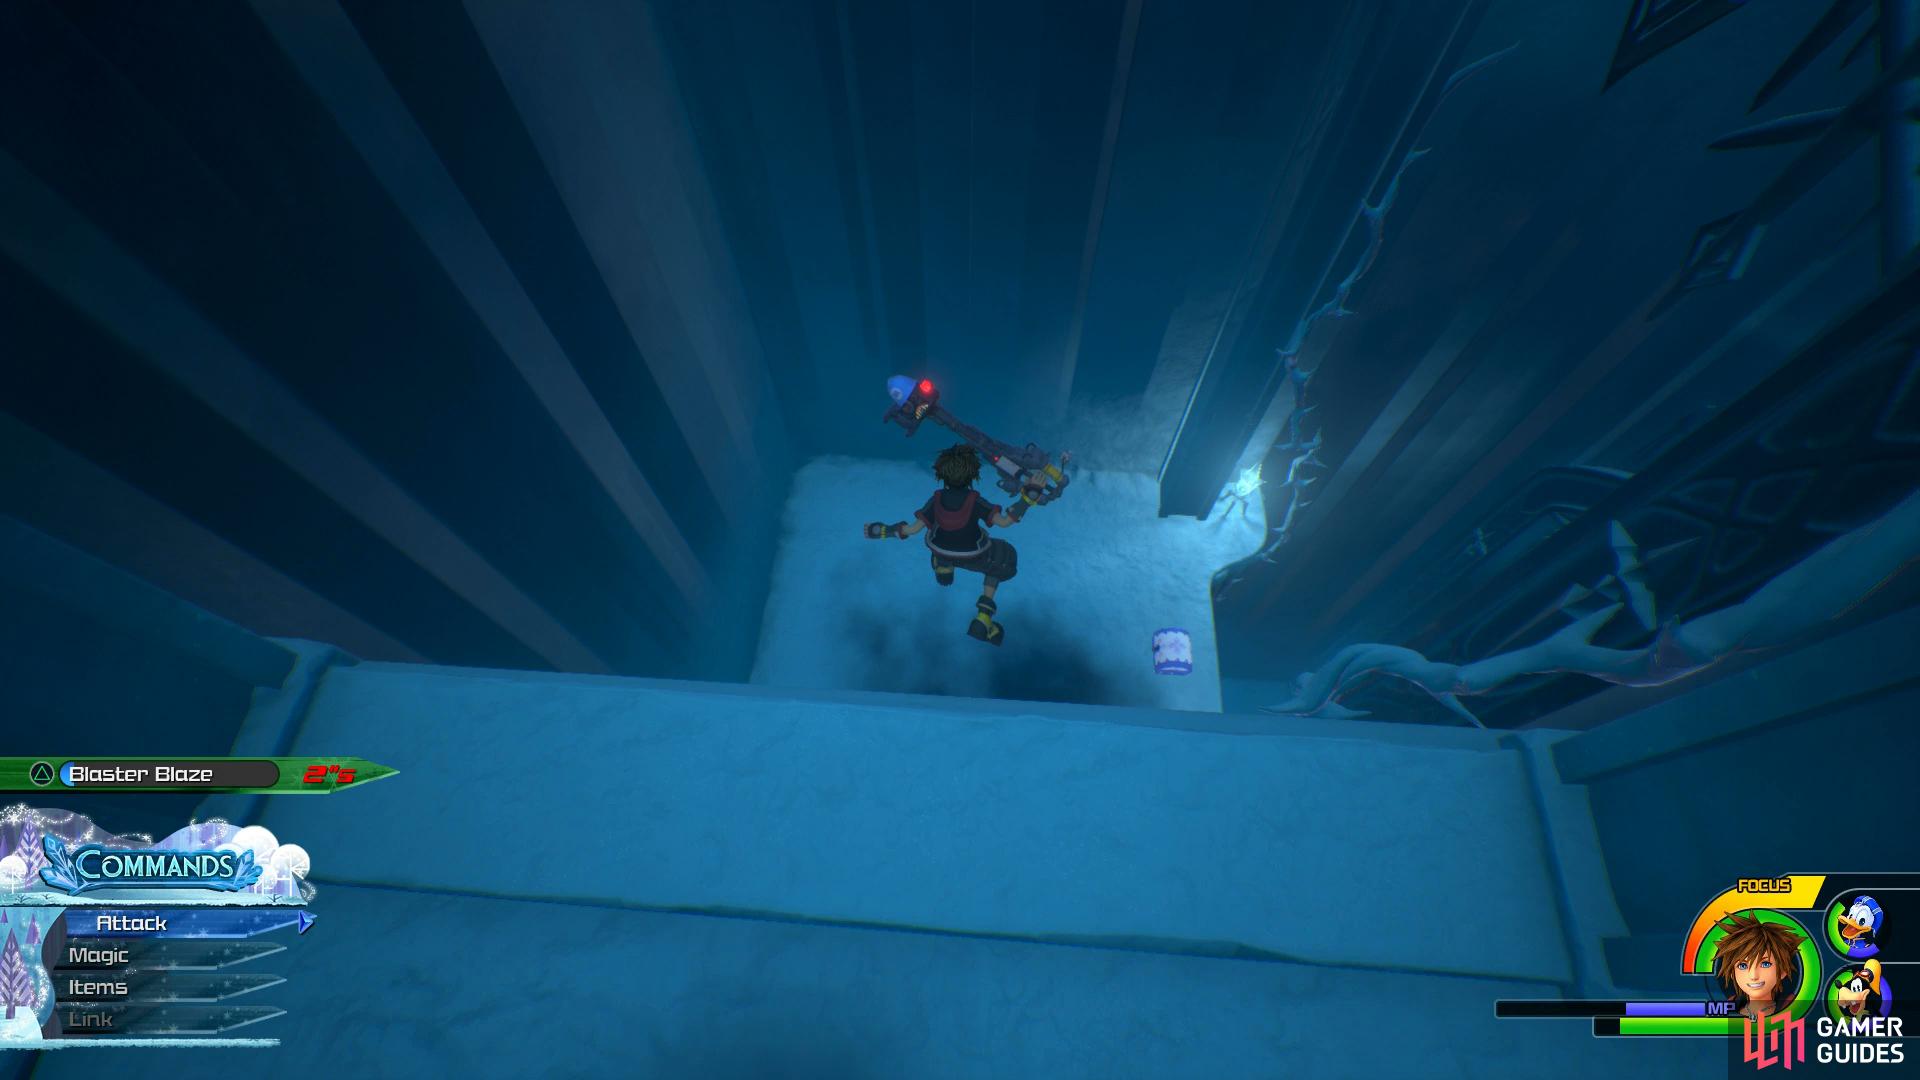
Once you reach solid ground, you’ll be thrust into battle against a new adversary, the Frost Serpent. These are tough enemies with lots of HP and who will deal heavy damage to you. You’ll have to face them in two phases with the first occuring while they’re flying. You’ll notice that you can target each wing and using Fire spells are your best form attack. During this phase they will spin around to create a damaging whirlwind along with their Ice Breath attack they used earlier. Simple air dodges will suffice here as you continue to strike away at their wings.

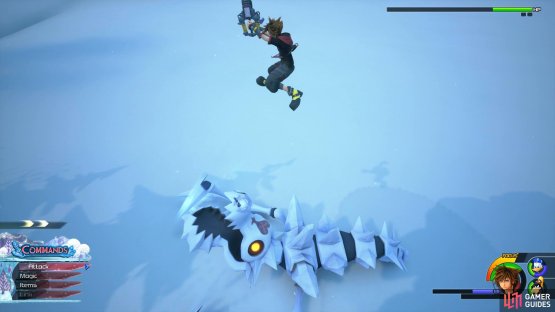
(1 of 2) Aim for the wings to force them to the ground

Aim for the wings to force them to the ground (left), they’re a lot simpler to dispatch when burrowed. (right)
Phase two begins after this as they will burrow into the ground and attack from there. While there, they will spin their claws and come hurtling towards you, dash out of the way to avoid major damage and be presented with the chance to get some Combos of your own in. The Frost Serpents are far simpler to defeat while on the ground rather than flying so make your main priority defeating the wings to bring them to the ground.
| Character | Ability |
|---|---|
| Sora | Doubleflight |
| Donald | Blizzard Boost |
Following the events, Sora and the group will find themselves in the Valley of Ice. Make use of the Save Point and head north until you spot the path to the east on the map, climb up the ledge to find a chest containing Treasure #16 - Hi-Potion. Drop down from here and continue north to the clearing where you’ll run into Olaf, Anna and Kristoff.
Following the events, you’ll be taksed with helping put Olaf back together again by finding his missing parts. Begin by heading over to the east and through the trees to find a large snowball, jump on top of it and ride it into the wall to break free Olaf’s head. Head over to the ice next to find Olaff’s legs running across the ice. Olaf’s body is a little trickier to find, head up the frozen waterfall and head right. As you begin sliding down, leap on to another platform to your right to find the body.
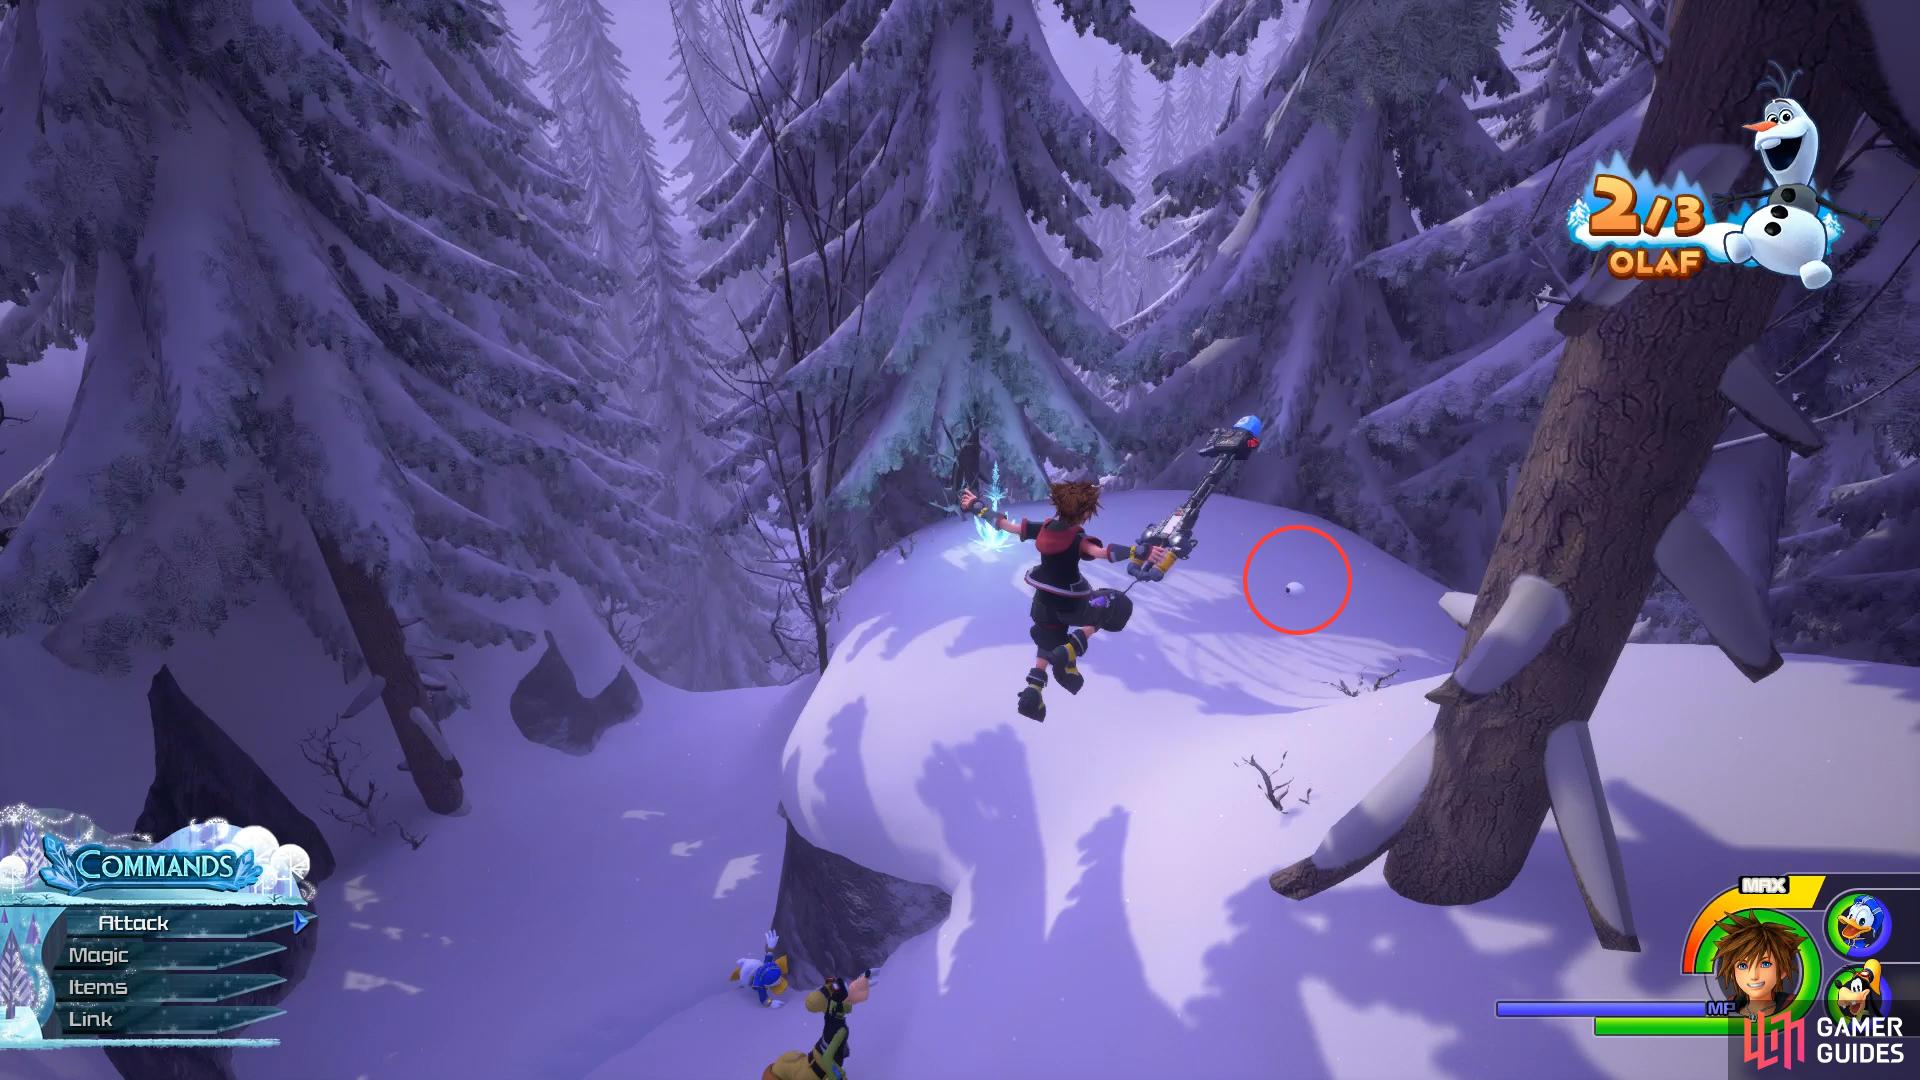
You’ll find the final piece to the right of the top of the waterfall.
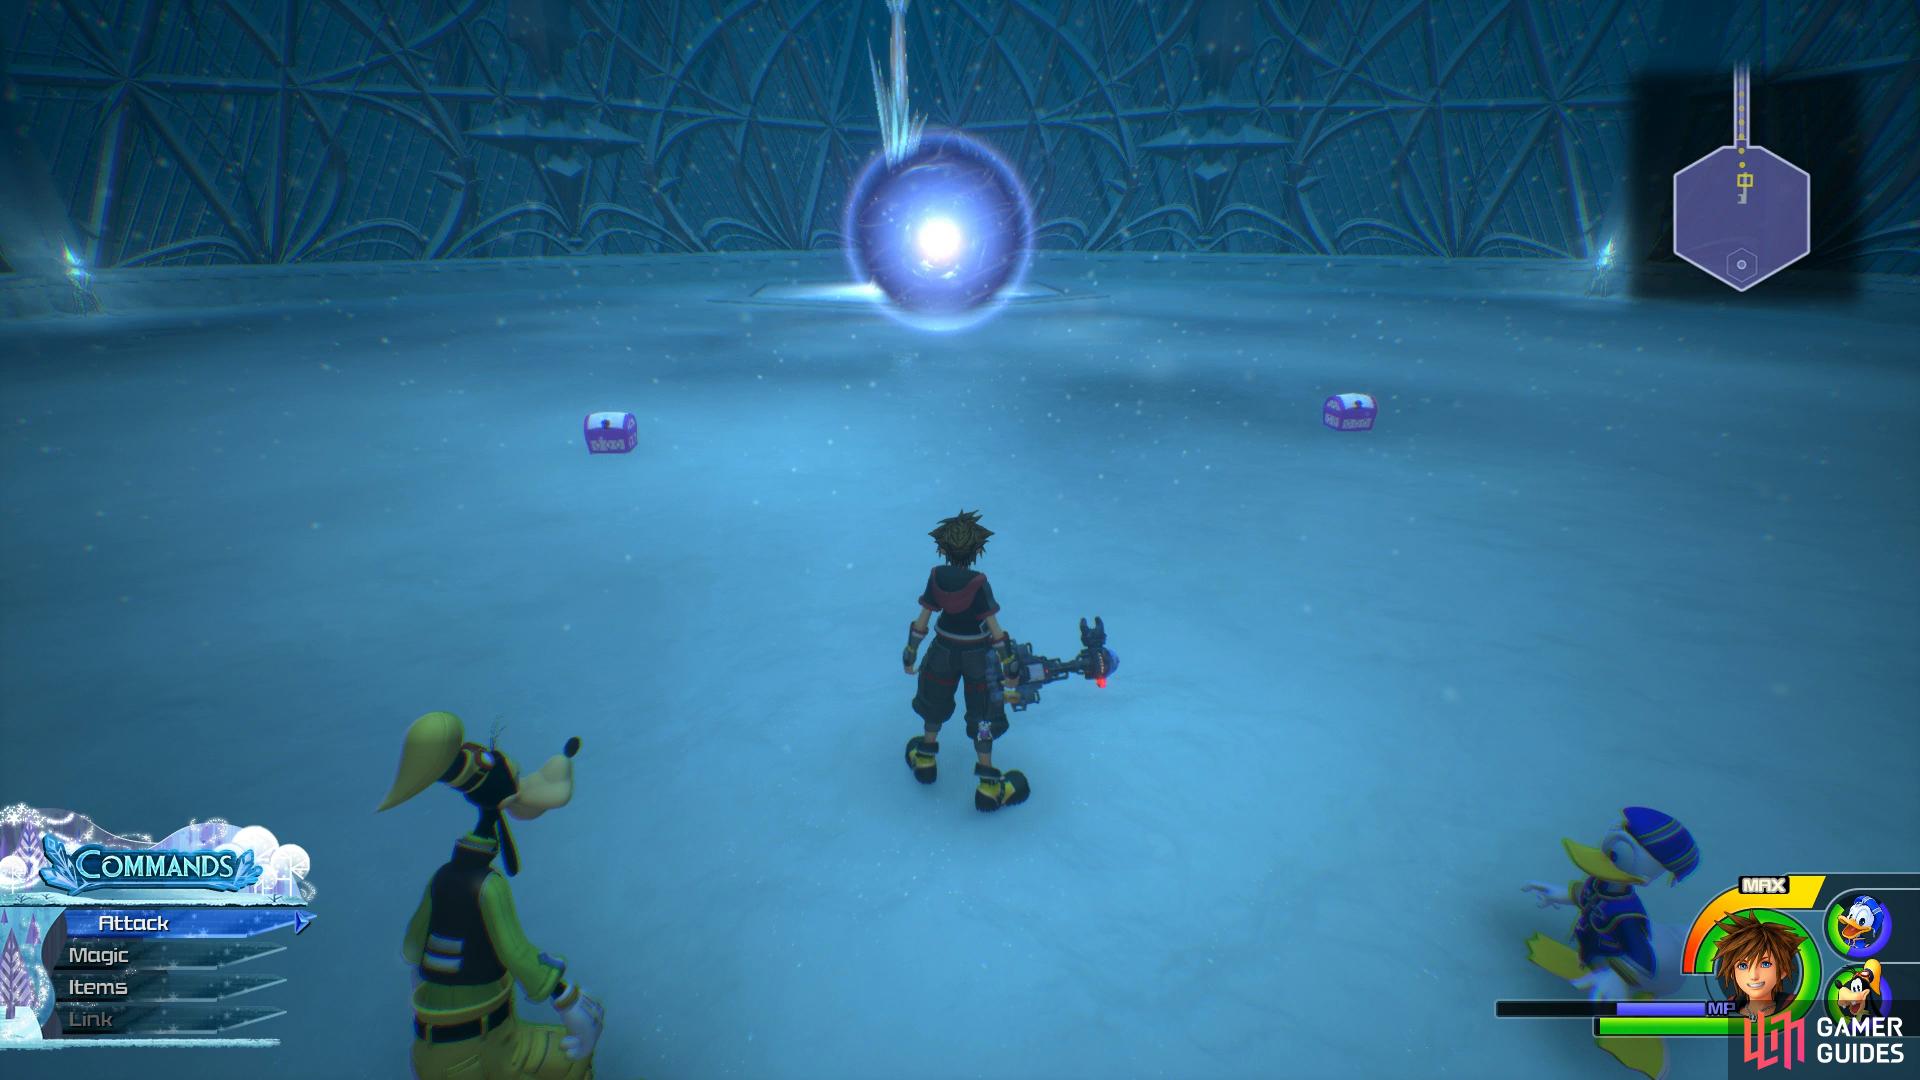
You’ll have to deal with a group of Heartless following the next cutscene. Begin by unleashing a Shotlock and then run into the pack and use Thundara repeatedly until Thundaga triggers. This should leave you just a few stragglers to take care of.
| Character | Ability |
|---|---|
| Sora | Air Slide, Accessory Slot |
Once you regain control, head to the east of this are and leap to the platform above to find a chest containing Treasure #17 - Refocuser. Return to the center and take the western path and once you reach the large snowball, head left to find a chest containing Treasure #18 - Hi-Ether.
Continue up the path and defeat the Heartless in the next clearing before heading up the hill to the west and approach the edge of the cliff. You’ll see another ledge over the other side, perform a Doubleflight and then Airslide over to it to find a chest containing Treasure #19 - Blizzara Choker. Drop back down and follow the path south and up the wall at the end.


(1 of 2) Airslide across to reach this chest
Airslide across to reach this chest (left), defeat the Beauty Parasol and leap across to find this chest. (right)
You’ll encounter Heartless as you continue up the path here, make use of the snowballs to deal great damage. As you reach the top you’ll see a path leading off to the west, ignore this and climb higher nearby. You’ll see another ledge across the gap to the south that you can Doubleflight over to (a Parasol Beauty lurks here). Leap over and dispatch the heartless to find a chest containing Treasure #20 - AP Boost.
Drop back down to the main path and follow it west where you’ll be ambushed by more Parasol Beauties. You can take cover from their lasers using the nearby rocks but it’s easier to just rush them down and take care of them instead. Continue further up the path dealing with the Heartless until the snow picks up and you enter the Frozen Wall.
As you make your way along the linear path you’ll reach a gust of wind, use this to propel Sora into the air and over the gap. Continue to ride the gusts of wind as you make you way towards the clearing in the south of the map. Before heading into the clearing however, head west and you’ll be able to run down a wall where a group of Heartless will ambush you. Dispatch the enemies and you’ll find a chest overlooking the cliff containing Treasure #21 - Mega-Ether.

(1 of 2) Search along the cliff edge after dispatching the enemies

Search along the cliff edge after dispatching the enemies (left), head along the path to find this cave behind some bushes. (right)
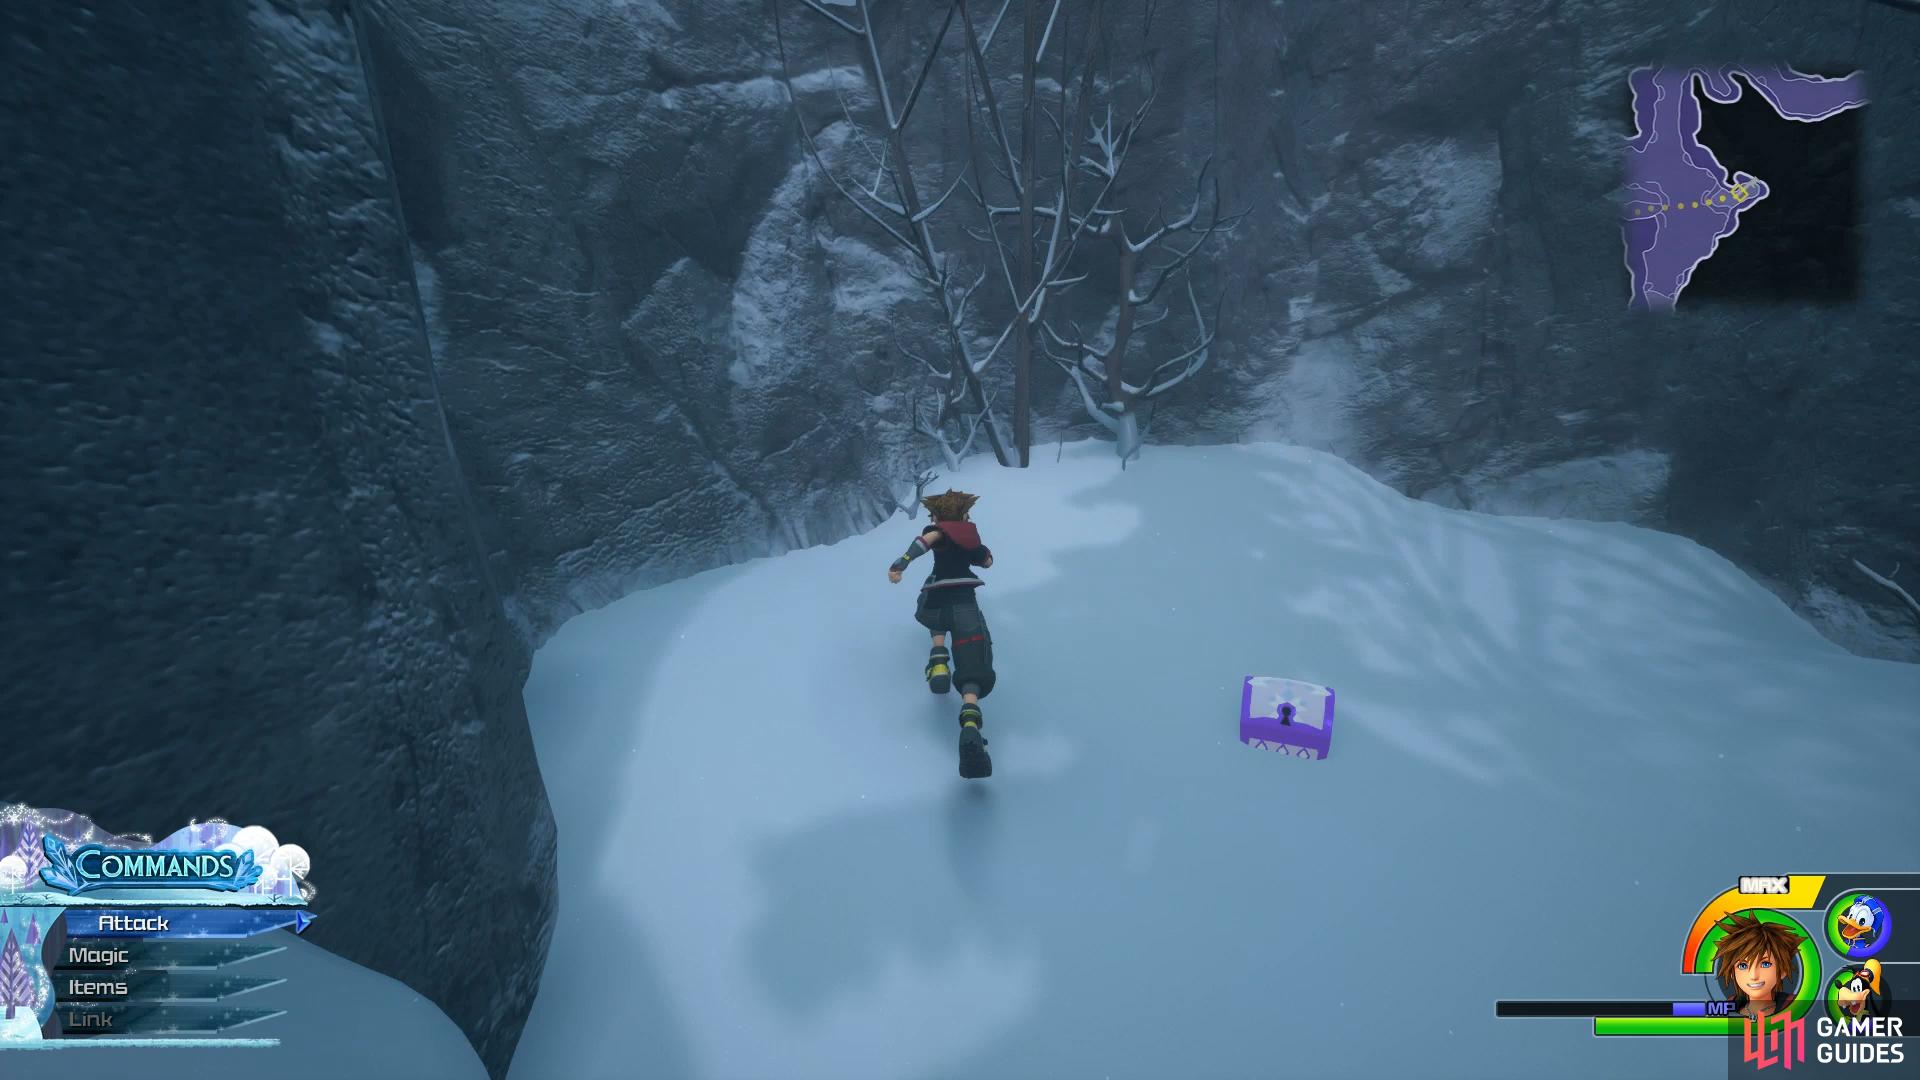
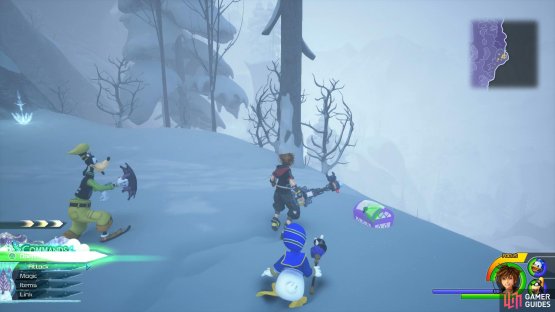
Head back up the wall now and approach the clearing to have another group of Heartless appear including Frost Serpents. Make use of Thundara to cull the group of all the Soldiers and then use a Shotlock to shoot out the wings of the Frost Serpent. After the battle you’ll see a wall you can run up and a gust of wind, ignore both and jump up the platforms to the north and follow it to reach a gust of wind. Ride this gust of wind around the rocks to the north and follow the path to a cave, inside you’ll find a chest containing Treasure #22 - Silver Amulet.
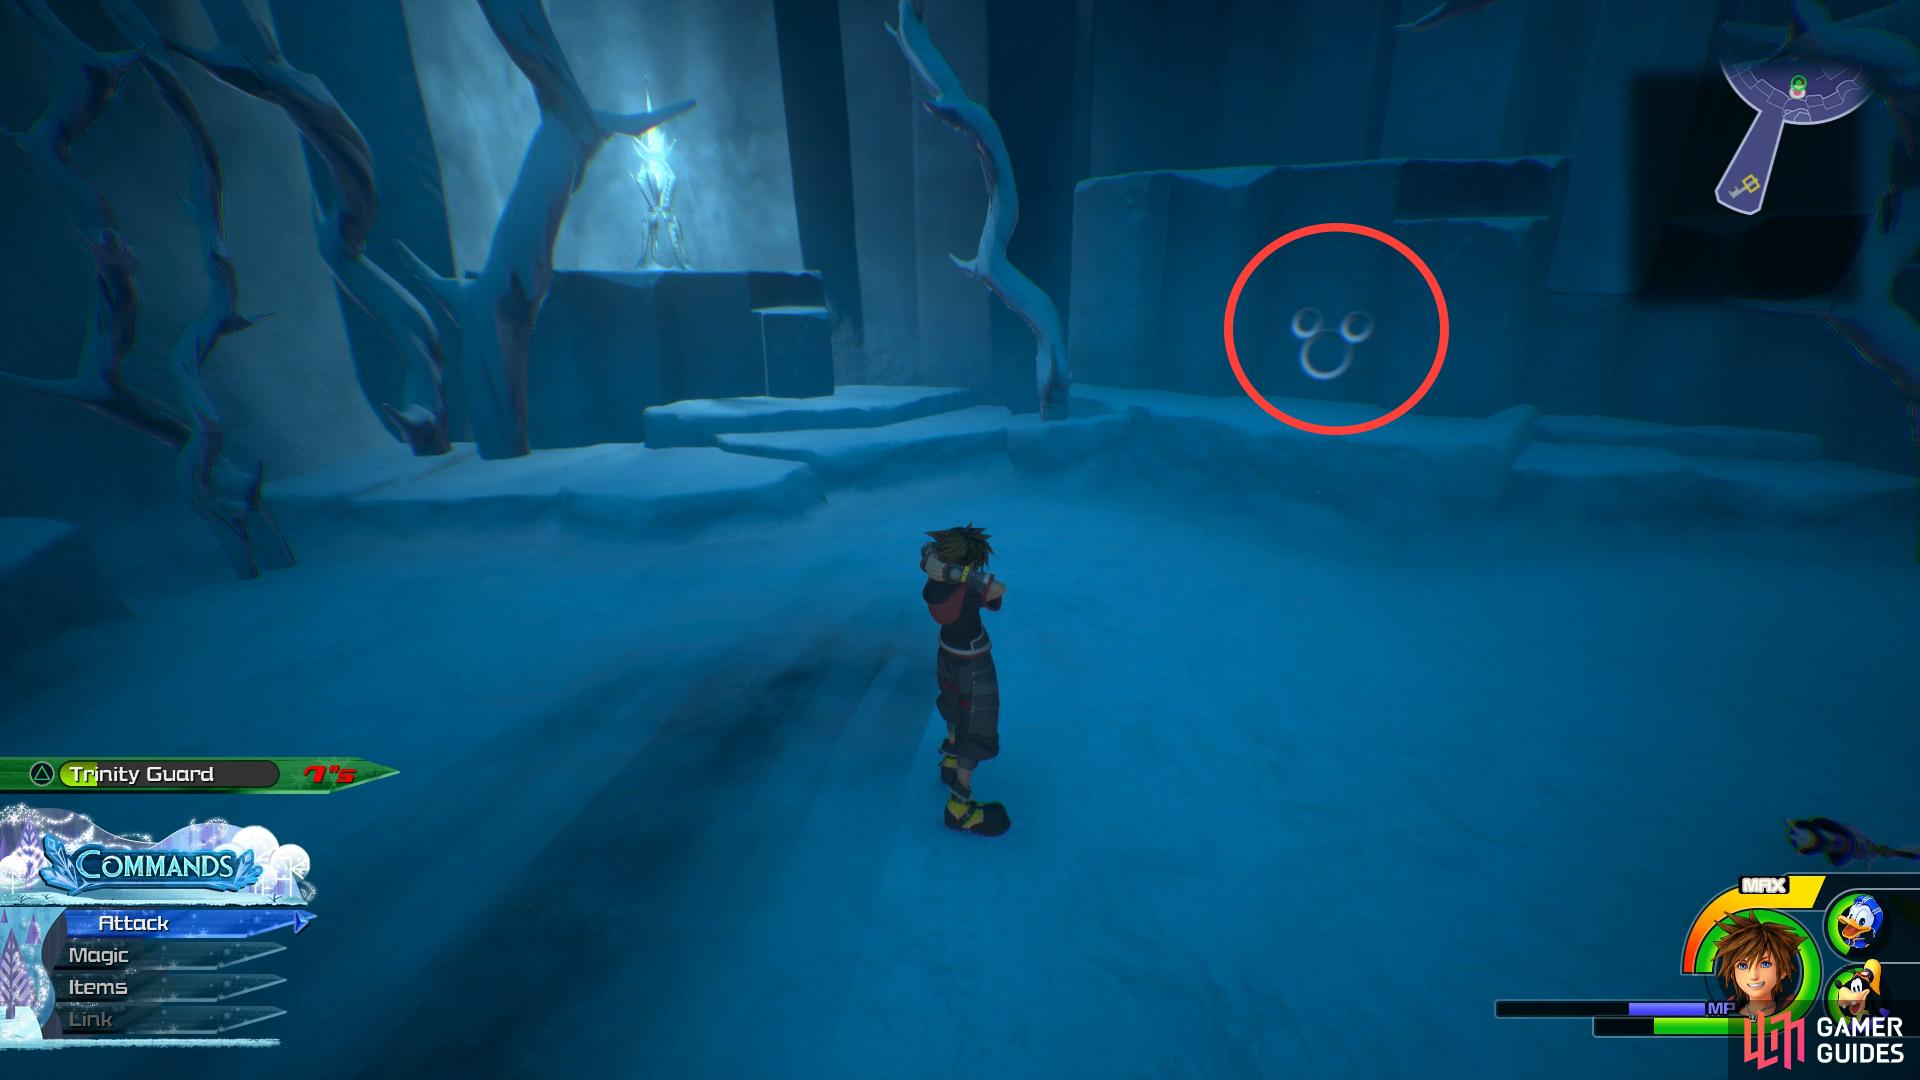
Run up the nearby walls and follow the path as it curves around to the northwest defeating the Heartless along the way. You’ll reach a large wall at the end of this path, head up and across it until you’re on the part of the map that is show in the image below. Drop down and face the wall to the south to spot Lucky Emblem #7 before dropping down to the bottom and dispatching more Heartless.
(1 of 2) Drop down off the large wall to find this Lucky Emblem

Drop down off the large wall to find this Lucky Emblem (left), another awaits behind a chunk of ice to the north. (right)
Return up the wall and head diagonal right to reach a ledge up high you can drop down to. Follow this thin path to the end to spot a chest containing Treasure #23 - Magician’s Wand+ and then slide down to the west. You’ll come across multiple chunks of ice just before the path heads off to the left, behind the first chunk you will spot Lucky Emblem #8. Follow the path form here south to return to the Ice Palace at last. Your trip up to the Ice Palace is short lived once again as Elsa’s guardian attacks.
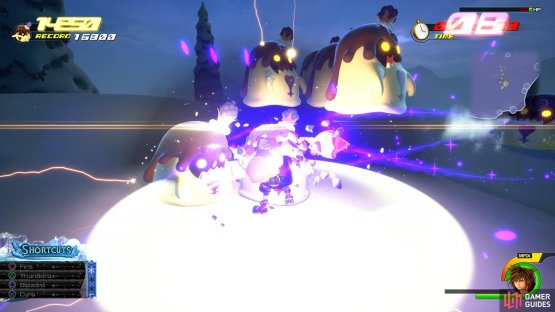
Boss: Marshmallow
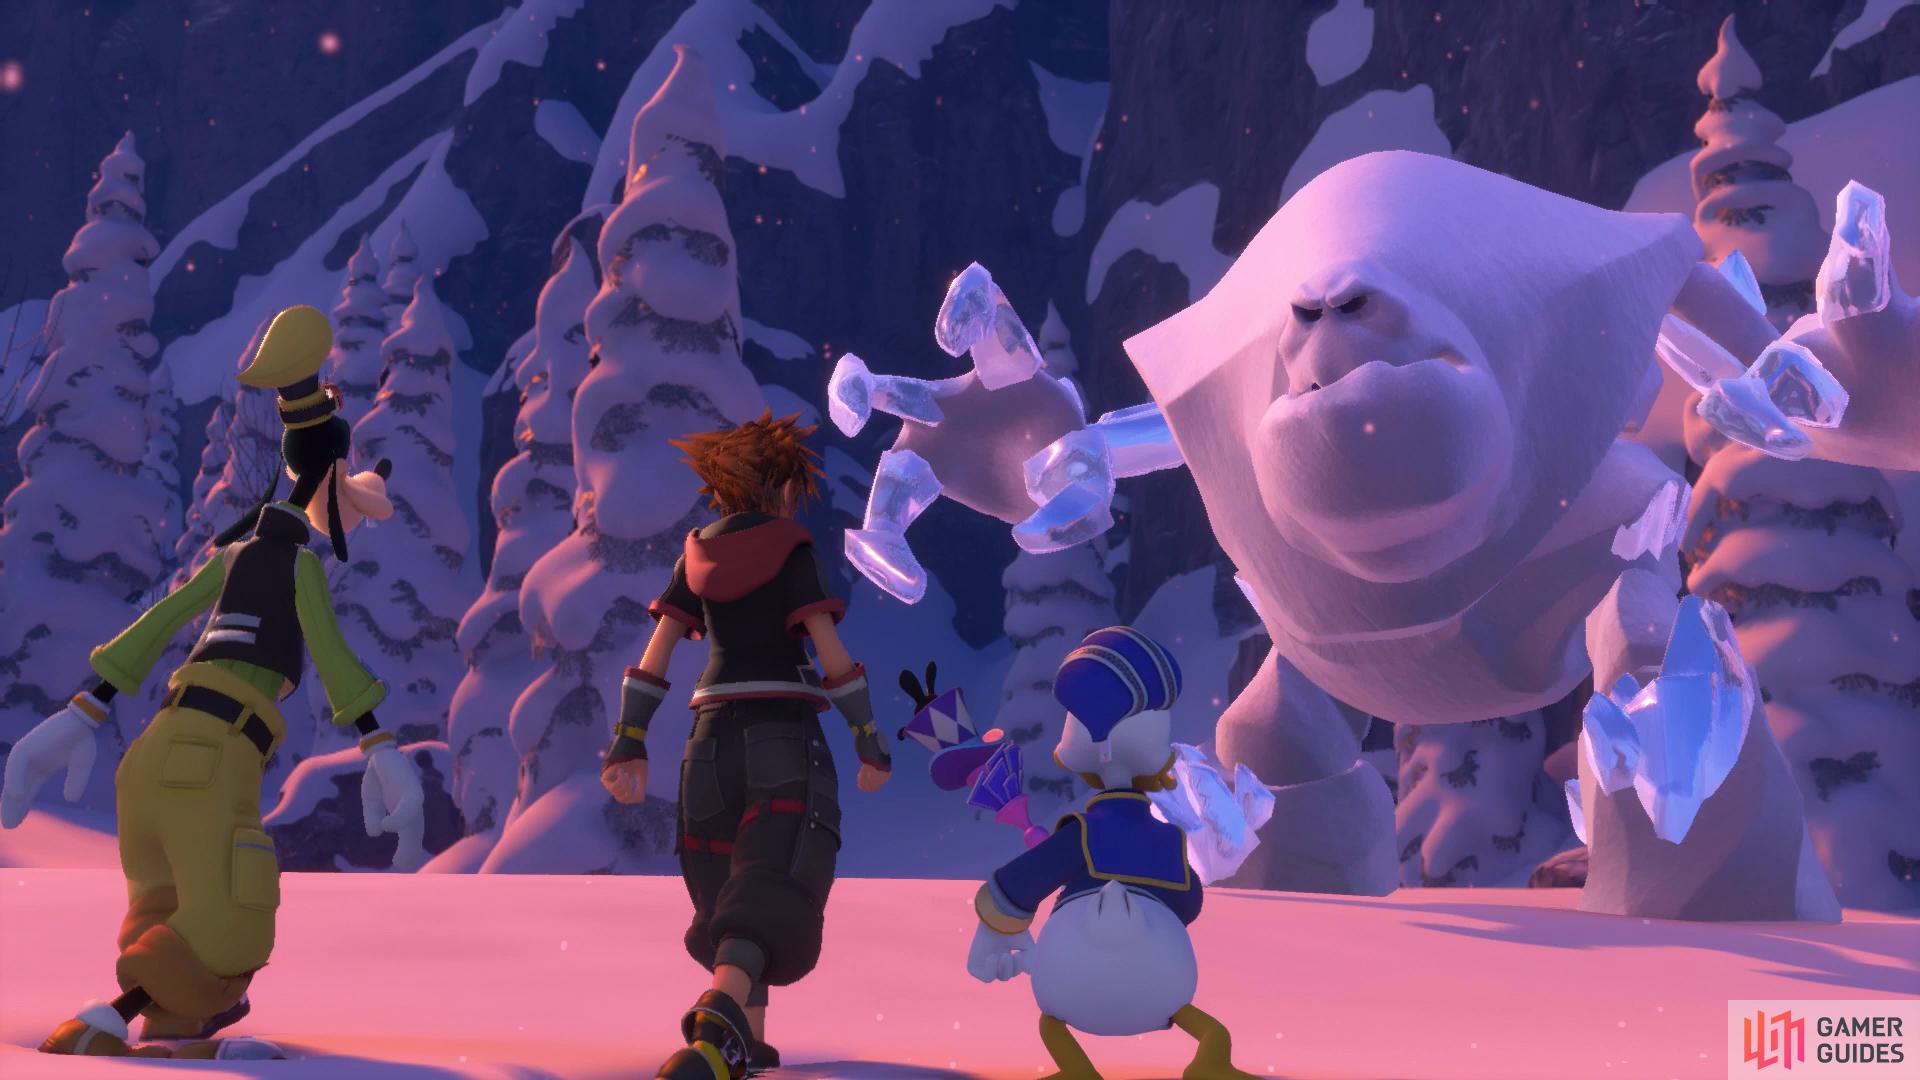
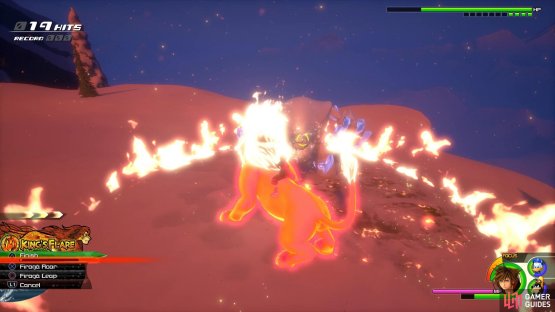
As you may expect with Marshmallow being a large snowman, Fire based spells and abilities are king here. Marshmallow will attack with a one-two slap combo that he repeats multiple times, if you get caught in the whole attack then you’ll need to Cure right away. He’ll also launch himself in the air and slam down in your last location, creating a shockwave, jump this to avoid it. Finally, he has an Ice Breath attack that will freeze you in place while dealing continuous damage.
As mentioned previously, Fira/ga is very useful against him as is the King’s Flare Link. Pay attention to Goofy’s callouts too, this will allow you to perform the Tree Whip Situation Command. This will knock Marshmallow over and stun him for a short period of time allowing to deal heavy damage to him.
(1 of 2) The Ice Breath will freeze Sora in place

The Ice Breath will freeze Sora in place (left), King’s Flare is extremely potent against Marshmallow. (right)
After taking away half of Marshmallow’s HP, he’ll freeze himself creating an Armor gauge you’ll need to drain. This is a good time to unleash King’s Flare if you have the required MP for it as it will drain the bar quickly and the finisher will light the floor up dealing even more damage. Marshmallow will repeat this tactic until his death so be ready with the Fire spells whenever you see the Armor gauge appear.
| Character | Ability |
|---|---|
| Sora | Blizzara |
Snowfield
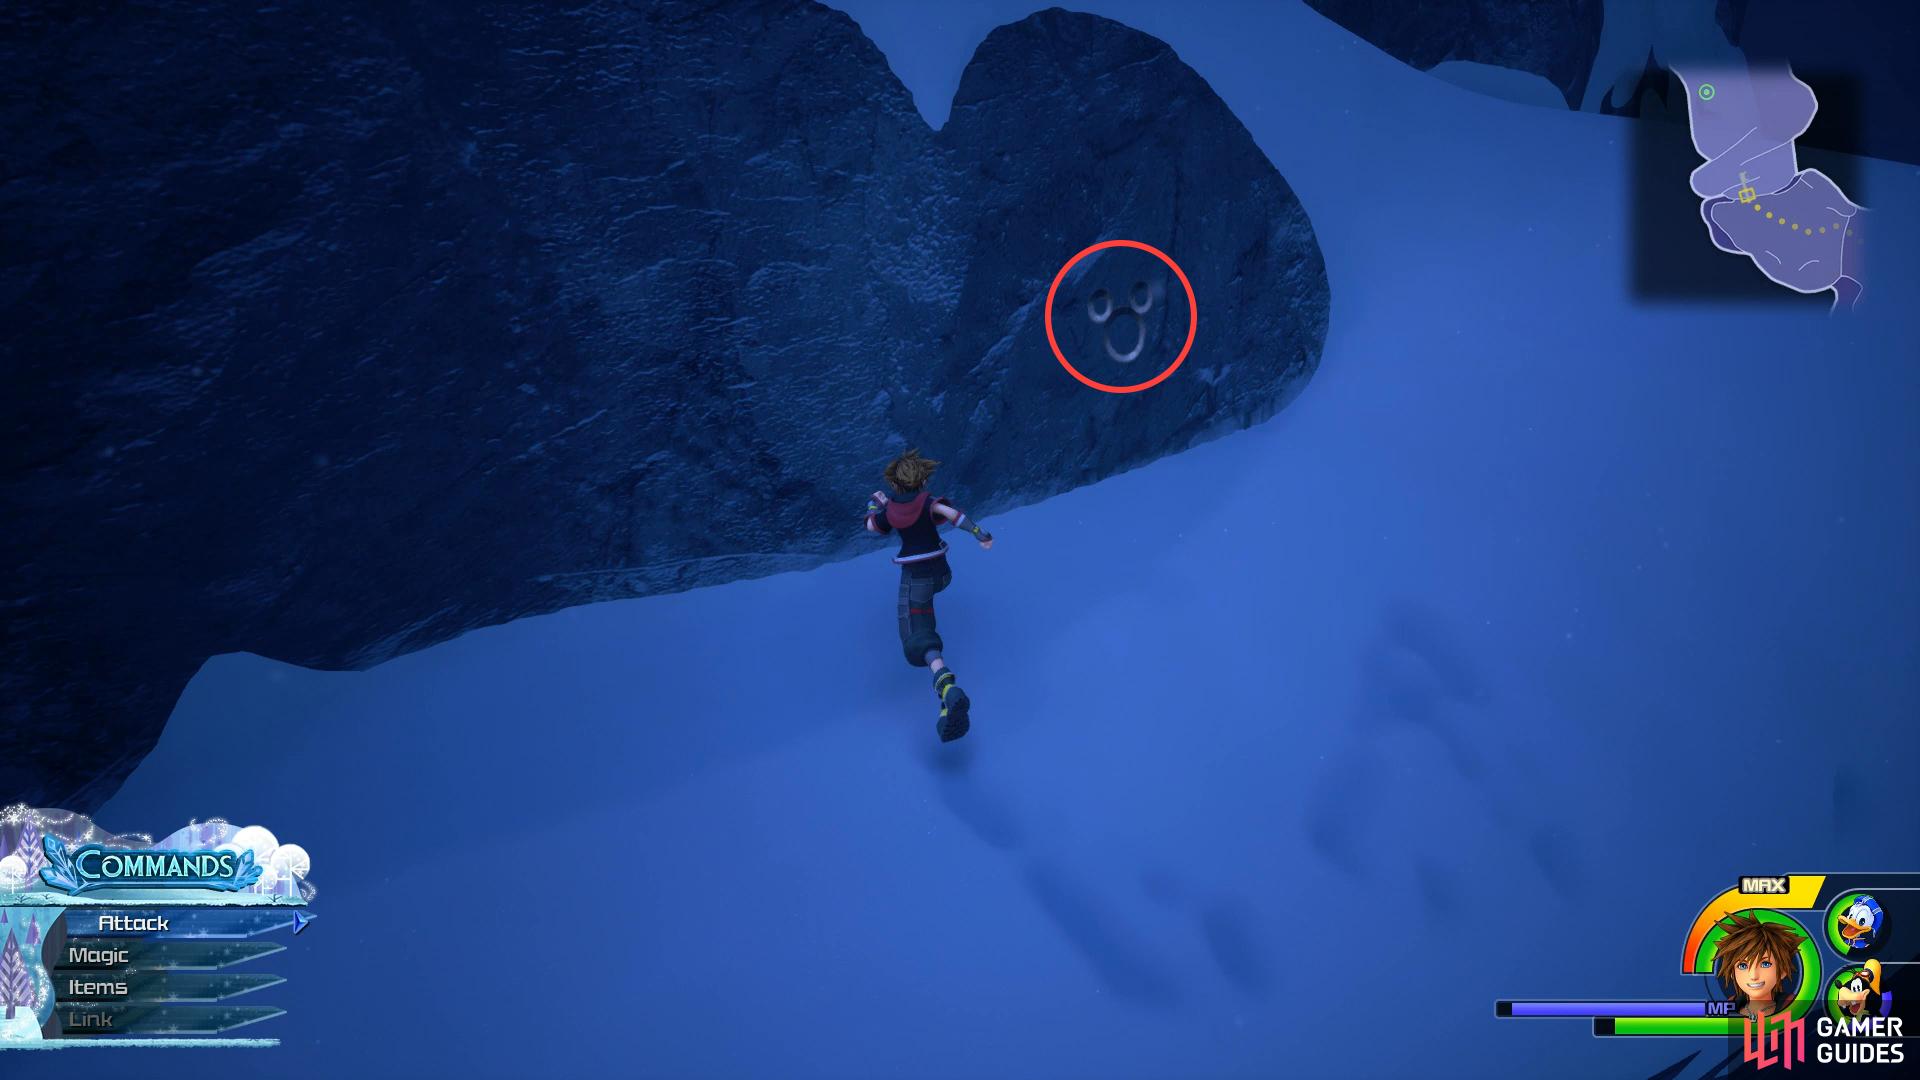
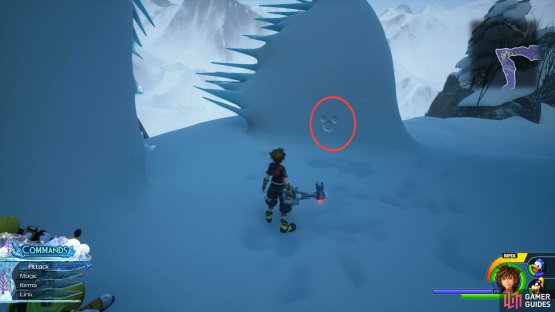
Once again you’ll find yourself at the bottom of the mountain with the objective being the Ice Palace again. Make use of the Save Point and press on down the linear path until you drop down and defeat the Heartless ambush. Upon their, defeat, head up the wall to the east and then turn around to face the north at the top, you’ll spot the difficult to see Lucky Emblem #9 on a small platform. While in the same position, Air Slide over to the platform to the northeast to discover a chest at the top containing Treasure #6 - Force Ring.


(1 of 2) This Lucky Emblem is tricky to spot
This Lucky Emblem is tricky to spot (left), smash the ice while falling to reveal a chest. (right)
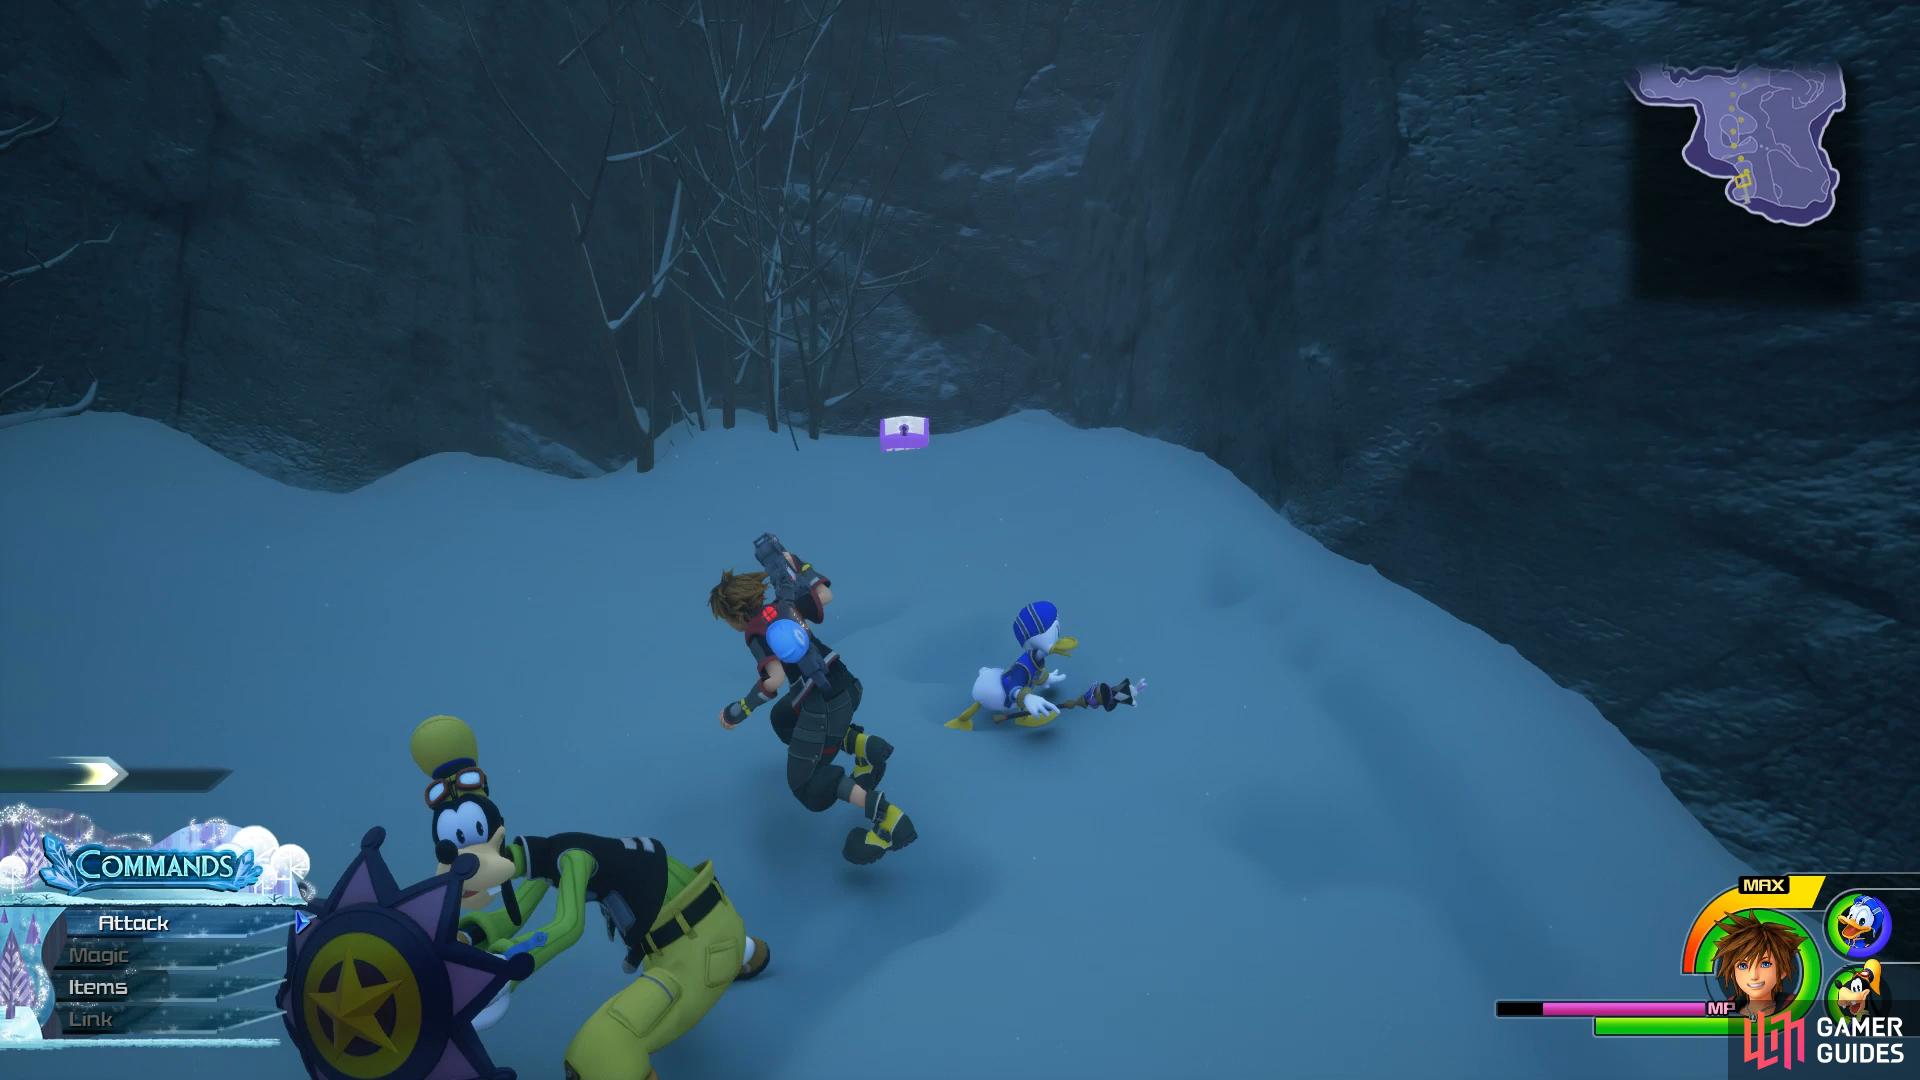
Drop back down, drop down another cliff and then before you drop off the next, look for a large chunk of ice, aim for this while falling off this next cliff and strike it to reveal a chest containing Treasure #9 - Orichalchum. Head down the linear path, defeating the Heartless along the way until you reach a clearing. Follow the linear path and defeat one more group of Heartless until the area opens up.
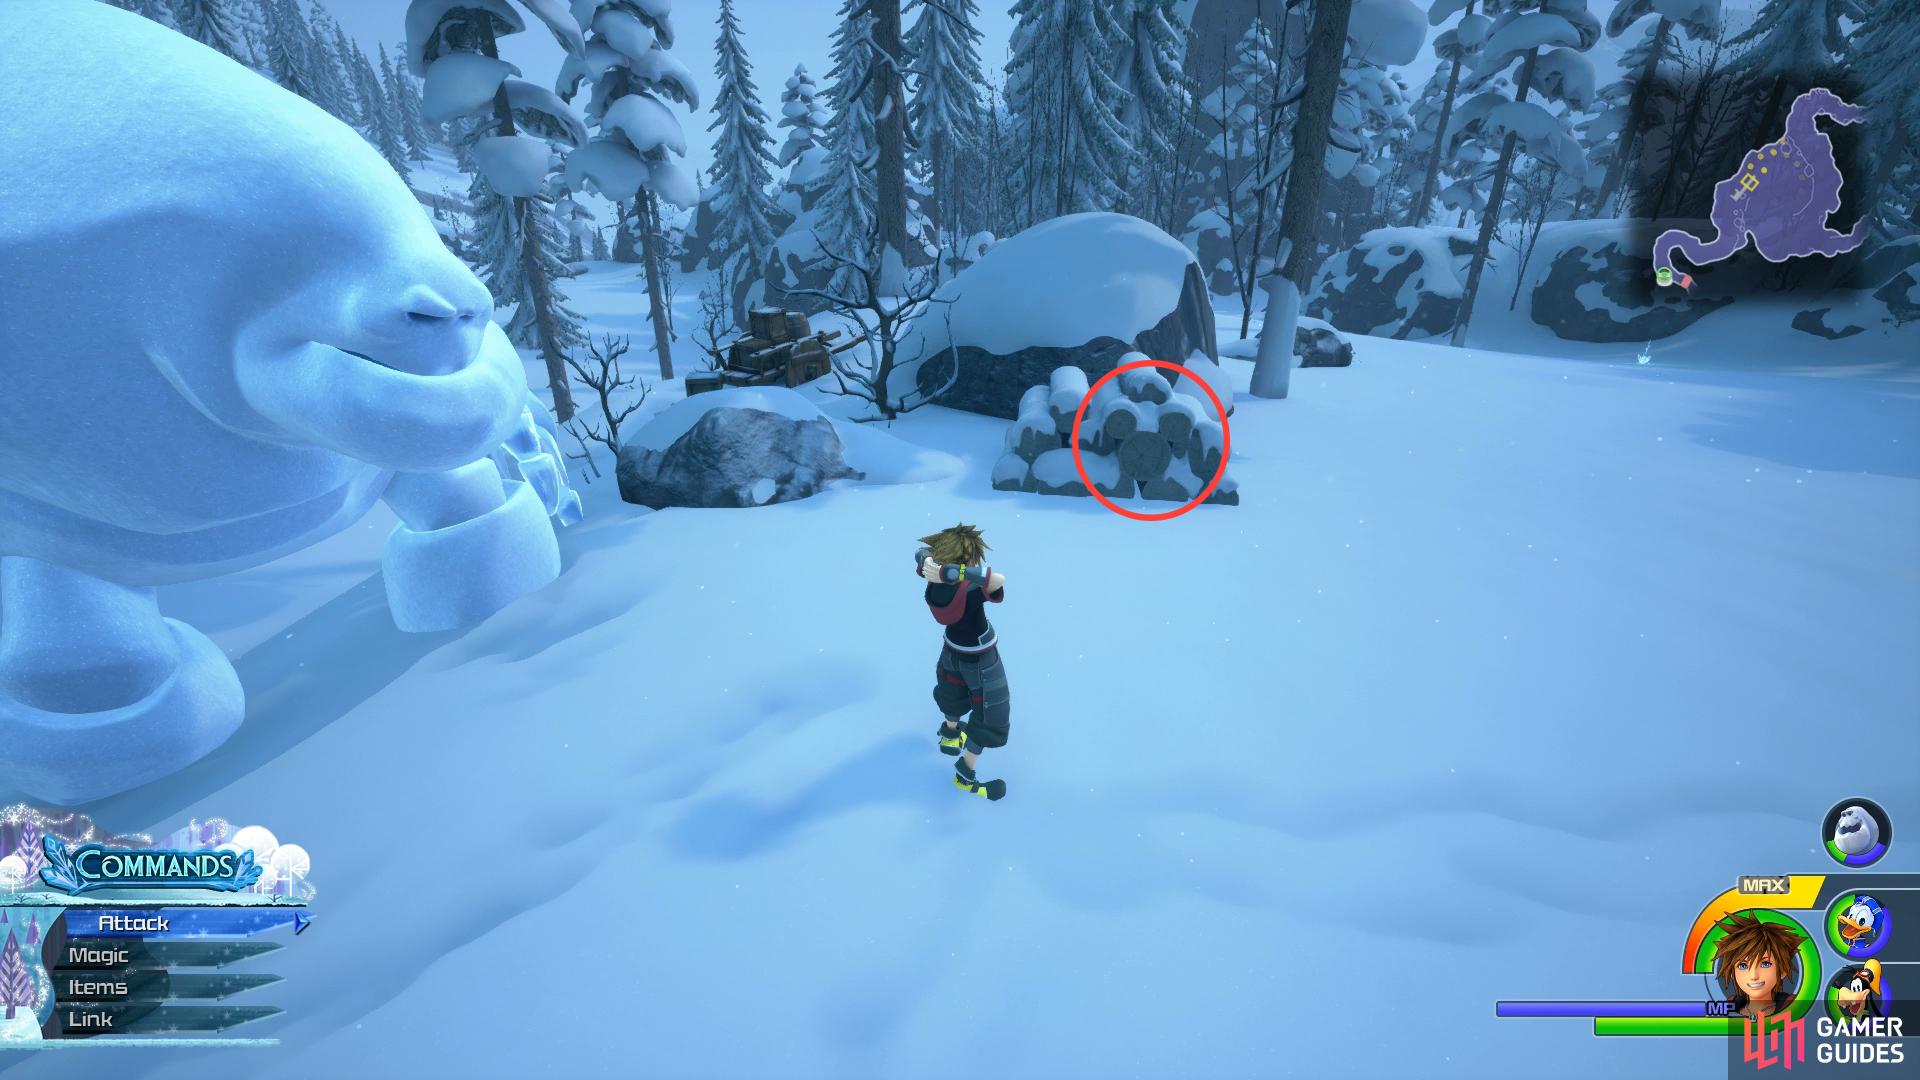
Following the events, Marshmallow will join the party to help find Elsa. Head up the hill to the east and follow the edge along to the north, you’ll pass a large rock and then just behind it is a chest containing Treasure #7 - Classic Kingdom: Mickey’s Kitten Catch. Make your way southwest from here and you’ll come across a stack of logs, on the front of these is Lucky Emblem #10. This should be your 65th Lucky Emblem and you’ll be awarded a Cosmic Belt. Continue down the path to the southwest to deal with one final group of Heartless and then make use of the Save Point and the Moogle Shop.
Look on the side of the logs to make out a Lucky Emblem.
Following the events in the next area, you’ll find yourself in a snow storm as you press through to reach Elsa. When the storm blows heavily, you’ll need to take shelter behind the rocks, you can dash to these by pressing the [TRIANGLE]/[Y] button when the prompt appears. Wait for the storm to calm down and then press onward to the next shelter.
Once you pass through the narrow path, head towards the left to find some rocks you can hide behind. Continue to the left as you reach the northern edge of the area and then use the rocks to push on. Once you reach the central rock in front of Marshmallow, head to the right and you’ll find a chest to your right containing Treasure #25 - Damascus. Once you reach Marshmallow, you’ll be able to walk behind him as he shields you from the storm. Eventually, the group will finally pass the storm and catch up to Elsa.
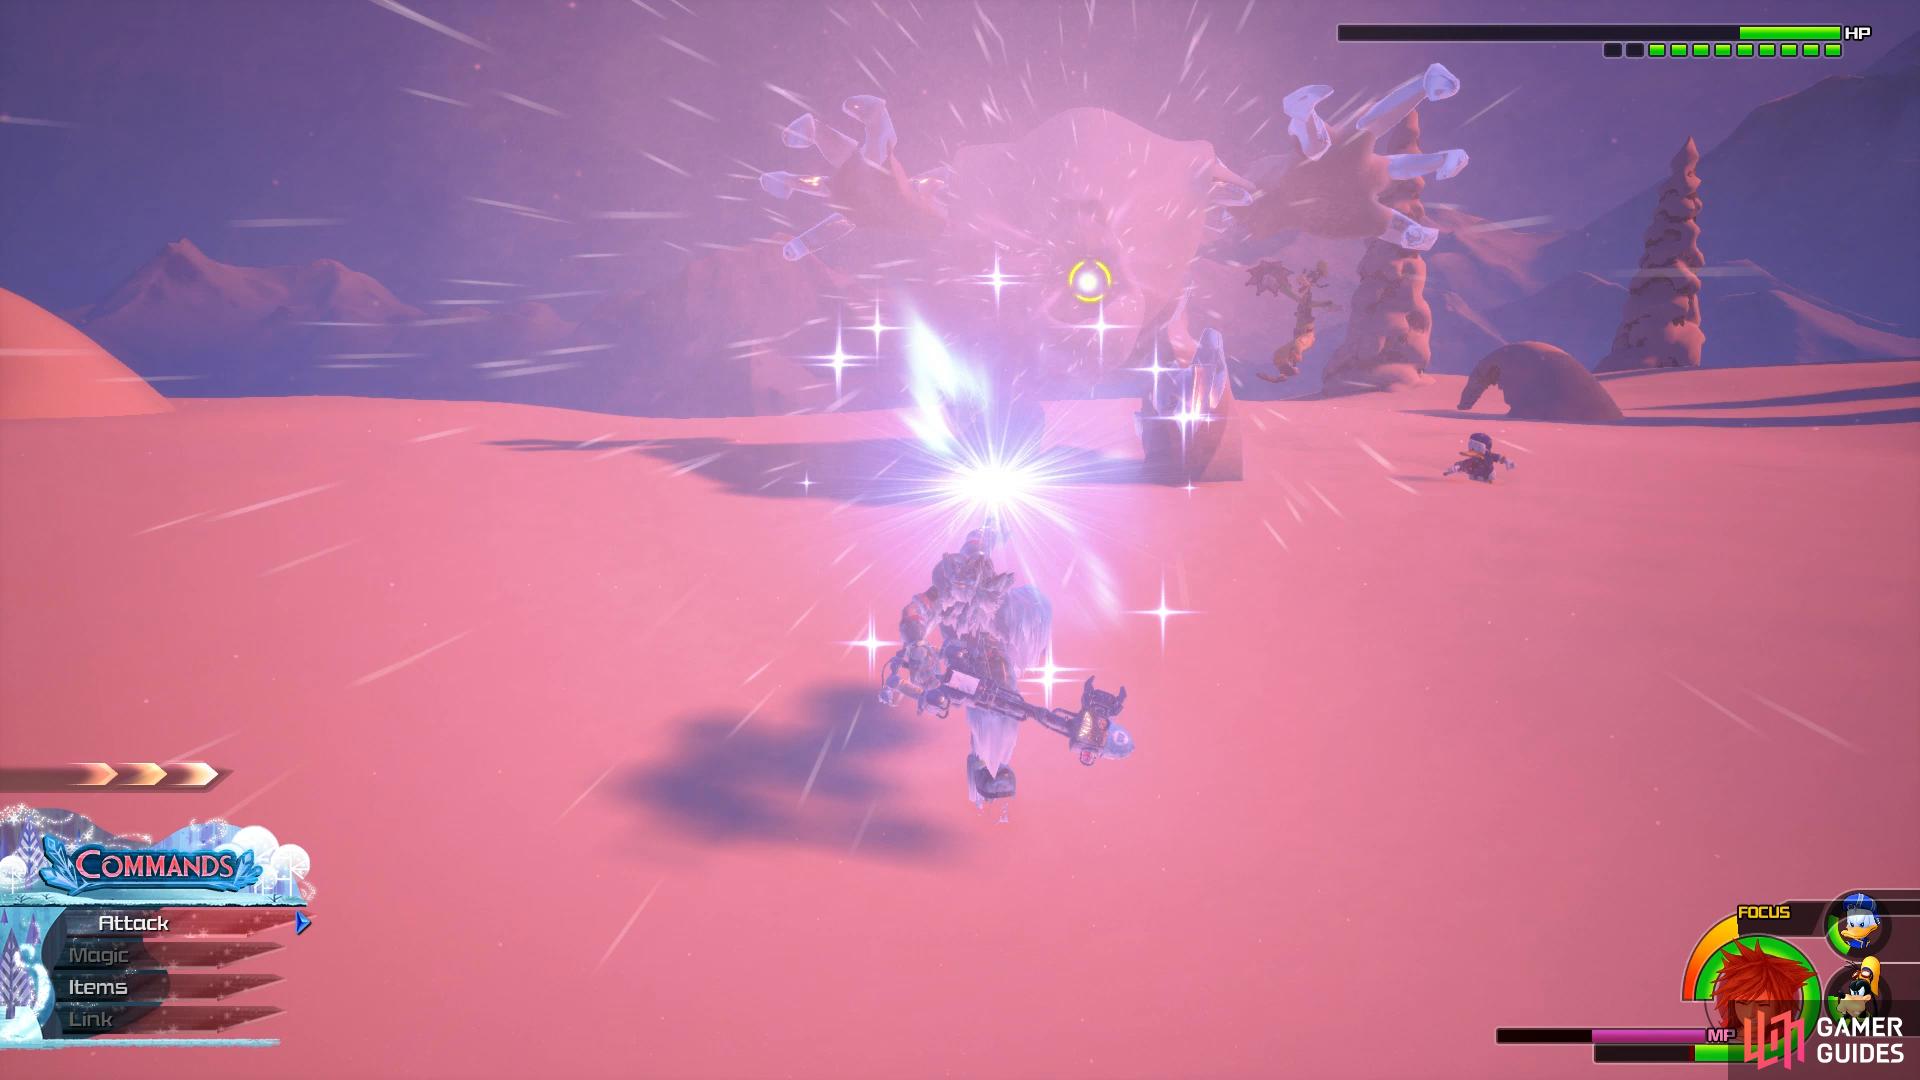
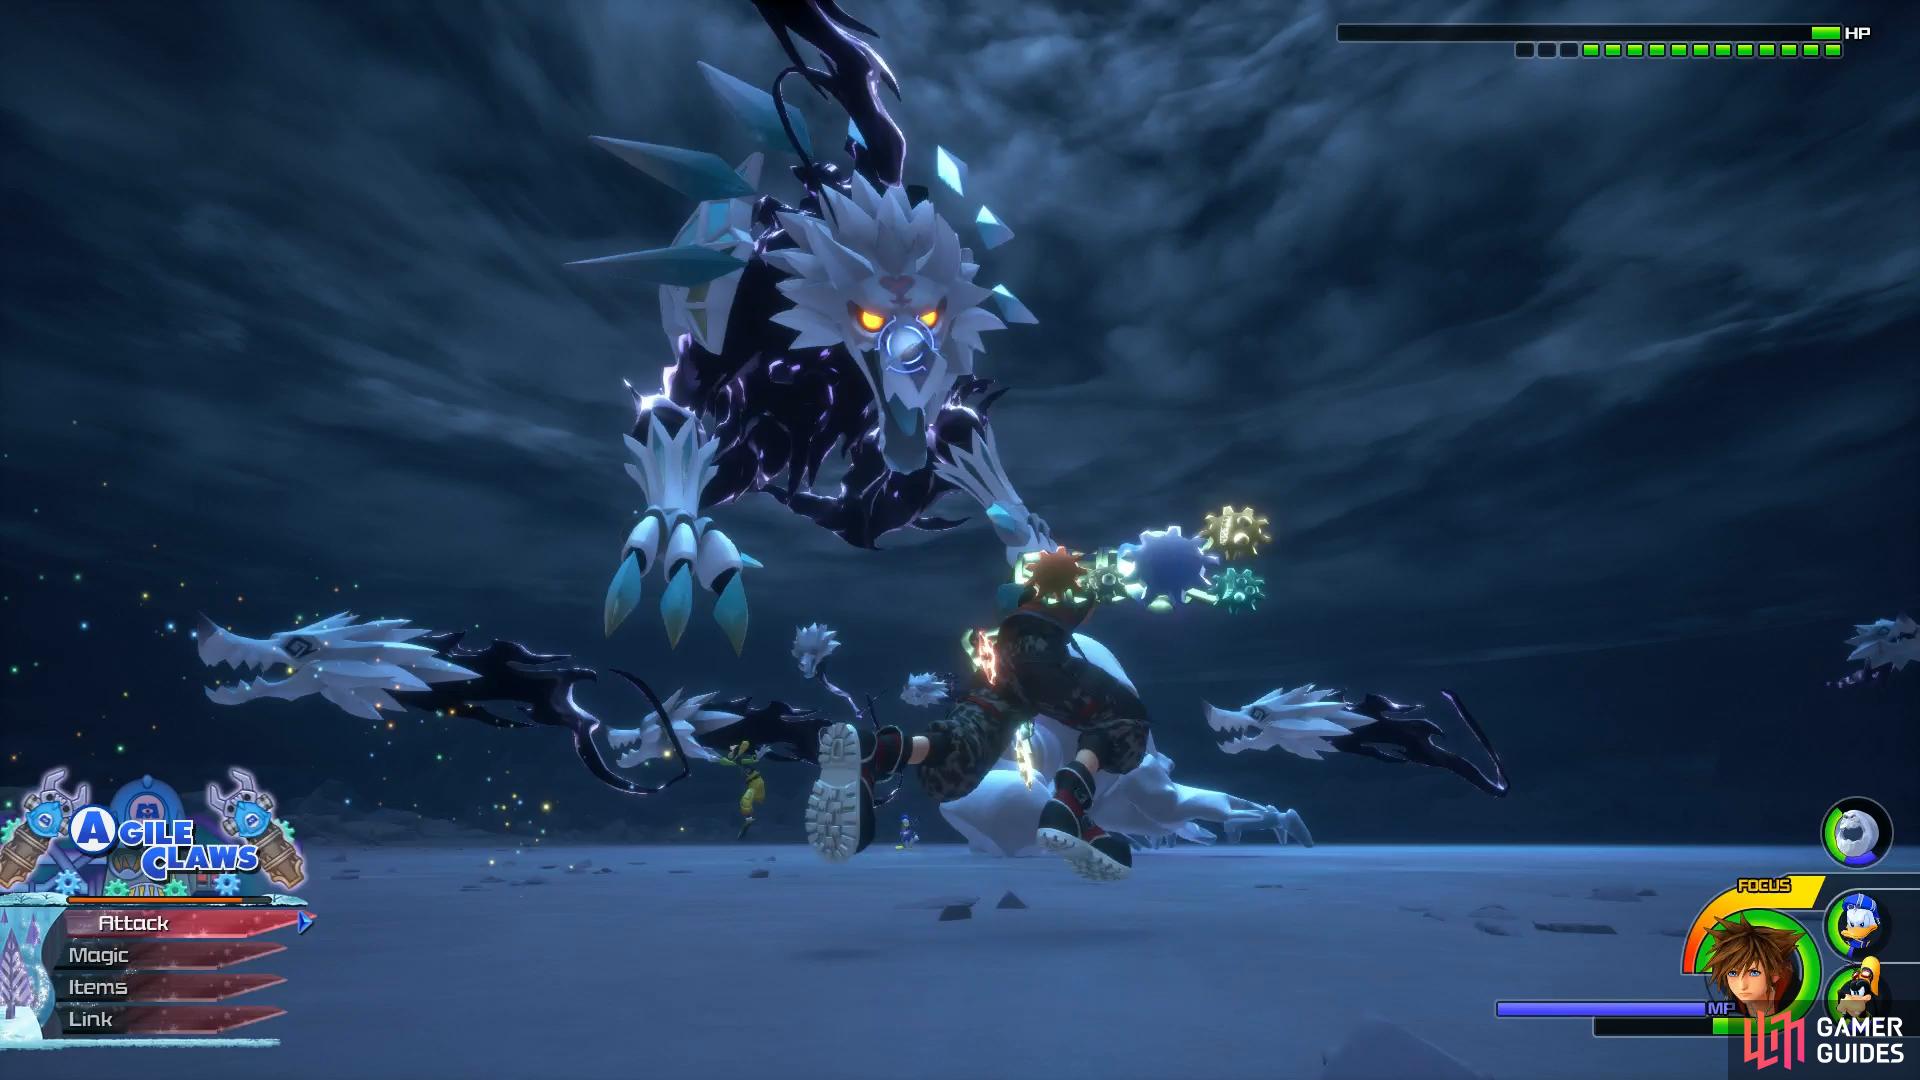
Boss: Sköll
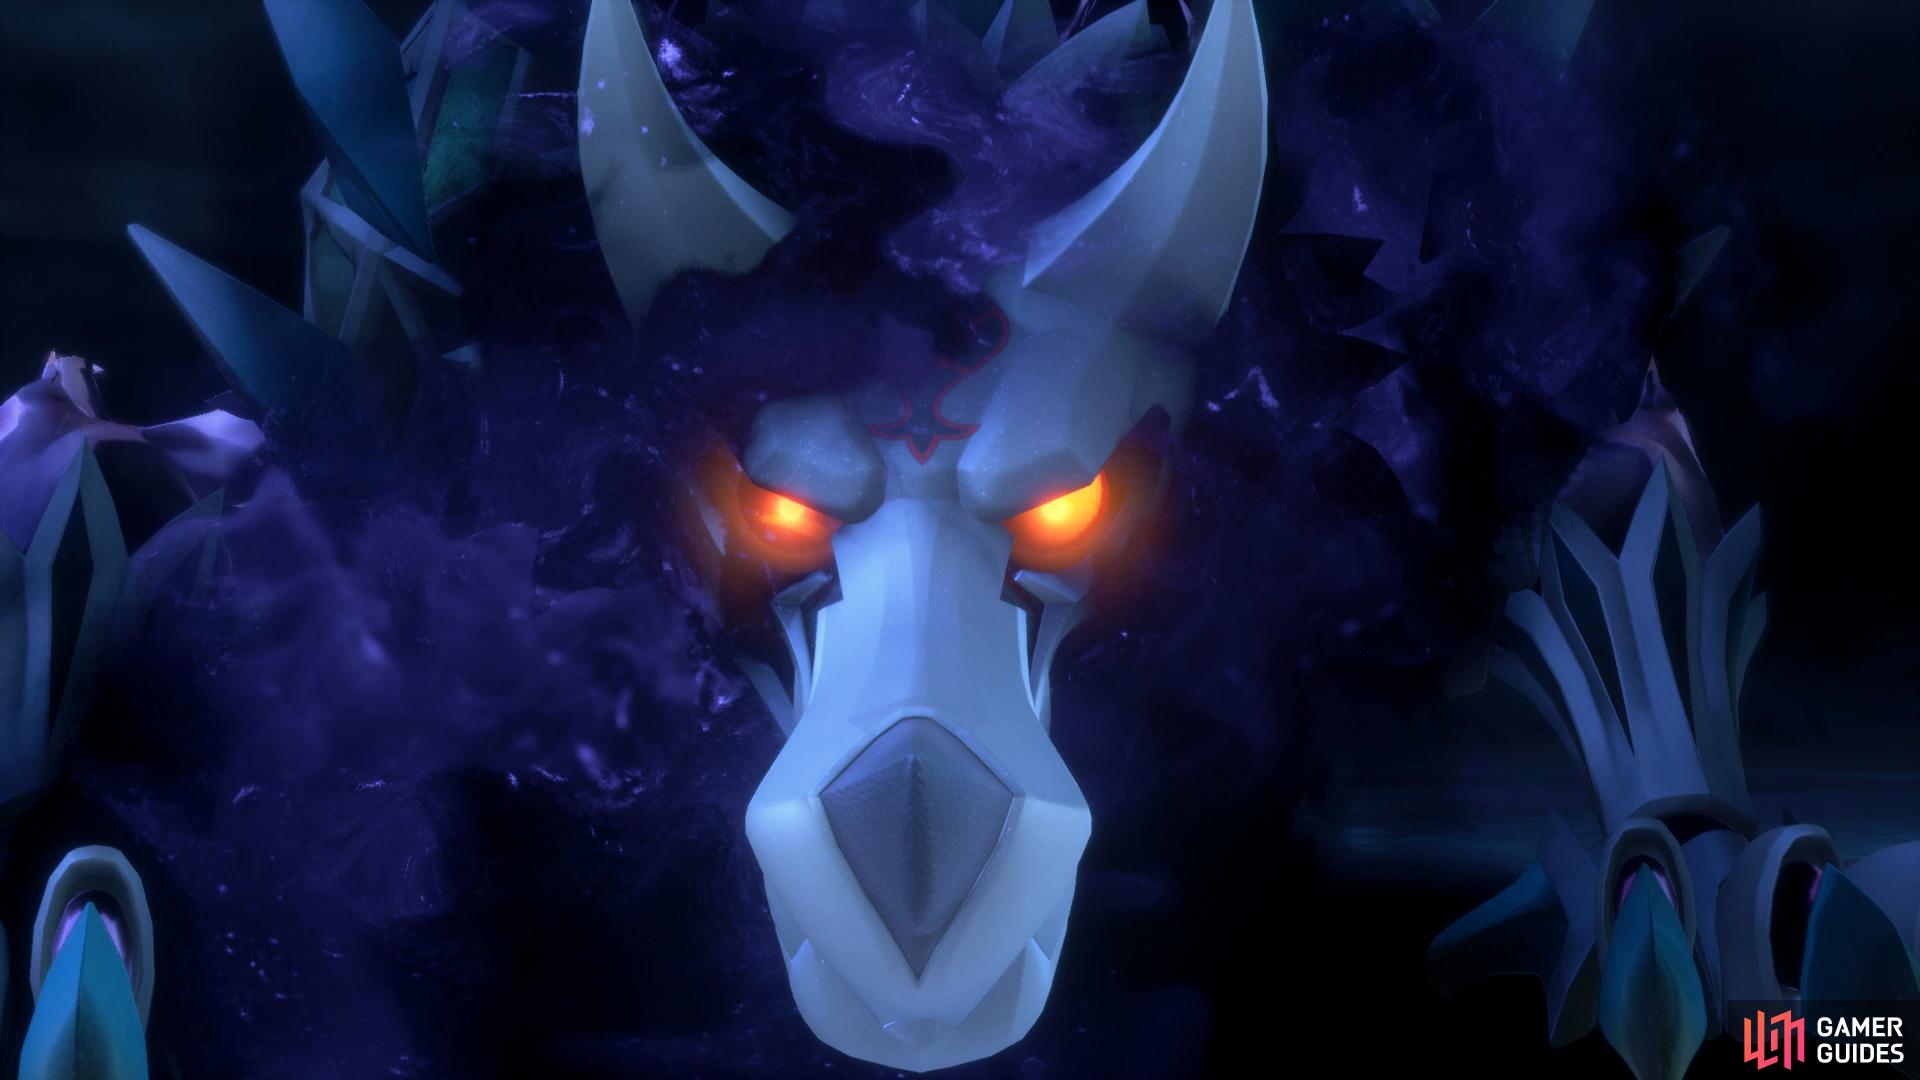
This giant wolf is a force to be reckoned with, it has many deadly attacks that can end the battle quickly if you’re not careful. During it’s first phase it will attack by dashing around the arena before charging at you, this is evaded by simply dodging to the side once it begins charging. It will also attempt to swipe at Sora with both his claws, this has a wide range so if you’re in close proximity to it, you’ll be hit by the attack. Finally, it will shoot orbs of darkness that will fall from the sky, this is the easiest attack to dodge and should pose little problems.


(1 of 2) The dash is easy to dodge to the side of and leaves it open
The dash is easy to dodge to the side of and leaves it open (left), the heads only take a few hits to defeat. (right)
The first phase is somewhat easy to attack, you can lock-on to the head and perform many combos after dodging his dash attack and Fire spells will deal heavy damage, especially with a high magic stat. After dealing a few bars of damage to it, Sköll will roar and summon smaller heads around the arena. Use area of effect spells to take them out before resuming your assault on Sköll, one hit is enough to dispatch them.
The second phase begins once you deal over half of it’s HP, Sköll will roar and leap into the air and form a comet. This becomes a race against time now to defeat all the smaller heads as the comet begins lowering, take too long and you’ll be take massive damage. Once you take out the final head or the time is almost up, you’ll see the Situation Command Subzero Impact appear, trigger this immediately to force Sköll out of the comet.
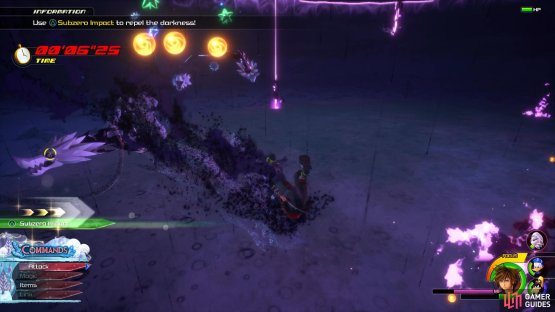
(1 of 2) Activate Subzero Impact as soon as it’s available


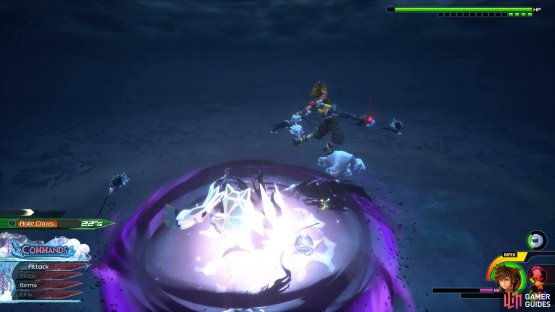
Activate Subzero Impact as soon as it’s available (left), you’ll take heavy damage if caught up in it’s spin attack during phase three. (right)
You’ll get the chance to land some combos on Sköll while it recovers and then you’ll begin phase three. Sköll will now begin spinning on the spot and if you’re hit by the tail, you’ll be stunned so jump and Air Dash out of the way to avoid this. Sköll will also launch high in the air and begin spinning constantly around the arena, this can be hard to dodge so keep on the move and wait until the attack is finished before resuming your assault. Sköll will switch between this phase and the phase two until the end of the battle now, if you’re quick enough you’ll be able to avoid entering phase two again so make use of Fire spells and King’s Flare to deal heavy damage to Sköll.
| Character | Ability |
|---|---|
| Sora | Superslide, Max MP Increase |
Following the events, you’ll obtain the Crystal Snow Keyblade and find yourself back in the Gummiship with two new worlds available. Before you jet off however, there’s still some unfinished business in Arendelle.


Arendelle Revisited
Return to the Foothills Save Point and you’ll be alerted to the fact that Frozen Slider has unlocked, this is the sledding minigame from earlier which now has a Trophy attached to it along with a special item. Rather than taking the time to do it now, it’s best to knock this out when you return for the special item later in the game so ingore it for now.
Instead, access the Moogle Shop and purchase the new weapons for Donald and Goofy along with looking at the new Photo Missions, two of which you can snap shortly. When you’re ready, head south into the Foothills themselves and head south until you hit the wall. Leap up onto the platform here and then up again to find a chest containing Treasure #24 - Slayer’s Earring. While in the same position, face the north and look down on the rock to spot Lucky Emblem #11.
Return to where the snow storm was to find the final Lucky Emblem.
Return to the Save Point and warp to the Mountain Ridge to reach the Ice Palace once more. Take a photo of the Ice Palace to complete Photo Mission #12 and then one of Olaf to complete Photo Mission #13. While here, look to the left of the Moogle Shop to see a gust of wind, use this to drop down and reach the next of the Flantastic Seven.
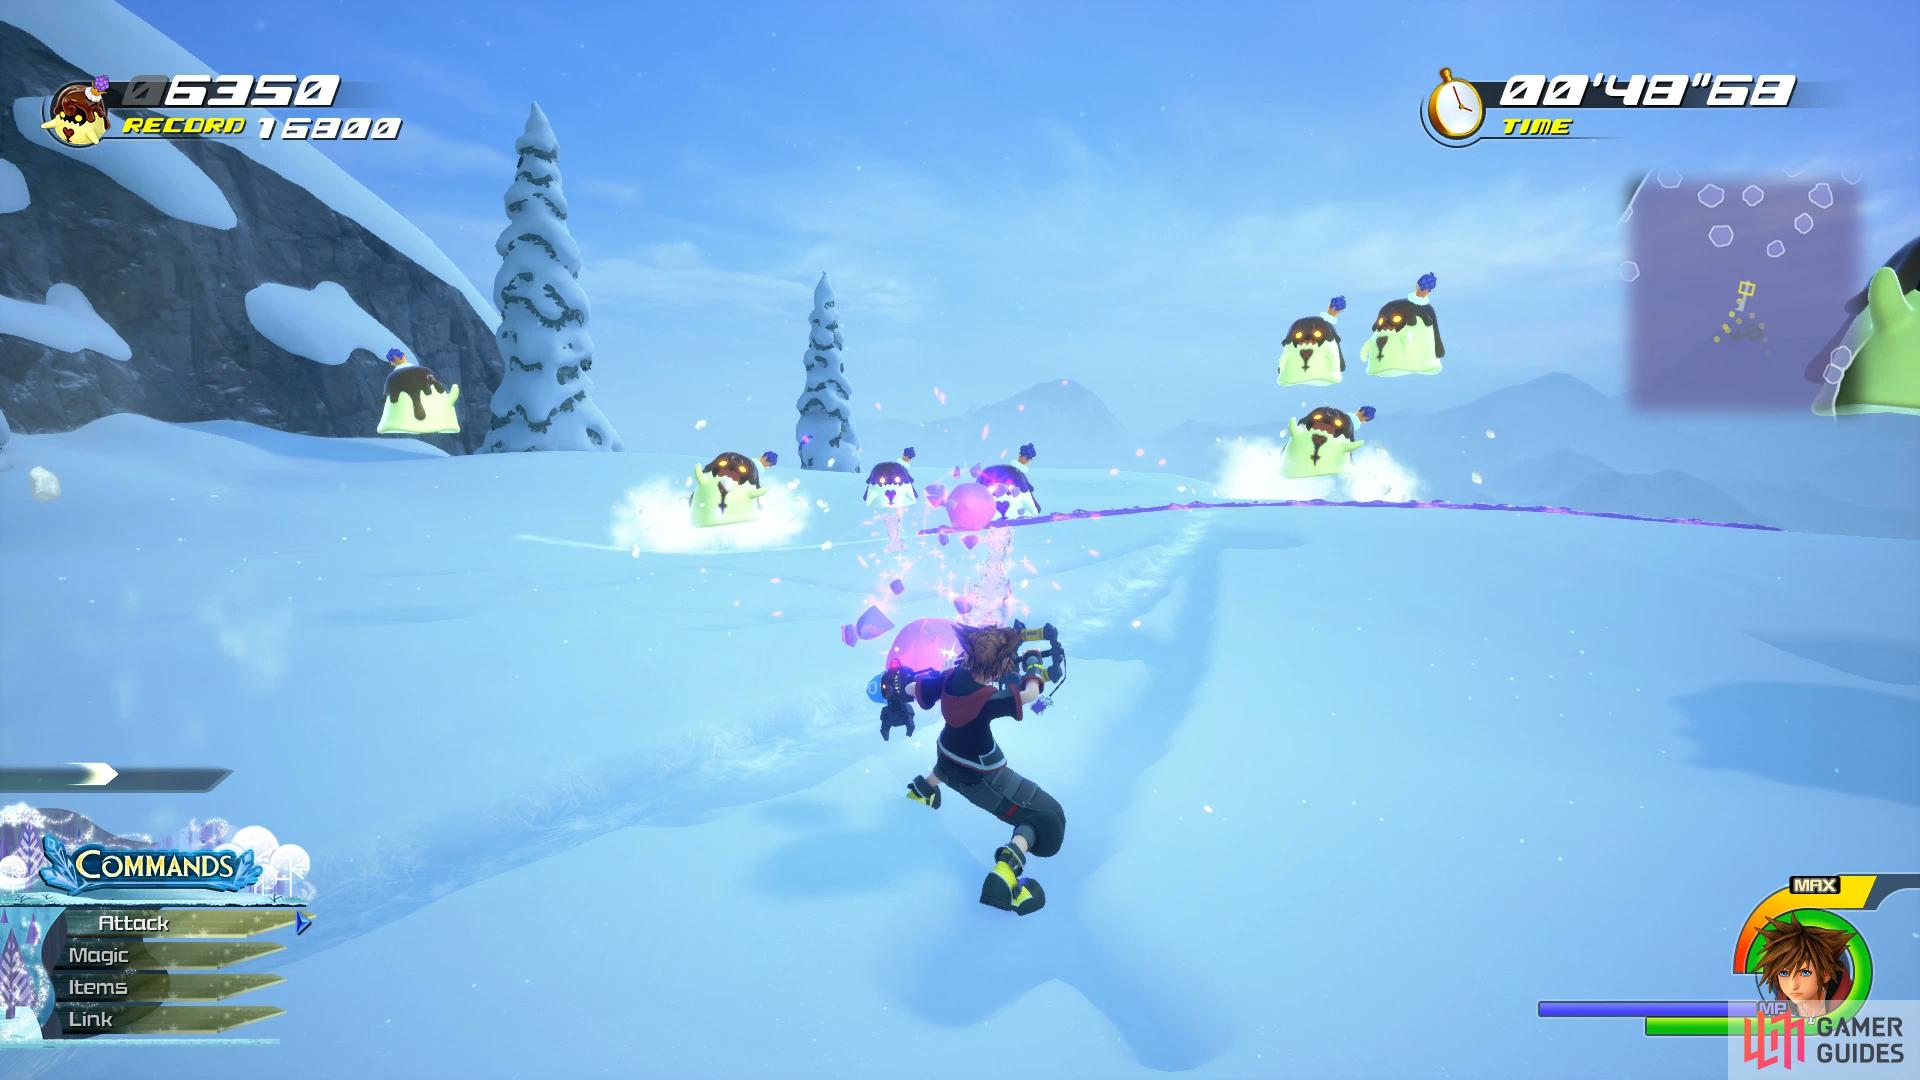
Grape Flan
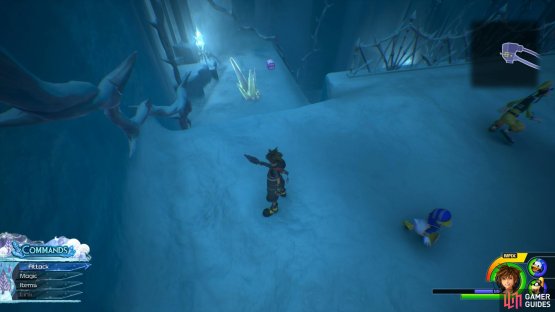
The idea behind this minigame is to reflect the ice chunks from the Flans to freeze them before grinding across the ice to take them out in one fell swoop. You can defeat them with conventional means also but note that it will take a lot longer to kill them this way.

(1 of 2) Reflect the ice to freeze and one shot the Flans

Reflect the ice to freeze and one shot the Flans (left), make use of spells such as Thundara when Flans are grouped up. (right)
This isn’t to suggest you should ignore those tactics however, if you see a large group bunched up then unleash a barrage of Thundara to take them out before resuming your reflecting of the ice chunks. It may take several times before you get the timing down for the reflect but once you do, you’ll reach the 20,000 score in no time at all. Your reward for this is Unison Blizzard and Grapes x3.
With that task completed, you’re finished with Arendelle for the time being. Return to the Gummiship and plot a course for The Carribean.
No Comments