

Sora’s journey to regain his powers takes him back to Olympus however they veer a little off course and find themselves in a different location. Before you begin your adventure in earnest, here are some tips that will aid you throughout the entire game:
- Items, Materials and Ingredients can be found everywhere ranging from street lights to barrels and crates, be sure to break anything and everything. The guide won’t point out every breakable object as it will assume you’re breaking everything in your path.
- Be on the lookout for individual Ingredients points, these can be interacted with by using the [Triangle]/[Y] button rather than attacking them.
- You won’t be able to access everything in a world during your first visit. Some chests will require you to revisit and other events open up.
- Make it a habbit to fight every battle you encounter, not only is the experience points useful but the materials are needed for Synthesis and there’s a Trophy for fighting every adversary.
- Finally, Save points will restore all your HP and MP, make good use of these to save on healing items where needed.
With that out of the way, head into the cavern to be greeted by your first real adversaries, some Shadows, Soldiers, Air Soldiers and a Large Body. You have magic at your disposal now and you’ll find it useful against the Large Body especially. If you run out of MP, you’ll have to get behind it to hit it. The other heartless shouldn’t cause too many problems and can be taken out with simple combos.
| Character | Ability |
|---|---|
| Sora | Max HP Increase |
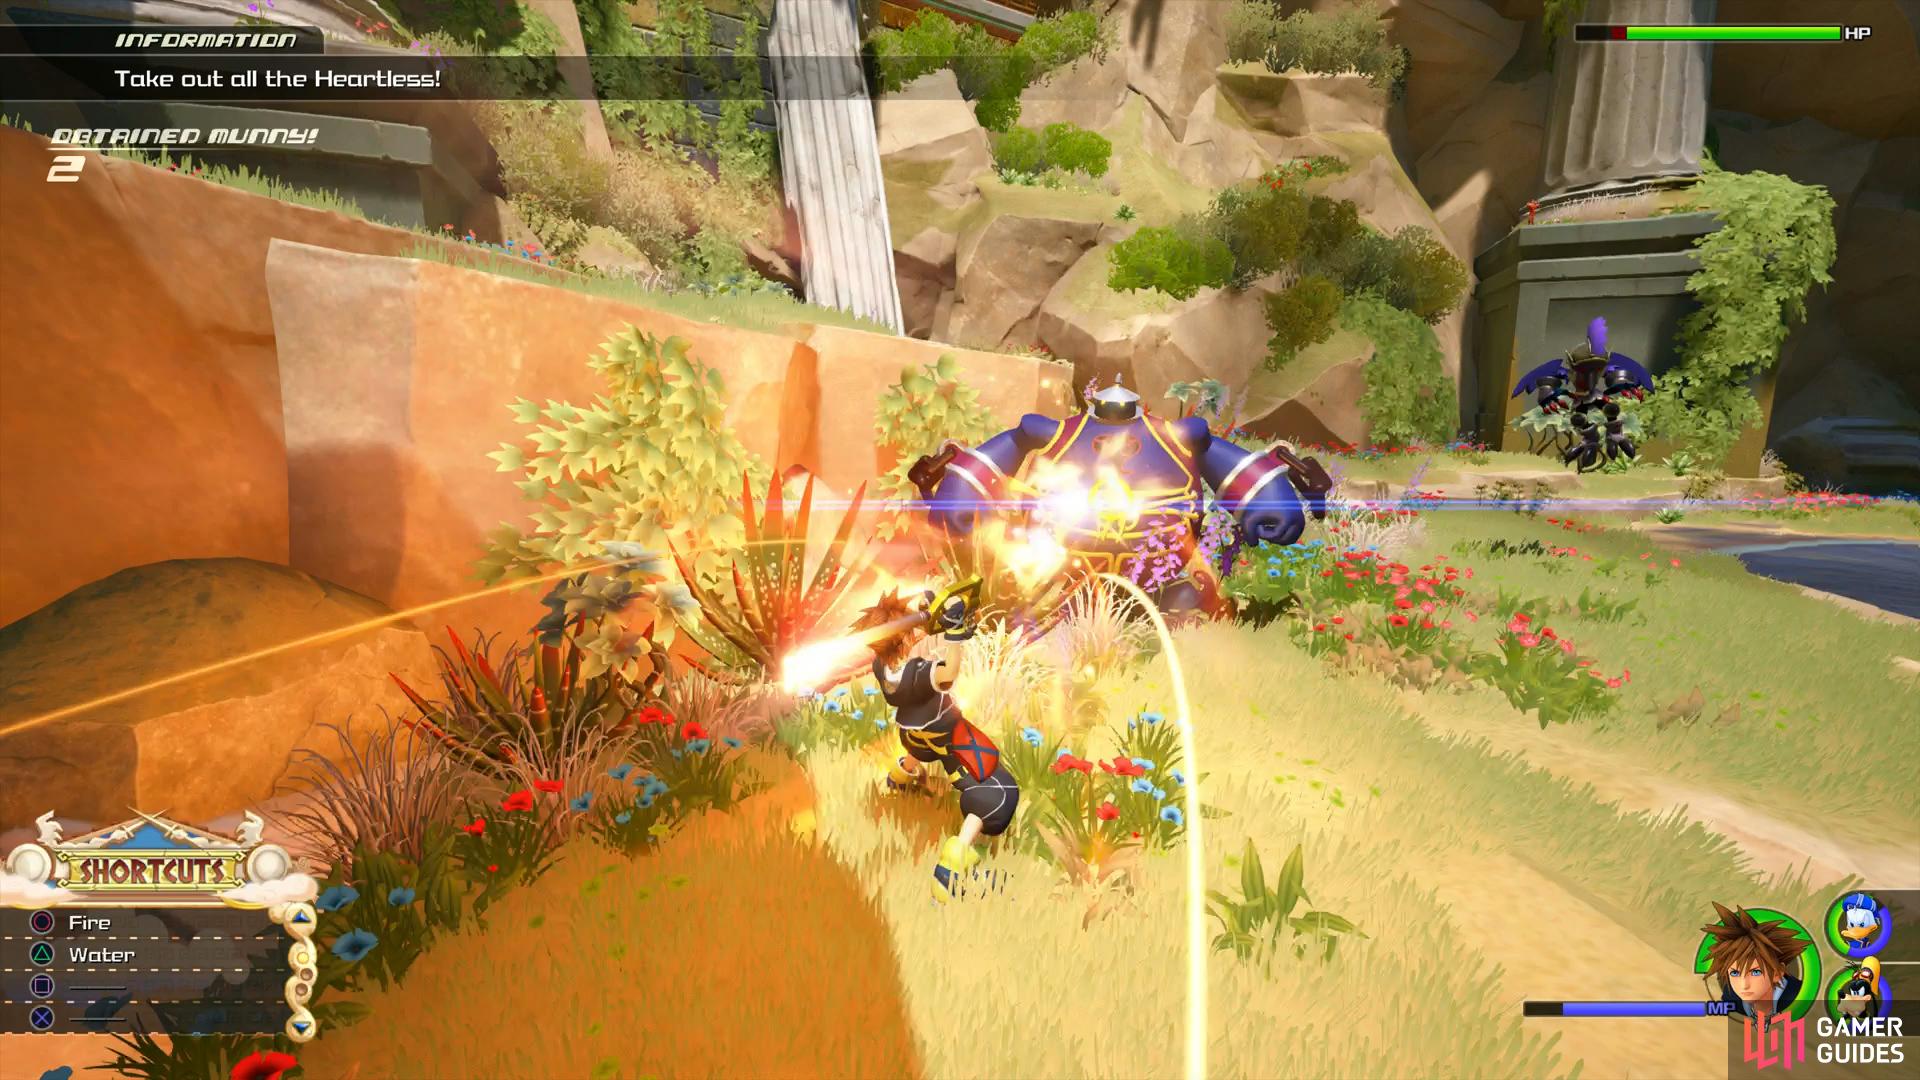
Magic is useful when attacking the Large Body from the front
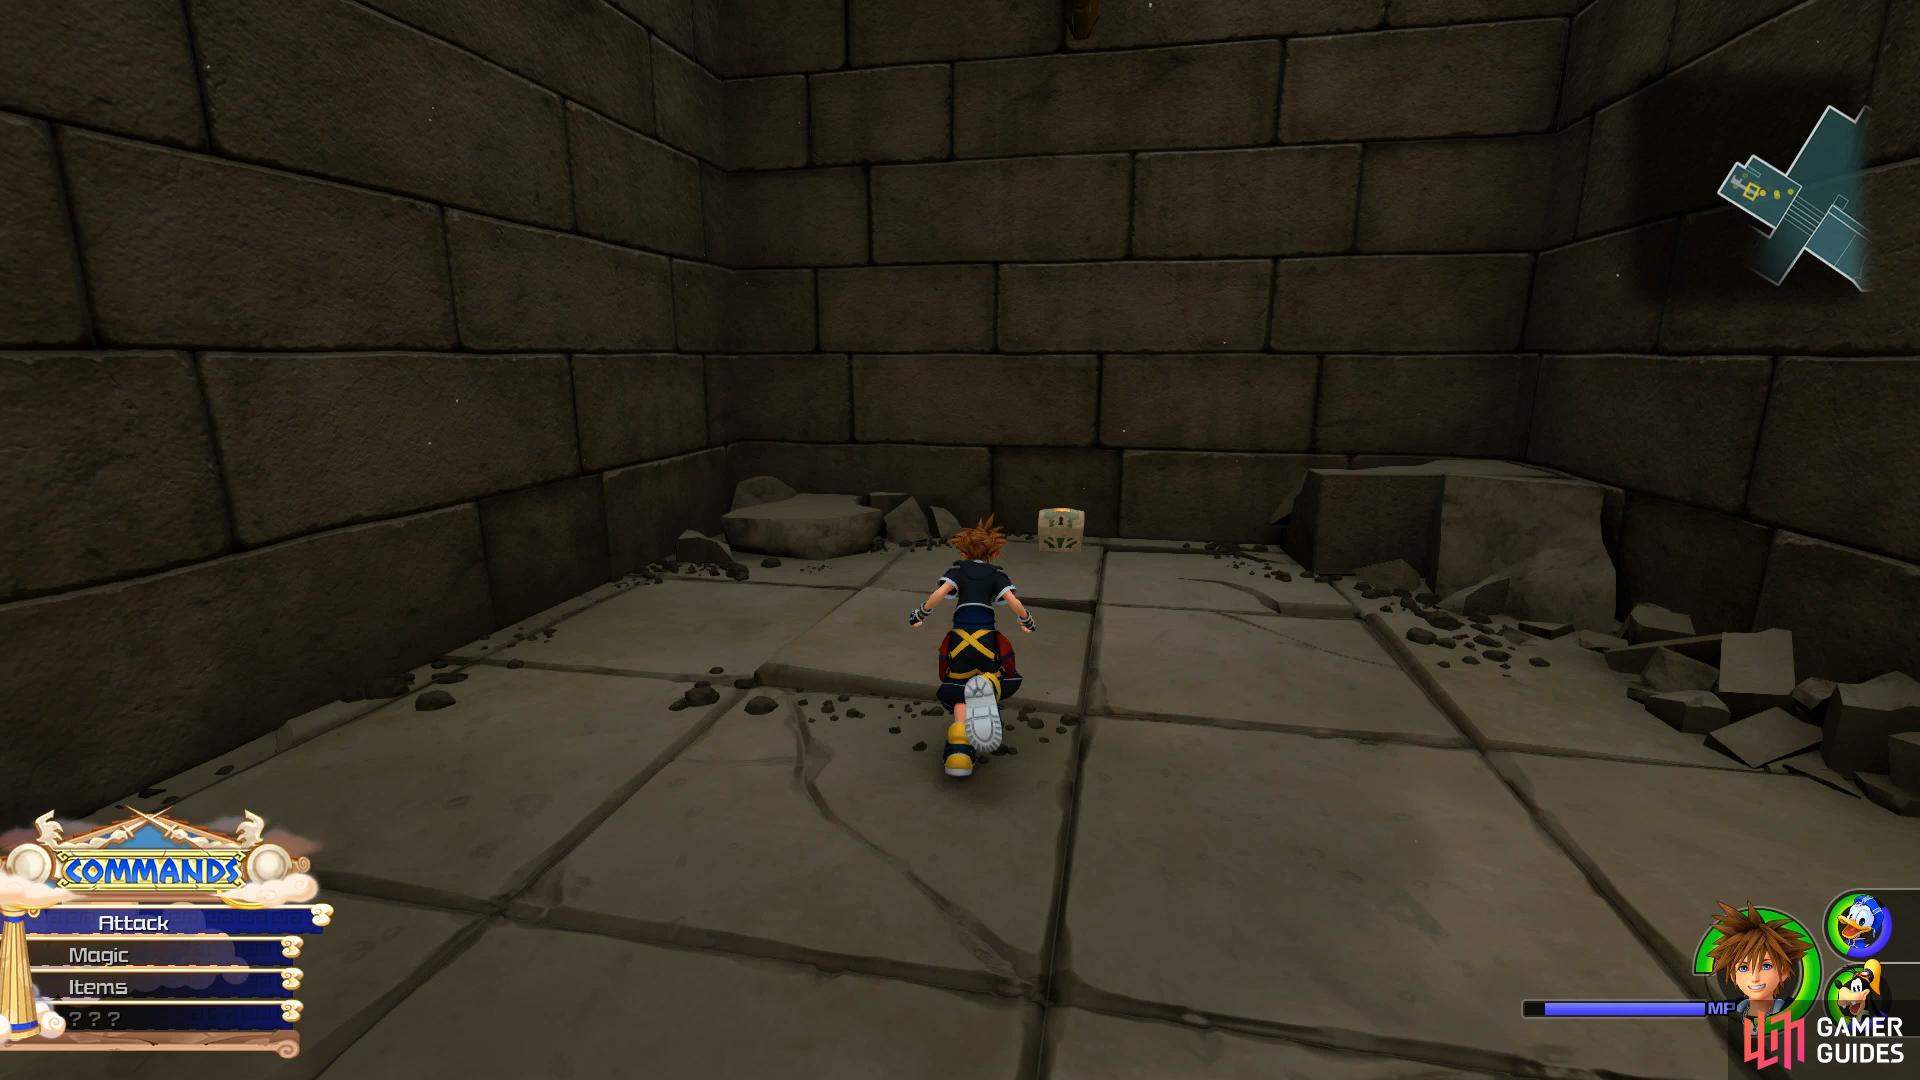
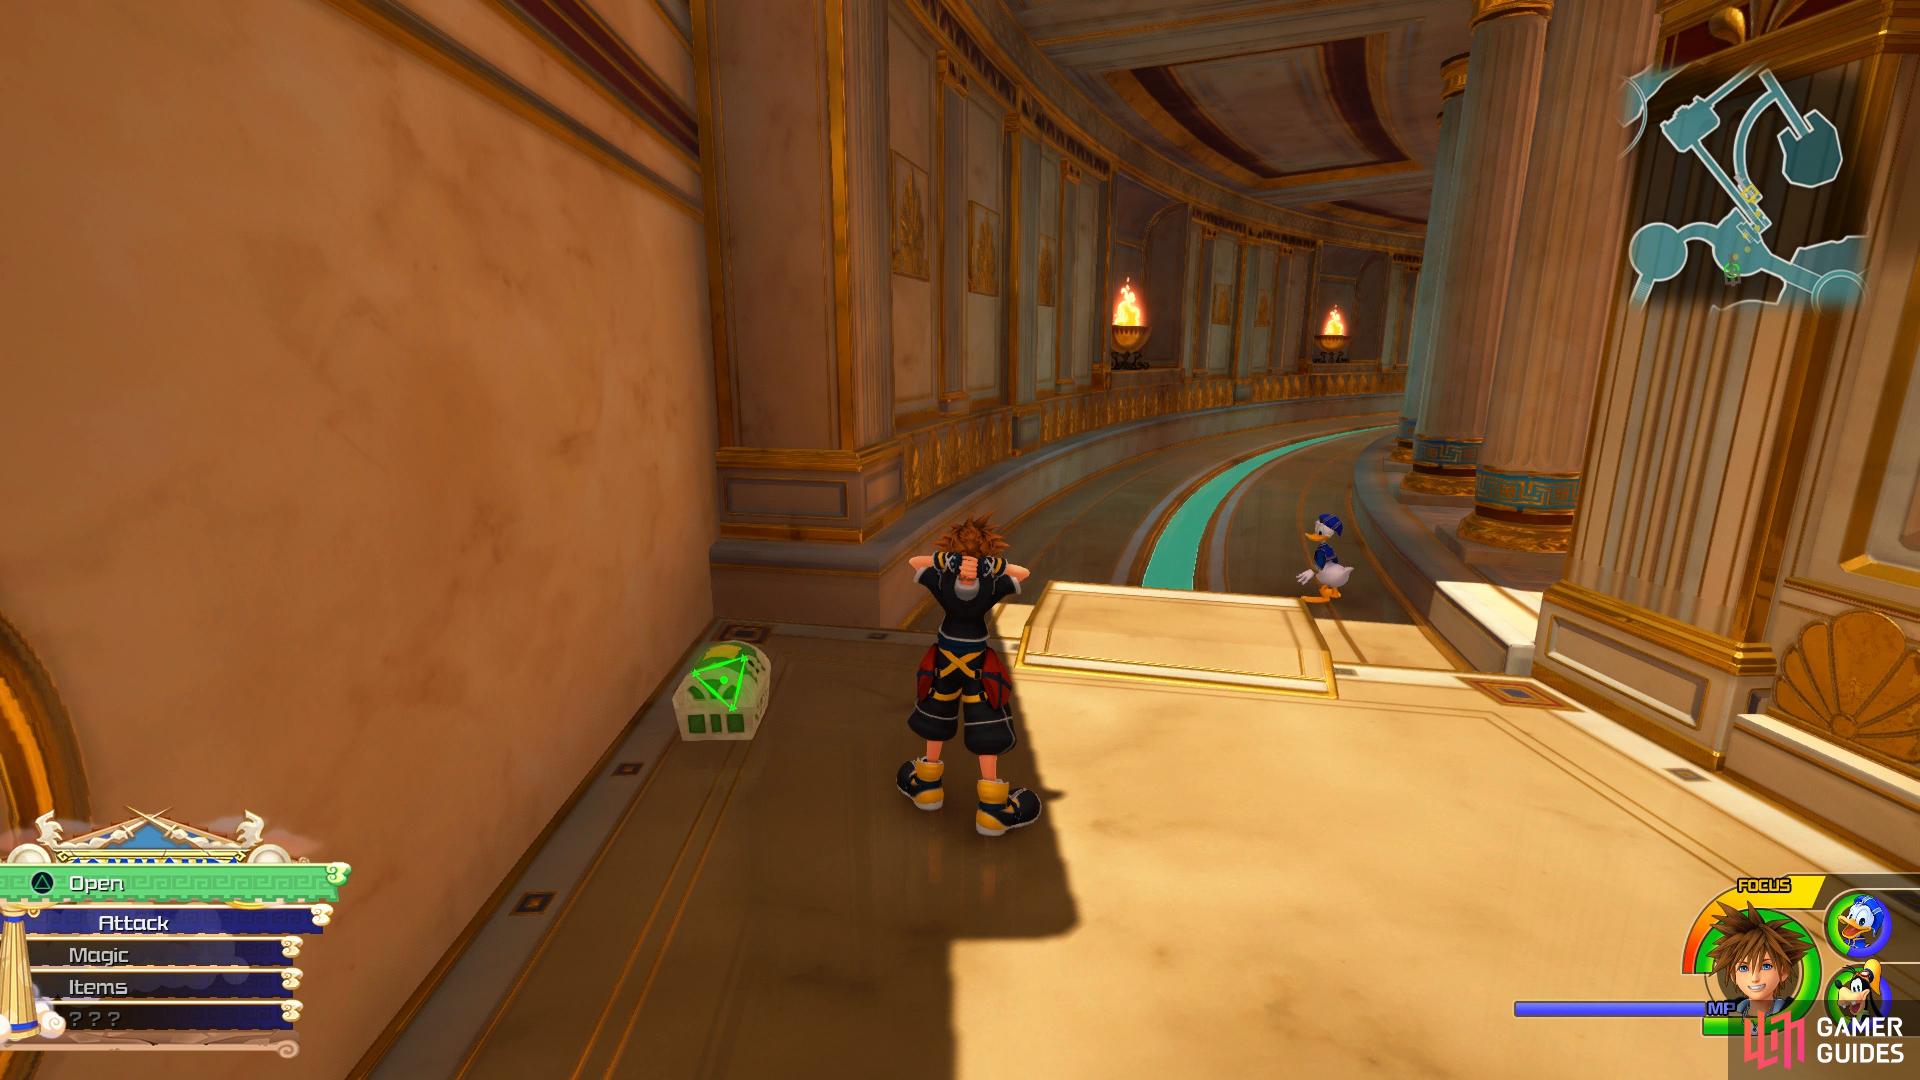
find your first Treasure by running up the wall to the left.
Once you regain control, head towards the wall to the left and you’ll receive a tutorial on how Free Running works. You’ll notice walls that are faintly glowing around the world, these walls can be traversed by simply running into them. Do so with this wall and then look to your left to find Treasure #8 - AP Boost.
AP Boosts are useful items that you’ll want to use exclusively on Sora throughout your journey. Sora learns a lot more abilities than any other character in the game and you’ll need all the AP you can get your hands on to equip them. Drop down to the centre of the statue and then run up the white wall to the right of it to reach the cliffside, following the path to run into Hades.
Thebes
You’ll find yourself in Thebes after being rescued by Hercules next to a Save Point and a Moogle Shop. Save Points will restore your HP, MP and Focus while also giving you the opportunity to warp between save points (and later, back to the World Map).
The Moogle Shop is where you can find everything you need with regards to Synthesis. You’ll find your Collector’s Goals here that will unlock various rewards and recipes as you complete them, usually from collecting all the unique materials out there. The materials you have on hand will be deposited into the material list every time you open this menu so make a habbit of dropping off your materials every time you approach a shop. Also note that there’s a Trophy/Achievement for Synthesizing every item in the game so make a habbit of always seeing what you can Synthesize.
For now, with your limited Munny, consider buying a Potion or two and add it to Sora’s items, this will help in the early stages of the game. You should obtain a Prize Postcard for this, an item that can be sent later in your adventure. When you’re ready, save your game and proceed into the courtyard.
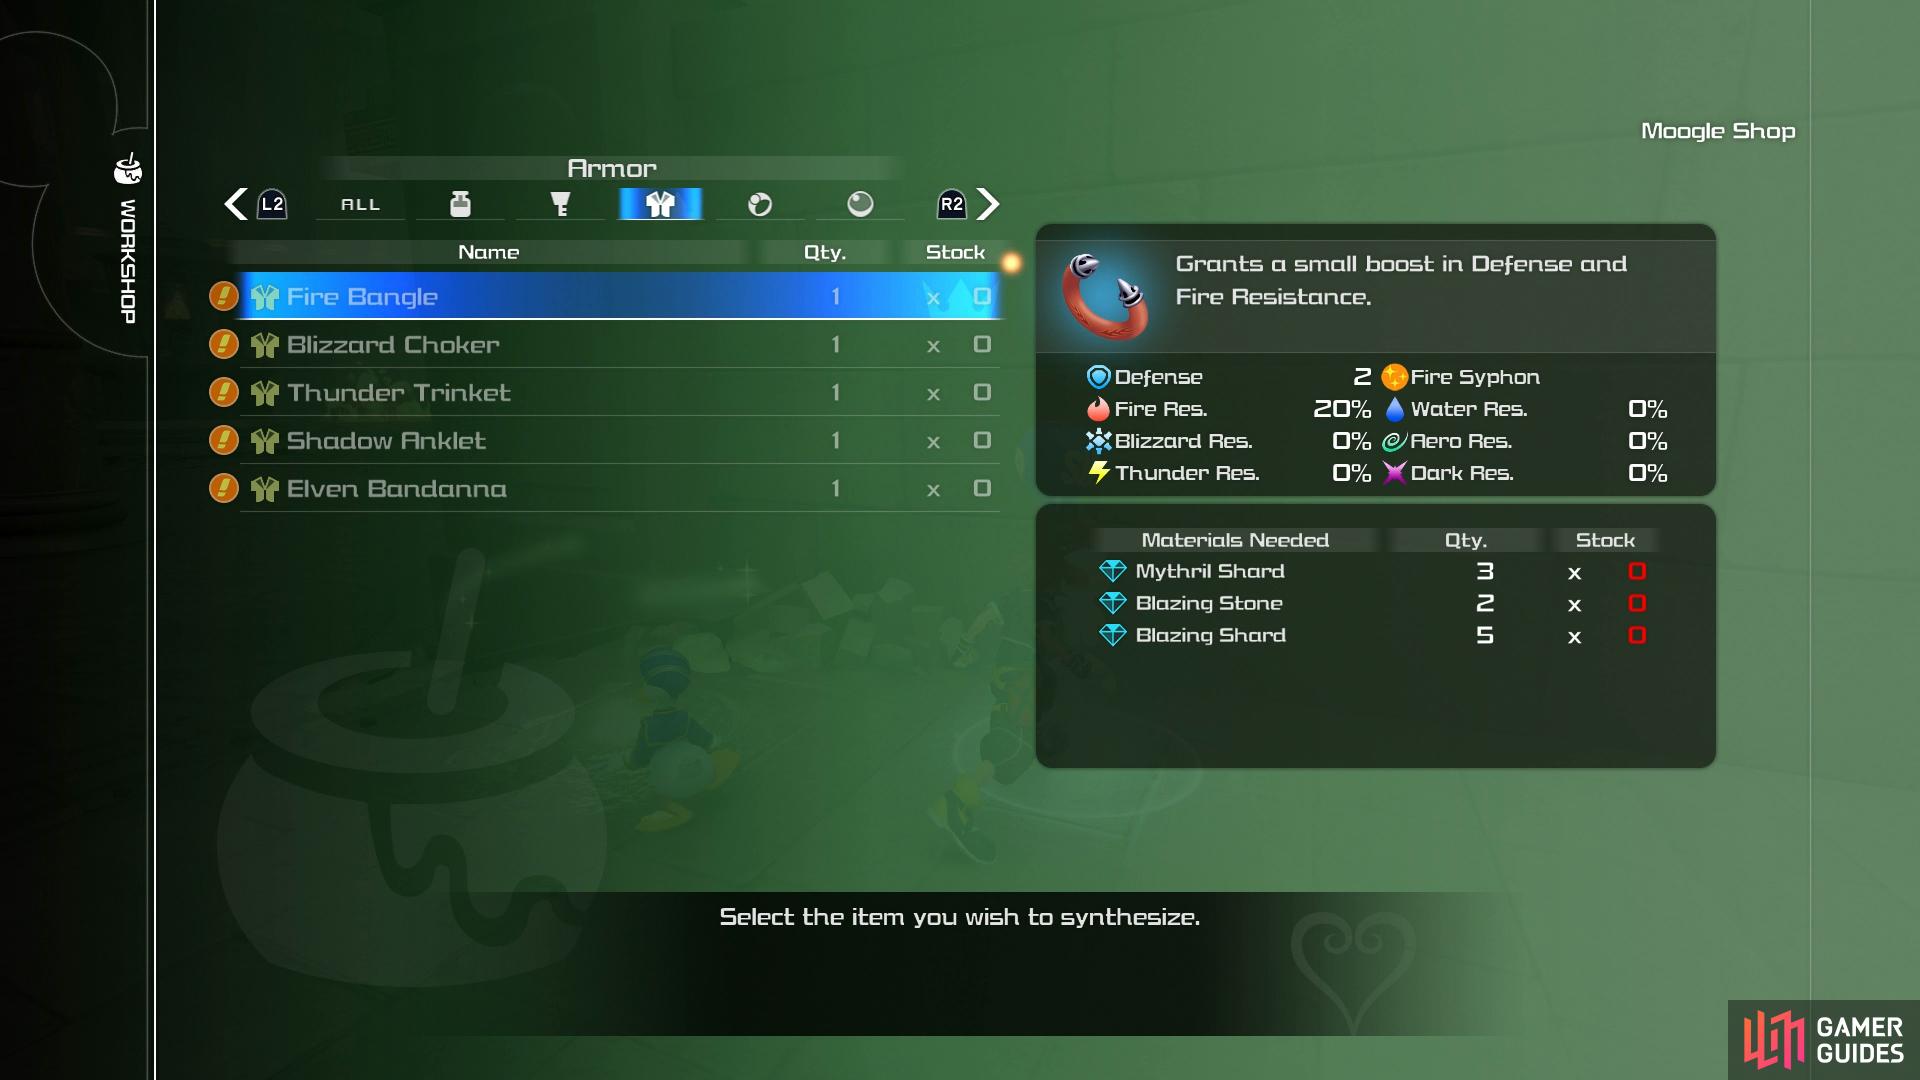
Consider creating a Fire Bangle here
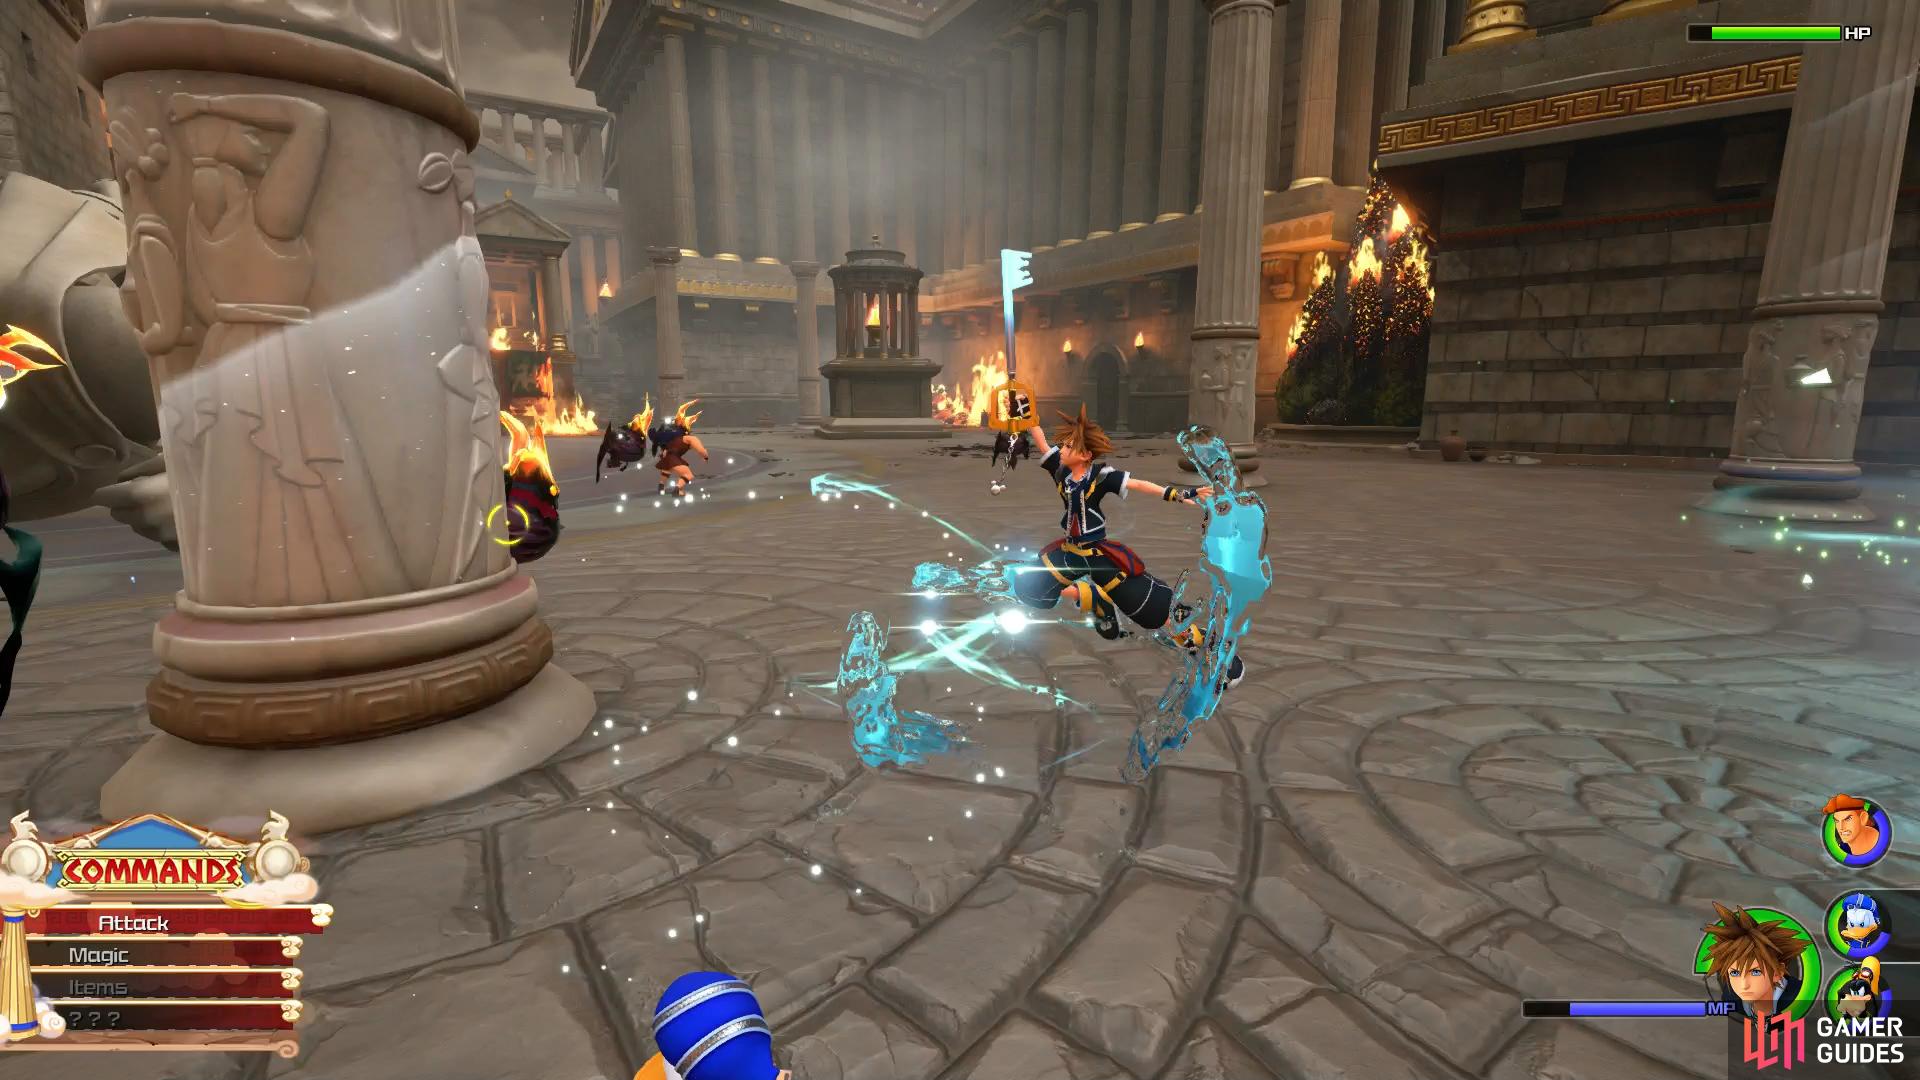
Water will douse the flames on the Flame Cores.
Following the cutscene you’ll find yourself surrounded by a new type of Heartless, Flame Cores. These pesky flame slingers can be deadly if they surround you so keep on the move and make good use of the Water spell to hit their weakness. You’ll also learn about Flowmotion here, an ability that will let you leap off walls or swing around poles to create deadly attacks. The columns here act as poles you can use to wipe out groups of Heartless at ease.
| Character | Ability |
|---|---|
| Donald | MP Haste |
Following the cutscenes that take place after the battle, you’ll arrive at the Overlook. Make use of the nearby Save Point and then open the large chest nearby to obtain Treasure #24 - Map Thebes, a handy item that will display a mini map of your surroundings. Head down the stairs to encounter another group of Flame Cores, repeat the same tactics from before and to score another ability for Sora.
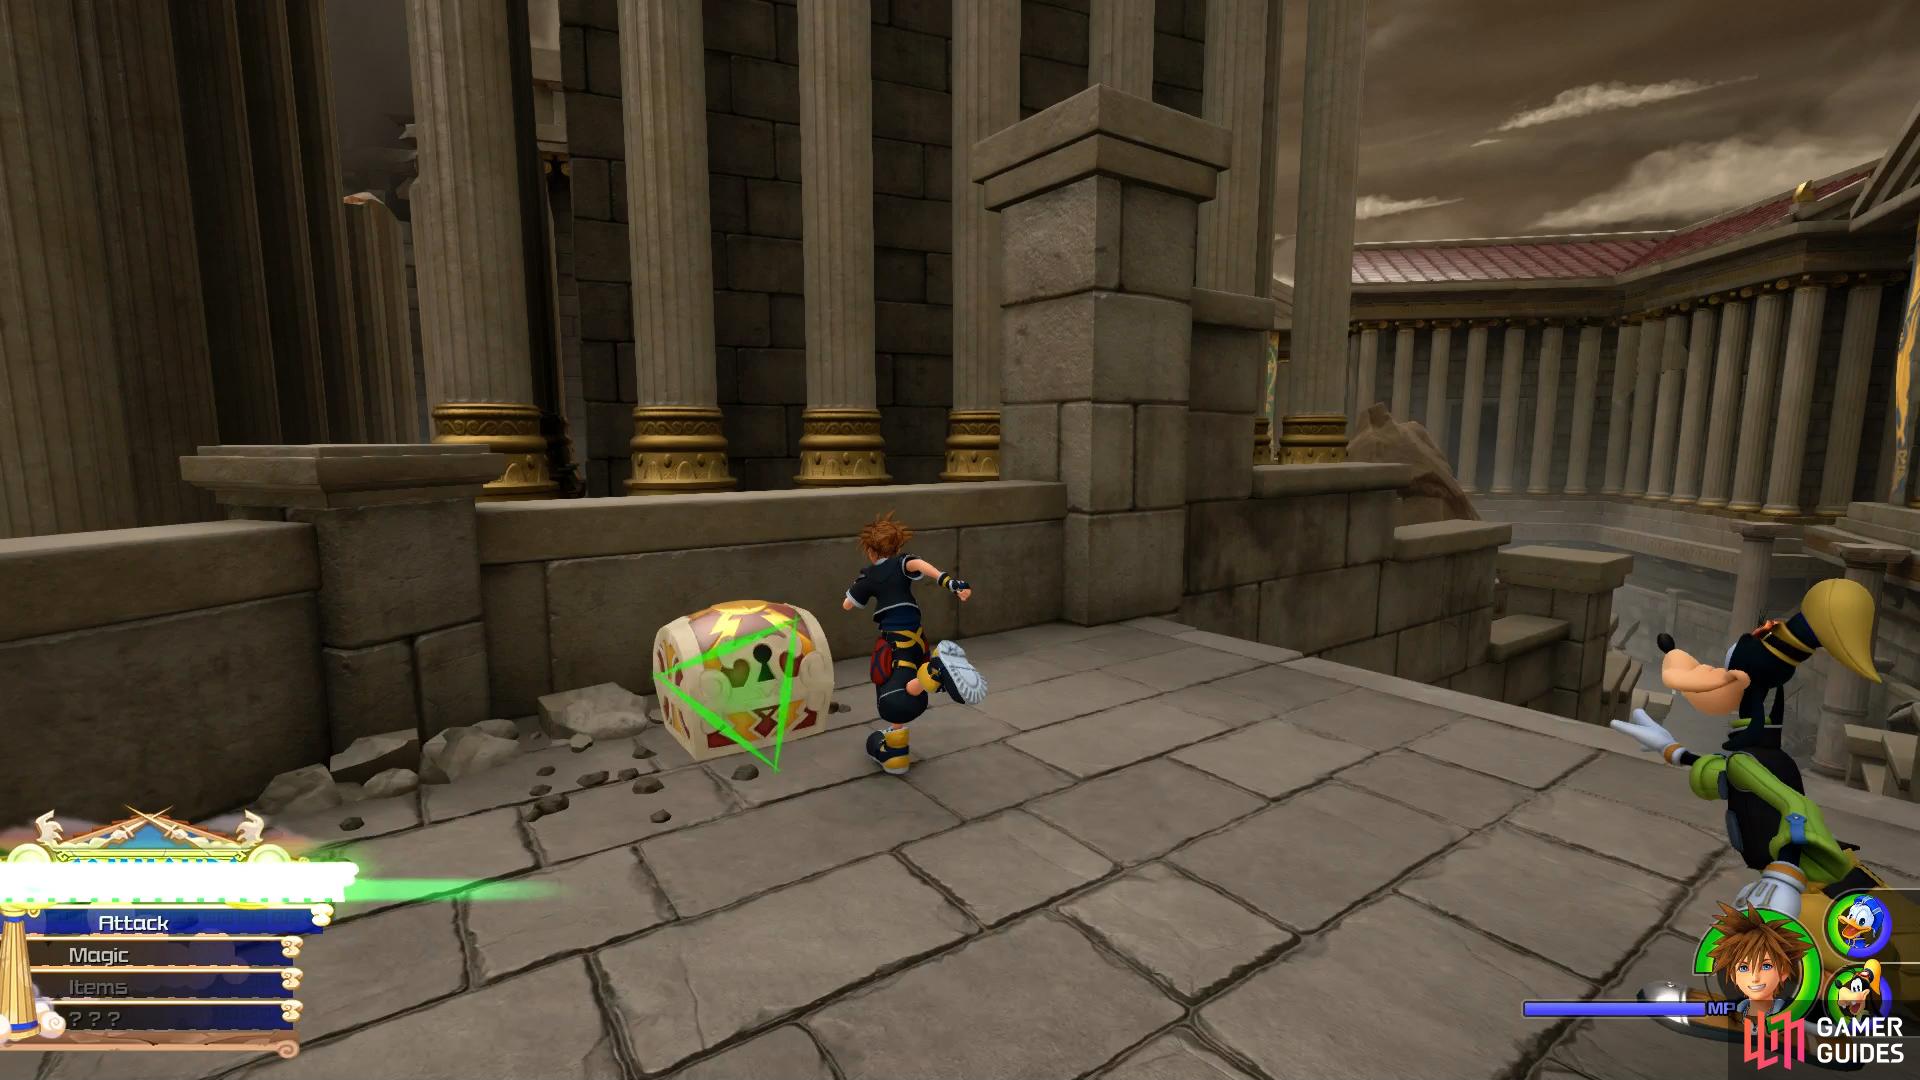
Open the nearby chest to receive a handy mini map.
| Character | Ability |
|---|---|
| Sora | Max HP Increase |
The resulting battle causes flames in the area and Goofy has an idea to get past the flames. You’ll get a Tutorial on Team Attacks here, informing you to keep an eye on the Situation Command to use them as they become available. Before you do that however, make sure you break all of the objects in your surrounding area first for materials and ingredients. Return to where the flames are and hit the [Triangle]/[Y] button to initiate Trinity Sled.
You’ll be sliding on Goofy’s shield through the flames to find Treasure #23 - Potion next to the nearby wreckage. Head down the rooftops nearby and land on the statue’s shield. Drop down into the southeast corner here to find Treasure #19 - Ether and then head down to the next courtyard. You’ll find two civilians in dire need of help from a group of Soldiers and Air Soldiers, dash in to save the day and another group will appear after the first. Once they’re all defeated, break the nearby objects and then speak to the couple to obtain a Potion.
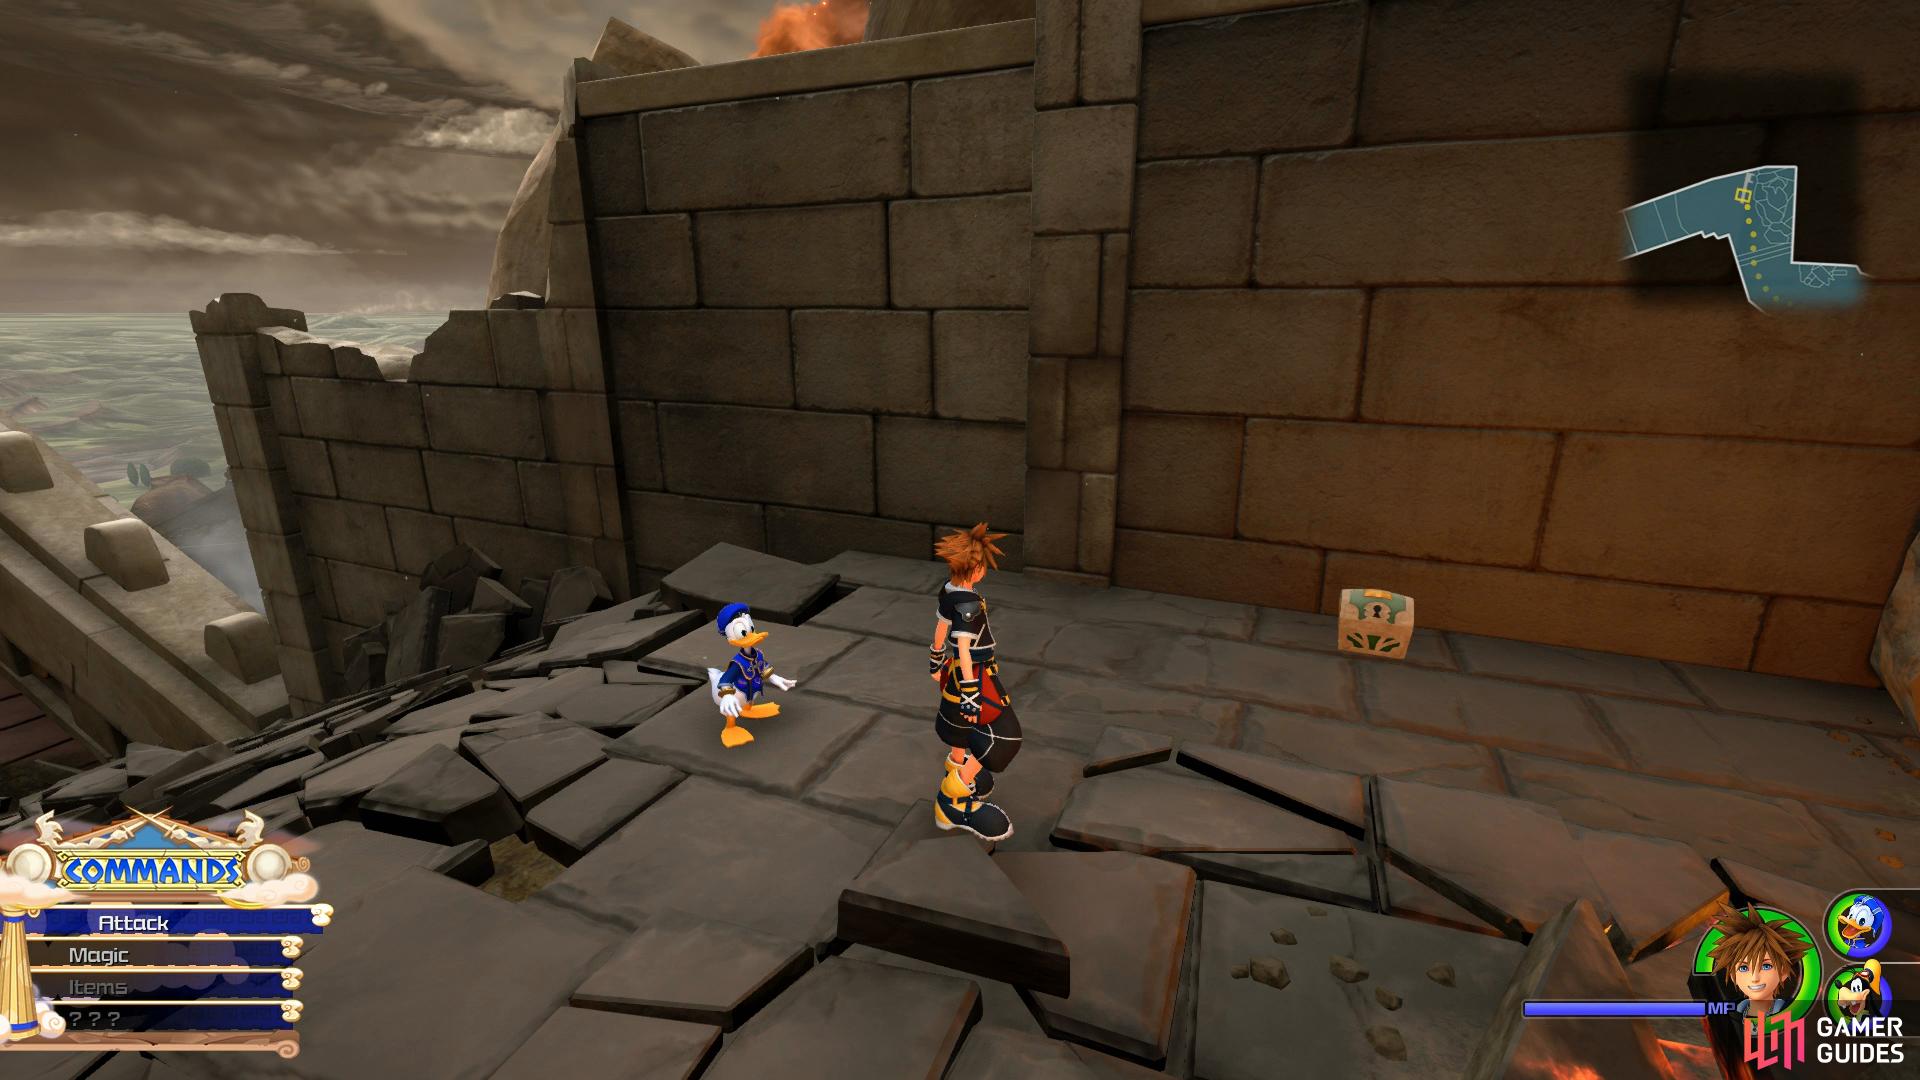
You’ll find a chest just before you slide down the rooftops
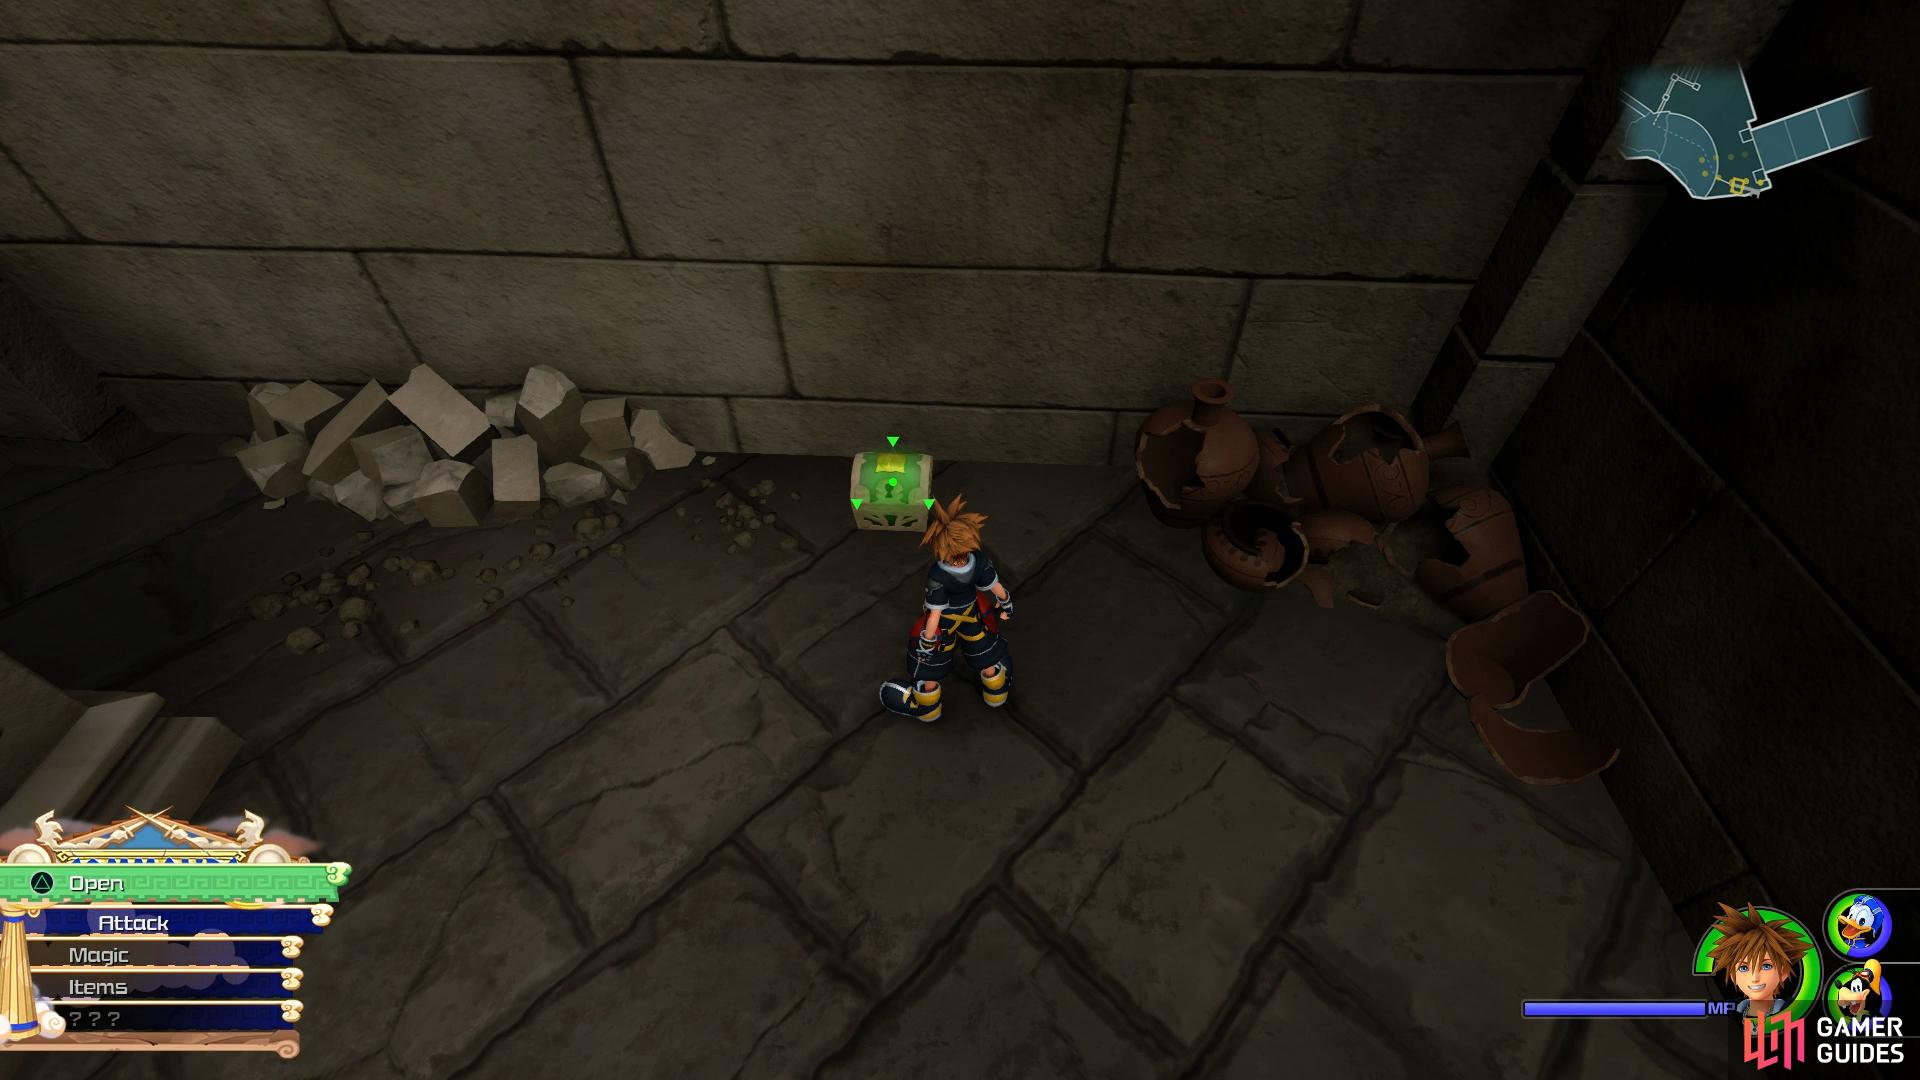
drop down off the shield and search in the corner for another chest.
Before you head down the nearby stairs, run up the wall here to find a chest in the middle of a new type of Heartless, the Popcat. These are relatively harmless and go down with ease, leaving you free to snag Treasure #22 - AP Boost. Drop back down and follow the stairs to another area in flames. Once again, use Trinity Sled and head left at the intersection to find a small area off to the side. Along with the usual breakable objects, you’ll find a Treasure #20 - Shield Belt at the top of the stairs to your right. Equip this on Sora right away to increase his Defense and then follow the stepping stones back over to the beginning.
Run up the wall and take out the Popcats to snag this chest
head left on the Trinity sled and take the stairs up to find this on your right.
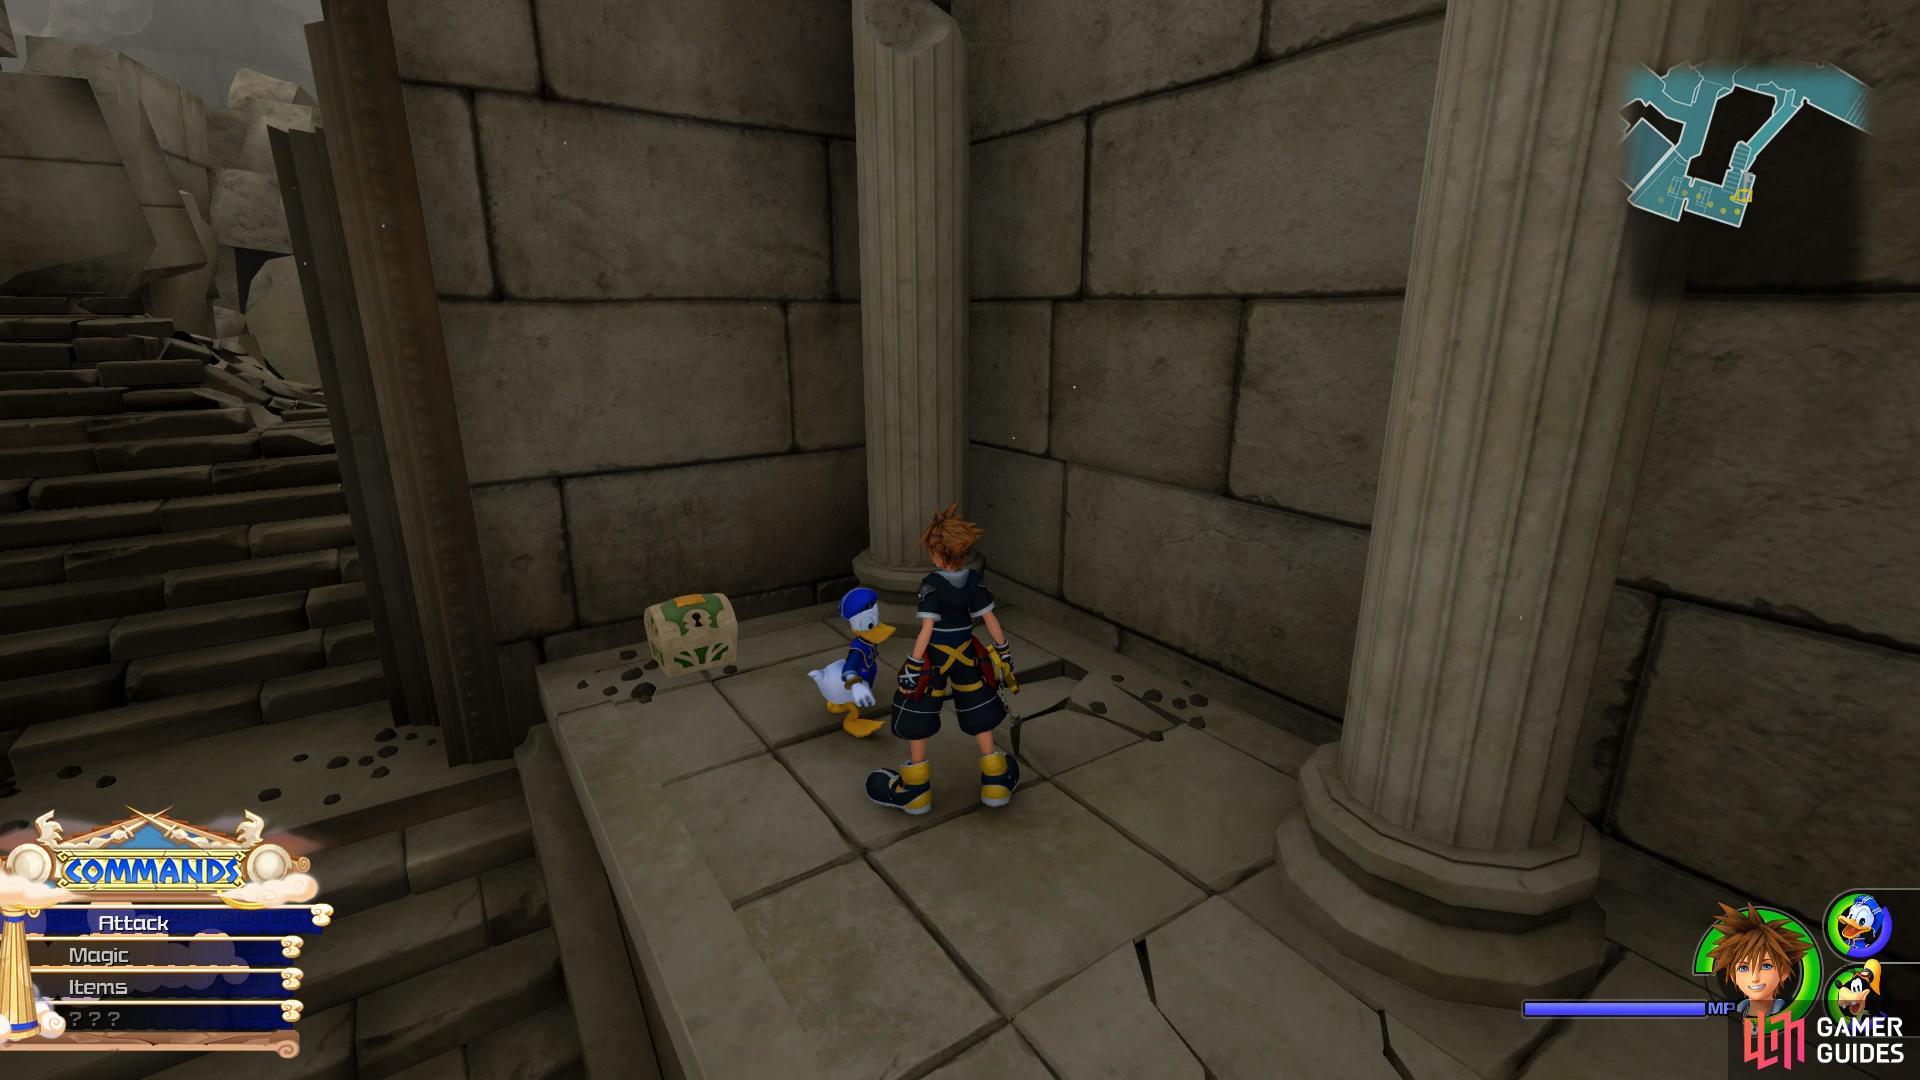
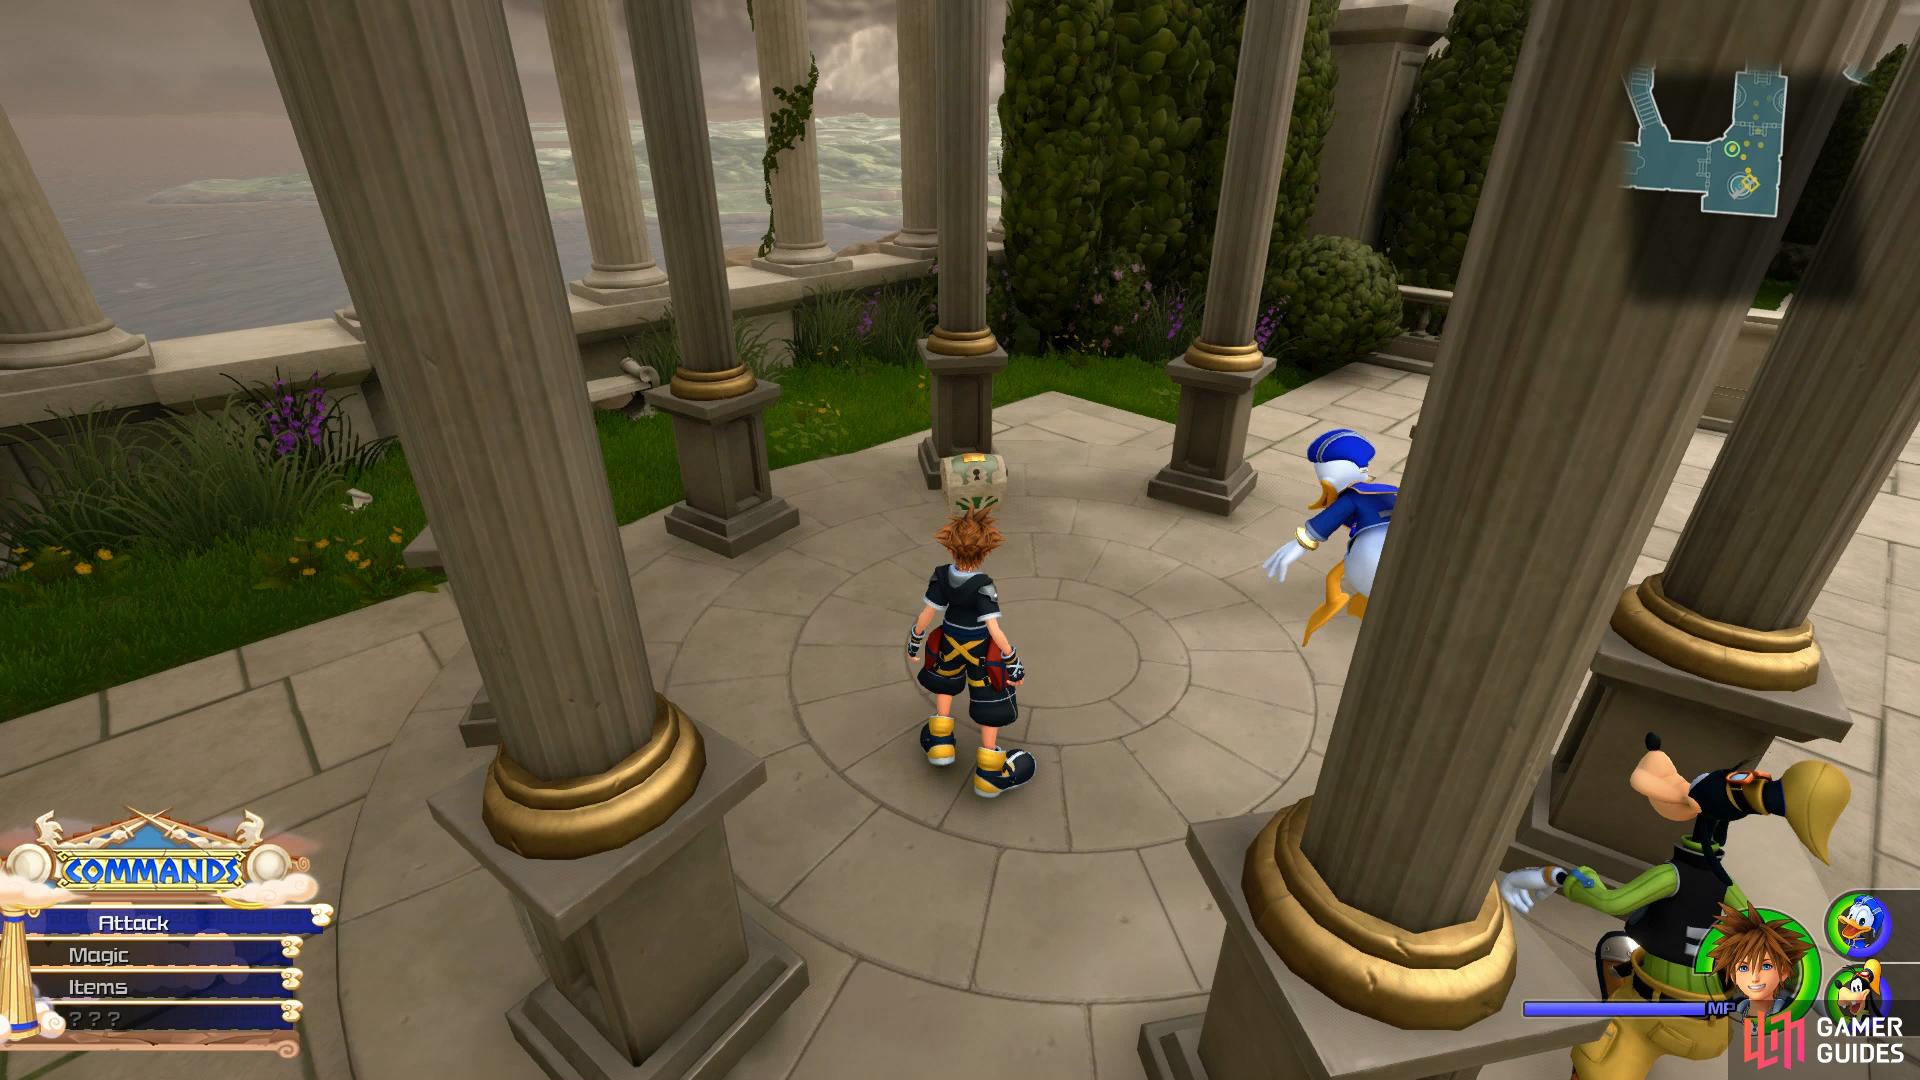
Use Trinity Sled again and this time follow the path to the north to witness another building come crashing down. Follow the path and drop down into the Gardens and immediately take a left to find another Civilian in trouble. Defeat the Heartless here and speak to the man after to obtain a Hi-Potion. Exit the room and follow the path and you’ll come across your next Save Point followed by a gazebo housing Treasure #21 - Potion. As you head further into the Gardens you’ll come across the next civilian that needs your help. Dash in to the rescue and dispatch the Flame Cores using your Water spells to aid you.
| Character | Ability |
|---|---|
| Sora | Max HP Increase |
Look in the gazebo near the Save Point for this chest
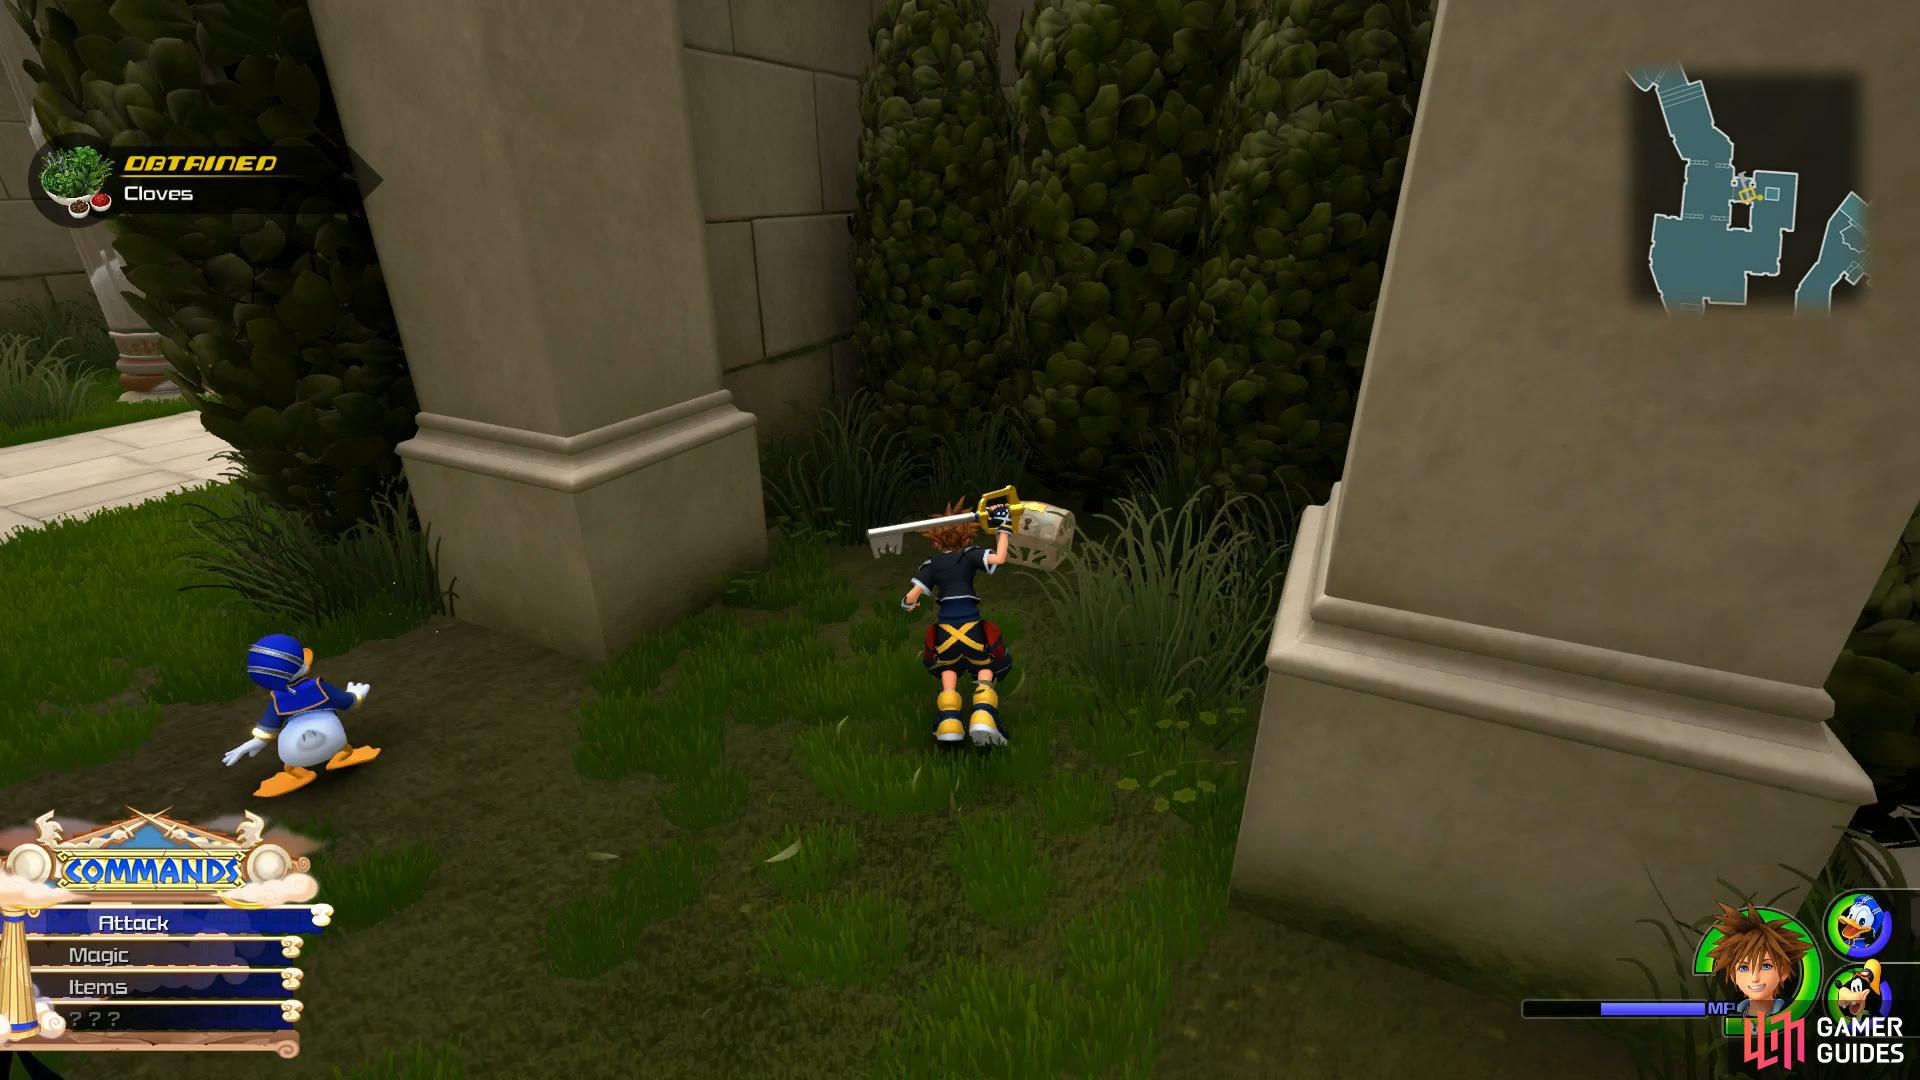
after the battle, break the leg of the statue to reveal this chest in an alcove.
Head back to the Save Point to recover if needed and then take a right at the intersection in this courtyard to find a large statue. Attack the leg to cause it to come crashing down and break the wall to your left where you’ll find an Ingredient and Treasure #18 - Magic Ring. Again, equip this on Sora for now until you find something better, the slight boost in Magic and AP is welcome at this point in time.
Continue north through the gardens to slide into the Big Olive where you’ll find a flame pit. Fortunately for Sora, the wall to your left can be scaled, do so and you’ll be set upon by some Air Soldiers. Although it can be dangerous to fight them, do so to get some much needed Exp before using the wall to scale over to the other side. There’s a platform at the top here that you can reach with yet more Popcats, brush them aside to find Treasure #17 - Mega-Potion.
Drop back down to ground level and follow the path east to another courtyard with a Civilian in need of help. Dispatch the Heartless and talk to her to obtain a Potion. Continue further into the courtyard and head over to the far east (ignoring the flaming path for now) to find yet another Civilian in need of aid, rush over to take out the Heartless and speak to her to obtain an Ether.
Take a left on the Trinity Sled to reach this area
run up the wall once you reach the area with the burning ground to find this chest.
Return to the burning path now and use Trinity Sled and take a left at the first intersection to find some Ingredients and Treasure #16 - Ether in a small side area. Return to the main path and use Trinity Sled to reach the other side. Take the stairs down when you exit the flaming path to encounter a new type of Heartless, the Bizarre Archer. These pesky Heartless will stay back and pelt you with arrows so close the distance quickly to take them out.
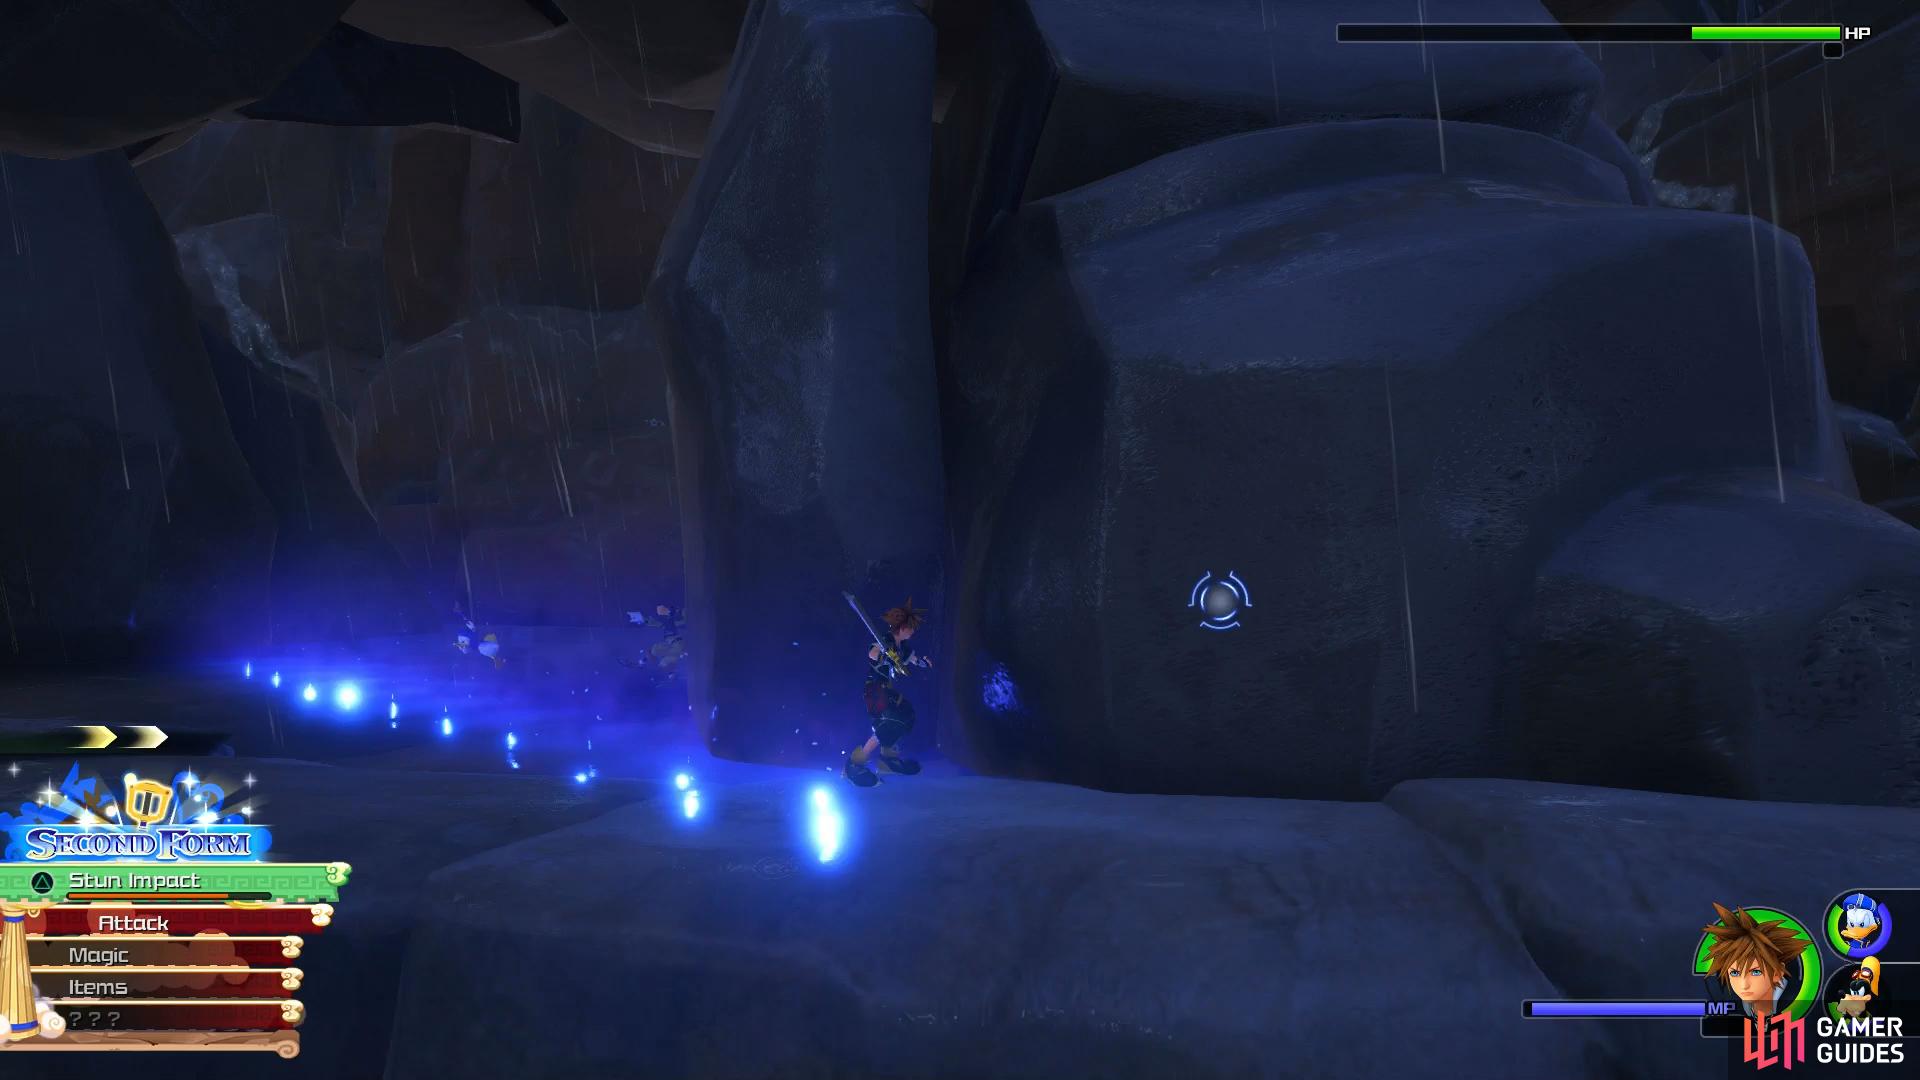
Following their defeat, follow the path into the Alleyway where you’ll meet back up with Herc attempting to hold up a building when more Heartless arrive. When you regain control you have three minutes to take out all of the Heartless before the building comes crumbling down. You’ll also get tutorials on Grand Magic and Formchanges, the former allowing you to cast the next tier of magic once your form gauge (the three arrows above the command menu) is complete.
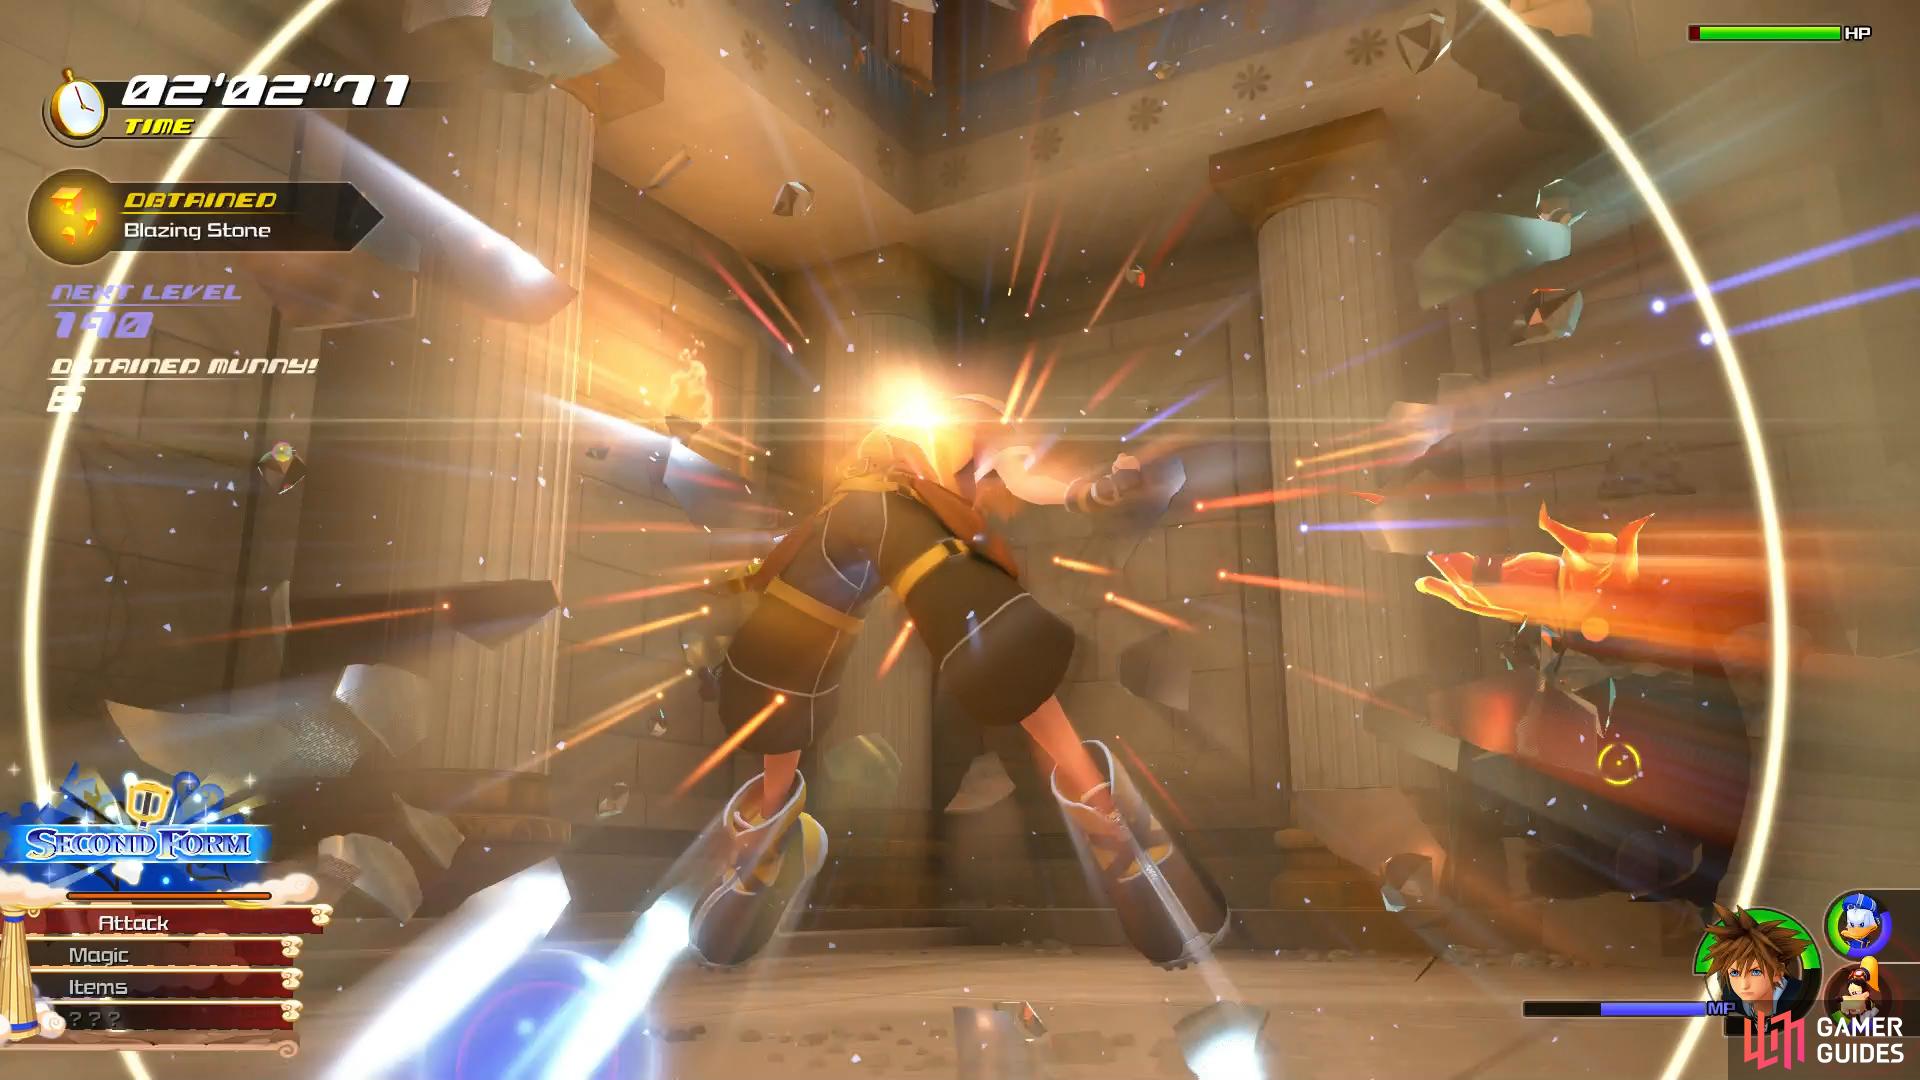
Second Form will help you clear large groups with it’s finishers
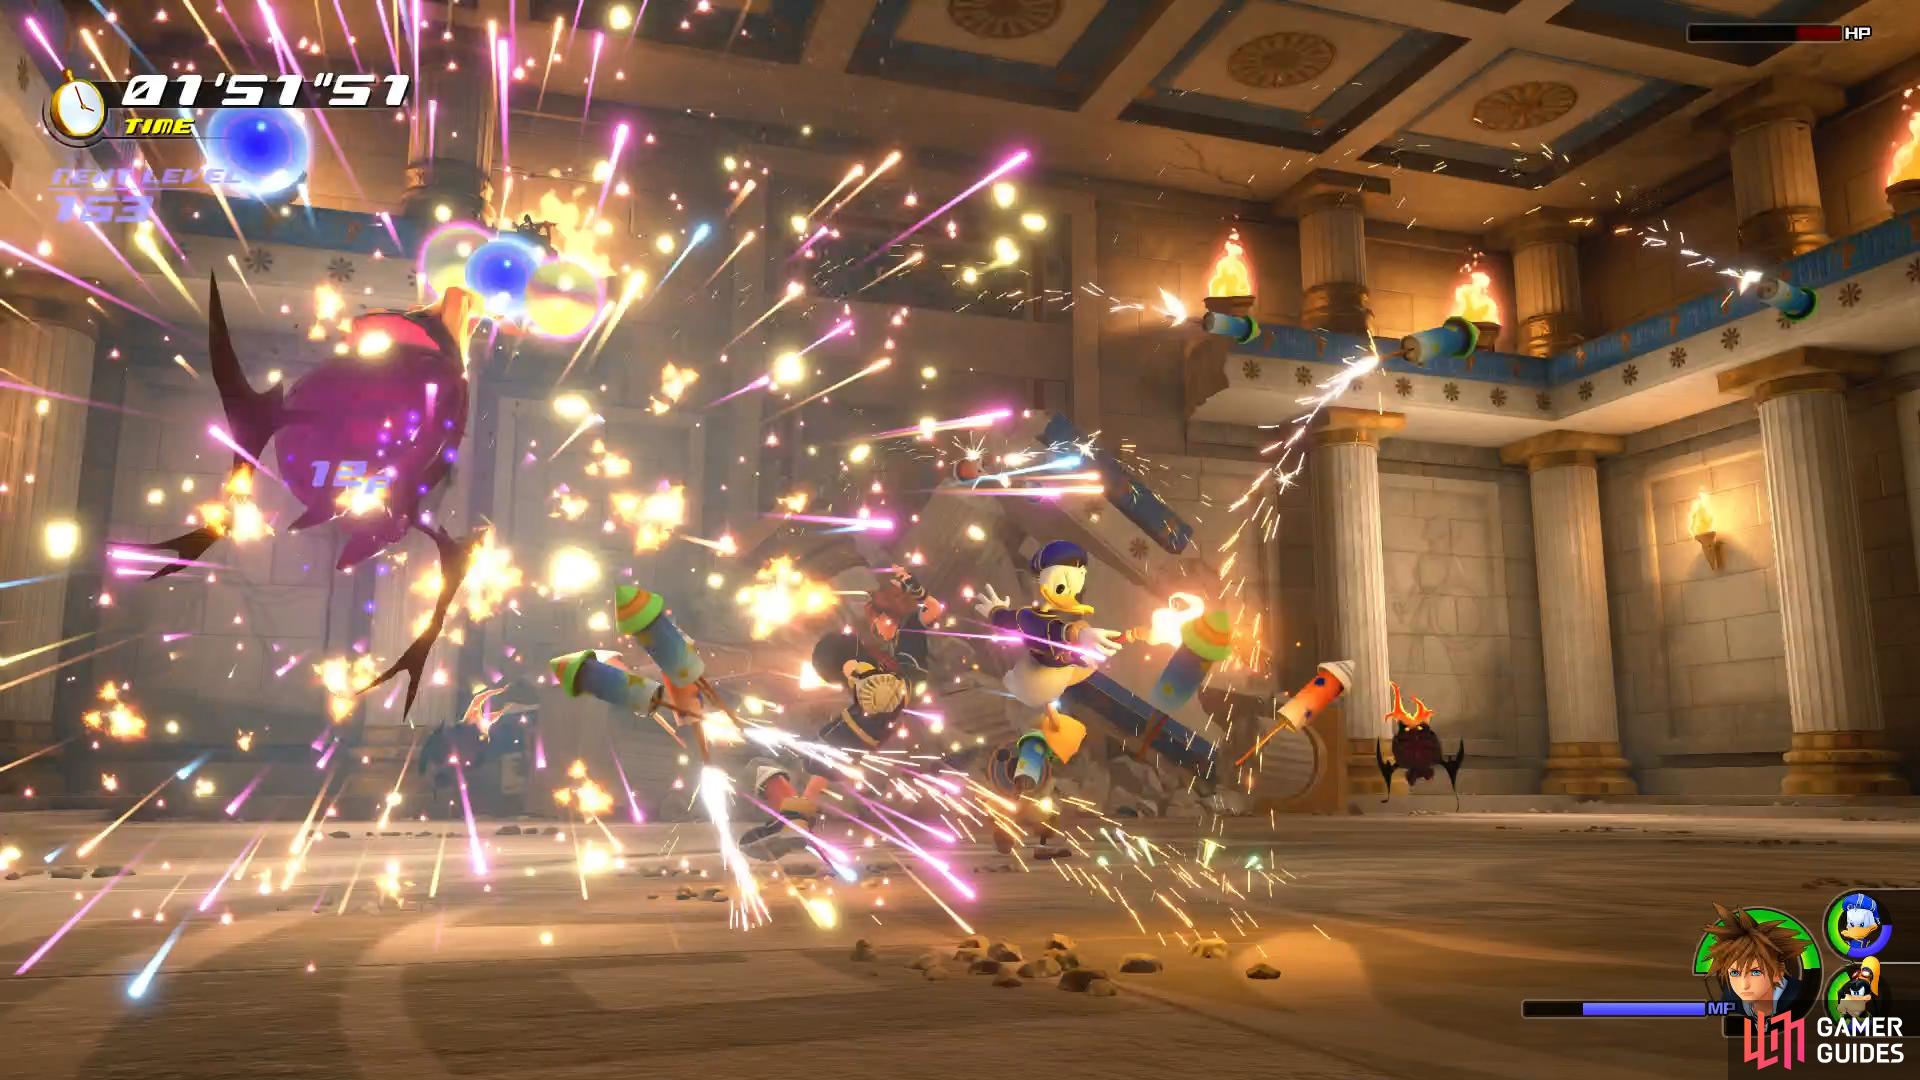
make use of your Team Attacks such as Flare Force to hit a group of Heartless.
Formchange is a different matter altogether and will be one of your most used abilities in the game. As you build up the form gauge using normal attacks, you’ll Formchange the Keyblade into a different one granting different abilities along with a Finisher. The Kingdom Key’s Second Form allows Sora to chain more combos together in both the air and on the ground, use this as much as possible.
As for the battle itself, you’ll be up against a lot of Flame Cores so make liberal use of Water, hopefully using Watera when the command appears to clear out large groups of them. Keep an eye on the Situation Commands to make use of your Team Attacks with Goofy and Donald with both of Donald’s being devastating attacks. If you manage to build up Second Form’s gauage a second time you’ll be able to use Sonic Blade to take out many Heartless at once so aim for that rather than cutting the transformation short with Stun Impact.
| Character | Ability |
|---|---|
| Donald | Max HP Increase, Fire Boost |
Following the events after the battle, Hercules will join the party and you’ll press onward. Climb the wall at the end of the path here to find some breakables and then jump over to the green platform to find Treasure #13 - AP Boost on the edge of it. Drop down to the ground to find some Ingredients along the path and then head through the broken wall. Follow the waterway to the right to find Treasure #14 - Potion sitting near a breakable wall. Knock this down to find yourself back in Thebes/Agora.
As you head down after saving the civilians from the building, run up the wall and jump across
just before you break the wall back to Agora you’ll find this chest on the left.
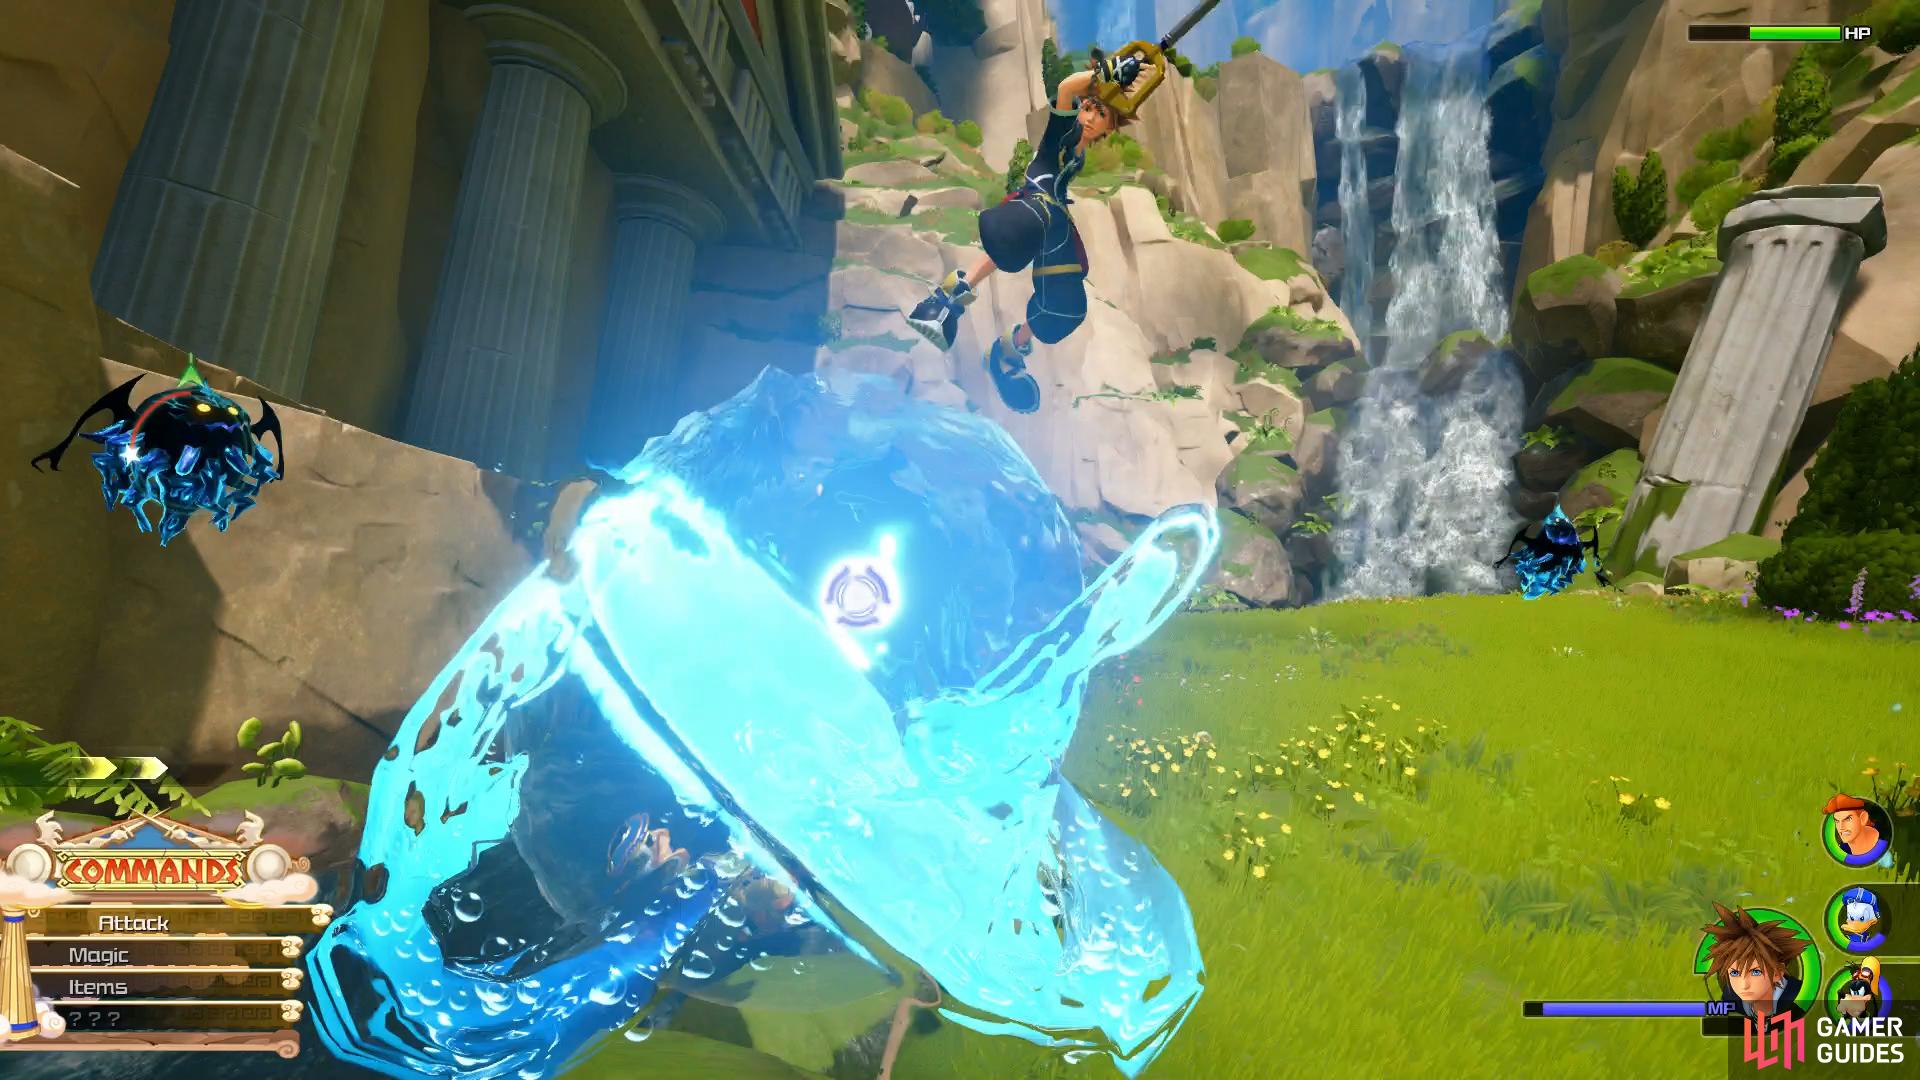
You’ll encounter your first miniboss here and get a Tutorial on Attractions, powerful abilties that can be gained by attacking enemies with a green circle around them. These abilities can clear out a whole screen of enemies with relative ease and are useful early on in your game.
Your adversary is a Rock Troll, a giant Heartless with a huge axe to go along with it. Fortunately for you, he has a green circle around him so dash in and connect with attack and follow up by activating Pirate Ship. Attack by hitting the [X]/[A] button when you see the prompt, this deals devastating damage to everything around you. This should clear out the stragglers and around one a half HP bars off the Rock Troll. Consider keeping your distance when the Rock Troll spins on his axe and hitting him with Fire Spells before activating Second Form and dashing in for some combos. Don’t get too greedy, the Rock Troll’s attacks hit hard and two of his axe strikes can put you in critical. If you can build up Second Form to Sonic Blade then you should be home free.
| Character | Ability |
|---|---|
| Sora | Max HP Increase |
| Goofy | Lucky Strike |
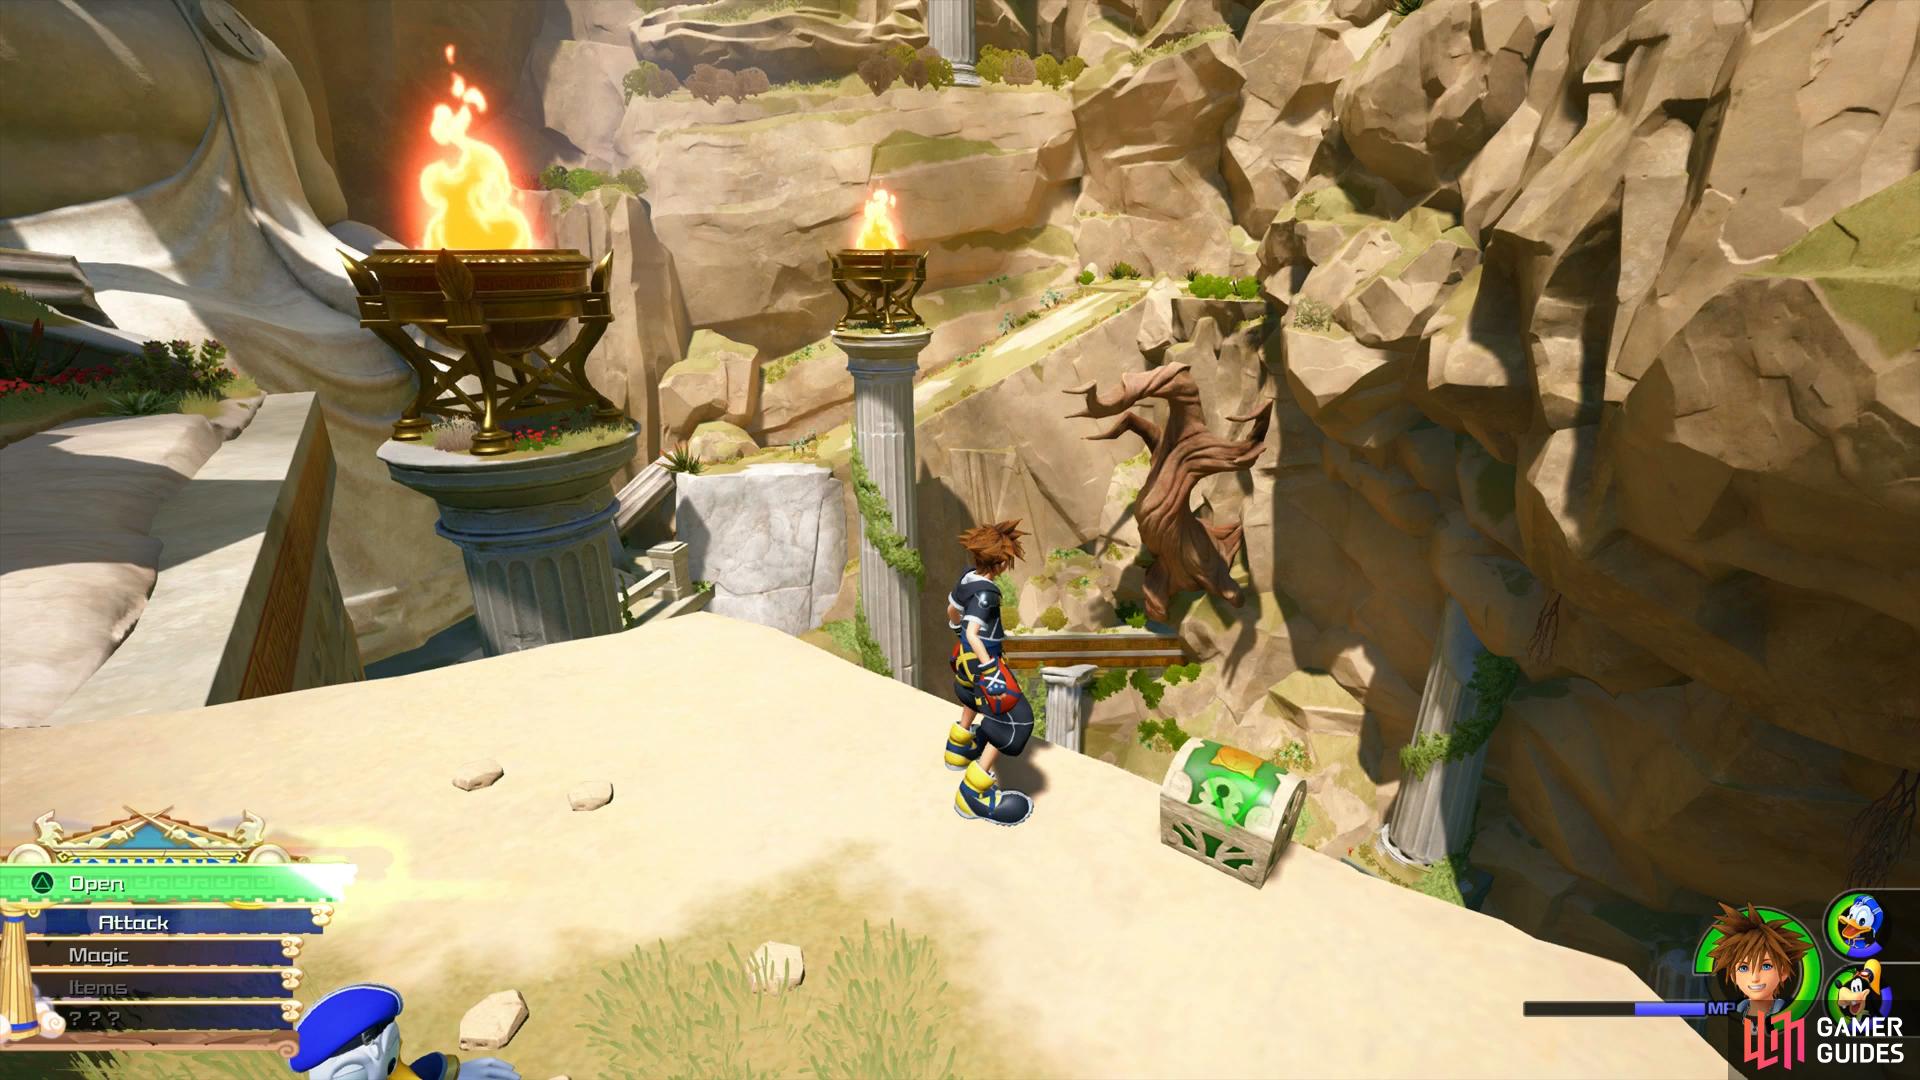
Once the Rock Troll falls, Meg informs the group that all the civilians have been saved and the group turns their attention to Mount Olympus. Before you head off however, make your way up the stairs to the south to find Treasure #15 - Fluorite and then return to the Moogle Shop to drop off your materials.
Head up the stairs to the south to find this hidden chest.
Check out the Workshop, you may have the materials needed to Synth a Fire Bangle which will come in use during your time in Olympus. Otherwise, save your Munny for now and save your game before leaving Thebes to the north.
Mount Olympus
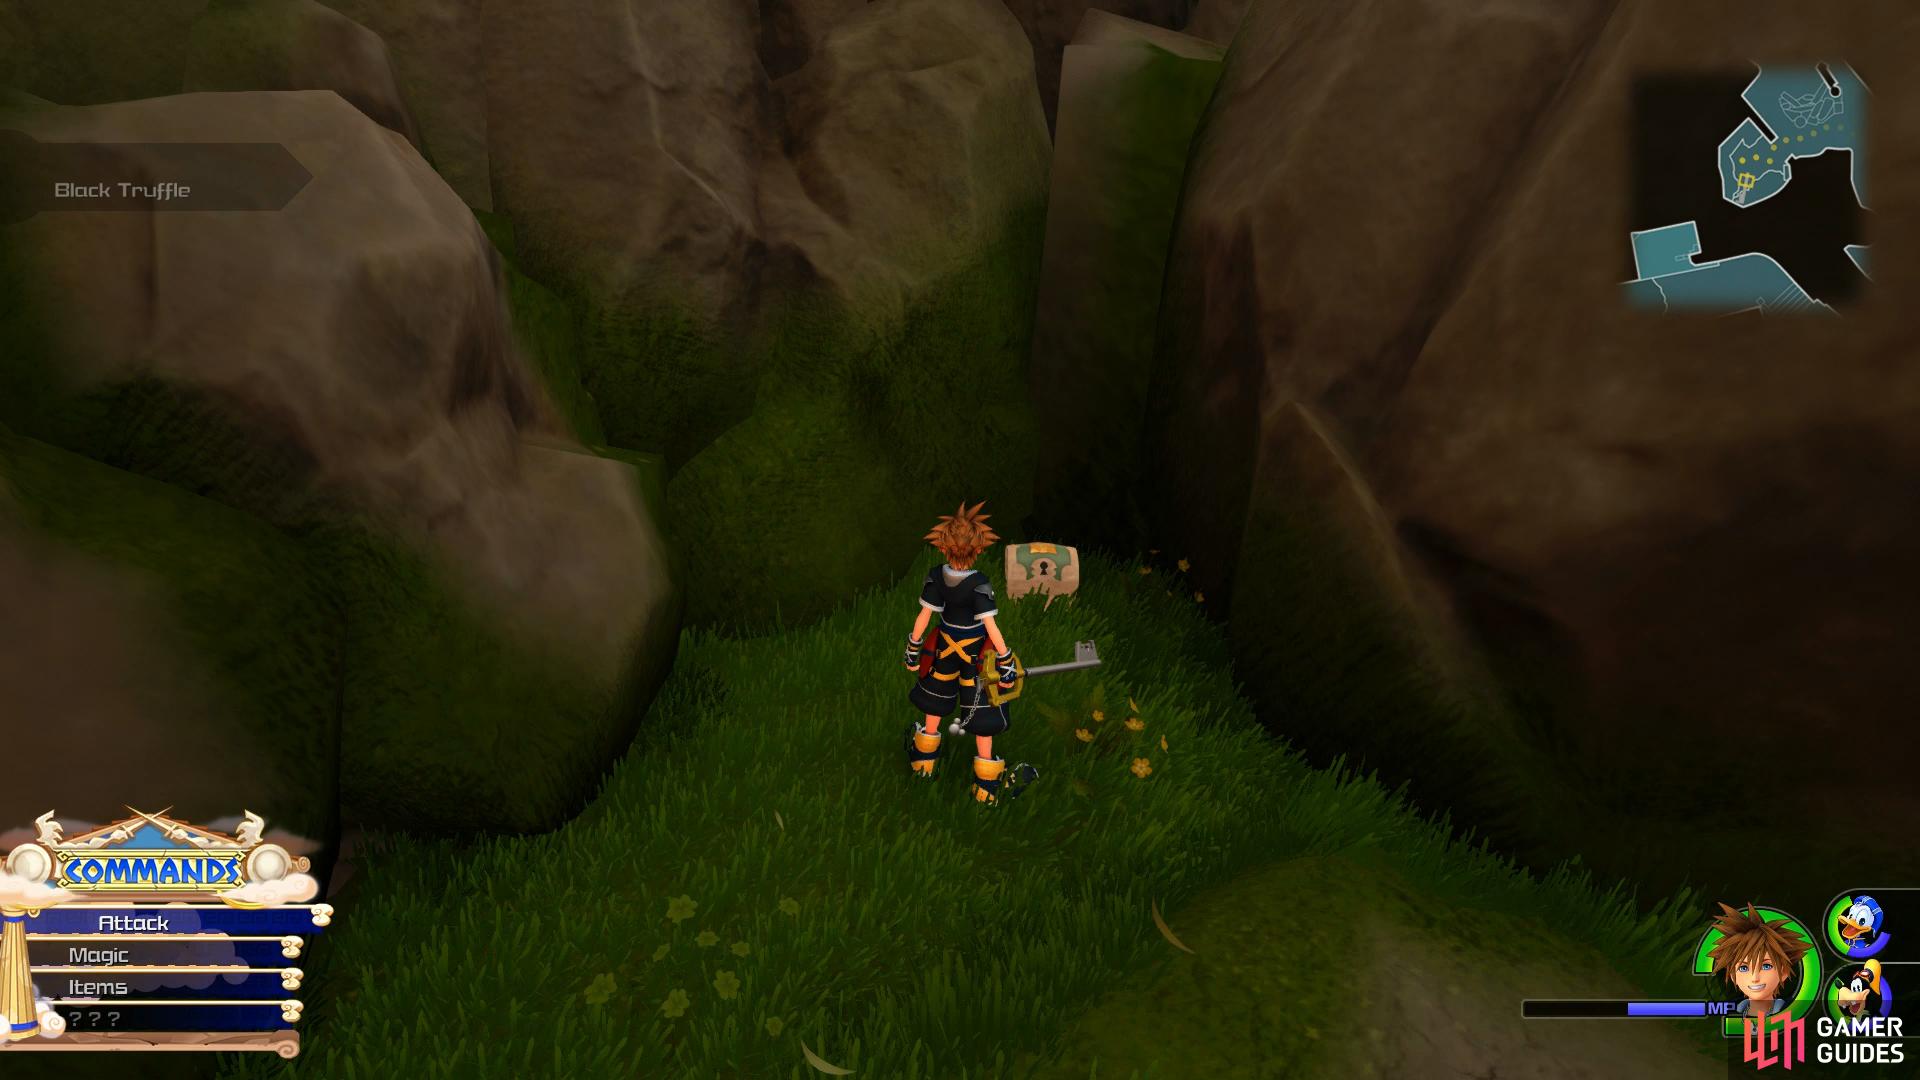
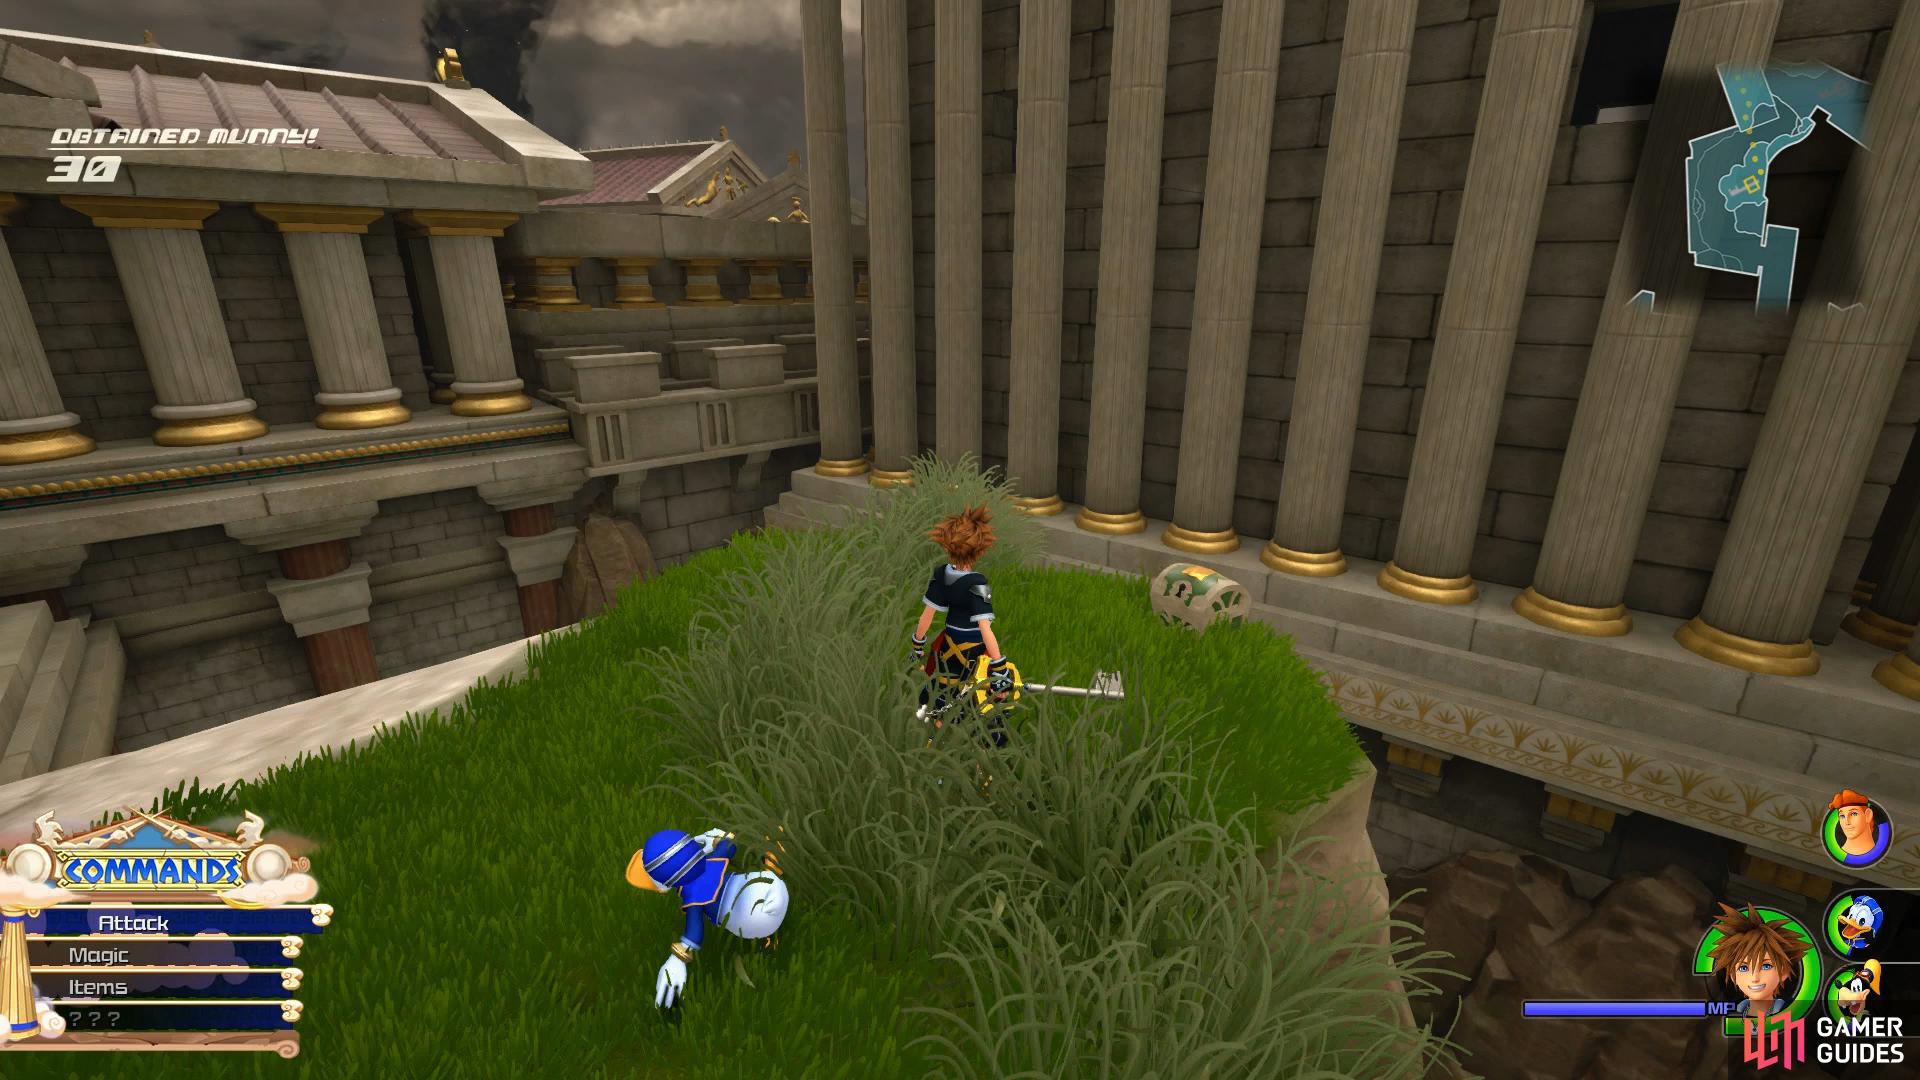
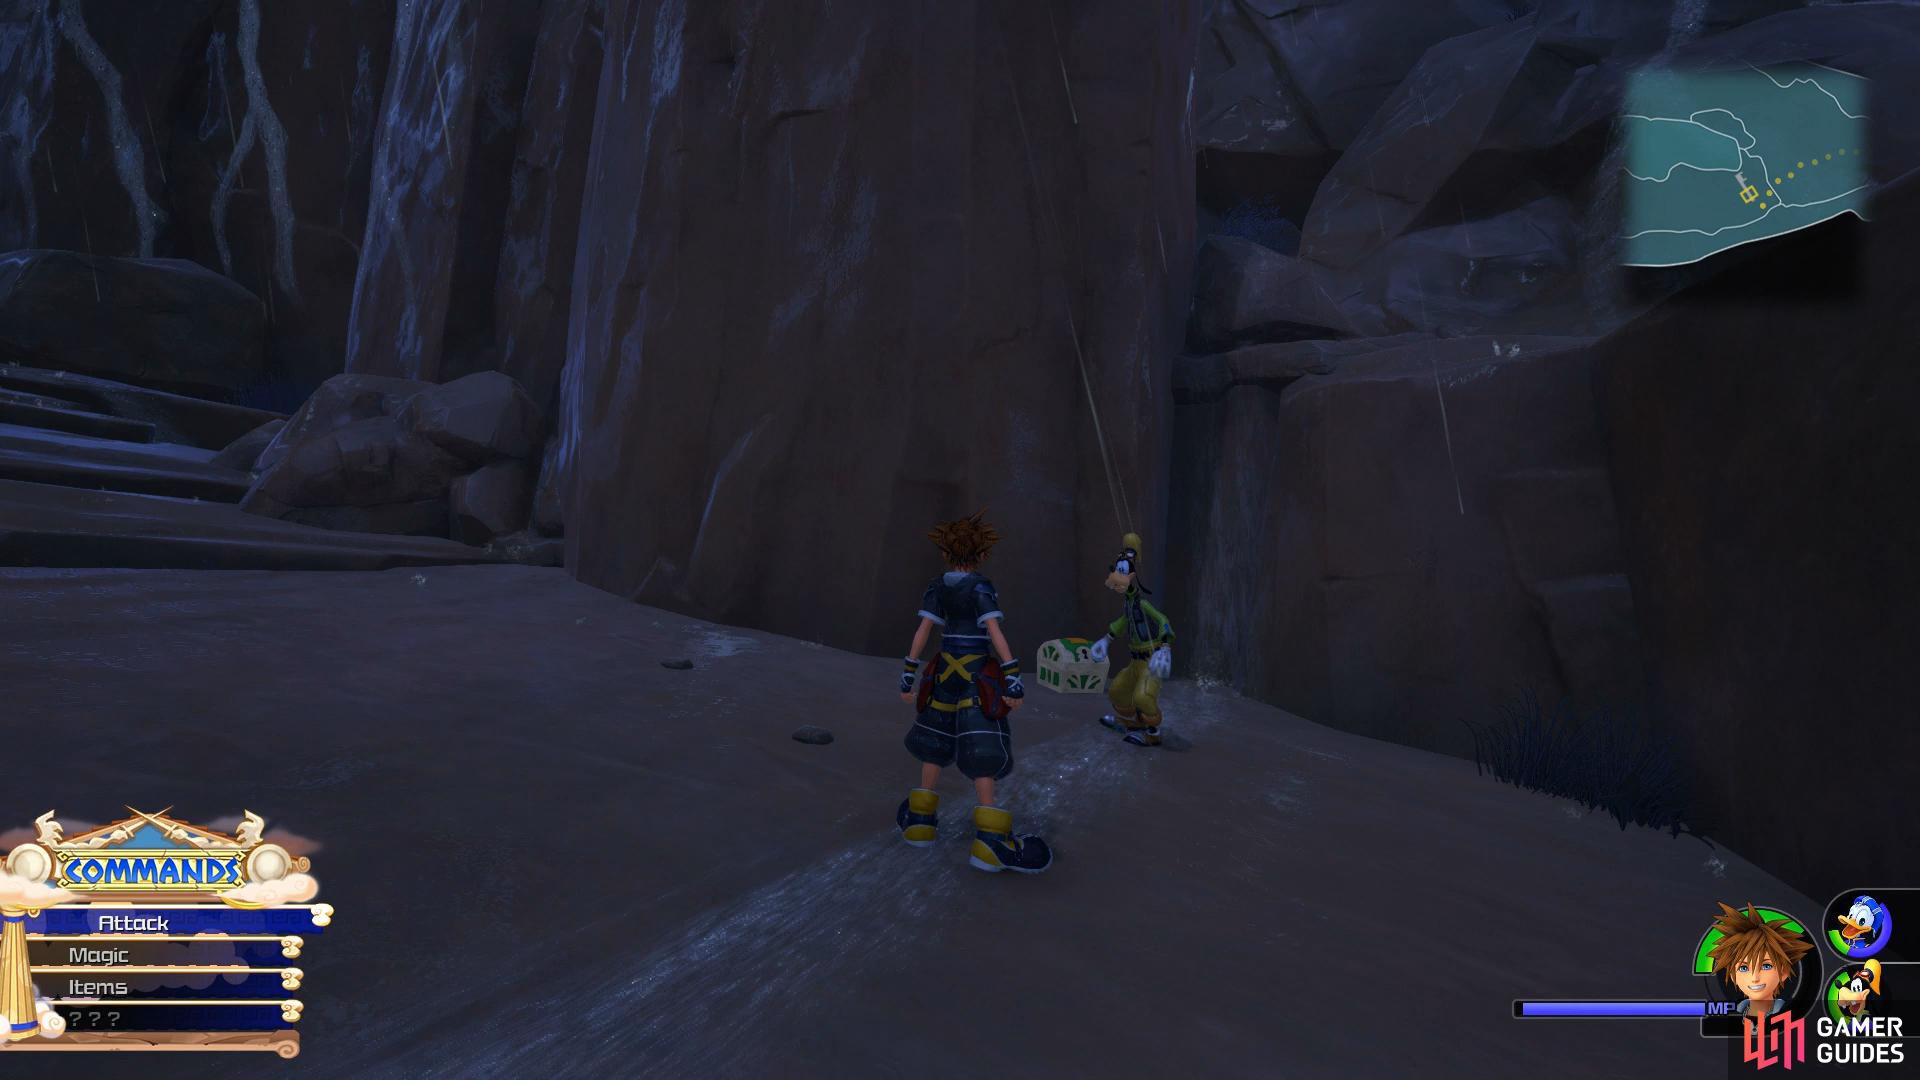
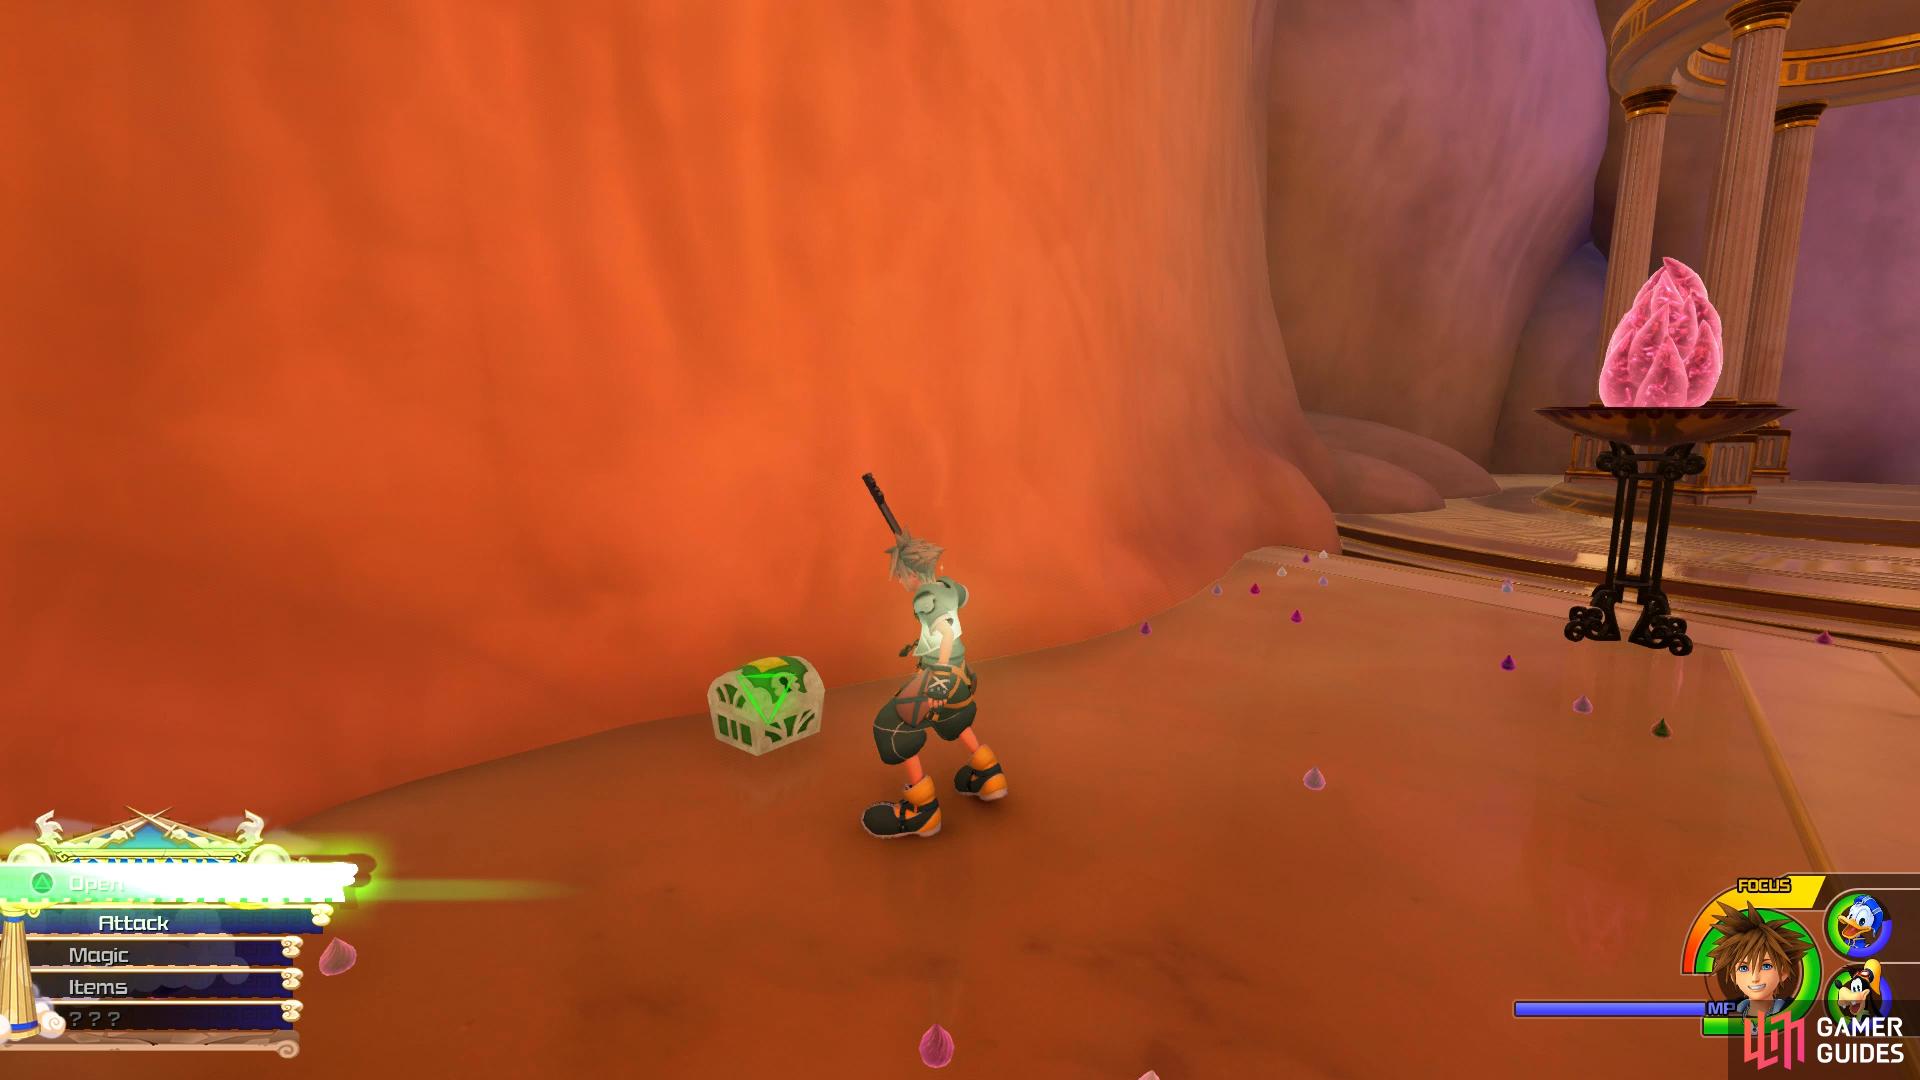
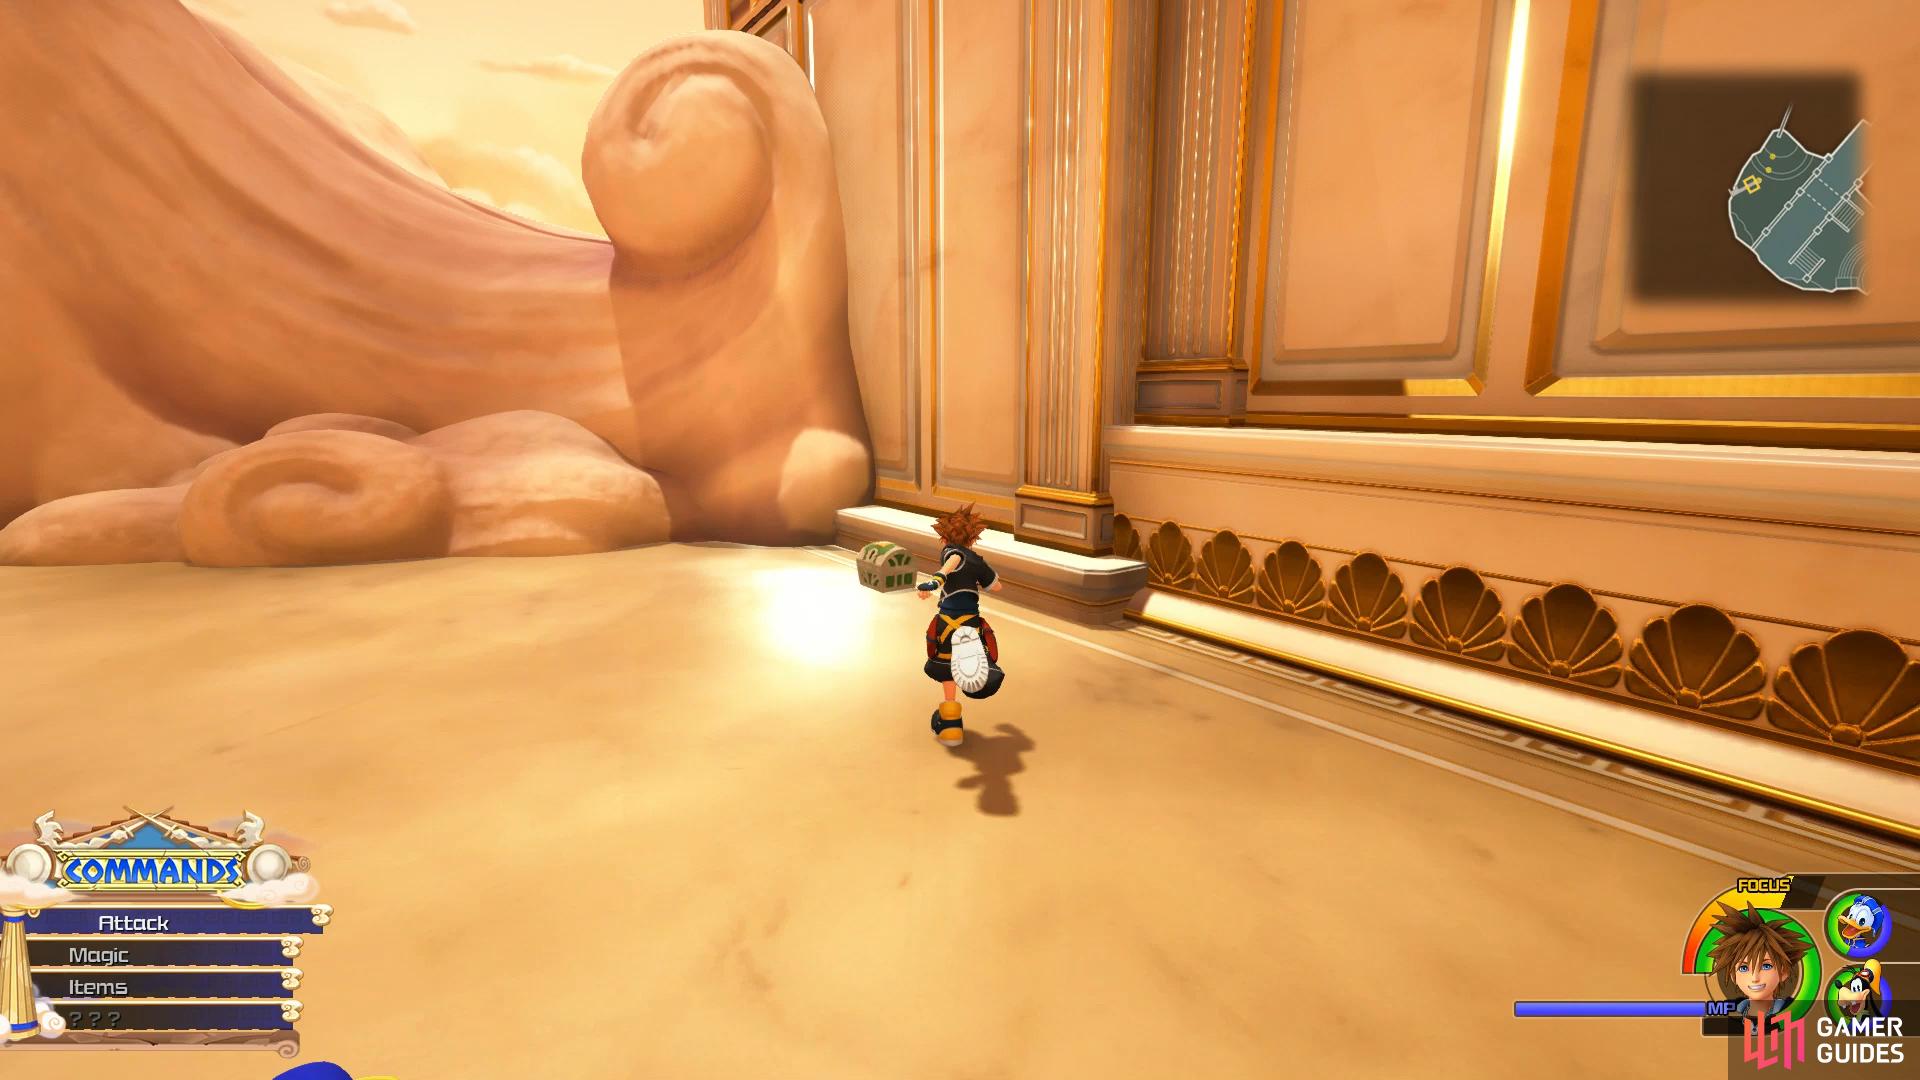
Sora’s task is to head up the massive Mount Olympus in order to put a stop to Hades’ plan. Make your way up the ravine and take out the group of Air Soldier’s that appear before heading over the stepping stones. As soon as you get off them, head to the right and south of the statue to find a well hidden chest (you wont be able to see the chest itself, you’ll need to look from the prompt) containing Treasure #2 - Water Cufflink. This useful accessory will protect against water damage and possibly allow you to cast the Grand Magic Waterza as a situation command.
Search near the foot of the statue to find a hidden chest
Water Cores are immune to physical attacks while their Aqua Shield is active.
Continue up the ravine to meet another new Heartless and the cluprit behind the increased water flow, Water Cores. These crafty Heartless will resist your Water spells so you’ll have to go with Fire or physical attacks. Additionally, they can cloak themselves in a shield to protect them from physical attacks, if this happens, turn to Fire to take them out.
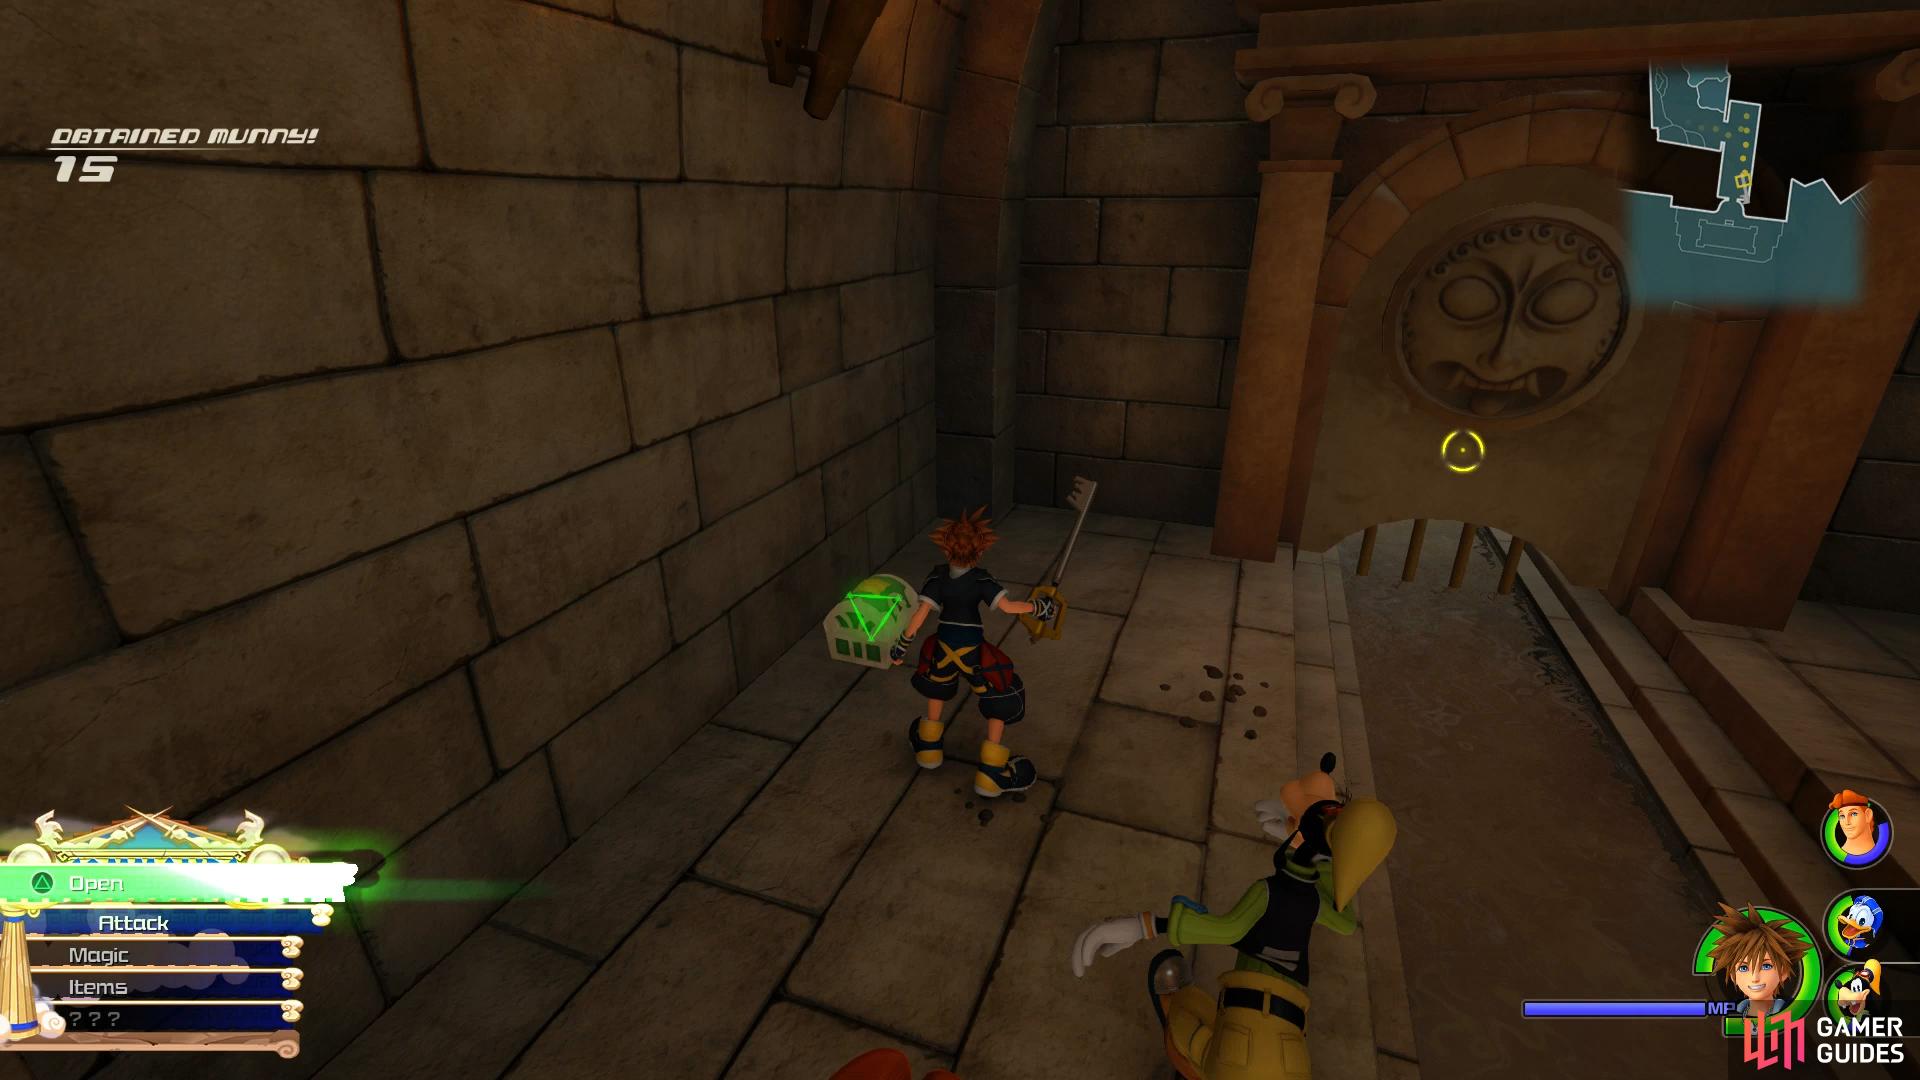
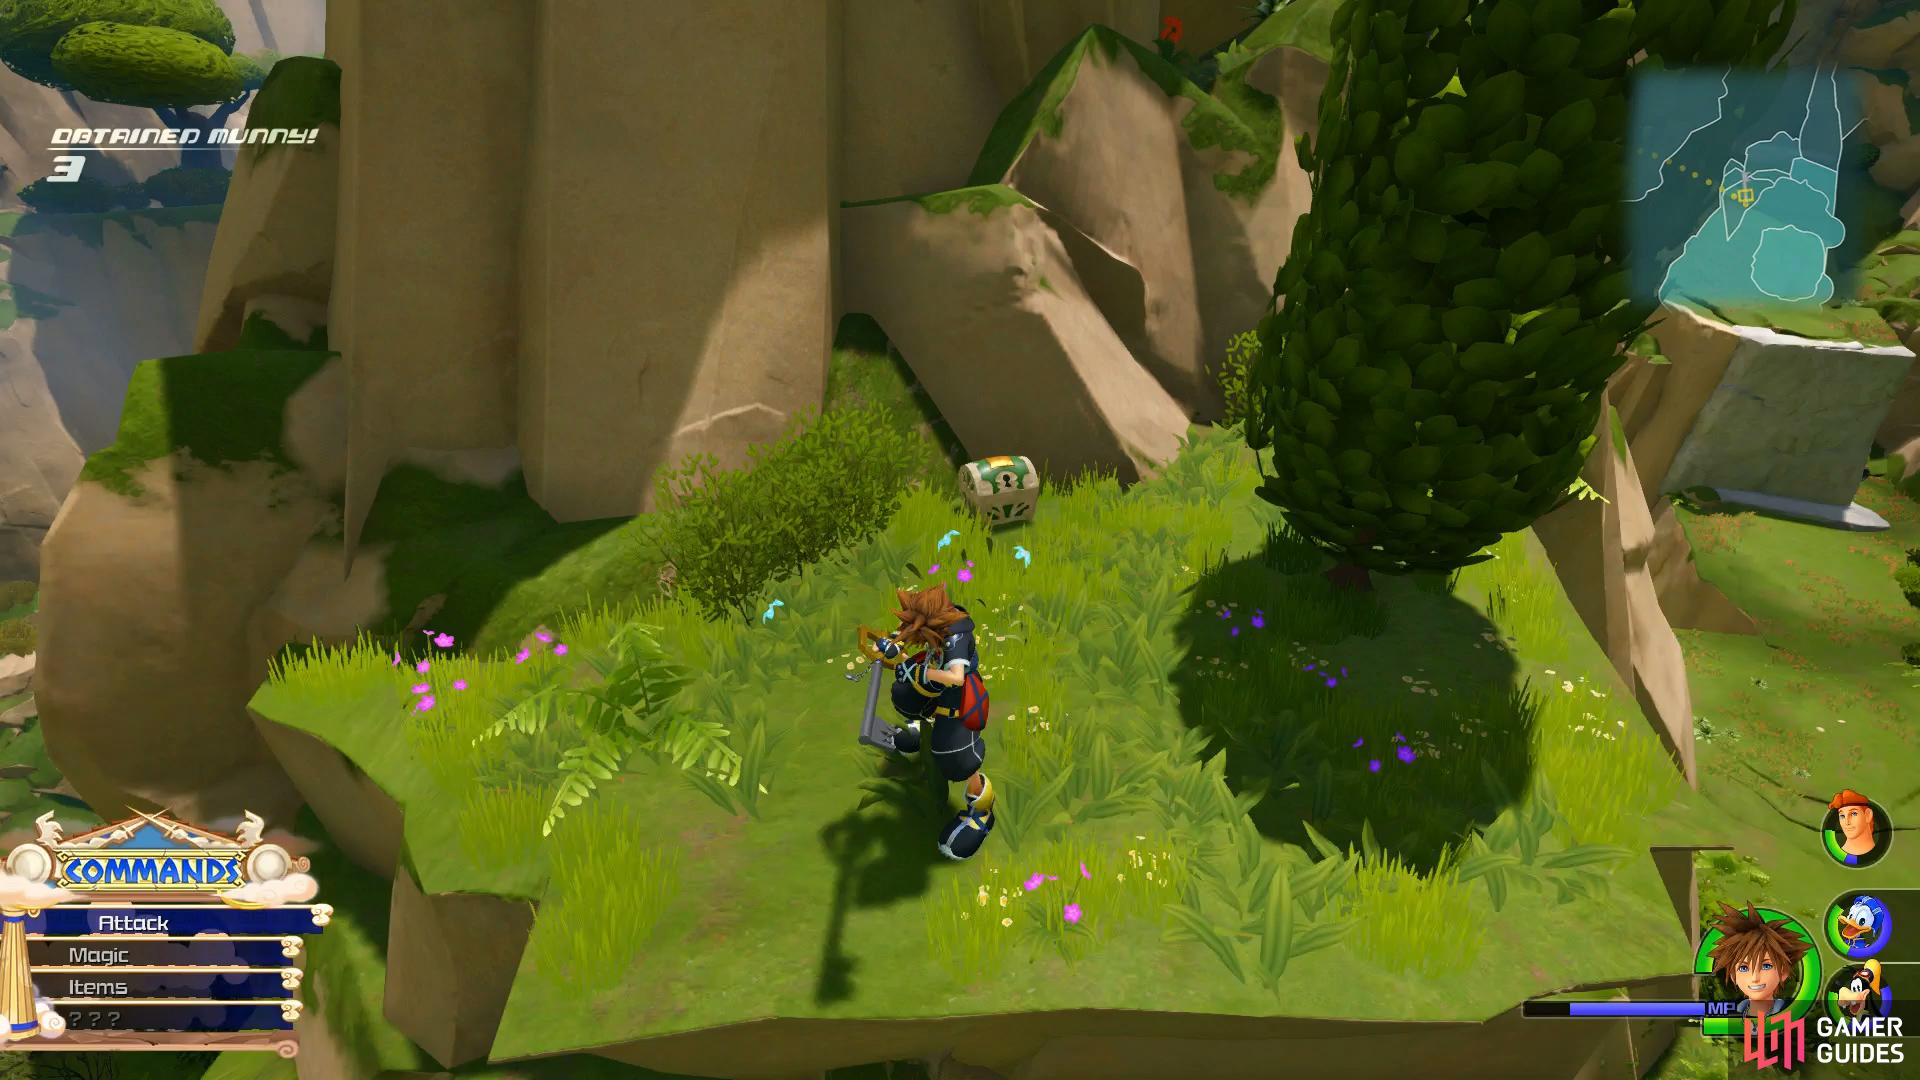
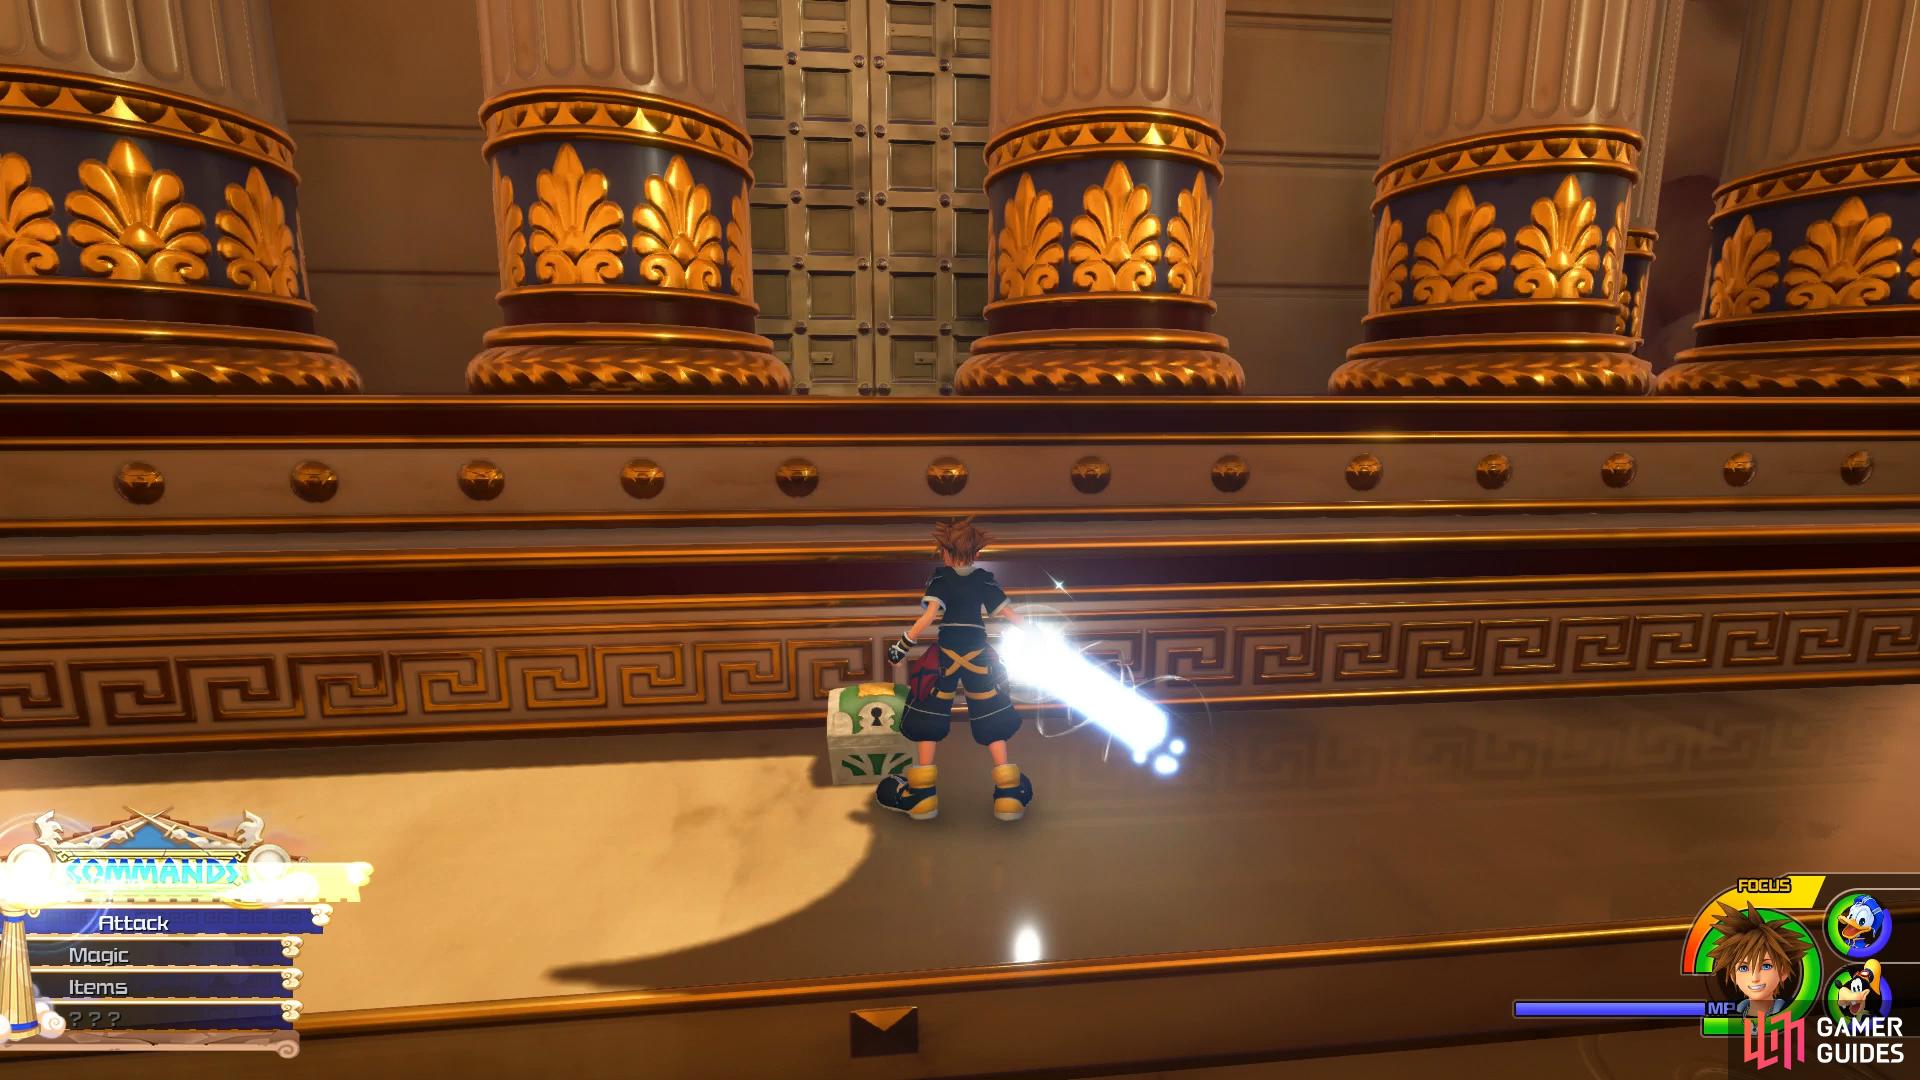
With the Water Cores defeated, the ravine dries up (and the previous chest is now visible) and you can press on. Return to the previous statue where you found the chest and jump into the foot to find another hidden chest containing Treasure #1 - Power Ring. Return to the top of the ravine, take the path leading up next to the columns and wall run to reach an apple tree. Search under this tree to find the next chest containing Treasure #9 - Map: Mount Olympus. Don’t forget to snag some of the Apples yourself before continuing to the clearing to take out a group of Soldiers.
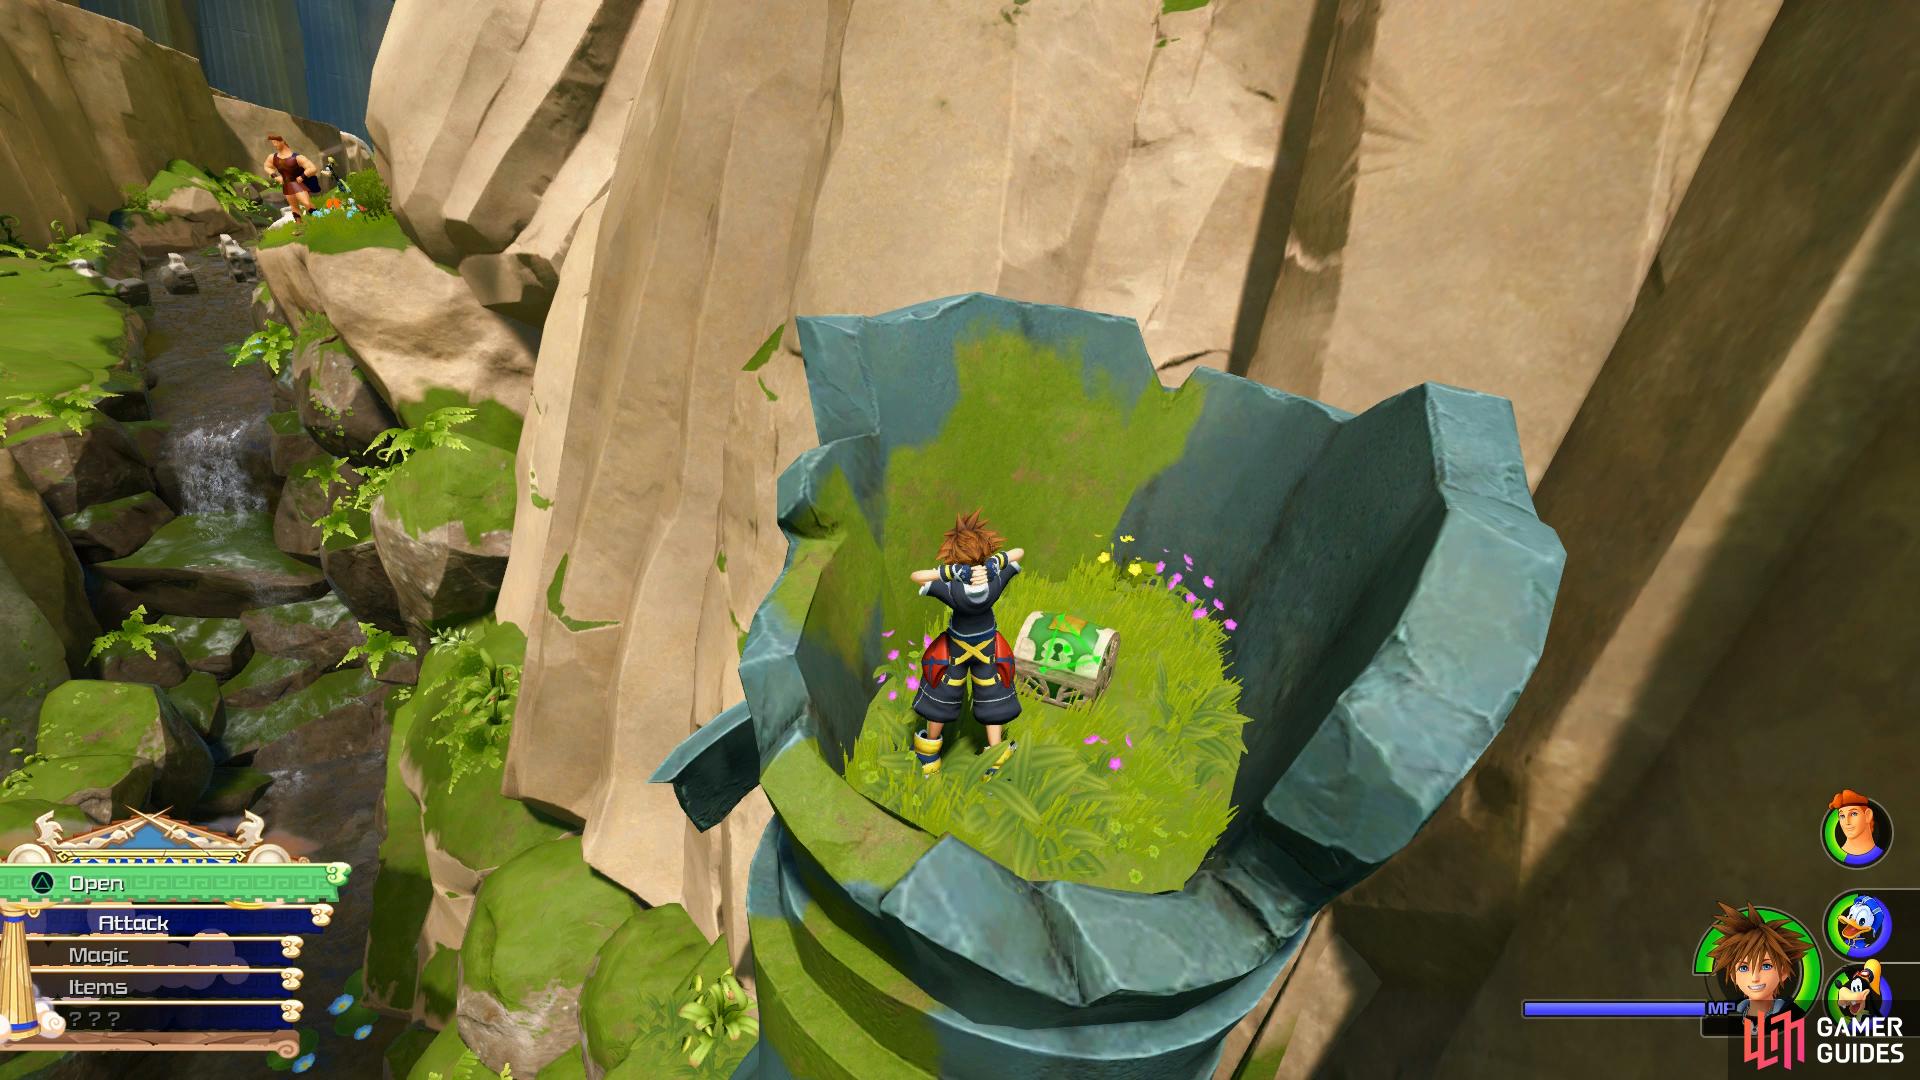
Leap on top of the foot statue to find this chest
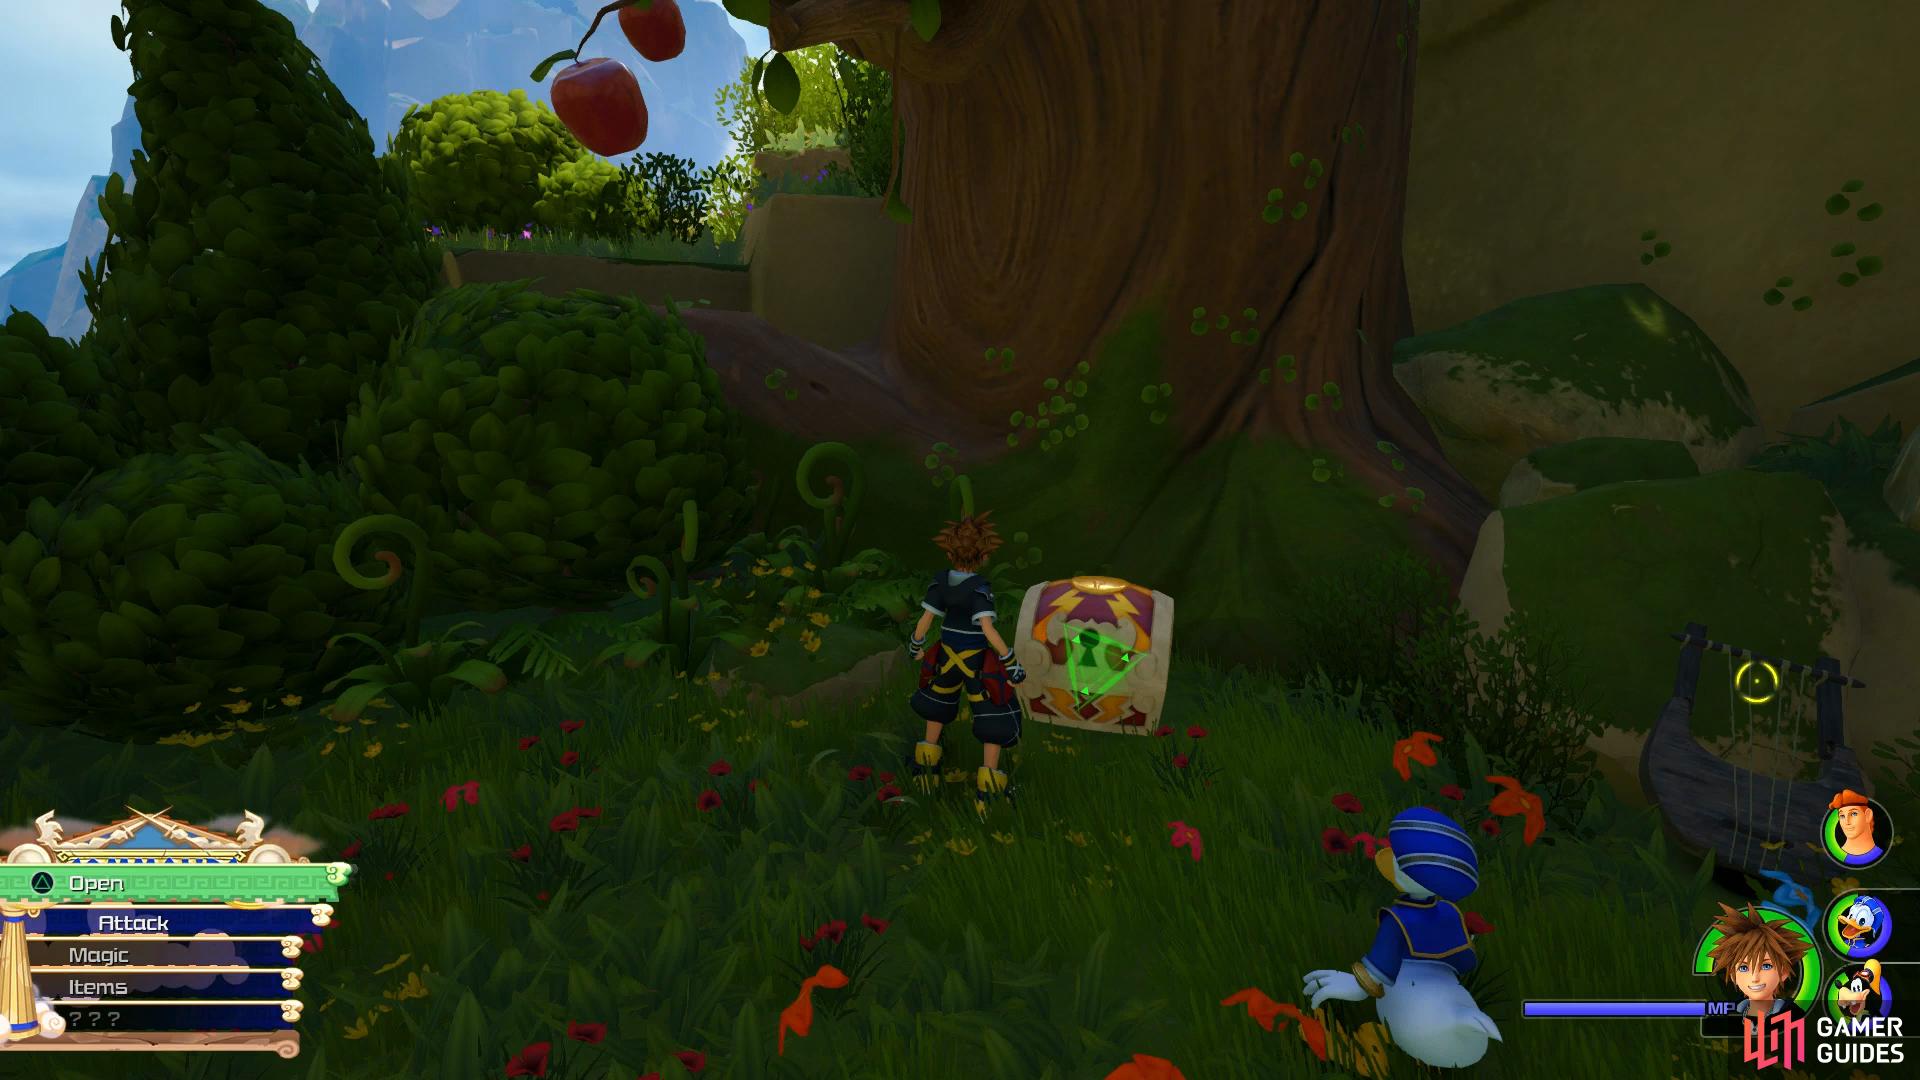
the map sits under an apple tree as you make your way up.
Wall run and jump the gap to reach an intersection, heading right and up the begin with to find another group of Water Cores to dispatch. This will dry the water up allowing you to run up the nearby wall. Continue up the path and take out the group of Air Soldiers before continuing higher up the mountains by running up the nearby walls. You’ll get a choice of two different walls on the next ledge, ignore the longer wall and head up the smaller one to reach a cave with a Heartless ambush inside. Following their demise you’ll find a haul of the three chests containing Treasure #4 - Panacea, Treasure #5 - Ability Ring and Treasure #3 - Potion.
You’ll find three chests in the cave as you climb the mountain
leap off the top and land on this ledge for another chest.
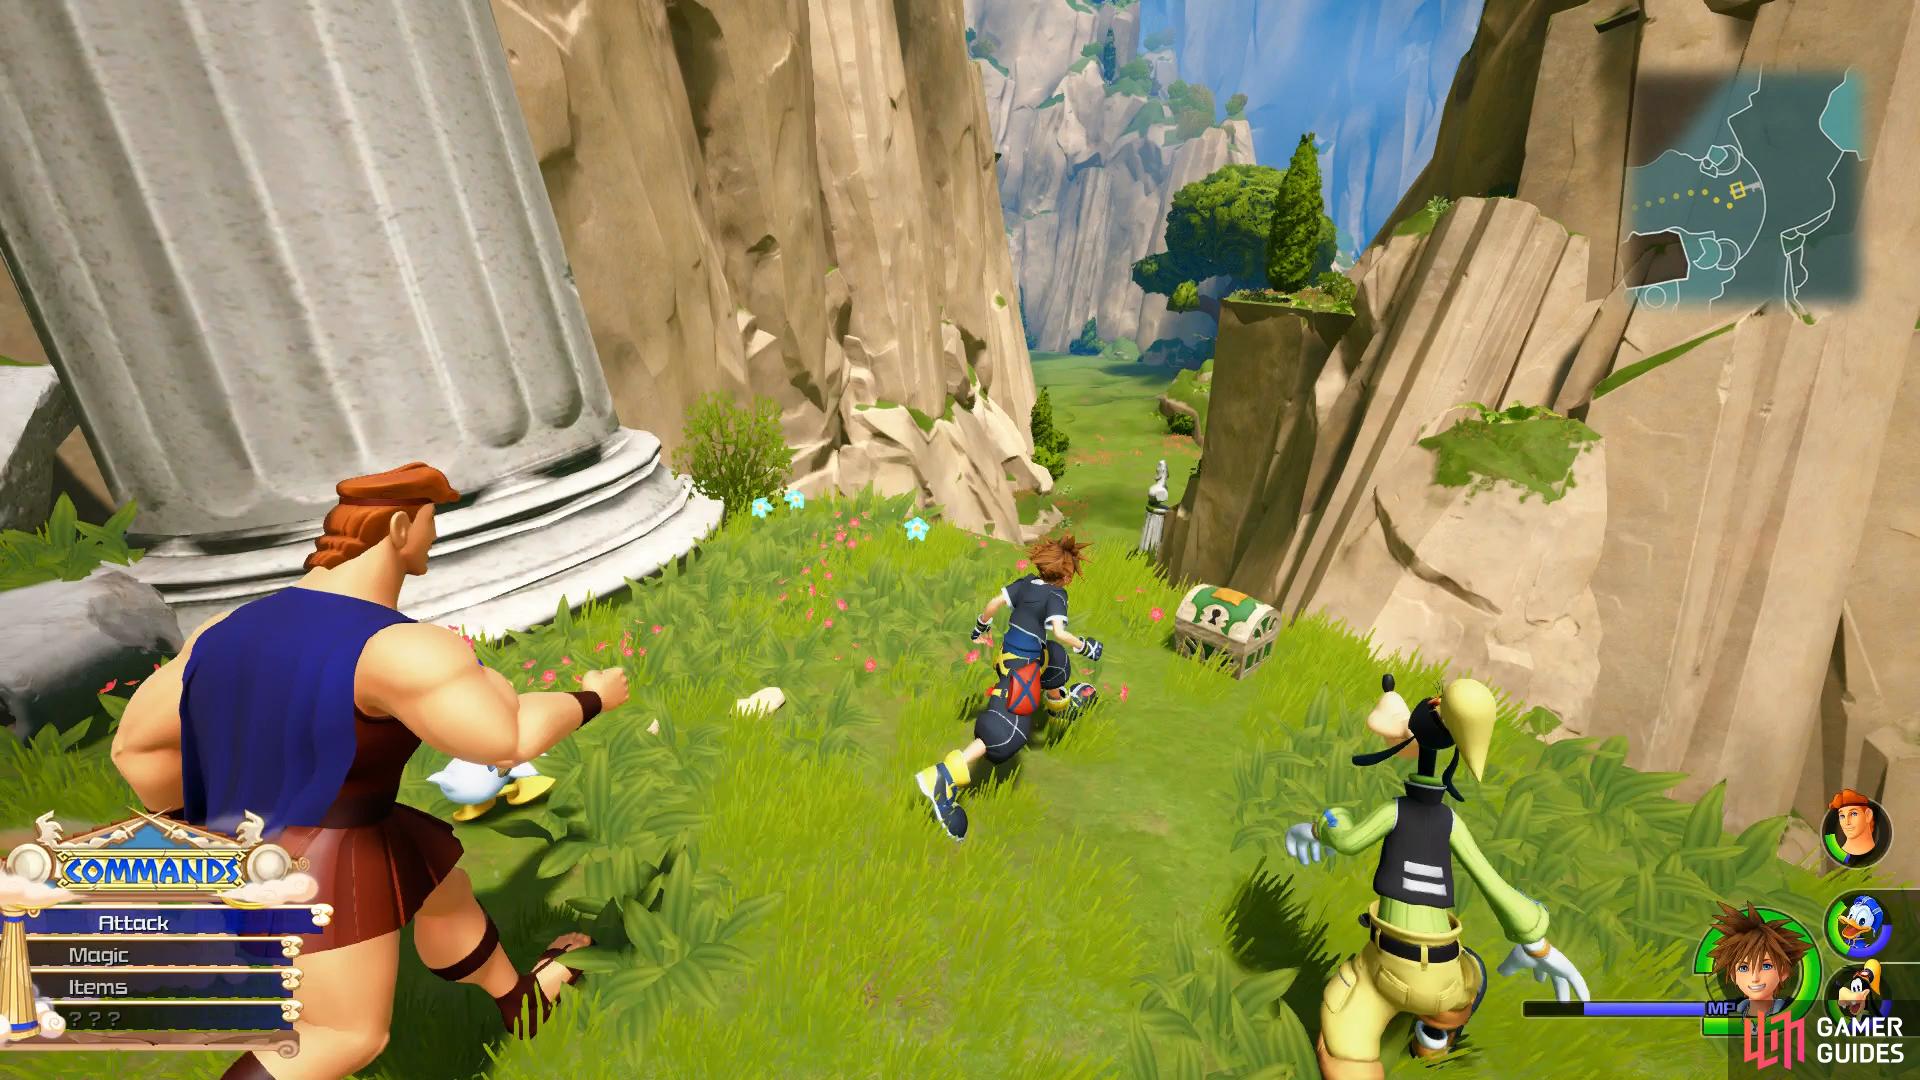
With your treasures plundered, exit the cave and take the longer wall up to reach another intersection, head to the left first to collect some more chests. Take out the group of Soldiers and Air Soldiers in the clearing and then look off the mountain to your left. You should spot a carving of the Mickey Mouse symbol (more on these later) and below it, a ledge you can land on so leap off and direct Sora to this ledge. You’ll find a chest sitting here containing Treasure #6 - Bronze Necklace, snag it and drop down to head along the path to the south.
You’ll find some more walls to run up and once you reach the top, drop down to the south and defeat another group of Heartless. Enter the cave once they’re defeated and follow the path to an overlook housing a chest containing Treasure #7 - Potion. Drop back down and head north once more, using the walls to reach the intersection from before and head north this time and follow it to initiate a cutscene.
Drop down to the other side and pass through the cave to reach this chest.
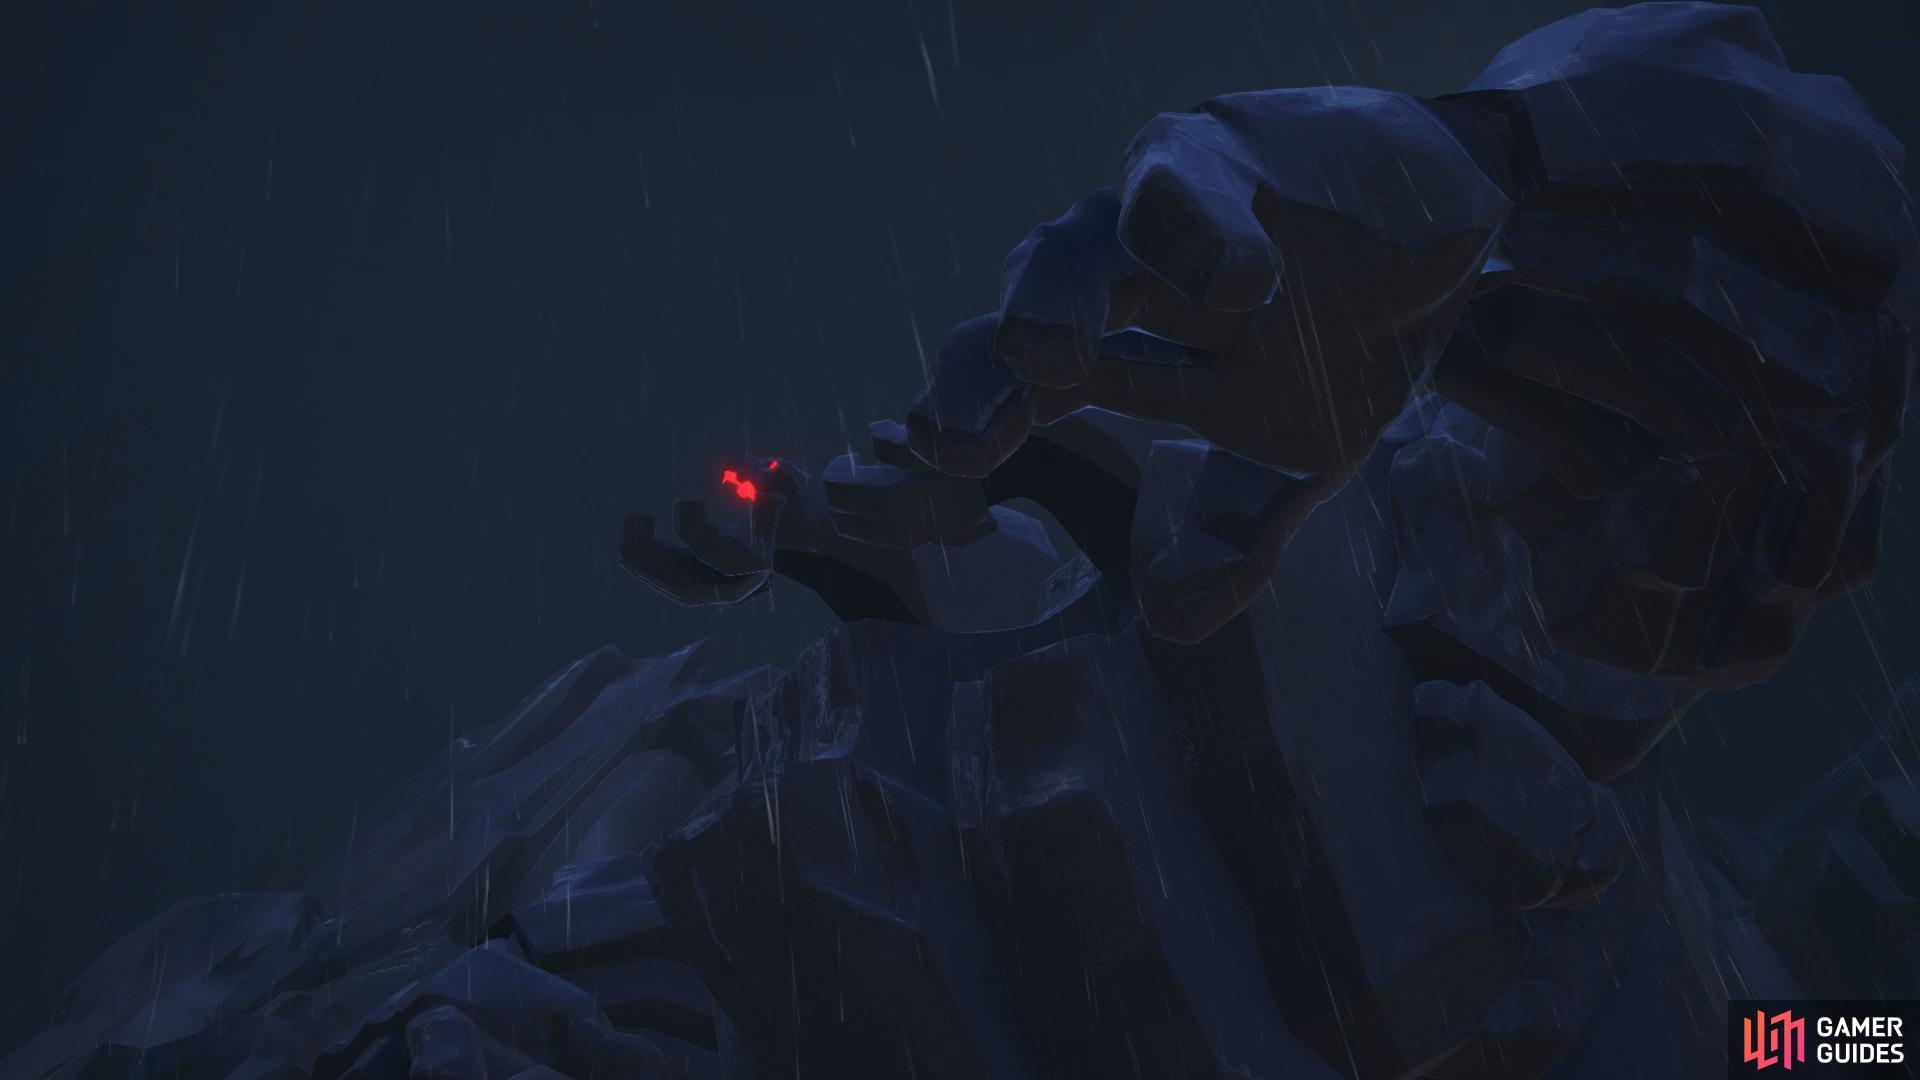
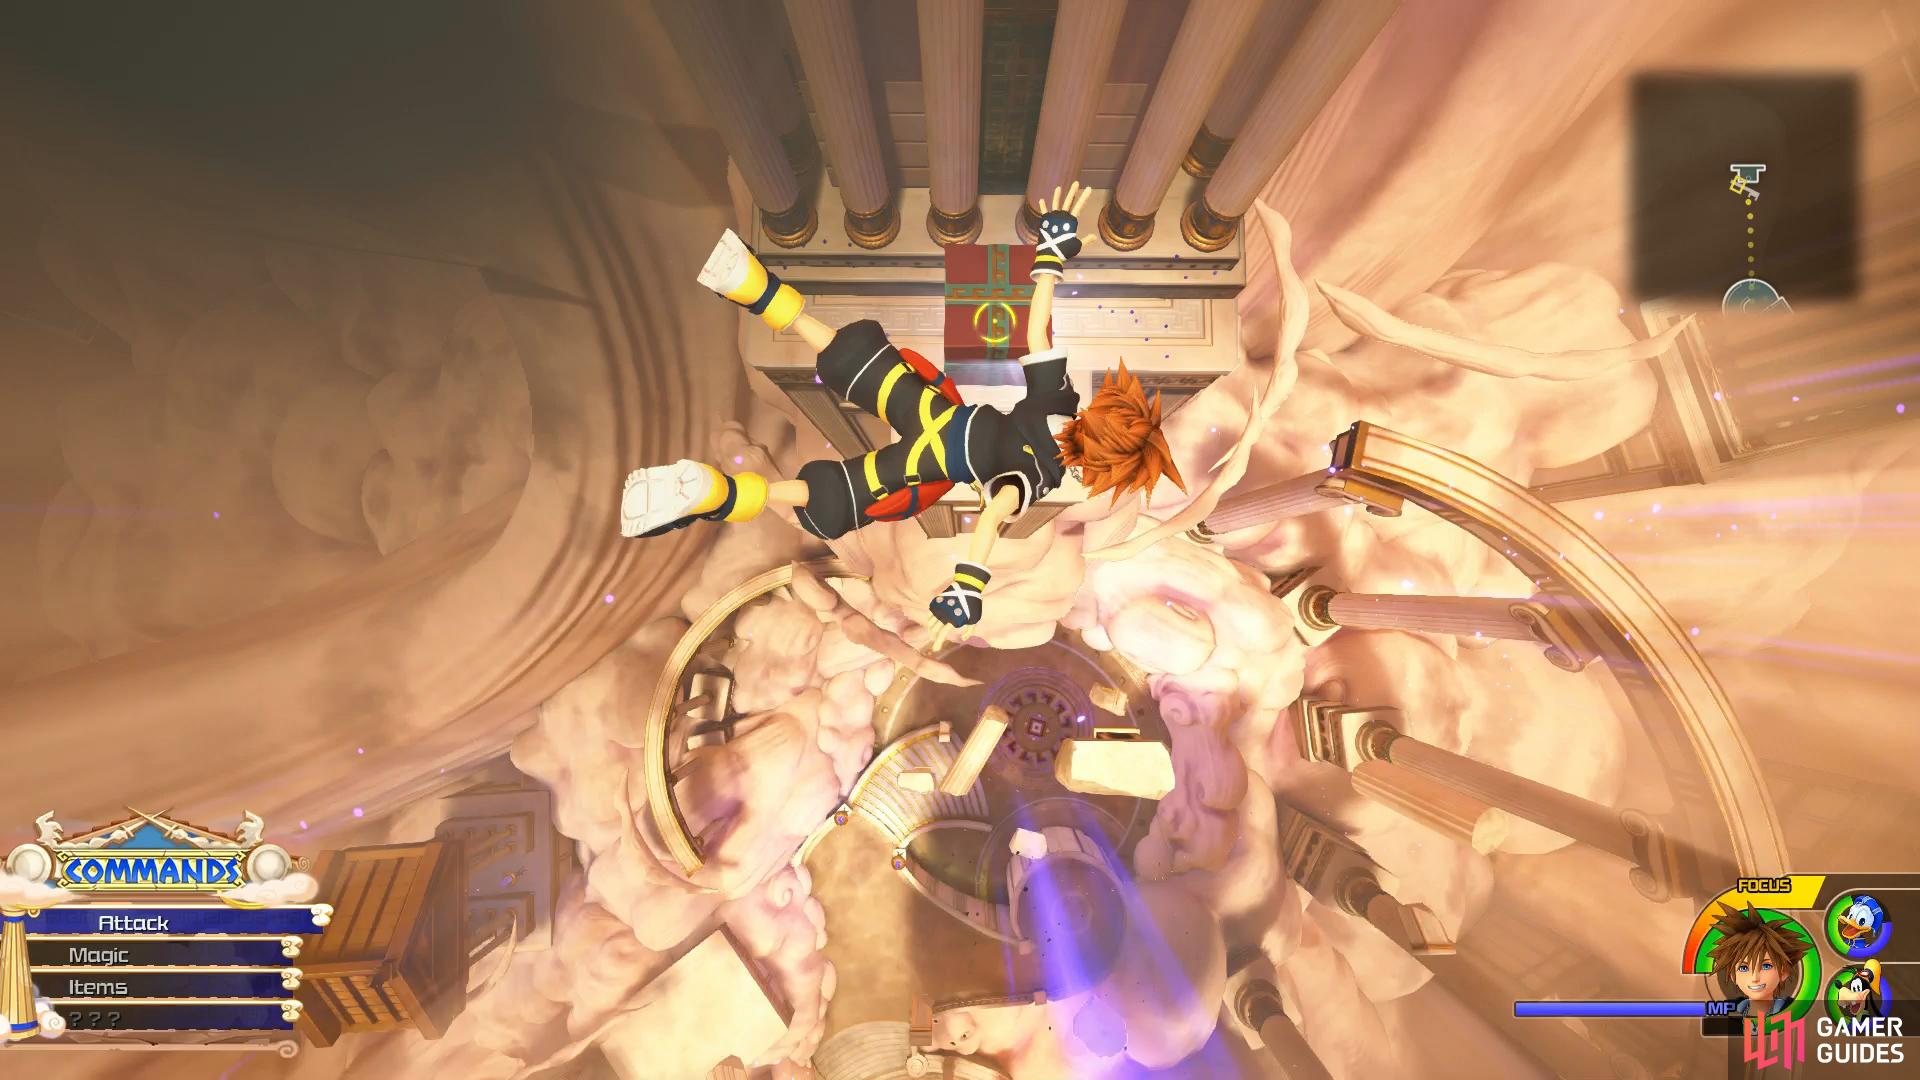
Once you regain control, continue to head up to reach the Mountainside and encounter the Titan. From your current location, you can’t hurt the Titan so you’ll need to head higher while avoiding the rocks that hit tosses your way. Climb up the first wall and Titan will toss a rock to create another opening, stick to the left as you head up another wall and then as you head up the next wall, the sky will turn dark.
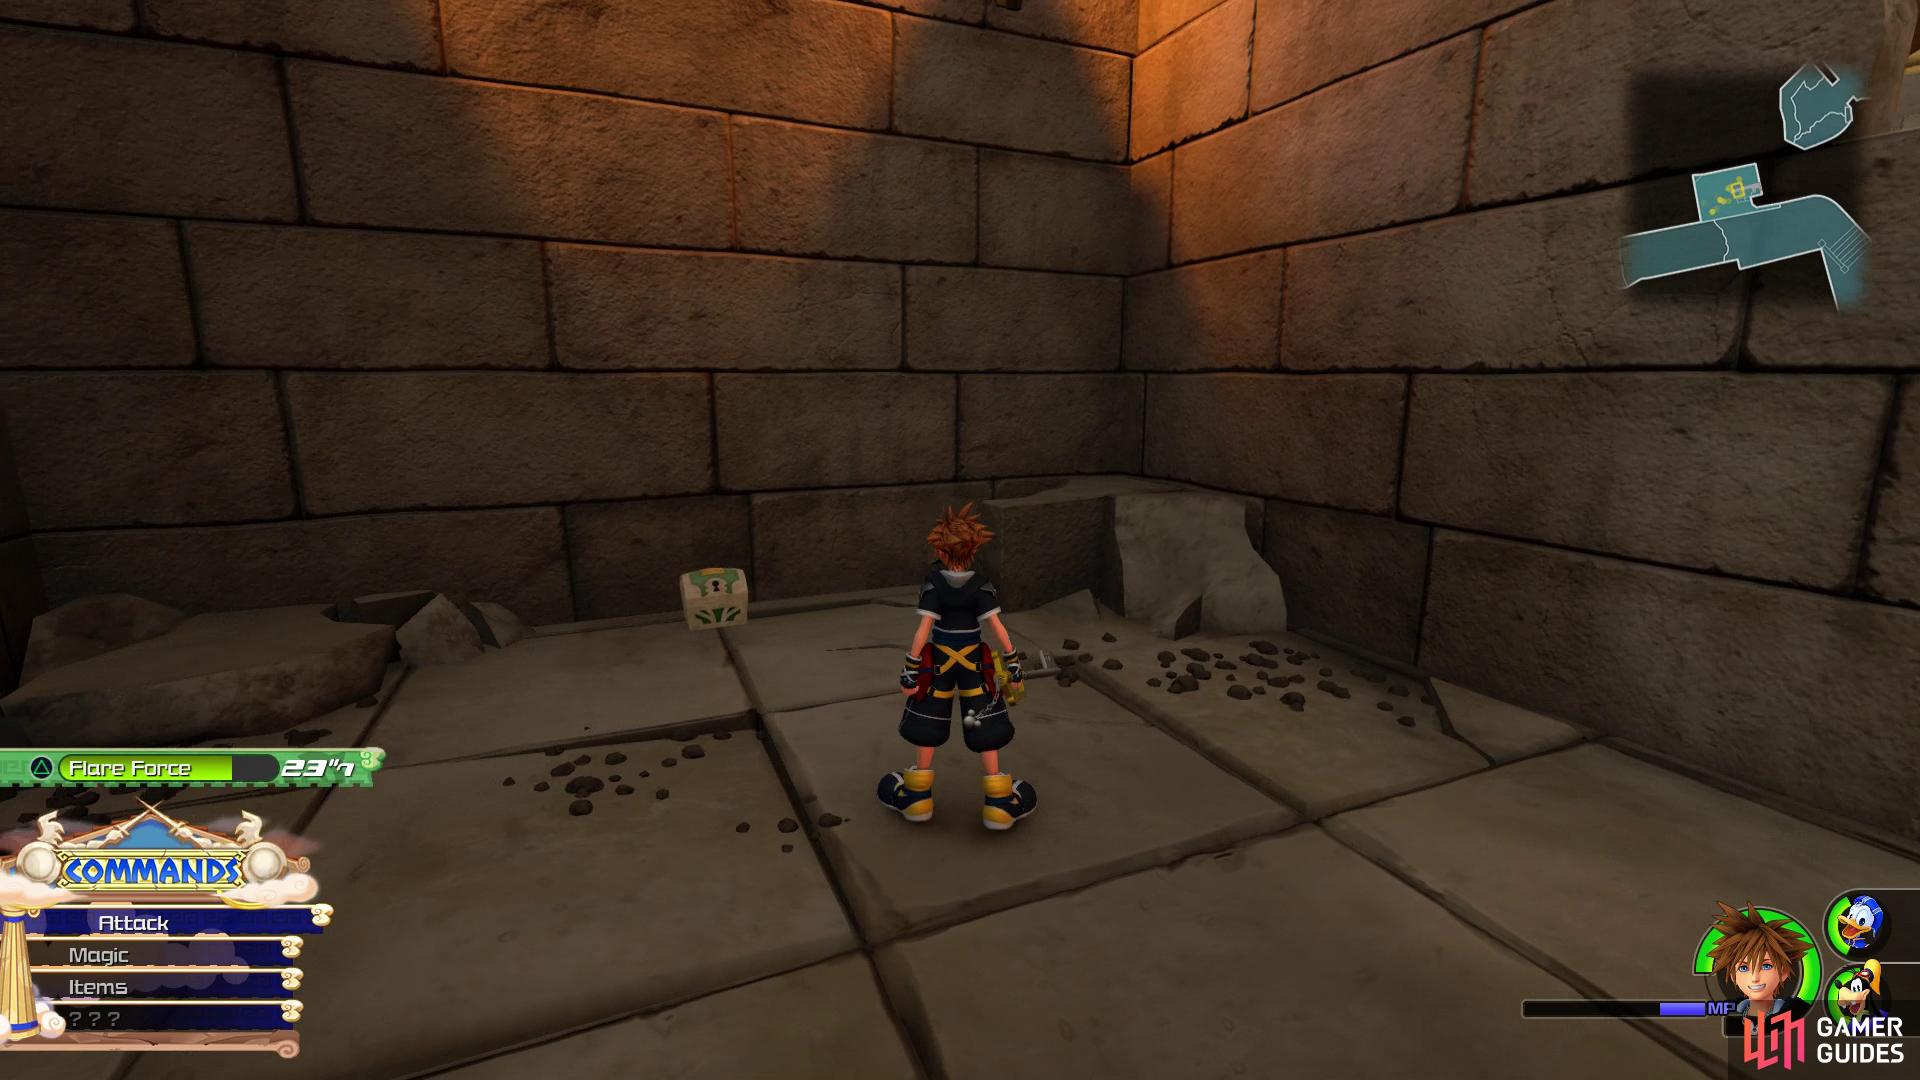
Once you reach the next ledge, head along to the left and then look back down, you’ll spot a chest on a ledge containing Treasure #10 - AP Boost. Return up the wall and continue up the path and into a cave and run up the first wall on your left. Turn around and jump across to the other side to find another chest, this one containing Treasure #12 - Hi-Ether. Continue along the path to encounter a large group of Heartless, aim for the Heartless with a green circle to activate an Attraction and take the group out with ease. Continue along the path once they’re defeated to come up against the Rock Titan itself.

Drop back down the cliff to the left to find this chest
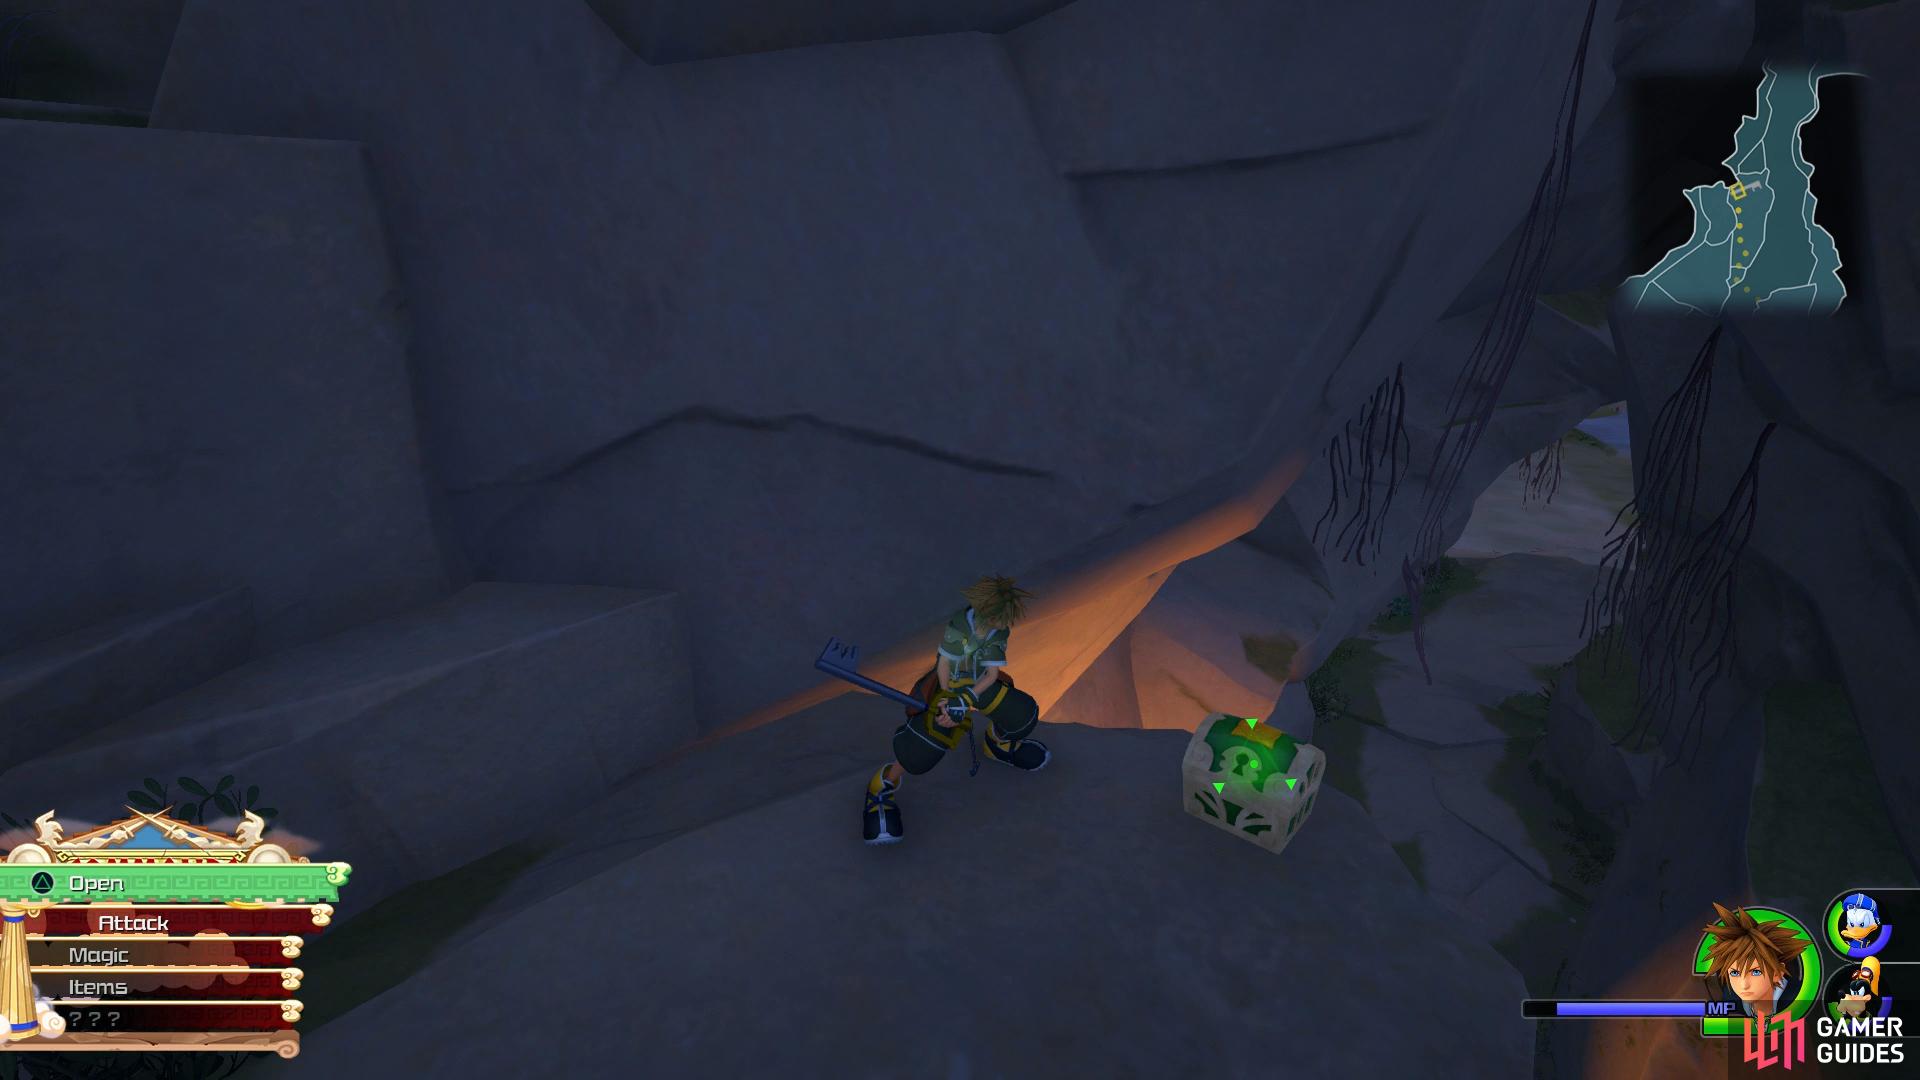
in the cave, run up the wall and leap over to the other platform.
Boss: Rock Titan
Dash across the path until you reach a wall you can scale and then dash up there while avoiding the incoming rocks. Once you reach the Rock Titan’s location you’ll see you can only target its feet so lock onto one and begin wailing away with your combos. Look out for when the Rock Titan raises it’s foot, as it brings it to the ground it will send a shockwave out that will damage you unless you’re in the air.
You should also notice a blue flame heading in your direction, get out of the way of this to avoid the Rock Titan’s crag attack that will home in your position. Once you’ve damaged one leg enough, turn your attention to the other and follow the same procedure. With only one foot with HP, the Rock Titan will stomp multiple times at once so be prepared with a Potion should you get caught in the attack.
Look for the blue shadows indicating a barrage of rock coming your way
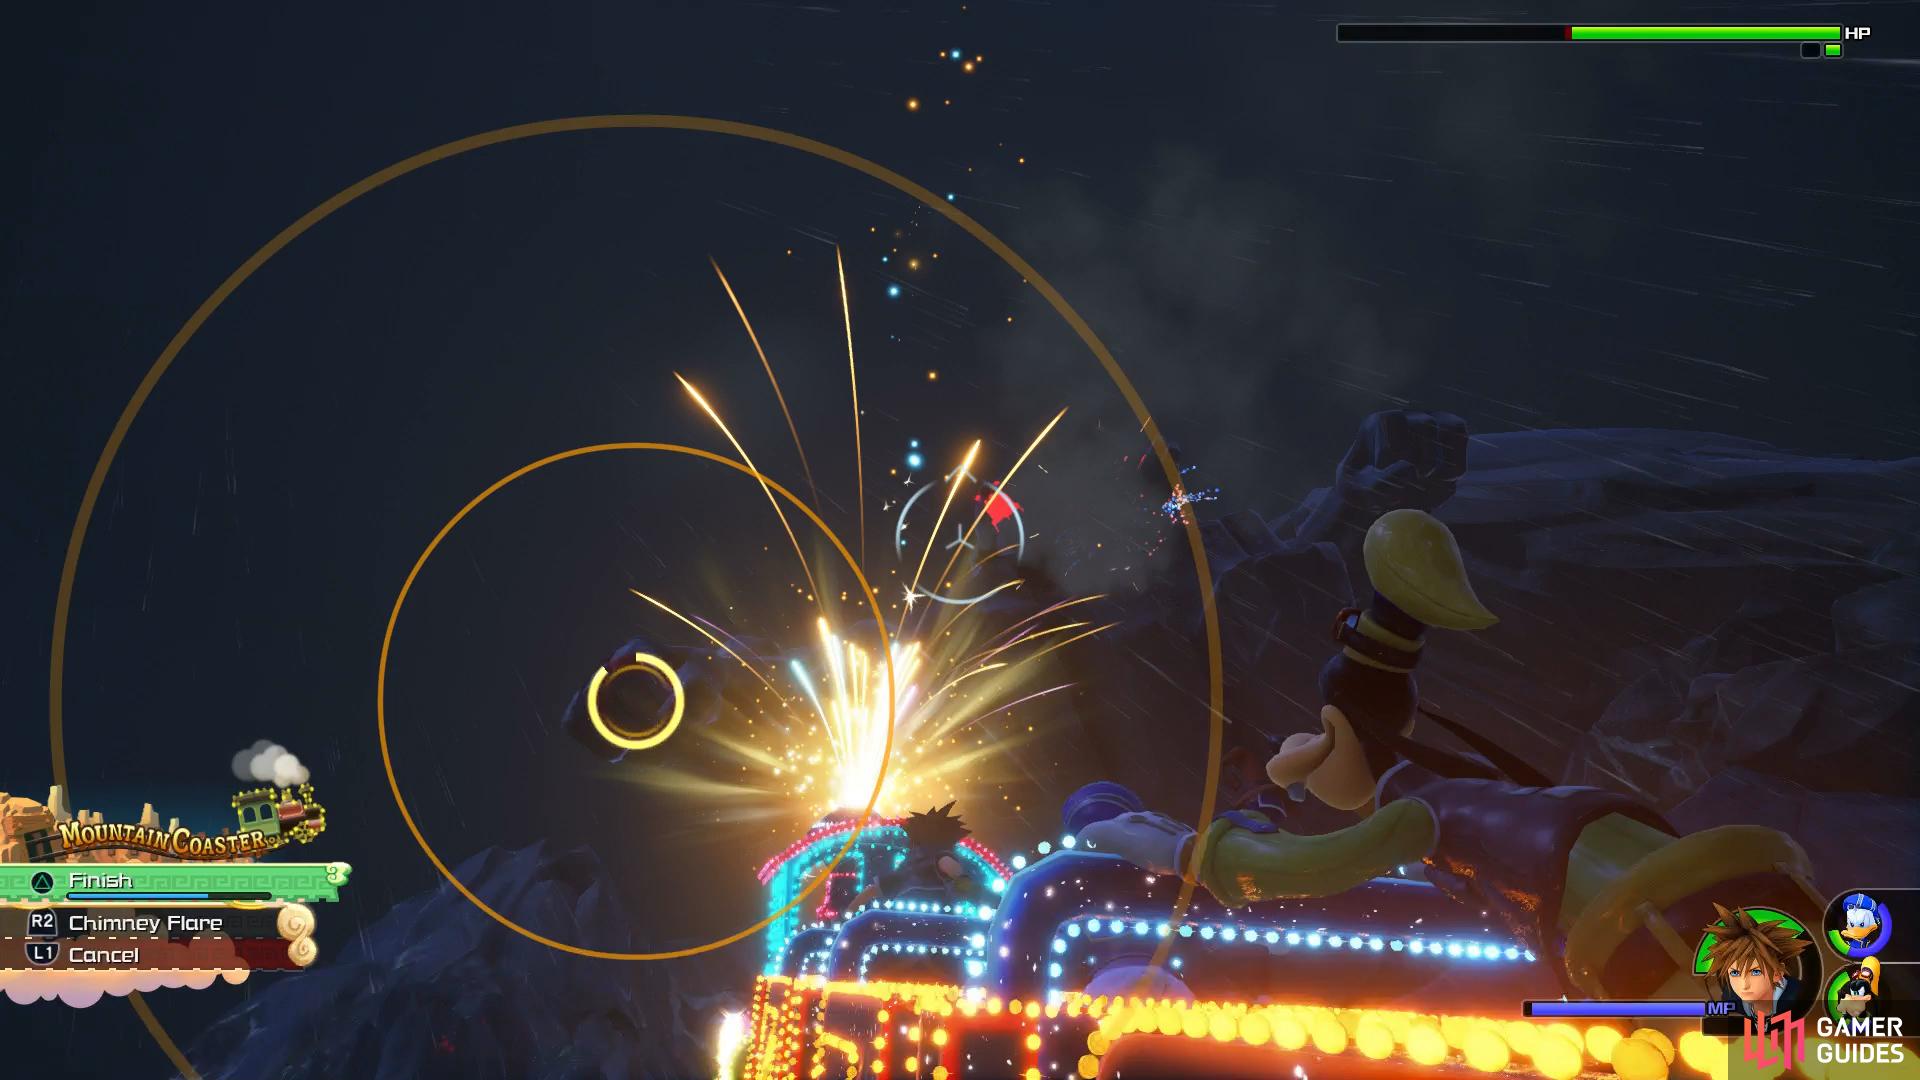
once on the Mountain Coaster, be sure to hit the hands as they approach you.
Once both feet are depleted of HP, the Rock Titan will grimmace, quickly climb the golden sparkles to reach the head and begin attacking it. The Rock Titan will shake his head from side to side during this, causing damage if it connects with Sora. After enough damage to the head, you’ll see the Situation Command for Mountain Coaster appear, activate this to have Sora and friends jump into a massive roller coaster. While in this Attraction, use the [R2]/[RT] button to direct your attacks at the Rock Titan’s head taking care to fire at the Rock Titan’s hands as they approach you. Damage the heads enough during this section and the finisher should be enough to take down the Rock Titan.
| Character | Ability |
|---|---|
| Sora | Max MP Increase |
With the Rock Titan defeated, continue along the path and you’ll find that there’s two paths you can take, head for the left path to find a chest just as you drop down containing Treasure #11 - Fluorite. Continue along the path and attack the rock wall at the end to finally reach the realm of the gods. Save your game at the nearby Save Point and then head forward to enter the realm itself.
Drop down the left path to find this chest.
Realm of the Gods
As soon as you regain control, you’ll face off against a group of the fearsome Satyrs. These brutes have an Armor HP bar before you can start damaging their HP and will rush at Sora together. Keep chipping away at their Armor until Trinity Guard is available, this will allow you to block their attacks and counter with a deadly attack while Shield Bash will directly target their HP regardless of Armor.
| Character | Ability |
|---|---|
| Goofy | Max HP Increase |
Once defeated you’ll get a short tutorial on Shotlocks, a command that you can perform by holding down [R1]/[RB] button to lock onto enemies and then unleash a blast of energy. Each Keyblade has their own unique attack and some even have more than one so be sure to experiment to find one to your liking.
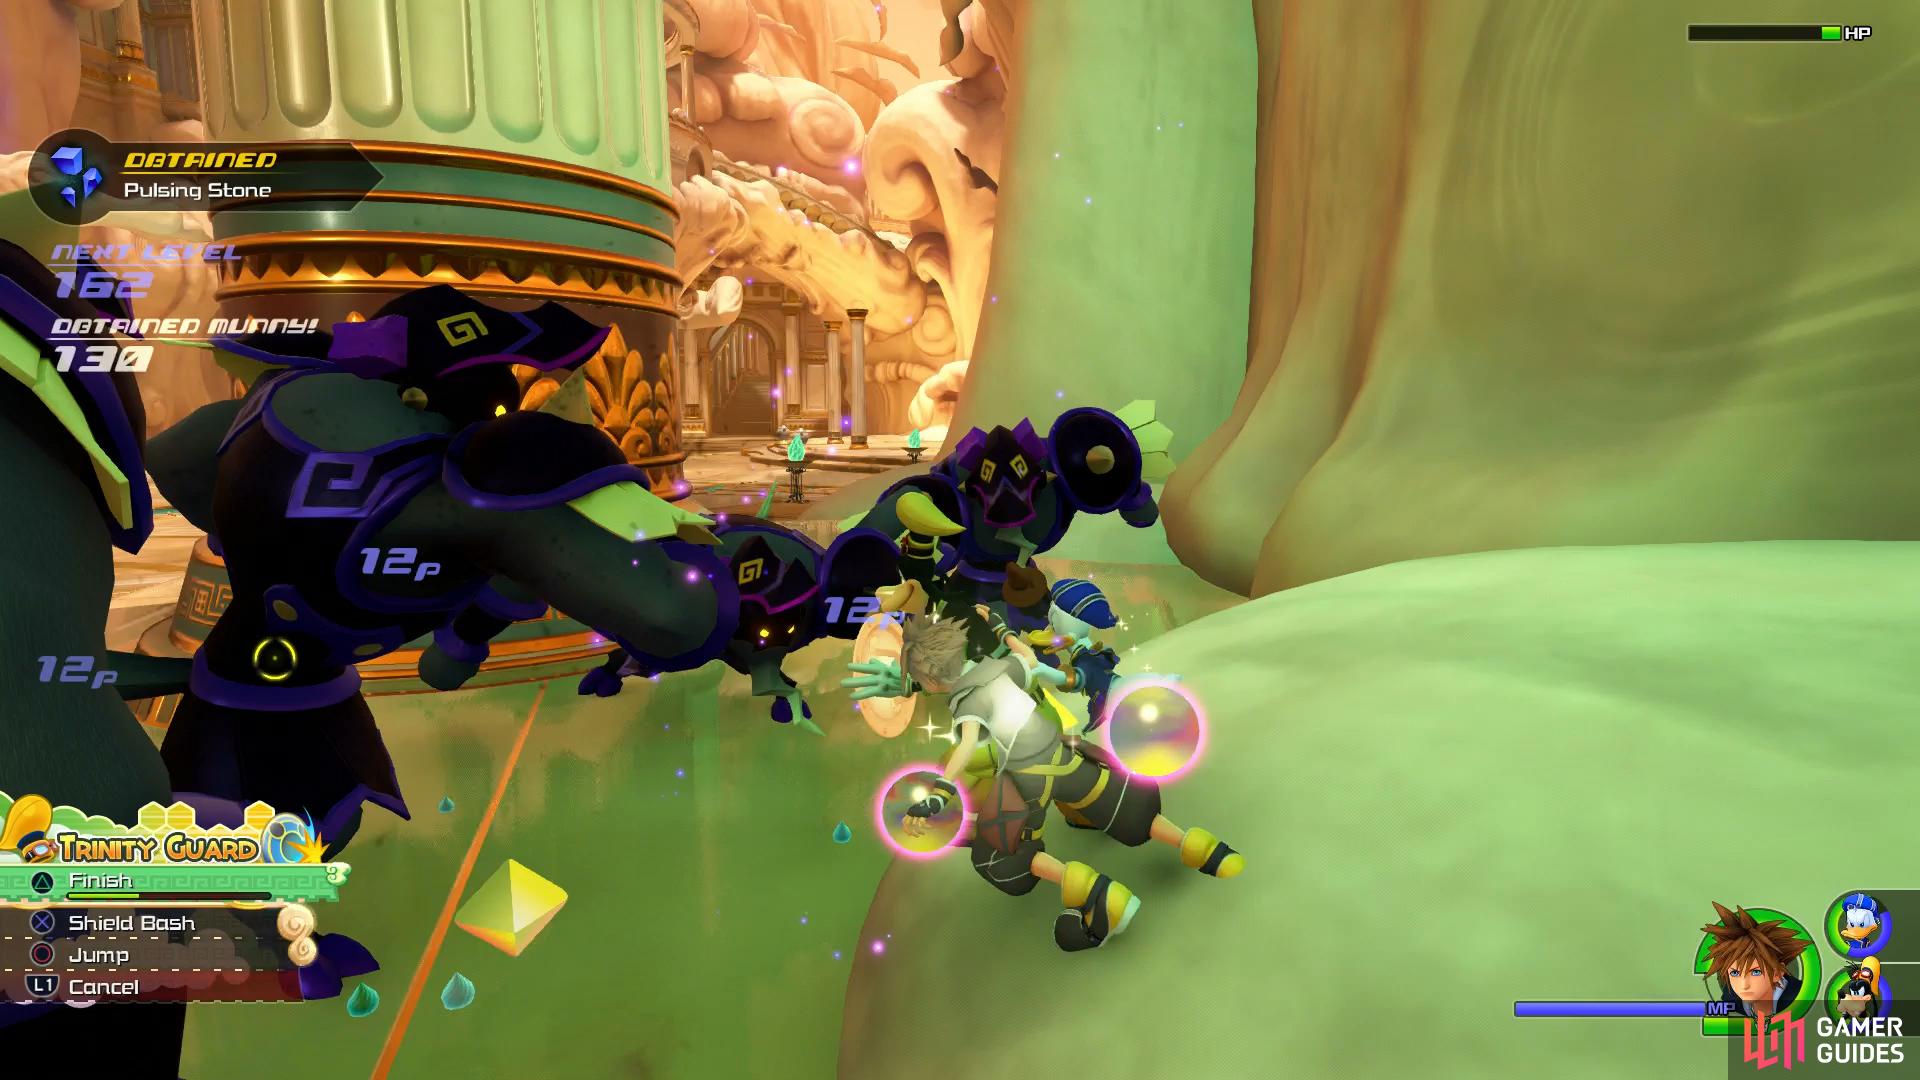
Use Trinity Guard to directly target the Satyrs HP
look on the left side of the area to find this chest.
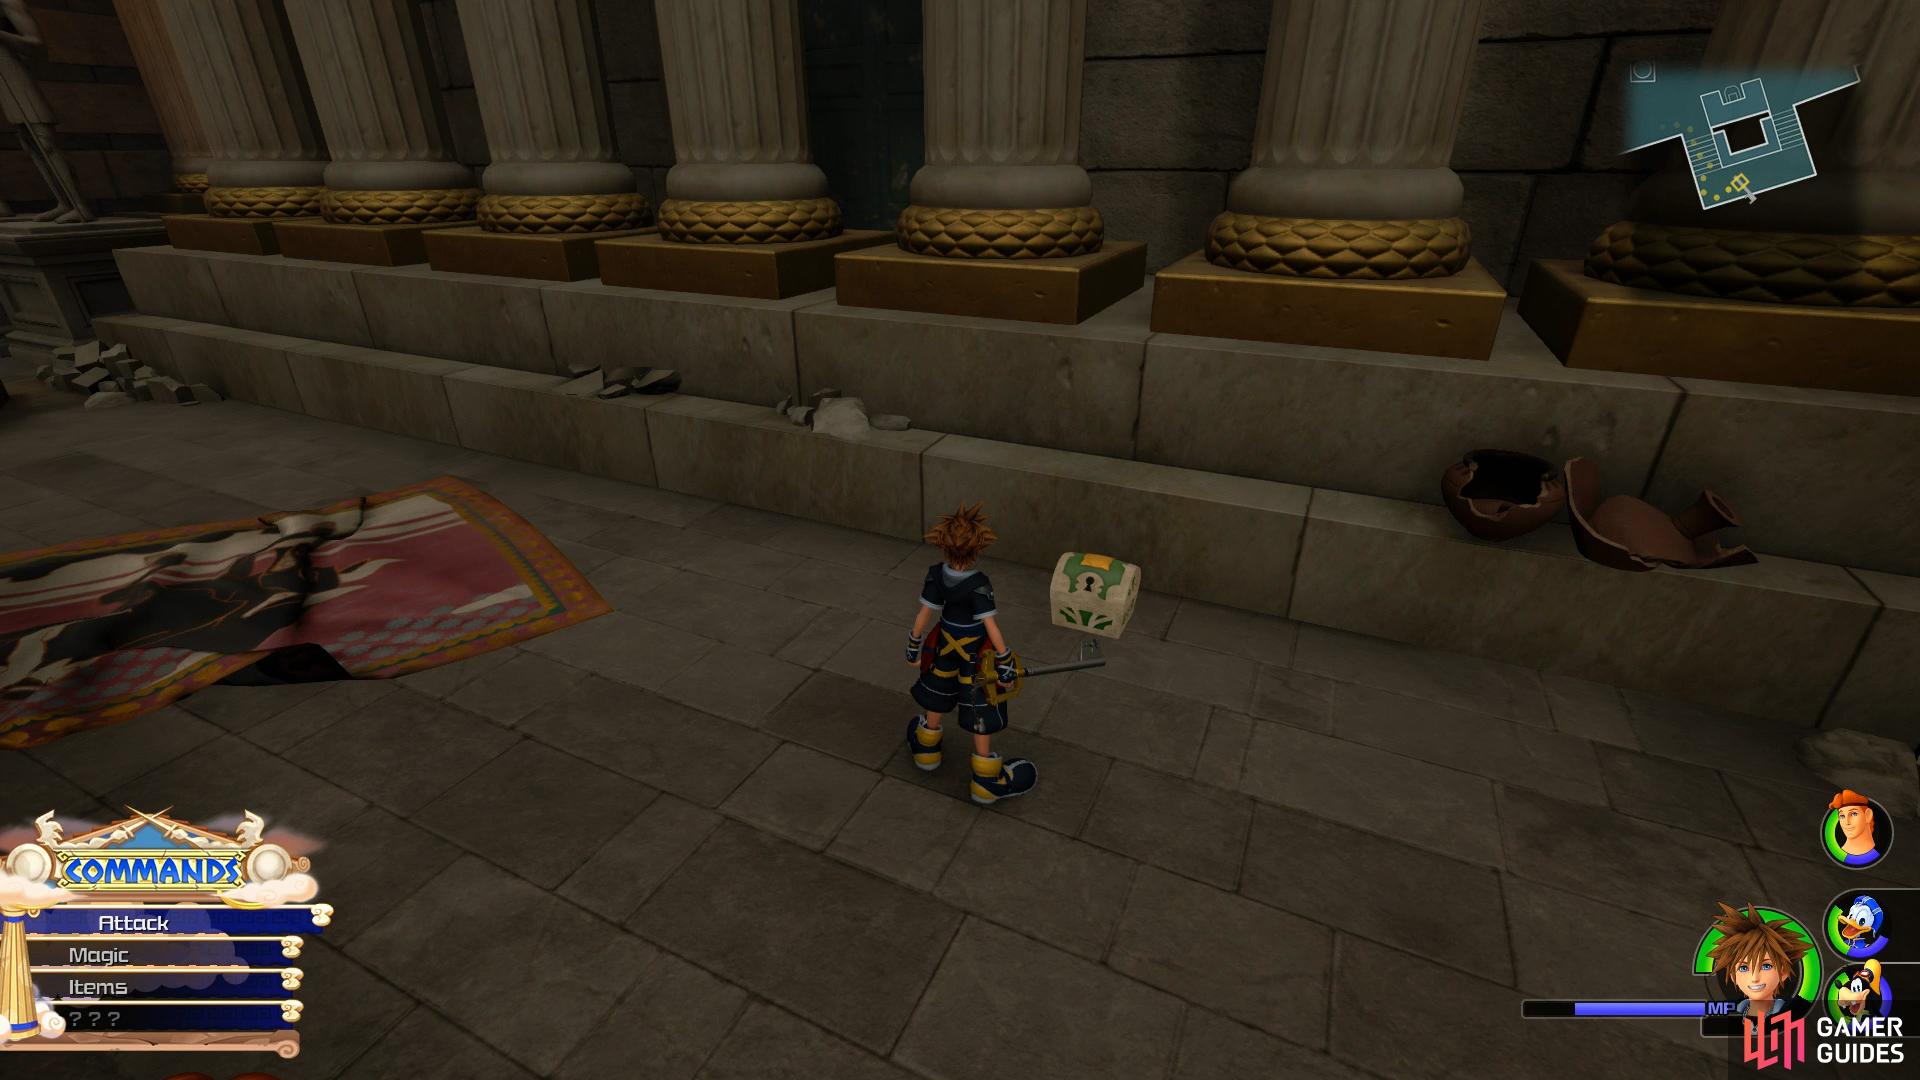
Head over to the left of the courtyard you’re in to find a chest sitting between two braziers containing Treasure #27 - Potion while on the right side amongst the pillars is another chest containing Treasure #26 - Refocuser. Continue forward, taking the first set of stairs up and then head under the next set of stairs to find yet another chest, this one containing Treasure #25 - Fluorite.
Look on the right side for this chest
after climbing the first stairs, look under the second set for this chest.
Take the second set of stairs up now to encounter another new Heartless, a Sand Heartless. These Heartless have many HP bars and can only be damaged by attacking their heads so magic, especially Water, is useful here. As ever, Attraction skills are very powerful if you hit the ringed enemy and will make short work of the group of enemies. Follow the path up after defeating the enemies to reach the Corridors which houses a Save Point and a large chest containing Treasure #29 - Map:Realm of the Gods.
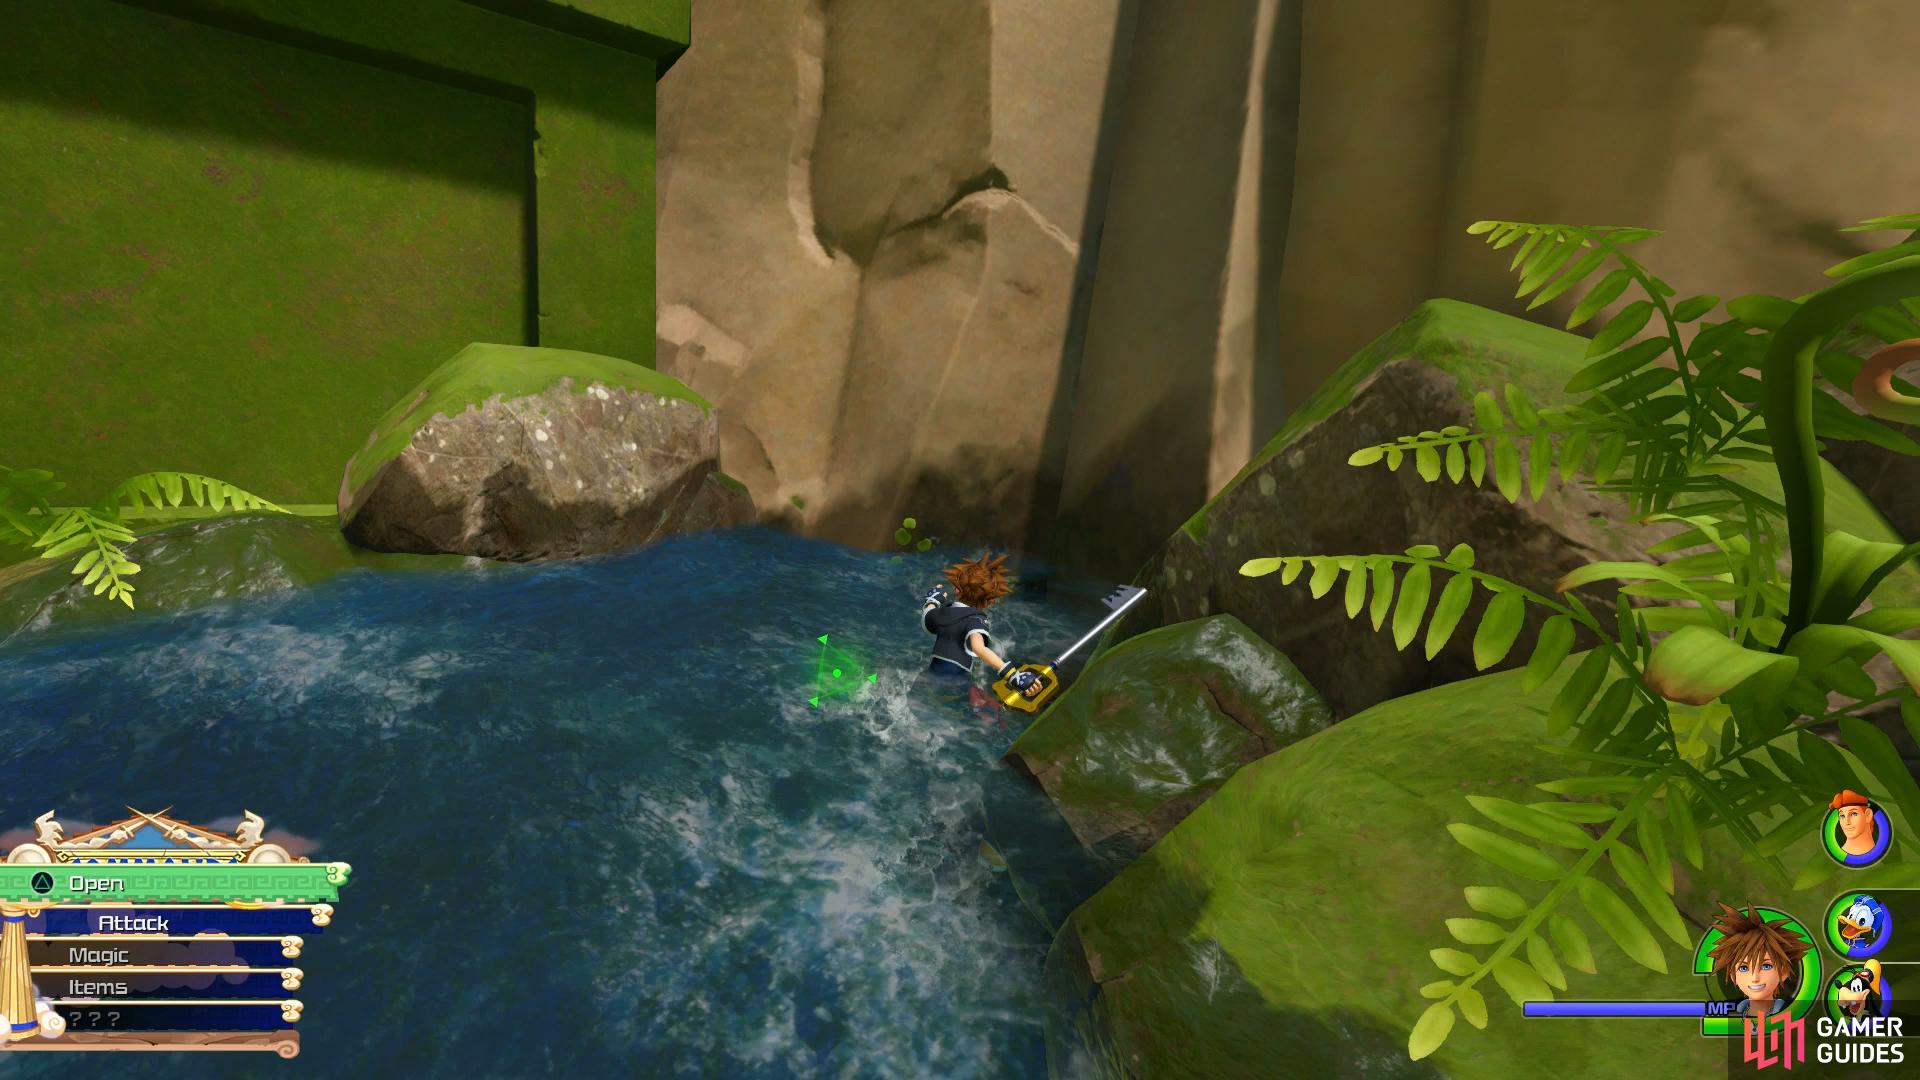
There are a number of ways to go here but first, head up the stairs to your right and then around to another set of small stairs on the right to find a chest containing Treasure #28 - Mythril Shard. Slide along the green water to the end and then let the water take you to the end to fall into a secret area, the Secluded Forge.
Next to the Save Point you’ll find the map
head up the stairs to the right to find this chest.
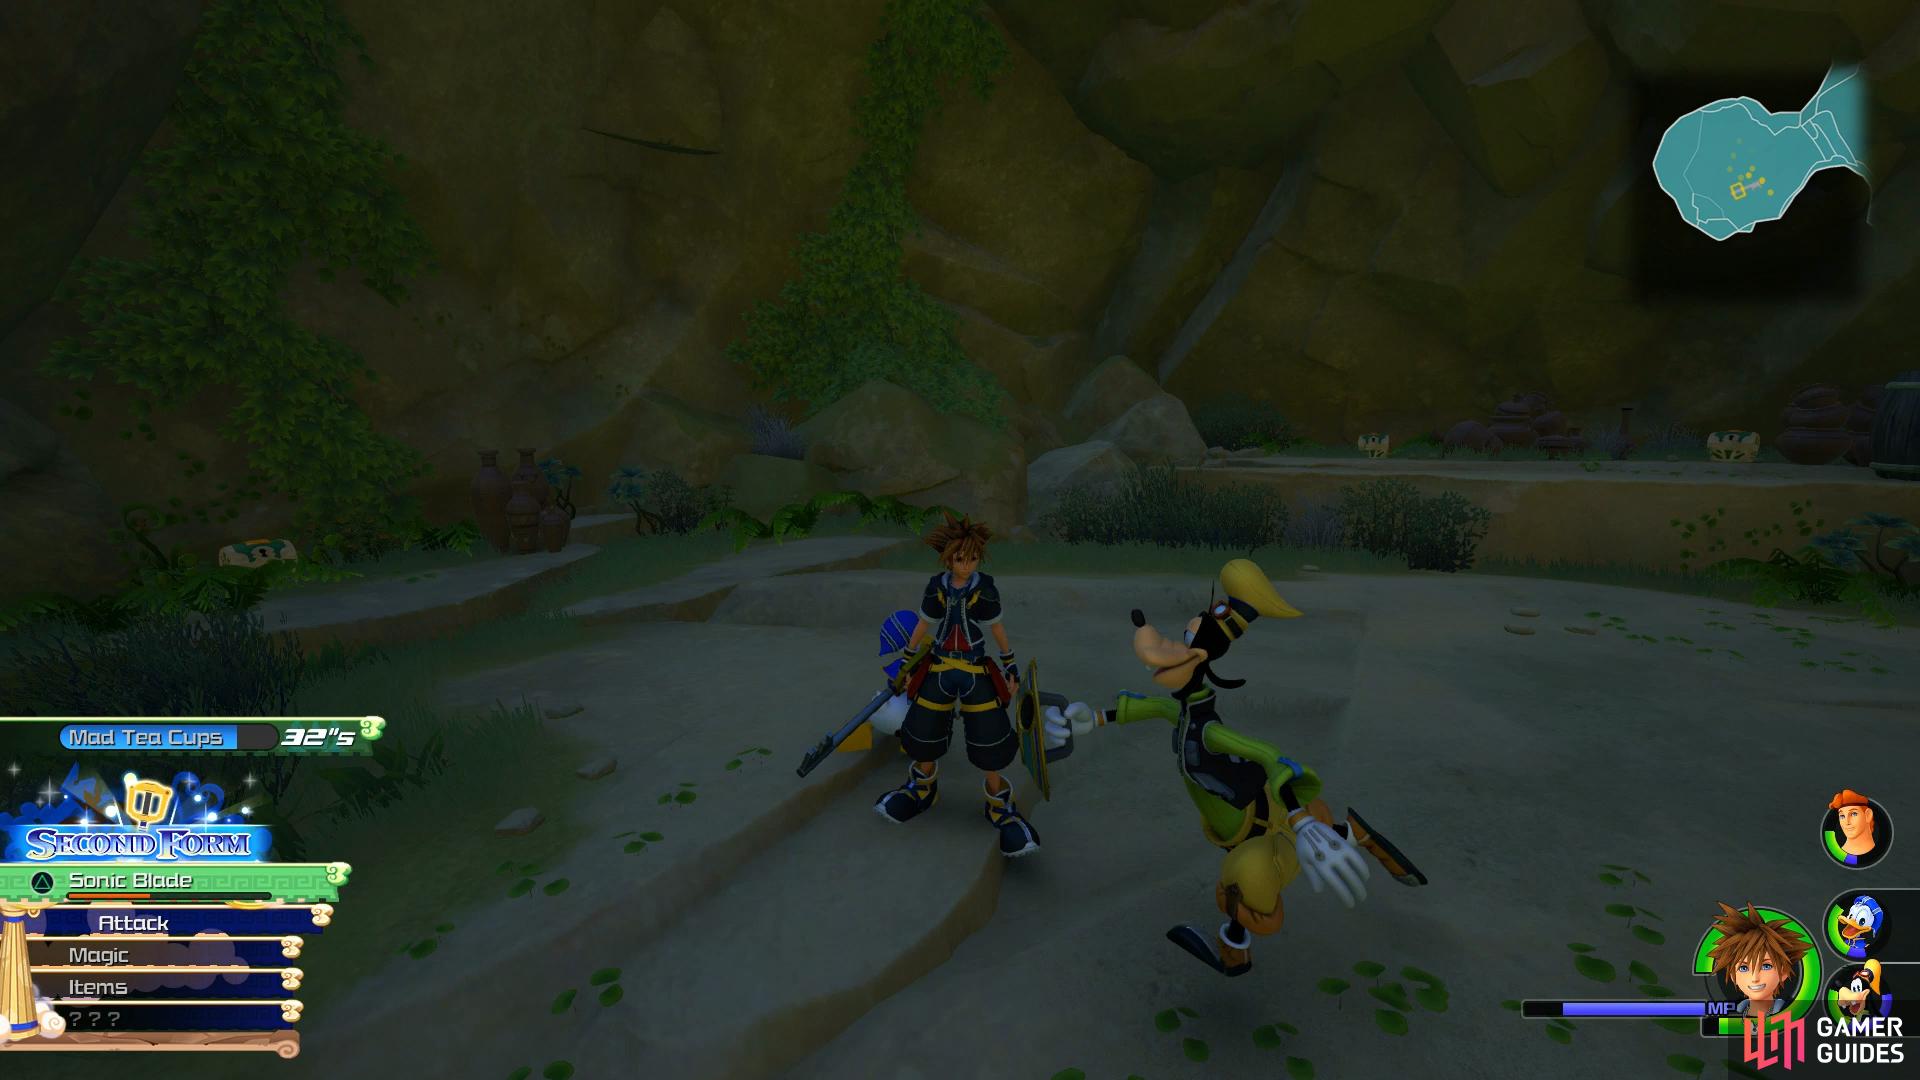
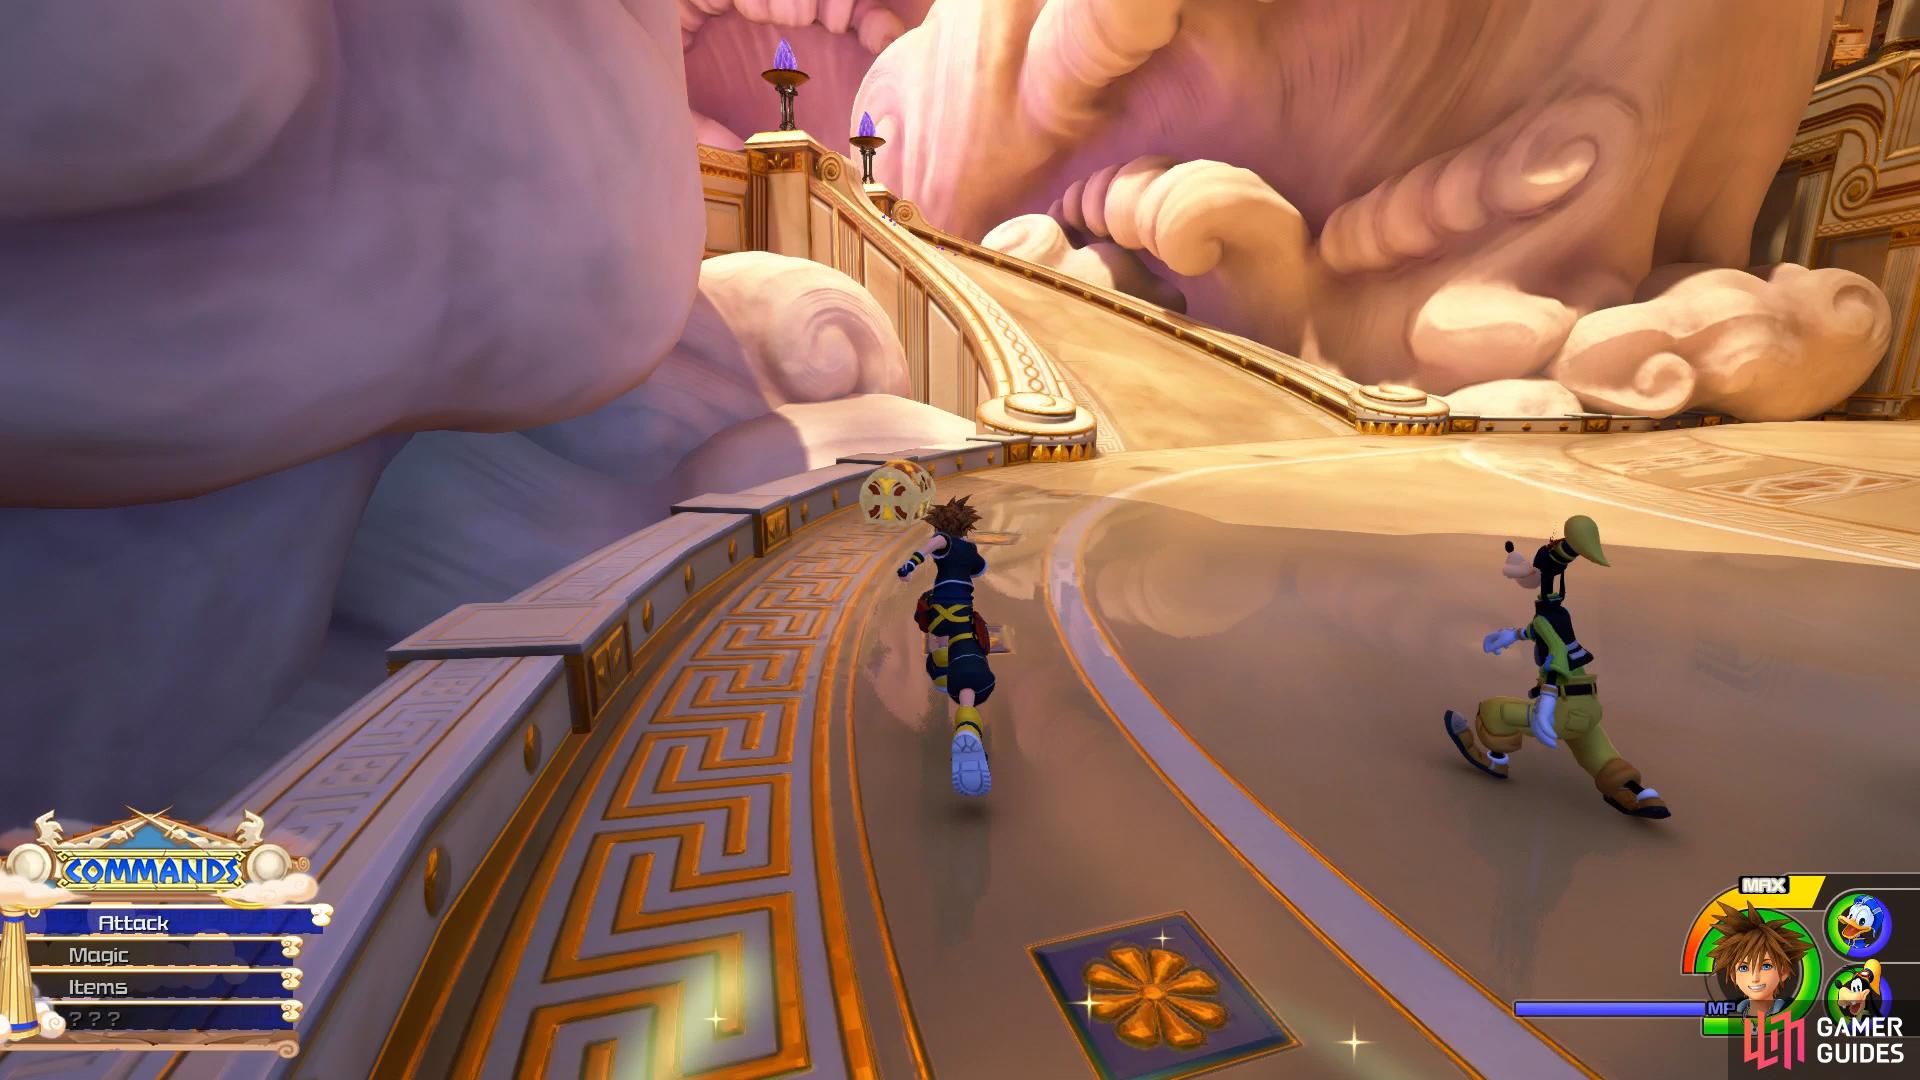
Make your way down to the anvil in the center and interact with it to begin turning the dial with the Mad Tea Cups. Align the three pots of molten lava to cause it to pour onto the anvil and forge the Knight’s Shield+. Continue to the end of the path and you’ll receive a tutorial on Rail Gauntlets, essentially informing you that you can target and blast enemies with the Keyblade while grinding along them, do so now to get dropped off back in the Corridors.
Another group of Satyr await you here, make good use of Shotlocks and Trinity Guard to take them out and then head back down, sliding across the green water to reach a large room with another group of Heartless to take out. Continue down following their defeat to reach the Corridors Save Point once more and take the route you neglected to take earlier. Take out another group of Heartless here and then use the Rail Gauntlet, defeating the enemies as you make your way to the Cloud Ridge.
Take the Rail Gauntlet north of the Save Point to reach this area.
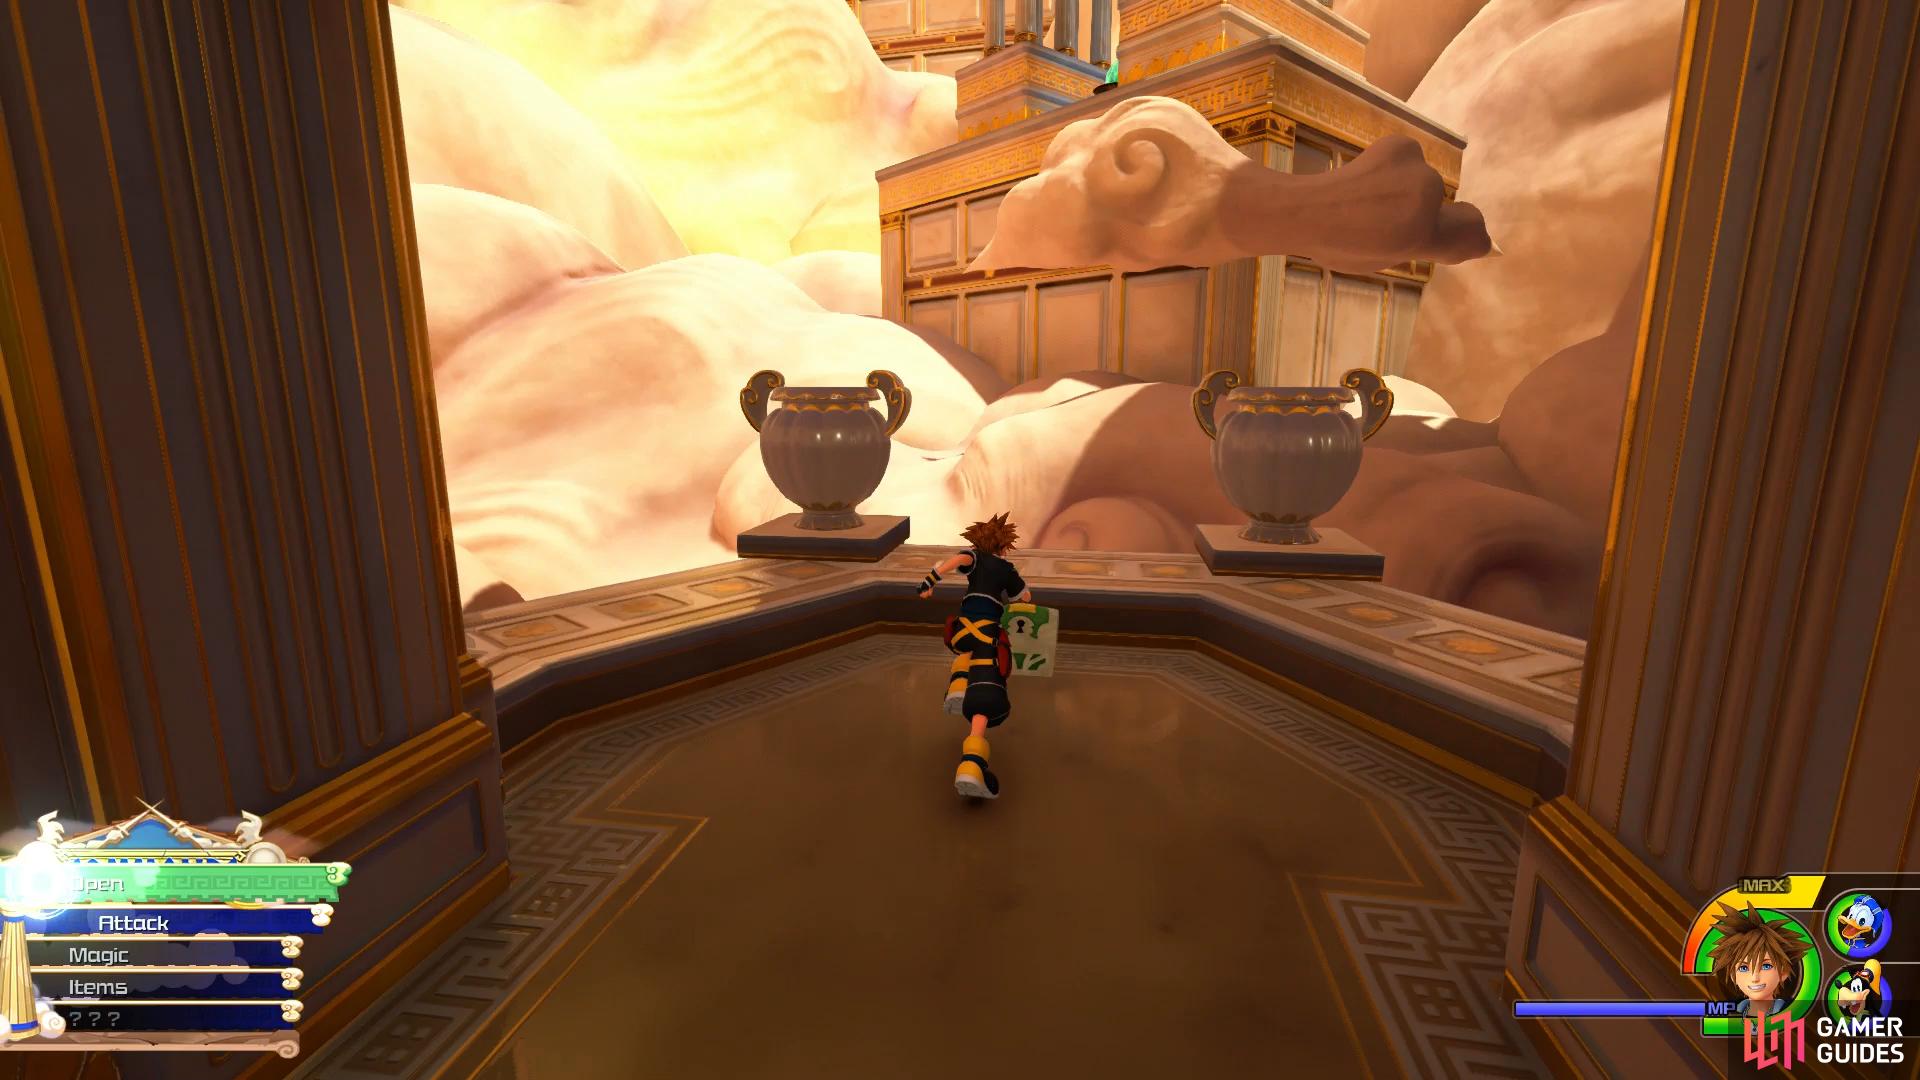
As soon as you land from the Rail Gauntlet, head over to the chest and open it to obtain Treasure #30 - Refocuser and then take out the large group of Air Soldiers and Bizarre Archers at the top of the stairs. Follow the linear path to the end and then drop off the end to reach the Corridors once more. Head forward and then go left at the intersection to receive a tutorial on Airstepping.
To Airstep, hold down the [R1]/[RB] button like you would a Shotlock and then press the [SQUARE]/[X] button to instantly move to that targeted location. To save yourself some trouble, ignore Airstepping to the individual blocks and target the platform at the top, this will cause Sora to make his own way there. Ignore the large box for now and look up again to find another platform you can Airstep to, do so and you’ll find a chest containing Treasure #32 - Potion.

Use Airstep to reach the second main platform to find this chest
then drop back down to the first platform and smash through the box to reveal the next chest.
Before heading further up however, look back down at the box and jump off, as you approach the box you’ll see a prompt to attack, do so and you’ll blast the box open. This will reveal a large chest containing the very useful Treasure #31 - Elixir. Return to the previous platform and Airstep one final time to reach the Apex, check your inventory to make sure you have some Potions equipped on Sora and then save your game, a boss awaits just beyond.
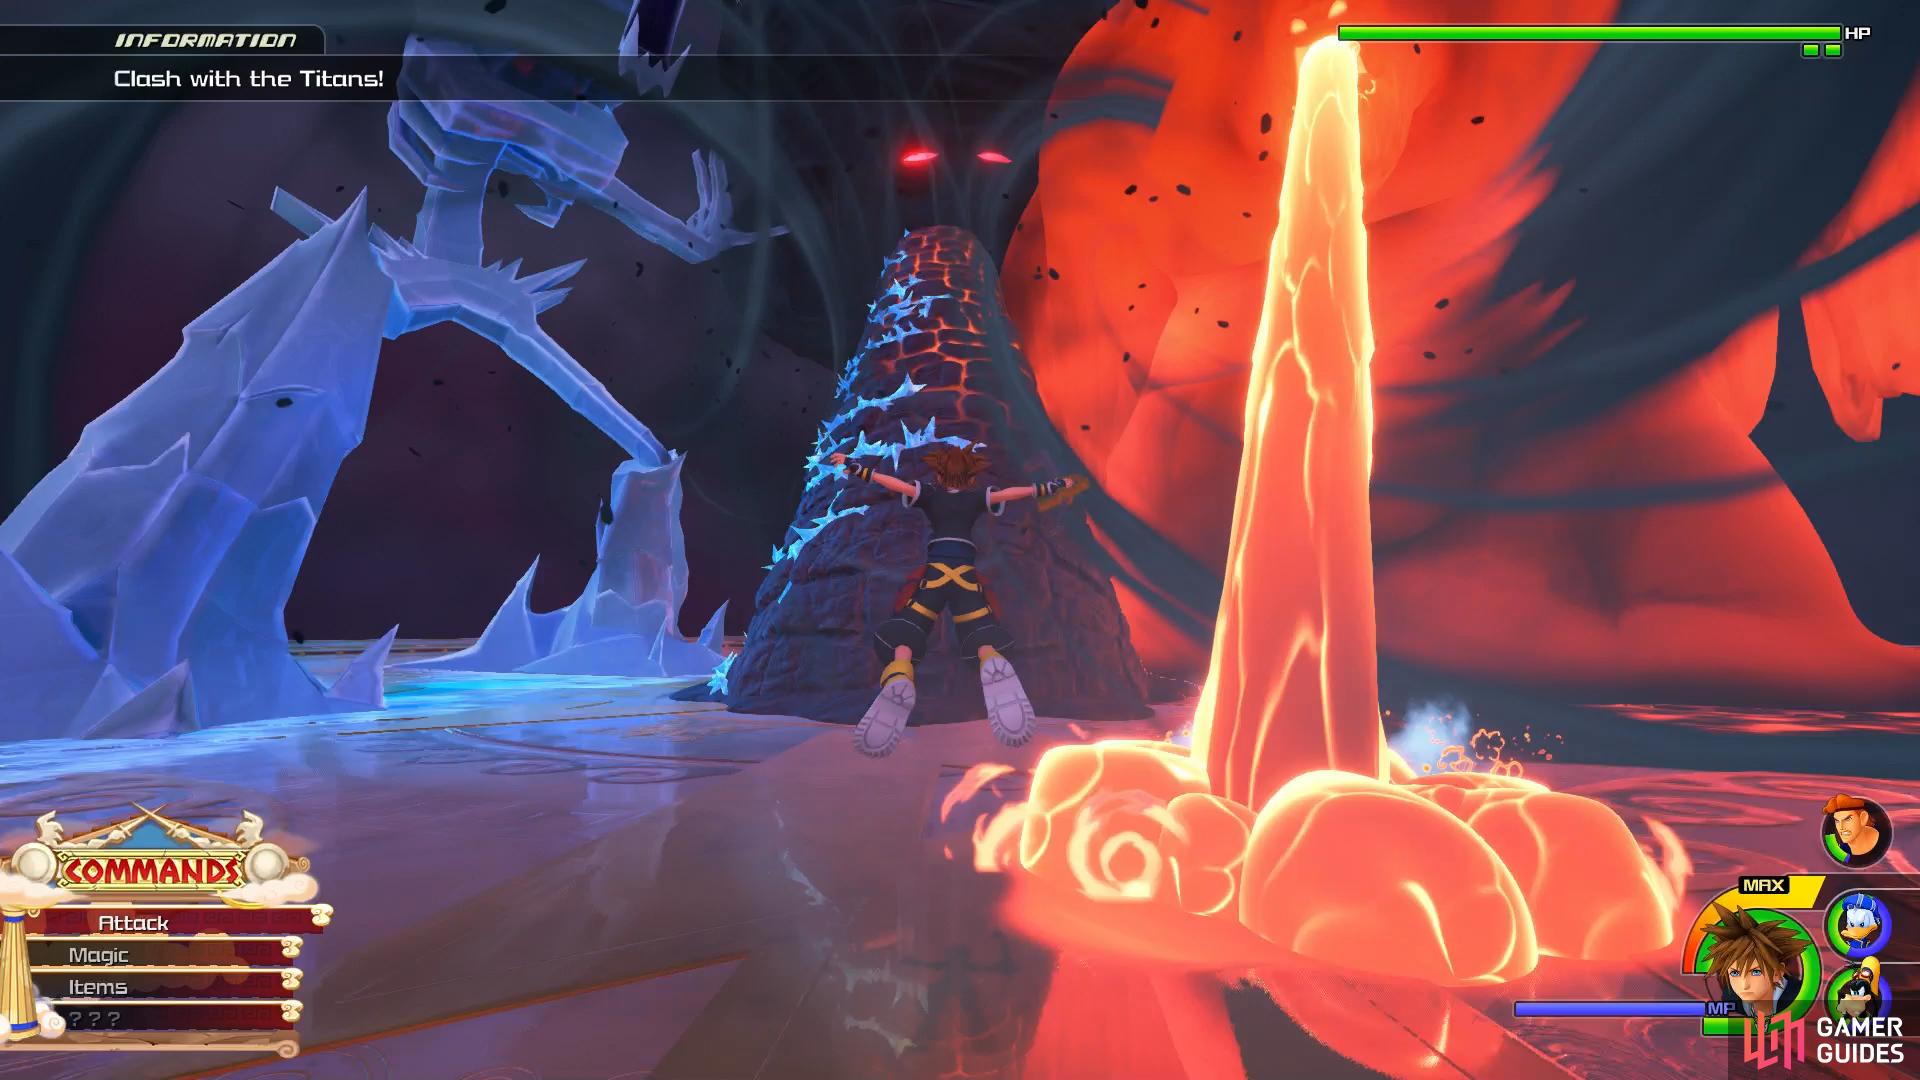
Boss: The Titans
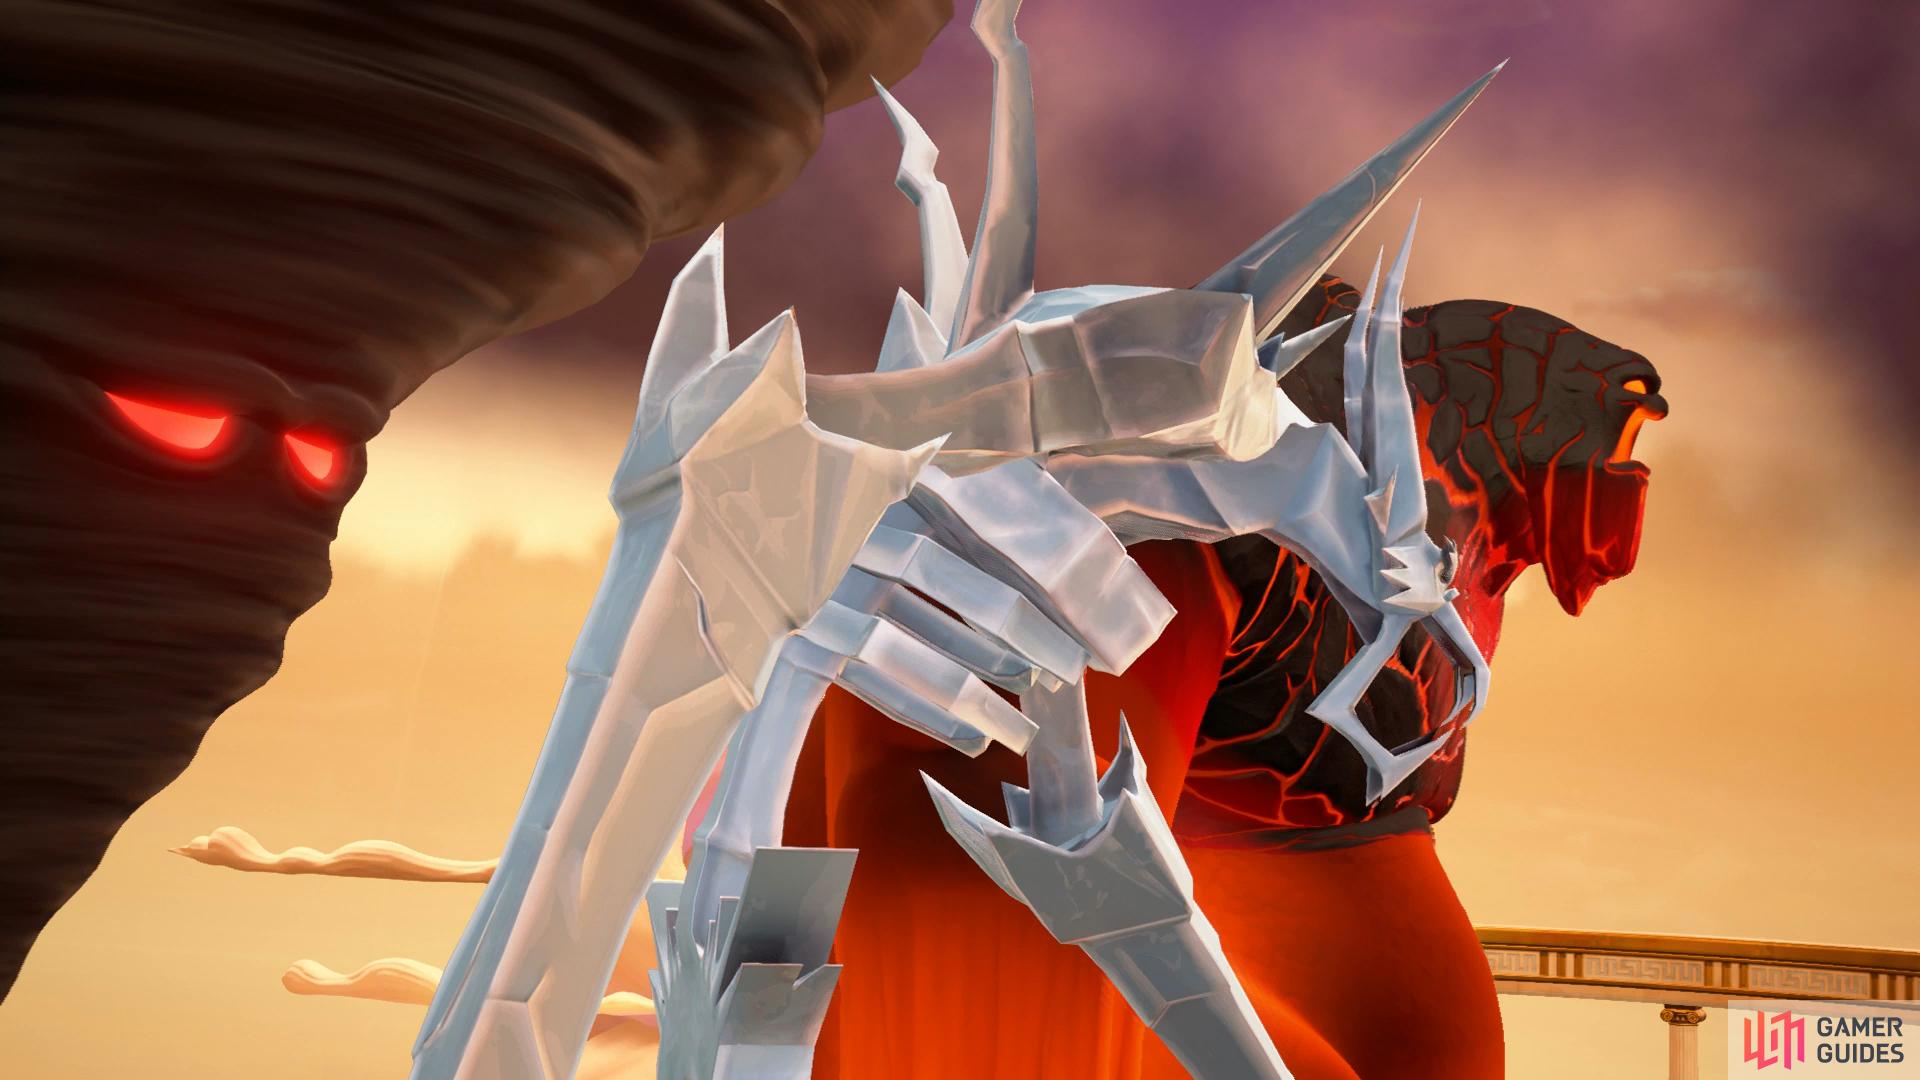
You’ll be up against all of the Titans in this boss battle and Herc will rejoin the party to help you deal with the threat. The rock tower in the center can be used to wall run up to the first two Titan’s heads with the Fire Titan being your main concern.
Each of the three Titans have an attack that will hit you while on the ground, the Lava Titan will use a Flame Breath, the Ice Titan a Frost Breath and the Tornado Titan will knock you back with a gust of wind, it’s for this reason that it’s imperative you reach the tower and thus, the Titans heads, immediately to avoid the attacks. You’re not safe from attacks in the air either however, the Lava Titan will spew Fireballs while swinging his arms so beware while you aircombo it. If you fall to the ground, make use of your Shotlocks to deal heavy damage to both Titans. Once a Titan falls, switch your target lock to the other and begin repeating the process.
Beware of both the Flame and Frost Breaths blown at you while on the ground
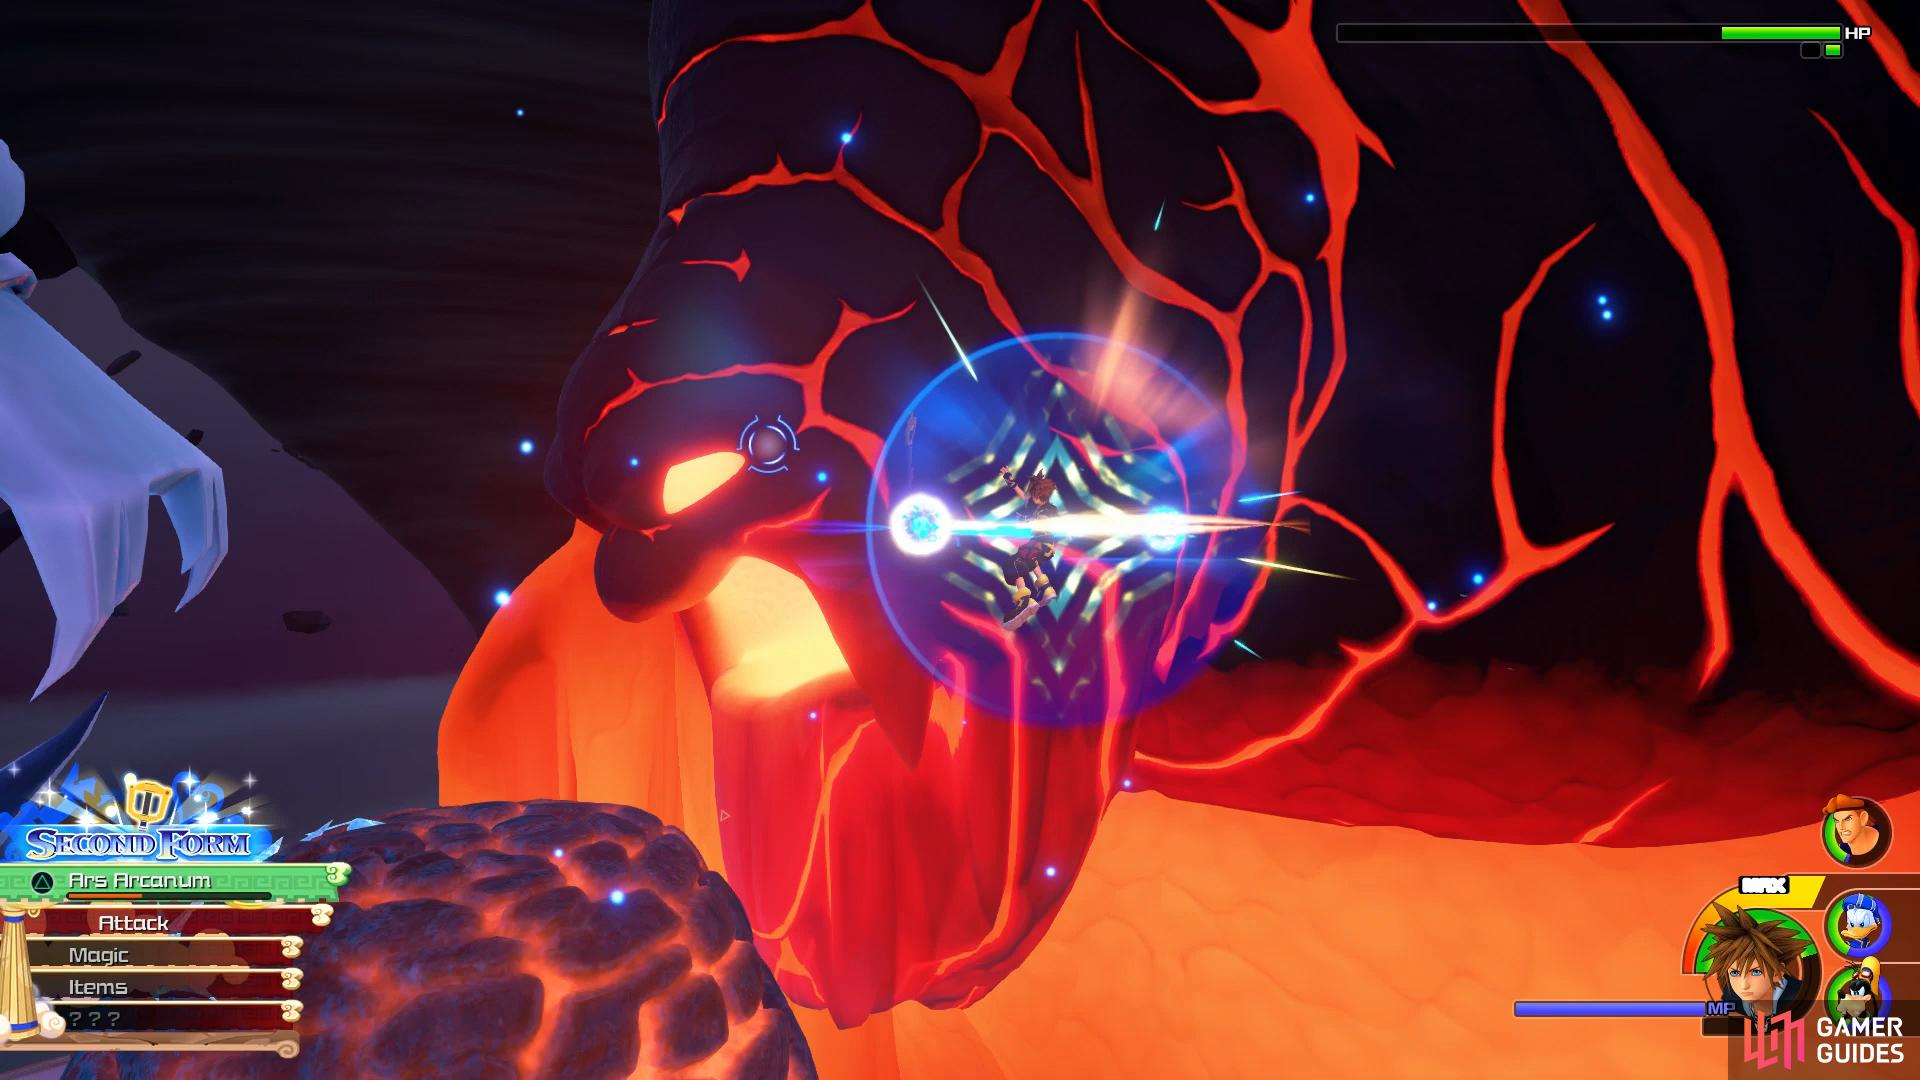
try to keep in Second Form as long as possible.
Don’t neglect your HP during this fight, if you find it low then drop to the ground and pop a Potion to restore it before continuing your assault. You’ll find it becomes a lot more manageable with just one Titan remaining. Try to stay in Second Form for as long as possible, the additional Air Combos and Finishers help to rack up the damage against the Titans. Once the two Titans fall, you’ll enter the second phase of the boss against the Tornado Titan.
The Tornado Titan will be a lot more difficult to reach and you’ll need to make use of your new Airstep ability to bounce across the platforms as they appear to get closer to it. Once there, you can Air Combo it in Second Form to deal huge damage to it. At times, the Tornado Titan will suck up Sora and throw him into the air and you’ll need to avoid attacks from all its hands as Sora descends. Simply keep an eye on where the attacks are originating from and move Sora out of harms away until you reach the Tornado Titan to resume your assault. Continue to glide towards the Tornado Titan while avoiding the debris thrown at you to finally bring the Tornado down.
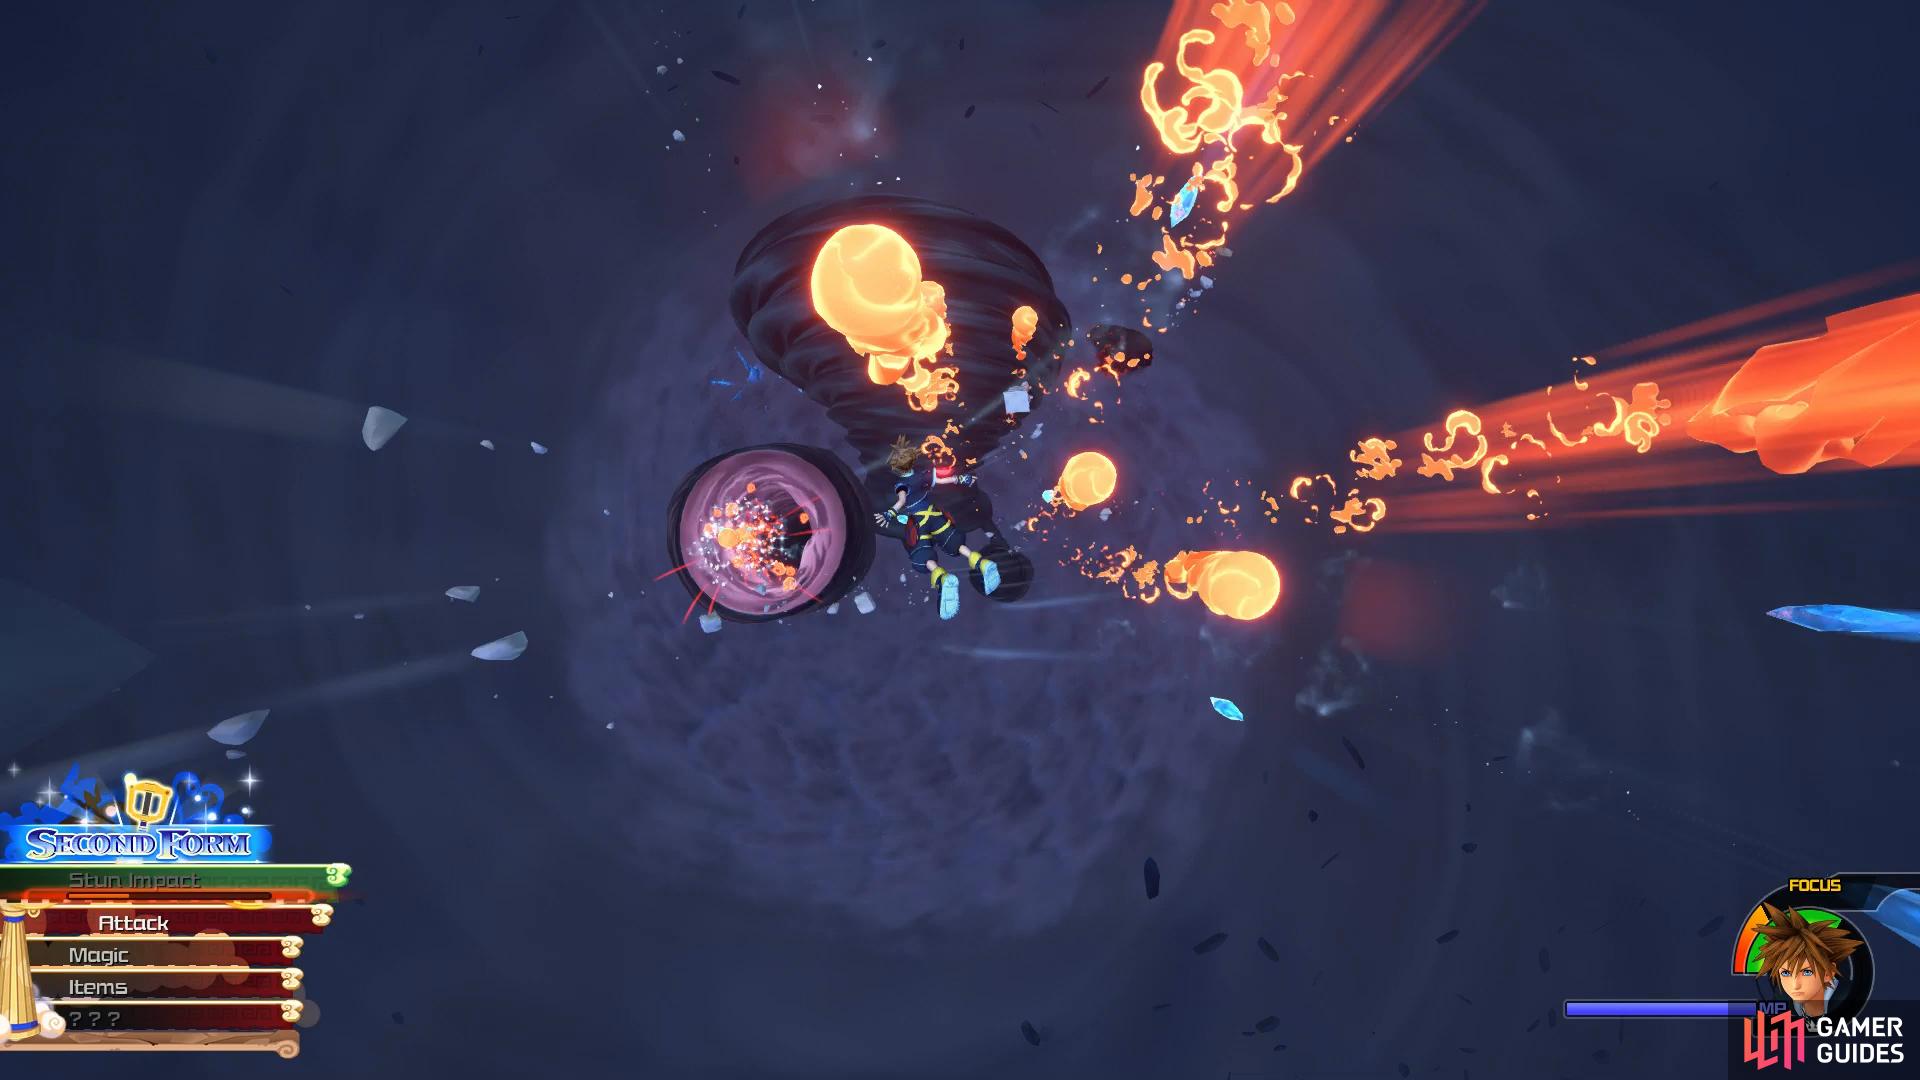
Avoid the blasts as you float down and attack at the end to inflict massive damage
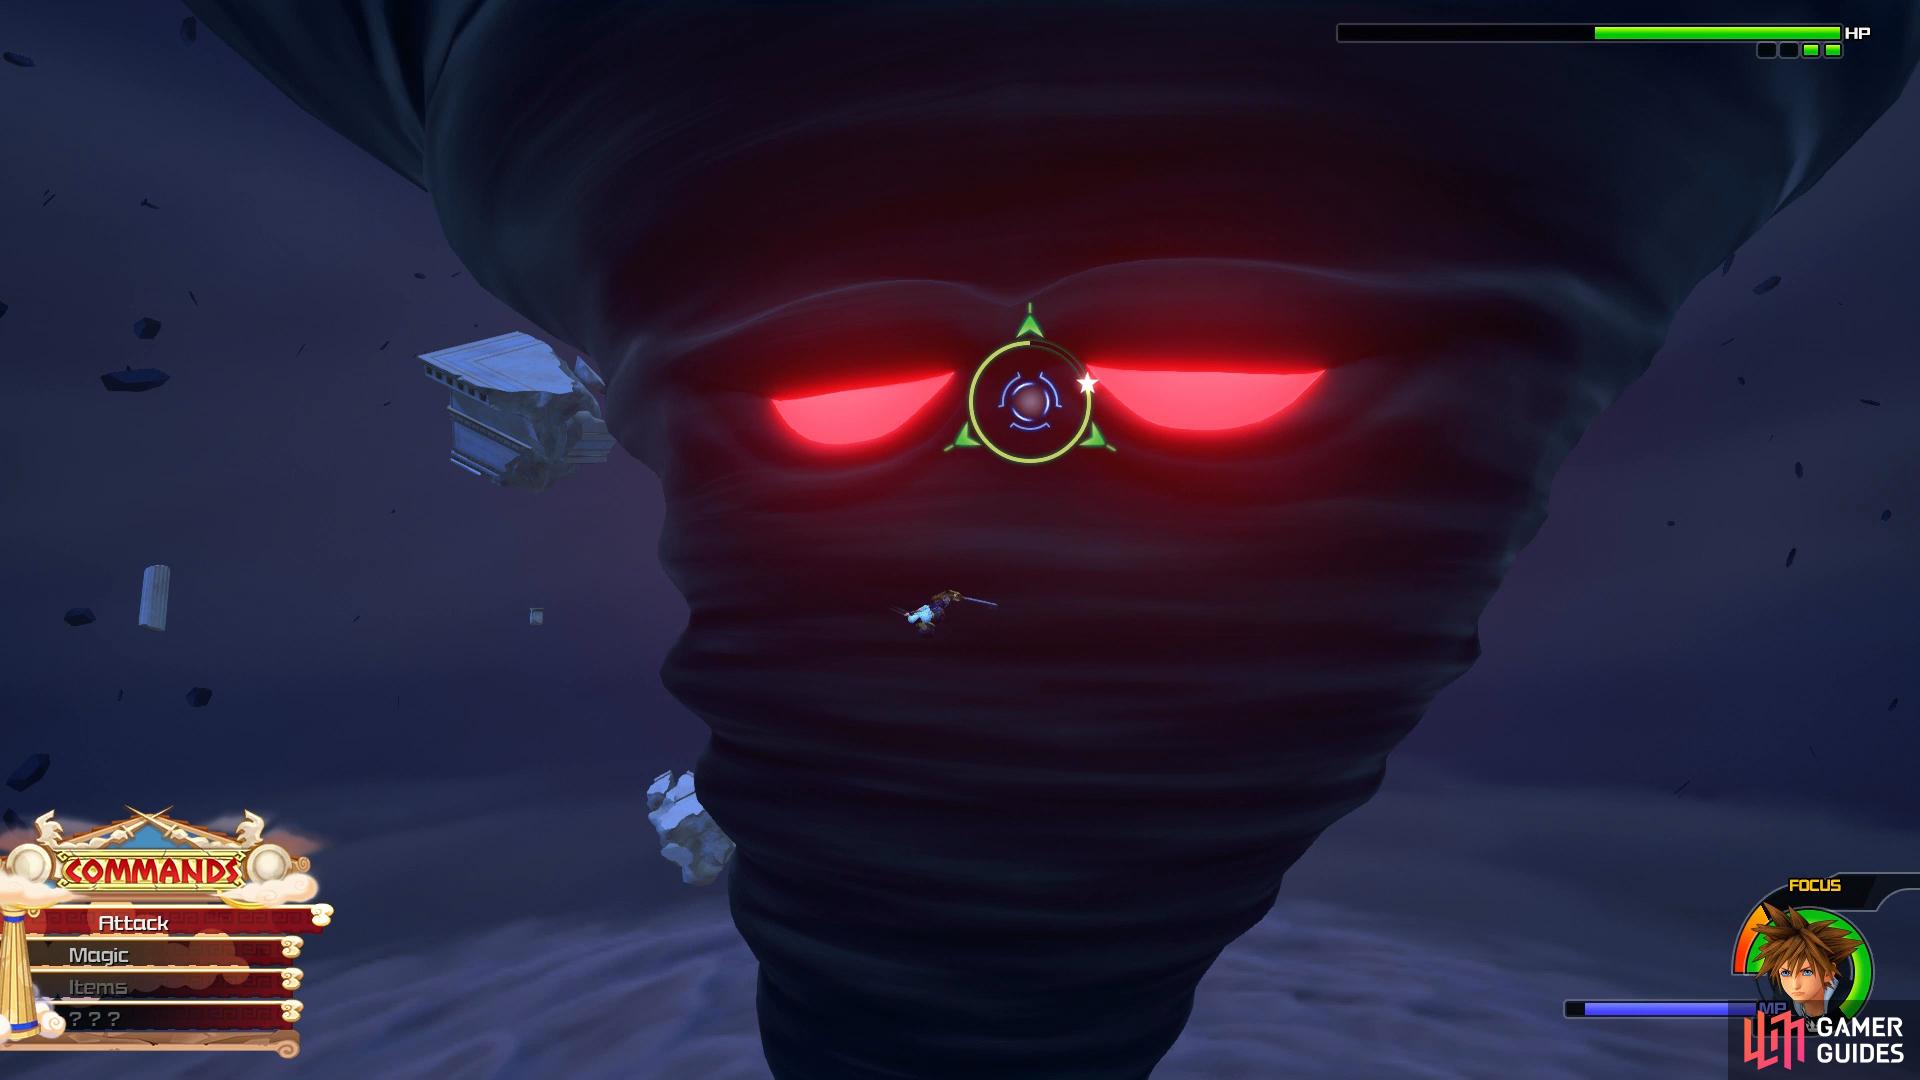
an Attraction skill can allow you to cause easy damage to the Tornado Titan.
| Character | Ability |
|---|---|
| Sora | Max HP Increase |
With the Titans defeated, Hades plans are once again foiled and peace returns to Olympus once more. With their work done in Olympus, Sora, Donald and Goofy make way for the Gummi Ship and you’ll obtain the Hero’s Origin Keyblade and unlock the Clash of the Gods Trophy.
No Comments