

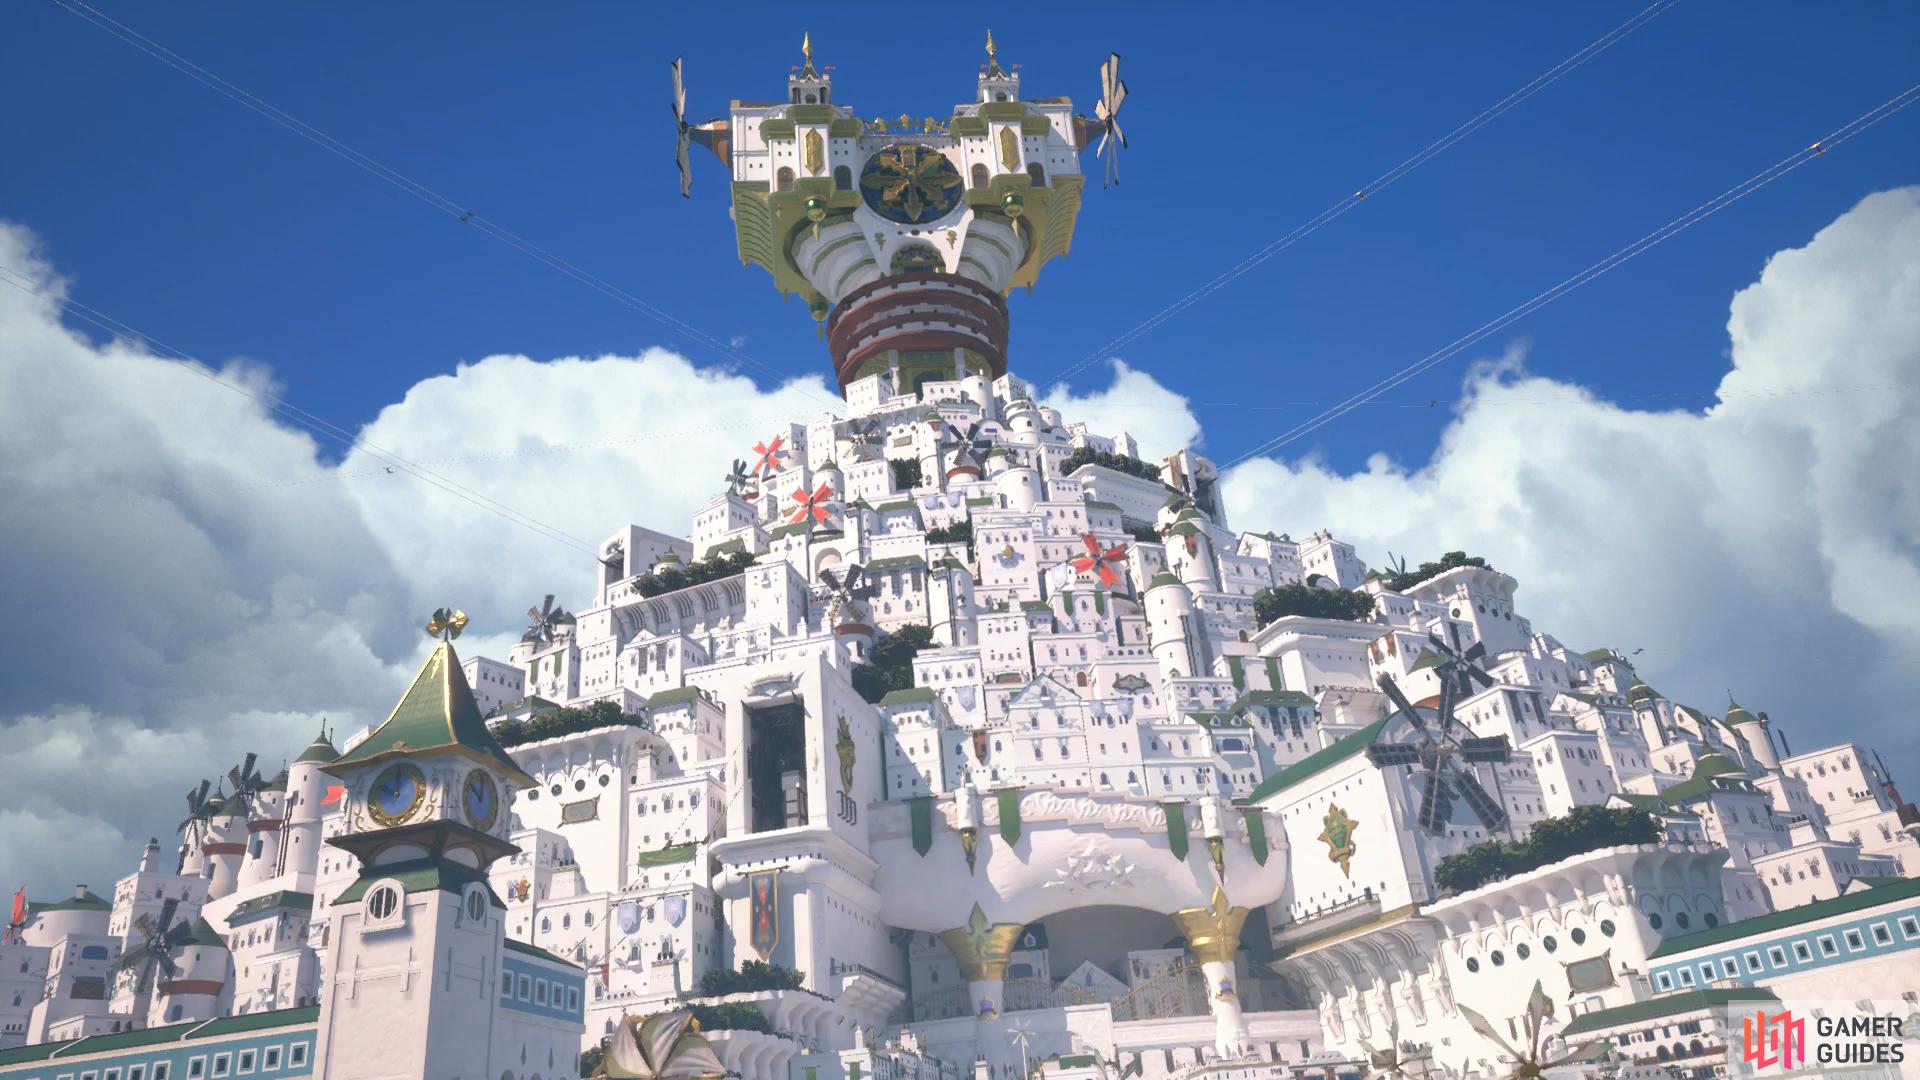
You’ll find yourself back in Scala Ad Caelum with a Save Point nearby, make use of it and then head forward and open Treasure #1 - Map: The Stairway to the Sky. This should let you know right away that this time your visit here will be a little different. Whereas Scala Ad Caelum only served as the backdrop for the game’s final battles, this time you’ll be able to explore it in full.
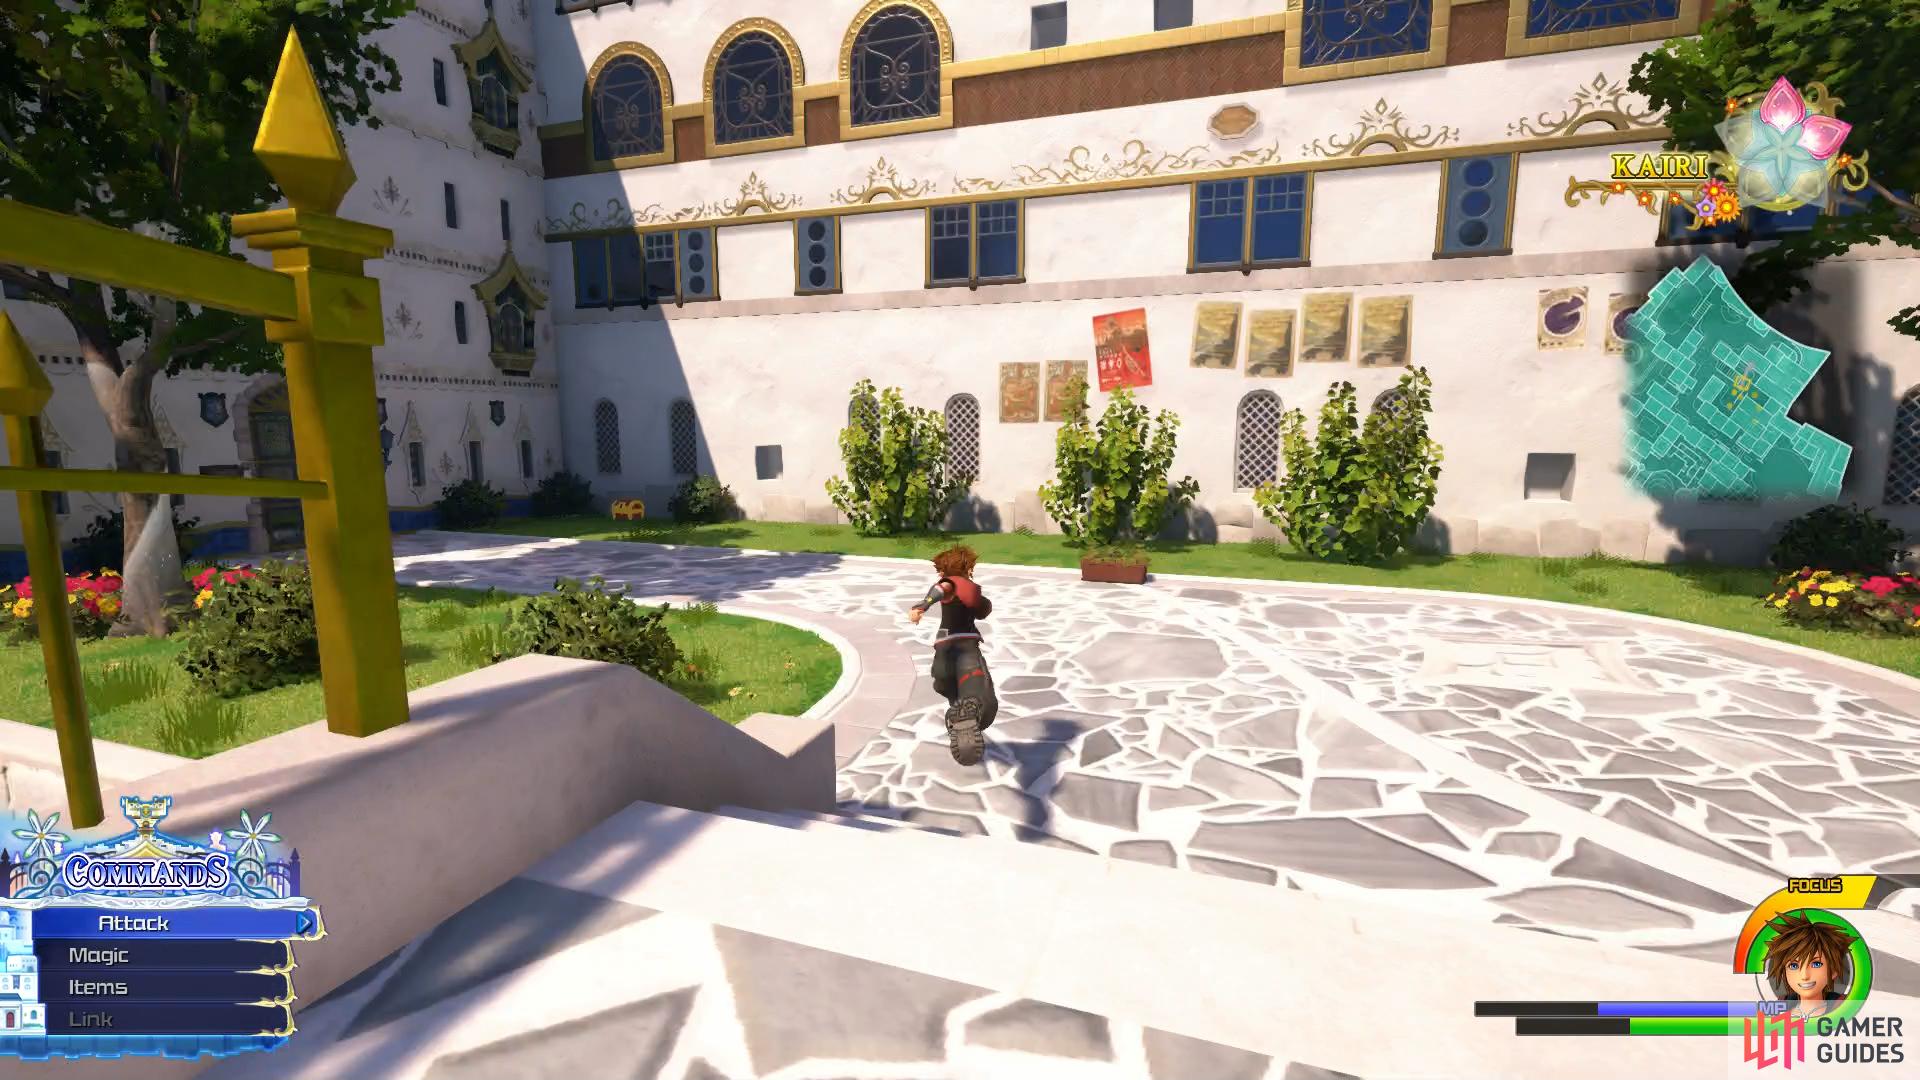
To begin with, head forward to spot Kairi and then take out the group of Heartless and Nobodies that spawn when Sora gives chase. You’ll encounter every type of regular enemy in Kingdom Hearts III but pay special attention to the ones that glow red. These enemies have more HP than usual but more importantly, contain a Kairi’s Heart Fragments. You will encounter a lot of enemies here so spells like Thundaga/za will be useful here as will the formchange of Ultima Weapon or Oblivion/Oathkeeper. Once you take out the red Heartless, you’ll obtain the first Heart Fragment [1] and gain access to the next area.
Breezy Quarter
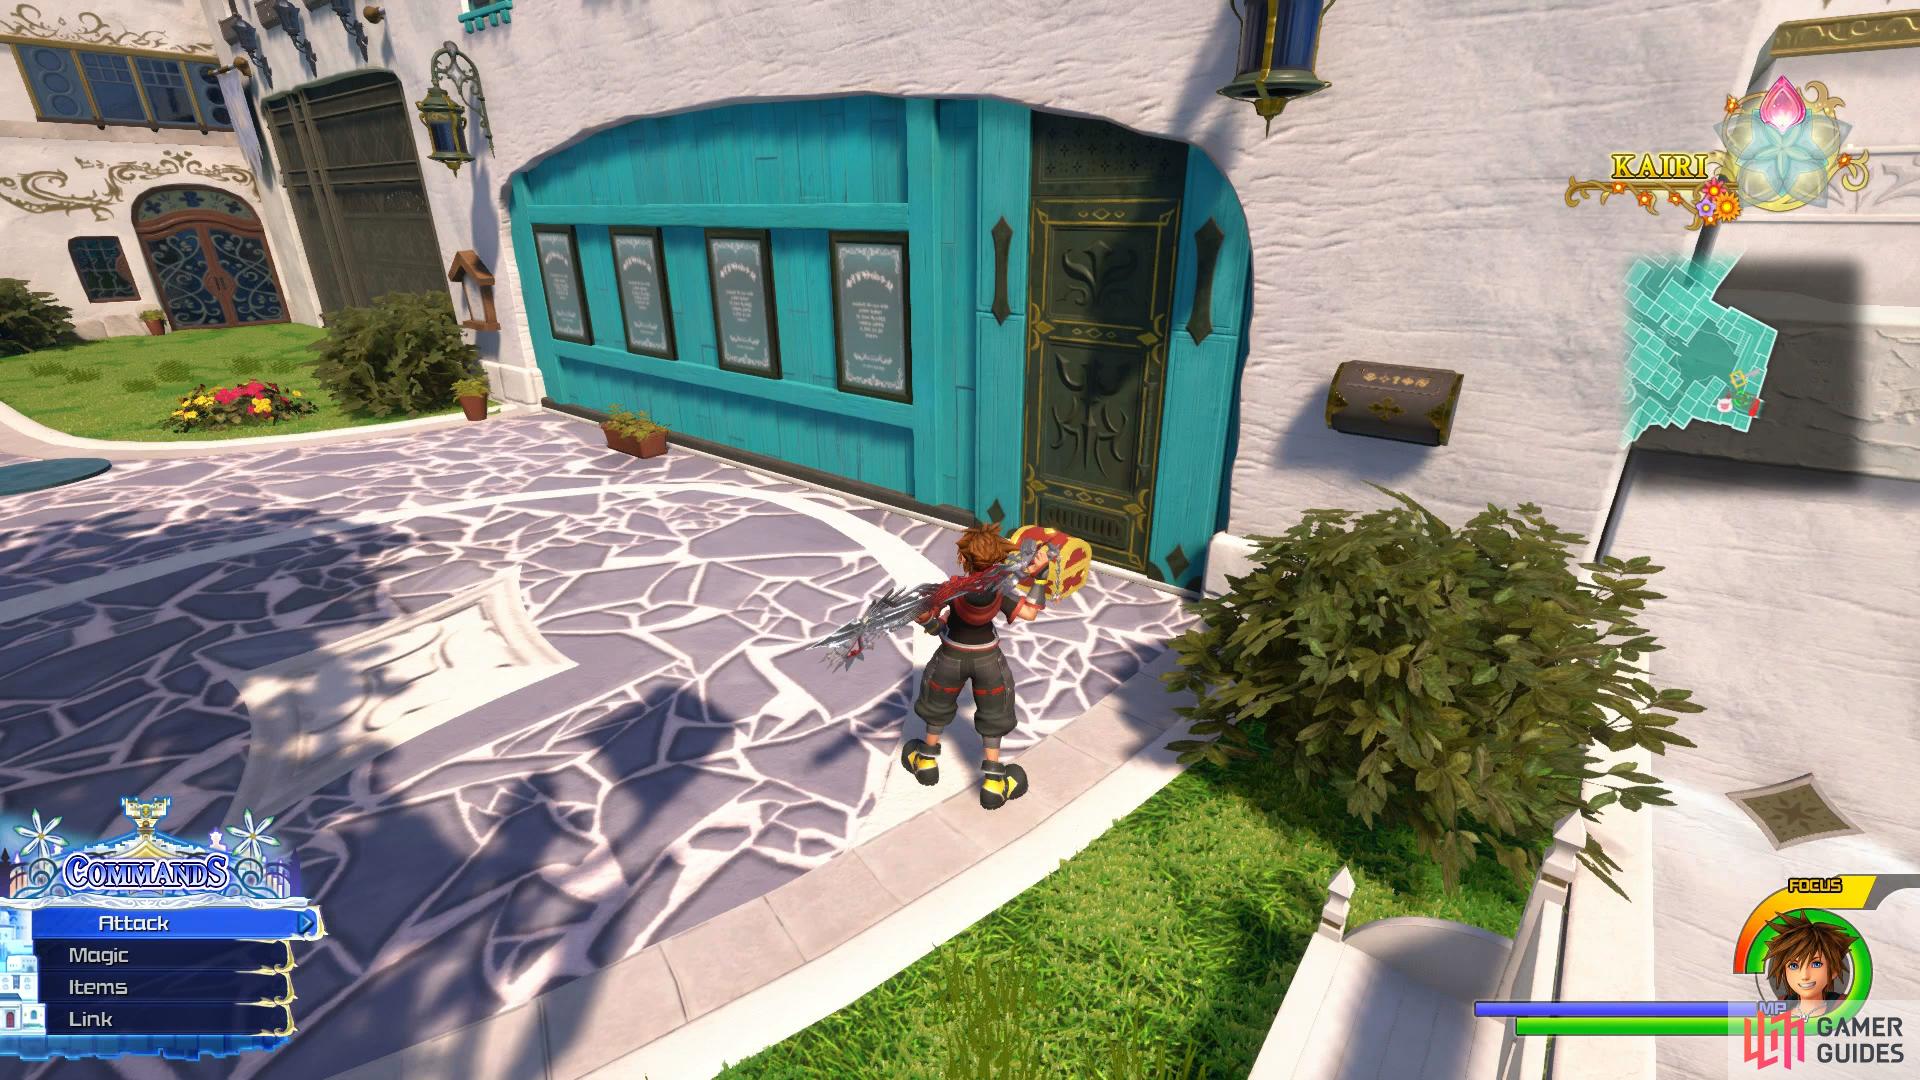
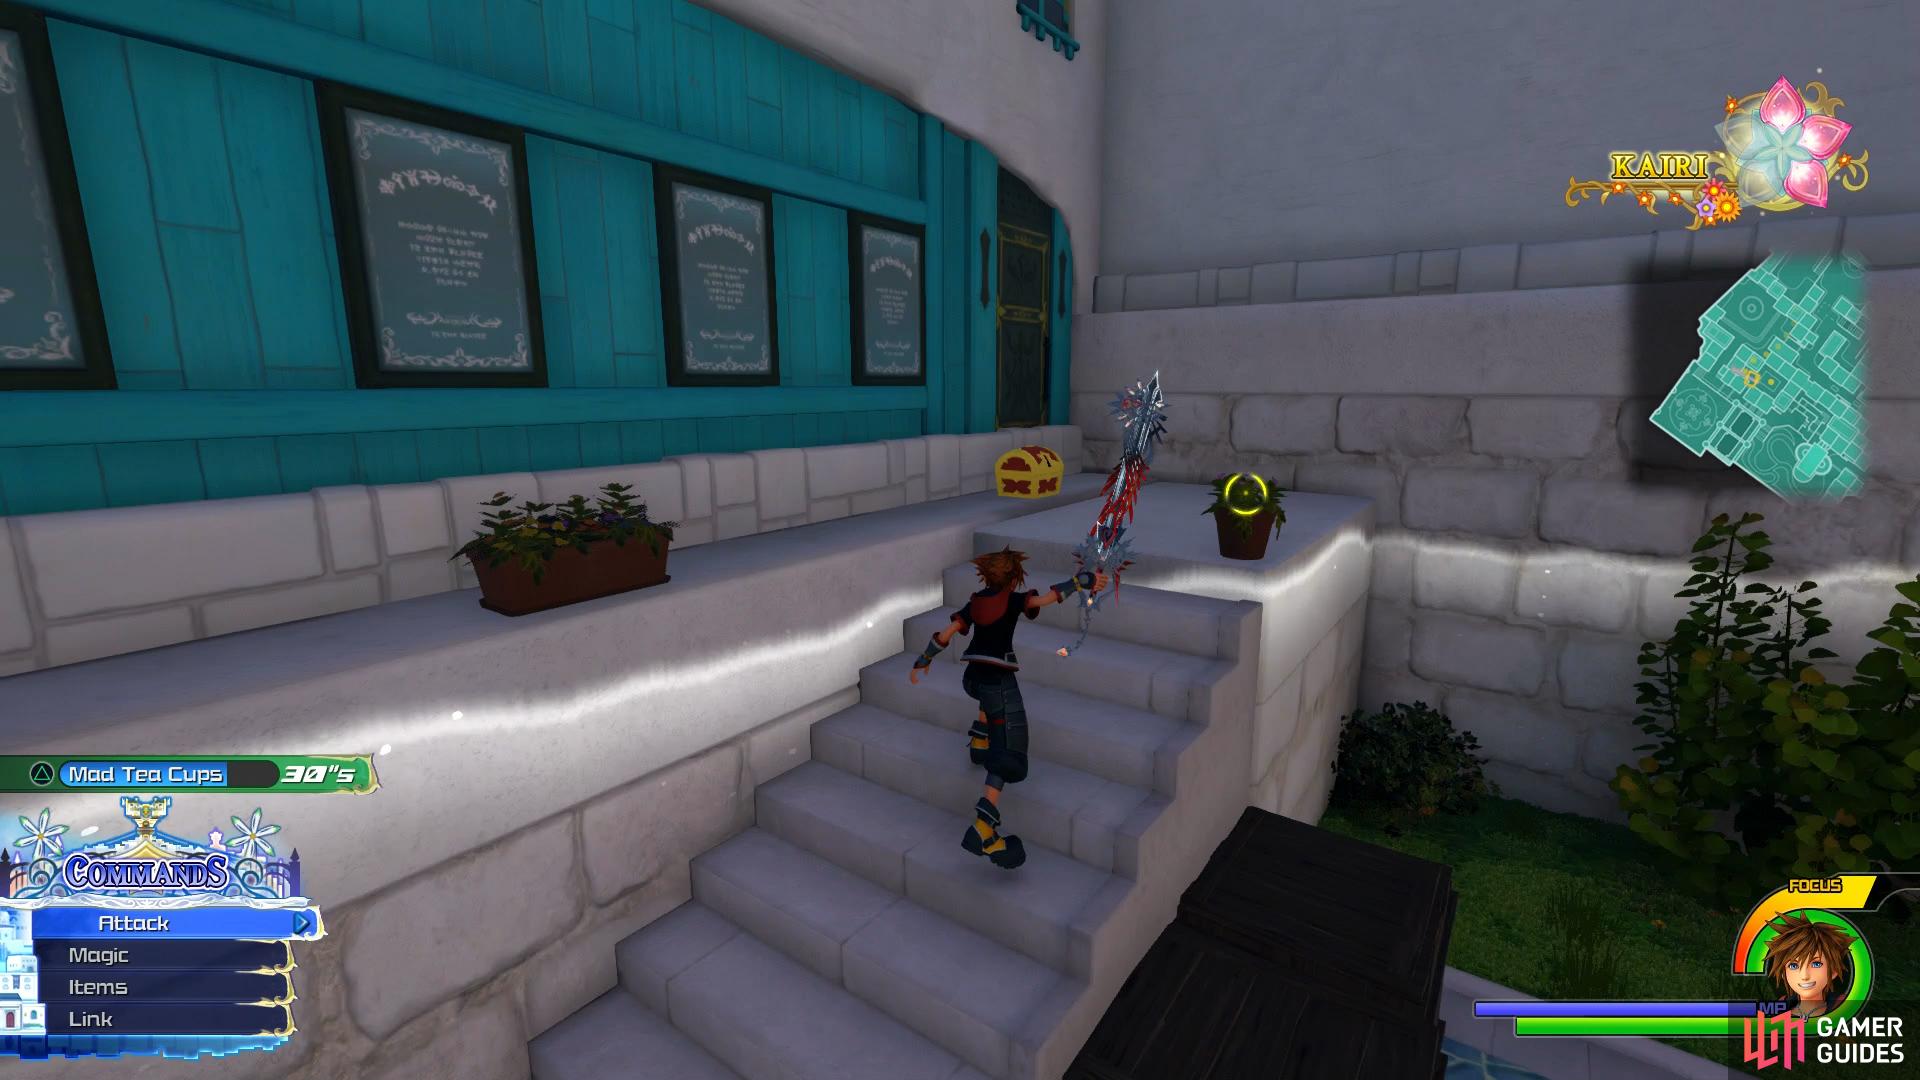
You’ll find yourself in the Breezy Quarter and where the majority of the action takes place in Scala Ad Caelum. All of the chests can be found here and you’ll find lots of groups of enemies. More importantly, if you’ve yet to hit Level 99 or are seeking rare materials, this is an ideal place to both grind and farm due to the enemies you’re up against. For now, head forward and save your game before opening the nearby Chest for Treasure #2 - Map: Breezy Quarter.
Climb the wall to the east of the Save Point to find Treasure #3
while #5 can be found overlooking the square north of the cylindrical tower.
Make use of the shop should you need it and then climb the eastern wall to find a chest containing Treasure #3 - Megalixir in front of a door. Drop down to the west to encounter a large group of enemies in the square and then take the southern path and head west to find a large cylindrical tower. Run up the wall and over to the square to the west of it to take out another group of enemies before looking on the southwestern balcony here to spot a well hidden chest containing Treasure #5 - Wellspring Crystal.
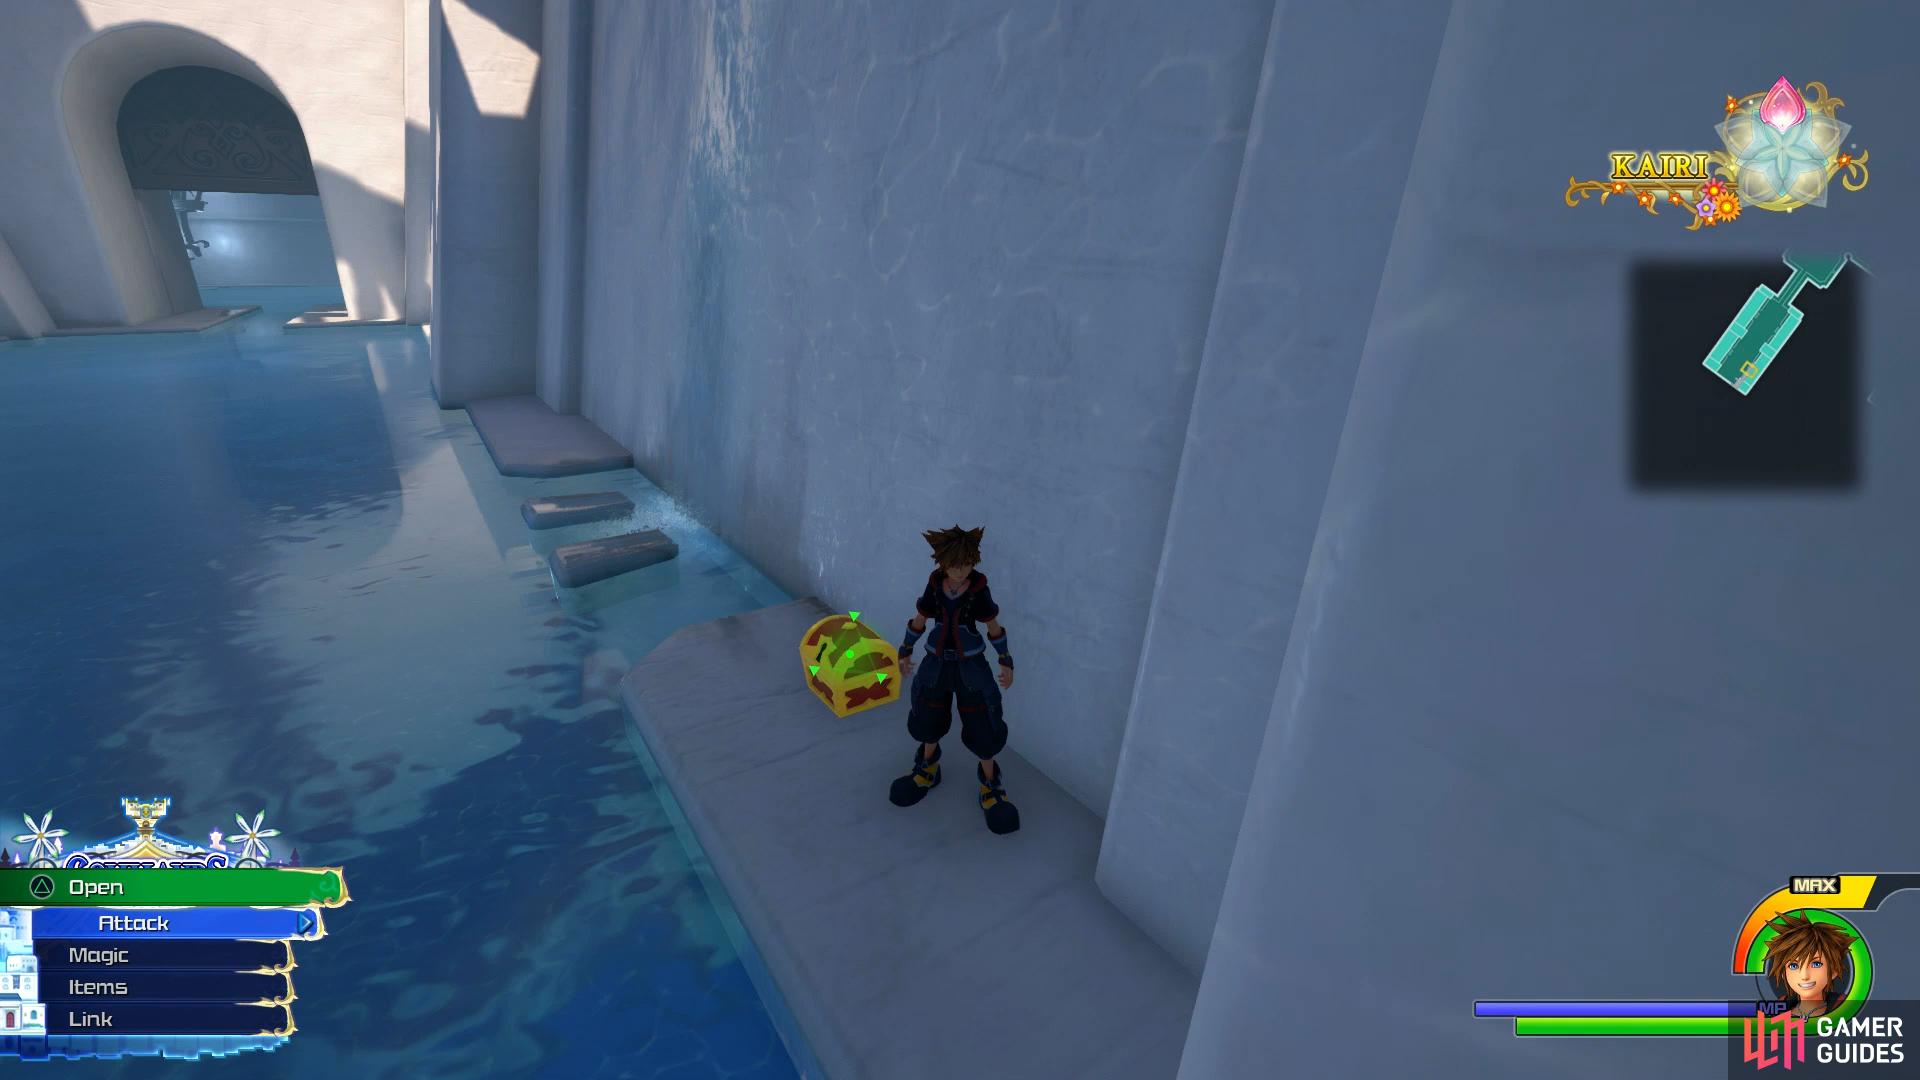
Make your way to the southwest from here and take another group of enemies out in the park area then climb the wall to the west and drop down to the waterway below. You’ll immediately spot a chest in the southwestern corner containing Treasure #6 - Wellspring Gem, snag it and then follow the waterway inside to the east to find another group of enemies to take out and then follow the waterway around to a wheel you can attack, raising the gate in the process. You can spot a fragment in the cage in front of you but first you’ll need to find a way to smash it. Look at where the gate is and run up the wall behind it, switching sides where necessary and at the very top you’ll find a chest containing Treasure #4 - Tarte aux Fruits+. Once looted, drop down the shaft nearby it and when you see the cage come into view, press the [X]/[A] button to smash the cage open and collect a Heart Fragment [2].
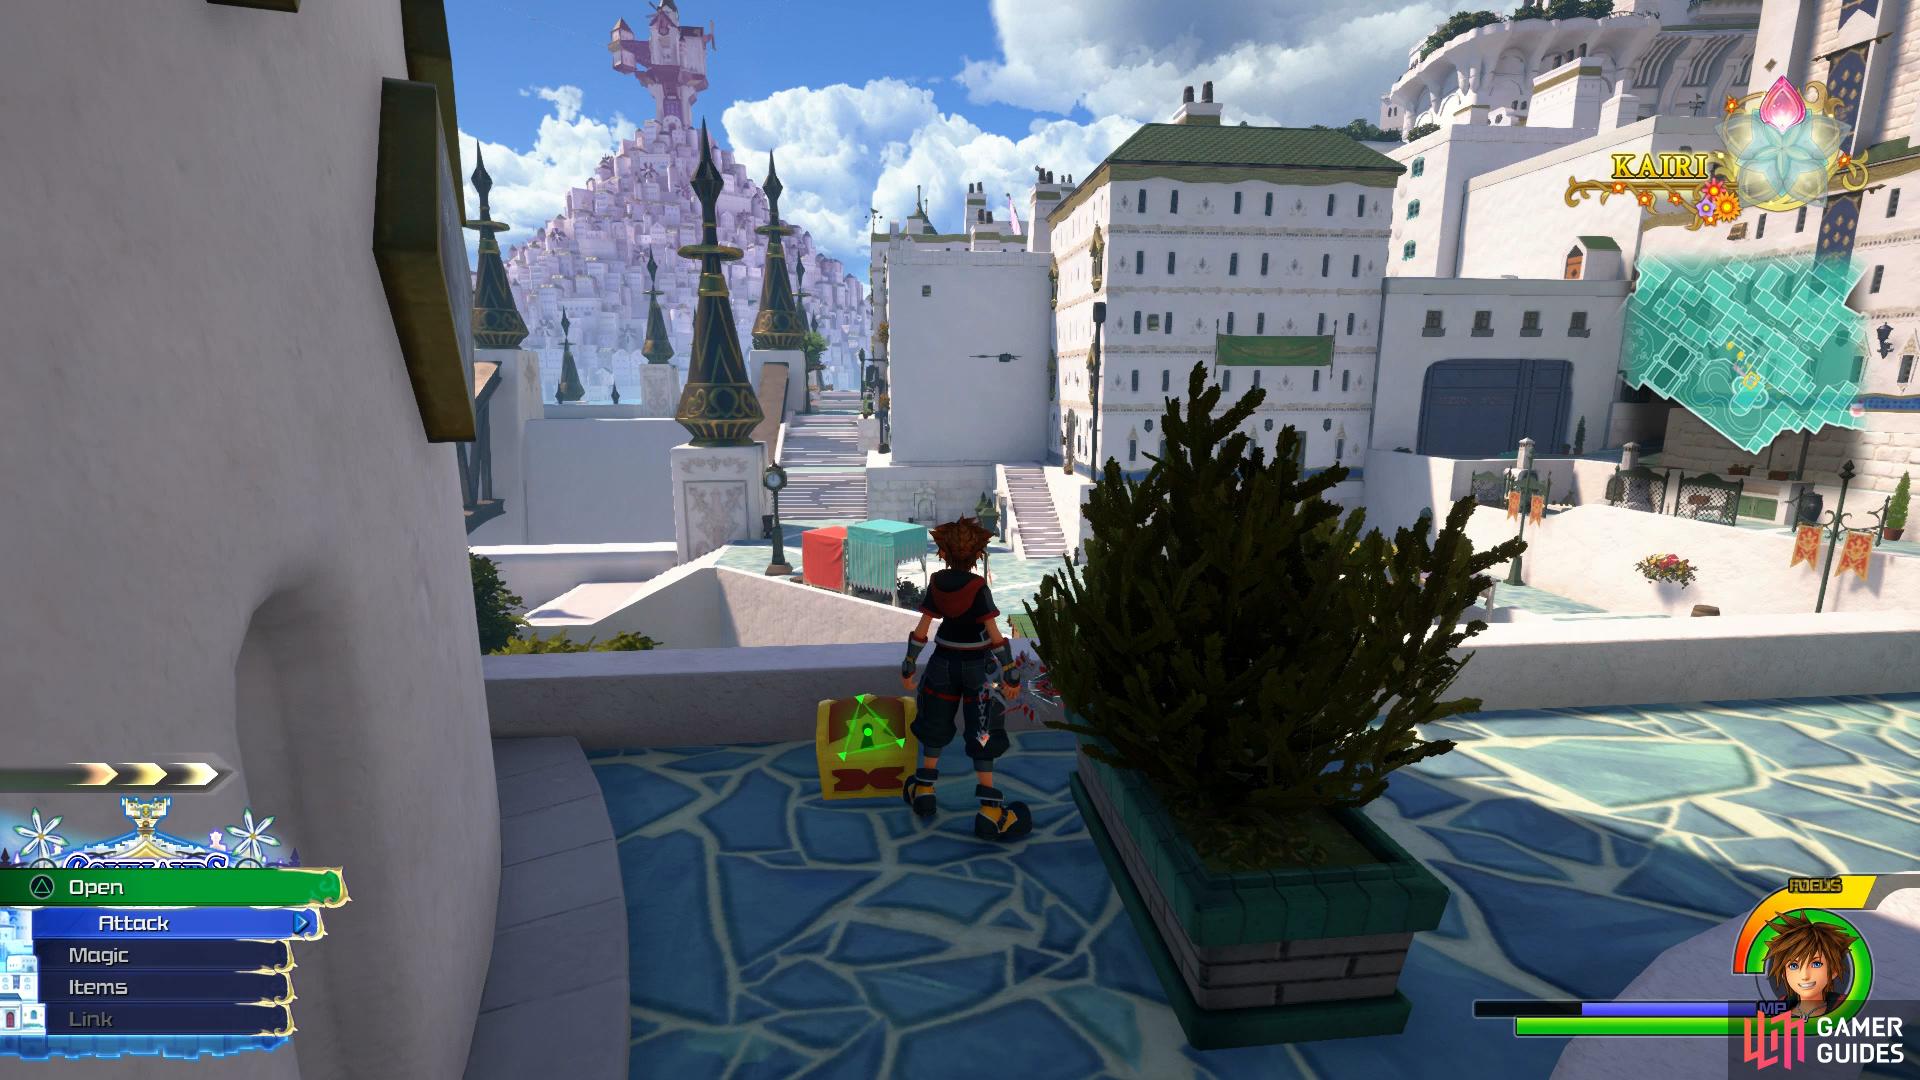
Follow the waterway to the north now and exit it to find a slope to your east. Take the slope up and defeat the enemies before crossing the bridge to the north where you’ll find a chest in the northwest corner containing Treasure #8 - Electrum. Climb the buildings from here and head over to the northwest to spot the next puzzle. As you approach the contraption in the center, the colored gears will begin to move. Take note of the circular object in the middle and strike the colored wheels when their other colors align. Once all three colors are aligned, the picture will form and you’ll obtain another Heart Fragment [3] as another group of enemies will attack. Strike them down and then continue heading to the far northwest corner of the map to find another chest, this one containing Treasure #9 - Hungry Crystal.
Head south from this location, taking out any enemies along the way and you’ll eventually reach a fountain in a square. Ignore this for the moment and climb the buildings to the south and you’ll drop down to where the final chest is hiding, defeat the enemies and open it to collect Treasure #7 - Mega-Ether. Make your way back to the fountain now and you’ll realise that there’s no water in it. Dotted around the fountain however are four contraptions you can strike to cause them to spin, causing jets of water to appear. The objective here is to strike each of them multiple times to cause the water jets to meet in the center. Once they all meet, you’ll fill the fountain and cause another Heart Fragment [4] to appear followed by another group of enemies.
If that was your fourth fragment, you’ll witness a short scene with Kairi, to the south of your location. Head south from here and you’ll spot the fifth and final Heart Fragment however as you approach it a Giant Heartless will rise from the darkness, a foe you should be all too familiar with. This battle is no different to when you fought Darkside at the beginning of Kingdom Hearts III with the only real difference being the damage his attacks deal. Remember the same tactics, dodge the falling darkness orbs, stay away from the large orb in his hand when he’s summoning said orbs and be sure to jump to avoid the shockwave from his slam attack.
| Character | Ability |
|---|---|
| Sora | Max MP Increase |
Your reward for this battle is another Max MP Increase along with final Heart Fragment [5].
Once you regain control of Sora, you’ll find yourself in the battle against the Mysterious Advesaries again and this battle is no different at all from the one you fought at the end of the base game so check this page for more details on how to take them out. At this stage of Sora’s development, this should be a significantly easier proposition than the first time you were here so long as you keep your HP up.
At this point, you’ll find yourself back in control of the other Guardians of Light as you witness events from their point of view during Sora’s climatic battle.
Boss: Replica Xehanorts
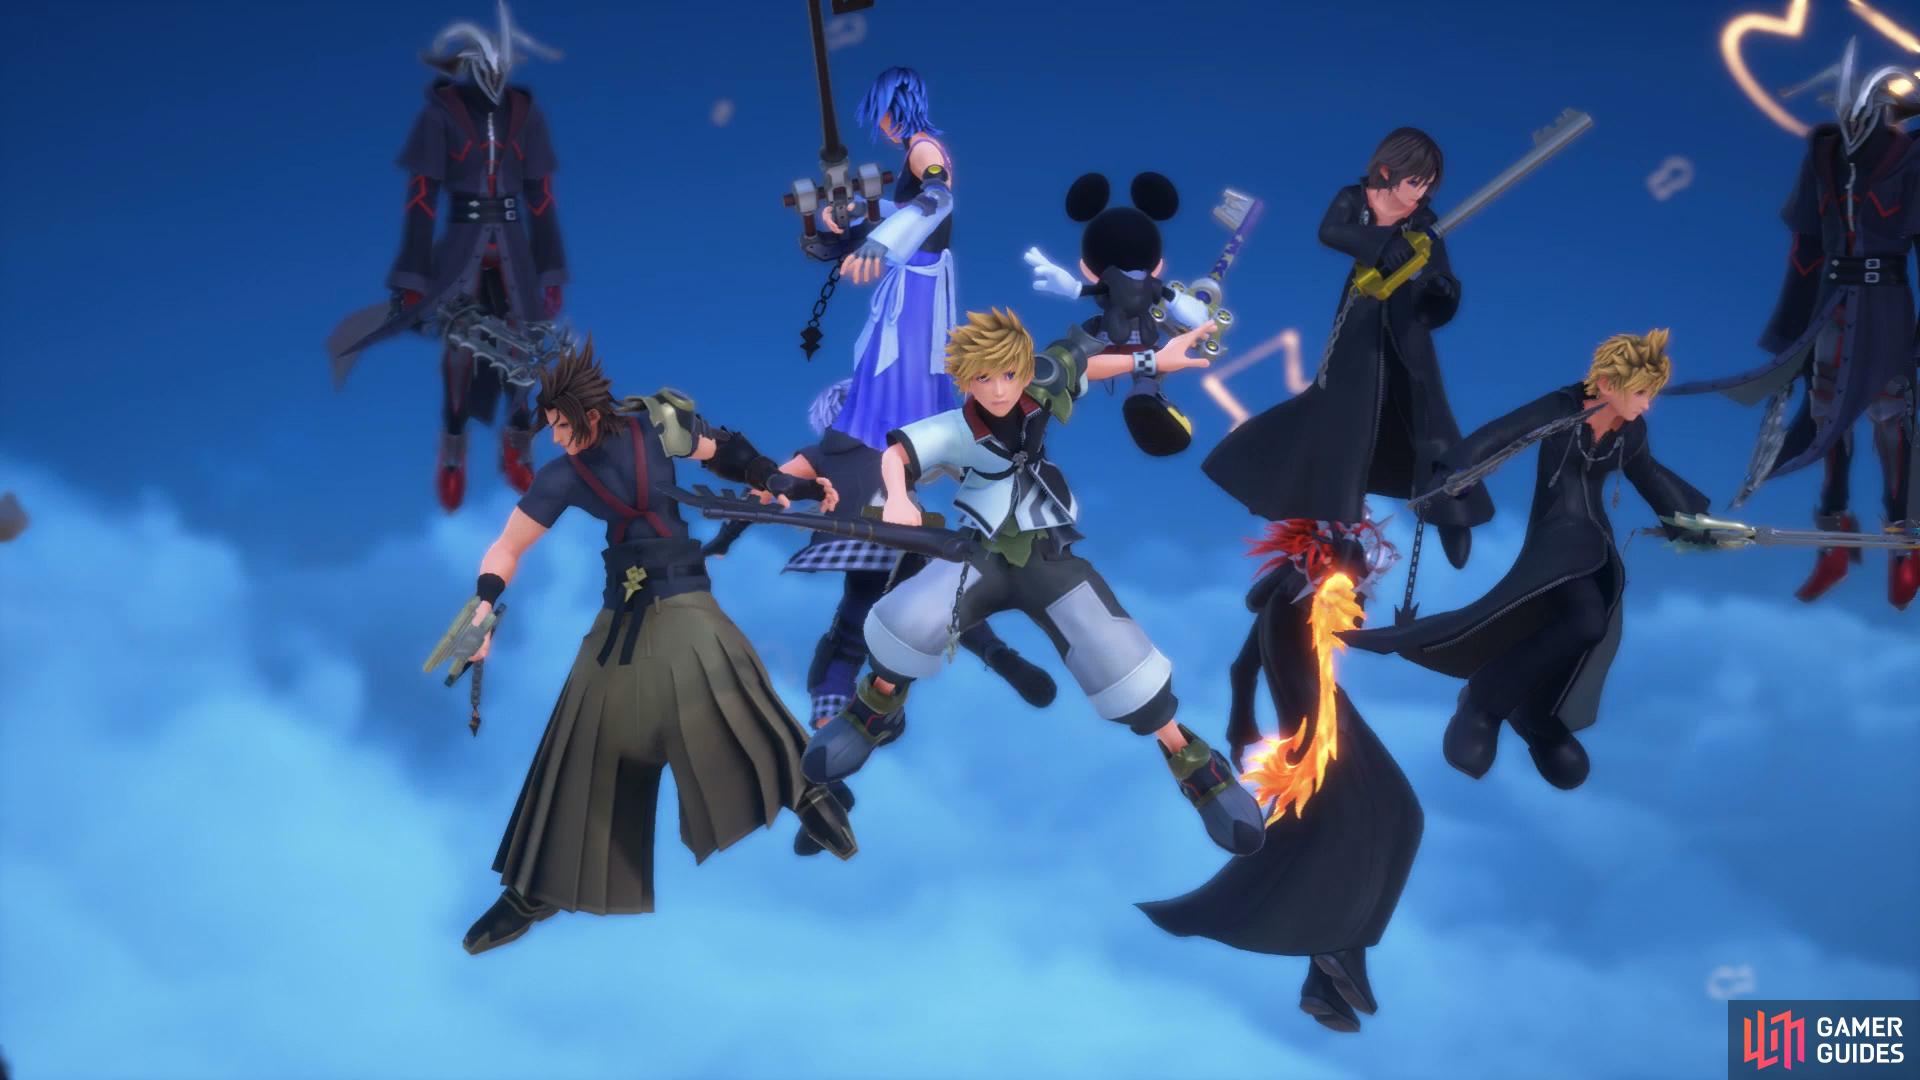
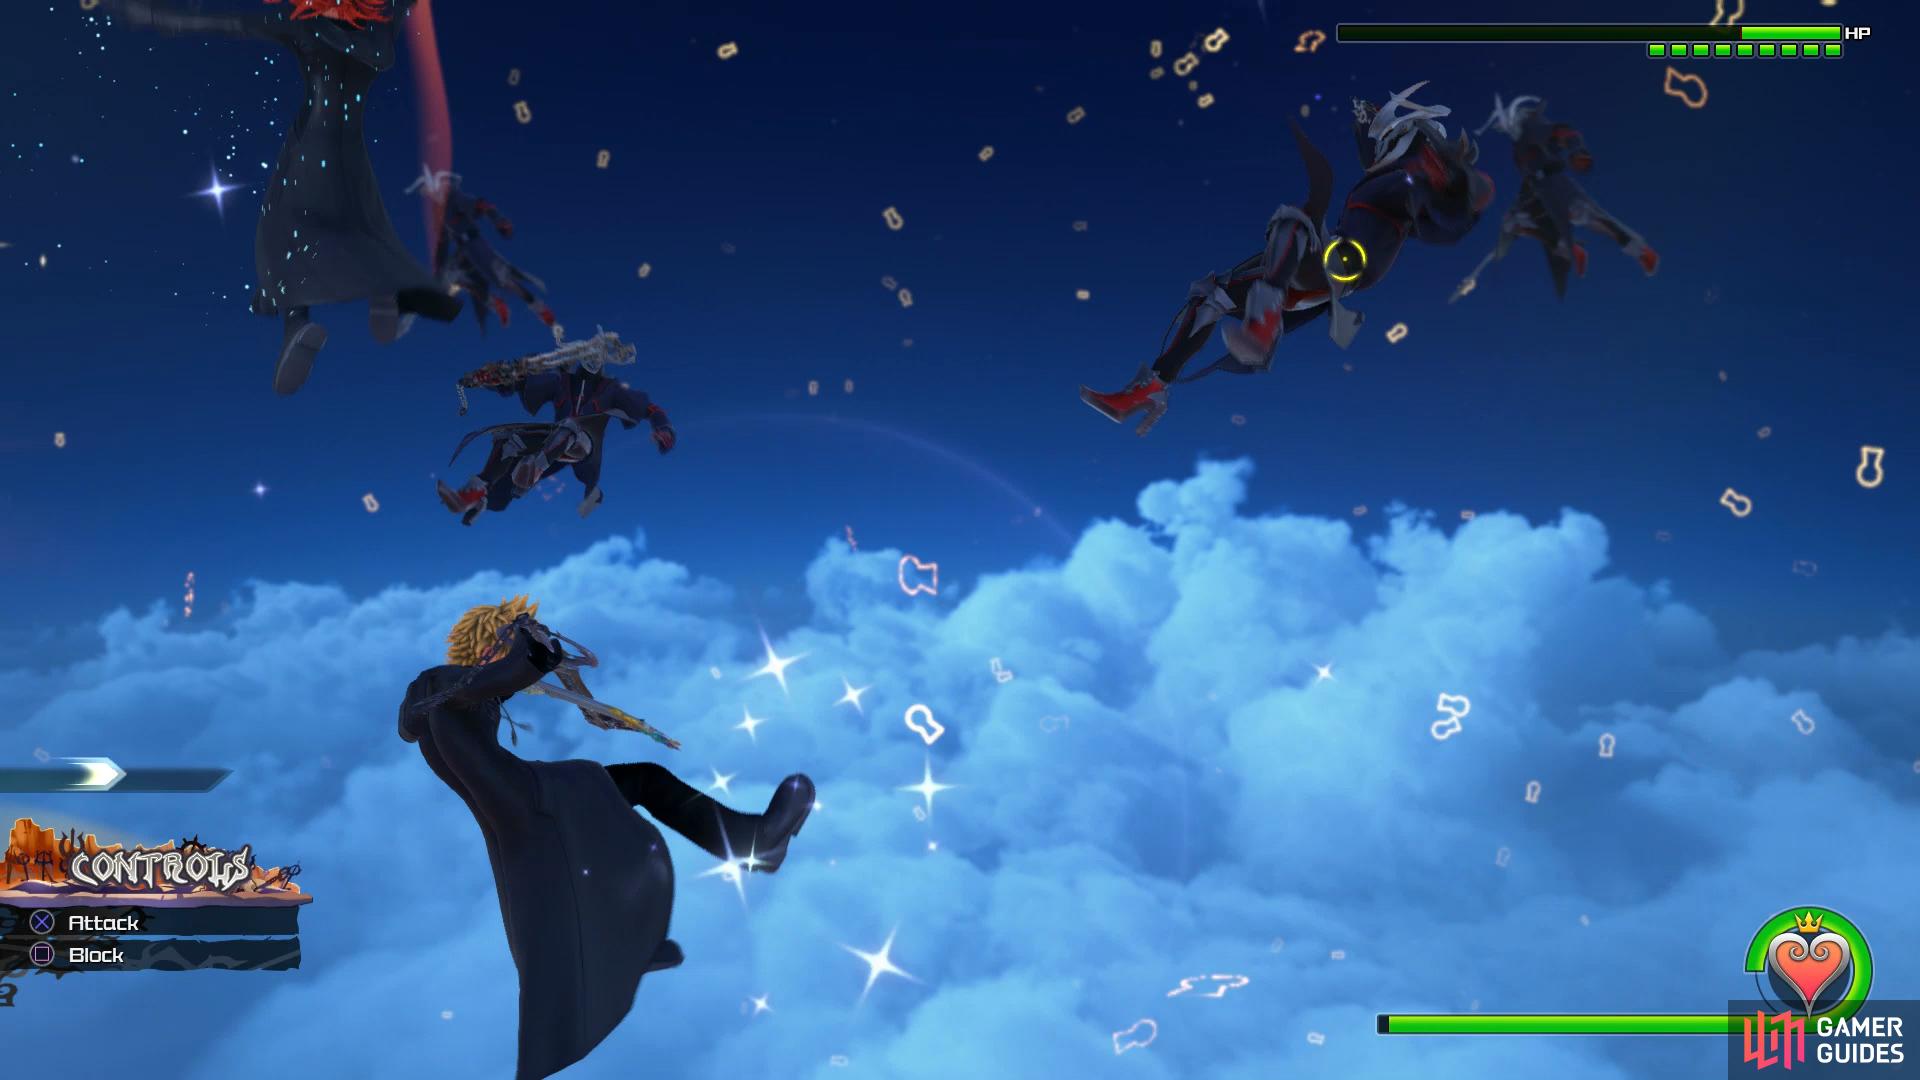
This is a rather unique boss battle in the way that you’ll be in control of all of the remaining Guardians of Light as they find themselves trapped. Only two commands are available to you to begin with, Attack and Aerial Dodge and you’ll need to make sure you strike only when the opening presents itself. Once you see the enemy coming towards you, use Aerial Dodge to get out of the way as soon as possible. Once you fill the form gauge up per character, you can perform a finisher and move on to the next character. Look for when the enemy glows red as an indicator to dodge (or block in the case of Roxas).
Before command switches over to Terra, you’ll need to perform a dual block with him and Riku before another finisher and the attacks resume. You’ll be in control of multiple characters after this and the main aim here is to time Reflega to block the enemy assault. This is a rather simple matter however, just watch for the enemy to start moving and then use Reflega and then counter with an attack once you block the enemy. Repeat this a few times to gain access to the Absolute Zero command which will deal heavy damage to the Replicas.
You’ll need to be more precise with Roxas to avoid damage
you’ll need to perform multiple Reflegas in a row near the end of the battle.
From this point on, you’ll switch between controlling one of the frontline fighters and the middle Guardians to Reflega the enemy. Pay attention their movements and you’ll conclude the battle with little difficulty.
Following the battle, you’ll find yourself in control of Mickey in an interactive cutscene. After getting Mickey to stand, you’ll need to walk forward while fending off the Replicas that attack, it’s a simple proposition that can be achieved by pressing the attack button as they appear in range. Keep an eye out for when the Replicas all glow red and press the [TRIANGLE]/[Y] button to block the beam that hurtles towards you before resuming your walk towards the Keyhole. Once you reach the end, push the beam as far as possible and trigger the Situation Command to bring it to a close.
You’ll find yourself back in control of Sora surrounded by Keyholes everywhere. Your task here is another simple one, aim the light at the Keyholes that are shining to connect many at once. Once you fill the gauge in the corner, press the Situation Command button to use Enduring Light. Reunited with Kairi at last, you’ll be attacked by one final advesary.
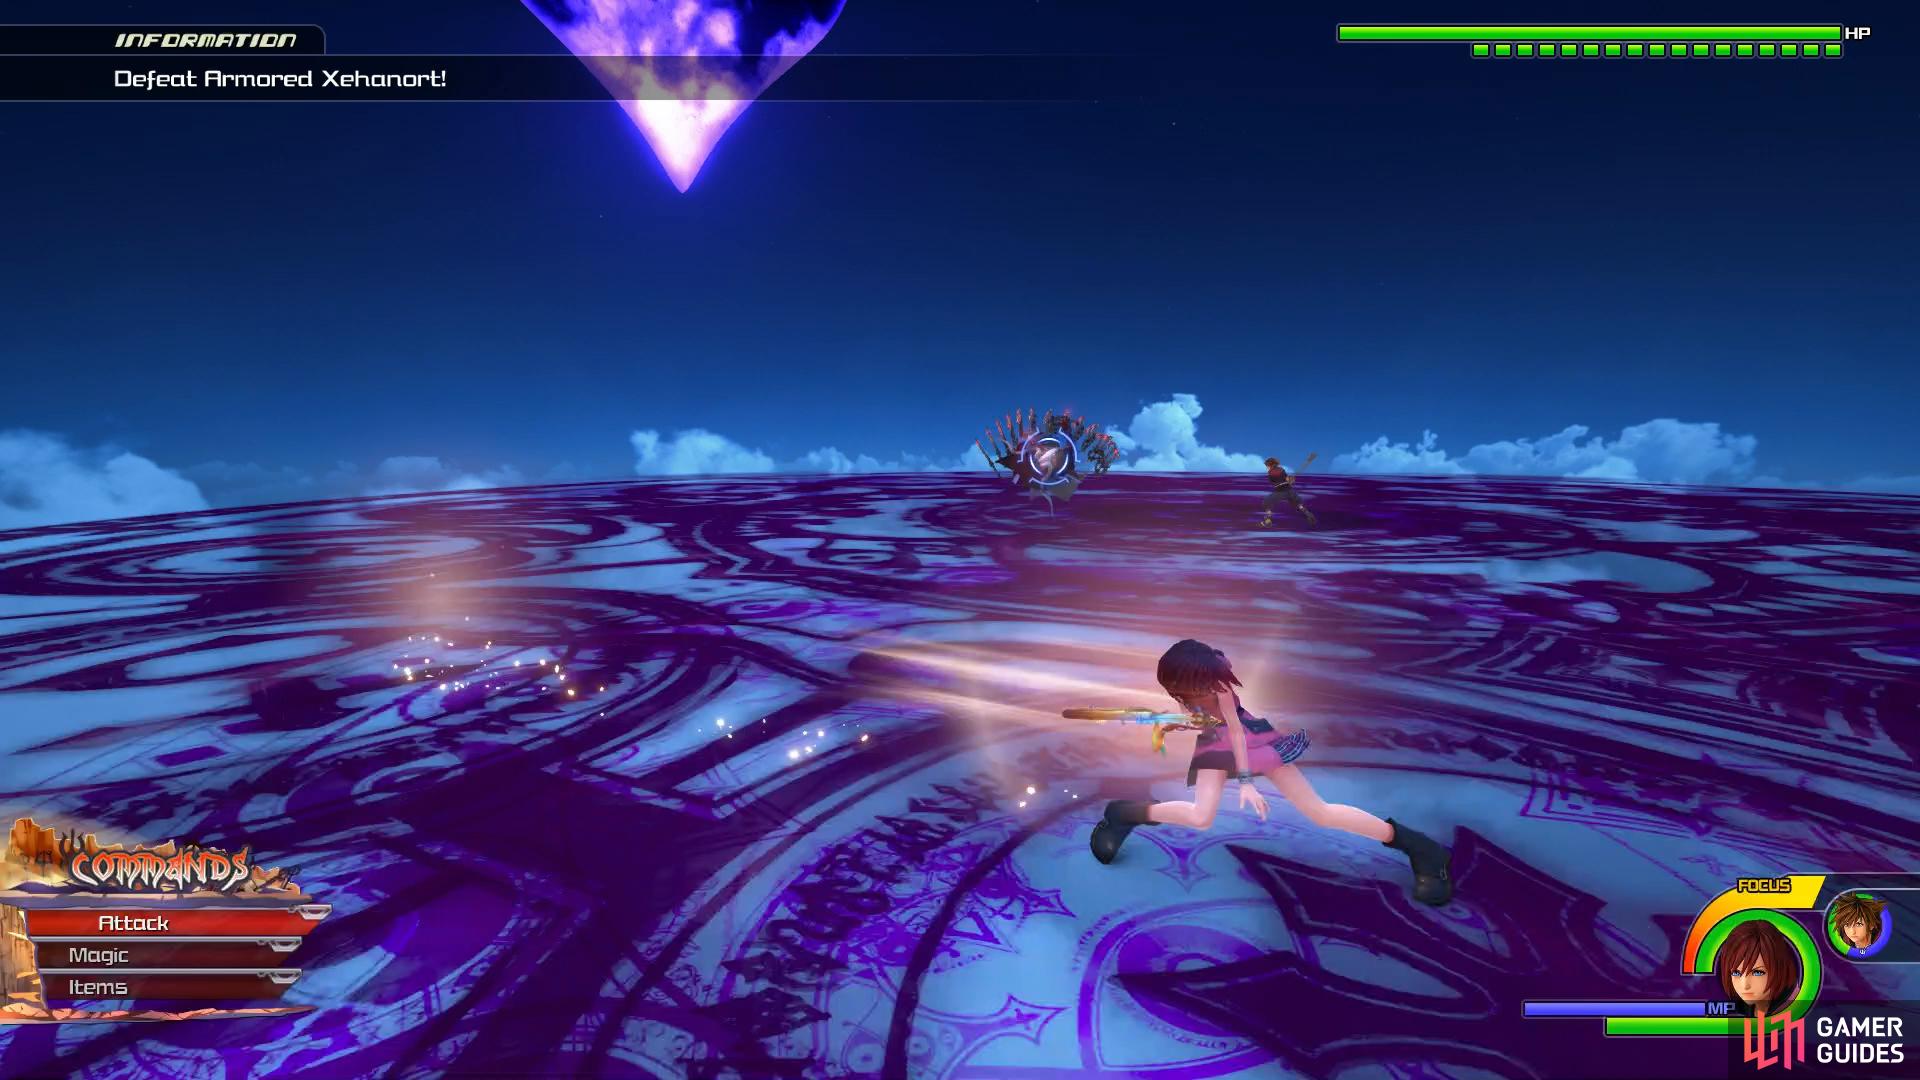
Boss: Armored Xehanort

This is the final battle in the Re Mind campaign and this time you’ll have the opportunity to control Kairi, one well worth taking up. You’ll find her Dodge is very similar to Sora’s and her block is the same Reflect that Riku has, making it a lot easier to deflect attacks with her. She has a Hi-Potion, Ether and Refocuser available to use and all forms of Magic but with the most important being Curaga as always. The Refocuser is especially handy as Kairi’s Shotlock only needs to be charged once and lands a devastating barrage of attacks on Armored Xehanort so be sure to make use of it whenever you have Focus available to you. Her finisher, Seven Wishes, will allow you to repeatedly slash away at Armored Xehanort, dealing huge damage.
Keep an eye out for when the One Heart Situation Command is available, usually preceded by a callout from Sora. This Situation Command will allow you to deal huge damage to Armored Xehanort while also being a spectacle, showing past memories from Sora and Kairi.
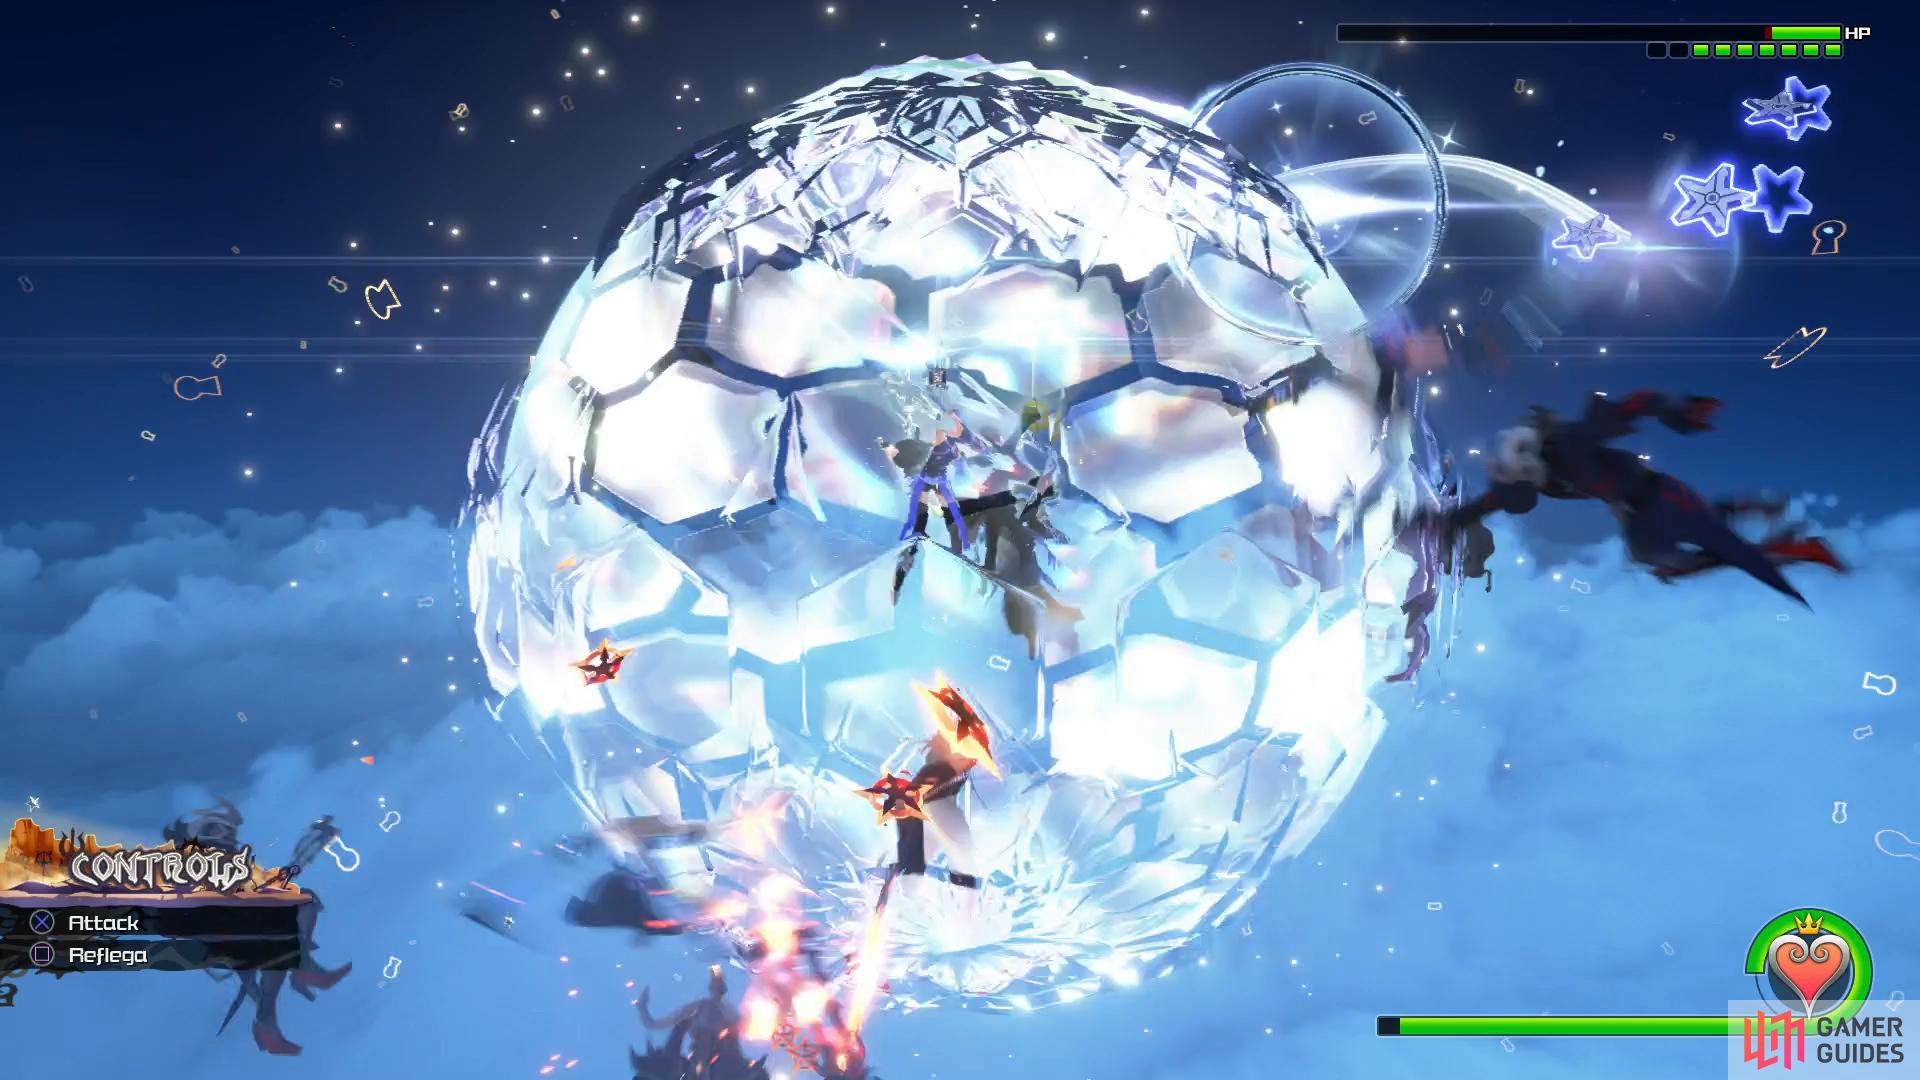
Armored Xehanort is a lot more deadly than the version you encountered in the base game. He has two primary ways of attacking you with the first being a Spinning Keyblade Combo that you can deflect through. He repeats this many times so avoid the lure of countering after the first barrage and wait until he’s finished before launching your counter attack. His other main method of attack is with his Fire magic, the first is a localized barrage on your location, when you see the flames appear around you, either begin dodging to the side or prepare a block. After a few blasts from this, you’ll notice a red cross under you, this indicated a Flame Pillar is about to rise from this location so keep dodging to avoid it. If you’re caught up in it, focus on evading as more will come even if you’re in the air and can really drain your HP. You can block through this if you repeatedly use the block button.
Armored Xehanort most deadly attack is his Eruption attack where he’ll ignite the entire battlefield, if you’re airborne when he starts using this, you could suffer massive damage. Instead, land and look for safe spots on the ground, noting that Flame Pillars will rise at different intervals. Evasion is the name of the game here as you ride out the first stages of the attack. Keep to the outside of the arena and look to dodge to the side of his Fireballs and then be prepared to block his Keyblade Slash that follows.
Following this attack, Armored Xehanort will conjure up a Light Storm that will pull you in towards him, keep running away to avoid being drawn into the center and then block when the orbs surround you. If you don’t you’ll be transported to the center and take massive damage from the following explosion. He’ll revert to the beginning of the phase following this attack.
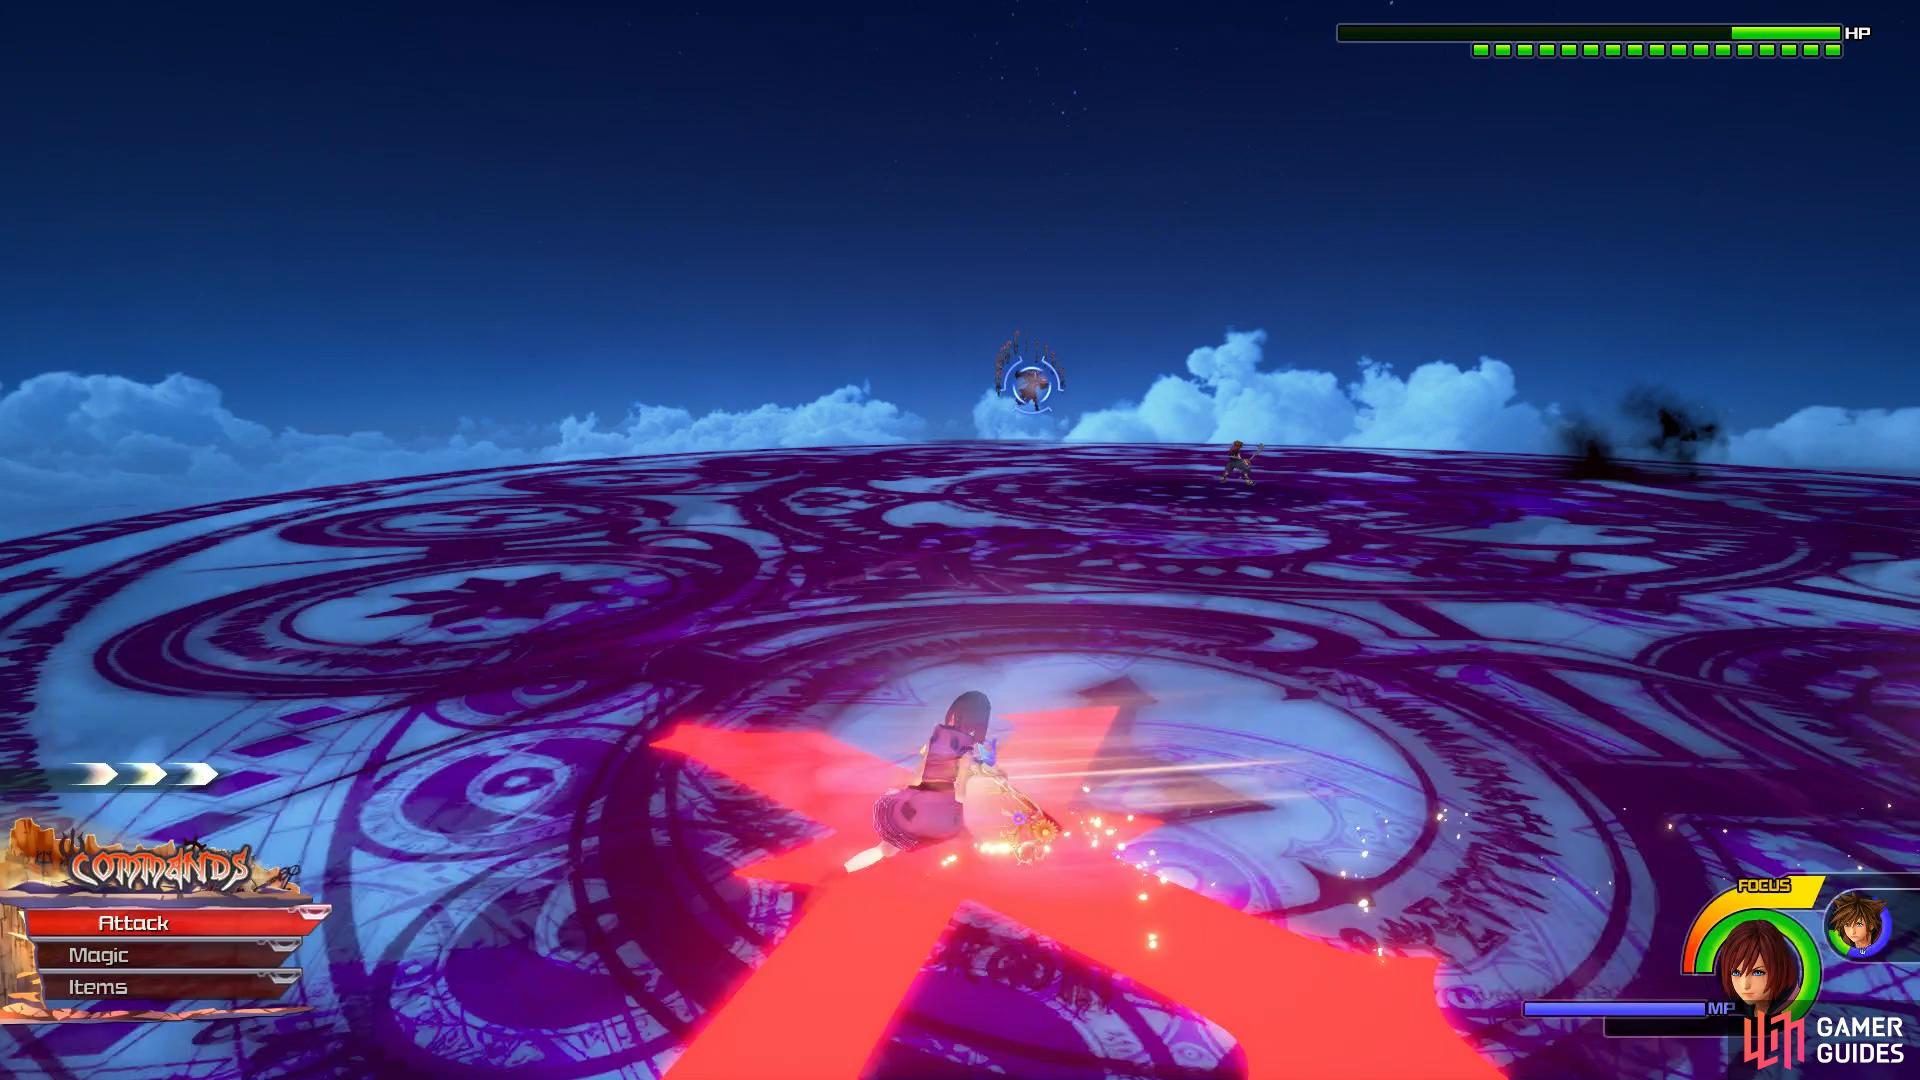
Once you take Armored Xehanort under half HP, he’ll enter his more deadly final phase as he’ll start conjuring Meteors to come crashing down at your location. These can’t be blocked and will explode upon impact so be on the move or jump as they hit the ground to limit the damage you take. You’ll need to be quick however as Armored Xehanort will close in for an attack straight after that you’ll need to deflect and counter. If you’re fortunate here, you can deflect and catch Armored Xehanort in the air, allowing you to essentially chain stun him and deal multiple bars of HP at once. Once you finally whittle his HP down to 1, activate the Connecting Hearts Situation Command to bring the battle to a close.
| Character | Ability |
|---|---|
| Sora | Item Slot Unlocked |
Watch the ending scenes that follow and save your game to create clear data for Re Mind. You can load this data to access Scala Ad Caelum again to explore it more and snag any Treasures you may have missed or farm for materials. Once you’re ready to continue on with the DLC, select Limitcut from the Title Screen and load this save file.
No Comments