

The Eclipse
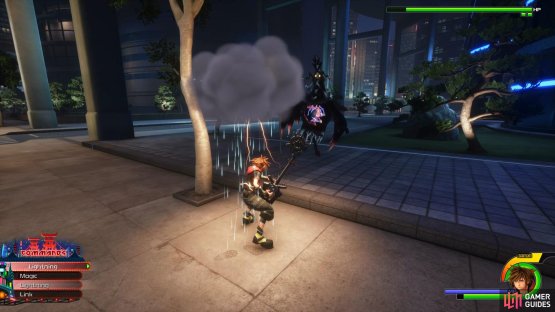
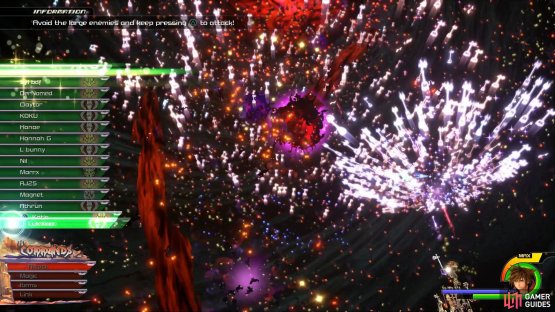
The Eclipse is the final galaxy in the game and there’s only one World to visit. You’ll find yourself initially in a space station that you’ll need to find your way out of. The battles here are difficult if you’re running an underpowered ship so avoid them unless you wan’t the experience. Follow the guided arrows made out of Munny and Experience orbs and you’ll eventually find your way to the exit where one final adversary awaits.
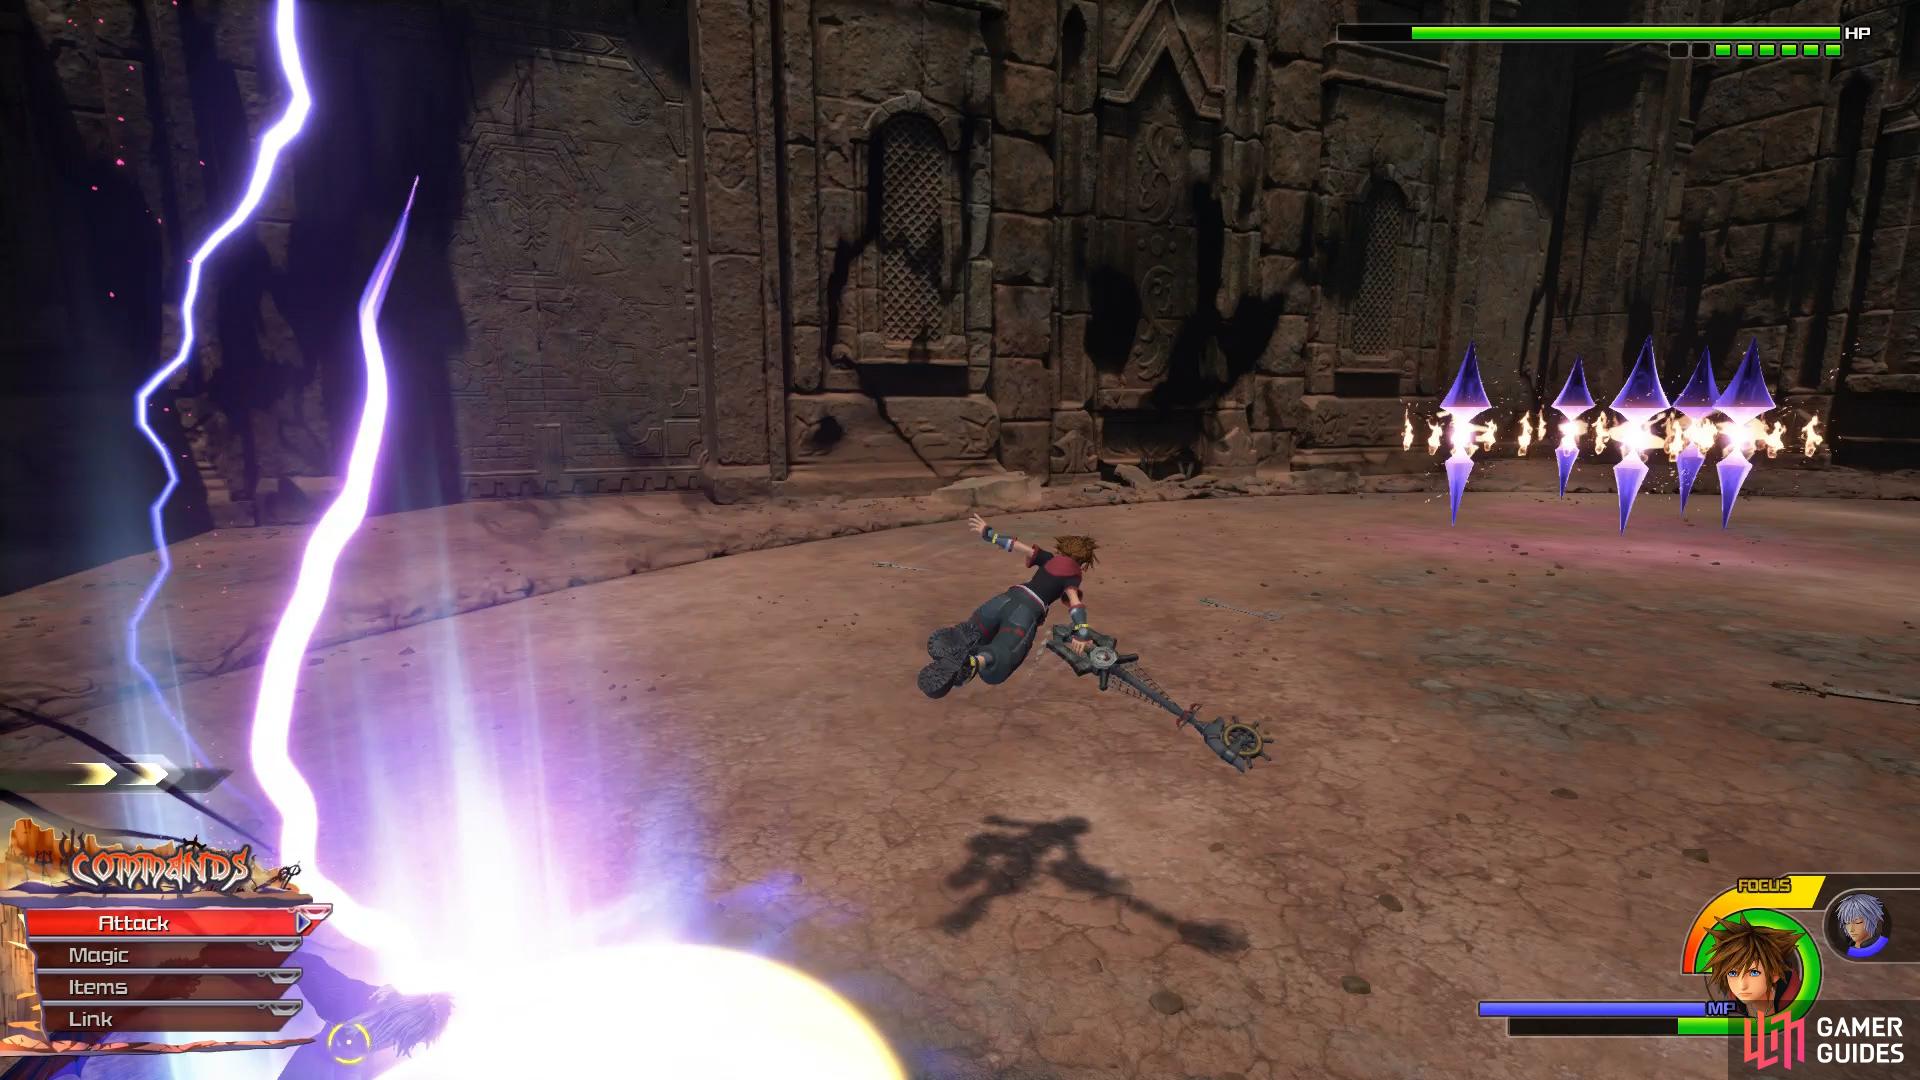
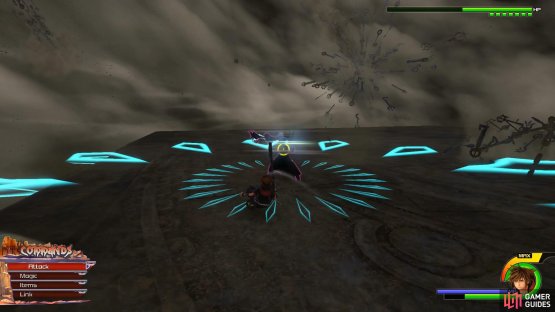
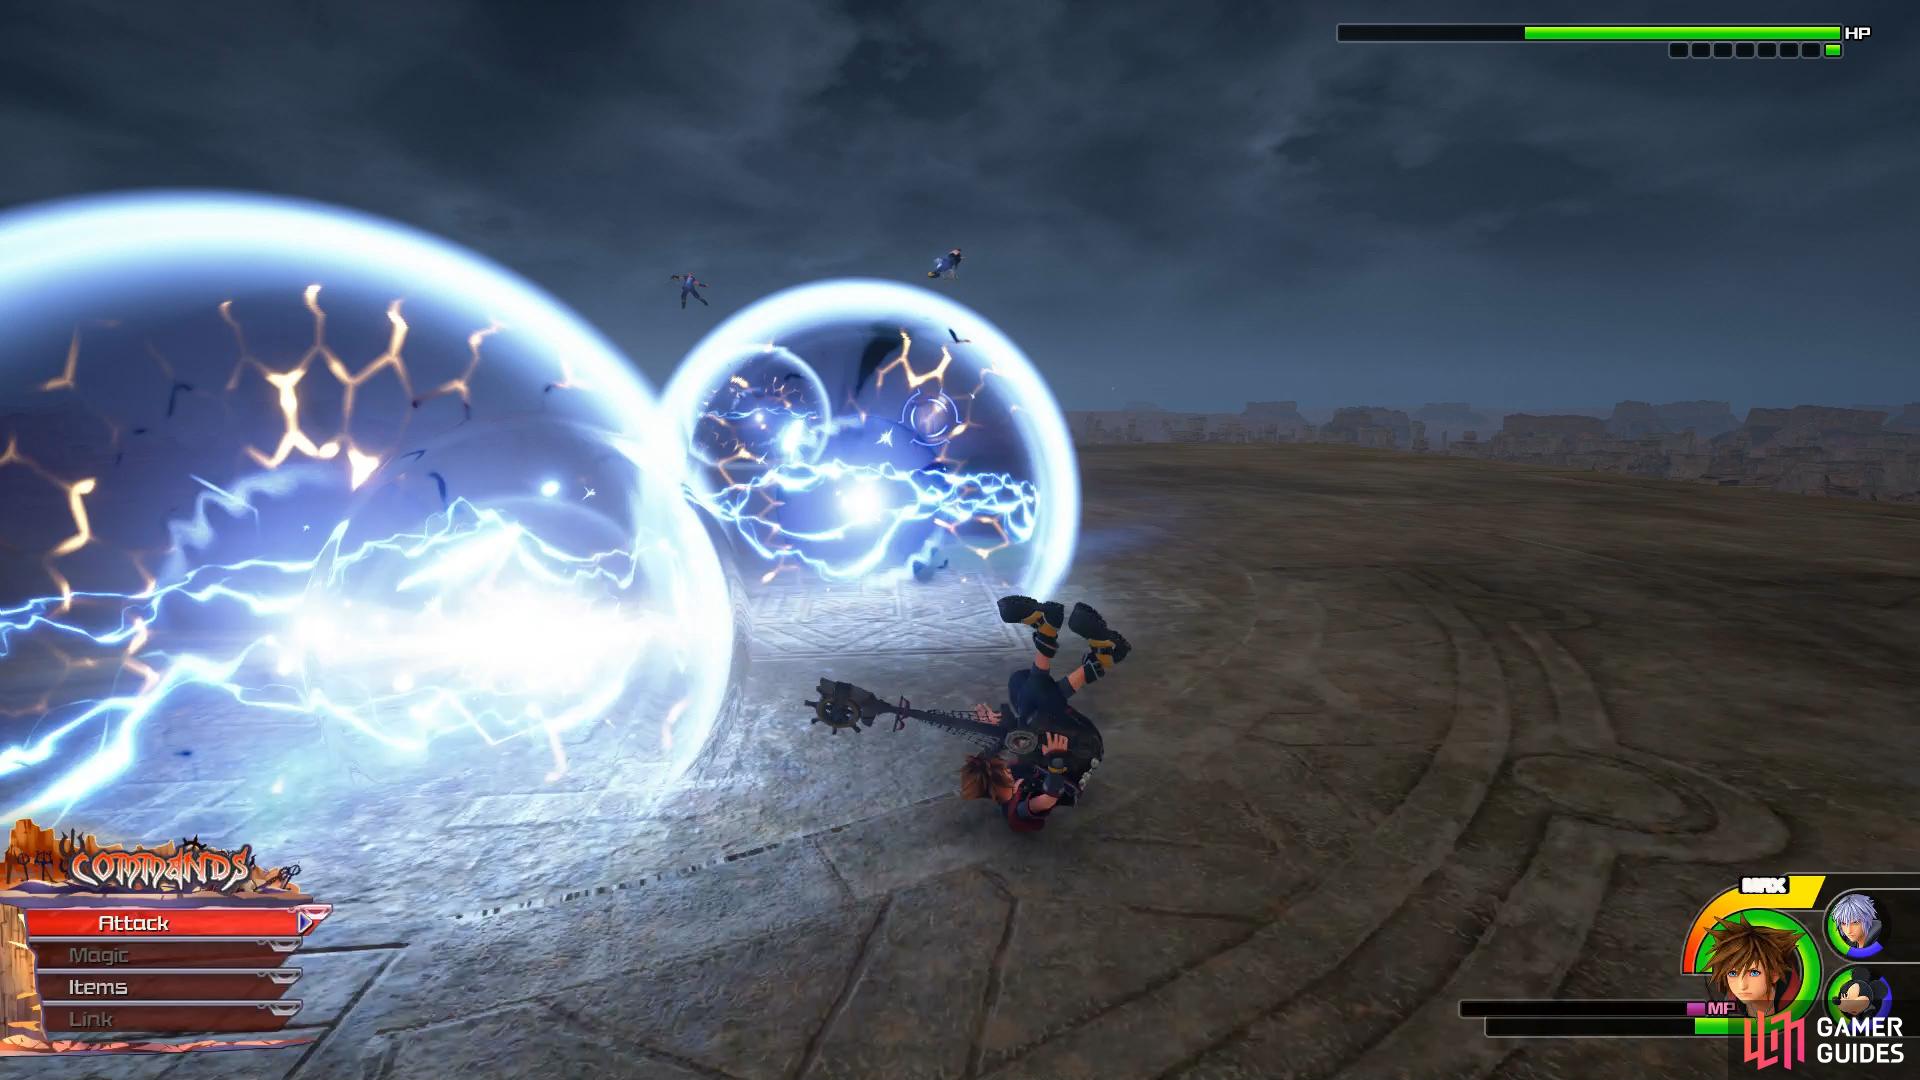
The Colossus Pyramid is looks a lot more daunting than what it actually is. Depending on your set up, you may be here a while whittling down it’s HP but it shouldn’t pose too much of a threat. The initial phase of the battle will see you flying around the outer edge shooting away at the main cannon. Provided you’re on the move, the lasers are easy to avoid and you can replenish lost HP via the missiles that fly your way. The second phase follows the same general idea, keep on the move and lock on to as many enemies as possible.
The Badlands
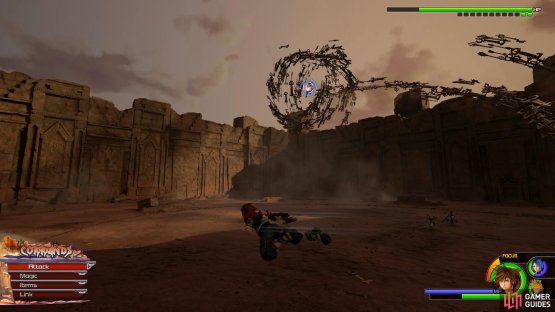
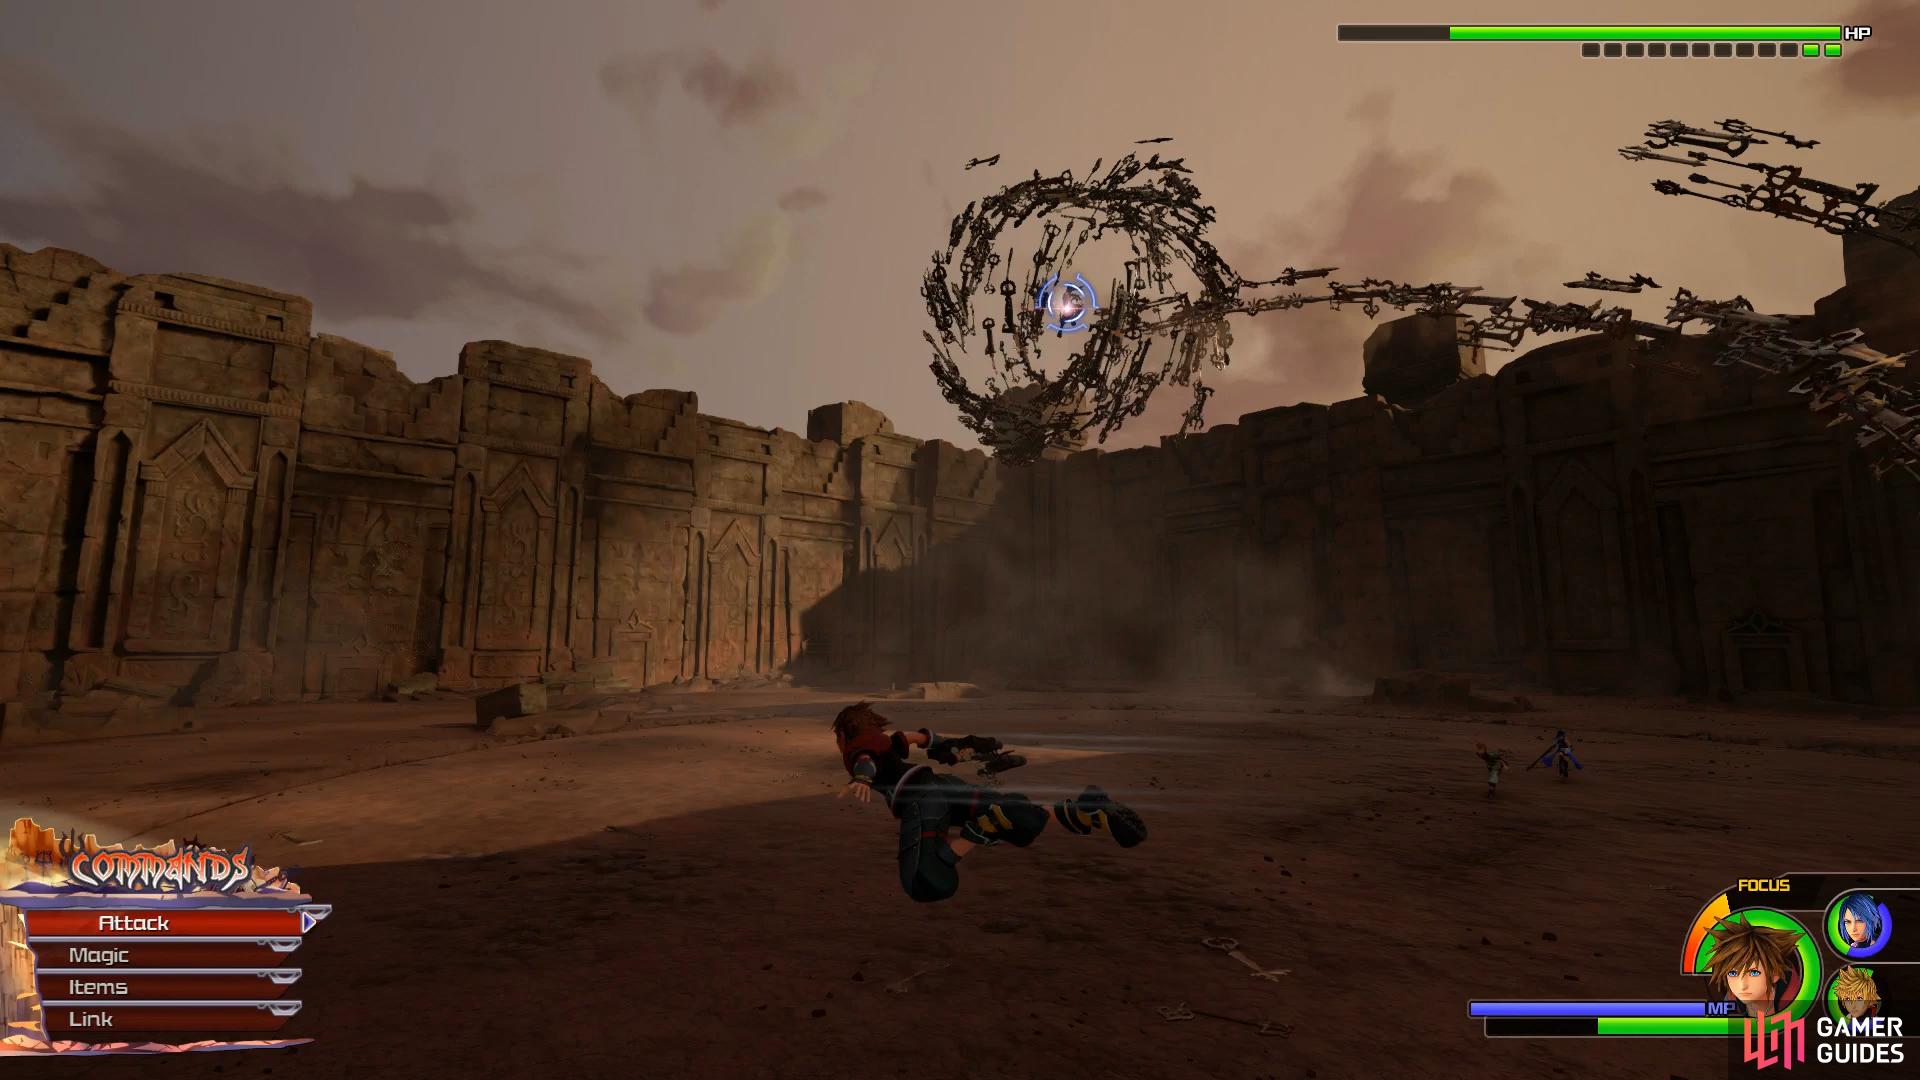
The seven Guardians of Light assemble in The Keyblade Graveyard as Master Xehanort makes his appearance at long last. Once everyone has made their appearances, an army of Heartless, Nobodies and Unversed will attack. This battle is a lot more simpler than you may think as your main adversaries are just the basic archtypes of each species.
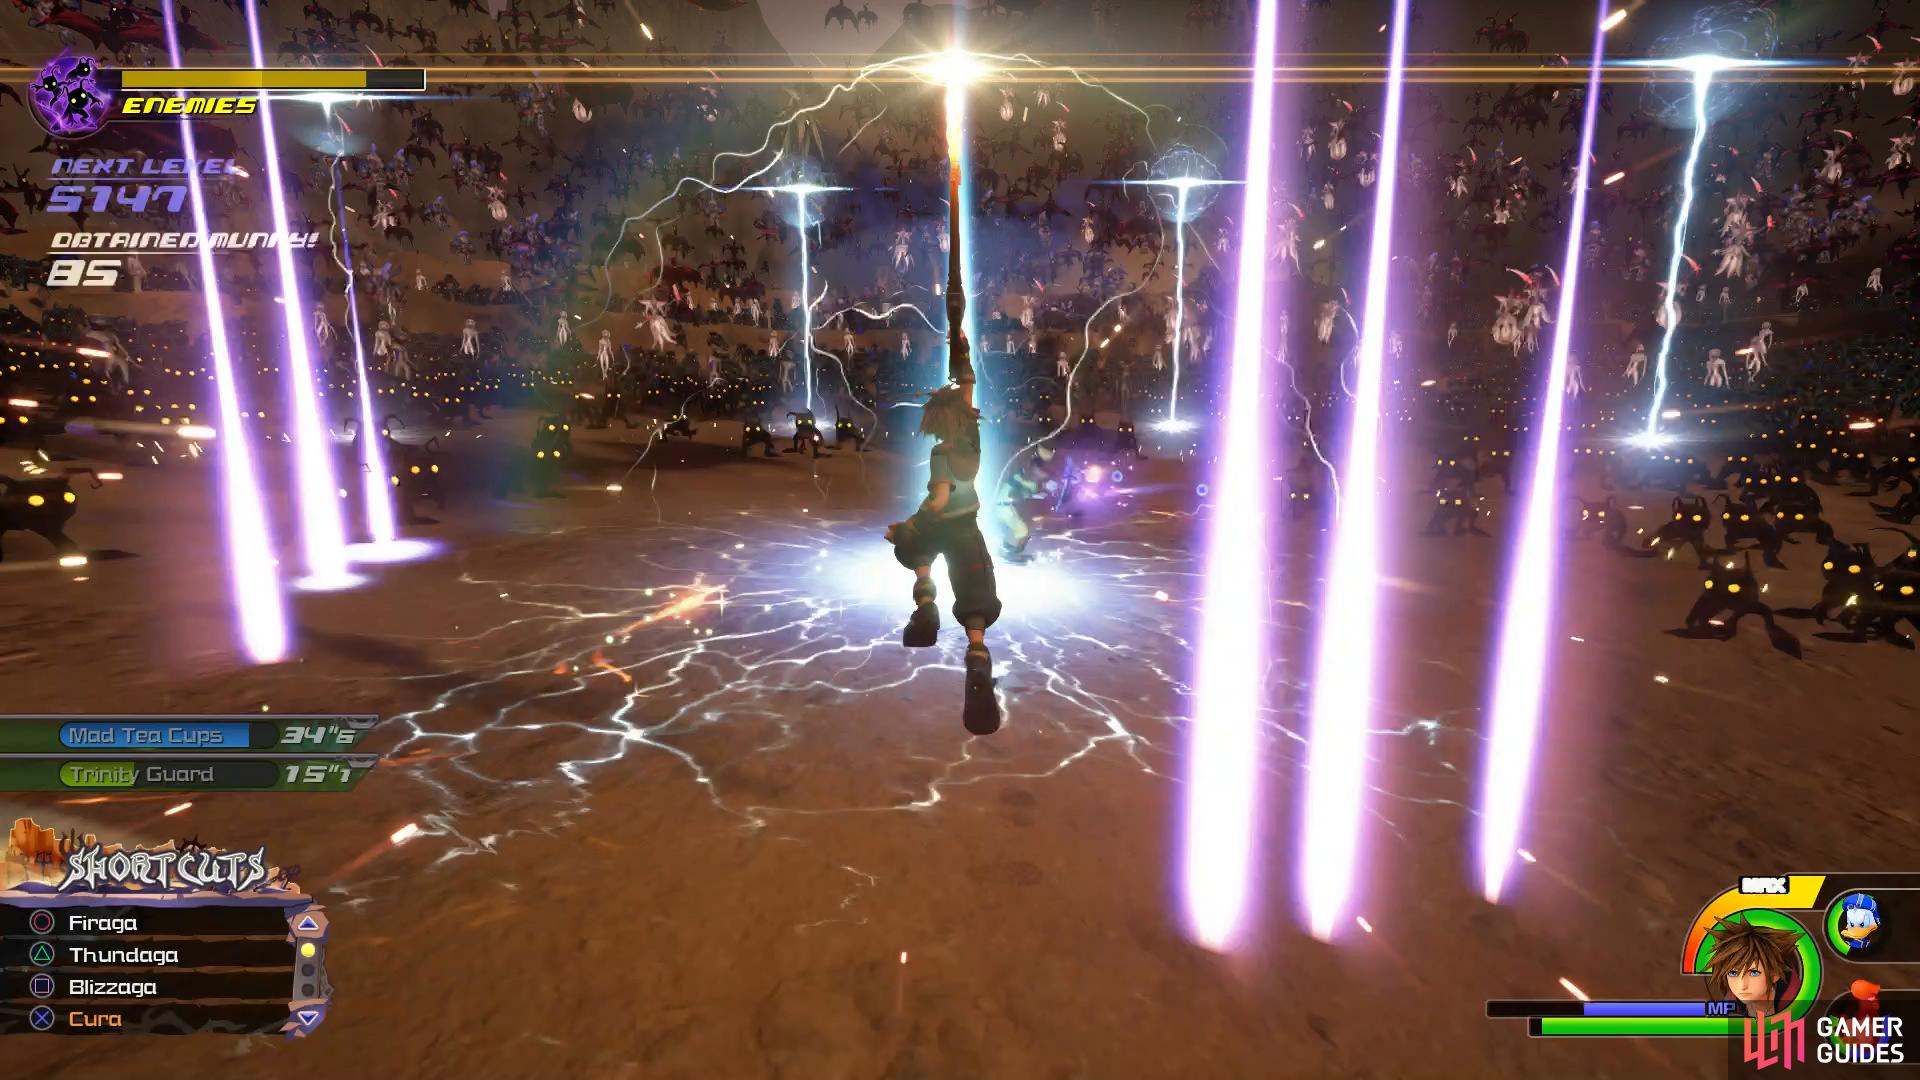
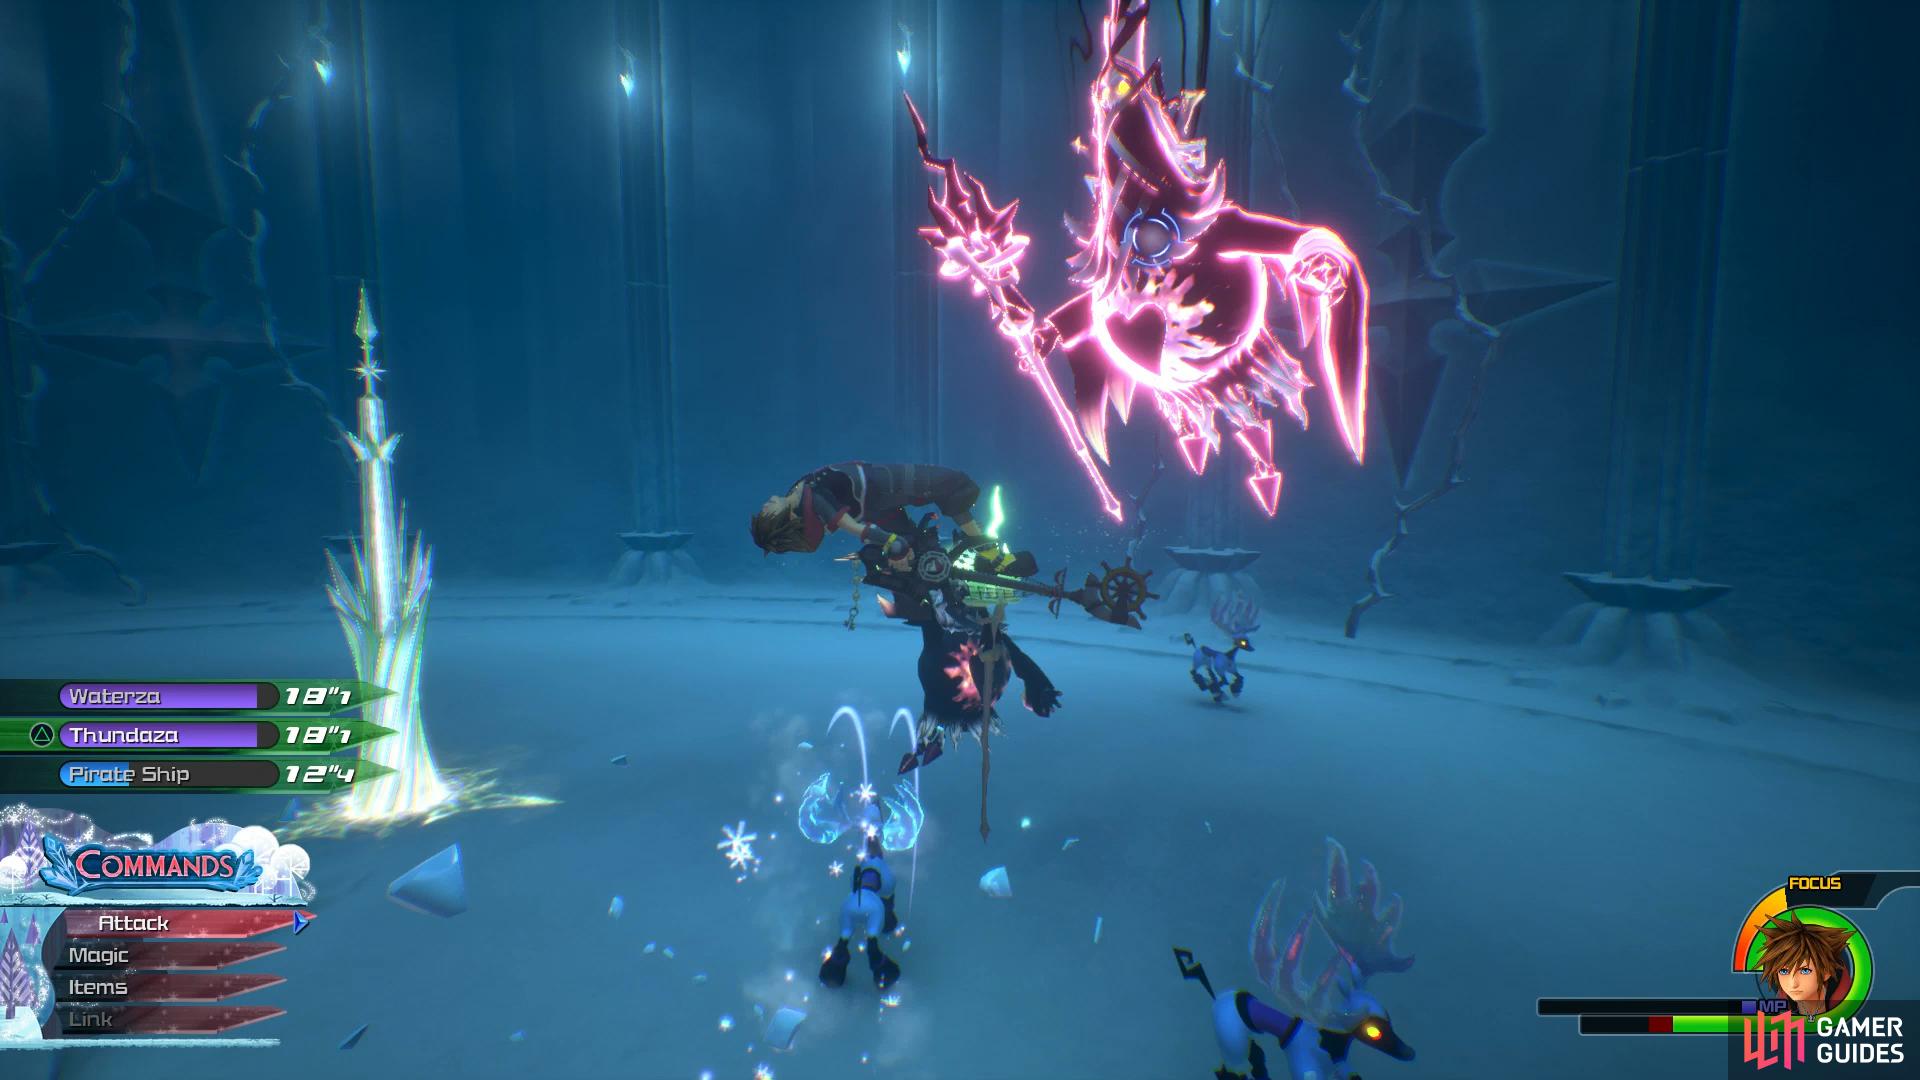
Thundaga is useful for hitting large chunks of enemies at once.
Make use of area of effect spells such as Thundaga/za to hit large groups at a time and look out for any Situation Commands that appear, especially Mountain Coaster as soon as it becomes available, this will enable you to dispatch large chunks of enemies at once before delivering a final blow.
| Character | Ability |
|---|---|
| Sora | Final Blow, Item Slow, Glide |
Following the battle, pocket any loose materials that may be scattered across the ground and then be sure to equip the Glide ability right away, this improves your manoeuvrability tenfold. Once you’re ready, head forward and open the nearby chest to obtain Treasure #1 - Map: The Badlands before using the nearby Save Point to save your game.
Continue forward and search behind the first rocky pillar you come to, you’ll find a chest containing Treasure #2 - Cosmic Belt here. Continue on forward from here and out of the cave to catch up with the rest of the others and trigger multiple cutscenes.
The Final World
All seems lost as Sora regains drifts through a sea of clouds without any form. Once you regain control, walk forward to trigger another cutscene and meet another denizen of this mysterious World. After learning the conditions for Sora to return you’ll need to run around the area collecting the other Soras, simply coming into contact is enough. You’ll also find a multitude of stars that you can interact with here and although not a requirement, will reveal hidden secrets of the Kingdom Hearts universe.
If you stick around to catch 222 and 333 Soras, you’ll get Max HP Increases.
After collecting all of the Soras here, touch the pink ball in the center to find yourself in a larger area. Once again, the task becomes to collect wandering Soras again only this time, you’ll have a goal of 111 and can alter the landscape by hitting the blocks you come across. Another warp gate will appear once you collect the required amount however if you decide to stick around and collect more Soras you can score two permanent Max HP Increases for 222 and 333 respectively.
Regardless of your decision, you’ll eventually find yourself whole again and ready to make your return. Once again drifting, Sora will find himself in a version of Olympus. Walk forward and make use of the Save Point and Moogle Shop to stock up on the battle ahead. As you move toward the center of courtyard, you’ll run into the Lich.
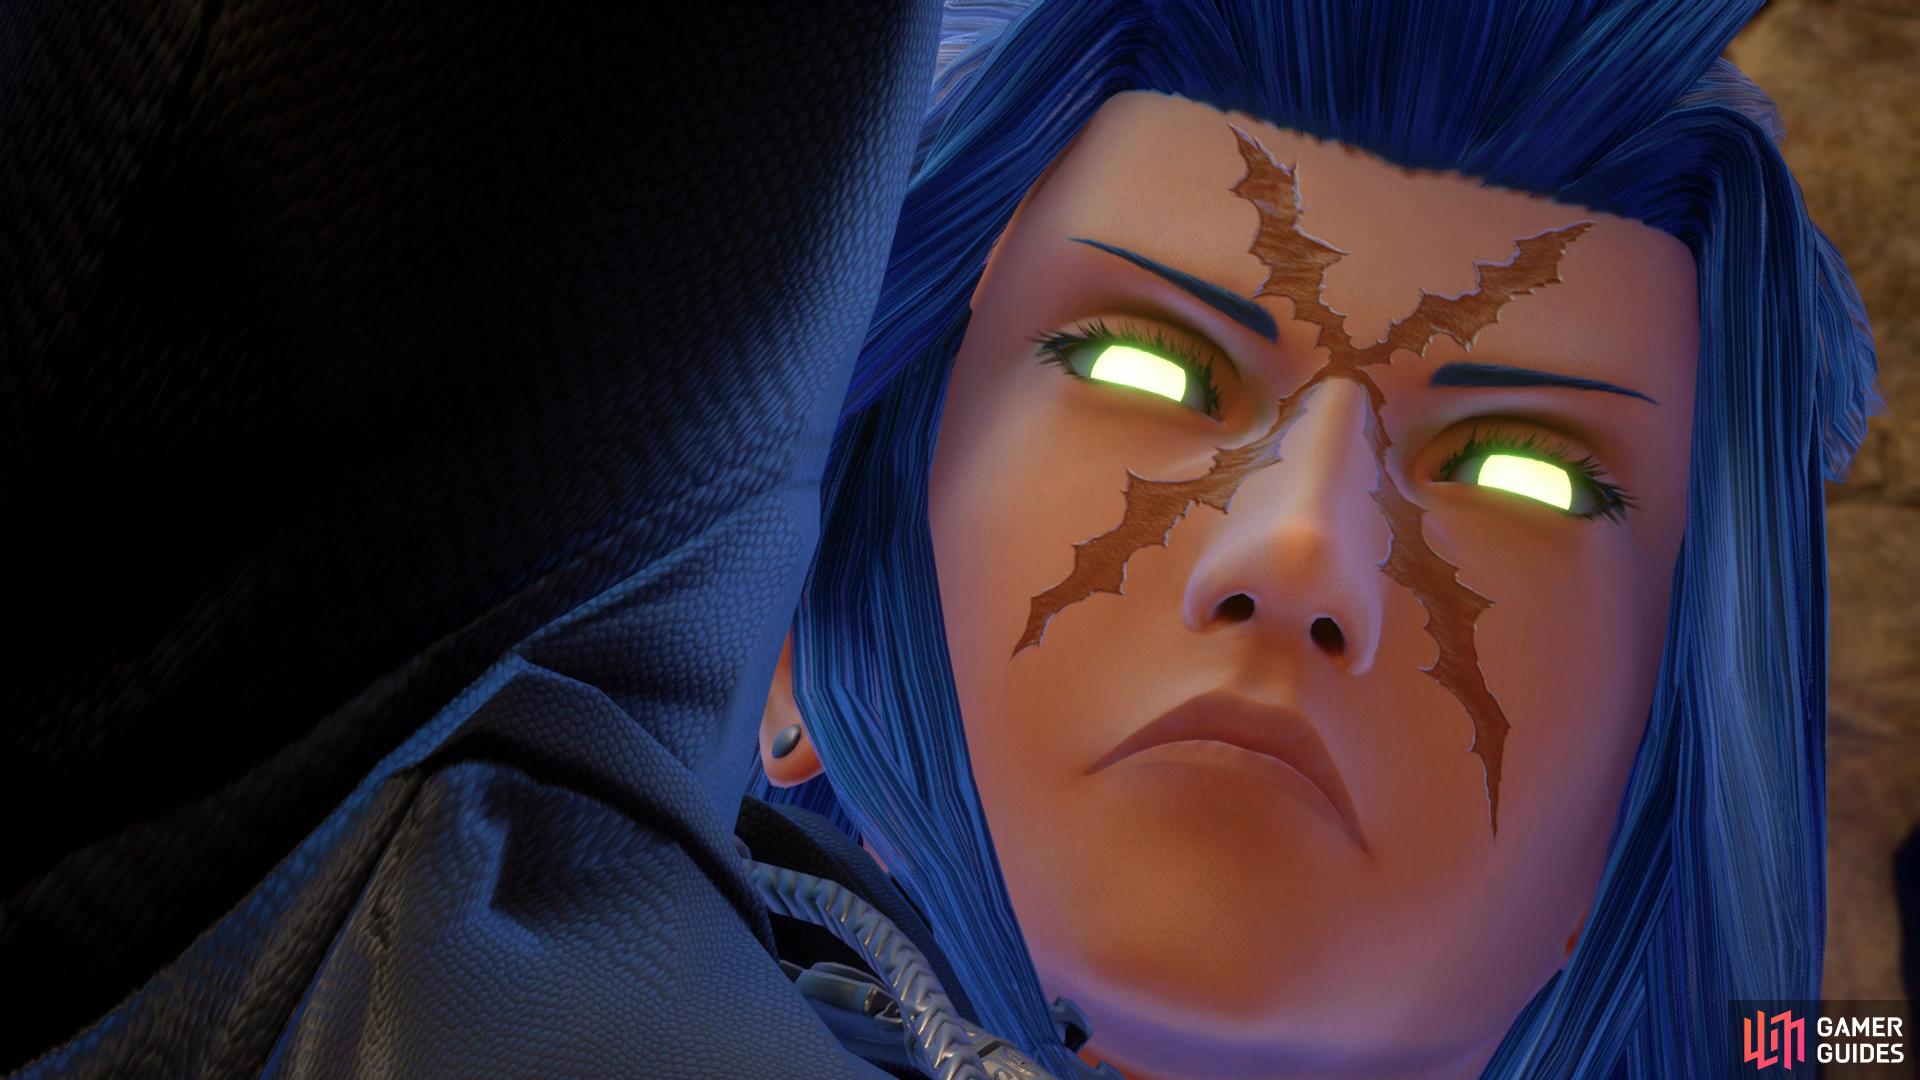
Boss: Lich

After catching up with the Lich, you’ll begin a series of battles with it that takes place across many Worlds. To begin with in Olympus, the Lich will only have a few attacks at it’s disposal. It can leave decoys of itself in a fixed location that will, after a short time, explode. The Lich will also sling multiple casts of Fire at you which can be blocked along with Aeroga at your feet, dodge out of the way of this. As for dealing with the Lich here, there’s not too much to note, keep locked on and dodge out of the way when it leaves a decoy.
The next World you visit is The Caribbean where the Lich will now adapt a water based strategy. Adding Water spells to his attacks, you’ll also have to deal with the threat of other Heartless, a few casts of Thundaga however will make short work of them.
You’ll find yourself back in the Labyrinth in Arendelle for your next battle. As you may have guessed by now, Blizzard is it’s choice of spell this time around (alongside Fire like all the battles). If hit with this Blizzard, you’ll find yourself frozen so avoid it at all costs.
Now in Monstropolis, the Lich will sling Fira spells at you which, like all other fire based spells, are best blocked rather than running from. After depleting some of it’s HP, it will vanish, leaving a group of Large Bodies behind in it’s wake. This is a great time to use Thundaga to clear them out before finishing off the Lich once it returns.
(1 of 2) Stay away from the exploding red Lichs

Stay away from the exploding red Lichs (left), while the Lich will gain new abilities with every encounter. (right)
Toy Box is your next destination and the Lich’s affinity will change to Thunder. This is arguably the most difficult of the Lich’s spells to avoid and for the most part, you’ll have to take the hit so be sure to save some MP for Cura. Like most of your recent battles, this time around the Lich will summon Marionettes to join in the fray and like always, Thundaga is the best way to clear them out. The Lich will also begin vanishing off to the corners of the arena and slinging spells at you at certain times.
You’ll find yourself in the Marsh in the Kingdom of Corona for your next battle. With the Rain Cloud status effect added to it’s arsenal, your most difficult task here is tracking the Lich down. Like in Toy Box, the Lich will vanish and reappear in random locations however with the Marsh being a larger area, it can be tricky to track it down.
For your final battle with the Lich, you’ll be back on the streets of San Fransokyo. There’s nothing new to note here with this battle but you’ll be up against everything the Lich has. Put your experiences of the past battles into action and take the Lich down once and for all.
| Character | Ability |
|---|---|
| Sora | Aeroga, Max MP Increase |
Following your victory at last, Sora will reunite with Kairi and the rest of the others, back in The Keyblade Graveyard.


You’ll find yourself back in The Badlands as the others run on ahead. Before you do so yourself, turn around and use the warp point behind you to travel back to The Final World one more time. Immediately upon entering you’ll spot a large chest, open it to obtain Treasure #1 - Orichalcum+.

Return to the Final World to snag another Orichalcum+.
Press forward and save your game at the nearby Save Point before making your way to withness a different outcome to past events.
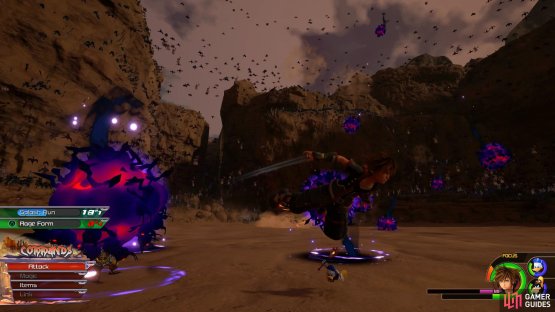
Boss: Demon Tide
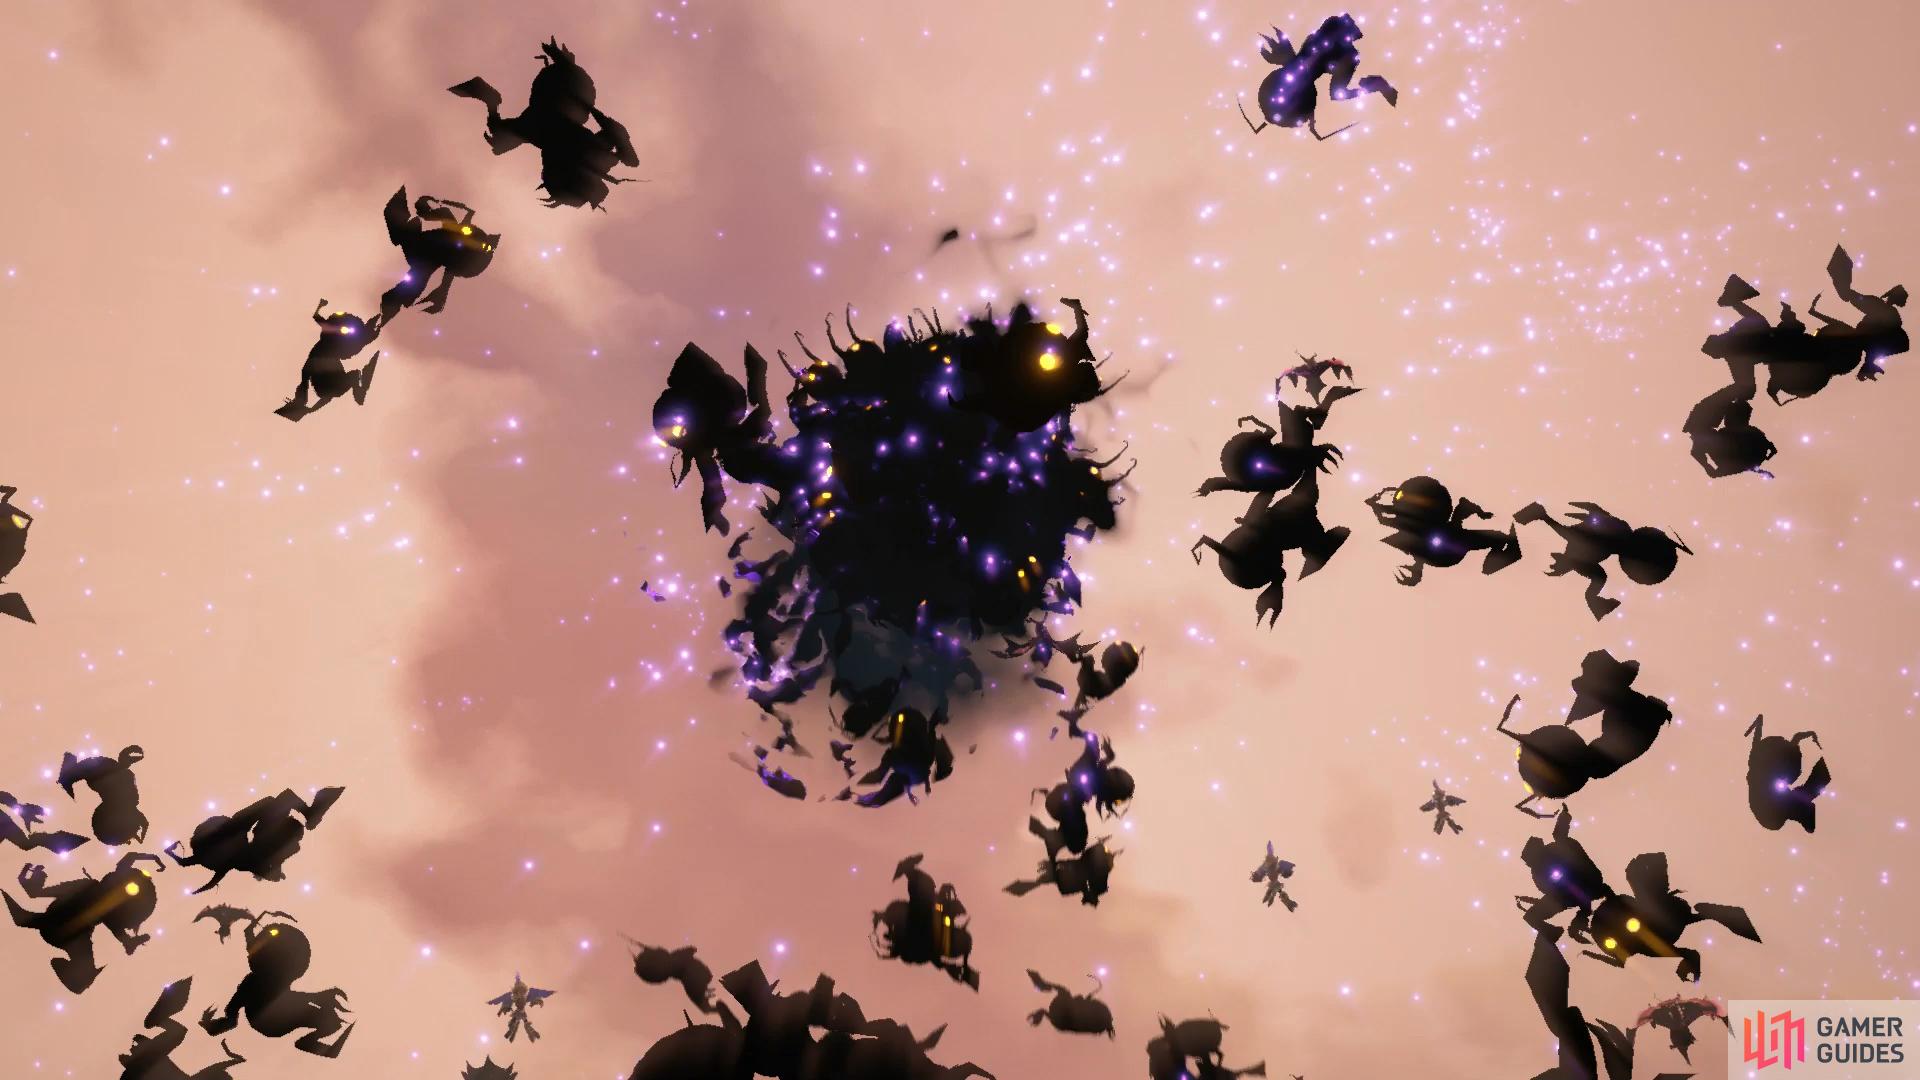
The Demon Tide is the Demon Tower on a massive scale and as such, you may see some similar attacks carried over. Like with your first encounter in Twilight Town, the Demon Tide will swarm around the arena at a slow pace so stay locked on to unleash an onslaught of Air Combos.
The most threatening attack is when the Demon Tide burrows in the ground and surfaces in your position, this will deal major damage and if you get caught in one attack, odds are you’ll be hit by the following attacks so be ready with Cura in this situation. Things are different this time however, with the Glide ability, you can now Glide around the arena to safety during this entire attack and avoid it completely.
Once you drain over half of it’s HP, the Demon Tide will reveal it’s Red Core and enter phase two. You’ll need to dash in through the wave of Heartless to slash away at the core however beware, once the entire wave glows red, get out of there. The Demon Tide will begin to spin violently and if you get caught up in it, you’ll take massive damage. Finally, as the battle continues, the Dark Tide will begin to spew Dark Balls that seek out Sora and rocket from the ground, keep gliding around the arena to avoid this attack.
(1 of 2) During phase two, glide away from the Dark Balls


During phase two, glide away from the Dark Balls (left), remember to dodge the Dark Balls when using the Unions at the end. (right)
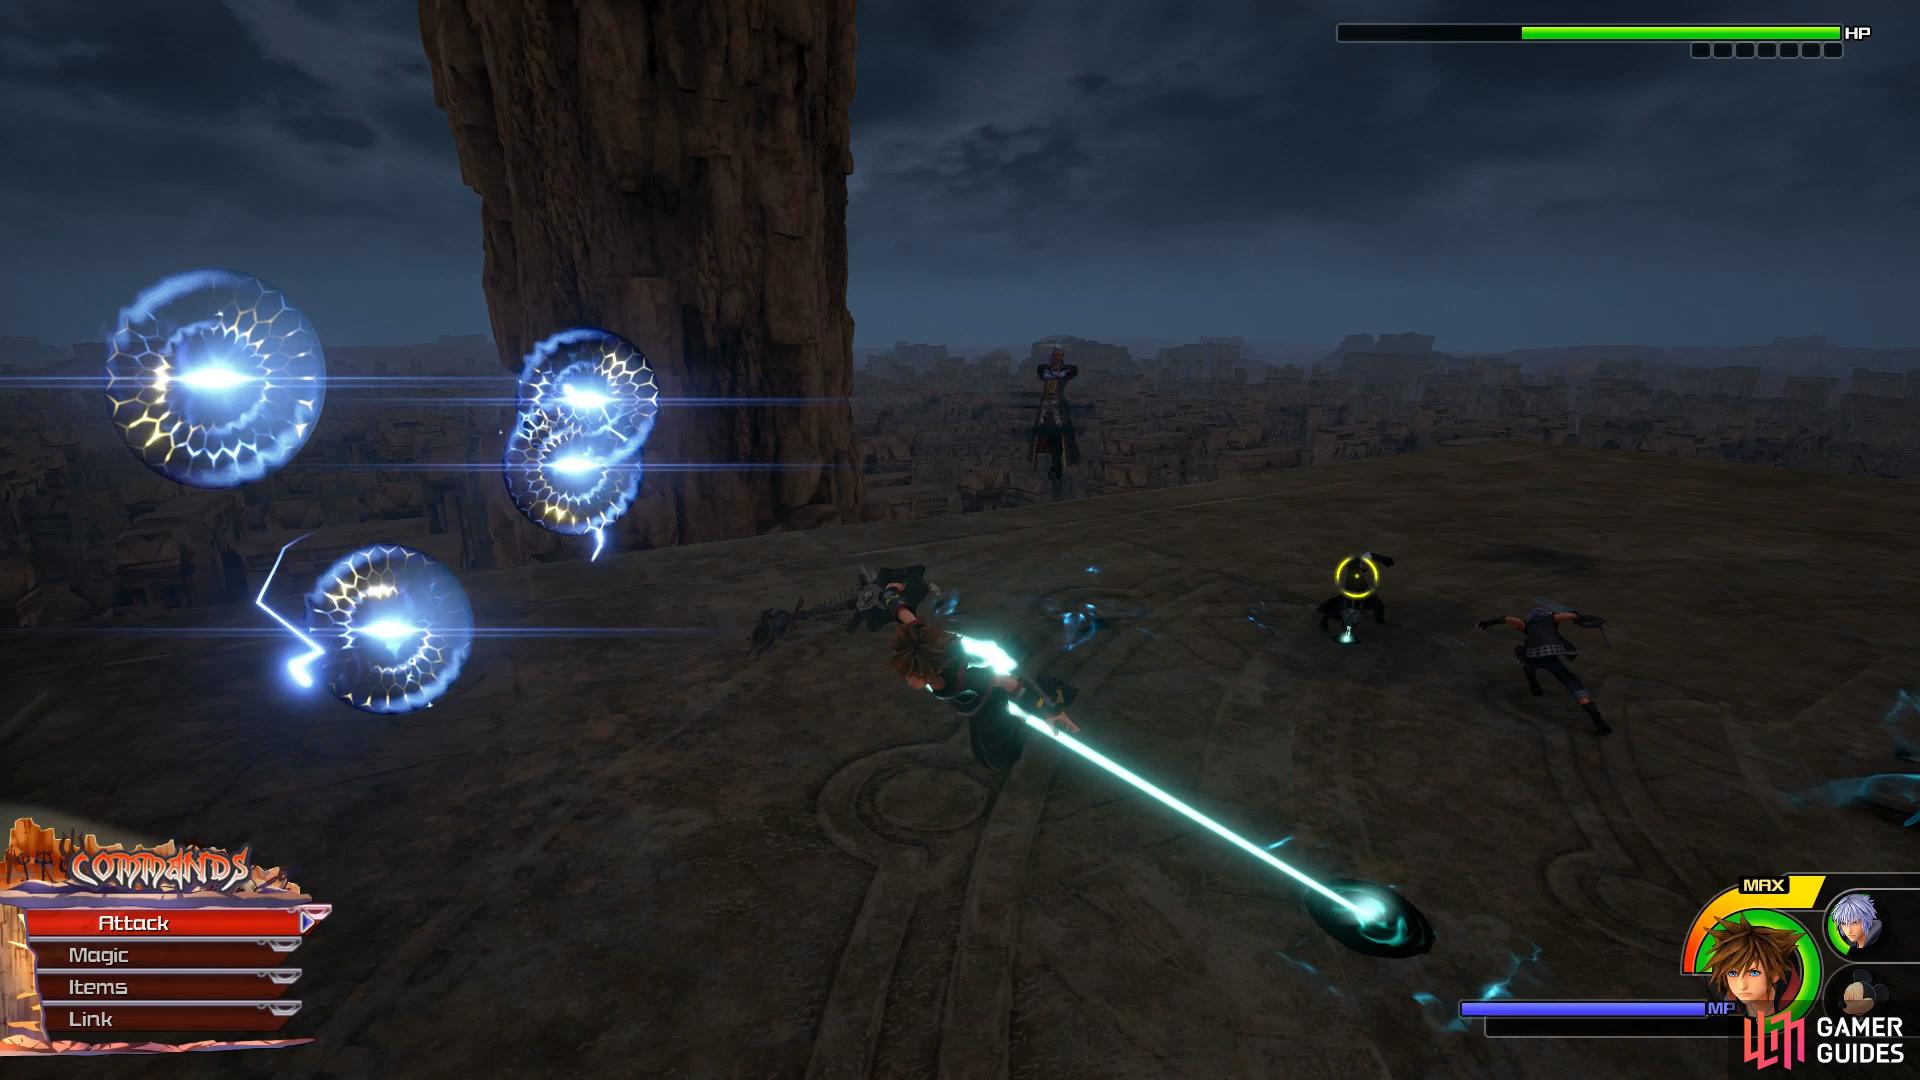
The battle’s not over there however as you enter a third and final phase. With the aid from the mysterious legion, Sora will ride a wave of Keyblades towards the Demon Tide and by pressing the [Triangle]/[Y] button, can unlease a barrage of attacks. Once Sora enters the Tide, continue to use the Situation Commands however this time you’ll need to avoid the projectiles coming your way. Once you Sora makes his way to the core, one final Situation Command brings the battle to an epic conclusion.
| Character | Ability |
|---|---|
| Sora | Curaga |
You’ll obtain the Starlight Keyblade following the battle along with the useful Curaga, be sure to assign it right away.
The Skein of Severance
After yet more cutscenes, you’ll find yourself in a labyrinth with a Save Point, Moogle Shop and a chest containing Treasure #3 - Map: The Skein of Severance. You’ll also spot your first [Battlegate] and although this simple one is available now, the rest won’t become available until following the game’s conclusion.
Take the time to prepare for the battles ahead, you’ll soon be facing a grueling gauntlet of adversaries. It’s a good idea to stock up on Hi-Ethers and equip them to Sora, you don’t have Donald here to help with the healing duties. Once you’re ready, step forward and you’ll reach an intersection, each one leading to a different encounter. Begin by heading to the right first and once the door begins to close, run up the wall to gain height and Glide through the closing door.
Boss: Marluxia, Larxene and Luxord
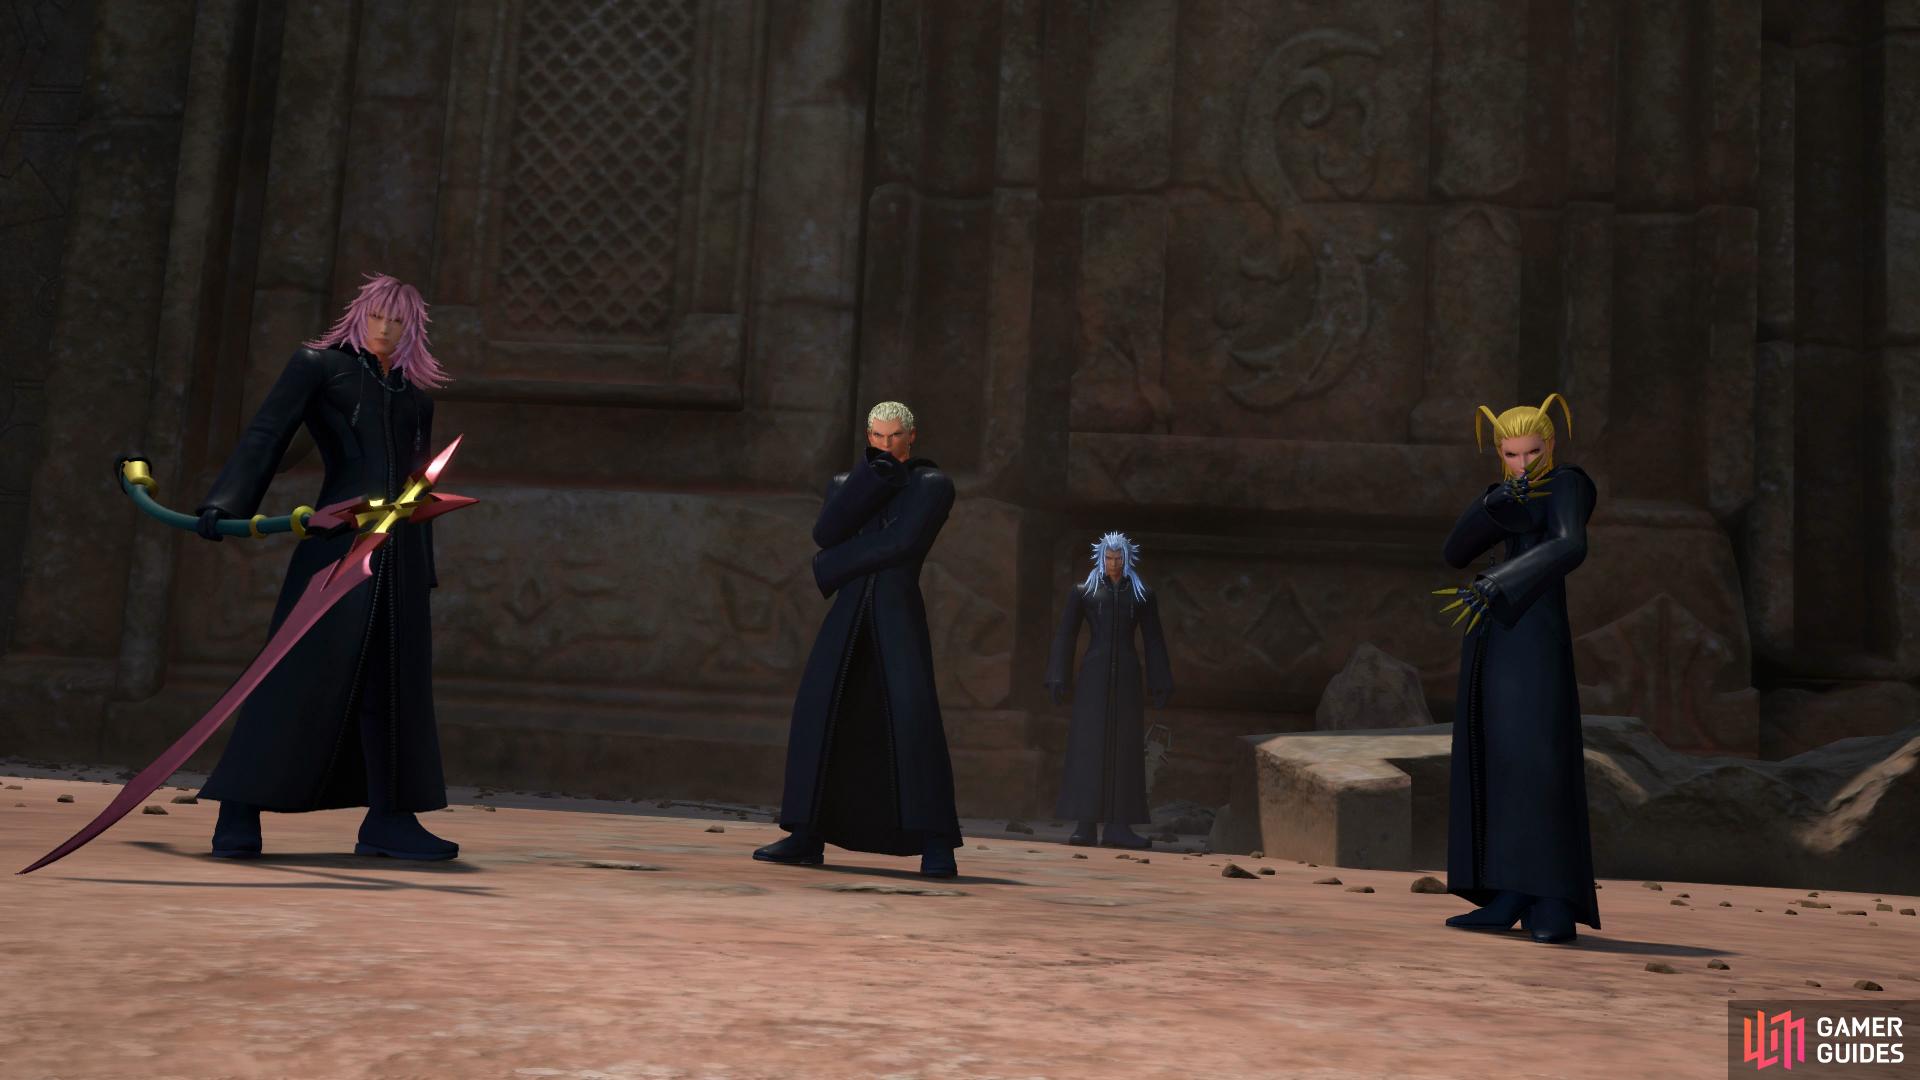
No, you’re not reading this wrong, you’ll be up against three of the Organization members at once here. You’ll have Mickey with you to begin with however don’t go all out yet, just focus on bringing one of the members down to low HP to trigger a cutscene.
The real battle begins now and you’ll lose the assistance of Mickey. To begin with, you’ll need to focus on taking Luxord out by playing his card game. Multiple cards will span the arena in a circle and one of them will have Luxord imprinted on it, all you need do is seek this one out and strike it. The easiest way to achieve this is to run around the perimeter while using the camera to see what’s on the cards. Once you find the correct one, strike at it to damage Luxord directly.
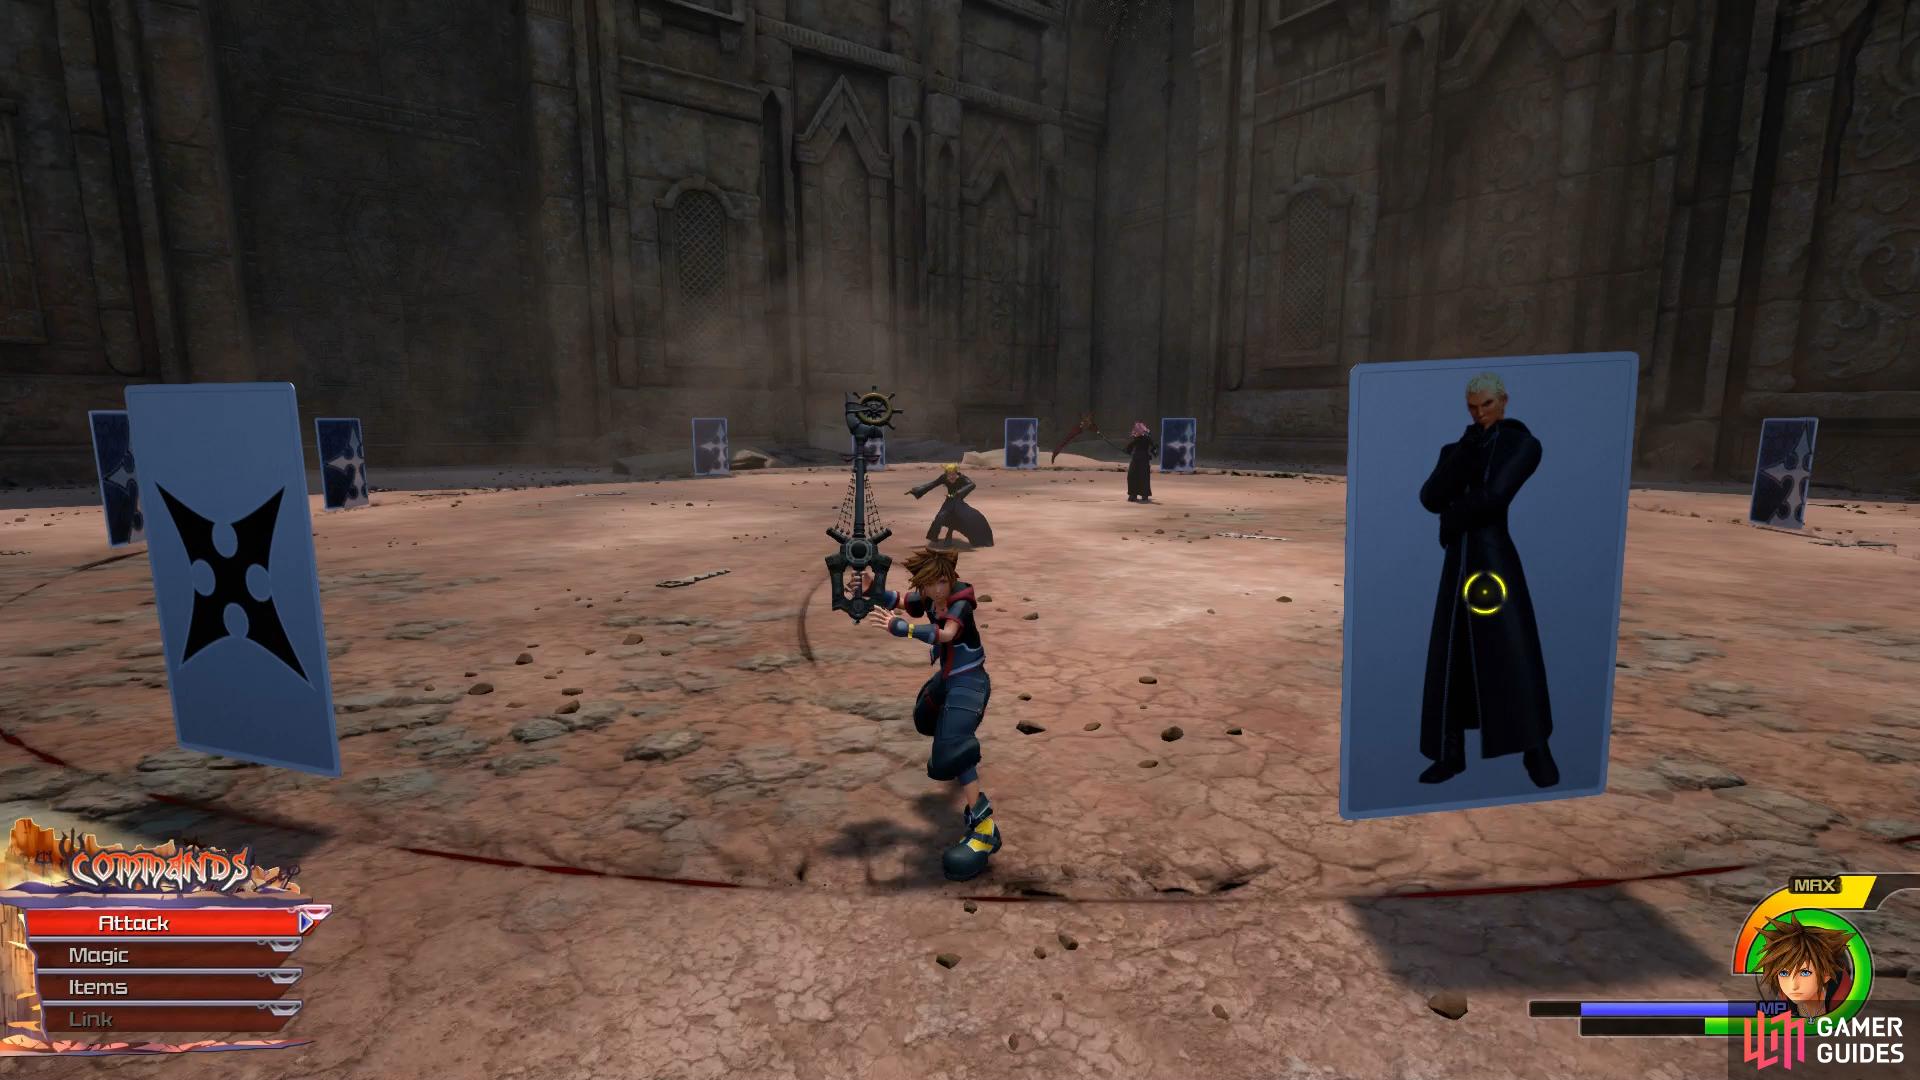
Turn the camera to see the other side of the cards.
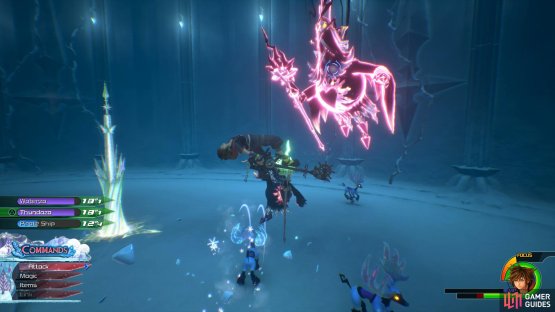
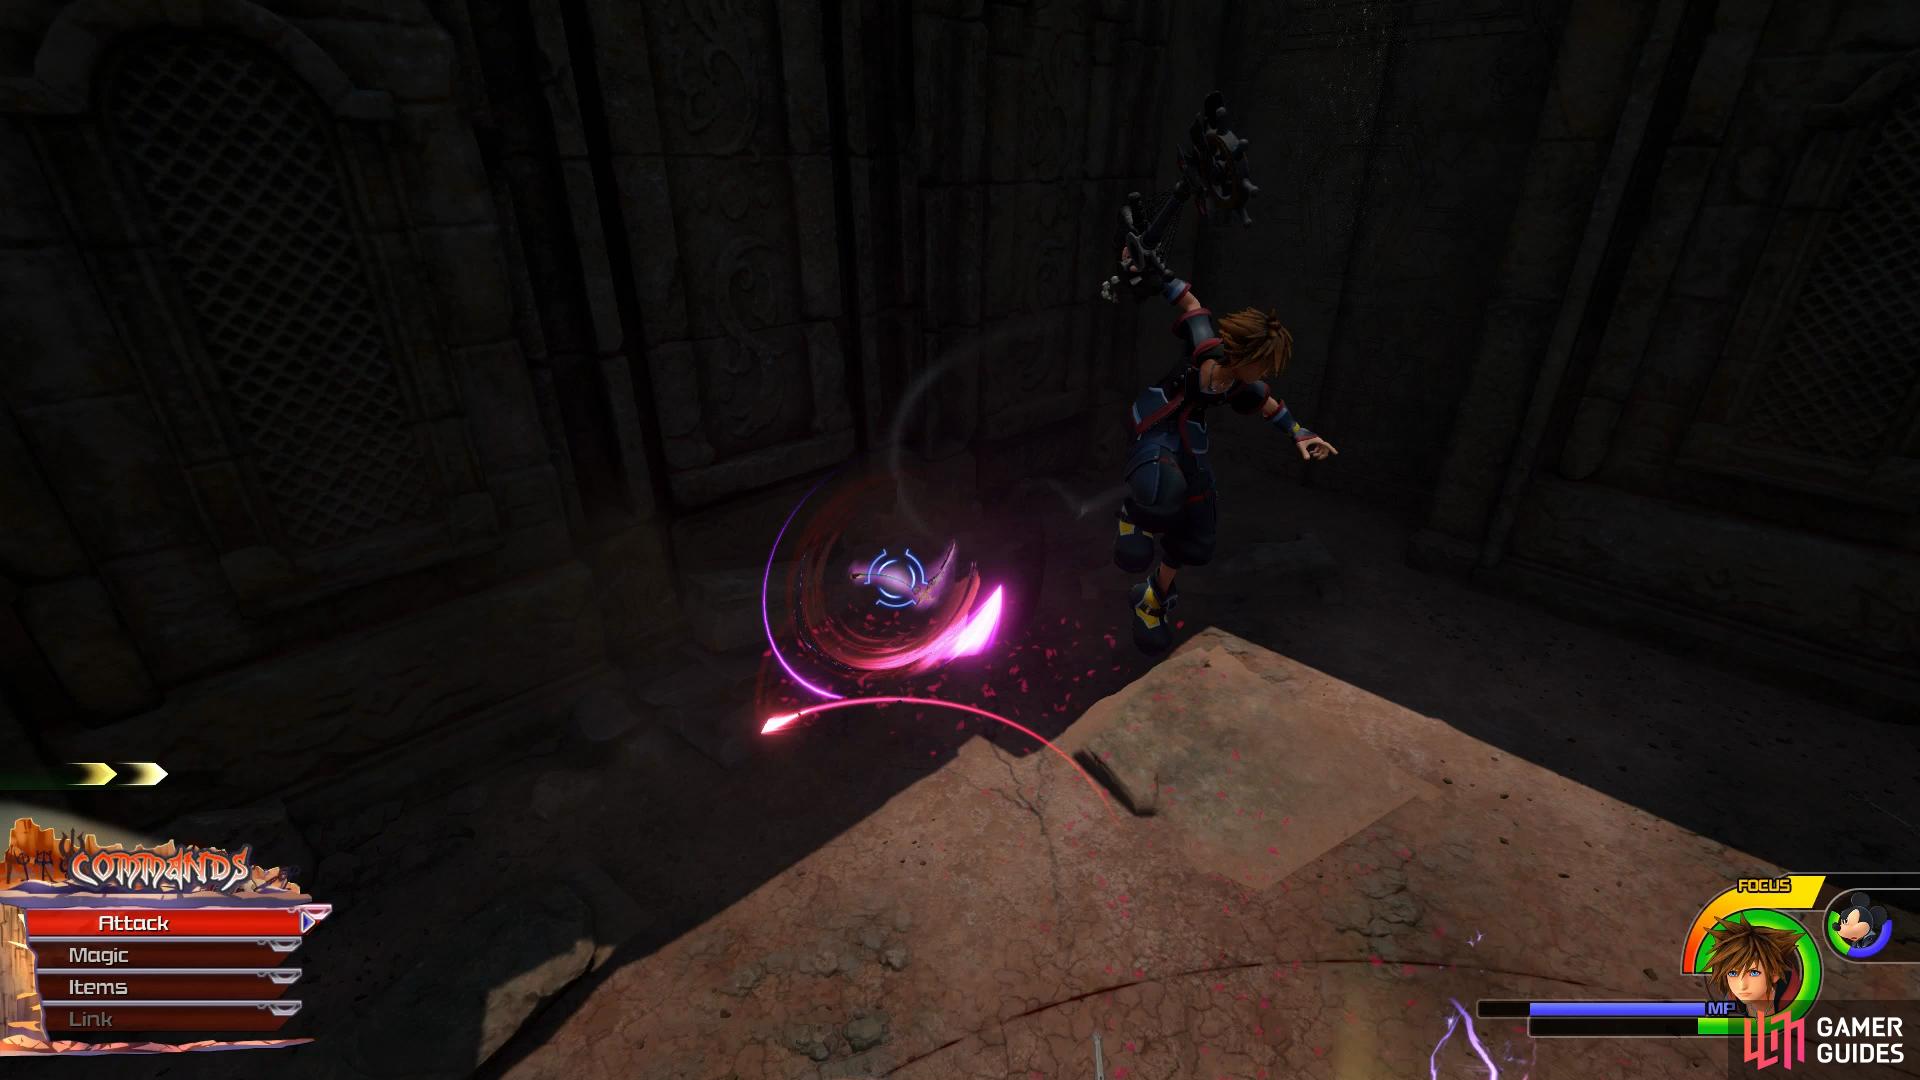
You’ll be left to deal with both Marluxia and Larxene together following Luxord’s demise. The order you choose to take them out matters not however so try to pick a target and focus on them. Marluxia is the easiest out of the two so he makes a good first target. He’ll strike with his scythe while teleporting between each of the strikes. Marluxia’s largest threat however is his Combos, if you’re struck by one of his attacks, he’ll chain a serious of Combos while teleporting between each strike so use Aerial Recovery to get out of it and Glide away.
With both of them on the field, they’ll use a joint attack that will see Marluxia spin across the screen using his scythe while Larxene zigzags with lightning bolts before perform a Thunder Storm in the center of the screen. This is easier to avoid than you may think, double jump into the air to gain height and the Glide around the arena until the attack is over.


(1 of 2) Glide around to avoid Marluxia’s spin attack
Glide around to avoid Marluxia’s spin attack (left), Larxene’s Zigzag attack ends in a massive Thunder Storm. (right)
With just Larxene to deal with, the battle becomes a bit more manageable and she should have already taken some damage from your clash with Marluxia. She’s extremely quick and will finish her combos with a ground pound that will electrify the area, be sure to dodge out of the way if you’re caught in any of her attacks. She’ll also occasionally launch into the air following a Combo and throw Kunai to shock the surrounding arena. Keep at it and watch your HP and eventually, Larxene will fall too.
| Character | Ability |
|---|---|
| Sora | Max HP Increase |
Recover your HP and then follow the path west and around the corner to catch up with Riku.
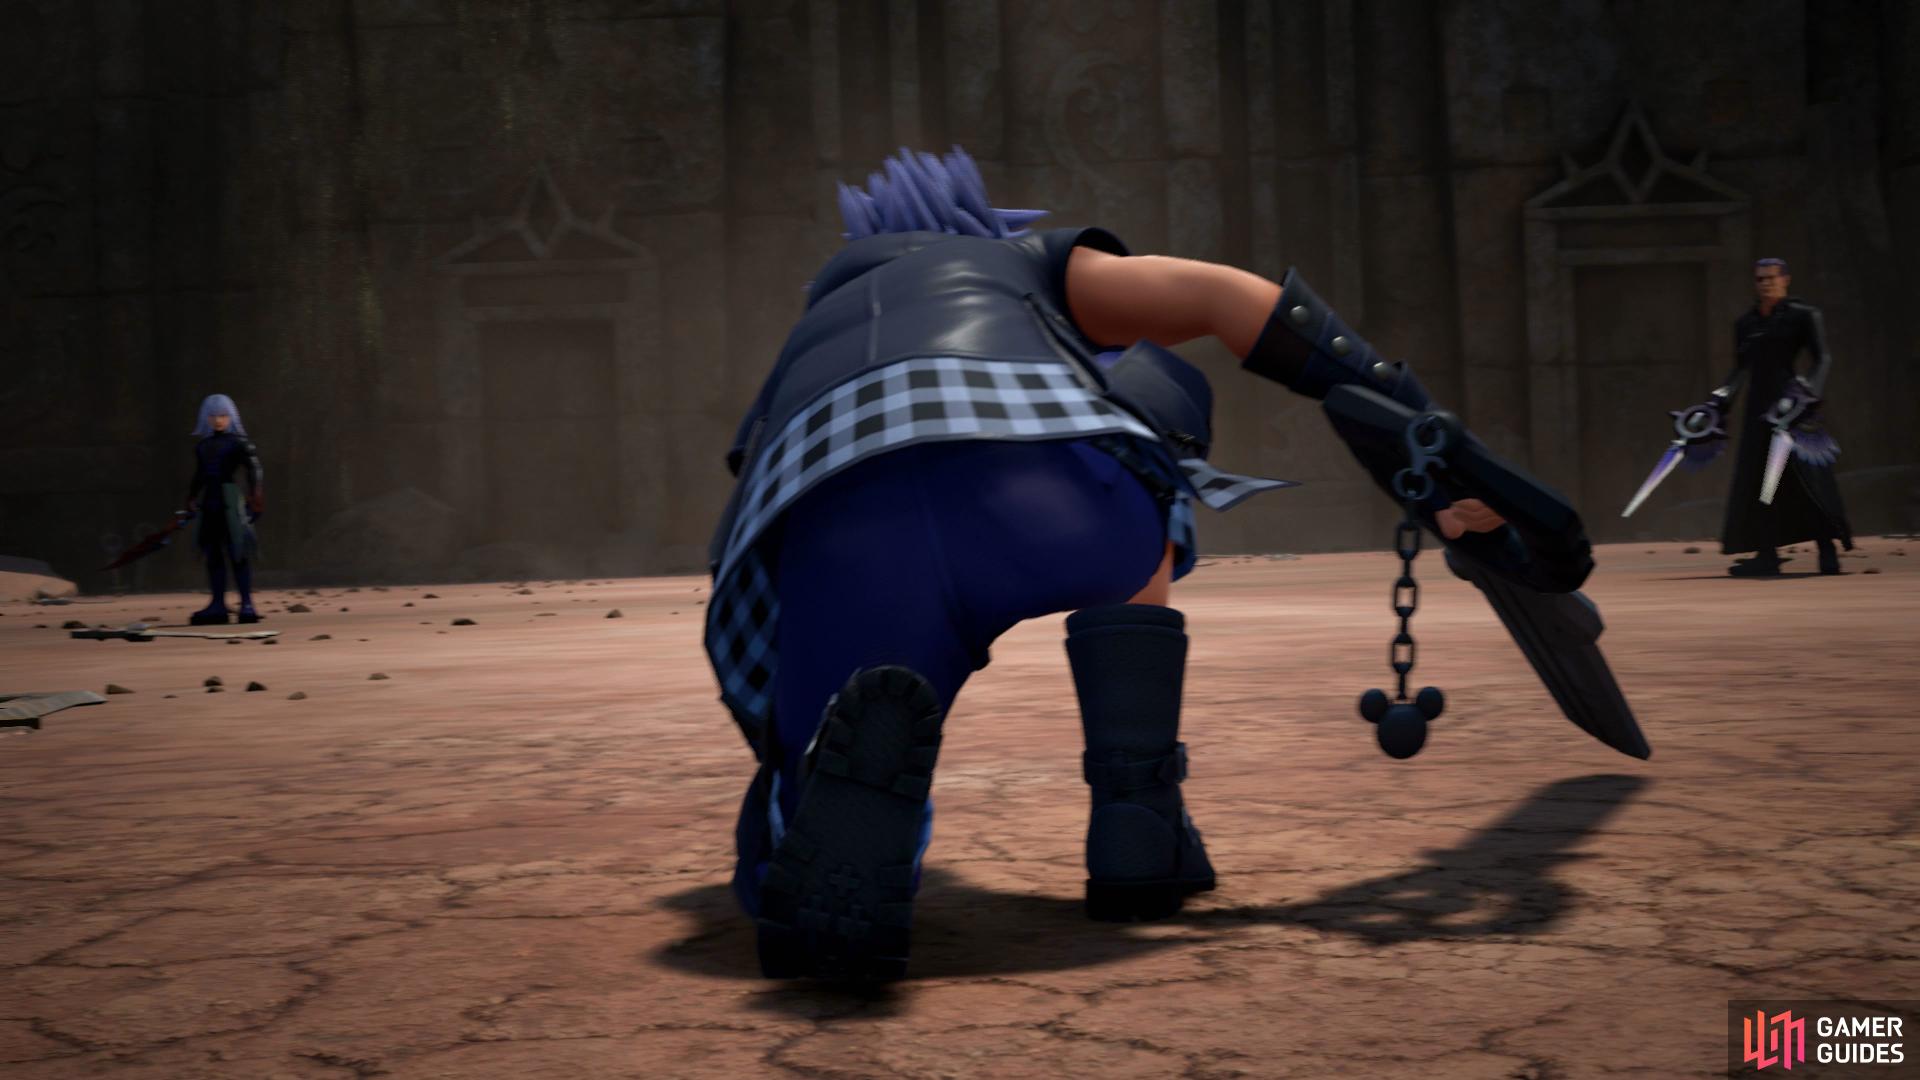
Boss: Xigbar and Dark Riku
Ansem will oversee the beginning of the battle but can’t be defeated so ignore him at all costs. Focus your attentions on Xigbar to begin due to him being the easiest of the two. Xigbar’s only real menancing attack is the ability to get into range and shoot lasers at you. Thankfully, you can deflect these lasers right back at him to deal massive damage to him. Glide will help you close the distance and this is best done when he quips about reloading.
Xigbar’s special attack will see him jump to the center of the arena and summon a swarm of bullets that will begin at the center and then work their way outwards. Keep at the edge of the arena and Glide around the outside of it to avoid the majority of the attack. Xigbar isn’t too difficult provided you block against his projectiles and use Glide to close the distance, once you being a Combo on him, he’s easy to stun in place.


(1 of 2) Glide away from Xigbar’s focused Laser

Glide away from Xigbar’s focused Laser (left), stick to the outside of the arena while he performs his Special. (right)
Dark Riku is by far the trickiest of opponents here and has many tricks up his sleeve. To begin with, his Keyblade strikes are quick and stun you in place. On top of that, he’ll summon a trap at Sora’s feet that will close and deal massive damage, keep an eye on the ground and dodge out of the way once you see a shadow under you. He can also leave large Crystal Mines in place, if you come into contact with them you’ll take damage and although they’re easy to spot, can be easy to miss during the heat of combat.
Dark Riku’s special sees him rise in the air in the center before teleporting constantly at your location to perform a small explosion. Like most specials, gain distance and Glide around the arena to avoid the brunt of the attack. The largest difficulty in the Dark Riku battle is landing a hit on him as once you do, a full Combo will deal a lot of damage to him. Make use of Aerial Recovery to counter his blows and don’t be baited into his Mines and eventually Dark Riku will also fall.


(1 of 2) A Claw Trap springs up from the shadow under you
A Claw Trap springs up from the shadow under you (left), Glide around during Dark Riku’s special attack. (right)
| Character | Ability |
|---|---|
| Sora | Max MP Increase |
Another two members down and you’ll be able to advance through the labyrinth at this point. Head east and you’ll come to a door with a glyph on it, stepping on the floor panel with the same glyph will open these doors. Head east at the next intersection to step on the green glyph before continuing on to the north where you’ll find a chest containing Treasure #5 - Mega-Potion. Hit the red glyph behind you and step on the blue glyph once more to open the door to the north.
Twist of Isolation
You’ll find yourself at the Twist of Isolation Save Point alongside a Moogle Shop and the same Battlegate from earlier. Prepare yourself and save your game before stepping forward to another intersection. Head north to begin with and you’ll need to avoid the rising columns, once again the solution is to Double Jump and Glide down the path and through the door.
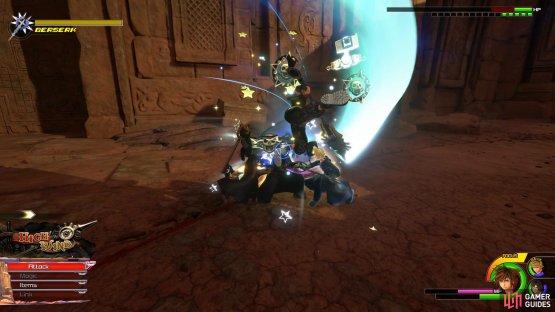
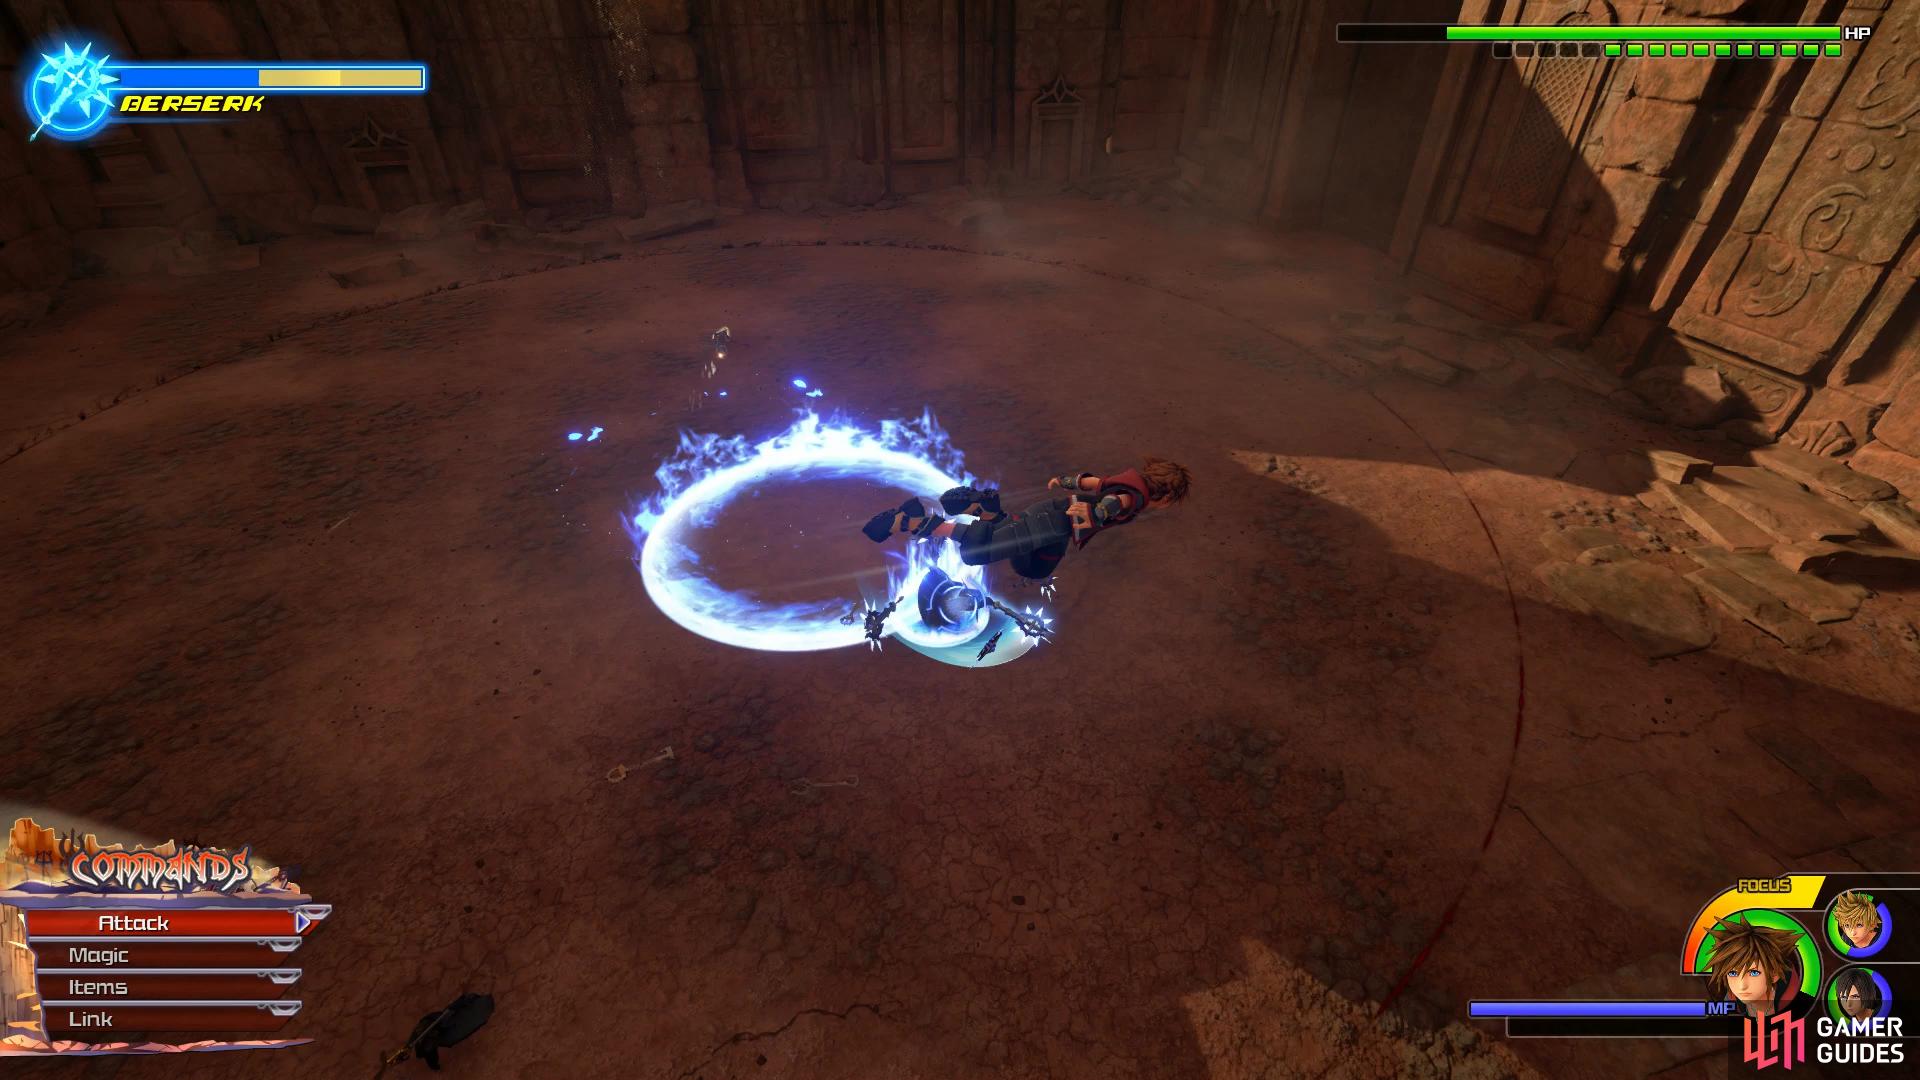
Boss: Saïx
Like all of the battles so far, the true battle won’t begin until you’ve inflicted enough damage to Saïx to force a cutscene. Once the battle truly begins, Saïx is a force to be reckoned with especially as he begins the battle in his Berserk form. During this form, he attack power soars through the roof and he becomes hard to hit as he skates across the room dealing explosion after explosion. It’s for this reason that it’s best to just avoid Saïx during this phase unless you’re feeling comfortable and have healing items at hand to recover through the damage.

(1 of 2) Stay away from Saix while he’s in his Berserk form

Stay away from Saix while he’s in his Berserk form (left), use Roxas and Xion as bait to Combo him. (right)
Roxas and Xion will assist you during the battle and you can use them as bait, allowing Saïx to focus on them while you attack from behind. Situation Commands are incredibly useful here, you can use the invincibility frames to brute force your way through Saïx’s explosions. Beware however, Saïx will throw spining blades at your location from range so dodge if you see one coming and close the gap to Combo him. Once Saïx’s Berserk state subsides, you’ll have a short period of time to attack him while he’s stunned and recovering. Roxas is incredibly strong during this battle and with his help, you should have no trouble in putting Saïx down for good.
| Character | Ability |
|---|---|
| Sora | Max HP Increase |
Once again recover up following the encounter with Saïx and head forward to open a chest containing Treasure #6 - Mega-Ether before reaching your next battle.
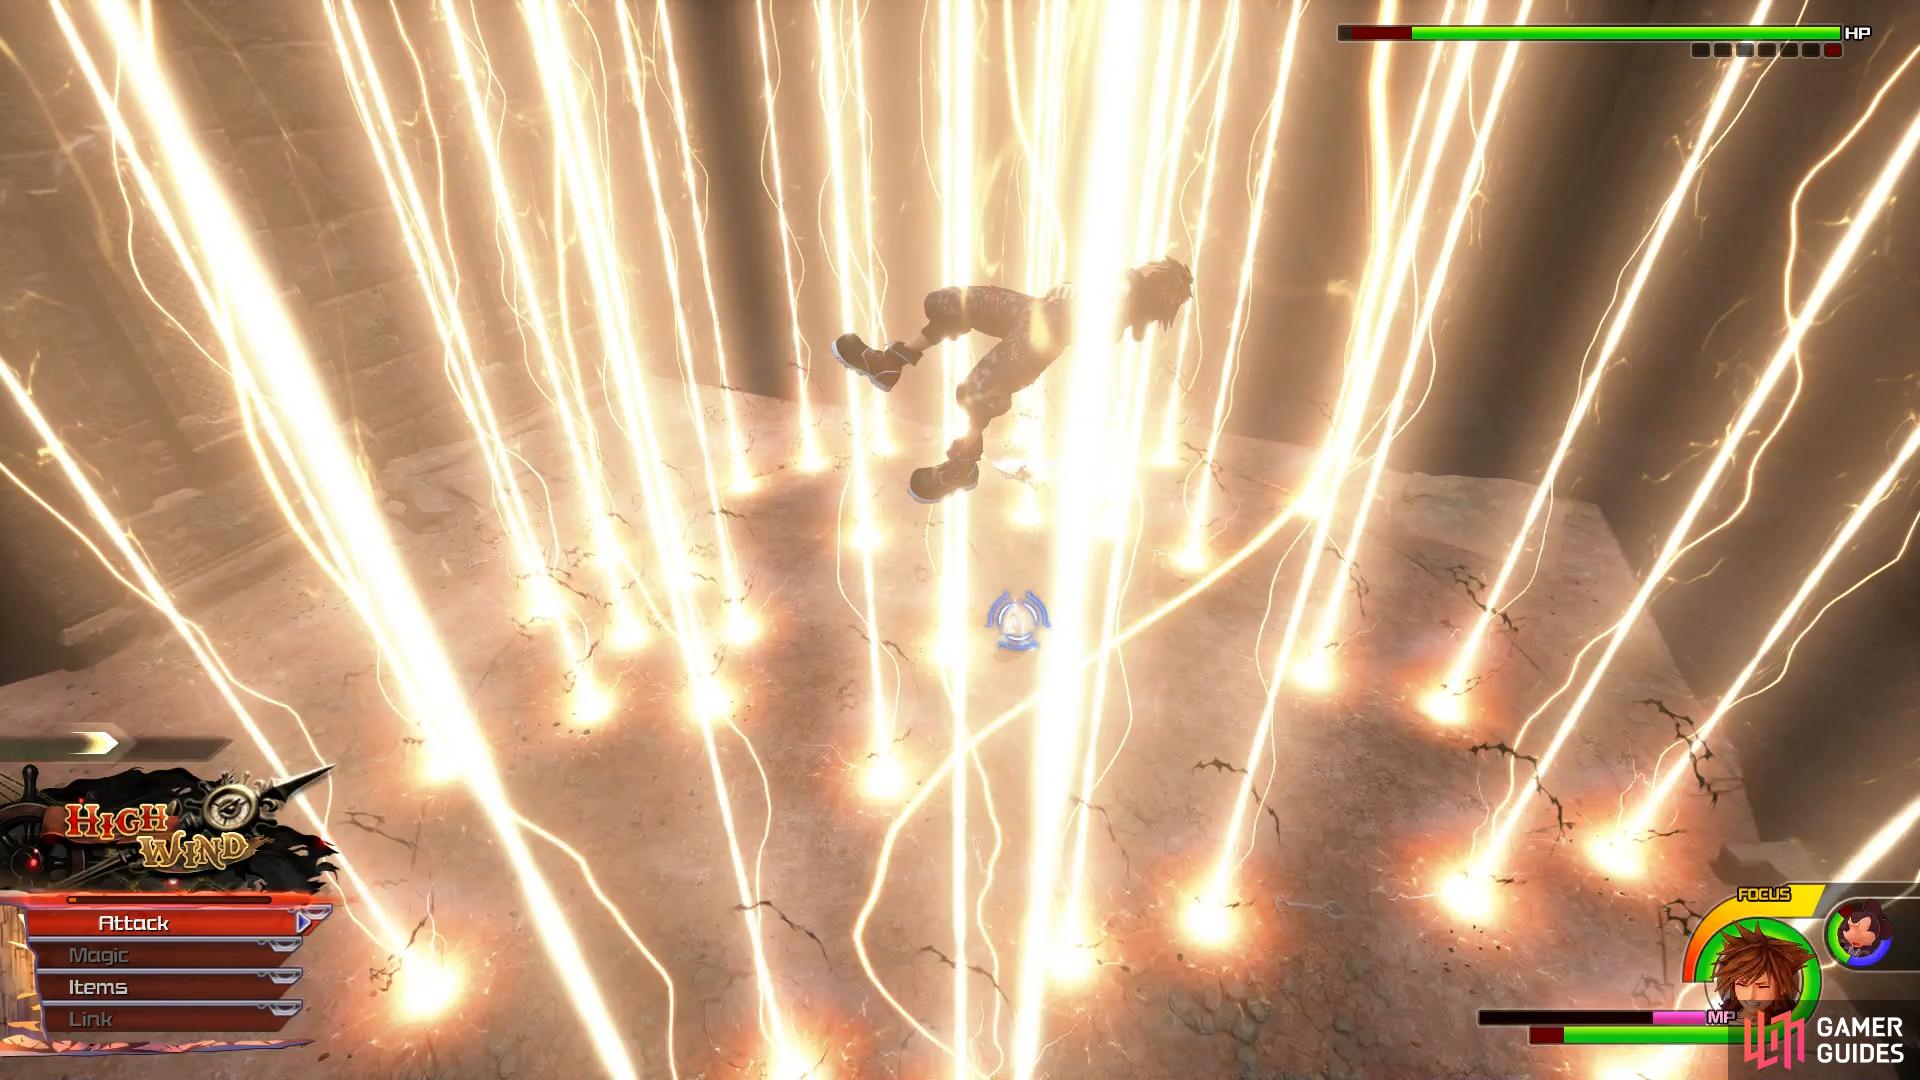
Boss: Terra-Xehanort and Vanitas

Your main target here should be Terra-Xehanort as you should be familiar with Vanitas from the battle at the Land of Departure. Terra-Xehanort acts a lot like his Birth by Sleep counterpart using Shotlocks to hit you from afar along with sweeping Keyblade strikes that will shoot him forward. He’ll also teleport at will, usually followed by his Shotlock attack. Finally, his Keyblade Combo will end with him striking the ground to cause an explosion around the area, dodge out of the way of this.
Terra-Xehanort’s special will cause him to call out the his Shadow that will pull you in towards it, striking you with pulses along the way. After a short time, the entire area around the center will light up, causing massive damage if you find yourself still in there. As for attacking Terra-Xehanort, your best bet is most likely trading blows with him as there’s nothing too exceptional with him.

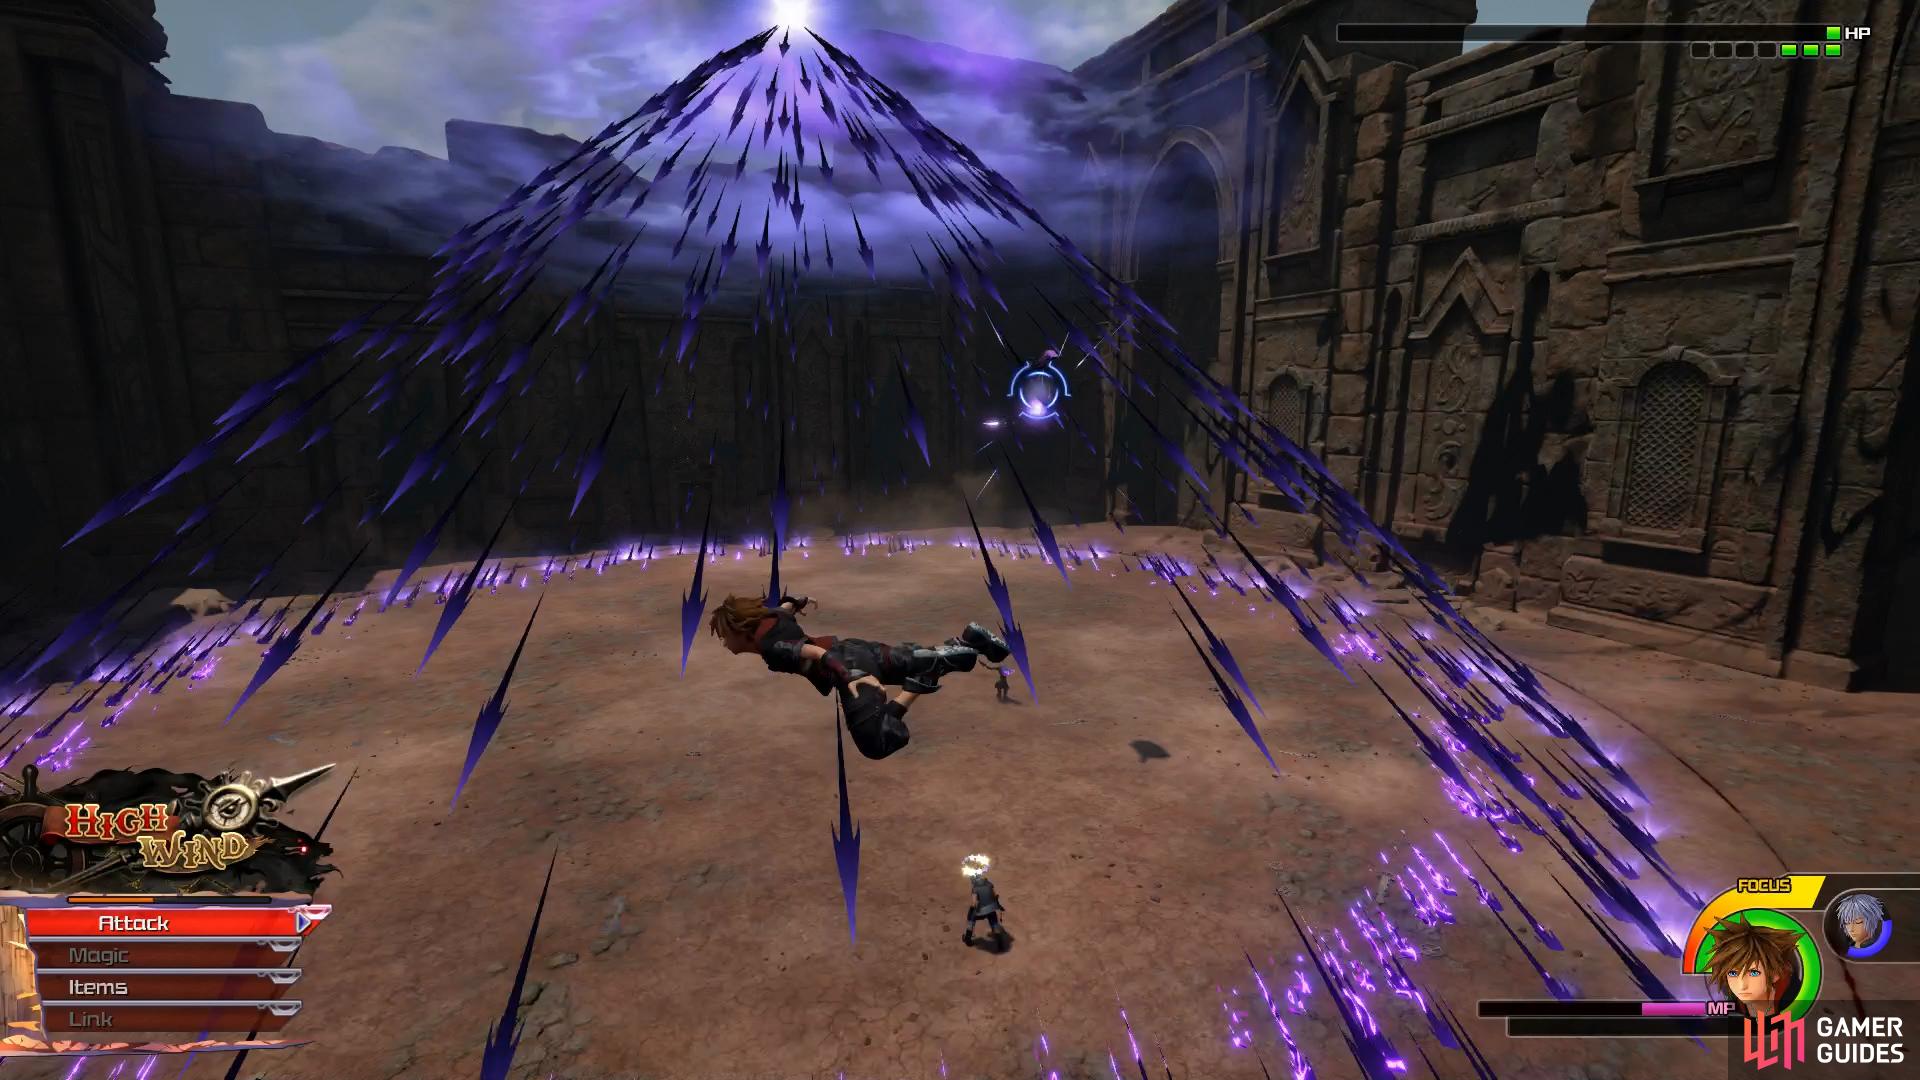
(1 of 2) Glide out of the storm before it closes in
Glide out of the storm before it closes in (left), keep on the move during Vanitas’ Keyblade Barrage. (right)
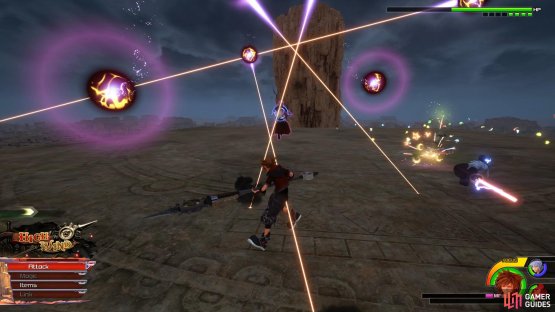
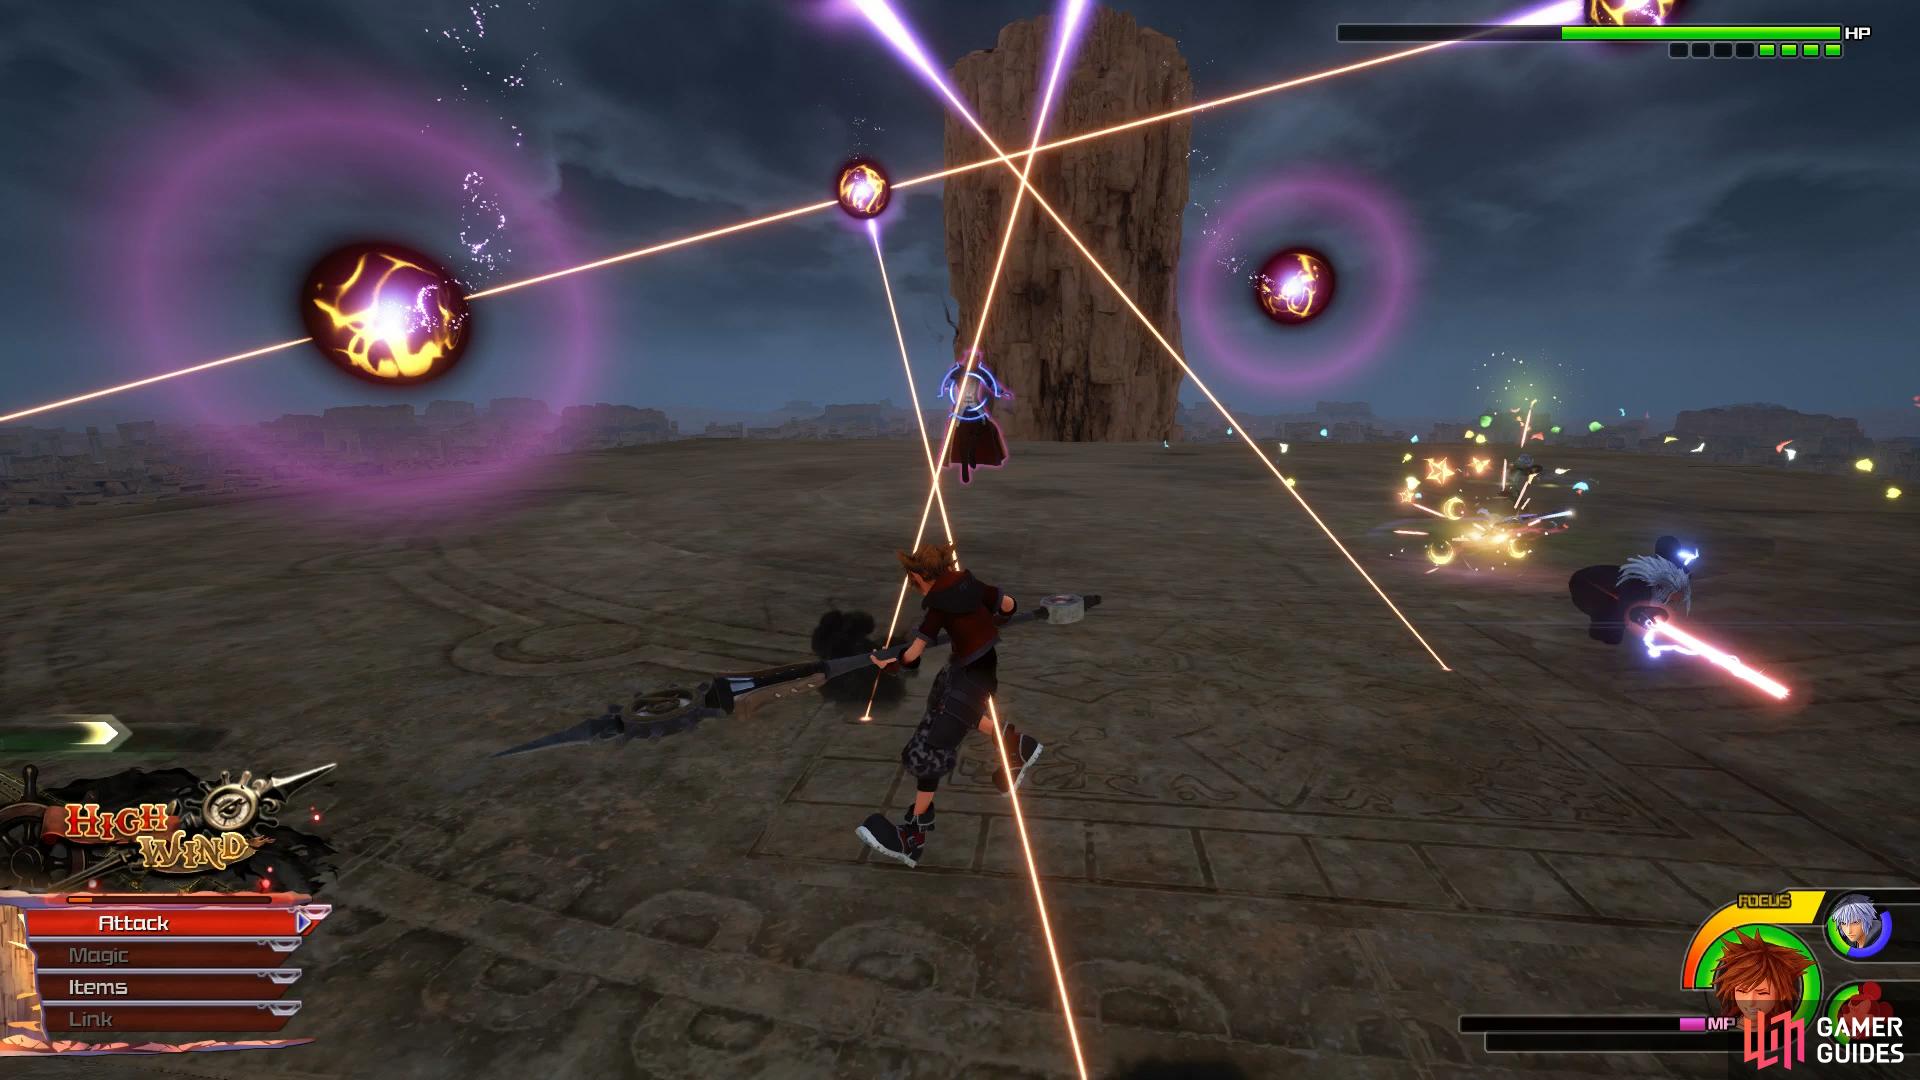
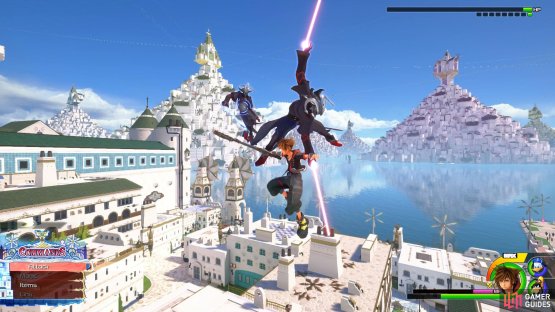
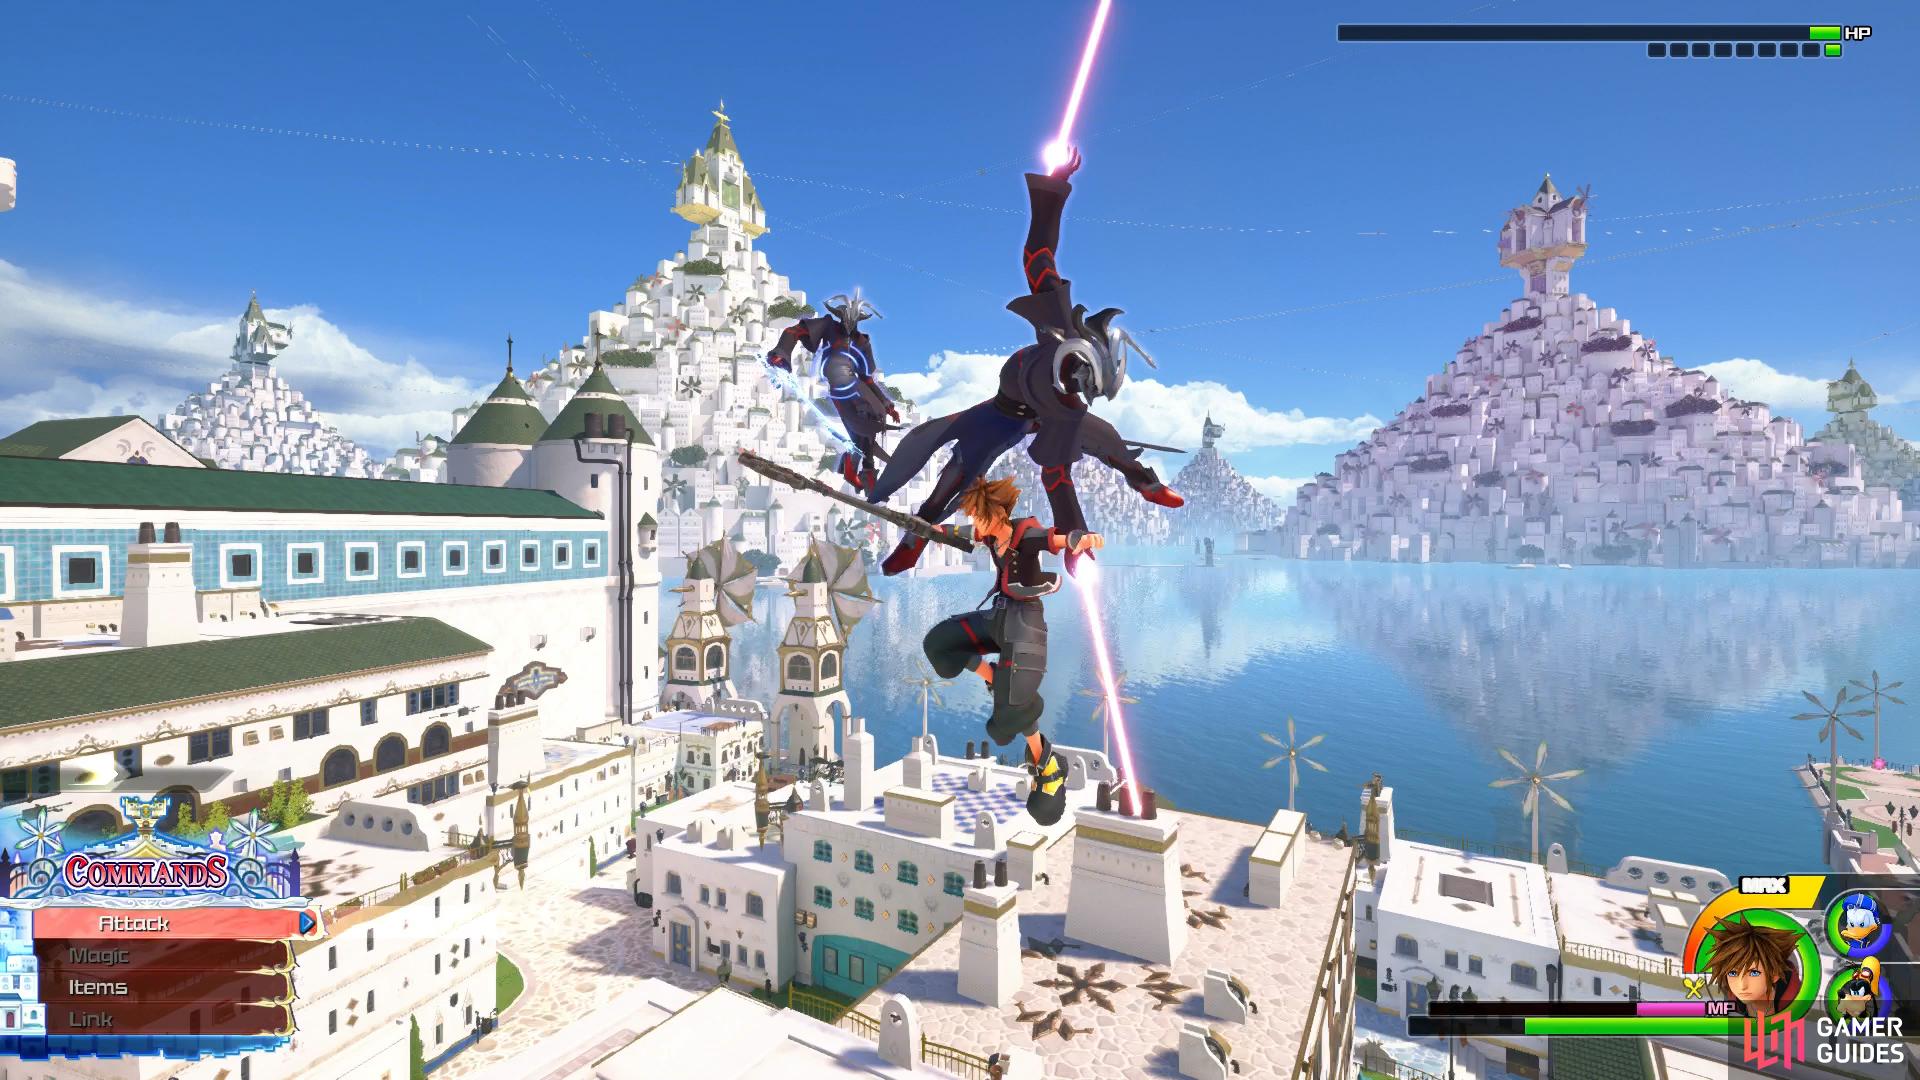
Vanitas will begin the battle on his own with his special activated. During this, Vanitas will ride a wave of Keyblades as he slings magic your way. Forego all offense during this attack and focus on gliding around the arena to avoid him. He’ll end this attack by tossing all of the Keyblades at you, glide around in a circle around the outside of the arena to avoid this attack.
For this other attacks, you should be used to them from your battle as Aqua back in the the Land of Departure. Remember to block the Fire spells and dodge away from the circle as it appears under your feet.
| Character | Ability |
|---|---|
| Sora | Max MP Increase |
Tower of Endings
Once you regain control, head forward and you’ll find another Save Point and Moogle Shop. Take the time to check that you have items equipped to Sora such as Hi-Ethers or Hi-Potions, the battle ahead is the toughest yet. Once you’re fully prepared, run up the wall to catch up with Riku and Mickey.
Boss: Ansem, Xemnas and Young Xehanort
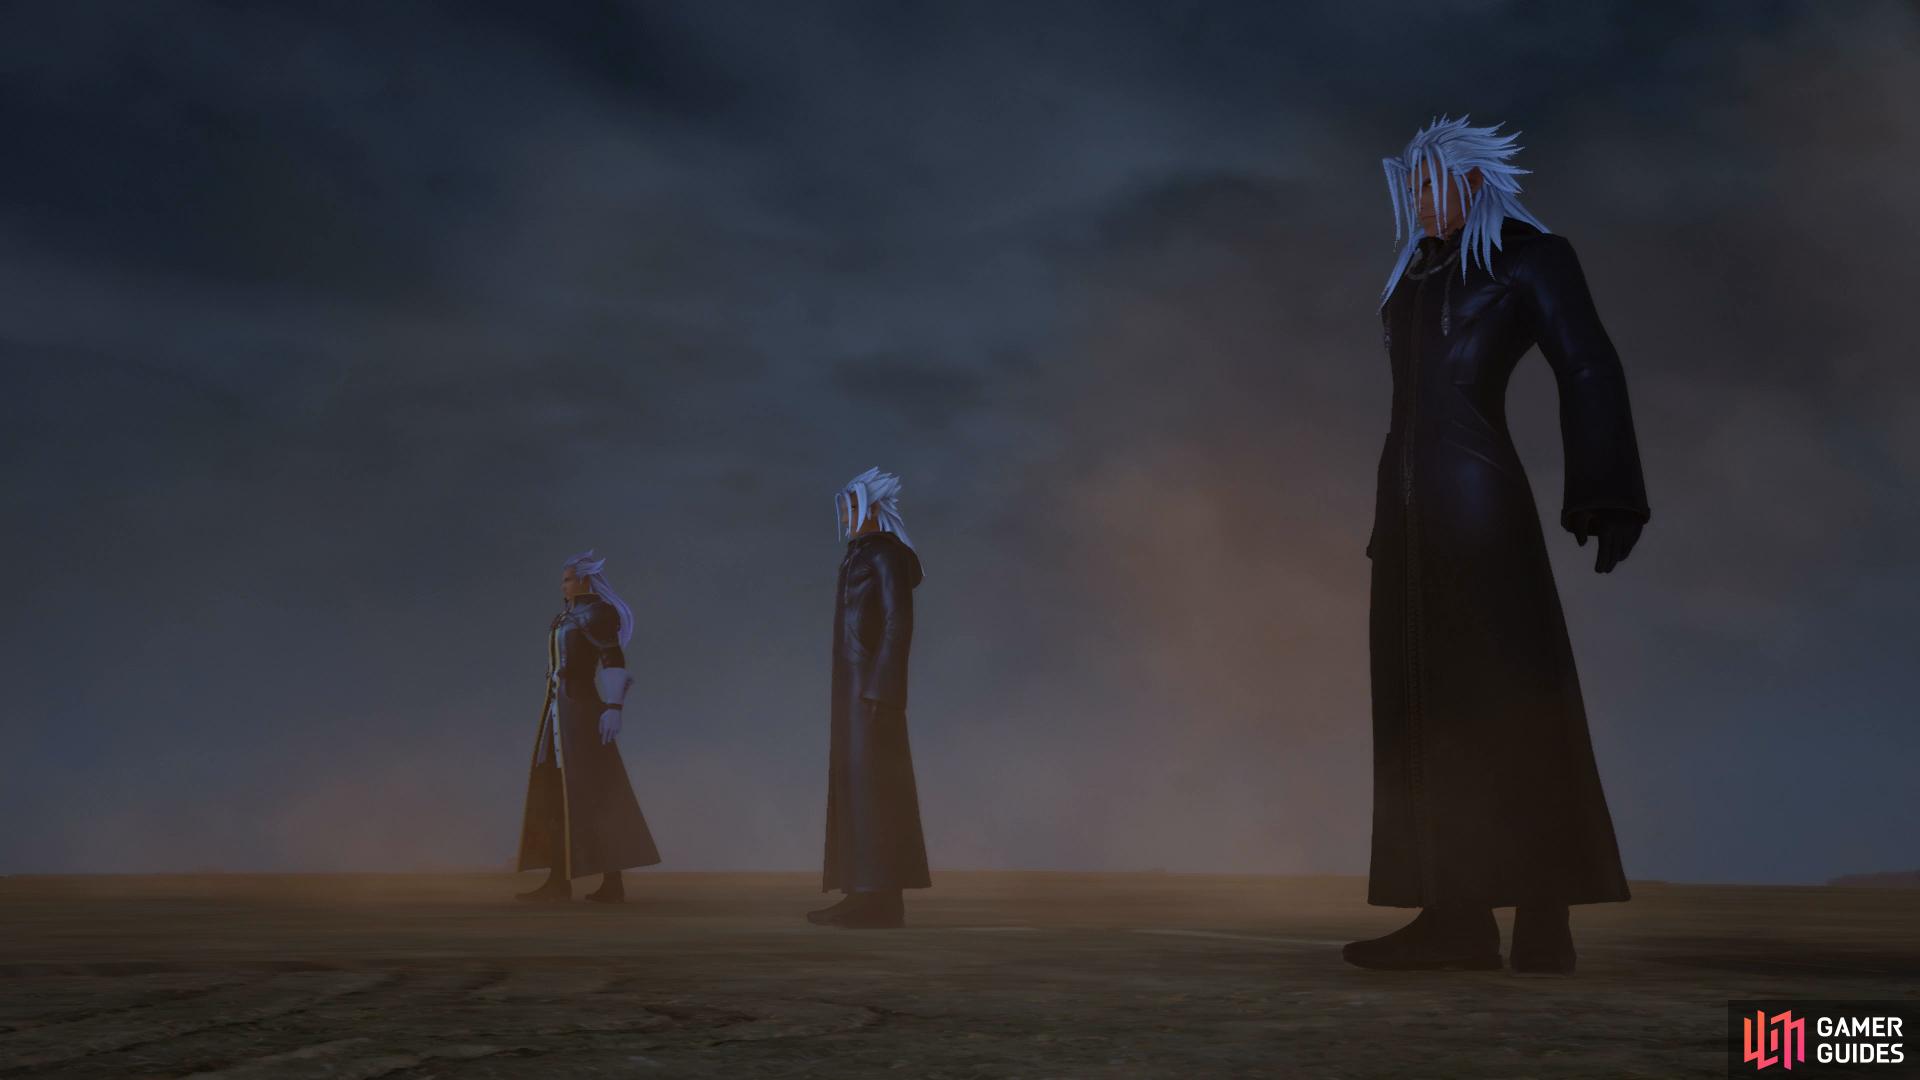
That’s right, you’ll be facing off agains the final bosses from Kingdom Hearts, Kingdom Hearts II and Kingdom Hearts: Dream Drop Distance all at once. This is as difficult as you may expect and the order you choose to take out your three adversaries will have a bearing on how difficult the battle is.
Regardless of your target choice, at times throughout the battle, Xehanort will attack himself by causing a storm around the arena leaving Sora alone. During this, you’ll be assaulted constantly by barrages of Keyblades, while whatever targets remain attack at intervals. The most deadly of these attacks come from Young-Xehanort, get hit by his Keyblade and time will stop, allowing you to be struck by the Keyblades.

(1 of 2) During Xehanorts sandstorm, Young Xehanort can freeze time

During Xehanorts sandstorm, Young Xehanort can freeze time (left), his whip attack will immobilize you. (right)
As such, Young Xehanort is the most deadly out of the three and makes the best target to focus on first. His Keyblade strikes have great range on them as they form a whip when he swings, they are however easy to block against due to them not being overly quick. He’ll also be able to freeze time at will and Combo you along with shooting energy projectiles at you. Finally, he can grab and trap Sora with his whip, this leaves you open to attacks from the others while you’re stuck.
Ansem should be your next target as his attacks cover a large area and causes the most damage. Ansem can create a large circle of Mines that will explode if you’re caught inside them, along with with sending a shadow under you to rise as a Claw Trap, similar to Dark Riku. He’ll summon Energy Balls that will float around him and shoot lasers at you should you close in for attack. Finally, he can pull you in when he begins to glow red, he’ll then have an Energy Barrier around him as he flys toward you, keep away from him during this attack and only resume your assault once it falls.

(1 of 2) Glide out of the way of the beams
Glide out of the way of the beams (left), the Pulses will persist for a short time after they land. (right)
This will leave you with only Xemnas remaining and although still a threat himself, is by far the easiest of the three villains. Xemnas’ special will see him surround you with energy balls and cause a rain of bullets that home in on your location, followed by several Combos, if you get caught in this you’ll need to heal immediately. Outside of his special, he can shoot pulsing balls from range that will persist after they land, these are the simplest attack to avoid. His physical attacks also have a large range on them as he can spin towards you from one end of the arena to the other quickly. They also cover a wide arc when he does attack, usually resulting in Riku and Mickey getting caught up in the process.
Regardless of your targets, there’s no easy way around this battle and it will be at it’s most hectic while all three are alive. It’s in your best interest to focus down one of them as quickly as possible to limit the amount carnage going on around you. Once you’re down to the final target, you’ll find they should already be low on HP allowing you to end the battle at ease.
| Character | Ability |
|---|---|
| Sora | Max HP Increase |
You’ll get a multitude of events following the conclusion of this battle and Sora will give chase to Xehanort to begin the final battle.


Scala Ad Caelum
You’ve reached your final destination at long last, all that stands between you and peace is Master Xehanort, here in Scala Ad Caelum. Before you do anything, access the Save Point and Warp back to The Trail of Valediction. Head north from the Save Point and again at the first intersection until you reach the first large room. Take a right here and another right again as soon as you can, you’ll find a chest here containing Treasure #4 - Megalixir. If you’ve been following this Walkthrough, this will be your final chest in the game and unlock a Trophy/Achievement.

Return to The Stairway to the Sky in Scala ad Caelum and save your game. Take the time to fully prepare before going forward and beginning the game’s final showdown. Equip Sora, Donald and Goofy with the best equipment available and assign Items such as Hi-Ethers, Hi-Potions and Elixirs, you’ll need all the help you can get. Finally, make use of all that food you’ve been preparing throughout the game and eat before beginning the battle, once you step forward there will be no time to turn back.
Boss: Mysterious Adversaries
You’ll be up against 13 Mysterious Adversaries in a battle that takes place across the entire city. Your foes possess a shared HP gauge so you won’t need to focus on taking them down one by one. You’ll also need to head around the city looking for them should they vanish however this provides an good time to break the objects around you for HP Prizes.
Taking them on one by one isn’t too difficult and you’ll find that your attacks will stun them in place. It’s when they fight together when the real damage comes from as you’ll have no way to defend yourself with attacks coming from all sides so be sure to Aerial Recovery and use a Reprisal of your own to continue your Combos.

(1 of 2) Their combos are deadly
Their combos are deadly (left), you can avoid this attack entirely if you defeat them quickly. (right)
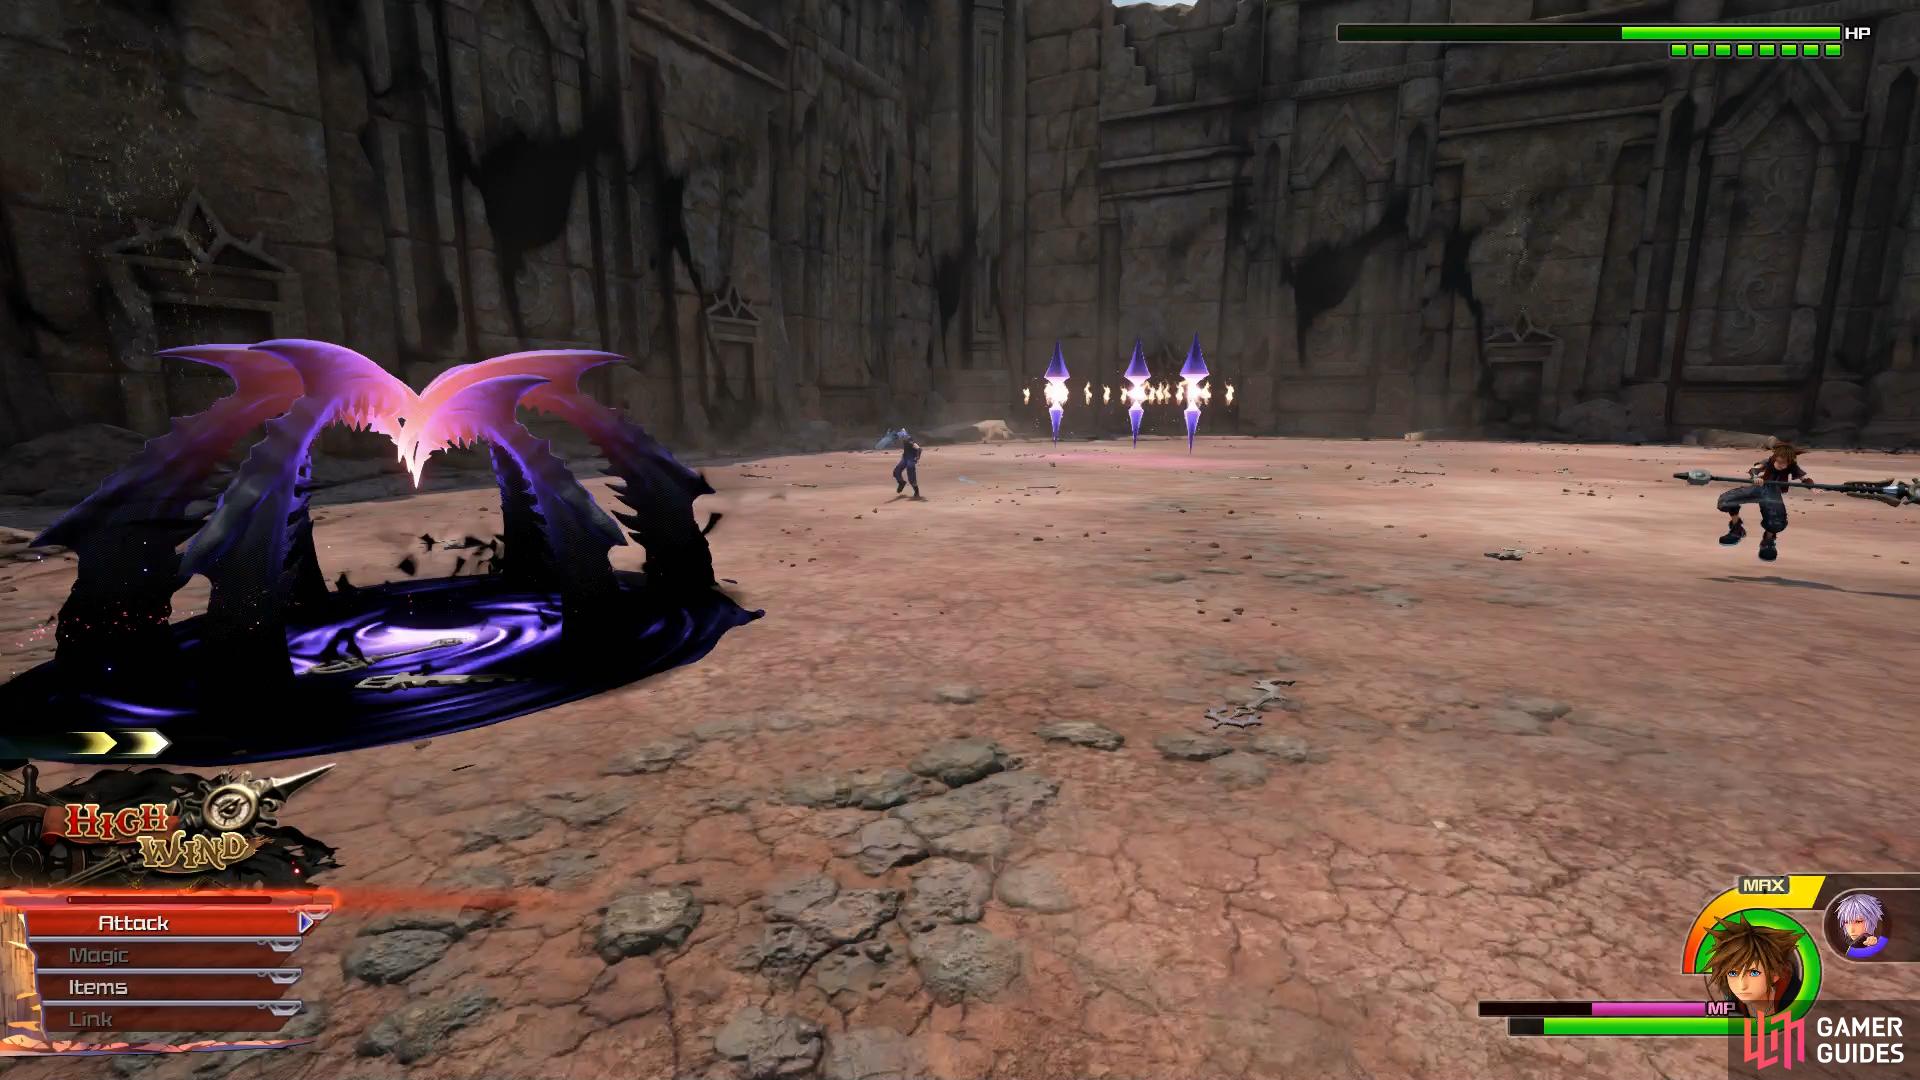
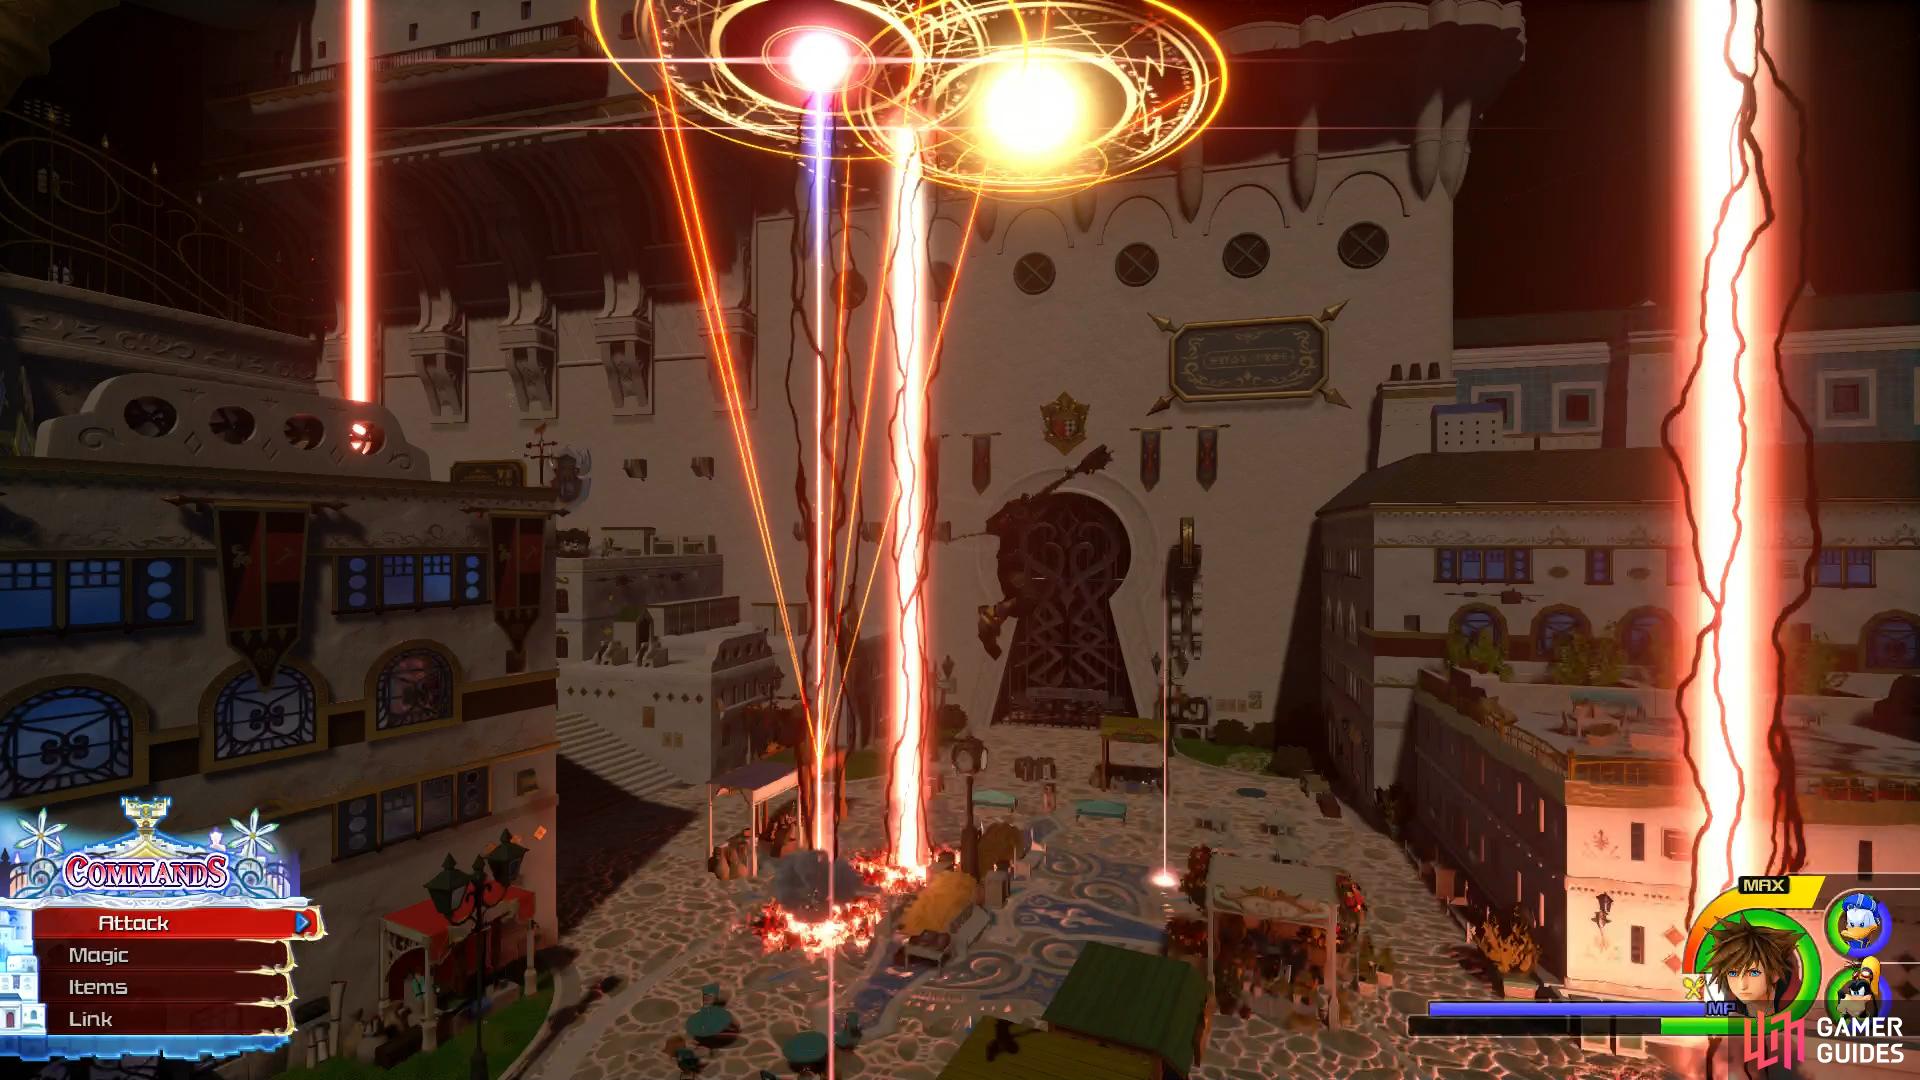
Should the battle continue for too long, the 13 will converge around the outside of the city and employ a glyph over the city, raining down energy beams all over the city. Ignore your adversaries during this and keep on the move to avoid the attack. Once it’s over, you can resume your assault and finish them off.
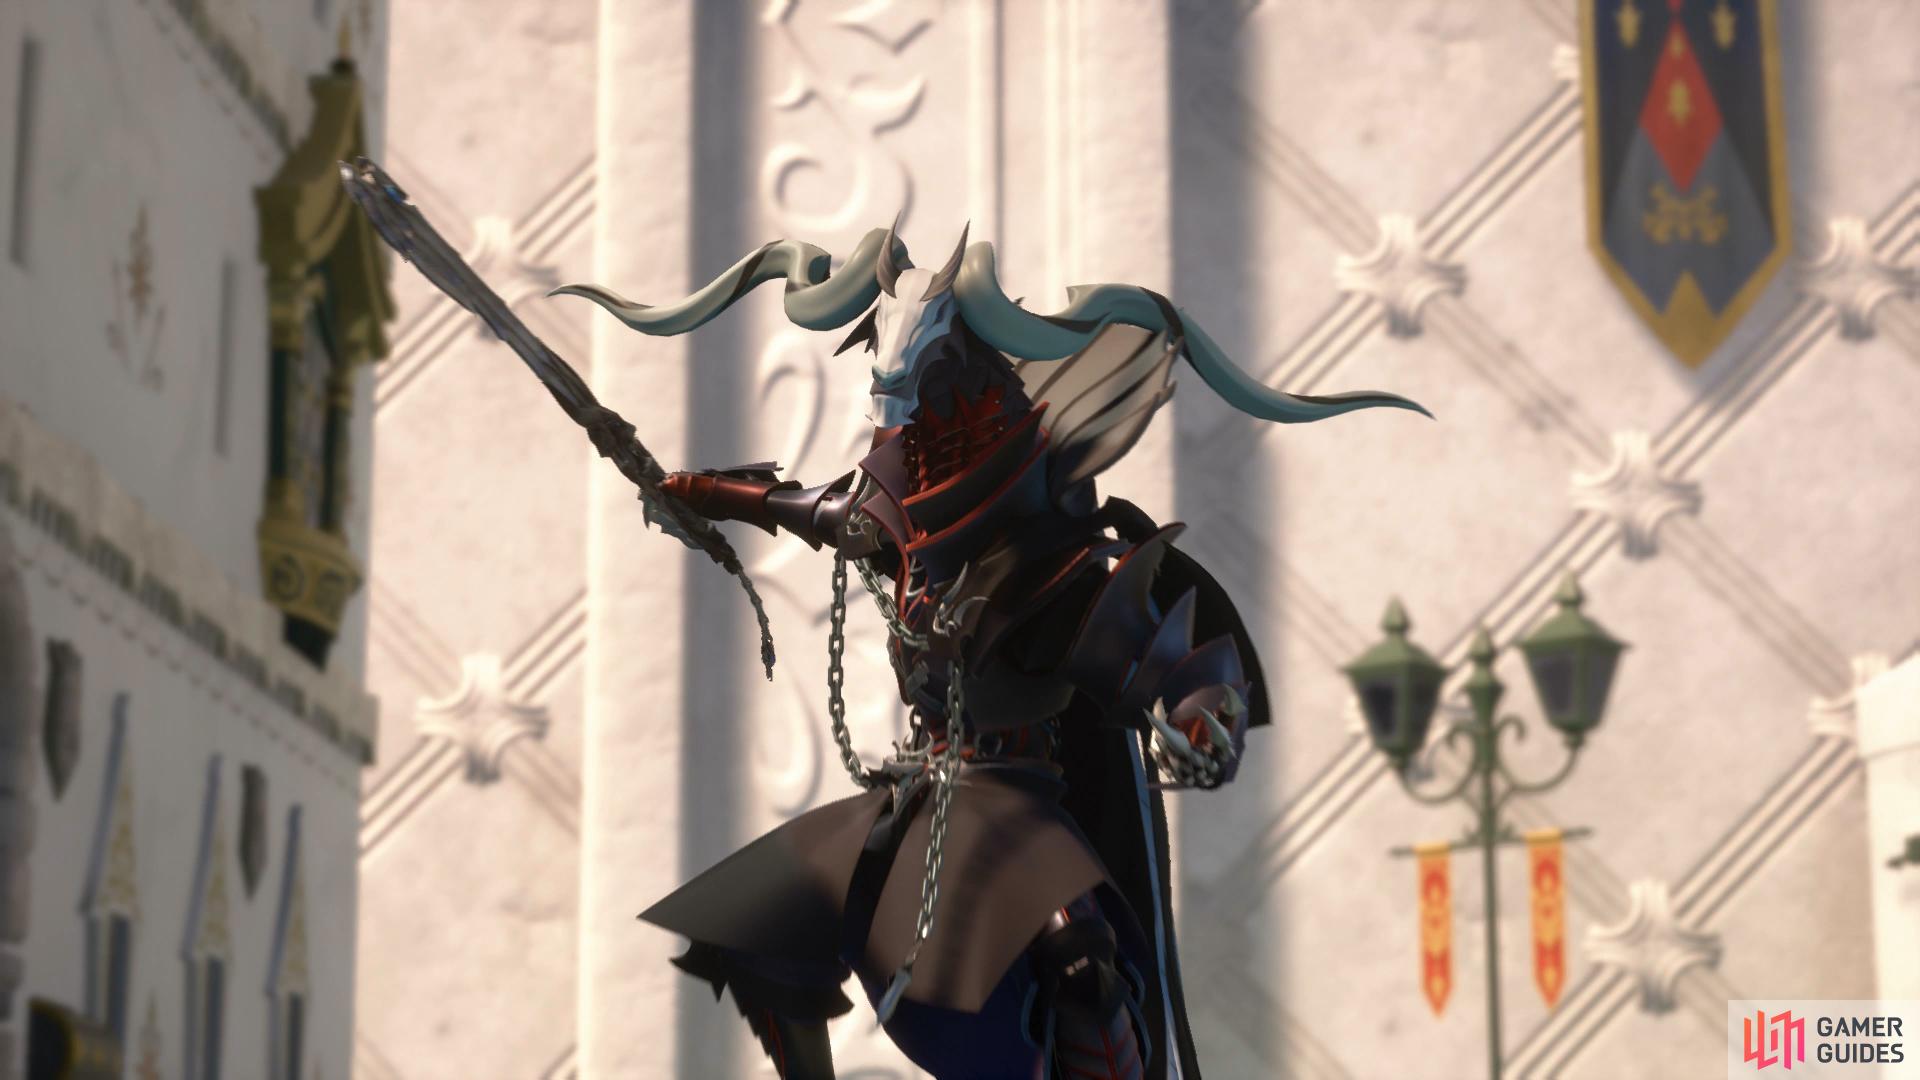
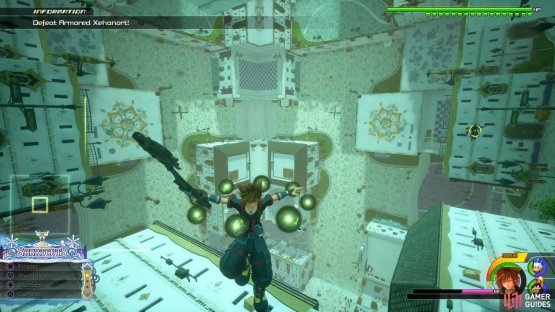
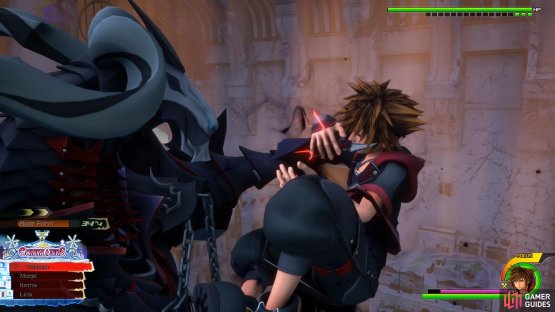
Boss: Armored Xehanort
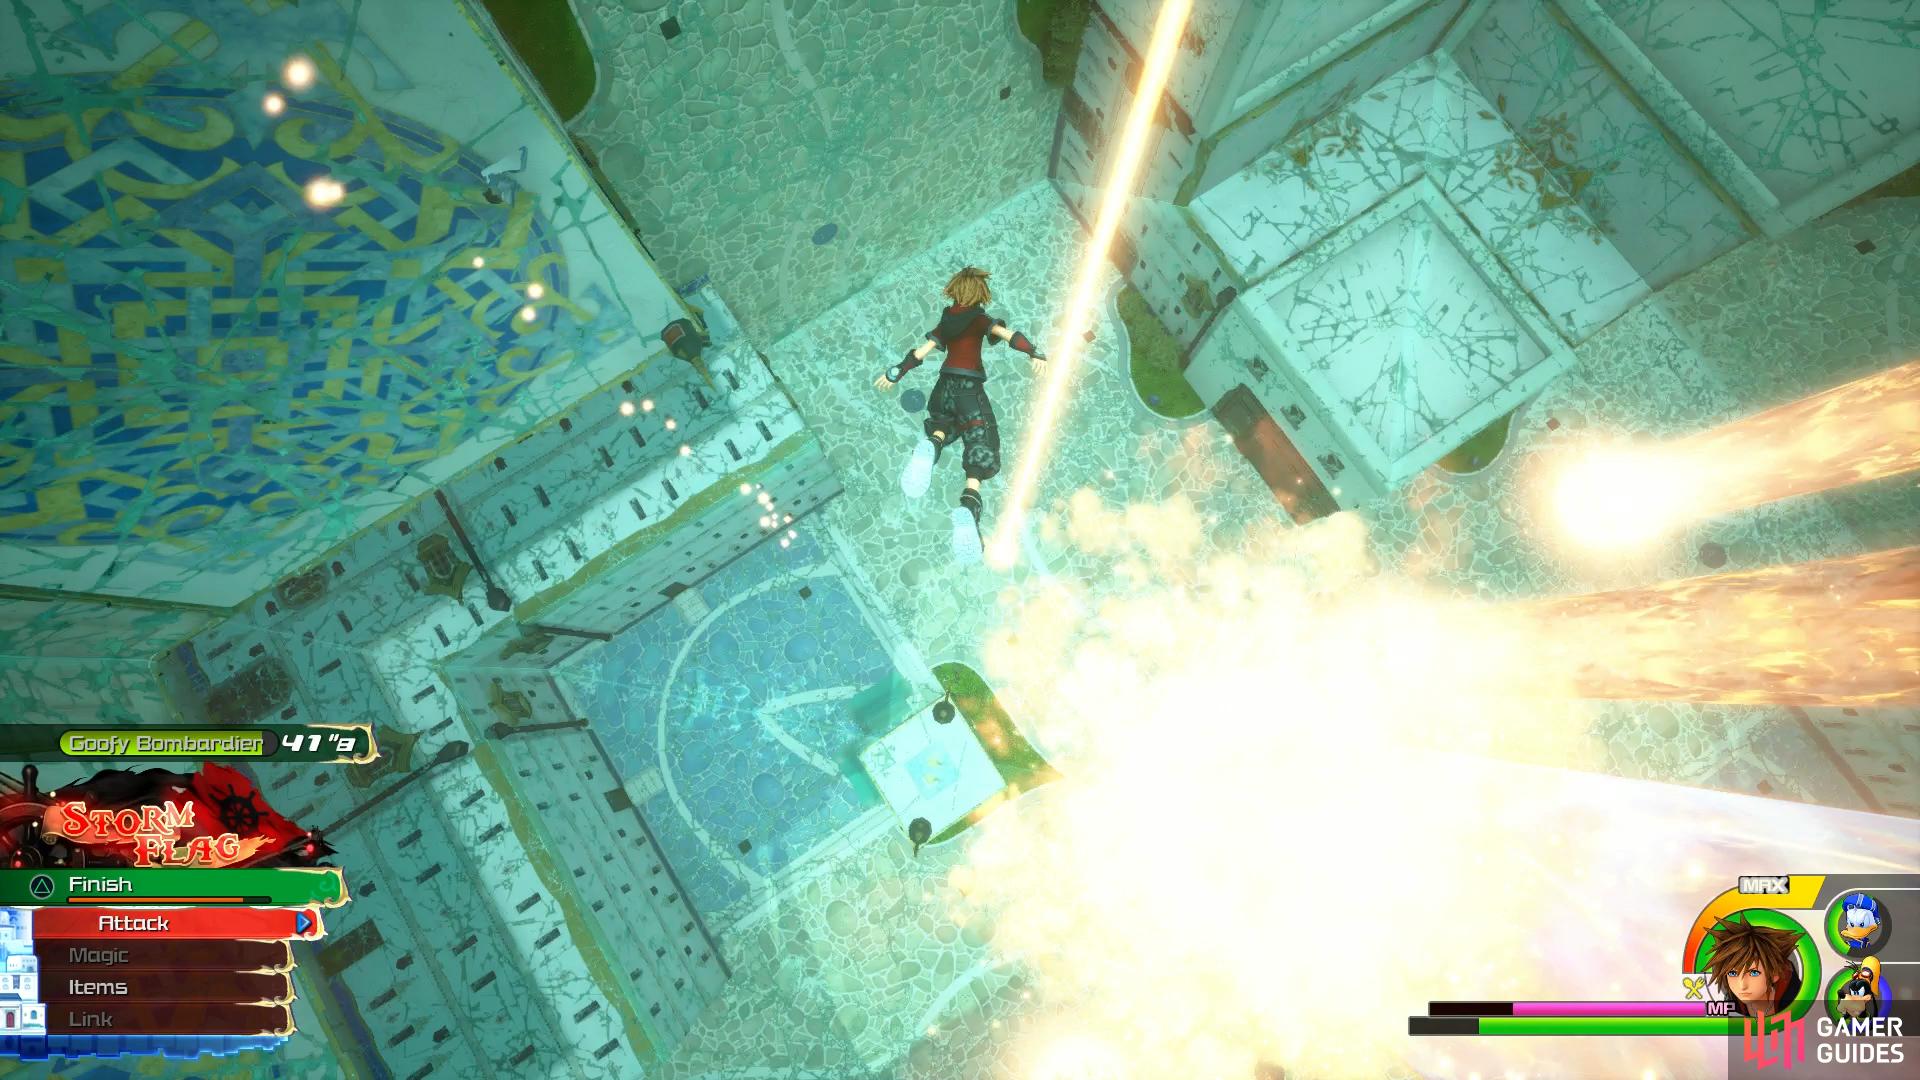
Xehanort, now clad in Armor, challenges you himself at long last and you’ll fight this battle across multiple phases. For the first phase, Armored Xehanort will attack from the center of the arena with simple Keyblade combos and a few magic spells. The most deadly of these is when he surrounds you with Green Orbs, these will swallow Sora and transport him over to Armored Xehanort where he’ll follow up with a string of Combos leaving your near death. His other spell available to him is Fire Blast, this will shoot out a host of Fireballs like a shotgun blast, keep away to avoid this. After using this spell however is when he’s most open to attack, dash in and string together a few Combos.
After taking enough damage, Armored Xehanort will enter phase two and send you high into the air while fire rises in the center. Immediately begin to glide around to avoid the pillars of fire and then get ready for two more Fire Blasts from Armored Xehanort before resuming his regular attacks. He’ll return to this attack several times during the course of this phase and at times, conjure a Fireball in the middle that will pull you in, keep gliding away to avoid it.

(1 of 2) The Green Orbs will teleport you next to Armored Xehanort

The Green Orbs will teleport you next to Armored Xehanort (left), glide around to avoid the Flame Pillars. (right)
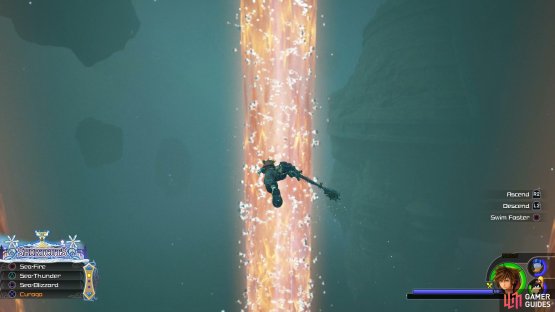
Armored Xehanort will enter phase three after taking around half of his HP and alter the landscape once more. This time you’ll find yourself underwater fighting, this brings a whole host of problems with it because Sora is a lot less mobile in this state. The Green Orb attack will still persist and the only way to avoid it is by swimming fast in the opposite direction of Armored Xehanort. He’ll also gain the ability to conjure exploding Fireballs at your current location, you can avoid these by swimming away before they explode.
After time passes, he’ll conjure up Fire Pillars that surround Sora and circle him all the while Armored Xehanort rushes in to attack. Keep an eye on when the pillars beging to converge and swim out of the gap to avoid the attack and suffer heavy damage. Your best way of attacking Armored Xehanort here is to keep locked on and simply strike with the Keyblade, using Swim Faster to close the distance.
(1 of 2) Swim faster to avoid the enclosing Flame Pillars

Swim faster to avoid the enclosing Flame Pillars (left), in the final phase, Armored Xehanort will grab and throw Sora to the ground. (right)
Finally, once Armored Xehanort is near death, he’ll back off and you’ll enter the final phase floating around the sky. You lost Donald and Goofy for this final phase so be extra careful with your healing, don’t take any risks. He’ll retain the Flame Pillar attack from phase one here, Glide around to avoid the pillars and keep away from Armored Xehanort, if he catches you he’ll grab you and slam you into the ground, leaving Sora in critical condition if you took damage from the fire too. Keep up with your Combos and using Reprisals when attacked yourself and eventually Armored Xehanort will fall.
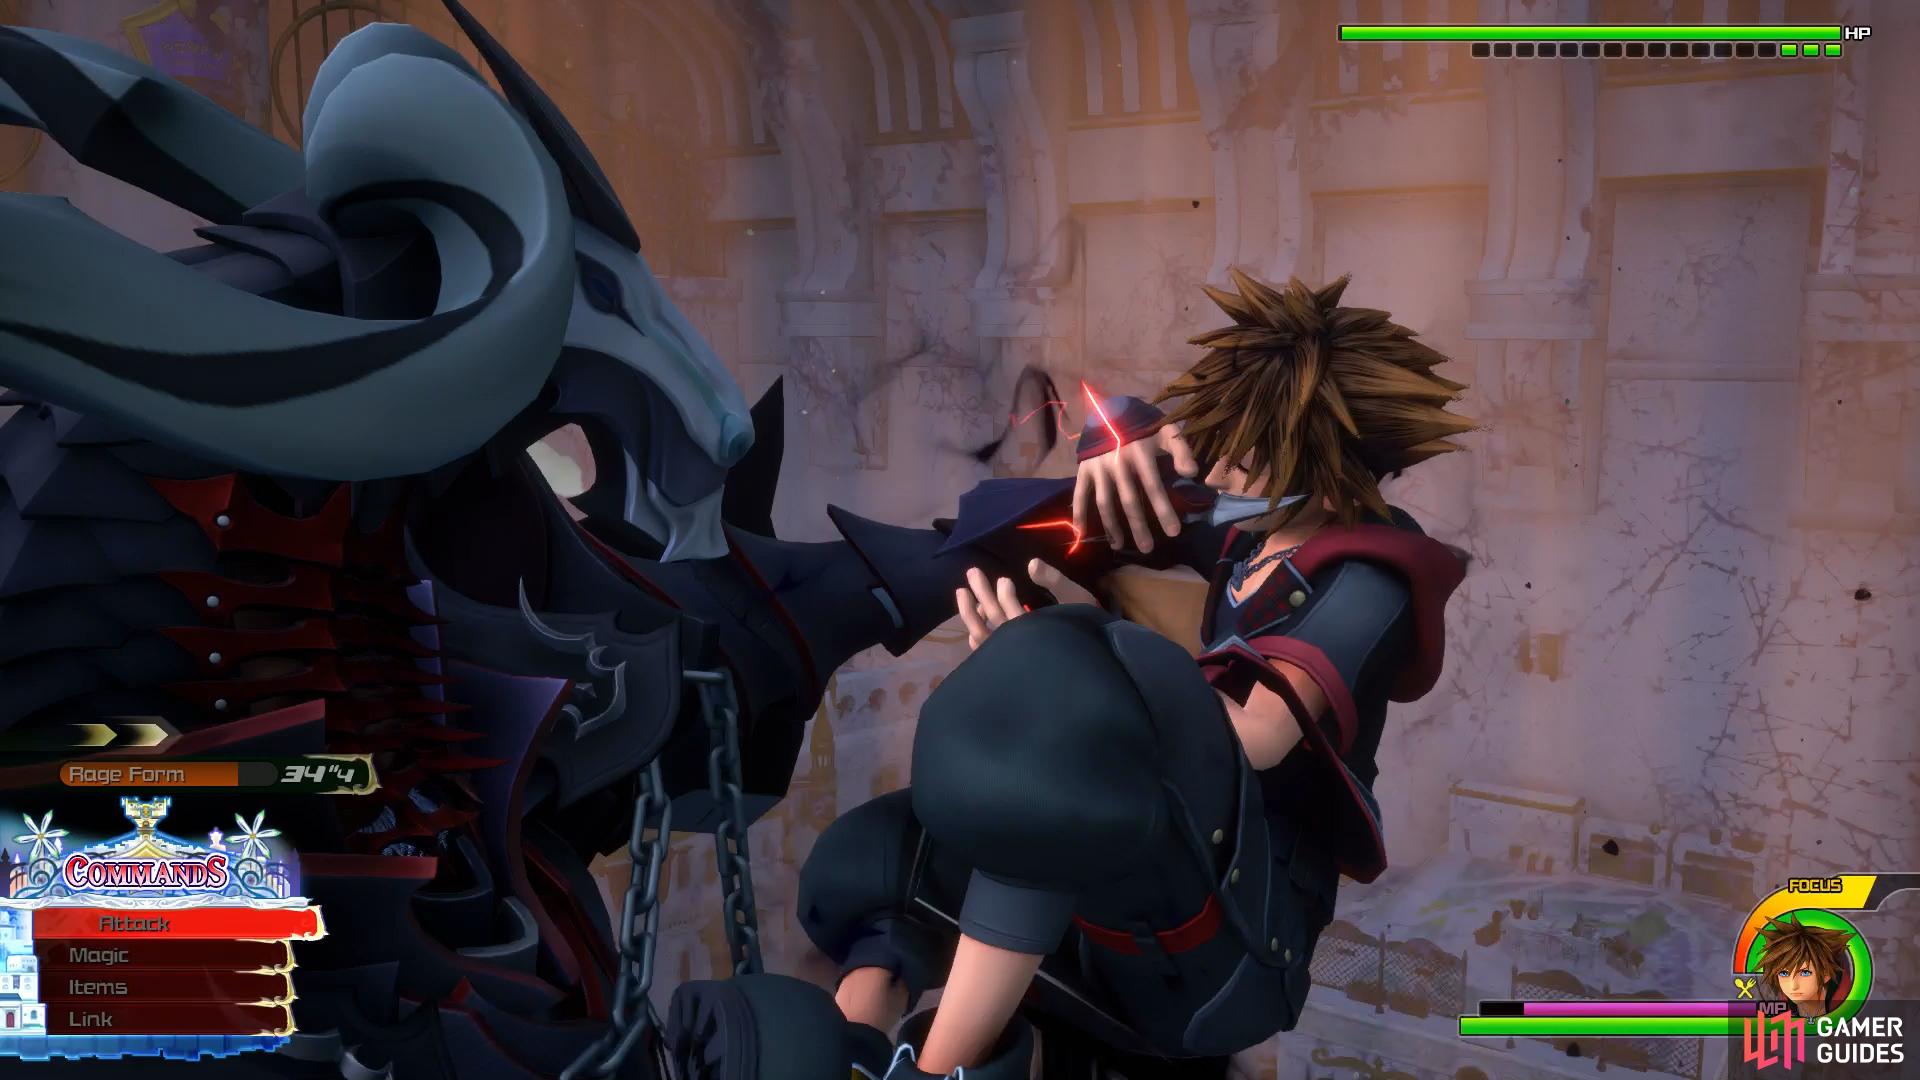
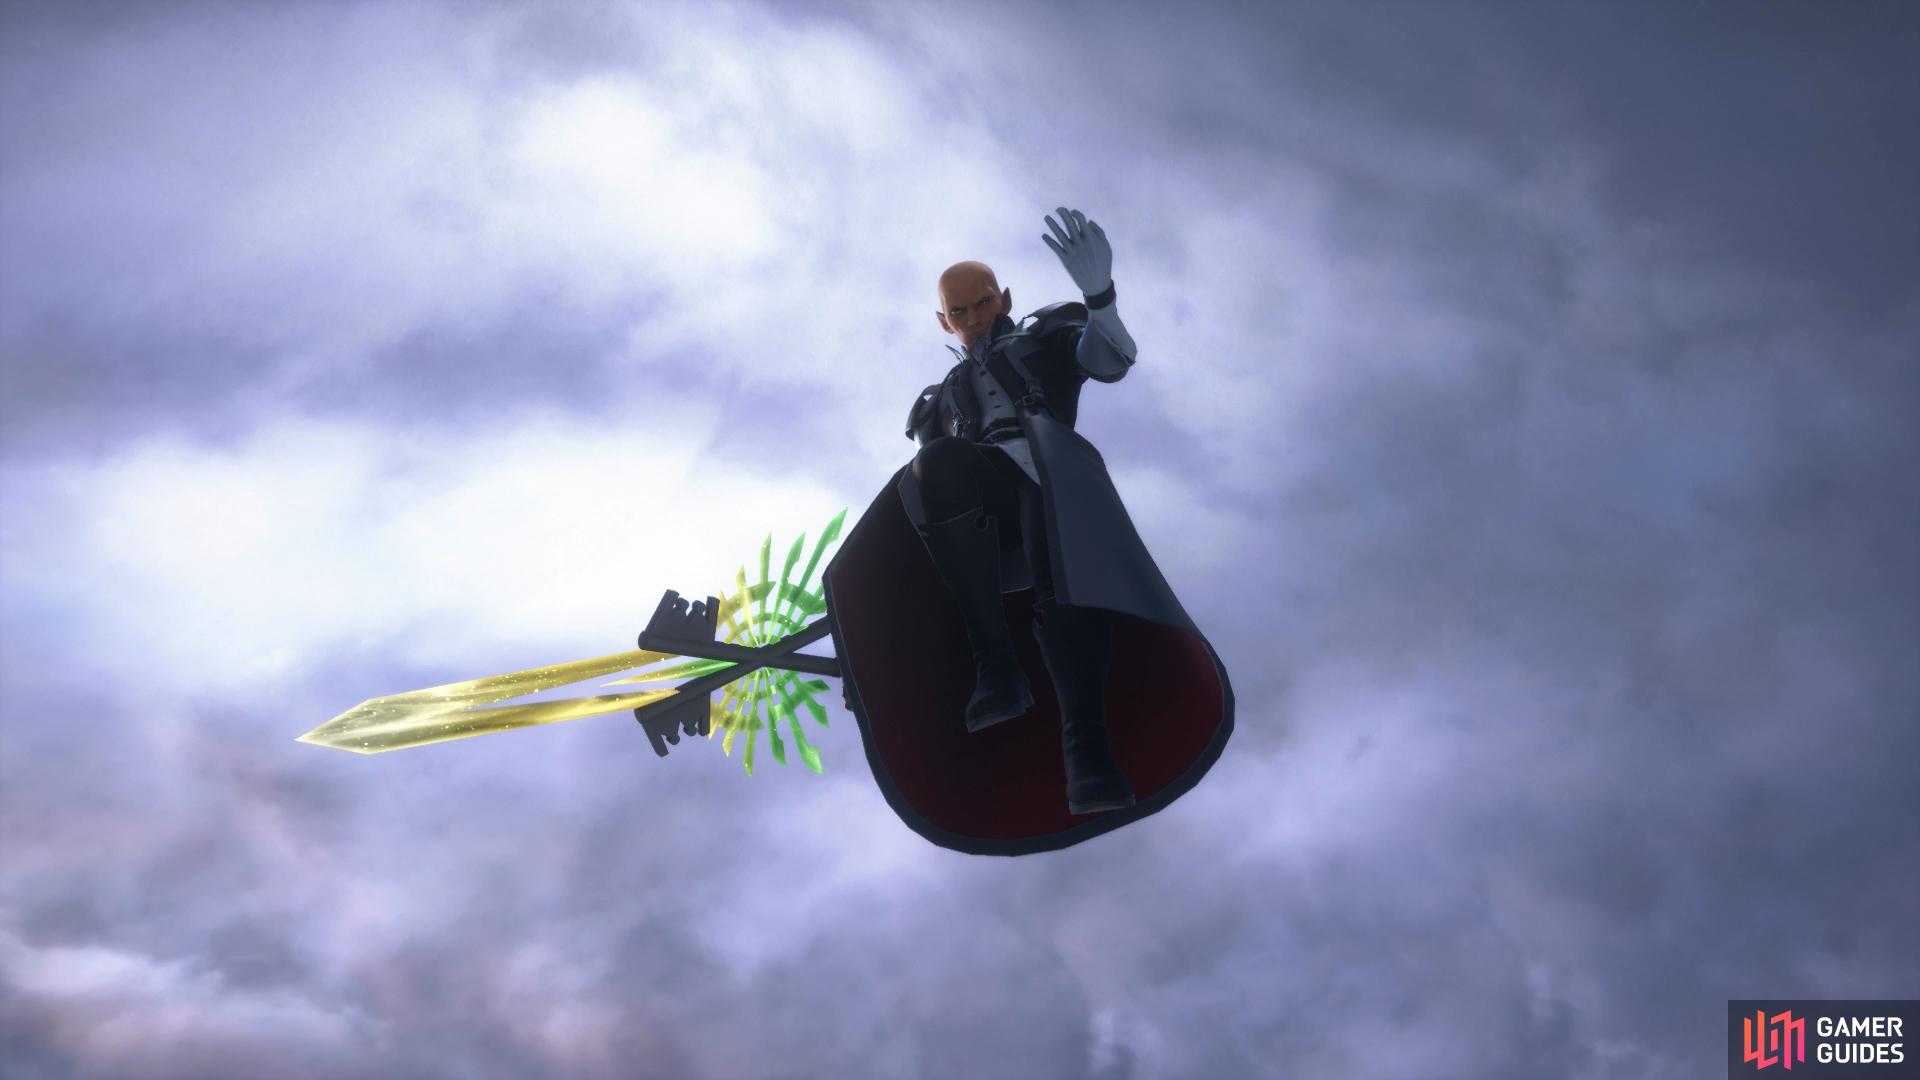
Boss: Master Xehanort
Following the cutscenes that take place after you victory against Armored Xehanort, you’ll face off one last time against Master Xehanort. This is the final battle in the game and as such, don’t be afraid to use any of your Items assigned to Sora.
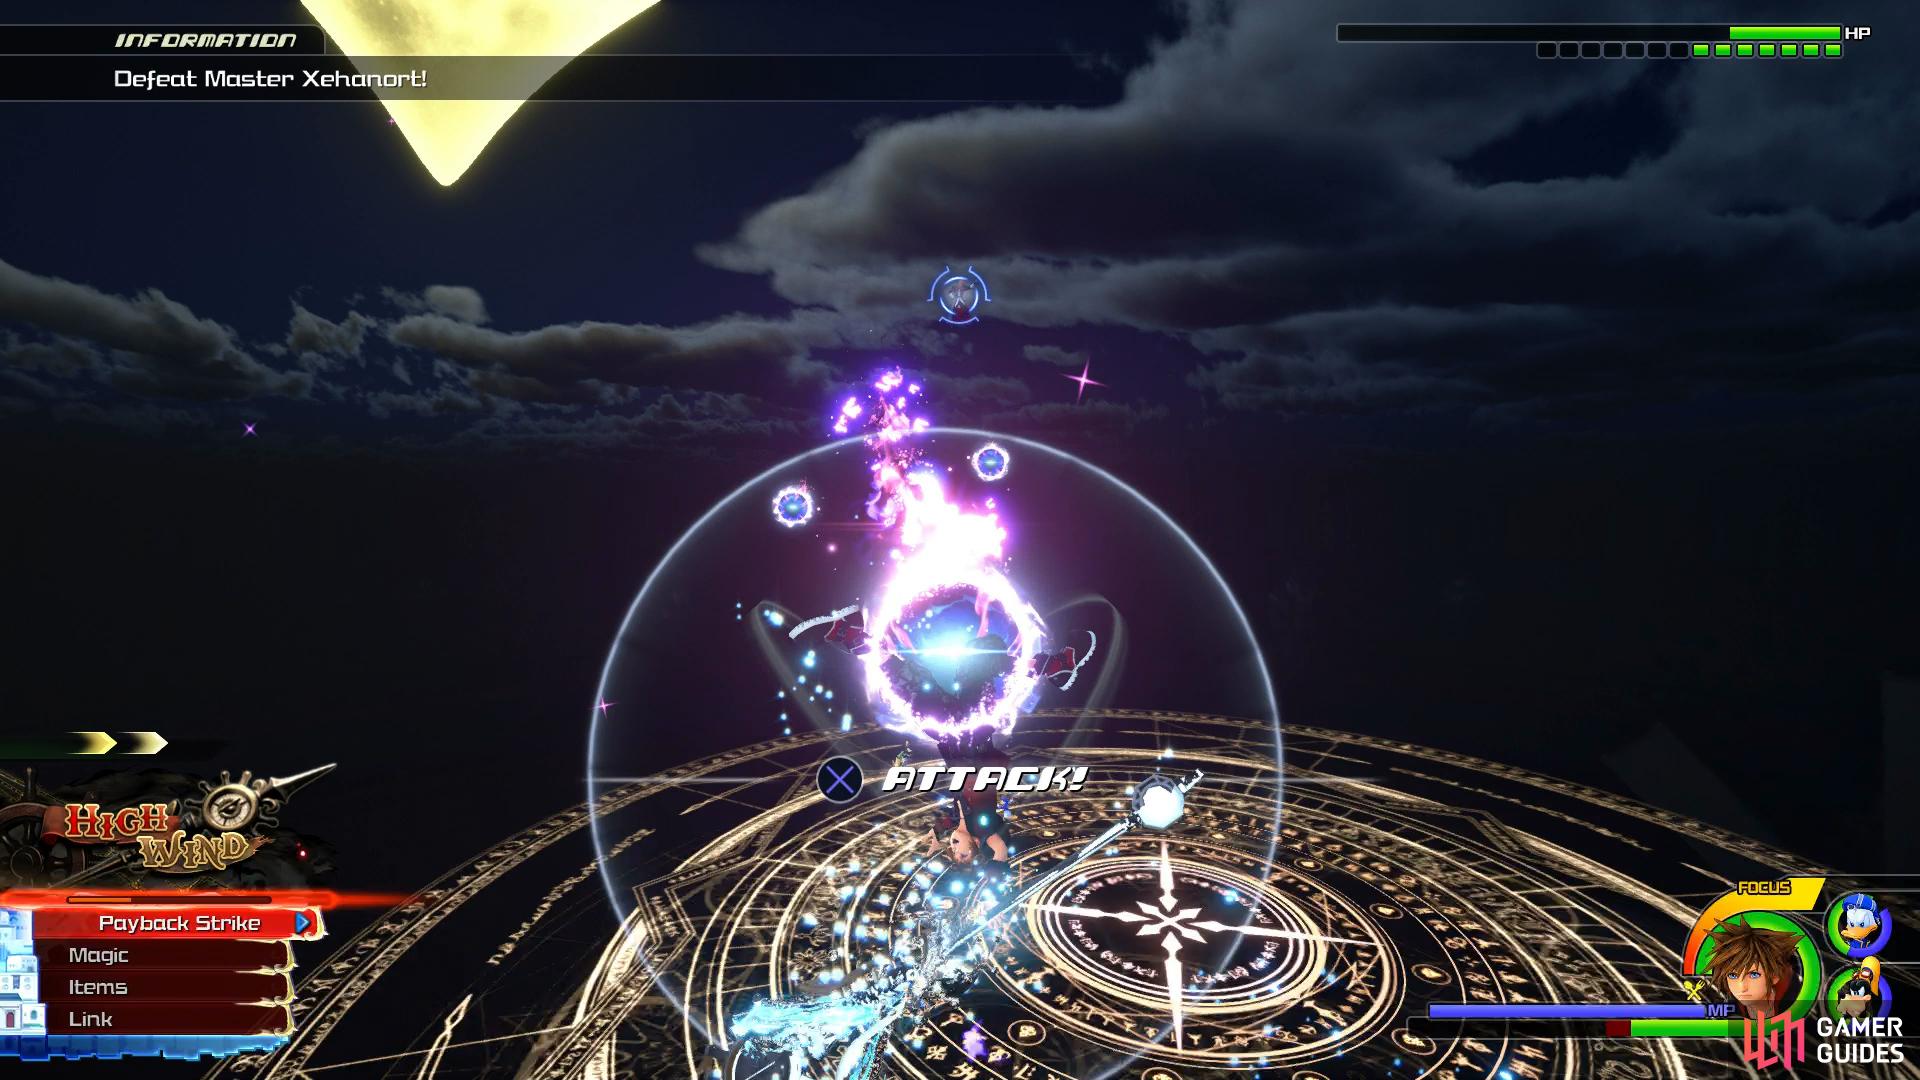
Donald and Goofy return to your side for this final battle and the extra healing is welcome. Master Xehanort attacks with a serious of powerful Combos, all that can be blocked and countered with if you’re careful. Reprisals are your friend here too, no matter how good you are, you will find yourself caught by his attacks, use Aerial Recovery and a Reprisal to begin a Combo of your own and deal heavy damage.
Upon dealing around half of his HP, you’ll enter the second phase of the battle. Master Xehanort will add a Meteor Shot ability here, shooting large balls of Darkness that home in on Sora from distance, if you’re hit by one then you’ll be hit by all of them so work on your timing and attempt to block the shots. This attack aside, Master Xehanort retains all of the same abilities from the first phase.

(1 of 2) Master Xehanort adds balls of darkness to his arsenal in phase two
Master Xehanort adds balls of darkness to his arsenal in phase two (left), stay away from the light pillars at the beginning of phase three. (right)
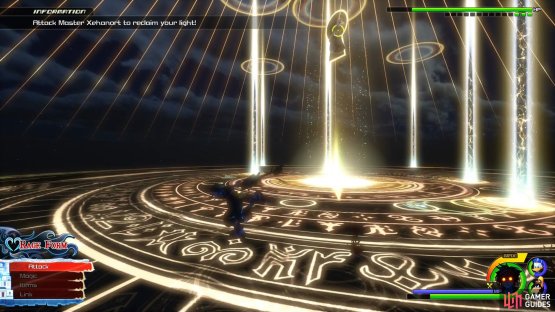
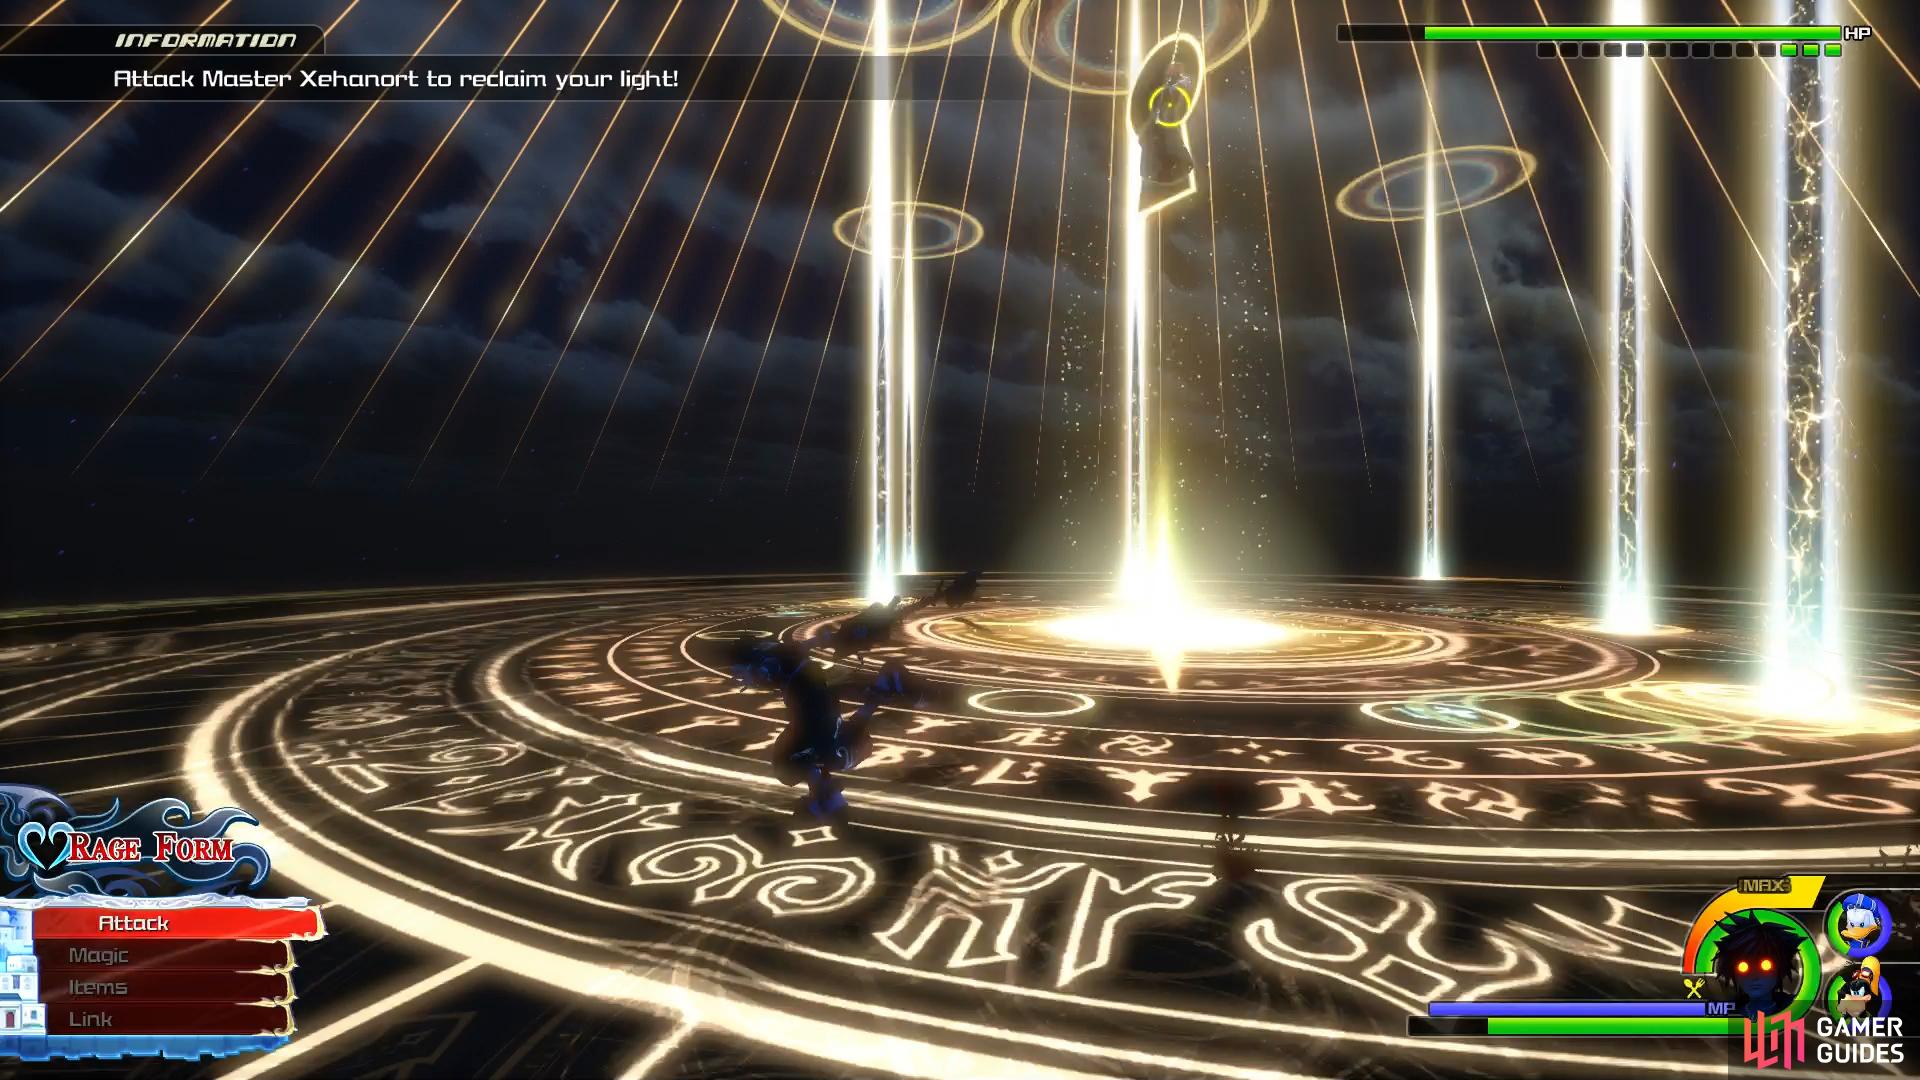
Once near death, you’ll enter the third phase as Master Xehanort drains Sora’s light from him, plunging him into Rage Form. This is the most difficult part of the battle due to you losing the ability to heal. To begin with, Master Xehanort will use your light to errect pillars of light that will spin around the center, keep on the outside to avoid this. Once Xehanort appears in the center, quickly begin Comboing him until you get the prompt to Return to the Light as a Situation Command.
You’ll now find yourself able to heal again and should do so right away if need be. The final phase of this fight will see Master Xehanort begin with an onslaught of clones that will attack relentlessly, unless you block the first attack you’ll suffer the full damage from the attack. He’ll also begin firing lasers at you from a distance, this however, is easy to dodge to the side. Remain on the offensive during these final moments and once you deplete his HP, use the Last Ray Situation Command to finish the battle.


Watch the long cutscenes that take place following your victory and if you got the required Lucky Emblems (you should have all of them by following this Walkthrough).
What now?
Reloading your save will place you at the final Save Point in Scala ad Caelum. All thirteen [Battlegates] are now open across all of the Worlds with difficult challenges for you to face. There’s also more Trophy/Achievements to unlock in the form of the [Ultima Weapon] and getting Sora to Level 99.
No Comments