


As soon as you start up the Secret Episode, you’ll be given an opportunity to prepare for the battle and you’ll want to make sure you sufficiently prepare. To begin with, you’ll want to equip a whole host of healing items, with Elixirs being the ideal choice should you choose to farm them beforehand. If not, you’ll want at least Hi-Potions over Ethers as there is a mechanic in the coming battle that will prevent you from using magic. Likewise, the Kupo Coin which has proved so useful in Limitcut can be used against you here, the boss here has the ability to steal it from you and use it on himself so unless you want to run the risk of this, opt out of if the Kupo Coin this time around. Once you’re ready, exit the menu and watch the cutscene to set up one of the toughest bosses in the Kingdom Hearts series.
Yozora is an incredibly tough battle and it’ll take you many attempts just to learn how to even survive before you begin thinking about looking for openings. This is also a two phase battle where his attacks (of which he has many) will change up drastically following his Desperation Move (which he can also surprise you with by using from the start on rare occassions).
One of his most common attacks is his Teleport Attack, Yozora will combine a series of Lasers and Sword Strikes, all of these are blockable but watch out for the end of the attack where he’ll leave a sword behind Sora, to avoid this you’ll need to run backwards and then block the attack, allowing you a short opening to Air Step over to Yozora and nail some attacks on him. The timing of the final sword strike is critical here as you can’t avoid it by dodging away, it’ll catch up and lock you into a deadly combo from him. Note he can also use a more basic version of this attack without the Lasers but you’ll still need to deal with final Sword behind Sora so don’t forget to run back and block after the sixth slash.
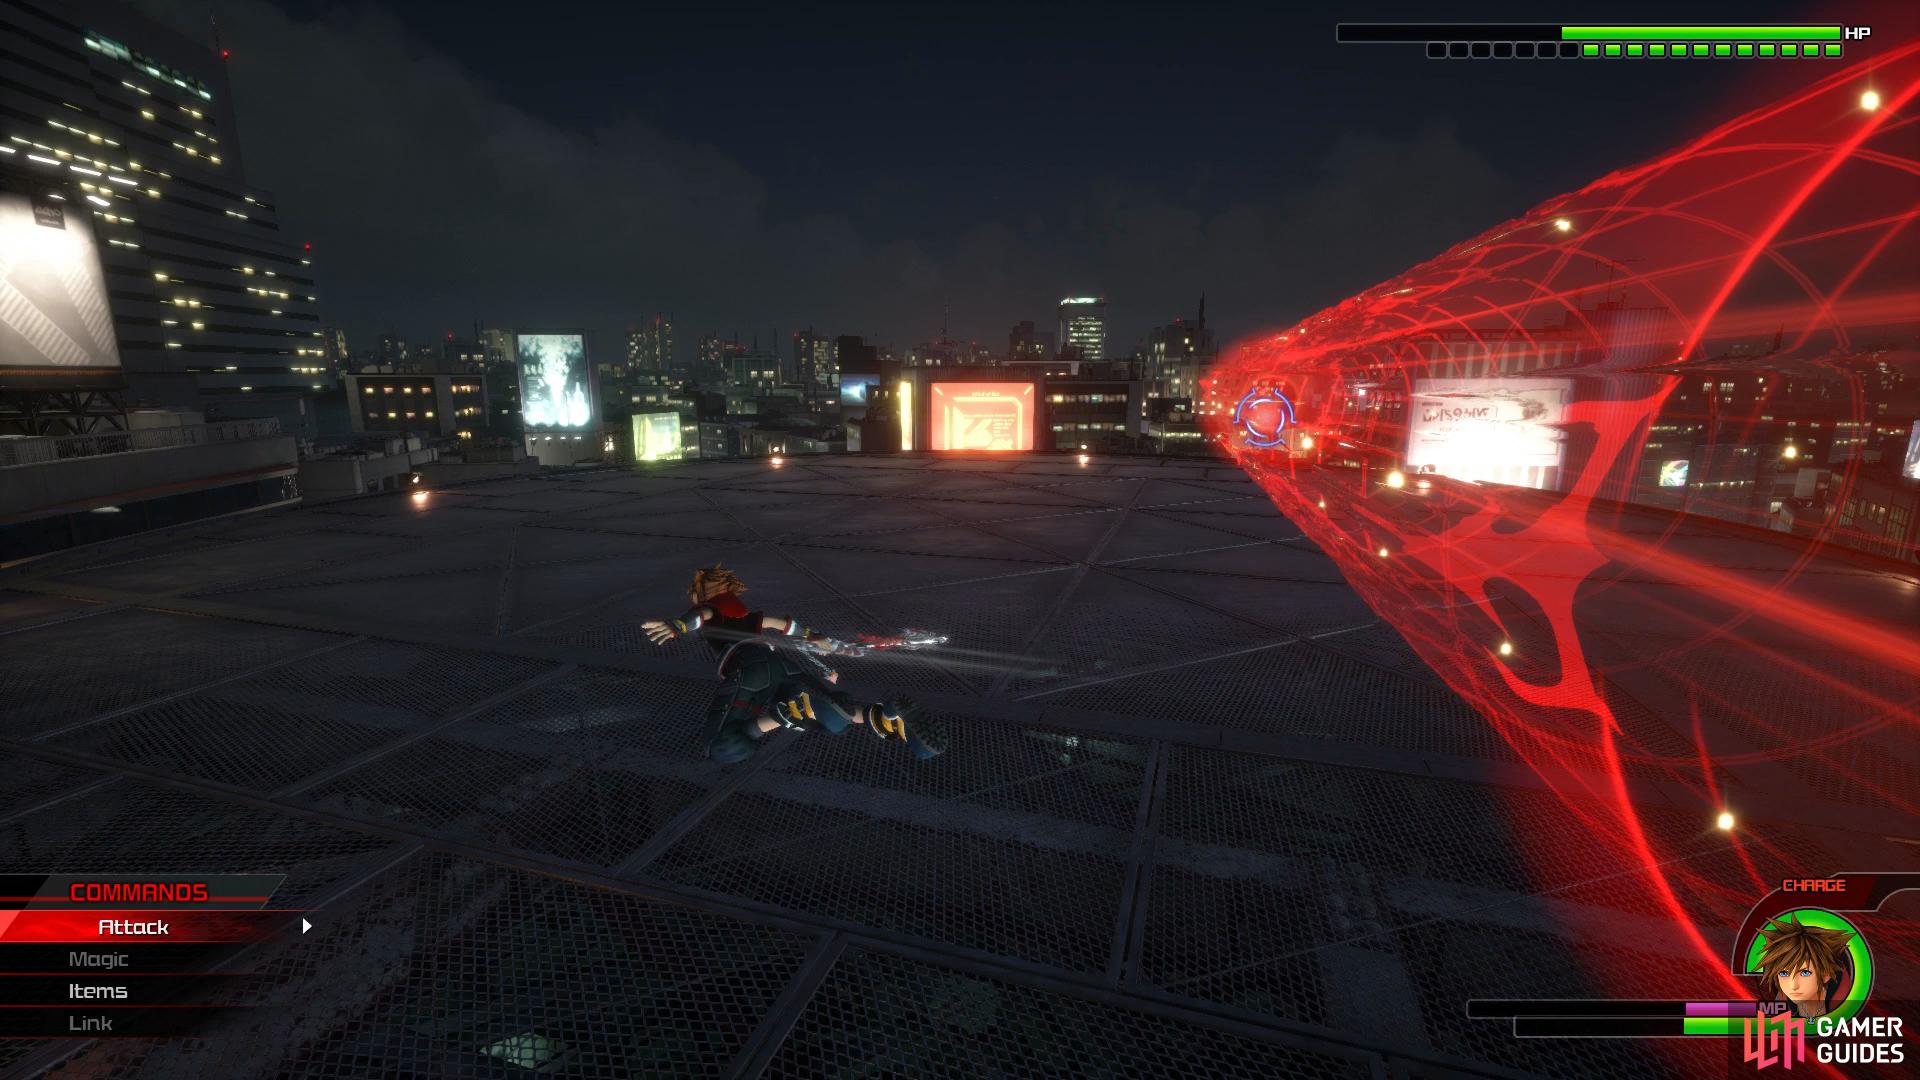
Still on the theme of Lasers, Yozora will jump into the air and fie nine consecutive Lasers at you, all of which can be blocked but you’ll need to get the timing just right to not find yourself locked into a combo. If you’re able to count the Lasers as you block them, you’ll be able to roll through the final double Laser and counter him with a Combo of your own. Once you can safely understand the timing here, this is one of your best ways of dealing damage to him during this battle. At any point throughout the battle, Yozora can mix in a Charged Sword attack, discernible by the long red glow from distance, this is followed up with a slash followed by another two shortly after, all of this is blockable.
If you’re unlucky, you’ll find Yozora run at Sora right from the start of the battle (or at any point), this indicates that he’s closing in for a Grab and should he be successful, he’ll steal Sora’s Keyblade along with his ability to use Magic. This Grab cannot be blocked at all so you’ll need to dodge roll it but beware as he’ll mix in some slashes between the three Grabs, shortly after the first Grab attempt. This becomes more difficult if you are grabbed however as it’ll start a phase of pure survival where you’ll need to see out his attack. He’ll use a homing Water spell at you, wait until the last moment and dodge through it to avoid it. You’ll then need to dodge his Sweeping Strikes across the screen followed by a Keyblade Barrage to end the attack, this is all about timing your dodge rolls to see out the attack. Note that you won’t be able to Cure yourself during this segment so use Elixirs/Potions should you have them equipped.
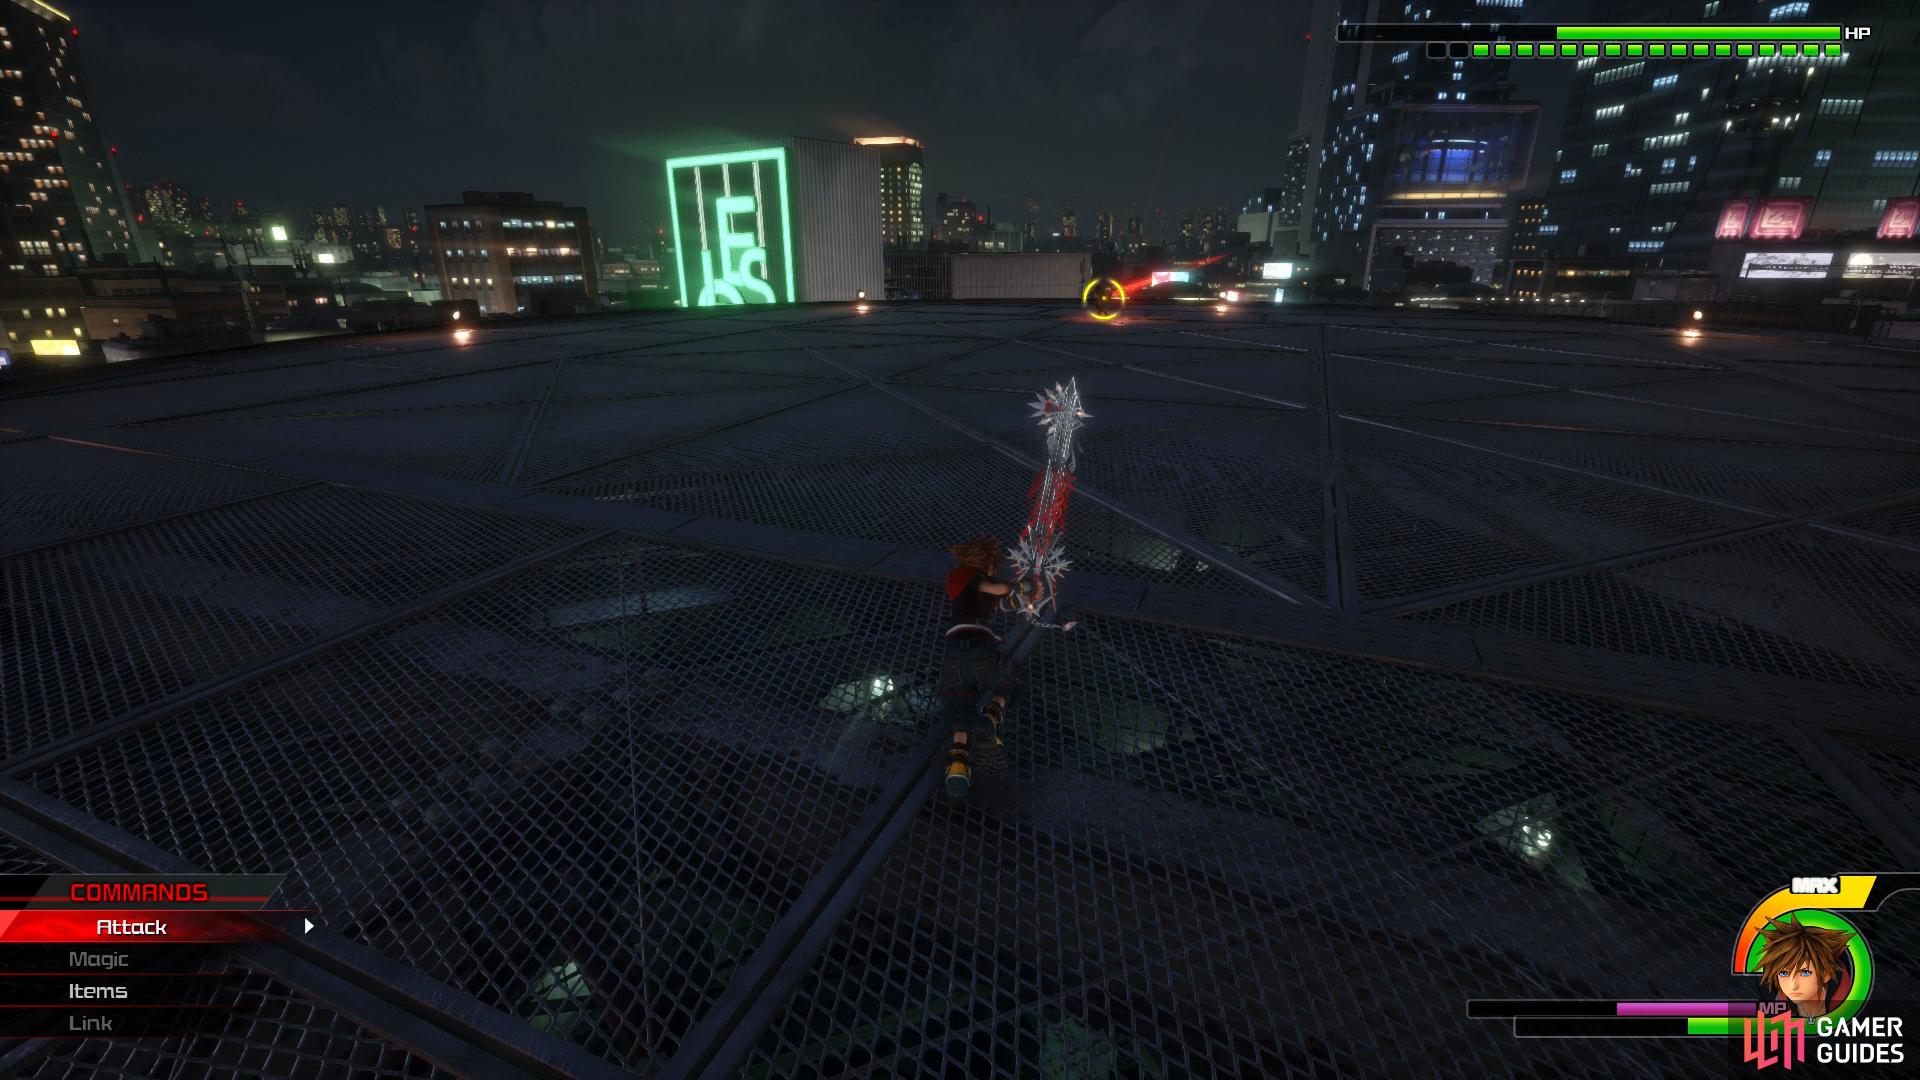
Continuing with the theme of Stealing, Yozora has a stright up Steal ability that will steal your items, including a Kupo Coin should you have it. This means that if you’re fortunate enough to defeat him, he’ll activate it recovering his HP so unless you can effectively avoid this attack, don’t bring a Kupo Coin into it. Yozora will appear in the air and let out a Tractor Beam that steals the items if you’re caught in it, to avoid it, simply jump high in the air and Glide around the arena while keeping your focus on Yozora himself, again you’ll usually have to deal with this attack up three times in a row.
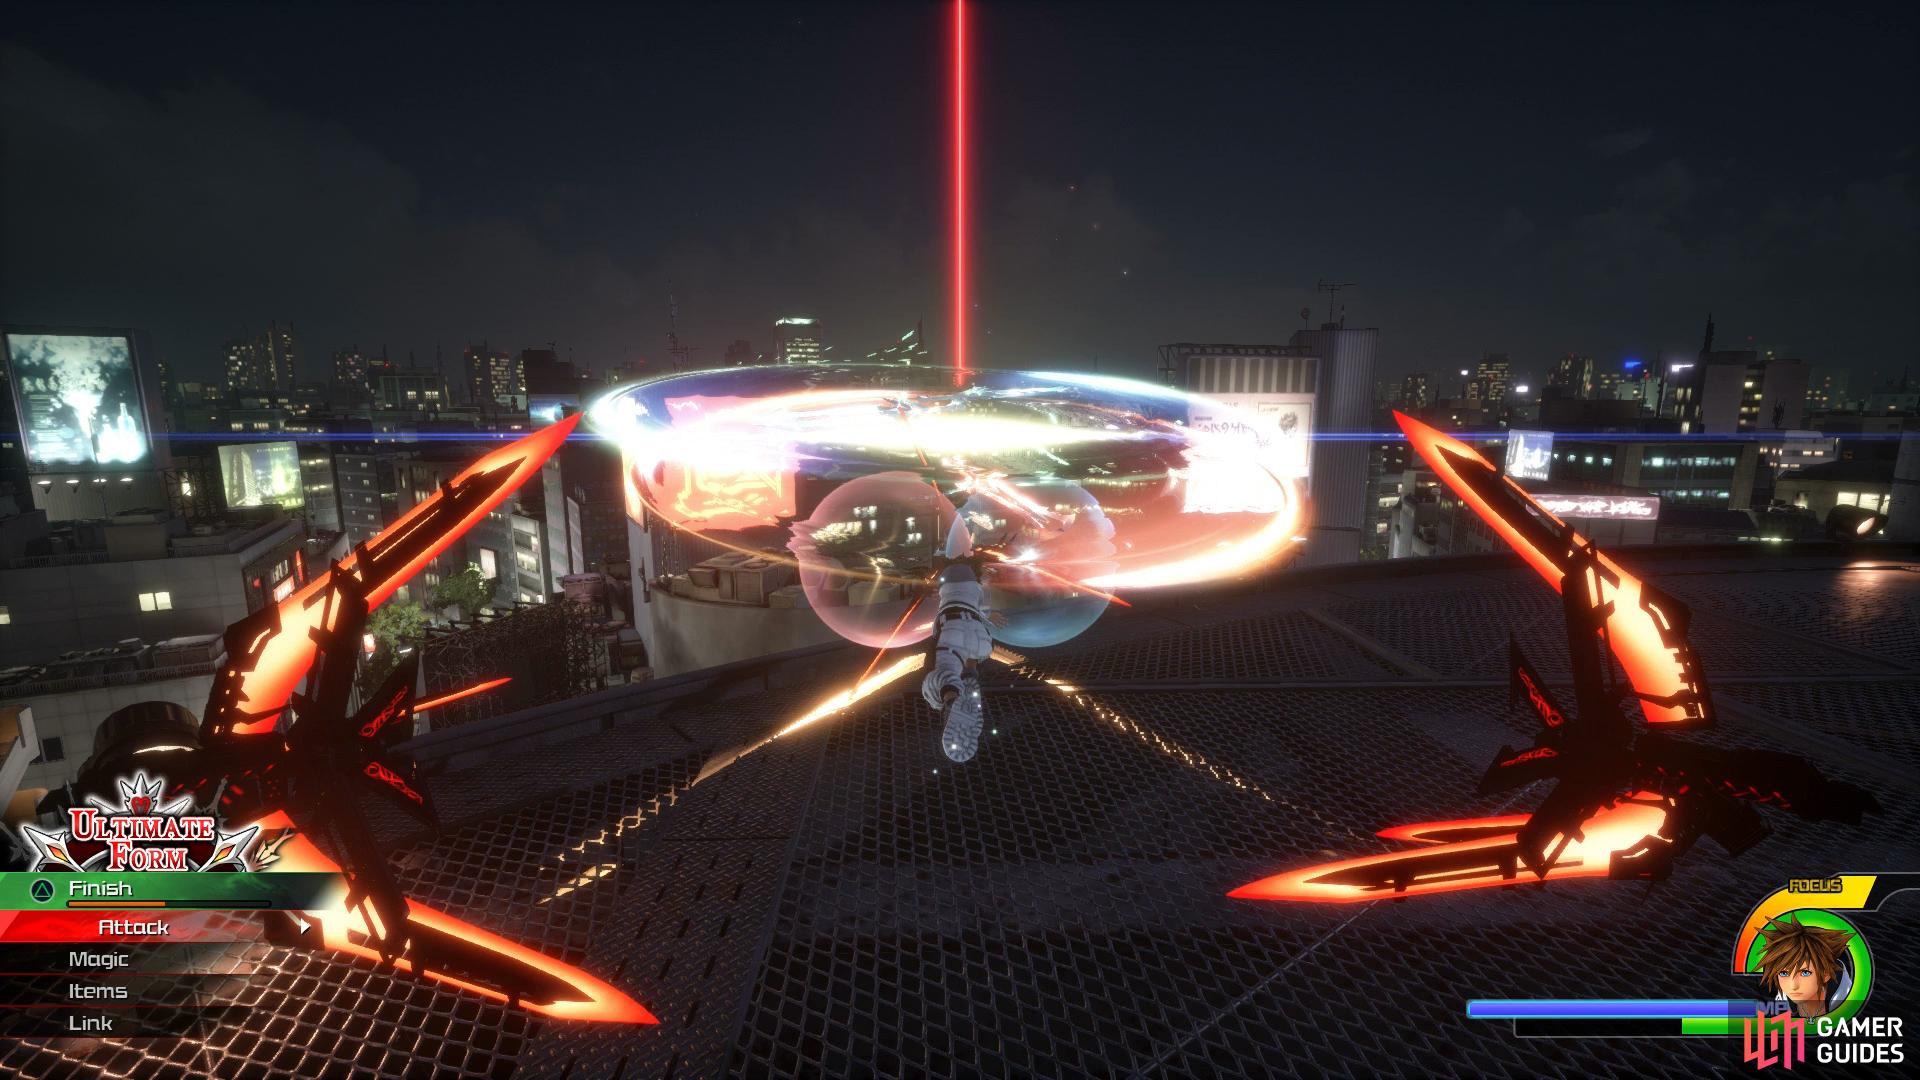
One of his most deadly attacks is his Laser Prison attack where he’ll send out three claws to surround Sora. This will begin forming a Pyramid that once the lines connect, will trap and damage Sora so wait for just before the lines connect and dodge to the side, followed by immediately blocking the onrushing Yozora. He’ll repeat this attack three times in a row, with the final follow up slash having a slight delay. Thundaga plays a crucial role here if you want to attack him as after the second Prison, you’ll be able to stun him into a Combo should you hit him with it.
Yozora also has the ability to Lock-on to Sora himself, this is usually followed after an attack where he Slides into Sora, block this and then get ready for the Lock-on sign to appear on Sora. There will be a short delay followed by a barrage of Slashes which you need to block through. He’ll Lock-on three times before following up with another Slide which you can then counter with an attack of your own if you’re close enough to him.
After around half of his HP has been taken down (or unless you’re really unlucky), Yozora will trigger his Desperation Move which creates a shift in the arena. From the get go you’ll have to contend with four Lasers, two of which are Blue and must be dodged due to them being unblockable however you can quickly use an Air Step after the second Blue Laser to counter him. This is soon followed by him trying to fake you into blocking before following up with a barrage of Slashes and Lasers. You’ll spot this by him teleporting in and out before he finally attacks, the best way to deal with this is to stay calm, stand in place and then react with a guard once he does go in for the attack.
Once you deal with this, the arena will shift again and Yozora will summon waves of Gigas (from the Verum Rex game) to swoop in and attack you. If there ever was a time to make use of a Link Attack, this is it as it’s incredibly easy to get hit and locked into a combo of deadly attacks. If you manage to survive the wave of the attacks, Yozora will reappear and swoop in for one final attack which can be easily blocked before he reverts the arena to the previous part of the Desperation Move. The Blue Lasers will return here and he’ll start using his Teleport Attack again so be ready to run behind and block any swords that appear behind Sora. Finally, Yozora will transform the arena one final time and the Orb in the center will begin to explode while Yozora himself attacks from behind, turn the camera and continue running away while dodge rolling through any sweeping strikes from Yozora.
Following this, you’ll begin Phase two as he’ll cloak himself in Armor and attack with a series of Sword Slashes, all of which can be blocked through. He’ll also revisit his Phase one attacks with the addition with unblockable blue versions of them. For example, he can Lock-On with a blue reticle, forcing you to dodge through it and he can perform a Blue Charged Sword attack, again you must dodge this and block the follow up attacks. By now you should be used to how to read these attacks so it just becomes a case of dodigng in place of blocking for the Blue versions. Beware though, he will still use his Steal attack in this phase and the last thing you want is for him to steal a Kupo Coin after surviving that Desperation Move.
This isn’t a battle for the faint of heart and it’s the ultimate test of Kingdom Hearts III’s combat system. Don’t go into it expecting to defeat him first time but look to improve gradually every time. Make use of Link Attacks through his Desperation Move if you’re struggling and focus on learning where the openings are to attack. There are two endings for this battle (and in fact, Kingdom Hearts III) based on victory or defeat however if you live long enough to beat him, pat yourself on the back for overcoming the ultimate challenge.
No Comments