

Boss: Dreadshark
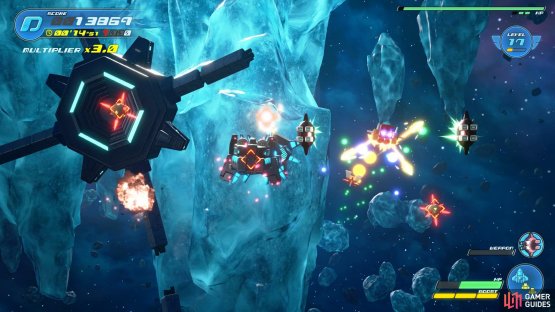
As you pilot the Gummiship towards Monstropolis, you’ll be stopped once again by another large Heartless, the Dreadshark. Hopefully you’ve been upgrading your ship as you explore the Galaxies because the Dreadshark can hit hard for underleveled Gummiship Pilots.
To begin with, your primary target is the head of the Dreadshark, this will inflict more damage than anywhere else and can be locked on to. You’ll need to stay on the move as the Dreadshark begins by moving around laying mines everywhere, these can be destroyed by locking onto them with your normal weapons. After a short while, the Dreadshark will charge towards you, dodge roll to the side to avoid this attack.

(1 of 2) Be sure to destroy the mines as they appear
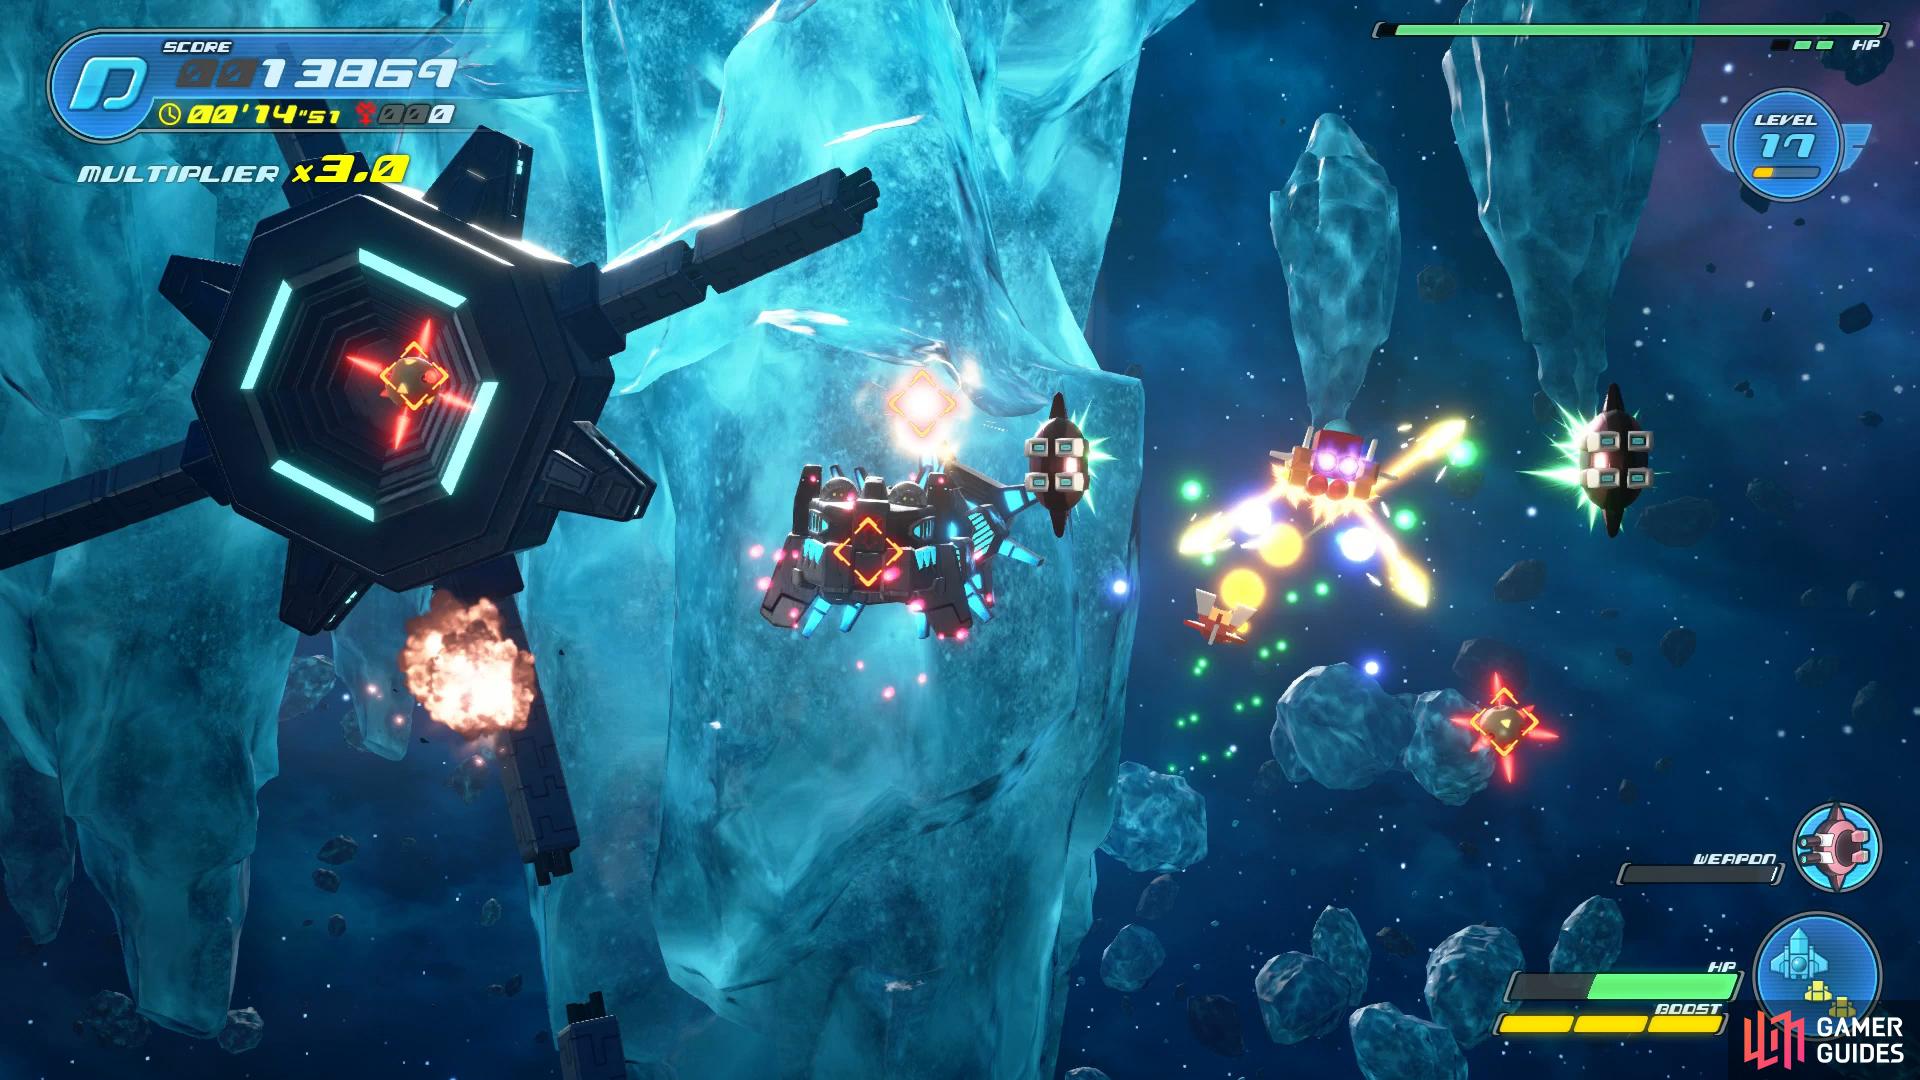
Be sure to destroy the mines as they appear (left), barrel roll to avoid the laser attack. (right)
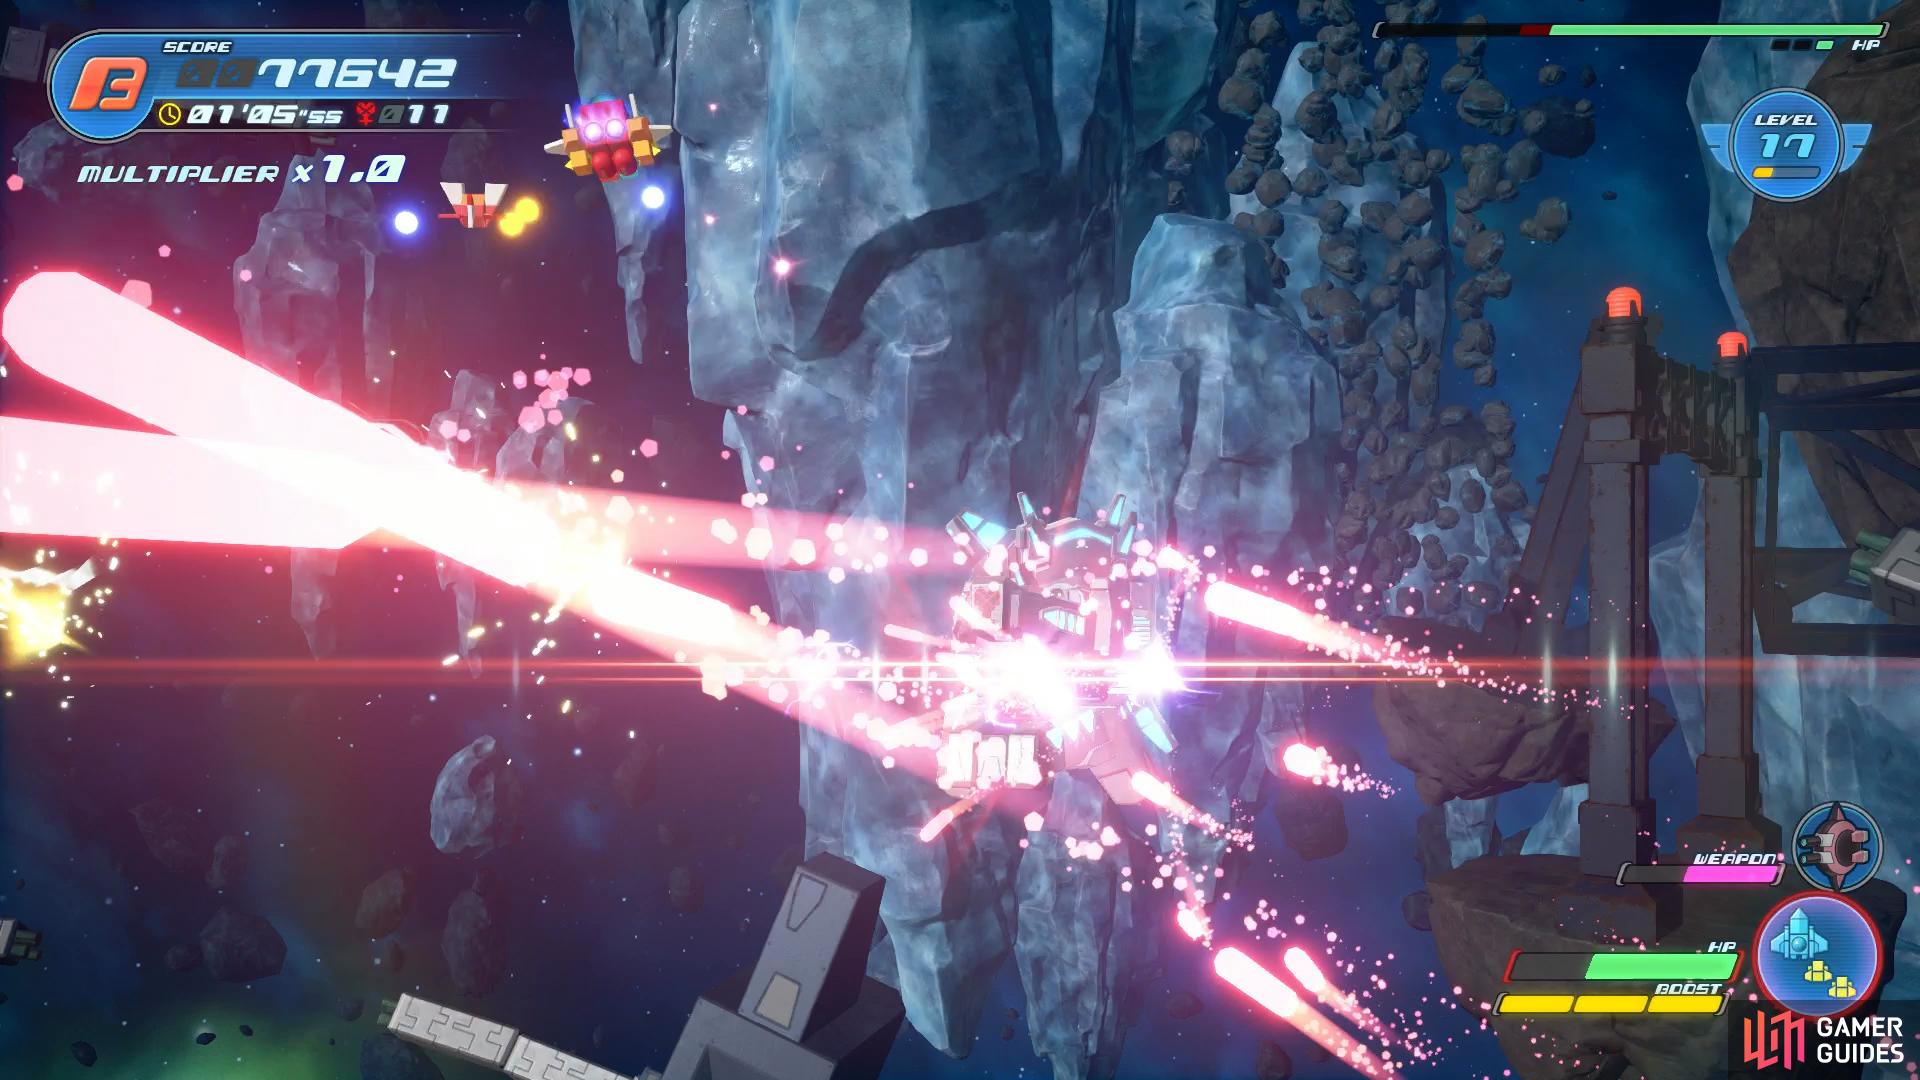
The Dreadshark also has the ability to go invisible, preventing all damage. During this phase many other Heartless ships will attack but these are easily dispatched by simply locking on. Beware however, the Dreadshark will reappear in close proximity and charge towards you again so be prepared to dodge roll out of the way once again. The final attack of the Dreadshark will see it charge up a beam attack, what follows is a barrage of beams that will home in on your Gummiship so move around in circles to avoid the beams that come your way. Following this attack the Dreadshark will return to the first phase with the mines, stay on constant attack and use your Special Weapon on cooldown and the Dreadshark will be a threat to the Galaxy no more.
Lobby & Offices
After landing in Monstropolis and checking out the new appearances for Sora and the group, you’ll meet Sulley, Mike and Boo when some new strange enemies gatecrash the introductions.
The primary threat here is the Spiked Turtletoad in the center, the smaller Floods are similar in behavior to your regular Shadows. As always with large groups of enemies, area of effect spells such as Thunder are useful. The main attack to watch out for is when the Spiked Turtletoad inflates itself, this will cause it to damage a much large area around itself so be on the guard.
| Character | Ability |
|---|---|
| Sora | Counter Impact |
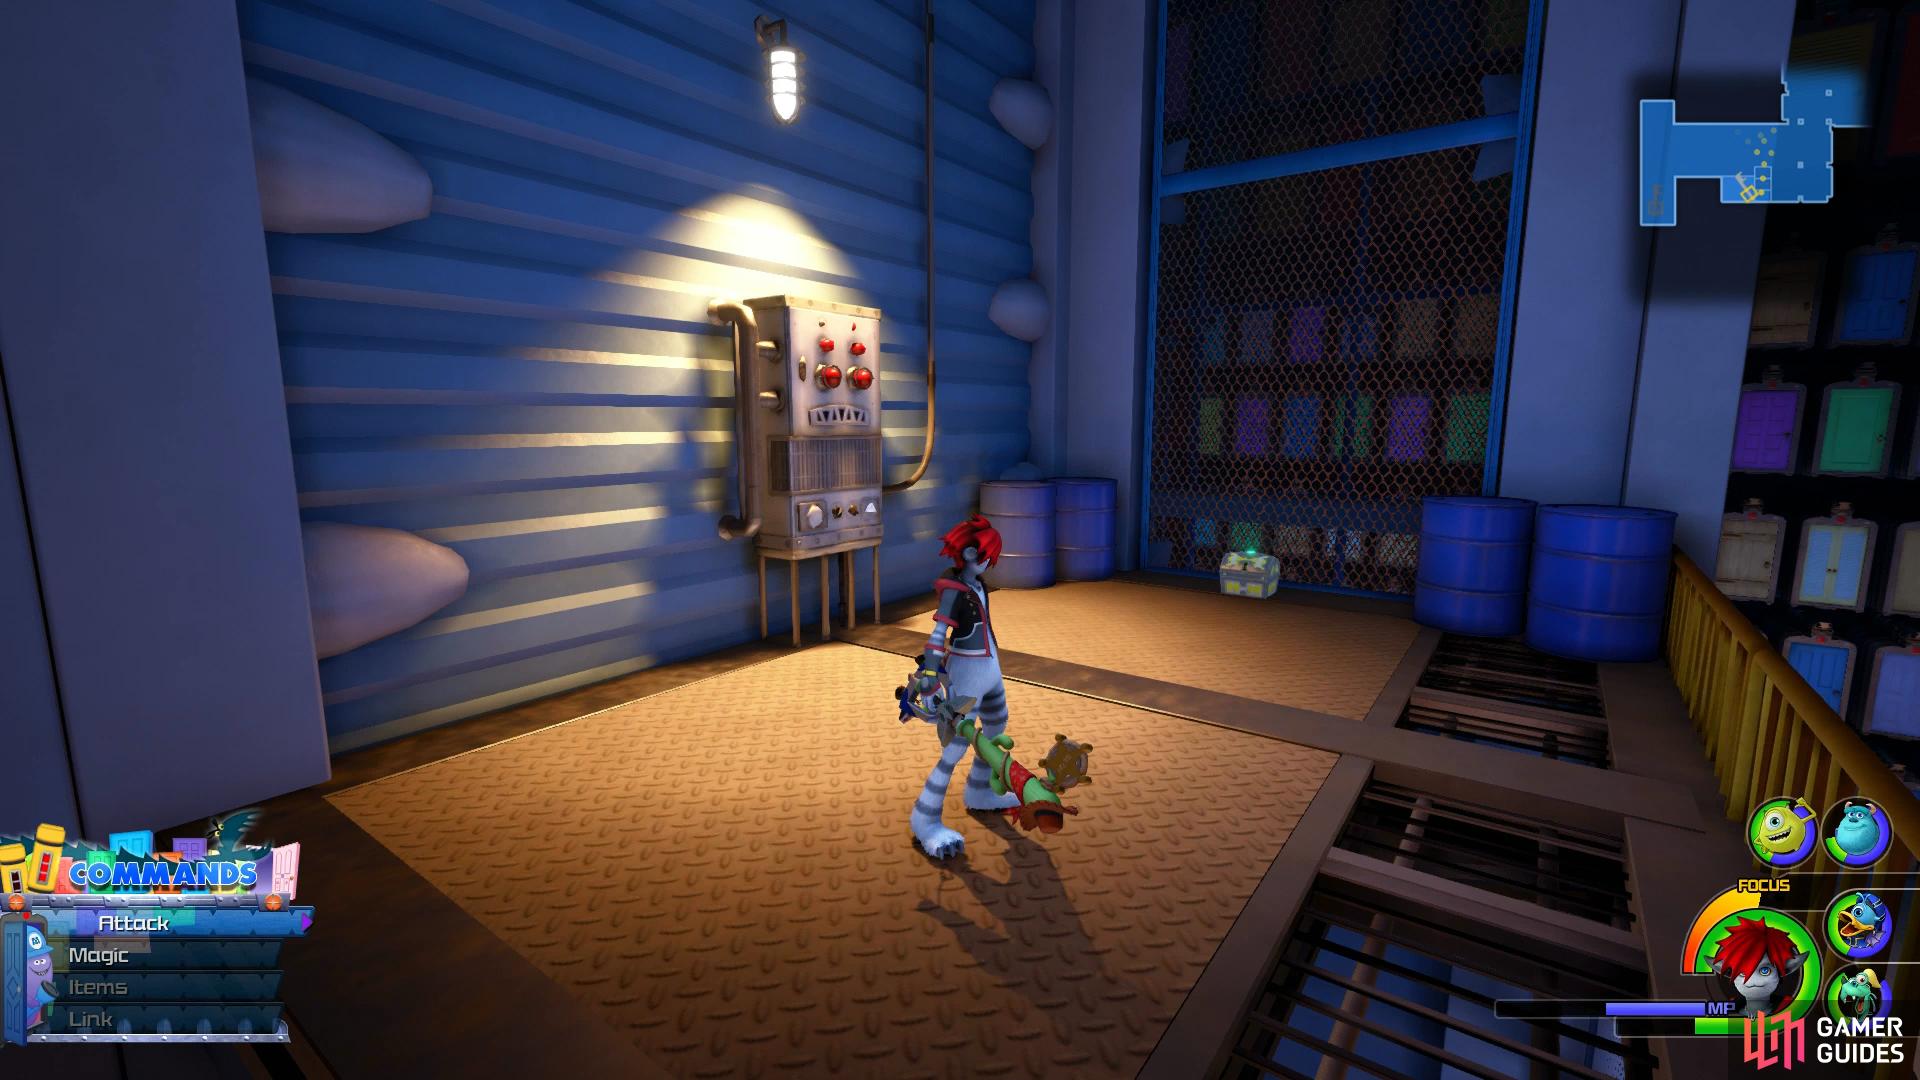
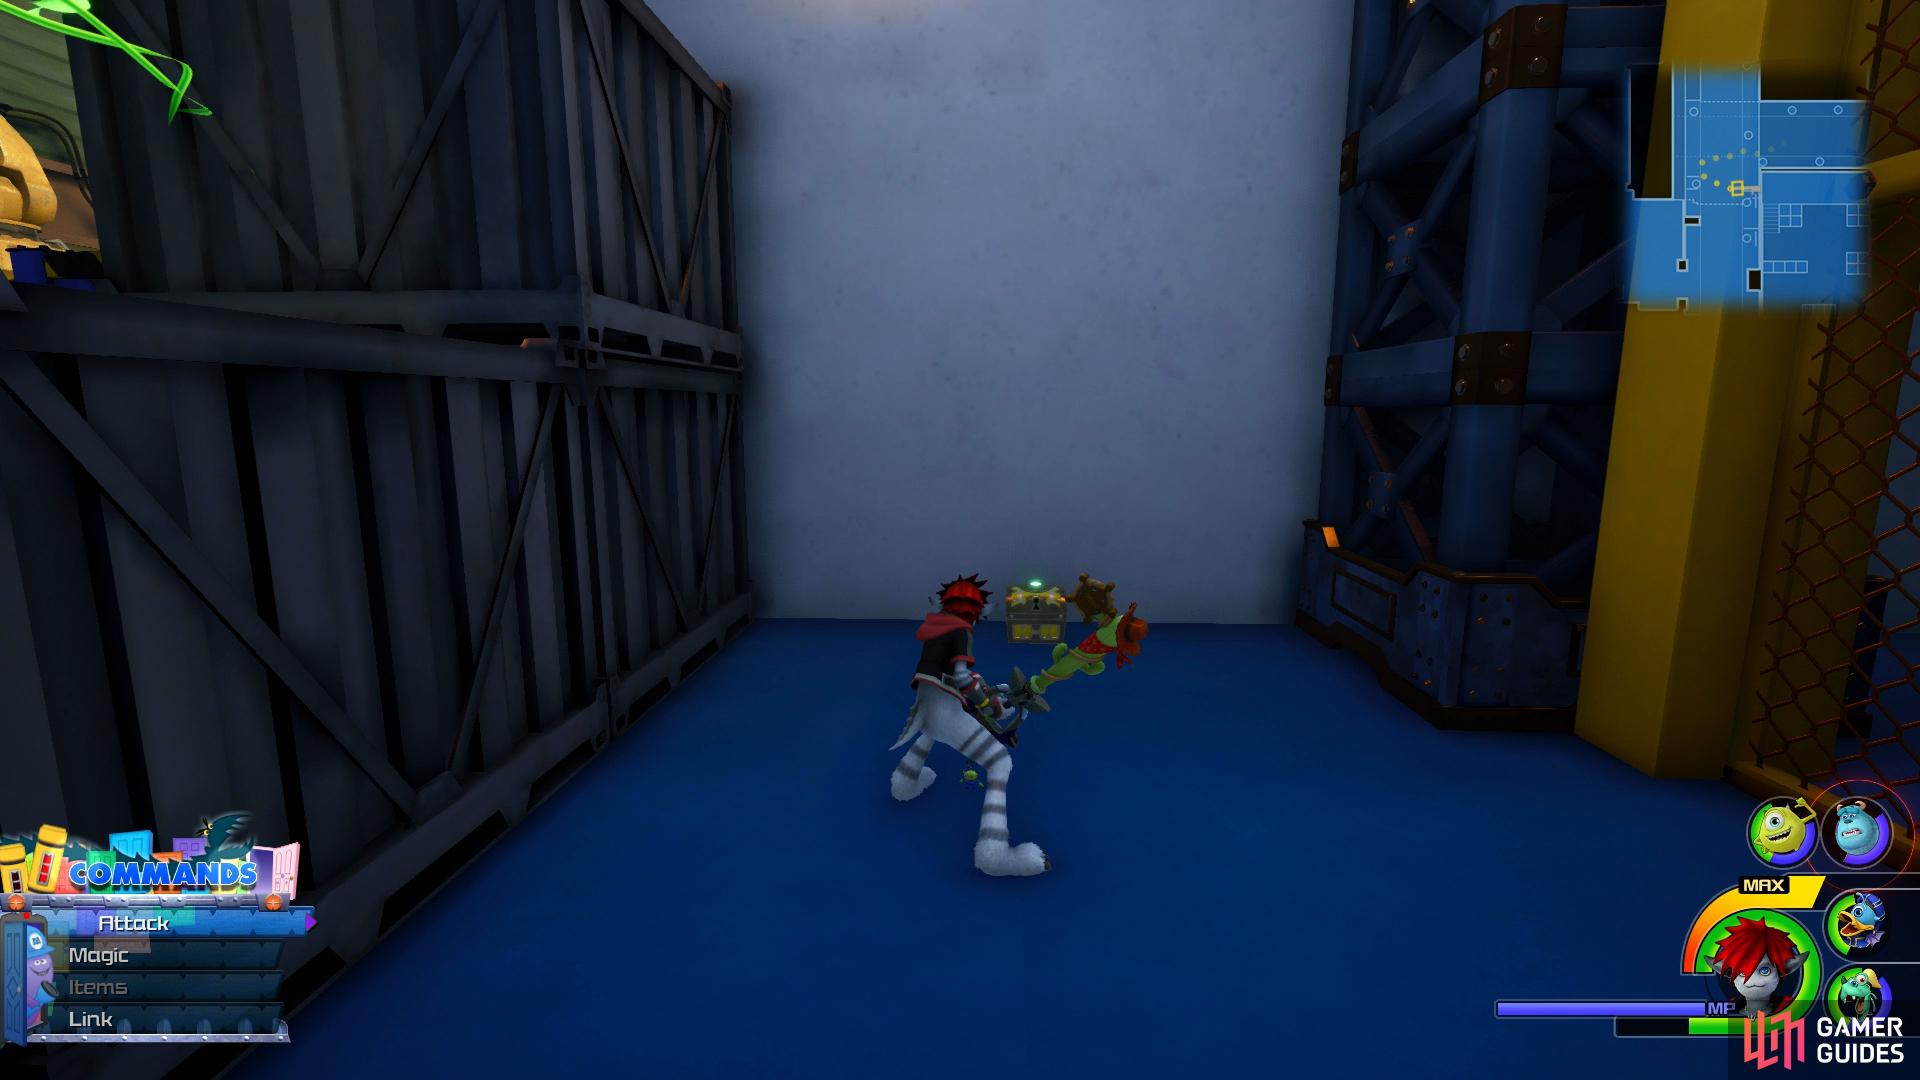
Once you regain control following the cutscene, head down the hallway and you’ll spot a chest at the end containing Treasure #1 - Map: Monsters, Inc.. Just beyond this you’ll come across the first Save Point and Moogle Shop, be sure to hand over your materials and stock up on any items you may wish. As you exit the room you’ll reach an intersection, head to the west and follow the path to the end to find another chest, this one containing Treasure #2 - Hi-Potion. Follow the path in the other direction now to enter the Laugh Floor.
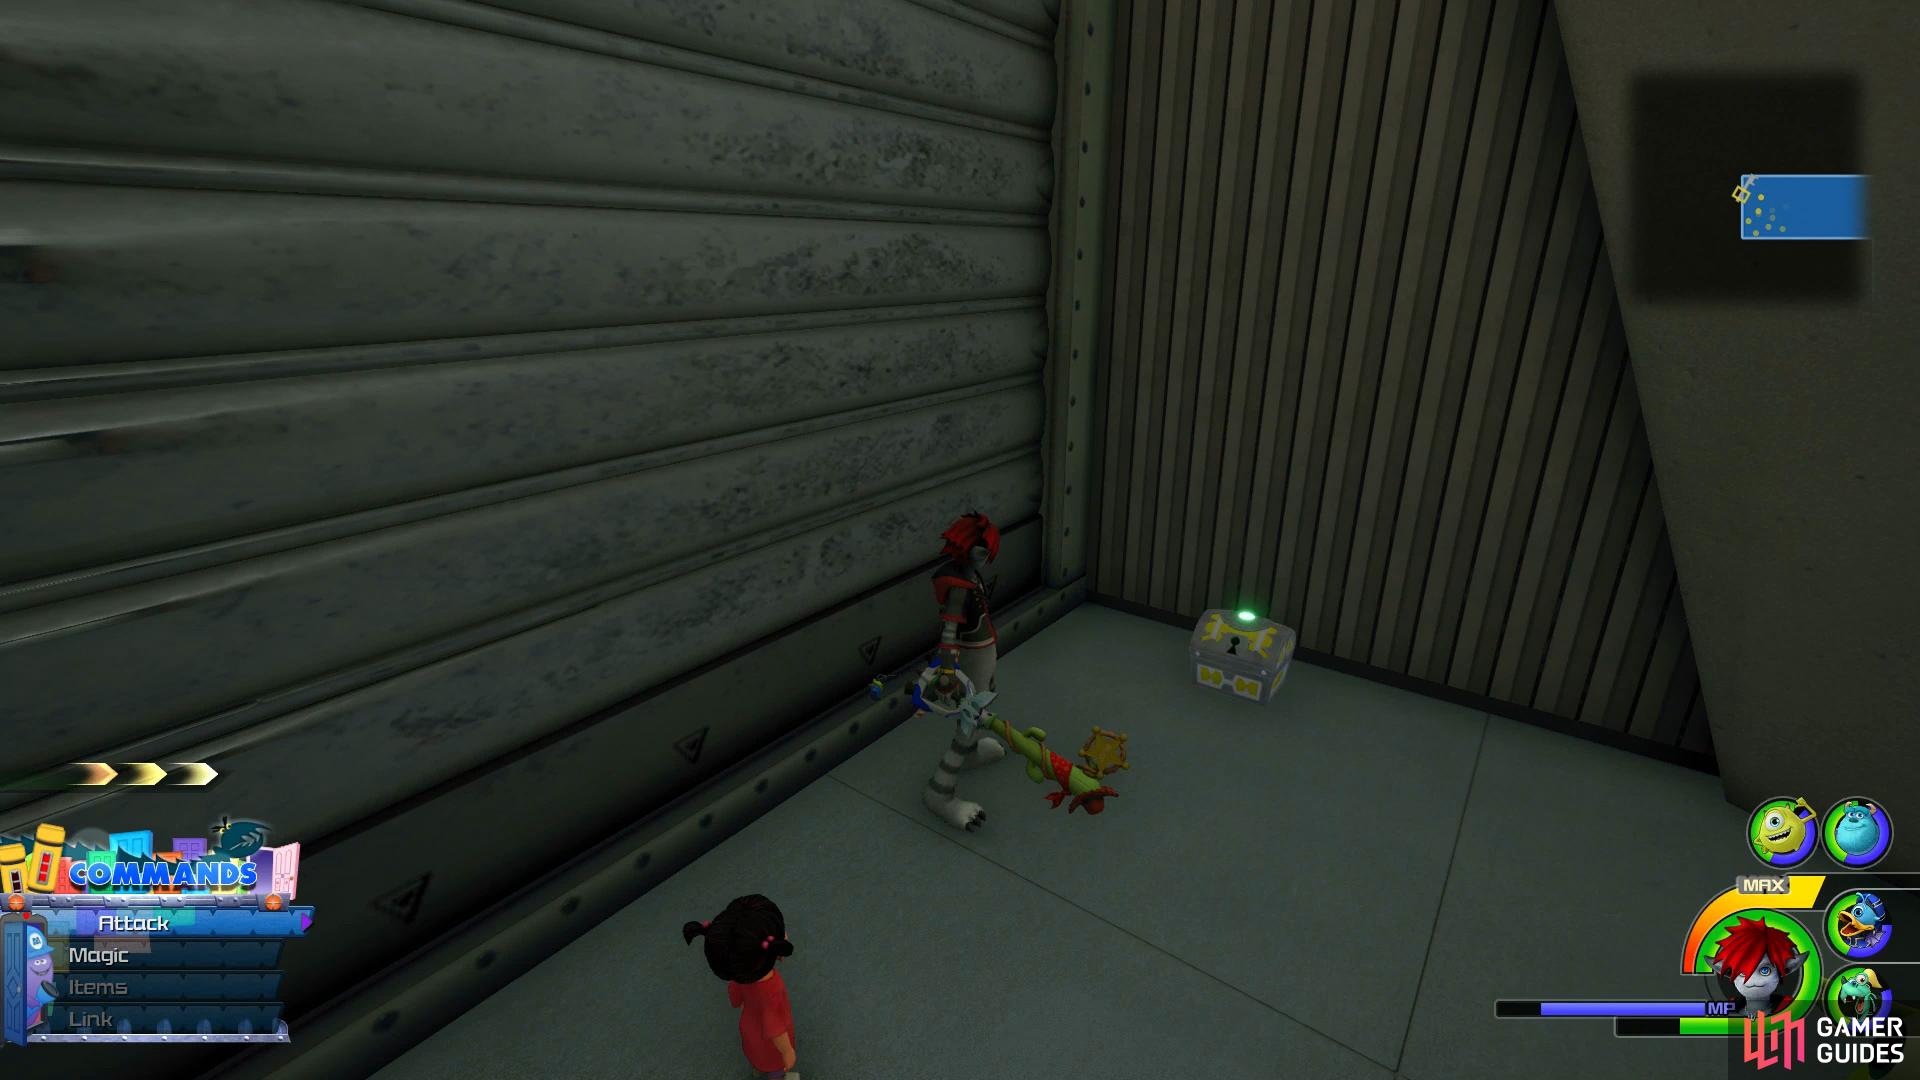
Search behind the canisters to find this chest.
You’ll be thrust into another battle with many Unversed including a new adversary, the Flowersnake. These Unversed can spit toxic at Sora and if swallowed by a Spiked Turtletoad, become even more deadly. Once the first group falls another will appear at the back with a Spiked Turtletoad, focus on taking it out first.
| Character | Ability |
|---|---|
| Goofy | Share Prizes |
Mike will call some of the doors back following the battle in order to use them to access the deeper reaches of Monsters Inc. Before you take Mike up on his offer, head to the northwest corner of the floor to discover a chest containing Treasure #4 - Refocuser. Turn around from here and begin heading back in the direction of the entrance, on the sixth desk down (from the chest) you’ll find a clipboard with Lucky Emblem #1 on it.

(1 of 2) The first Lucky Emblem can be found on this clipboard
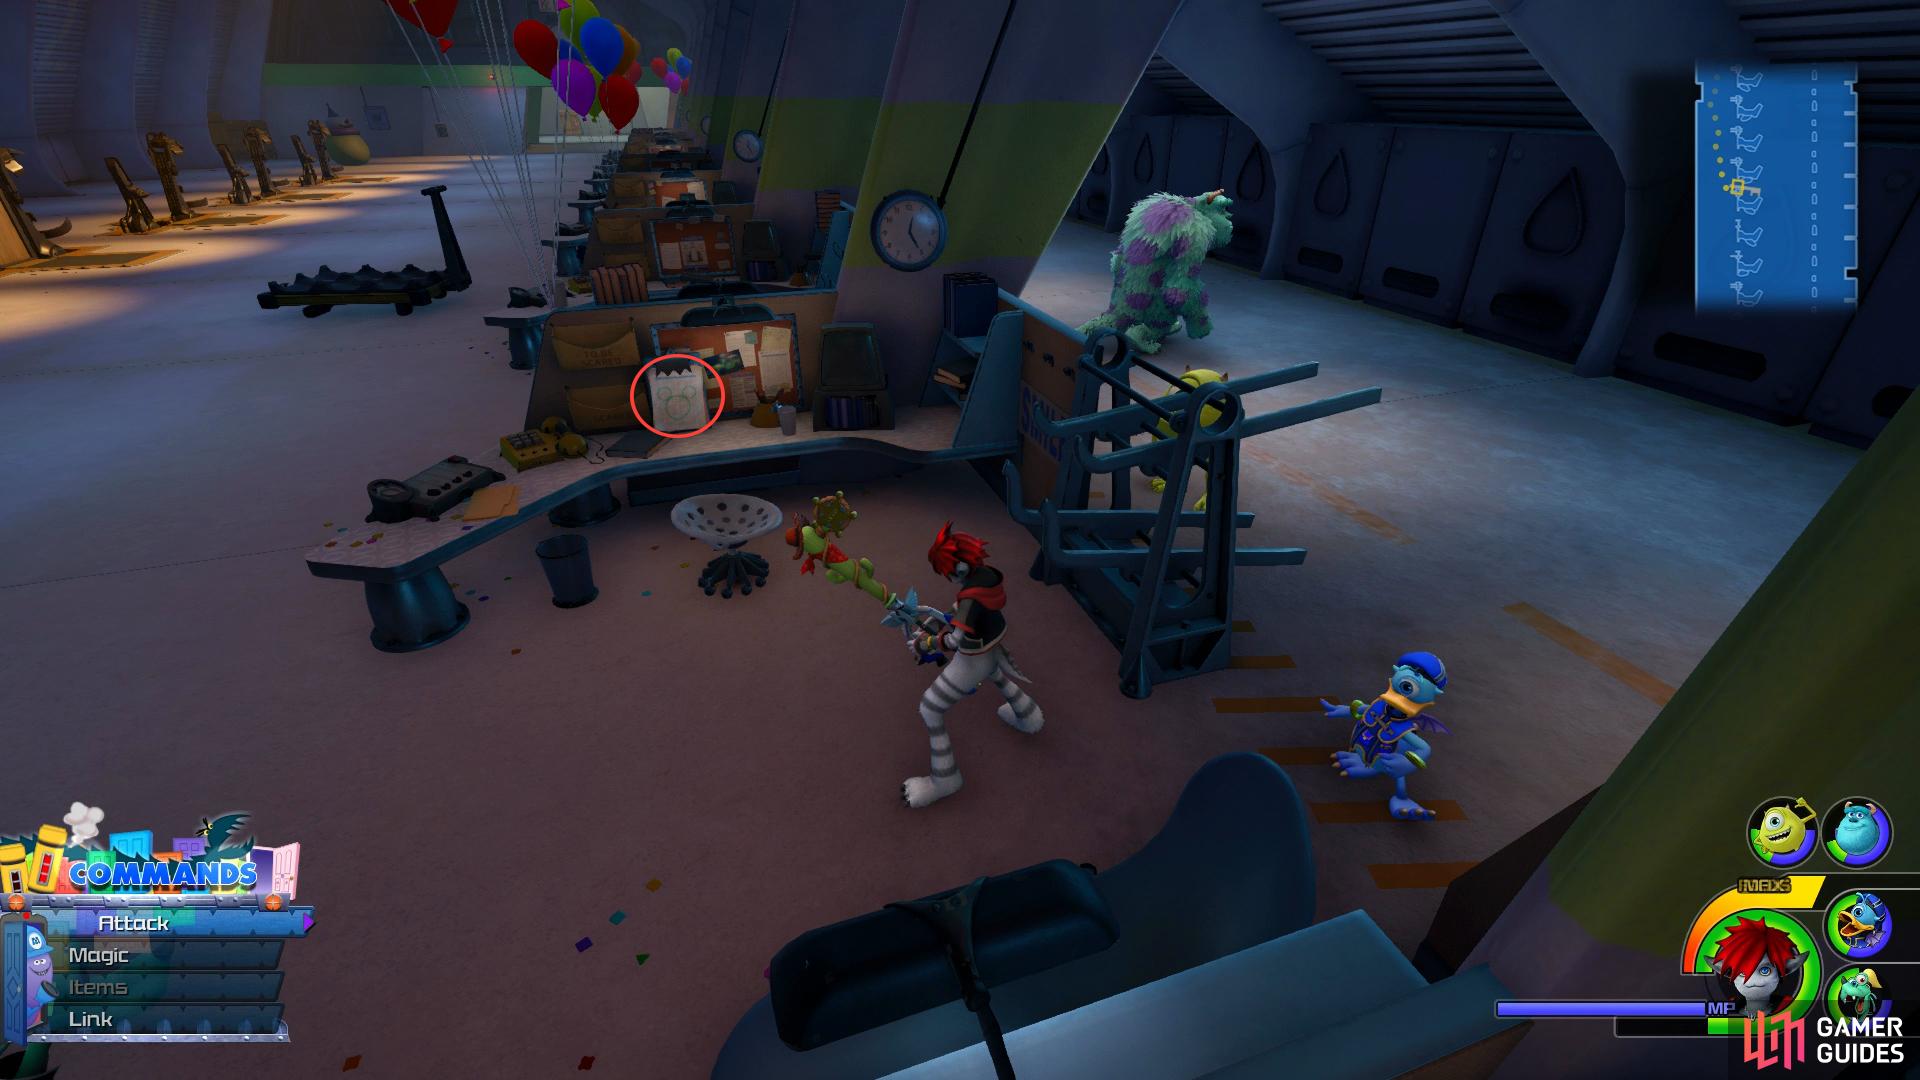
The first Lucky Emblem can be found on this clipboard (left), attack this object to discover another one. (right)
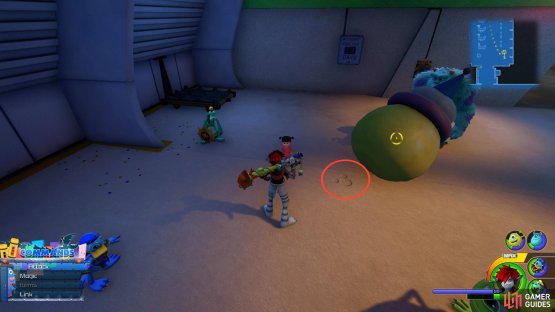
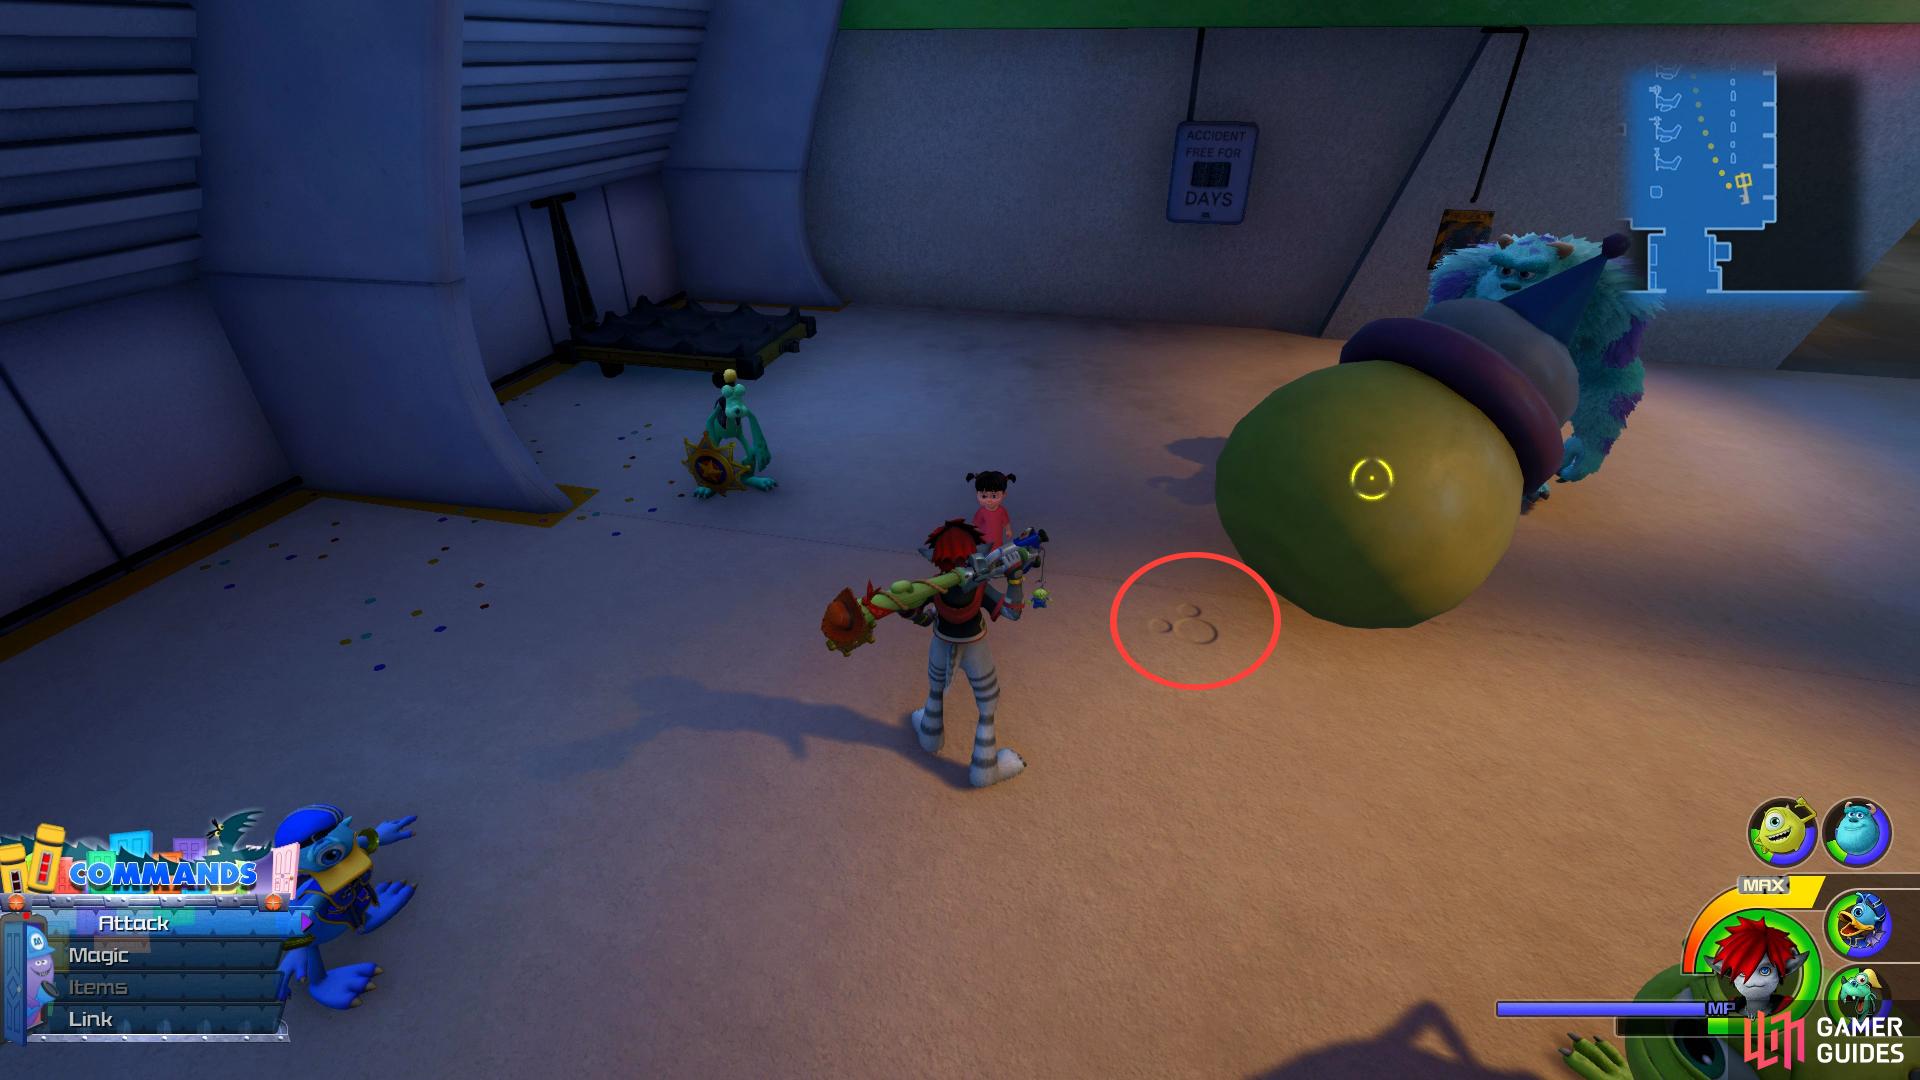
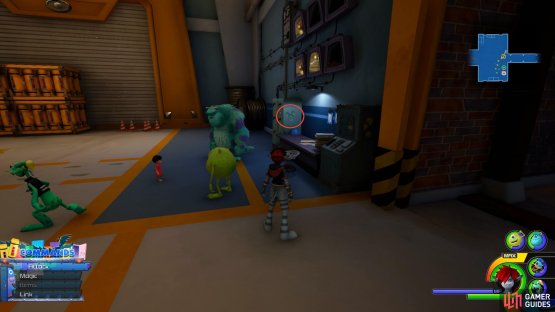
Continue to make your way back to the entrance of this floor and on the east side you’ll spot a clown statue that you can knock back, do this to spot Lucky Emblem #2 on the floor under it. Finally, head to the reception desk here and leap over it to find a chest containing Treasure #3 - Technician’s Ring+. Return to thet three doors and examine the left most one to ride it. You’ll find yourself on a rail gauntlet here similar to the ones found in Olympus as Heartless attacks you. The difference here is you can Take Cover with the [TRIANGLE]/[Y] button when you see a spark of electricity on the rail. You’ll find it easier to keep the attack button held down to constantly sling a barrage of bullets anywhere you aim.
Upper Floor
After landing on the ground following the rail gauntlet, you’ll be up against yet more Heartless including Soldiers and Large Bodies. You’ll find many poles around here that you can use for Flowmotion to speed up the battle. A second group will spawn close to Sulley following the first’s defeat and Boo’s Laugh Power gauge will decrease should Sulley sustain any damage. Keep an eye on him at all times and if any Heartless escapes you insult and heads for Sulley, drop what you’re doing and head over to help out. Once the gauge is full, you’ll be able to activate Scream Strike to end the battle.
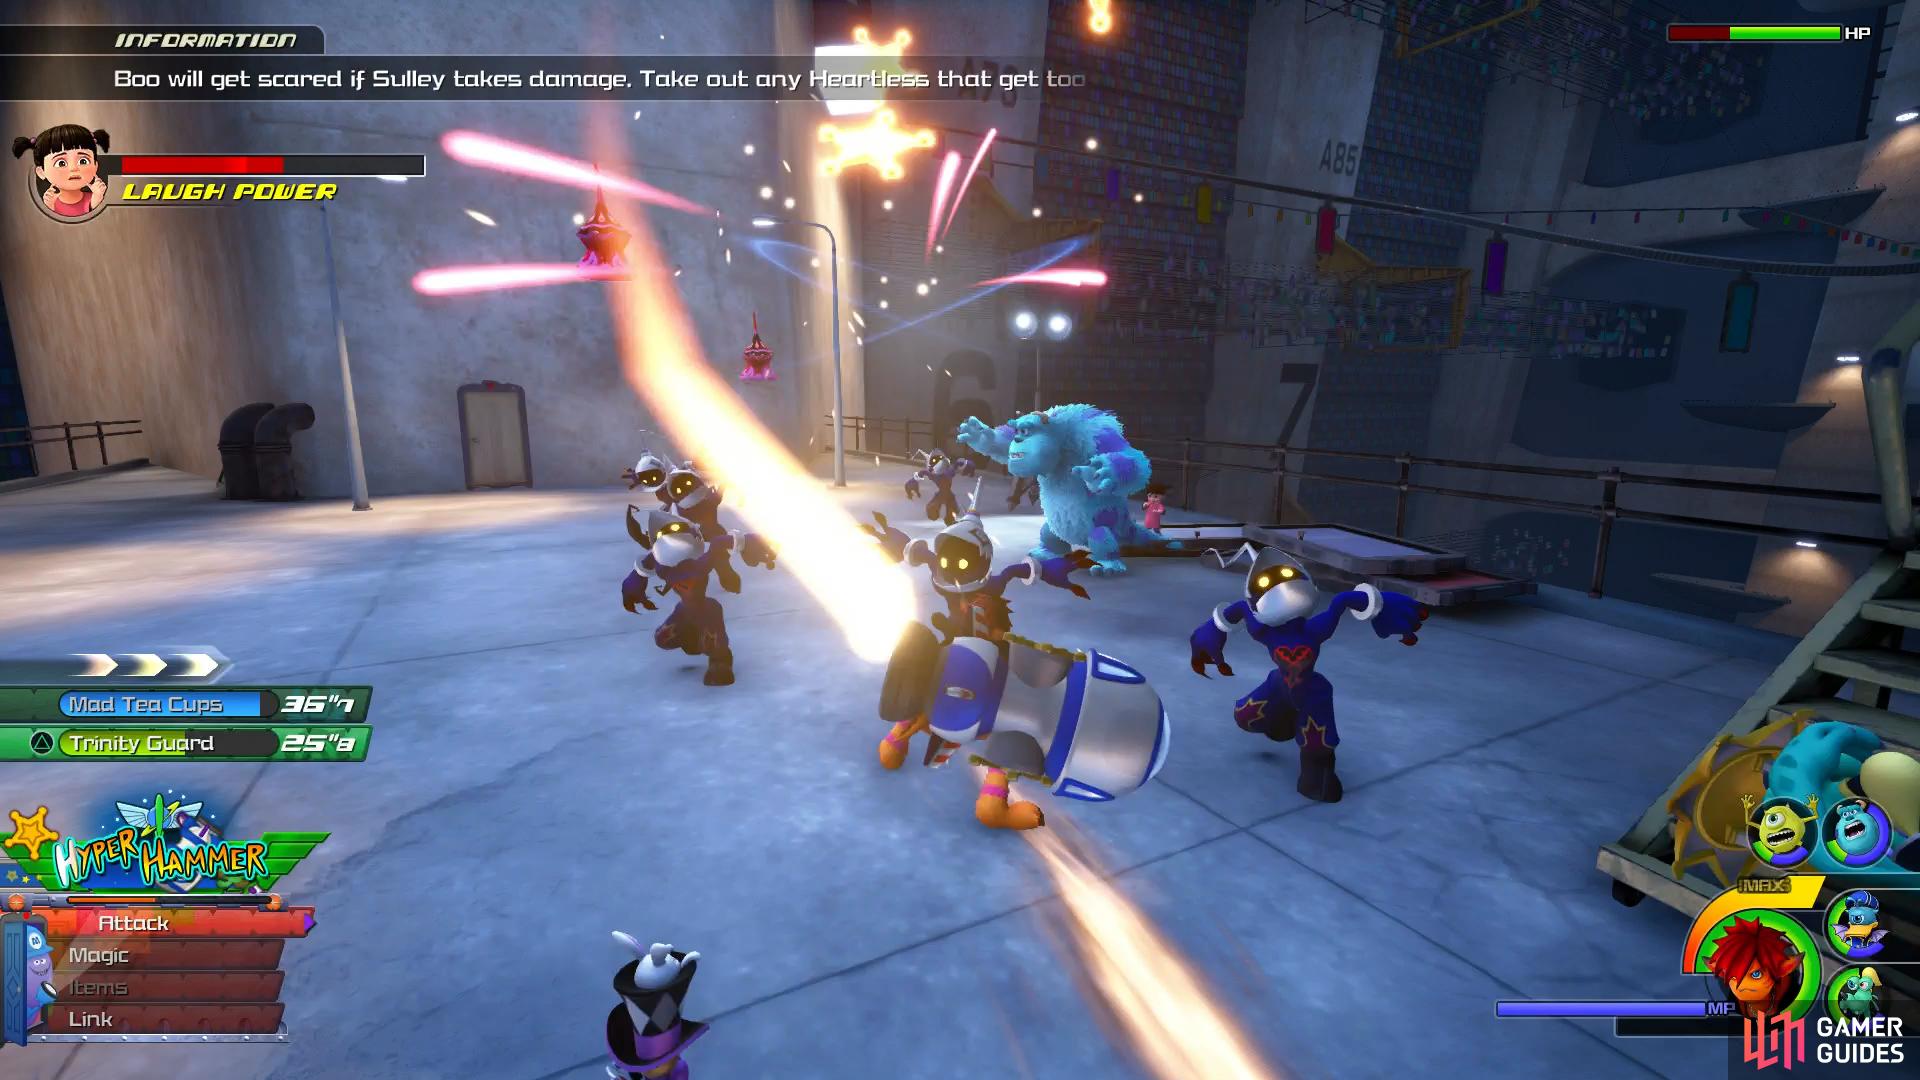
Make sure Sulley isn’t attacked while building Boo’s Laugh Power.
| Character | Ability |
|---|---|
| Sora | Fira |
The group will automatically head through the now opened door as they spot Boo’s door shoot past them. Make use of the Save Point and then head forward to use the rail gauntlet once more. This time around you’ll have to balance between attacking and taking cover so keep an eye on the rail at all times to spot the sparks as they approach. As you land you’ll have to take care of another group of Heartless similar to the last time you landed.
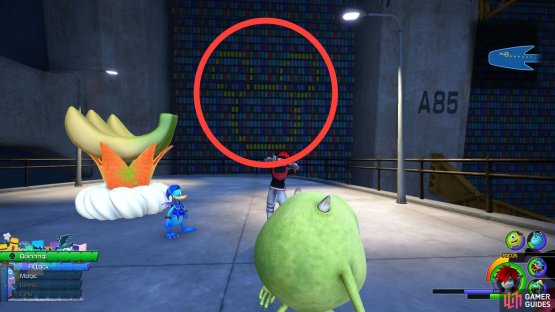
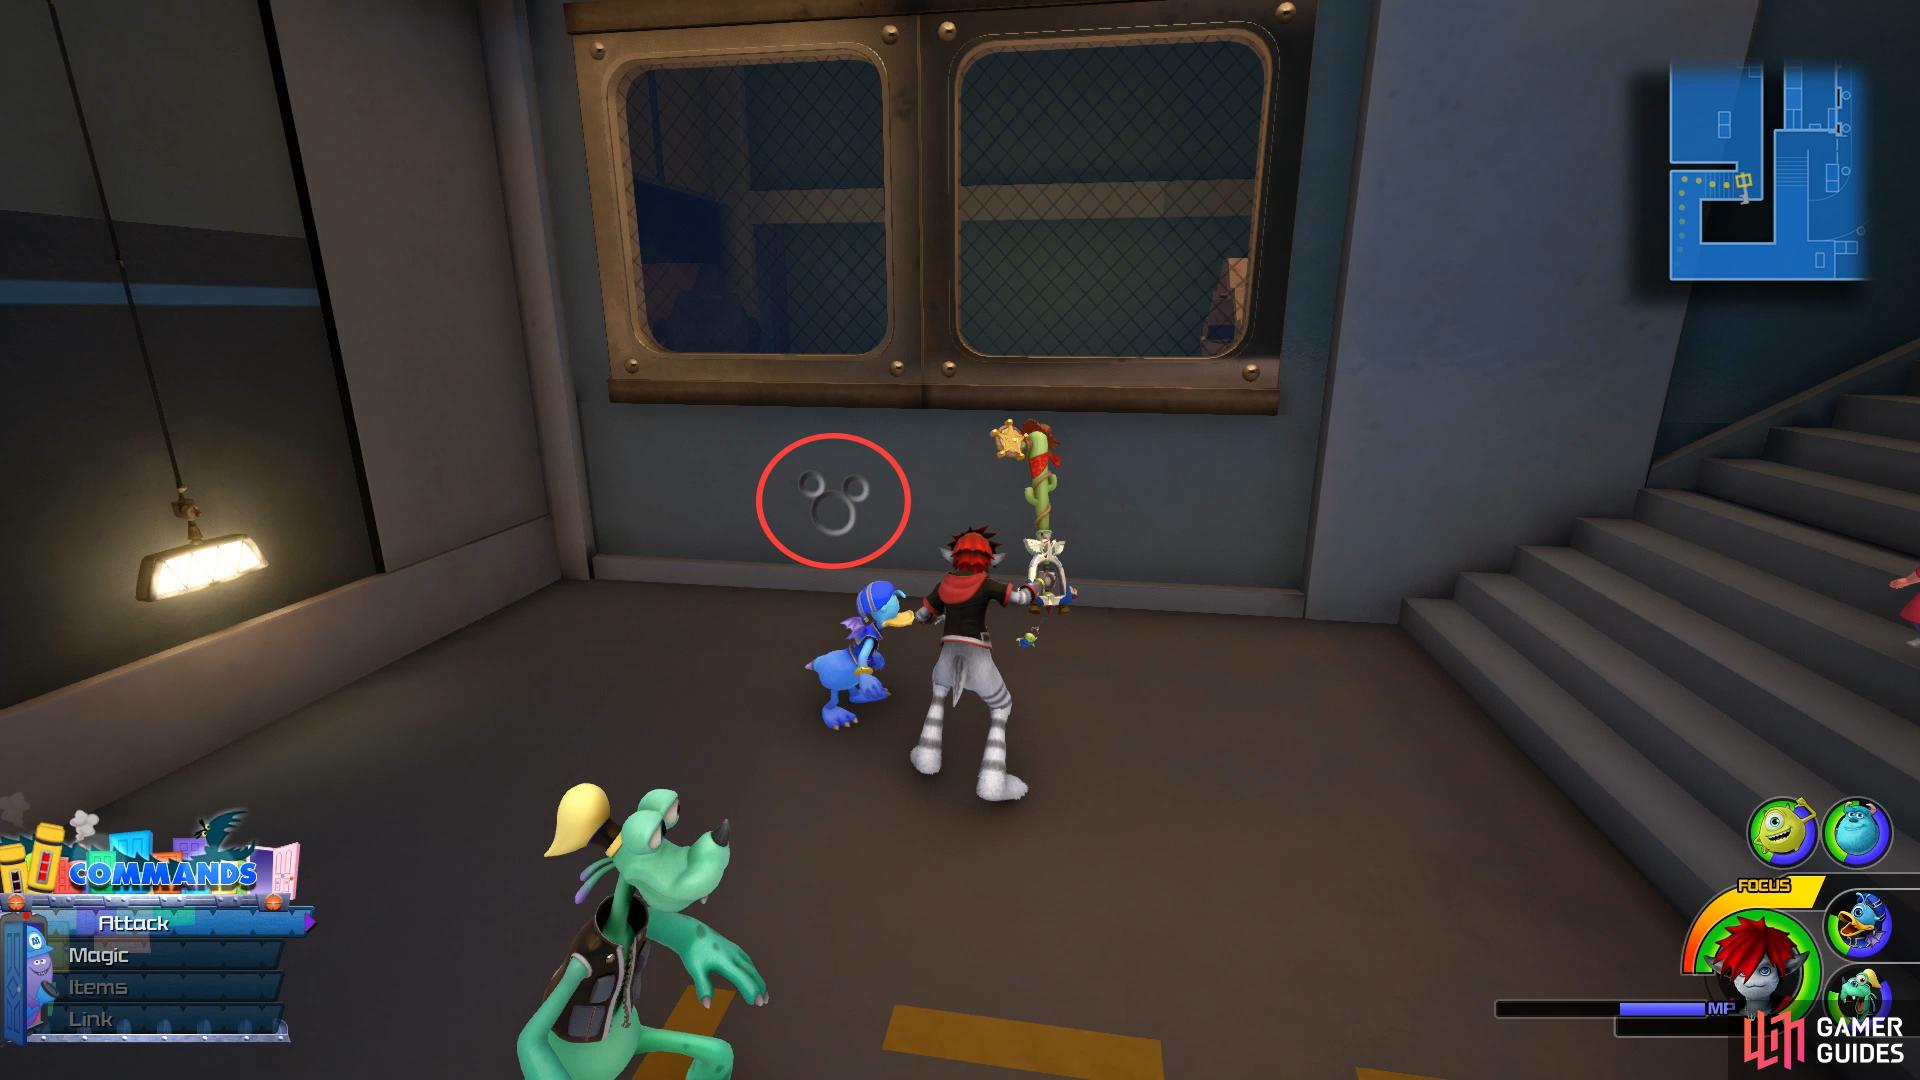
Once the enemies are defeated, head through the corridor to the east and on the wall at the end you’ll spot Lucky Emblem #3. Return the other way and access the only door here to reach the Lower Level. Mike will point out a door in the southwest corner, use this door and head east to find a chest containing Treasure #5 - Fencer’s Earring. Turn around and head west now and you’ll spot the next of the Flantastic Seven.
Look on the wall here to discover a Lucky Emblem.
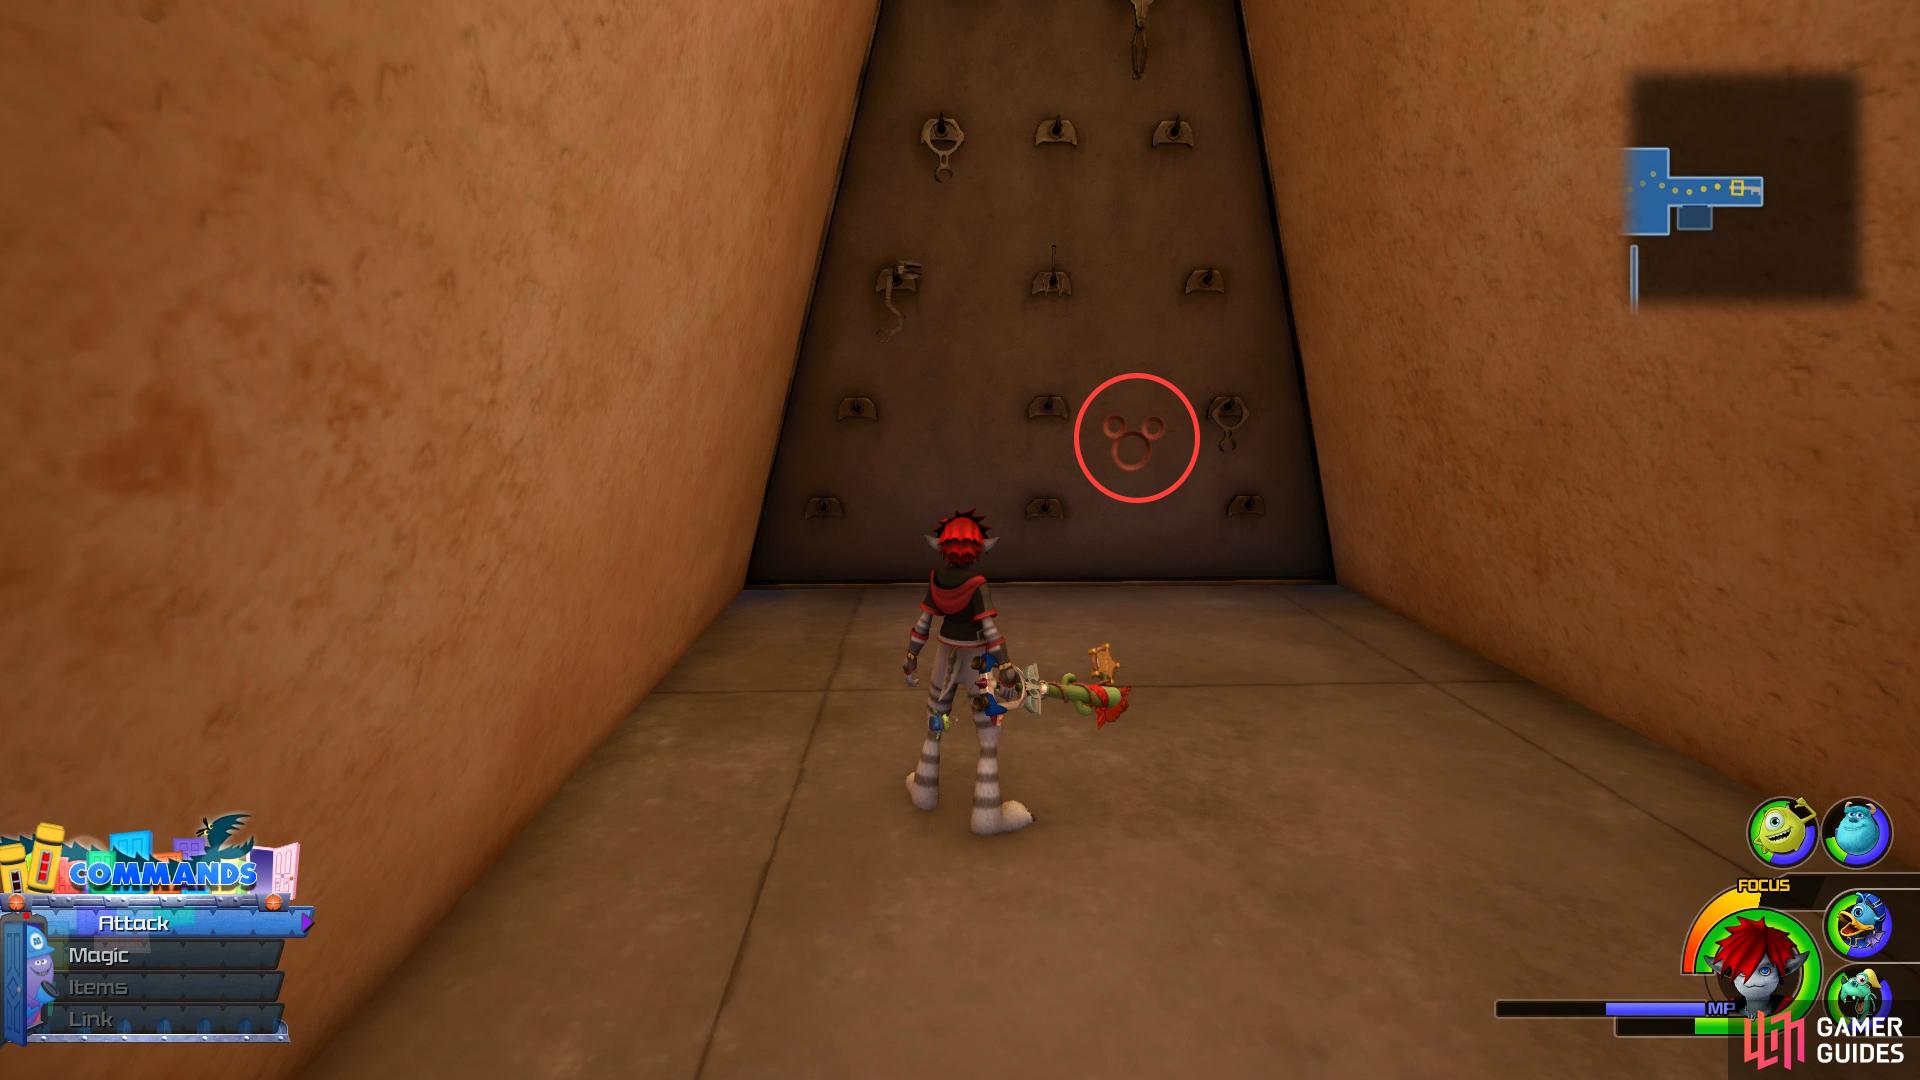
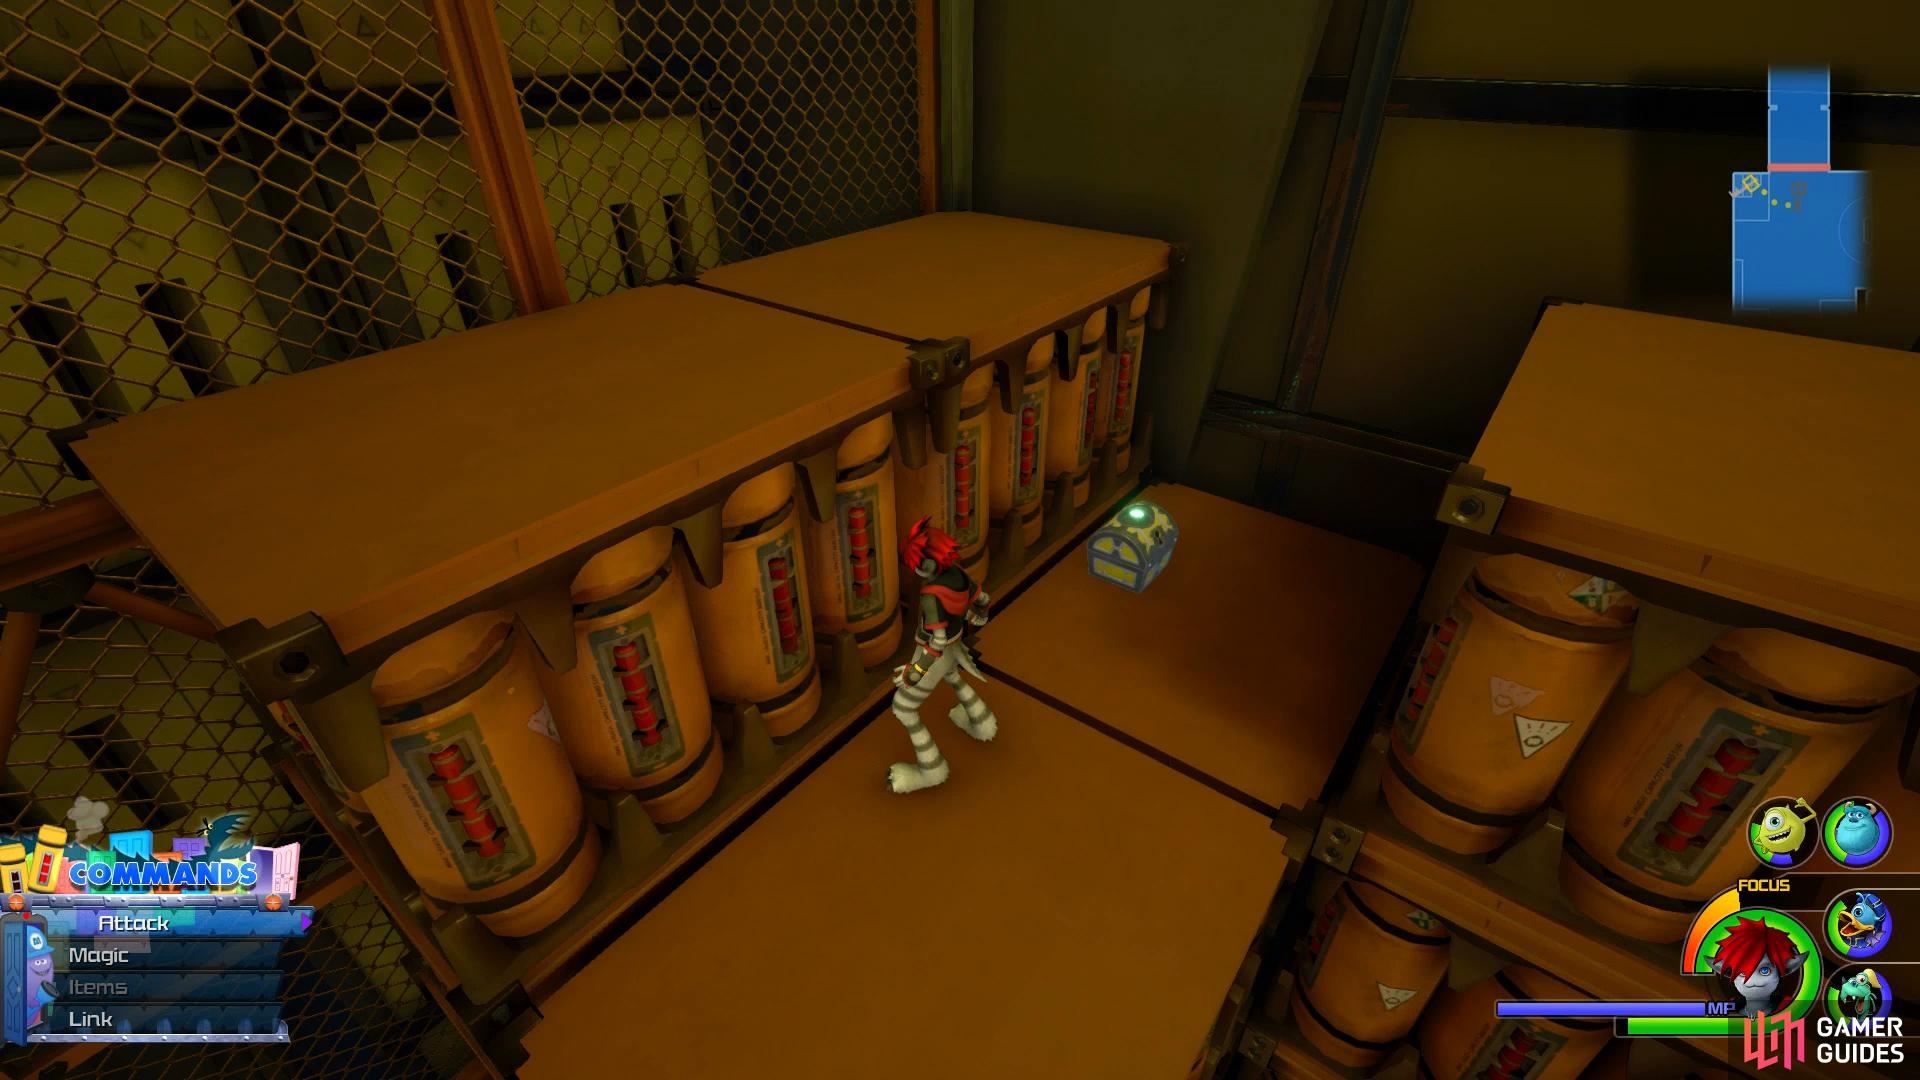
While facing the Banana Flan, look to the back wall to spot the rather large Lucky Emblem #4. This should be your 45th at this point in the game and you’ll obtain the Master’s Necklace for your troubles. Return to the Lower Level via the door and then head east where you’ll spot some blue storage containers you can climb, at the top you’ll find a chest containing Treasure #6 - Star Shield+. Drop back down and follow the path forward, following the cutscene the group will find themselves trapped in the factory now in the control of Randall.
(1 of 2) Look on the wall behind the Banana Flan

Look on the wall behind the Banana Flan (left), climb the blue crates on the Lower Level. (right)
The Factory
Make use of the Save Point and then head along the path to find a chest containing Treasure #9 - Map: The Factory. Follow the linear path taking out the Heartless that spawns and you’ll arrive at the first assembly line. Randall has taken over the security here and activated the lasers.
Head onto the belt and use the [TRIANGLE]/[Y] button to take cover as you make your way up the belt. As you slide forward, sometimes you’ll need to shoot obstacles out of the way before you can continue. As the belt begins to curve, leap off it and search behind the grey containers to find a chest containing Treasure #11 - Damascus. Head over the other side now and climb the stairs to reach the control panel, slash away at it to break it and disable the traps.
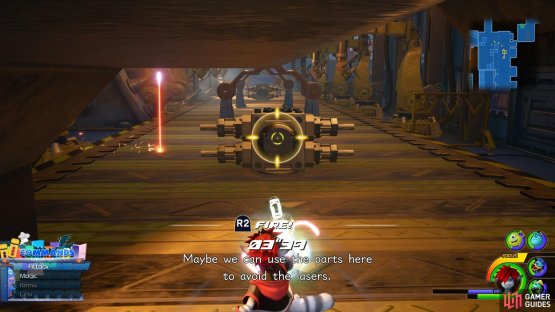

(1 of 2) Shoot the junk in the way as you head along the belt

Shoot the junk in the way as you head along the belt (left), jump over the crates as the belt curves to find this chest. (right)
The shutter to the west will open up, allowing you to continue through the factory. Follow the path and after you head down the second set of stairs, look at the wall to your right to discover Lucky Emblem #5. In the next room you’ll encounter a large group of Unversed including the deadly duo of Turtletoads and Flowersnakes, focus on the Turtletoads and the rest of the battle will go smoothly. Continue down the path from here and you’ll notice paint next to the tank at the end, look carefully and you’ll spot Lucky Emblem #6. Continue around the corner following this to trigger a cutscene.


(1 of 2) Look to your right as you pass down the stairs
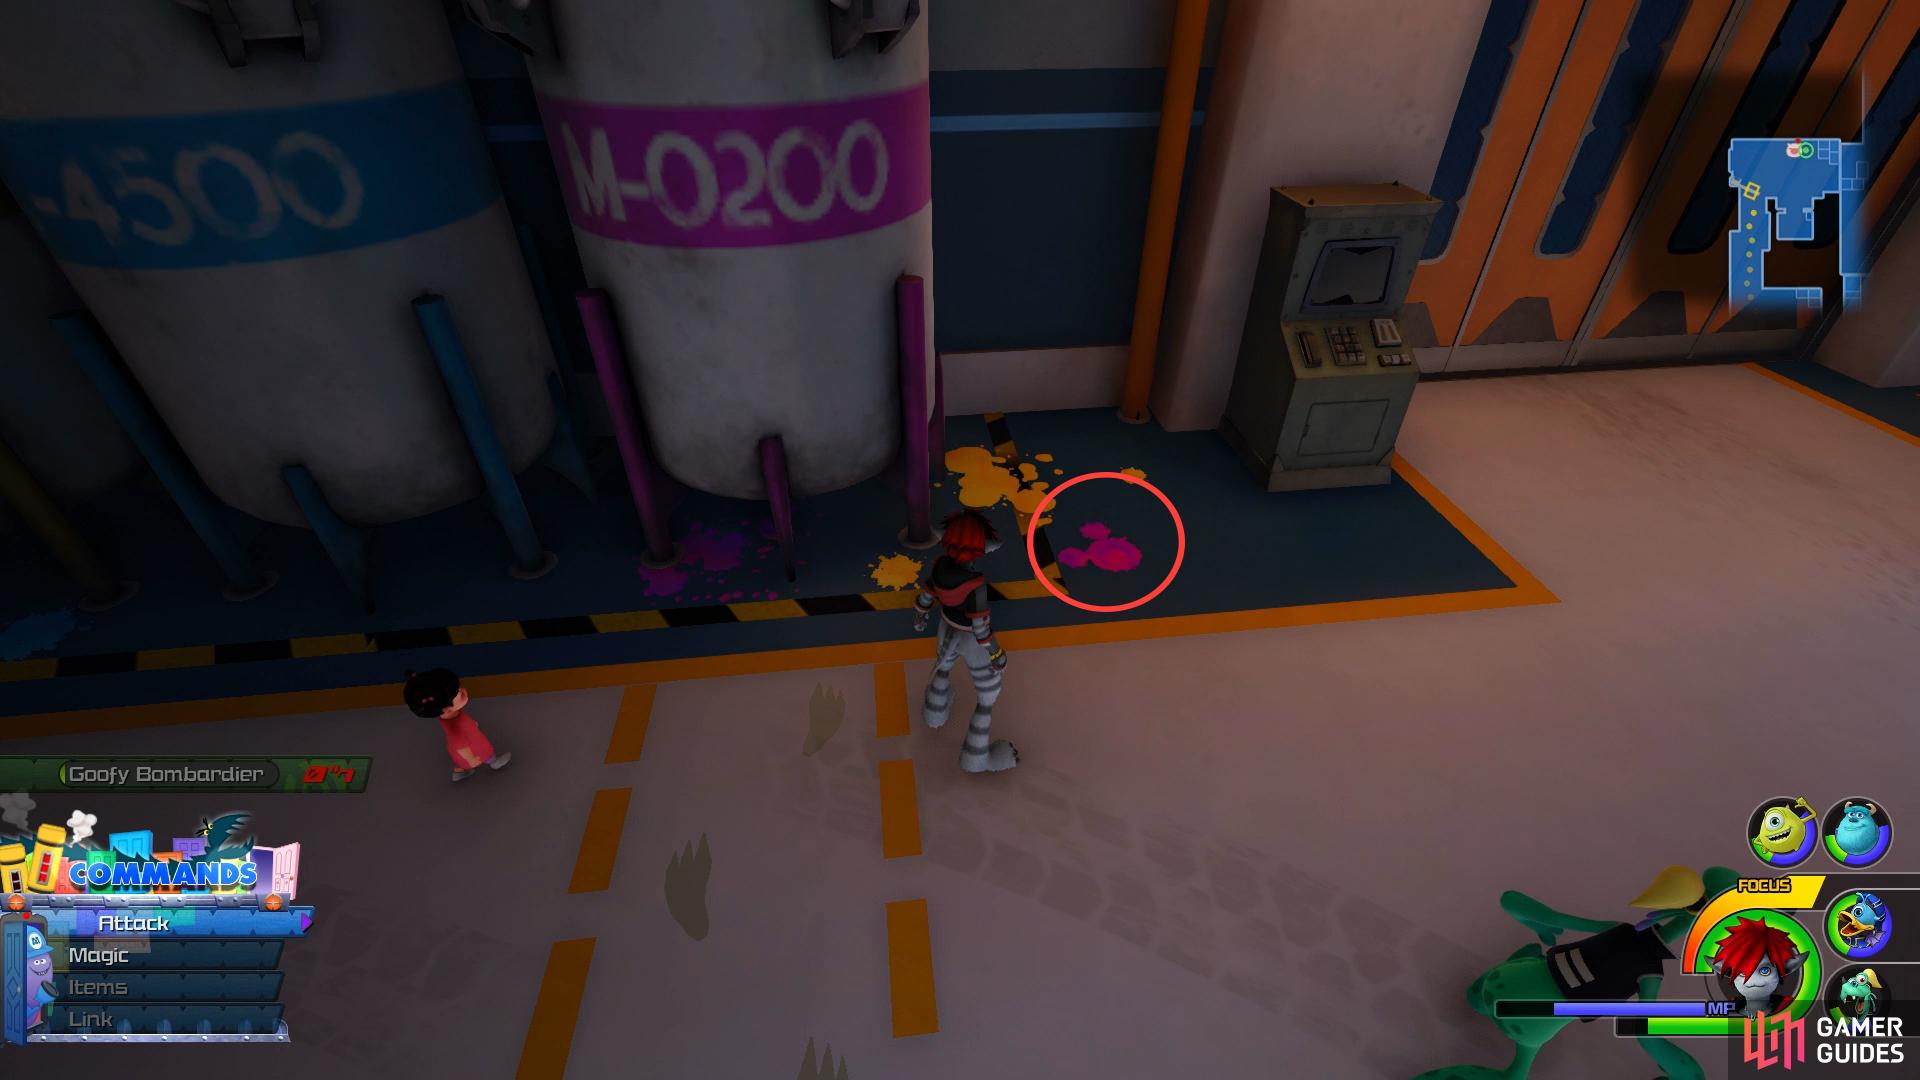
Look to your right as you pass down the stairs (left), near the paint tank is a well hidden Lucky Emblem. (right)
Make use of the Save Point and the Moogle Shop once you regain control. Leap on top of the orange crates to the east to find a chest containing Treasure #12 - Umbrella Rosette and then use the cargo lift to reach the second floor.
Following your arrival, Boo will run off and you’ll be thrust into a battle against a group of Water Cores. If you’ve yet to do so, snap a photo of them to complete Photo Mission #2. As for the Water Cores themselves, Thunder is your friend here, this will deal massive damage to them and take them out in no time at all.
Continue through the corridors and you’ll reach some stairs leading up to your right. Ignore these for now and look to the assembly line to your left, on the right side of the wall where the machinery is heading is Lucky Emblem #7. Head north up the assembly line now and at the end you’ll find the console you can strike to disable the traps. Leap over the railings to your north and you’ll find a large chest against the shelf containing Treasure #10 - Classic Kingdom: How to Play Golf.
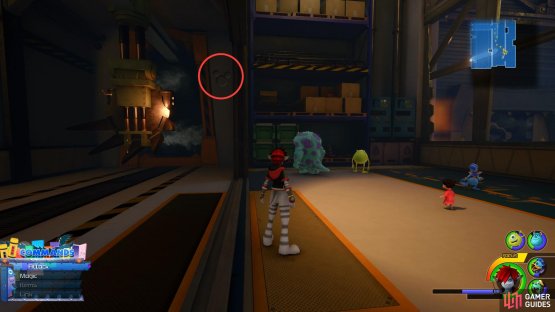

(1 of 2) Look at the top of the belt to find this Emblem

Look at the top of the belt to find this Emblem (left), drop down to the ground floor at the end of the belt to find this chest. (right)
Retrace your steps back to the previous stairs that you ignored and take them up and when you head through you’ll trigger a battle against both Heartless and Unversed in a room that is electrified. Like always, the Turtletoads are your greatest threat so focus your attacks on them before turning your attention to the Heartless after.
| Character | Ability |
|---|---|
| Donald | Armor Slot, Thunder Boost |
You’ll reach a second assembly line in the next room, use the belt to head up and use the structures in the middle for cover once more. At the end of the belt you’ll see an arrow on the wall pointing right, ignore this and search in the other corner behind the crates to find a chest containing Treasure #13 - Hi-Potion. Follow the arrow now to reach a second belt leading up, make your way up to the top to find the console, smash it to disable the traps. Follow the path forward once more and you’ll reach a large area, triggering a cutscene in the process.

(1 of 2) Head opposite the arrow to find this chest

Head opposite the arrow to find this chest (left), in the control room, focus on taking out the Turtletoads first. (right)
Once again you’ll have to prevent Sulley from taking damage as you increase Boo’s Laugh Power. You should know the drill by now, focus your attacks on the Turtletoads before dealing with the lesser Unversed. Shotlocks are useful here as are the area of effect spells from Thunder and Aero. The second group of Unversed will surround Sulley at the start, dart in and unleash a barrage of Thunder spells to clear them out. Once the gauge is fully built up, unleash Scream Strike to bring the battle to an end.
| Character | Ability |
|---|---|
| Sora | Combo Master |
The Power Plant
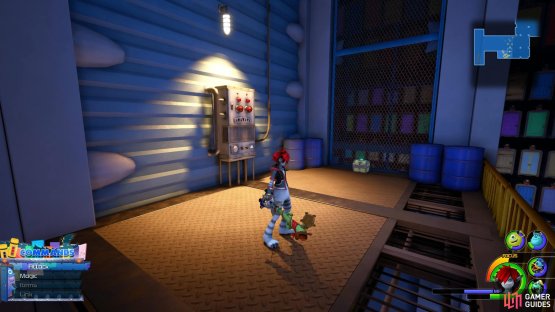
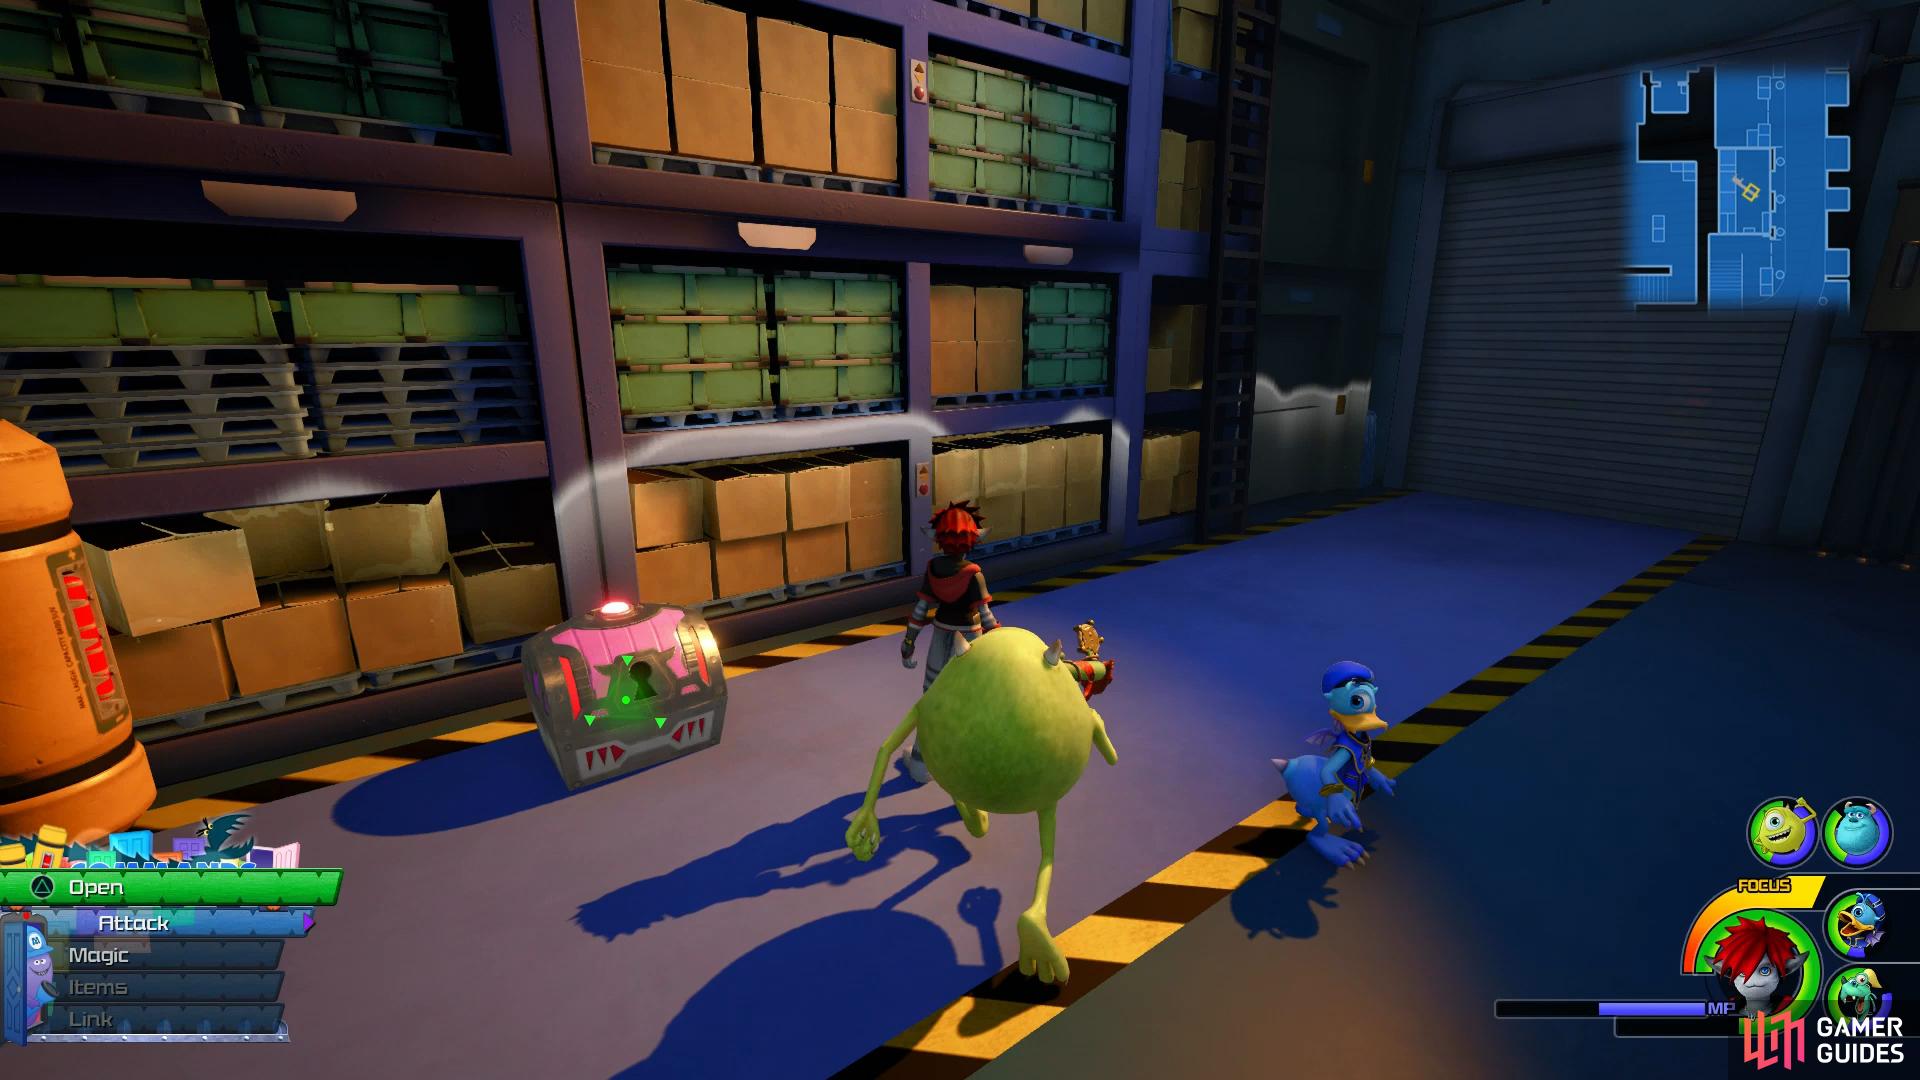
You’ll obtain a Laughter Pin once you regain control and find yourself in the Power Plant. Before you continue on, head back through the previous door and climb the crates to your right to spot a chest containing Treasure #14 - Valor Ring. Return to the Power Plant and make use of the Save Point and the Moogle Shop. Look to the southern wall now to spot another chest containing Treasure #15 - Firefighter Rosette. Head over to where Mike and Sulley are standing now and you’ll spot Lucky Emblem #8 on the side of the filing cabinet.

(1 of 2) Return to the previous room to loot this chest

Return to the previous room to loot this chest (left), look on the side of the filing cabinet to spot this Lucky Emblem. (right)
Head east through the corridor and take out the Heartless that spawn along the way. The group will discover that the Power Plant is on fire, make sure you have Water assigned to a Shortcut and then make your way down to the first open area. You’ll be up against another large group of Unversed as the fire rages on all around you. The flames can be put out by using the Water spell so take care to use it if you come close to any fire while battling these foes.
| Character | Ability |
|---|---|
| Sora | Watera |
Assign your new Watera spell to a shortcut and then head to the southeast here to discover a chest containing Treasure #16 - Fira Bangle. Continue down the next corridor taking out Heartless and you’ll reach a small office with a chest waiting to be opened containing Treasure #22 - Hi-Refocuser. As you step outside, turn around to face the office you just left to spot Lucky Emblem #9 on the frame of the entrance, this should be your 50th and reward you with a Wisdom Ring.
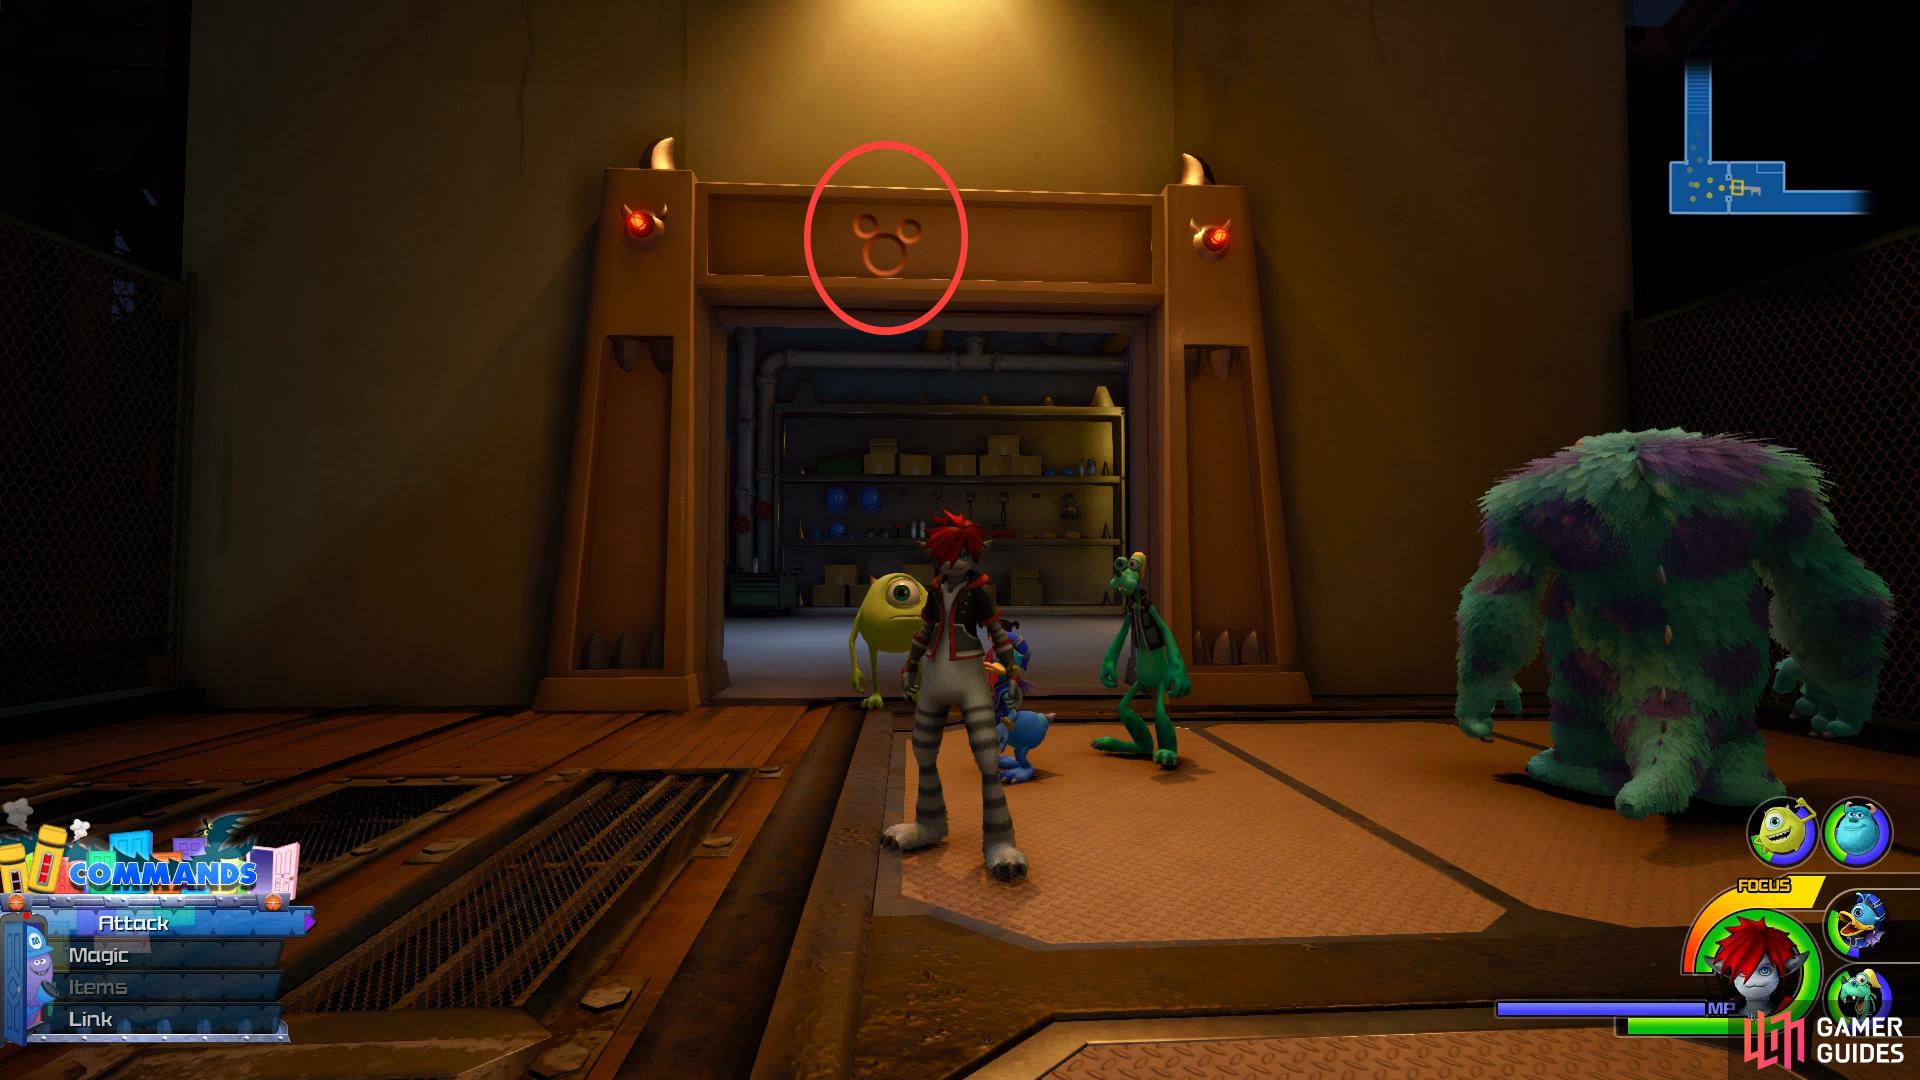
Look on the frame of this door to snap the Lucky Emblem.
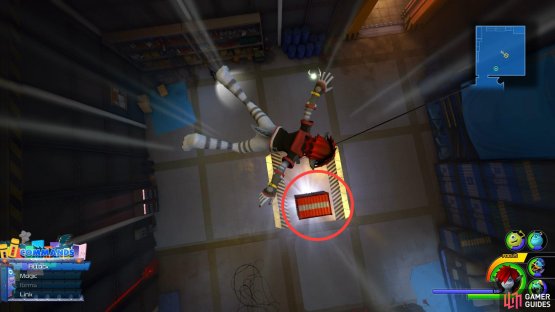
Continue to follow the linear path and you’ll come across another large group of enemies once it opens up again. Follow the linear path once more and after defeating another small group of enemies, run up the wall before grinding along the nearby pipe to reach the scaffholding. Defeat the next group of Heartless that spawn and then check the southern end of this area to find a chest containing Treasure #17 - Damascus.
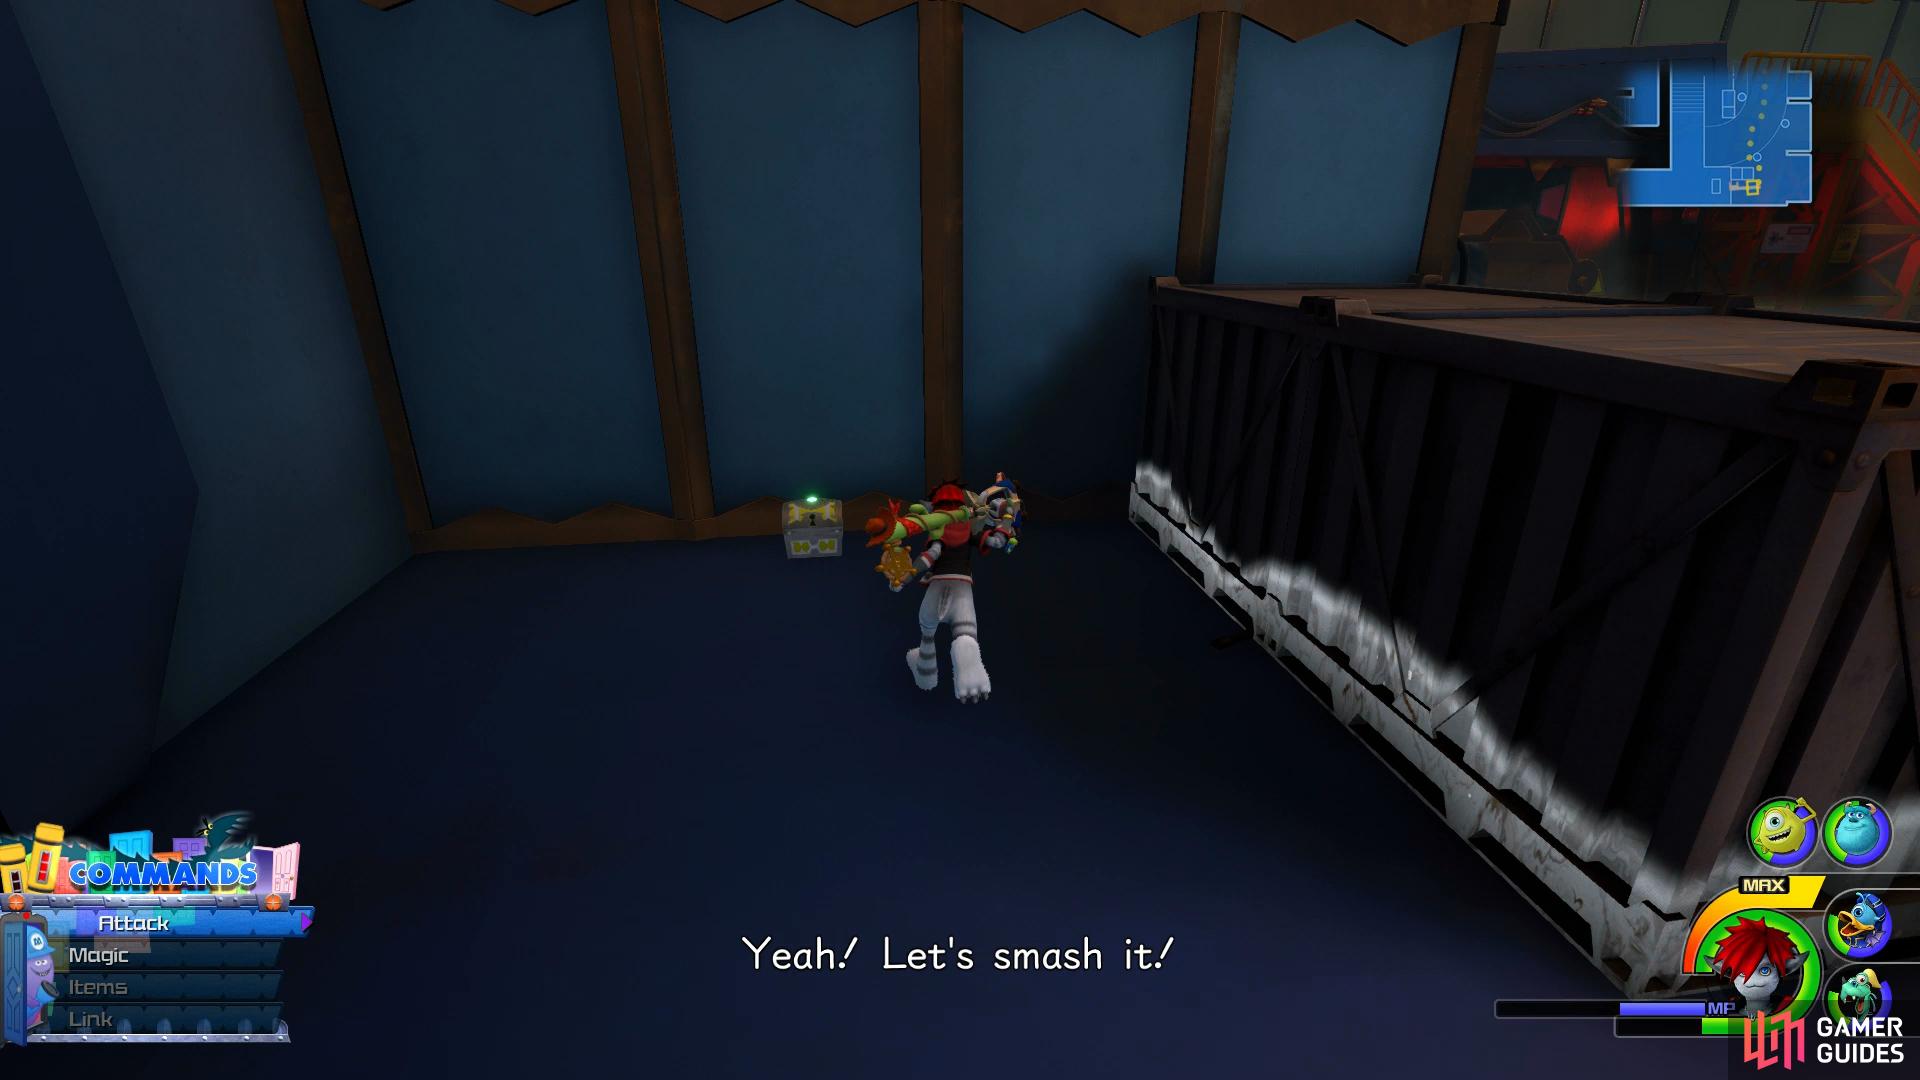
Continue to follow the path and at the very top you’ll find a gap you can drop down. Watch as you descend and when you see the prompt to attack, do so and you’ll destroy the large red crate revealing a chest containing Treasure #19 - Classic Kingdom: Mickey’s Circus. If you failed in breaking it you can use the nearby crane to reach the top and try again. Look to the north side of the room now to spot a stack of blue crates you can climb, jump to the shelf with the blue tarp to your left to find a chest containing Treasure #18 - Ether. Head over to the northeast of this room now and climb more blue crates before leaping onto the platform. Face the camera to the south and you’ll spot the well hidden Lucky Emblem #10. Finally, drop back down to the ground now and Save your game before proceeding forward.
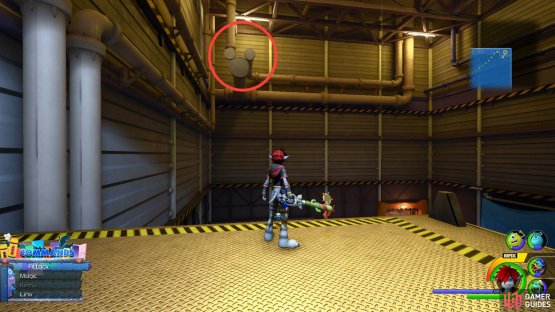
(1 of 2) Smash the red crate from above to reveal a chest

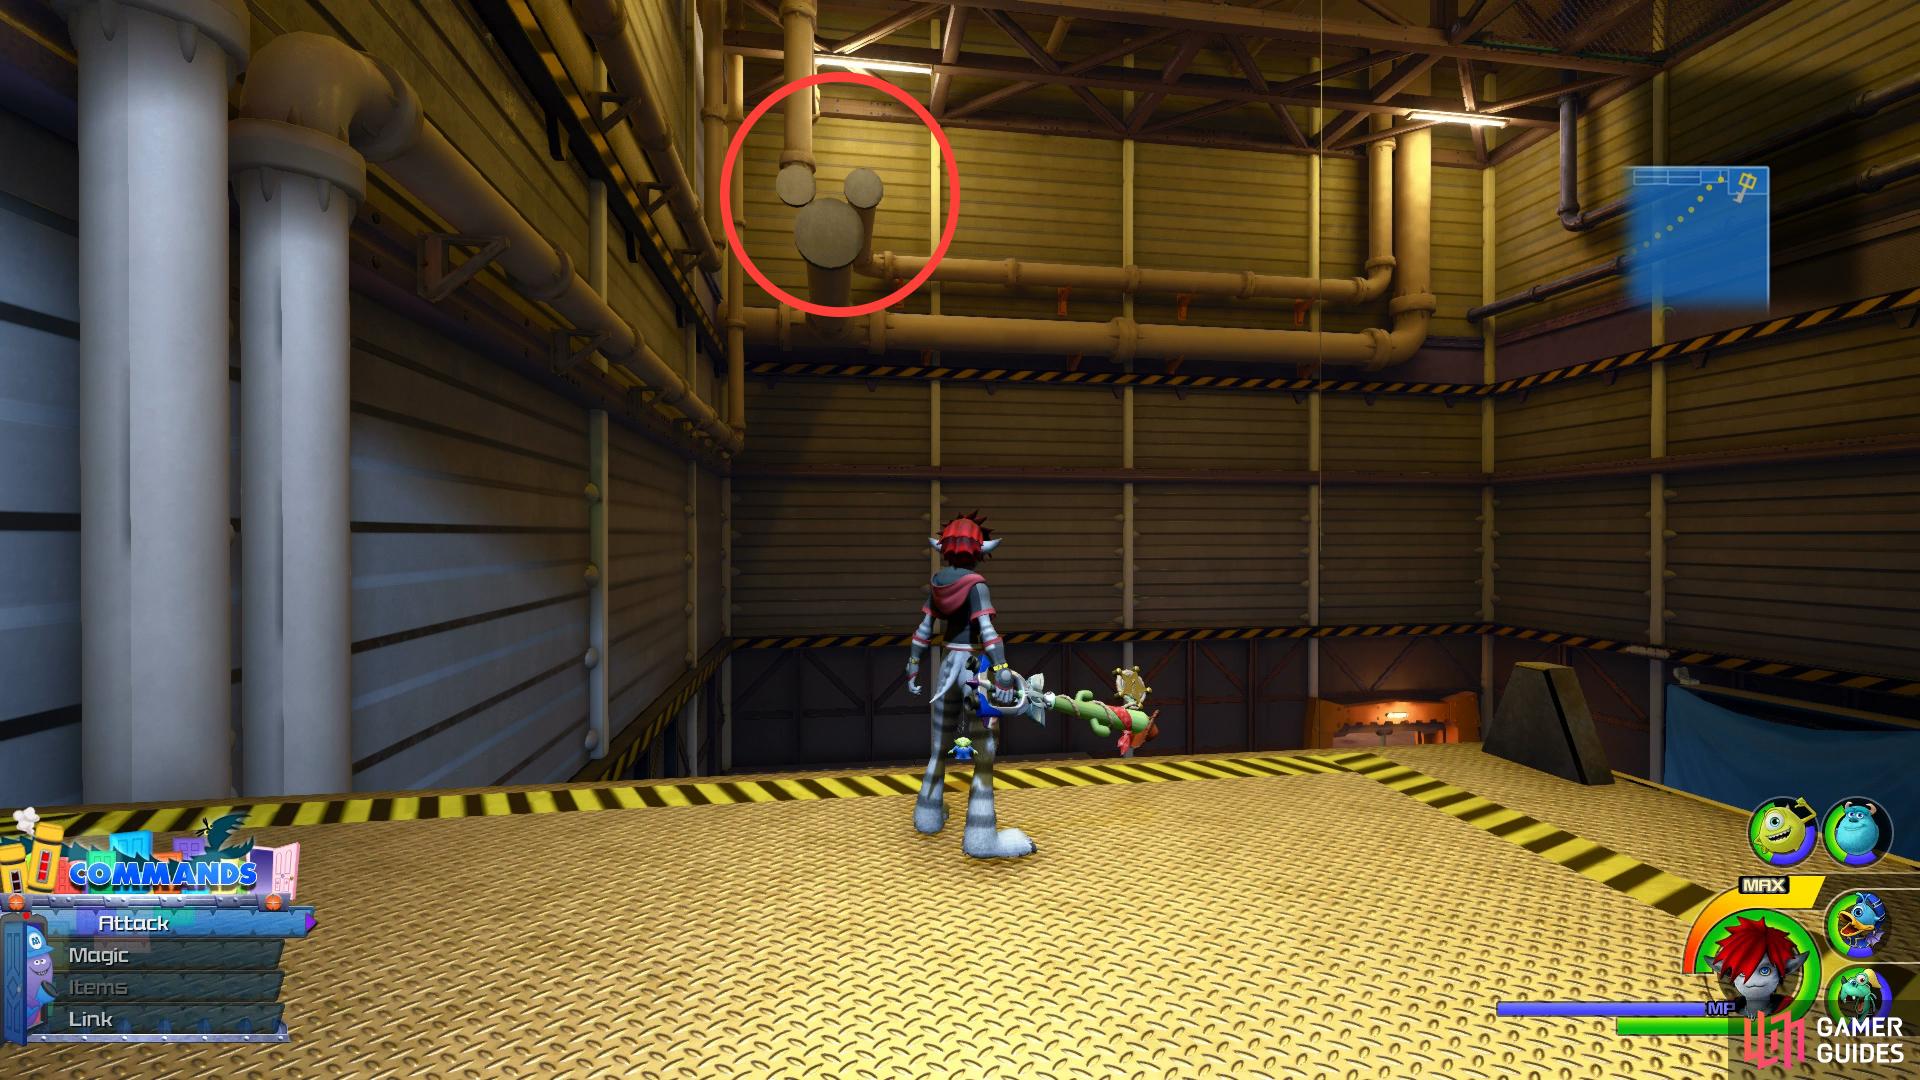
Smash the red crate from above to reveal a chest (left), stand on the platform here to spot this Lucky Emblem. (right)
Another large group of Heartless and Unversed await in this large yard set ablaze. Make use of your Watera spell as you take them all out and you’ll obtain the Pride Heartbinder, this will allow you to call upon a new Link, the power of Simba.
| Character | Ability |
|---|---|
| Sora | Item Slot |
Once you regain control, take the pipe and you’ll arrive in the cooling tank as another Spiked Turtletoad ambushes you. You’ll want to be aggressive here and rush the Turtletoad, making use of Watera and hopefully trigger Waterga. This will take the main bulk of the enemies out leaving you to finish off the stragglers.
| Character | Ability |
|---|---|
| Sora | Triple Rush |
Once you regain control, follow the path down and follow the stairs over the flames. You’ll have to return later after finishing Monstropolis to retrieve the chests behind the fire so ignore them for now. Once you see the entranceway to the green corridor however, turn around and look under the stairs you just came down to find a chest containing Treasure #20 - Mega-Ether. Follow the corridor now to enter a new area containing a Save Point and a Moogle Shop. Make use of them and then look in the northern corner to find a chest containing Treasure #7 - Hi-Potion. Make sure you’re fully prepared before taking the stairs up, a powerful adversary awaits you.
Boss: Lump of Horror
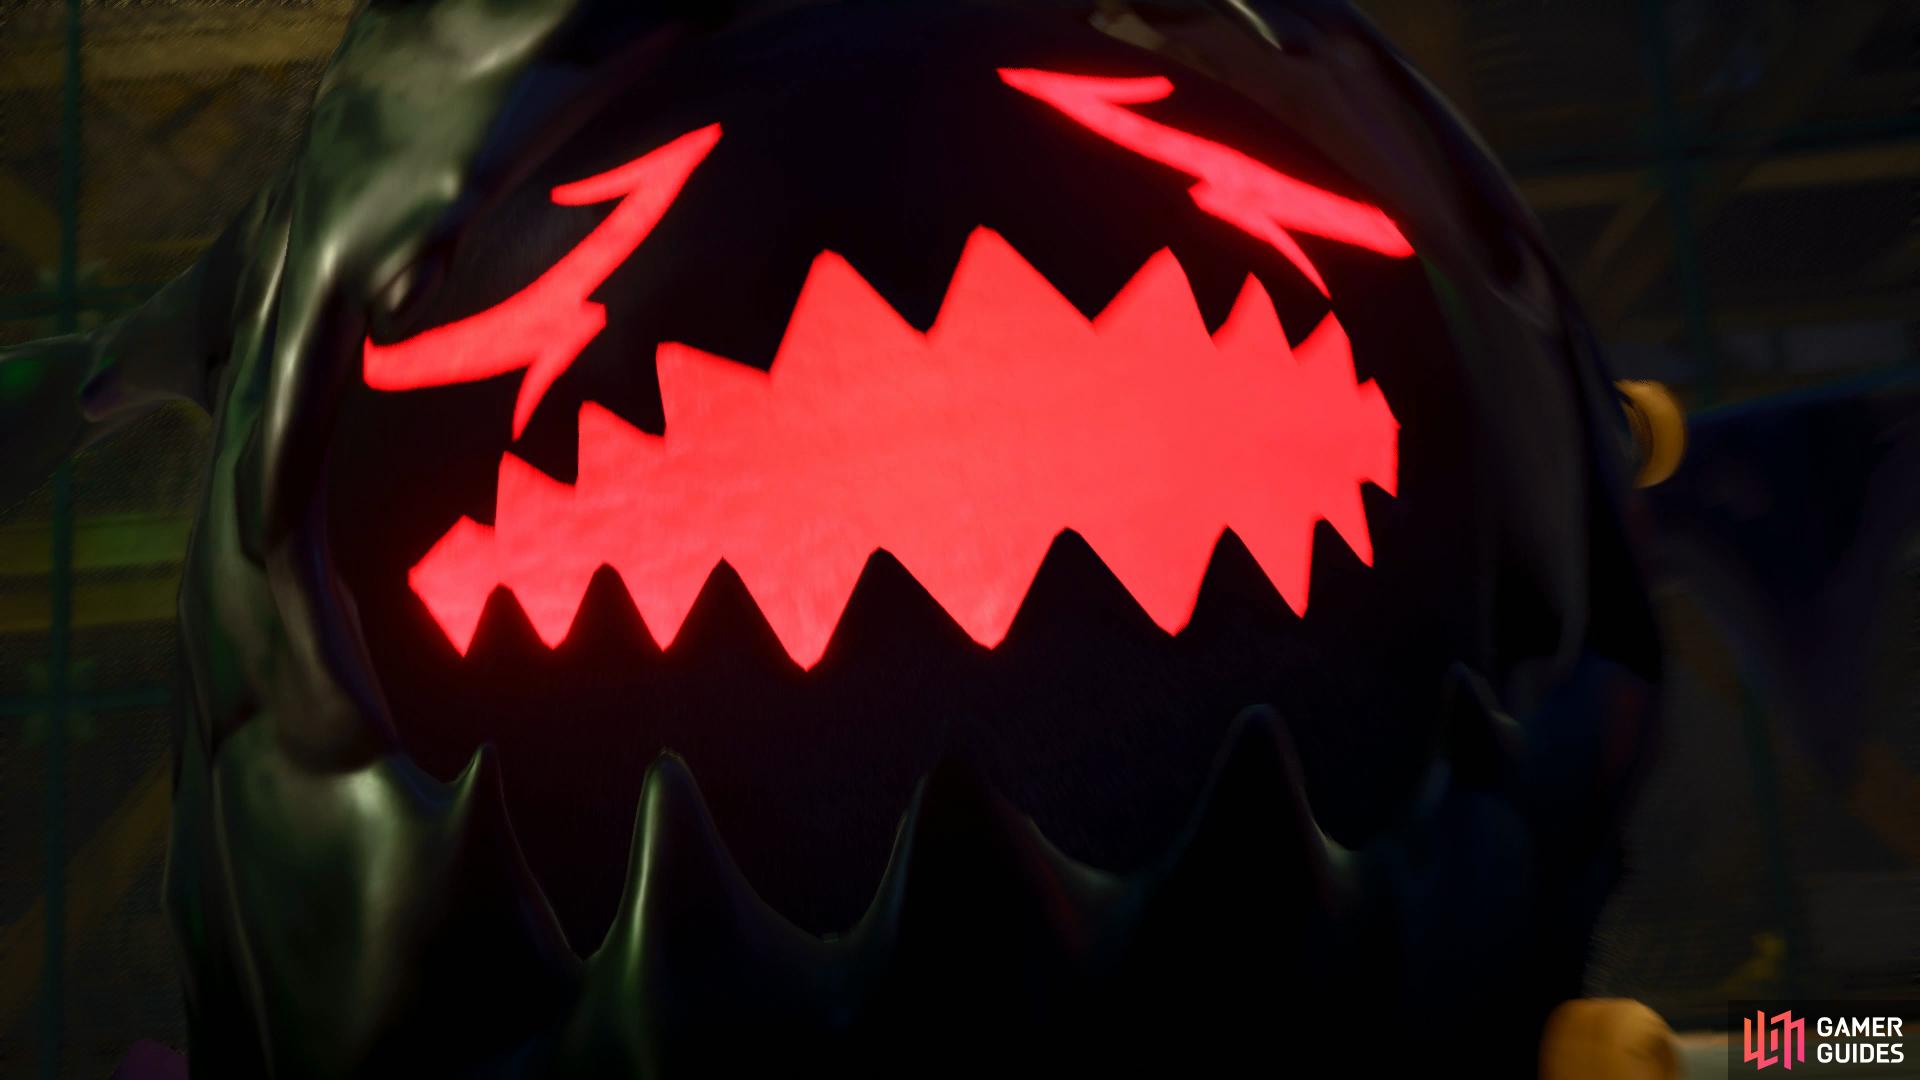
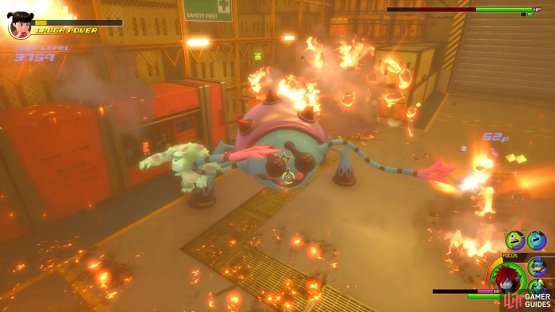
The arena you find yourself in this battle is a lot smaller than previous boss battles and the common attack from the Lump of Horror is to dash towards you, inflicting damage upon contact. When you see it hurtling toward you, jump up high and Air Dash to safety. After three or four dashes, the Lump of Horror will spit out a large Fireball in your direction, you should be able to extend your Air Dash to dodge this attack safely too. Following the Fireball, you’ll be able to get some combos in as the Lump of Horror takes time to recover.
After sustaining several bars of damage, the Lump of Horror will enter it’s second phase. The arena will be covered in it’s oil as it takes up position in the center while spawning multiple arms. The arms will strike out at anybody who approaches them along with shooting smaller fireballs from a distance. The Lump of Horror in the center will also blow you backwards using the force from it’s arms. The objective here then, is to close the distance with dashes and Air Combo the head.

(1 of 2) Get ready for a large fireball following the dashes


Get ready for a large fireball following the dashes (left), be aware of the small fireballs as you air dash towards it during phase two. (right)
After dealing enough damage, the Lump of Horror will revert to it’s first phase and begin dashing towards you once more. Following this, it will begin summoning arms around itself and become invulnerable to attack so take out each of the arms as quickly as possible. Following this phase, the Lump of Horror will be from the start of Phase one again. The Simba Link is very useful in this battle, especially during Phase two as you’ll be able to deal major damage to everything in the vicinity just by walking around.
| Character | Ability |
|---|---|
| Sora | Cura, Max HP Increase |
Following the cutscenes, you’ll obtain the Happy Gear Keyblade and be returned to the Gummiship following more events. Before you venture off to the next World, it’s time to wrap up some lose ends.


Warp to the Factory’s Basement and use the door behind you to enter the Lower Level of the Door Vault. Make your way back to the west and enter the door in the southwest to return to the Upper Level. Make your way to the west and over to the Banana Flan, be sure you have Hi-Ethers equipped on Sora and then initiate the battle.
Banana Flan
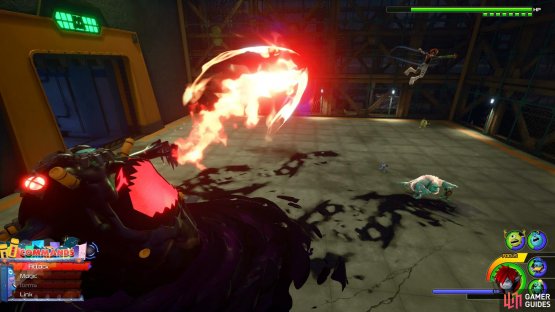
The objective here is to take out the smaller Flans while avoiding being caught by the large Flan. This is a lot trickier than it seems as you’ll need to keep your eye on the large Flan at all times. Area of effect skills are the name of the game here, if you’re attempting this later in the adventure then Aeroga and Thundaga are great otherwise you’ll need to use your new Link attack, Simba.

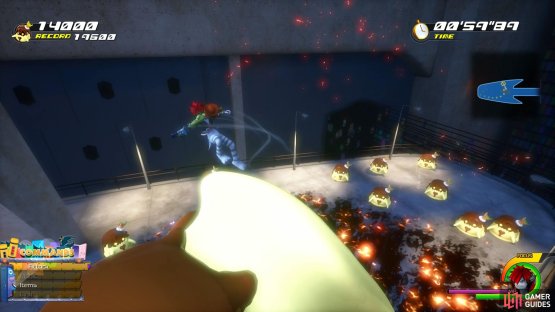
(1 of 2) Use Simba to trample over the smaller Flans
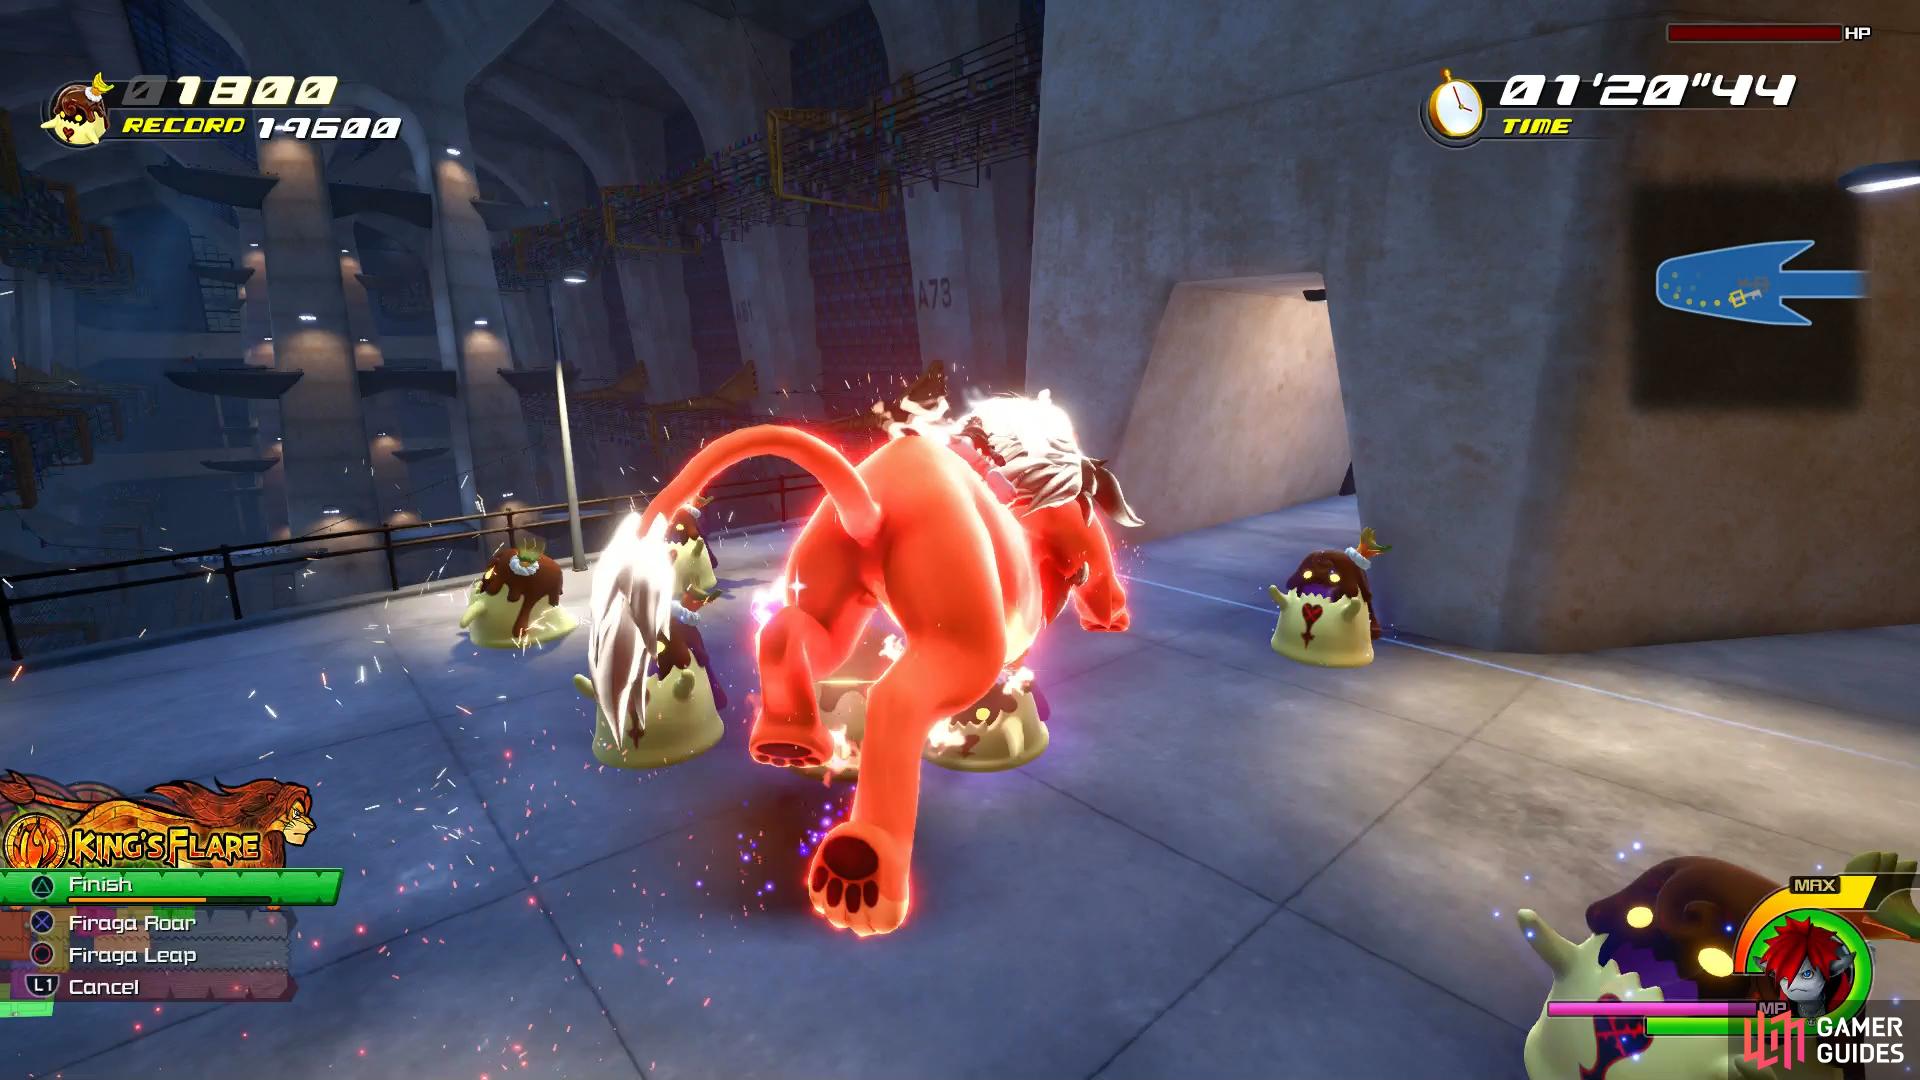
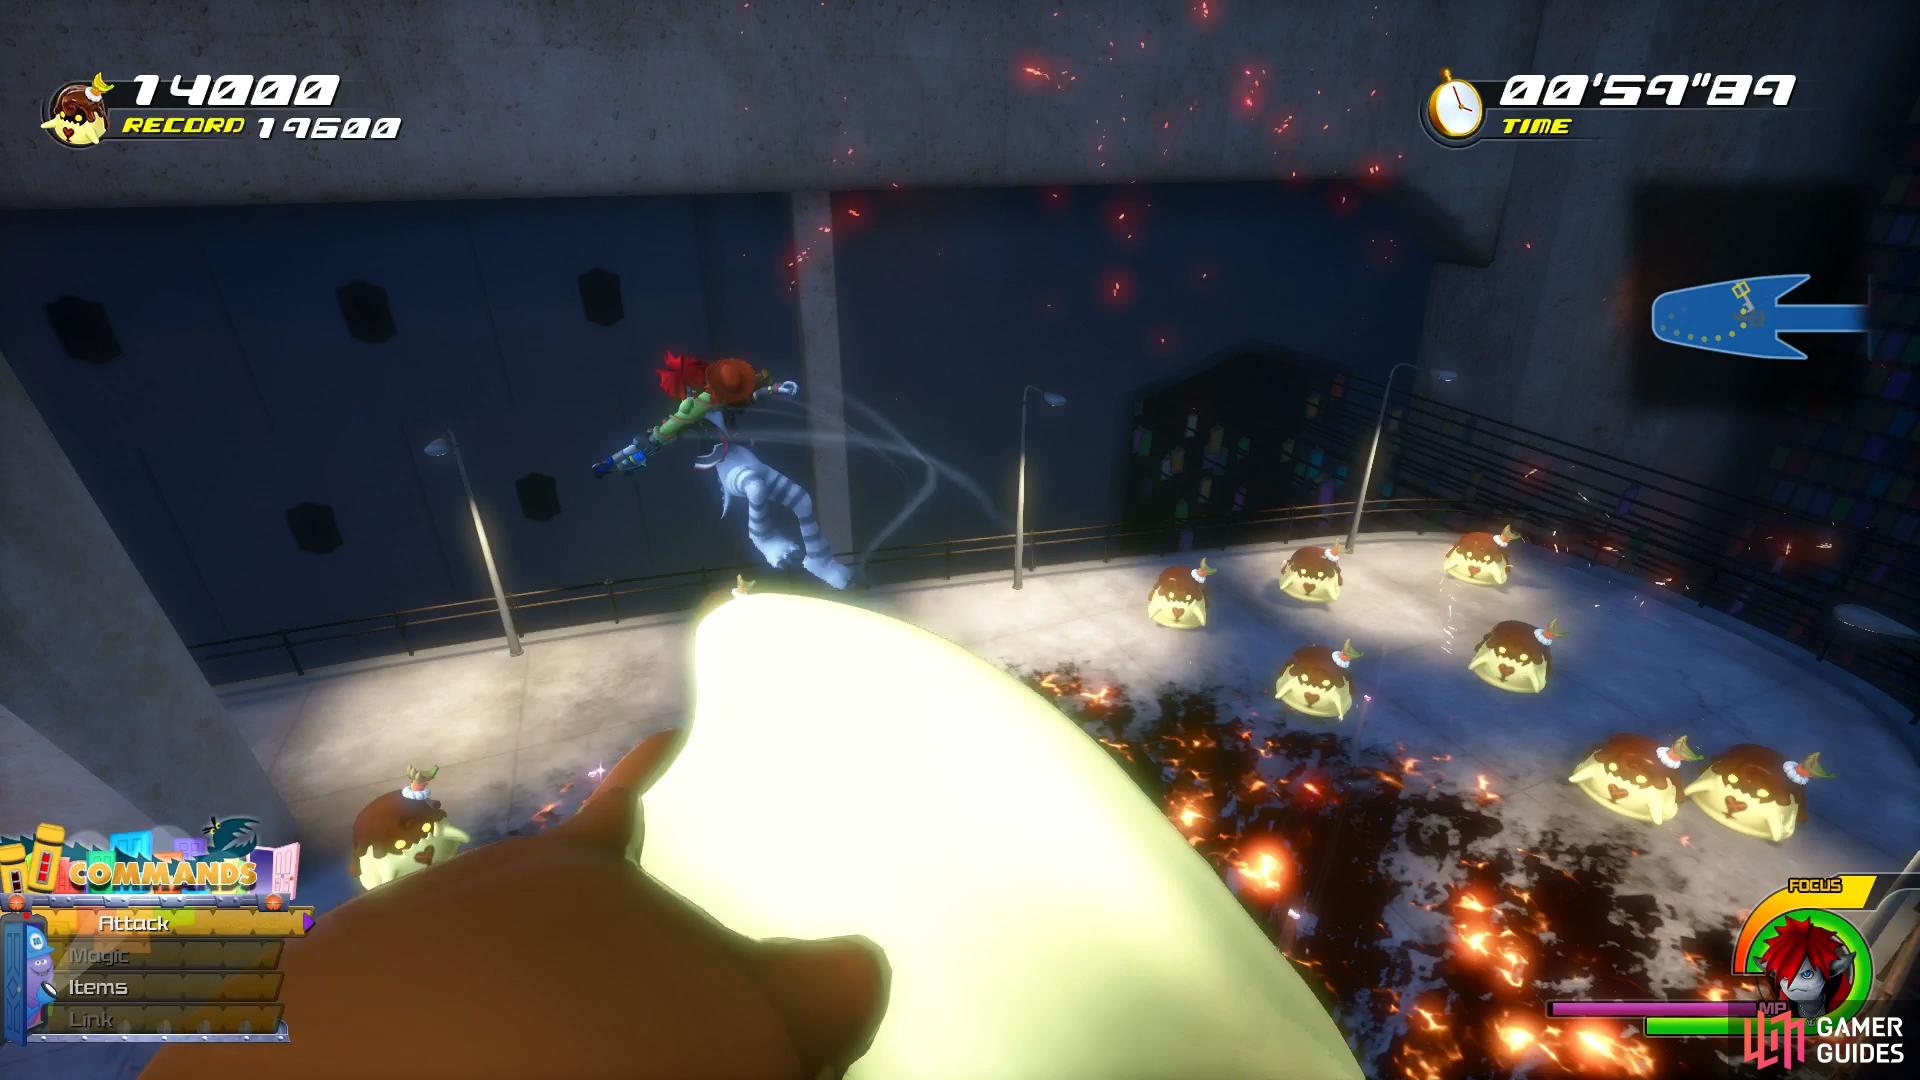
Use Simba to trample over the smaller Flans (left), then after using King’s Flare you’ll rack up the points from the burning surface. (right)
At the start of the battle, summon Simba and then roam around the arena dealing damage with the burnt ground that Simba leaves in it’s wake. Once you see a large group of Flans out, unleash King’s Flare to wipe them all out at once. Use a Hi-Ether to restore Sora’s MP and then repeat the process, you’ll need a score of 20,000 to obtain Grand Magic Extender and Banana x3.
Return through the door now and take the red door this time. Head to the east and you’ll discover that the elevator is now open, inside you’ll find a chest containing Treasure #8 - Thunder Cufflink. Return to the Save Point and this time Warp to the The Door Vault’s Service Area.
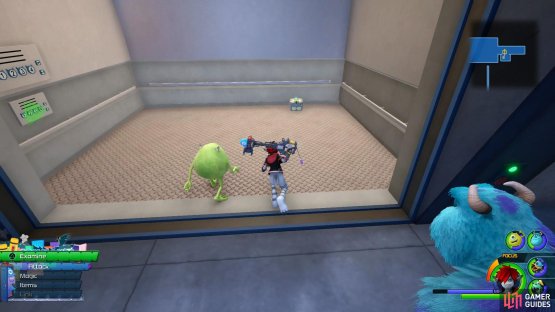
(1 of 2) Return to find the elevator now open


Return to find the elevator now open (left), the fire is gone leaving a Lucky Emblem on the ground. (right)
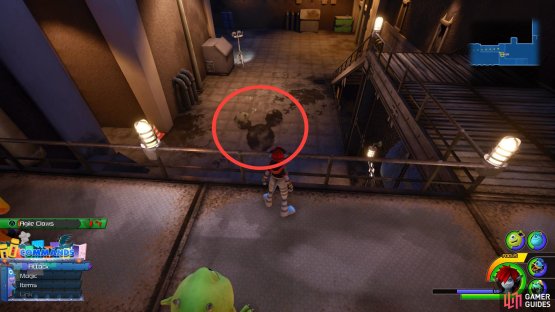
Head east to return to the Power Plant and head up the first set of stairs to find a CDA agent. Stand next to him and snap a picture of him to complete Photo Mission #11 before turning to face the ground to your east to spot Lucky Emblem #11. Finally, jump down to the ground and search the small alcove to the north to find the final chest containing Treasure #21 - Megalixir. With this complete, return to the World Map and make your way back to Twilight Town.
No Comments