

Tram Common
Sora and the gang reminisce on past events when they’re set upon by a group of Nobodies. This group of Dusk are a lot more difficult than their Shadow counterparts due to being able to phase in and out along with being quicker in general. This is a great time to test out your new Link ability as indicated by the tutorial, you’ll be able to wipe out the group of Dusk with relative ease. Beware once the Snipers join the battle, they’ll take aim at you and deal large damage to Sora so make them your priority.
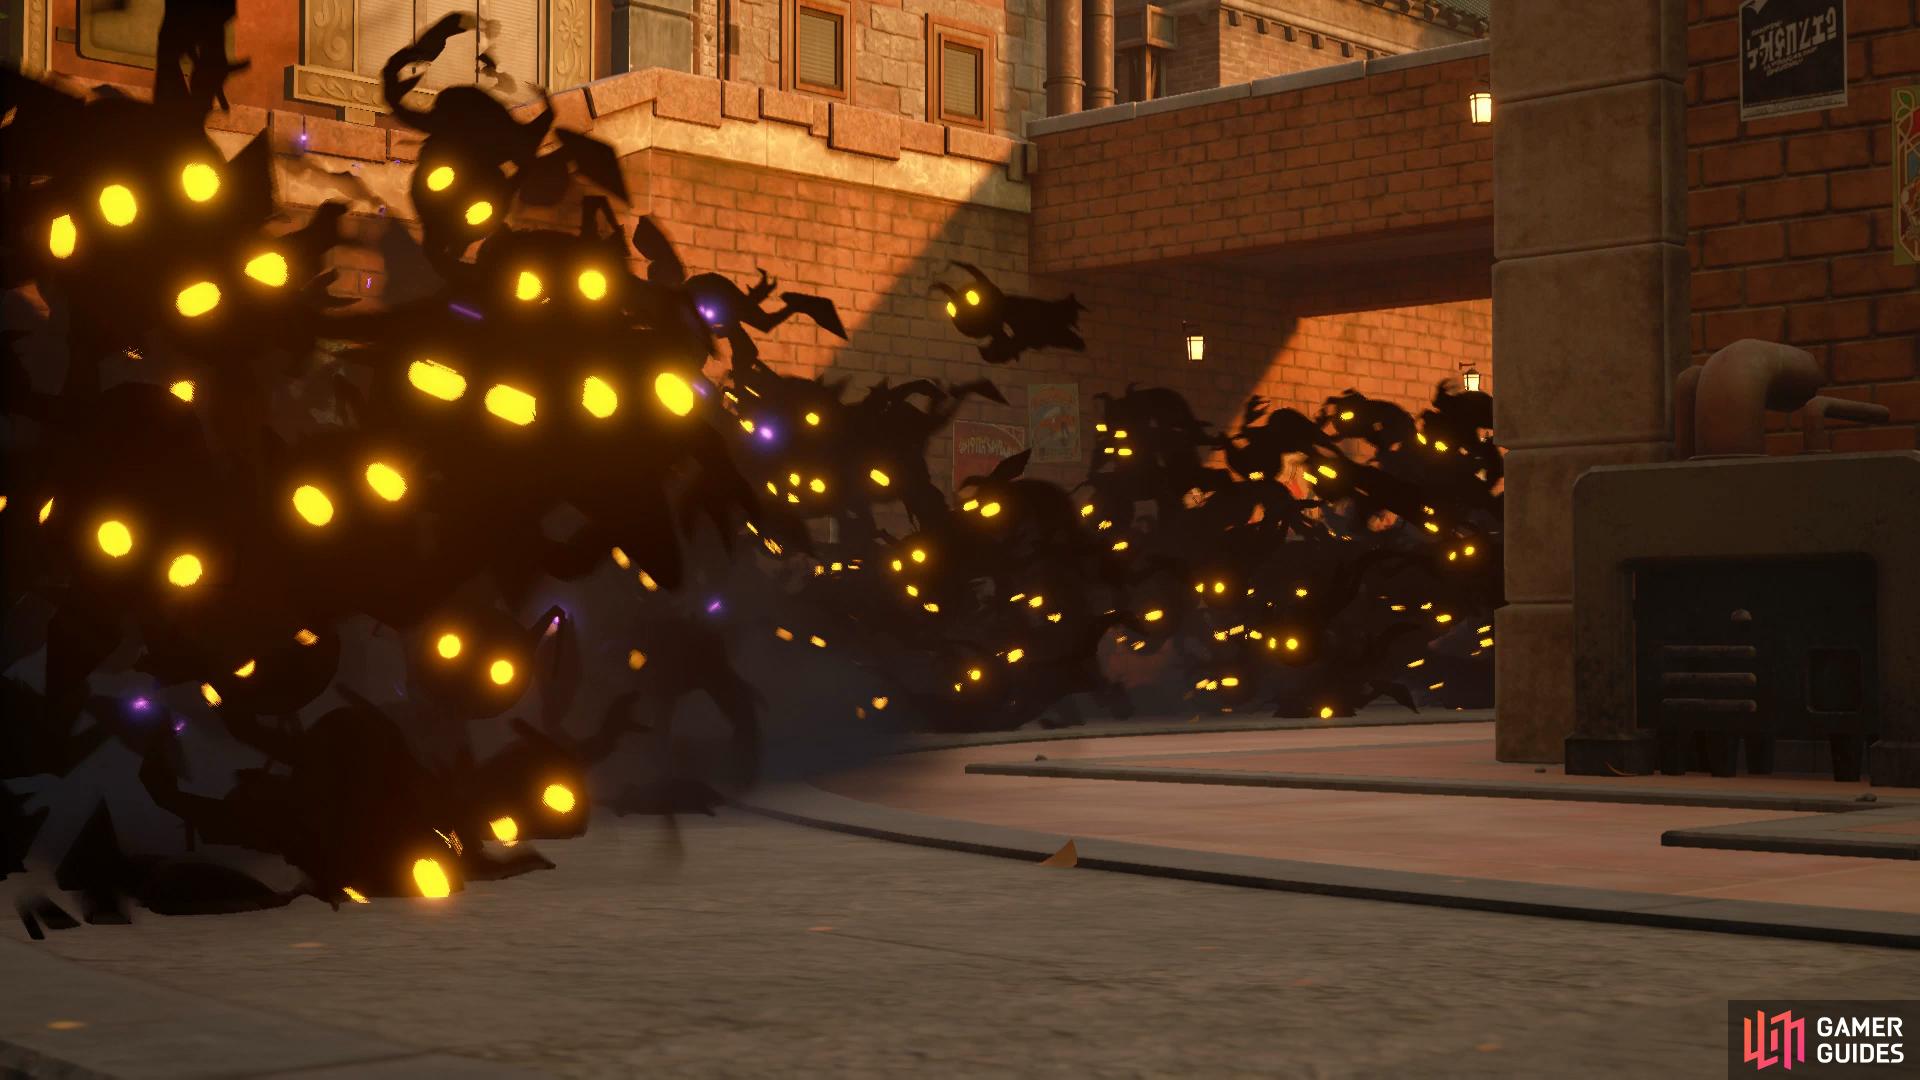
Following the defeat of the Nobodies, Hayner, Pence and Olette (from Kingdom Hearts II) arrive on the scene being pursued by a large tide of Heartless not too different from the Demon Tower Riku and King Mickey fought.
Boss: Demon Tide
This is a lot more difficult than the battle with Riku and King Mickey, you may have two companions with you but Sora is significantly weaker than Riku and you don’t have the Cure spell to aid you just yet. Don’t be put off by the large amounts of HP the Demon Tide possesses however, you only need to deplete around three bars to end the battle.
You’ll have to stay on the defensive for a lot of this battle, the Demon Tide hits hard and without Cure you only have a limited amount of healing items (or at the mercy of Donald’s Cure). You’ll want to try to activate Second Form as soon as possible in order to limit increase your Air Combos along with the benefit of Finishers. Alternatively, the defensive minded Hero’s Origin is also useful here, the Formchange can be handy at hunting down the Demon Tide while keeping Sora protected. The addition of Air Recovery while in this Form also helps to prevent Sora from being juggled in the air when the Demon Tide attacks.


(1 of 2) The Hero’s Origin Keyblade’s finisher is useful for dealing large damage
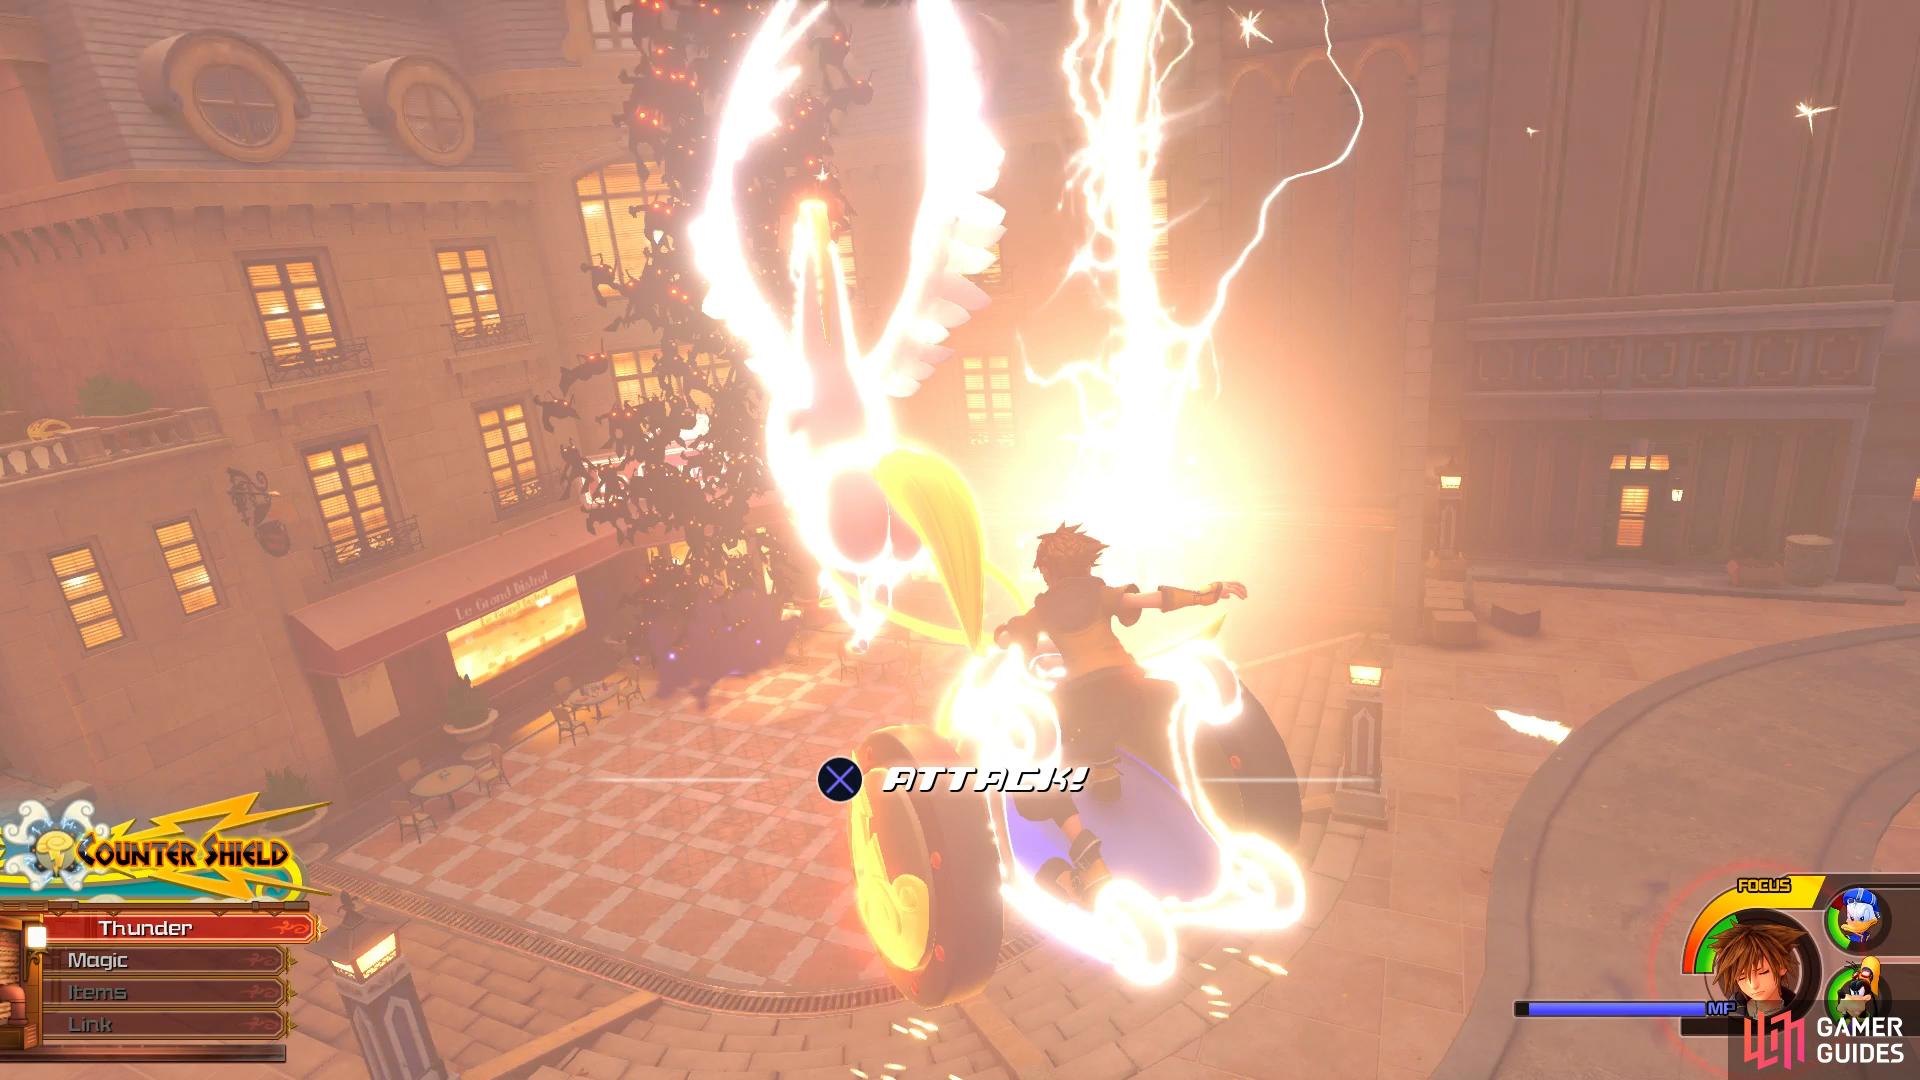
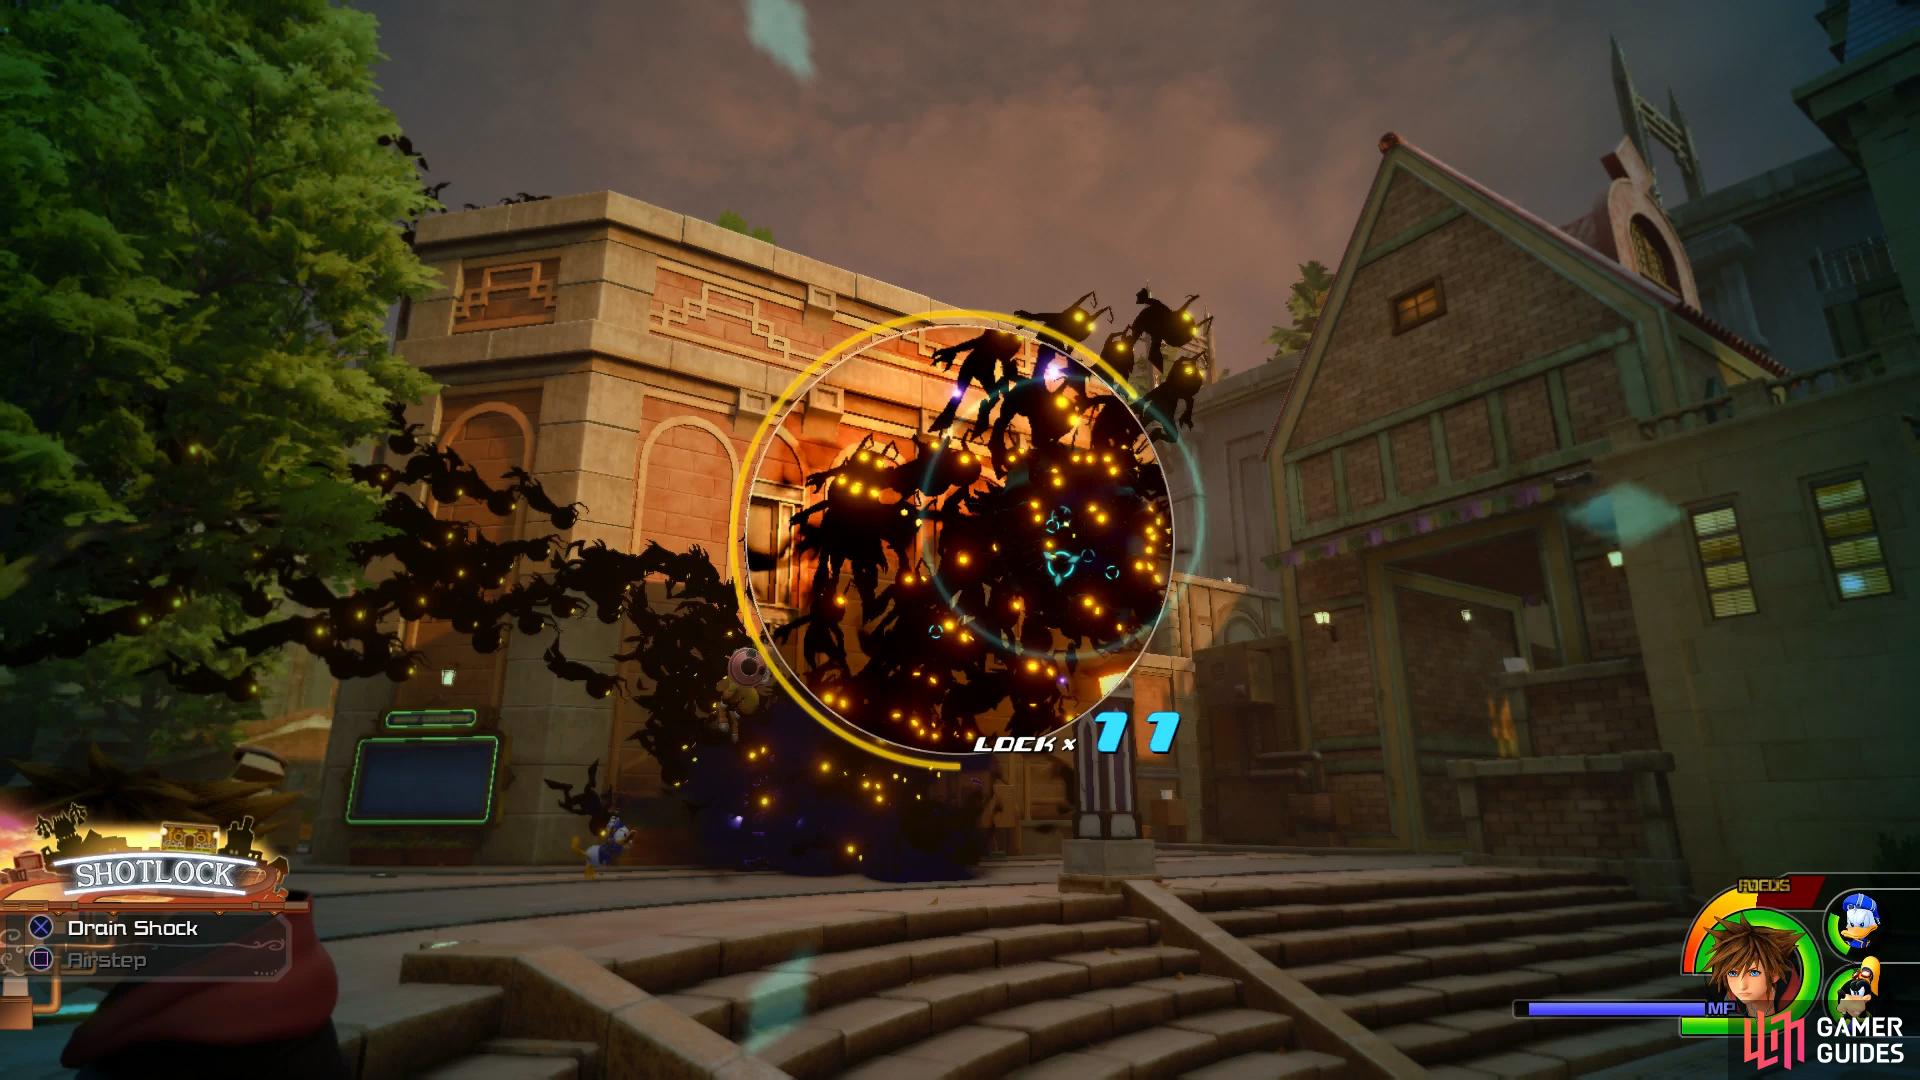
The Hero’s Origin Keyblade’s finisher is useful for dealing large damage (left), use the Shotlock to deal damage from a distance. (right)
If you find yourself out of healing items and Donald waiting for his MP to recharge, stay on the defensive and use the structure in the centre to get some distance from yourself and the Demon Tide. If you’re not using your MP for magic then consider calling out another Link to help you deal some major damage to the Demon Tide, eventually the battle will end after enough damage is inflicted.
| Character | Ability |
|---|---|
| Sora | Cure, MP Safety |
Following the battle, Sora will finally learn the Cure spell so be sure to add it to your Shortcuts straight away. After the group decides to see if they find anything about Roxas, you’ll learn about how to take Photos and Lucky Emblems.
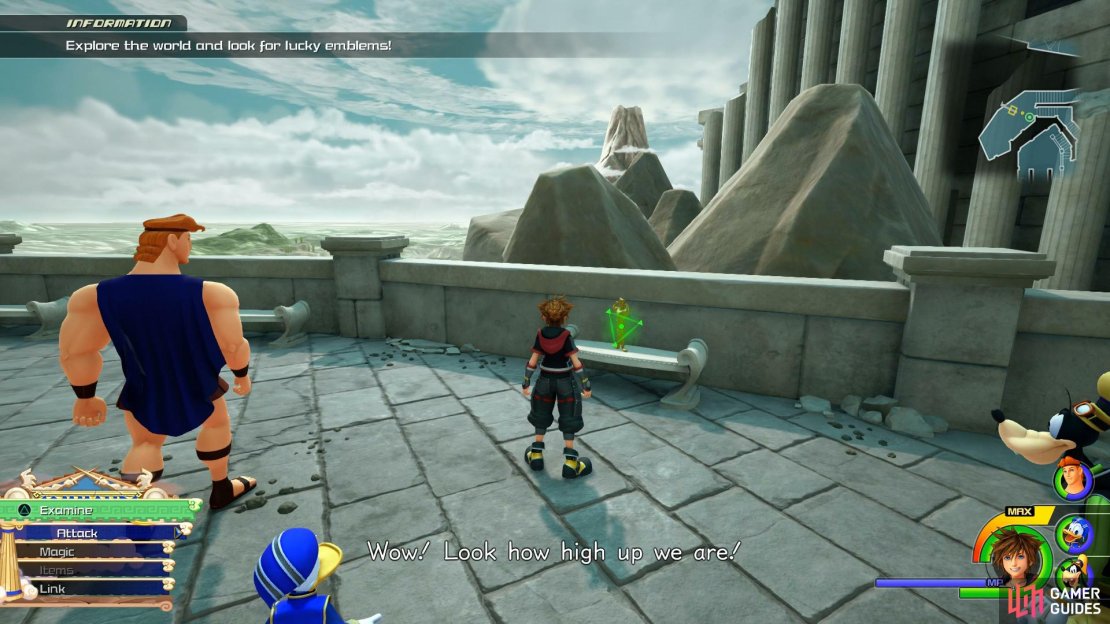
Lucky Emblems are hidden signs of King Mickey hidden all around the Worlds, you may have noticed some of these while in Olympus. Taking a photo of these Lucky Emblem adds them to the Gummiphone and finding a certain amount is needed to unlock the Secret Movie at the end of the game. On top of this, you’ll obtain powerful rewards for certain milestones when taking these pictures so it’s in your best interest to hunt these down. The Lucky Emblems section will detail where you can find these and the Walkthrough will cover these as you come across them in each world.
Before you move, turn around to face the wall next to the nearby shop and snap Lucky Emblem #1. For snapping your first target you’ll obtain an AP Boost, the first of many items to come your way. Just to the right of this wall is the Gummi Shop, here you can buy building blocks and blueprints to aid you in building your dream Gummiship.
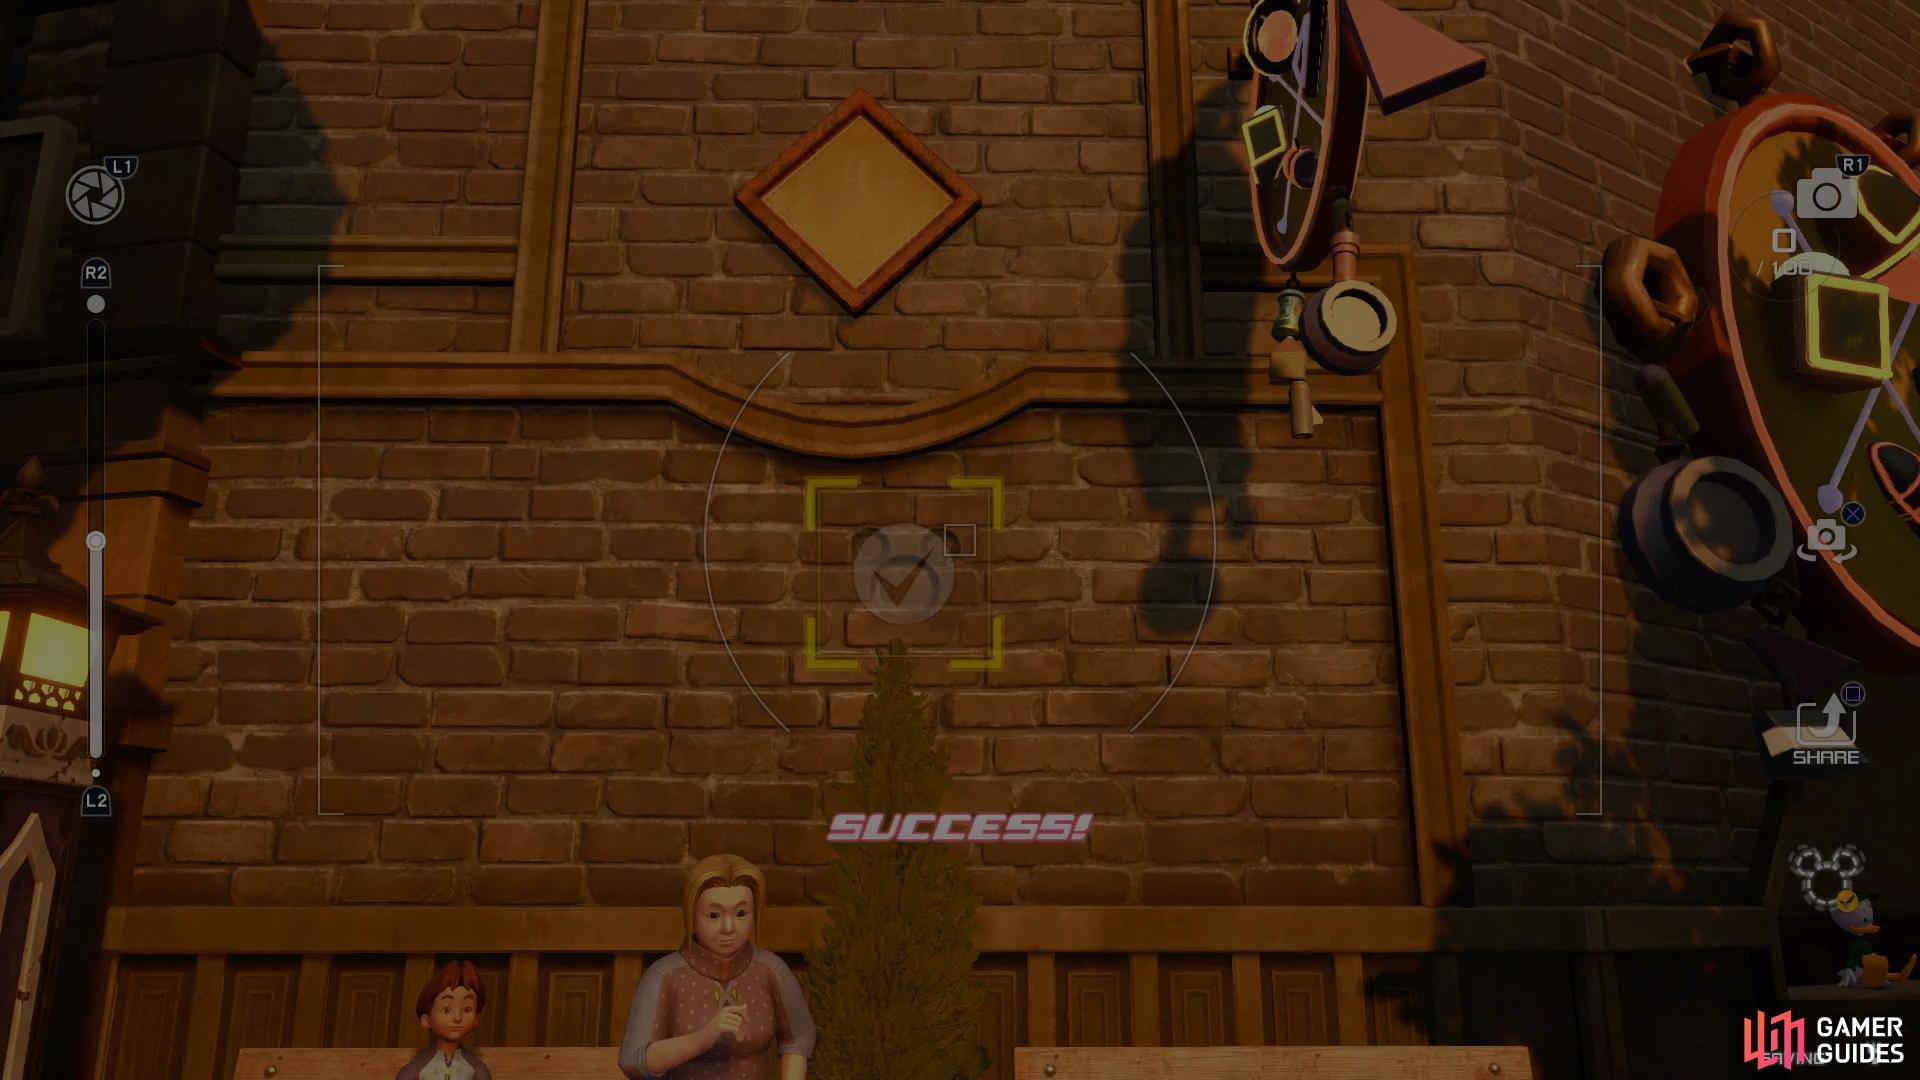
Don’t forget to snap the Lucky Emblem you saw in the cutscene.
Opposite this shop you’ll find the Moogle Shop, be sure to hand over your materials and you’ll learn about the Keyblade Forge, a way of increasing the power of your Keyblades. You’ll also learn about Photo Missions, short tasks that require you to snap a partiuclar object or enemy to unlock new Synthesis Recipes. For now, there is two targets, one of a Flame Core and another for a Water Core. The Flame Core can be taken when you revisit Olympus shortly for the Lucky Emblems and the Water Core can be obtained in the third world.
Consider creating an Ability Ring+ for Sora to allow you to equip most of his abilities and then purchase the Warhammer and Clockwork Shield from the shop for Donald and Goofy. You may have a Prize Postcard on you from using the shop earlier, these can be posted in the Post Box to the left of this shop for a random item.
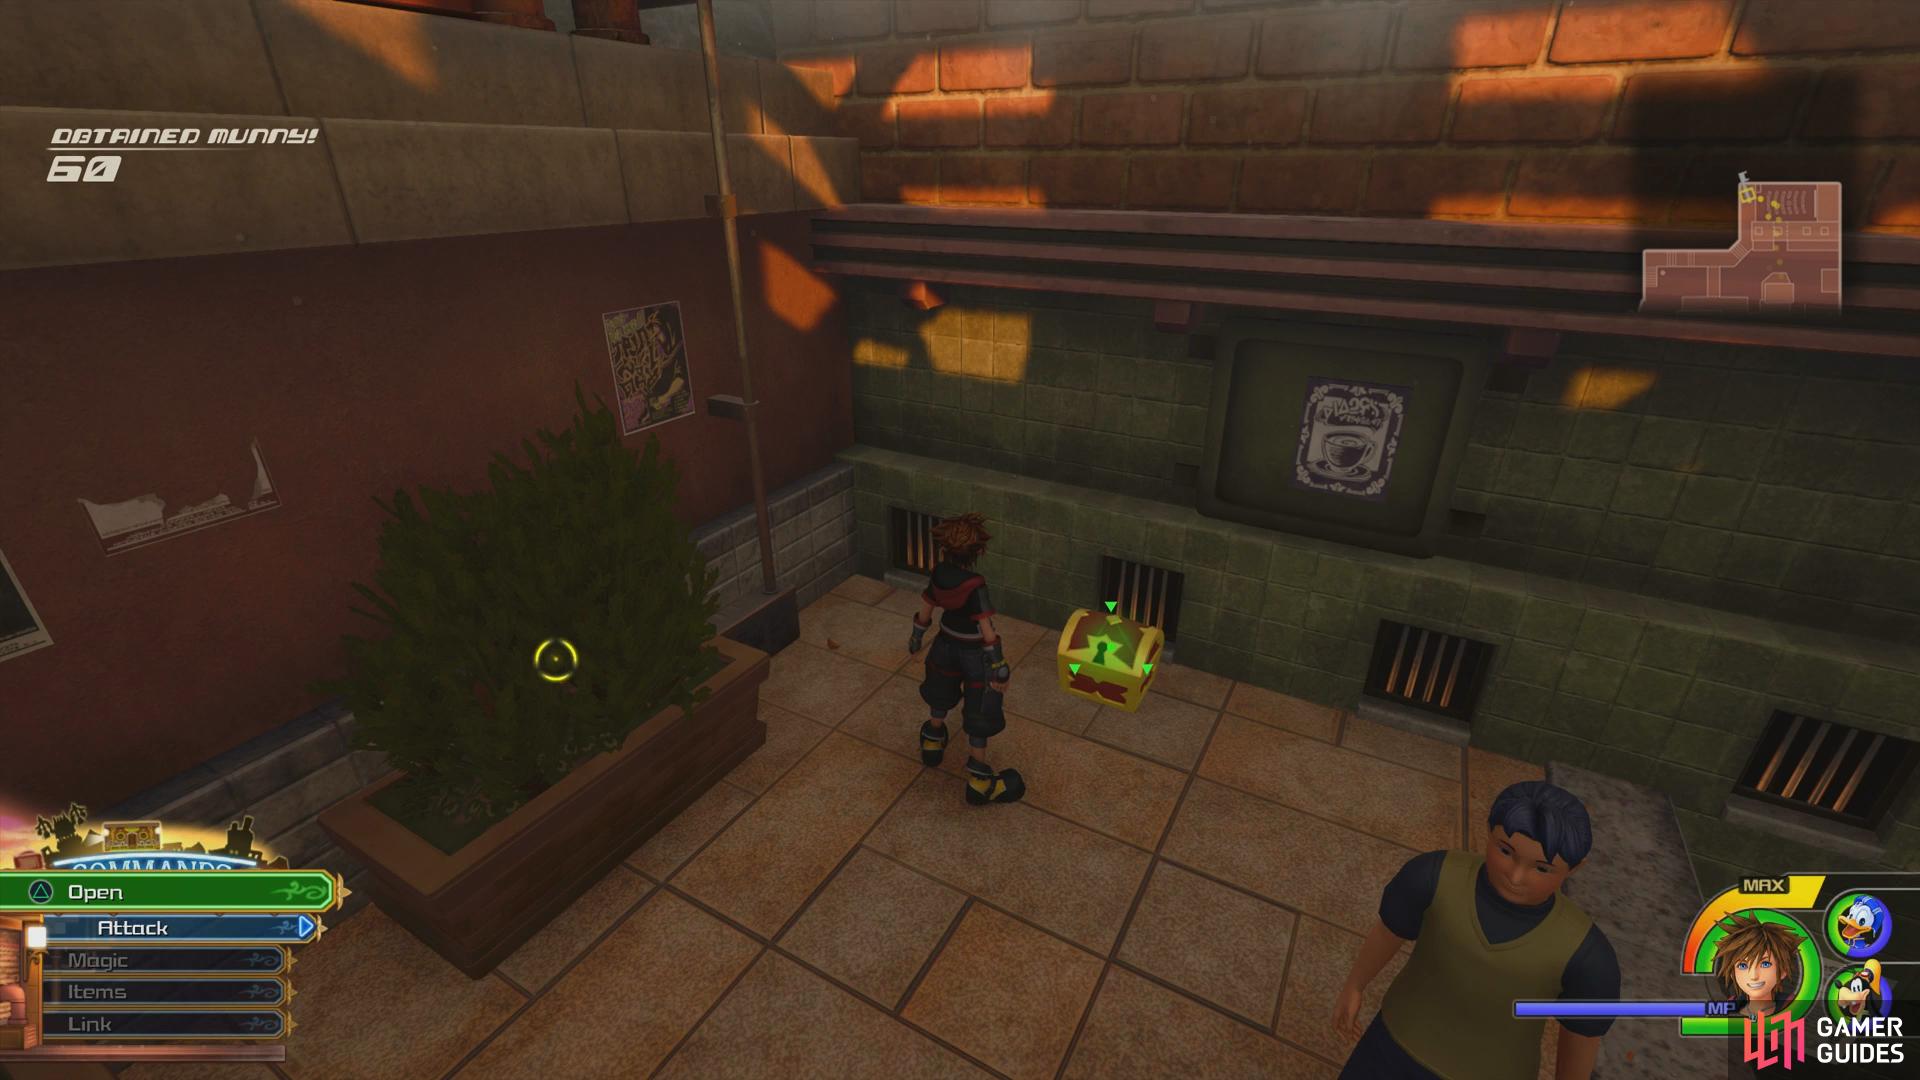
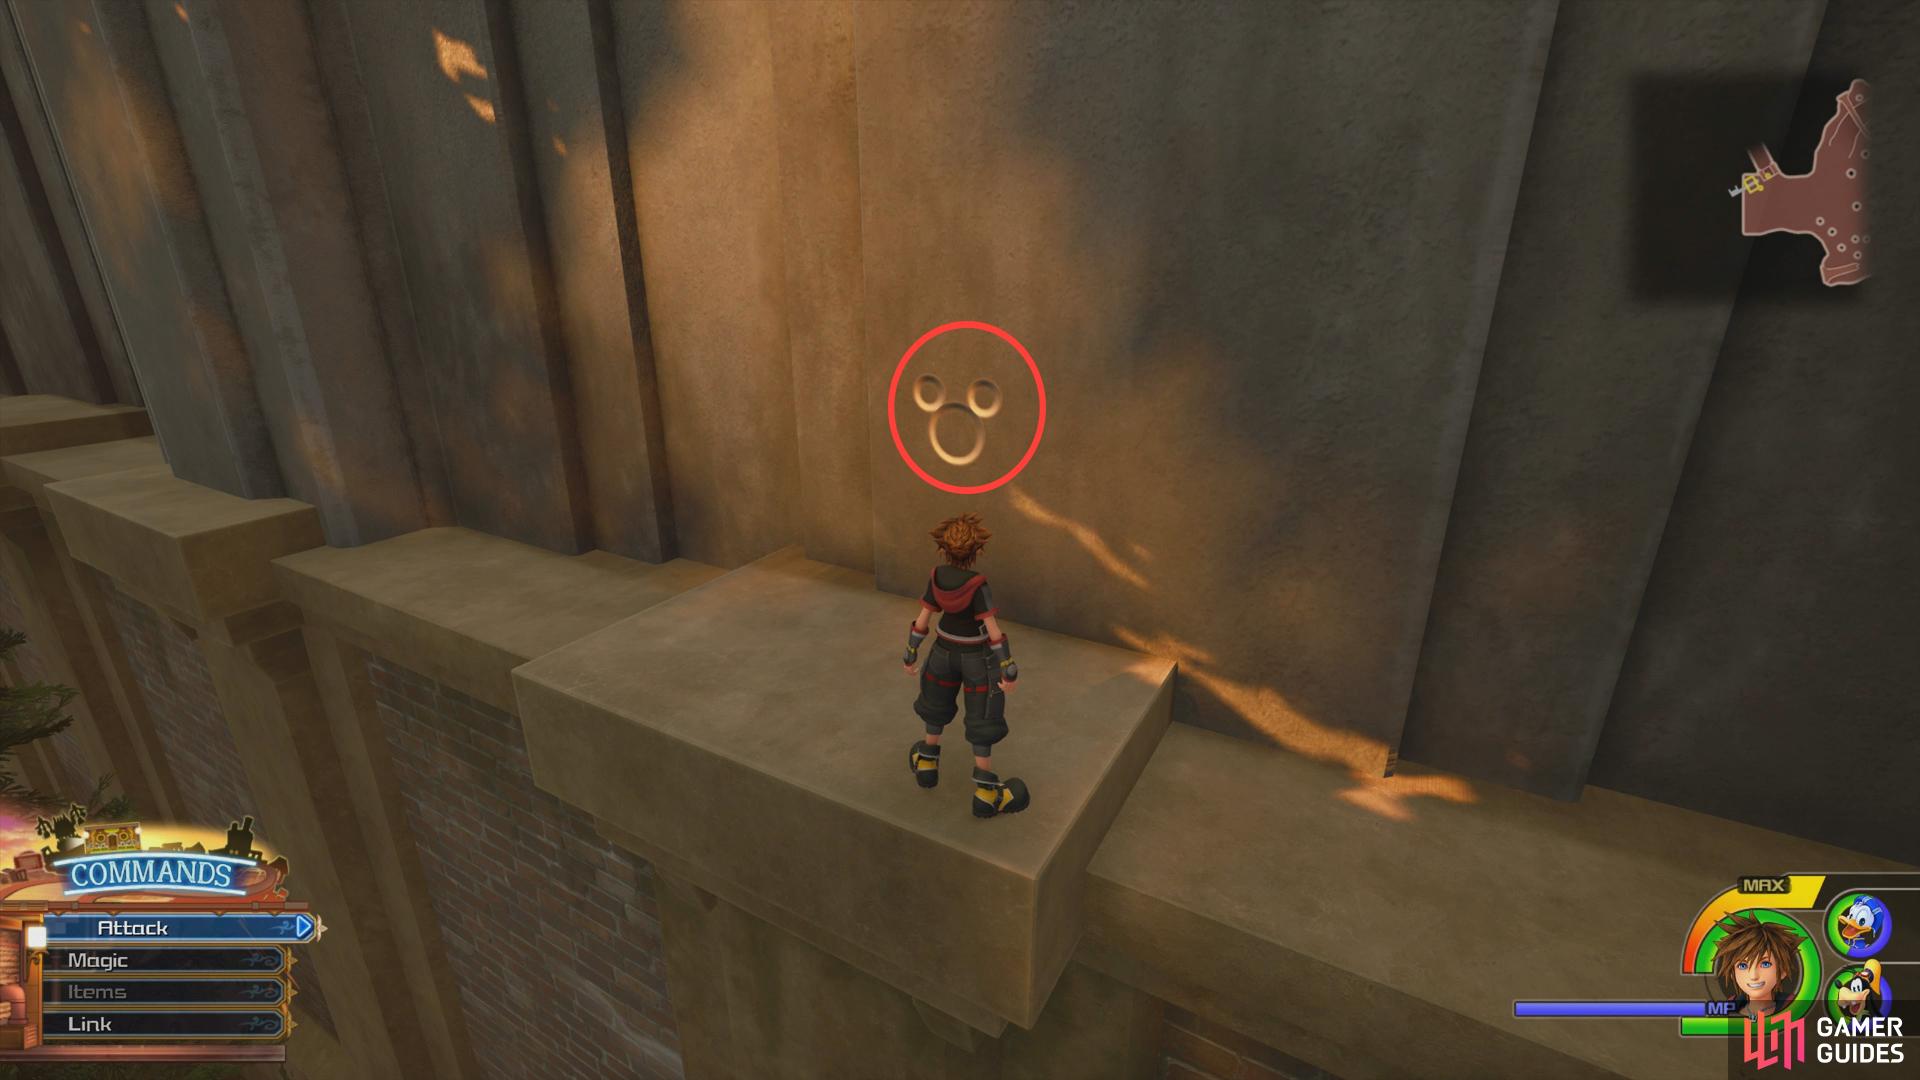
Run up the wall of the Moogle Shop until you reach the chimneys, you’ll spot Lucky Emblem #3 on the surface of one of these chimneys. Wait for the tram to pass you by now and then land on top of it, Lucky Emblem #2 is hiding here. With this being your third Emblem already, you’ll obtain a Mega-Potion and are then free to open the large chest here to obtain Treasure #1 - Map: The Neighborhood.

(1 of 2) then land on the Tram to find the next.

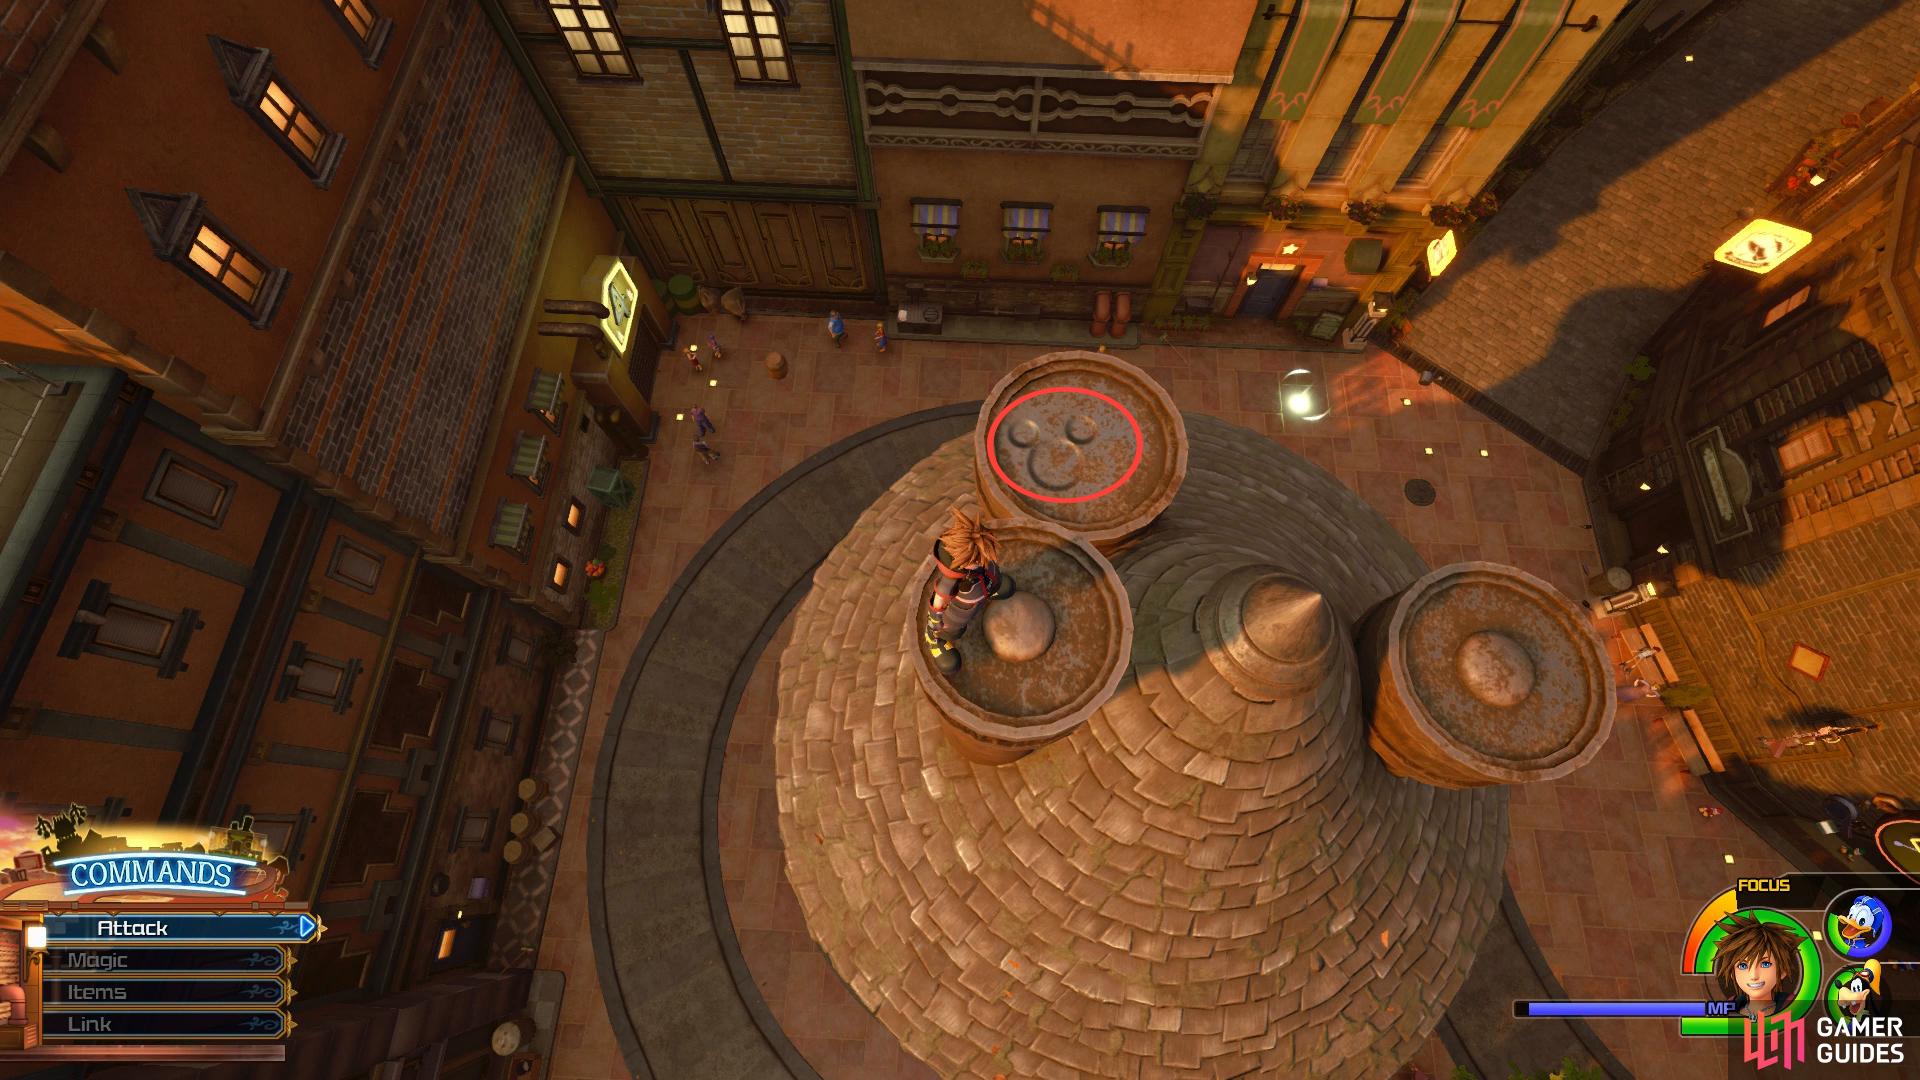
then land on the Tram to find the next. (left), Run up the Moogle Shop to find this Lucky Emblem (right)
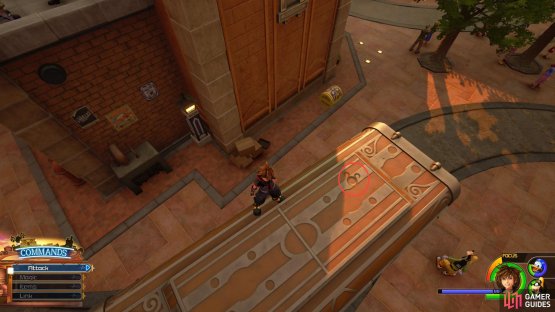
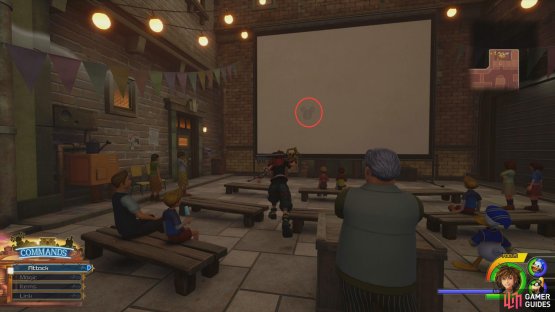
Remember to break all the objects as you explore Twilight Town, there’s many items to be had and the small boxes of takeaway food all over the area will reward you with precious Ingredients. Before heading off to reach the Old Mansion, take the time to loot the rest of the Treasures and score some more Lucky Emblems beginning with the Theater to the northeast. As you enter this square, jump up to the platform to the nothwest to find Treasure #2 - Mythril Shard. Now head over to the screen once the movie has finished to spot Lucky Emblem #4.
(1 of 2) Look in the northwest corner for this chest

Look in the northwest corner for this chest (left), after the show has finished, you’ll find this Lucky Emblem on the screen. (right)
Exit the square and run up the next building to find a takeaway box and if you look down to the next building to your south, you’ll find Lucky Emblem #5 on one of the tables. This should reward you with a Expert’s Ring for snapping five photos, be sure to equip this right away. Look to the west from this location and jump over to the tallest building to find Treasure #4 - Fluorite and then turn the camera to the southeast to spot Treasure #5 - Hi-Potion on the balcony overlooking the Bistro.

(1 of 3) Run up the building opposite the Theater to spot this Lucky Emblem
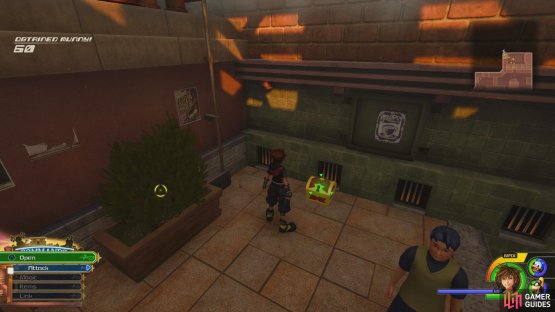
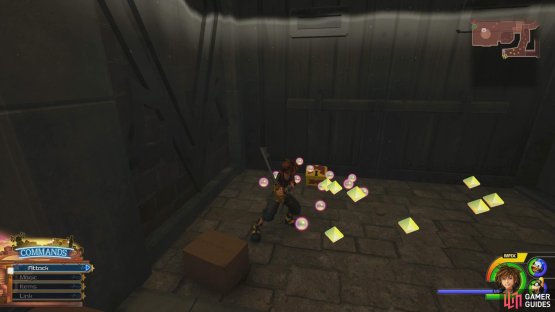
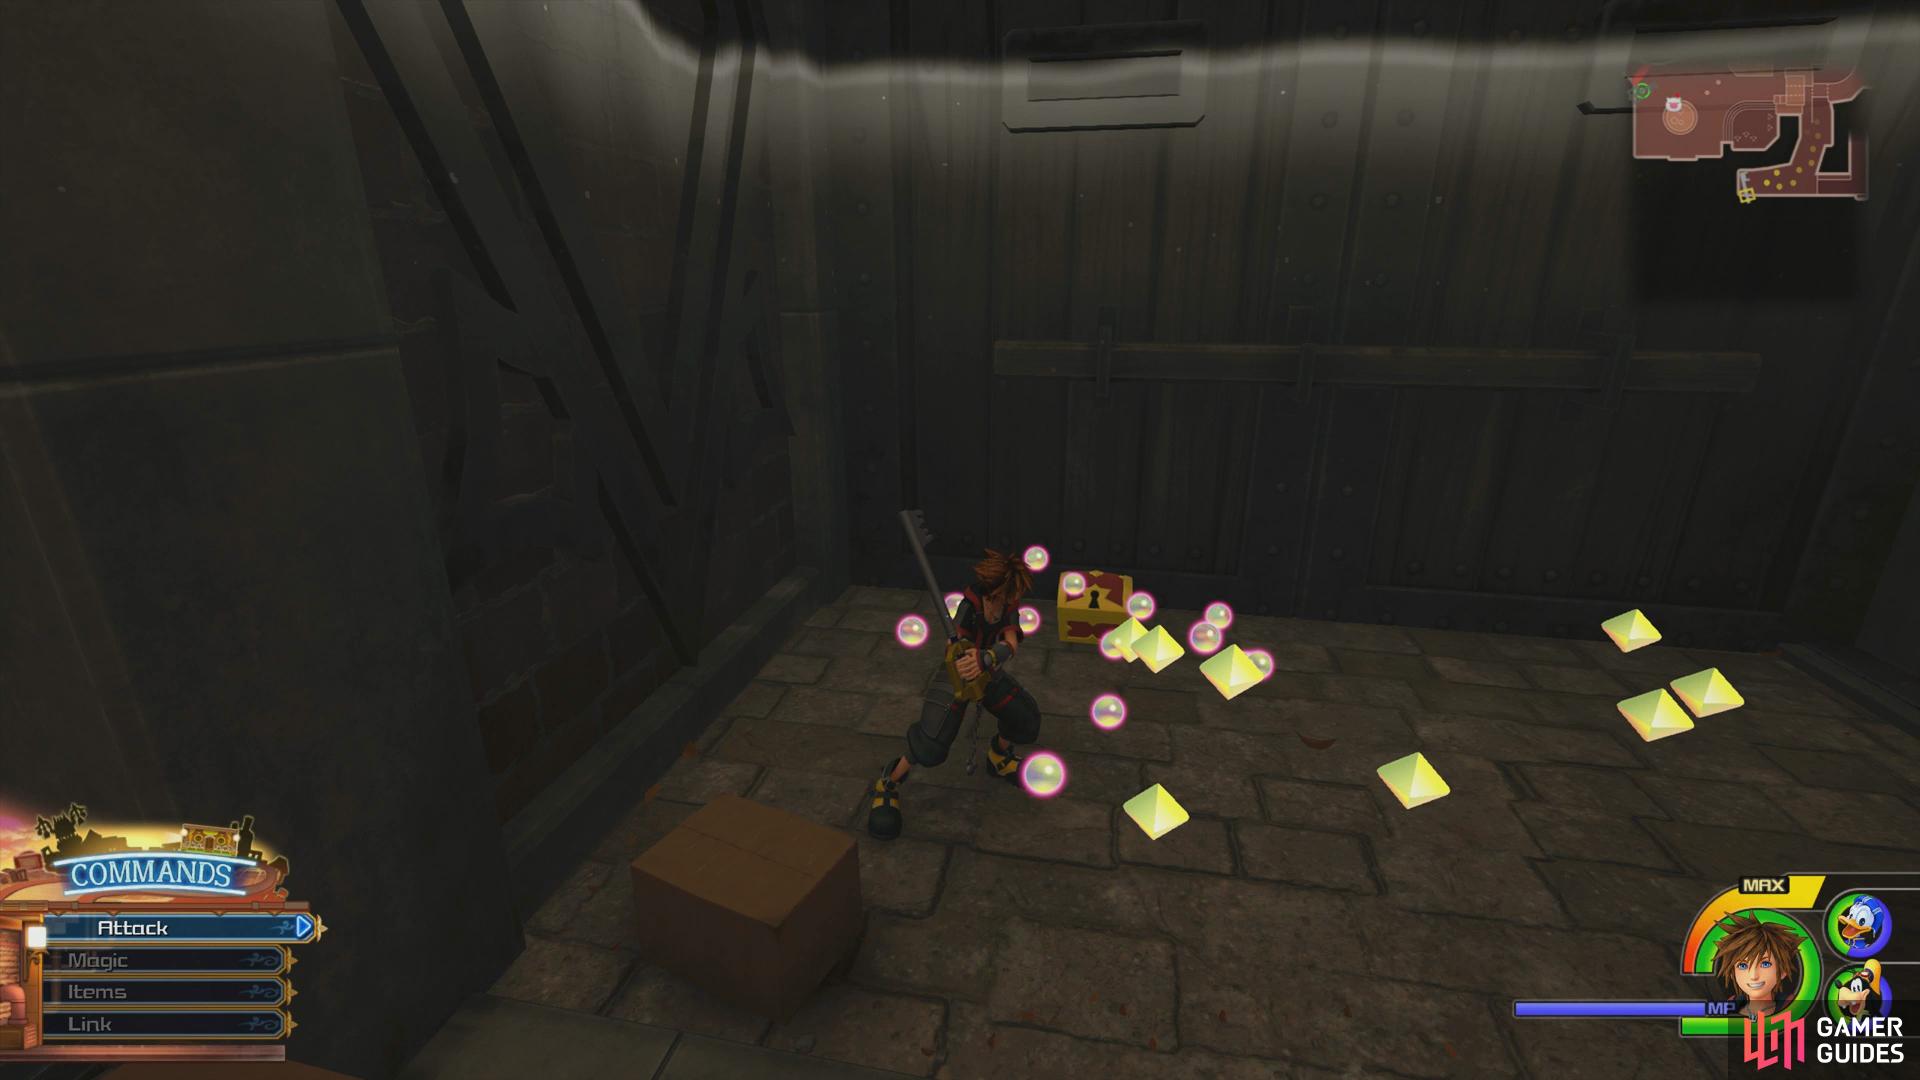
That’s all for this section of Twilight Town so begin your journey to the Old Mansion by way of the sewers to the south. Before you drop down to the west and enter the sewers however, head east and follow the path to some crates, break all of them to reveal Treasure #3 - Fluorite. Return to the split and drop down to the west and follow the path to enter the Underground Conduit.
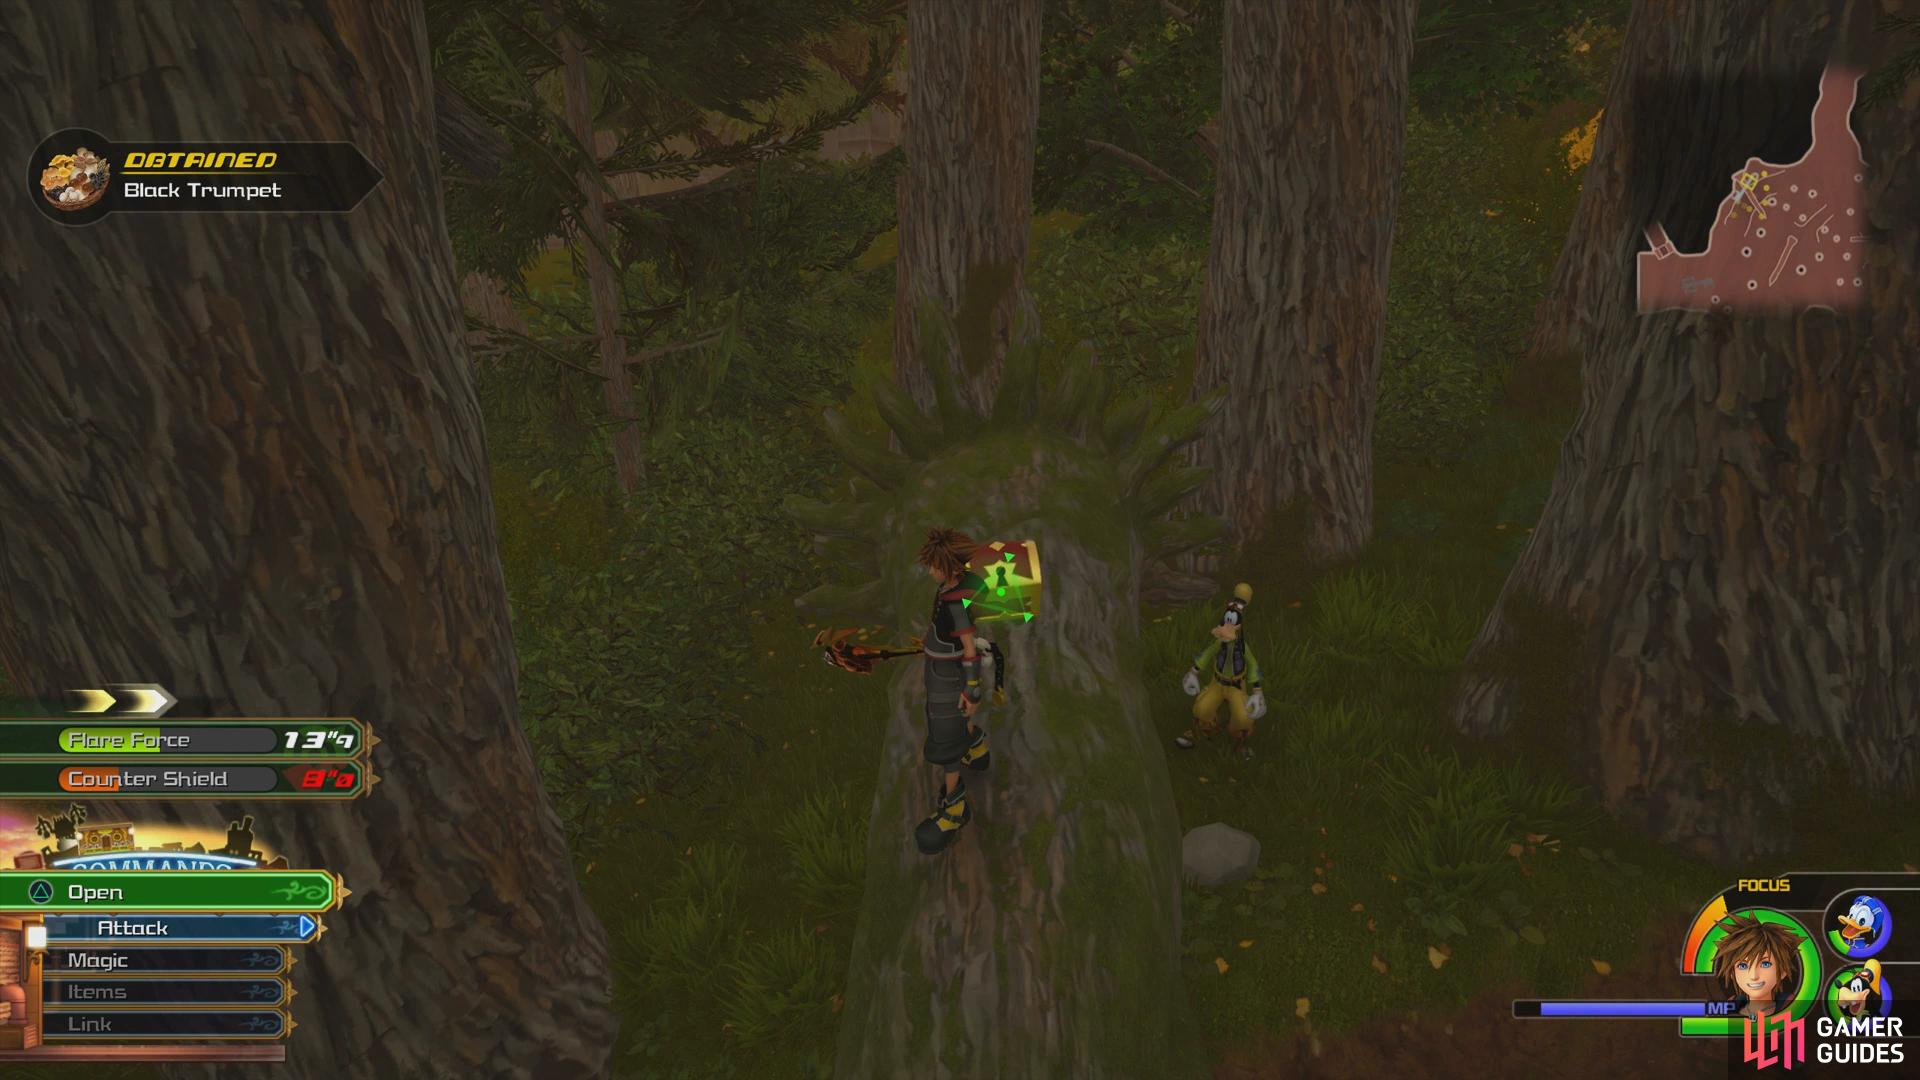
The path here is linear but you will find many breakables with useful materials, take the time to break every last one of them. As you head down the path, you’ll encounter Heartless, take care of them and you’ll run into another new Heartless, the Munny Popcat. Like the Popcats you encountered back in Olympus, these pose little threat but they do reward you with an abundance of Munny. As you reach the stairs leading up, look to the northwest corner to spot Treasure #6 - Refocuser. Take the stairs up next to this chest to finally reach The Woods.

(1 of 2) Break the boxes here to reveal a chest
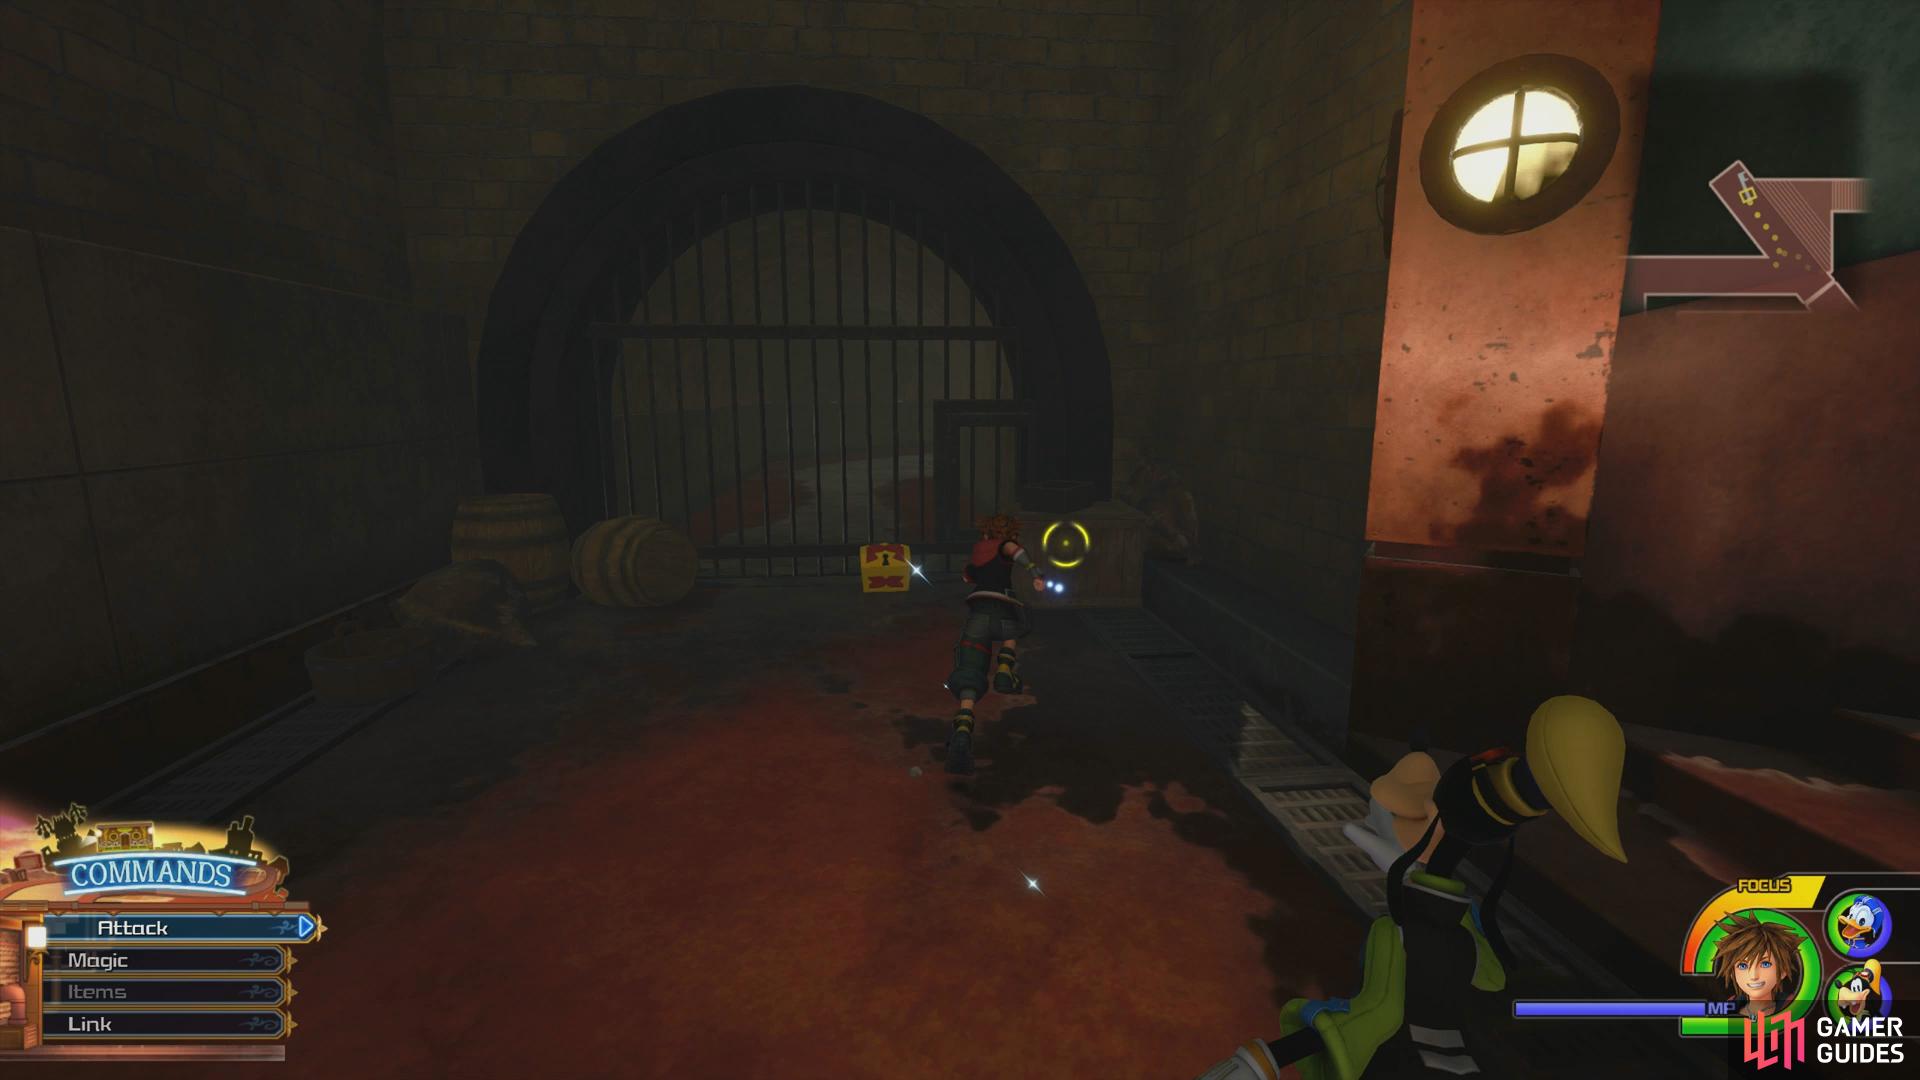
Break the boxes here to reveal a chest (left), just before you exit the sewers is another chest. (right)
The Woods
As soon as you exit the hatch here into this area, turn around to face the right side of the door to snap Lucky Emblem #6. You should see to the west a large wall that you can run up, do so and you’ll spot Lucky Emblem #7 on the upper wall. Follow the path deeper into the woods now as the group run into a trail of food which leads to a rat that is under attack from a group of Heartless.
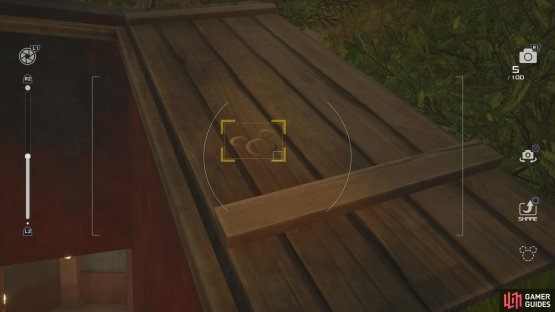

(1 of 2) Look on the right side of the hatch door

Look on the right side of the hatch door (left), then climb the wall to find the next Lucky Emblem. (right)
You’ll encounter the standard Shadows along with a new adversary, the Powerwilds. These monkey like Heartless will attach themselves to trees and toss nuts at you so stay on the move as you take them out. Sora himself can make use of the trees by using Airstep to dash over and perform Flowmotion attacks. You’ll be up against a large group so don’t be afraid to save your MP for your new Cure spell should you need it.
| Character | Ability |
|---|---|
| Donald | Team Attack Extender |
Following the battle, the rat will introduce him and use Sora to help him pick up the fruit. With that excursion out of the way, you’re now free to explore The Woods. Keep to the south side to begin with to spot a large tree trunk hiding Treasure #8 - Ether. Continue to hug the south side of this area and take out the Heartless that attack before you reach the far southeast corner where you’ll spot Lucky Emblem #8 on the side of the small hill here.

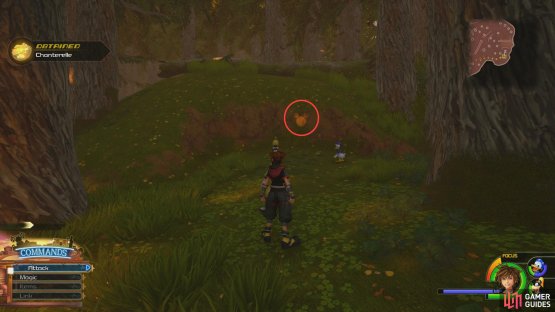
(1 of 2) Search by the fallen tree to the south


Search by the fallen tree to the south (left), then head to the southeast to find the next Lucky Emblem. (right)
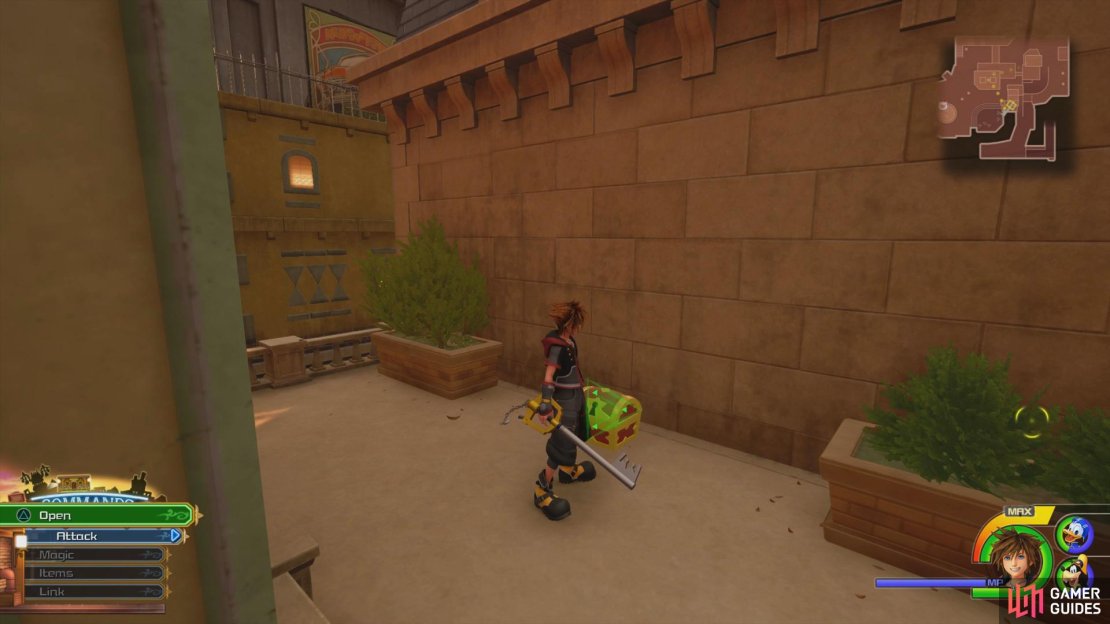
Head up that hill now and jump over the tree trunk to find Treasure #9 - Fluorite on the ground behind it. There’s one final chest to snag in this area, head over to the northern side of the area, taking out the group of Heartless in the process, and look for a tree that you can balance across. At the end of this you will find Treasure #7 - AP Boost, snag it and then proceed north to reach the Old Mansion entrance.
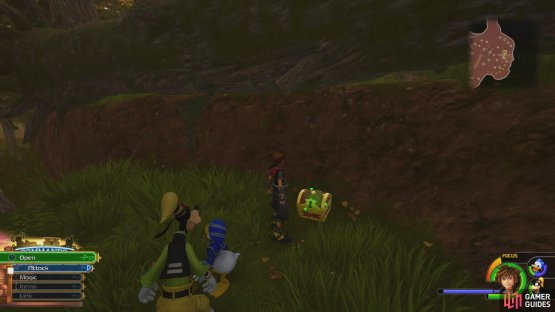
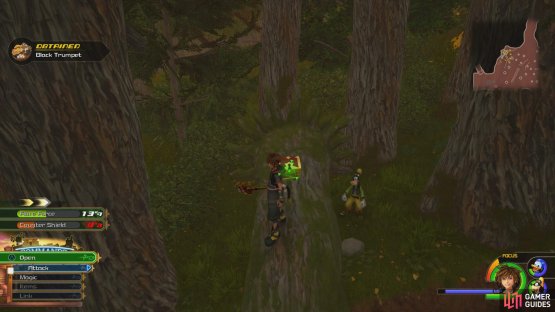
(1 of 2) Head to the far east of the map to find this chest

Head to the far east of the map to find this chest (left), you’ll find a tree you can walk across in the northwest. (right)
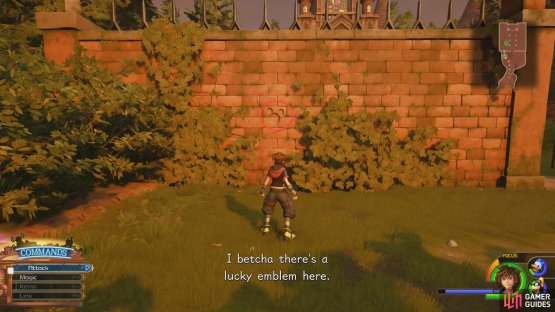
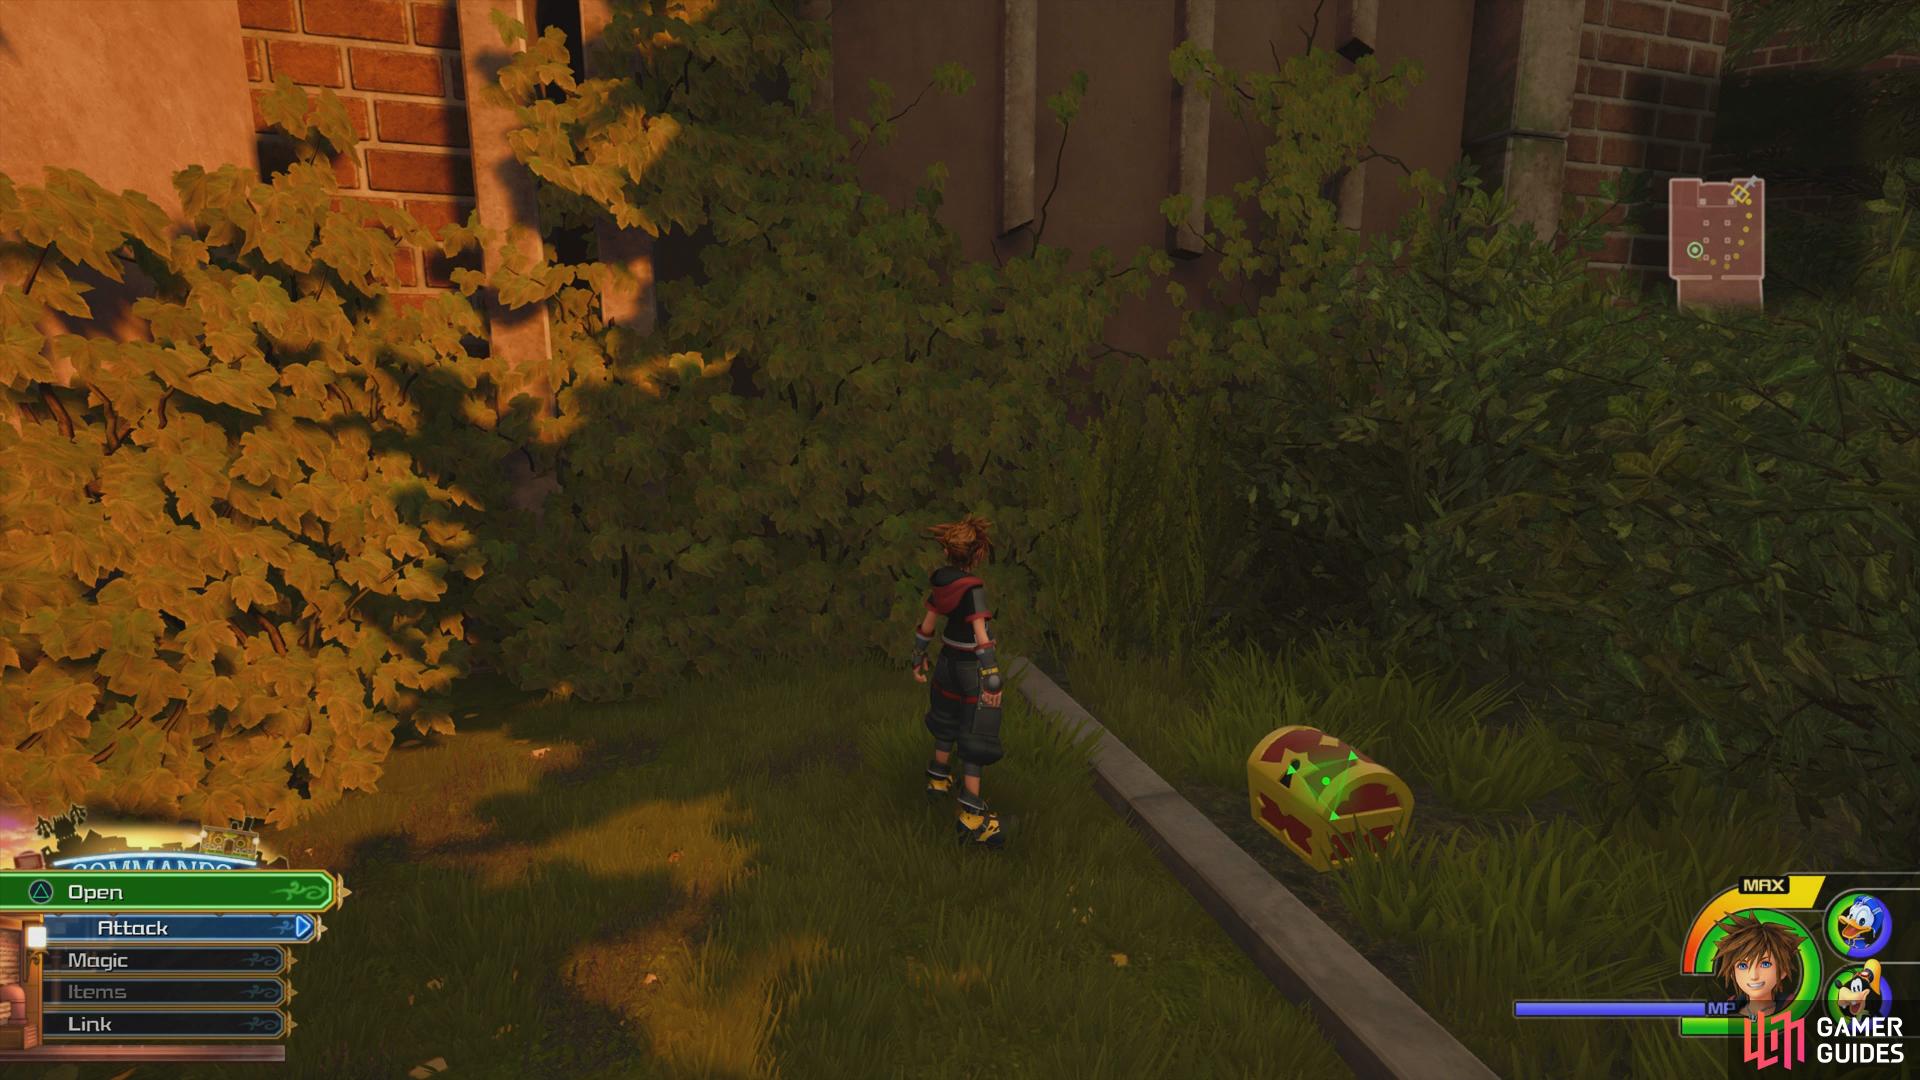
Before you head through the gates here, look on the left wall to spot Lucky Emblem #9, the final one for Twilight Town. Once you enter the grounds of Old Mansion, you’ll find a Save Point and then in the northeast corner you’ll find the final chest of Twilight Town containing Treasure #10 - Defense Boost. When you’re ready, approach the doors of the Old Mansion to begin a series of cutscenes.

(1 of 2) Look on the left wall to find the final Lucky Emblem

Look on the left wall to find the final Lucky Emblem (left), then search the northeast corner of the courtyard to find the final chest. (right)
Once you regain control, head back towards The Woods to trigger another cutscene. Once you regain control, you’ll find yourself up against a group of Heartless and Nobodies. A new adversary will attack here, the Neoshadows, a slightly buffed up version of the regular Shadows. The Hero’s Origin Counter Shield works very useful here, once you call out the chariot you’ll be able to strike down large groups of enemies at once.
| Character | Ability |
|---|---|
| Sora | Blizzard, Max HP Increase |
You’ll gain the useful Blizzard spell upon finishing this battle, a useful spell that can freeze enemies in place. You can also use it to create an icy surface that you can grind along. Continue on into The Woods and defeat the Heartless that appear as you make your way back through the Sewers and into Tram Common.
As you make your way up the path, you’ll run into Uncle Scrooge and learn about his latest business venture, a Bistro. You’ll also learn the chef behind it, Little Chef, the rat that you saved earlier. Uncle Scrooge asks you to track down some Ingredients so that Little Chef can cook something else. Regardless if you have Ingredients on you, you’ll have to track down another nine for the sake of this Tutorial and you should know where these are by now after exploring Twilight Town for Lucky Emblems and Treasures. You’re looking for the takeaway boxes scattered all over the town or food baskets such as the two takeaway boxes and a basket in the Theater corner.


(1 of 2) Look for food baskets
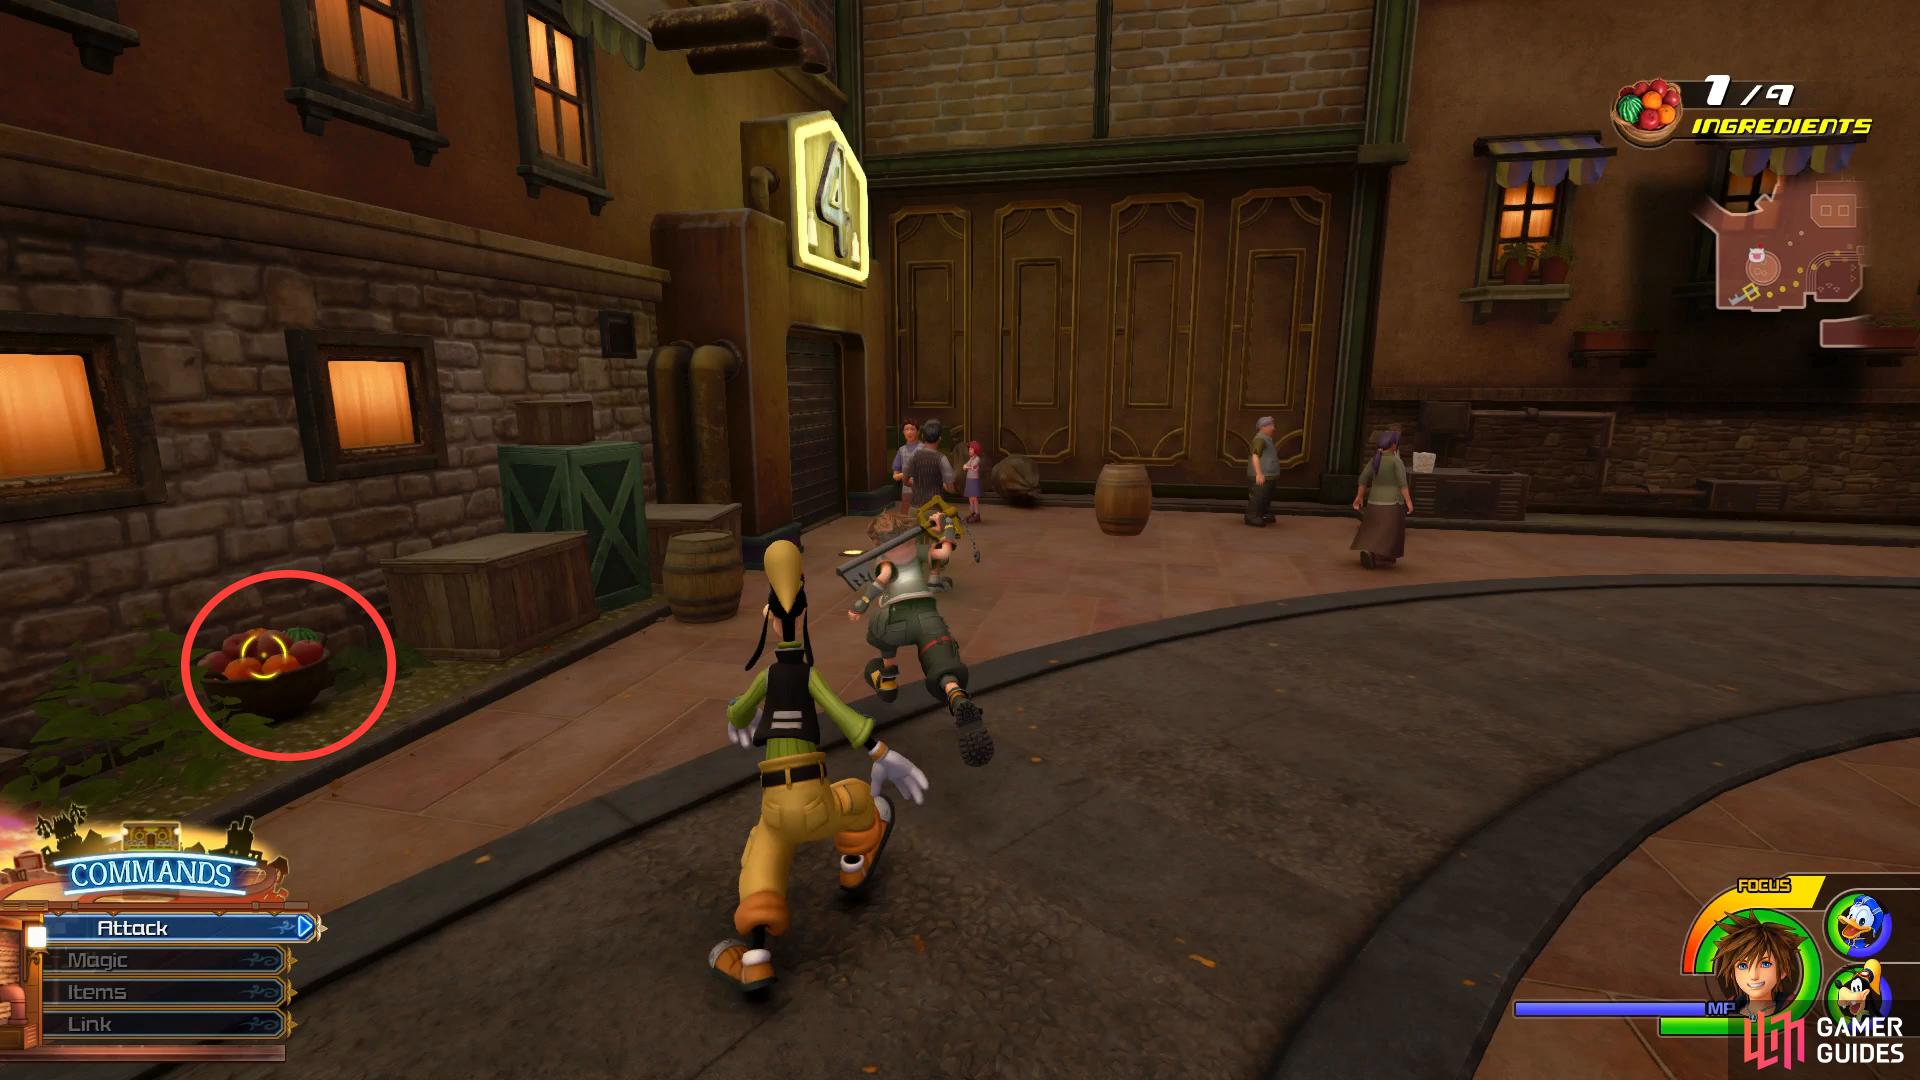
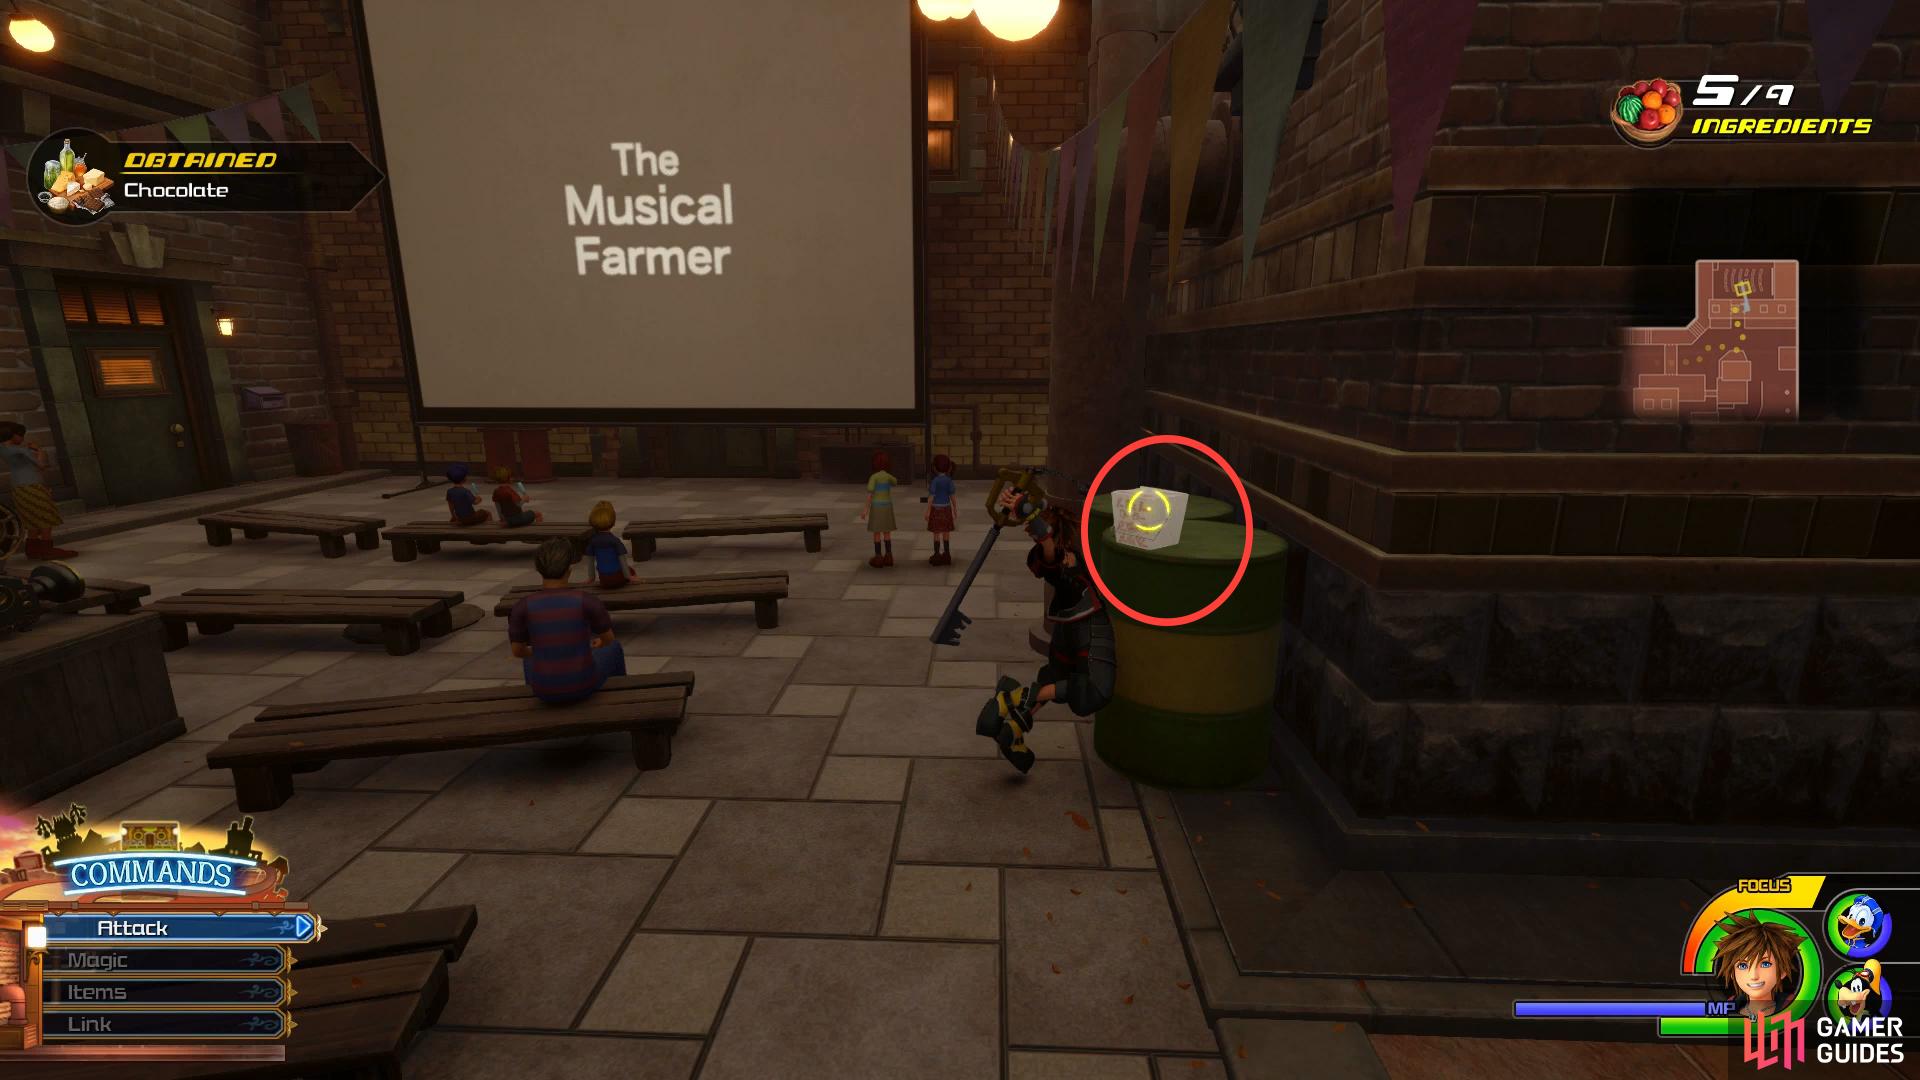
Look for food baskets (left), and takeaway boxes when searching for Ingredients. (right)
Upon collecting the final Ingredient you’ll automatically hand them over to Uncle Scrooge and meet up with the rest of the Twilight Town group. You’ll obtain your first Classic Kingdom game, Classic Kingdom #1 - Giantland. Following the conclusion of the cutscene you’ll also obtain a new Keyblade, Shooting Star. This Keyblade will transform into Double Arrowguns and is useful for hitting hard to reach enemies.


Once you regain control, check out your menu to discover the Cuisine option now available. By using the food you create with Little Chef, you can gain stat bonuses and other exclusive abilities such as EXP Up. Head over to the notice board just to the northeast of the Bistro to find two more Classic Kingdom games, Classic Kingdom #2 - Mickey, The Mail Pilot and Classic Kingdom #3 - The Musical Farmer. Take the time to play one of the games right now and record your first score to unlock a Trophy/Achievement.

The final matter to take care of in Twilight Town before leaving is to visit the Bistro for the first time where you can finally put all those Ingredients to good use. As a rule, attempt to create one of every new dish with an Excellent rating if possible. There are Trophies/Achievements related to creating all dishes with an Excellent rating along with a new Keyblade at the end of it all. To find out more information on how to score an Excellent on the respective minigames, visit the [Bistro] section. Obtaining an Excellent on each of the available dishes at the moment should earn you your first Bistro star and you’ll obtain the Gourmand’s Ring which will make it easier to obtain an Excellent rating.
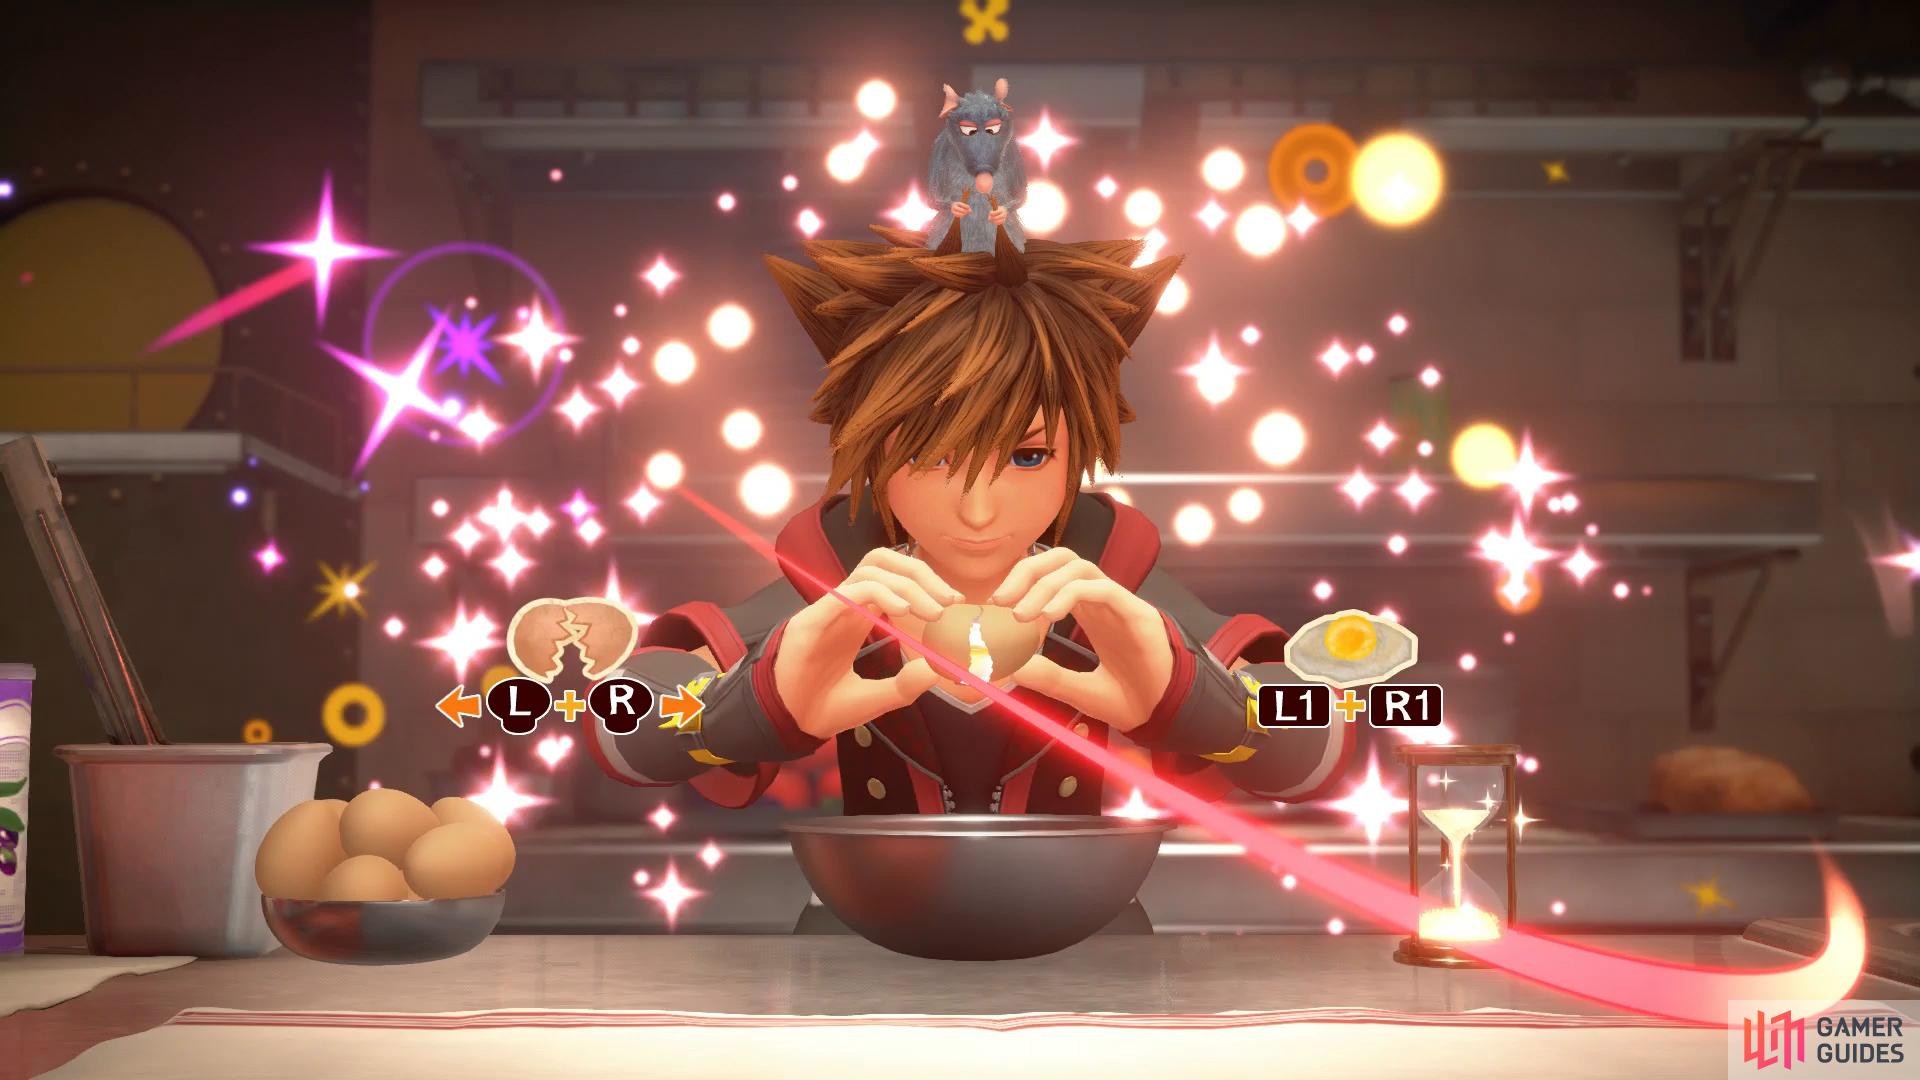
Try to achieve Excellent on every Recipe.

Your business is concluded in Twilight Town for now and the next World beckons. Before you make your way to that location however, it’s a good idea to pay a visit in Olympus now that you have your Gummiphone. Head to the World Map and select Olympus and Thebes/Agora when give a choice of Save Points.
Olympus Revisited
Now that you have your Gummiphone with you, you can snap the Lucky Emblems you may have spotted on your first visit through the world, head on over to the Olympus page to find out where these are. For finding all the Lucky Emblems in Olympus, you should obtain the Thundara Trinket, Moon Amulet and a Magic Boost. Additionally, there’s two new side events here for you to complete along with a Photo Mission for the Moogle Shop. From the Save Point, head over to the now repaired statue of Hercules and snap a Photo, this will unlock the Cosmic Ring recipe for Synthesis.
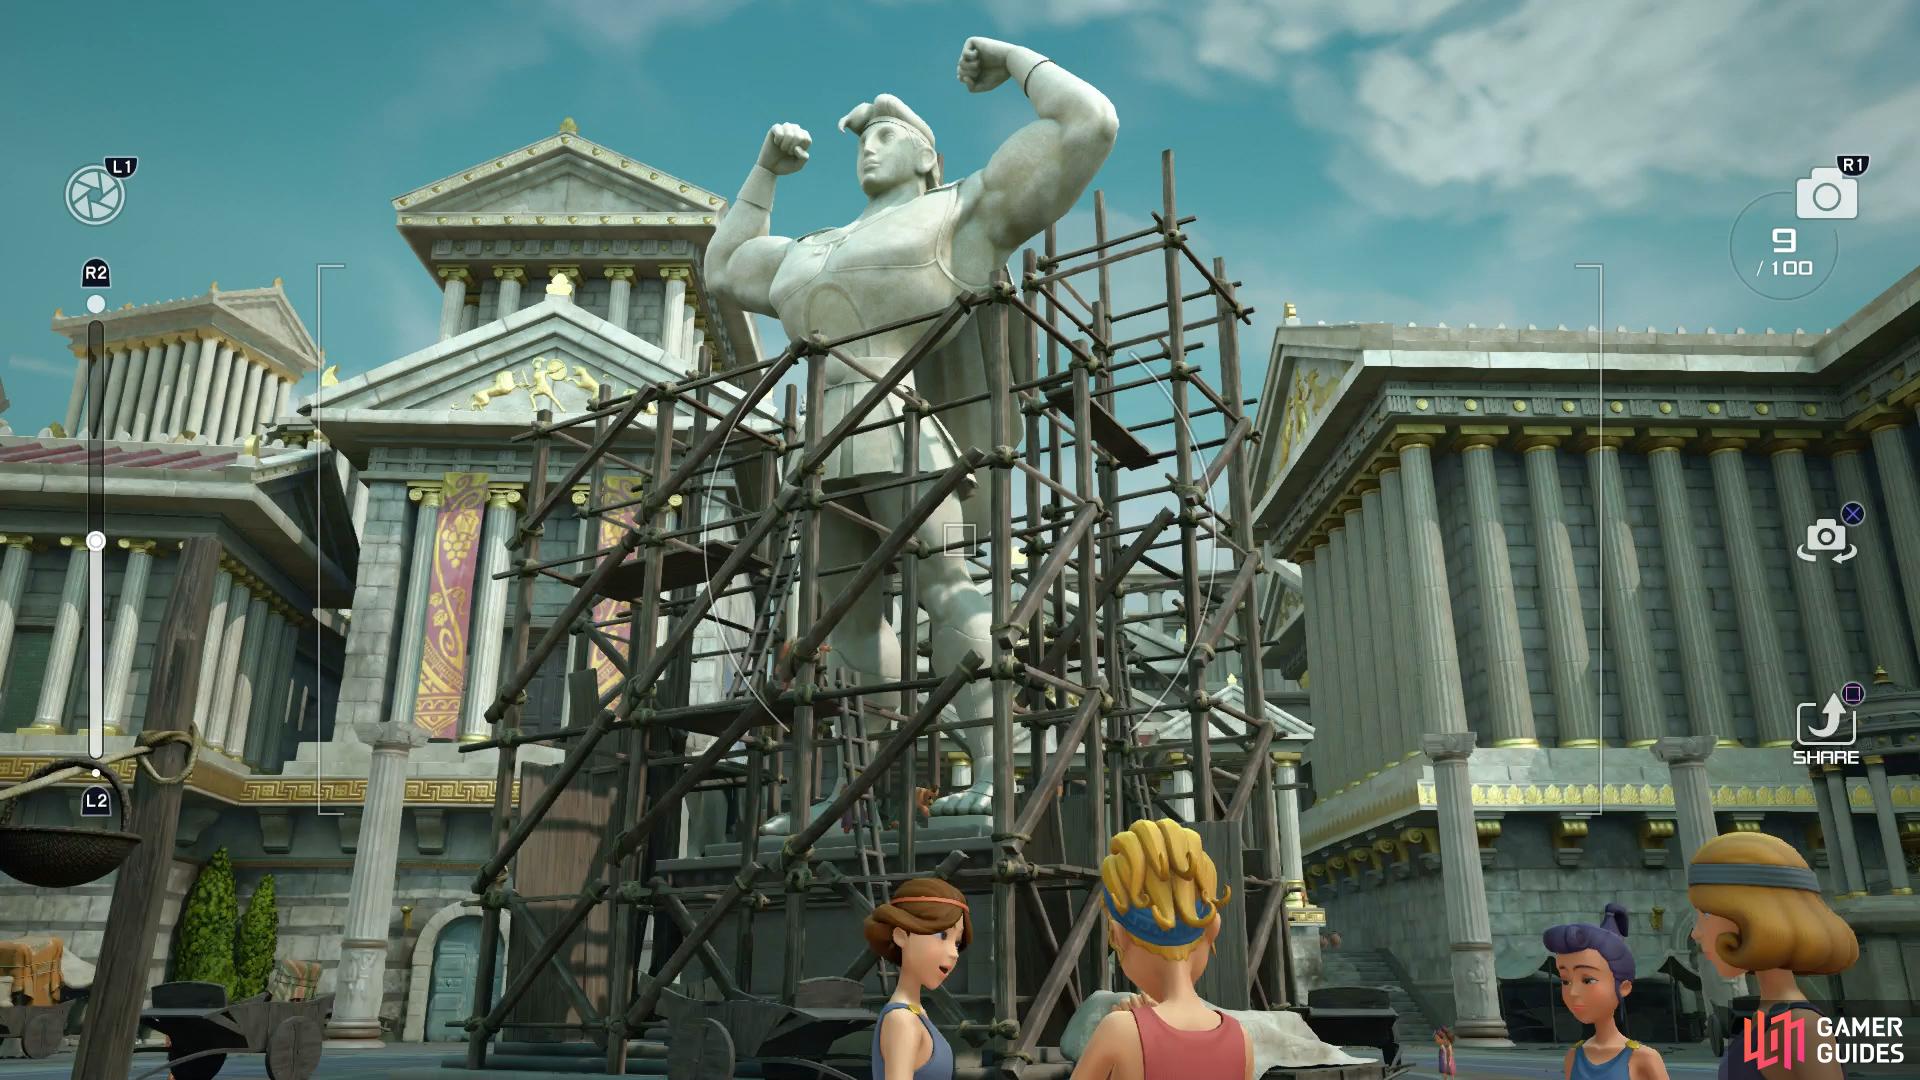
Snap a photo of the Hercules statue to complete a Photo Mission.
Make your way to the northeast of the square and then take a left at the intersection to reach the Alleyway. As you head up the stairs, turn to your right to find the building that collapsed earlier has been repaired. Head inside and search in the northwest corner to find your first Golden Herc Figure. There’s five of these scattered throughout Olympus and you’ll net yourself a reward for finding them all.
Next up, return to the Save Point and warp to the Gardens Save Point. Go to the northeast of the area and you’ll spot a civilian you saved earlier, talk to him to obtain a Mythril Gem and then enter the side room to find another Golden Herc Figure. Return to the Save Point and head through the gardens until you reach the area that Pete was digging in to find the next Golden Herc Figure.


Use the Save Point to warp over to the Overlook Save Point and walk forward to find another Golden Herc Figure on the bench. Make your way down the stairs and a group of Flame Cores will spawn, be sure to snap a photo for a Photo Mission (this unlocks the Firefighter Rosette) and then take them out. Continue to follow this path down the rooftops and land on to the shield of the statue, the final Golden Herc Figure rests here. Return to Thebes/Agora and approach the boy’s stall to the south near the stairs, upond handing over the Herc Figure’s you’ll obtain the Hero’s Belt.
Cherry Flan
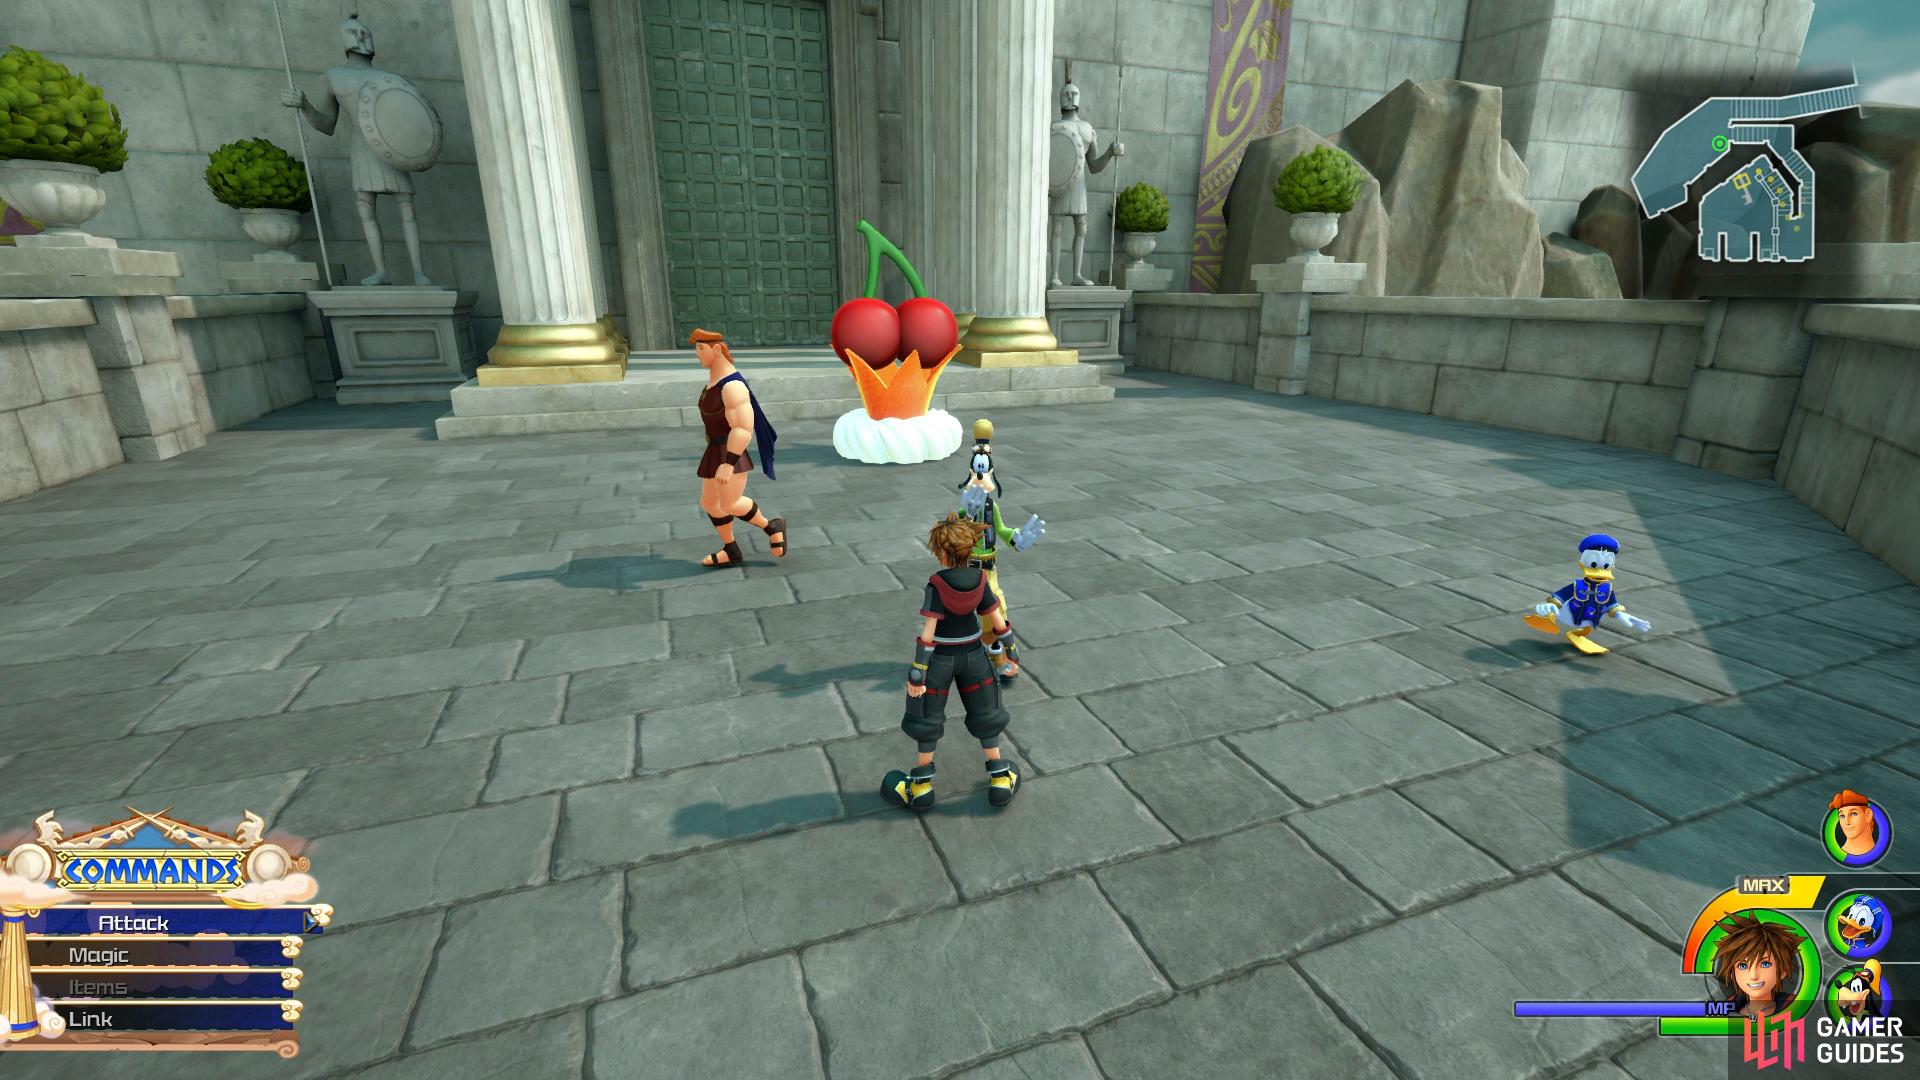
There’s one final task for you here in Olympus for now, use the Save Point to travel back to the Overlook once more. You can now head up the stairs behind you where you’ll find a rather peculiar crown with a cherry on top of it. Interact with it to meet the first of the [Flantastic Seven], the Cherry Flan. You’ll find one of these in each of the worlds that you visit and each one will have a mini game for you to complete. In exchange you’ll obtain the Flan’s signature Ingredient that you won’t be able to obtain elsewhere along with Abilities and upon completing them all, an Orichalcum+ needed for the Ultima Weapon.
The mini game for the Cherry Flan is one of the more challenging ones, you’ll need to navigate Sora through a course using the Trinity Sled without slowing down too much. Your will obtain points for sliding through the Cherry Flans along the way and getting a score of at least 20,000 will reward you with the Formchange Extender Ability and three Sour Cherry. The main difficulty with this mini game is keeping control of the Trinity Sled once you hit the arrows however there’s a simple trick to this. Once you hit the arrows, don’t try to fight the controls, the arrows will control the Trinity Sled in the correct direction. It may take several times to get the timing right but stick with it, the rewards are worth it. You’ll know if you’ve hit the record if the Flan jumps into the air at the end.


(1 of 2) Let the arrows control you when you pass over them
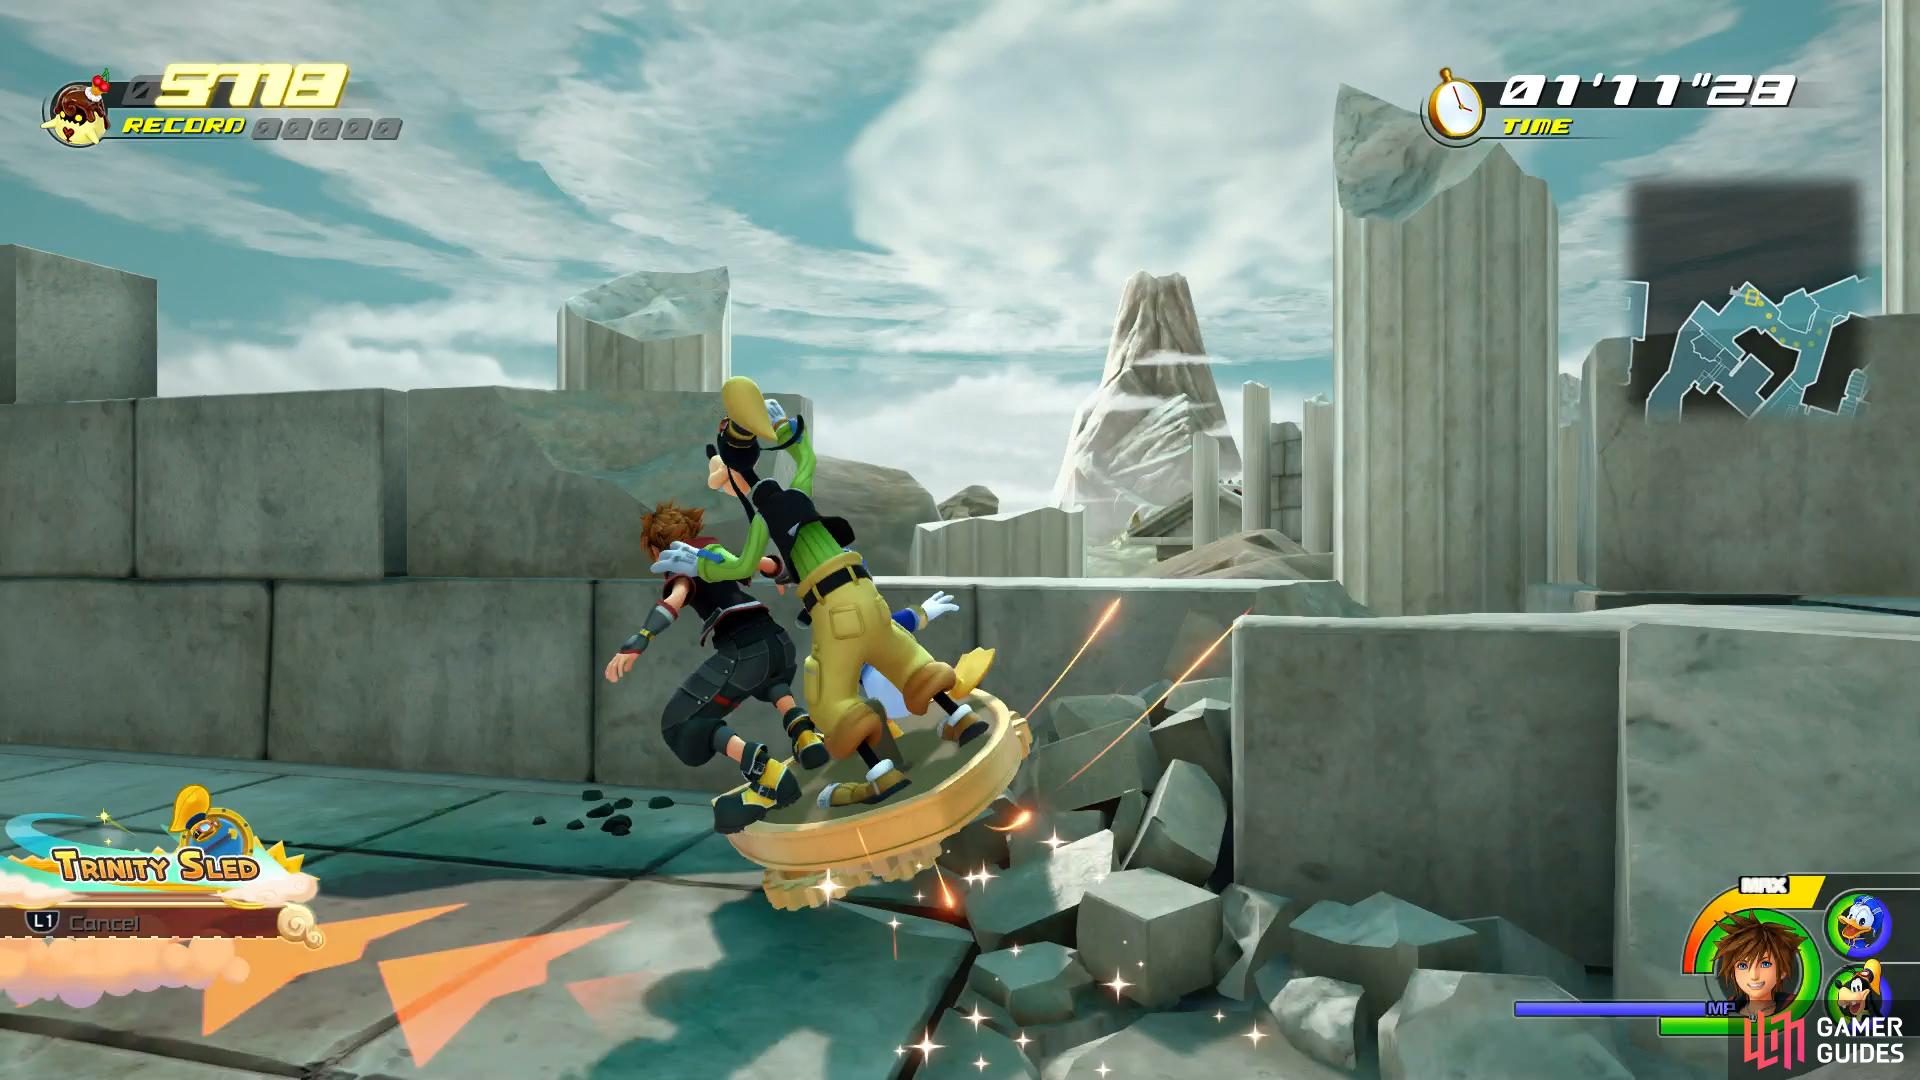
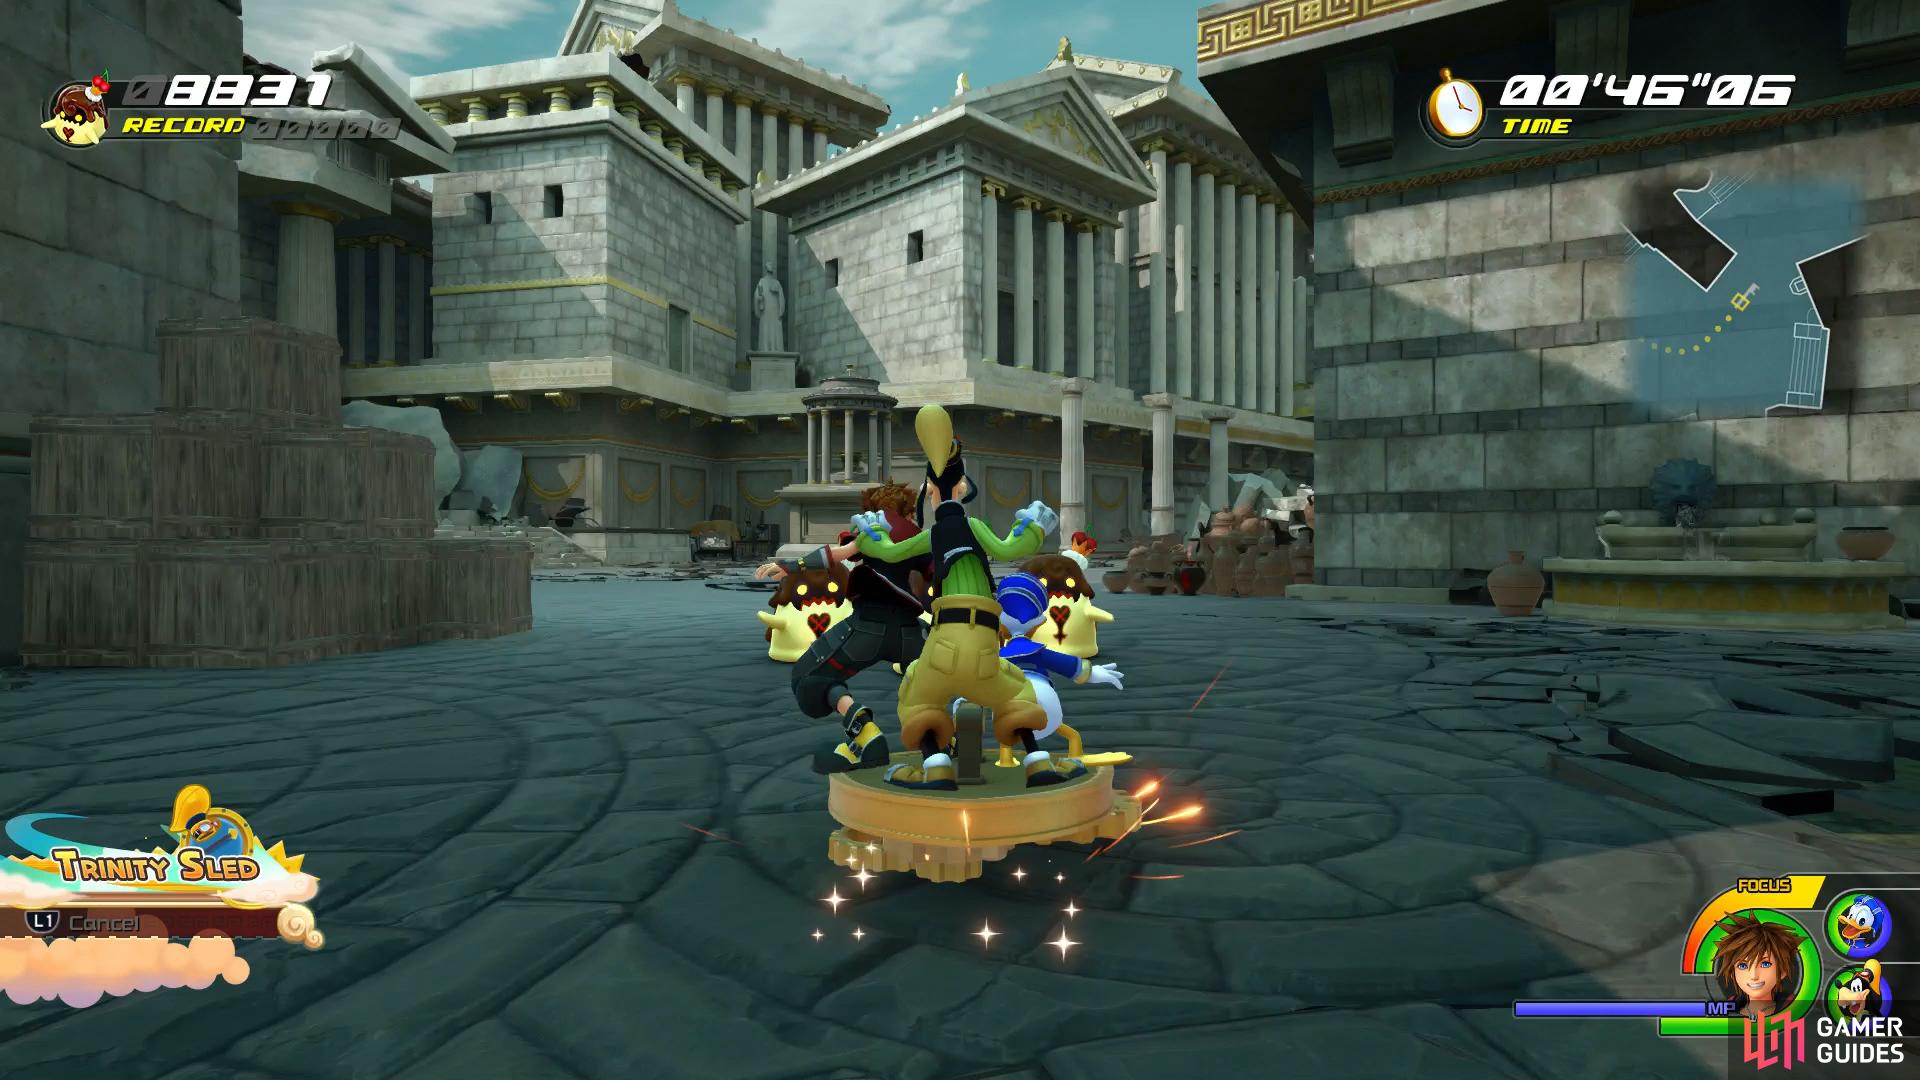
Let the arrows control you when you pass over them (left), try to aim for large groups of Flans. (right)
With that task complete, you’re all set to continue your journey so return to the World Map. You have two possible destinations to choose from but go ahead and select Toy Box due to it being the lower Battle LV.
No Comments