
The Eastern Monolith
To terraform Voeld you’ll need to restart the vault, but before that you need to find - and open up - the vault, which naturally involves locating and fiddling around with the three monoliths that invariably surround the entrance to the vault. That’s right, Eos was basically a template for how this will play out on other planets.
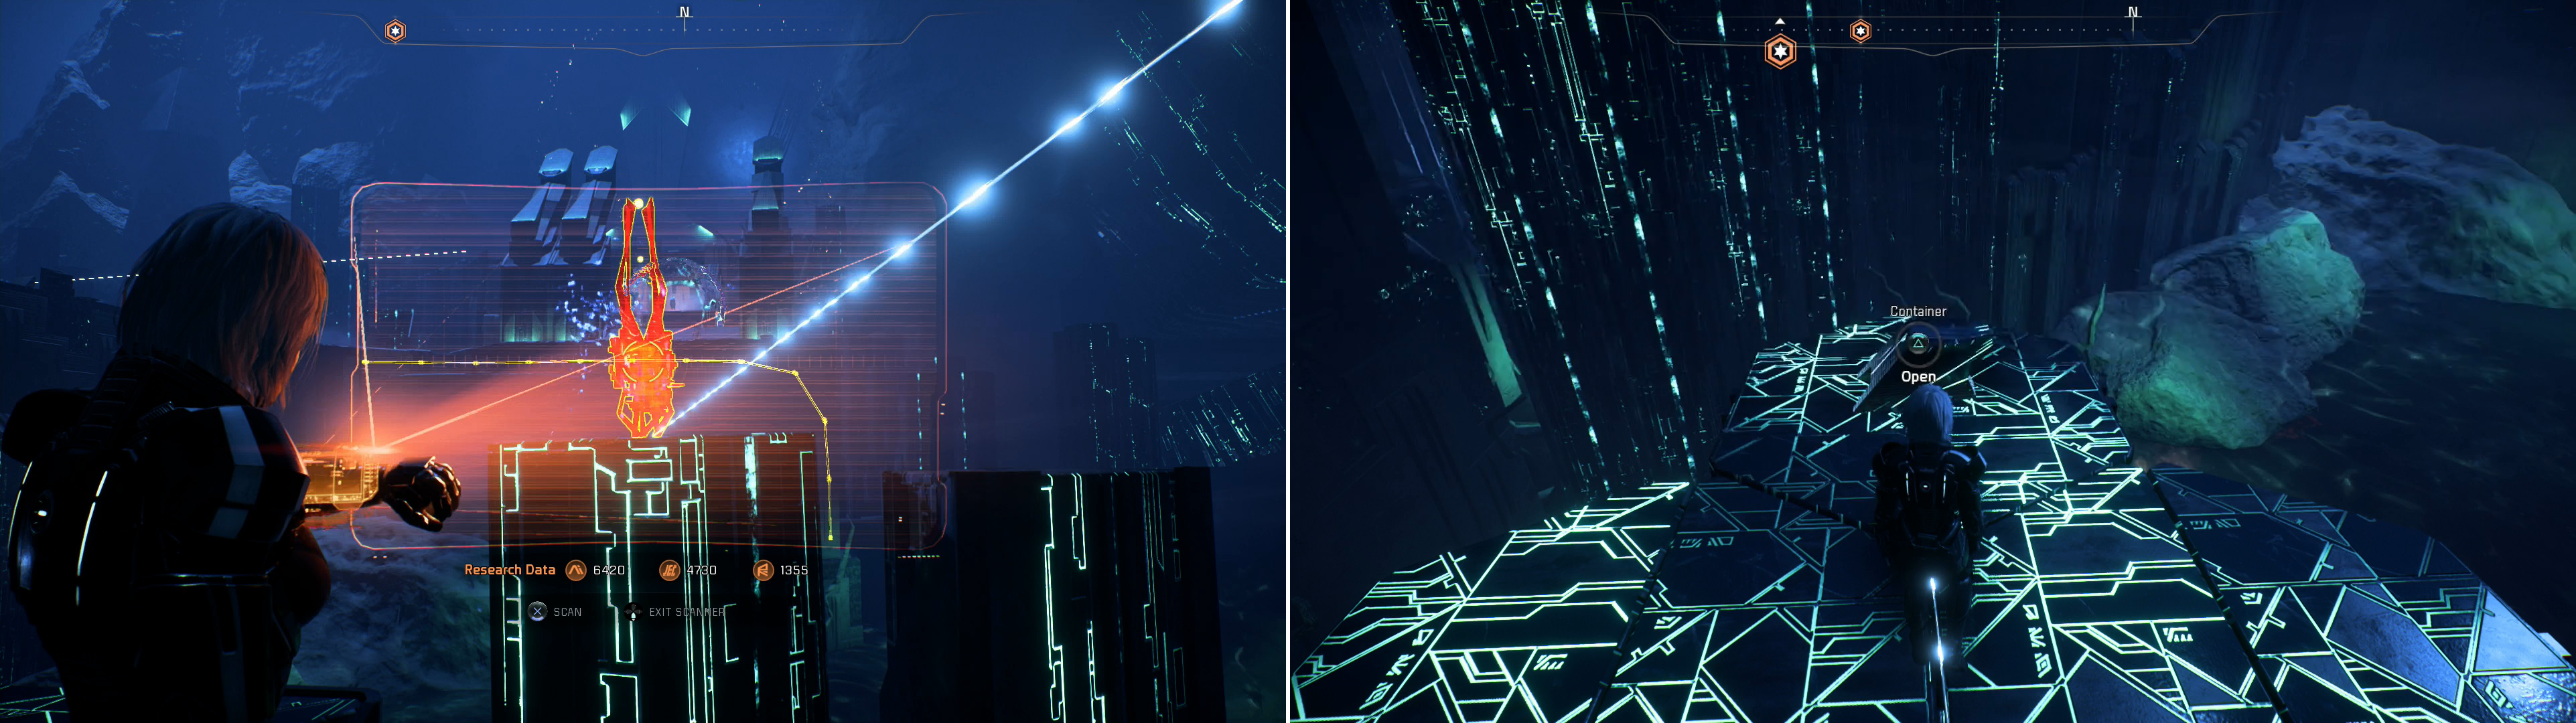
The first monolith is south of the Voeld outpost, so drive down there and look for an icy ravine, as this will lead you into some caverns… which is fortunate, because the base of the monolith is otherwise encased in ice and snow. Be wary of an Eiroch guarding the tunnels leading to the base of the monolith, and also keep in mind that there’s a Lithium Sample you can scan wedged in next to some Remnant platforms near the monolith base, if you fancy advancing the quest “Task: Hitting Rocks for Science”.
Get past those distractions and you’ll reach the base of the monolith, where, naturally you’ll find a Remnant Console. Unfortunately it’s encrypted with a Remnant puzzle, and you know what that means; you’ll have to scan the ground to find some yellow conduits, then follow them to some glyphs, which will make solving the puzzle much easier. It’s also worth noting that each monolith on Voeld will require you to solve a puzzle, which will help you make good progress towards obtaining the trophy/achievement “Cryptographer”.
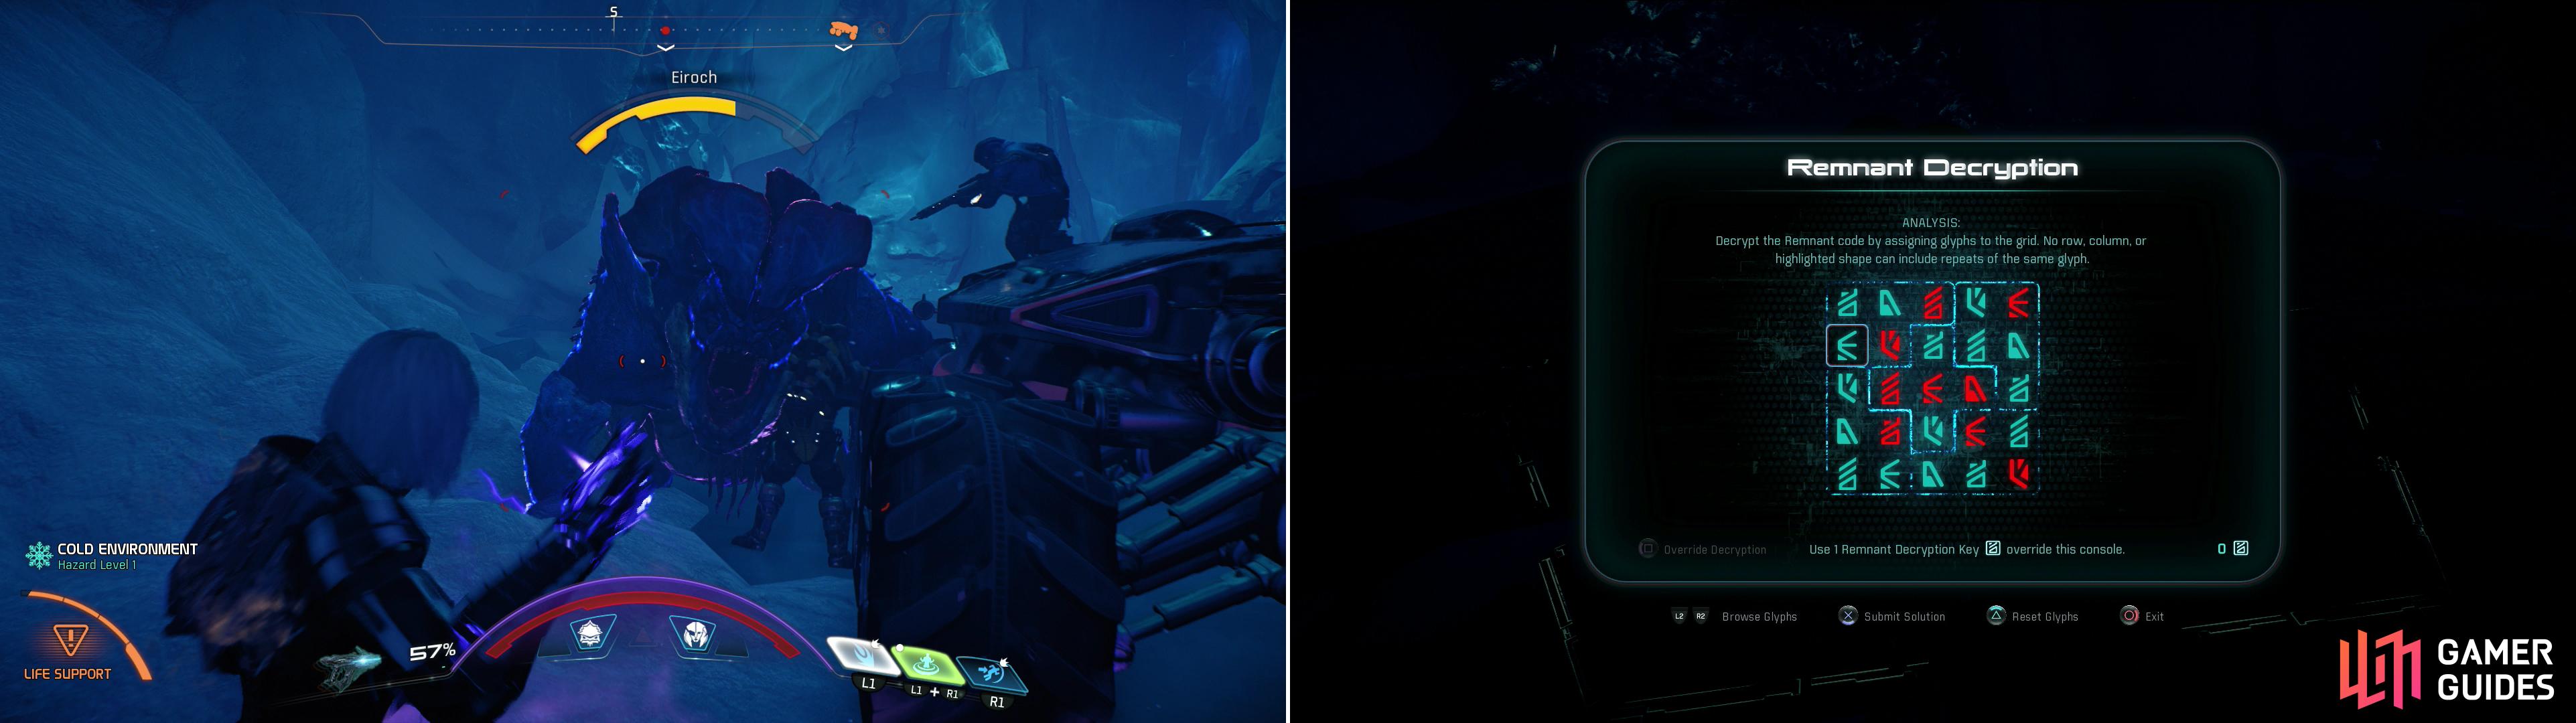
Beware the Eiroch that prowls in the tunnsl leading to the eastern monolith (left) and solve a Remnant puzzle to activate the monolith.
Scan the ground and note three conduits running from the Remnant Console. One runs to the west, northwest, but save yourself some time and just head north, northwest from the Remnant Console to find a small section of Remnant wall sticking out of the ice, lurking in the shadow of one of the monolith’s smaller arms. Keep a look out for the glowing light that indicates a glyph, or just scan and look for the glowing orange that says “scan me!” - either way, scan the glyph. One down, two to go.
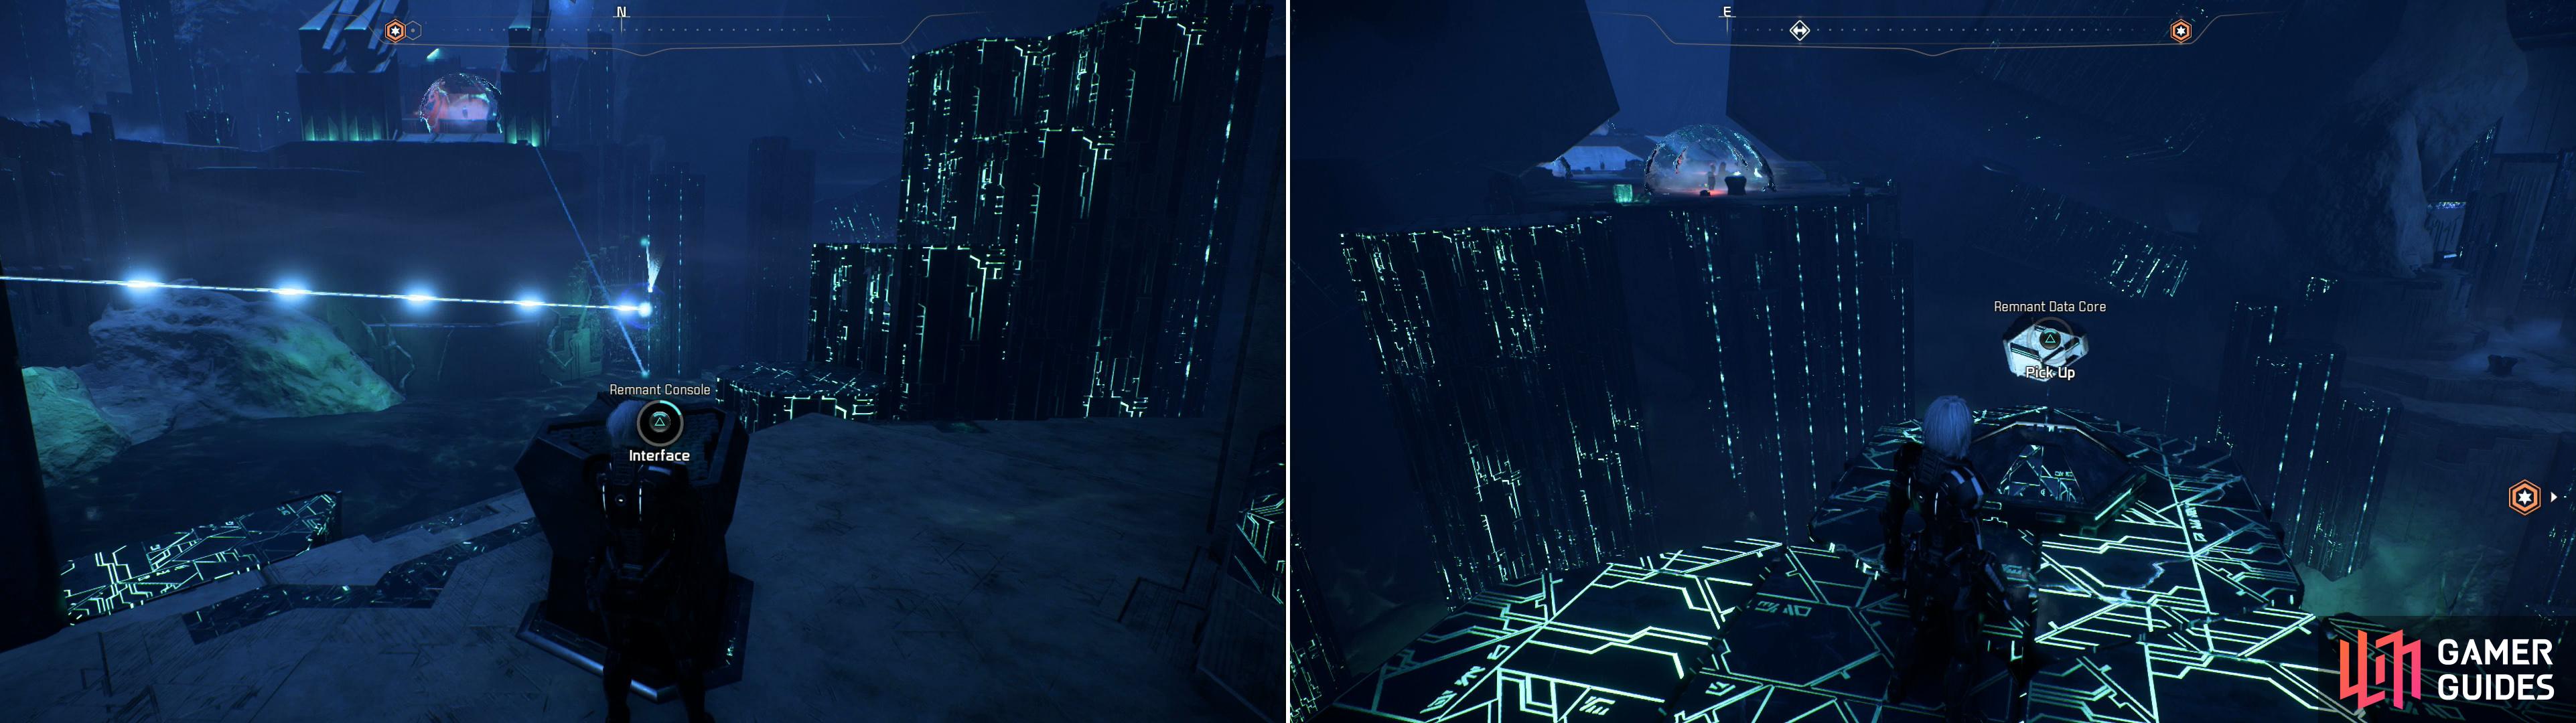
Return to the Remnant Console and head north, northeast to find some Remnant platforms. Leap onto them and turn northwest to spot one of the monolith arms, upon which the second glyph can be found. Leap up there and walk to the end of the arm to find the other two glyphs. Armed with all three glyphs, drop down off the arm, interact with the Remnant Console and solve the puzzle (solution provided).
Search atop the monolith arms to find some glyphs (left) then solve a Remnant puzzle to activate the northern monolith (right).
The Northern Monolith
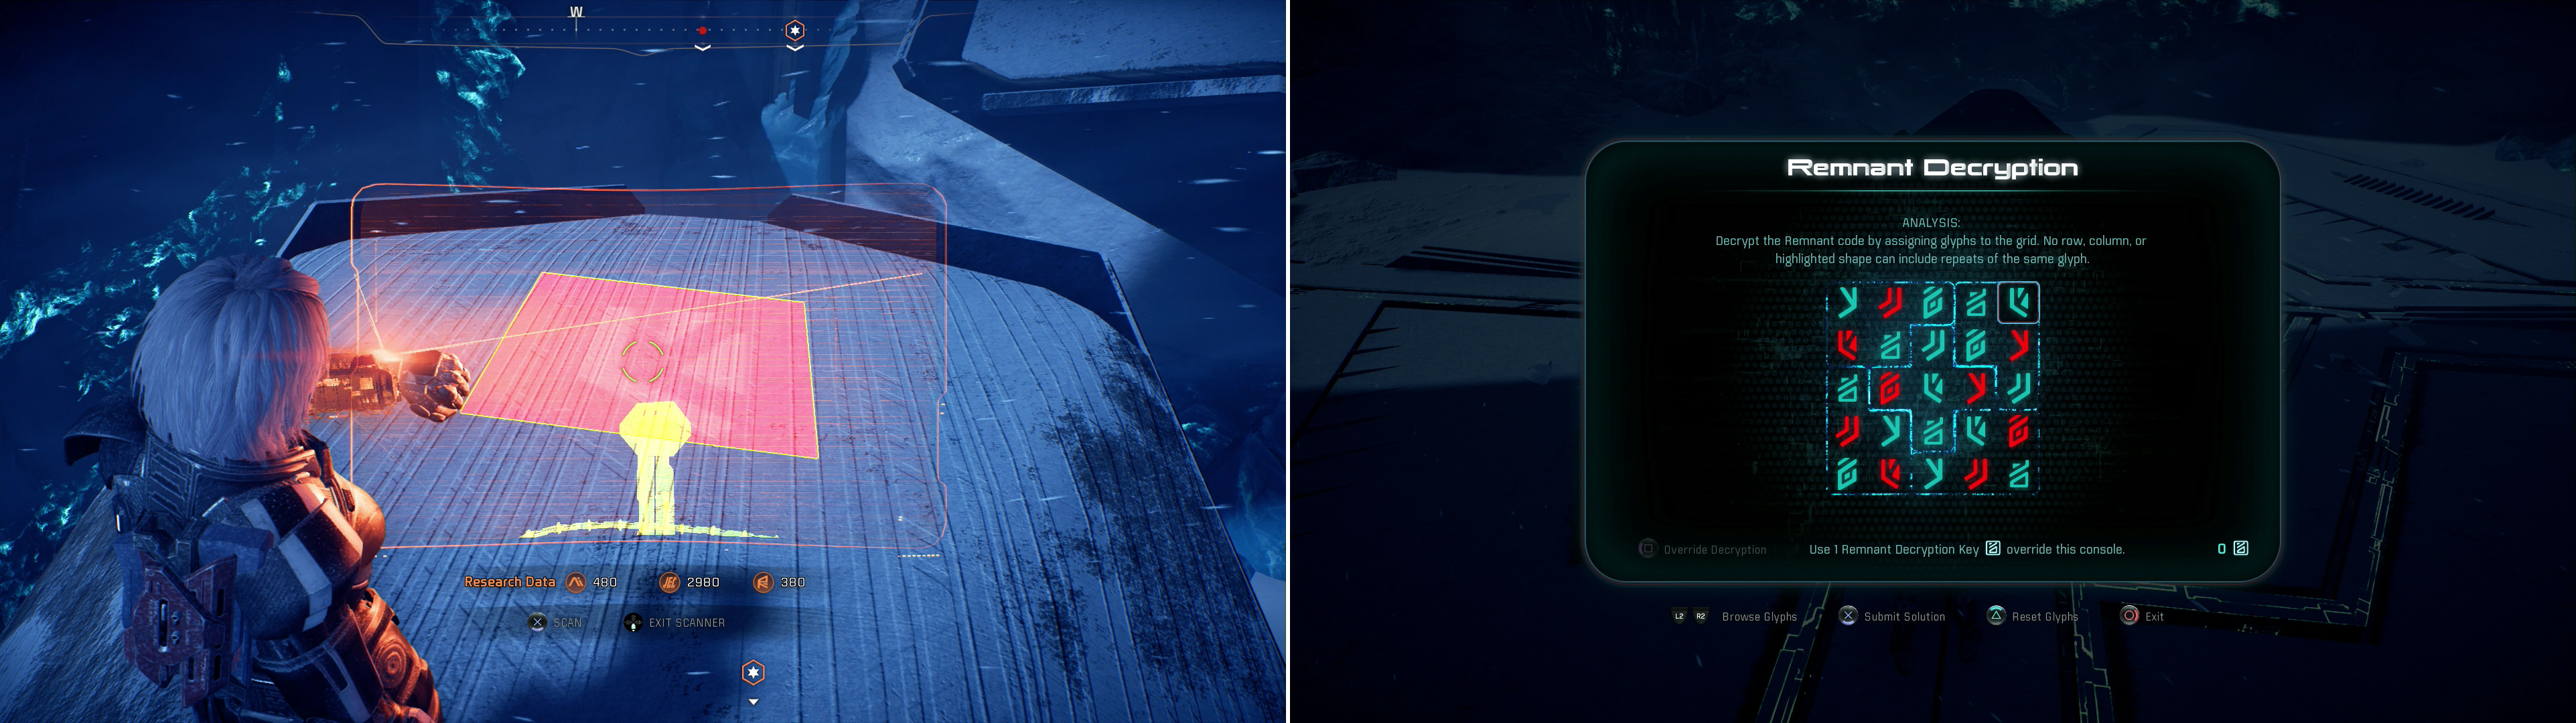
Now that you’re done with that monolith it’s time to turn your attention to the other two, one to the northeast and another to the east, southeast. For the sake of argument, set your sights on the one to the northeast, which is also buried (but not encased) in ice. While you can drive up a variety of slopes to reach the snowy peaks overlooking the monolith base, the ravine that leads to the base itself demands an approach from the east. On the other hand, the three glyphs for this monolith’s puzzle are all on different arms of the monolith, and the best way of reaching them is to ascend to the snowy heights around the monolith and drop down onto them.
Go get that out of the way, then; there’s a glyph on a mostly-covered arm northeast of the Remnant Console, the second is on an arm to the east, southeast, while the third is on an arm to the north. Note that you can simply jump from the second arm to the third, and vice-versa to spare yourself a longer trip. When those three glyphs are scanned, drop down to the monolith base, activate the Remnant Console and solve the space Sudoku (solution provided). Once done, treat yourself by scanning an Adaptive Remnant Core Device north of the Remnant Console, then head off to the final monolith on Voeld.
The western monolith may be below ground, but its glyphs will be found above ground (left). Scan them, then solve the Remnant puzzle encrypting the console for the monolith (right).
The Western Monolith
The third (southeastern-most) monolith is south and oh-so-slightly east of the second (northernmost) monolith, near some of Voeld’s bizarre ice pillar formations. Nearby is a Remnant site and Mining Zone, and there’s likely some unmarked Kett lurking about in the ice pillars. It’s a pretty busy place, and the Mining Zone in particular can prove quite lucrative, as careful mining can net you over 100 Platinum.
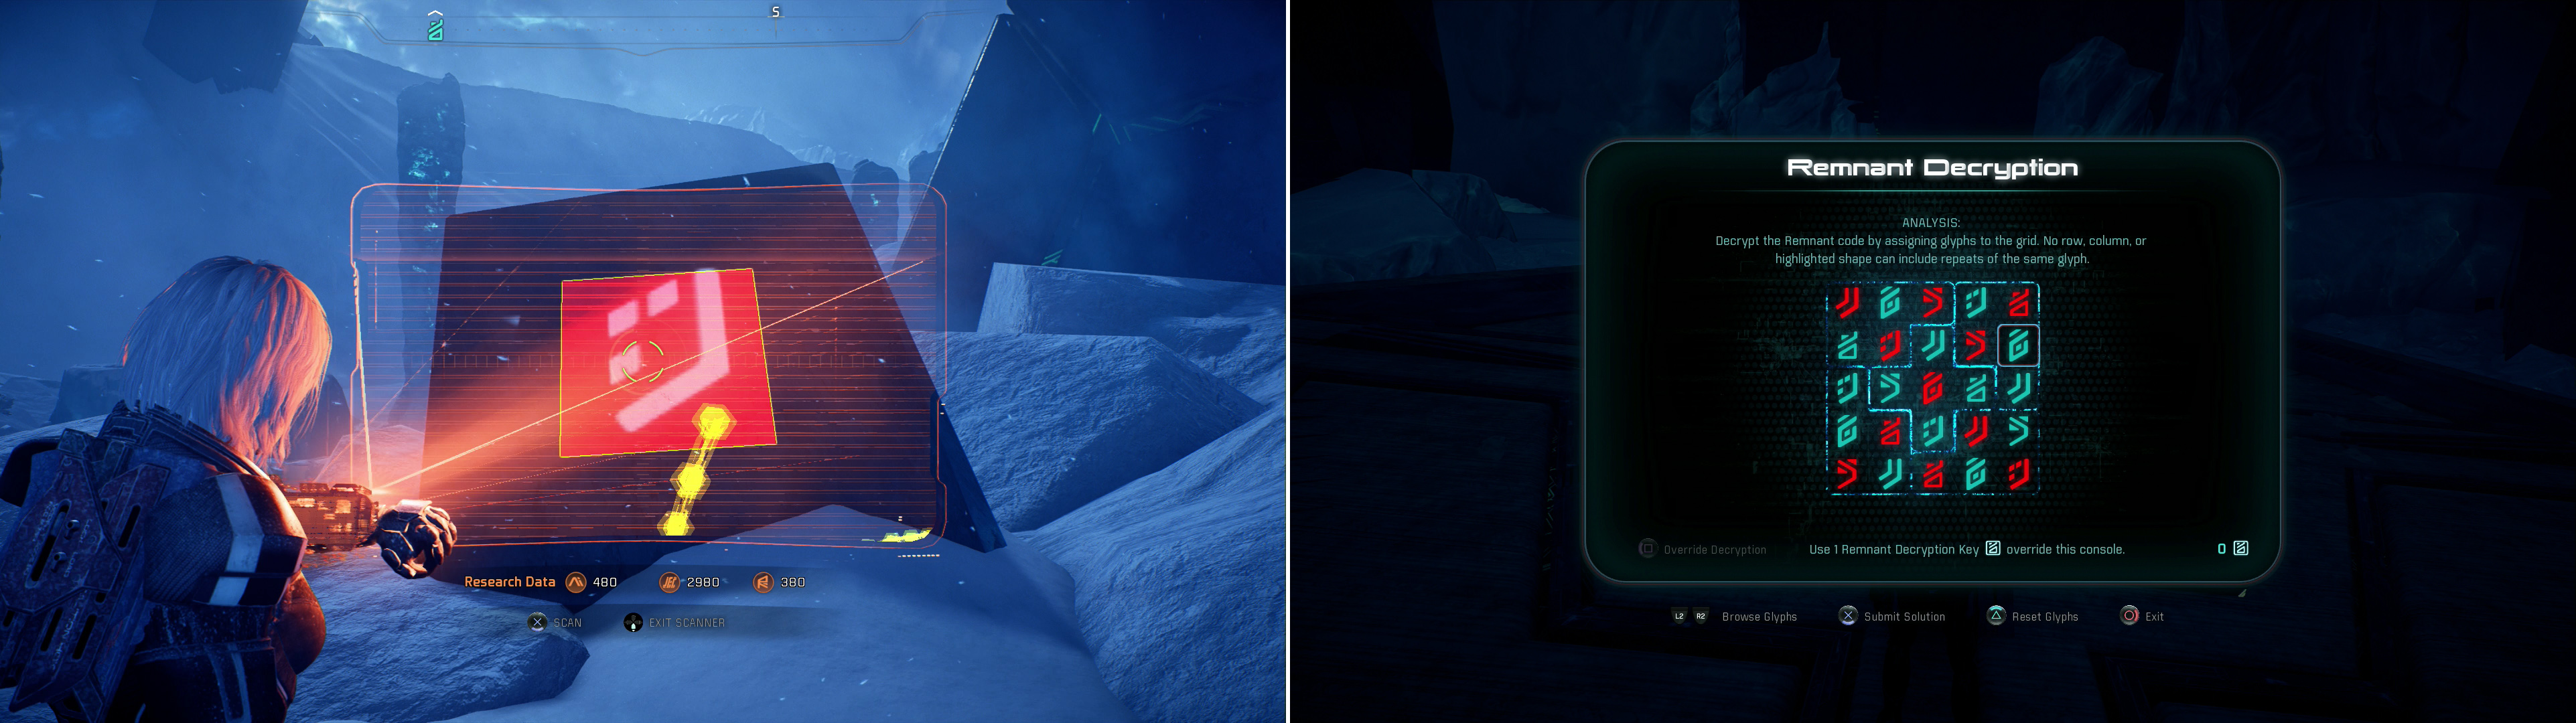
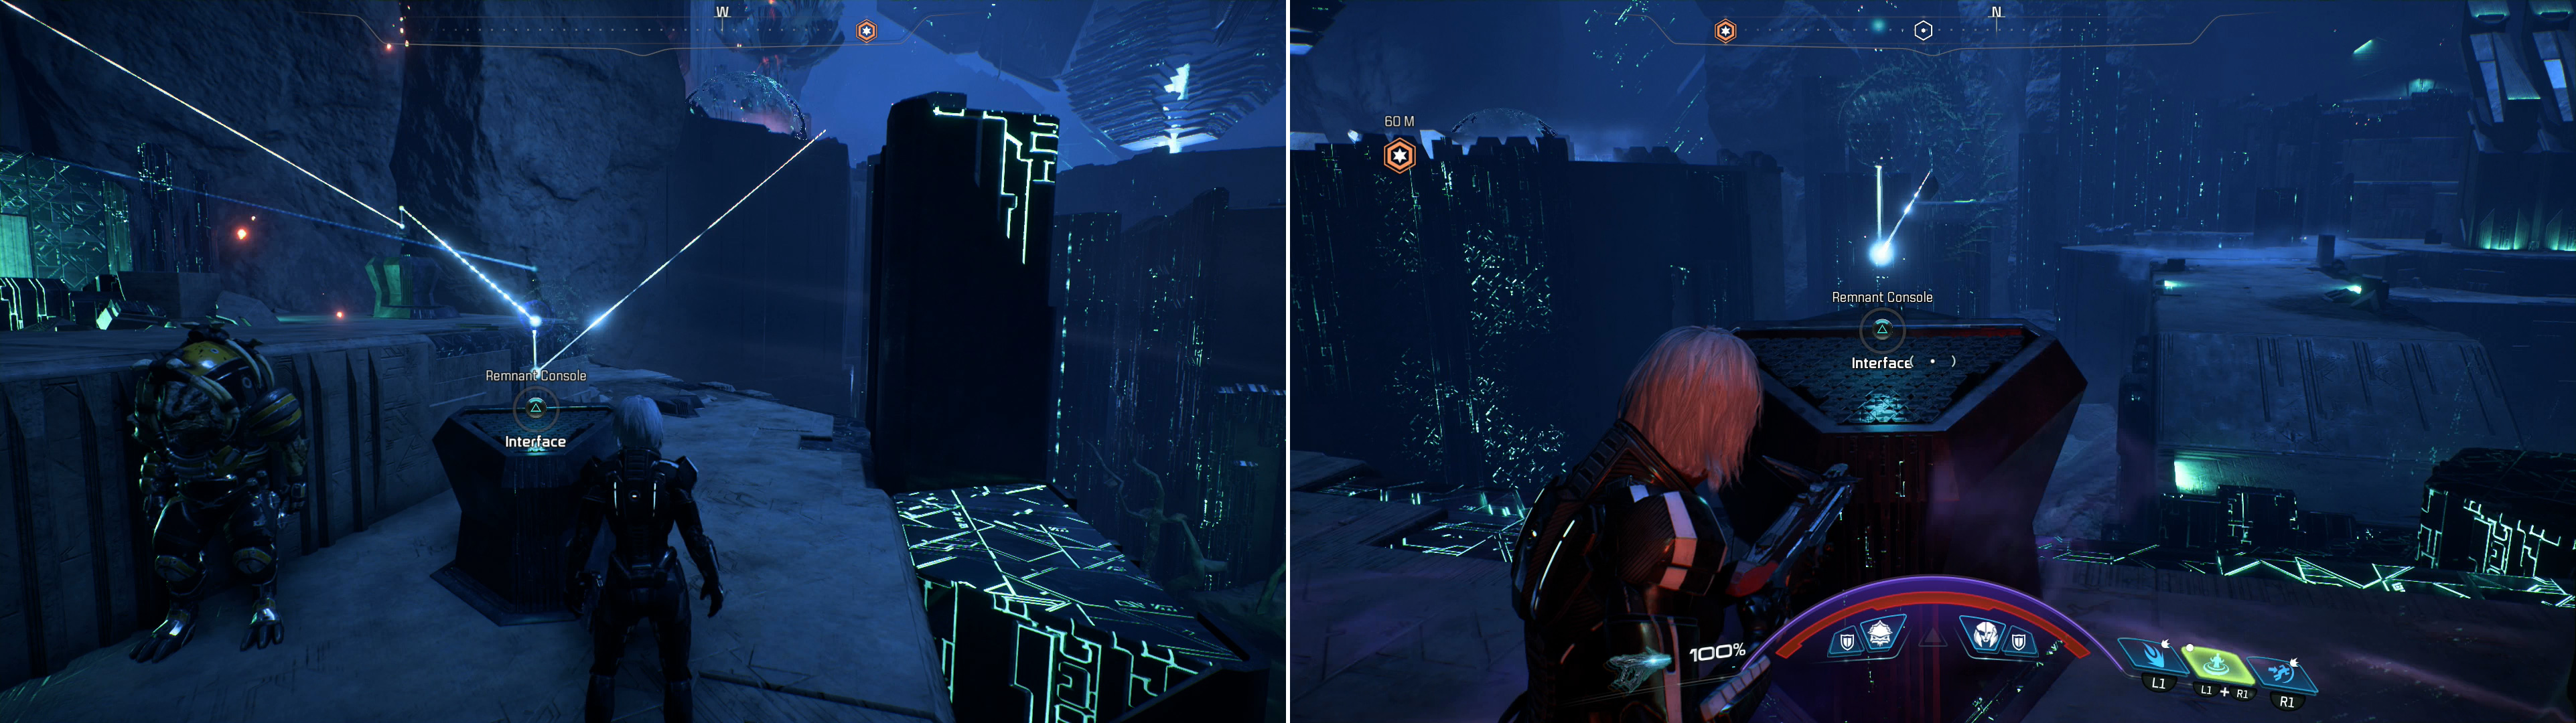
Like the first monolith this one is buried in ice, and there’s an icy tunnel leading to the monolith’s base which you can find south of the monolith itself (approach from the east to find it), although this time it’s too small for the Nomad to navigate. Before you delve into the icy depths of Voeld again, however, save yourself some time, stay above ground for now and head around to the north-facing side of the monolith. Here, along the eastern end of the monolith you’ll find a small wedge of Remnant structure sticking out above the ice, upon which you’ll find two of the monolith’s glyphs. If you have trouble finding it, scan and follow a conduit to its source - they’re fairly generous about the range at which you can scan these conduits.
Once you possess those two glyphs return to the southern edge of the monolith and crawl through the icy tunnels below to reach the monolith’s base. From the Remnant Console head east behind one of the monolith’s ice-crowned arms to find another sliver of Remnant material upon which the third glyph lies. Scan it, solve the Remnant puzzle (solution provided for an additional $0.99… nah, just kidding, it’s included) and rejoice - the Voeld vault is now open to you, Pathfinder.
Into the Voeld Vault
The vault on Voeld is naturally in the center of the three monoliths. Actually, it’s rather off to the west, isn’t it? No wonder the Remnant are extinct. Or are they? Either way, they’re bad at trigonometry. Whatever the case, follow the light beams provided by the now-functioning monoliths to reach the entrance to the vault. As you approach some Remnant structures will dramatically rise from the ground (space magic!) letting you know that important stuff is important. Nick a node of Platinum just outside the entrance to the vault, then open the door and ride a Gravity Well into the vault’s depths.
When you land immediately head west to find a Power Console, which will activate several Remnant Shield Chargers and a Remnant Console that’ll open the door leading into the heart of the vault. Pay attention to the Remnant Shield Chargers, as they’ll restore your life support, which brings up an important element of this vault; Voeld is cold. You’ve probably noticed this by now. Well, one of the mechanics at play throughout much of the vault is the temperature, as most of it is cold enough to constitute a level two environmental hazard. This will limit the amount of time you can spend exploring before you must return to one of these Remnant Shield Chargers to recover your life support. Just a Voeld-specific hazard to keep in mind while you’re exploring this vault - it won’t be the last.
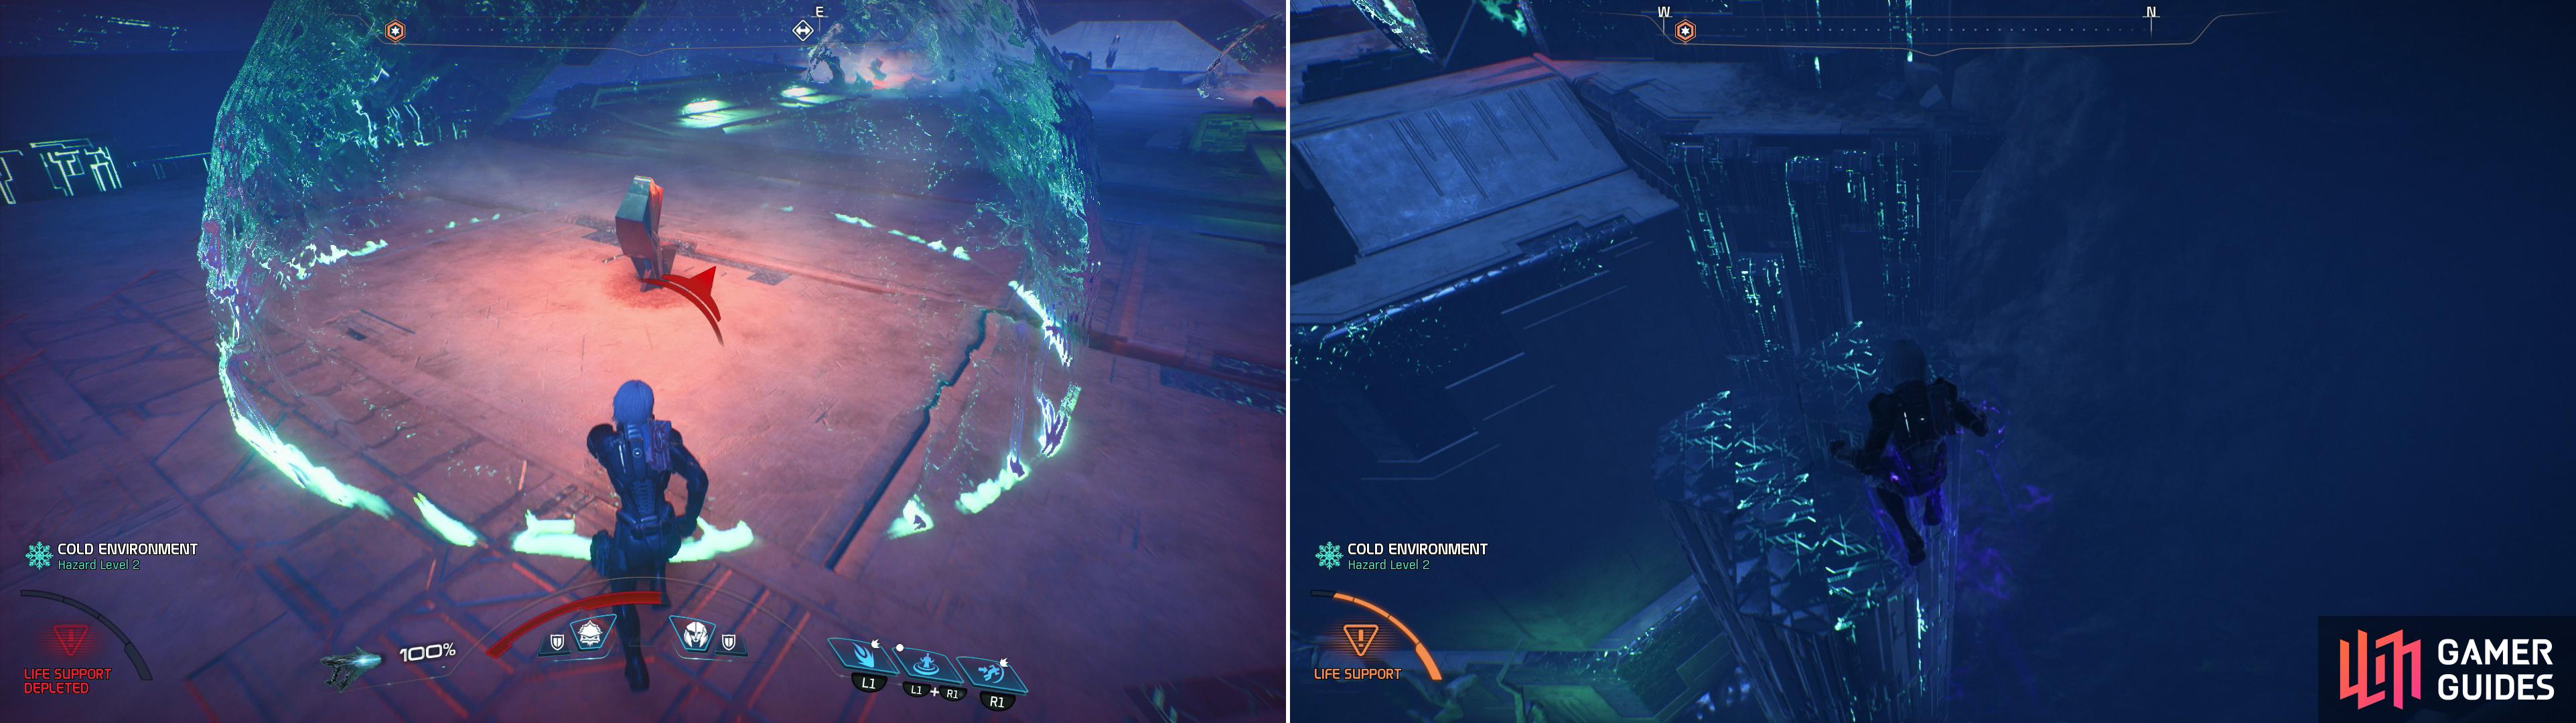
Voeld’s vault is unique in that the environment will be a constant threat, requiring you to seek out the safety of Remnant Shield Chargers to recover your life support (left). Platforming is another tedious feature of the vault on Voeld (right).
Head east of the Gravity Well to find - and scan - an Adaptive Remnant Core Device , then jump up to a ledge above to find a Remnant Console. Interface with it to open a door to the west, beyond which you’ll find the majority of the vault. The majority of the vault that’s of any interest to you, anyways. Continue west through the door you opened and you’ll find a Remnant Console beyond another Remnant Shield Charger.
This Remnant Console will activate some platforms, and as of right now it’s keeping some platforms to the northwest raised. If you interface with it, it’ll lower those platforms and raise some others to the southwest. That’s the last element (aside from Remnant fights) that make up the gameplay of this vault; you’ll have to activate Remnant Consoles (sometimes chains of them in sequence) to raise platforms or open doors, often allowing you to get at various treasures.
![Interface with a Remnant Console [1] to activate a Remnant Shield Charger when necessary (left), then quickly activate other consoles in succession to get at various bits of treasure (right).](/assets/guides/131/154045-1497049200.jpg)
Interface with a Remnant Console [1] to activate a Remnant Shield Charger when necessary (left), then quickly activate other consoles in succession to get at various bits of treasure (right).
Remnant Treasure
Let’s get to these treasures, then! Activate the Remnant Console to raise some pillars to the southwest, then leap across them to reach some more permanent platforms upon which you’ll find a Remnant Console on one of the lower levels. This Remnant Console powers a Remnant Shield Charger, which is the only nearby way to replenish your life support. Unfortunately, to get at the treasure you’ll have to deactivate it, as it’ll activate other, nearby consoles. Returning to the first Remnant Console and re-routing it will bring the Remnant Shield Charger back online, but it’ll cost you your progress. That’s the game, then - activate Remnant Consoles to get at treasure and be quick about it so you can get back in time to re-activate the first console and replenish your life support.
Observer Surprise!:
Activate the first Remnant Console (let’s call it [1]) to disable the Remnant Shield Charger and activate a series of Remnant Consoles. Jump up to a ledge to the east to activate a second console [2], then drop down back to the west and activate a newly-arisen console [4a] near the one that activates the Remnant Shield Charger. This will raise some platforms with an Observer on them… hey, they all can’t be winners, right?
Adaptive Remnant Core Device Platform:
Activate the first Remnant Console [1] to disable the Remnant Shield Charger and activate a series of Remnant Consoles. Jump up to a ledge to the east to activate a second console [2], then follow the white line southwest to another console [3a] near a eerily glowing green pit. Activate this console so it activates another console [4b] on the ledge below (across the pit) to the north, then interface with that console to cause another platform to rise, this one bearing an Adaptive Remnant Core Device you can scan.
Activating linked Remnant Consoles to bring an Adaptive Remnant Core Device into scanning range (left). Other consoles lead to more conventional loot (right).
Remnant Container Platform:
Now that you’ve plundered all the loot there is to gain from the second-stage console [2], return to it (the one on the ledge above and to the east of the console [1] that toggles the Remnant Shield Charger and activate it so it’s powering another console [3b] on an even higher ledge to the south, southwest. Jump on up there and interface with it so it stops powering the useless dummy console on the bottom level (near the Remnant Shield Charger console [1]) and instead powers a console [4c] far below it to the west, northwest, past the pit. Note that this console in turn powers two other consoles in sequence [5a], [6a].
What a chore. Leave the console [4c] beyond the pit alone for now and note the light running from it to another console [5a] to the northeast and from there to a third console [6a] back across the pit to the south, southwest. Leap onto the ledge this console is on and interface with it to raise up some platforms with a Remnant Chest on it.
Activate a series of Remnant Consoles to raise a distant platform (left) upon which you’ll find a Remnant Data Core (right).
Remnant Data Core:
Restore your life support, then reactivate the series of Remnant Consoles [1], [2] until you have the highest, southeastern-most console [3b] powering the lower one [4c] beyond the pit to the west, northwest. Console [5a] is the last console you’ll want to manipulate and you have more treasure to claim, so activate console [4c] for now to raise up two new consoles [5b] and [6b].
Return back to the console [1] that toggles the Remnant Shield Charger where a new console [6b] will have risen after you activated [4c]. Activate this new console and some Remnant pillars will pop out of the ferrofluid below, inviting you to explore the northern end of the vault. Fair enough, leap back across the pillars to the northeast, recharge your life support in the Remnant Shield Charger near the first console in this section of the vault, then interface with it to drop the pillars to the southwest and raise other pillars to the northwest.
Leap across these pillars to reach another, more stable Remnant structure where you’ll be greeted by several Assemblers. Kill them, make use of another Remnant Shield Charger, then leap across to the pillars raised by the Remnant Console [6b] you fiddled with earlier to find a Remnant Data Core. If you’re following the guide sequentially, this should be your fourth Remnant Data Core.
Assembler Ambush!:
Make your way back southeast to the beginning of this section of the vault, activate the Remnant Console to raise some pillars to the southwest, replenish your life support at the nearby Remnant Shield Charger, then leap your way back over to the ledges crowded with consoles.
Assuming you’re following sequentially and just claimed the Remnant Data Core, you should be able to just return to the last console you activated [6b], which is now of no further use. From there follow the white line to the previous console [5b] and interface with it to raise a pillar that summons an Assembler. Pretty useless, but hey, at least it’s covered.
Activate a series of Remnant Consoles to restore power to another console across the level (left), then activate this console to bring down one of the two barrier blocking the way to a treasure room (right).
Remnant Treasure Chamber:
Restore your life support, then reactivate the series of Remnant Consoles [1], [2] until you have the highest, southeastern-most console [3b] powering the lower one [4c] beyond the pit to the west, northwest. Return to that console [4c] and make sure it’s powering another console on a lower ledge nearby to the northeast [5a]. Head over to that console and activate it so it stops powering the console [6a] across the pit to the south, southwest and instead powers another console [6b] quite a distance away to the west.
This one will require a bit of doing, but on the plus side it’ll give you an excuse to plow through most of the vault so… there’s that. Return back across the platforms to the northwest to return to the beginning of the vault, activate the Remnant Console here to redeploy the pillars to the southwest, then leap across them. From here, continue west, then southwest before turning south and crossing a concrete walkway leading to some more pillars you can leap across. Destroy a Nullifier and do just that to reach another series of ledges occupied by Remnant, including Breachers, Assemblers and Observers. Dismantle these bots, then activate a Remnant Console across the vault to the north, which opens a door. There’s still a barrier blocking you from accessing the treasure behind the door, but this is a necessary condition for claiming that loot later on.
Voeld Vault Remnant Puzzle
That’s all there is to do over here for now, unless you really want to leap up the ledges and scan some Remnant Data Patterns . When you’re ready to move on, leap back across the pillars to the north, continue north down the concrete walkway, then leap up several ledges to the northeast to reach a platform with a door and two Remnant Consoles on it. Make your way to the northwestern Remnant Console and activate it to raise some pillars below you to the southwest, and lower some others. Ignore pessimistic SAM - you’ll be able to escape just fine and score some treasure as you do so.
Turn around and make your way to the east, northeast and activate a console near the door to unlock said door. Head through the door and follow the tunnel beyond until you shortly meet some opposition - several Assemblers led by a Destroyer. You’ve got a bit of cover to utilize, and the fight wouldn’t be any bother if you weren’t dealing with an environmental hazard… and wouldn’t you know it, there’s a Remnant Shield Charger behind the Destroyer.
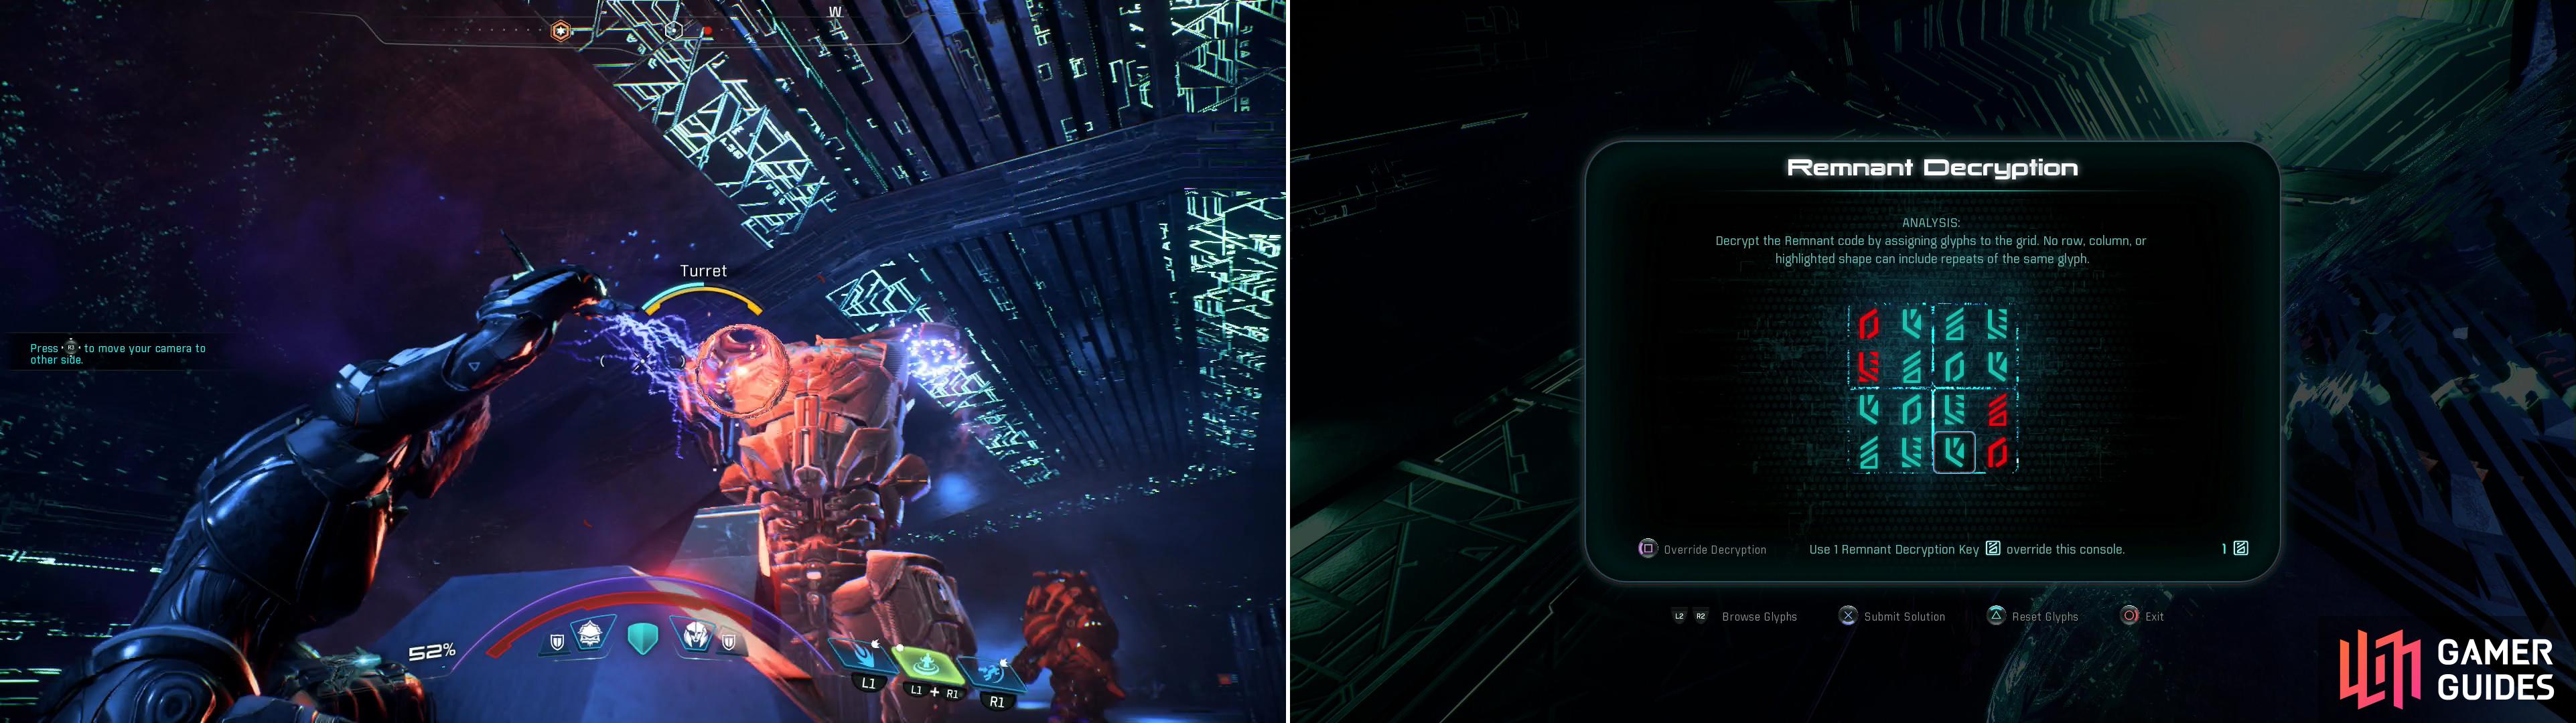
Defeat a mighty Destroyer (left), then solve a Remnant puzzle (right) to gain a permanent boost to your skill points.
Fight your way forward and target the Assemblers first, moving from cover to cover and note that you can take cover behind the Remnant Shield Charger itself. Once your life support is full and the Destroyer is isolated it shouldn’t be any trouble to nick off the two Turrets and then put down the massive machine. Once the Remnant are destroyed and looted, turn your attention to a container to the north of the Remnant Shield Charger, which is encrypted by a Remnant puzzle (solution provided). Solve it and you’ll permanently gain +2 skill points, and, if you’ve been following this guide you should now have solved nine Remnant puzzles. Almost halfway there!
Fleeing the Purification Field
Whew. You’re almost done. Now all you need to do is activate the purification field, obtain the bonus loot, then exit the vault. Leave this tunnel and return to the main vault chamber, drop down several ledges and make your way north along a concrete walkway, then leap across some pillars to reach stable ground. Turn west to find more pillars to the northwest, which leads to the large central control platform. Kill some Remnant Assemblers and two Nullifiers, then make sure your life support is full before activating the main Remnant Console.
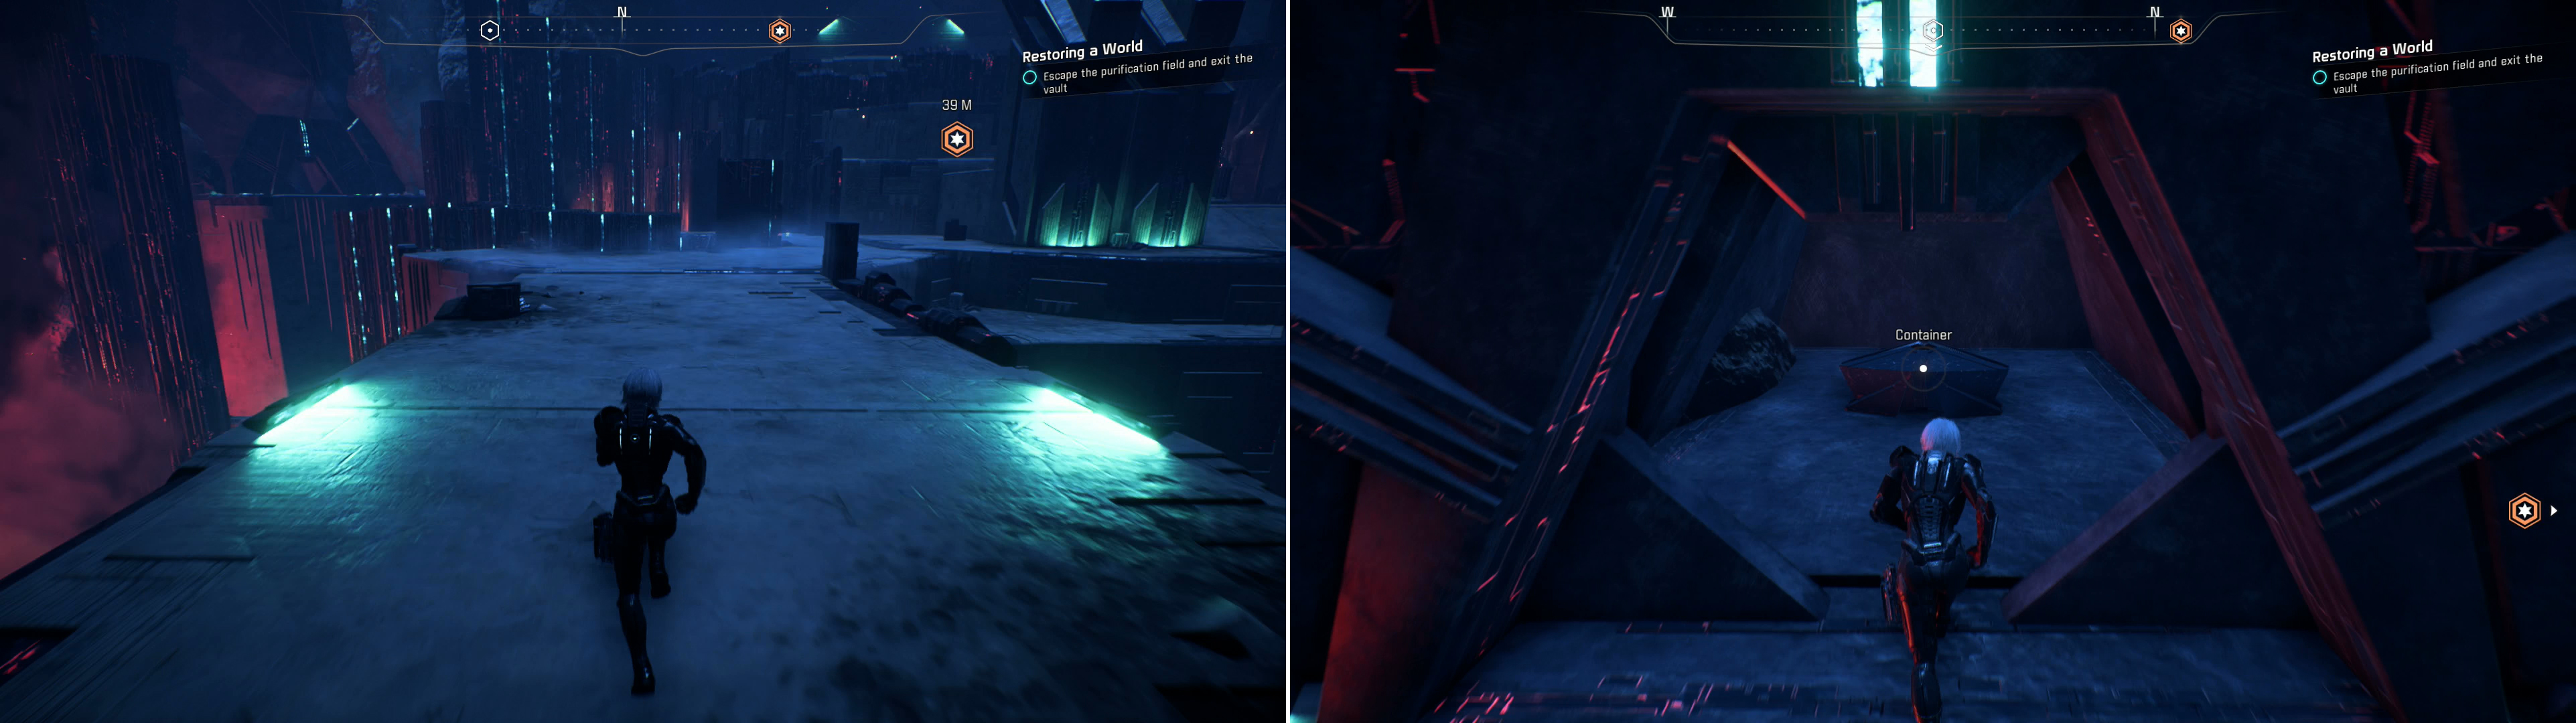
Flee from the purification field (left). If you disabled the barrier to the treasure room earlier, you may wish to hazard a detour to claim some loot (right).
Activate the purification field then leap across the pillars to the southeast, turn east, then leap across more pillars to the north. Continue north across the concrete walkway and up a ramp, then turn northwest and leap onto a platform, then leap northwest again to reach the door you went through so much trouble to unlock. As long as the console activated by console [6b] is turned on, this door should be open, and if the purification field has been activated the barrier will be down, allowing you to loot a lucrative container.
Quickly grab the loot, then leap your way back southeast, then make your way east and leap across the pillars to the southeast to return back to the beginning of this large vault chamber. From here just sprint back east and activate a Remnant Console near the Gravity Well to seal the doors behind you and complete this vault. For activating the vault you’ll get the Fusion Mod of Resistance I, and for escaping you’ll earn 900 AVP, +40% Voeld viability and 1,330 XP.
No Comments