
Todays Goals
- Defeat the Plasm Wraith
First of all, summon an army consisting of 20 of each colour Pikmin. Now, run up the ramp in front of you. Is that? Why yes! It’s Olimar!
Run forward and drop down, but then witness Olimar being consumed by a big yellow something. Answer it by charging your army right onto it but call them back immediately.
Now, throw a handful of Pink Pikmin onto Olimar. This group will now follow Brittany to a fault. Head into the cave in front of you with your main army, and now you’ll be introduced to the Plasm Wraith once again, as a big blob.
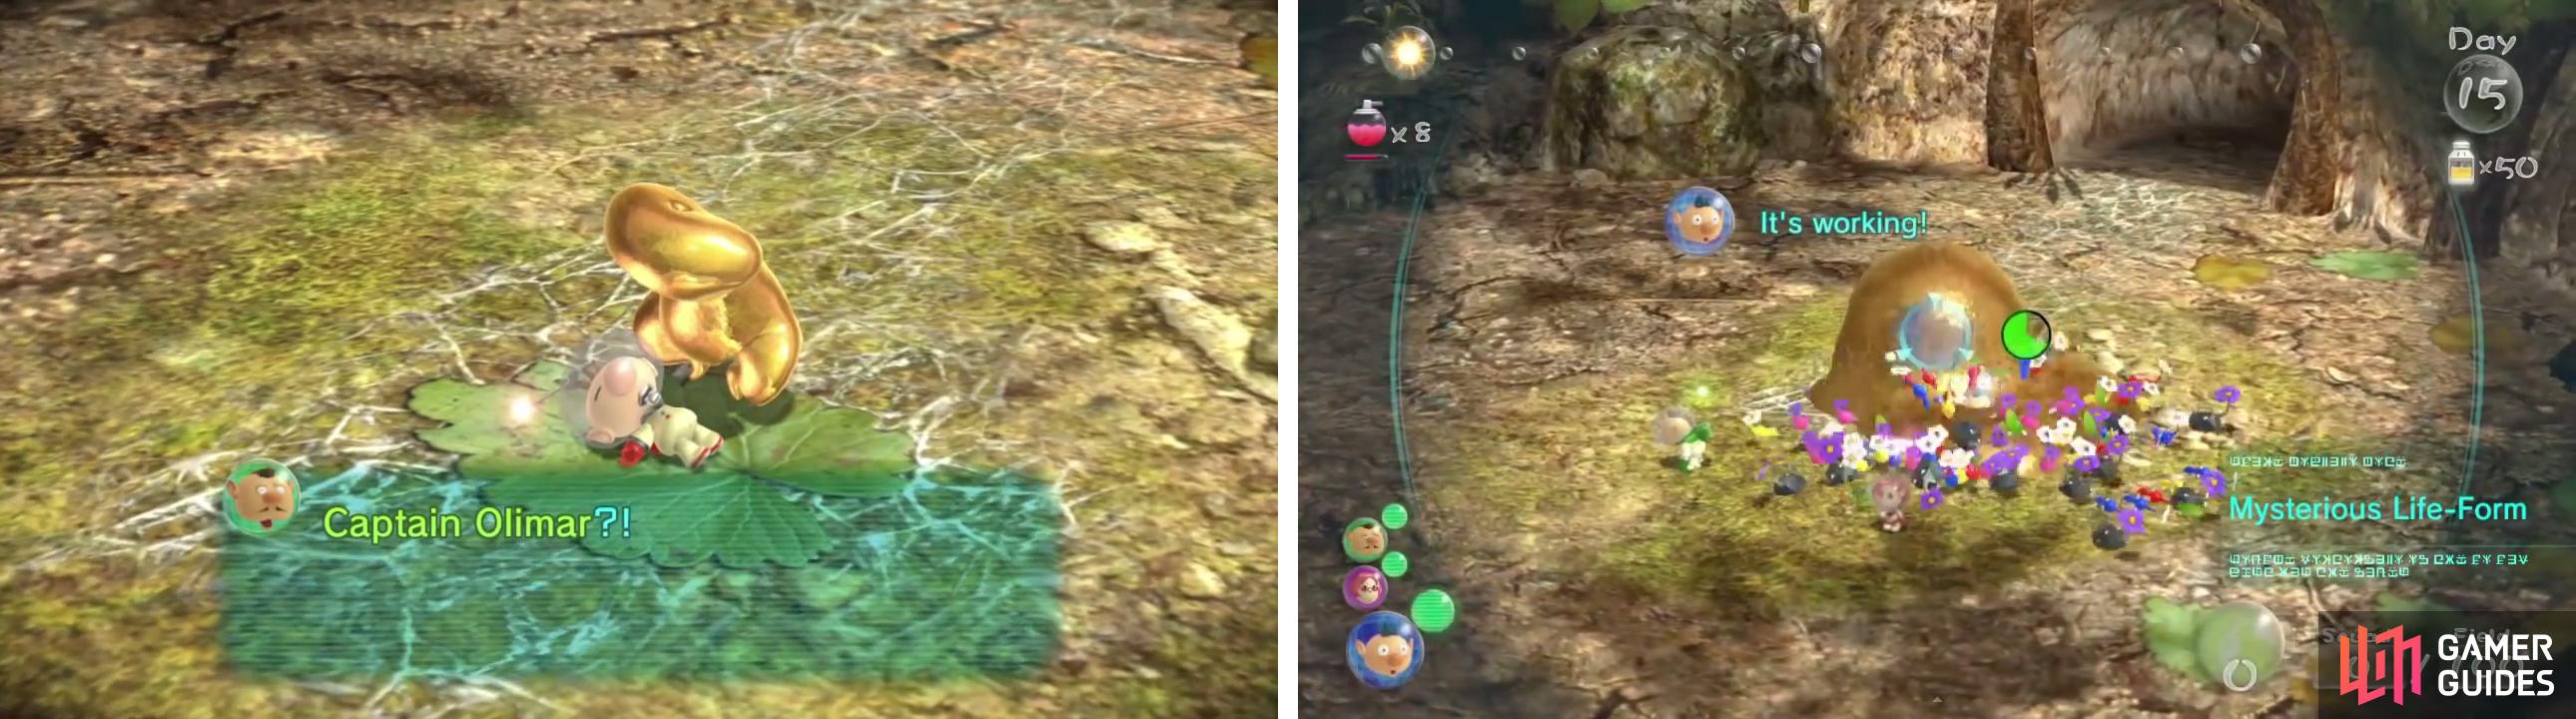
The Plasm Wraith will chase Olimar. Also, any Pikmin that touches the Plasm Wraith will be absorbed into its body. These Pikmin will only die if the Wraith becomes solid, the Wraith will only become solid if it catches Olimar.
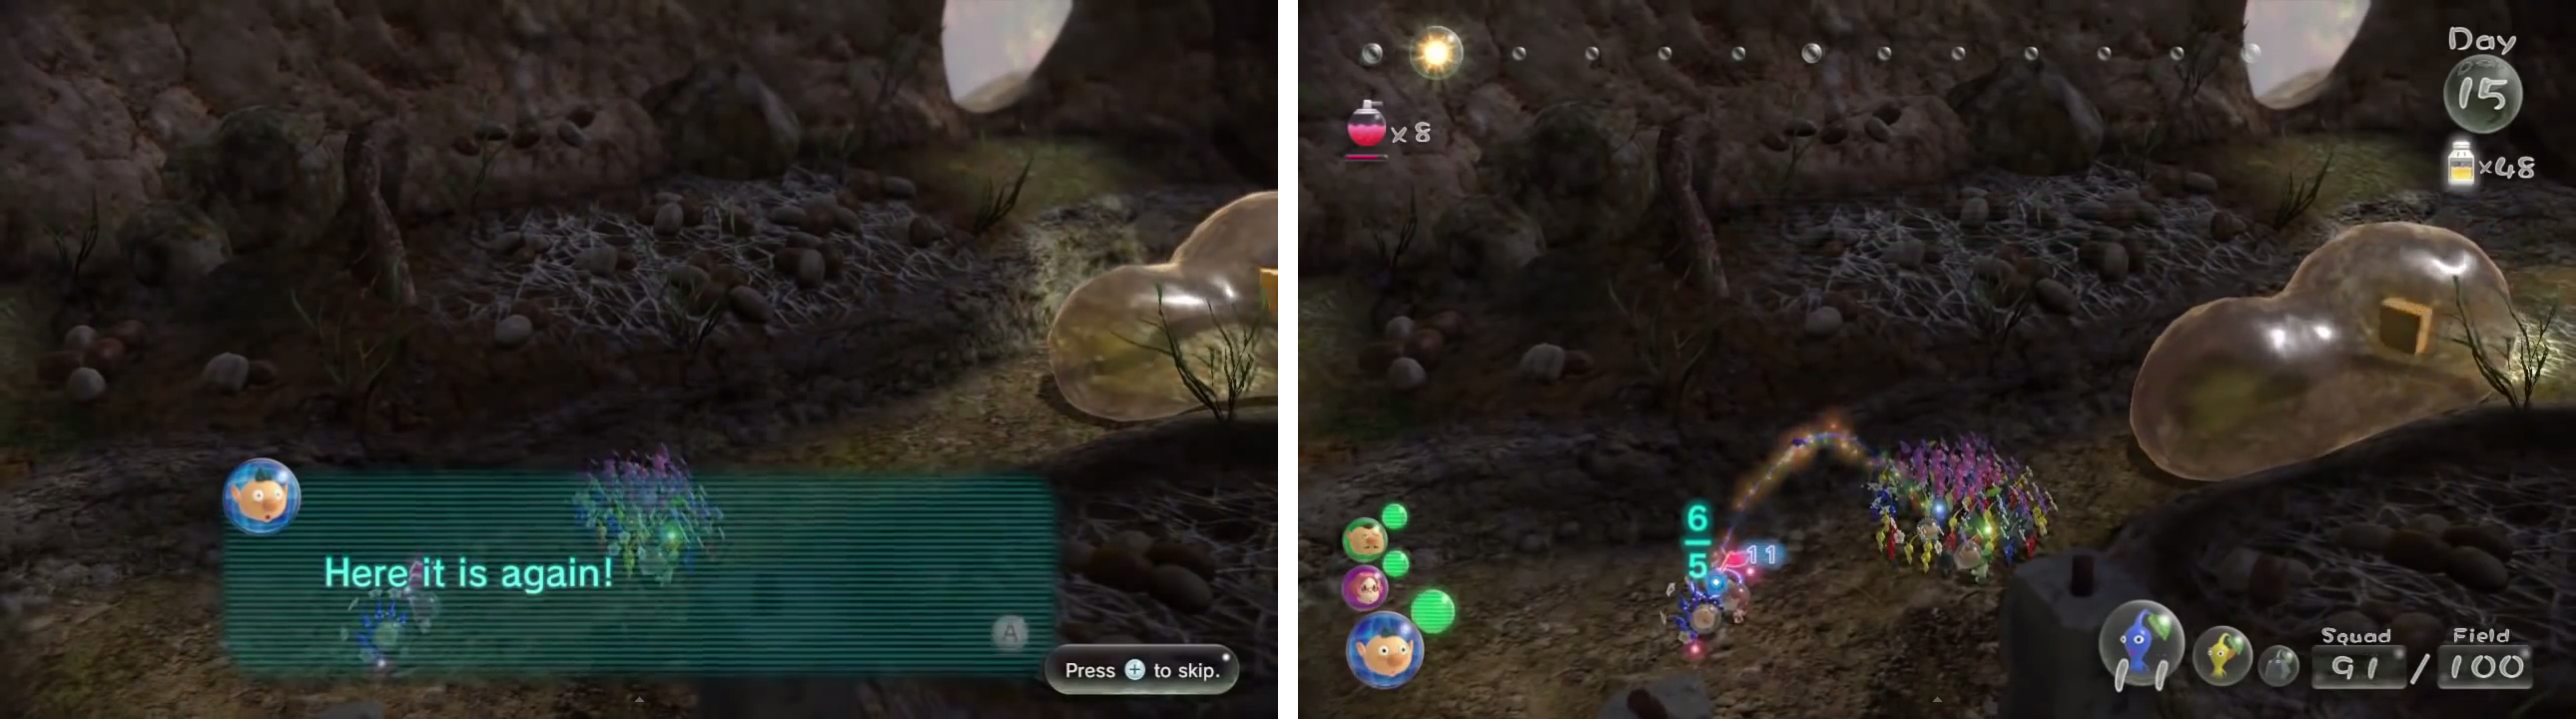
No time to waste. Run your main army forward and left-ish. Swing round this corridor, then wipe out the bulborbs here before promptly setting your army on the Dirt Wall. If you’re sitting on a stash of Spicy spray then make sure you are using it now!
Switch to Brittany and set her a ‘Go Here’ command where the other captains are. Swap to Alph/Charlie and scout out the little off-ramp to the left.
Now gather up your Pikmin and head further into the cave, curling round to the right and up the ramp. Once here, start killing the Blowhogs and Amprat.
Switch to Brittany and have her lead the Pikmin back down to where she started. We’re going to lead the Wraith in a circle.
Back to Alph/Charlie. The middle of this room contains a big pile of bridge parts. Use Rock ’min to smash the crystal and then set your army on the bridge.
Wait for the collectors to thin, then take the remainder of your army to the opposite side of this room to the bridge, you’ll find a dirt mound. Set some Pikmin to dig in here, this is where the rest of the bridge parts are.
Switch back to Brittany, set her to run to where Alph and Charlie are.
Once the Bridge is done head over, dealing with the Arachnid on the way. Just go forward and into the next room, making sure to set Brittany’s ‘Go Here’ moves the entire time.
In this next room head forward and dismiss your army. Have Alph call the Pink Pikmin to him and run forward, through the river. There’s a pile of bridge parts here.
Next select Charlie and call the Blue Pikmin to him, there’s a pile of bridge parts to the left, run through the water to reach them. Also run Brittany into the water, as the Wraith has no ability to get to this part of the map.
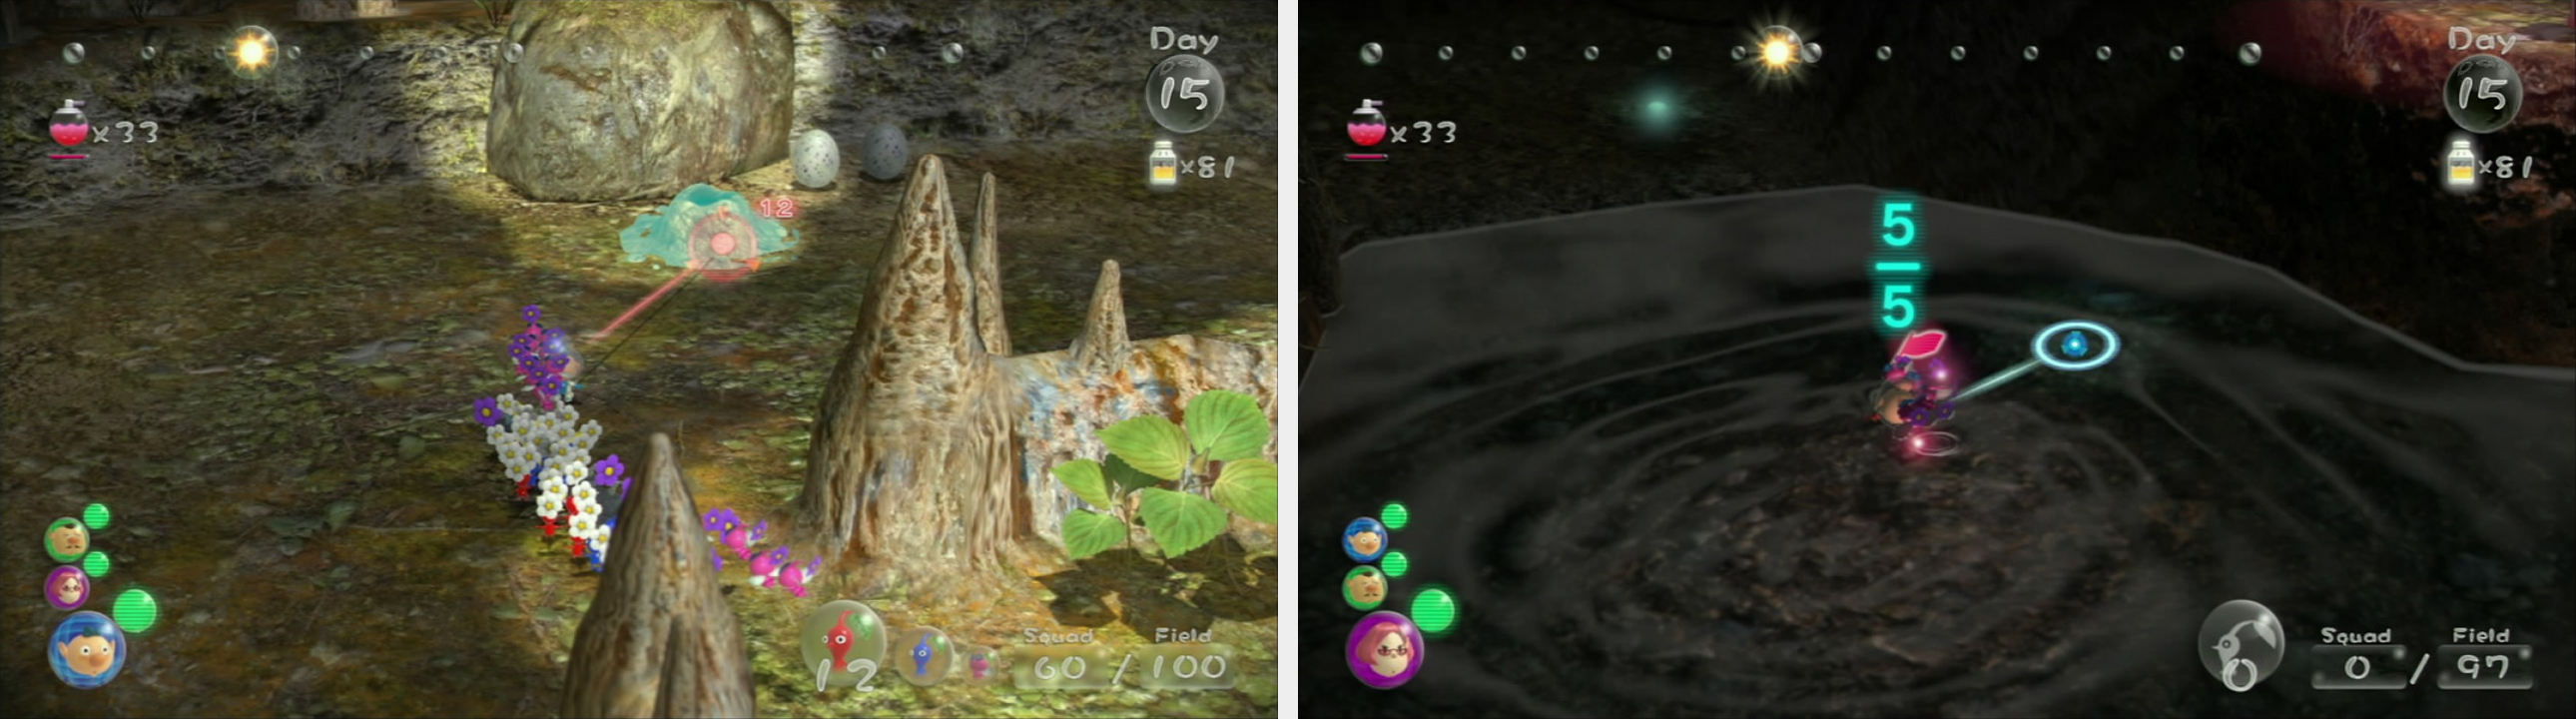
On the opposite side of the room to the parts we collected with the Pink Pikmin there is a ramp. Take your remaining Pikmin up here and light the fuse with your Yellow Pikmin.
Assuming the bridge is done, head over and light the circuit here as well.
Now we need Charlie. Look left and you’ll see two paths, take the right path. Throw a Captain over followed by your Yellow Pikmin, light the fuse here.
Now we can take the path to the left. Take out the spider and then run around the path, likely popping a Spicy Spray to help you tear the wall down. If you haven’t done so already, now is a good time to tell Brittany to catch up to the gang.
With the wall down you simply need to run forward. Ignore the clipboard, and simply leave the cave. Olimar won’t be too far behind, but as soon as he arrives it’s boss fight time.
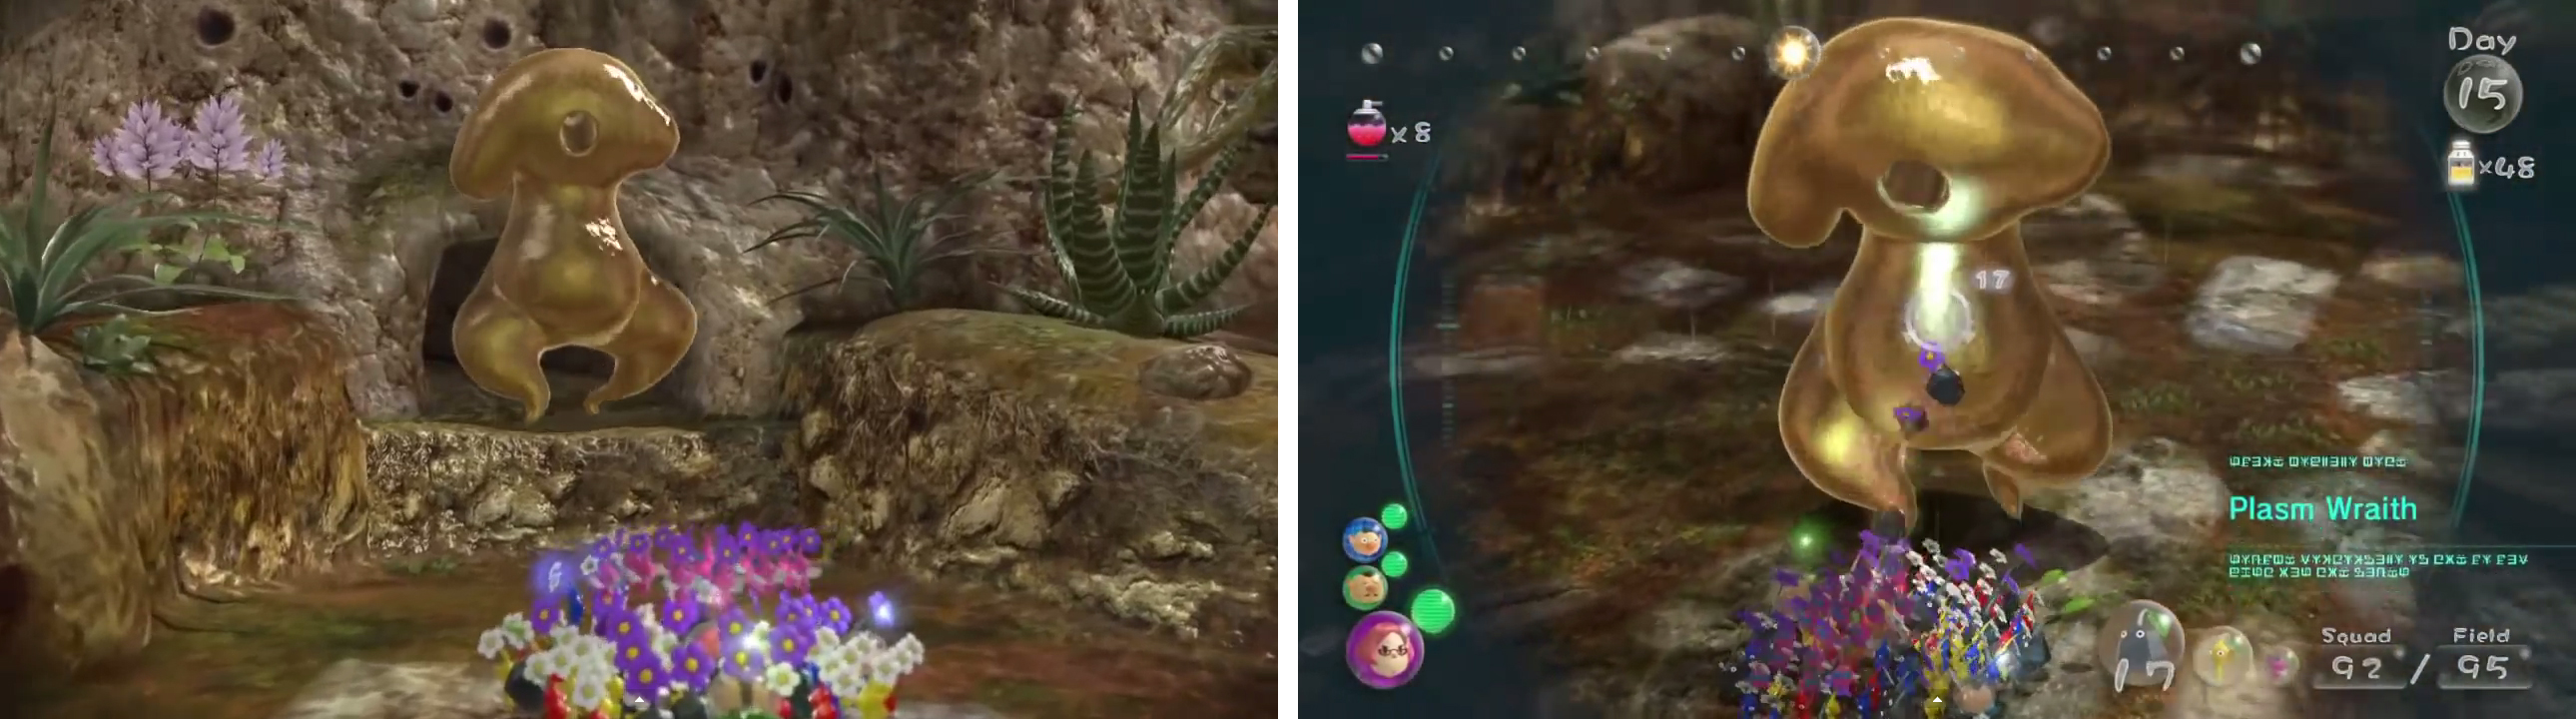
The Plasm Wraith can be a pain. In phase one its only attack is to lean forward and impale your Pikmin, ingesting them shortly after. Your focus is to simply charge the beast, having Pikmin attack the gunk that falls off of the monster.
When your Pikmin are latched on to the Wraith watch out for it twisting itself up, this movement precedes a big shudder that will throw your Pikmin off of it. Whistle them before this happens.
After you whittle some health off the Wraith will start to throw large globs onto the ground. These globs will turn into one of four things. A pool of fire, a large orb of electricity, a sphere of water, or a crystal cube.
You simply need to use the appropriate Pikmin (Fire = red, water = blue, electricity = yellow, crystal = rock) to ‘break’ the attack and it will turn into blobs that you can destroy.
The best technique is to throw a few of the relevant Pikmin on/at the core, and then continue to move around as your army.
The Wraith will likely follow you, while the Pikmin you leave on the core will proceed to destroy the gunk once they break the attack.
After a while the Plasm Wraith will throw more than one blob, and even fly. When he goes airborne you need to attack him with flying Pikmin.
Here, again, you need to throw the relevant Pikmin on the appropriate cores and then let them do their thing. Just try and keep your distance, and concentrate on breaking the cores, and the Plasm Wraith will go down.
No Comments