
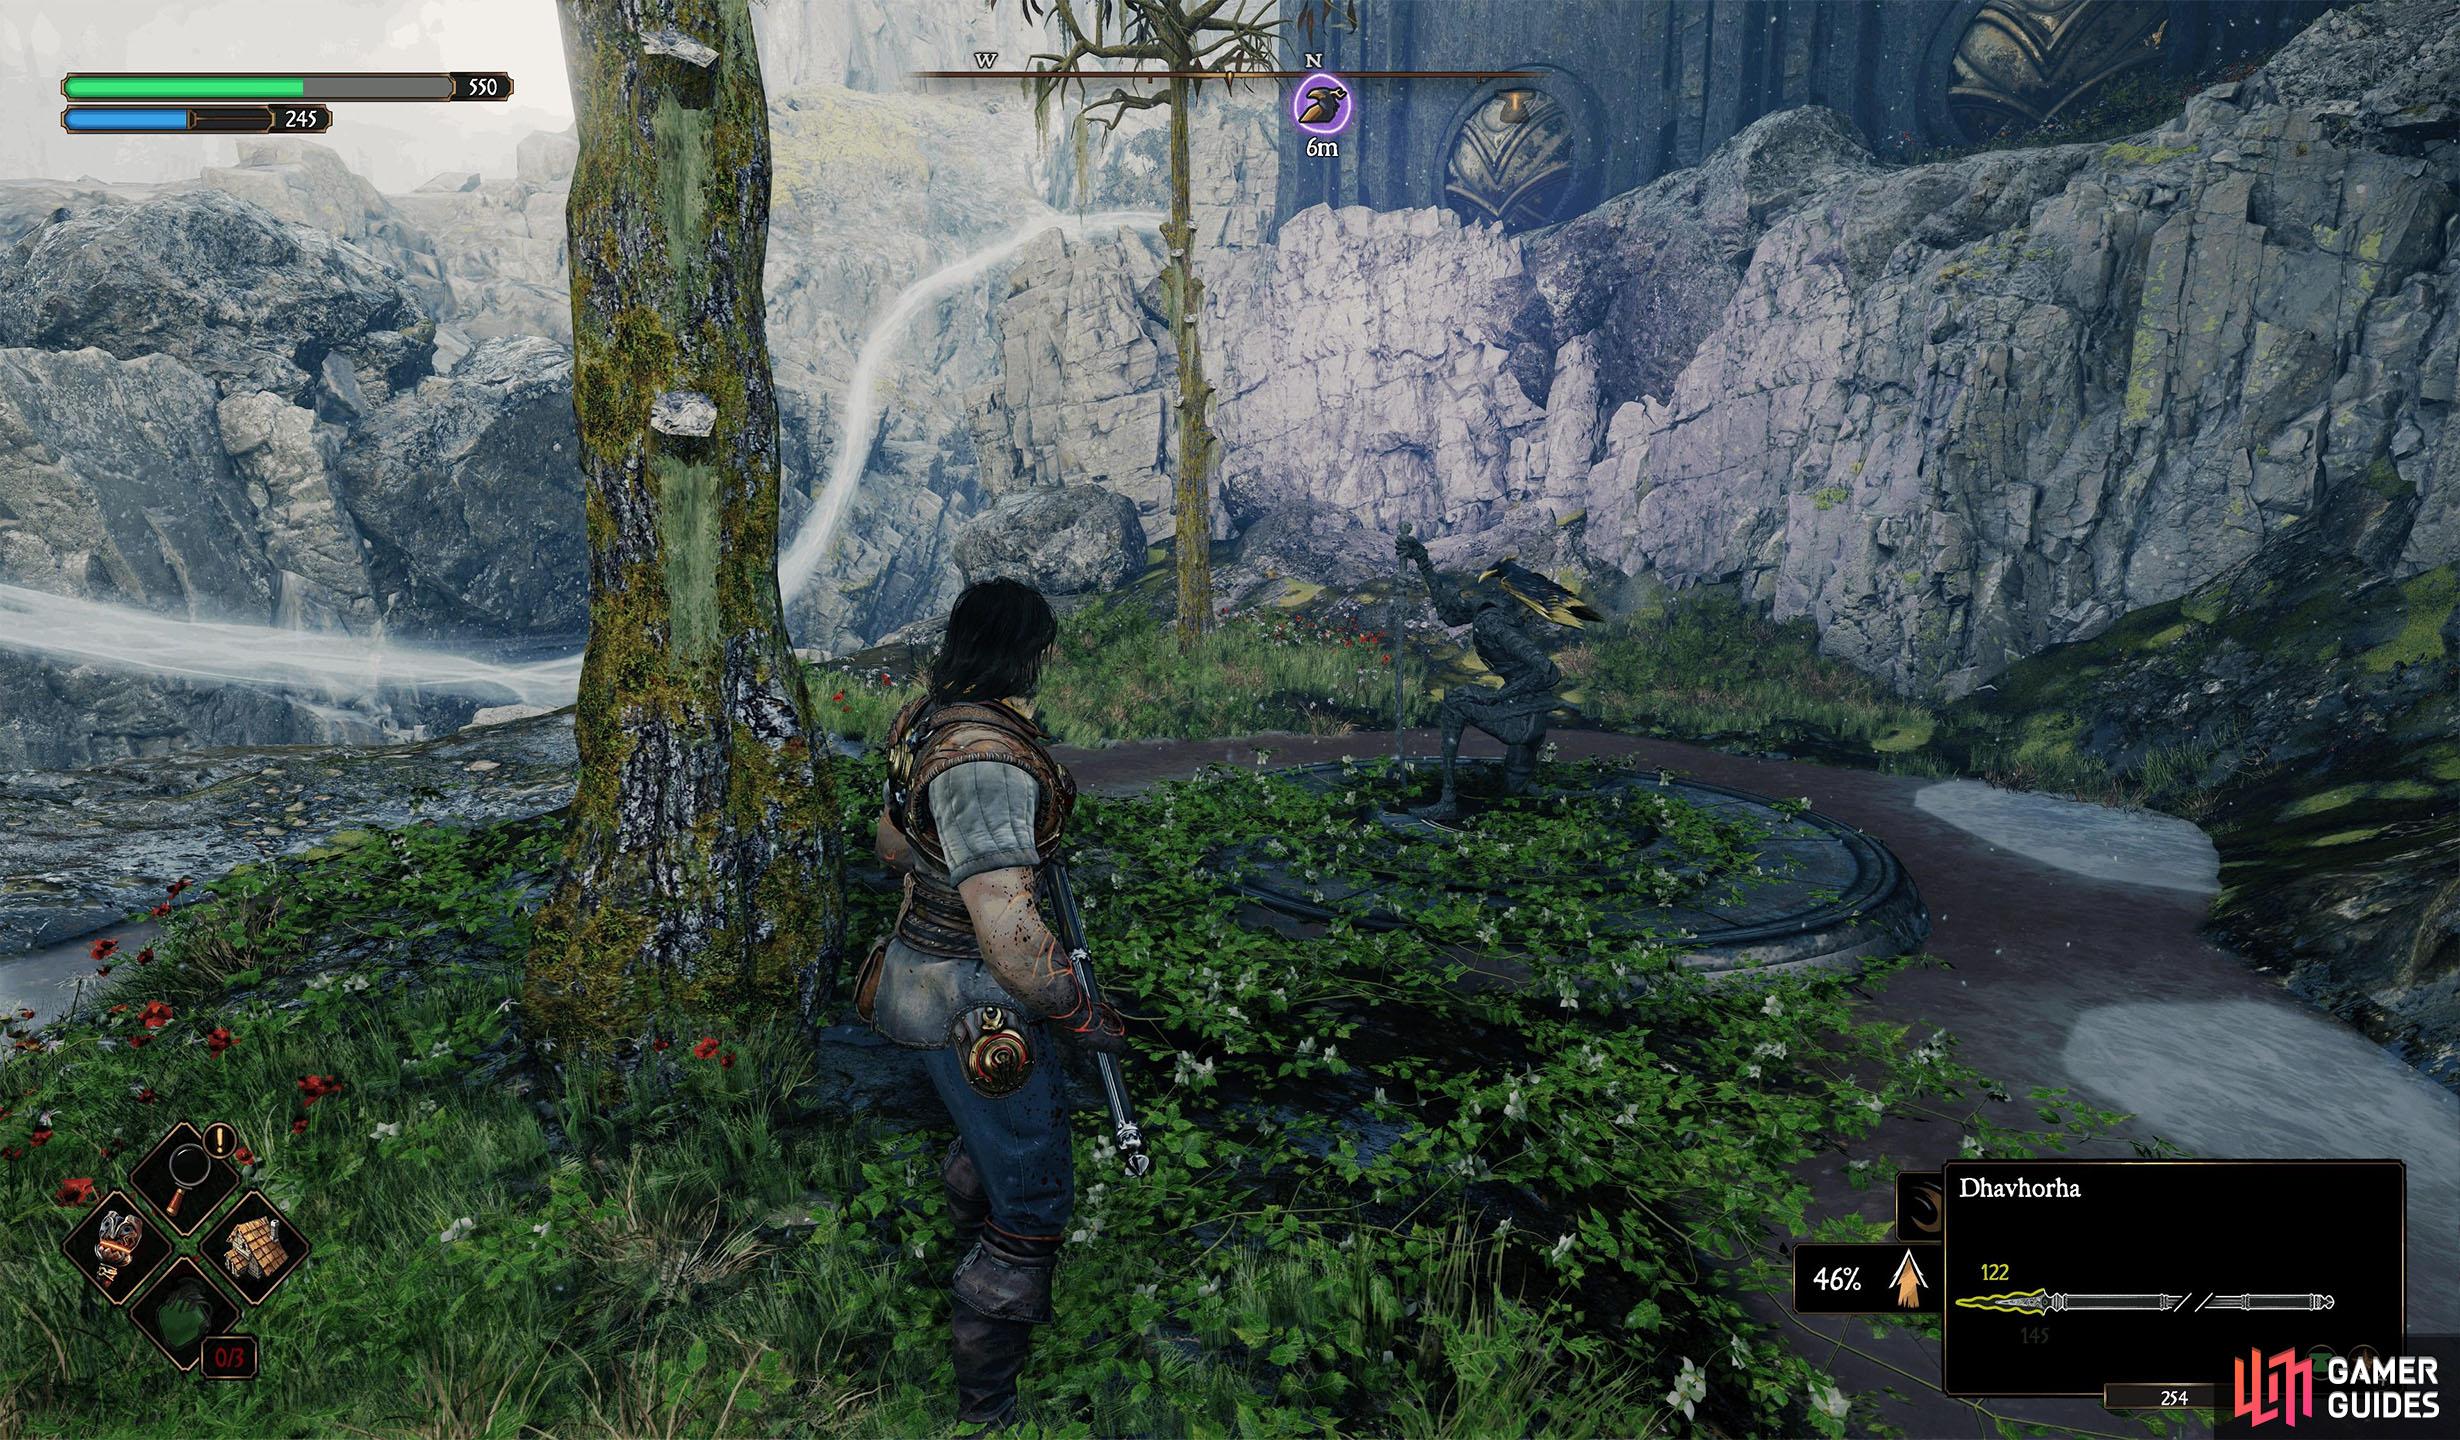
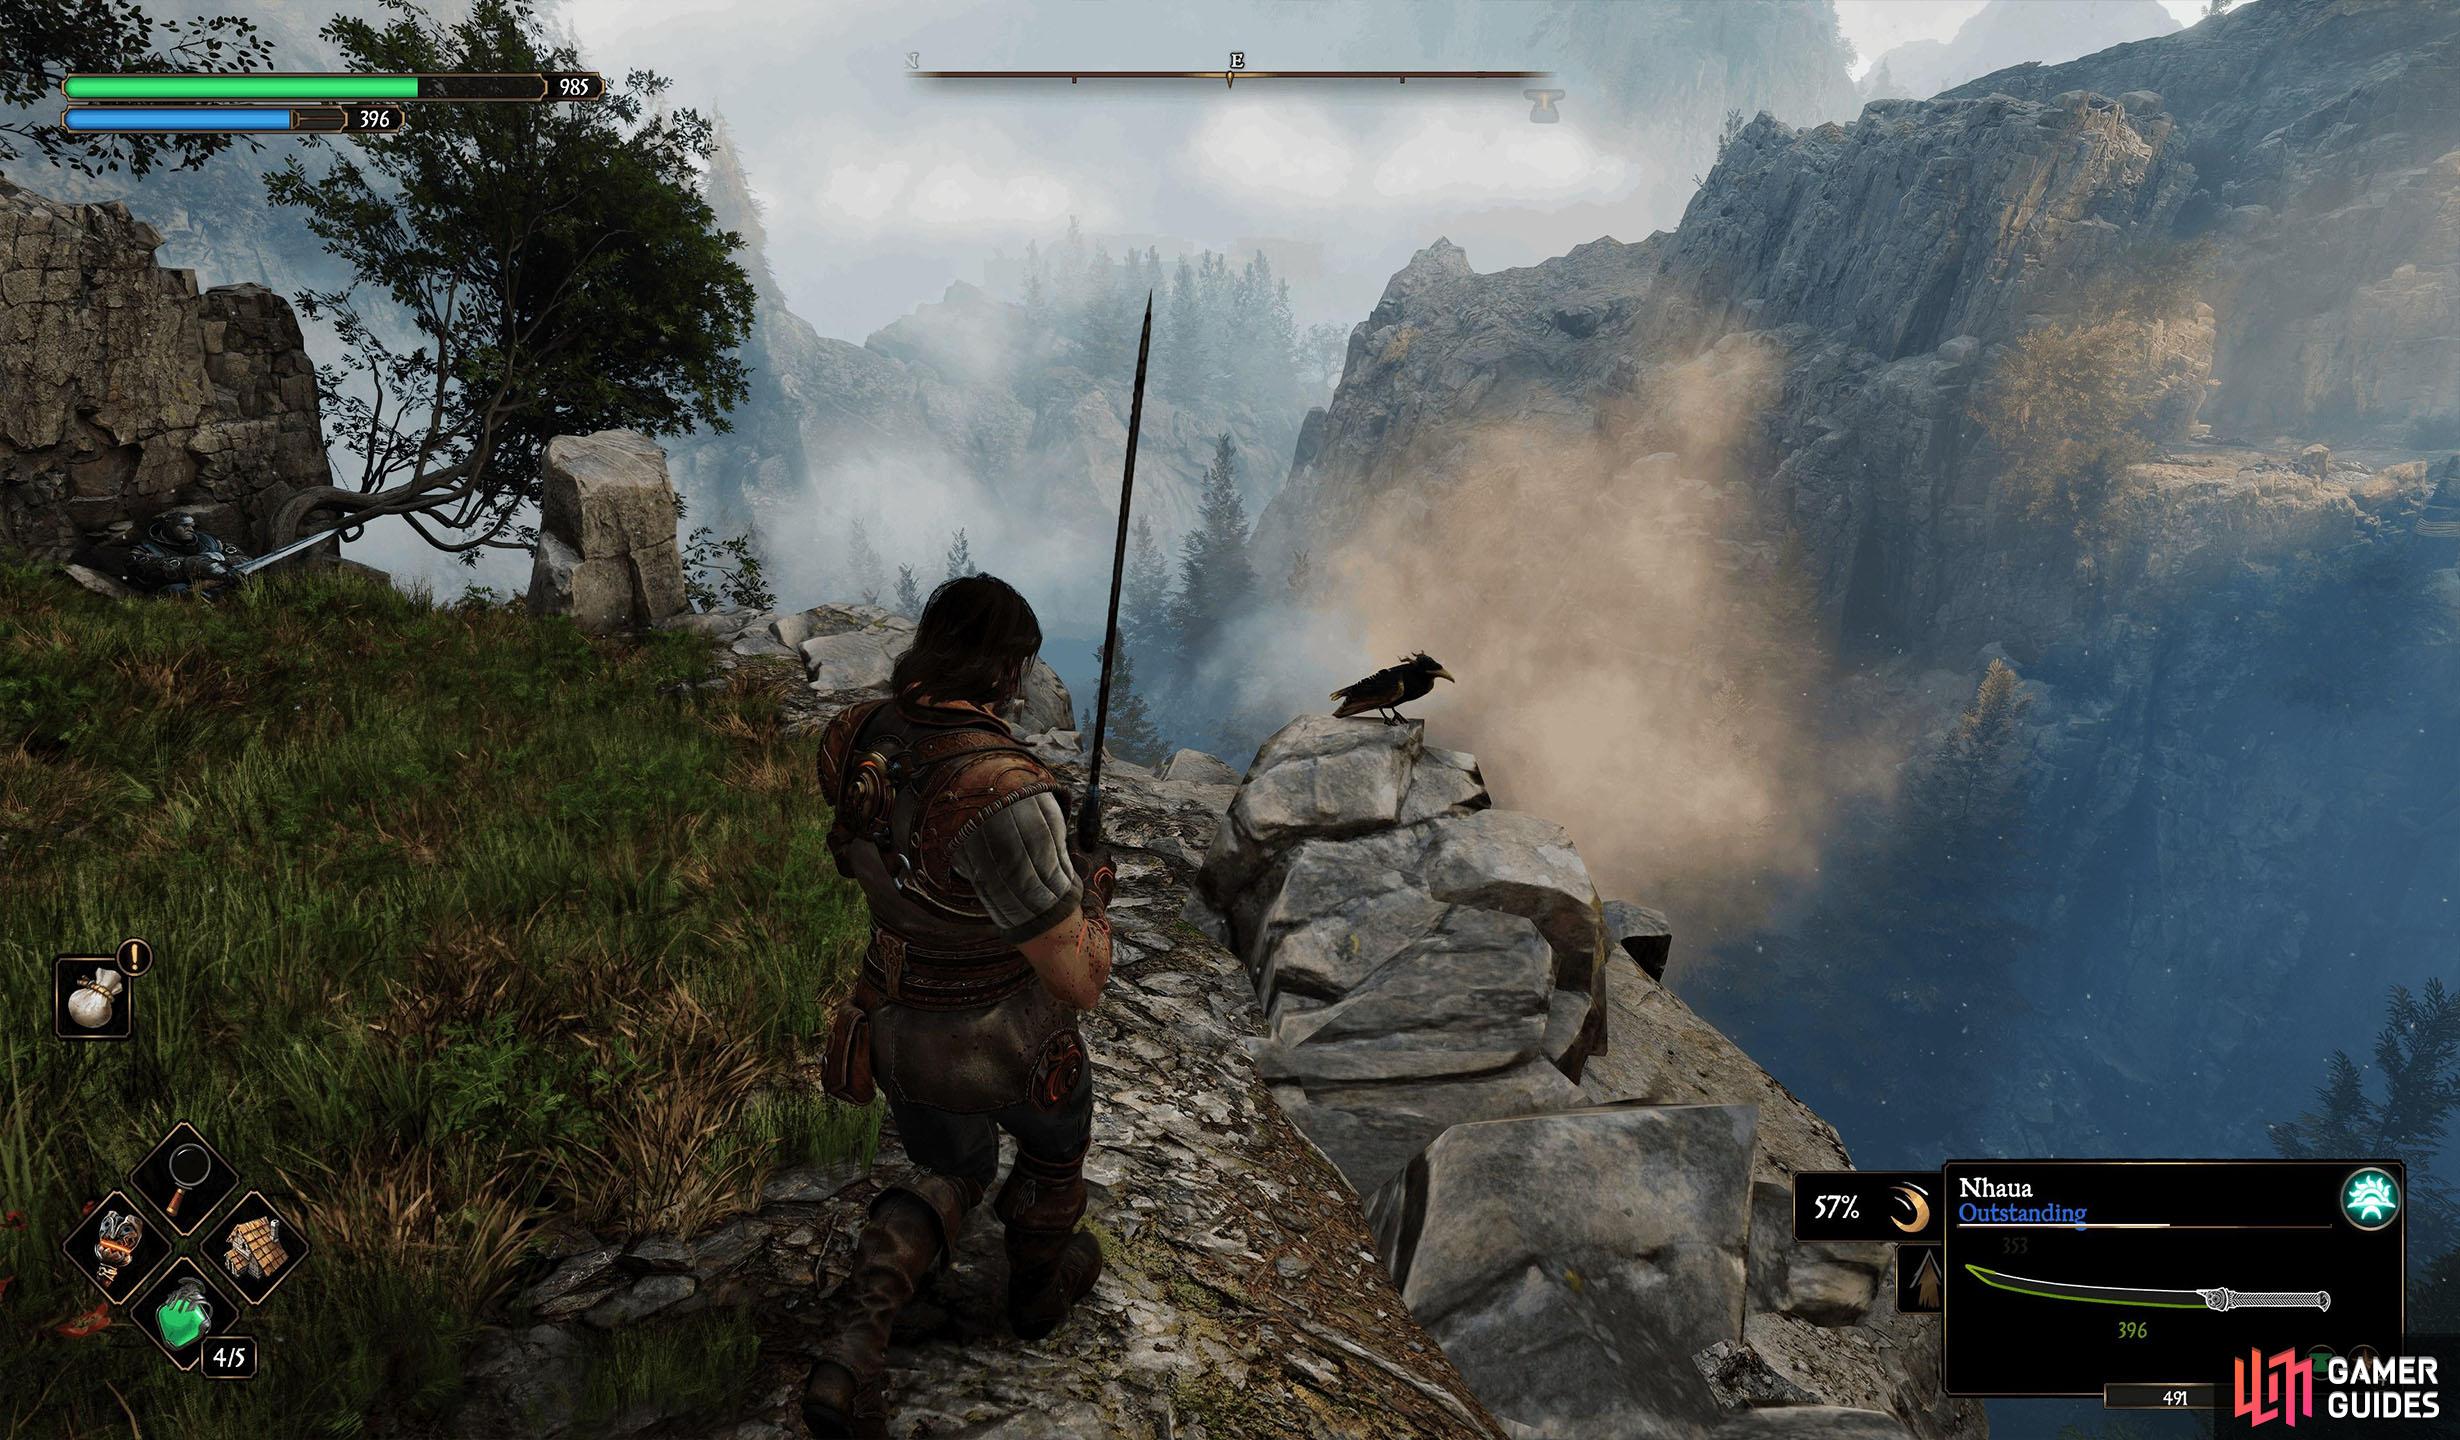
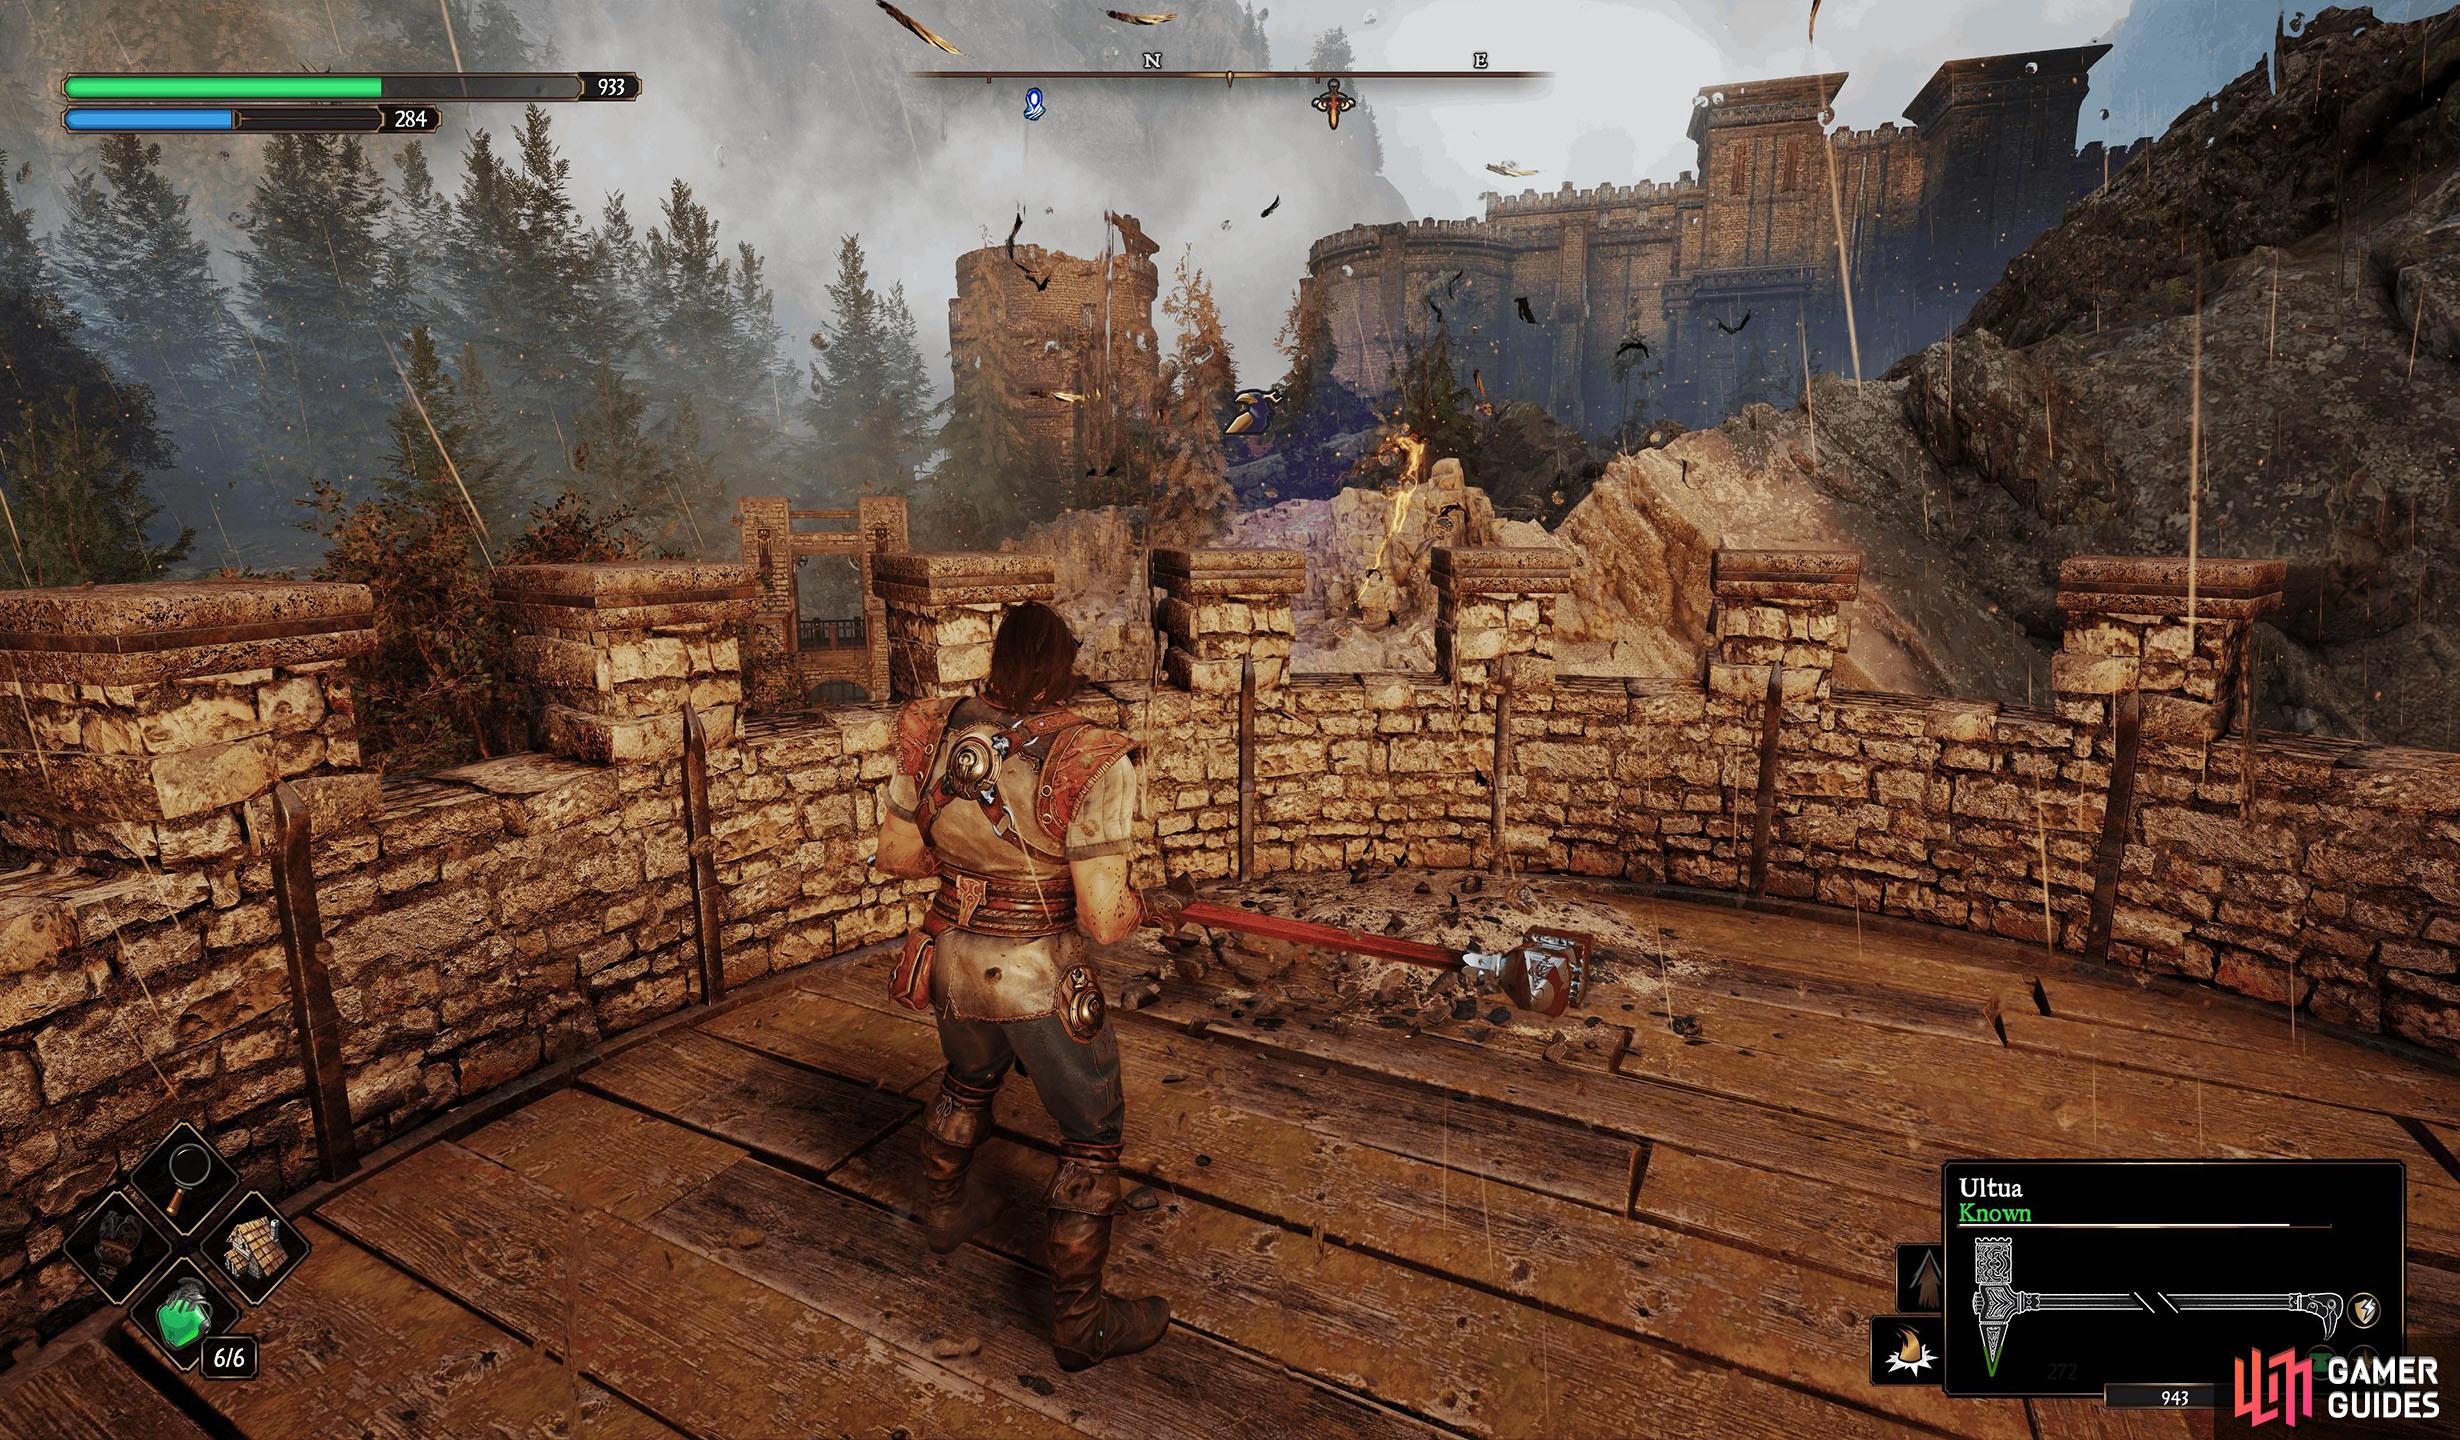
When exploring Blades of Fire, you will come across petrified statues, normally in sets of three, that, when struck, will make an Iridescent Crow appear on your map. Locate the crow and follow it back to the statues to awaken them, leading to a battle where you need to defeat them. This results in rewarding you with a ![]() Stamina Gem or a Nerea’s Tear (Blue Gem). Read on to learn where to find every Templar of the Sacred Steel in the
Stamina Gem or a Nerea’s Tear (Blue Gem). Read on to learn where to find every Templar of the Sacred Steel in the ![]() Aecides’ Domain region.
Aecides’ Domain region.
Bring the Iridescent Crow back to the Templar statues to awaken and battle them.
Table of Contents
If you want to jump to a specific section, click on the links below.
Templars of the Sacred Steel and Iridescent Crows
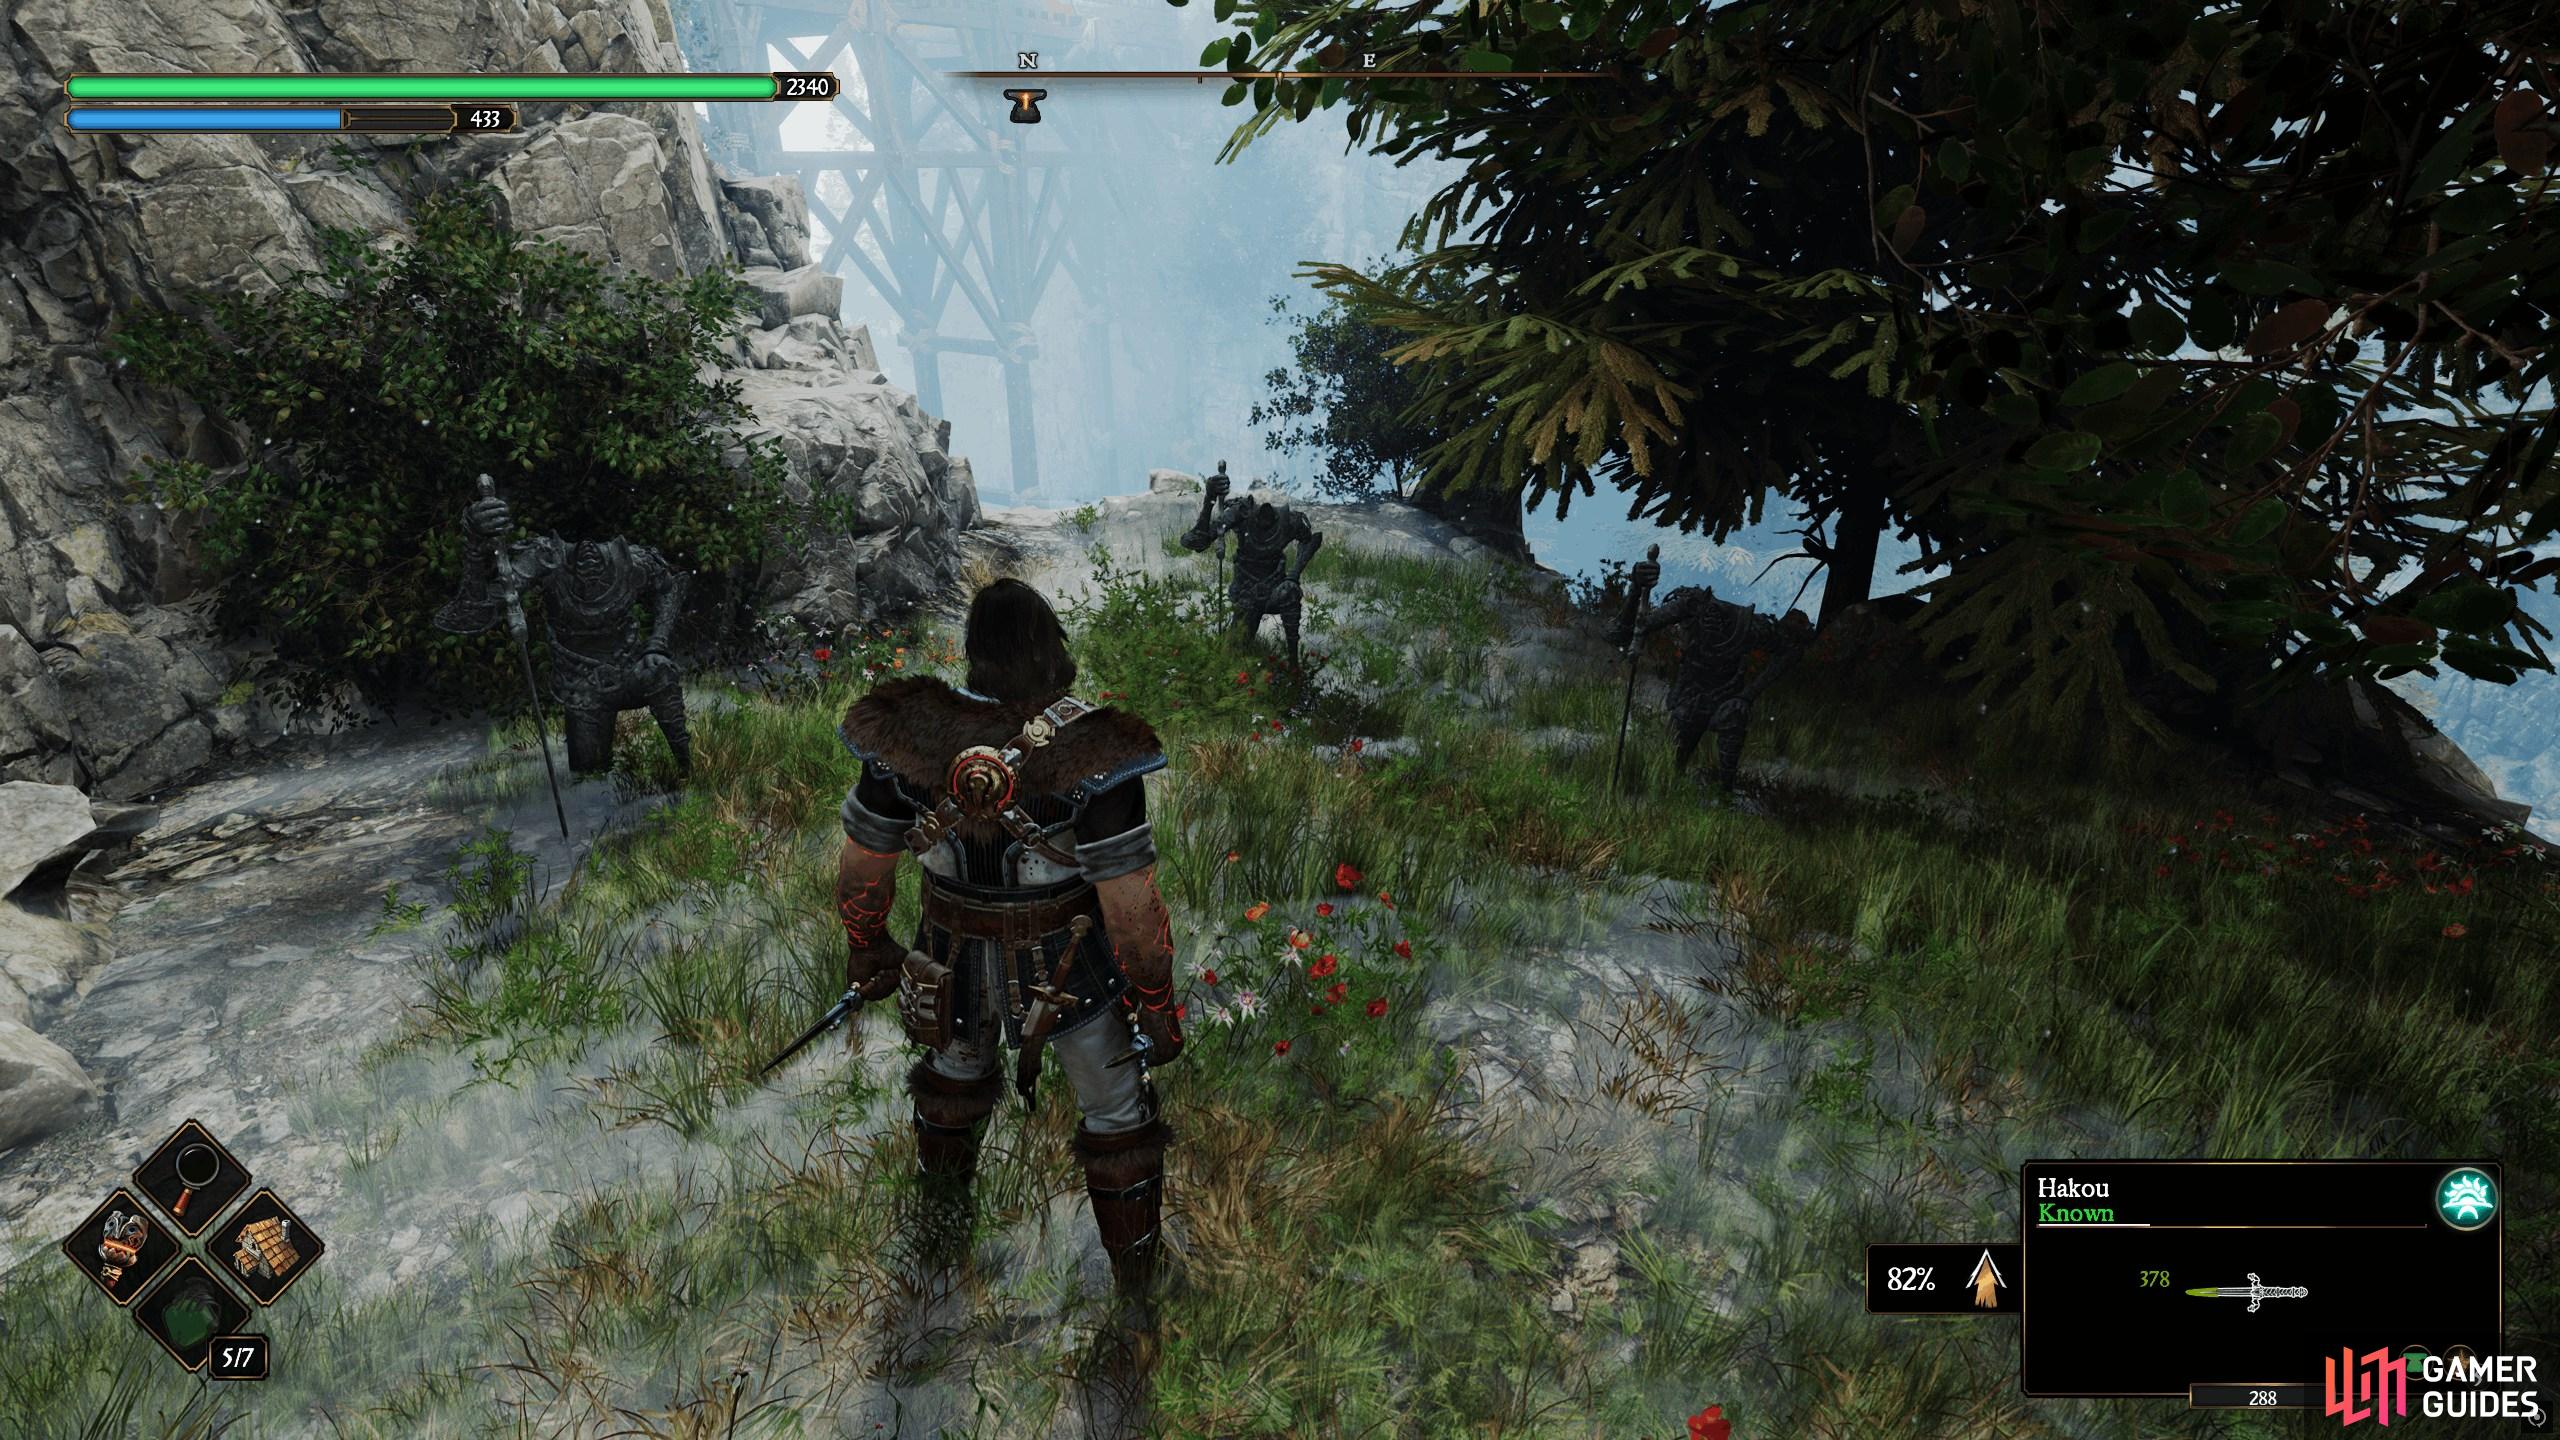
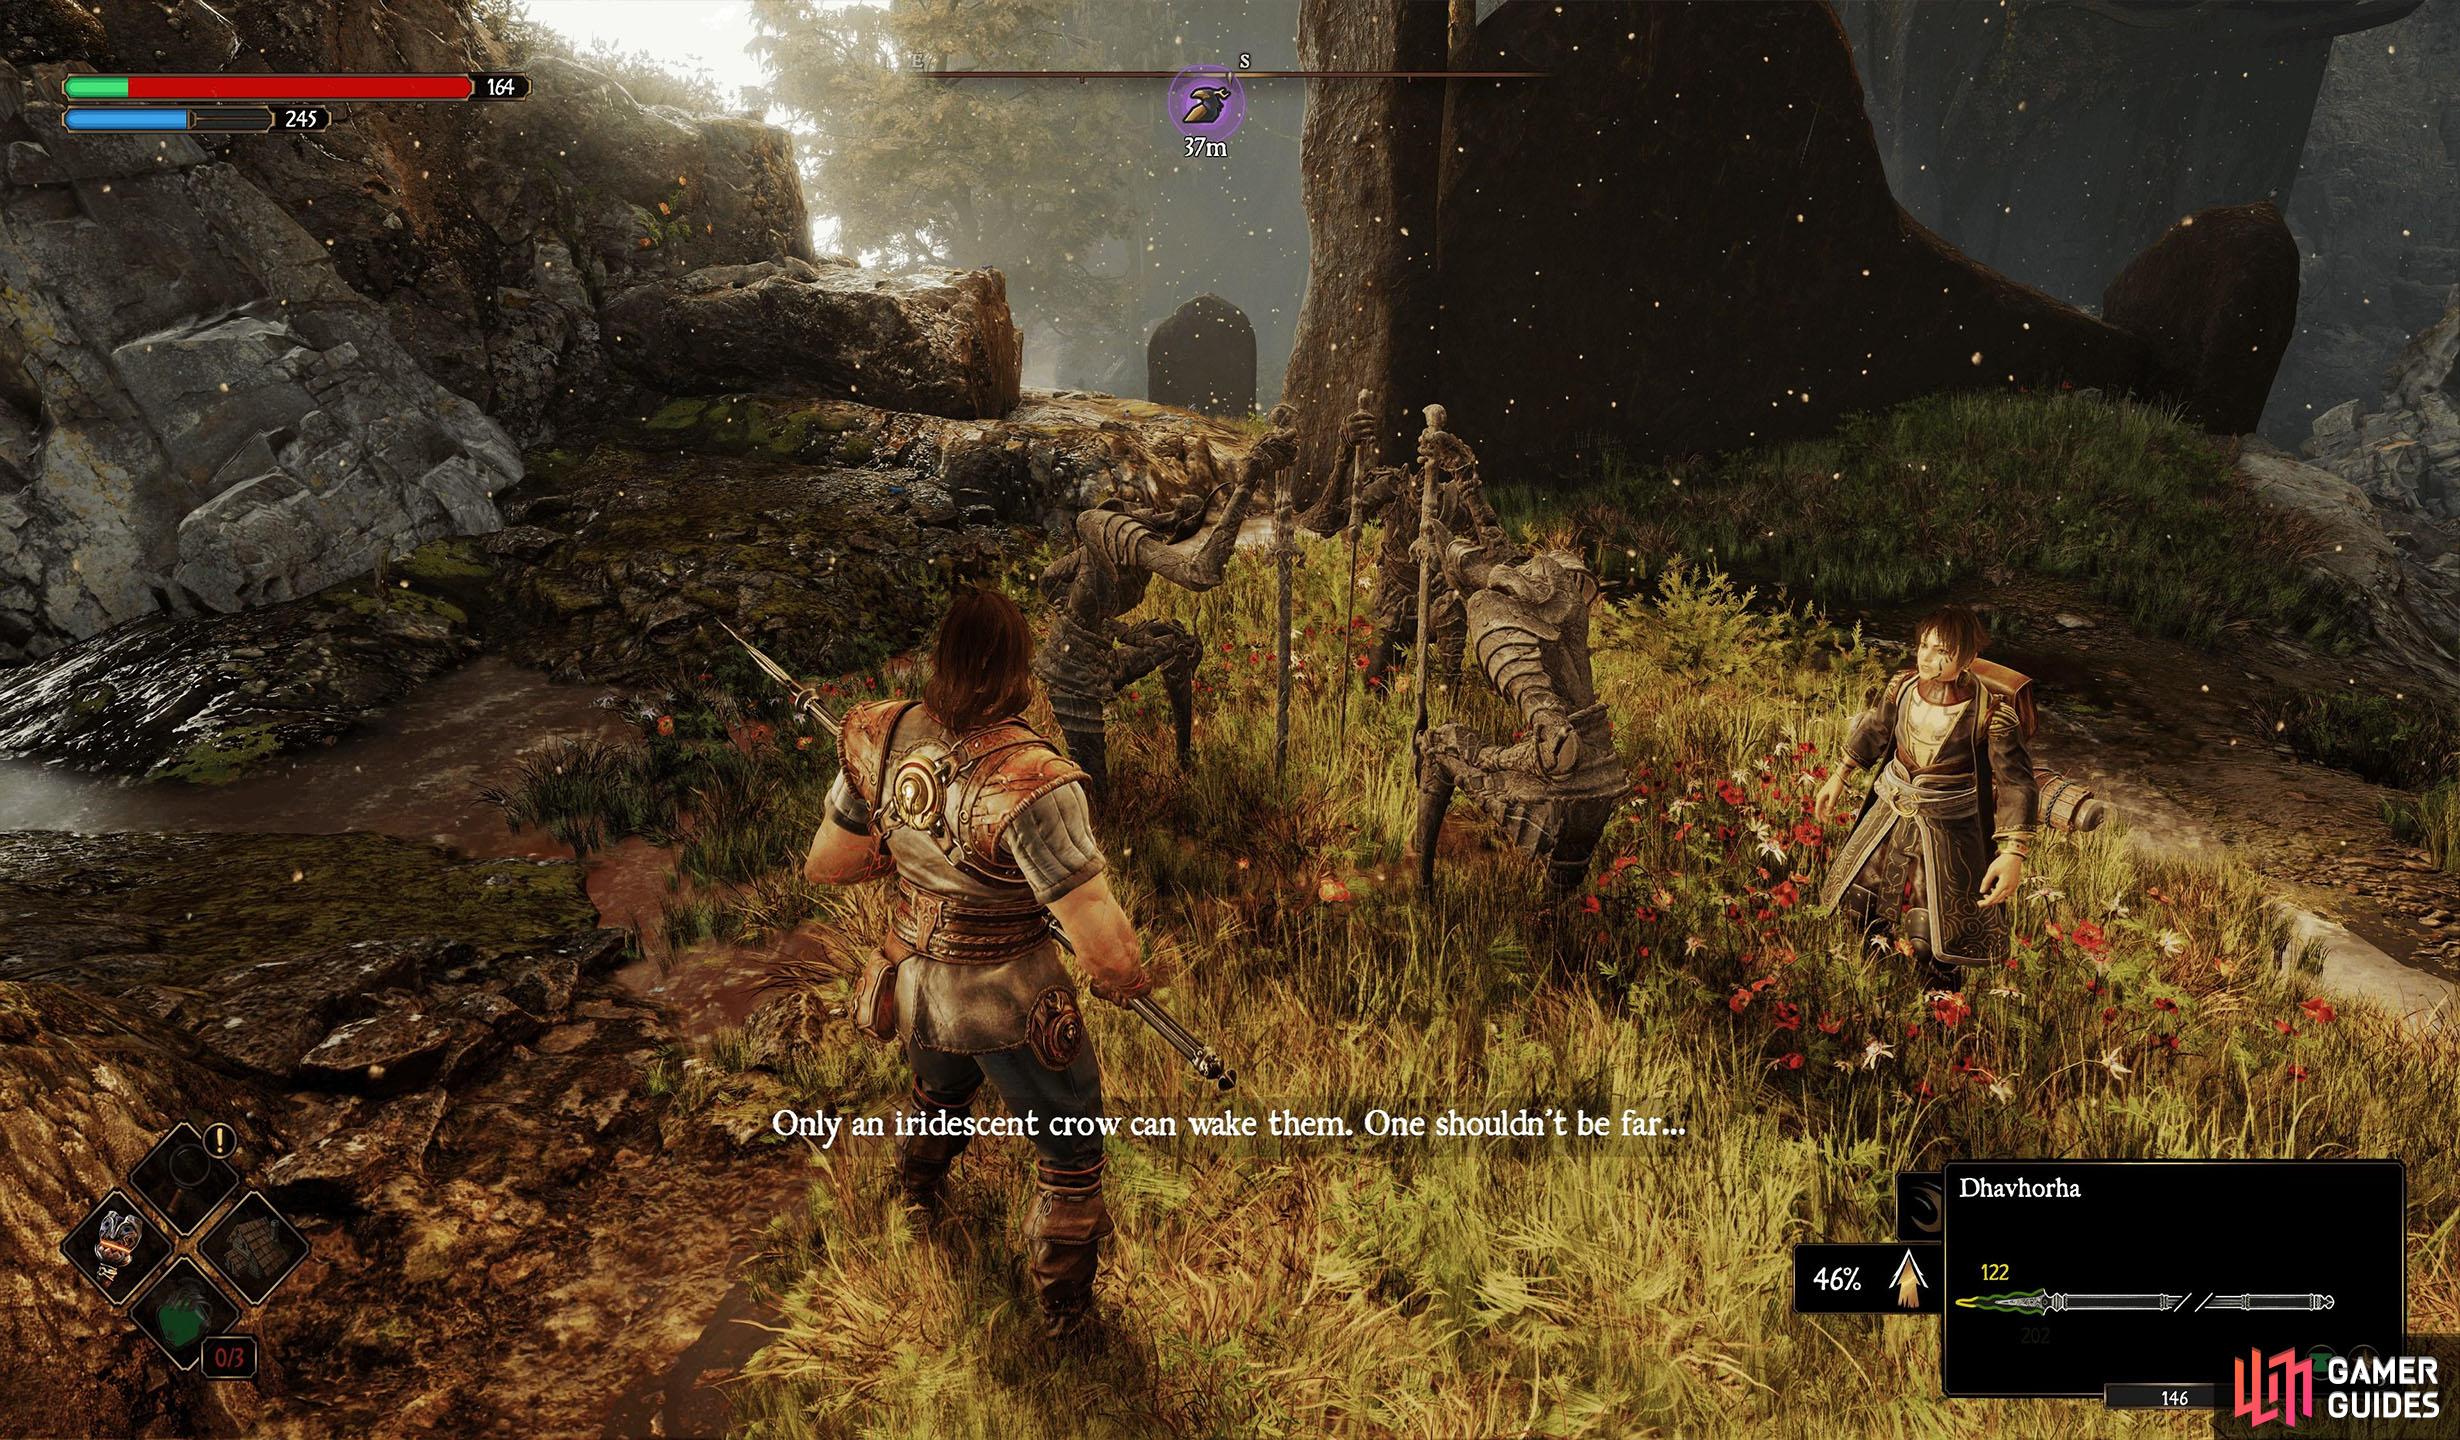
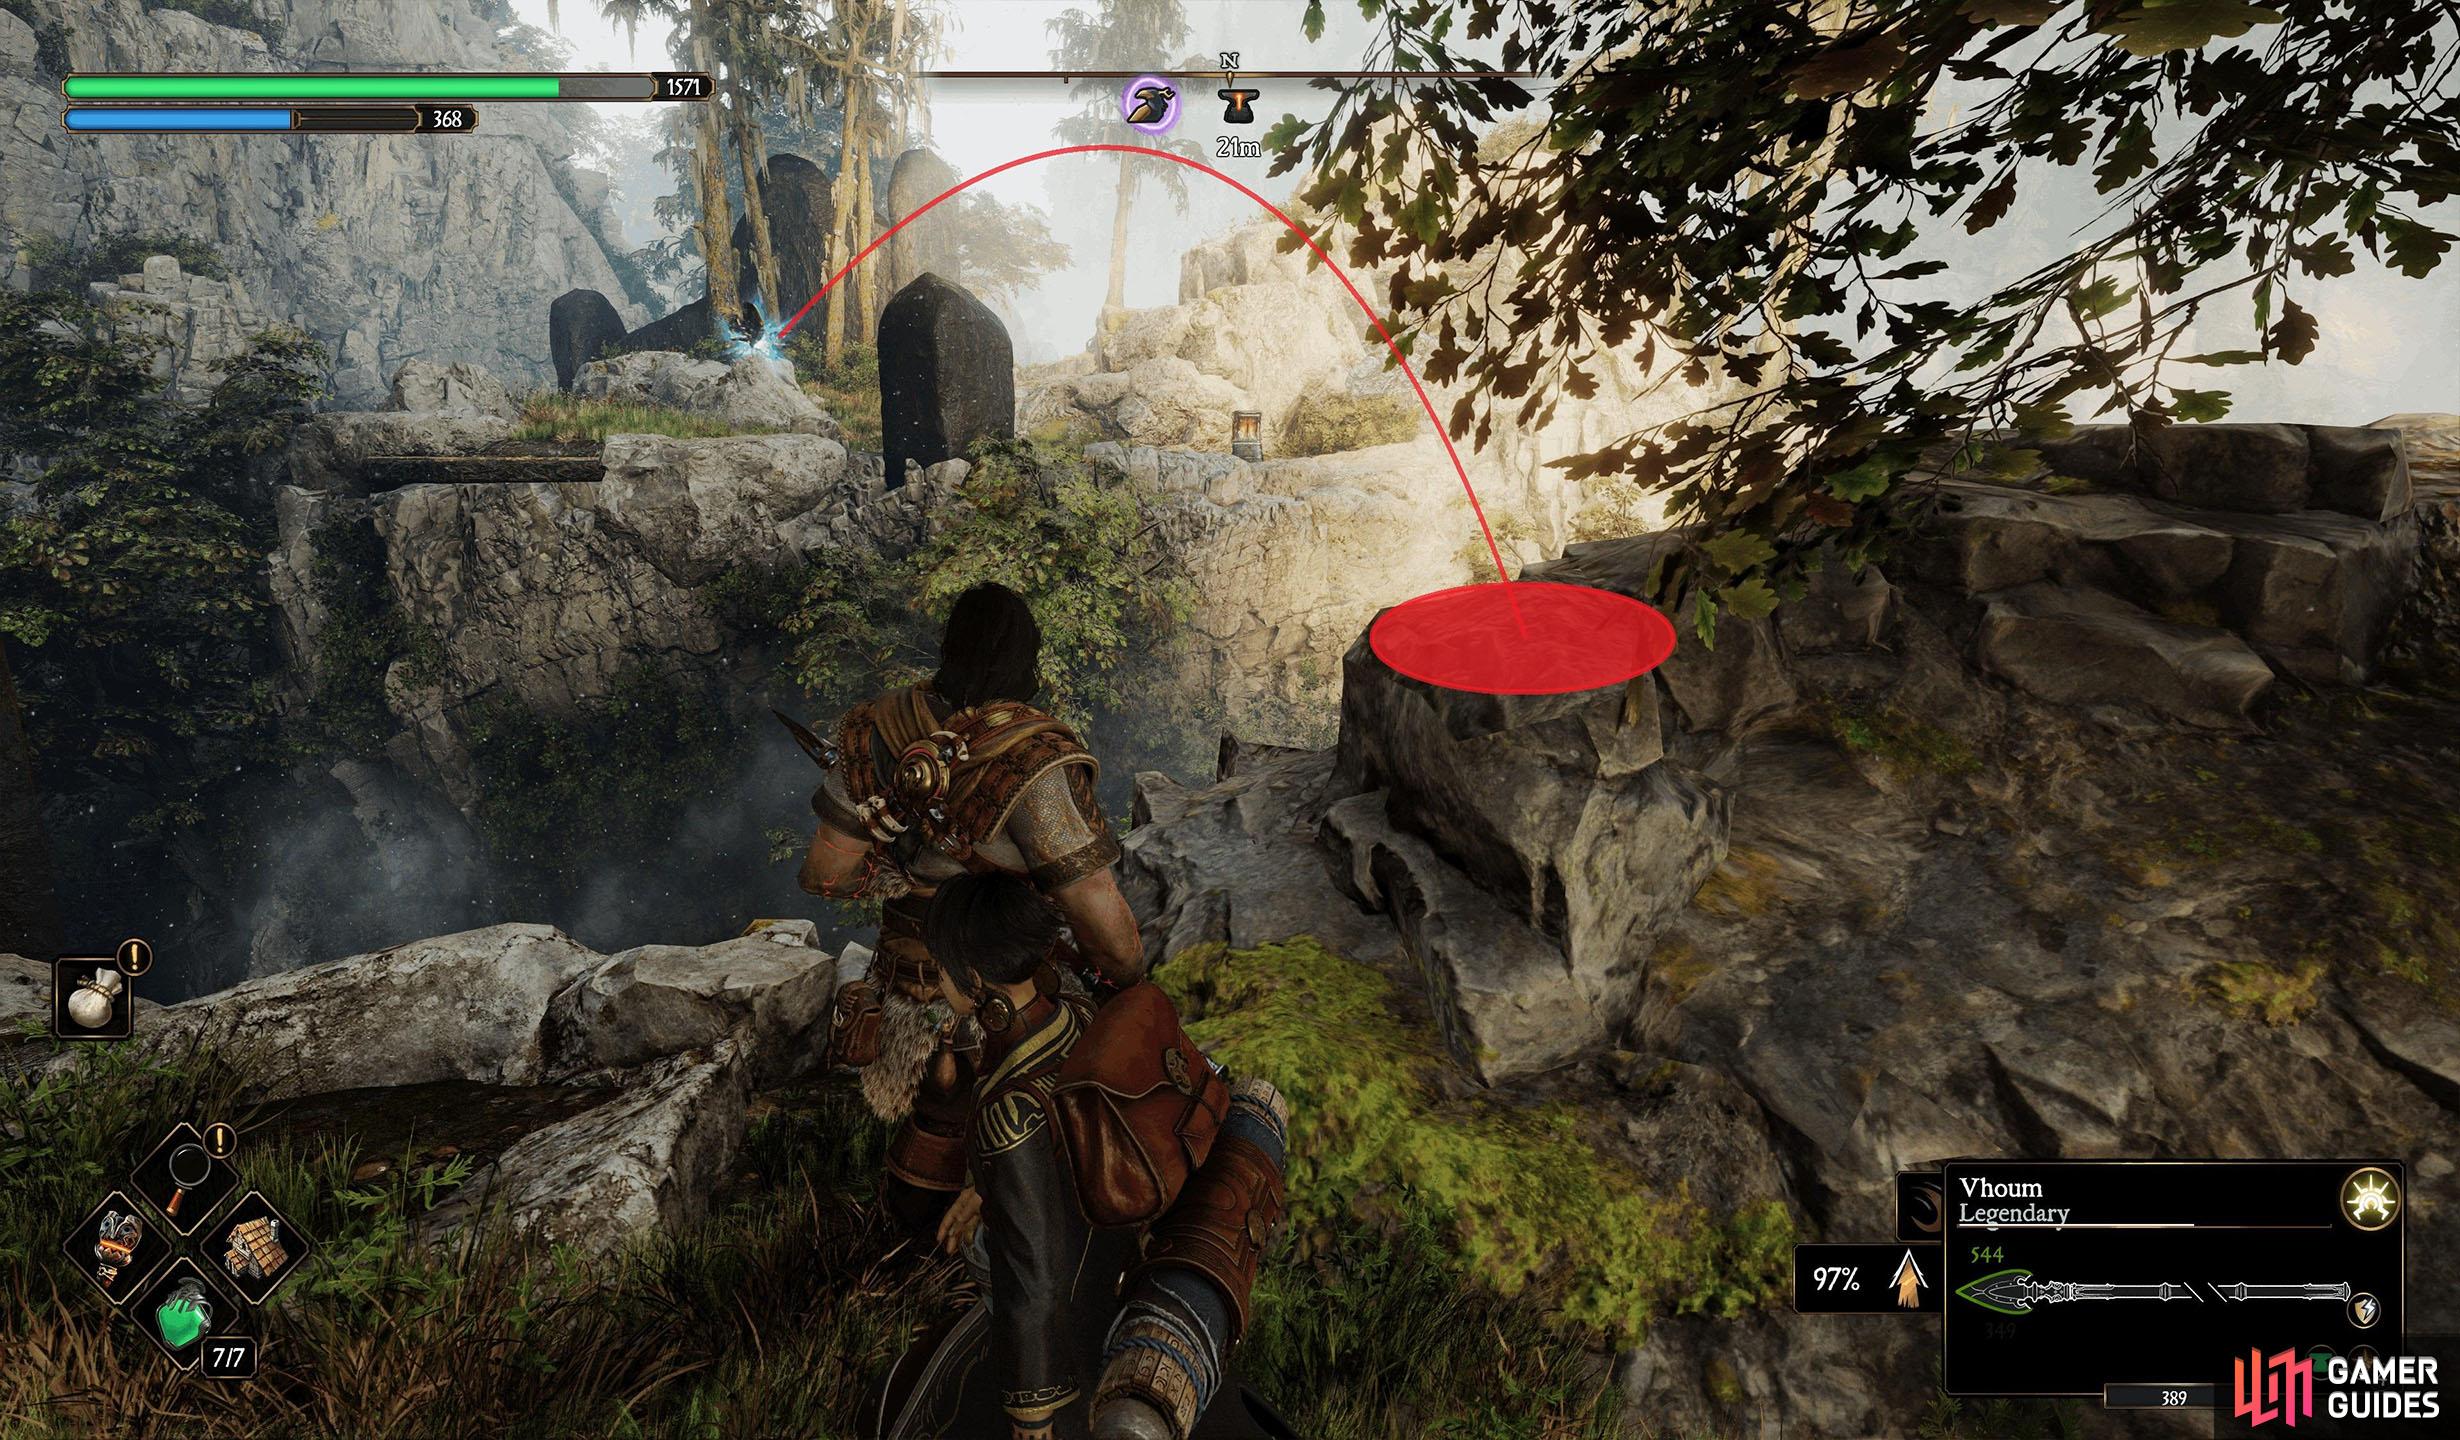
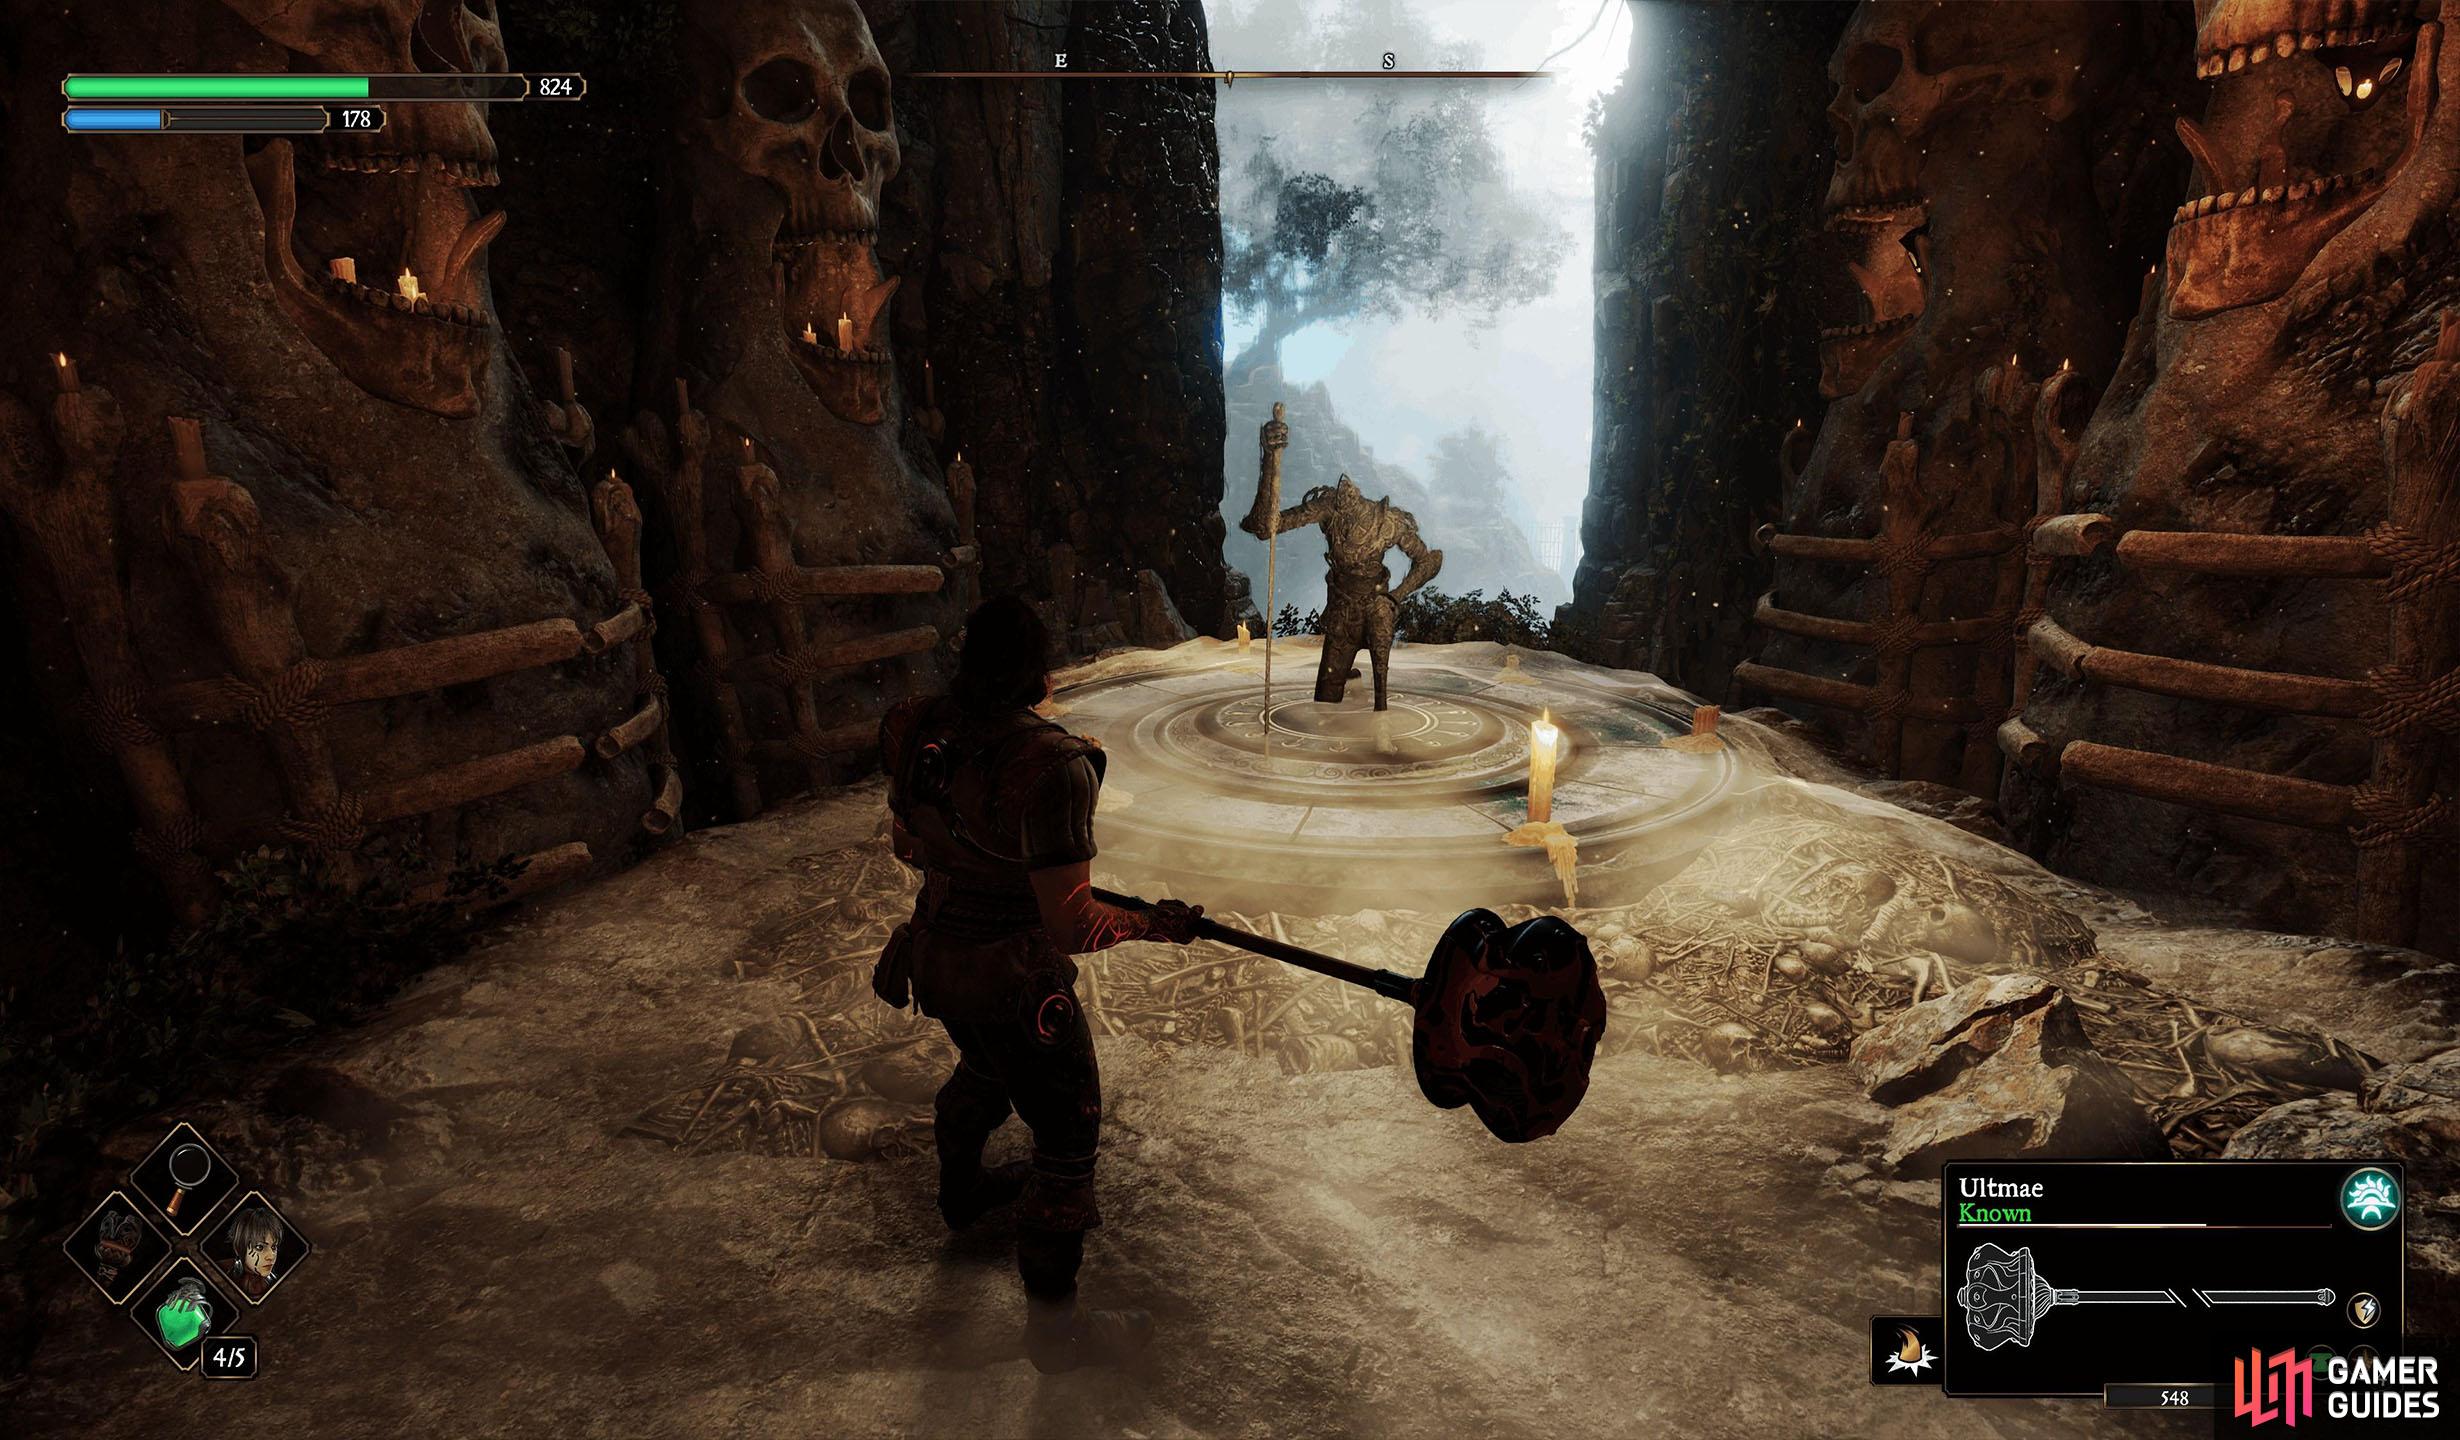
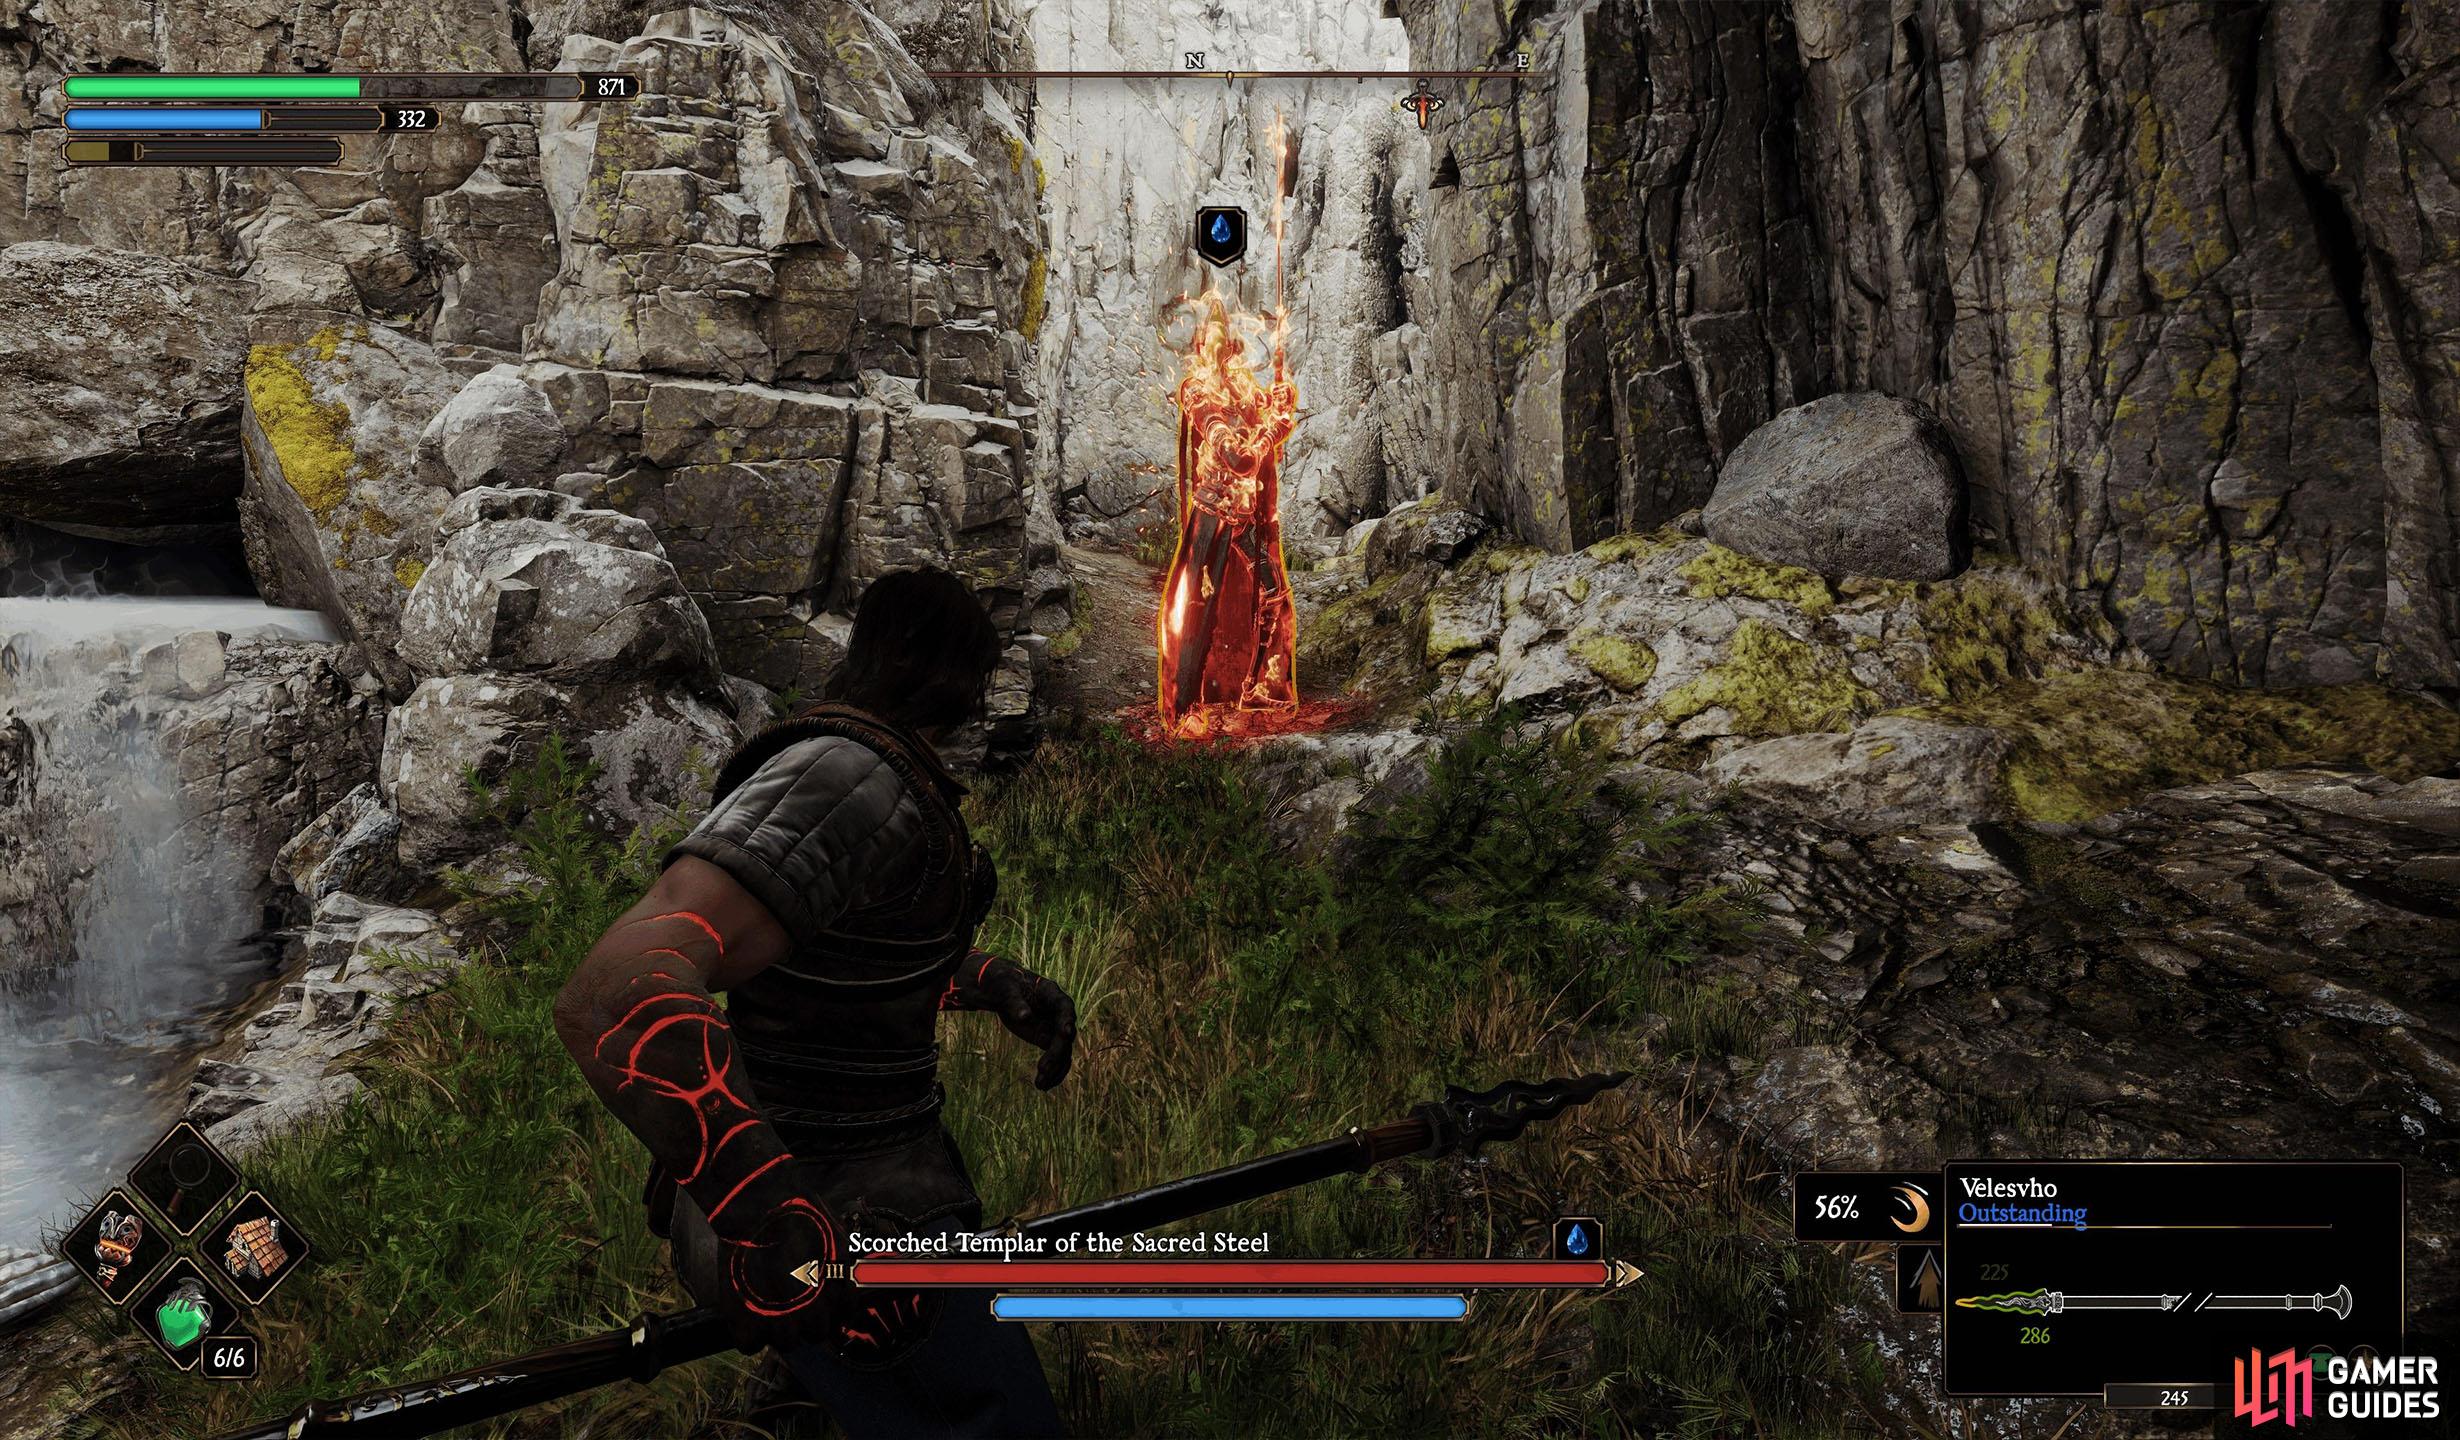
As mentioned above, most, but not all, Templars of the Sacred Steel statues require you to find a purple crow known as an Iridescent Crow and follow it back to the statues. To make the crow appear on your map, attack the stationary statues, and then locate the crow. When the crow reaches the statues, it’ll peck at them, causing them to materialize, and put you in a battle against one to three Templars of the Sacred Steel.
The Templars are difficult enemies who wield a Katana, and will posture up before unleashing a relentless combo on you. These hit hard, and if you get hit by one attack, it can be difficult to recover from it. We recommend using a Spear, preferably the ![]() Trident, and using charged attacks from a distance before immediately rolling backwards to avoid the counterattack.
Trident, and using charged attacks from a distance before immediately rolling backwards to avoid the counterattack.
Another good method is to use a fast weapon such as Sabers or Daggers and walk toward them, bait out an attack, dodge it, and get a few hits on them before retreating. Finally, when their stamina depletes, they will recover it by kneeling on the floor, leaving them open to multiple charge attacks.
Kar-Lethel Swamp Templar 1 Location
The first group of Templars you’ll come across is located in the northwest corner of ![]() Kar-Lethel Swamp. From the Kar-Lethel Wall Anvil, go through the large gate and hug the right wall. Eventually, you’ll reach the group of Templars to your right. Note that you should defeat the regular enemies around this area first before spawning them, as they’ll be a hindrance to you when fighting the Templars.
Kar-Lethel Swamp. From the Kar-Lethel Wall Anvil, go through the large gate and hug the right wall. Eventually, you’ll reach the group of Templars to your right. Note that you should defeat the regular enemies around this area first before spawning them, as they’ll be a hindrance to you when fighting the Templars.
The Templar is located in the northeast of the Kar-Lethel Swamp.
You can find the Crow on the battle standard behind the Kar-Lethel Wall Anvil.
Kar-Lethel Swamp Iridescent Crow 1 Location
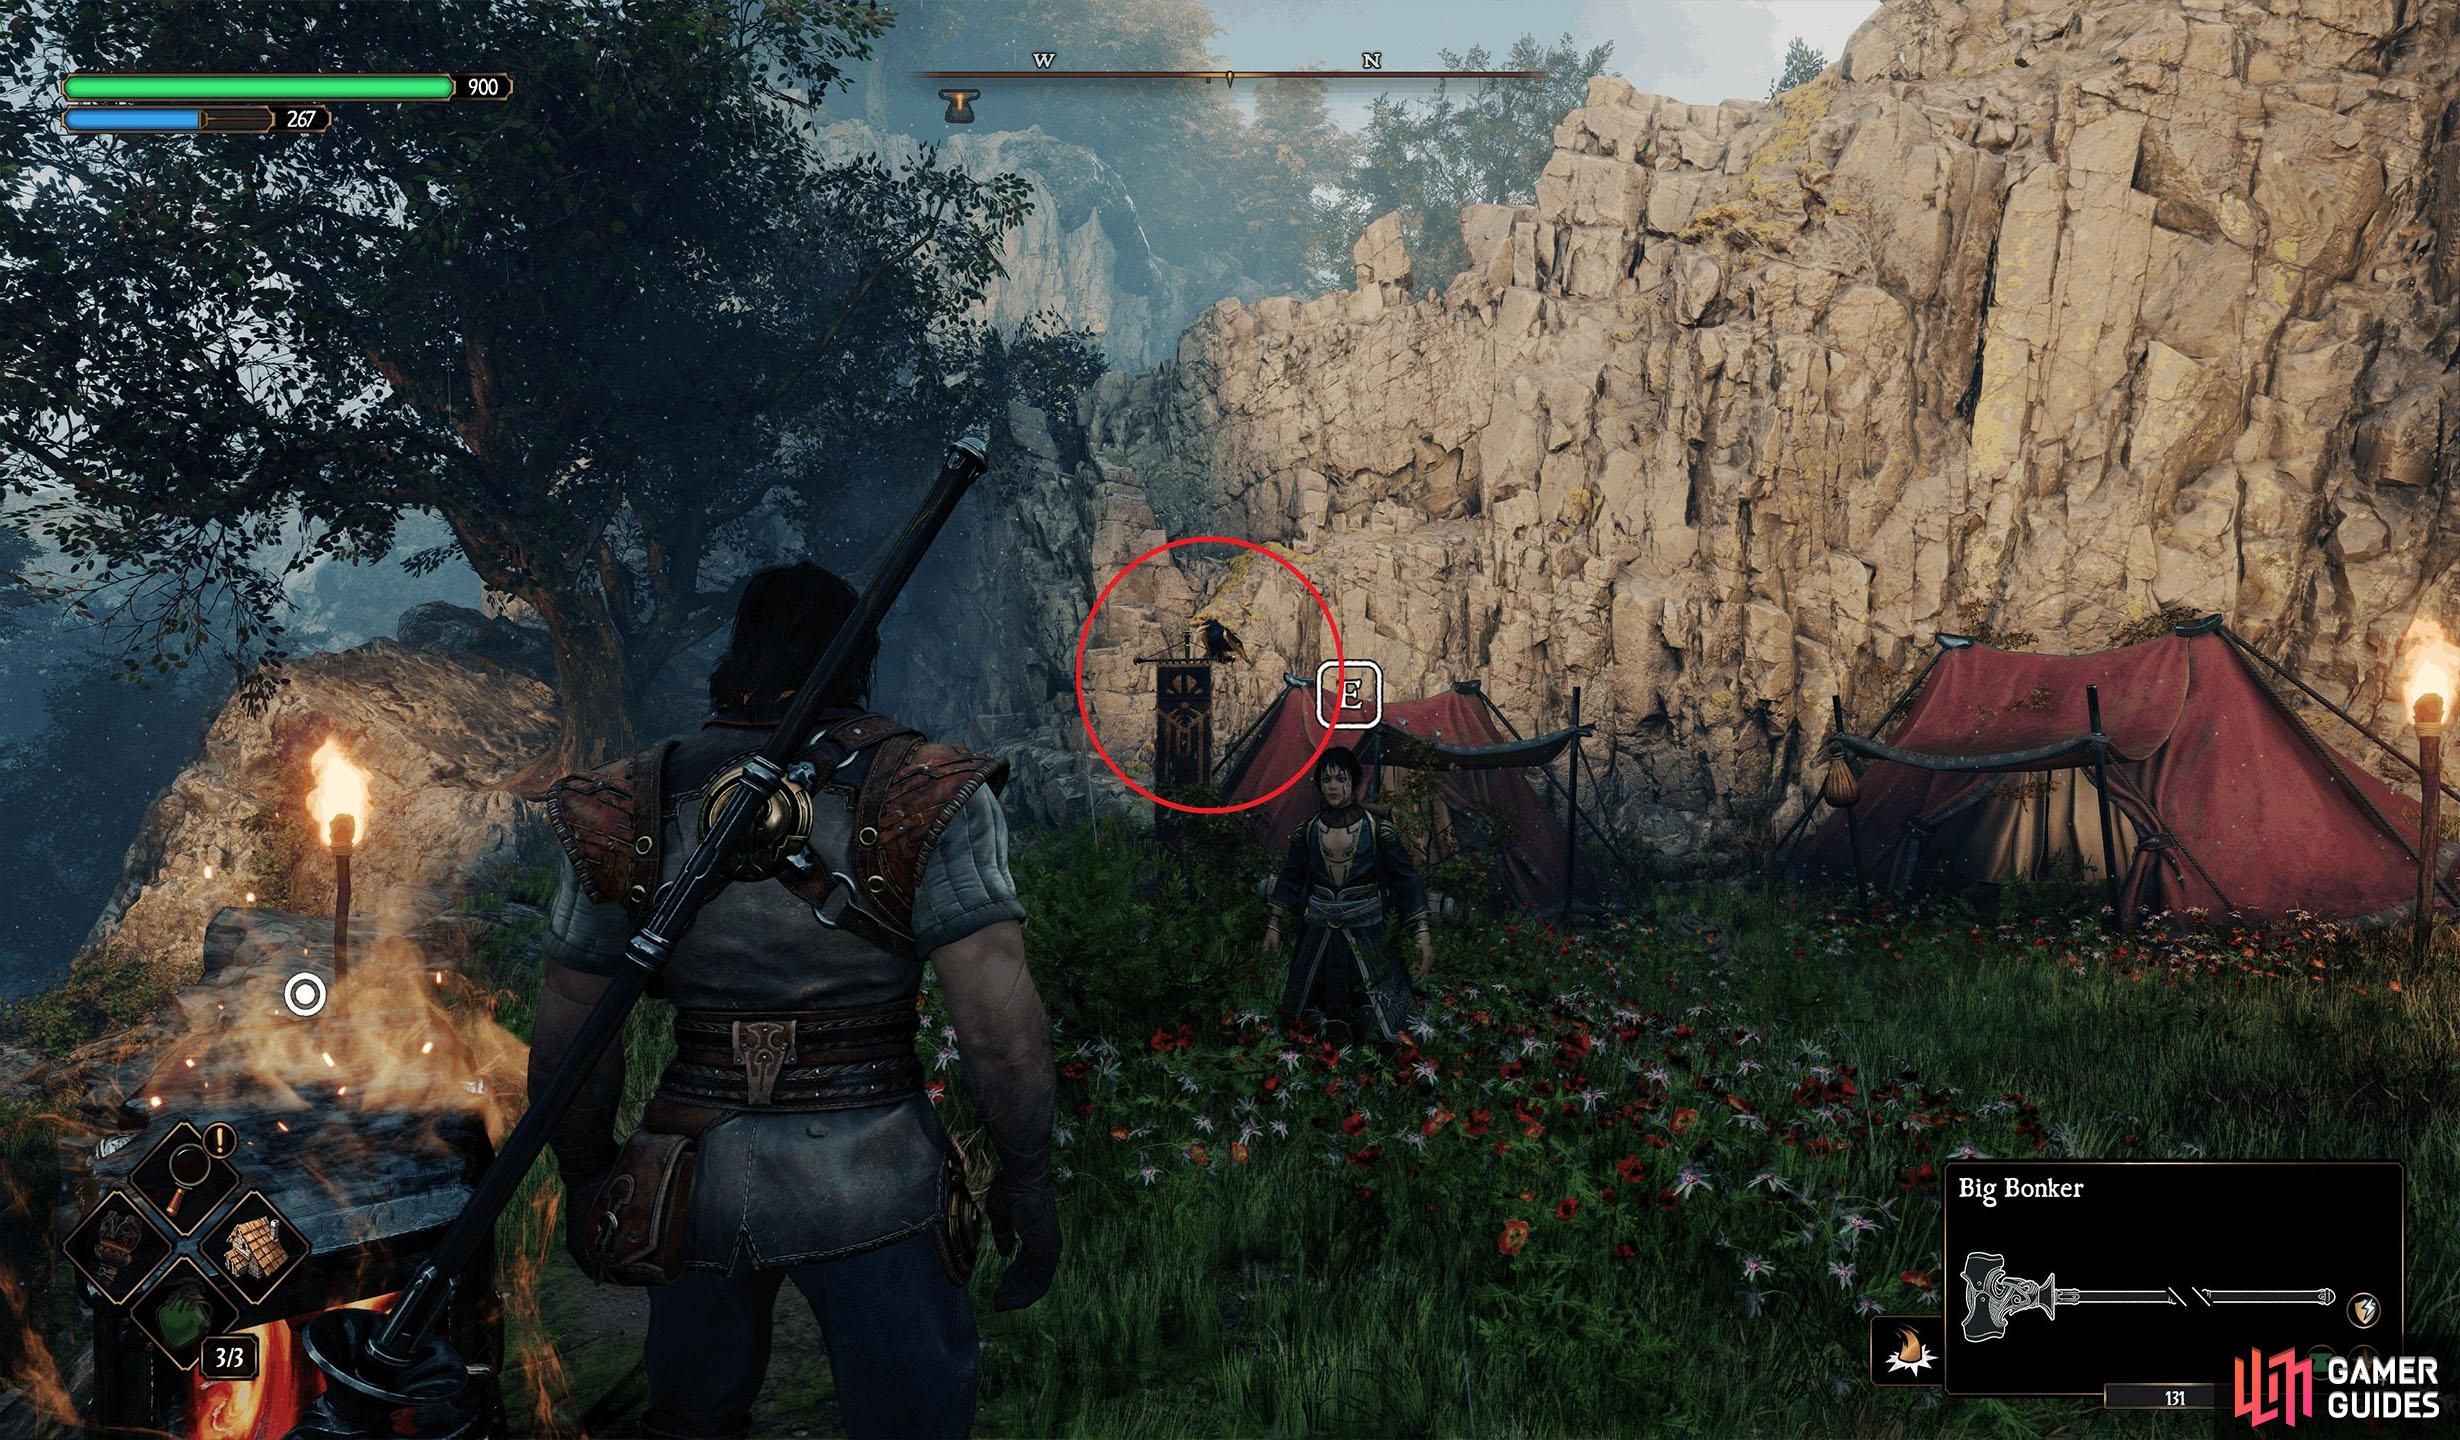
The Iridescent Crow for these Templars is located near the Kar-Lethel Wall Anvil. From the Anvil, look behind you at the red tents. The crow will be perched on top of the battle standard next to the left red tent.
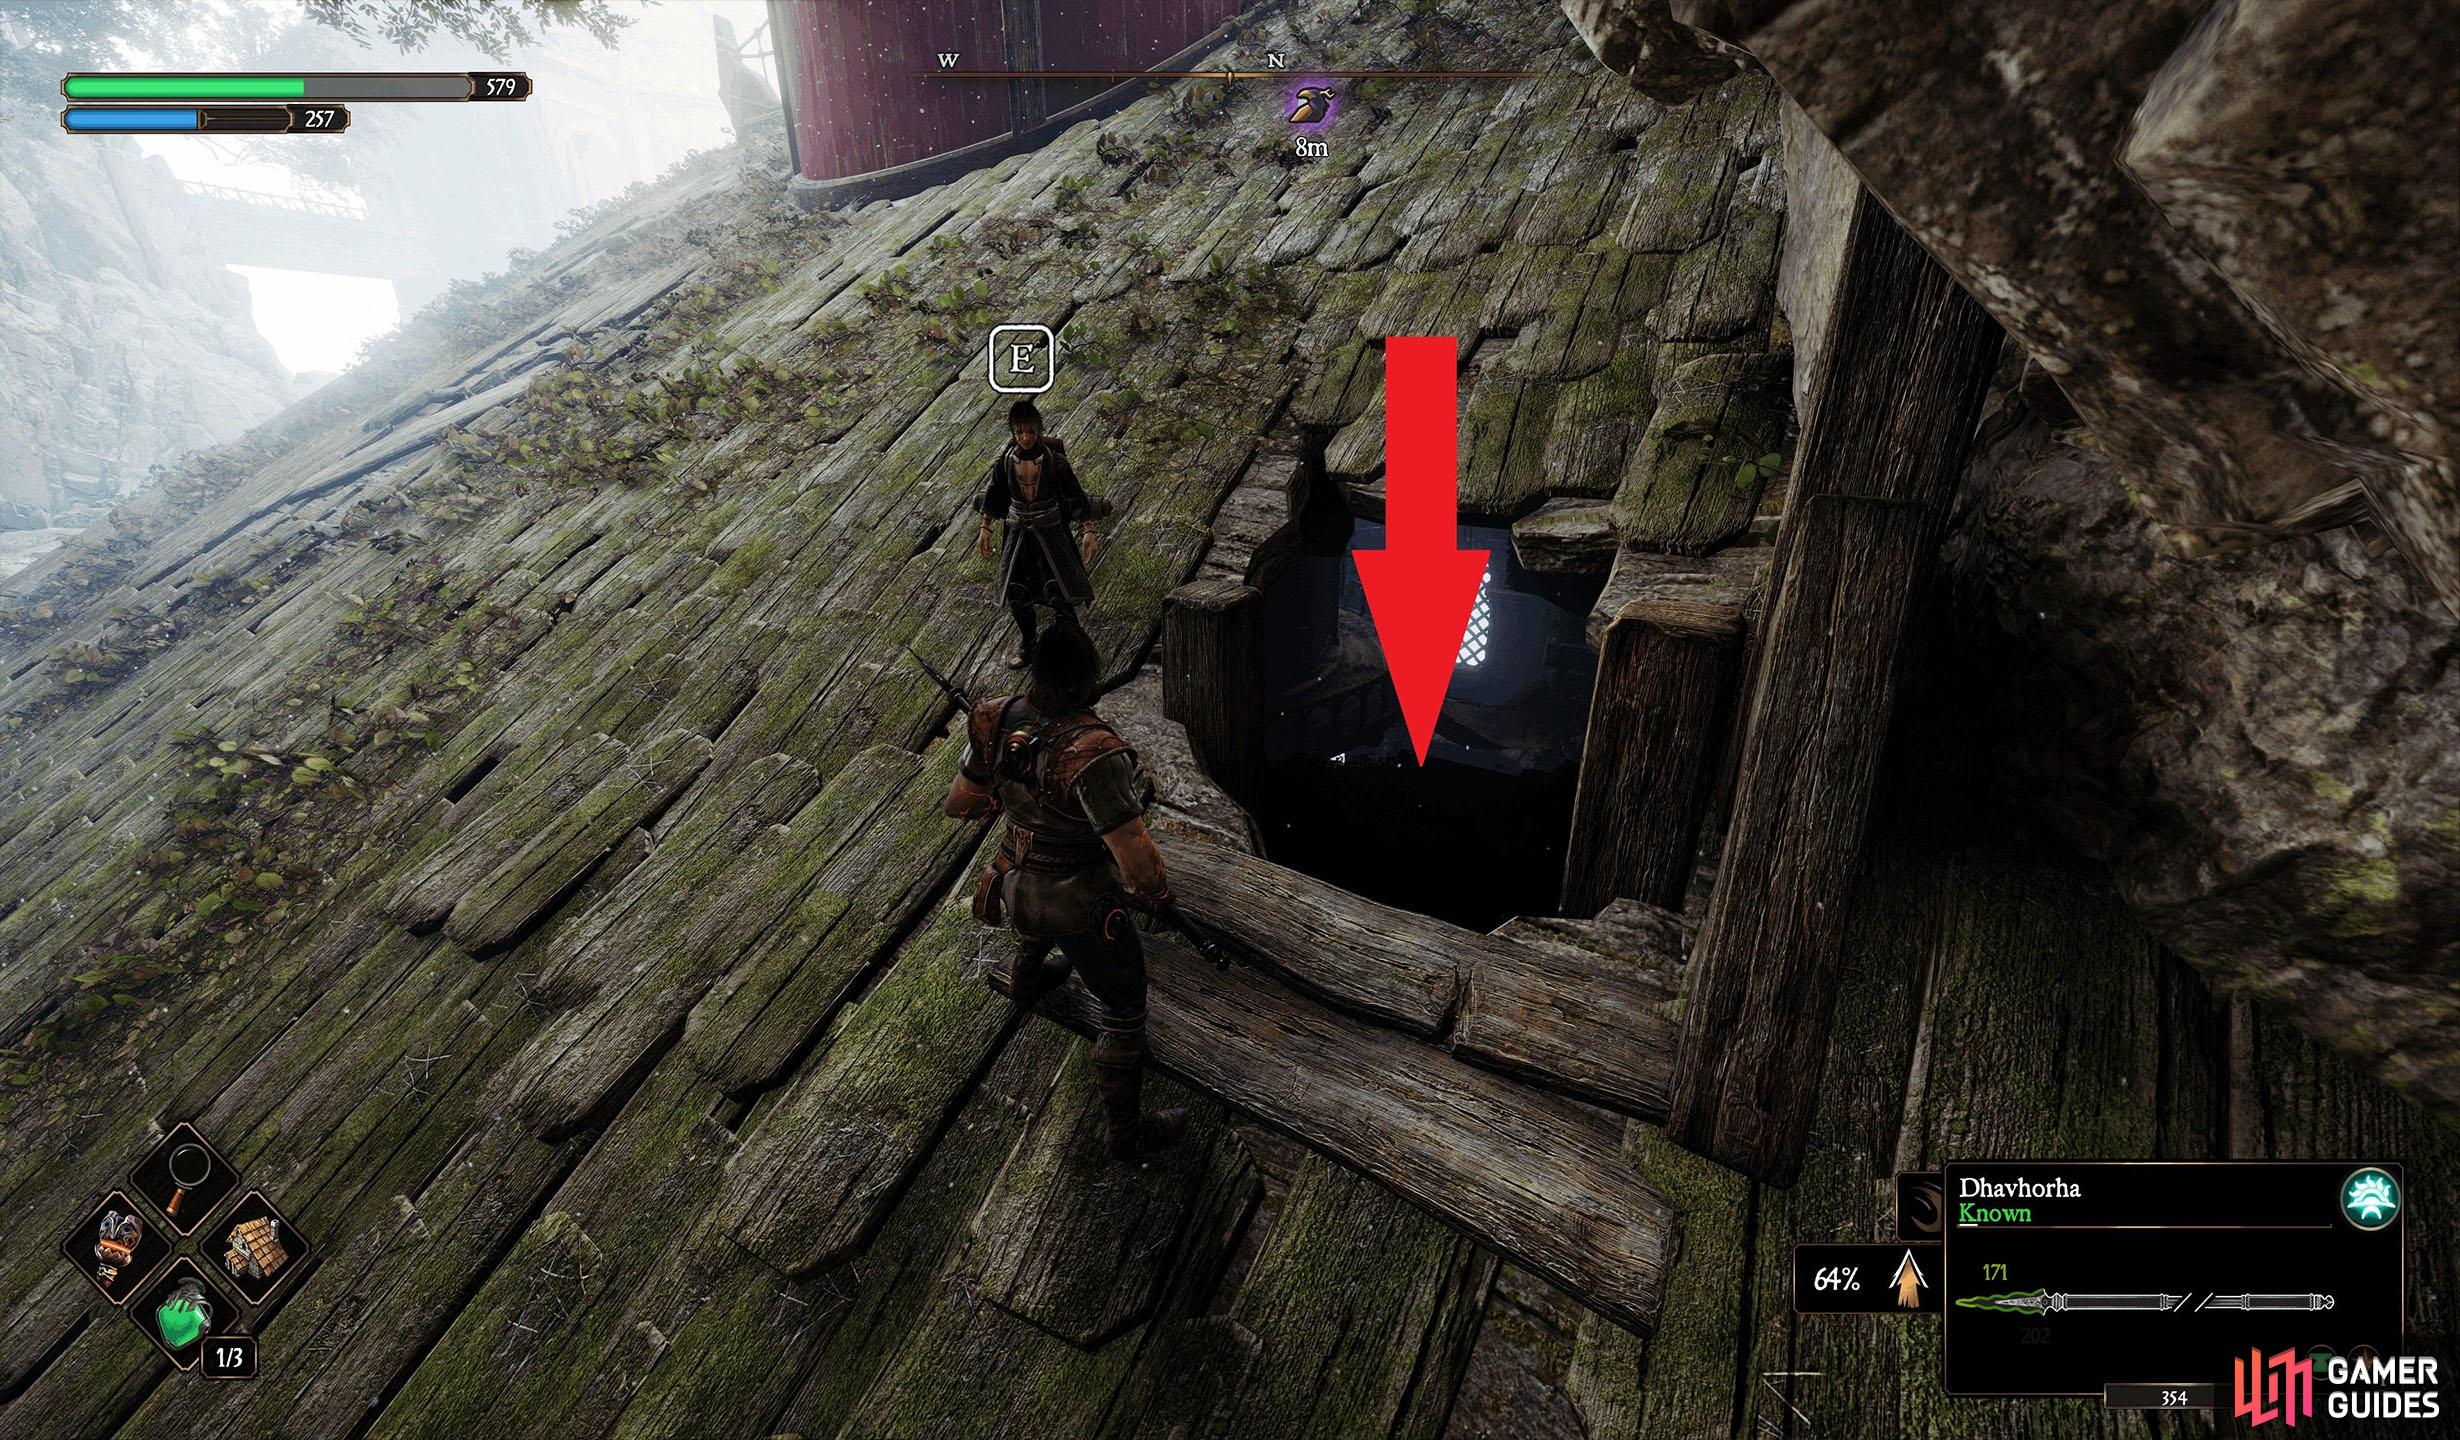
Kar-Lethel Swamp Templar 2 Location
Although we have this listed second, you won’t be able to awaken these statues until later on when you get the Light Rune. This group of Templars is located in the northwest corner of Kar-Lethel Swamp. The quickest way to get to them is to fast travel to the Coastal Watchtower Anvil and walk northwest a little. You’ll find them behind the large rock opposite the bridge.

Untitled_5.jpg

Untitled_6.jpg
Kar-Lethel Swamp Iridescent Crow 2 Location
This is the reason you won’t be able to awaken the statues yet. The Crow is located on the other side of the bridge, south of the Coastal Watchtower Anvil. However, the bridge requires a blue flame, which can only be obtained after acquiring the Light Rune. When you have the Light Rune, you can gain access to the Black Metal Towers Anvil, and from there, head north to the Crow. The blue flame required for the bridge can be found in the Black Metal Towers part of the Forgers’ Sanctum.
The Templars are located to the left of the Coastal Watchtower Anvil.
However, the Crow is across the bridge to the right of it, and requires the Light Rune to get to the blue flame needed for the bridge.
Kar-Lethel Swamp Templar 3 Location
Similar to the previous Templars, you will need the Light Rune and access to the Black Metal Towers part of the Forgers’ Sanctum, as you’ll need a blue flame to build a bridge to reach the Templars. This involves completing a fairly complex puzzle, so we recommend you read our Forger’s Sanctum Flame Puzzle Guide to get through it. The Templars themselves are on top of a plateau to the south of the Forgers’ Sanctum in the center of the swamp, but as we mentioned, you’ll need to complete the puzzle to reach it.
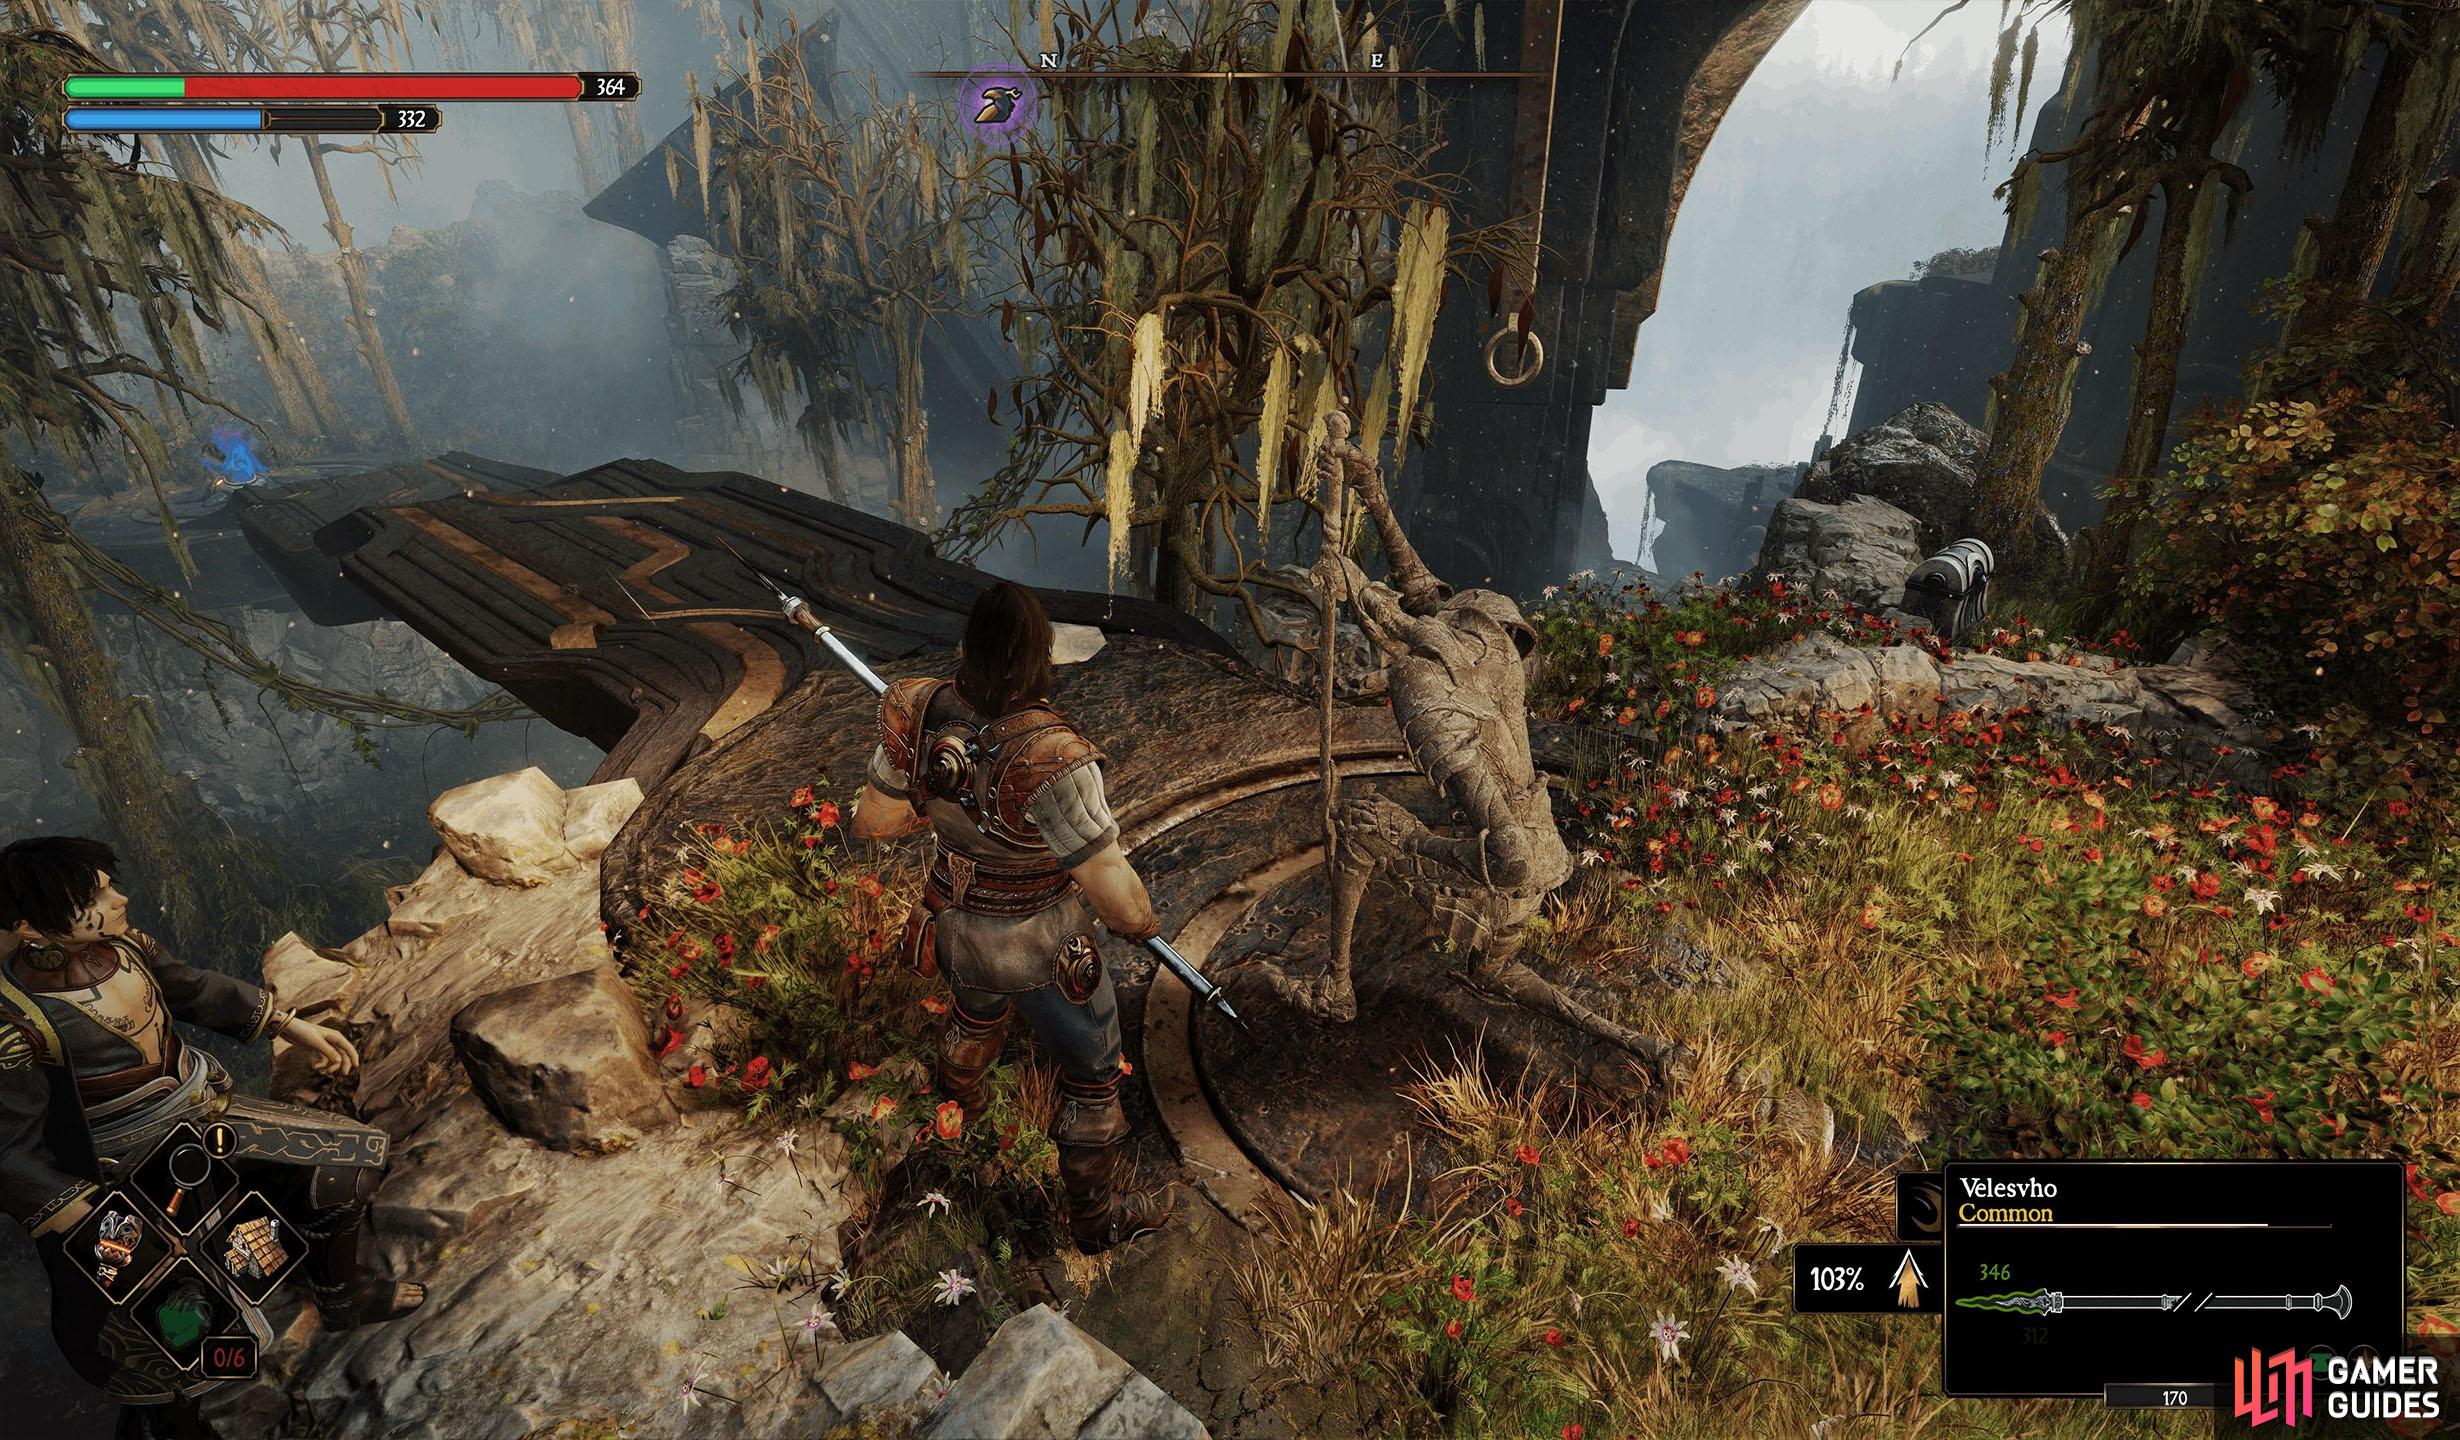
The Templars is located on the plateau north of the Forgers’ Sanctum.
The Crow is at the southern exit of the Sanctum, but you’ll need to complete a puzzle to create the bridge to the plateau.
Kar-Lethel Swamp Iridescent Crow 3 Location
Fortunately, the Crow doesn’t need as much work to reach, and you can find it perched at the edge of the southern exit of the Forgers’ Sanctum.
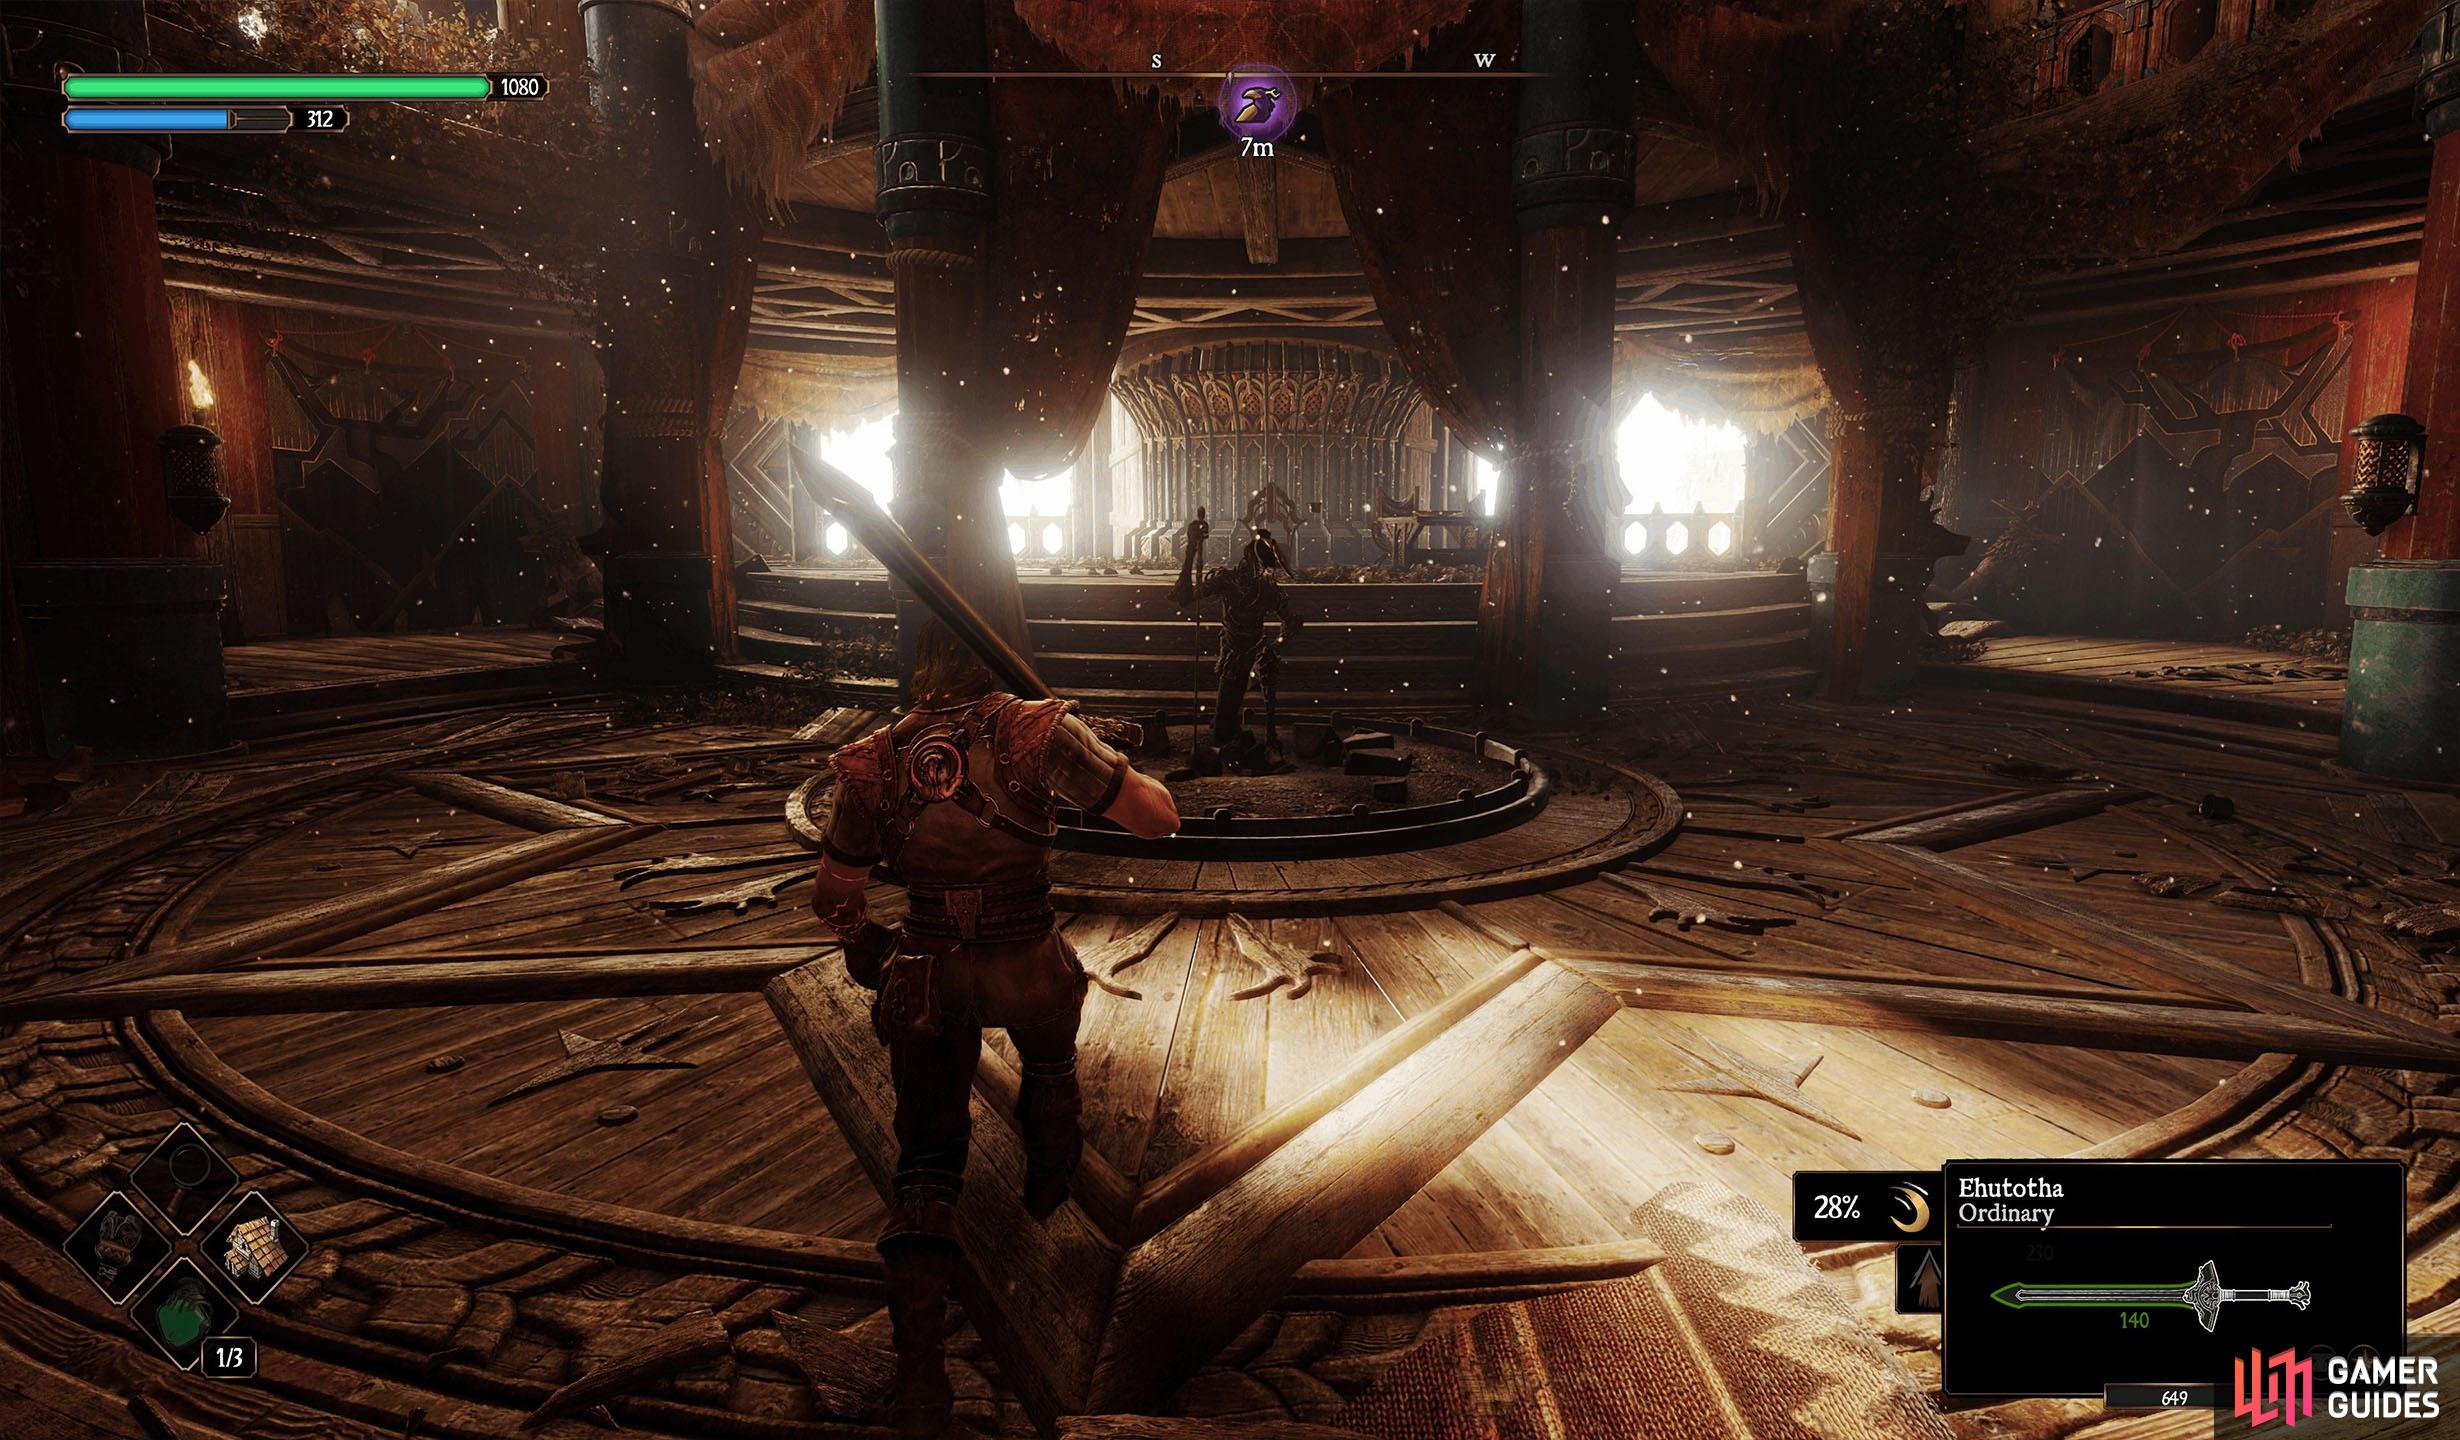
The Crimson Fort Templar 1 Location
There are a few Templars to find in ![]() The Crimson Fort, and the first one is near the Cellars Anvil. Fast travel to the Anvil, drop to the floor below, and follow the path northeast. In the next room, go northwest, and you’ll find a lone Templar in the center of the room, between the pillars.
The Crimson Fort, and the first one is near the Cellars Anvil. Fast travel to the Anvil, drop to the floor below, and follow the path northeast. In the next room, go northwest, and you’ll find a lone Templar in the center of the room, between the pillars.
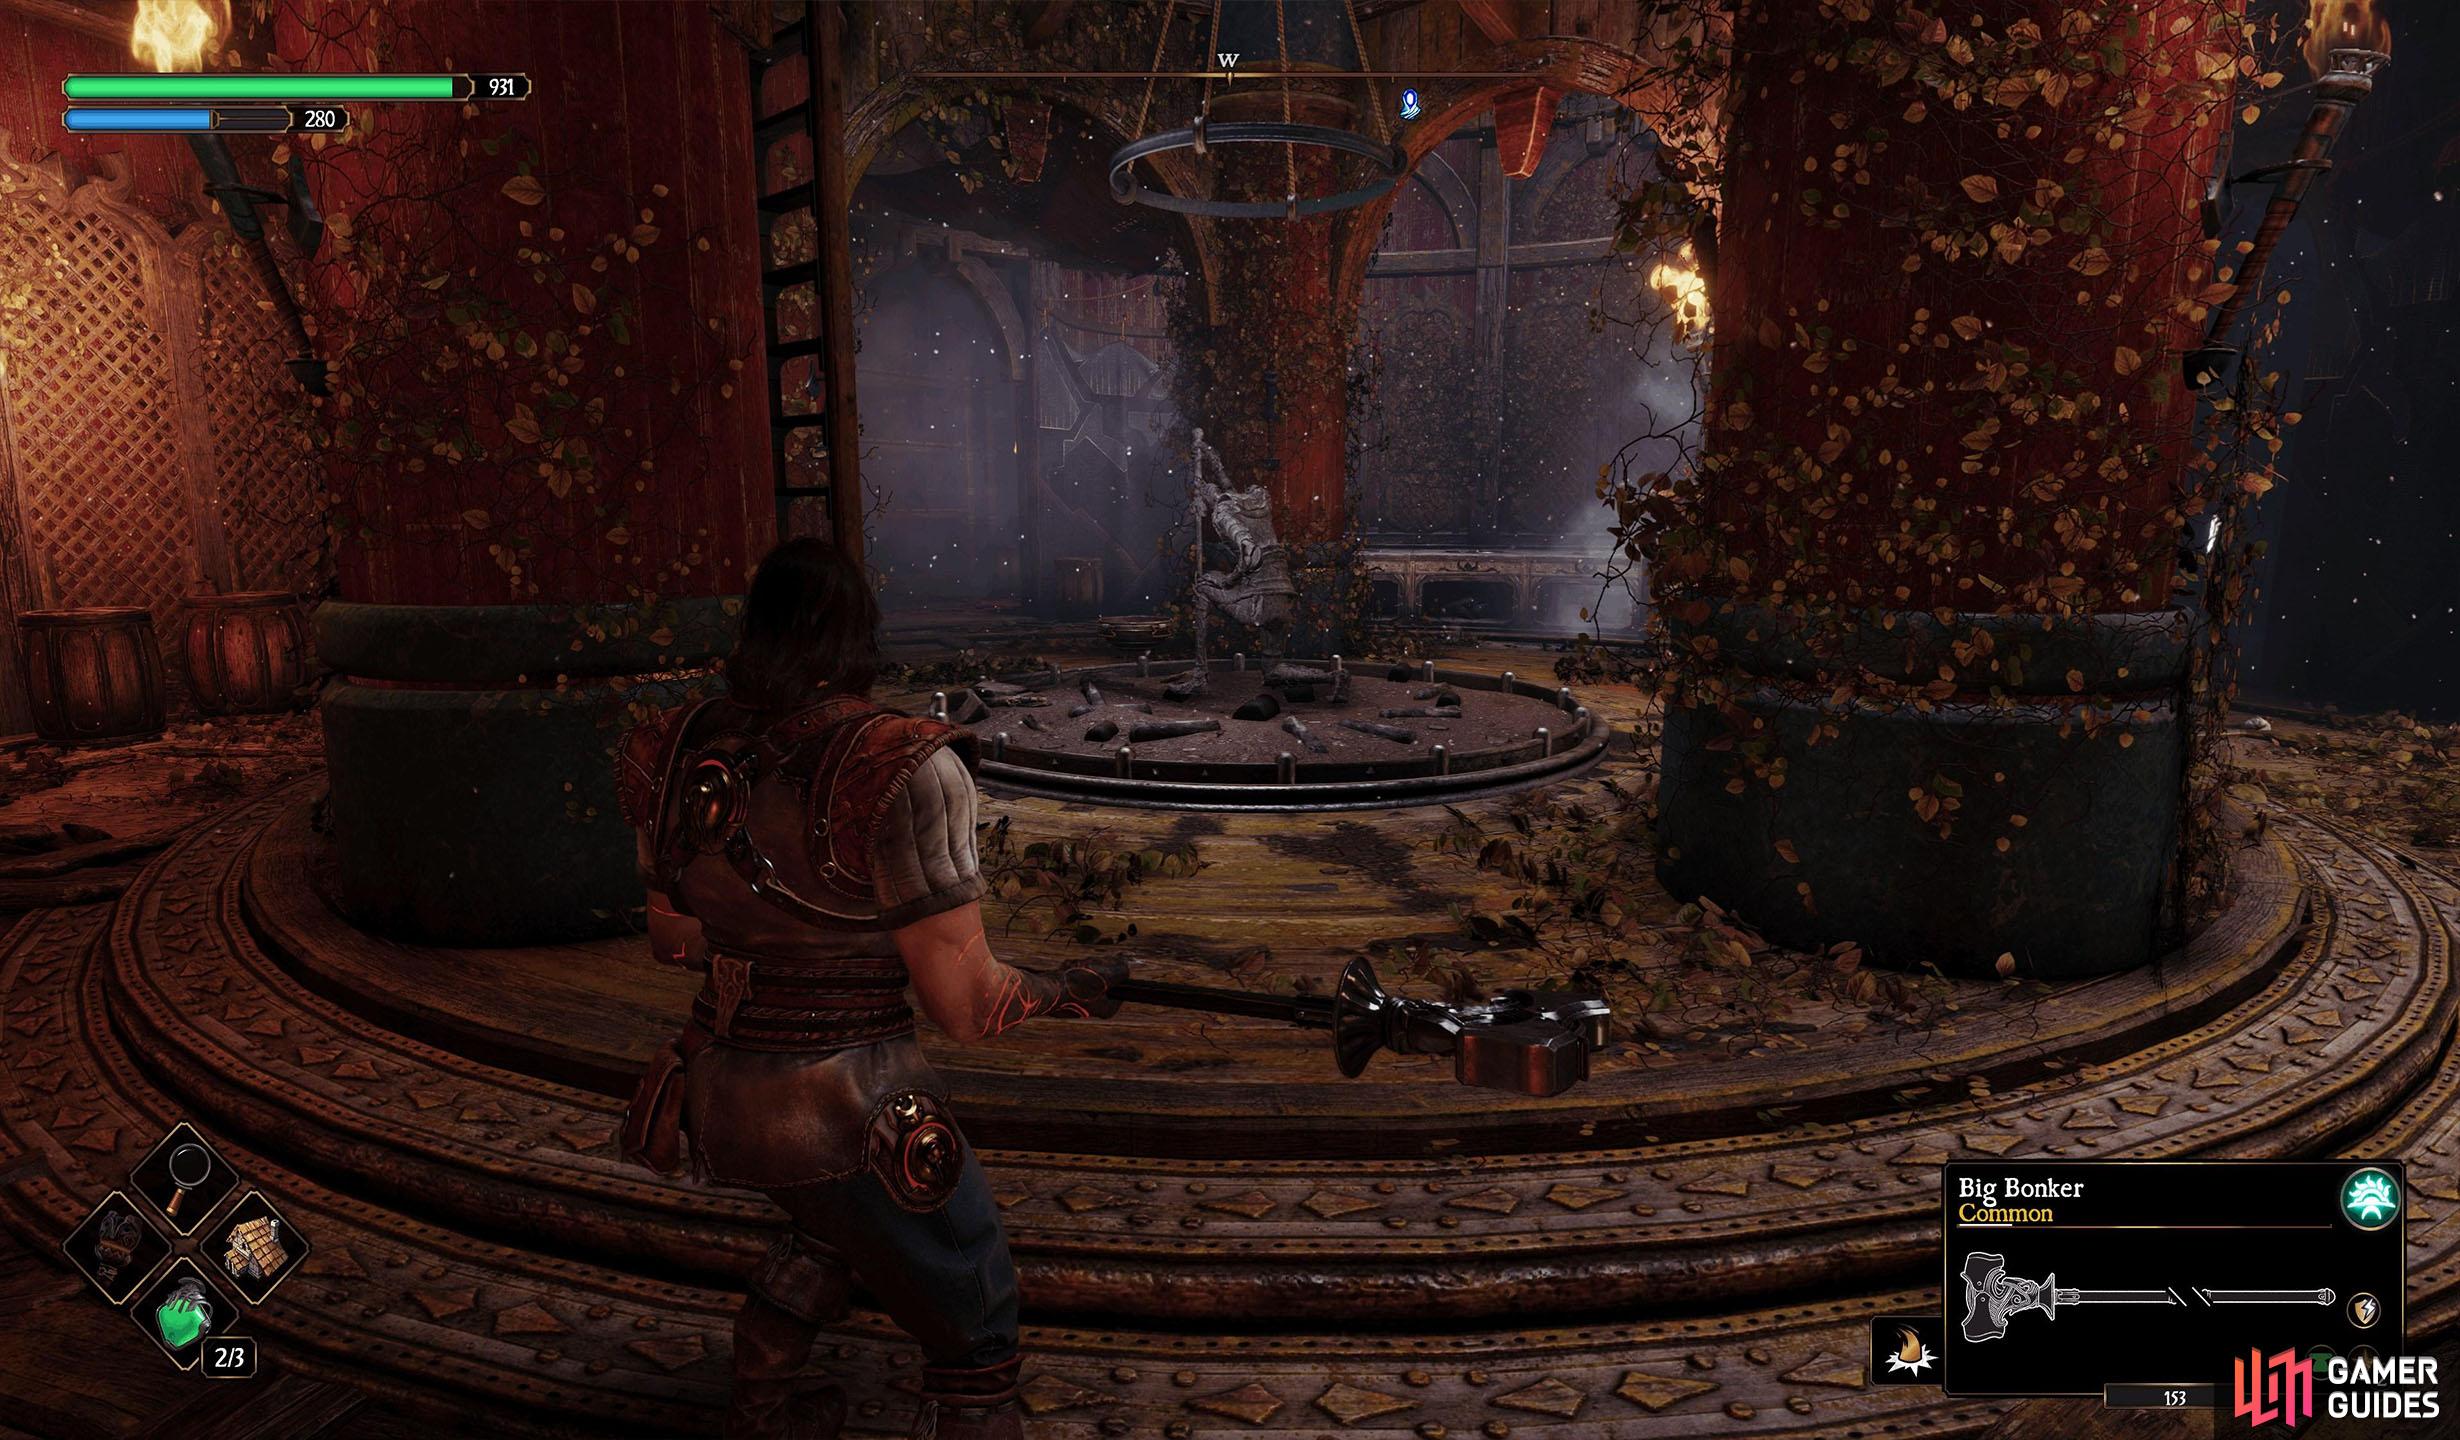
Located in the big room northwest of the Cellars Anvil.
The Crow is directly above, accessed by dropping in the hole on the roof.
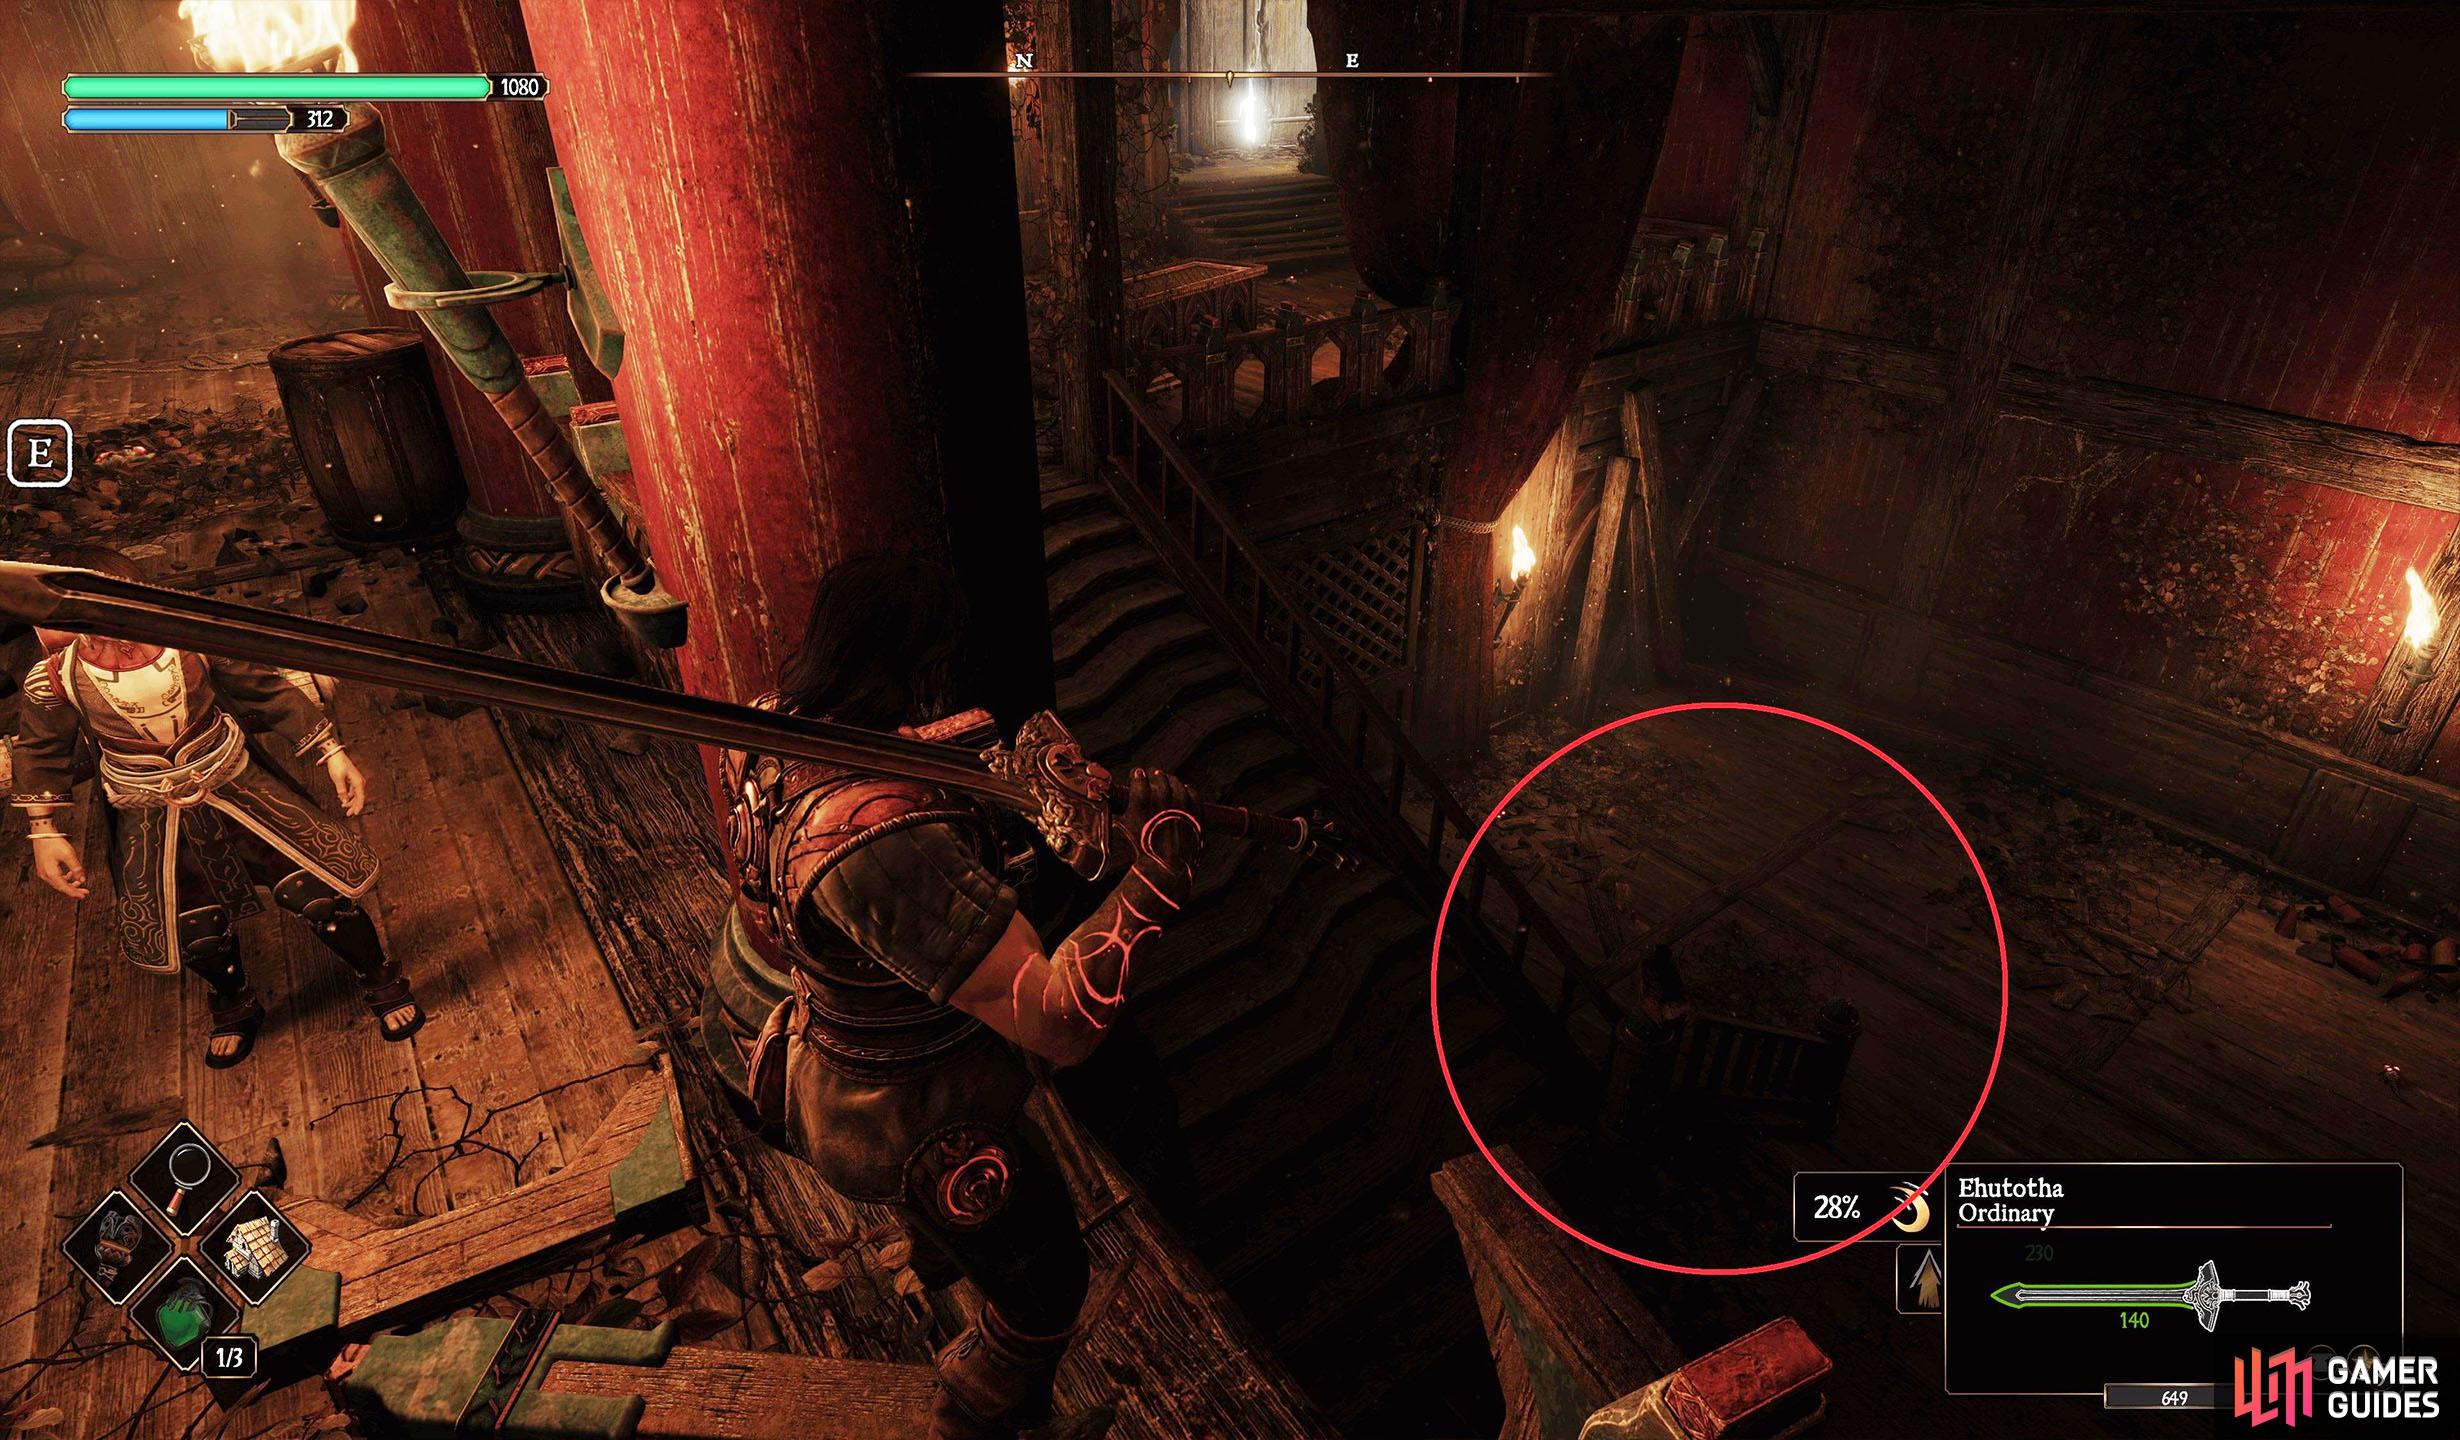
The Crimson Fort Iridescent Crow 1 Location
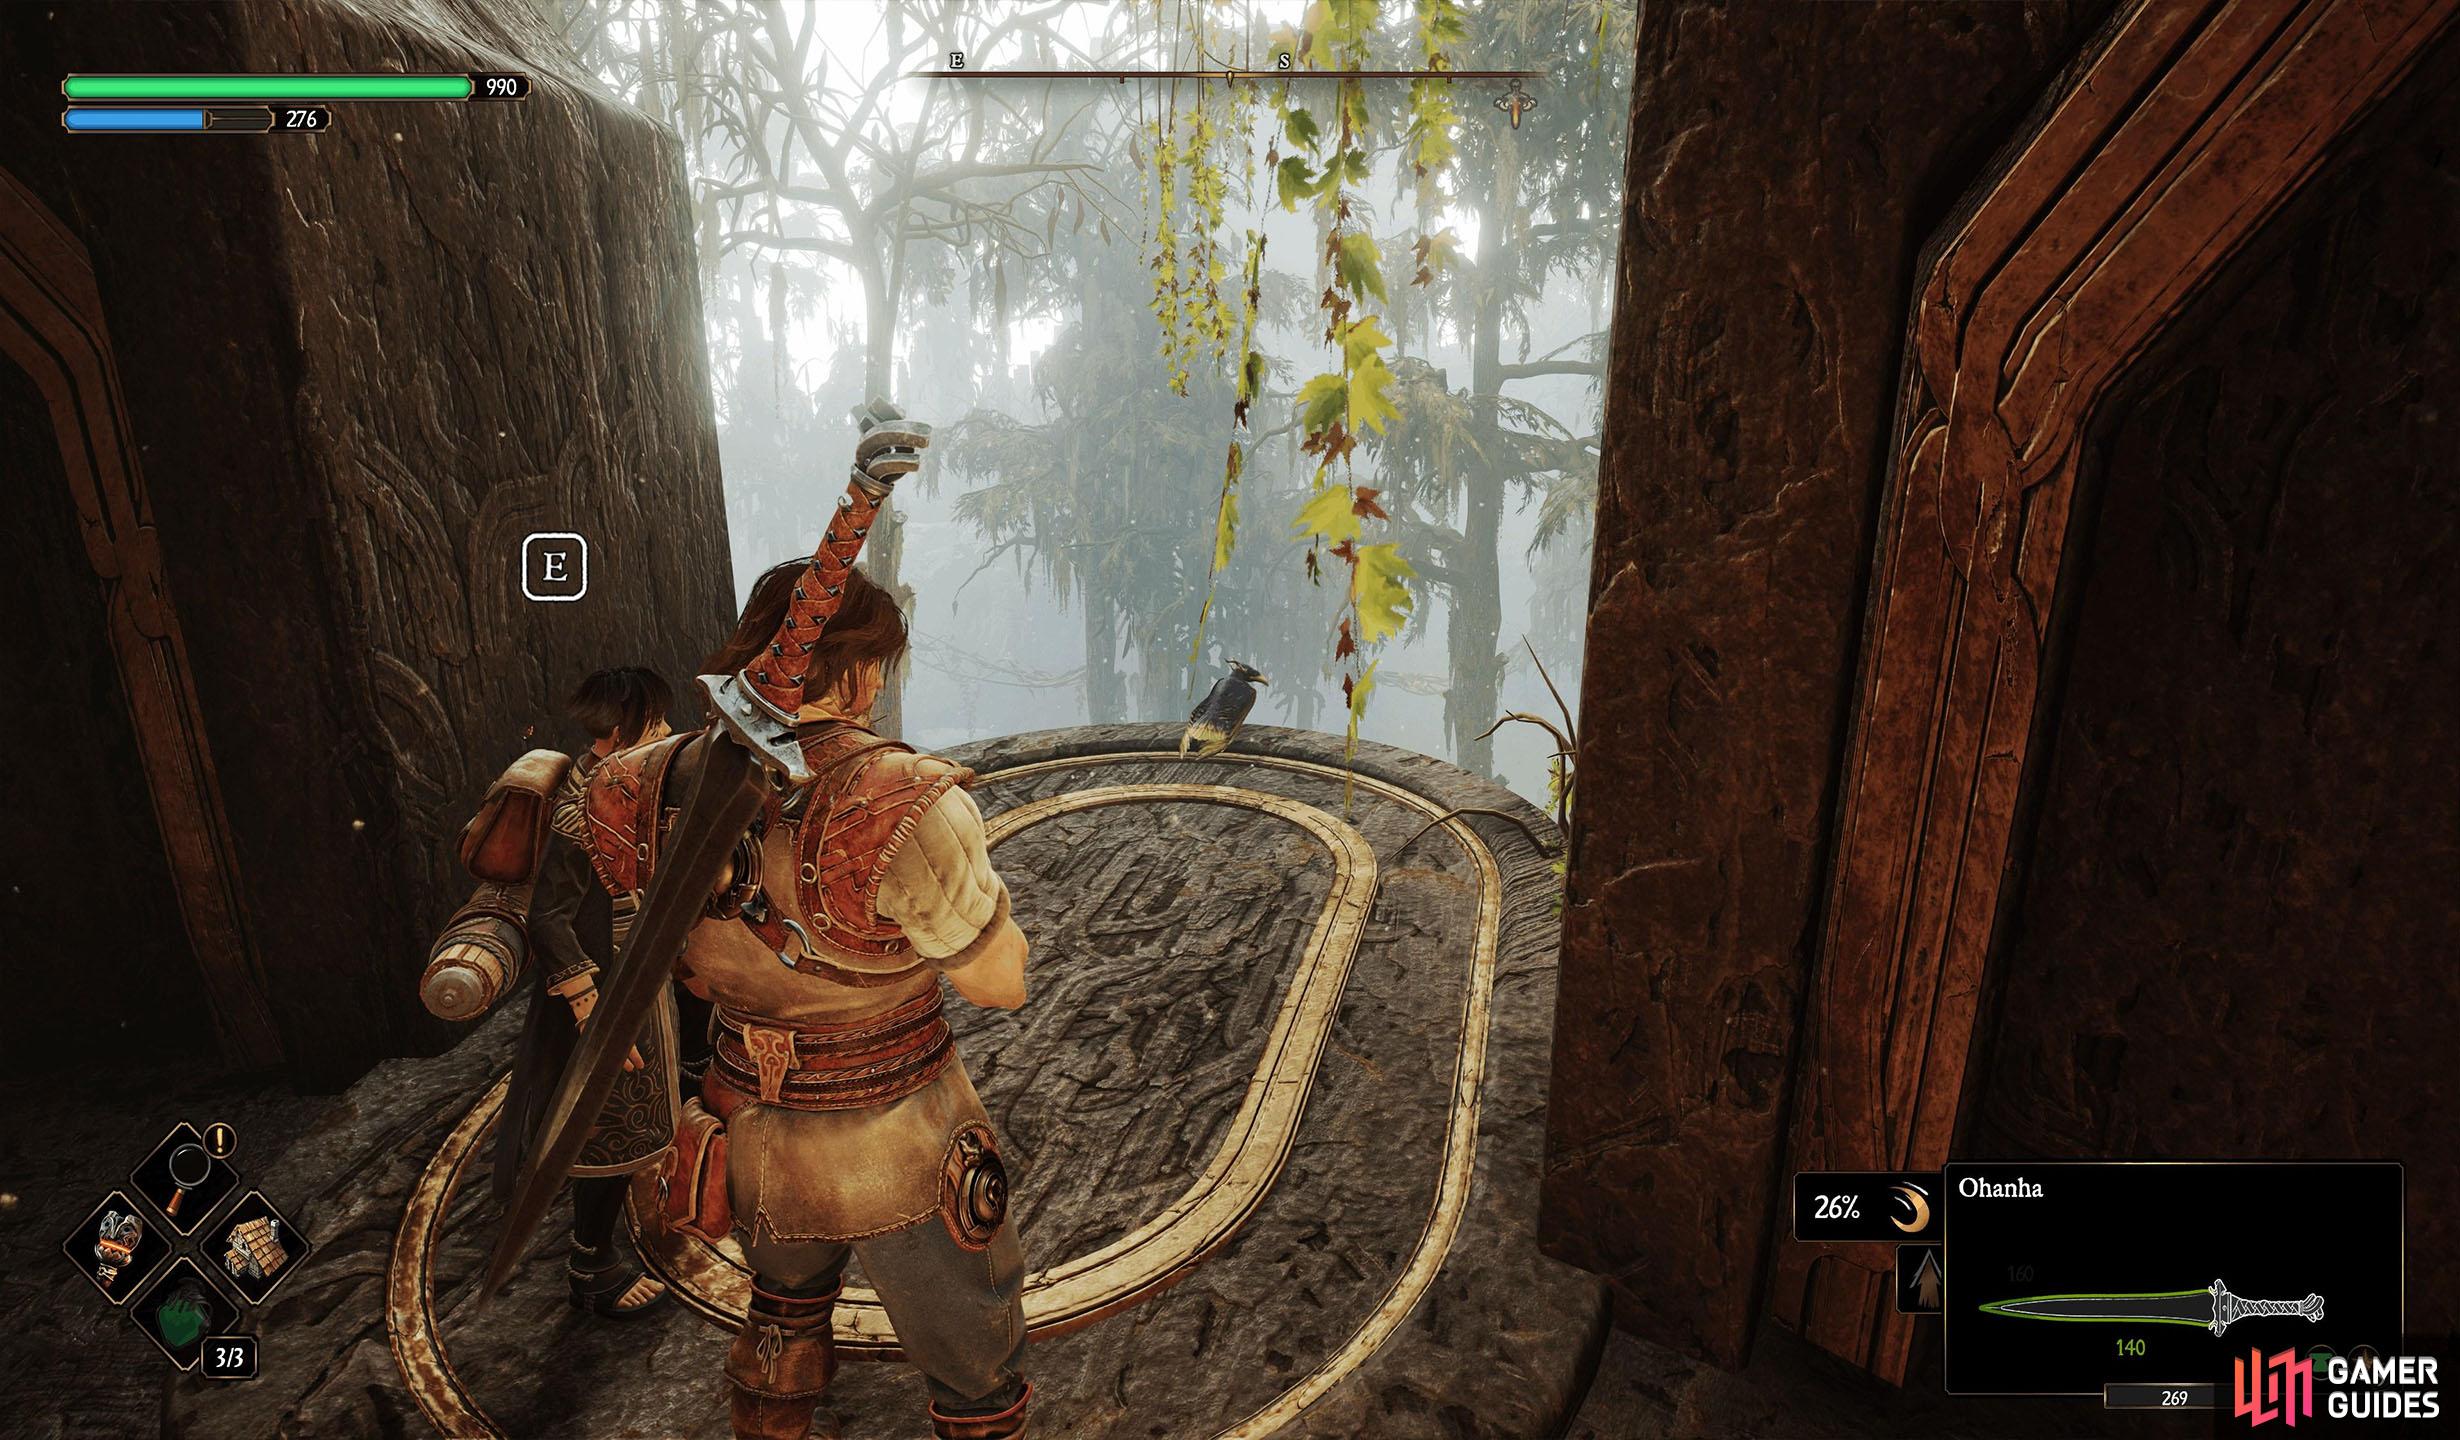
The Crow for this Templar is located above you, on the roof. Take the ladder up next to the Templar and follow the linear path northwest until you find a hole in the wall to your left. This will take you to the roof.
Now, head over to the south side of the roof, and go to the southeast corner to find two holes. The Crow will be in the hole with the planks of wood coming out of them. Drop into the hole and follow the Crow back to the statue using the nearby rope to descend back down to the large room.
The Crimson Fort Templar 2 Location
This Templar is another singular statue located in the southern tower. The quickest way to get here is to fast travel to the Cellar’s Roof Anvil and go through the gap into the building to the south. Inside the building, go up the stairs and head into the room to the southwest. The statue will be in the center of the room.
Go through the gap into the fort from the Cellar’s Roof Anvil, go up the stairs, and into the southwest room.
The Crow is on the bannister of the staircase to your right after squeezing through the gap into the fort.
The Crimson Fort Iridescent Crow 2 Location
From the Cellar’s Roof anvil, squeeze through the gap in the wall to the southwest to enter the fort, then go right. The crow is perched on the banister of the staircase in the next room.
The Crimson Fort Templar 3 Location
These Templars are located at the end of a rocky path far to the east of Eagles Bridge. Fast travel to the Eagles Bridge Anvil and go across the bridge to the north. Inside, go to the bottom floor and head through the northern door.
To your right, you’ll find a gap in the wall at the bottom of the stairs. Go through the gap and make your way to the end to find two Templar Statues. Note that you will fight a lot of skeletons through the gap, including some rising from the ground as you get near the statues.
The Templars are to the right of the mausoleum, accessed by going to the bottom of the building north of the Eagles Bridge Anvil.
The Crow is on top of the statue near the Eagles Bridge Anvil.
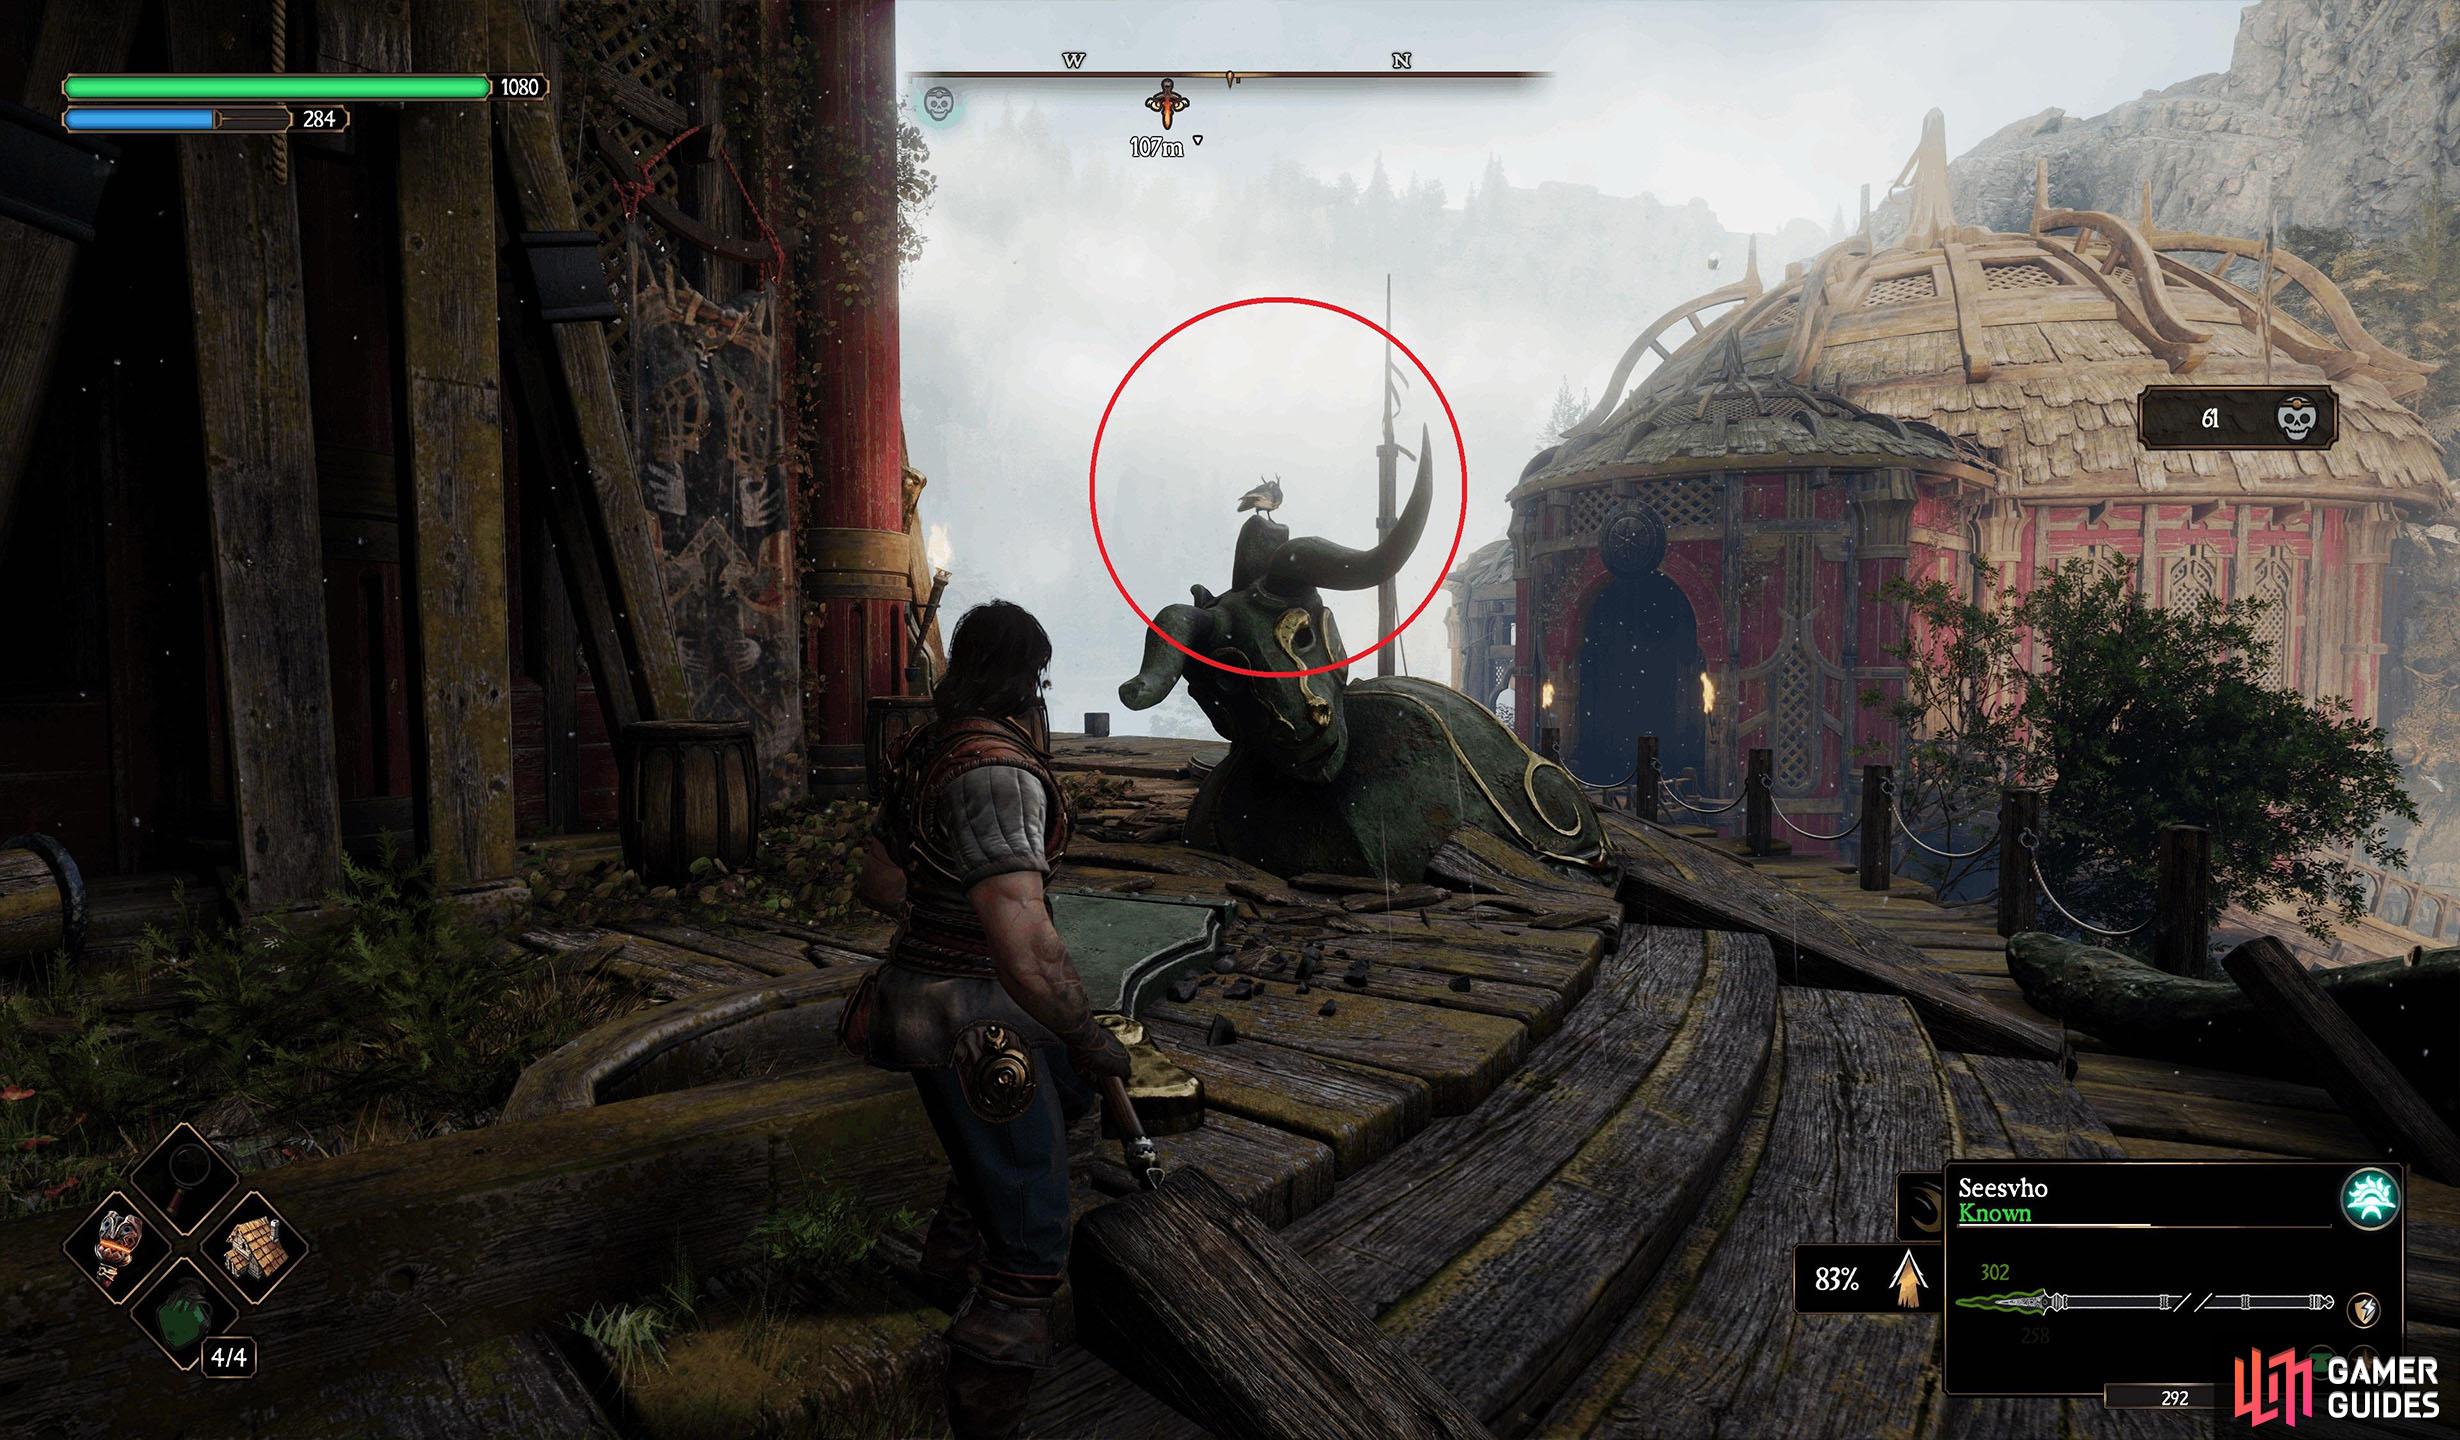
The Crimson Fort Iridescent Crow 3 Location
The Crow for these Templars is located on top of the bull head statue east of Eagles Bridge Anvil.
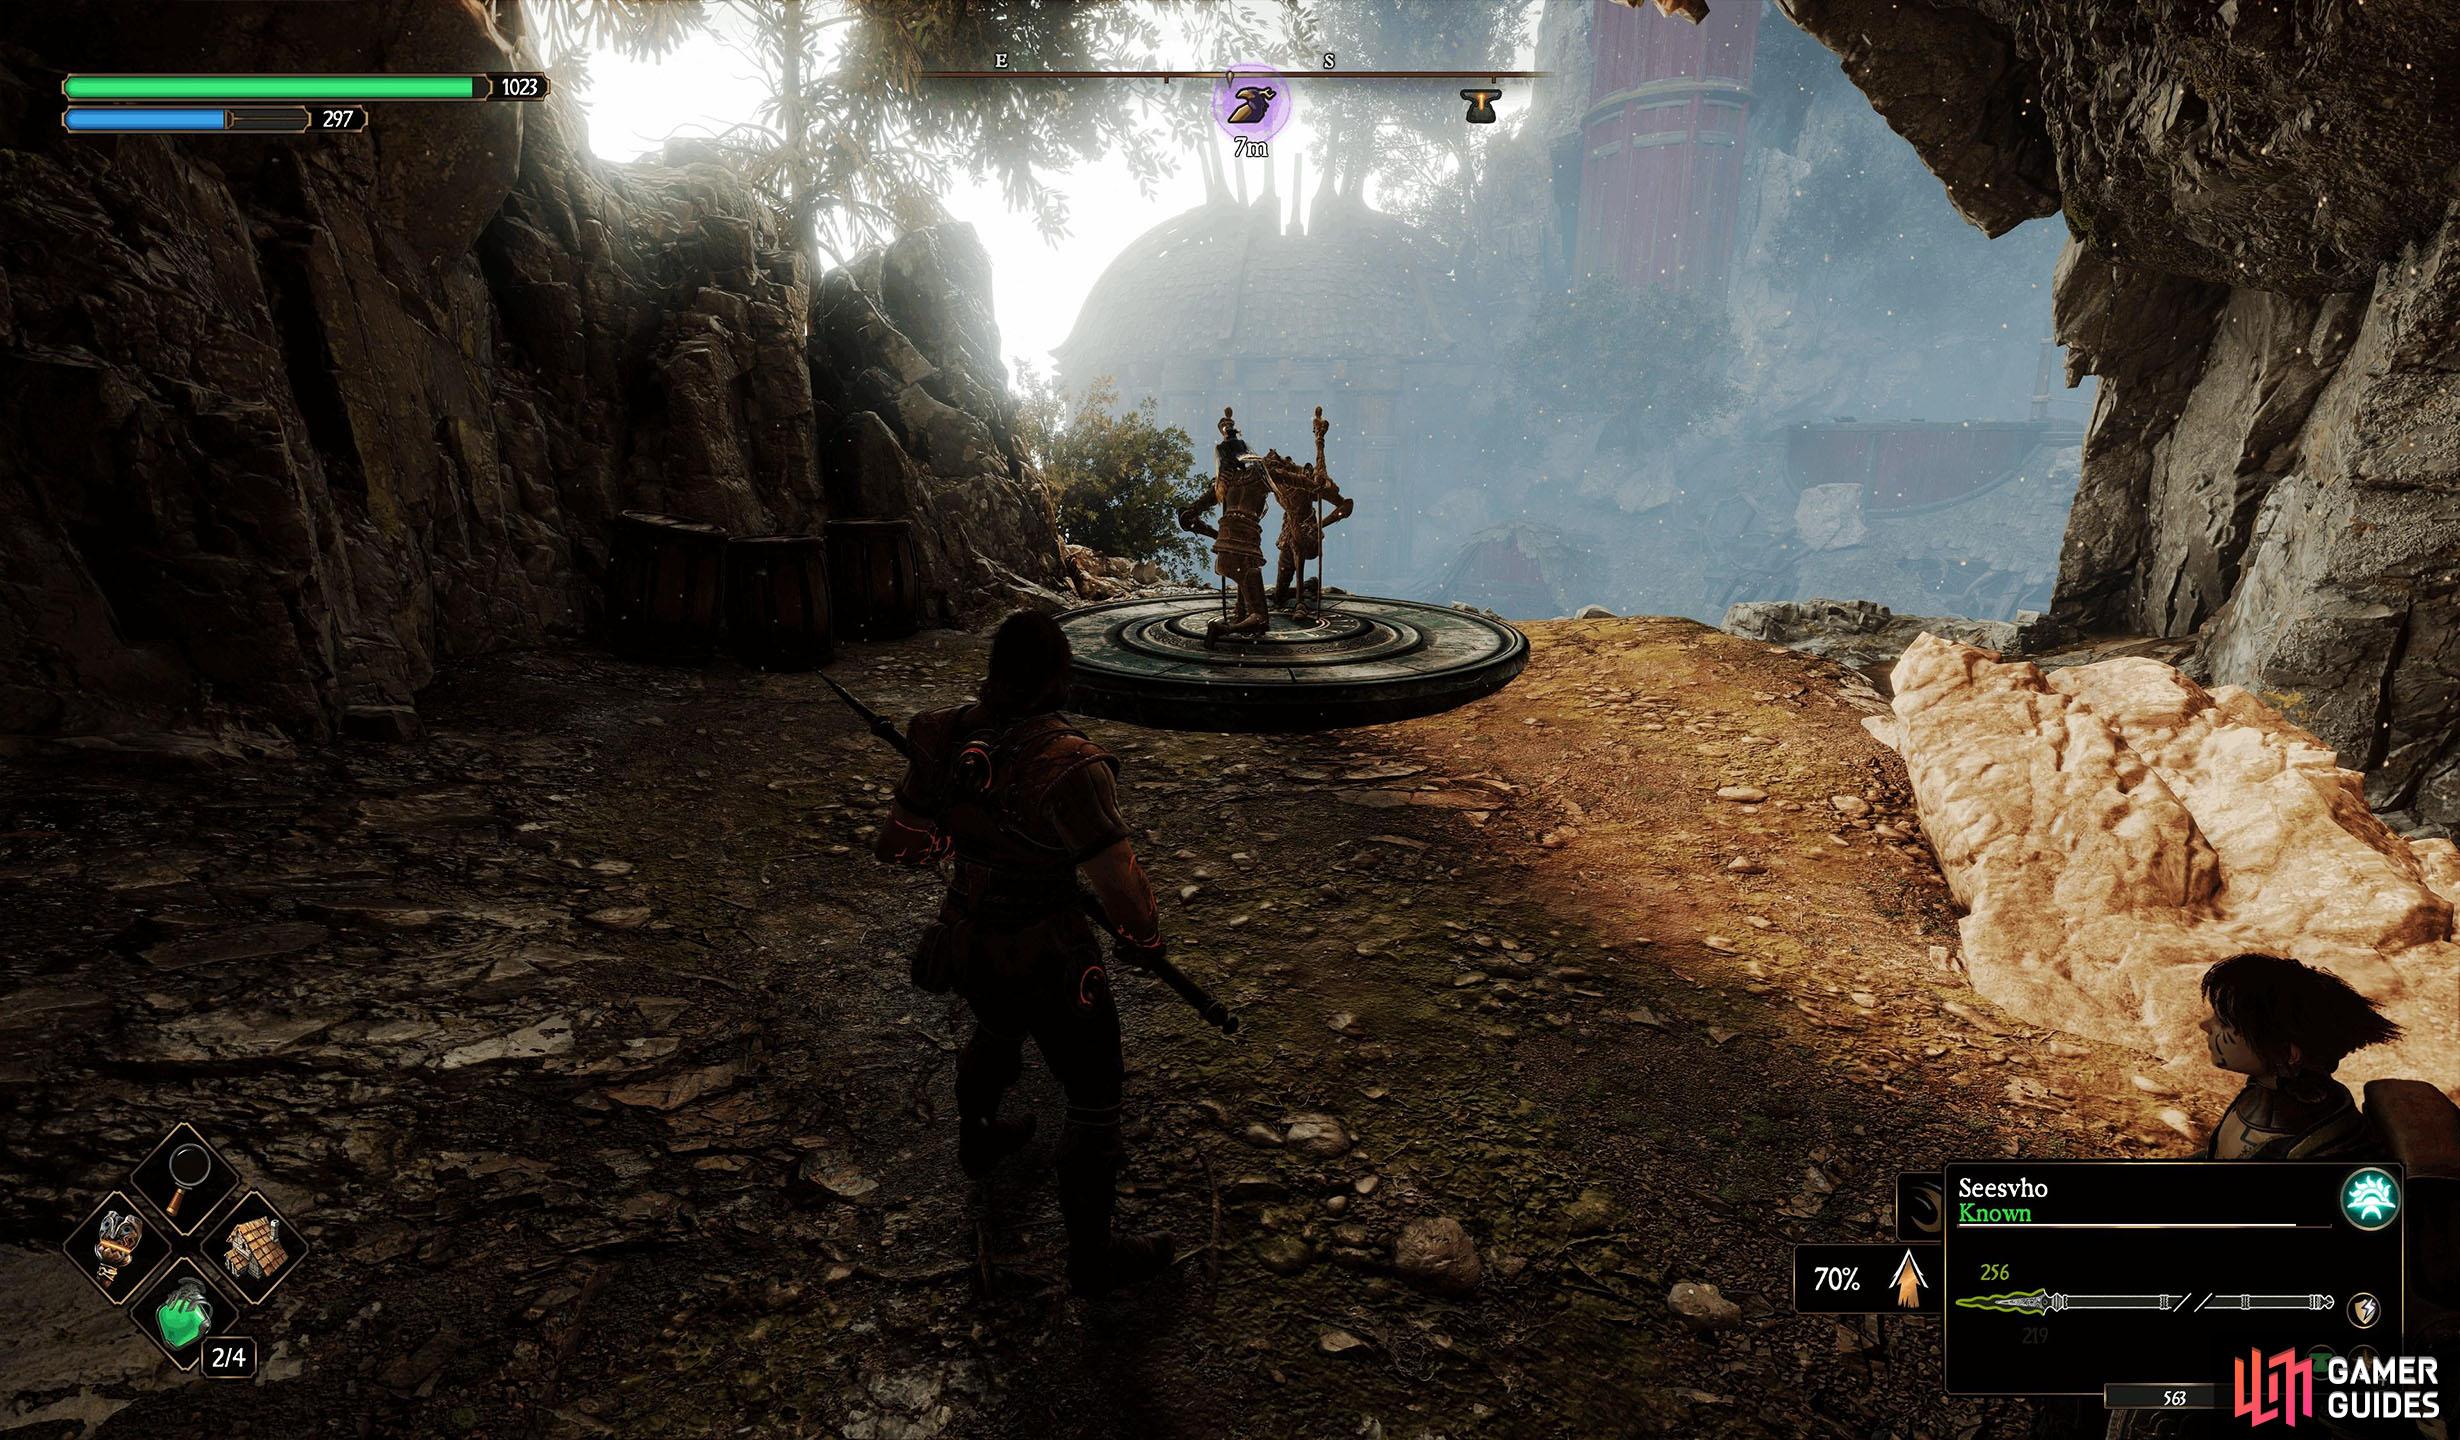
Doyen Graves Templar 1 Location
This Templar is located at the bottom of the Caves of the Damned. Fast travel to the Caves of the Damned Anvil and go down the slope to the wall you broke through to get here and you’ll find the Templars at the southeastern end of the path. You can see them from the Anvil if you look down to the southeast.
The Templars are near the Caves of the Damned Anvil. Go back through the wall you broke to get to the Anvil and head left.
The Crow is on the edge of the cliff to the right of the bridge.
Doyen Graves Iridescent Crow 1 Location
For the Crow, travel from the Caves of the Damned anvil, head through the lever-operated gate to the north and head up the sloping path. Take a right before the bridge and you’ll find the crow on the cliff at the end of the path.
Doyen Graves Templar 2 Location
The next Templars in ![]() Doyen Graves is located near the Gazebo of Solitude Anvil. Fast travel there and take the stairs down to the area to the northeast. Head southeast to find a gap in the wall and squeeze yourself through it. On the other side, take the slope down to the southeast and drop to the path below. Follow that path east/northeast to the end to find the Templars.
Doyen Graves is located near the Gazebo of Solitude Anvil. Fast travel there and take the stairs down to the area to the northeast. Head southeast to find a gap in the wall and squeeze yourself through it. On the other side, take the slope down to the southeast and drop to the path below. Follow that path east/northeast to the end to find the Templars.
From the Gazebo of Solitude Anvil, go down the stairs northeast, go through the gap, and go down the slop to the southeast. Follow the path to the end to find the Templars.
Go to the Cursed Bridge Anvil, go down the slope to the northeast, and go through the gate. Jump over the broken bridge, and head east, right of the mausoleum to find the Crow.
Doyen Graves Iridescent Crow 2 Location
To find the Crow, fast travel to the Cursed Bridge Anvil, and go up the slope to the northeast. Go through the gate, over the broken bridge, and east to find a mausoleum. There are two paths, one on either side of the mausoleum. Take the right path to find the Crow perched on top of a rock on the cliff’s edge.
Belitara’s Witchwood Templar Location
Fast travel to The Iron Castle Entrance Anvil, and head southwest into the cave. At the end is a small gap you can squeeze through. Go through the gap and head north to find the Templar at the end of the path, right of the small waterfall.
From the Iron Castle Entrance Anvil, go through the gap in the cave to the southwest. Follow the path north to find the Templar.
Travel to the Queen’s Watch Anvil, follow the path northeast, and go into the encampment. Go up the slope near the entrance and take the ladders to the top of the tower.
Belitara’s Witchwood Iridescent Crow Location
From the Queen’s Watch Anvil, take the path northeast until you reach the encampment. Enter the encampment, walk forward a little, and immediately turn around. Go up the slope to your right, walk past the stairs leading down, and go up the ladder on your right into the tower. Take the ladders to the top of the tower to find the Crow.
That’s it for the Templars of the Sacred Steel and their Crows for Aecides’ Domain. Note that there are other Templars around the region, however, they don’t require an Iridescent Crow, thus not rewarding you with either a Nerea’s Tear or a Stamina Gem.
No Comments