
After making your way through the massive expanse of Aecides’ Domain, Aran and Adso will make their way towards Tok’s Kingdom on the way to the Queen’s Palace. While Tok’s Kingdom is still a large region, it’s not as large as Aecides’ Domain, although it can be just as confusing, especially in ![]() The Roggs Mountains which features a lot of verticality. This can make it easy to get lost, especially for those of you playing on the Steel difficulty.
The Roggs Mountains which features a lot of verticality. This can make it easy to get lost, especially for those of you playing on the Steel difficulty.
While this page won’t provide a detailed rundown of the full chapter, it does point you towards the main objective locations and how to get there as you are playing. Our detailed Tok’s Kingdom map can be used alongside this page to direct you on where to go.
Chapter 2 of Blades of Fire takes you to Tok’s Kingdom.
Table of Contents
If you want to jump to a specific section, click on the links below.
| Quickjump |
|---|
| Watchtower Domain |
| The City of Curved Stones |
| Southern Hiss City |
| Northern Hiss City |
| The Eigon’s Abbey |
| The Roggs Mountains |
| Citadel of Tharas-Munda |
Tok’s Kingdom Walkthrough
By following the steps below, you’ll be able to work your way through the Tok’s Kingdom section of Blades of Fire with minimal spoilers. Much like Aecides’ Domain, you will find yourself going back and forth between a few areas here.
Watchtower Domain
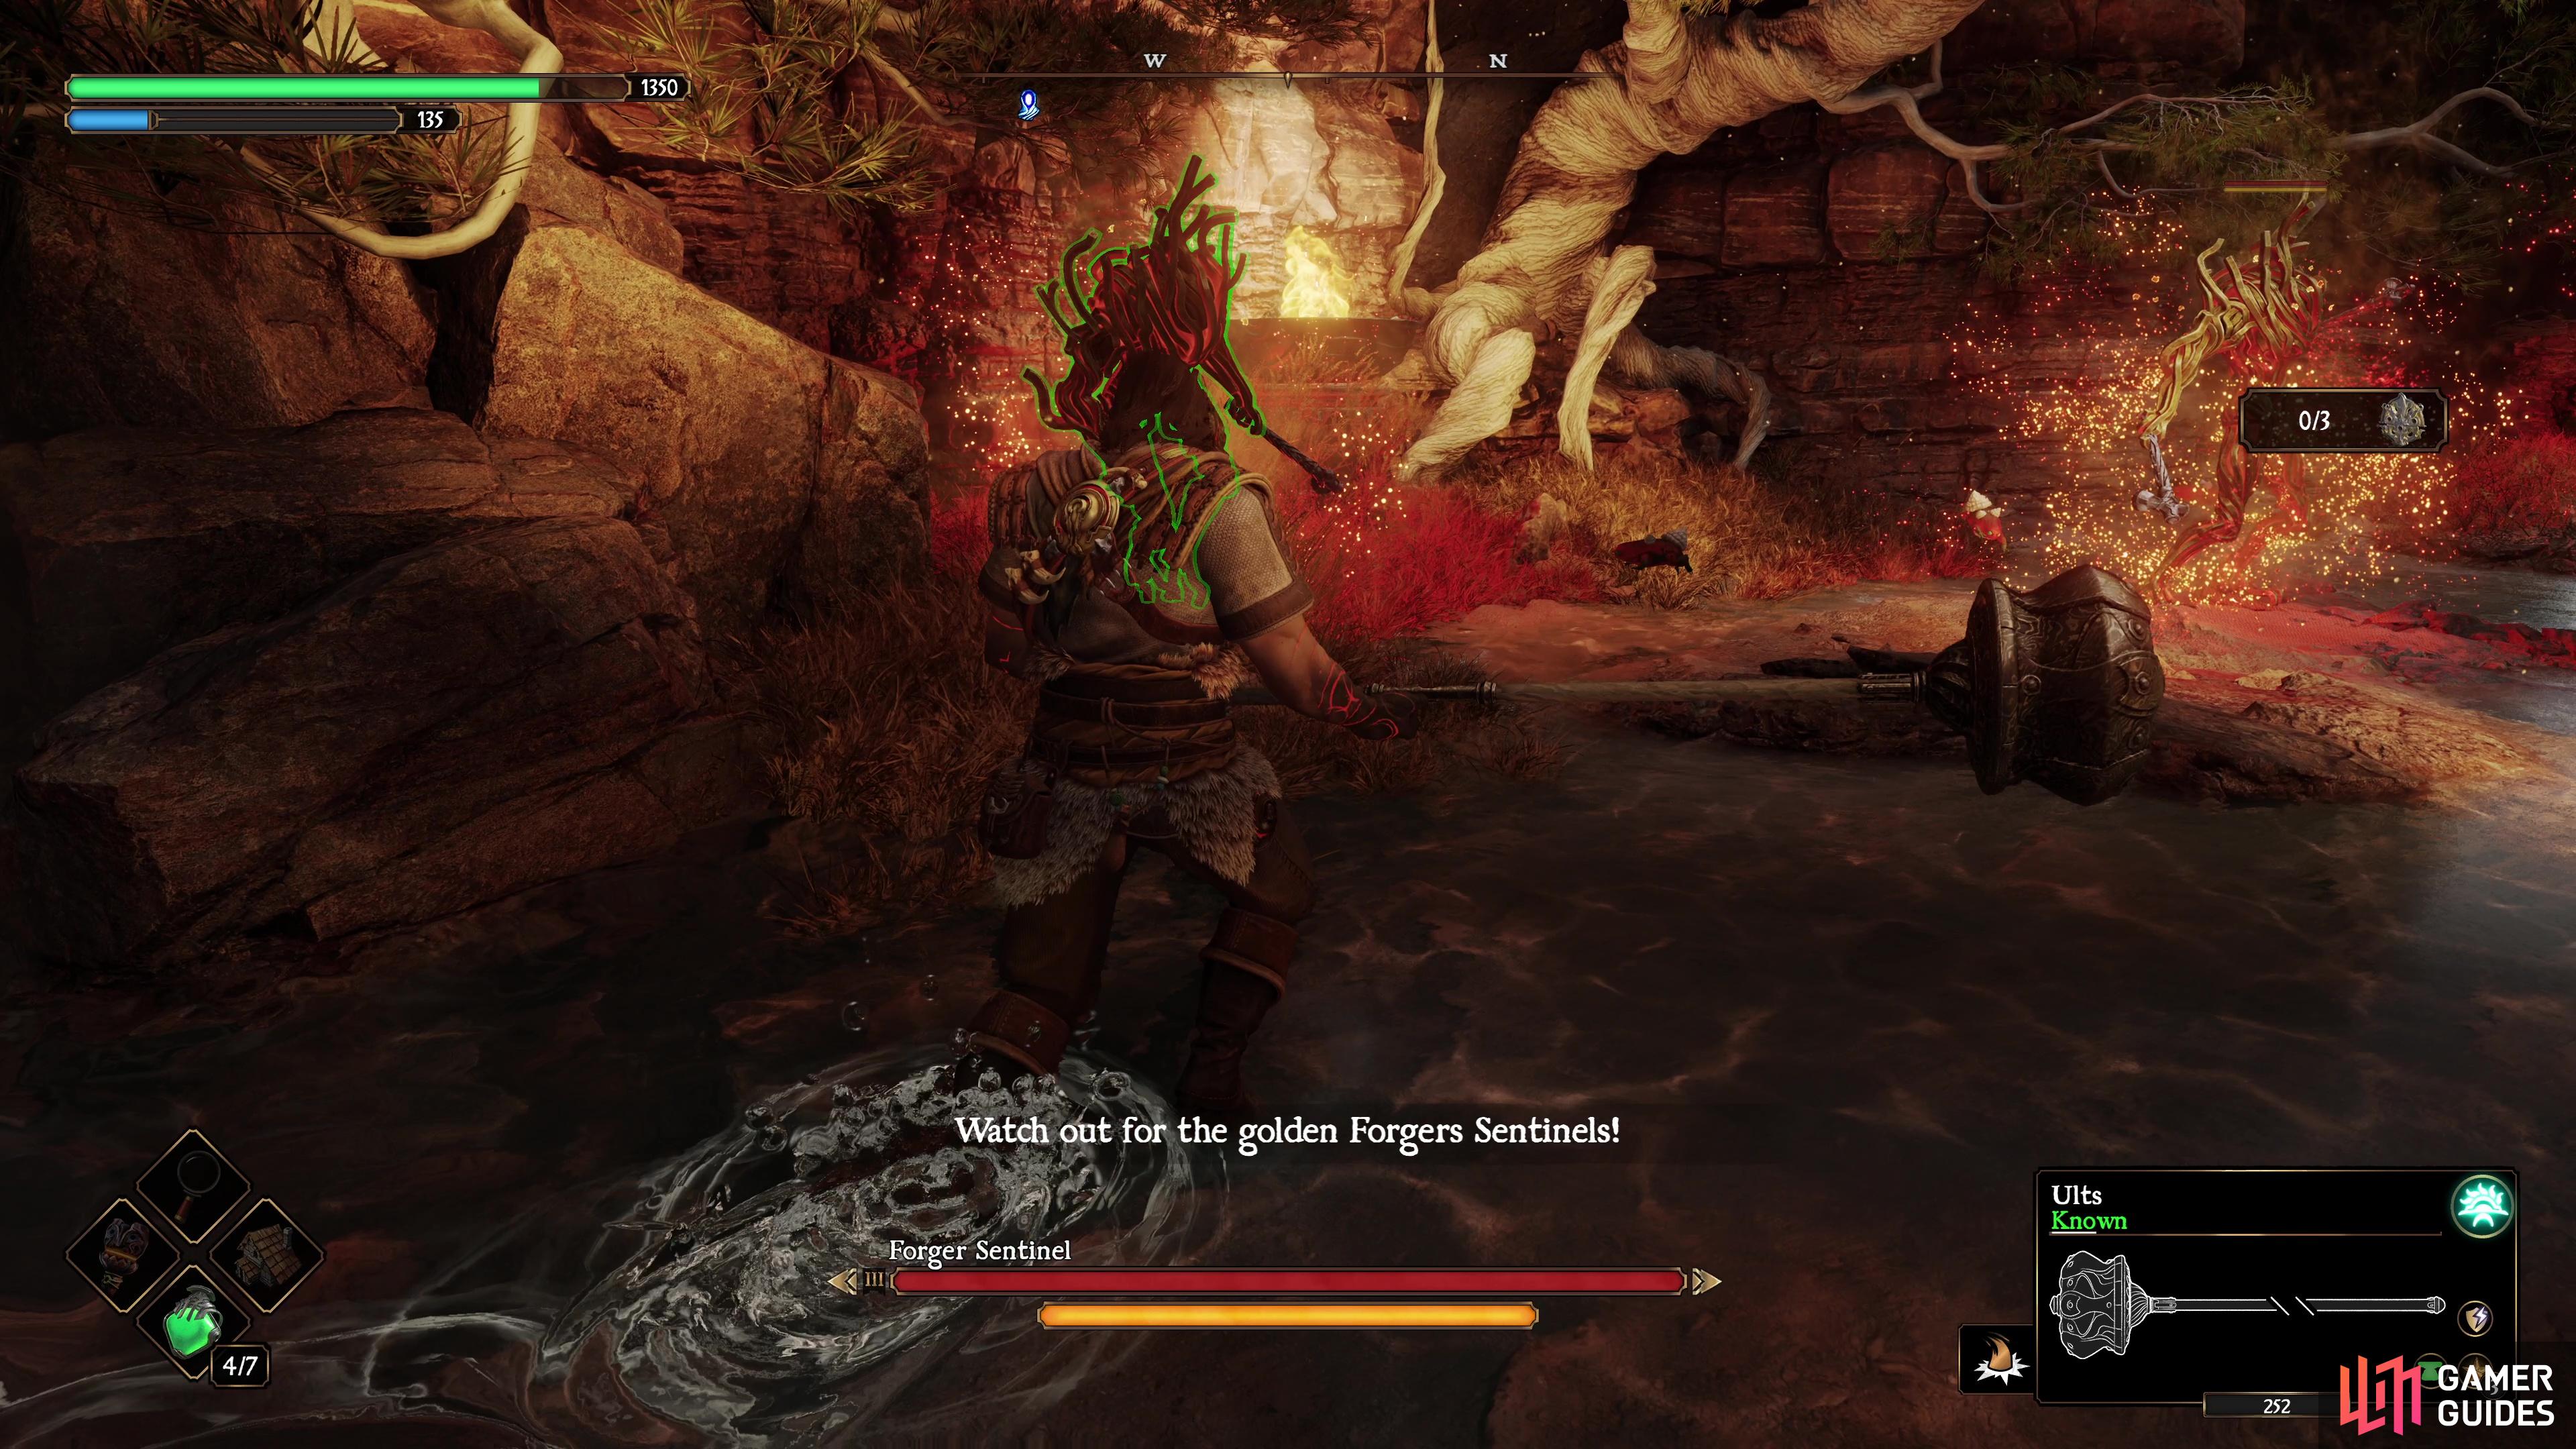
After regaining control at Aran & Adso’s new camp, take the time to check out your new costumes if you wish and then leave to find the first anvil for this region. Your first goal is to examine the Hurmuz Statue and then go into the caves to the west to find the Forger’s Sentinels. Once these are defeated, return to the Hurmuz Statue and use the Charged Medallion to create a new path to the south.
At the Serpent’s Amphitheater, you’ll find a soldier that has the Soldier’s Key you need on him, make short work of him and then return to the gate to the north of ![]() Watchtower Domain to unlock it and access
Watchtower Domain to unlock it and access ![]() The City of Curved Stones.
The City of Curved Stones.
You must charge the Hurmuz Medallion in Watchtower Domain.

Crossing into the sand wall here will transport you to the Southern Hiss City.
The City of Curved Stones
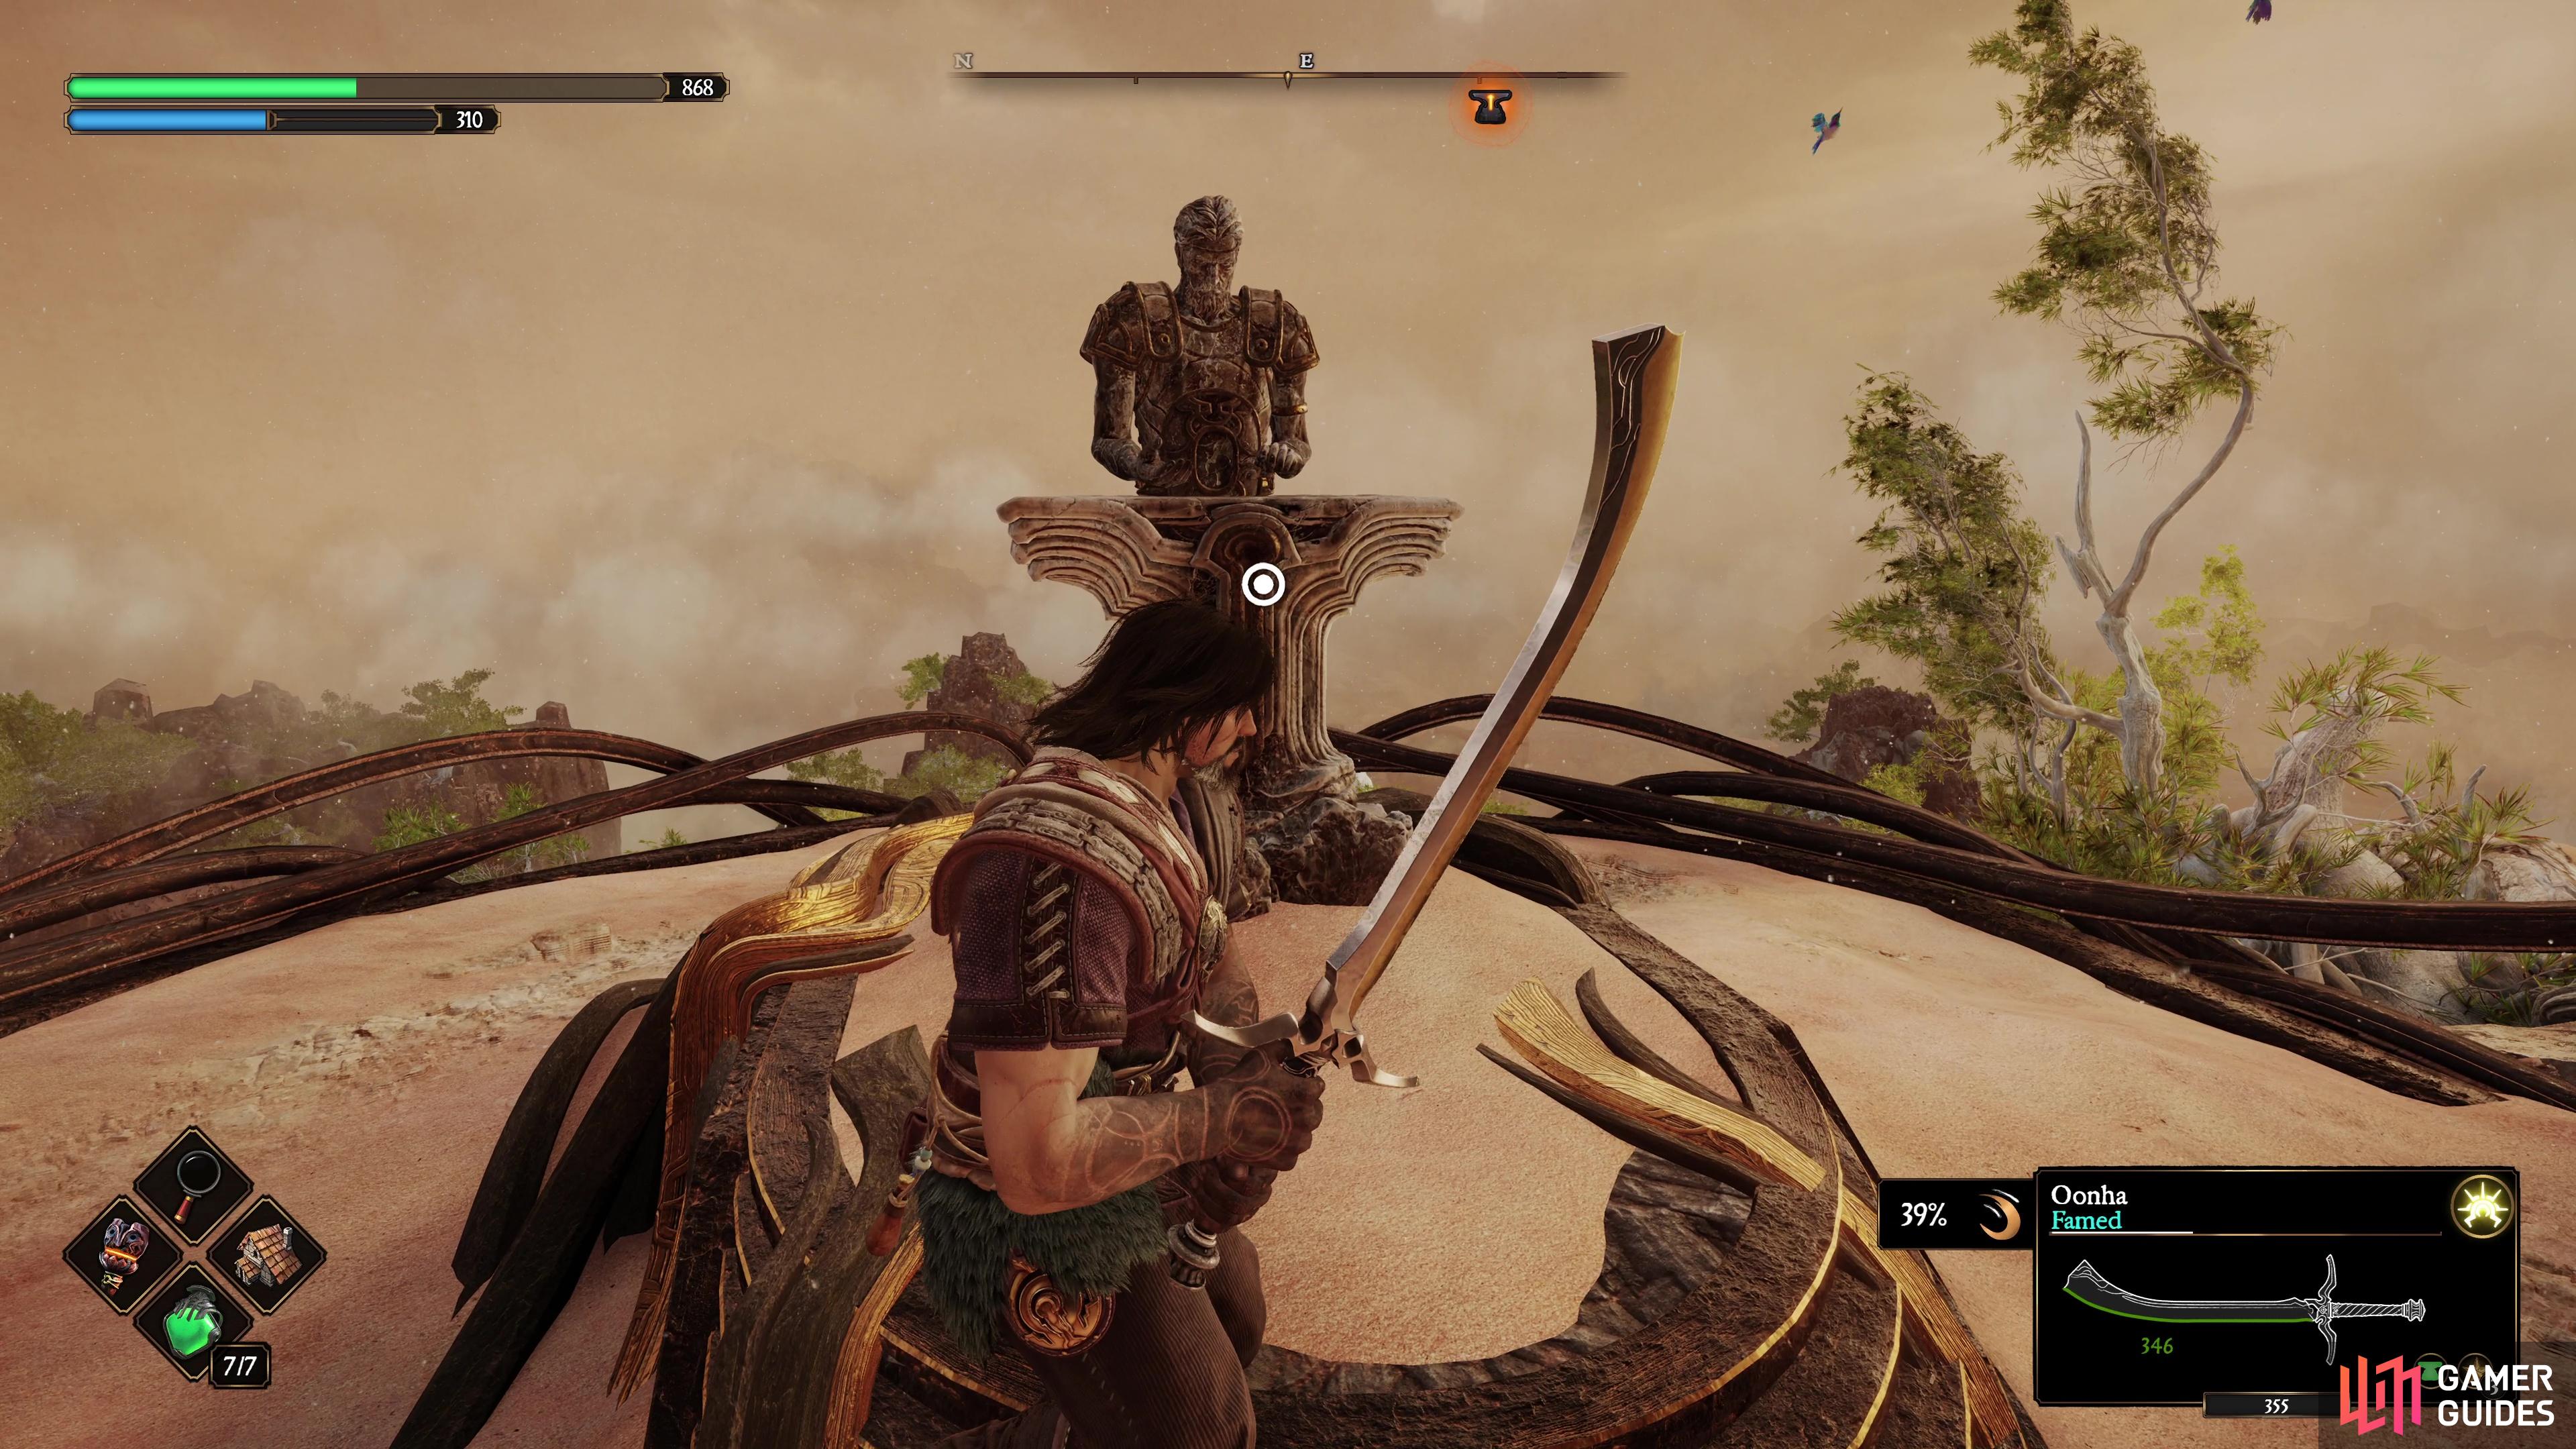
Your first visit to the City of Curved Stones is only a short one if you’re only following the main objectives. The exit can be found to the north of the area where you’ll encounter a statue that is seemingly missing a flute. Ignore this for now, however, and press onward through the wall of sand to find yourself teleported to a new area.
Southern Hiss City
You’ll find yourself at the far south of the ![]() Southern Hiss City, where a challenging arena awaits you just to the north. The goal, initially, is to conquer it and then find a switch to the north that opens the western gate. From here, head to the west to find a locked door that requires a Viper Key that you can find from the enemies in this area.
Southern Hiss City, where a challenging arena awaits you just to the north. The goal, initially, is to conquer it and then find a switch to the north that opens the western gate. From here, head to the west to find a locked door that requires a Viper Key that you can find from the enemies in this area.
This will lead to a switch that allows you to drain the quicksand, allowing you to gain access to the northwest side of the area. At the far northwest of this area you will find a blue teleport statue, let this hit you and you’ll be able to gain access to the first switch in the ![]() Central Hiss Hall.
Central Hiss Hall.
Return to the arena once more and this time take the eastern path and look to parry the green teleport statue to disable it and buy you enough time to climb the long ladder to the right of it. While in this area, you’ll come across a second blue teleport statue, let this hit you and you’ll gain access to the second switch in the Central Hiss Hall.
Now that you can access both switches, activate them in unison with Adso and then read the inscription it reveals to get the ![]() Mysterious Spell. Take this with you back to the Serpent’s Amphitheater anvil and use it on the stone slab to dispel the wall of sand and gain access to the
Mysterious Spell. Take this with you back to the Serpent’s Amphitheater anvil and use it on the stone slab to dispel the wall of sand and gain access to the ![]() Northern Hiss City.
Northern Hiss City.
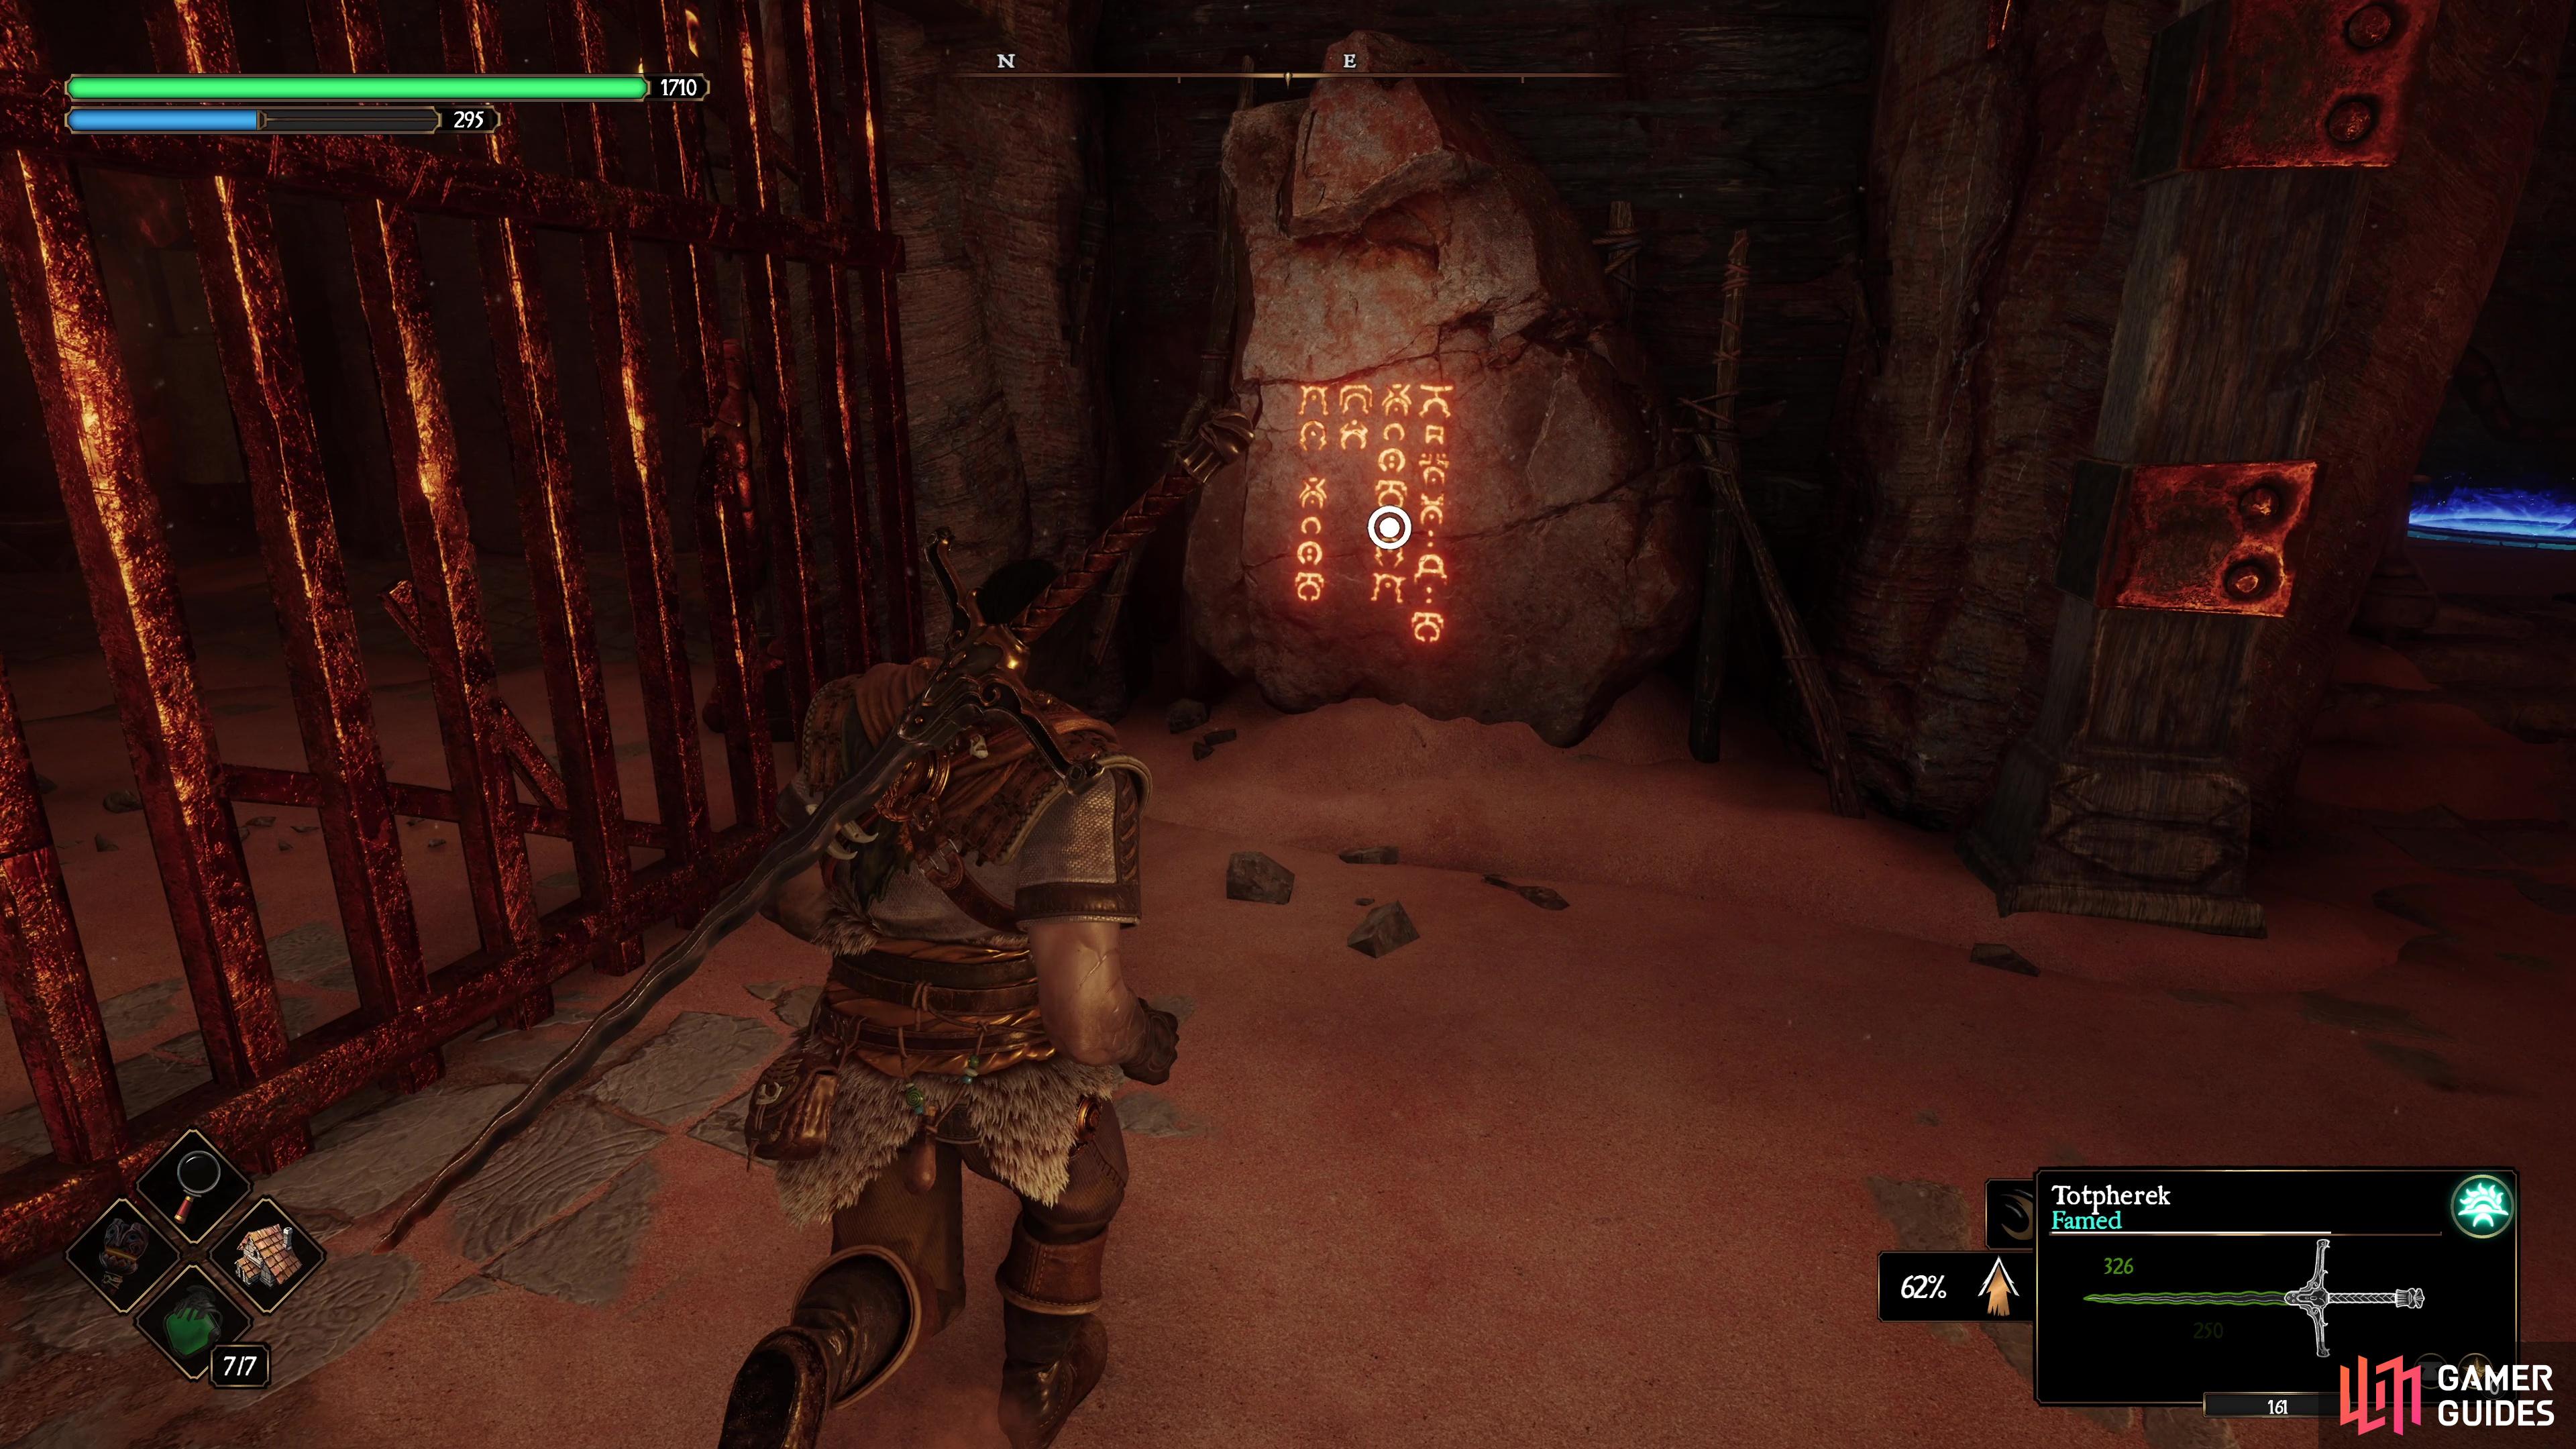
Work your way through the Southern Hiss City to get the Mysterious Spell.
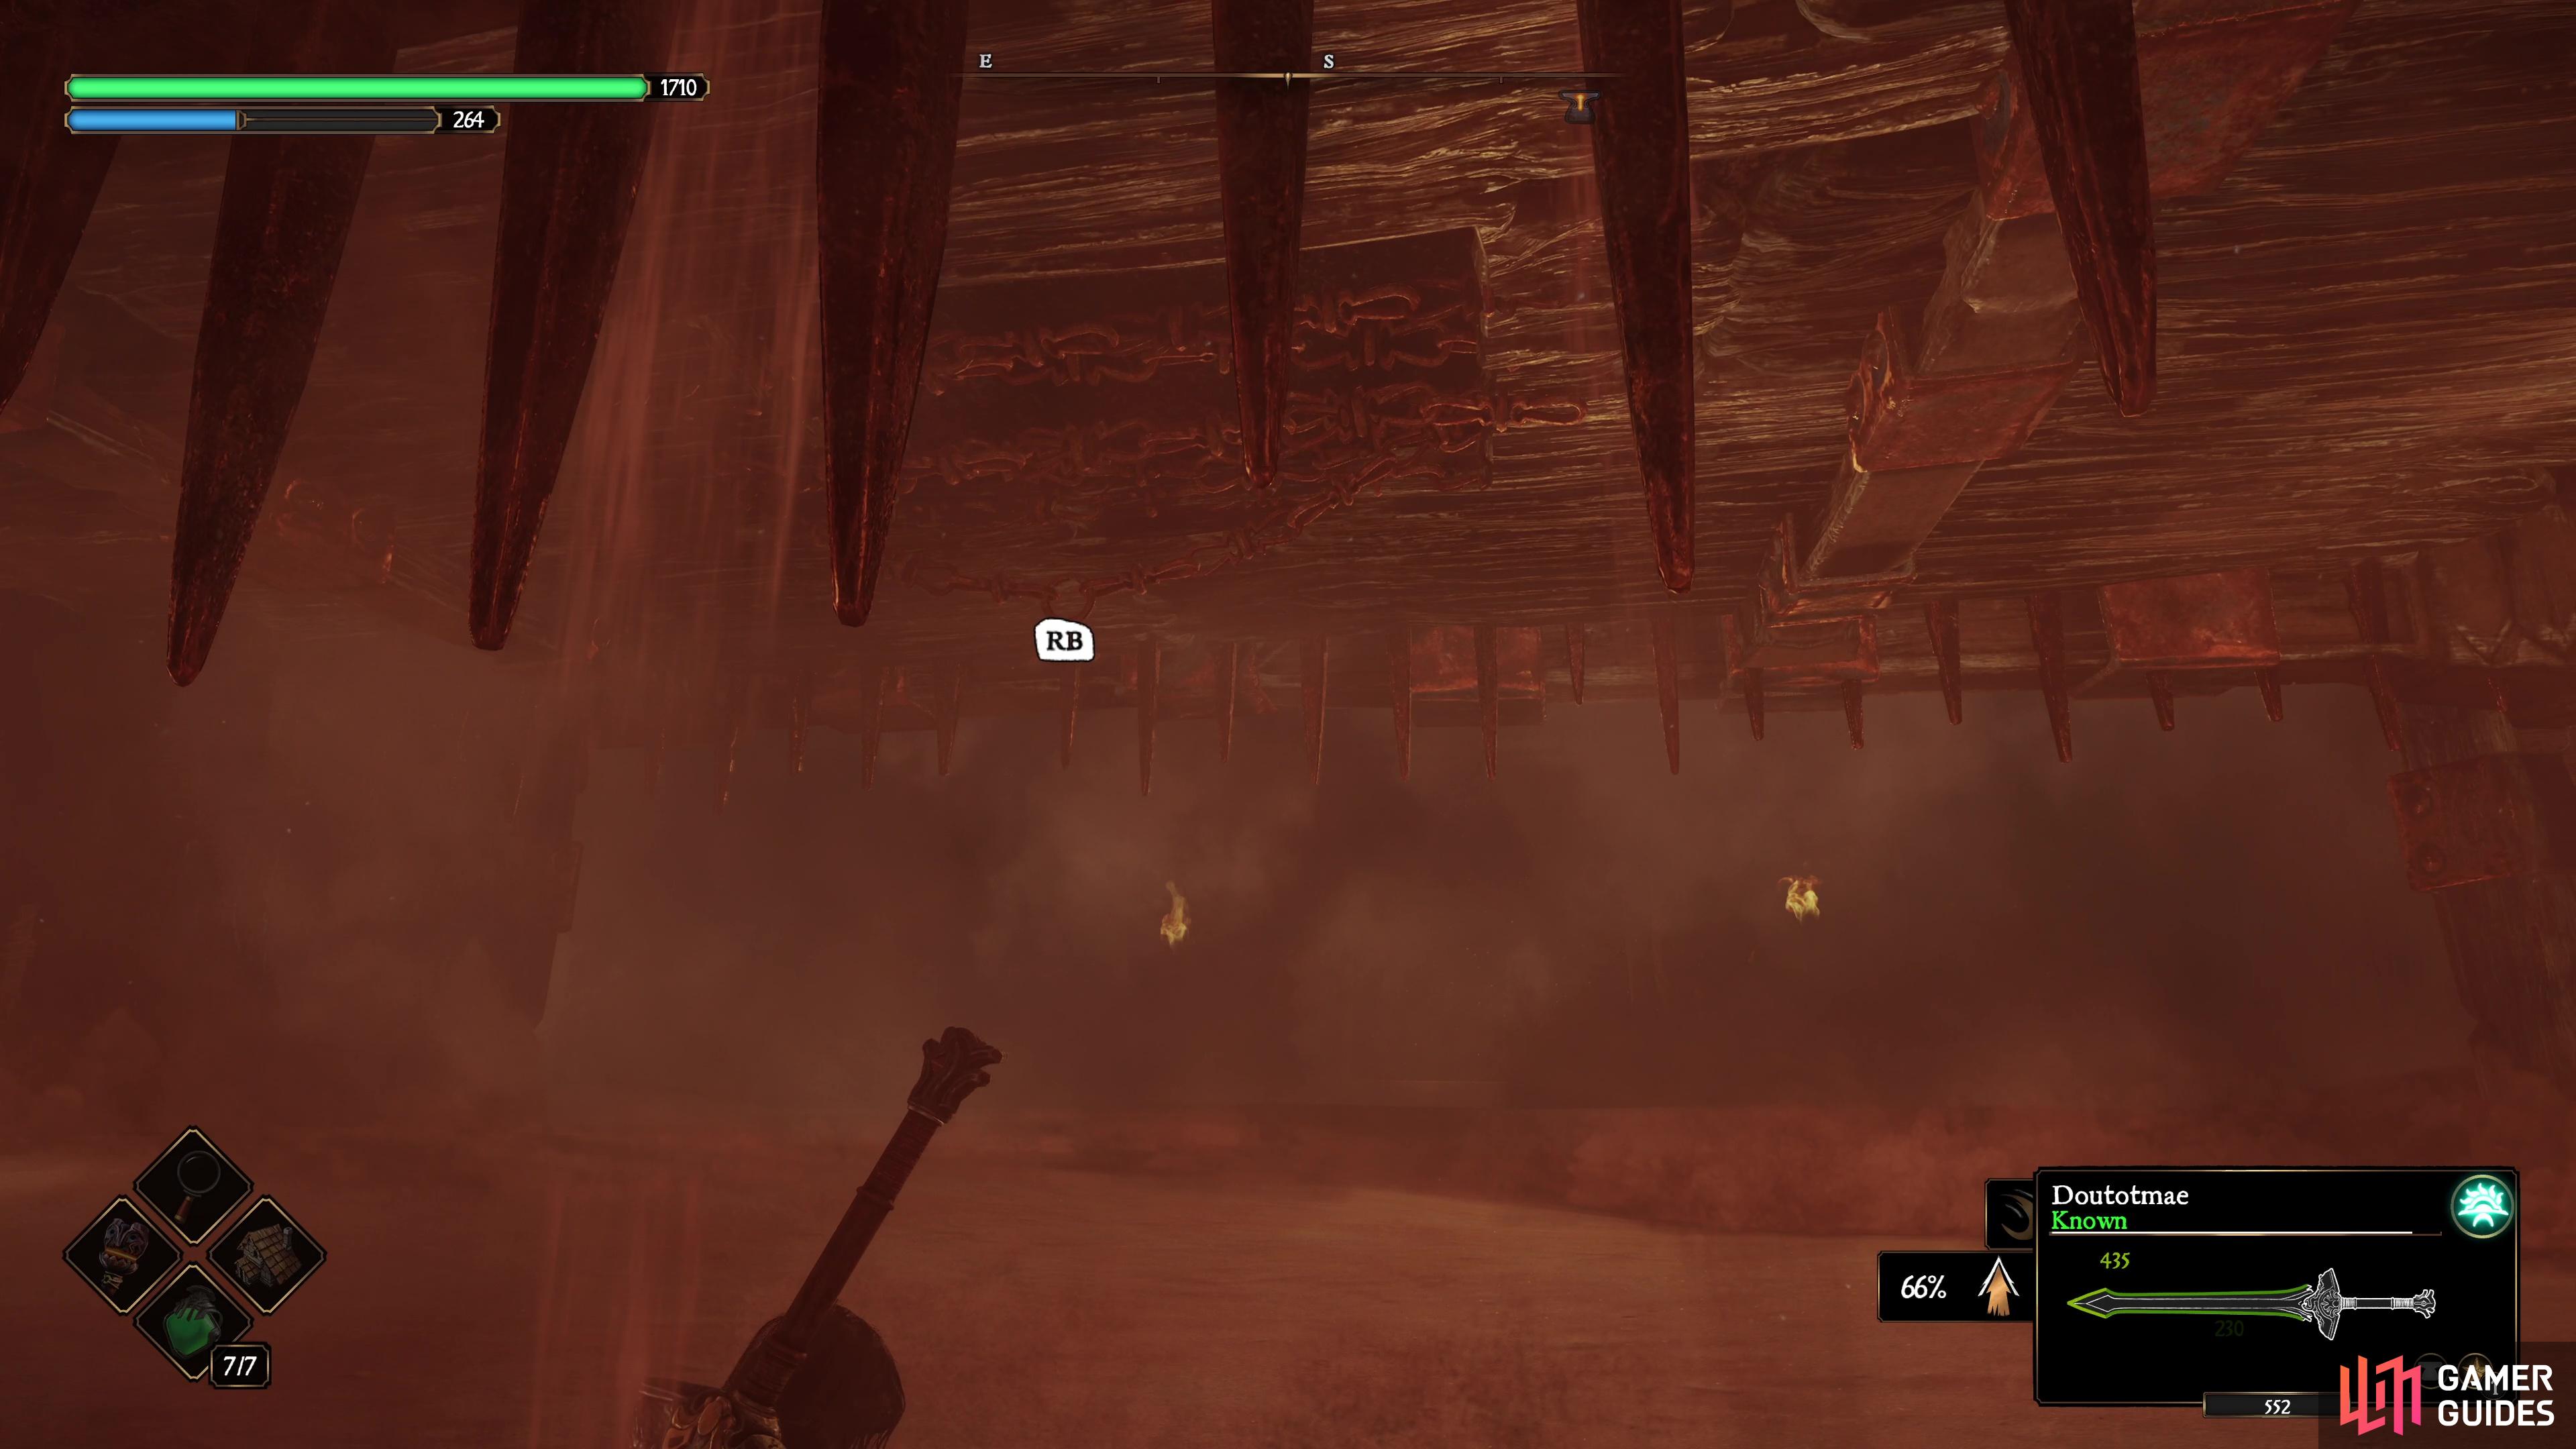
Once you pull the switches in the Northern Hiss City, make sure you get to this chain before the quicksand swallows you.
Northern Hiss City
This is a large and difficult area full of deadly Hiss enemies and another encounter with King Ashkhanar. More importantly, your main goal here is to reach the other side of the Central Hiss Hall, far to the south of where you start. You’ll need to kill enemies that are holding Viper Keys to reach the area which includes going through the courtyard with ![]() King Ashkhanar to the south.
King Ashkhanar to the south.
Once you reach the area, hit the switches and you’ll trigger a quicksand trap, quickly walk forward to find a switch you can pull to stop it from rising and dropping to the area below. Here, you’ll find the remains of a prisoner that, when you examine it, you’ll find the ![]() Sharp Fang. With this in hand, return to Tok who can now be found at The City of Curved Stones and he will trade you the Sharp Fang for the Novice Flute, which you can use just ahead to finally remove the sand wall.
Sharp Fang. With this in hand, return to Tok who can now be found at The City of Curved Stones and he will trade you the Sharp Fang for the Novice Flute, which you can use just ahead to finally remove the sand wall.
The Eigon’s Abbey
After witnessing the first set of scenes upon reaching The Eigon’s Abbey for the first time, you’ll have to make your way through the courtyards and enter via the western corridor. You won’t be exploring much of the Abbey for now, but there are still some challenging encounters as you make your way through to the western gate that takes you into the Long and Winding Road.
This is another short area that connects the two larger areas in Tok’s Kingdom, and sooner or later, once you reach The ![]() Roggs Mountains, you’ll trigger a scene where you meet the cannibals for the first time.
Roggs Mountains, you’ll trigger a scene where you meet the cannibals for the first time.
The Roggs Mountains
This is by far the largest area in Tok’s Kingdom, and easily the most confusing, as such, you’ll likely spend a lot of time here, especially if you’re hunting down all of the secrets (which will require you to come back much later in the adventure). As for the main objective, your initial goal is to make it all the way to the west where you’ll find a statue of Dhyrias, the master forger, who blocks the way forward.
You’ll need to track down a forger’s hammer to get into the temple in the Roggs Mountains.
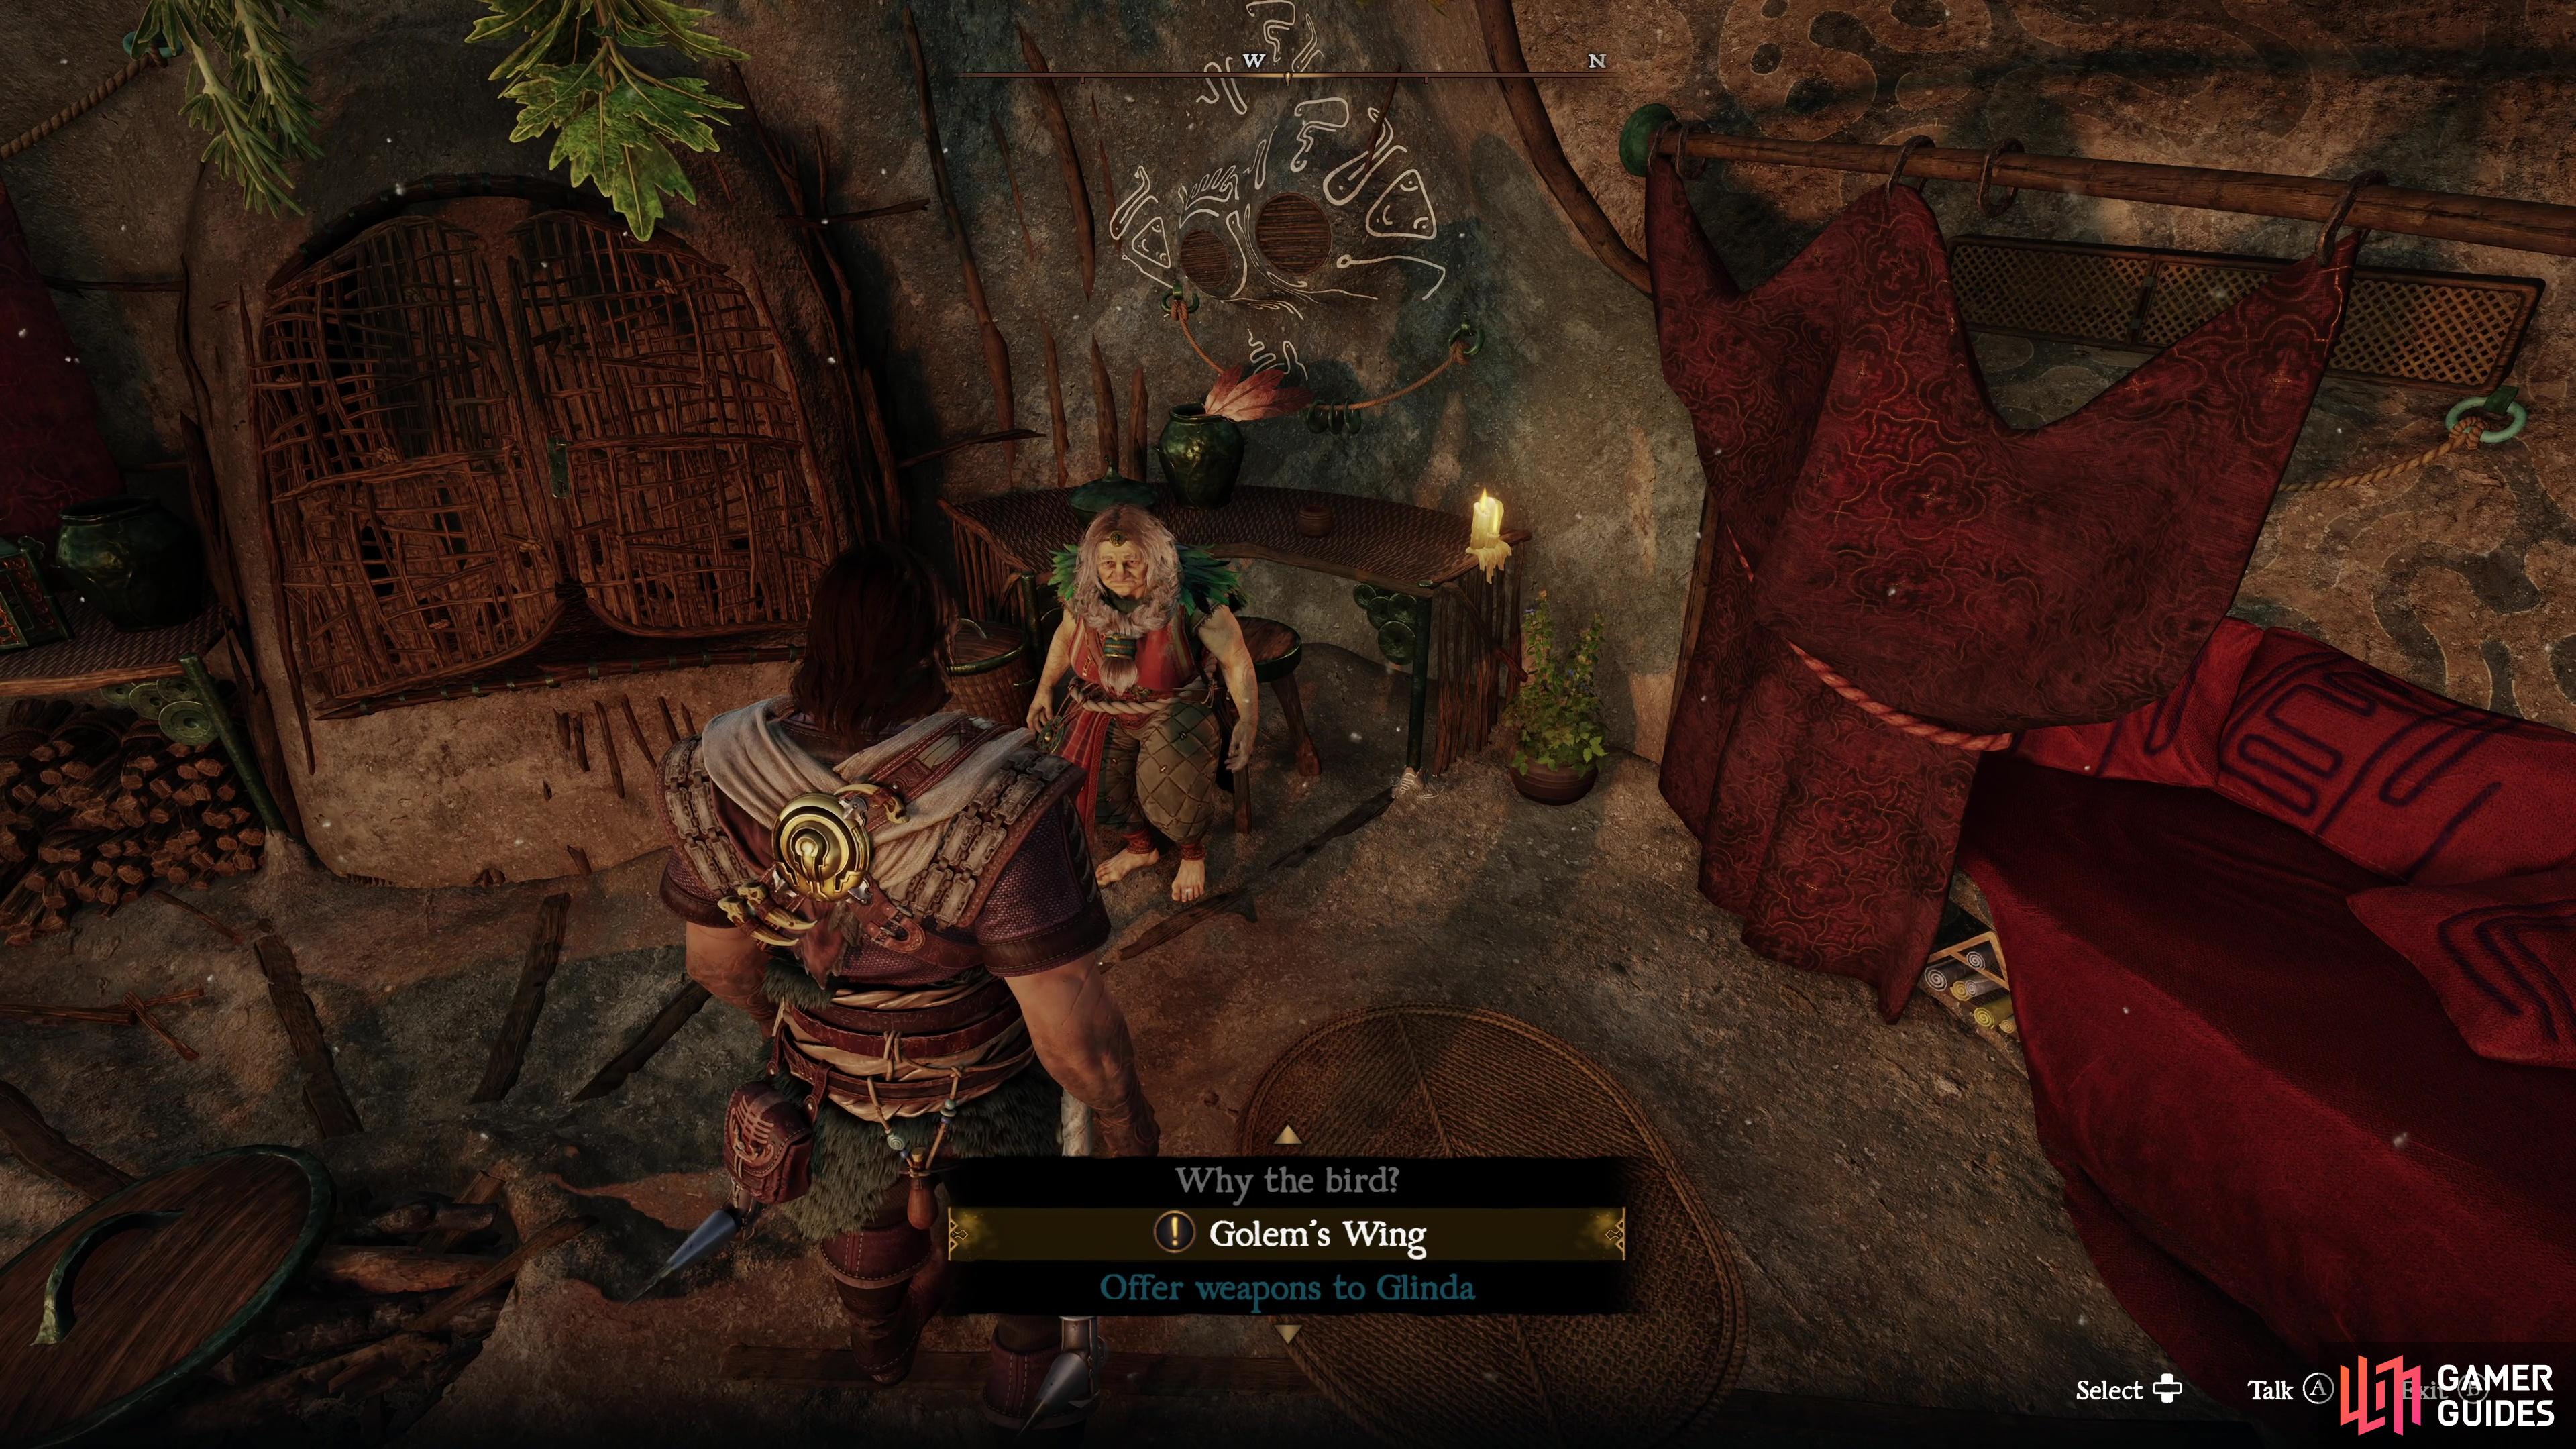
Glinda has the phoenix wing you need when crafting the Golem’s Wing.
Your next goal is to retrieve the hammer that the statue lacks, and along the way, you can pay an optional visit to Koko’s Hollow and rescue Arwen. Although not required now, you will have to do this a bit later, so it can help to get this out of the way now. Regardless of whether you do this or not, make your way east to the Lava Temple where you can retrieve ![]() Dhyrias’ Hammer and return it to the statue to open the way.
Dhyrias’ Hammer and return it to the statue to open the way.
At this point, once you head inside, you’ll eventually meet up with Glinda again, who will tell you that you need to forge the Phoenix Wing to reach the southern reaches of Tok’s Kingdom. Return to Glinda once you have all four items (remember, the last one is from Glinda herself) and upon forging the Karamuth Wing, you’ll be whisked off to the Citadel of Tharas-Munda.
Citadel of Tharas-Munda
After meeting ![]() Thalmudak for the first time, you’ll need to find a way of lowering the sands in the citadel, this is done by getting your hands on the
Thalmudak for the first time, you’ll need to find a way of lowering the sands in the citadel, this is done by getting your hands on the ![]() Father’s Relic. To begin, you’ll need to drop to the walkway below and run the Blue Flame there to the level above in the center where you will cause some more pathways to appear below.
Father’s Relic. To begin, you’ll need to drop to the walkway below and run the Blue Flame there to the level above in the center where you will cause some more pathways to appear below.
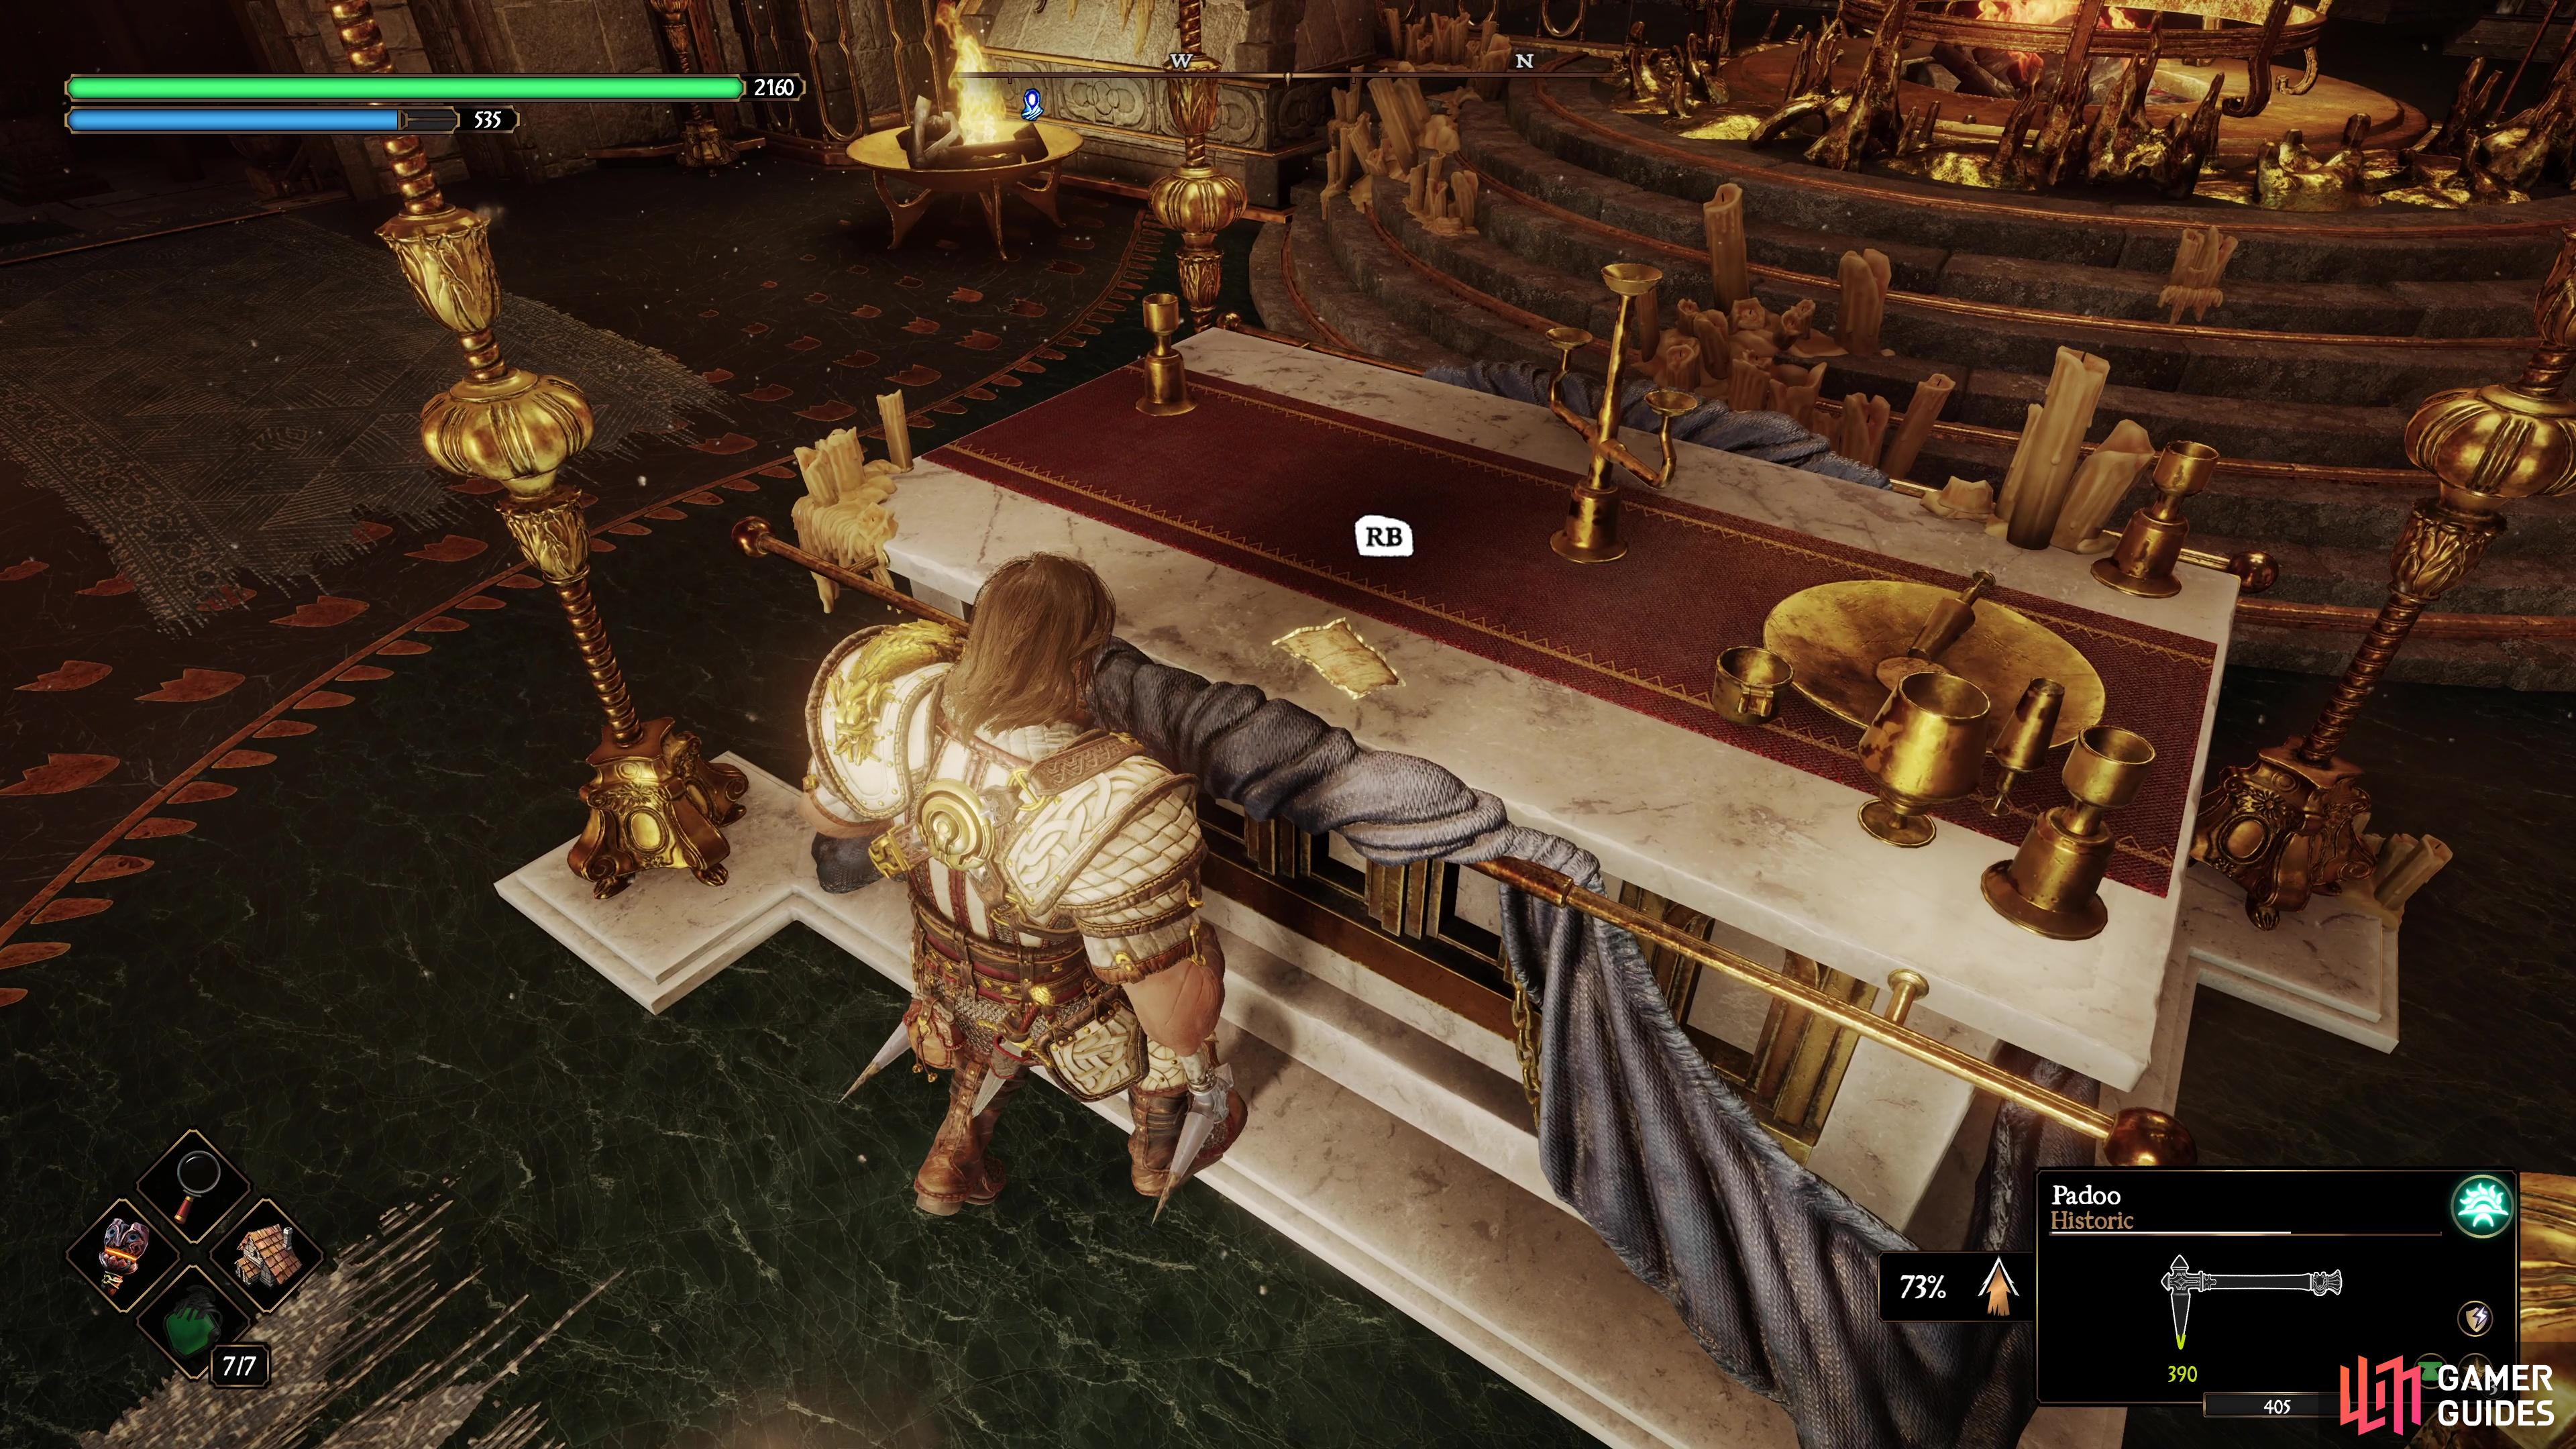
Using these, make your way to the eastern side of the citadel to find the Father’s Relic you’re seeking, then take it back to the entrance and place it in the contraption near the anvil to lower the sands. With new parts of the Citadel now explorable, work your way down to the bottom and use the ![]() Mother’s Relic (obtained from Doyen Graves in
Mother’s Relic (obtained from Doyen Graves in ![]() Aecides’ Domain) to lower the sands low enough to access lift.
Aecides’ Domain) to lower the sands low enough to access lift.
You’ll find one of the pieces of the scroll for the Aureus Spear at the Eigon’s Abbey.
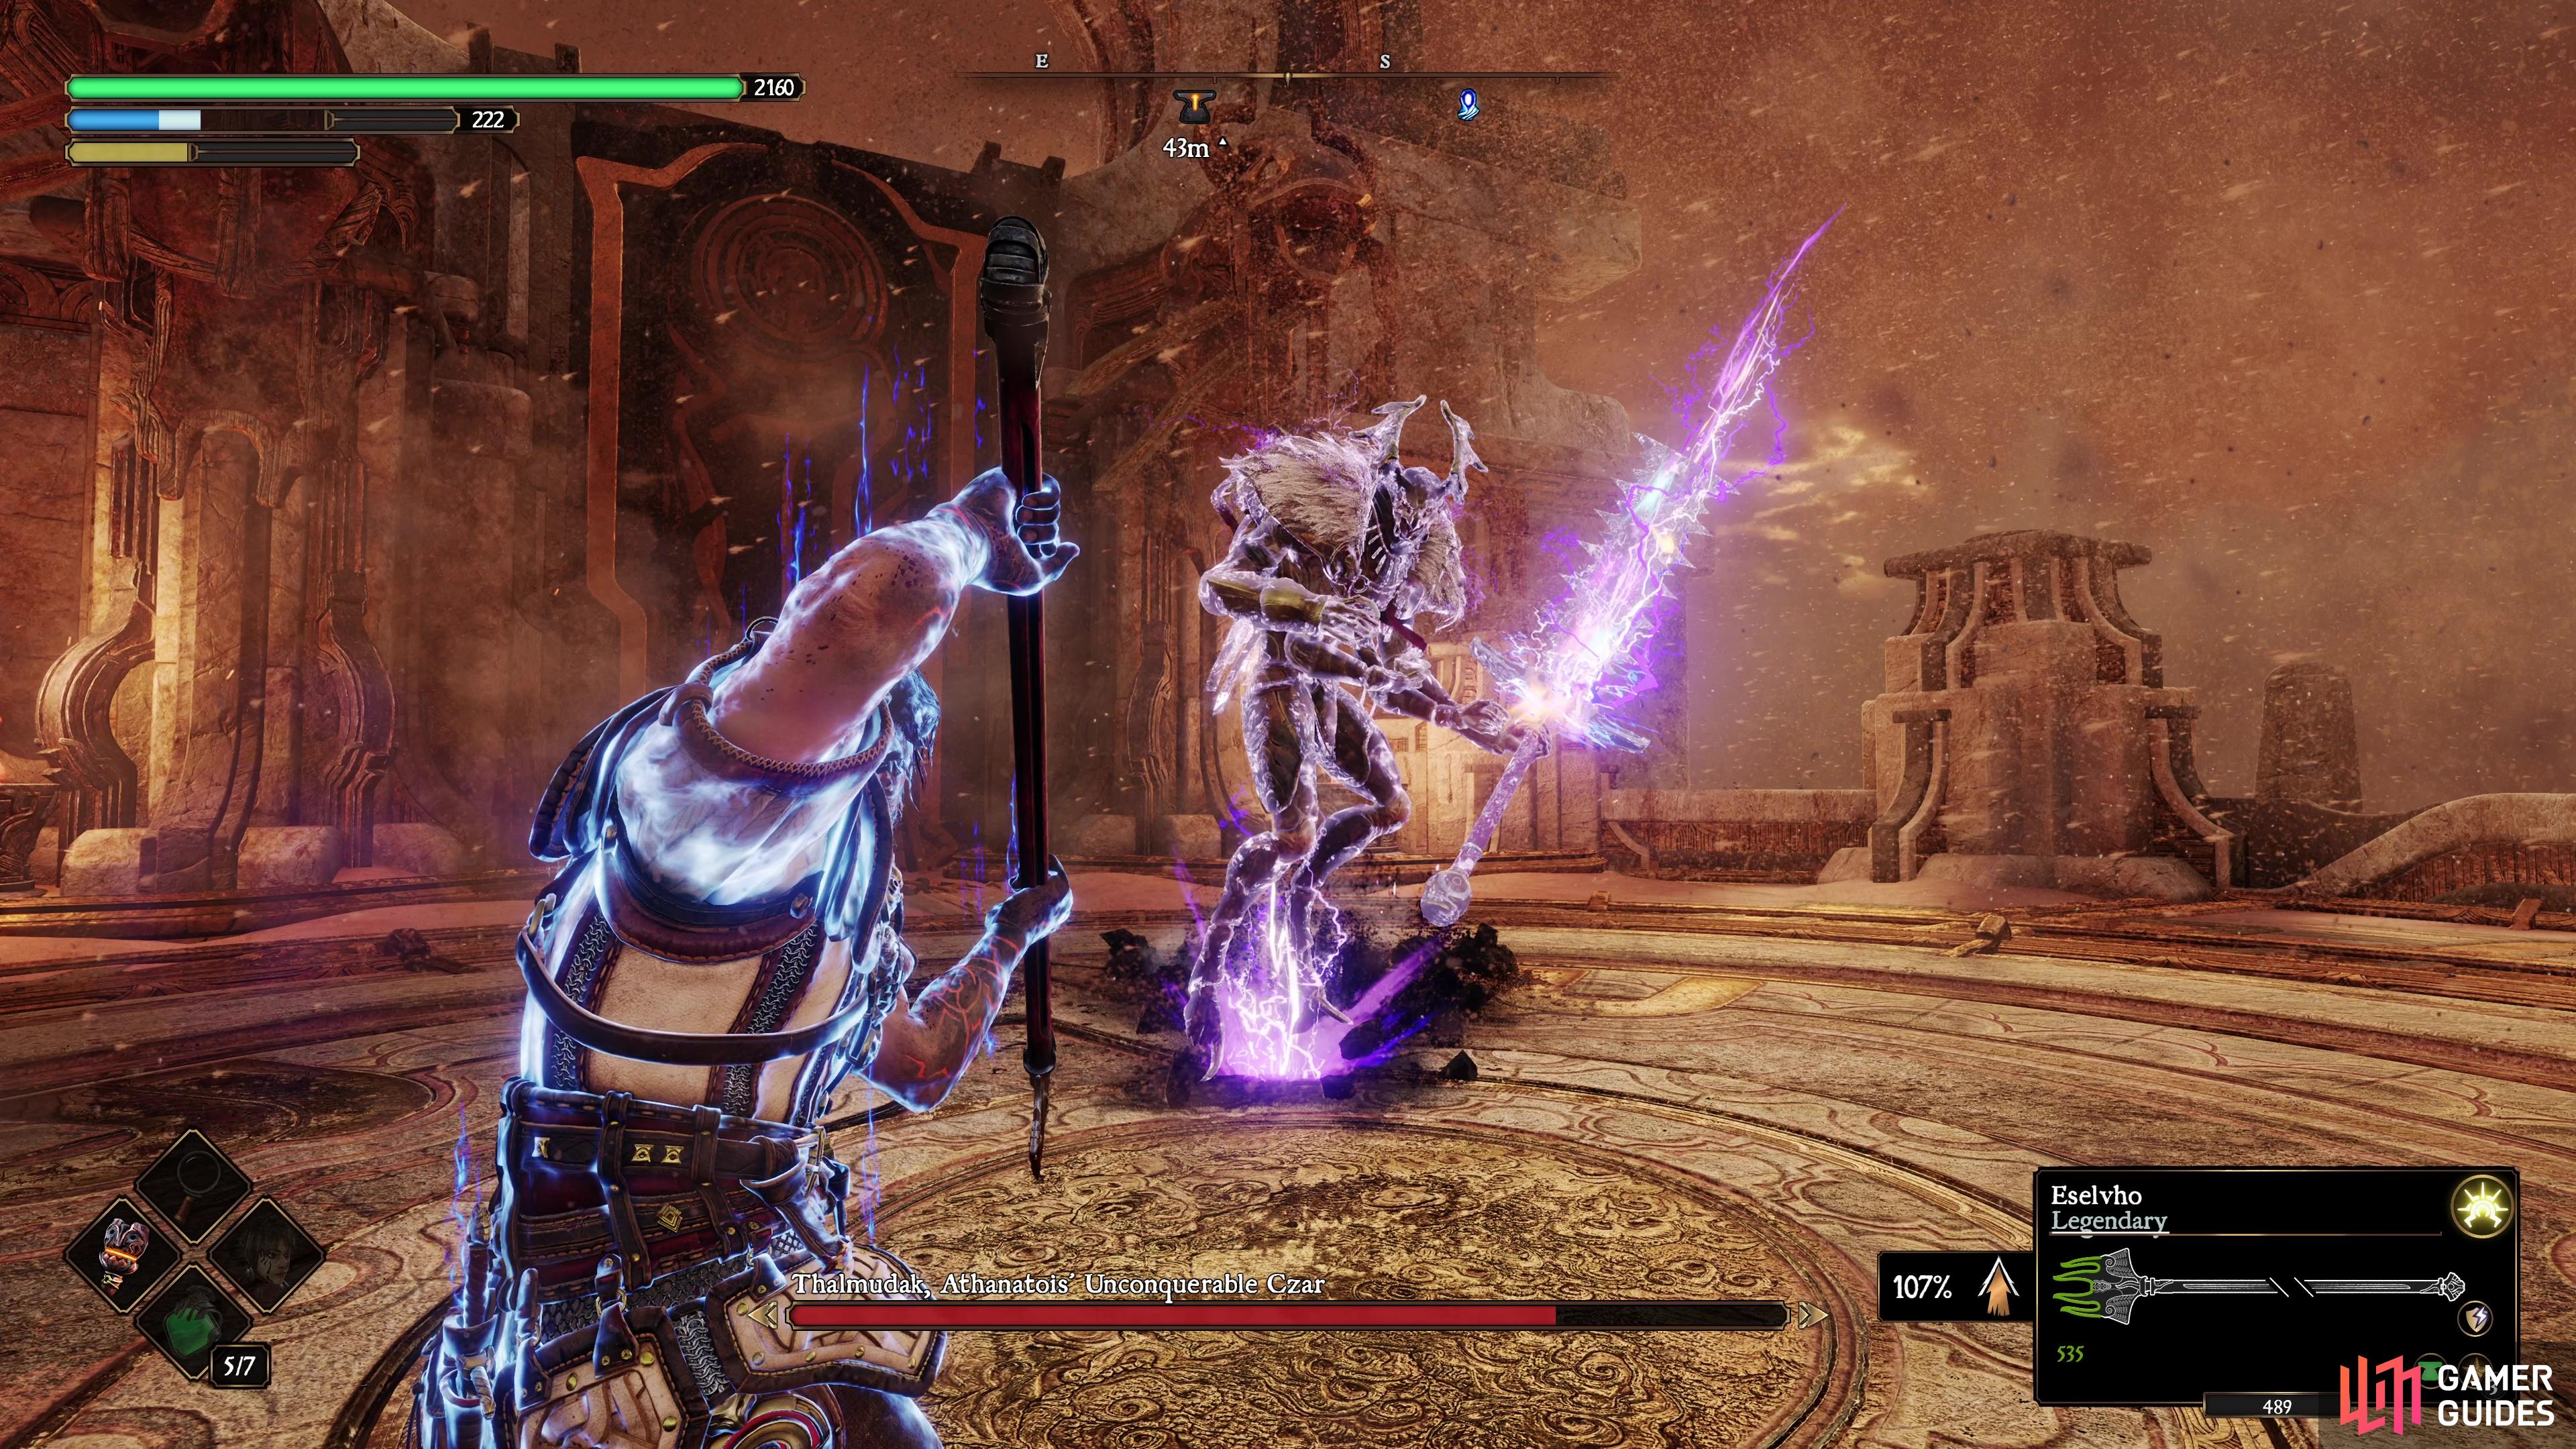
The chapter concludes with a boss battle against Thalmaduk.
At the bottom, you’ll trigger a scene and then be tasked with creating the Aureus Spear. The Forger’s Ingot can be found by following ![]() Koko around the Roggs Mountains until you end up at Koko’s Hollow, the first piece of the scroll can be found at The Eigon’s Abbey by heading into the Catacombs, and the final piece of the scroll can be found by speaking to Glinda once more.
Koko around the Roggs Mountains until you end up at Koko’s Hollow, the first piece of the scroll can be found at The Eigon’s Abbey by heading into the Catacombs, and the final piece of the scroll can be found by speaking to Glinda once more.
Once all of the parts have been gathered, you’ll need to forge it at your next anvil and, after it’s forged, you’ll be taken back to the citadel where you’ll play out the final battle against Thalmaduk that concludes this chapter.
No Comments