| Icon | Title | Category | Subcategory |
|---|
Scosglen Dungeon
| Icon | Title | Details | Screenshots | |||||||||||||||||||||||||||||||||||||||||||||||||||||||||||||||||||||||||||||||||||||||||||||||
|---|---|---|---|---|---|---|---|---|---|---|---|---|---|---|---|---|---|---|---|---|---|---|---|---|---|---|---|---|---|---|---|---|---|---|---|---|---|---|---|---|---|---|---|---|---|---|---|---|---|---|---|---|---|---|---|---|---|---|---|---|---|---|---|---|---|---|---|---|---|---|---|---|---|---|---|---|---|---|---|---|---|---|---|---|---|---|---|---|---|---|---|---|---|---|---|---|---|---|

|
Abandoned Barrow |
Abandoned by the Druids since the time of Astaroth. A small dungeon that is located in the heart of Umbralwood and is part of the
Region
|
||||||||||||||||||||||||||||||||||||||||||||||||||||||||||||||||||||||||||||||||||||||||||||||||

|
Abandoned Smuggler's Den |
A side quest dungeon found during the
Region
|
||||||||||||||||||||||||||||||||||||||||||||||||||||||||||||||||||||||||||||||||||||||||||||||||

|
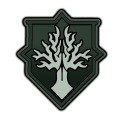
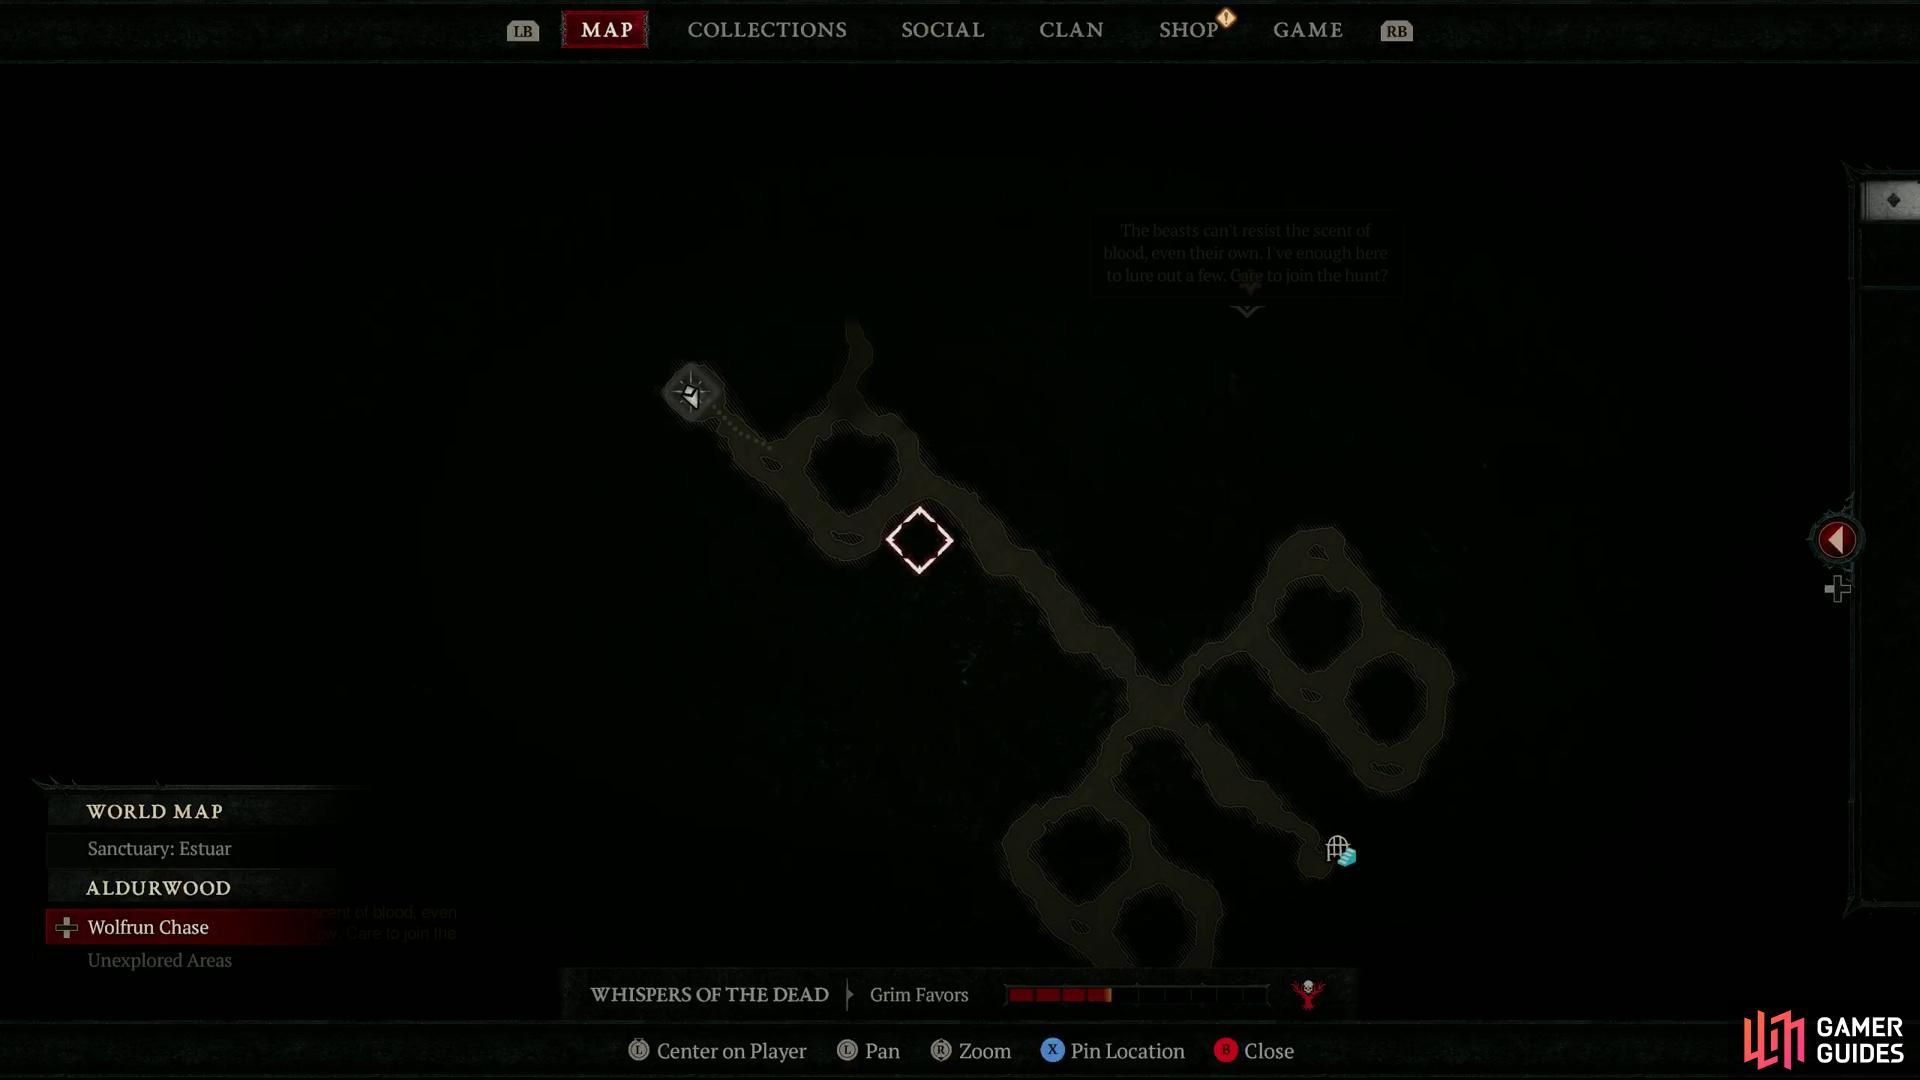
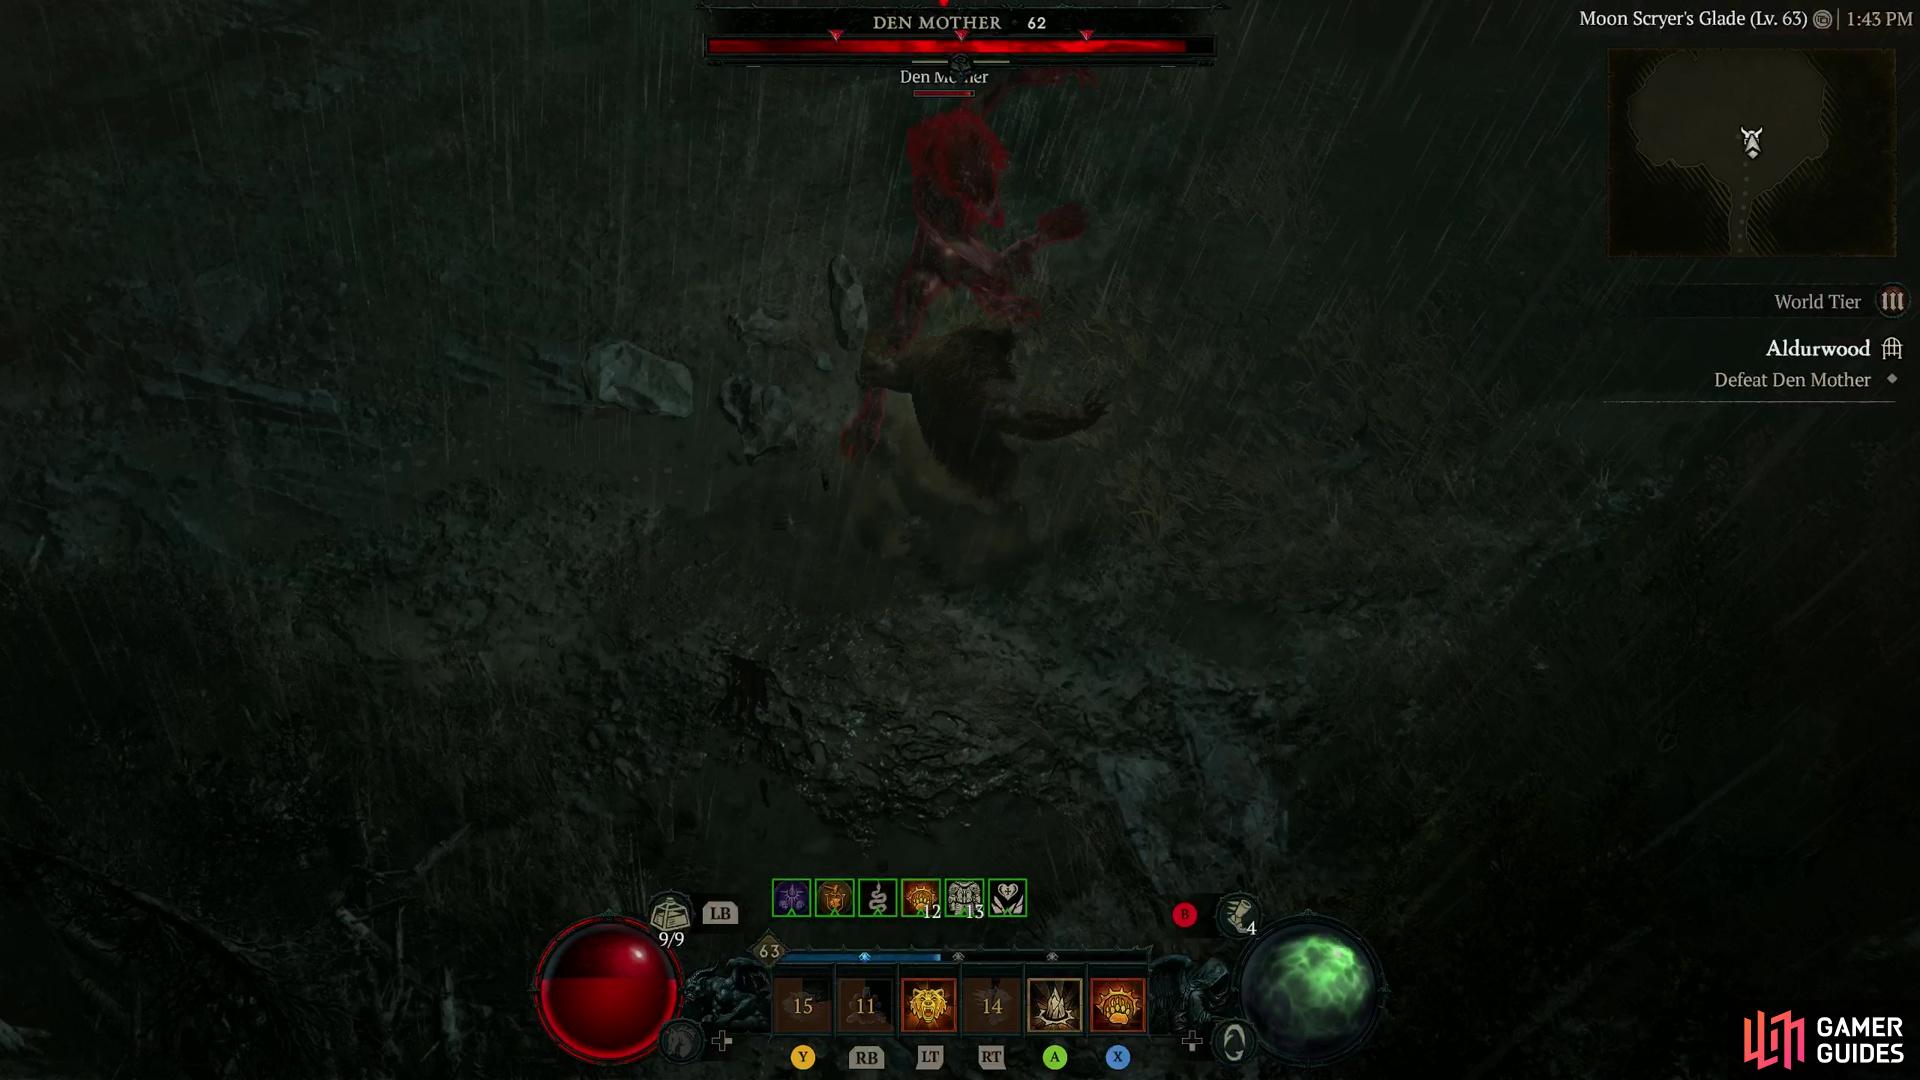
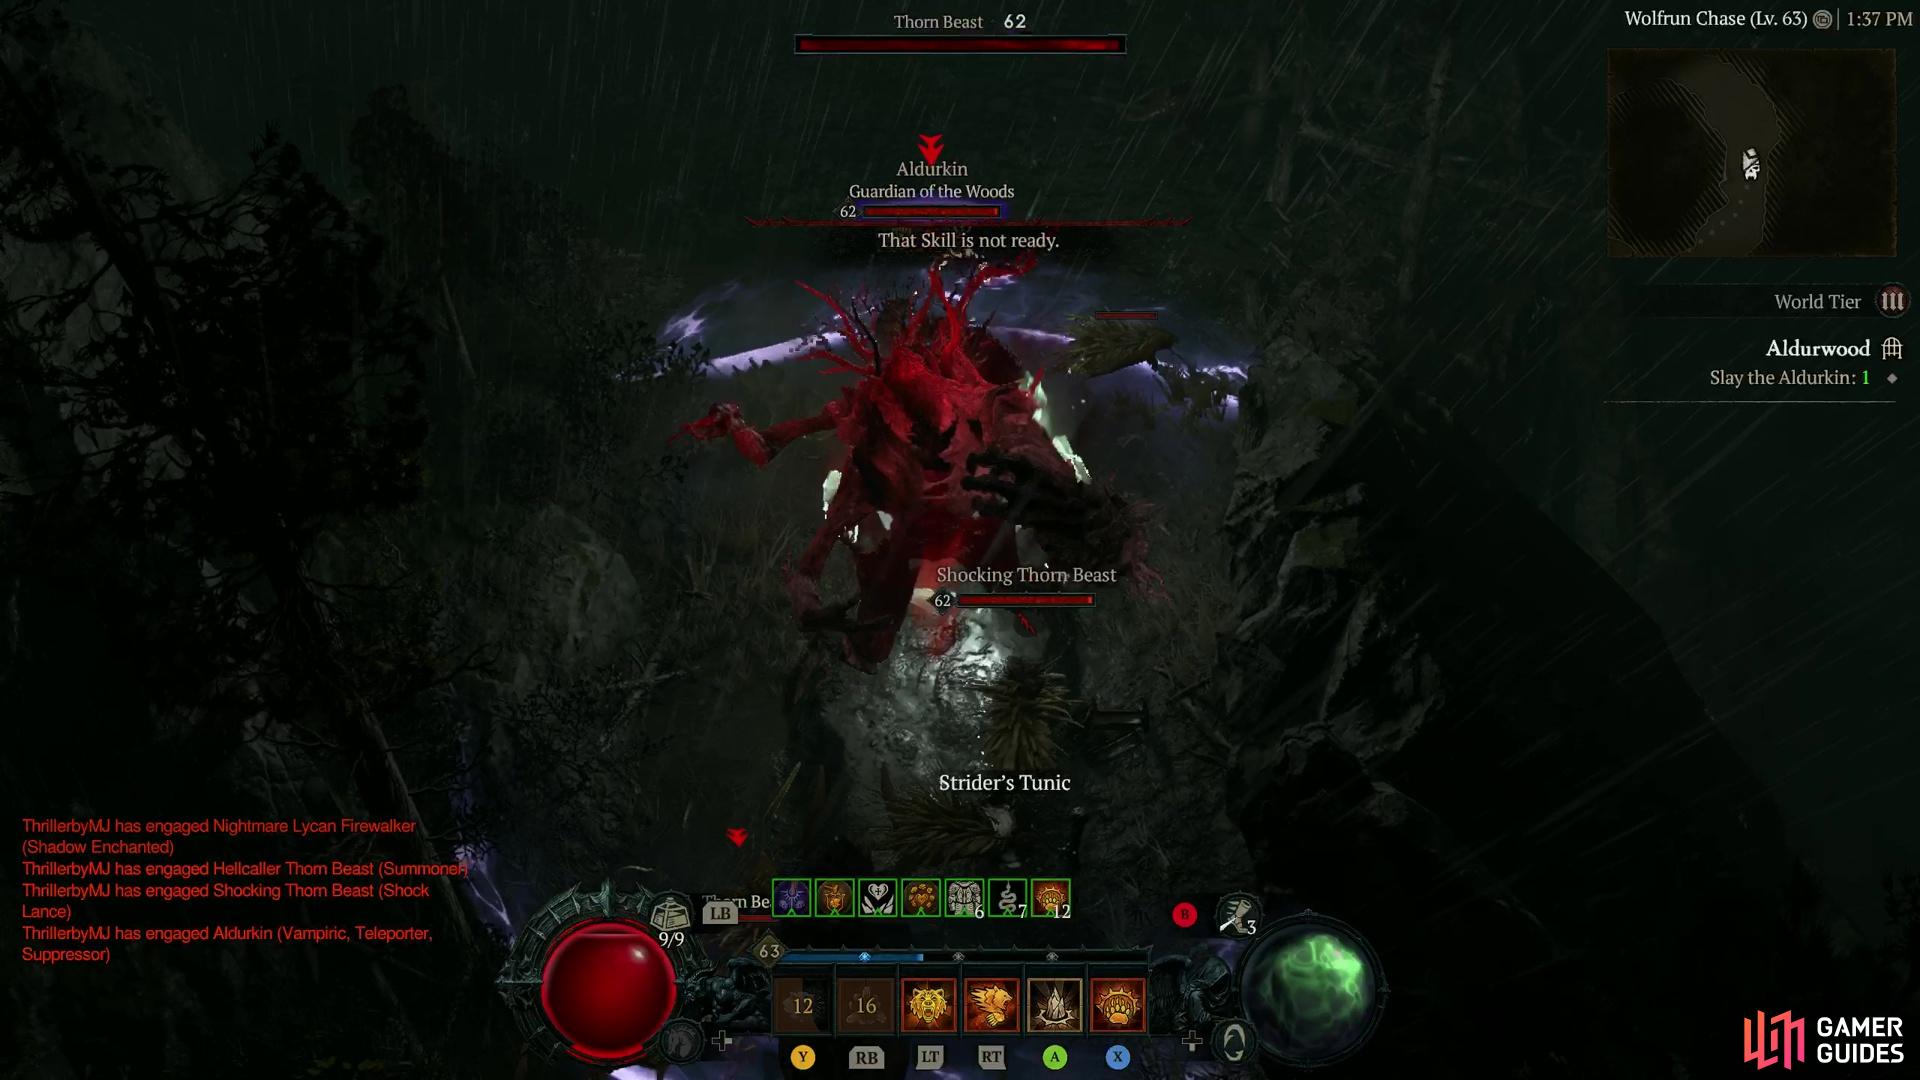
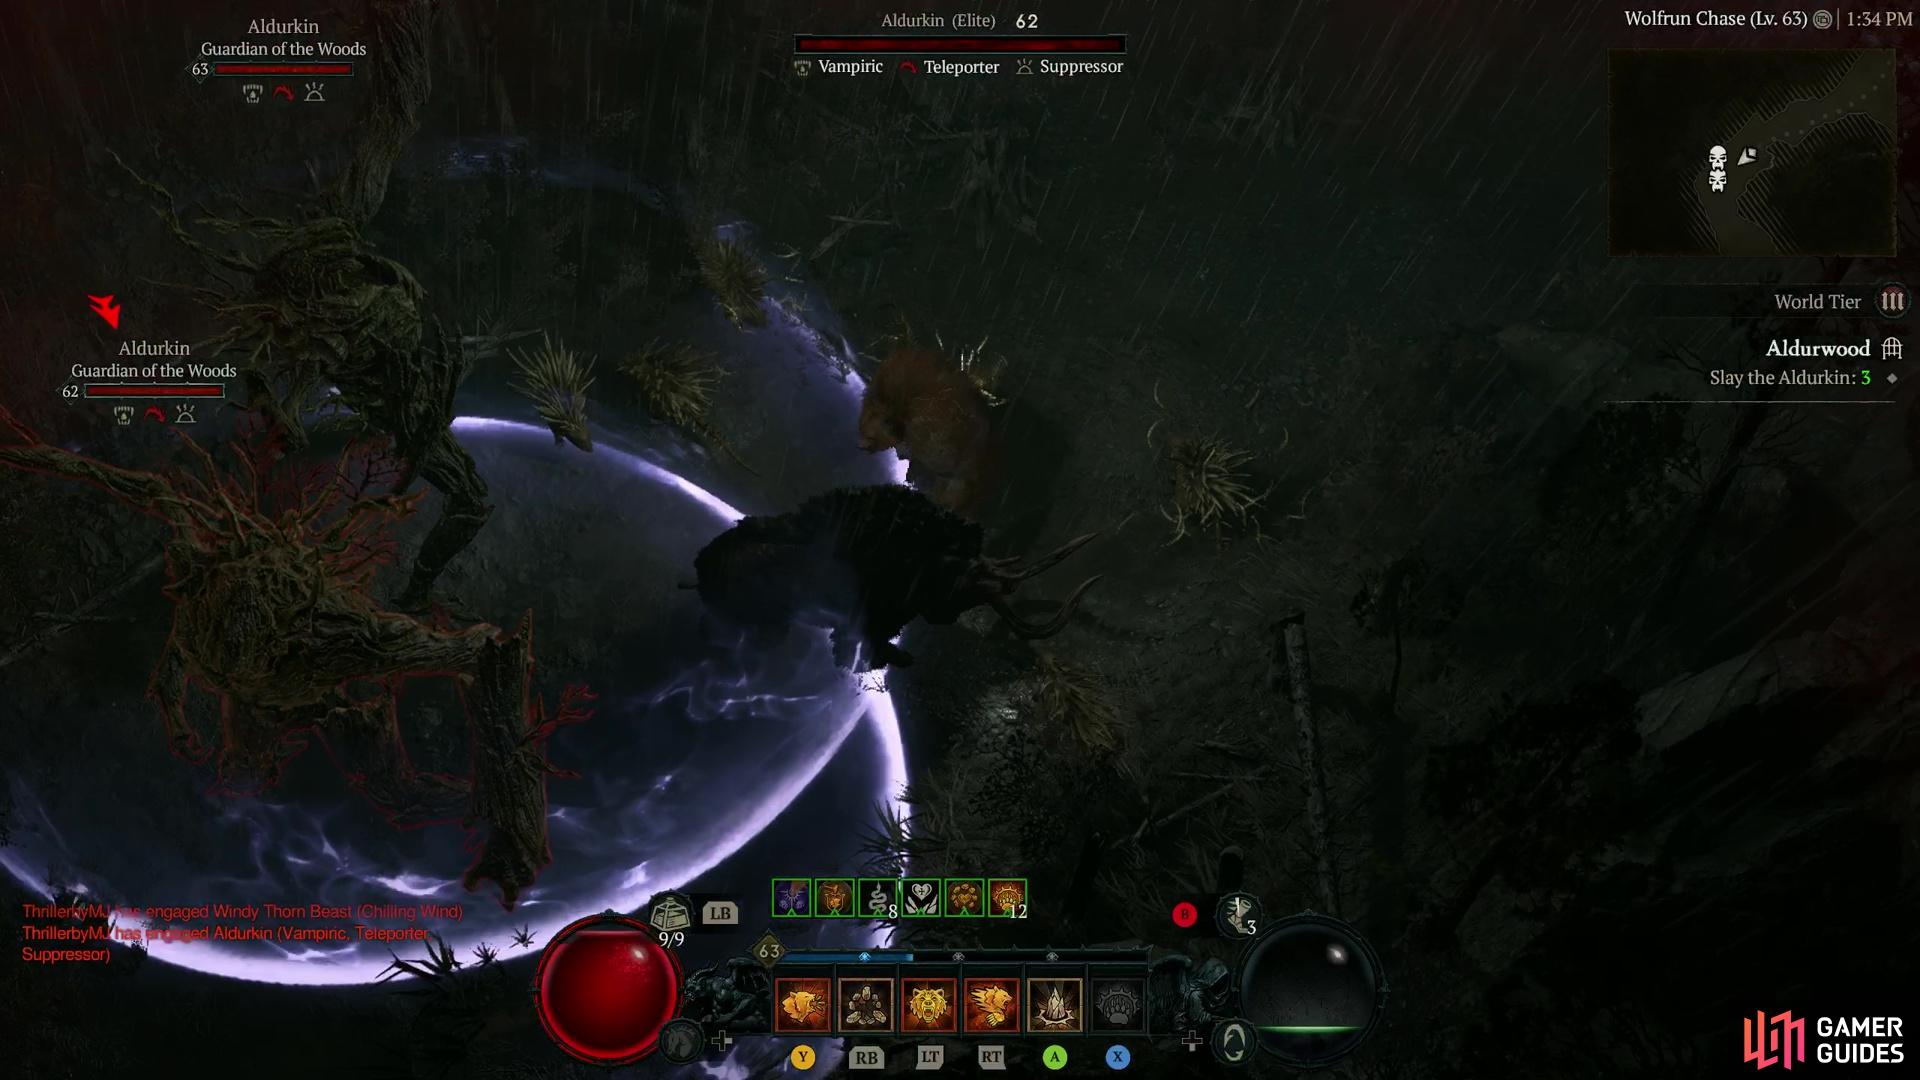
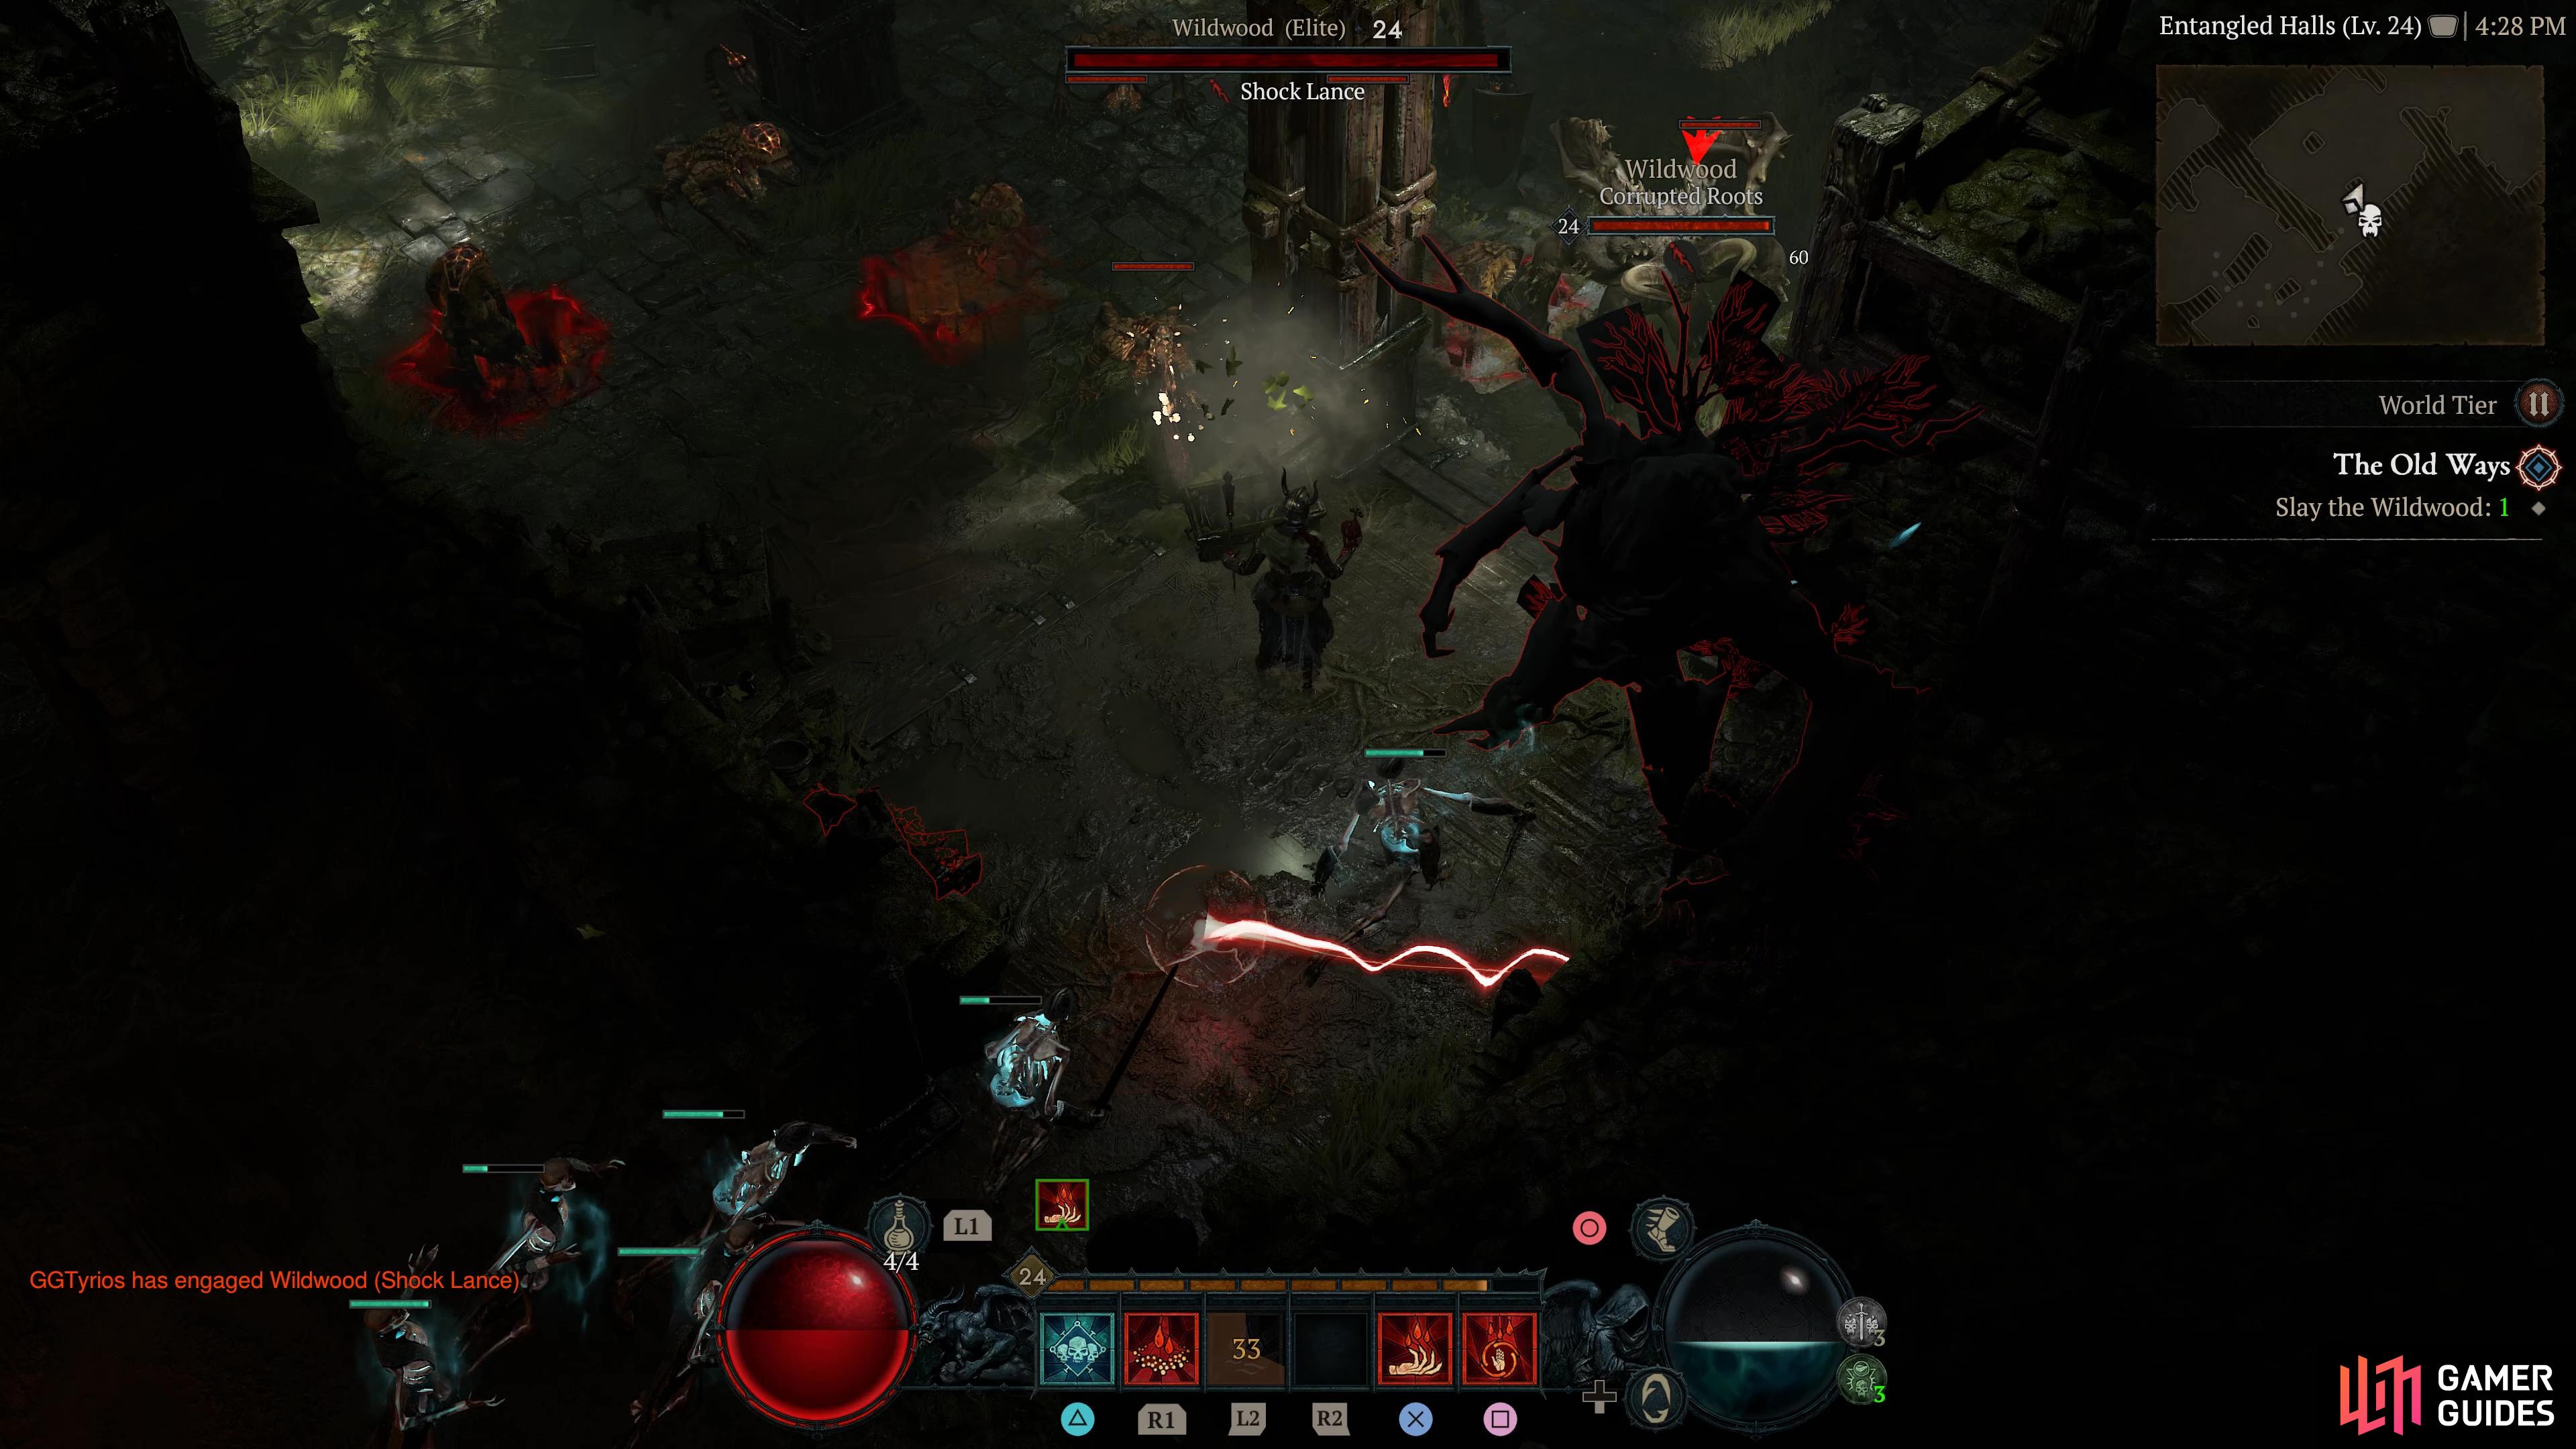
Aldurwood |
In the corrupted wood, blood runs like sap from trees.
Objectives
Diablo 4 Aldurwood Objectives
Description
Diablo 4 Aldurwood WalkthroughThis is a very short dungeon, and can be efficiently cleared both solo and in group play. Group players can split up and go left an right to look for the Aldurkin when they encounter the barrier preventing them from crossing over into the second half of the dungeon. The Aldurkin they seek are located in the round pathways on both the left and right side of the barrier. One will always have two together, while another has one. Once you’ve killed all three, you may go through the barrier into the area called Wolfrun chase. This is typically a path straight forward, with one round pathway, with a pathway leading to the The boss’ pathway contains the Den Mother, whose tactics typically involve a Dash, spawning Lycan foes, and going invisible from time to time.
Enemies
Region
General Reward
Item Reward
|
|
|||||||||||||||||||||||||||||||||||||||||||||||||||||||||||||||||||||||||||||||||||||||||||||||

|
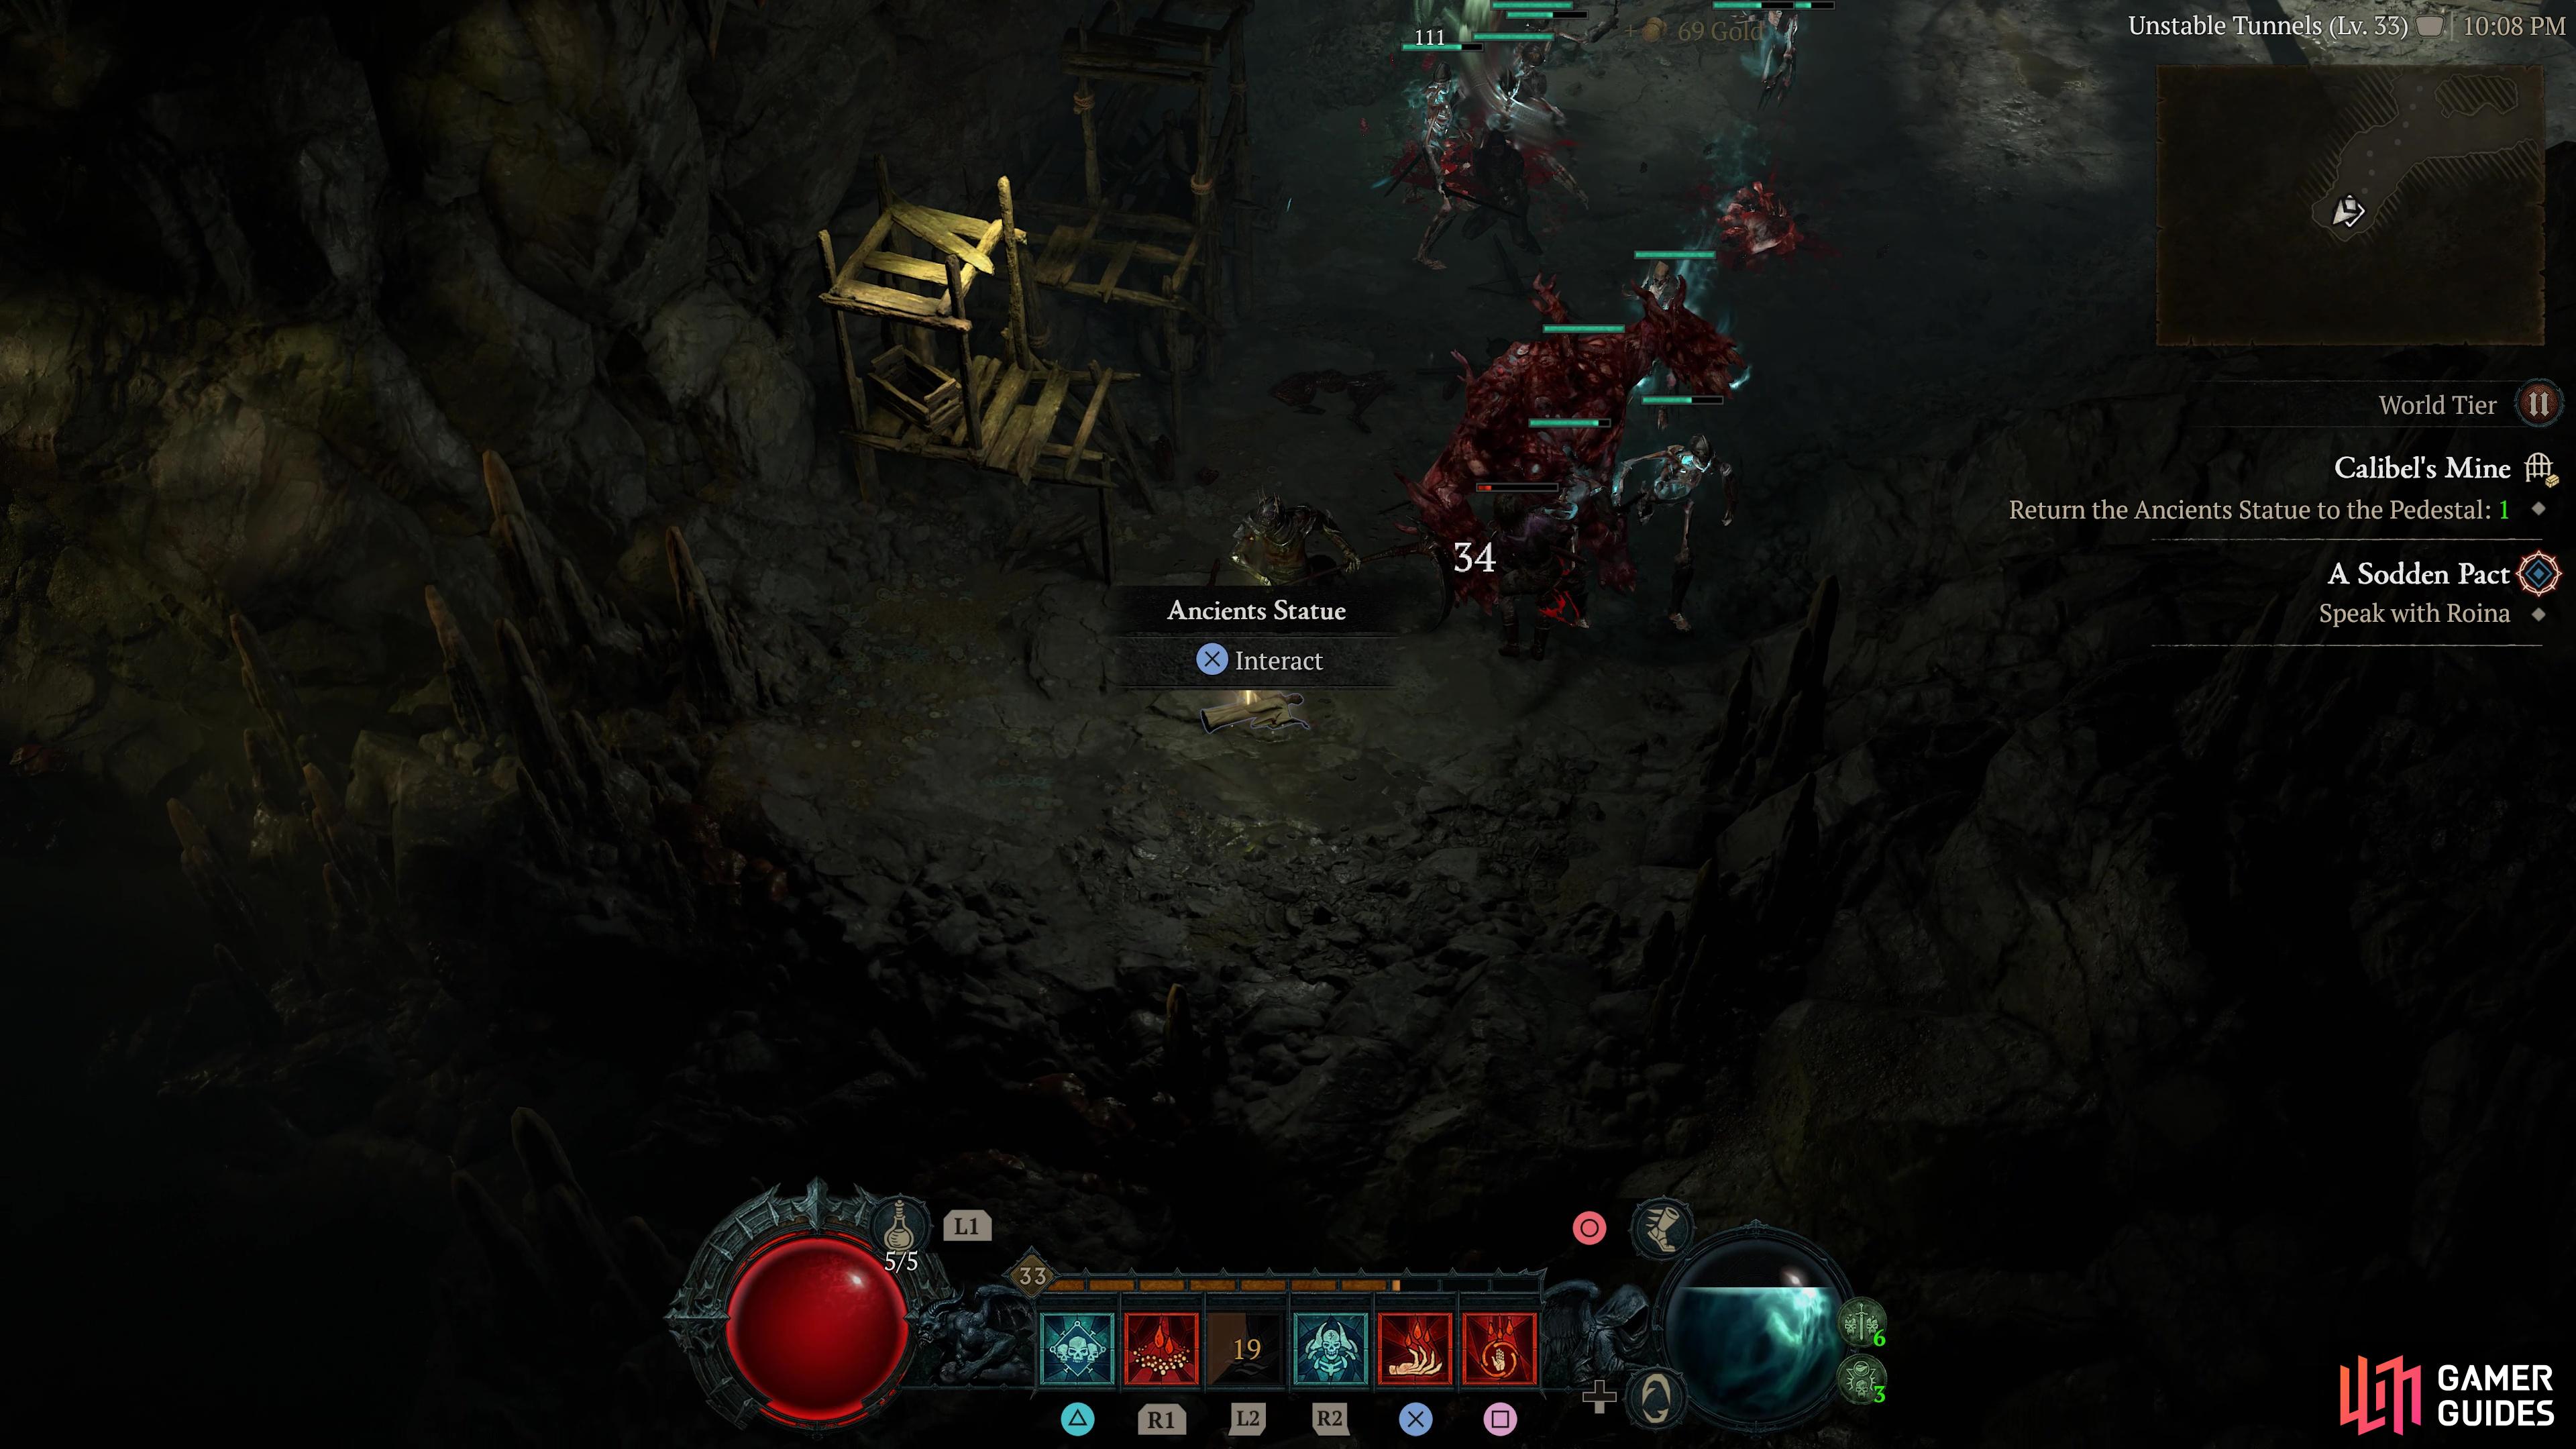
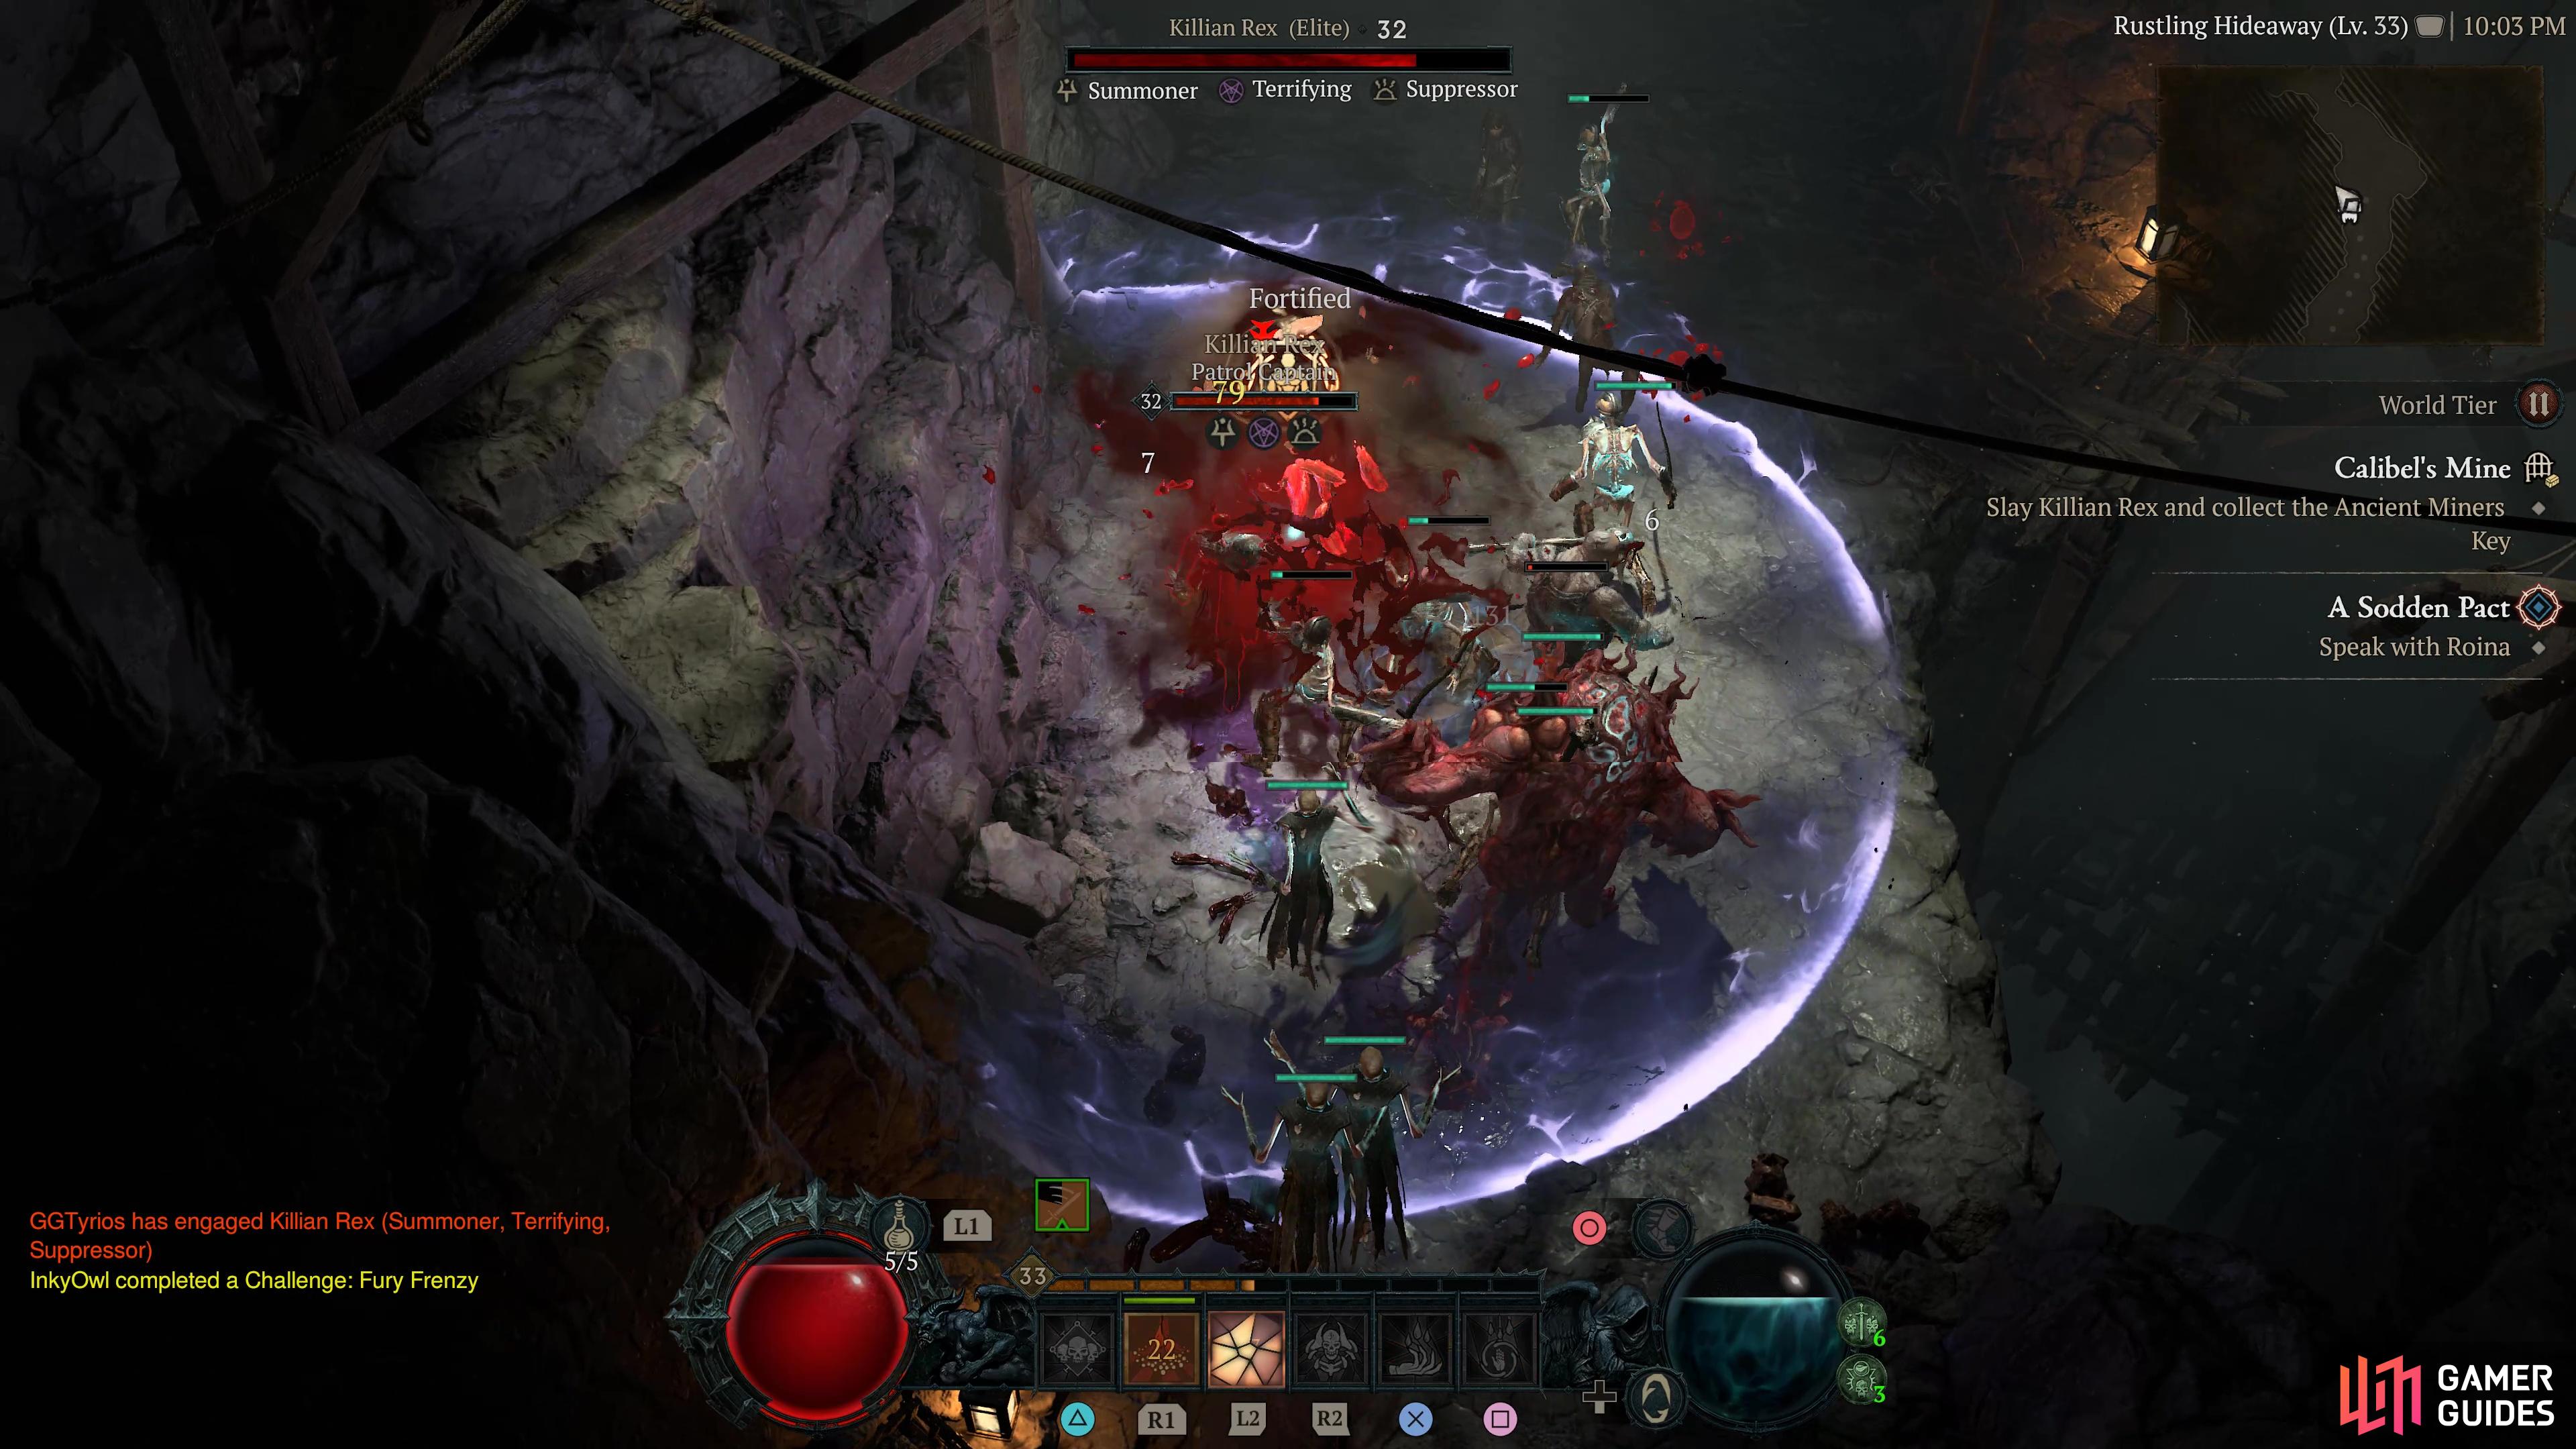
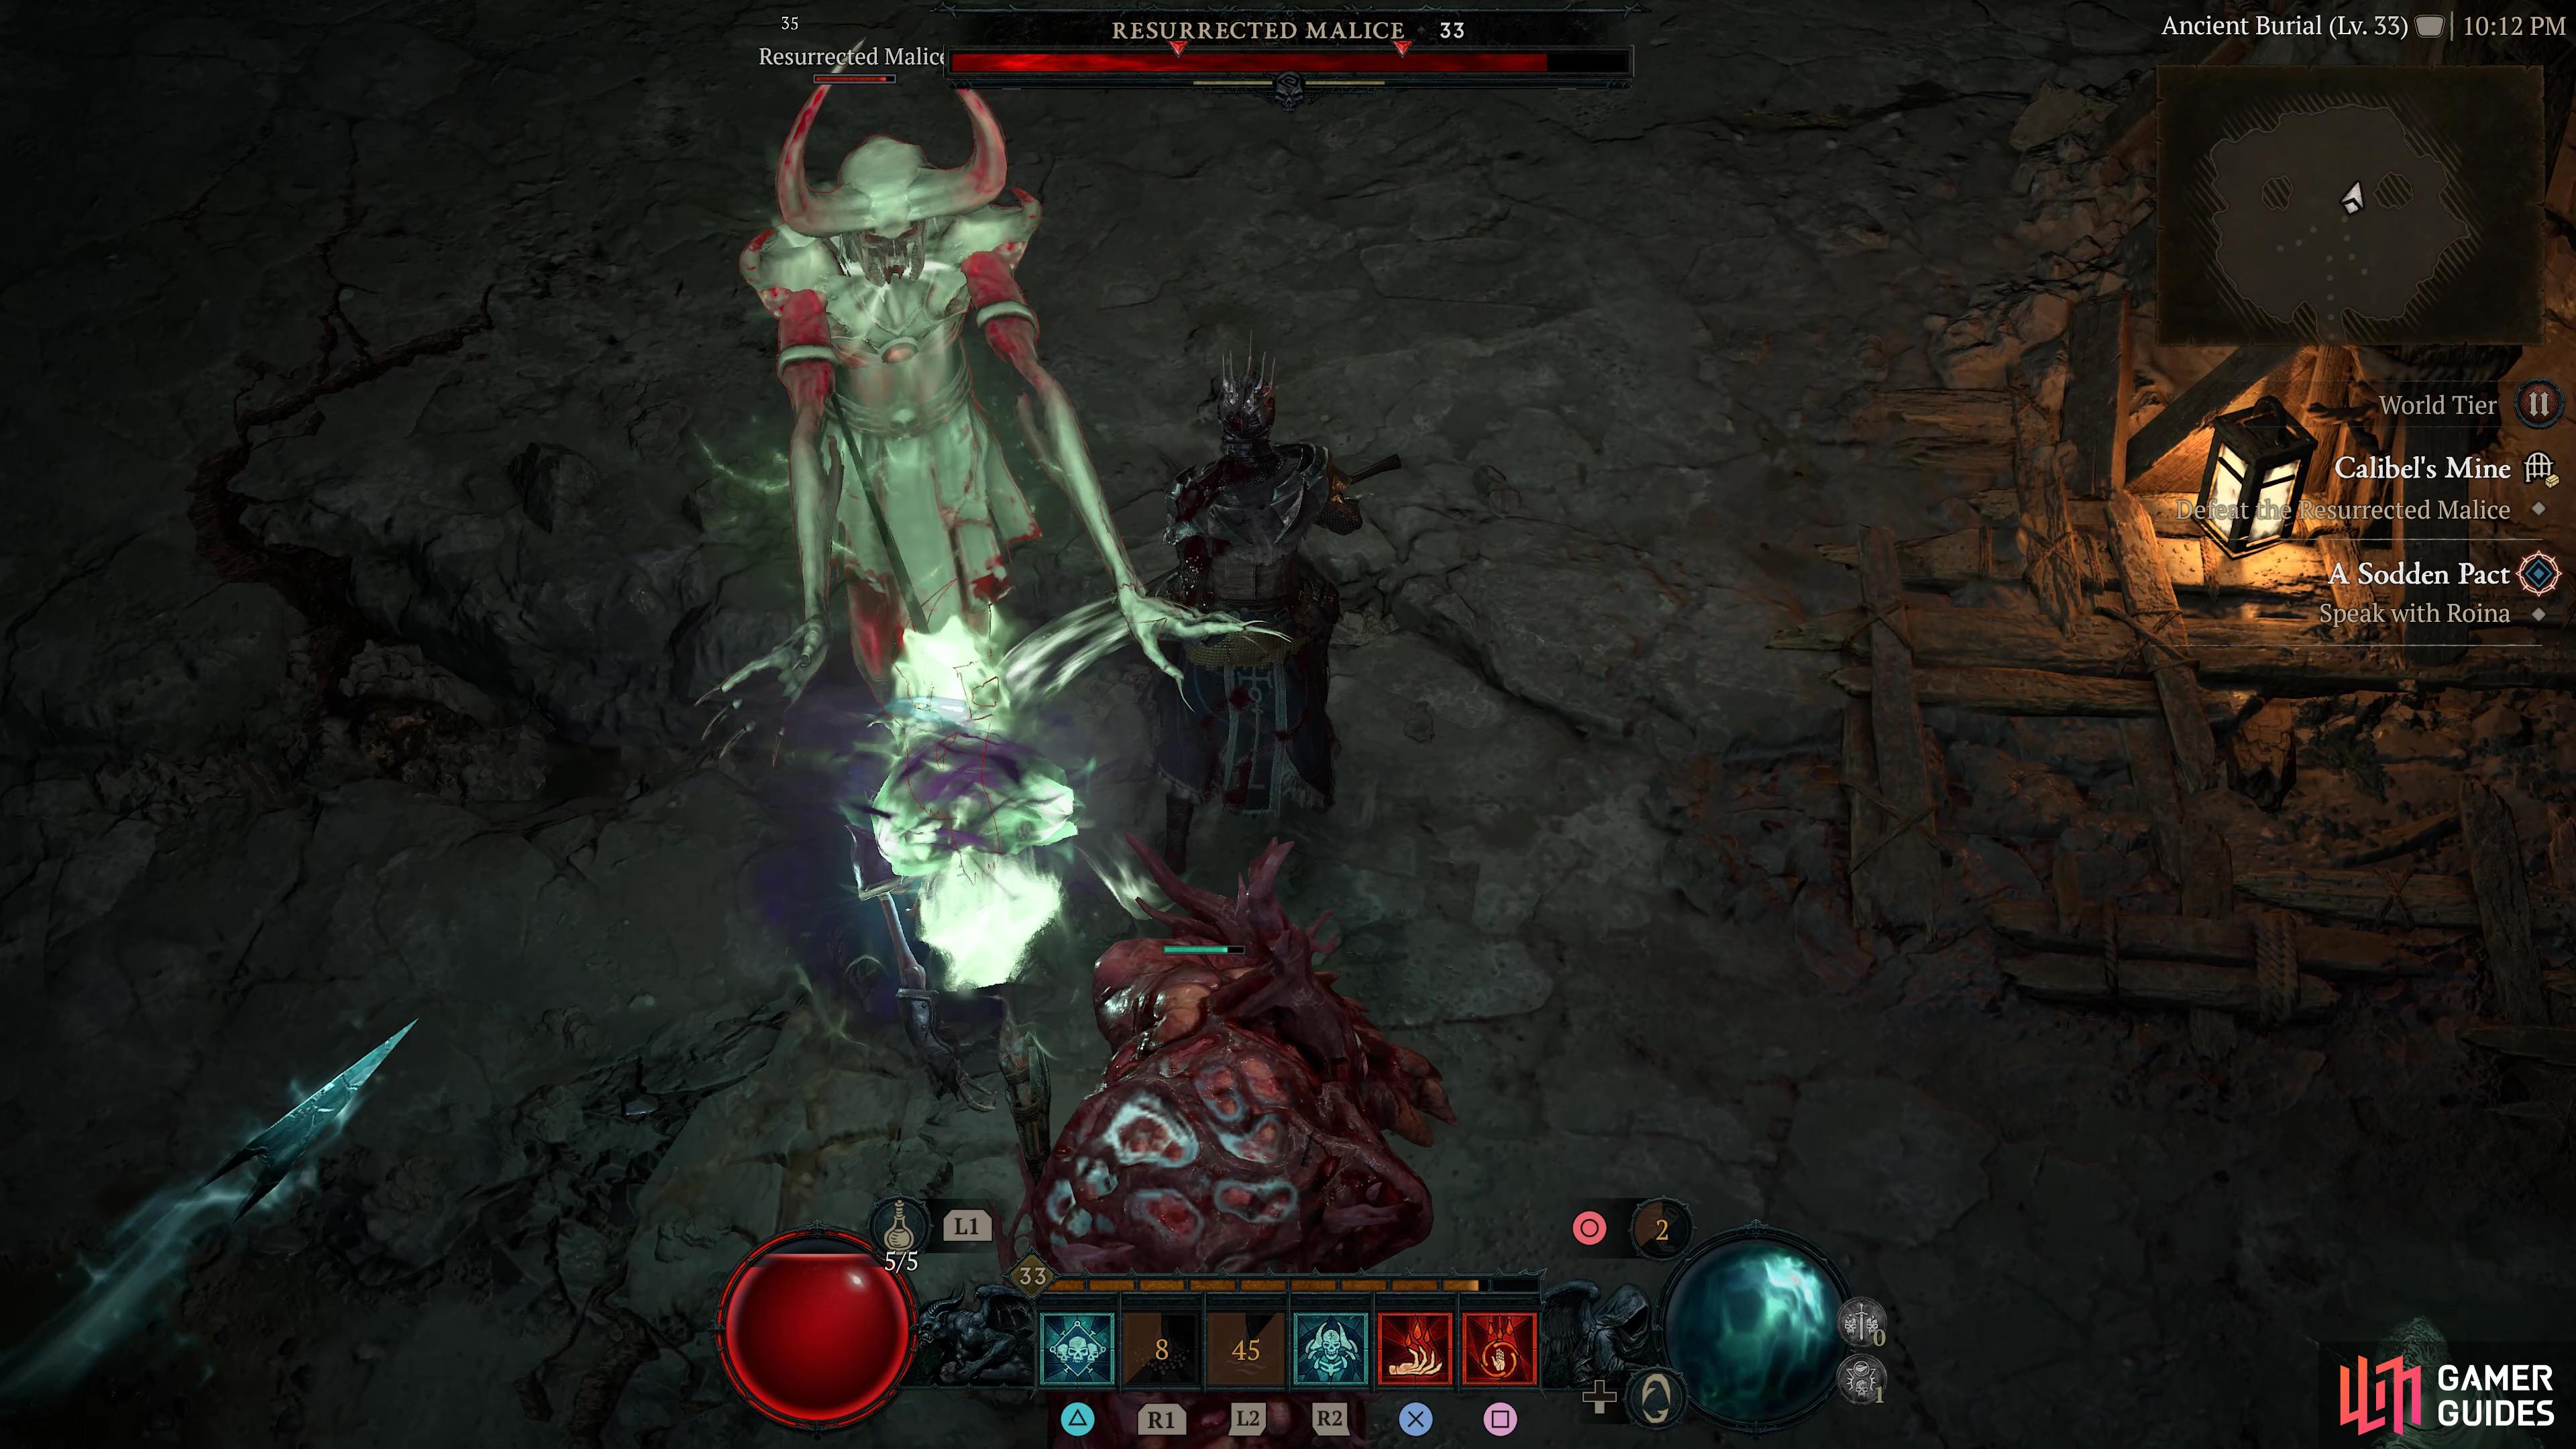
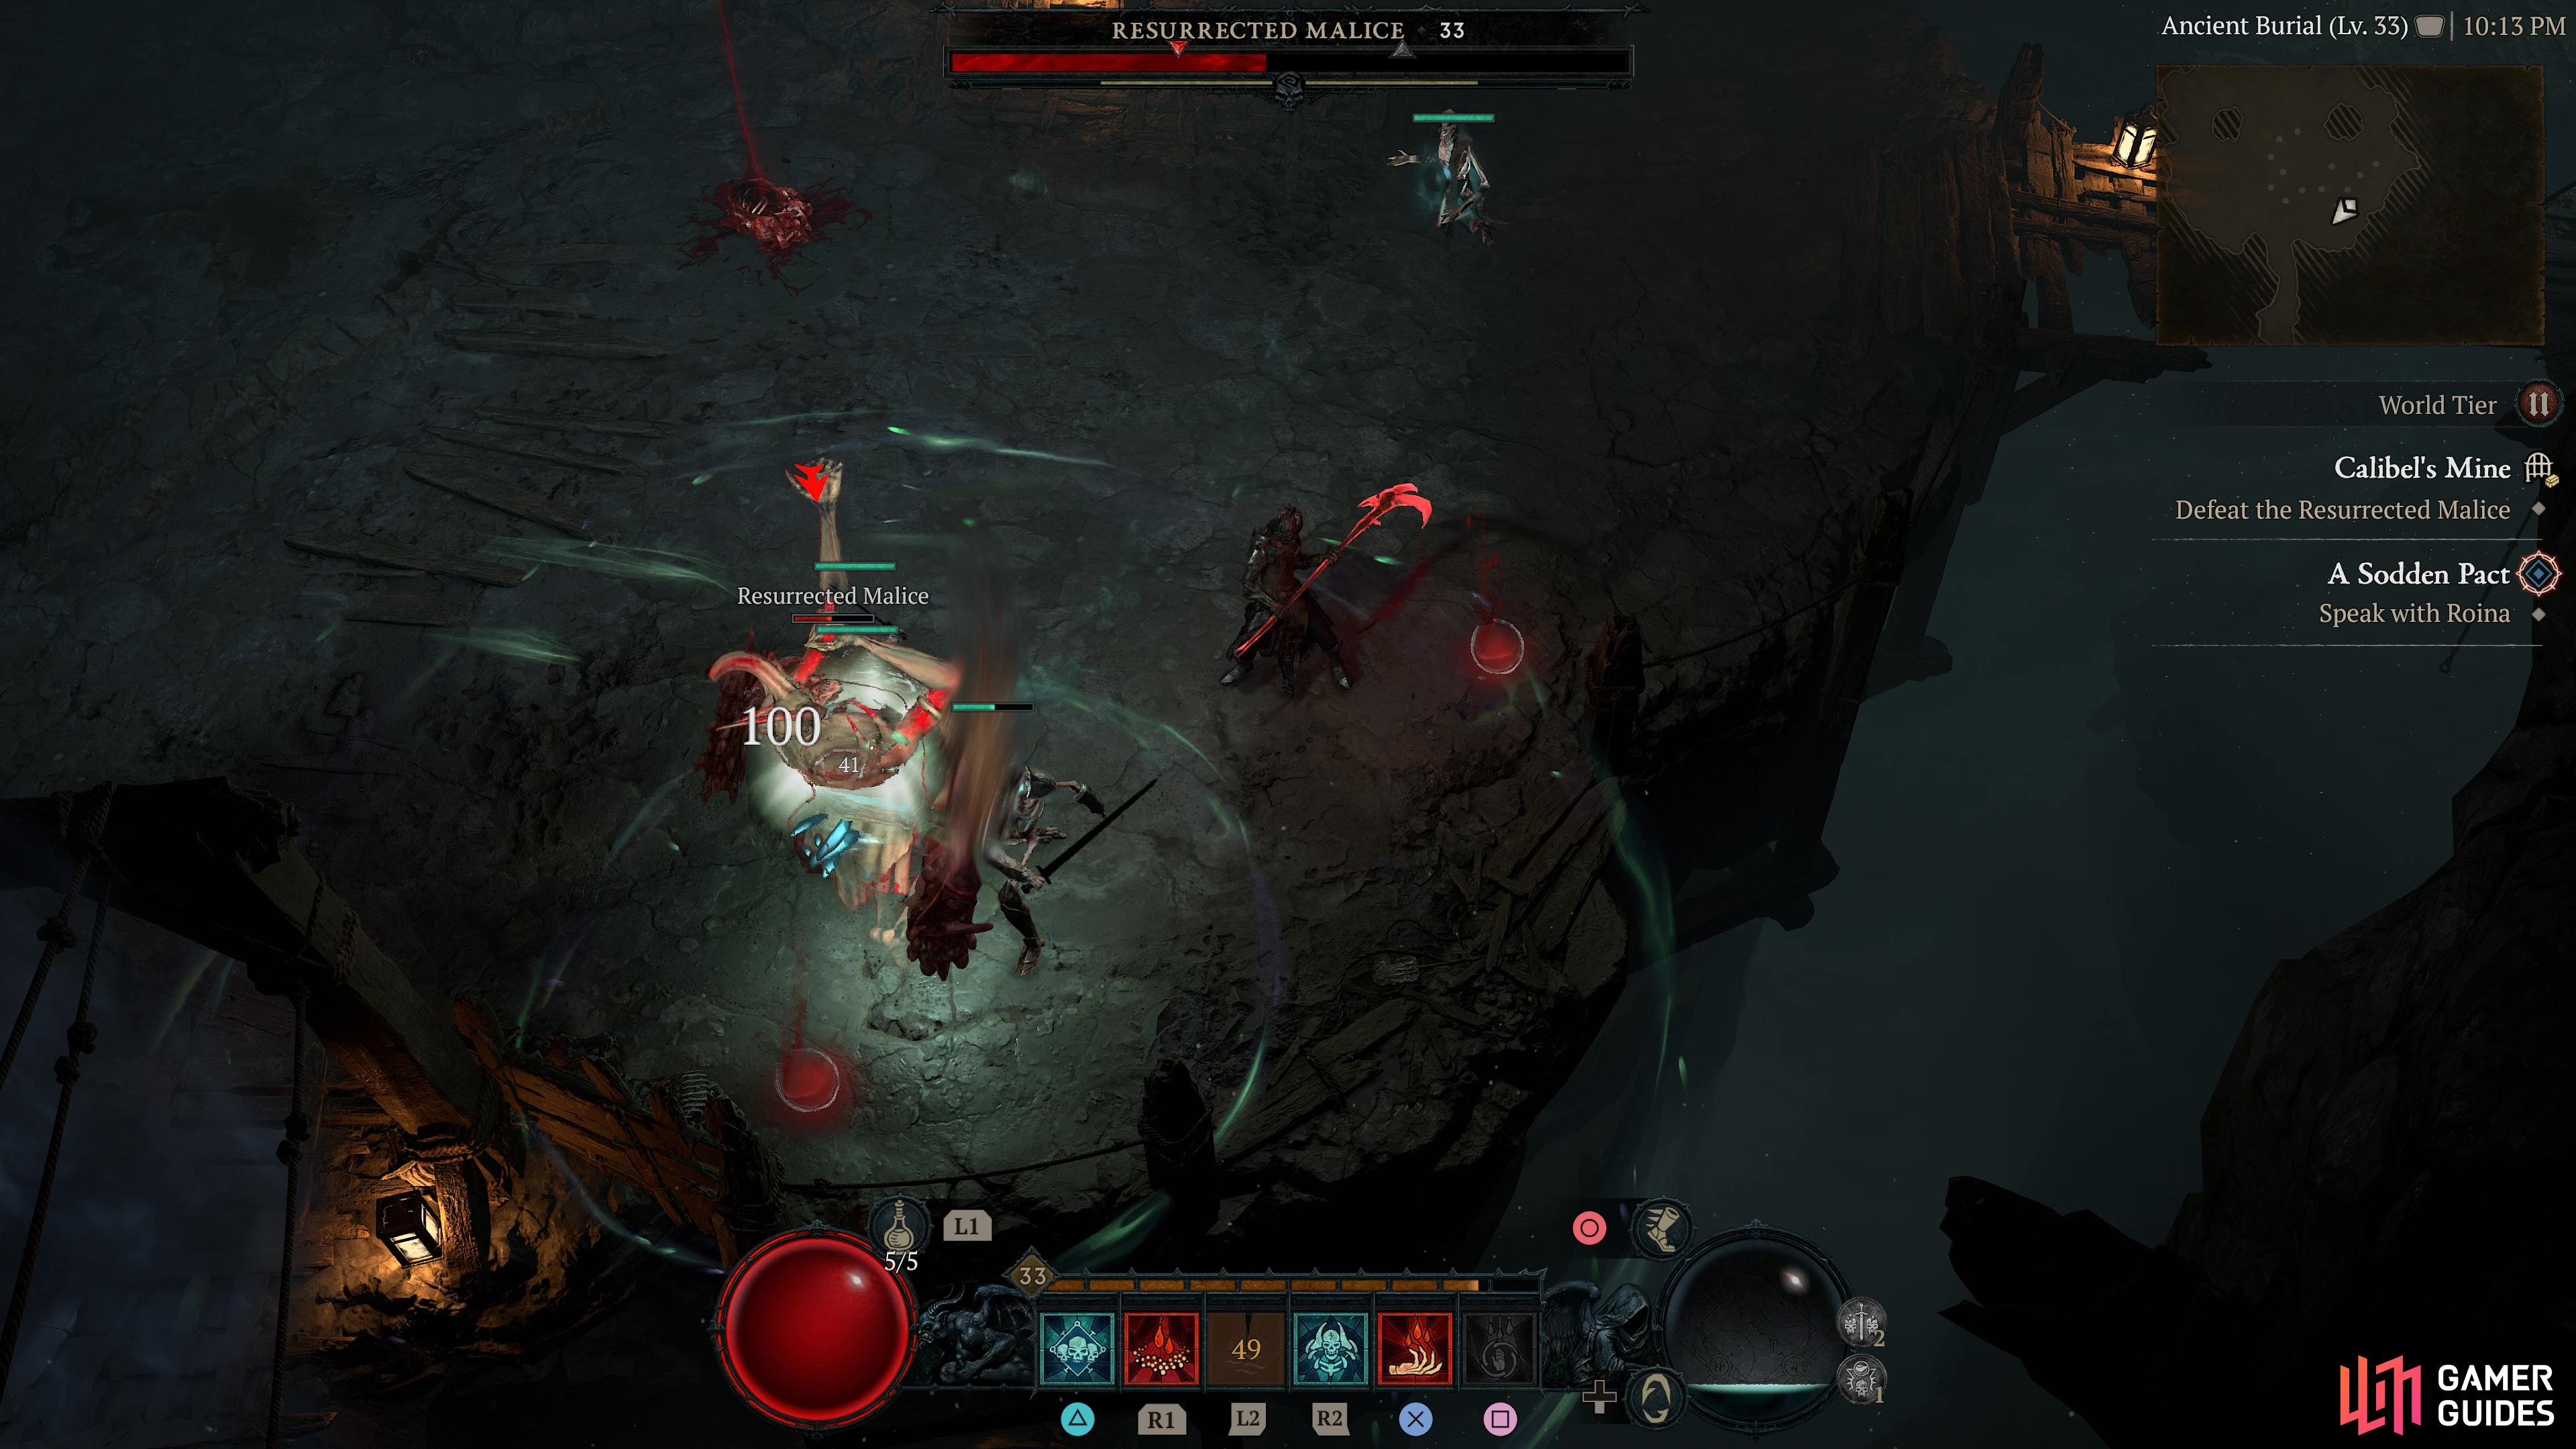
Calibel's Mine |
The bandits that took this mine are ignorant of its secrets. Objectives:
Description
As you might have guessed, this dungeon consists primarily of Bandit type enemies and undead like
Region
General Reward
|
|
|||||||||||||||||||||||||||||||||||||||||||||||||||||||||||||||||||||||||||||||||||||||||||||||

|
Domhainne Tunnels |
Corbach residents hear the screams from the Khazra’s Lair.
Region
|
||||||||||||||||||||||||||||||||||||||||||||||||||||||||||||||||||||||||||||||||||||||||||||||||

|
Embered Recess |
A little side quest dungeon that is part of the
Related Quests
1×
Region
|
||||||||||||||||||||||||||||||||||||||||||||||||||||||||||||||||||||||||||||||||||||||||||||||||

|
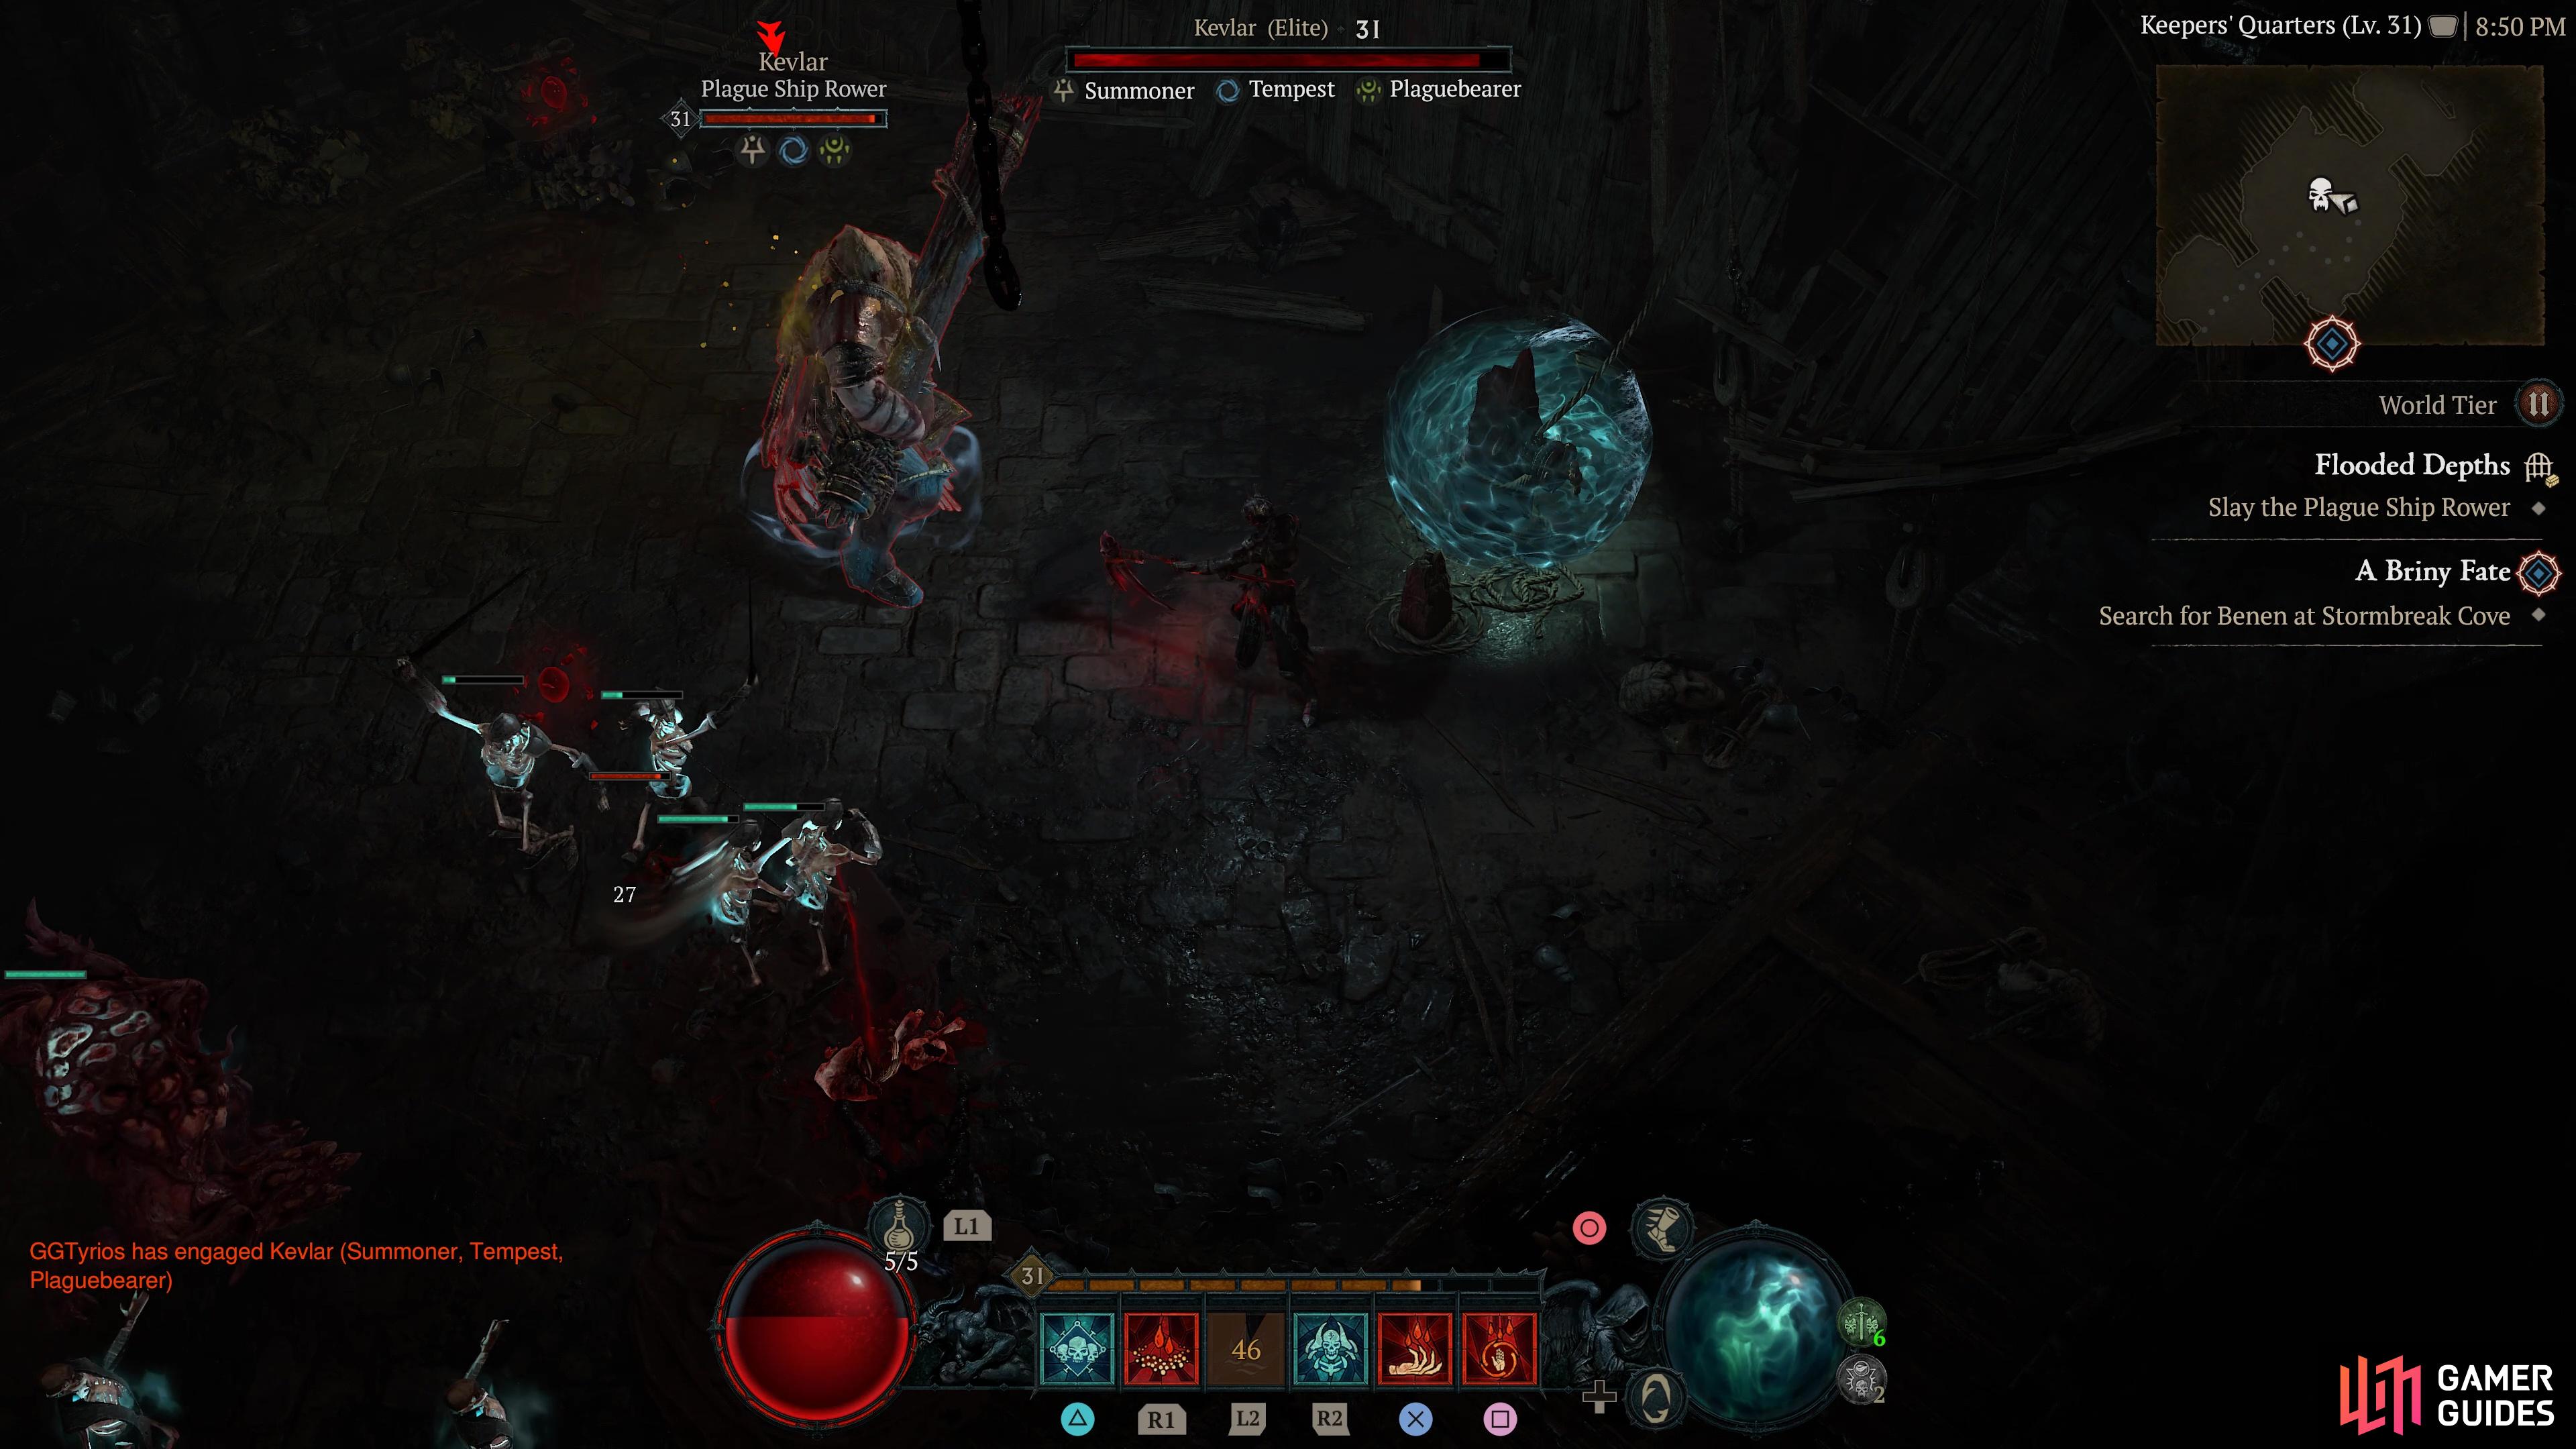
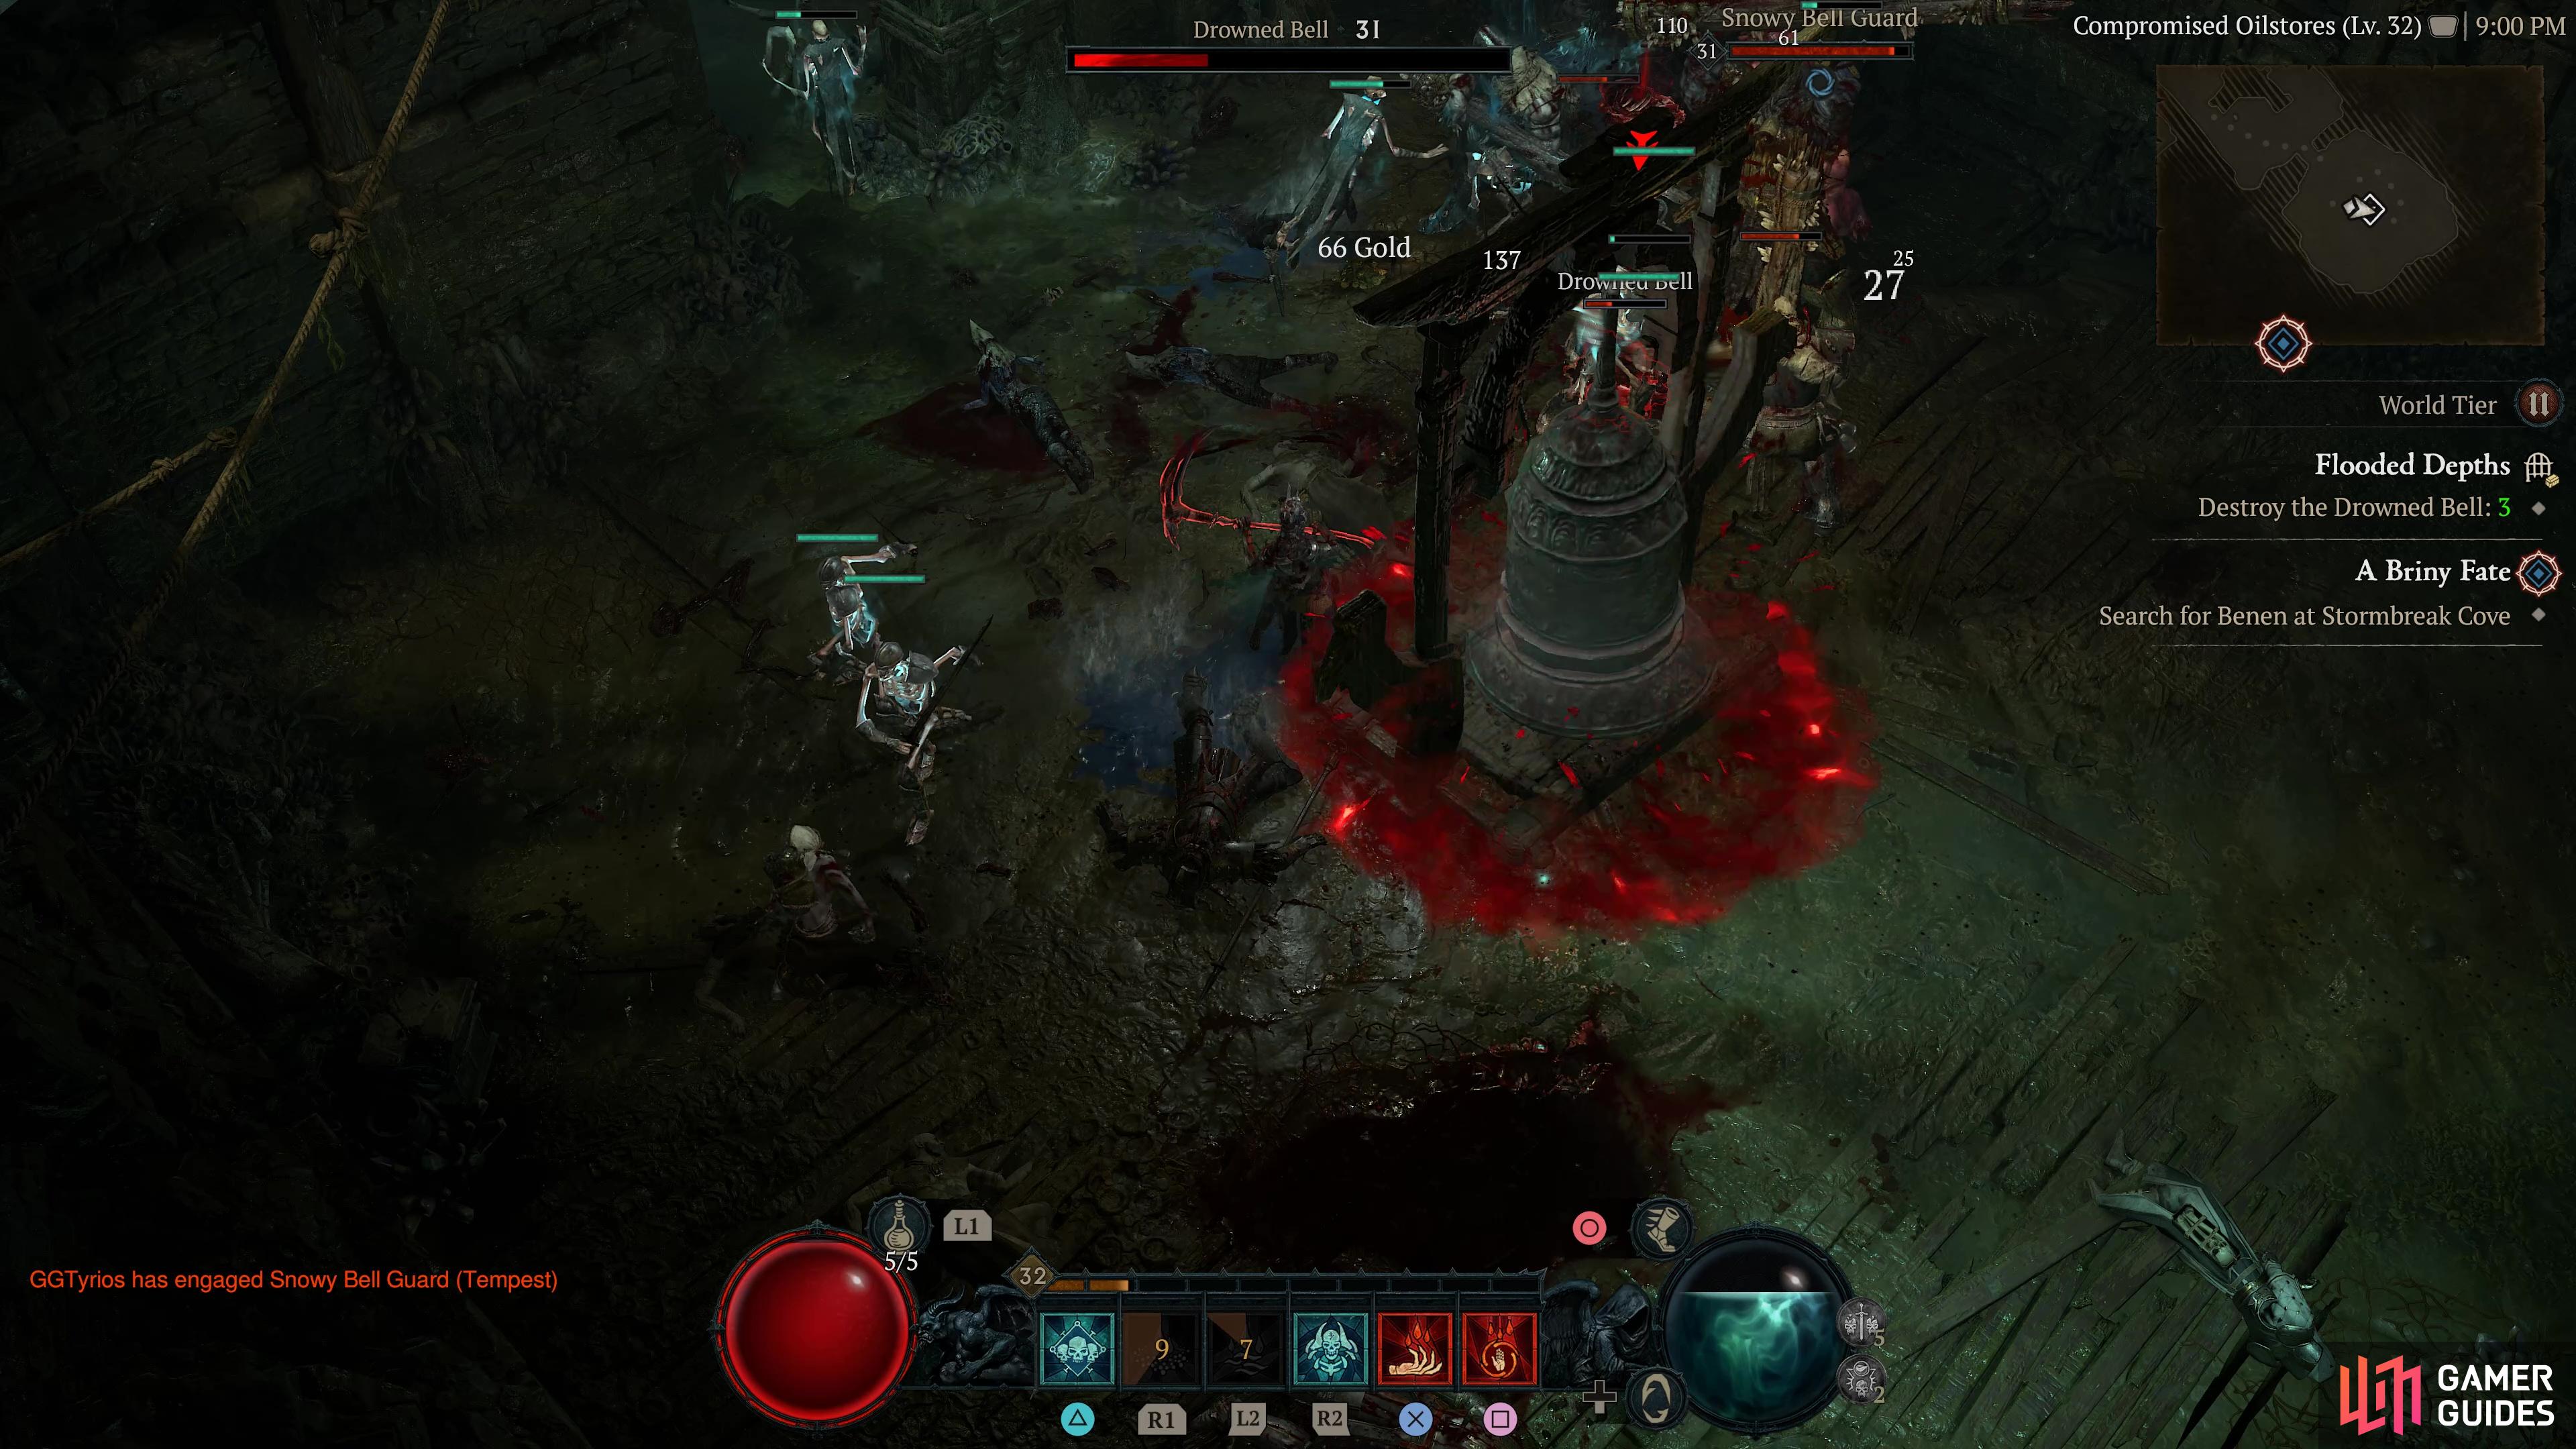
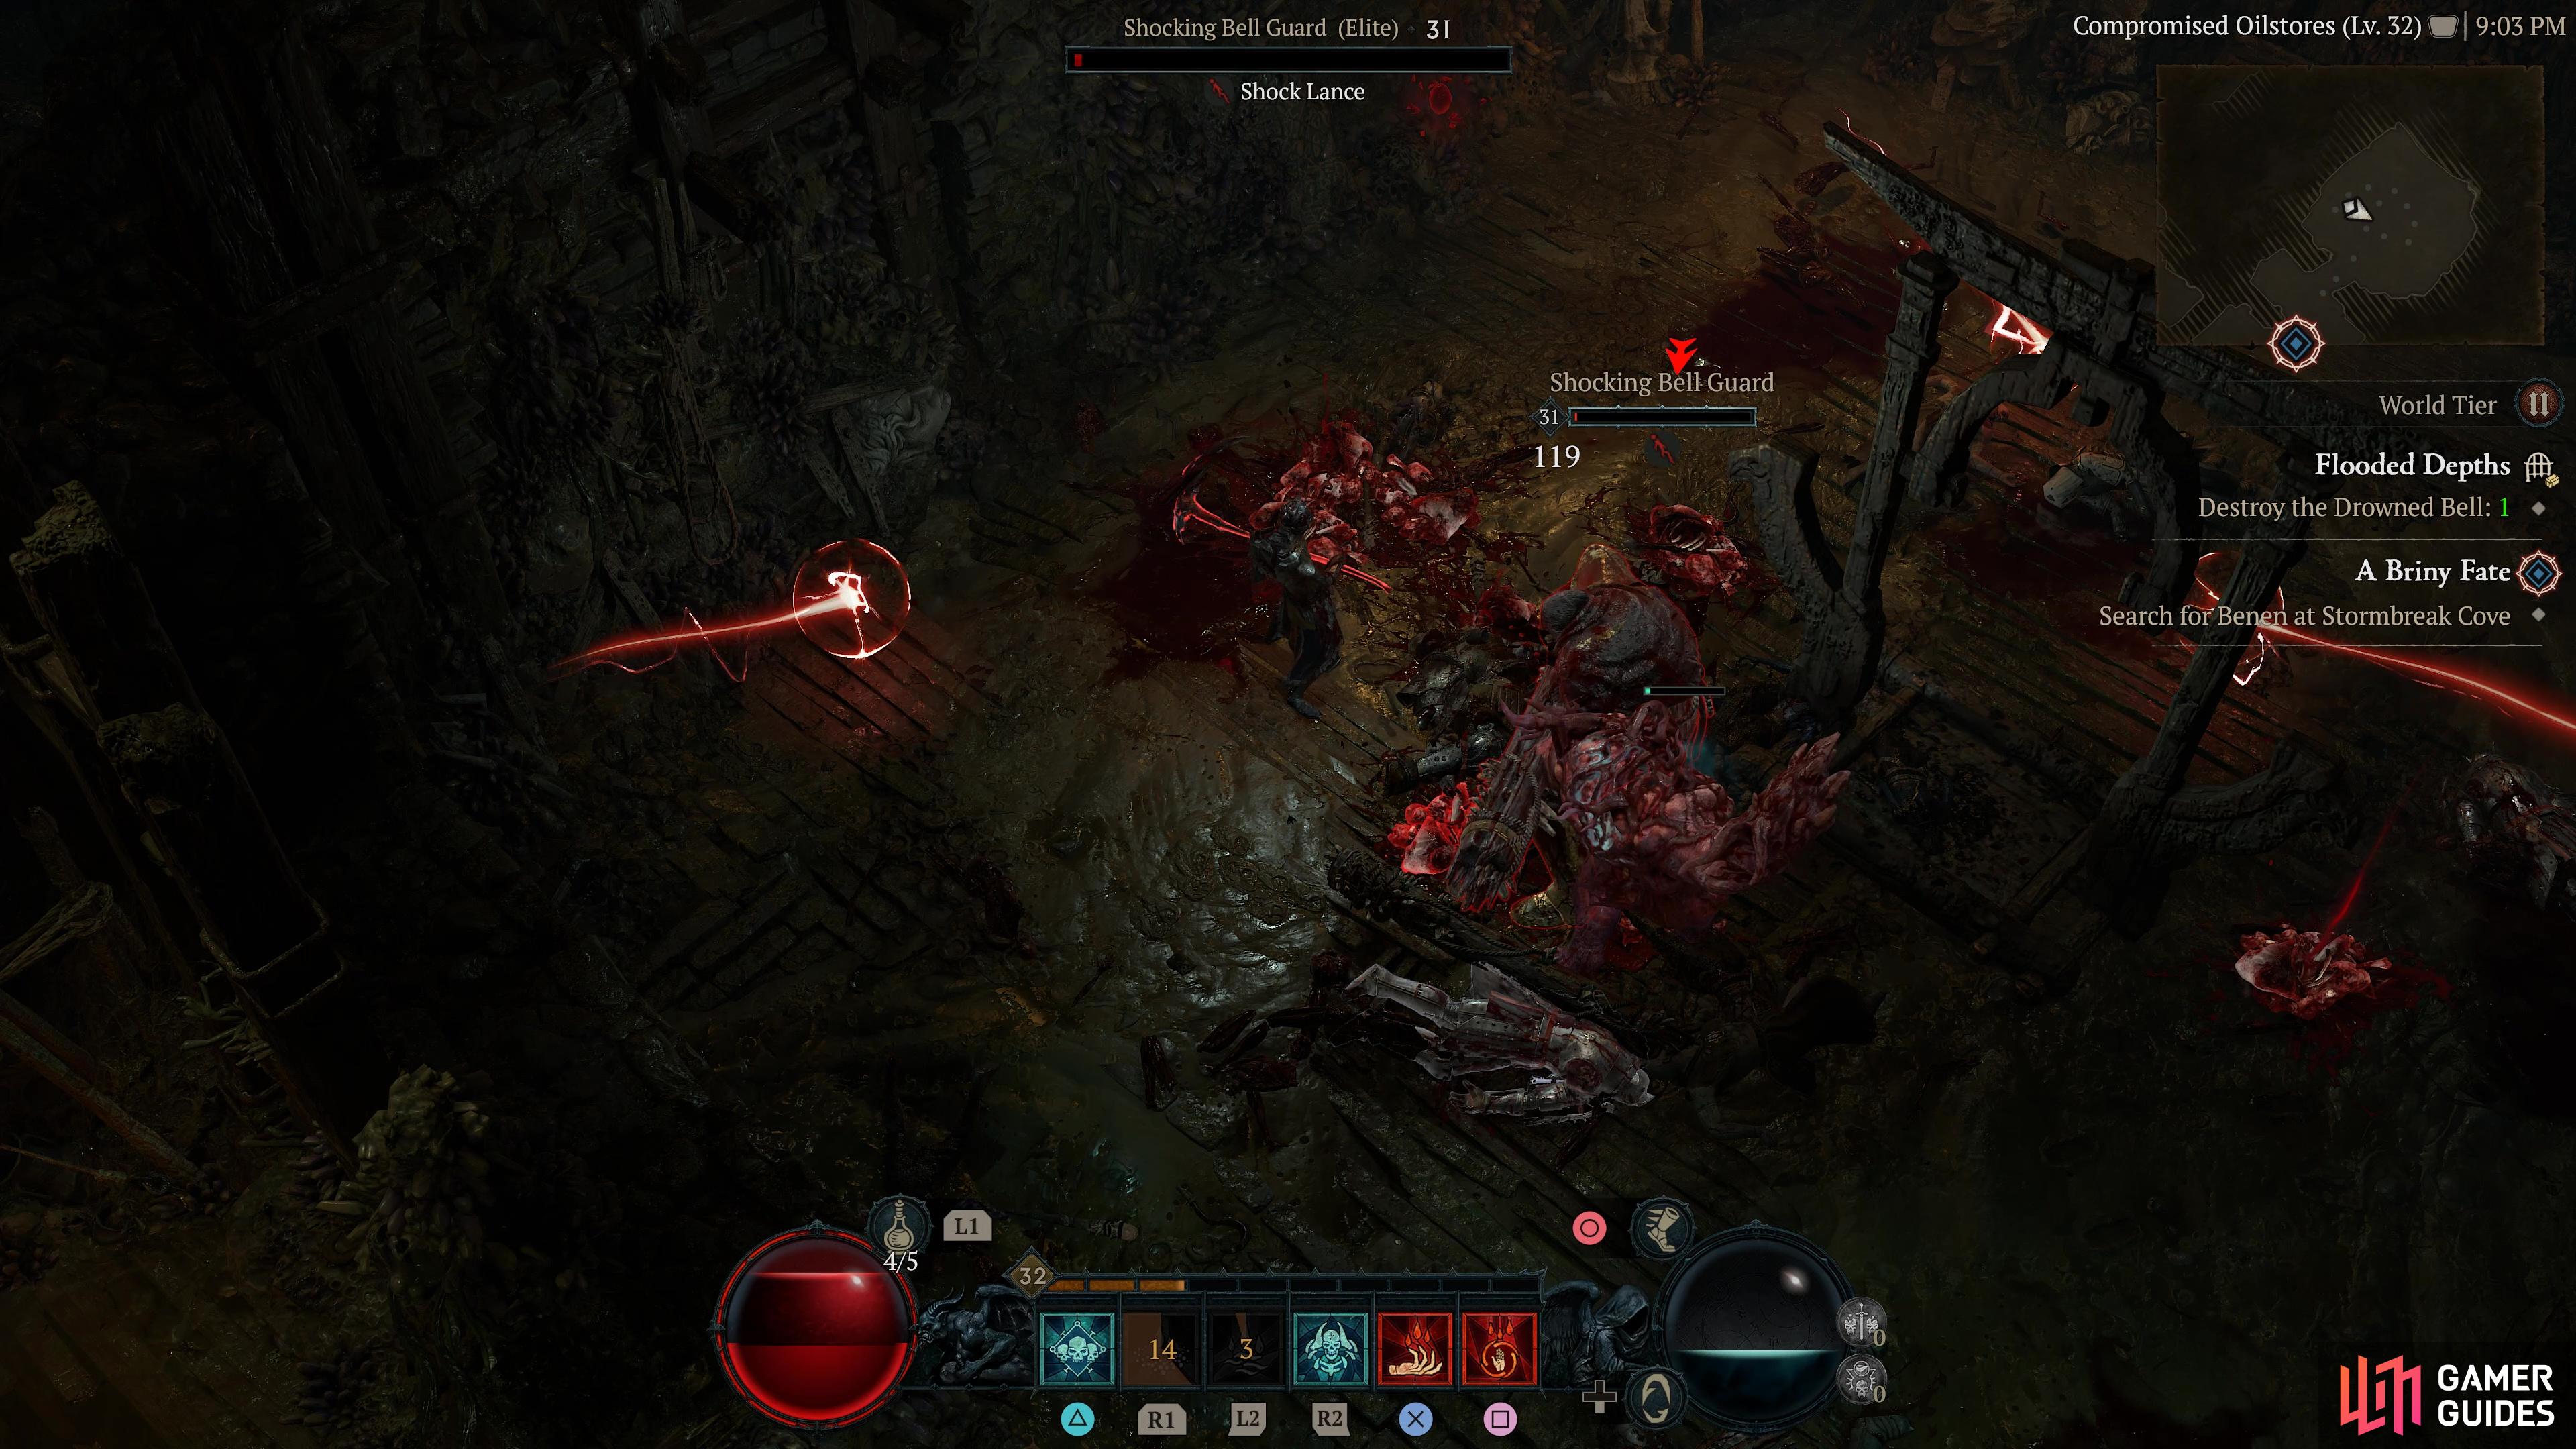
Flooded Depths |
More than the waters have made claim to these shipwrecks. The dungeon consists mostly of Drowned and Elite variants of them. Objectives:
Related Quests
1×
Region
General Reward
|
|
|||||||||||||||||||||||||||||||||||||||||||||||||||||||||||||||||||||||||||||||||||||||||||||||

|
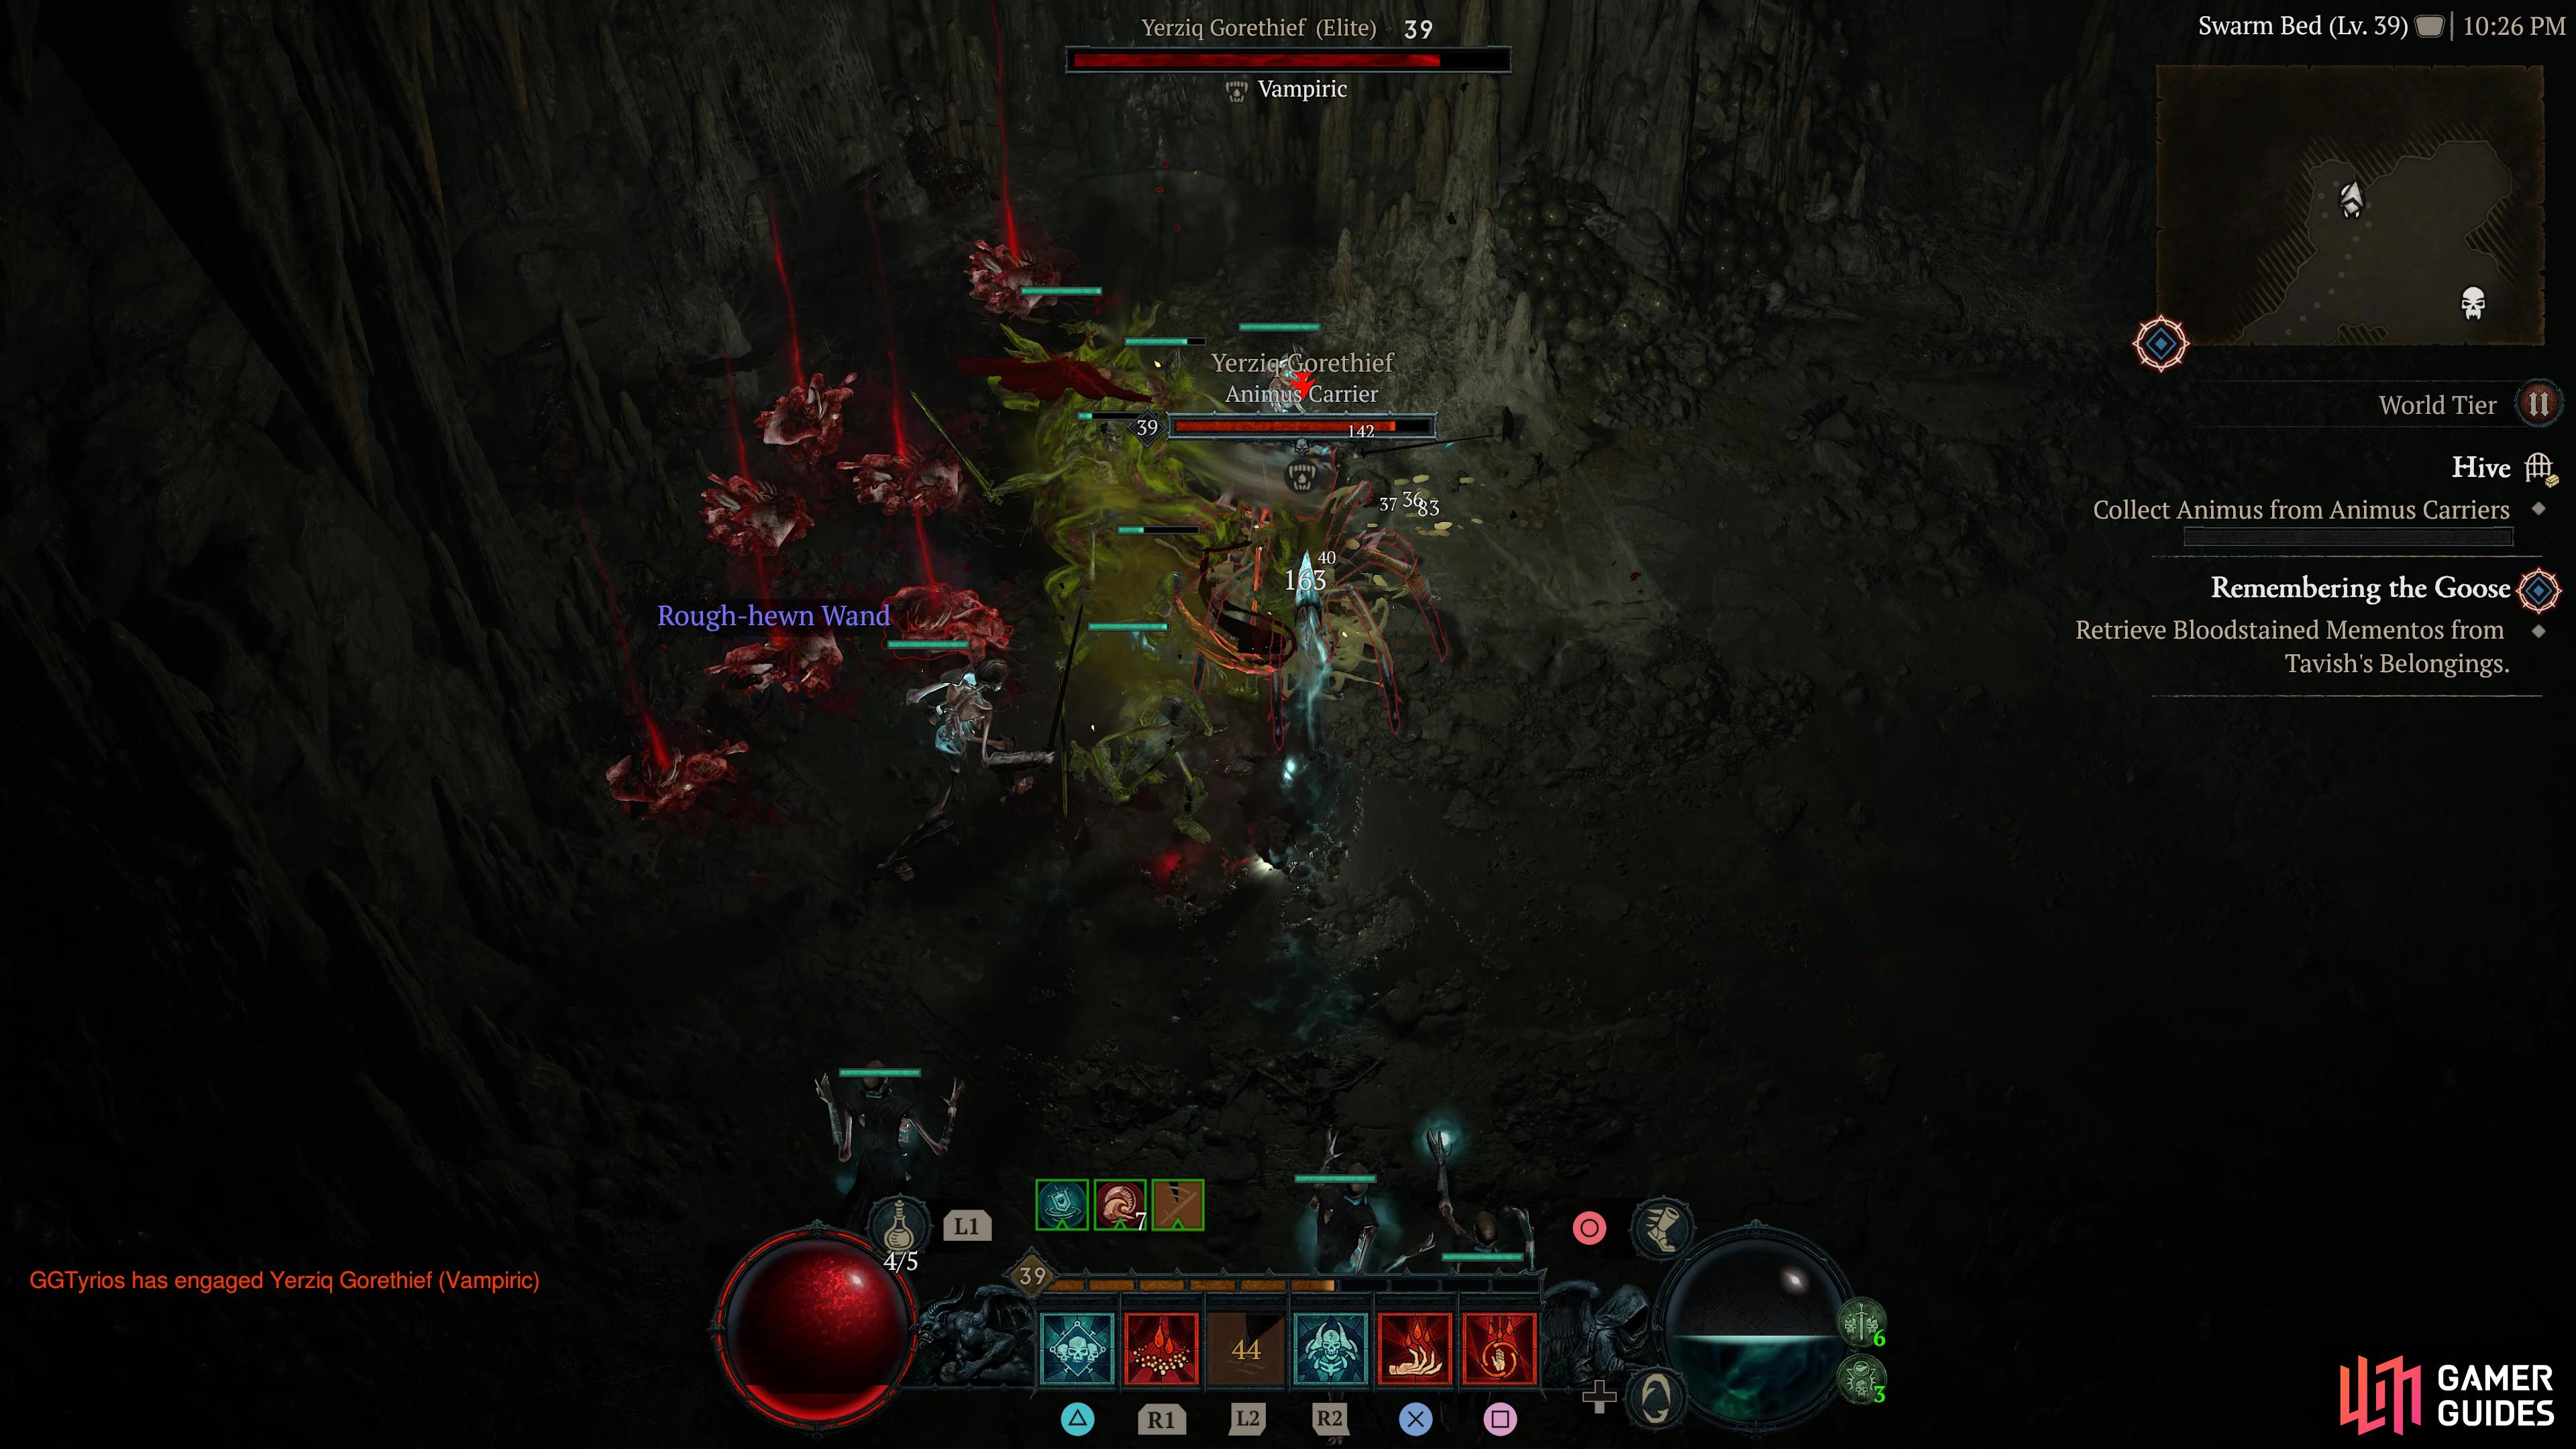
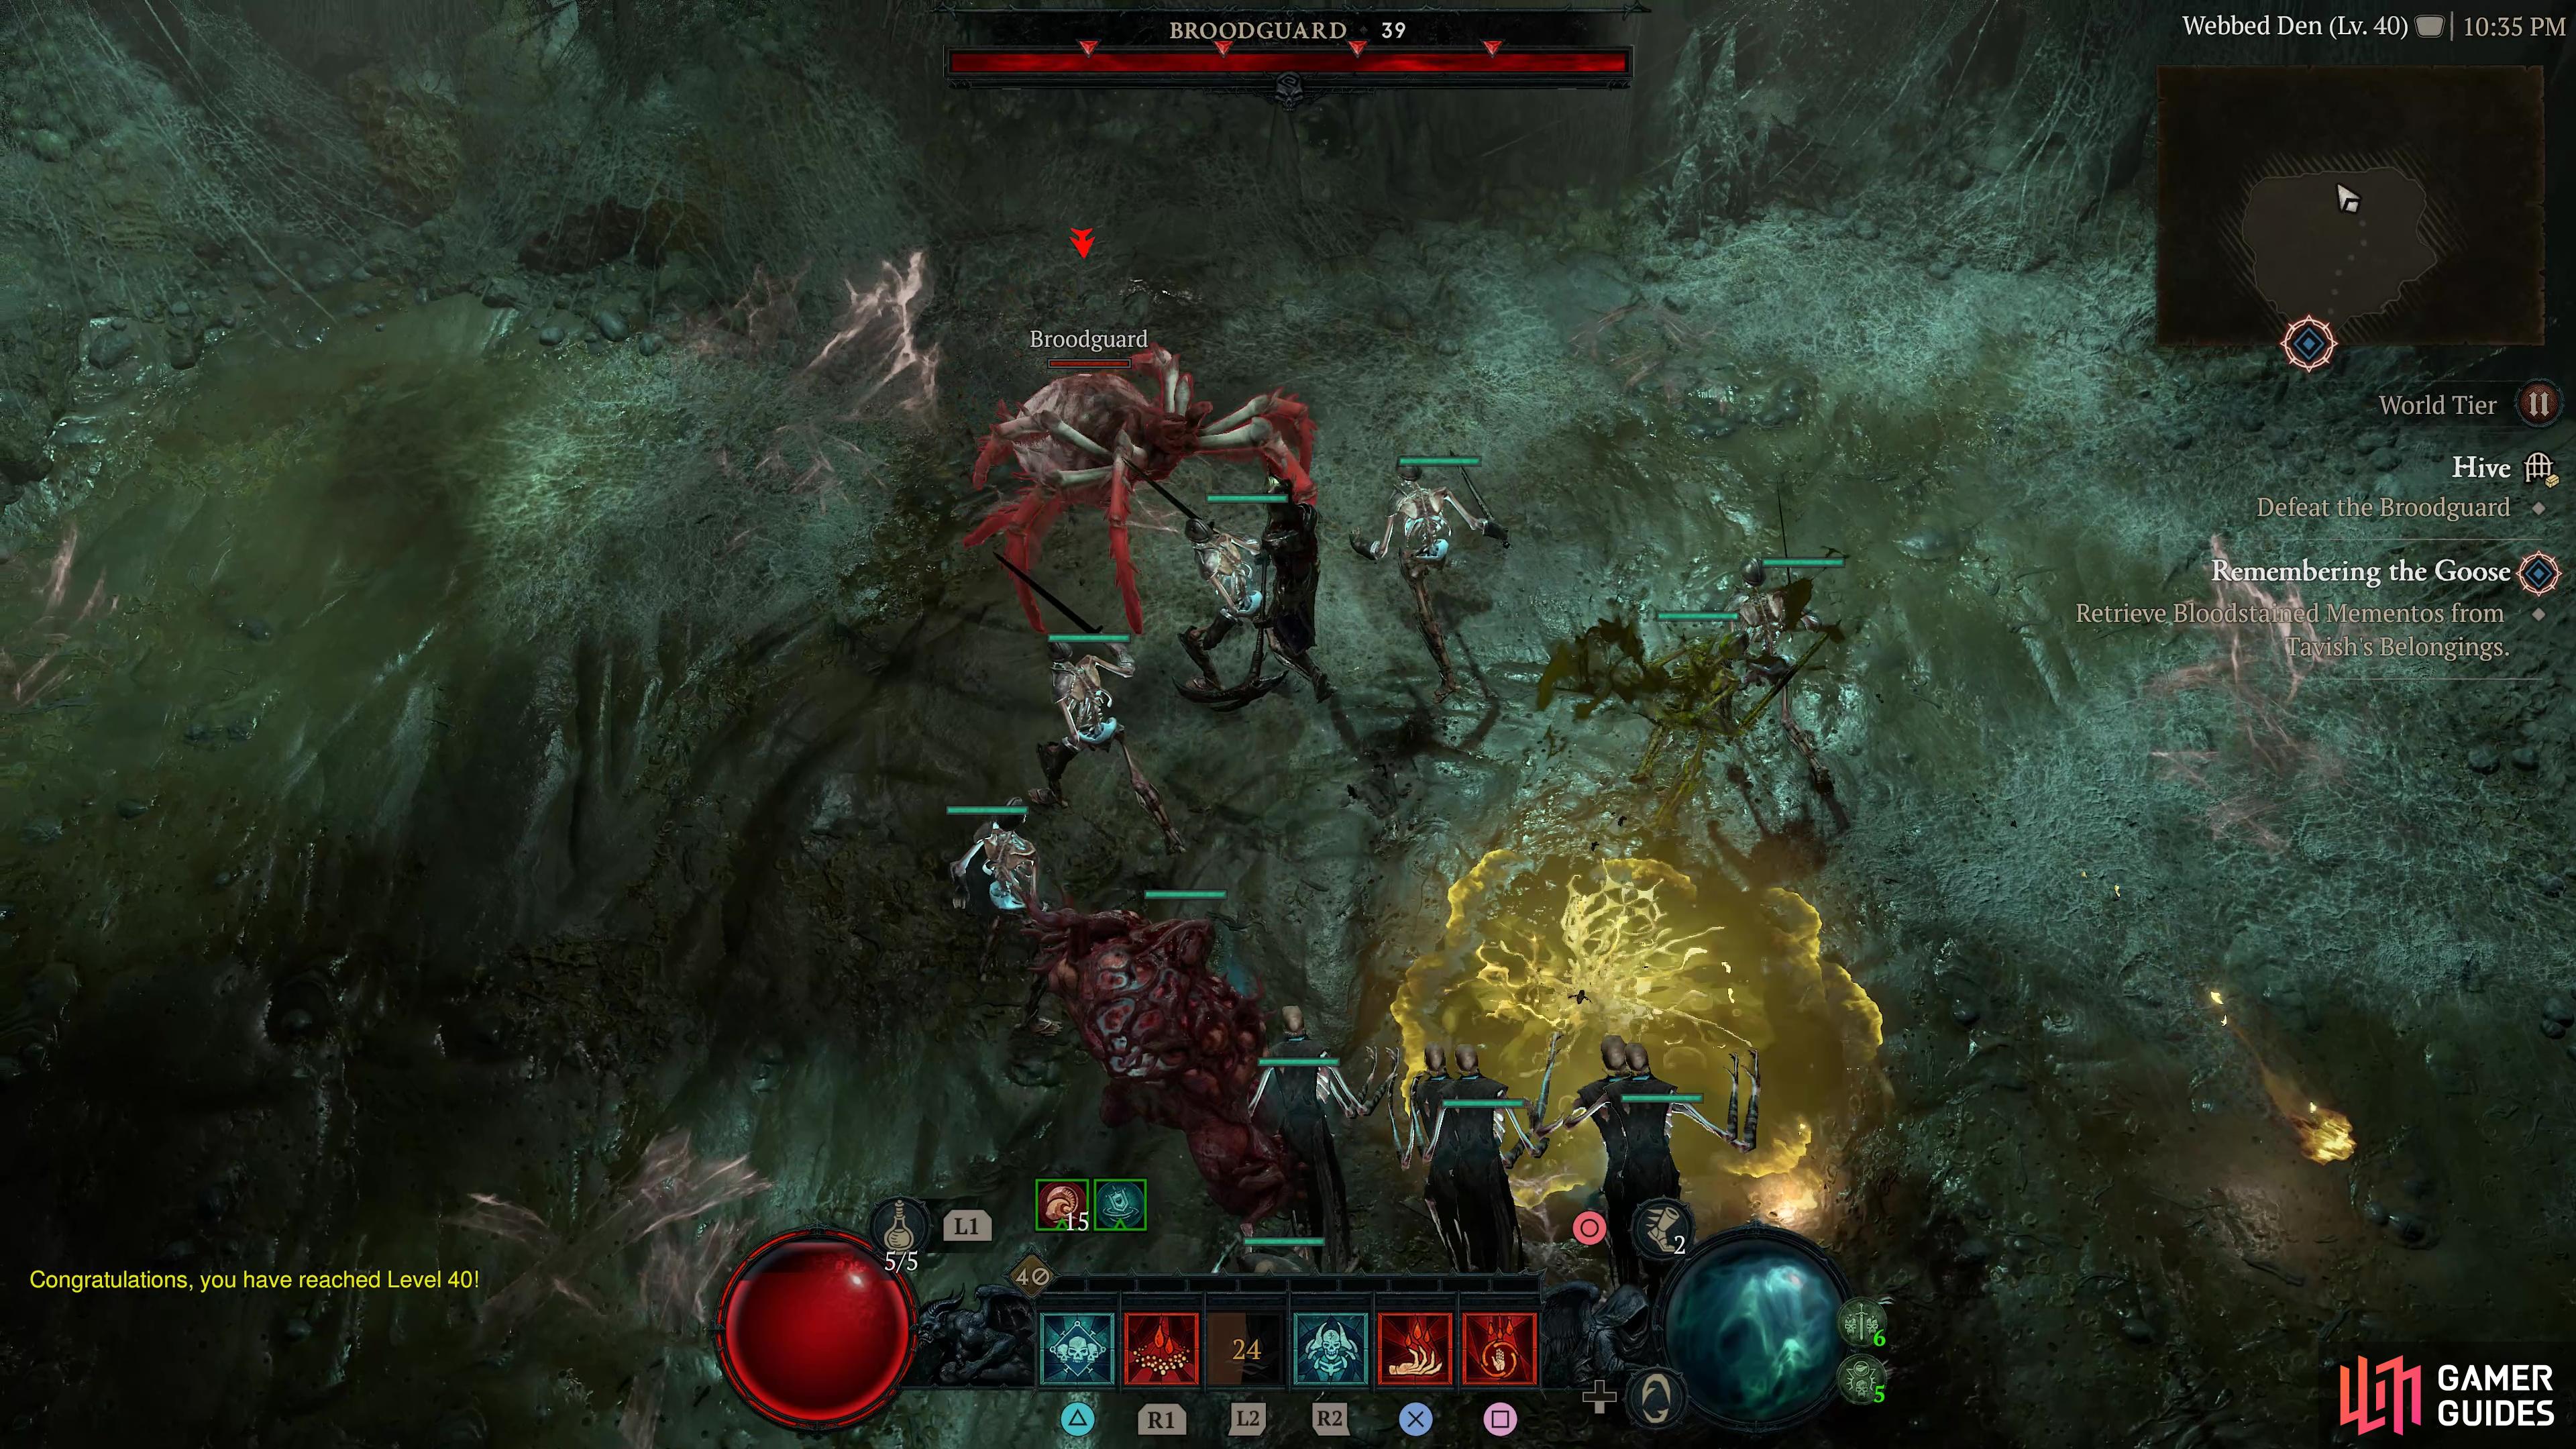
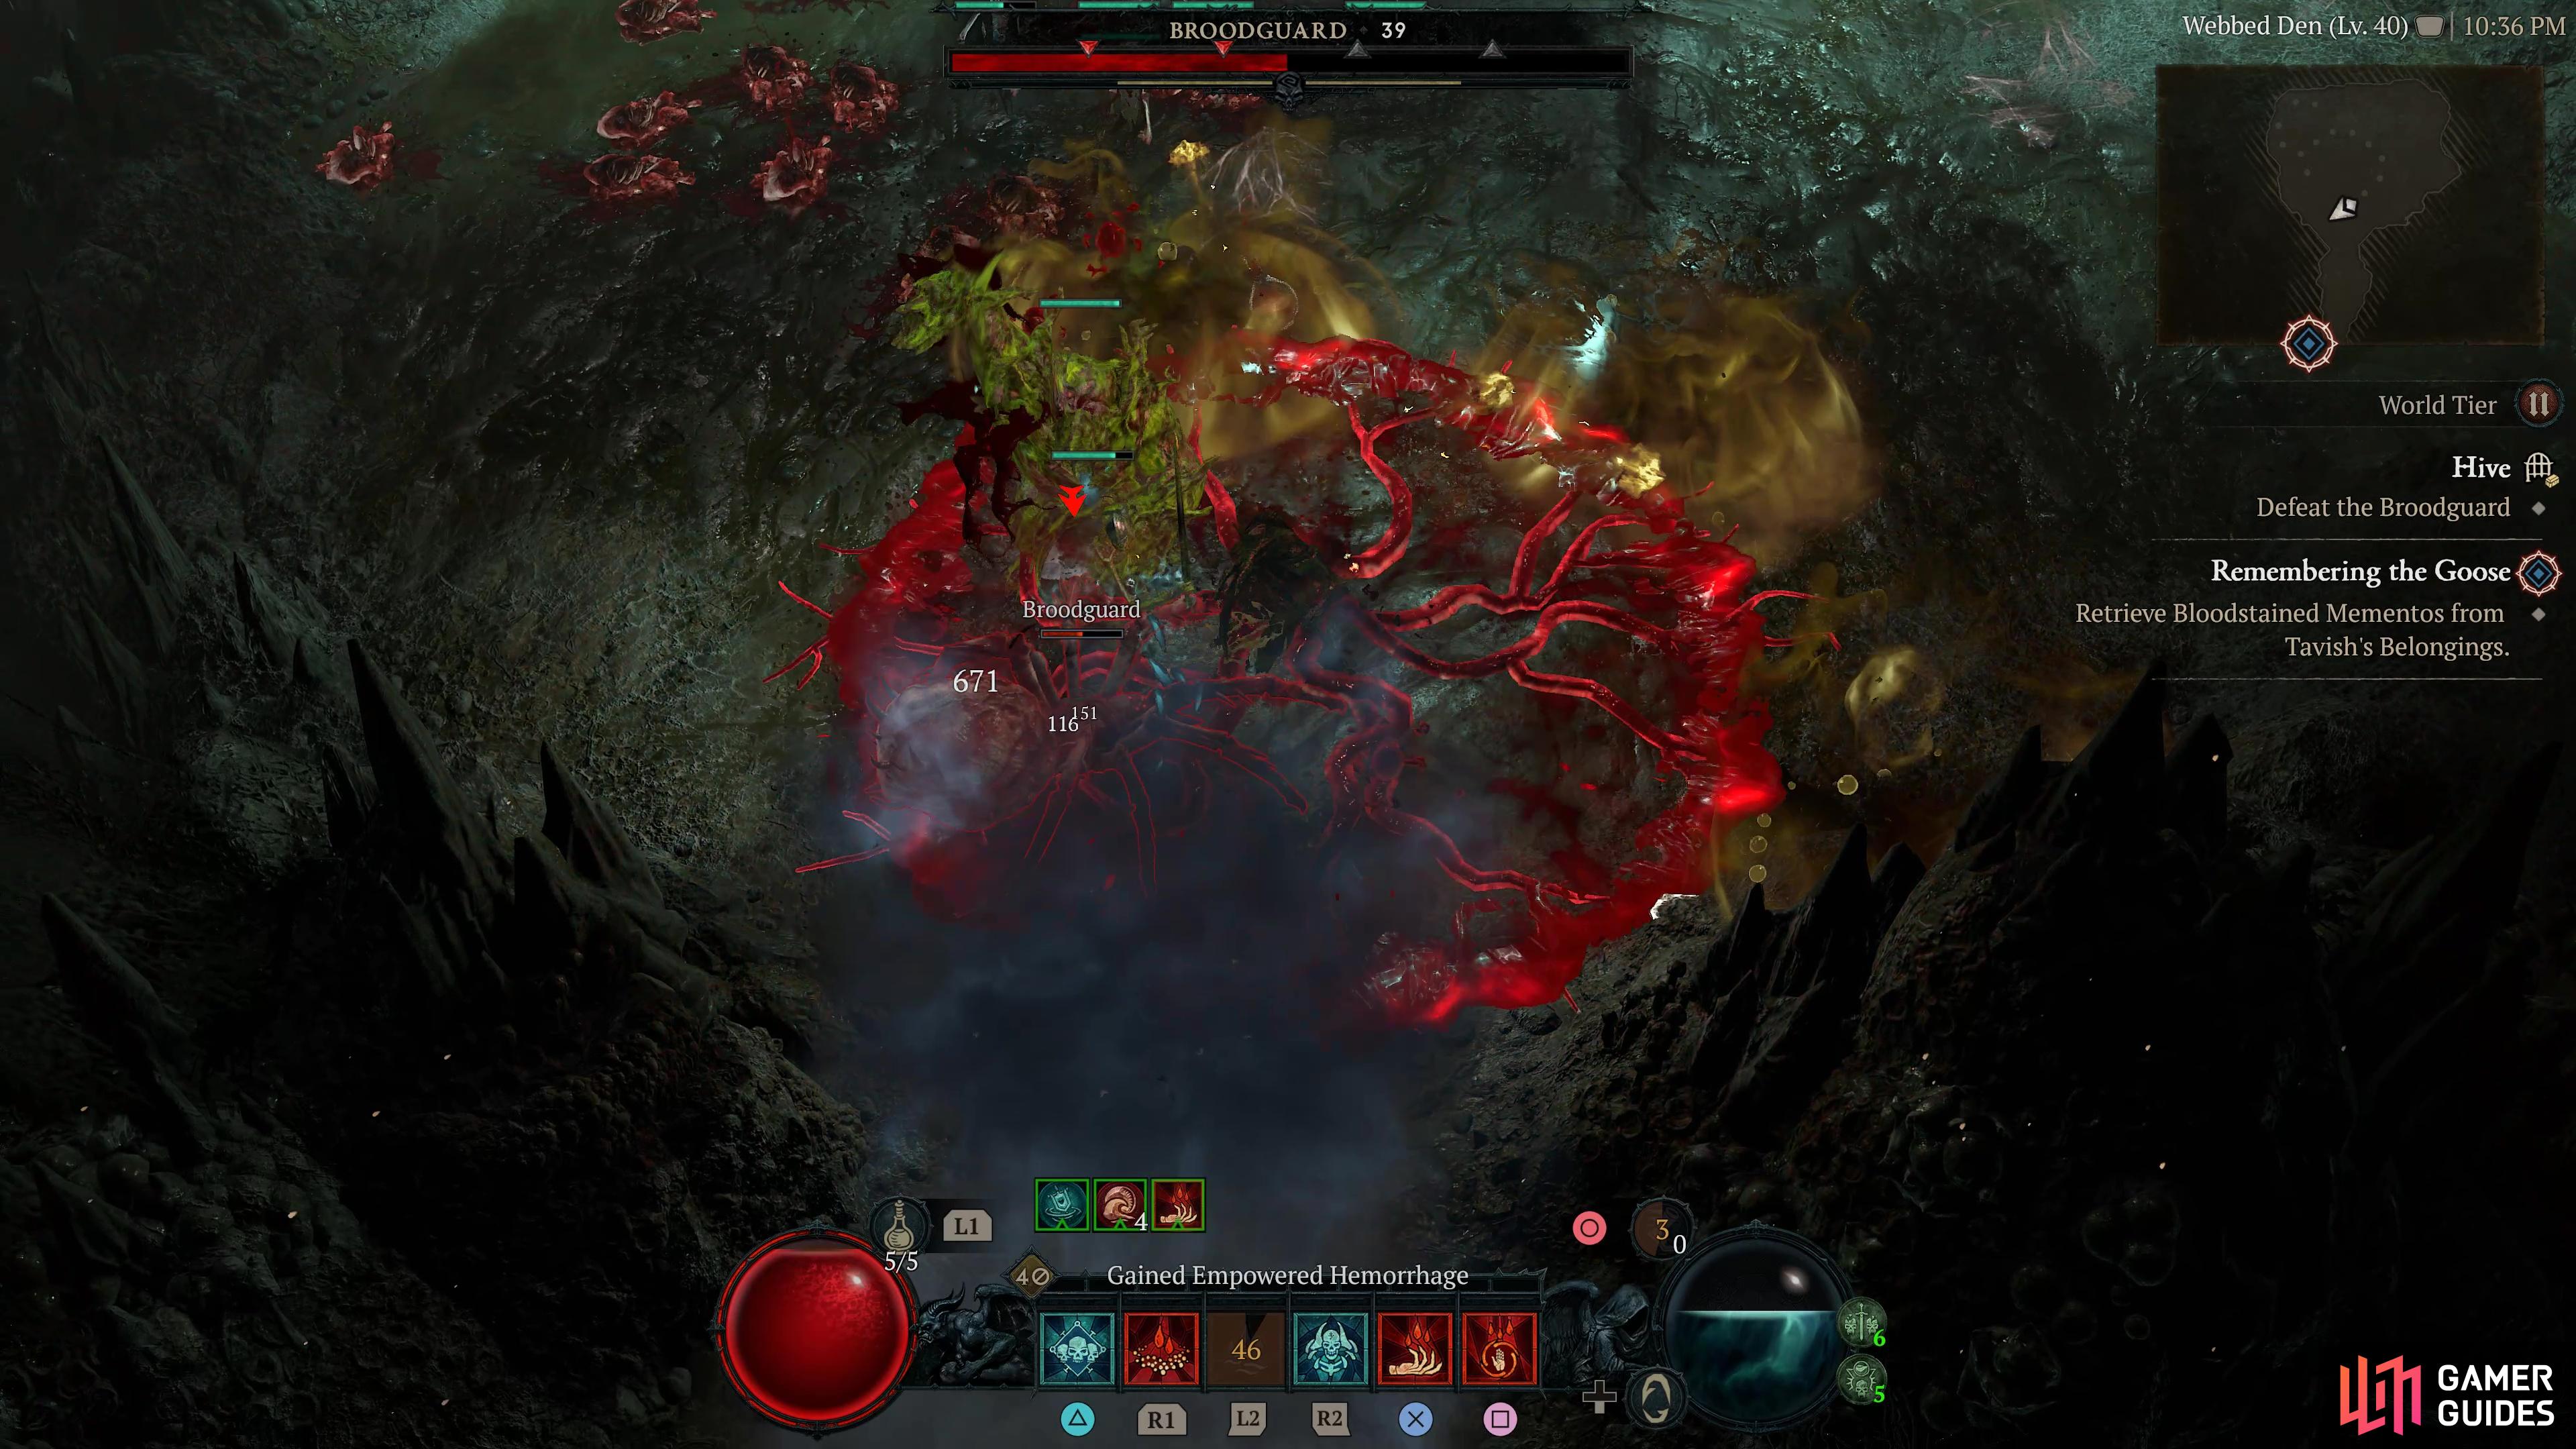
Hive |
An insatiable will drives these creatures to feed. Objectives:
Region
General Reward
|
|
|||||||||||||||||||||||||||||||||||||||||||||||||||||||||||||||||||||||||||||||||||||||||||||||

|
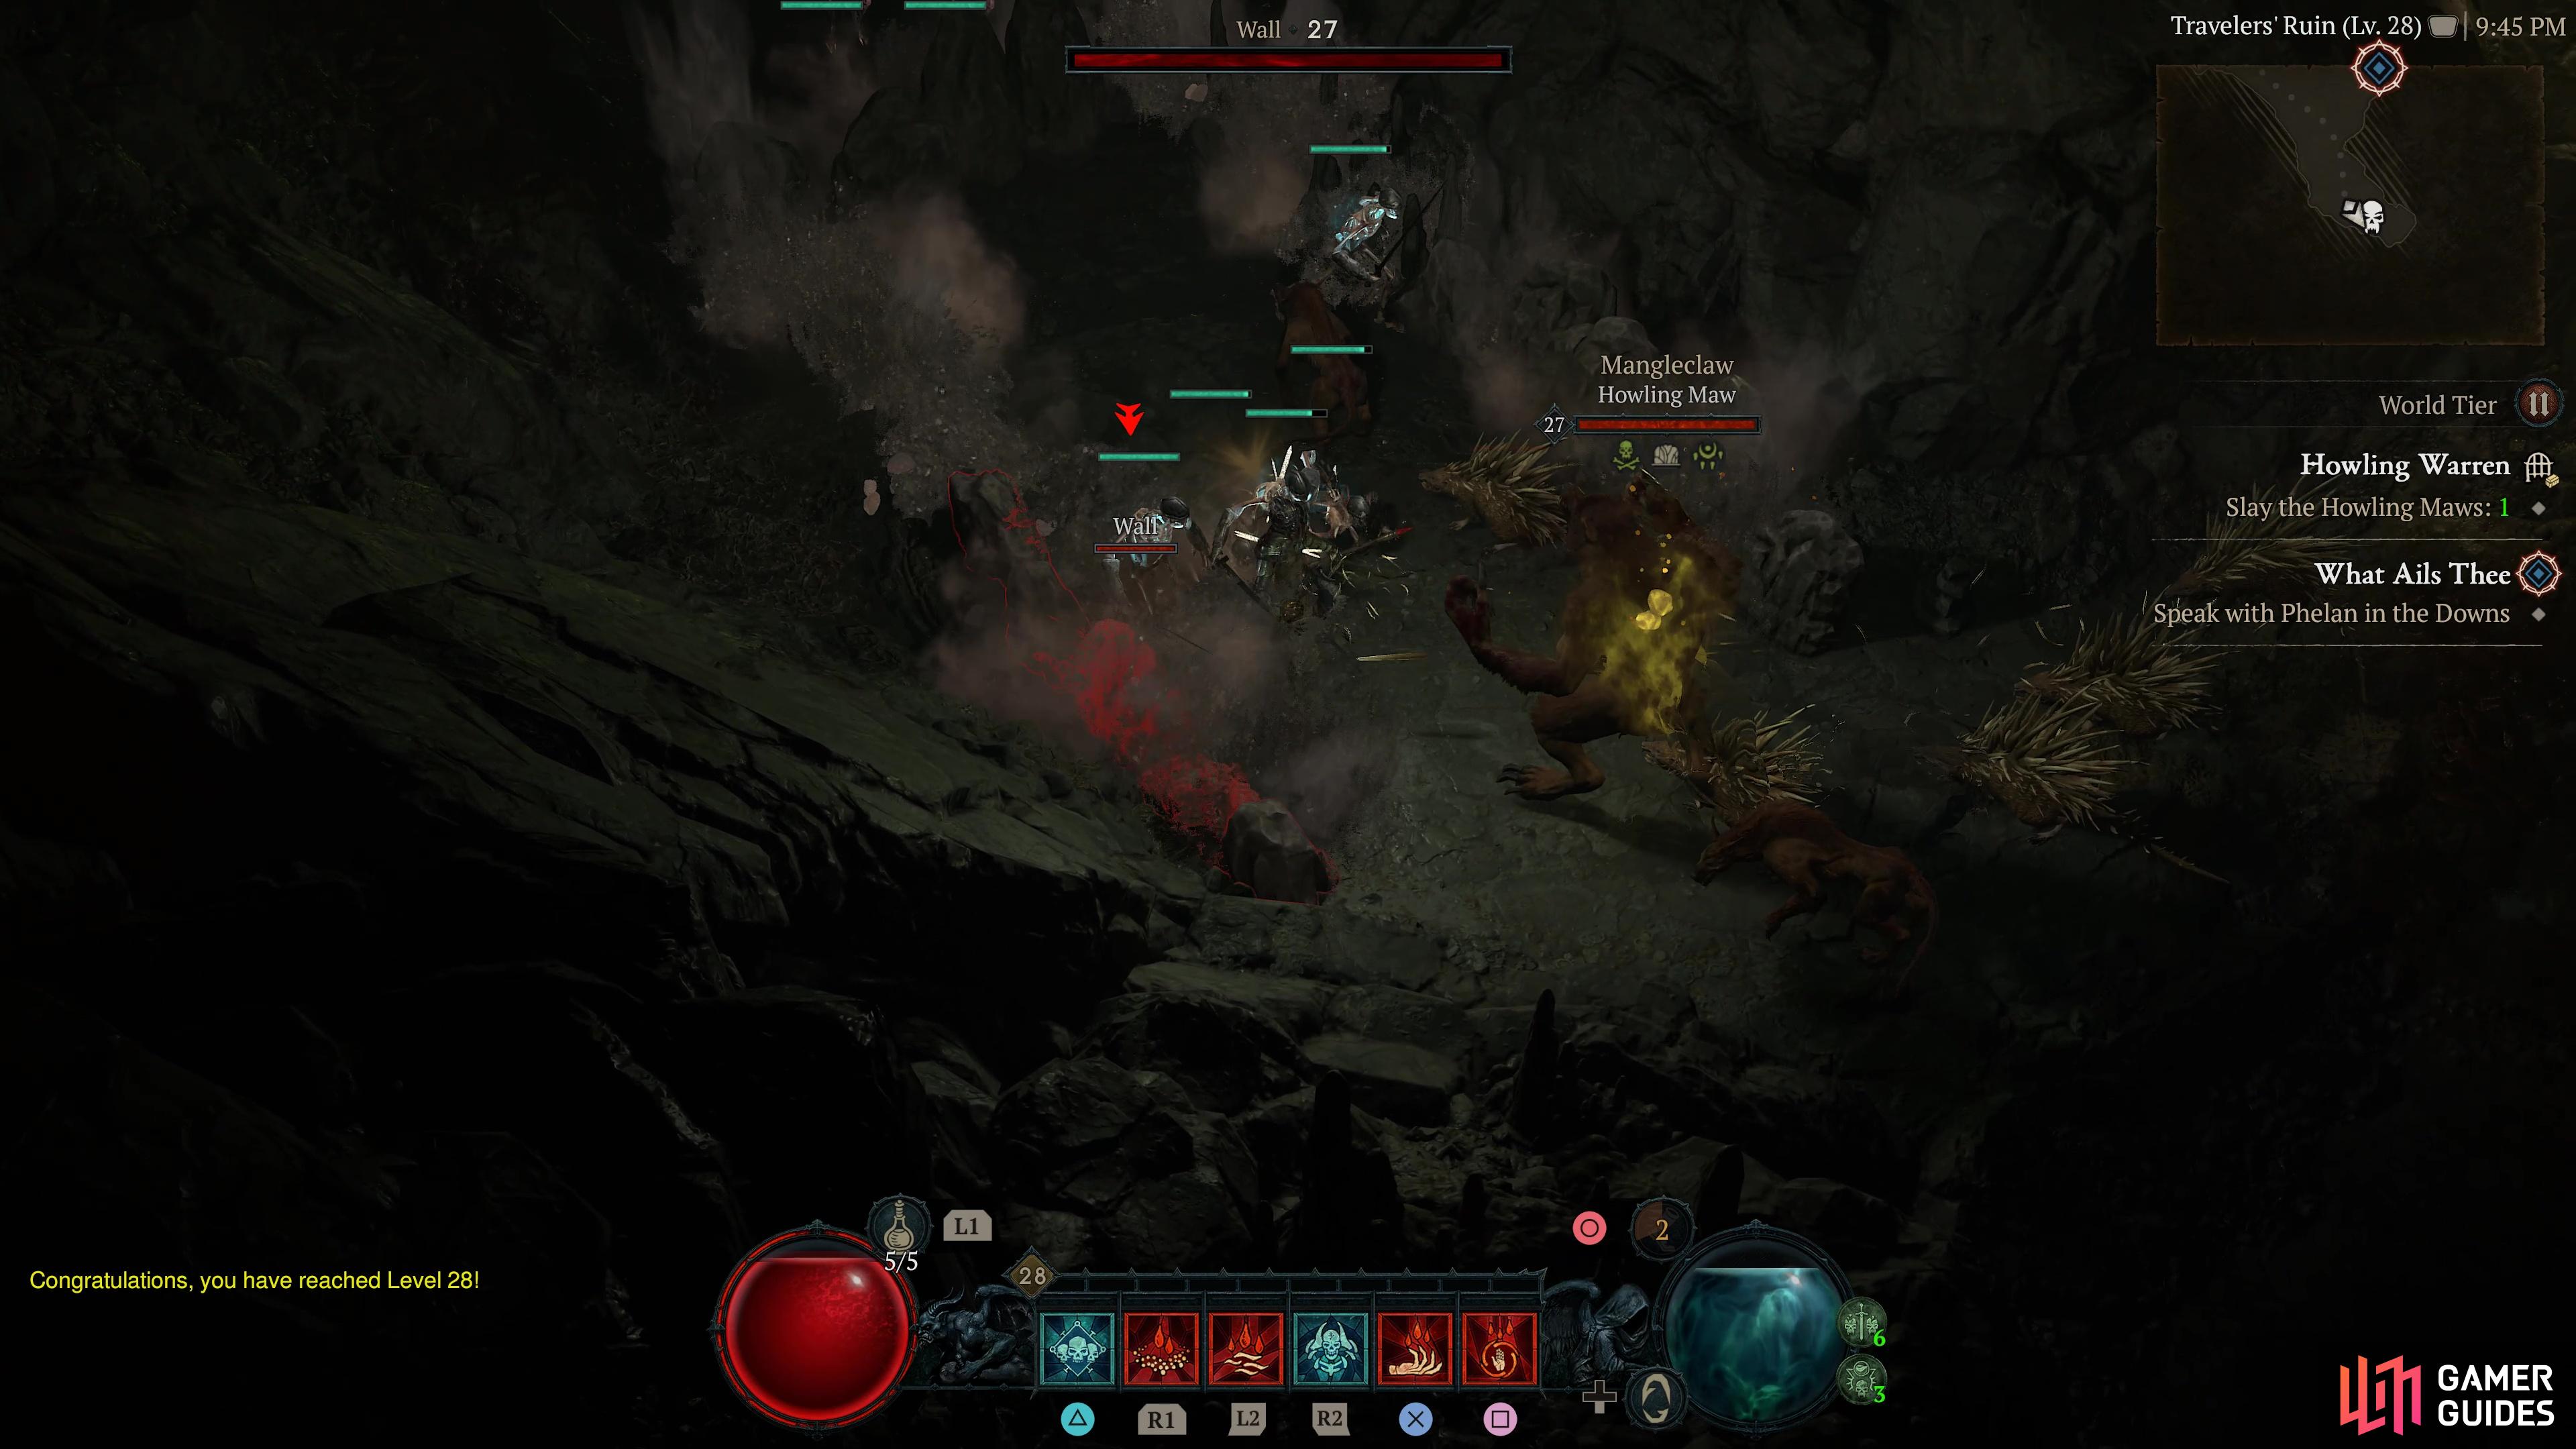
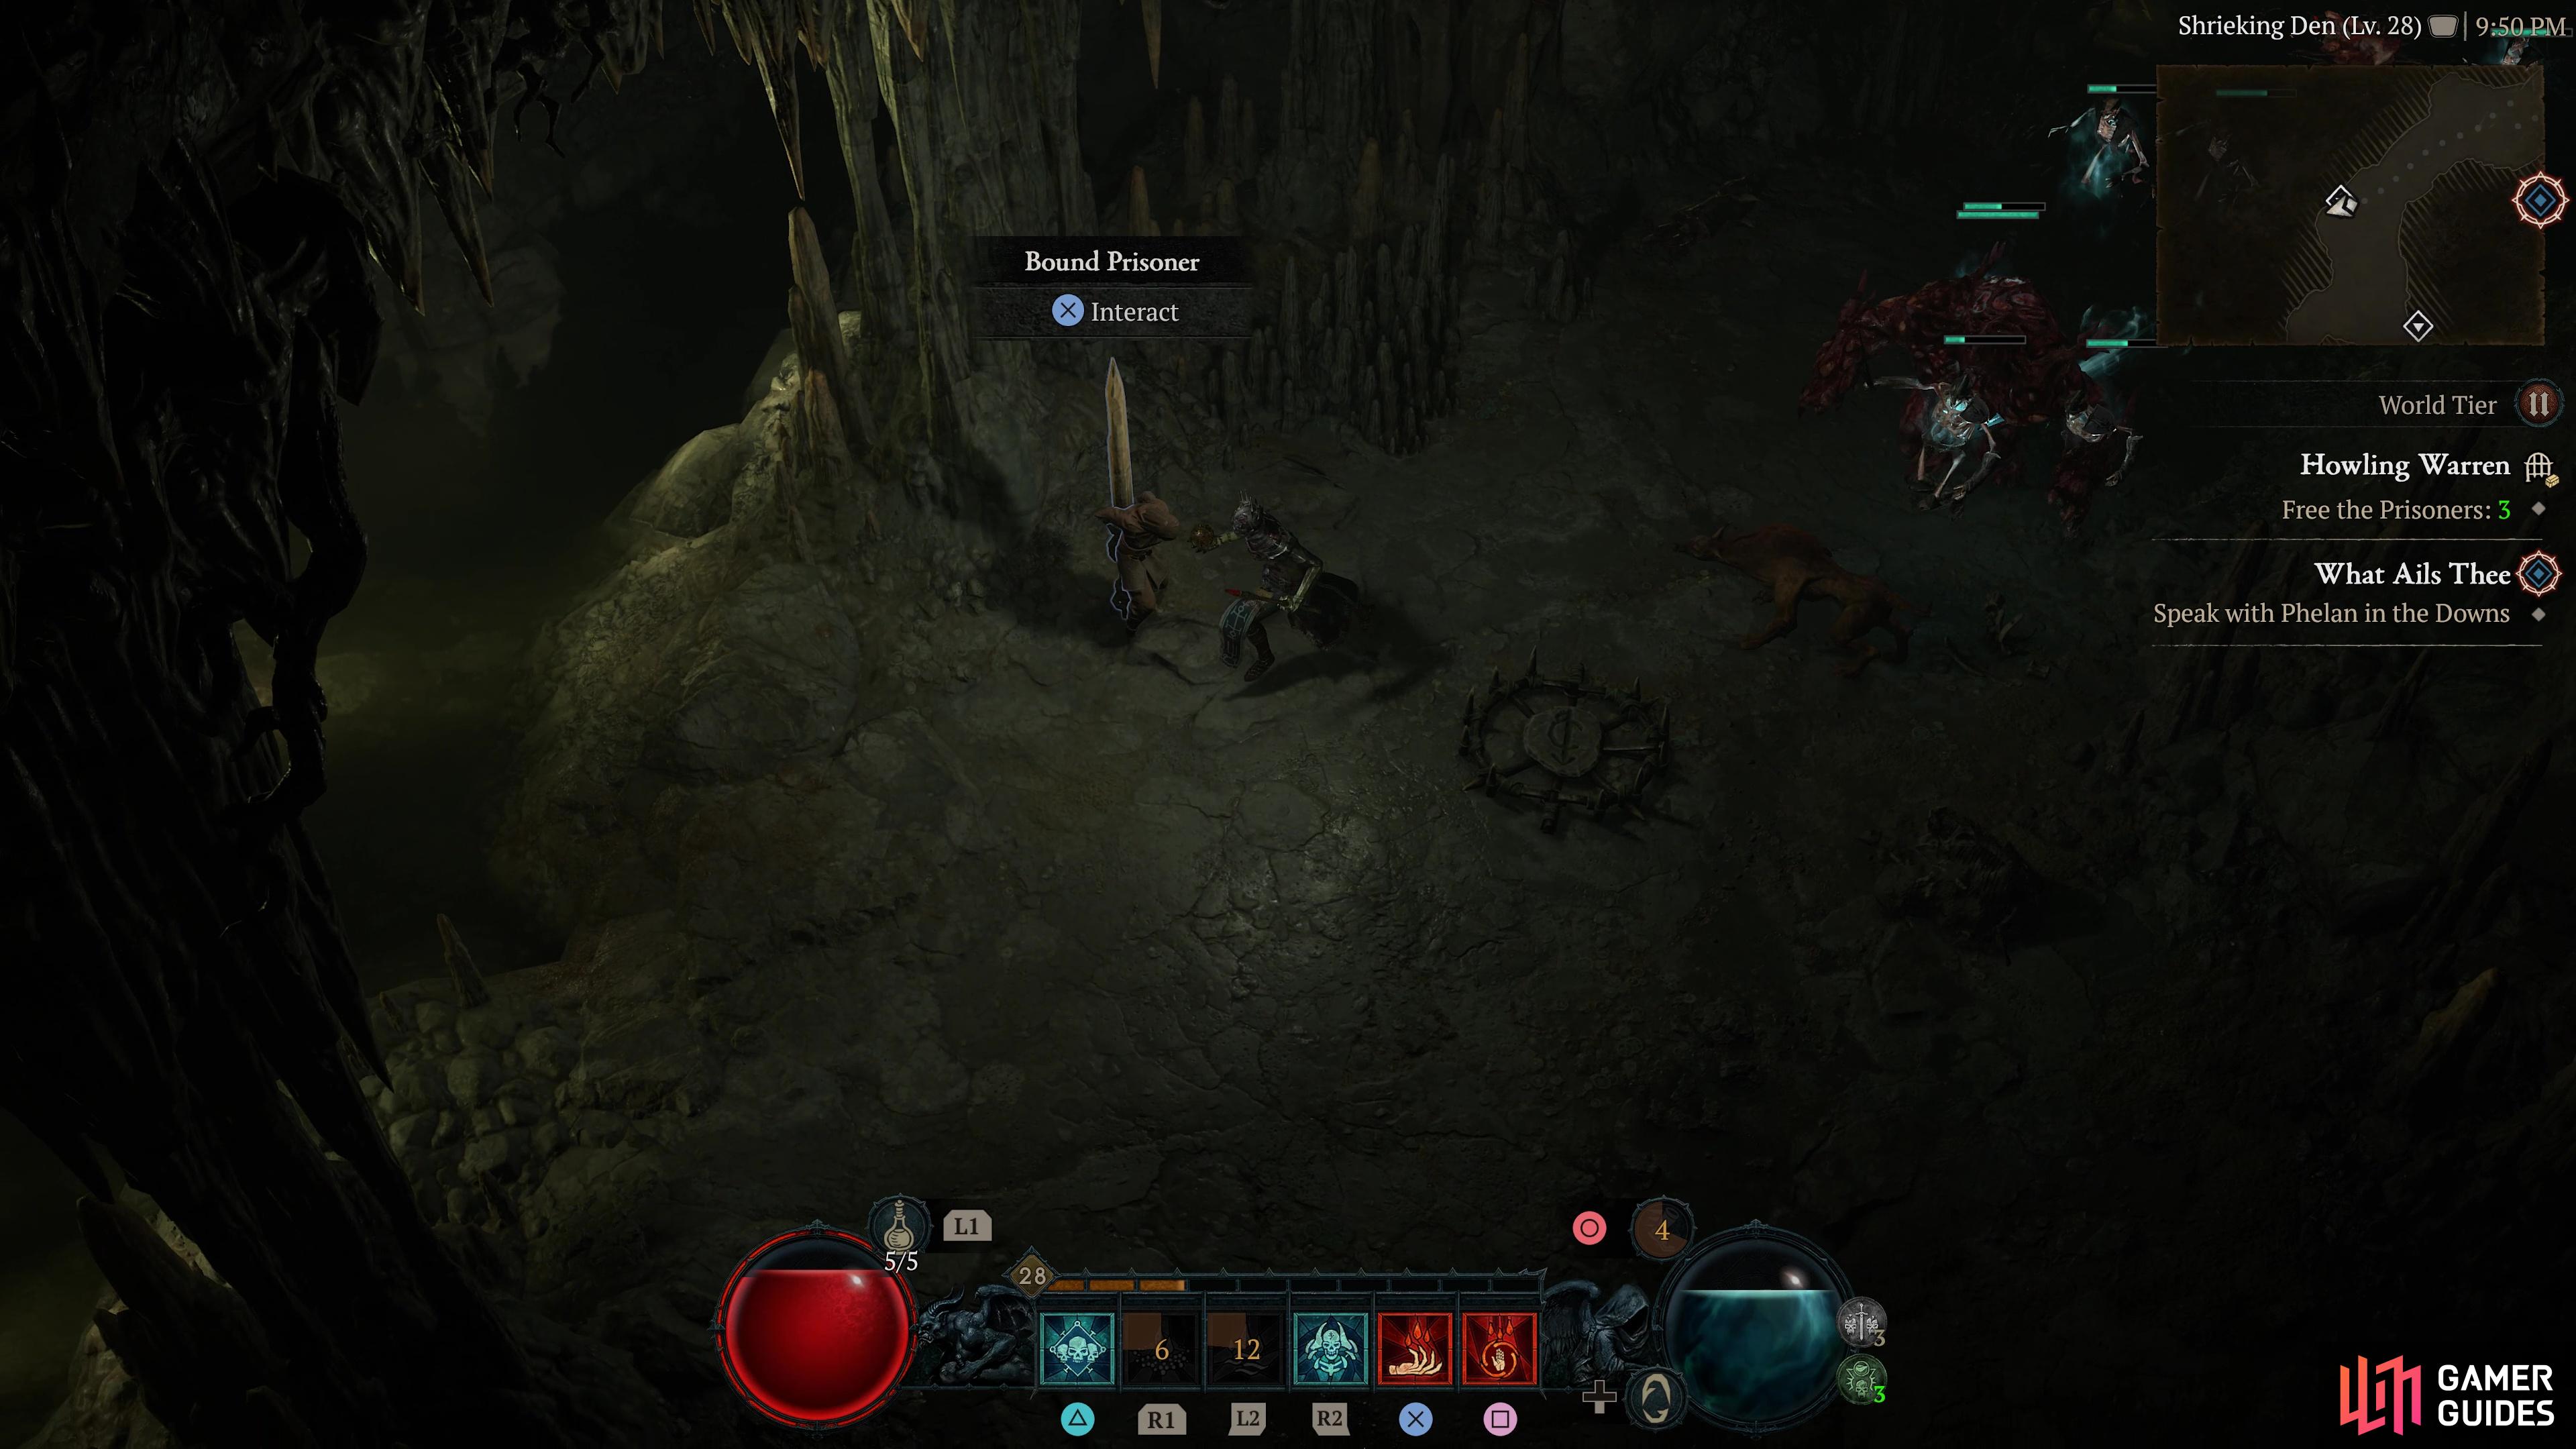
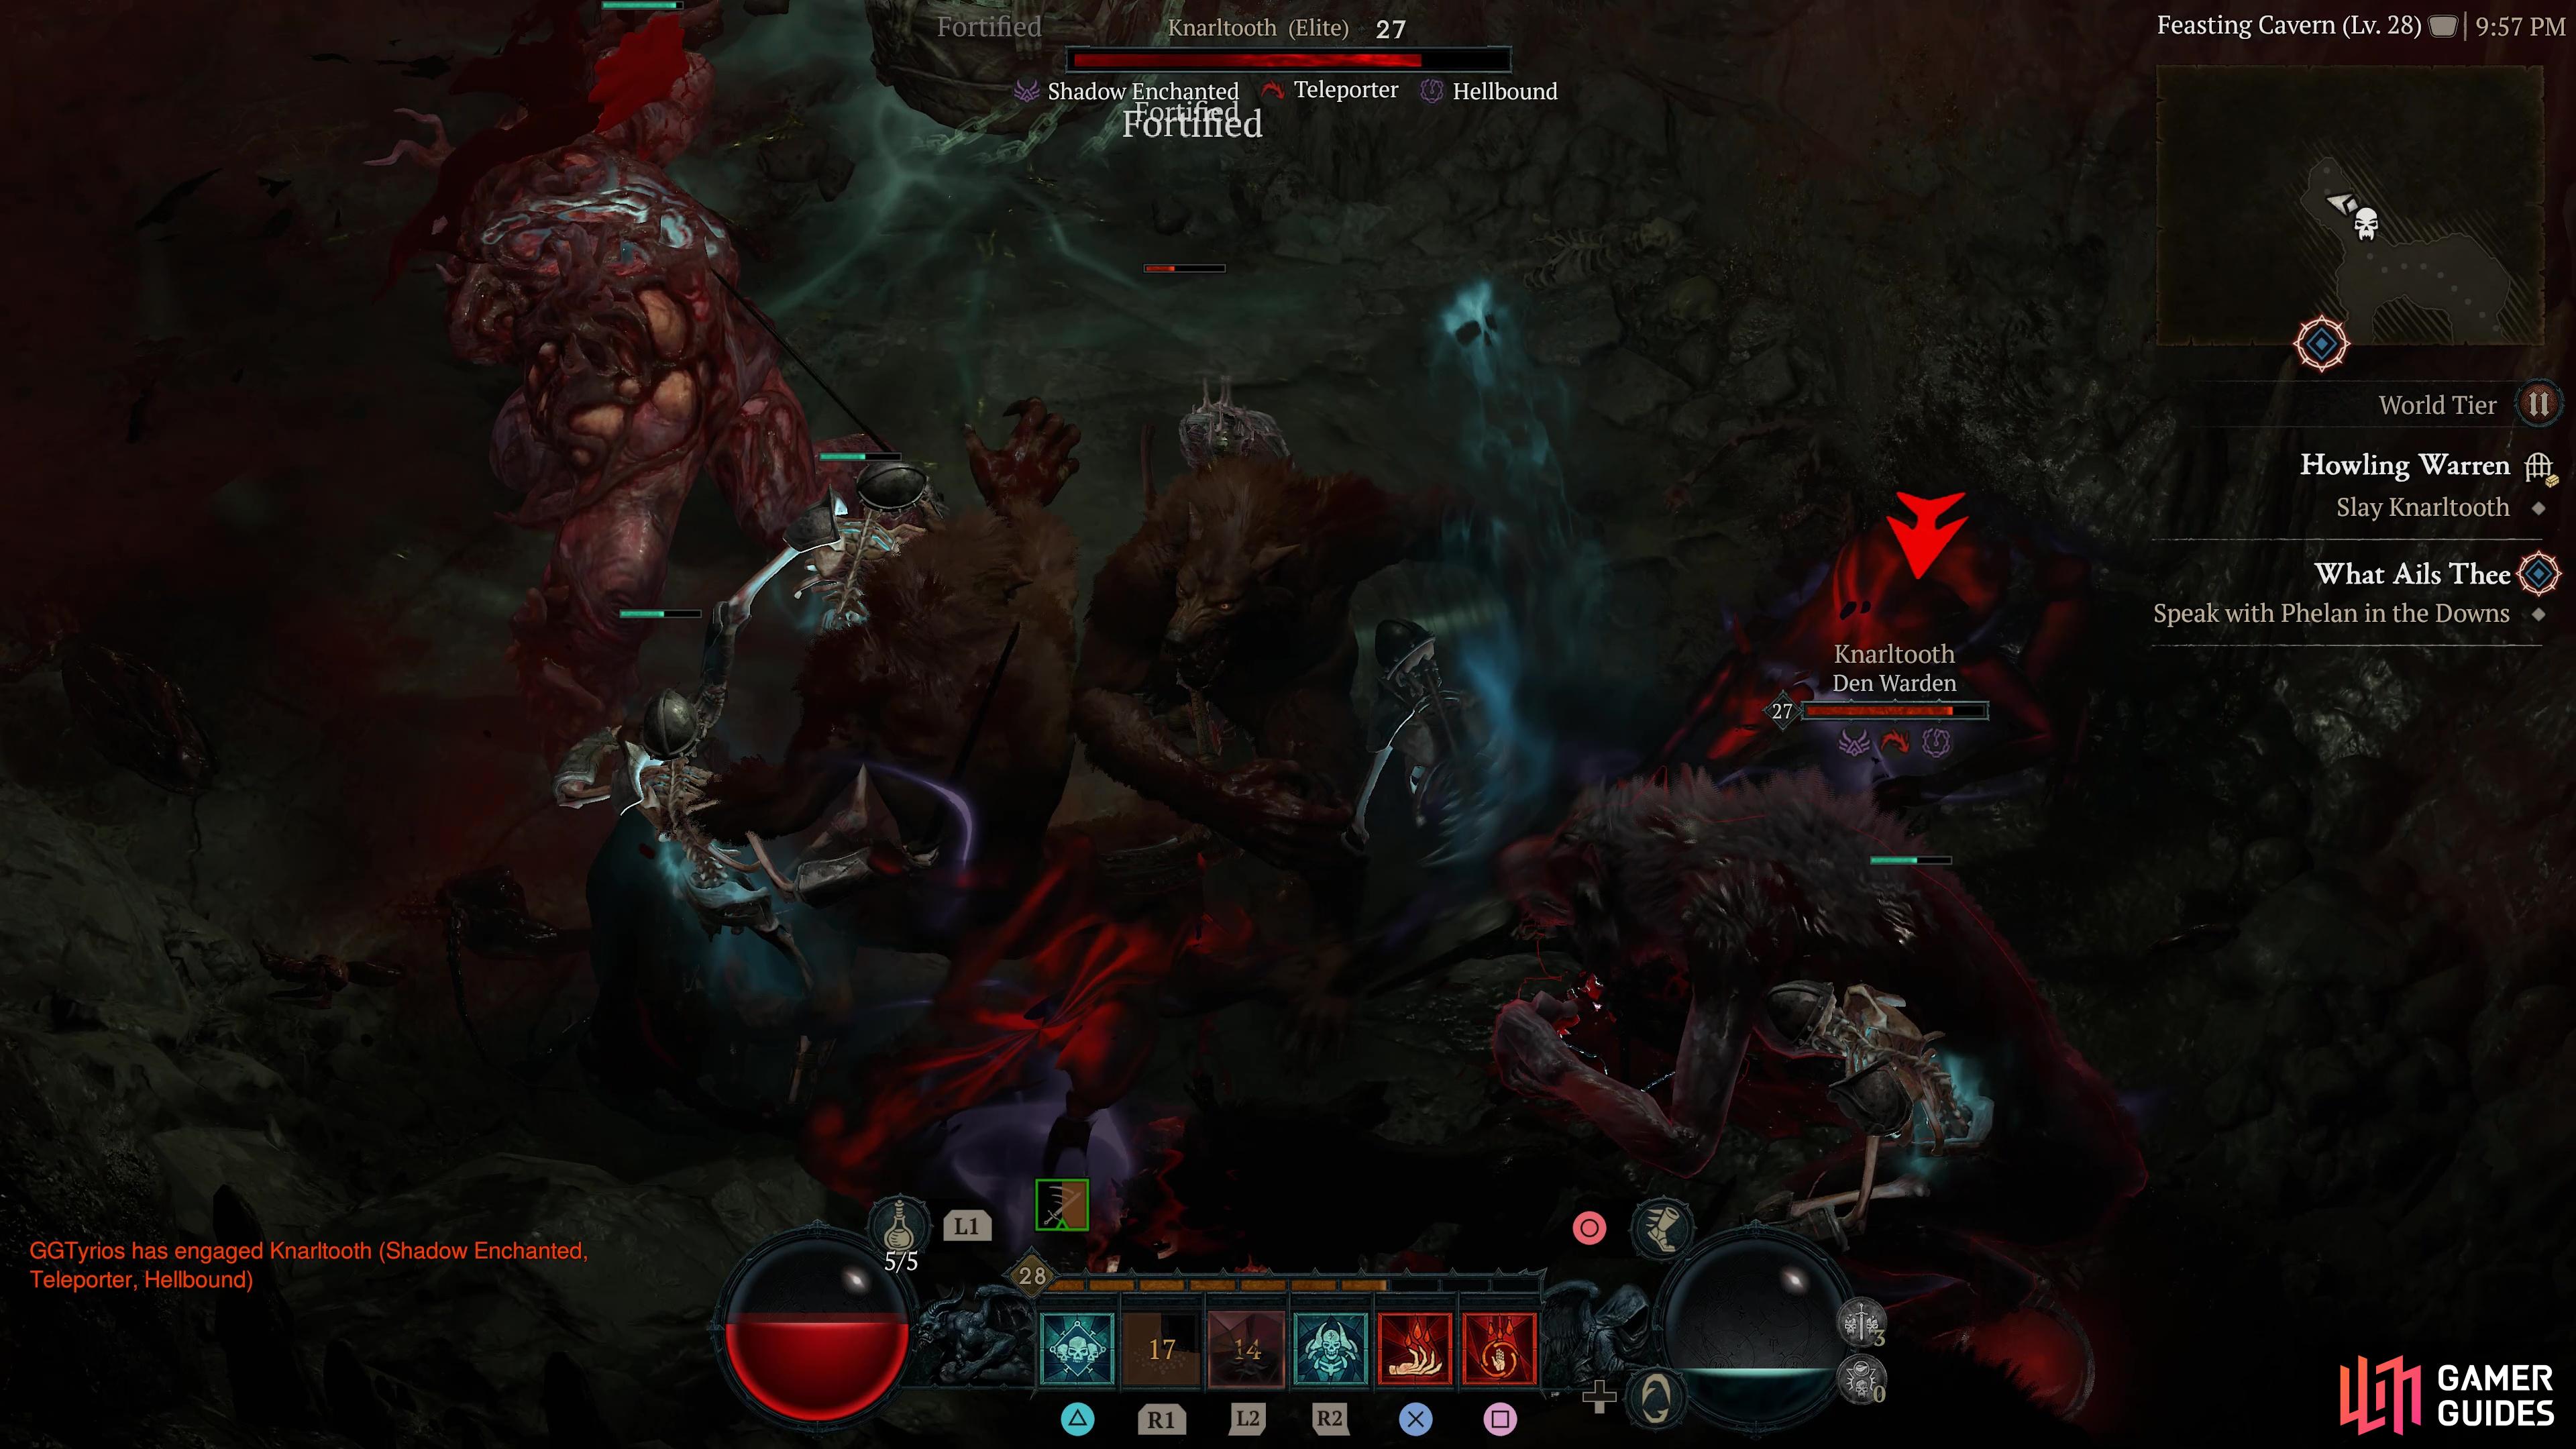
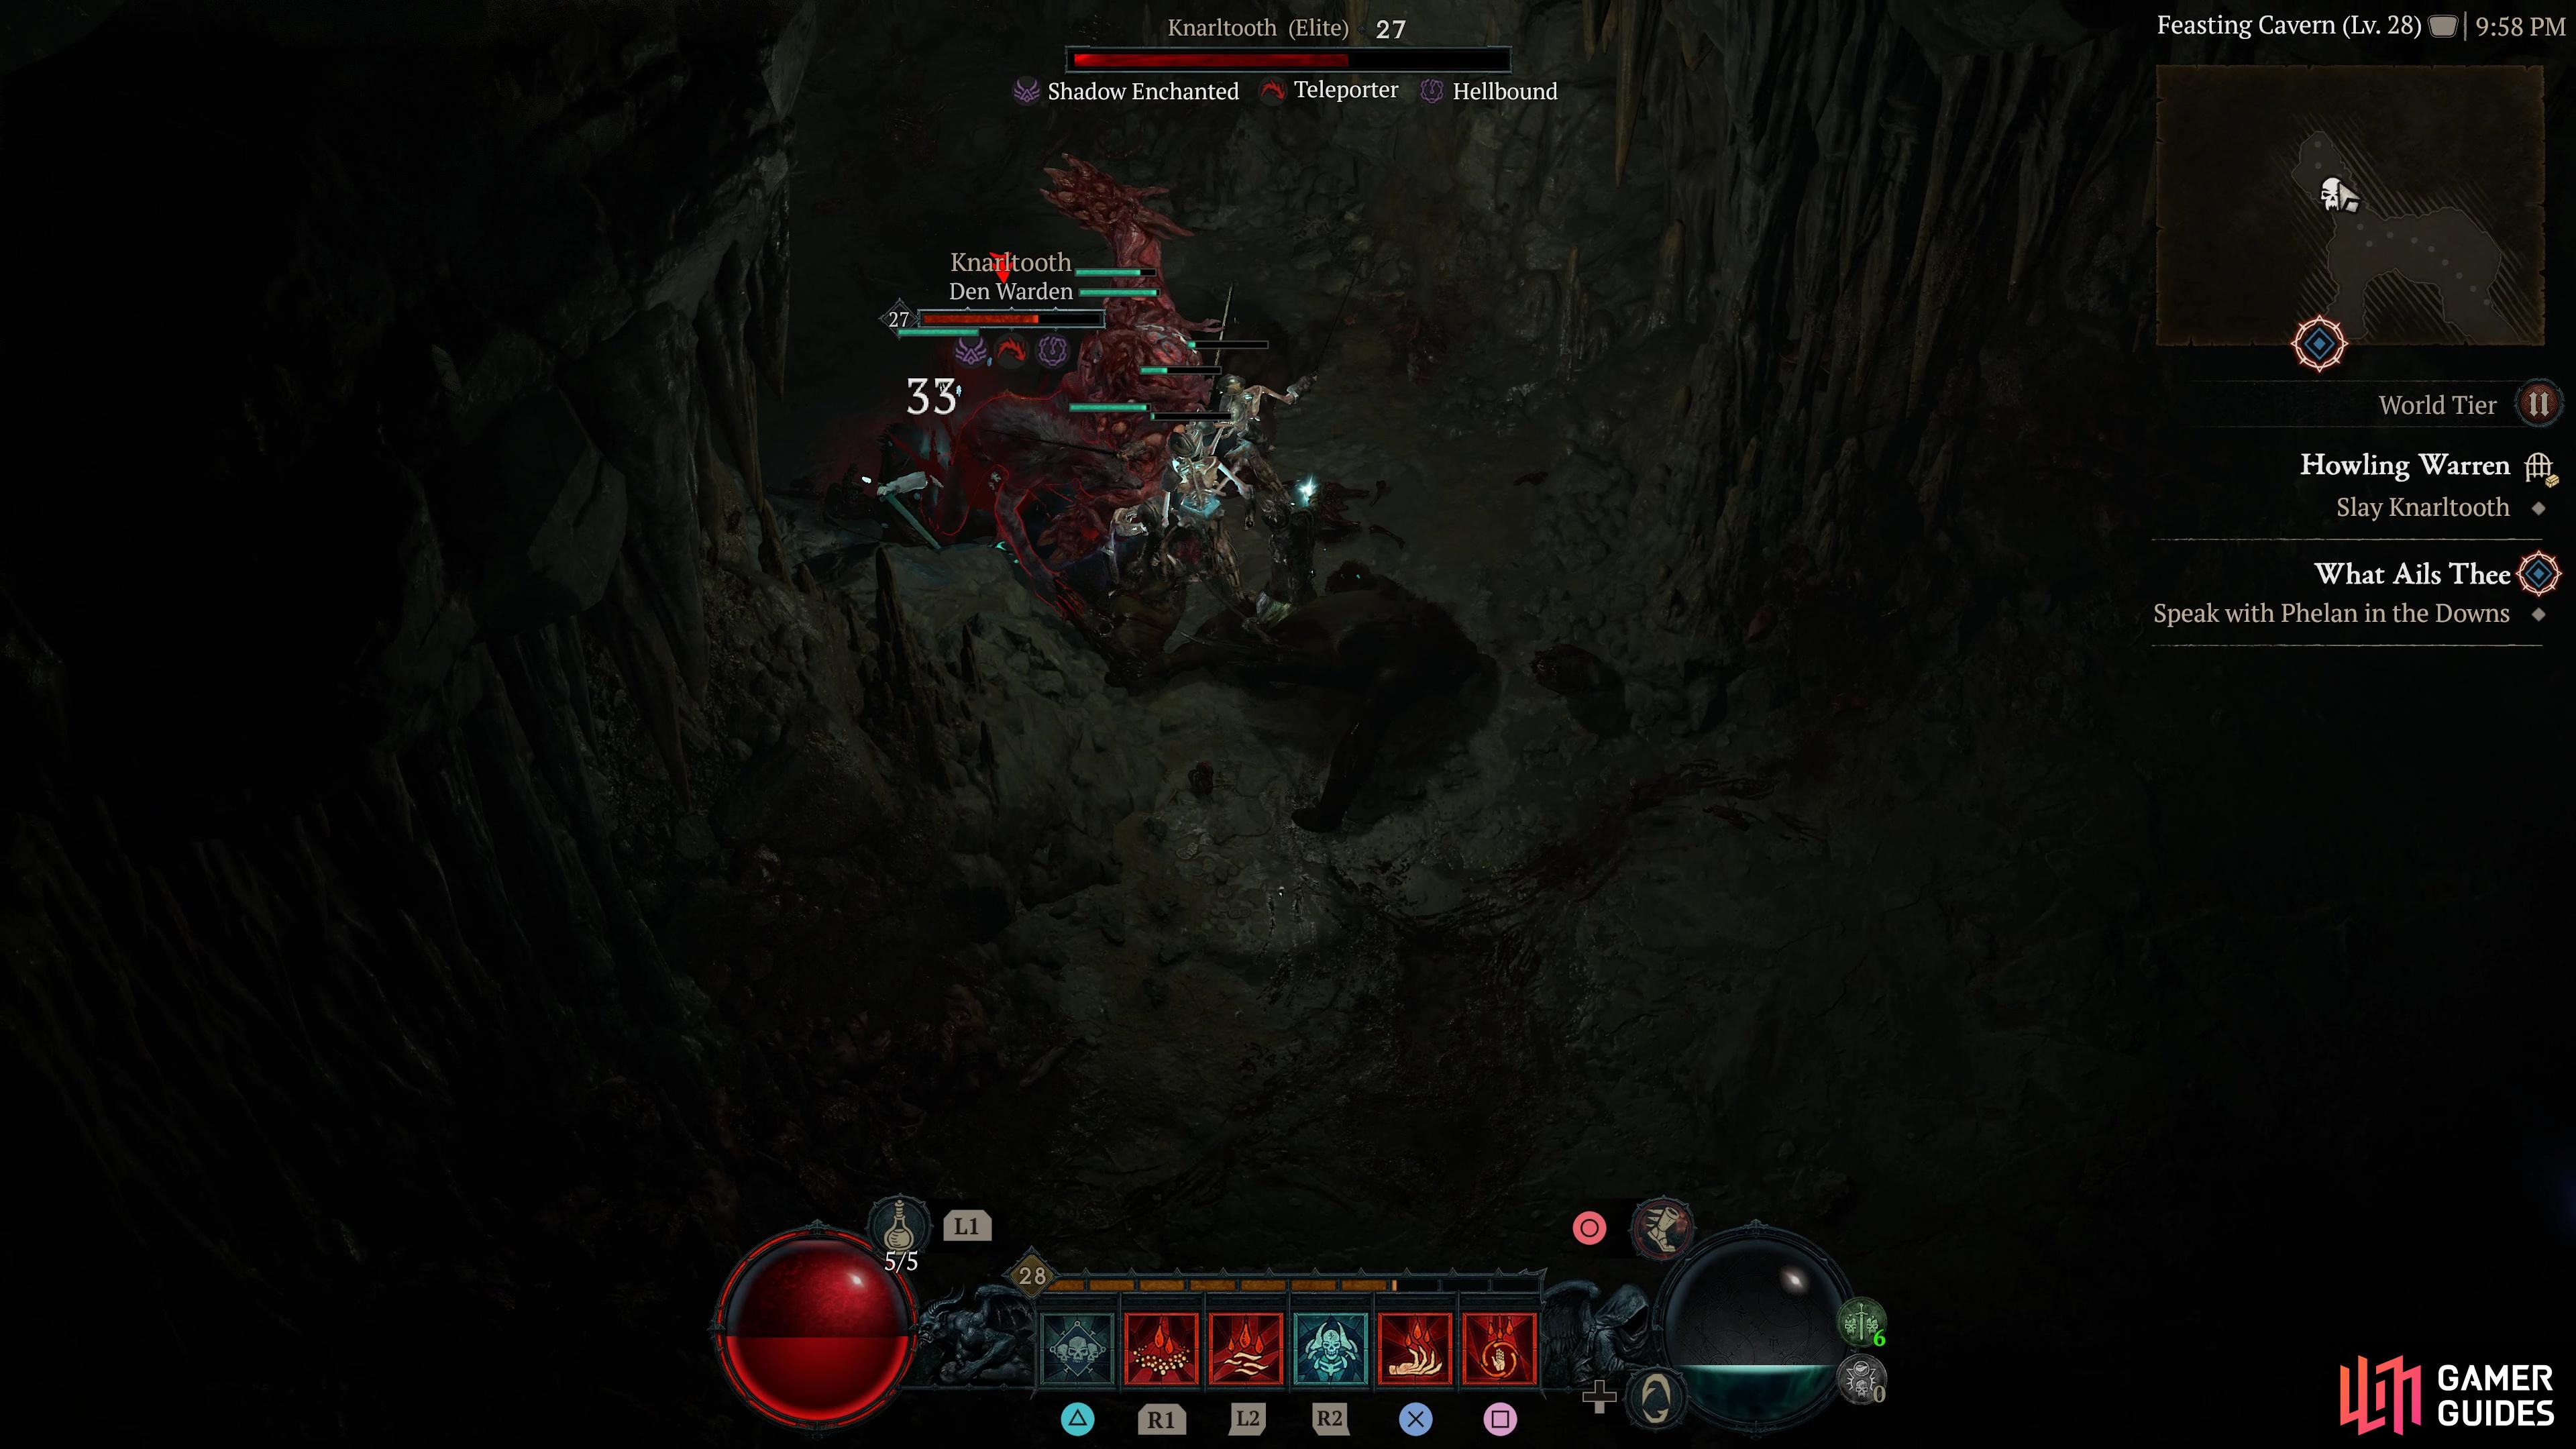
Howling Warren |
A corrupted den of wolves and wargs, hungry for human flesh.
Region
Item Reward
|
|
|||||||||||||||||||||||||||||||||||||||||||||||||||||||||||||||||||||||||||||||||||||||||||||||

|
Lair of the Despoiler |
A dark corruption has entered these halls.
Region
|
|
|||||||||||||||||||||||||||||||||||||||||||||||||||||||||||||||||||||||||||||||||||||||||||||||

|
Luban's Rest |
A dungeon located just to the South East of Corbach.
Region
Item Reward
|
||||||||||||||||||||||||||||||||||||||||||||||||||||||||||||||||||||||||||||||||||||||||||||||||

|
Maddux Watch |
This abandoned outpost treads atop the dead. Objectives:
Region
General Reward
|
||||||||||||||||||||||||||||||||||||||||||||||||||||||||||||||||||||||||||||||||||||||||||||||||

|
Mithering Descent |
A side quest dungeon located in Eternal Watch in Scosglen as part of the
Related Quests
1×
Region
|
||||||||||||||||||||||||||||||||||||||||||||||||||||||||||||||||||||||||||||||||||||||||||||||||

|
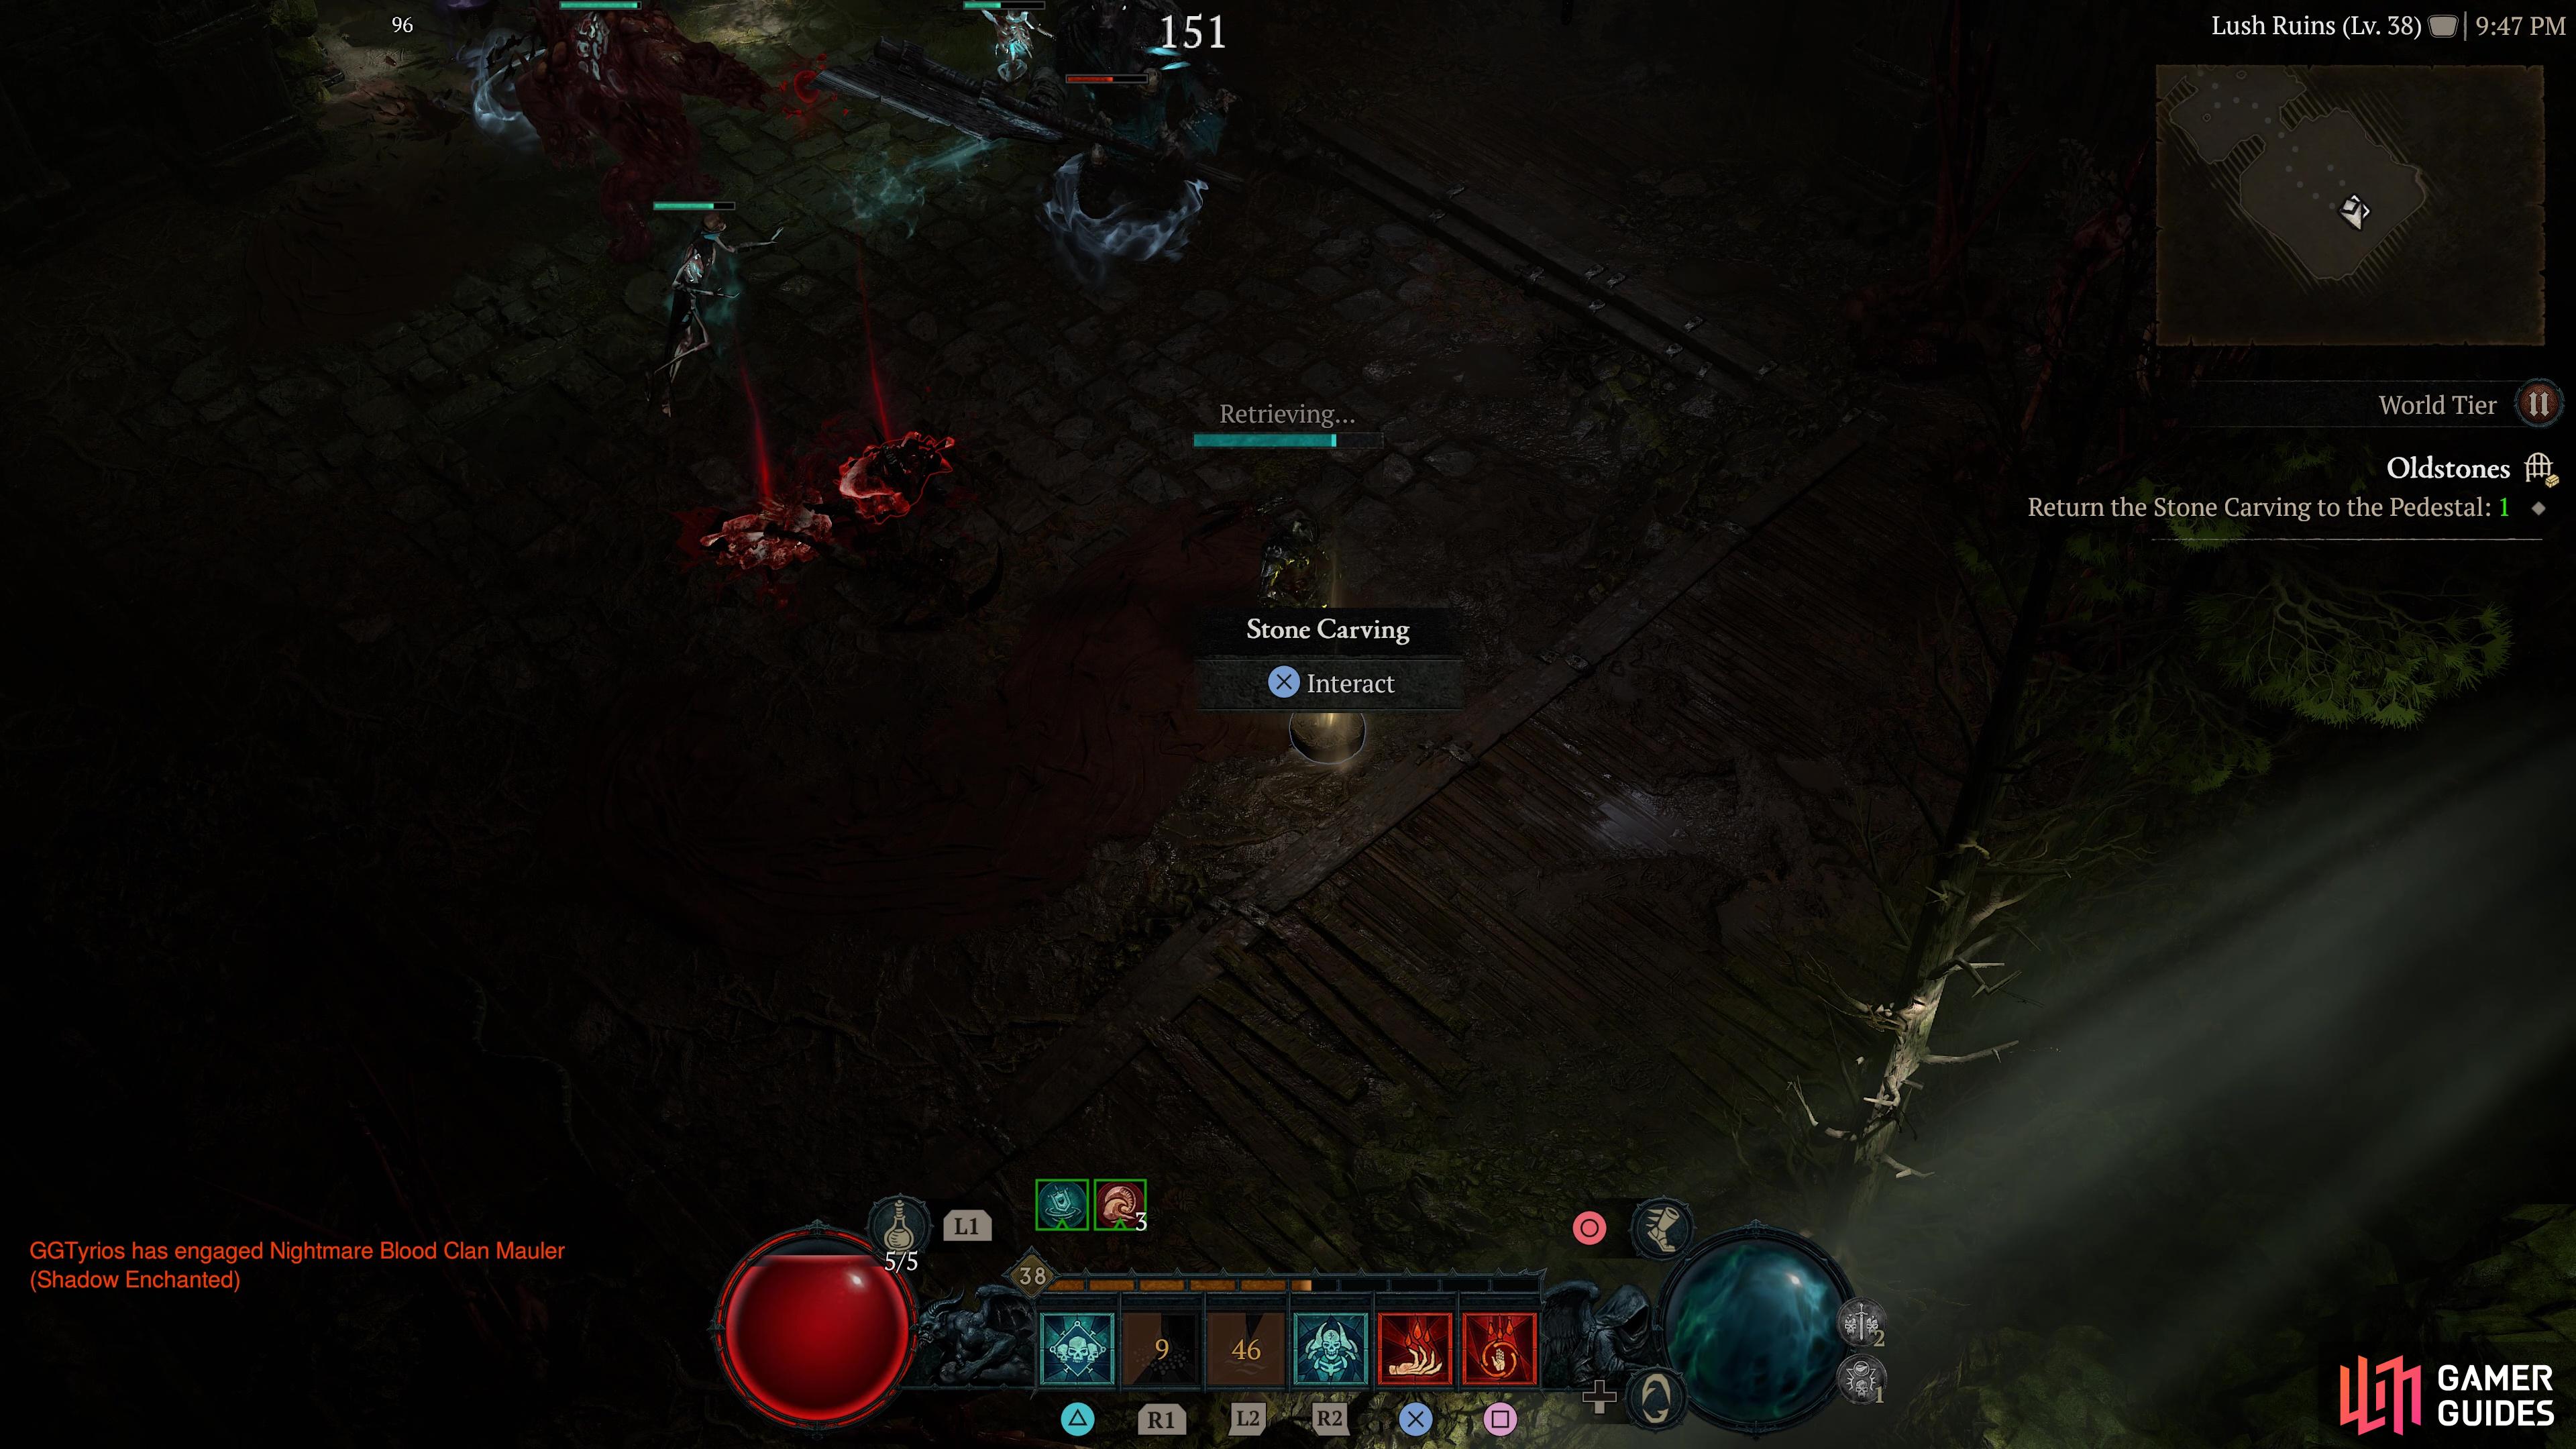
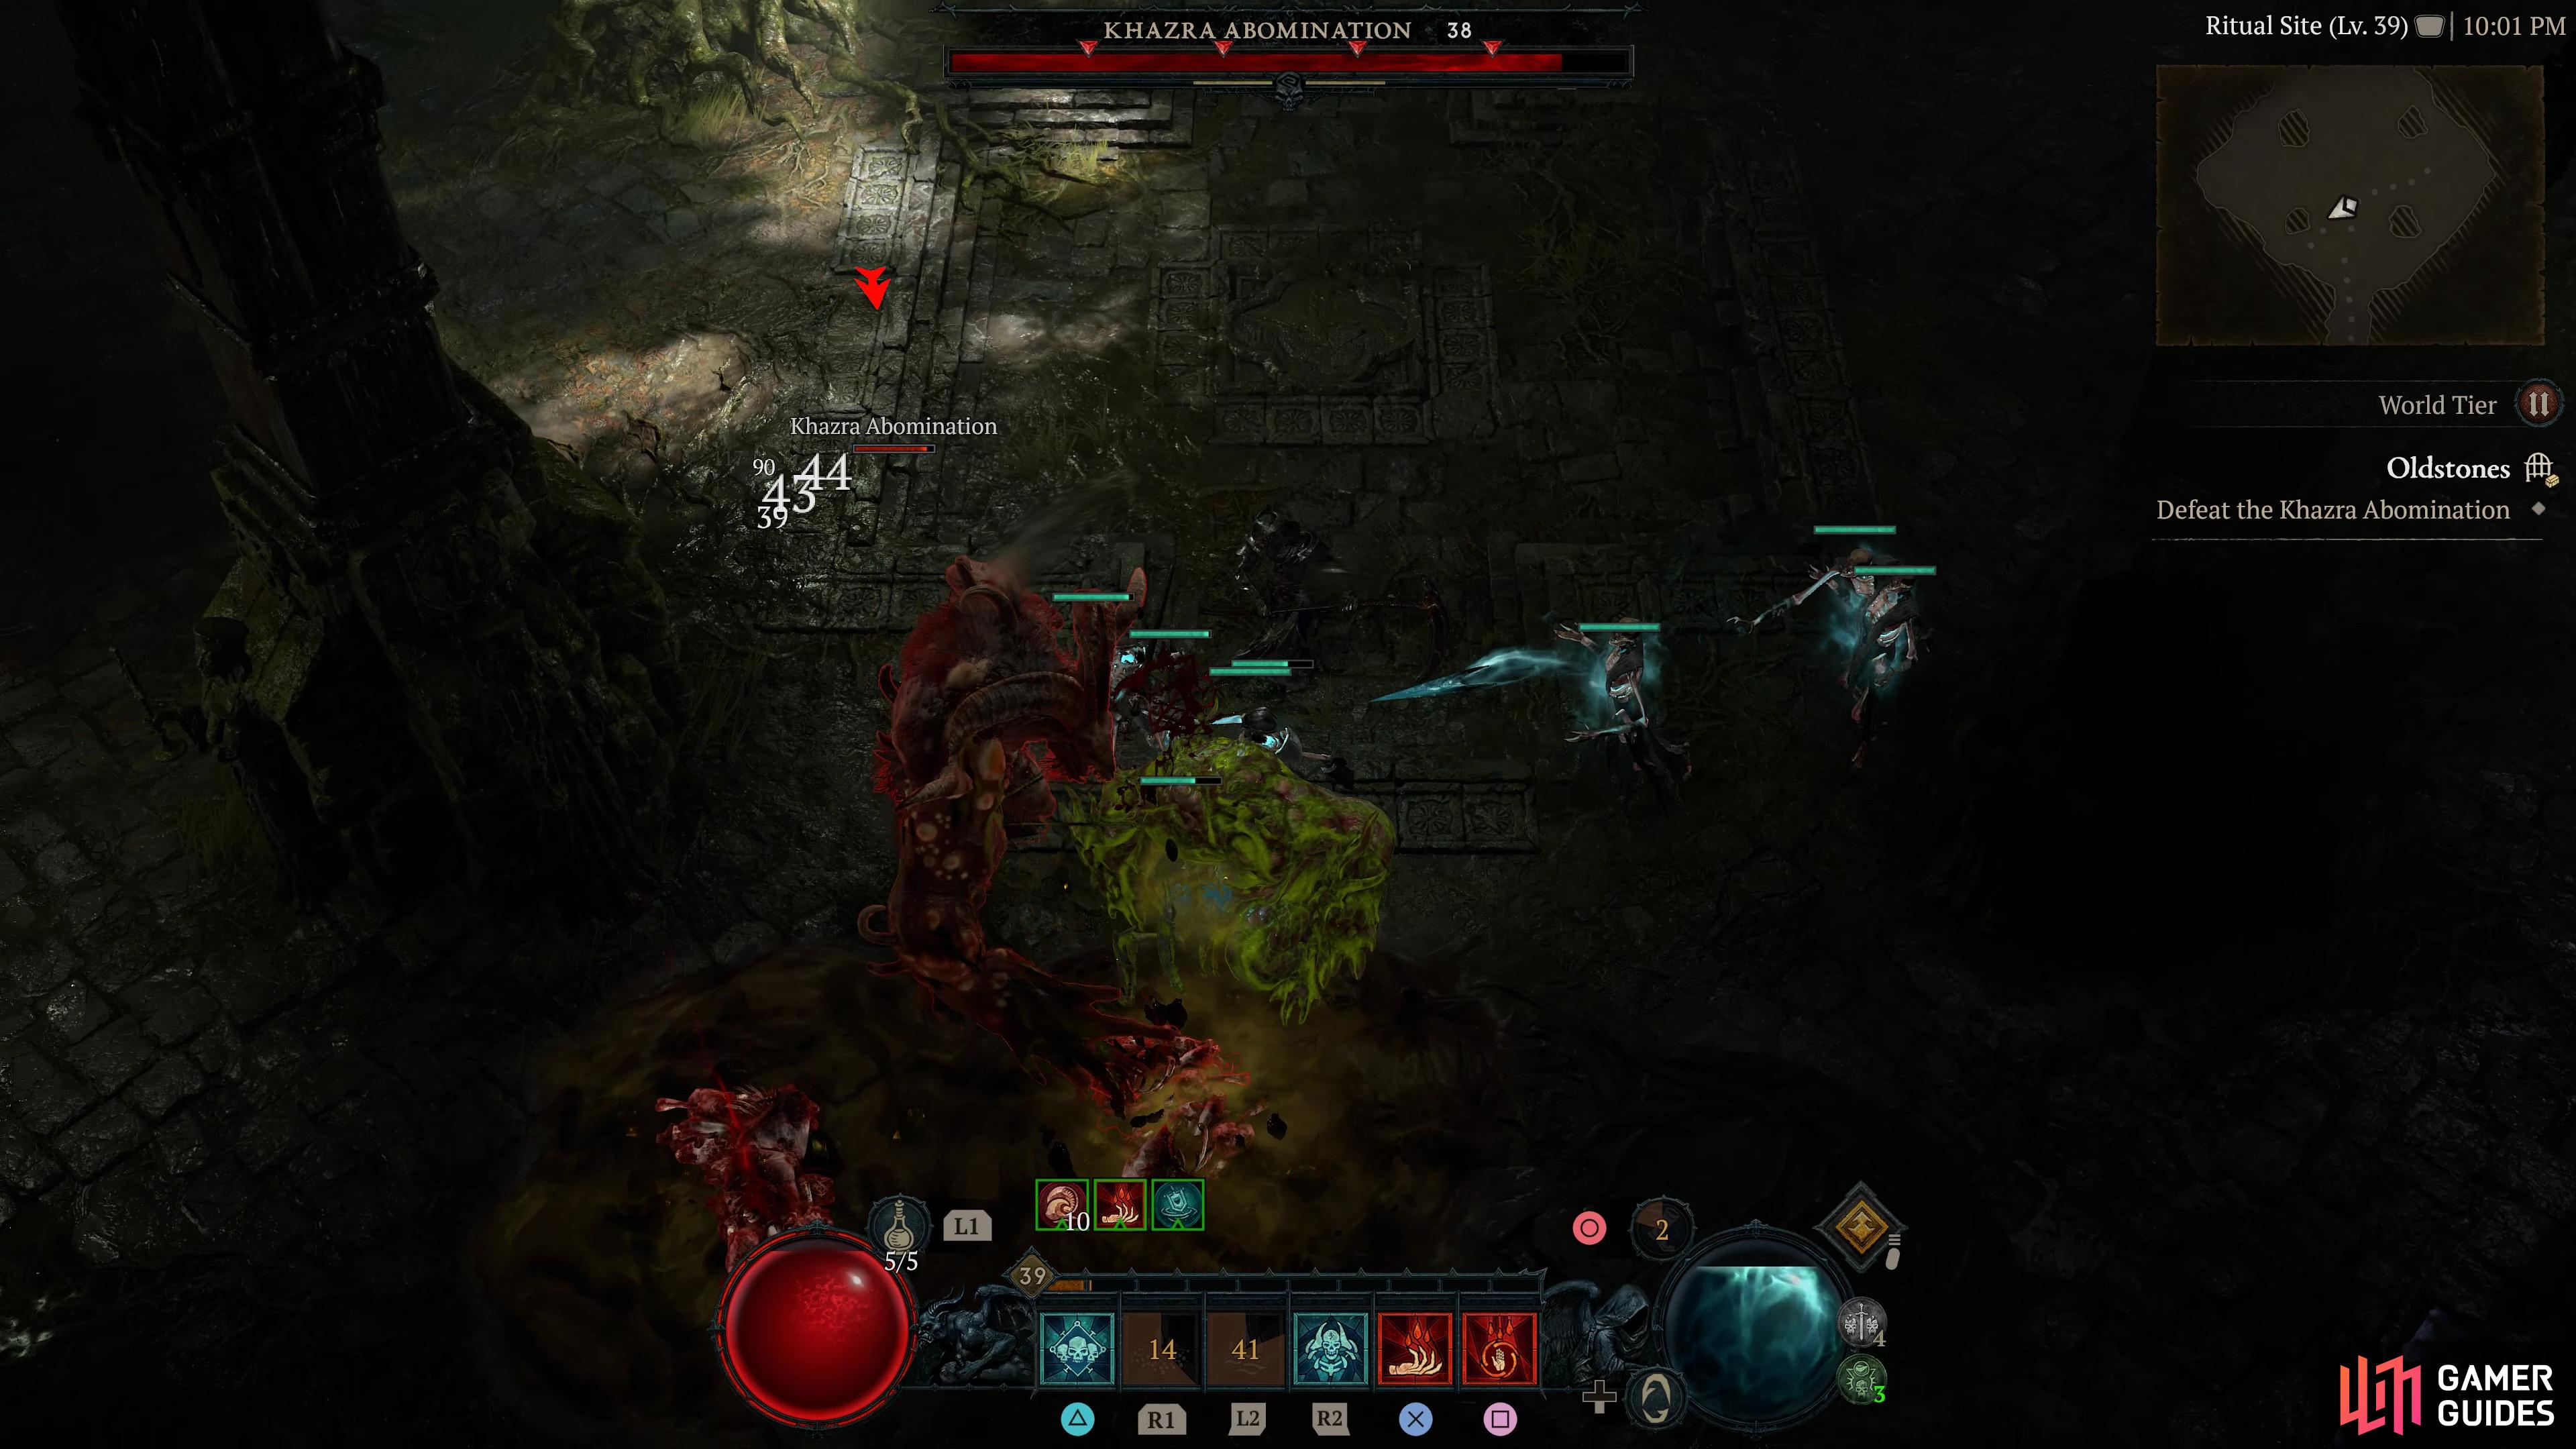
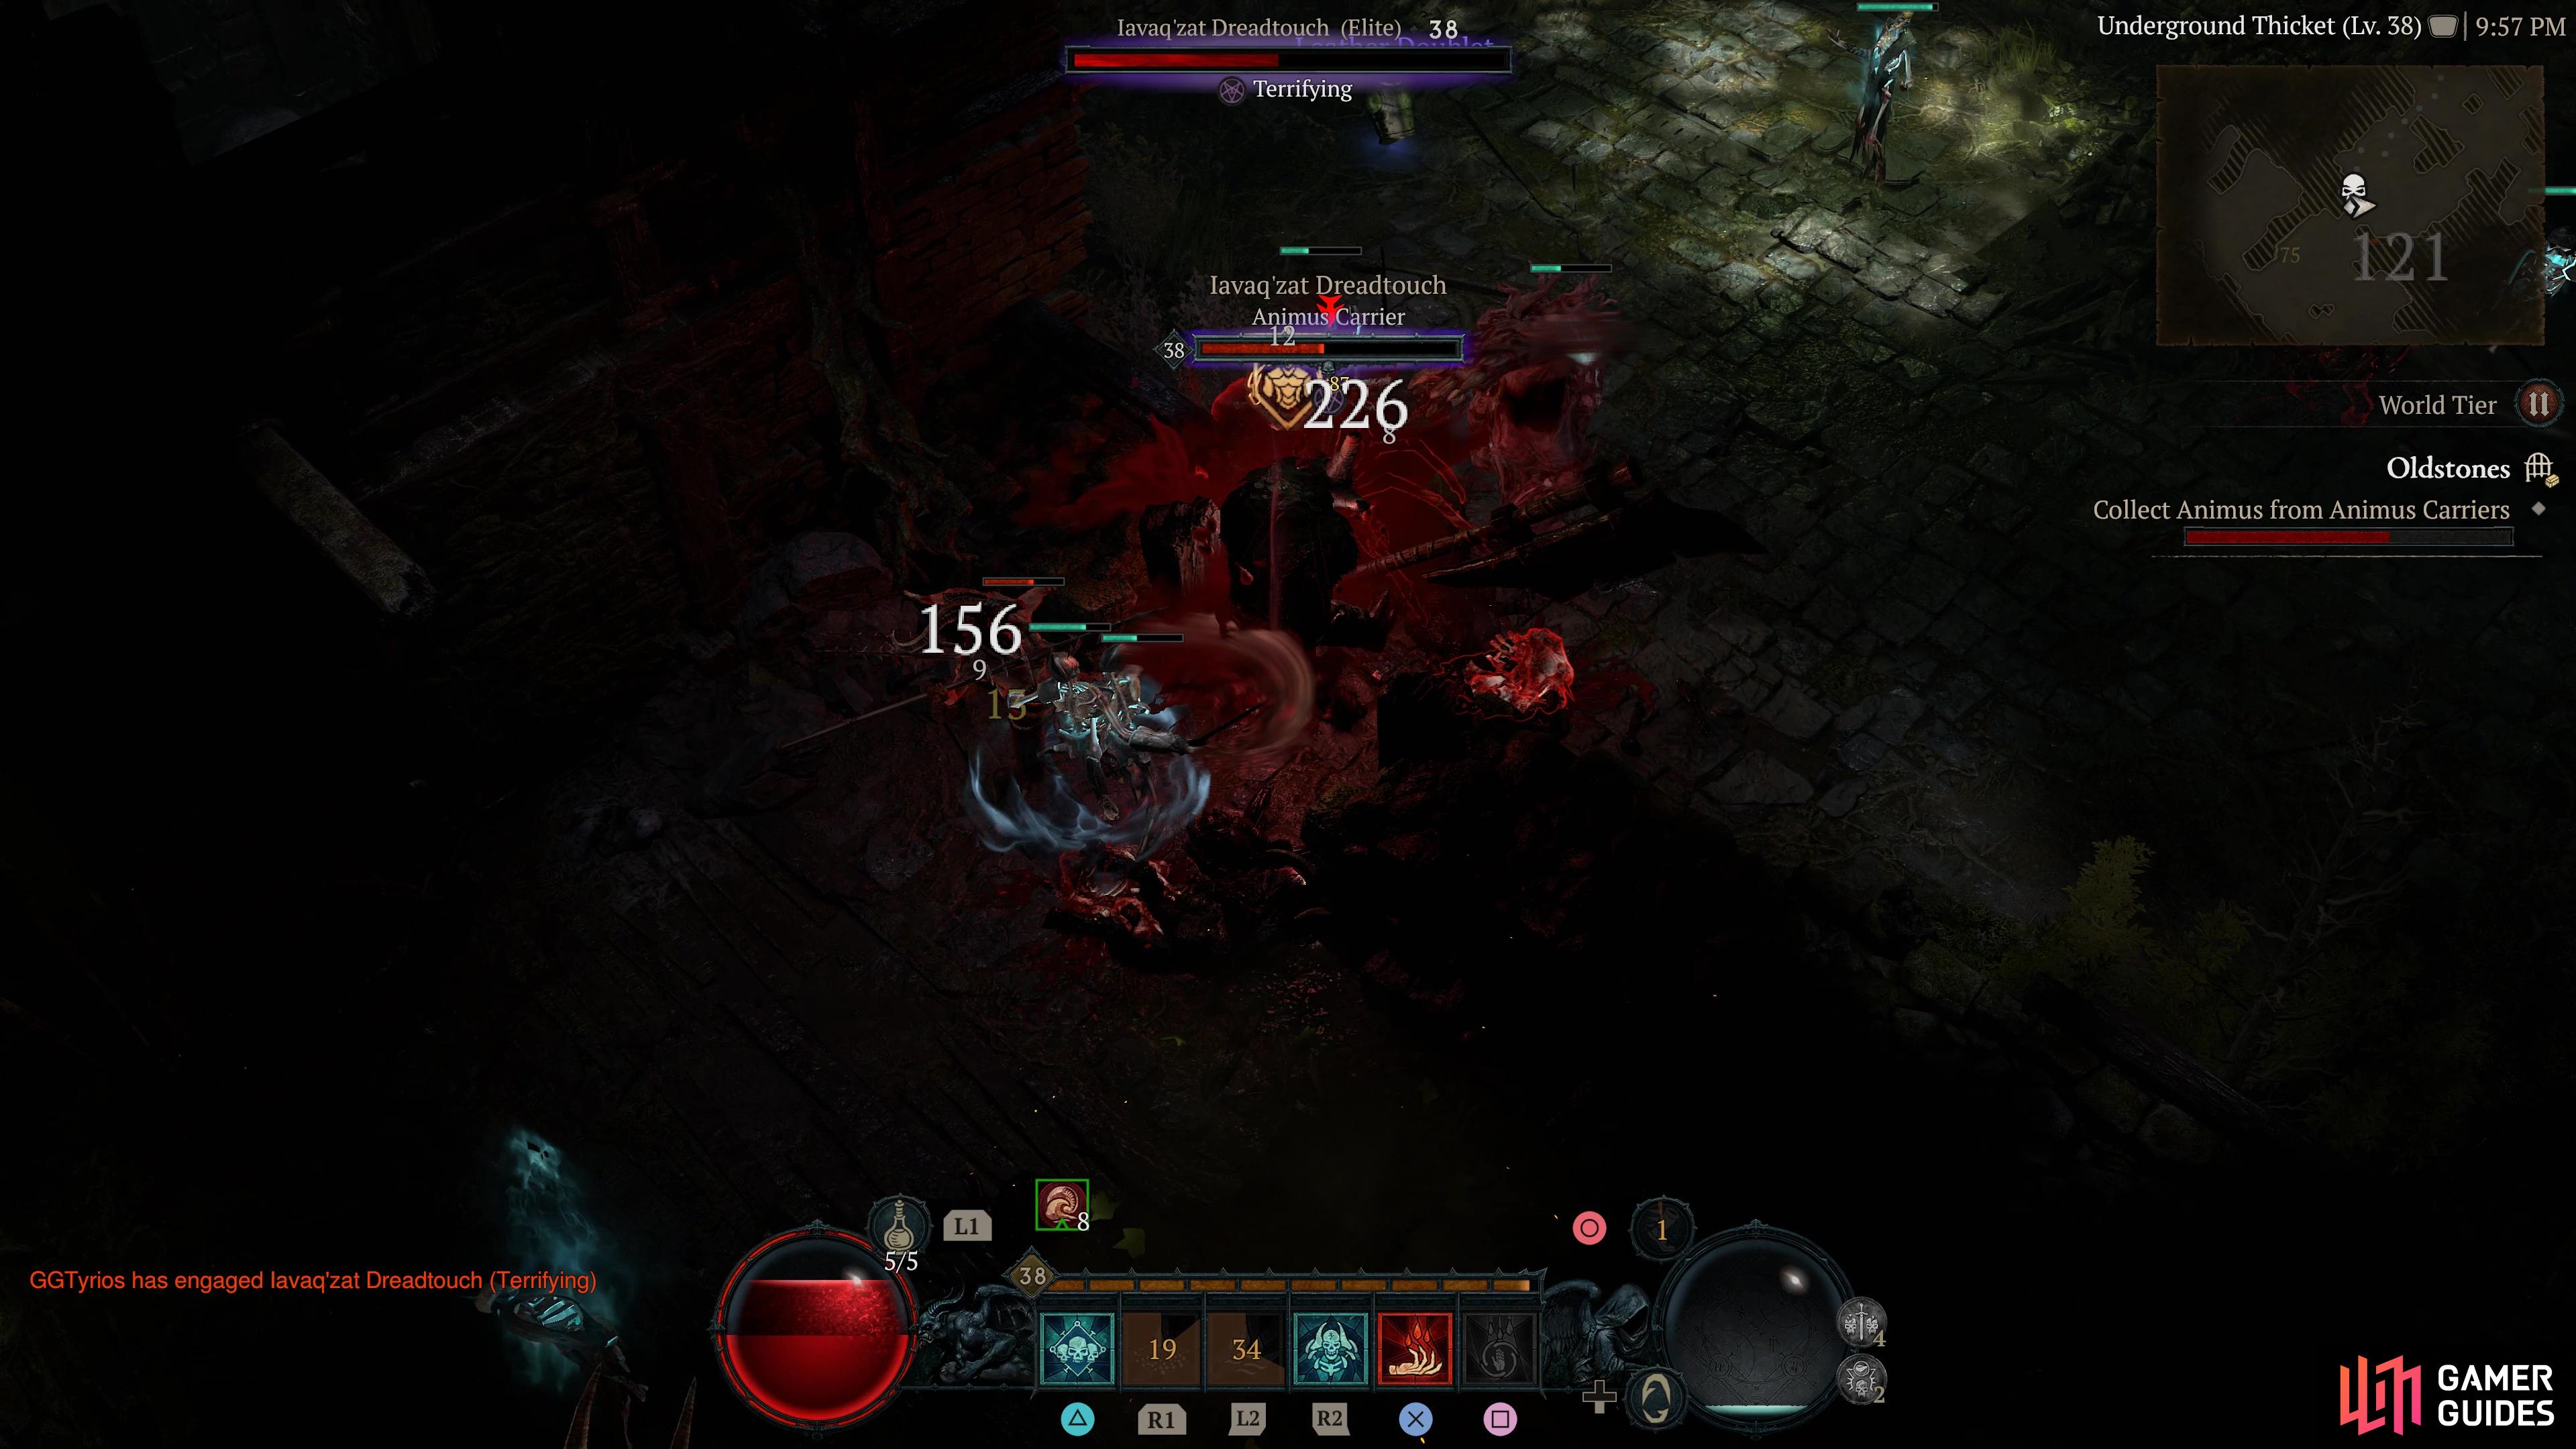
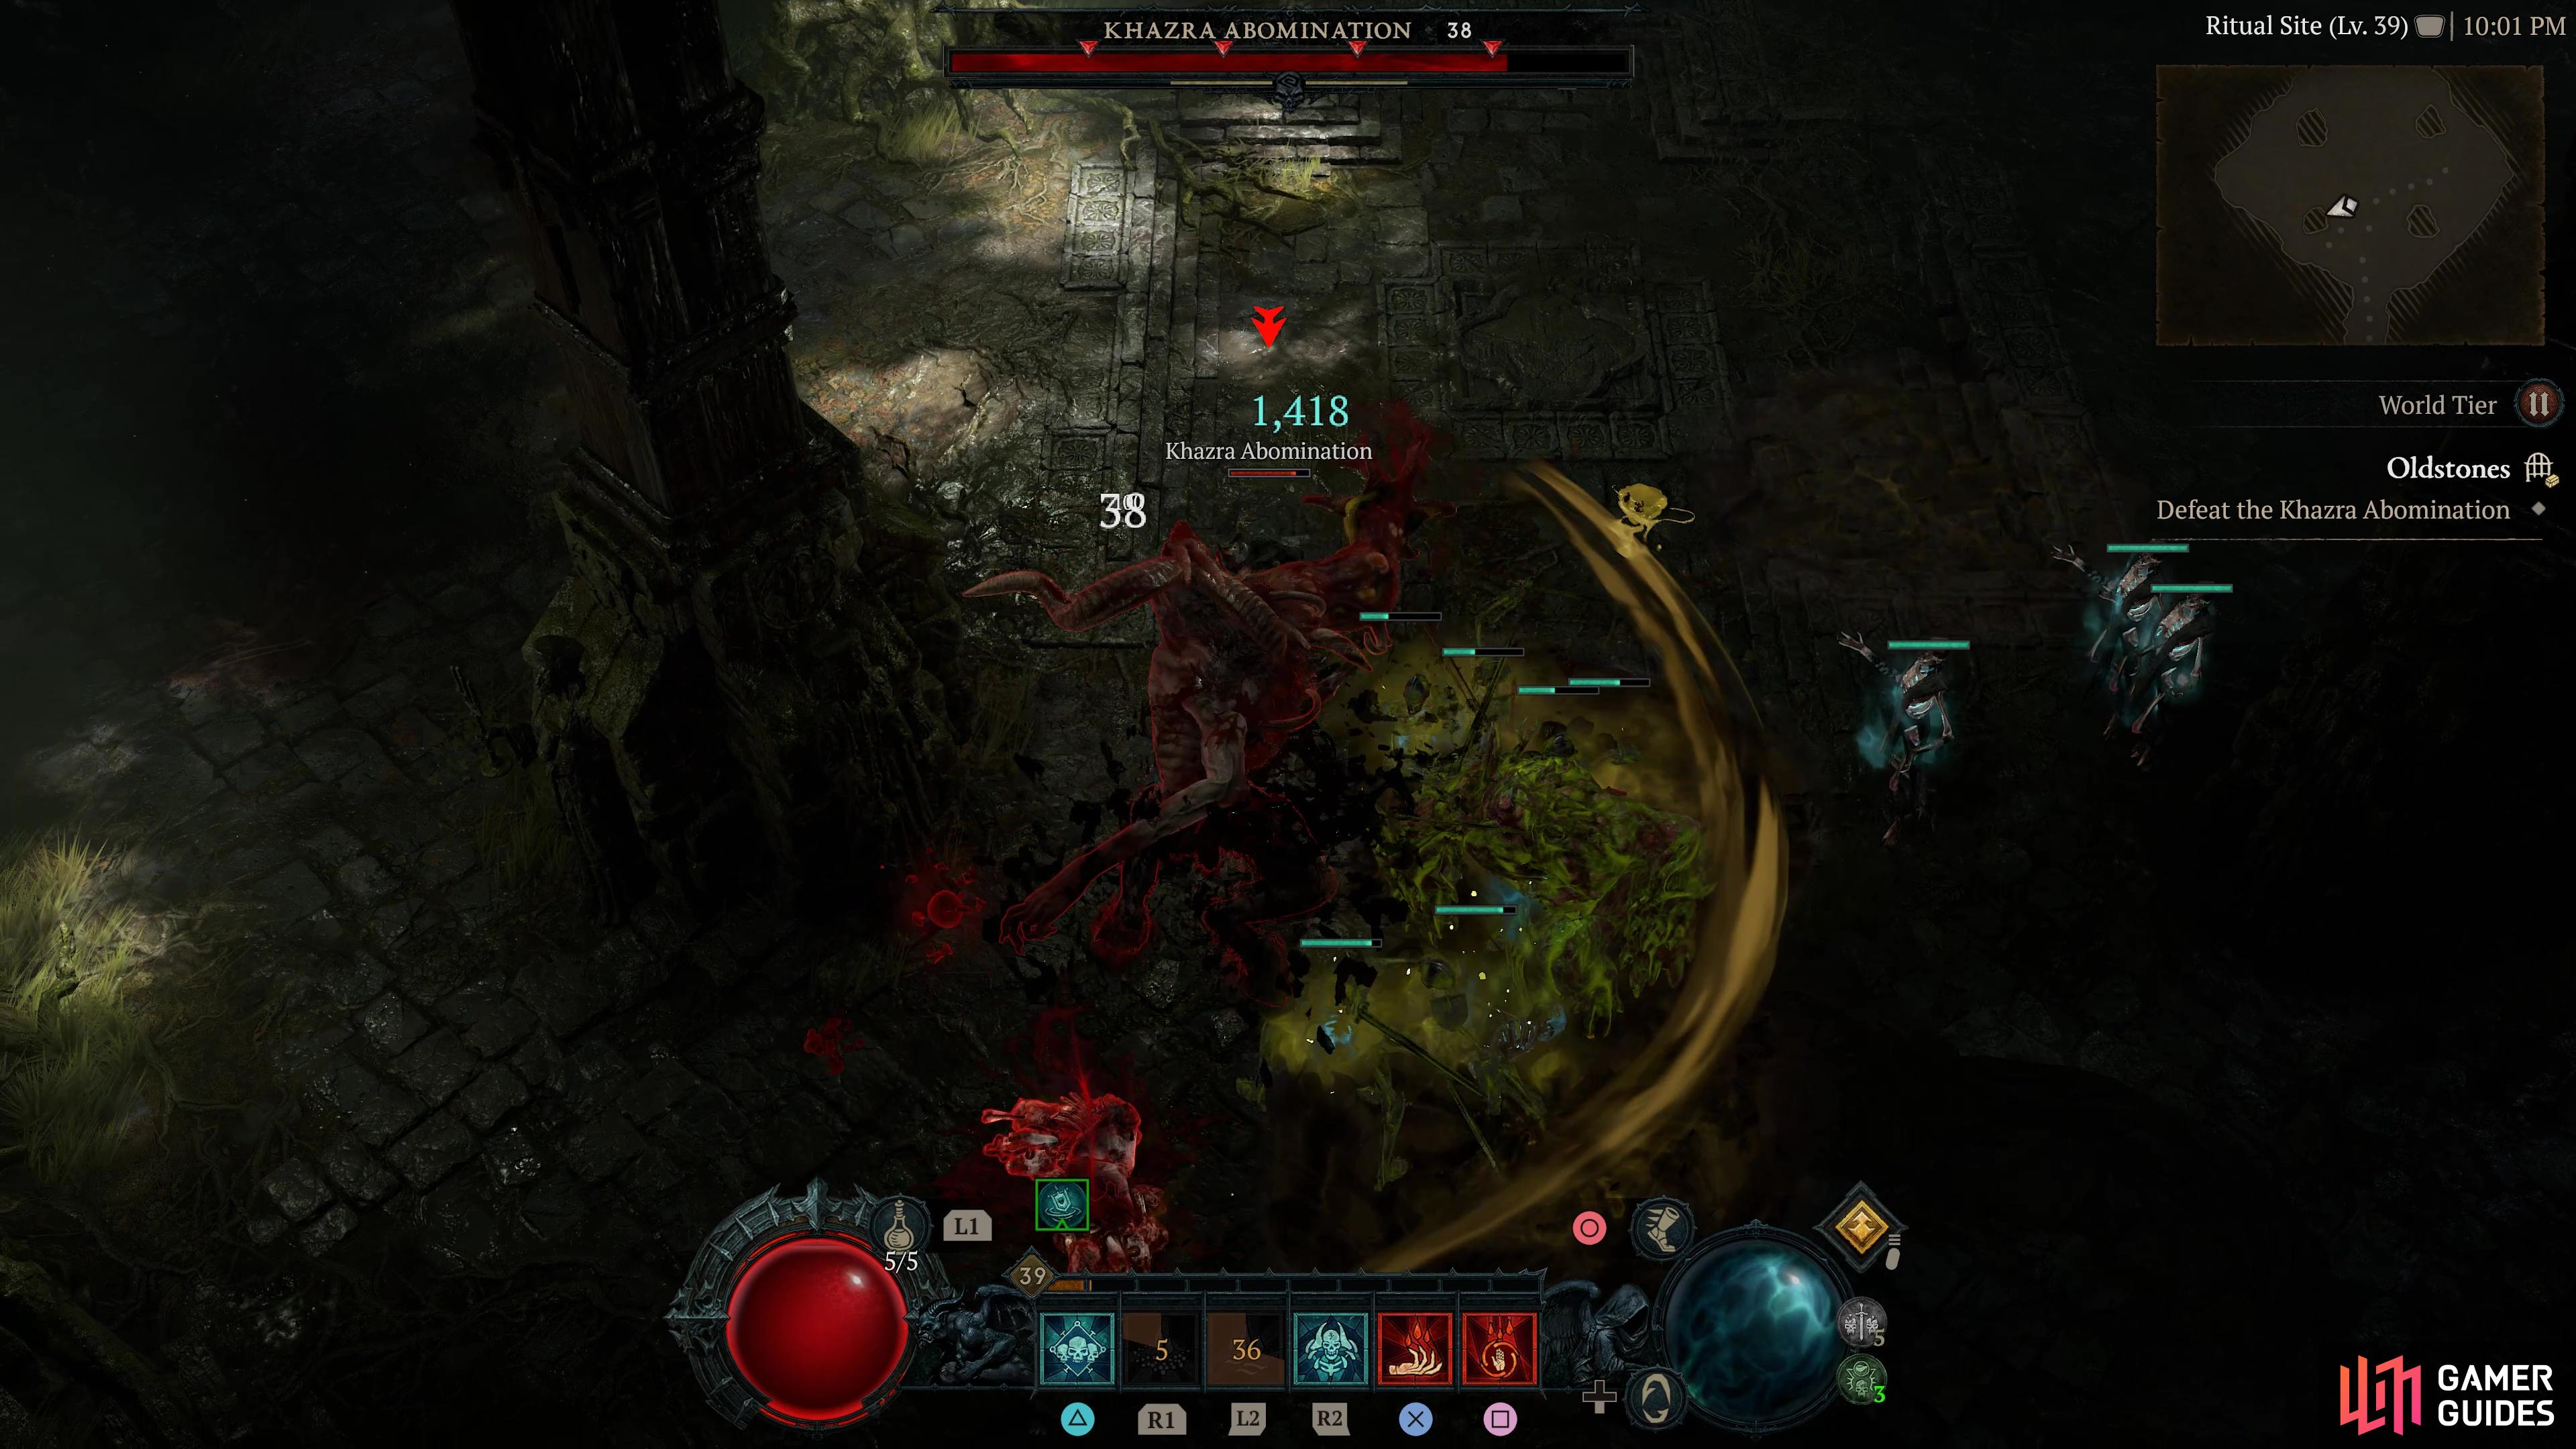
Oldstones |
Khazra infest the ruined holdfast, ignorant of its curse.
Objectives
Description
Oldstones is a dungeon where you will fight mostly Goatmen and
Enemies
Region
General Reward
|
|
|||||||||||||||||||||||||||||||||||||||||||||||||||||||||||||||||||||||||||||||||||||||||||||||

|
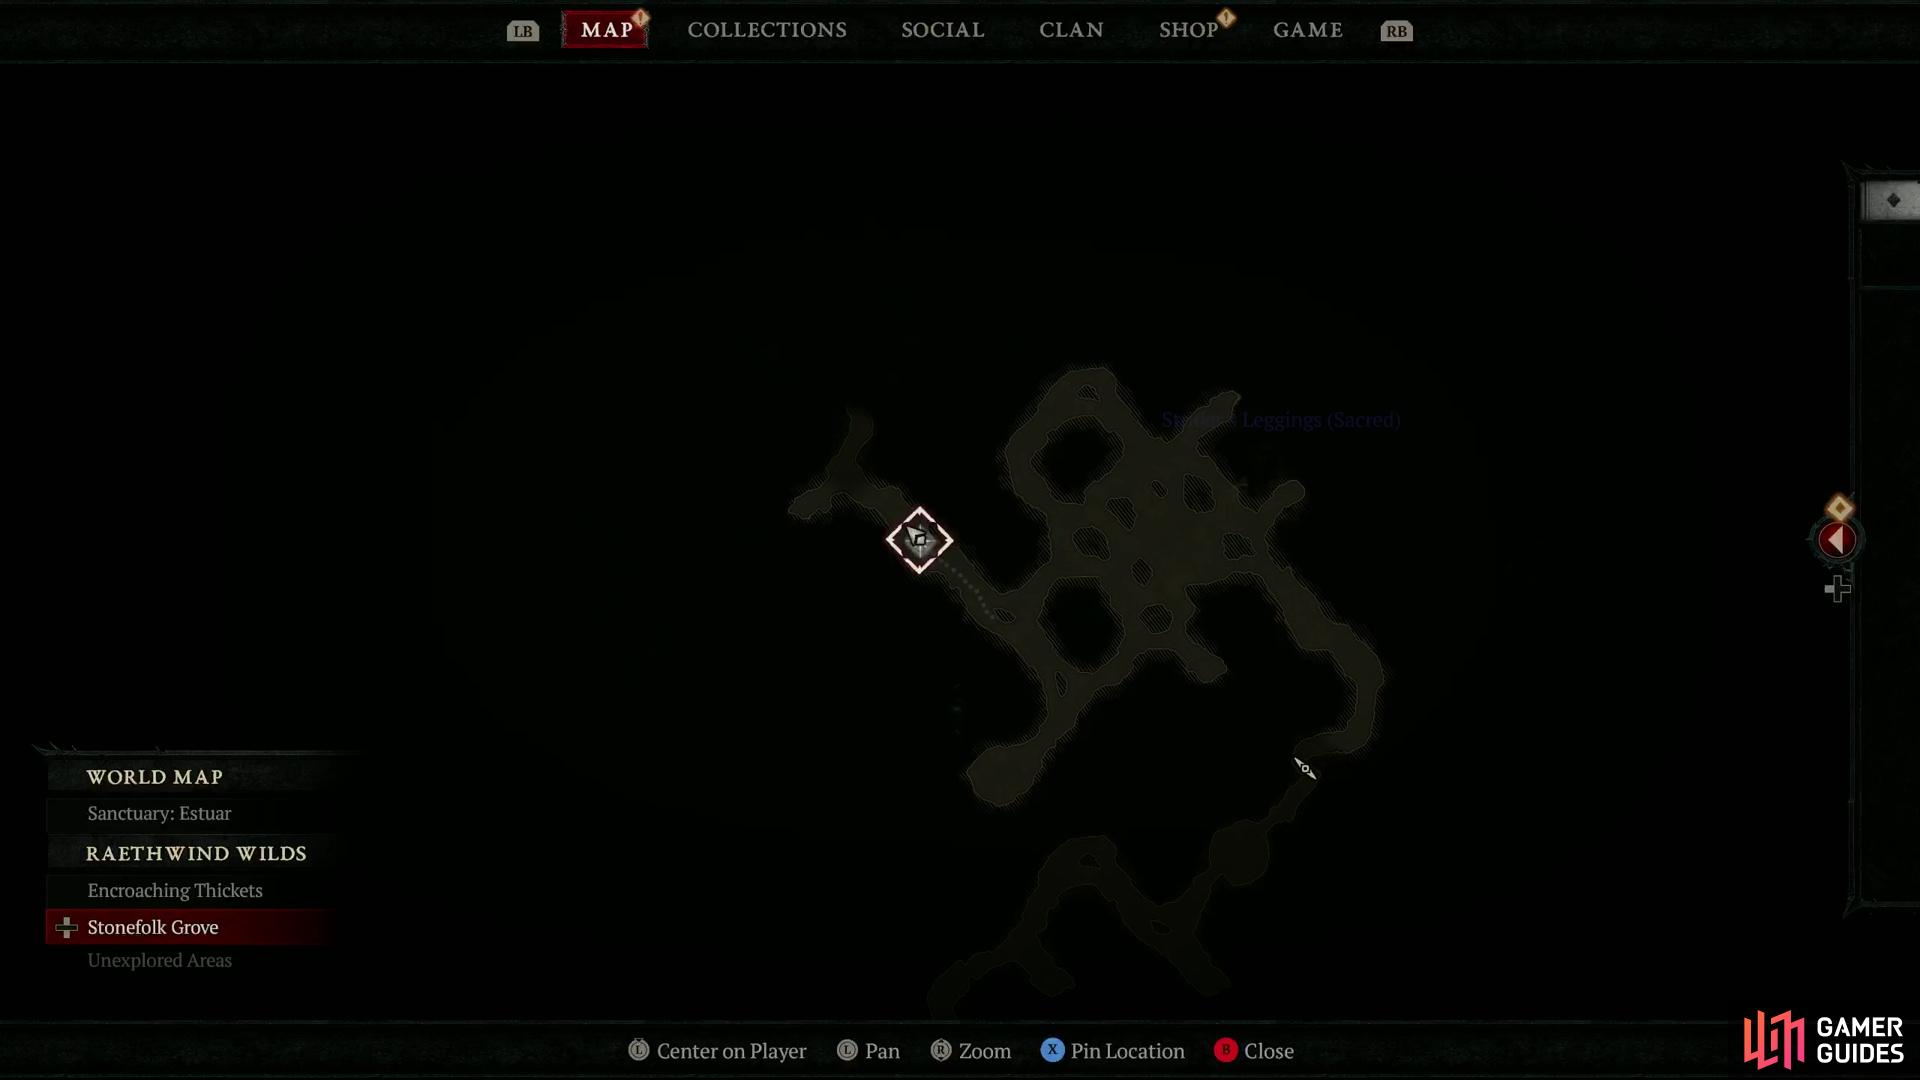
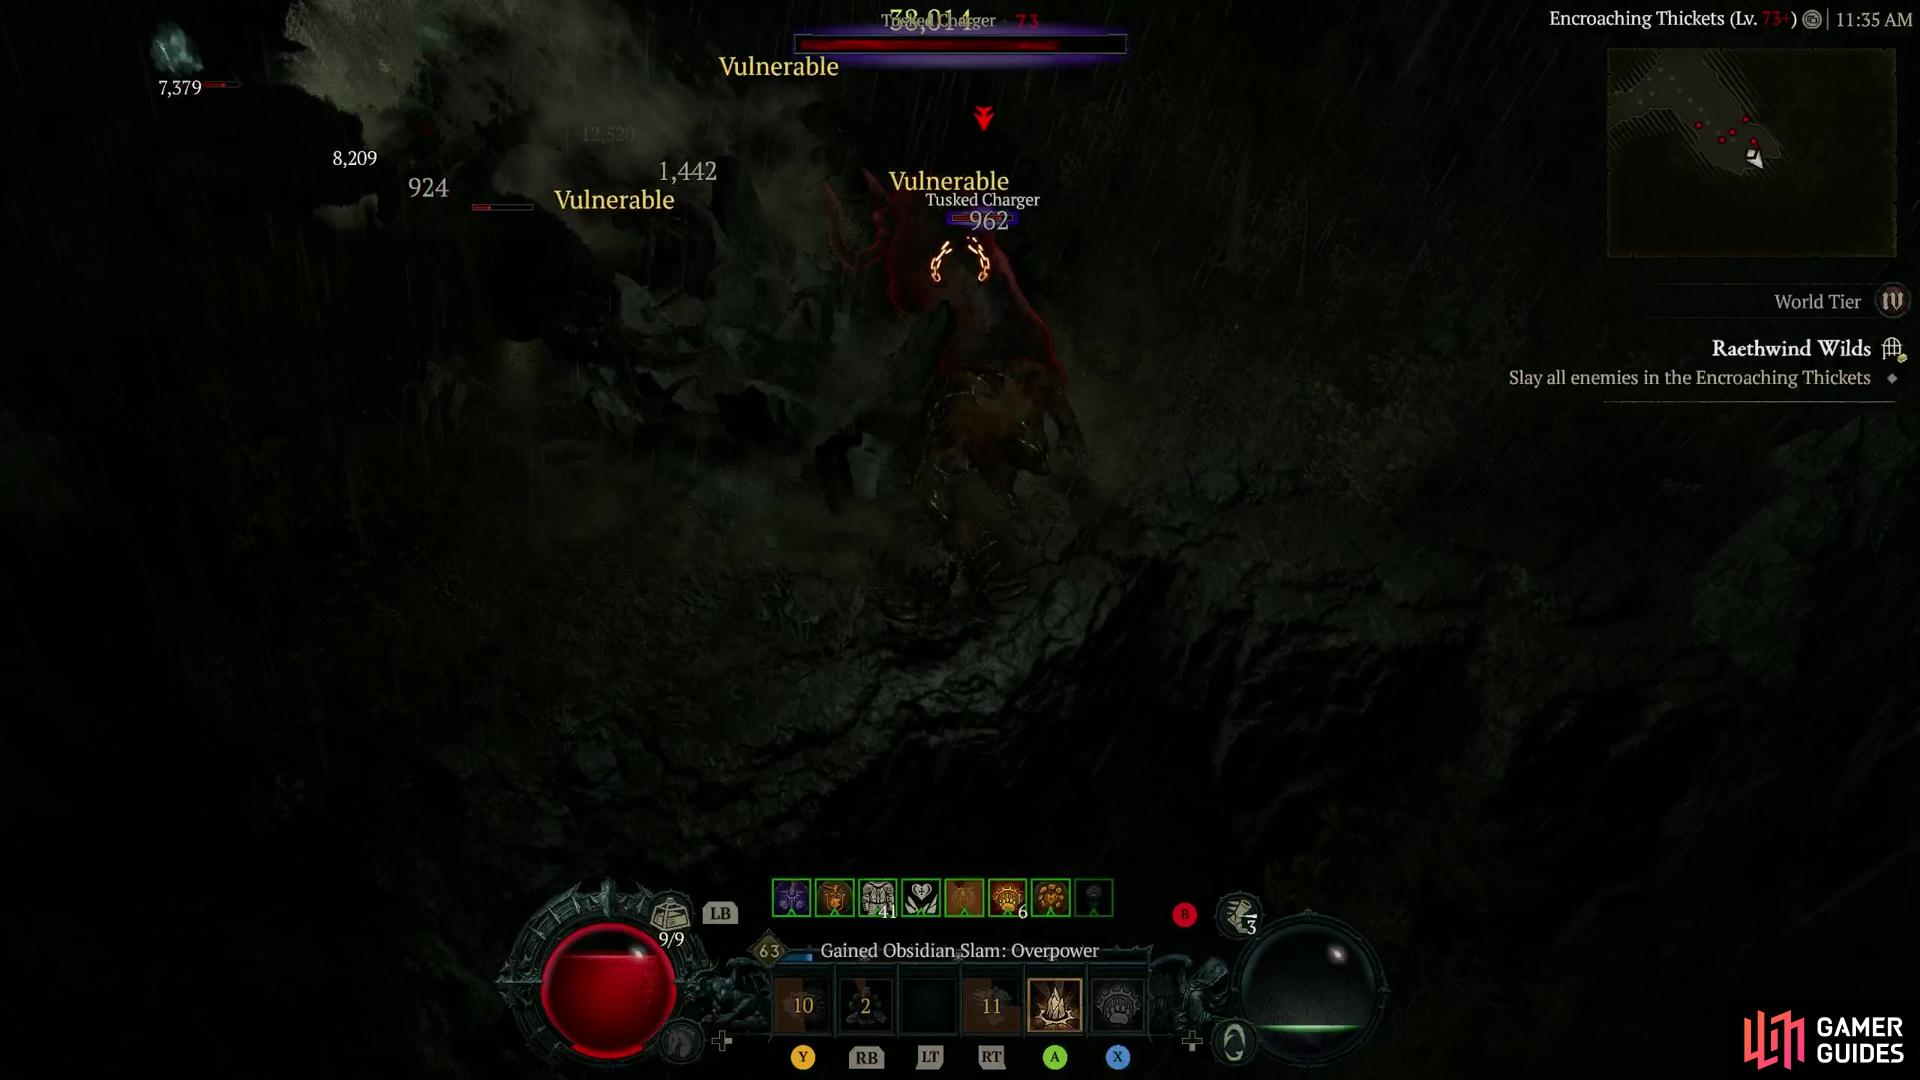
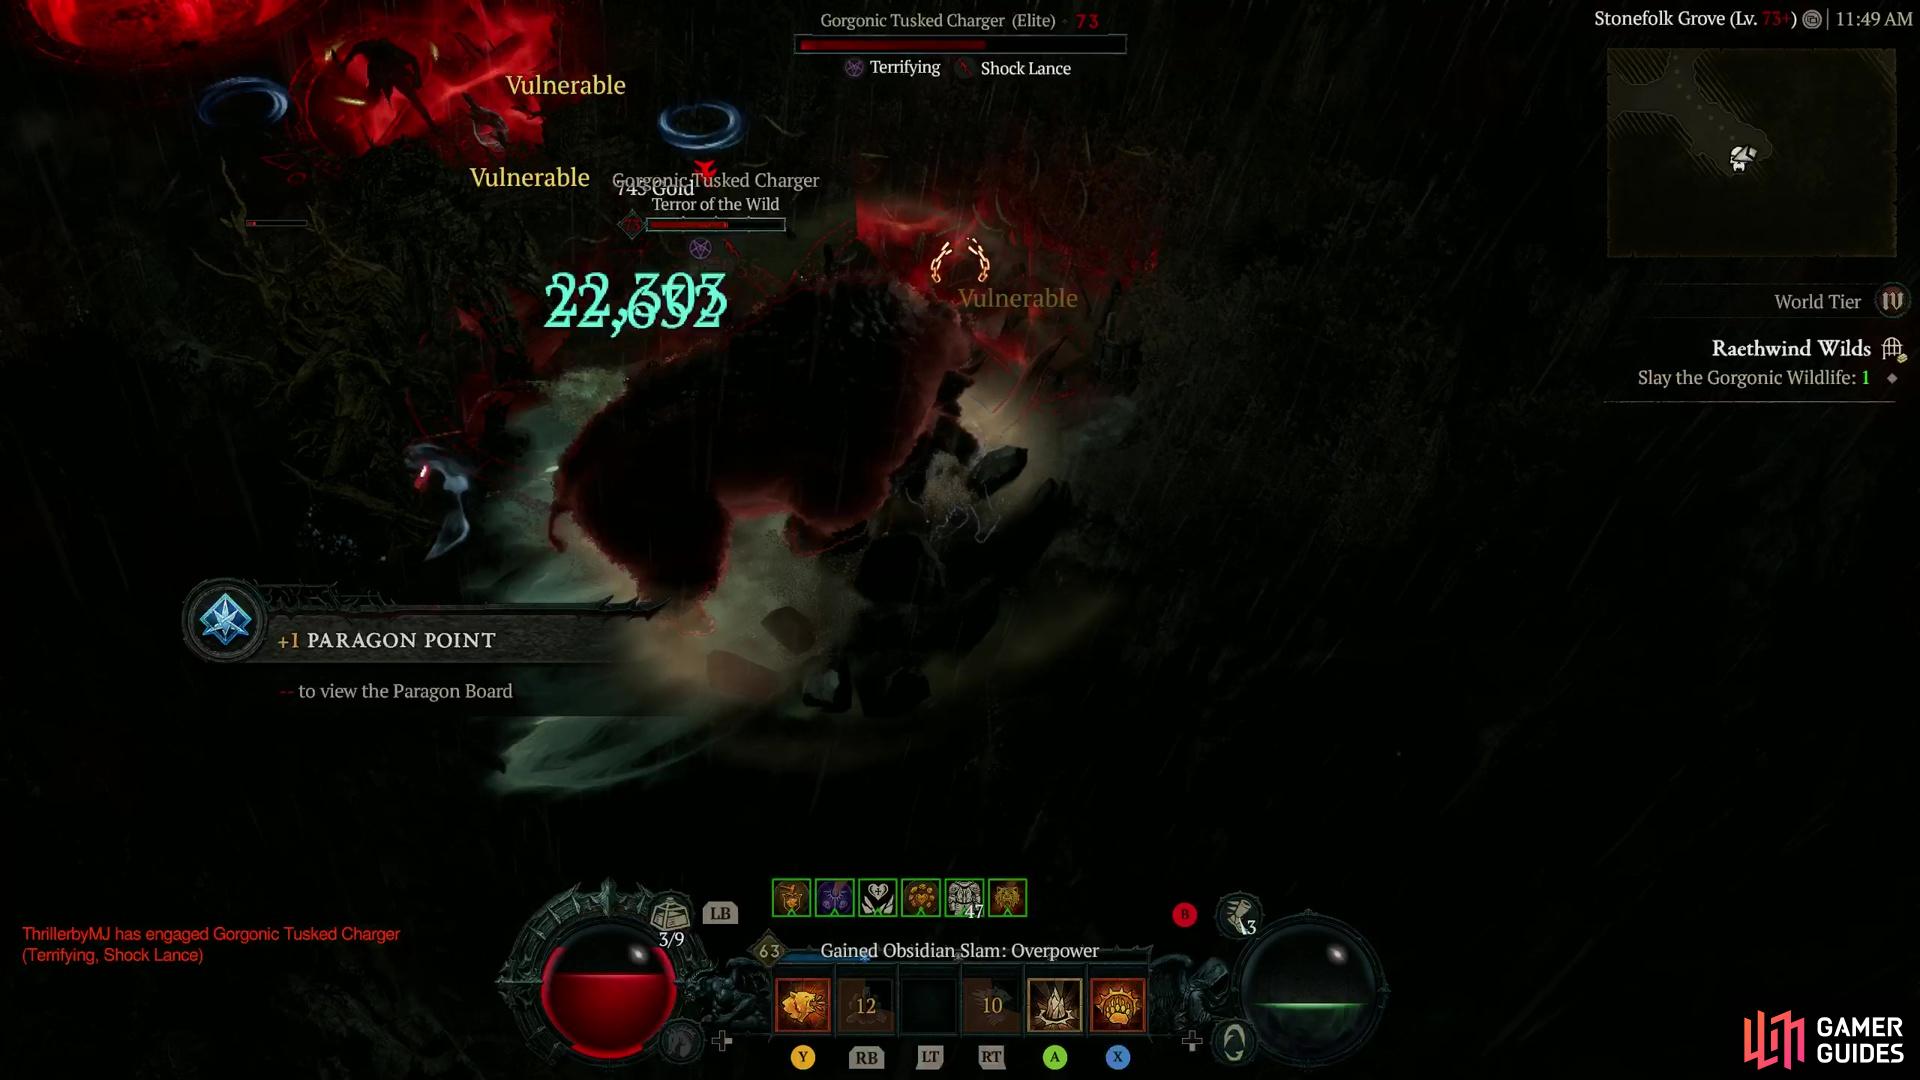
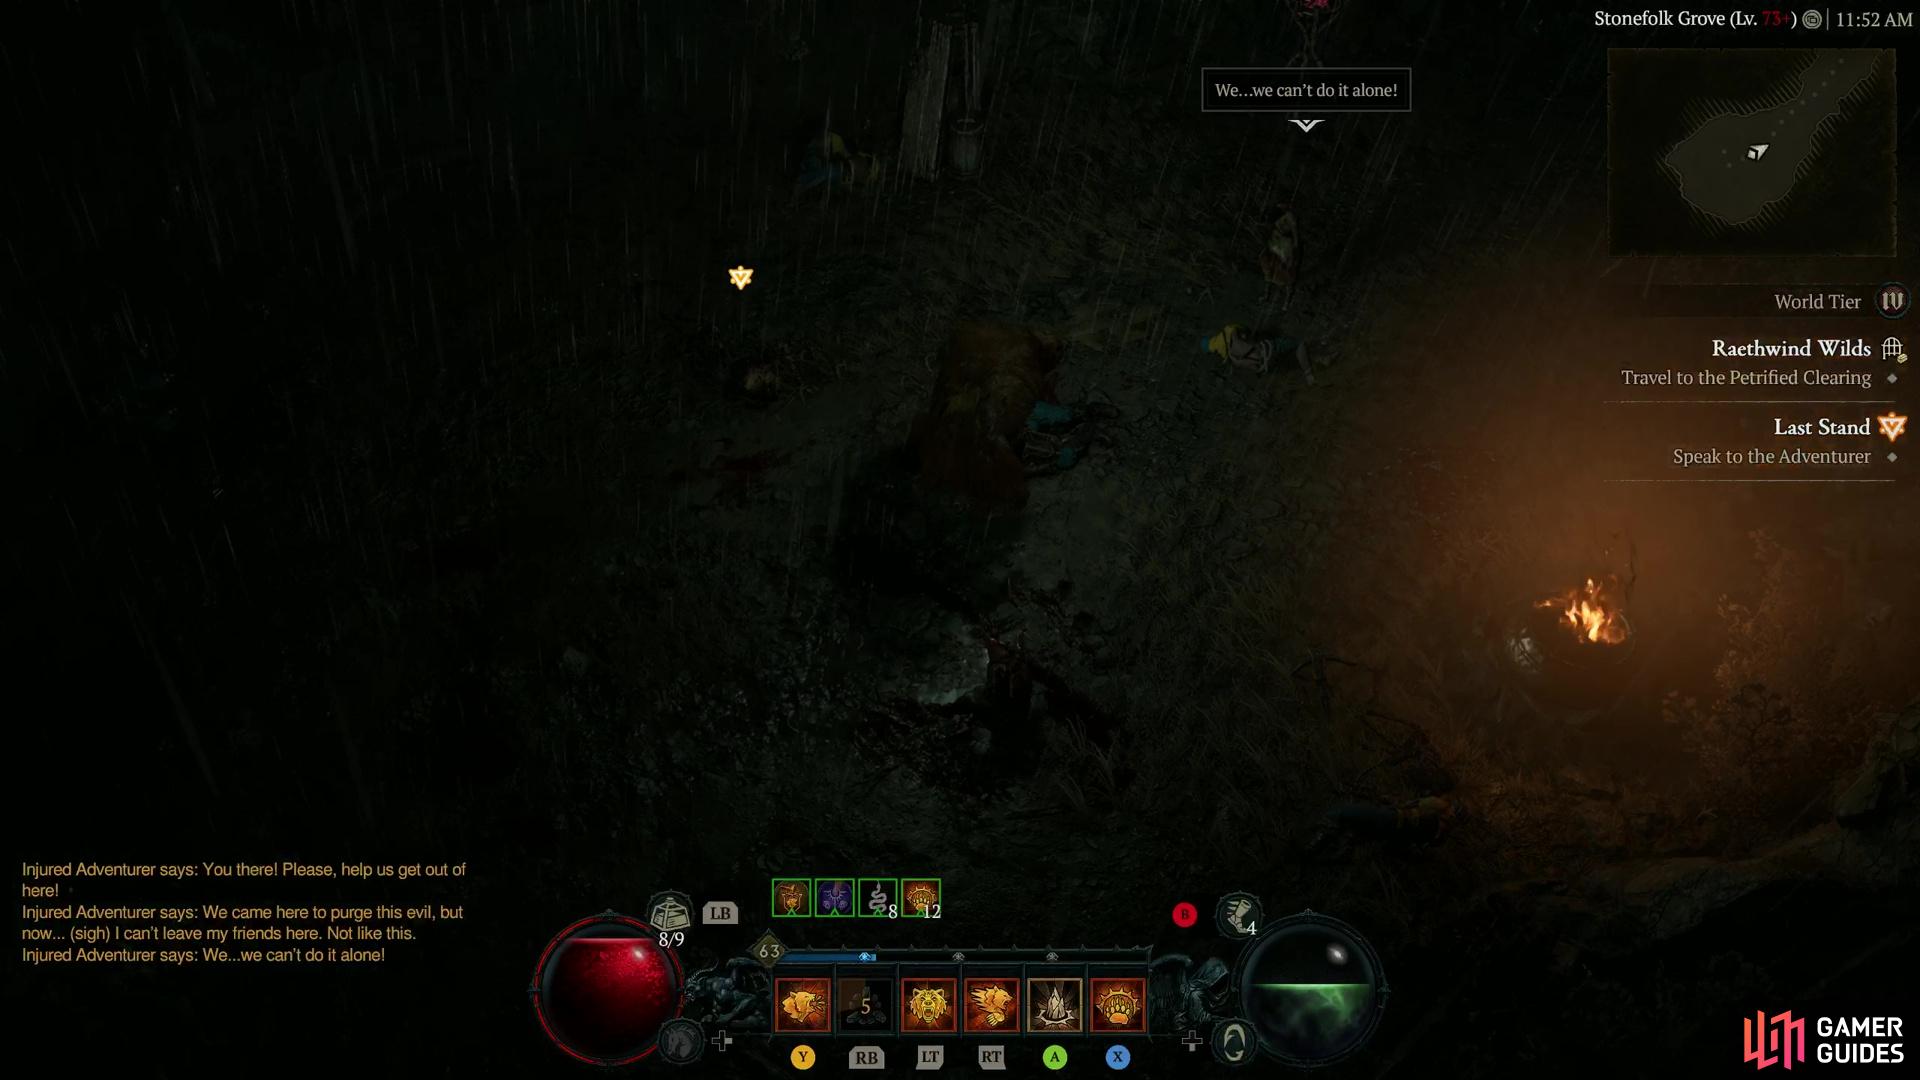
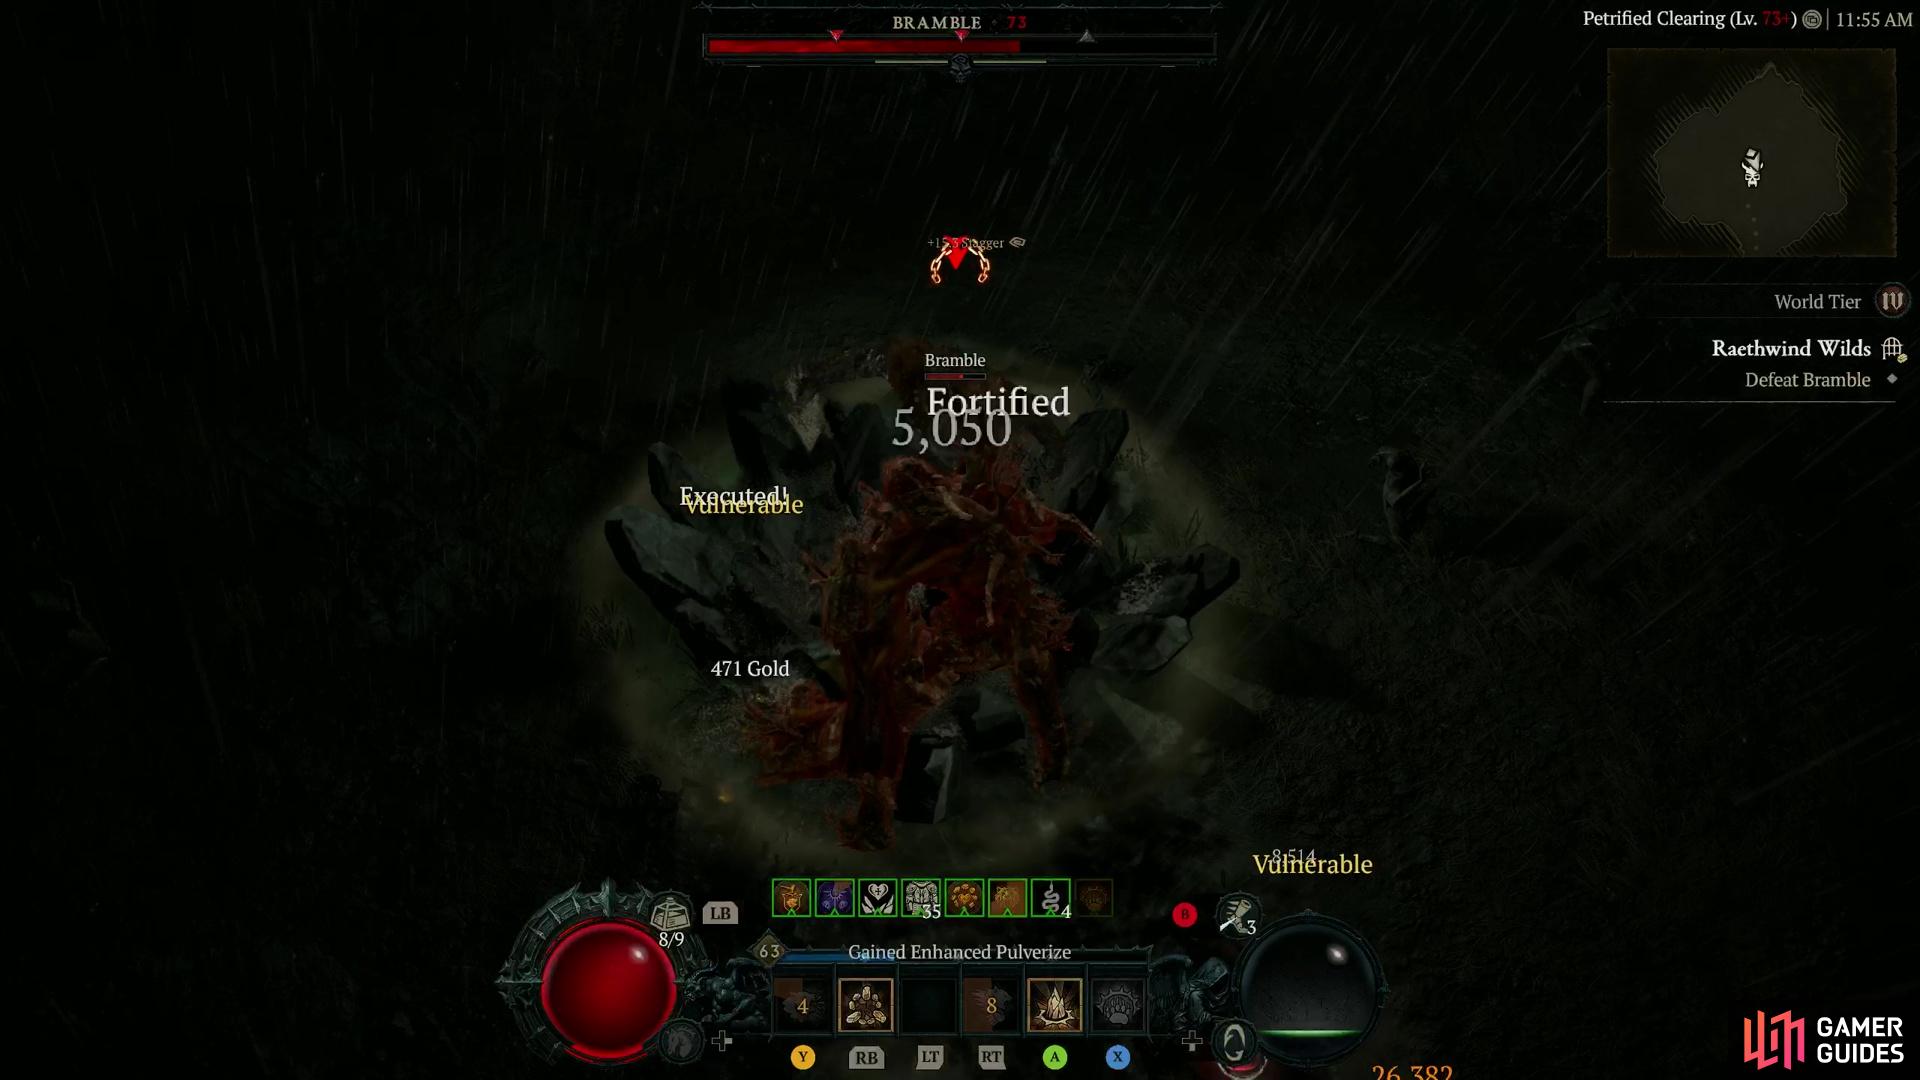
Raethwind Wilds |
Too many have vanished into these woods.
Objectives
Diablo 4 Raethwind Wilds Objectives
Description
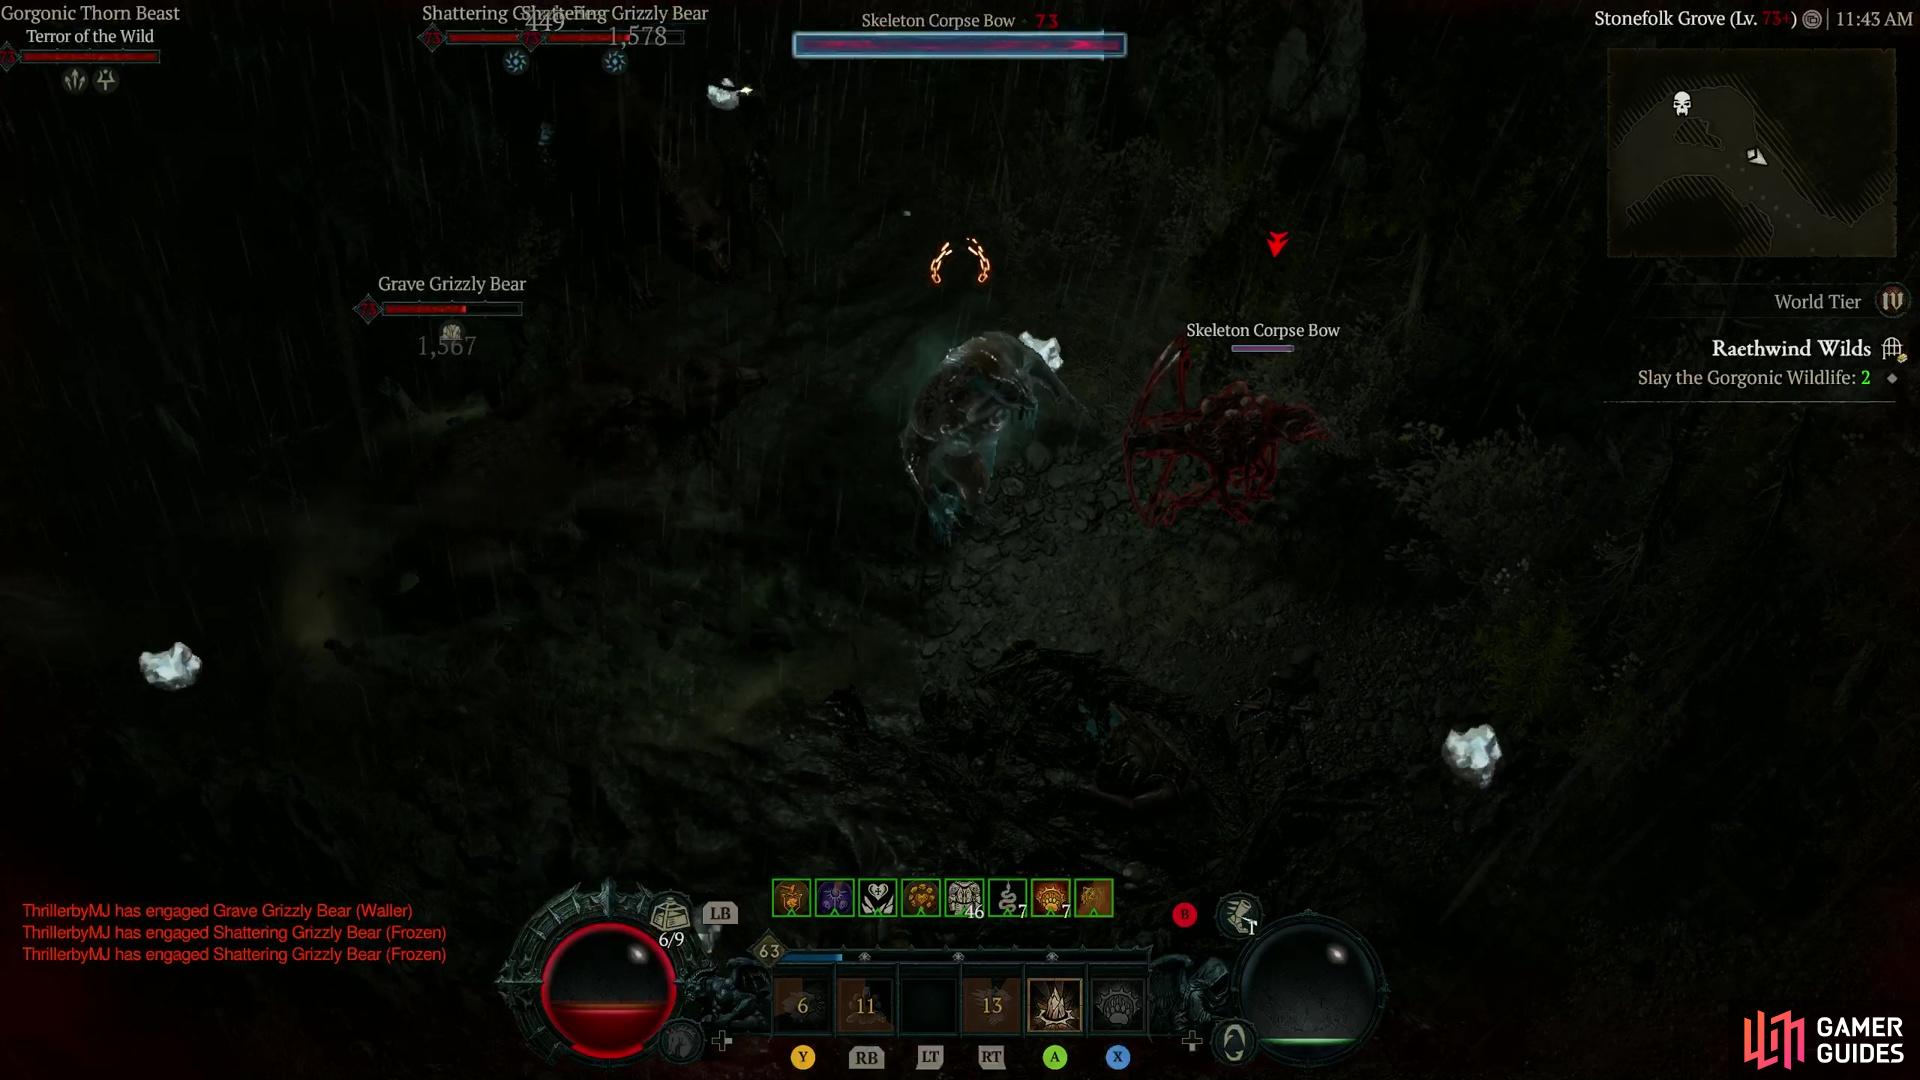
Diablo 4 Raethwind Wilds WalkthroughThis dungeon starts with players having to clear up a mix of enemies as part of the Slay All Enemies objective. This area consists of a mixture of beast foes, and Bandits. Once that’s done, you need to do an intermission battle, killing more bandits, and taking down the Pile of Supplies construct in the middle to proceed to the next half of the dungeon. After you advance, your next goal is to hunt for three Elites with the Gorgon title in their names. These are often spotted around the central areas of the second part of the dungeon, with the fir st two around the central area of the region. The third one is typically hidden in one of the alcoves around the center, so make sure to look around the edges of the region to find it. One of these end pockets can also contain a event if you’re interested in that. Once all three Gorgon creatures are defeated, you can then move to the boss room, typically in the top left corner of the second half of the dungeon, and fight
Enemies
Outlaw
Bandits
Grizzly Bear
Wildlife
Events in this Dungeon
Detailed Location
Region
General Reward
Item Reward
1×
|
|
|||||||||||||||||||||||||||||||||||||||||||||||||||||||||||||||||||||||||||||||||||||||||||||||

|
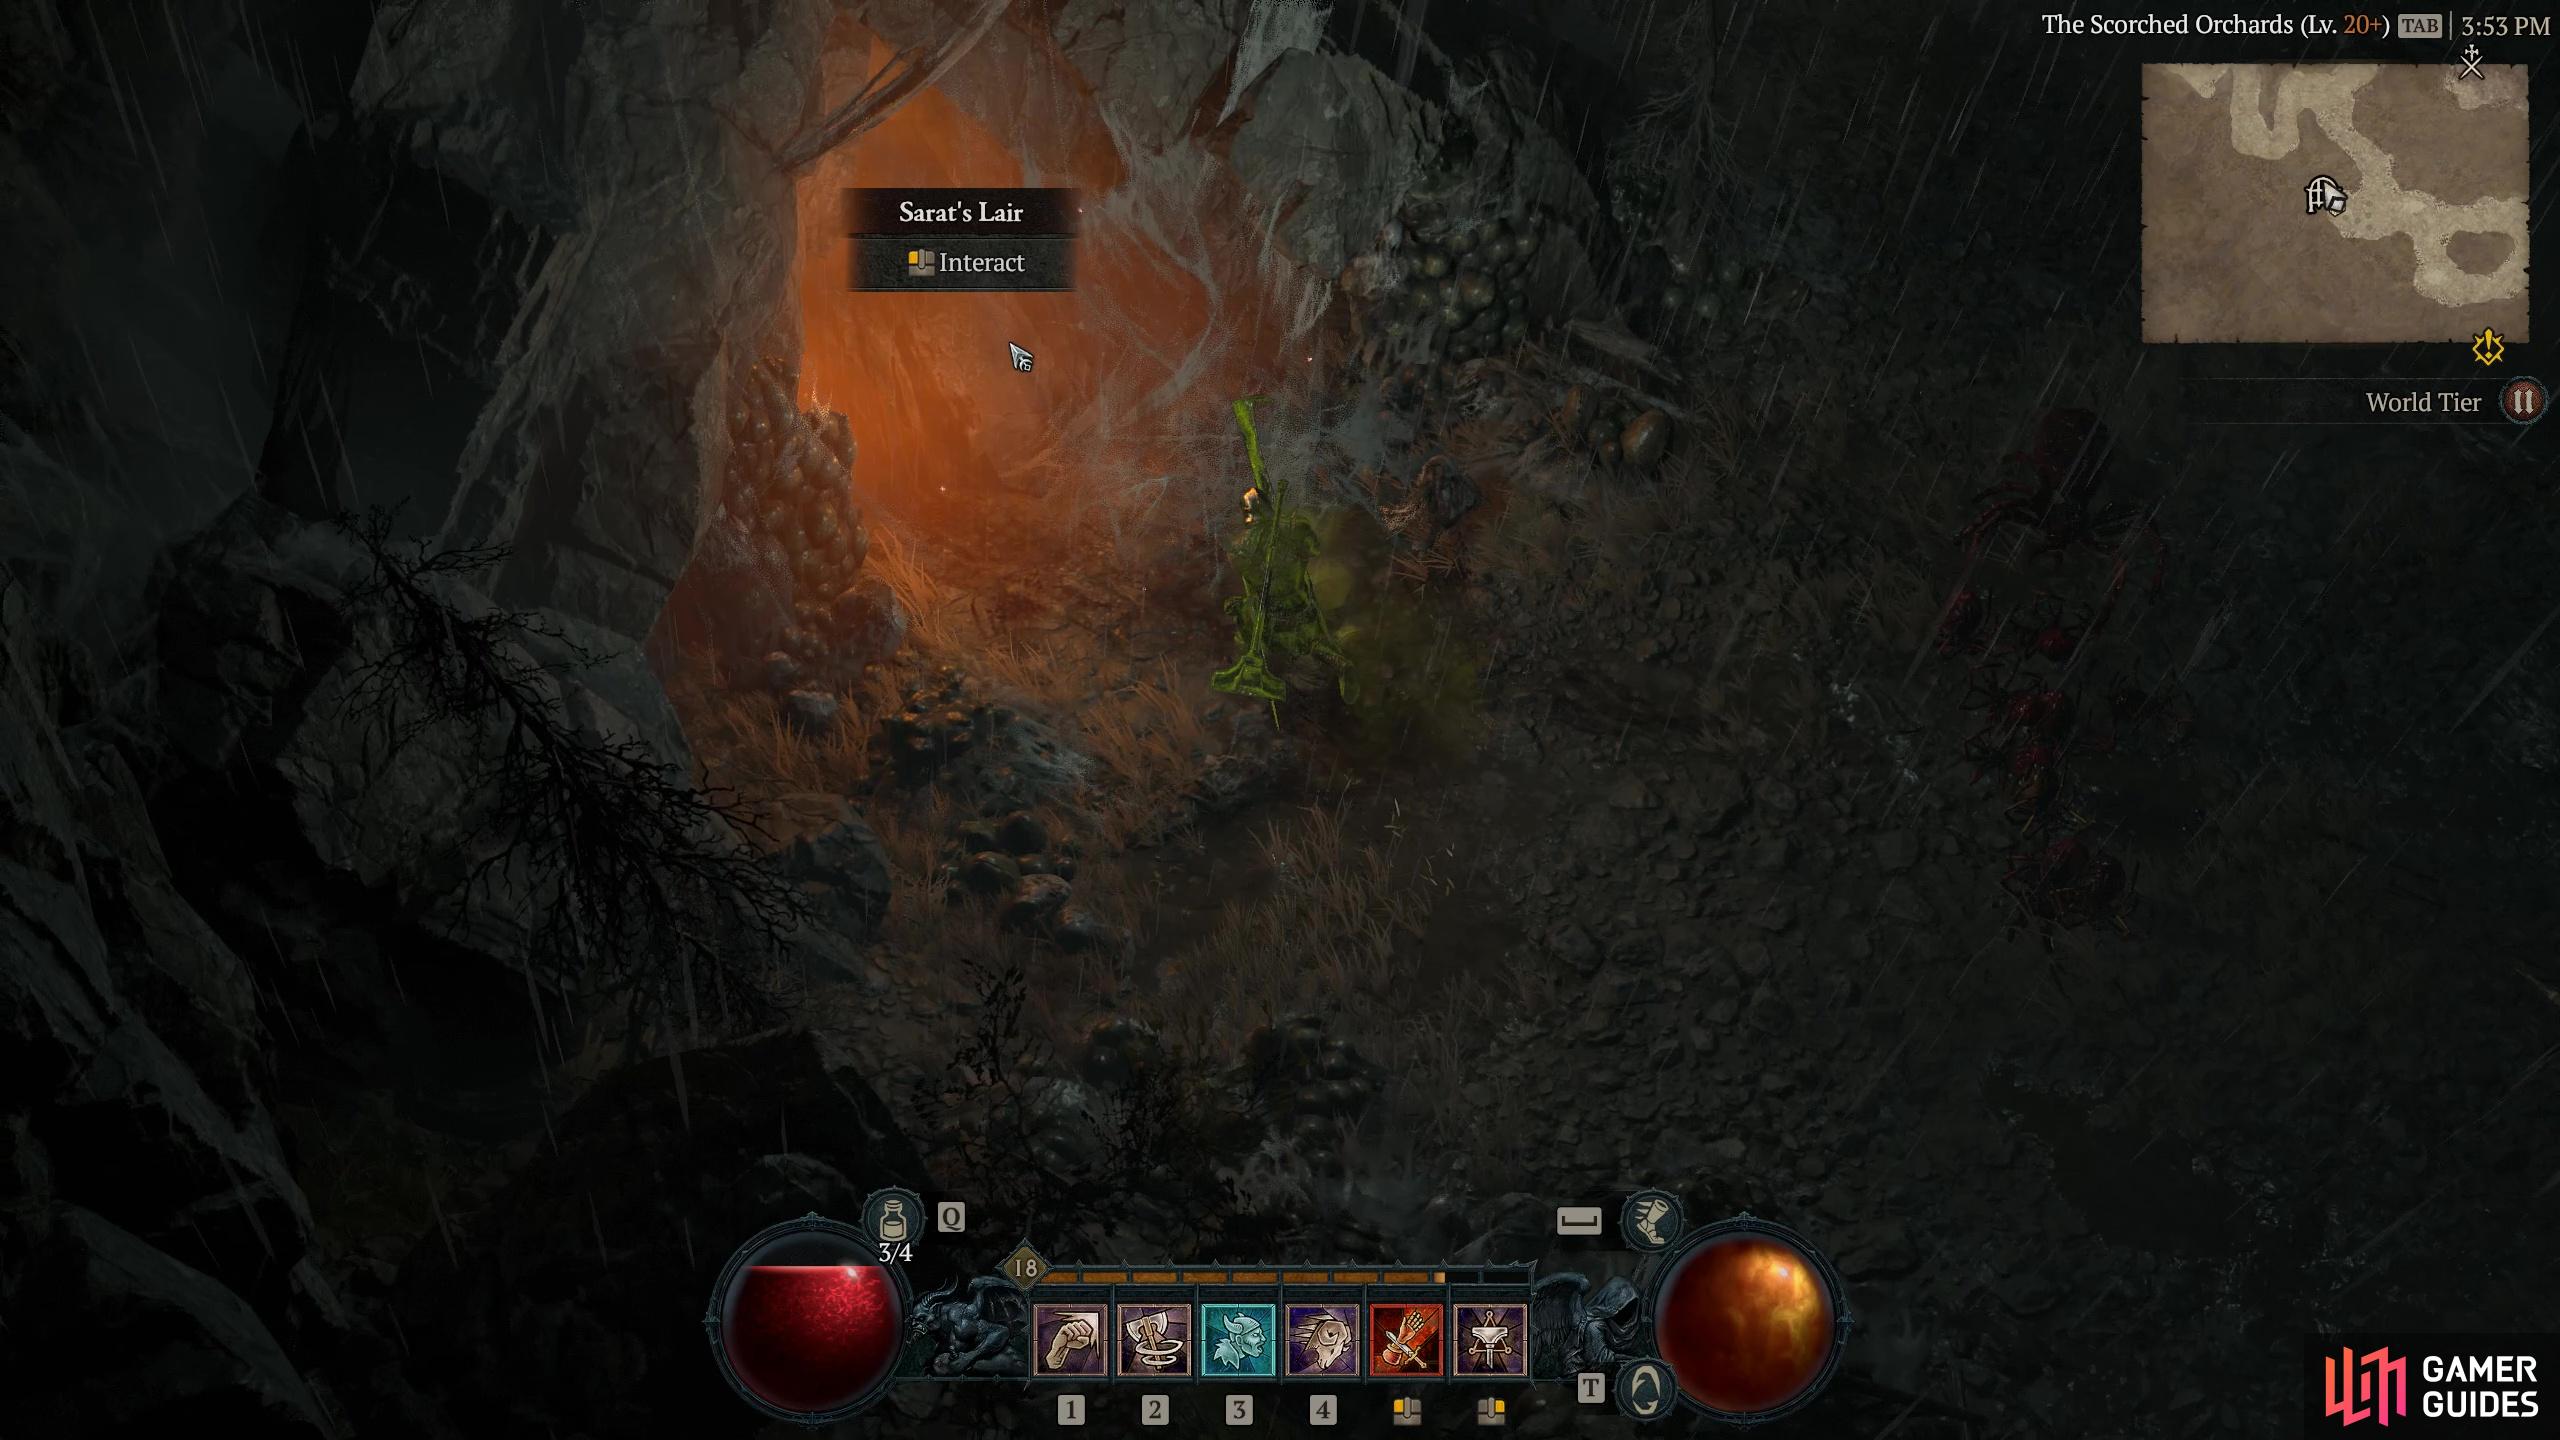
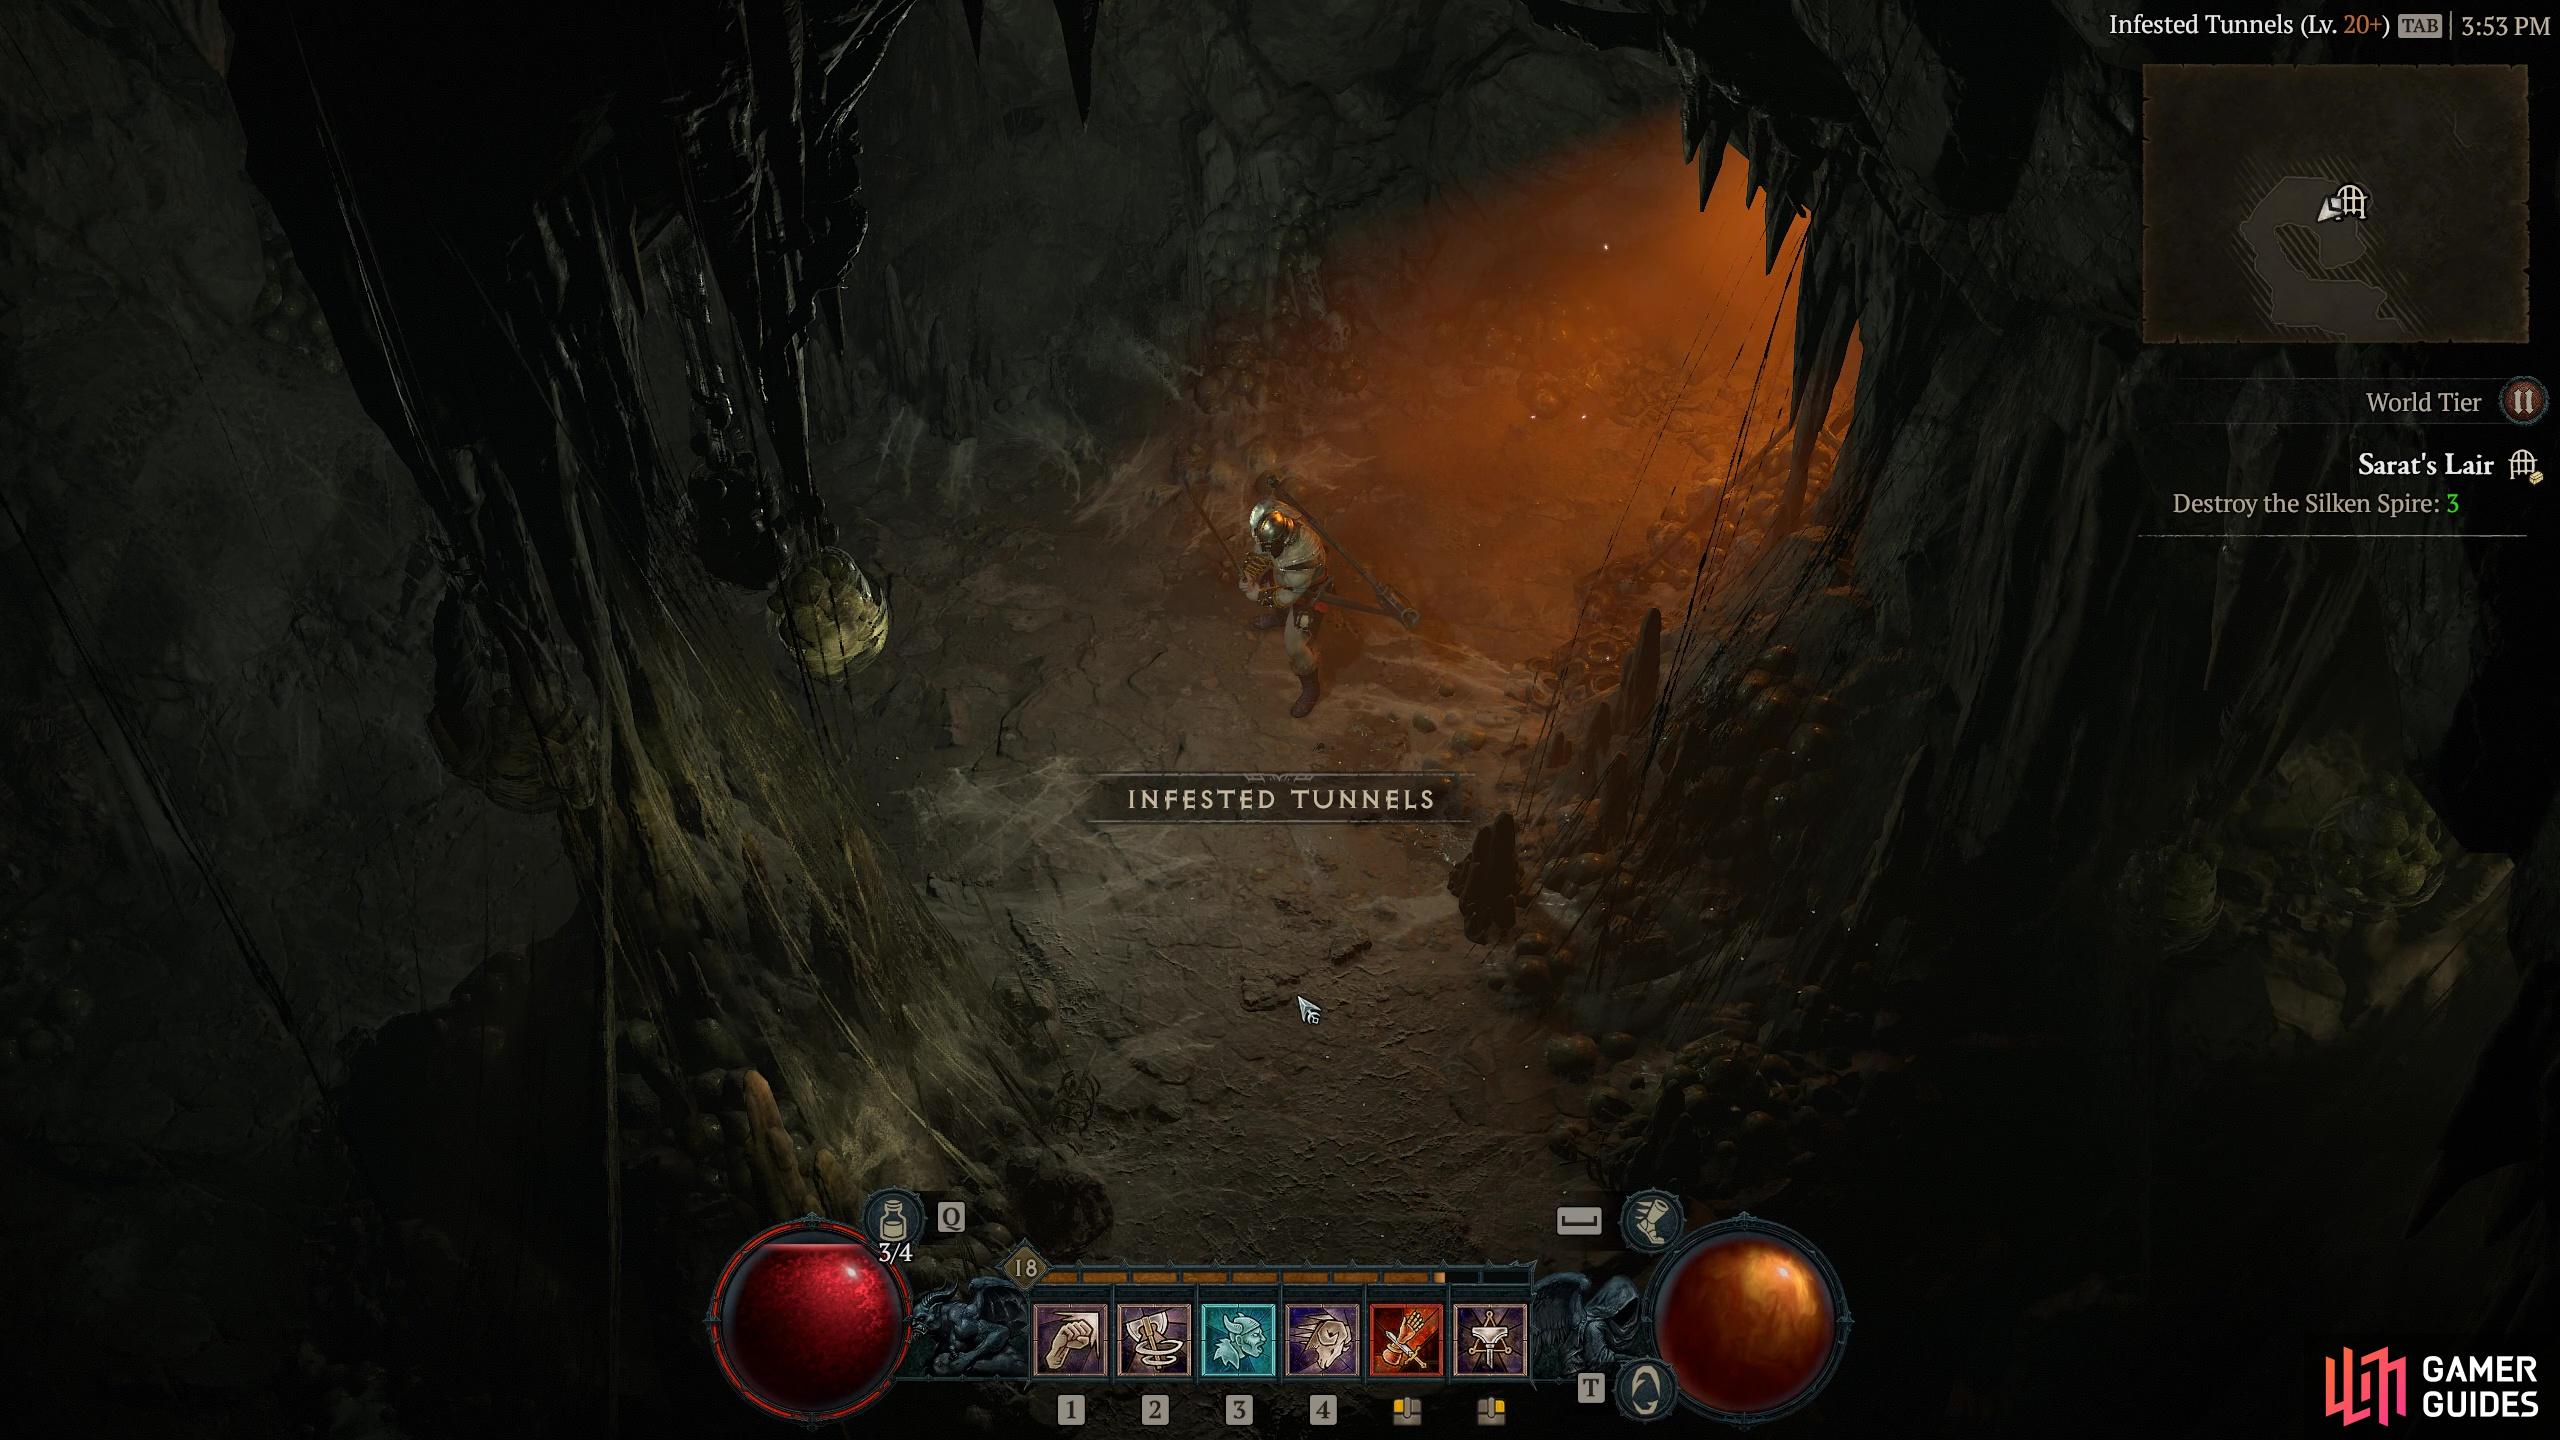
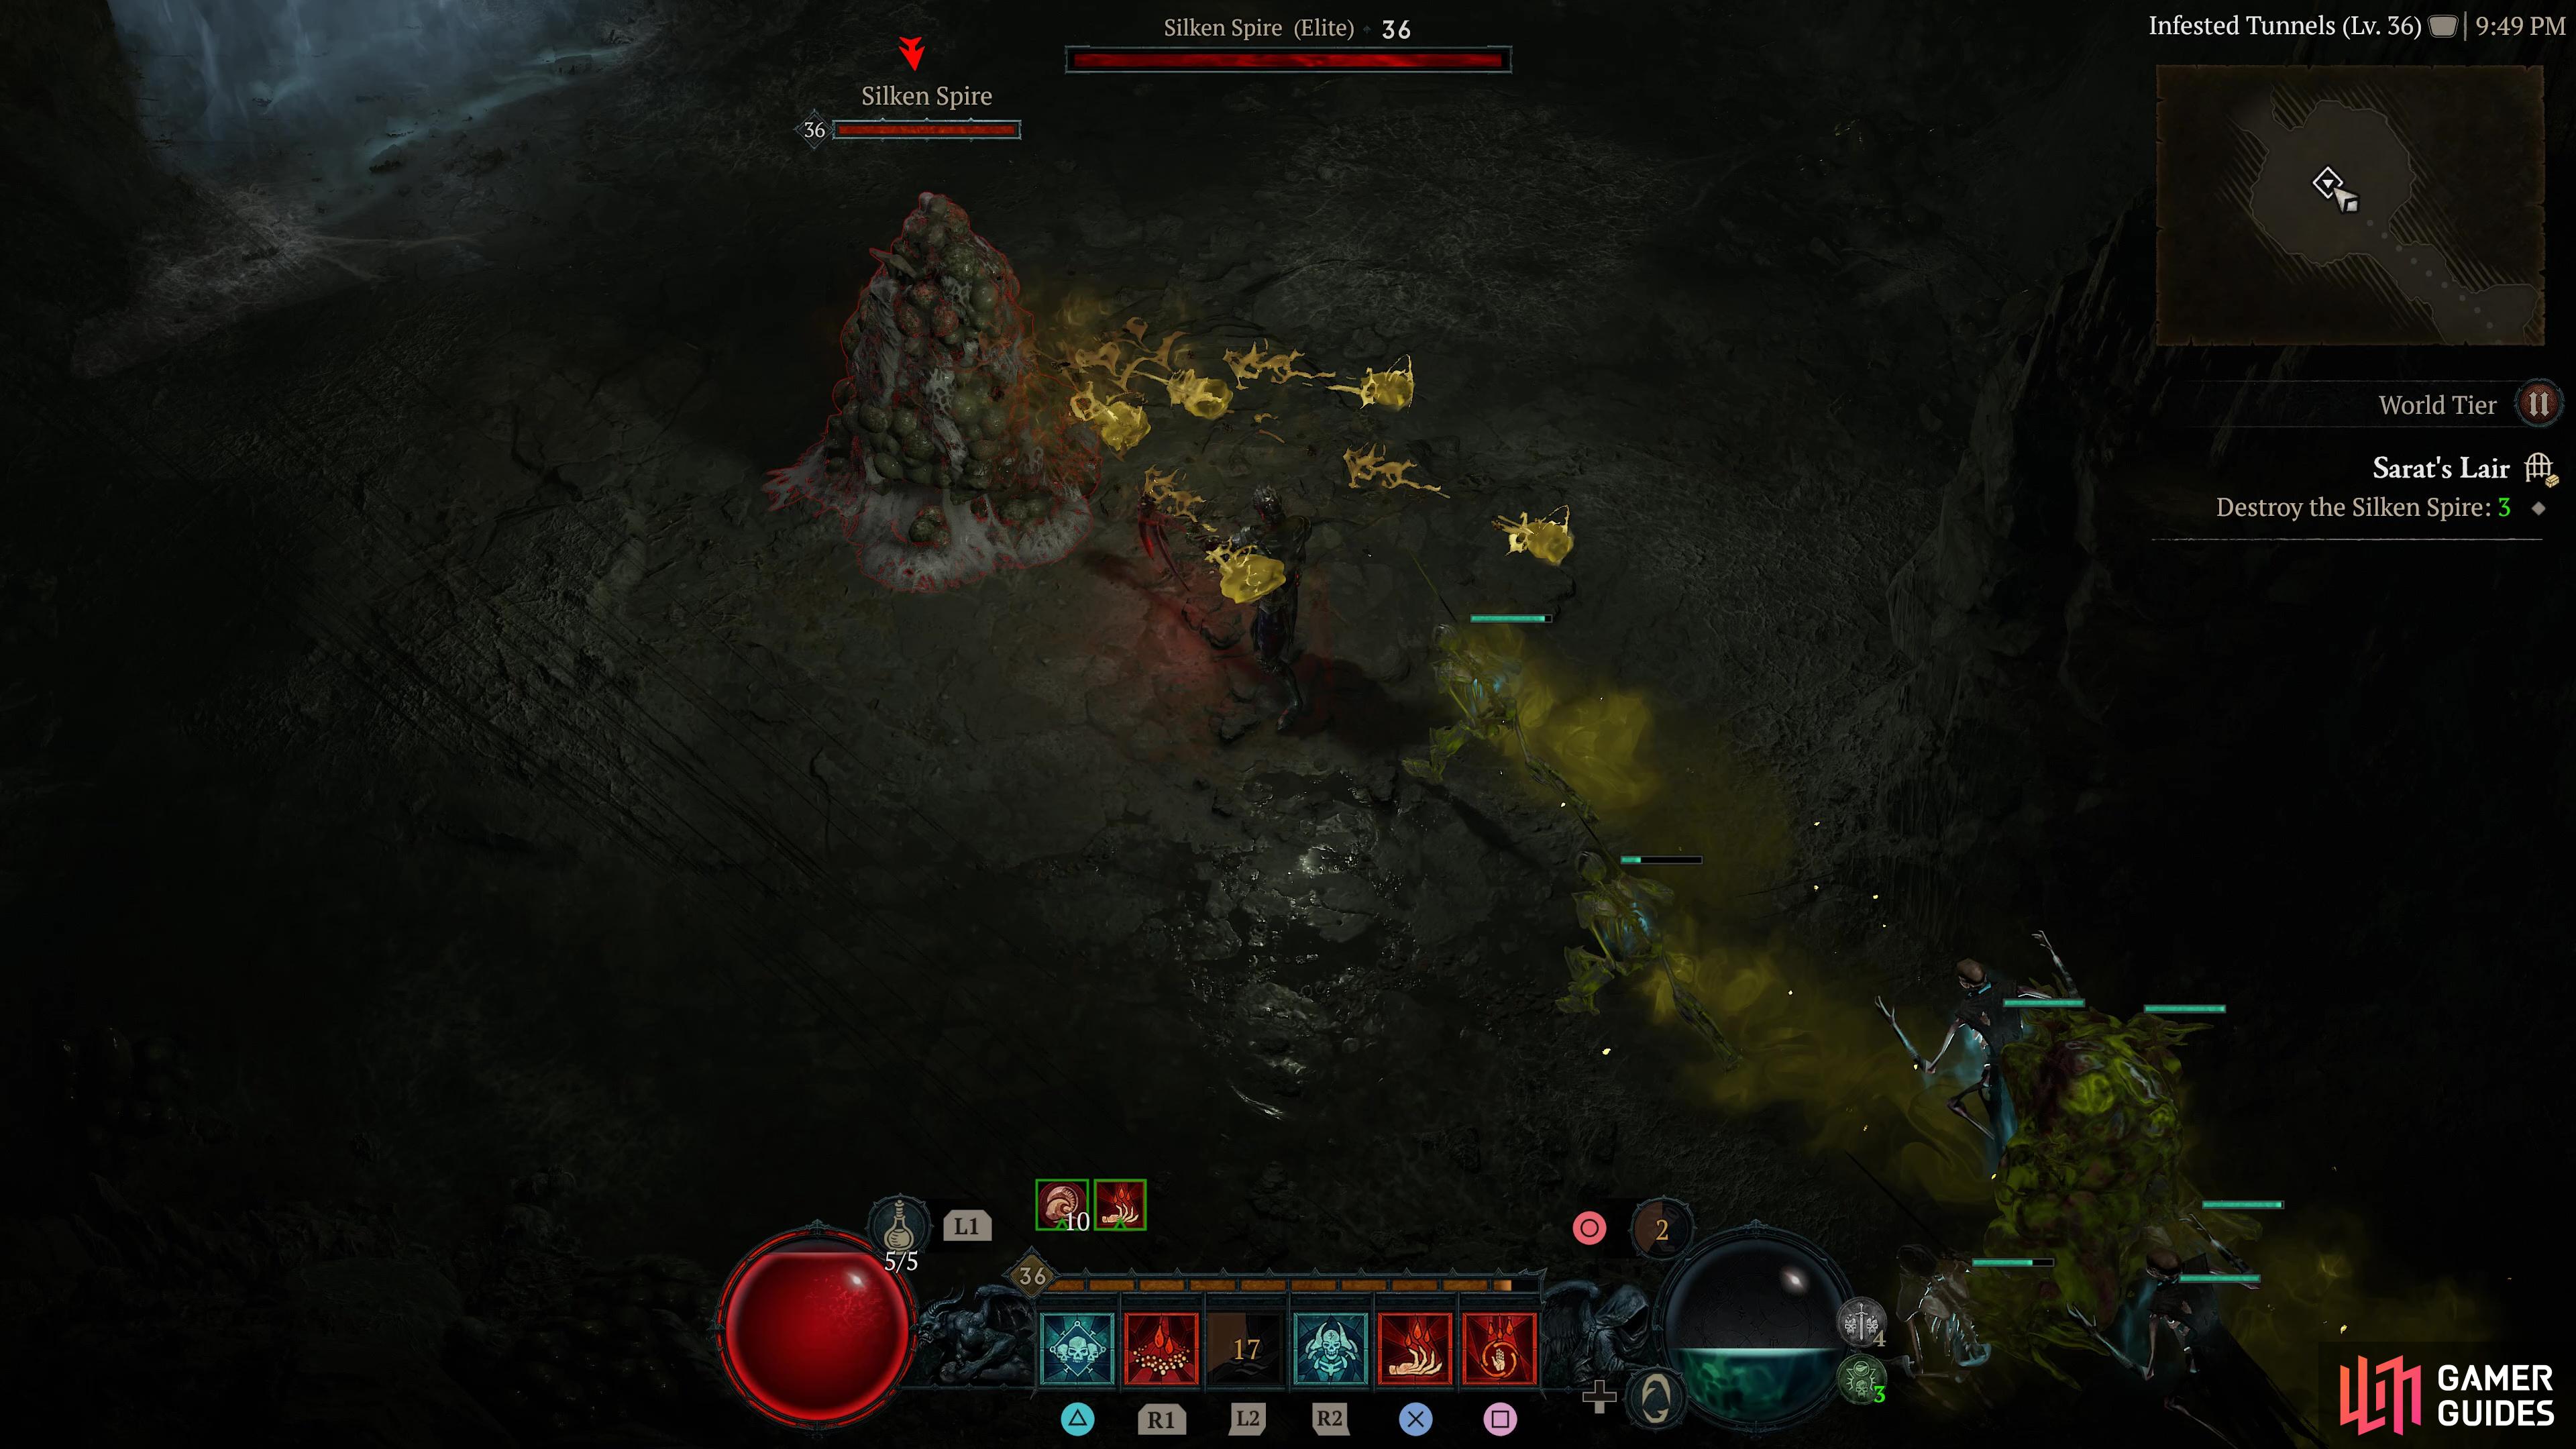
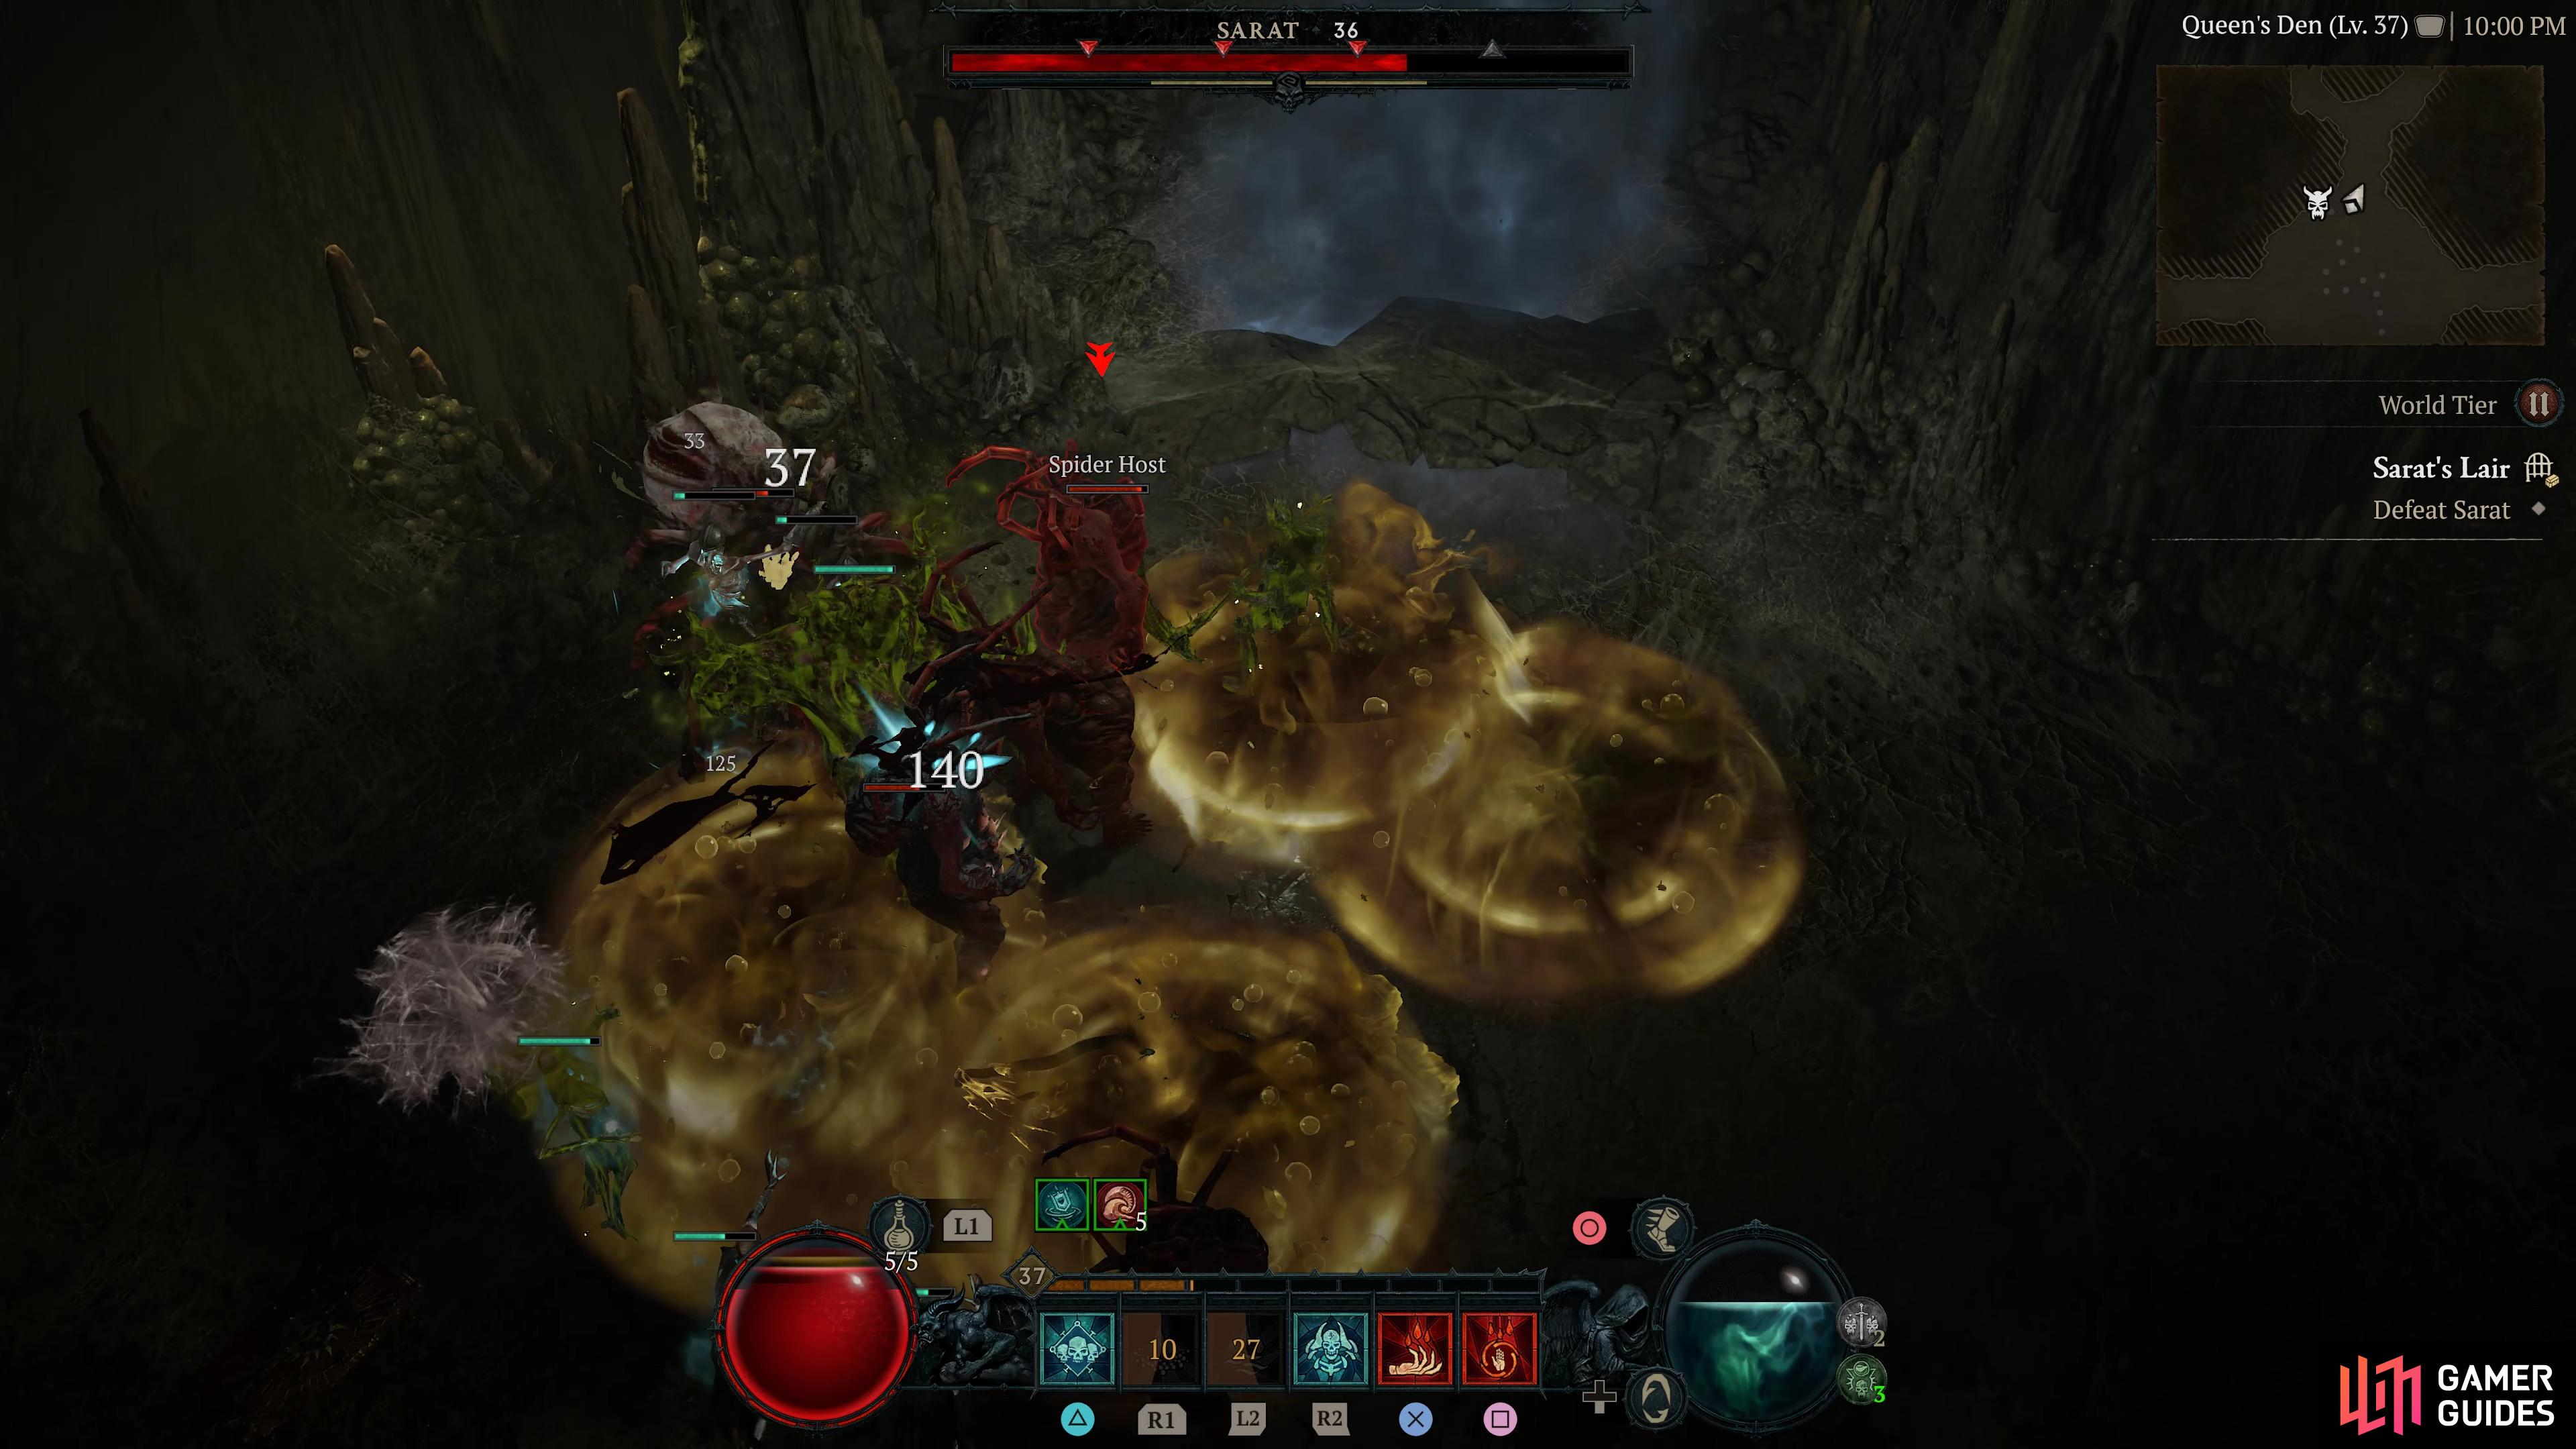
Sarat's Lair |
What once was a wildlife den has become a nest. Objectives:
You will receive +30 Scosglen Renown for completing the dungeon as well as the Aspect.
Region
General Reward
|
|
|||||||||||||||||||||||||||||||||||||||||||||||||||||||||||||||||||||||||||||||||||||||||||||||

|
Seared Hollow |
The Seared Hollow is a side quest dungeon that is part of Inside there are numerous Bandit enemies and Stana can be found at the end.
Related Quests
1×
Region
|
||||||||||||||||||||||||||||||||||||||||||||||||||||||||||||||||||||||||||||||||||||||||||||||||

|
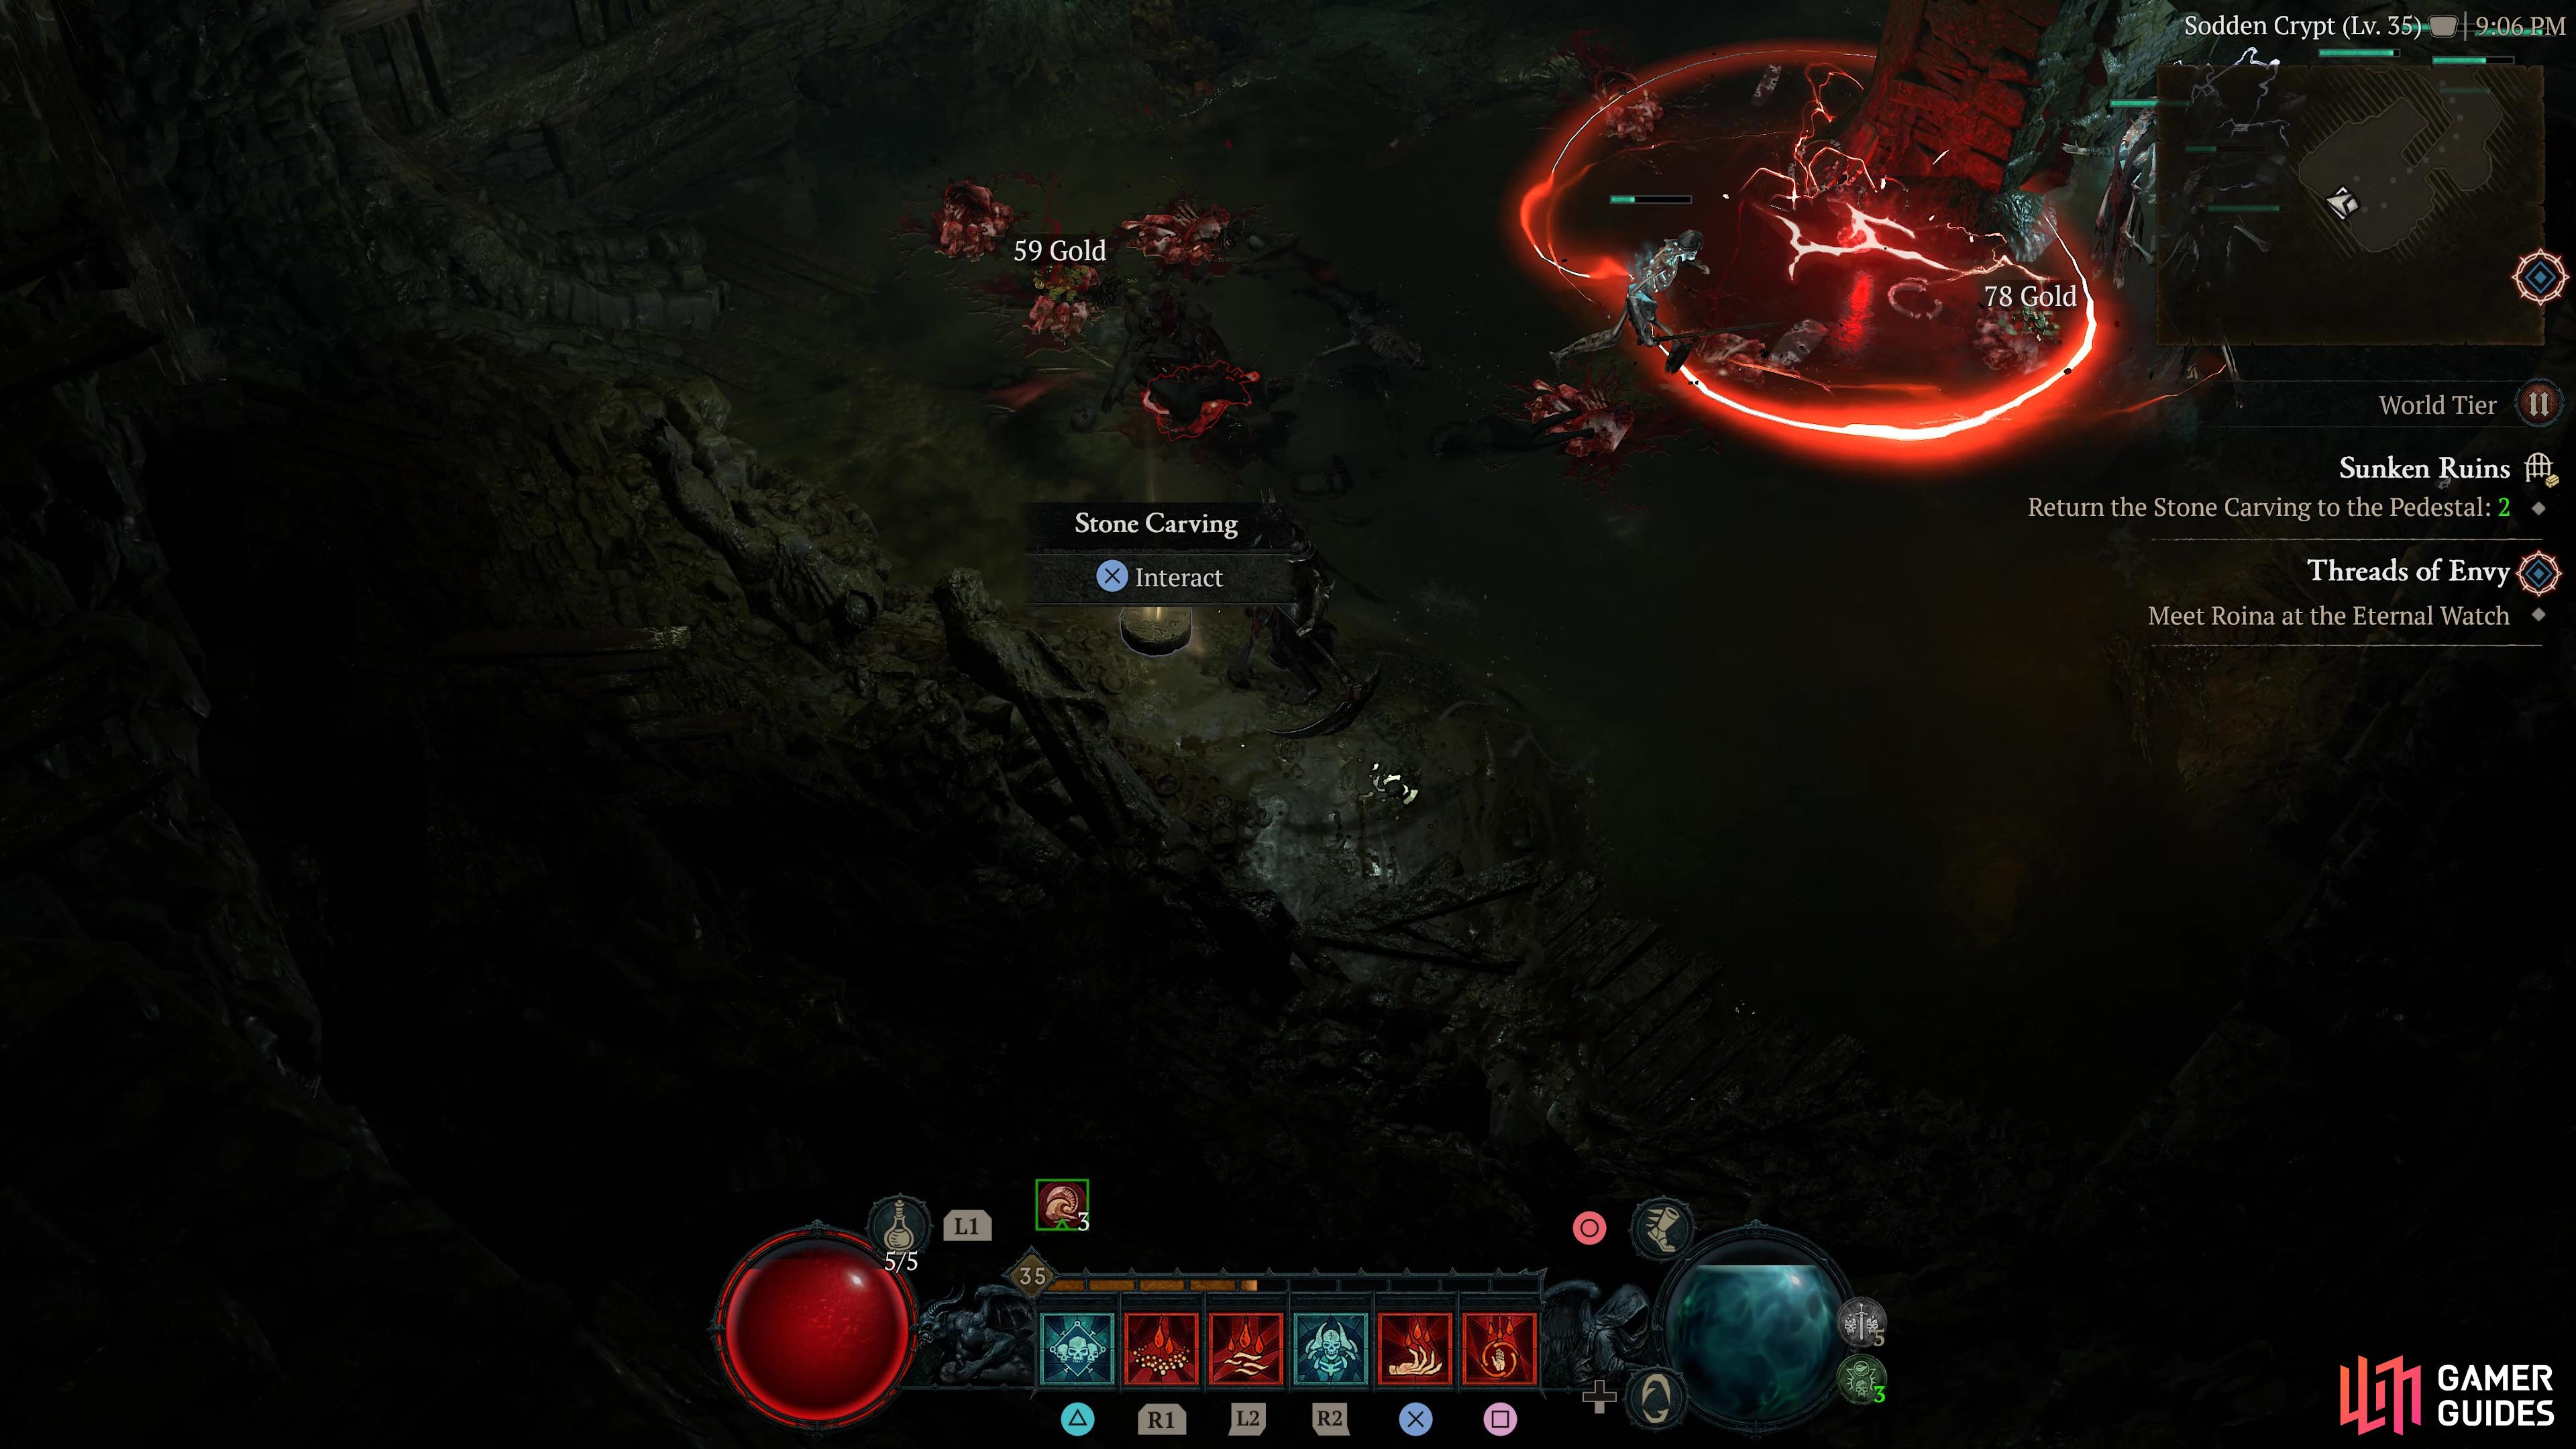
Sunken Ruins |
Rumors stir of a healer turned renegade necromancer. Objectives:
After completing the dungeon, you will receive +30 Scosglen Renown as well as the Aspect.
Region
General Reward
|
|
|||||||||||||||||||||||||||||||||||||||||||||||||||||||||||||||||||||||||||||||||||||||||||||||

|
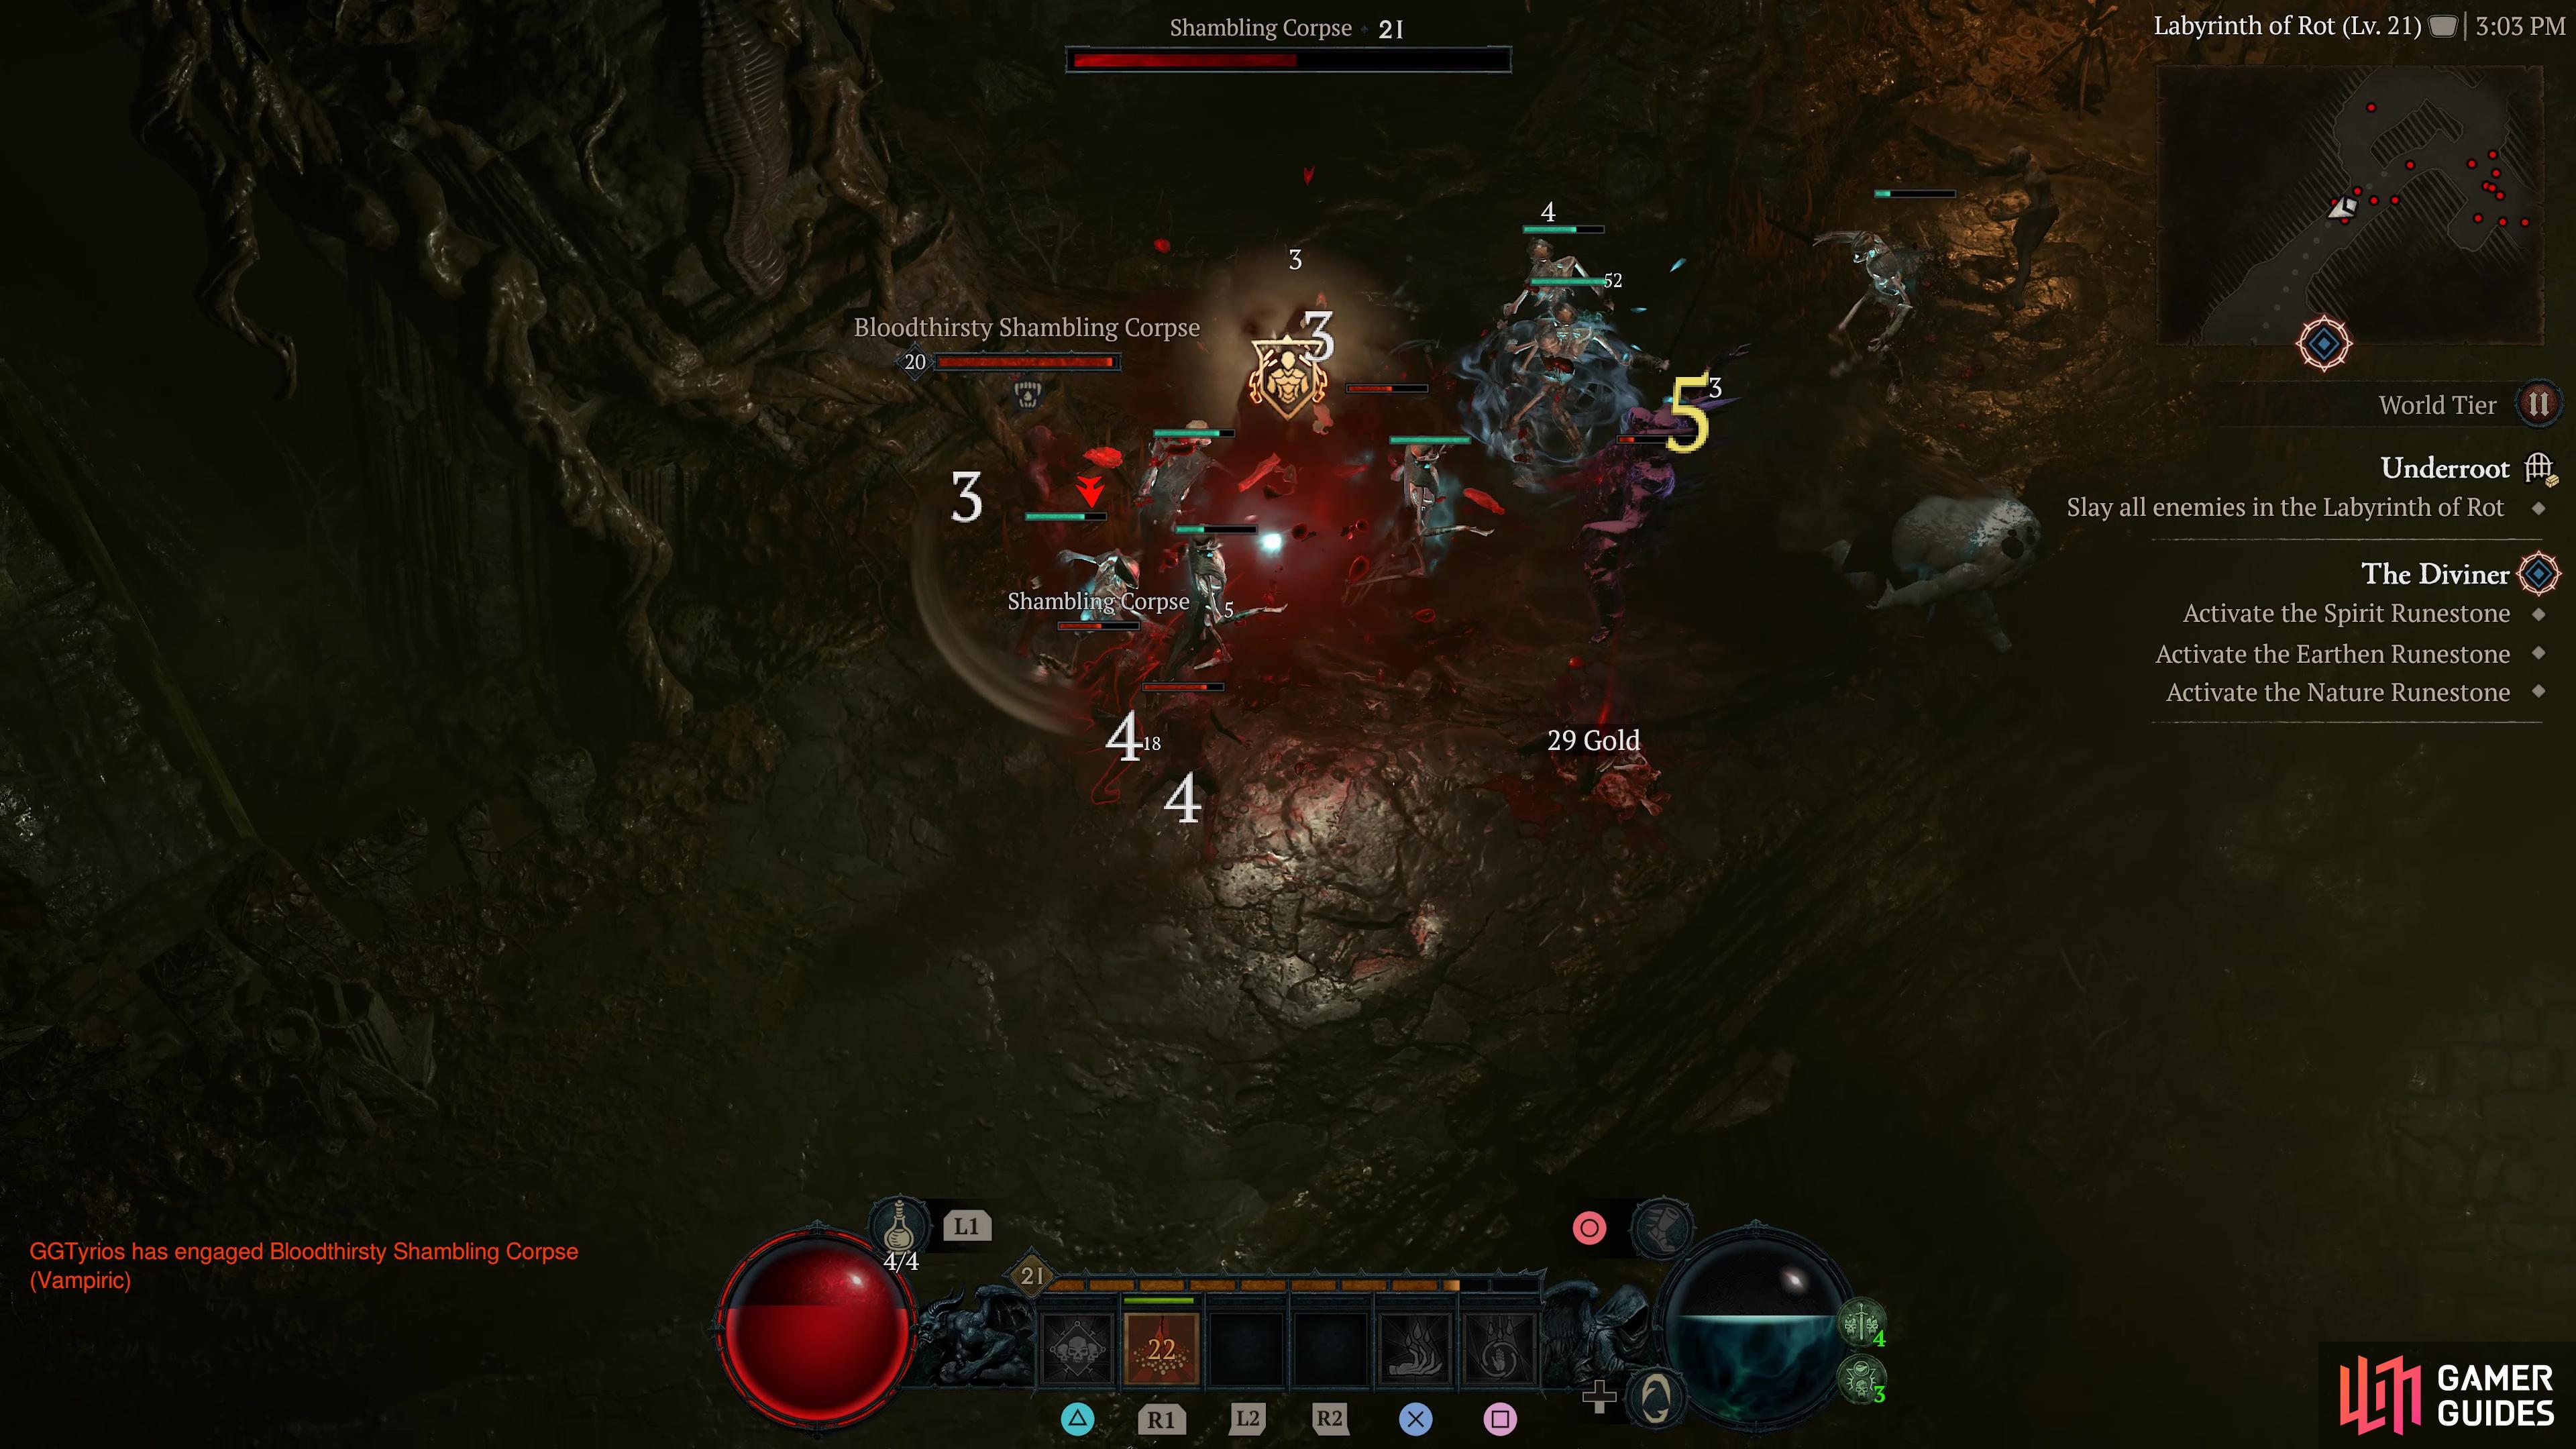
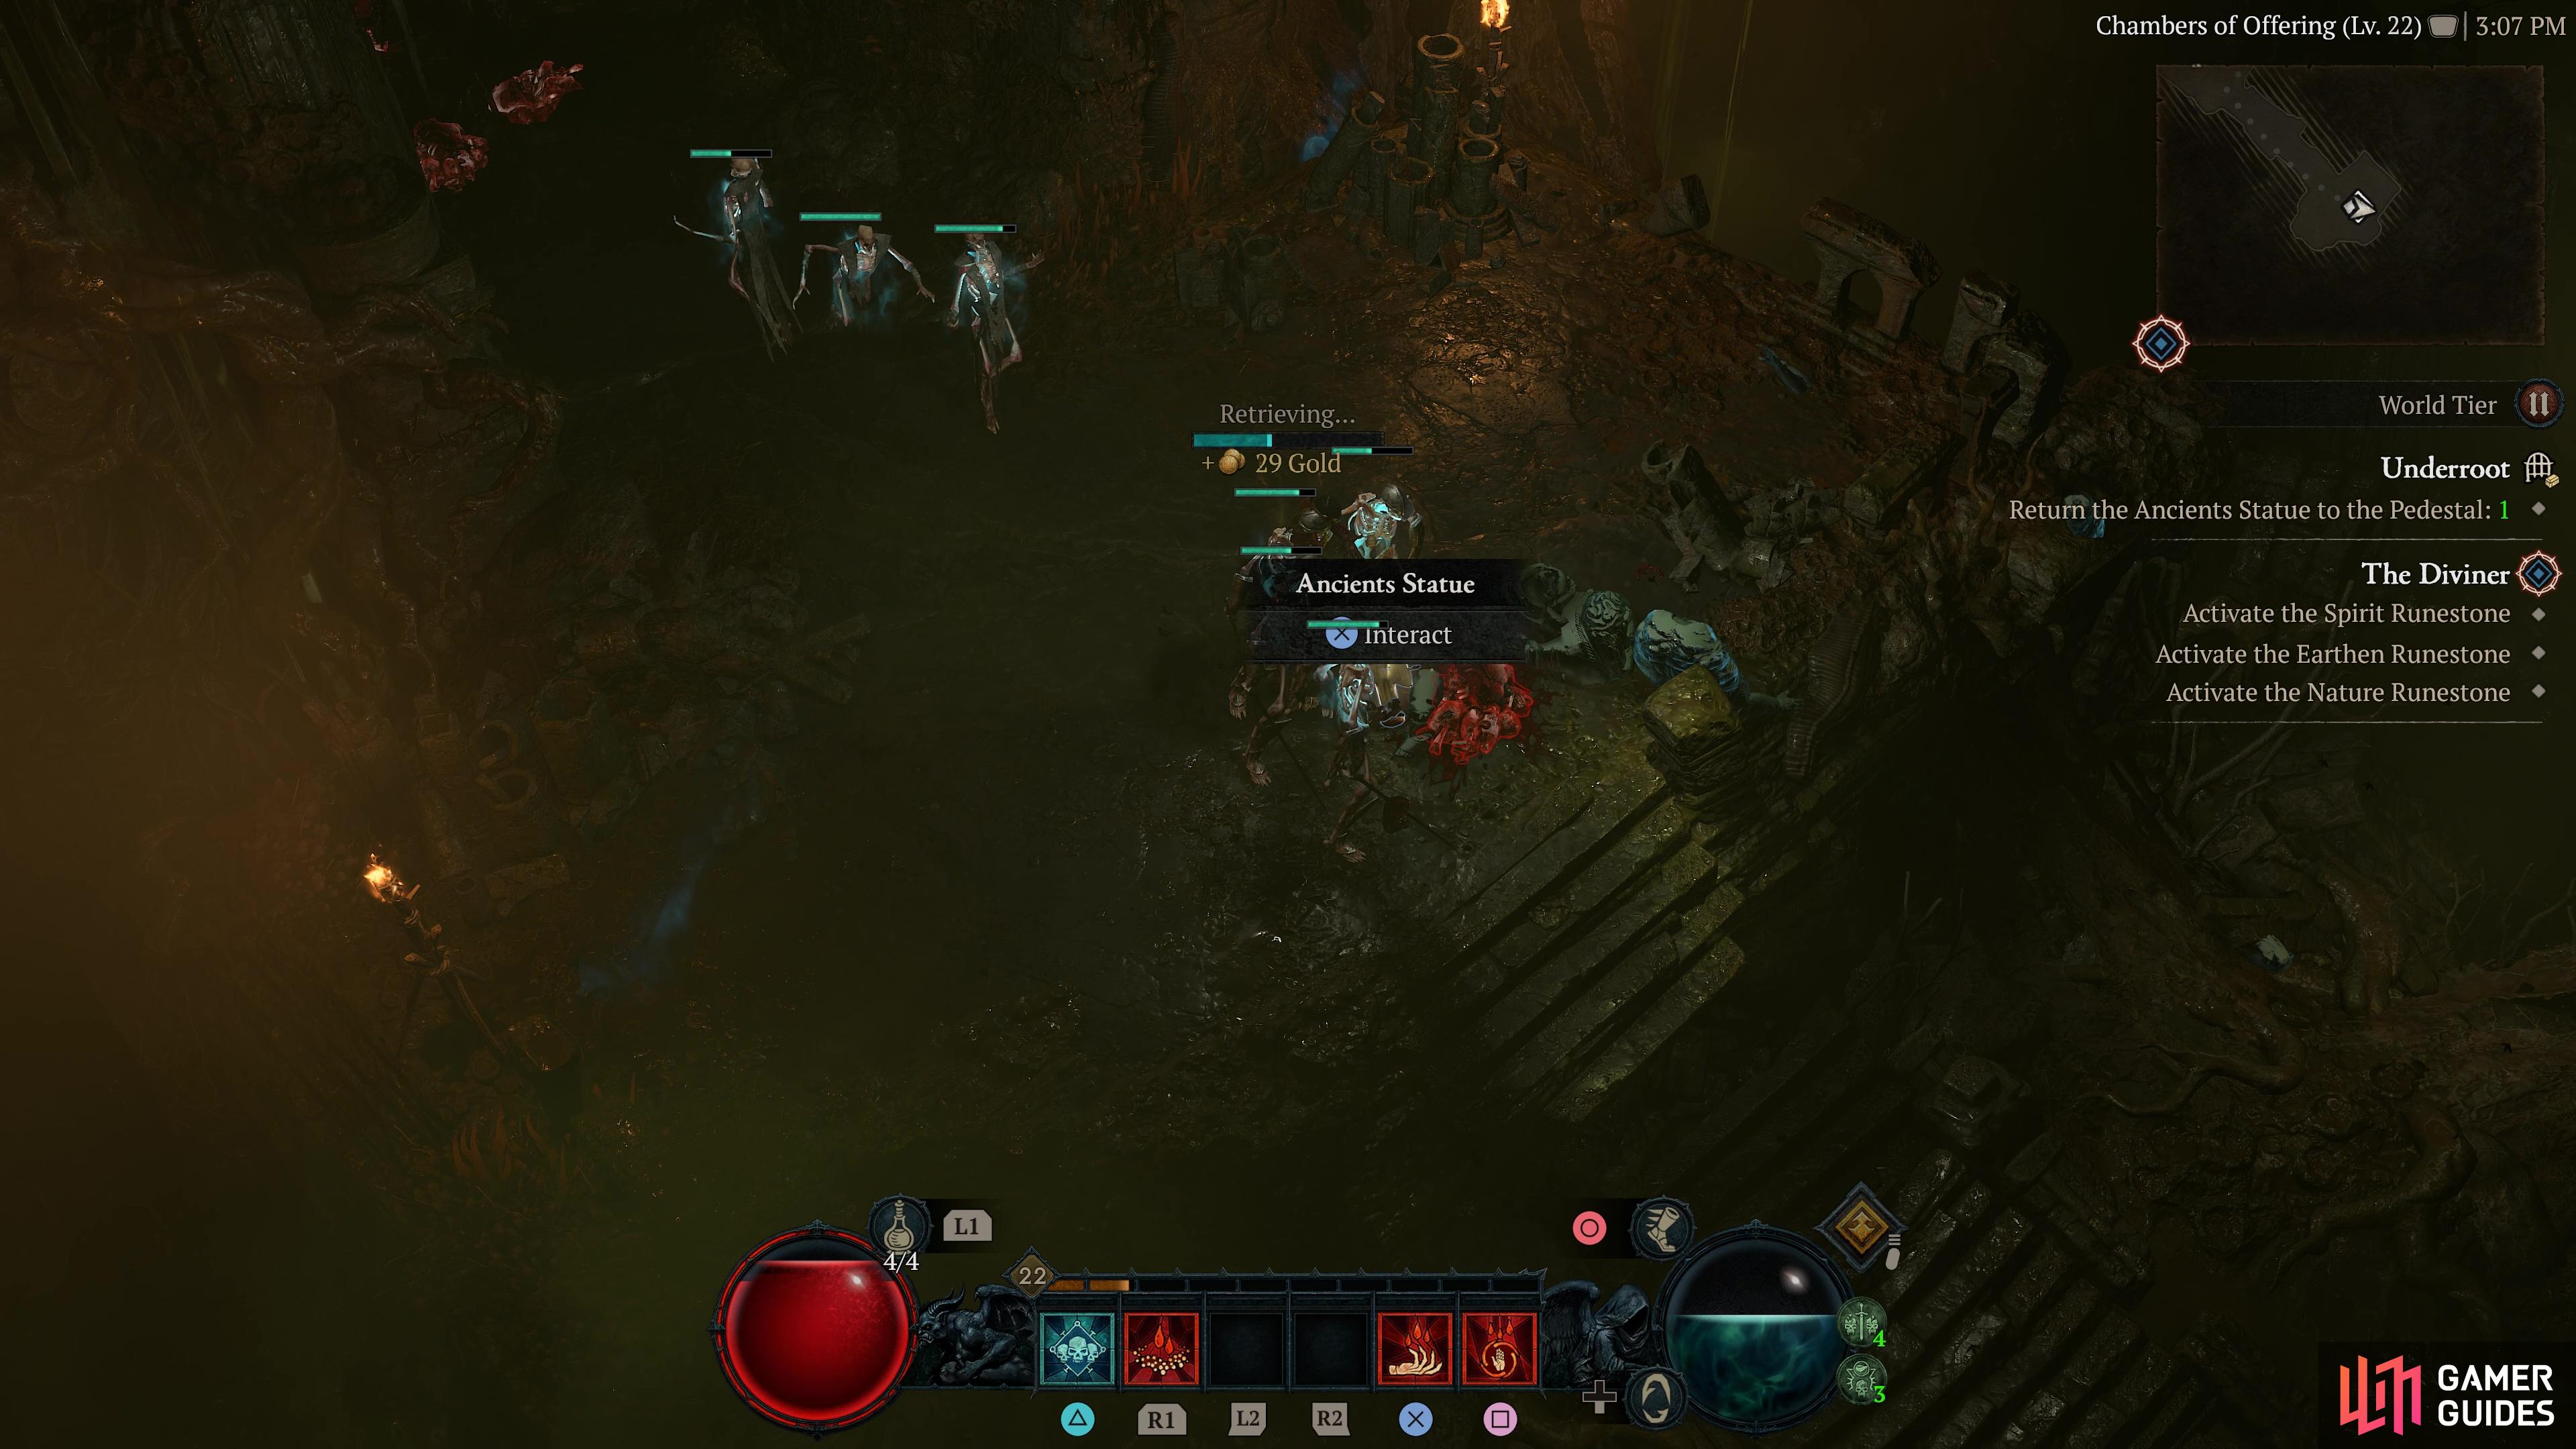
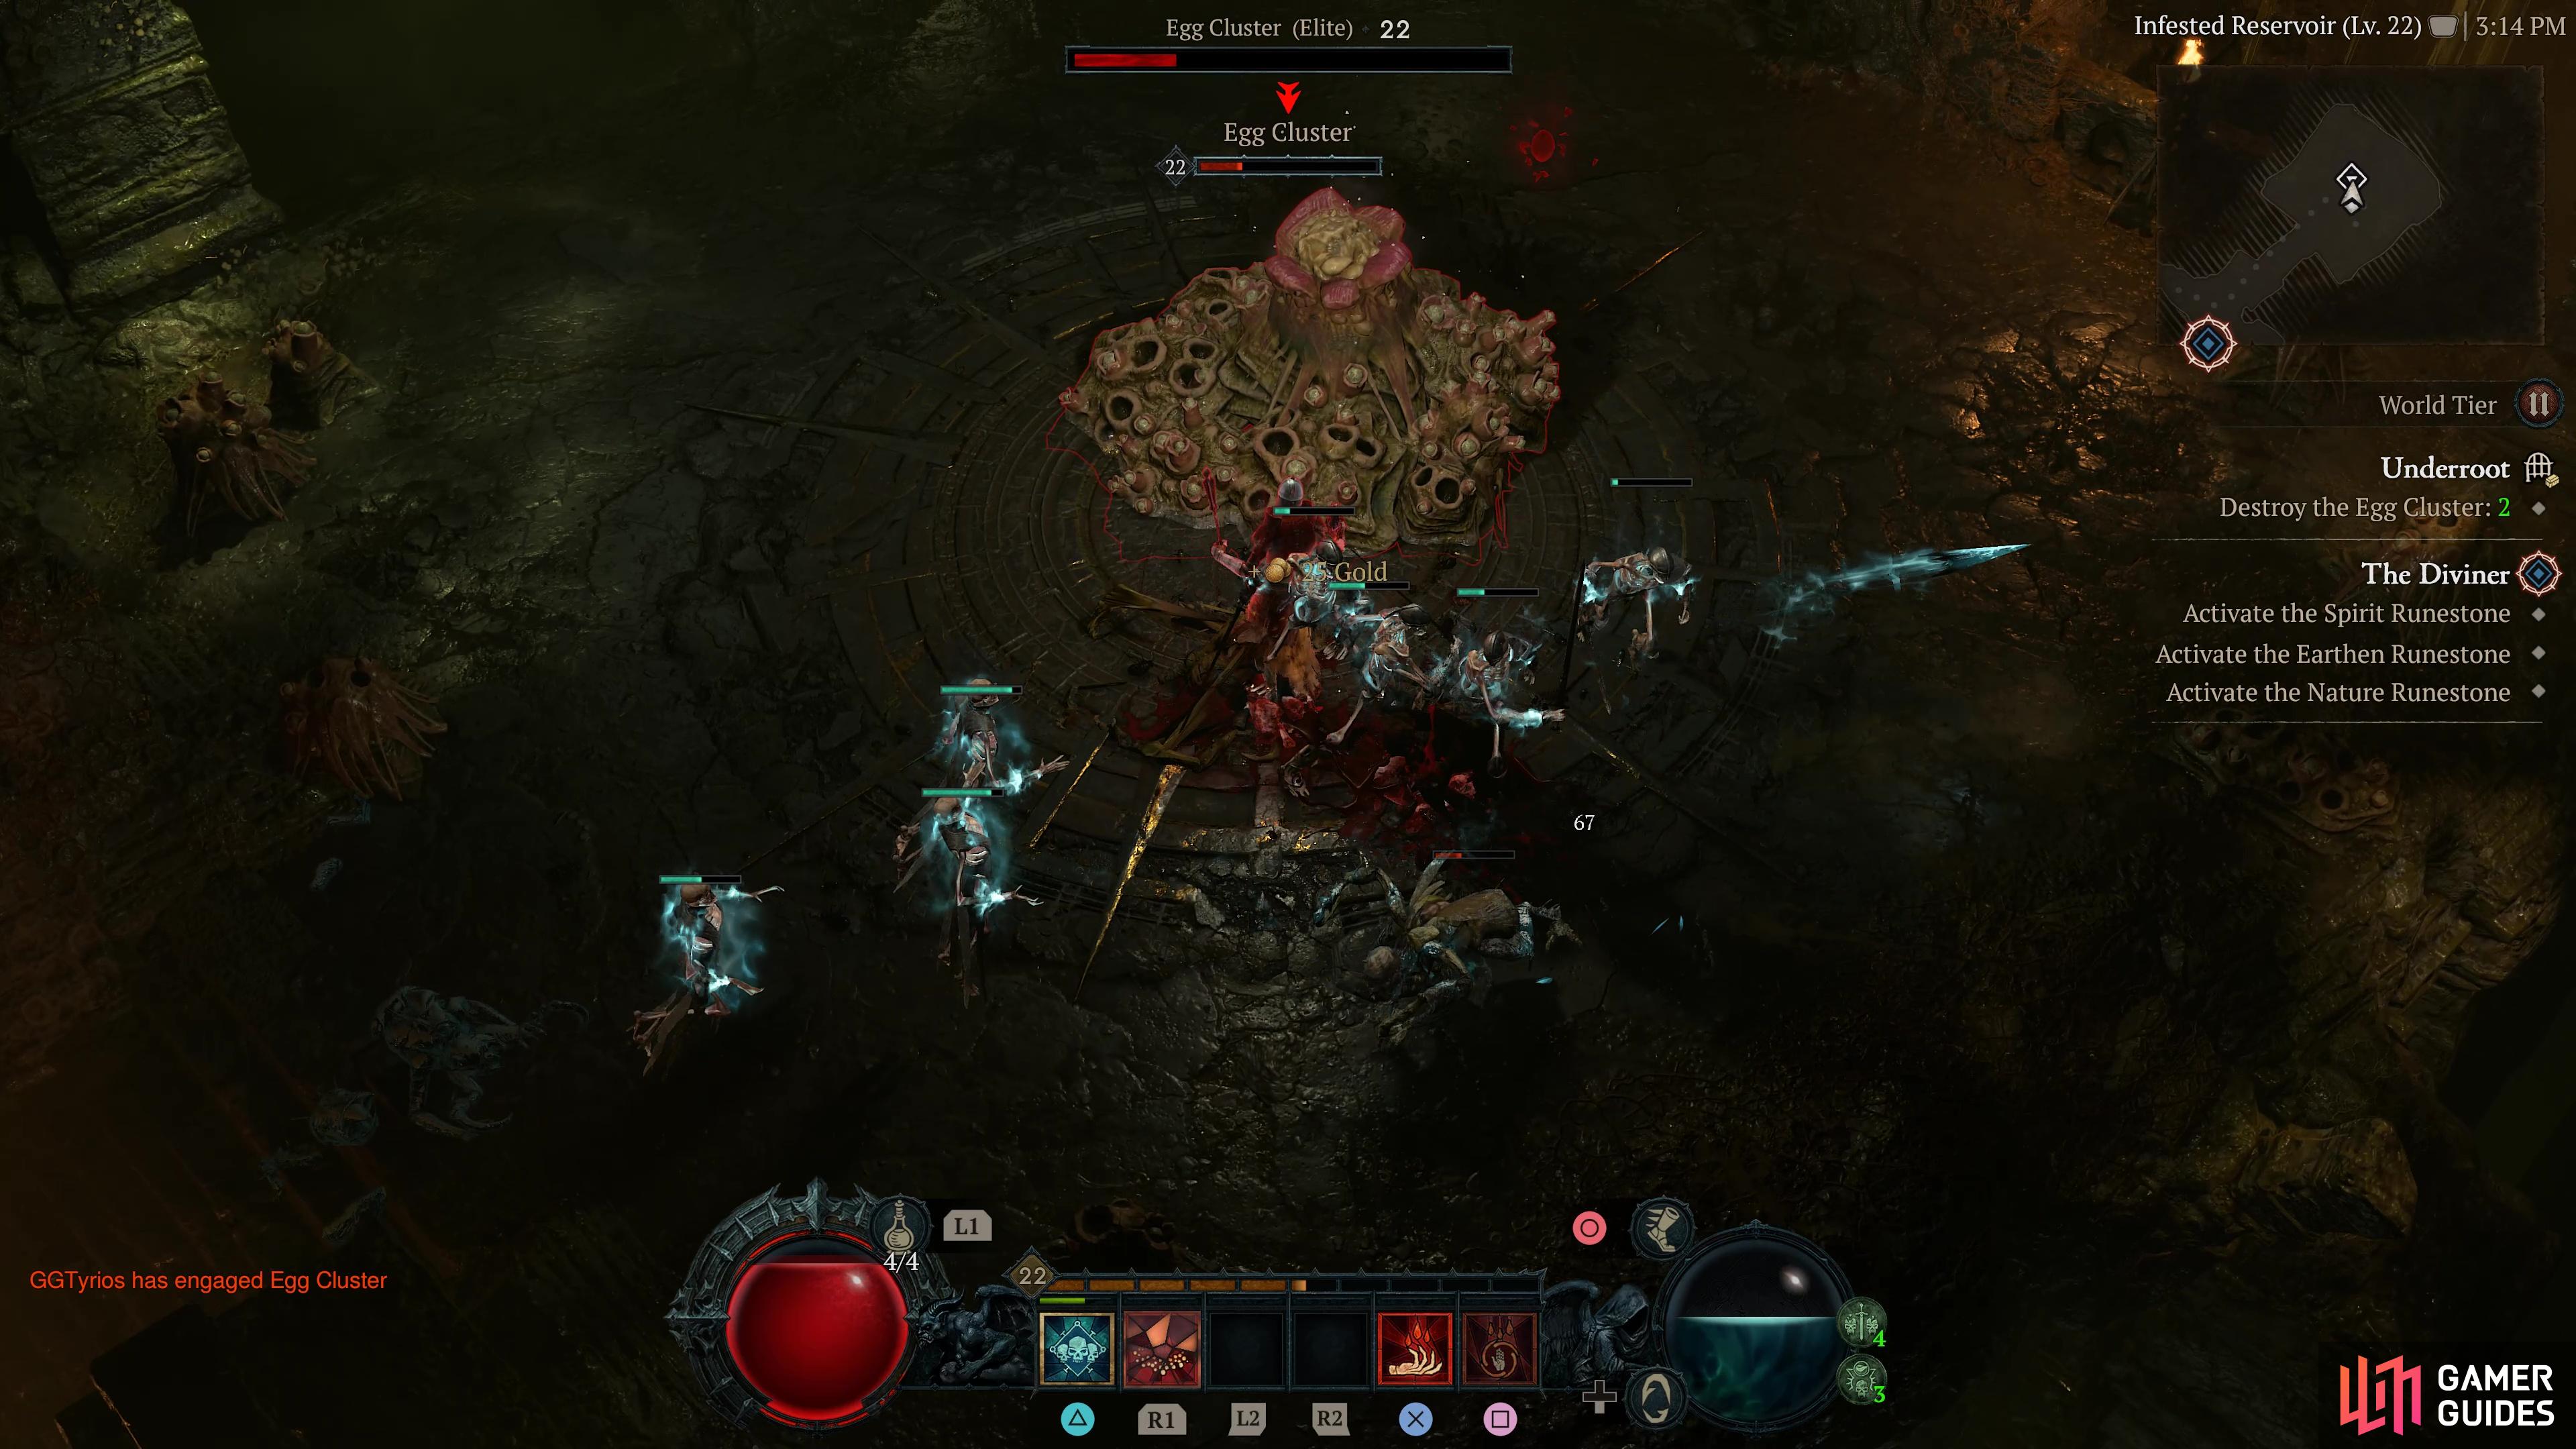
Underroot |
Ruins deep under Túr Dúlra, its roots thick with rot. Note: Can only be accessed after completing the
You will receive +30 Scosglen Renown for completing all the objectives.
Region
General Reward
|
|
|||||||||||||||||||||||||||||||||||||||||||||||||||||||||||||||||||||||||||||||||||||||||||||||

|
Weeping Cairns |
A silent resting place of Scosglen’s deceased, now awoken.
Region
|
||||||||||||||||||||||||||||||||||||||||||||||||||||||||||||||||||||||||||||||||||||||||||||||||

|
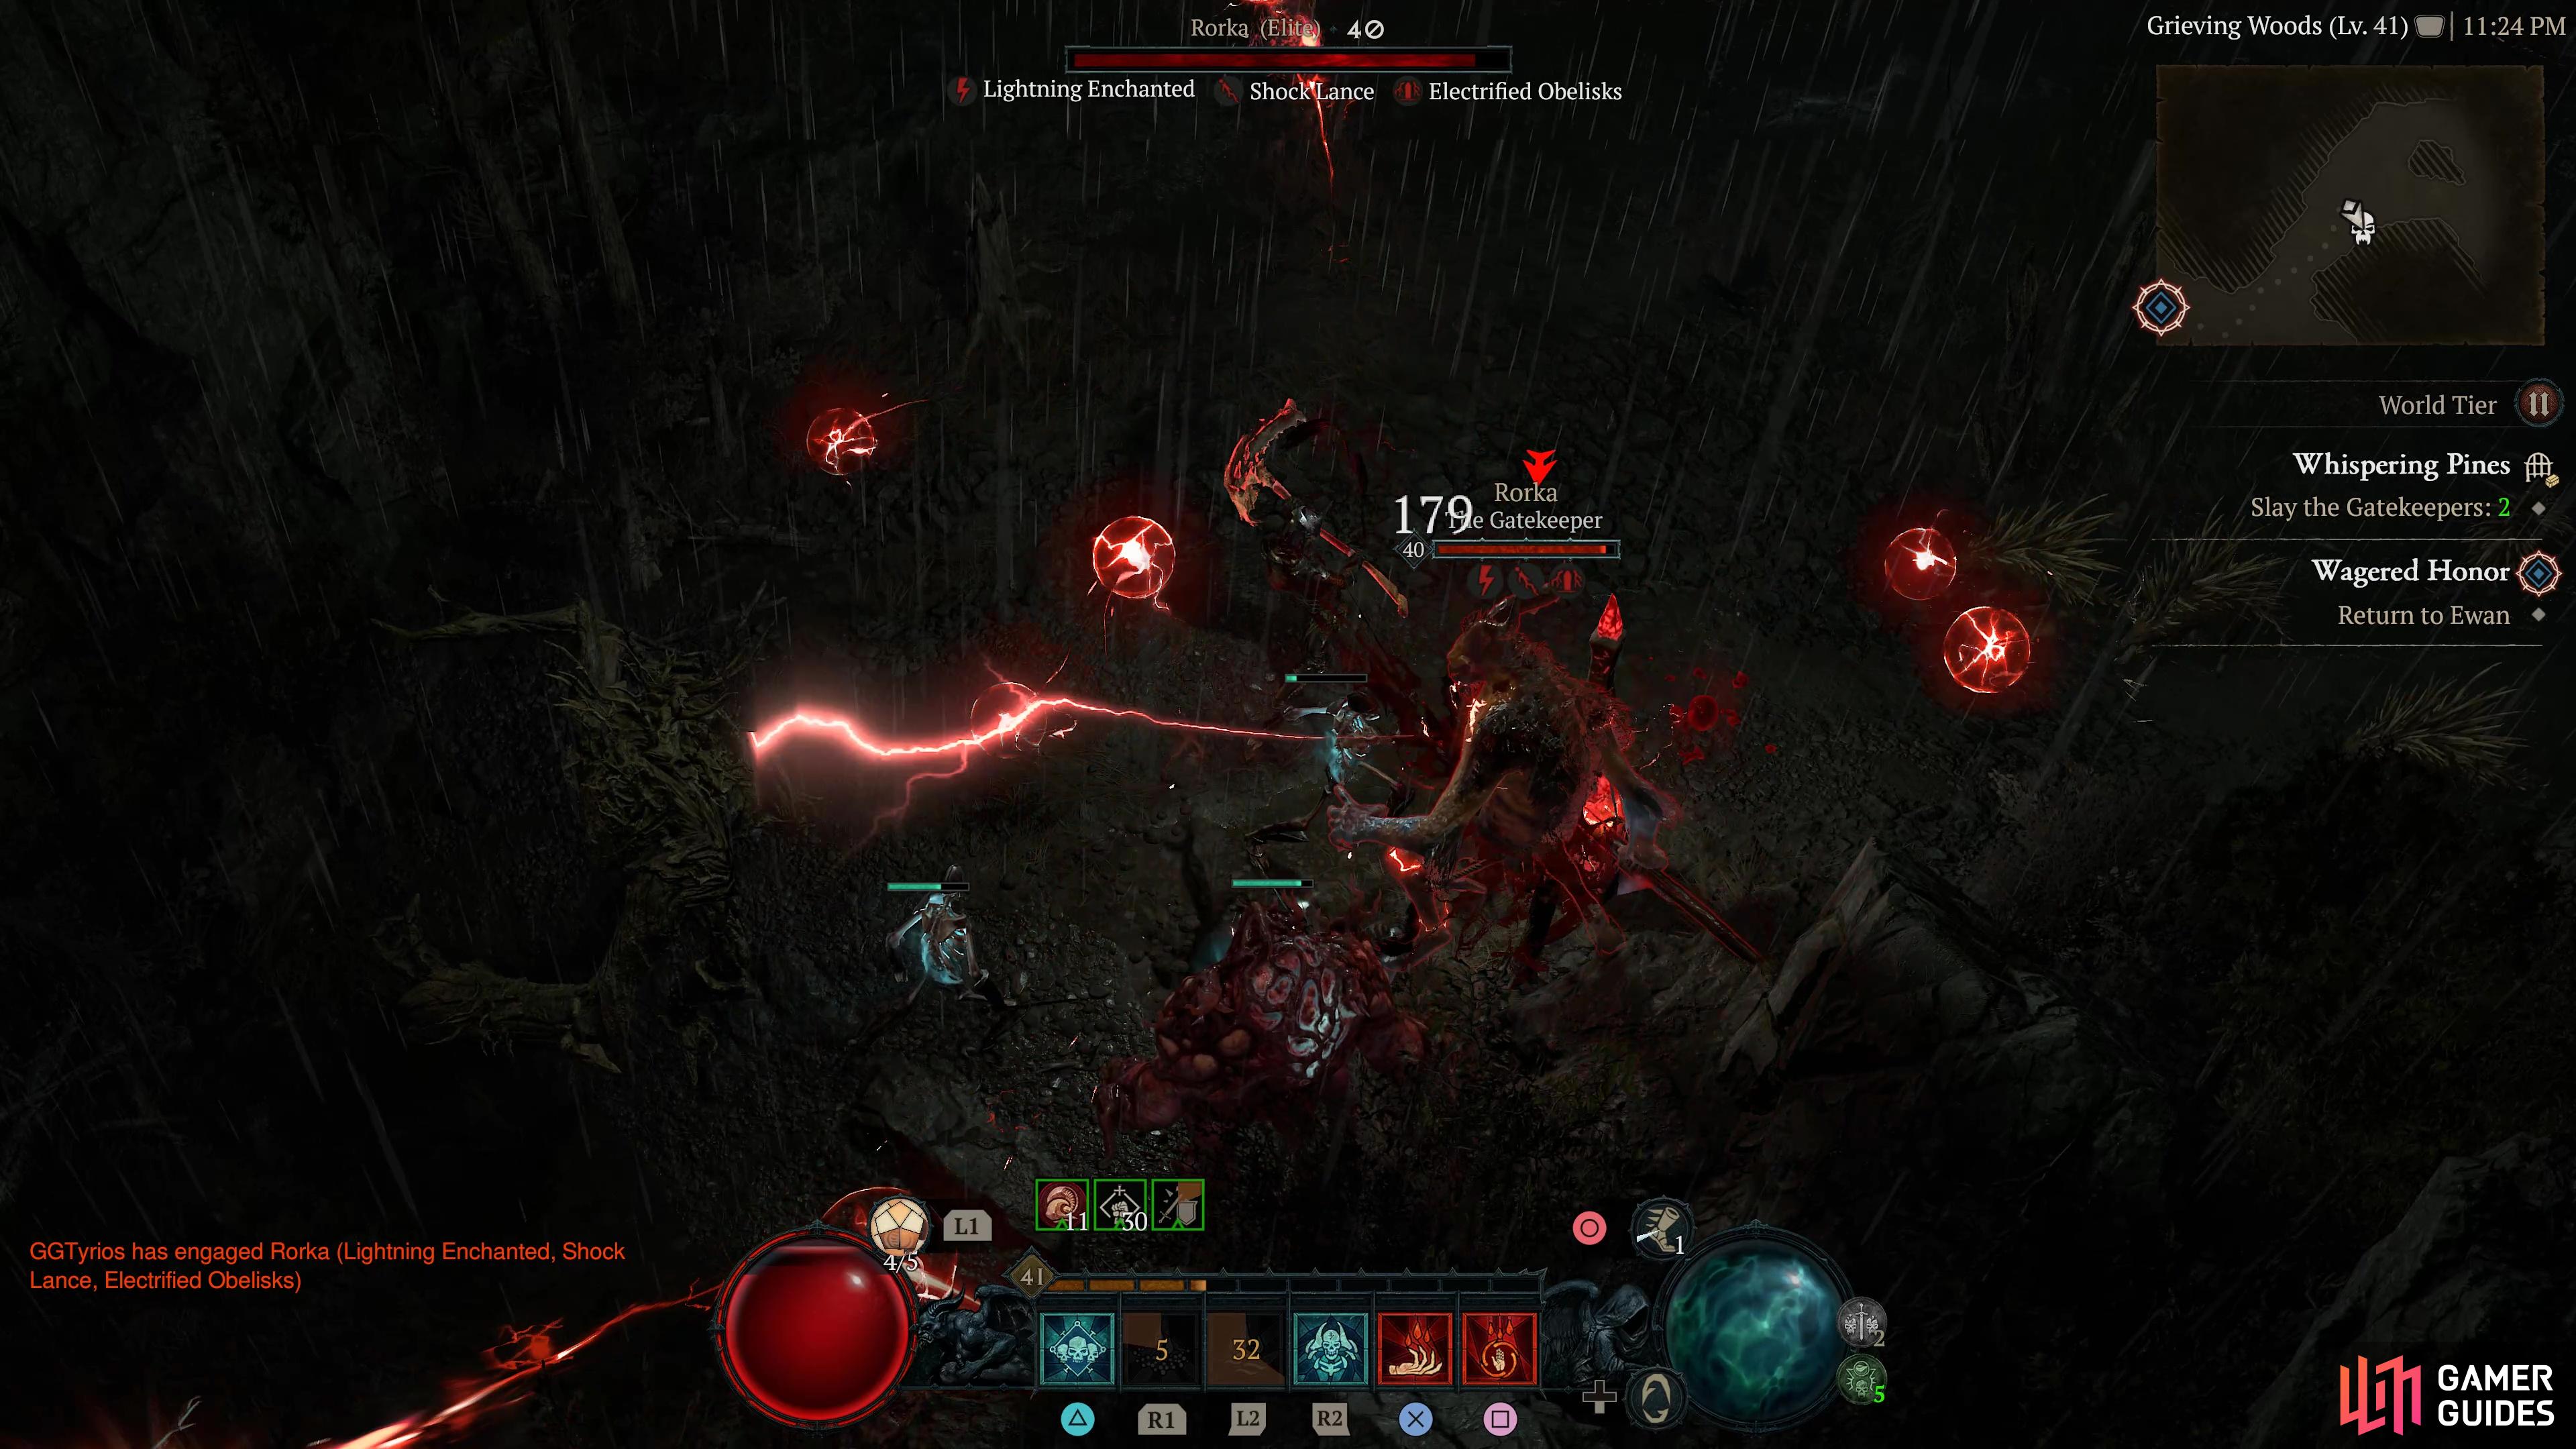
Whispering Pines |
Astaroth is gone now, but his grip on this keep holds fast. Objectives:
After clearing the dungeon, you will be rewarded with +30 Scosglen Renown and the Aspect.
Region
General Reward
|

|
|||||||||||||||||||||||||||||||||||||||||||||||||||||||||||||||||||||||||||||||||||||||||||||||

|
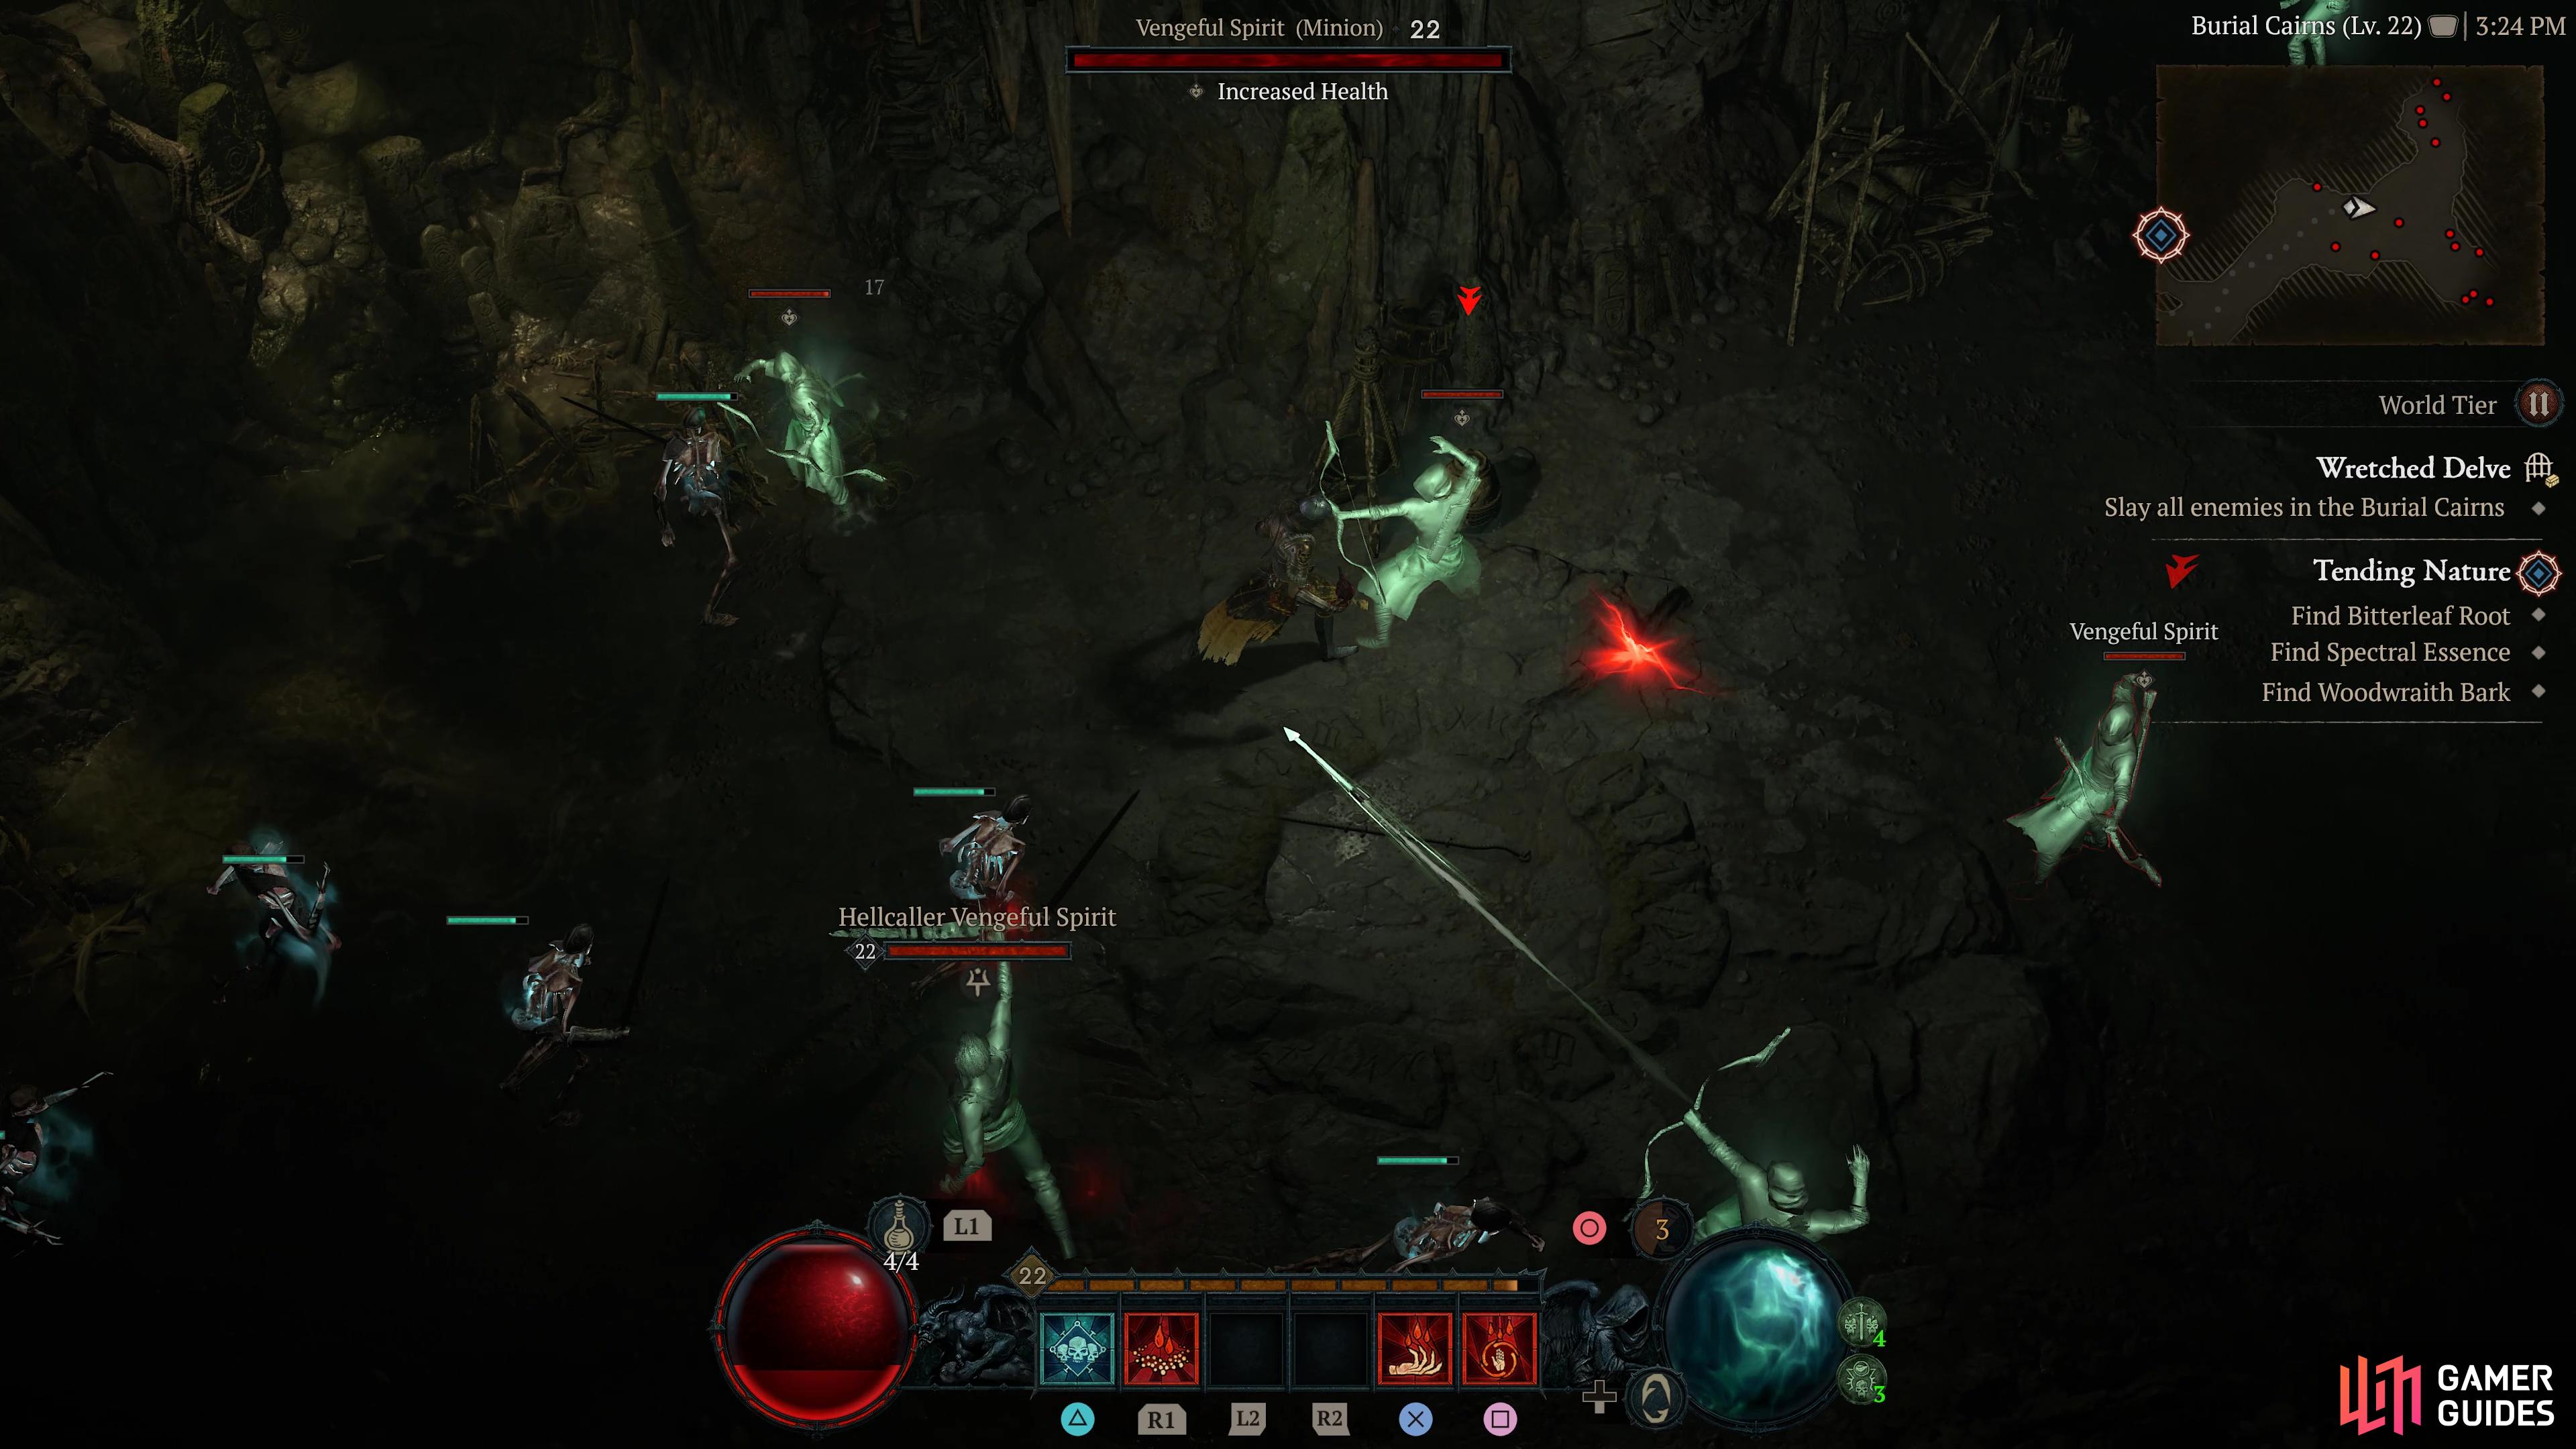
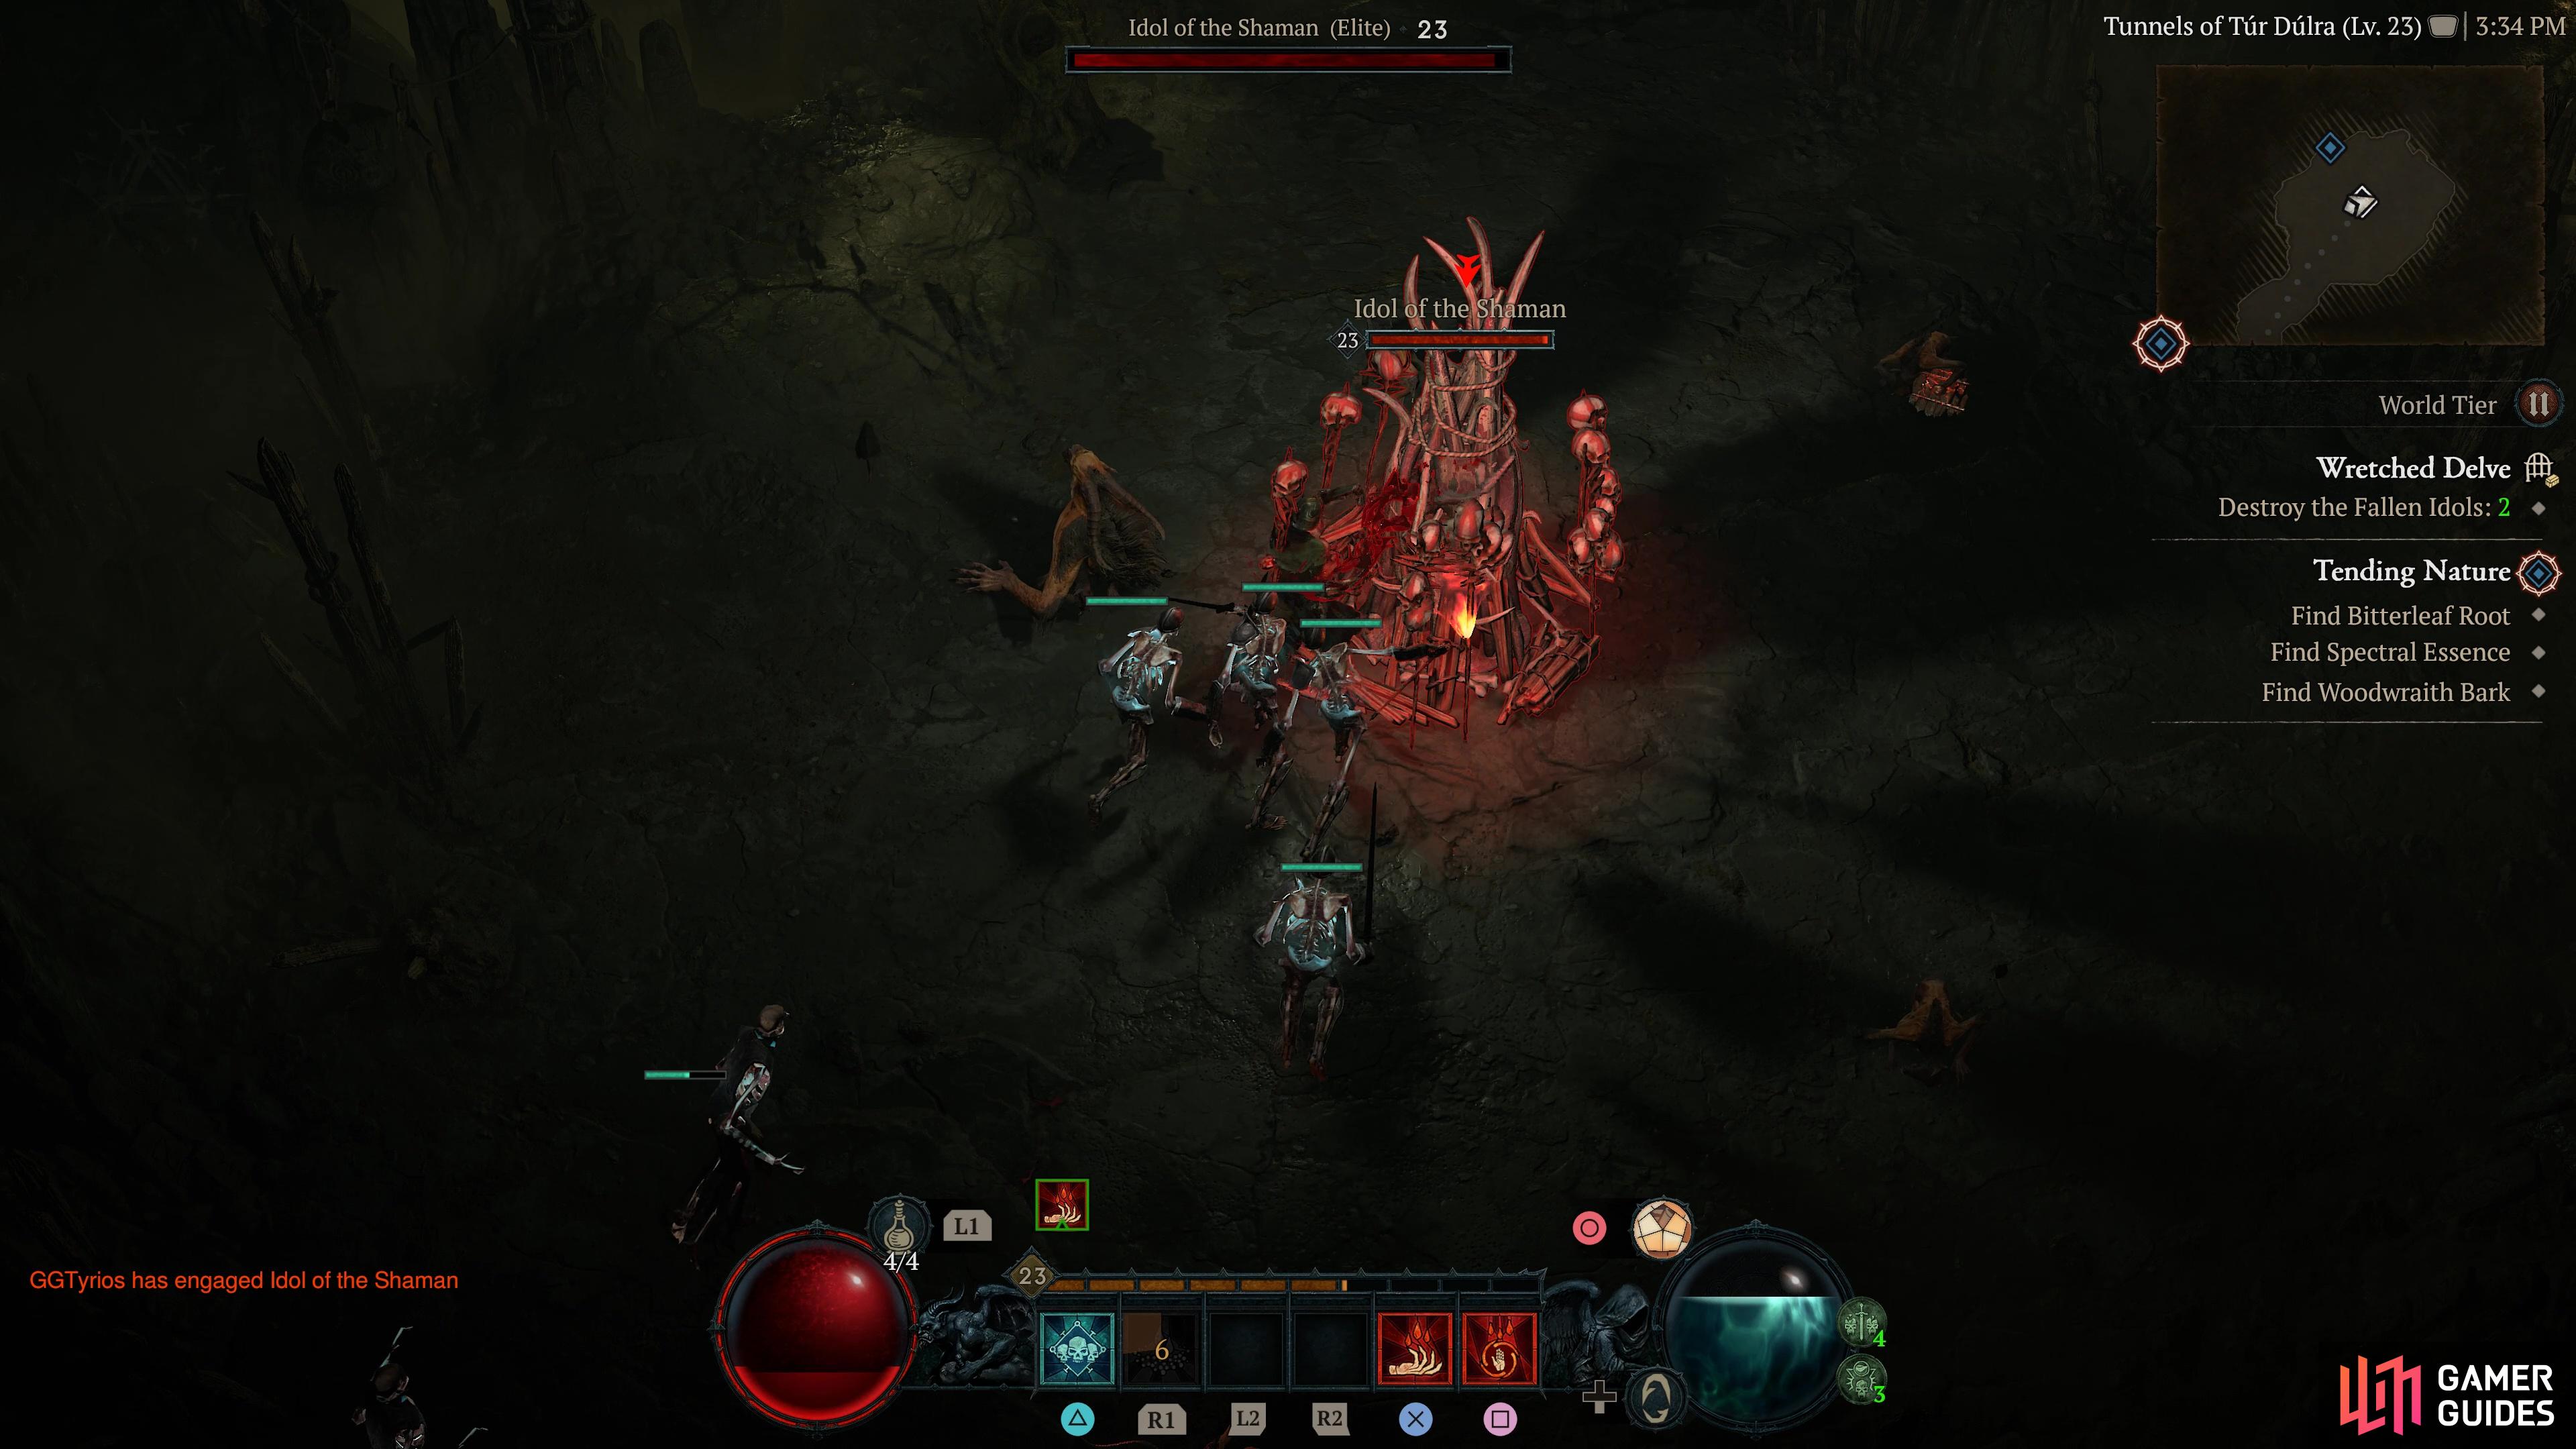
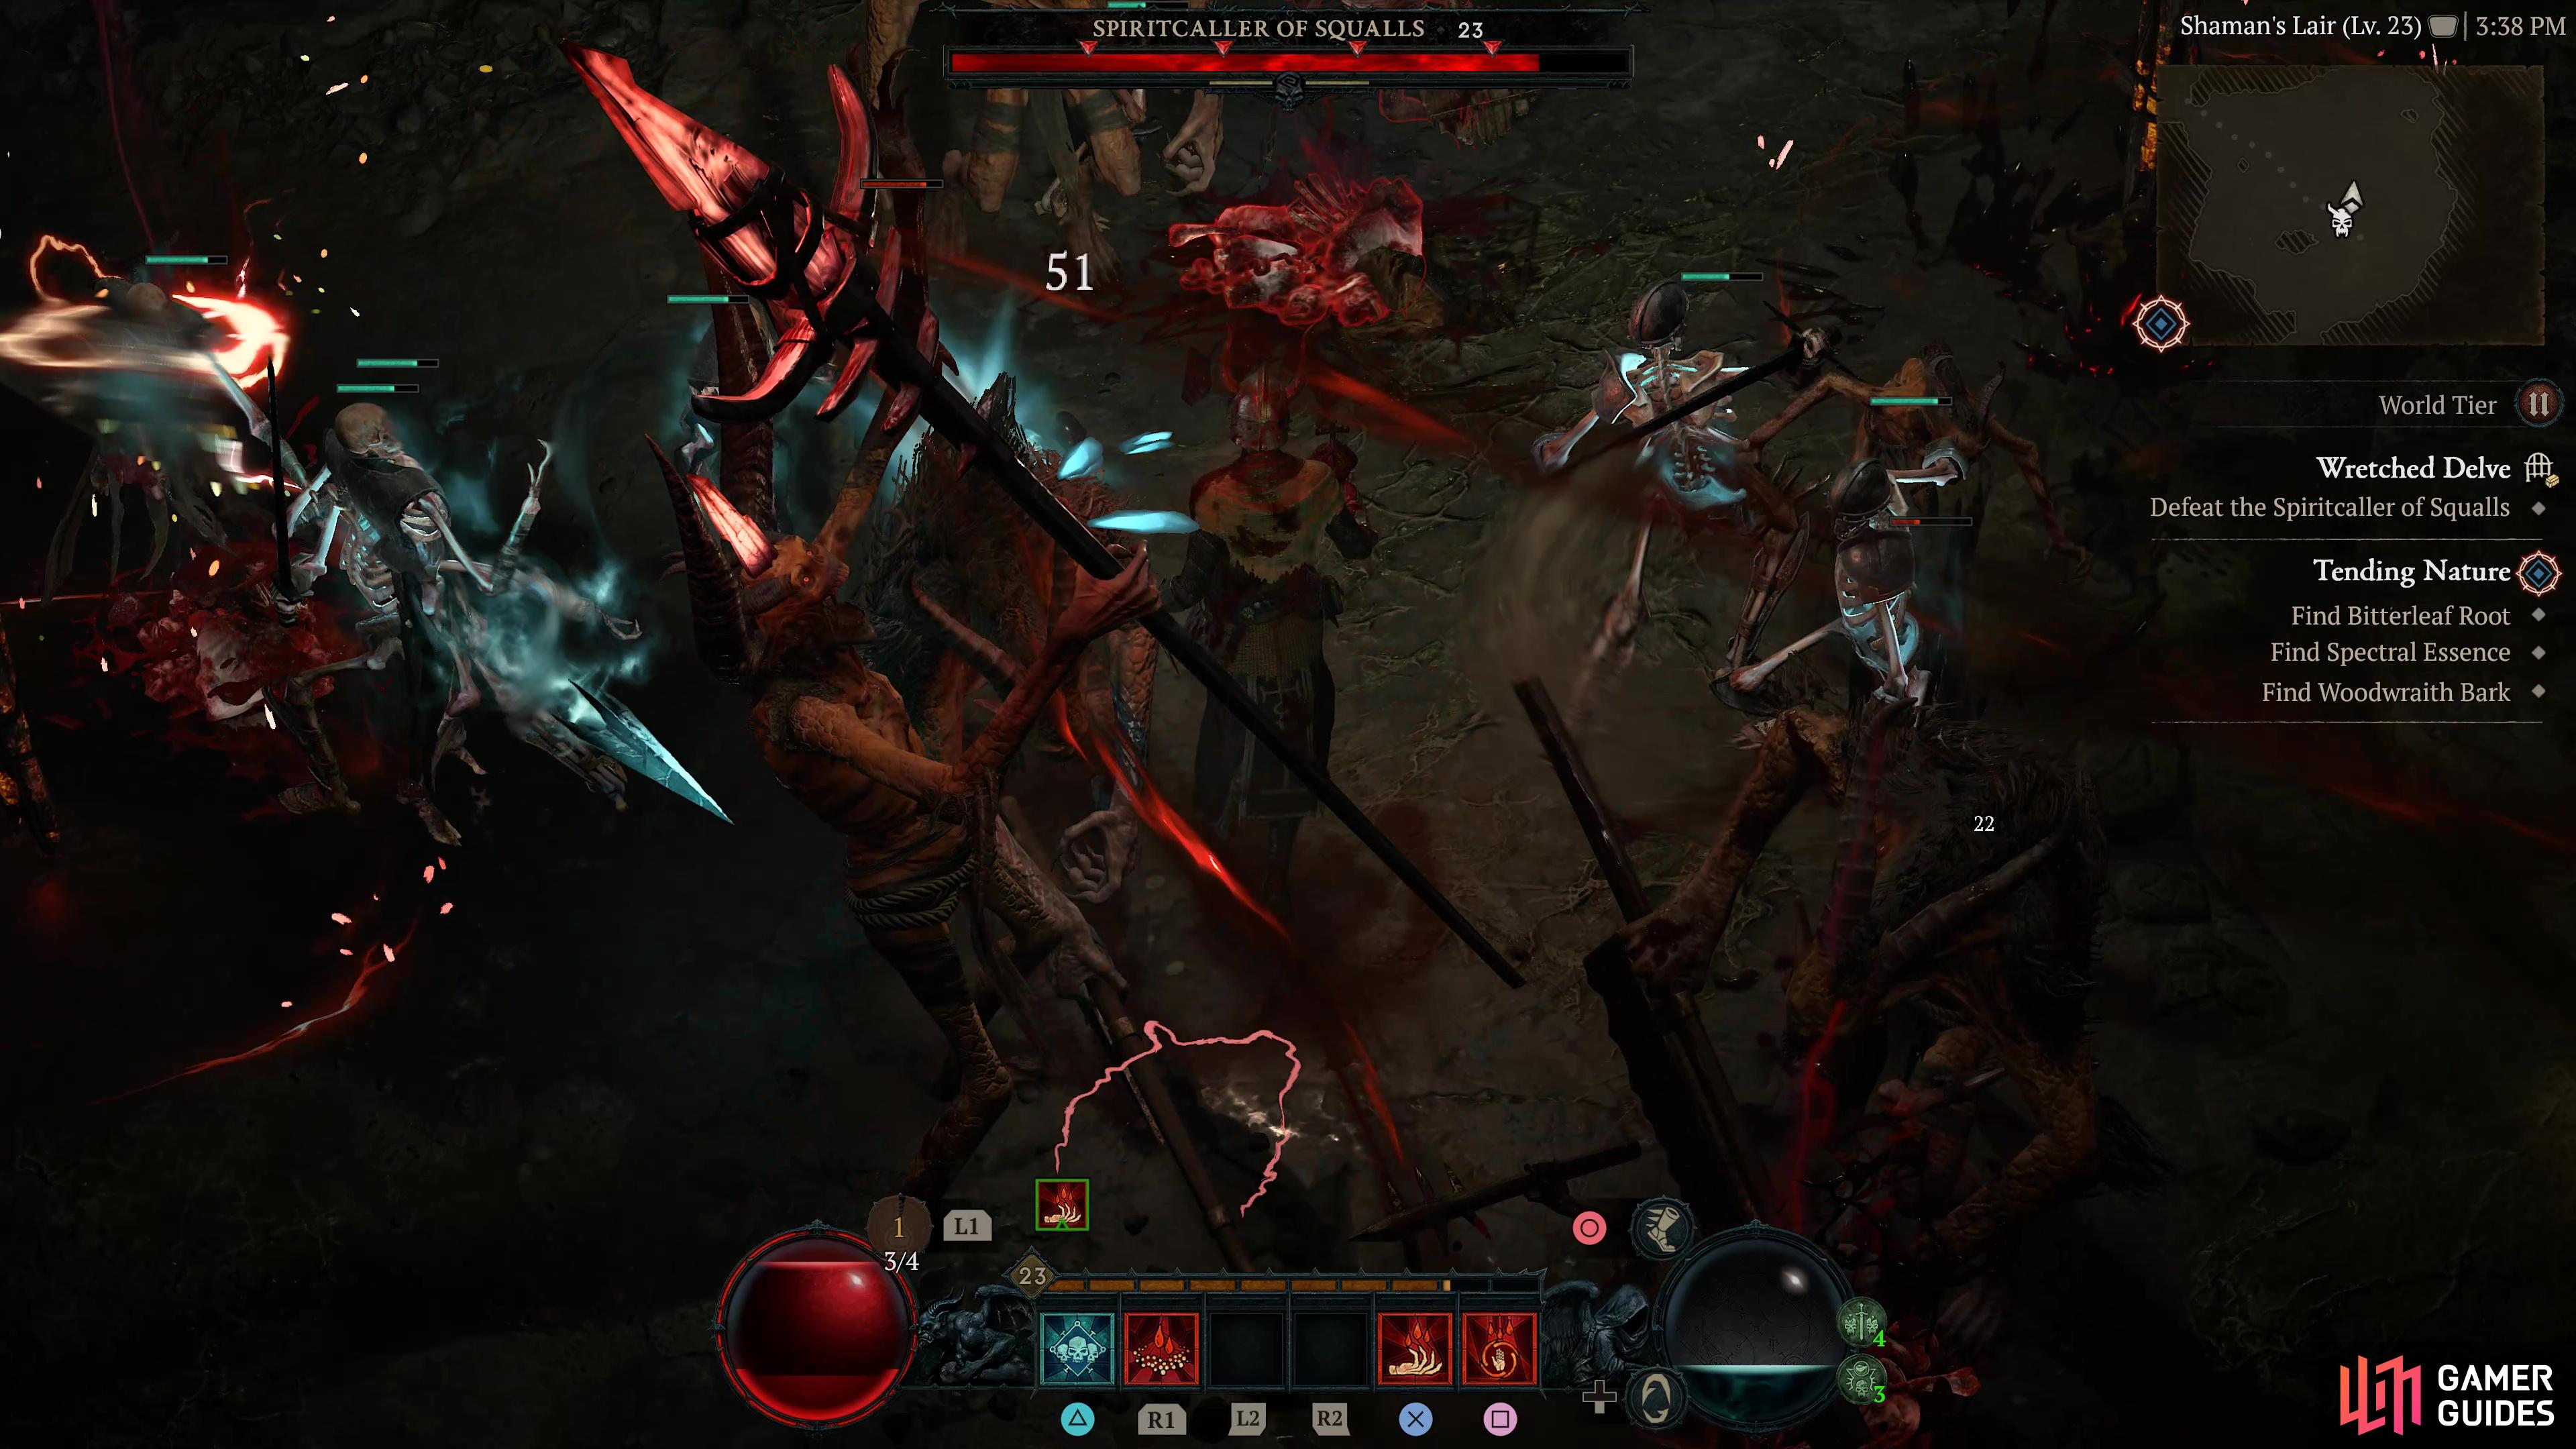
Wretched Delve |
Demonic plague festers now in the old tombs of Note: This dungeon only becomes available after completing the Túr Dúlra Stronghold quest. Objectives:
You will receive +30 Scosglen Renown for completing the dungeon as well as XP and gold.
Region
General Reward
|
|
|||||||||||||||||||||||||||||||||||||||||||||||||||||||||||||||||||||||||||||||||||||||||||||||

|
Jalal's Vigil |
A forest, soured by the agony of its own protector
Region
|
||||||||||||||||||||||||||||||||||||||||||||||||||||||||||||||||||||||||||||||||||||||||||||||||

|
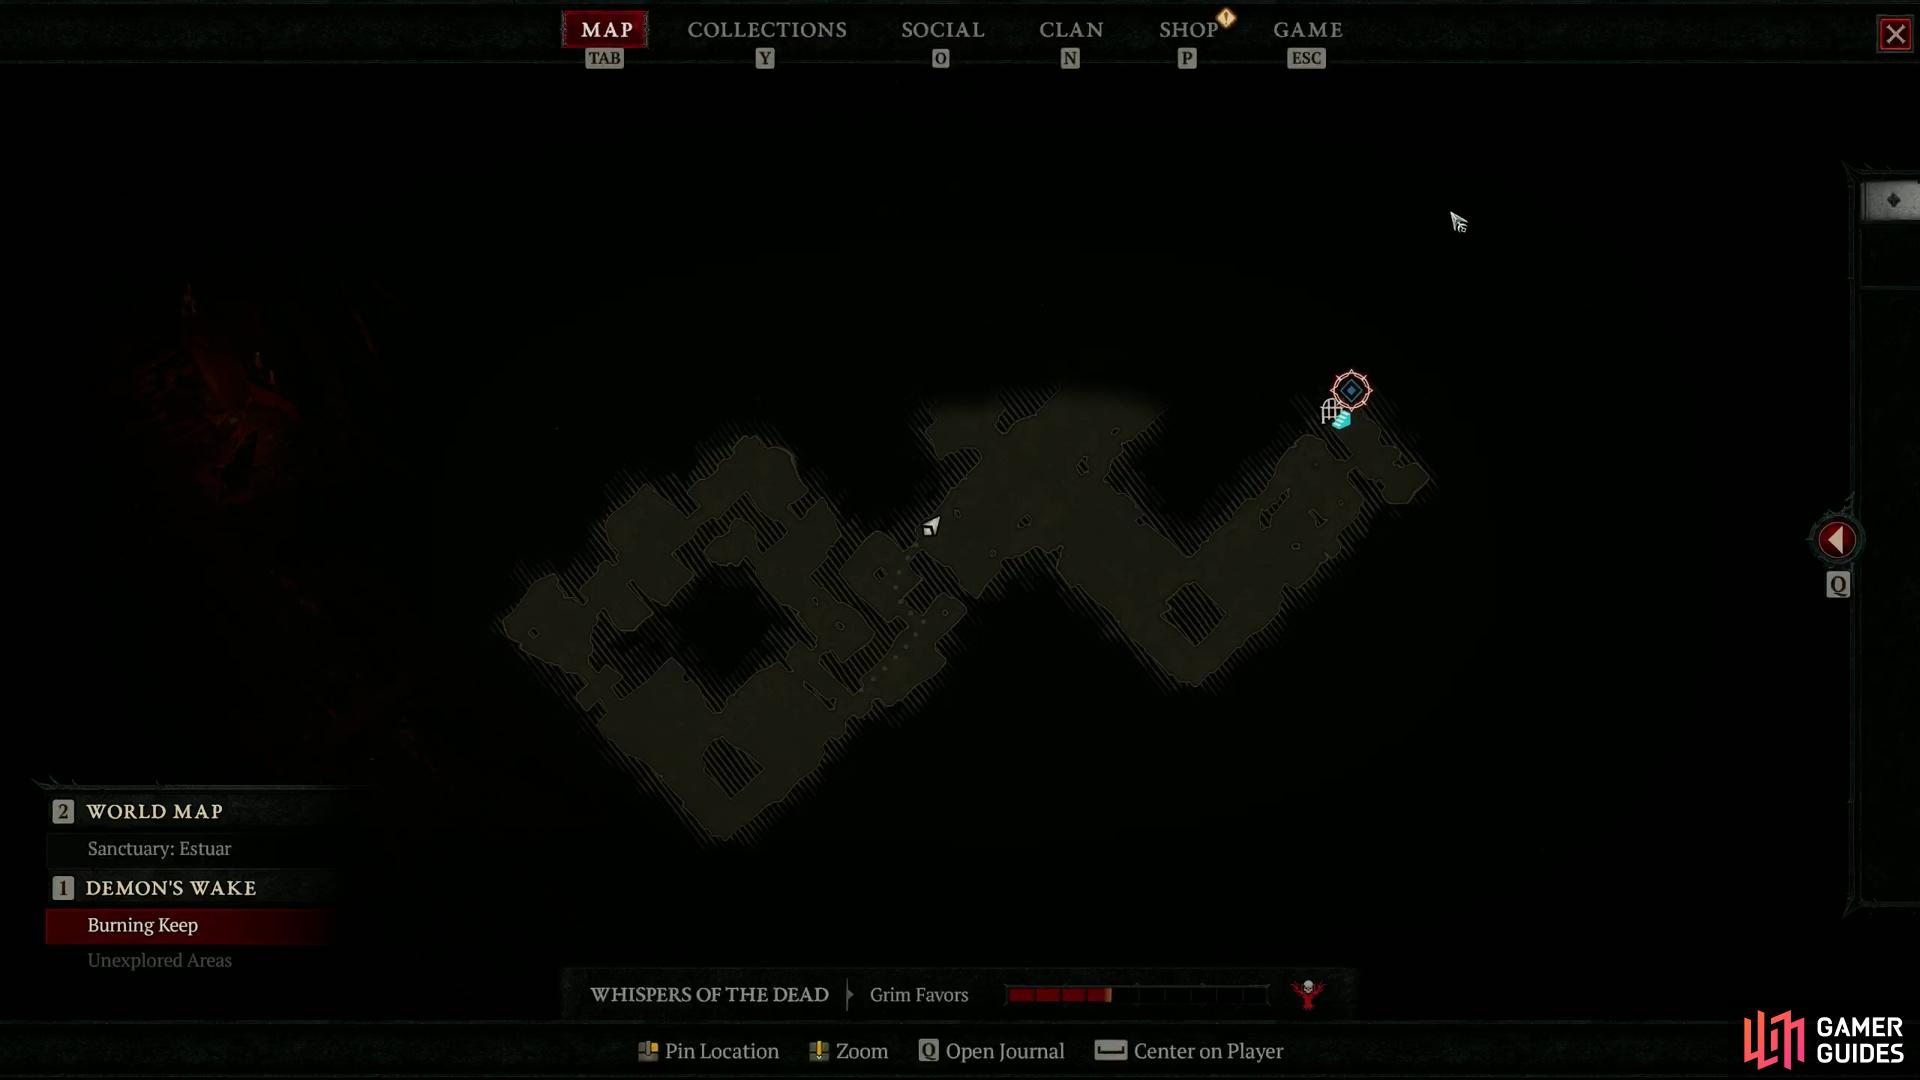
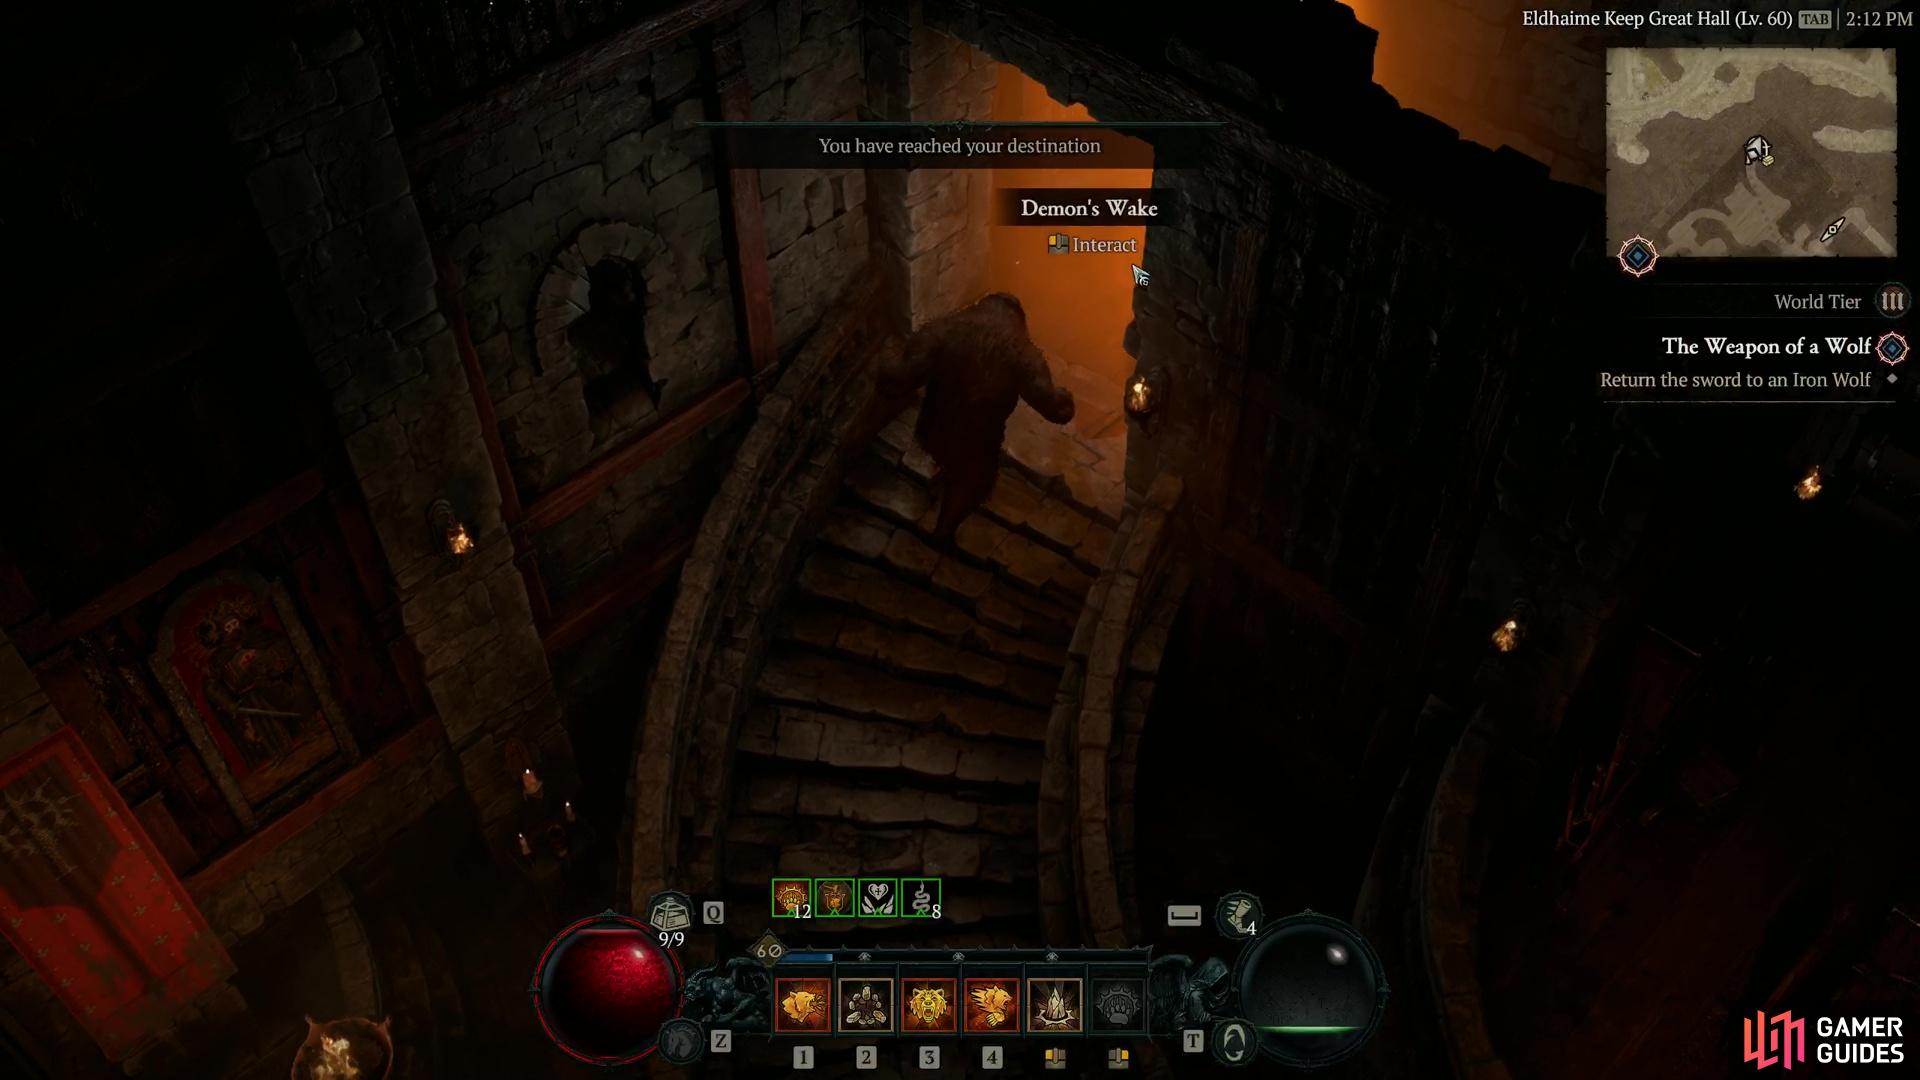
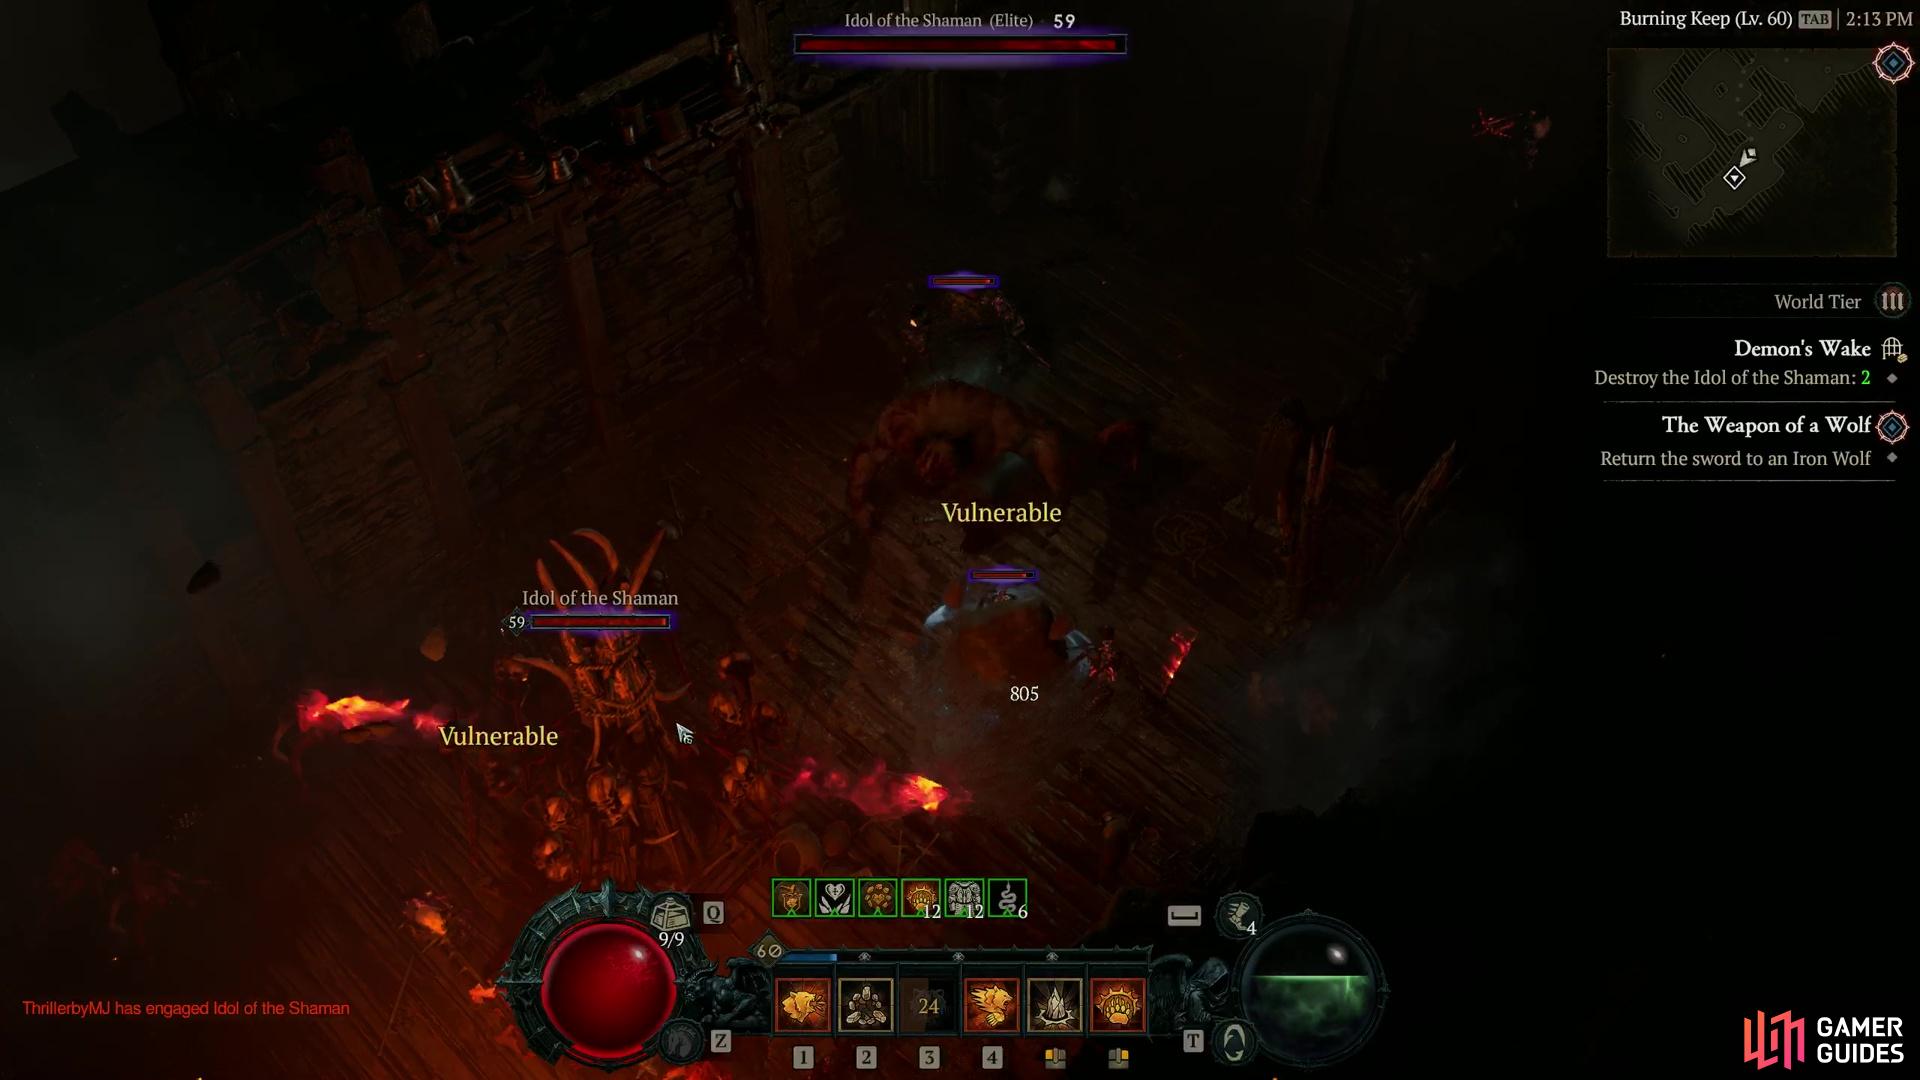
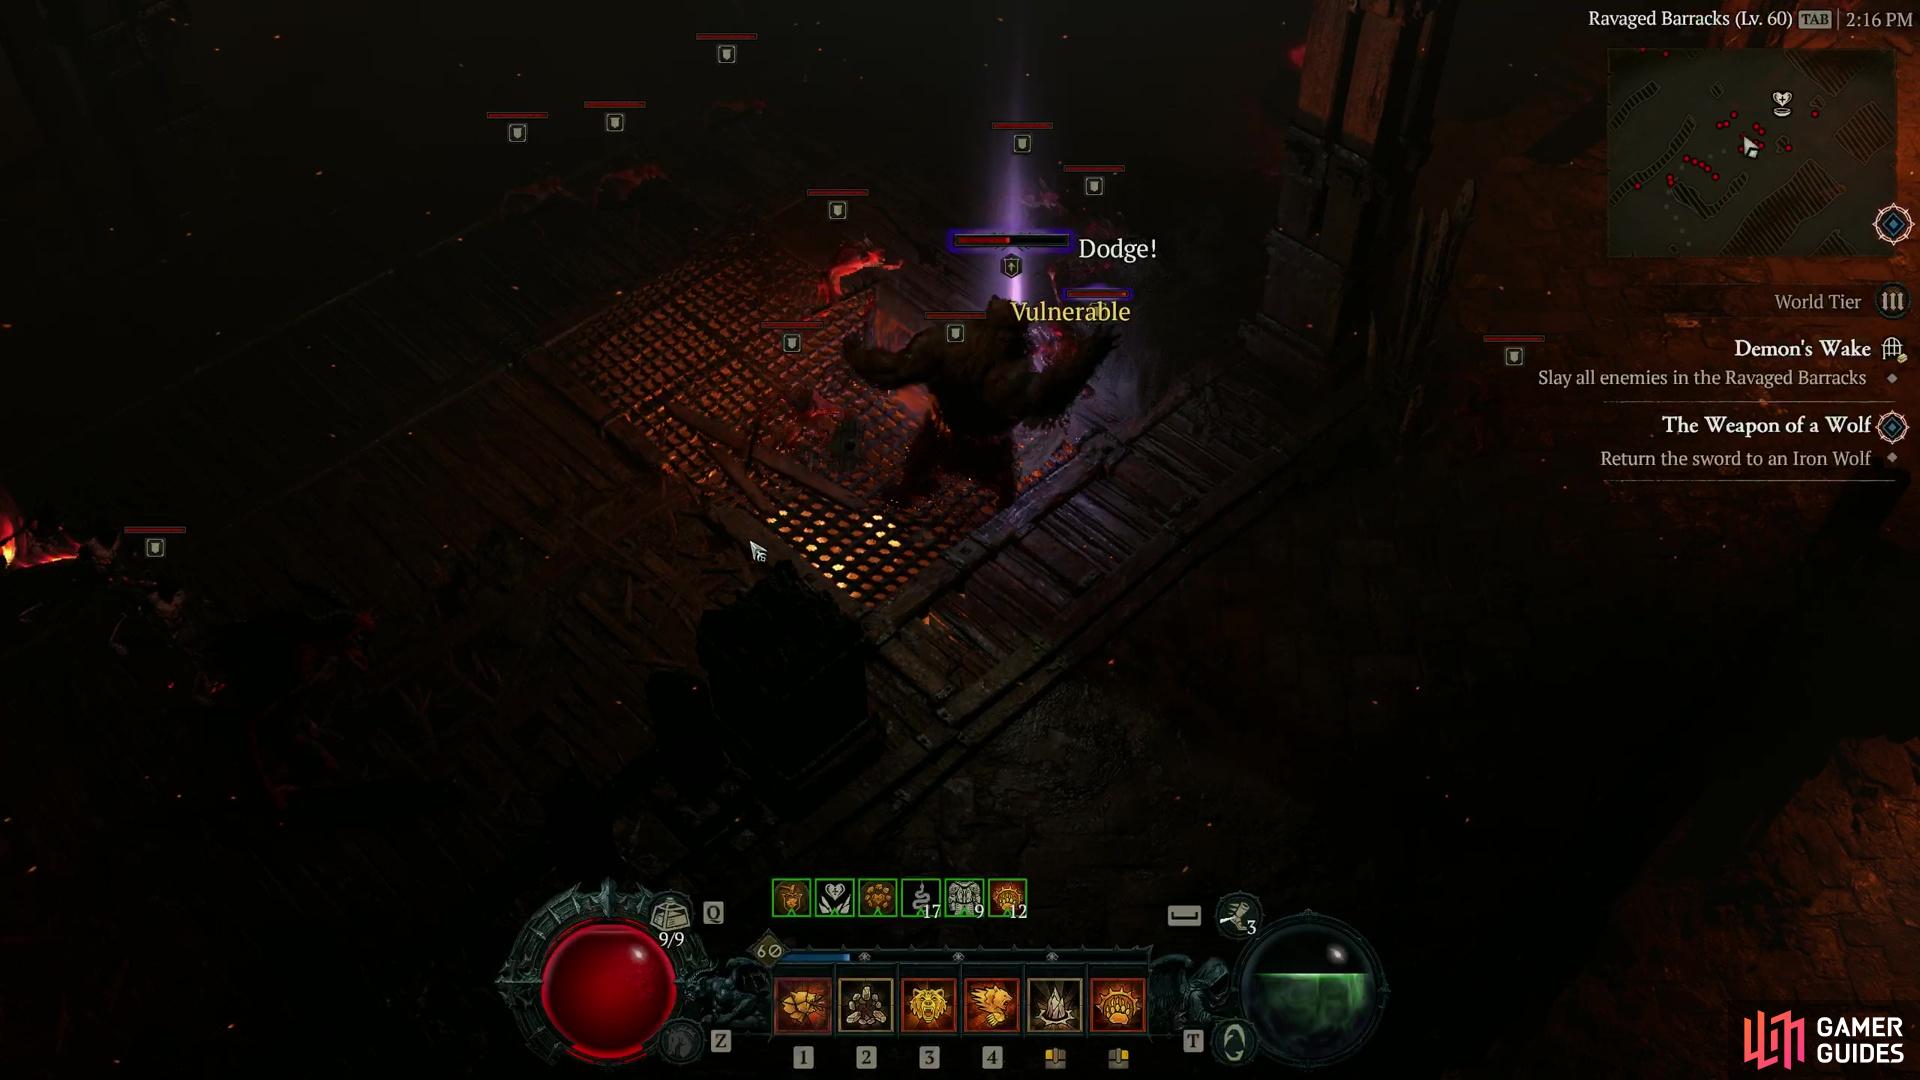
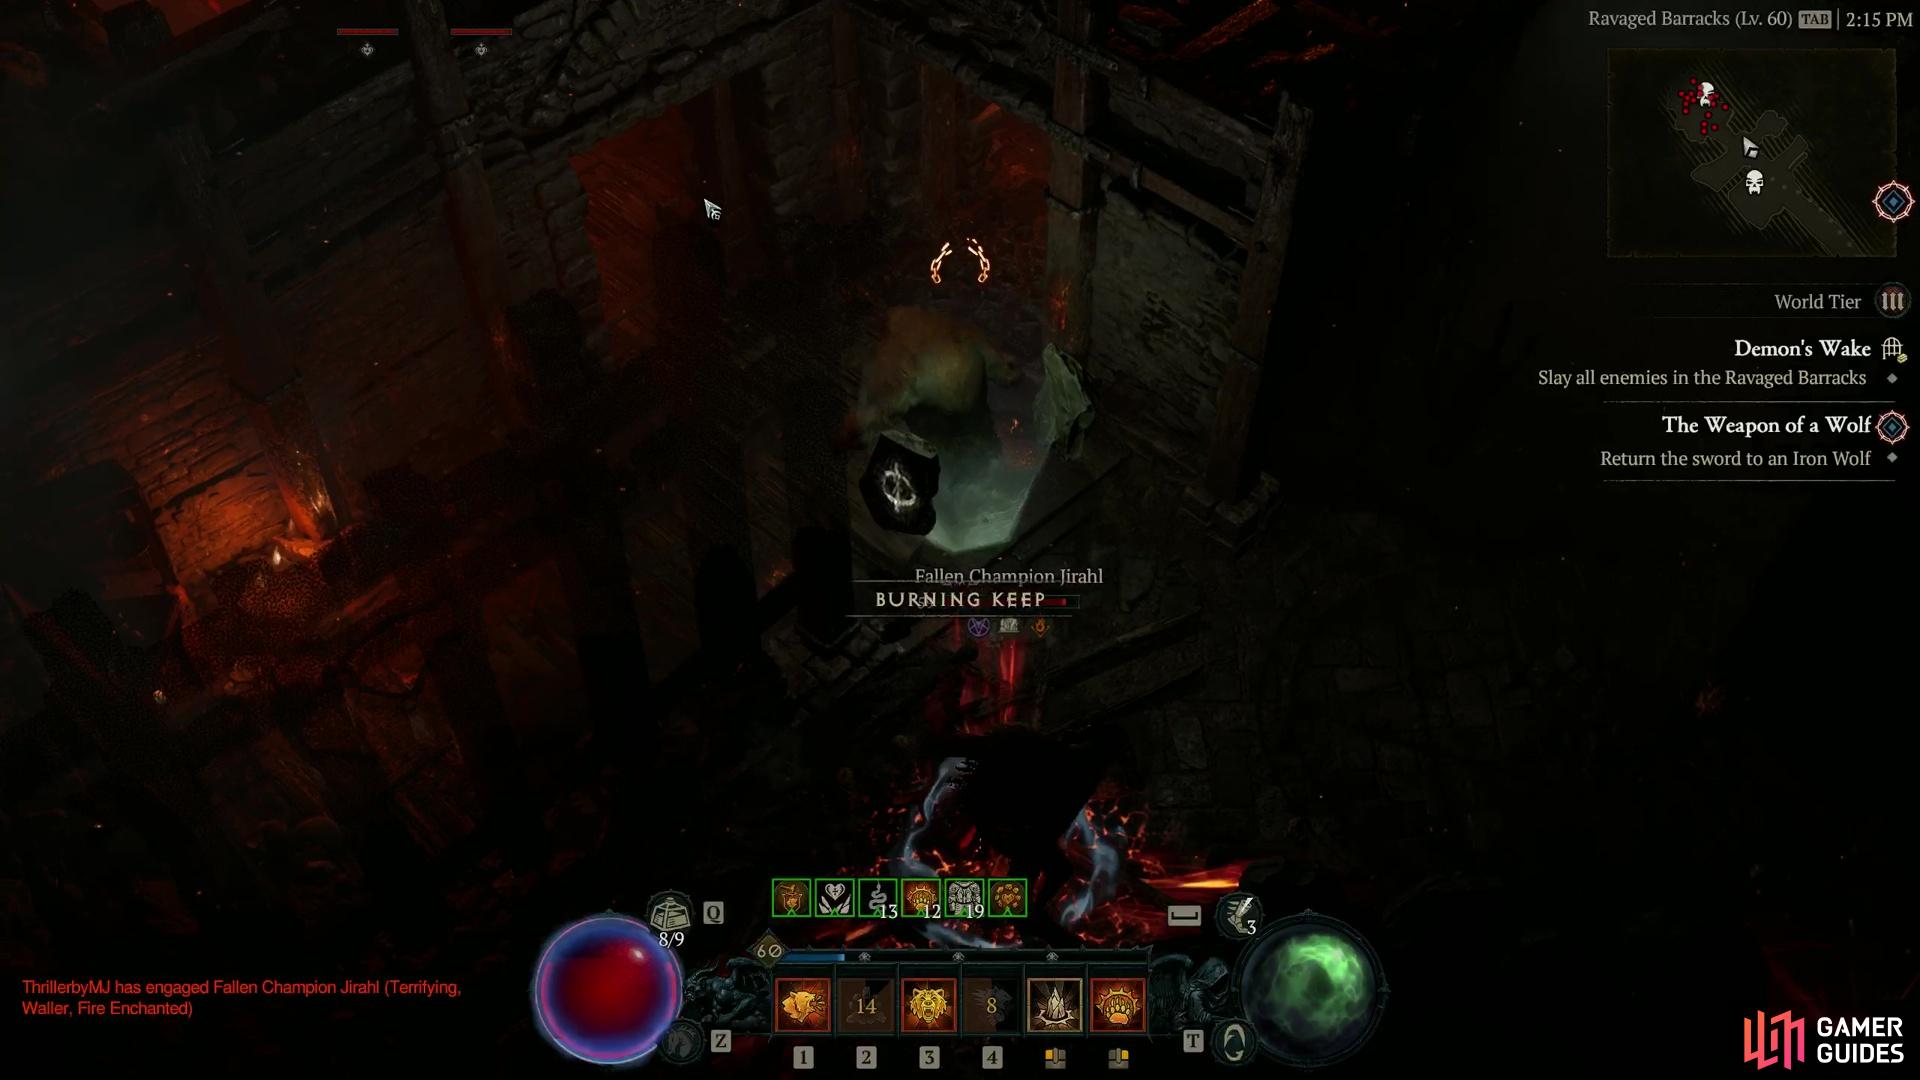
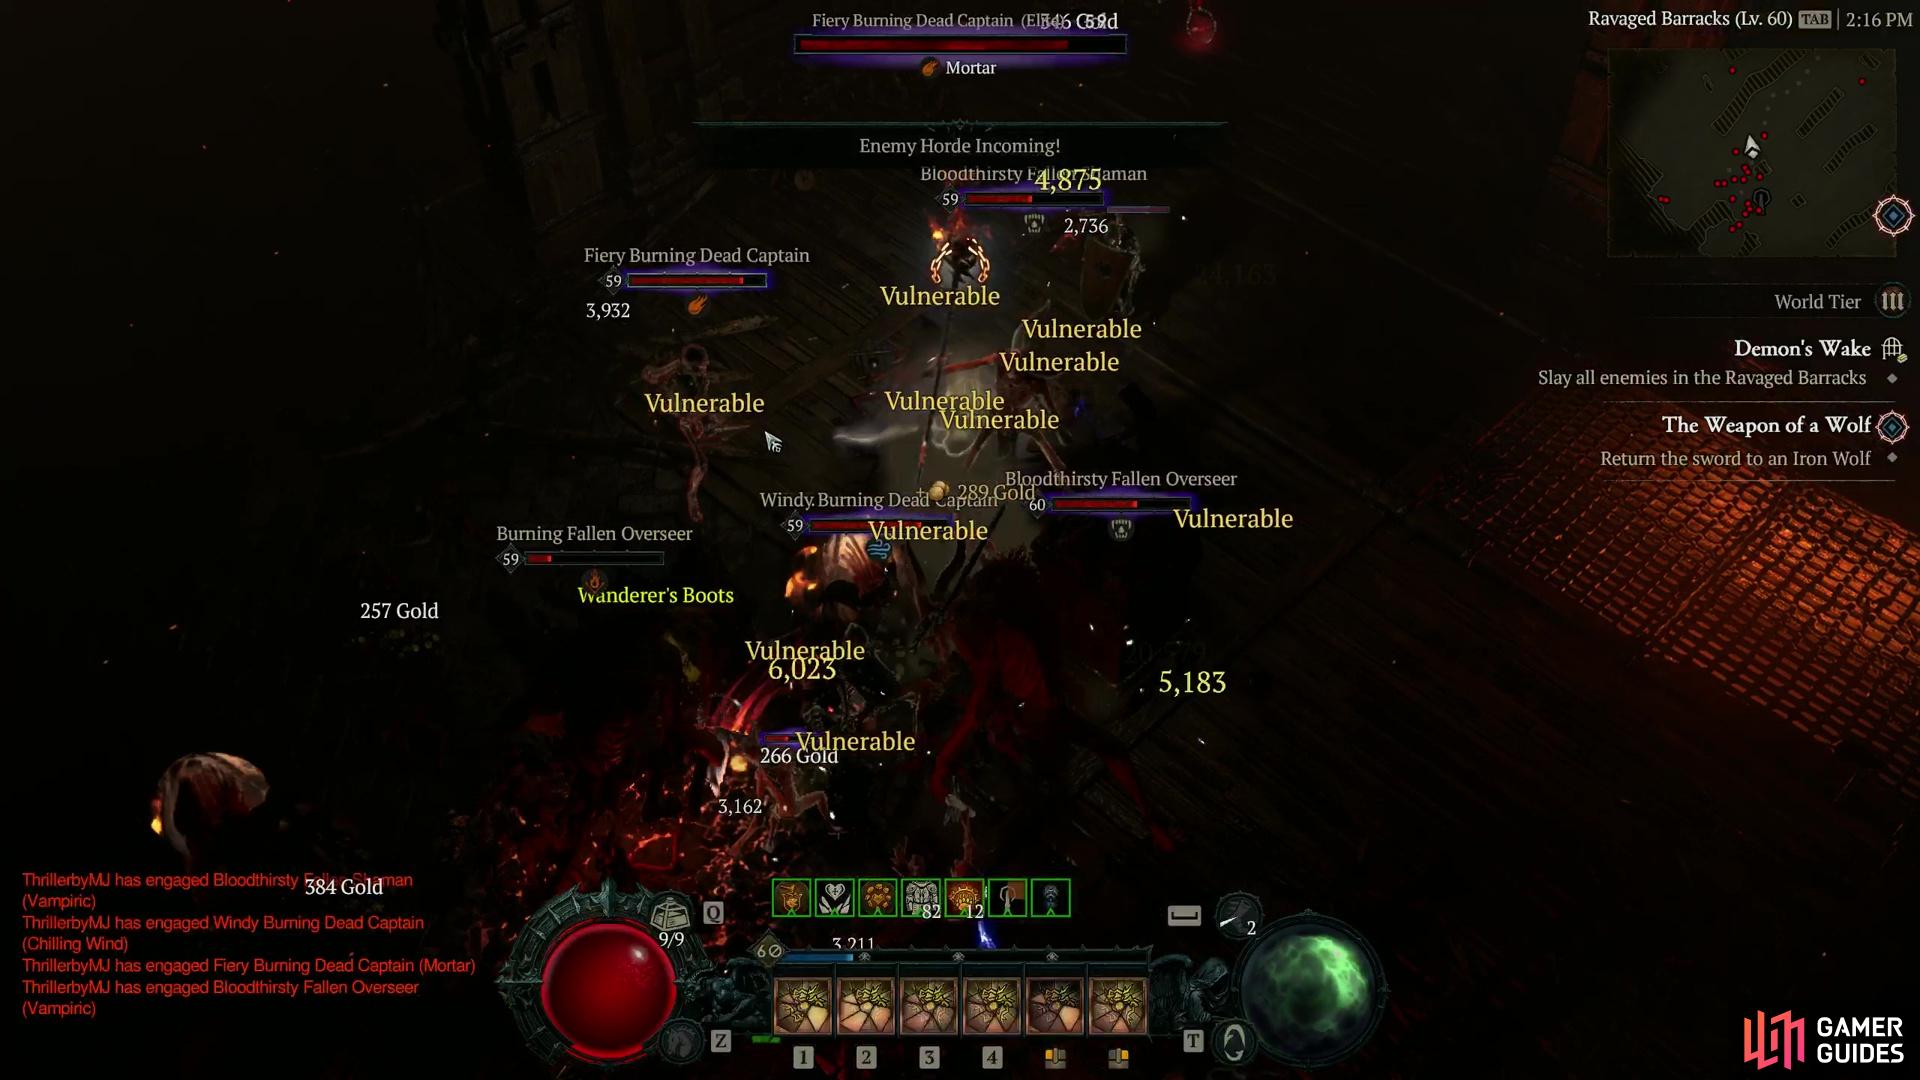
Demon's Wake |
The keep still burns in the wake of Lilith’s attack.
Objectives
Description
The dungeon entrance areas has a small square area, with plenty of trash to kill. It also has two Idol of the Shaman Elites to beat as part of the objective before you can continue. Engaging these Idols will spawn additional elites as well. Once the square area is deal with, you can unlock the door, descent the ramp and enter the final main area. This area has lots of packs you can bring into another pack, and beat two birds with one stone. Moreso, there’s typically an elite every three or four packs, with others spawning as part of guarded chests, or in packs themselves. There’s also Shrine events you can do too. The room is also a large rectangle, making it easy to find and scoop mobs up too. To complete this dungeon, we highly recommend using a Flask of Demon Slaying, as it offers more damage against the
Enemies
Region
General Reward
|


|
|||||||||||||||||||||||||||||||||||||||||||||||||||||||||||||||||||||||||||||||||||||||||||||||

|
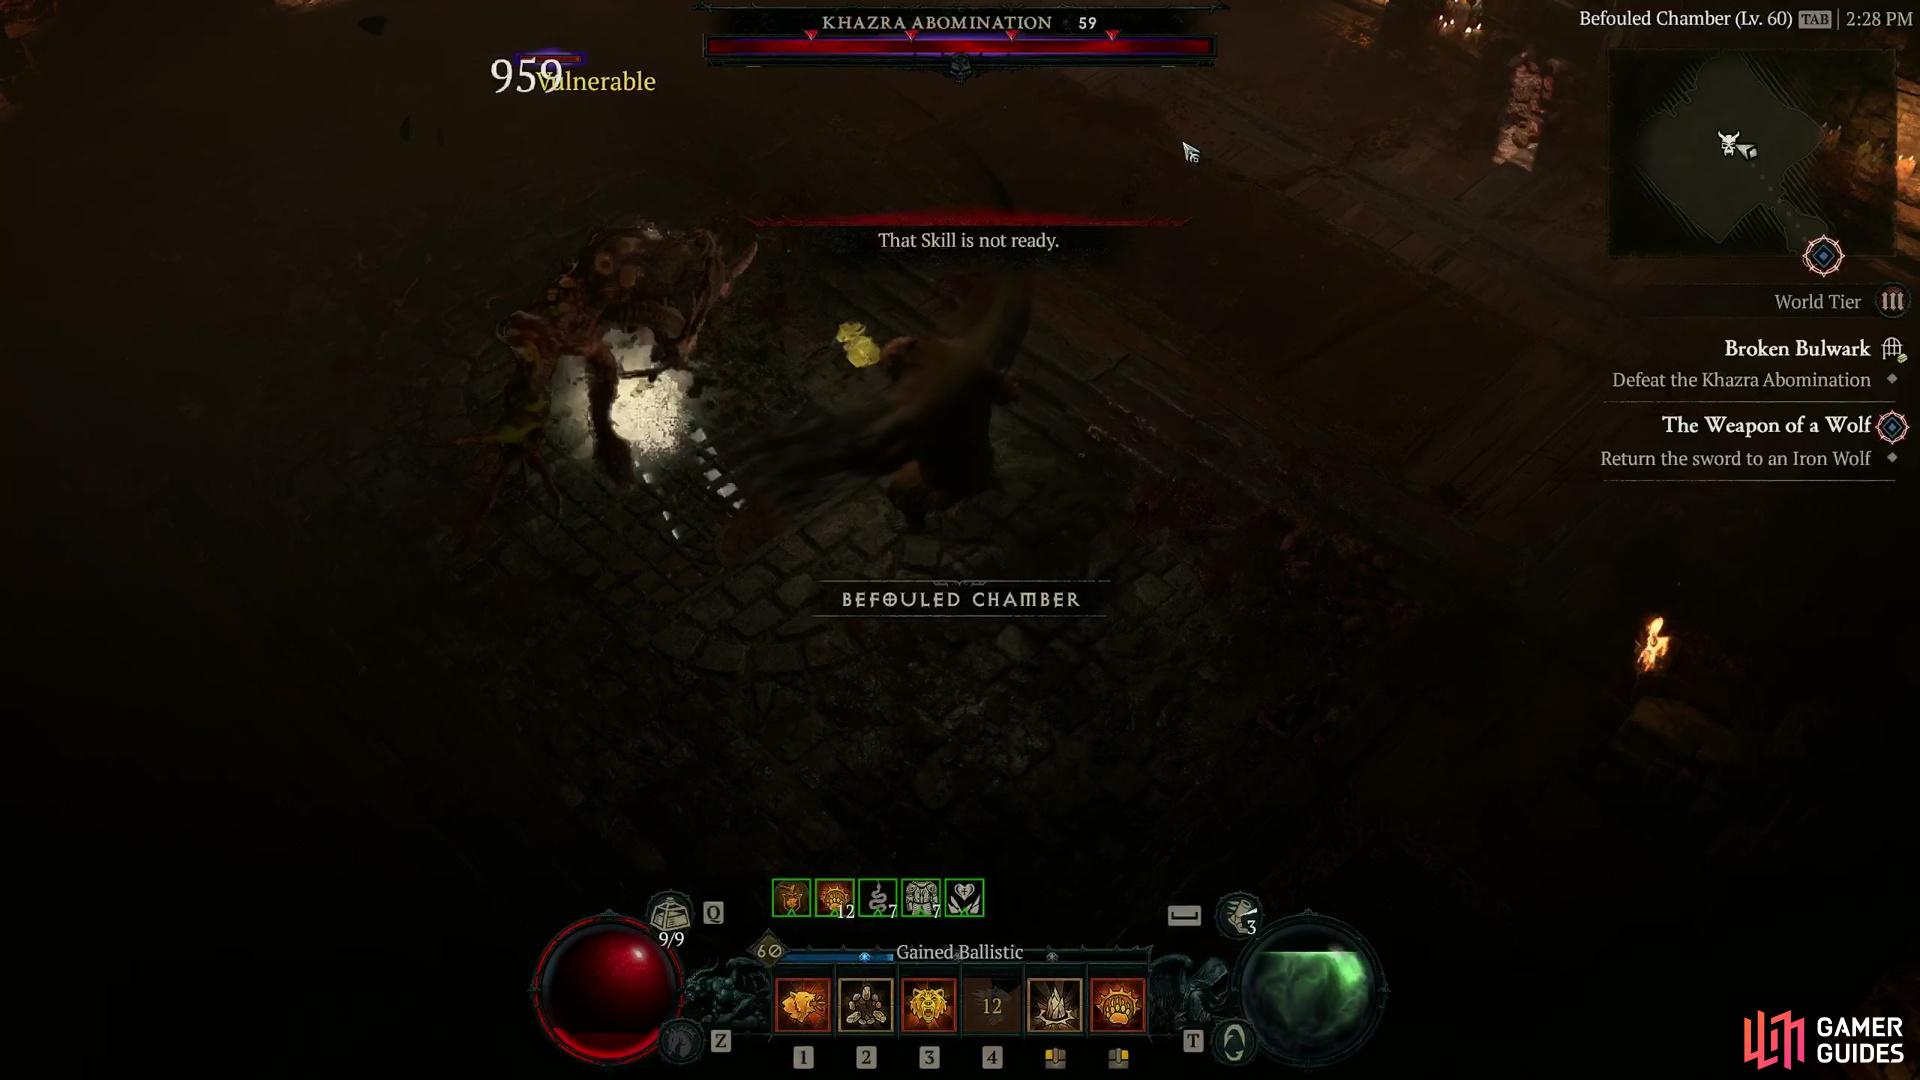
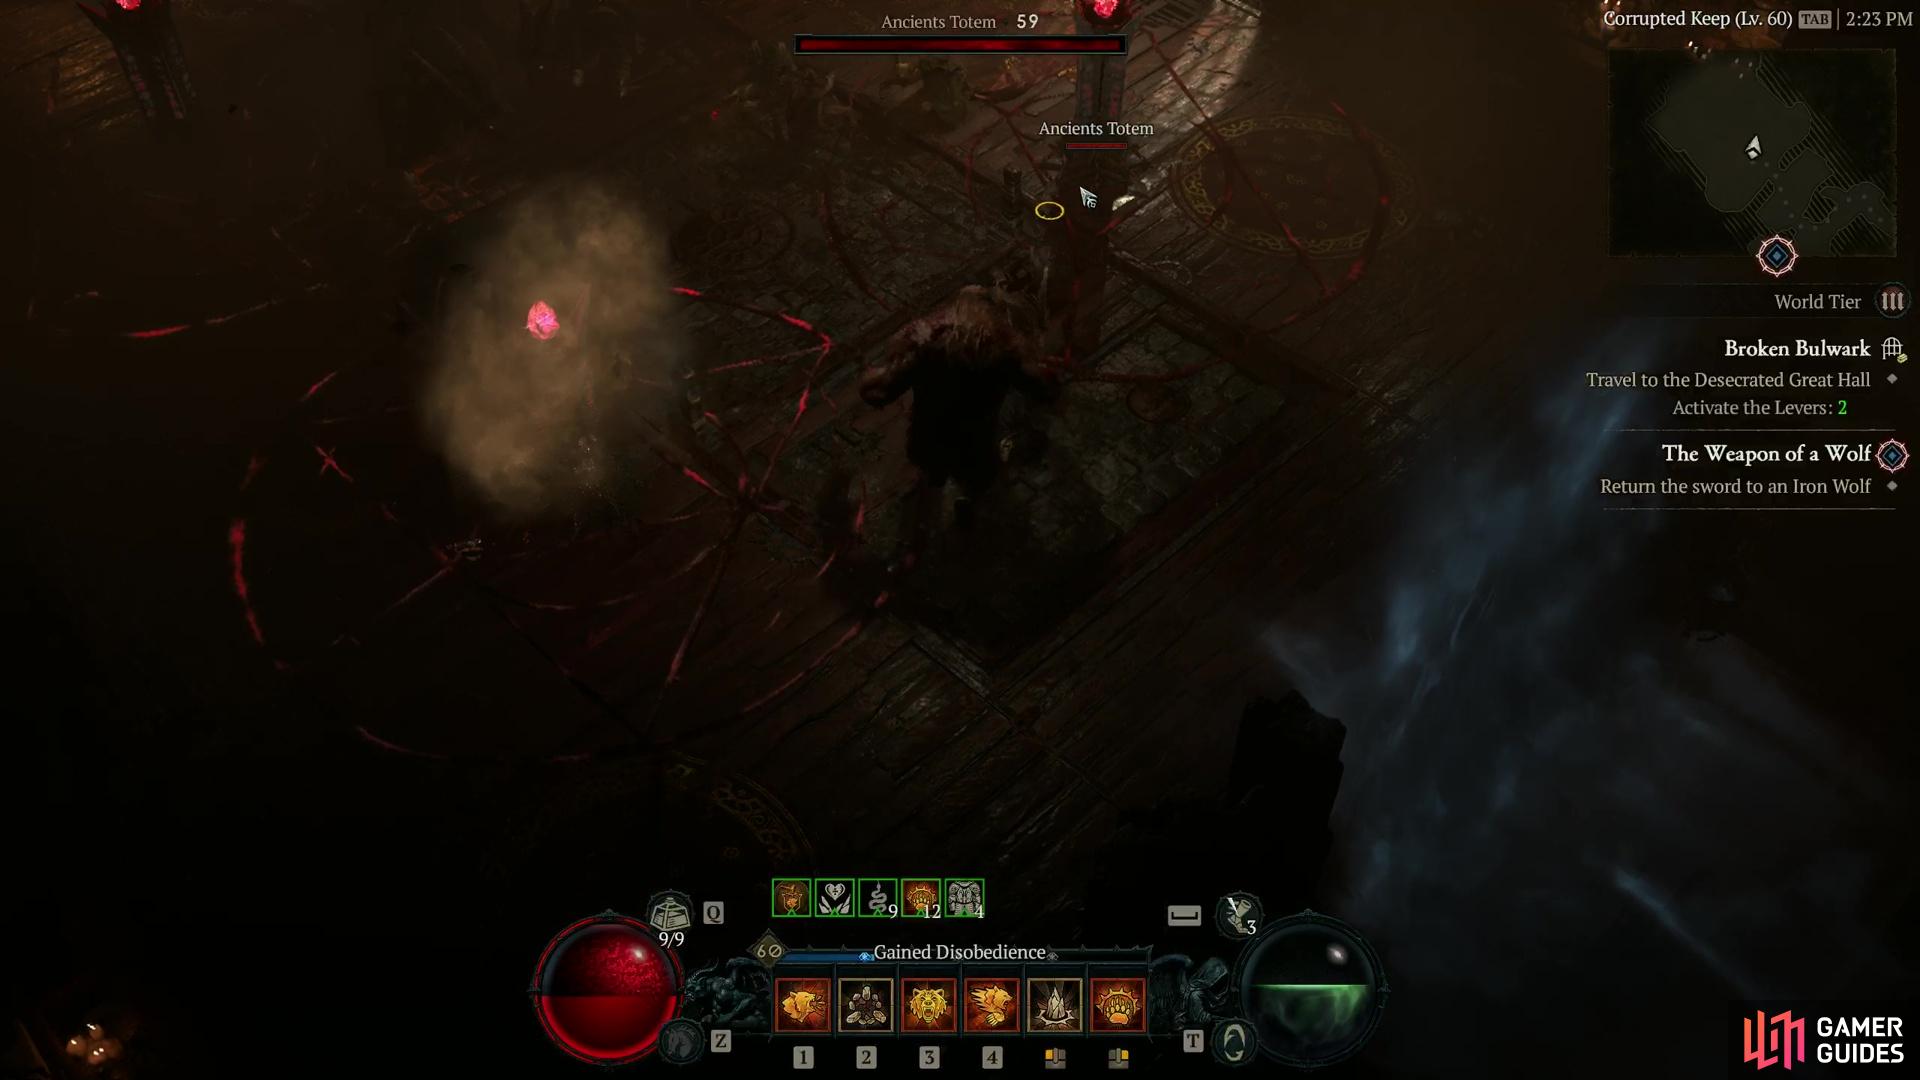
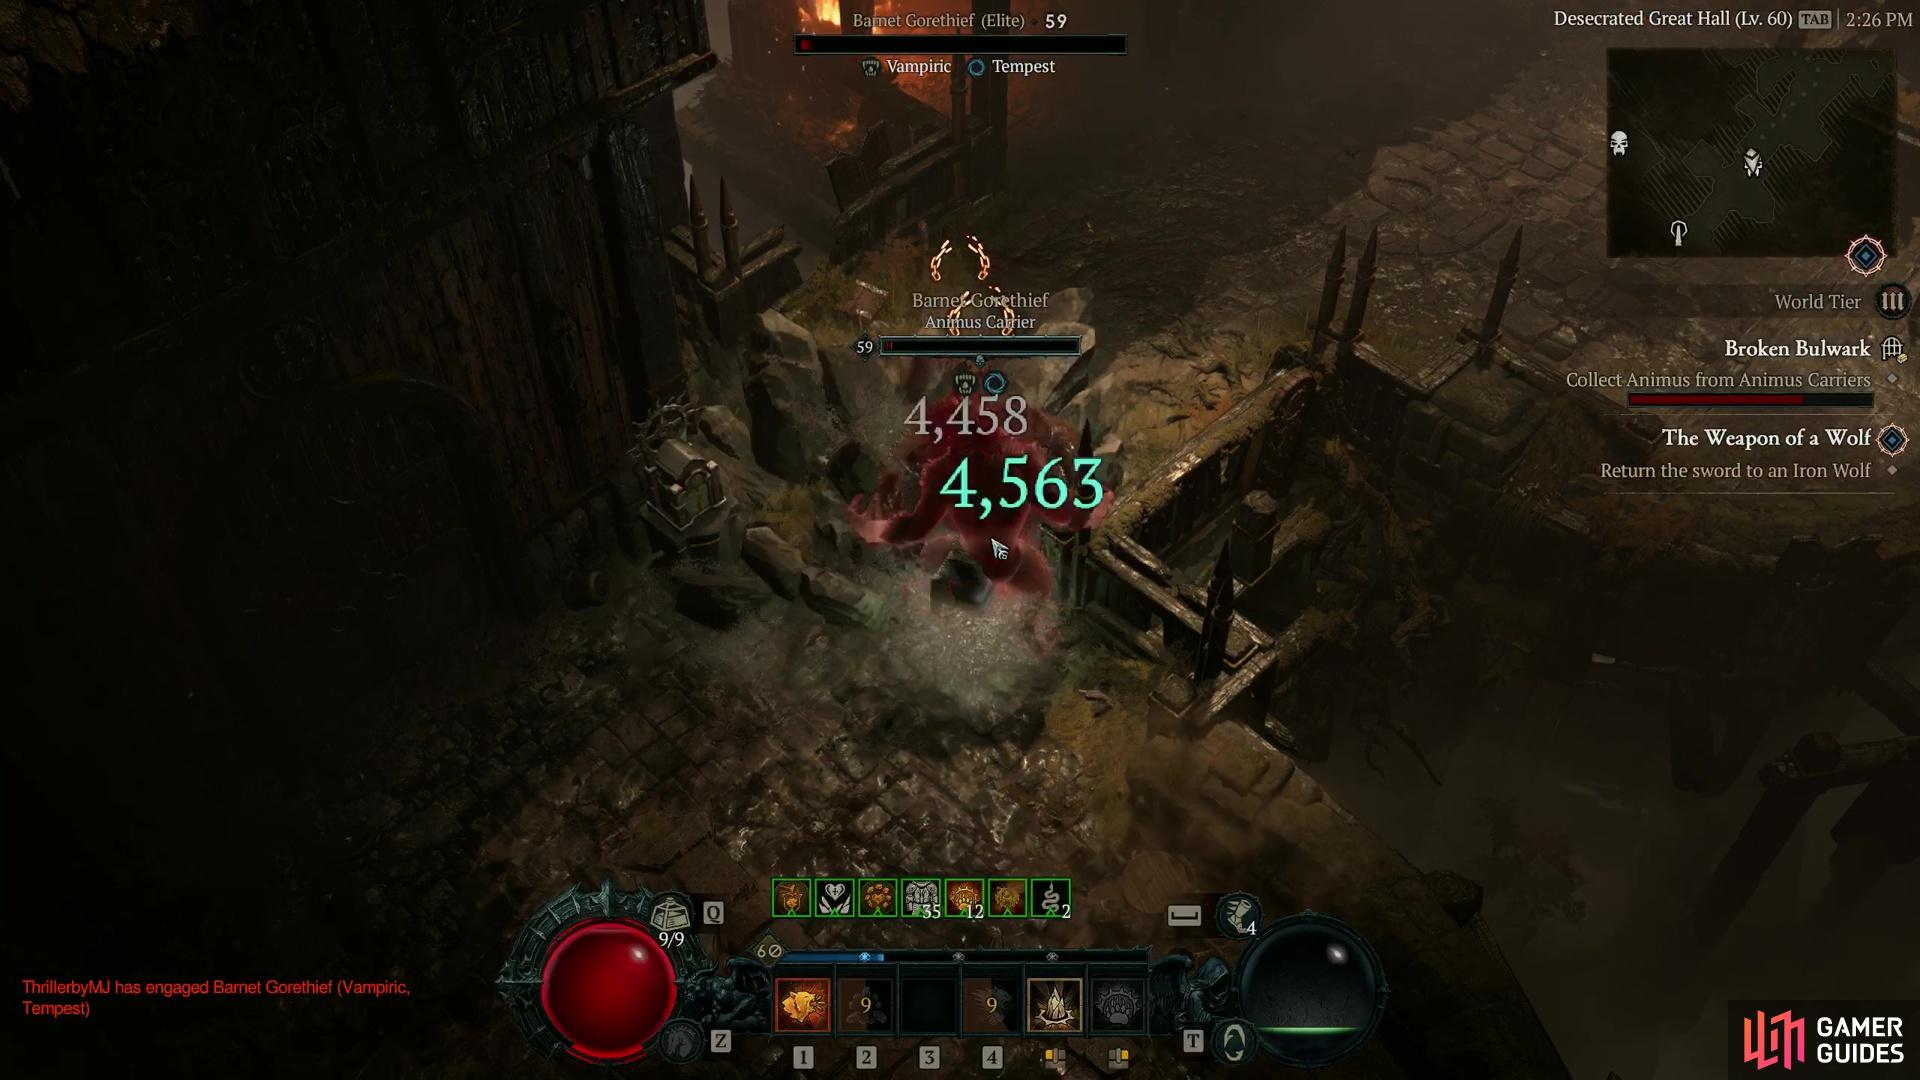
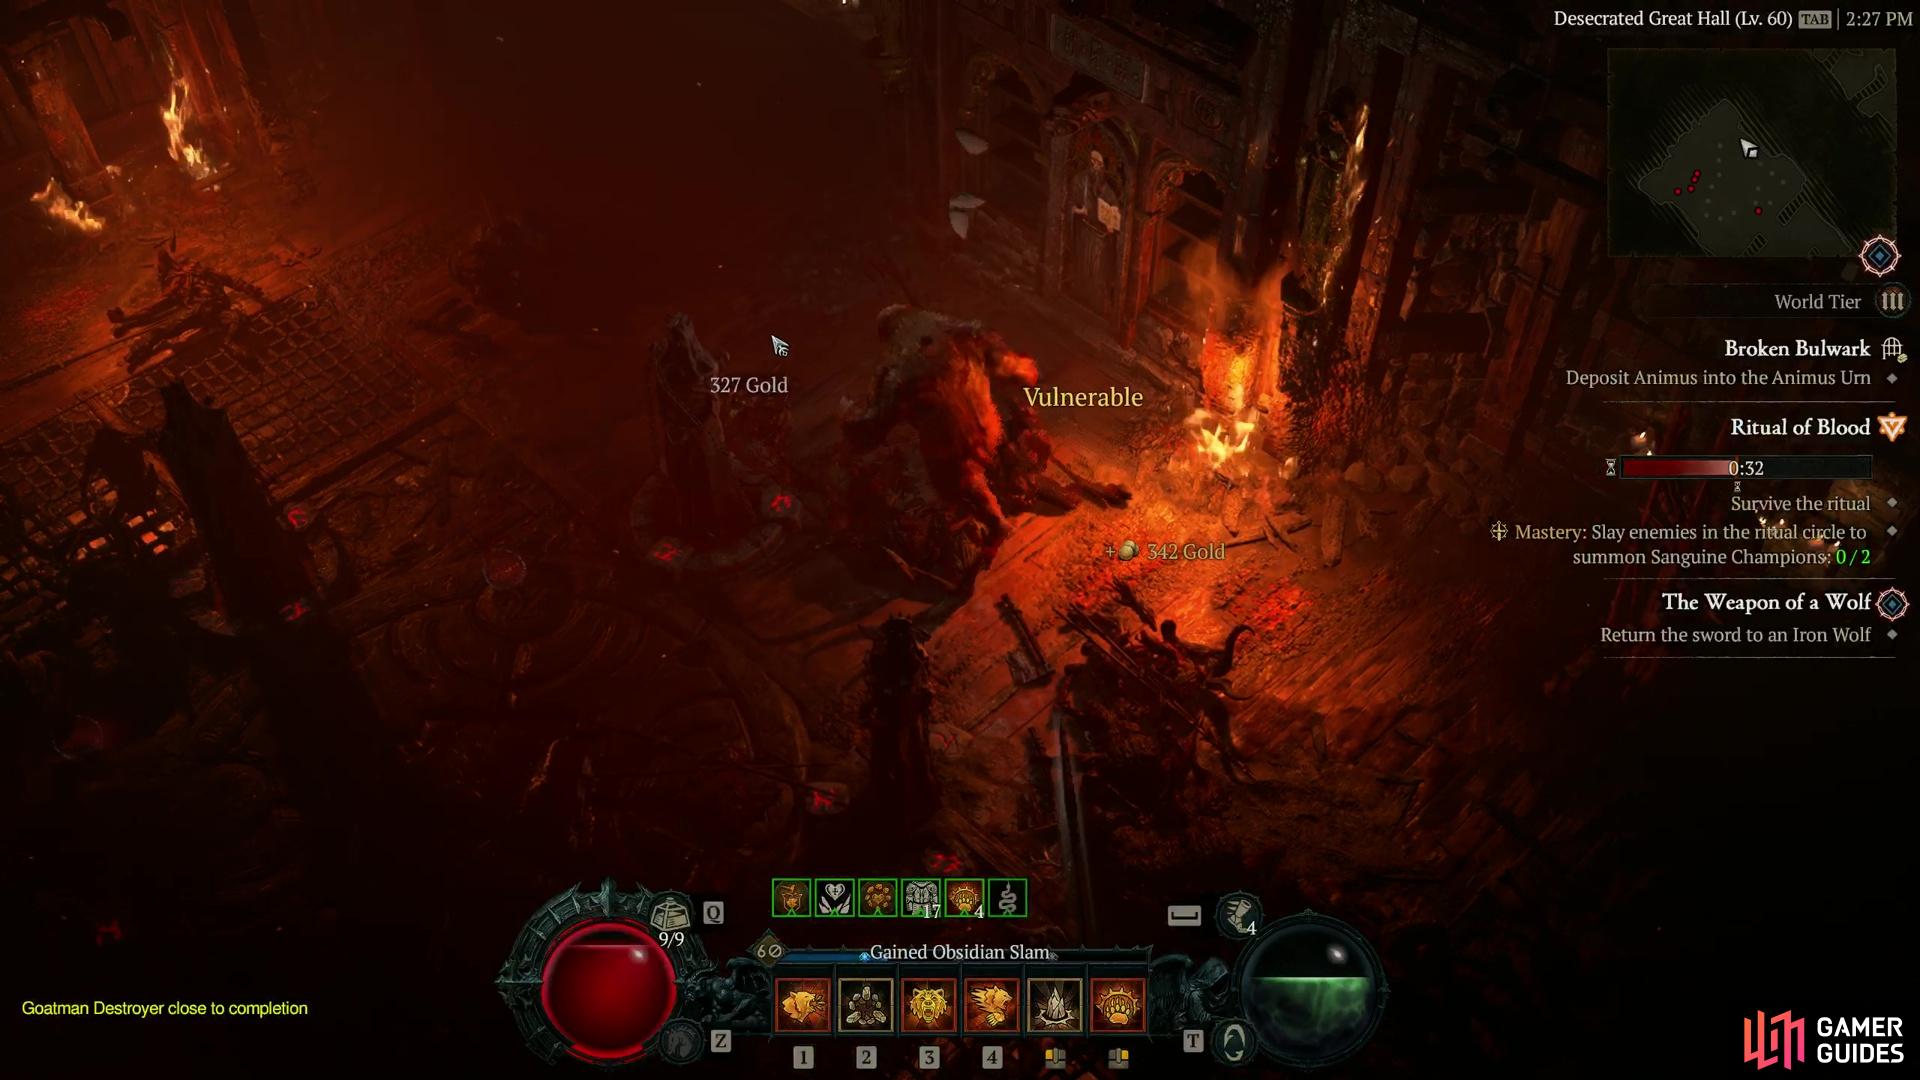
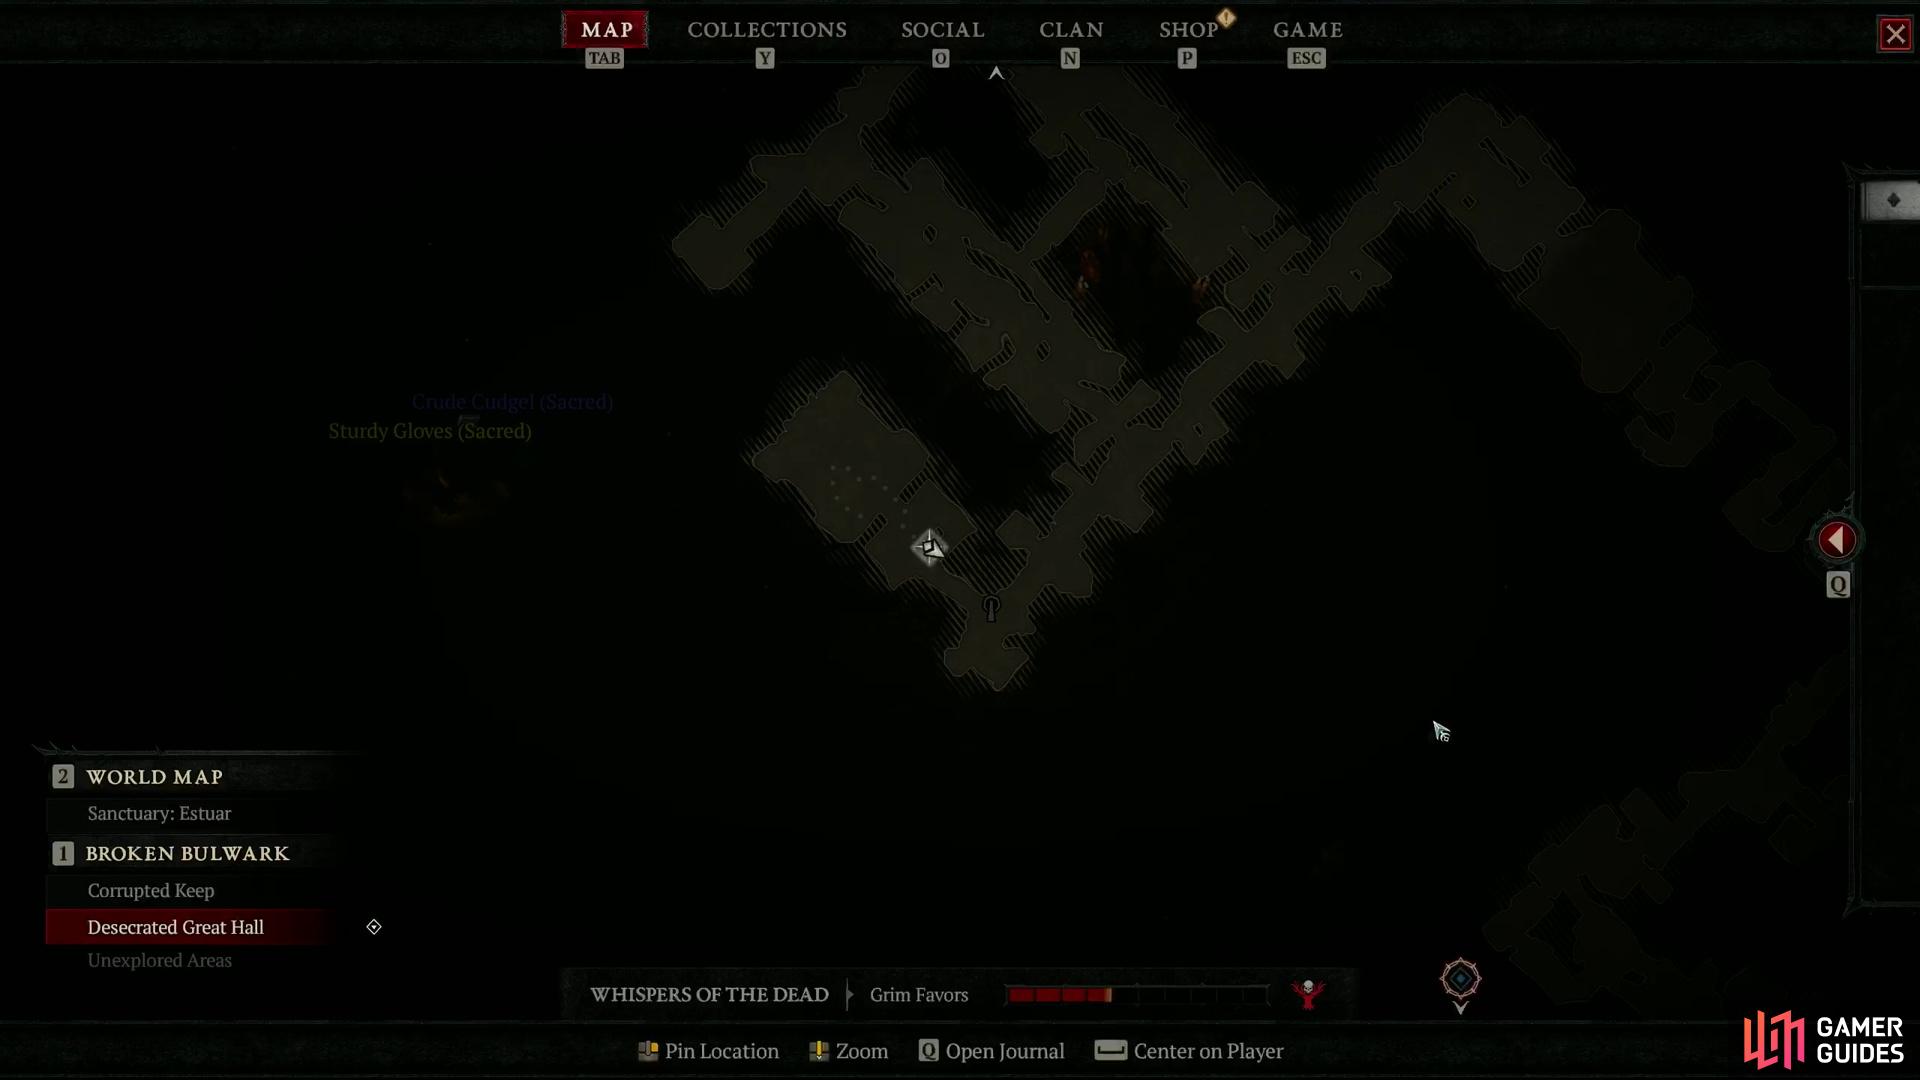
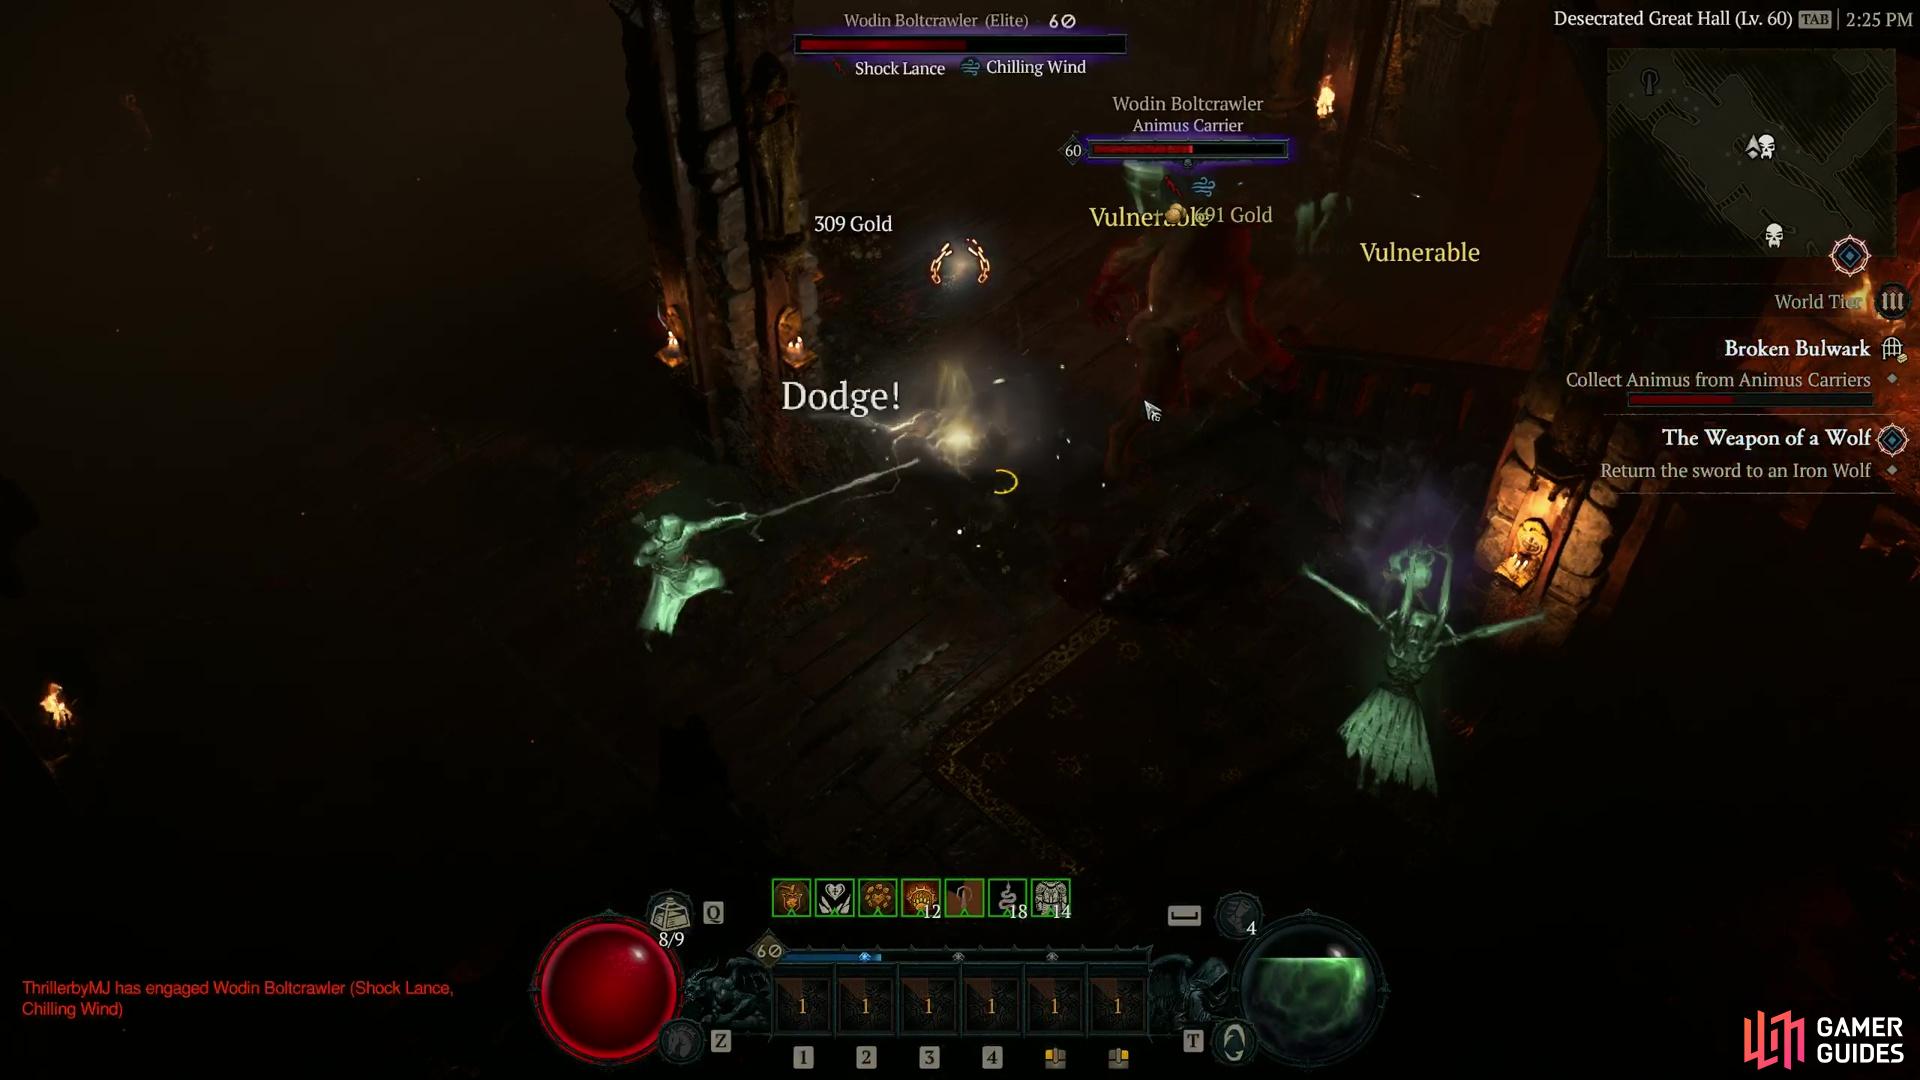
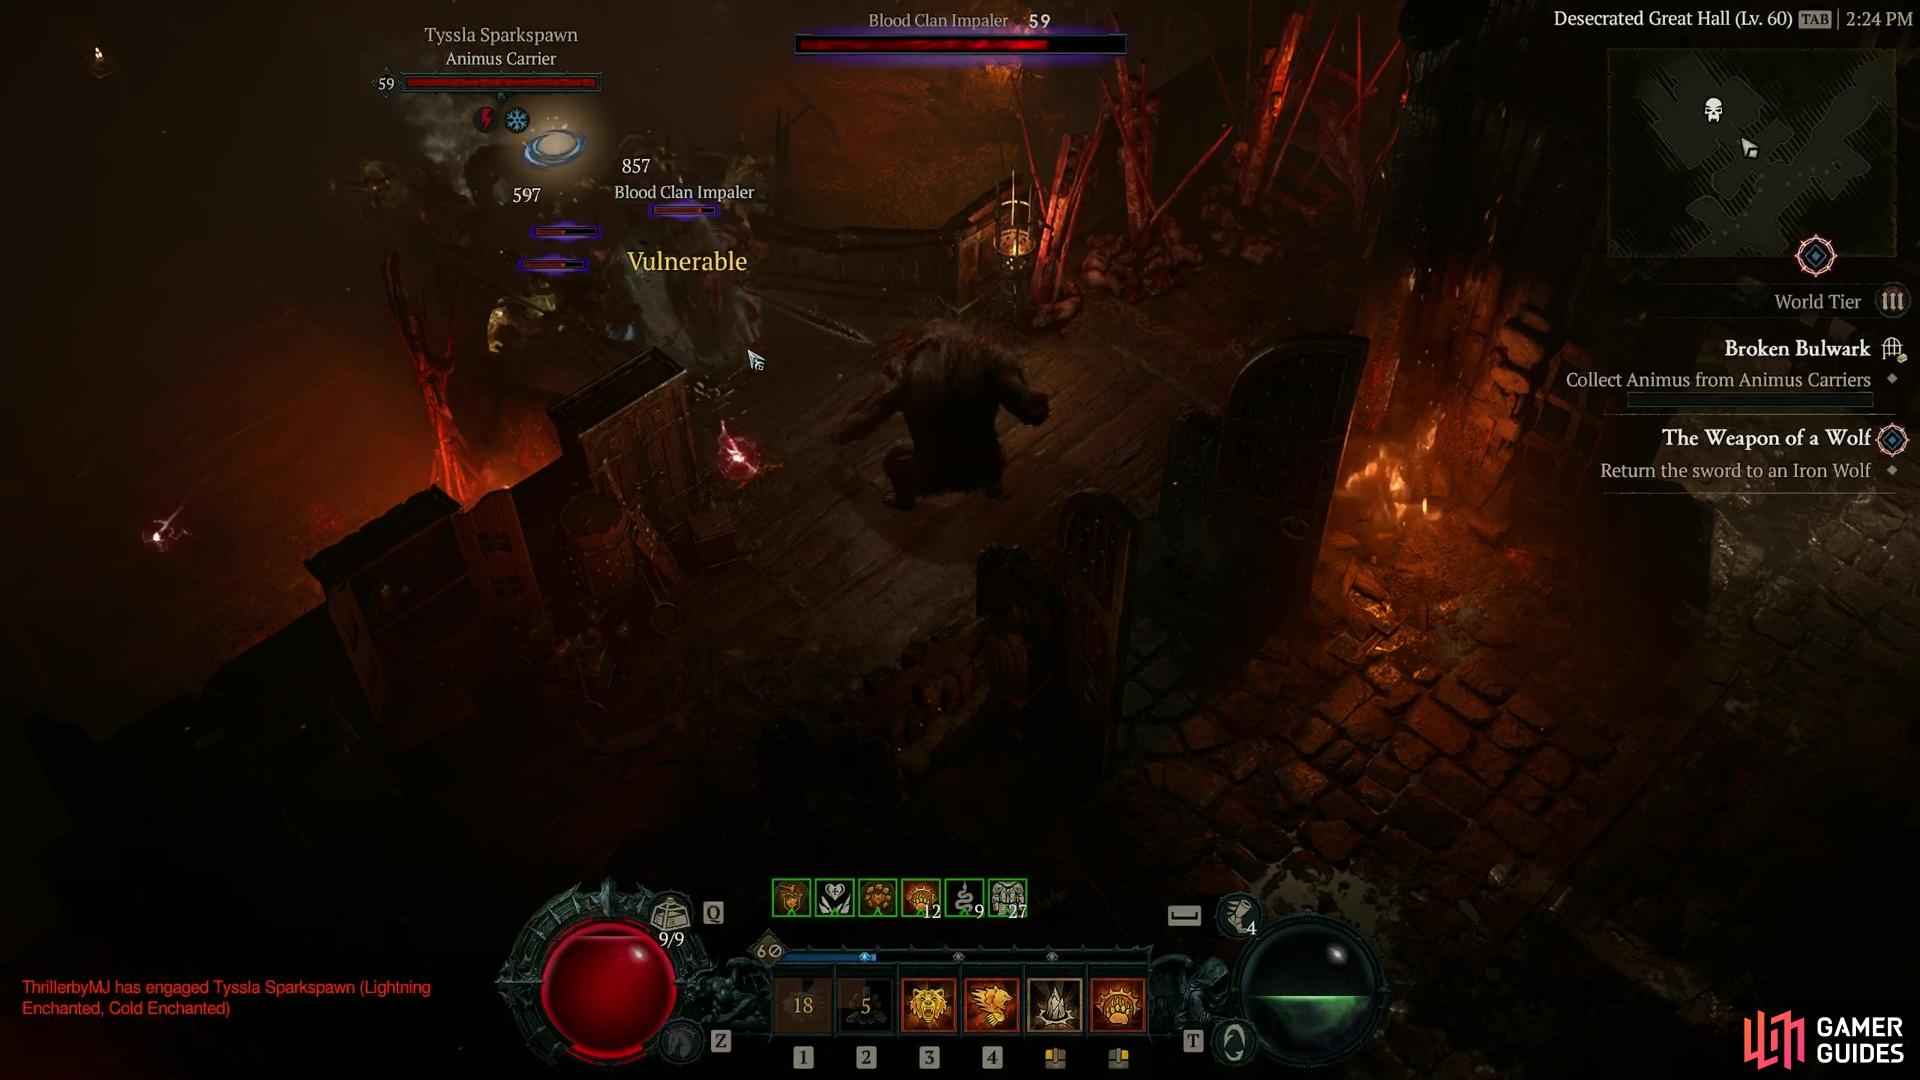
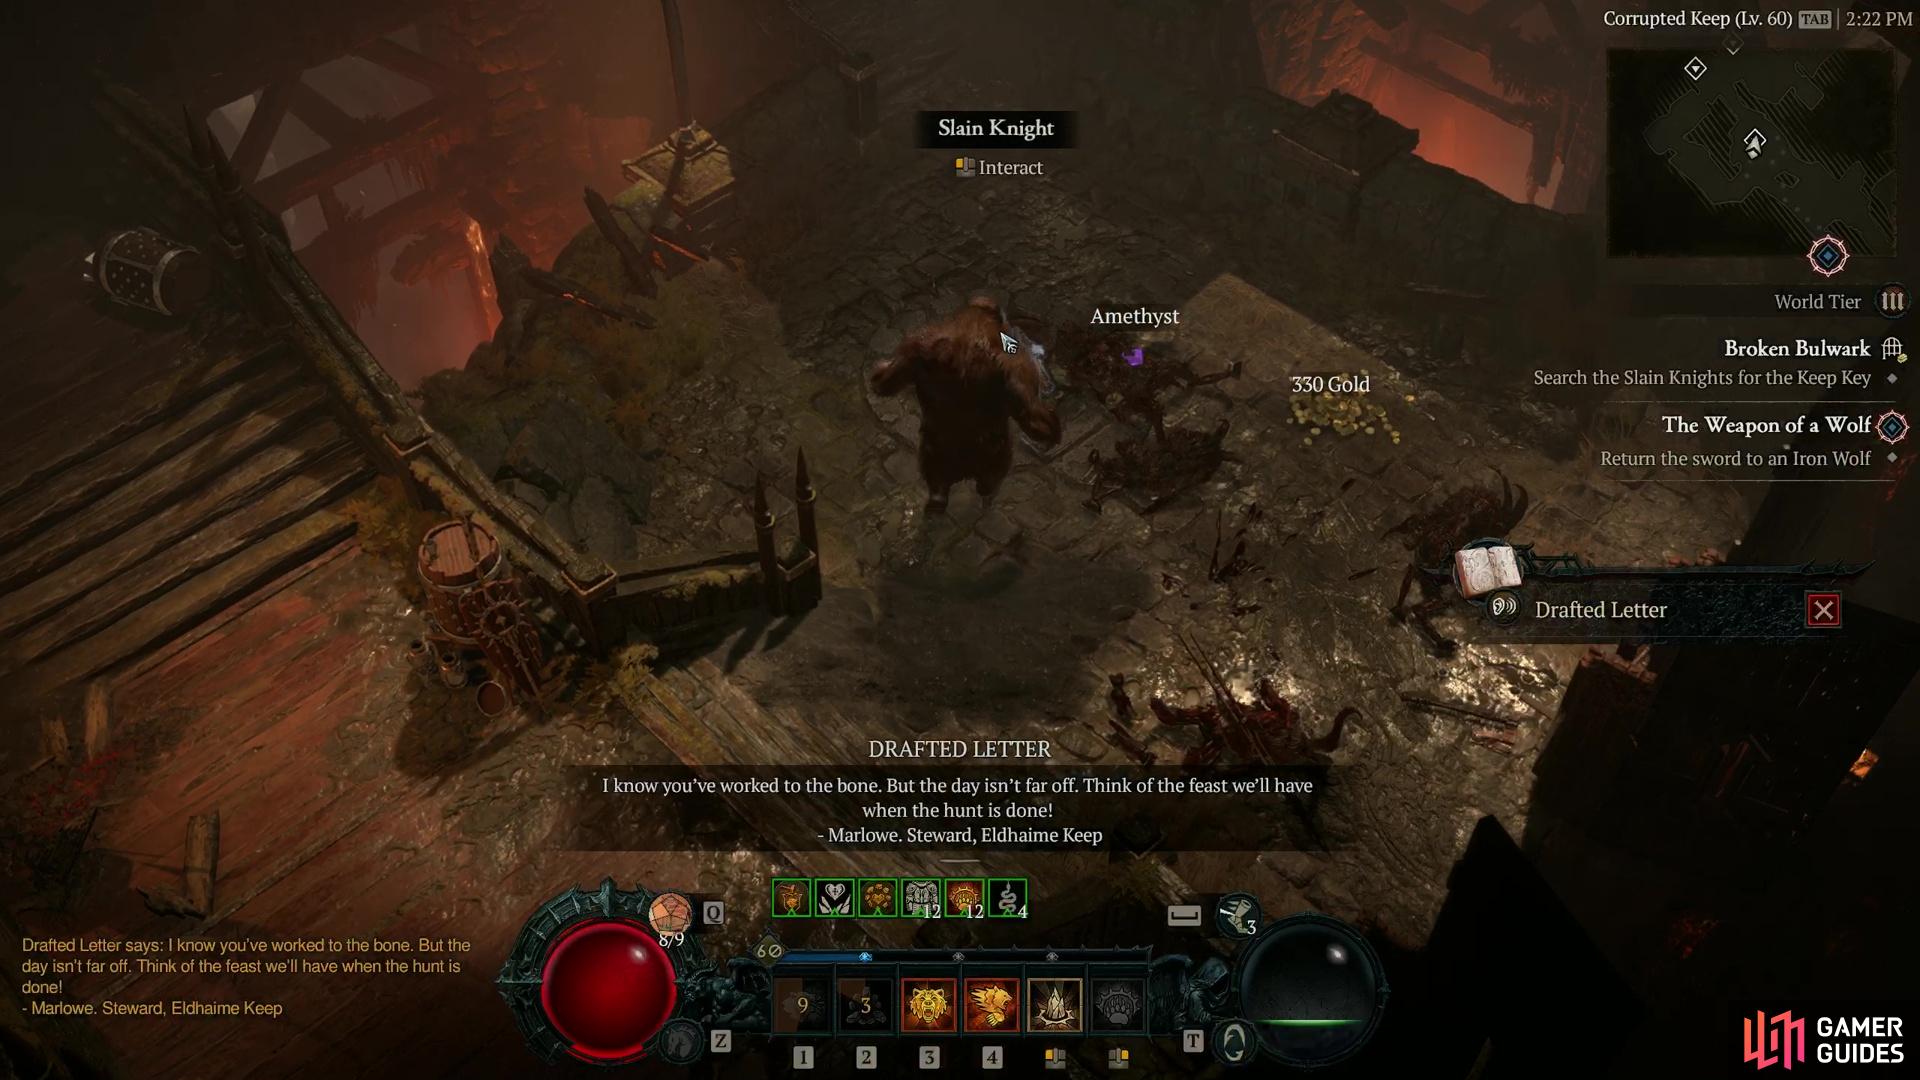
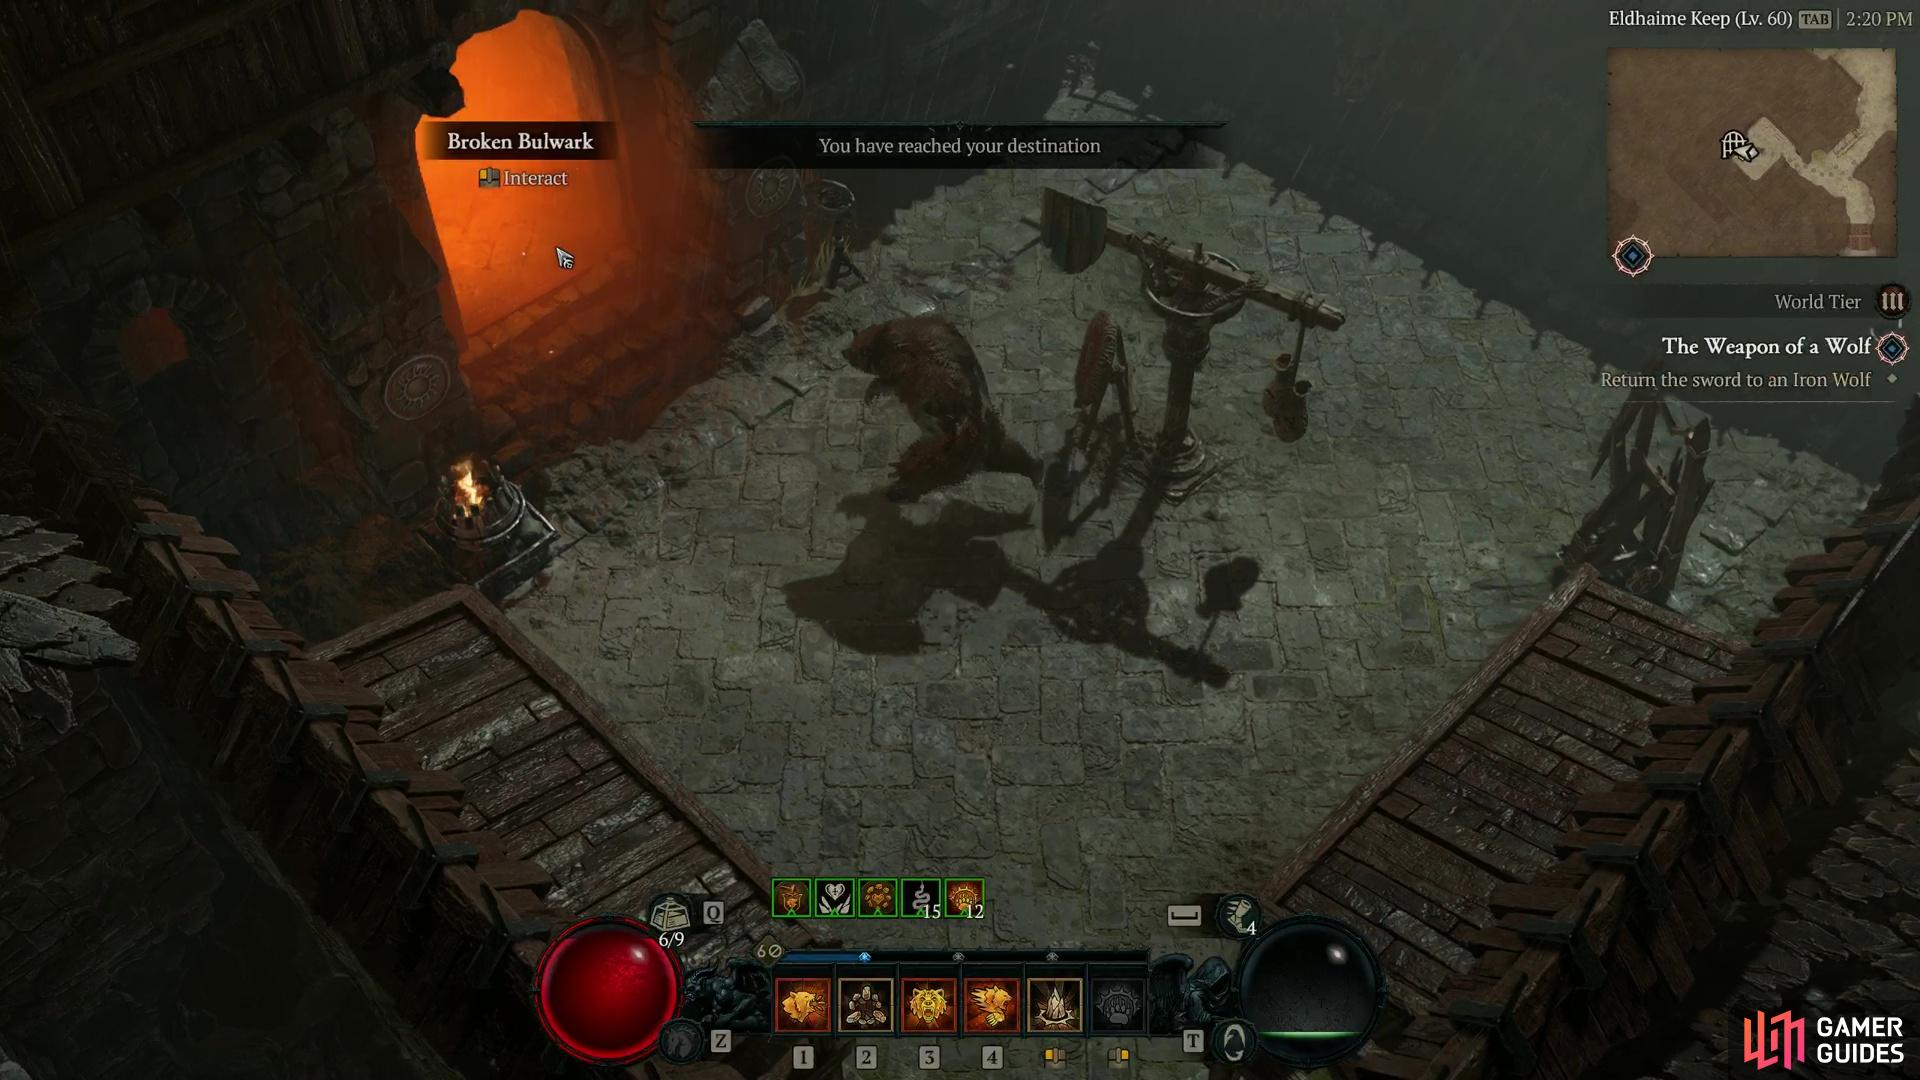
Broken Bulwark |
Once part of Danon’s estate, and razed with the rest.
Objectives
Description
Broken Bulwark Diablop 4 WalkthroughThe main thing that you need to know about this dungeons is that the enemies inside typically consist of Moon Clan Goatmen, Ghosts / The After that, its the usual Totem and Level intermission room, before you proceed to the next. Kill the spawning enemies, destroy totems, and activate them when you get a spare moment. Now you’re into the next phase of the level, you need to patrol the largely rectangular area of the next keep and battlement. There’s typically one to two elites near each other that are part of the Animus Collectors objective. Be mindful they are separated into some small cut off areas, so you will need to backtrack around the edges of the battlements, before sweeping into the Keep and going from one hall to another. After that, you should have enough Animus, open the door, and kill the boss,
Enemies
1×
Region
Item Reward
|

|
|||||||||||||||||||||||||||||||||||||||||||||||||||||||||||||||||||||||||||||||||||||||||||||||