Den Mother Bosses
In-Game Description
A massive werewolf, the Den Mother can disappear and reappear at will, deal massive damage with combo swipe attacks, is incredibly fast and will start to summon packs of wolves later on through the fight.
Description
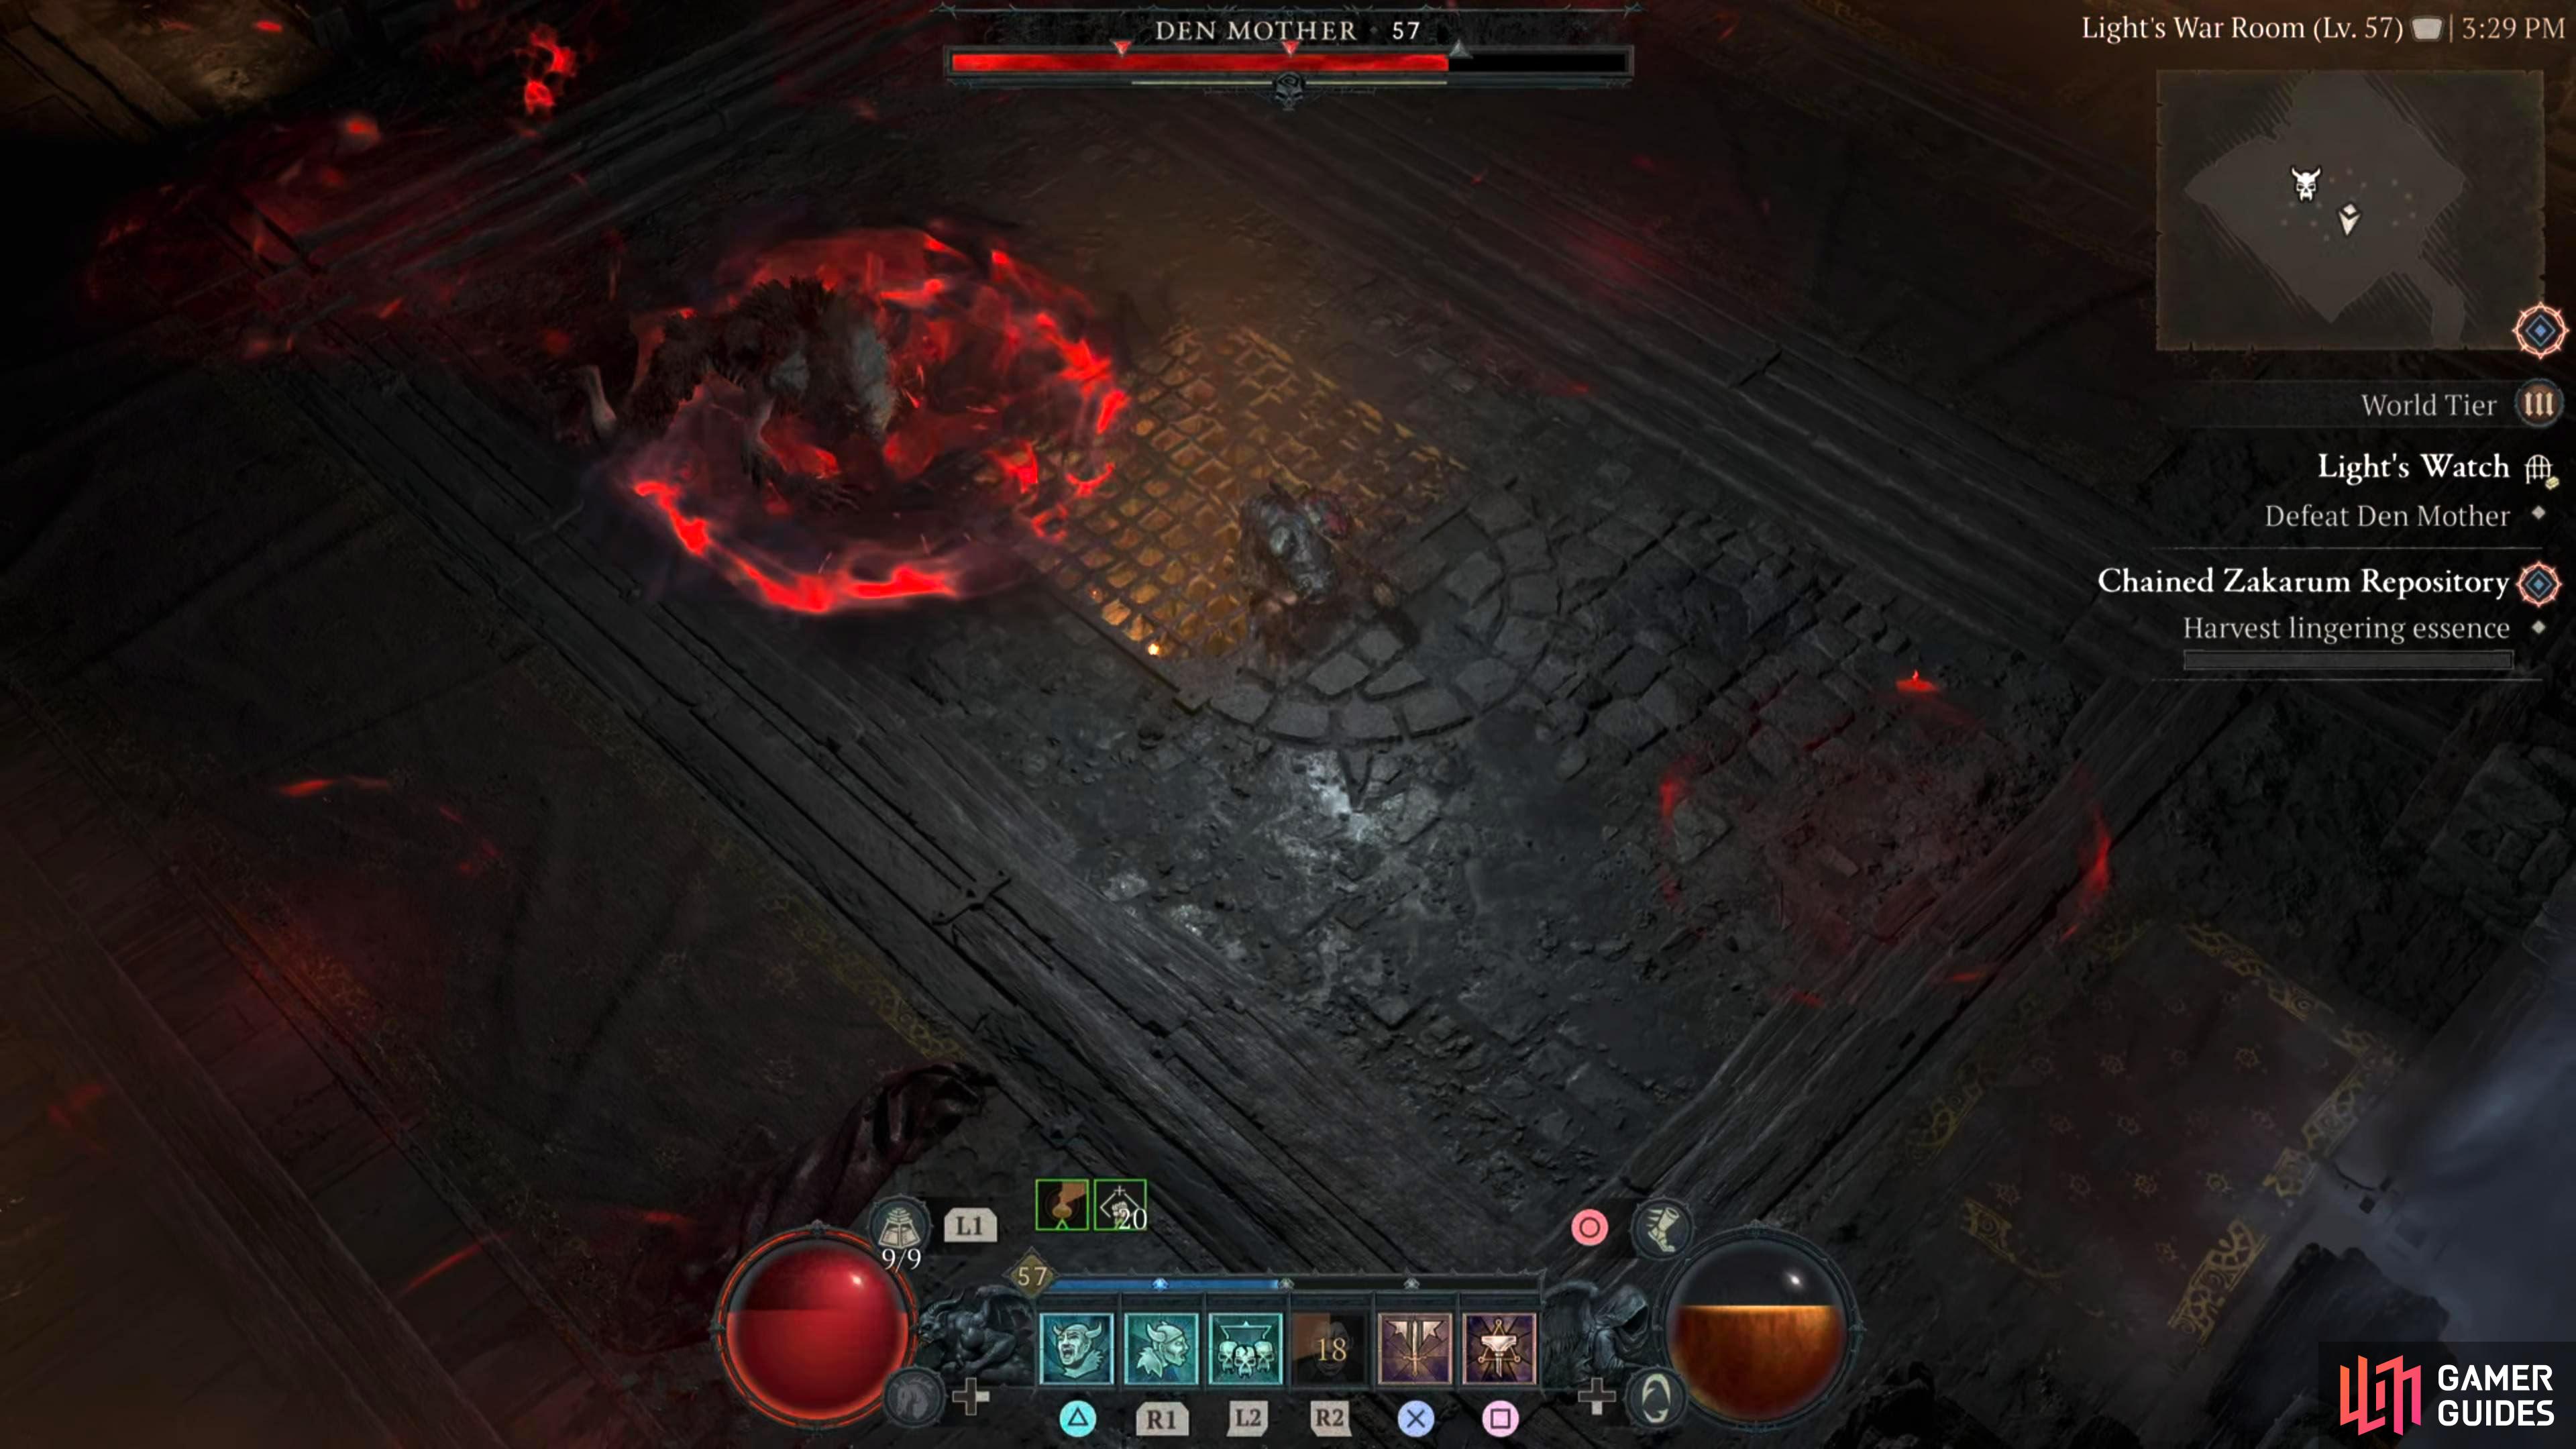
The ![]() Den Mother is a relatively easy fight if you know what’s coming. Most of its attacks are melee-based, although it does have an area-of-effect attack, and it can summon
Den Mother is a relatively easy fight if you know what’s coming. Most of its attacks are melee-based, although it does have an area-of-effect attack, and it can summon ![]() Prowlers to support its carnage. Here’s a look at the
Prowlers to support its carnage. Here’s a look at the ![]() Den Mother’s arsenal:
Den Mother’s arsenal:
-
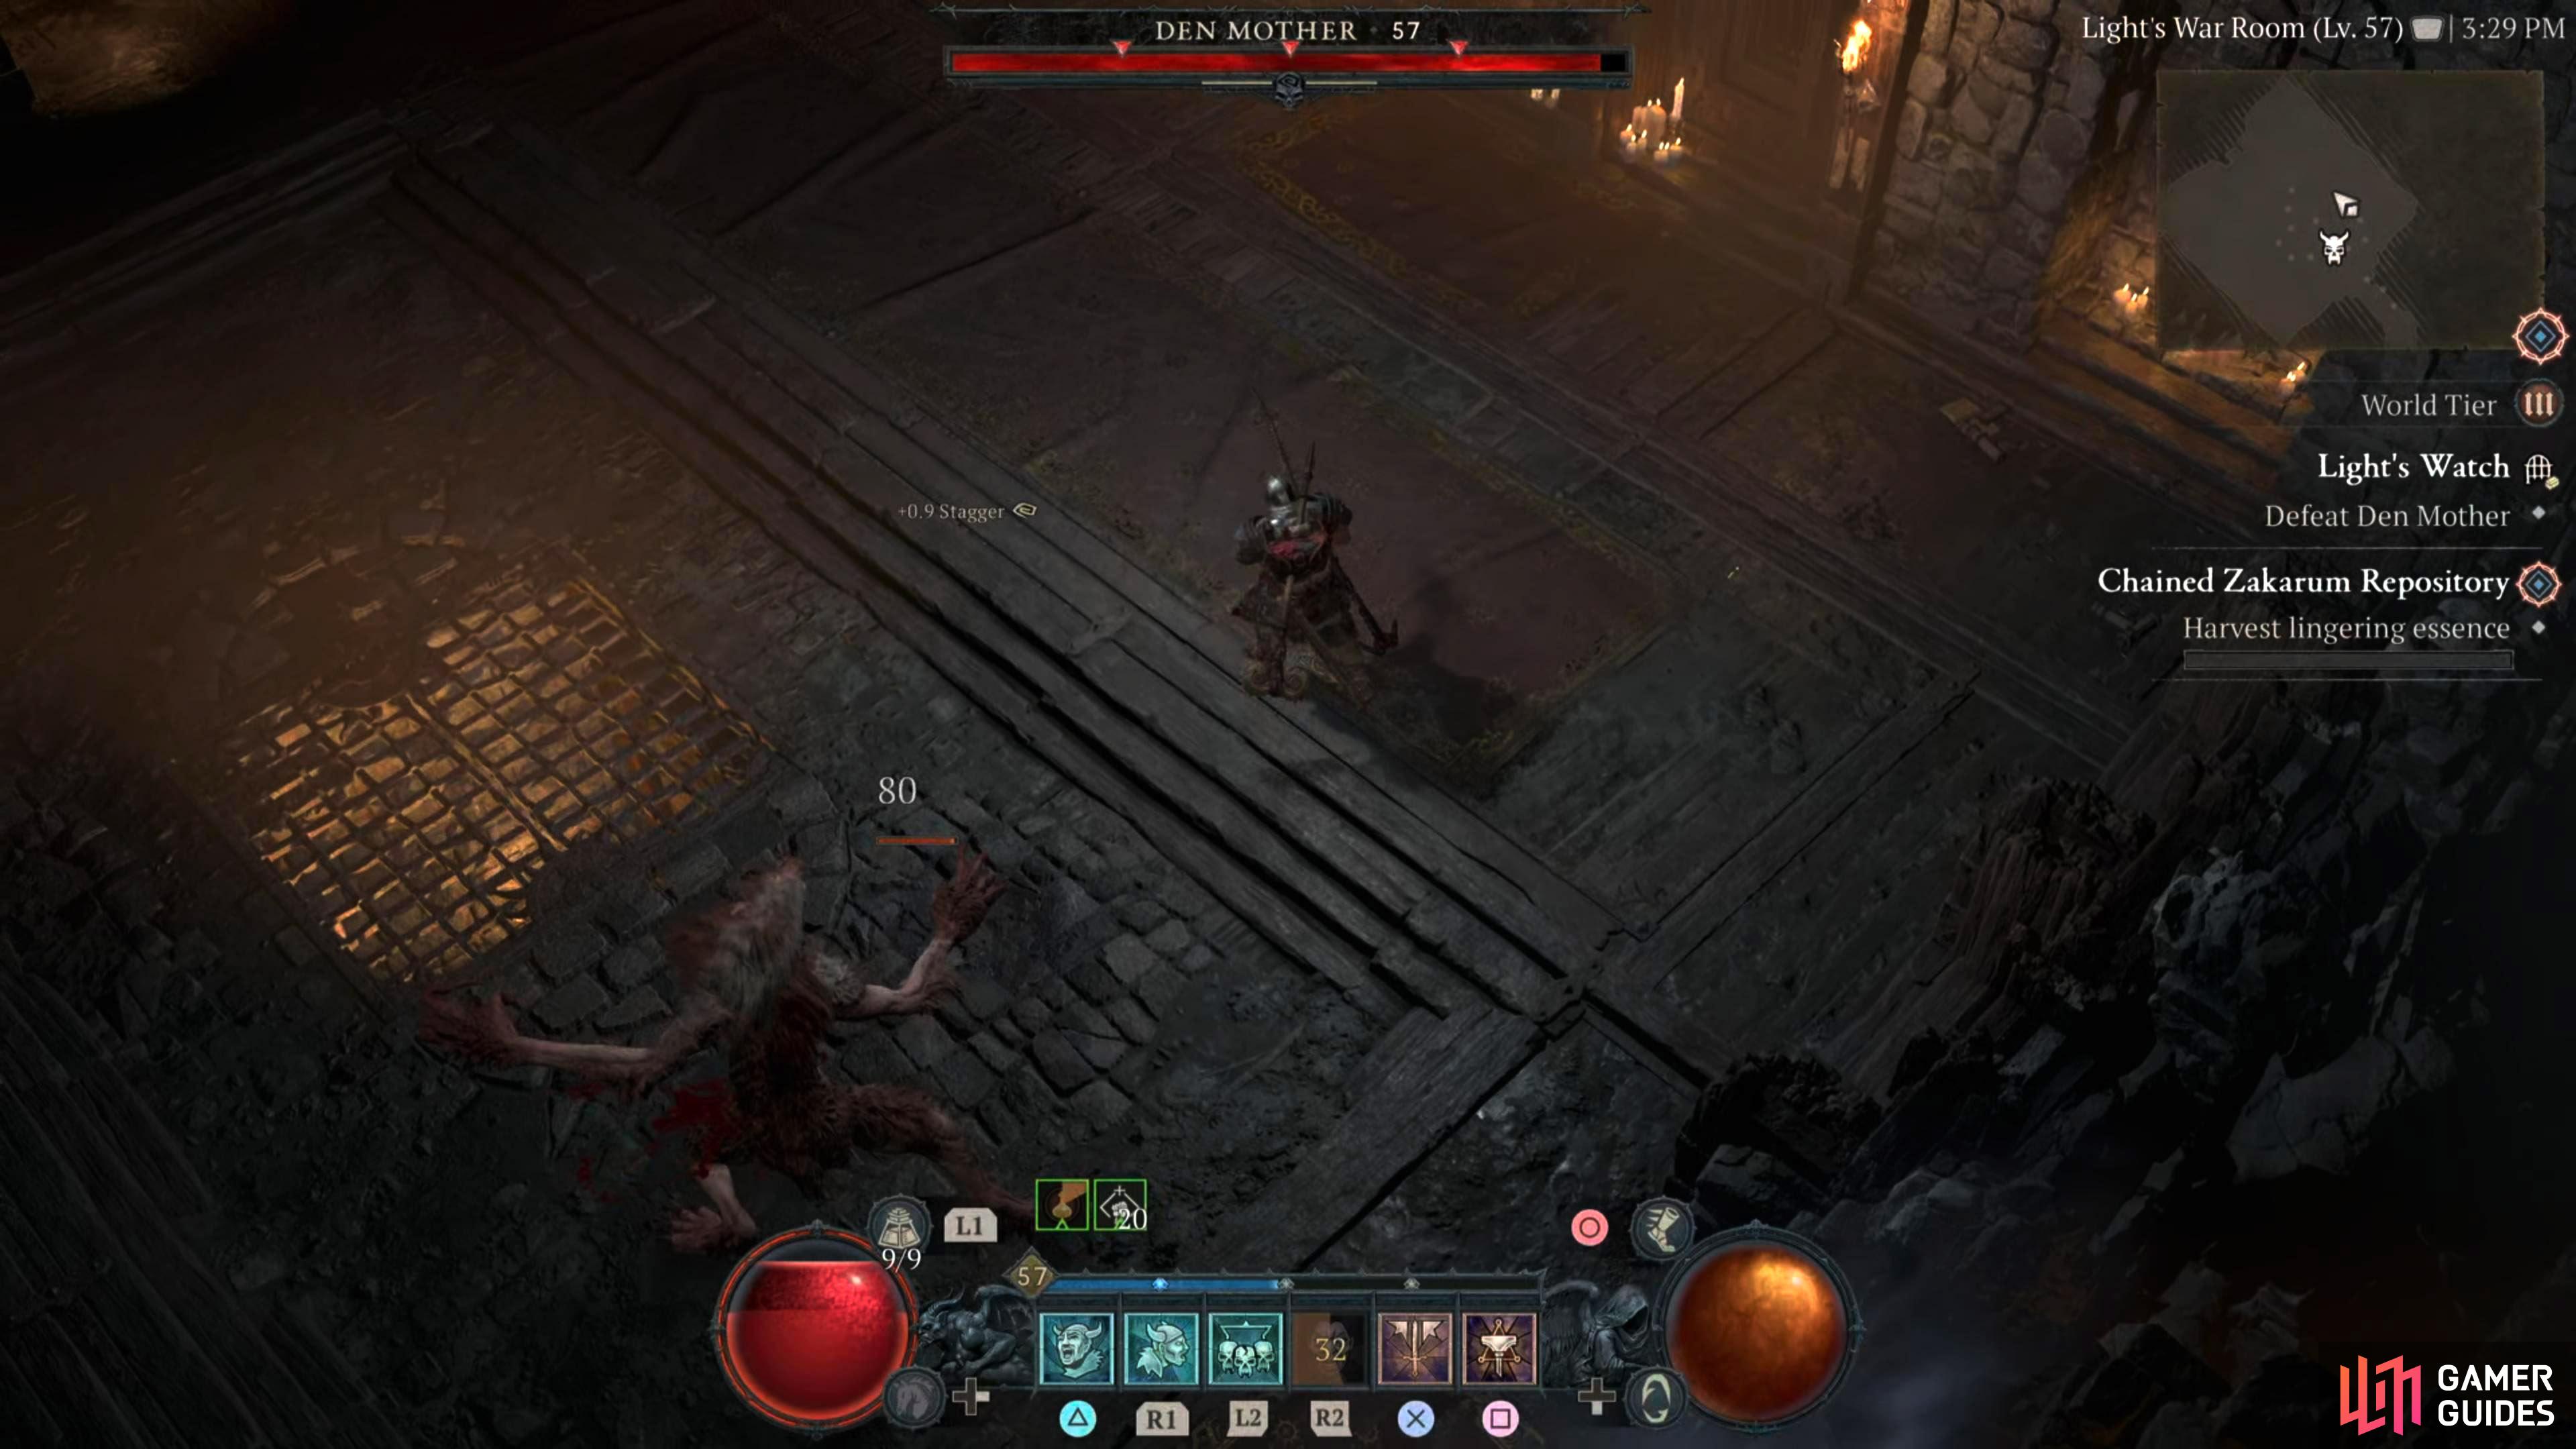
Swipe - This is a regular bog-standard melee attack that will barely cause any damage.
-
Charged Lunge - Although this is similar to Swipe, the boss will charge it up, and lunge towards you. If it hits you, it can perform a small combo of slashes and swipes. Fortunately, it takes them about 5 years to execute it, so you can just run to the opposite side of the arena to avoid it.
-
Stealth Swipe - The boss will disappear, and reappear a few seconds later at your last location to perform swipes and slashes.
-
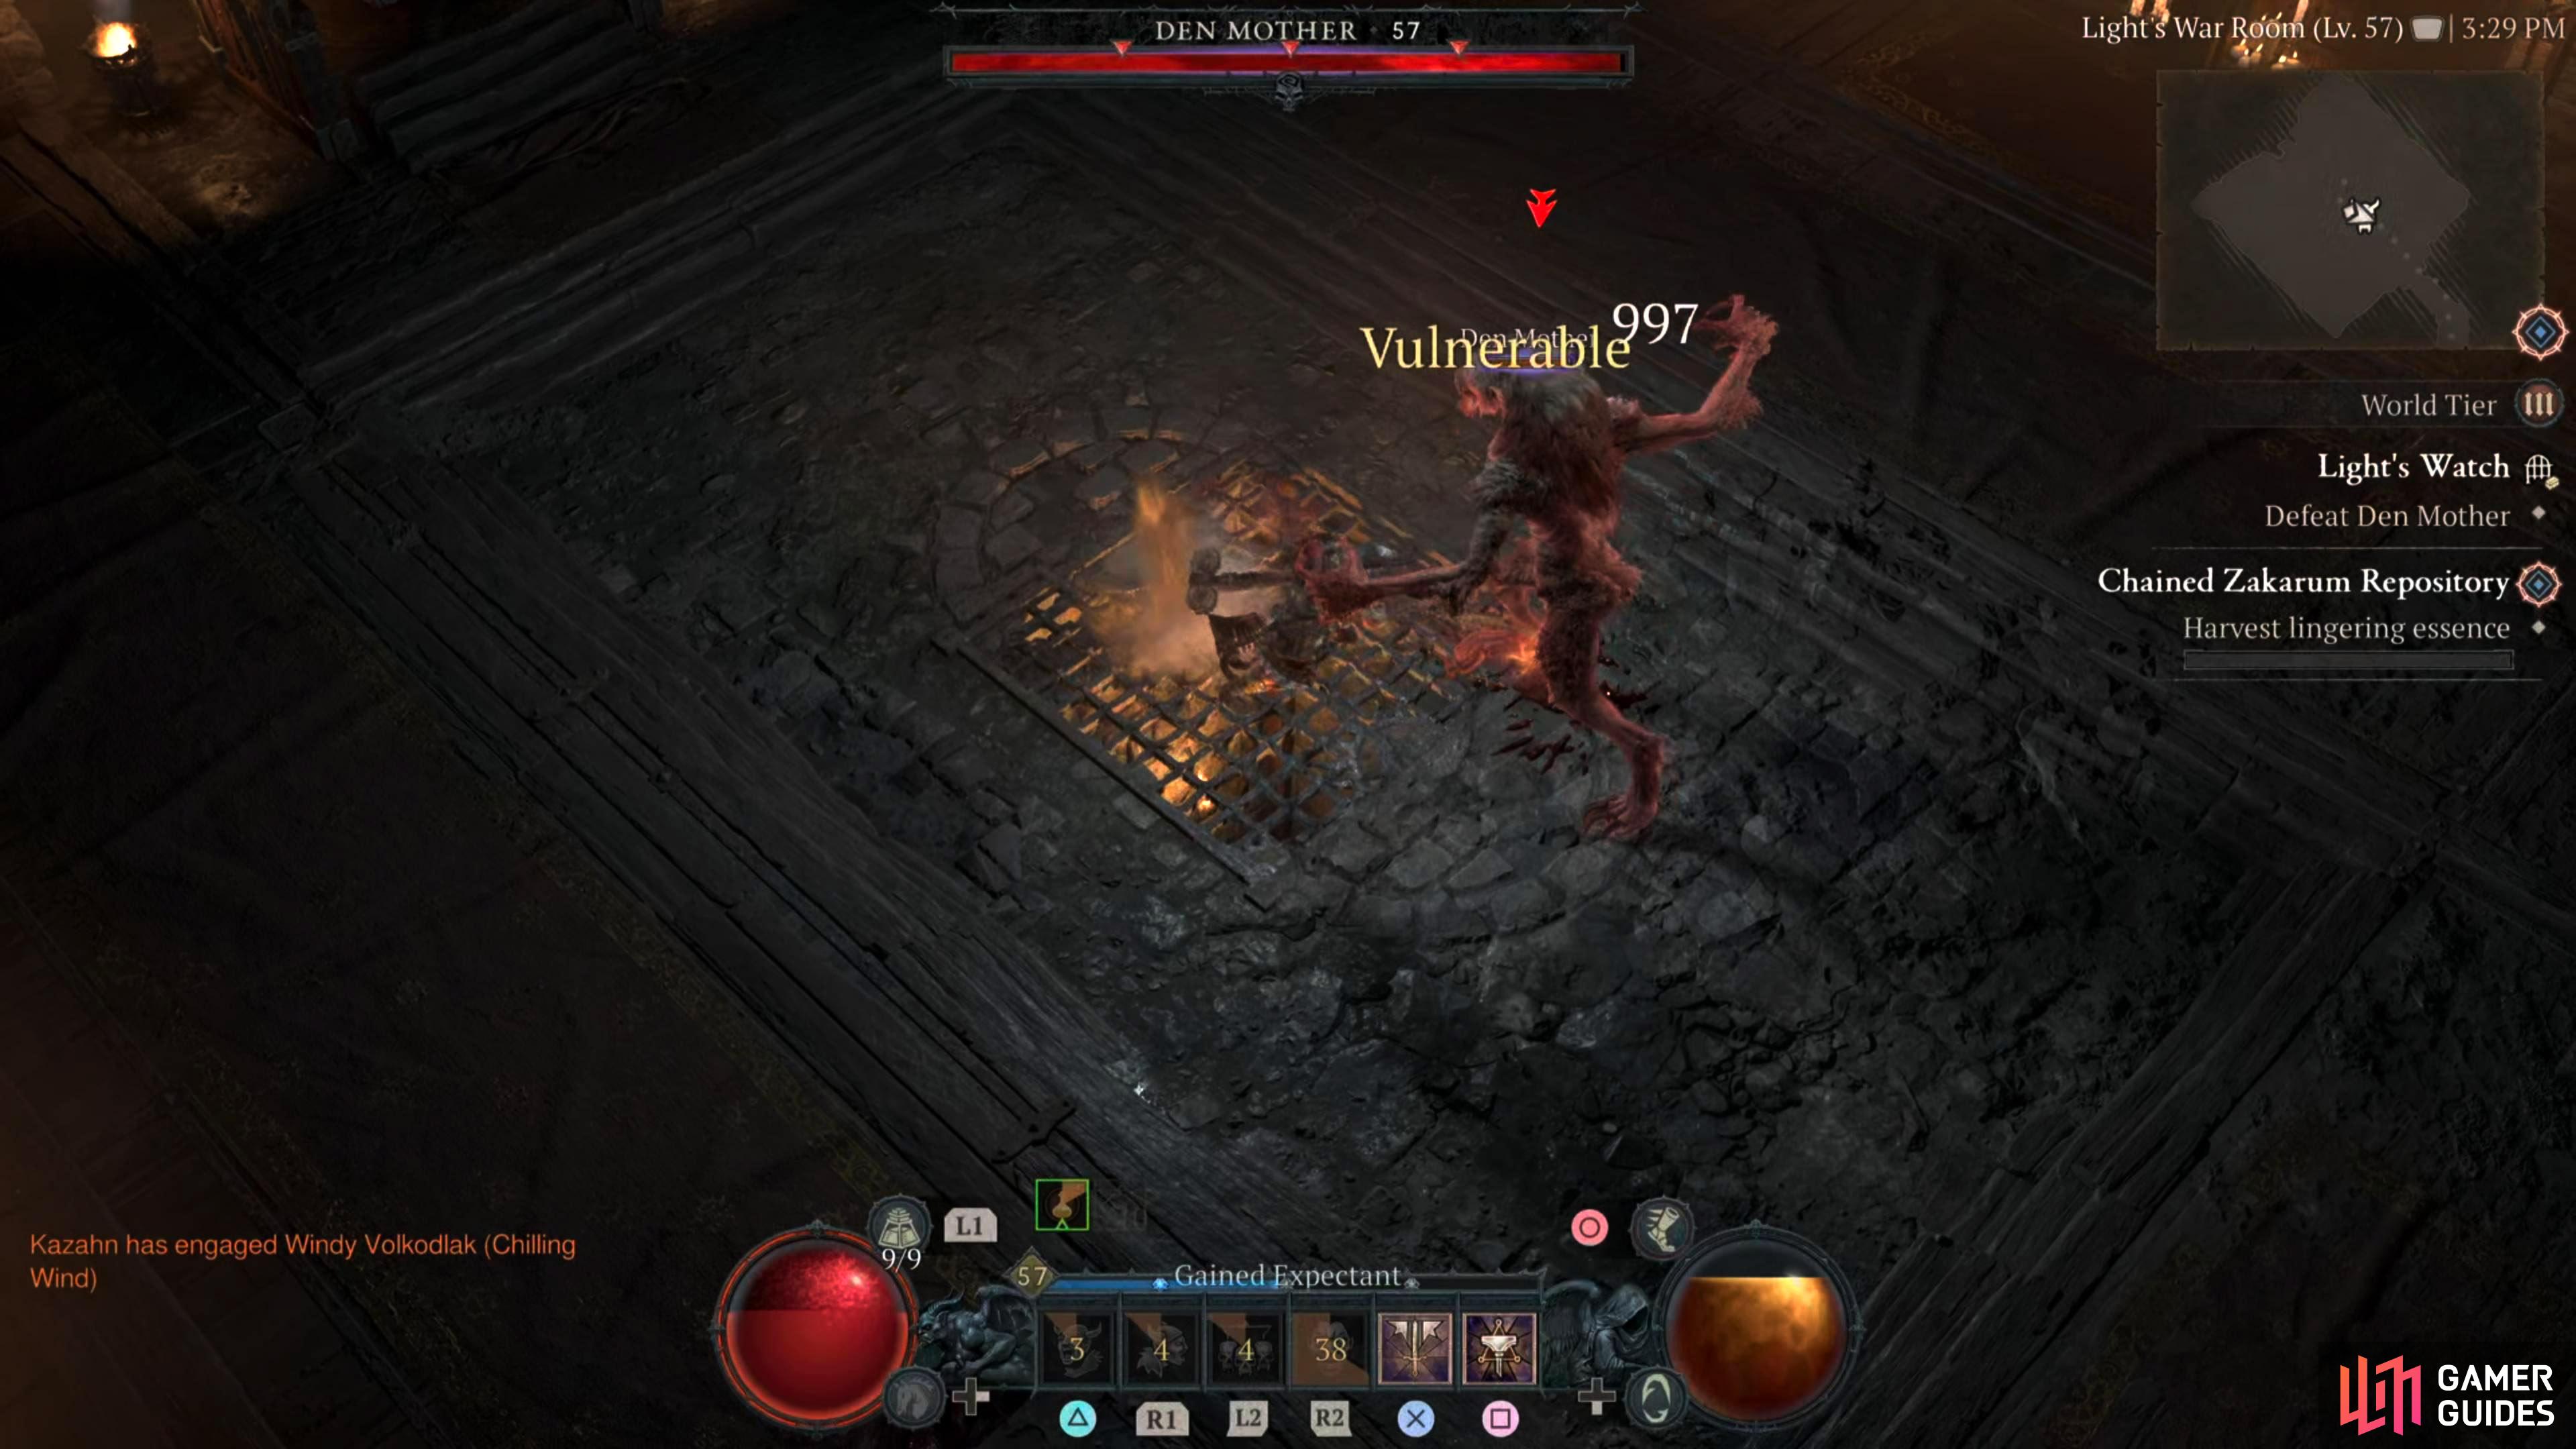
Blood Slam - Arguably the more difficult attack to avoid, but not by much. The
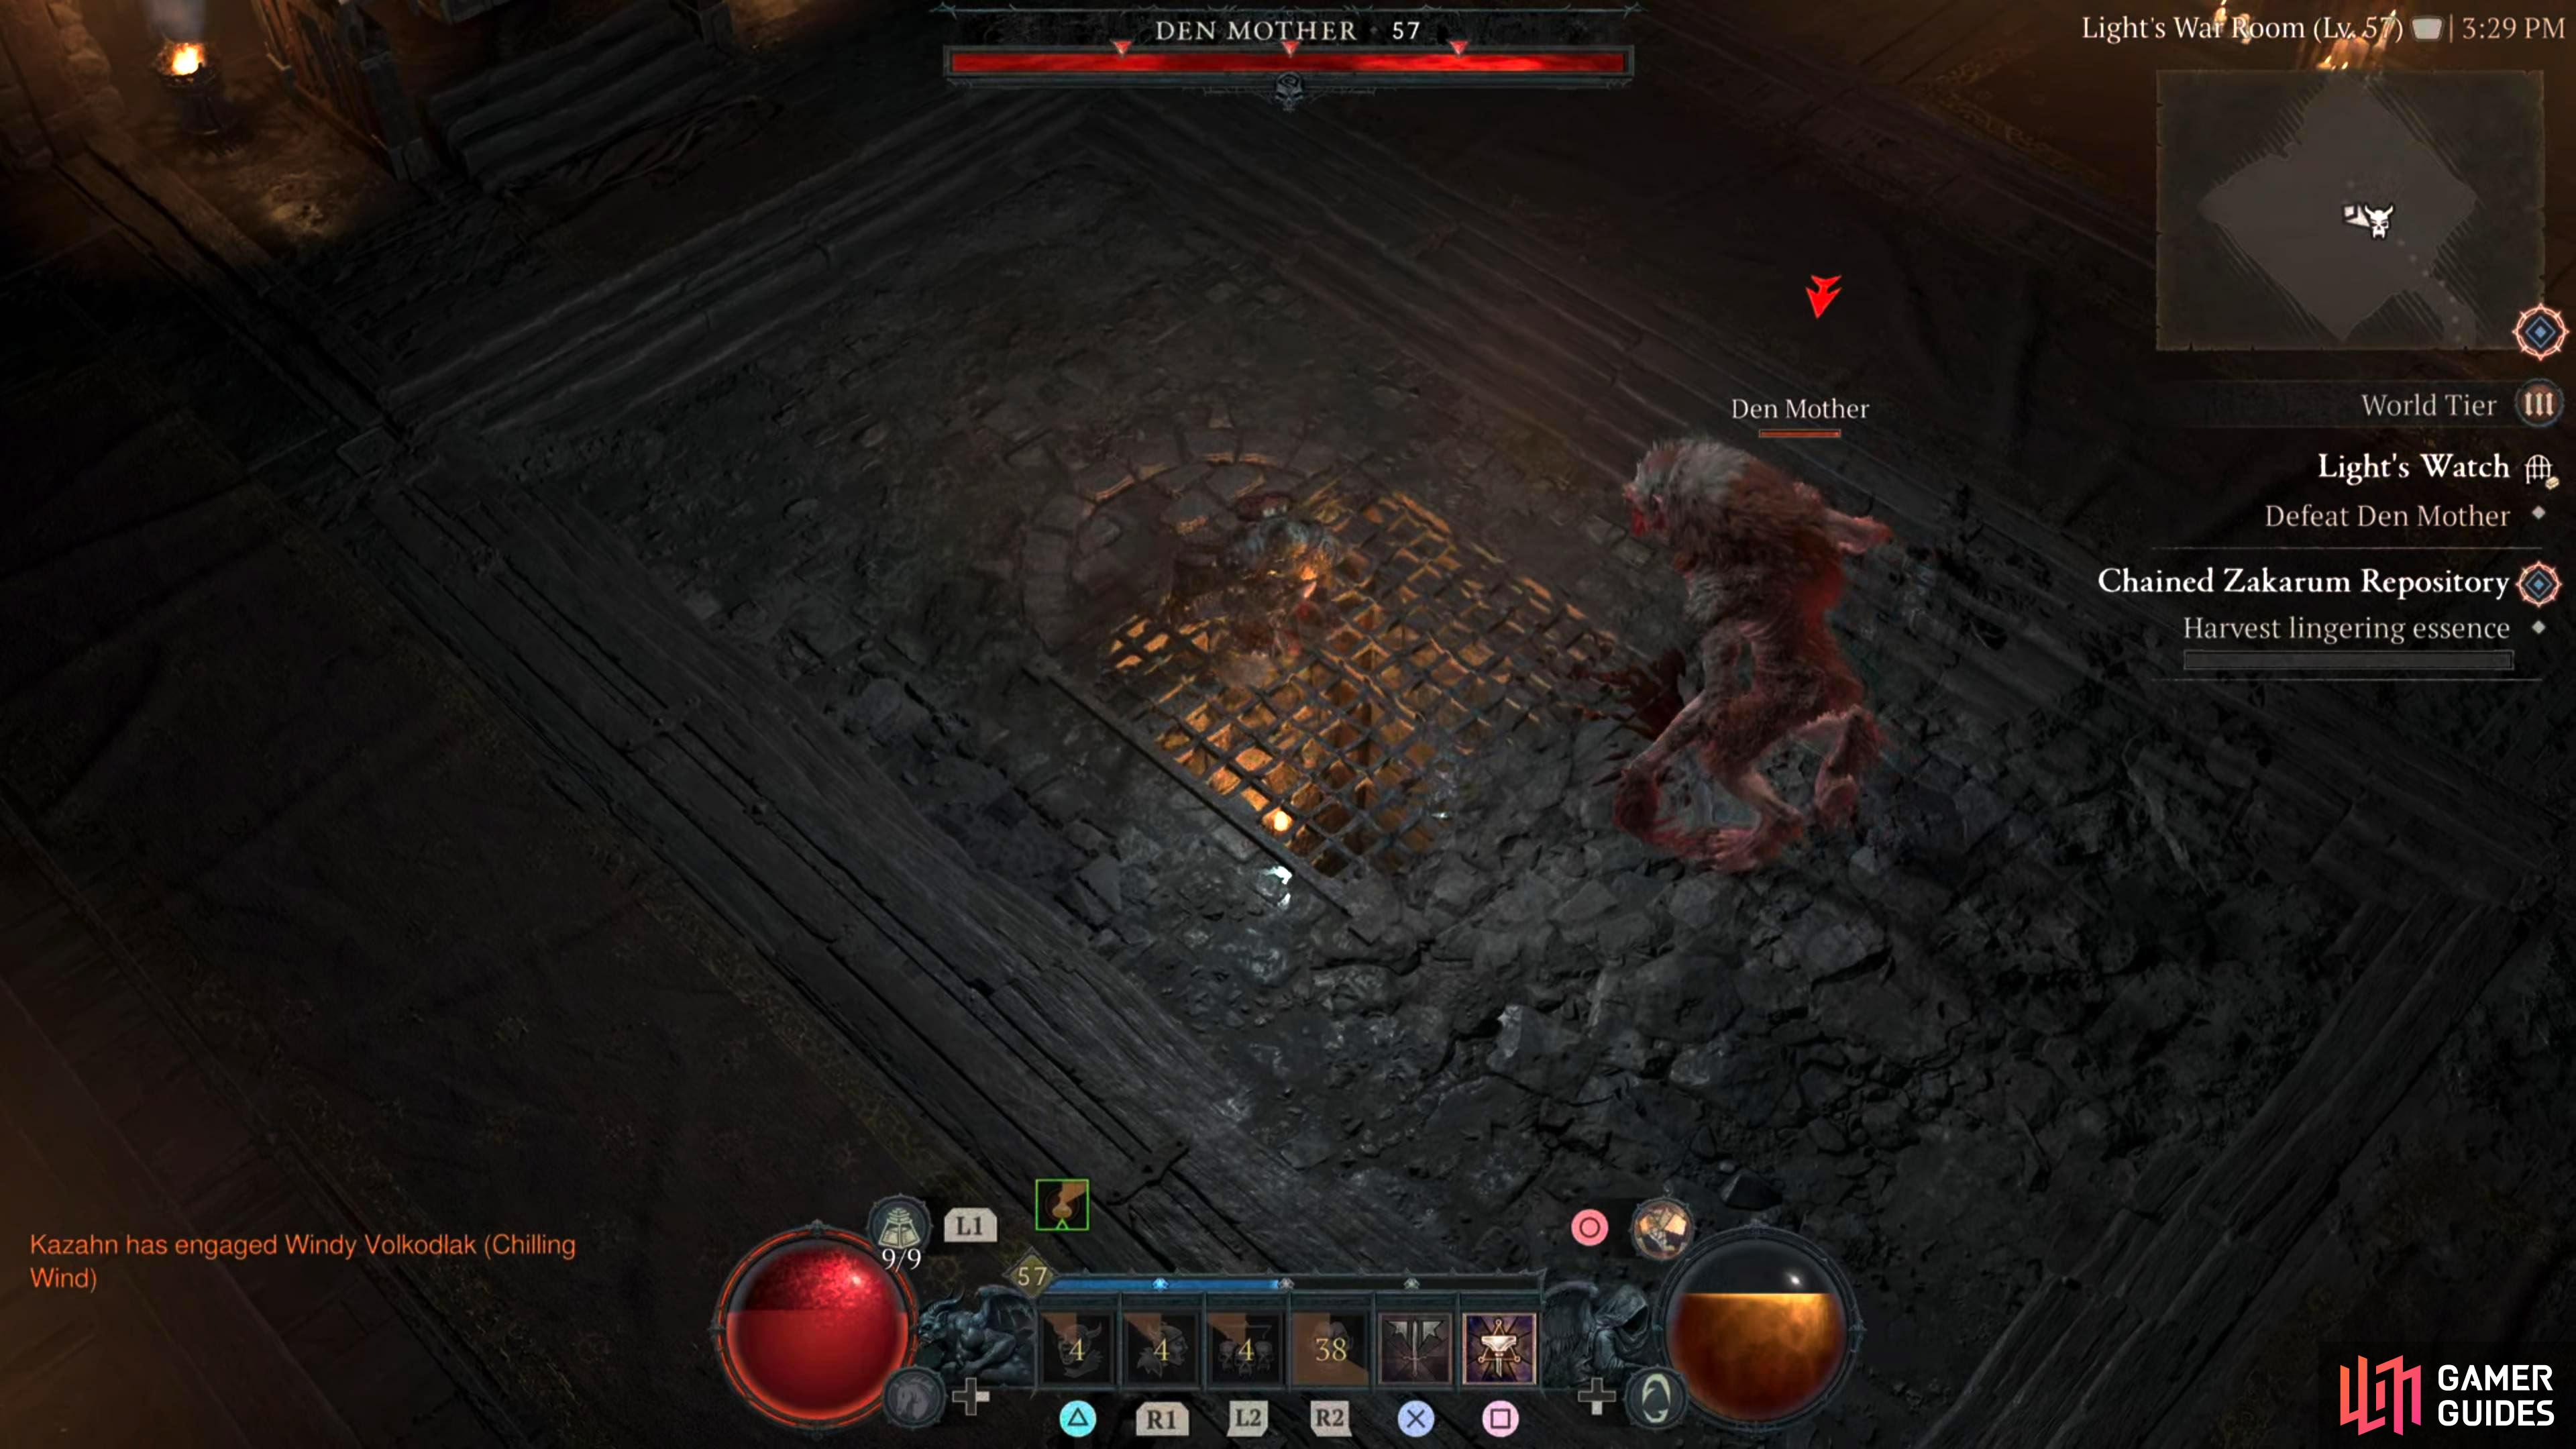
 Den Mother will slam on the ground, summoning blood pools under its paws where it slammed, as well as around the arena which will slowly drain your health if stood upon. This attack does cover a fair bit of the arena, but you don’t need to move too much anyway, so it shouldn’t cause you too many problems.
 -
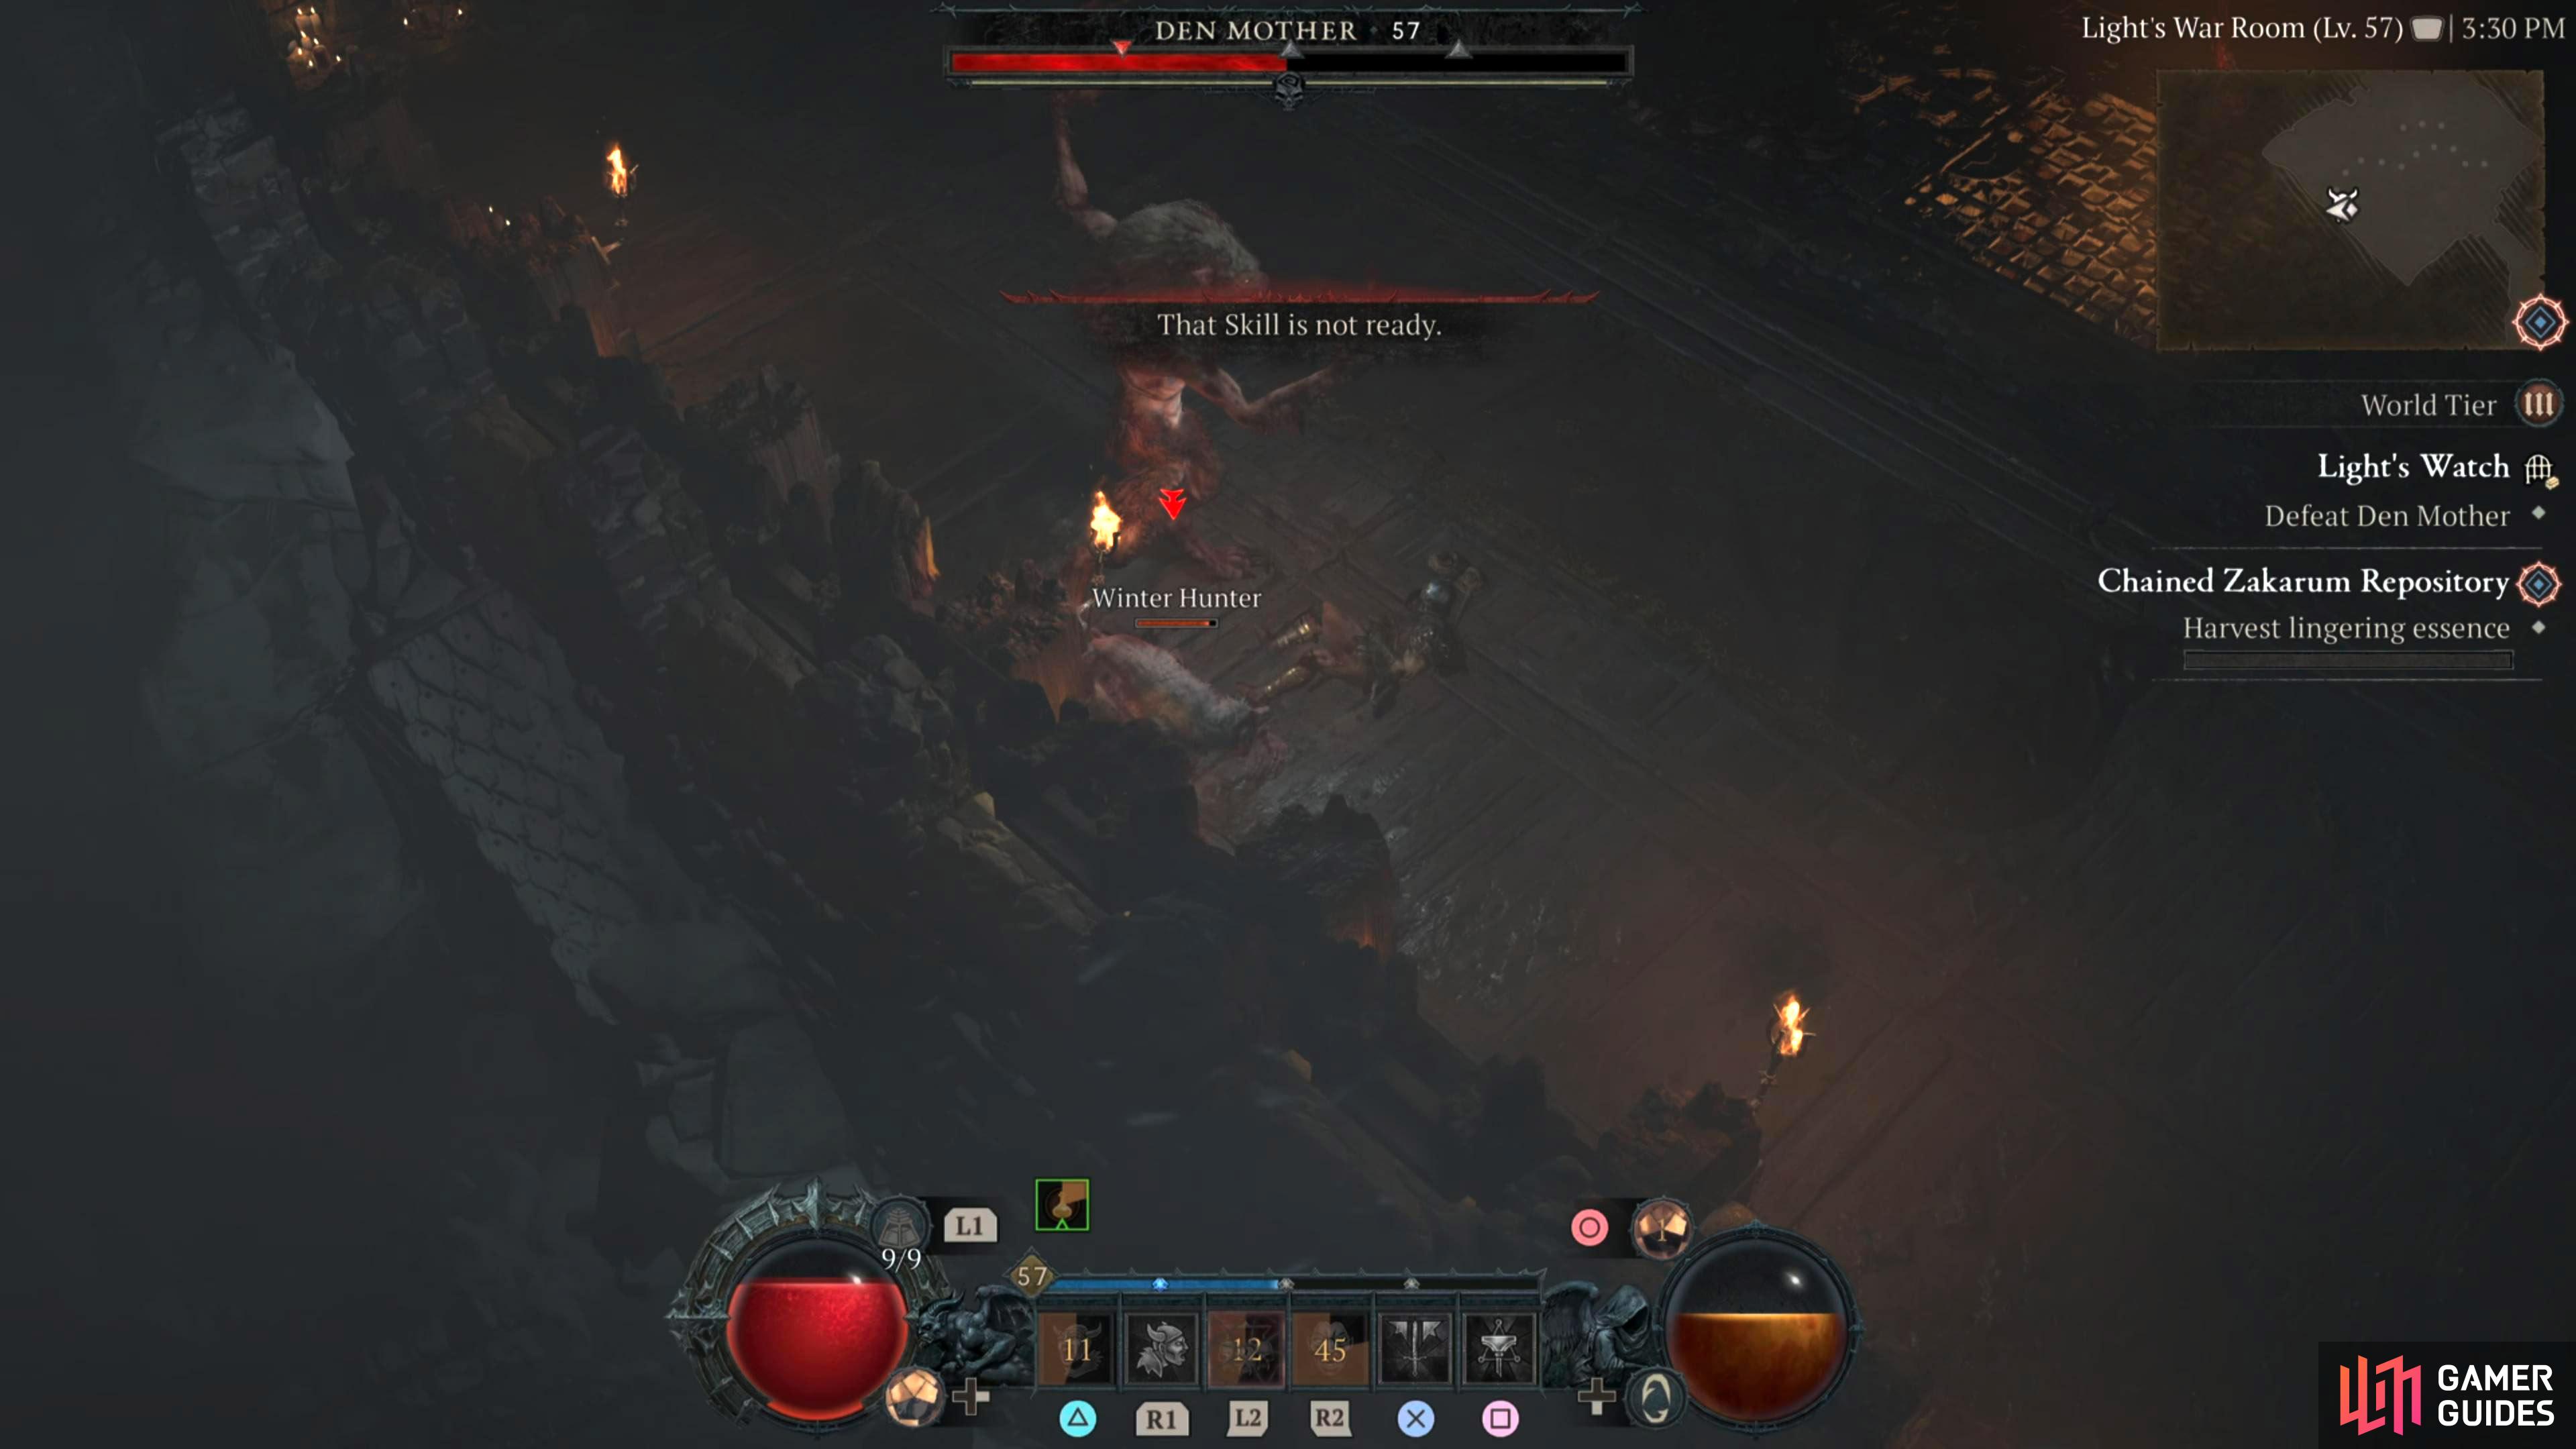
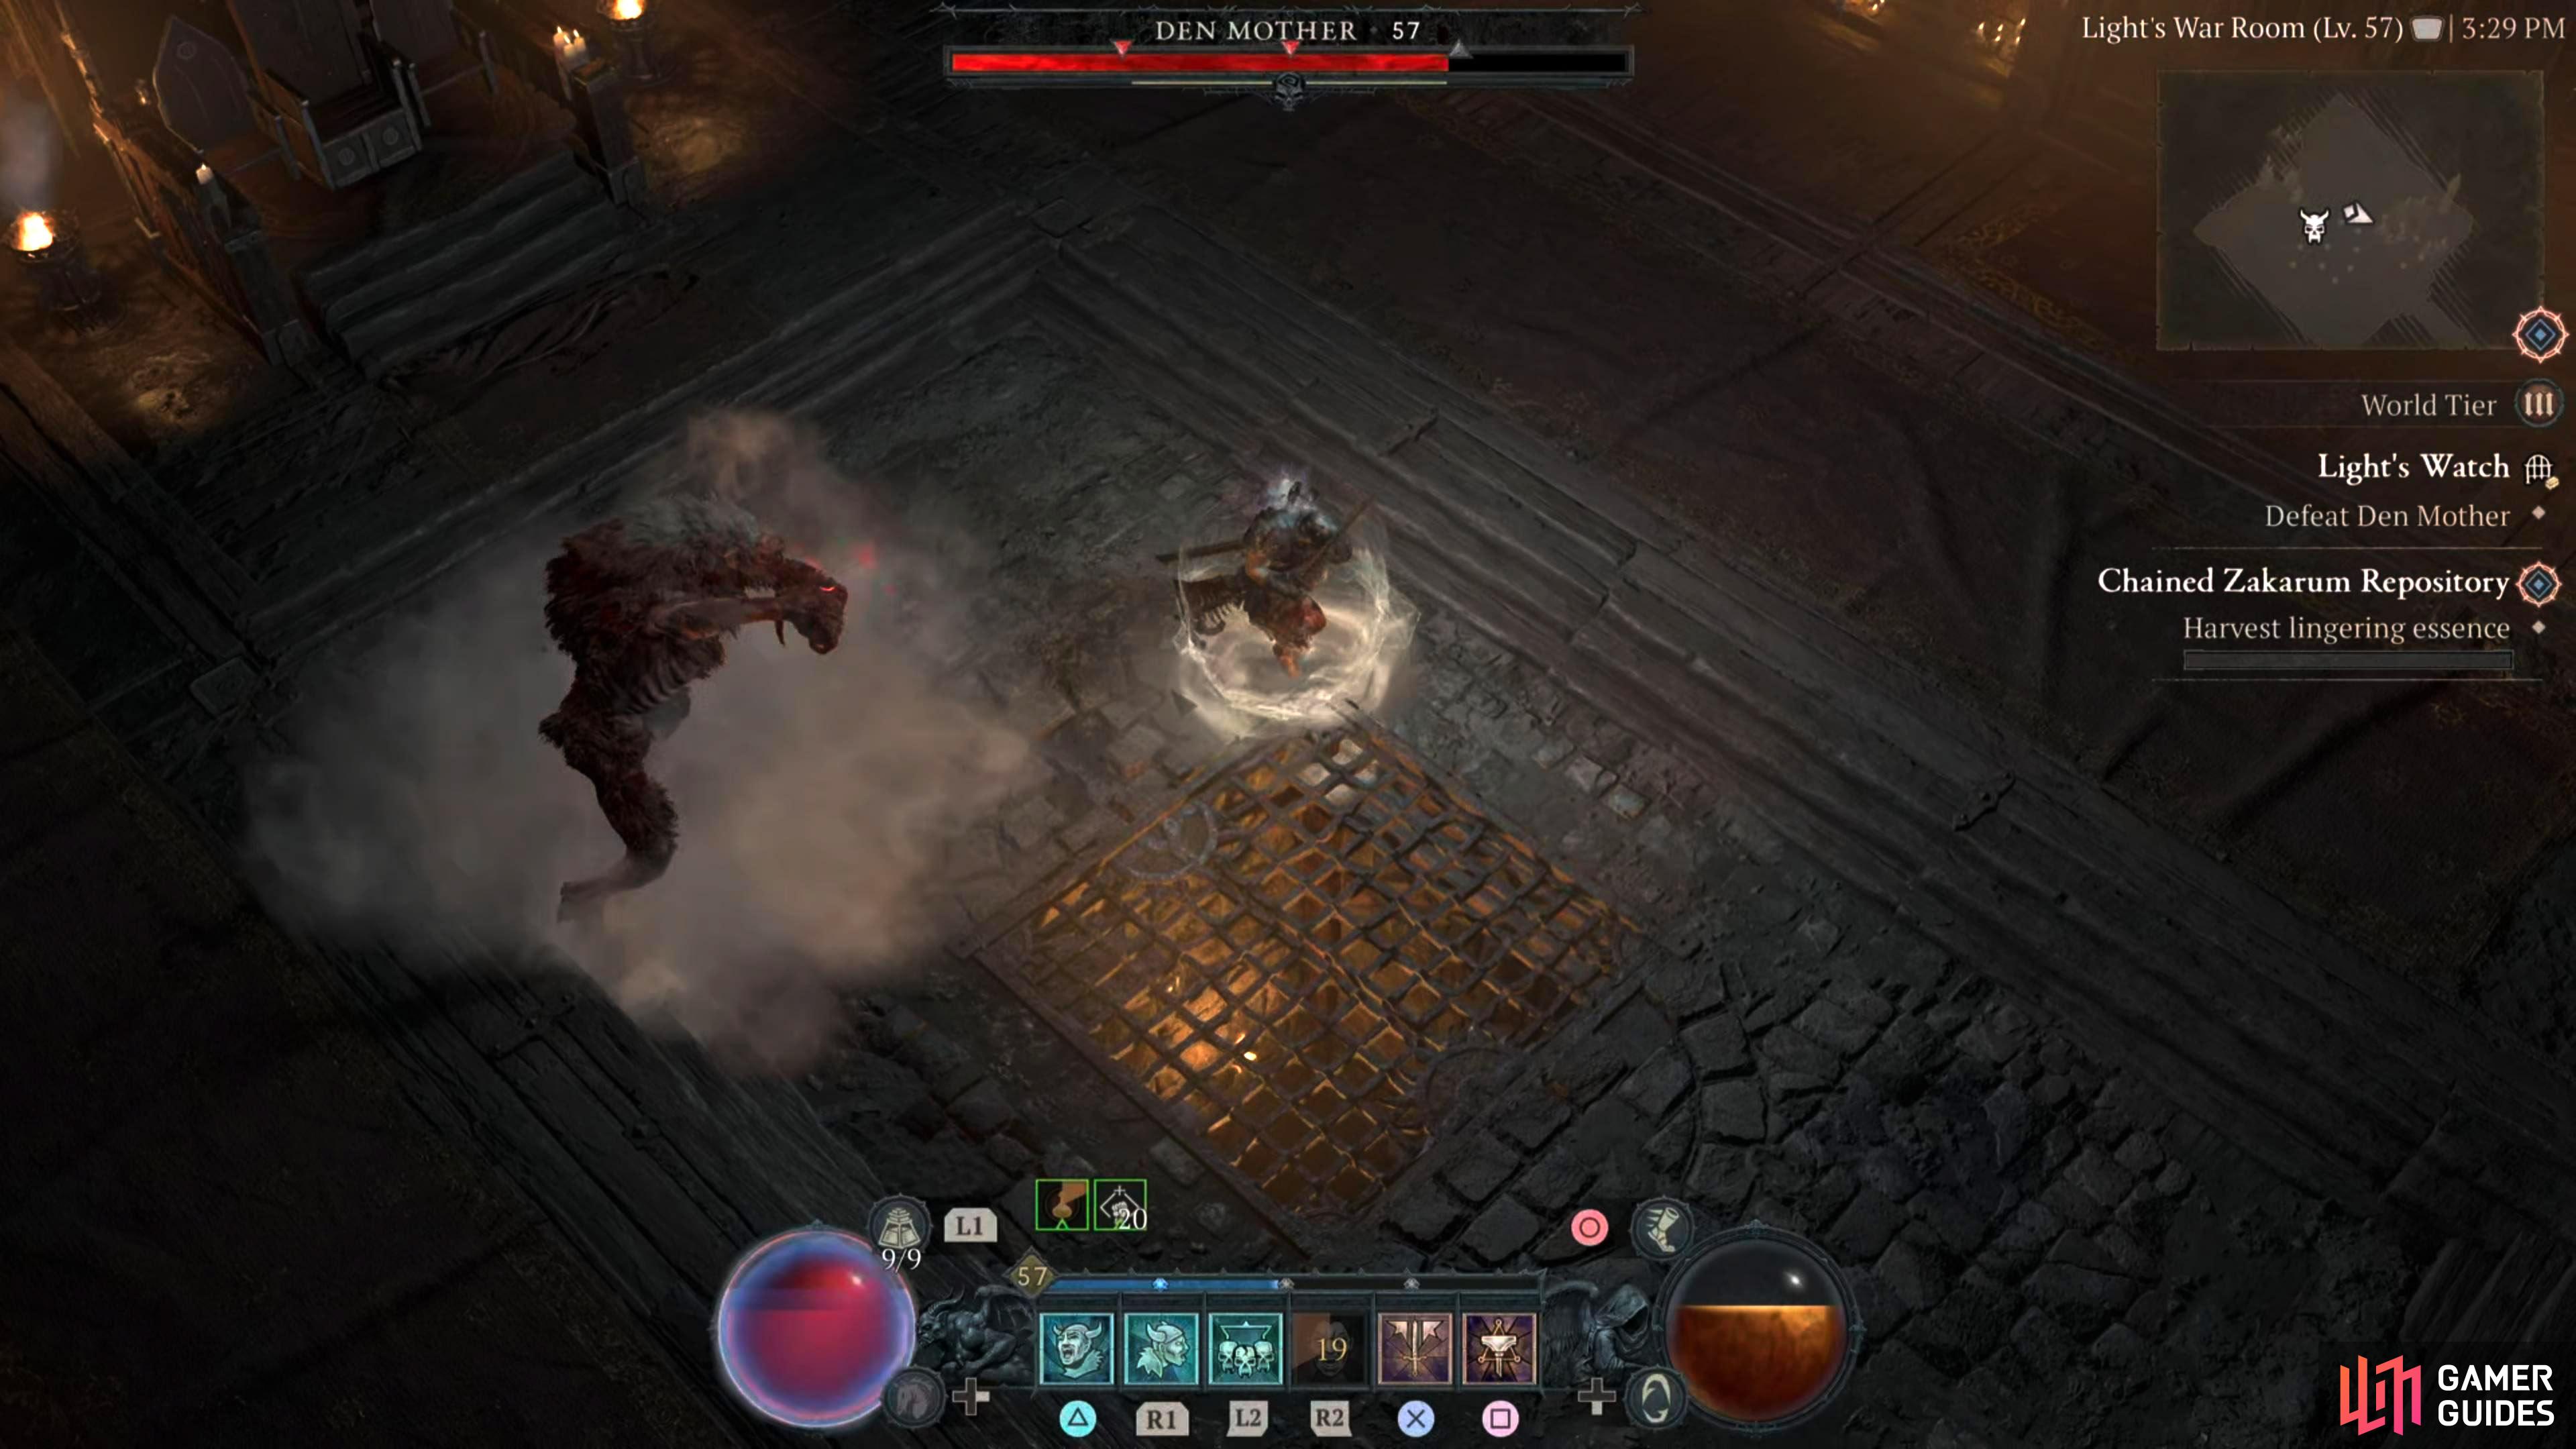
Summon Wolves - Throughout the battle, the
Den Mother can summon up to five  Prowlers/Winter Hunters (wolves) which will pounce at you. If you get hit by them, they’ll knock you down temporarily which can make dodging the other attacks more problematic. It’s best to defeat these as soon as they’re summoned to avoid complications later on. Thankfully, they have a low health pool, and a few attacks will dispatch them.
The ![]() Den Mother looks a lot more difficult than it is. A lot of its stronger attacks are on the slower side and are telegraphed. For the most part, you can go toe-to-toe with the boss, and take it down fairly quickly. Keep an eye on the boss’s arm and if it holds it back for a brief moment, get ready to dodge. Likewise, if it slams its paws on the ground, dodge away and avoid the blood puddles. Finally, when it goes into stealth mode, keep on the move to avoid the incoming attacks. The only other thing to note is that the
Den Mother looks a lot more difficult than it is. A lot of its stronger attacks are on the slower side and are telegraphed. For the most part, you can go toe-to-toe with the boss, and take it down fairly quickly. Keep an eye on the boss’s arm and if it holds it back for a brief moment, get ready to dodge. Likewise, if it slams its paws on the ground, dodge away and avoid the blood puddles. Finally, when it goes into stealth mode, keep on the move to avoid the incoming attacks. The only other thing to note is that the ![]() Prowlers can knock you down, so defeat them as soon as possible.
Prowlers can knock you down, so defeat them as soon as possible.
For a full Guide on this Boss, head over here.
Found In
Detailed Location
- Final boss of the
 Light’s Watch dungeon in Fractured Peaks.
 - Final boss of the
 Aldurwood dungeon in Fractured Peaks.
Screenshots

Region
 Fractured Peaks

 Sign up
No Comments