

The Black Rune, God of War.
Return to Týr’s Vault
Back at Týr’s Temple, enter the door by the dock once again and approach the sand bowl in the center of this chamber to have Atreus read out the riddle. Head to the northwest wall and read the runes for Atreus, this activates the platform and begins lowering it. Mimir regales the duo with tales of Týr’s exploits as the God of War while the platform continues to lower.
Deactivate the Vault’s Defenses
Where to Place the Winds of Hel
Open the large doors in front of you and proceed through the hallway and into a large central chamber. The Black Rune sits in the center here however as you approach, the Vault’s defenses activate conjuring up large rings around it. You’ll need to remove all of the rings if you’re to get close to the Black Rune.
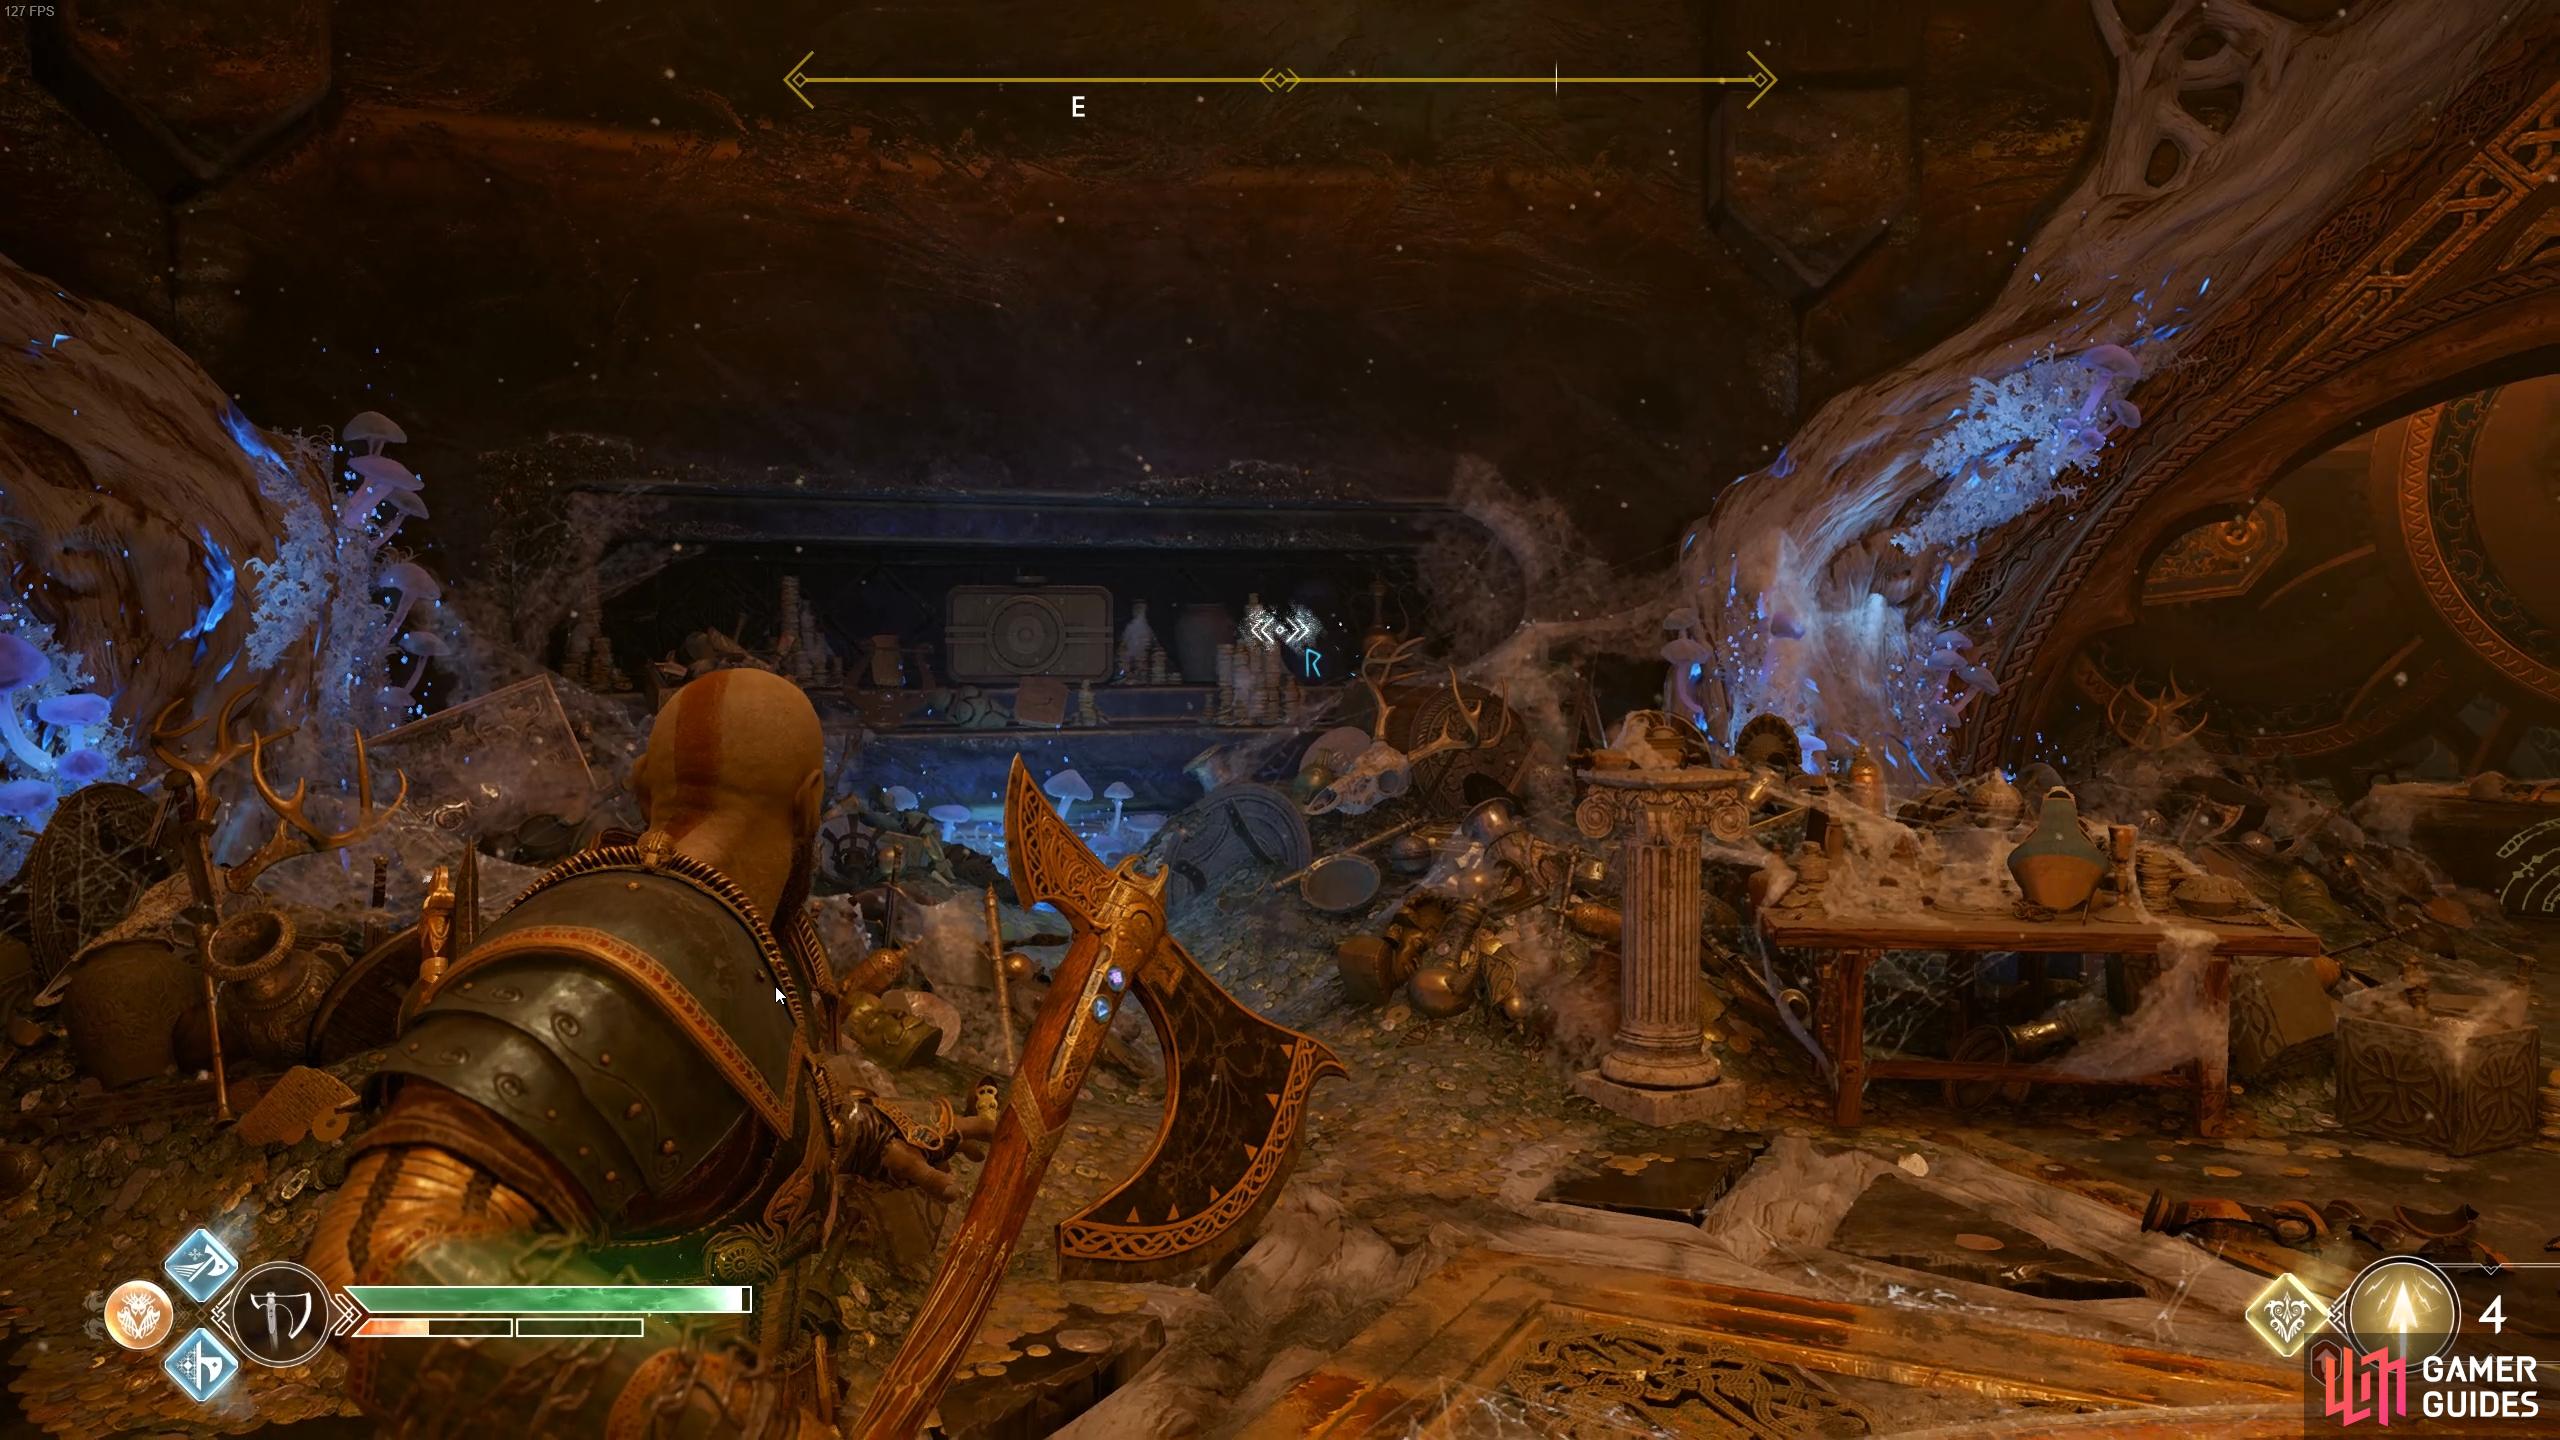
Begin by heading to the east and through the open door to find a room full of treasure. A closed wind trap sits in the center so walk back toward the central chamber and wait for the rings to rotate around until an active wind trap is in your proximity. Grab the Winds of Hel and dash back through the previous passage and deposit it on the closed wind trap. This will lower the trap and reveal a wheel which, when spun back as far as possible, opens two passages full of nasty traps.
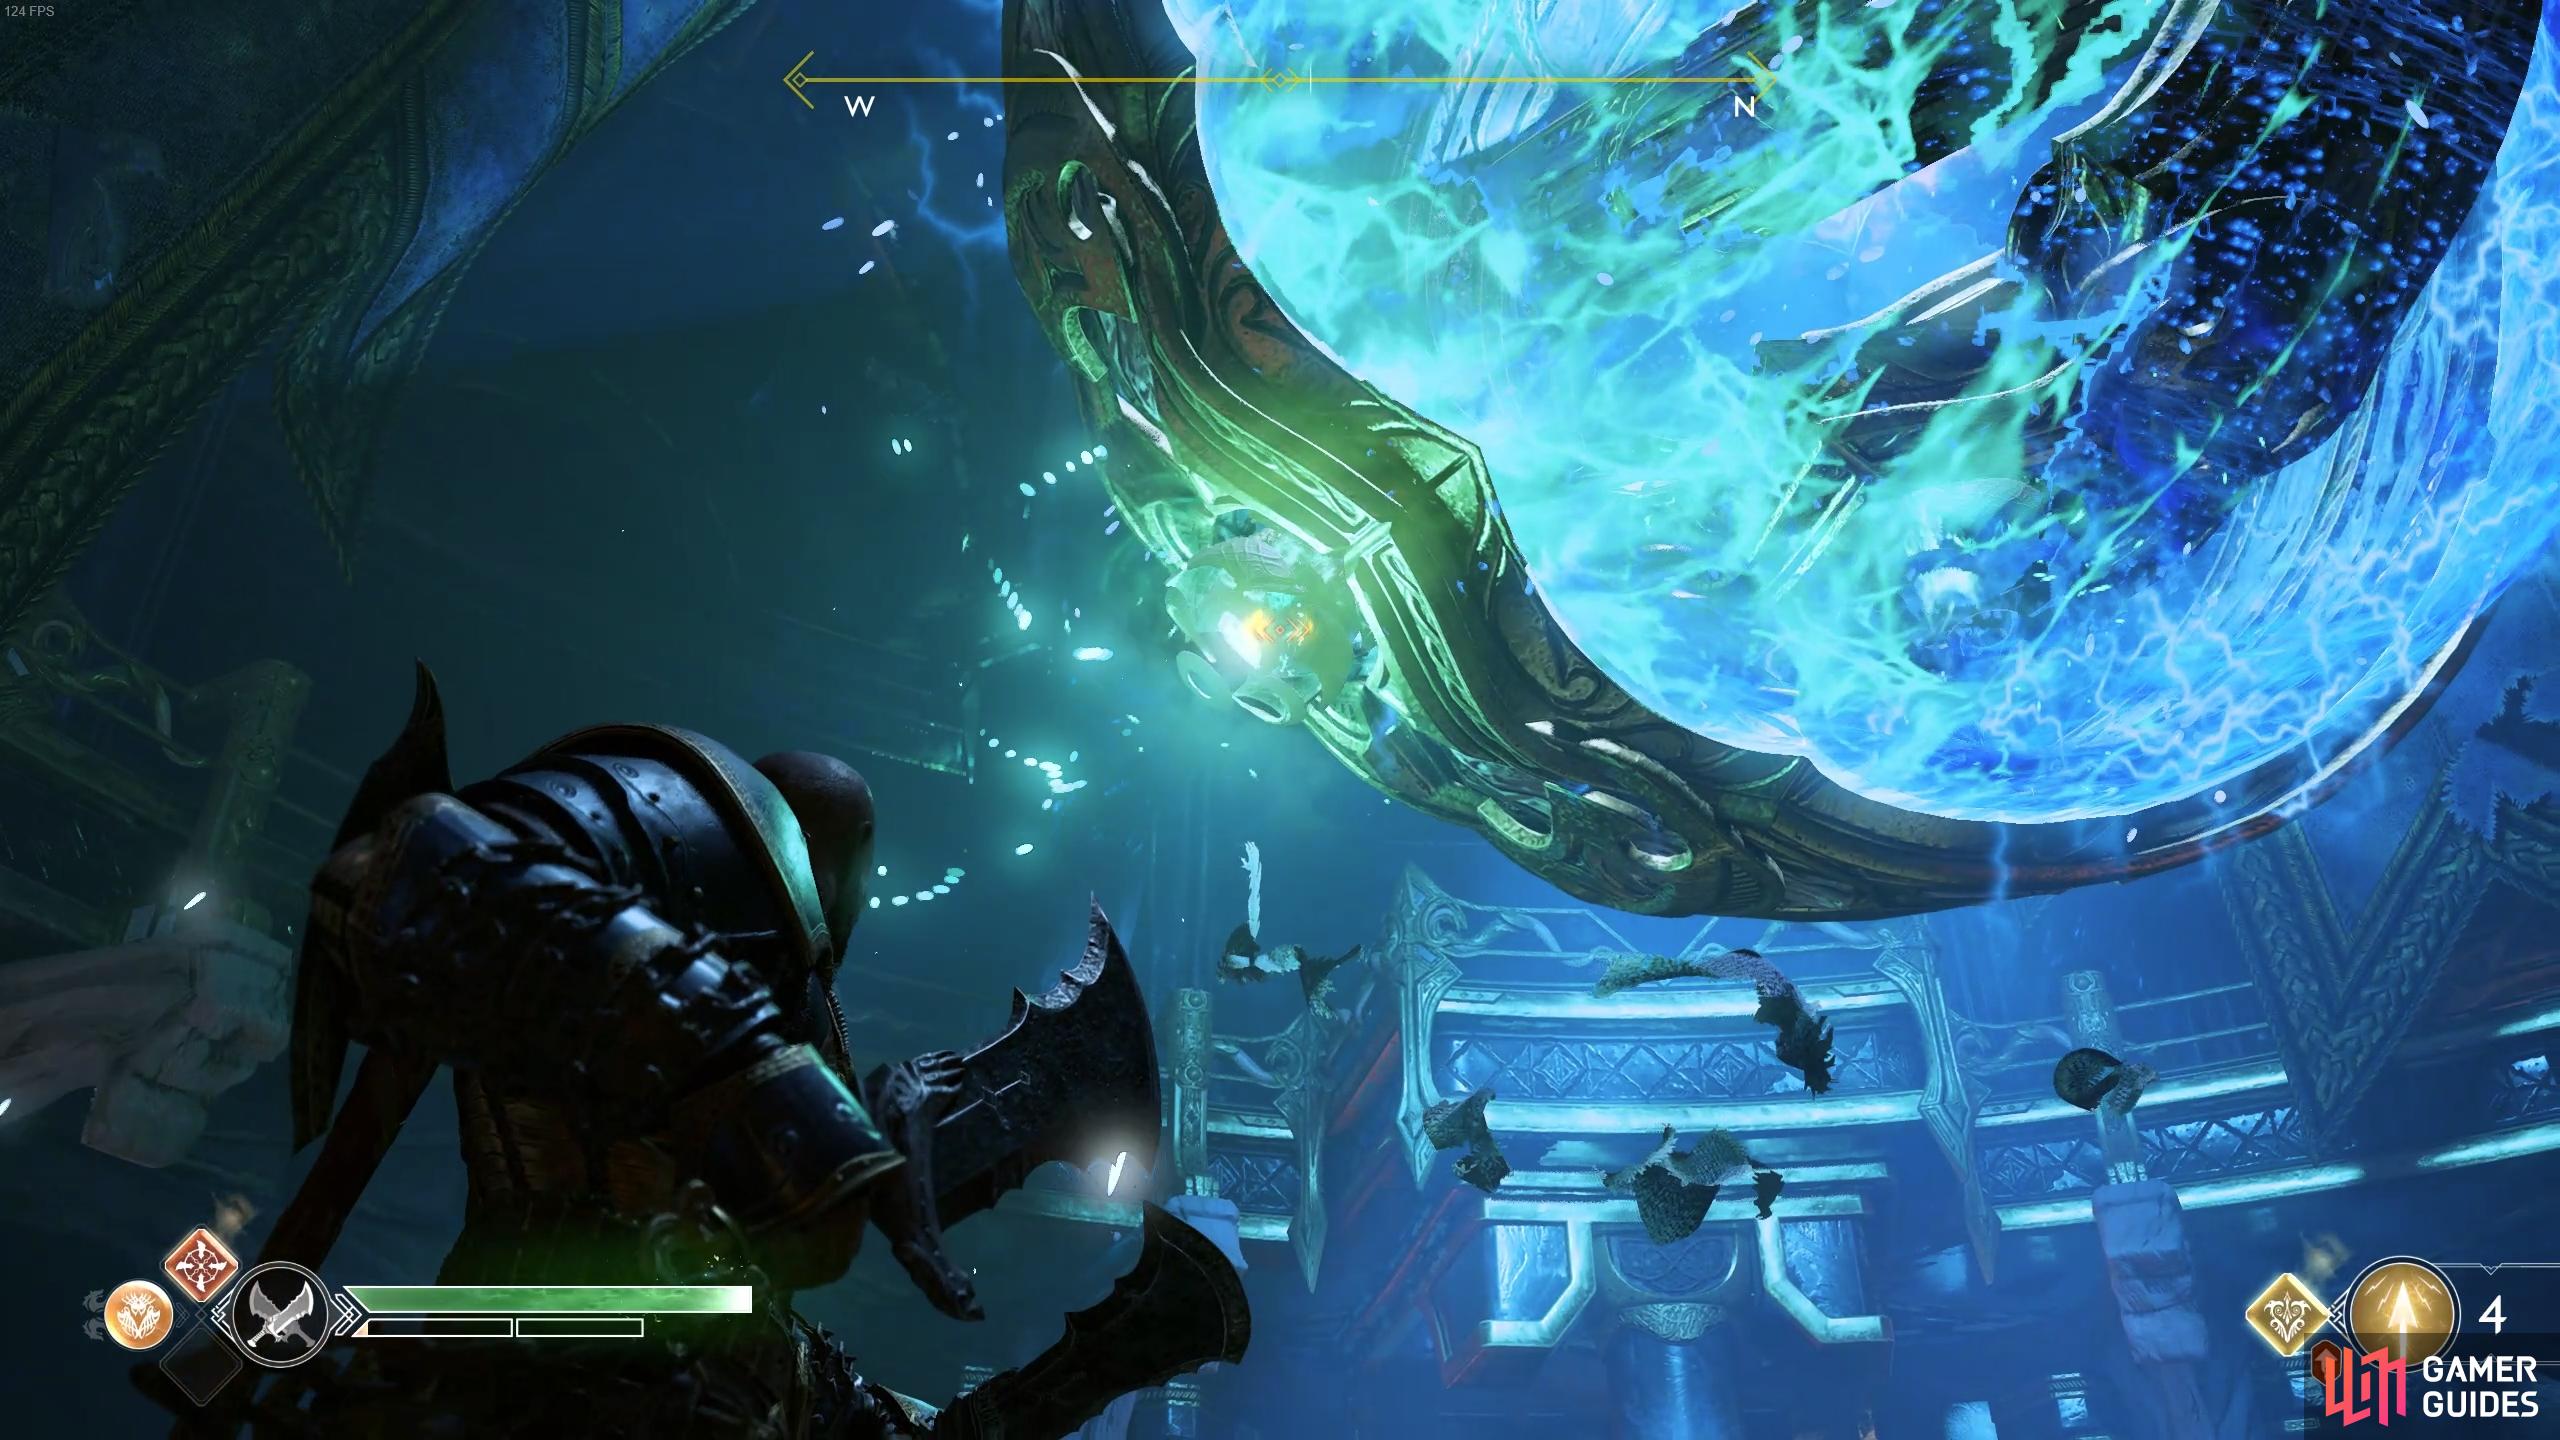
Grab the Winds of Hel from the rotating ring.
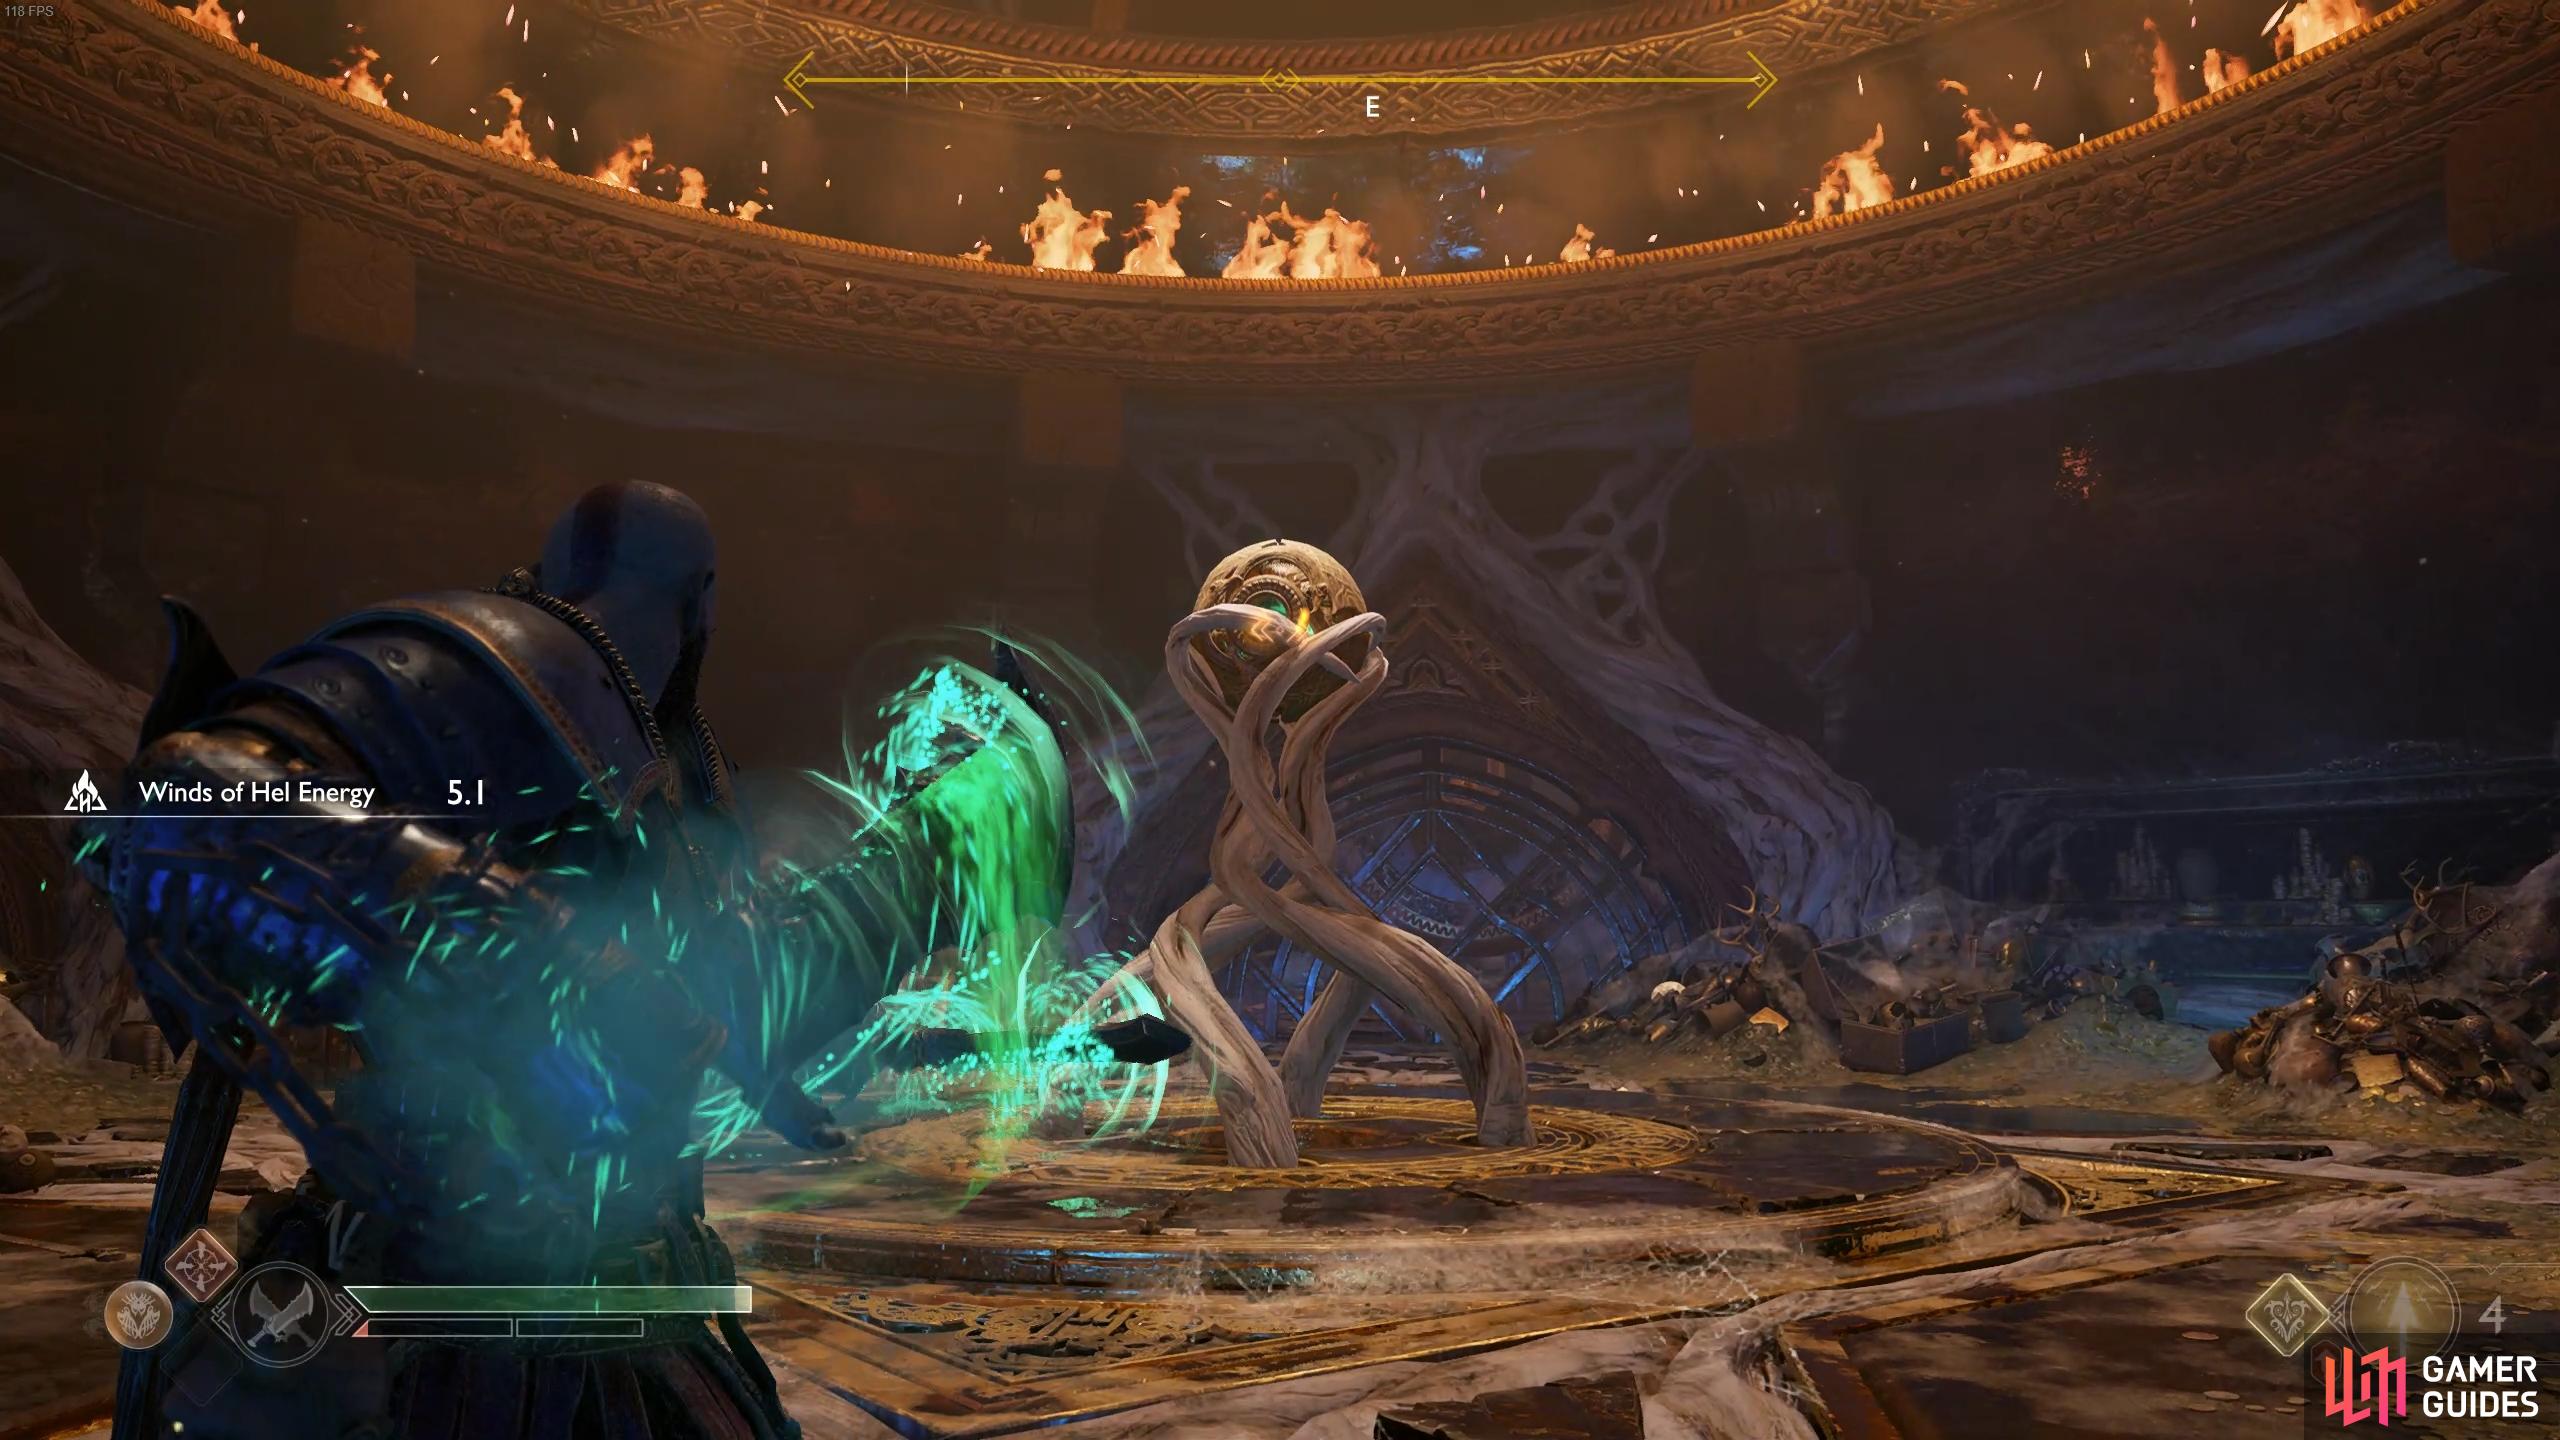
Deposit it in the wind trap to reveal a wheel.
Head down the passage to the east first where you’ll be stopped by a large disc with spinning blades and two runic discs to the top of it. Hit the disc to spin it around and approach the next, doing the same manoeuvre to create a gap underneath it leading to a coffin.
Head back to where the wheel is and this time take the other passage, to the northwest. This one is a little trickier as you’ll have to time your dashes. Wait for the first two sets of discs to pull apart and run forward. The final two discs stay together but you can freeze it in place by hitting the runic disc and then waiting for the other disc to travel around, recalling the axe when the two align.
Pass through to the chamber at the back, Kratos will make some startling discoveries as Atreus is enchanted with what he finds in the room. Once again an inactive wind trap lies in the center, open the door to the south to find yourself back in the central chamber. As you step towards the Black Runes, portals open up and Draugrs attack. There’s a lot of enemies here but nothing you haven’t dealt with before. You’ll be fighting all manner of Draugrs and Fire Nightmares so be on the move constantly and make good use of Runic Attacks.
Once the enemies are dead, look up at the ring again and activate the Winds of Hel once more, dashing back into the previous room and depositing it in the closed wind trap. Three Fire Nightmares attempt to stop you in the process so make use of Atreus’ arrows quickly. Use the wheel and pull it back as far as possible to reveal another two passages.
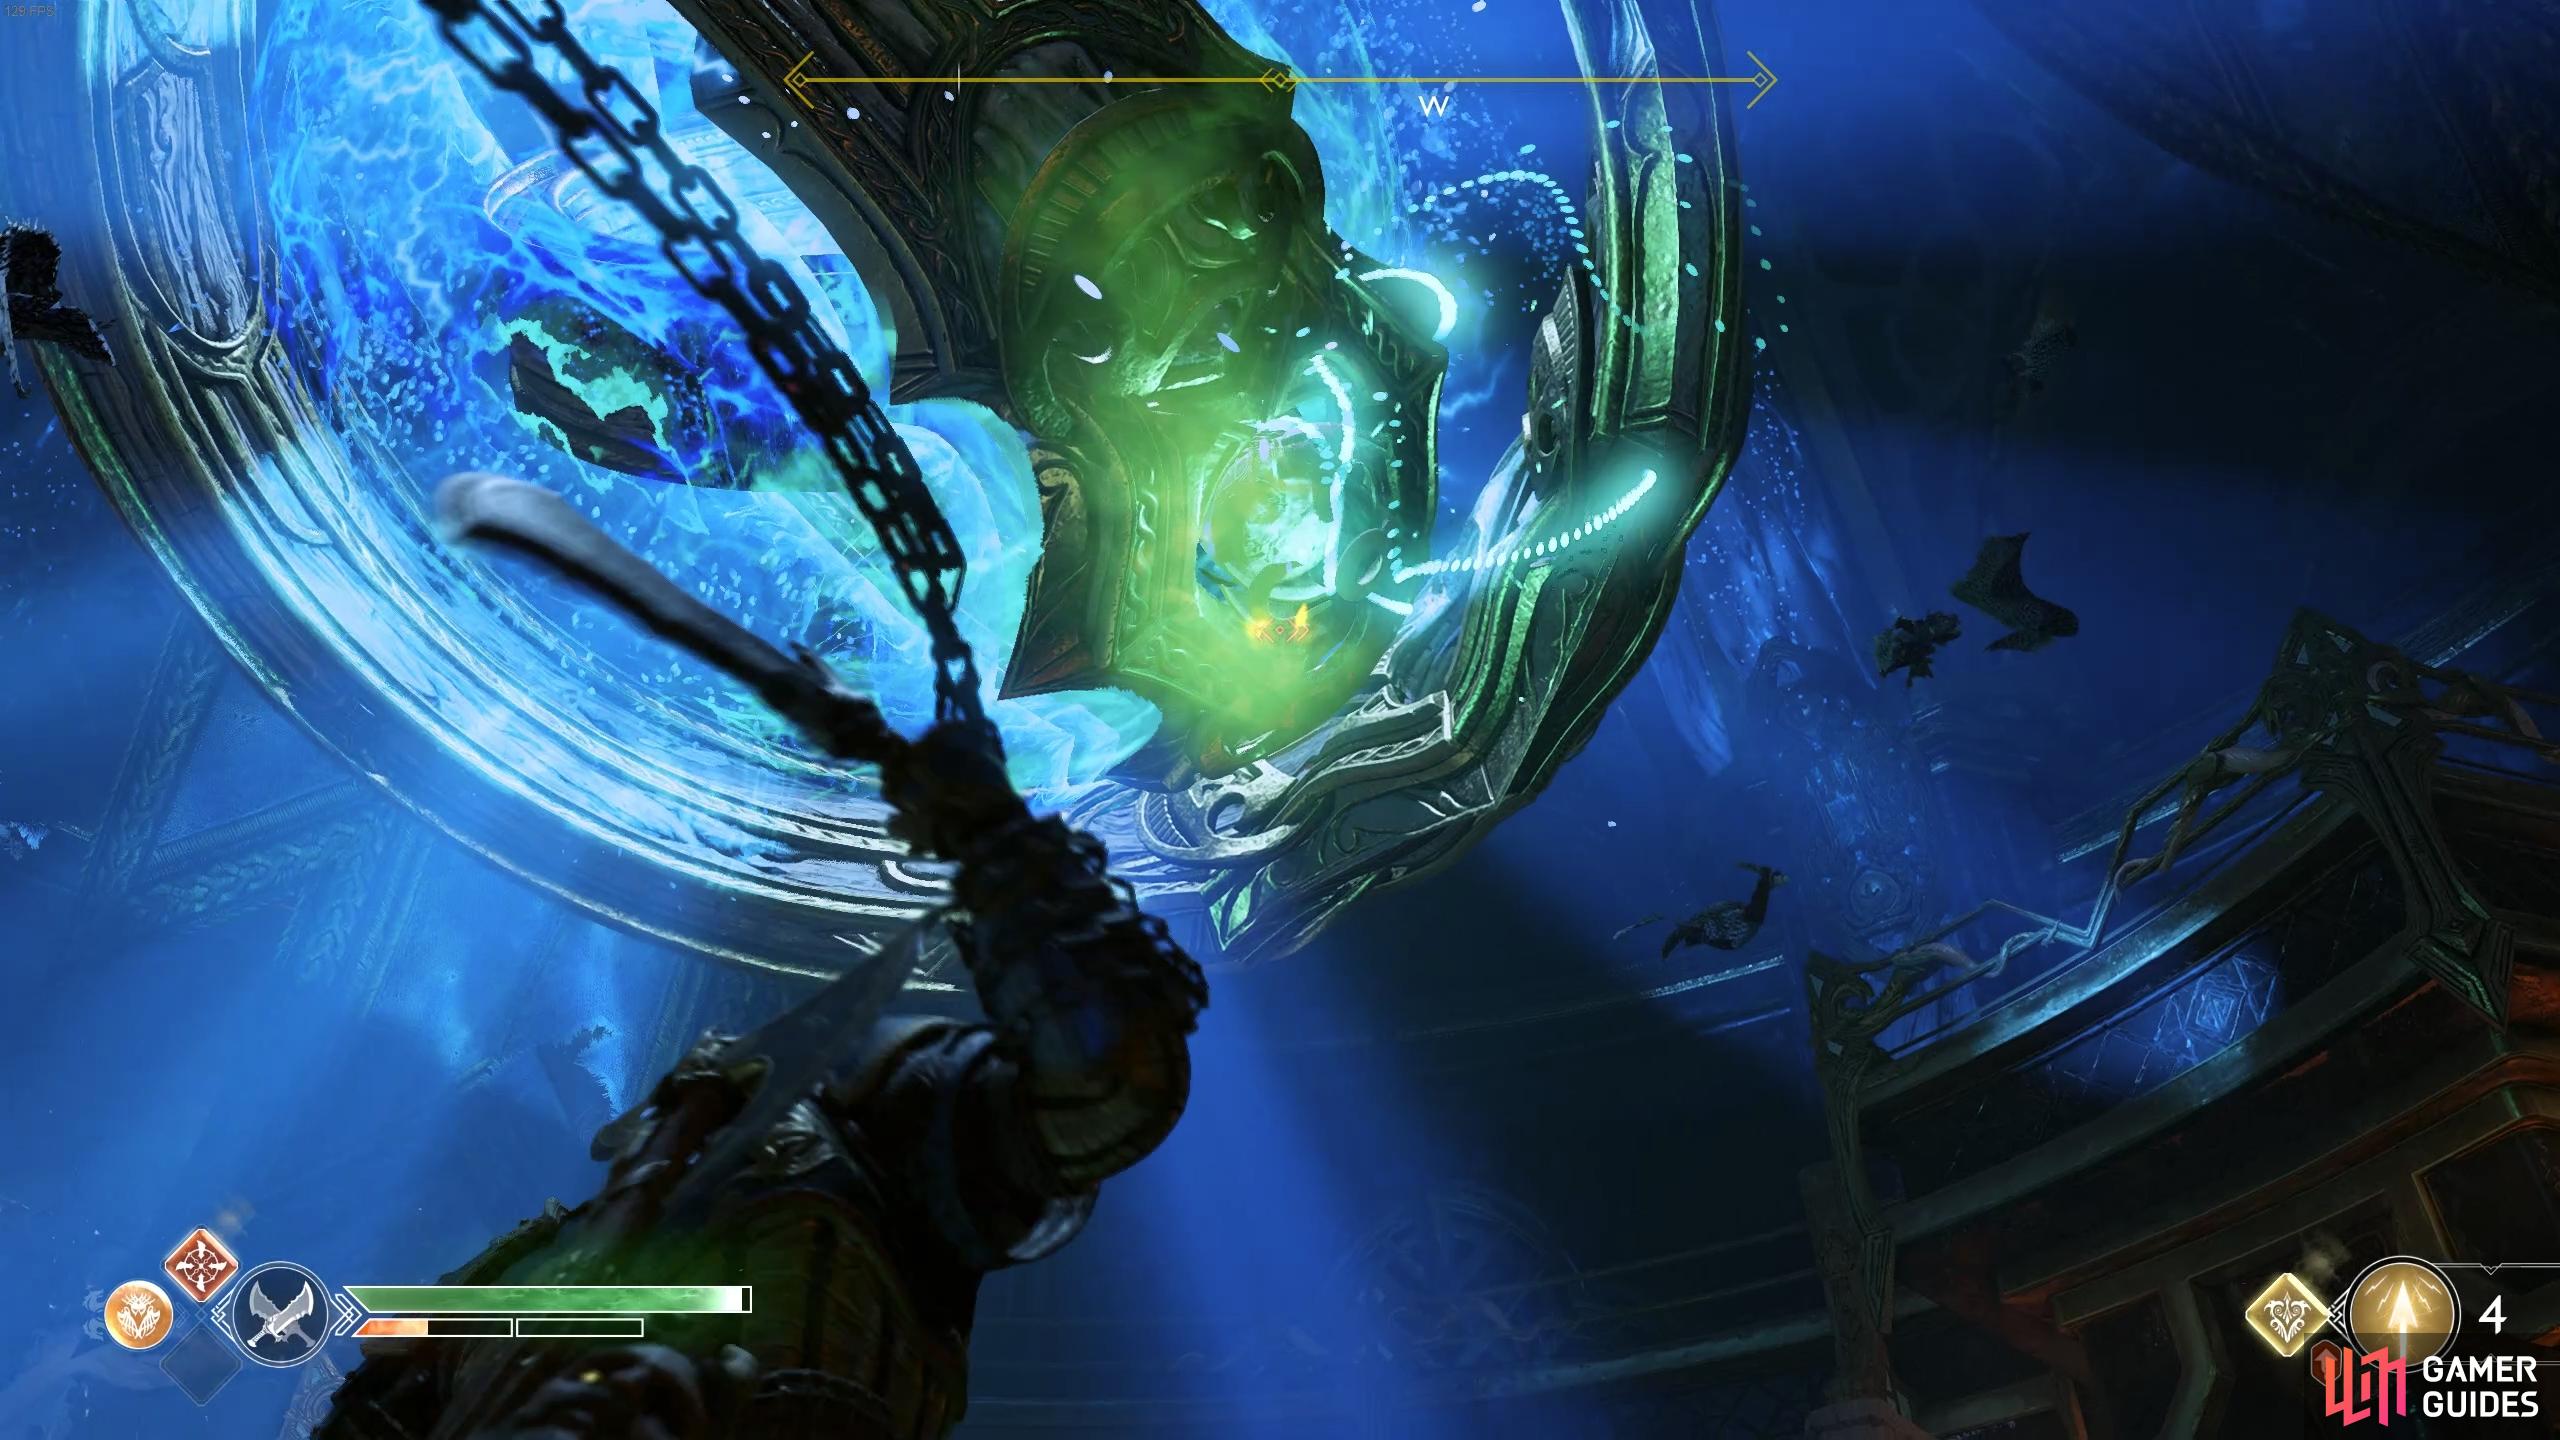
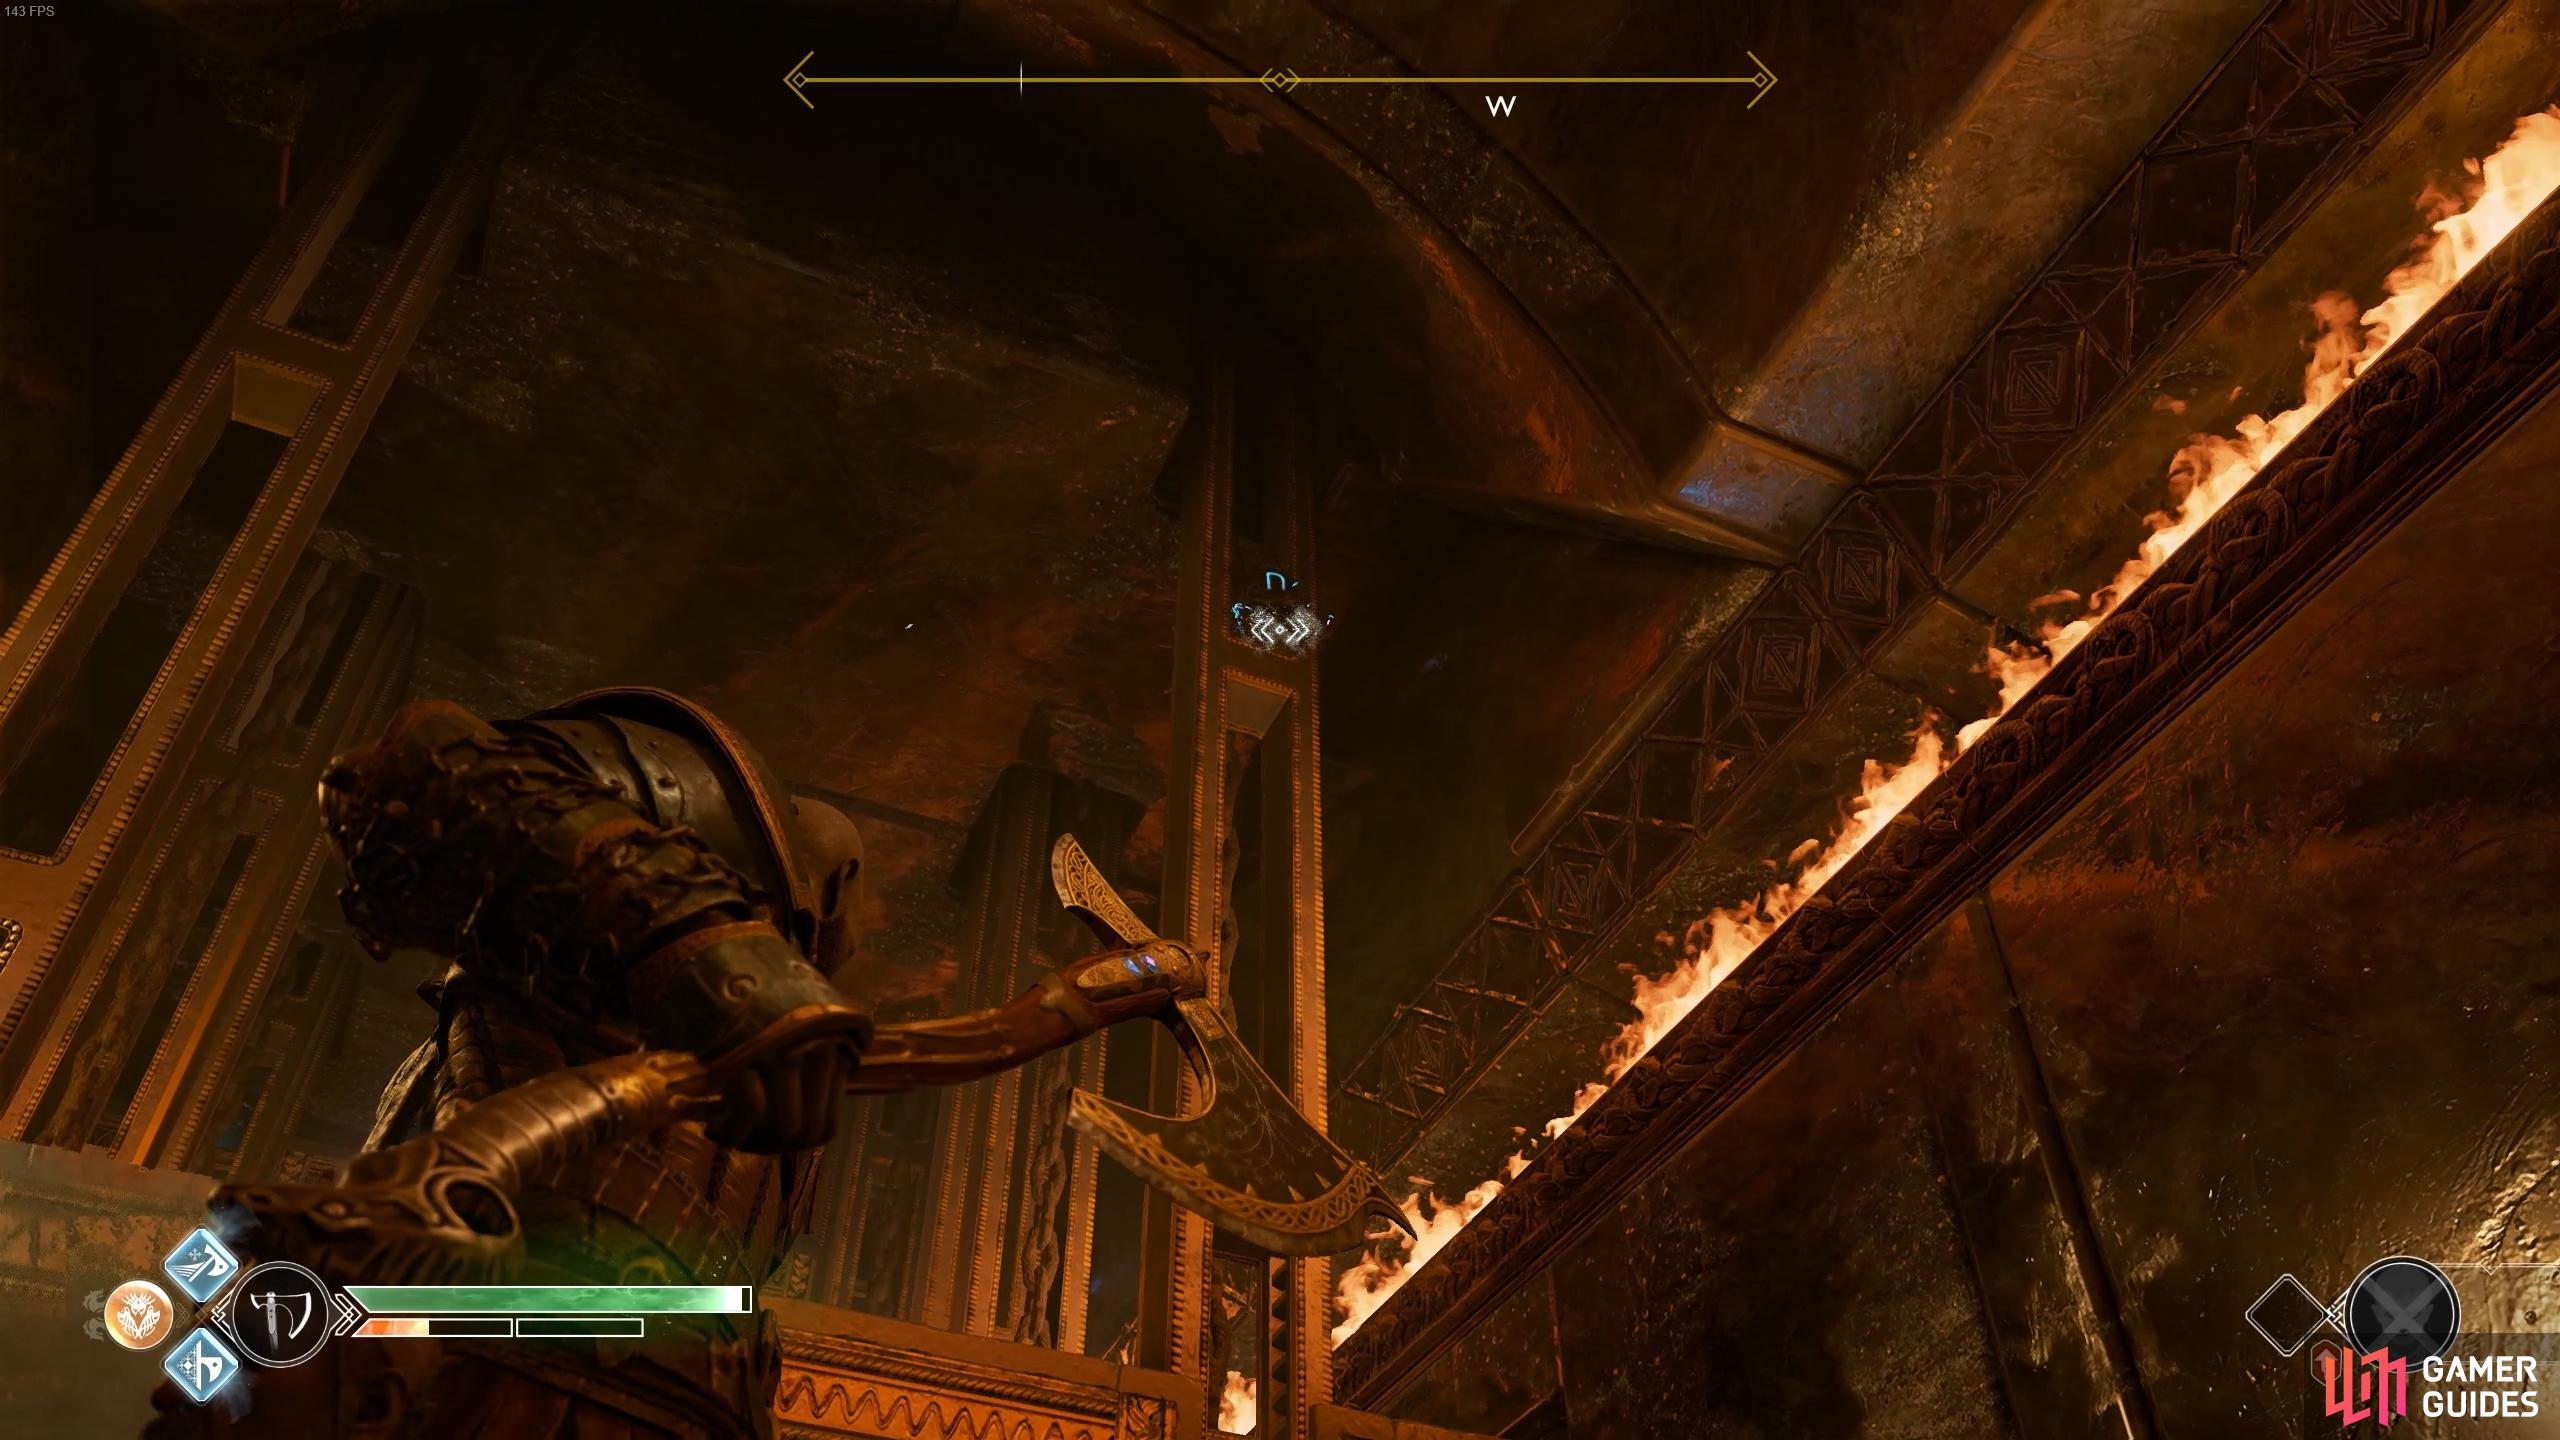
Wait for the ring to rotate and grab the energy once more.
Check the shelf to the left of the wheel to find the first Rune.
Before you head down the north passage, look to the east wall to spot a Nornir Rune on the shelf, strike this and then head to the southwest passage and stop at the first block that drops. When the block is at it’s lowest position, you’ll spot the second Nornir Rune on the top of the right piston. Finally, backtrack and take the north passage, hugging the left wall as you approach the first obstacle. Hit the runic disc on the second block when it becomes visible and pass through. Turn to face the block you just froze in place and wait for the first block to slide to the left to reveal the final Rune, be sure to punch this to avoid being splatted by the other block. Open the Nornir Chest behind you to obtain an Iðunn Apple if your health is still not maxed otherwise a random Enchantment is your reward.
Wait for the block to lower to find the second Rune.
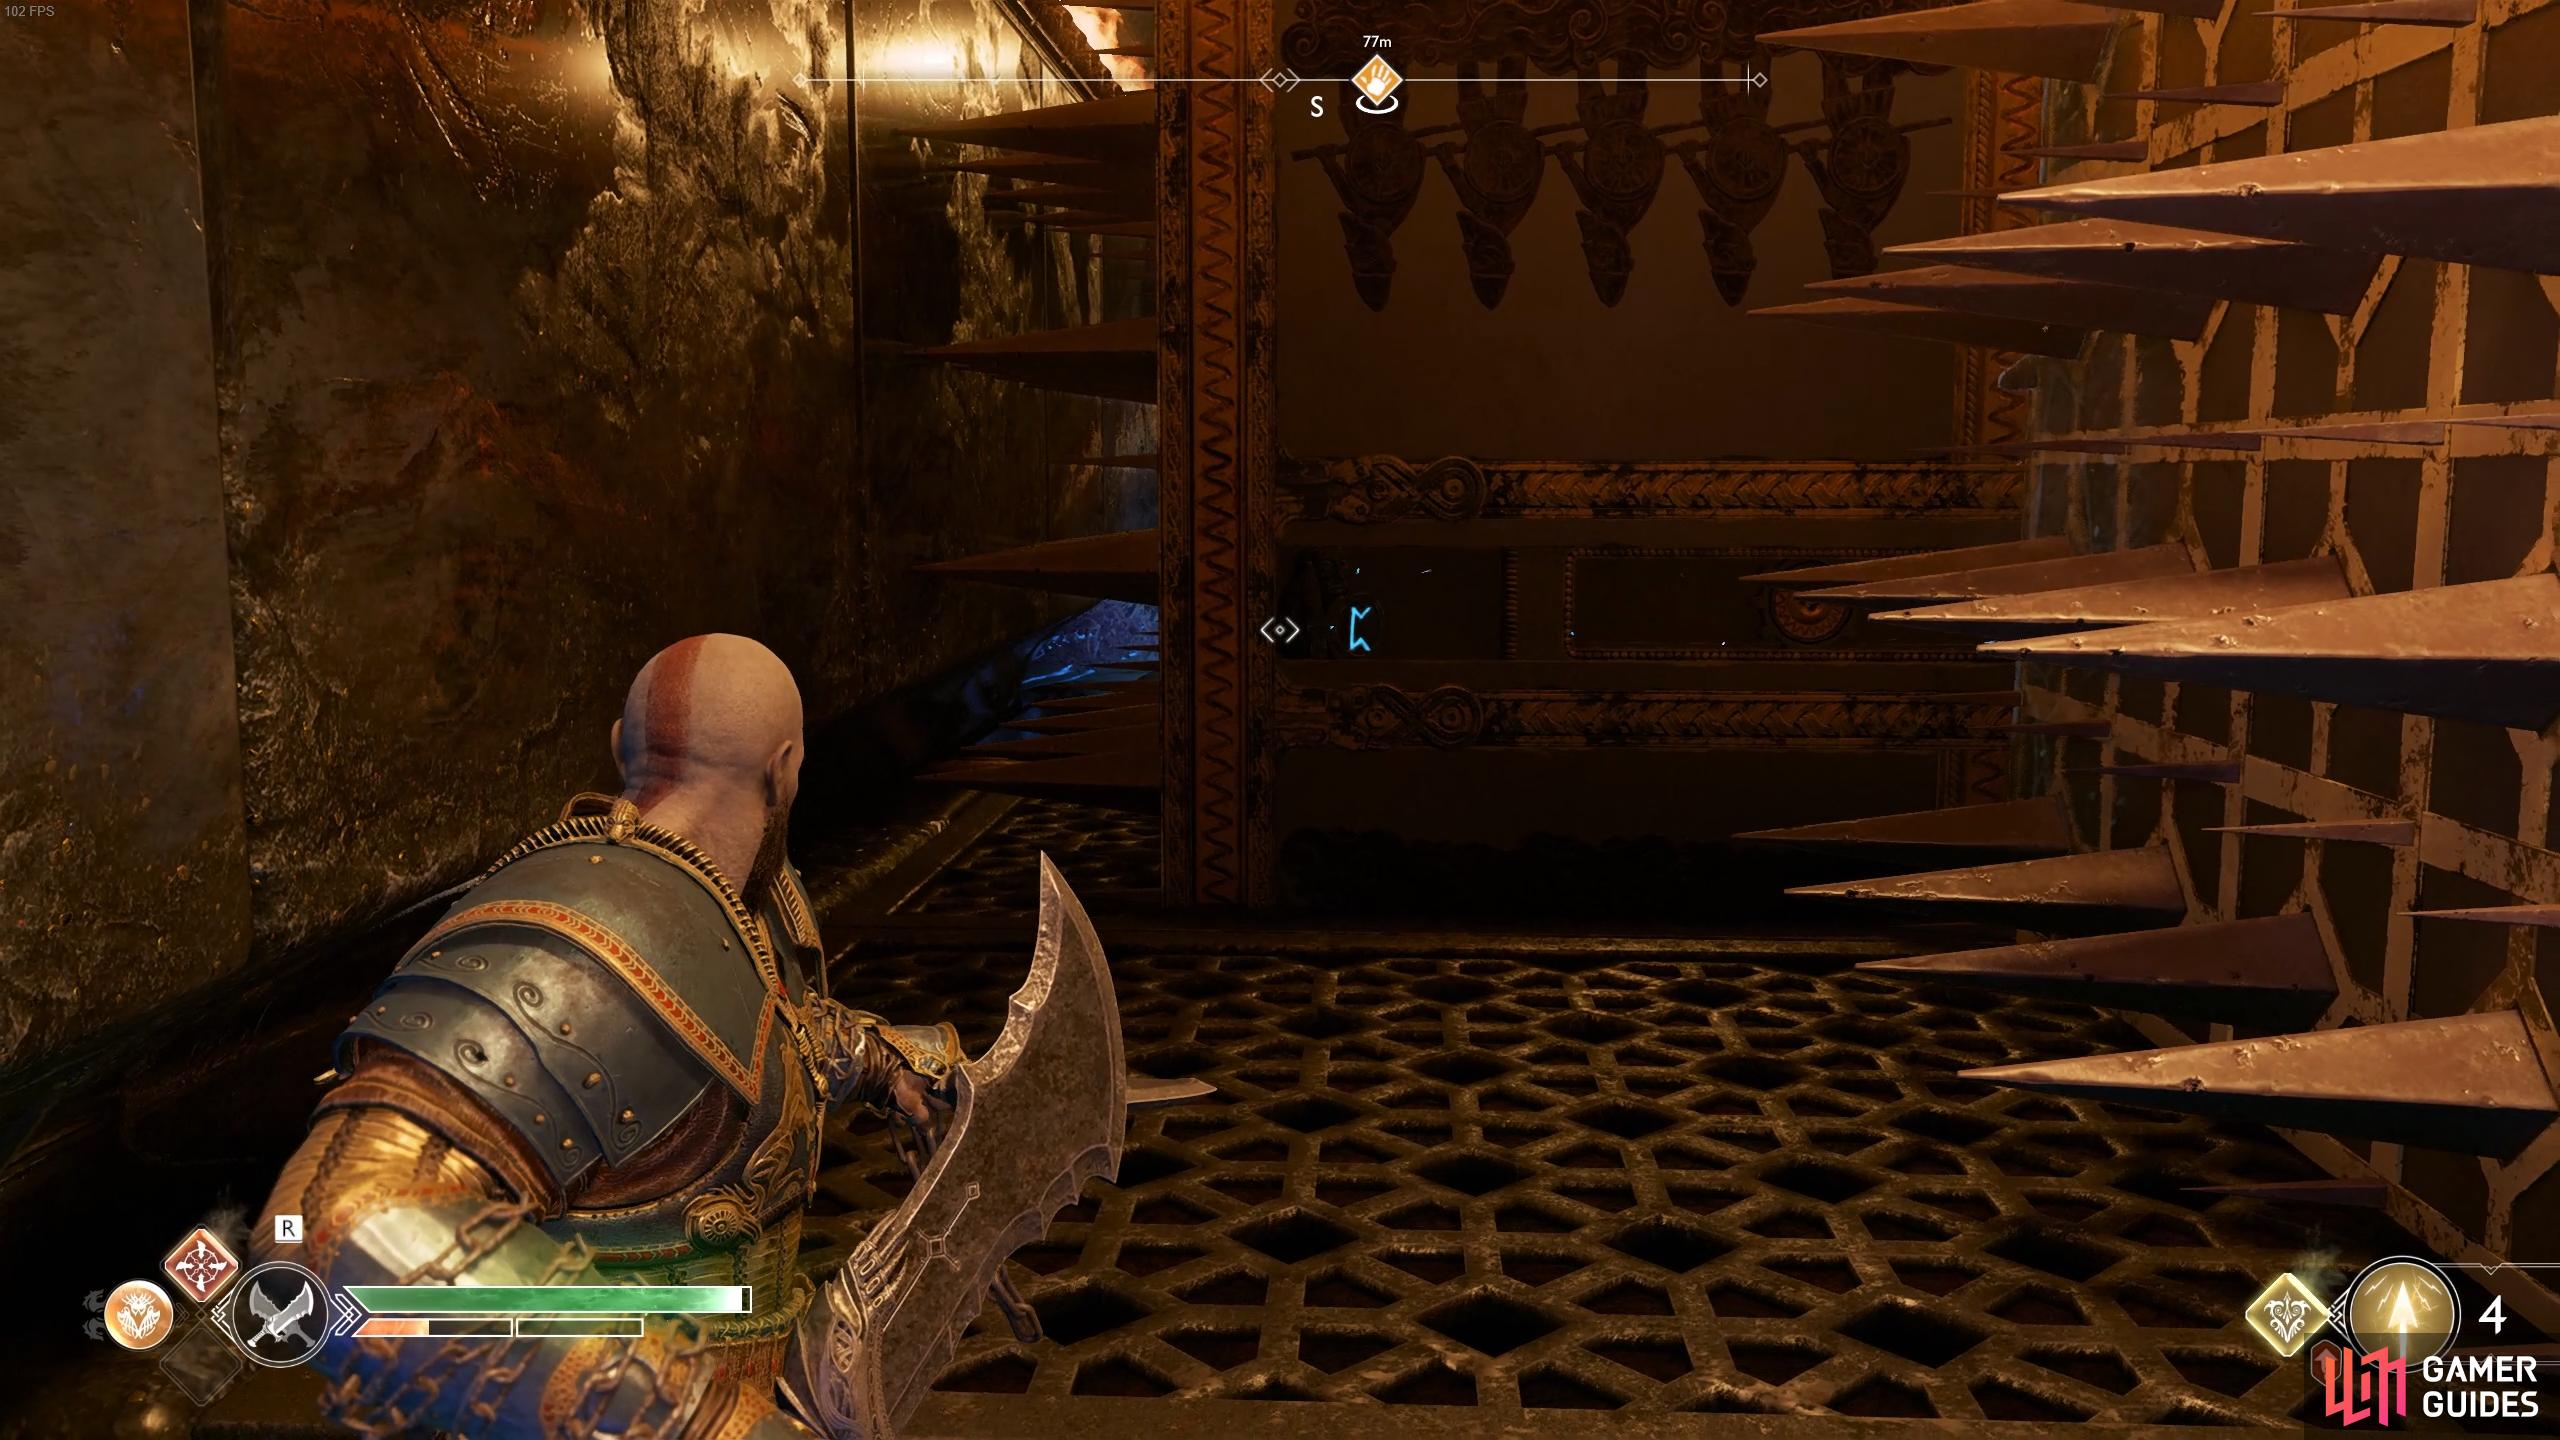
The final Rune is just in front of the chest, freeze the block to punch the Rune.
Return and take the southwest passage, waiting for the first block of spikes to rise to the top and throw the axe at the runic disc to freeze it in place. Wait for the next block to rise and run past and into the small alcove to the right. Pick up the sack of Hacksilver and then wait for the final block to rise before dashing through and recalling the axe.
Yet again you’ll see an inactive wind trap and it becomes clear what you’ll need to do. Open the door to find yourself in the central chamber again only this time, you wont be able to reach the active wind trap from the ground. Climb the wall to the right and defeat the Draugrs and Nightmares that spawn on the balcony. After their death, find the Lore Marker on the wall and then look to where the wind trap is in the center. You’ll spot another inactive one straight in front of your eyes, grab the active energy and deposit it on the other trap here.

How to Solve the Moon, Midgard & Sun Puzzle
Follow the balcony to the end and kick the chain down, descending in the process. Run over to the open passage to the west and turn to face the ring, you’ll now be able to grab the Winds of Hel and deposit it in the final wind trap in the west passage. The final wheel is now accessible, head over to it and begin turning the wheel to lower the Black Rune, unfortunately there’s one more trap to deal with.
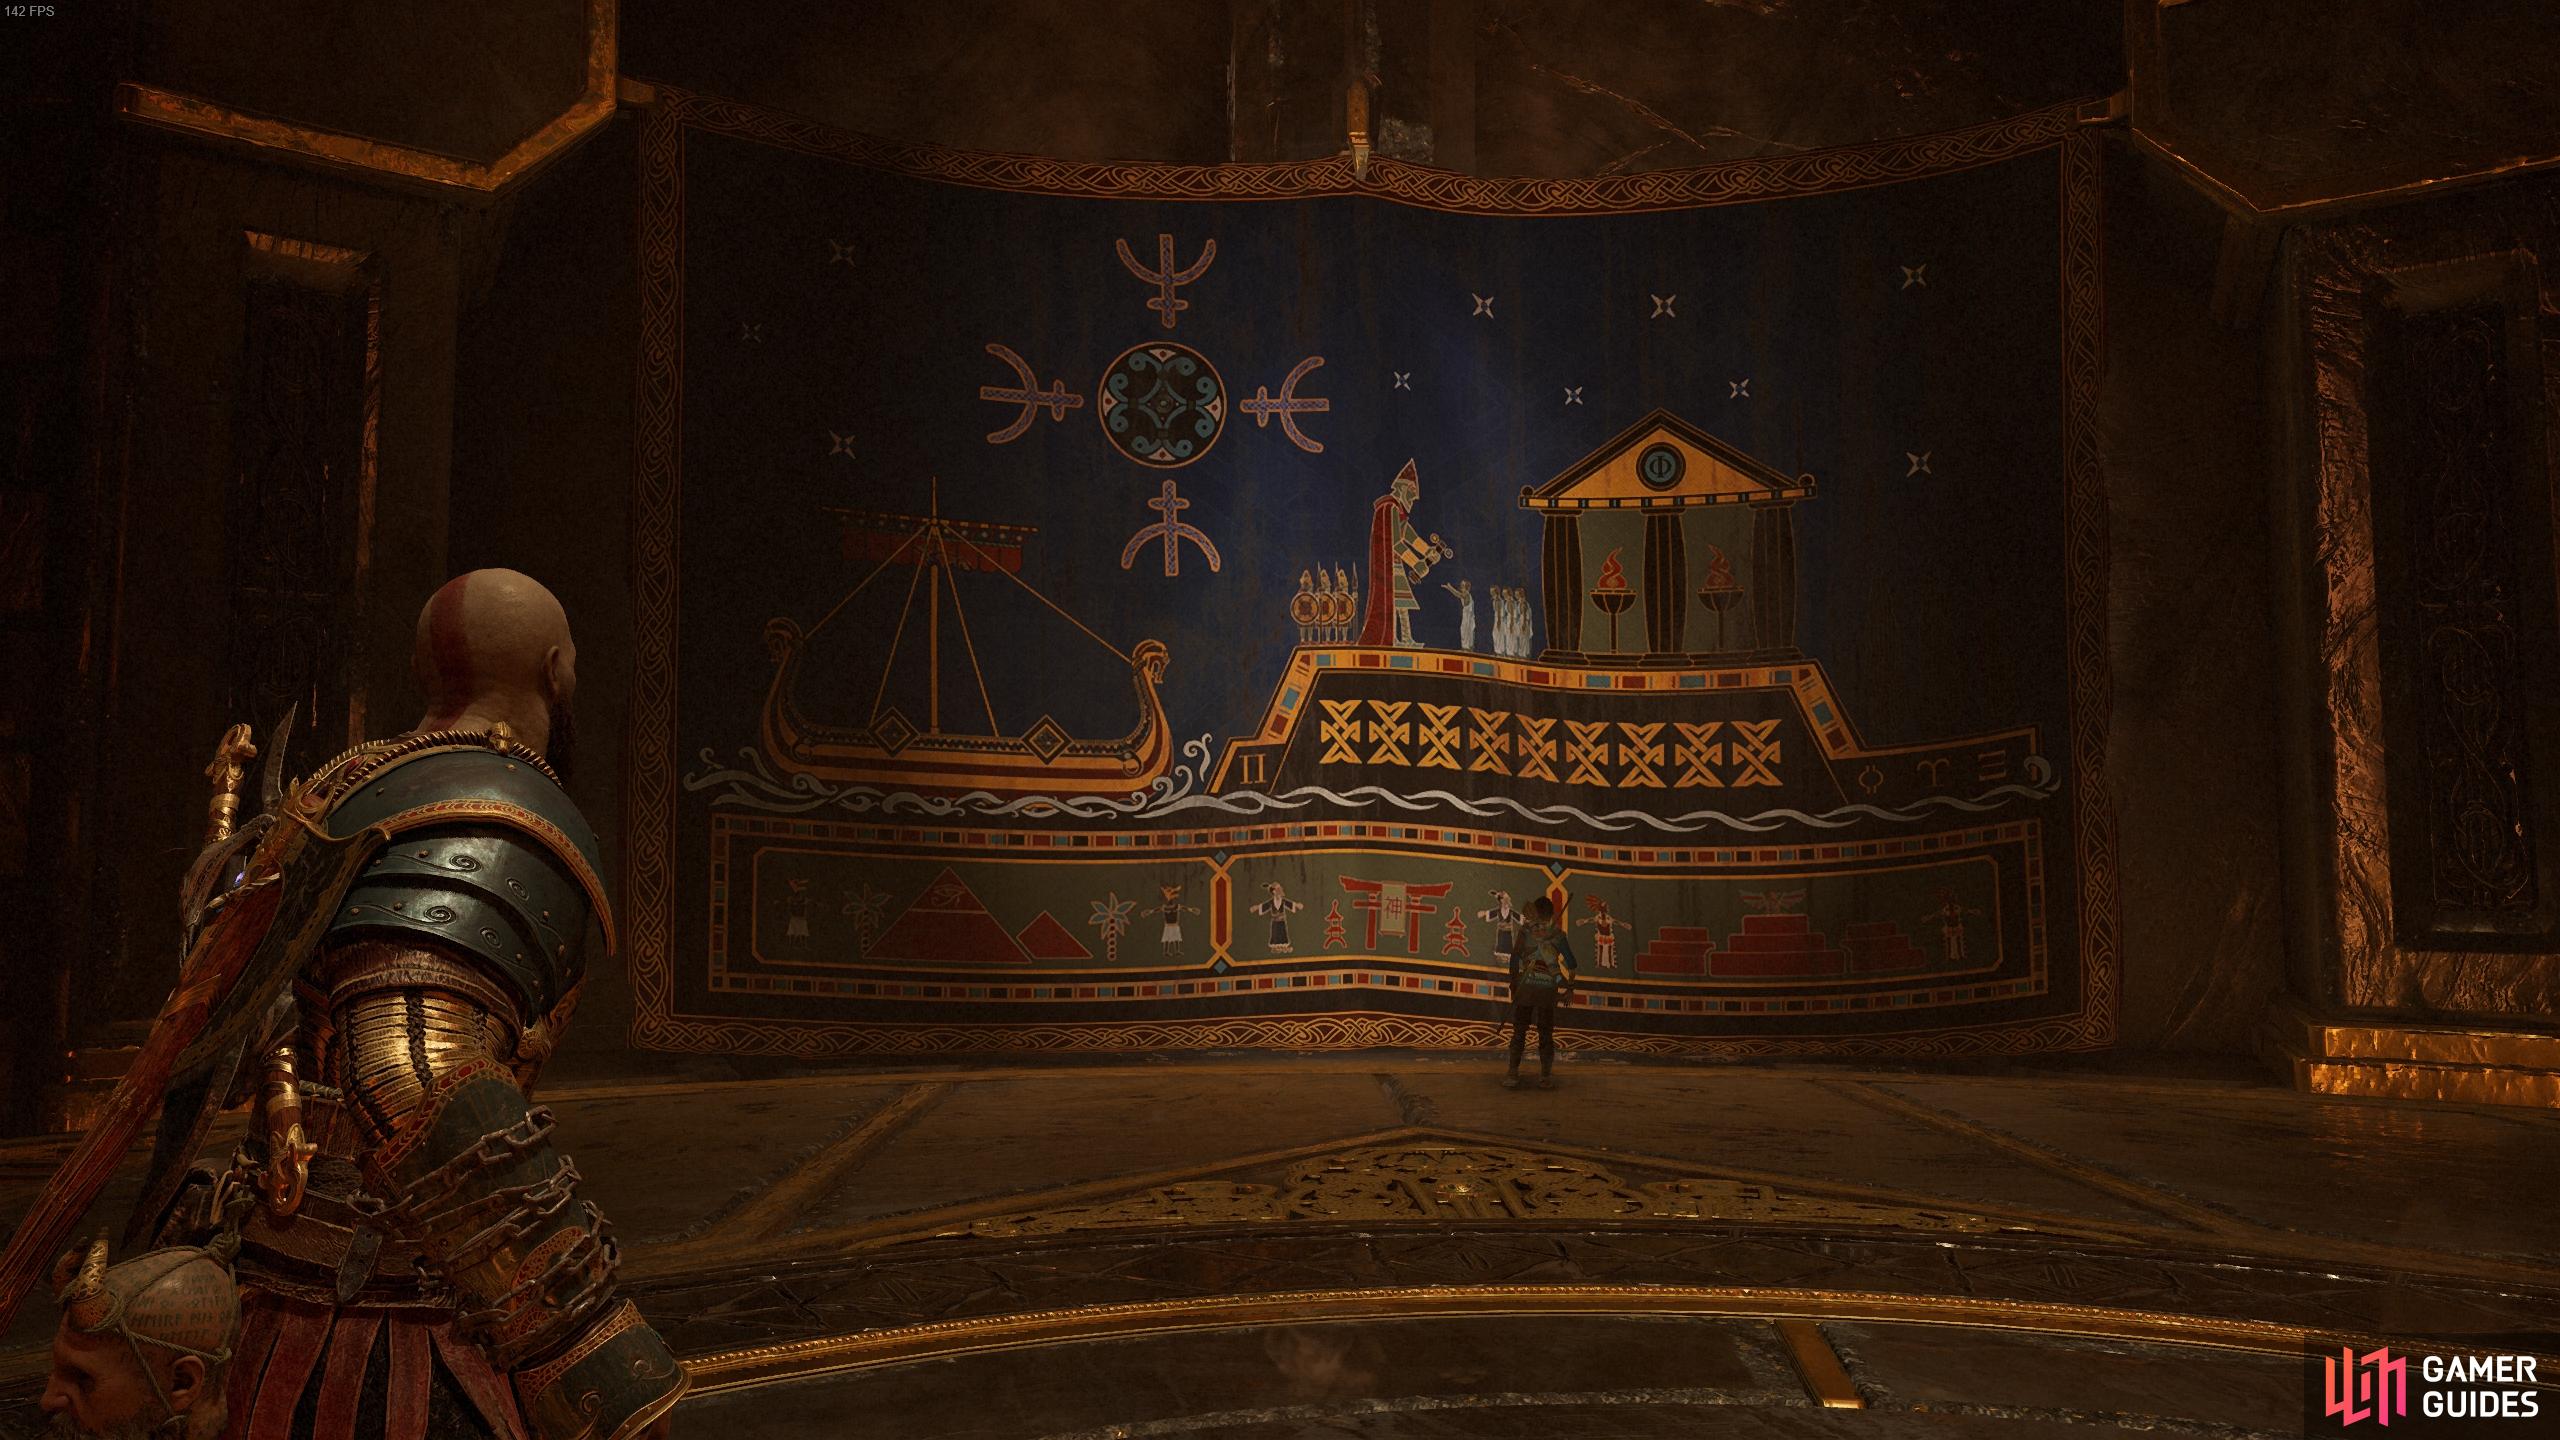
Kratos is entangled by vines and the platform is quickly filling with water. Atreus needs to solve a puzzle on the wall by pulling the three levers you direct him to before Kratos is out of time. Read the riddle on the right to discover that you need the moon to the left, the sun to the right and the symbol of Midgard in the center.
Begin by pulling the lever in the middle, followed by the left to lower the moon. Pull the middle once again to slide the sun over to the right before using the right lever to lower the sun. The left lever should be next, raising the moon before using the middle again to slide Midgard back over to the center. Finally hit the right lever to raise the sun and escape the vine trap. Unfortunately you’re not out of the woods yet, the platform begins ascending to a ceiling of spikes, have Atreus use the knife with the  button or
  key and escape the trap for good.
If you’re struggling with the puzzle, see the gif below for the correct order in motion:
Head forward and kick the door open ahead to find yourself back on the balcony. The protection rings are gone and the Black Rune sits on the ground in the center. Take the chain down to the bottom and head over to the Black Rune, finally retrieving it. As you may expected, Týr has one final trial to overcome, a pair of Trolls.
Defeat Grendel of the Ashes and Grendel of the Frost
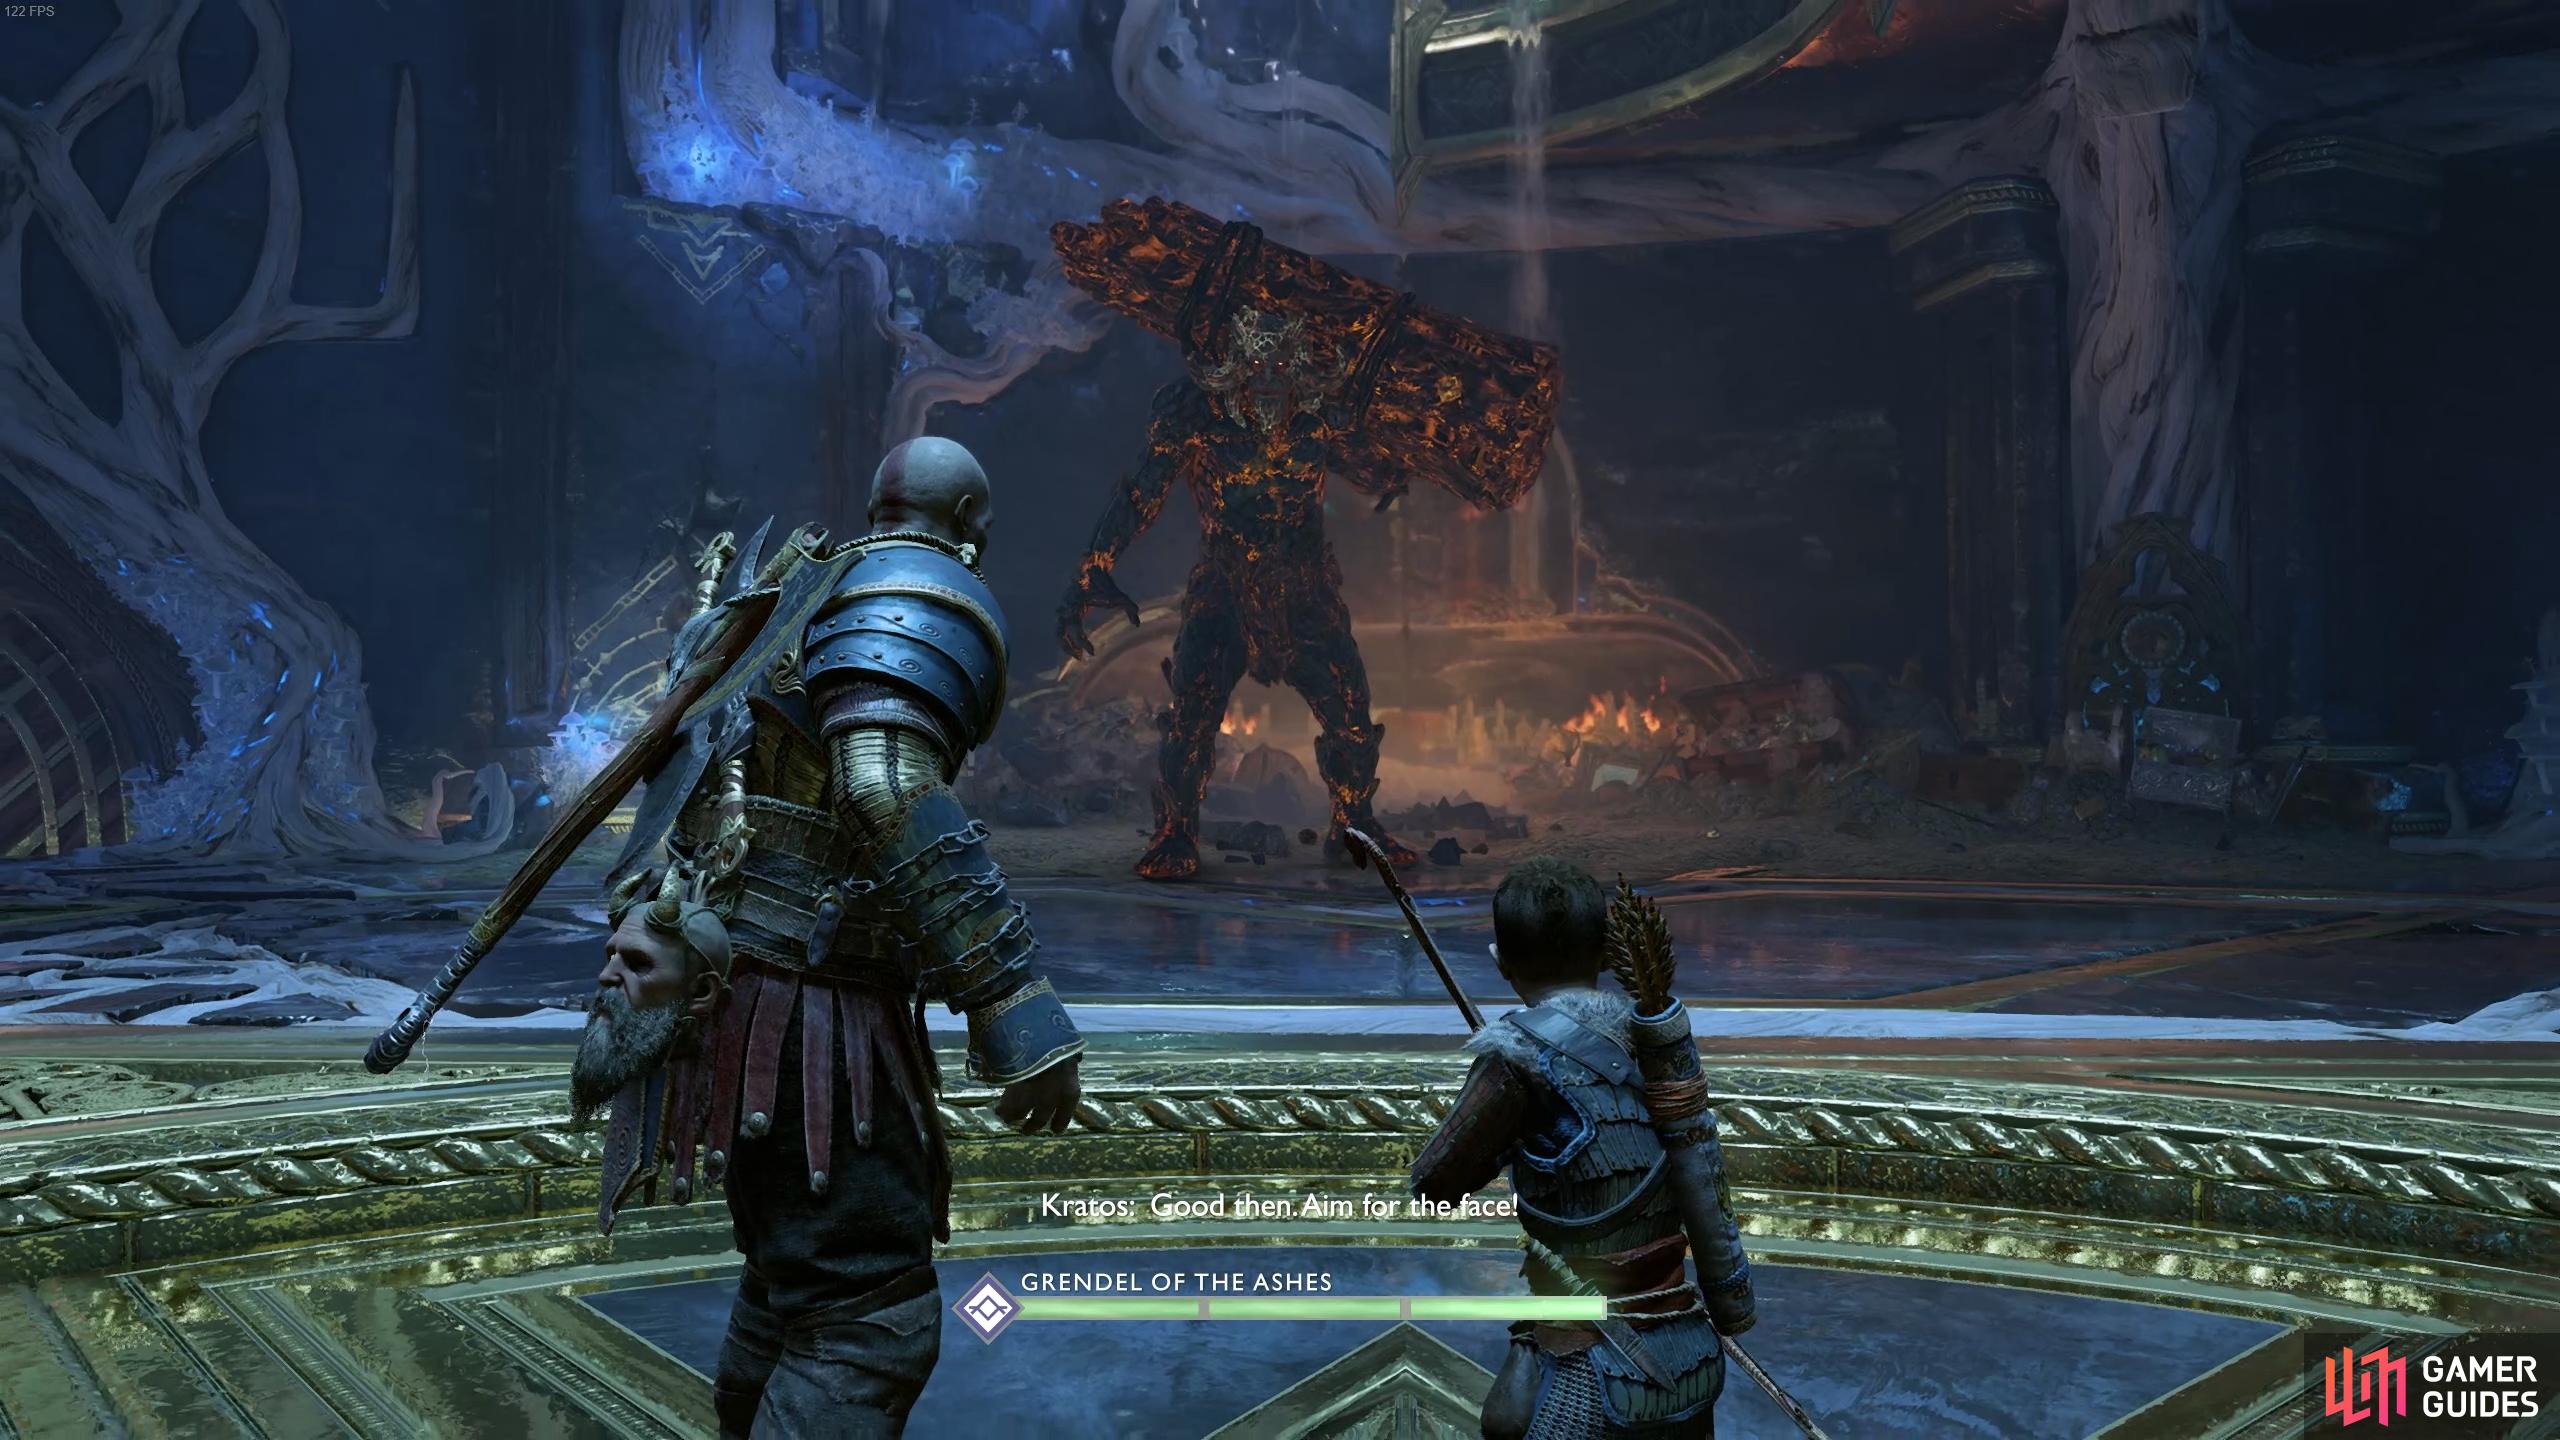
Grendel of the Ashes, God of War.
You’ll be up against just Grendel of the Ashes initially and as you may have guessed from his appearance, he is a Fire Troll. This means that you’ll want to use the Leviathan Axe against him to deal greater damage. Likewise, once Grendel of the Frost joins the battle, switch to the Blades of Chaos to inflict greater damage.
Their attacks remain similar to their kin that you’ve already defeated with a few differences. They gain the ability to slam their pillar into the ground, this will cause two to three mounds to rise which when connected with, explodes and causes blindness. You can remove these easily by baiting one of the Grendels to walk over them, destroying them in the process.
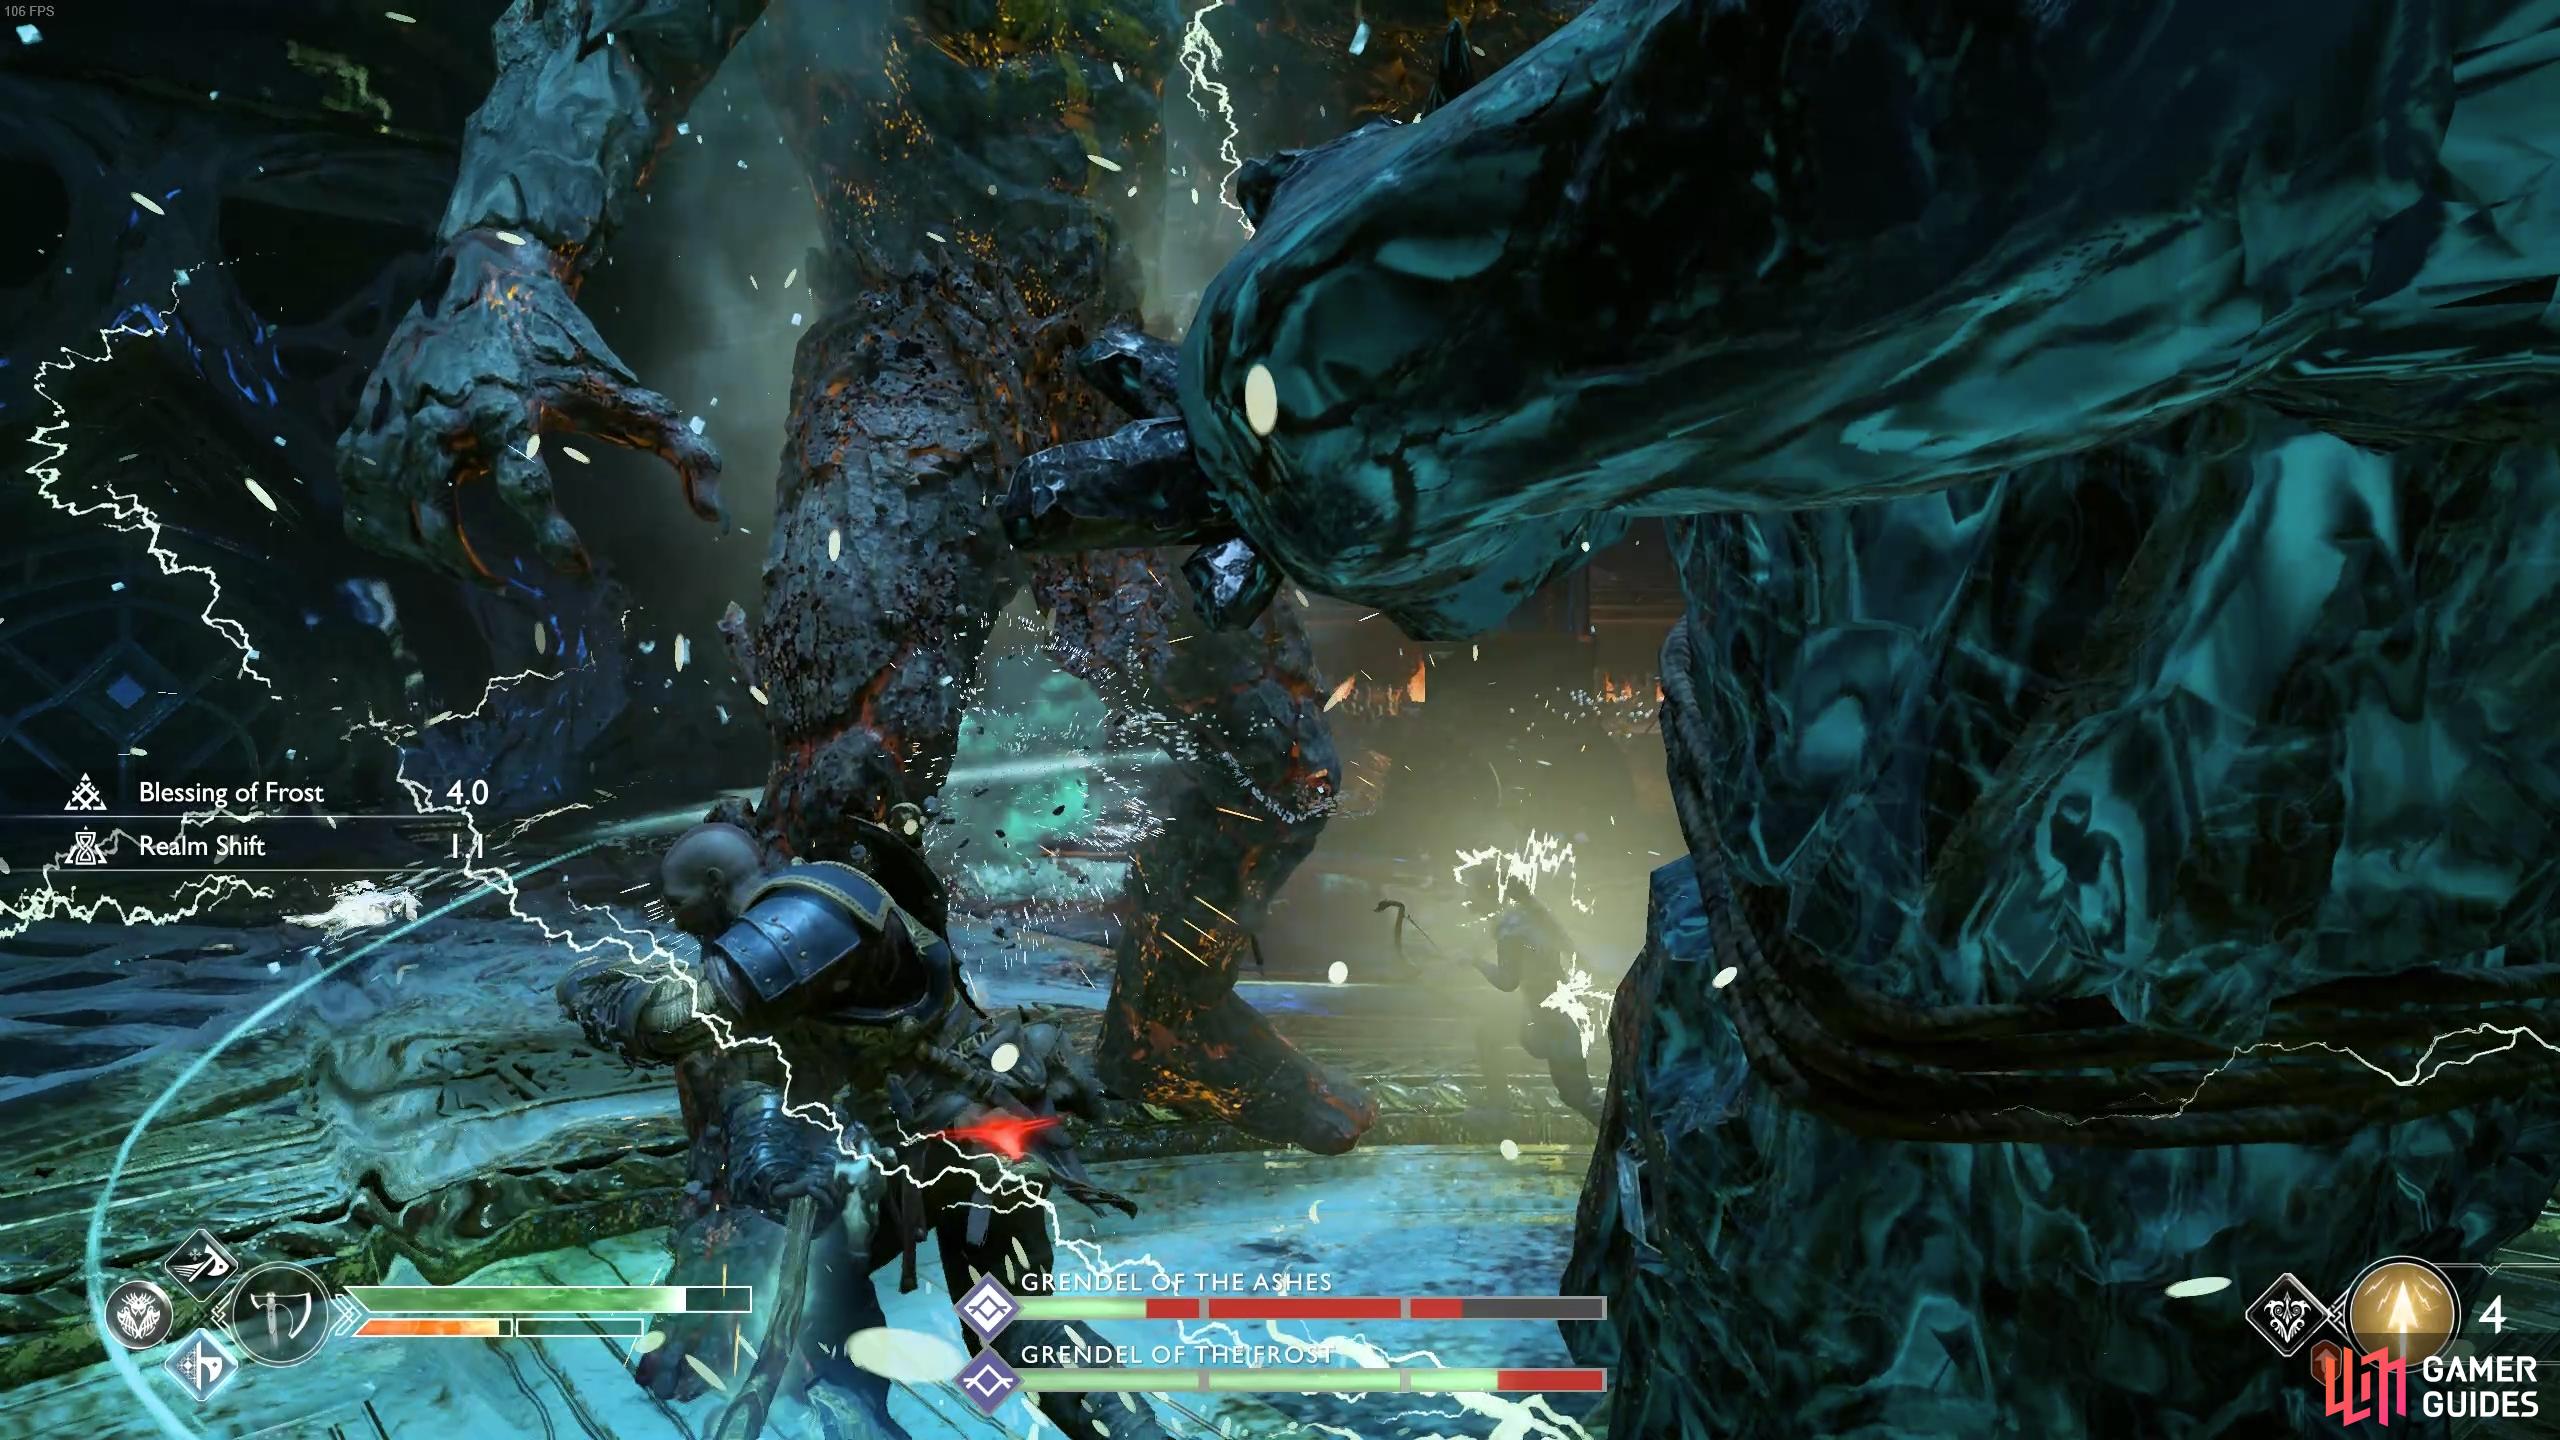
Use Blessing of the Frost to inflict massive damage to Grendel of the Ashes at the start.
Avoid contact with the mounds or risk being blinded.
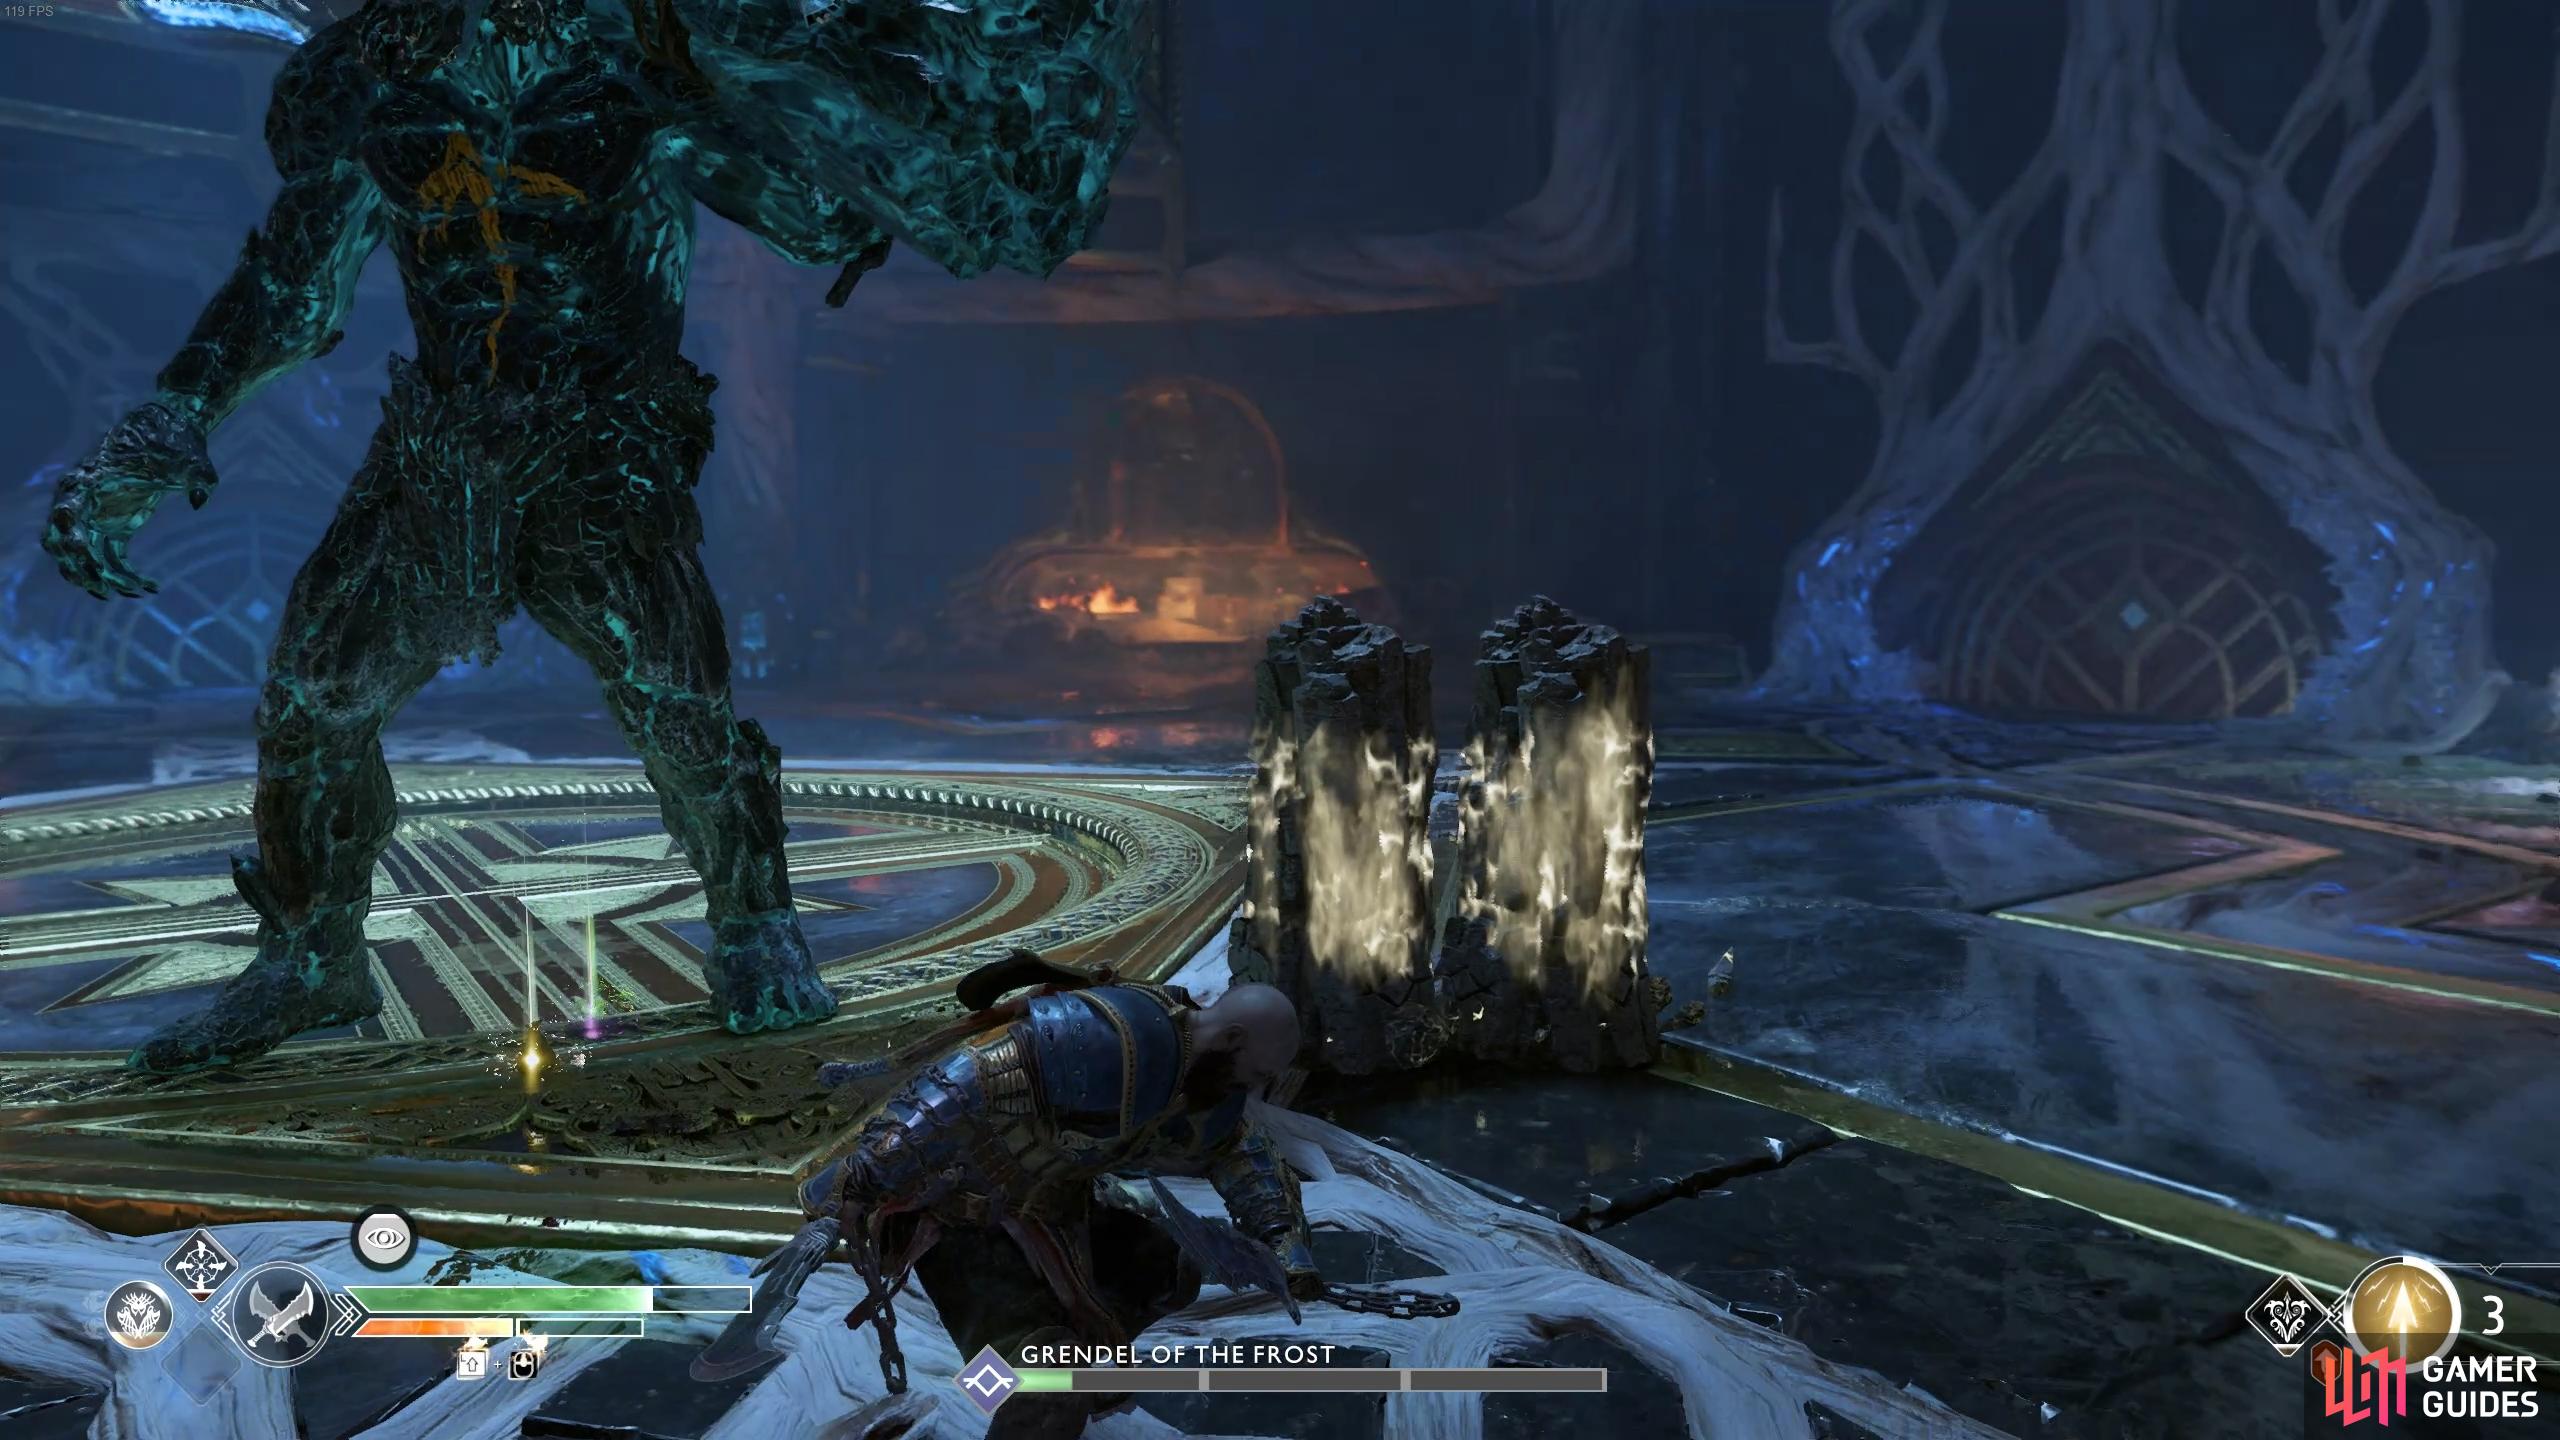
The only other new attack they possess is the ability to charge at you culminating in a slam of the pillar. This is faster than most attacks Trolls have had up until now so listen out for the roar and be prepared to dodge roll out of the way.
These attacks aside, the battle isn’t that difficult, the brutes don’t have a great deal of health and attacks such as Blessings of the Frost will take down Grendel of the Ashes very quickly leaving you just the one Grendel to focus on. As with most battles of this nature, don’t forget Spartan Rage if you need a health top up or want to deliver a large burst of damage.
Exit Týr’s Vault
Loot the spoils on the ground upon their death to obtain the Tartarus Rage Heavy Runic Attack for the Blades along with a Chaos Flame from Grendel of the Frost. Tartarus Rage is your first Heavy Runic for the Blades so be sure to equip it right away. From Grendel of the Ashes you’ll obtain Hacksilver and your first Hardened Svartalfheim Steel. Before leaving, look to the west passage to find a Legendary Chest is now accessible, open it to obtain the Weightless Grips of Protection.
You’re done with the Vault for now, exit through the south door and use the sand bowl to begin the ascent back to the top. Father and son share a bonding moment in this brief period of respite. At the top, the journey is reaching it’s end and the return to the mountain is next on the agenda.
No Comments