

The Magic Chisel, God of War.
Follow Mimir’s instructions to the chisel
With the destination clear now, Mimir informs the duo that the travel rune is needed to enter Jötunheim along with a Magic Chisel to carve it. Mimir knows just where you can get the Magic Chisel, in the land to the north.
Row the boat to the Mason’s Channel found to the north of the Lake of Nine. Row through the archway created by Njörd’s Oarsmen and depart at the next beach if the gate is still closed (if you’ve been exploring then you may already have this open). On this beach you can find a wheel that you can turn to open the large gate blocking you from exploring more of the Channel. Once open, return to the boat and row through the gates ahead.
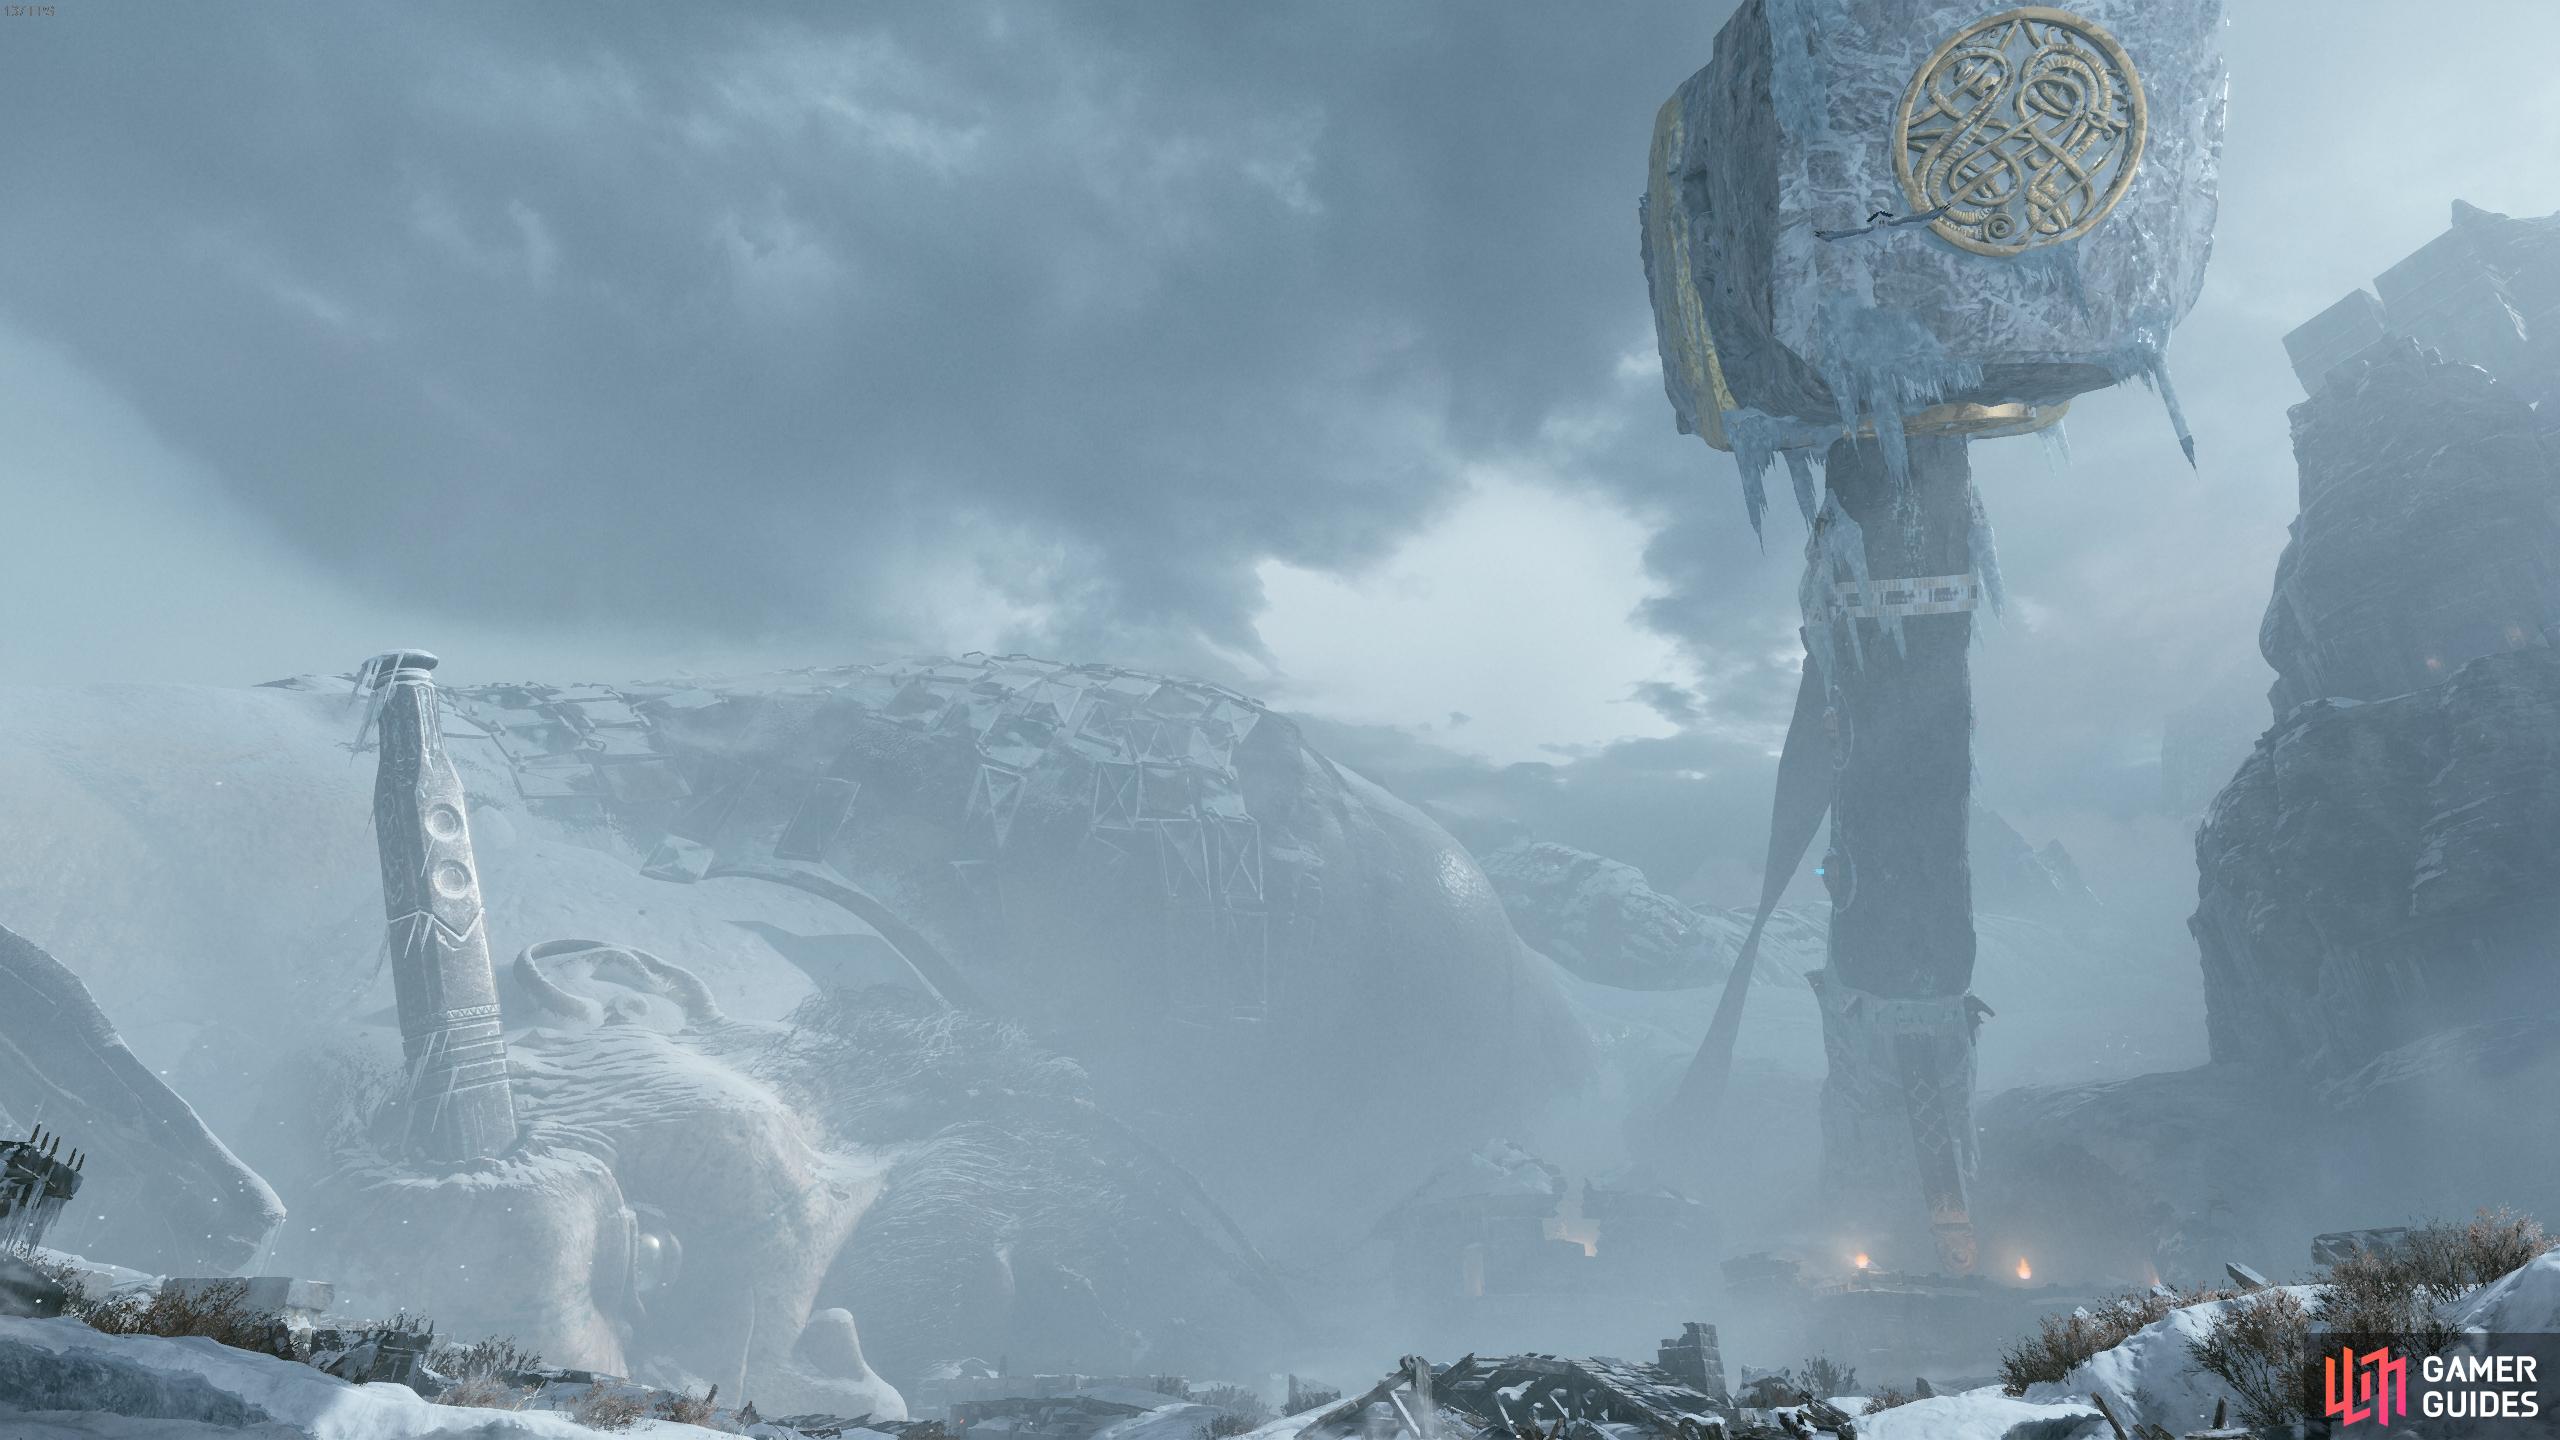
Mimir recounts the tale of the famous Stonemason, Thamur as you continue to row through the Channel. As you draw closer to the dock, it becomes clear what the giant’s fate was.
Investigate the dead giant
Depart from the boat at the dock and note the Mystic Gateway to your left. Waiting for you on the shore is a Wulver, a difficult enemy but also a low level one at this stage of your journey. Don’t be too aggressive and make use of arrows to keep it stunned and you should have no problem, even with the additional one that drops down during the encounter.
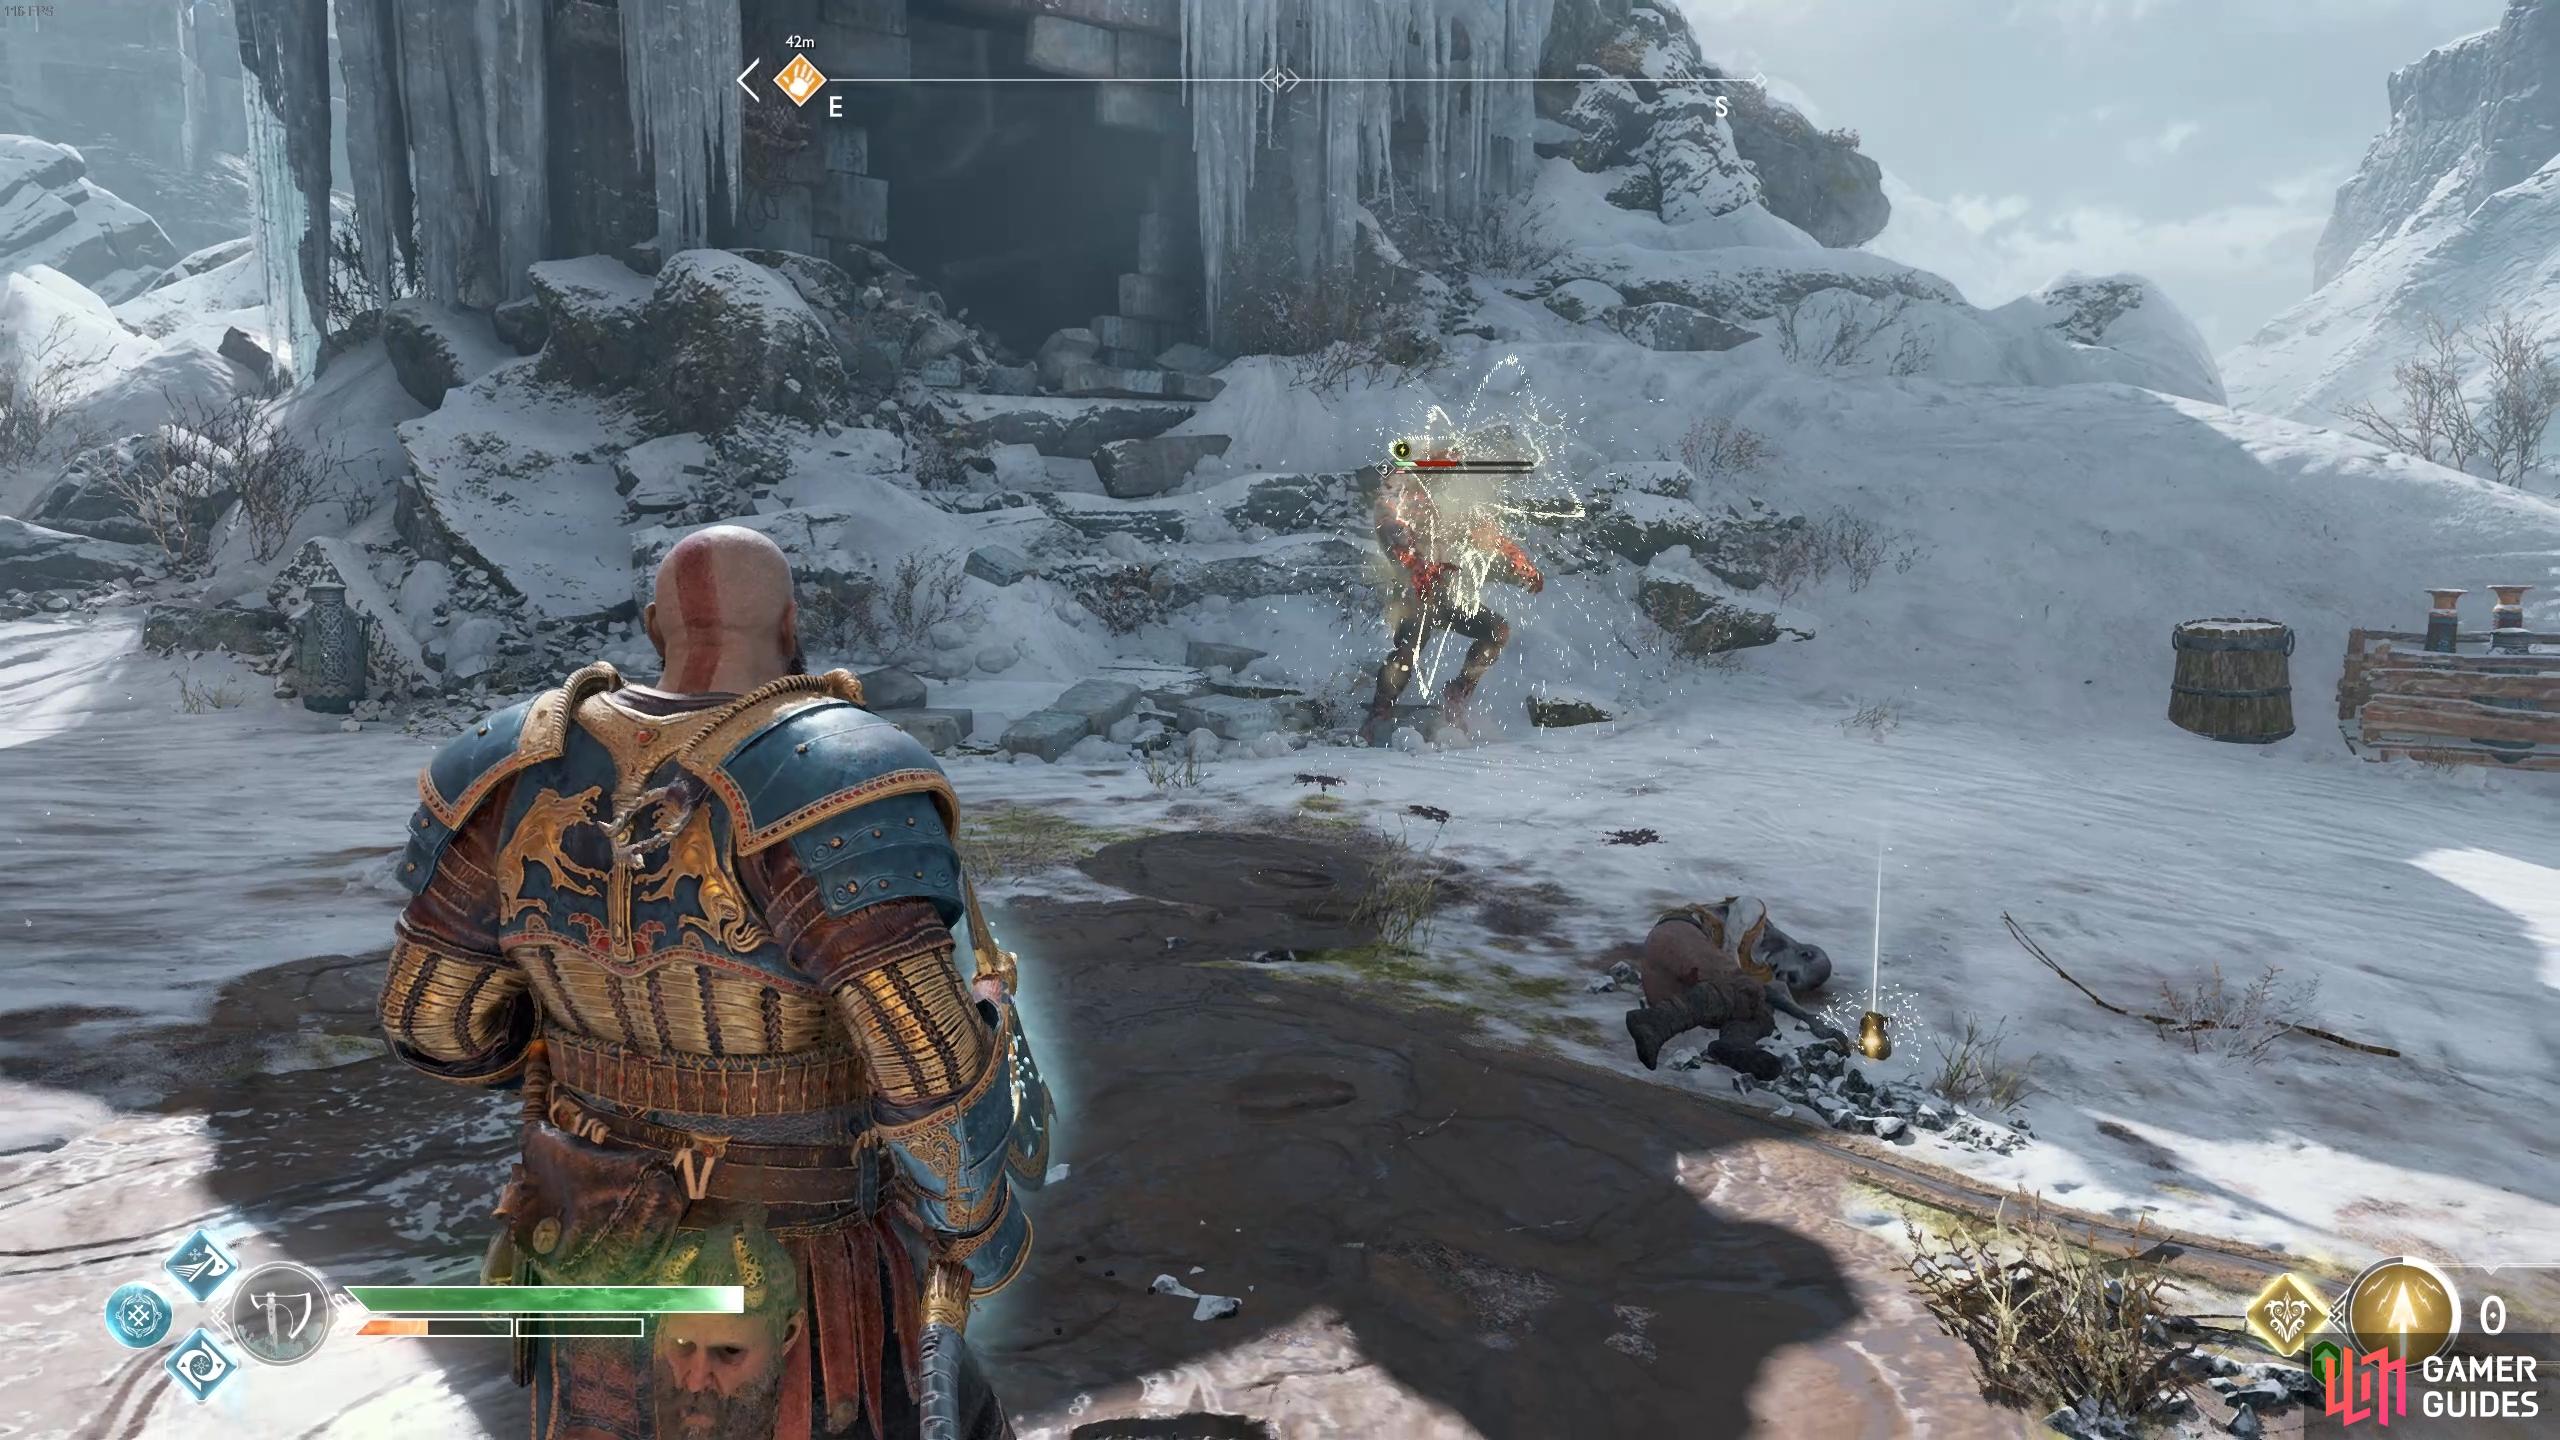
Although difficult, the Wulver’s low level makes them easy to stun.
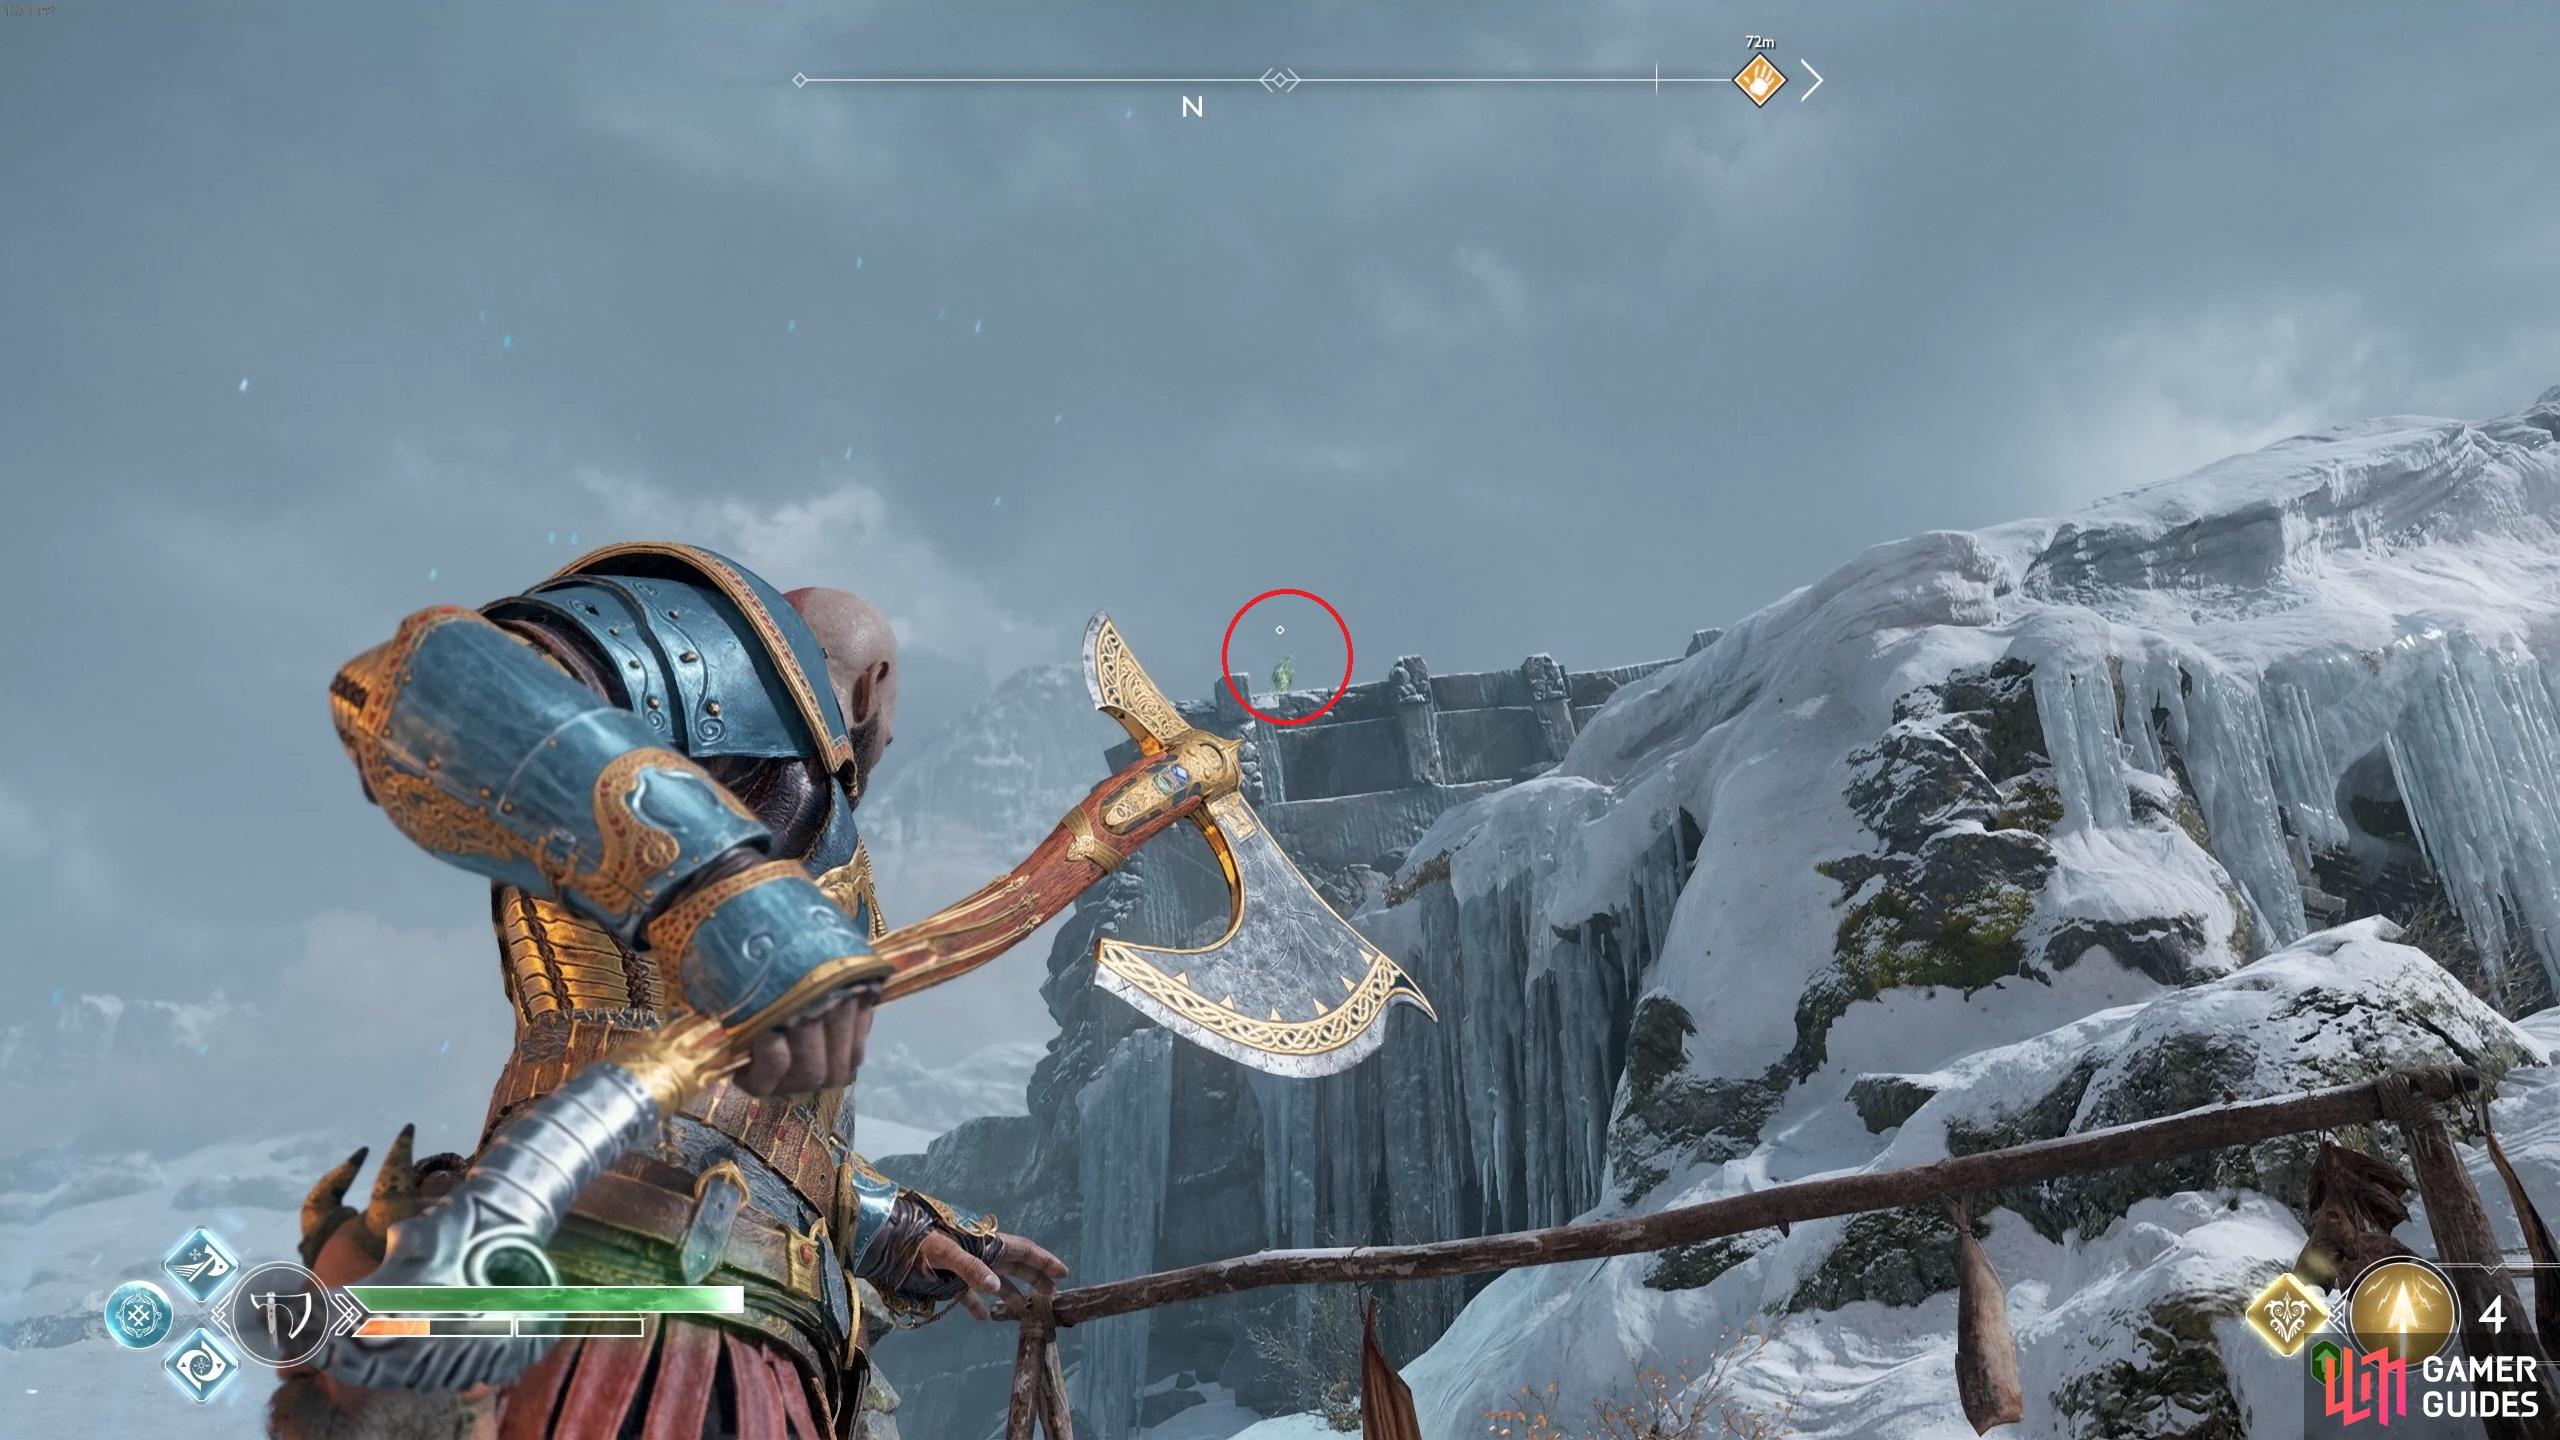
Look up at the cliff from the Mystic Gateway to find the first Raven.
Once defeated, head back to where the Mystic Gateway is and stand in the northern corner. Look up at the cliff here to spot the first of two Ravens in this region. Further along to the north is the next Hidden Chamber that is still inaccessible and then head to the right where you’ll see the giant’s ring glowing.
Take aim with a Shock Arrow and shoot it to dislodge the ring from the finger. Walk over to it and pull the ring as far to the right as it will go before shooting it again, allowing you access to the coffin behind it. Return once again to the ring and this time pull it as far left as it will go before shooting it again, creating an opening for you to proceed through.
Drop down to the ground below and climb the ledge to the northwest and follow the path up. You’ll find a sack of Hacksilver to the right and a chain to the left. Head towards the chain but ignore it and keep going around the corner to find another hidden coffin containing the Runic Wyrmskin Pauldrons. Take the chain up to the frozen lake at the top.
Retrieve a piece of the chisel
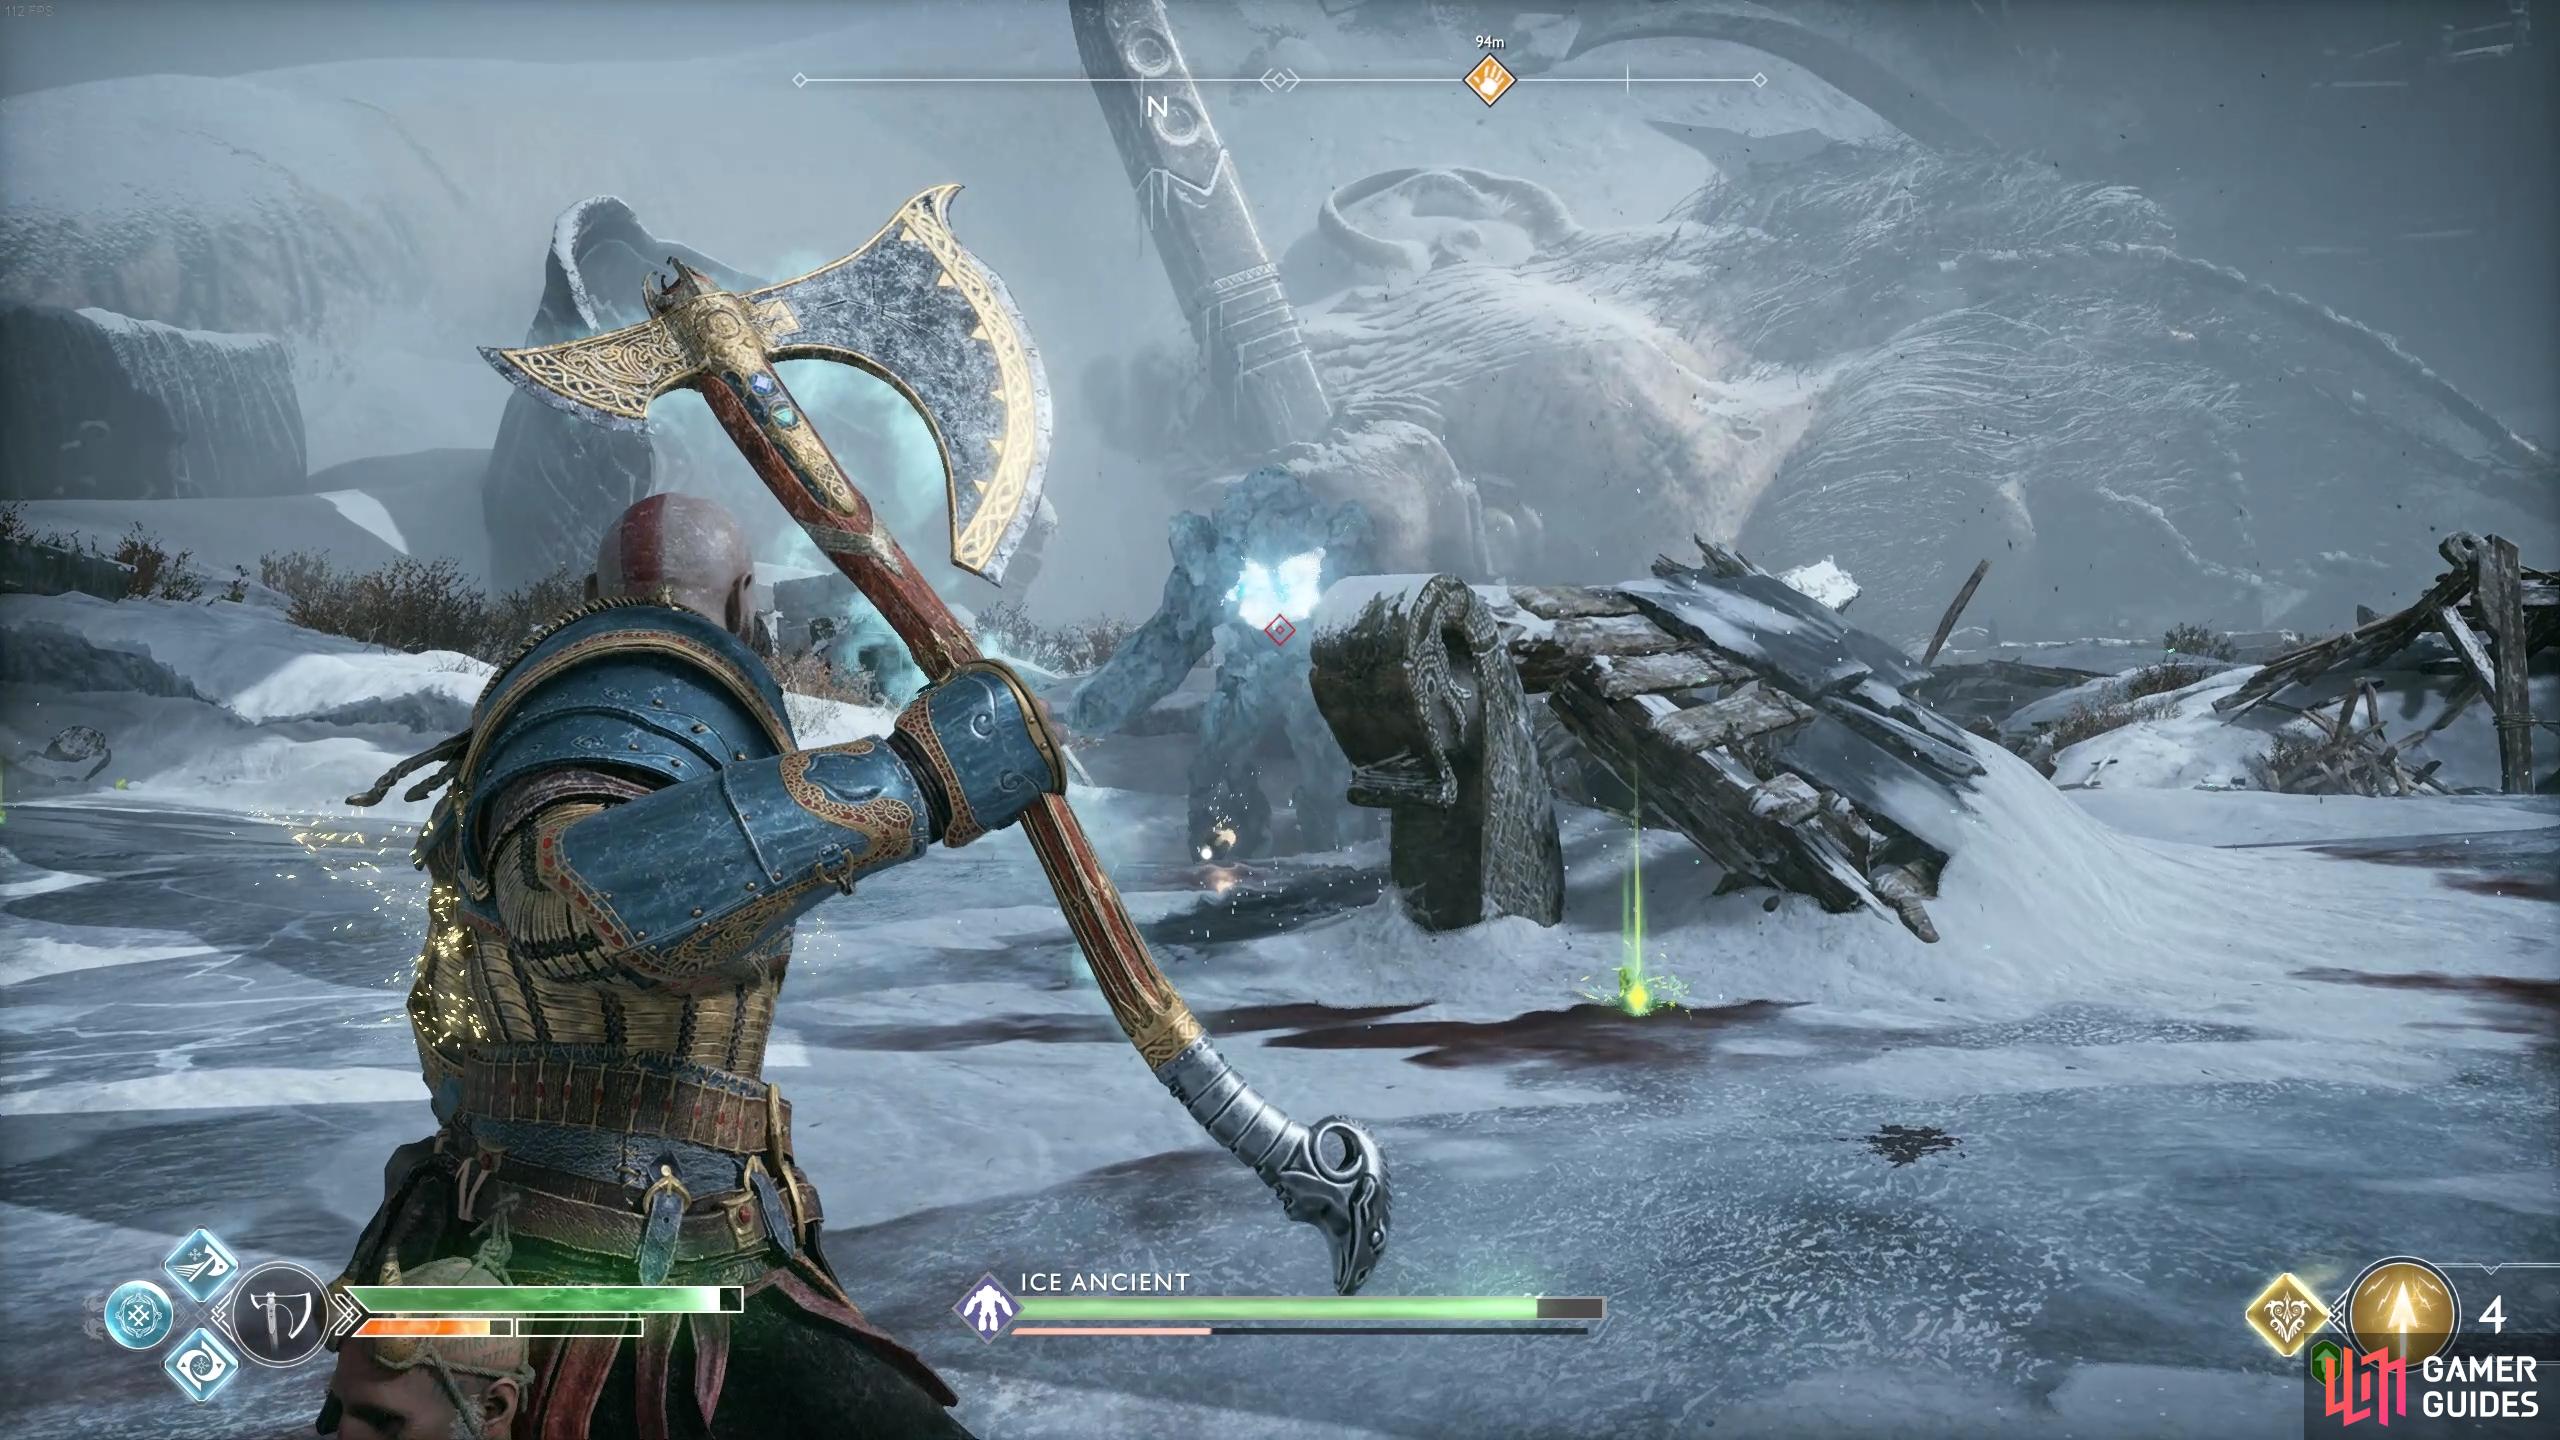
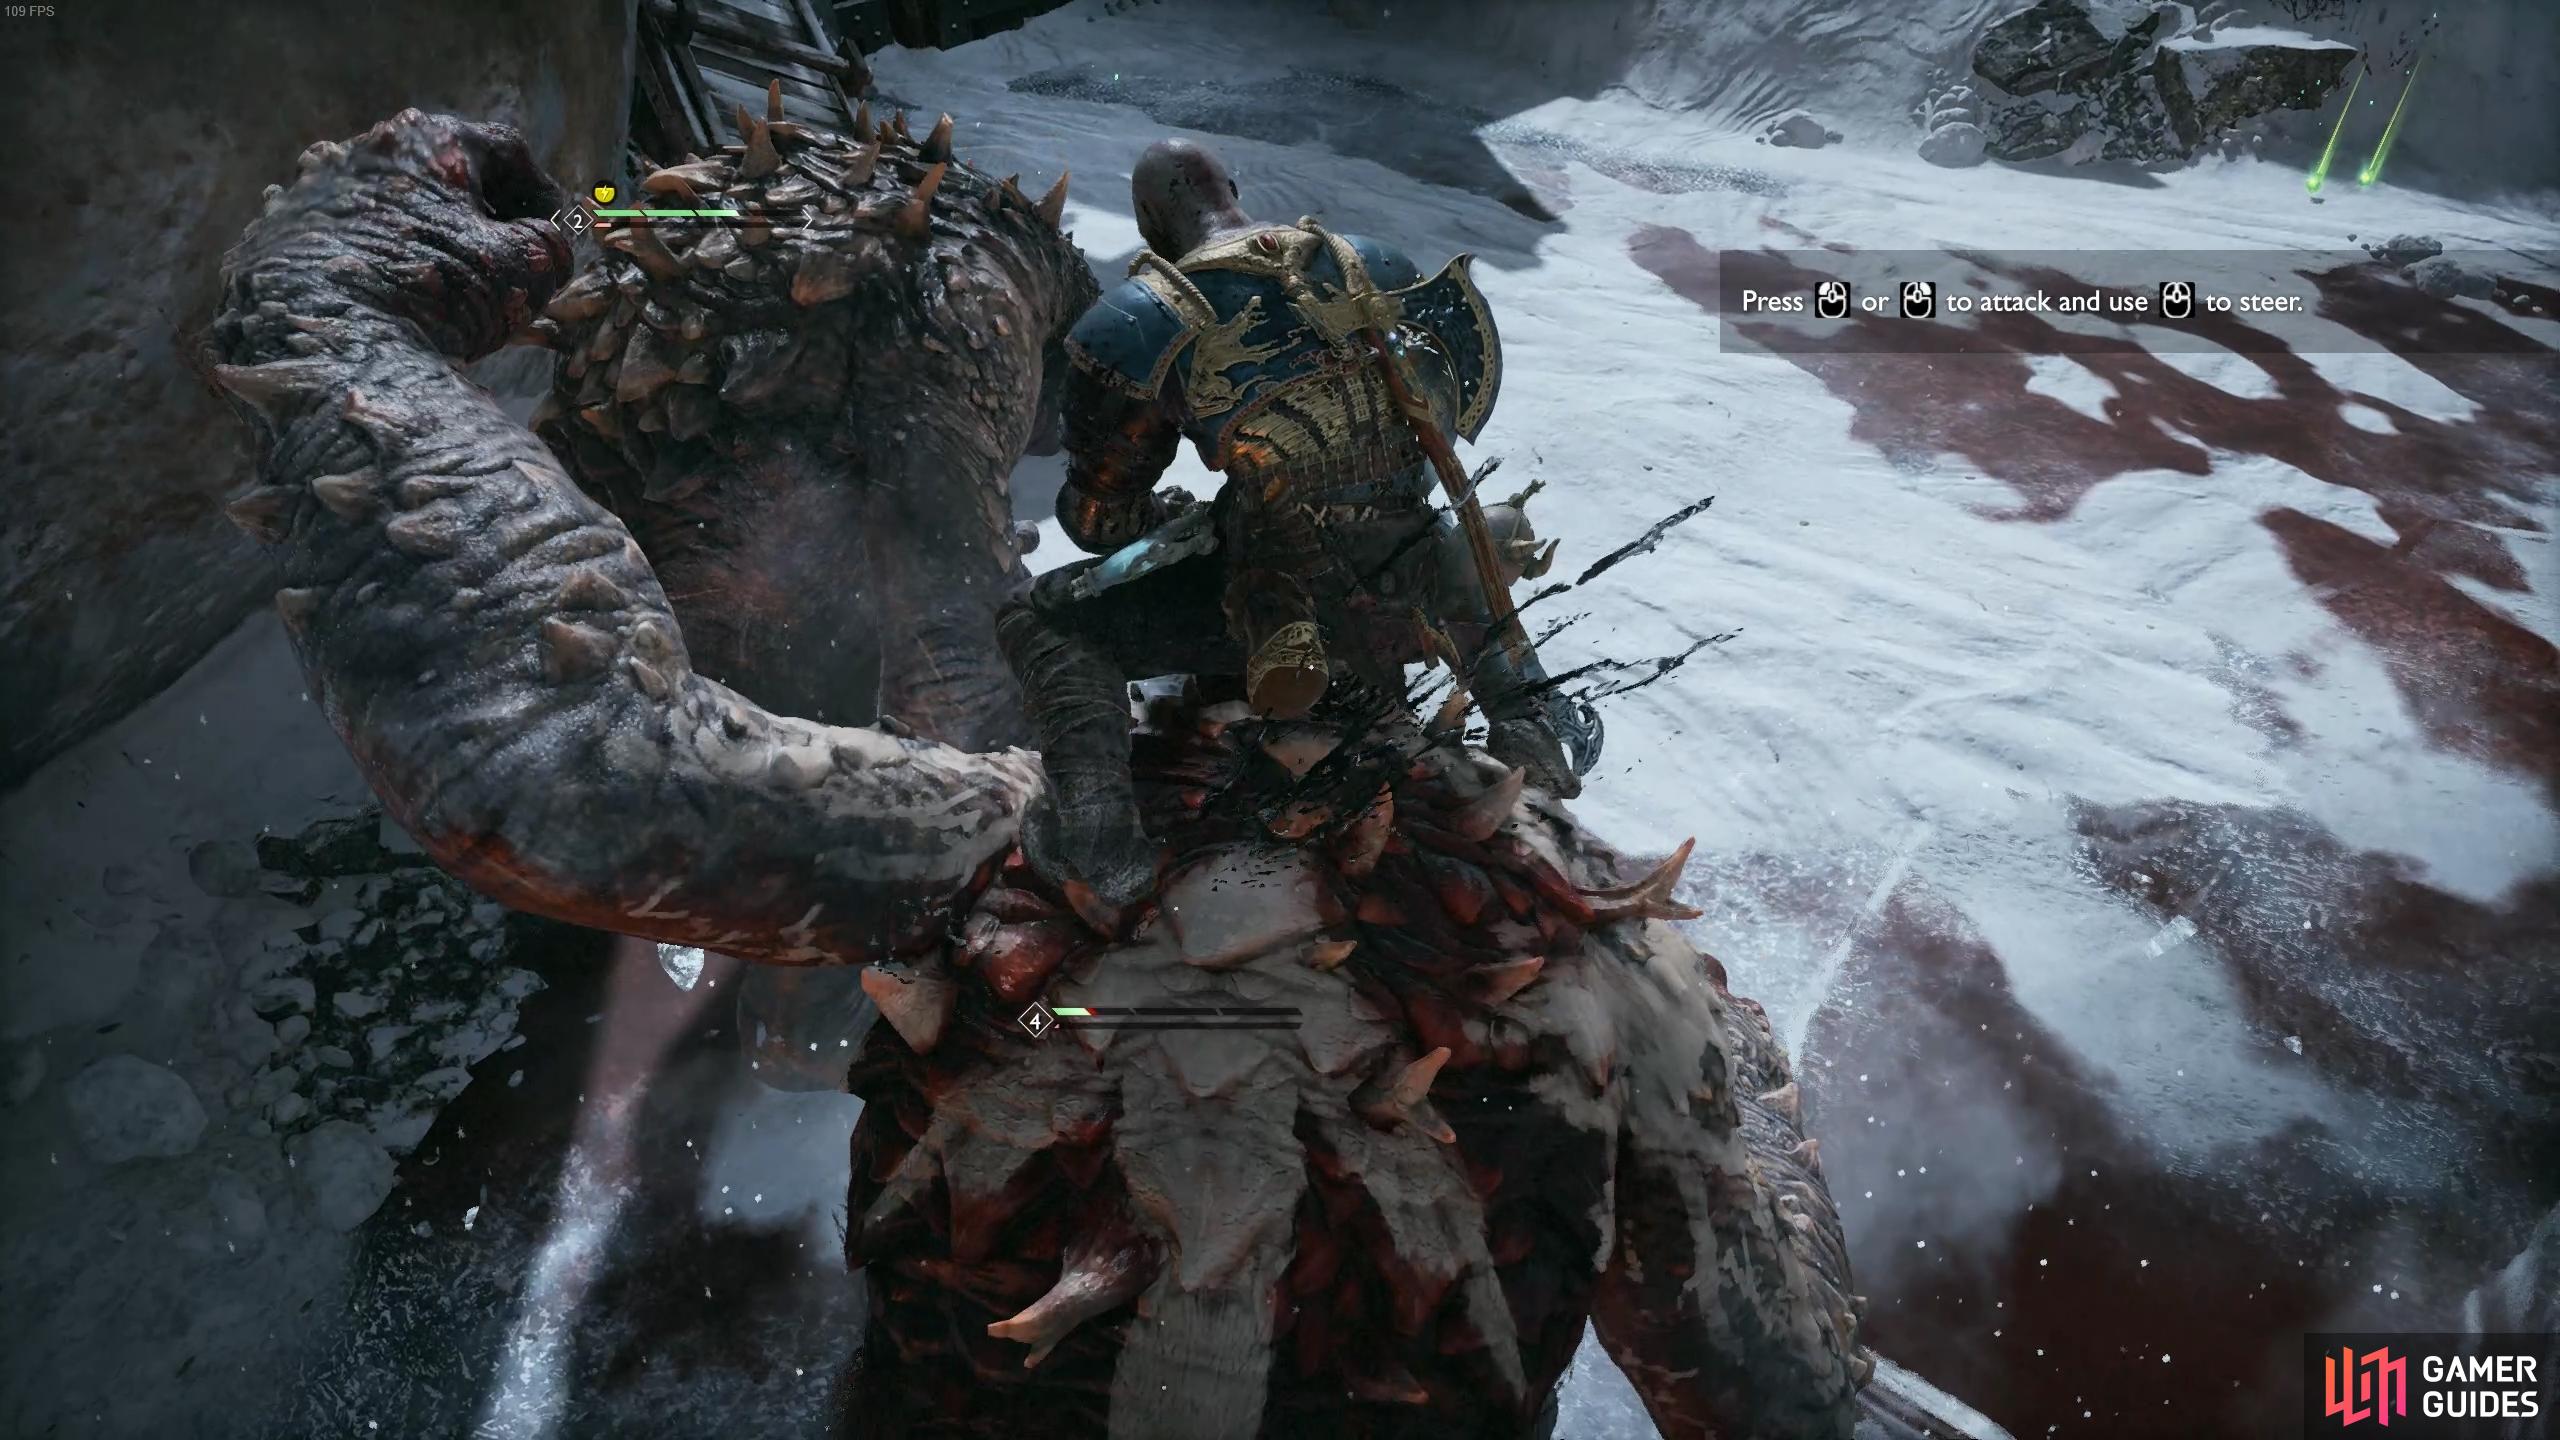
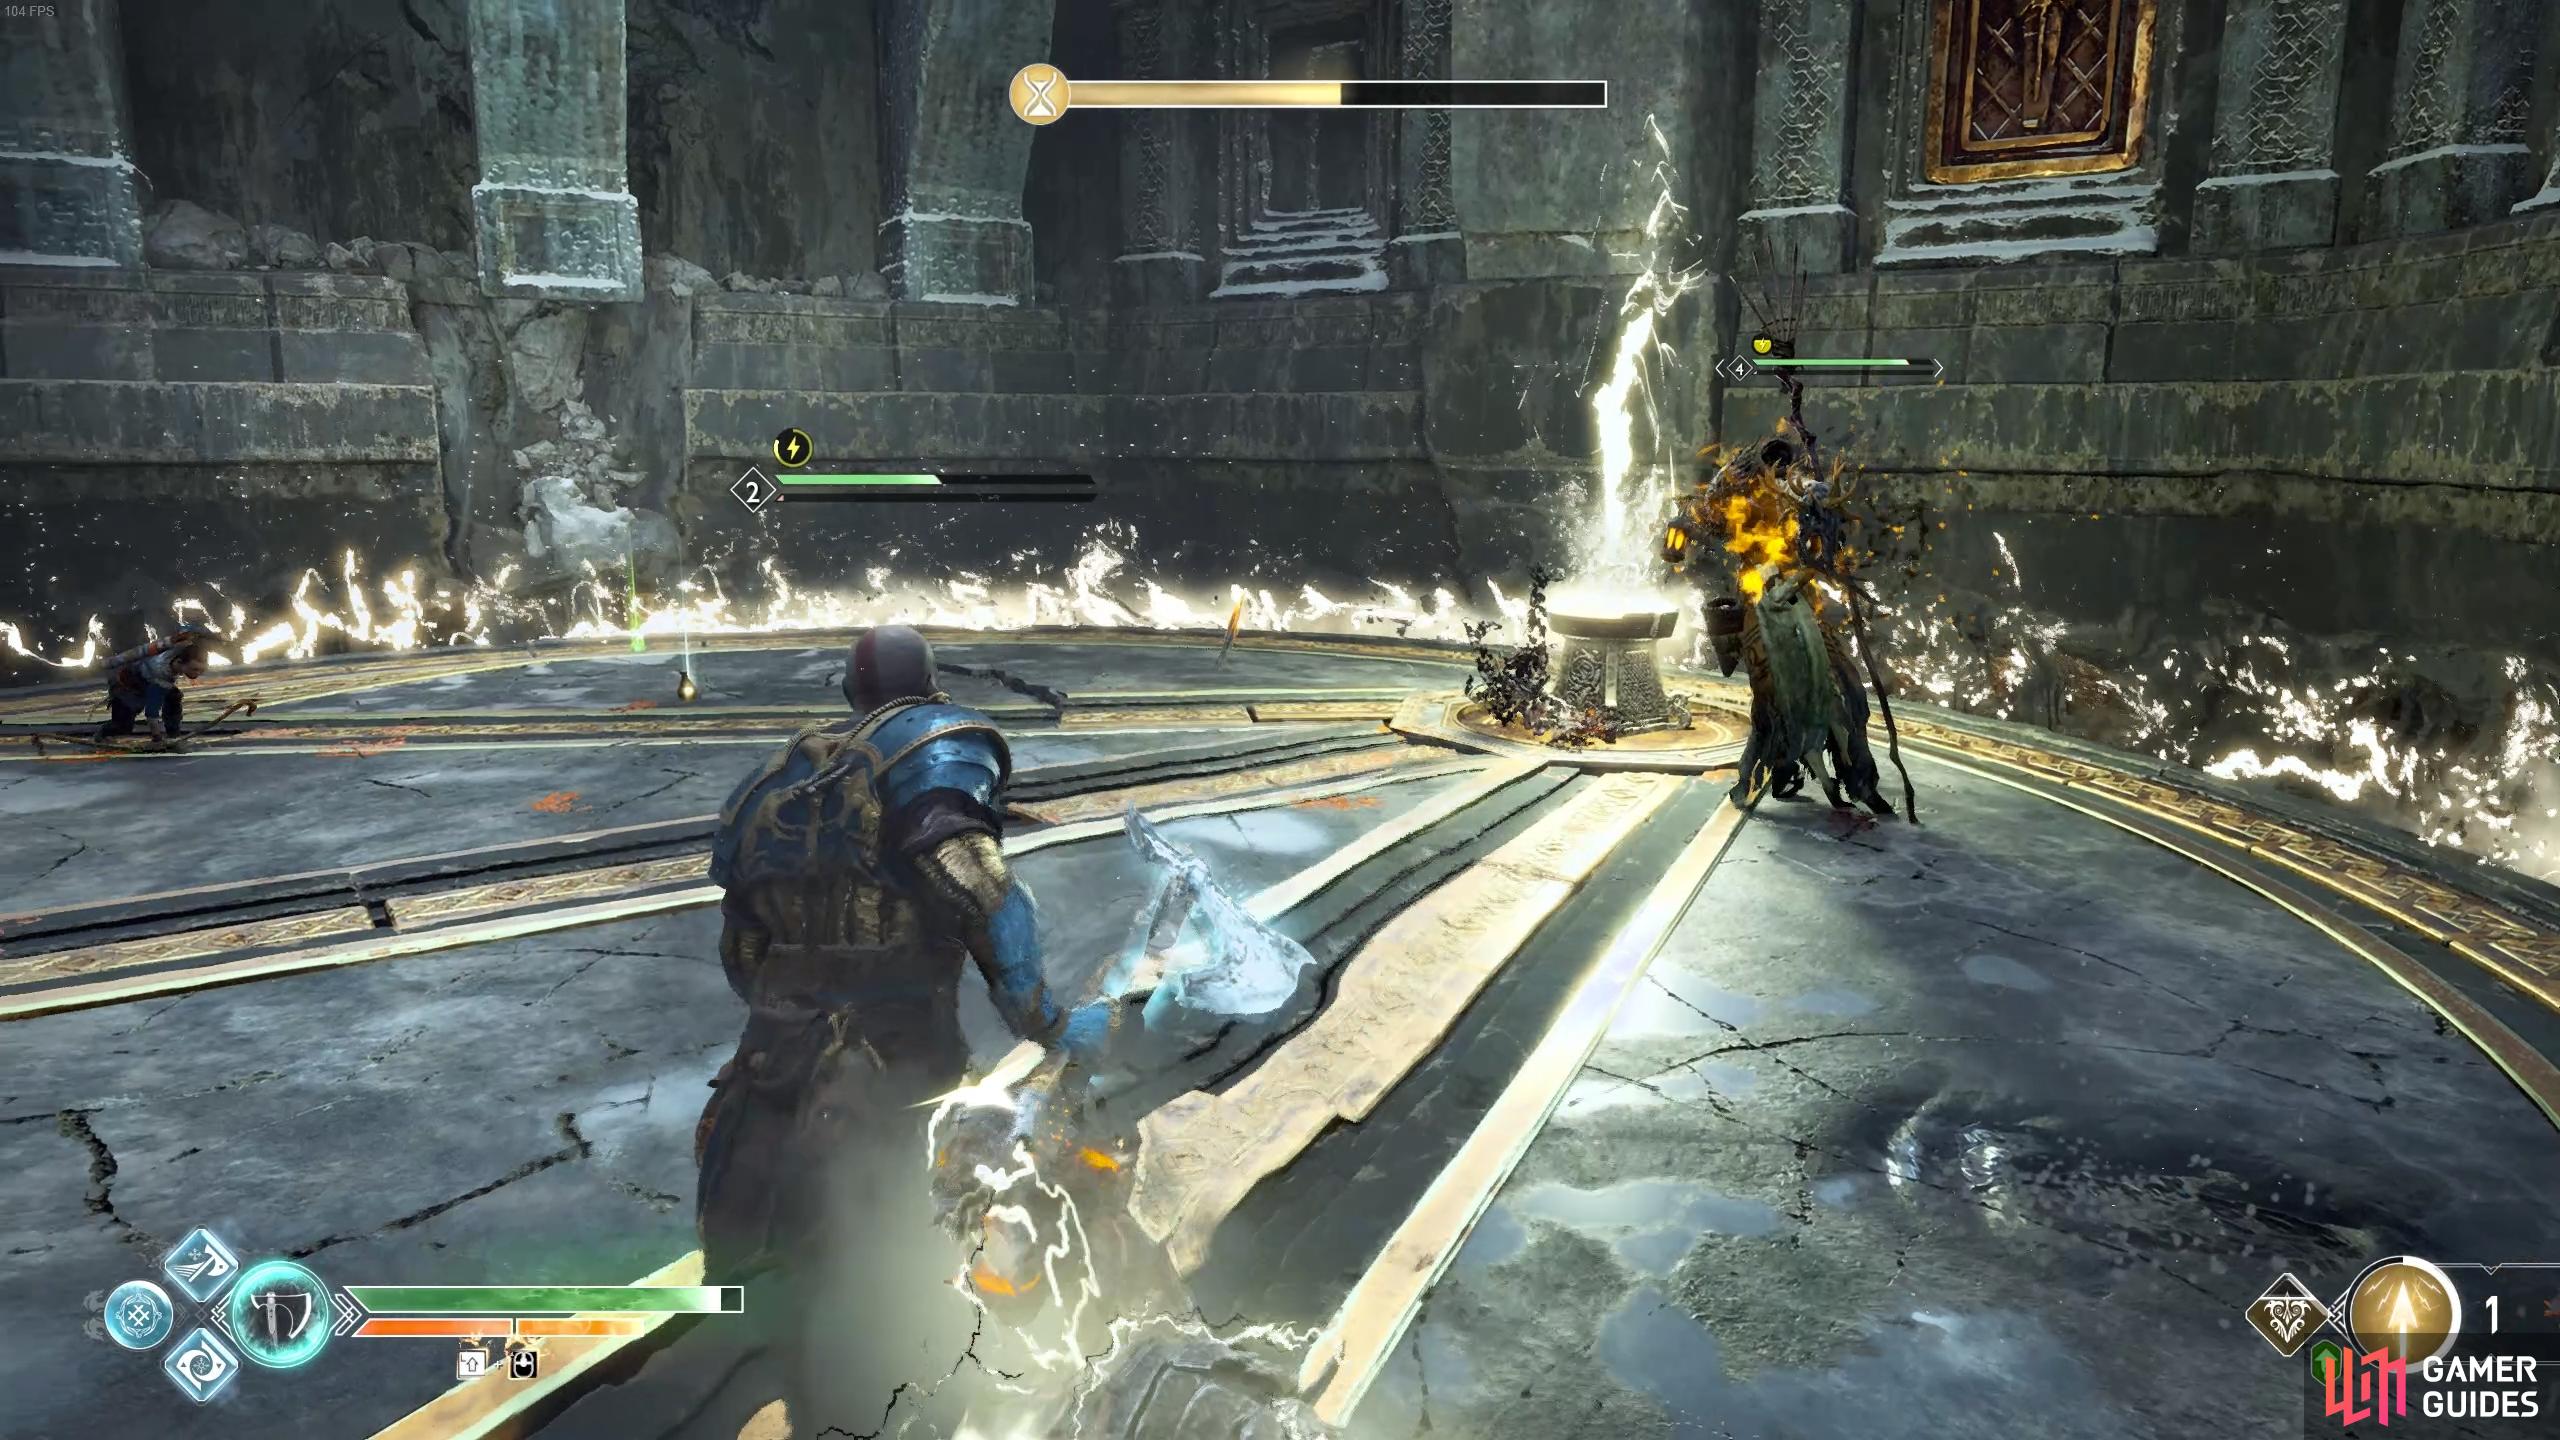
The remains of the giant Thamur lie in front of you, the aftermath of Thor’s wrath is a ghastly sight indeed. A duo of Wulver’s are on this frozen lake, consuming the remains of their victims, use a Murder of Crows to lock them in place and then run over to begin attacking. Upon their deaths, an Ice Ancient will rise. Like all Ancient battles, take aim with the axe and launch it into the exposed core to deal damage. This particular Ancient has the ability to launch an icy beam your way so be sure to make use of the debris in the center as cover. Nightmares will also spawn throughout the battle, make sure you prioritize them to avoid being overwhelmed.
With the tough battle over, loot all the spoils on the ground and open the Hacksilver chest in the east corner. There’s a coffin in the center that contains the Plated Runewaver Bracers and a Lore Marker to the southeast. Head forward a little now to find a world tree stump that you can acquire a Shatter Crystal from, take this with you back to where the Lore Marker was and look into the air to spot some sap. Throw the Shatter Crystal up there and shoot it to remove the sap and drop a Light Crystal.
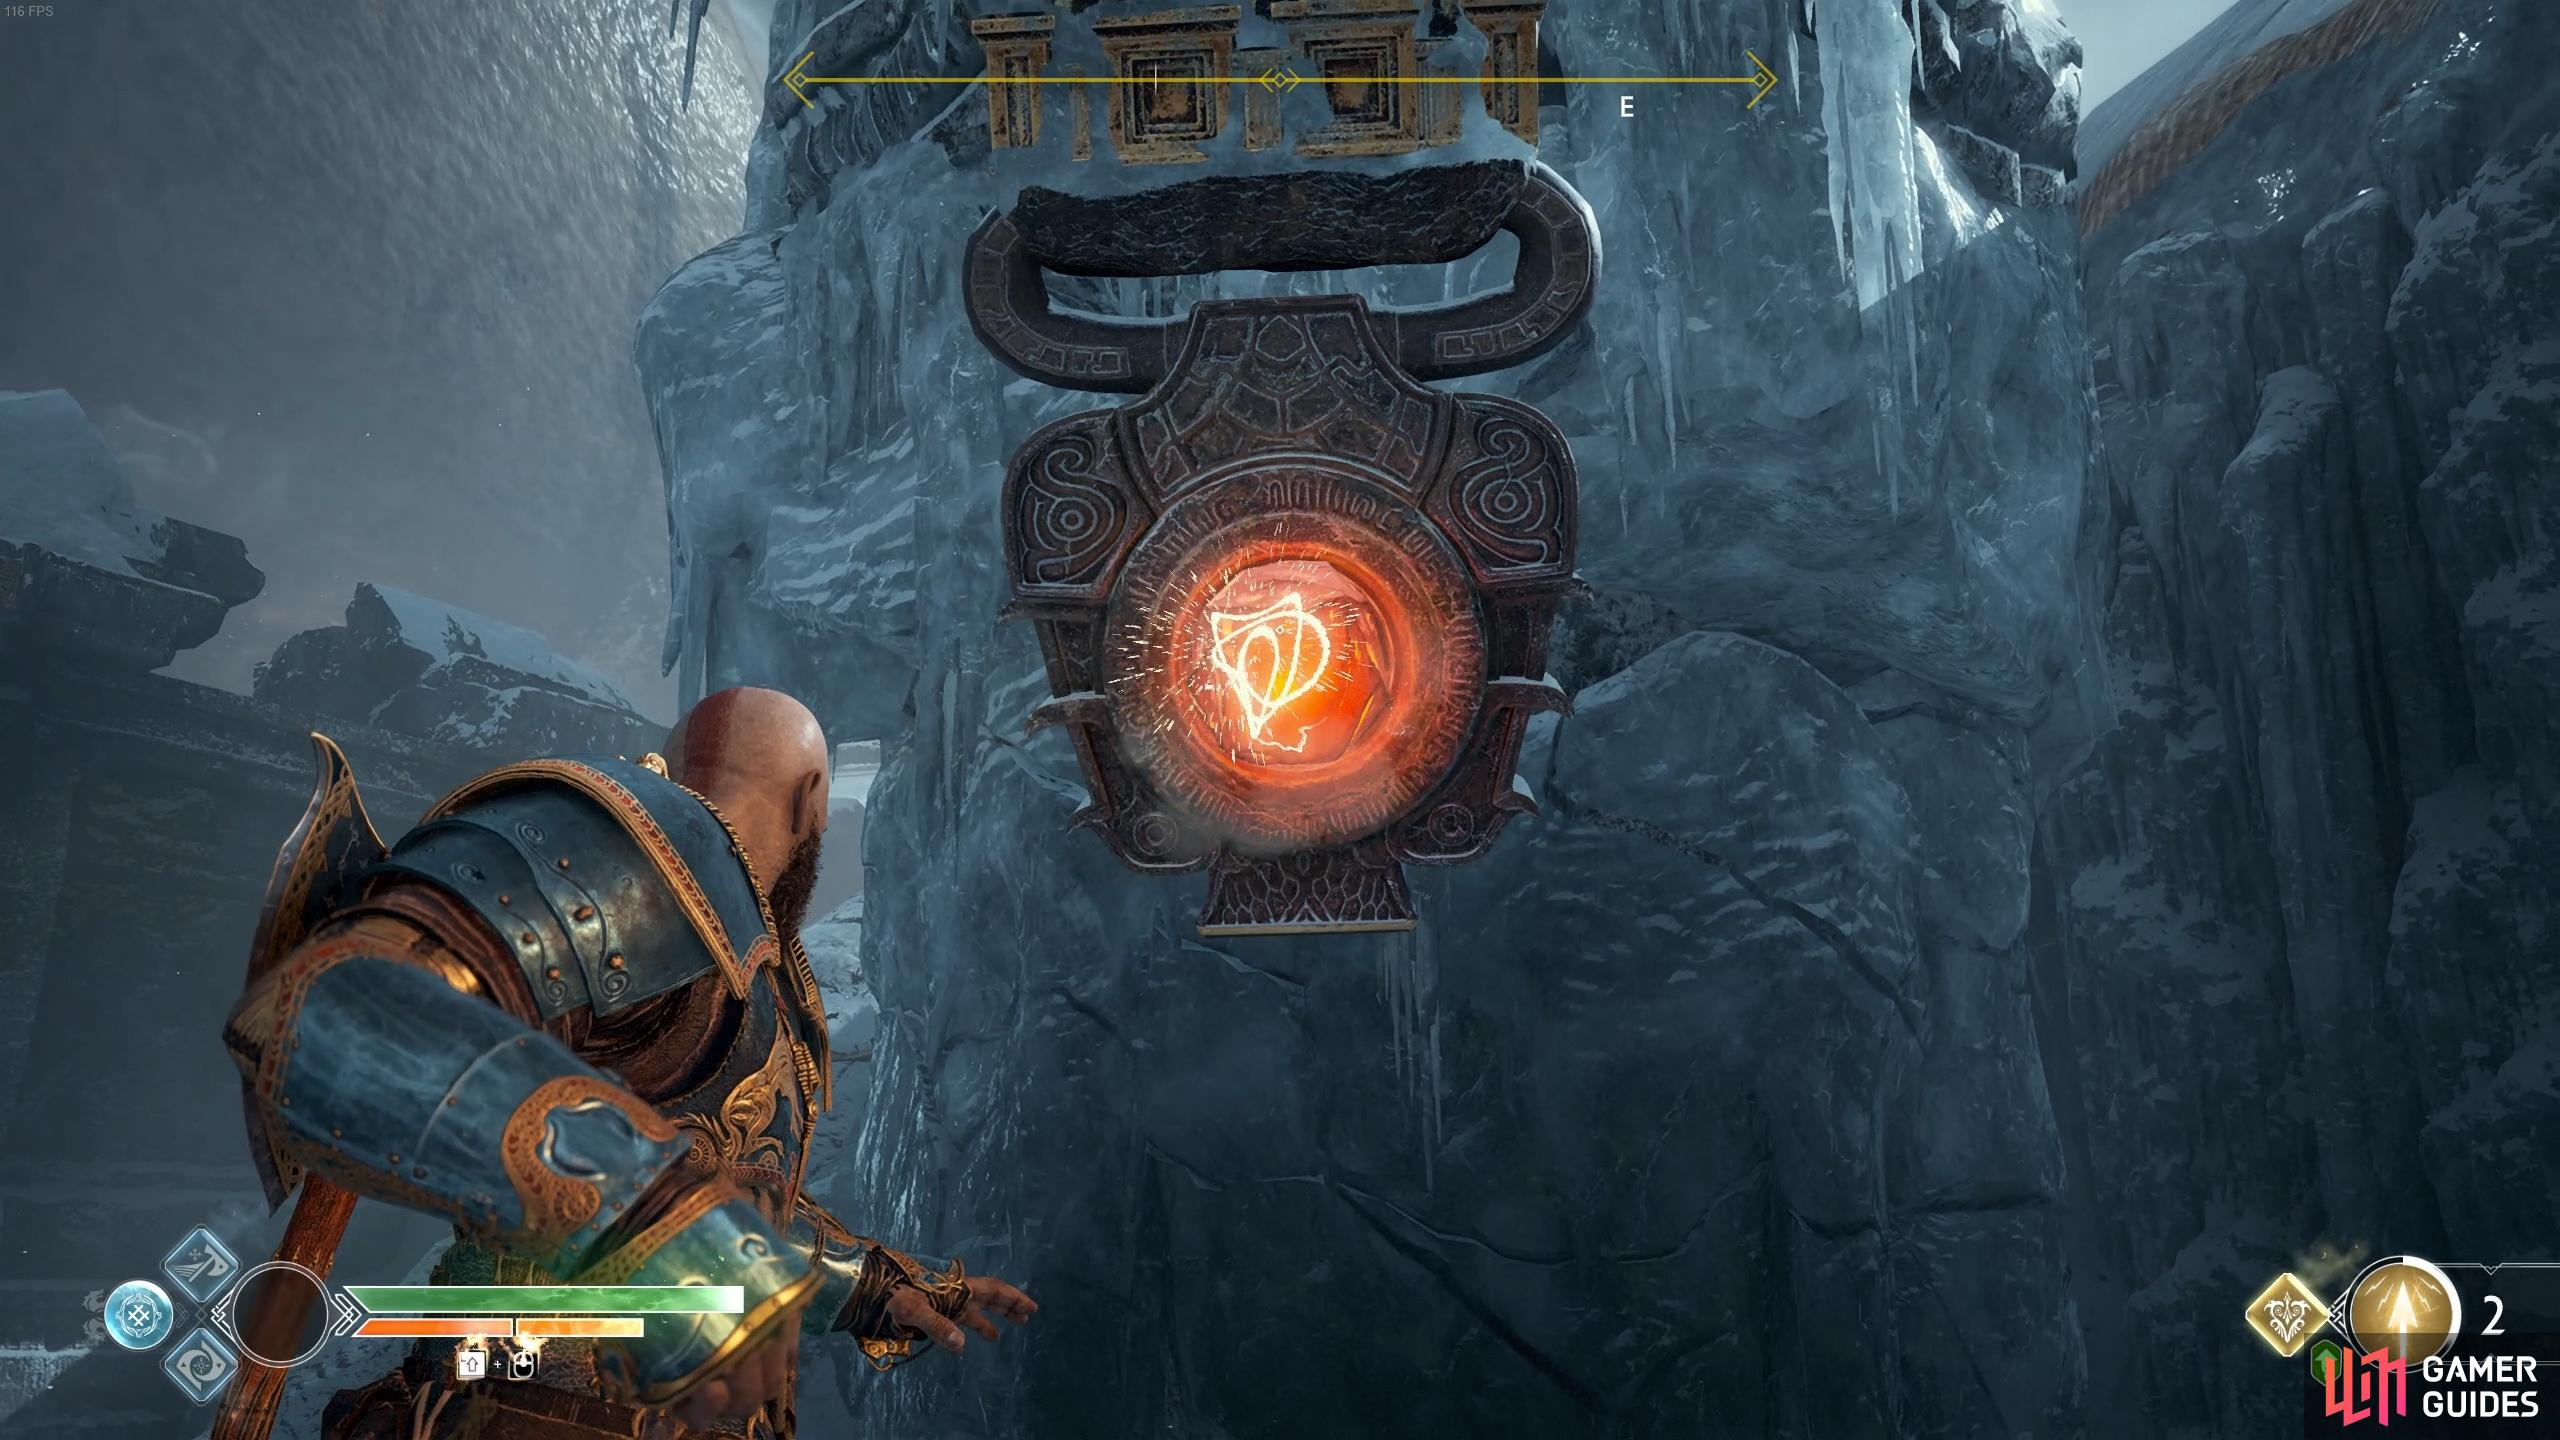
Pick the crystal up and take it with you north across the Frozen Lake and place it in the pedestal to the east side of it. Shoot it with a Light Arrow and a Realm Tear will materialize, inside you’ll obtain Dust of Realms along with 500 Hacksilver (if you’ve been following the walkthrough from the start, this will be your 10th and you’ll receive a nice chunk of XP).
Another small sack of Hacksilver is on a corpse nearby, pick it up and then grab another Shatter Crystal from the stump. Take it with you to the northwest and throw it on the sap, shooting it with a Shock Arrow to destroy it and reveal a Runic Spinner, ignore this for now and open the Hacksilver chest west of you, following this wall south after to spot a Nornir gate.
The first Spinner is above you to the left but only features one disc. Head south towards the finger where you first climbed this area and turn around to face the Spinner again, hit the disc from here, knocking it to the right to darken the middle rune on the gate. Return to where the Lore Marker was and look up into the air to spot a Spinning Board, striking this will cause a Runic Spinner to rise to the left. Do this and hit the right disc of this Spinner once to darken the next rune on the gate. The final Runic Spinner is back to the northwest, the one you ignored a moment ago, strike the right disc twice to unlock the gate.
Head over to it and pass under to find a sack of Hacksilver and a coffin containing the Mark of the Ranger Legendary Enchantment. There’s nothing left for you to do at the Frozen Lake so proceed to the north and toward Thamur’s Corpse. Defeat the Ice Nightmares that knock the block down and then proceed under it yourself.
Find a way to break the ice
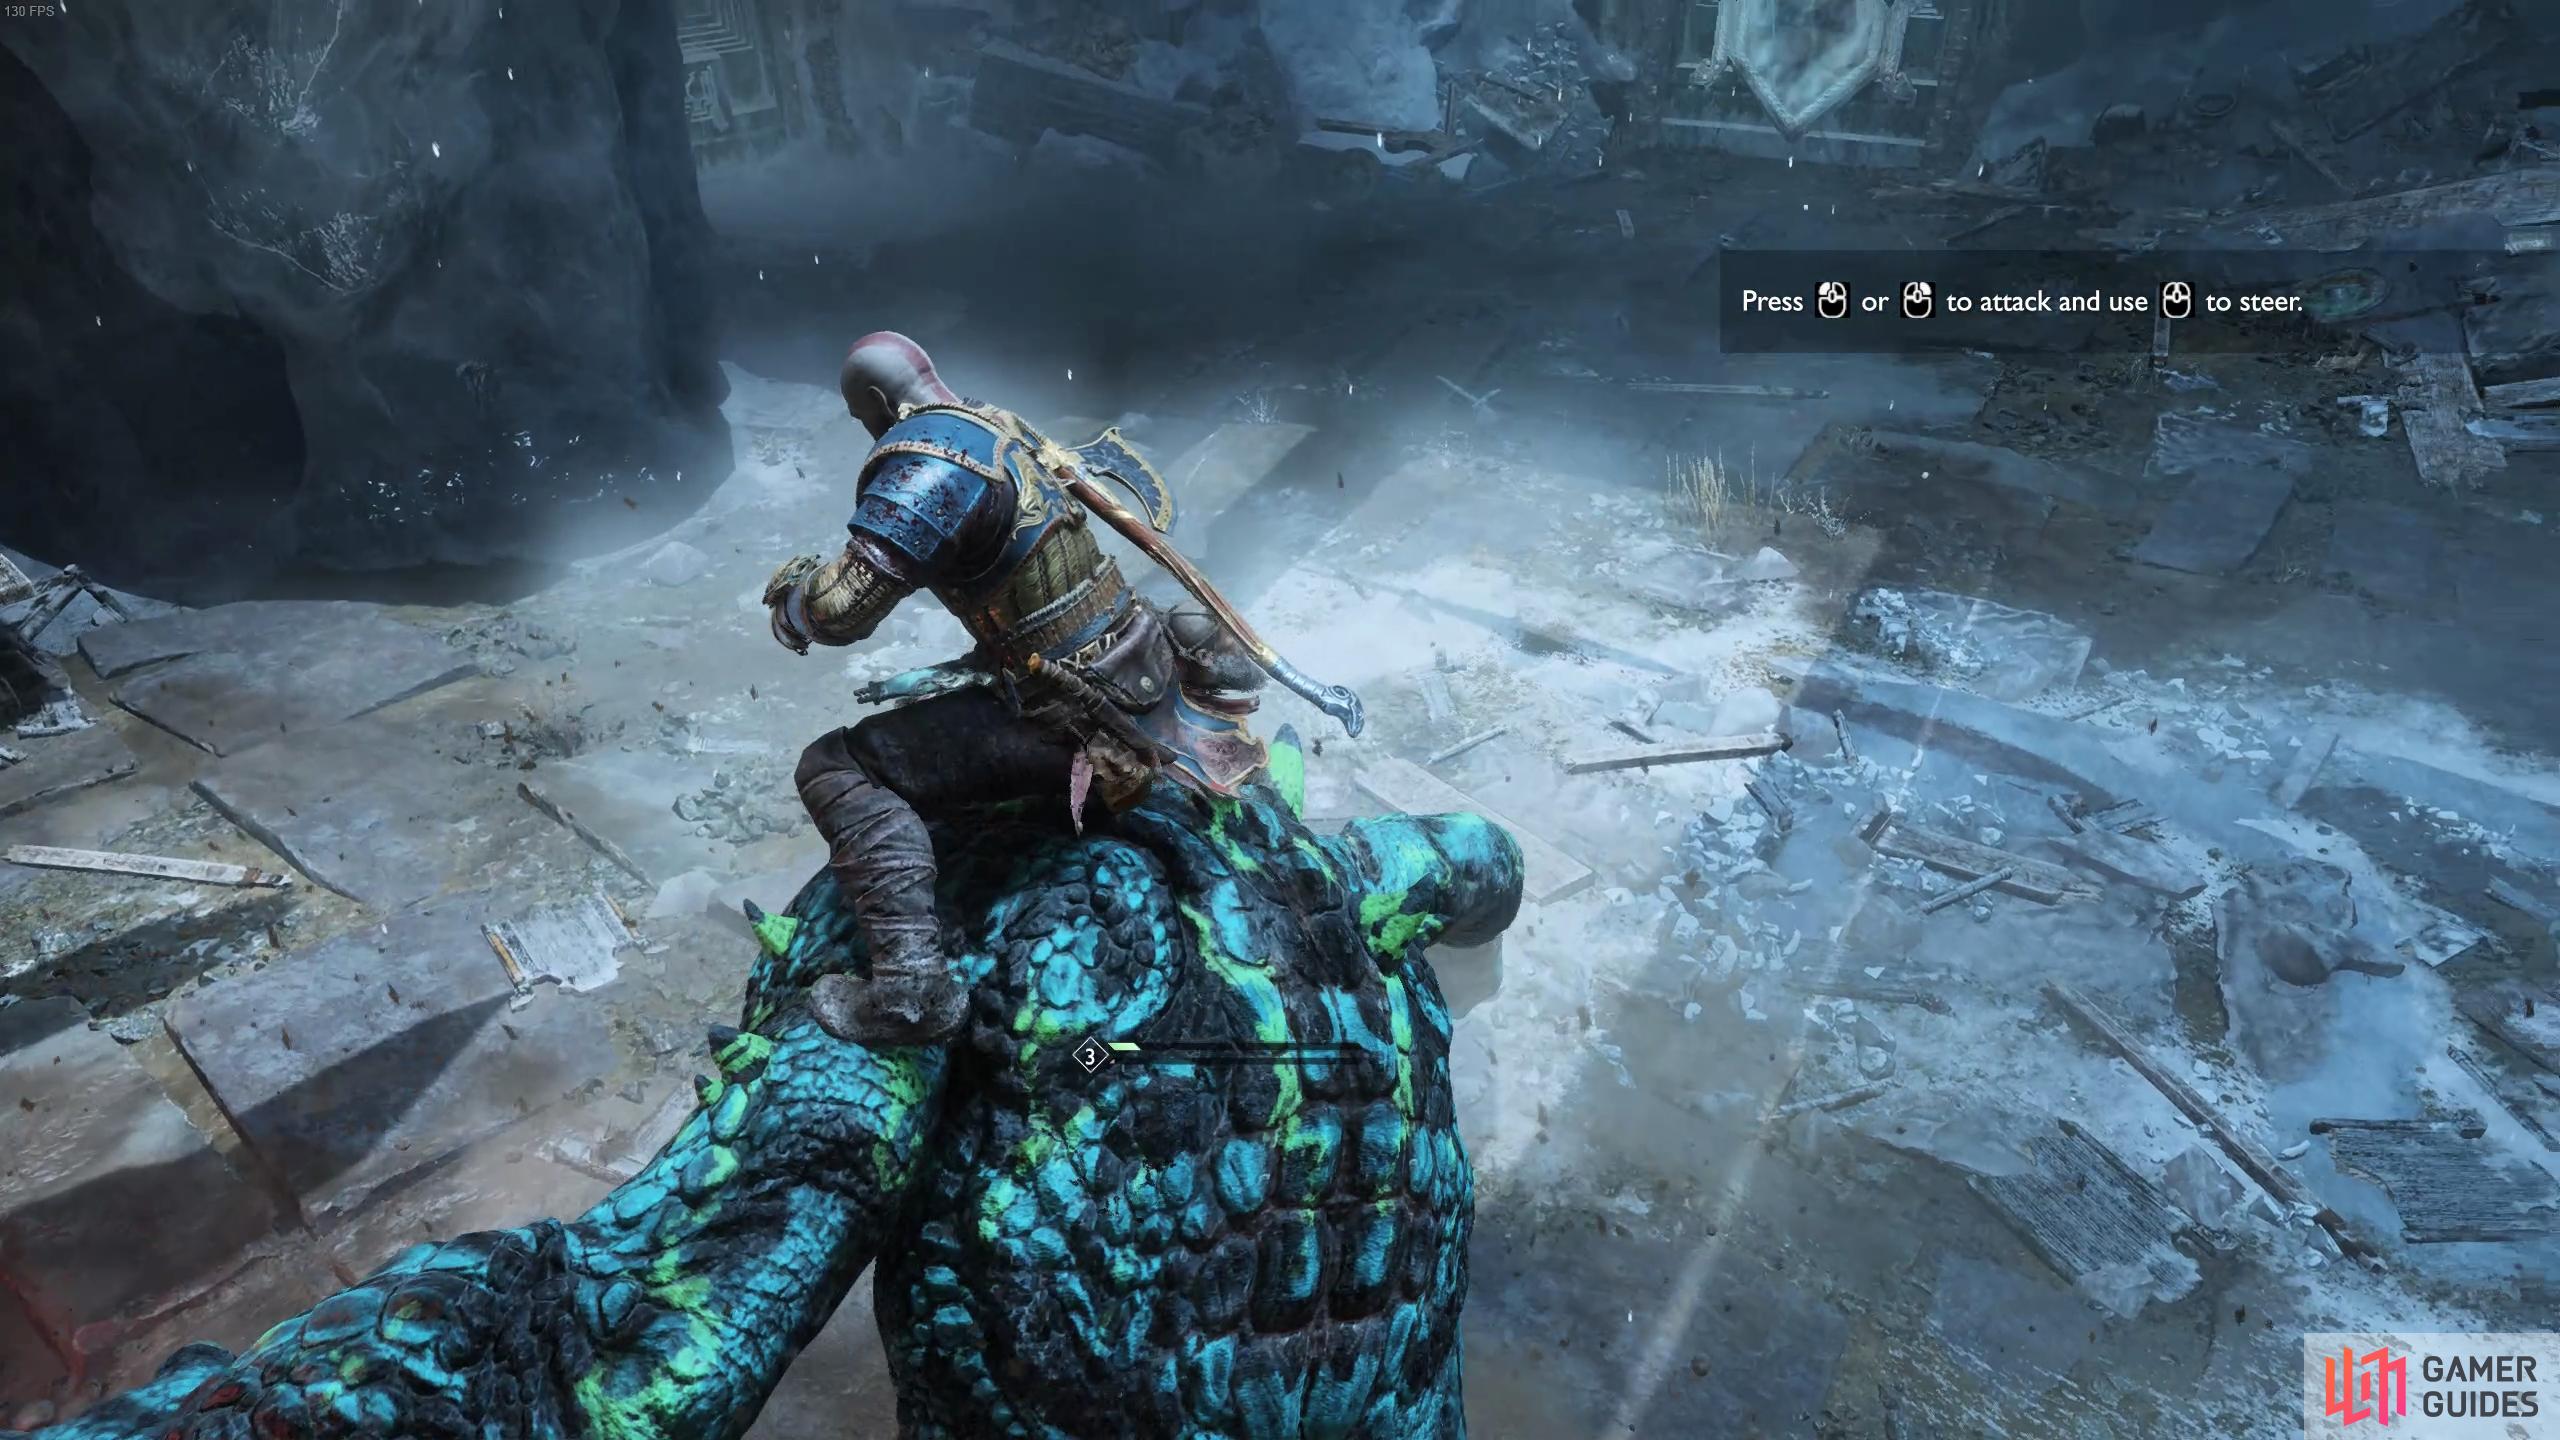
The Magic Chisel is in sight, however a thick layer of ice is blocking your way down, Kratos however has a plan. Heavy Draugrs interrupt you here, defeat the initial three and two Speed Draugrs will spawn and attack. Murder of Crows works great against this group, defeat them and an Ogre will join the battle, this works to your favor. Ignore the other enemies and work on stunning the Ogre, mounting him when you get the chance and using it’s attacks against the rest of the enemies. If all goes to plan, you should have no other enemies left alive by the time the second Ogre jumps down, this will leave you time and space to focus on it alone.
Stun the first Ogre and mount it to defeat the rest of the horde.
Once the enemies are dead, loot the spoils and take note of Sindri’s voice in the distance. Climb the chain that he drops for you and speak to him, he decides to add another Mark of the Dwarves to the Leviathan Axe. The shop offers nothing new so make sure you have a Resurrection Stone on you and leave.
Find a way to the hammer
Look to the right of the shop to find another ring with a Shatter crystal inside it. Shoot this crystal and then stand to the east side of this platform to spot another Shatter Crystal at the back, shoot this one also. The final ring is in the middle, hit the runic disc to spin it and fire an arrow when the Shatter Crystal is visible. This lodges the braid free and allows you to access the platform it sat upon.
Leap across the platforms and climb the ledge to find a Hacksilver chest before continuing on to the left of this and through the large doors at the end. A Traveller Champion awaits in this next chamber, a more deadly variant that comes with a shield strapped to his back. What this means is that you’ll need to take him on from the front as all damage will be blocked from the back. The Champion is deceptively quick too, lunging at you with sword strikes at incredible ranges so always be on your guard and ready to dodge at any given time.
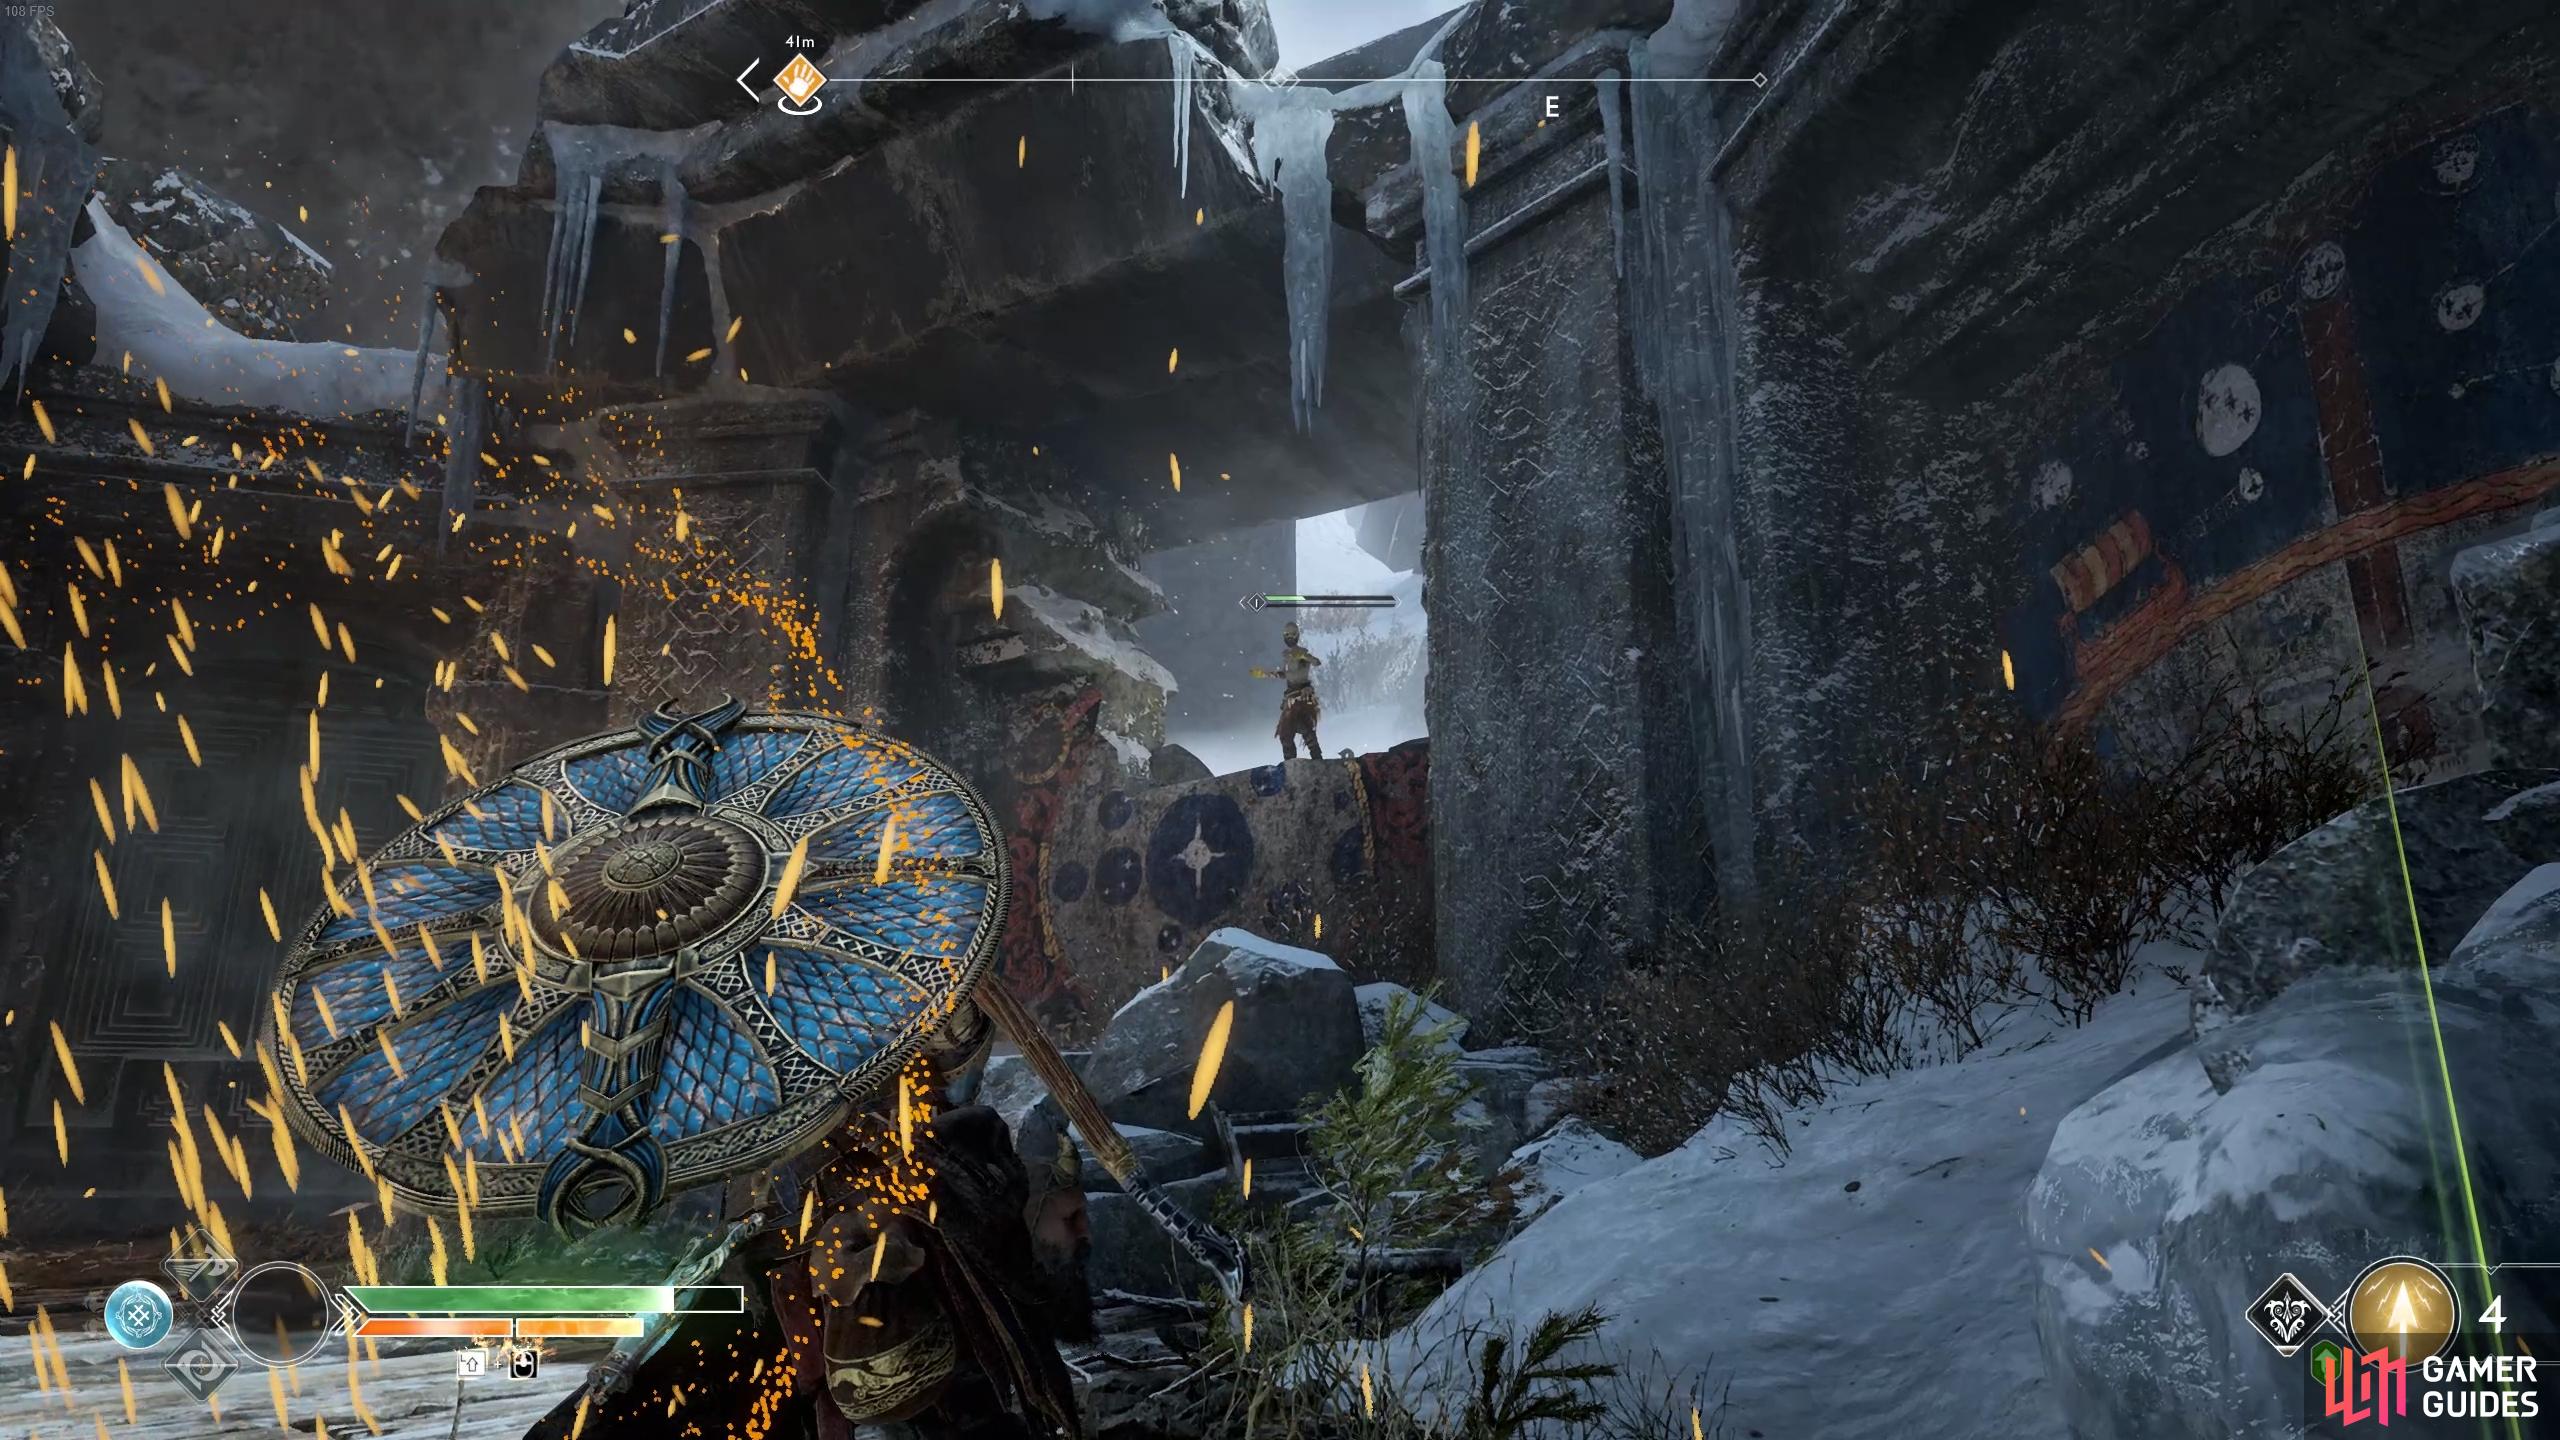
To make matters worse, as you deal damage to the Traveller Champion, Shadow Reavers will join the battle, keep an eye on the Traveller’s position and then focus on culling the other enemies. Make liberal use of your Runic Attacks and Summons and don’t be afraid to use Spartan Rage should you need it. With the battle won, pick up the loot that the enemies left on the ground and then head to the west where you can find a large block you can grab.
Pull the block back as far as you can and then climb it to leap over to the Hacksilver chest. Return to the block and push it to the center of the room and then look up at the wooden sword structure to the south. Hit the runic disc to spin it and then climb the block and leap over to it. Scale the structure and then leap off to the platform to the right to find a Legendary Chest containing the incredible Blessings of the Frost Heavy Runic Attack gem.
Use the runic disc to spin the sword and leap onto it from the movable block.
Drop down and proceed through the doorway where you pulled the stone block from and follow it to the end where you can leap a gap. Leap over to the next wall and climb to the left and down to find a hidden Hacksilver chest in the crevice. Return to the wall and scale it to the right, leaping over to another wall that you can climb to the top.
As you follow the path, you’ll see a Shatter Crystal on the end of a structure. Head over to it and give it a push, waiting for it to reach the back wall and shooting it with a Shock Arrow. Repeat this one more time to dislodge and move the structure over to the right a little, head over towards it and shoot the Shatter Crystal one final time to gain access to the coffin at the back.
Make your way up the hammer
Leap over to the bottom of the structure and begin your ascent up the hammer. At the top, climb to the right and continue the ascent into a hole where you can knock a piece of the hammer away at the end. Continue the ascent into another hole, this time you’ll need to shoot a Shatter Crystal in order to create another opening. From here it’s a straight shot to the top of the hammer, follow the struts and climb on top.
Head over to the strap at the top here and interact with it, wrestling it free to drop the hammer a little as Kratos and Atreus leap to a mountain nearby.
Find a way to the hammer’s head
Pick up the sack of Hacksilver nearby and enter the doors in front of you. There’s a coffin to your immediate left containing the Runeweaver War Belt and in front, a large chamber with murals on the other side. Break the boards to your right to allow Atreus to squeeze through the gap and reach the sand bowl in the middle.
There are four murals in front of you, each of which have runic discs you can strike to change the symbol displayed on them. Each of these symbols signify a season and your task is to arrange them in the correct order. Begin by changing the left most mural to the symbol of a leaf (Autumn), the next one to the symbol of the sun (Summer), the third mural to the symbol of a flower (Spring) and finally the last mural to the symbol of a snowflake (Winter).
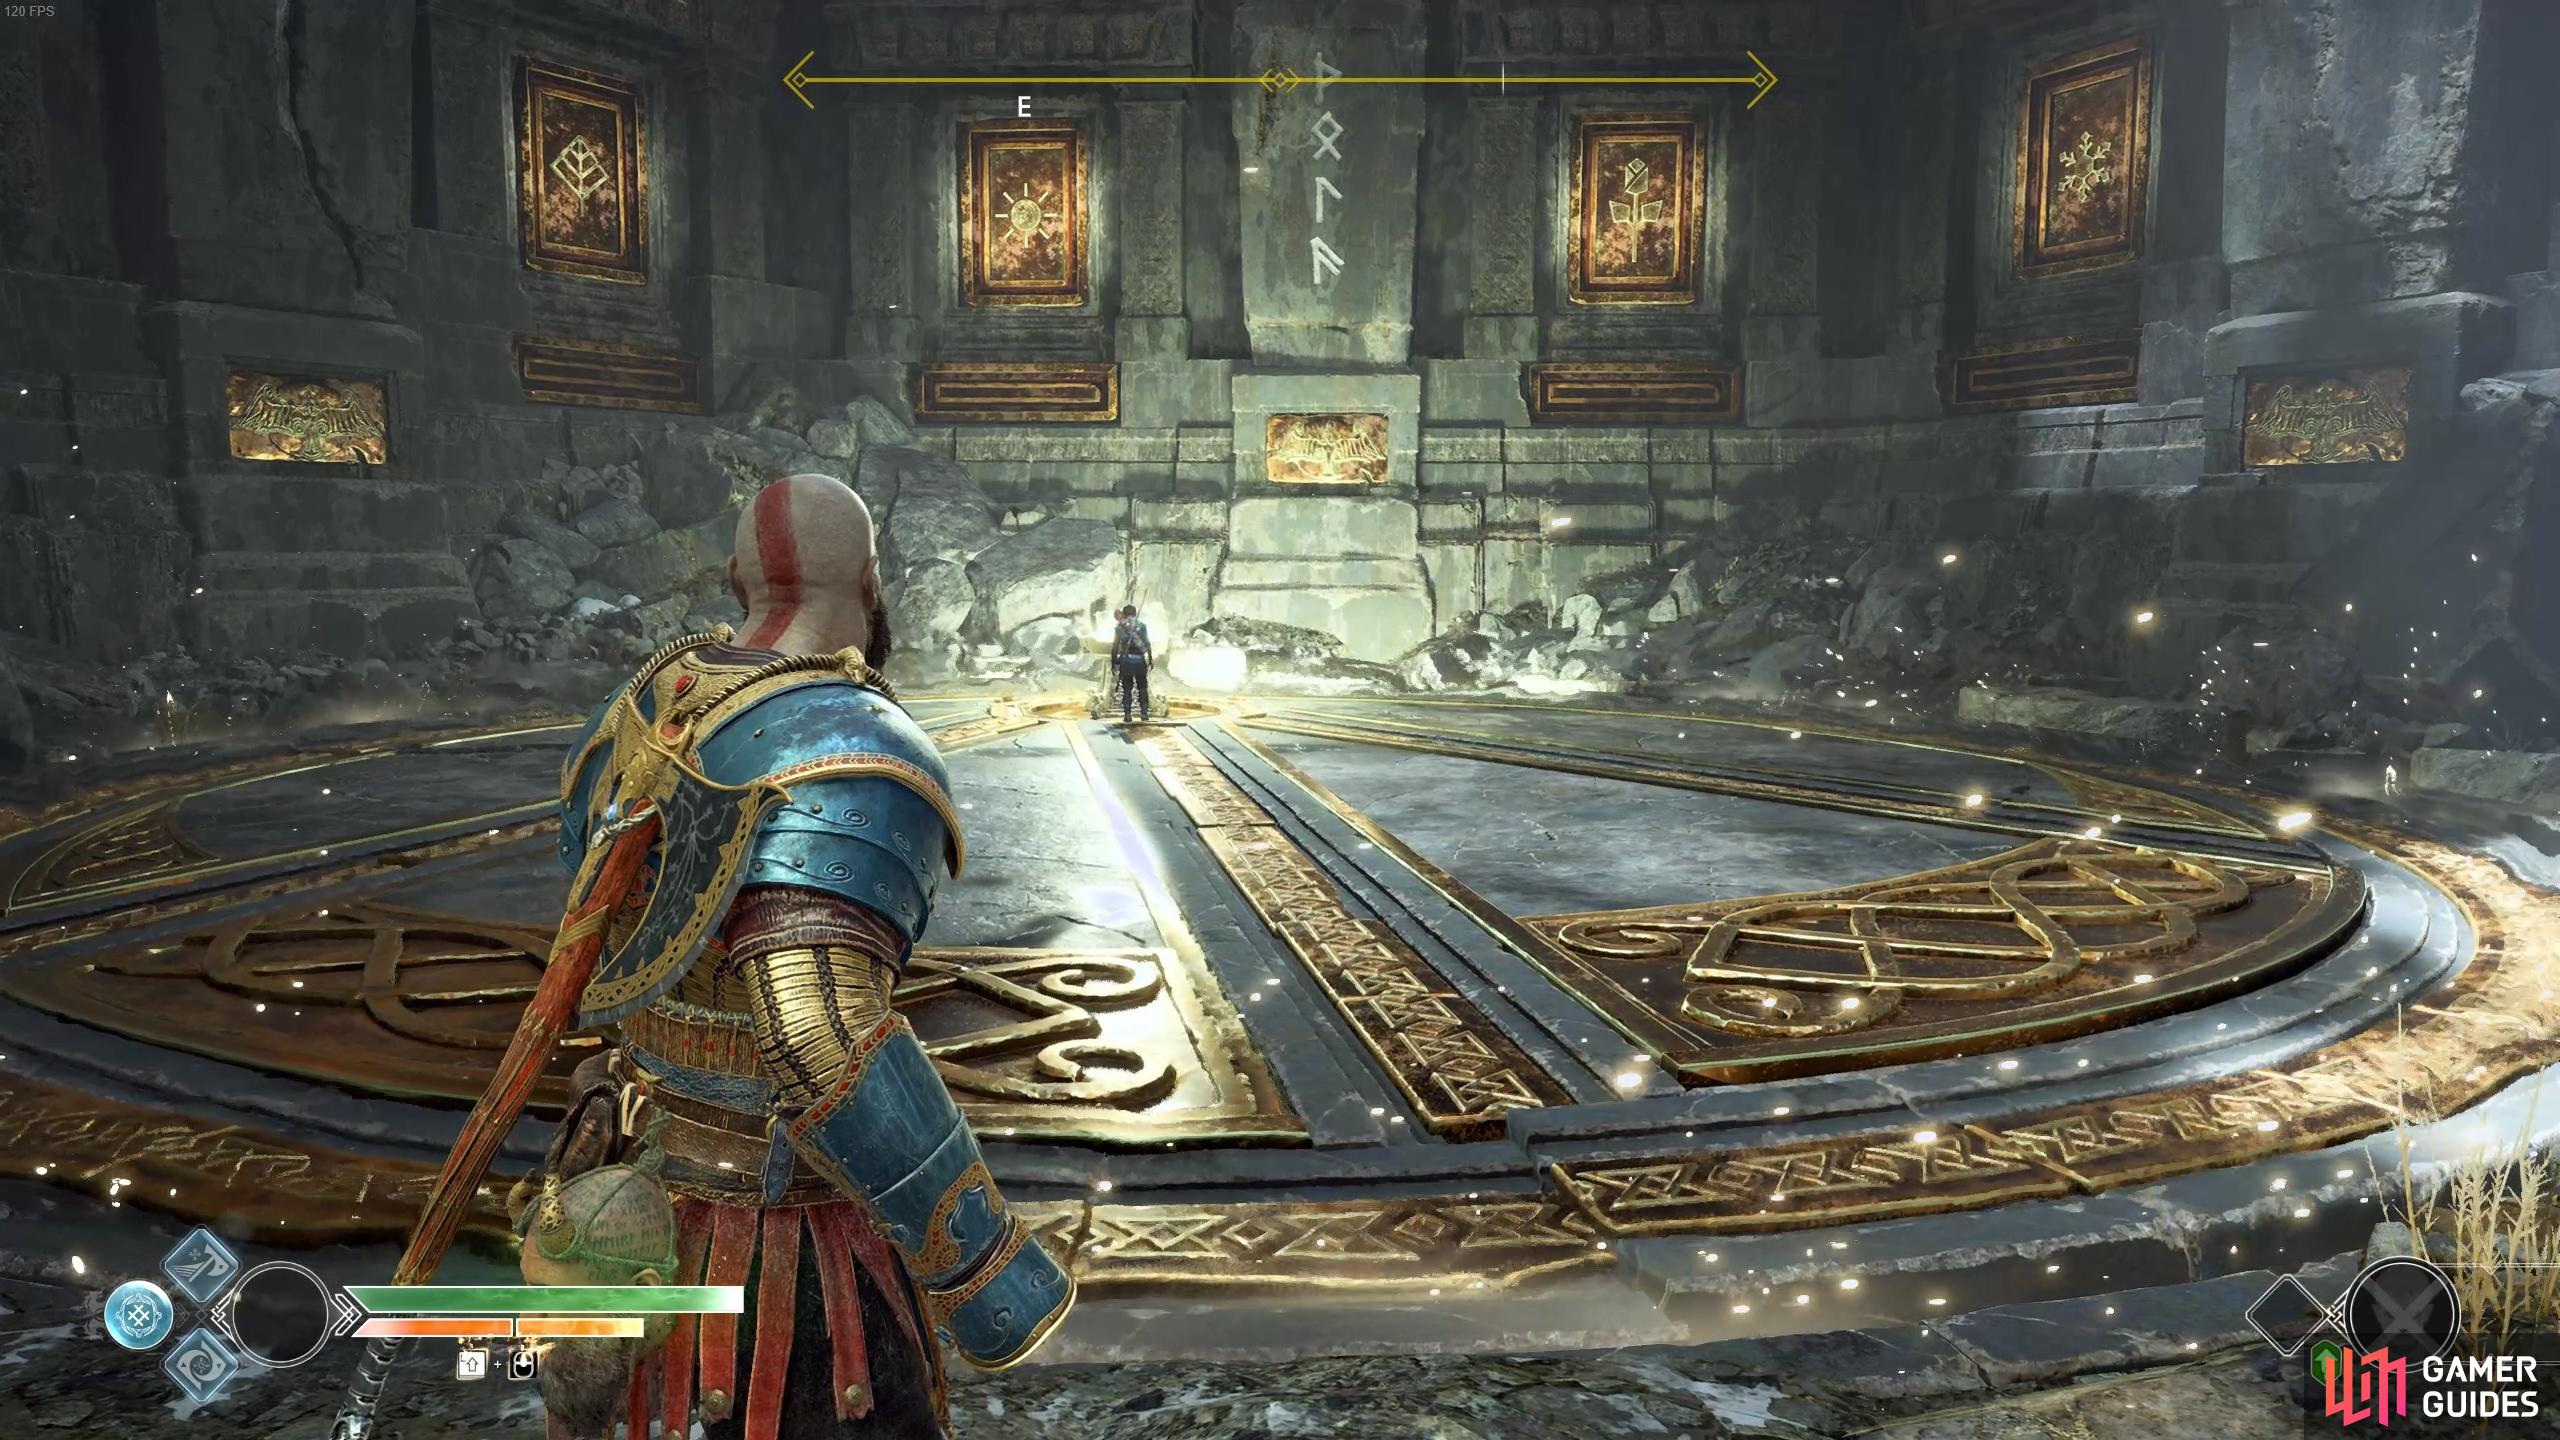
Arrange the murals like this to cause the runes to appear in the center.
Once the murals are arranged in this order, have Atreus use the sand bowl to cause some runes to appear in the center which when written into the sand bowl causes the floor to reassemble and act like a lift once stepped on. As you begin to rise with the platform, a large group of Draugrs assault you and prevent Atreus from continuing to write the runes. You’ll have a timer at the top of screen indicating how much time you have before the platform drops back down so you’ll need to act quick.
Make use of as many area of effect Runic Attacks that you have and use Murder of Crows every time it is available. Remember that you can knock the enemies off the edge if need be, this will help you manage the group easier. Once defeated, pick up any healthstones that you may need on the ground as the platform continues to rise.
Another group jumps onto the platform, once again these consist of Draugrs, mainly the Heavy and Speed variants. If you have the Blessings of the Frost Runic Attack equipped and upgraded then make sure you have it activated, the ice beams that splinter out from the axe has huge knockback potential, easily knocking enemies over the side.
The next group of enemies are a lot more deadly, you’ll begin with dealing with a group of Nightmares. Once they’re dead, Draugrs will descend upon you once again culminating with a Revenant Summoner that enters the fray. Hopefully Murder of Crows is available at this point so you can begin pinning enemies back while you focus on the Revenant to prevent her from summoning more enemies. With the enemies defeated the platform rises once more as two more Projectile Draugrs attack from the top, quickly fire Shock Arrows at the two Shatter Crystals on either side and jump to the wall before the platform falls.
Focus all your attention on the Revenant during the final wave to prevent her from summoning more enemies.
Shoot the Shatter crystals at the top to create a wall you can leap to and escape the platform.
You’ve finally reached the hammer, climb across the nearby ledge and head over to it, giving it a push. The hammer finally dislodges itself and Kratos and Atreus jump to the tumbling hammer and land below the now cracked ice. Make your way through this makeshift tunnel to come out close to your destination.
Make your way to the chisel
Head forward and leap to the wall in front of you and scale it to the left as more of the cliff crumbles around you. Once you begin climbing down, backtrack to the right to find a coffin and then resume your climb to the left. The next wall to scale is to the east, do so and leap the gap once you’re at the top. There’s a sack of Hacksilver to your left as you approach the large doors up ahead.
You enter what remains of what was once a majestic Dining Hall. Another locked door is to your left and if you look to your right, you’ll notice a Shatter Crystal that you can shoot to knock it to the other side. Shoot this two more times to knock the Shatter Crystal loose from the chandelier. Take a Shatter Crystal from the large chunk on the ground and throw it at the ice to the left of the throne, detonating it to destroy it.
A Fierce Ogre attacks along with Nightmares, a summon of Murder of Crows will take care of the Nightmares while you focus on the Ogre and put it down. Grab another Shatter Crystal and throw it at the wall next to the previous one. This time you’ll be attacked by the Stonebeard King and two Wolves.
Like all Ogres, the Fierce variant are also susceptible to being mounted.
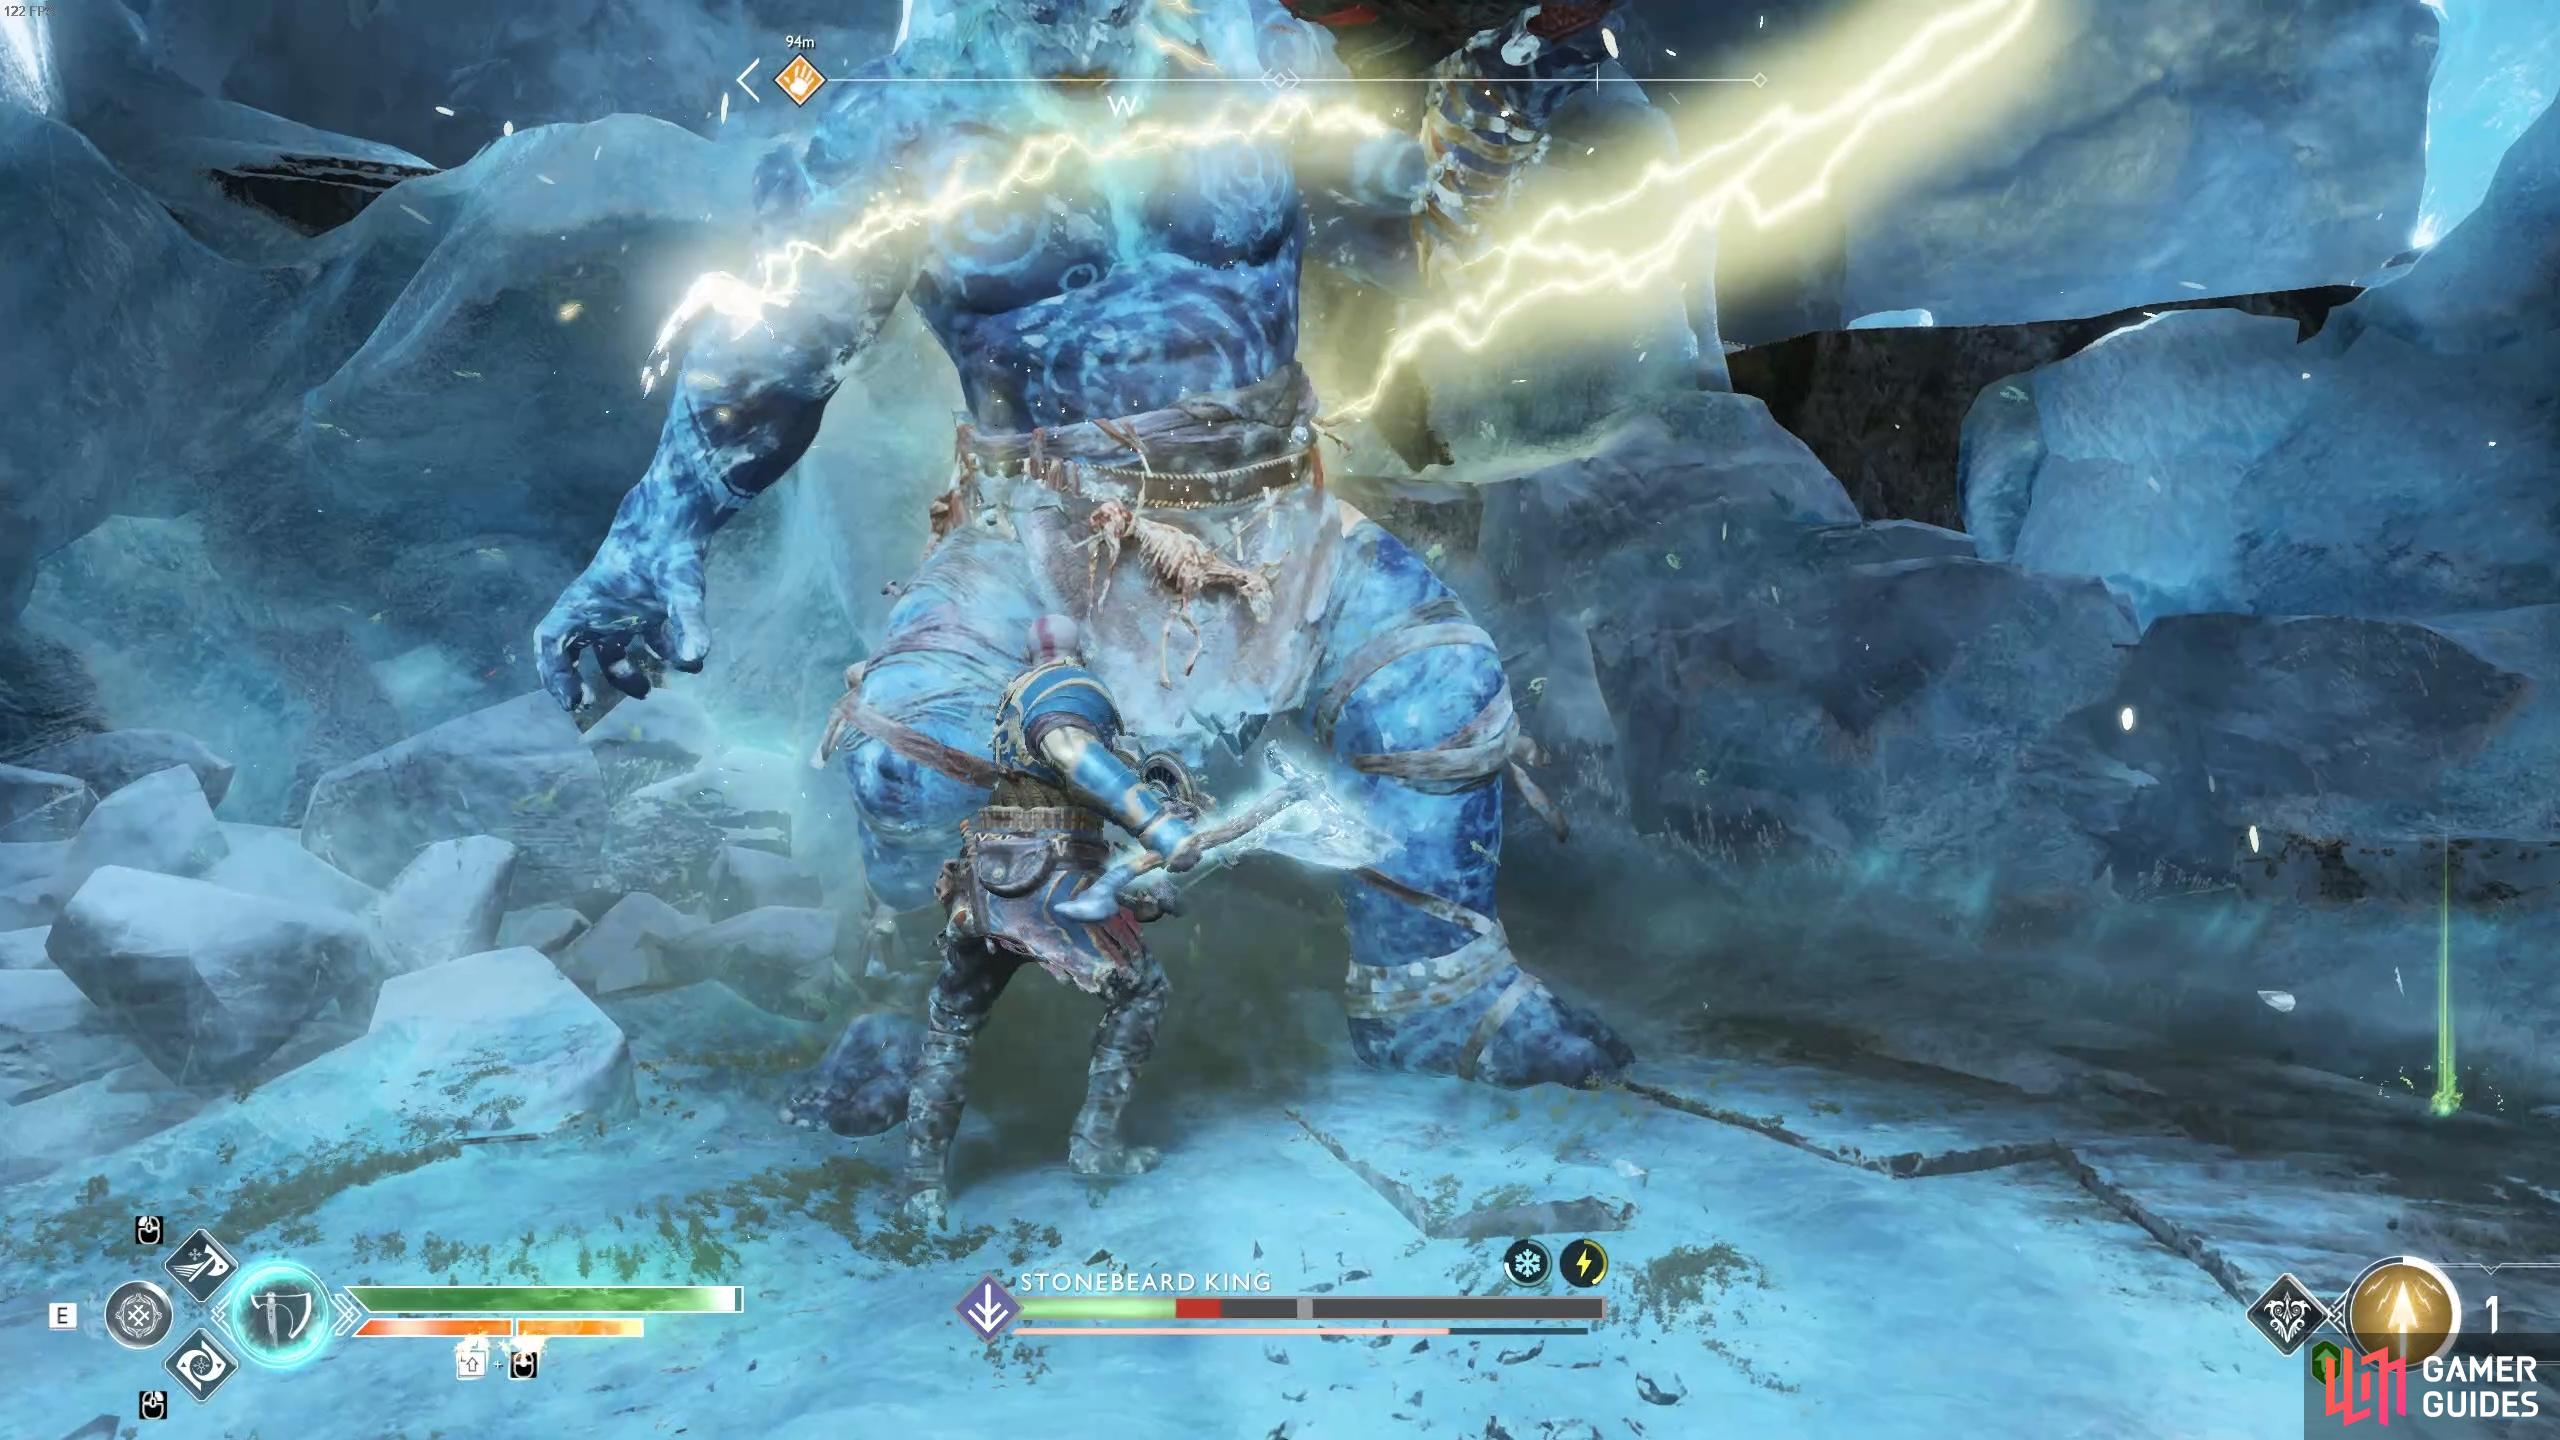
Use a combination of Shock Arrow and Runic Attacks to quickly dispatch the troll.
By now, you’ve fought plenty of Trolls and even already fought an Ice Troll so you know what to expect with regards to his attacks. Ice fissures will erupt from either his leg stomp or when he slams his pillar down so be careful, especially due to the limited space in the dining room. It is in fact a lot wiser to go on the offensive, fully upgraded Shock Arrows stun him quickly along with the use of the Blessings of the Frost Heavy Runic Attack and you can essentially pin him in a corner. Loot the spoils after the battle to obtain the Boar Stampede Runic Summon along with useful resources.
Return to the Shatter Crystal and throw one more at the last piece of the icy wall to unleash a trio of Fierce Wulvers. These hit harder than their regular counterparts so be sure to only fight one at a time, if you’re low on cooldowns then now might be a good opportunity to unleash Spartan Rage. Before you climb the ledge you just created, pick up one final Shatter Crystal and look to your right to spot a coffin, throw a Shatter Crystal up to it and detonate it to remove the sap around it.
Climb the ledge and follow the path to where Sindri has set up another shop. You can speak to him to learn a bit more about the sons of Thor and then purchase a Resurrection Stone if you need it. Exit the shop, open the Hacksilver chest and take a right to open the coffin you removed the sap from earlier. Follow the path to the end and leap over to the wall on the other side to finally reach the Chisel, drop down below and prepare yourself.
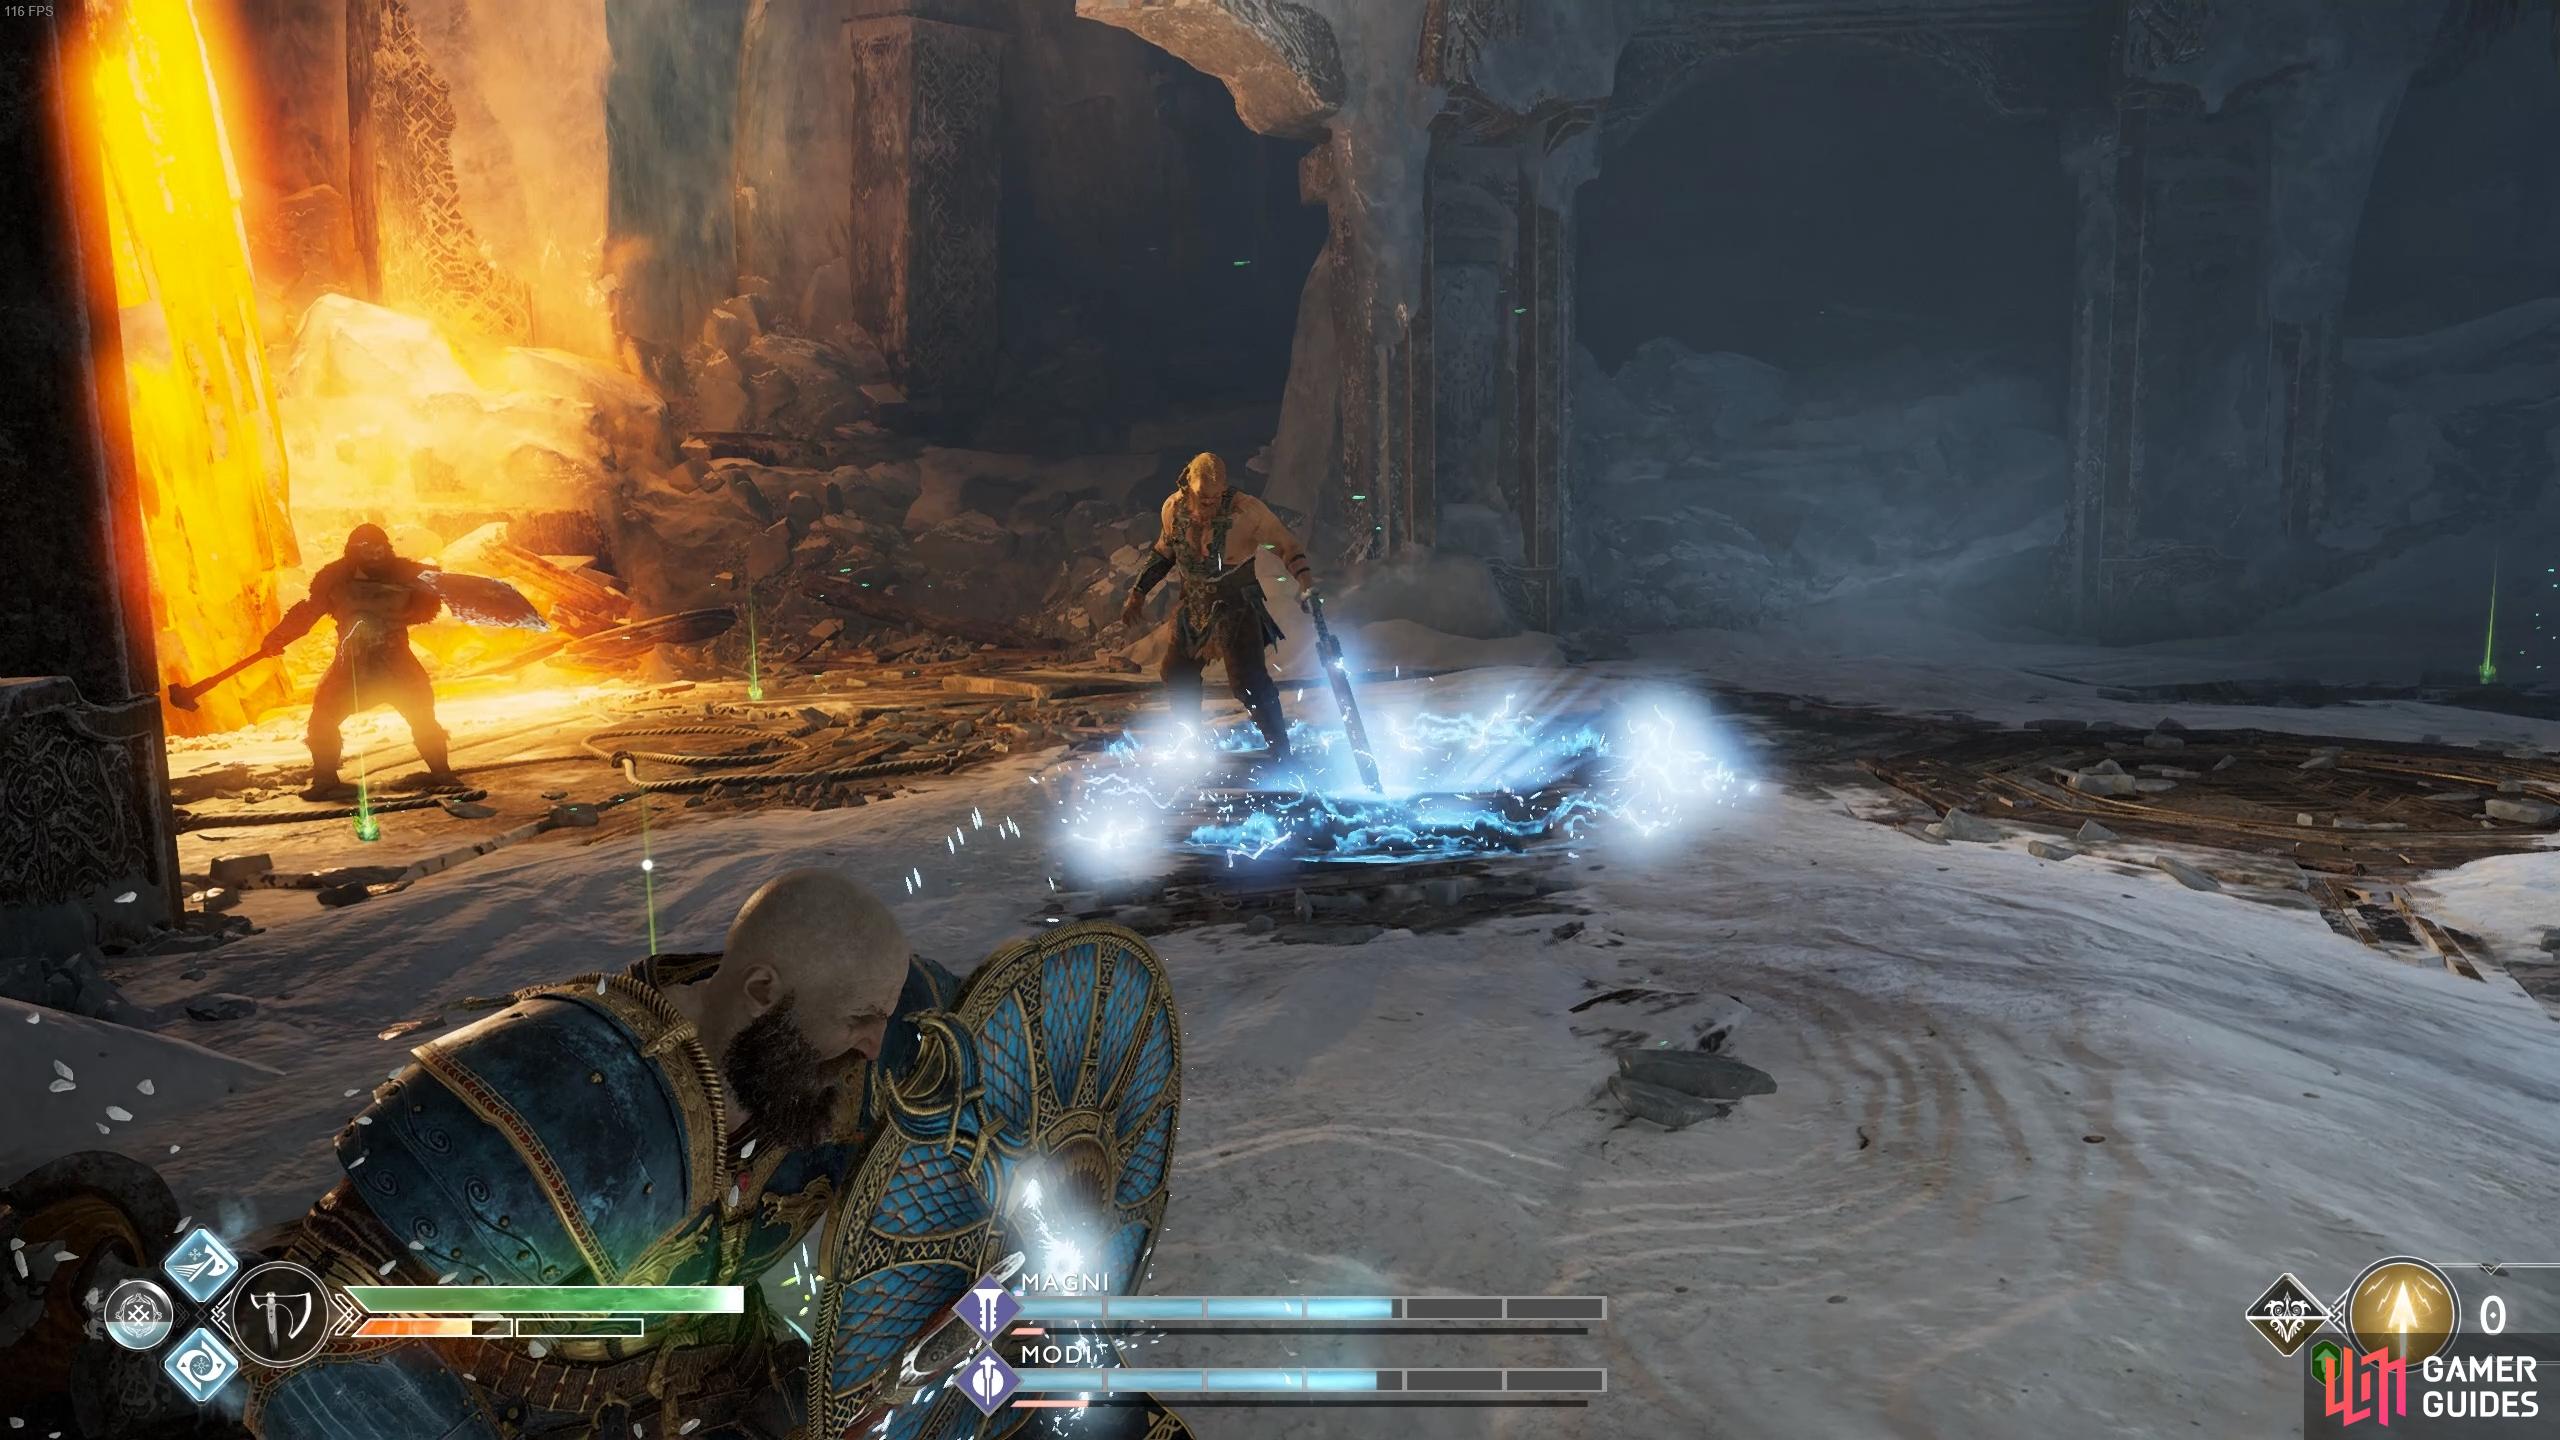
Boss Fight: How to Defeat Magni and Modi
The brothers drop down just as you approach the Chisel and demands your surrender. Kratos, not one for surrendering turns down the offer.
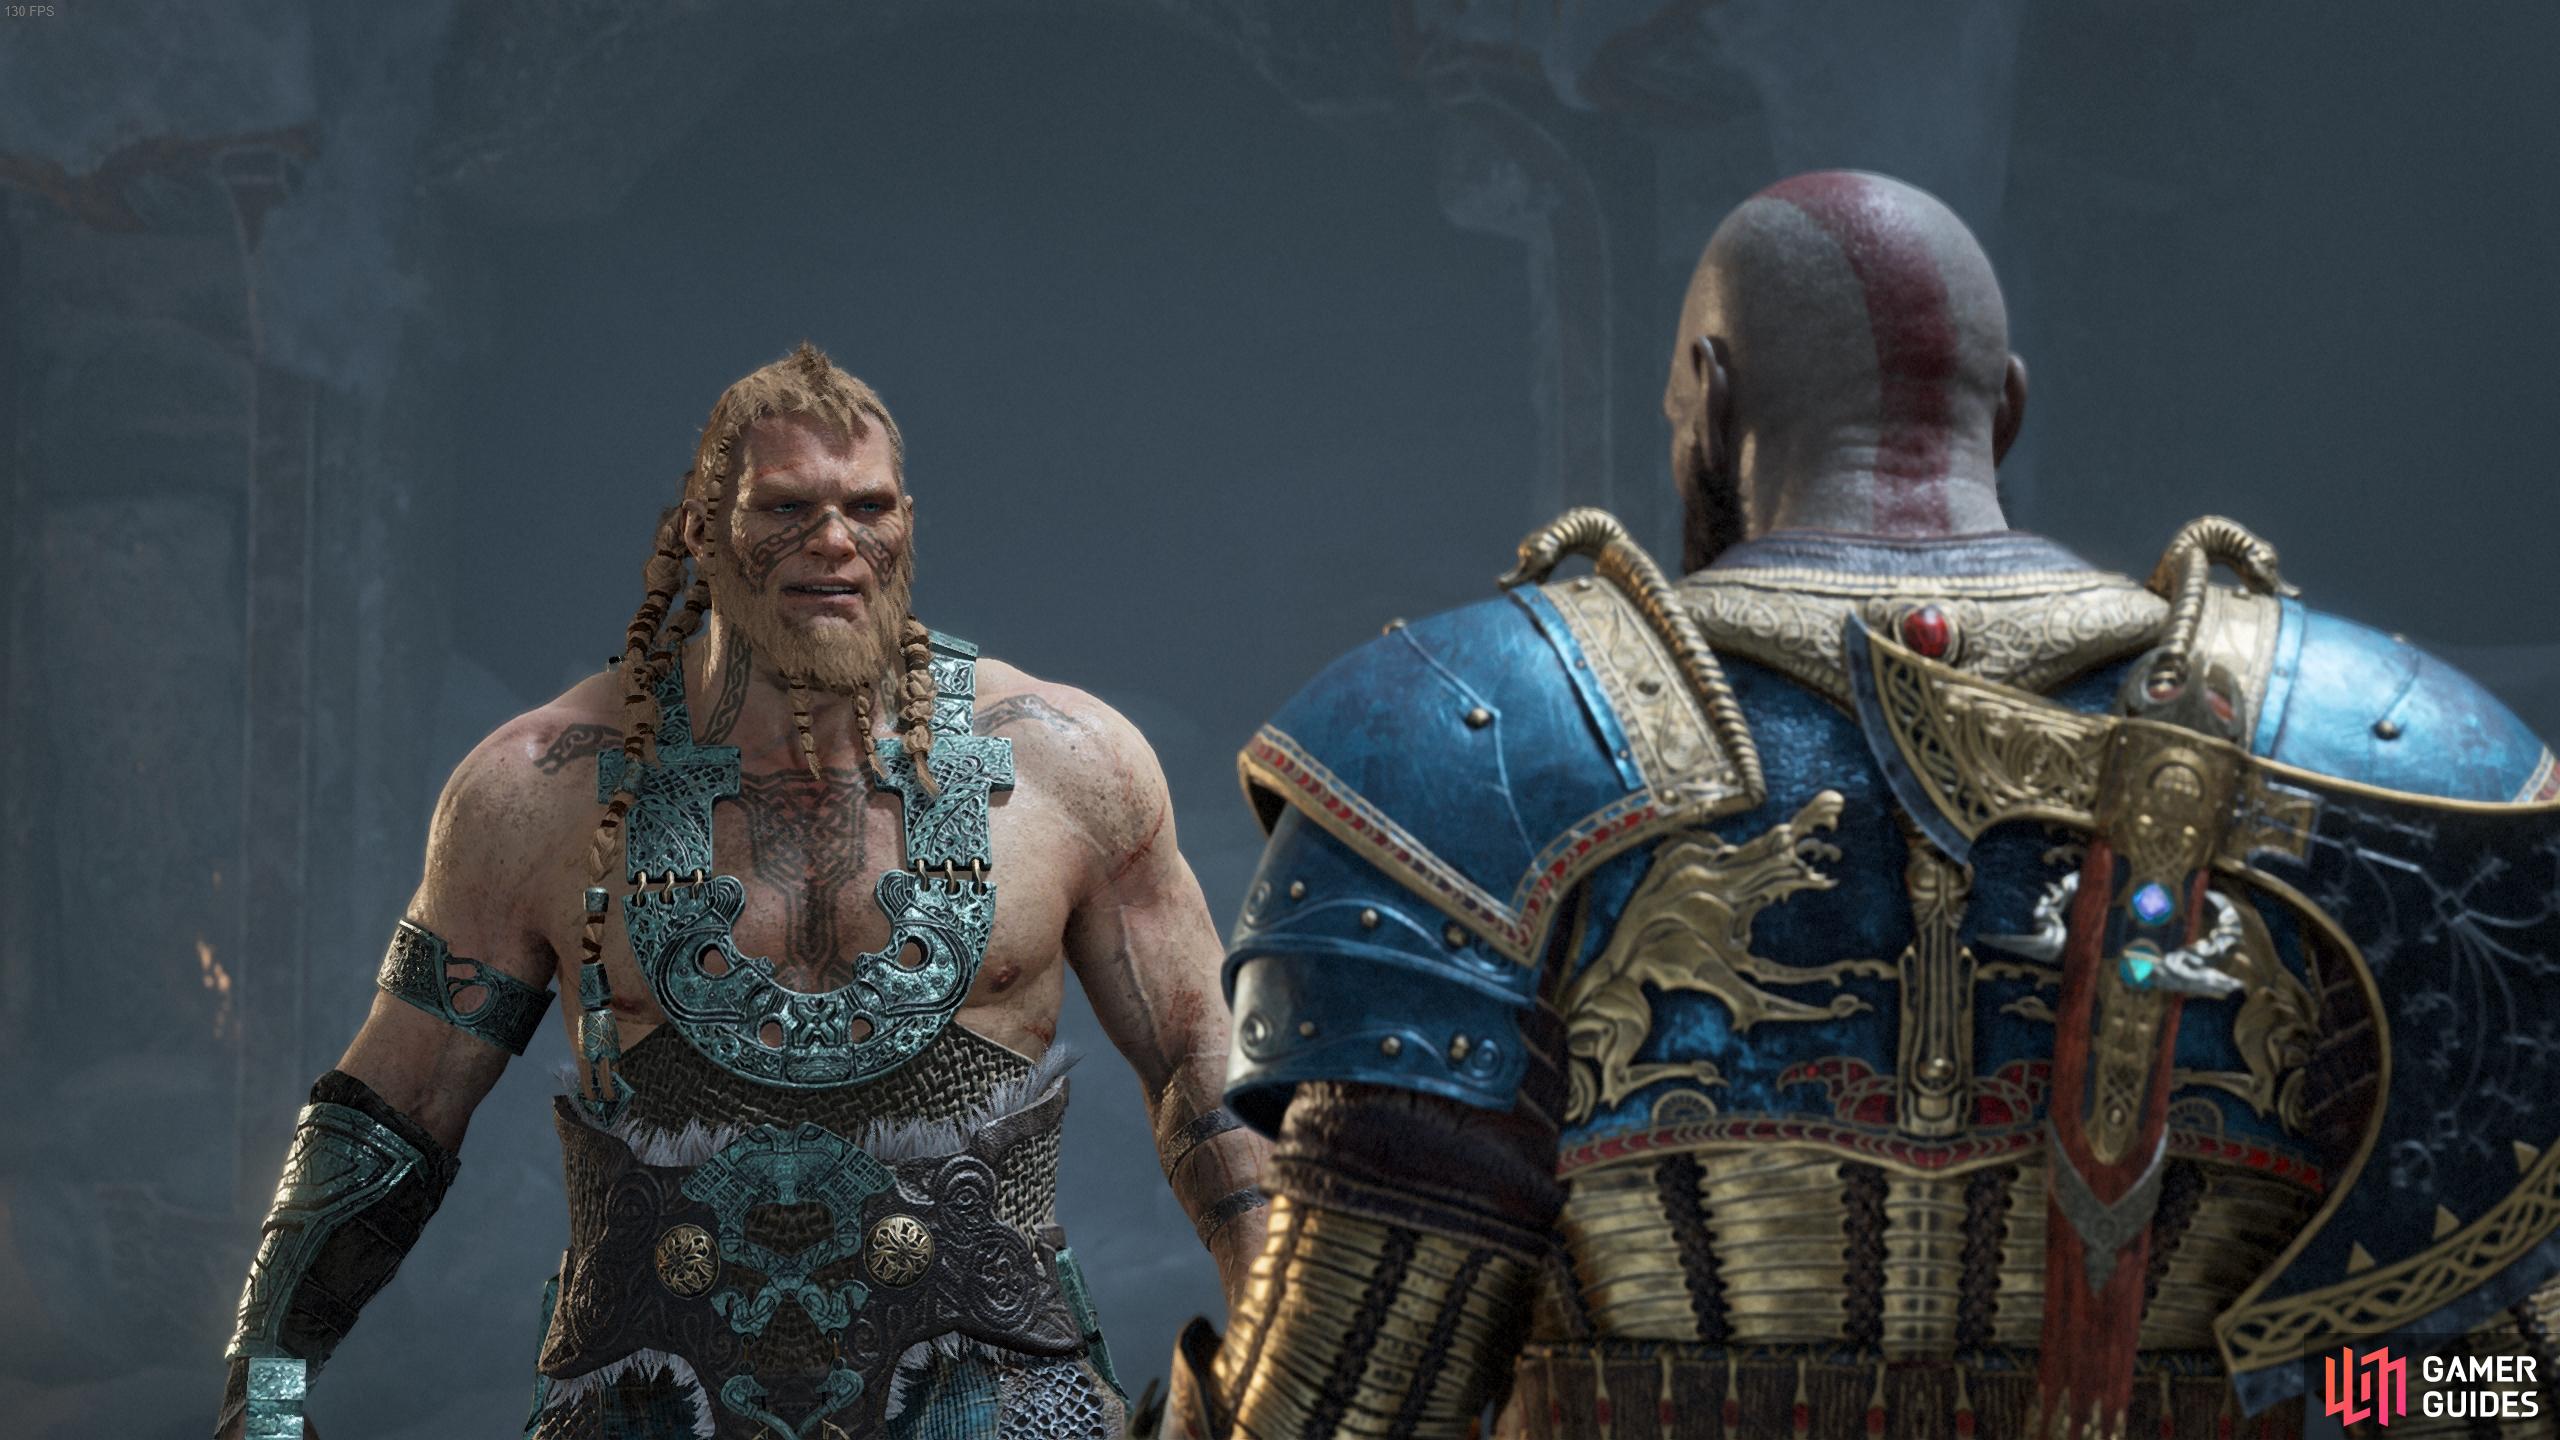
Magni and Modi, God of War.
You’ll face off against both the brothers in this arena through several phases. In this first phase, Magni will be the most dangerous as his sword has a large reach that discharges electricity as it hits the ground, be sure to dodge every strike and get your distance. Modi on the other hand is more defensive, using his shield to block most of your attacks, you’ll need to make use of area of effects and shield bashes to break his defense.
Dodge roll to the side of Magni’s sword strikes.

Use Atreus to distract Modi and attack from the side.
Focus your attention on Magni first of all, he’s easier to hit even if he poses the greater threat. Begin by using Murder of Crows and get to work on Magni, using your Runic Attacks to bring his health down. Once his health is depleted by two segments, he will drop to his knees leaving you just Modi to handle. Let Atreus attract his attention and attack from behind until his health is also depleted by two segments.
At this point the brothers shroud the arena in a thunderstorm that clouds your vision, Kratos and Atreus shift to a defensive formation. The brothers will taunt you and you’ll need to position Kratos in a circle toward where they’re coming from. Pay attention to the arrow around you and quickly shift to the location of it when it begins glowing red, readying your shield at the right time to block the attack. After the third time of blocking their blows, the storm will subside and the battle will resume.
Pay attention to the indicator to see where the brothers will attack from.

You’ll need to keep your block up to throw Magni and Modi when they reach you.
For this next phase, the brothers each get a new attack. Magni will drag his sword through the ground to shoot an electric fissure towards you, dodge roll to the side to avoid this. Modi will begin charging his mace and throwing it towards you, creating a shockwave on impact, keep well away from this. Other than this, the battle is the same as the first phase, repeat the same tactics by targeting Magni first and deplete his health to it’s final two segments. Repeat your assualt on Modi, using Atreus as a distraction and once his health reaches the same point, the brothers will conjure another thunderstorm.
Once again you’ll need to rotate Kratos to the direction of one of the brothers and block the attack. This time the brothers will attack in tandem, trying to bait your shield block. Be sure to keep your shield up even if the first brother doesn’t attack. Block four times during this phase to cause the thunderstorm to subside for the final time.
Modi becomes a lot more dangerous during this final phase as he begins banging on his shield, signifying he’s about to shoot a blast of lightning towards you. Magni will now charge his sword up and plummet it into the ground, creating an arena wide shockwave that you’ll need to block if you can’t strike him while he’s charging it. To make matters worse, you’ll need to bring both of their health bars down around the same time so make full use of any area of effect attacks you have and use Runic Summons as soon as they’re available. This is also a good time to activate Spartan Rage to finish the battle quickly.

You can step out of the way when Modi launches these projectiles to avoid an explosion.
Prepare to dodge roll when you see Magni drag his sword across the ground.
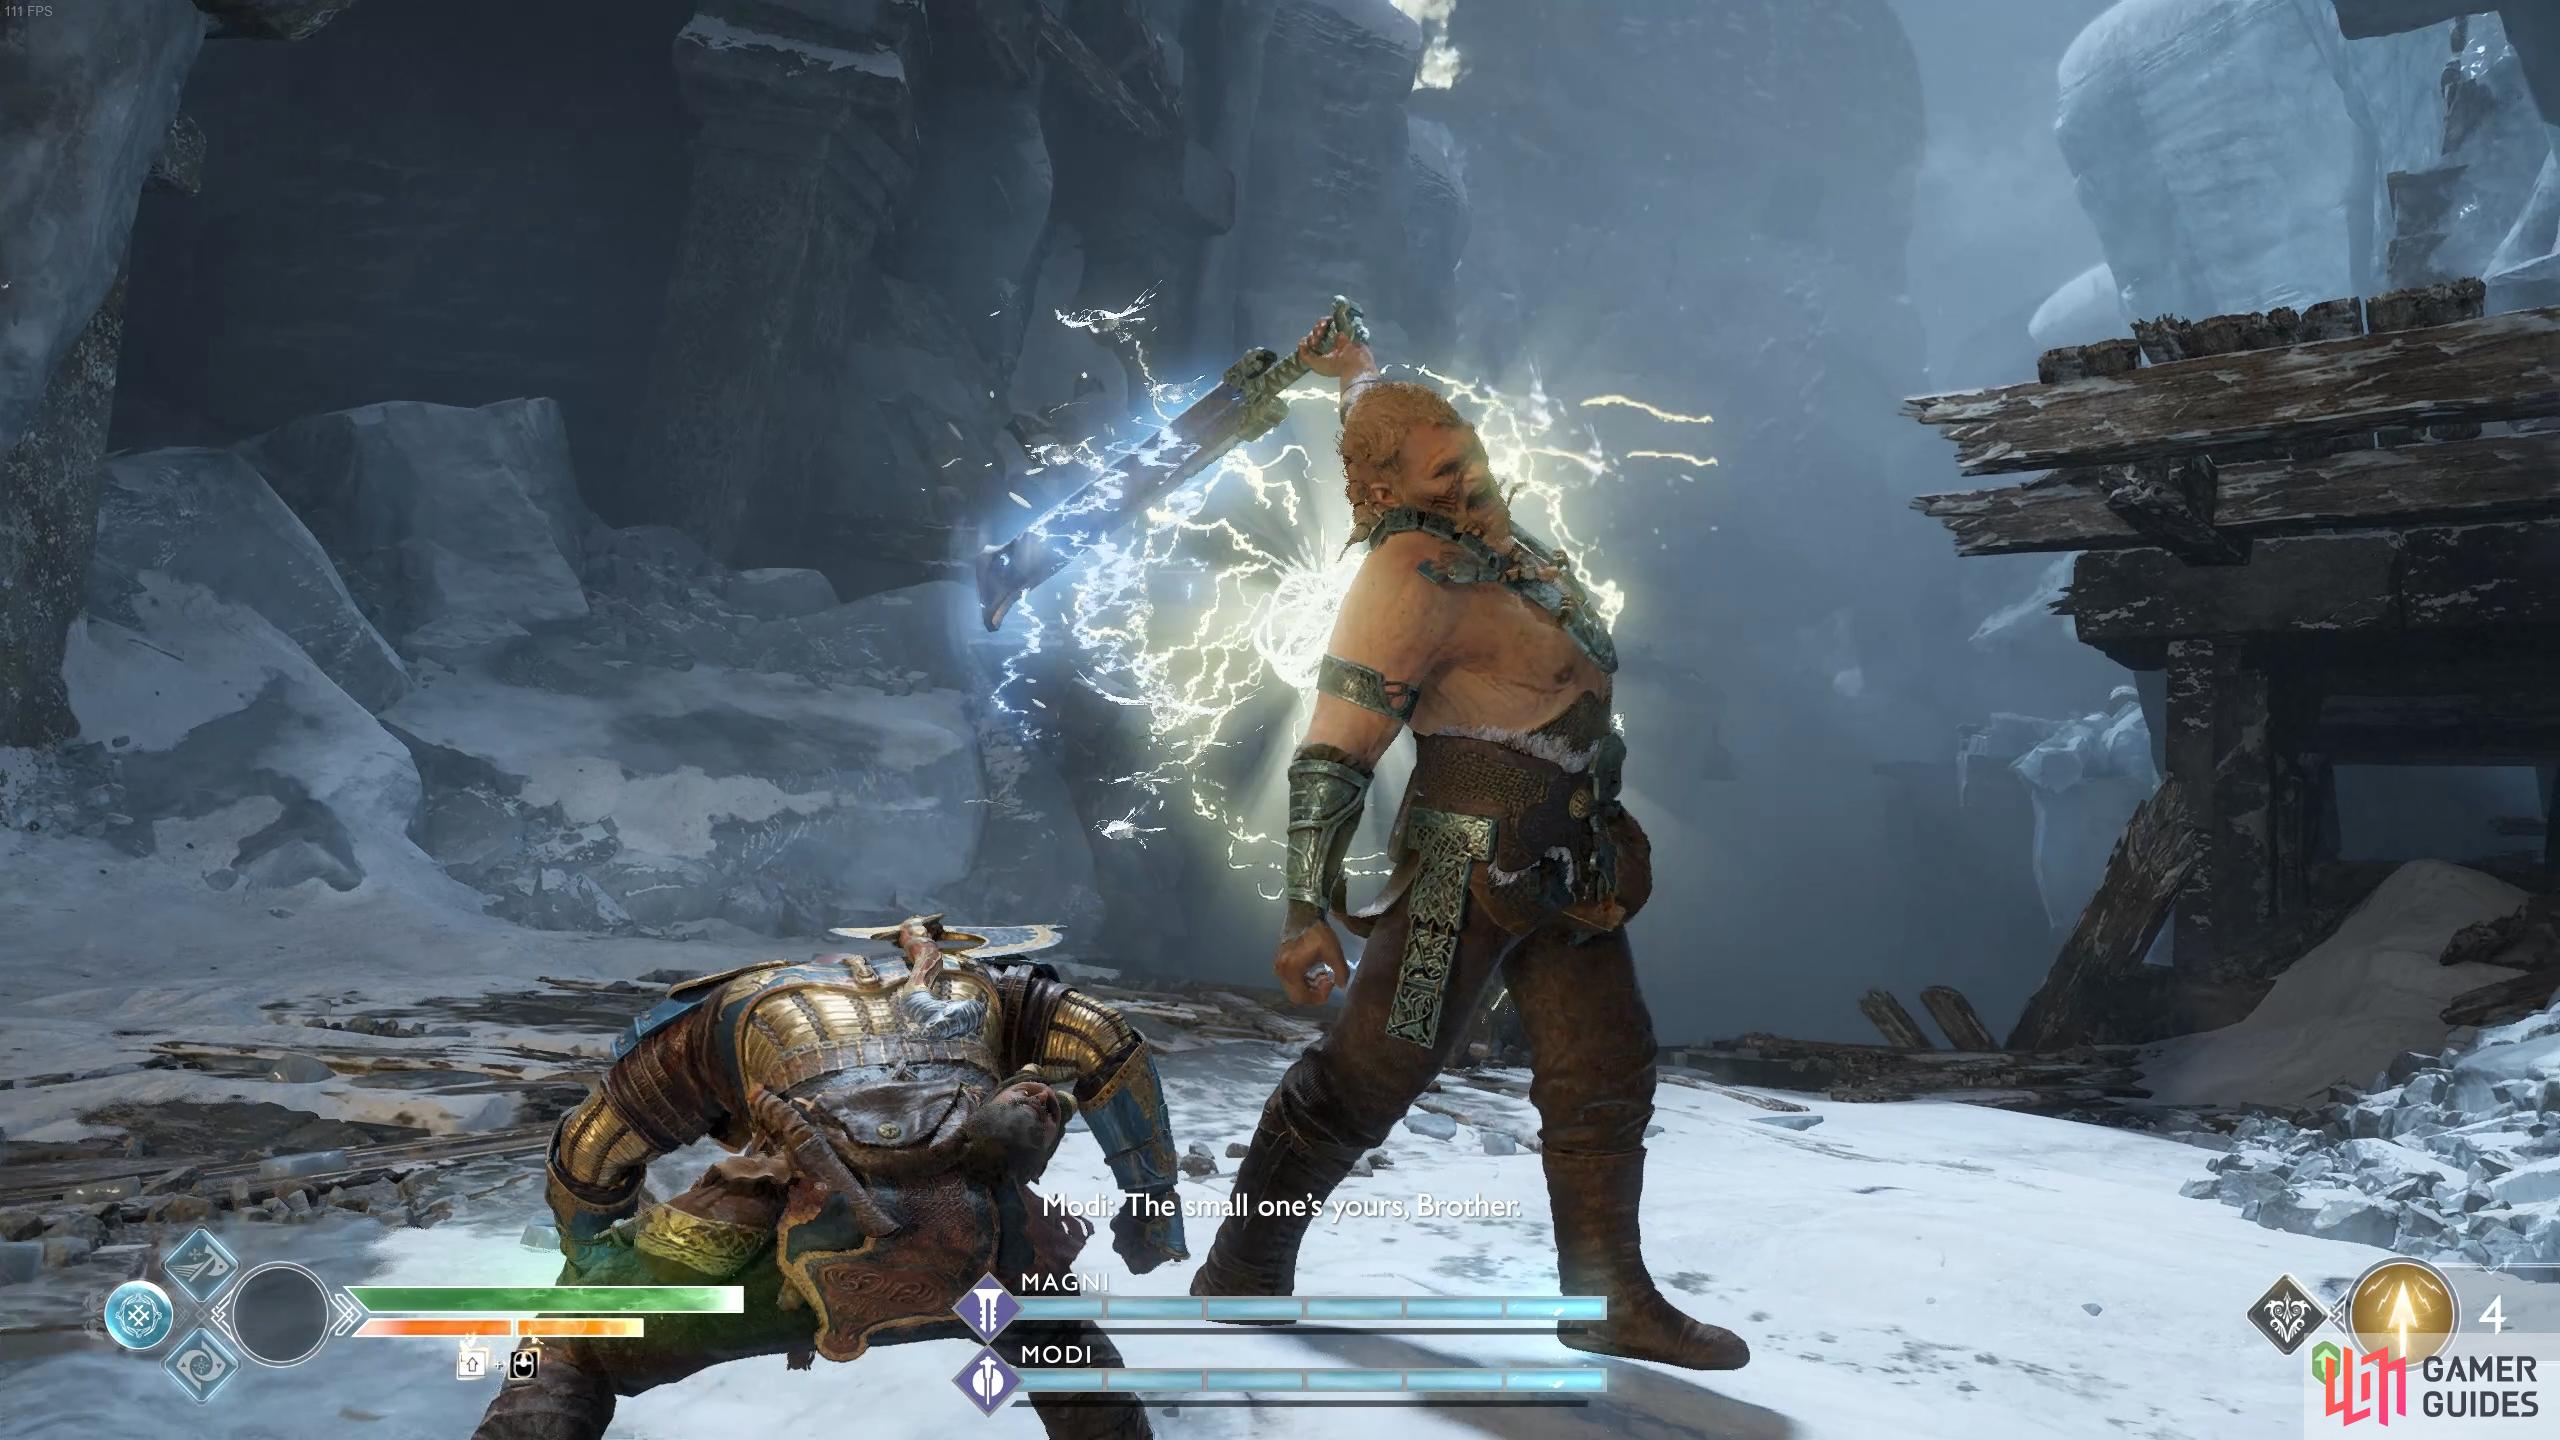
Kratos takes extreme measures in the aftermath to protect his son and kills Magni, something that shocks Modi and causes him to flee. It seems Atreus’ sickness is returning, something of great concern to Kratos. Upon defeating Magni and Modi, you’ll unlock the Troubling Consequences achievement.
Loot the spoils from your battle to obtain a Leiptr Alloy and another Frozen Flame. Approach the chisel and strike it three times with the Leviathan Axe to finally acquire the Magic Chisel and finish this step of the journey.
No Comments