
| Favor giver | Rewards |
|---|---|
| Brok and Sindri, Upon completion of all previous Dwarven Favors | Fire of Ares Heavy Runic Attack, Dwarven Armor Set Recipe, 3290 XP |
Once you’ve completed all four Favors given out by Brok and Sindri, return to them once you complete your escape from Helheim to receive their final Favor.
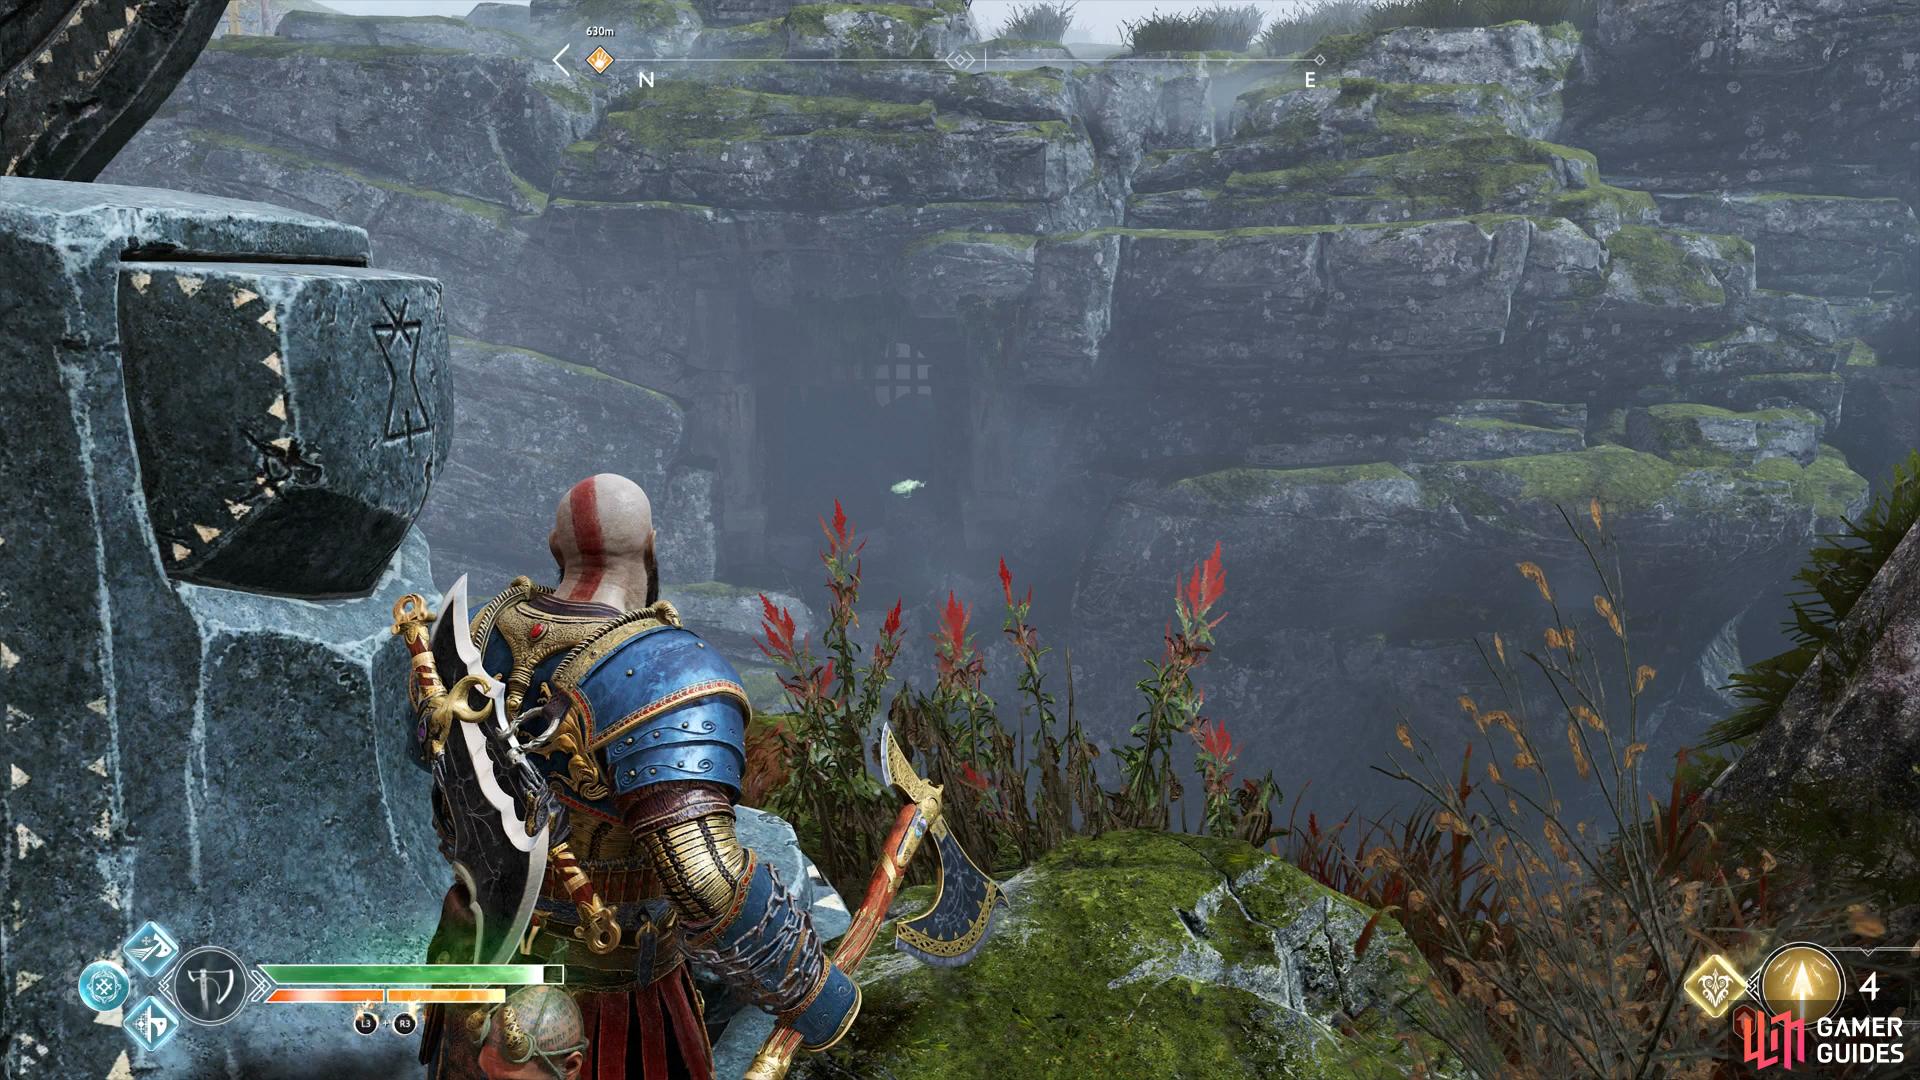
Use the Mystic Gateway to travel to the Svartalfheim Realm Tower and light the brazier while you’re here. You should also be strong enough to take down the Traveller and after, ride the elevator down to the boat. Head north and then west through the tunnel, taking a right to arrive at King’s Hollow and dock the boat.
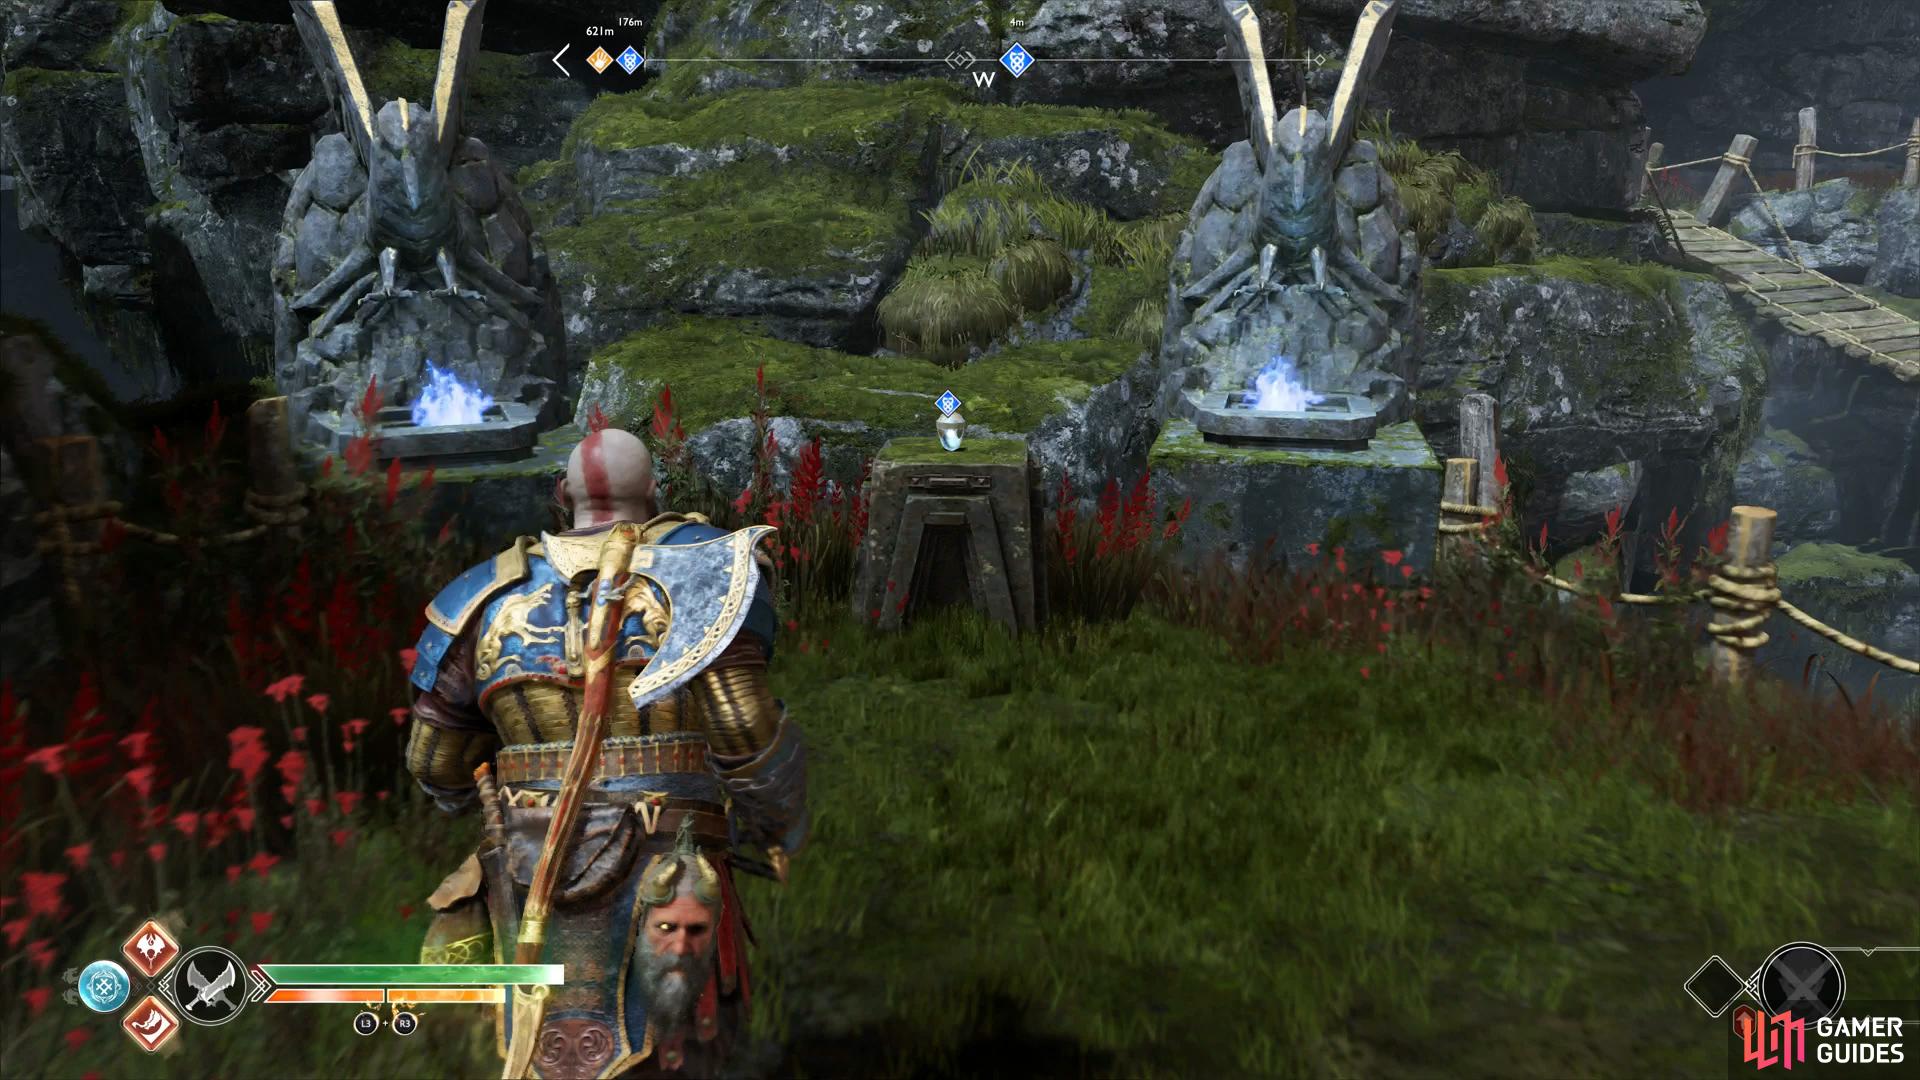
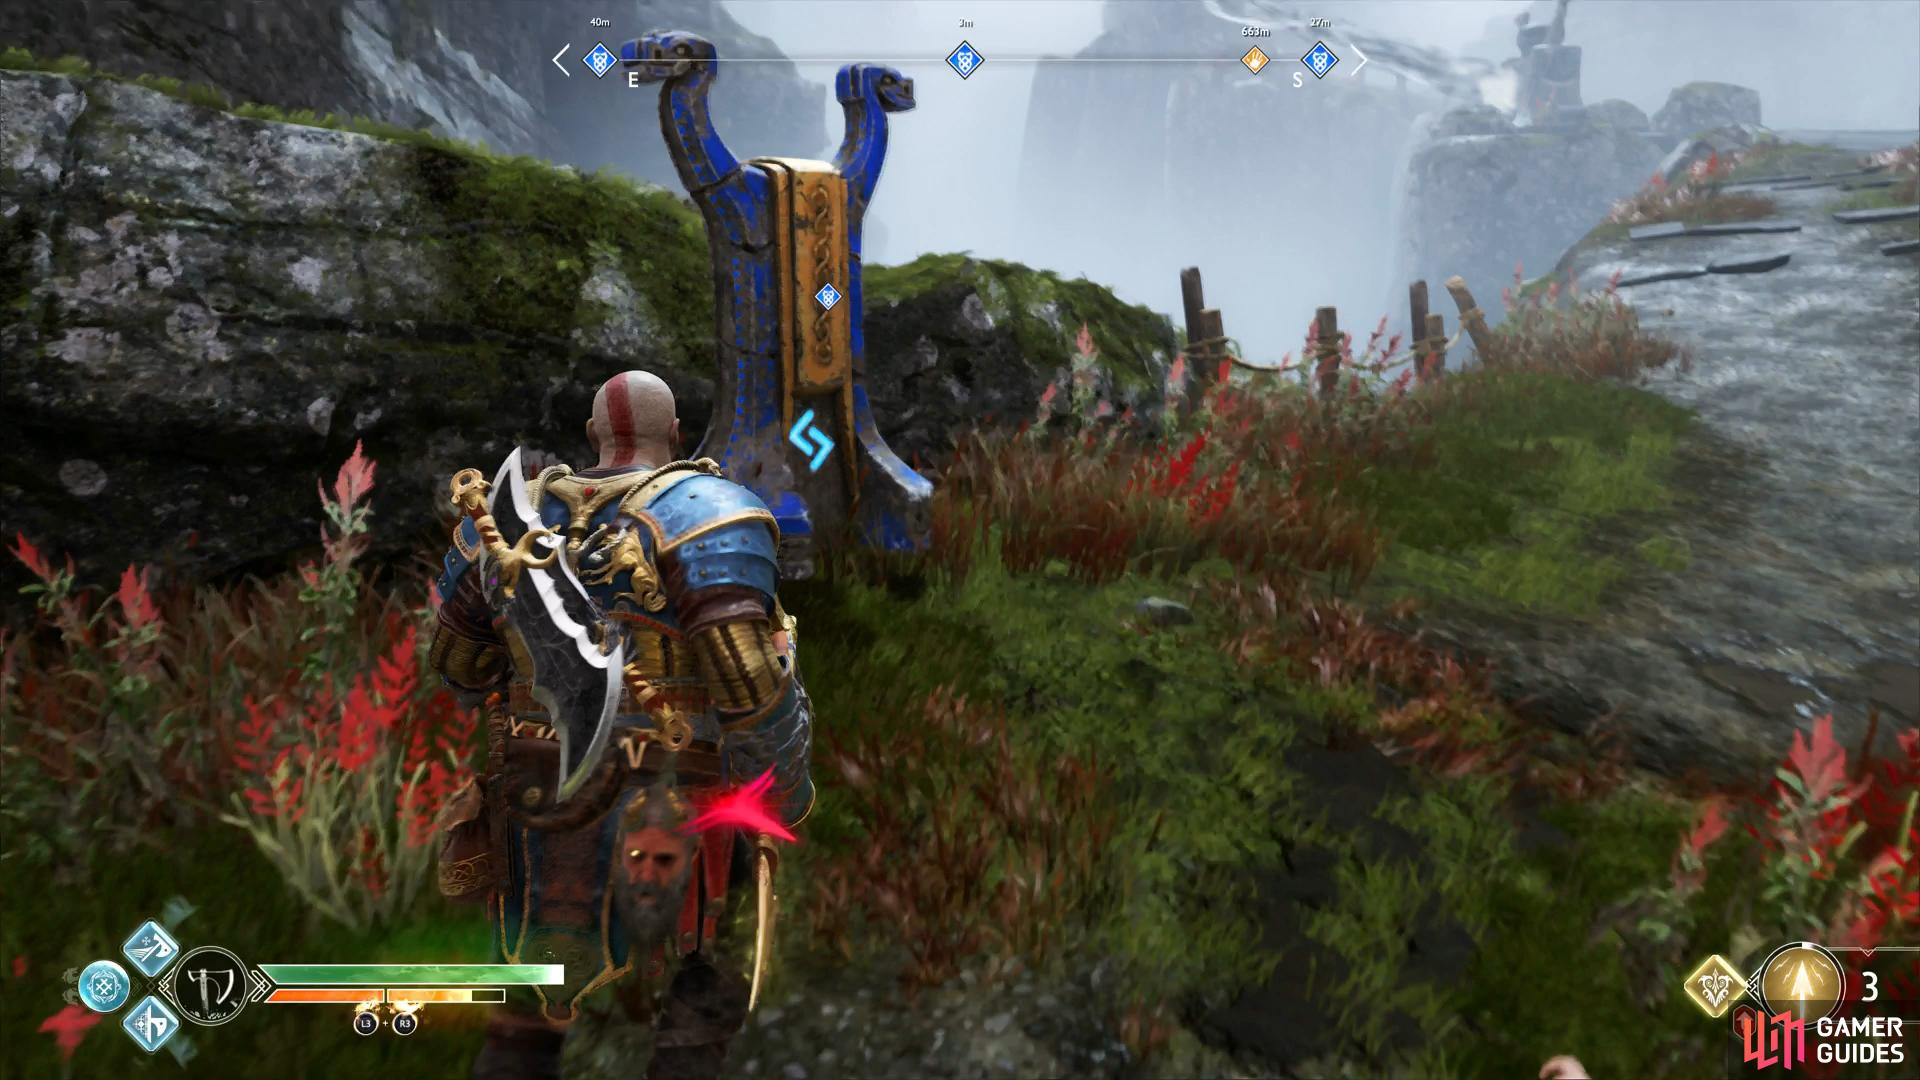
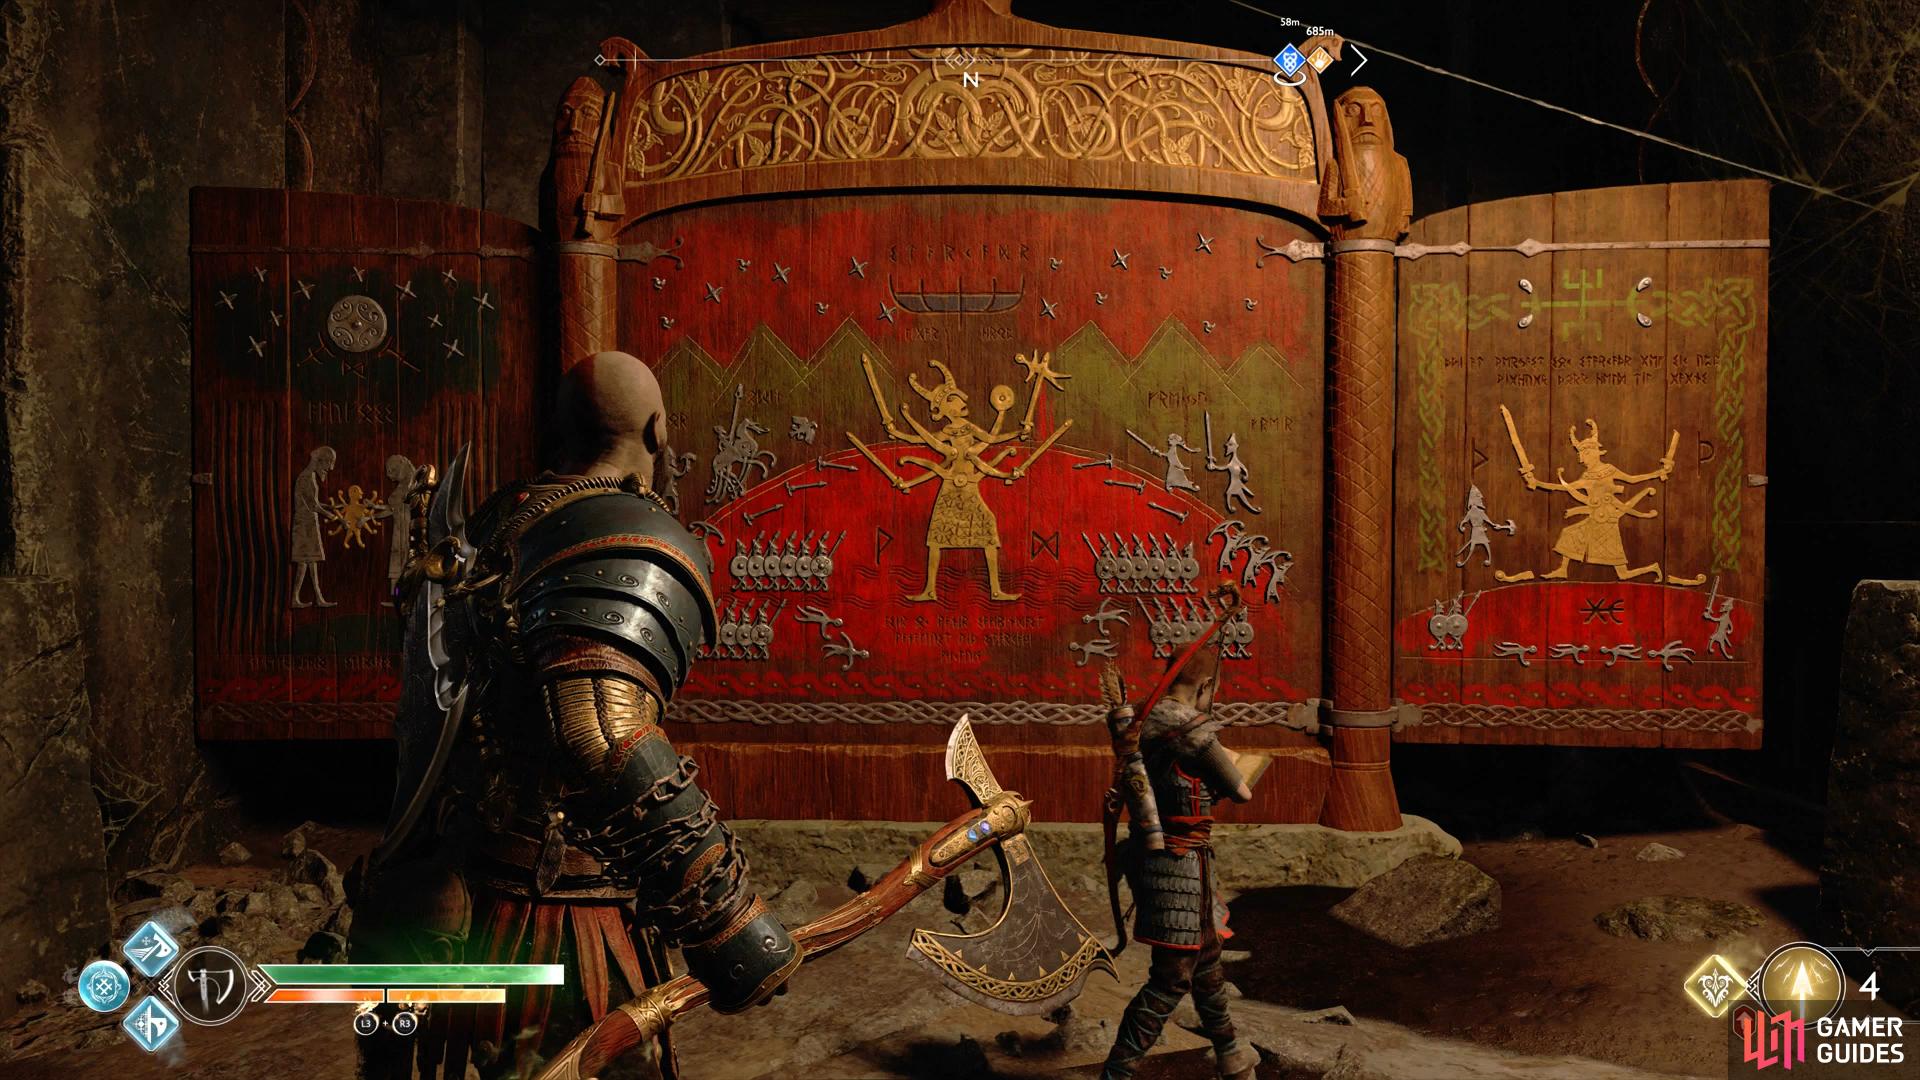
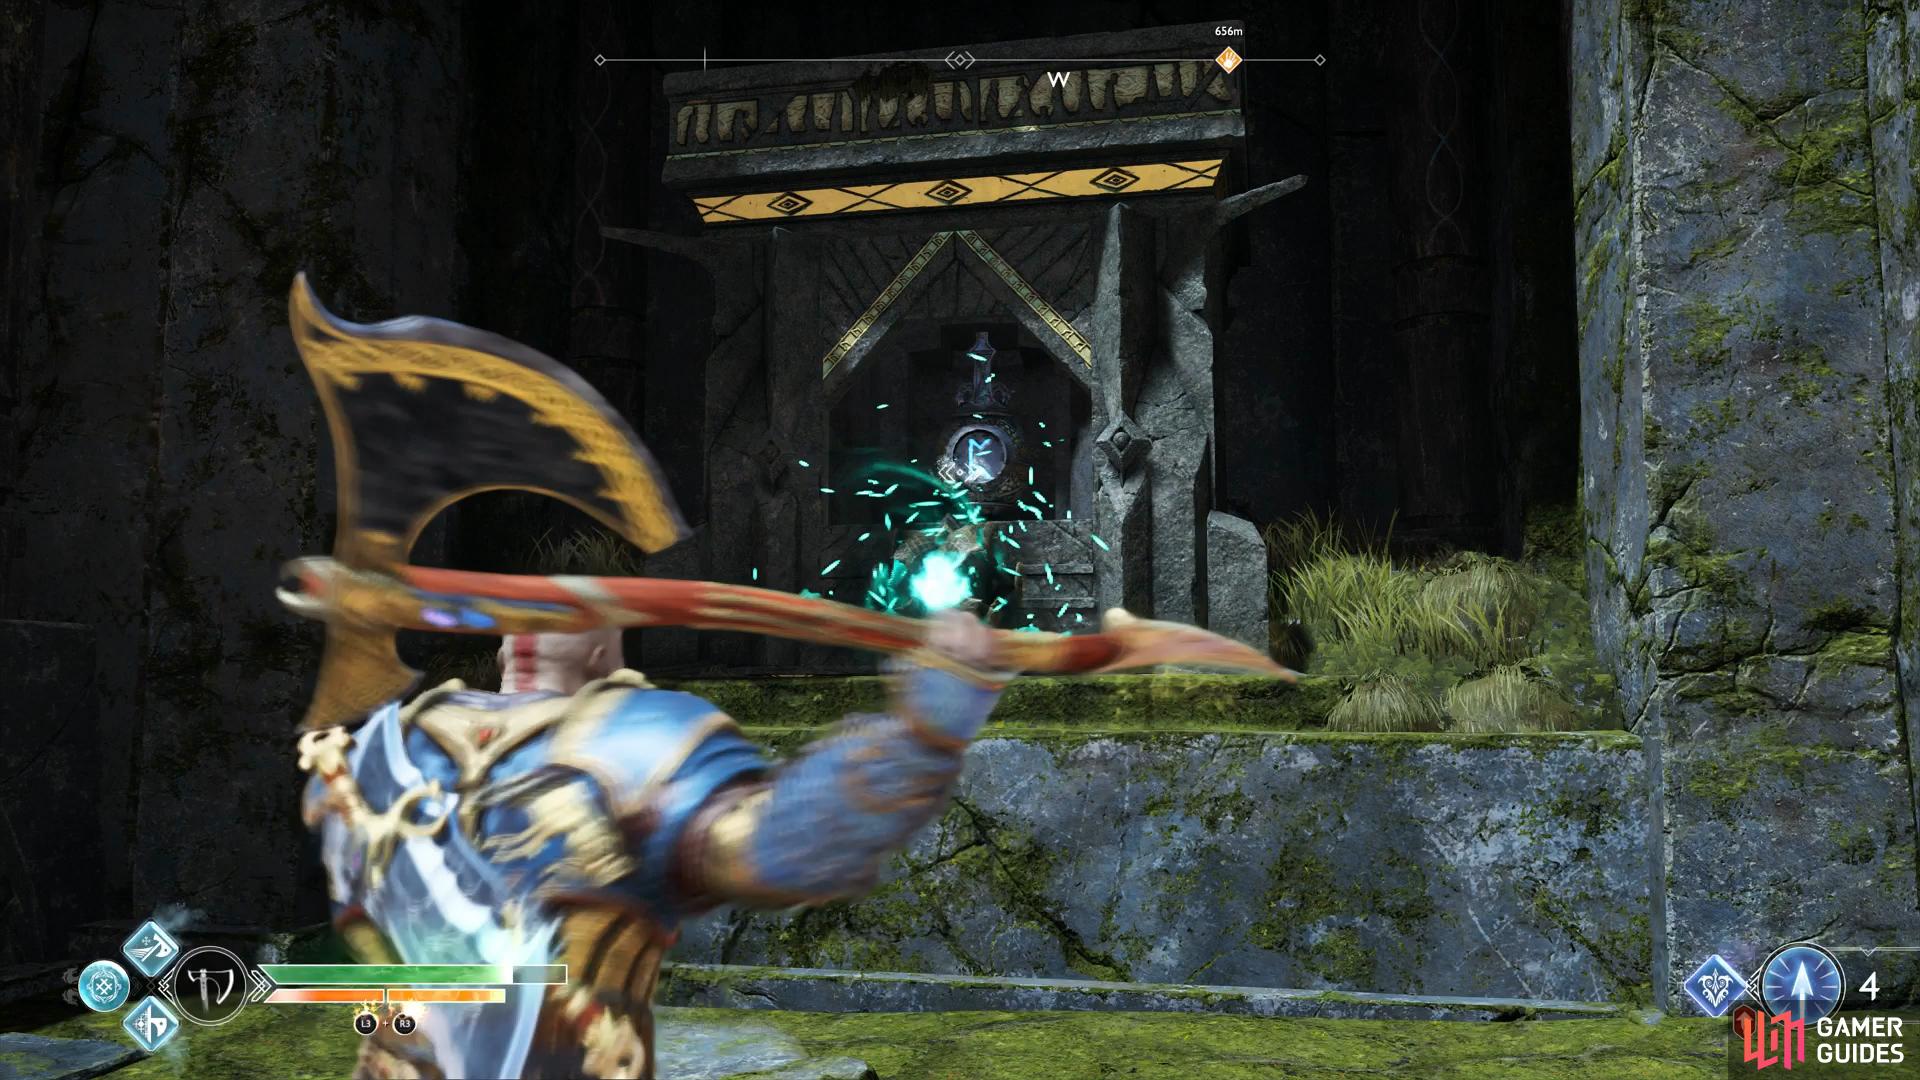
Head forward and activate the Mystic Gateway before using the entry stone on the nearby pedestal. Follow the path, burning the brambles in the process and taking the chain down. Continue along this path, reading the Lore Marker and finding Sindri at a shop. Speak to him to learn more about the situation and then purchase anything from him should you need it. As you walk forward, you’ll spot the final dragon that needs freeing in the distance.
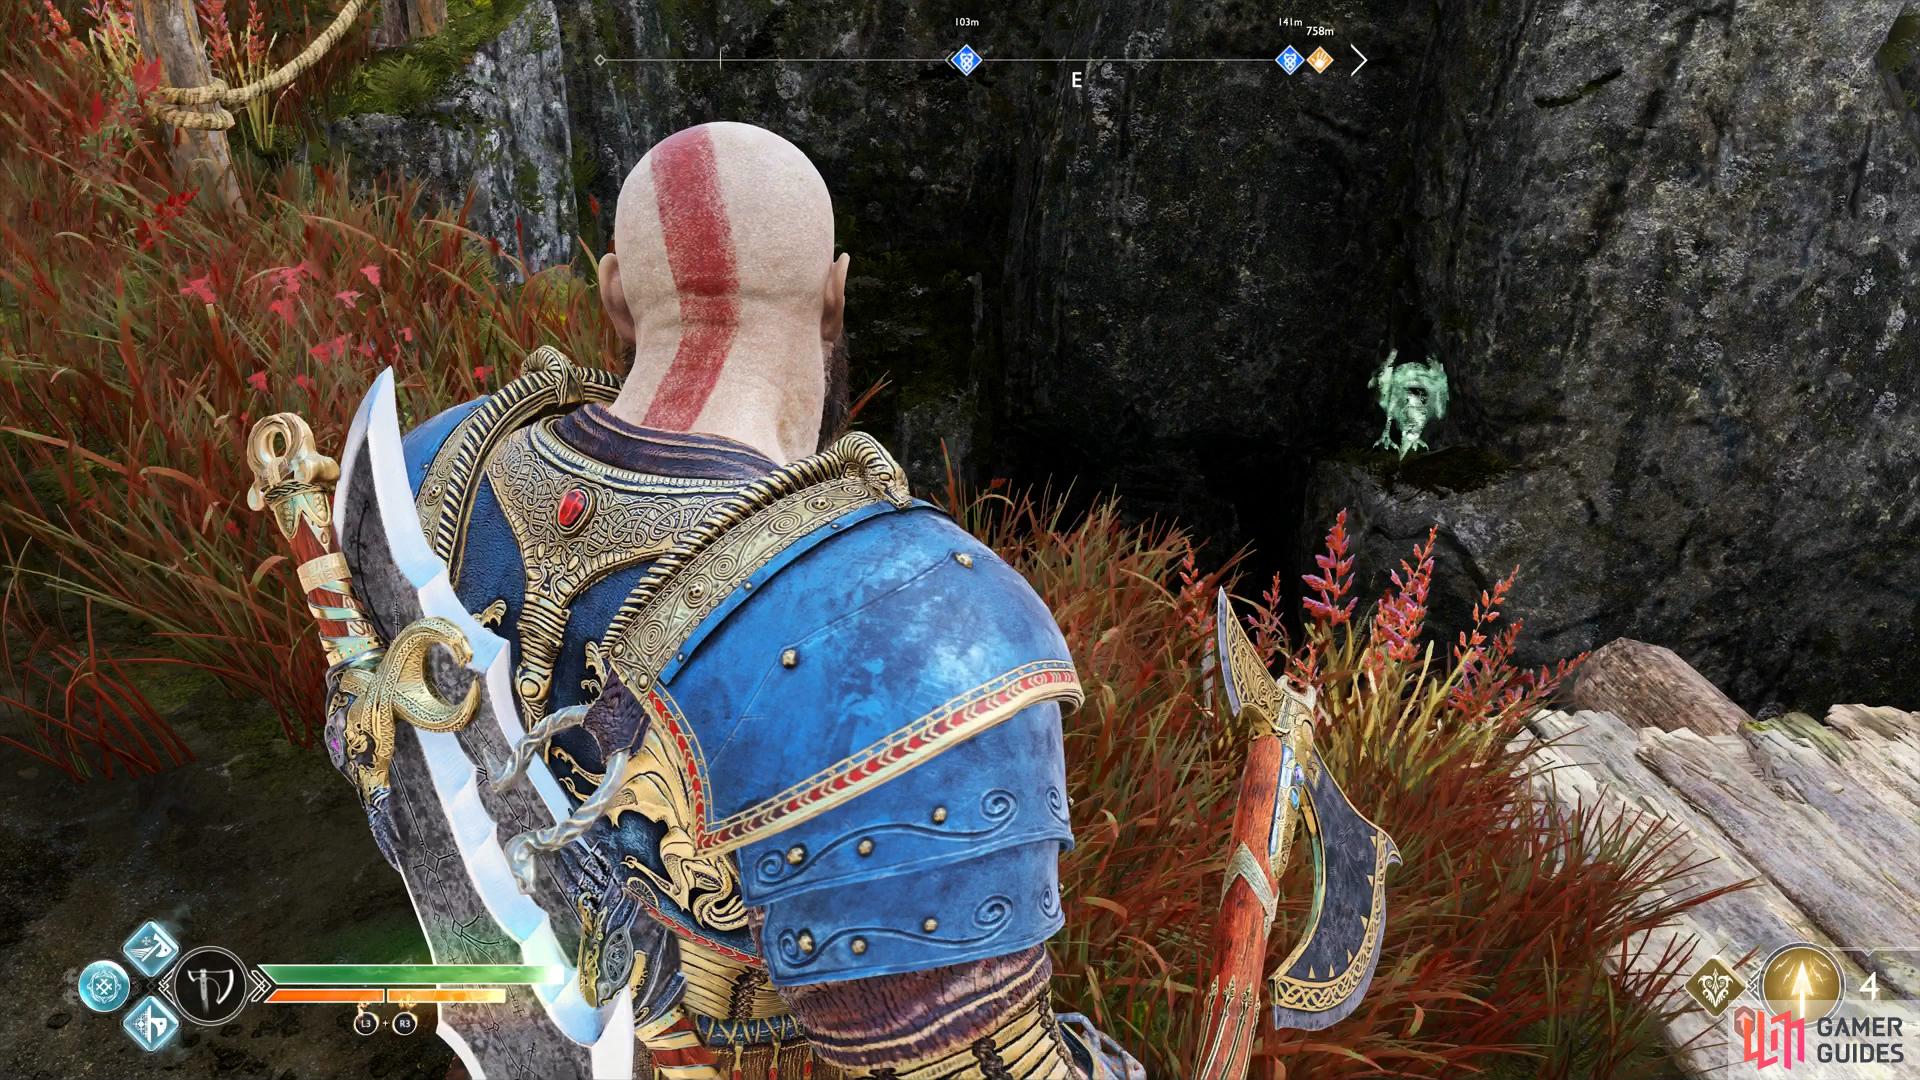
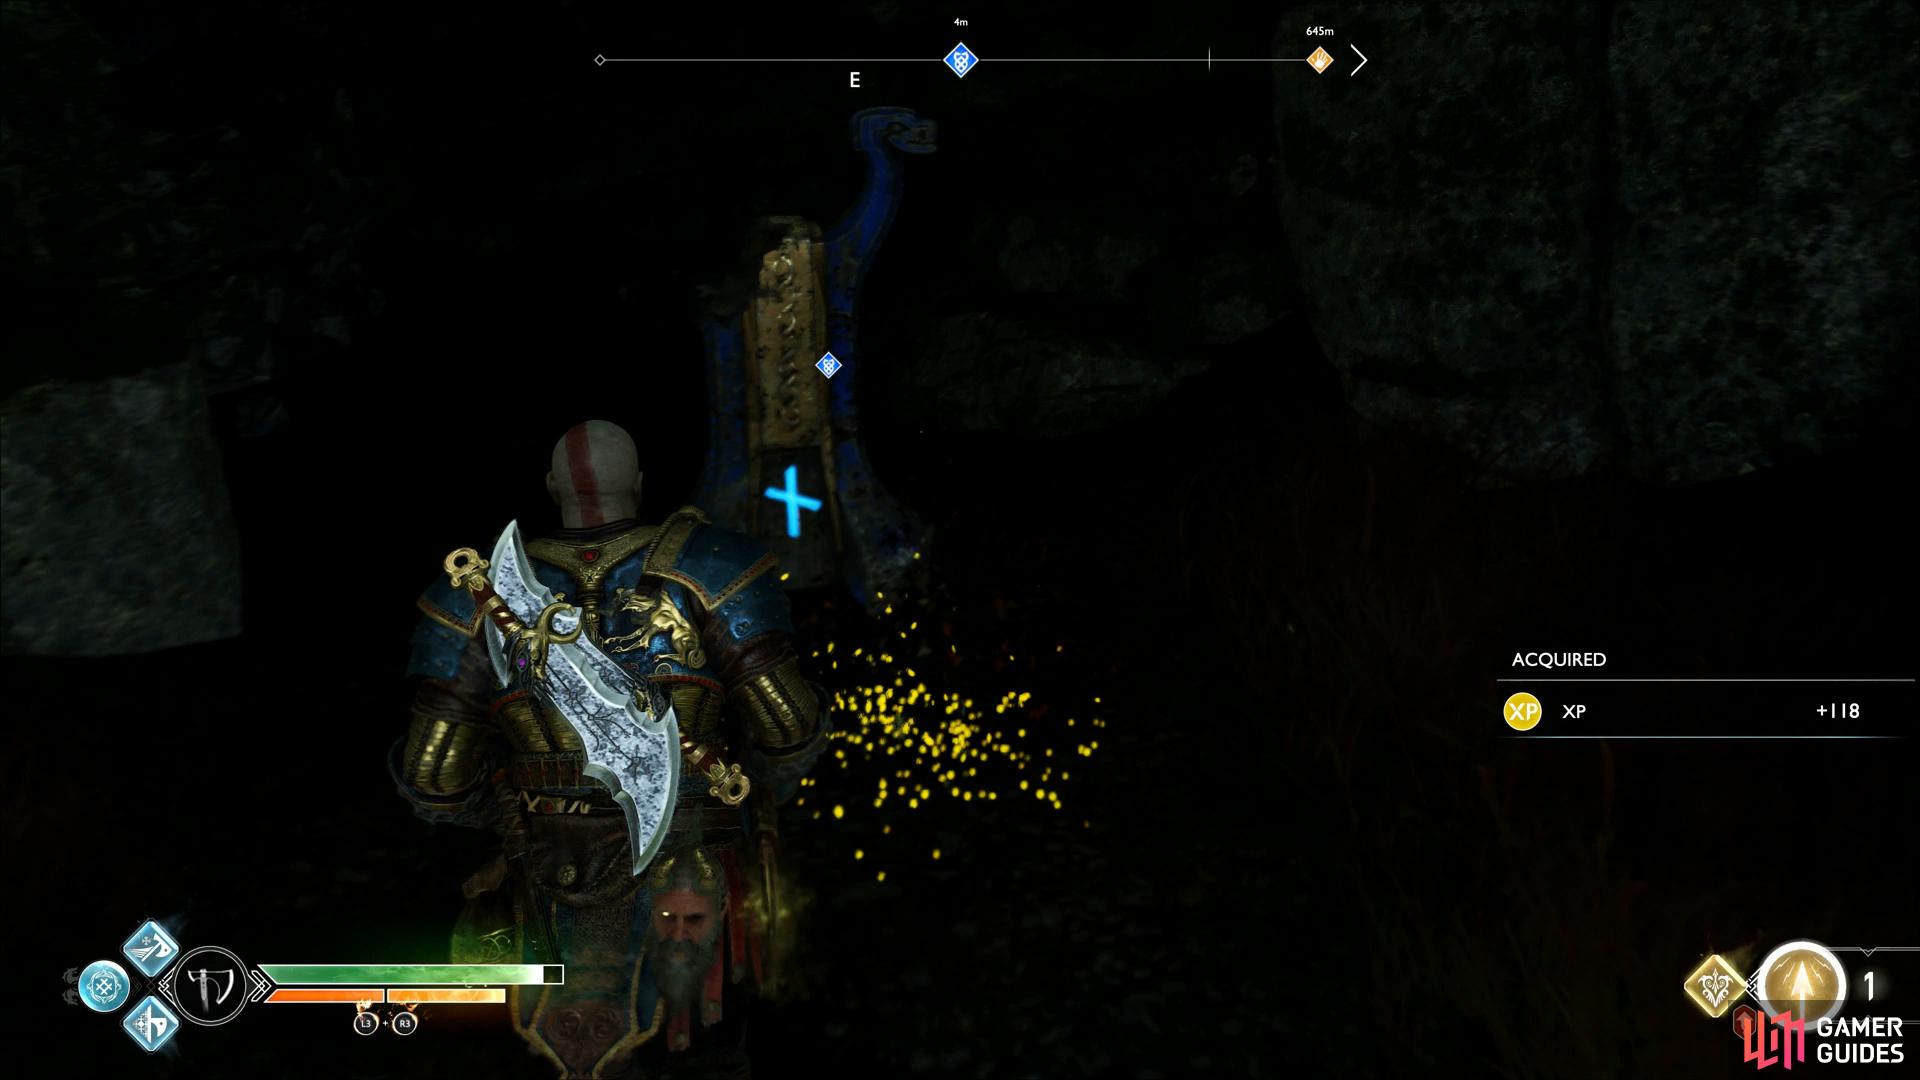
Follow the path and defeat the two Hel-Walkers that spawn, throwing the axe at the Scorn Pole after. Follow this to a coffin that, when opened, springs a nasty ambush. Take the Hel-Walkers out and then look over to the wall from where the coffin is to spot the first Raven.

Beware the ambush when opening the coffin
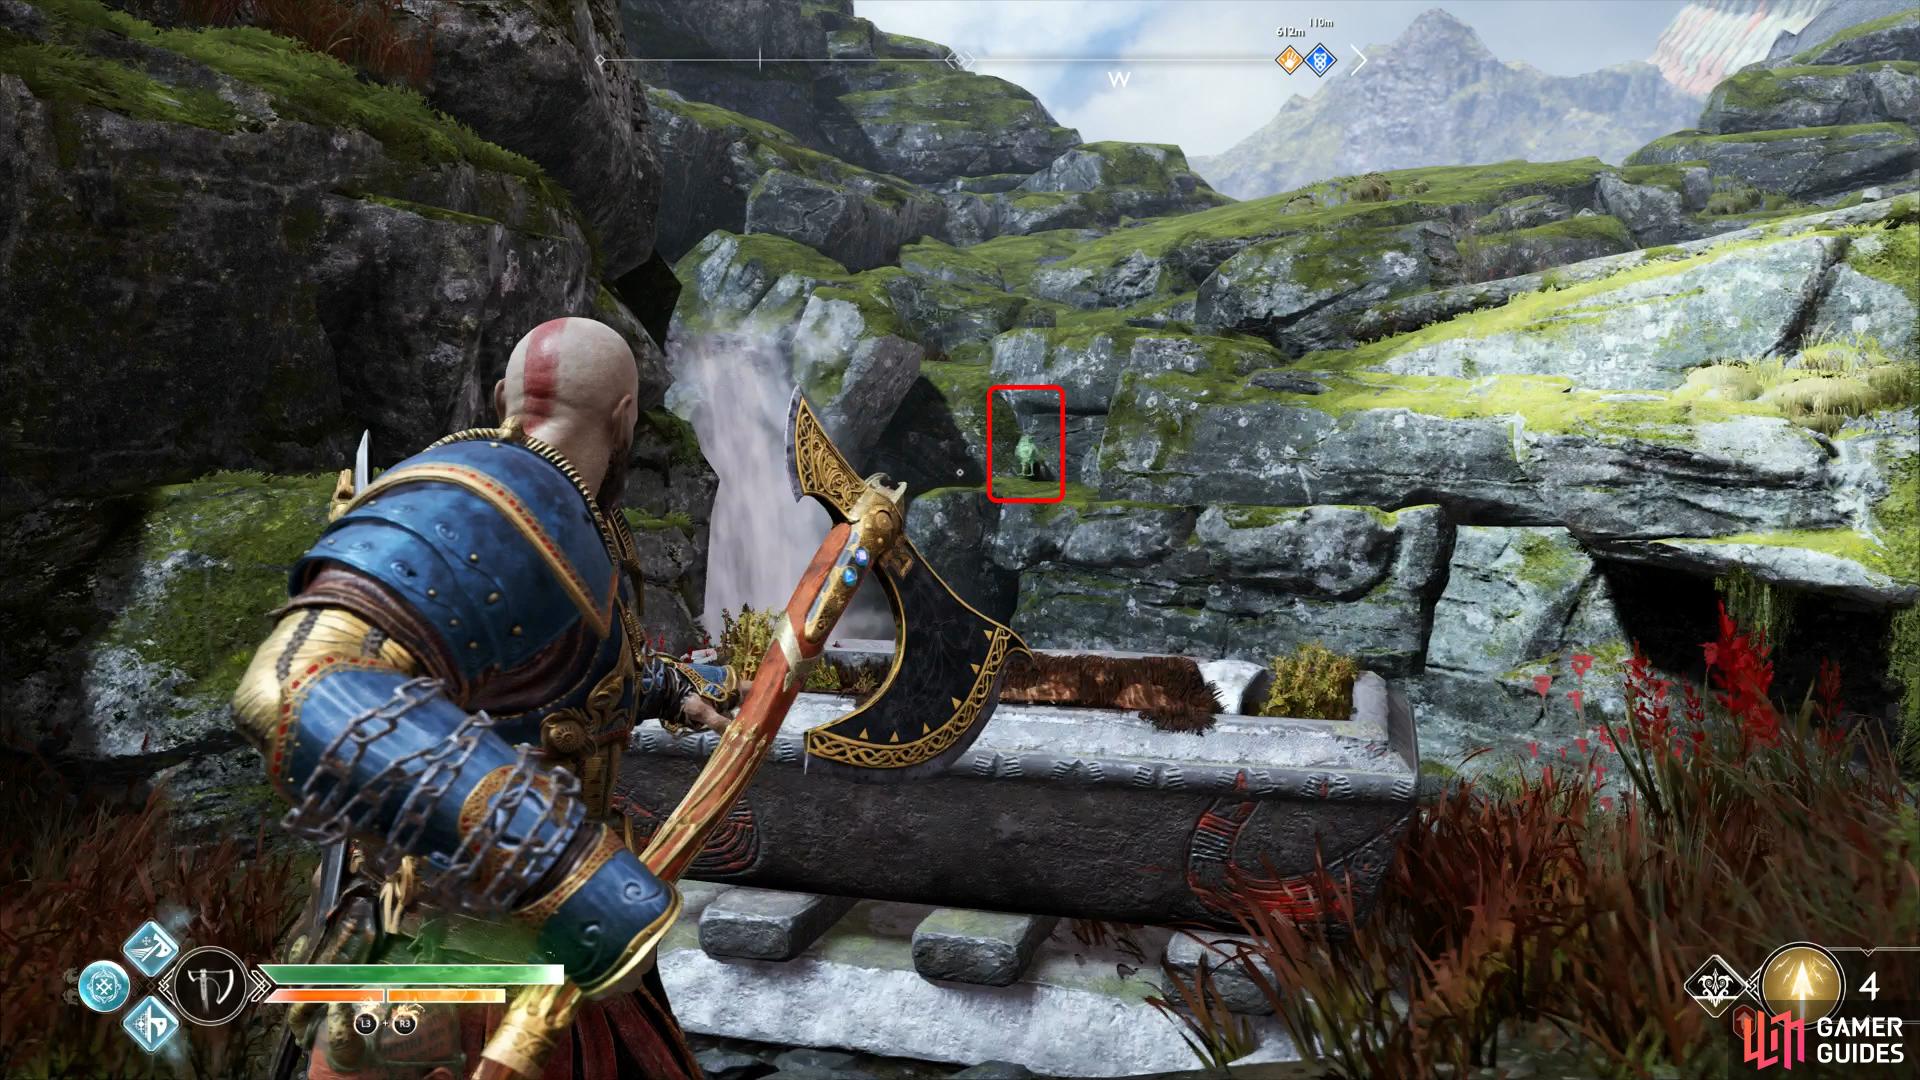
the first Raven is found on the wall behind this coffin.
Head back and take the other path down, defeating any Hel-Walkers on the way and looking to the left to find the next Mystic Gateway. Continue down the path, taking out another Hel-Walker group and at the bottom throw the axe at the Scorn Pole to reach the doors leading into the Stronghold.
Collect keys to enter Stronghold
The door requires three keystones to be placed in the pedestal in order to open it up with the first in front of you. Pick it up, place it in the pedestal and then take off to the south in search of the next. Follow the path past the Scorn Pole, beyond the brambles and past two Wulvers to reach some ruins where a Soul Devourer rests.
You should be used to how these battles unfold by now, wait for the core to become exposed and toss the axe at it to deal major damage along with hurling the clusters that fall off back at it. The Soul Devourer has no new attacks so you can expect to dodge the beam attack only if you keep at somewhat close to it. Upon it’s death, loot the spoils and burn away the brambles to find a coffin.
Follow the path up the stairs (and ignoring the wind trap for now) and shimmy across the wall to the other side. Defeat the Wolves at the end and look across to the southeast to spot a Light Crystal hanging, toss the axe at the runic disc to drop it into the stream below. Drop down yourself and pick up the Light Crystal, carrying it with you along the path and through the gate.
Shoot the Light Crystal to create a bridge across the gap above
this allows you to carry the winds over to the door.
Defeat the Wolves waiting to pounce and then resume carrying the Light Crystal down the north path, placing it in the pedestal at the end once the Wulver and Wolves are defeated. Shoot the Light Crystal to errect a bridge overhead and then follow the path back to the south and through the ruins to find the wind trap you ignored earlier.
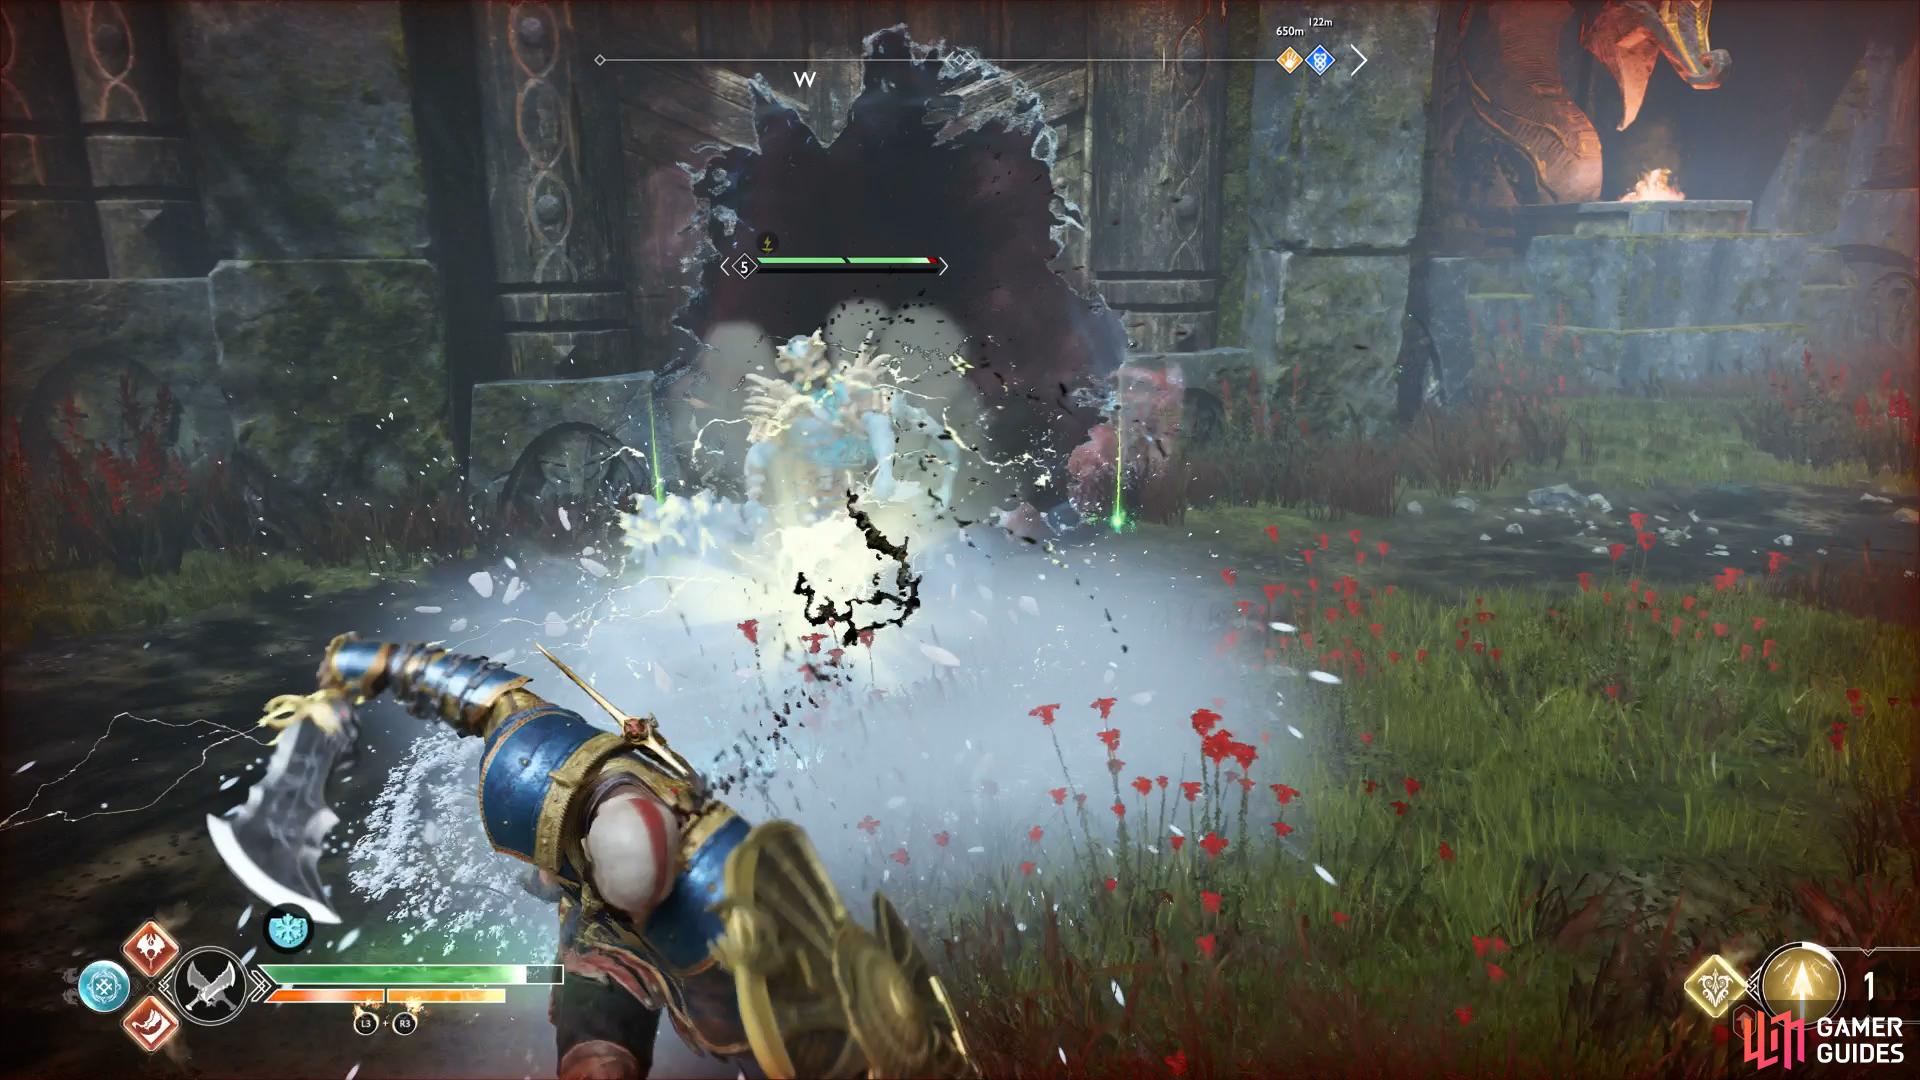
Grab the Winds of Hel and run up the stairs, across the newly errected bridge and deposit it in the next wind trap. Do this one more time, depositing the energy in the door at the end to find two sacks of Hacksilver. Climb the ledge and look to the left to find the second Konùnsgard Stronghold Entry Stone. Kick the shortcut chain down and head back down to the door to insert the stone. This opens portals in front of the door where Hel-Walkers will come pouring out of. The Hel-Viken is particularly nasty here, as it has more armor than the regular ones, thankfully all your Runics should be available as well as a Summon, this should take them down relatively hassle free.
The second Keystone is found past the wind trap door
placing this in the pedestal causes enemies to spawn from portals.
The north path beckons, start heading that way and look to the waterfall on your west when you reach it. Toss the axe at the wooden boards to lower the water level and gain access to a couple of Hel-Walkers and a coffin. Continue along the path and a Fierce Ogre will block your path as you reach the clearing, defeat the brute and the Hel-Shadow Scouts up high. With the enemies defeated, head along to the south, climb the wall and leap across the gaps to a coffin.
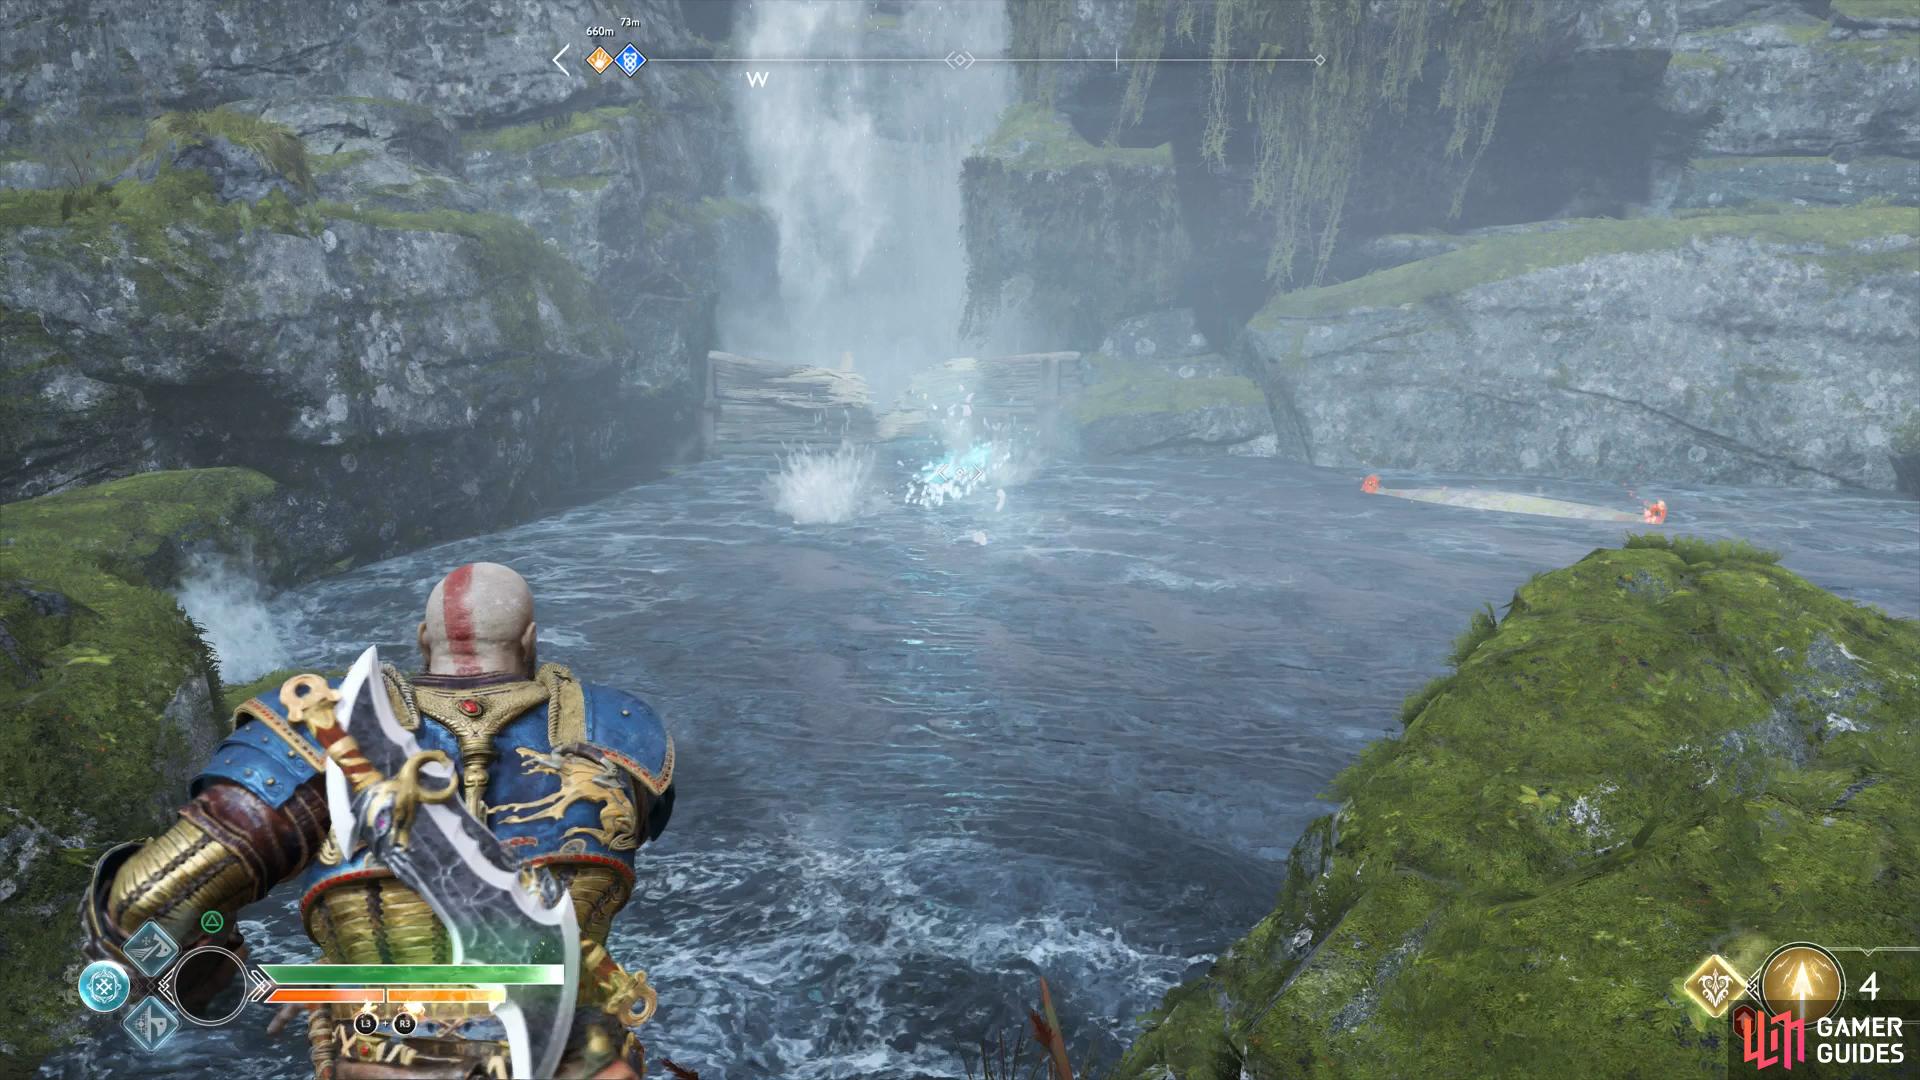
Break the wooden boards to lower the water level
search on the wall where you killed the Ogre to find the next Raven.
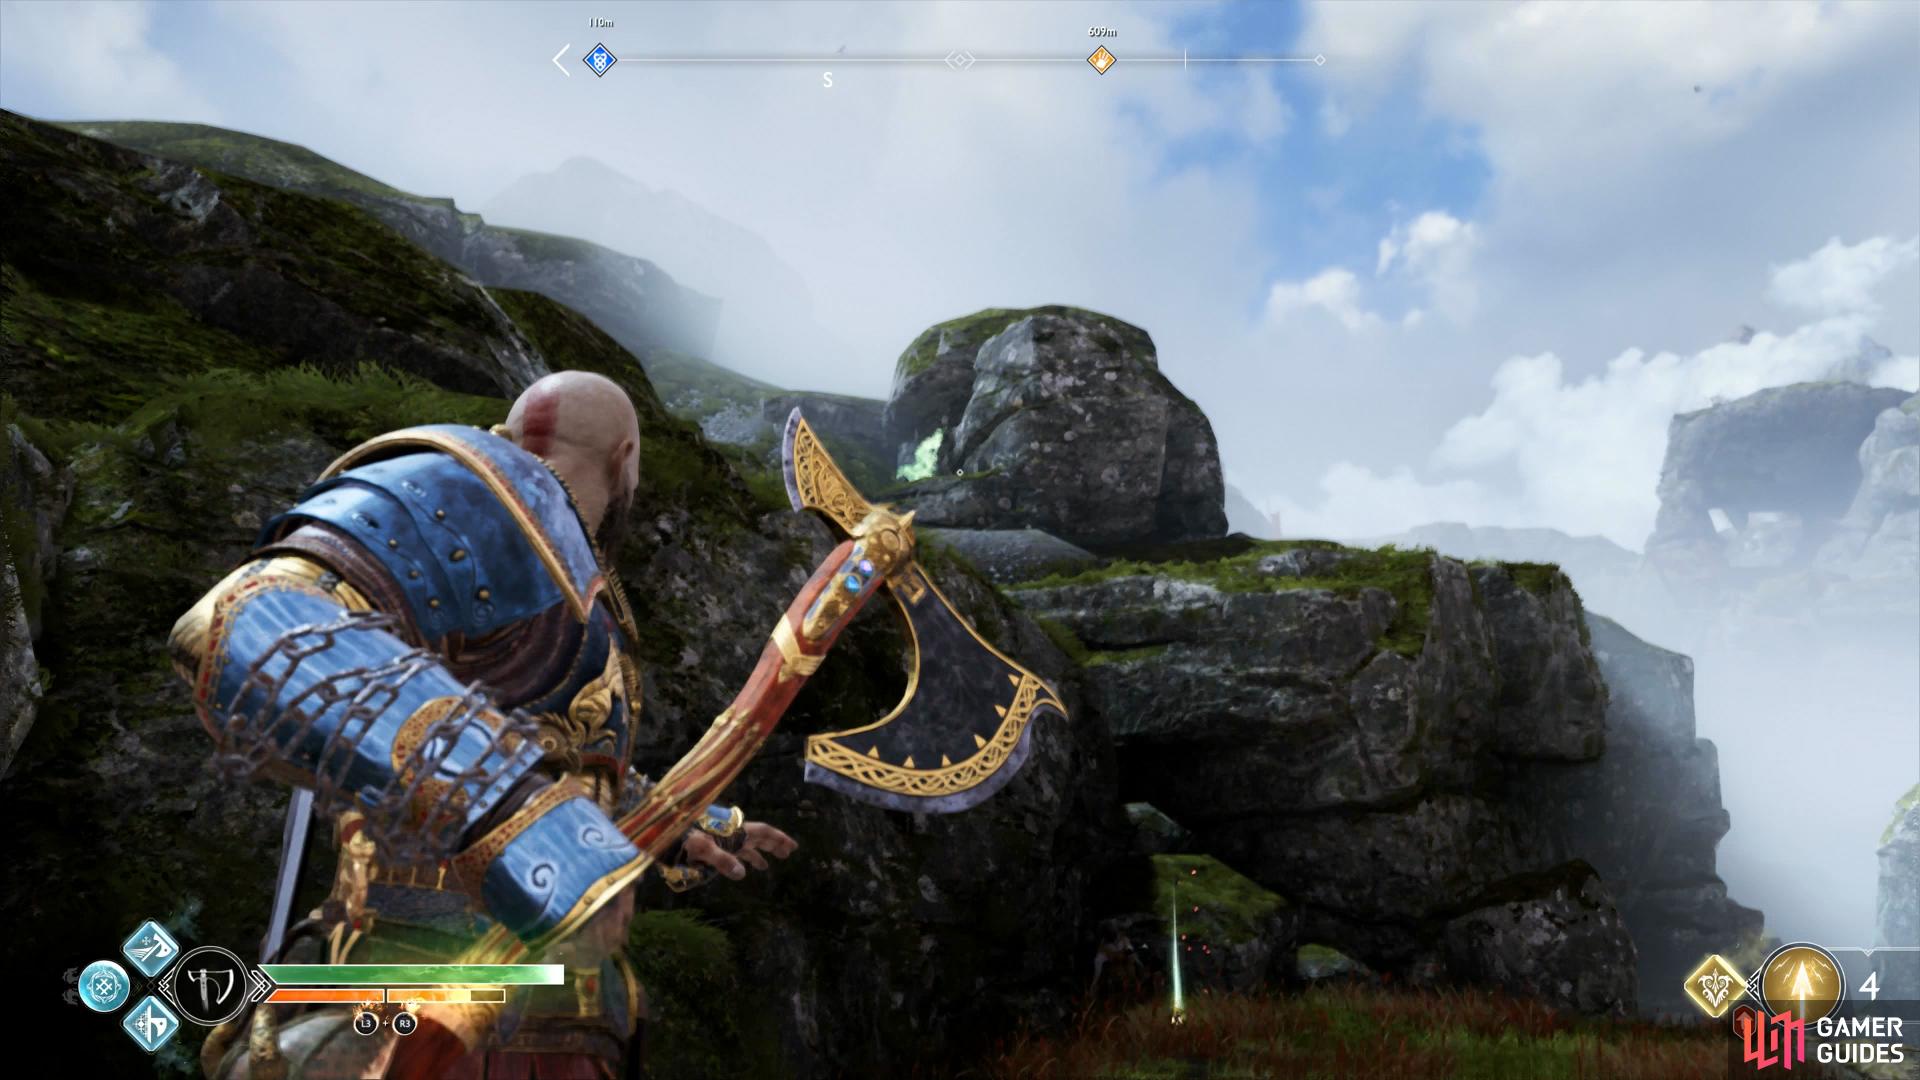
Drop down and kick the chain down before climbing the small ledge to the south. Look up here to spot the next Raven and then pick up the sack of Hacksilver at the end. Retrace your steps to where you kicked the chain down and continue along the northeast path where the dragon, Reginn, is bound.
The Fire of Reginn
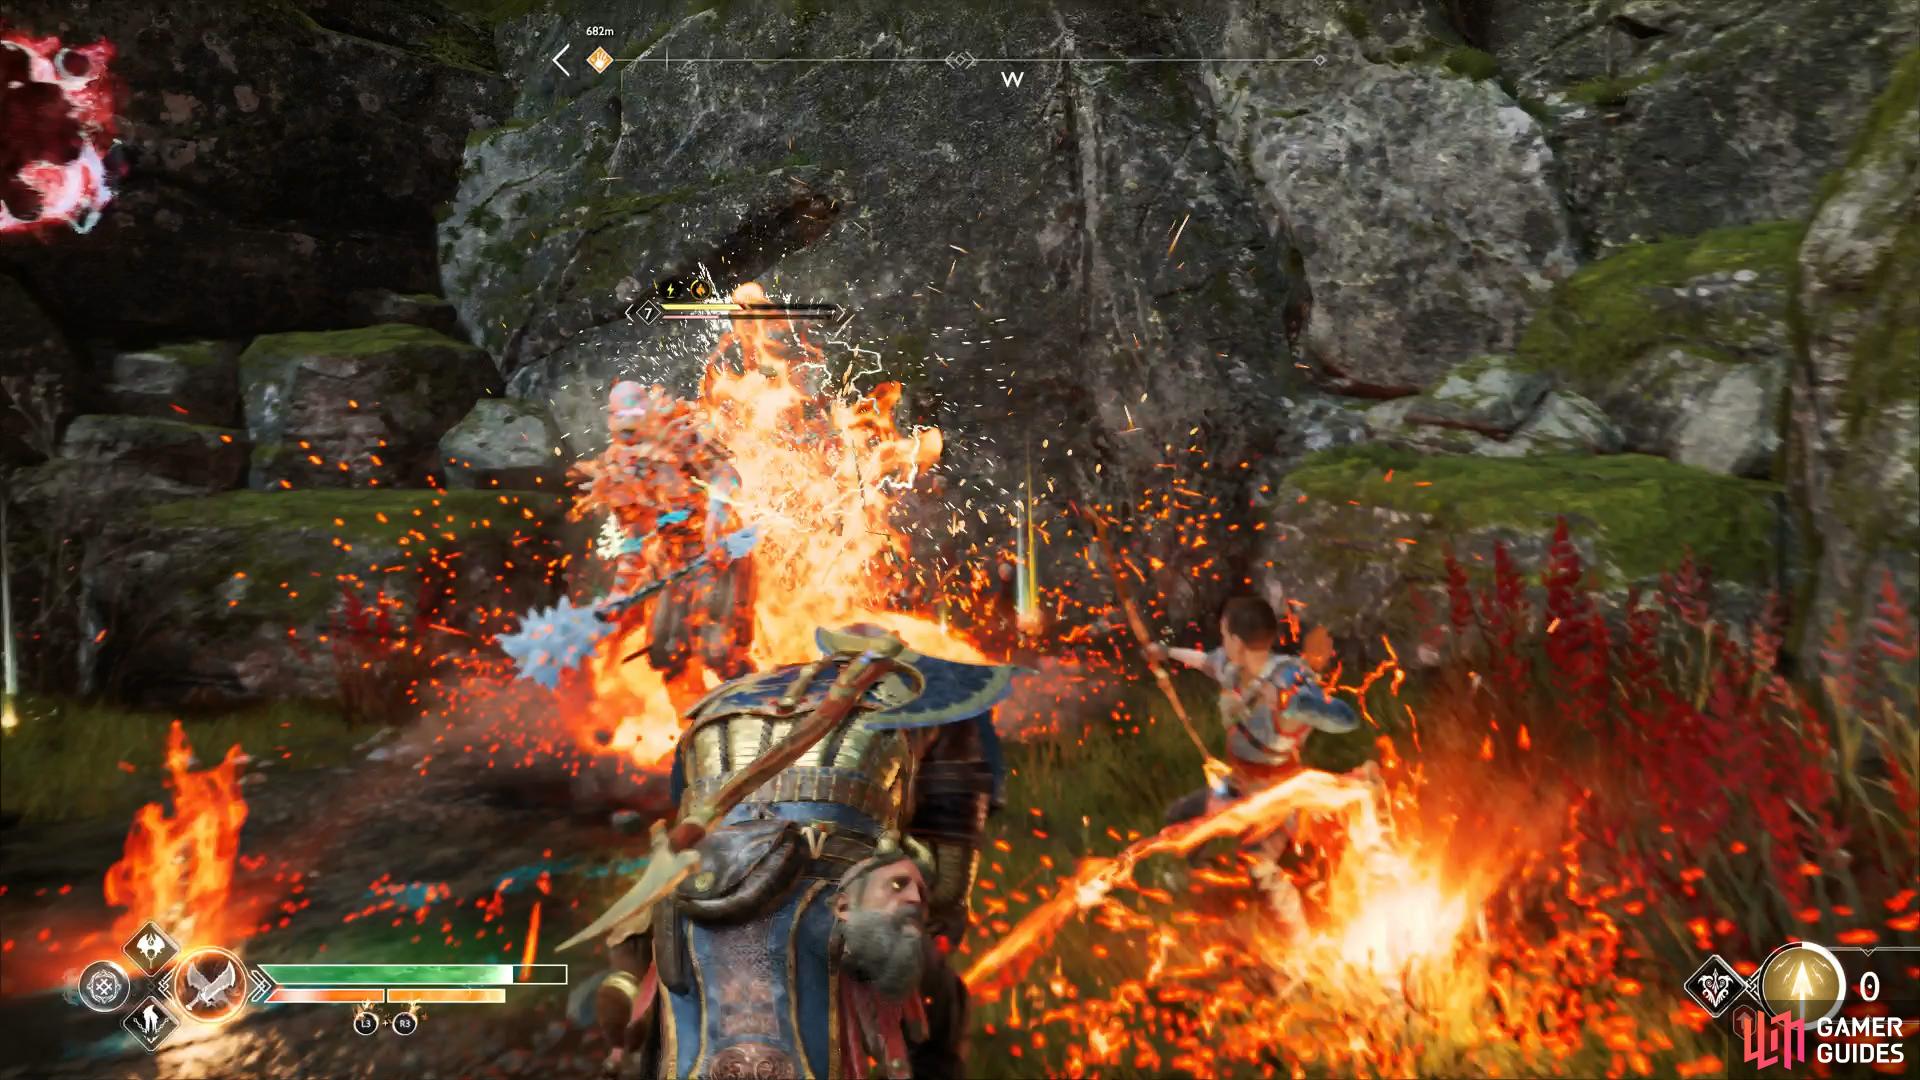
Shift your attention to freeing the dragon while you’re in this area, after all you’ll need to search the area for the keystone anyway. Wait for the dragon to blow a blast of energy and then dash down the hill where two Shadows and the first Dragon Statue is. Defeat the enemies and break it to cause more enemies to spawn. Take the time to go about clearing the area, you’ll be up against all manner of Tatzeulwurms so make use of your area of effect Runics.
Head down the hill to find the first Dragon Statue
throw a Shatter Crystal here and shoot it to strike both of the left bells at the same time.
With the area clear of hostiles, open the southeast gate for a shortcut and then proceed down the north path to reach a Nornir door. Grab a Shatter Crystal from the world tree stump nearby and toss it on the left wall in between the two bells. Shoot this Shatter Crystal and then shoot the Shatter Crystal on the right to activate all Rune bells and open the door.
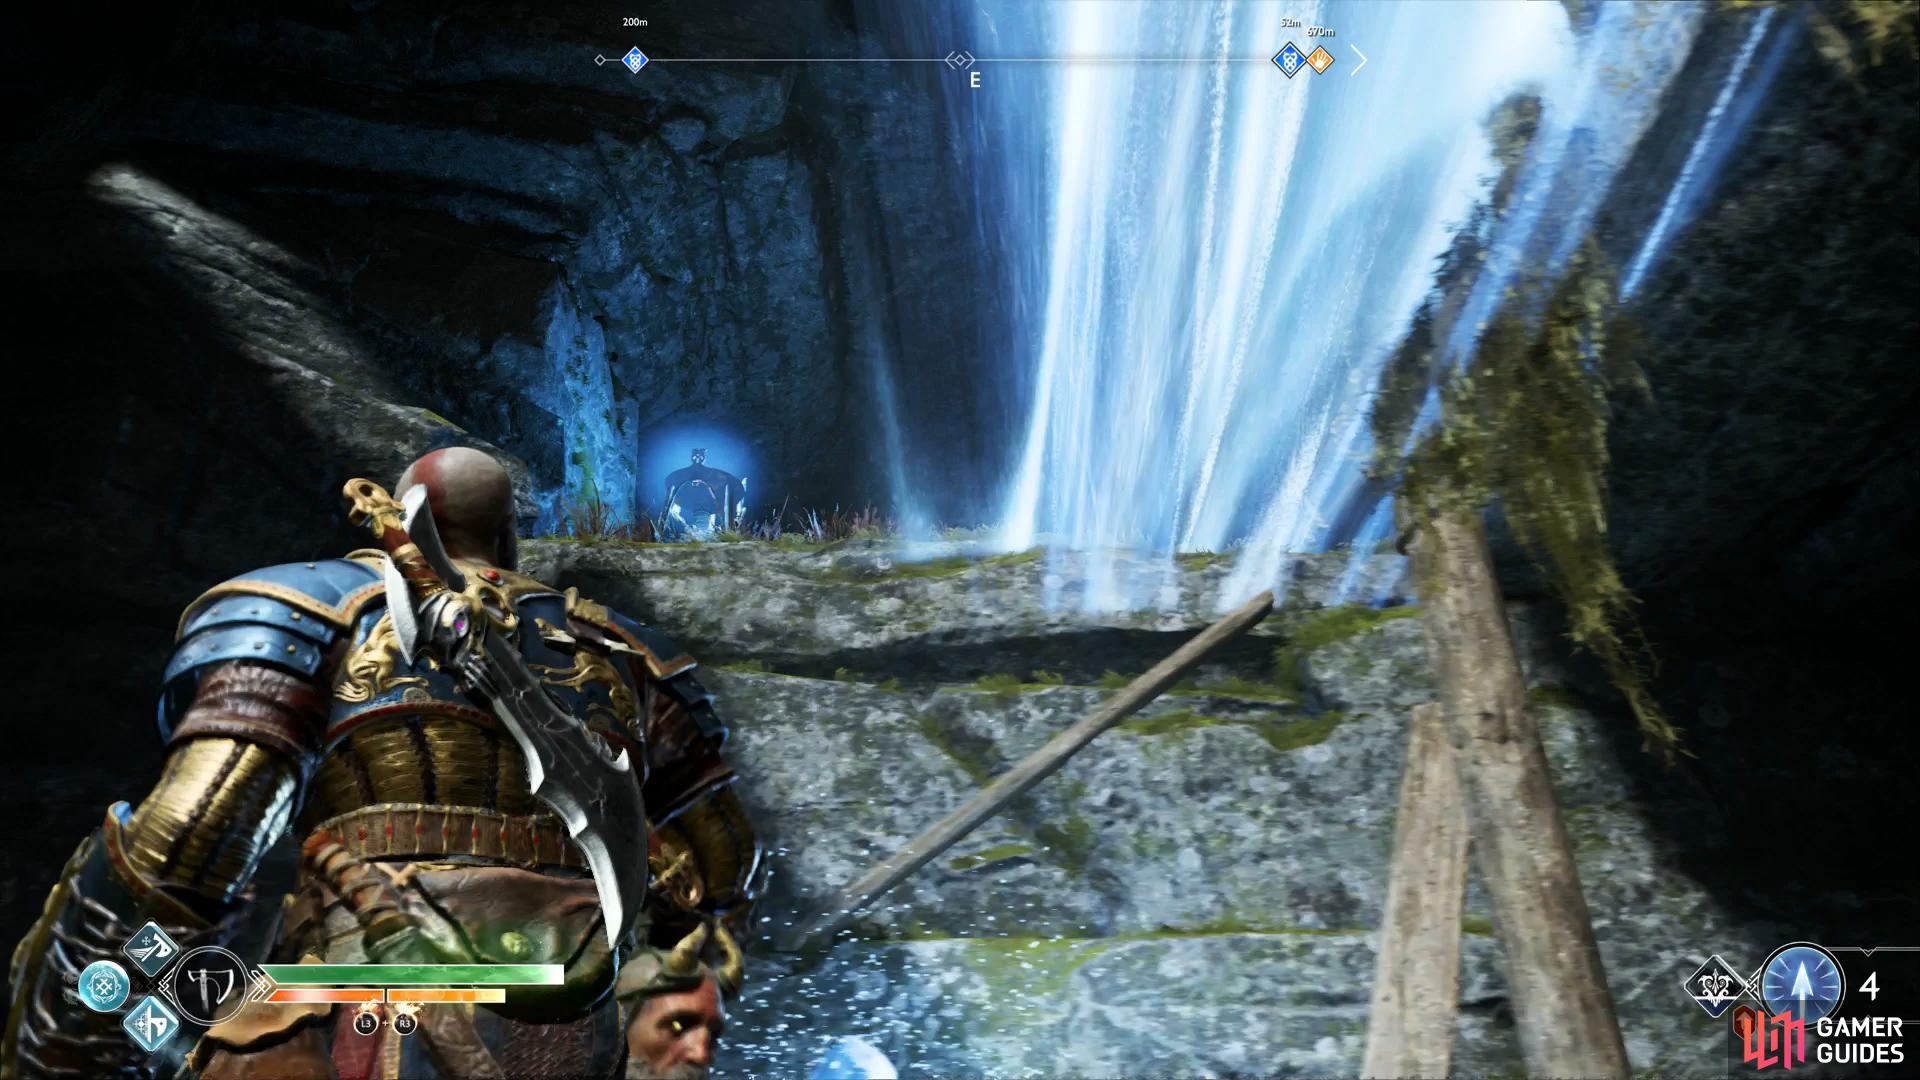
Head through the door to find a Cursed Tatzelwurm with an explosive jar above its head. Knock the jar down onto the poor Tatzelwurm and defeat the other two that spawn shortly after. Go through the gate and knock the bridge down, checking below the bridge as you cross it to spot the third Raven. As you round the corner, have Atreus read the Lore Marker and then leap the gap after.
Search under the bridge you dropped to find the third Raven
make use of Reginn’s electricity to defeat the enemies.
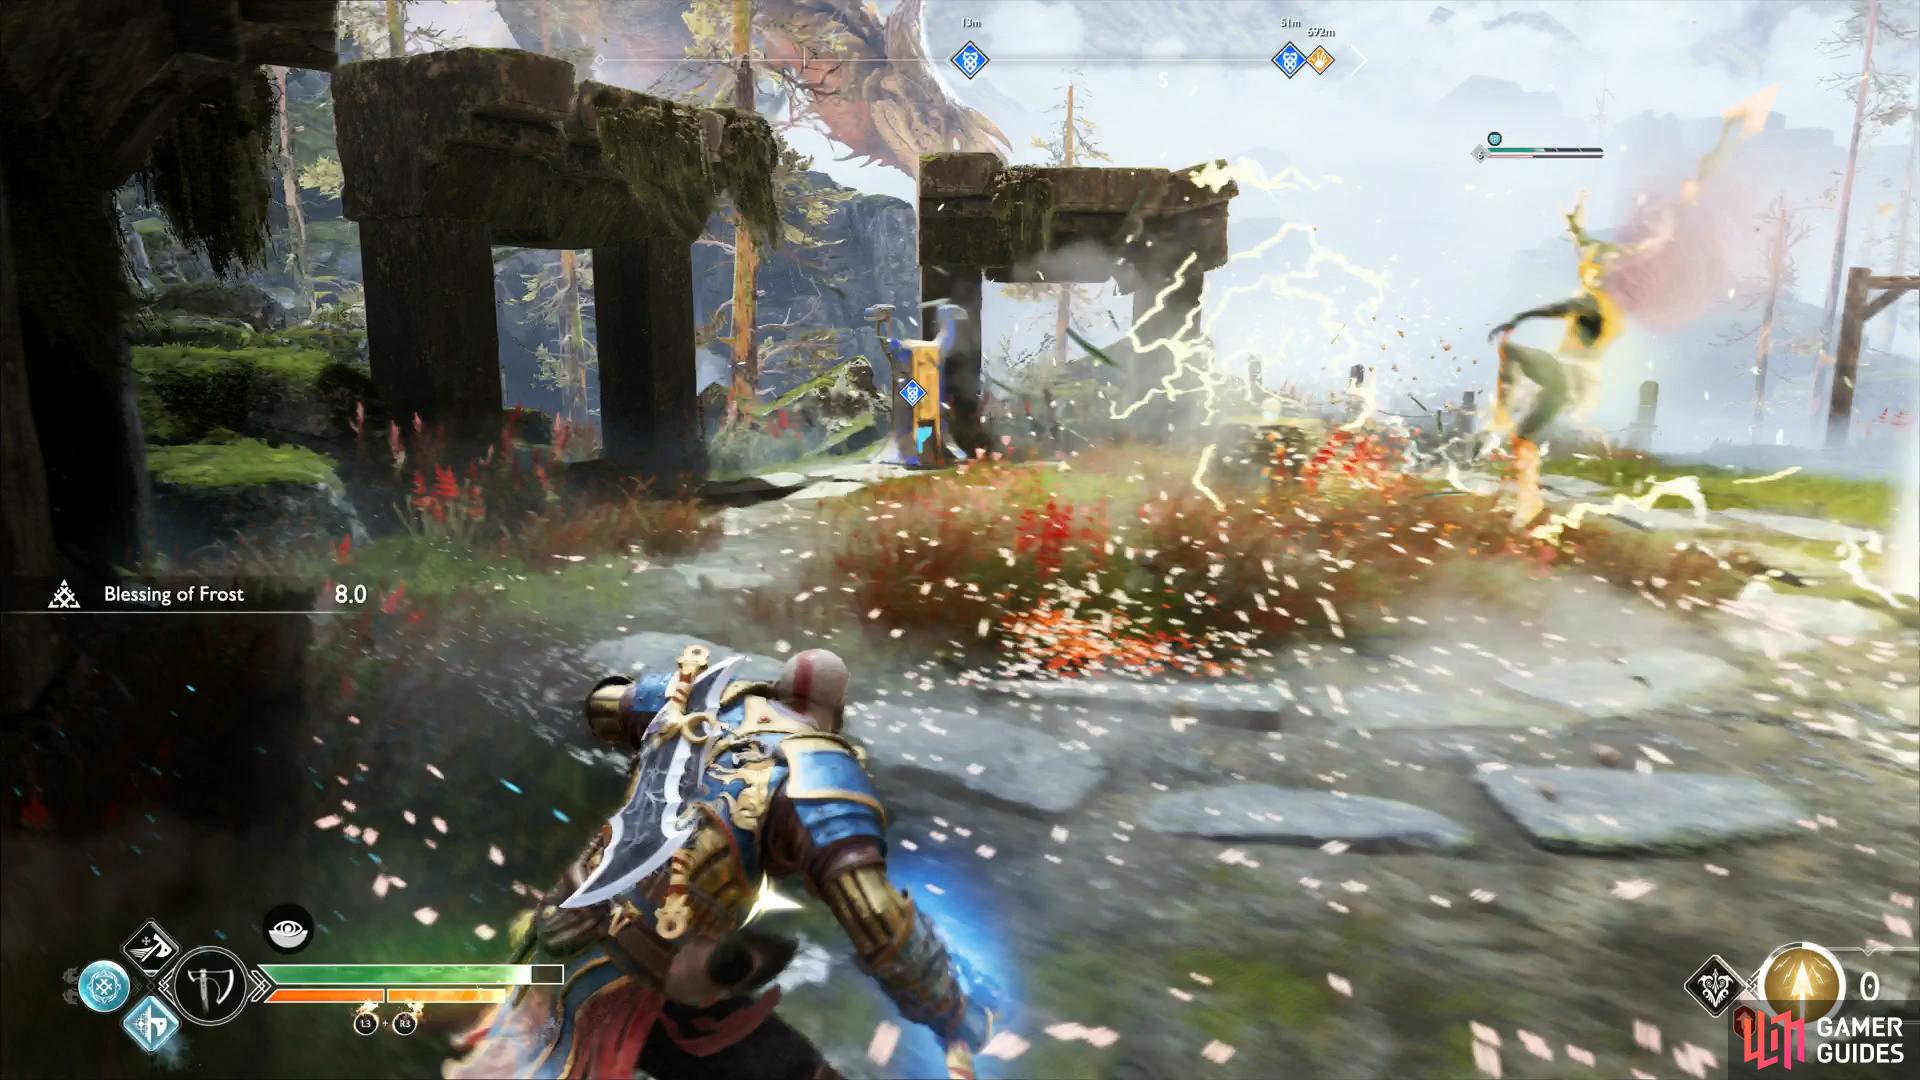
A tough encounter awaits you in the next clearing, two Tatzelwurms are assisted by a high level Dark Elf Lord. Not only that, Reginn will rain down electrical bursts on the area dealing damage to both you and the enemy. Try to take advantage of this by watching for static circles around you and baiting the Dark Elf Lord into it, making use of your own Runics to help take it down. Once defeated, destroy the second Dragon Statue and pick up the third and final Konùnsgard Stronghold Entry Stone.
Take the zipline back down and follow the east path to spot a Reaver with a shield. unfortunately for that Reaver, an explosive jar hangs above him, knock it down and destroy the final Dragon Statue in the corner. Return up the southeast hill and have Atreus destroy the anchor to free Reginn and obtain the Scale of the Mighty Epic Enchantment, another Dragon Tear and a Trophy if this is your last dragon to free.
The final statue lies in the cave to the east
look behind the anchor to spot the next Raven.
Look behind this anchor to spot another Raven waiting to meet your axe. With the final keystone in hand, make your way back to the large doors and insert it into the pedestal. The doors finally open, granting you passage into the Stronghold.
Explore the Stronghold
Head forward and take a right, another Jötnar Shrine is hidden here along with a sack of Hacksilver. Take a left in this room and climb the ledge to find a coffin containing the Mark of the Element Epic Enchantment and the final Raven perched above it. Cross the previous corridor to find another sack of Hacksilver followed by another set of doors to head through.
You’ll find the Shrine to the right of the entrance
continue to the next room and look up to spot the final Raven.
A Traveller has already precast a Runic attack, hold out your shield to block the attack and then begin striking him with the Leviathan Axe. Hel-Walkers join the battle as his health drops but continue to focus on the Traveller before switching to the Blades of Chaos to take out the rest of the enemies.
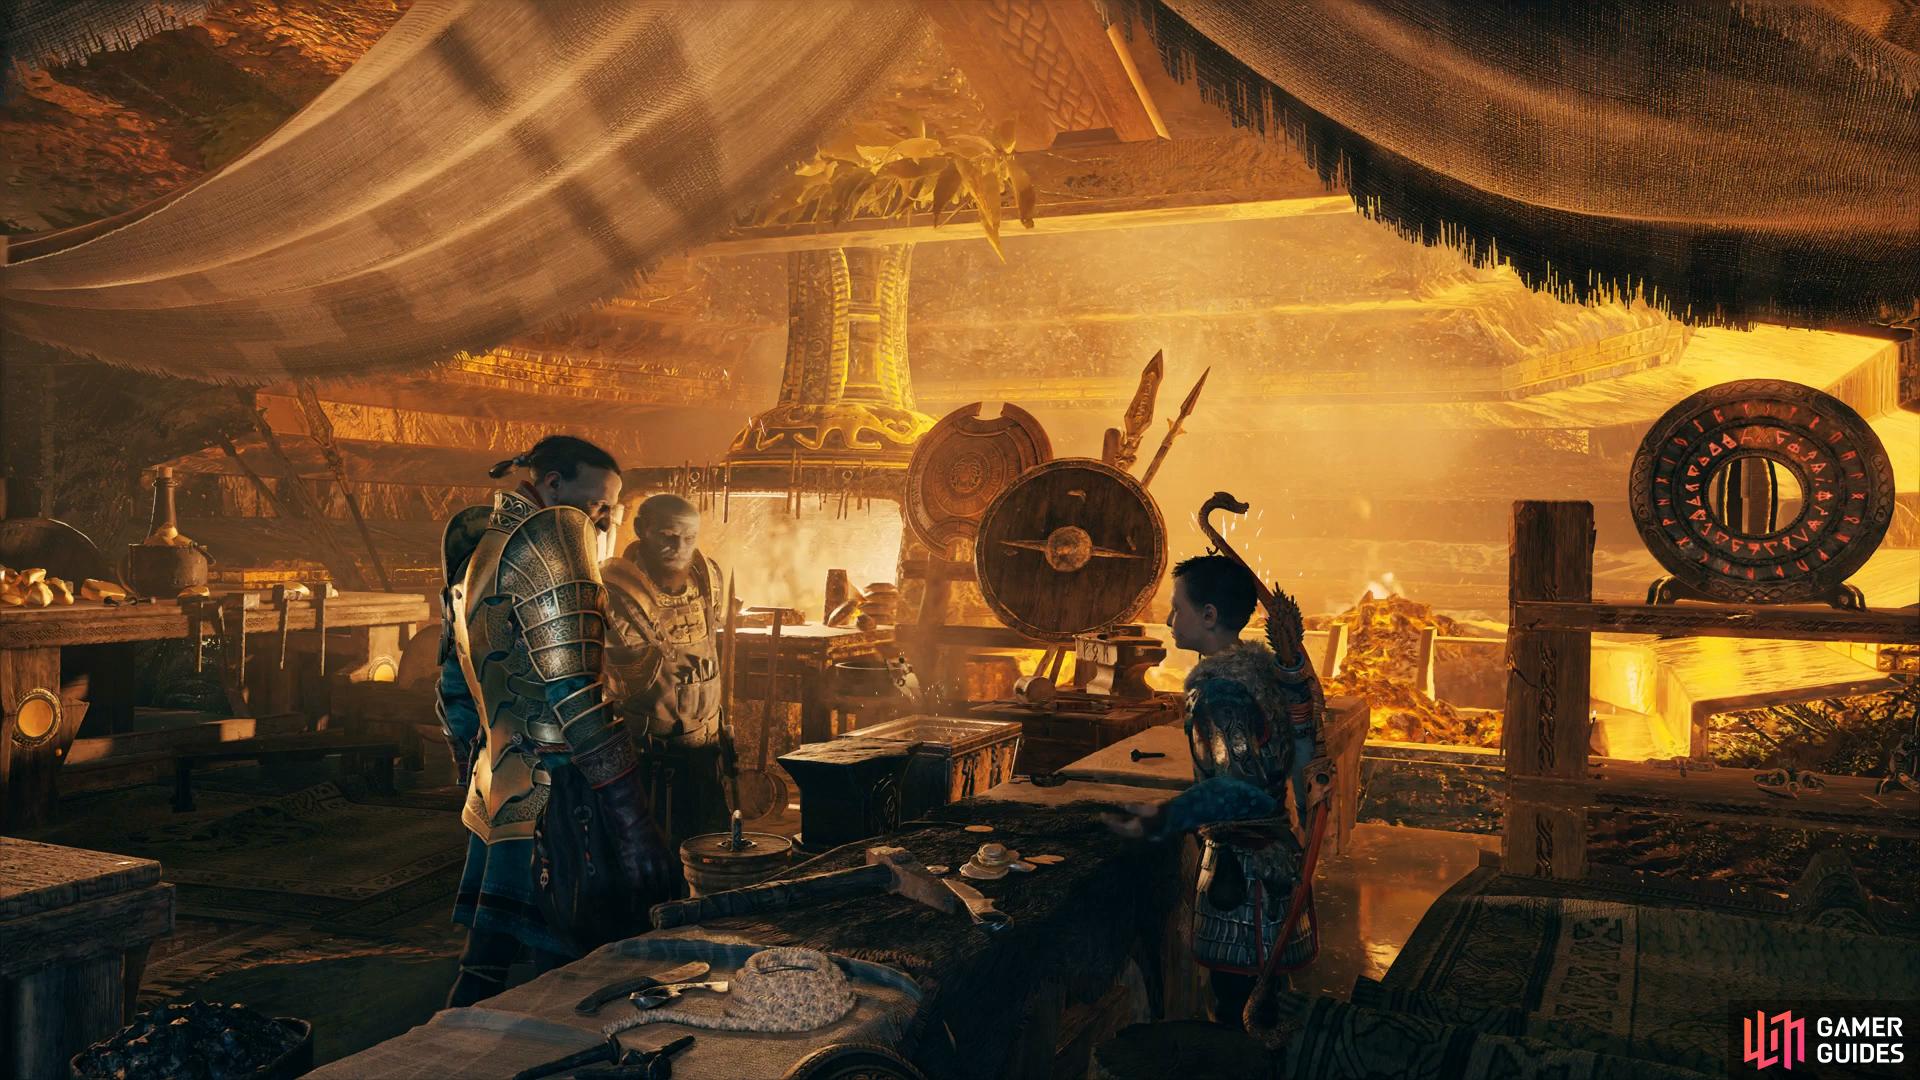
Don’t forget to loot the spoils on the ground after, especially those belonging to the Traveller and then follow the bloodstains to the throne, searching behind it to discover the fate of the Dwarven King. You’ll obtain the ingredients you were looking for, Dragon’s Fury, Screams of the Innocent and Ultimate Sacrifice. There’s also a Lore Marker on the ground detailing the price the late Dwarven King paid.
Take the stairs up and at the fork, take a right to find a Legendary Chest containing the Prometheus Flame Heavy Runic Attack for the Blades.
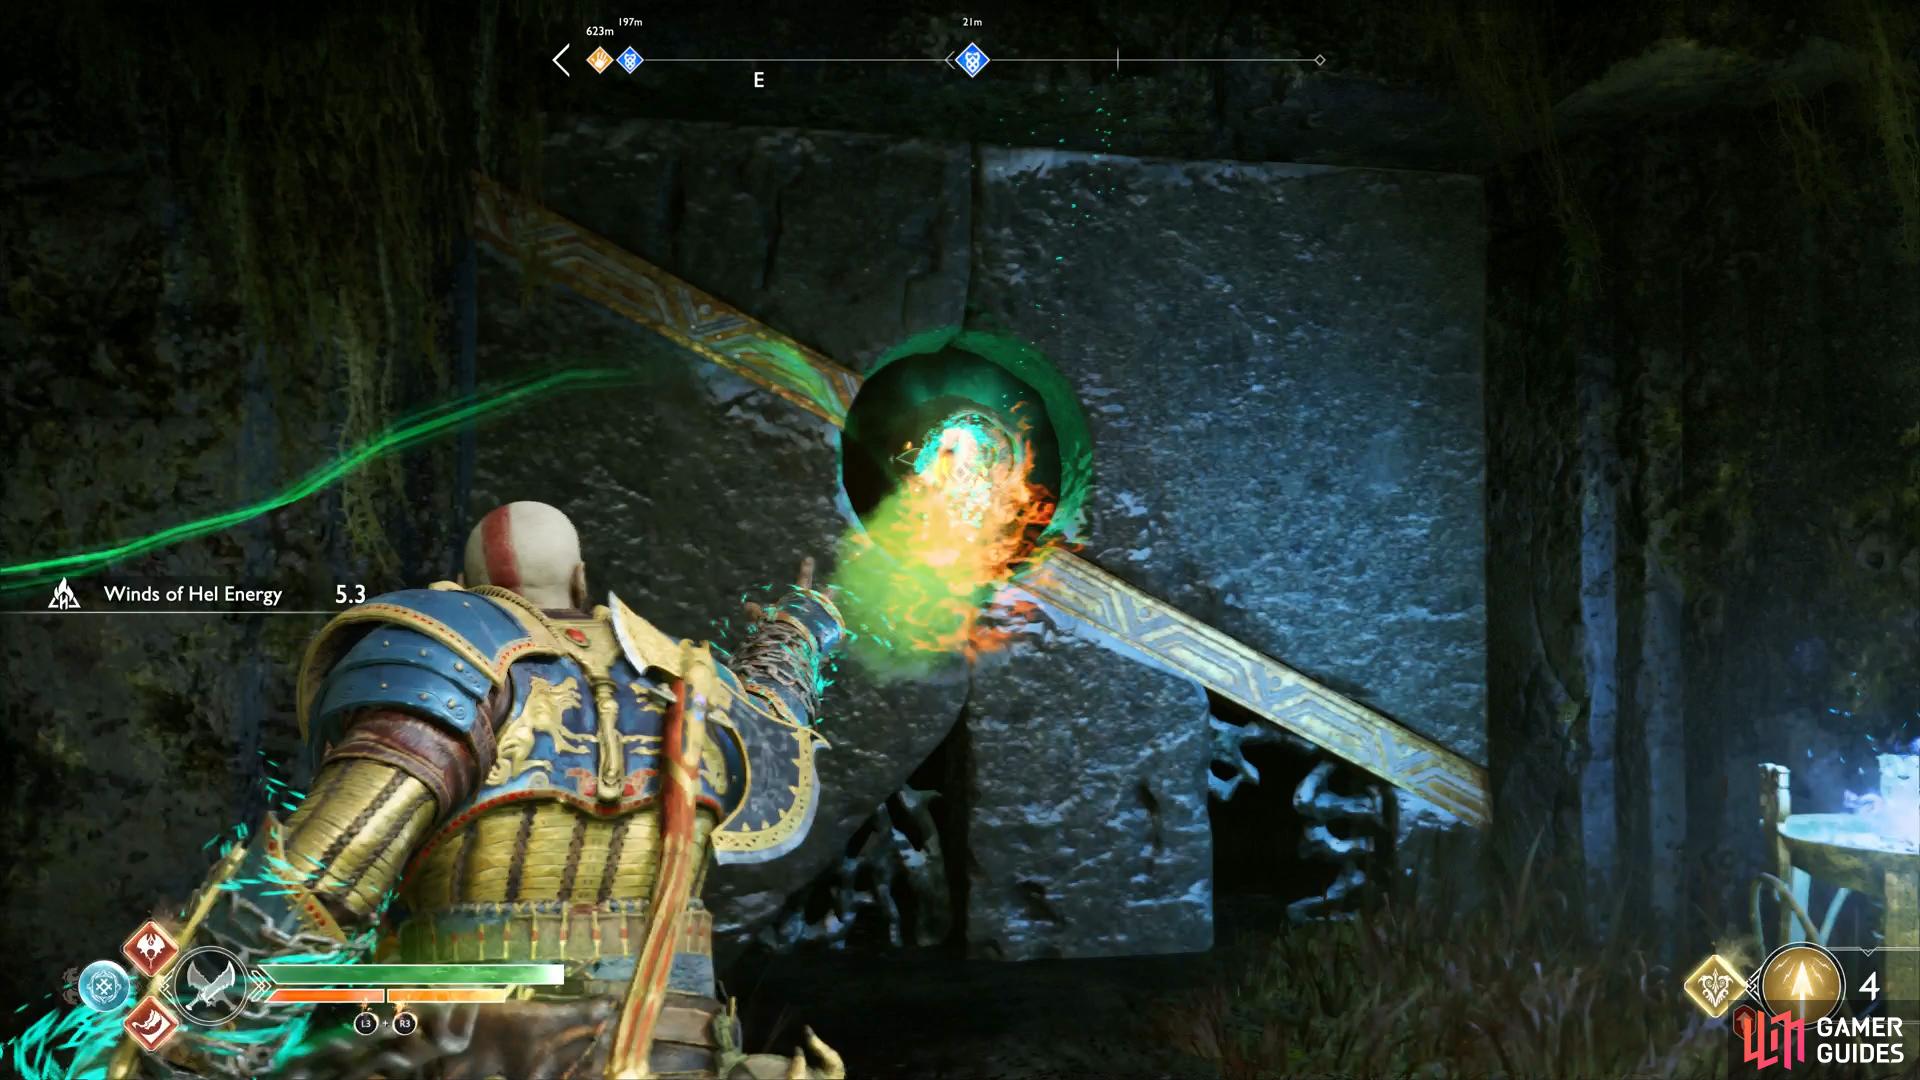
Take the other path now and follow the path until yet another fork is presented. Head through to the east to find a Nornir Chest with an active wind trap to the side of it. Turn around to face the wall to find two more wind traps on the left and right walls. Grab the Winds of Hel and deposit it in the right trap first, taking it out once the rune is displayed on the bell. Quickly deposit this in the left wind trap to begin having the two remaining runes cycle on it. Use the axe to strike both runes on the left before hitting the final one on the right to unlock the chest.

Pull the winds out when the Rune is displayed
activate the wind trap here to strike the two rotating Runes.
Head back to the west and follow the path to the south to find a Realm Tear on your right. You’ll be up against three high level Hel-Vikens, this is the perfect time to test out your new Runic and combined with the Talisman of Unbound Potential will make quick work of the trio. Close the tear after to obtain Pure Essence of the Realms, Dust of Realms, Perfect Eye of the Realm and 5000 Hacksilver. Take the nearby chain back down to the Mystic Gateway and use it to travel back to Brok’s shop.
Now is as good a time as any to test out Prometheus Flame.
Hand the ingredients over to the brothers to complete their final Favor and receive the Fire of Ares Heavy Runic Attack for the Blades, the recipes for their powerful armor and a Trophy.
No Comments