

A New Destination, God of War.
Take Mimir’s head to the Witch
With your new goal in mind, you’ll need to reanimate the severed head on Kratos’ belt. Begin by taking the path down in front of you and opening the Legendary Chest to obtain an Enchantment (or another Muspelheim Language Cipher piece if you have under 3) and then head into the cave to the side of it. You’ll reach a fork here, take the left path for a Hacksilver Chest before finding a Mystic Gateway on the right path. Make use of this Mystic Gateway and travel back to Brok’s Shop at Týr’s Temple.
After exiting the gateway and interrupting Brok’s break, you’ll receive another Mark of the Dwarves to increase your Runic further. There’s nothing new in the shop for now, buy a Resurrection Stone should you need it and then leave the shop.
Return to the Witch’s cavern
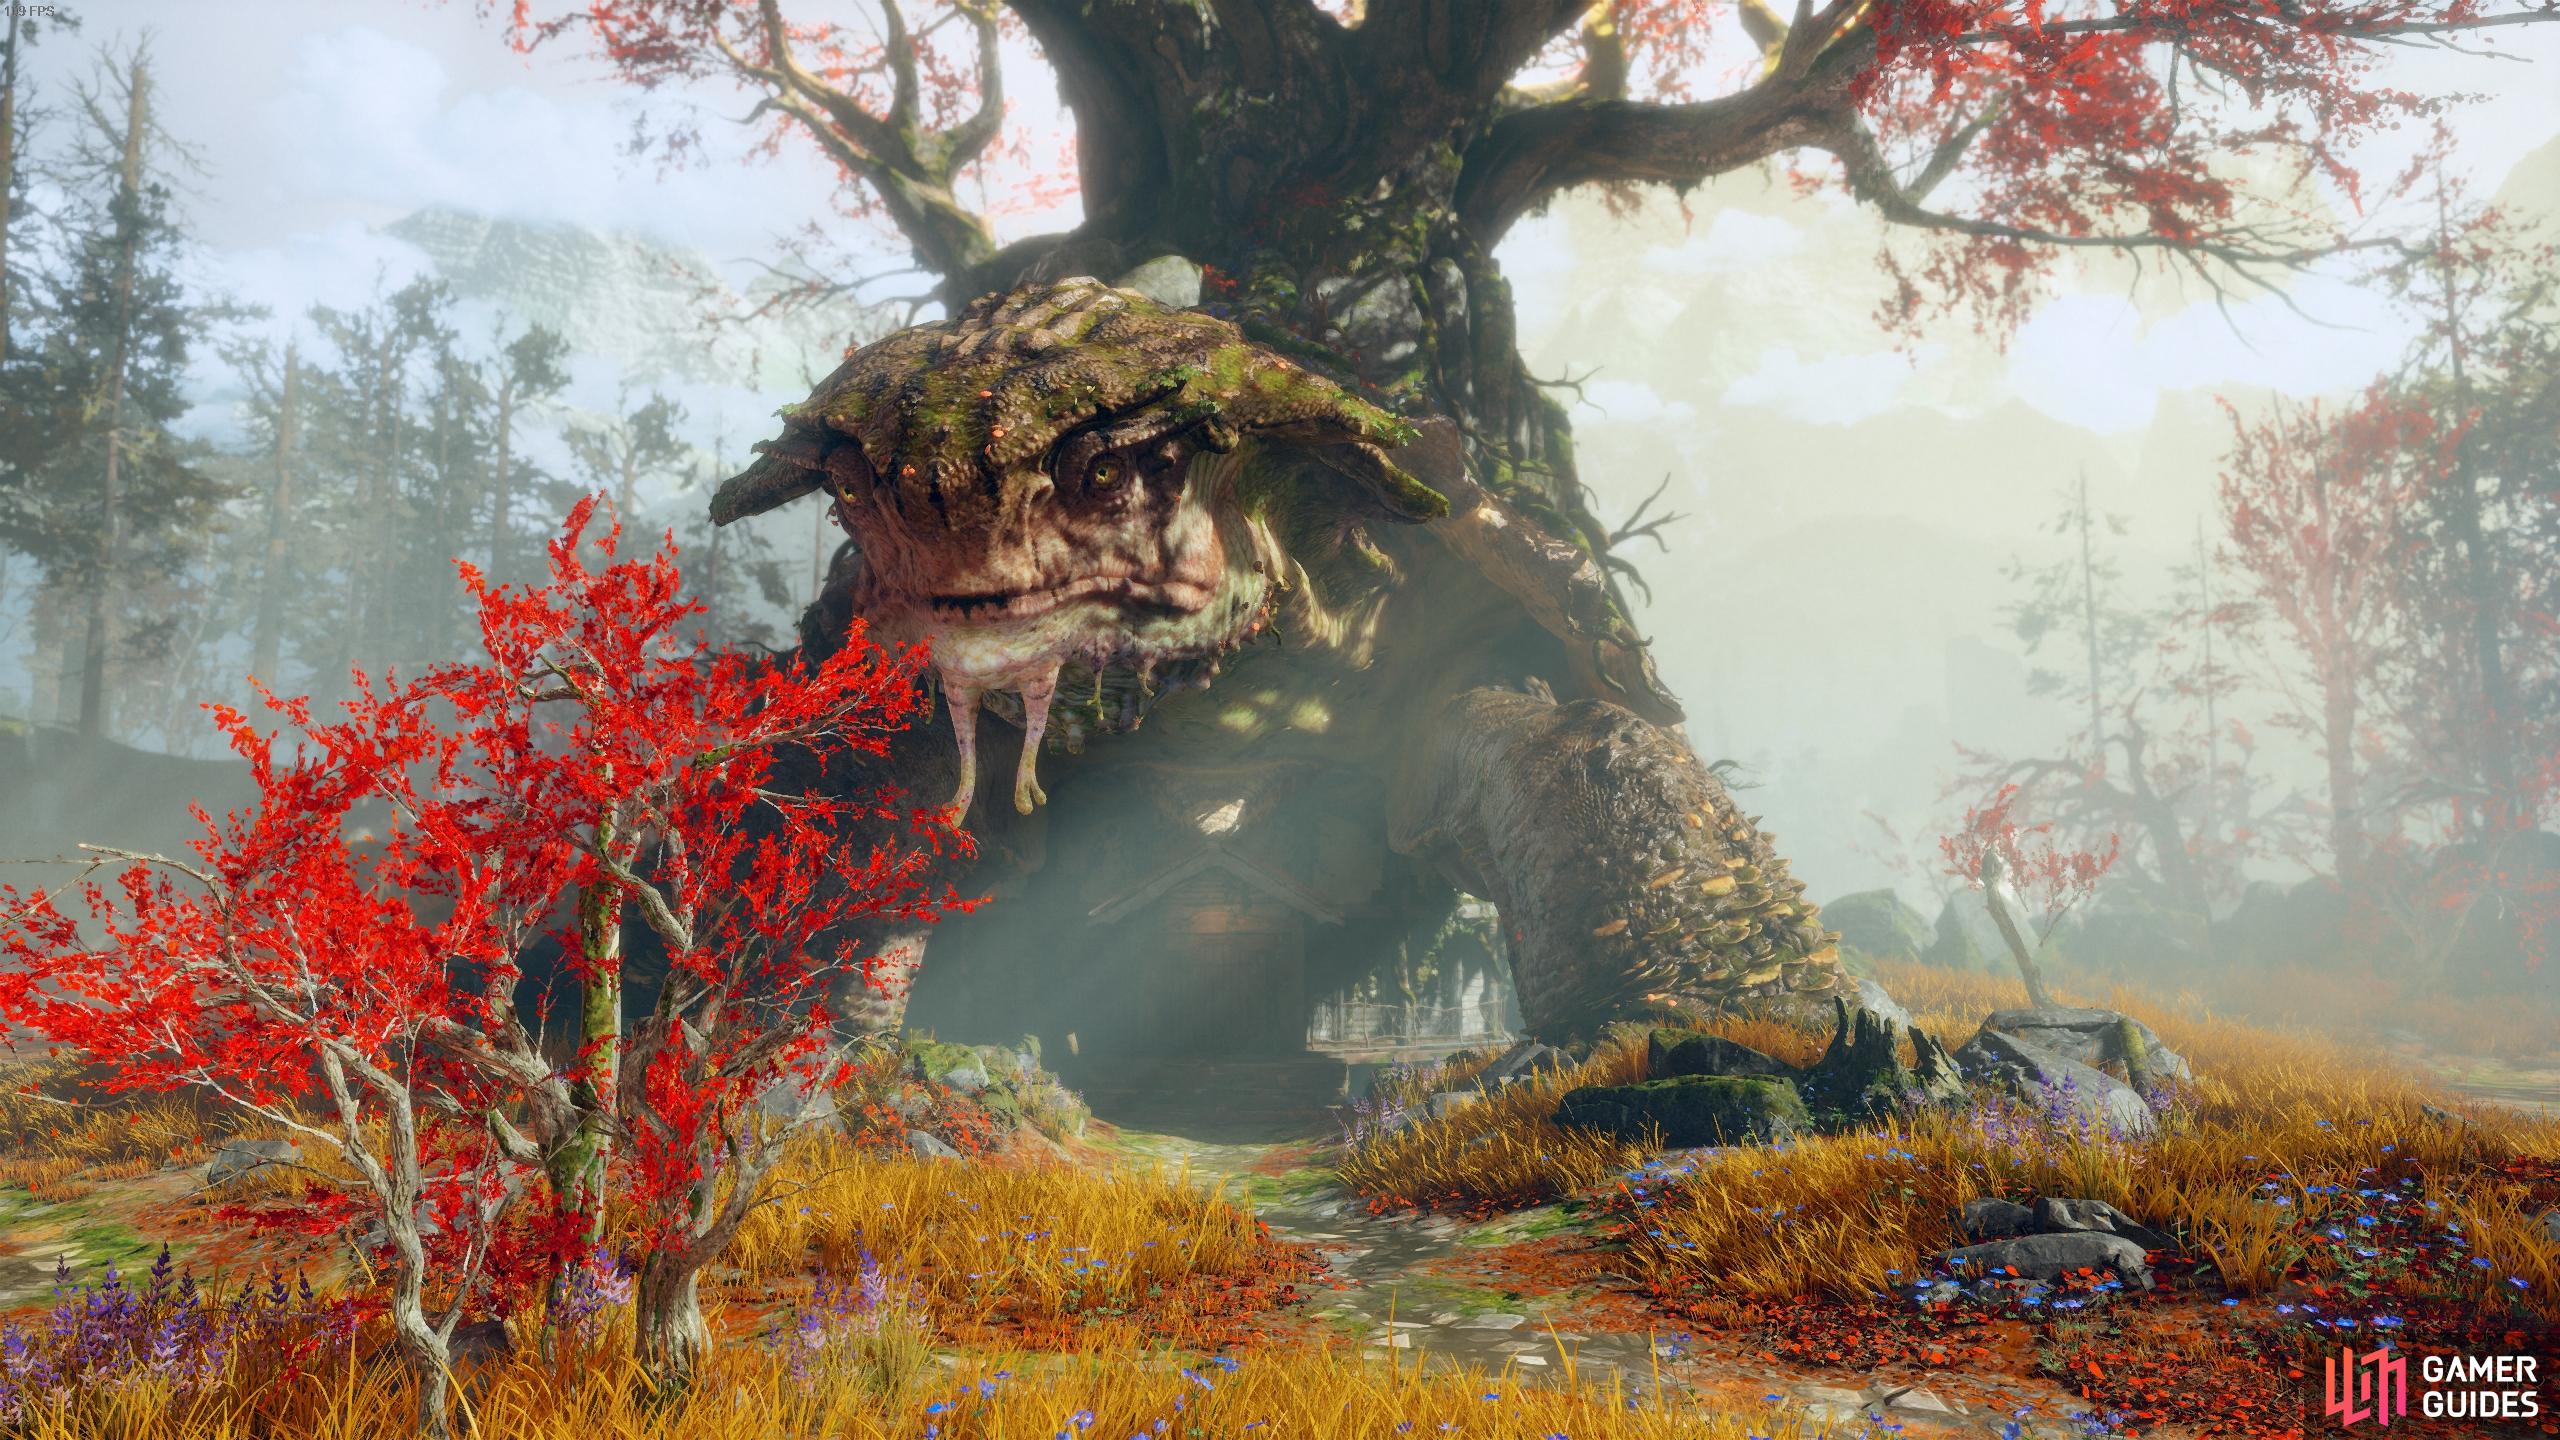
Take the south stairs from your location and board the boat once more at the Lake of Nine. The Witch’s cavern lies beyond the waters flowing through the legs of the gargantuan statue of Thor.
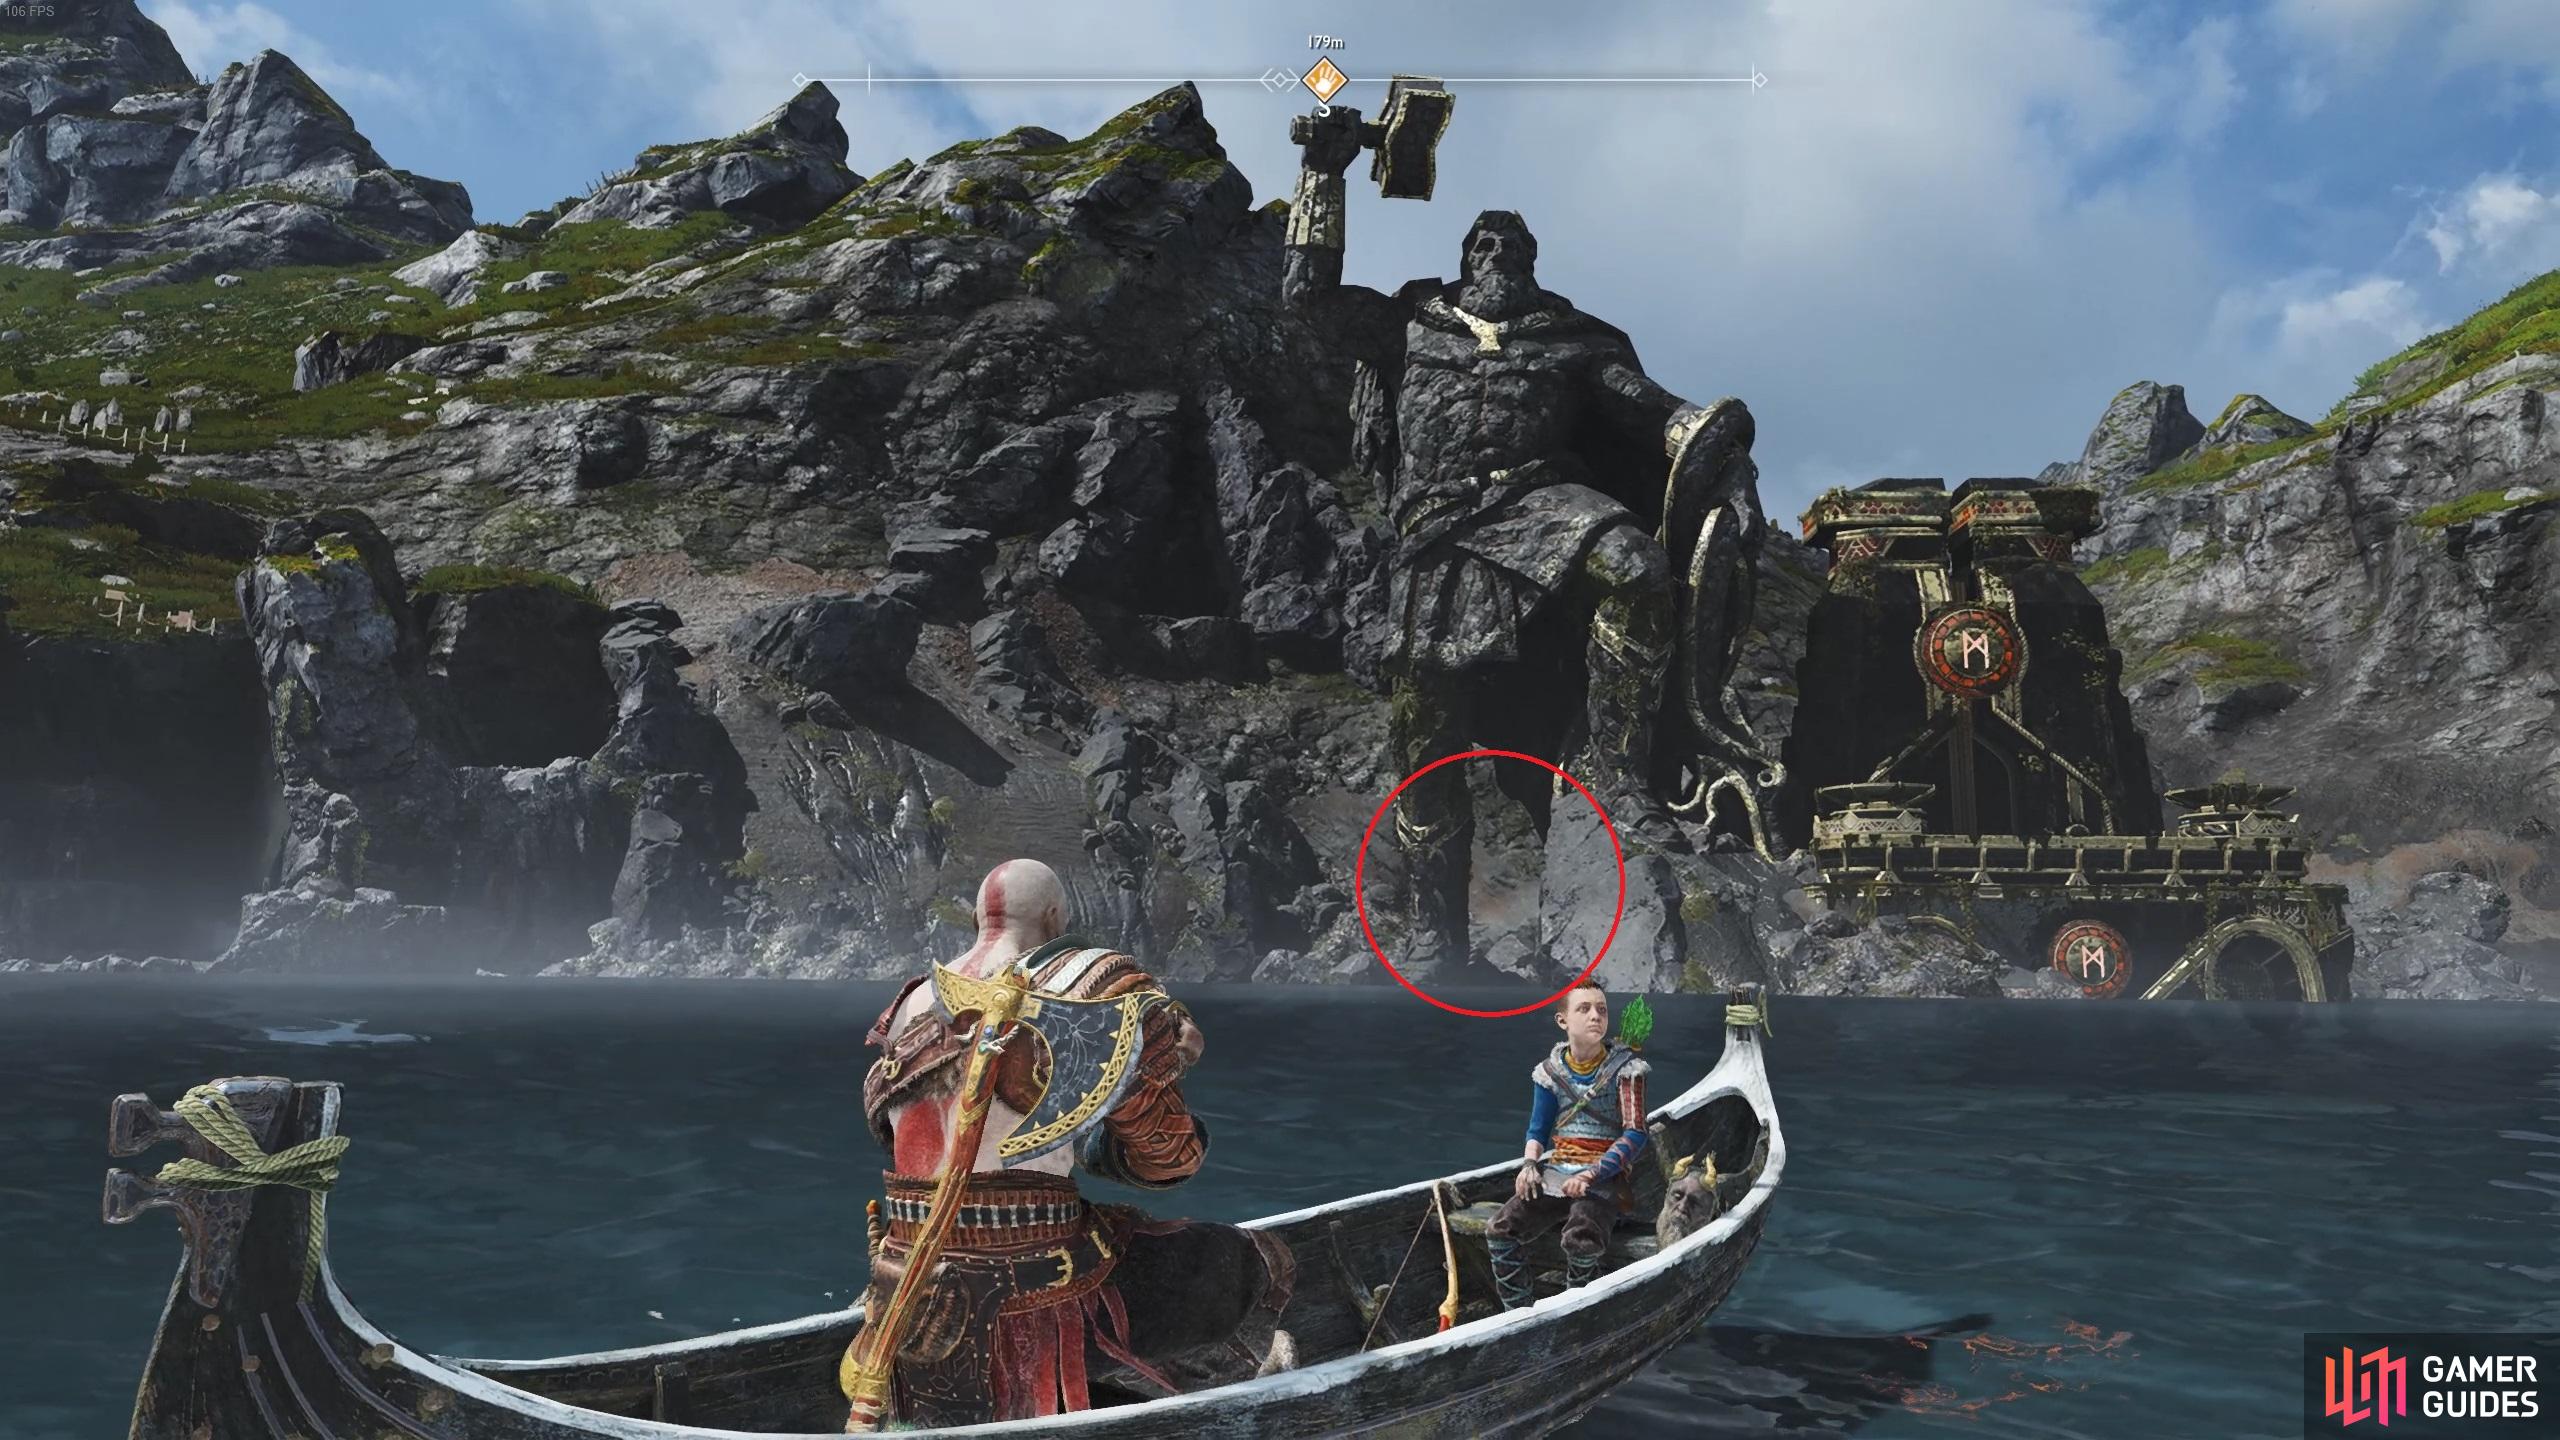
Take the boat through the legs of the Thor statue to reach the cavern.
Talk to the Witch in her house
Follow the water through this cavern and to a new dock, the water level dropped since your first visit here so you’ll have to find a different way back to the house. There’s a Mystic Gateway to your left as you disembark and then have Atreus shoot the Shatter Crystal with a Shock Arrow to remove the sap obstacle and gain access to the lift.
The turtle appears to be sitting up at this moment in time so the door to the house will be higher and another path is needed. The layout has changed quite a bit since your last visit and now is a good time to explore the cave more before heading to the house.
How to Open the Witch’s Cavern Nornir Chest
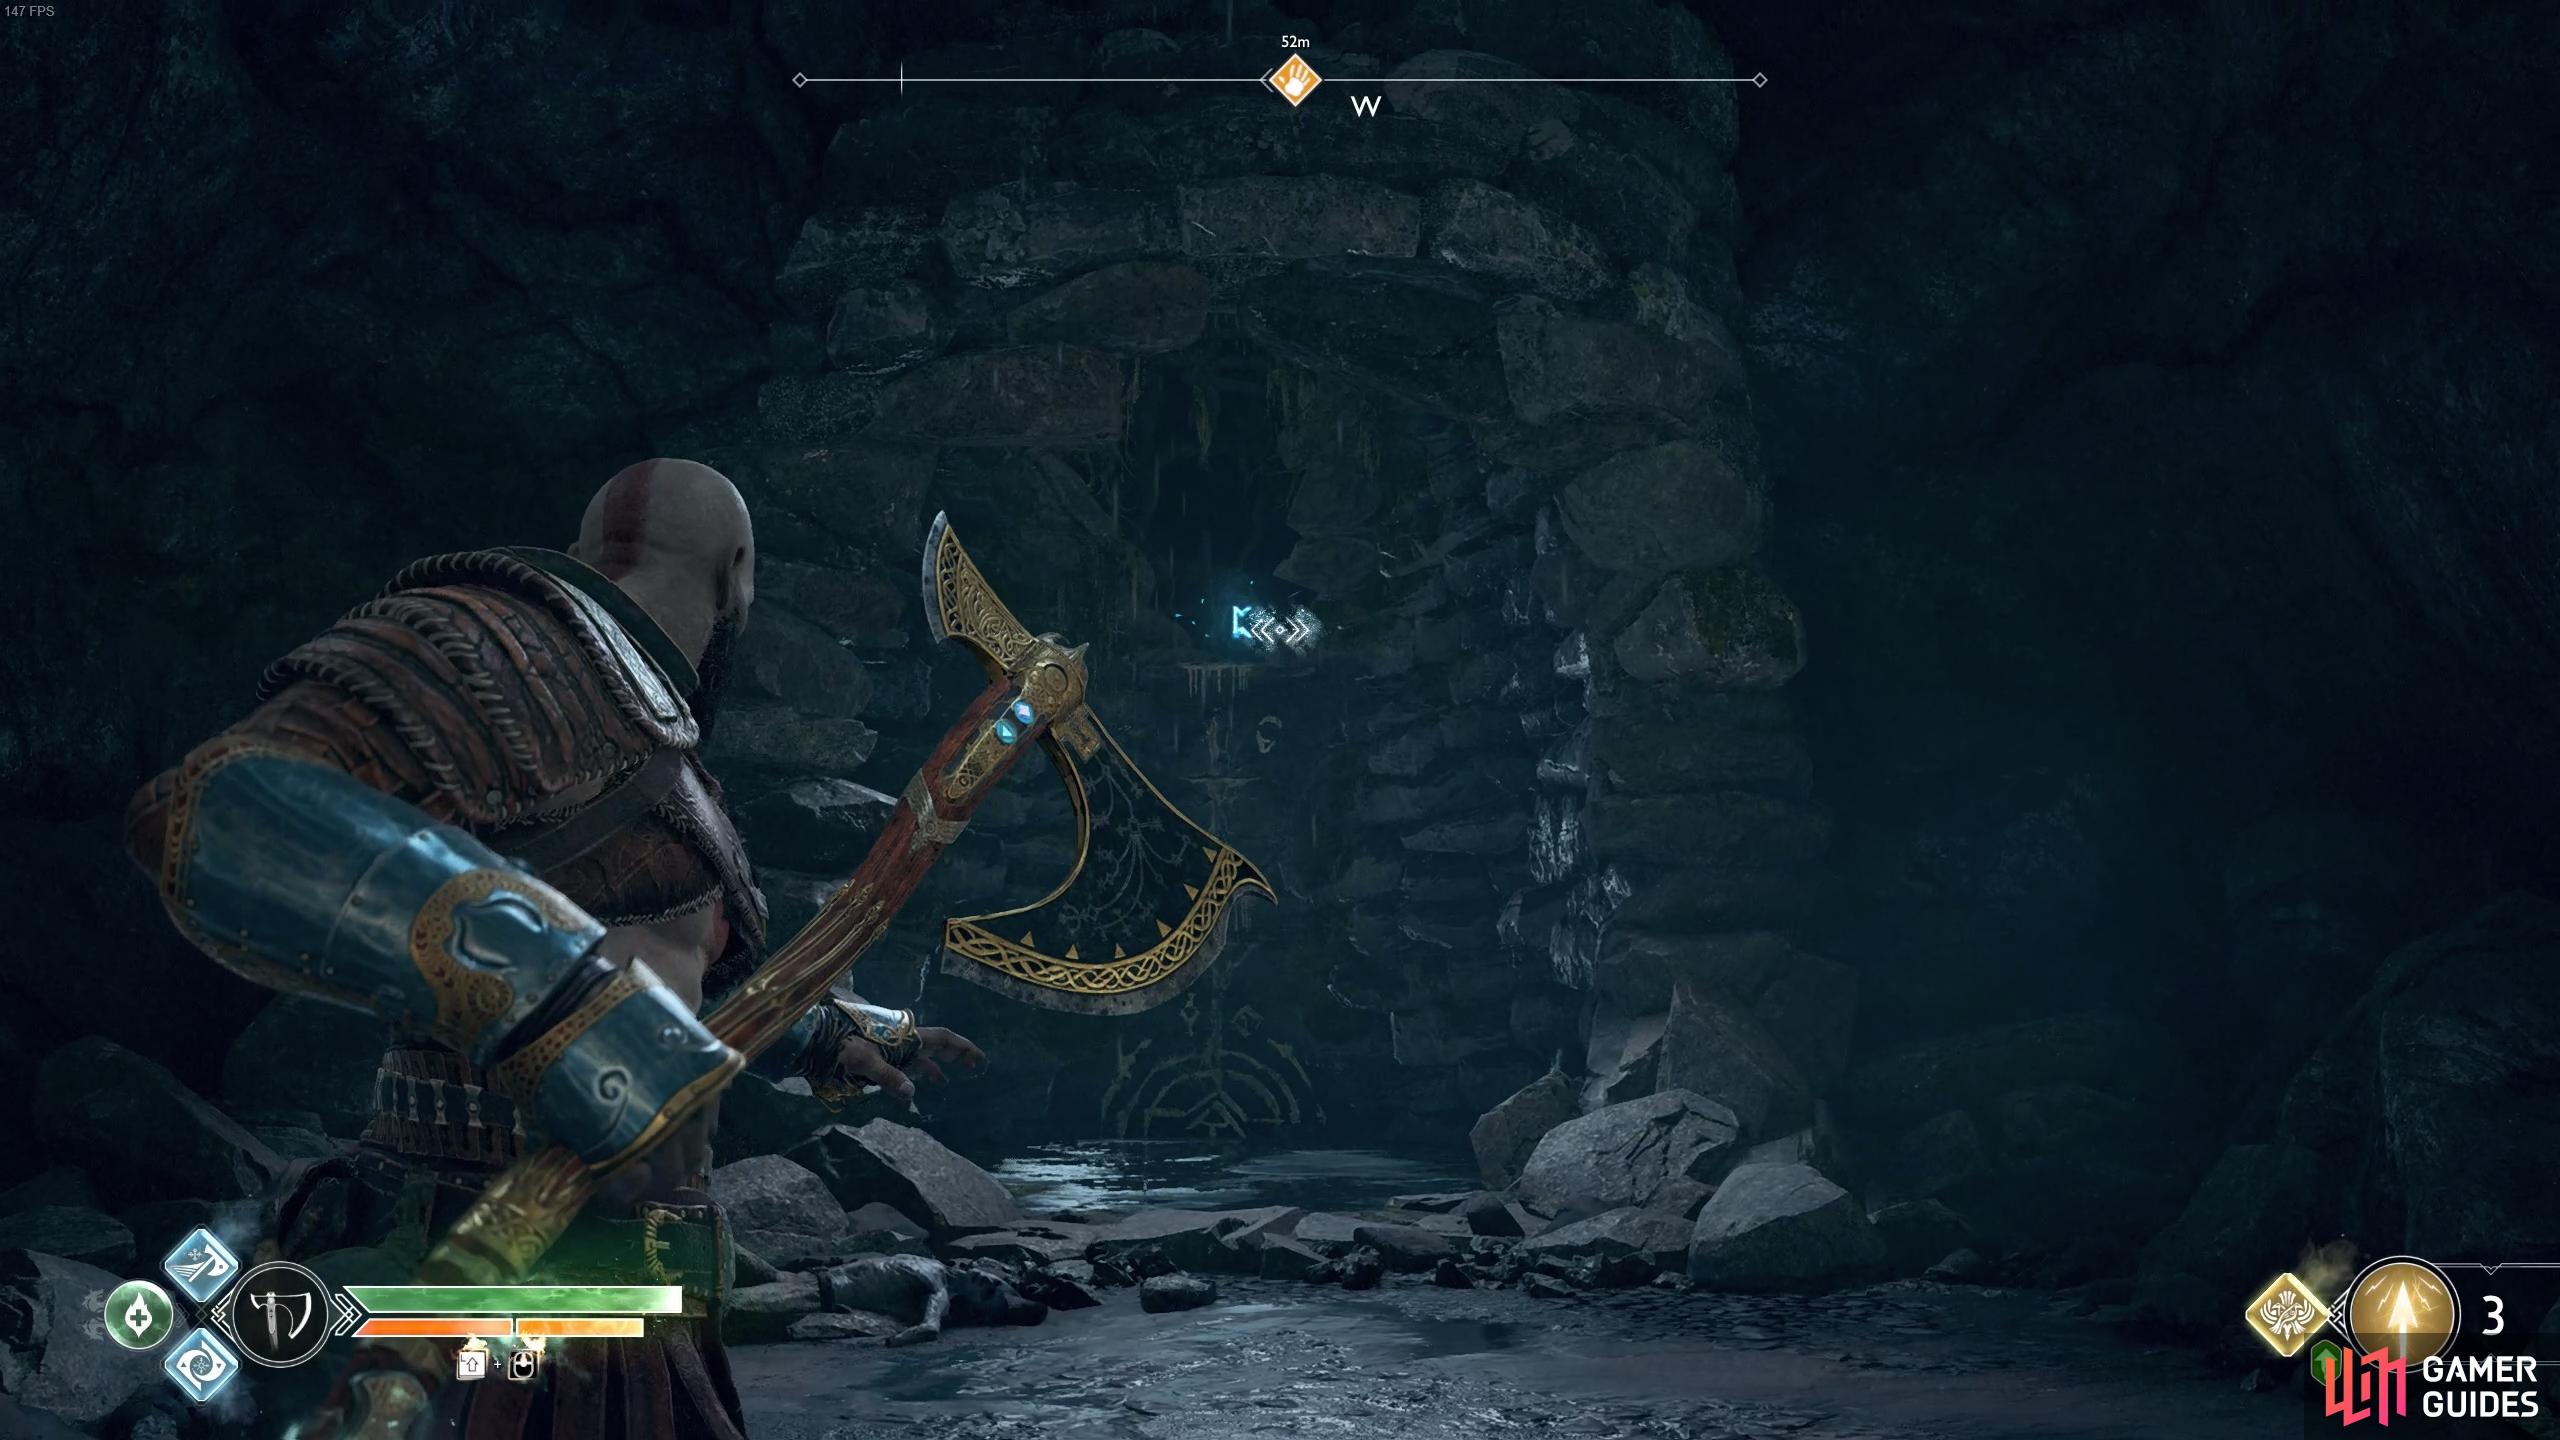
Begin by taking a step forward and dealing with the Revenant and Shadow-Reavers before turning to your right and destroying the Shatter Crystal in the sap. Head through here and you’ll see a Nornir Rune on the wall, although you haven’t found the chest itself yet, go ahead and destroy this one to save yourself some time. Head into the north room here to find a Legendary Chest containing the final Muspelheim Cipher Piece, completing it and granting you access to the Fire realm of Muspelheim from the Realm Travel Room.
Head out of this area and drop down the ledge to the southwest before turning to your left at the bottom. Stand on the block that you pushed into the water during your first visit and face the north to find a Light Crystal on the same platform to your left, shoot this with a Light Crystal to erect a bridge. The coffin is covered in sap for now but you can find the next Rune to the right of it.
Now face the south and you’ll see the Nornir Chest in question with a Light Crystal below, shoot this to create a bridge across and then turn to your right and shoot the next Light Crystal for another bridge. You can now access the stump here and grab a Shatter Crystal, bring it with you and throw it at the coffin from earlier before shooting it with a Shock Arrow to remove the sap.
Return to where the stump was and grab another Shatter Crystal, this time bringing it with you to the east of the Nornir Chest and throw it at the sap, shooting it with a Shock Arrow and then climbing the ledge after. Another Hidden Chamber can be found here and there’s a Treasure Map for Atreus to pick up on the ground alongside a coffin and a Hacksilver chest. Face the gate to the north and look to the right of it to find the final Rune, destroy it and open the Nornir Chest containing a Horn of Blood Mead.
How to Access the Sand Bowl
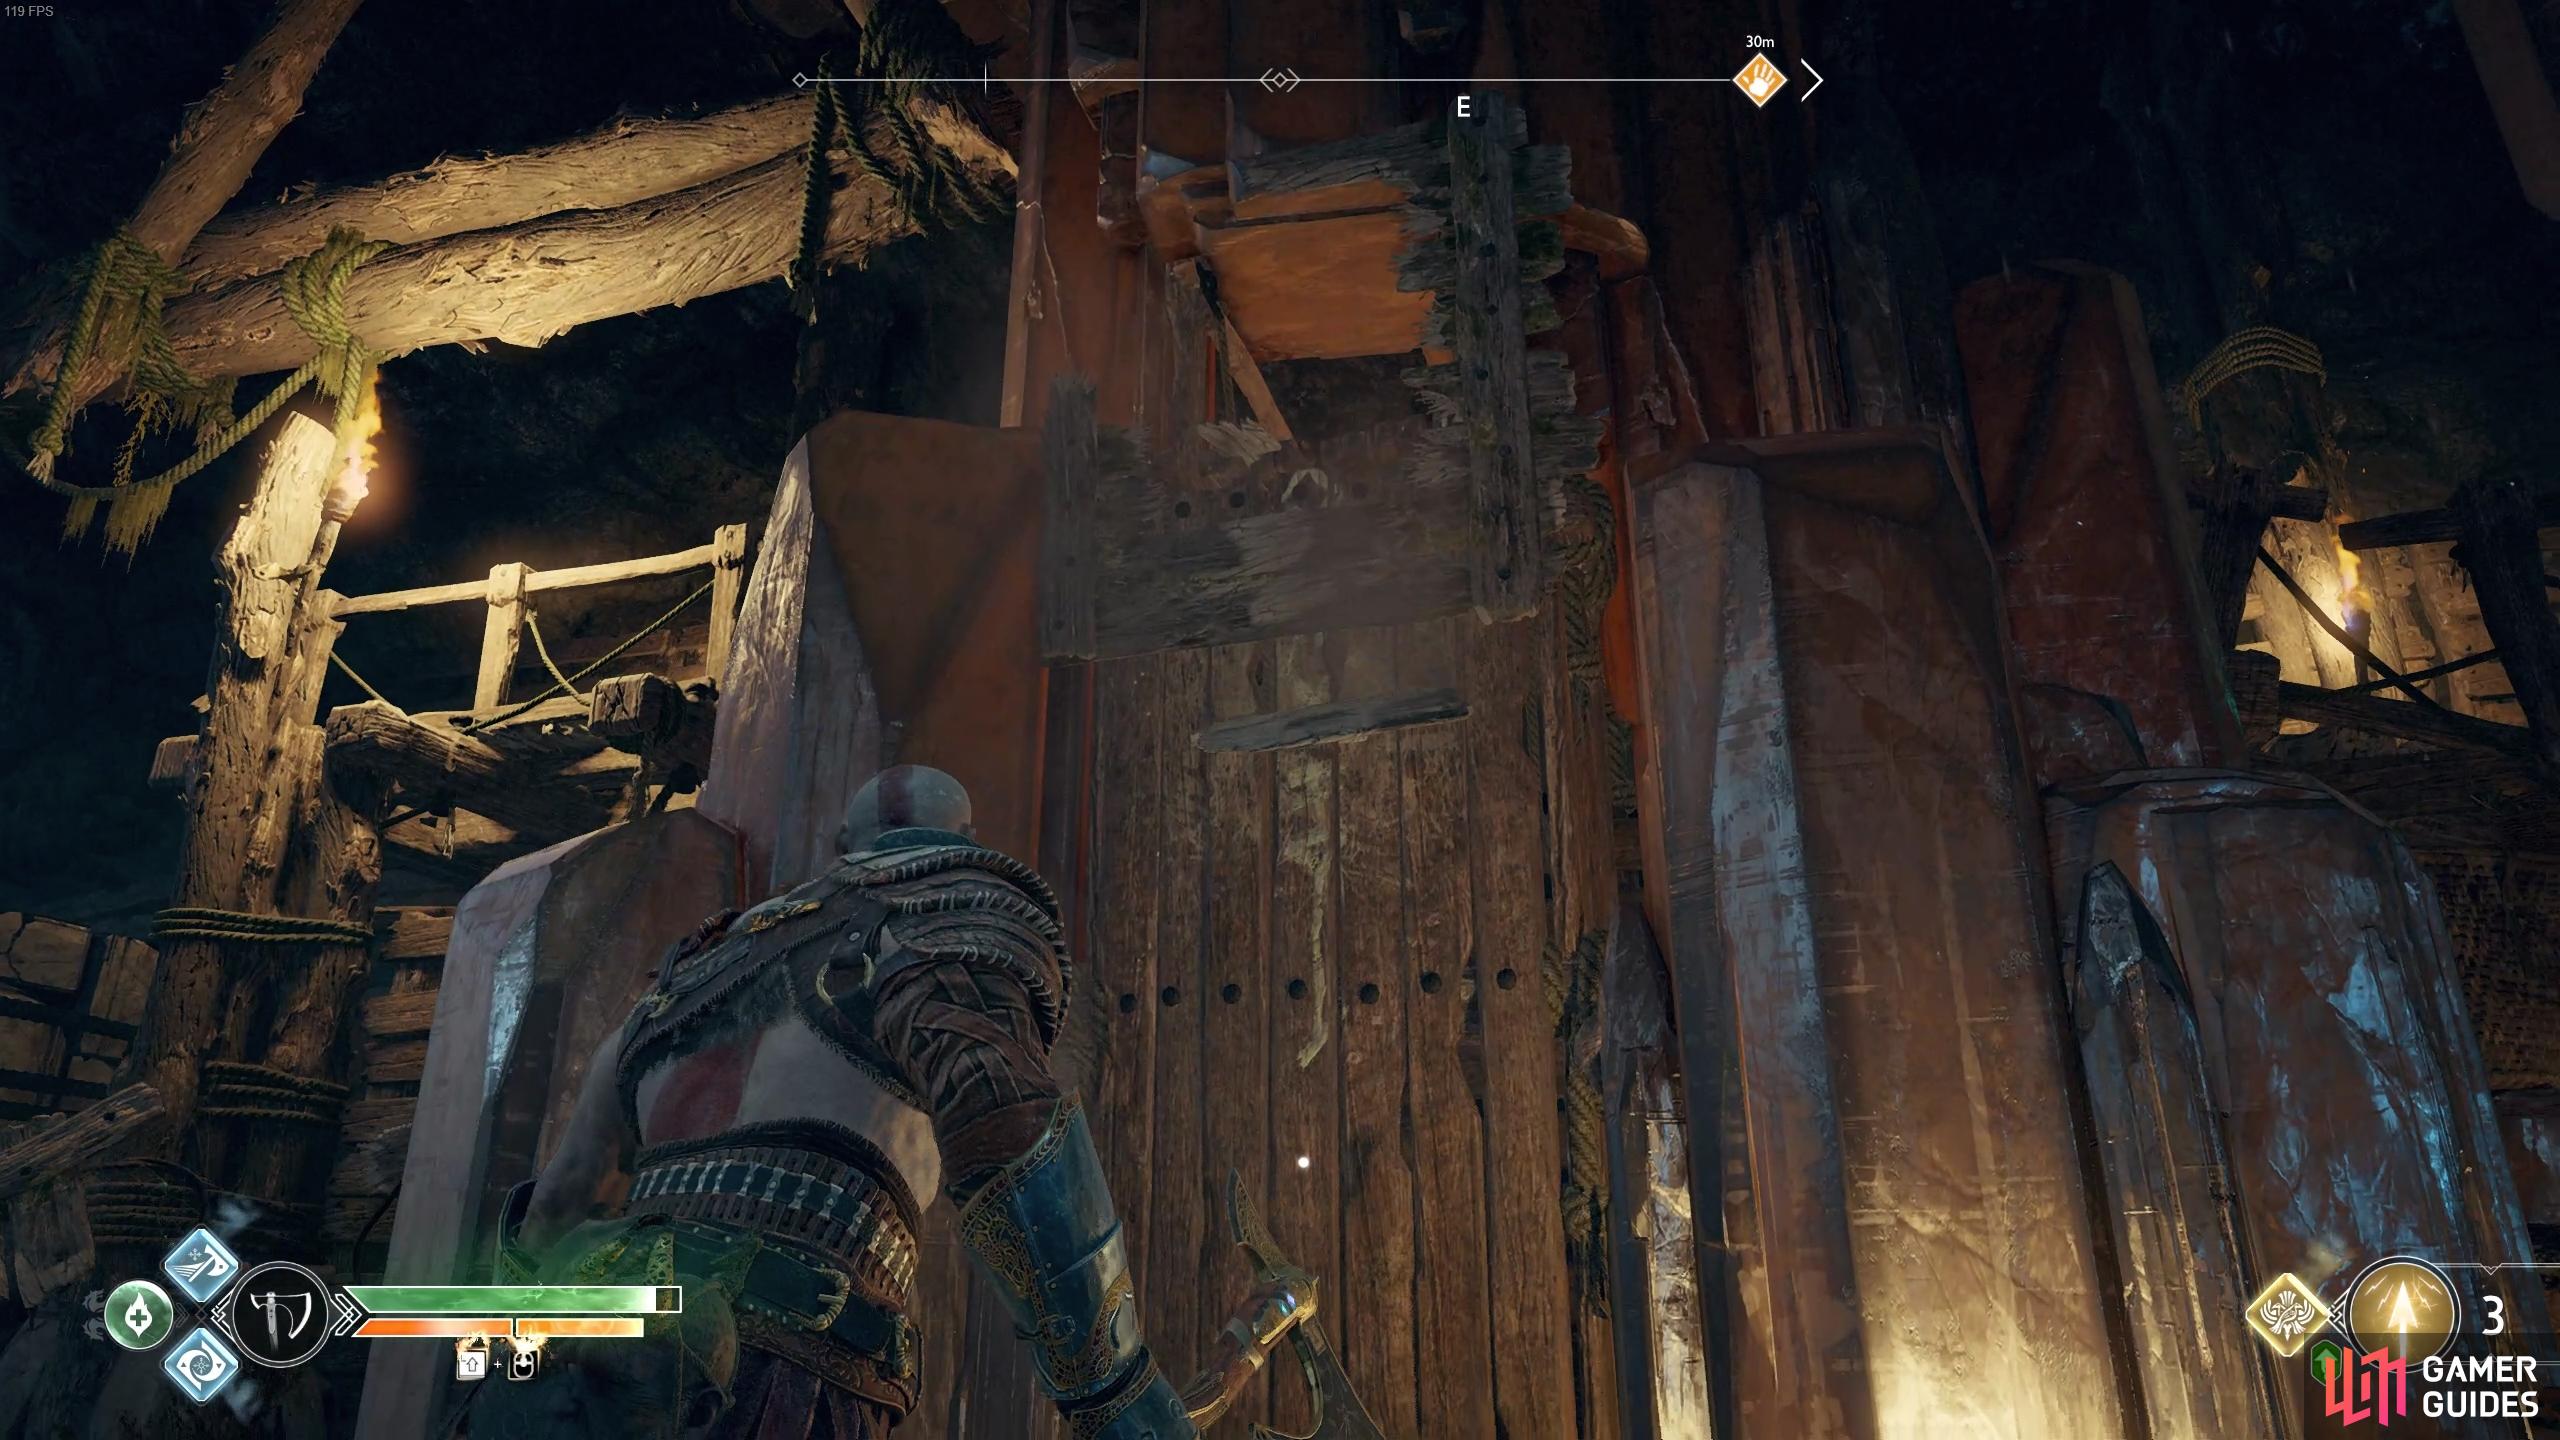
Climb the ledge to the east of the Nornir chest once more and open the gate to the north and defeat the two Revenants that pounce as you head through, Shock Arrows are especially effective against these as they lock them in place and allow Kratos to dash up and attack with the axe. Head forward and look to your right to see a cart that you can move, do so and move it all the way to the right. Head along this wall to the right to find a wall you can use to boost Atreus (you’ll need to break the wooden boards first) and then grab the cart once more to have Atreus jump to it.
Pull this all the way to the left and then use the axe to destroy the wooden boards above, allowing Atreus to jump across. Atreus can now read the sand bowl and then look up to the northwest to find more wooden boards to destroy with the axe, revealing the rune that Atreus needs to read. Atreus inputs the answer into the sand bowl and lowers the platform, allowing you to jump across and open the Legendary Chest containing the Murder of Crows Runic Summon.
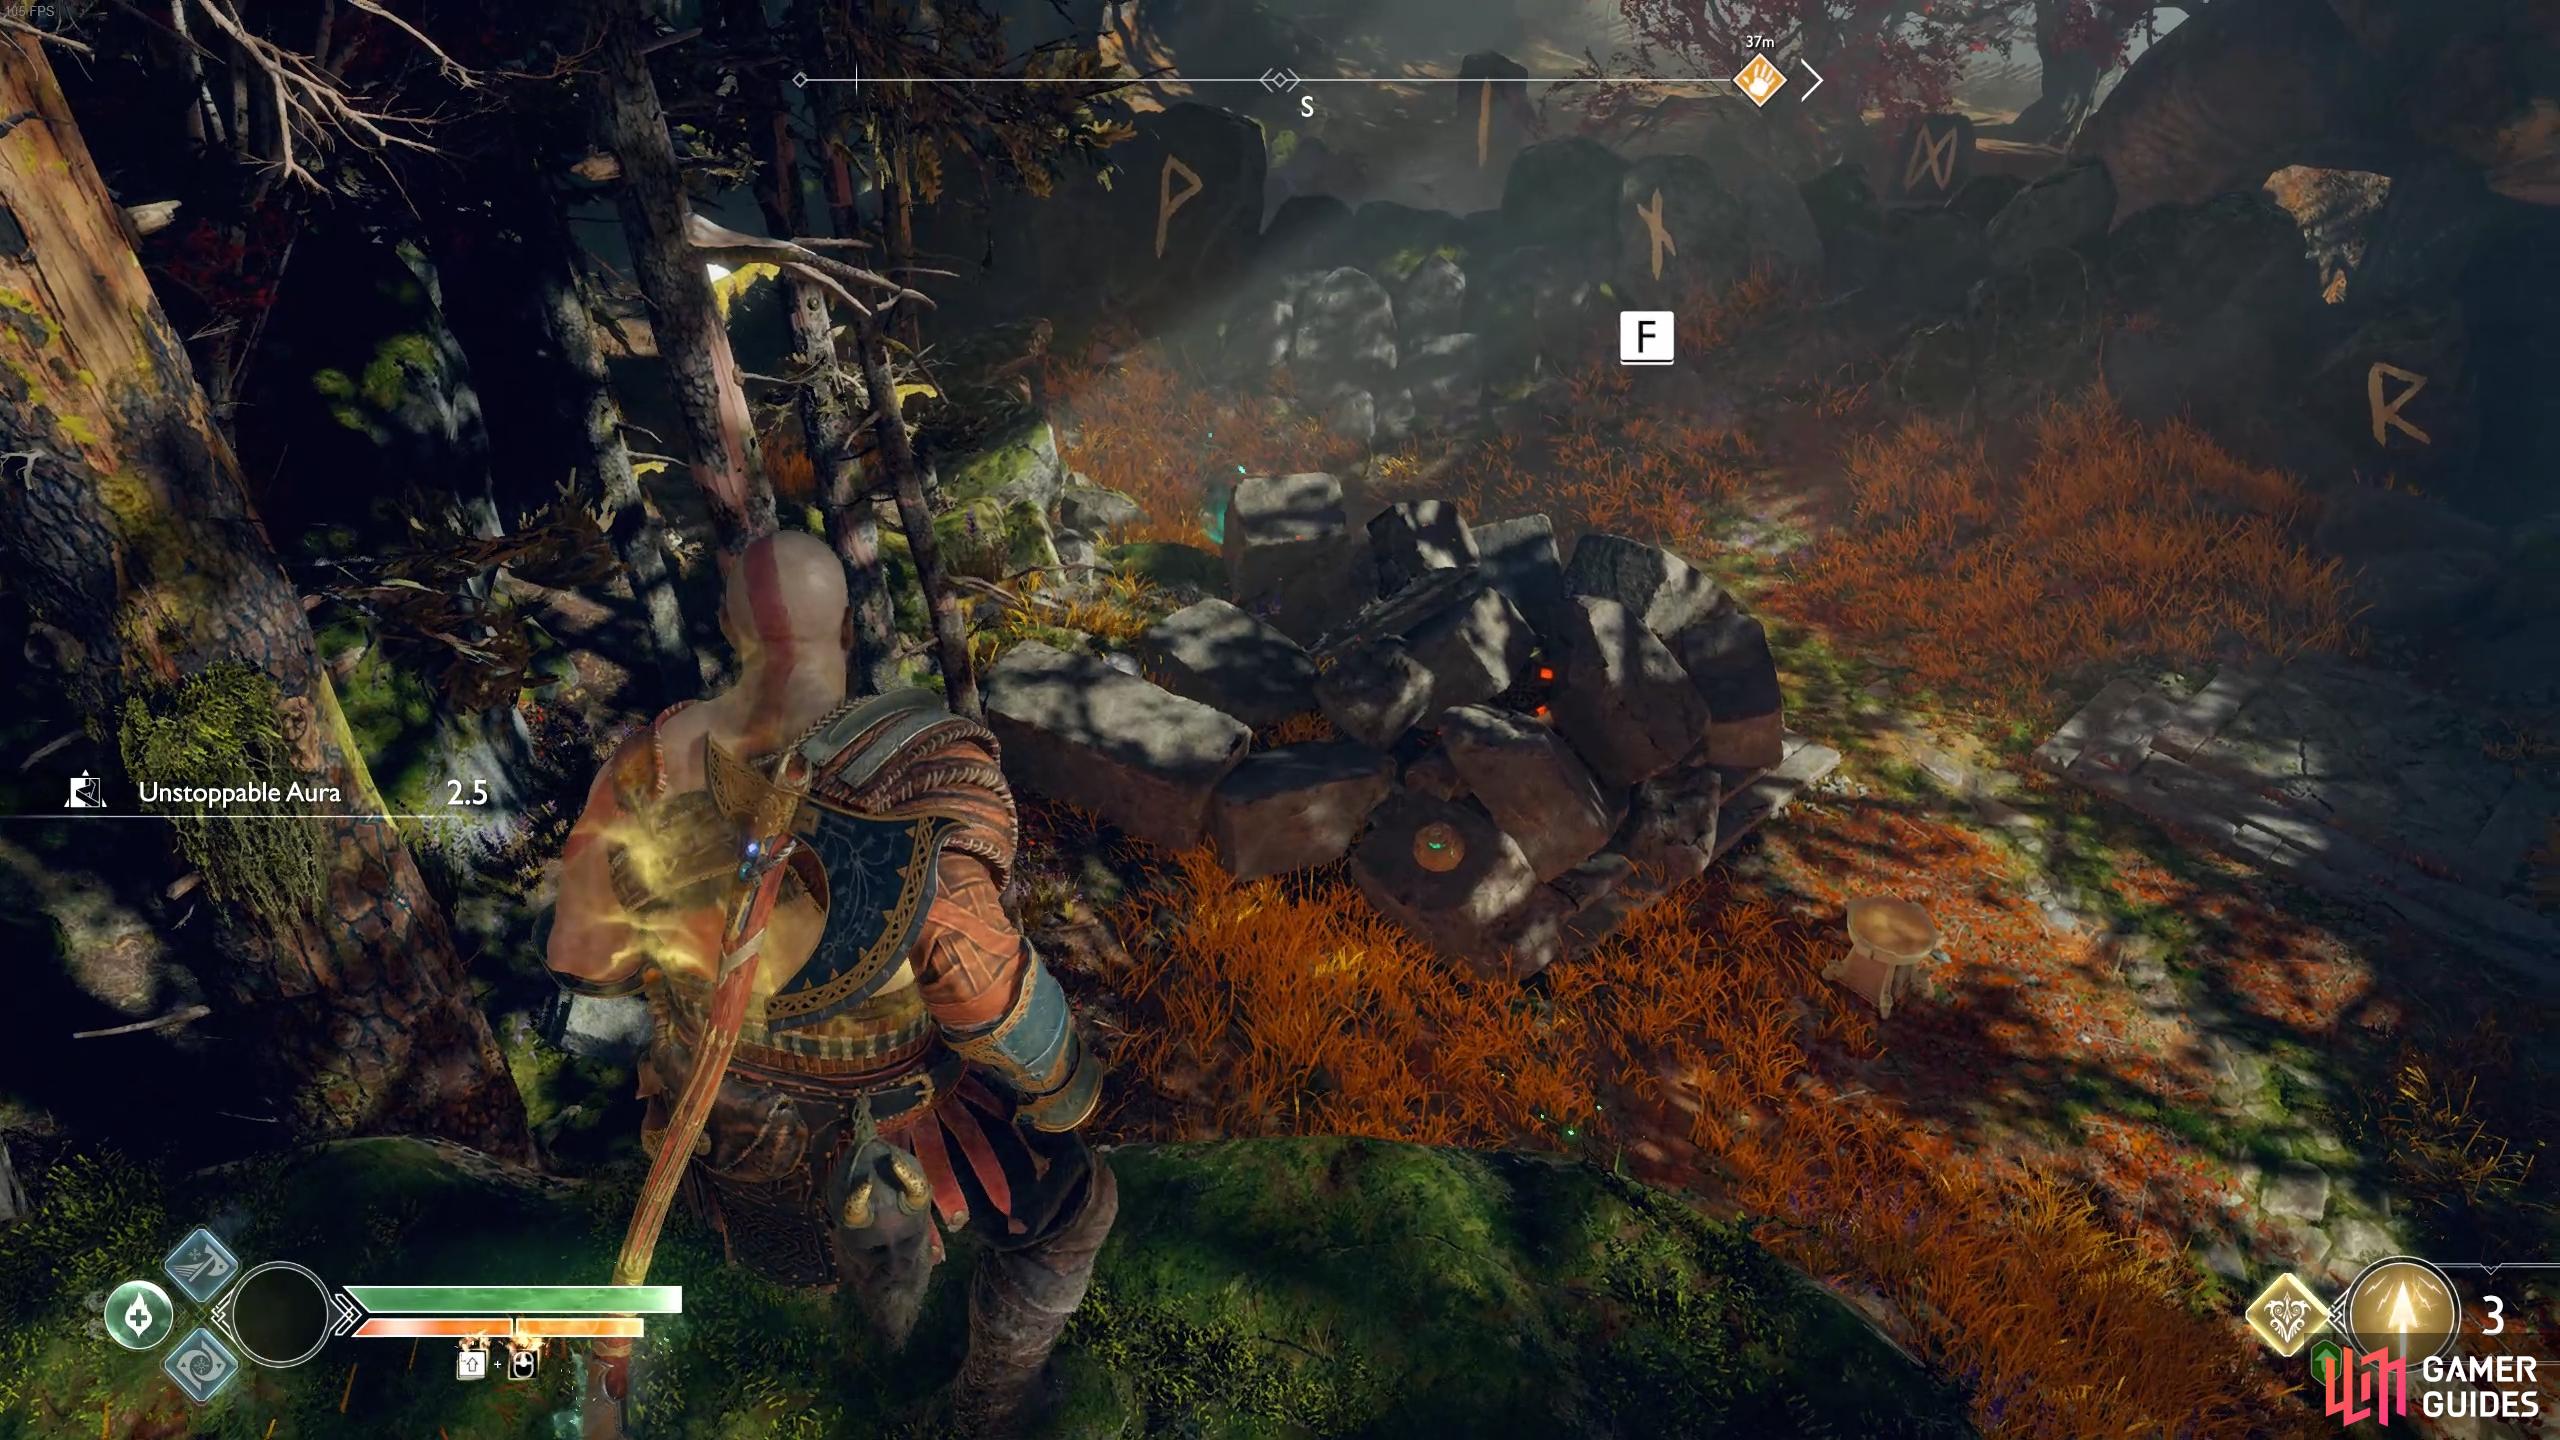
There’s nothing left for you to discover here so head back up to the upper area and head back into the room you first removed the sap from after you took the lift up. You can climb the wall where you found the first Nornir Rune and use it to access the woods above once more, reading the Lore Marker on the way.
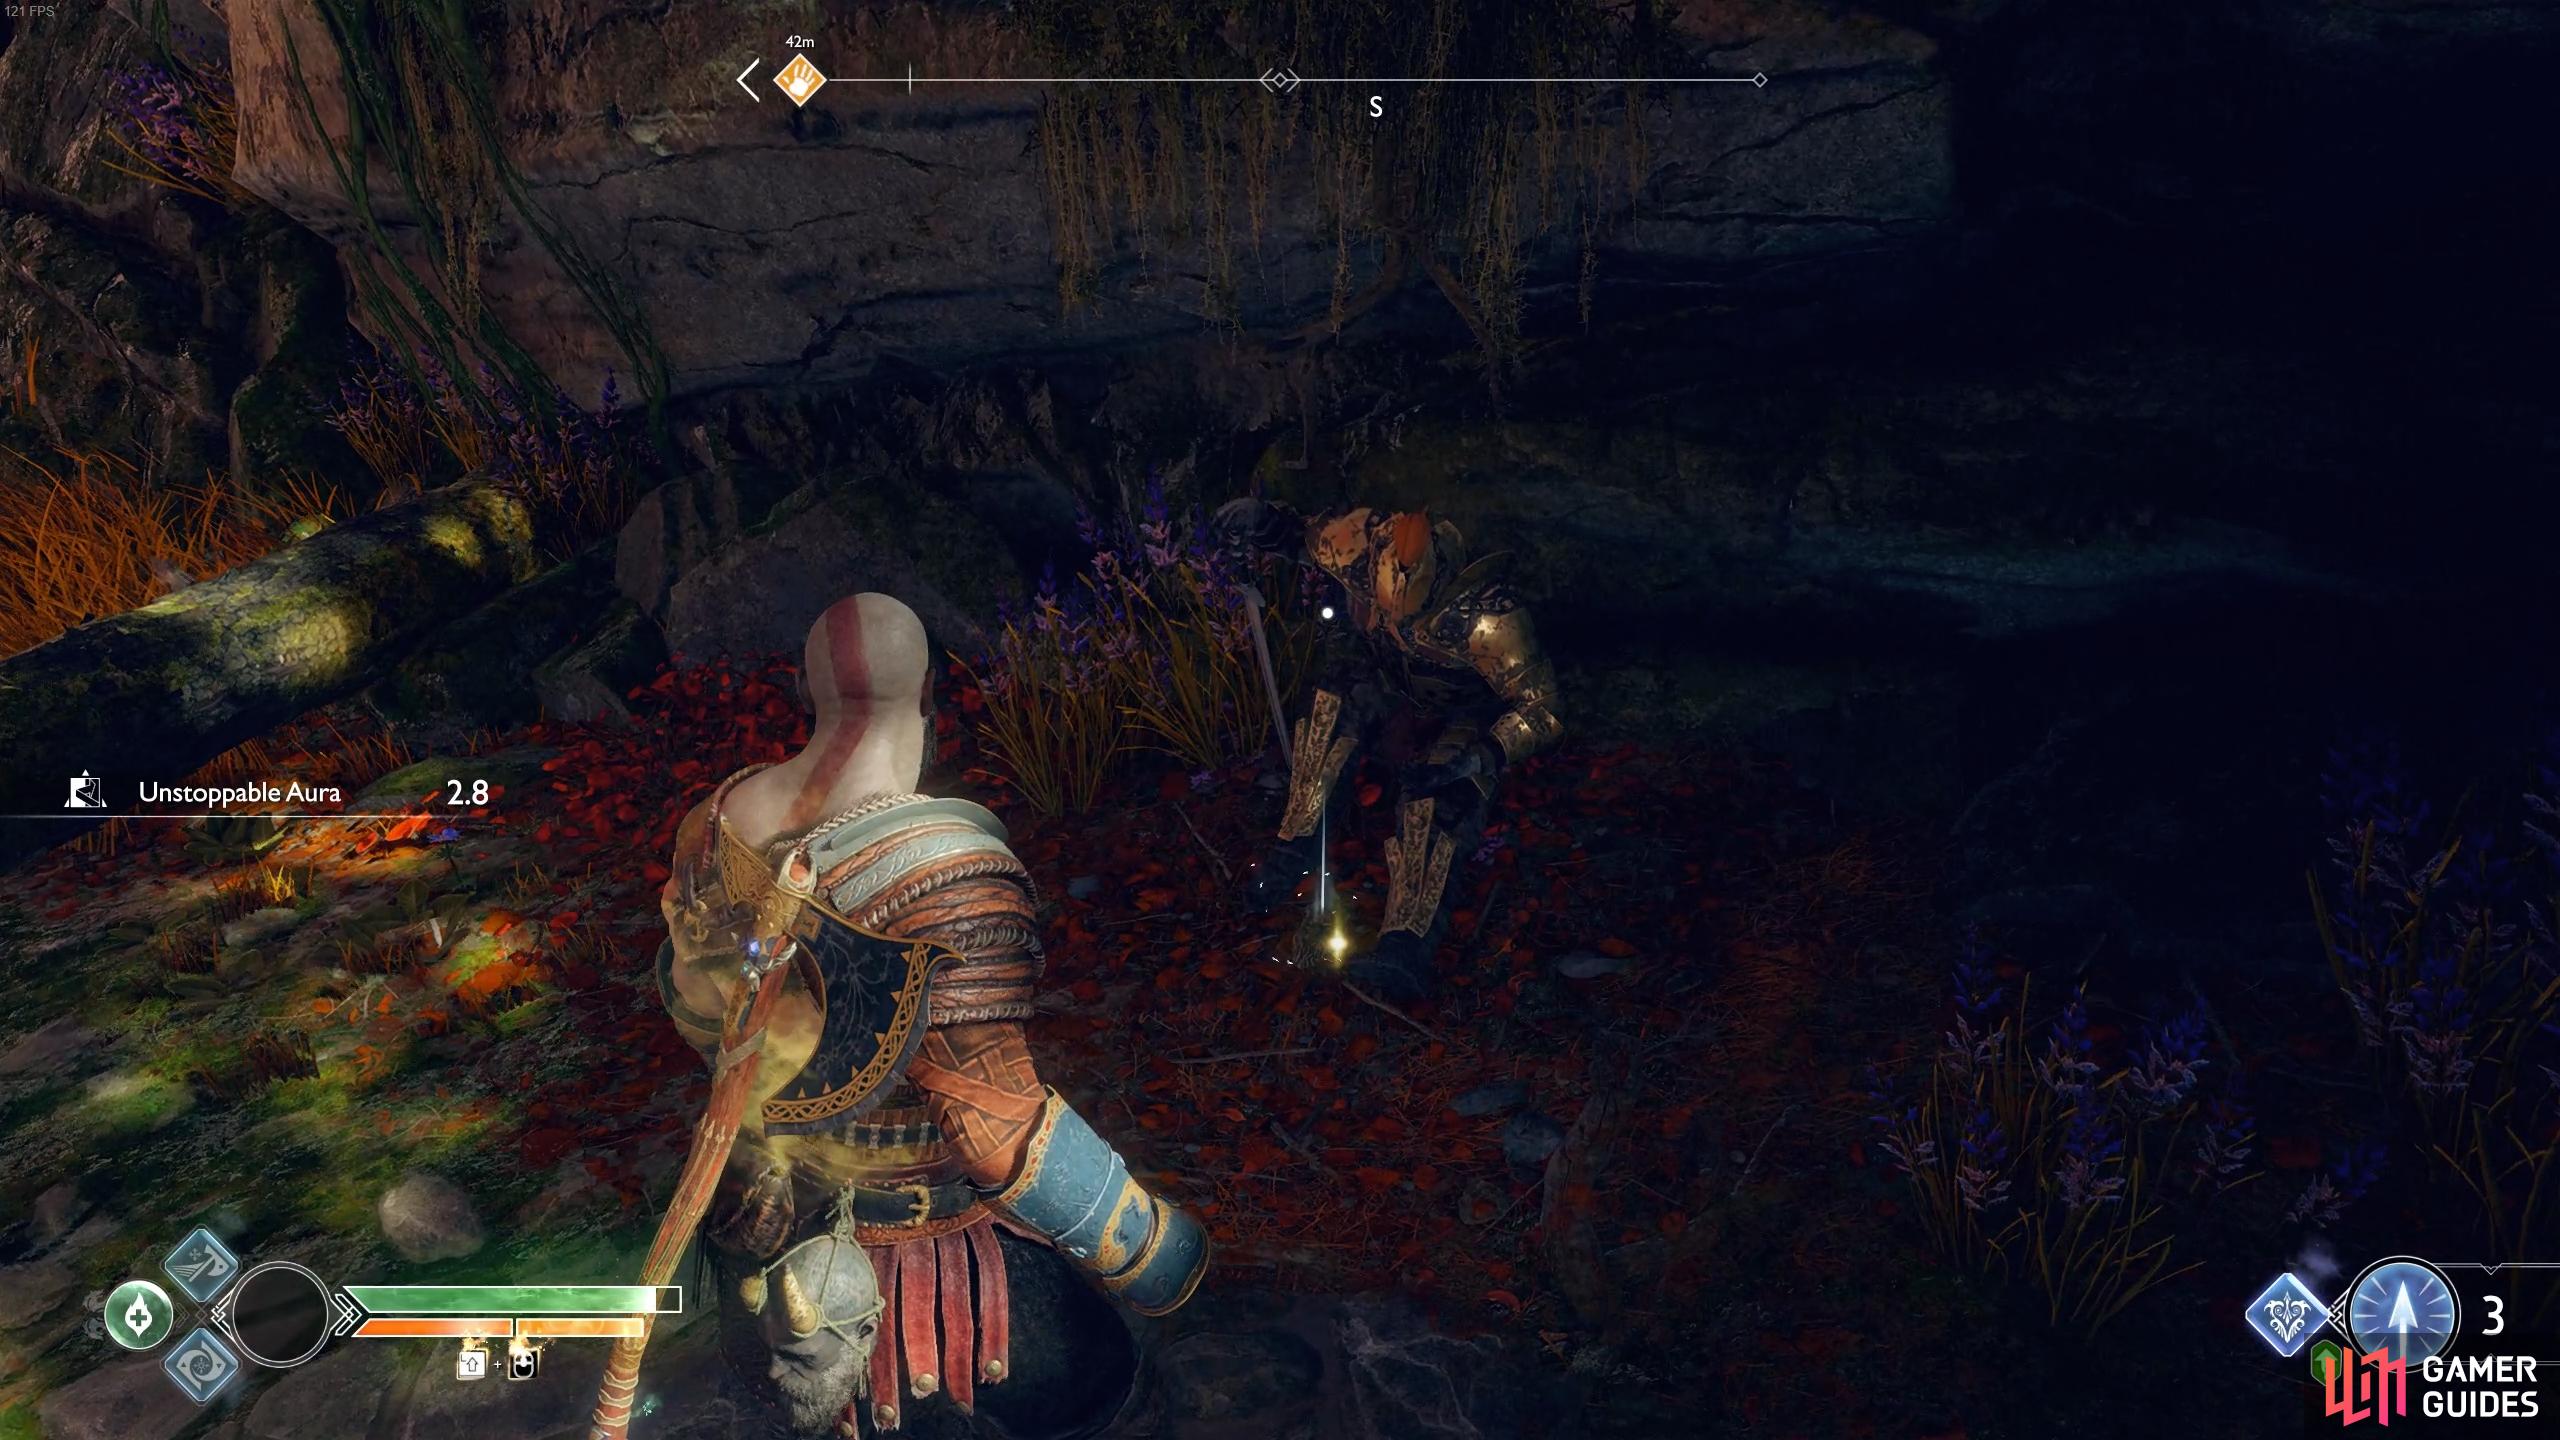
Head behind this well to find a Light Crystal you can pick up and place it in the nearby pedestal to light up another Lore Marker. Take the path down now and you’ll find another corpse with an Artefact and as you venture into the open area a group of Draugrs attack. Take this opportunity to try out your new Runic Summon and watch the destruction that follows.
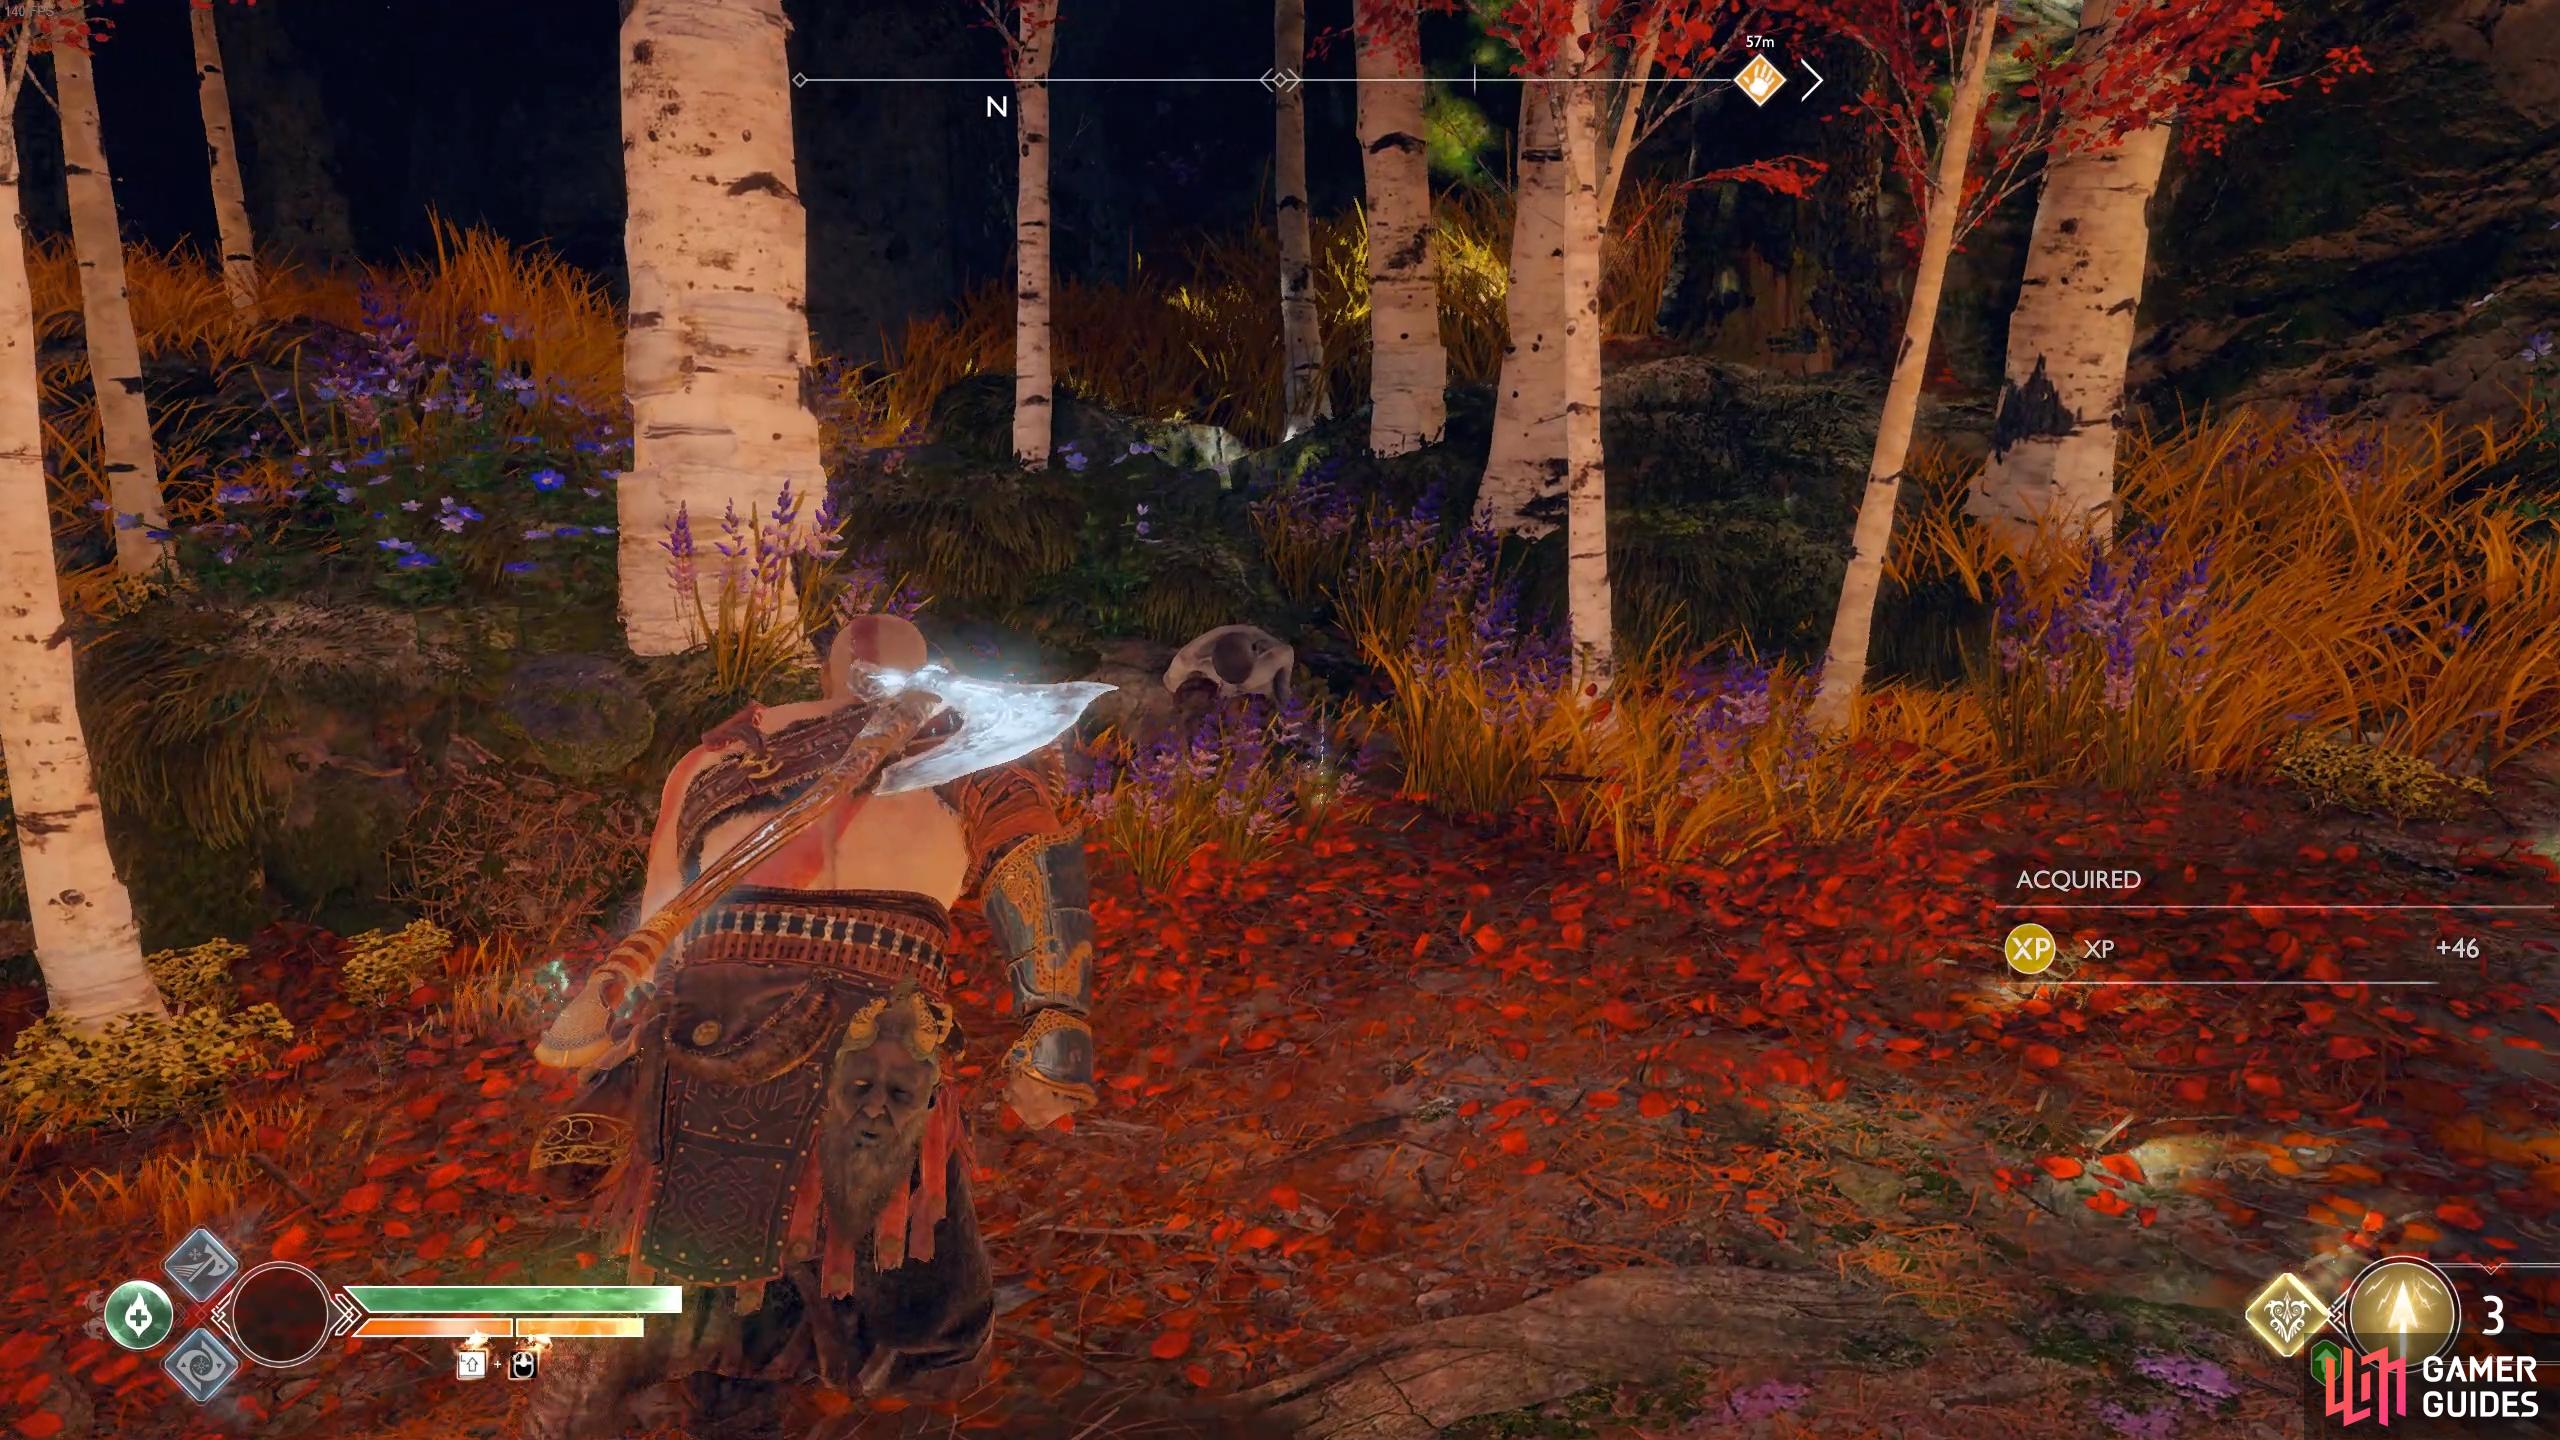
Check the corpse at the end of the path for another Artefact.
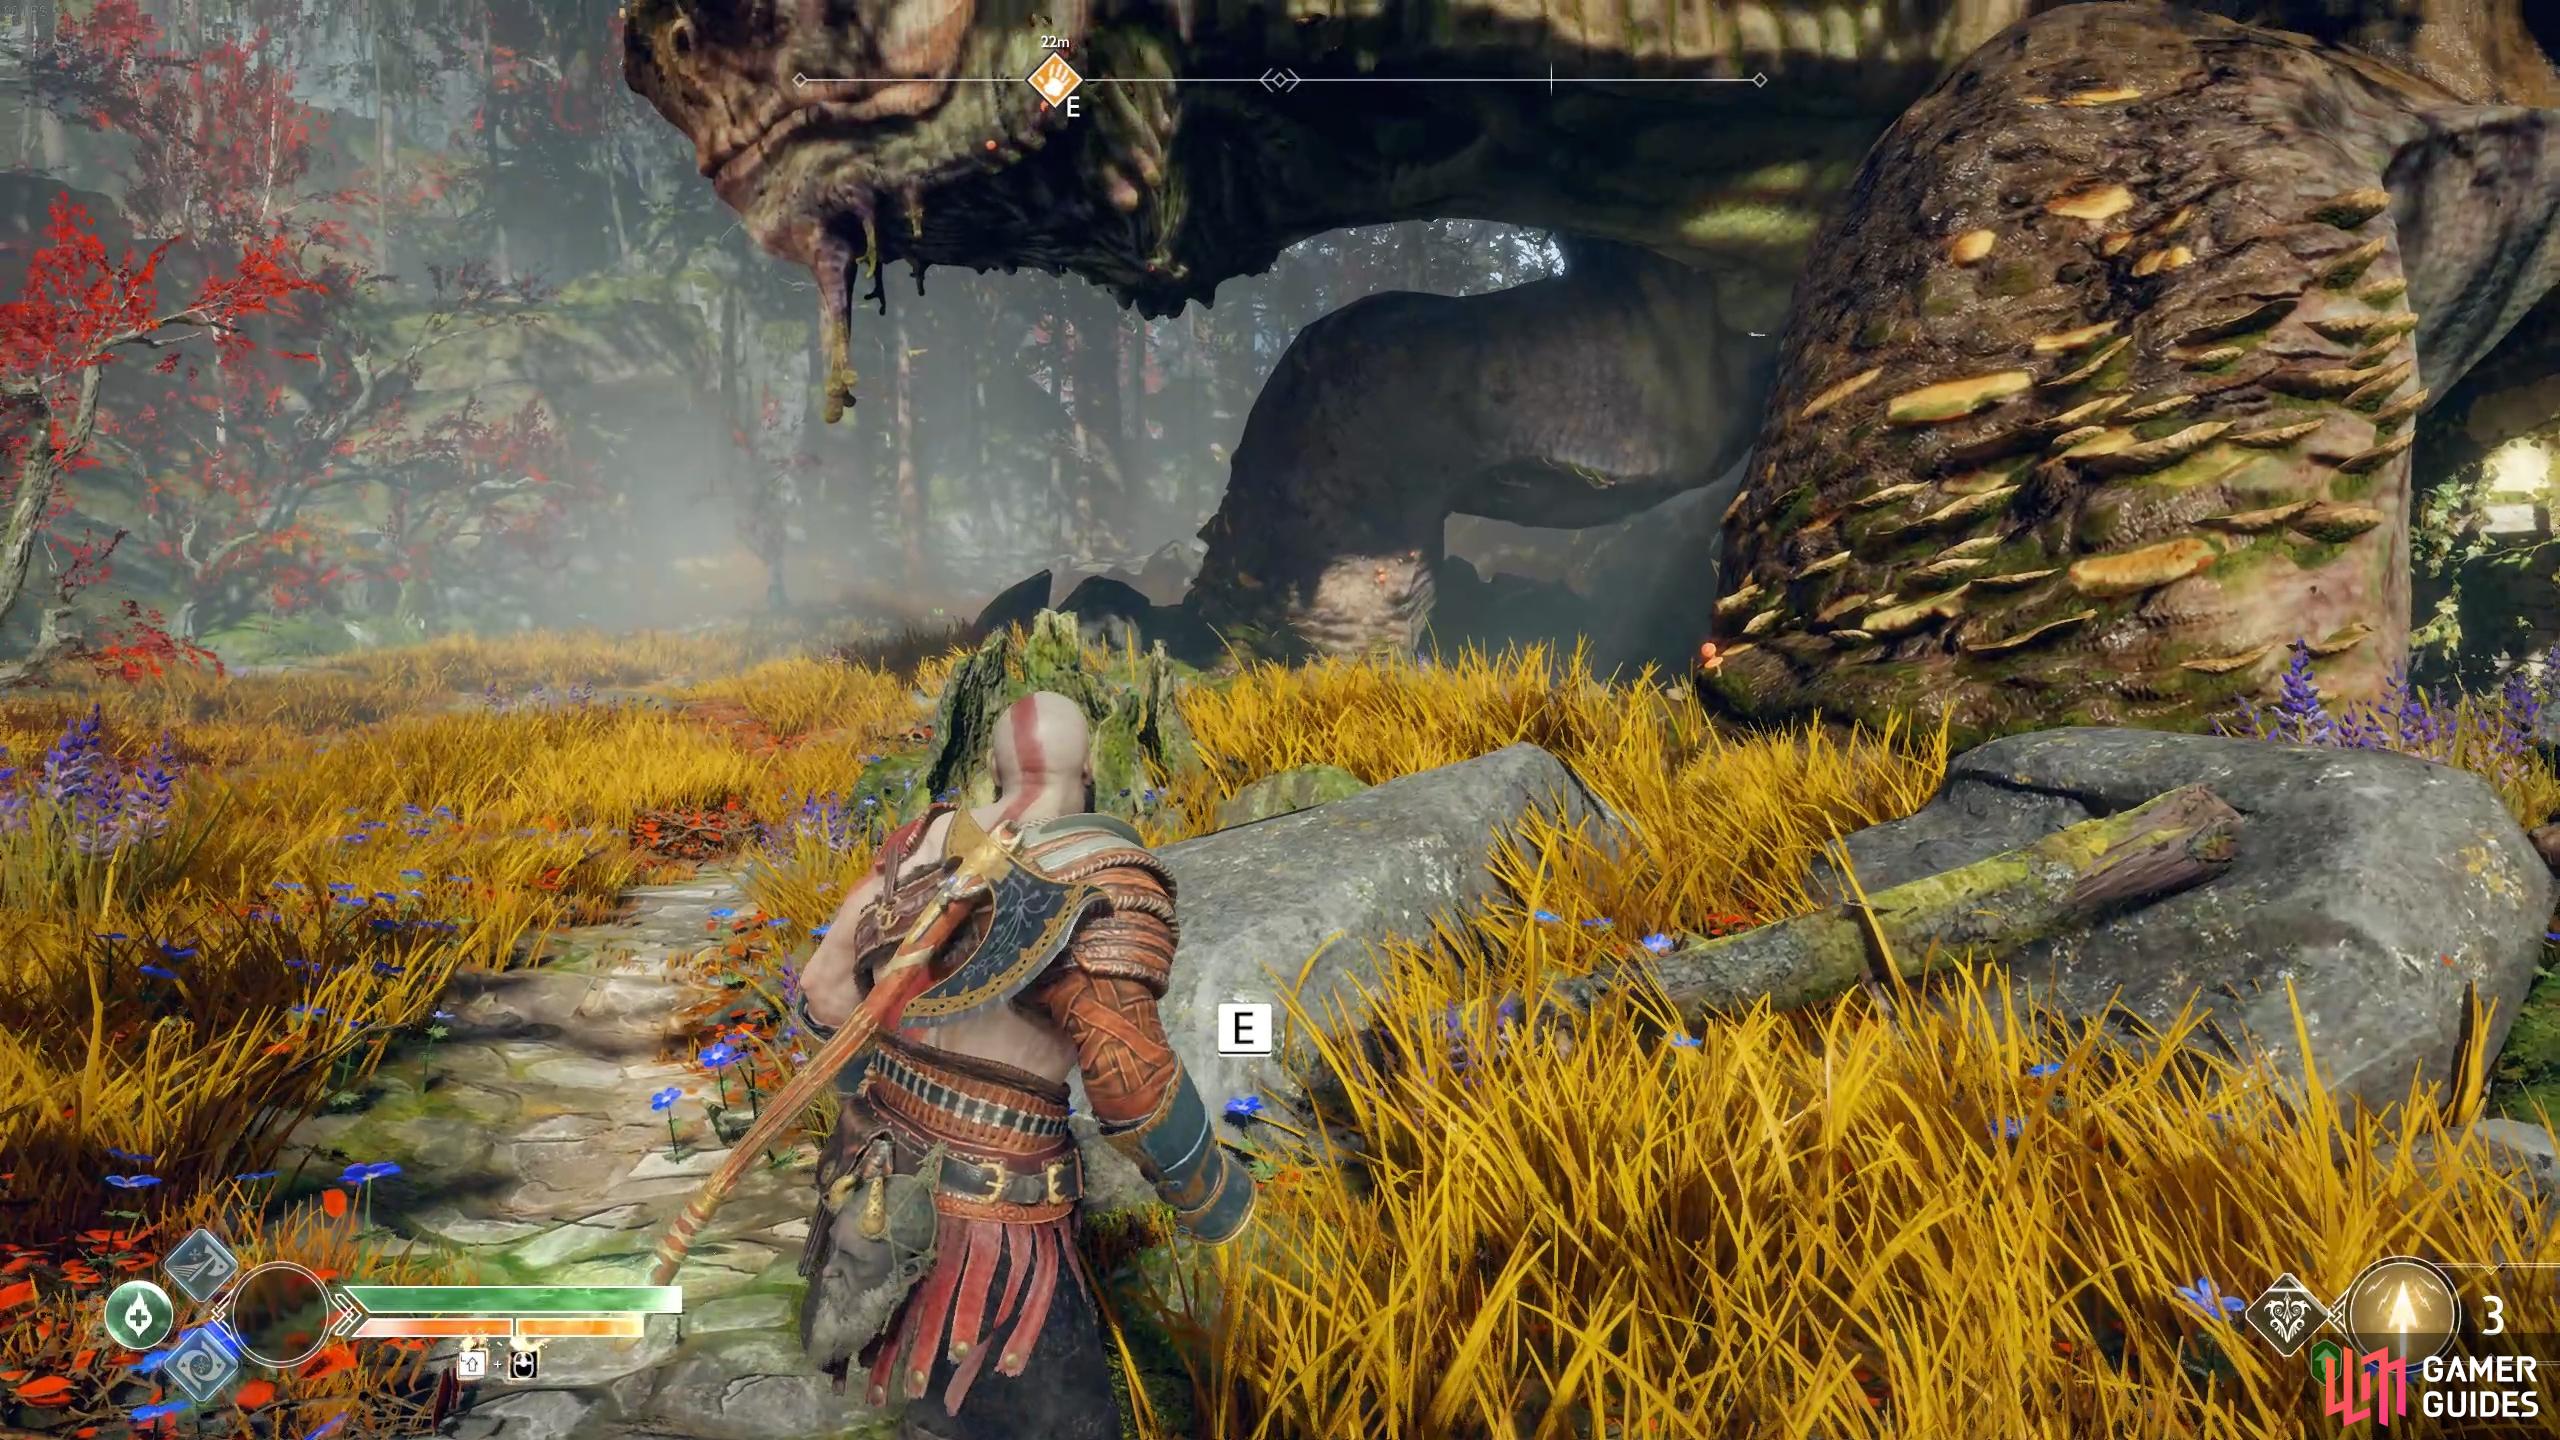
Check this rock near the turtle to find the buried treasure.
Once the enemies are dead search near the rock at the front left leg of the turtle to unearth the hidden treasure from The Turtle’s Tribute Treasure Map, you’ll obtain an Oblivion Stone, a Stone of Frost Mastery, 5 Soft Svartalfheim Steel and 5000 Hacksilver. The Stone of Frost Mastery is an excellent Enchantment, be sure to socket it right away.
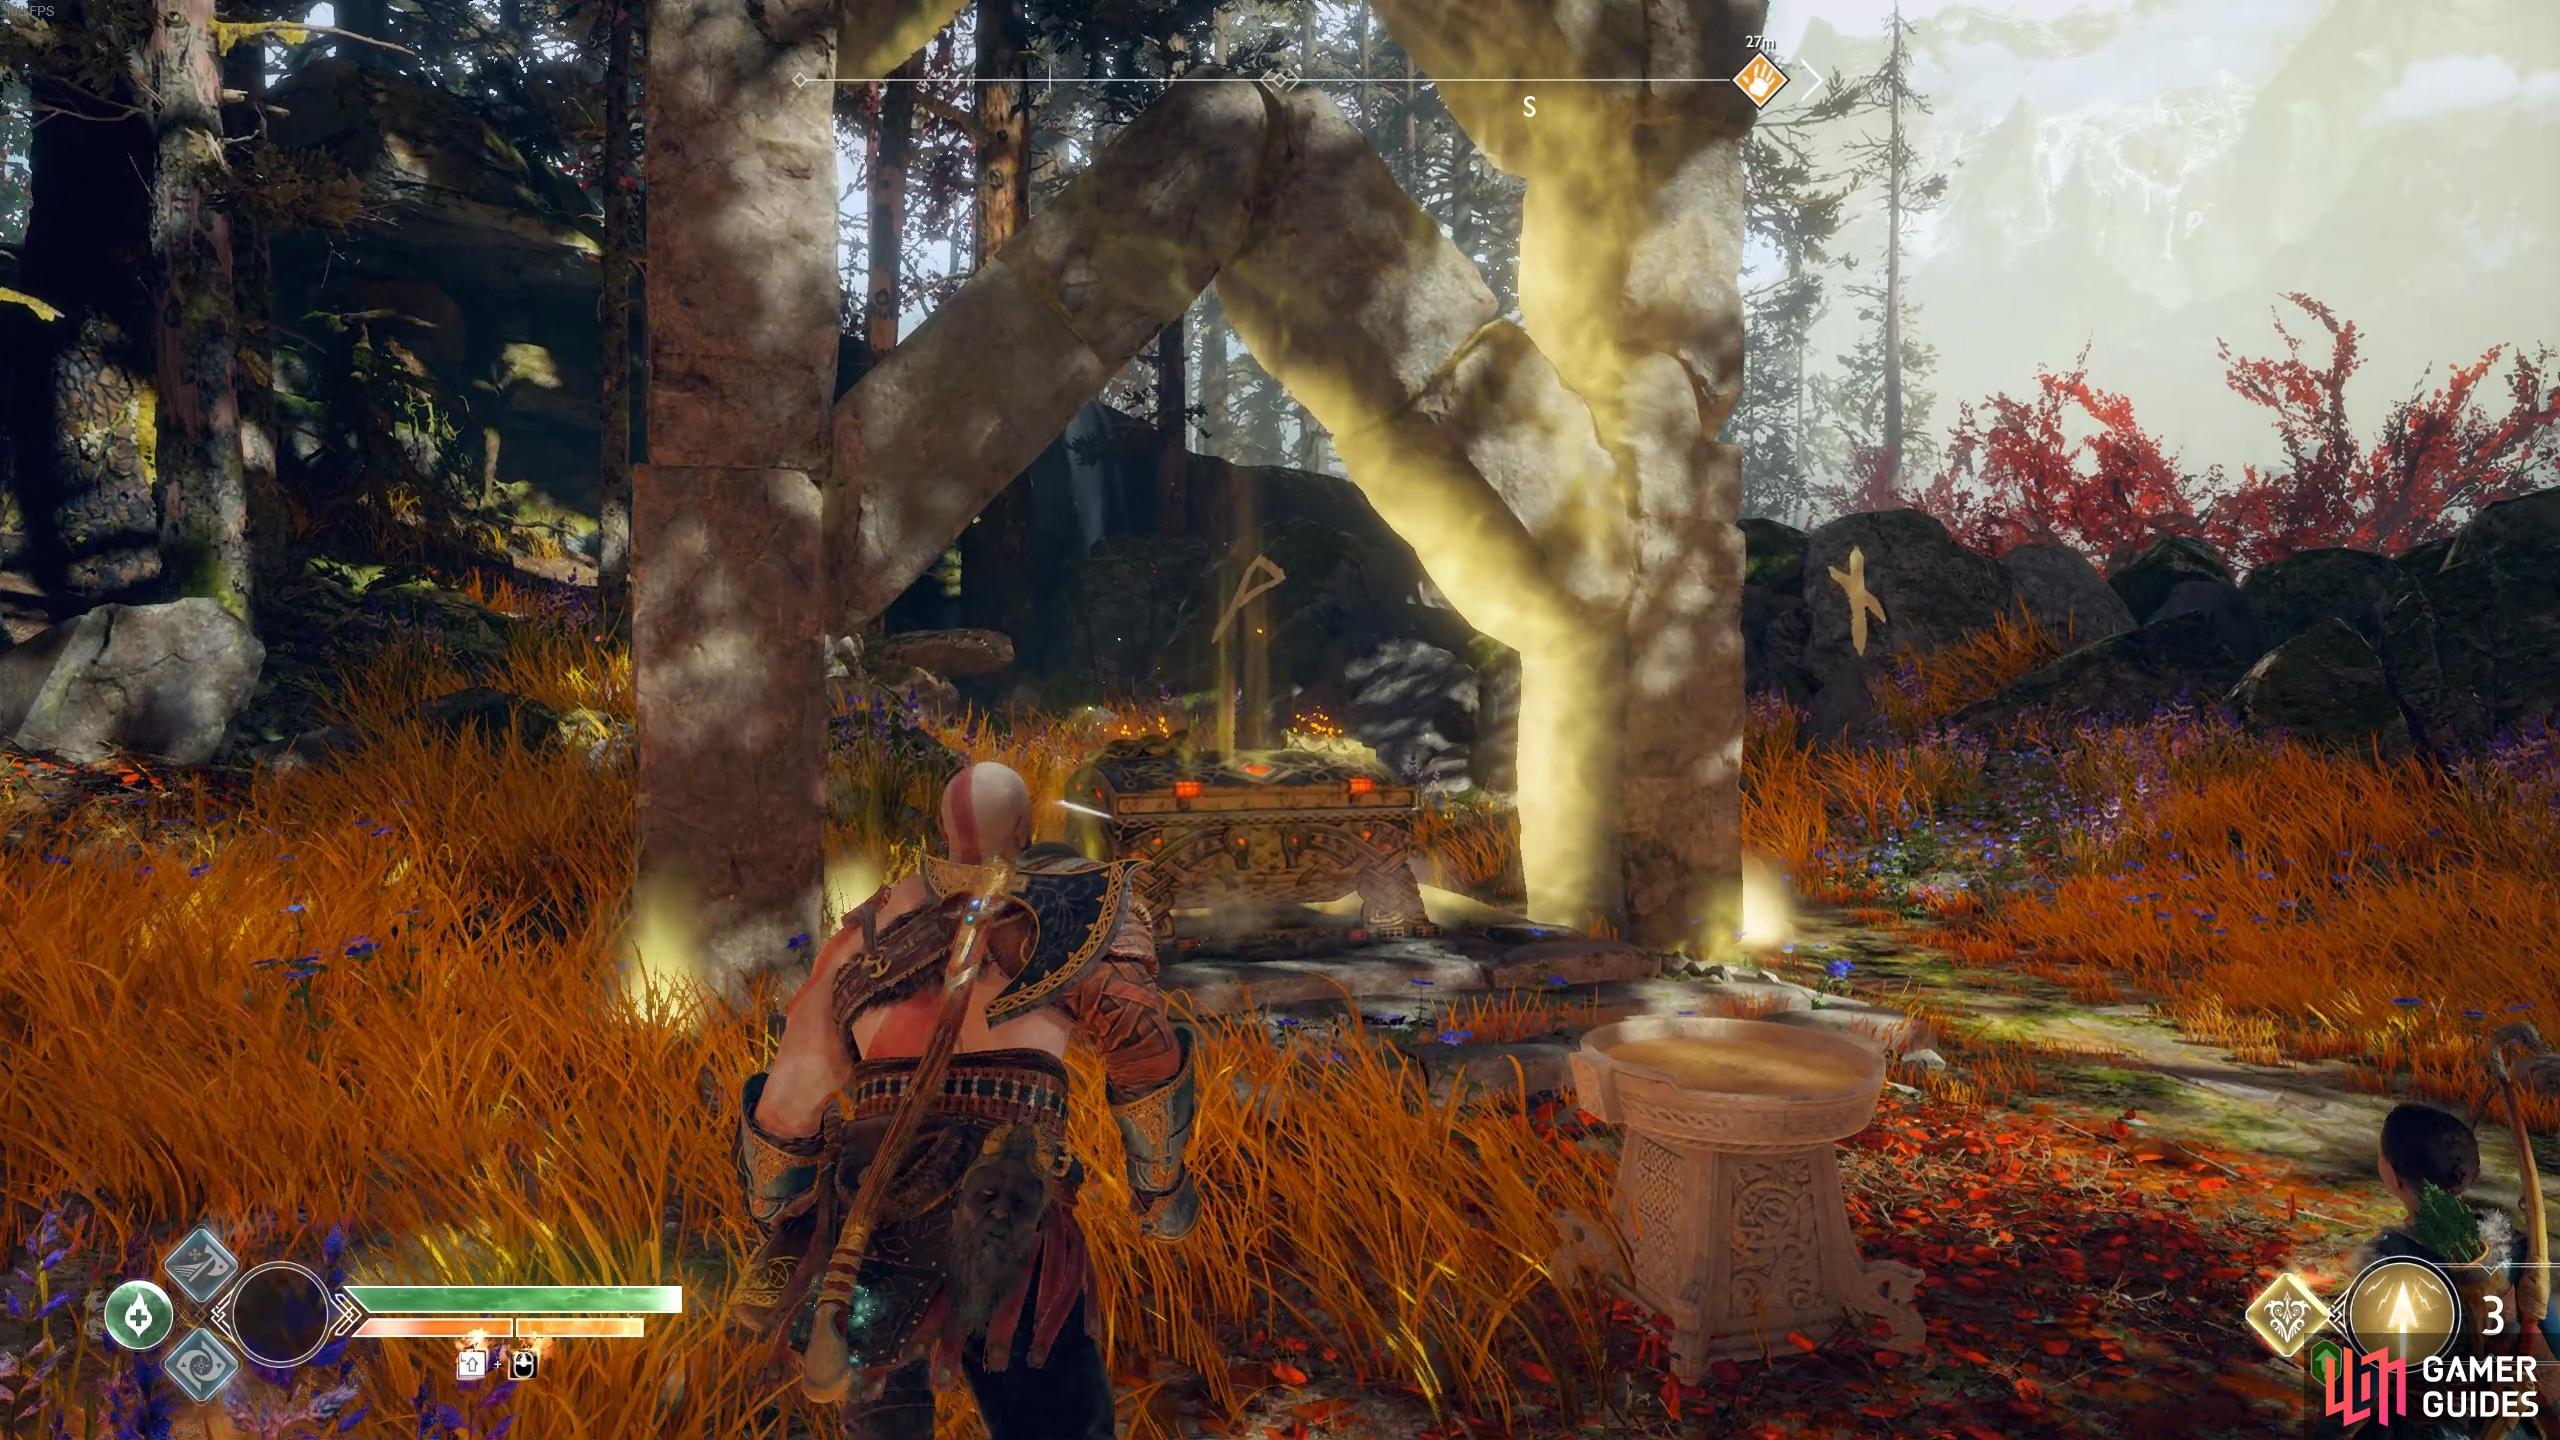
Turn behind you and head towards the wall to the northwest to find another Lore Marker before heading over to the opposite wall where another Lore Marker waits by a chain. Ignore this chain for now and follow the path to find another sand bowl and have Atreus read it. You’ll see some Runes on the rocks behind but Atreus remarks that they make no sense.
Check the corpse after you climb the chain and defeat the Draugrs for the Artefact.
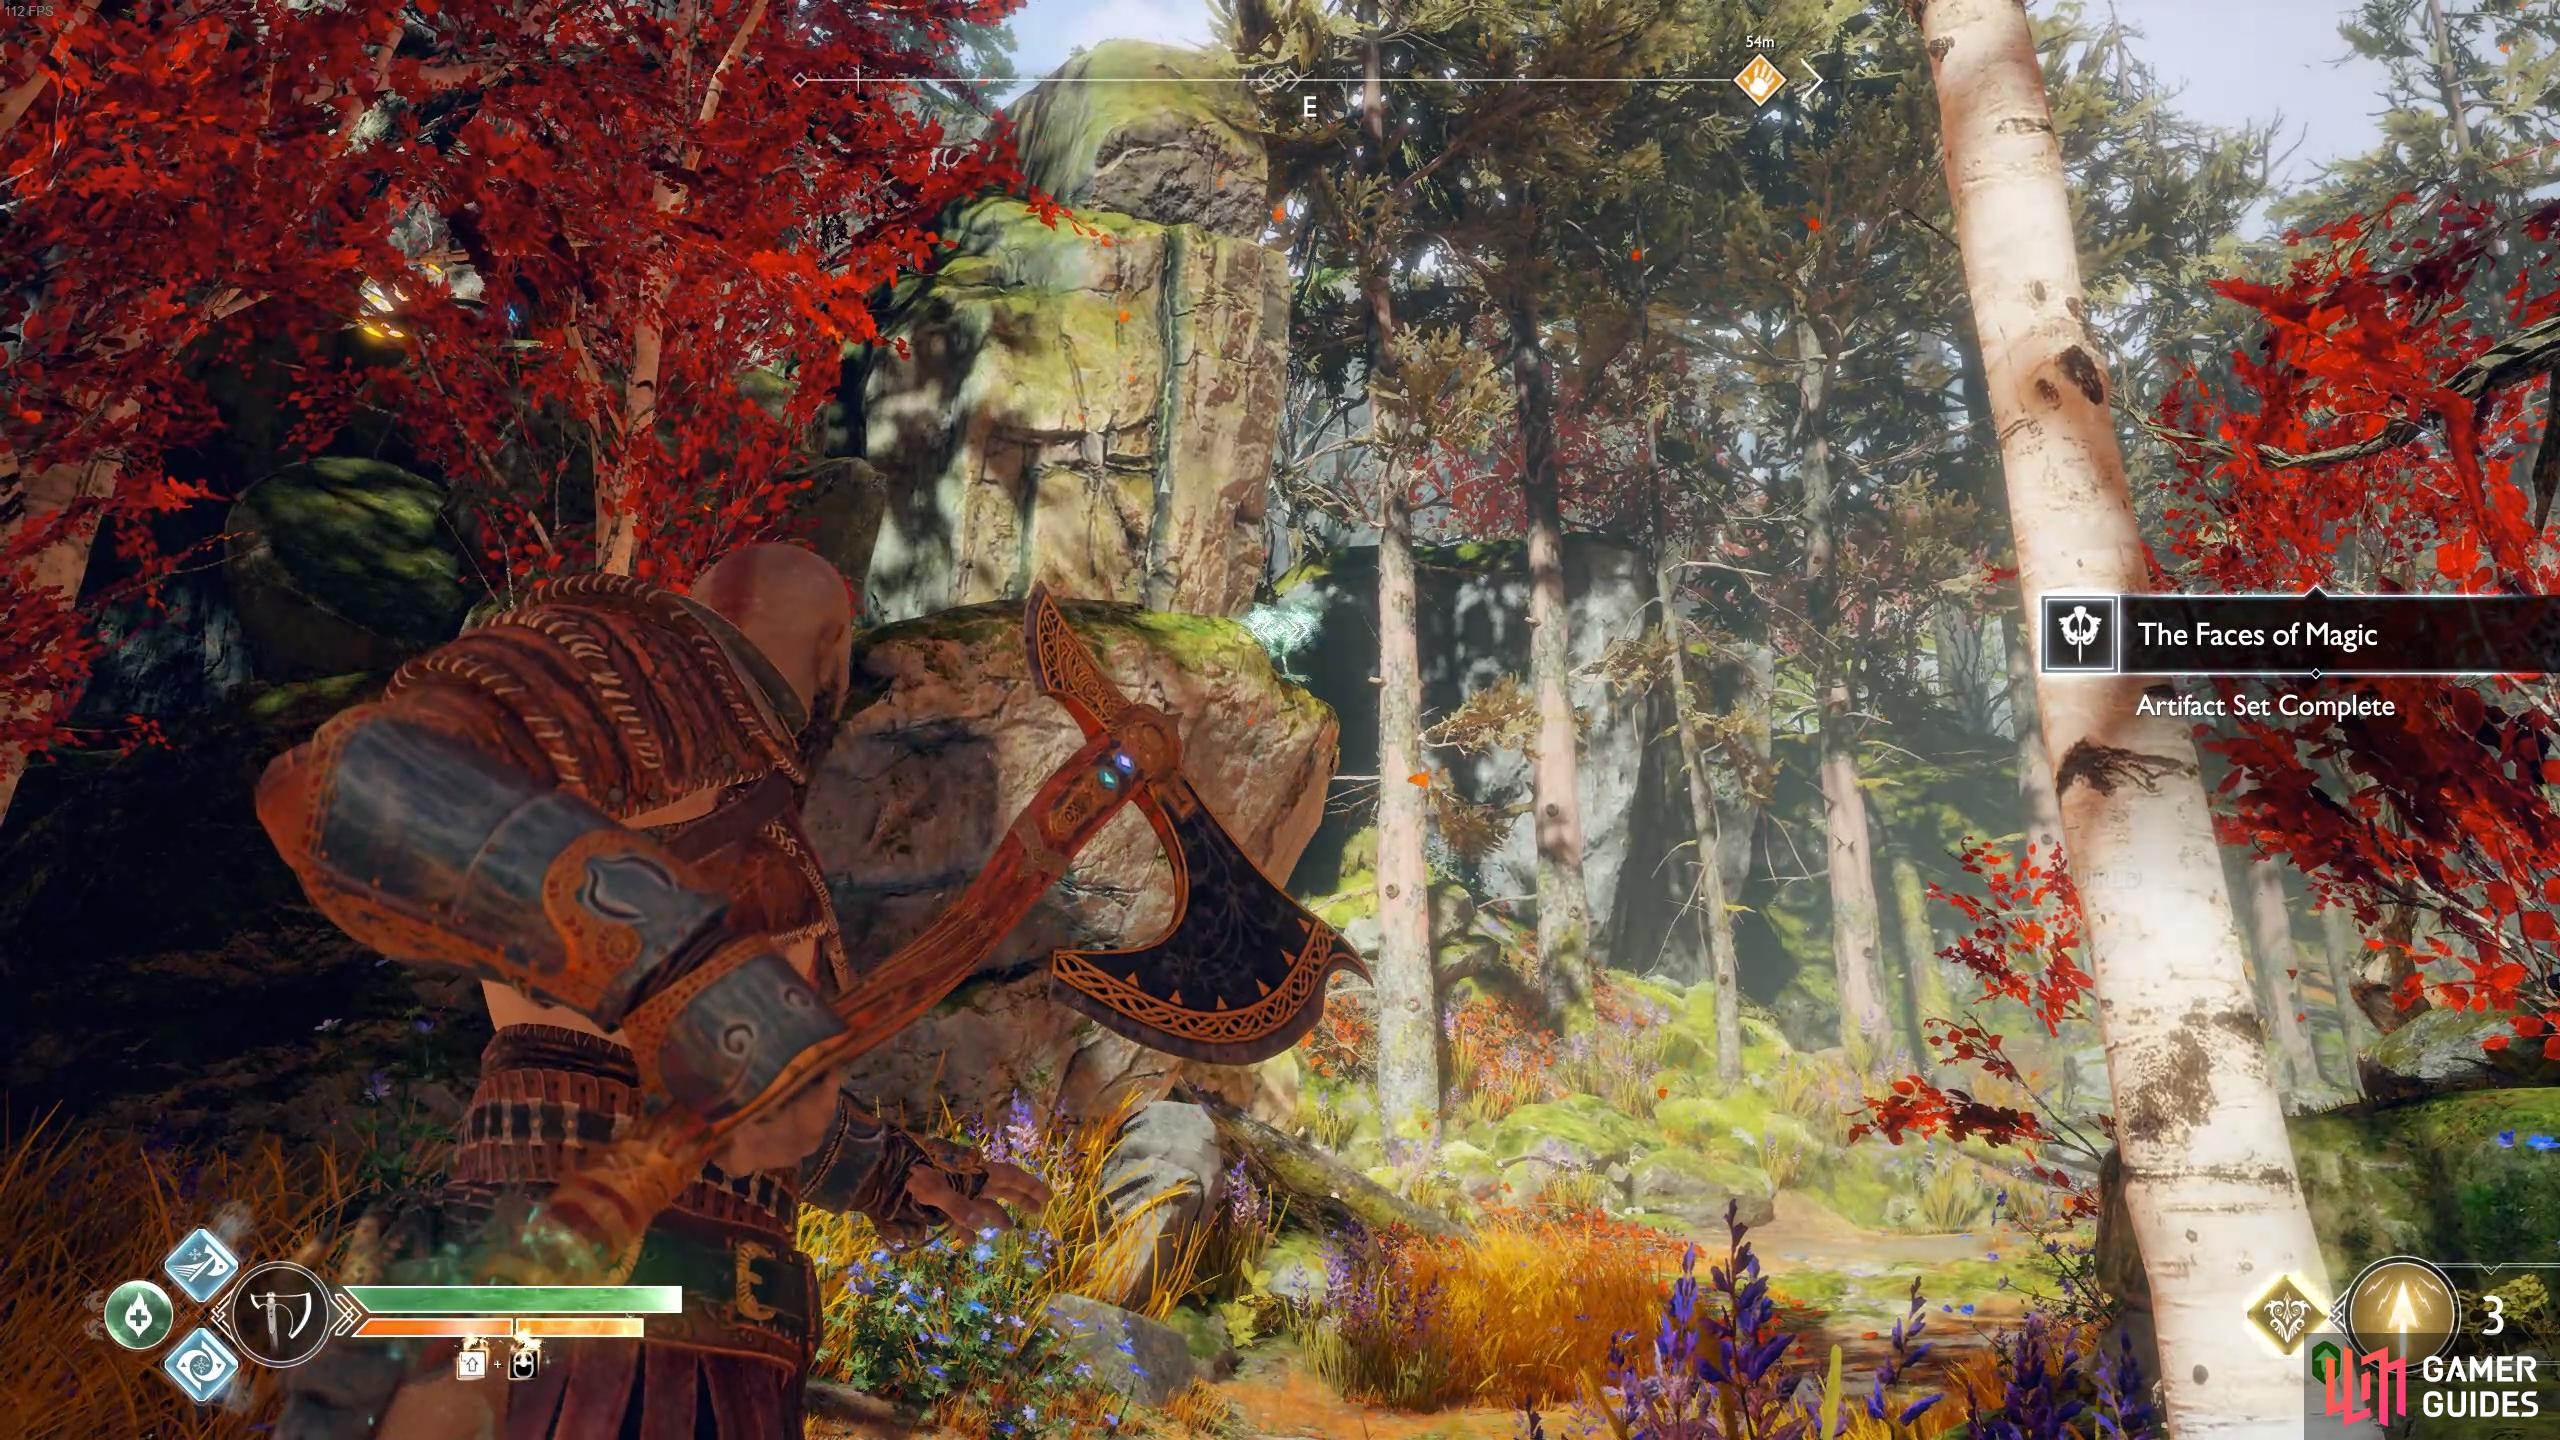
Face the ledge to the right of this corpse to find the next Raven.
Head back and take the chain up to the area above and you’ll have to deal with two Heavy Draugrs and once defeated, pick up the Artefact on the corpse, this should complete your set for The Faces of Magic. The nearby Nornir Chest is inaccesible until later in your journey but you can find another Raven on a ledge above to the right of the corpse. Follow the path to the end and you’ll overlook the sand bowl from earlier along with the missing runes, have Atreus read it to discover the keyword.
Head back down to the sand bowl and have Atreus insert the word into the bowl causing the rocks to take shape and form a structure. You can now open the Legendary Chest in the middle to obtain the Storm of the Elks Runic Summon.
Stand at the top of this ledge to find the full phrase.
Have Atreus input the phrase into the sand bowl to gain access to the Legendary Chest.
There’s nothing left to do out here for now so finally head on over to the Witch’s House and enter the door. Following the events at the house, Mimir will be revived and you’ll come to learn that the Witch is in fact the goddess Freya and Kratos’ distrust of gods becomes more apparent as he leaves in fury. At this point, Mimir becomes a permanent fixture in your merry band and will partake knowledge on the Norse Realms much to Kratos’ dismay. Follow the path down from the door and take the lift back down to the dock where you can now board the boat once more.
Go to the Serpent’s Horn
Your destination is clear, row back to Týr’s Temple and dock the boat, heading up the stairs and over to the Serpent’s horn in the center of the bridge where you can bring Mimir’s head over to the horn.
The World Serpent decides to devour the statue of Thor as it moves in closer for a chat with Mimir. Mimir is able to converse well enough with the World Serpent and it agrees to help you, pushing the bridge in the direction of where you need to go. Mimir informs you that two things are needed in order to reach Jötunheim, a Magic Chisel and the Travel Rune. Atreus also remarks that once again the water level has dropped in the Lake of Nine and new places are available to explore.
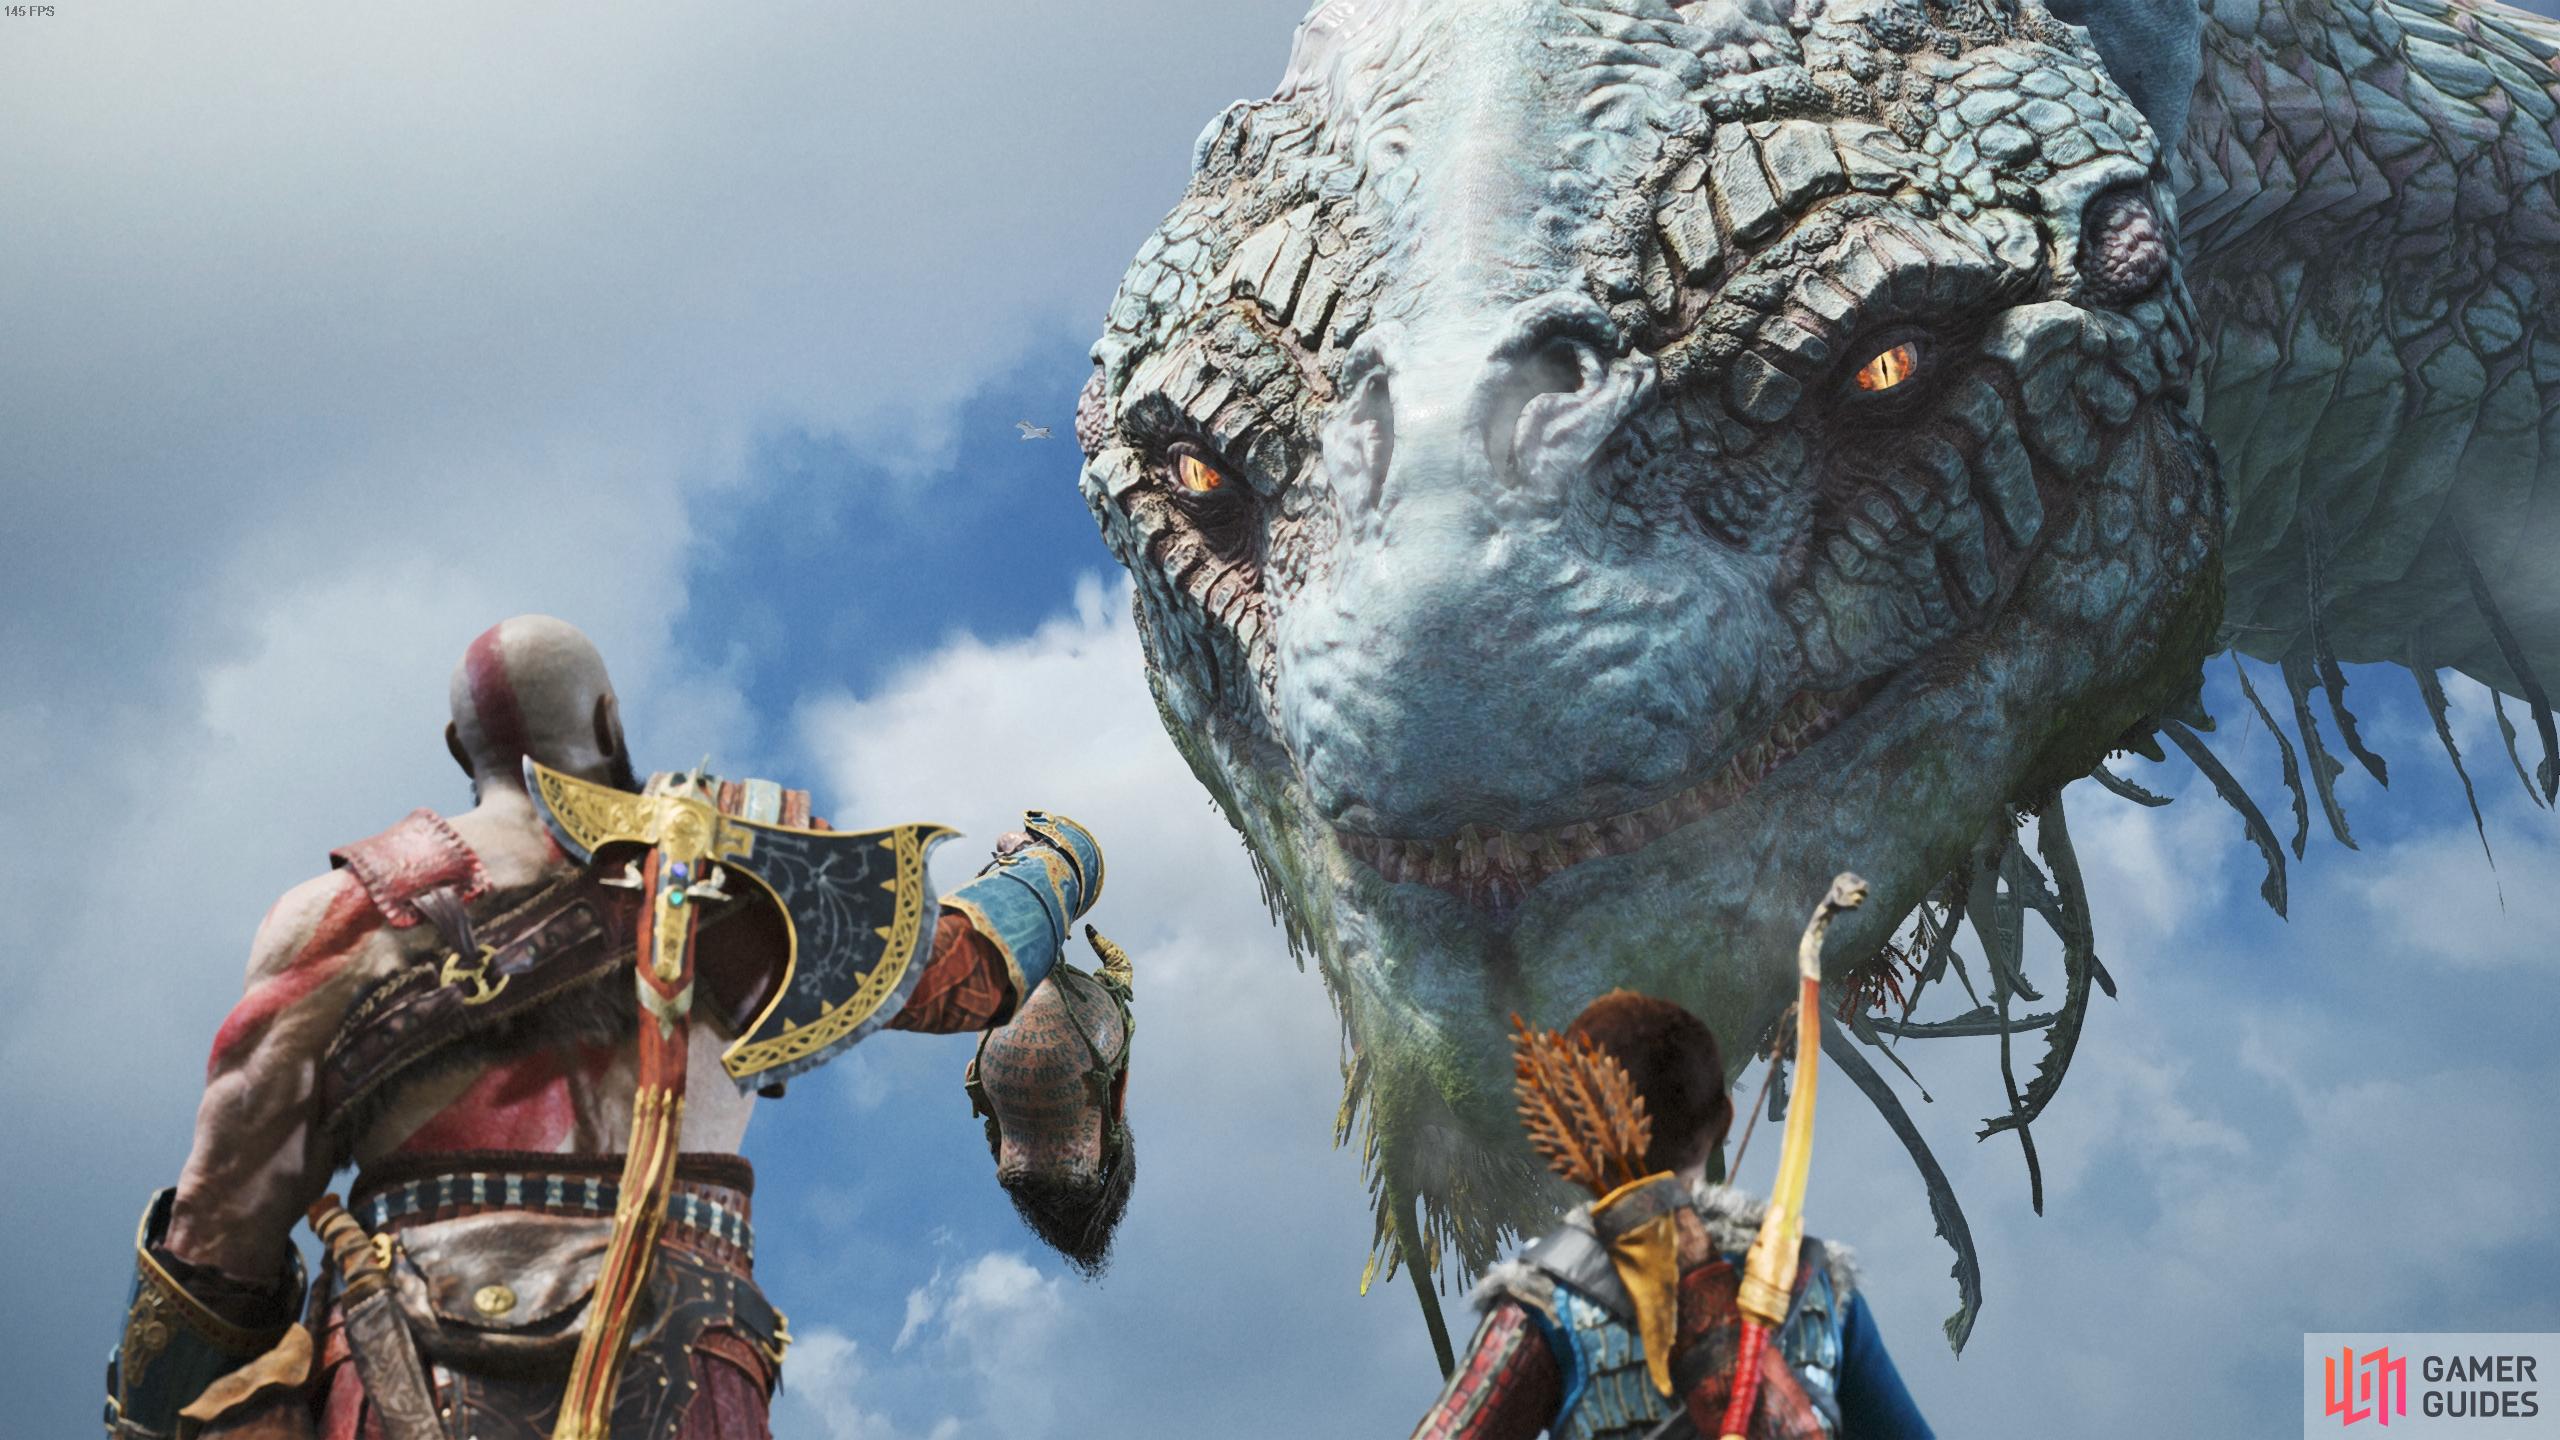
The Serpent’s Horn, God of War.
At this point, the walkthrough will once again take a break from the main journey and explore everything there is to see and do including completing favors and more. If you wish to continue with the journey, head on over to The Magic Chisel otherwise stick with the walkthrough for more exploration goodness.
No Comments