

The Realm of Fire
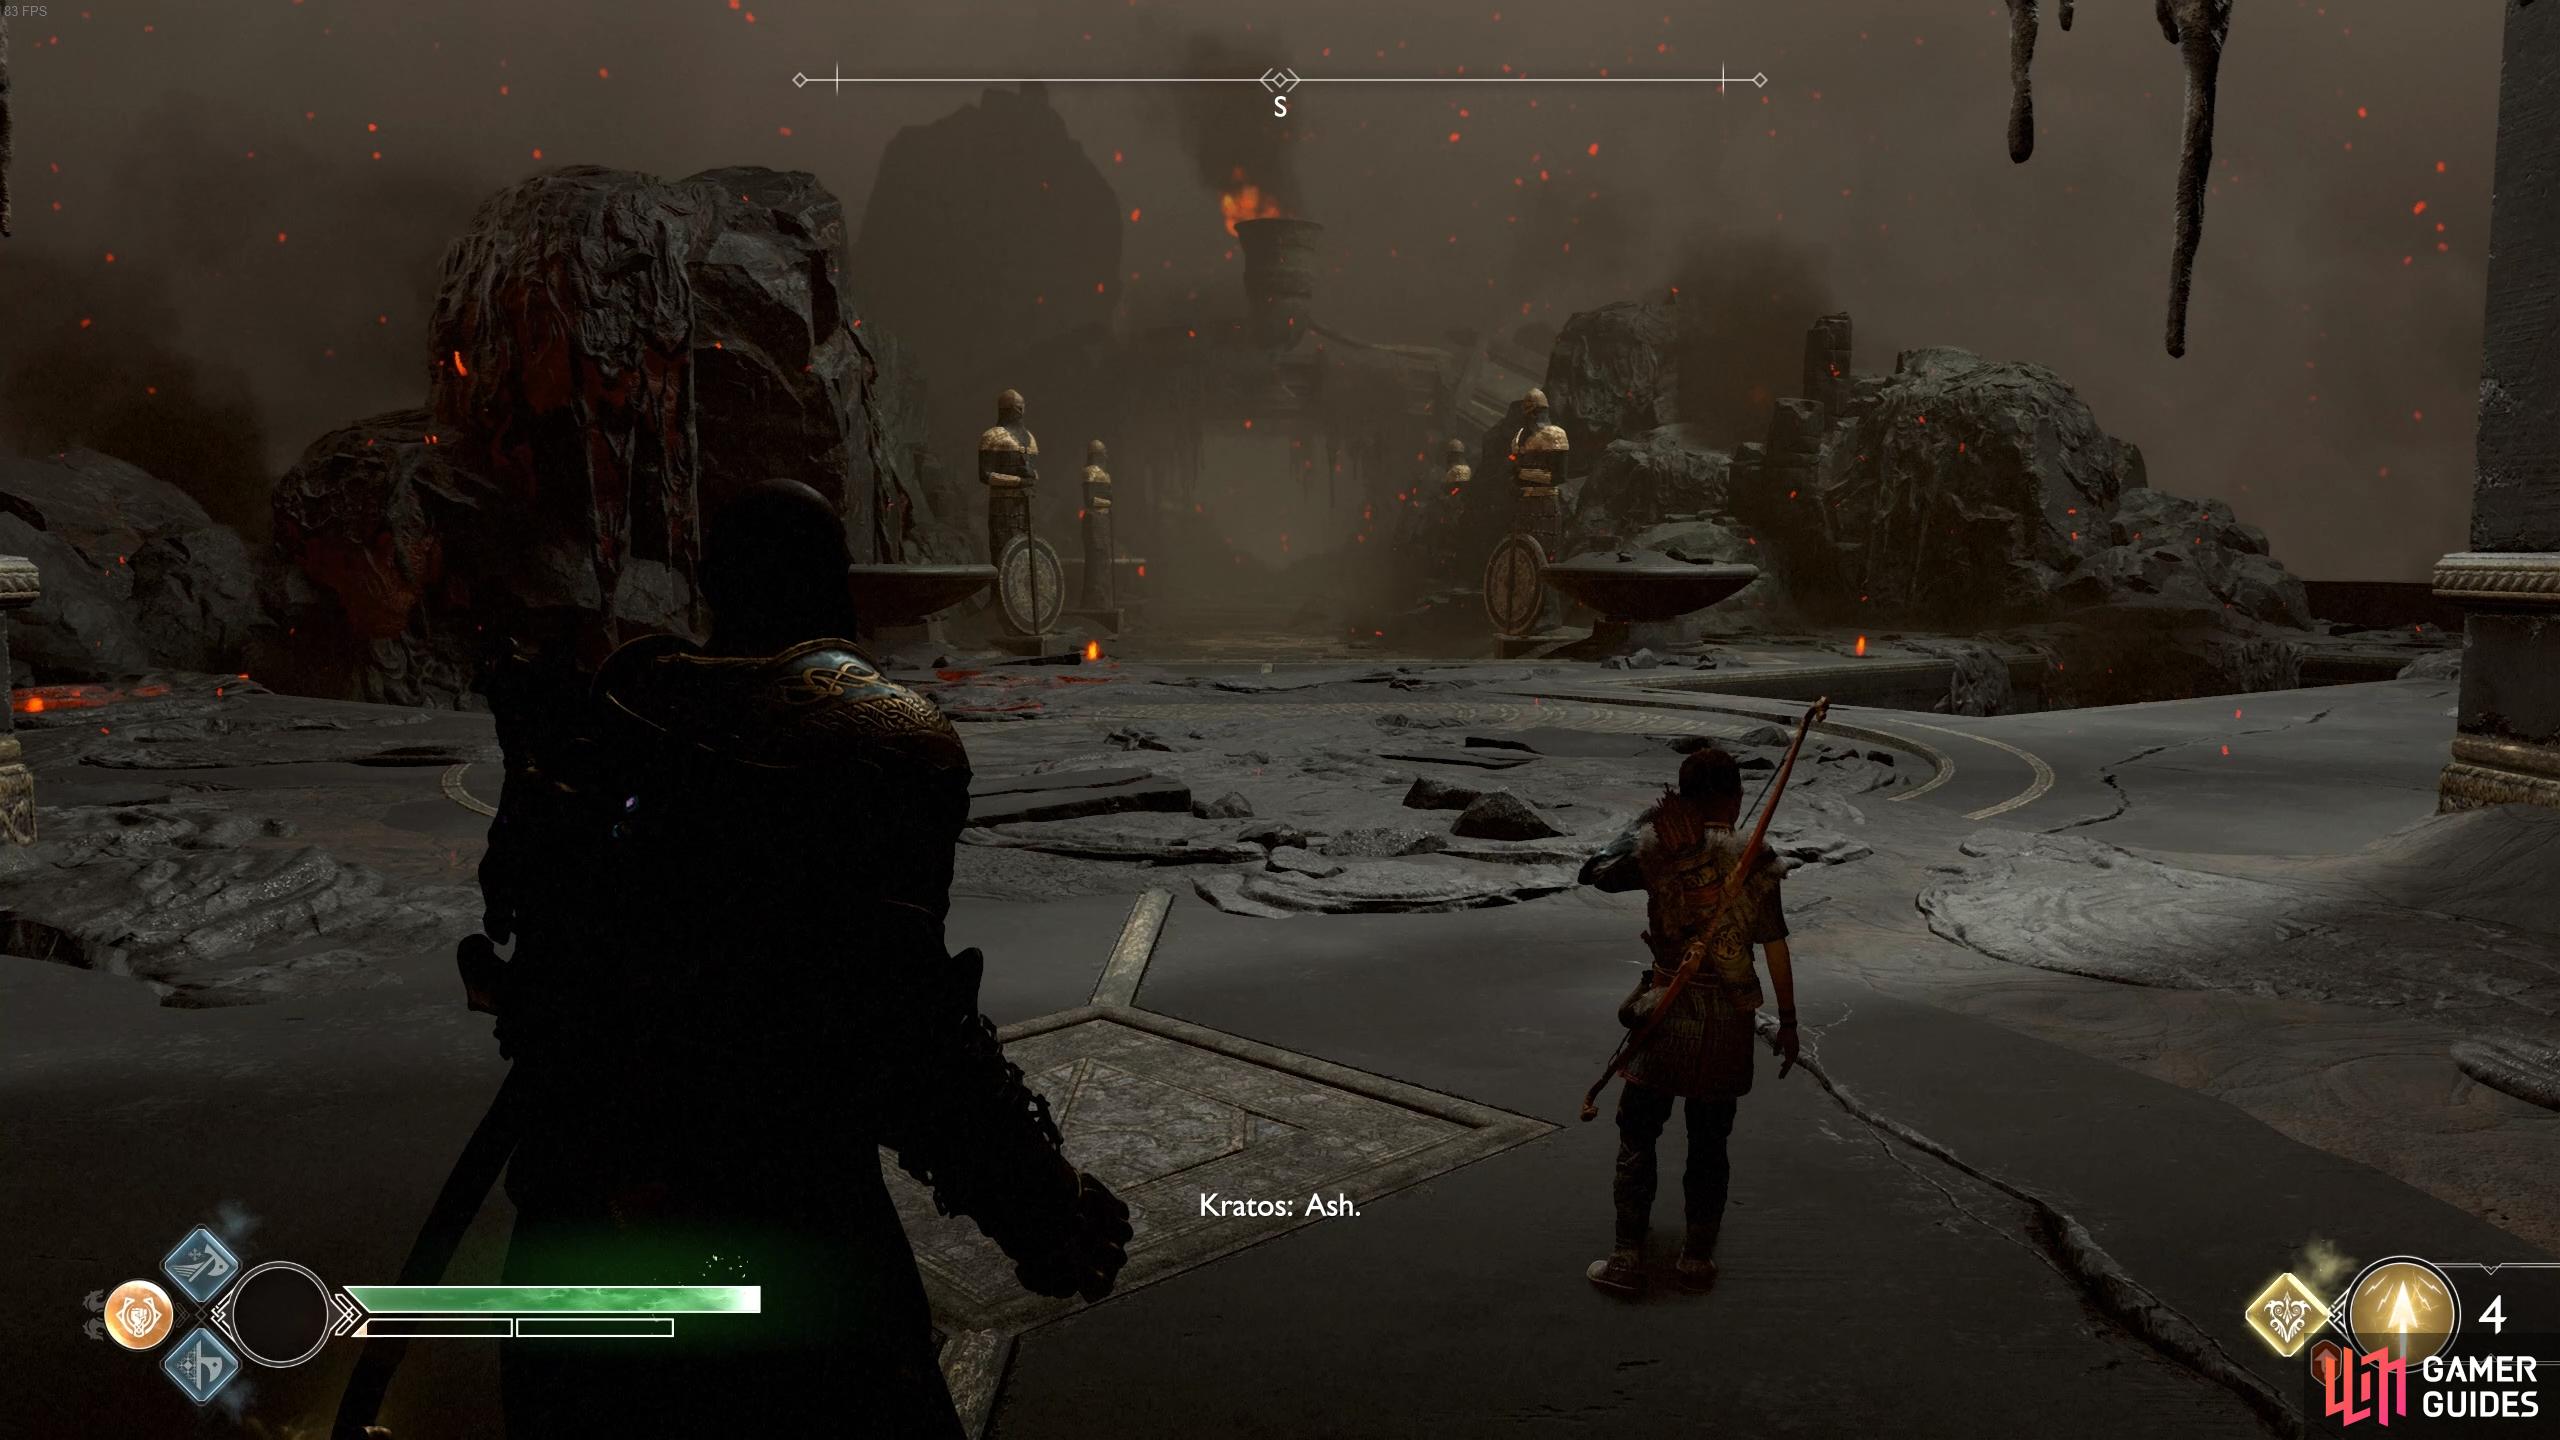
Muspelheim, God of War.
Muspelheim is unique in that you progress through the area by completing a series of combat challenges at five different arenas while you ascend the volcano, your primary objective. Upon completing the main objective, you’ll have to defeat a Valkyrie followed by five more “Impossible Trials” opening up. This allows you to access the final challenge of Muspelheim which will reward you with a Trophy and the chance to repeat it to earn the valuable resources on offer.
The Favors themselves take the form of Trials, one for each difficulty of the five arenas, Normal, Hard and Impossible. If you arrive at Muspelheim early on in the adventure then you’ll have to be more careful on how you tackle the area as the levels of the enemies increase as you reach the later trials. It’s for this reason that it’s recommended to leave this until you finish the Journey.
On your way to the first Trial, be sure to climb to the right to find a coffin with some useful resources.
Trial I: Normal, Time Attack
| Objective | Reward |
|---|---|
| Kill enemies [15] before time runs out [03:00] | 615 XP, Smoldering Ember x8, Hacksilver |
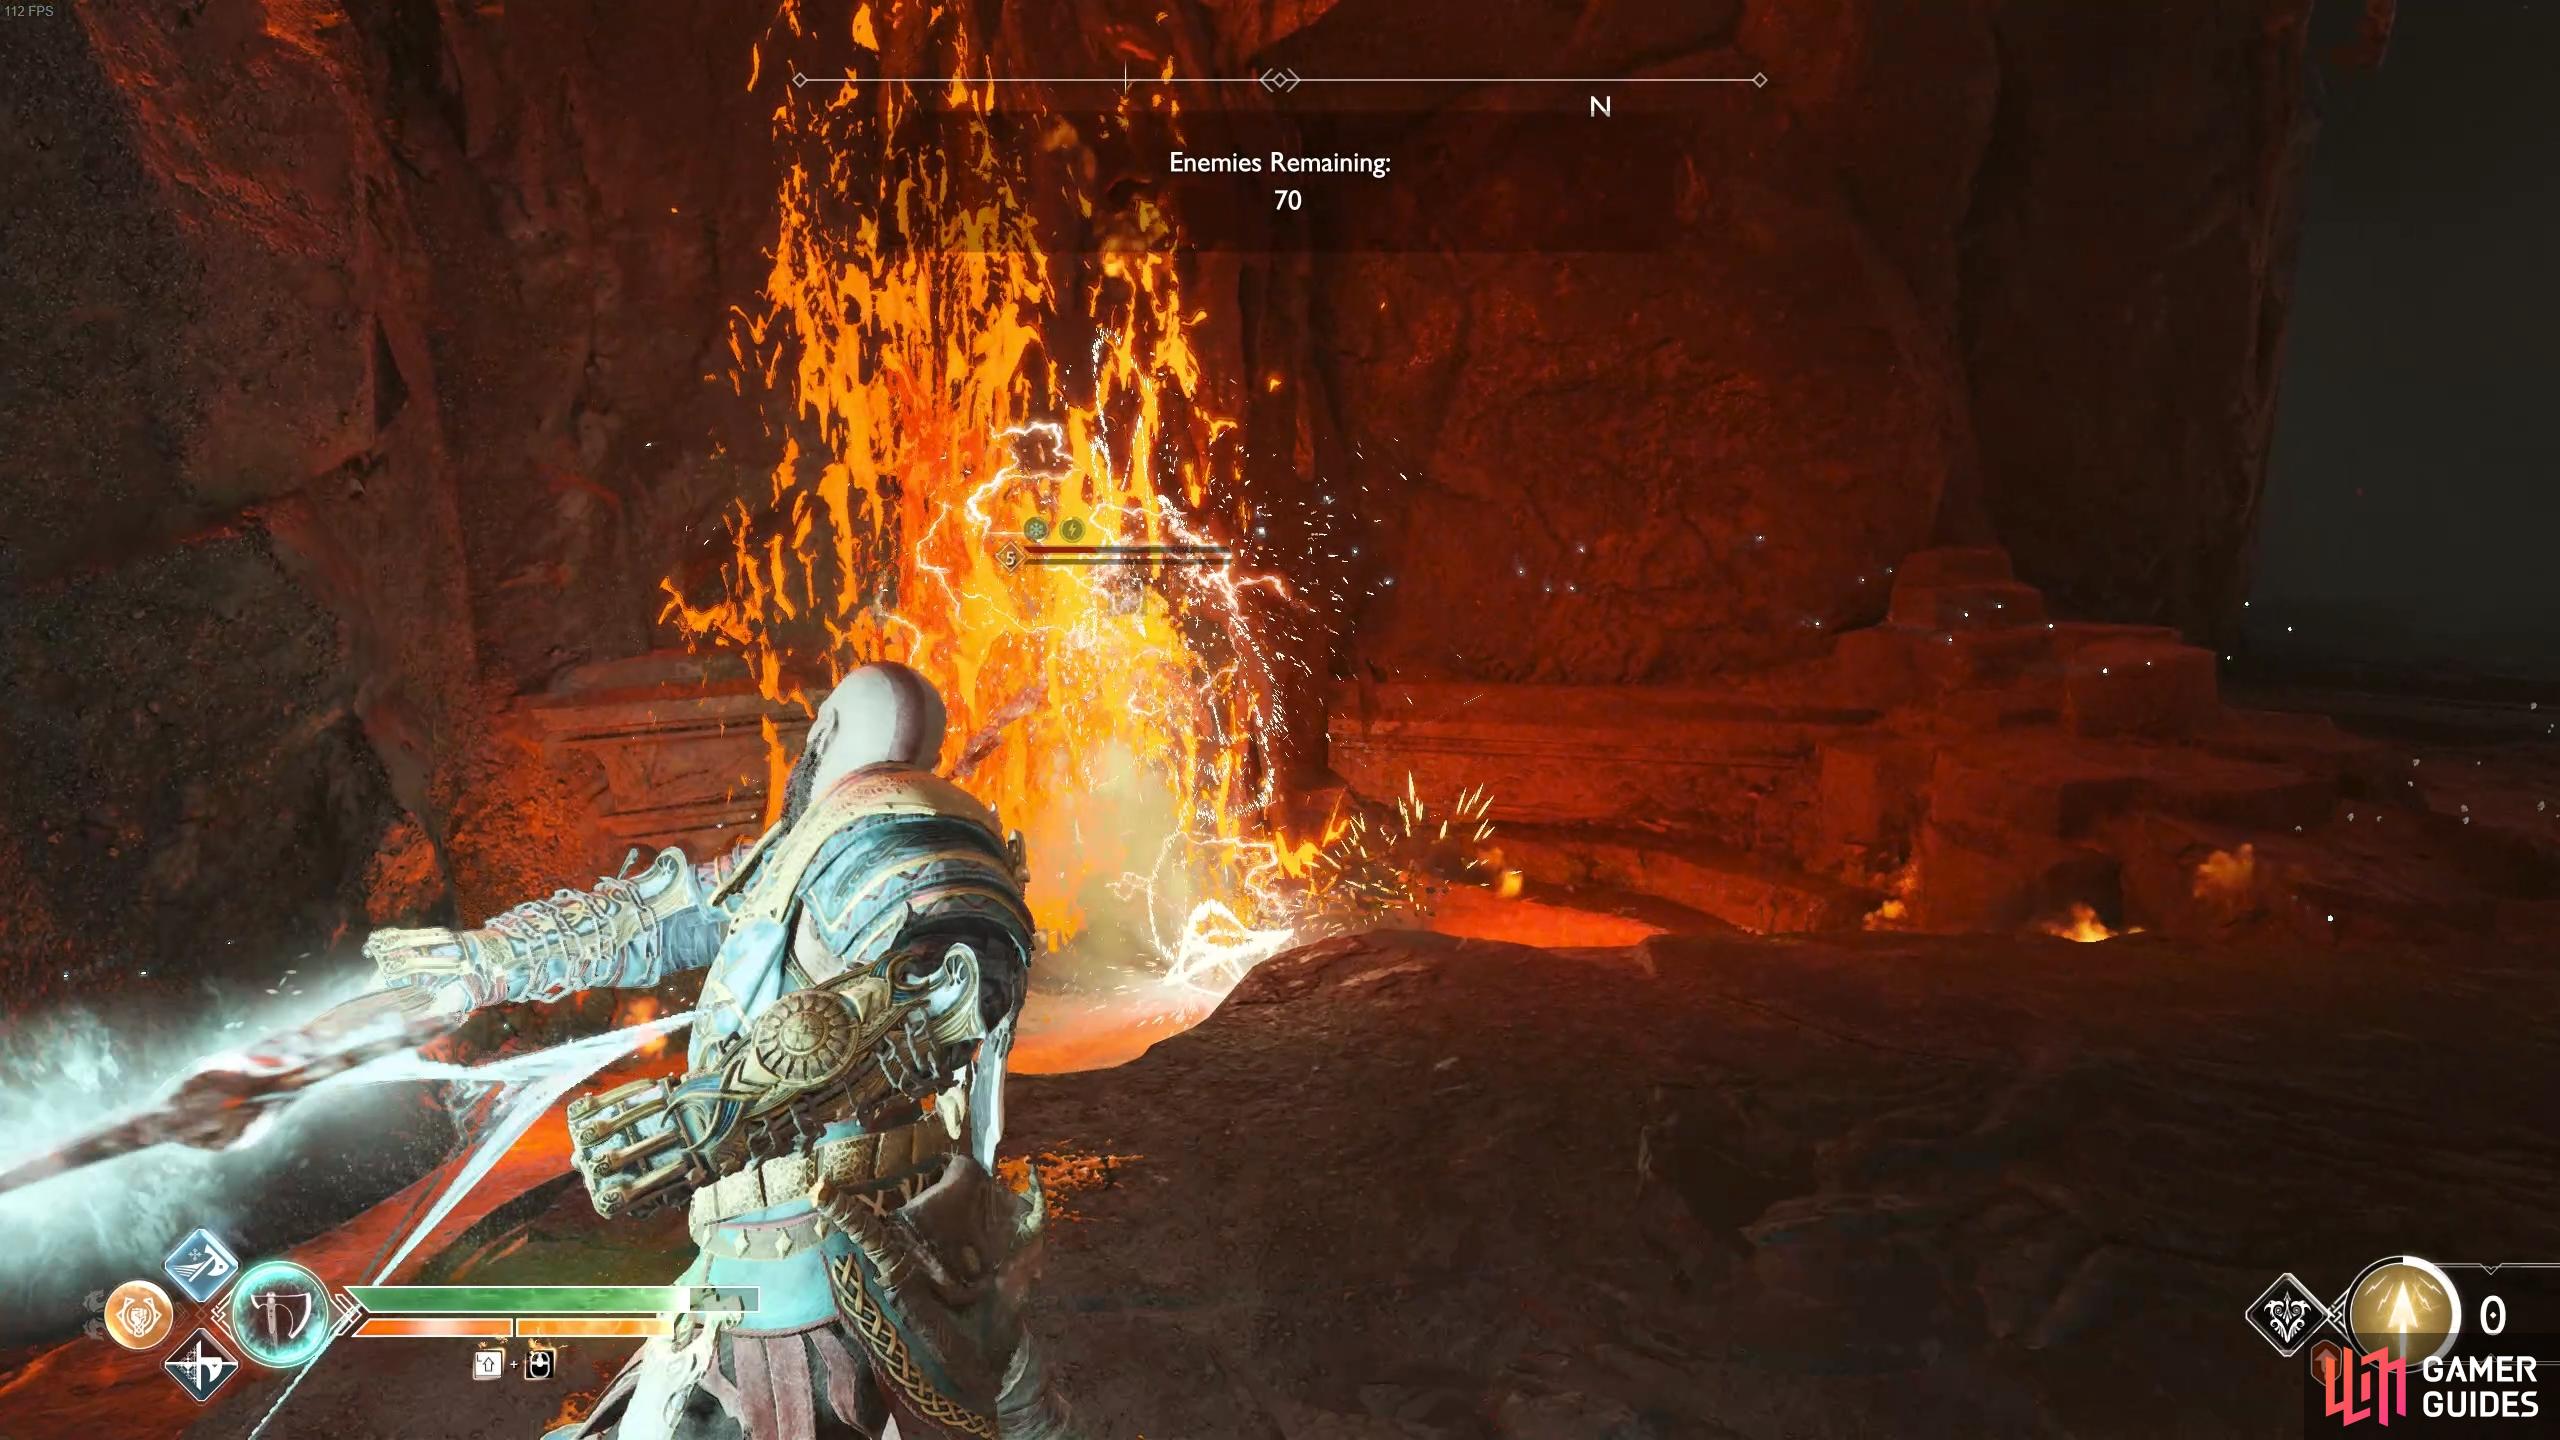
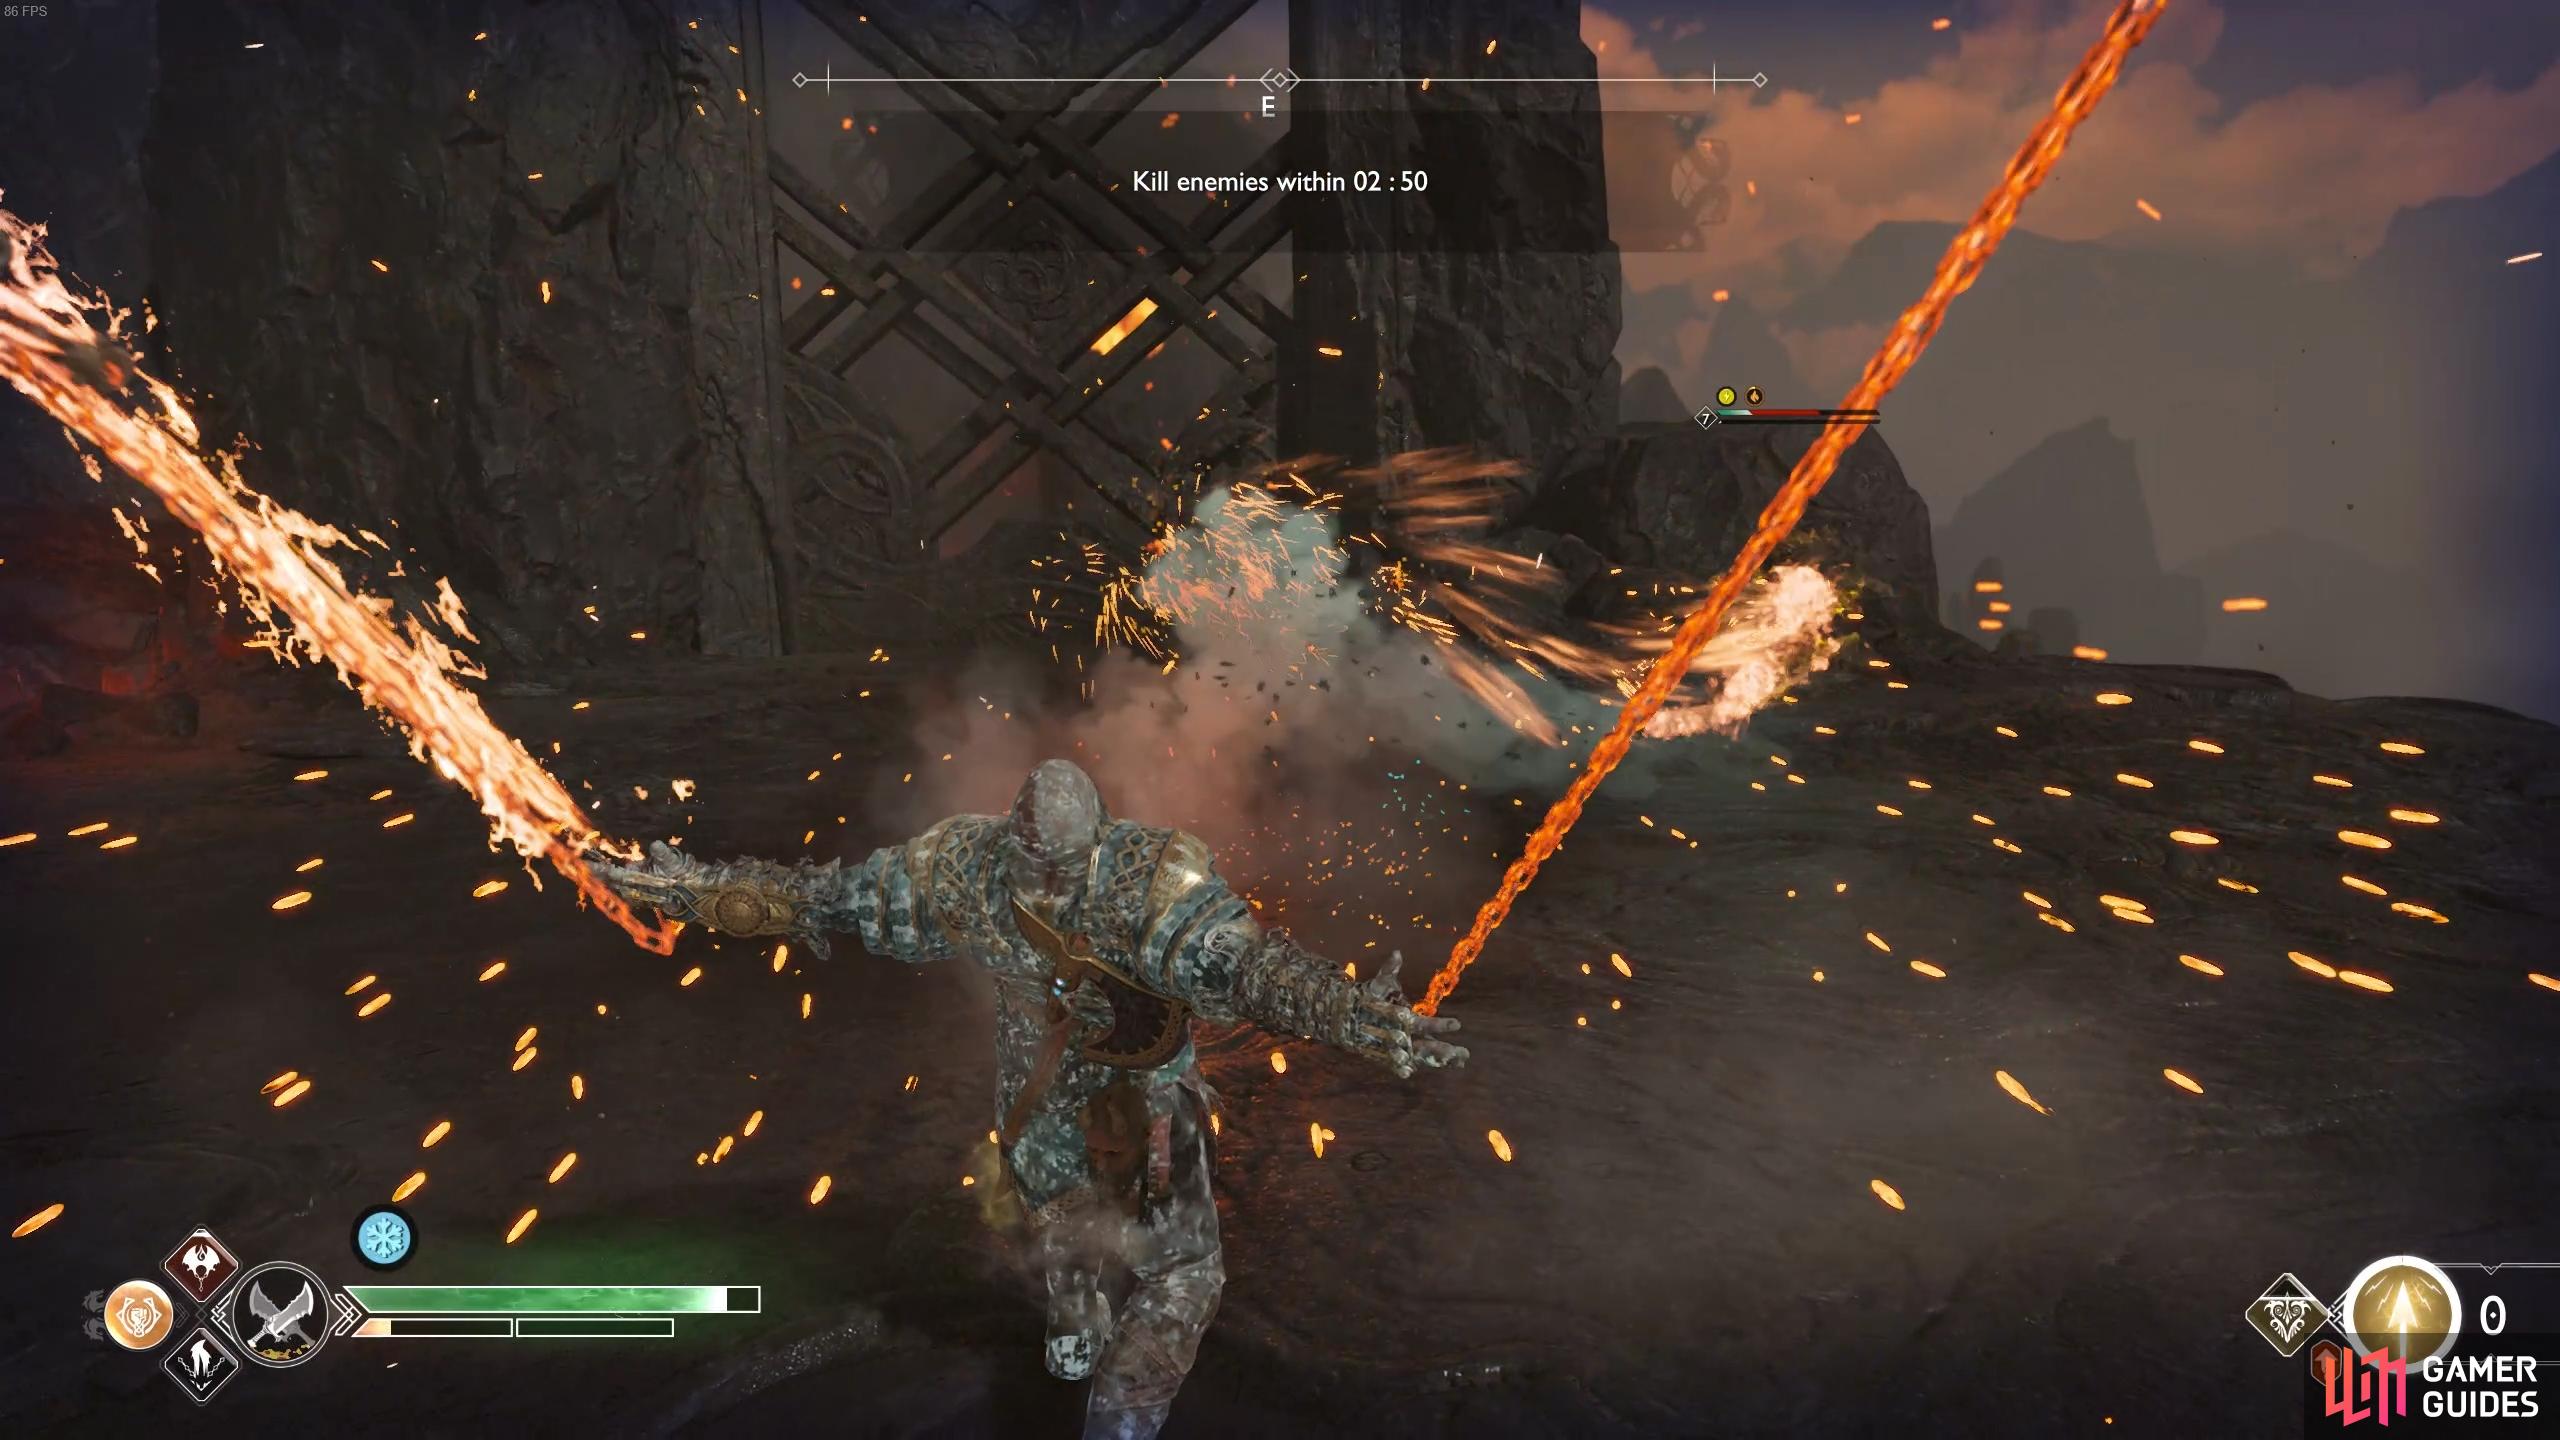
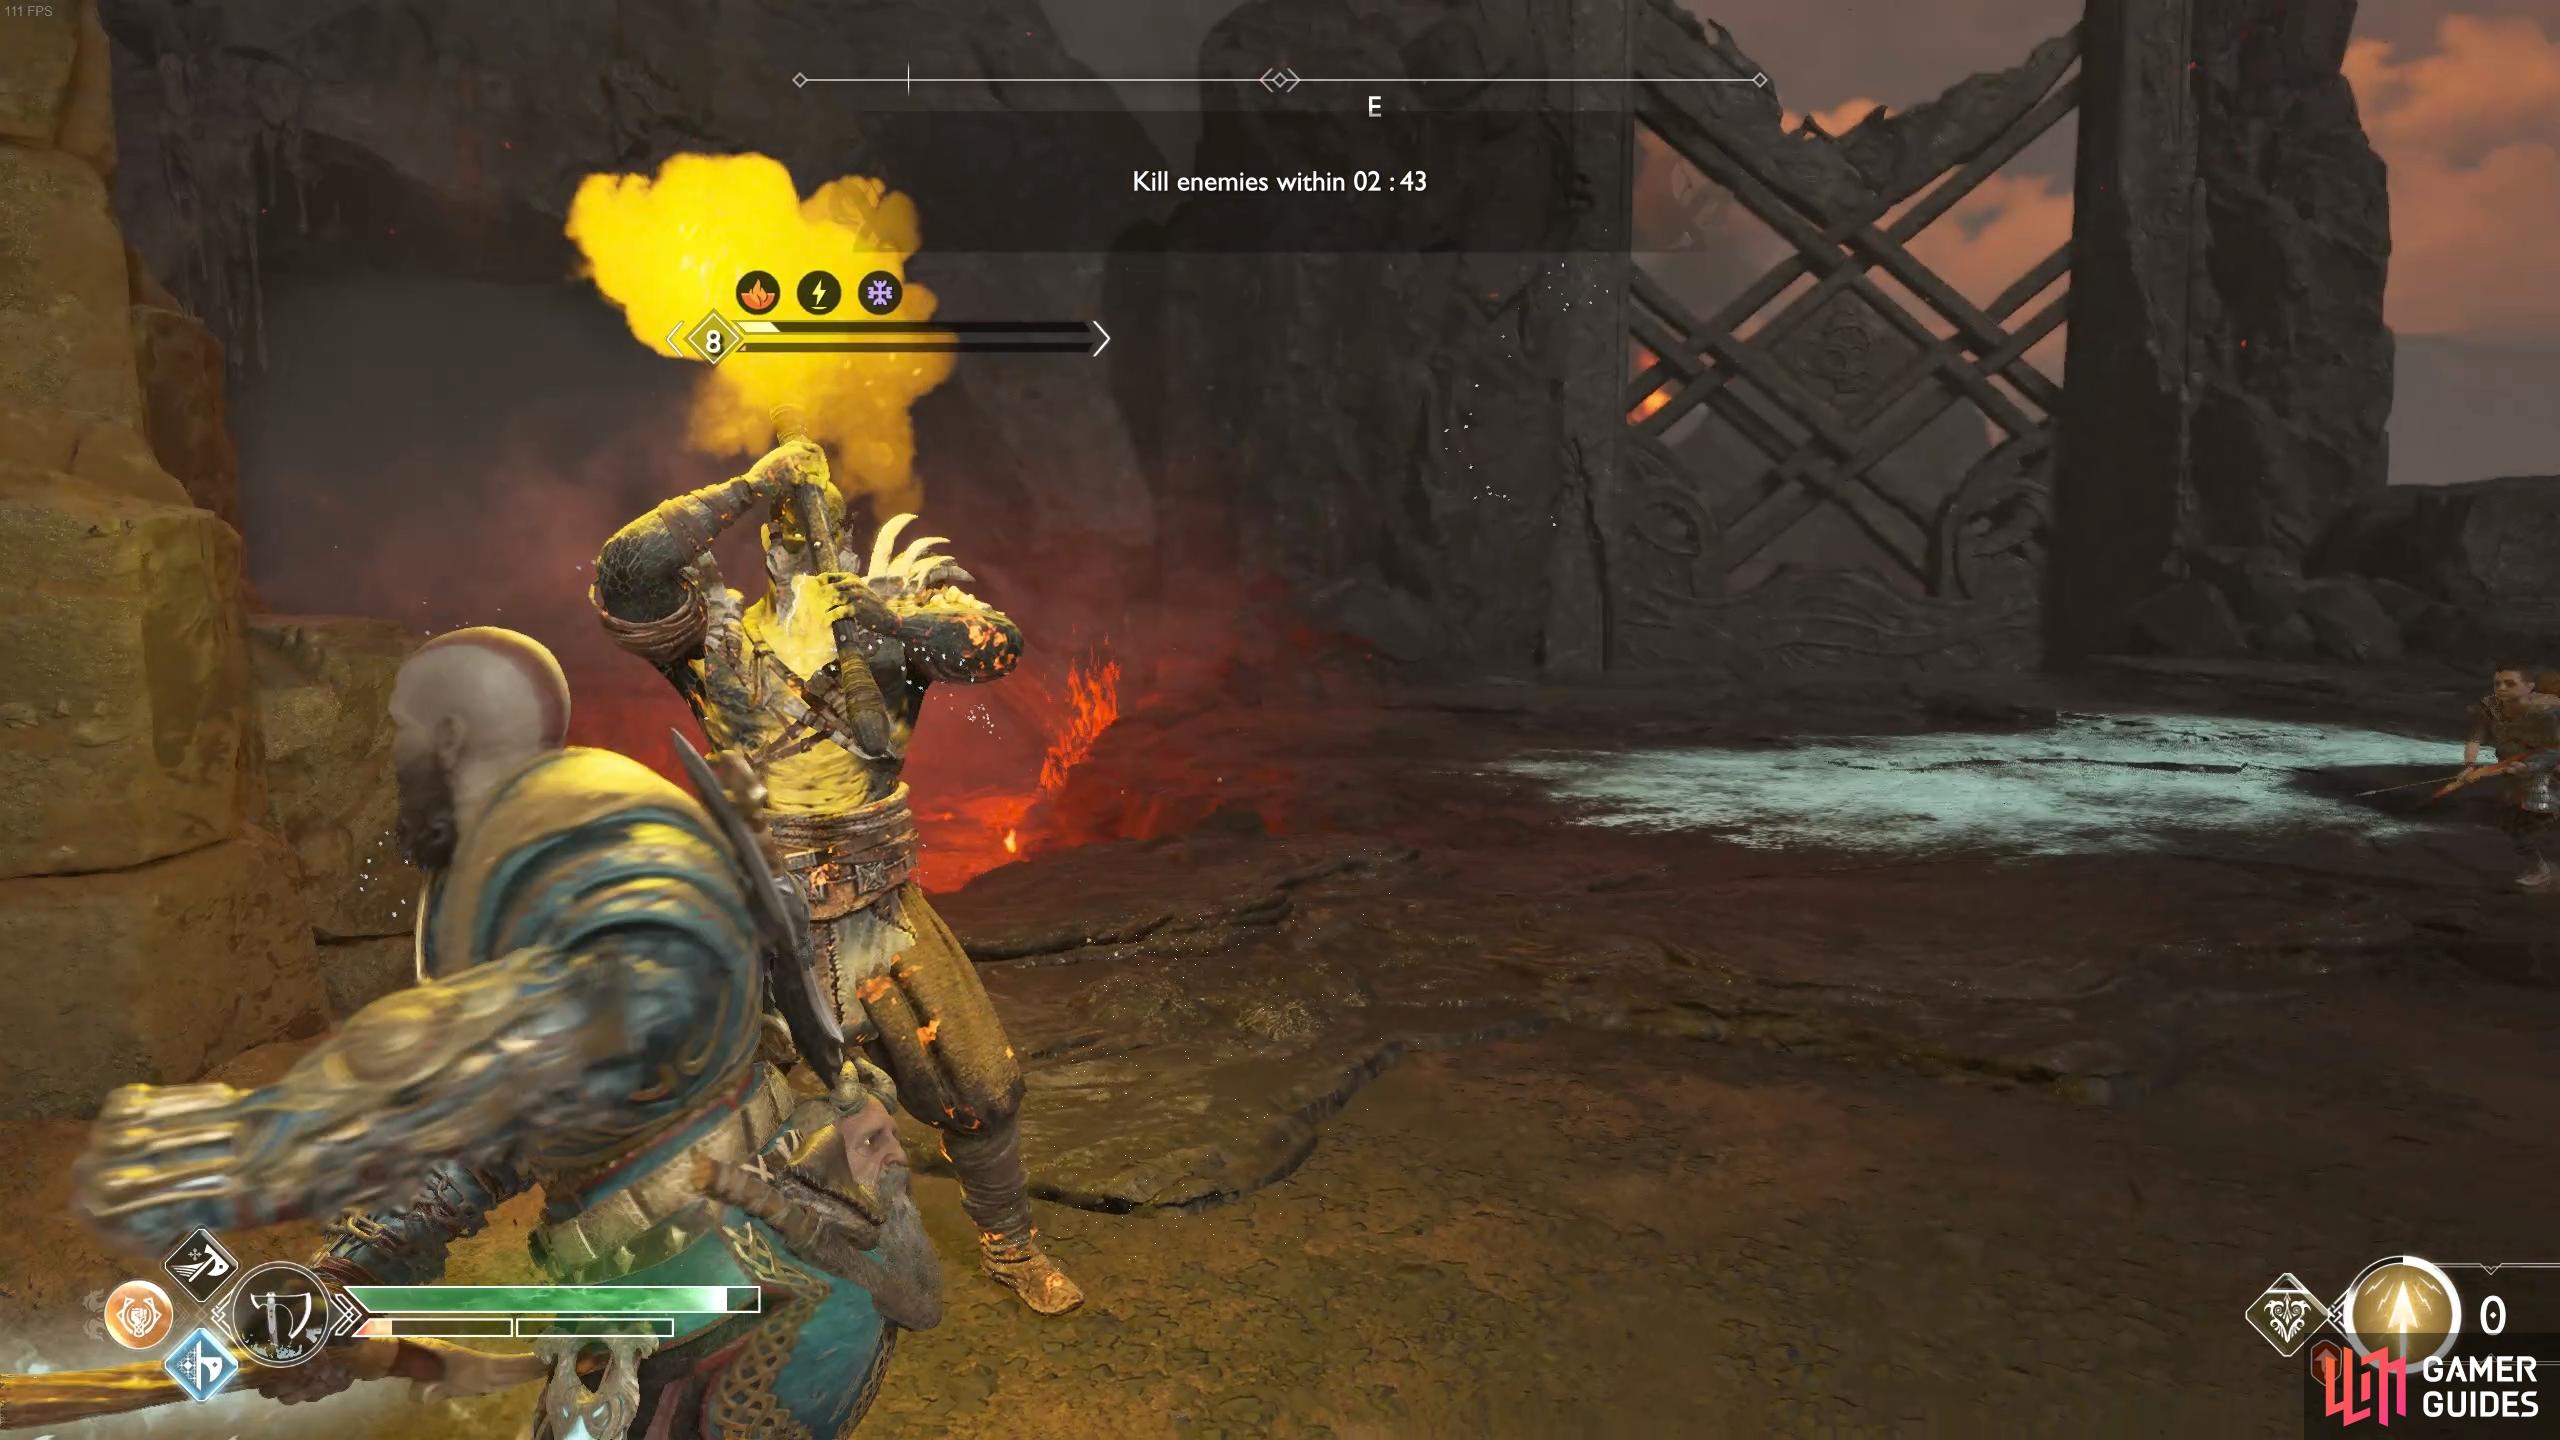
You’ll have 3 minutes to defeat all of the Draugrs that spawn through the doors and up the cliffs. Make note of the cliffs especially, you can use this to your advantage during Muspelheim (and later Trials) to knock enemies over the side to save yourself some time.
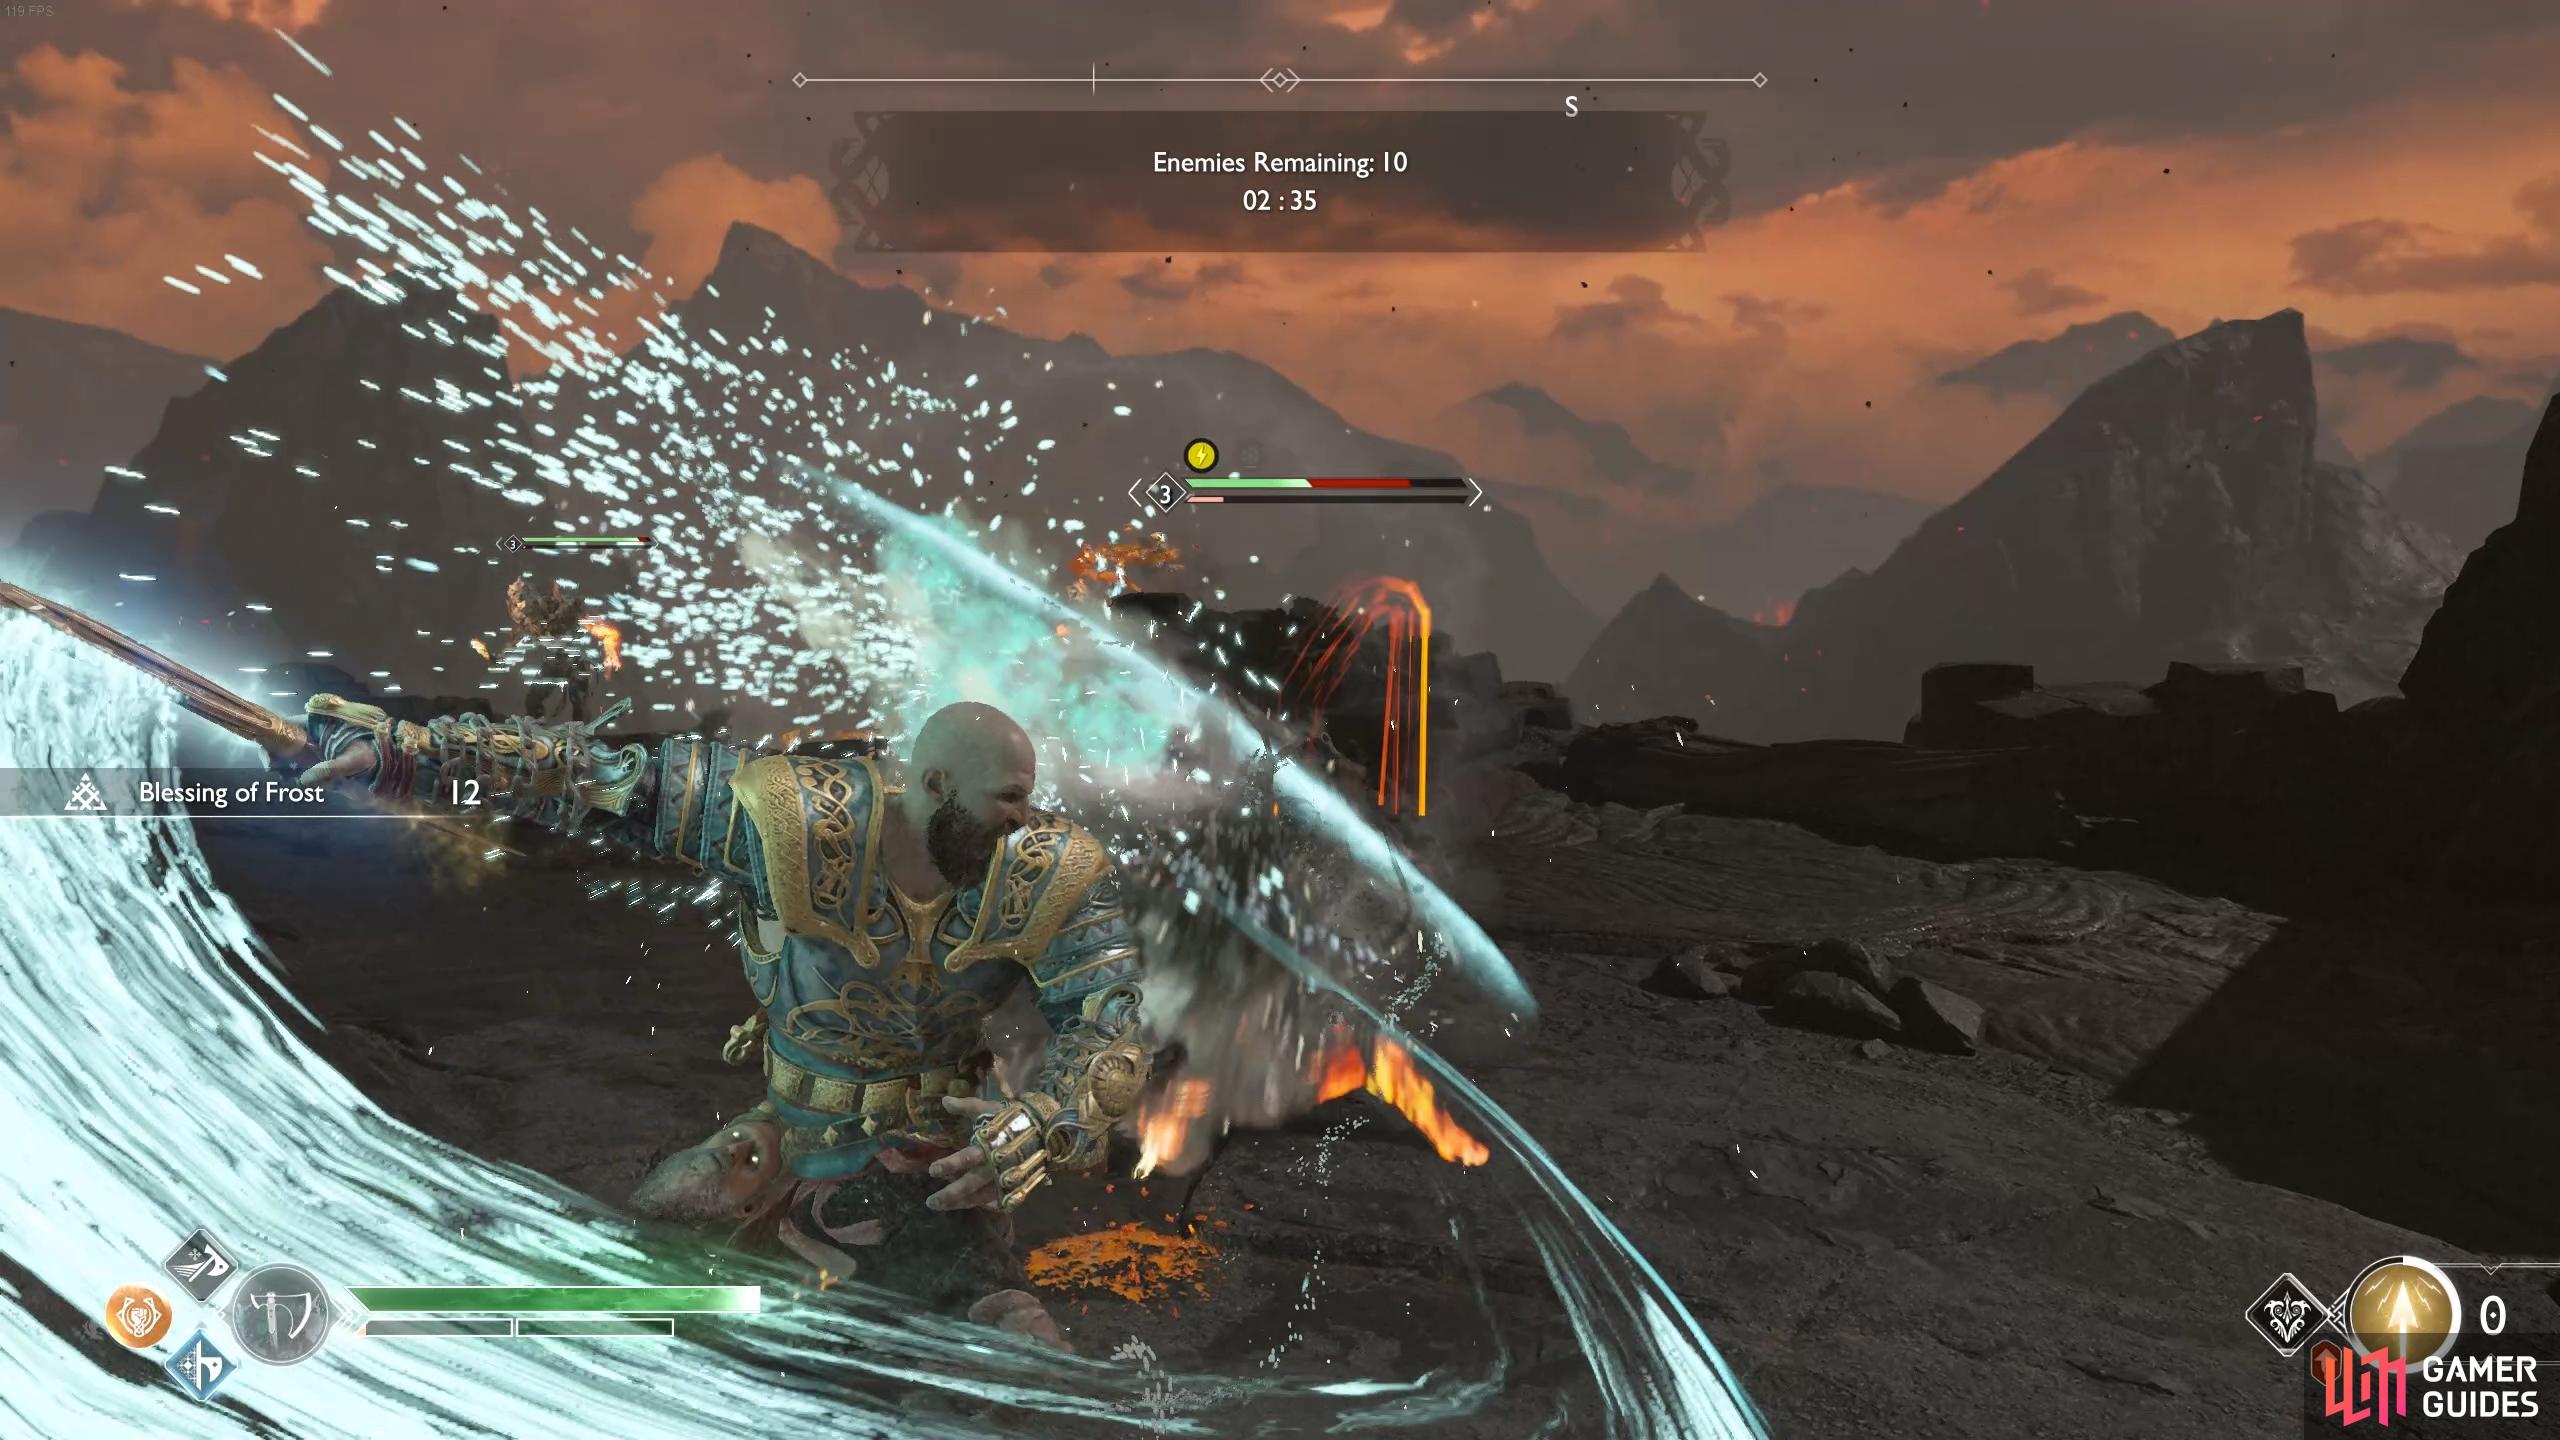
Blessing of the Frost will shred the enemies.
Make use of the cliffs in Muspelheim for easy kills.
The Draugrs are not an overly high level and consider this a warm up for what is to come later. Make use of your Runics if you find yourself surrounded and try to not get too greedy with your attacks, especially against the Heavy Draugrs, 3 minutes is plenty of time.
All trials will reward you with a Legendary Chest upon their completion, containing the rare resources to craft the Muspleheim items (or upgrade other high end armor sets). Return to the sword after looting the chest to begin the Hard version of the trial.
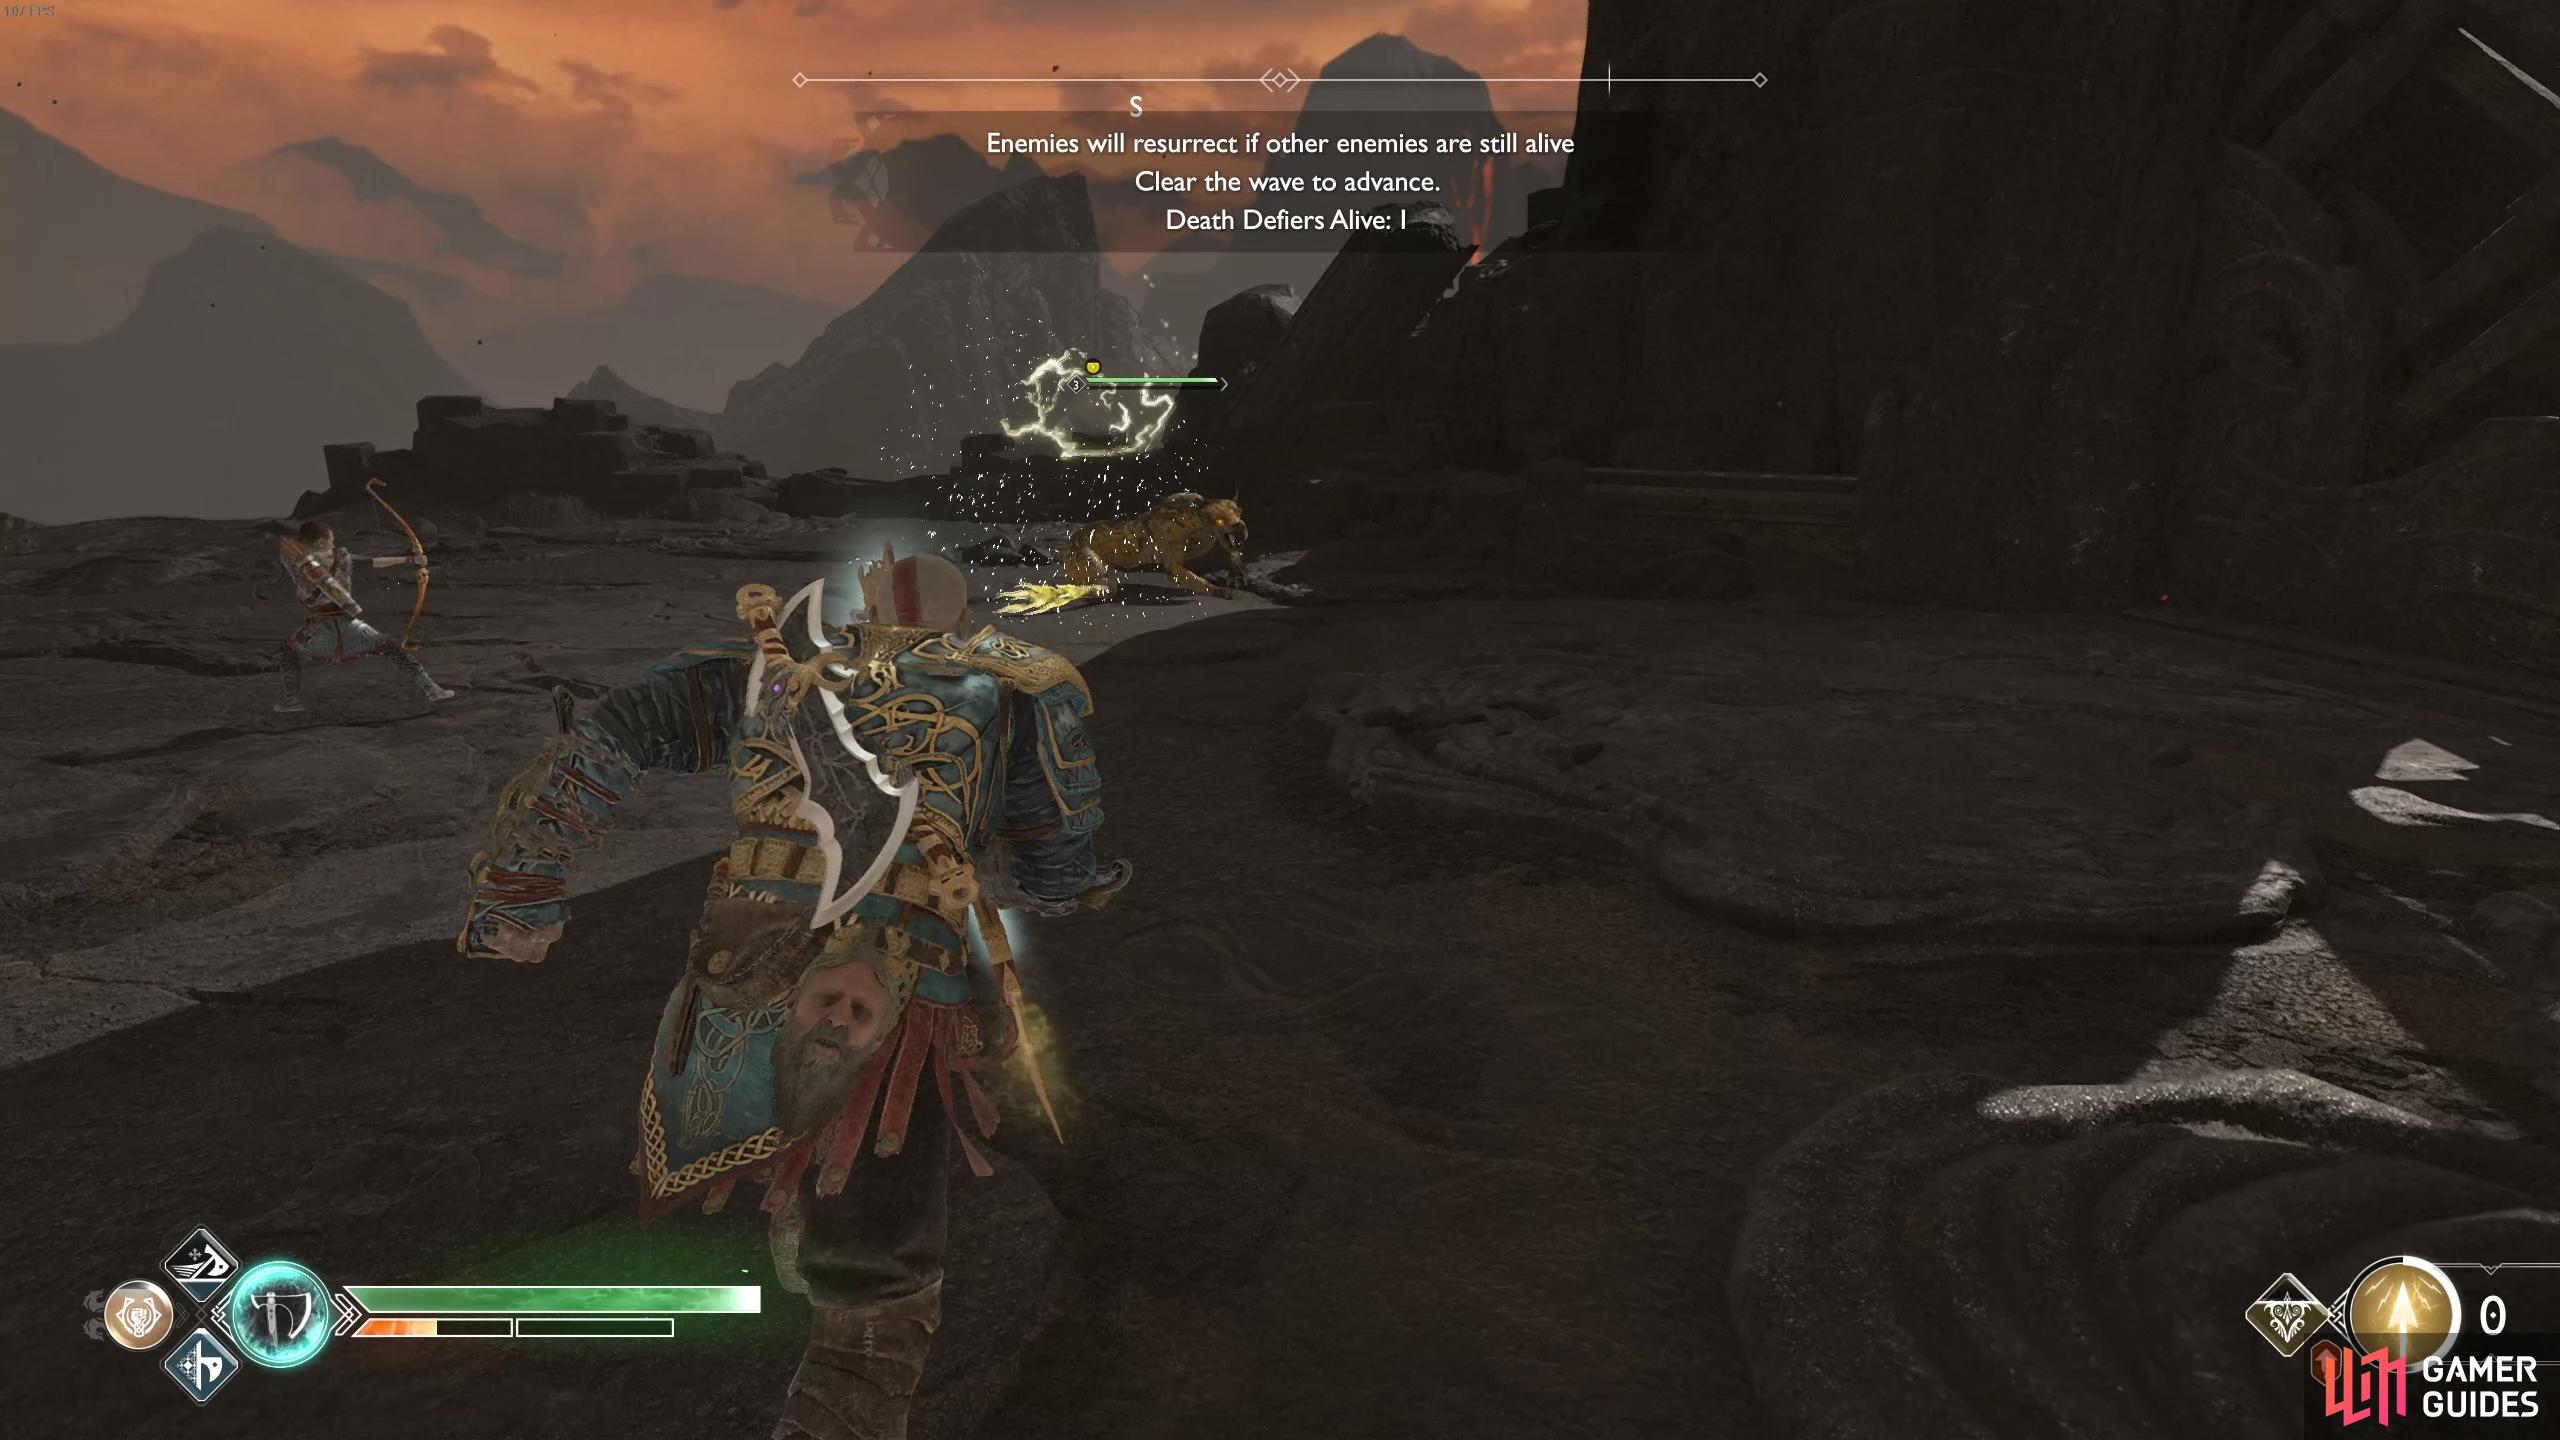
Trial I: Hard, Resurrection
| Objective | Rewards |
|---|---|
| Kill enemies in quick succession | 1075 XP, Smoldering Ember x12, Hacksilver |
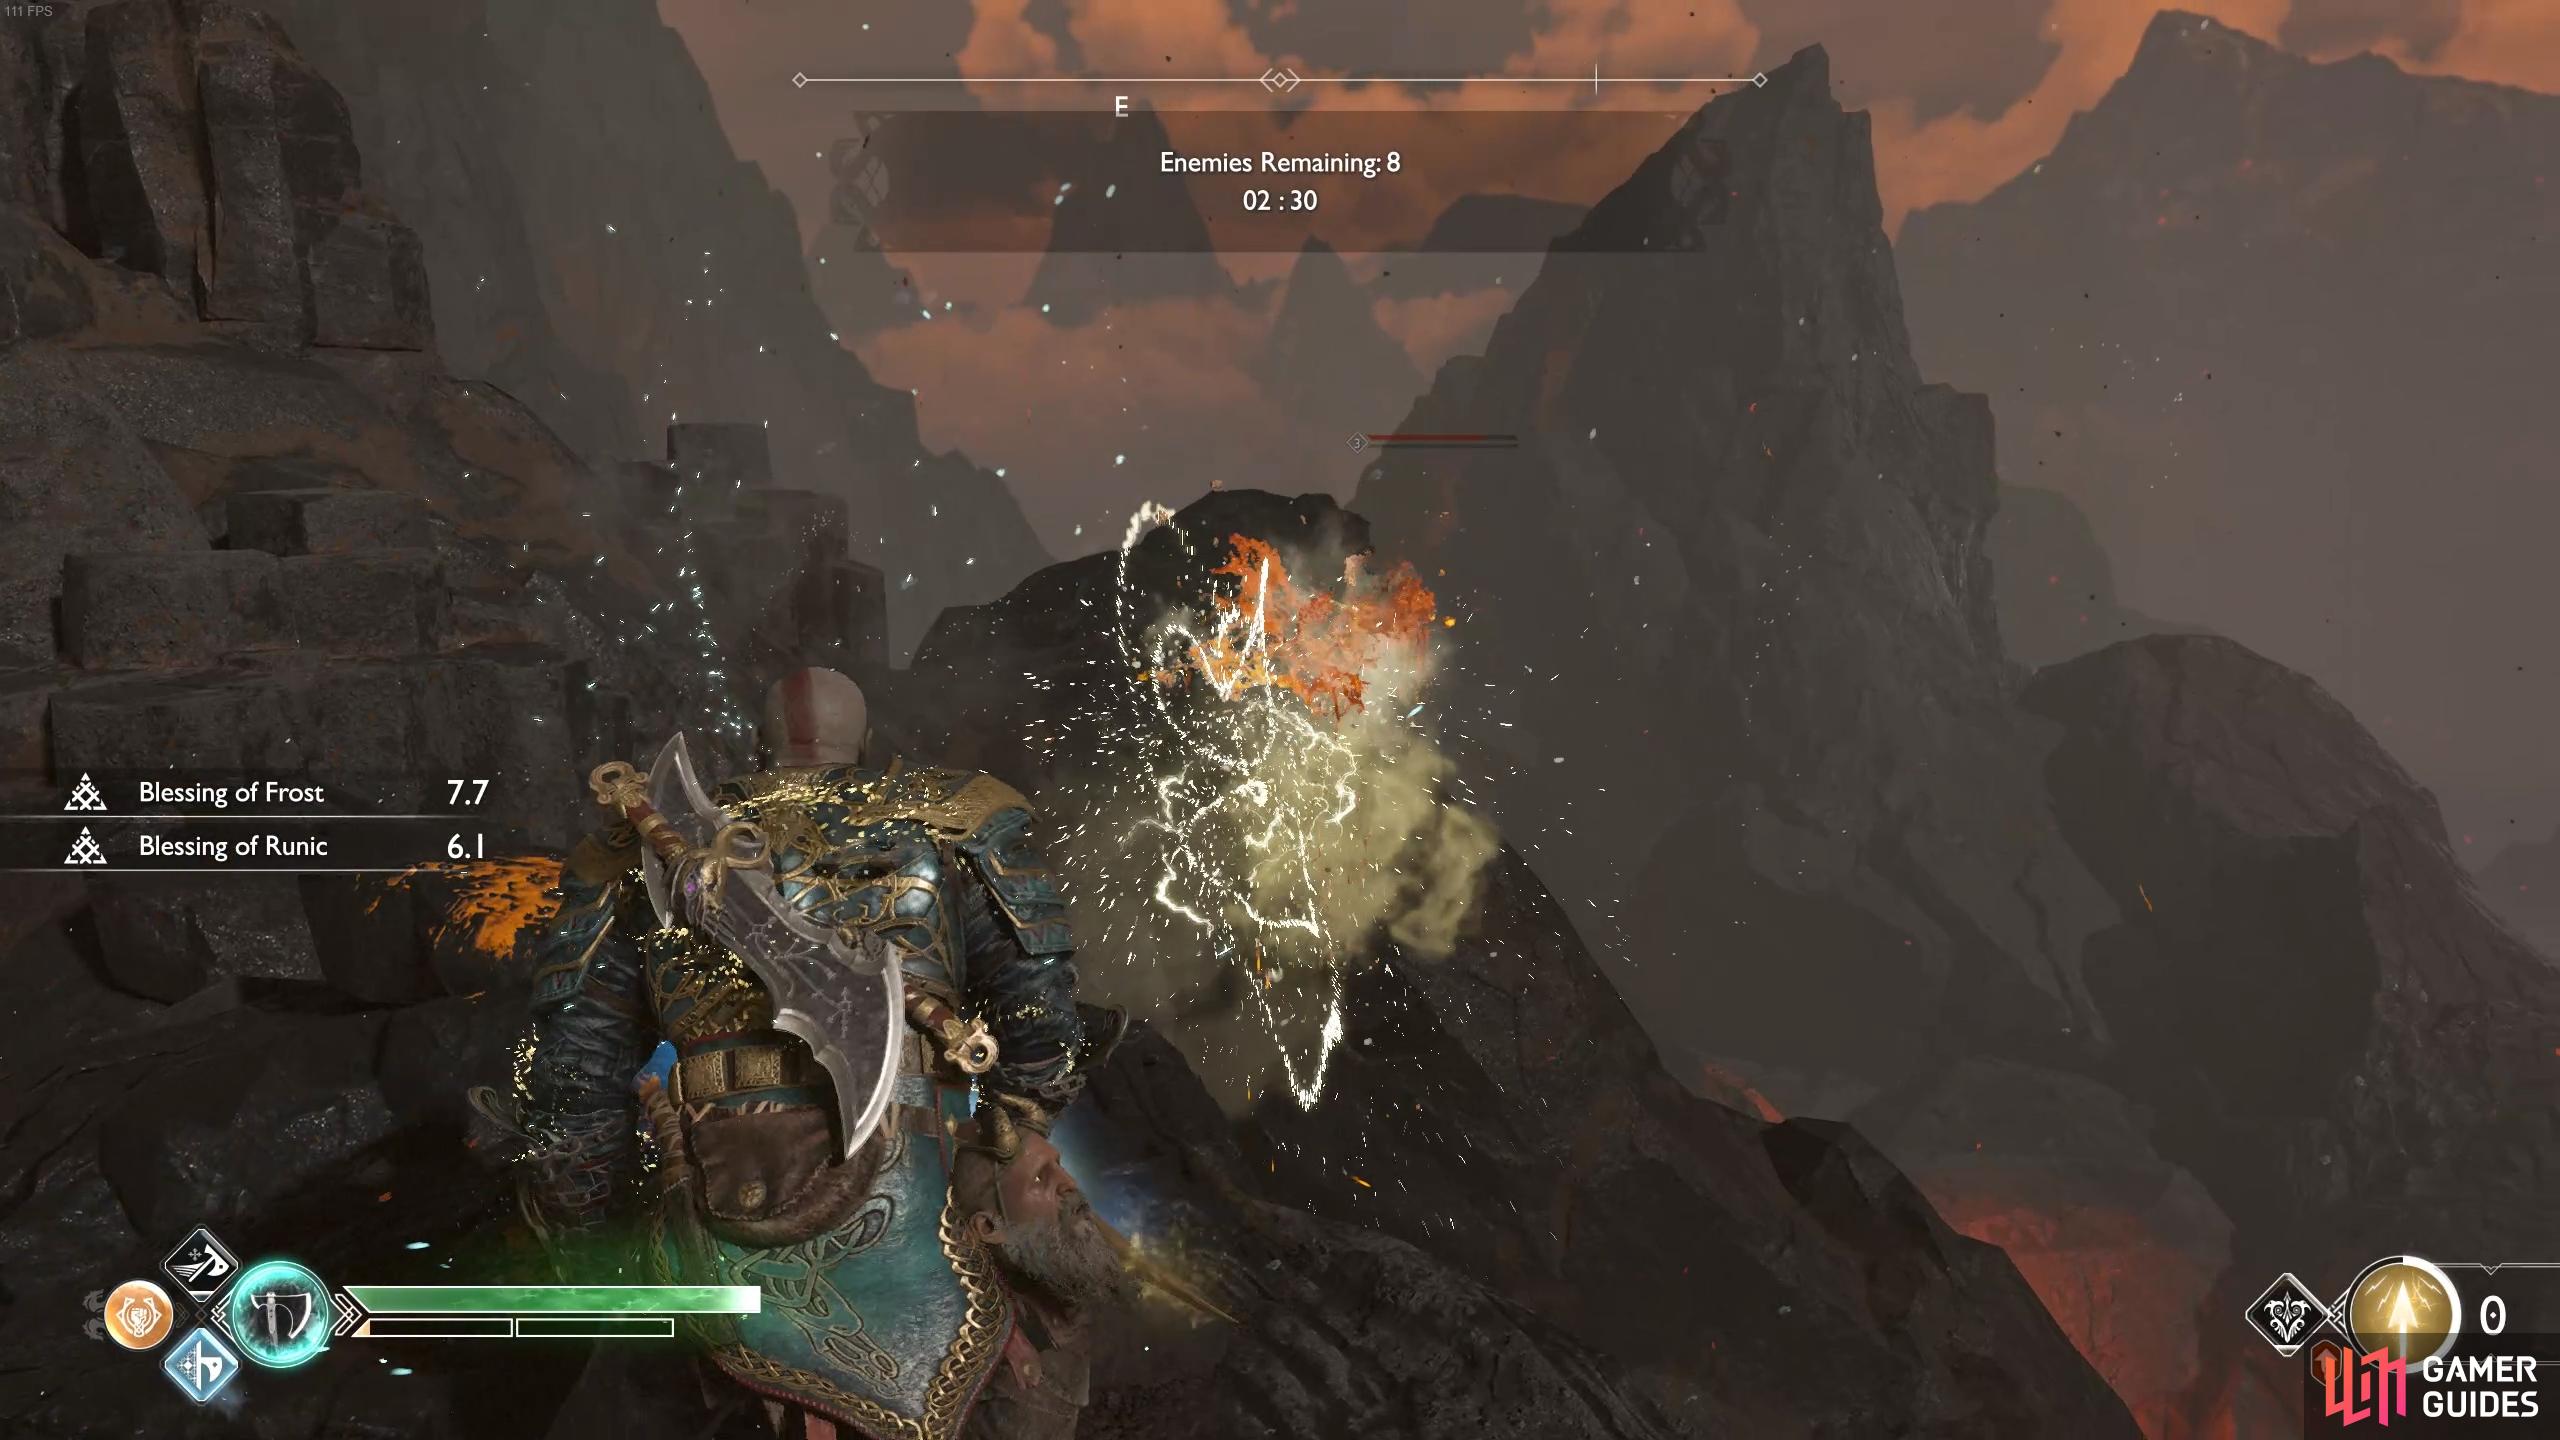
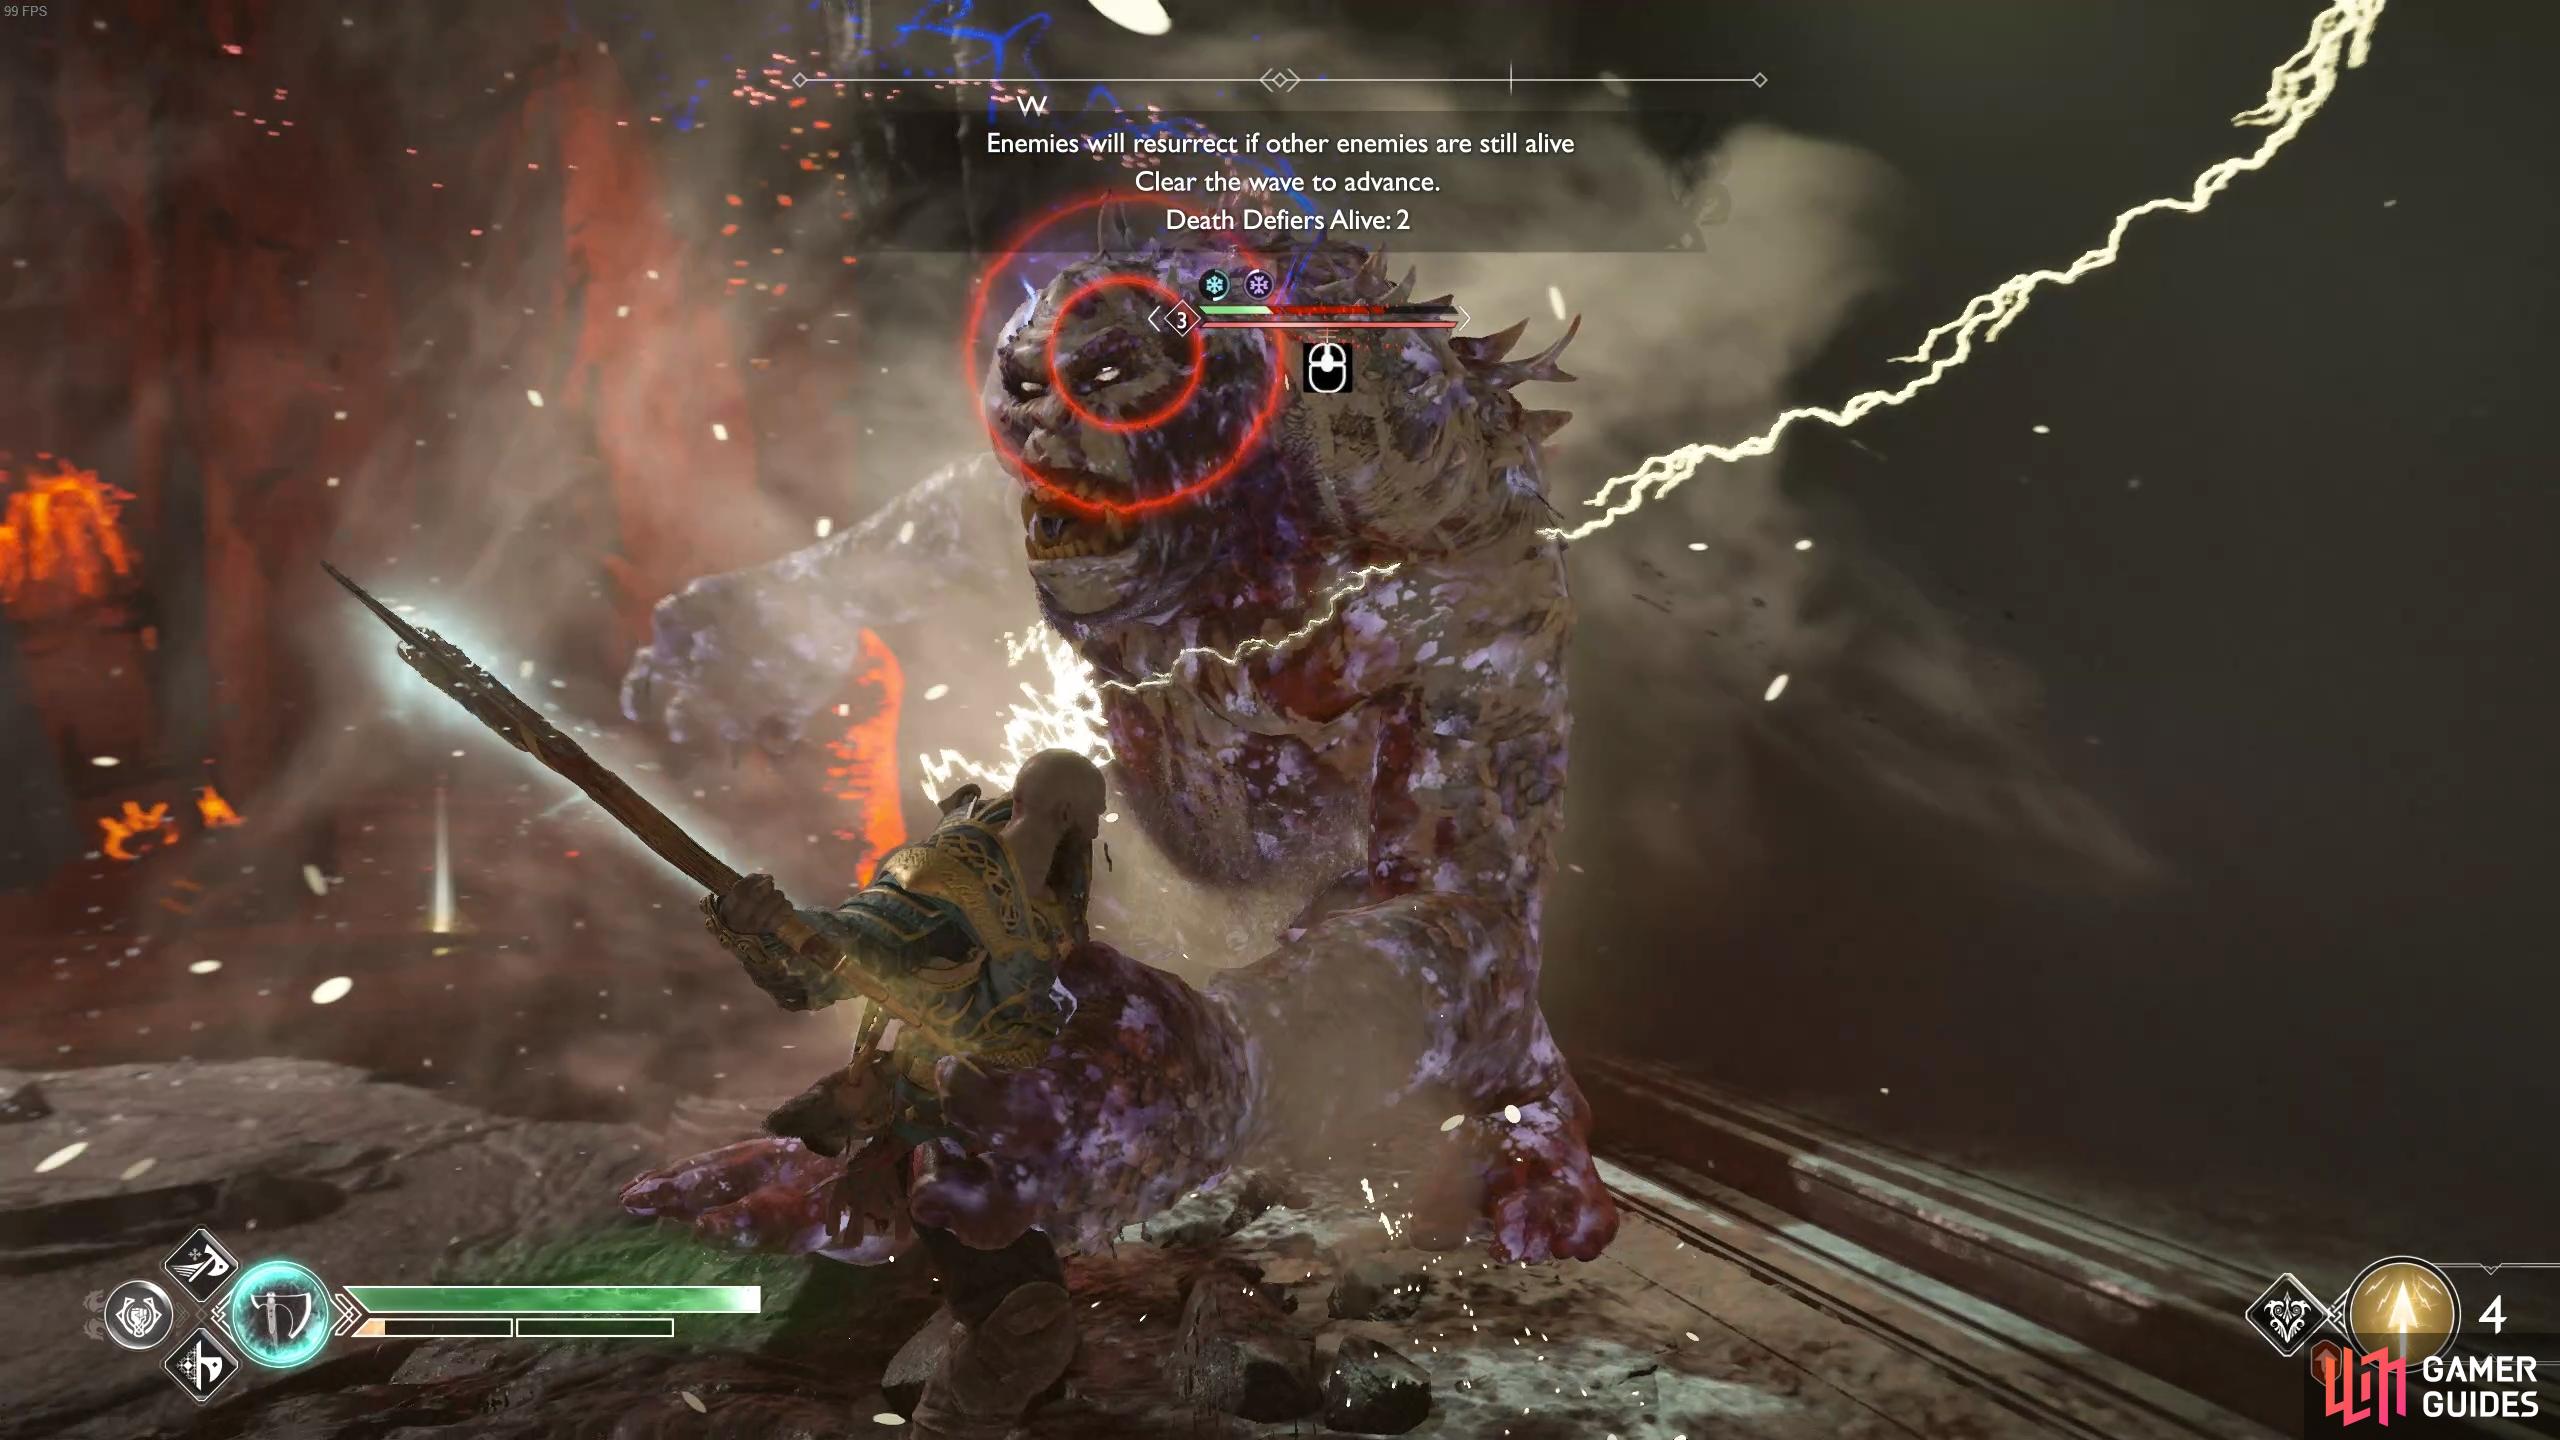
It gets a little more difficult now as you may expect, not only do you have to defeat the enemies but you must defeat all of that particular wave quickly to prevent them from reviving. You’ll notice at the top of your screen the “Death Defiers Alive” indicator, this informs you of how many are still alive of that particular wave.
You don’t have to worry about a time limit however so you can take your time and plan your actions. At higher levels you should have no problems taking out all of the enemies quickly but at lower levels, try to target the larger enemies first and whittle them down before returning to the smaller ones.
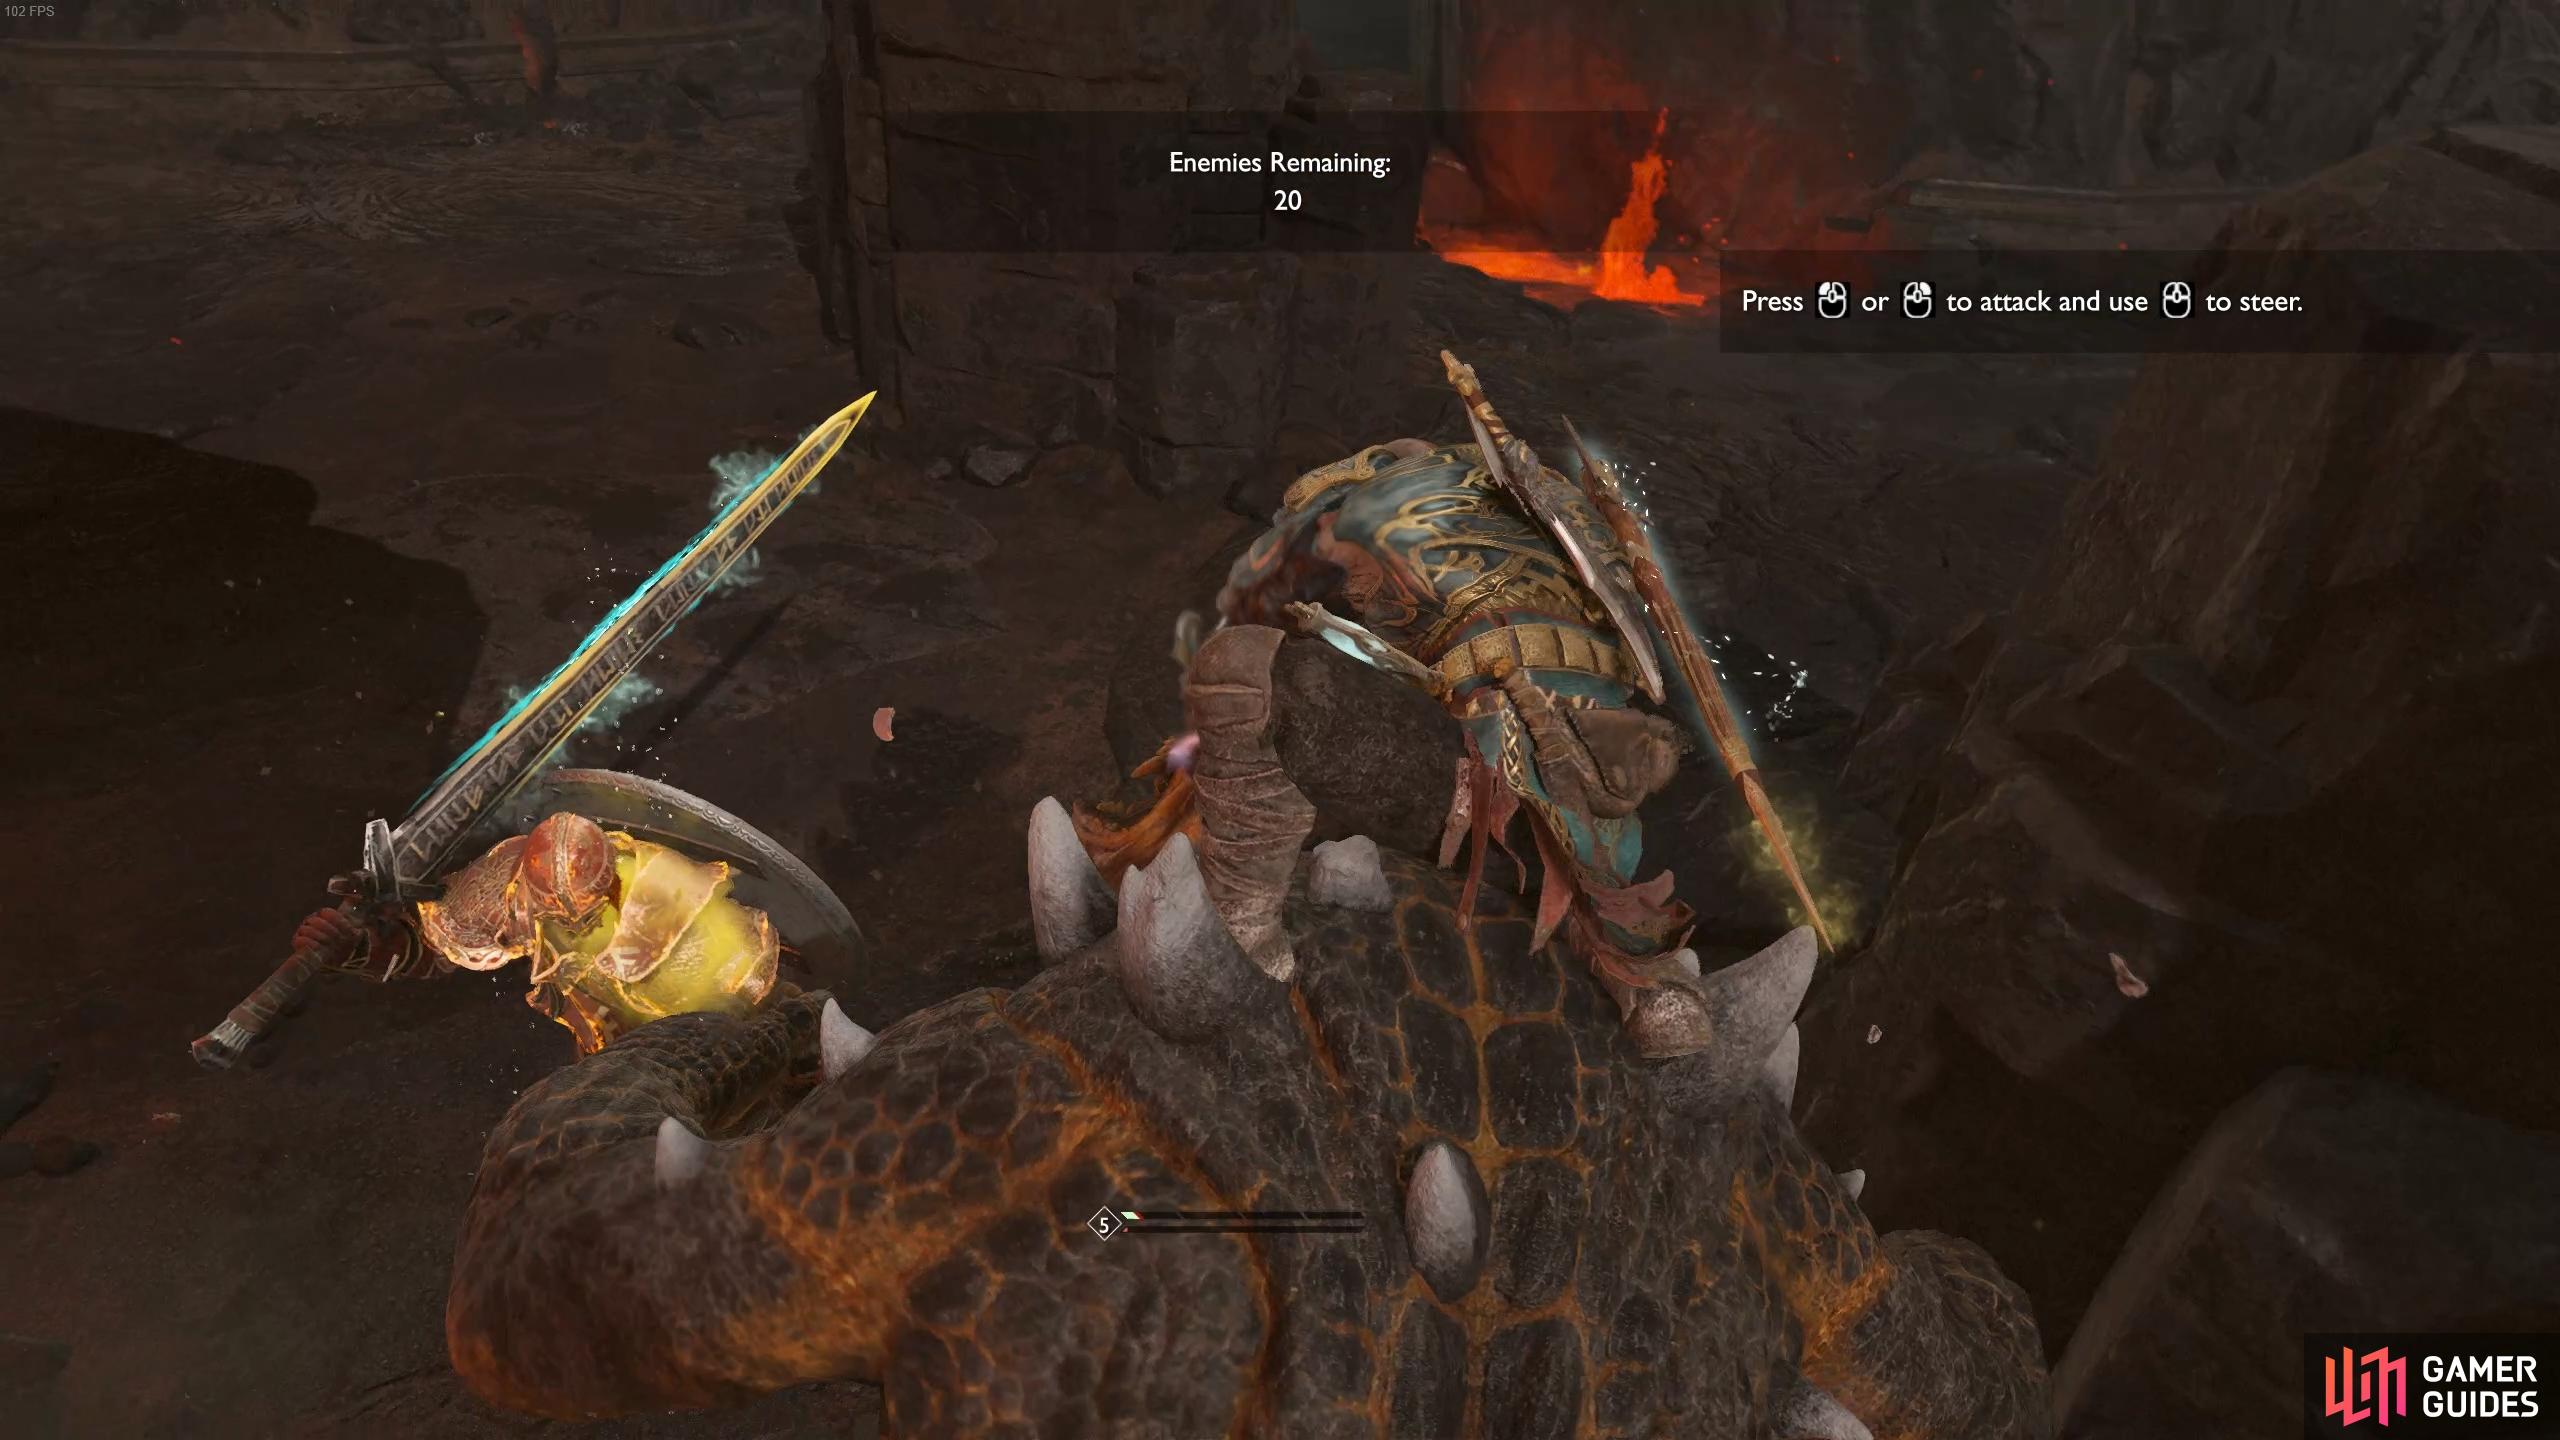
The first wave consists of three Draugrs, one Speed, one Projectile and one Heavy. Take down the health of the Heavy a little first before returning to the others. The second wave consists of an Ogre and a Poison Revenant, this is easier than it may seem. Stun the Ogre and mount it, using it to defeat the Revenant before finishing off the Ogre.
Use the Ogre to take out the Revenant.
You can stun the Tatzelwurms with shock arrows to keep them above ground.
The final wave is a little tricker, you’ll be up against a Tatzelwurm and three Rabid Wolves. The Wolves will go down quickly so try to focus on the Tatzelwurms first if you can, using Runic Summons to finish the Wolves off after. The Blades of Chaos Heavy Runic Attack, Prometheus Flame is fantastic for this wave.
A gate will open up and allow you to progress further up the volcano, be sure to activate the Mystic Gateway along the way.
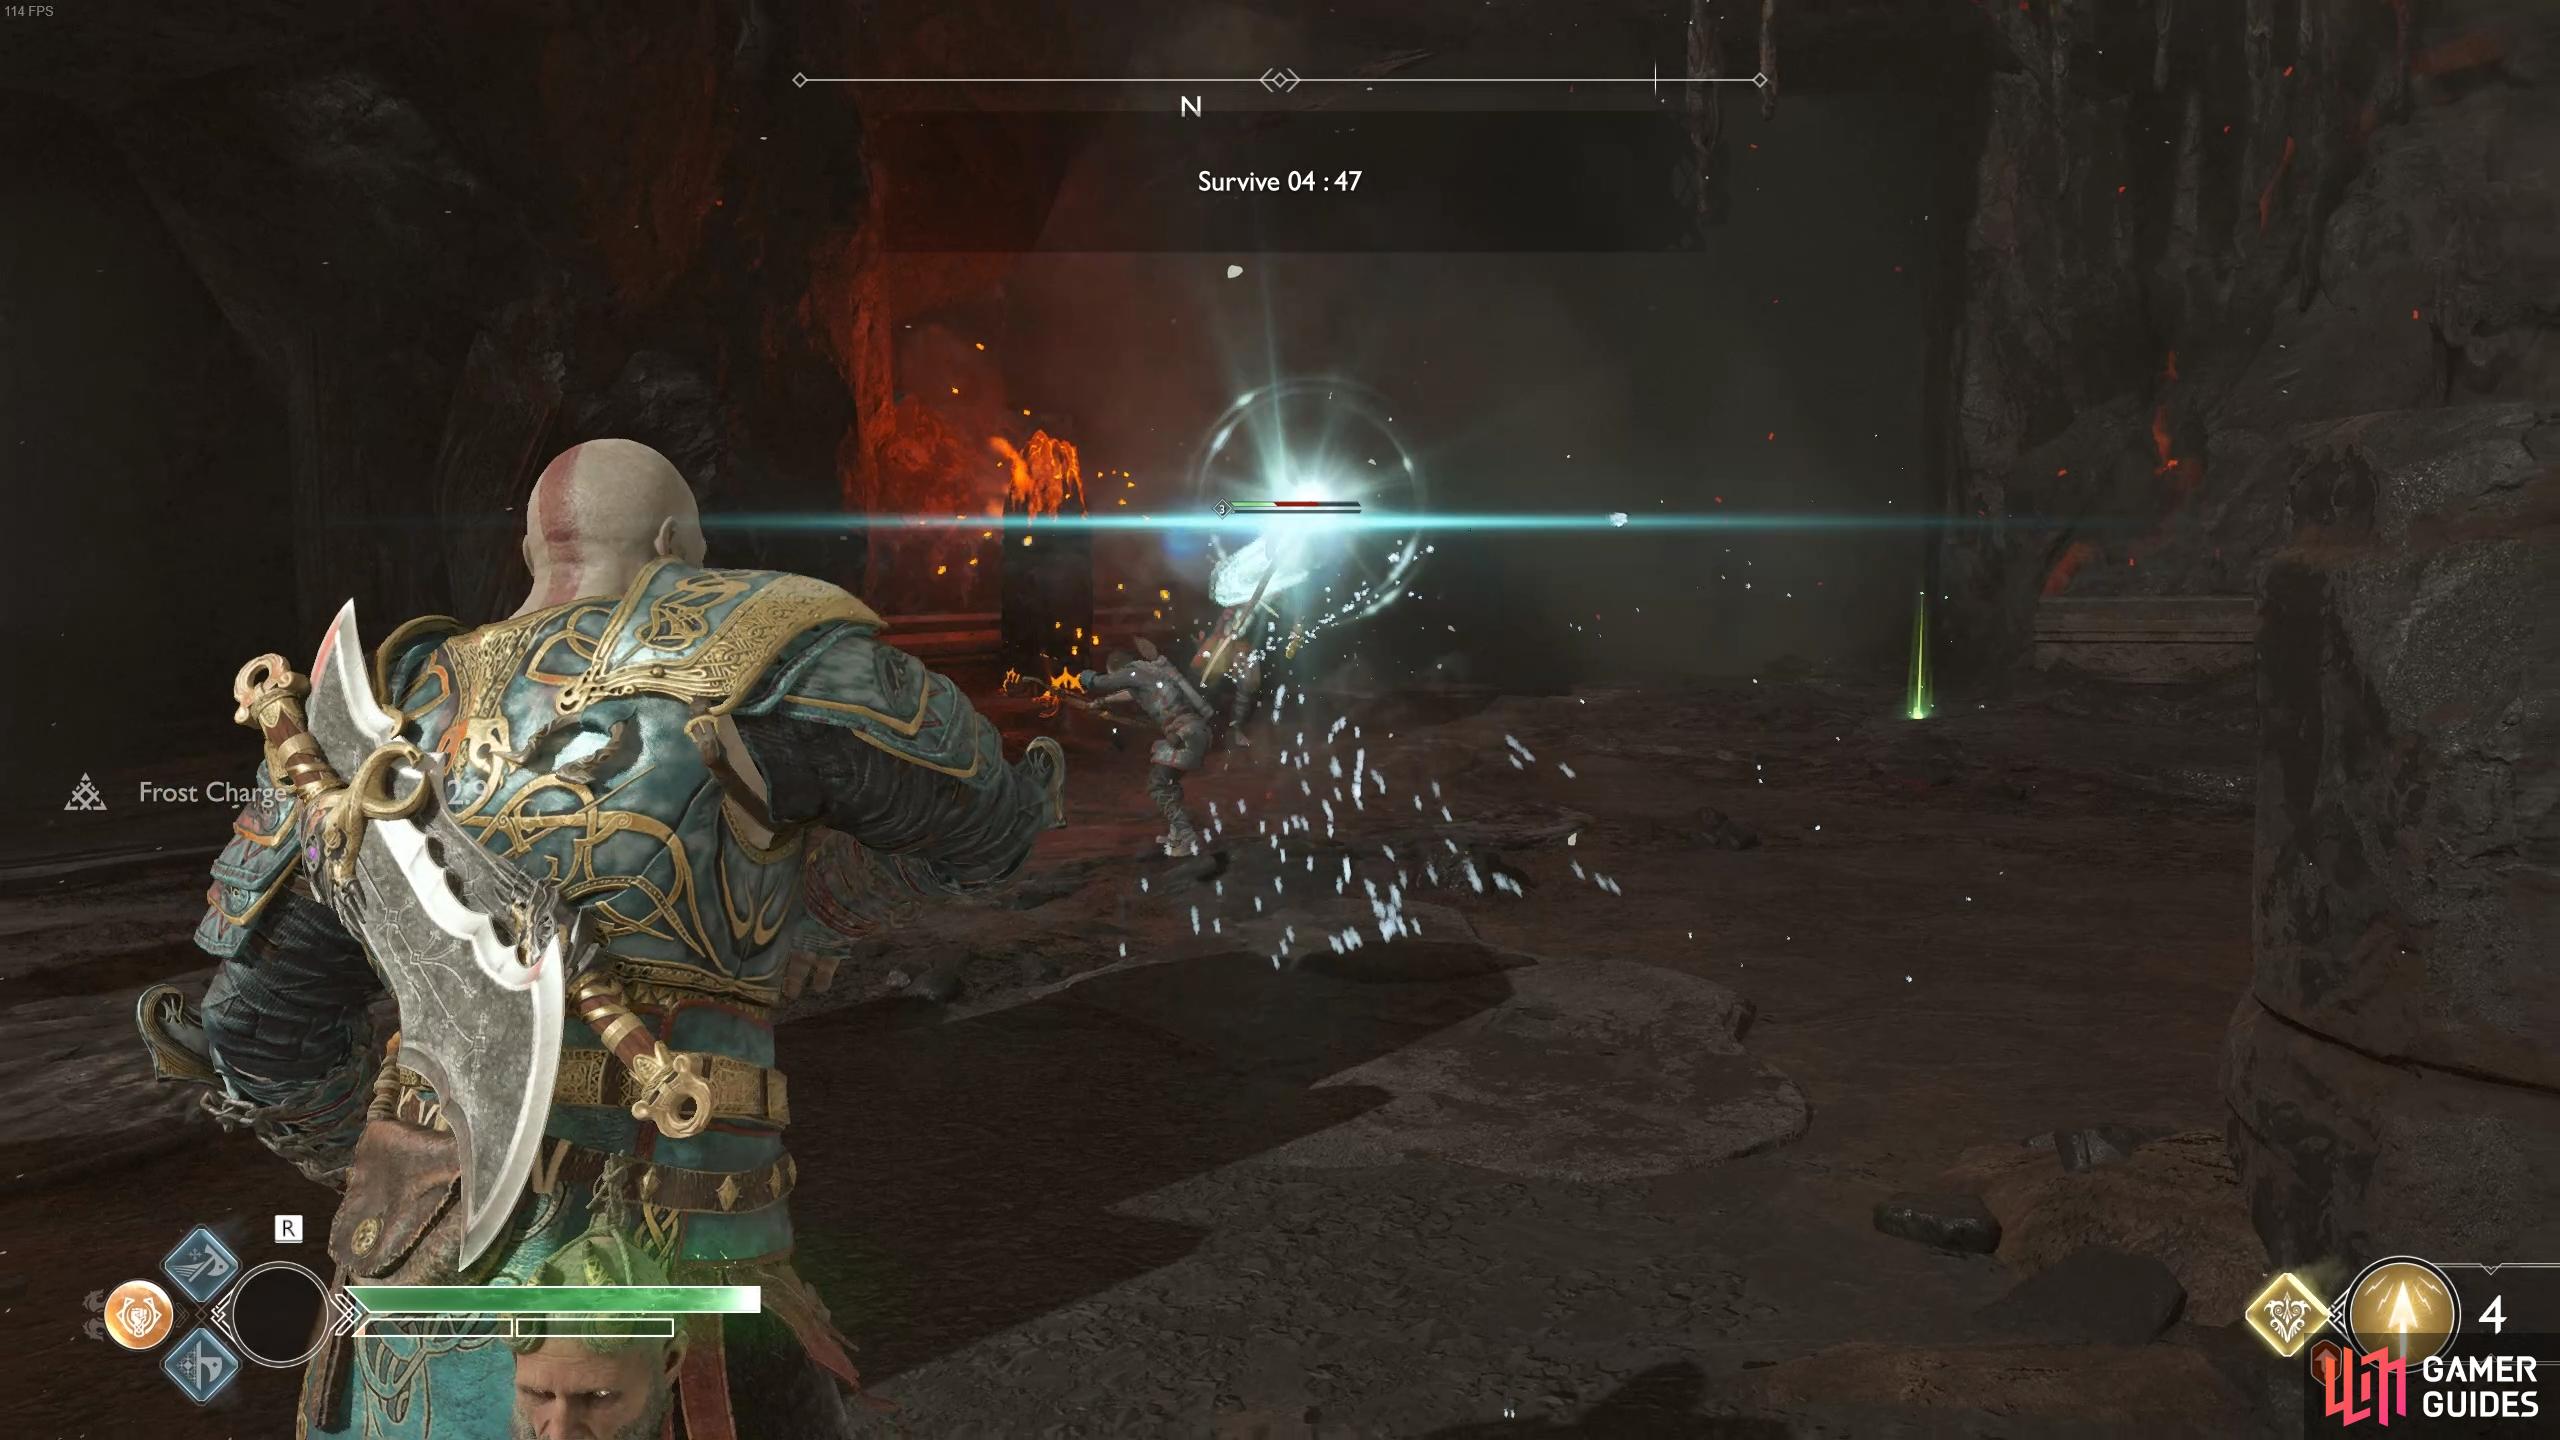
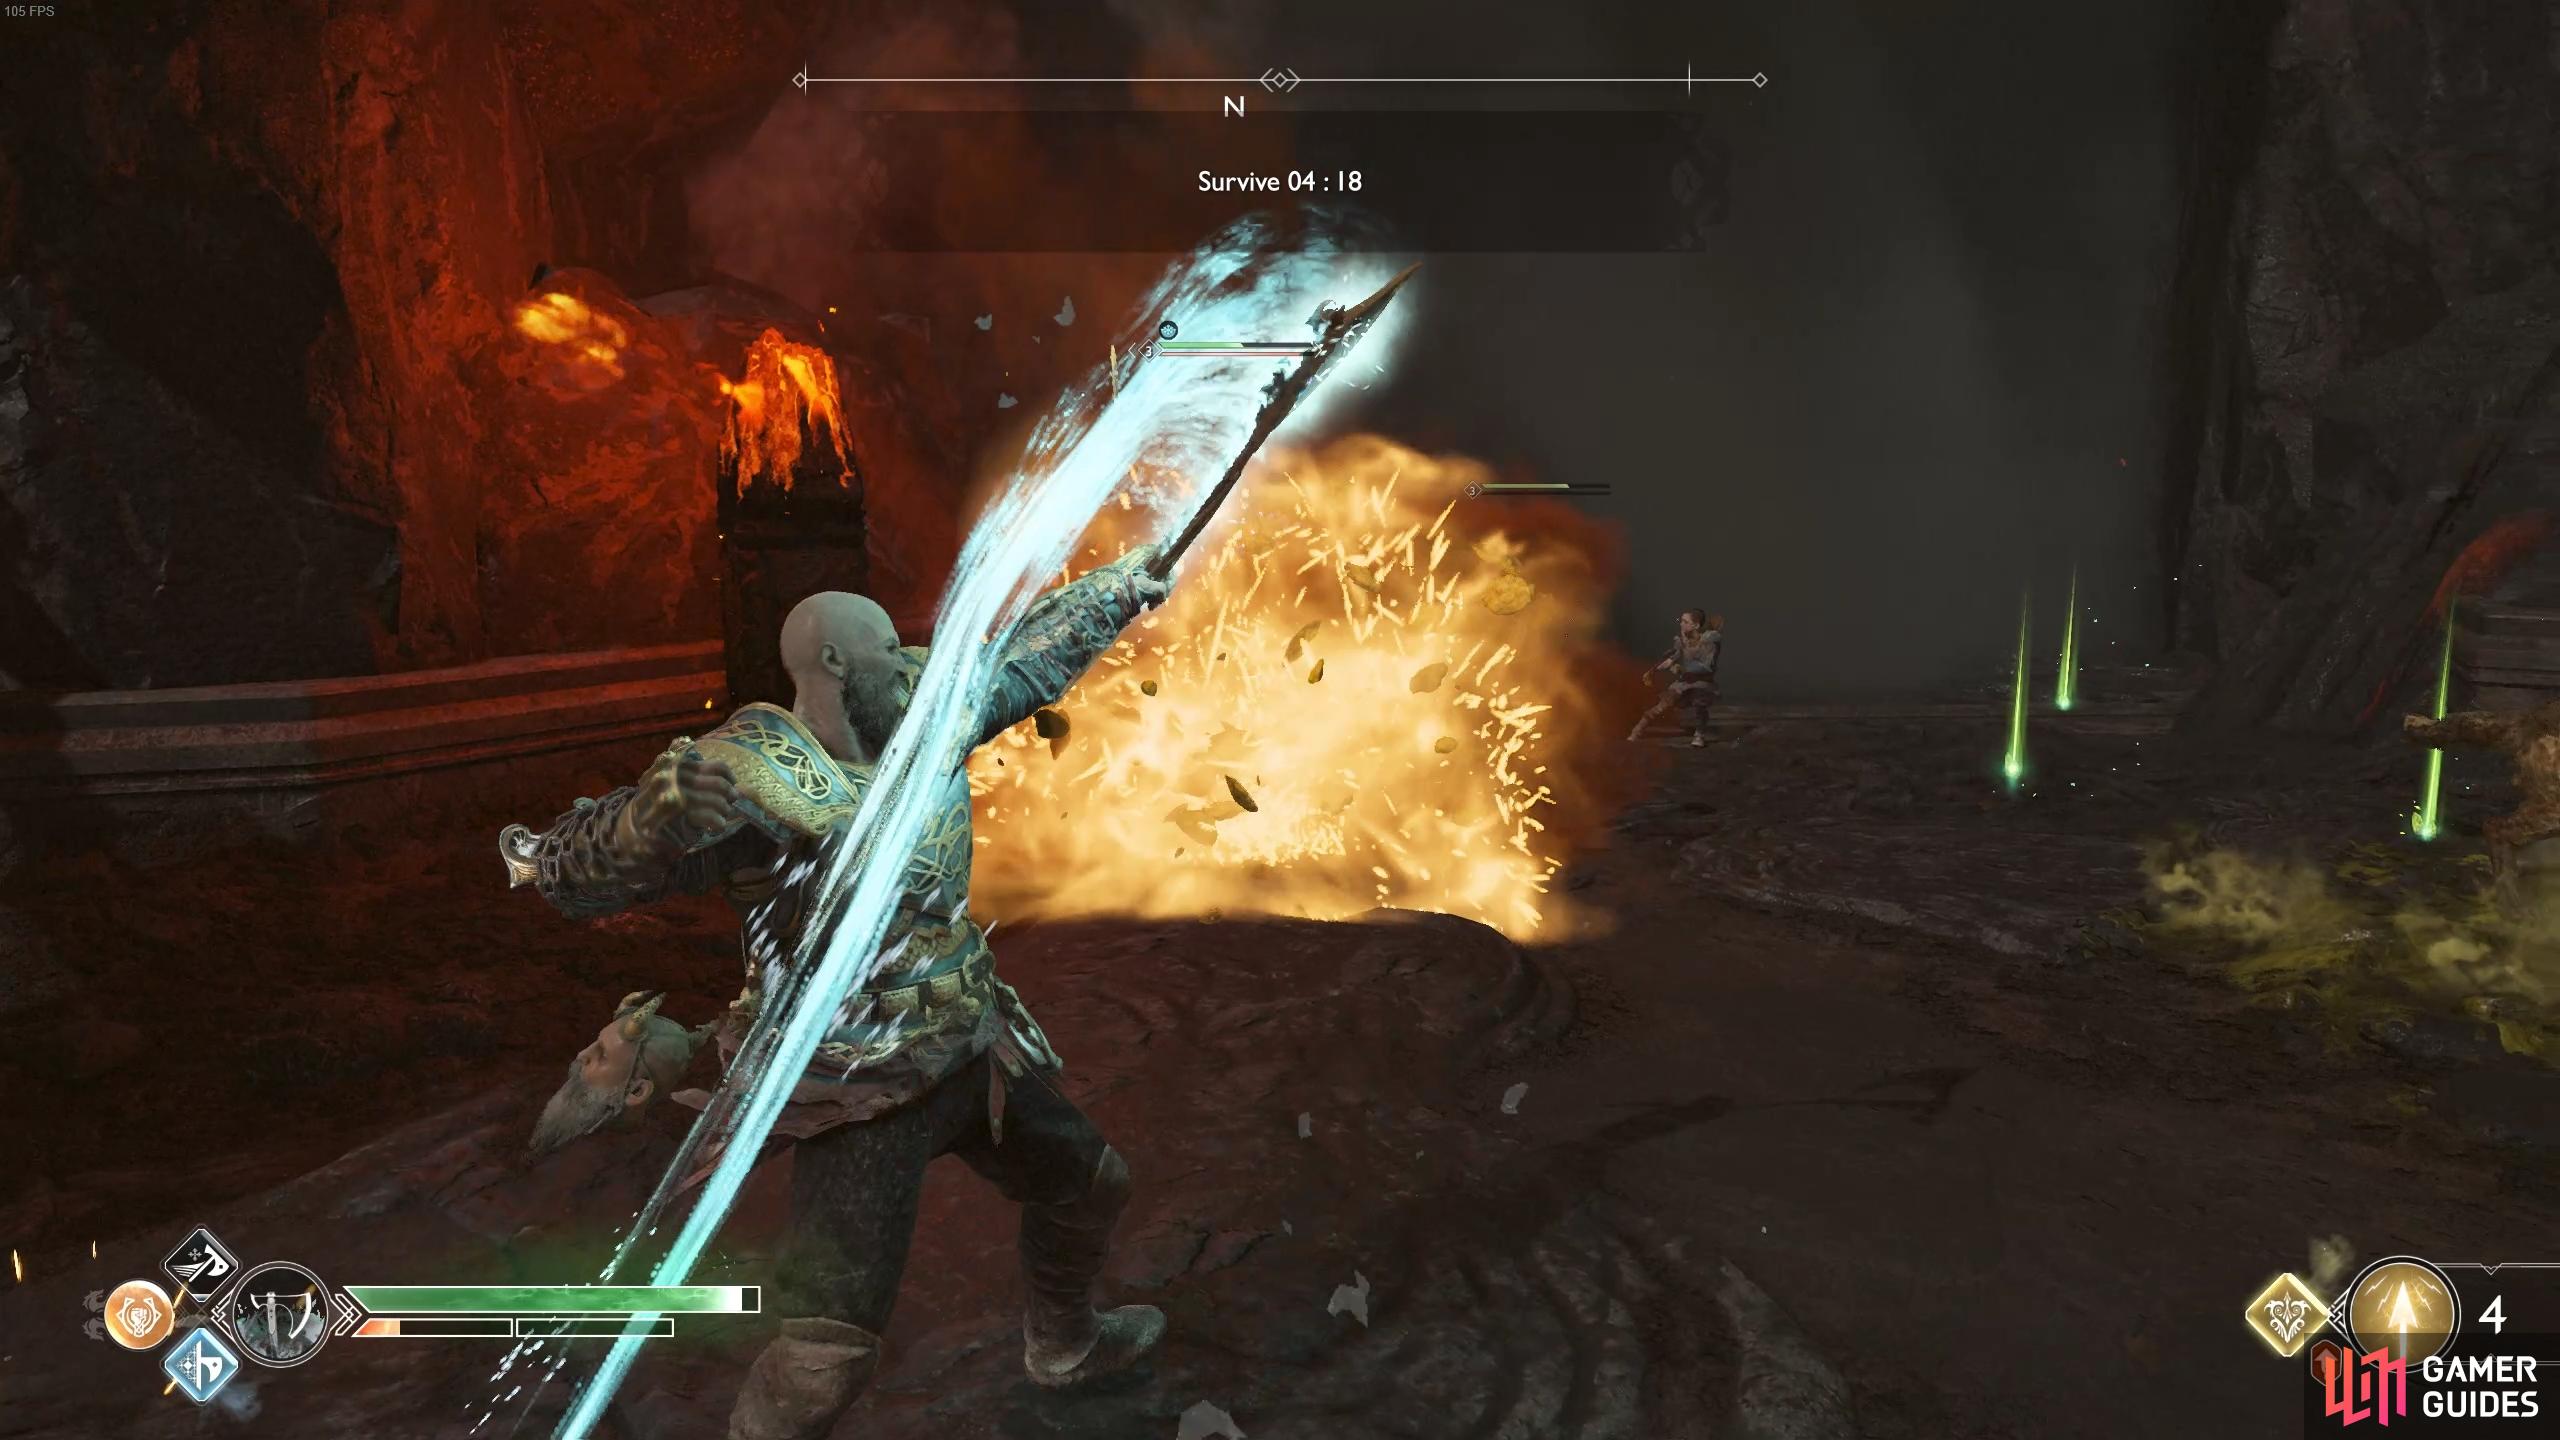
Trial II: Normal, Survival
| Objective | Rewards |
|---|---|
| Survive for 5 minutes | 615 XP, Smoldering Ember x8, Hacksilver |
The name of the game this time is to survive the onslaught of enemies coming your way. Prioritize your health over defeating enemies and don’t try to be too aggressive. The Revenant is the main concern here, it can very quickly drain your health, try to take it down as soon as it spawns. Make use of axe throws from a distance too with the assistance of Atreus’ arrows.
Make good use of axe throws to keep your distance.
Beware of the Reaver’s post death explosions.
On top of that, lava will spread across the area so take care to watch your step. Better yet, make use of it to knock any enemies close by into it. Finally, if your health does drop low, make use of Spartan Rage to heal yourself.
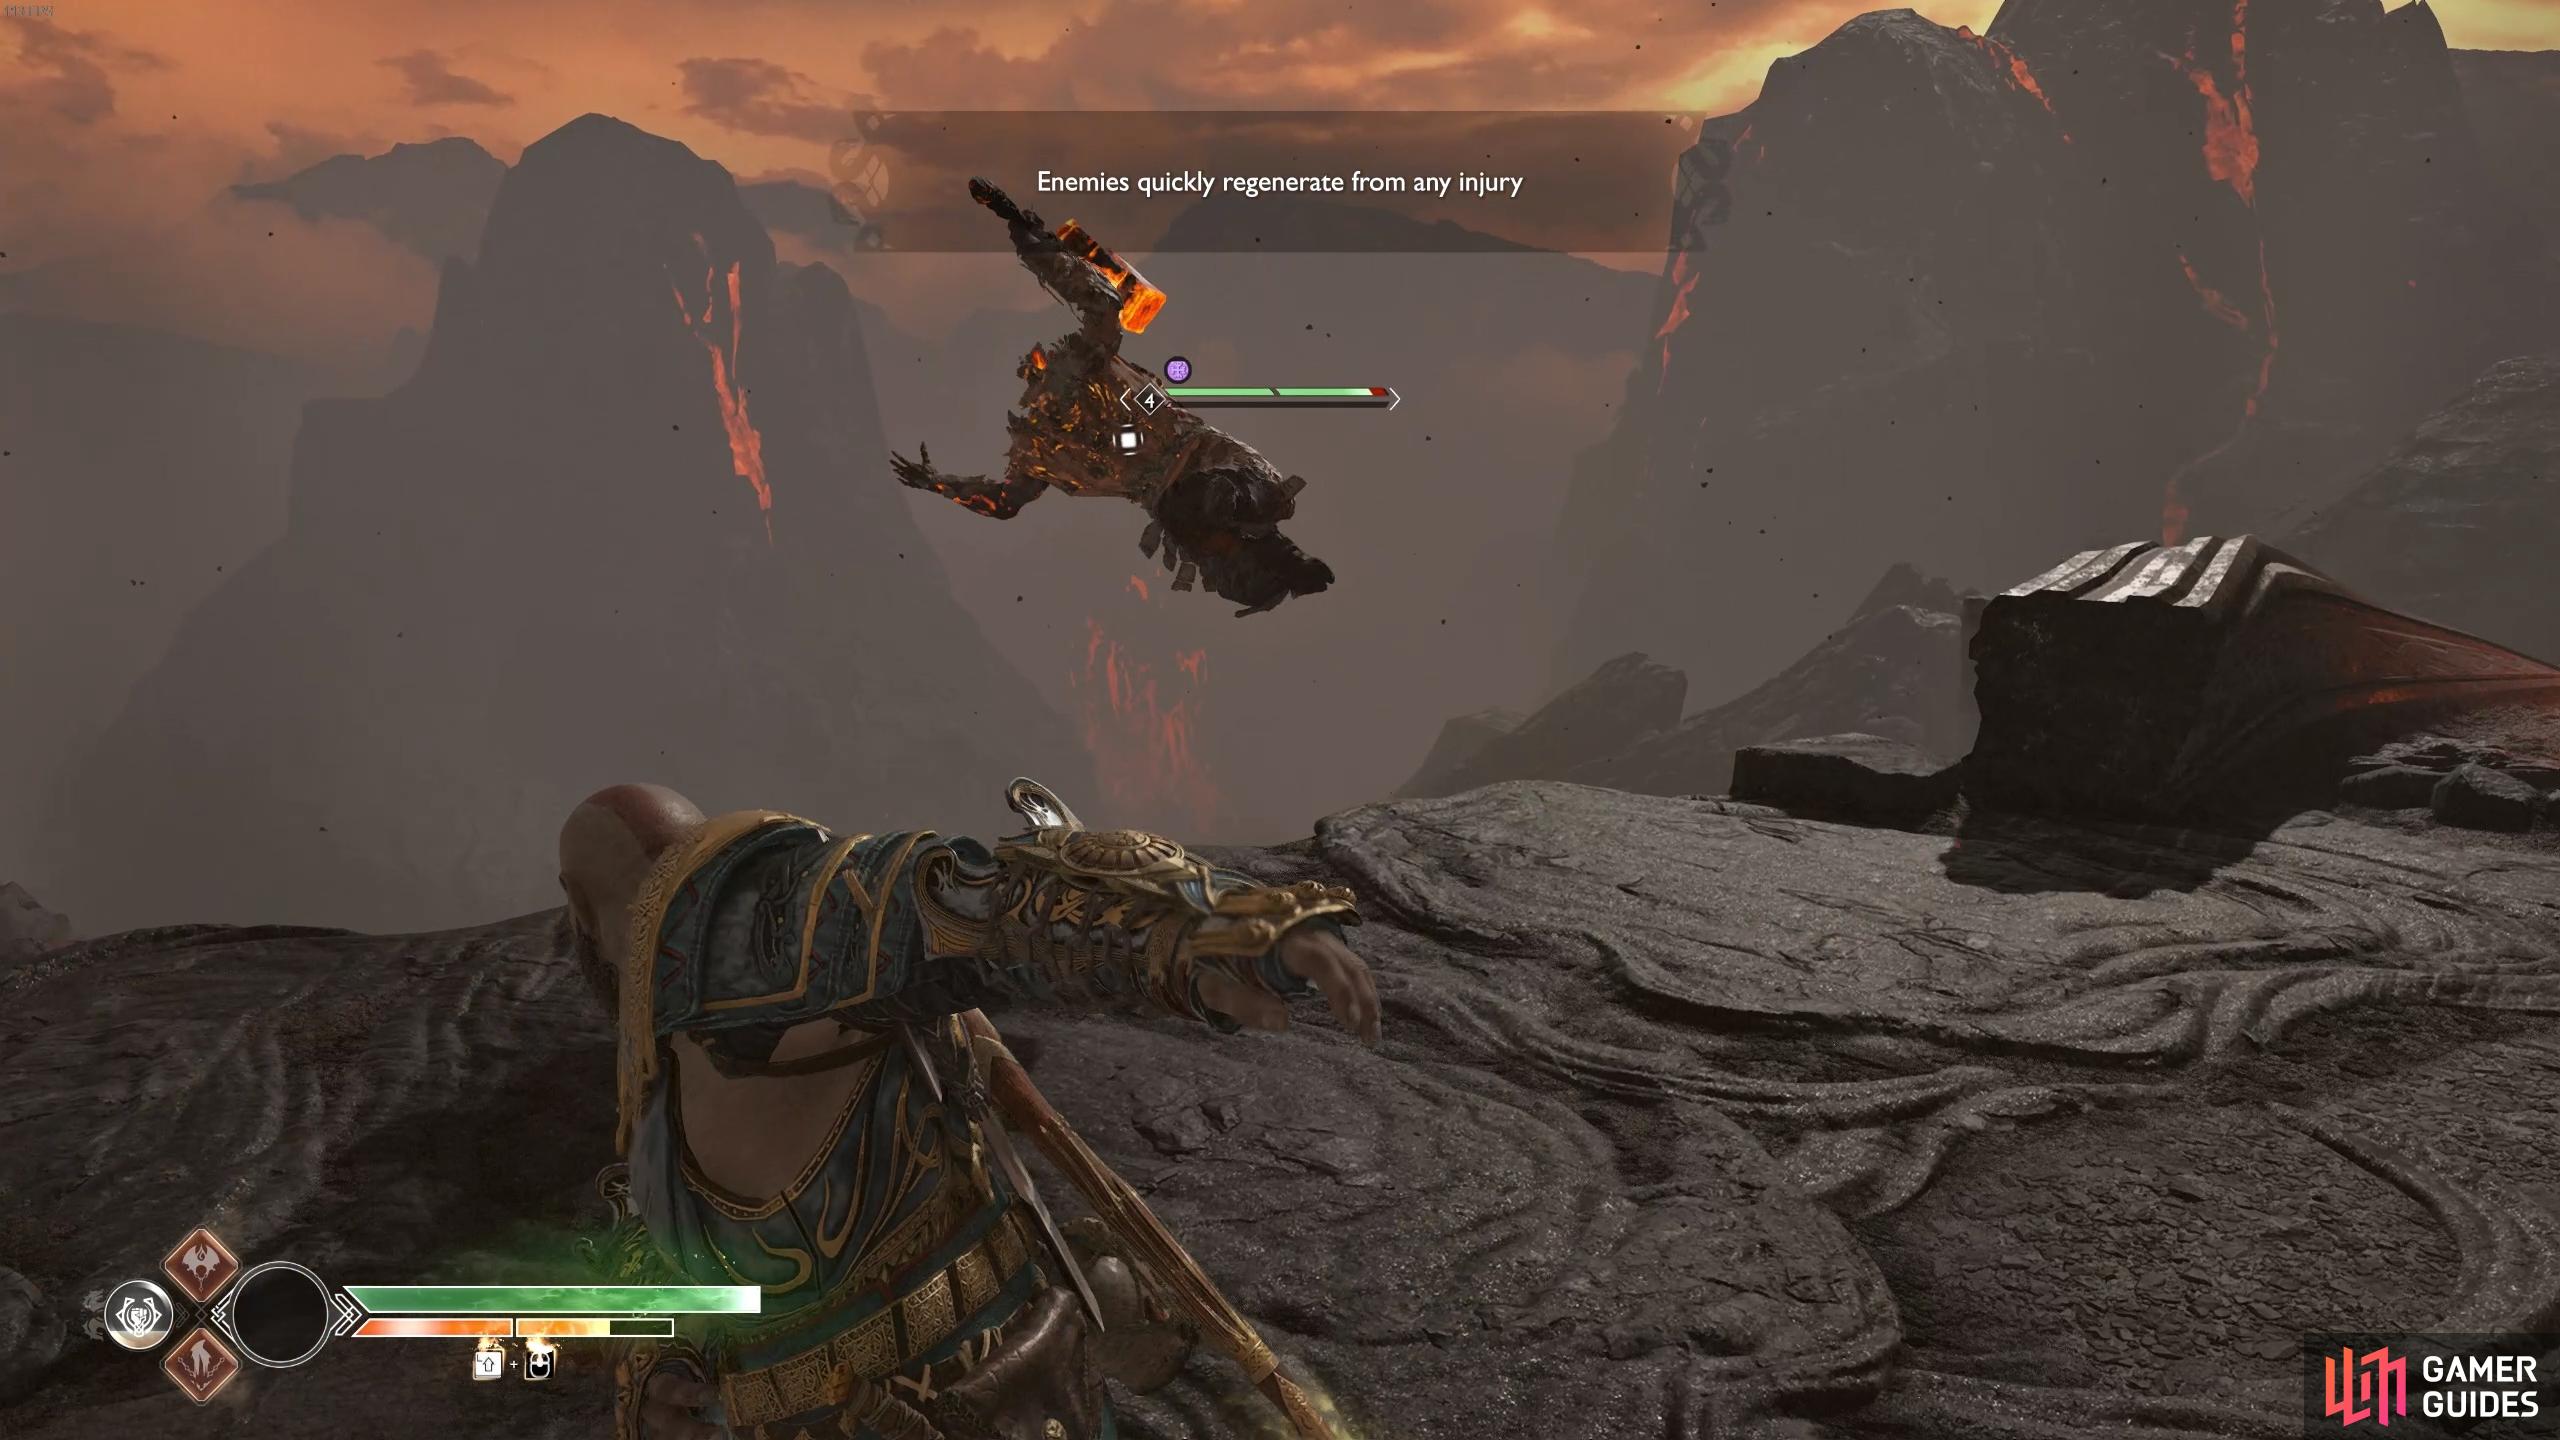
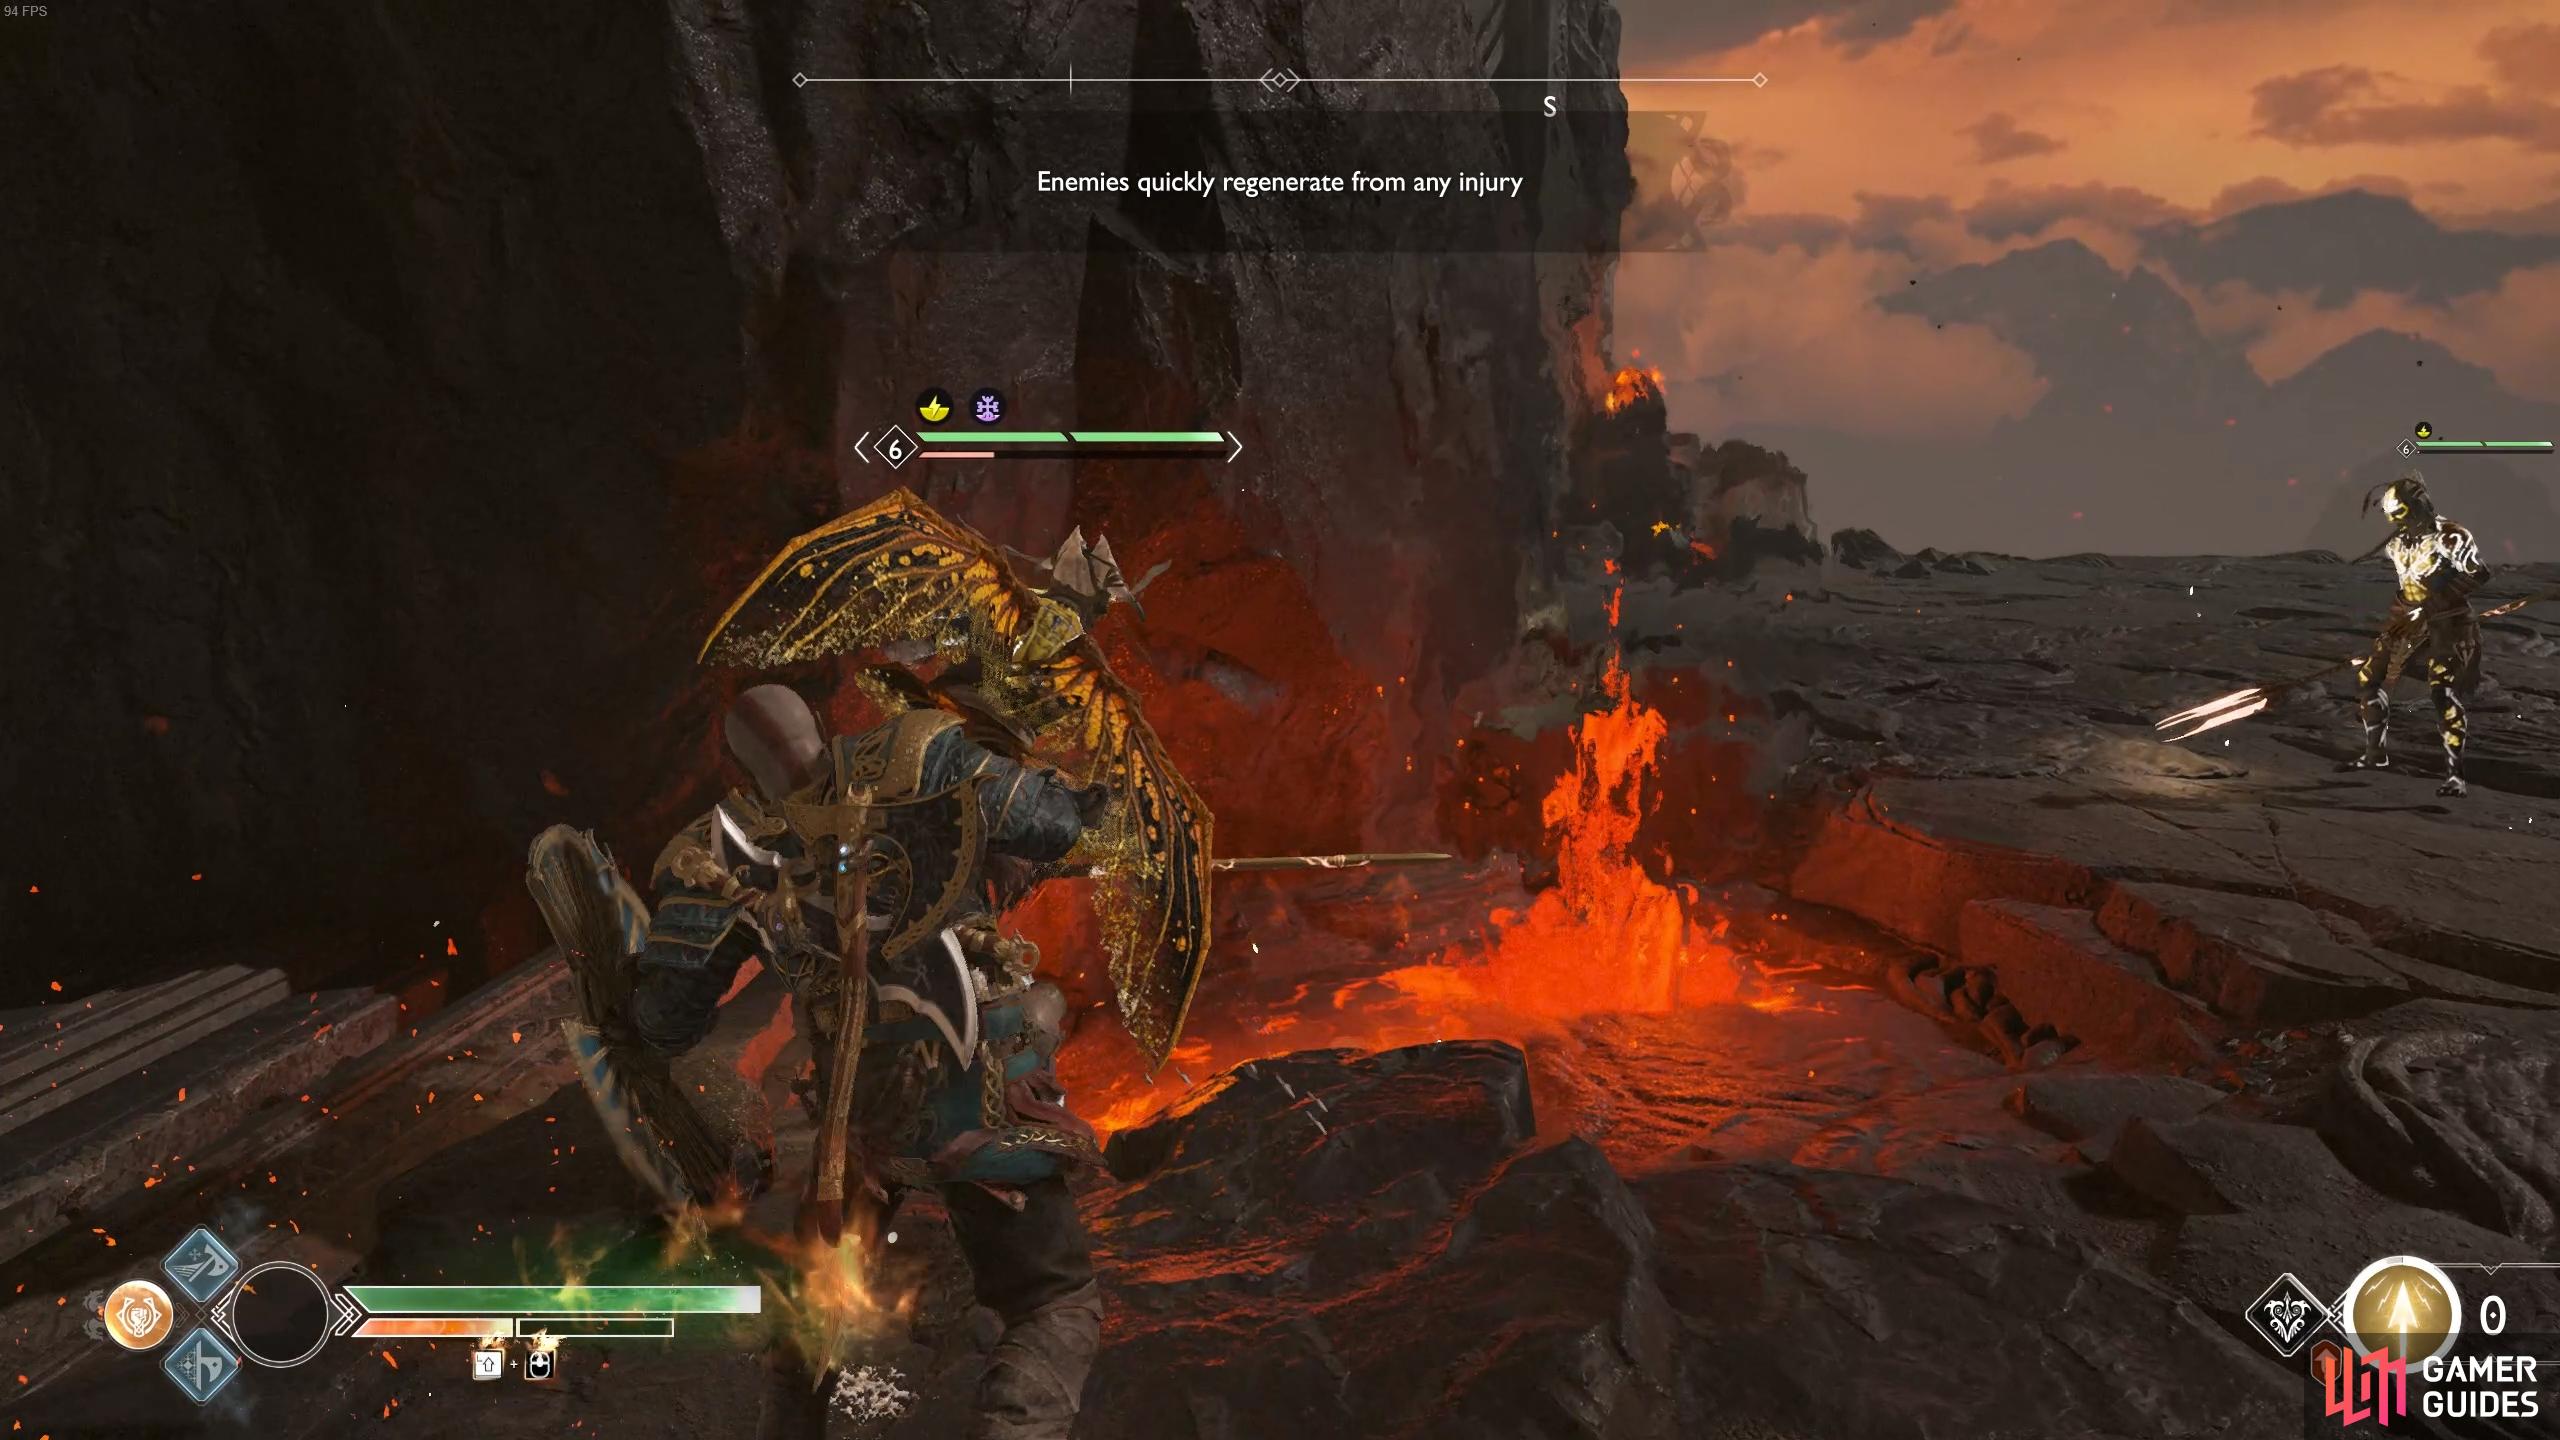
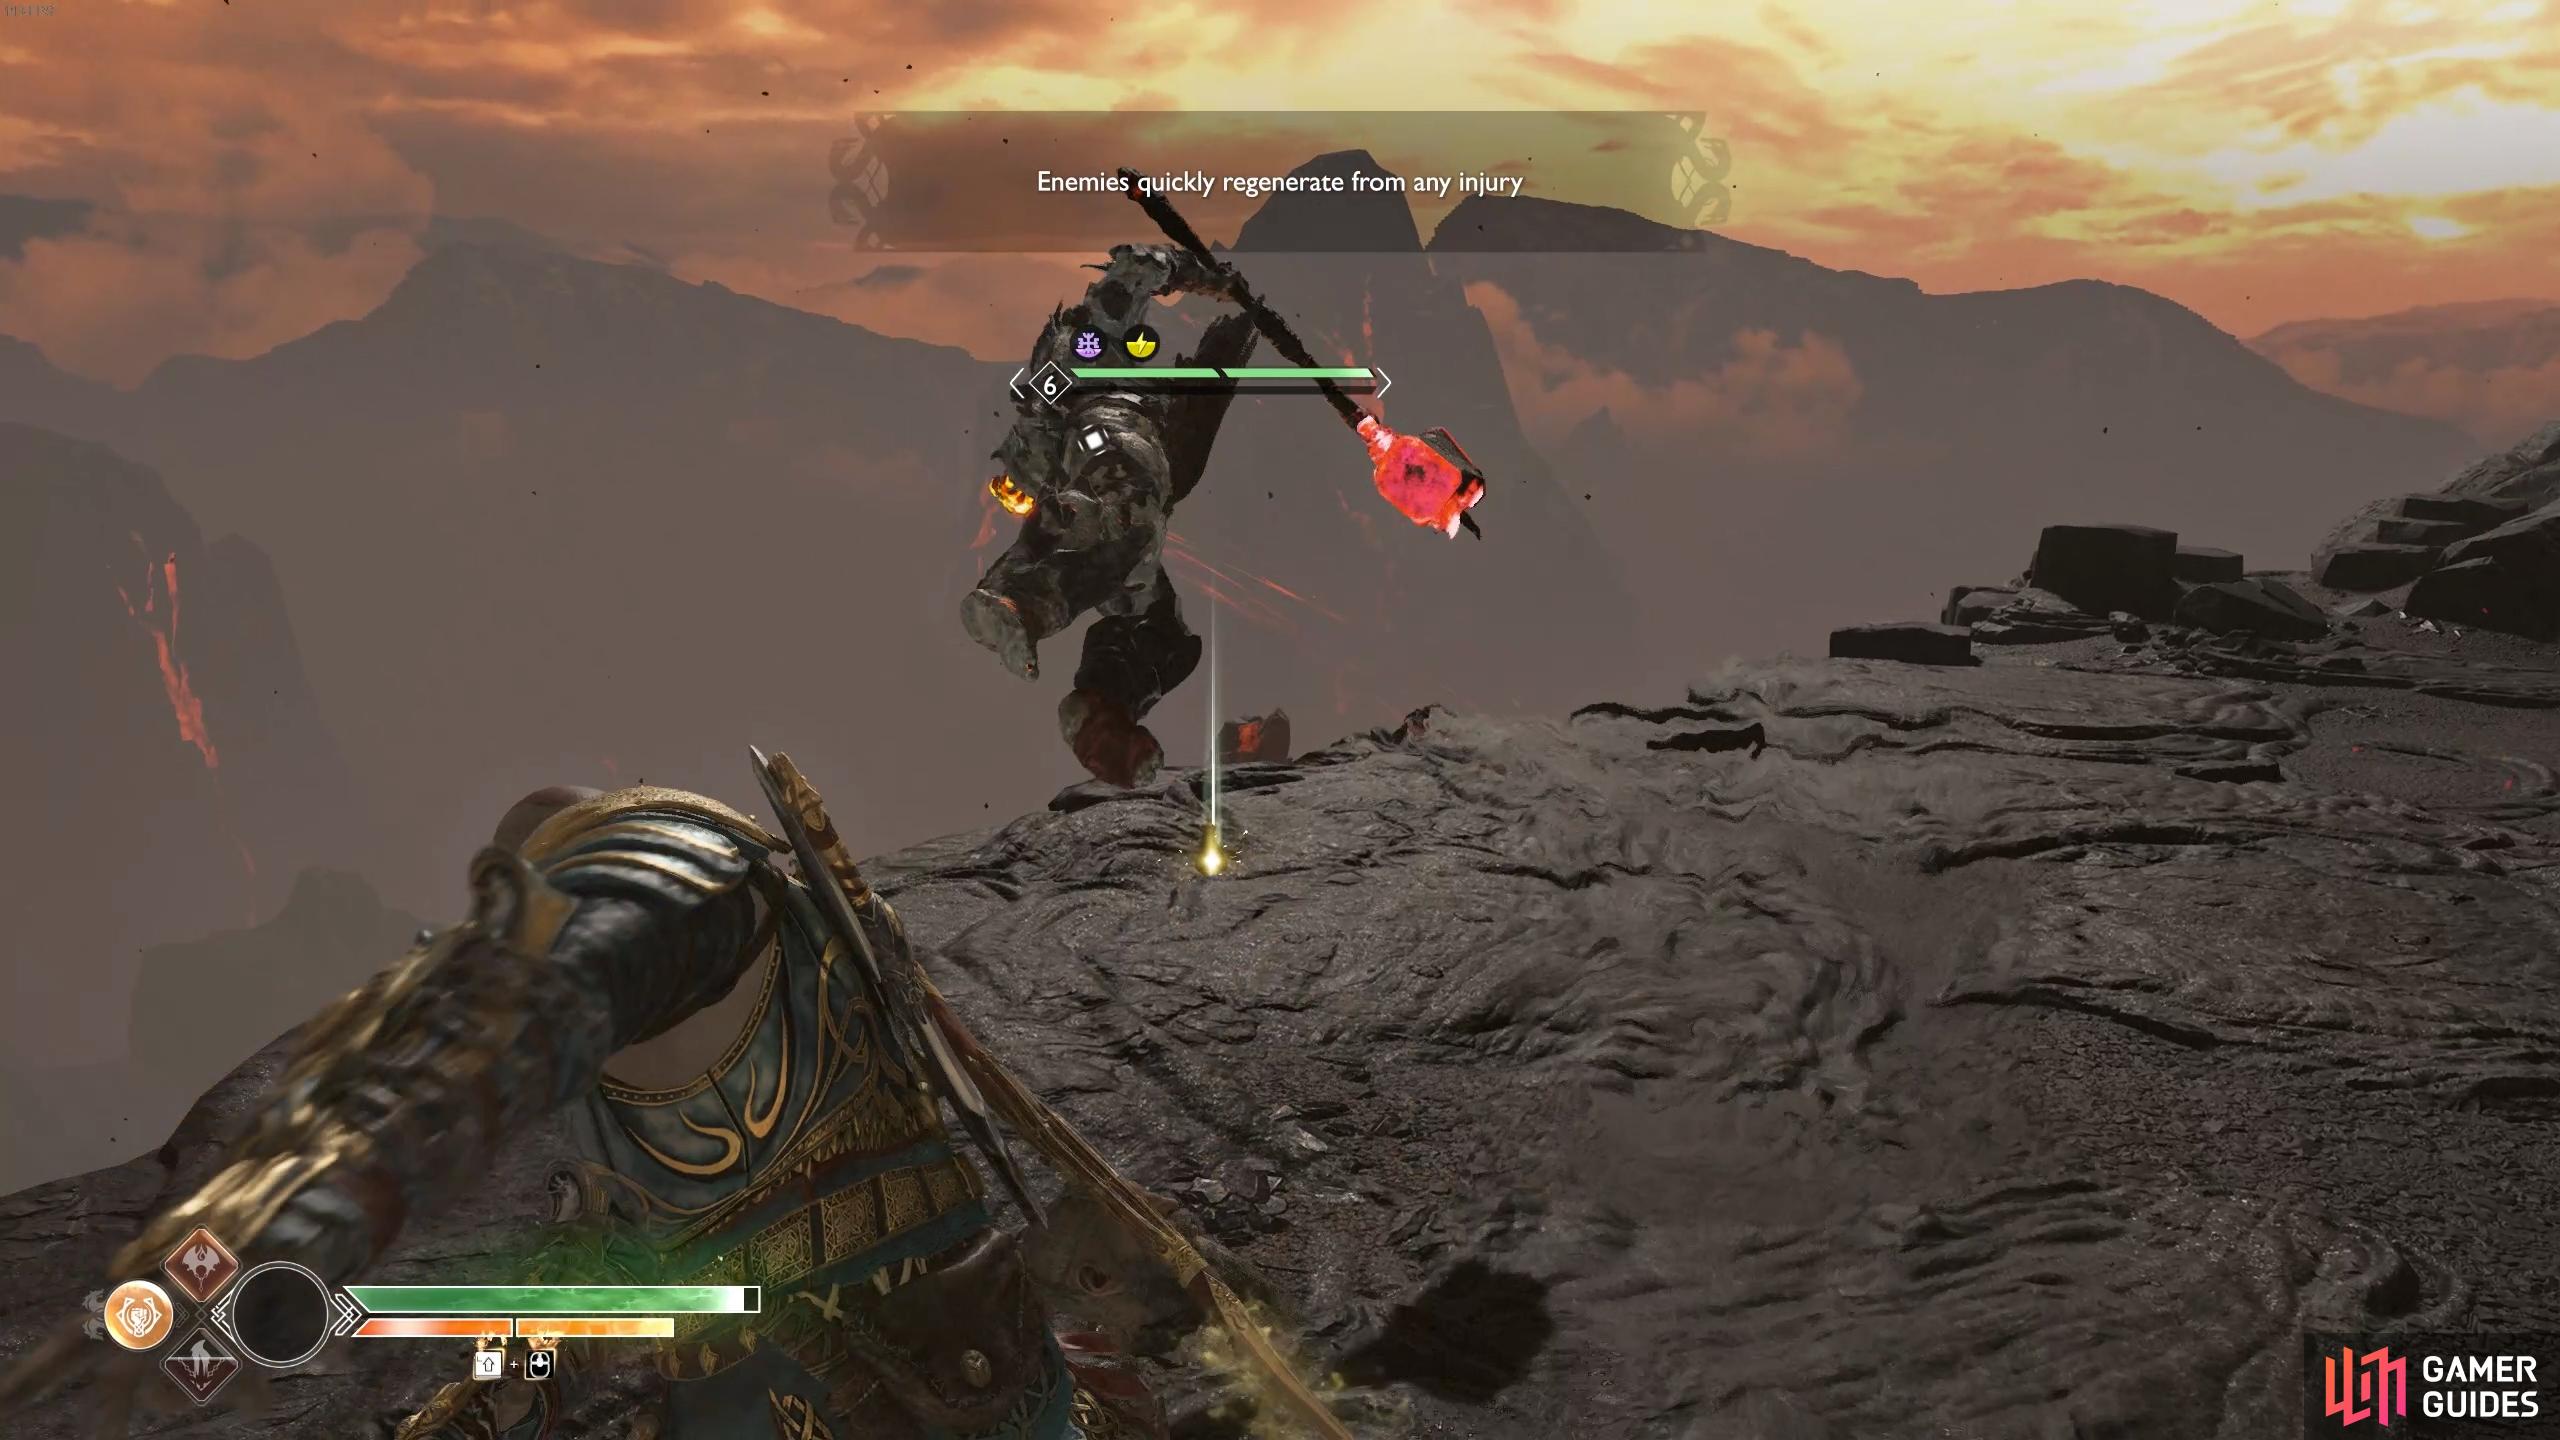
Trial II: Hard, Stunner
| Objective | Rewards |
|---|---|
| Enemies quickly regenerate health | 1075 XP, Smoldering Ember x12, Hacksilver |
This Trial is actually a lot easier than it may seem at first. You’ll only be able to defeat the enemies using Stun Grabs as their health will recover at an alarming rate. Fortunately for you, knocking the enemies over the side will also count as killing them, often proving to be the best way of disposing them. Add on top of all this Atreus with maxed out Shock Arrows and the task becomes a little less daunting. You’ll need to deal with five waves during this Trial.
The first wave consists of six Hel-Reavers, simple enemies that should ease you into how this trial will work. Switch to barefists and take them down with simple Stun Grabs. For the second wave, three Hel-Shadow Scouts and three Rabid Wolves are your enemies, again employ the same tactics as the first wave.
Direct your throws over the cliff when you grab a Heavy Draugr.

Make use of Shield Bash to break through the Hel-Reaver Guard’s shields.
The third wave gets a little more interesting, you’ll need to deal with two Heavy Draugrs, enemies who won’t die with a single Stun Grab. Instead, you’ll grab them and will be able to throw them, direct this over the cliff to defeat them. Another three Hel-Reavers are joined by three Projectile Draugrs for the fourth wave, target the Projectile Draugrs first as they’re the larger threat.
The final wave is against three Speed Draugrs and three Hel-Reaver Guards. Take out the Speed Draugrs first before turning your attention to the Guards, using Shield Bashes to get through their defenses.
Trial III: Normal, Shield Breaker
| Objective | Rewards |
|---|---|
| Kill grunts to break the Elite’s shield | 615 XP, Smoldering Ember x12, Crest of Flame x3, Hacksilver |
For this trial, you’ll need to take down a Dark Elf Lord, seems simple enough, right? Wrong, you’ll only be able to deal damage to the Dark Elf Lord when no other enemies are around, this means you’ll have to defeat the other Dark Elves before turning your attention to the Lord, all the while it’s flinging mines at you.
Save your Shattered Gauntlet of the Ages for when the Lord is vulnerable and use your other Runics on the other Dark Elves to try and get them down quicker. Atreus’ Shock charged Murder of Crows is excellent for this trial as is the Blades of Chaos’ Prometheus Flame.
Use runic attacks to inflict massive damage to the elf lord when he’s vulnerable.
Try not to run into the flashing lights or you’ll be blinded.
The hardest part of this trial is the final wave of enemies, you’ll be up against four Dark Elves and you’ll need to get them down quick to avoid being overwhelmed. This is when your Runics and Summons will come into play, use them on cooldown and the Dark Elf Lord should fall.
Trial III: Hard, Kill Location Challenge
| Objective | Rewards |
|---|---|
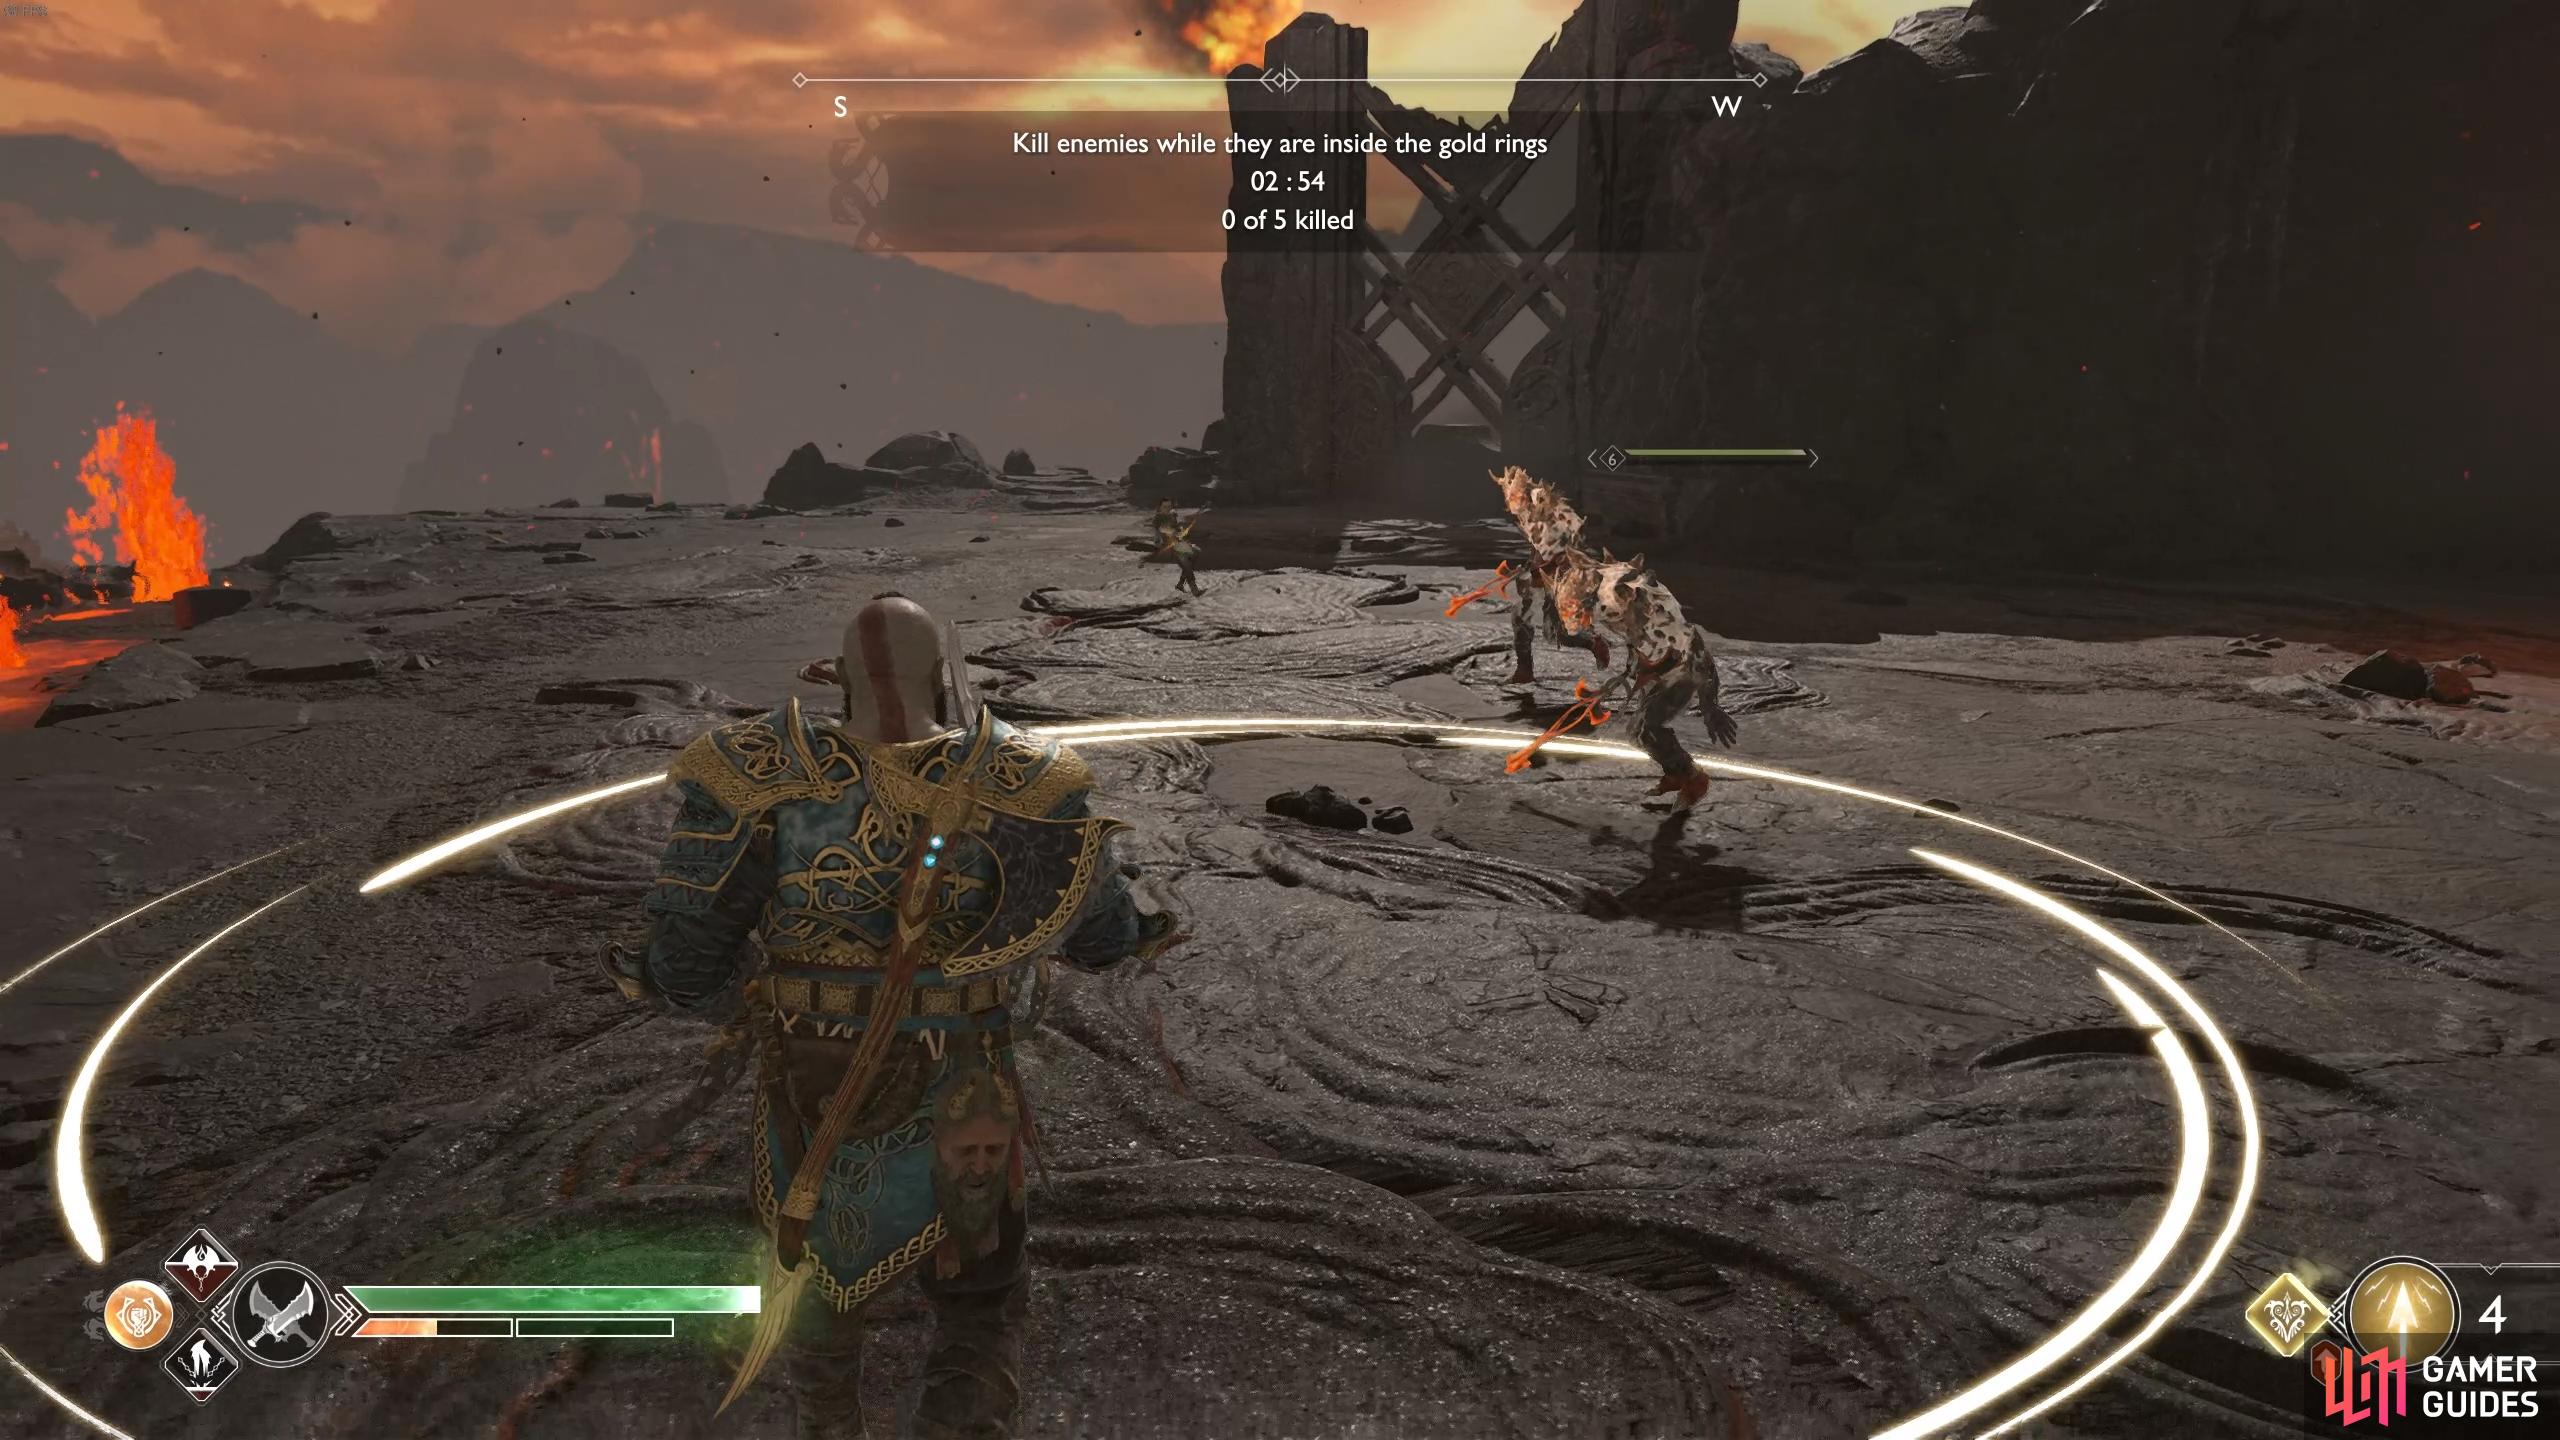
| Kill enemies while they are inside the gold rings | 1075 XP, Smoldering Ember x20, Crest of Flame x5, Hacksilver |
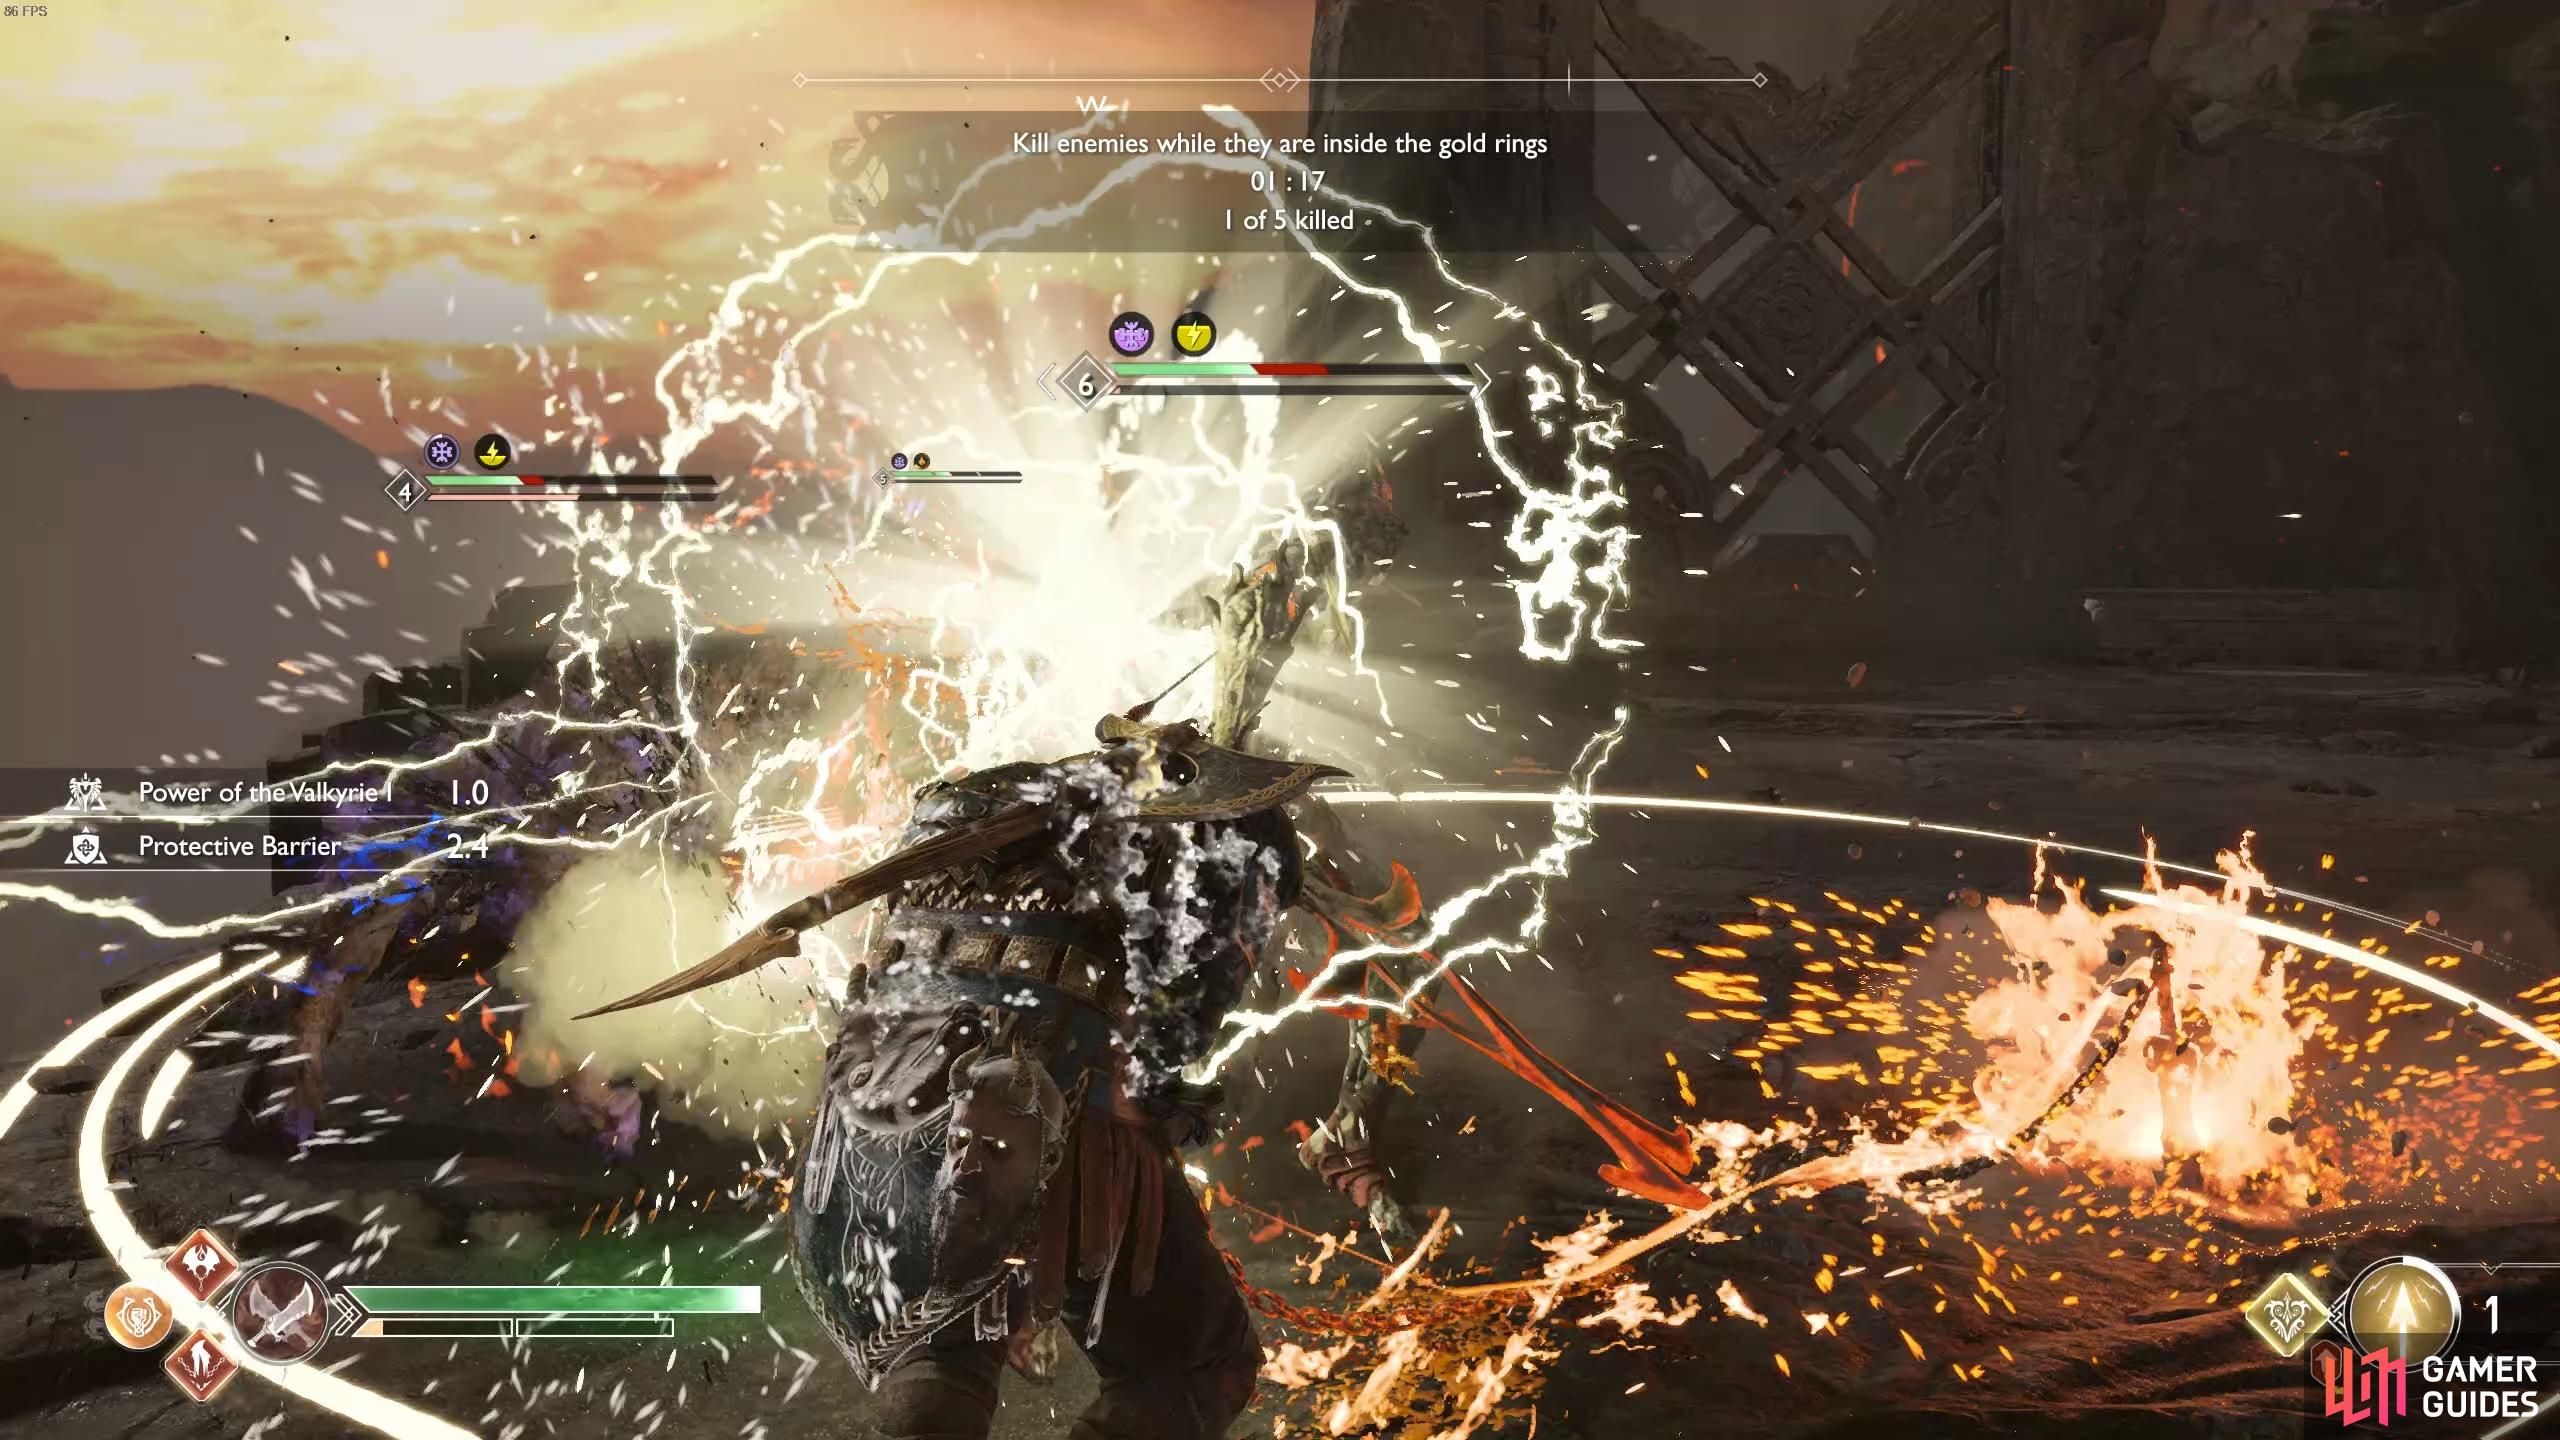
For this trial, you’ll need to finish off the enemies while they’re in one of the circles on the ground. This is more difficult than it may seem as your attacks will often knock enemies out of the rings. Add on top of that a time limit and it becomes even more difficult.
Try to weaken the enemies first before heading into the circles, that way one or two strikes will defeat them while they’re in there. Alternatively, let a group wander into the rings and unleash a Prometheus Flame from the Blades of Chaos, a lot of times this is enough to defeat them.
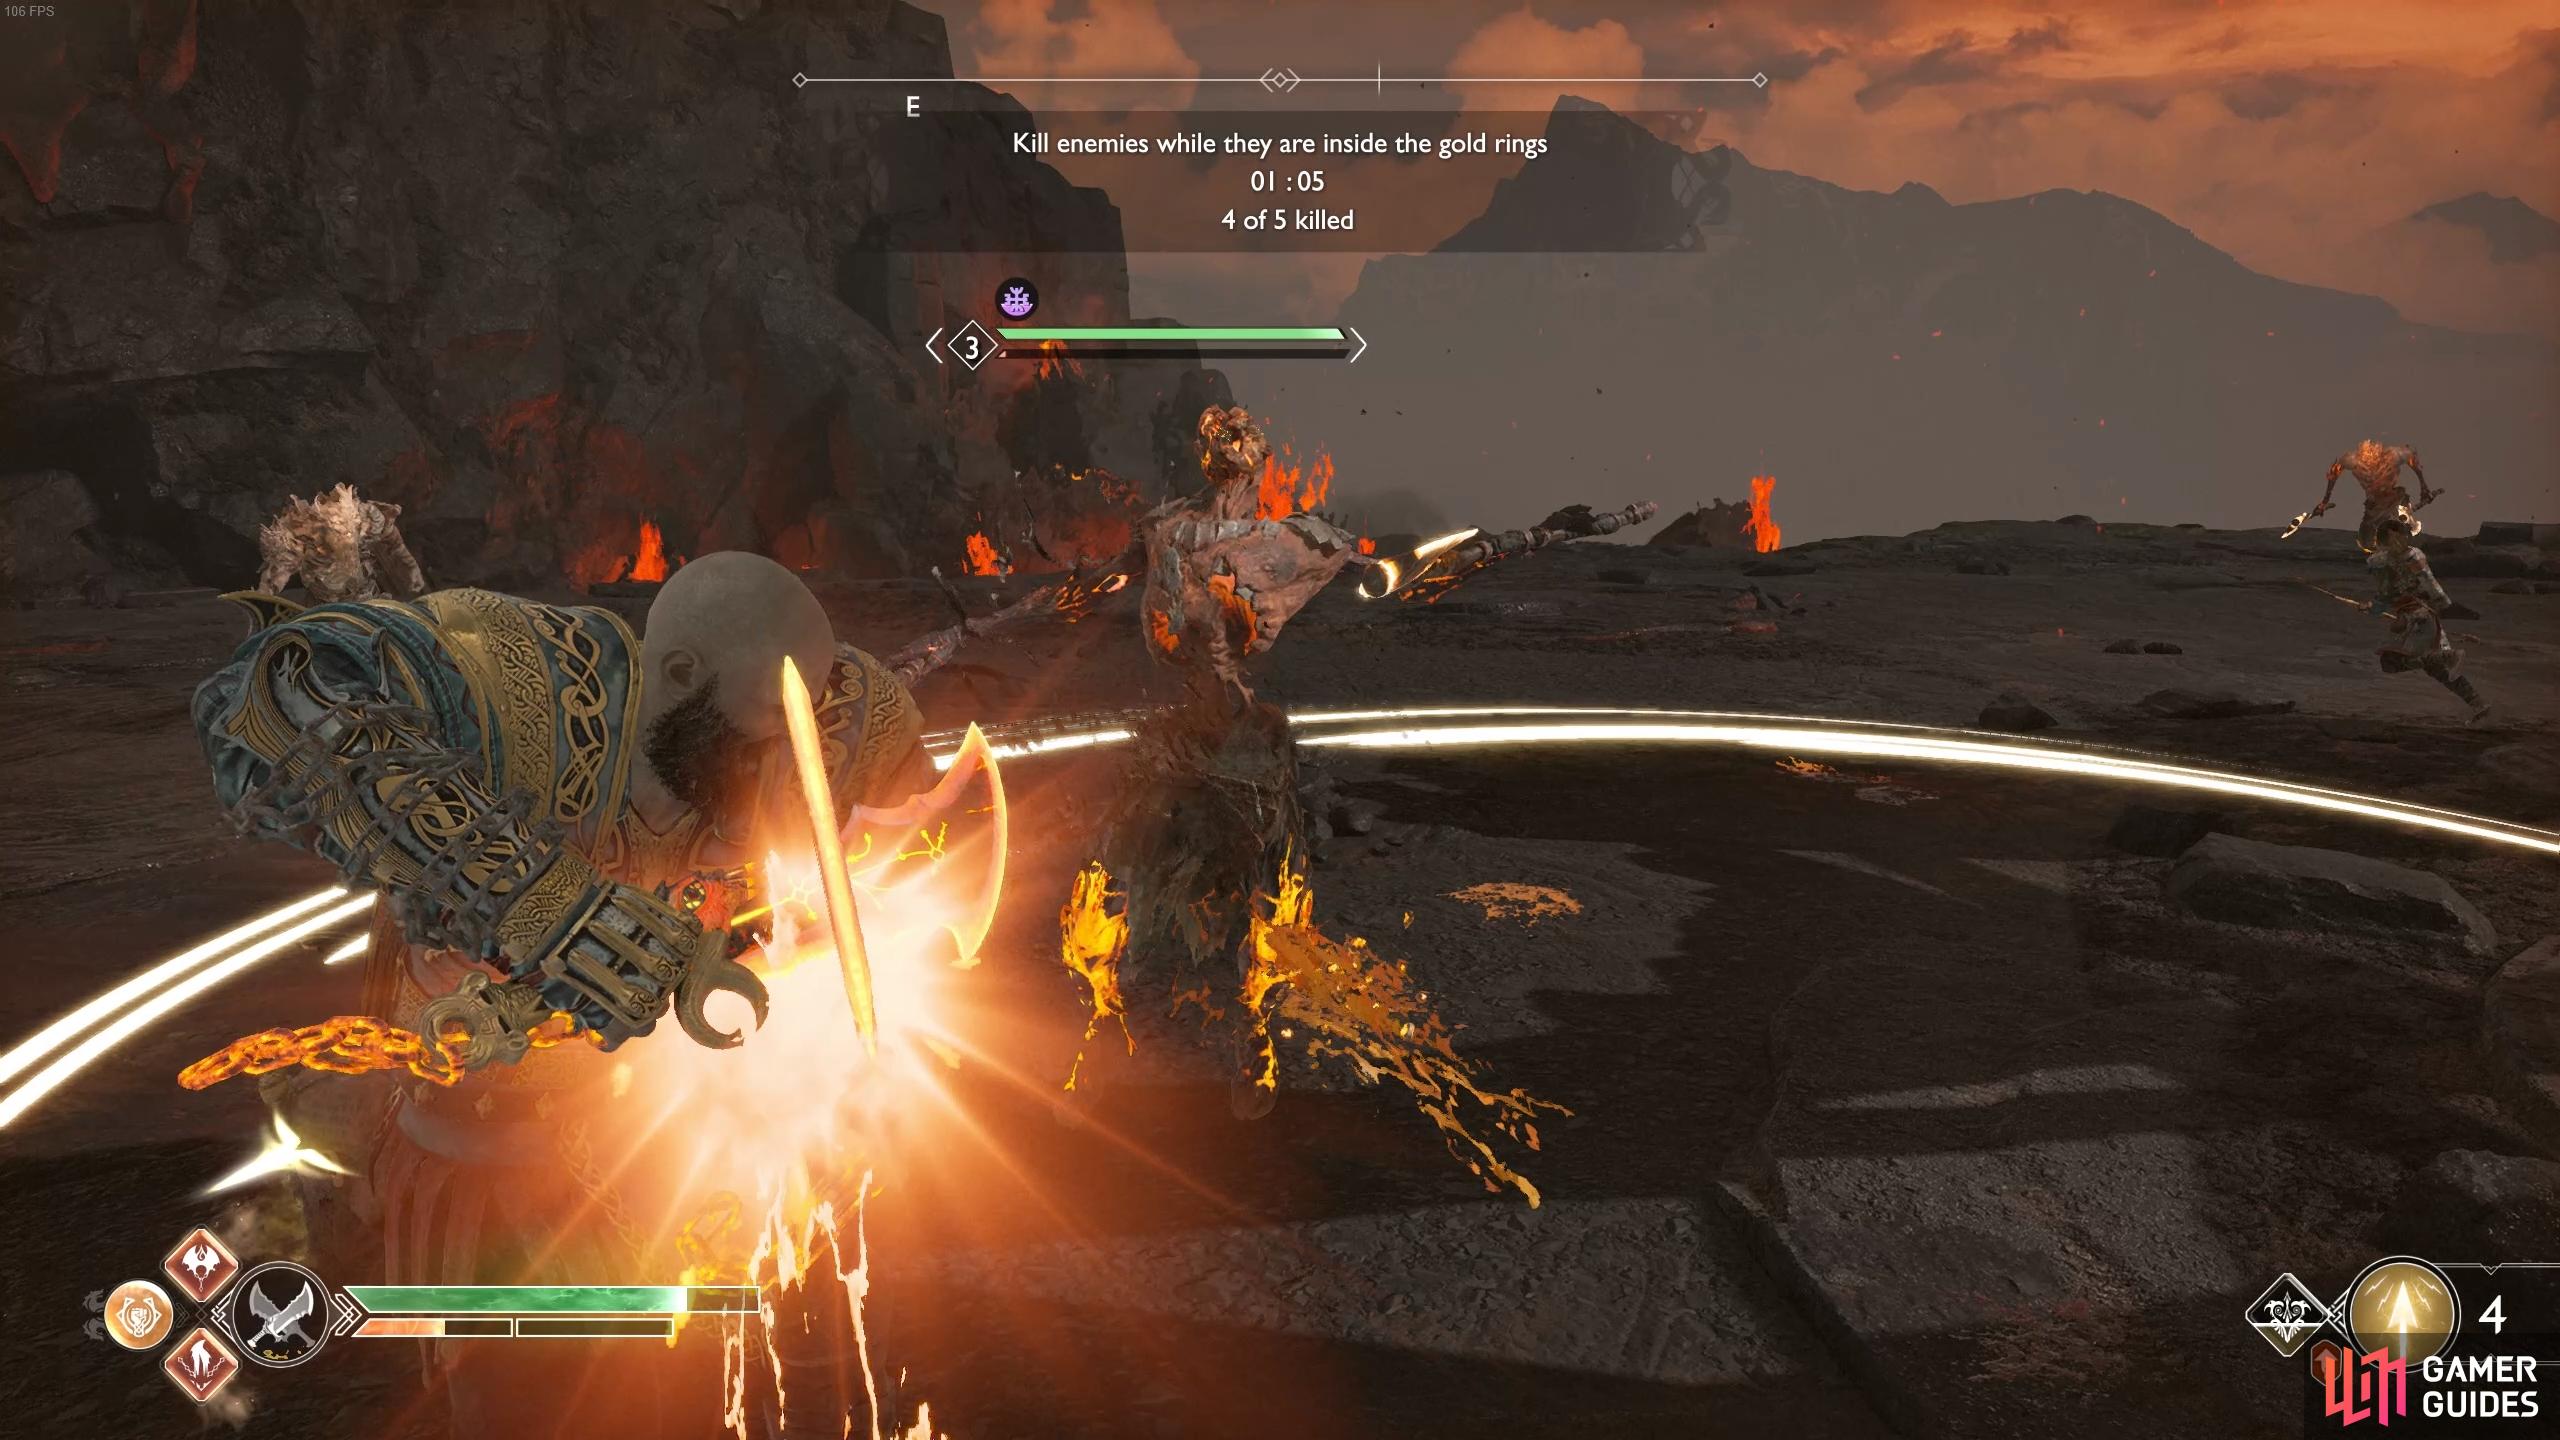
You can use powerful runic attacks to quickly dispatch enemies within the circle.
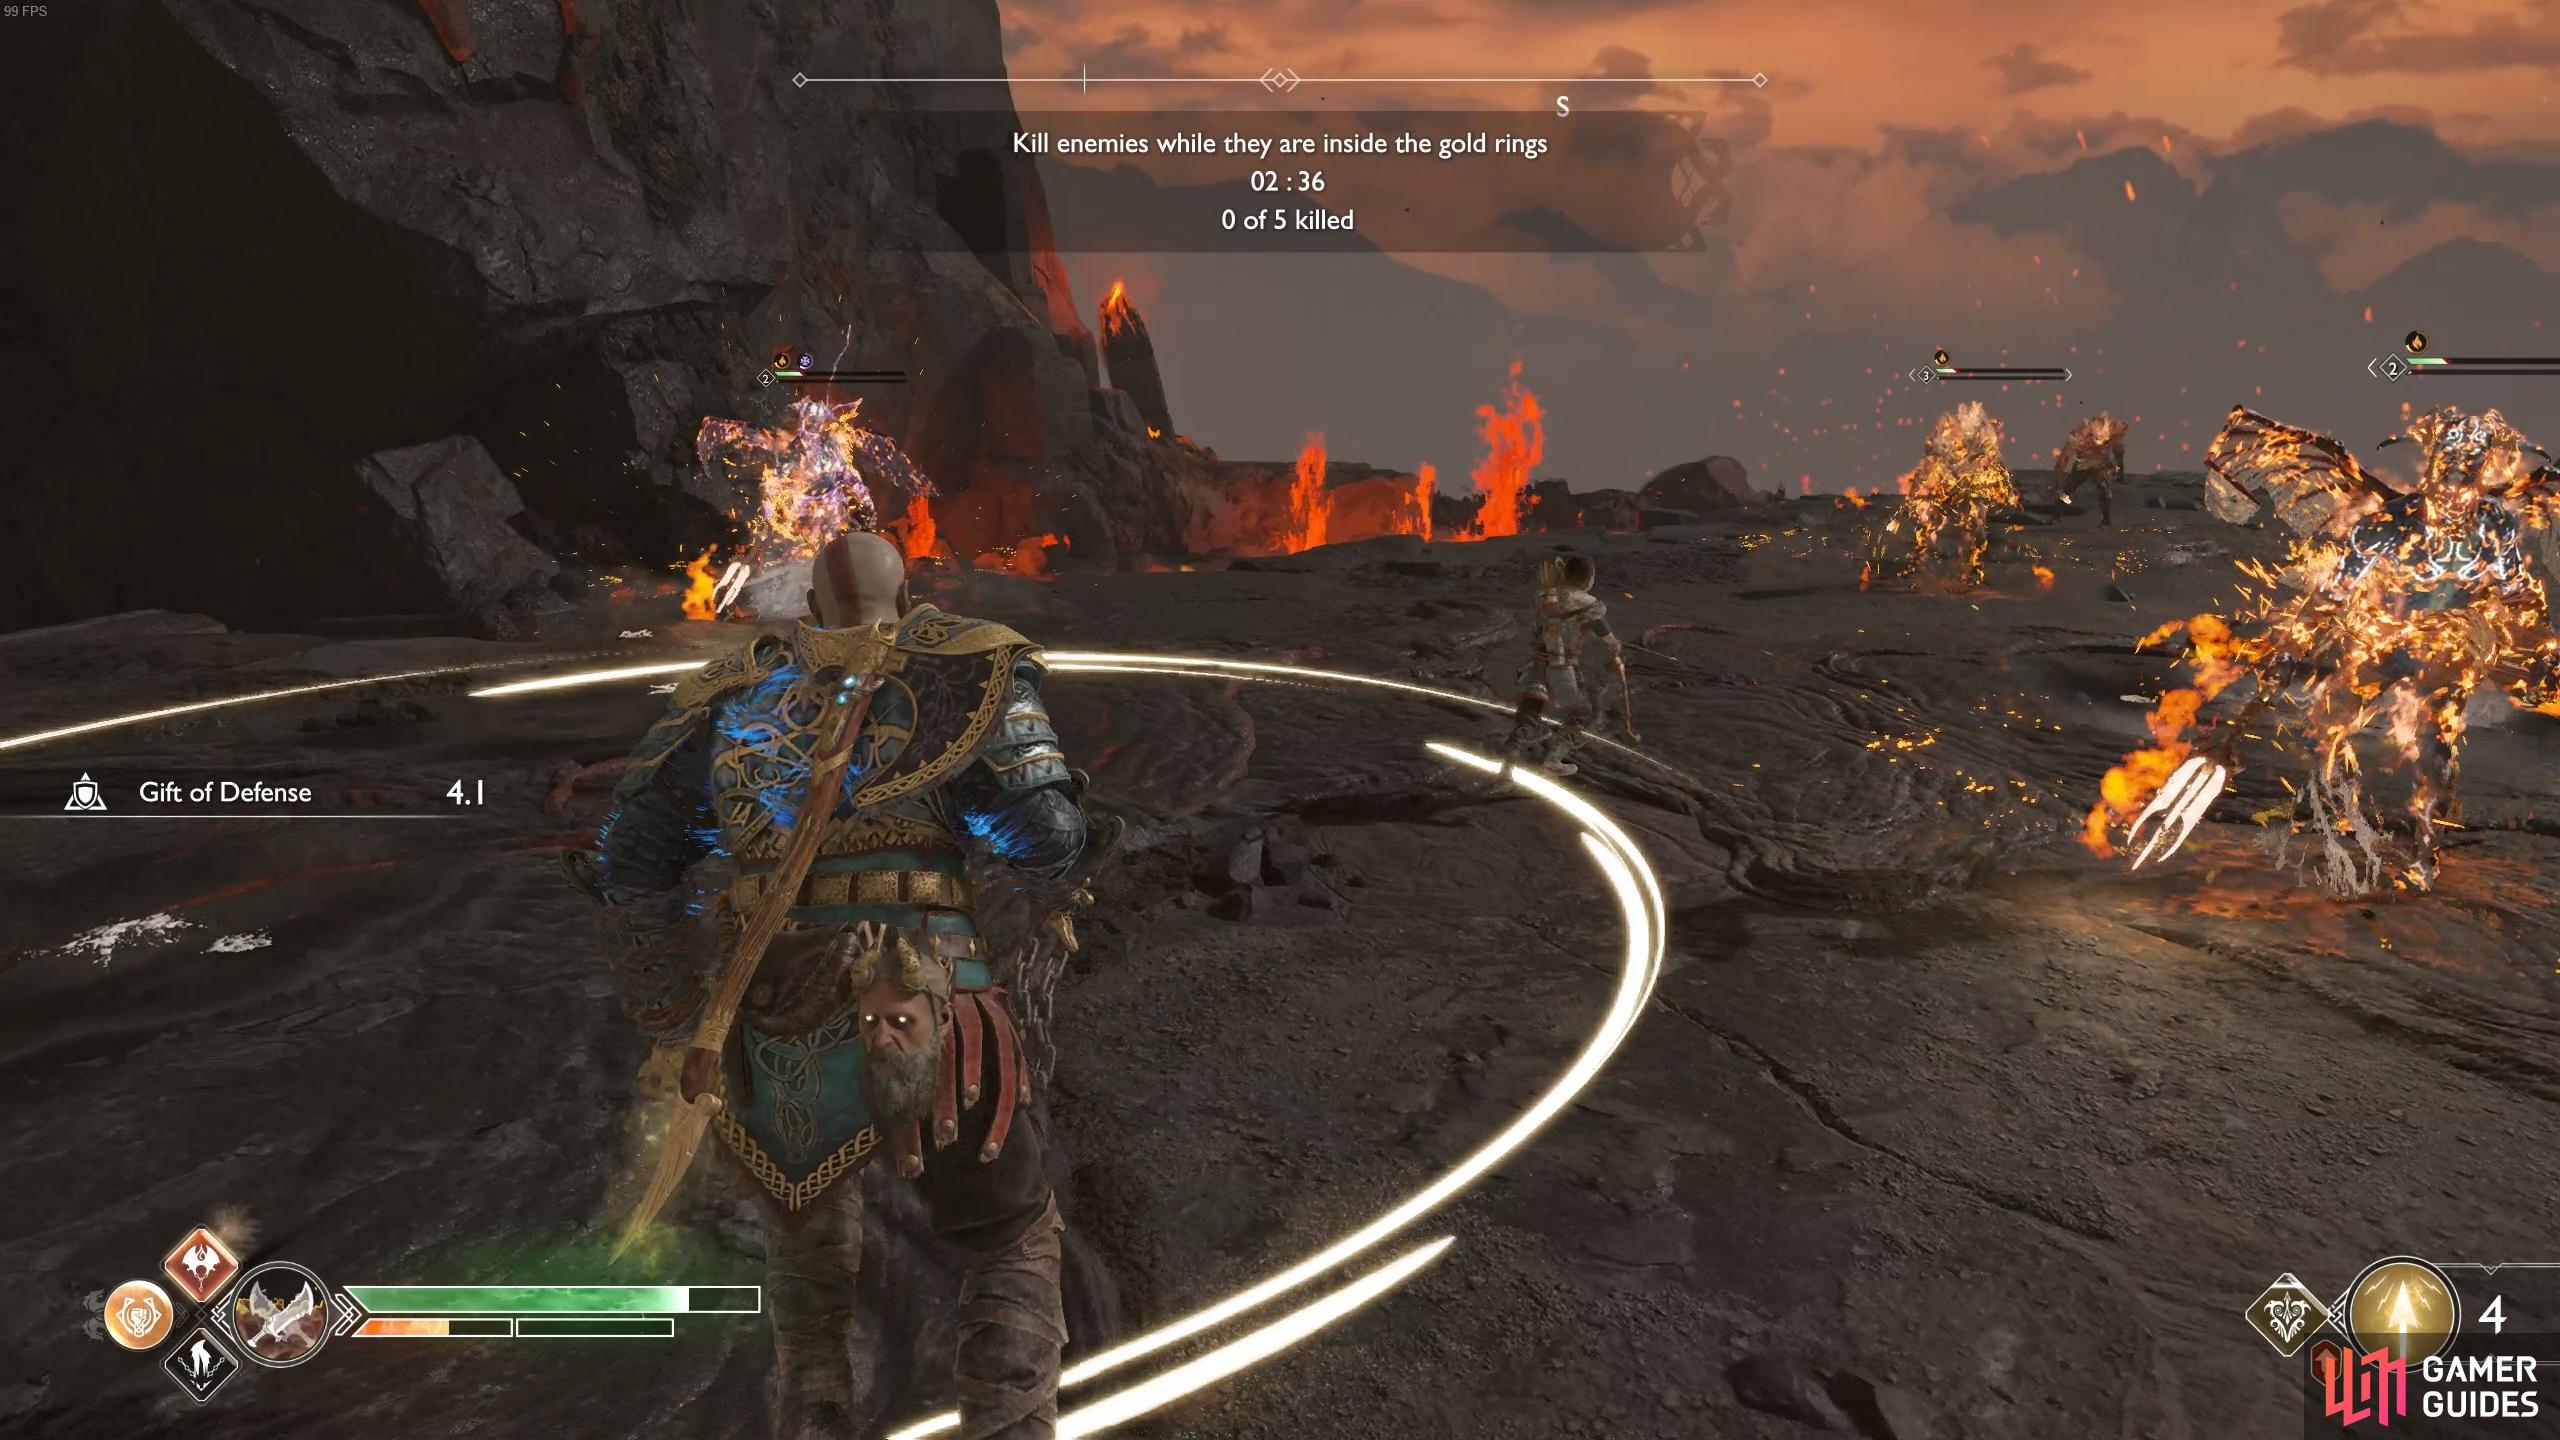
Try lowering the health of multiple enemies before goading them into the circle to finish them off.
The first wave will give you two minutes to defeat five Draugrs, let them wander in and unleash your first Prometheus Flame, finishing them off after. The second wave will give you three minutes to defeat five enemies, this is a little more difficult because the Dark Elves will dart all over the place. Remember to whittle their health down first before finishing them off in the ring.
The final wave has a timer of four minutes and once again, you’ll need to defeat five enemies. This time the ring will move after a short time between three different locations, make sure you don’t attempt to defeat any enemies until you’re in a newly formed ring.
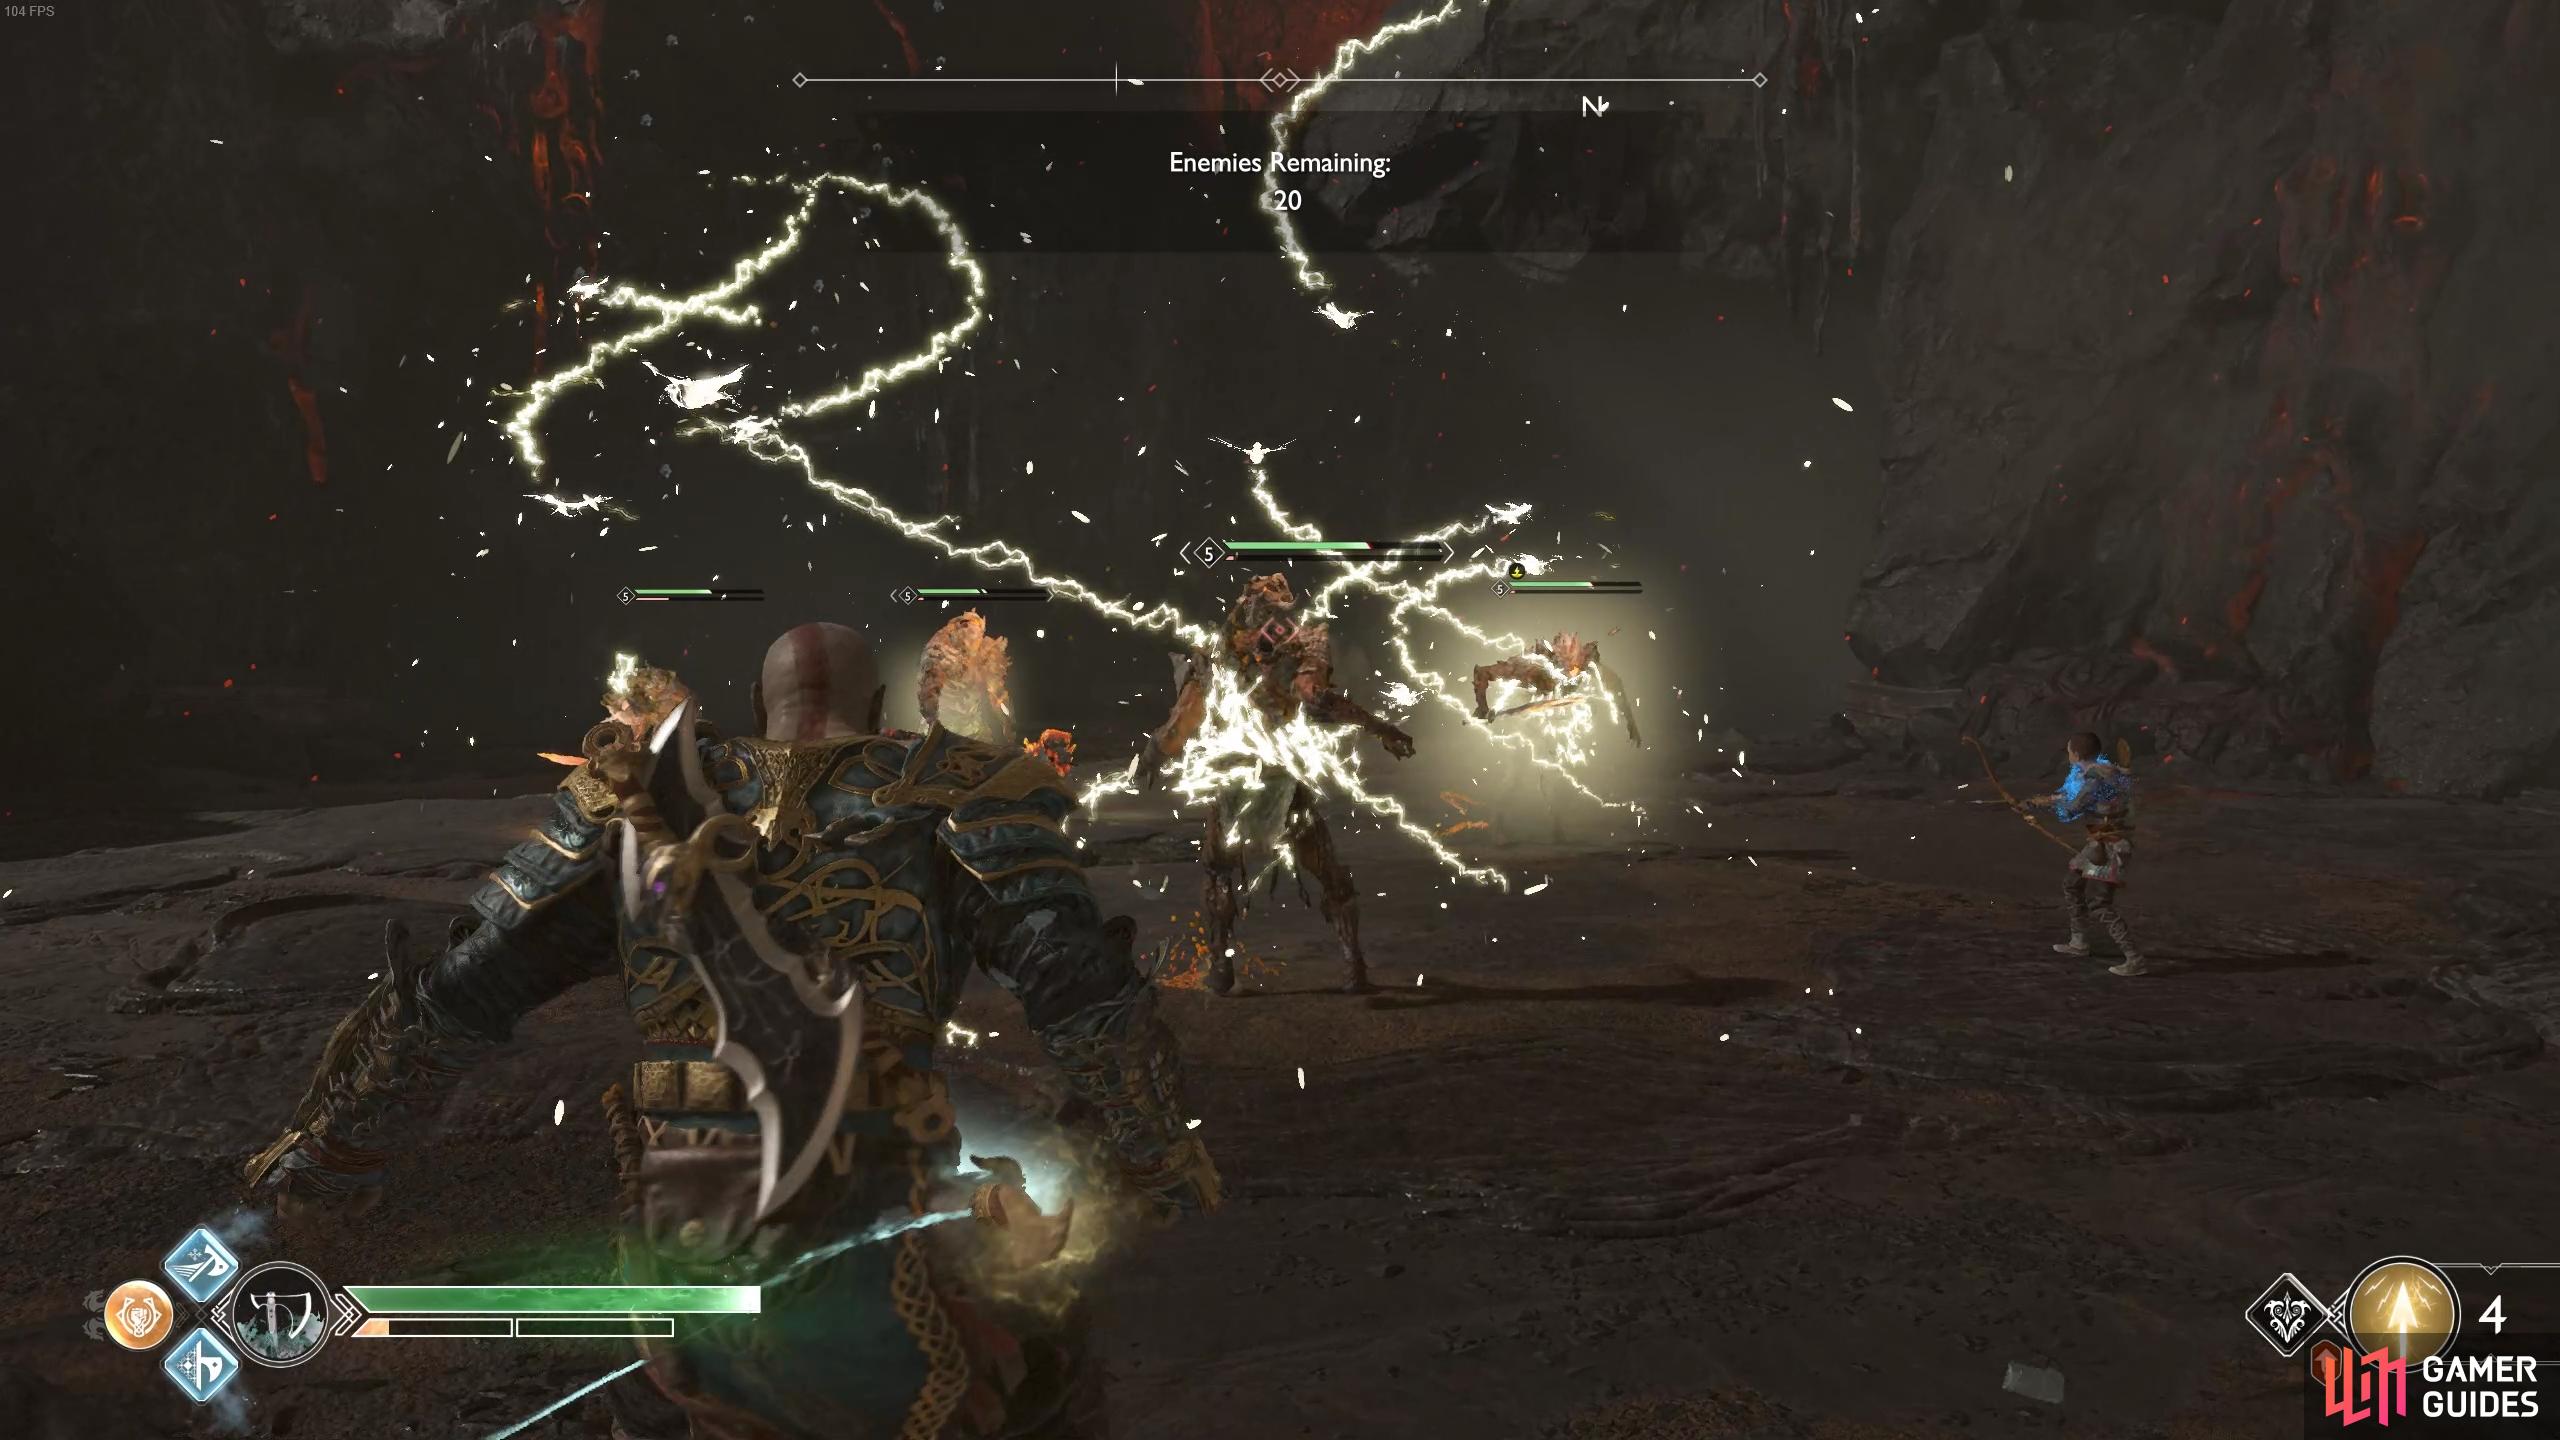
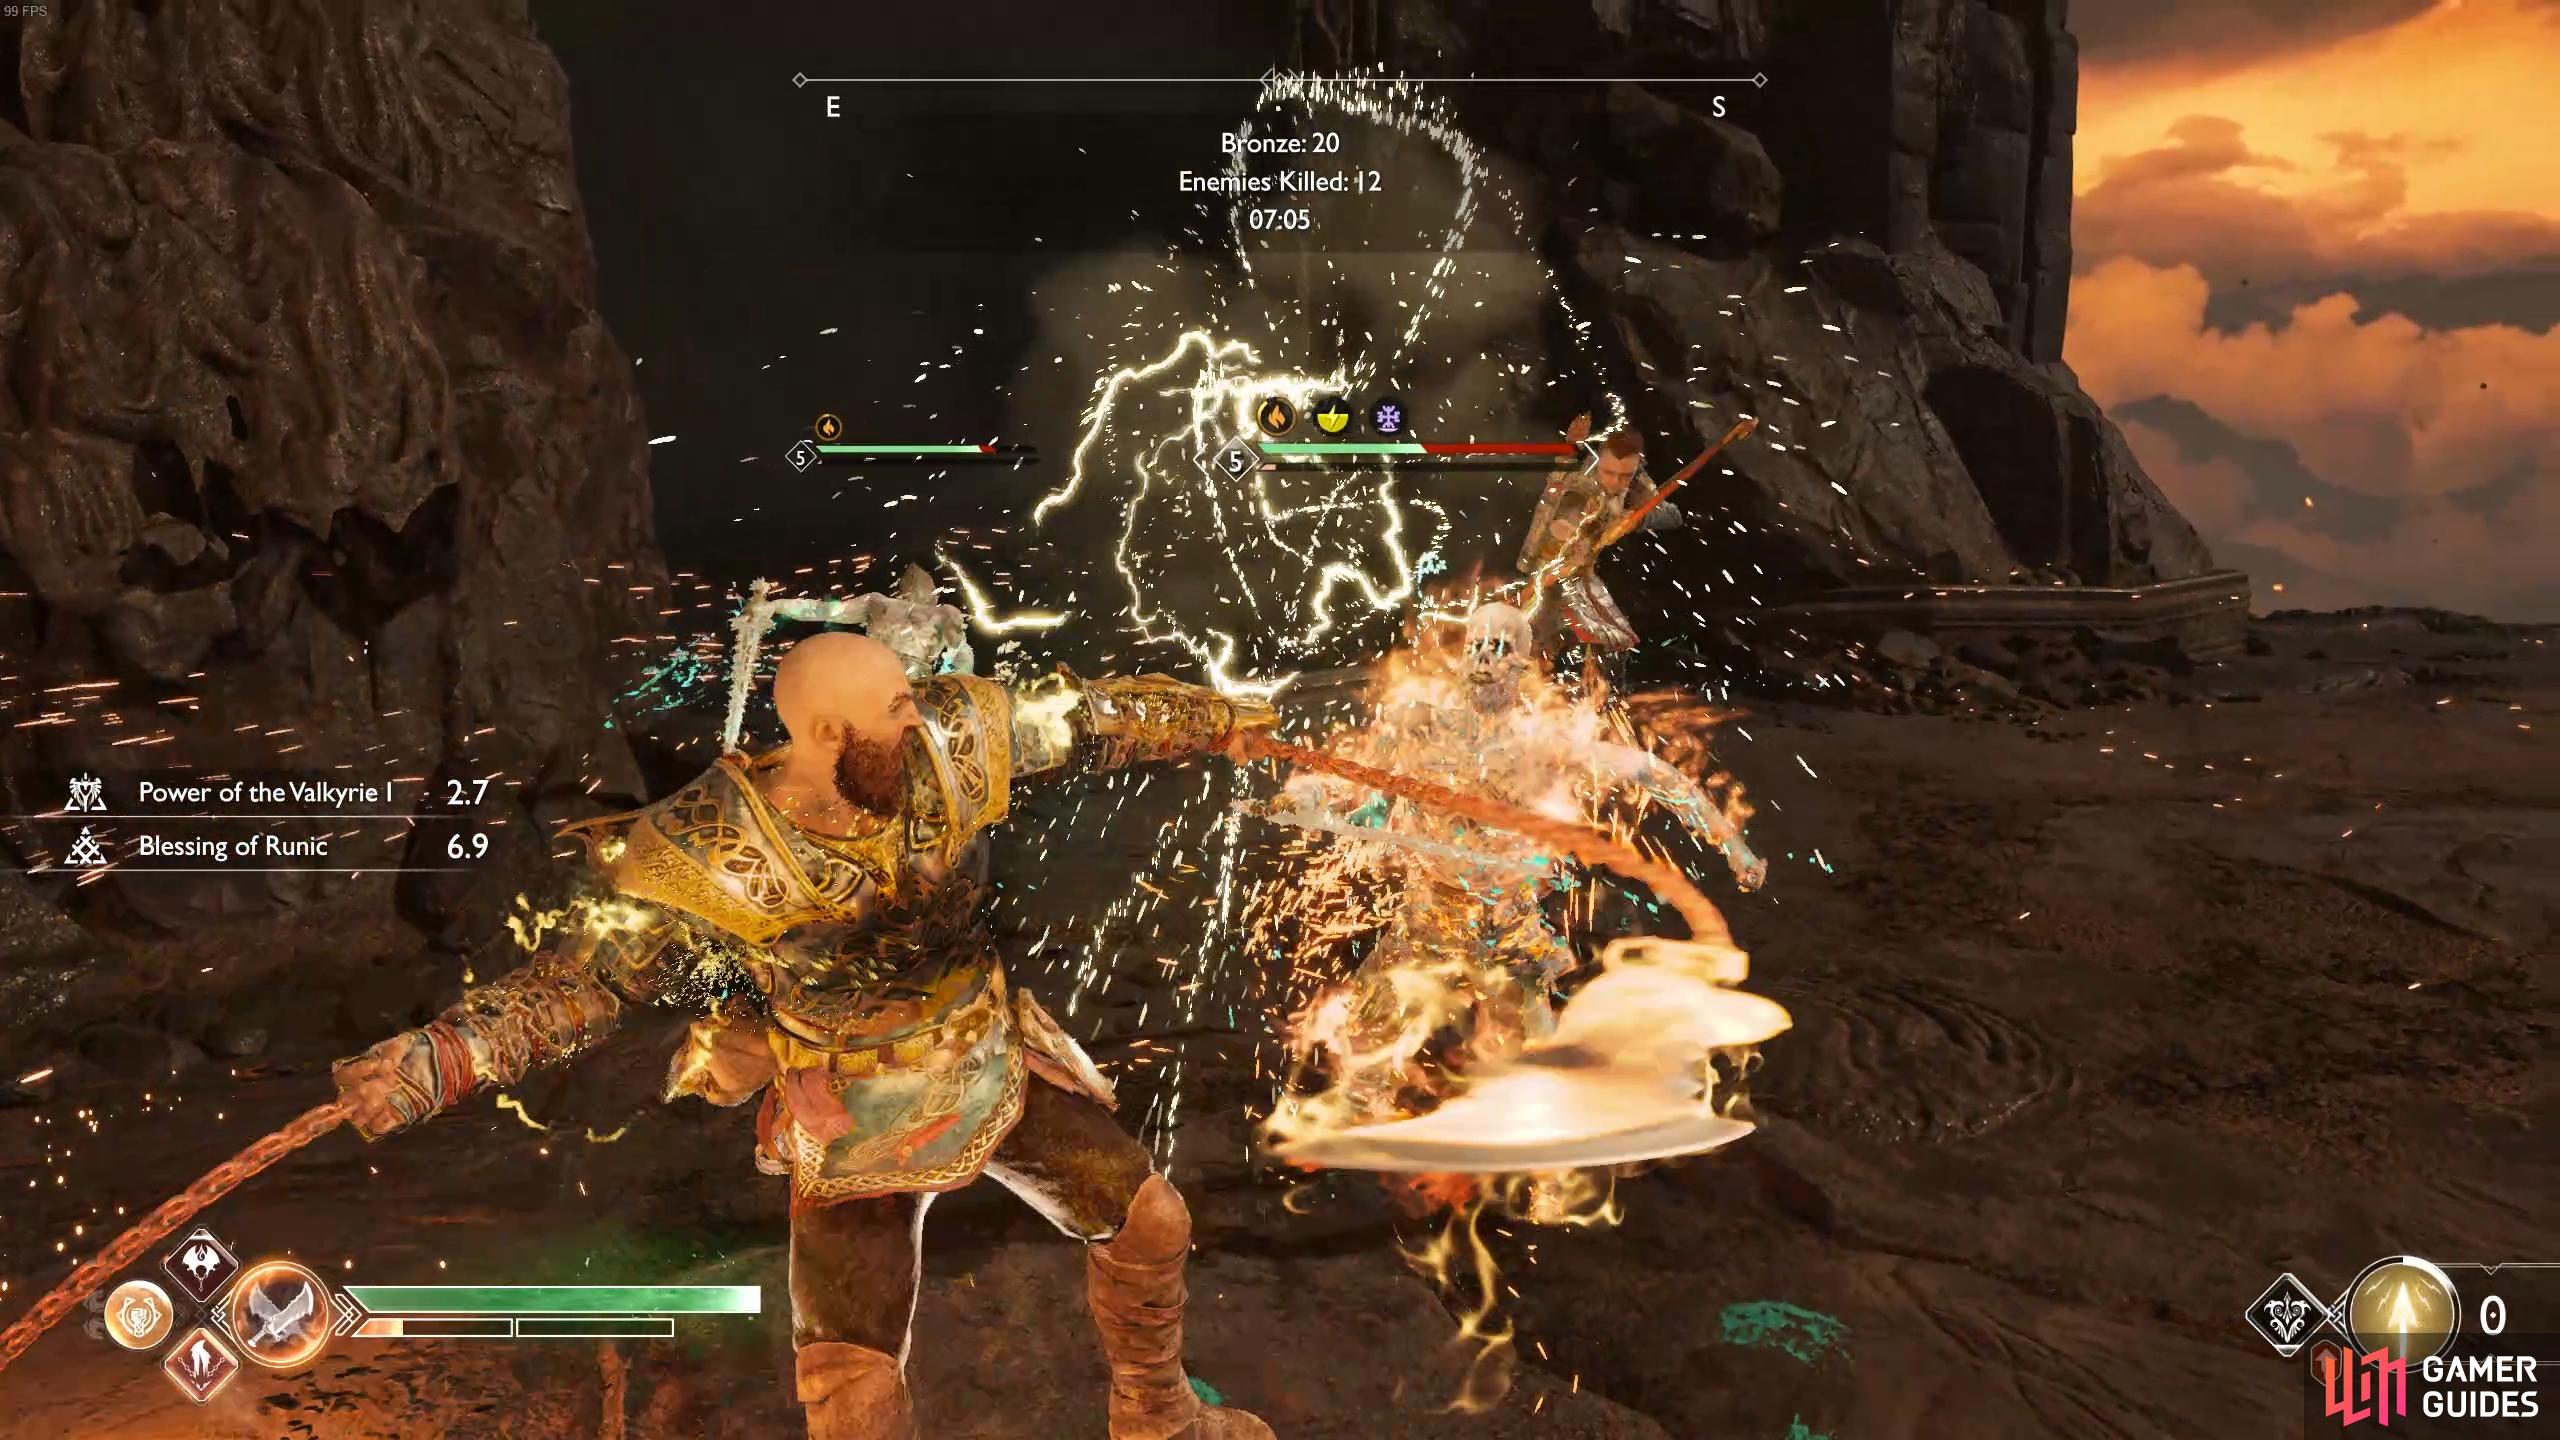
Trial IV: Normal, 100 Enemy Challenge
| Objective | Rewards |
|---|---|
| Defeat 100 enemies | 615 XP, Smoldering Ember x12, Crest of Flame x3, Hacksilver |
As you may expect from the name of the challenge, you’ll need to defeat 100 enemies to complete this task. There’s no time limit so you can take your time and the enemies will spawn in waves so try to save your Runic and Summons for when there’s a large group of enemies out.
You can cast enemies into the lava pits to kill them quickly.
Use the Ogre to take out the Traveller when he spawns near the end.
The biggest hurdle in this battle is the Hel-Travellers, if you’re not careful they may do some serious harm to you. Try to save the Shattered Gauntlet of Ages for these brutes and make use of the Ogres that spawn to defeat huge groups of enemies at once.
Trial IV: Hard, Protector
| Objective | Rewards |
|---|---|
| Don’t let enemies capture Atreus | 1075 XP, Smoldering Ember x20, Crest of Flame x5, Hacksilver |
For this trial, you’ll need to keep your eye on Atreus at all times to prevent any enemies from grabbing him. If they do, you’ll have a short time to release him or risk failing the trial. Truth be told, this shouldn’t be too difficult and one of the more easier trials. Make use of the Summons and use Runics when large groups of enemies are out.
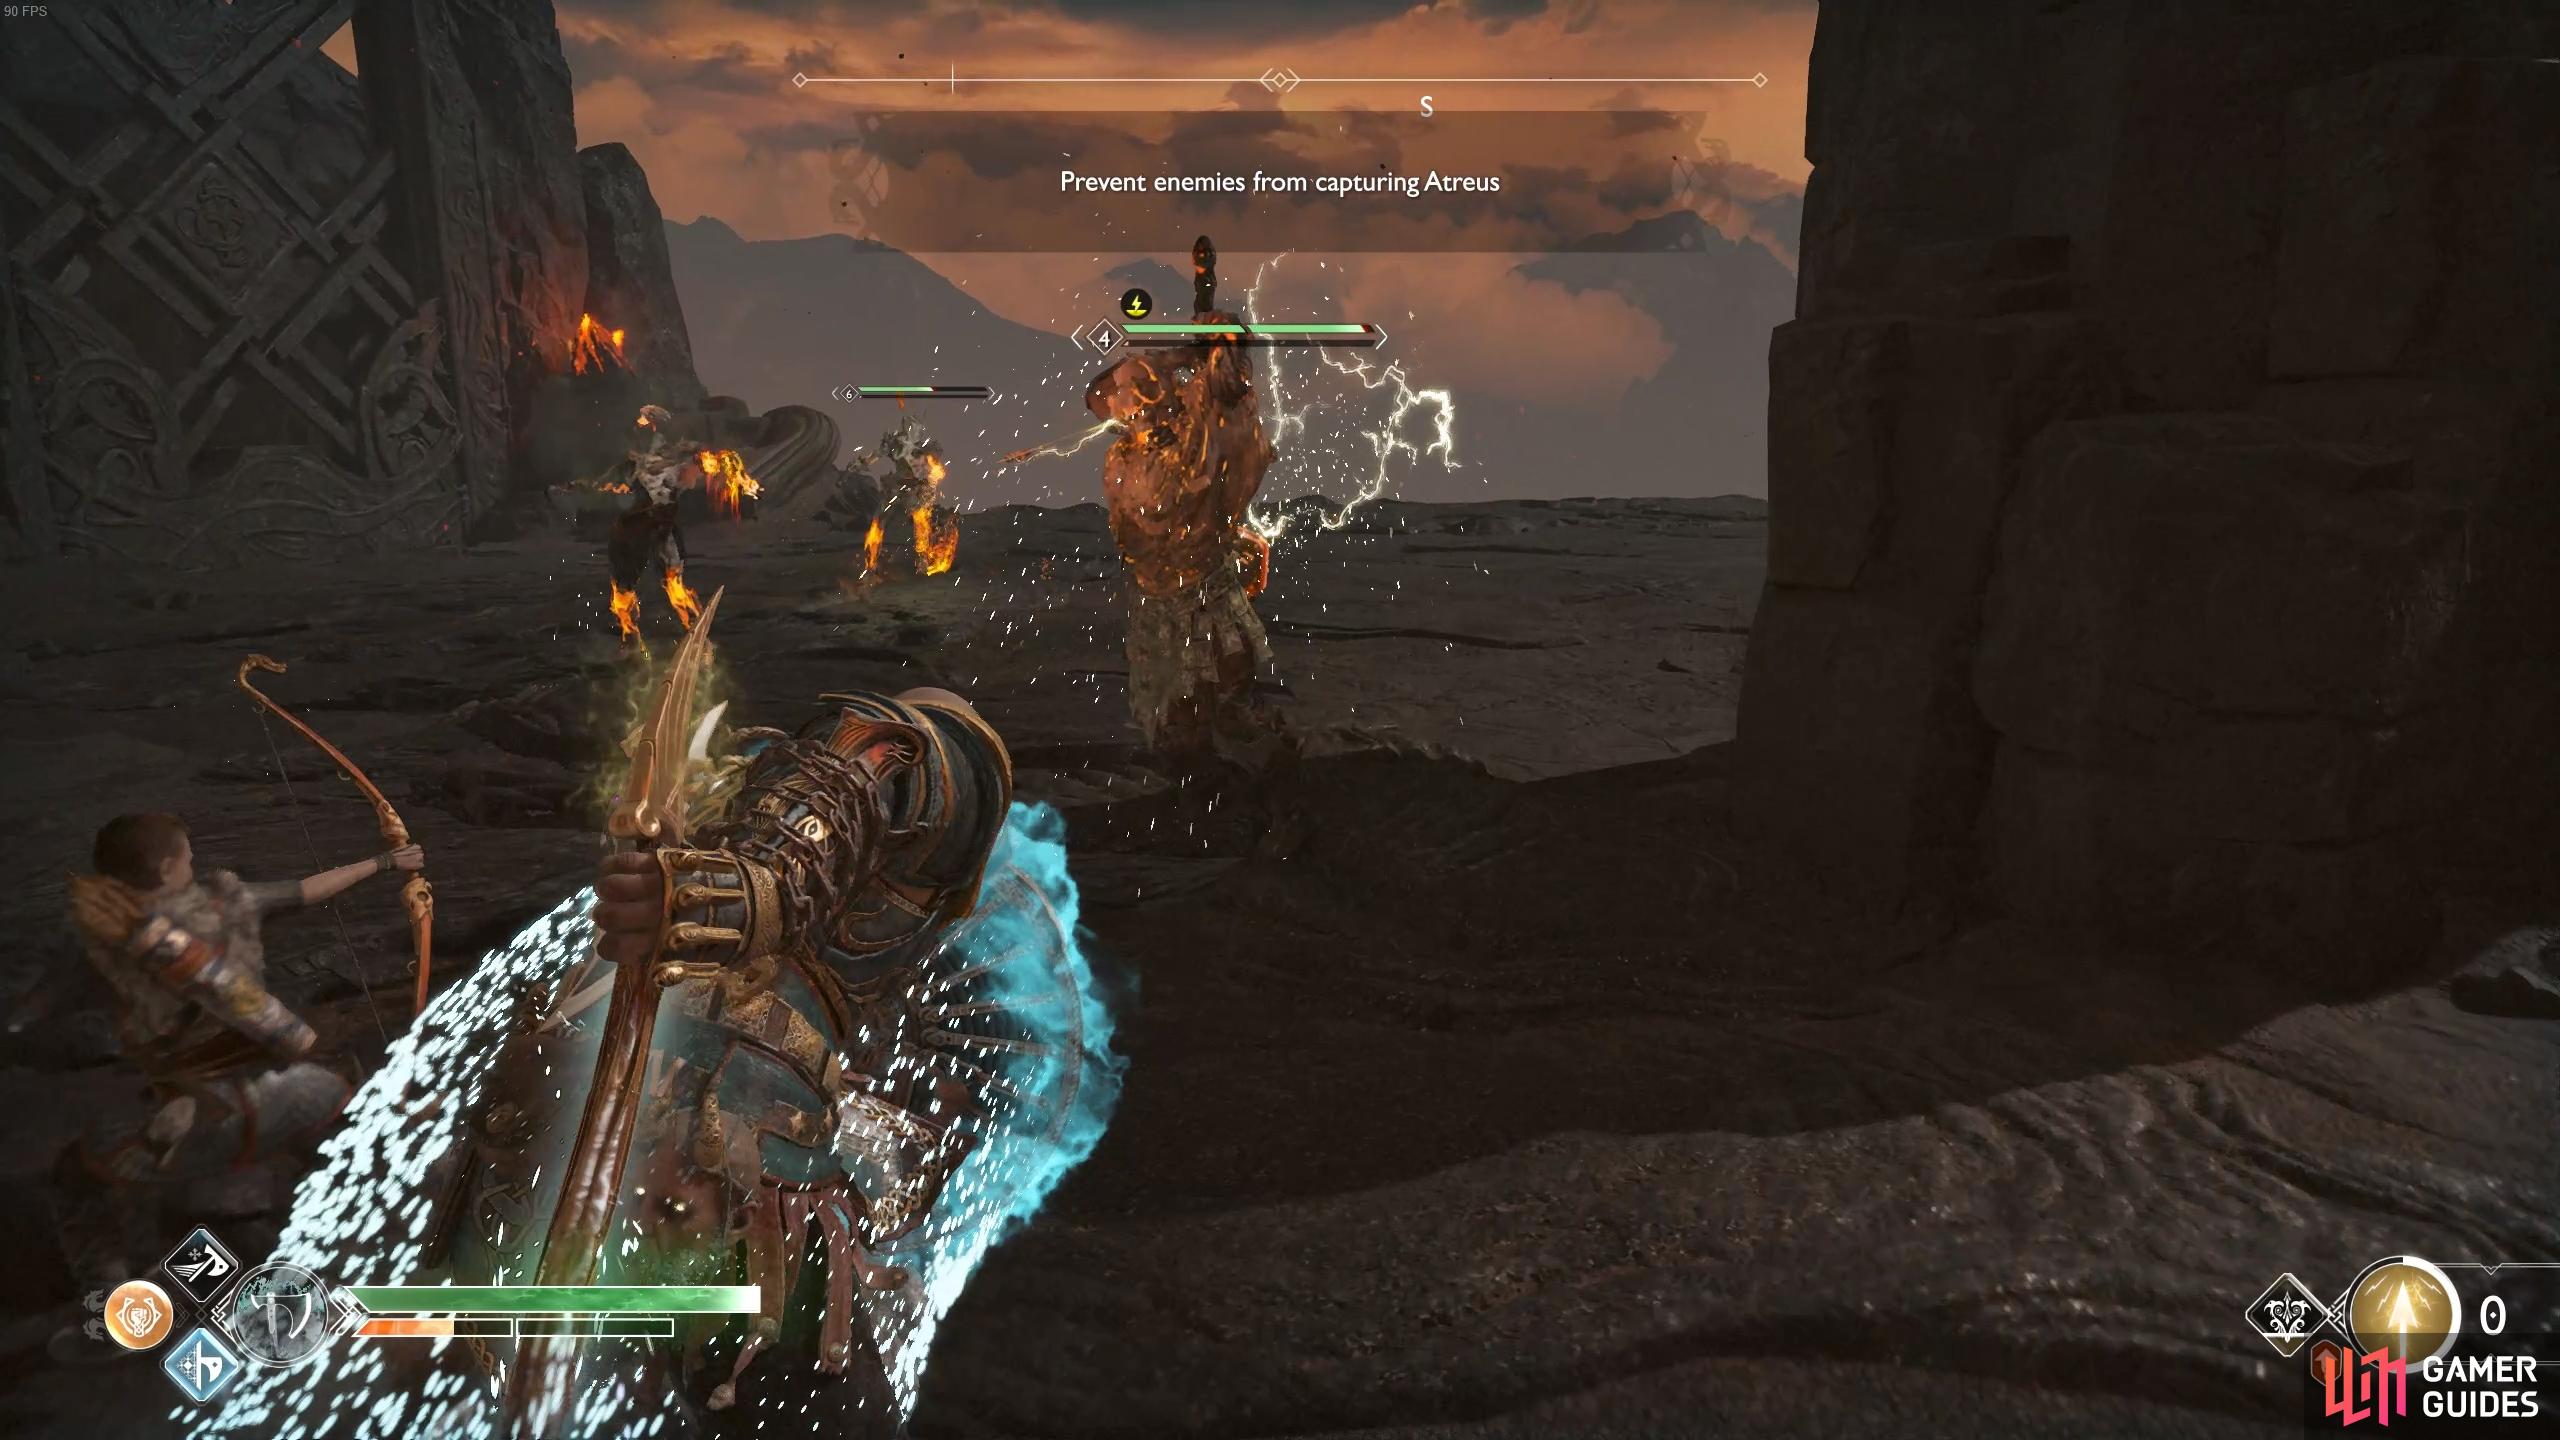
Heavy Dragurs are your greatest threat when it comes to protecting Atreus.

Use shock arrows to stun enemies temporarily.
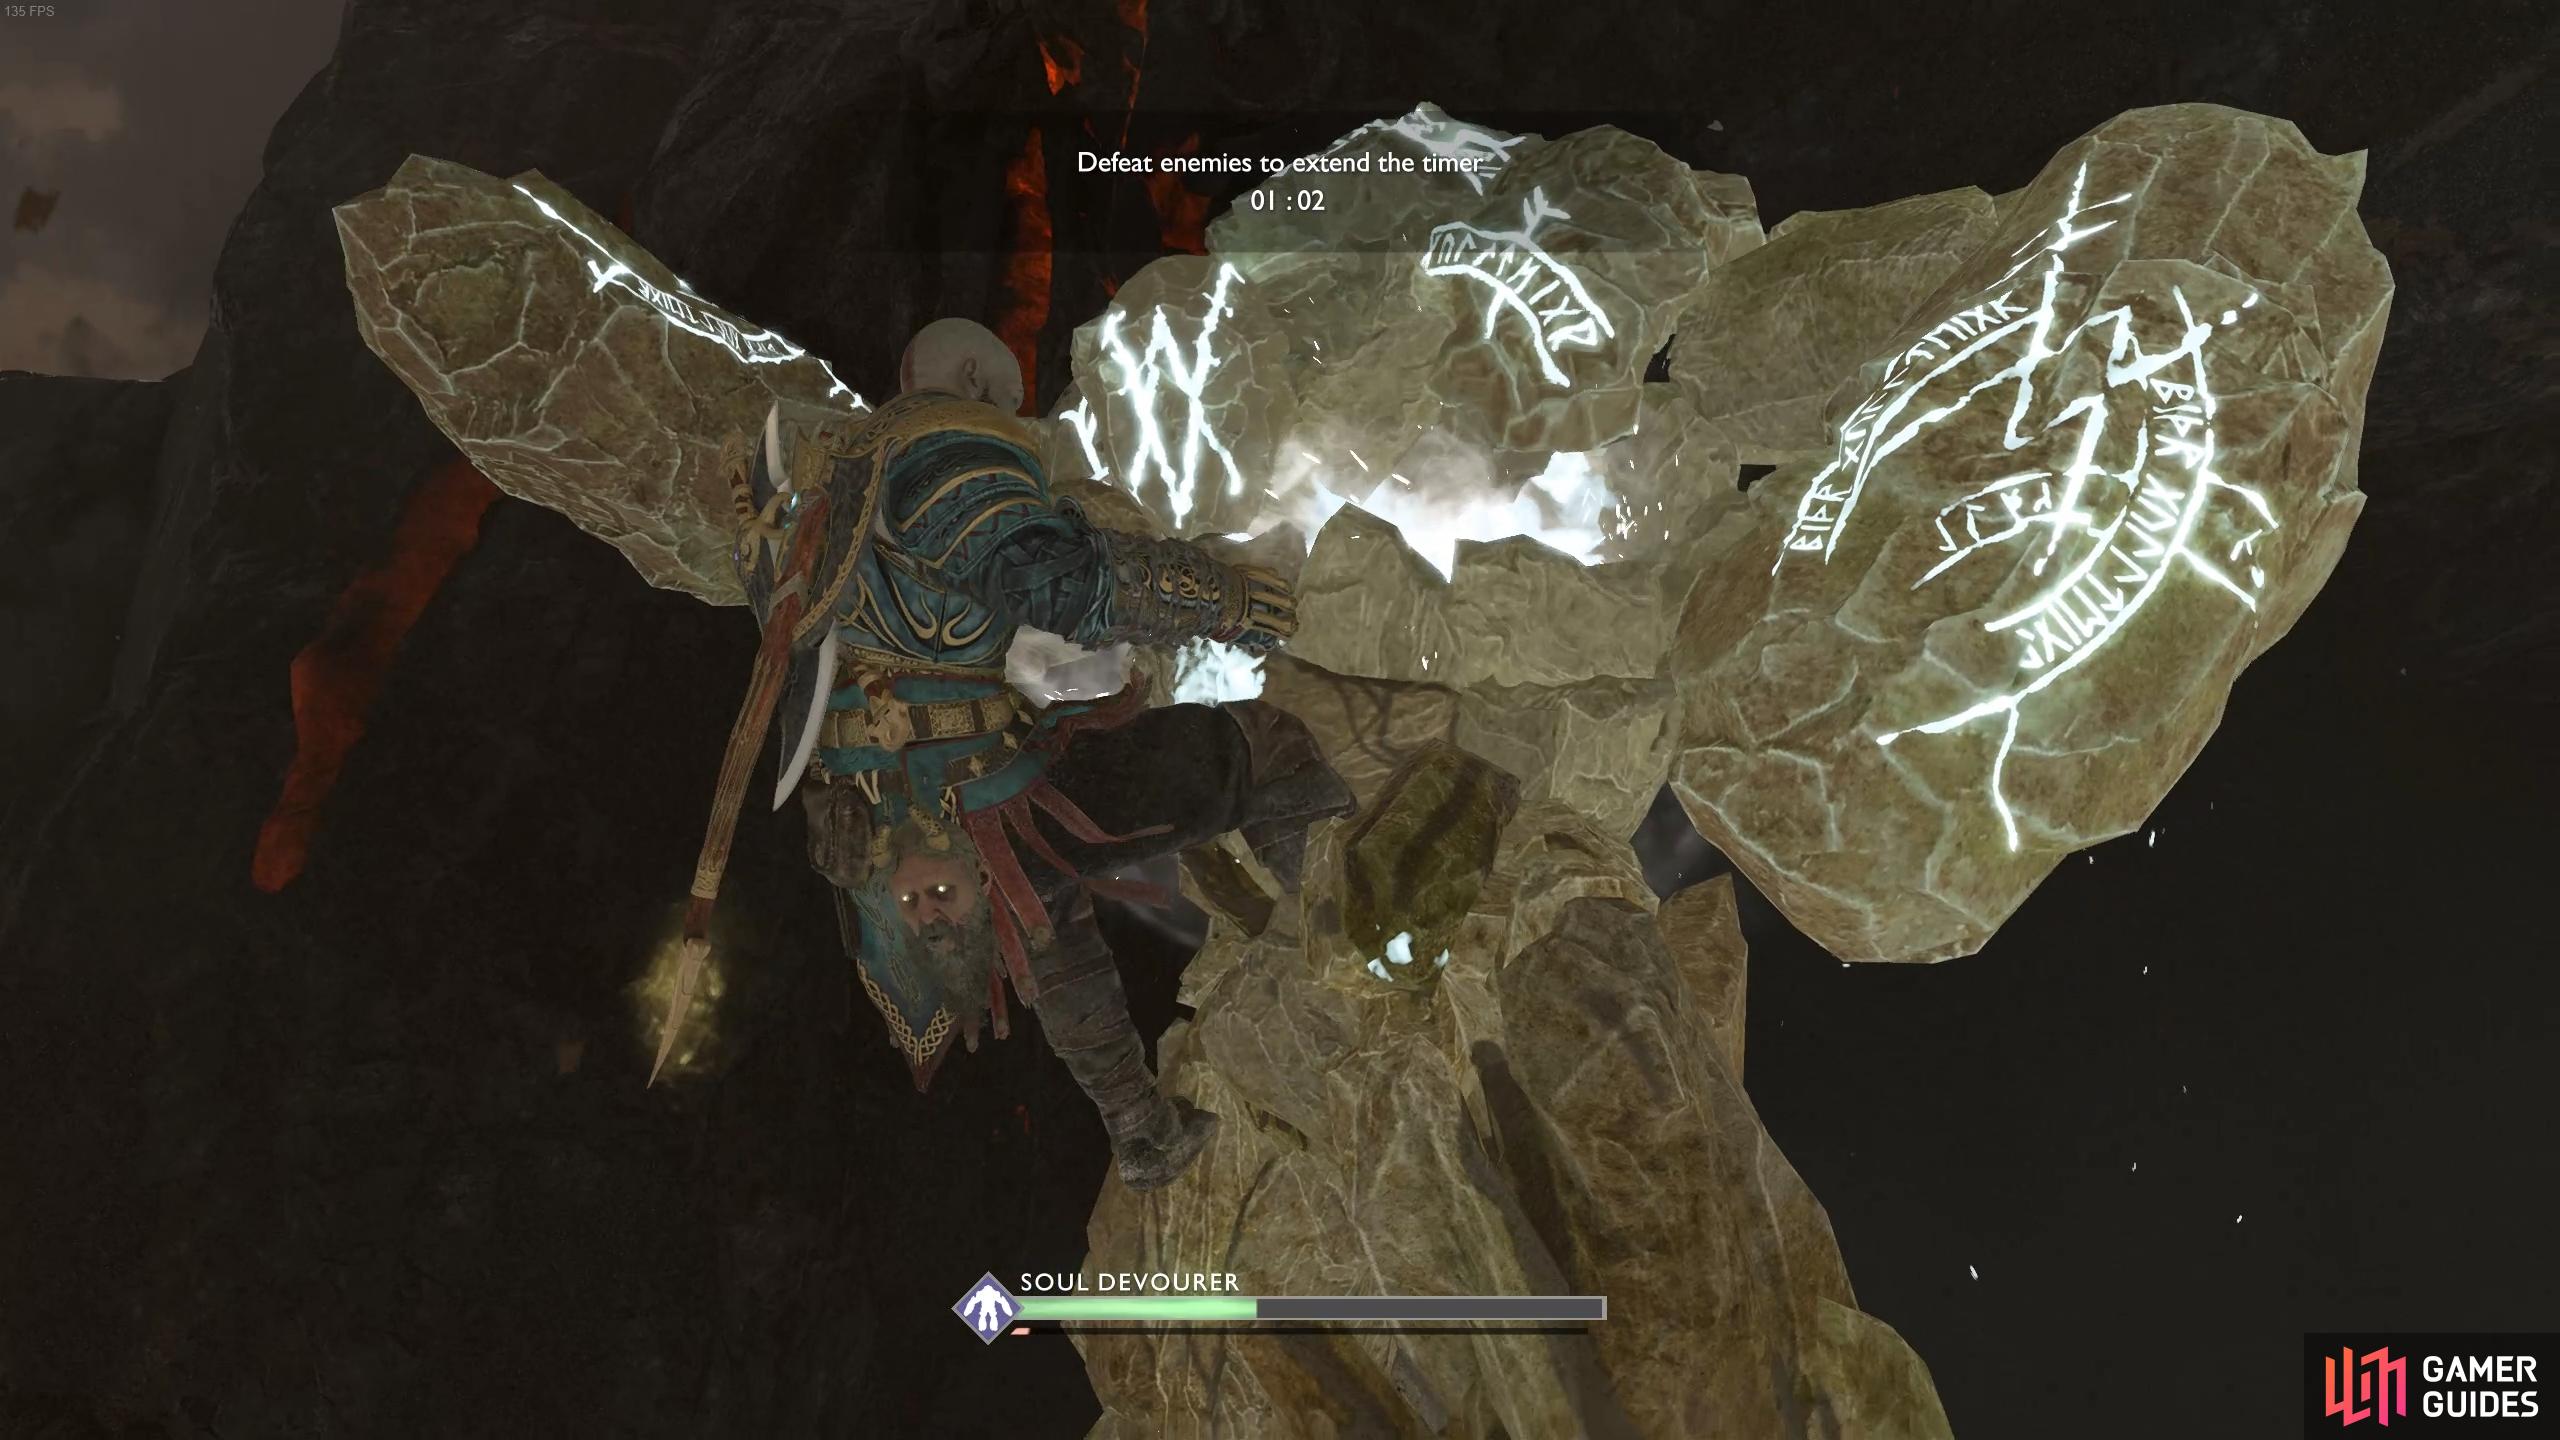
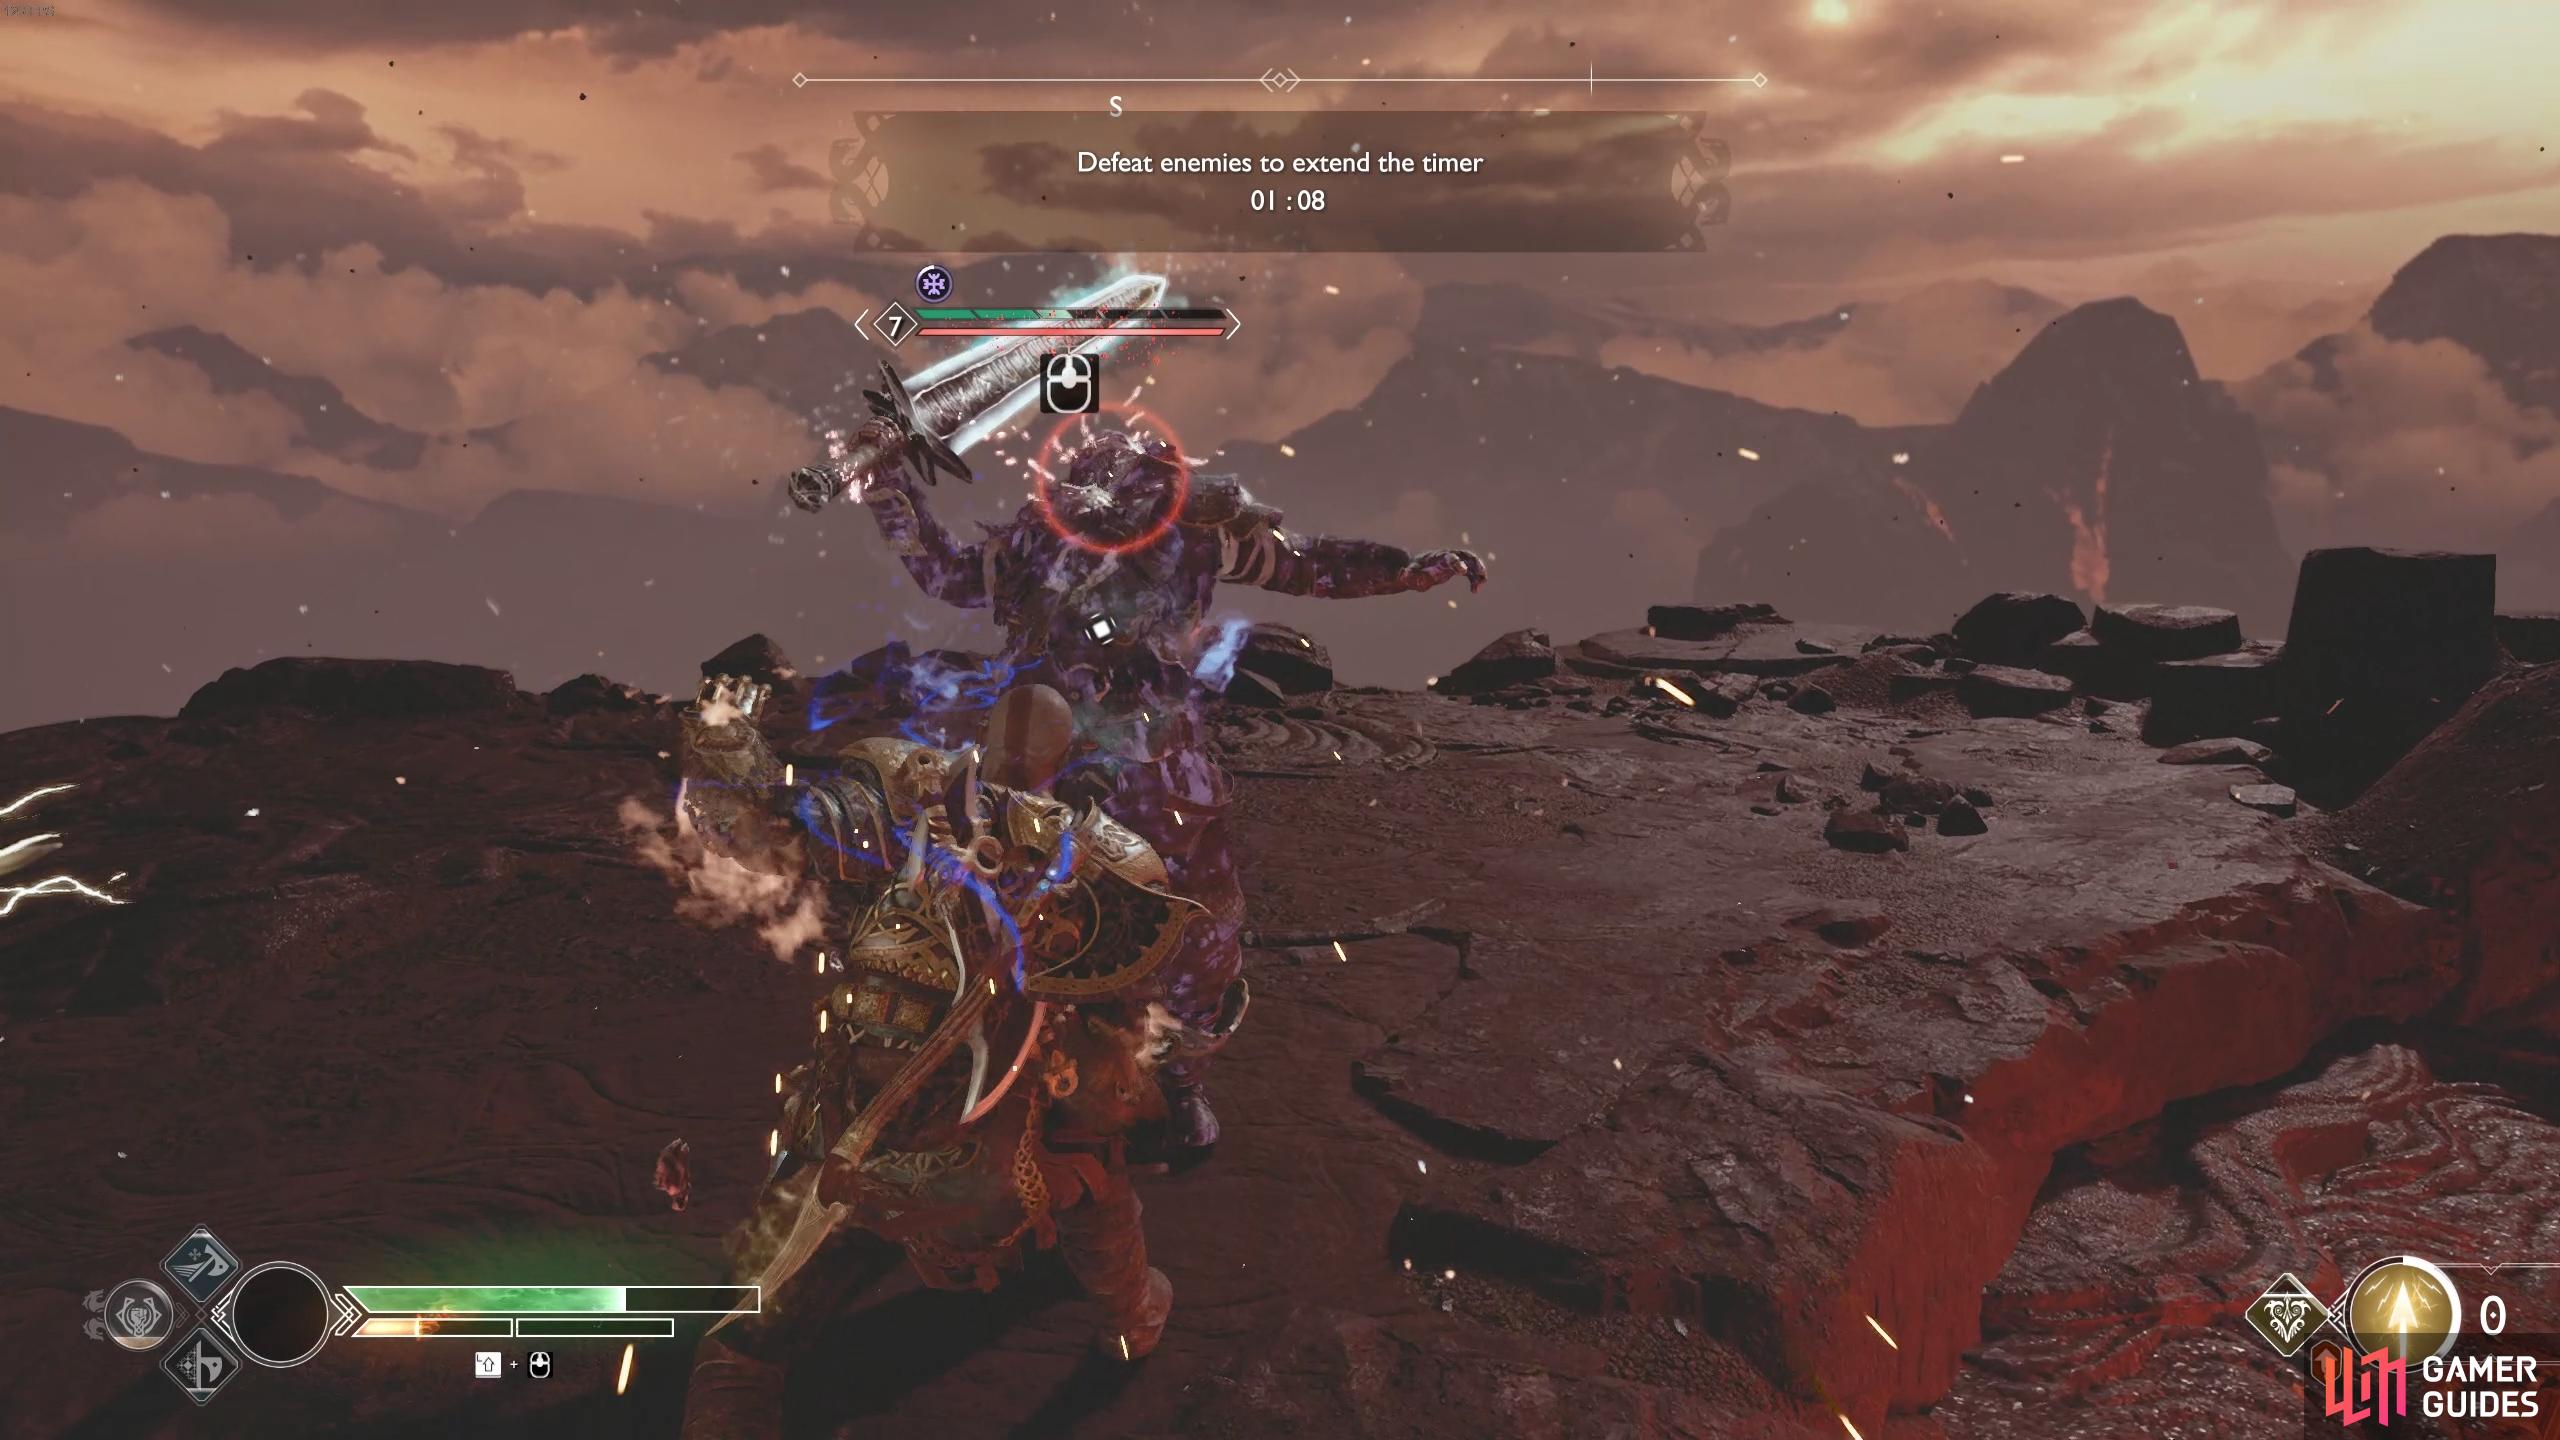
Trial V: Normal, Time slips away…
| Objective | Rewards |
|---|---|
| Kill enemies to increase time | 615 XP, Smoldering Ember x12, Crest of Flame x3 |
Your task in this trial is to defeat all the enemies as quickly as possible before your time runs out. You’ll want to make full use of your Runics, using them as and when they’re available and use your Summons when a large group of enemies are out.
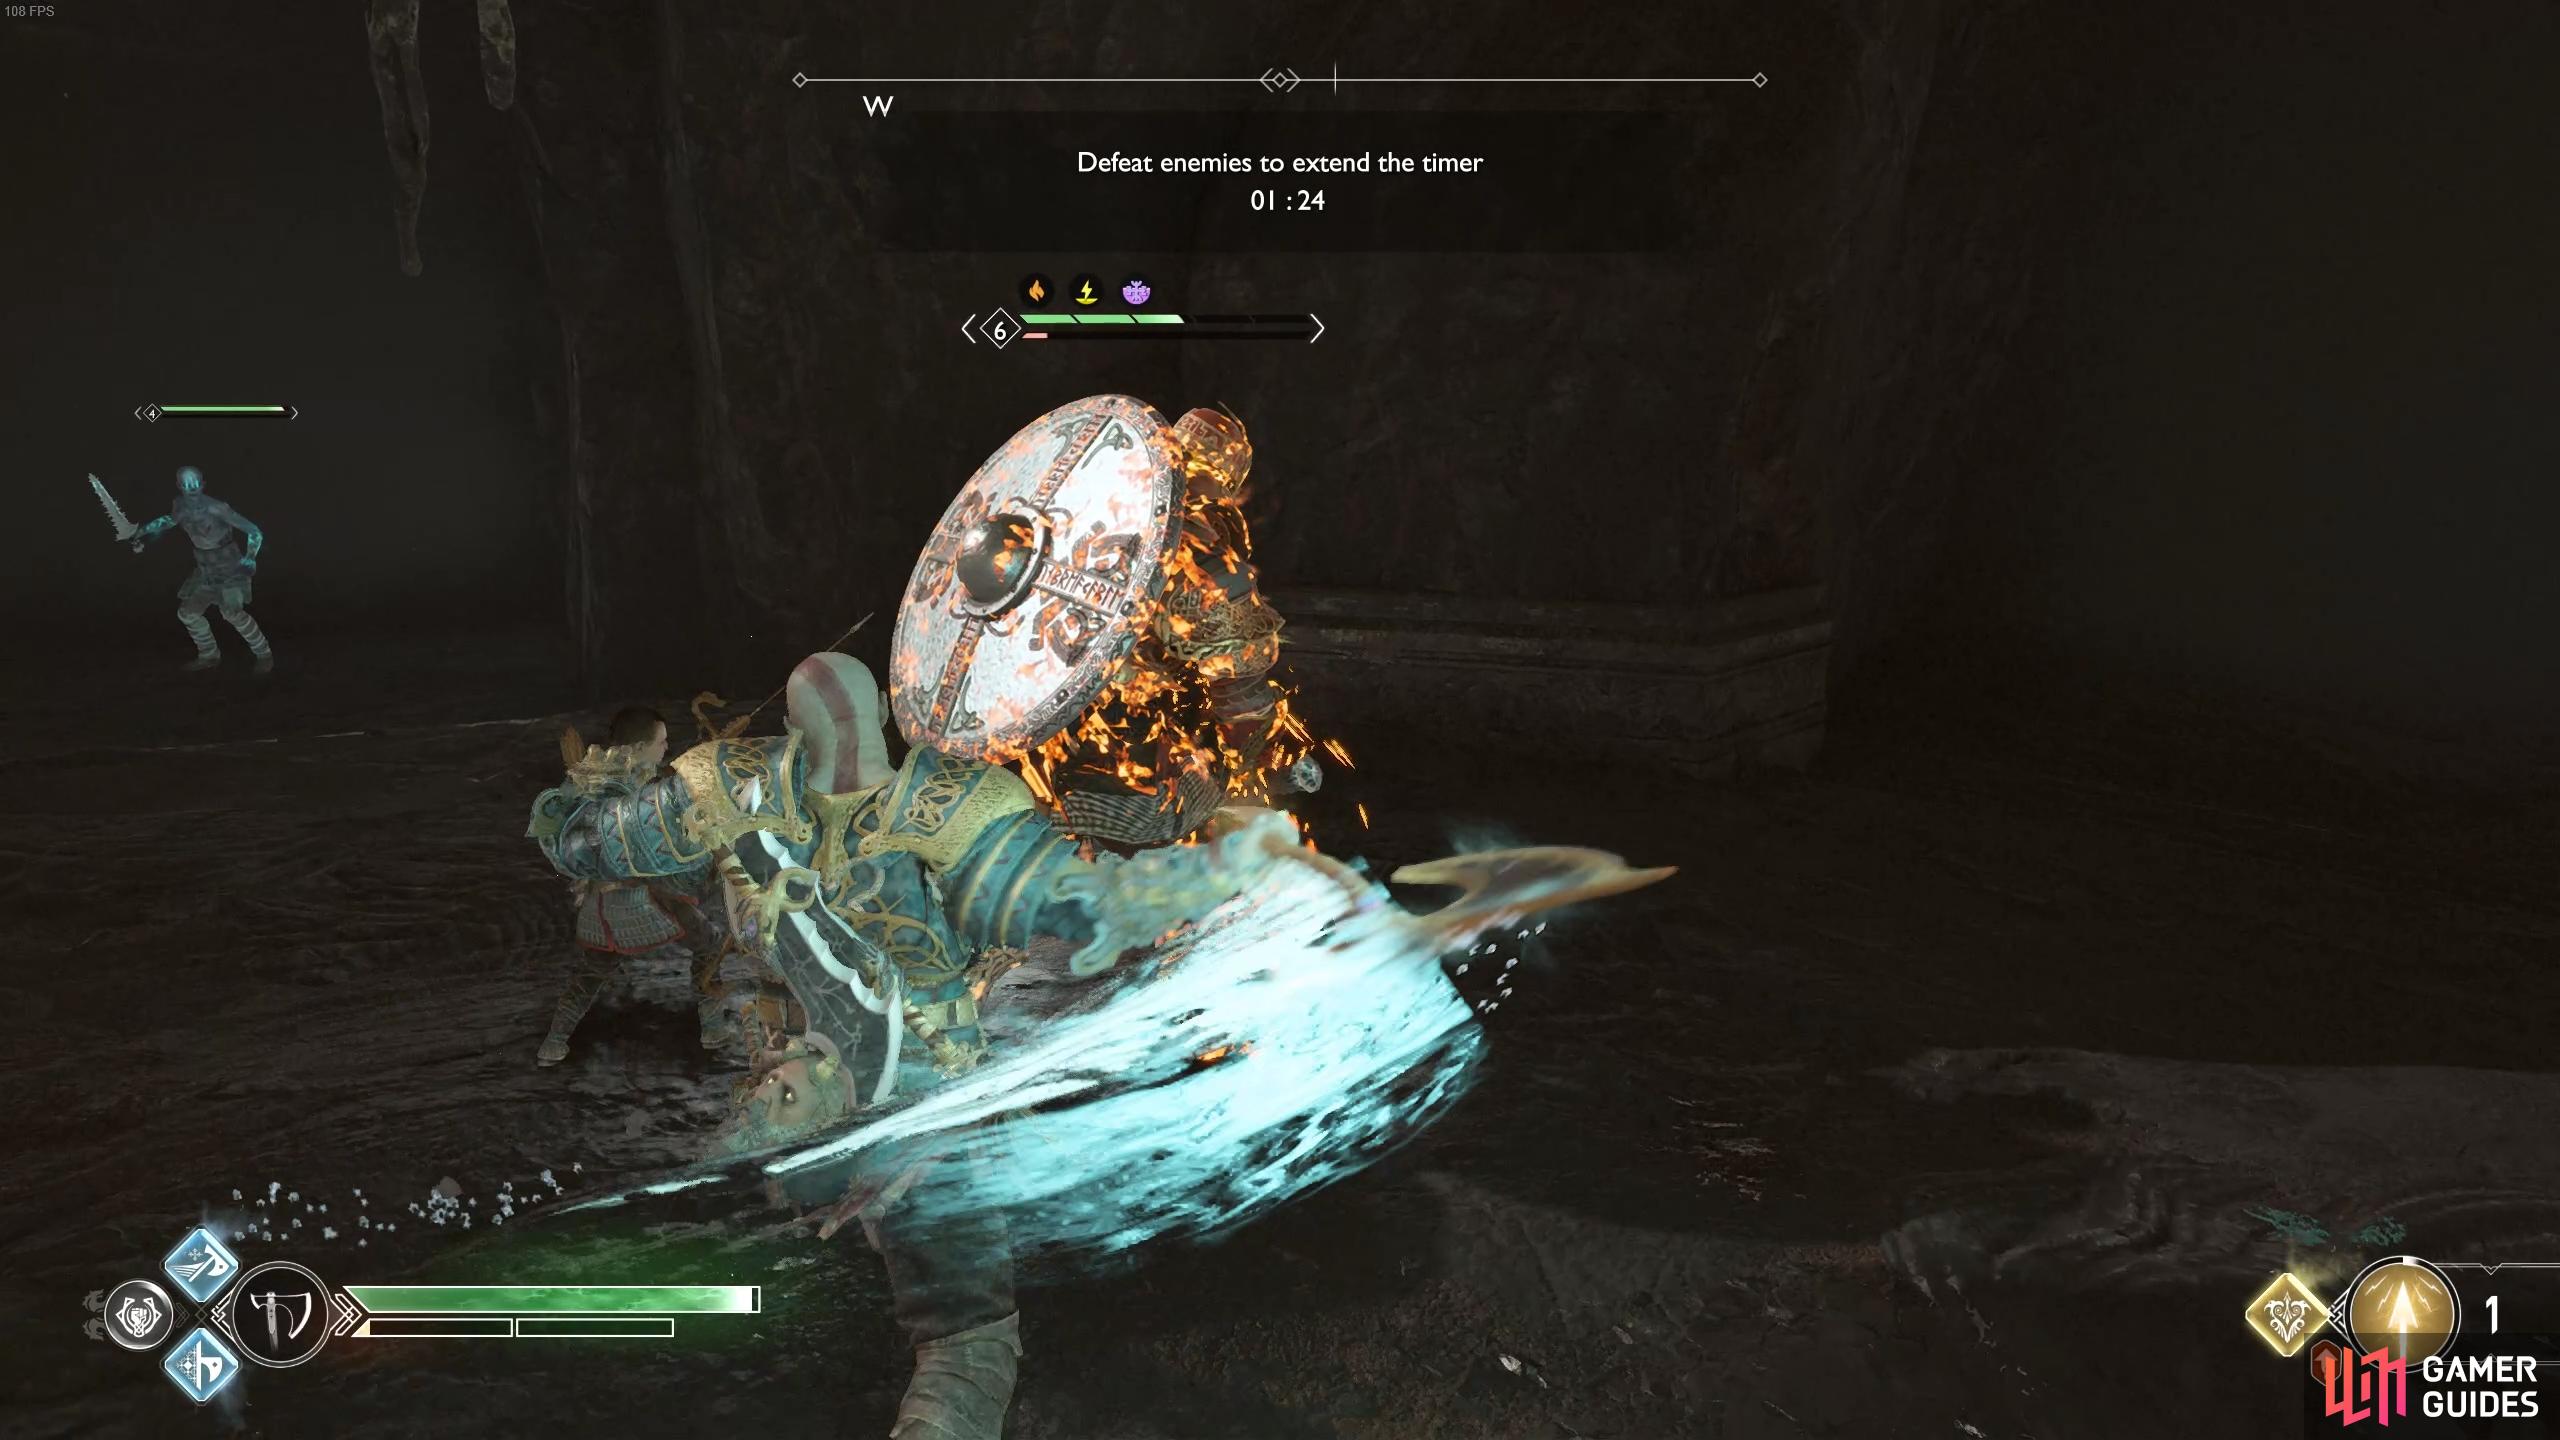
Try to take the Traveller down first as the rest of the enemies in the first wave will go down quickly.
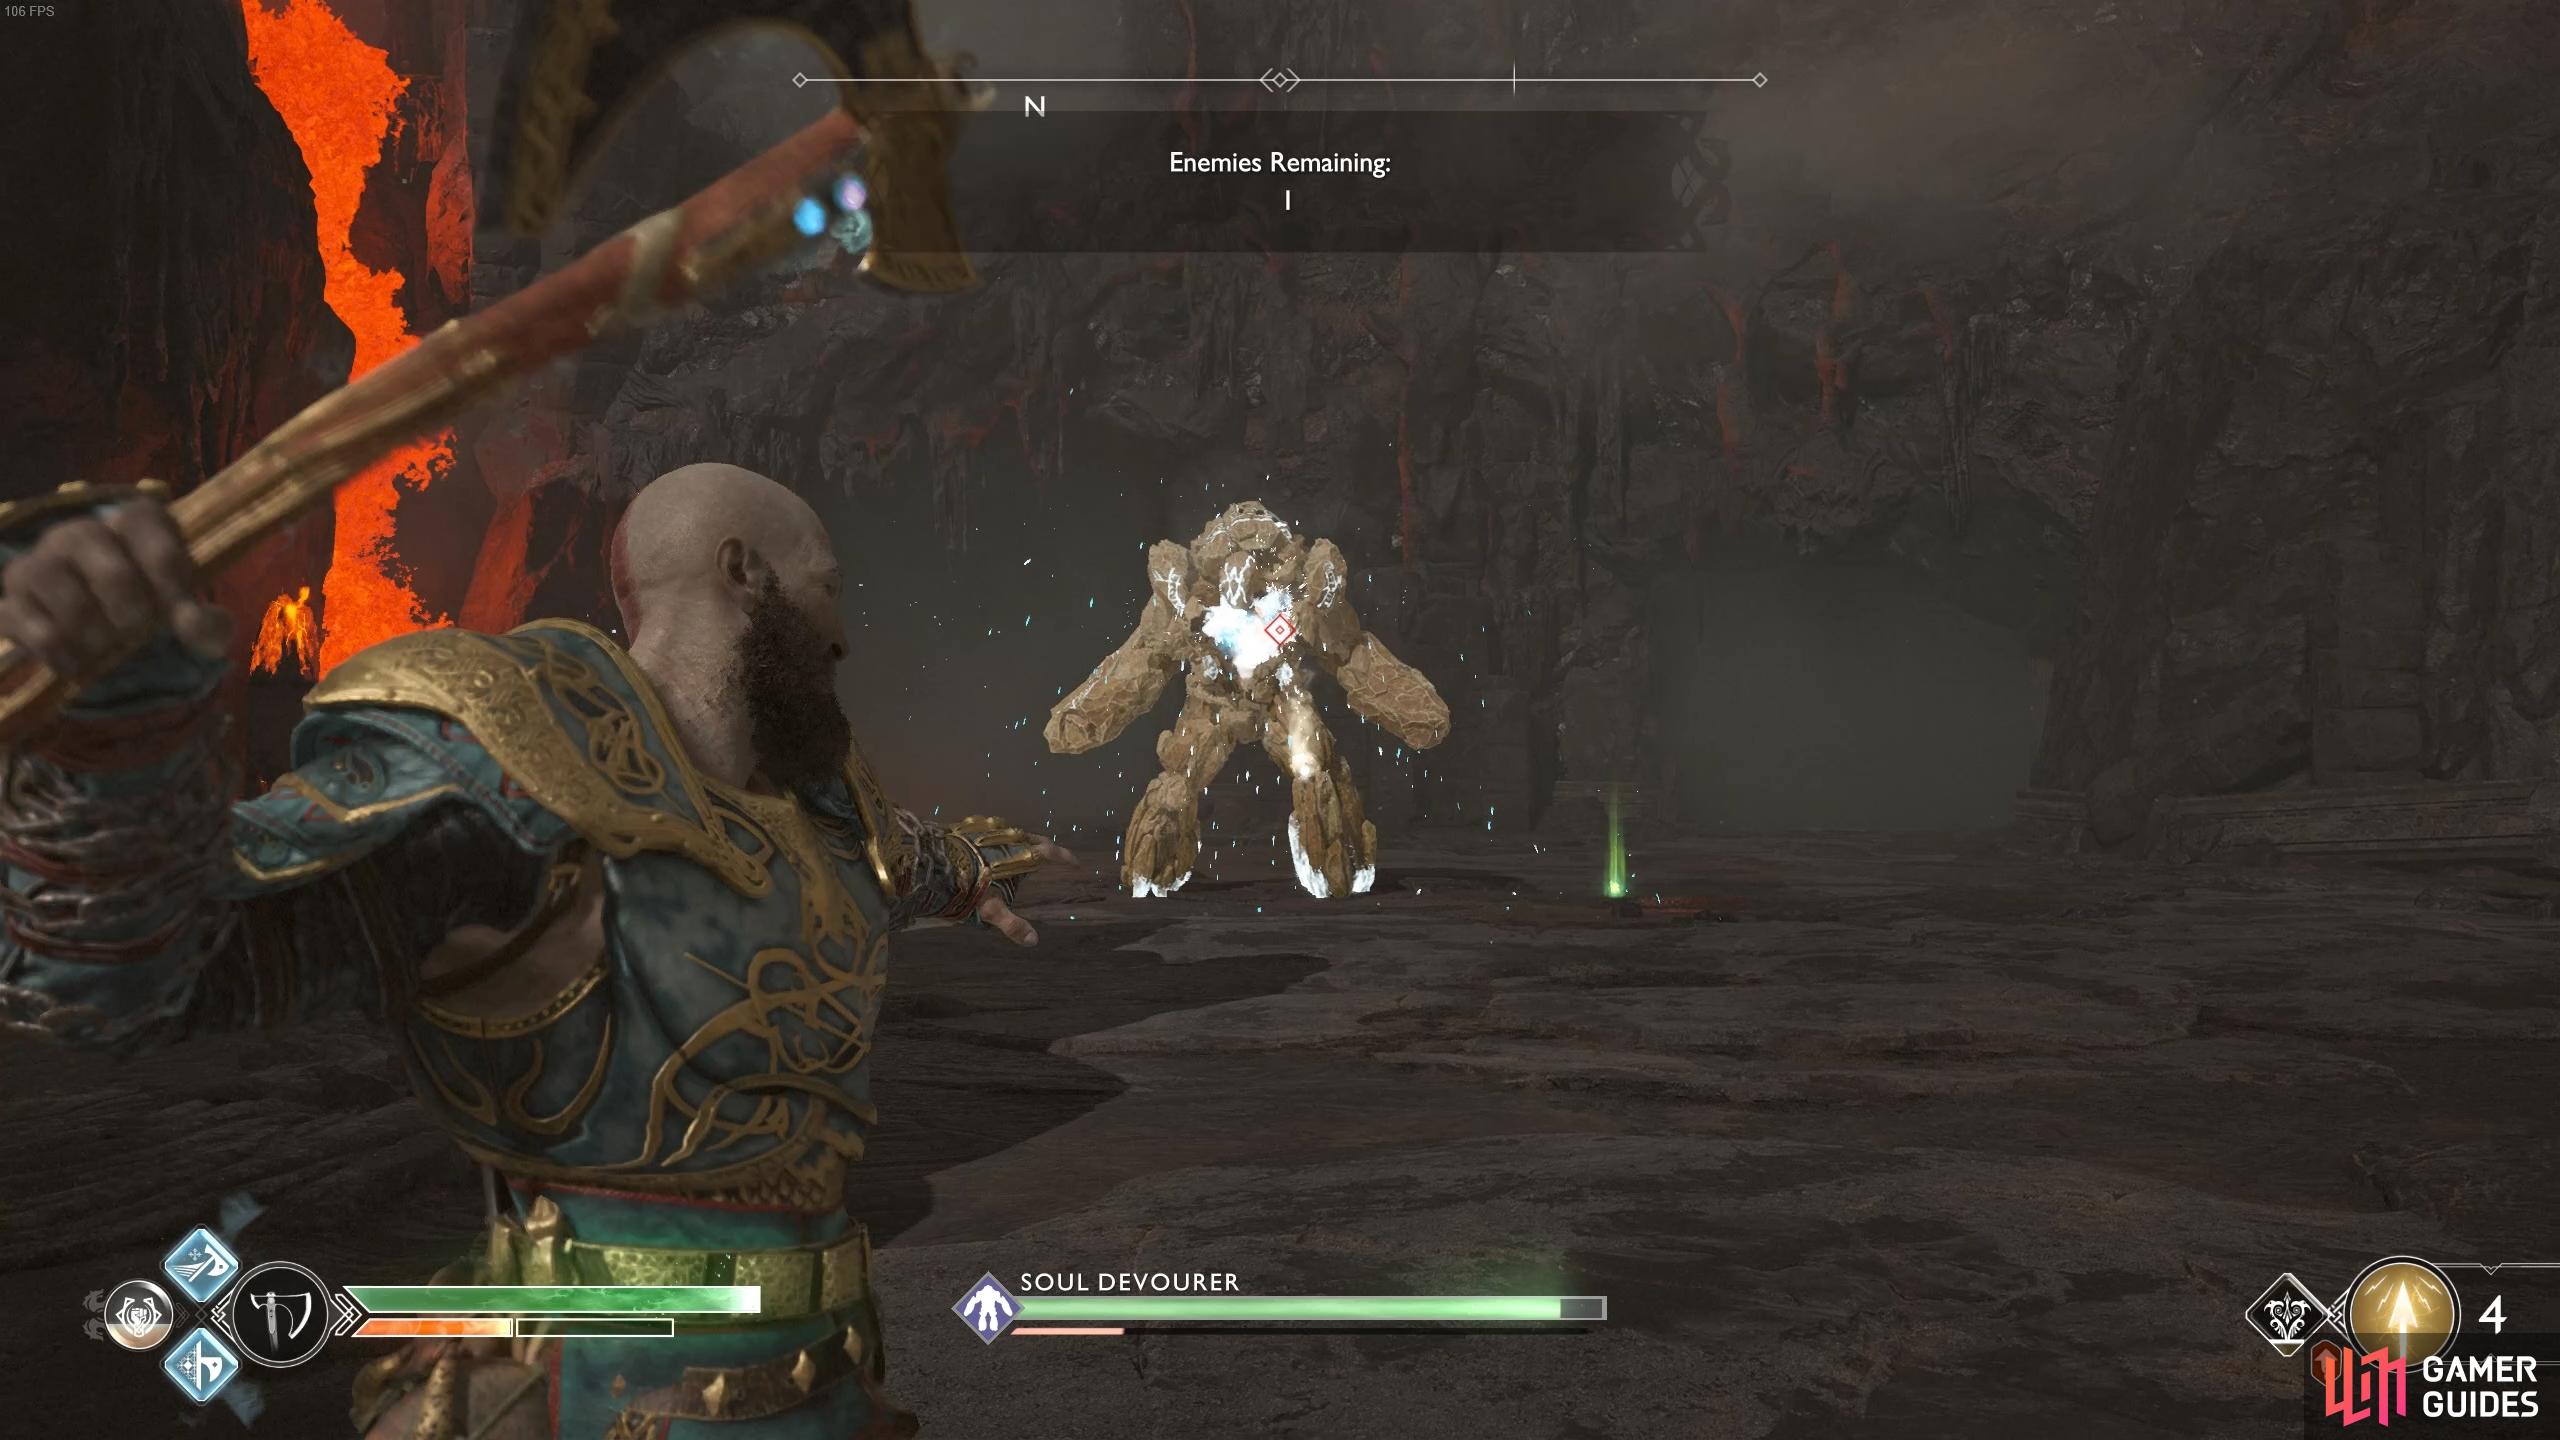
Spartan Rage will tear the Soul Devourer to pieces.
The biggest threats are the Traveller Champion in the first wave and the Soul Devourer in the final wave. For the Traveller, make use of the Shattered Gauntlet of Ages to make a huge dent in it’s health. The Soul Devourer on the other hand is where Spartan Rage will be useful, use it to take the brute down quicker and avoid having to perform axe throws in the core.
Trial V: Hard, Untouchable
| Objective | Rewards |
|---|---|
| Avoid taking damage | 1075 XP, Smoldering Ember x20, Crest of Flame x5, Hacksilver |
This is probably the most difficult Trial, you have to avoid taking even a single hit while you defeat the 20 enemies. Your largest threat are the Projectile Draugrs, if you see any spawn, try and take them out as soon as you can while watching your back.
Use shock arrows as crowd control.
Focus on the projectile Draugr to avoid being caught by a ranged attack.
It’s important to prioritize avoiding damage than it is killing the enemies, you have as much time as you need so feel free to use arrows or axe throws to keep yourself safe. Prometheus Flame should be used whenever it’s available, this has the possibility to strike all the enemies in the area and can be a lifesaver.
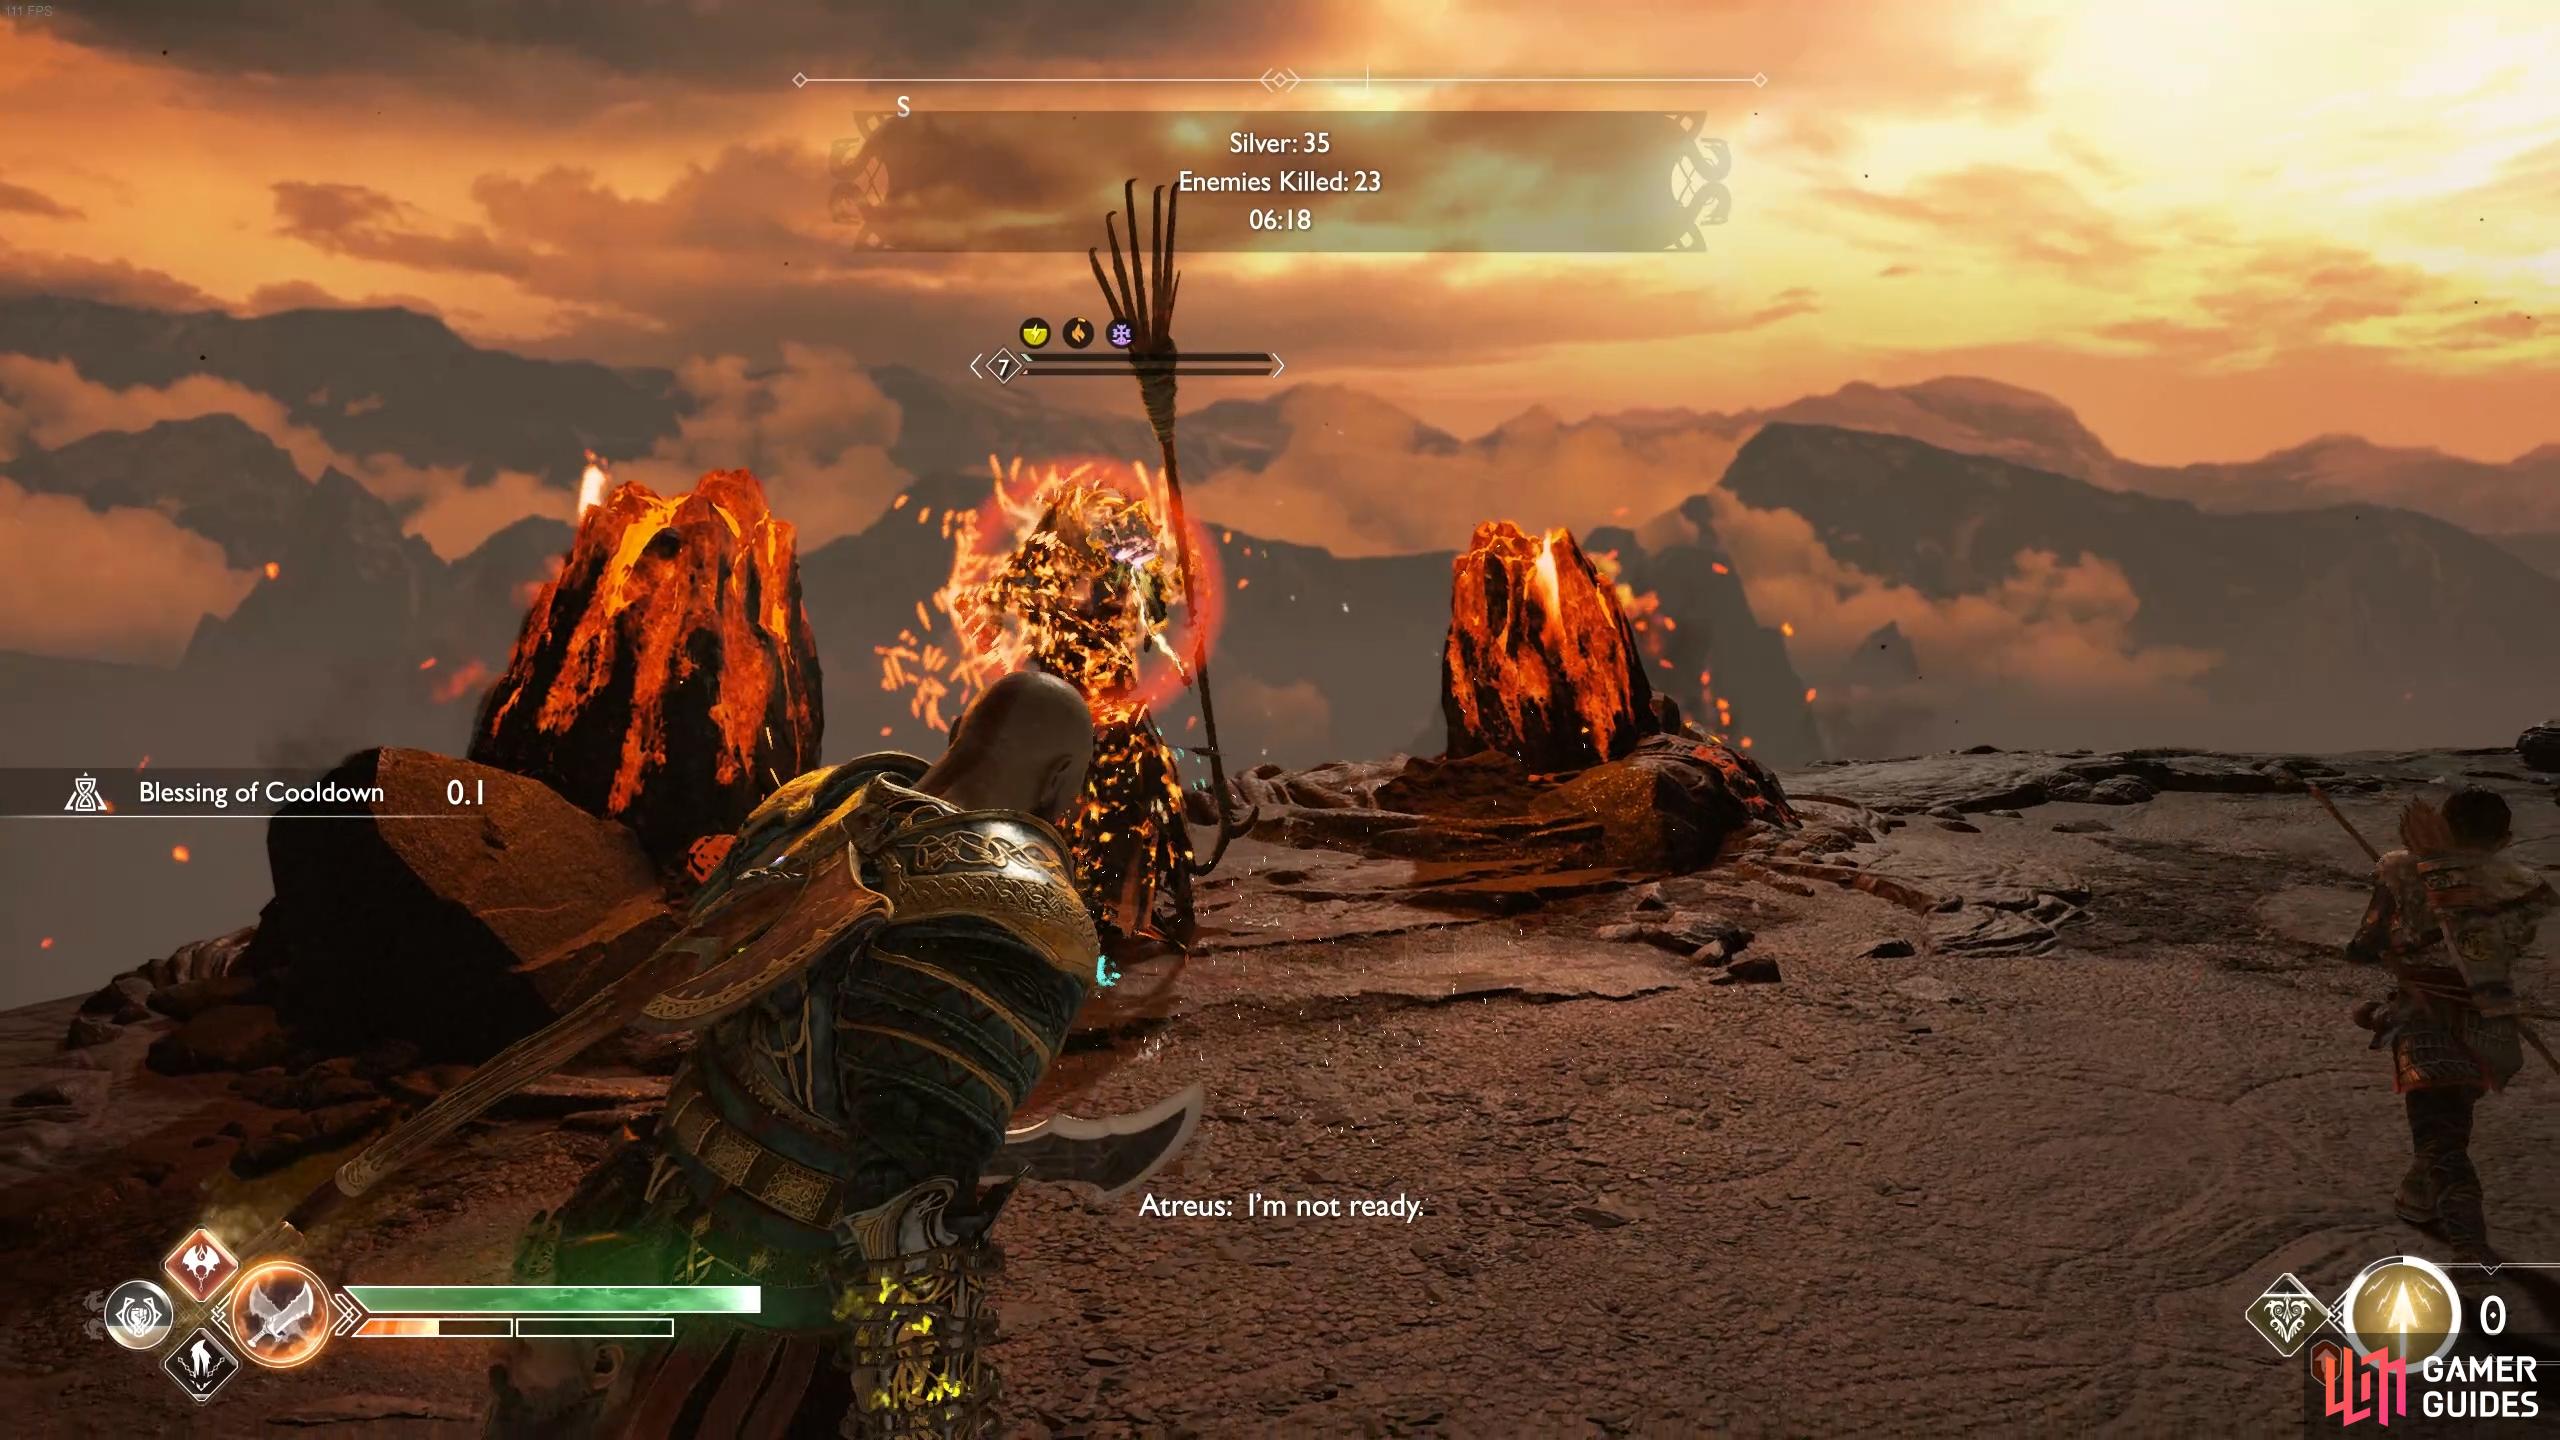
Valkyrie Göndul
At the top of the volcano rests the Valkyrie, Göndul, a powerful foe and your next Trial. Before even attempting the battle, make sure you have a Resurrection Stone on you, use the Mystic Gateway to head back to the shop if need be. This is a hard fought battle and may take several attempts to learn her patterns, check out the Valkyries section to find an indepth strategy on how to tackle her.
Upon her defeat, loot the spoils including the two Legendary Chests. This will return the swords to all of the arenas you’ve just completed, unlocking the impossible difficulty for each one. The final challenge of Muspelheim is from the sword at the summit however you’ll need to receive three keys from the other trials to attempt it. You receive a key for completing one of the Impossible Trials meaning that you only need to three out of the five available to gain access to this final challenge.
Due to the nature of how this works, you’ll be able to farm these trials, the ultimate challenge offers the rarest Muspelheim resources based on your performance. You’ll need to finish the ultimate trial once to receive the Trophy.
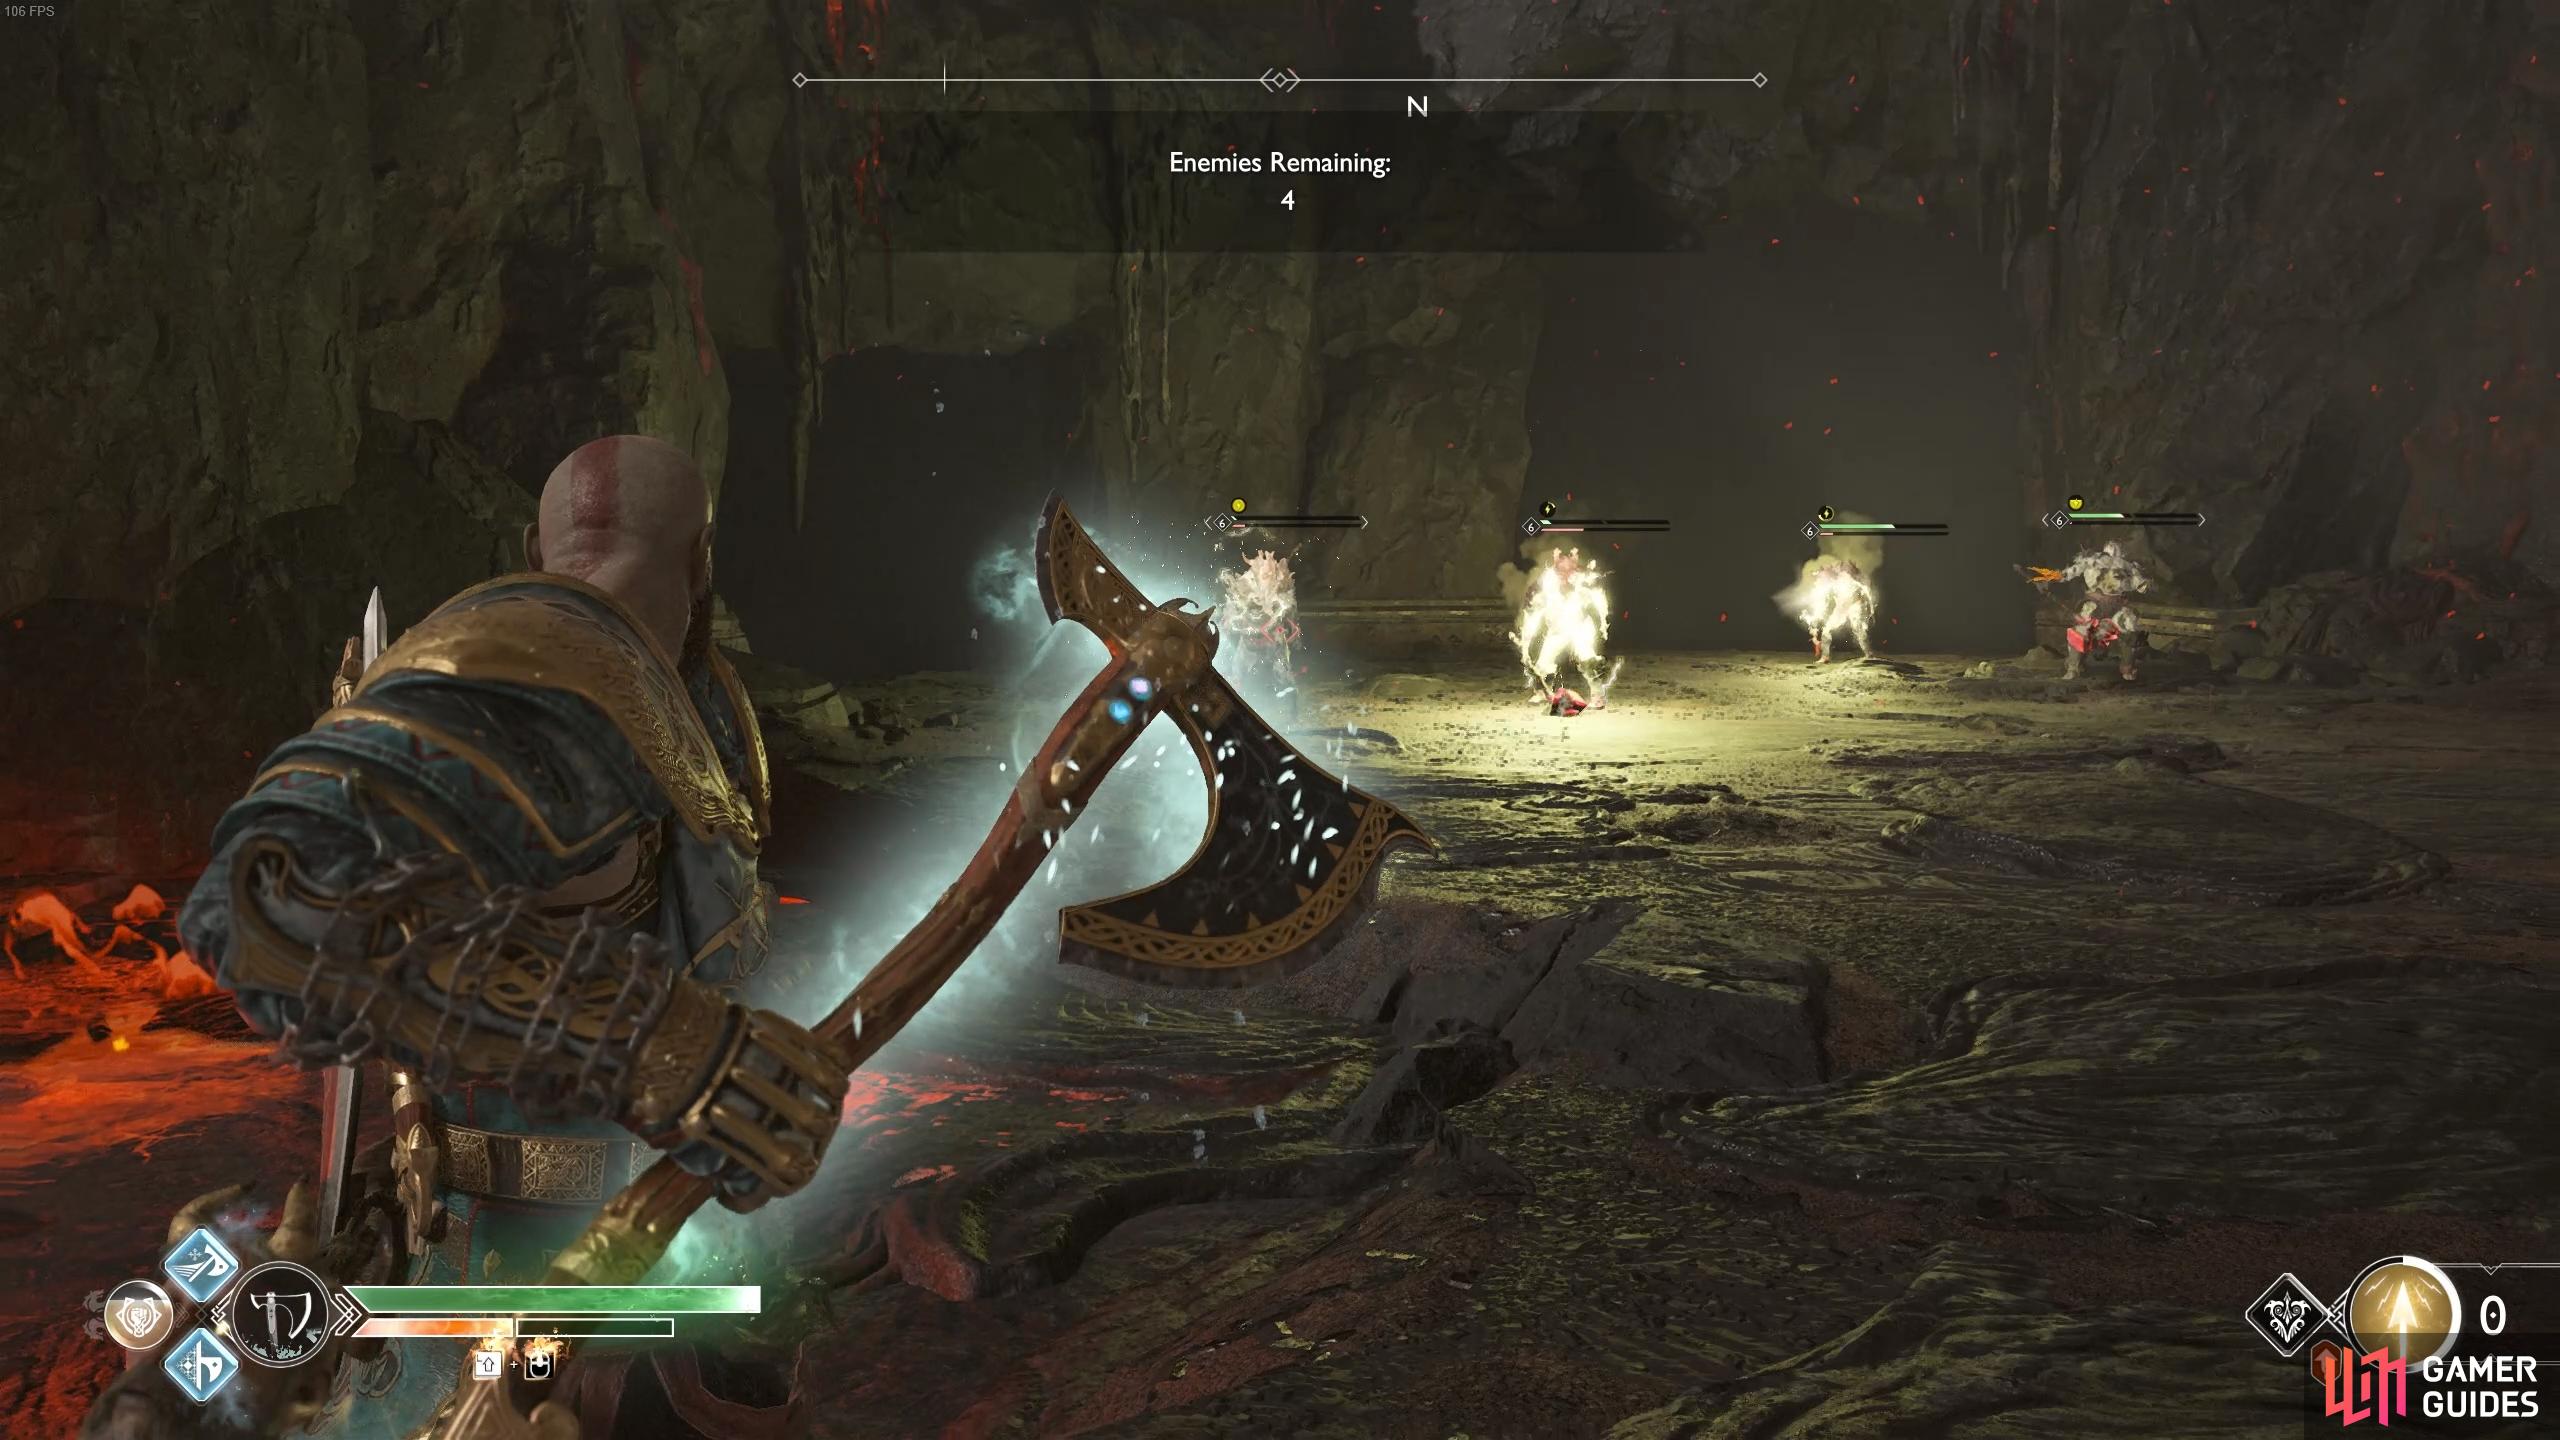
Trial I: Impossible, Untouchable
| Objective | Rewards |
|---|---|
| Avoid taking damage | 1880 XP, Key of the First, Smoldering Ember x15, Crest of Flame x2, Hacksilver |
Just like the previous Untouchable Trial, you’ll need to defeat all the enemies without being touched yourself. This is arguably the most difficult of the Impossible Trials and if you find it too difficult, move on to one of the more easier ones.
Try to take all the enemies, especially Wulvers, out with ranged attacks primarily.
The Soul Devourer enters the battle once you’re down to the final 8 enemies.
Not only are you thrown Wulvers and Speed Draugrs at you this time but a Soul Devourer enters the battle later on too. You must take this out at all costs, the beams will cause all kinds of problems for you otherwise. For this reason, try to save your Spartan Rage for when it spawns and use it on the golem to take it down quickly. You’ll have to be a lot more careful than the last time you attempted this, make use of axe throws and keep your distance where possible.
Trial II: Impossible, Time Attack
| Objective | Rewards |
|---|---|
| Kill enemies before time runs out | 1880 XP, Key of the Second, Smoldering Ember x15, Greater Crest of Flame x2, Hacksilver |
This is one of the more easier Impossible Trials, it’s a simple time attack similar to the last one you completed but with a tighter time restriction. By now you should be efficient at taking enemies down using both Runics and normal attacks.
Right from the start you’ll have to deal with a Revenant, this is a great candidate for the Shattered Gauntlet of Ages and a Runic Summon due to being the toughest part of the trial. The broods after shouldn’t be too much hassle.
Use runic attacks to kill the Revenants quickly.
Don’t give the Viken a chance to heal himself.
Next up, a Viken and an Ice Revenant will spawn, focus on the Viken and don’t let him heal before turning your attention to the Revenant. Two Tatzelwurms follow them, stun them to prevent them from burrowing. Finally you’ll have to deal with more Vikens and Ice Revenants, your Shattered Gauntlet of Ages should be available again by now, use it on the Revenant.
Trial III: Impossible, Kill Location Challenge
| Objective | Rewards |
|---|---|
| Kill enemies while they are inside the gold rings | 1880 XP, Key of the Third, Smoldering Ember x15, Greater Crest of Flame x2, Hacksilver |
This is a tough trial to complete, you’ll have three waves in which you need to defeat the enemies within a time limit. The tactics remain the same from the first time you did a trial like this only you’ll be facing tougher enemies.
For the first wave, you’ll have to deal with Wolves and Wulvers. The Wolves can be pulled in with the Blades of Chaos but the Wulvers will require a bit more work, use the Shattered Gauntlet of Ages once they cross into the ring to finish them off.
The second wave will consist of a large group of Draugrs, using Shock arrows is crucial here. You can easily stun the enemies into the ring and take them out one at a time. Like always, Prometheus Flame is useful when a group of enemy ventures into a ring.
Use devastating runic attacks when you have multiple enemies on low health in the circle.
Try to goad weaker enemies into the circle before attacking and dodging around them to keep them in it as they fall.
The final wave throws Ogres, Draugrs and Tatzelwurms at you. For once, it’s not a good idea to mount the Ogres, instead baiting them into the ring and defeating them with regular attacks. The Tatzelwurms are easy to bait however, stand just outside the ring and they’ll shoot over to you where you can make great use of Prometheus Flame.
Trial IV: Impossible, Stunner
| Objective | Rewards |
|---|---|
| Enemies quickly regenerate health | 1880 XP, Key of the Fourth, Smoldering Ember x15, Greater Crest of Flame x2, Hacksilver |
This is another Trial that shouldn’t be too difficult, the Stunner Trials are easy if you’re used to fighting barehanded. Remember that you can knock enemies off the edge for an instant kill too.
To begin with, you’ll have to deal with Dark Elves and Broods. Focus your attention on the Dark Elves as they’re the main priority, the Broods will usually be killed from a knockback during the tussle. Next up are Speed Draugrs and Tatzelwurms, these should be easy enough to deal with as they stun fairly easy. The Dark Elves that follow are accompanied by Reavers, this should be handled no differently than the first wave.
Hit enemies into lava pits to kill them instantly.
Remember to throw the Heavy Draugrs over the side.
The last two waves combines more Dark Elves with all variations of Draugrs. Remember that a simple Stun Grab isn’t enough for a Heavy Draugr so attempt to throw them into the lava or off the cliff.
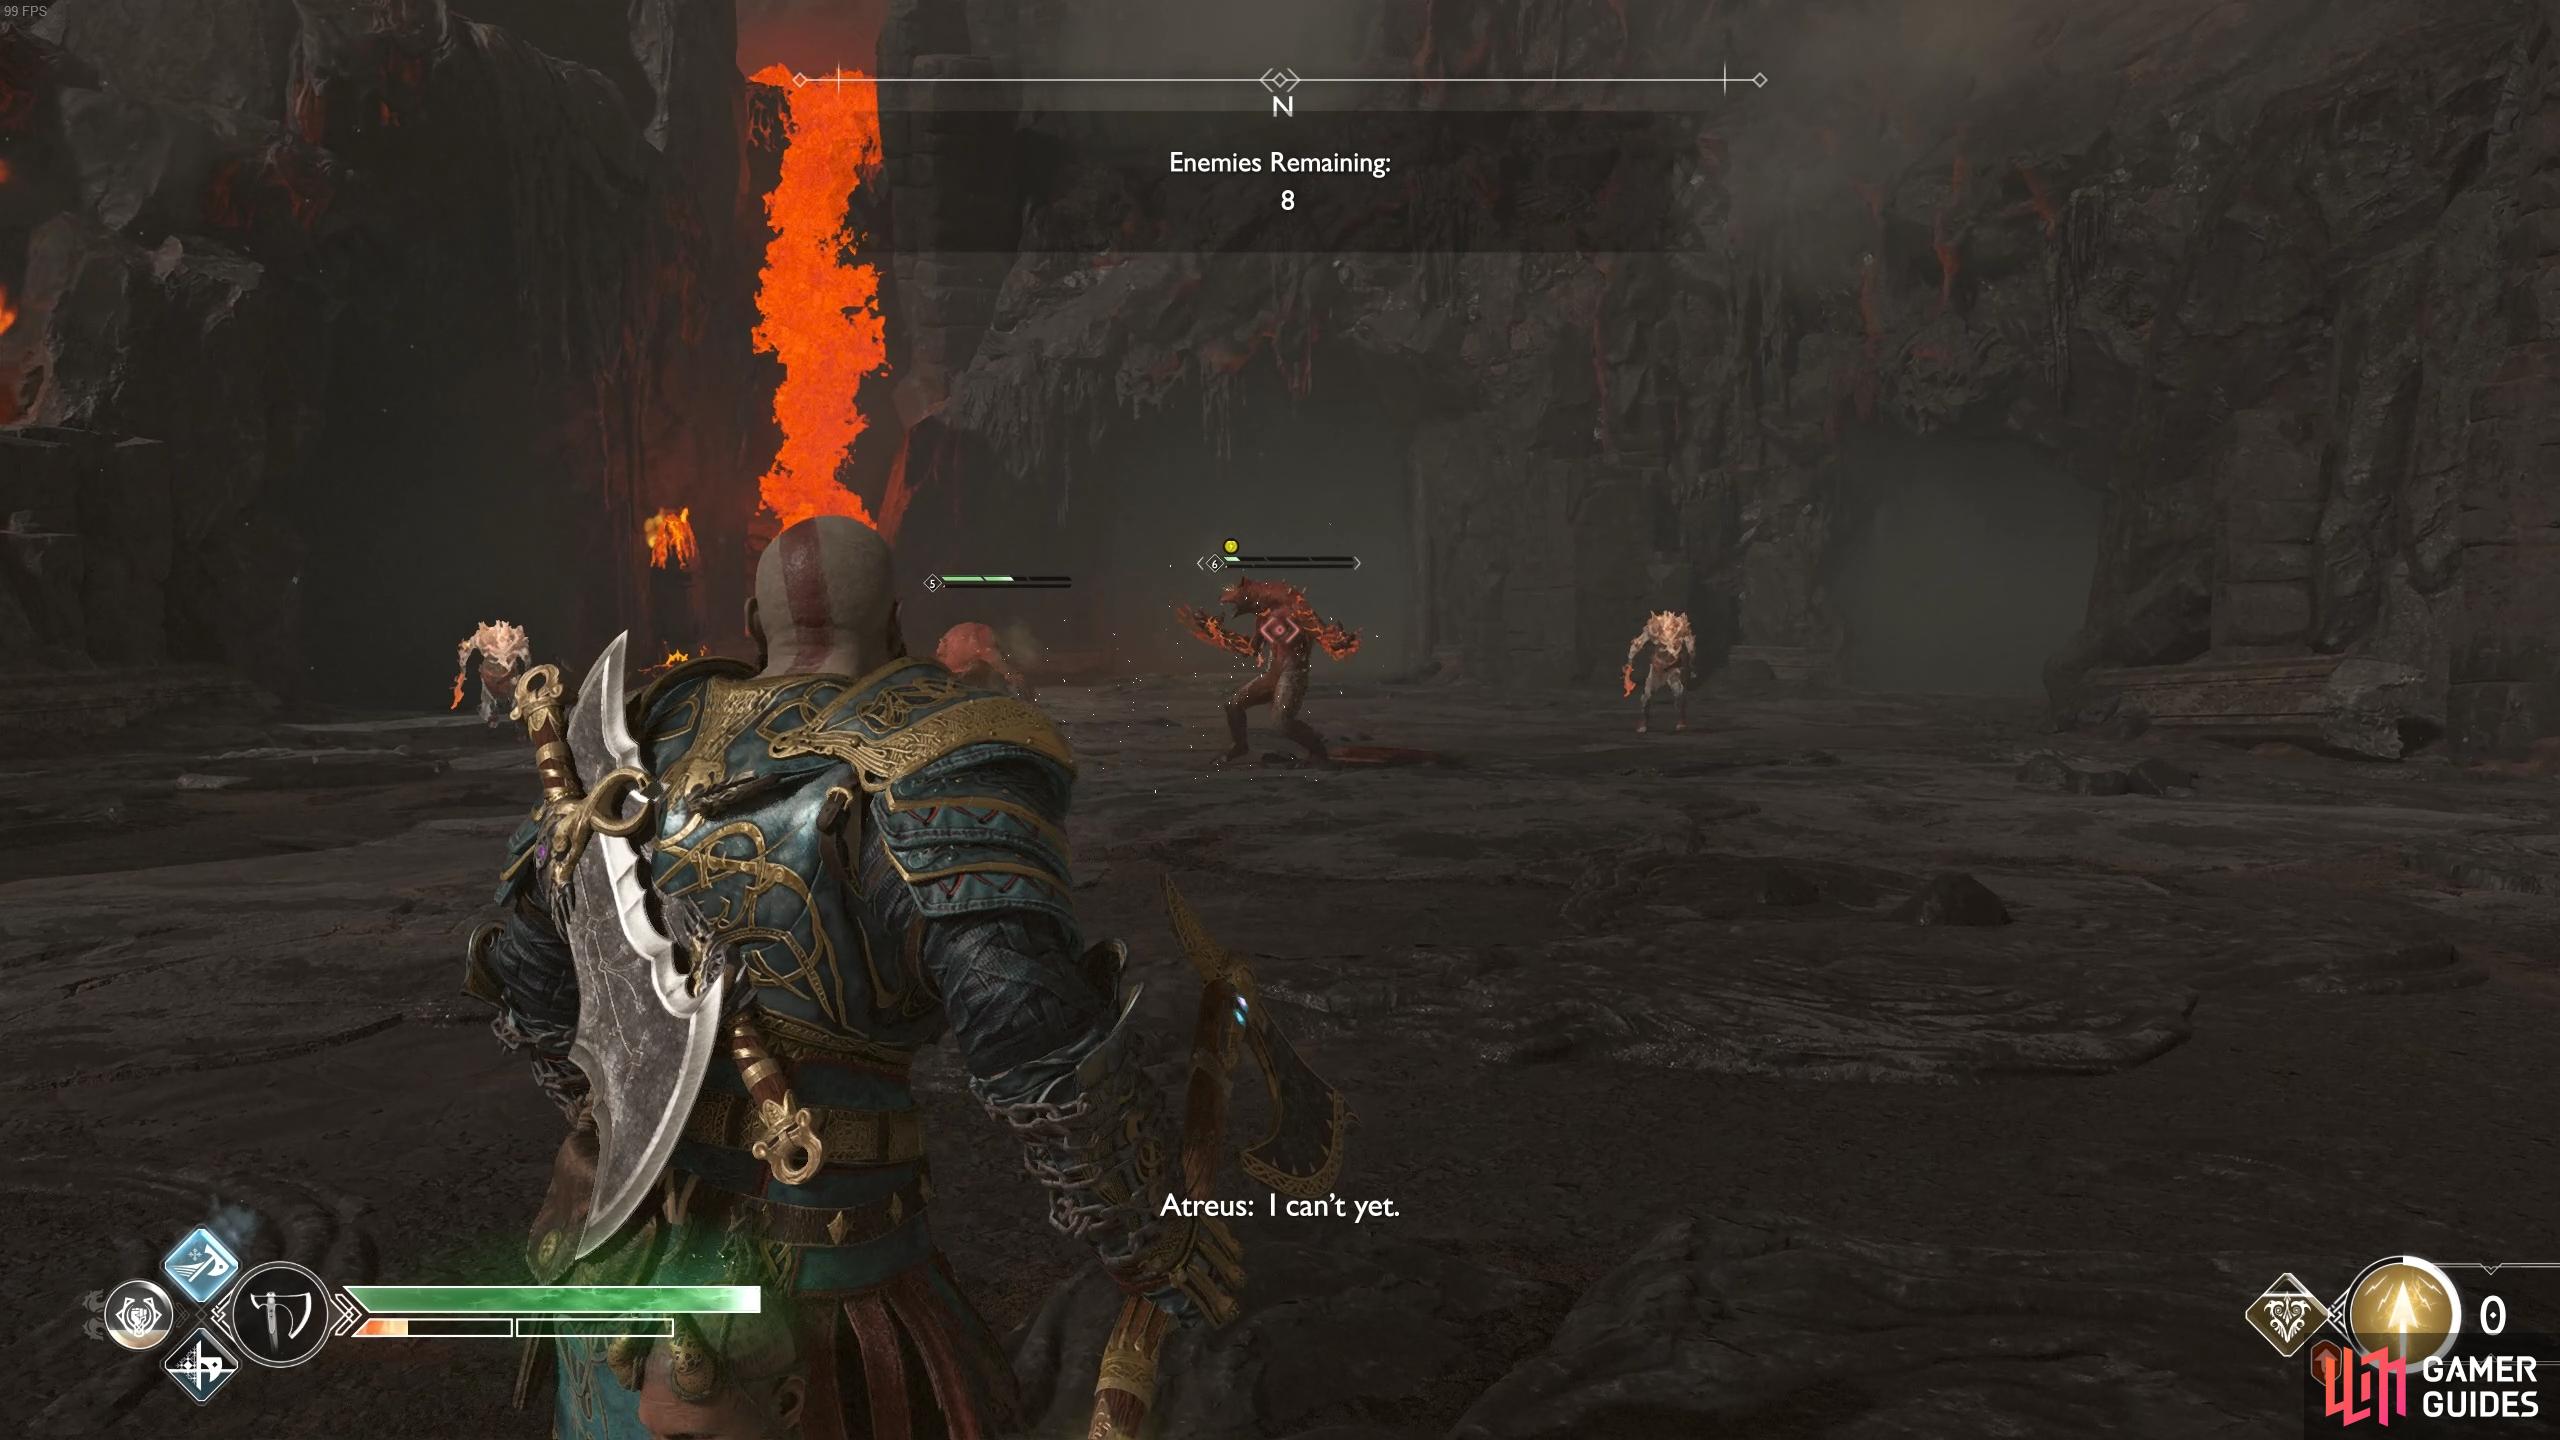
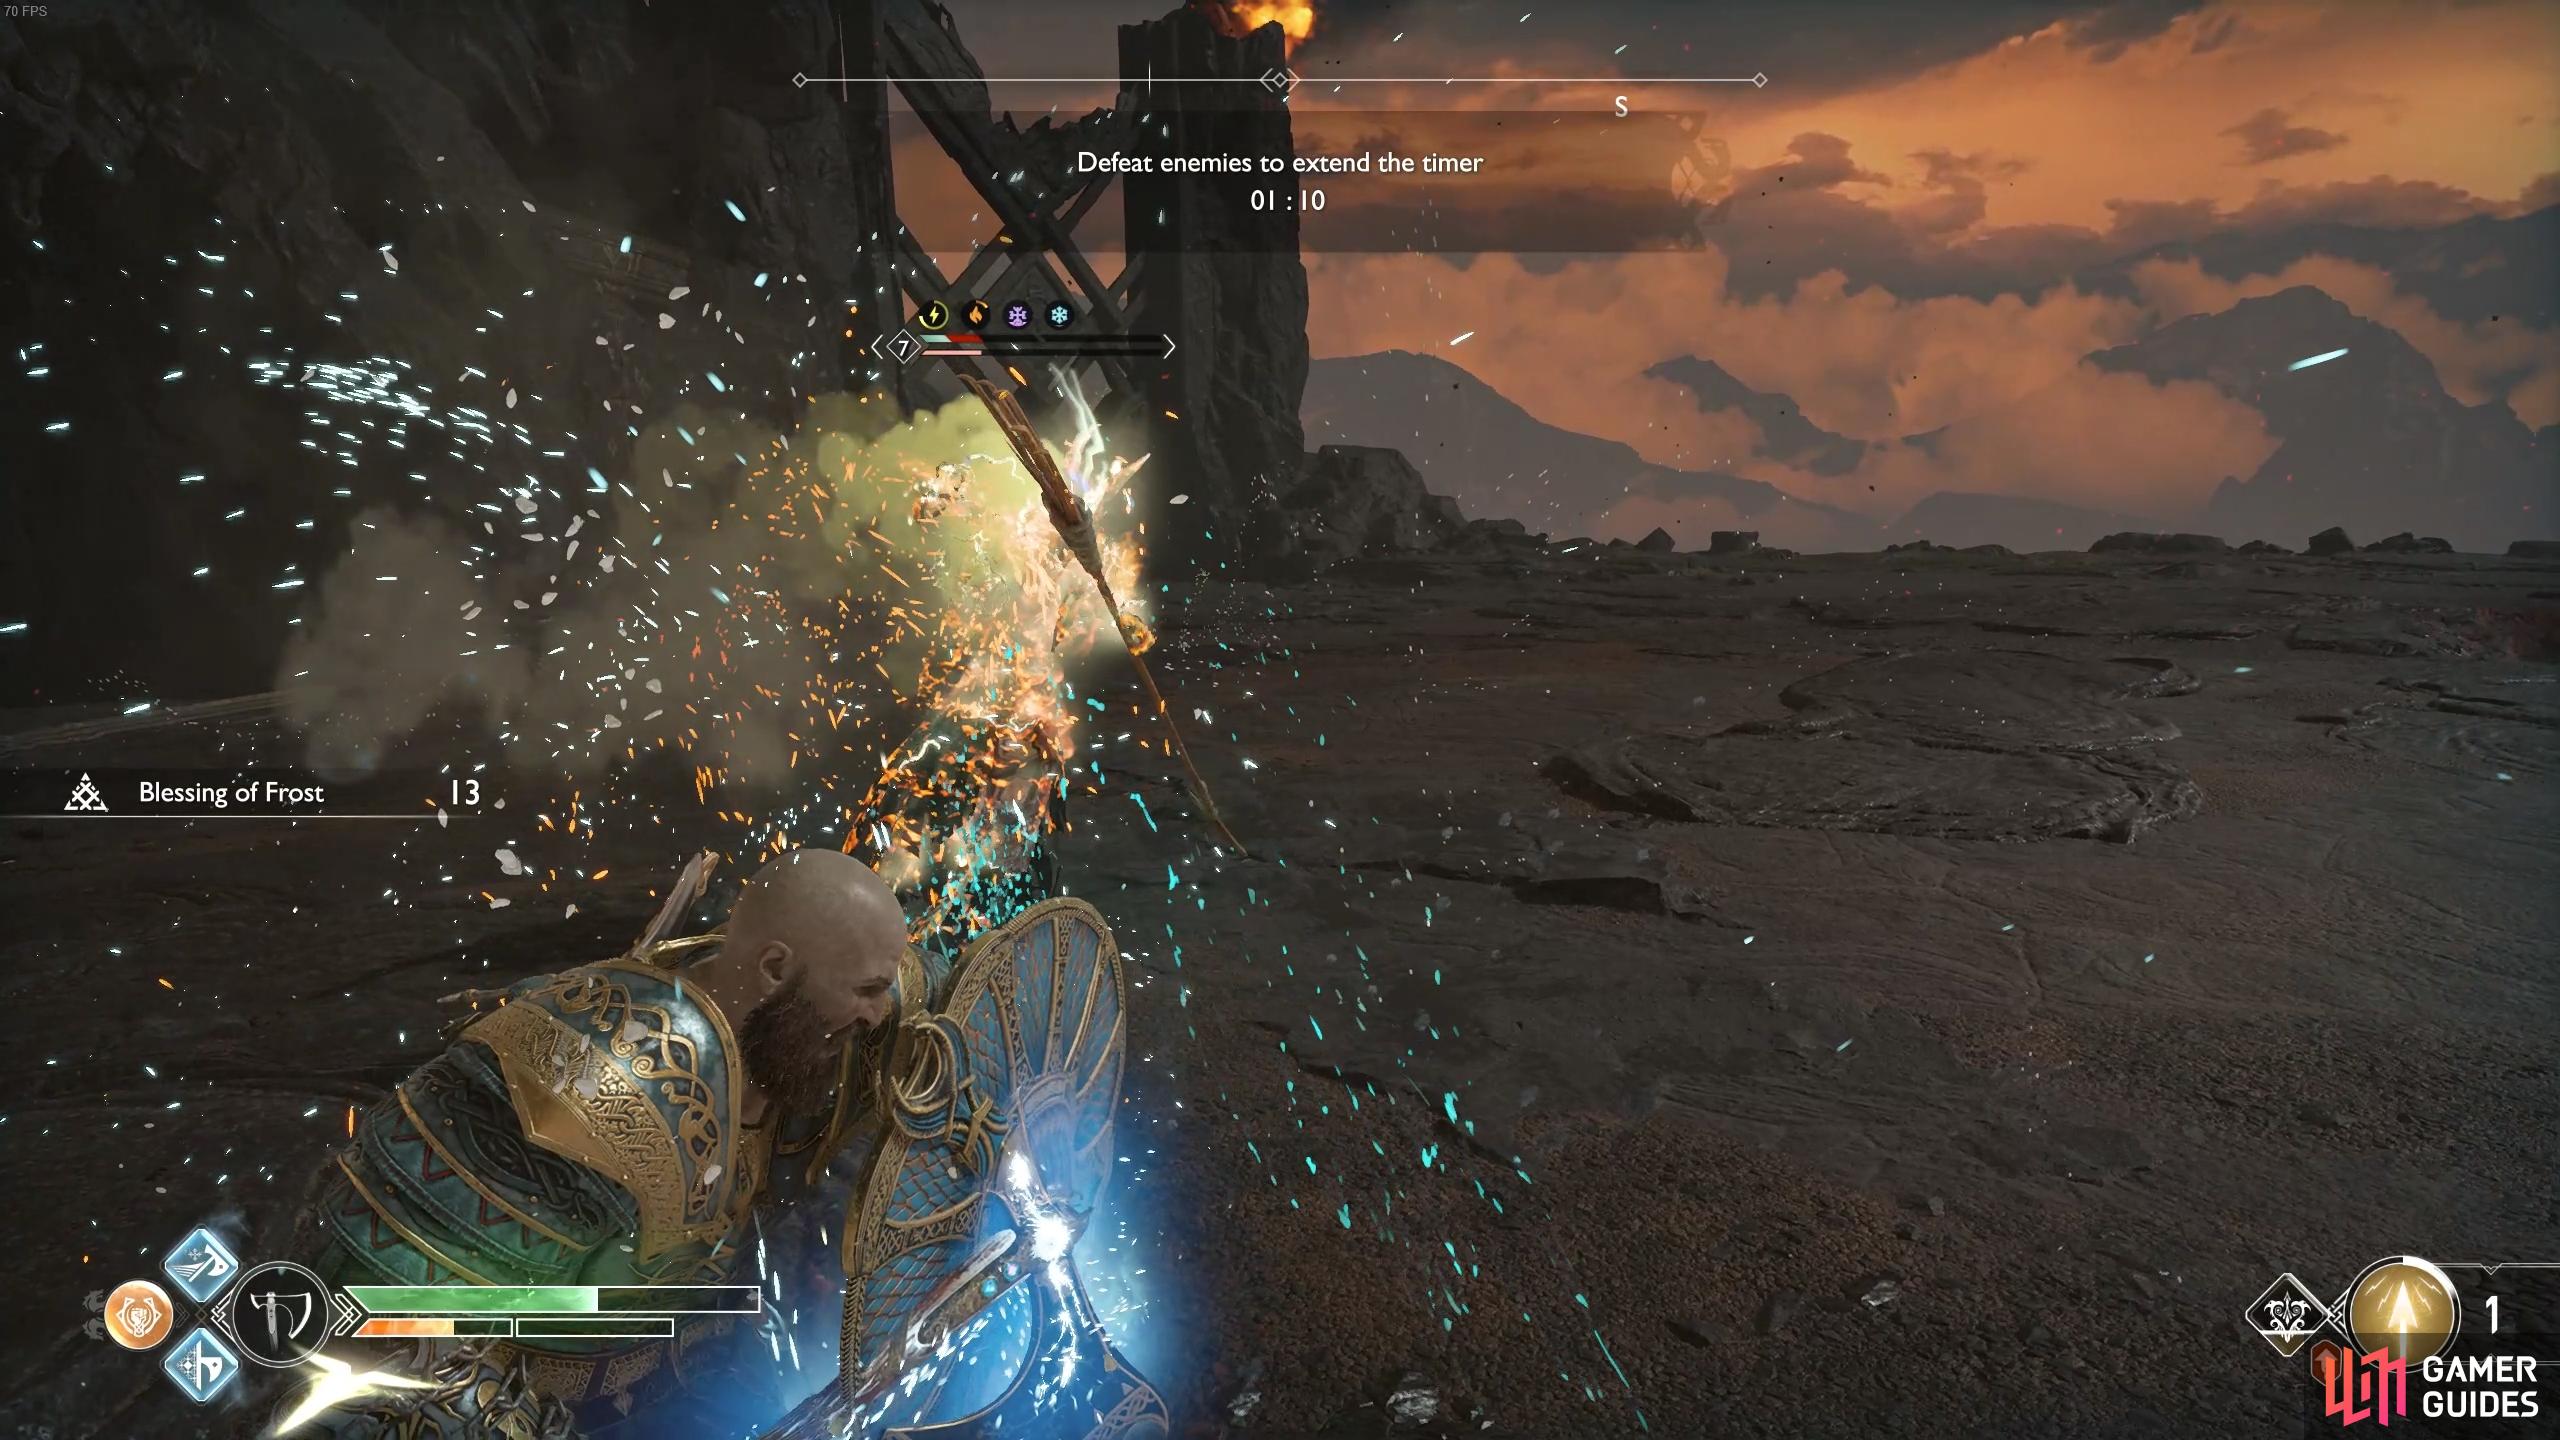
Trial V: Impossible, Time slips away…
| Objective | Rewards |
|---|---|
| Kill enemies to increase time | 1880 XP, Key of the Fifth, Smoldering Ember x15, Greater Crest of Flame x2, Hacksilver |
If you’re a killing machine and had no issues with Impossible Trial II then you should have no problems with this Trial. Like the previous version of this trial, you have a time limit to kill all enemies within a given wave. The differences this time are the stronger enemies and the less time to do it in.
The first wave is just a large group of Draugrs, you should be used to how every variant of Draugr fights by now and have no problem with this. The second wave is a little tougher, the two Hel-Revenants that spawn can be tough if you don’t get them down quickly. Try to save a Shattered Gauntlet of the Ages for this wave or some Runics.
Save your runic attacks for the Revenants to kill them quickly.
Turn to Spartan Rage once the Travellers enters the battle.
More Draugrs are assisted by a Dark Elf Lord in the third wave, focus on clearing out the Draugrs first before turning your attention to the Dark Elf Lord. Wave four is arguably the easiest, the Draugrs are accompanied by two Fierce Ogres this time, stun the brutes and turn them against their allies to make quick work of this wave. Finally, the last wave will have you up against a Hel-Traveller and a Traveller Champion, this is a tough battle. Make sure you have your Prometheus Flame Runic available and hopefully you can use the Shattered Gauntlet of Ages again, this will put a huge dent into the enemies. If time is short, don’t forget to launch into Spartan Rage.
Once you’ve acquired three keys from the Impossible Trials, head back to where you fought the Valkyrie and examine the sword to take on the ultimate challenge of Muspelheim.
Trial VI: Impossible, Gauntlet VI
| Objective | Rewards |
|---|---|
| Defeat all enemies | 1880 XP, Rewards based on medals obtained |
| Target | Bronze | Silver | Gold |
|---|---|---|---|
| Defeat enemies | 20 | 35 | 50 |
| Defeat enemies within a time limit | 32:00 | 16:00 | 08:00 |
| Defeat enemies without being hit | 8 | 20 | 35 |
The final trial becomes accessible once you’ve collected three keys form the other Impossible Trials. Your task here is to survive the gauntlet of enemies while trying to defeat as many as possible. You’ll be scored on the three categories in the table and the higher your scores, the better the rewards.
Blades of Chaos attacks are useful to keep multiple enemies at a safe distance.
Revenants are your biggest threat for a no hit run, so try to kill them quickly with runics or cast them off the cliff.
The enemies that you fight will be different every time so you’ll have to put into practice all your knowledge gathered from completing the other trials. Your main threat in not being hit is the Revenants, take extra care around them, possibly using the Prometheus Flame Runic once they spawn. Like always, make use of Ogres to take out large groups of enemies at a time and use all the tools available to you.
You’ll only need Bronze to complete the trial and unlock the Fire and Brimstone achievement however you won’t be able to repeat it until you acquire another three keys from the other Impossible trials.
No Comments