

Dwarven Favors, God of War.
Fáfnir’s Hoard
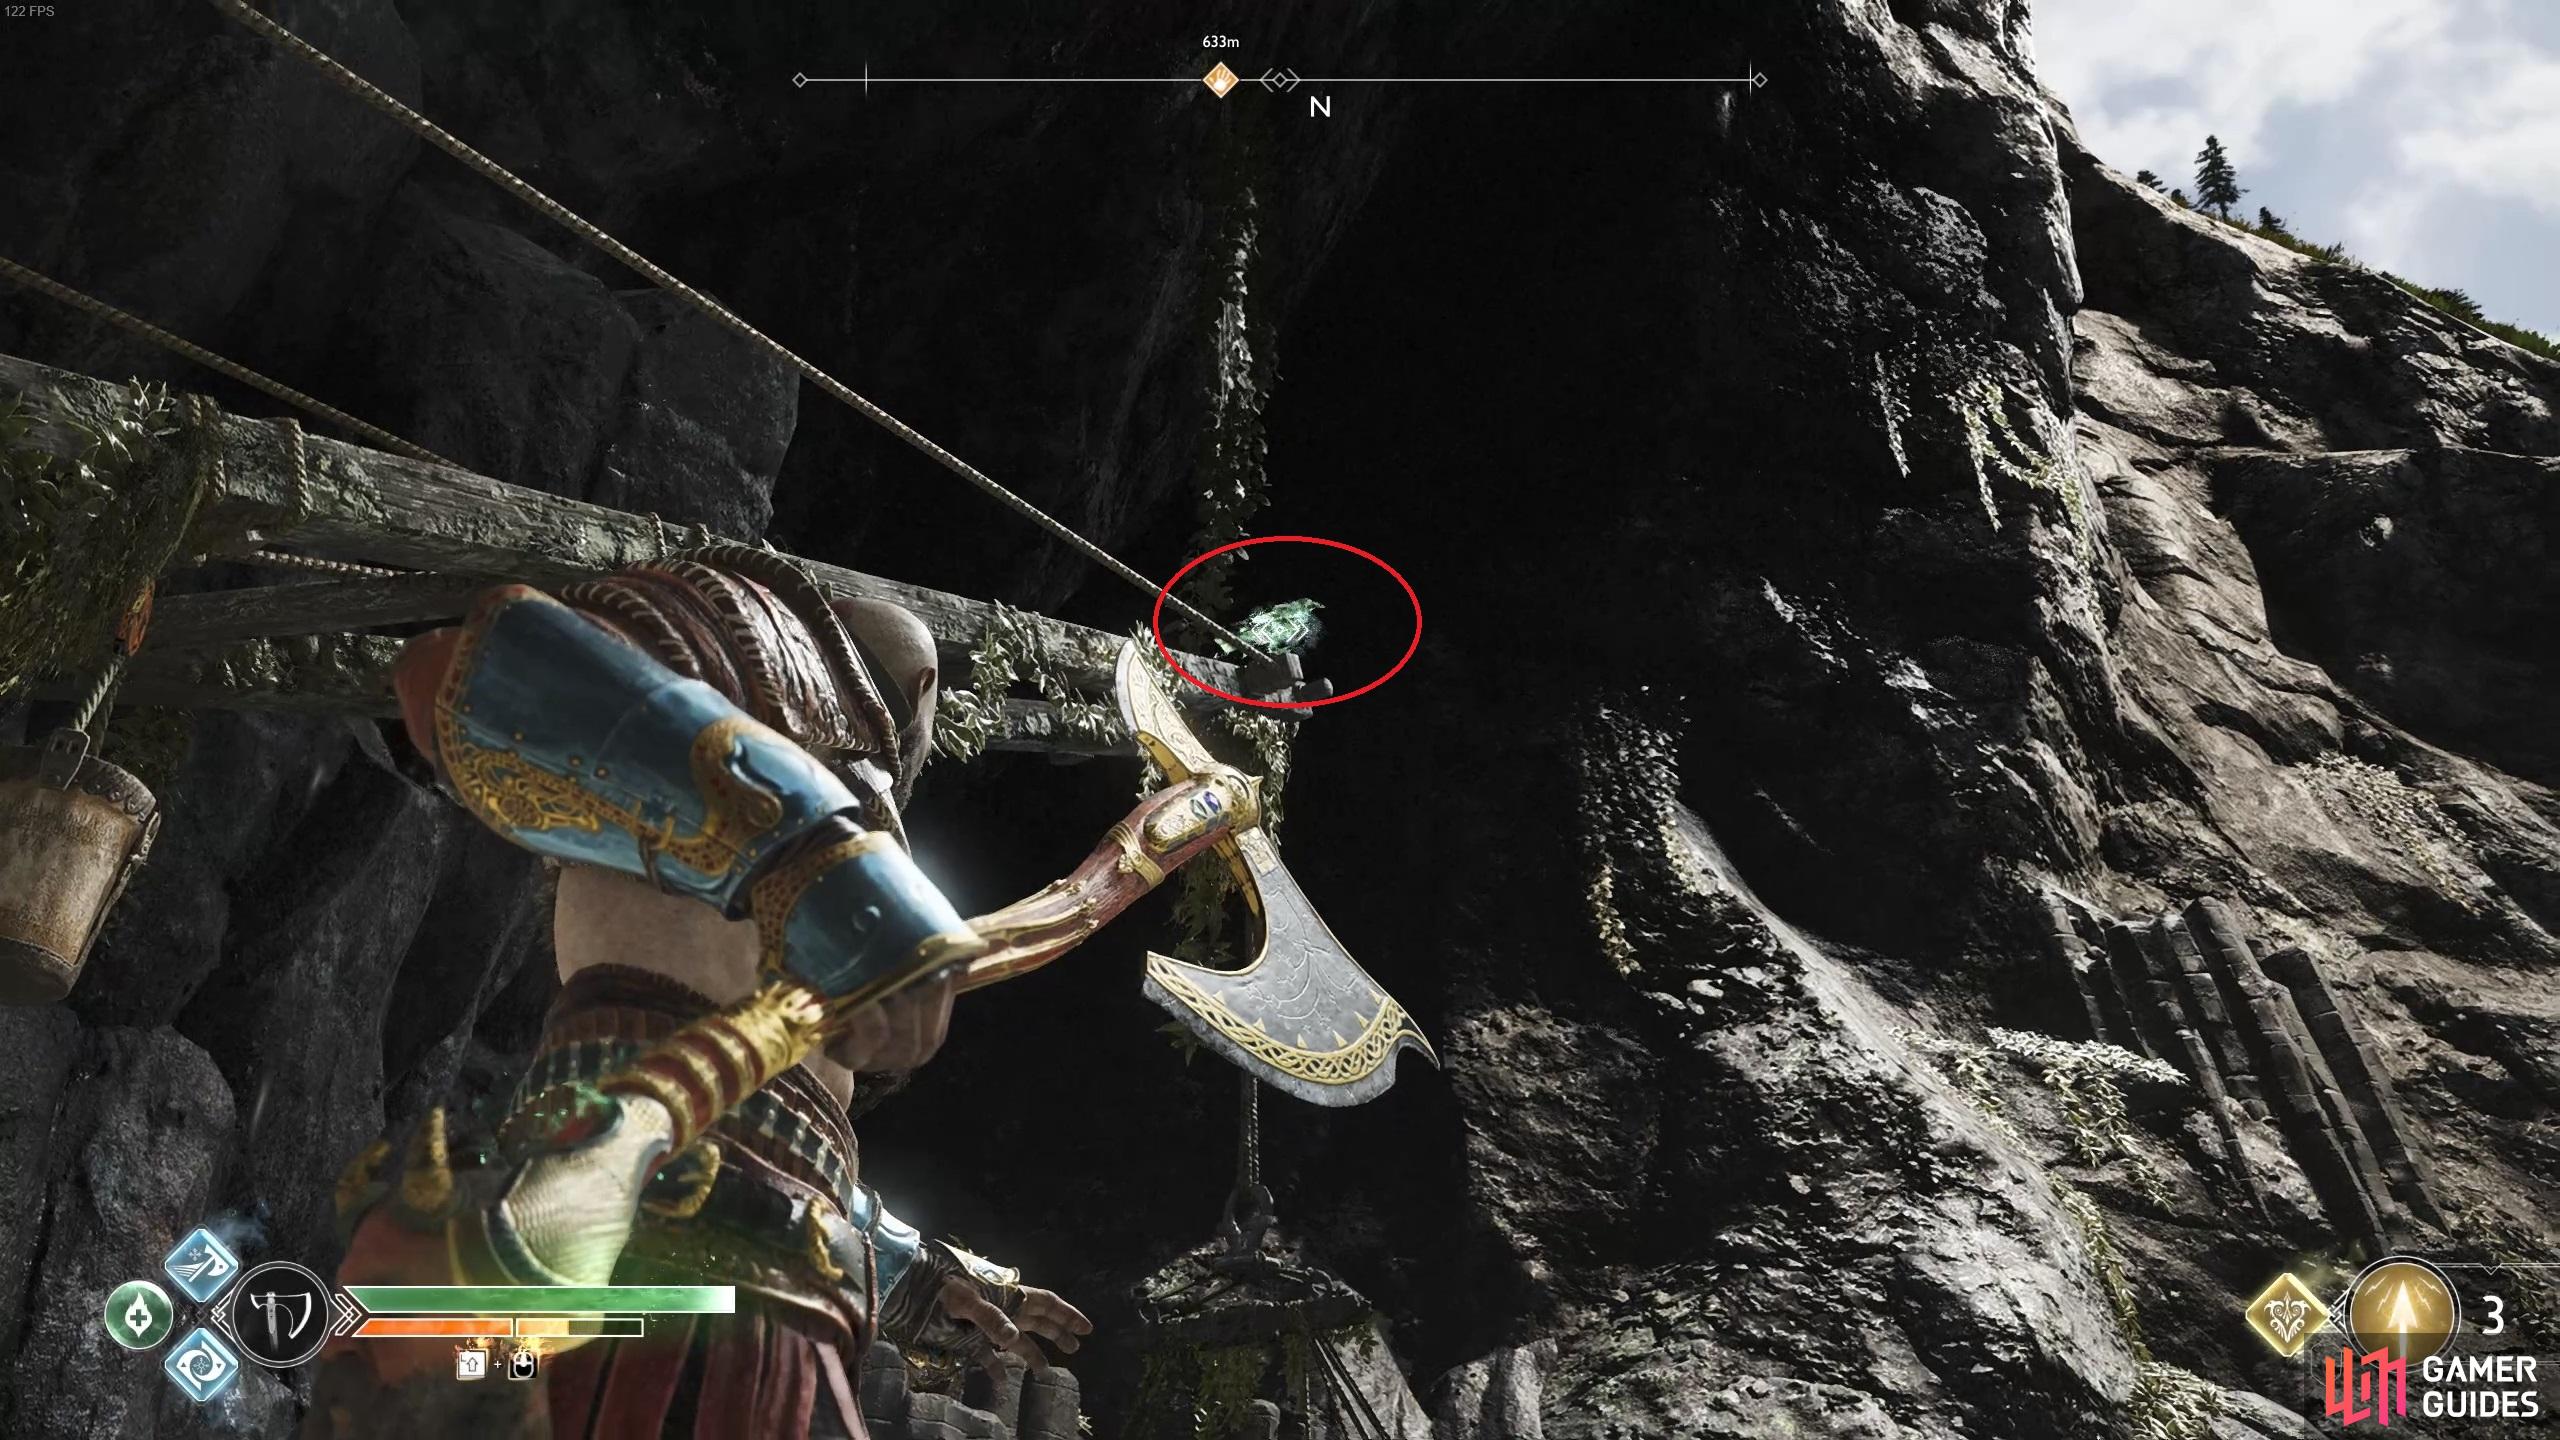
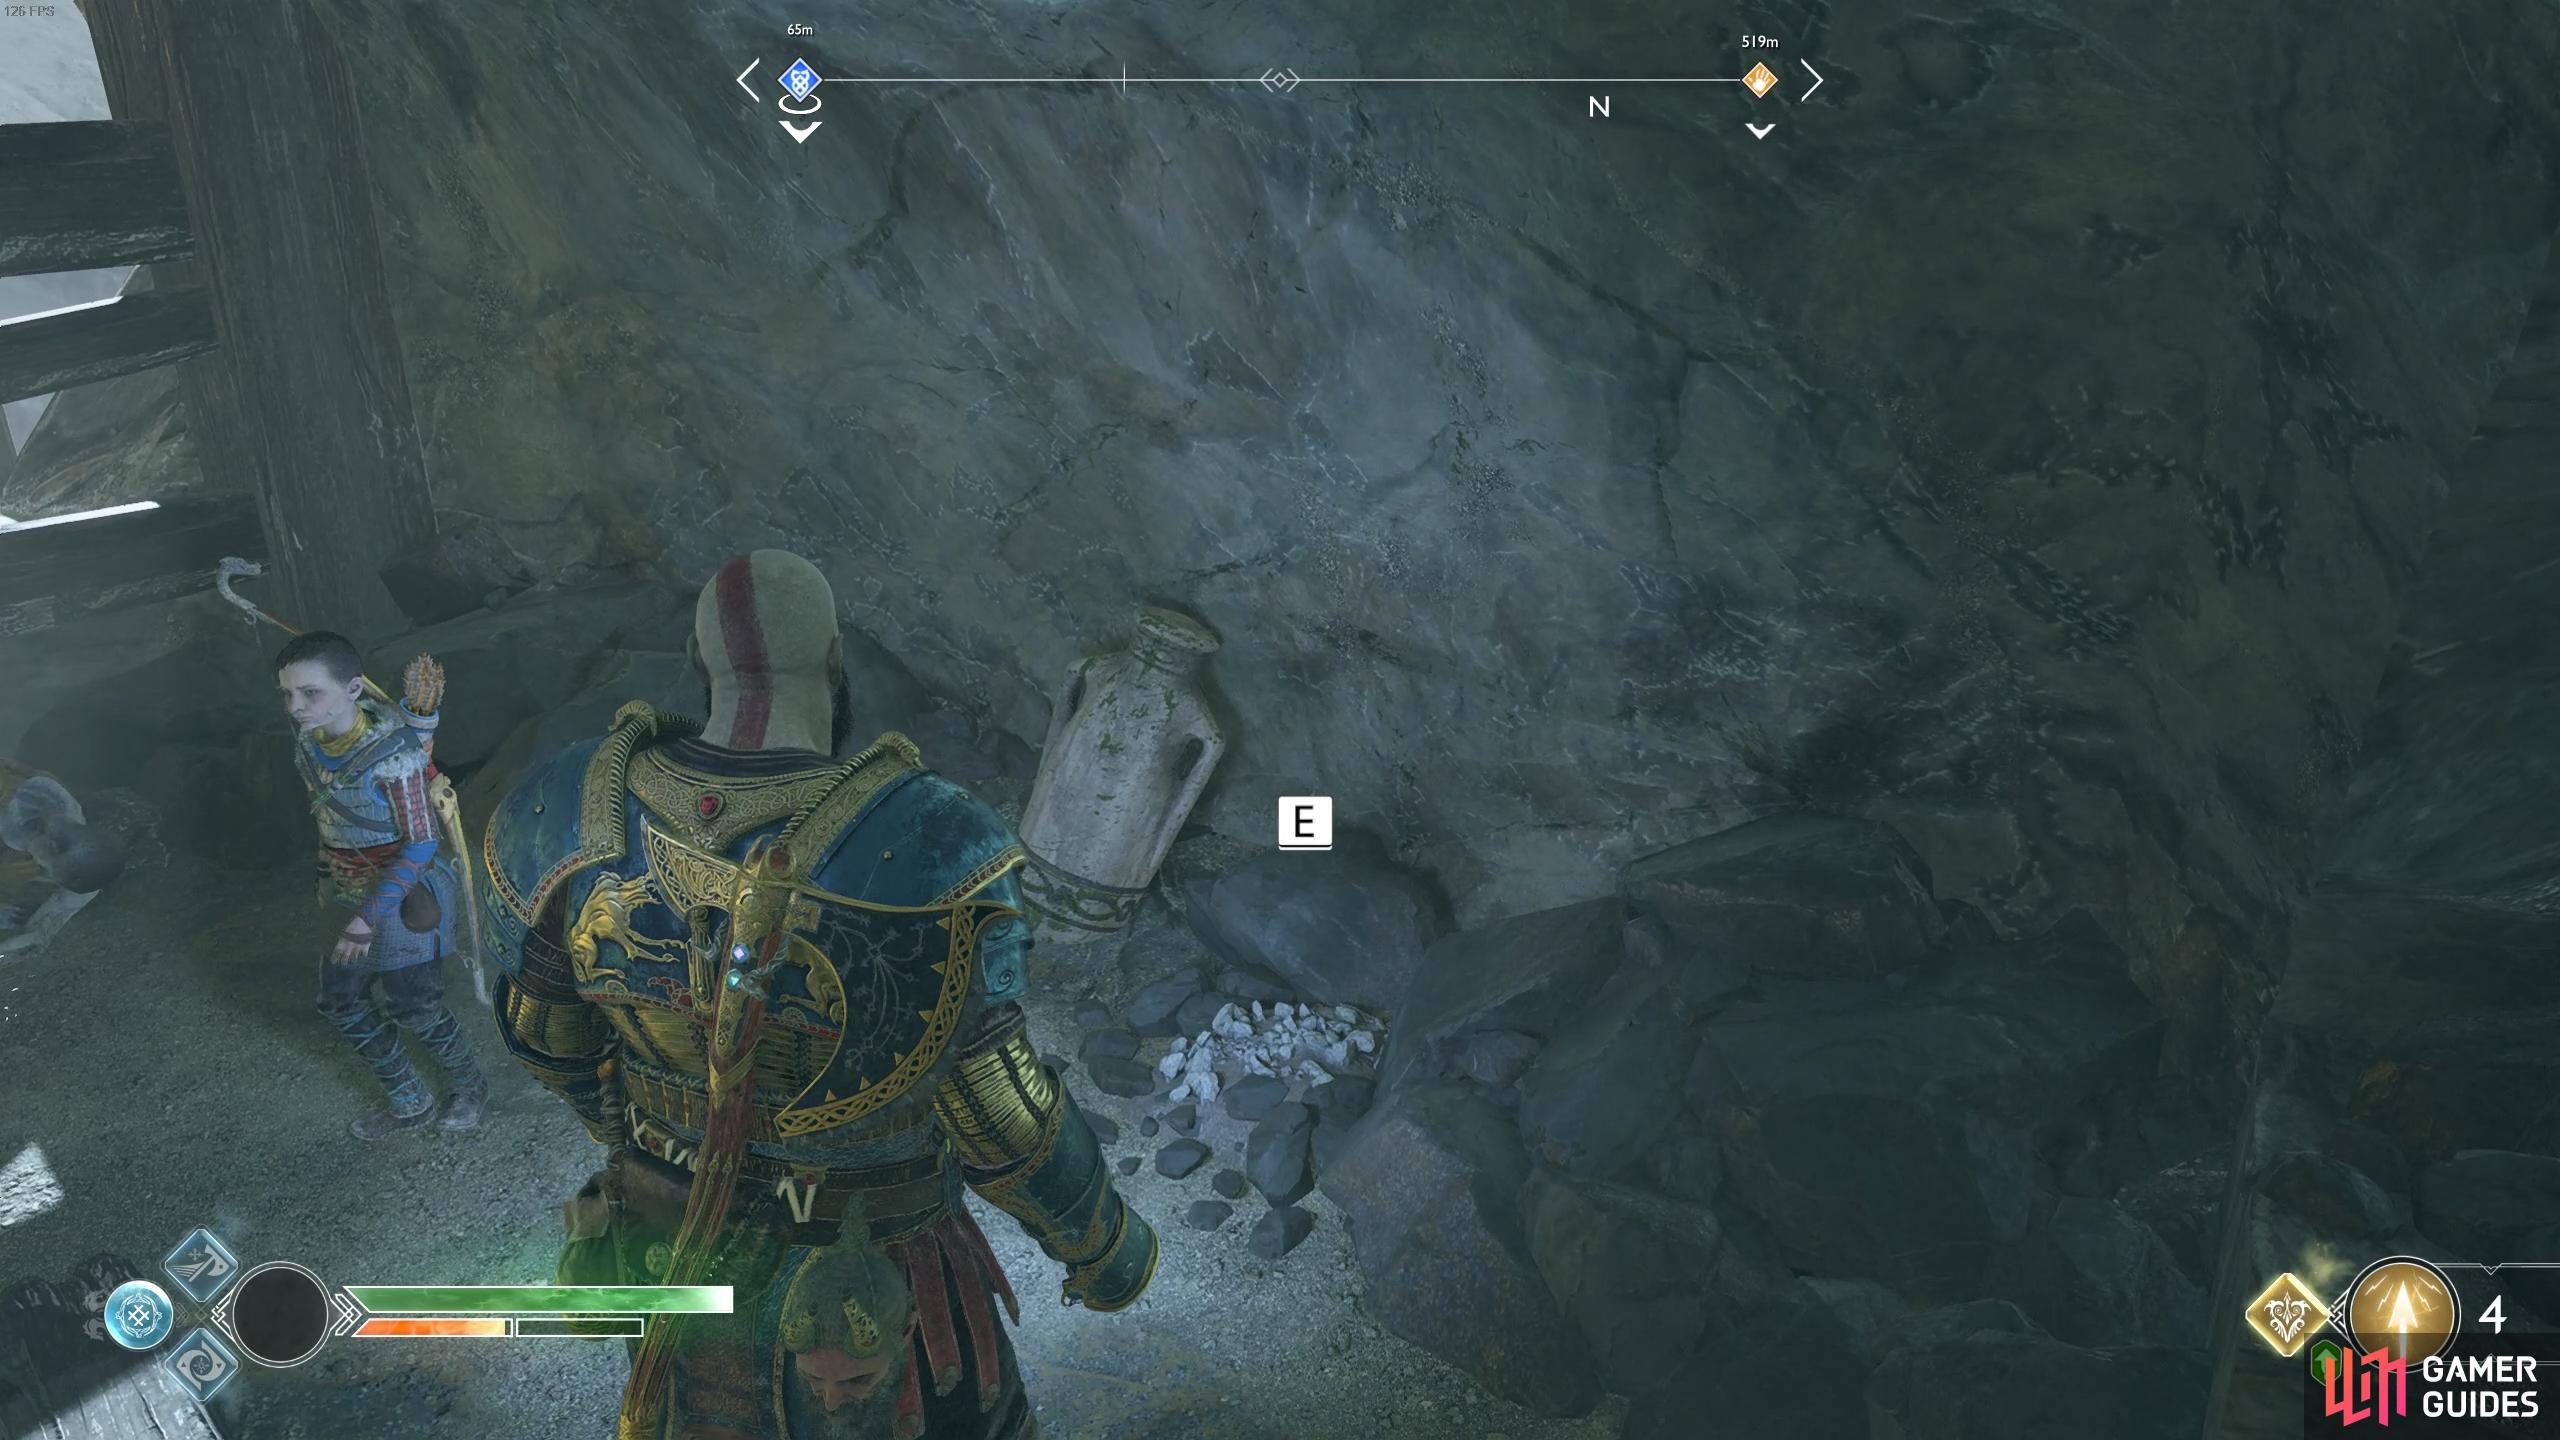
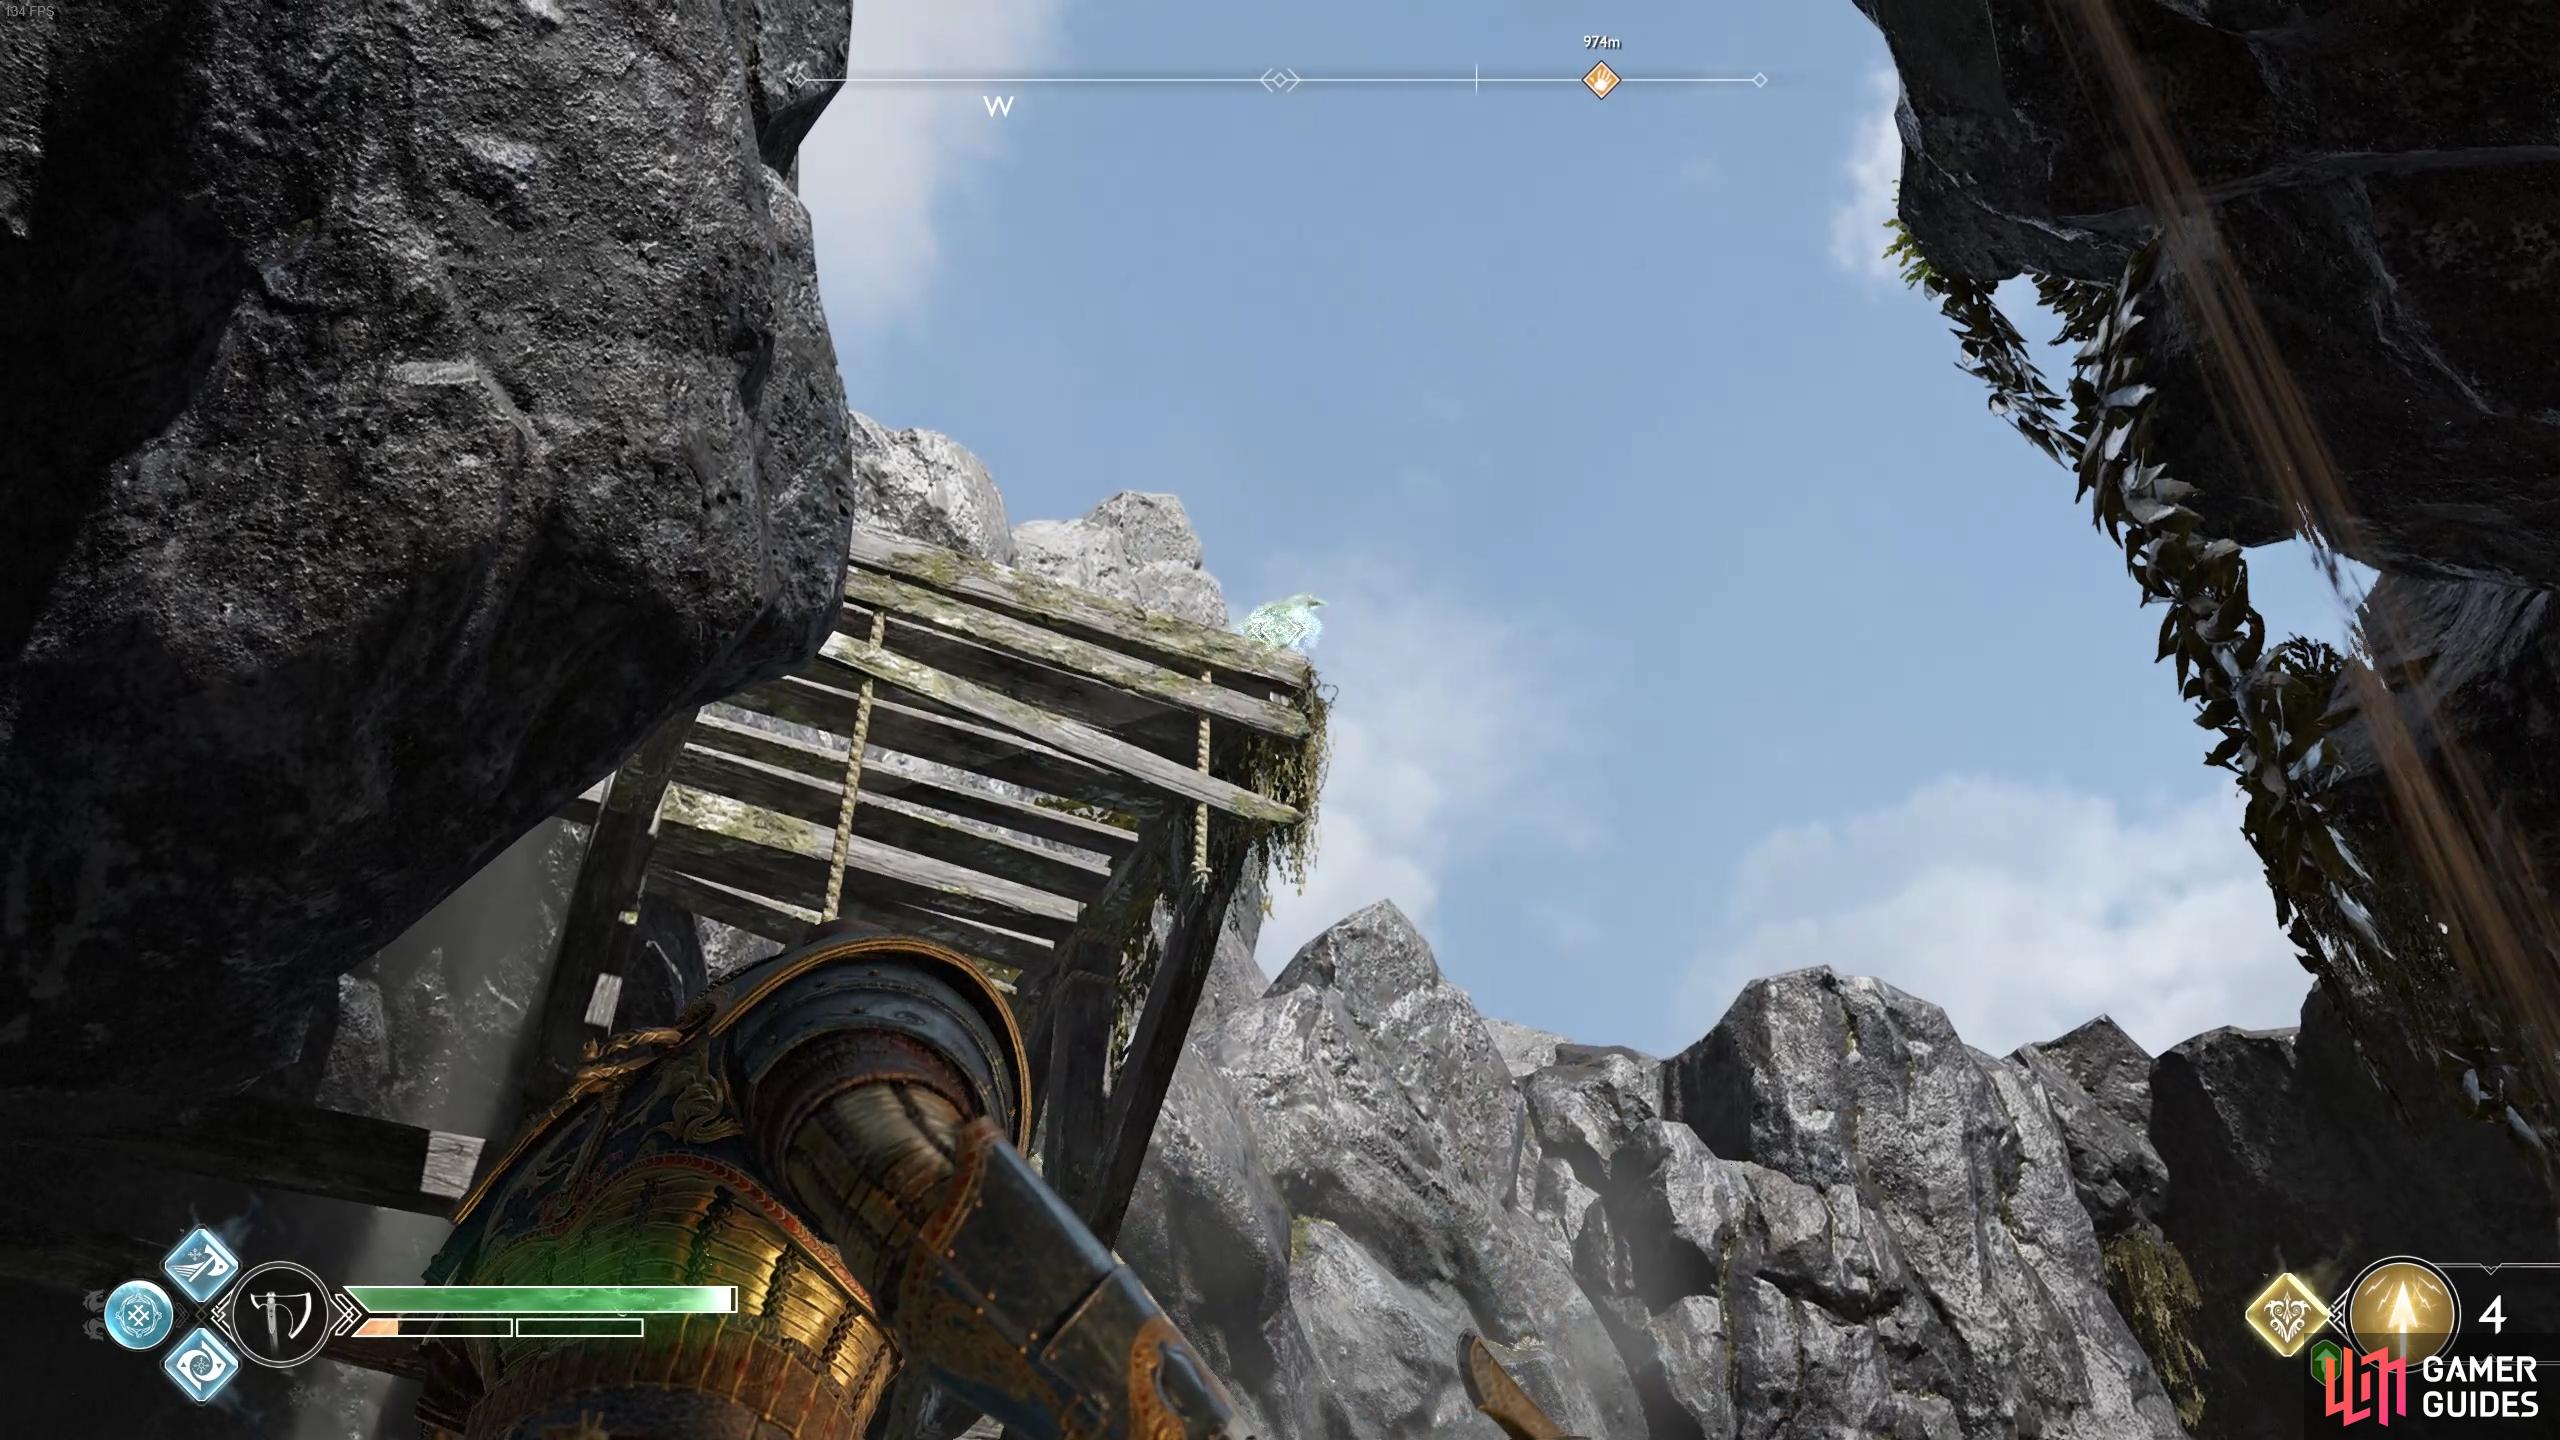
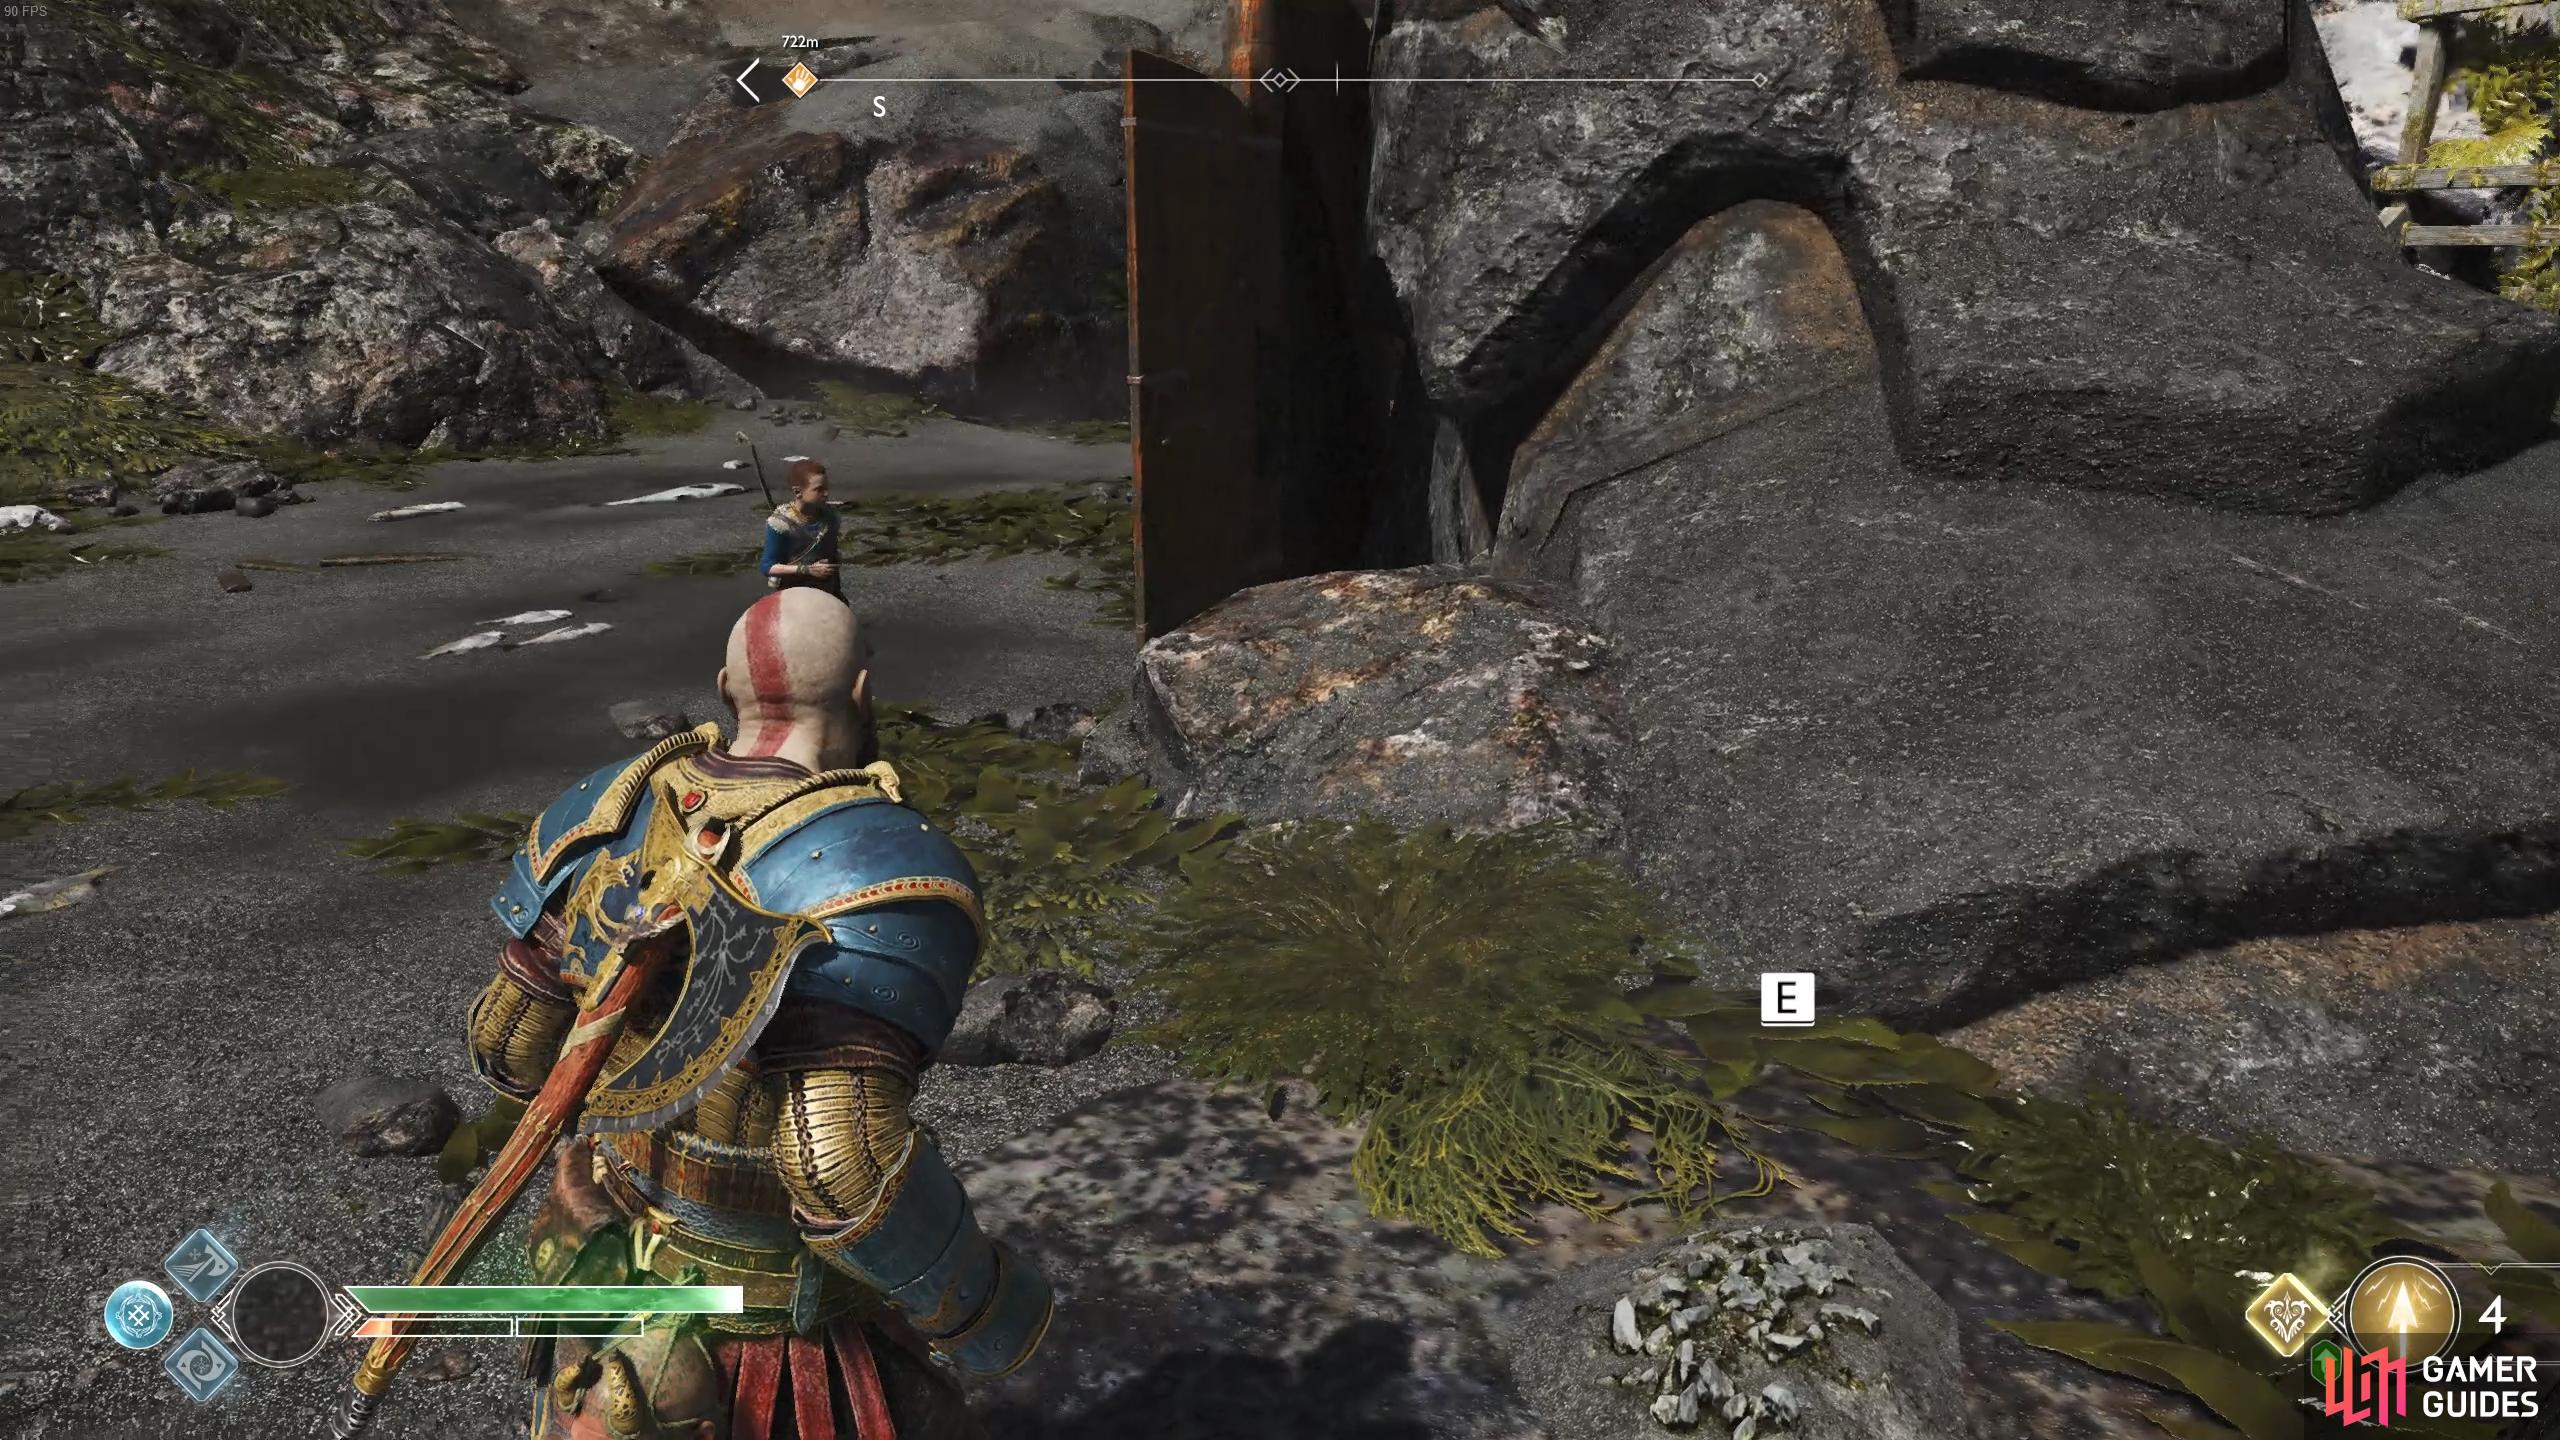
With the exploration of the Lake of Nine behind you now, row down Fáfnir’s Ravine, found to the west of the Lake of Nine. As you row down the stream, dock at the beach and take the elevator up. Step off the elevator and then look at the beams above it to find a Raven.
Pick up the sack of Hacksilver as you delve deeper into the Storeroom and break the boards to your left to find a Hacksilver chest. Crawl under the rocks in front of you and shoot the Light Crystal to create a light bridge. Pick up the sack of Hacksilver as you cross this bridge and you’ll discover Sindri has set up shop.
Take this opportunity to give Sindri the spoils you received from any defeated Travellers to unlock the Traveller’s armor set. If you’ve been following this walkthrough, you will have all the necessary materials to craft the other two pieces of Týr’s armor set, do so and equip it (remembering to remove the enchantments on your old pieces). Be sure to upgrade each of the new pieces once as well to unlock more sockets on the armor. You should have enough Hacksilver to upgrade the Talon Quiver for the final time, giving Atreus another arrow to use.
If you have the materials (and you should from exploring the lake) then upgrade the Grip of Tanngiost Pommel, this increases it to Level 5 and is a very useful Pommel. Finally, with all the dust of realms you’ve been collecting, upgrade the Talisman of Unbound Potential to it’s max Level. Remember to get a new Resurrection Stone if you need it and sell any unwanted Enchantments and Artefacts you may have. Leave the shop and equip Enchantments on all of your new armor pieces along with equipping the upgraded Grip of Tanngiost to bump your Level up to Level 4.
With all the XP you’ve managed to stockpile from your adventures take the time to upgrade your skills. Spartan Stomp and Spartan Surge will make it easier to knock enemies over the side during Spartan Rage and it’s also a good time to get Raging Ultimatum at this point, this is a more powered up Raging Smash.
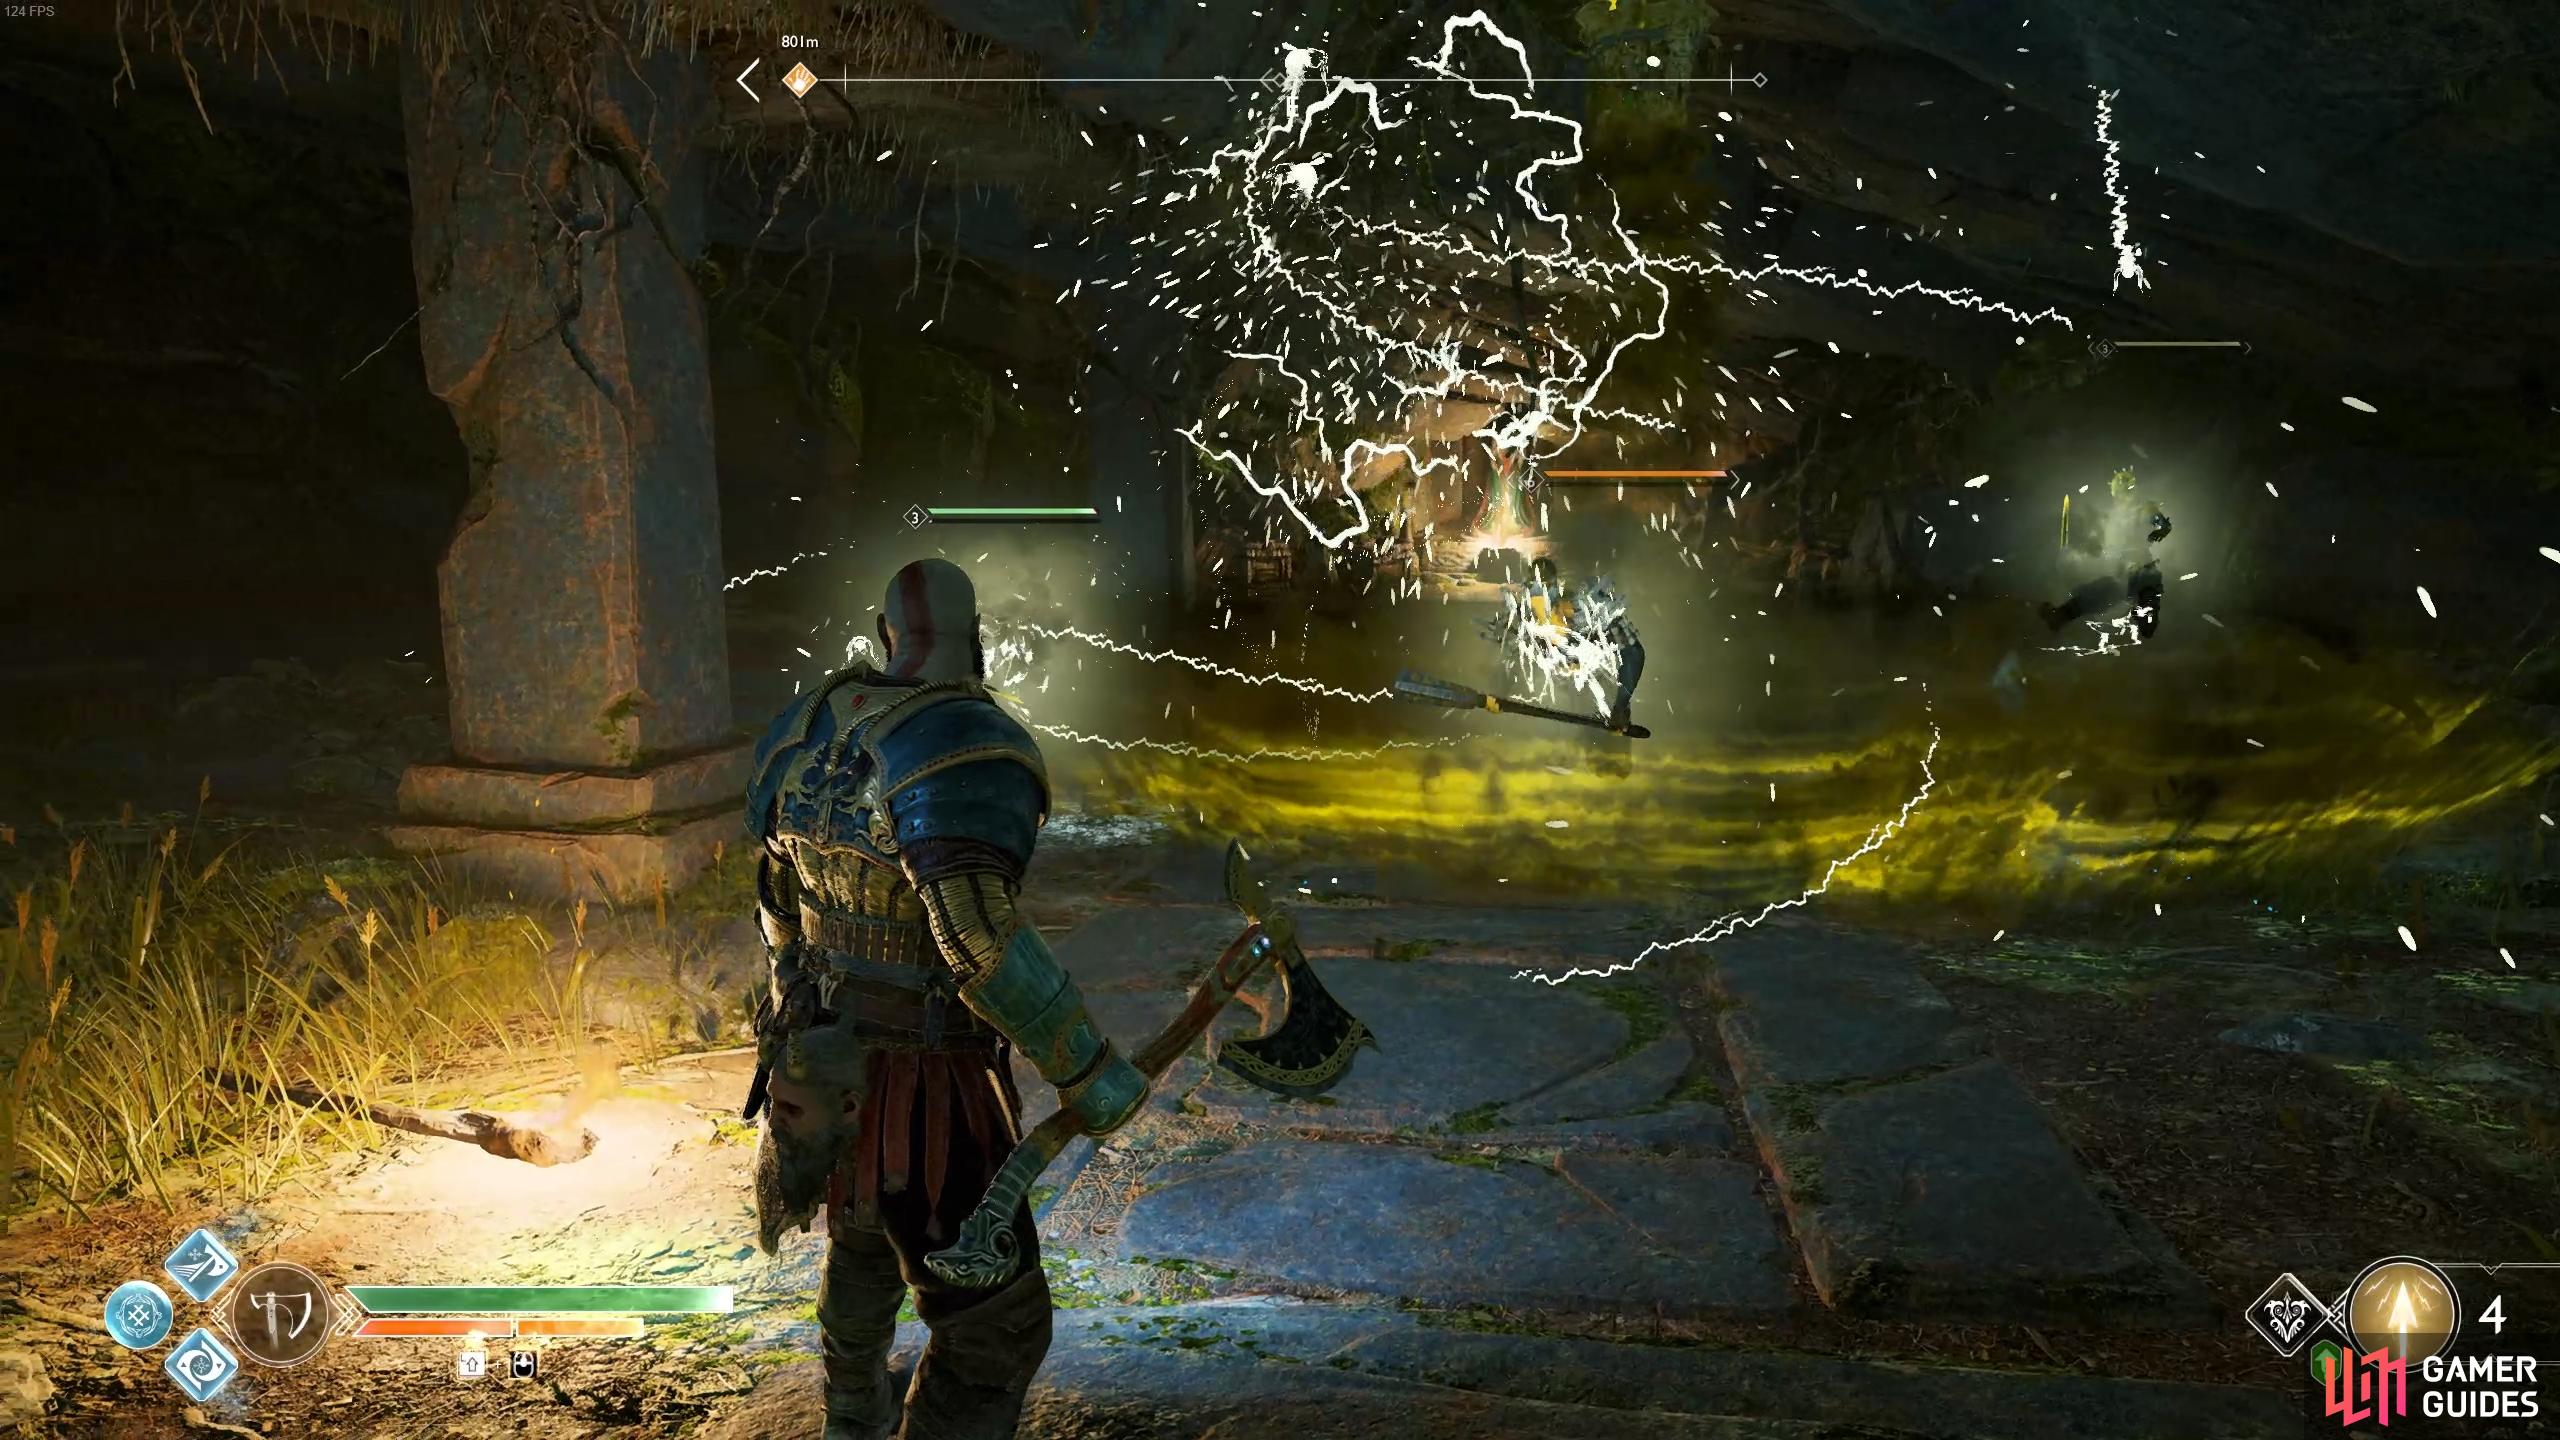
With your business concluded, look up and to the left of the shop to spot the next Raven flying about and proceed forward. As you pass under the rocks and into the clearing, you’ll spot the next Raven perched on the branch by the waterfall. When you’re ready, climb the ledge into the larger clearing of the forest and a group of Draugrs will attack.
Begin the battle with a cast of the Murder of Crows Summon to disrupt all the enemies and then focus on the Projectile Draugrs first before taking on the Draugrs closer to you. With the enemies dead, head toward the waterfall and look above the south entrance to spot another sneaky Raven.
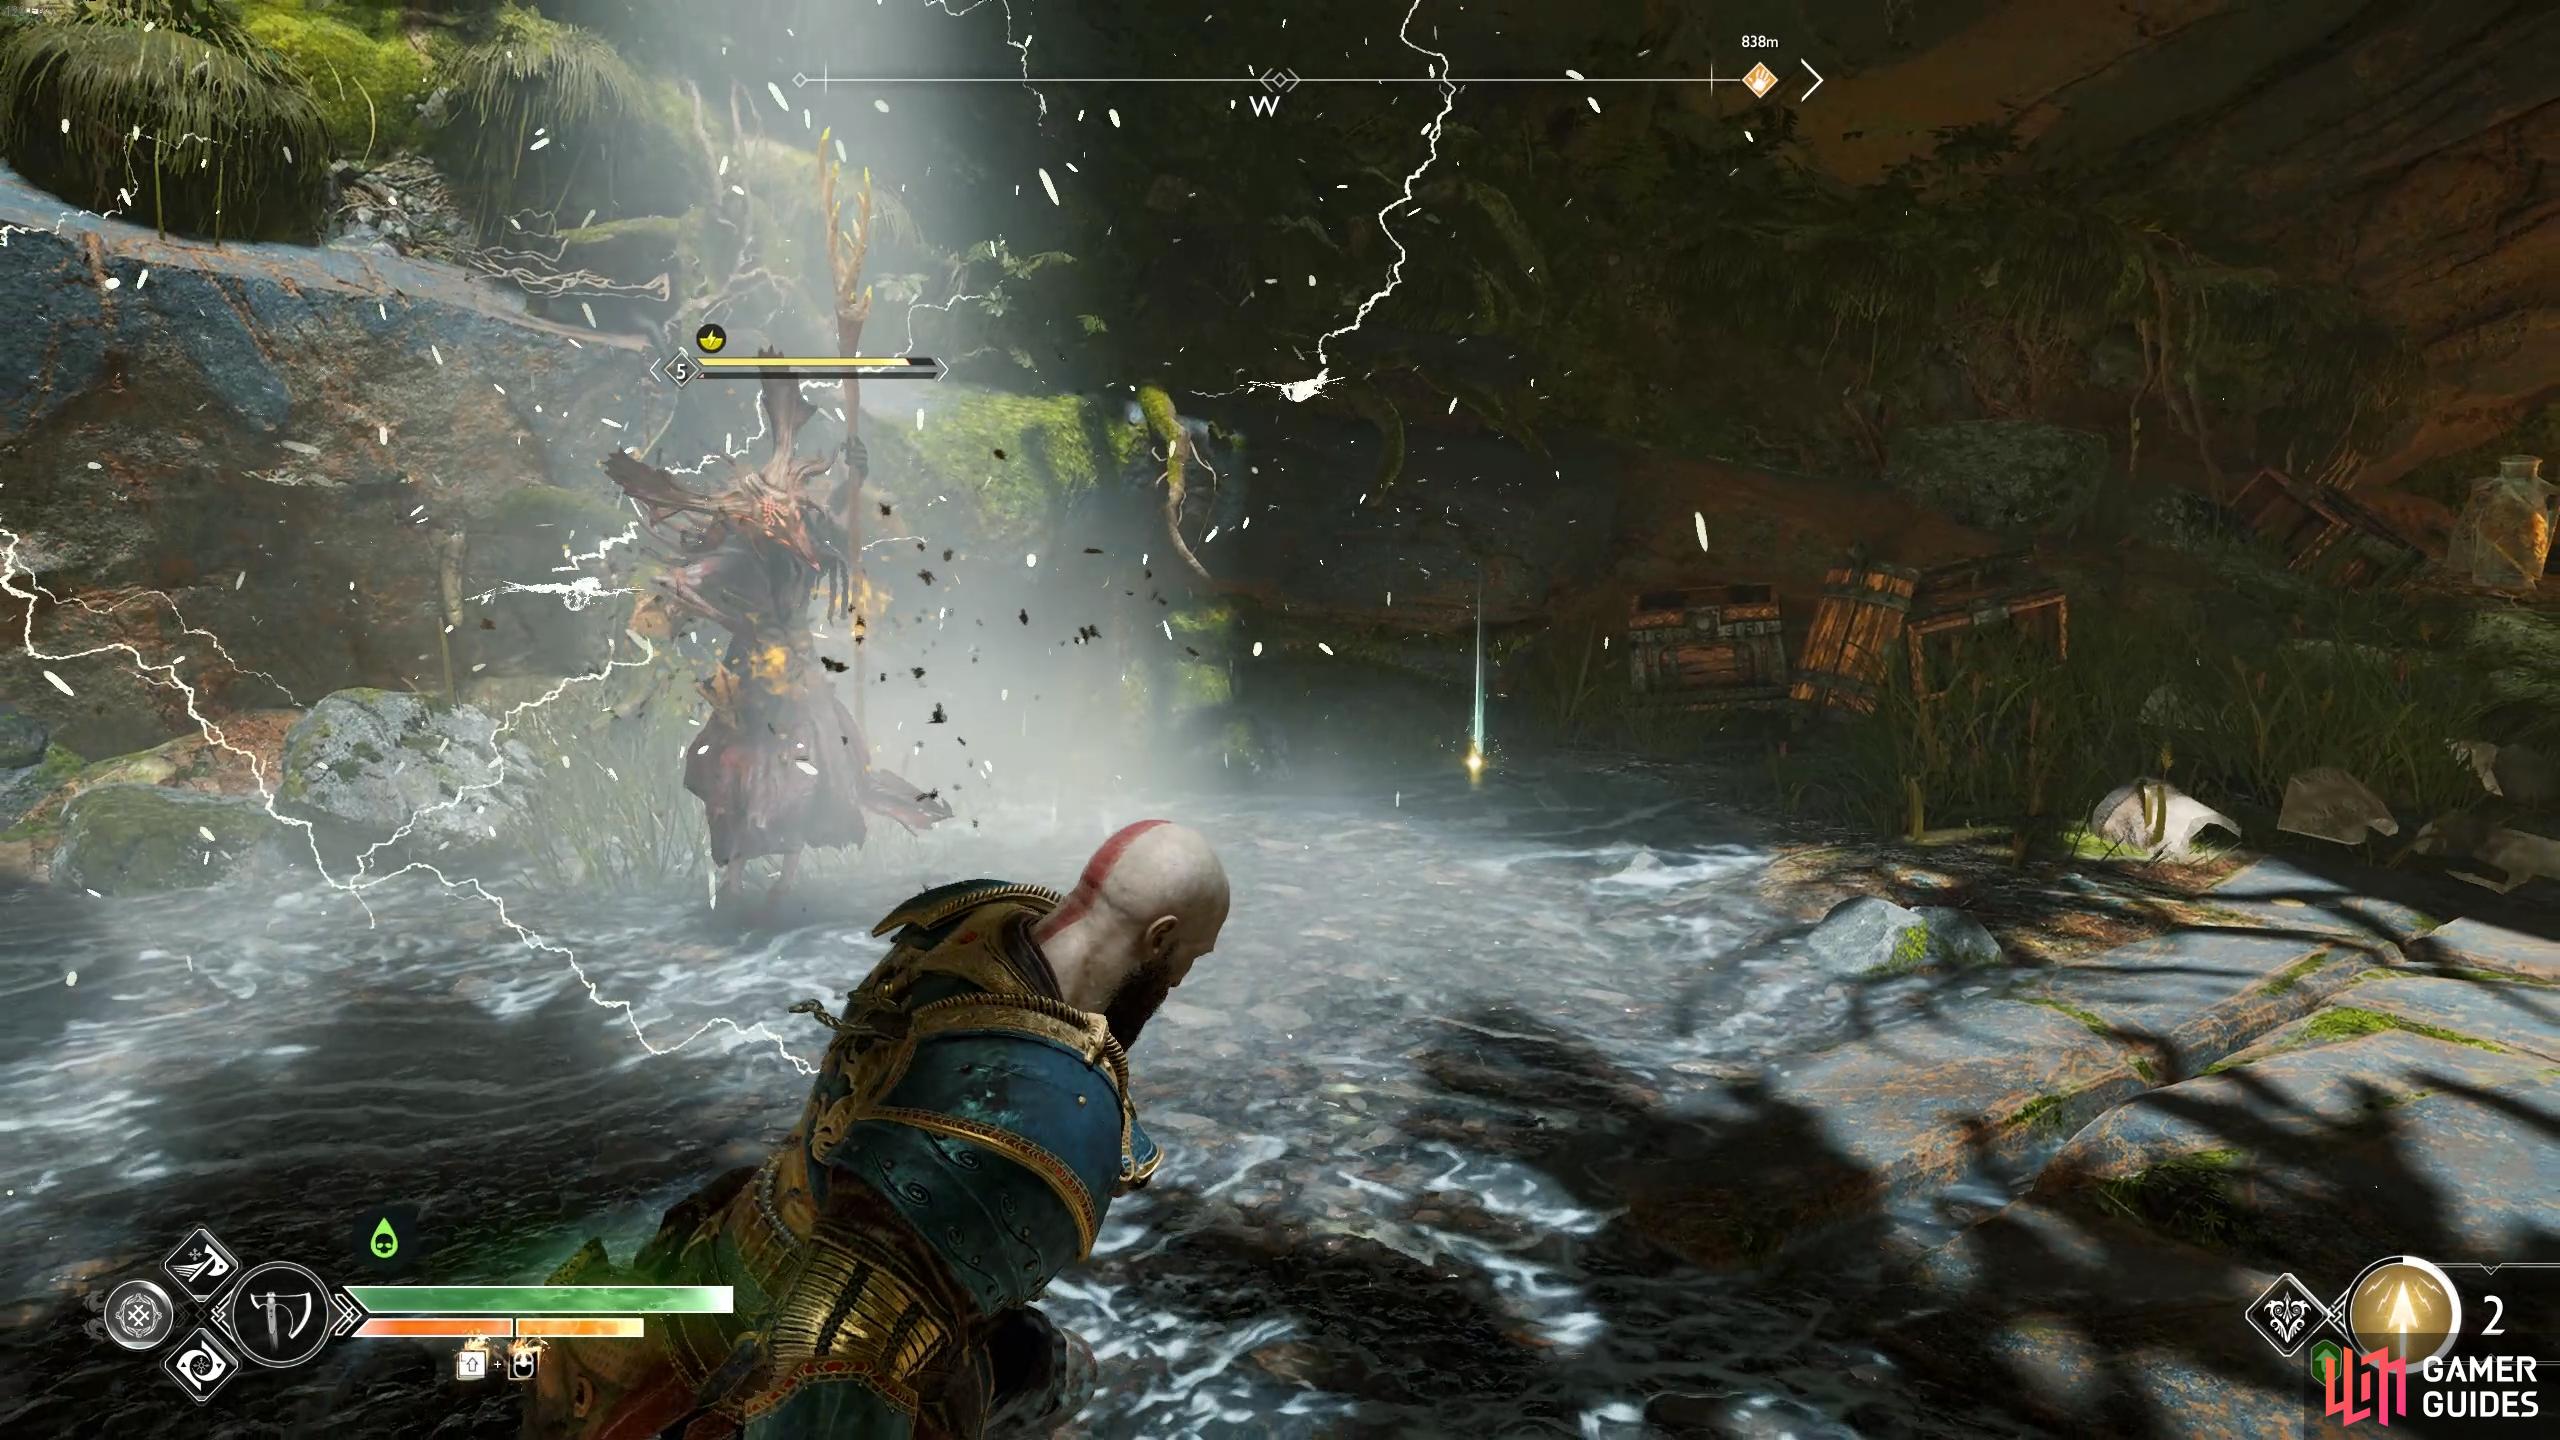
Next up, you’ll notice that a Nornir Chest sits in this clearing and you’ll need to deal with a timed bell puzzle. Two Rune bells hang above the Nornir Chest while the other hangs above the waterfall. Stand in the stream in the middle so that you can see all three bells and begin by throwing the axe at the bell above the waterfall, quickly turning to hit the two near the Nornir Chest after. Return to the unlocked chest to obtain another Horn of Blood Mead.
Head over to the southeast side of the clearing and climb the ledge there to find a coffin. Drop down and head along the side here to find a sealed entrance along with two sacks of Hacksilver. Search near the left brazier to unearth the treasure belonging to The Historian Treasure Map containing an Eternal Frost, a Legendary Enchantment, 30 Aegir’s Gold and 5000 Hacksilver.
Now head through the passageway behind the waterfall and approach the ledge at the end. Before dropping down, look in the air to spot yet another Raven.
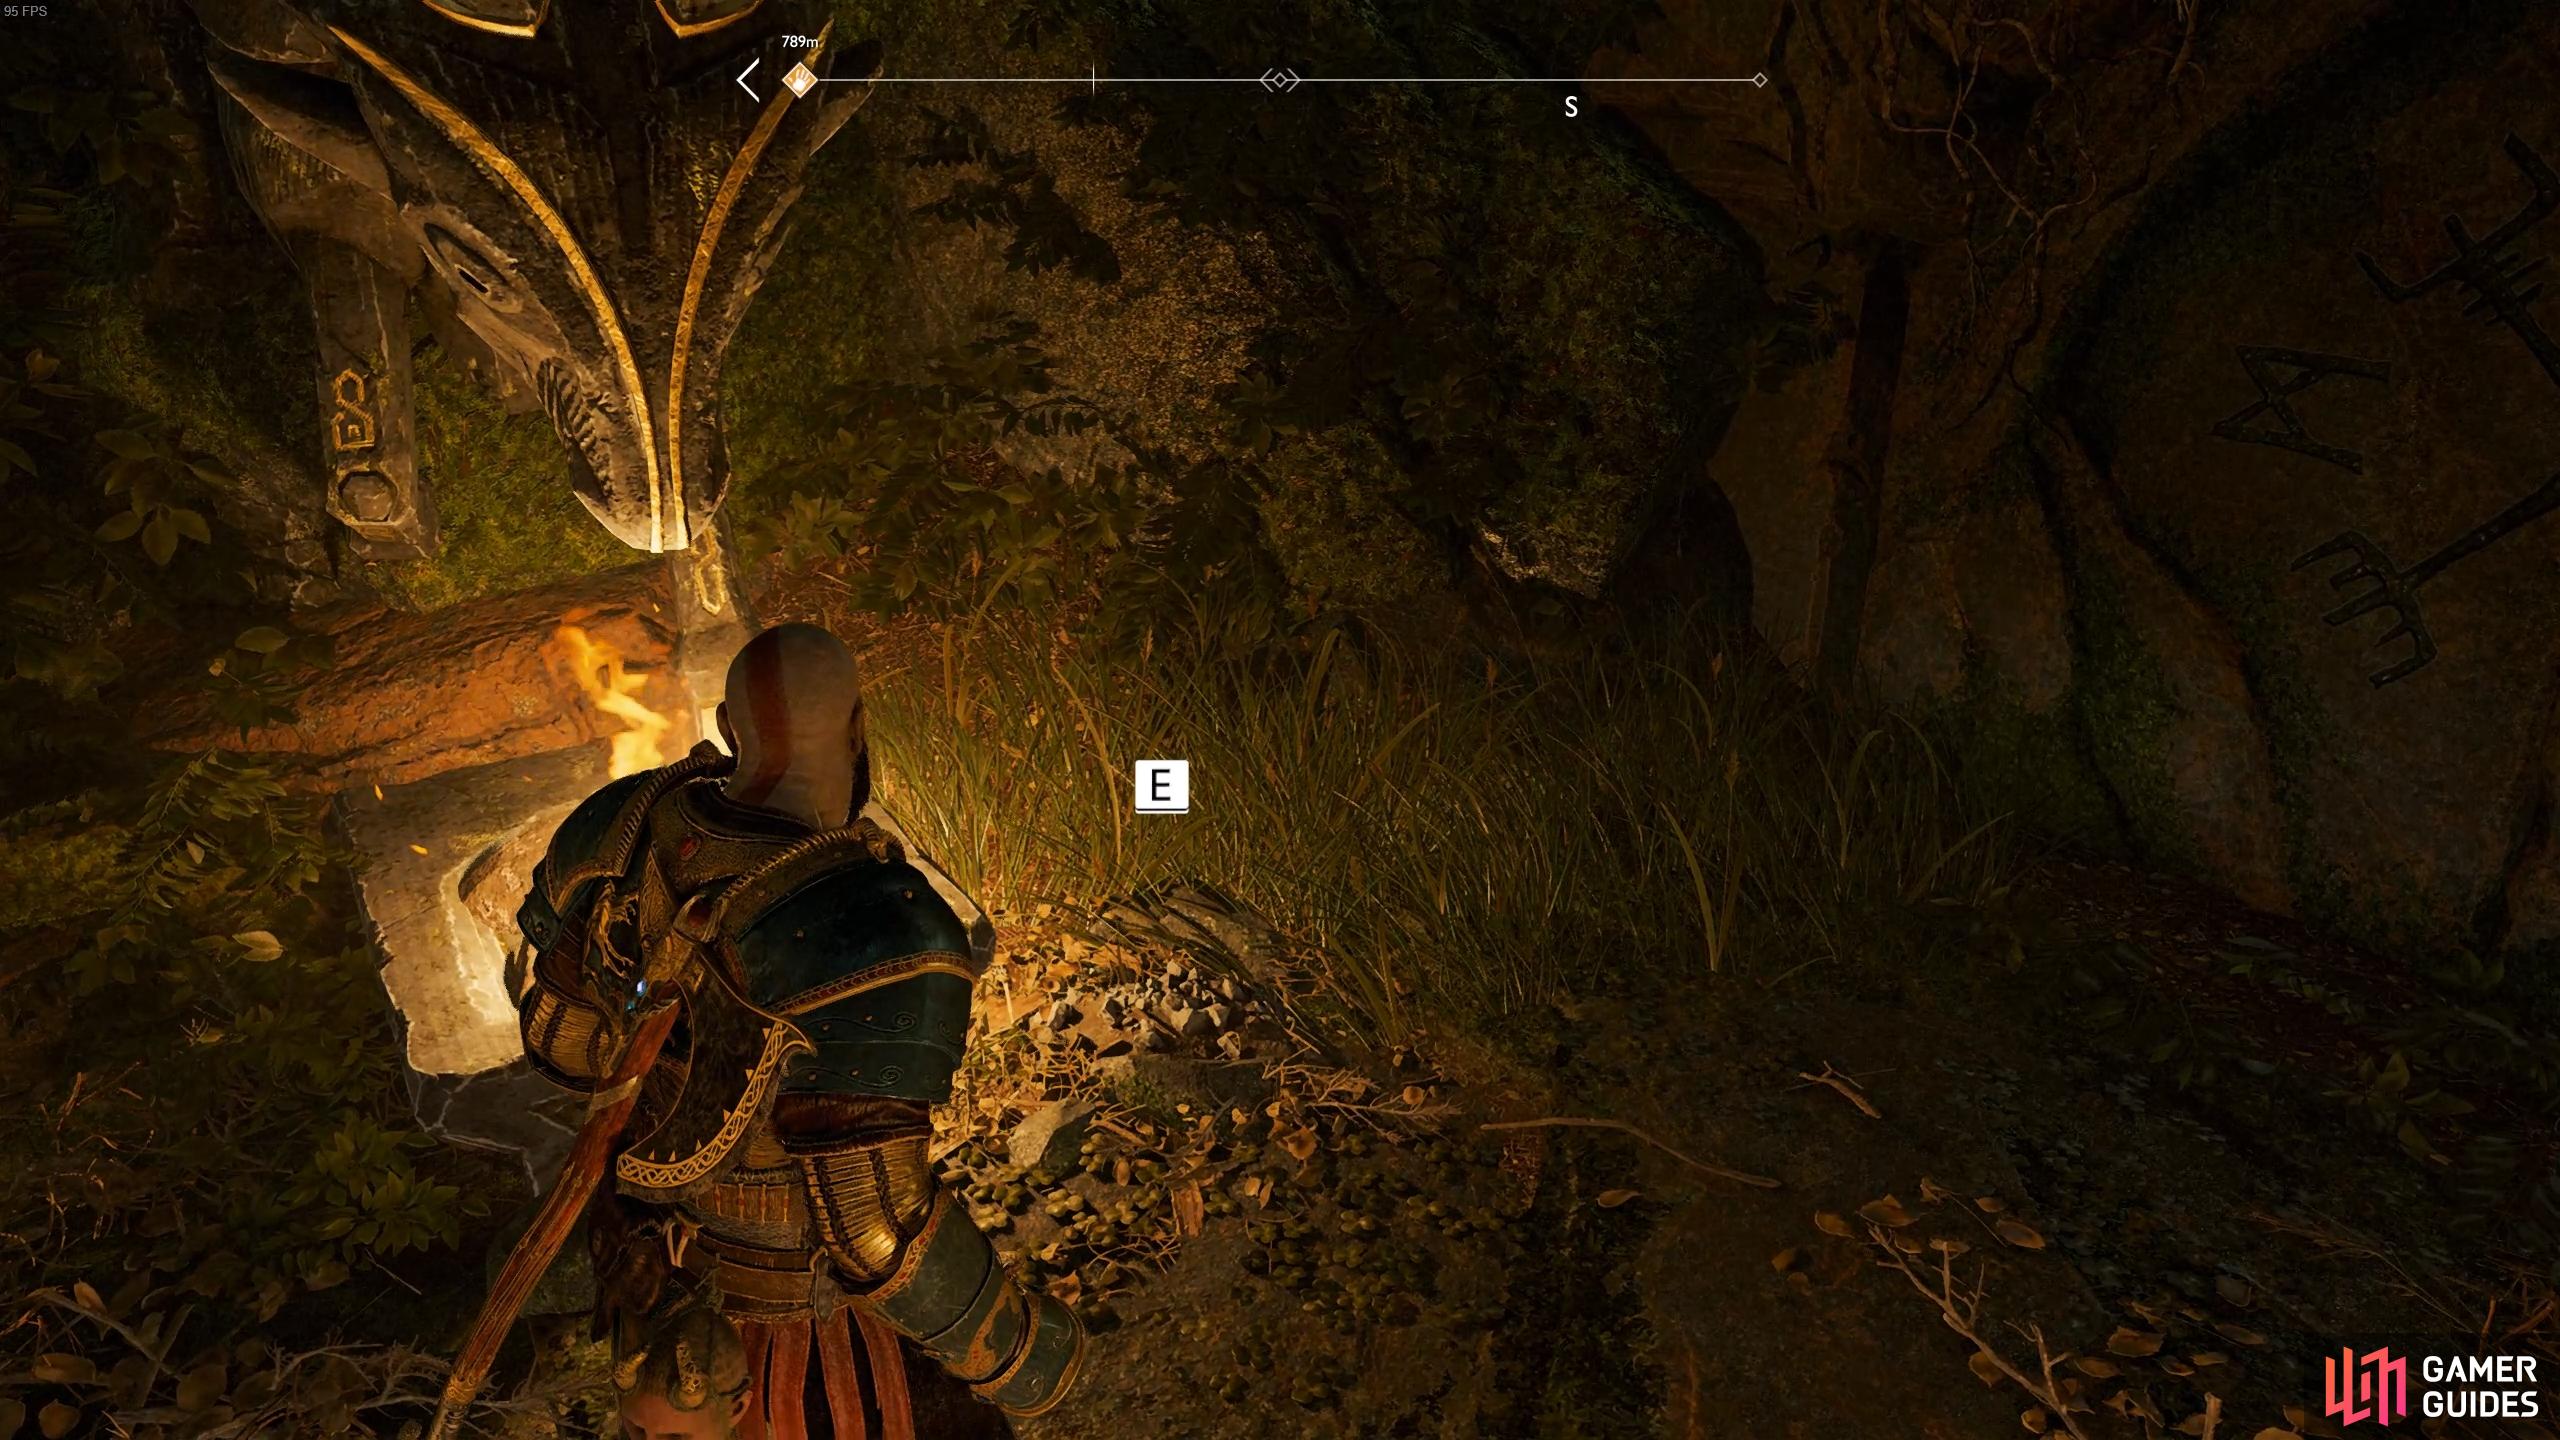
Check near the left brazier in front of the sealed door to find The Historian treasure.
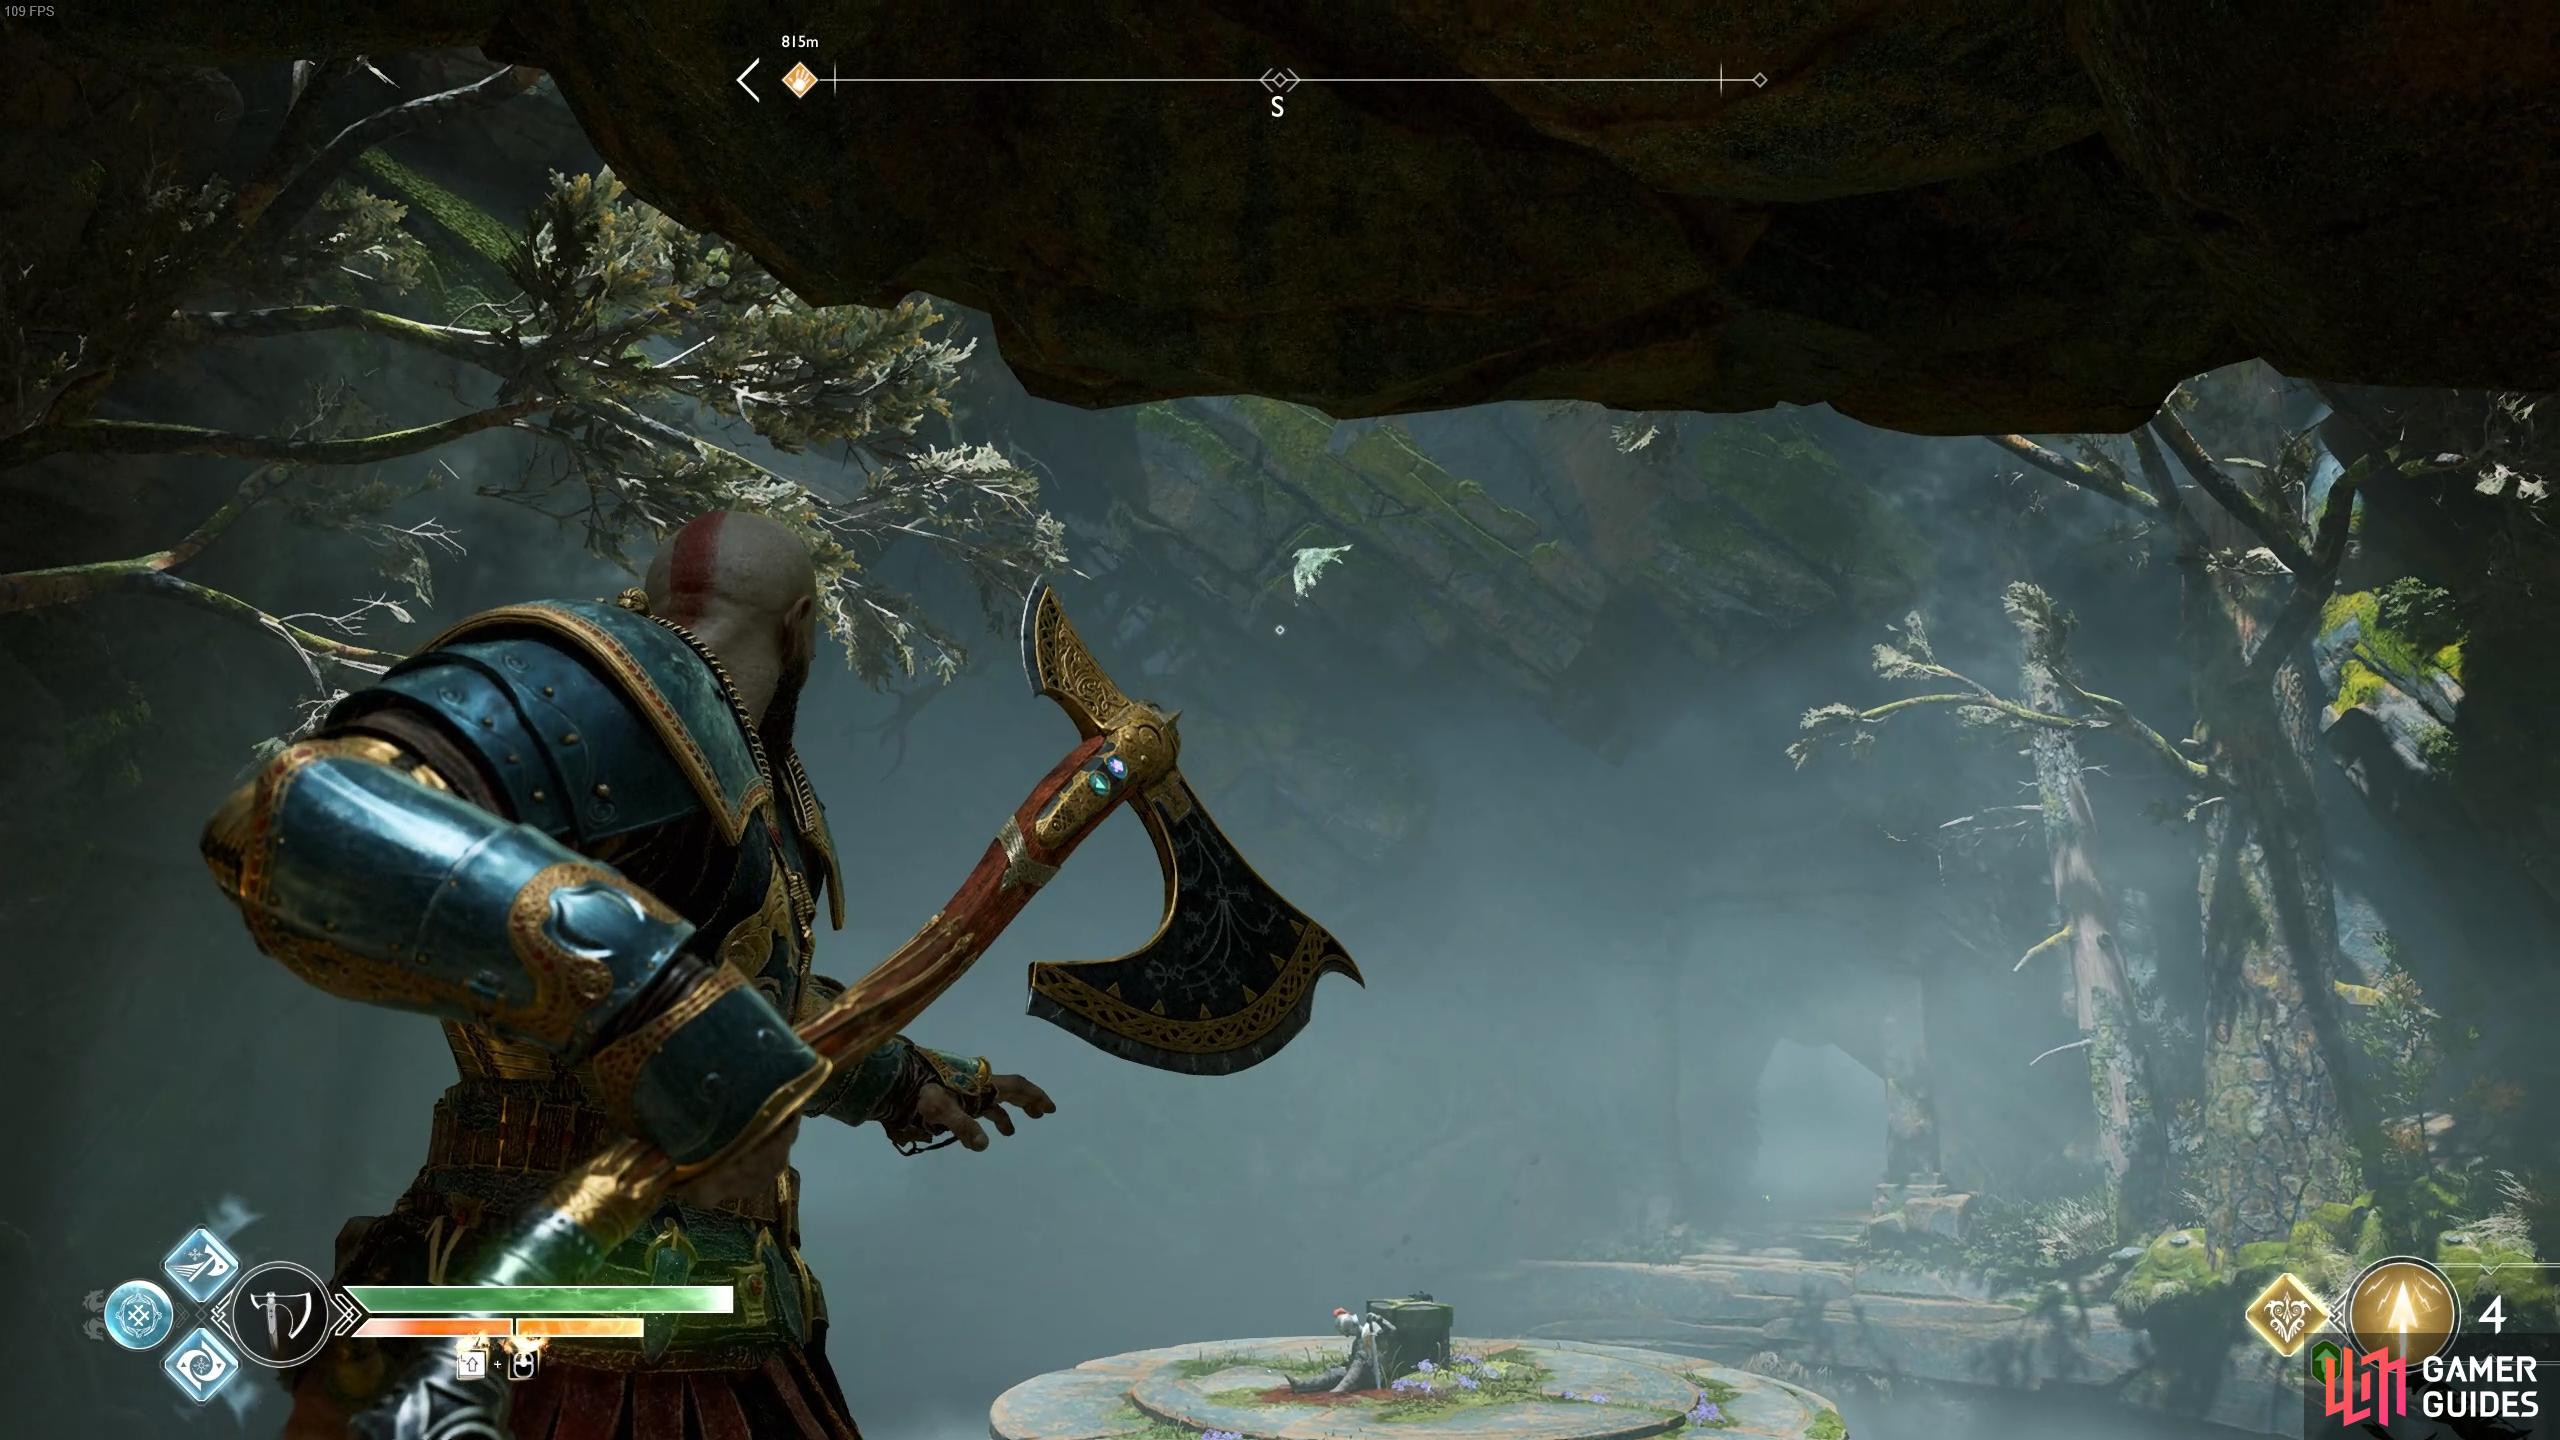
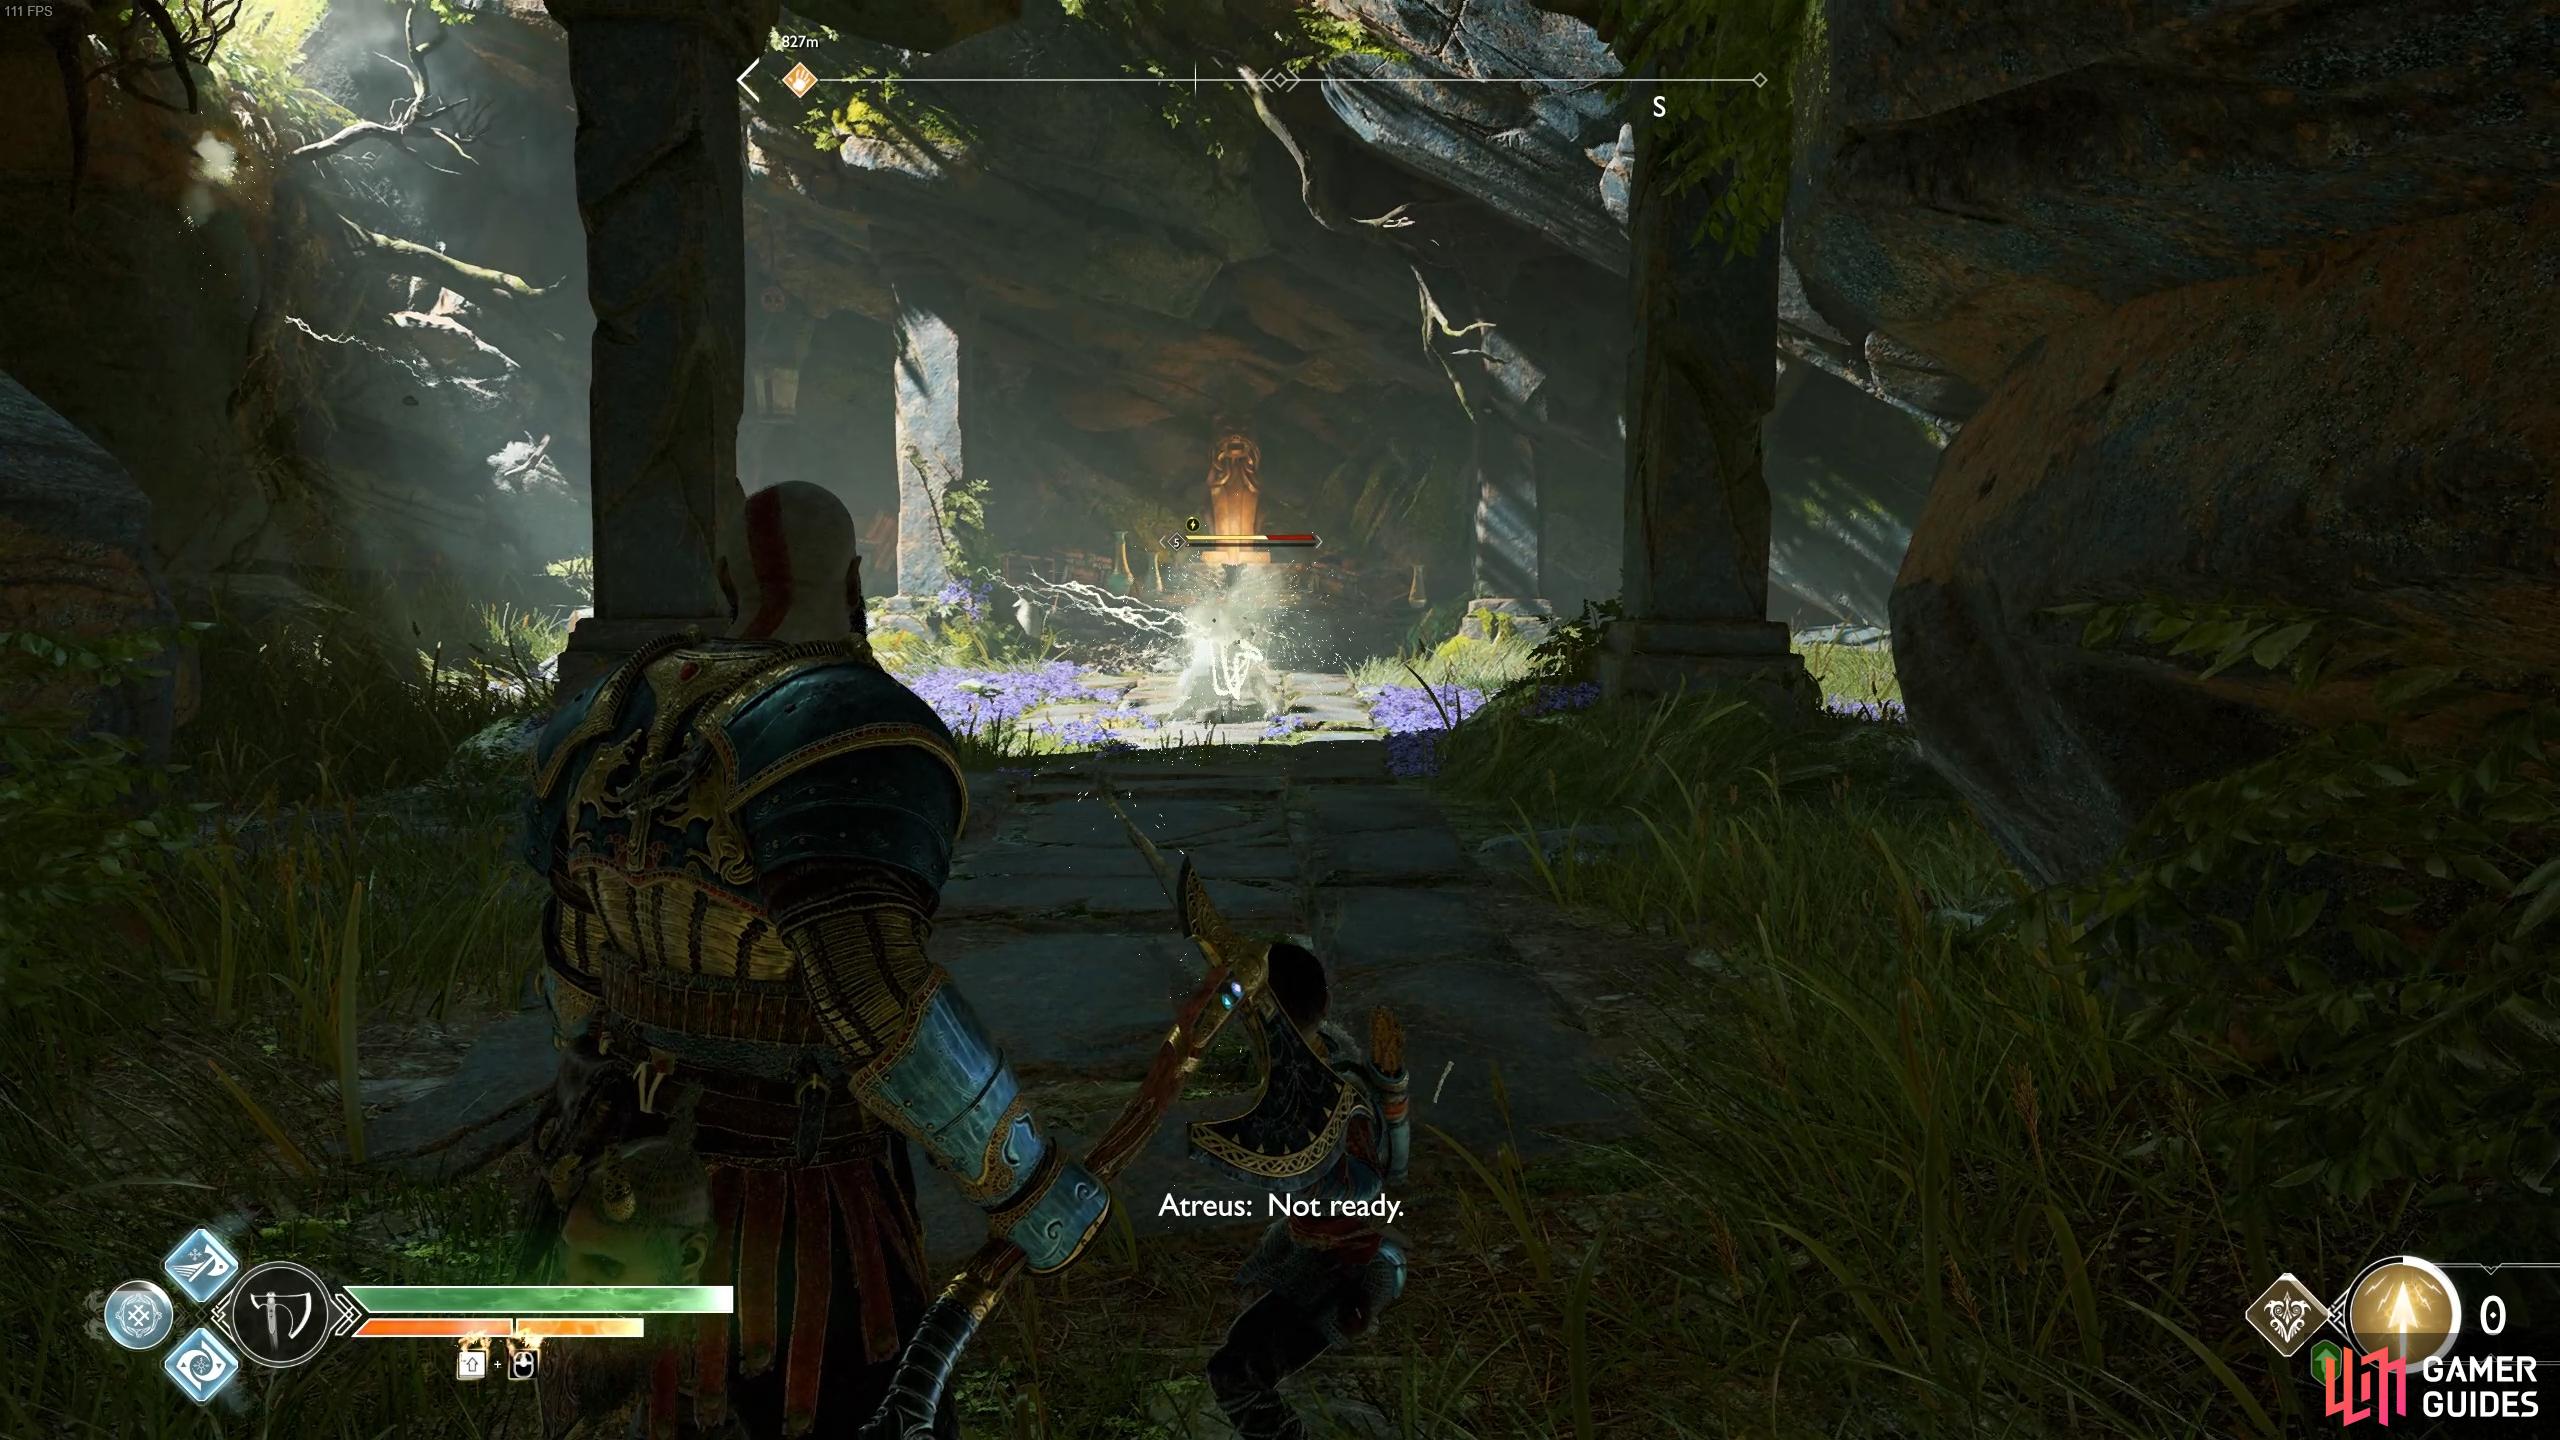
The final Raven for this area can be found in the air of the pedestal room.
Search for the whetstone
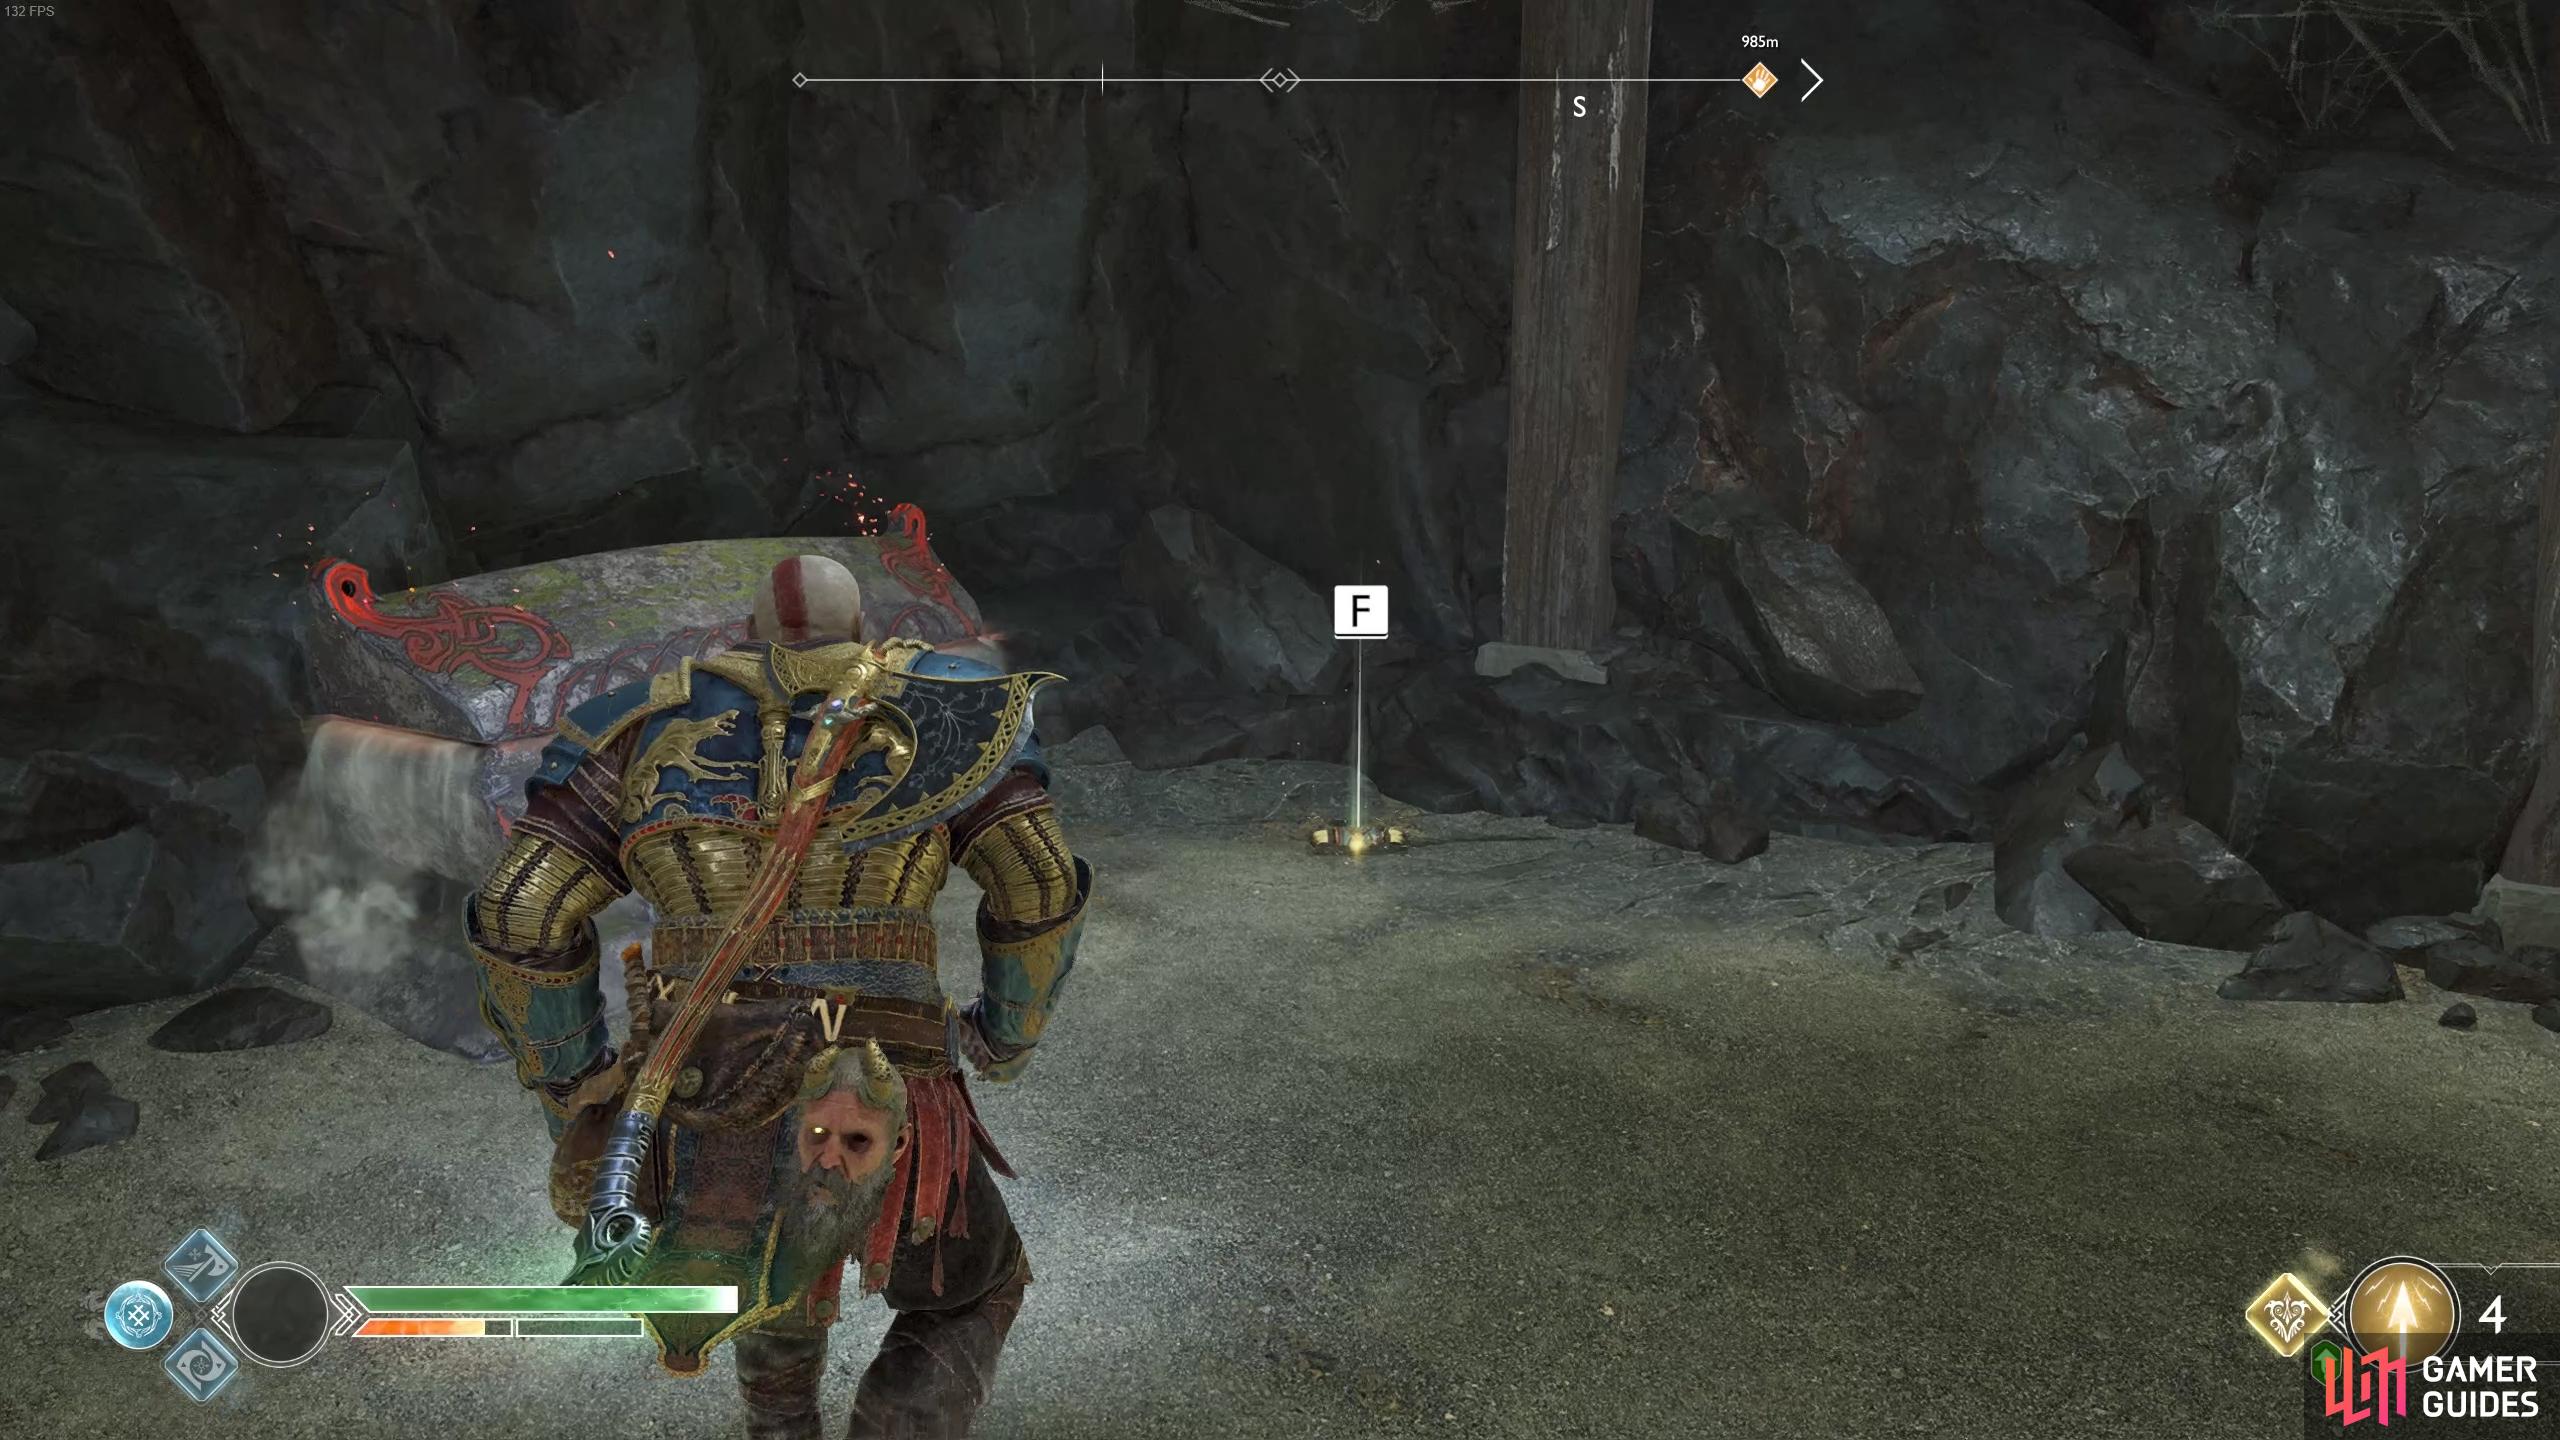
Head over to the pedestal in front of you and pick up the Treasure Map on the corpse before placing the entry stone into the pedestal. This raises a walkway leading to a room to the west, cross over and pass through the door. As you walk forward, you’ll be assaulted by two Heavy draugrs, fortunately however, someone has carelessly left bombs in this room. Make use of these and direct the Draugrs toward them before blowing them up. Once the enemies are defeated, loot the spoils and pick up Fáfnir’s Entry Stone before returning to the pedestal.

Grab the Treasure Map before inserting the entry stone.
Heavy Draugrs await in the first room.
Two more Draugrs pounce as you approach it, defeat them and place the next entry stone into the pedestal. This raises a walkway to your east, cross over and open the door. A Viken awaits with two Reavers in this poison filled room, this is a perfect time to use Murder of Crows and then wait for the enemies to come to you. Once defeated, toss the axe into the Scorn Pole and pick up another Fáfnir Entry Stone at the back before leaving and returning to the pedestal once again.
This next stone unlocks a walkway to the northwest, cross over and enter into the next room. This time, a pair of Poison Revenants are your guests. Try to lock them down with Shock Arrows and then focus on one at a time. Upon their deaths, loot the spoils on the ground and grab the next Fáfnir Entry Stone.
Use Murder of Crows and let the enemies come to you in the second room.
Focus on one Revenant at a time in the third room.
Return to the pedestal, defeat the two Projectile Draugrs that spawn and insert the next Entry Stone to raise a walkway to the southeast. A large pack of Wolves attack in this next room, provided that you have good crowd control abilities such as an upgraded Ivaldi’s Anvil and Murder of Crows, this should be the easiest room yet. Once defeated, open the coffin and then pick up another Fáfnir Entry Stone before returning to the pedestal once more.
Wait for the wolves to group up before using Runic attacks to kill them together quickly.
Insert the final Entry Stone into the pedestal to create a walkway down the center of the room, cross over and open the door. Strangely, no enemies are lurking around this time but there is a Legendary Chest waiting for you to the right of the room, open it to obtain the Wrath of the Frost Ancient Light Runic Attack gem.
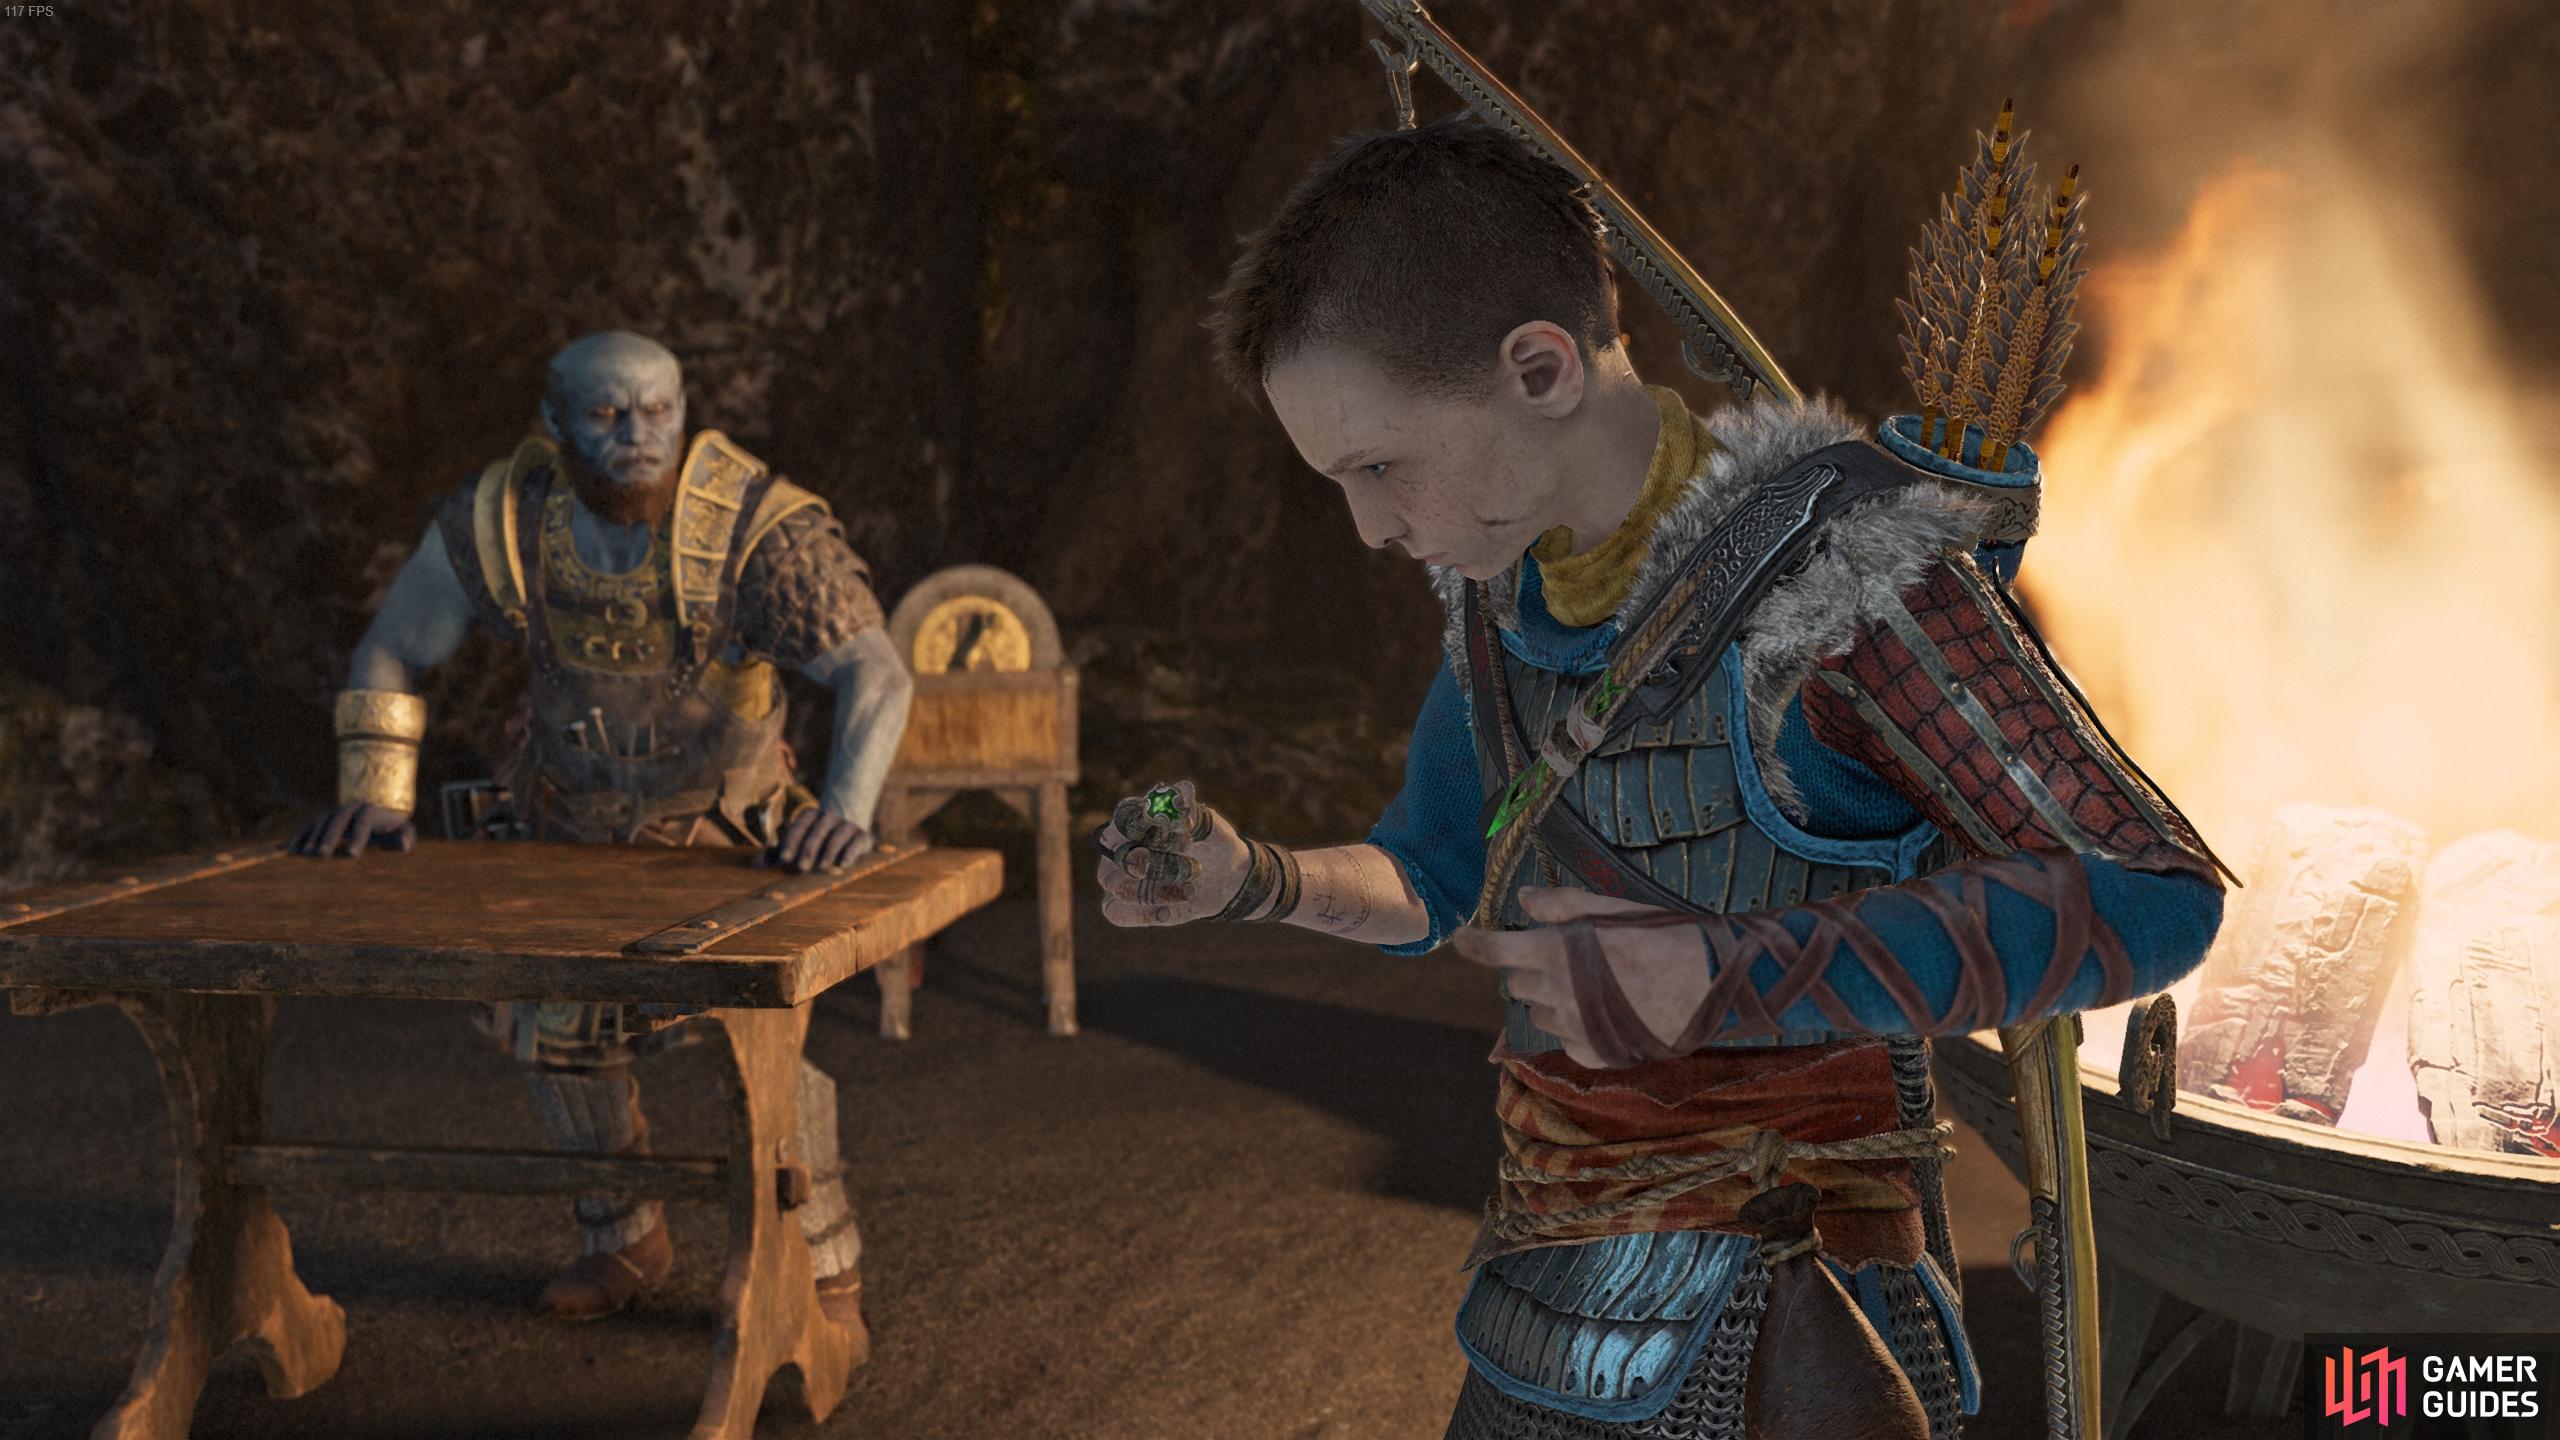
Head forward and approach the Reaver Spirit in front of the opened Legendary Chest. It seems that the Spirit’s son already beat you to the Whetstone, killing his father in the process. Two Ogres gatecrash the party, focus on one of them and build up it’s stun gauge so you can mount it and defeat the other one alongside the Nightmares that also pop up. With all the enemies dead, loot all the spoils from your victory and then begin to head outside. Head straight in front of the pedestal to find a different exit, take it and you’ll find yourself back in the clearing.
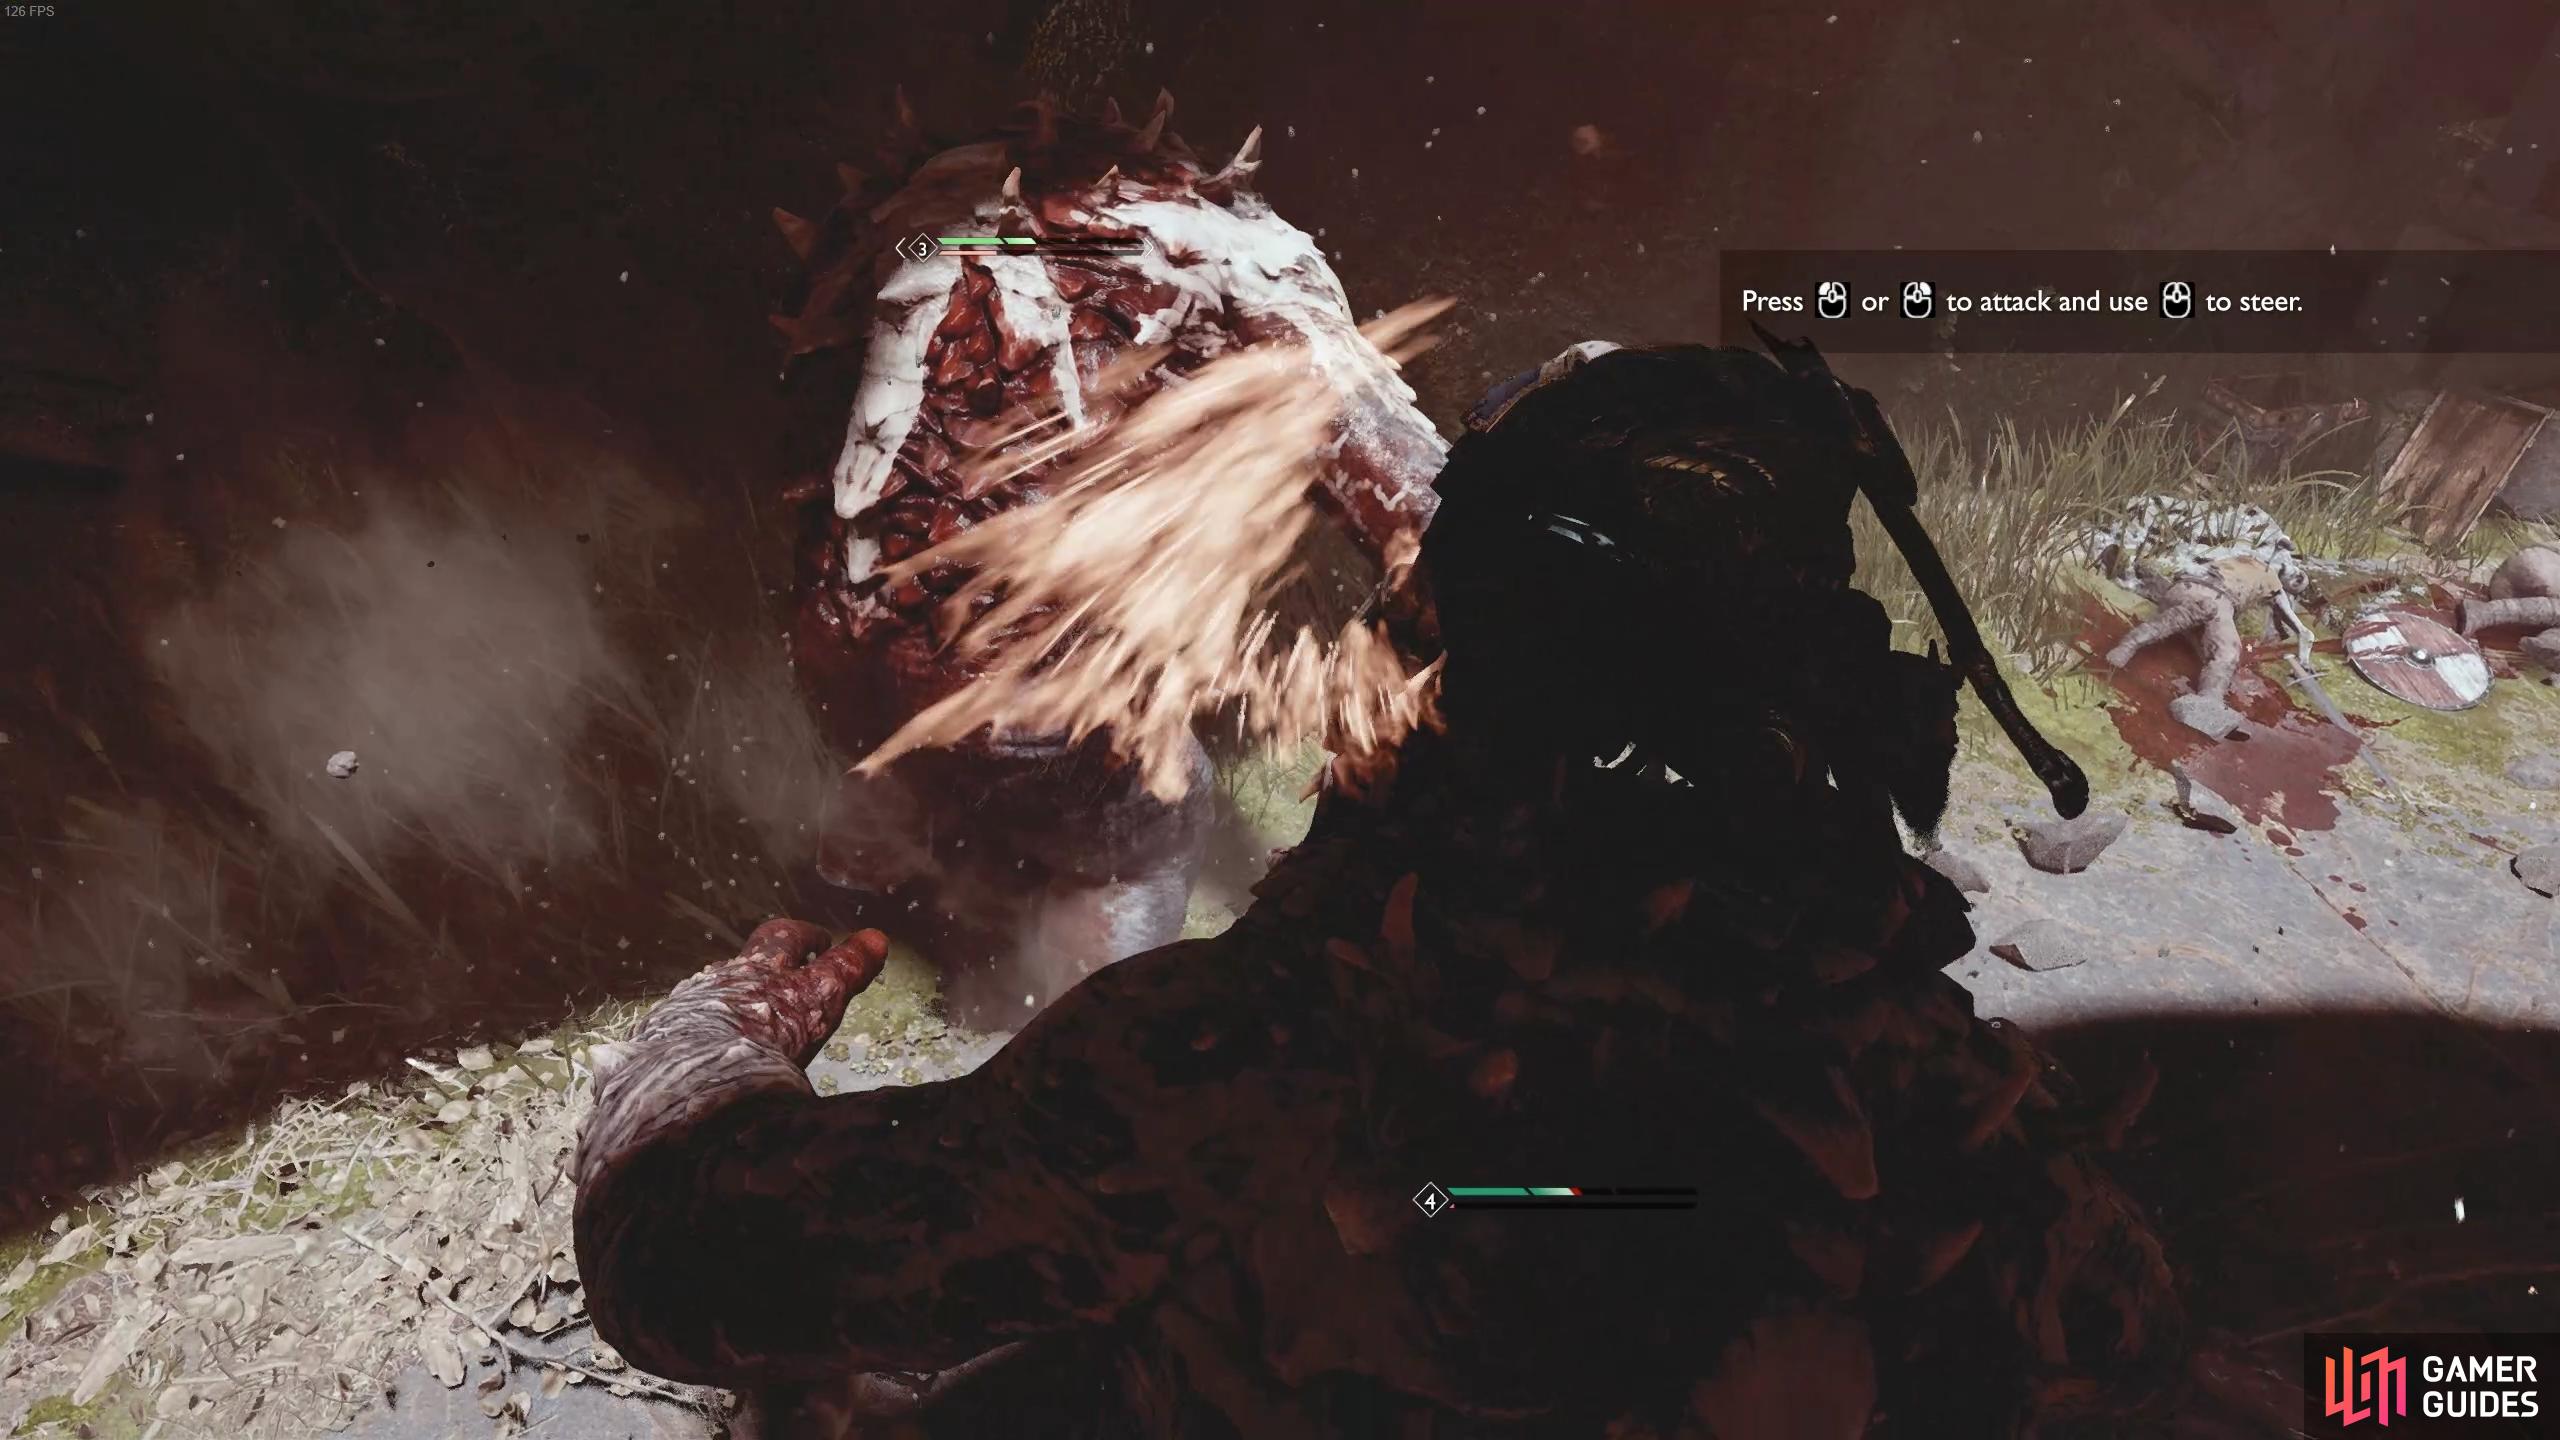
Mount one Ogre to easily kill the other.
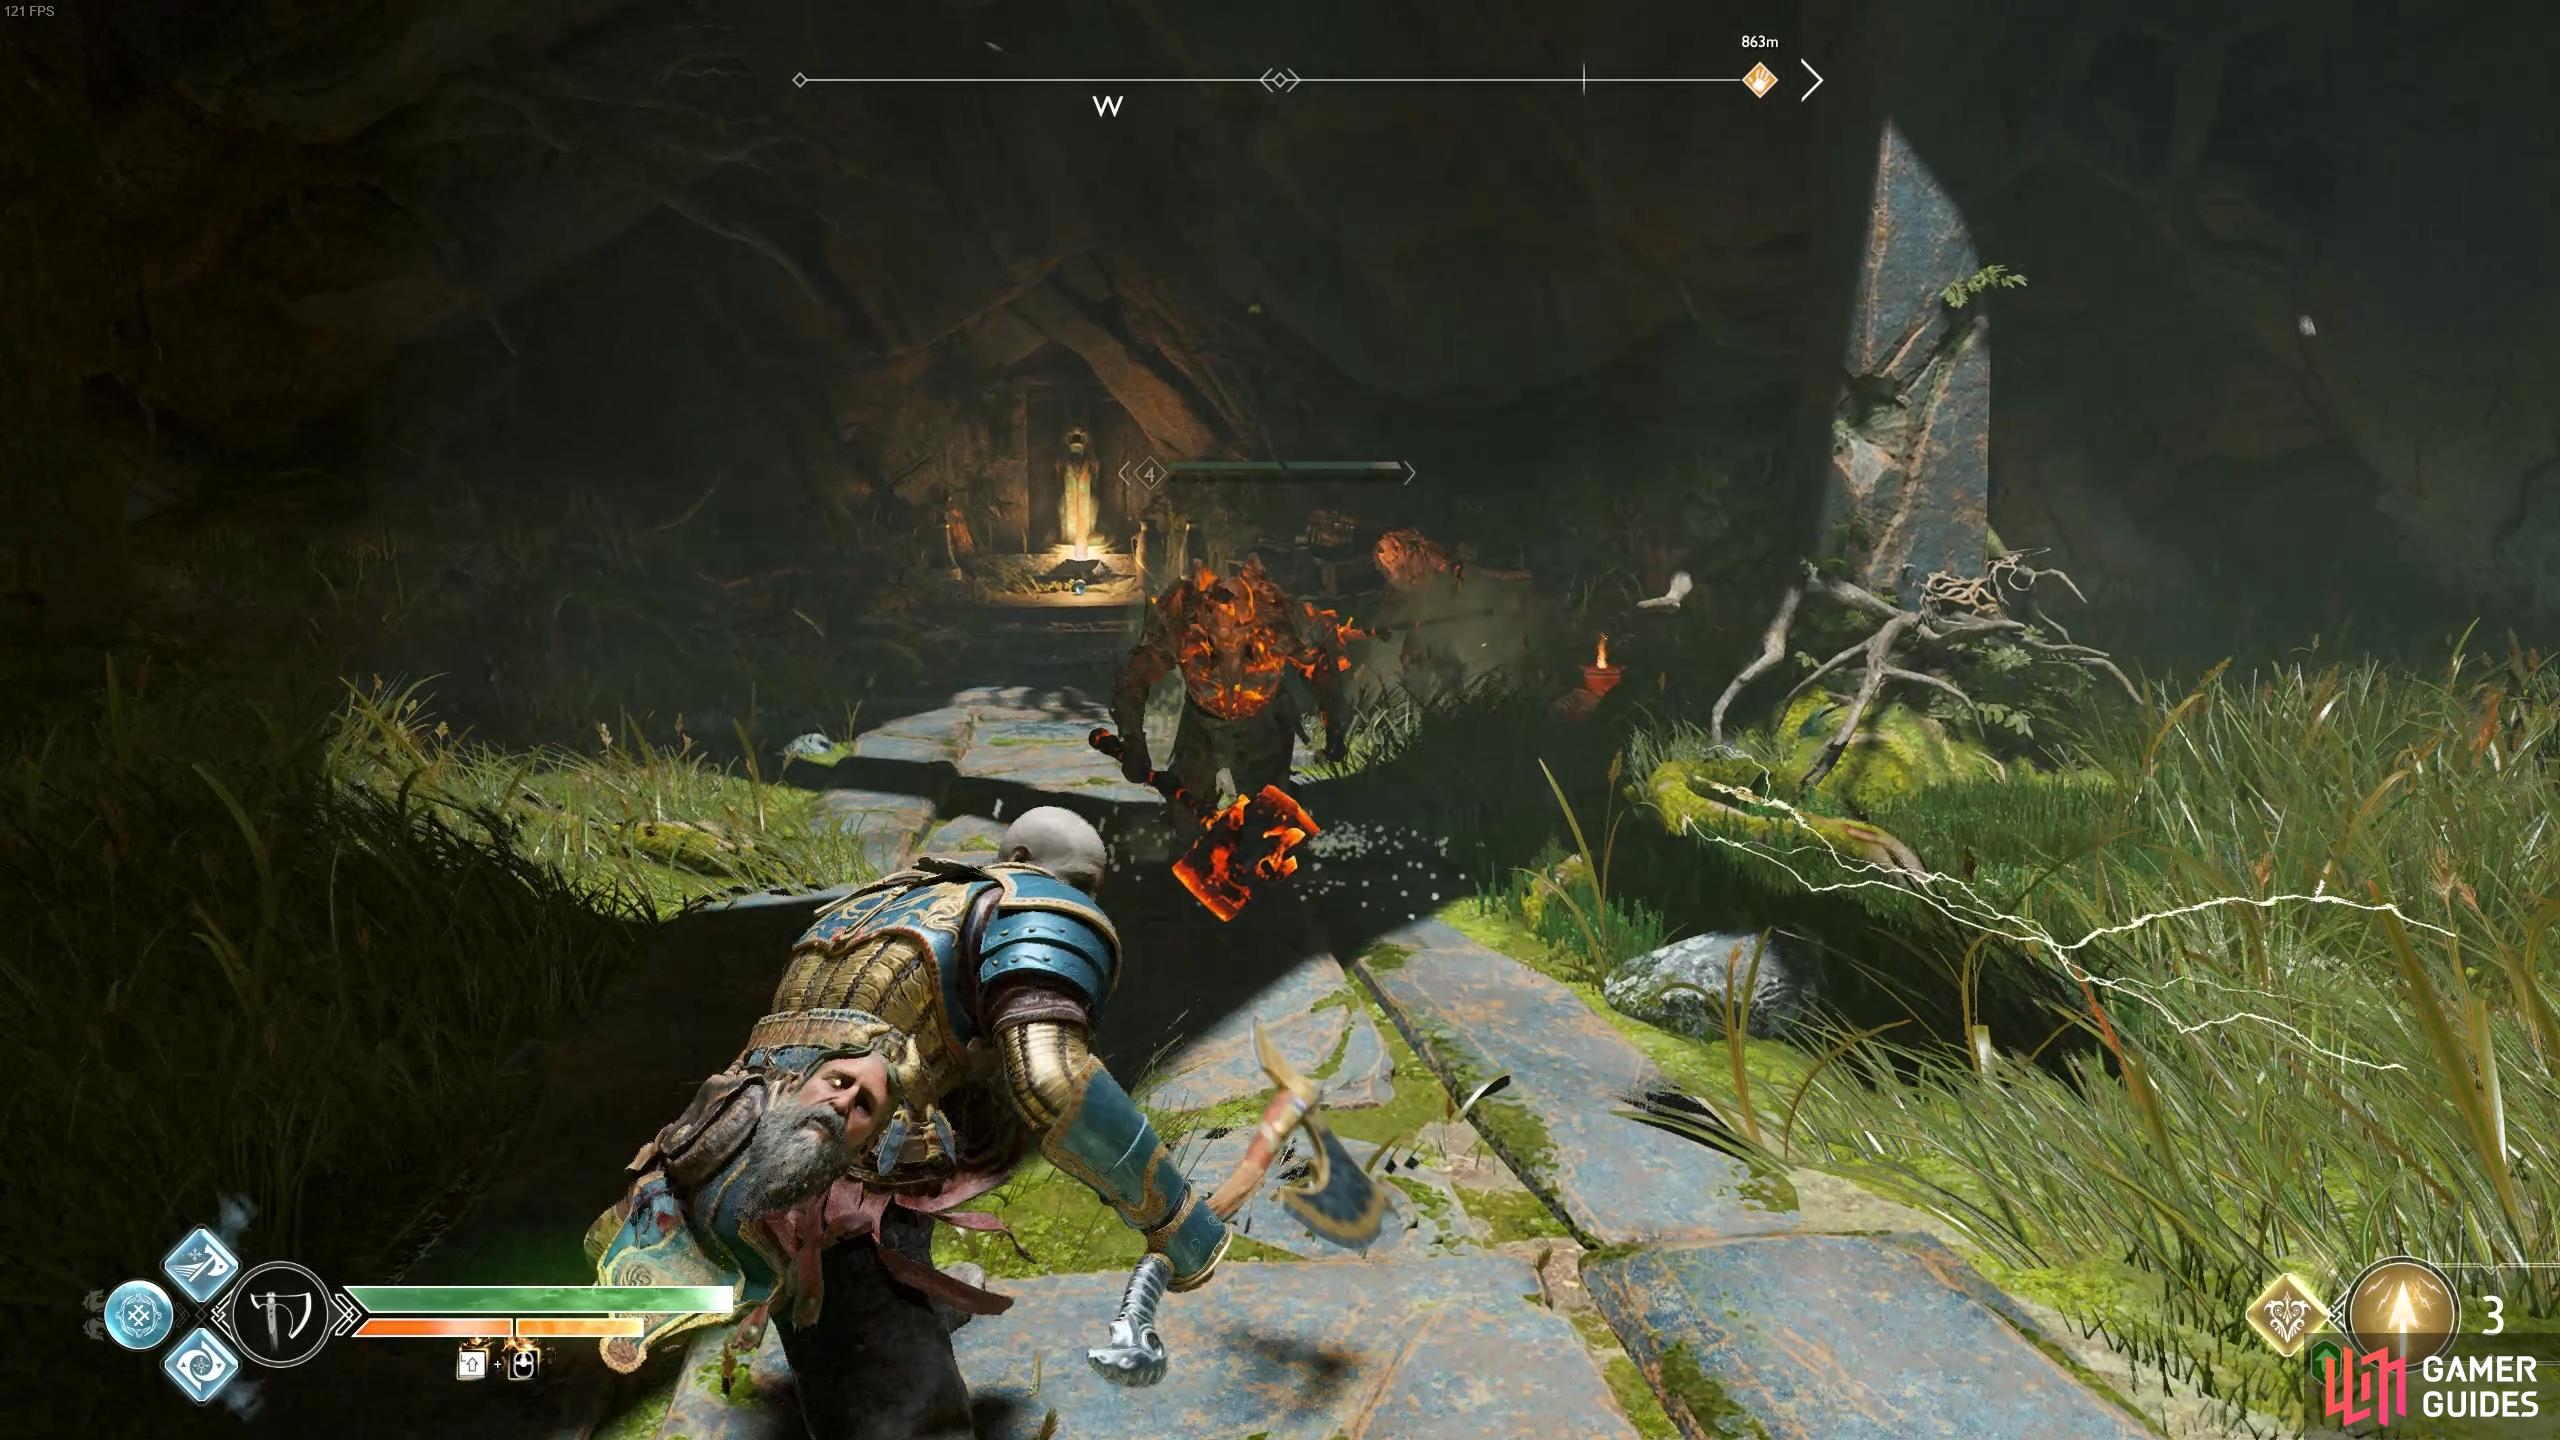
A Forest Ancient is now strolling around here, be prepared for a tough battle because this Ancient is your toughest one yet. The Forest Ancient adds a beam attack to it’s regular list of attacks, make sure you use the trees here for cover, the beam won’t pass through it.
To make matters worse, Speed Draugrs will also spawn during the battle, take these out as soon as possible. Not only will they distract you but they have the possibility to drop useful health stones. Remember, if you find yourself overwhelmed, don’t be afraid to use Spartan Rage, especially with the new skills you should have acquired earlier.
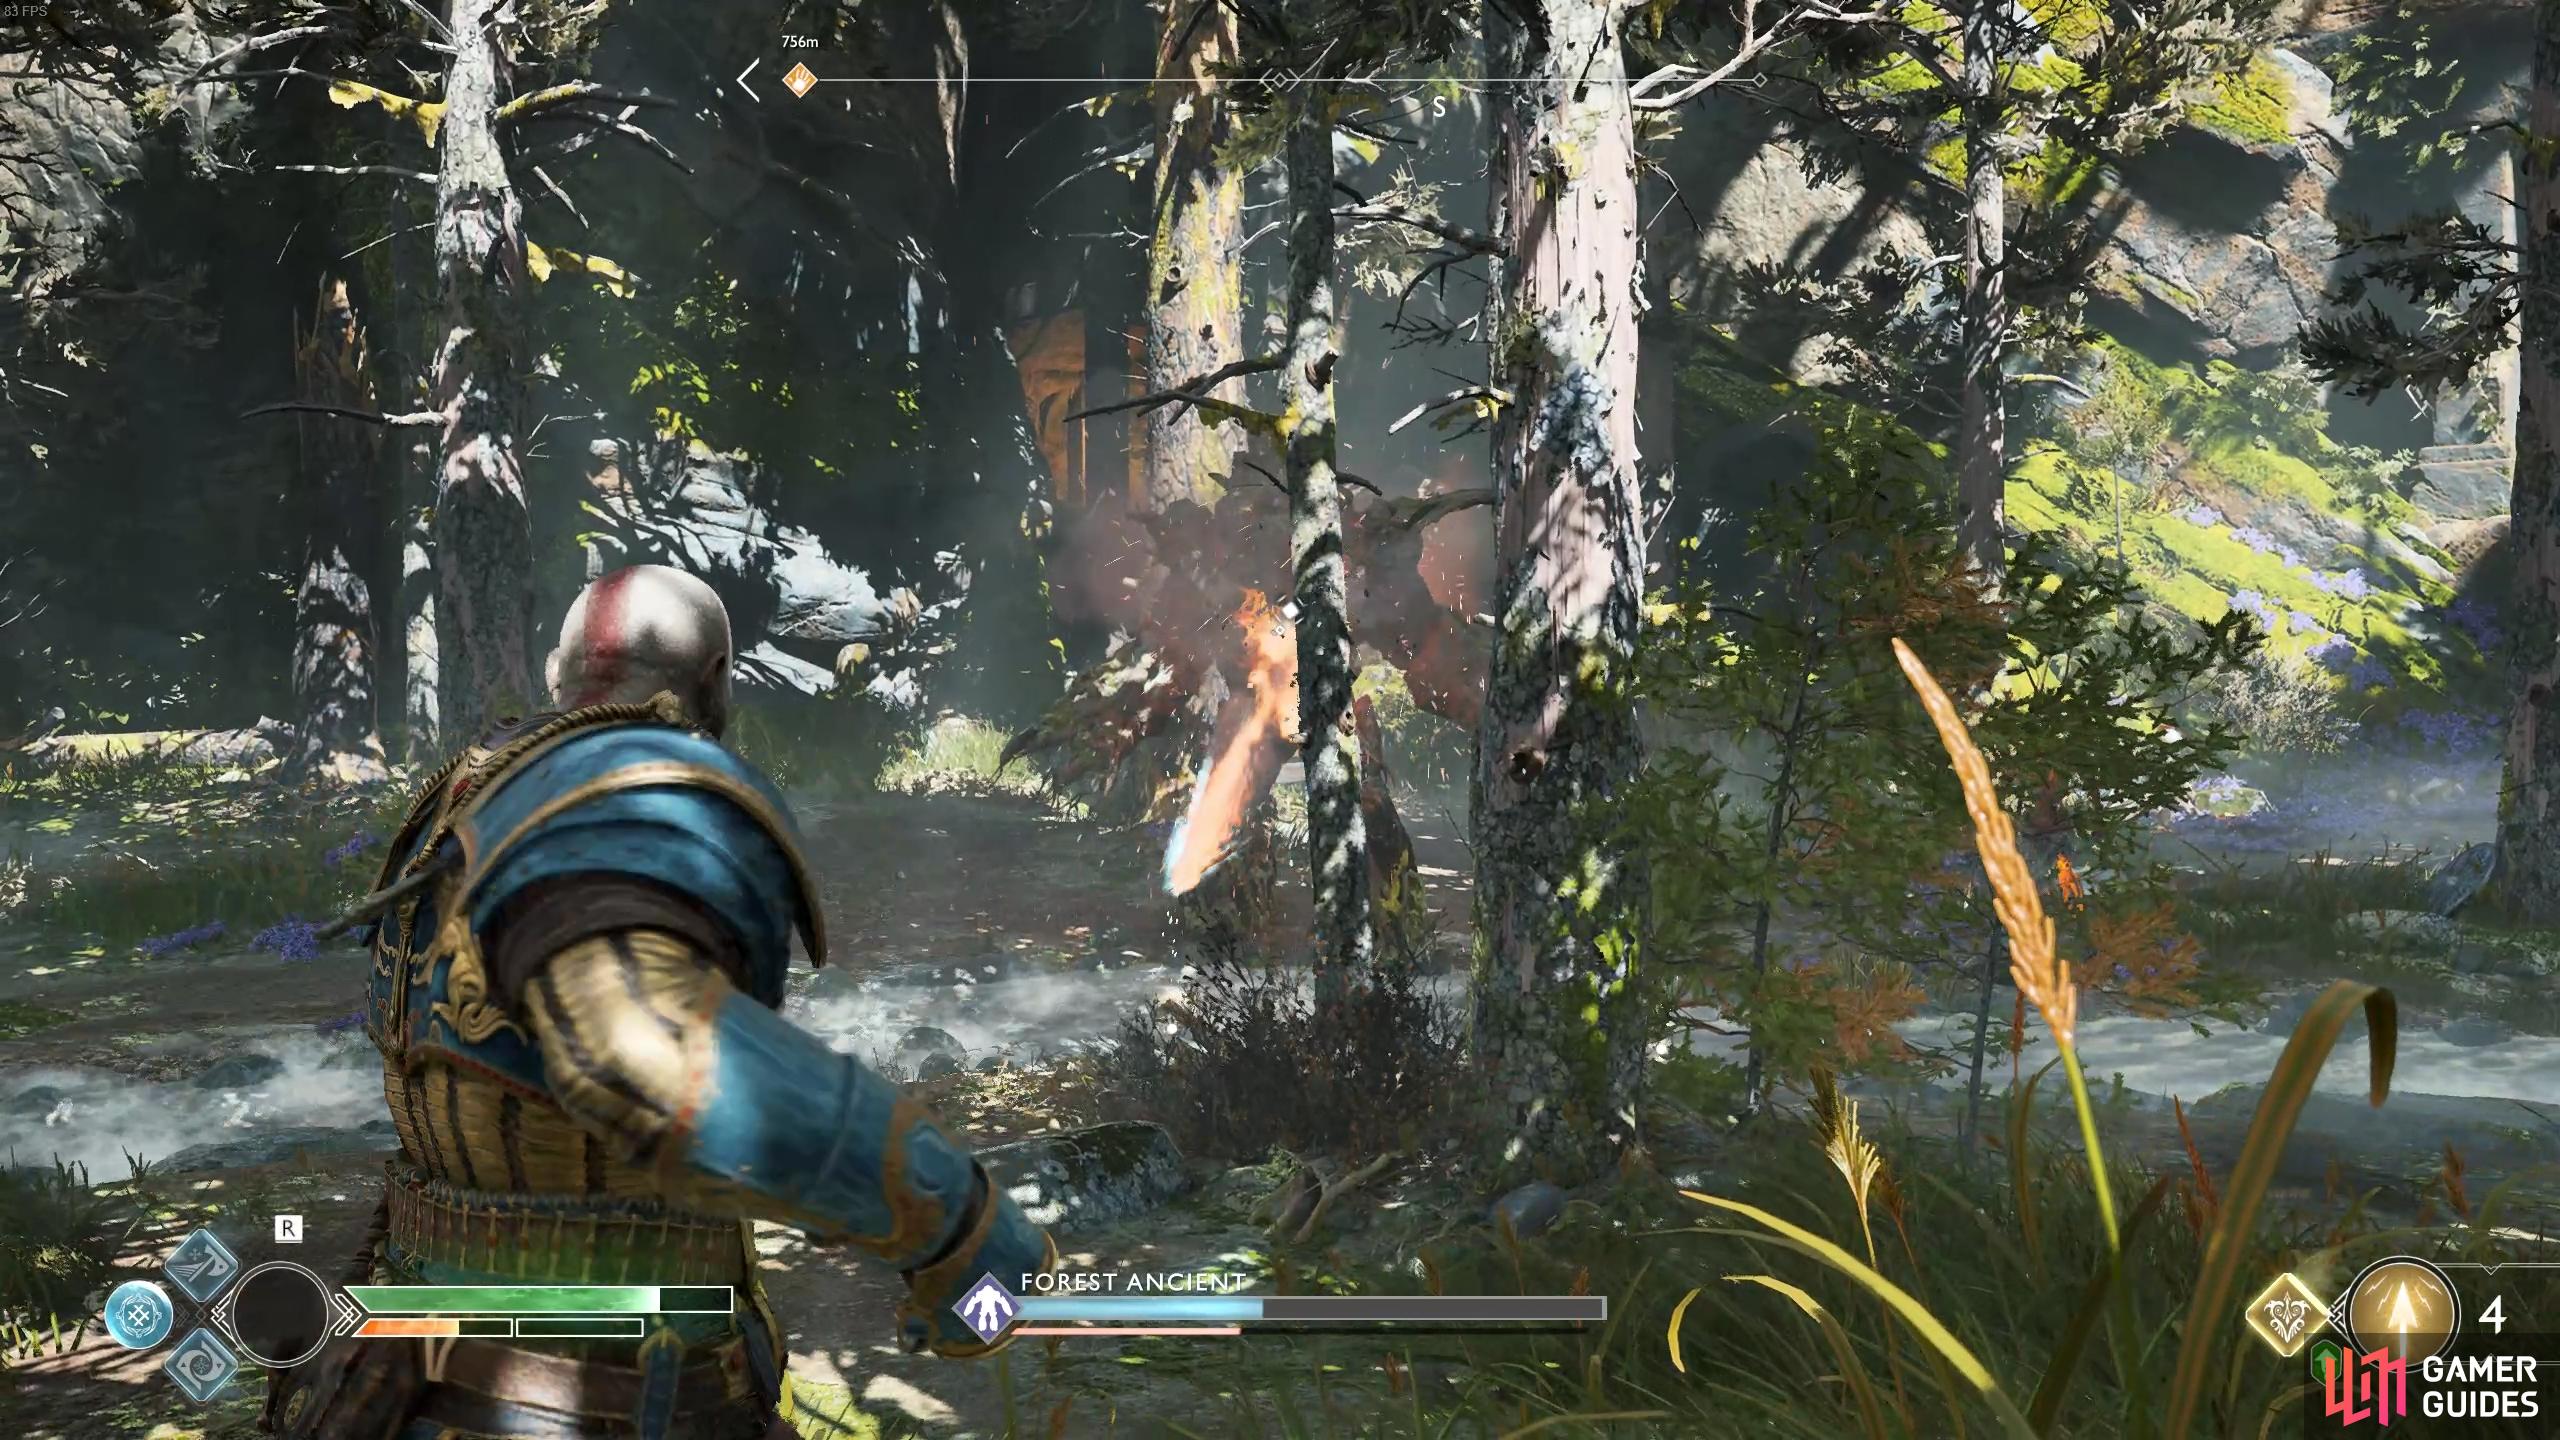
Use the trees to take cover from the Forest Ancient’s beams.
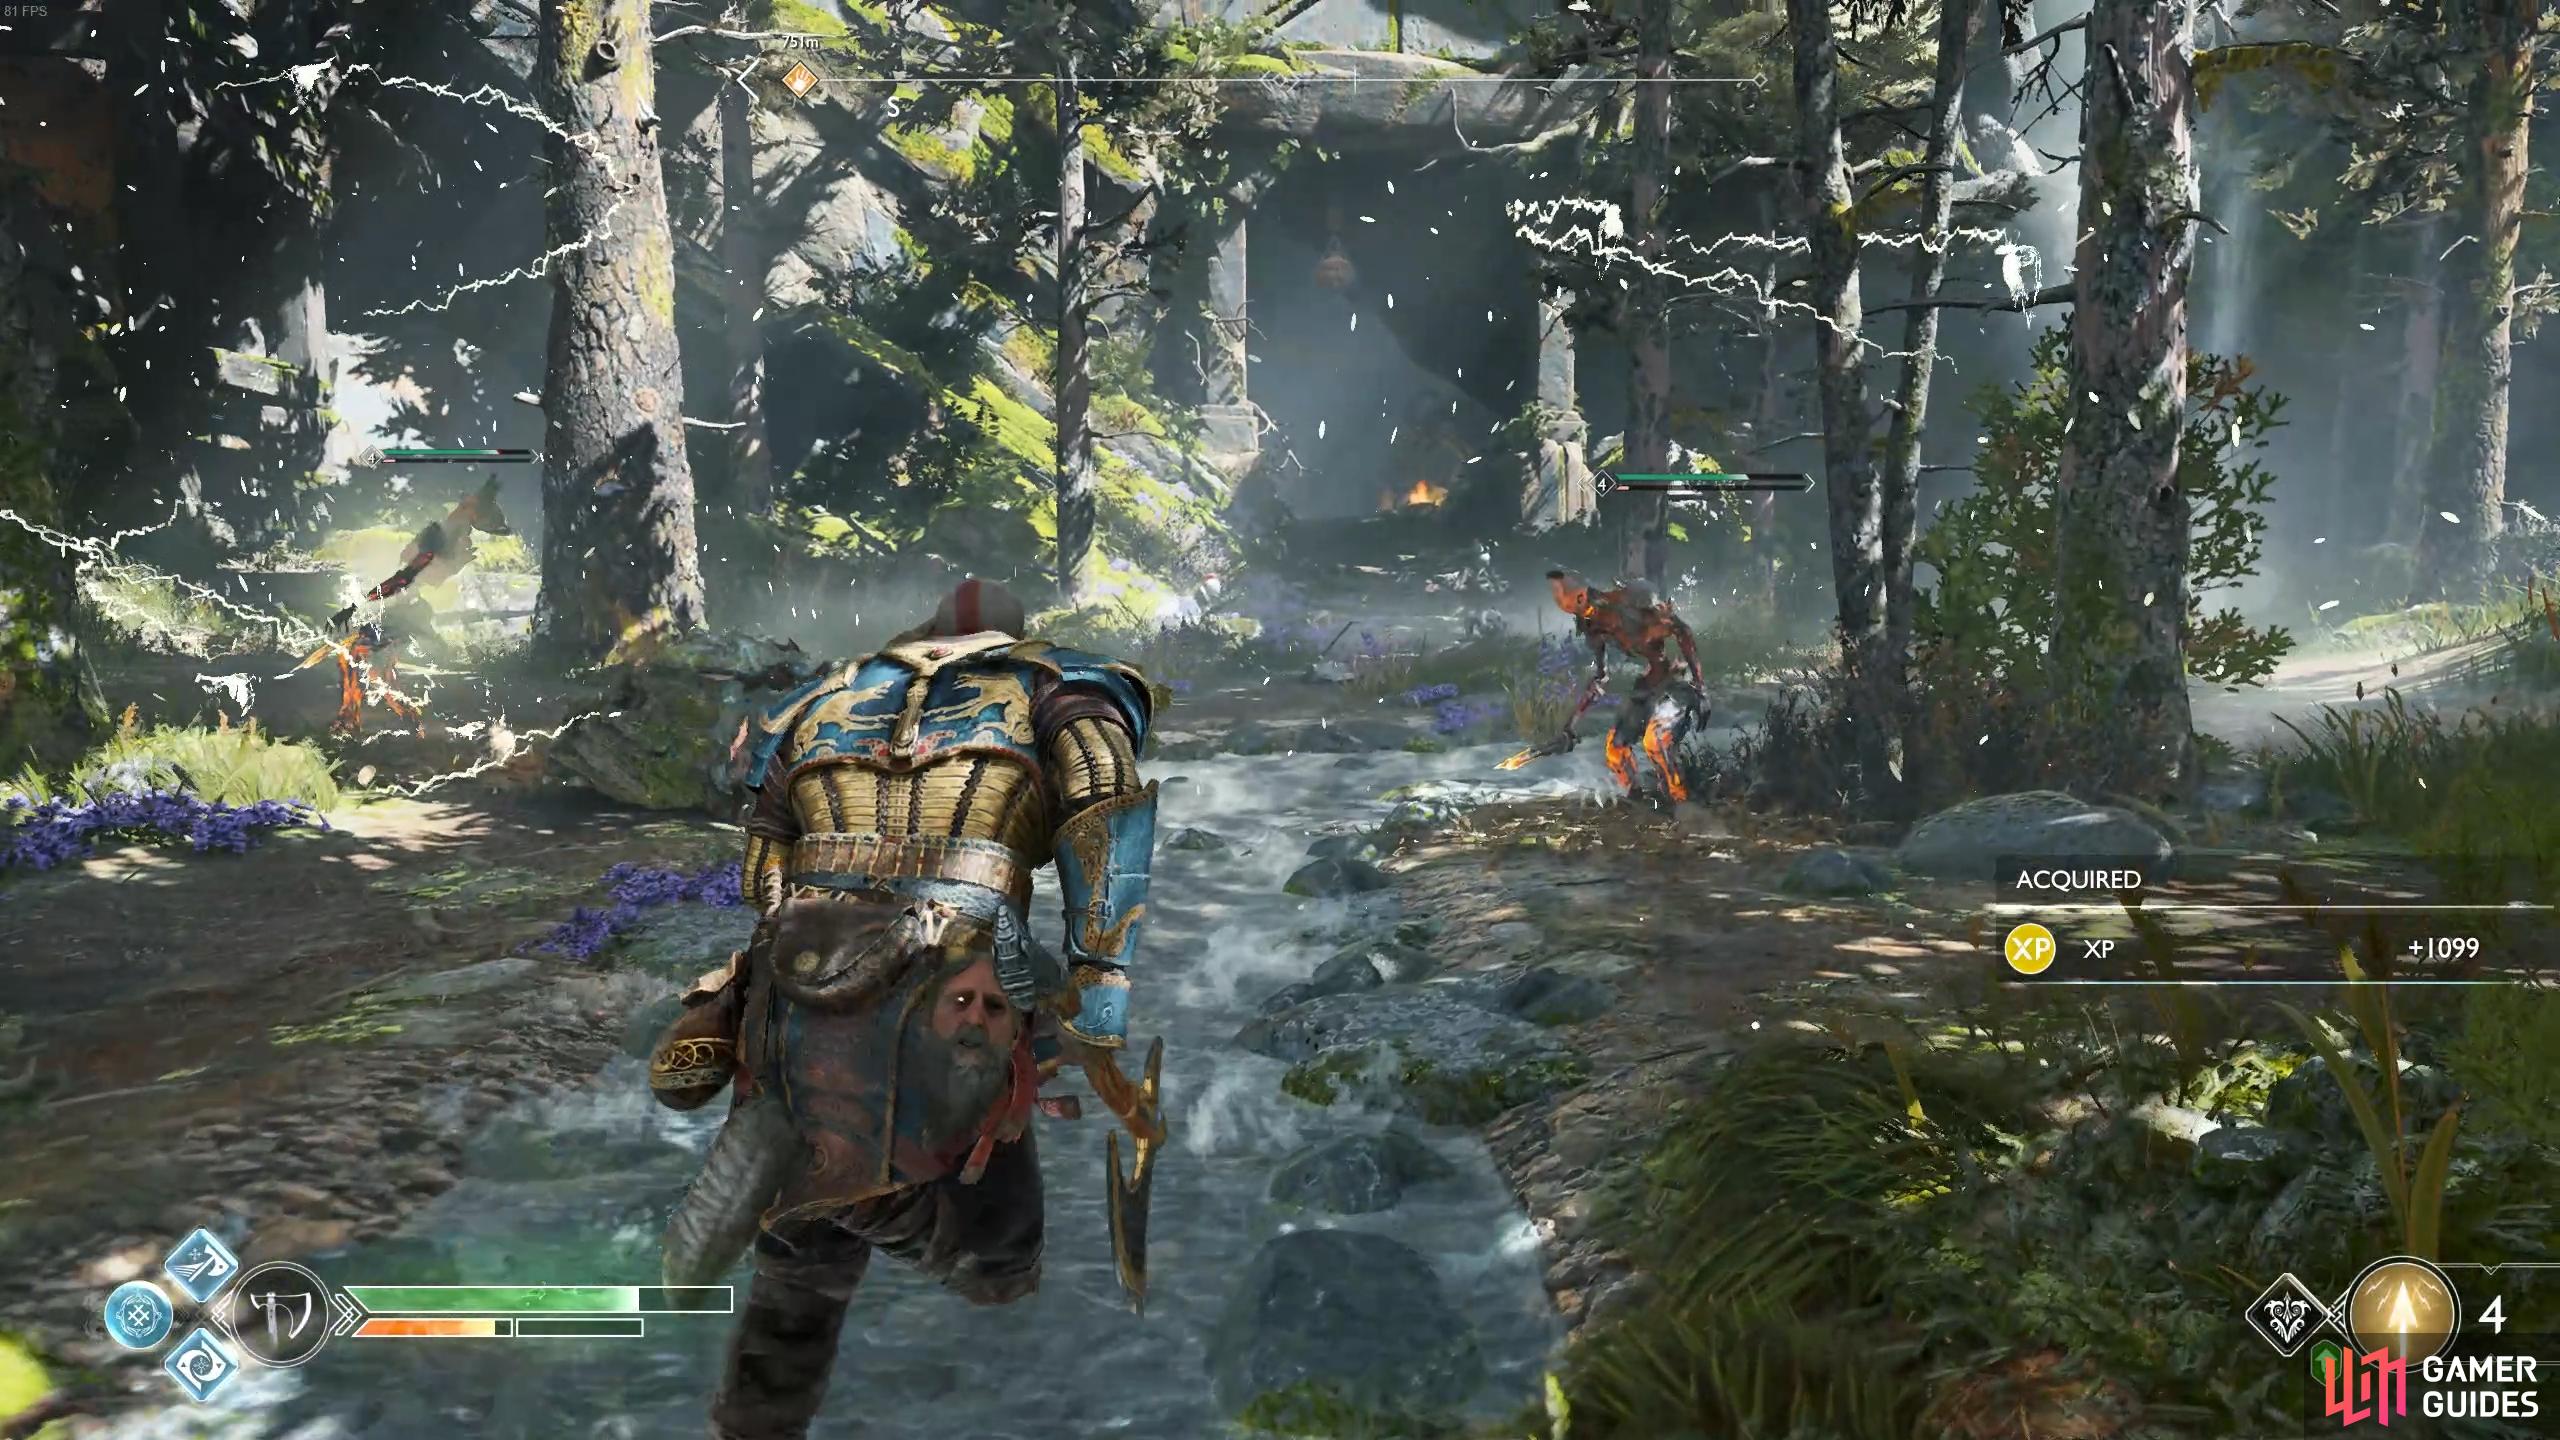
Take out the Speed Draugrs as soon as they spawn.
Be sure to pick up all the loot on the ground once it falls and then make your way back to Sindri’s Shop to deliver your findings to him. He’ll make you a trade for the dagger that Kratos took, a Talisman of Betrayal and the Favor will conclude.
Speak to Sindri again while here, he’ll have another task for you to undertake. He’s discovered that the dagger belongs to a Reaver crew operating out of Northri Stronghold and asks you to track them down, beginning the [Family Business] Favor that should be next on your list.
Family Business
Northri Stronghold is not too far from your current location so head back down the elevator and board the boat to leave the Ravine. This is a good time to purchase the Seething Earth skill, this is a deadly Spartan Rage skill that hurls a large boulder at enemies.
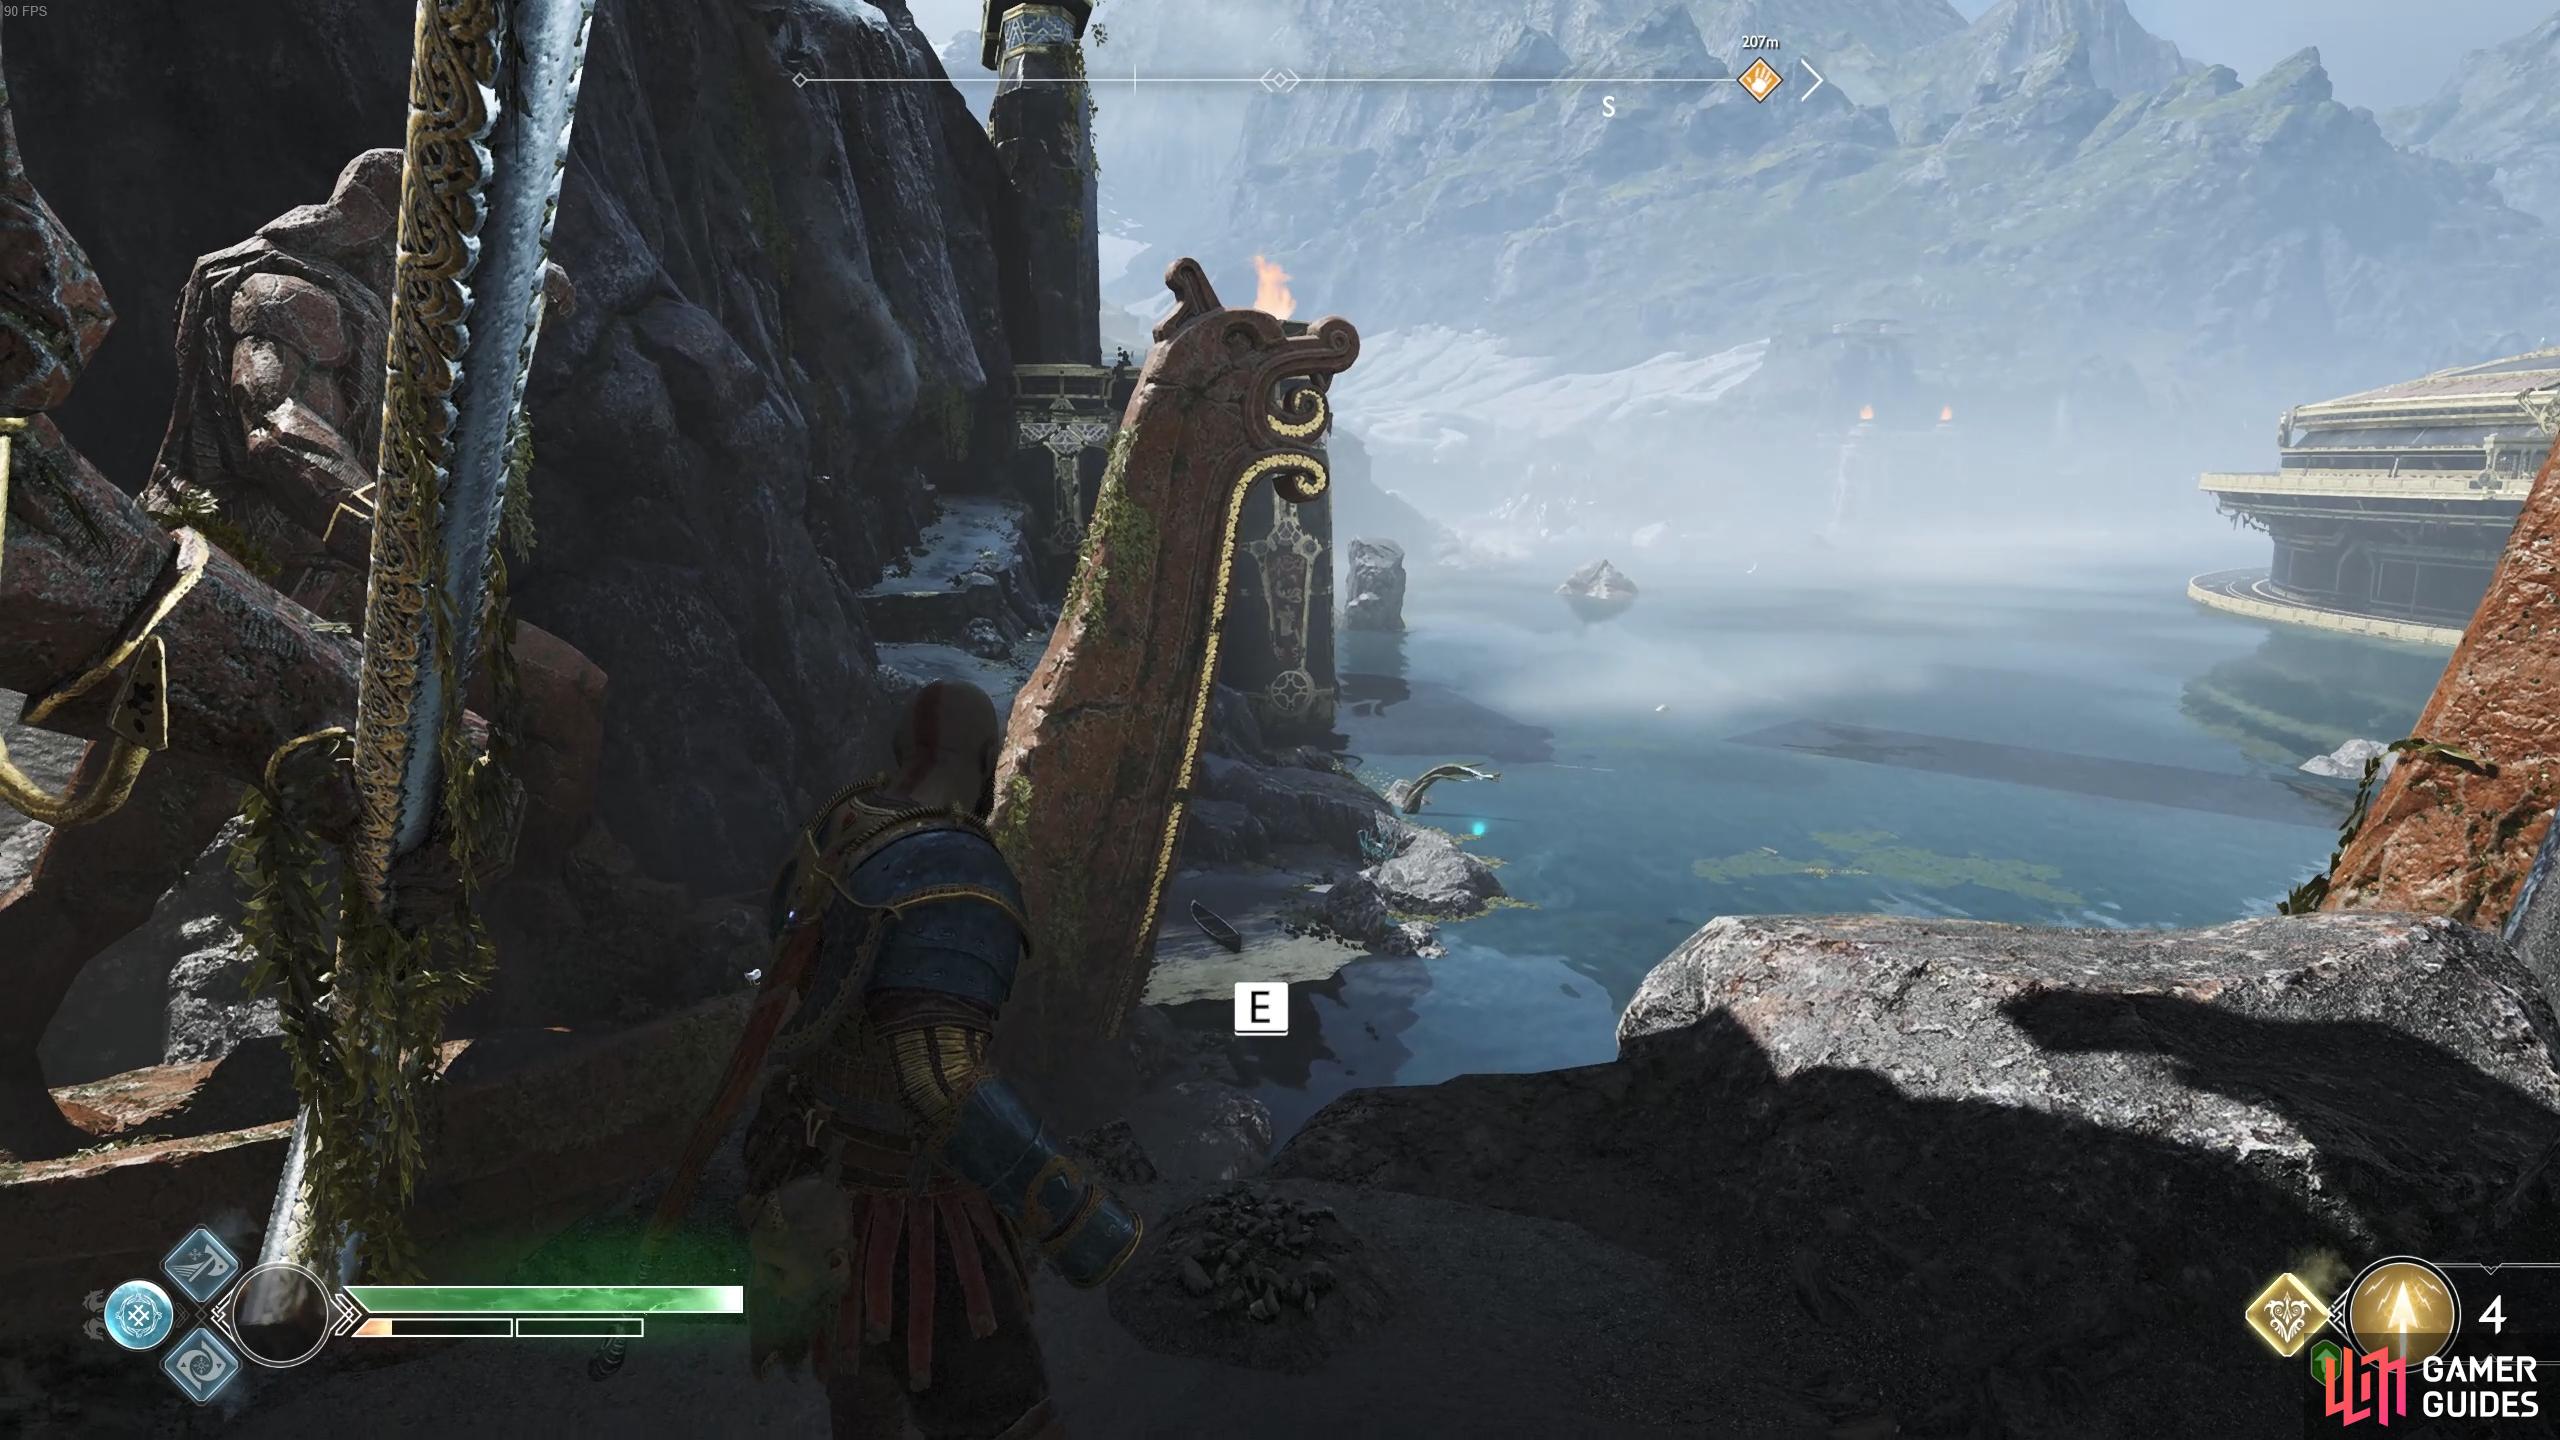
To find Northri Stronghold, you’ll need to row the boat to the far northwest of the Lake of Nine, just to the east of the Ruins of the Ancient. Dock the boat and insert the keystone you got from Sindri earlier before jumping back on and rowing further along. Once you enter the cave, you’ll find a dock alongside another shop Sindri has set up for you to use.
If you have enough Hacksilver on you and you’ve been following this walkthrough from the beginning, you should have enough materials to craft the Ancients armor set. If you’re not already wearing an upgraded Týr armor set then go ahead and do it otherwise you may wish to hold off on it. Do note however that you’ll unlock the Primordial achievement once you craft the entire Ancients set.
Look behind Sindri’s shop to find the first Raven of the Stronghold.
Be sure to grab the Mystic Gateway and then look above where you docked the boat to find a Raven, the first of two in the Stronghold (this should also be your 30th and award you with a nice 5000 XP). At this fork, you can only row to the northeast as the other way is blocked by a gate.
Find a way to open the gate
Climb out of the boat at the next dock and head forward, turning to the right before you leap over the gap and climbing up the wooden ladder to find the dig spot for the Finder’s Fee Treasure Map containing an Unyielding Cinders, a Rare Enchantment, 10 World Serpent Scales and 10,000 Hacksilver. Drop back down to the bottom now and leap the gap, defeating the group of Shadows and Revenants that await you there.
Climb the wooden ladder where you dock the boat to find this treasure at the top.
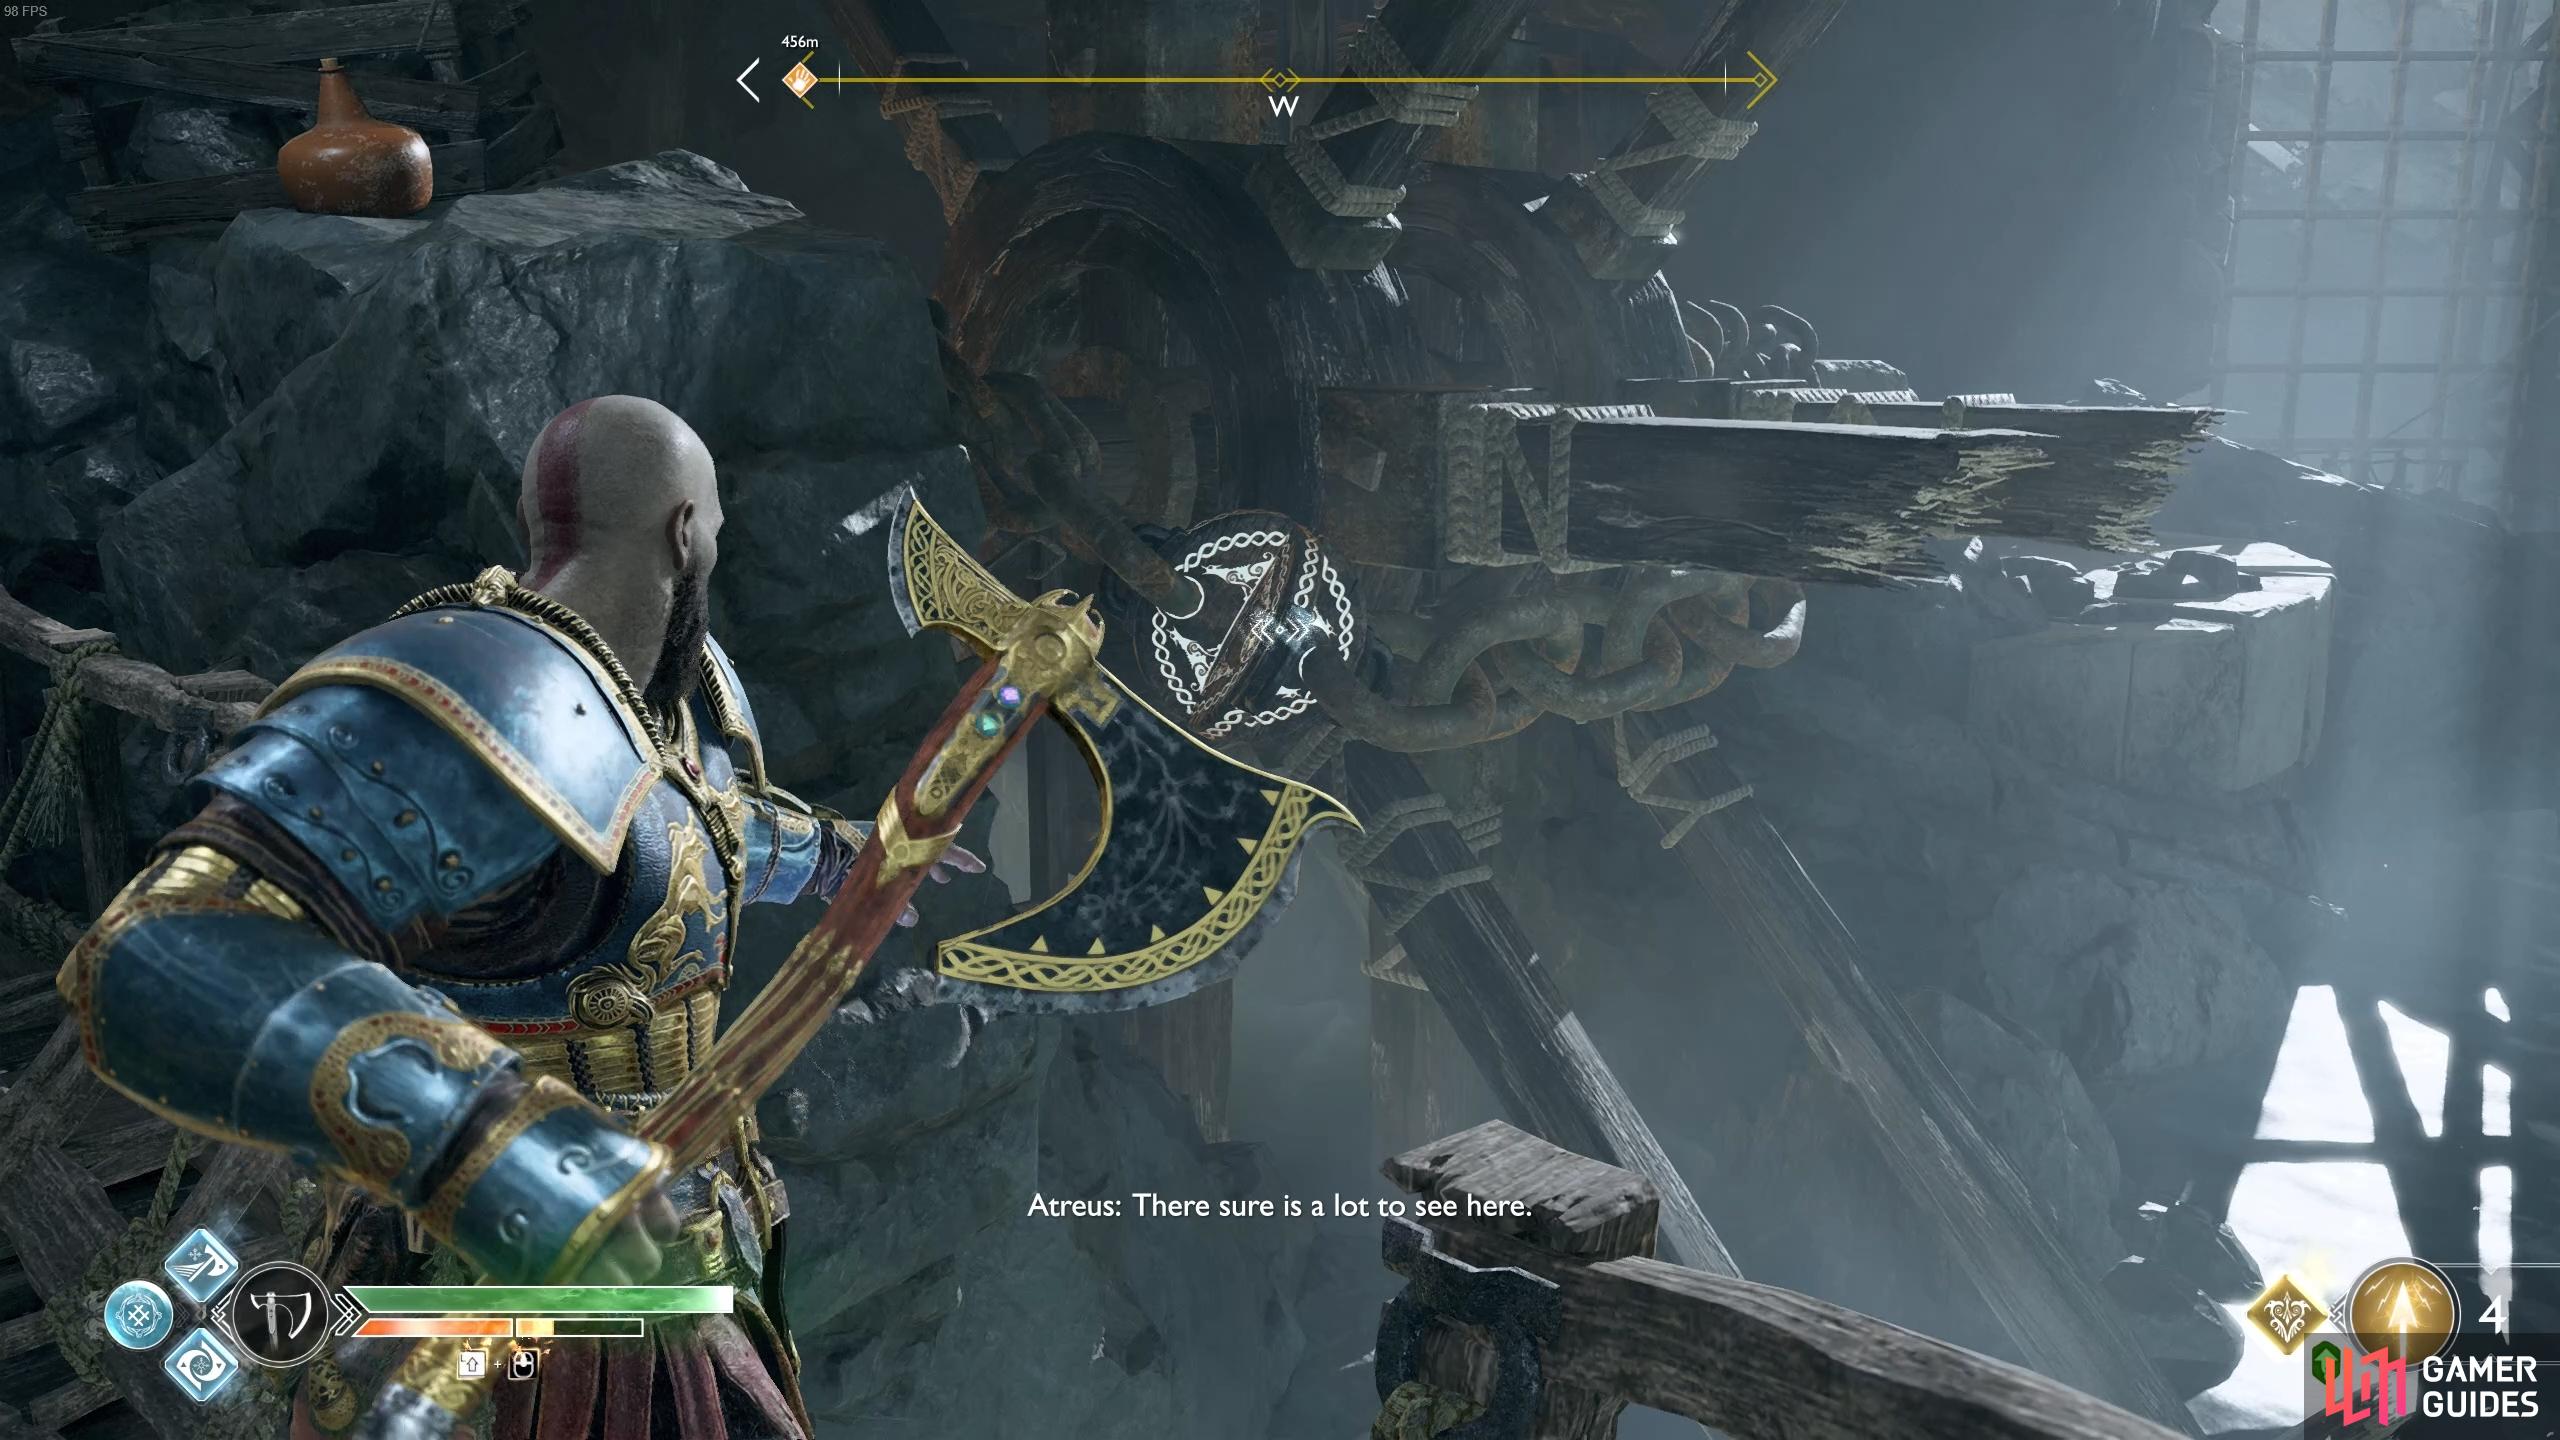
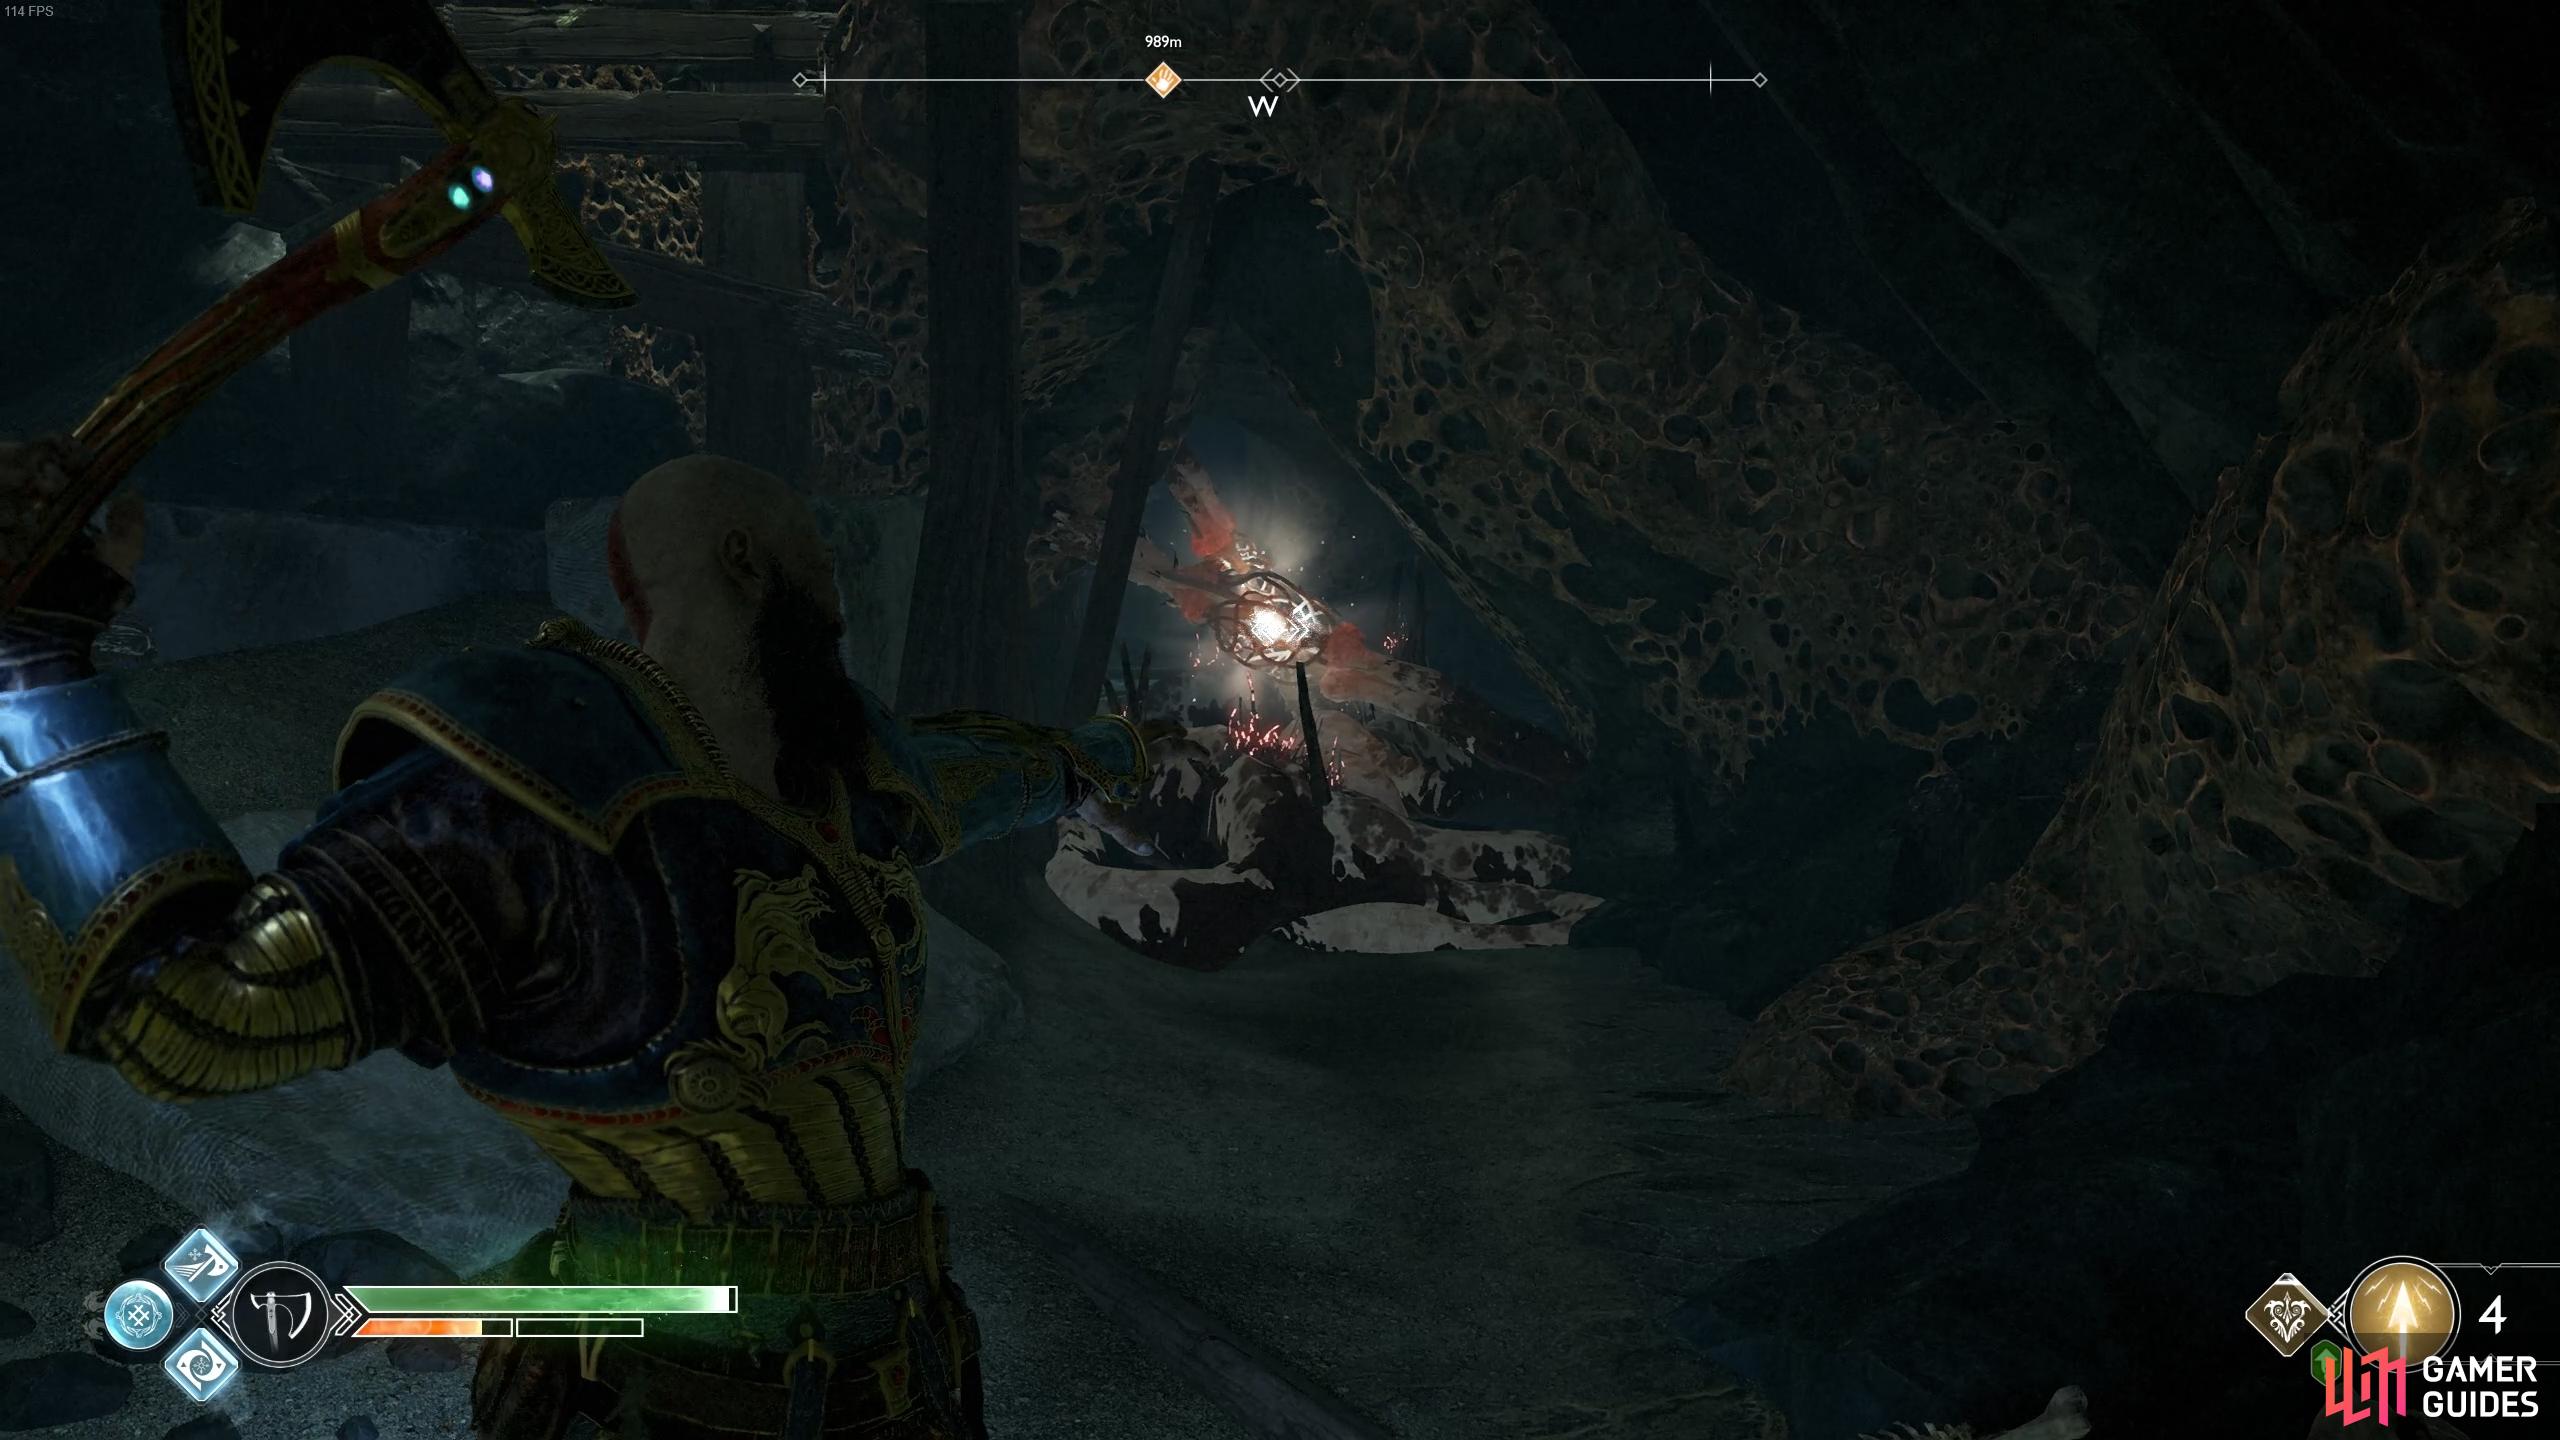
Stand where the gap in the railings are to find the runic disc holding the waterwheel.
Leap the next gap and walk onto the bridge ahead and stand where the gap in the railing is, turn to face the waterwheel to spot a runic disc you can strike with your axe. This frees the waterwheel and raises the gate. Two Reaver’s however see this as an opportunity to jump you, kill them and then leap across the gap on the bridge. Toss the axe at the Scorn Pole and open the Hacksilver chest before retracing your steps and jumping back on the boat.
Row through the now open gate and dock at the nearby beach where an Ogre awaits. Stun the Ogre in the usual way, Shock Arrows being an excellent way to do it, and then mount it to take out the rest of the Reavers that spawn. Loot the spoils on the ground after and climb the wooden ladder at the back, following the path to a Lore Marker and a Hacksilver chest.
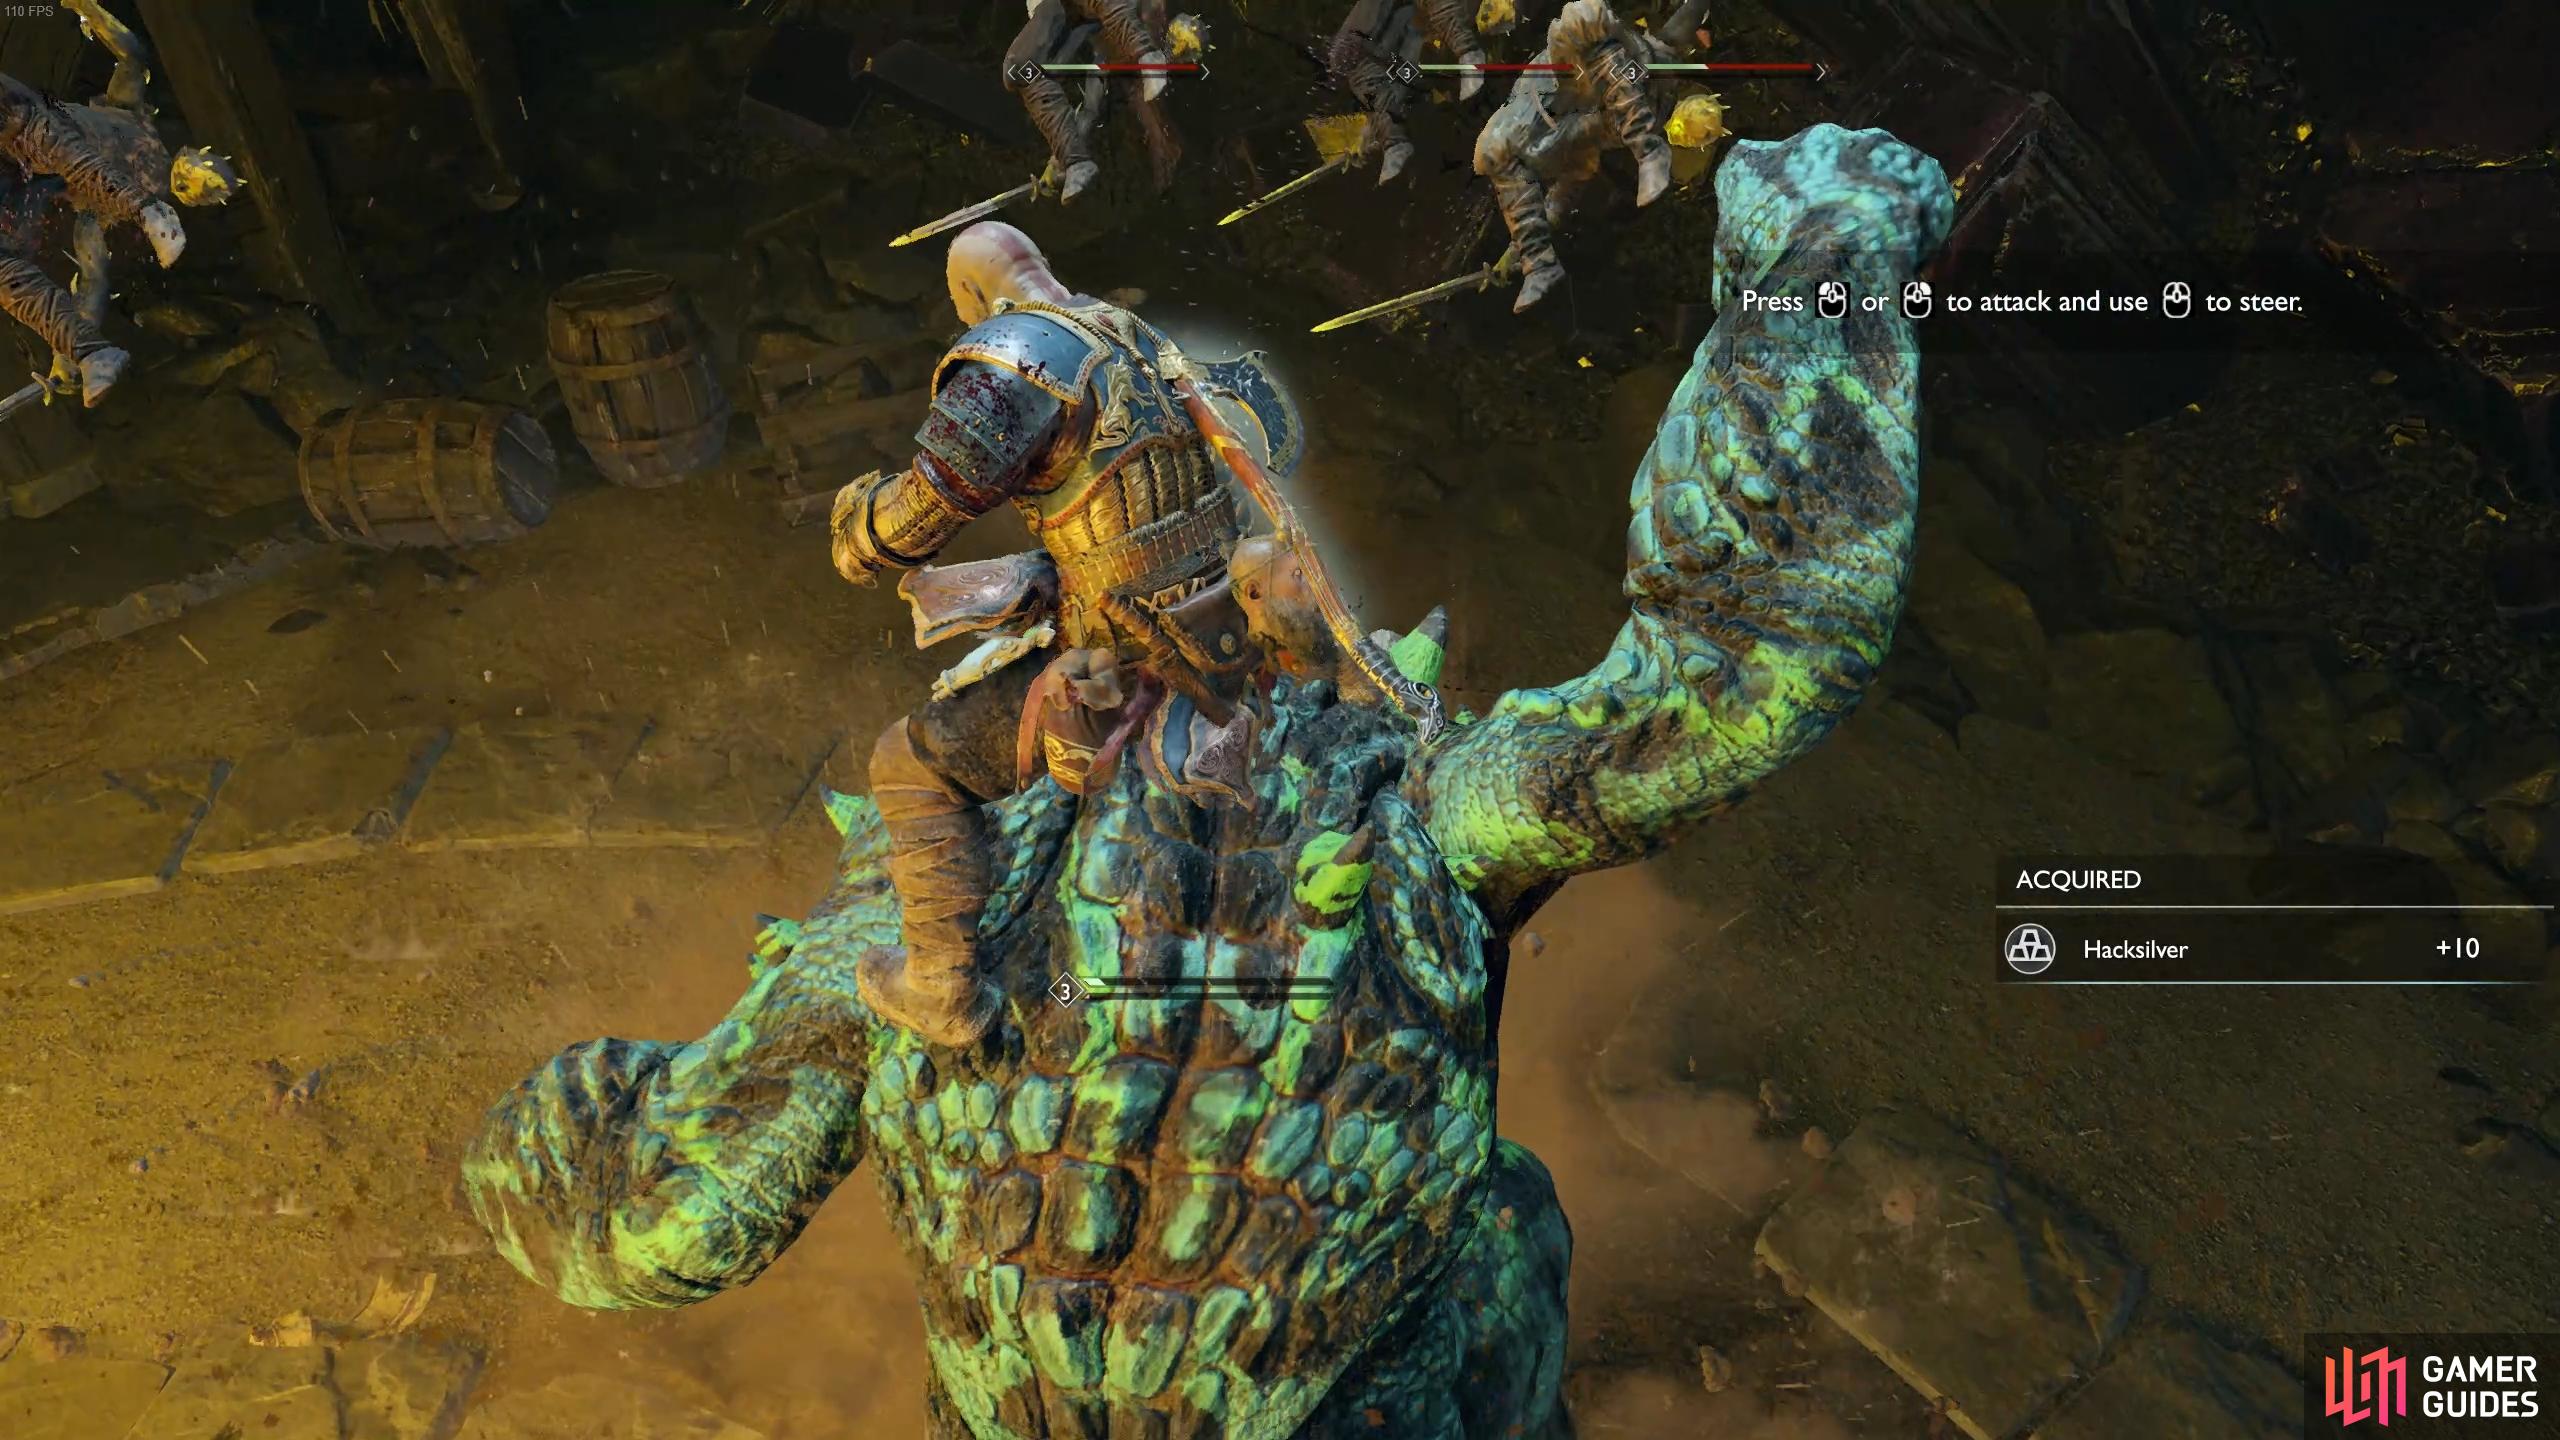
Make use of the mounted Ogre against the other enemies.
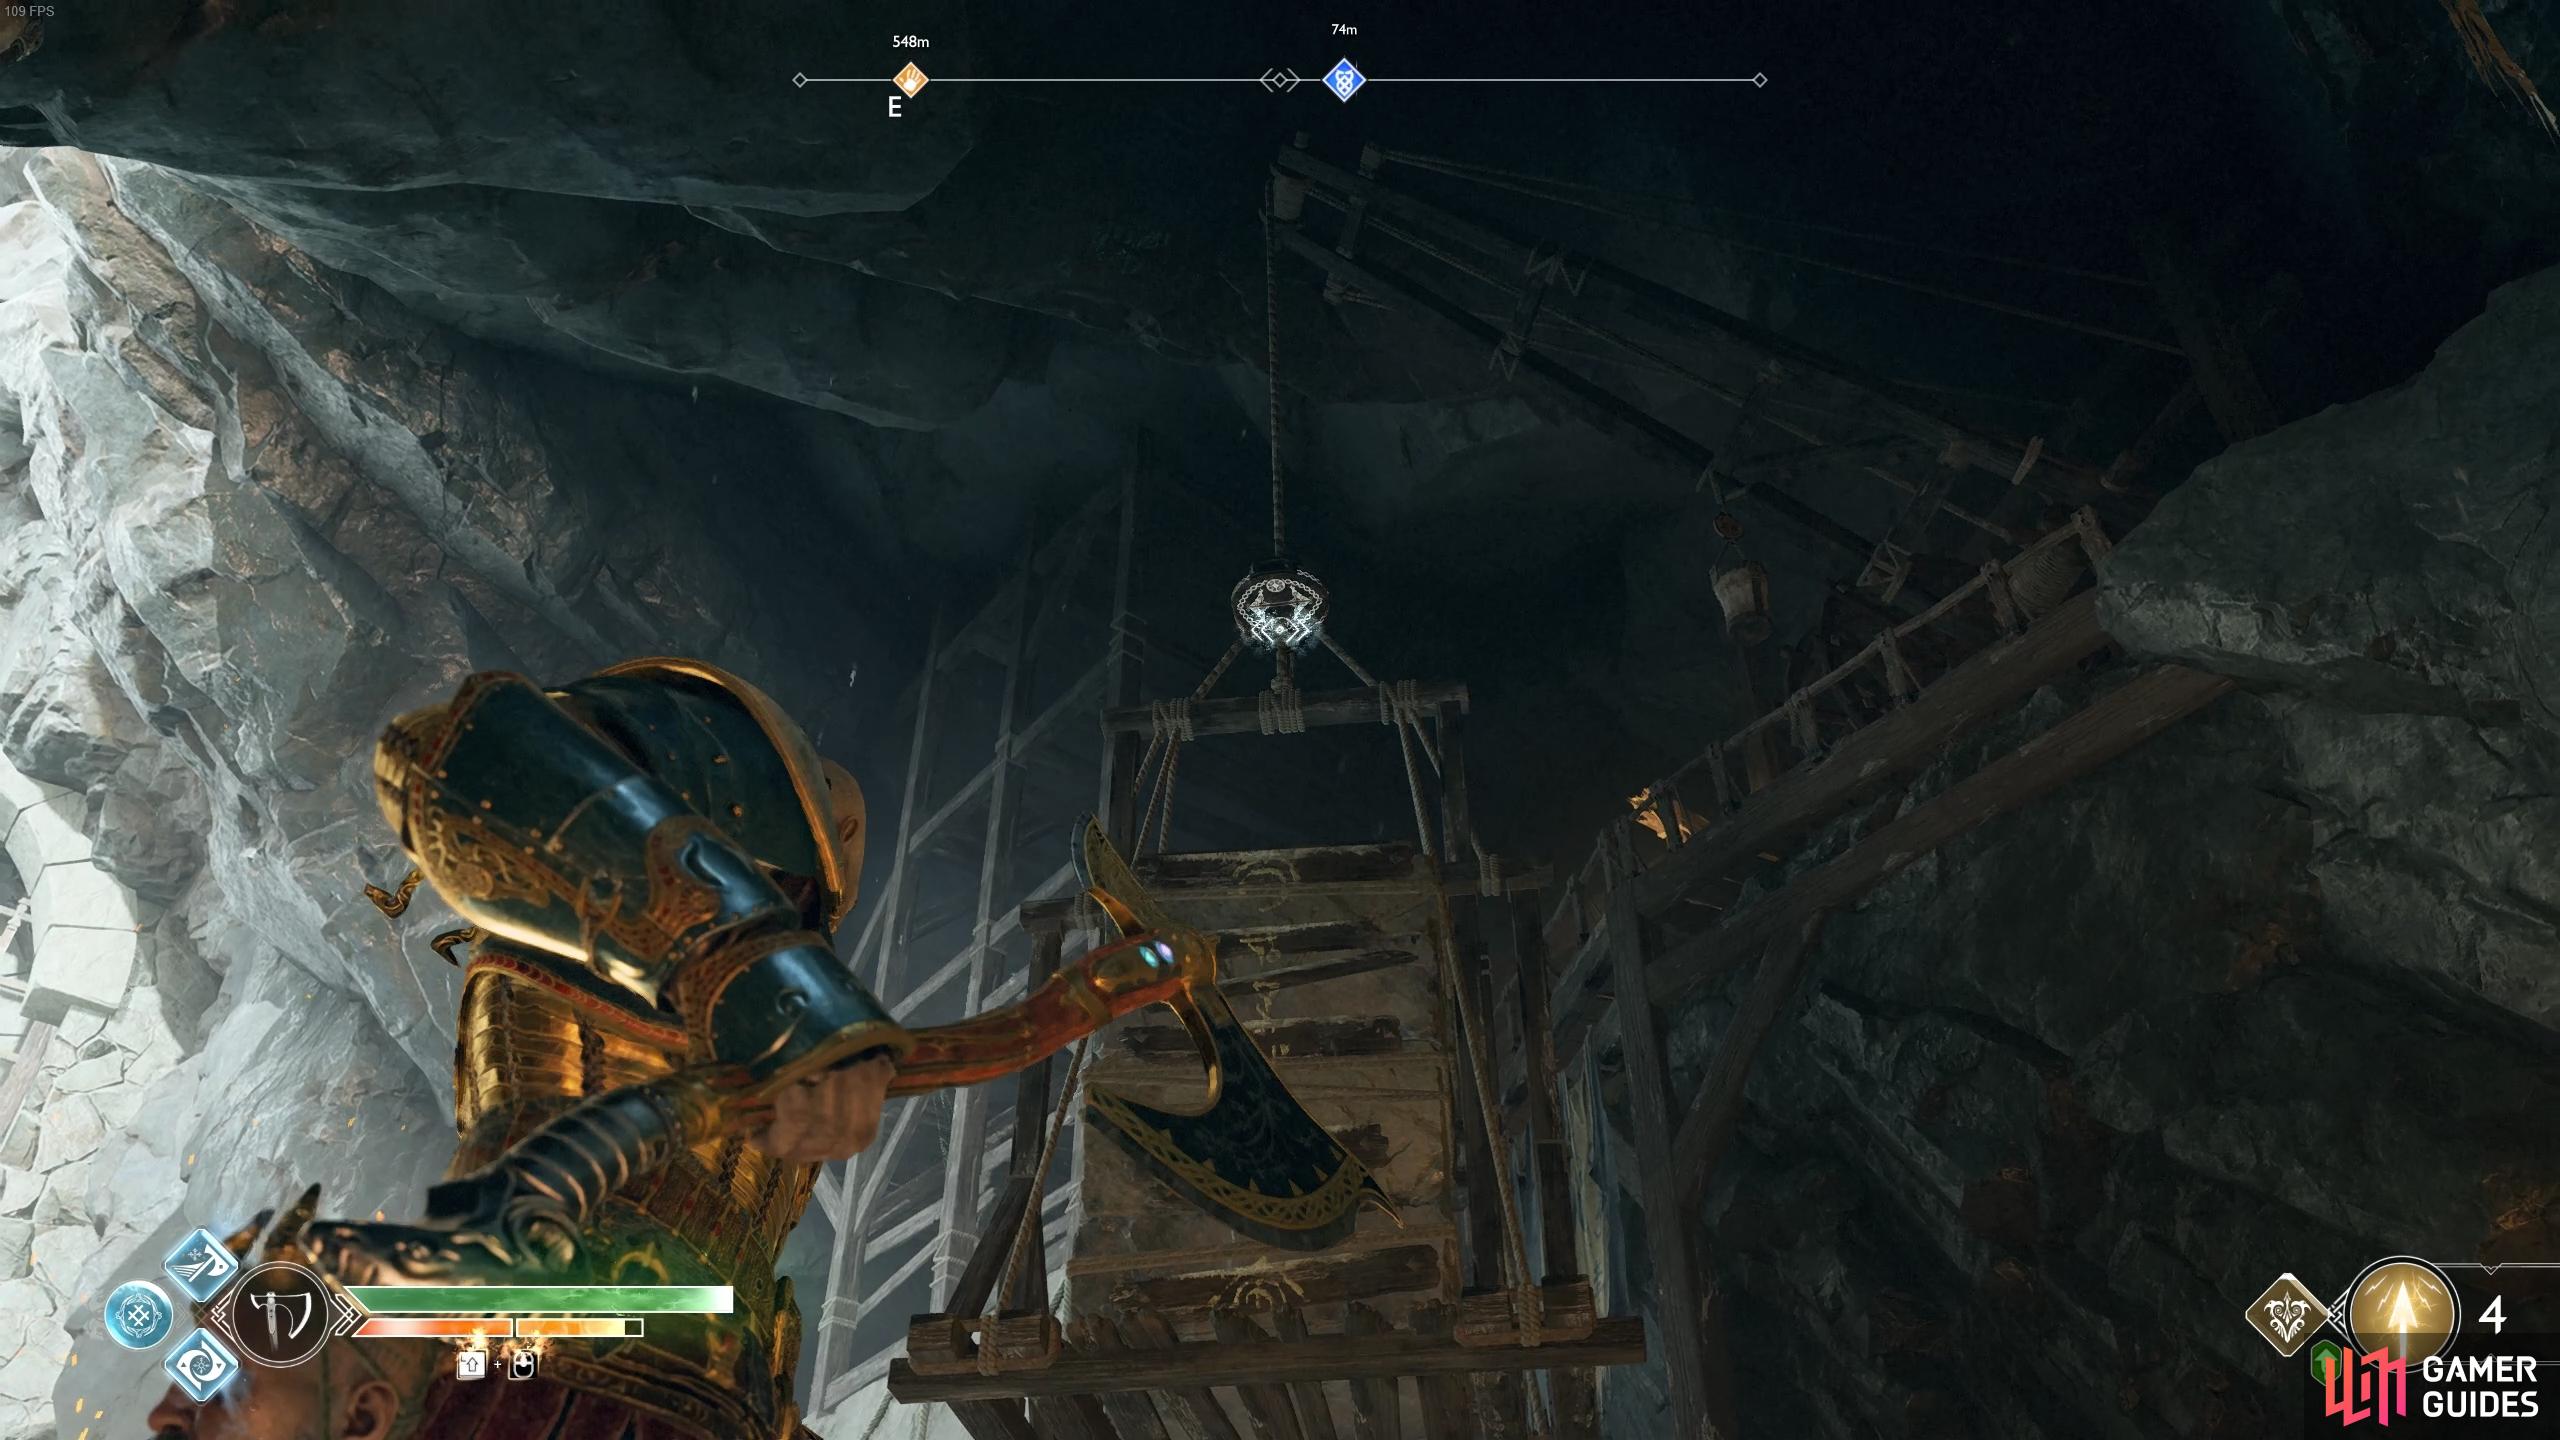
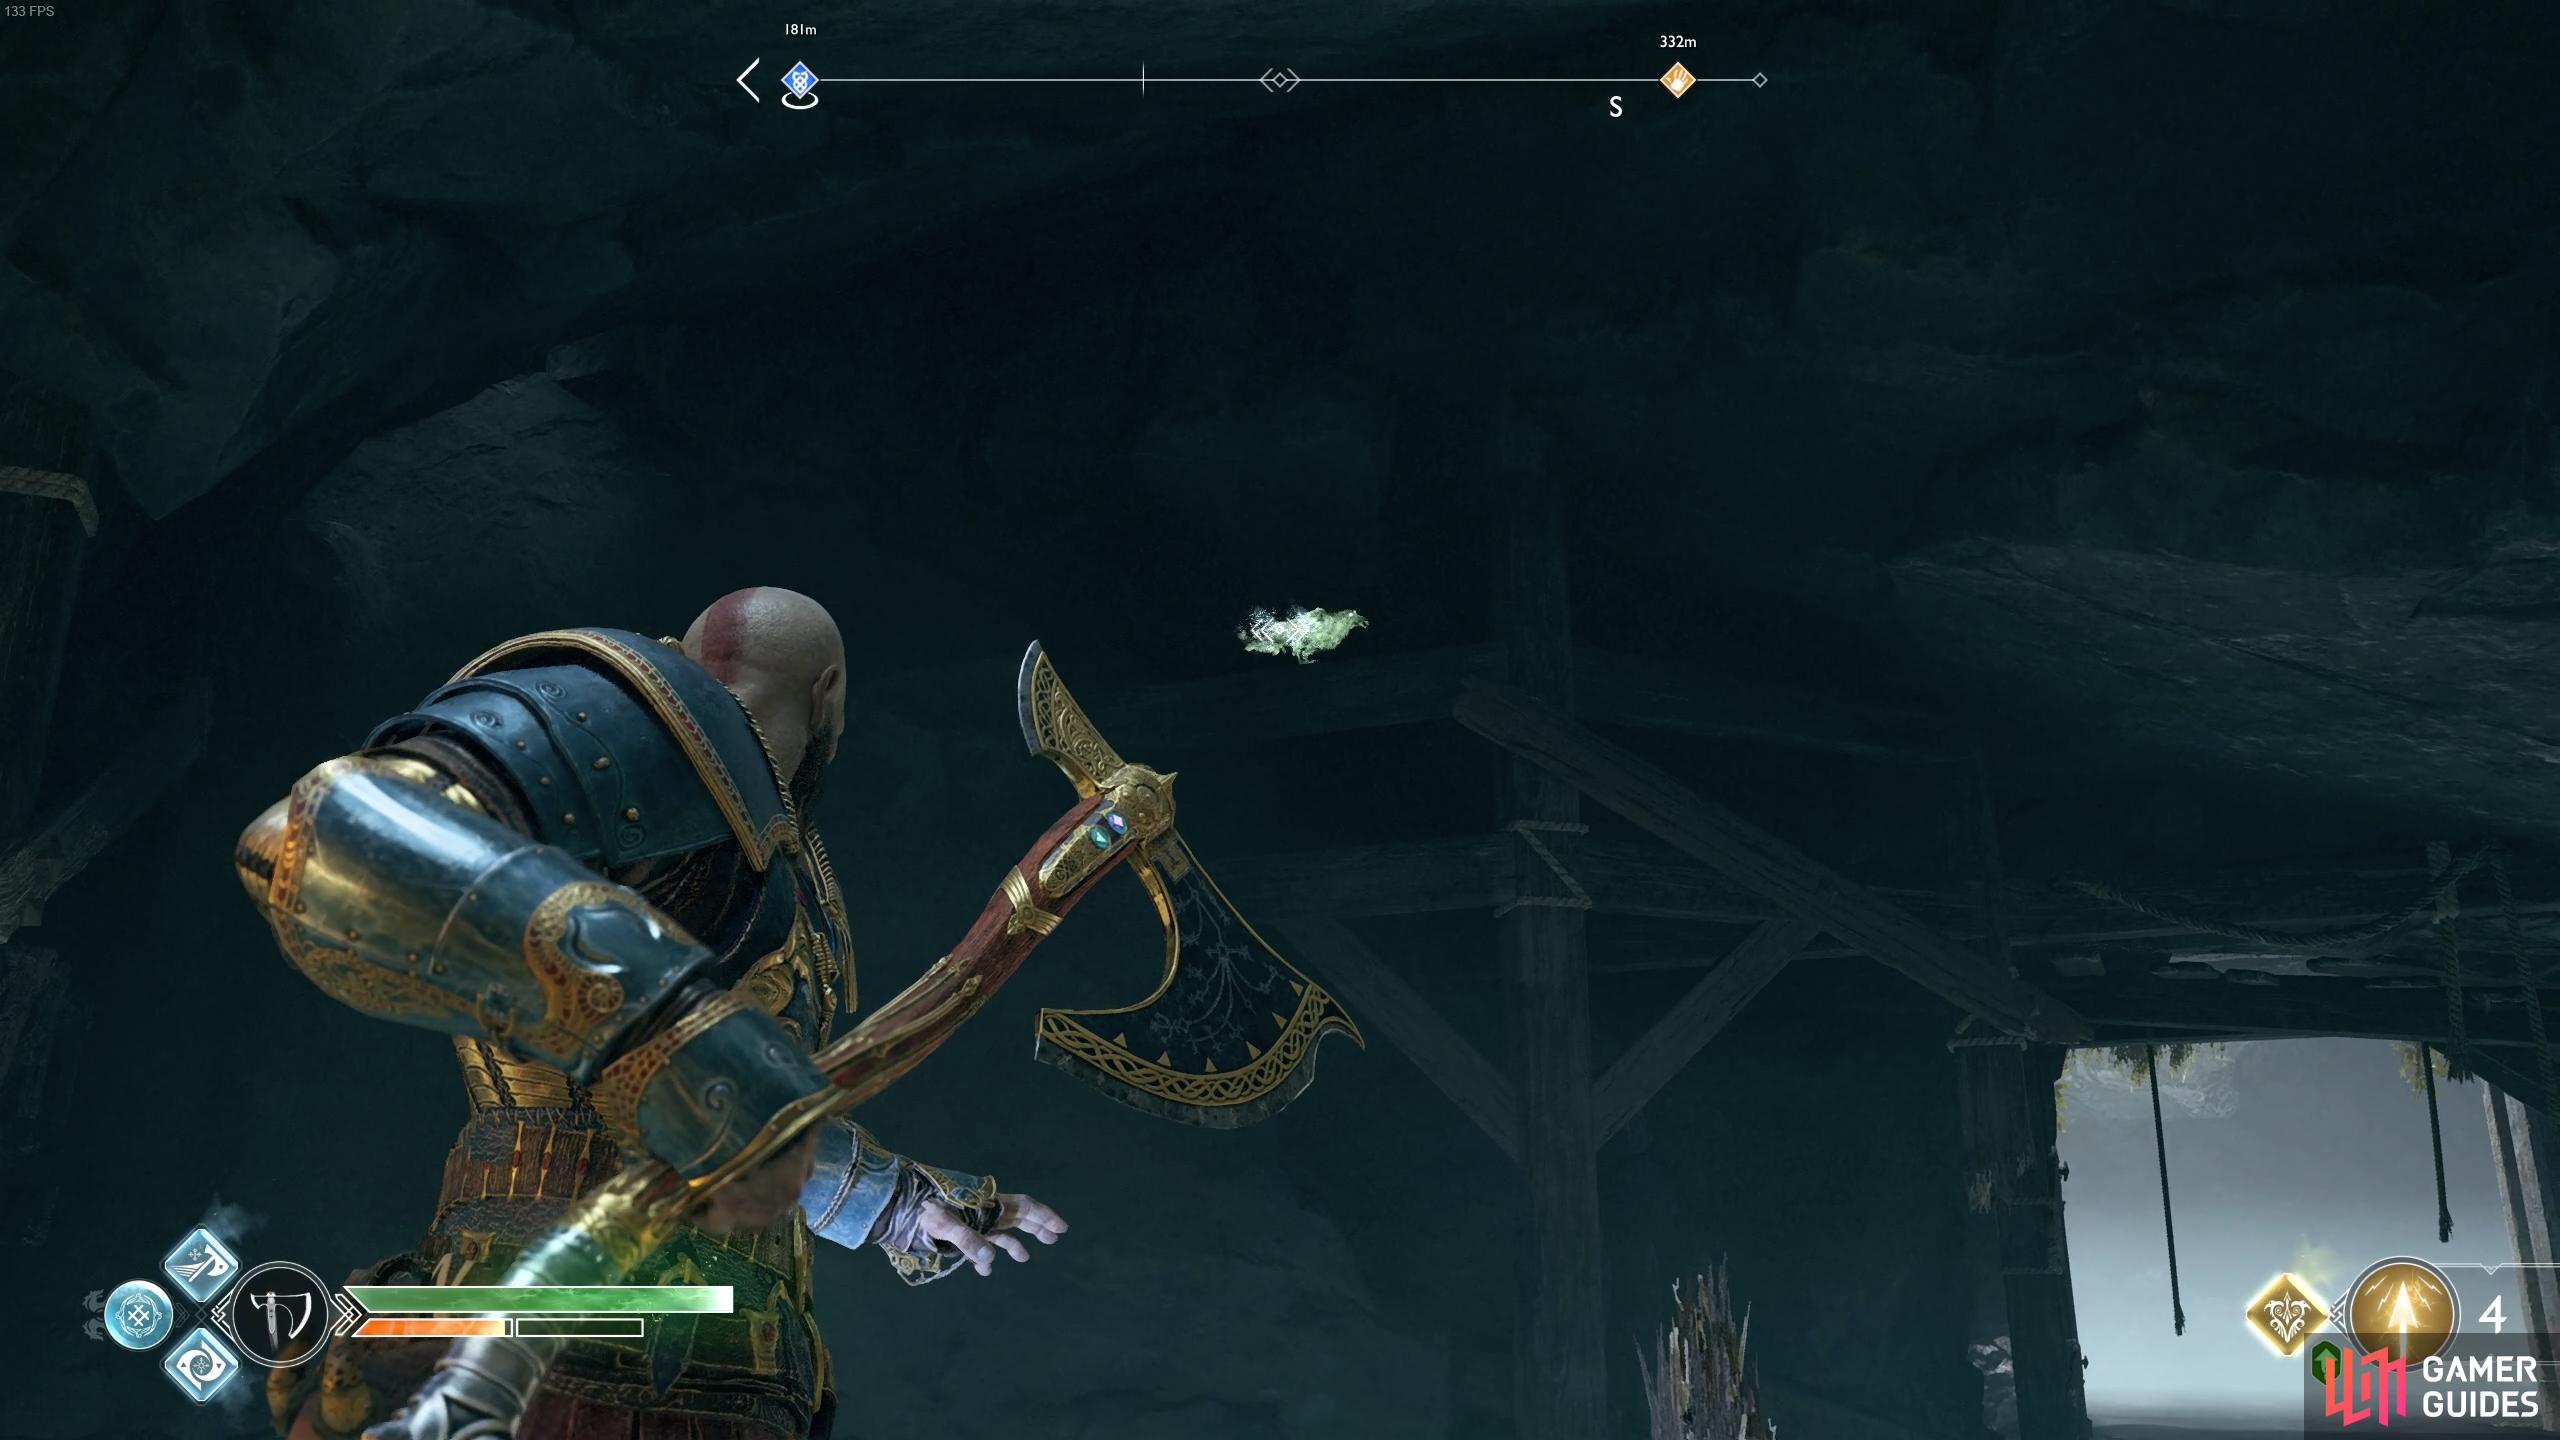
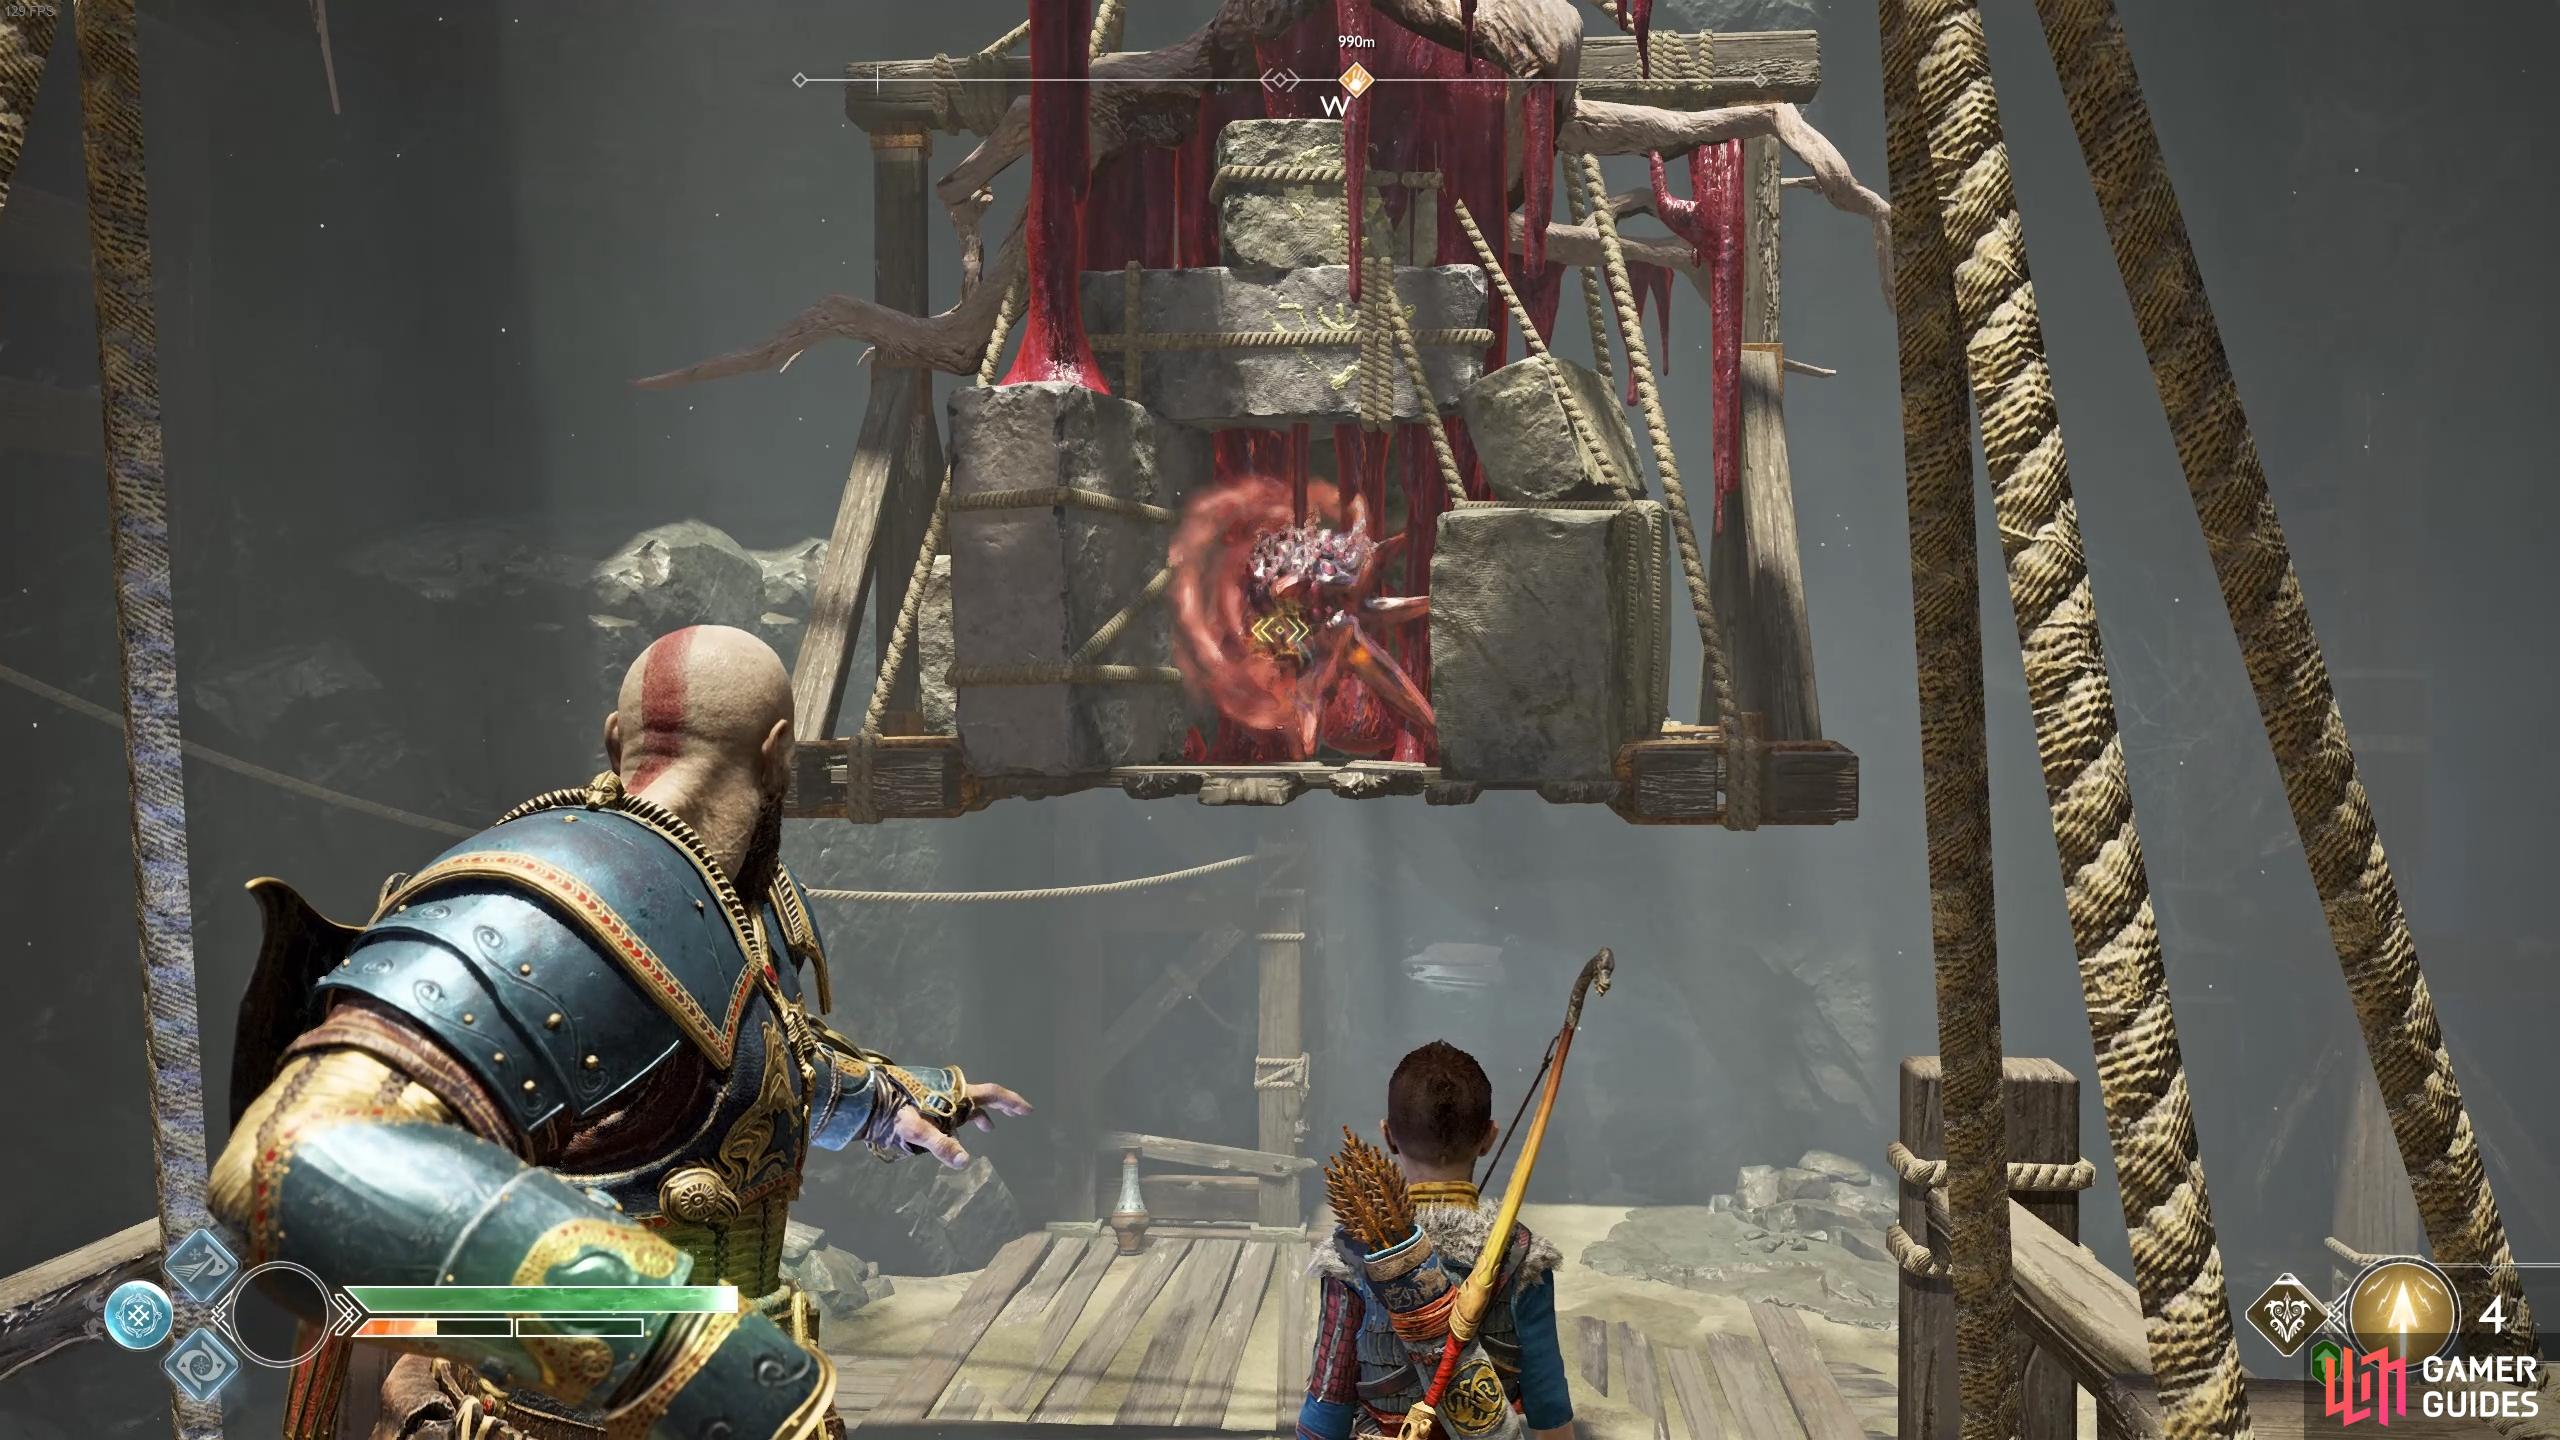
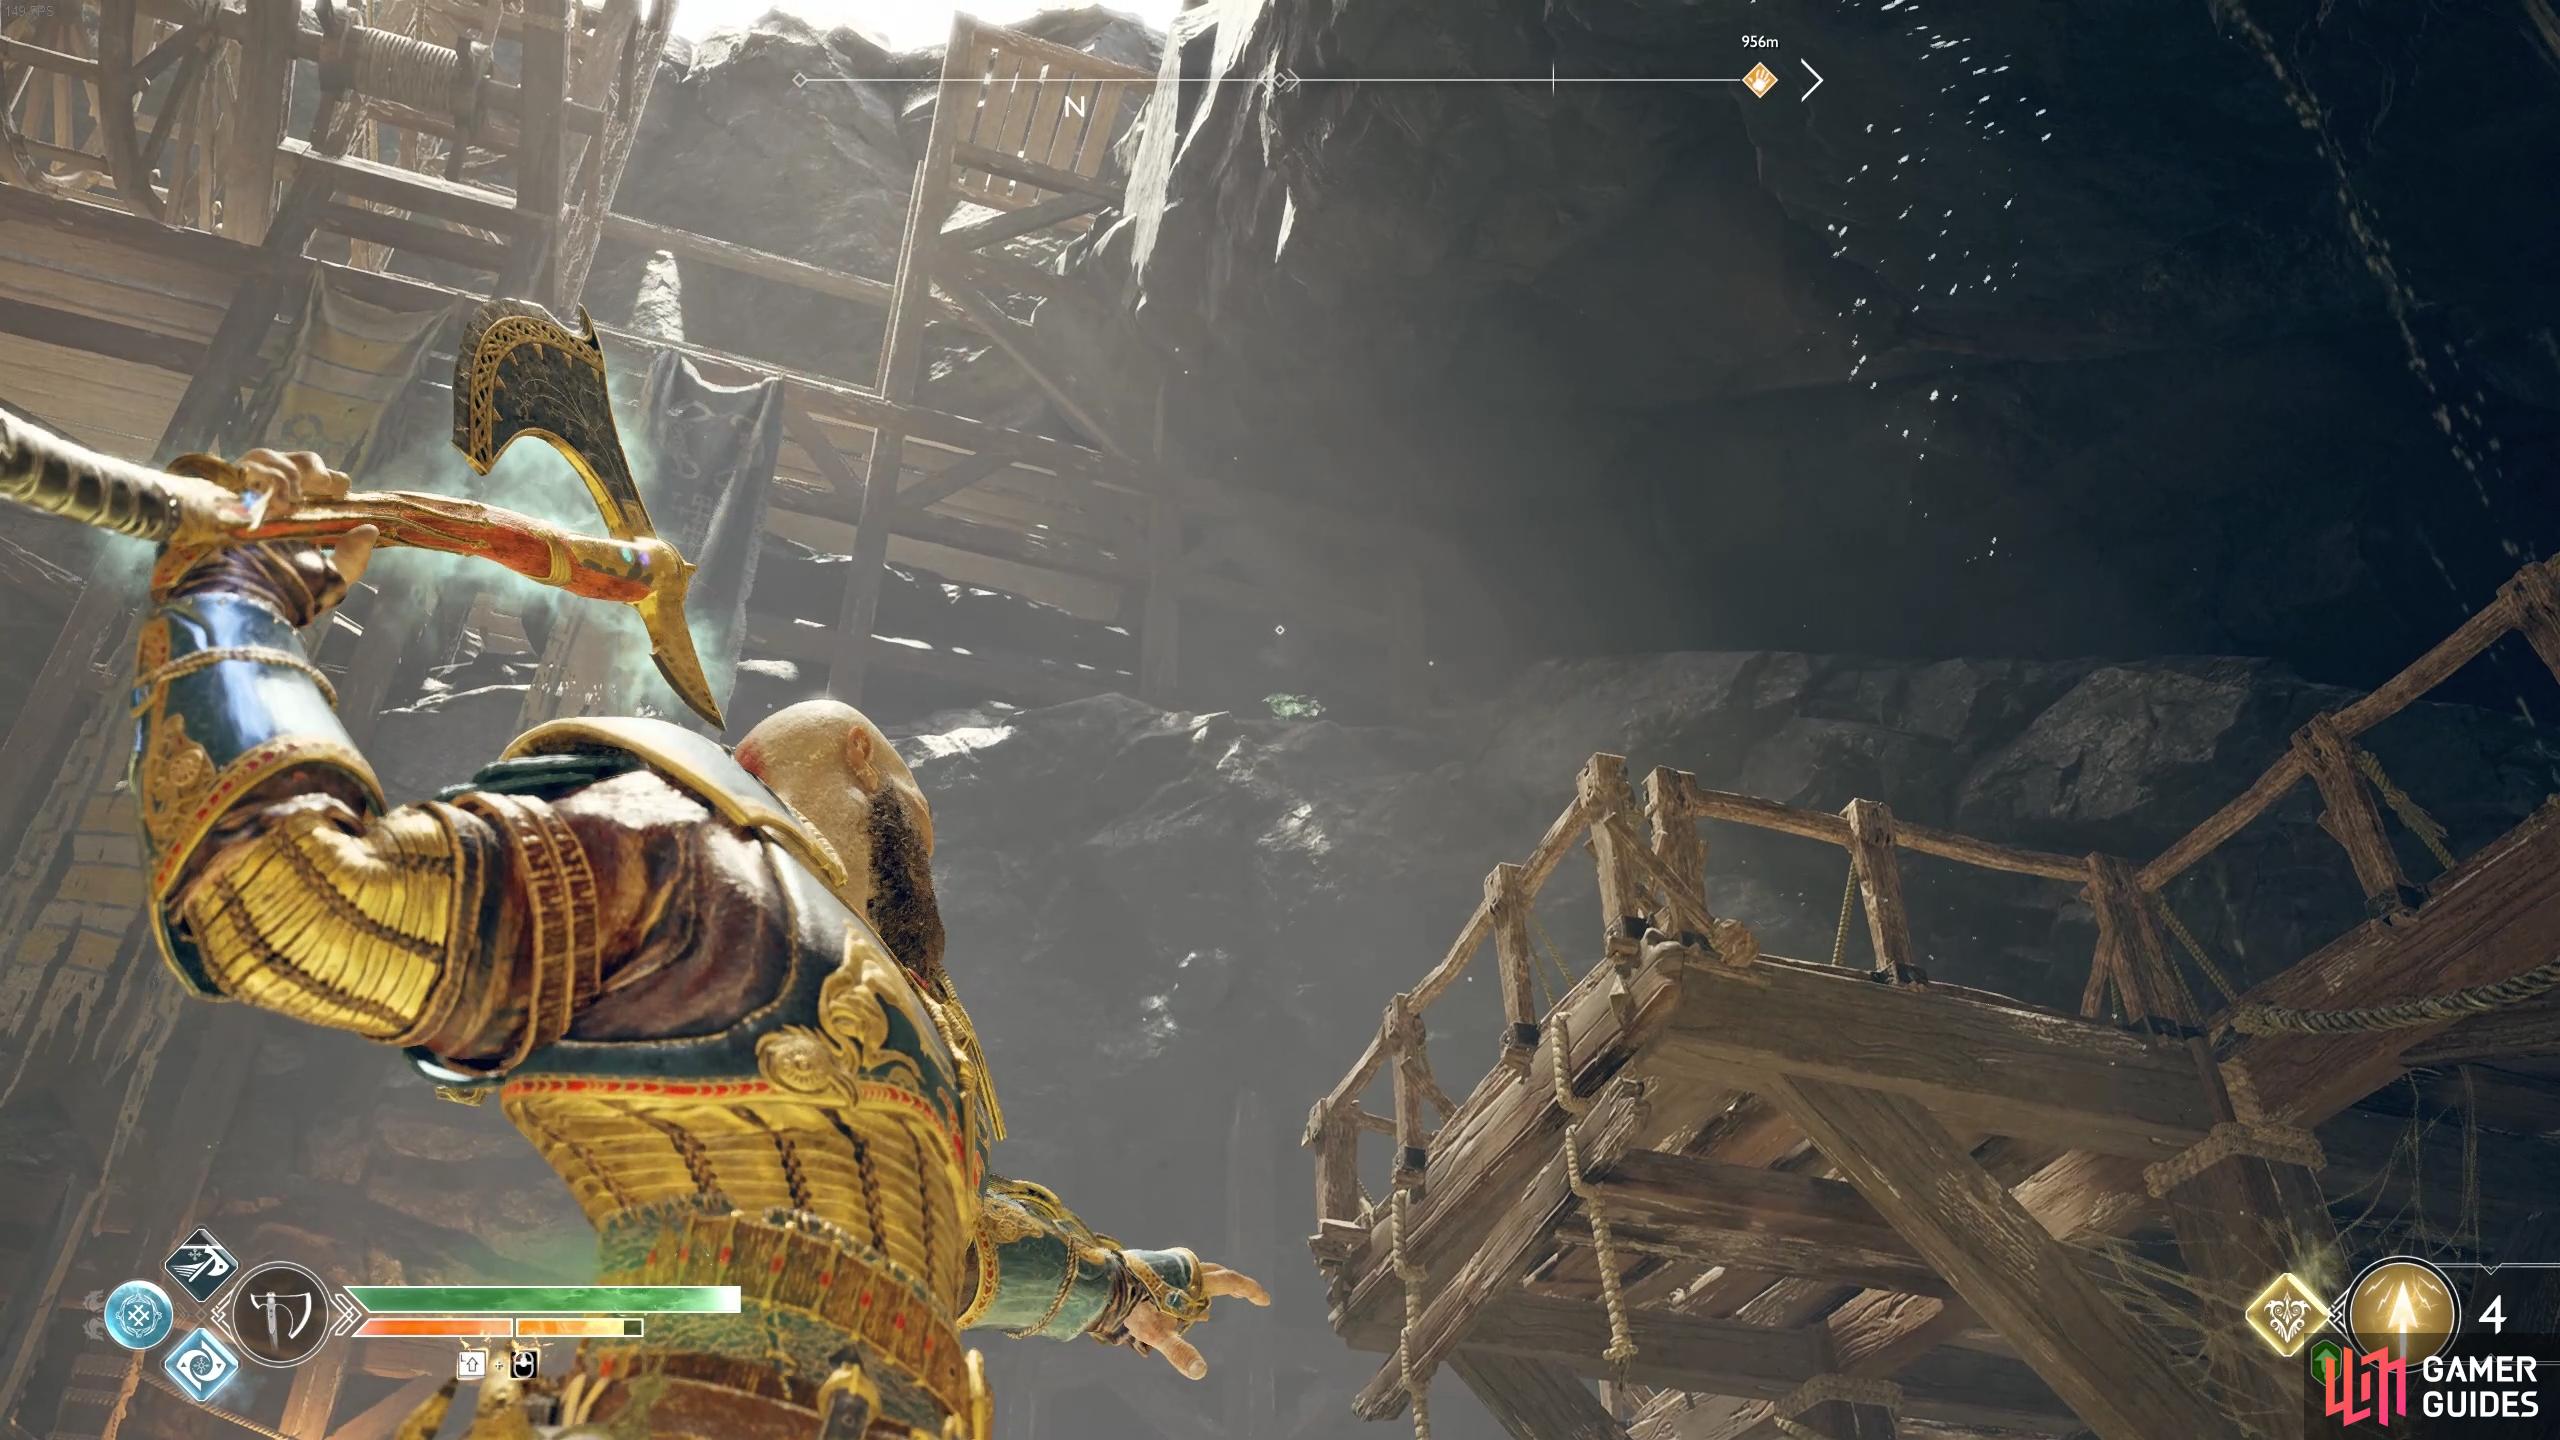
Look into the air to spot a runic disc holding suspending the platform in the air.
Drop back down and look up at the suspended platform, there’s a runic disc holding this in place, strike it with the axe to knock it down. Climb up this platform and scale the wall in front of you, turning to the right to shoot a Shatter Crystal. Throw the axe at the Scorn Pole in this new opening and pick up the sack of Hacksilver before dropping down. Follow this path to another Shatter Crystal, shoot it, open the coffin within and climb the nearby ladder back to the bridge.
Head forward and defeat the Nightmares and Poison Wolf that spawns. Don’t head down the slope yet, instead step out onto the north walkway and shimmy across the wall to find another Hacksilver chest. You can now return and take the slope down, leaping over the gap to find a Reaver ship.
Investigate the reaver ship
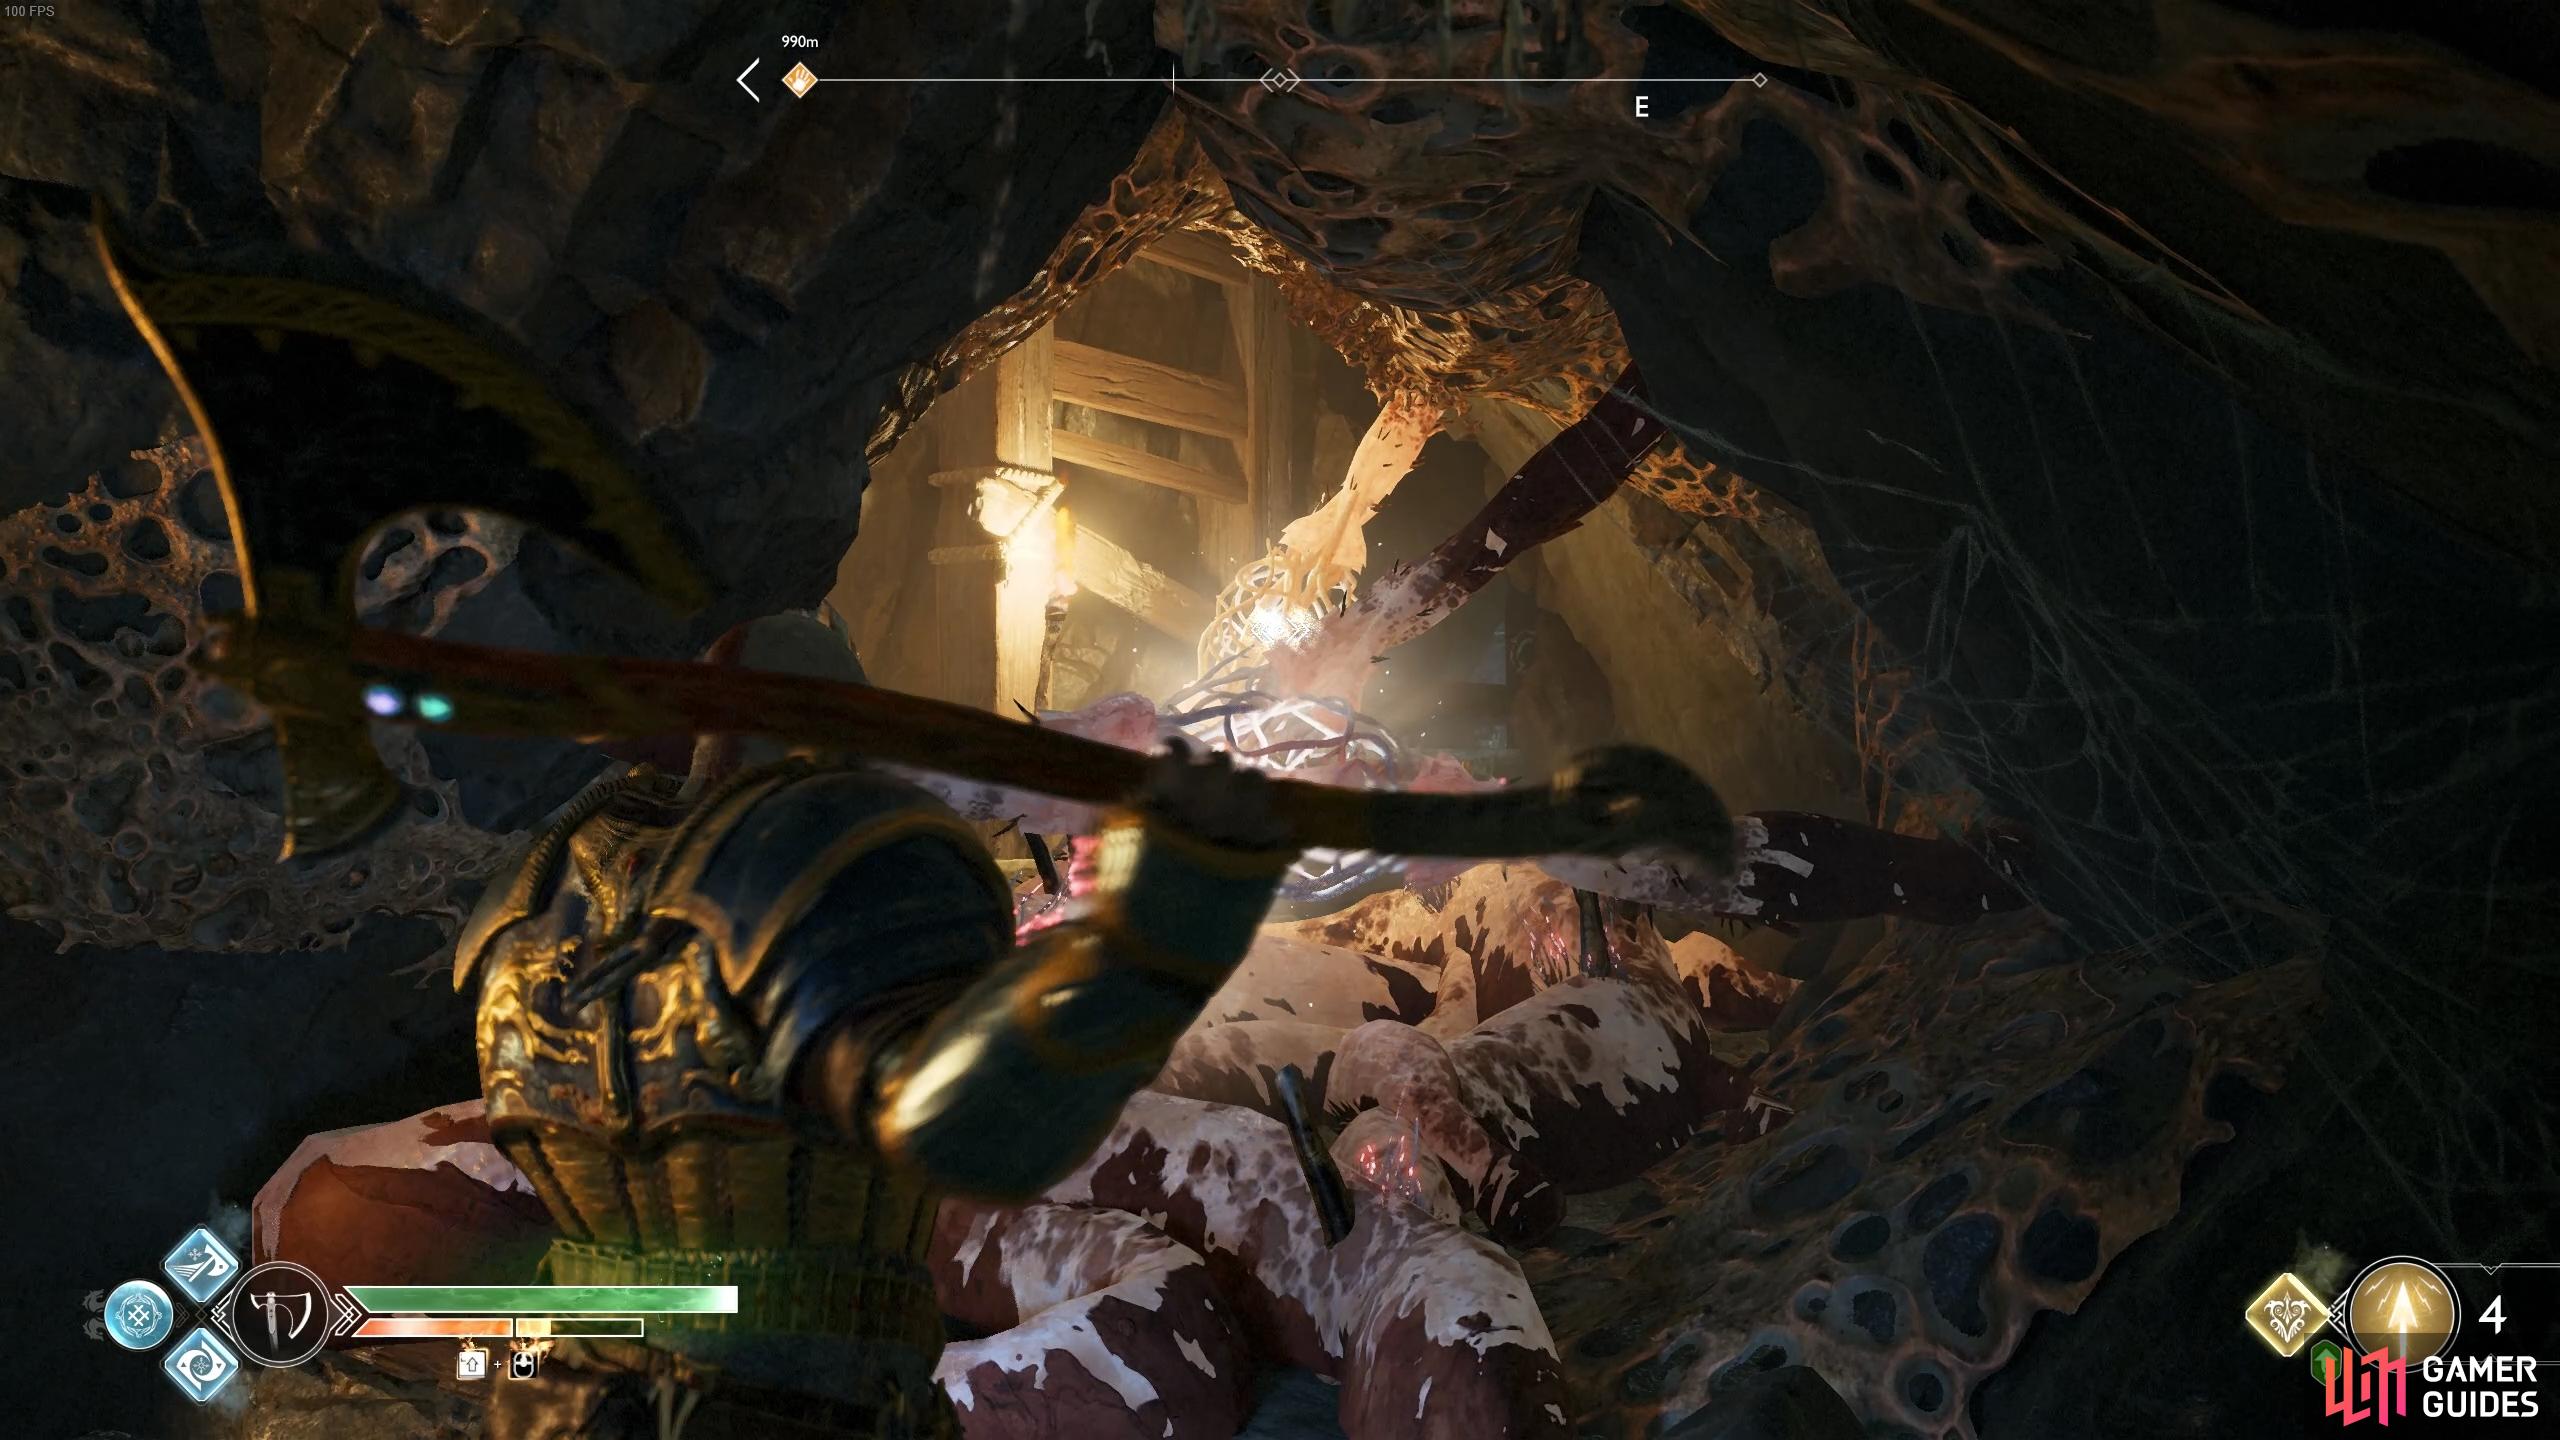
Continue along the path until you can go no further and look to the right of the raised bridge to see a spinning board you can strike to lower it and drop down once you cross it. It seems you’ve found the missing son, sharing the same fate as his father. Fortunately for you, the Whetstone is still laying bloodied on the ground.
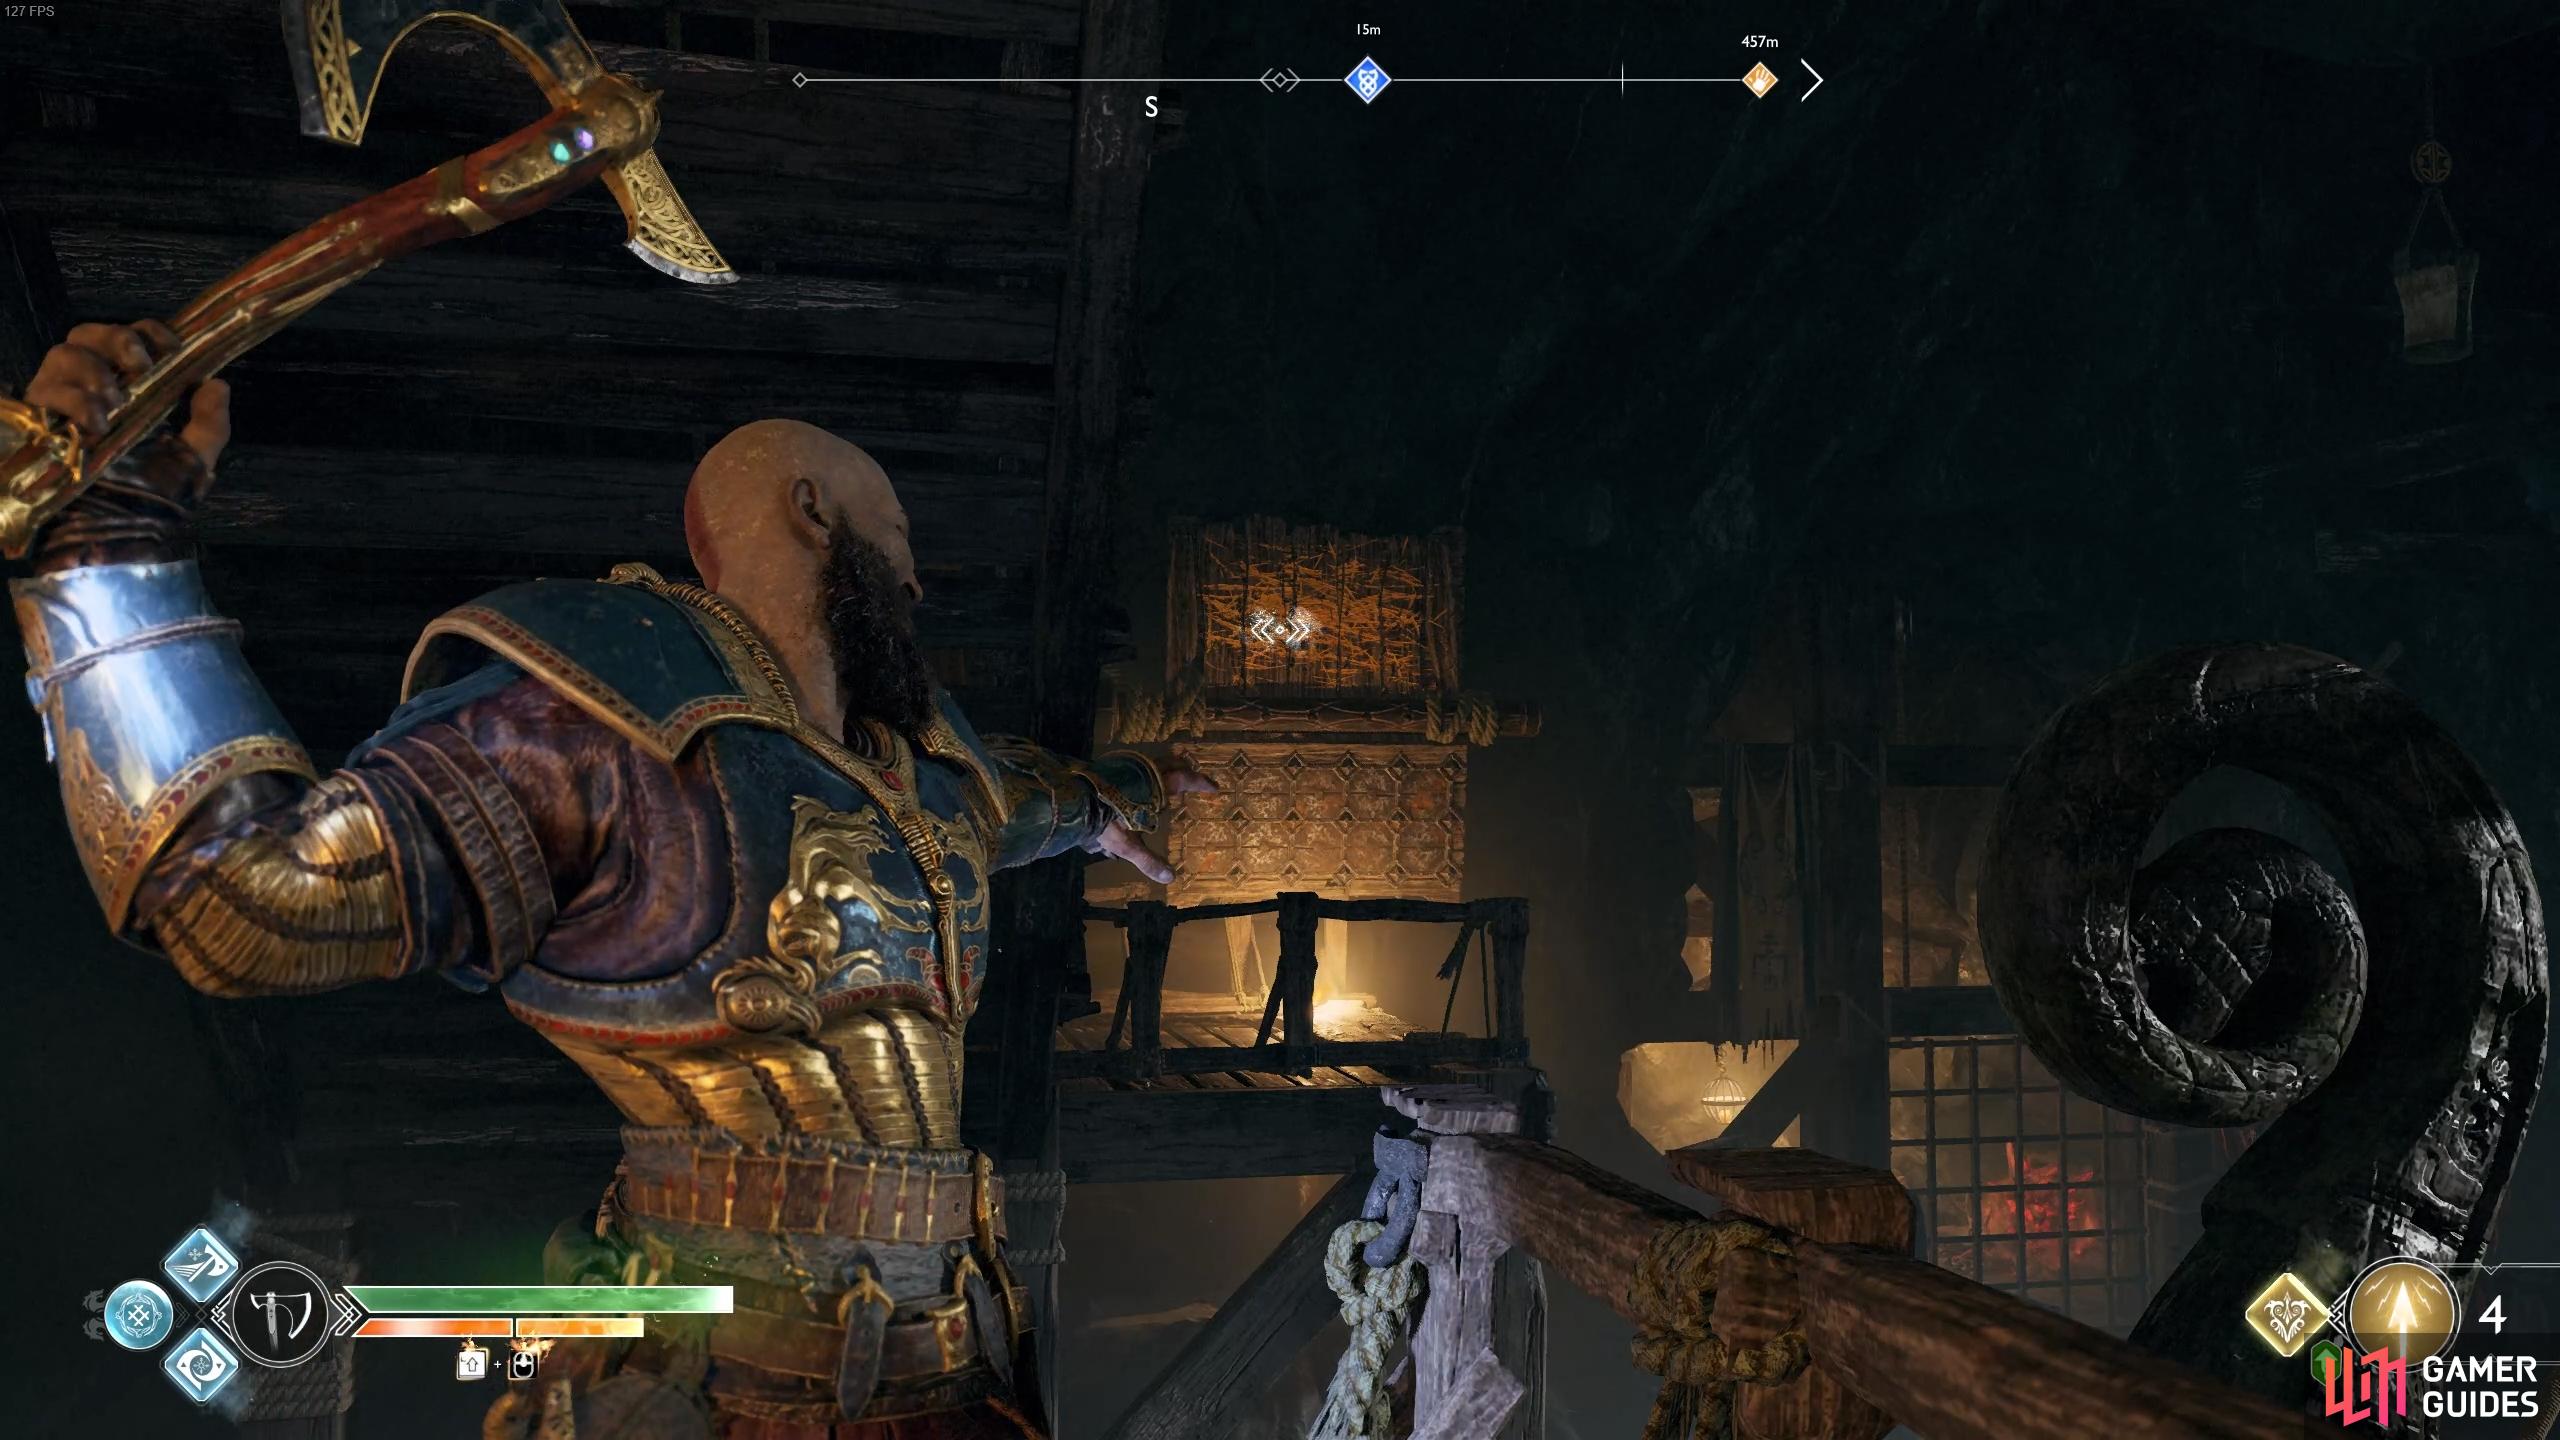
Hit the wooden board to lower the bridge.
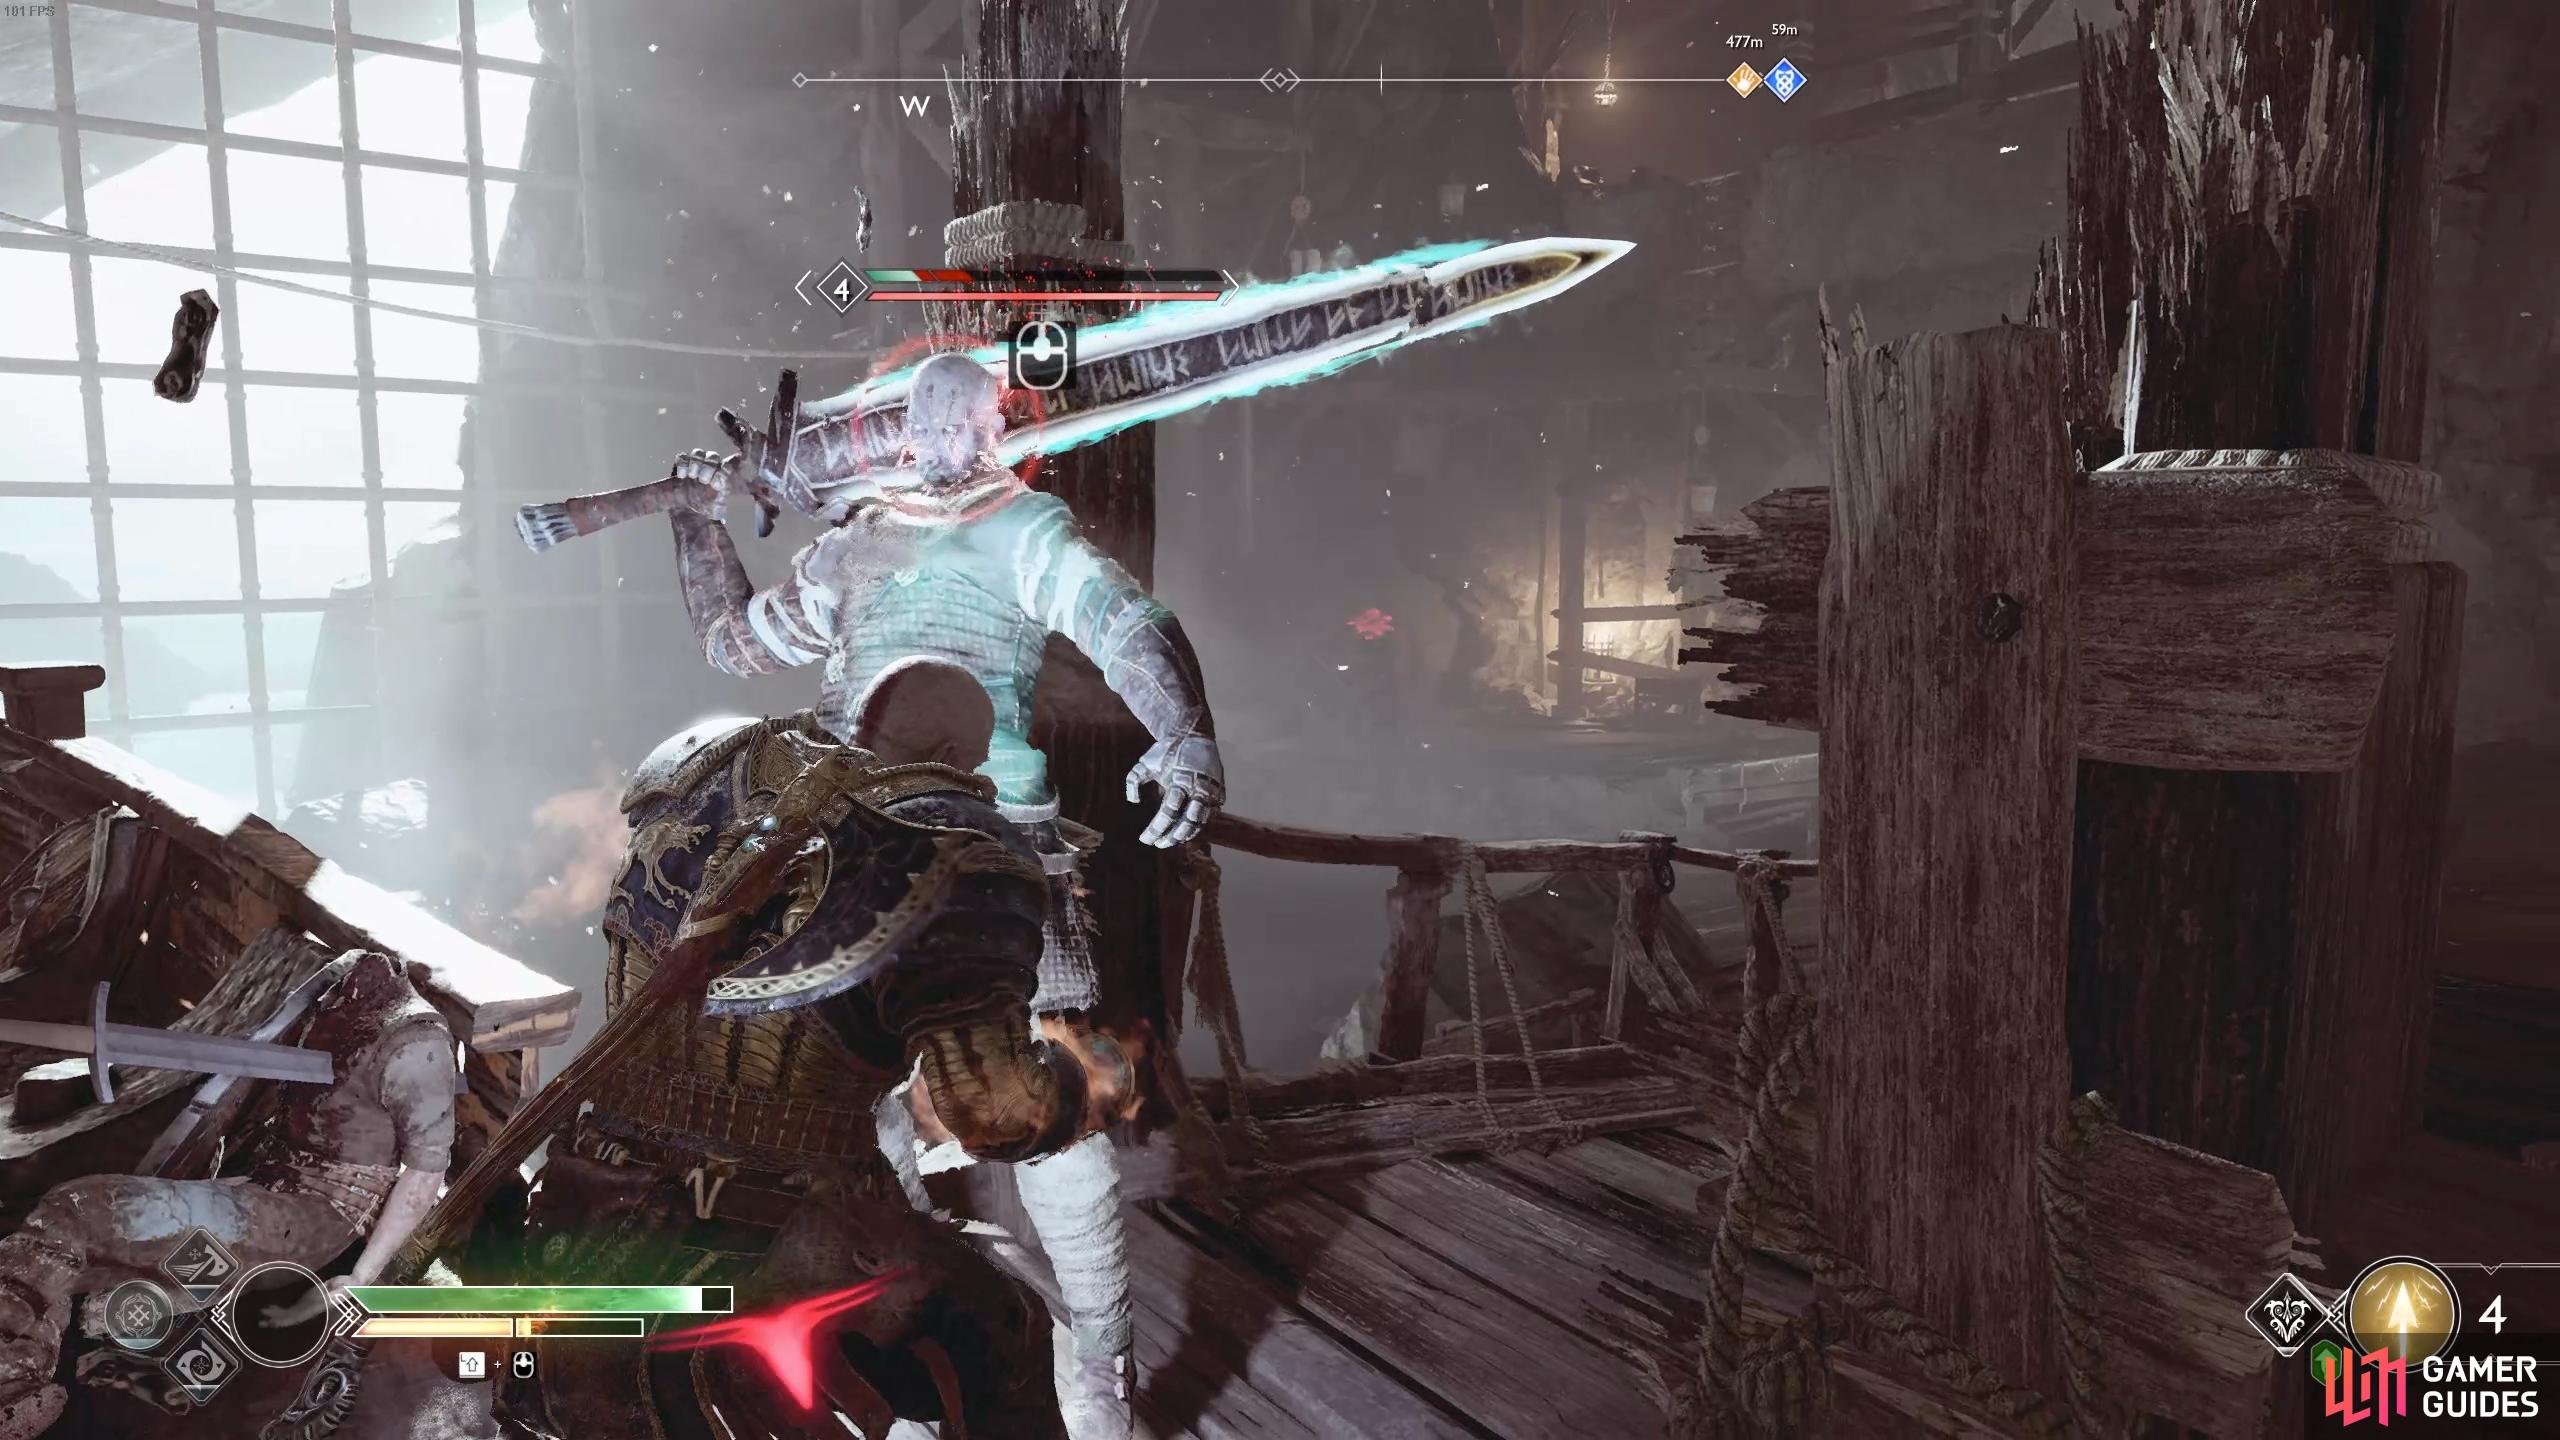
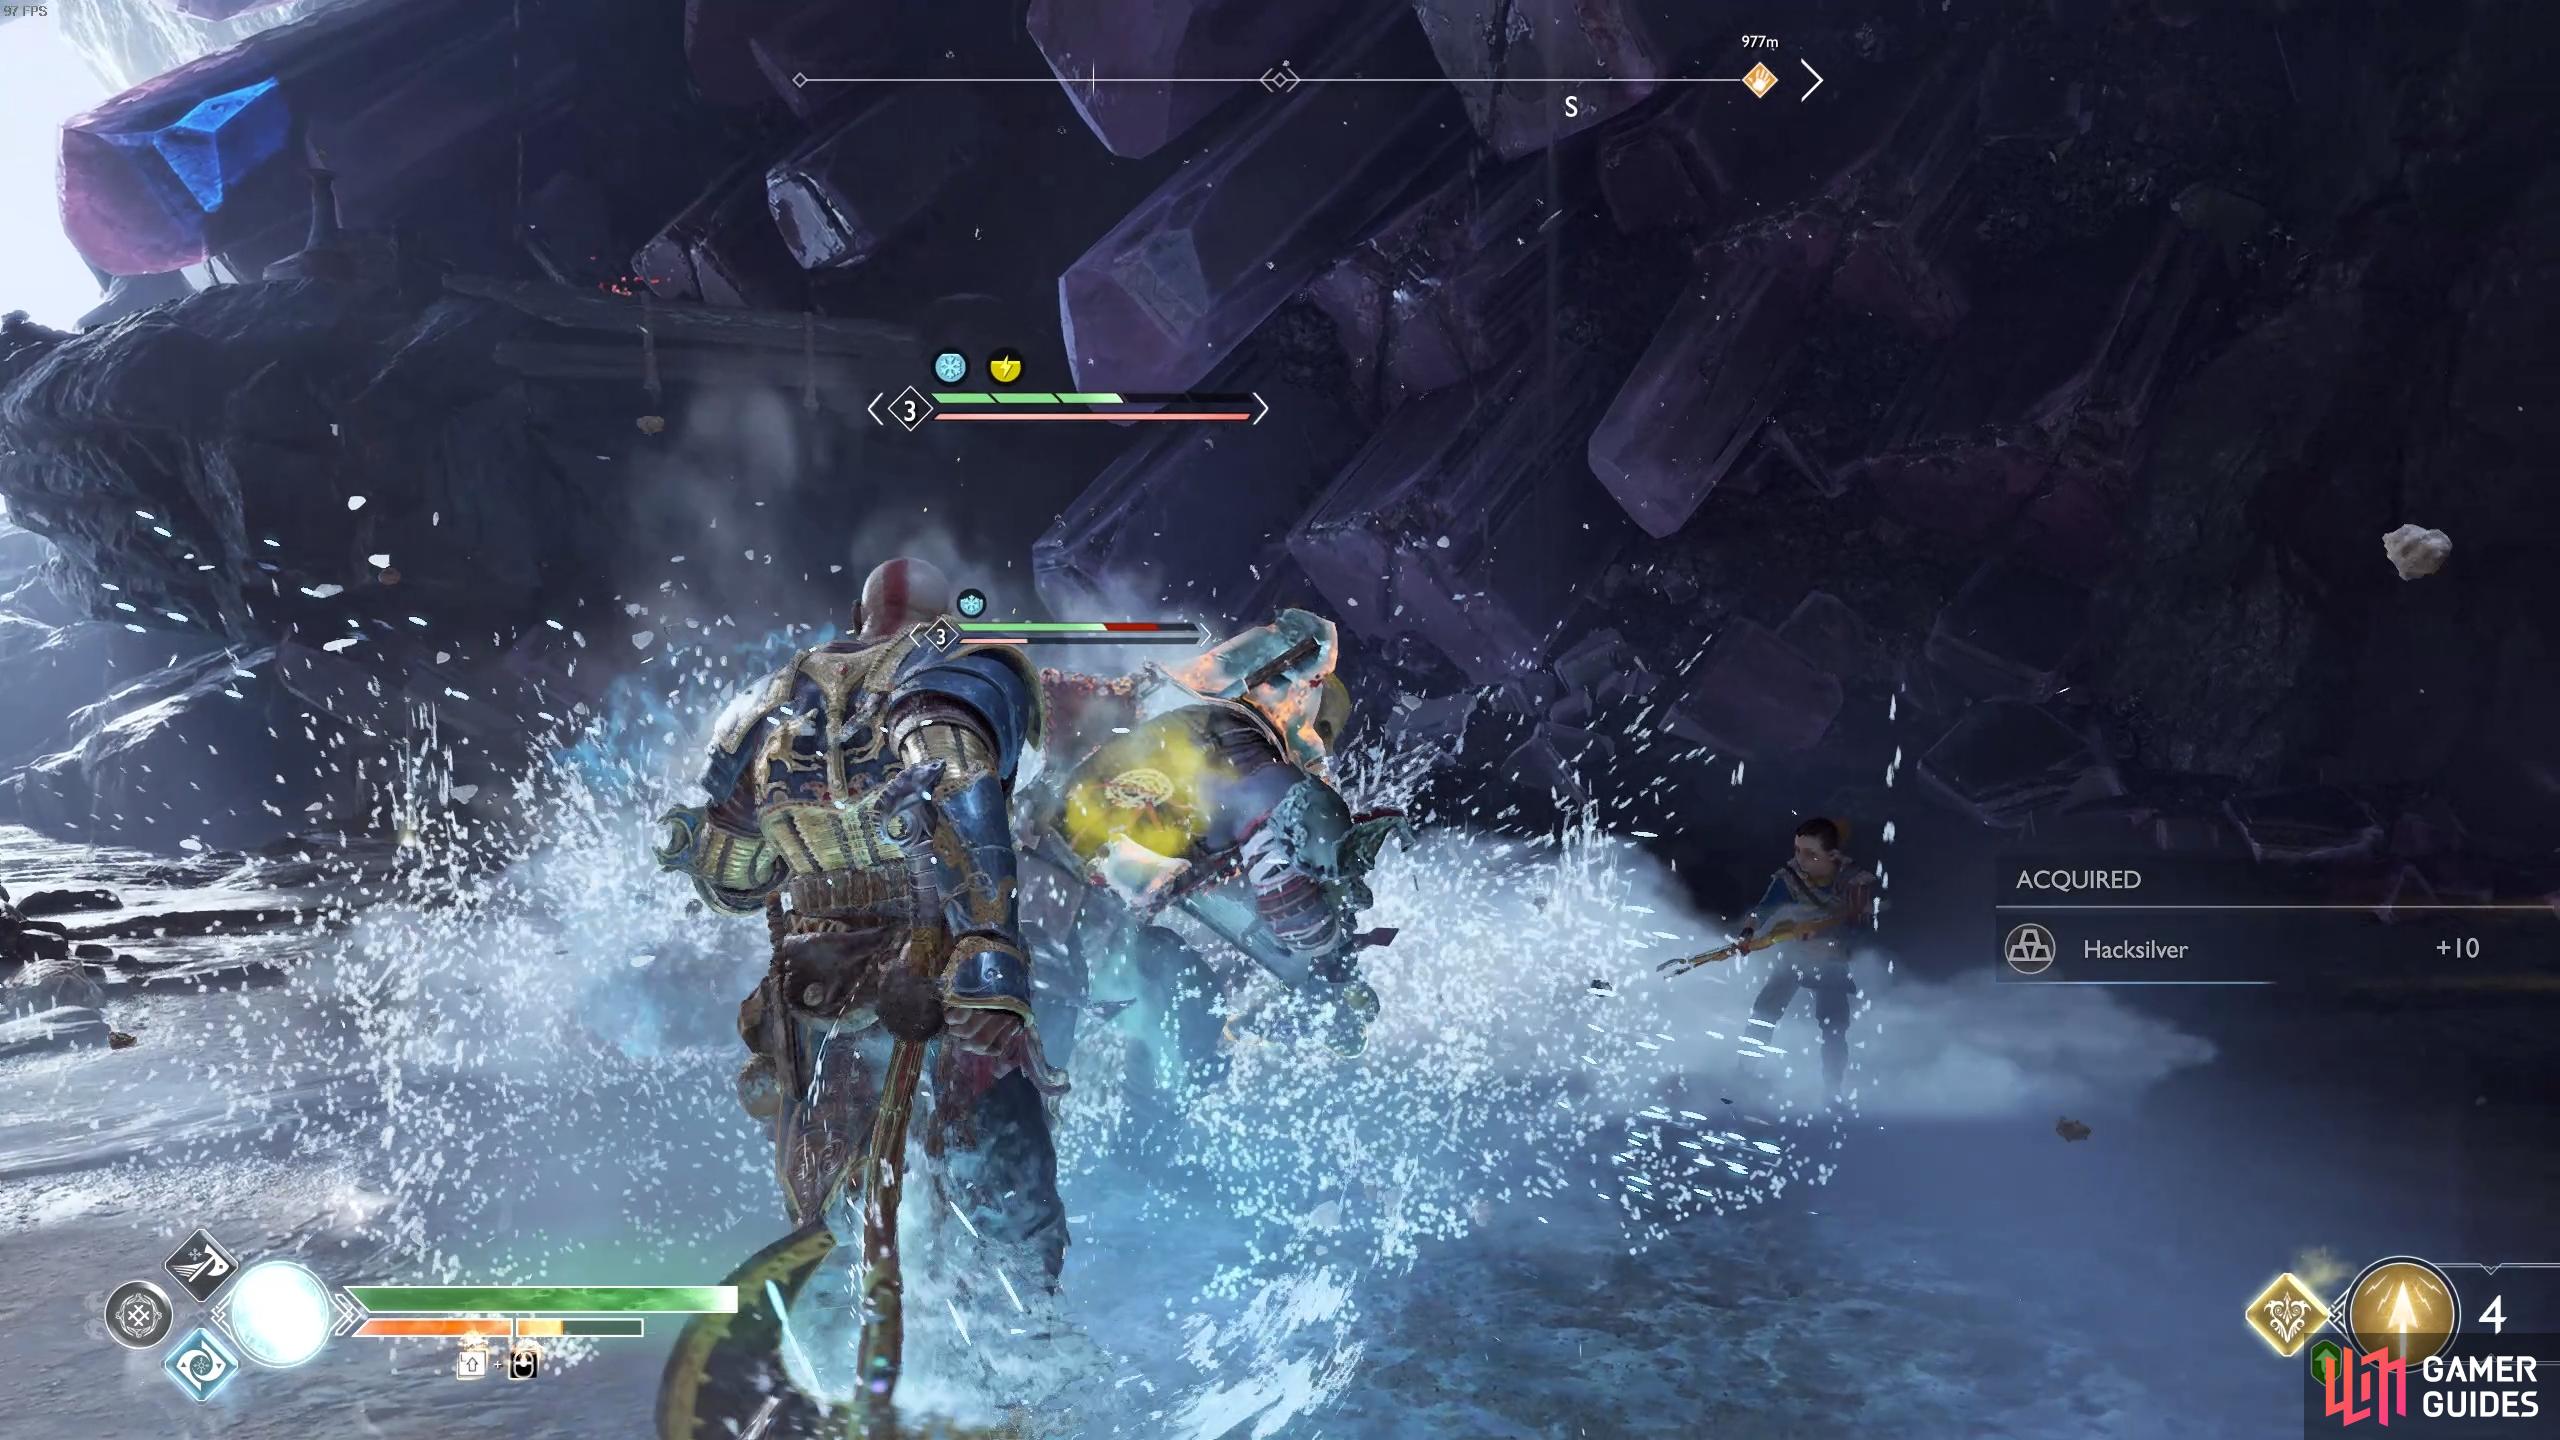
Use your Runic Attacks to increase the stun gauge on the Traveller, then finish it off with Spartan Rage.
Unfortunately for you, his assailant is still about and attacks you, a deadly Traveller. Keep your distance and use Atreus to draw it’s attention, the Traveller is fast and has a large reach. Only make attacks when there is an opening, otherwise concentrate on protecting yourself. Shadows will also spawn on top of the walkway you dropped down earlier, take them out as quickly as possible so you can continue to concentrate on the Traveller. Once he goes down, loot the spoils, receiving the Shattered Gauntlet of the Ages, an epic Talisman with a hidden secret.
Return to the boat
Look through the gate on the south side and you’ll spot a Shatter Crystal, take aim through the bars and shoot it with a Shock Arrow to remove the sap, allowing Atreus to crawl through the hole and open the gate on the other side. Inside you’ll find a Legendary Chest containing rare resources.
Take the north exit off the boat and follow the path, shooting the Shatter Crystals in the process to remove the obstacles in your way. Reavers and Nightmares attack at the bottom, make use of the limited footing here and knock them into the water to defeat them. Turn to face the Reaver ship and walk forward to the hull, breaking the boards in the process. You’ll find a new Treasure Map along with a Lore Marker and a Hacksilver chest containing a Legendary Enchantment.

Break into the hull of the Reaver Ship to find hidden secrets.
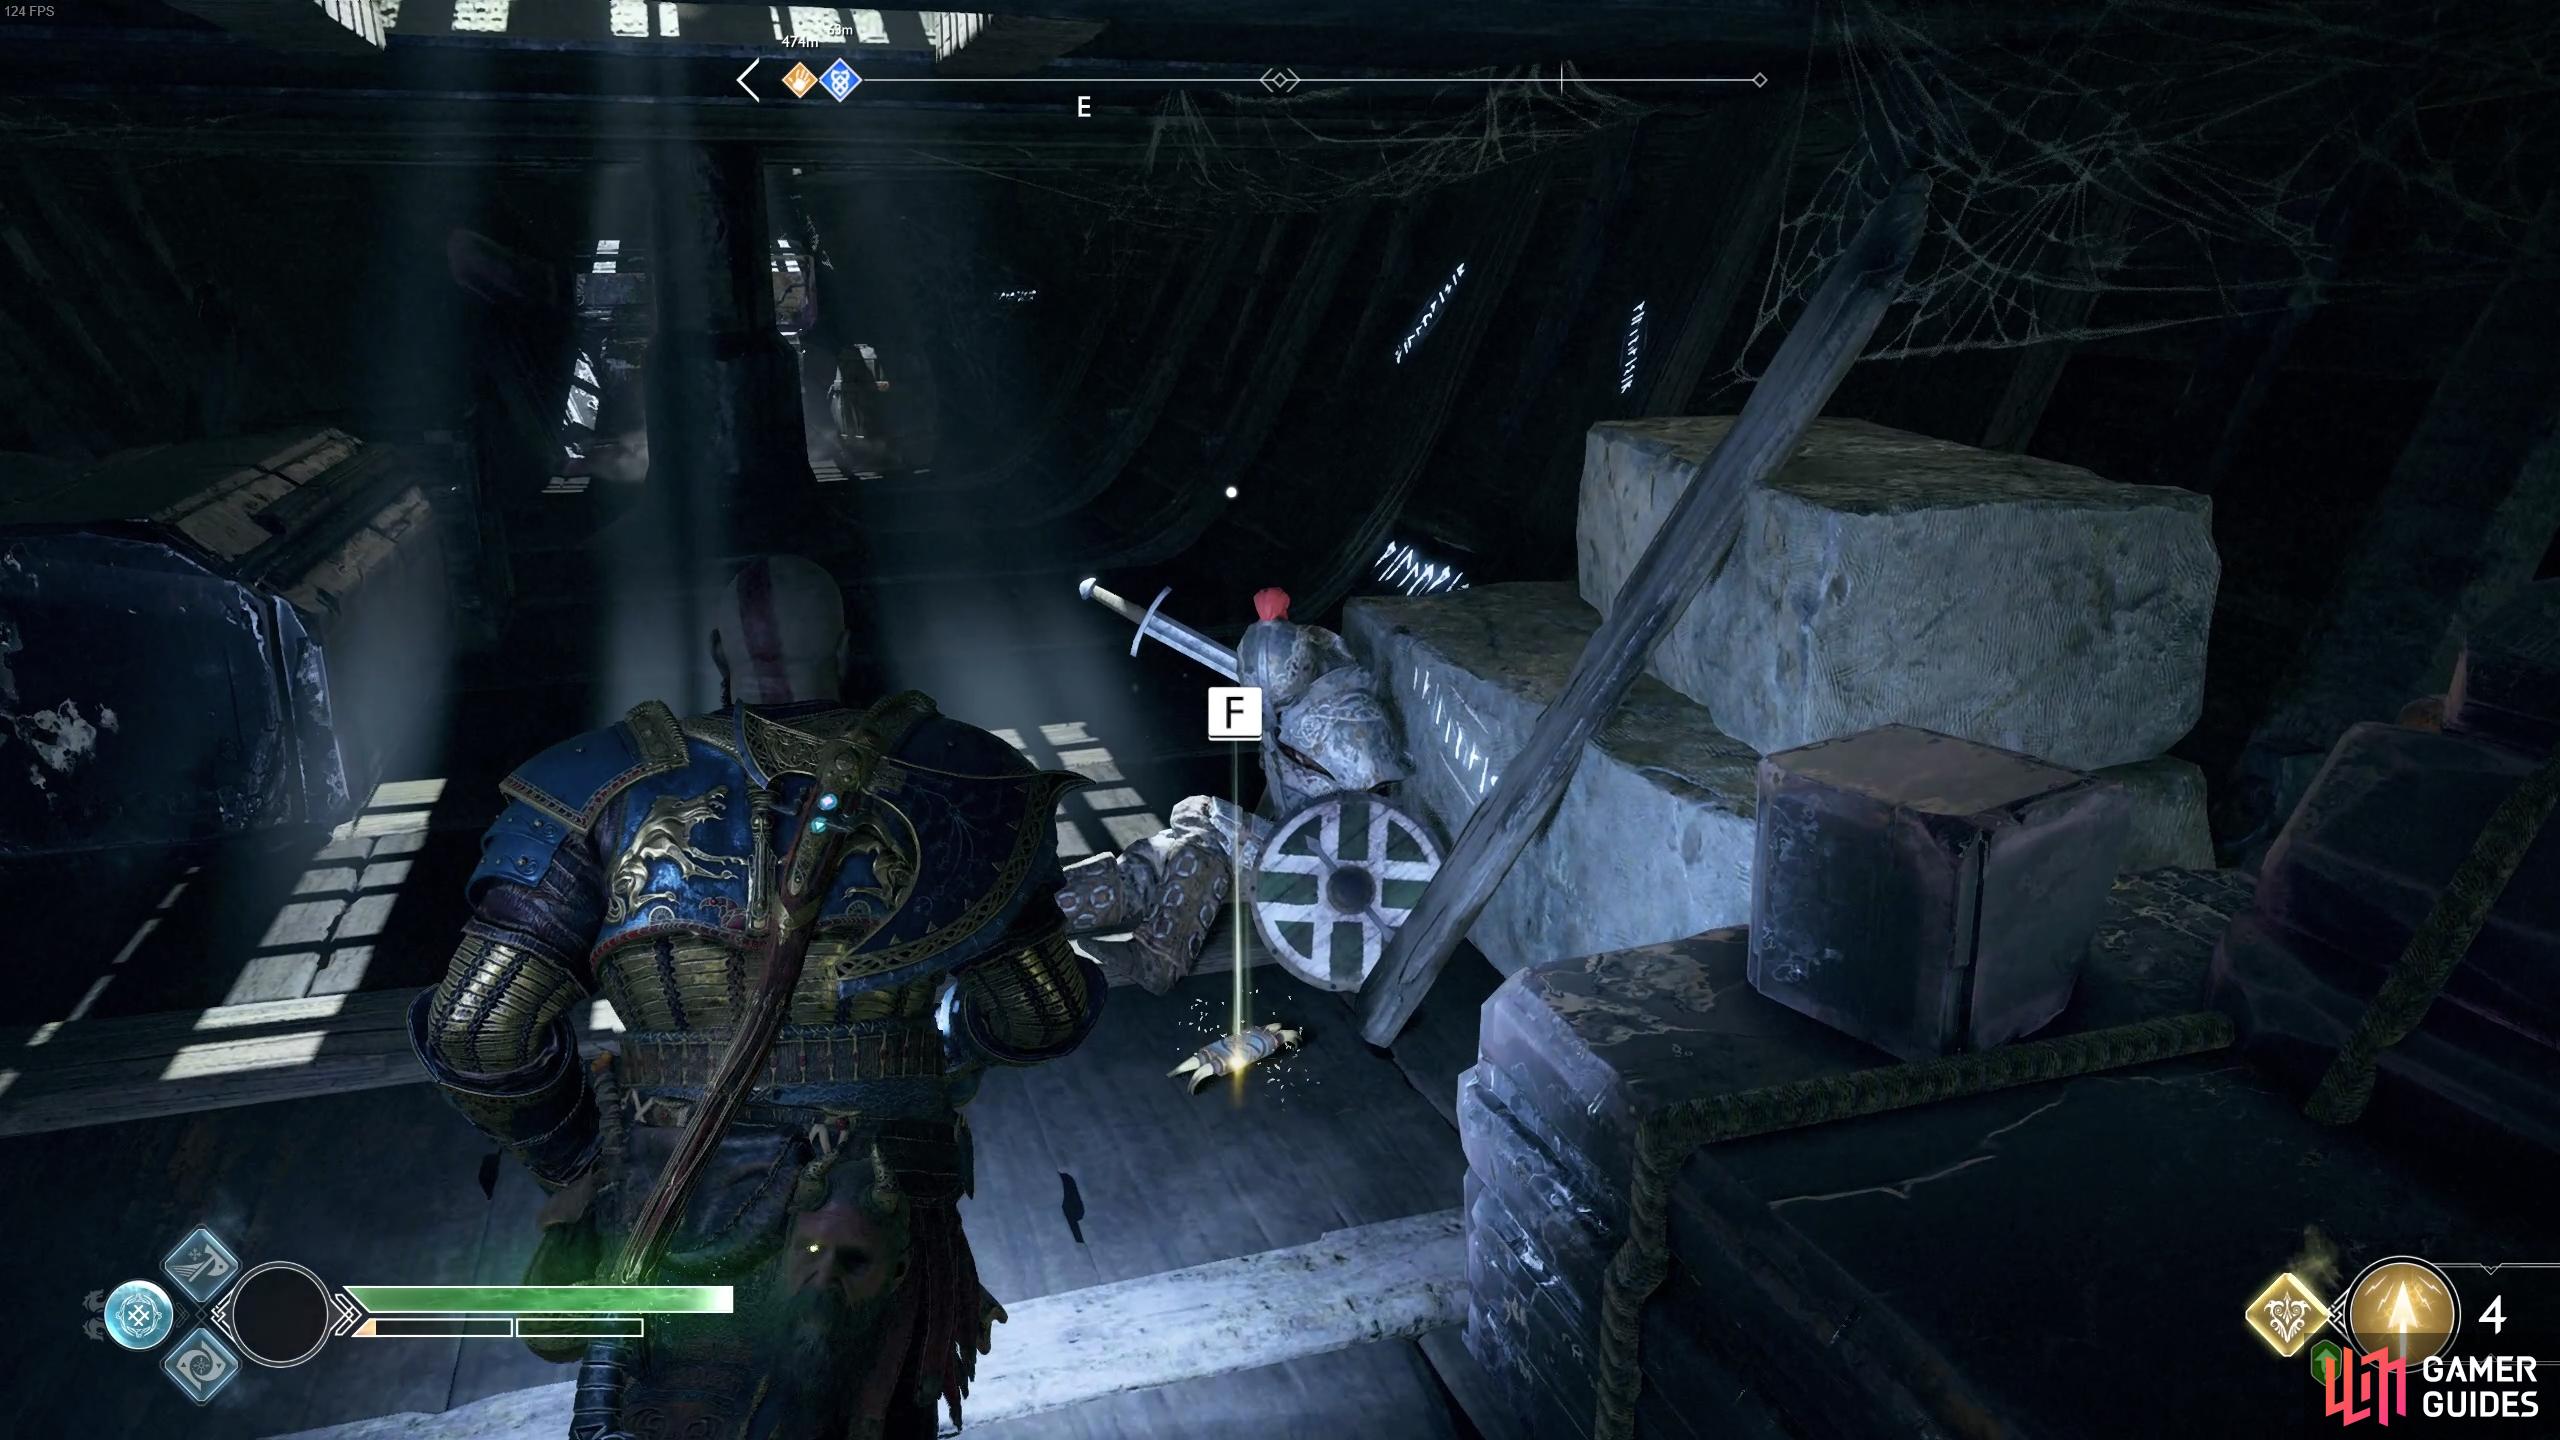
This Treasure Map is one of them.
Leave the ship and head back down the path, checking the east wall here for a small tunnel you can crawl under. Strike the Scorn Pole within and pick up the sack of Hacksilver along with a coffin to open. Return again and leap over the gap, picking up the sack of Hacksilver before opening the gate. A Lore Scroll is sitting on the ground, detailing the regret of the son and beginning the Time Heals All Favor, part of the Wayward Spirits quest line. Opening the next gate will lead you back to where you docked the boat earlier, it seems you need to find another way out.
Find a different exit
Take the boat through to the south where you destroyed the Shatter Crystal earlier and ignore the first dock as you row further in and dock the boat at the next stop. Climb the ledge to your left and leap over the gap, following the path to a sack of Hacksilver and a coffin behind some boards. Look up at the gate to the northwest here to find the second Raven before you make your way back to where you docked the boat. Raise the gate for a large sack of Hacksilver and then raise the large gate with the nearby chain.
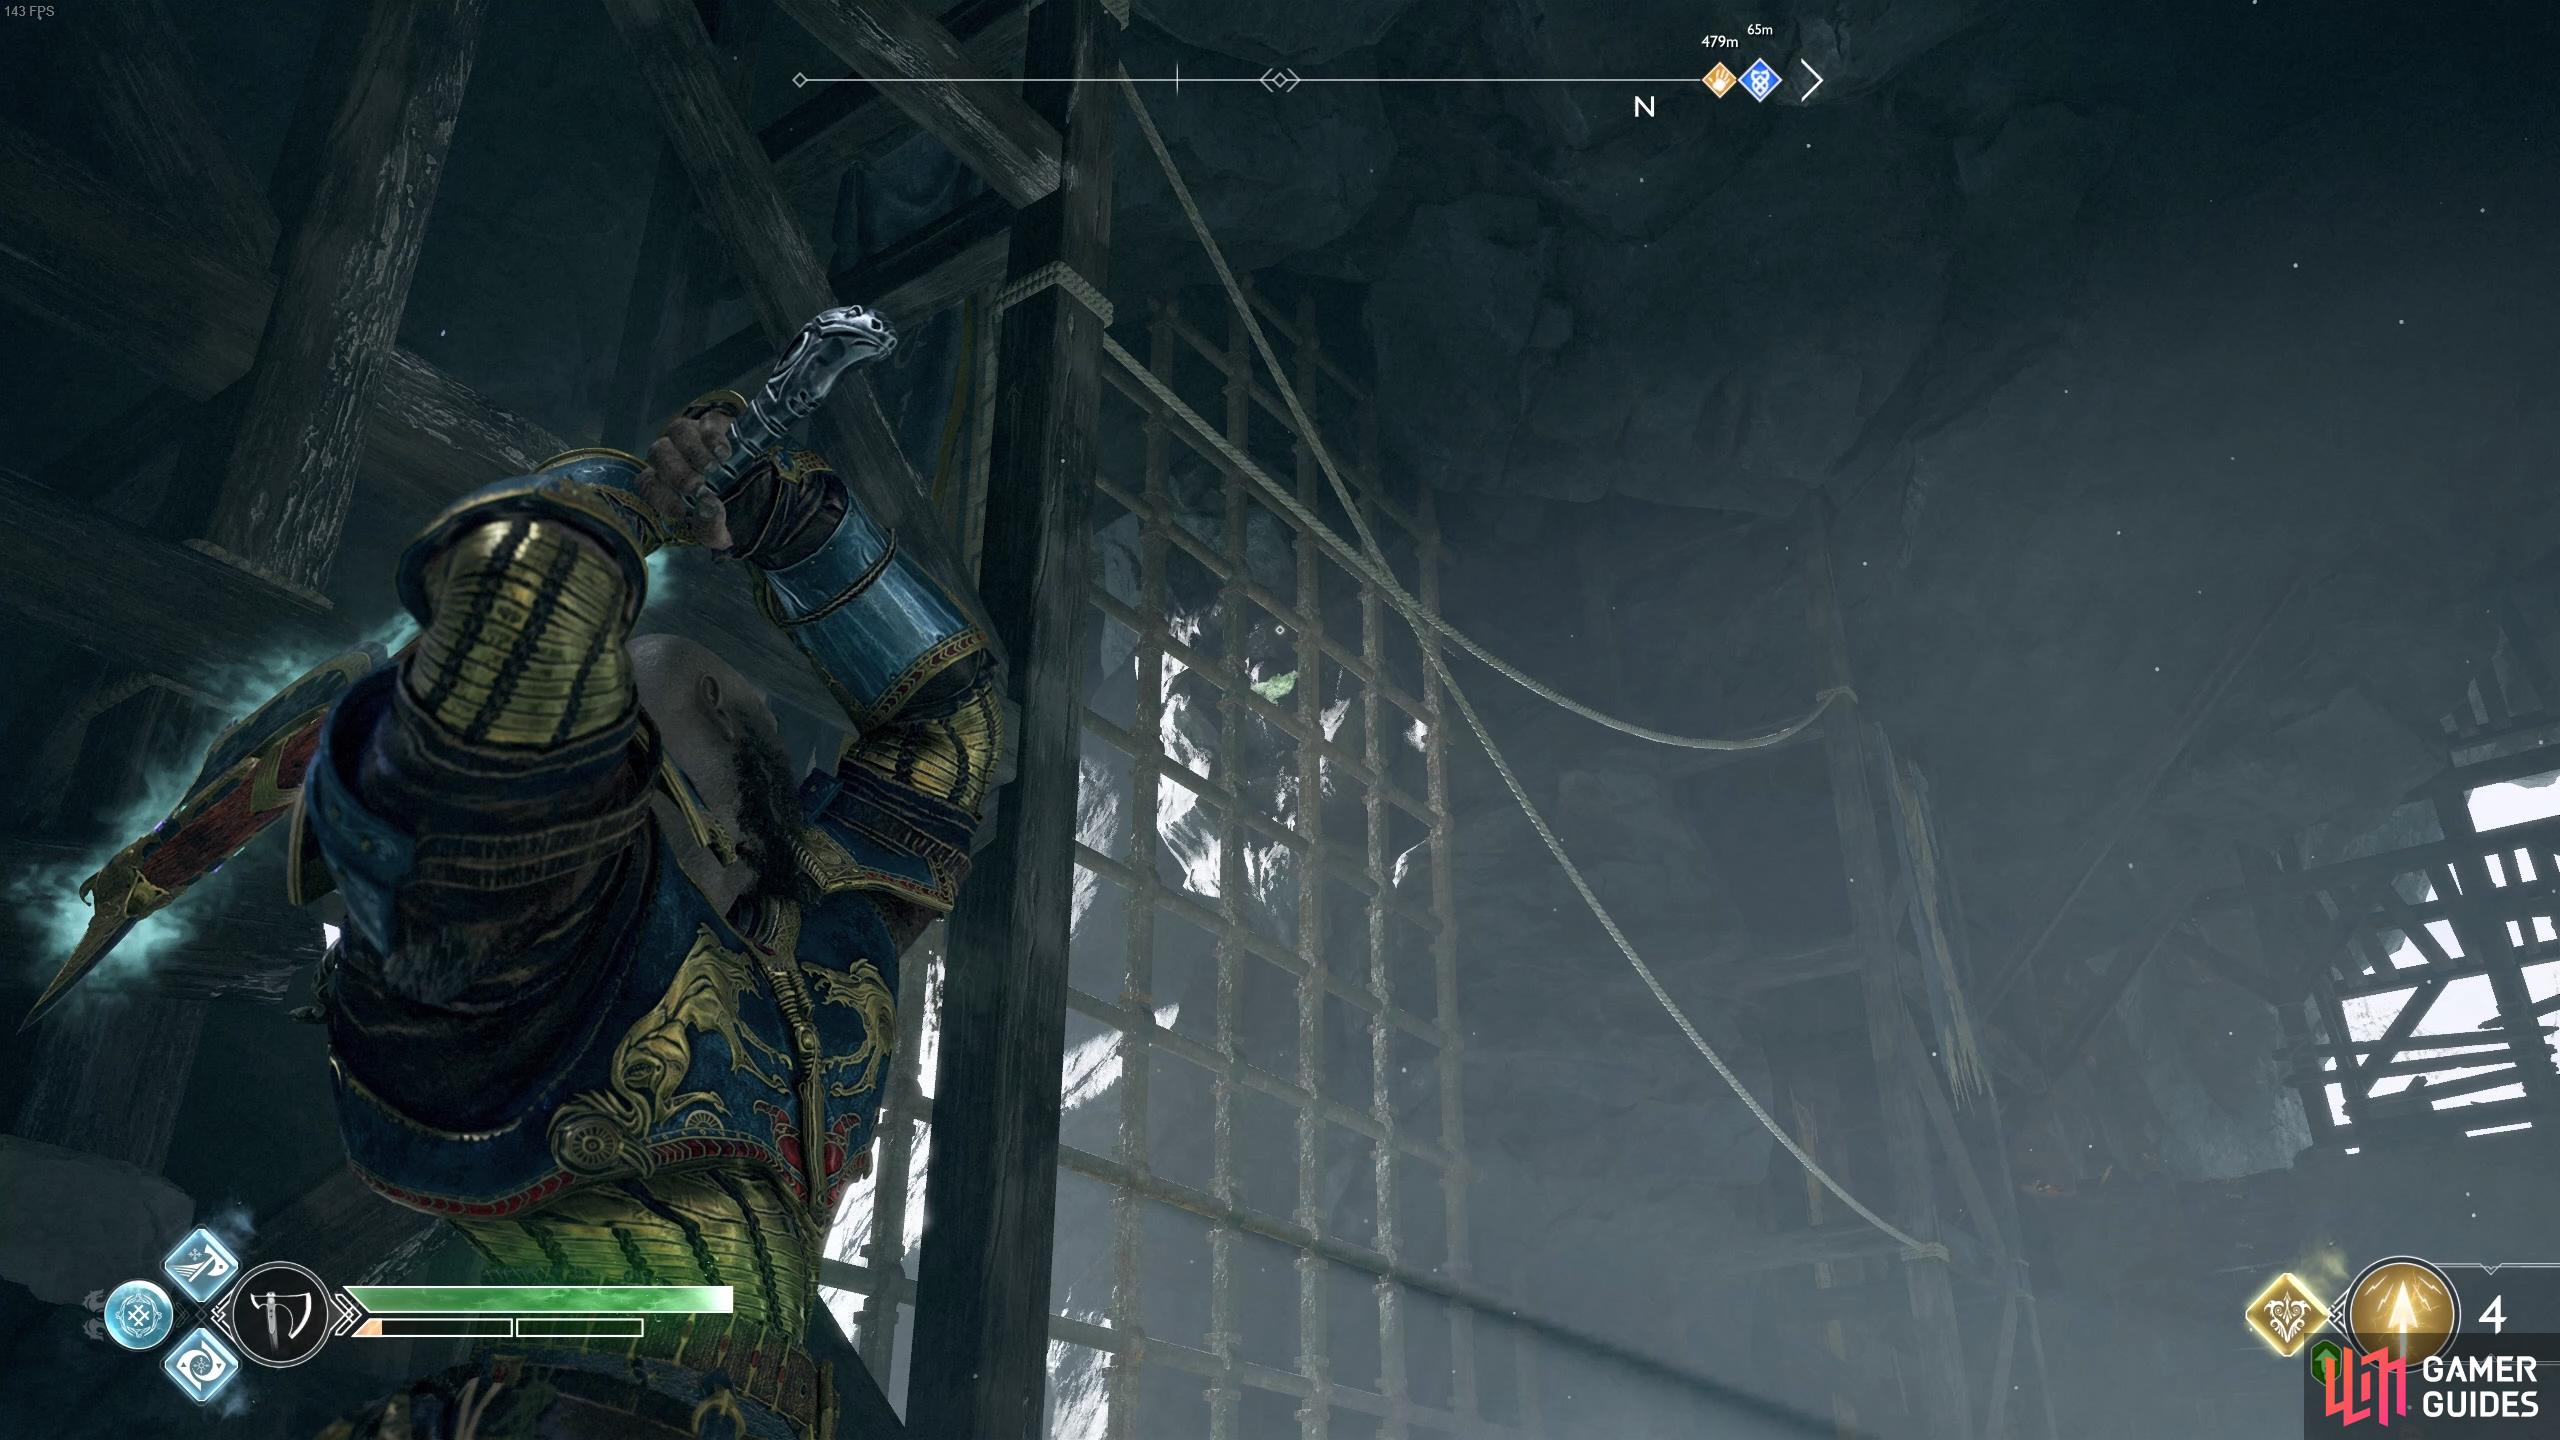
Search the gate opposite the Reaver Ship to find the last Raven here.
Back on the boat, row through this new passage and you’ll come full circle, back at Sindri’s Shop. Deliver the Whetstone to him and you’ll receive the Hræzla Farmaðr’s Grip along with the XP for completing the Favor. This concludes the Favor and your business with Sindri for the time being.
Board the boat once more and exit the Northri Stronghold. Seeing as you’re still close to Fáfnir’s Storeroom, head back there and return to the room at the end where you found the Spirit. Tell him what became of his son to put his mind at ease and complete the favor, rewarding you with the excellent Týr’s Shard Epic Enchantment that you should socket immediately. If you’ve been following this walkthrough, that should also be the last Favor you need to complete for the Wayward Spirits questline, thereby unlocking the Unfinished Business achievement.
Leave the Storeroom now and head back to the Lake of Nine. Row the boat to the south and into Landsuther Canyon found to the west of Muspelheim Tower. Follow this tunnel all the way to the end and dock the boat at the beach here.
Deus Ex Malachite
Follow the linear path through the tight paths and eventually you’ll stumble upon Brok who’s set up shop at the entrance to the mines. Speak to him to receive a ring with Andvari’s soul inside, thankfully Atreus can hear the Andvari’s voice from within. Brok hands you the Landsuther Entry Stone and sends you on your way.
Deus Ex Malachite, God of War.
Be sure you have a Resurrection Stone from Brok and then face away from the shop and look into the air to spot a Raven perched there. Head to the gate now and insert the keystone to gain access to the mines. As you proceed and crawl through a tunnel, you’ll come to a large opening with a group of Tatzelwurms. Make use of area of effect Runic Attacks and Summons to defeat them.
Turn away from Brok’s Shop and look into the air to find this Raven.
Stand on the block you dropped to find the Shatter Crystal.
Climb the small platform to the east and use the switch to drop a large block on the ground. Climb the rock to spot a Shatter Crystal on the other suspended rock in front of you and shoot it to drop it down, creating an opening for you below. A group of Dark Elves fly out from below as you drop down to the ground, the Murder of Crows Summon works wonders here as does Shock Arrows in general.
With the enemies defeated, begin climbing down to the area below. As you climb down a few struts, climb to the side and get off. There’s a coffin you can open over the other side, do so and resume climbing to the bottom. As you drop into the cavern below, two Nightmares will spawn, take them out easily with arrows.
Turn to the left of where you dropped down to find some knots you can line up, flinging the axe through them to destroy them. Defeat another Nightmare as you head through this passage and open the coffin at the end. Retrace your steps and head into the water to find a sack of Hacksilver along with a Hacksilver chest. Before climbing up the ladder in front of you, take the lift to the side and ride it to the top where you can find a Treasure Map and a coffin along with a gate you can raise.
Destroy the knots behind you to reach a coffin.
Another Treasure Map awaits you at the top of the lift.
Take the lift back down to the previous area and climb the ladder. Pick up the Rage stone, a sack of Hacksilver and turn to the right to spot some boards you can break, another Hacksilver chest hides inside. Destroy the knots in front of you and squeeze through the gap to come across a Soul Eater and a Traveller lurking ahead.
By now you should be getting used to fighting Travellers however make sure you take care of the Nightmares and Tatzelwurm that spawns during the battle. If you have the Talisman of Unbound Potential equipped then you can even begin the battle with four Runic Attacks at the start, all but defeating him in one go. Back up and hit him with Shock Arrows as you wait for the opportunity to finish him off. Pick up the spoils on the ground and climb the ledge near the deceased Soul Eater.
Search the area under the walkway to find some knots you can destroy leading to a coffin.
Use Runic Attacks to increase the stun gauge on the Traveller, allowing you to rip off some of its armor.
Leap across the gap and break open the boards ahead for a Hacksilver chest before dropping down to the ground below. Head back south and under the platform you just passed to find a sack of Hacksilver and then throw the axe through the knots to destroy them. Climb the ledges and leap the gap to find a coffin at the end to receive the Shard of the Elements Legendary Enchantment which will boost your resistance to all status effects.
Head back across the gap and climb the ledge to the west to continue your expedition through the mines. As you step into the open area in front of you, a trio of Dark Elves will land in front of you. Thankfully they line themselves up, perfect for an Ivaldi’s Anvil or other like minded Runic Attack. Once defeated, stand close to the water’s edge and look up to the northeast to spot the second Raven on the rocks.
You’ll need to throw the axe higher to bring it down on the Raven from this position.
Head to the ladder in front of you and climb it to reach a walkway to the right. Leap the gap to your left and climb up the ladder in the corner to reach a Hacksilver chest, open it and take the zipline back down. Follow this path through the wooden boards and operate the switch at the end, this will raise the platform obstructing the ladder. Take the zipline back down to the bottom and climb this ladder to the top.
You’ve getting closer to your target however a Dark Elf Lord drops down to prevent you from claiming it. Like all Dark Elf Lords, don’t be too aggressive and instead focus on dodging the mines he drops and wait for the opportunity to strike him after dodging his attacks. Once the other Dark Elfs enter the fray, ignore the Lord and take them out first, keeping an eye on your surroundings for any mines.
Use Shock Arrows to pin the Elf Lord as you attack in melee.
Once the enemies are defeated, pick up the spoils including the Aegir’s Protection Epic Talisman from the Dark Elf Lord. This is a handy defensive Talisman which creates a small zone where you can stand in to reduce enemy damage and recover health at higher levels. This Talisman is more helpful on the harder difficulties where you have to be more tactical with your approach to combat.
Boost Atreus up the wall in front of you to have him go around the other side and open the gate for you. Proceed forward and to the right you’ll finally find the Legendary Chest you were looking for, open it to obtain Andvari’s Hammer. Before you leave, look in the south corner to find a Lore Marker giving you more information on the Soul Eaters origins. Follow the mine cart tracks to the north and give the cart a shove to have it tumble through the rocks. Defeat the Tatzelwurm and kick the chain down to return to the first open area.
Head back to Brok’s Shop and give him the hammer to complete the Favor and obtain Andvari’s Soul, a very useful Epic Enchantment that has a very high chance to grant a health burst on any axe kill so be sure to socket it right away.
Access the shop and if you’ve been following this walkthrough, you should have enough materials to craft the entire Traveller’s armor set, thereby unlocking the Path of the Zealot achievement.
If you’re still wearing the upgraded Týr’s armor set then you’ll need to wait until you get more materials to upgrade the Traveller set before equipping it or you’ll risk out on losing Enchantment slots.
You’re done with the Favors for this moment in time but there’s still two more Treasure Maps you can decipher before continuing your search for the Magic Chisel. Begin by heading to the Muspelheim Tower and ride the elevator to the top. Open the doors at the top, climb down the ledge and leap the gap, to the right of the Jötnar Shrine is the dig location for the Kneel Before Thor! Treasure Map containing Unstable Ore, the Eye of Rage Legendary Enchantment, 3 Hardened Svartalfheim Steel and 20,000 Hacksilver.
Search to the right of the Shrine to find the dig spot for Kneel Before Thor!
Search on the ground near the left Oarsman to find the dig spot for Njörd’s Oarsmen.
Retrace your steps back to the tower and down to the boat at the dock. Make your way to the Mason’s Channel and dock the boat at the beach to the left of the Oarsmen. Climb the ledge in front of you and shimmy across the gap before climbing the next ledge. Take a right here and follow the path to the end to find the dig spot for the Njörd’s Oarsmen Treasure Map. You’ll obtain a Glacial Catalyst, the Stone of Frost Supremacy Legendary Enchantment, 10 World Serpent Scales and another 20,000 Hacksilver.
Drop back down to the bottom and use the shop Sindri has set up here to upgrade the Talon Bow to rank V. Also take this time to upgrade two pieces of the Týr’s armor set giving you another two sockets to play with and taking Kratos up to Level 5. Access the skills screen and you’ll have access to the last two skills for Atreus, be sure to buy both upgrades right now because they’re very useful.
With all this in mind, it’s time to continue the search for the Magic Chisel. Return to the boat and sail down the Channel and through the gate you opened earlier.
No Comments