


Behind the Lock, God of War.
Return to the boat
Kratos has obtained the Magic Chisel and can now unlock all of the Hidden Chambers you’ve been coming across however the most important task at hand is to find a way out of the ravine.
Head to the west side of the area to find another door with a mirror placed upon it. Interact with it and you’ll need to use the Chisel to crack it open, move the Chisel with the Left Stick and then press the  or
or  button to strike when the controller begins to vibrate. Doing this twice will break open the seal and unlock the door, which Kratos promptly enters.
Walk forward to find a Nornir gate along with a cliff you can climb to the right. Turn away from the gate and look up at the wall from where you came to find the first Rune. Next, stand to the right of the gate and look up in the air to find a Shatter Crystal you can shoot, do so and shoot it again when it lands next to the coffin to remove the sap and open it. Climb the struts to your right now and drop onto the platform to the left.
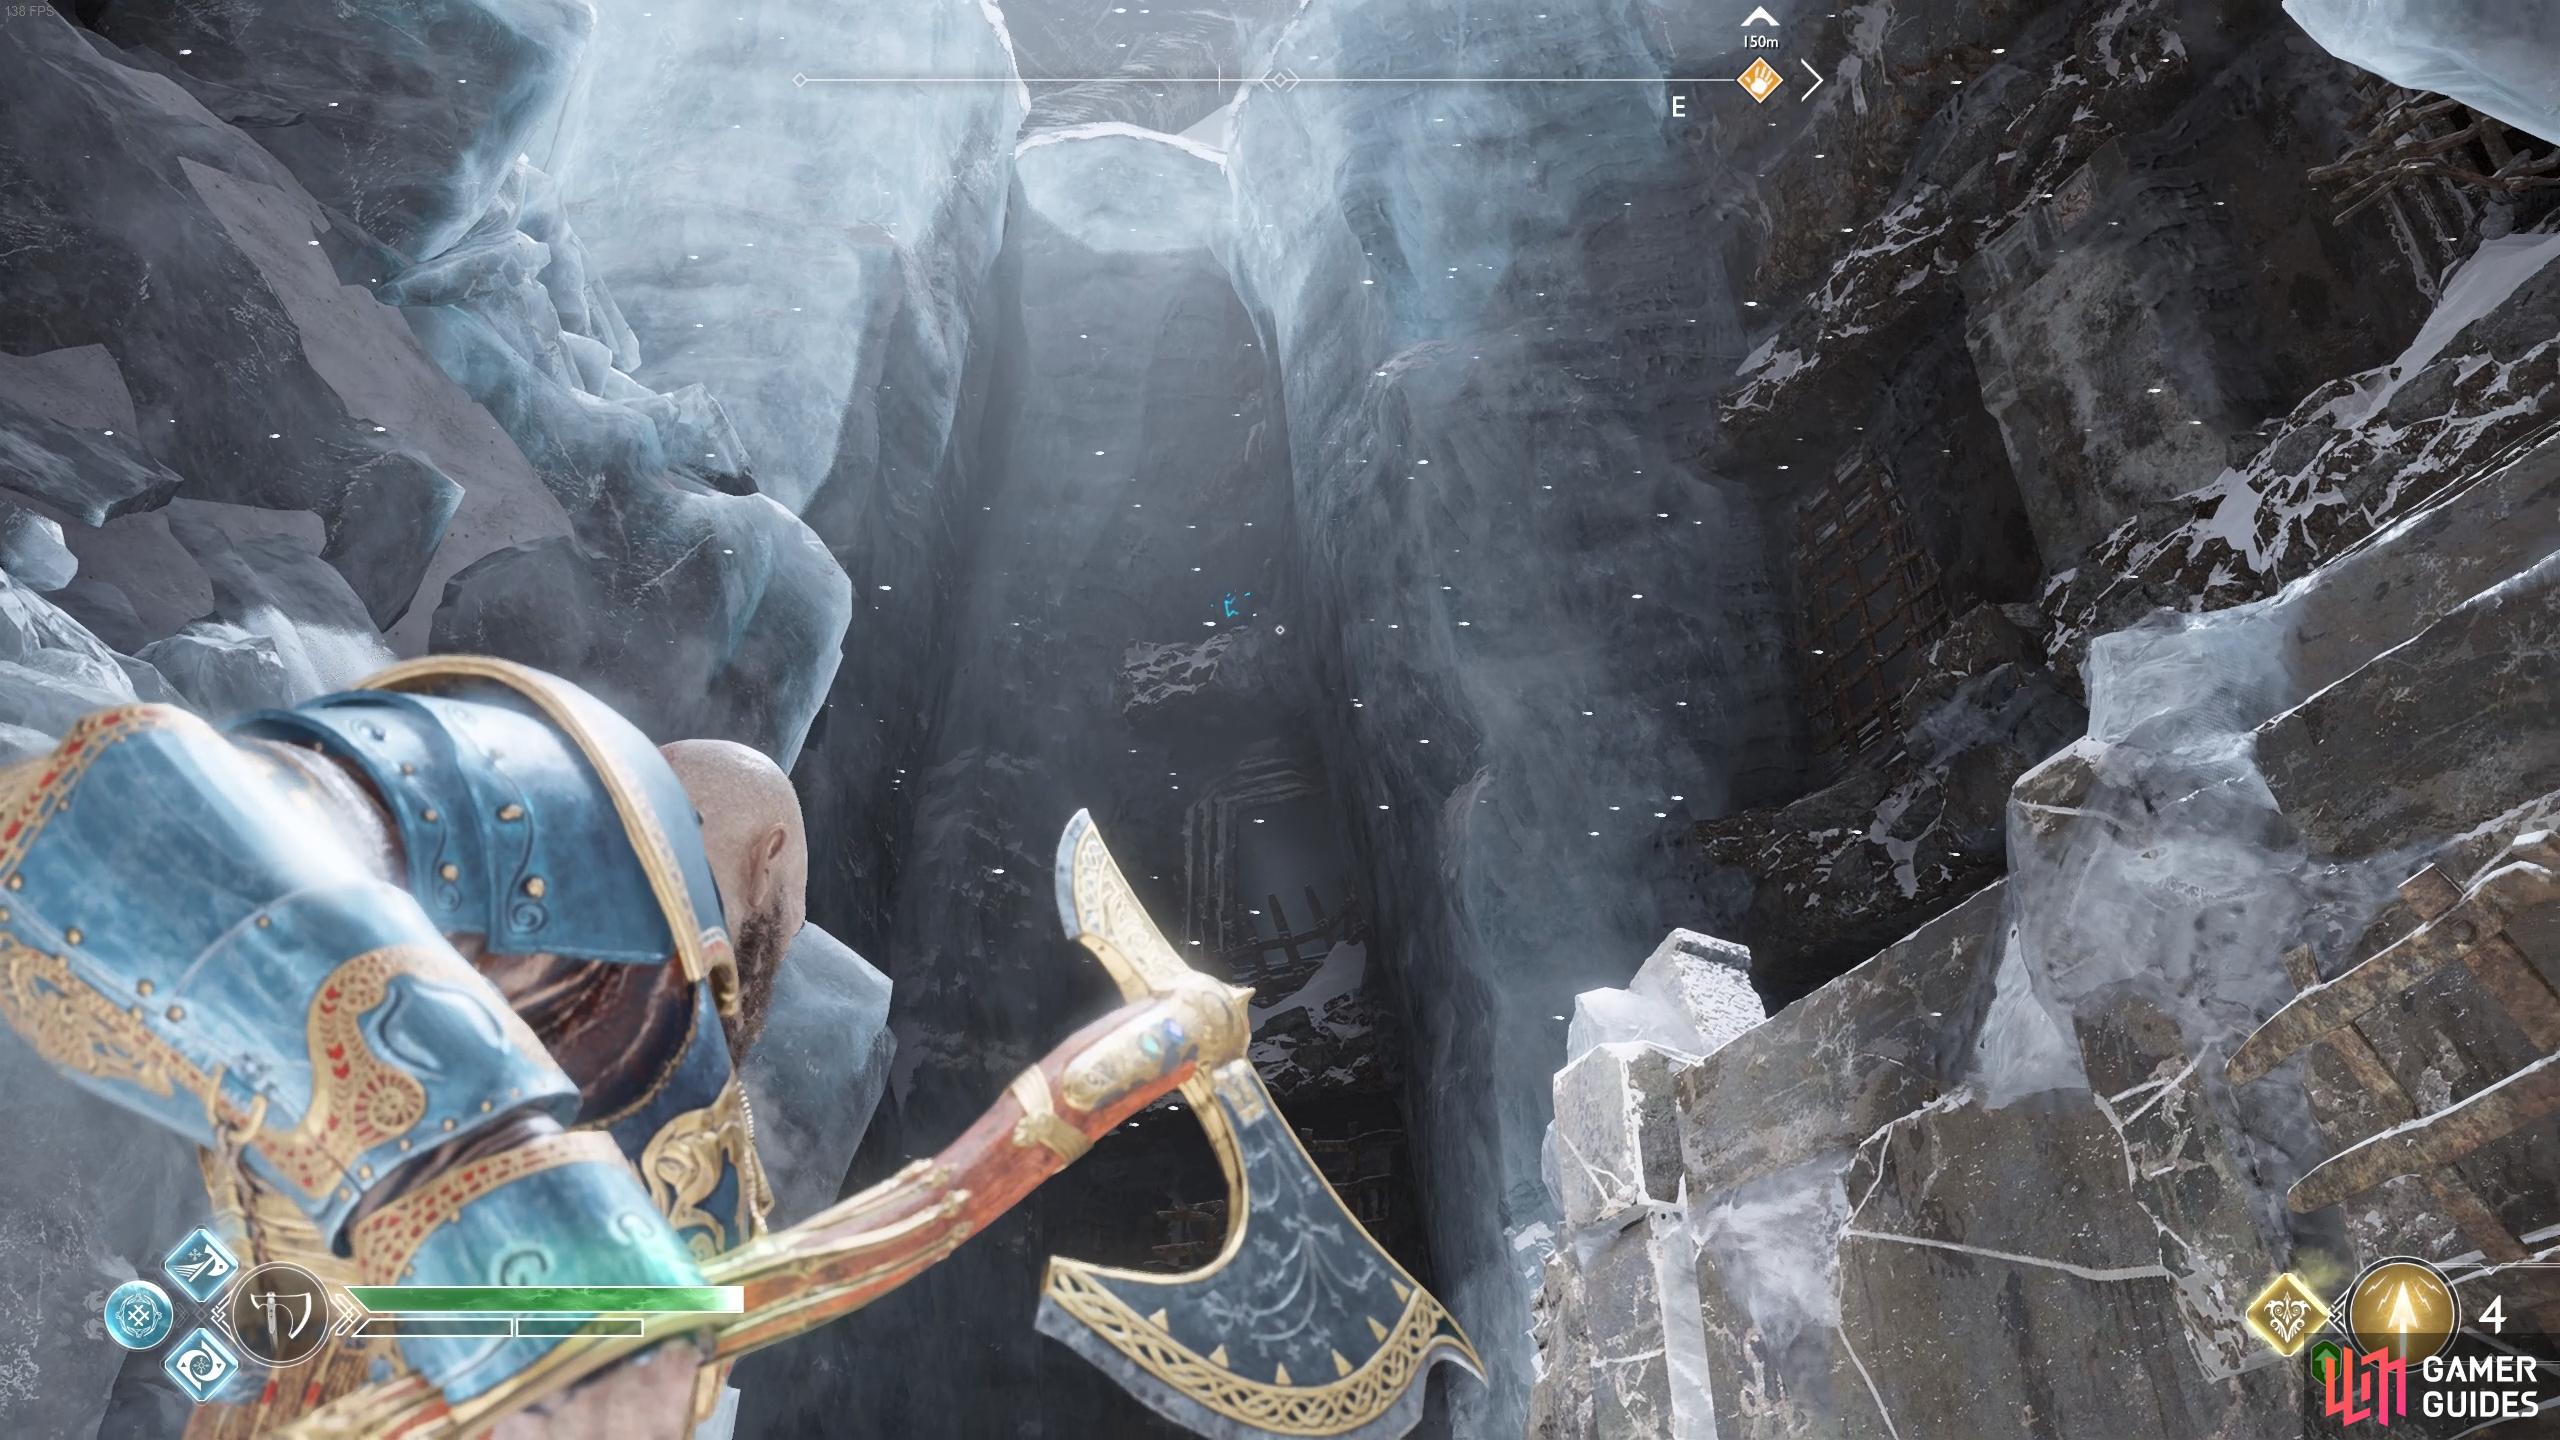
There’s a small sack of Hacksilver here, pick it up and then face the north wall to find the next Rune amongst the debris. Drop down in the corner to another platform and then walk to the north edge and turn left to face the same wall as before. The final Rune is hiding on top of the blocks of ice, drop down and pick up a Glacial Catalyst and open a Hacksilver chest. Return back to the top and kick the chain down to reach Sindri’s Shop once more.
Talk to Sindri and use the Frozen Flame you just received from the battle against the brothers to upgrade the Leviathan Axe to Level V, unlocking the final skills in the process. You should also be able to upgrade the Grip of Tanngiost to it’s final level with the Leiptr Alloy you got from Magni. Exit the shop and access the Skills page to unlock the new skills available, all are excellent additions and if you’ve been following this walkthrough then you should have more than enough XP (indeed you should have enough XP to unlock every skill at this point).
Drop down into the Dining Hall and head over to another door to use your new Chisel on. Follow the linear path and check the east wall when you can to find a world tree stump. Take a Shatter Crystal and run back the way you came and look to the right when you come across the pillar to step over again to find a coffin. Throw the Shatter Crystal and destroy the sap to open the coffin before returning and grabbing another Shatter Crystal.

Throw a Shatter Crystal up above to dislodge the Light Crystal.

Place this in the pedestal and light it up to materialize a Realm Tear.
Look above the corridor where the stump was to find more sap overhead, launch the Shatter Crystal and shoot it to drop a Light Crystal to the ground. Pick it up and take it back north and then to the right to a pedestal, shooting it after to materialize a Realm Tear containing Dust of Realms and 500 Hacksilver. Return to following the path and open the doors at the end to arrive at a dock.
Take a right and follow the path around the back to find a ledge you can use to boost Atreus. Head to the other side now to find a wheel, look up before using it and strike the runic disc holding the trolley in place. Wait for Atreus to climb onto the trolley and begin spinning the wheel to bring him to the other side. Toss the axe at the runic disc on the top of the trolley and then have Atreus drop down the chain for you to climb up. Leap to the trolley and recall the axe to have the trolley carry you back to the other side.

Spin the wheel to bring Atreus over to the other side and lock it in place by hitting the runic disc.
Open the Hacksilver chest against the east wall and then leap over the gap and take a right to kick down a shortcut chain. Follow the path under the thumb to find another magical seal to use the Chisel on. You find yourself back under the palm of the giant, climb the nearby chain to reach the dock. This next step is optional but recommended, a tough battle will await you but if you’re at least Level 5 then you should be able to complete it. On the northwest wall is another Chisel door, this one however is one of the Hidden Chambers so it is completely optional.
Hidden Chamber of Odin
As soon as you enter the area, look to the left to find the next Jötnar Shrine and then continue down the path to the elevator. At the bottom you’ll find a Hacksilver chest, a Mystic Gateway and a coffin at the top of the stairs. Head back down the stairs and leap the gap, opening another Hacksilver chest before you reach the arena in front of you.

The next Shrine is to your left as you enter the chamber.
Before you begin the battle, make sure you have Charge of the White Bear equipped, this will let you attack through unblockable attacks and not take any damage during it’s animation. Also equip the fully upgraded Blessings of the Frost, this will make these battles a lot easier. Finally, don’t attempt these battles without the aid of a Resurrection Stone, you’ll most likely need it. When you’re ready, take a step toward the ominous figure in front of you and strike it with an attack to begin the battle.
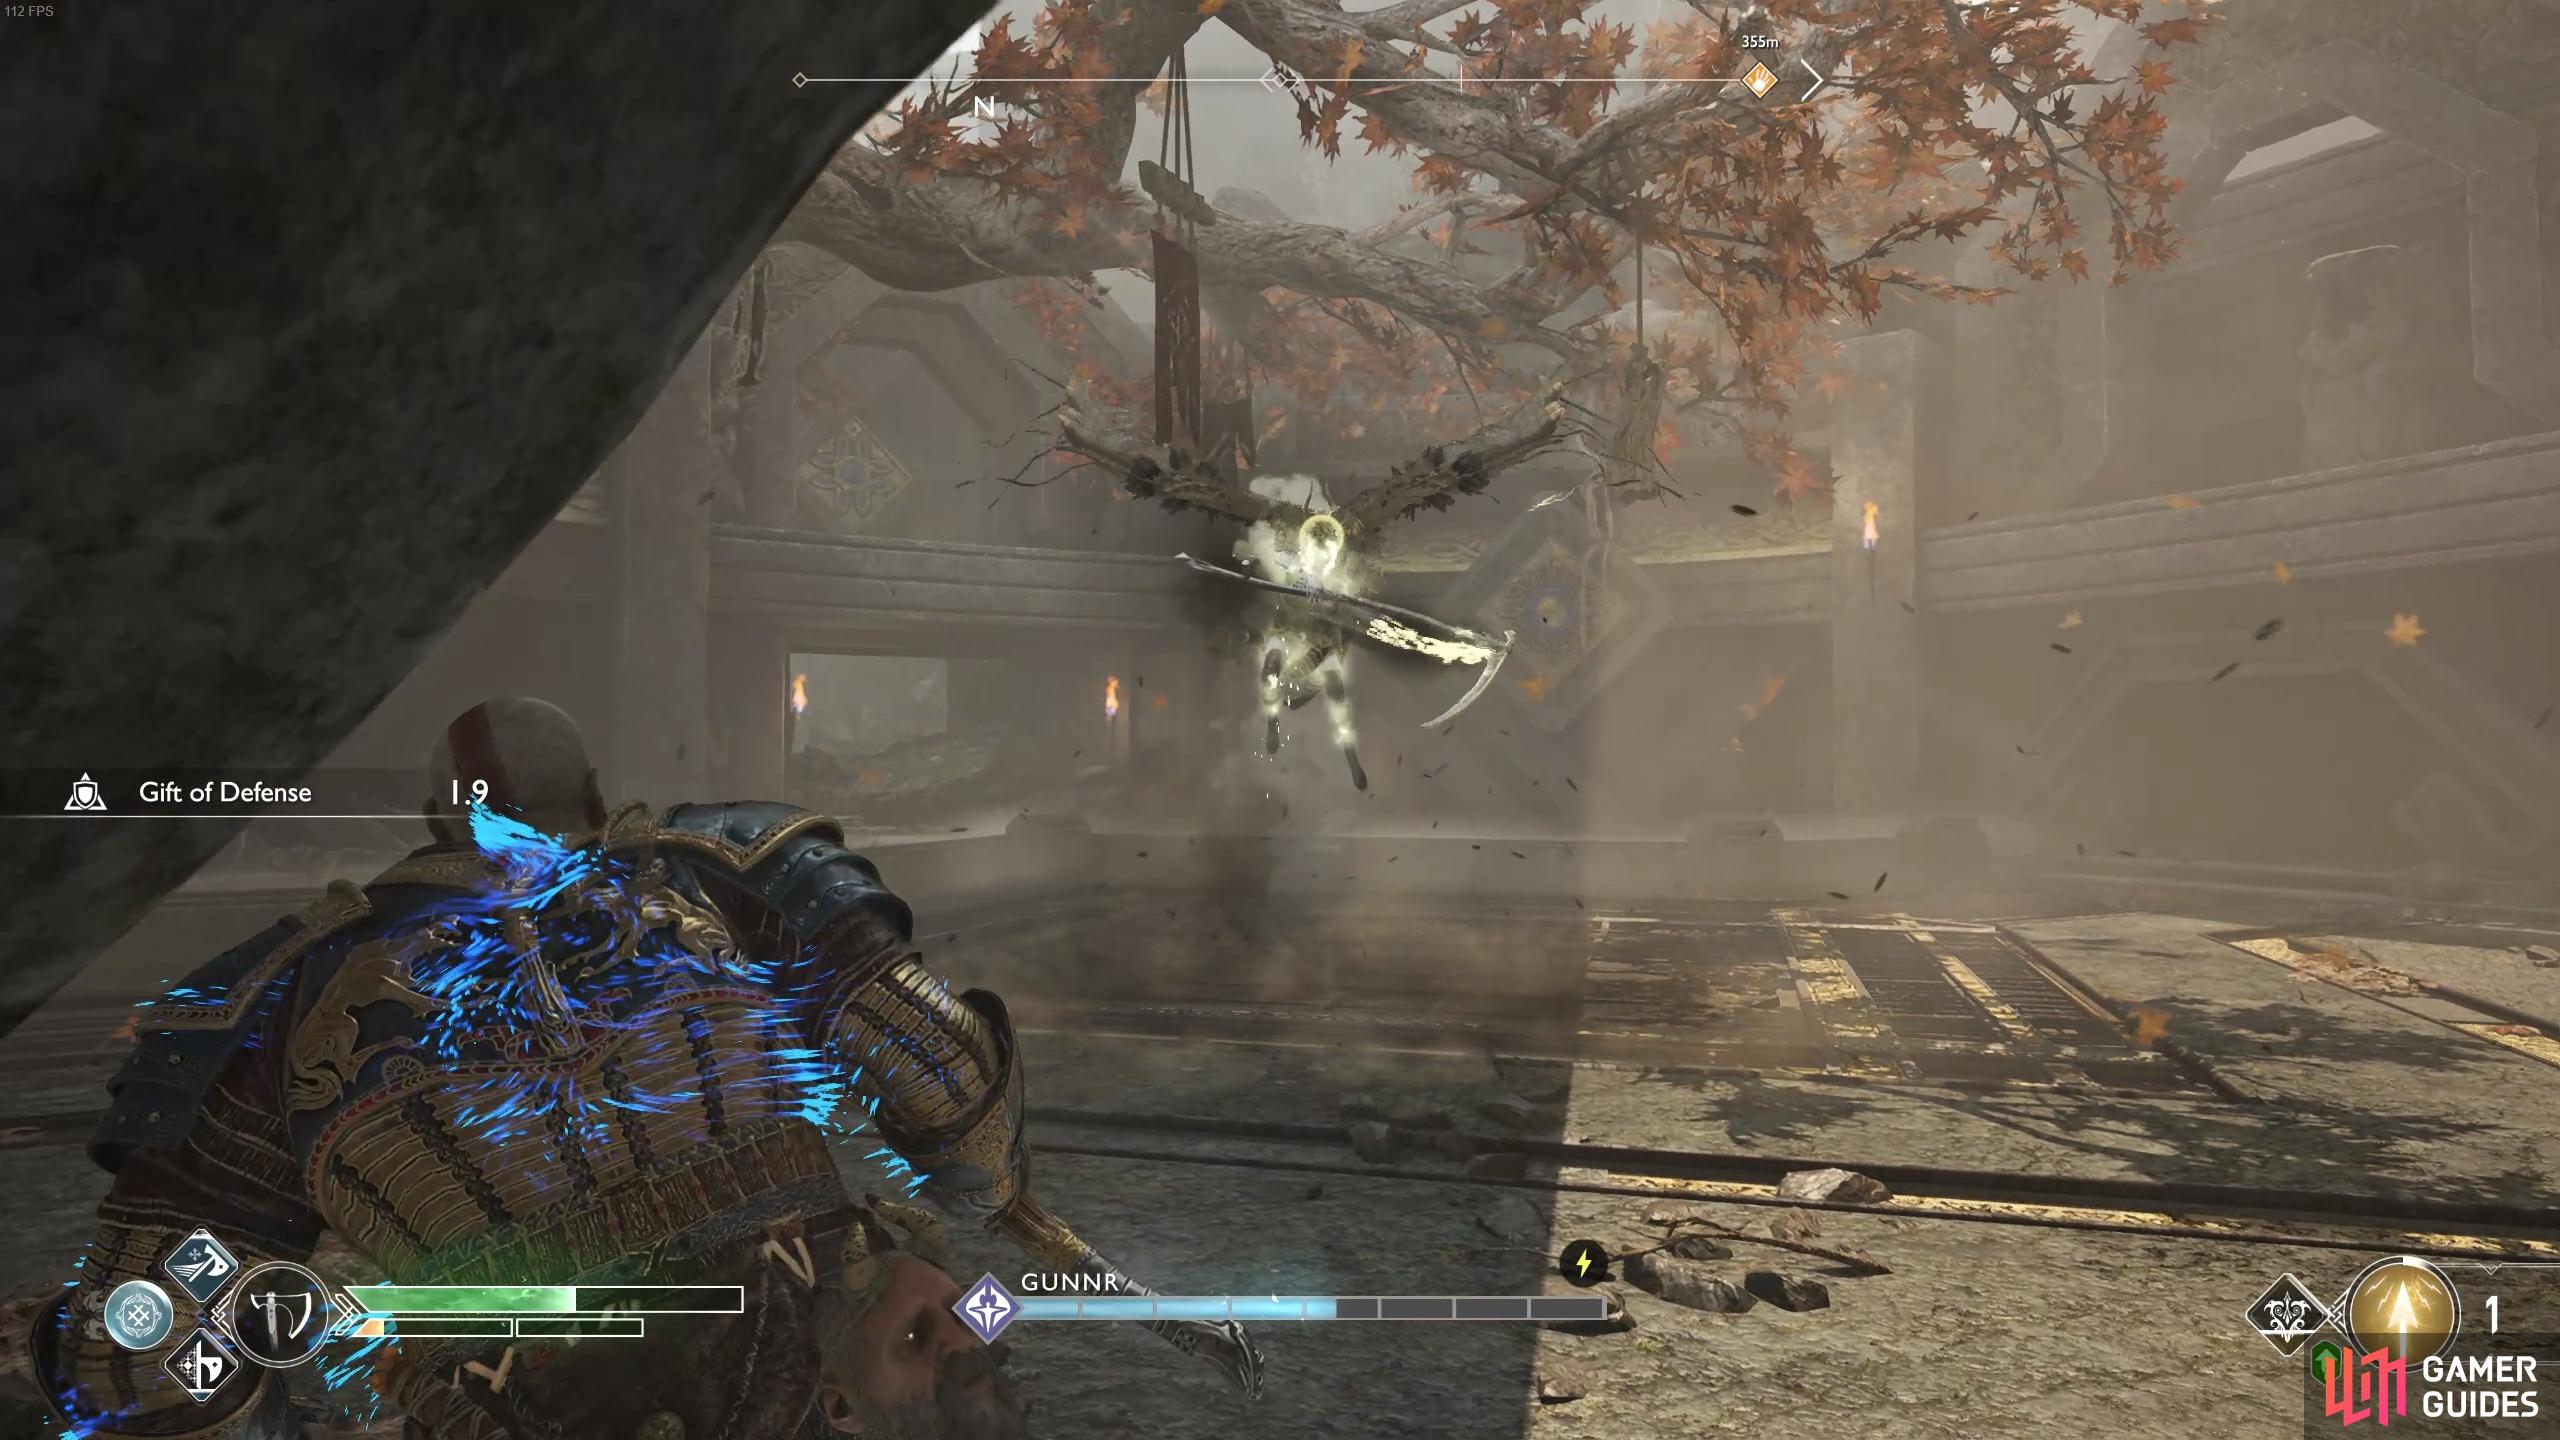
Defeat Gunnr
Gunnr is the first Valkyrie that you’ll fight, these are some of the toughest optional battles in the game that require patience and skill to best. You’ll need to learn the attack patterns of the Valkyries and it may take many attempts to learn it so don’t be disheartened if you’re defeated, you’ll restart from just outside the room.
Gunnr is a good starting point for these battles, she only has three main attacks and serves as a good tutorial as for what is to come. Her first attack is a Wing Combo, she’ll spin her wings at you in a circular motion that you can parry or block but the final attack will be an unblockable punch so it’s generally a good idea to dodge this entire combo. When she begins the attack, perform a double dodge roll back to gain enough distance
She can also charge towards you from a great distance with a two hit Scythe Combo, this one is easy to block against so just keep your shield raised to block the attack. Finally, when she rises above the ground, be prepared to dodge roll to the side as she will swoop in for a scythe attack that will break your guard. A dodge roll or sidestep will leave her completely open however and is your best opportunity for a damaging combo.
Your best method of attack is your Runic Attacks, this paired with the Talisman of Unbound Potential is a great asset. Begin by having Atreus cast a Shock charged Murder of Crows and continuously pelt her with arrows throughout the battle. When she begins a Wing combo, you can use your Charge of the White Bear to nullify the attack and stun her with the follow up attack, this leaves you a great opportunity to get some good attacks on her. Finally, use Blessings of the Frost on cooldown, this will add much needed damage and range to your attacks, bringing her health down quickly.
(1 of 3) Get your distance when you see her begin raising her wings, and be ready to dodge.
Always pay attention to your health, don’t get too greedy with your attacks and only use Spartan Rage when your health drops low in order to use it as a health regen tool. Once she takes enough damage, she will fall to the ground, quickly dash in and perform a Stun Grab to end the battle or risk her recovering some health.
With her wings ripped off, the spirit of the Valkyrie will depart from the body and warn you of the threat you face. Take the helmet from the body to obtain Gunnr’s Helmet along with a huge chunk of XP. This also begins the Legendary Favor, Prove Your Valor and is probably the game’s most difficult Favor. Although you possess the ability to enter the other Hidden Chambers and take on the other Valkyries, it’s best to leave this until you reach the climax of your journey and have more tools available. If you wish to learn more about them, head to the Valkyries section for boss strategies, this walkthrough will handle them towards the end of your journey.
With that said, claim the spoils from your victory to obtain Asgardian Steel x2, the Feathers of the Fallen Servant Legendary Enchantment and another random Enchantment. Before you leave this chamber, look on top of the tree in this room to find another Raven. Head back to the elevator and take it back up to the surface, boarding the boat once more and rowing back to the Lake of Nine.

Don’t forget the Raven on the tree before leaving the chamber.
Mimir will give you your next destination during the journey, there’s a vault you can access back at Týr’s Temple where the Black Runestone may be hidden. Atreus suggests to explore using the Magic Chisel but it’s best to leave that for now, these lead to more difficult encounters with the Valkyries and it’s best to leave that for now.
Go to Týr’s Vault
Return to Týr’s Temple and dock the boat at the east dock where you’ll find another Chisel door. Break open and head inside, there’s a Jötnar Shrine, however this one is missing the middle panel. Move over to the sand bowl and examine it, Atreus wants to teach his father how to use them as Modi gatecrashes the lesson. Atreus’ efforts to save his father go poorly, activate Spartan Rage yourself and knock some sense into Modi as he scampers off.
No Comments