
Traveling to Zeffo & Locating the Fourth Stim Canister
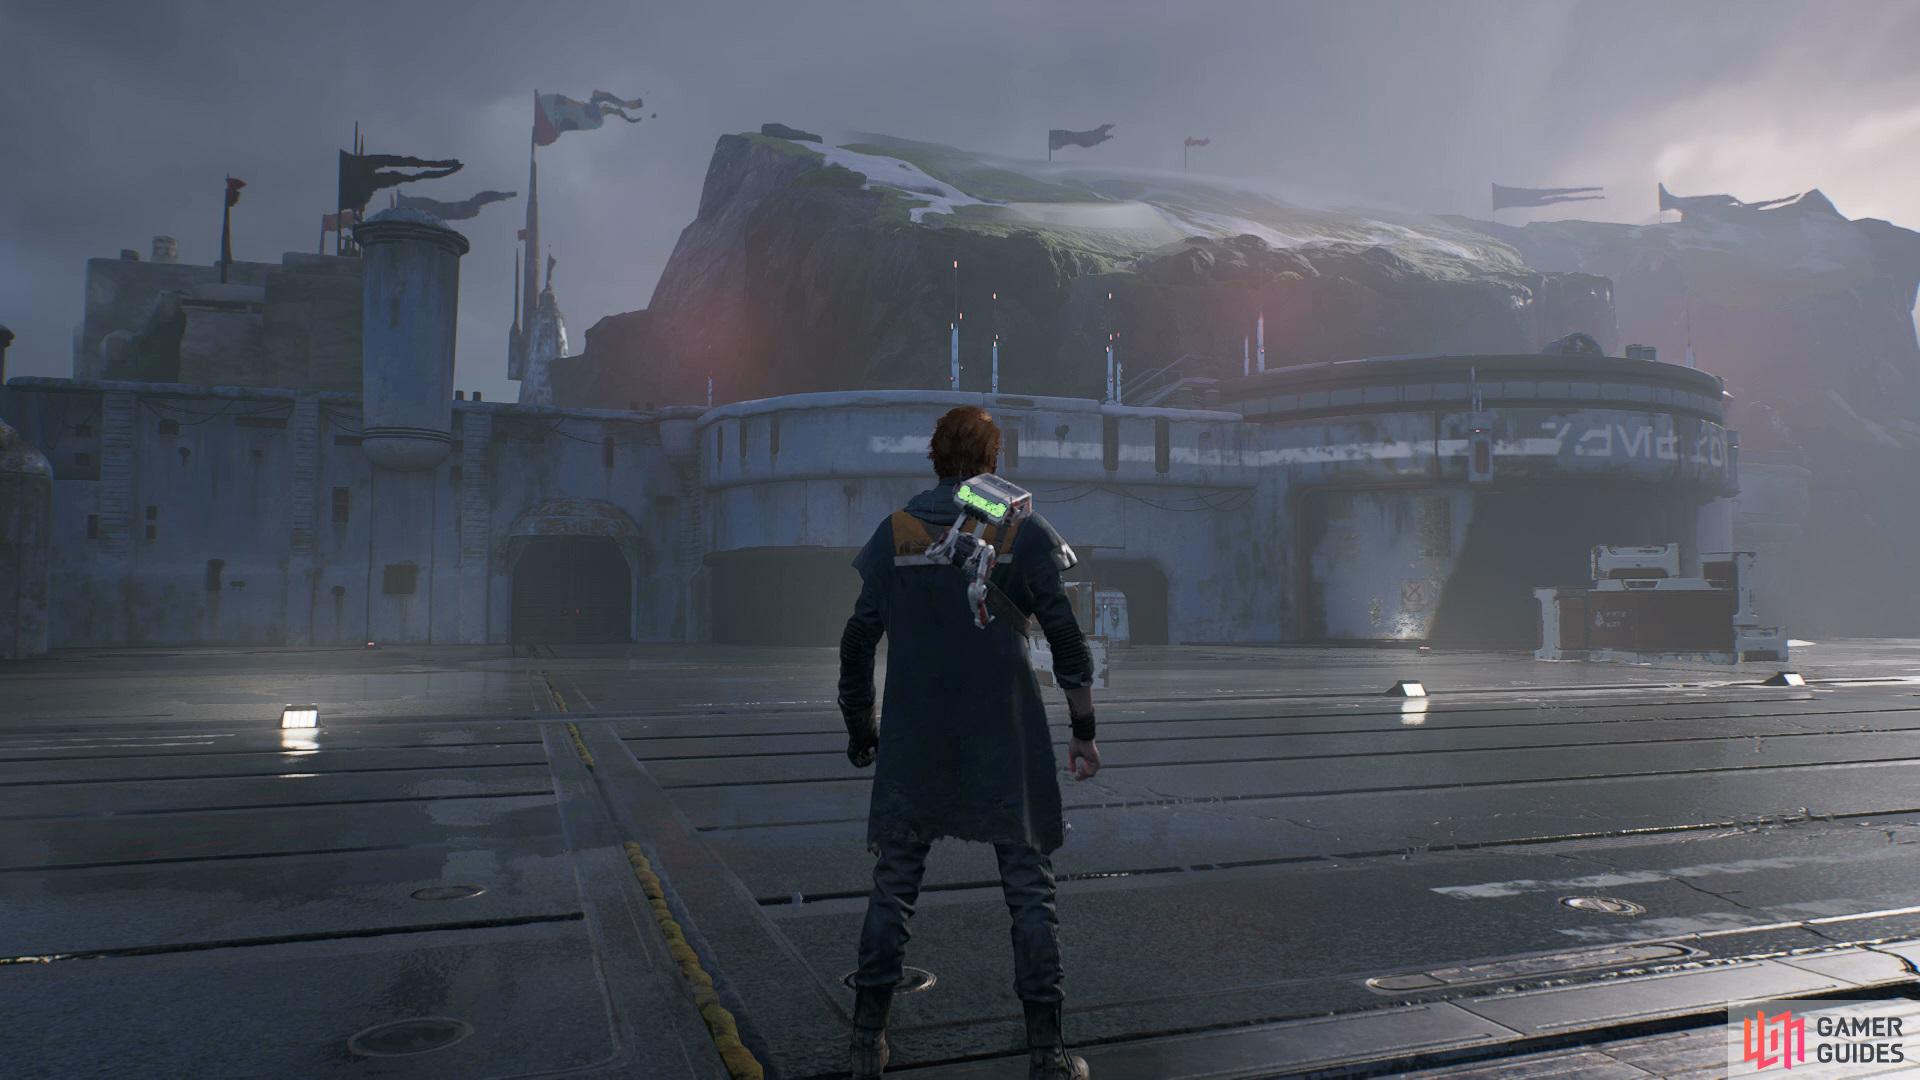
Once you’ve made it back to the Mantis head over to the Holotable and set course for Zeffo, after a little dialogue you’ll be instructed to take a seat where you’ll enter a short cutscene as Greez lands the ship.
Upon setting foot on Zeffo head straight and enter the small hanger where you’ll find a Chest which contains the Blue Leader skin for BD-1 . Now head right and enter the Derelict Hanger where you’ll find another Chest to the back left corner which contains the Bravo Poncho.
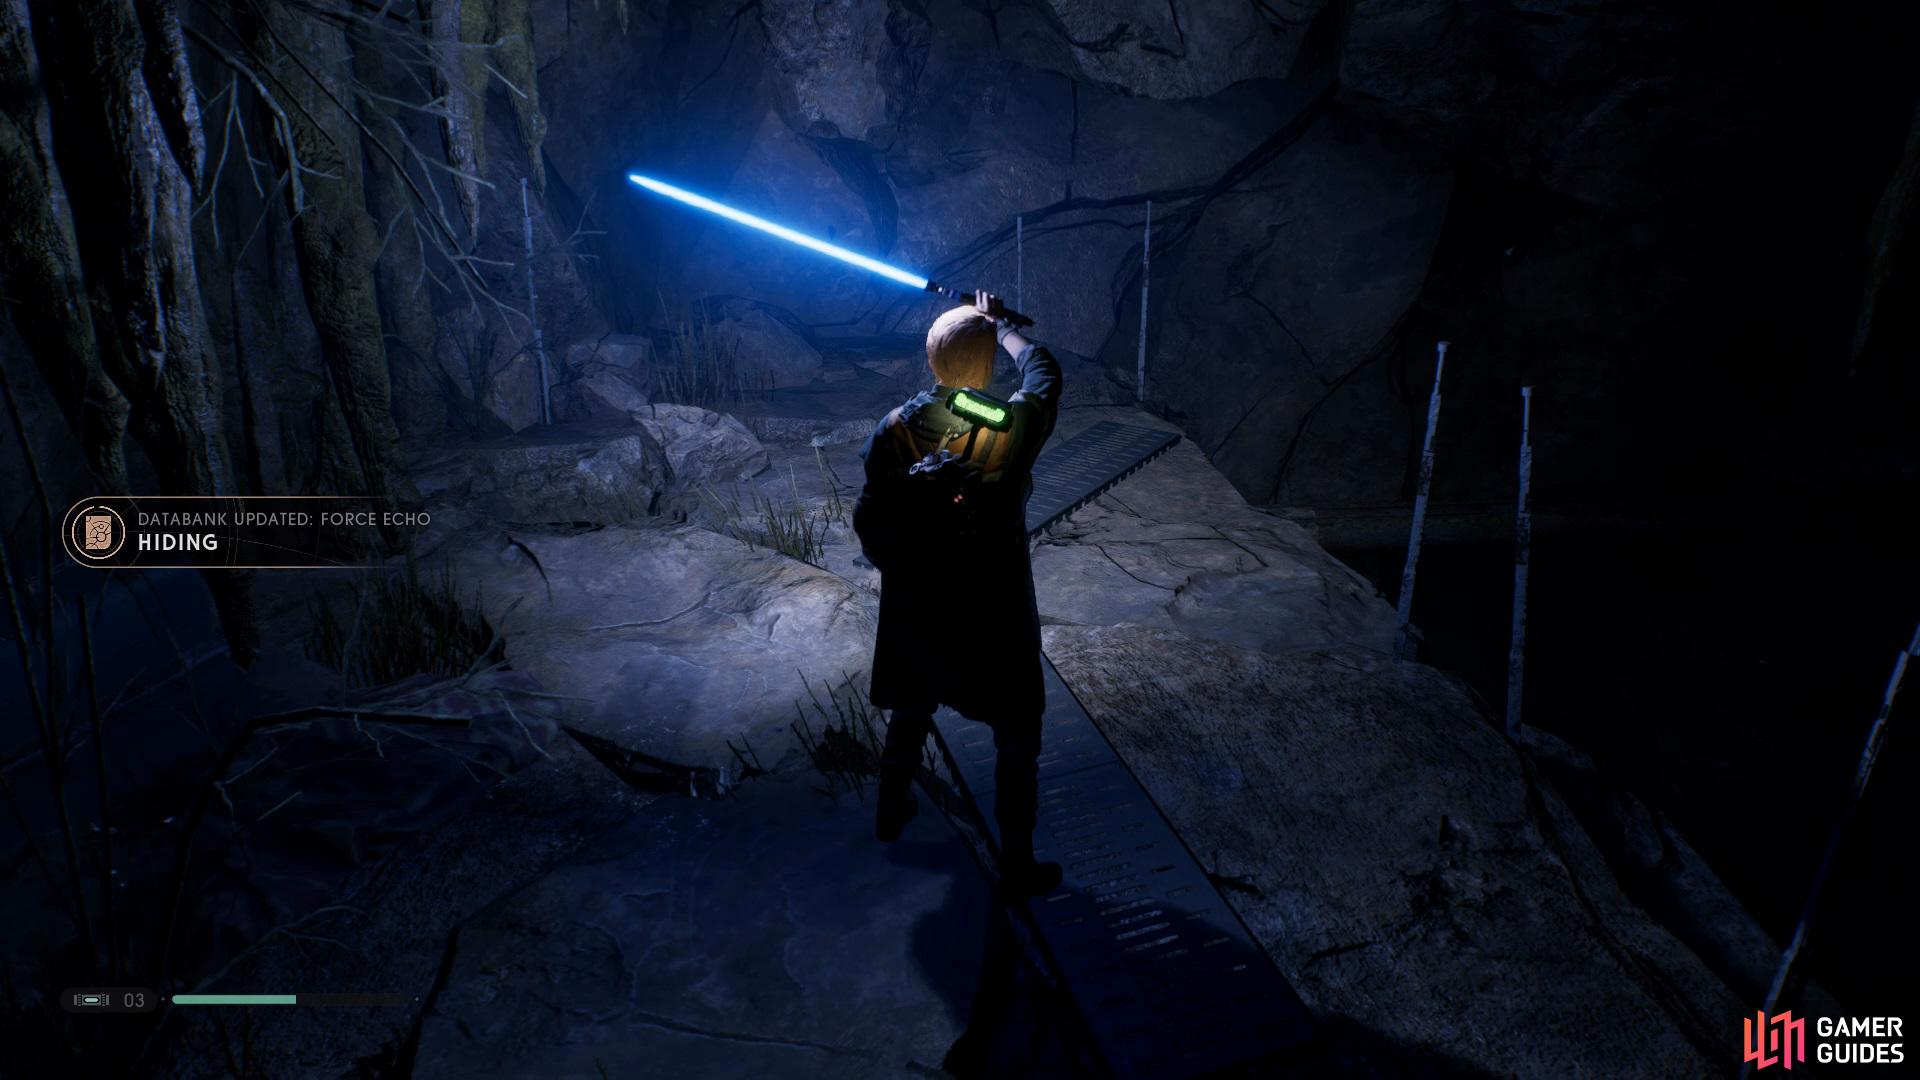
Use your Lightsaber to brighten the cave and collect the Hiding Force Echo from the ground
then follow the cave around to the right to find a golden Chest that holds a Stim Canister.
Exit the hanger and go left, proceed up the hill and jump across to tackle some new enemies, Scazz. In order to take these out you want to roll to the side of them when they come for you and then attack them. After you’ve killed the enemies, climb up ahead and allow BD-1 to scan the wall to gain some information.
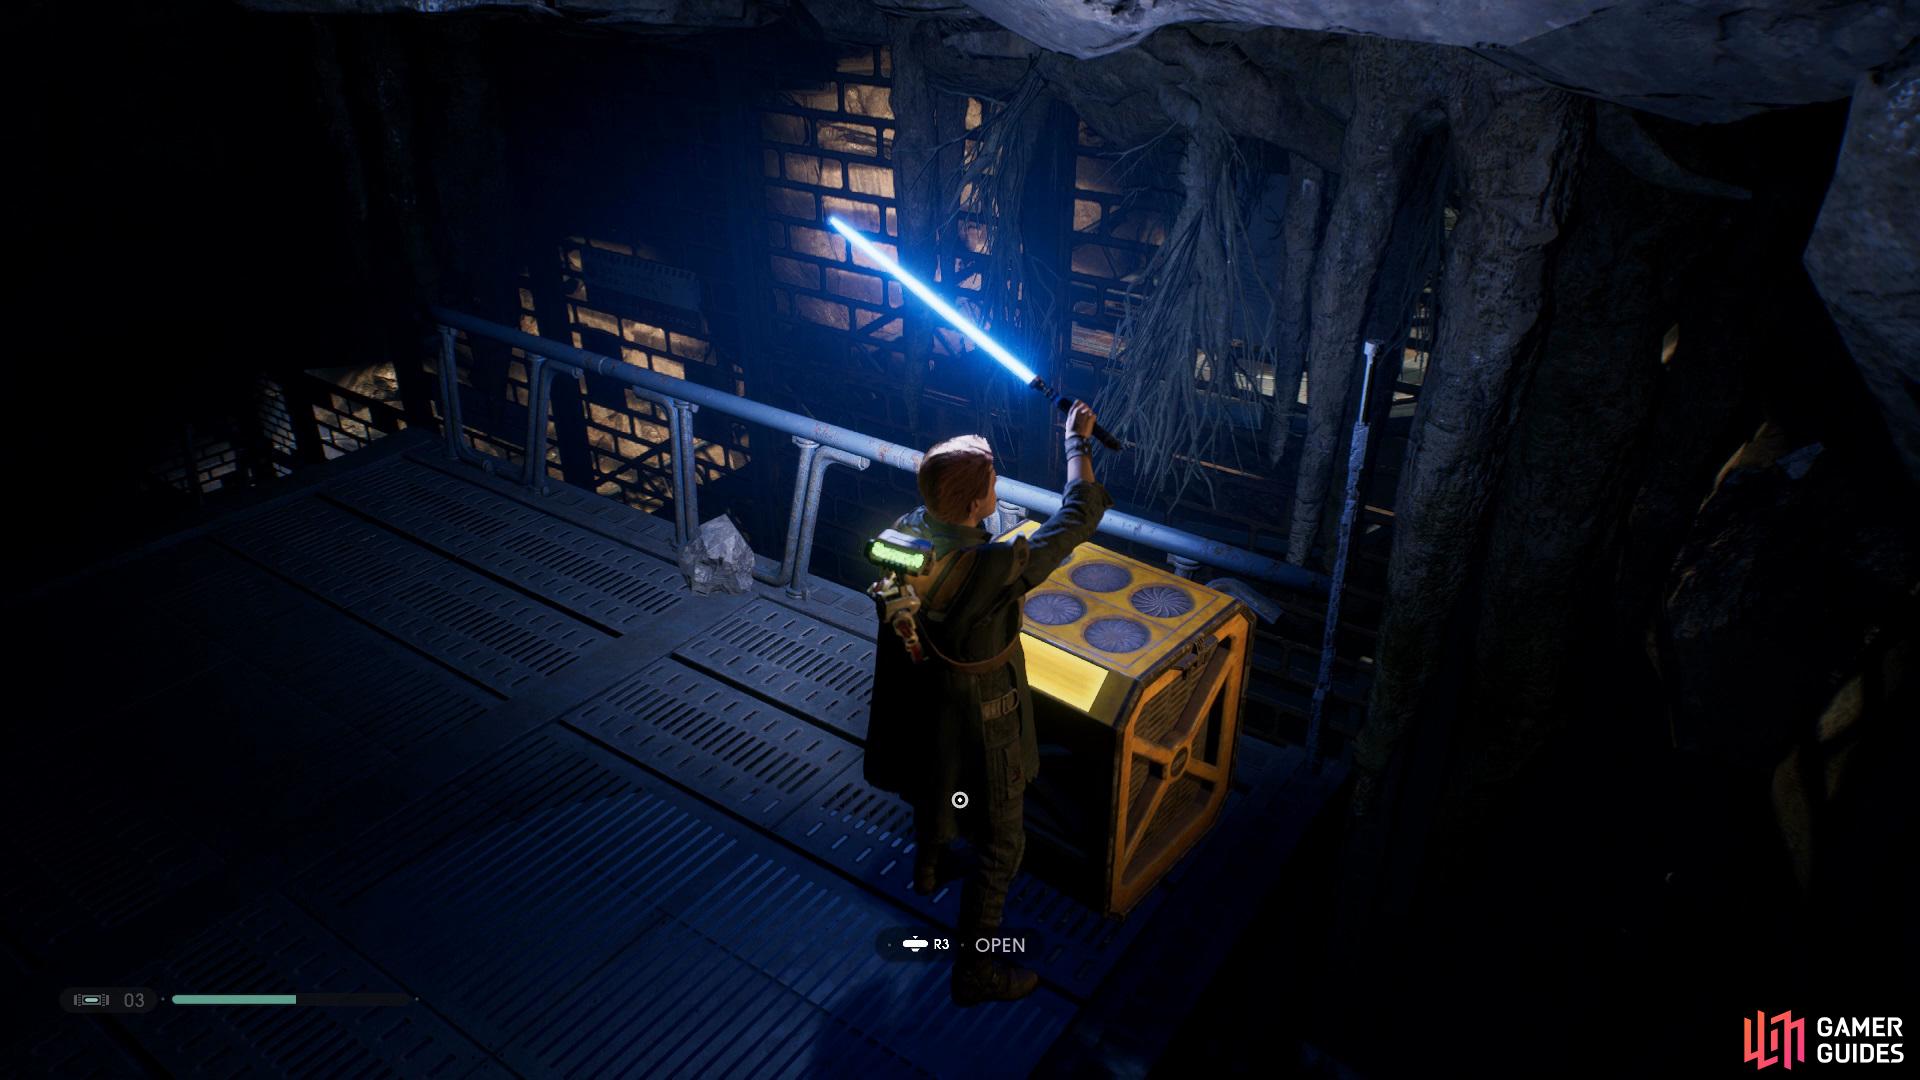
Drop back down and follow the path right, take out the enemies and then go right again to enter a cave, use you Lightsaber to brighten the area and then collect the Hiding Echo to the left, continue following the path around and open the Golden Chest to obtain another Stim Canister.
Locating the Life Essence
Exit the cave through the way you came in and then climb up to the right and follow the path along until you reach a locked door to your left, open it to activate a shortcut and then head up to the right to take out the enemies. Before proceeding up the hill go down and climb up the right side of the building to find a Chest with the Duty and Resolve Emitter inside.
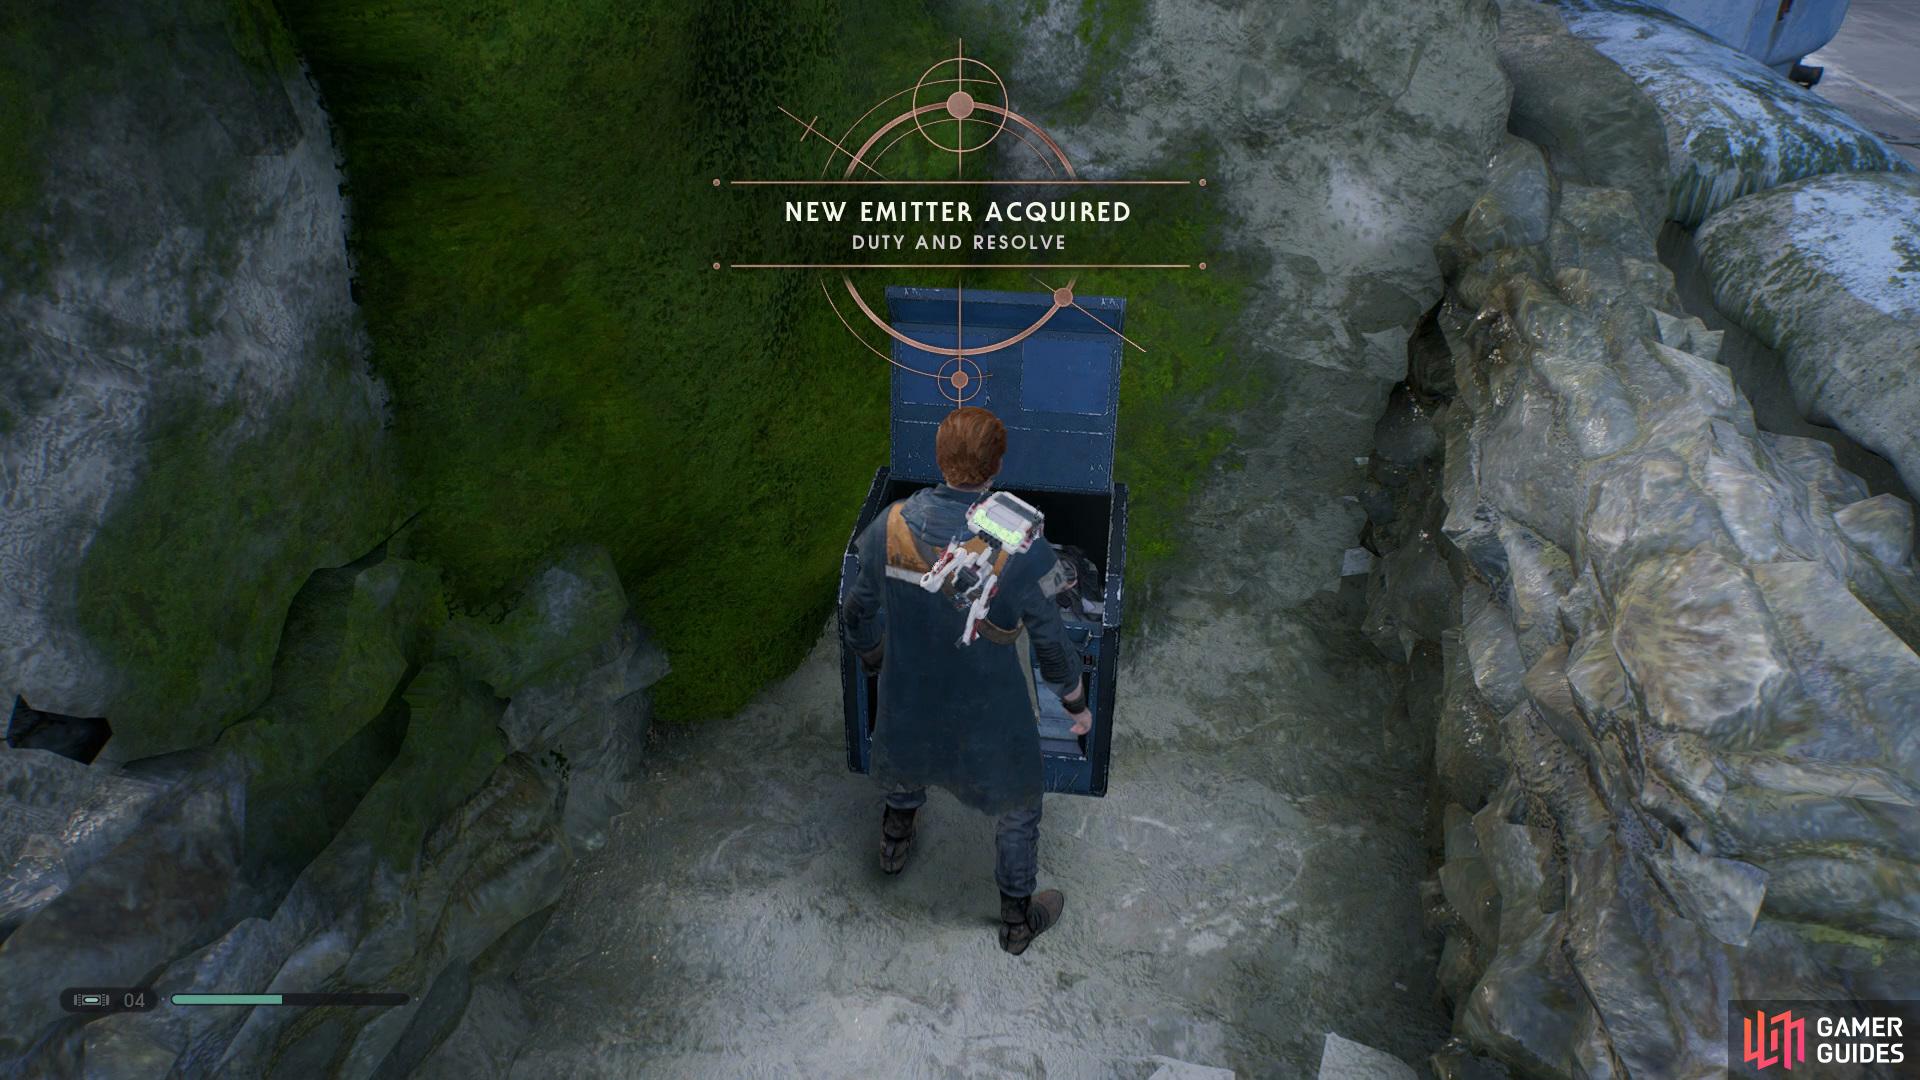
Climb up the side of the building before entering the Abandoned Village to find a Chest with the Duty and Resolve Emitter inside.
Continue up the hill and allow BD-1 to scan the sign on the building for some information and proceed upwards into the Abandoned Village, use the Force Slow ability on the spinning wheel and run across. Take out the enemies and head down to the left and collect the Separated Echo.
Go back up into the village and follow the area around until you see a broken bridge, take out the enemies and go left to find the Eviction Echo, go back and right and hop across to the raised area of the village, open the door to the left to find a Meditation Point and continue up to open a shortcut that leads into the Derelict Hanger.
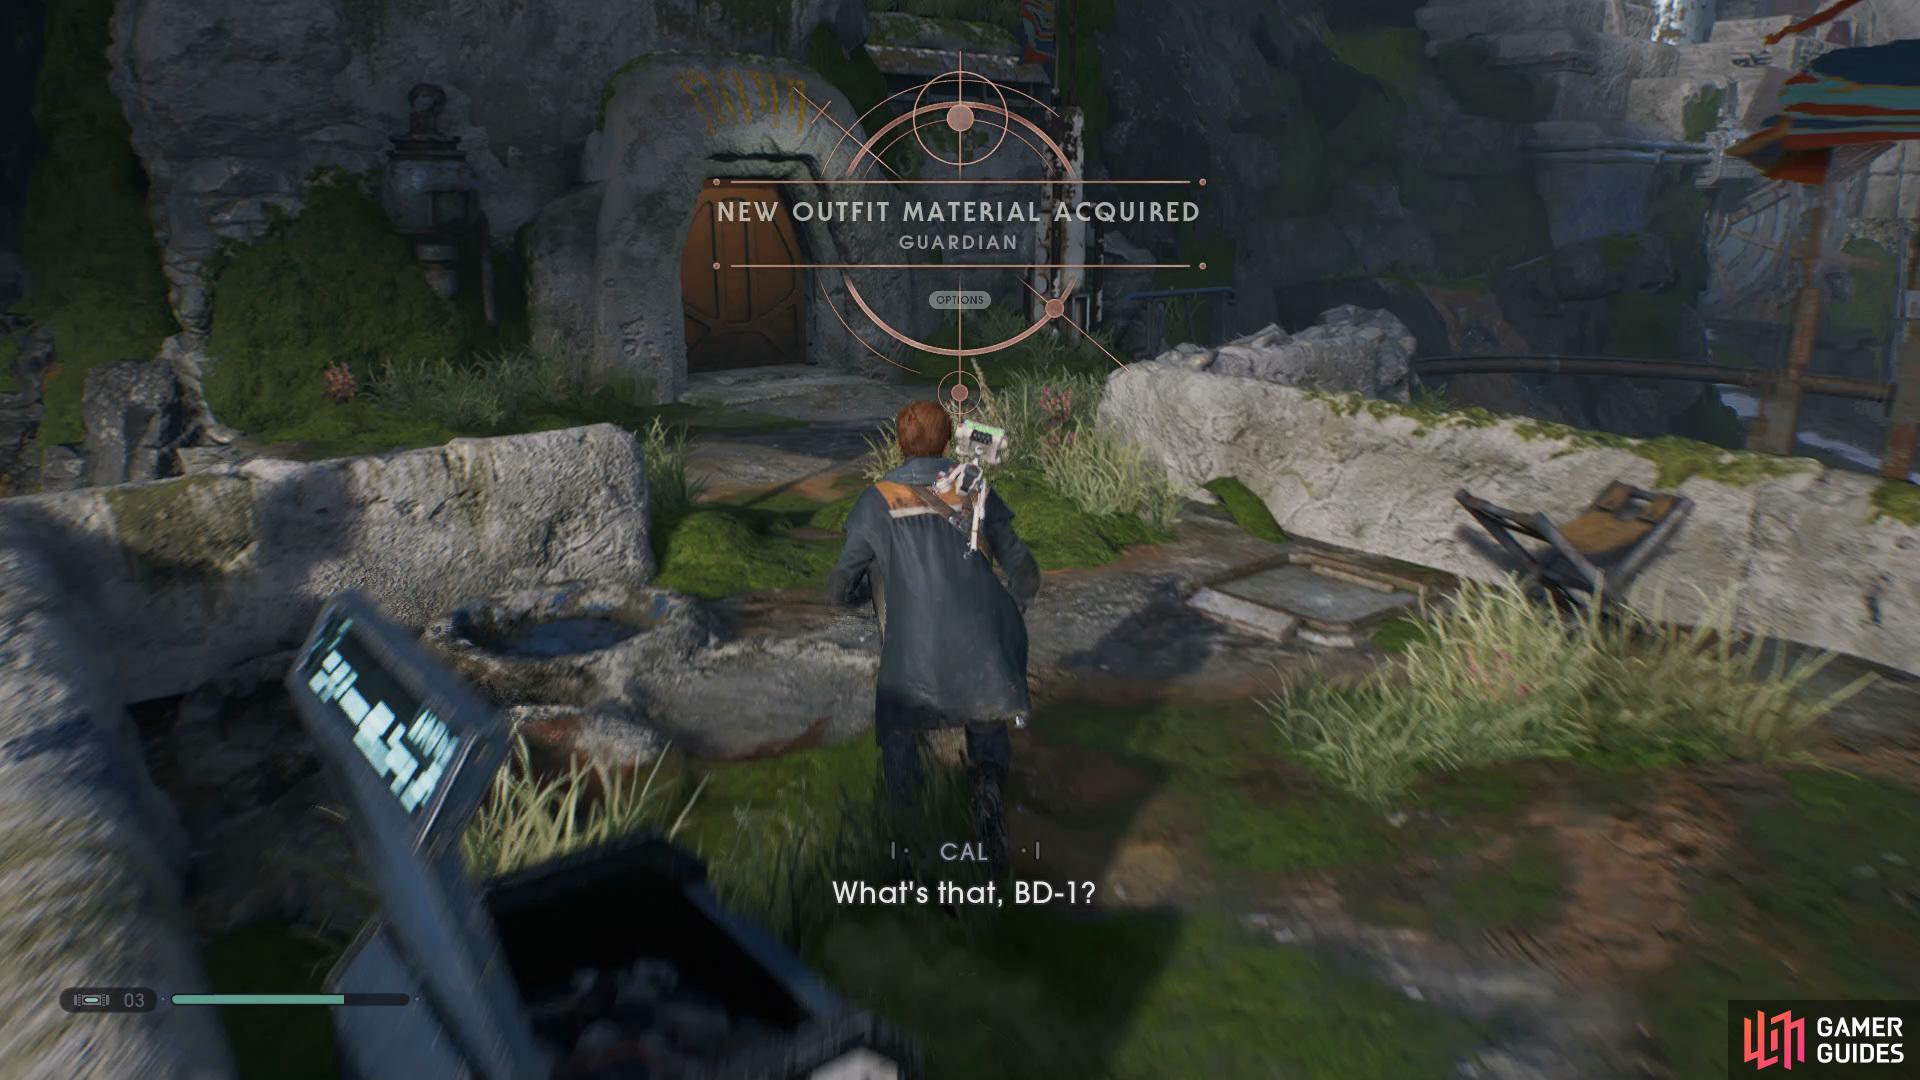
Climb up to the upper section of the Abandoned Village and open a Chest to find the Guardian Outfit
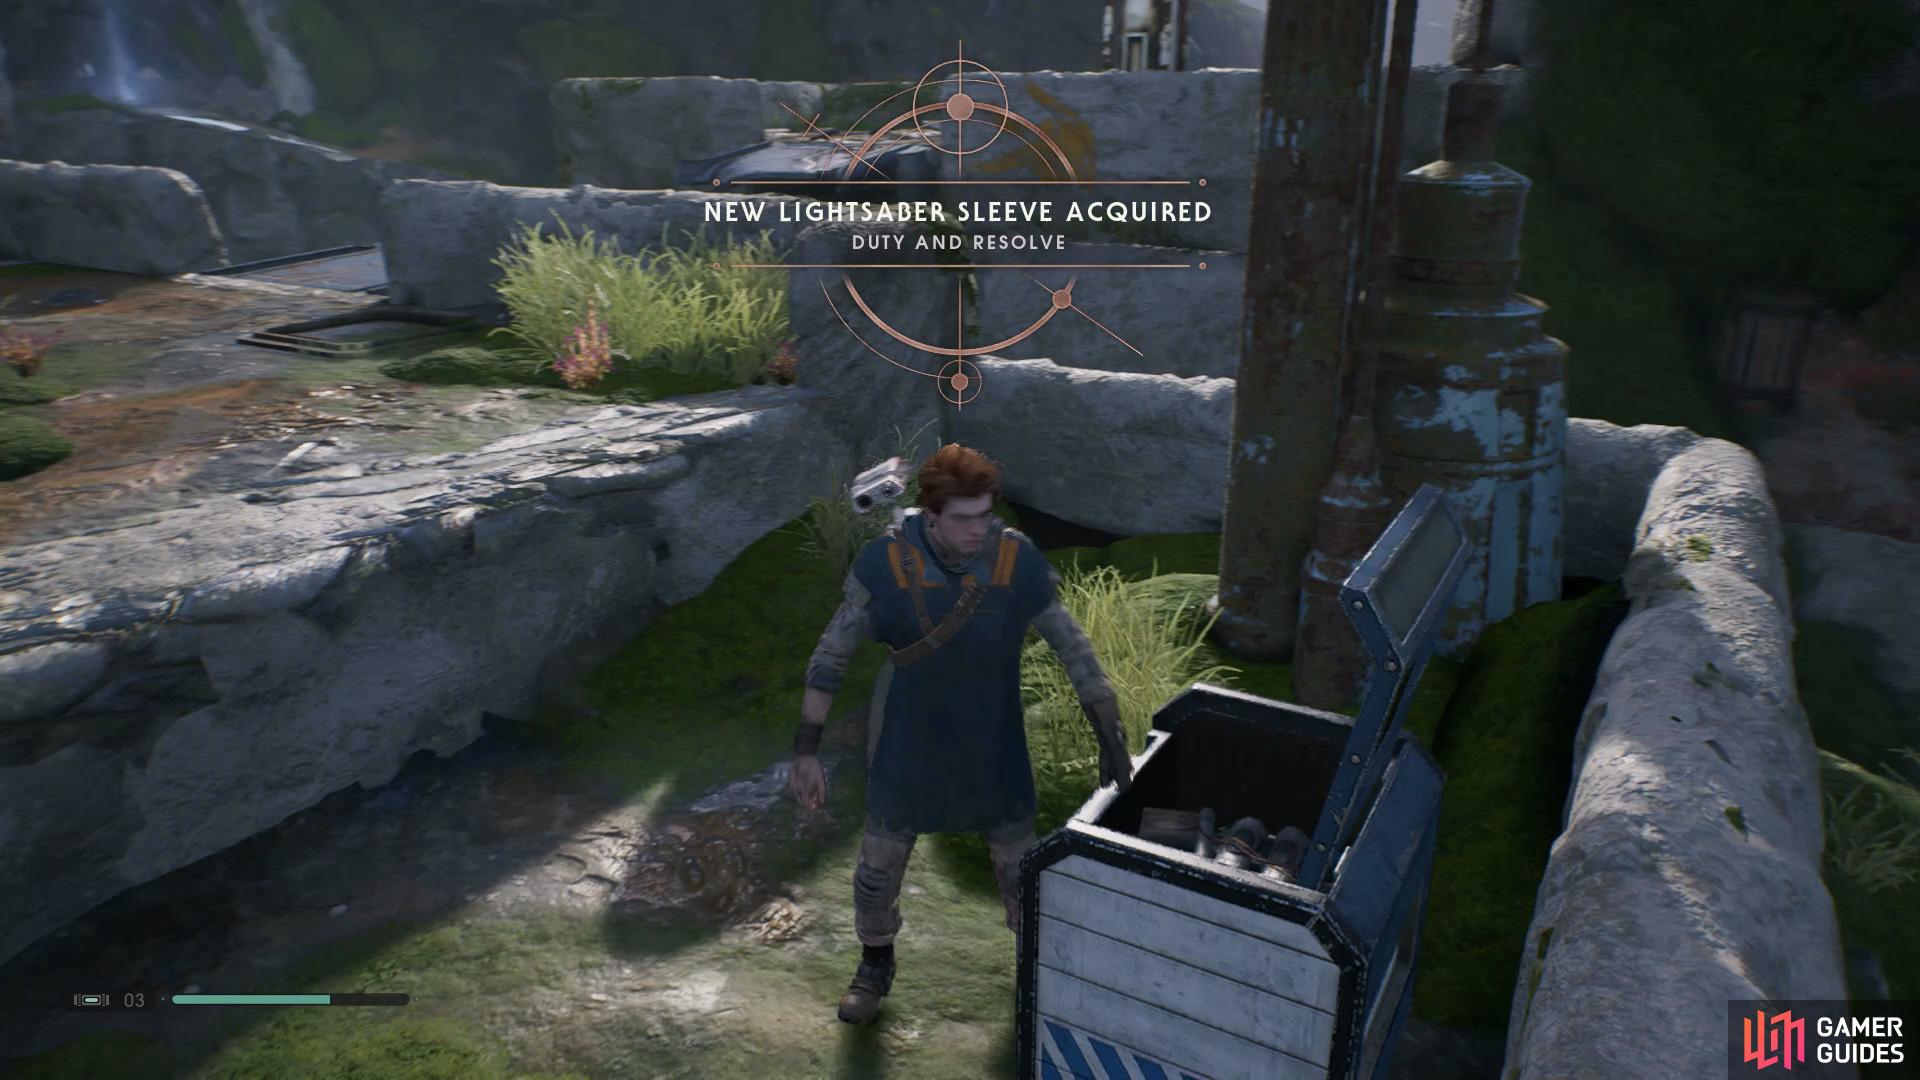
then follow the path around to the right and open another Chest to find the Duty and Resolve Lightsaber Sleeve.
Proceed back into the Abandoned Village and open the Chest ahead to obtain the Guardian Outfit, take the pole across to the other building and follow it around to the right. After you’ve climbed up, open another Chest to your right that holds the Duty and Resolve Lightsaber Sleeve inside.
Take the pole across to the other side and drop down to go left, enter the cave and use the Lightsaber to brighten the room allowing you to safely follow the path around, once you reach the center go left to open a Chest that contains the Copper Lightsaber Material, continue following the cave to the right and interact with the switch to light up the room.

Use your Lightsaber to brighten the room and open a Chest in the center to find the Copper Lightsaber Material
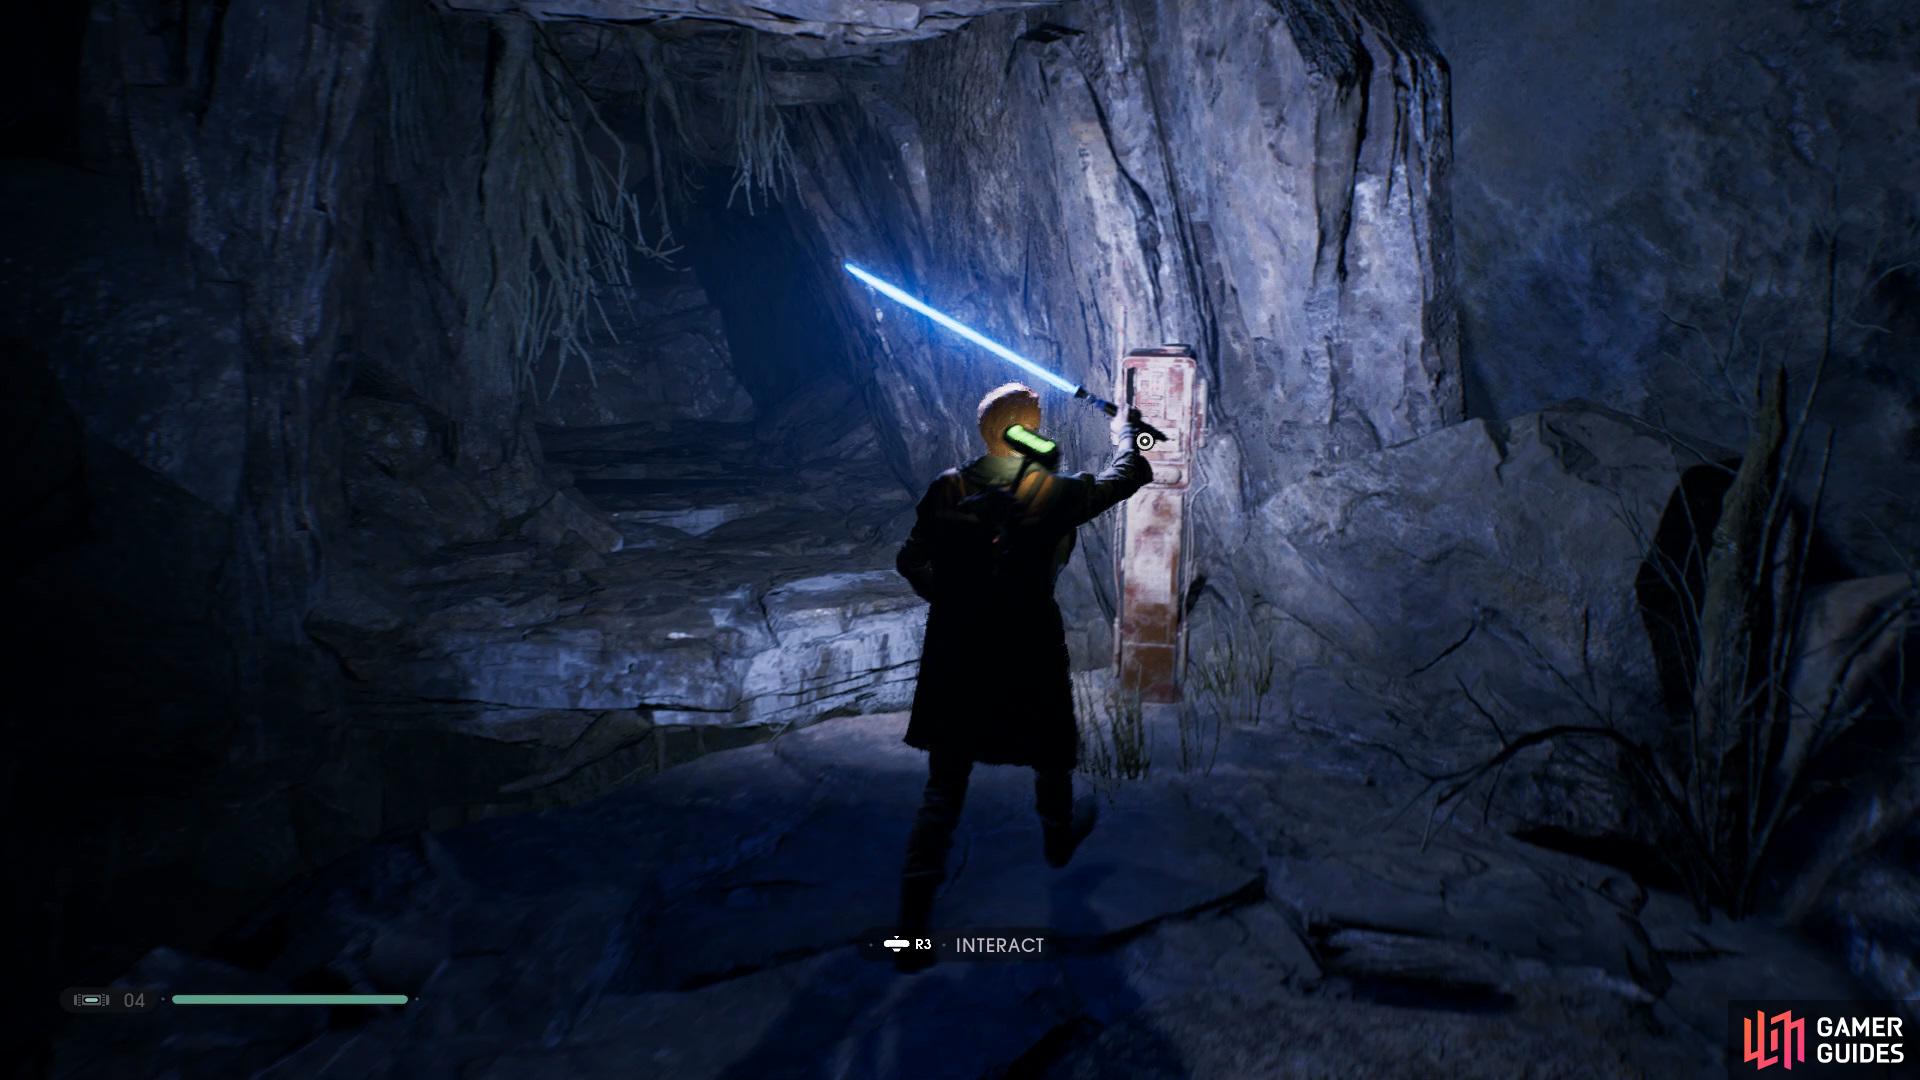
now make your way to the end of the cave and interact with the button to turn the caves lights on.
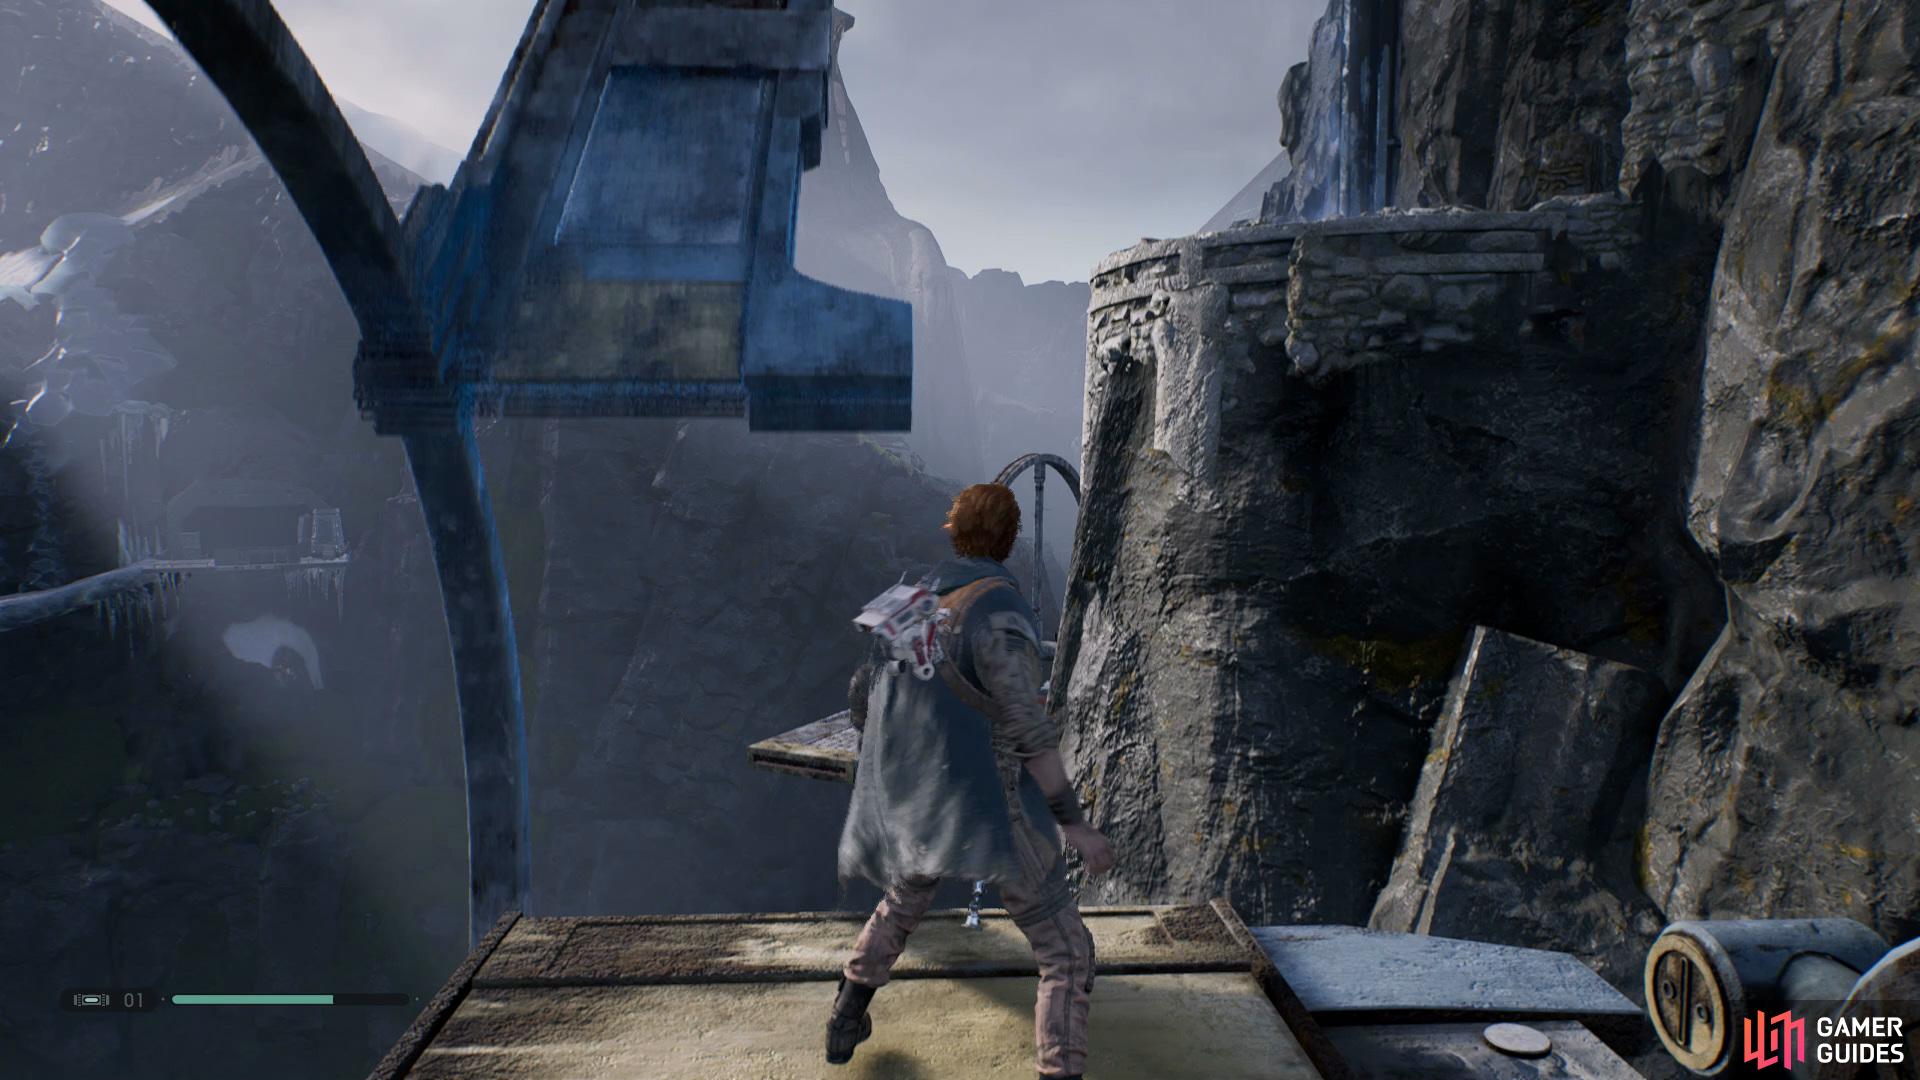
Continue up and exit the cave, take out the enemies and proceed onwards, use the Force Slow ability to allow you to get past the spinning wheel. Take out the Phillak that’s sprinting towards you by dodging to it’s side and then hitting it. After you’ve dealt with the Phillak, head down the hill and take out the enemies in the area and then climb up to kill the Rocket Launcher Trooper, now use your Force Slow ability to get past the spinning wheels, but don’t go further then the third platform as there is an area up above.
Once you’ve reached the area above, use the Meditation Point to restore any used Stim Canisters and let BD-1 scan the shrine ahead to add it to your Databank, now head up to the right and get past the spinning wheels to reach the other side, enter the cave and follow the path around and collect the Life Essence.
Exit the cave by opening a door ahead and continue to the right, here you’ll need to take out some more enemies and then unlock the door to the right to open a shortcut, now go up the hill and slide down the icy path. Swing and Wall Run across to the area down to the left and take out the enemies, go further up and use the Force Slow Ability to get into a small cave on the right where the Dead Villager Echo is hiding.
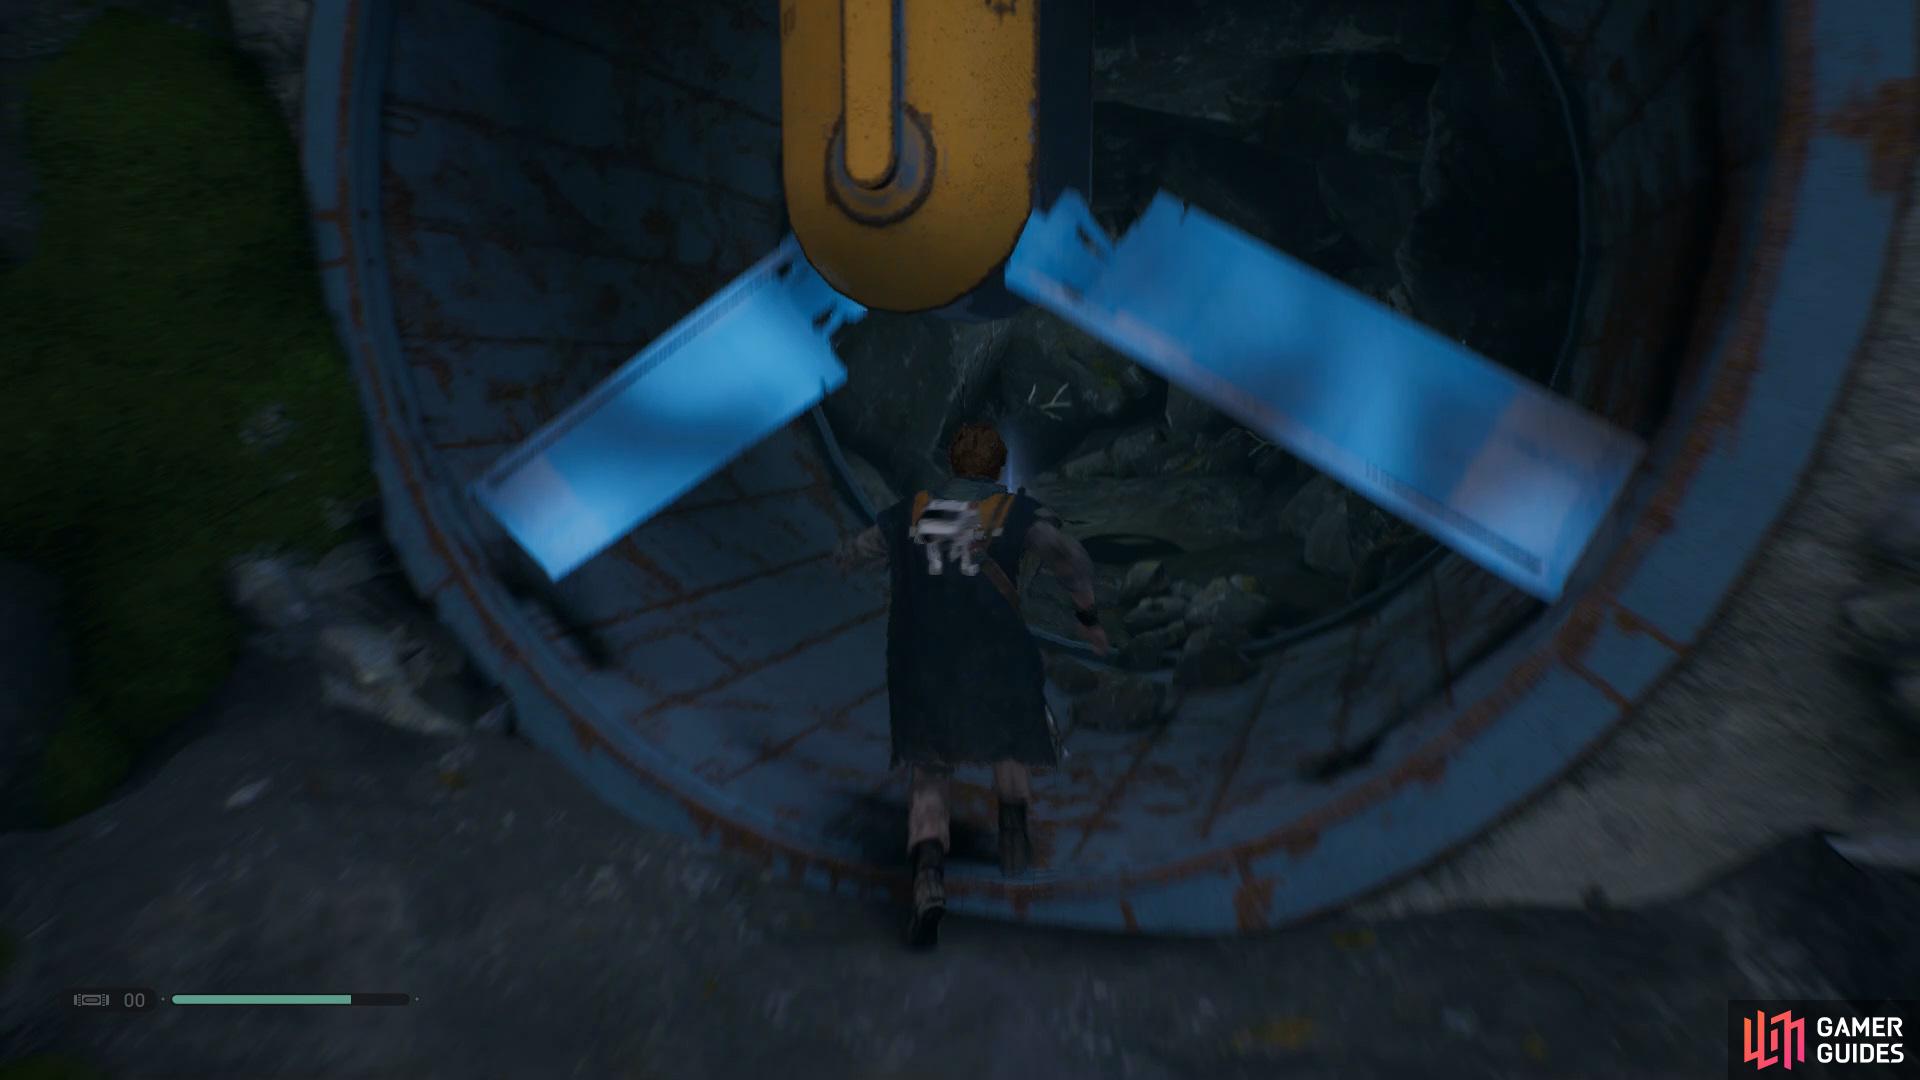
Use the Force Slow Ability to slow down the fan allowing you to enter
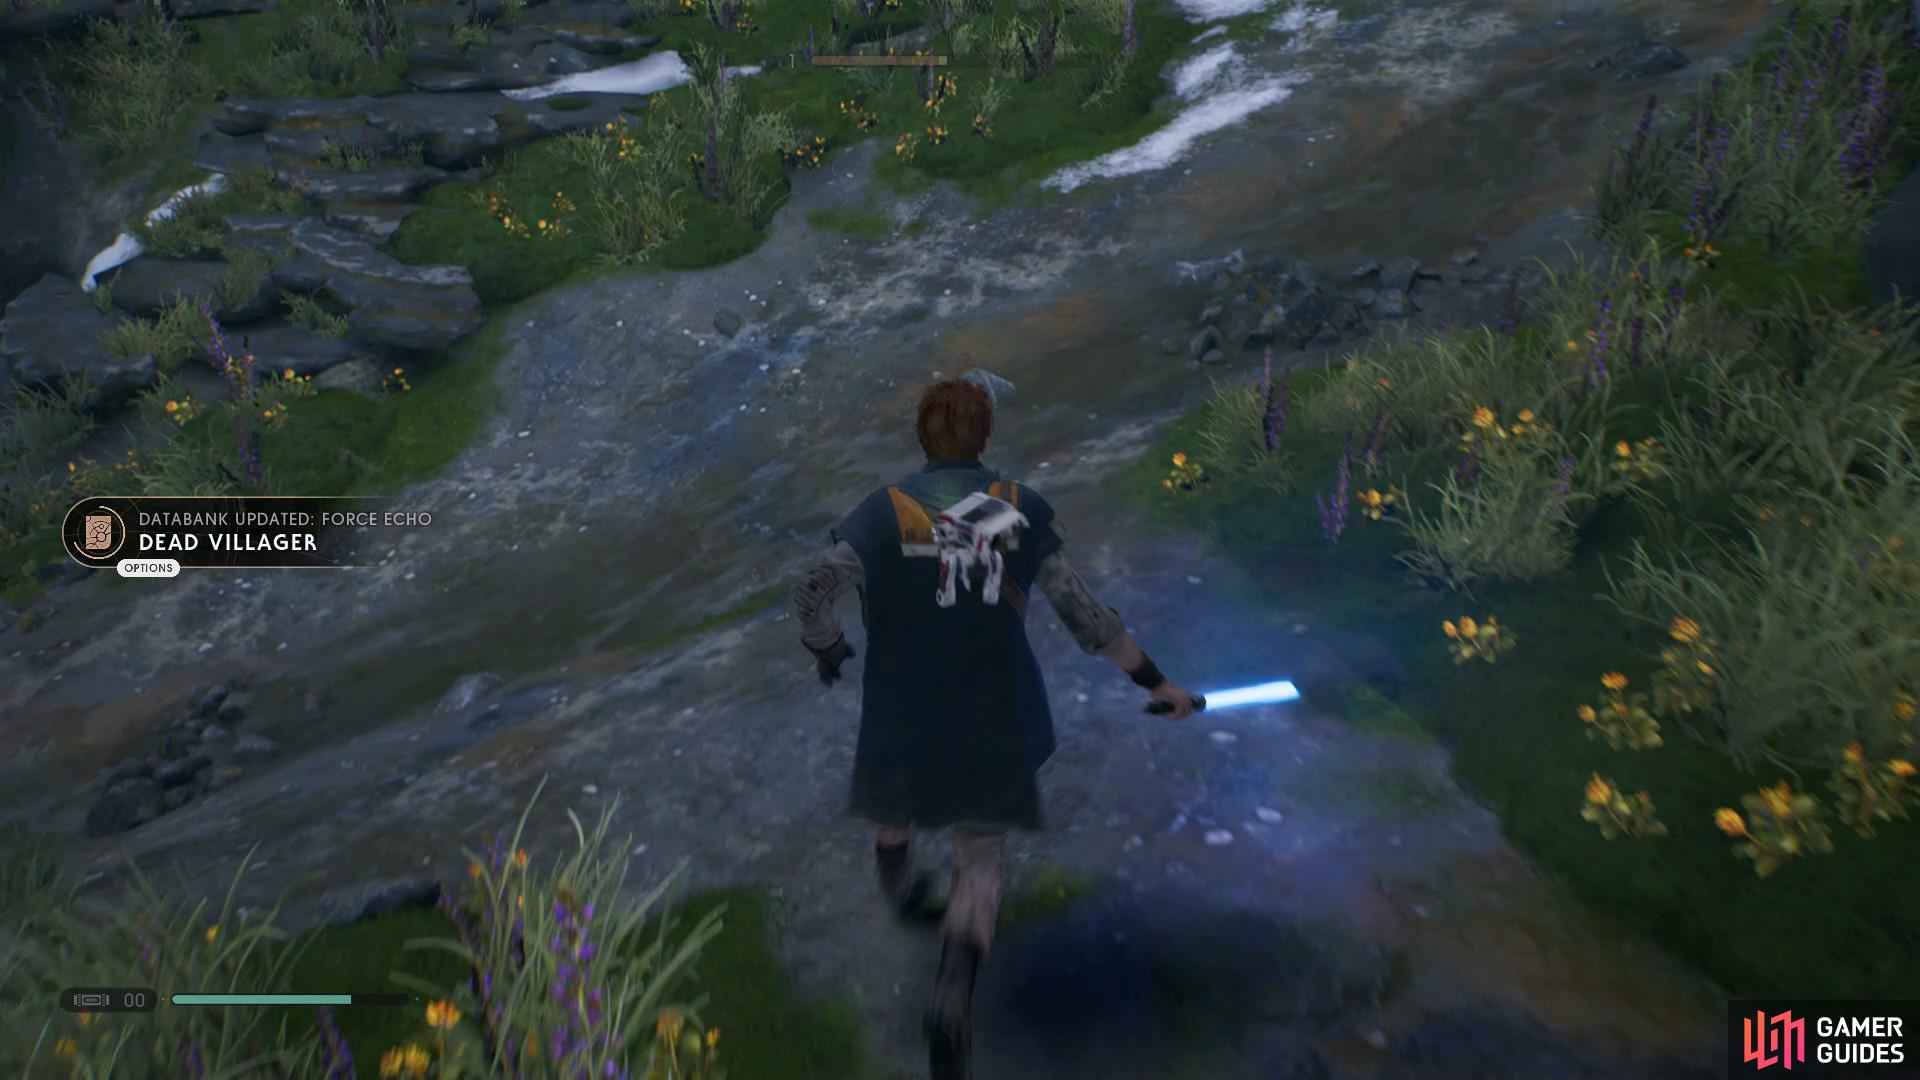
now collect the Dead Villager Echo from the floor.
Go back outside and follow the path up to the right and then look in the corner to the left to find the Evidence of a Fight Echo, then go back down and Wall Run across to find a Meditation Point, head up and take out the Heavy Assault Trooper by deflecting all of his bullets and then hitting him whilst he’s reloading.
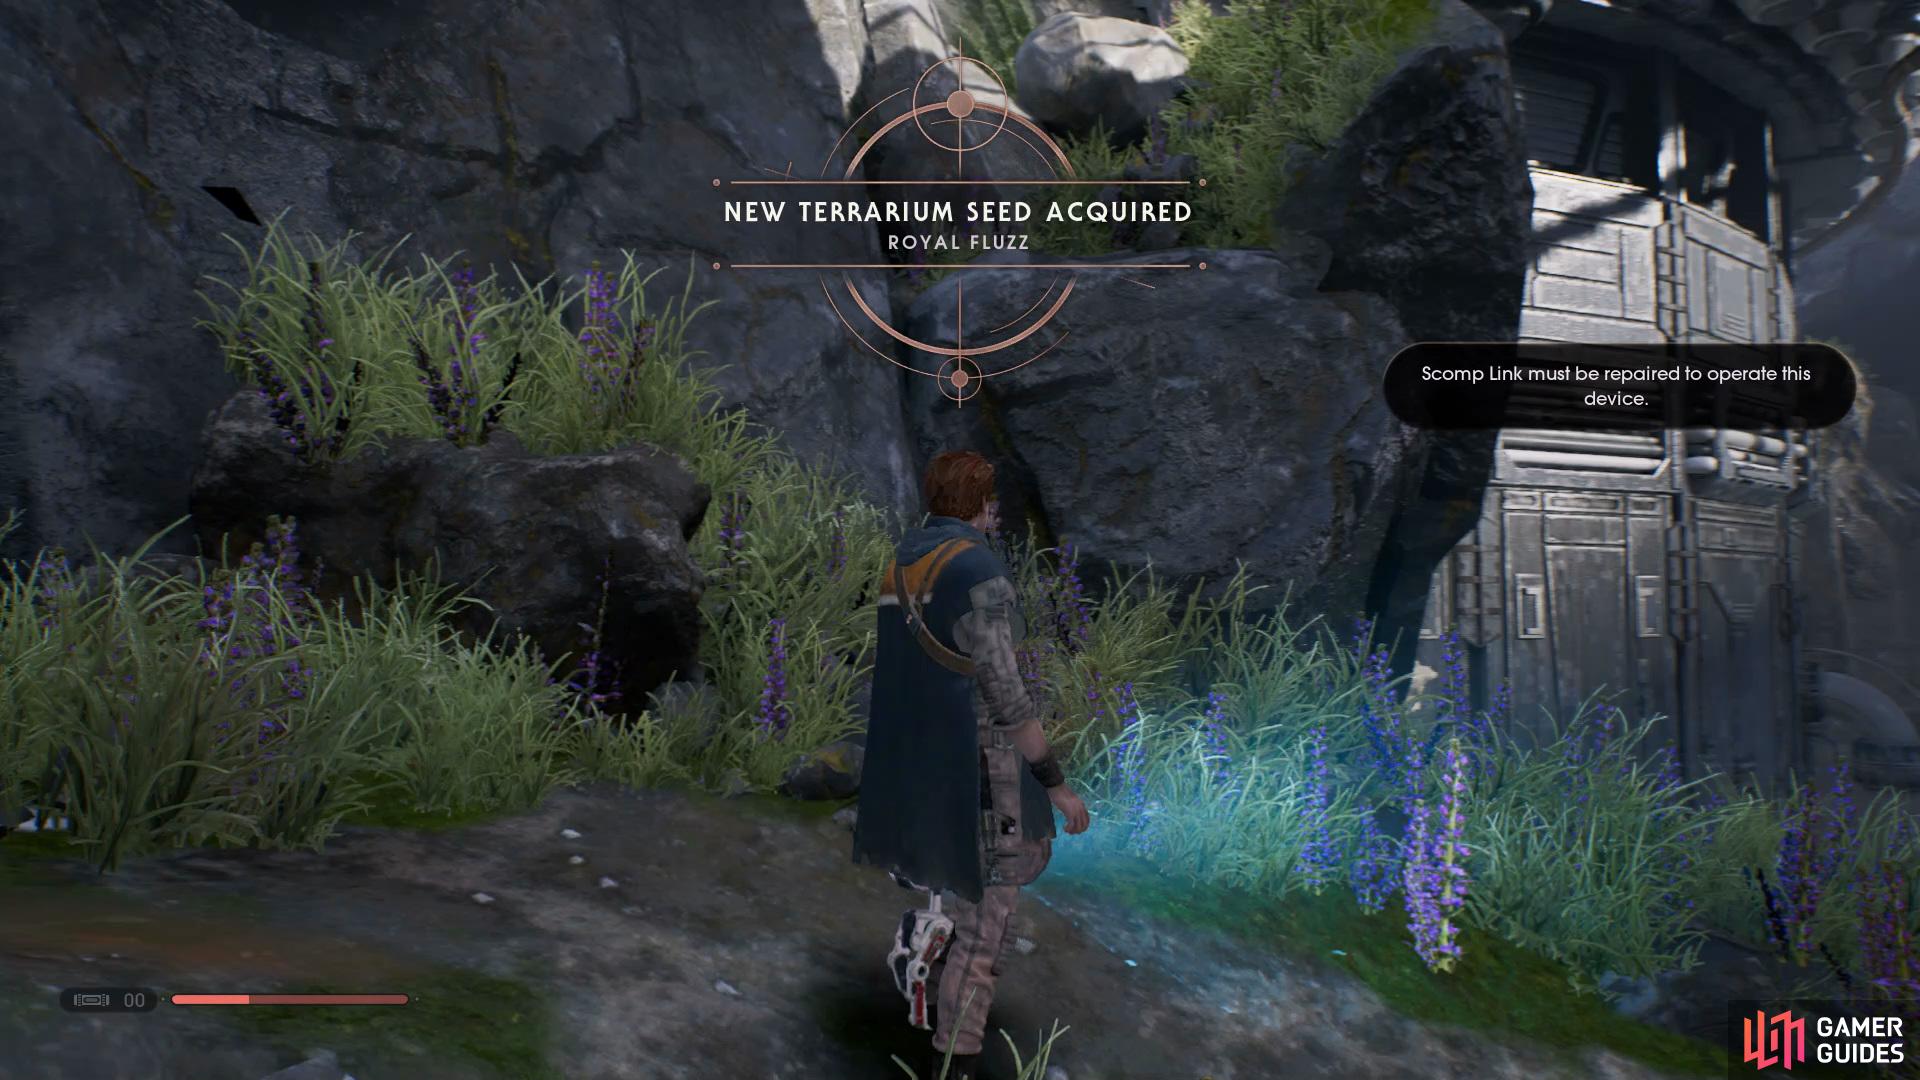
Allow BD-1 to scan the plant to retrieve your first Terrarium Seed
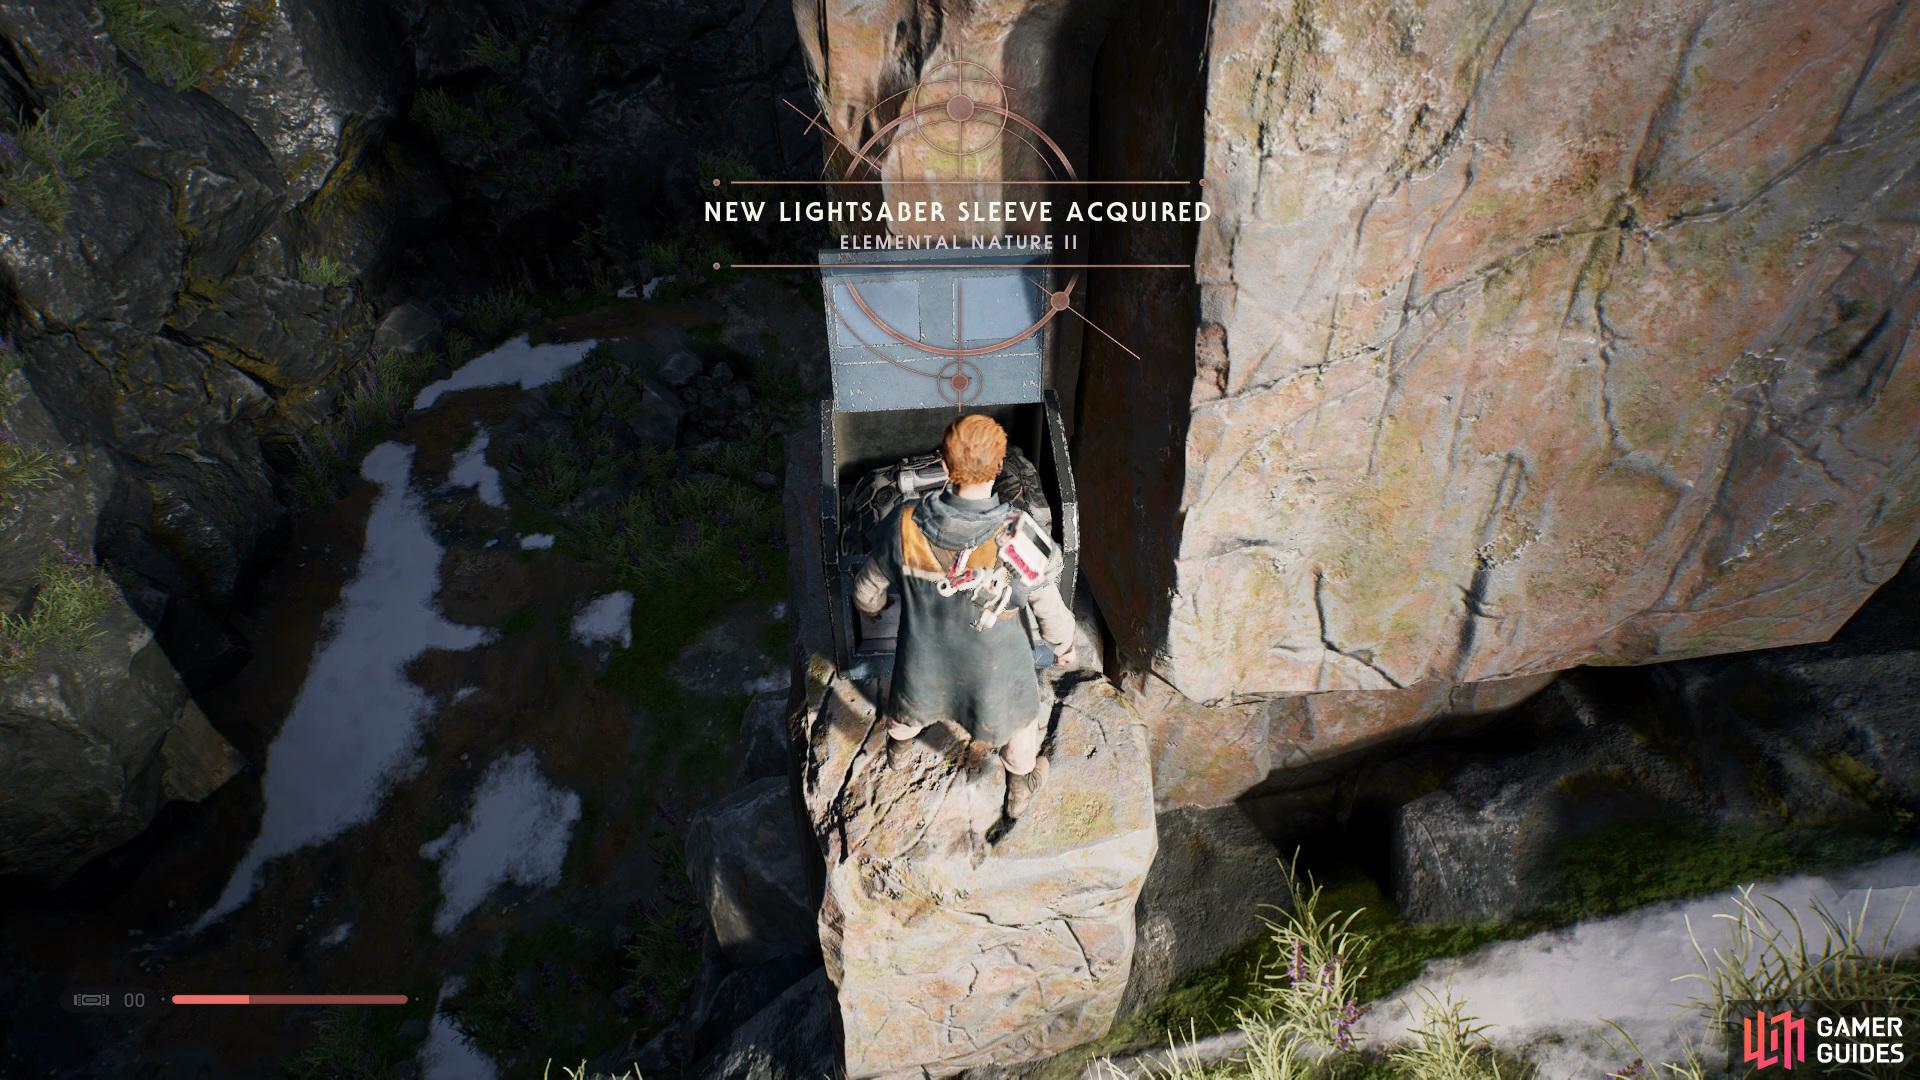
now use the rope to get up to the area above and then go right to find a Chest that holds the Elemental Nature II Lightsaber Sleeve.
Continue following the path around and take out another trooper and then proceed further up, drop down to the left and let BD-1 examine the plant to acquire a Terrarium Seed, now use the rope to reach the area above, go right and walk down a little to find a Chest that holds the Elemental Nature II Lightsaber Sleeve.
Go back up to the right and use the pipe until you reach the other side, use the rope ahead to swing yourself onto another icy path and slide down, activate the shortcut to the left and go up. Take out the enemy that’s guarding the door and head through, keep following the path until you reach the computers, interact with the computer to find out some information on the story.
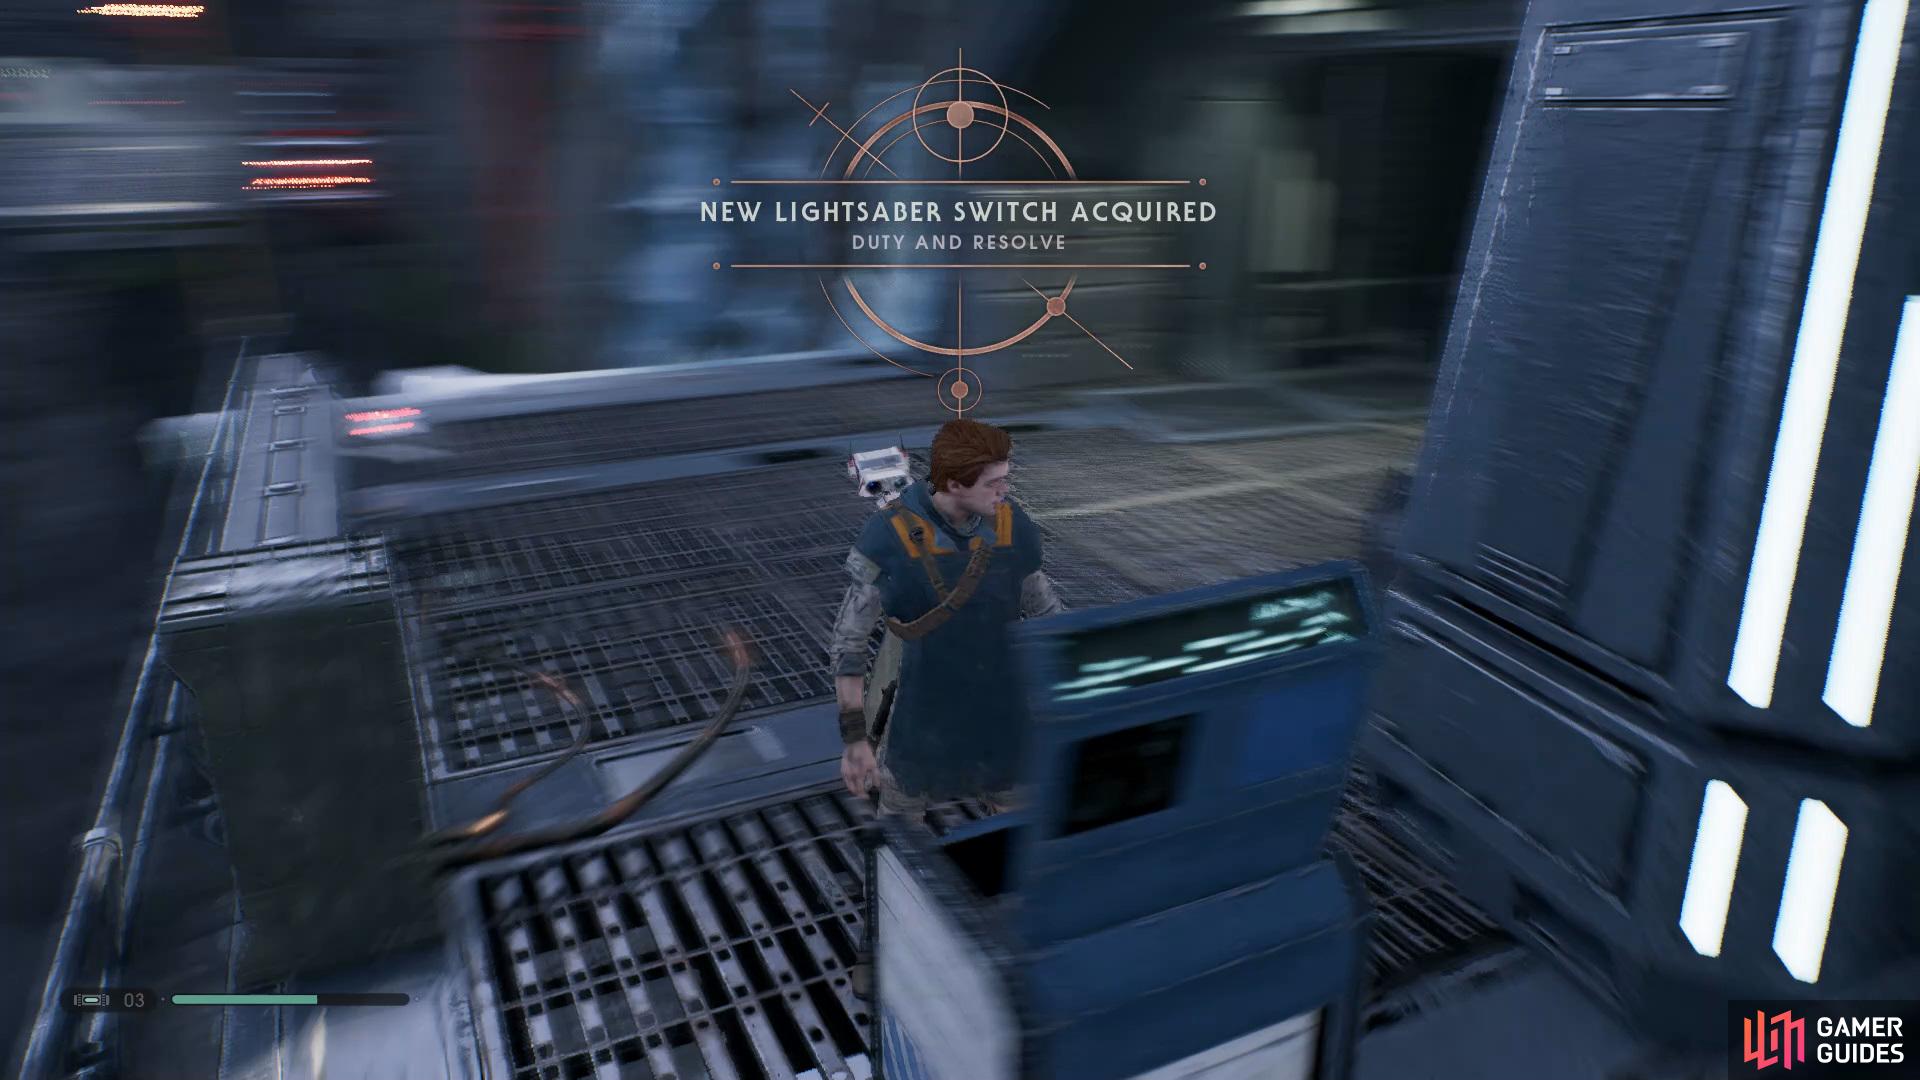
(1 of 4) Take out the two enemies and then open the Chest in the corner to acquire the Duty and Resolve Lightsaber Switch
Go through the door ahead and take out the enemies to open a Chest to the left which contains the Duty and Resolve Lightsaber Switch, now use the rope to swing across onto the platform and then use your Force Slow Ability to slow down the platforms and then head up to the cave on the right of the second one.
Inside the cave you’ll want to wait for the first platform to go left and then slow it down to find a hidden Chest that contains the Durasteel Lightsaber Material, now make your way to the end of the cave and Wall Run onto the top of the platform. After exiting the cave drop off the edge onto the moving platforms and keep slowing them down until you reach another platform in the center that holds a Life Essence.
Seek the Eye of The Storm
Make your way back through the cave and then head right, use the ropes to reach the other side and take out the enemies, open the Chest to the left to obtain the Starfighter paint job for the Mantis, now use the rope to swing yourself over to an icy path and then jump across the gaps until you reach the end.
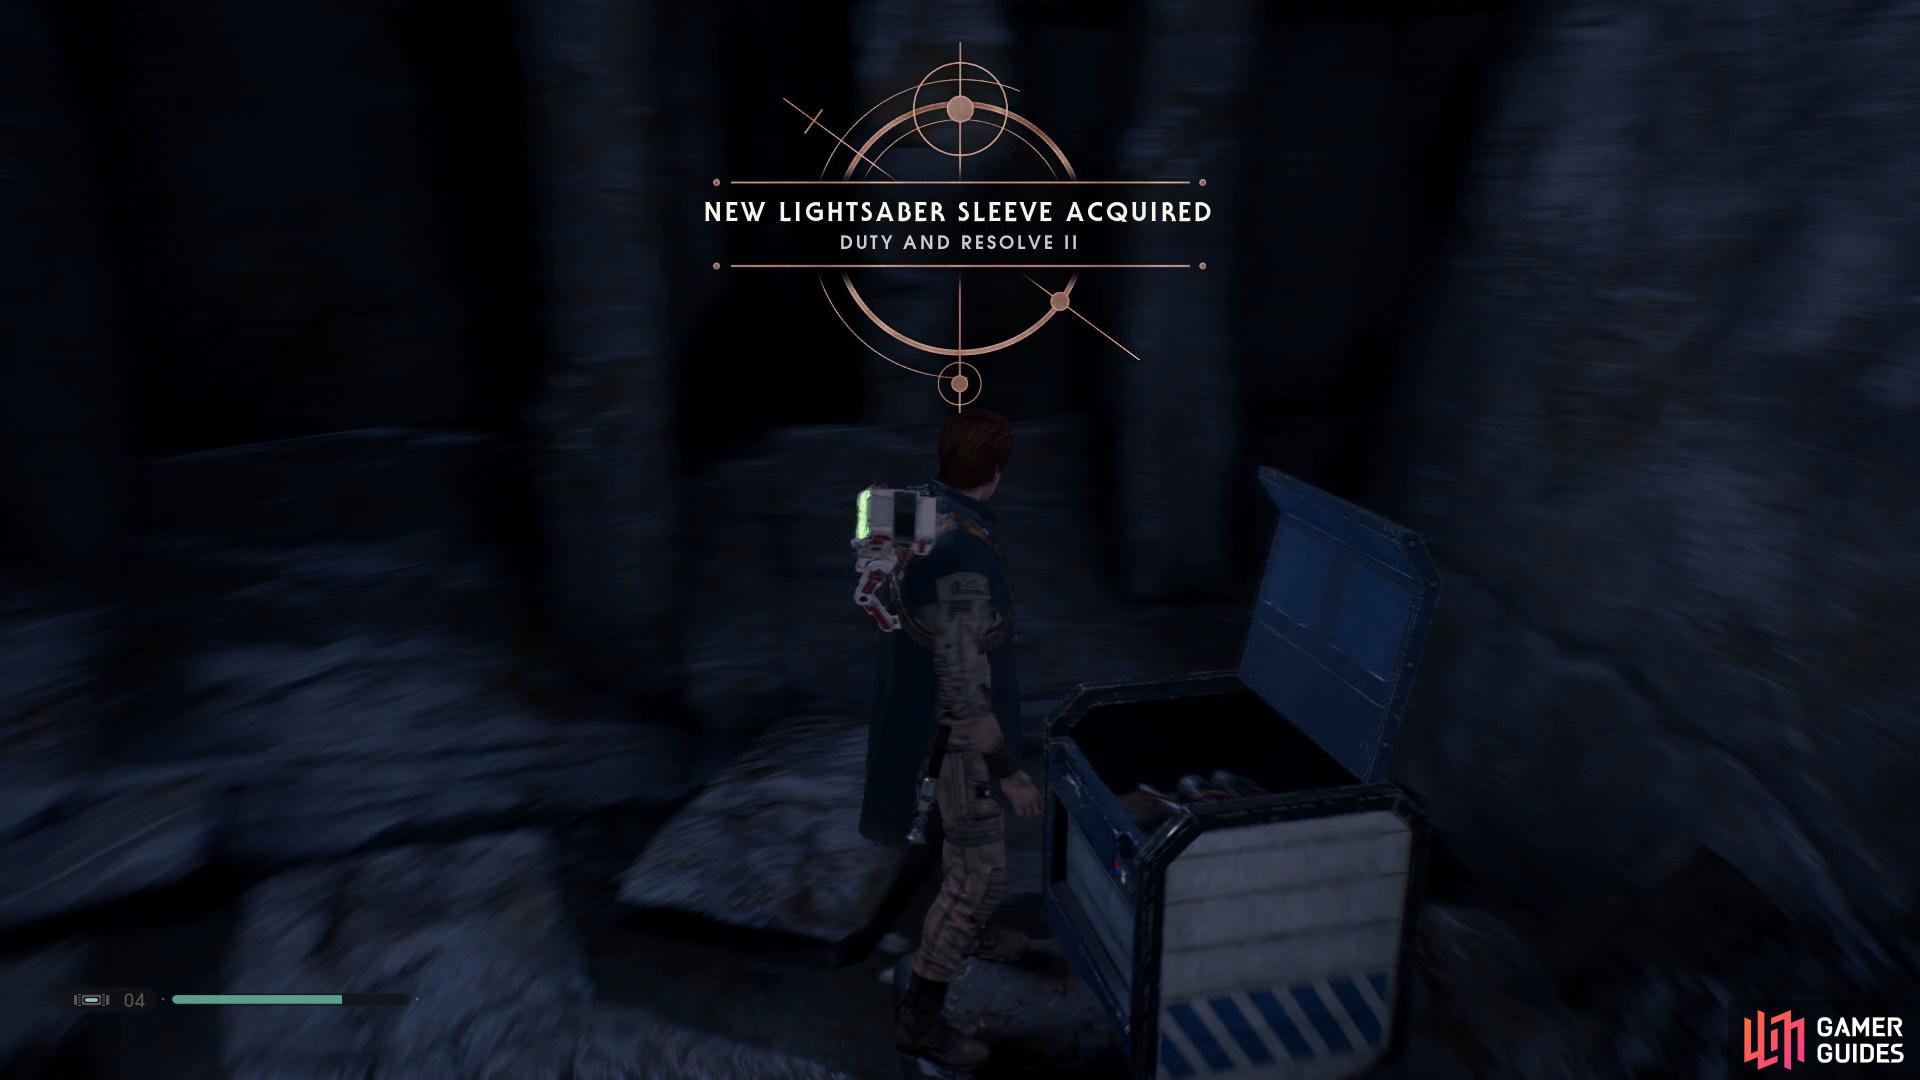
Head to the right corner of the area to open a Chest that holds the Duty and Resolve II Lightsaber Sleeve
now head to the left corner and follow the path to enter the storm, use the Force Slow ability to reach the lift.
Keep following path along until you reach the Windswept Ruins, here you’ll want to go to the back right to open a Chest that has the Duty and Resolve II Lightsaber Sleeve inside, now go to the left side and follow the path to reach the storm, use the Force Slow Ability to allow you to walk through the storm and reach the lift, step on the button to enter the Tomb.
No Comments