
Planet I - Bogano
Exit the Mantis and head down the path on the right, here you’ll be able to break open a door and gain a Bogling Companion. Turn around and you’ll notice a cage with a ball inside, simply use Force Push to get up on the ramp and Force Slow it, now go over to the left and push it onto the platform which will open the door. Step inside and collect a Stim Canister from the Golden Chest.
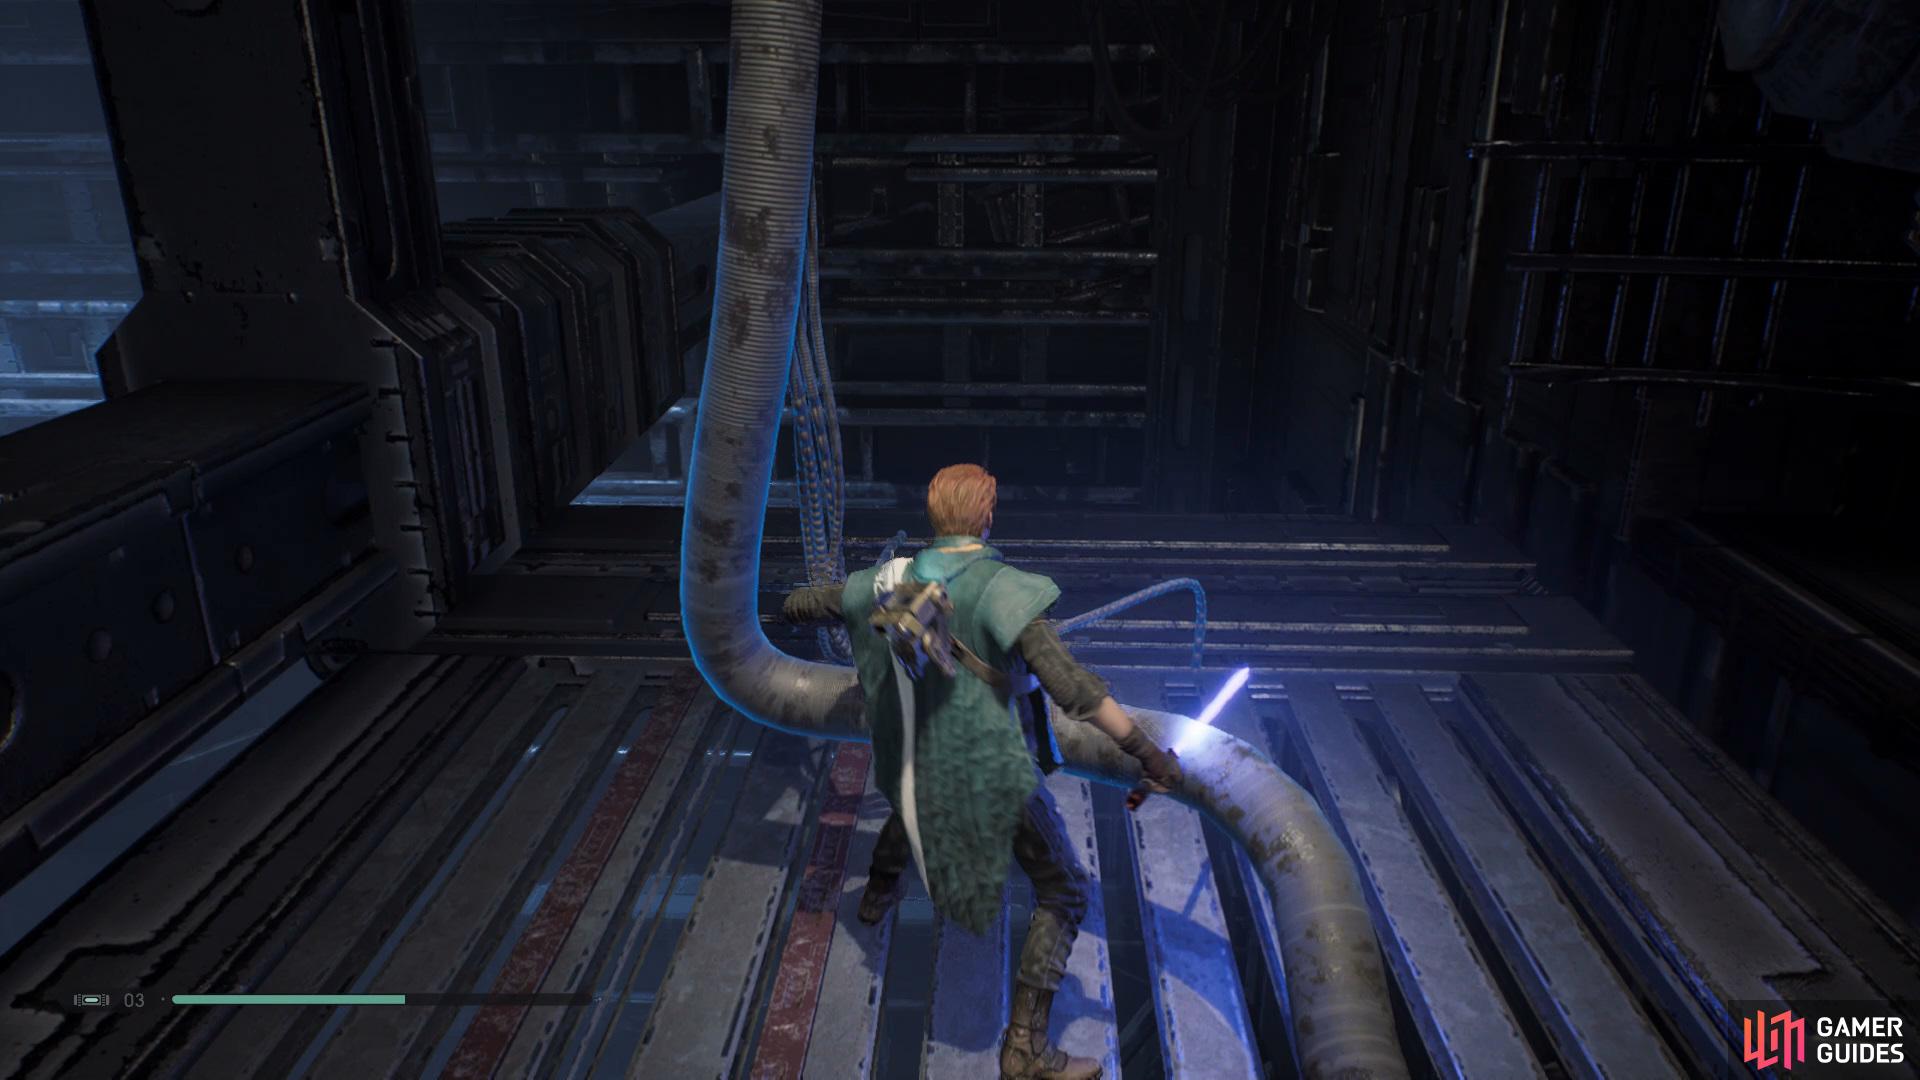
Go back outside and make your way over to the Bogdo Sinkholes, use Force Pull to bring the bridge down and go across. Use the rope to swing across to the other side and you’ll find two Chests here that contain the Lamina Steel Lightsaber Material and the Offshore Poncho, now head back to the where you used the rope and swing down to the fan, quickly use Force Slow before you land and head in to find a Chest that holds the Republic Mantis Paint Job.
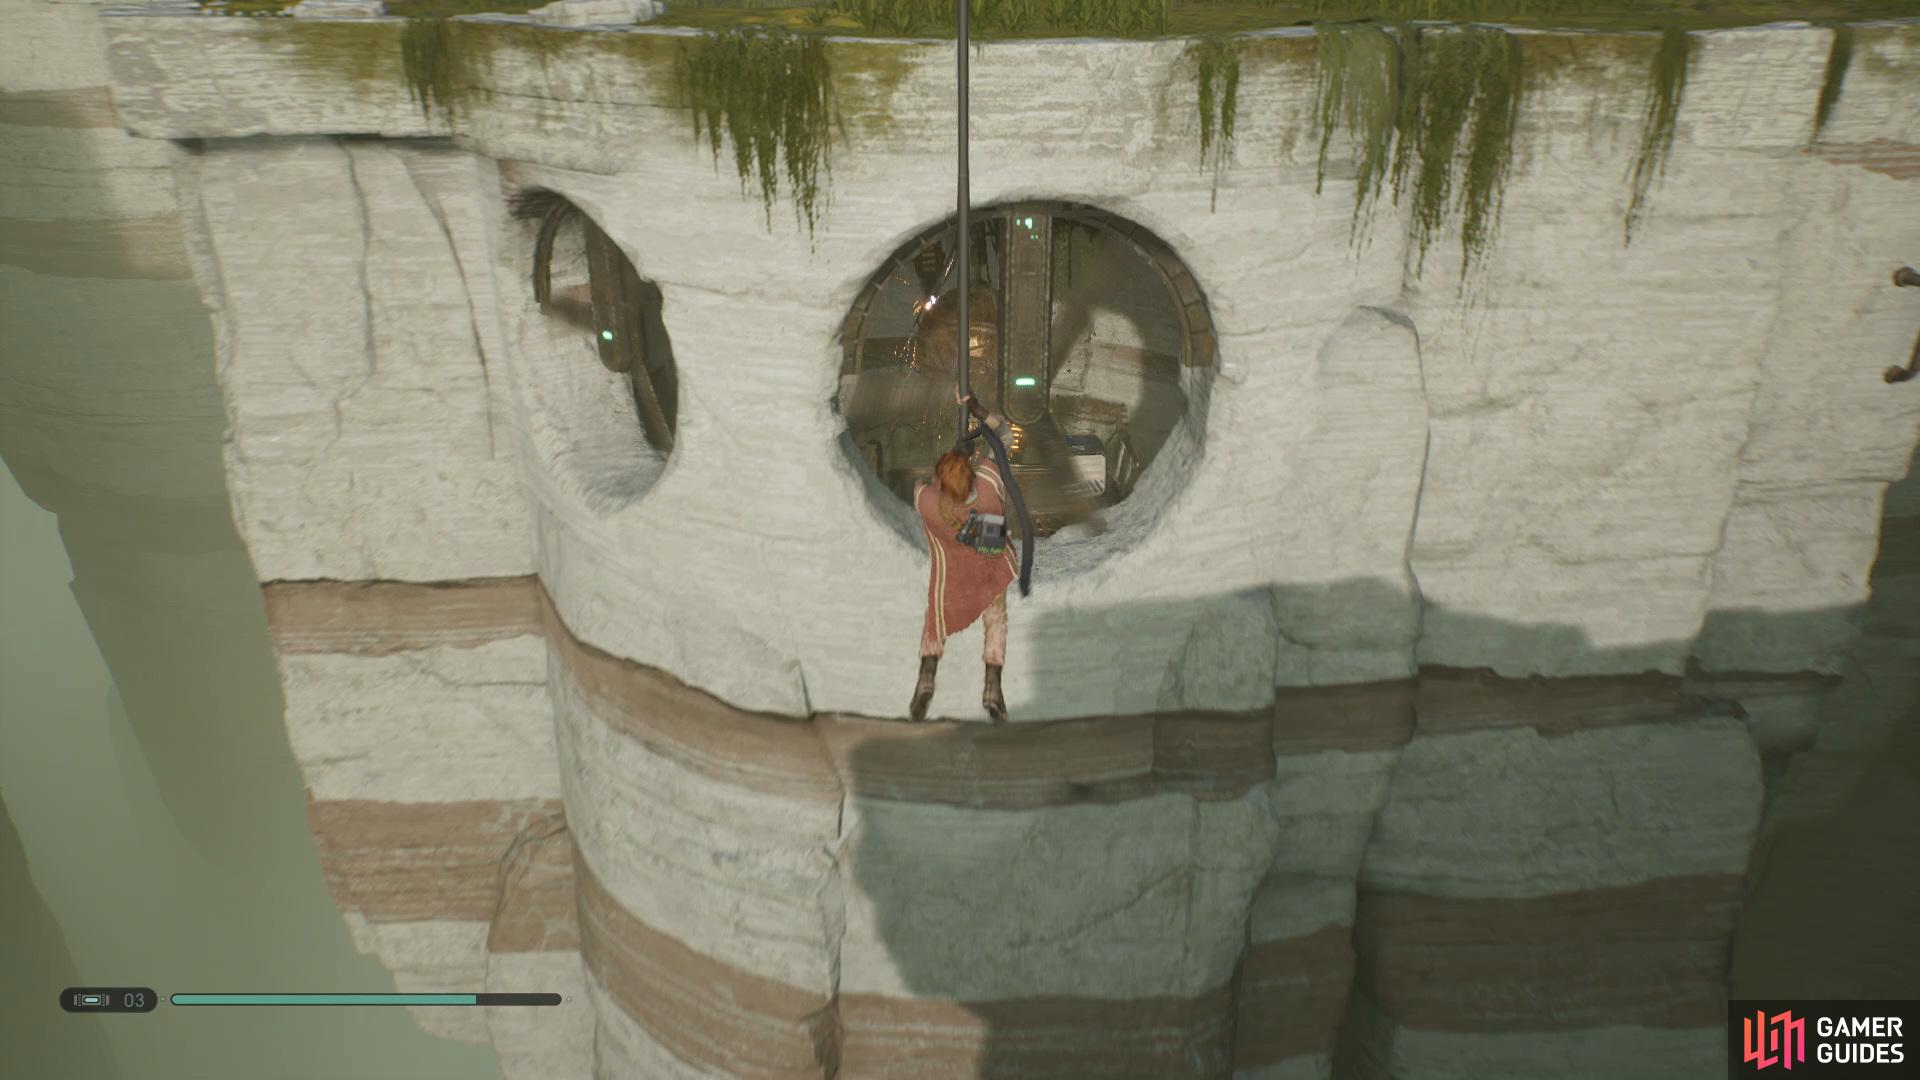
Use Force Slow on the fan before you land
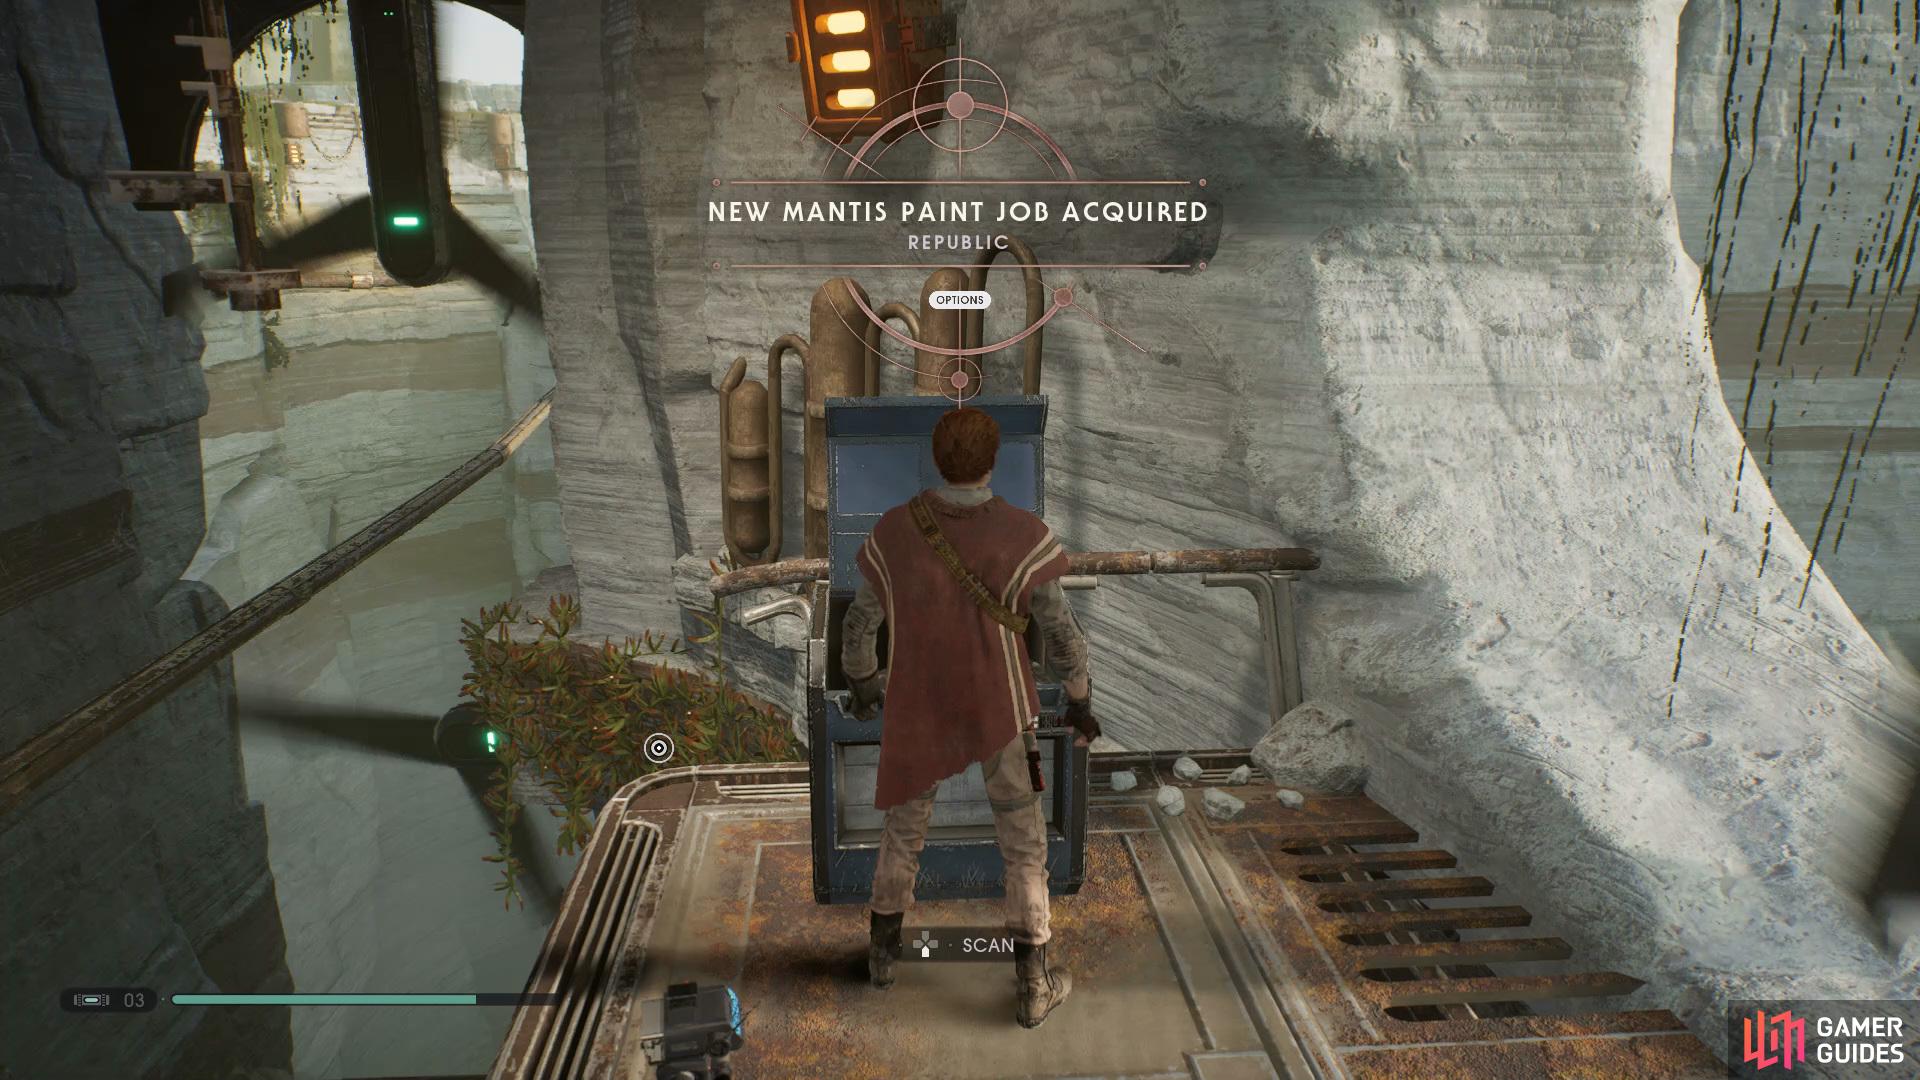
and then open the Chest inside for the Republic Mantis Paint Job.
Use the zip lines to take you down to the Great Divide and follow the path until you see a raised bridge, Force Push it down and open up the Chest to obtain the Z’Gag Wave BD-1 Skin. Continue following the path until you see a large open water area and drop down, here you’ll want to do a loop around and you’ll find two Chests that contain both the Valor and Wisdom Lightsaber Material and Valor and Wisdom Emitter. Climb out of the water and take the path up until you reach a door that BD-1 will need to open, inside you’ll find a Force Essence alongside the End Cordova Lightsaber Sleeve from the workbench.
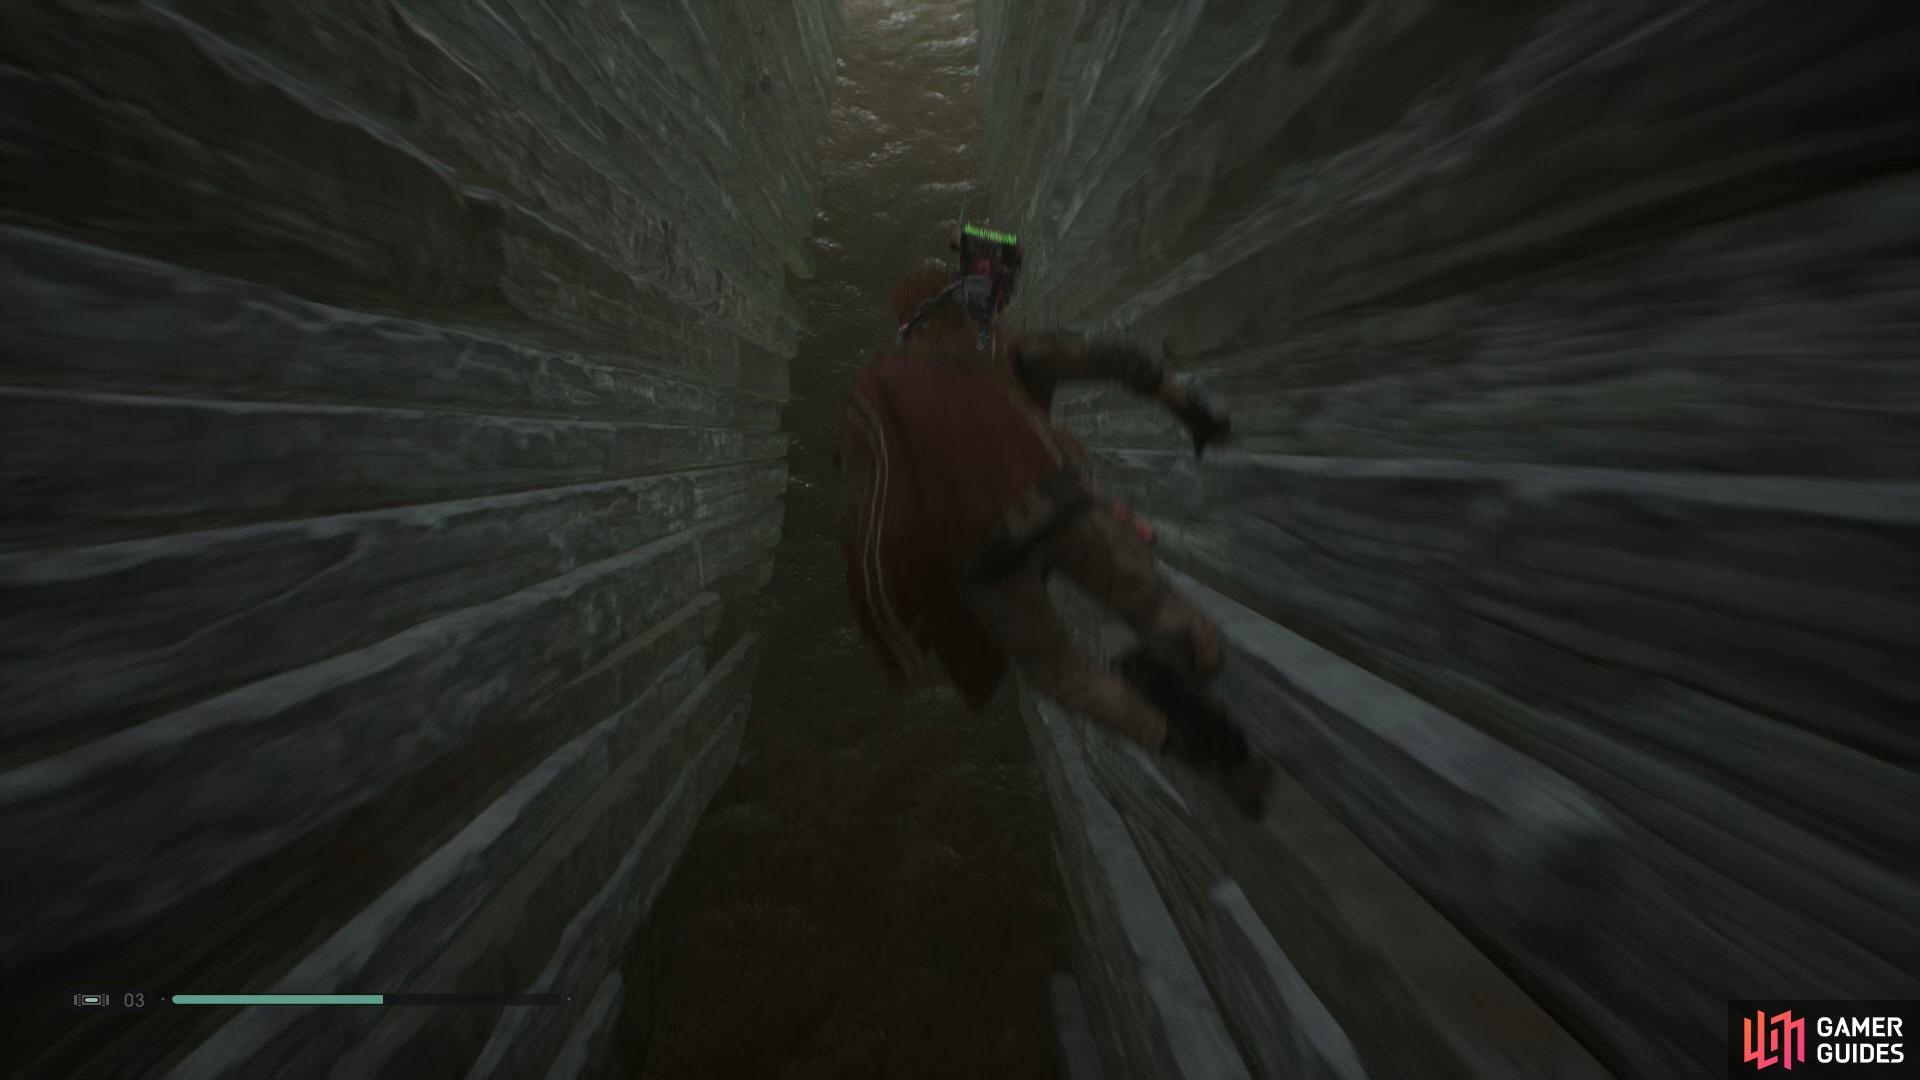
Dive into the water in the Abandoned Workshop and do a loop to find two Chests
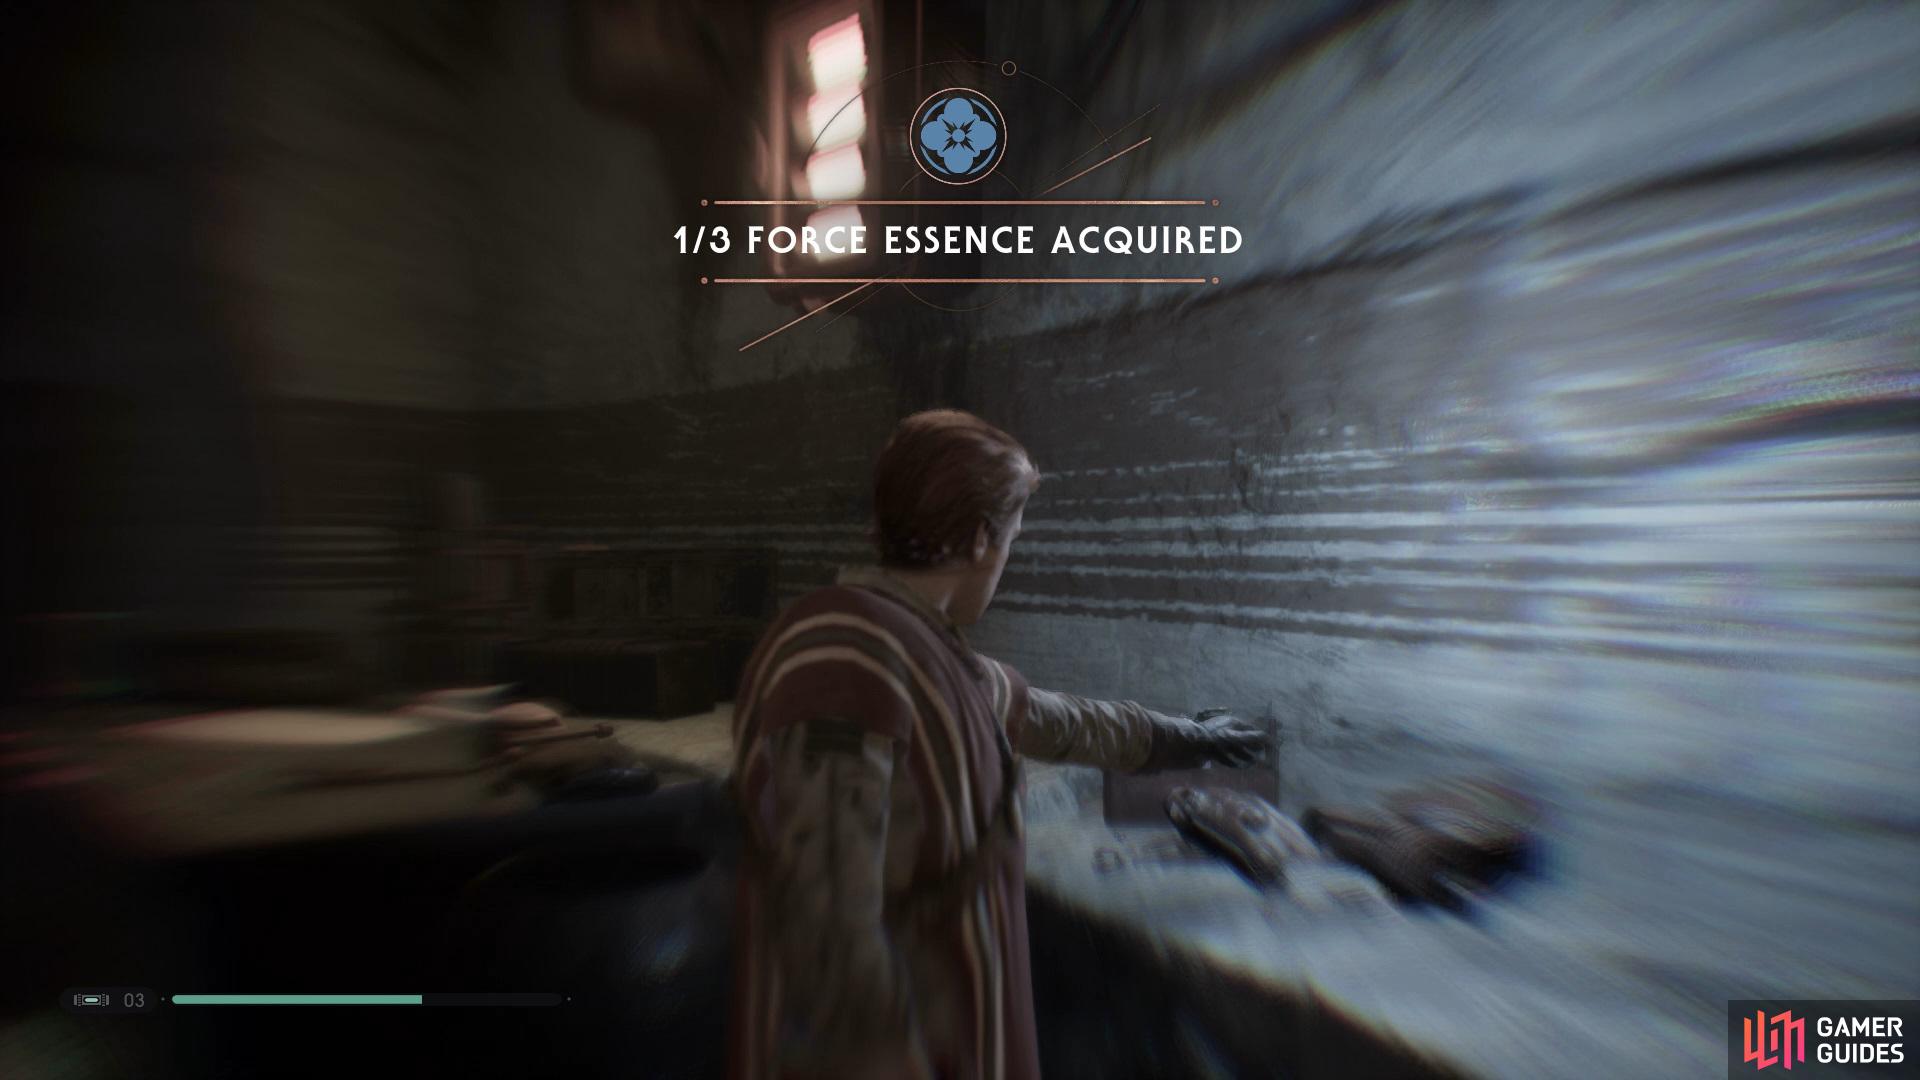
now exit the water and head up, allow BD-1 to open the door and then collect a Force Essence.
Come out of the room and go further up, allow BD-1 to open up the door and then continue following the path ahead and climb up to the raised area. Here you’ll find a Chest to the left which contains the Neuranium Lightsaber Material, now jump to the area in front of the Chest and follow it around to the right where you’ll find a smaller piece of land that contains the **Featherfern Terrarium Seed.
Drop down onto the white path on the left and follow it around to the right to find a Chest that contains the Peace and Justice II Lightsaber Sleeve. Make your way into the Subterranean Refuge and go to the wall where you learnt Wall Run, here you’ll want to Wall Run all the way over to the back of the area and collect the Secluded Sanctuary Force Echo, now turn around and Wall Run again to grab hold of the rope and then swing across to another. Get some momentum and hop over to the wall in the back left corner and follow it around to enter a small area above and pick up the Life Essence.
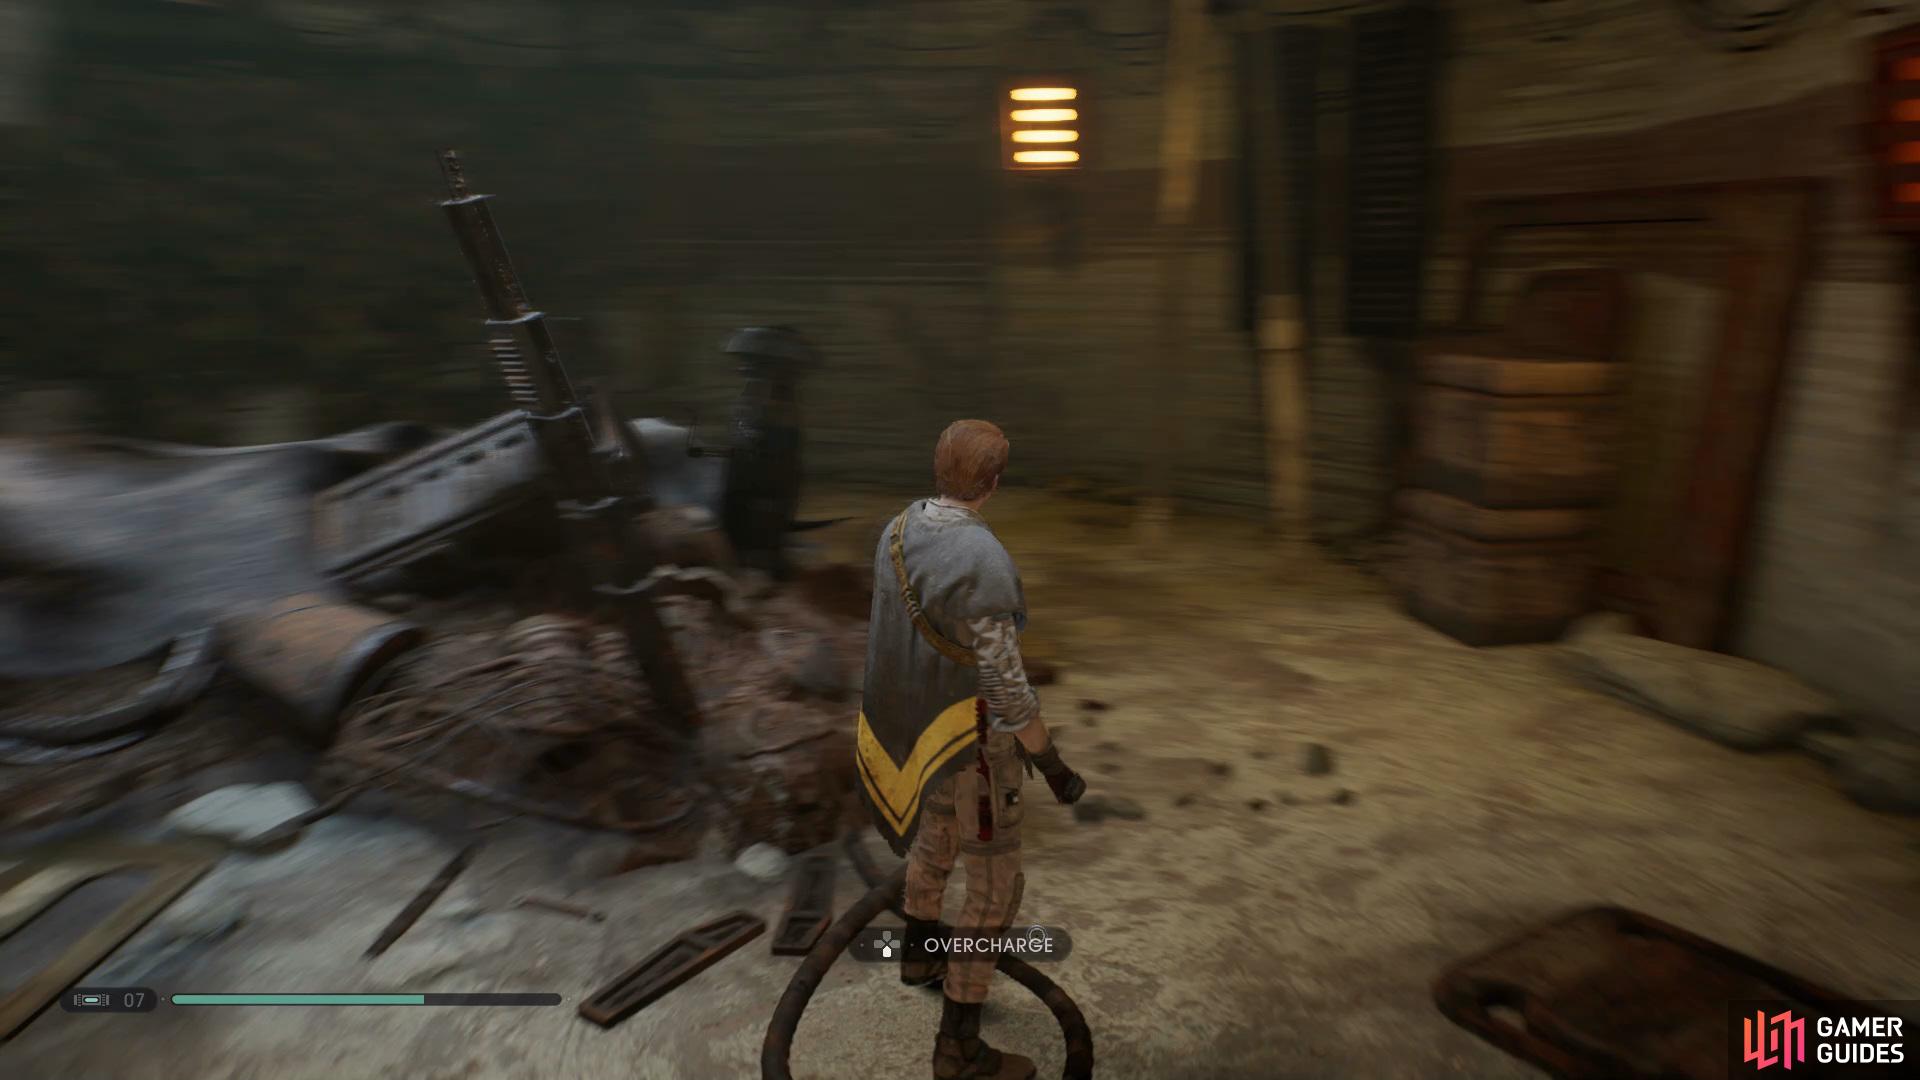
Climb up and get BD-1 to perform an overcharge
and then drop down to open the accessible Chest.
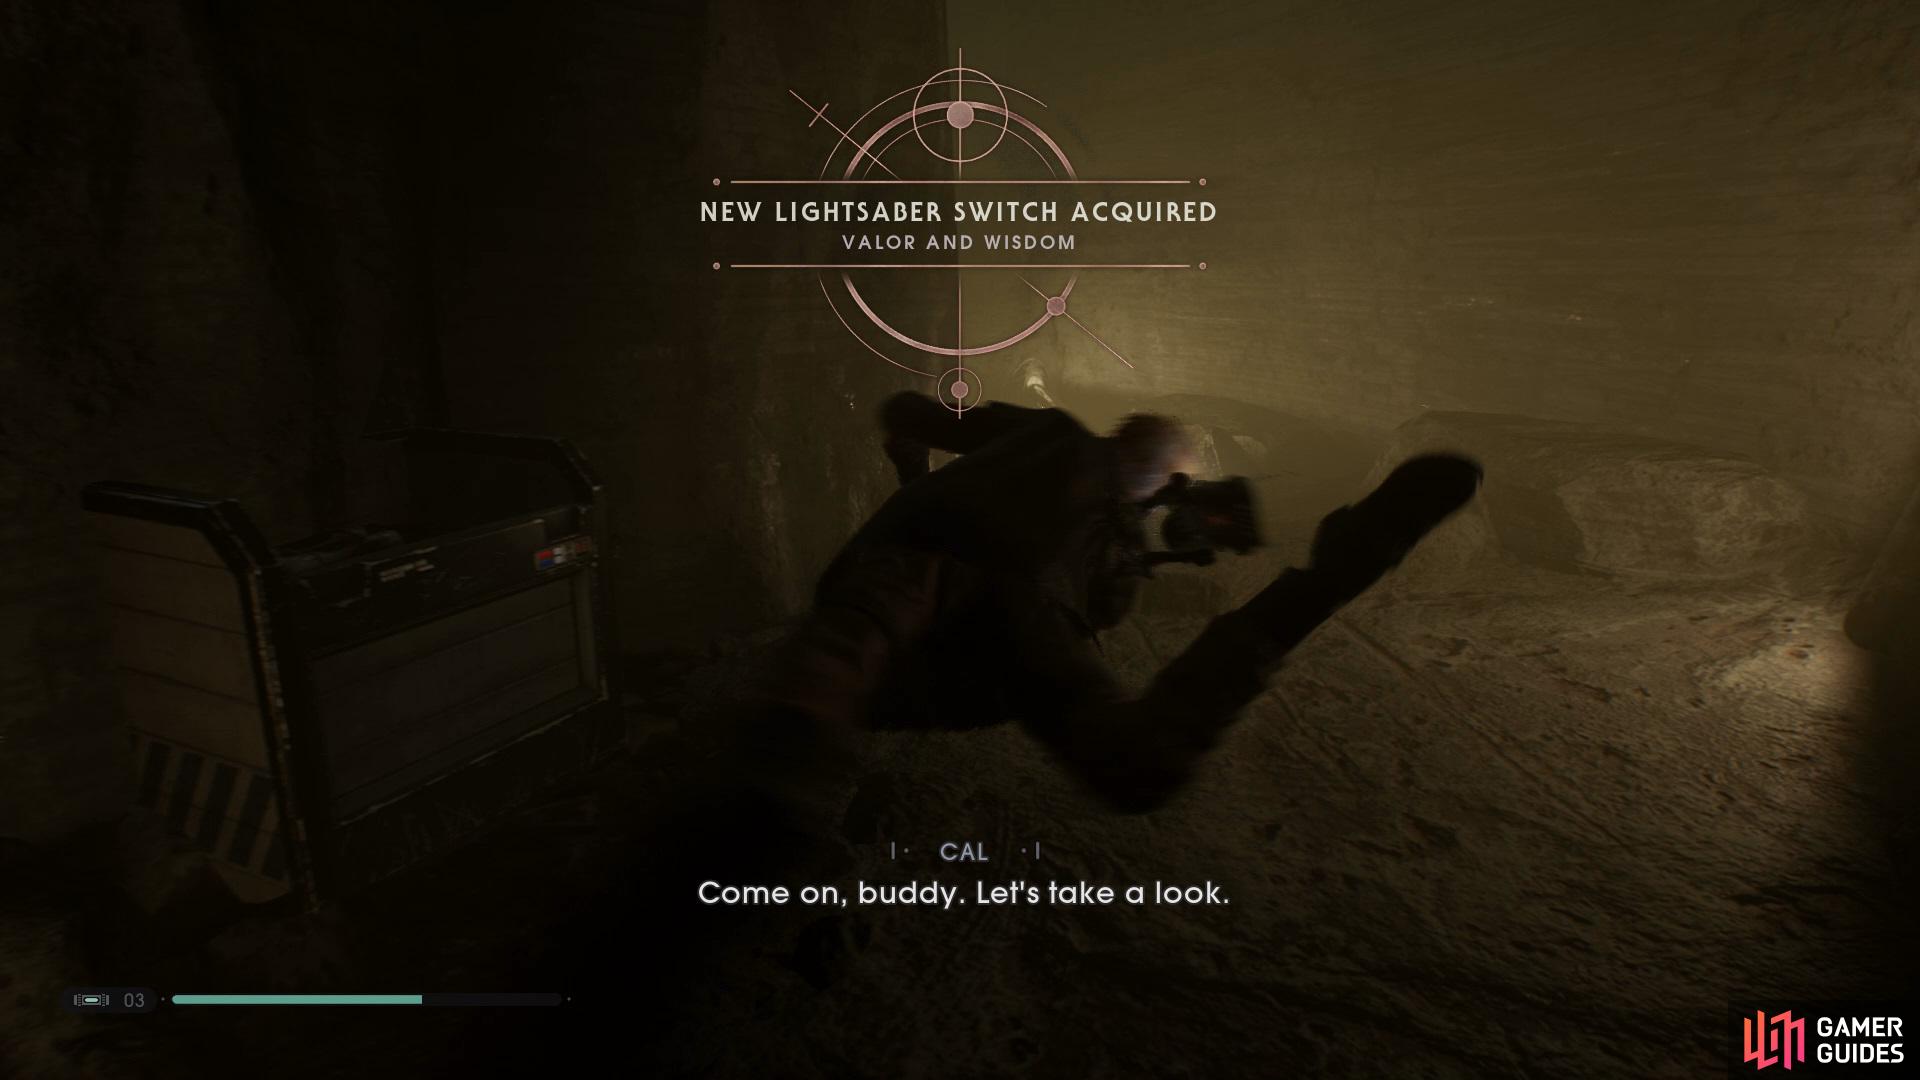
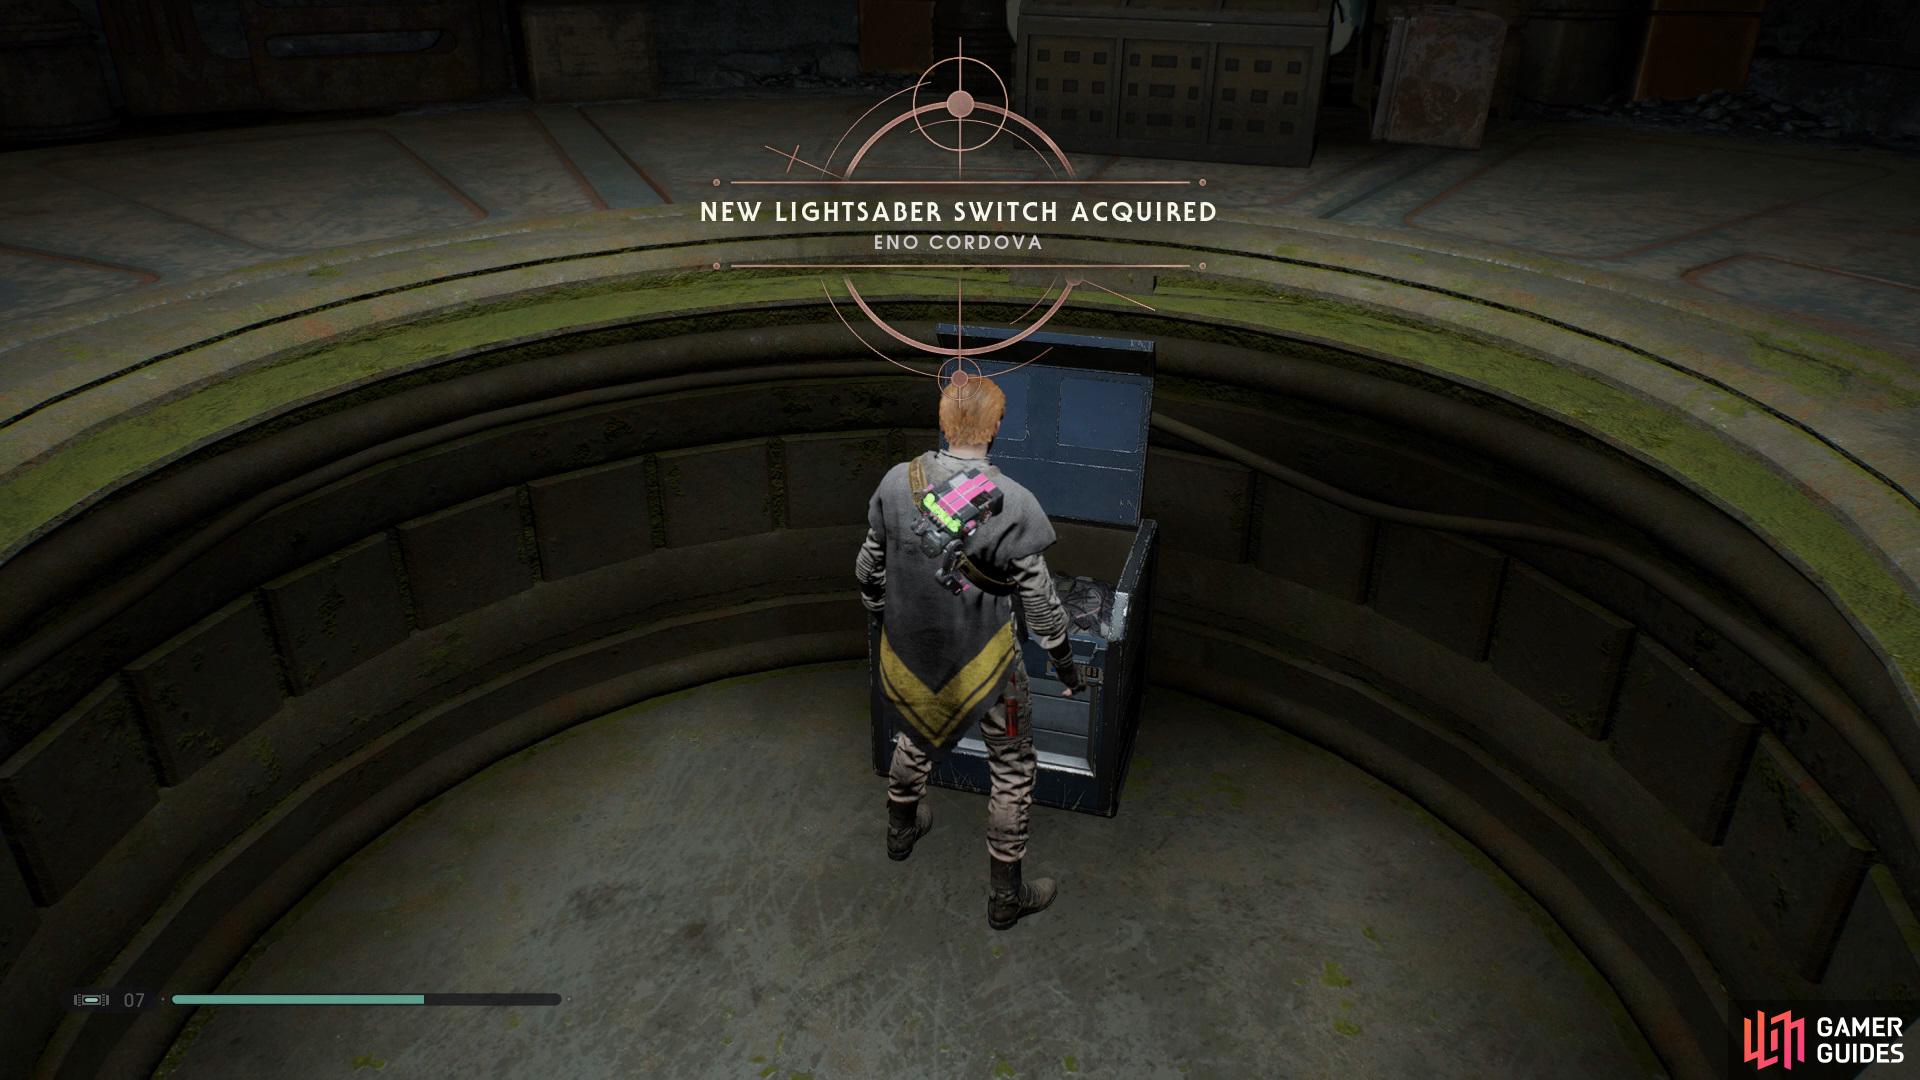
Make your way up to the top of Great Divide and open up the Chest to obtain the Corundum Lightsaber Material, now make your way into where you fought Oggdo Bogdo and you’ll find a Chest that contains the Sumi Poncho. The final Chest for this planet can be found in Hermit’s Abode, by sliding through the tight gap and climbing to allow BD-1 to perform an overcharge will reveal a Chest below that contains the Eno Cordova Lightsaber Switch.
Planet II - Dathomir
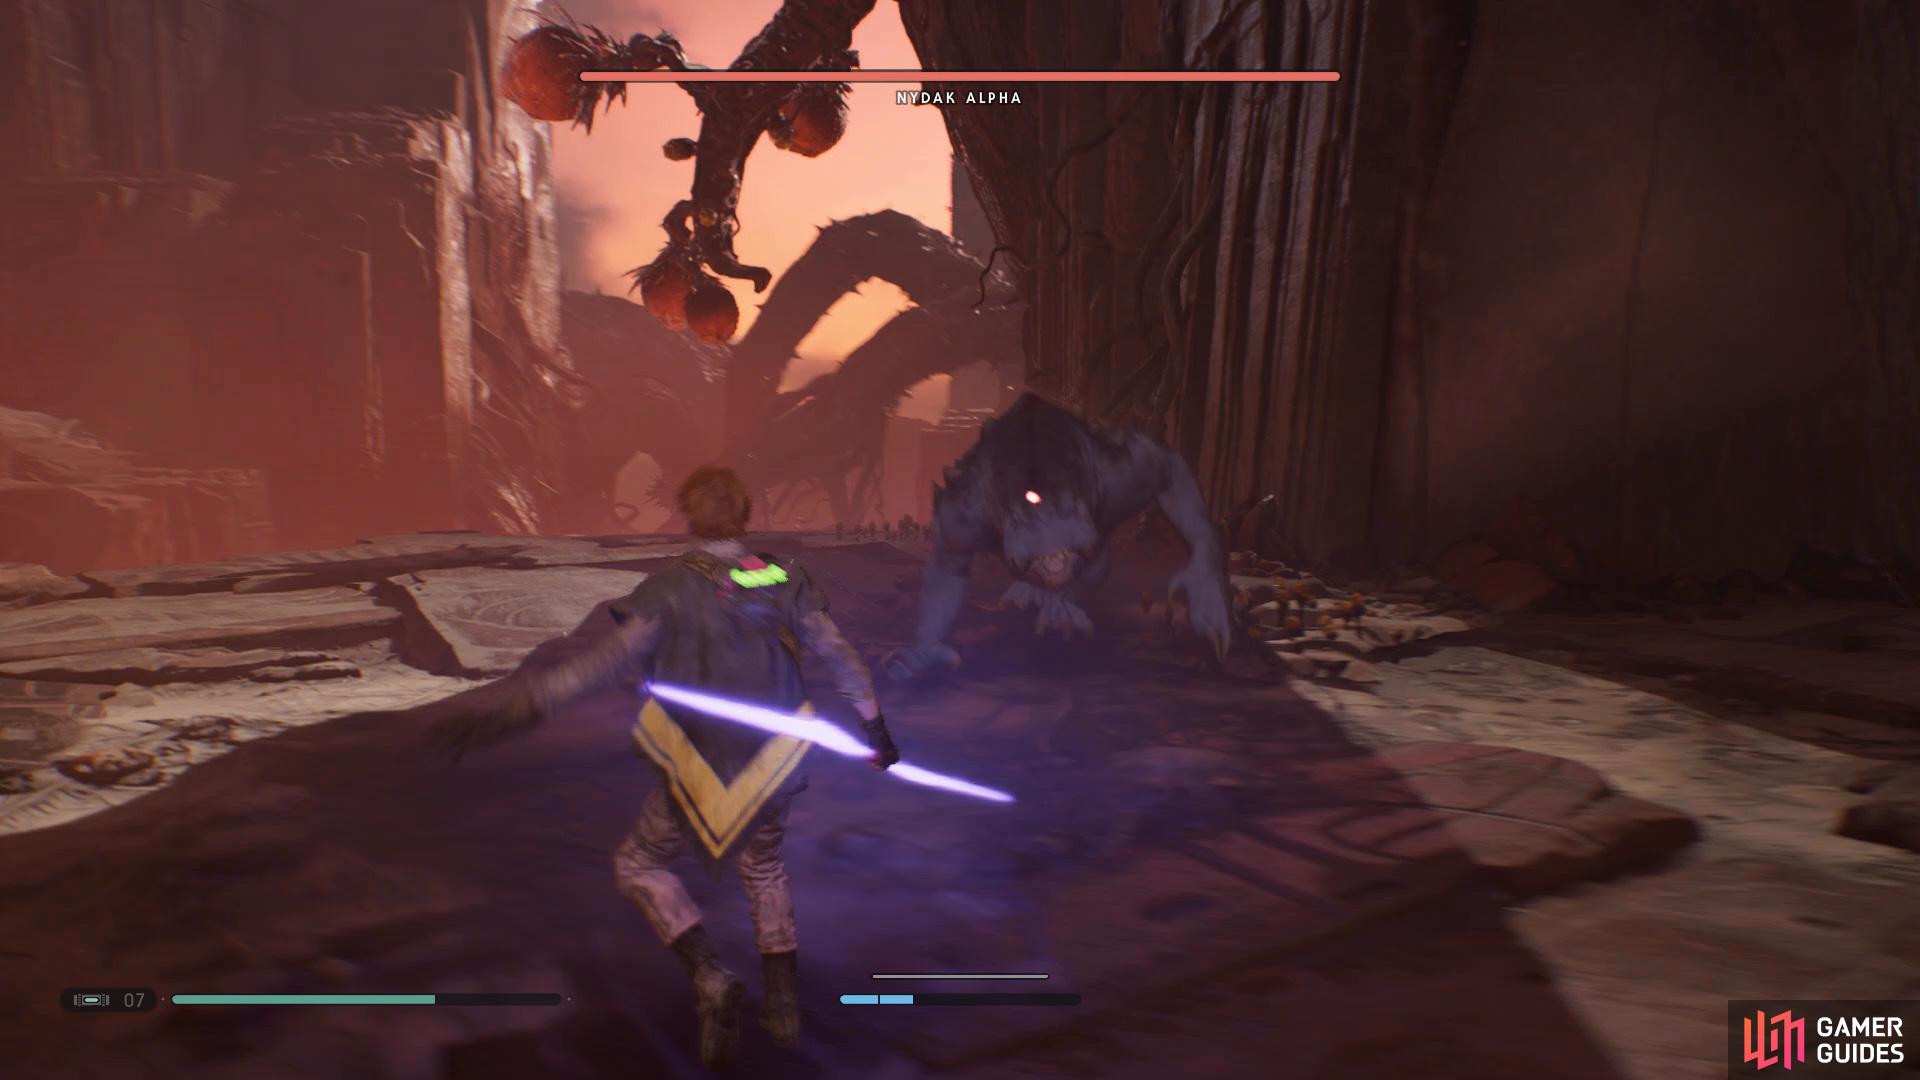
You’ll find the Nydak Alpha legendary beast in the area to the right of the ruins
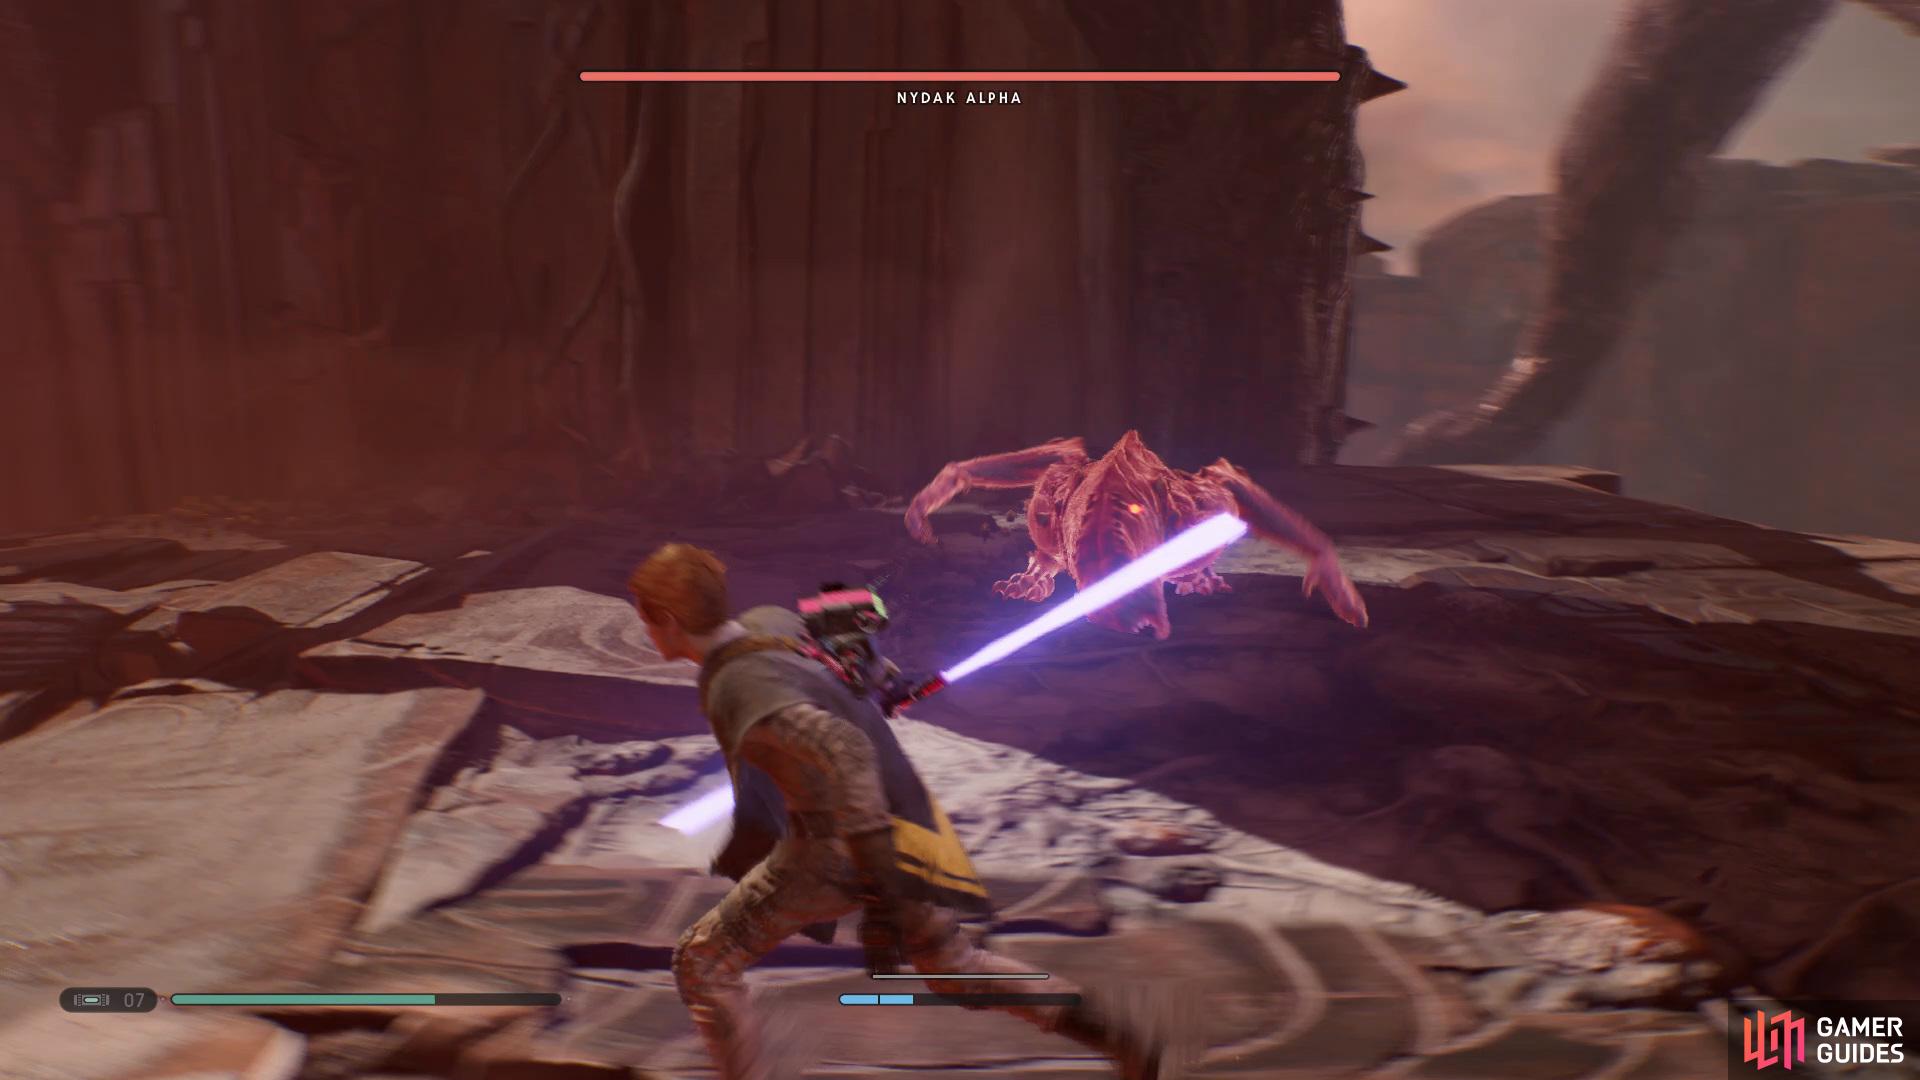
then watch out for his powerful swings.
Use the Holotable and return to Dathomir. Once you land head back up the ruins and take the right path, here you’ll find yourself battling against Legendary Beast, Nydak Alpha. The only red attack that this boss does involves him jumping up and attempting to take a swing at you, now just keep using both Force Slow and Push whilst circling him to take him out easily.
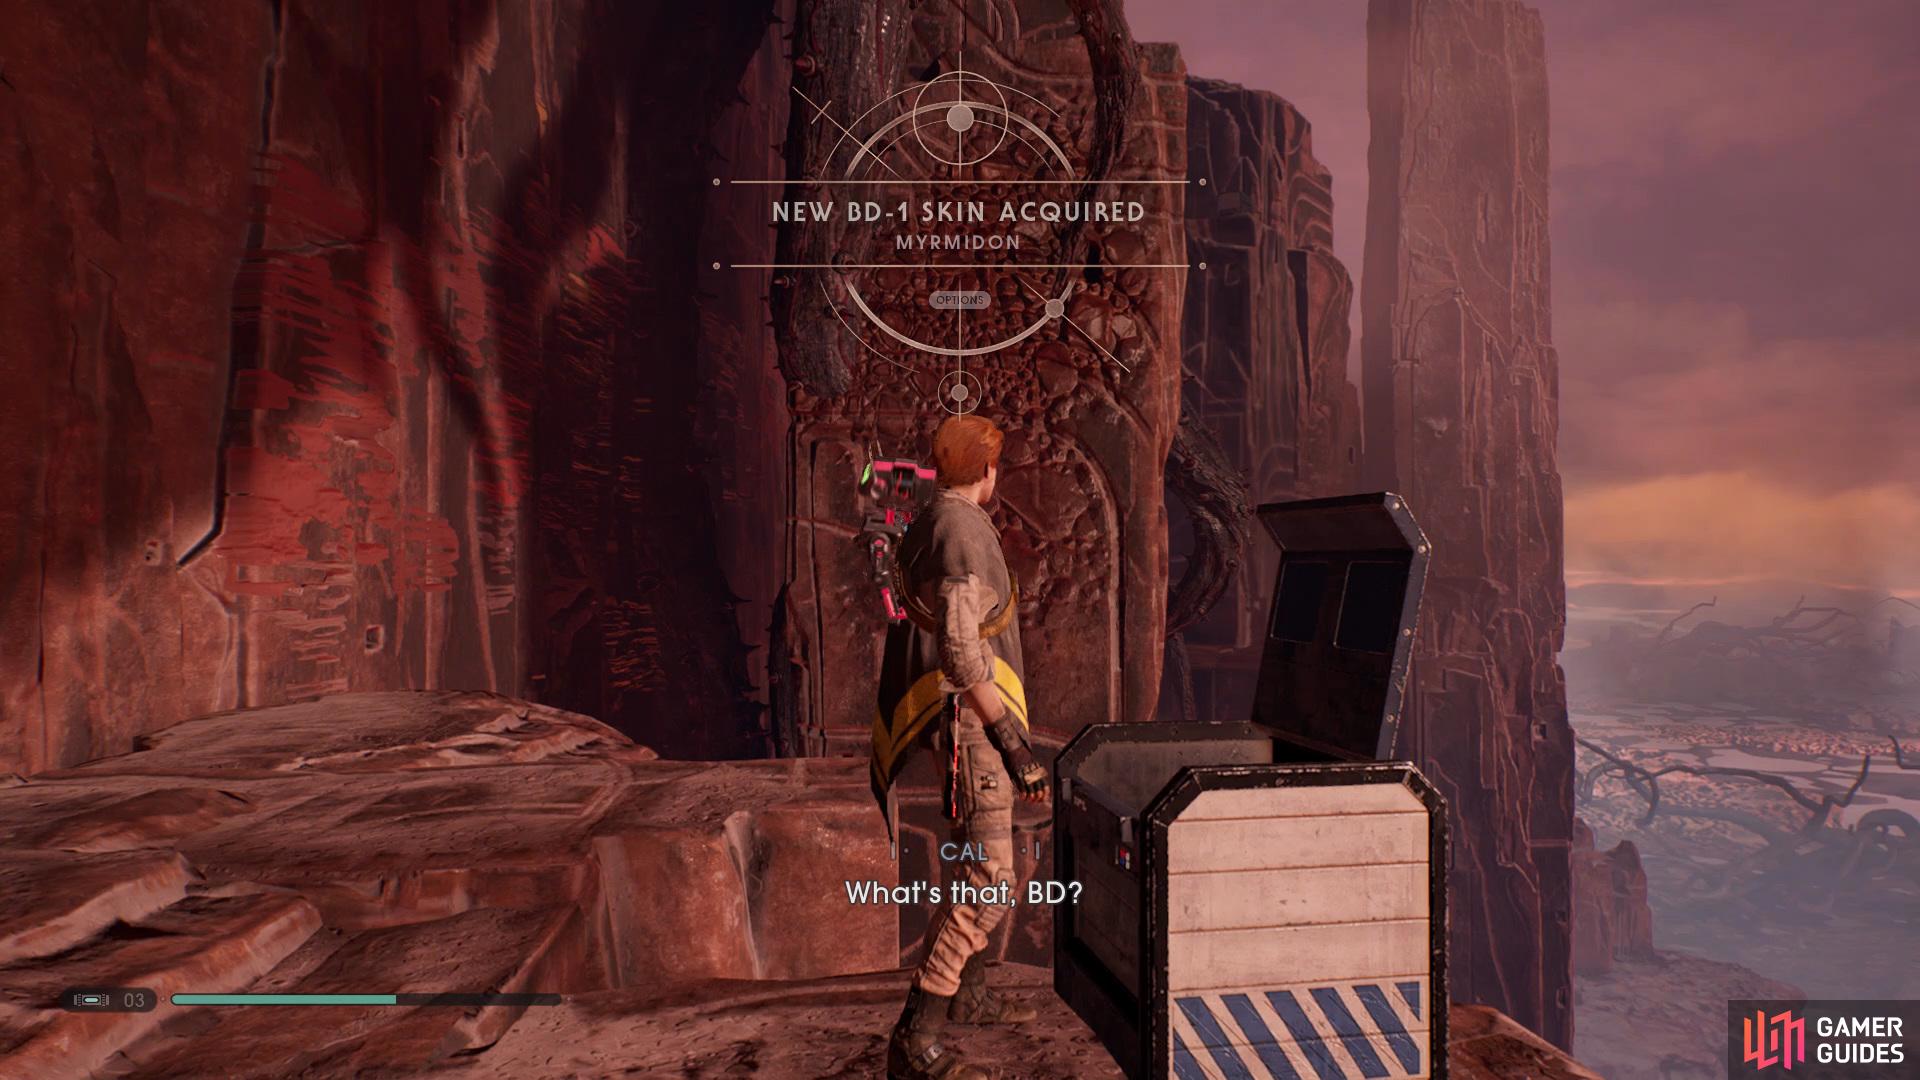
(1 of 4) After you’ve defeated the boss follow the path down to find a Chest that contains the Myrmidon BD-1 Skin
After he has been taken out follow the path down and you’ll find a Chest that contains the Myrmidon BD-1 Skin, now Wall Run across and climb up to find another Chest that holds the Homestead Poncho. Climb up to the area on the left and walk to the end of the path to find a Chest with the Outlaw Outfit Material, now hop across and follow the path up to find a Golden Chest that contains a Stim Canister. Before leaving Dathomir make your way down to the Swamp of Sacrifice and go to the left side to find the Mushling Terrarium Seed.
Planet III - Zeffo
Make your way back to the Mantis and set a course for Zeffo. Once you’ve arrived head over to the Weathered Monument, here you’ll want to take the original path you took on the first visit but head down the hill just before using the rope to find a Chest that contains the Mercenary Mantis Paint Job. Now make your way into the Imperial Headquarters and use the lift to take you up and go left, use Force Slow on the fan and jump up, continue going up until you can’t anymore and then drop down to find a Chest that contains the Aurodium Lightsaber Material.
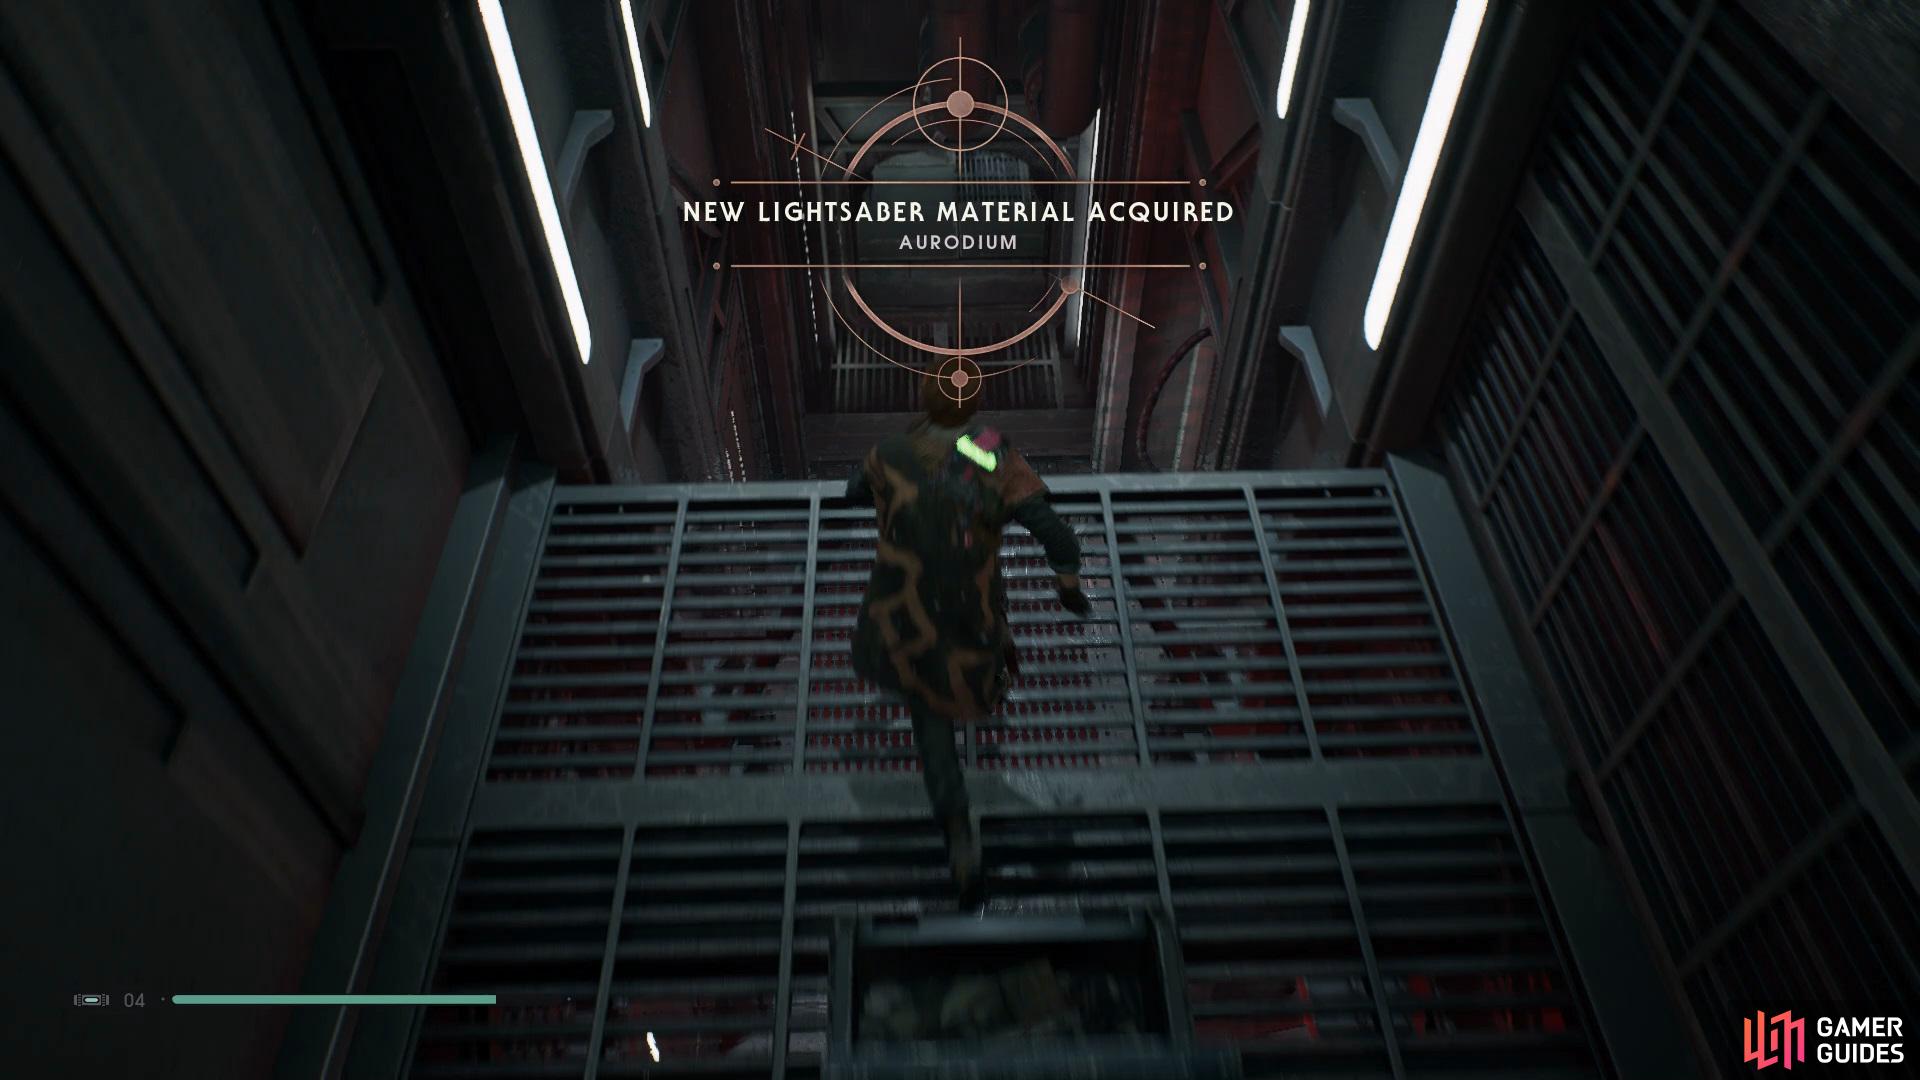
Once you’ve entered the Imperial Headquarters head to the area with the fans and climb up to find a Chest that contains Aurodium Lightsaber Material
now go over the exit of the spire lift and you’ll find another chest hidden in the corner.
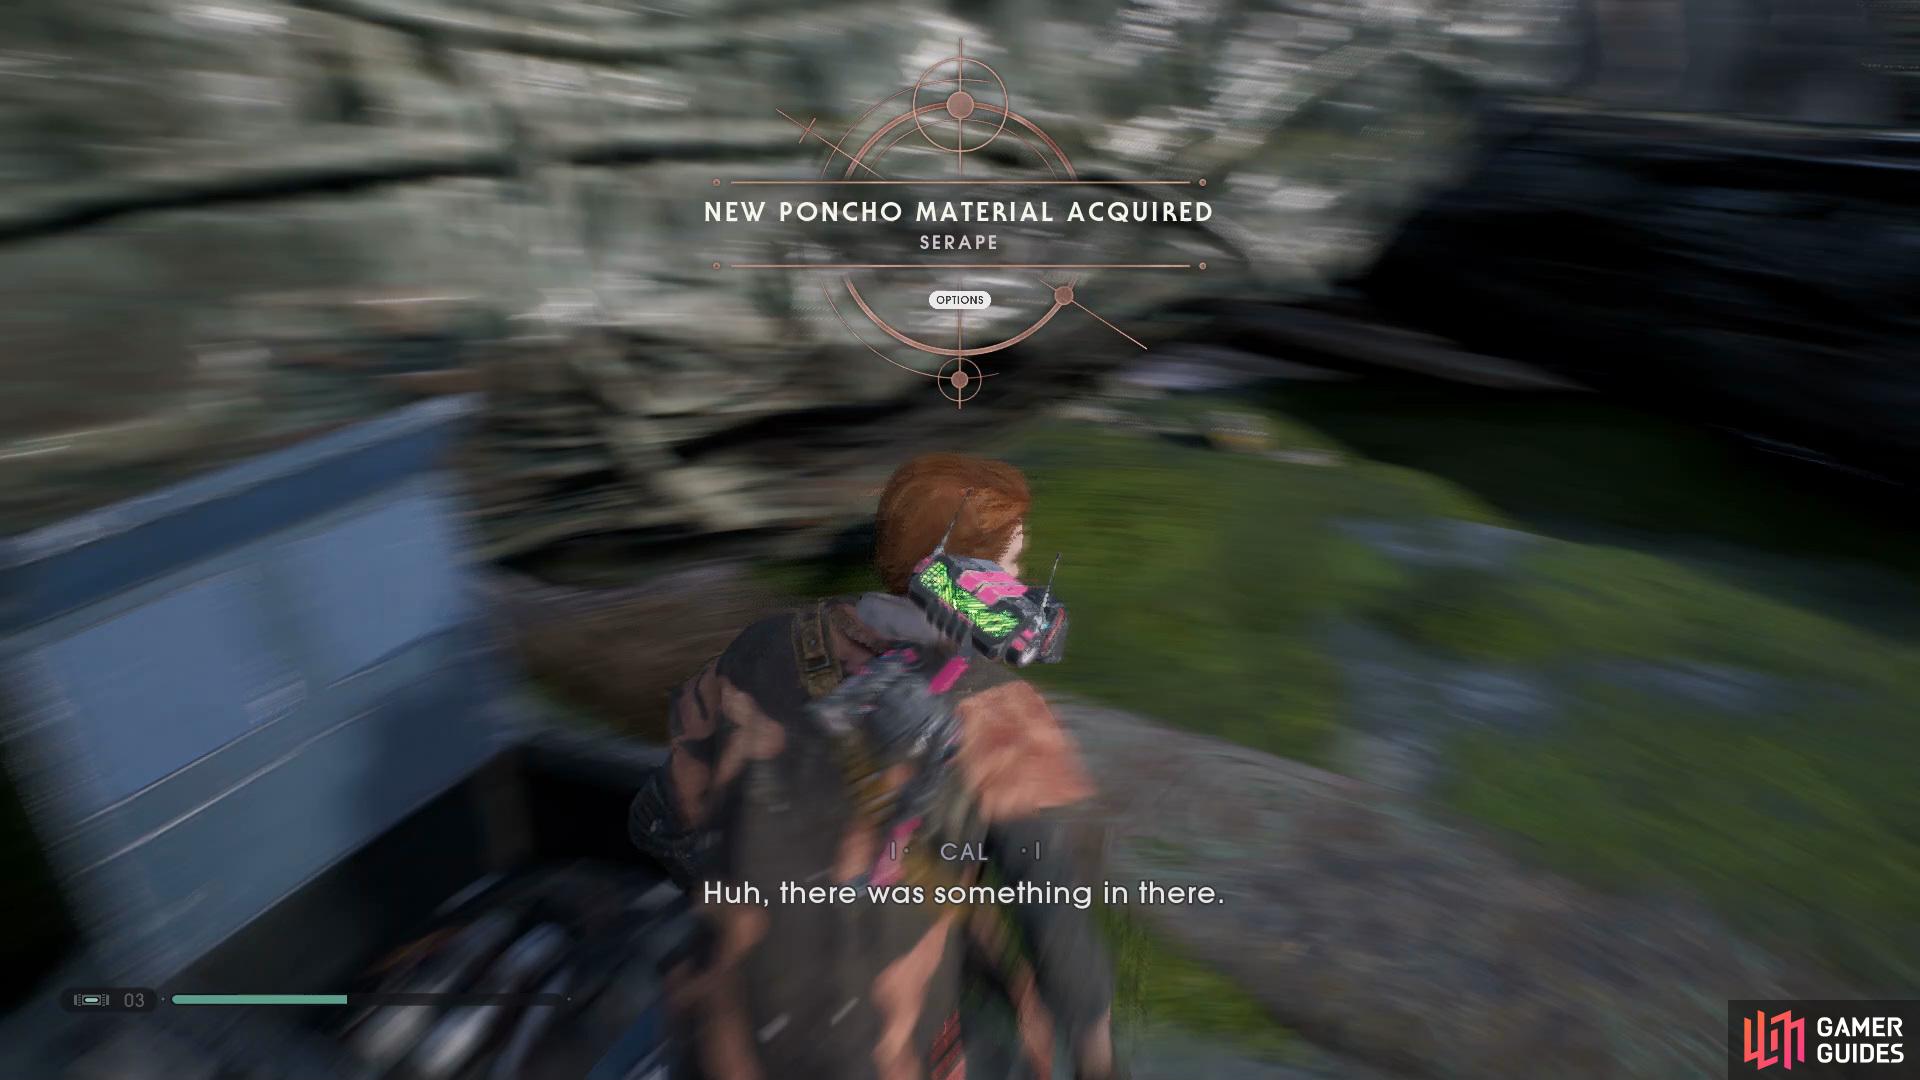
Head back down the lift and make your way over to the lift that you used to exit the Tomb of Miktrull, here you’ll find a Chest tucked nicely in the corner that holds the Serape Poncho. Go back into the Imperial Headquarters and take the long lift down into the Imperial Dig site, here you’ll want to use the zip lines to reach the middle and jump off to find a secret room that holds a Stim Canister.
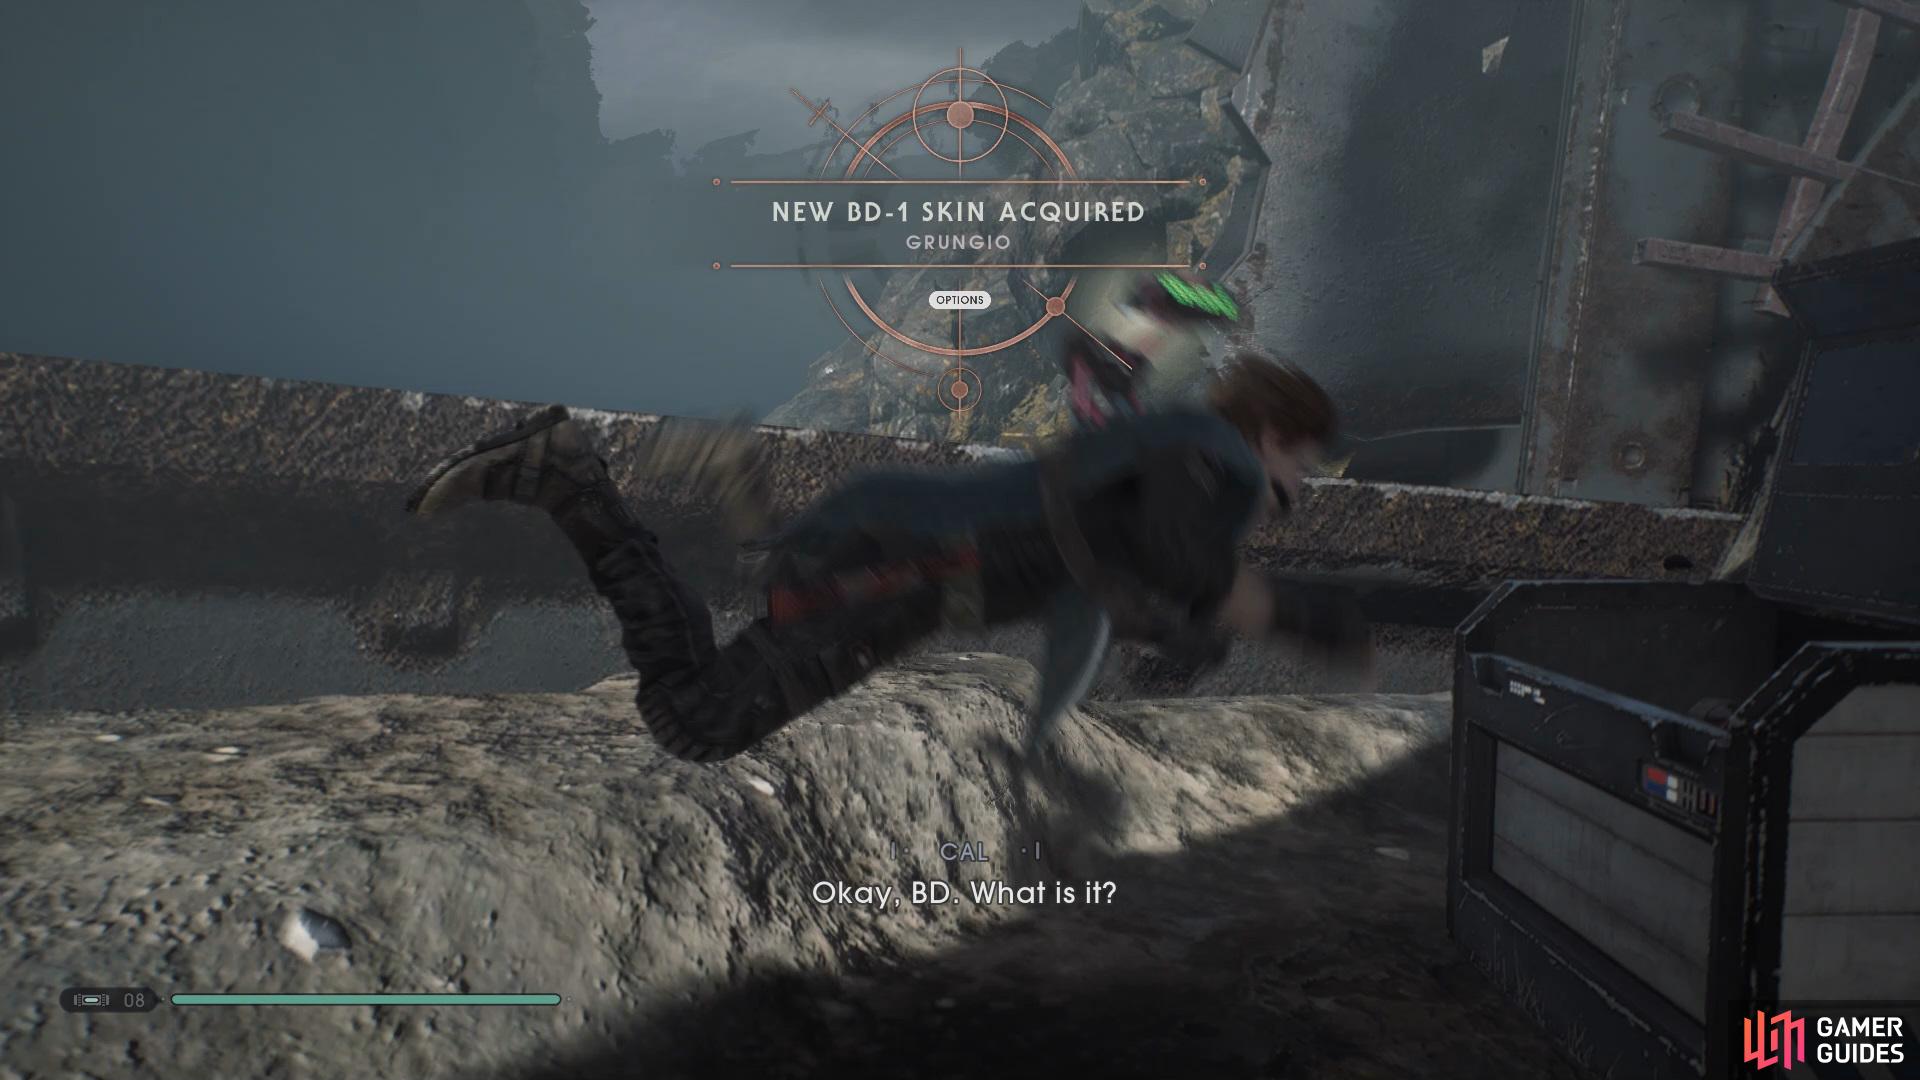
Make your way to the Crash Site and dive into the water, here you’ll want to just do loops underwater to find several Chests which contain the following, Elemental Nature Lightsaber Sleeve, Fjord Poncho, Elemental Nature Lightsaber Switch, Elemental Nature Emitter, Grungio BD-1 Skin and finally the Polished Bronzium Lightsaber Material. Exit the water where the crashed ship is and use the rope to enter a small room above, get BD-1 to activate the power and jump across the moving platforms to obtain a Life Essence.
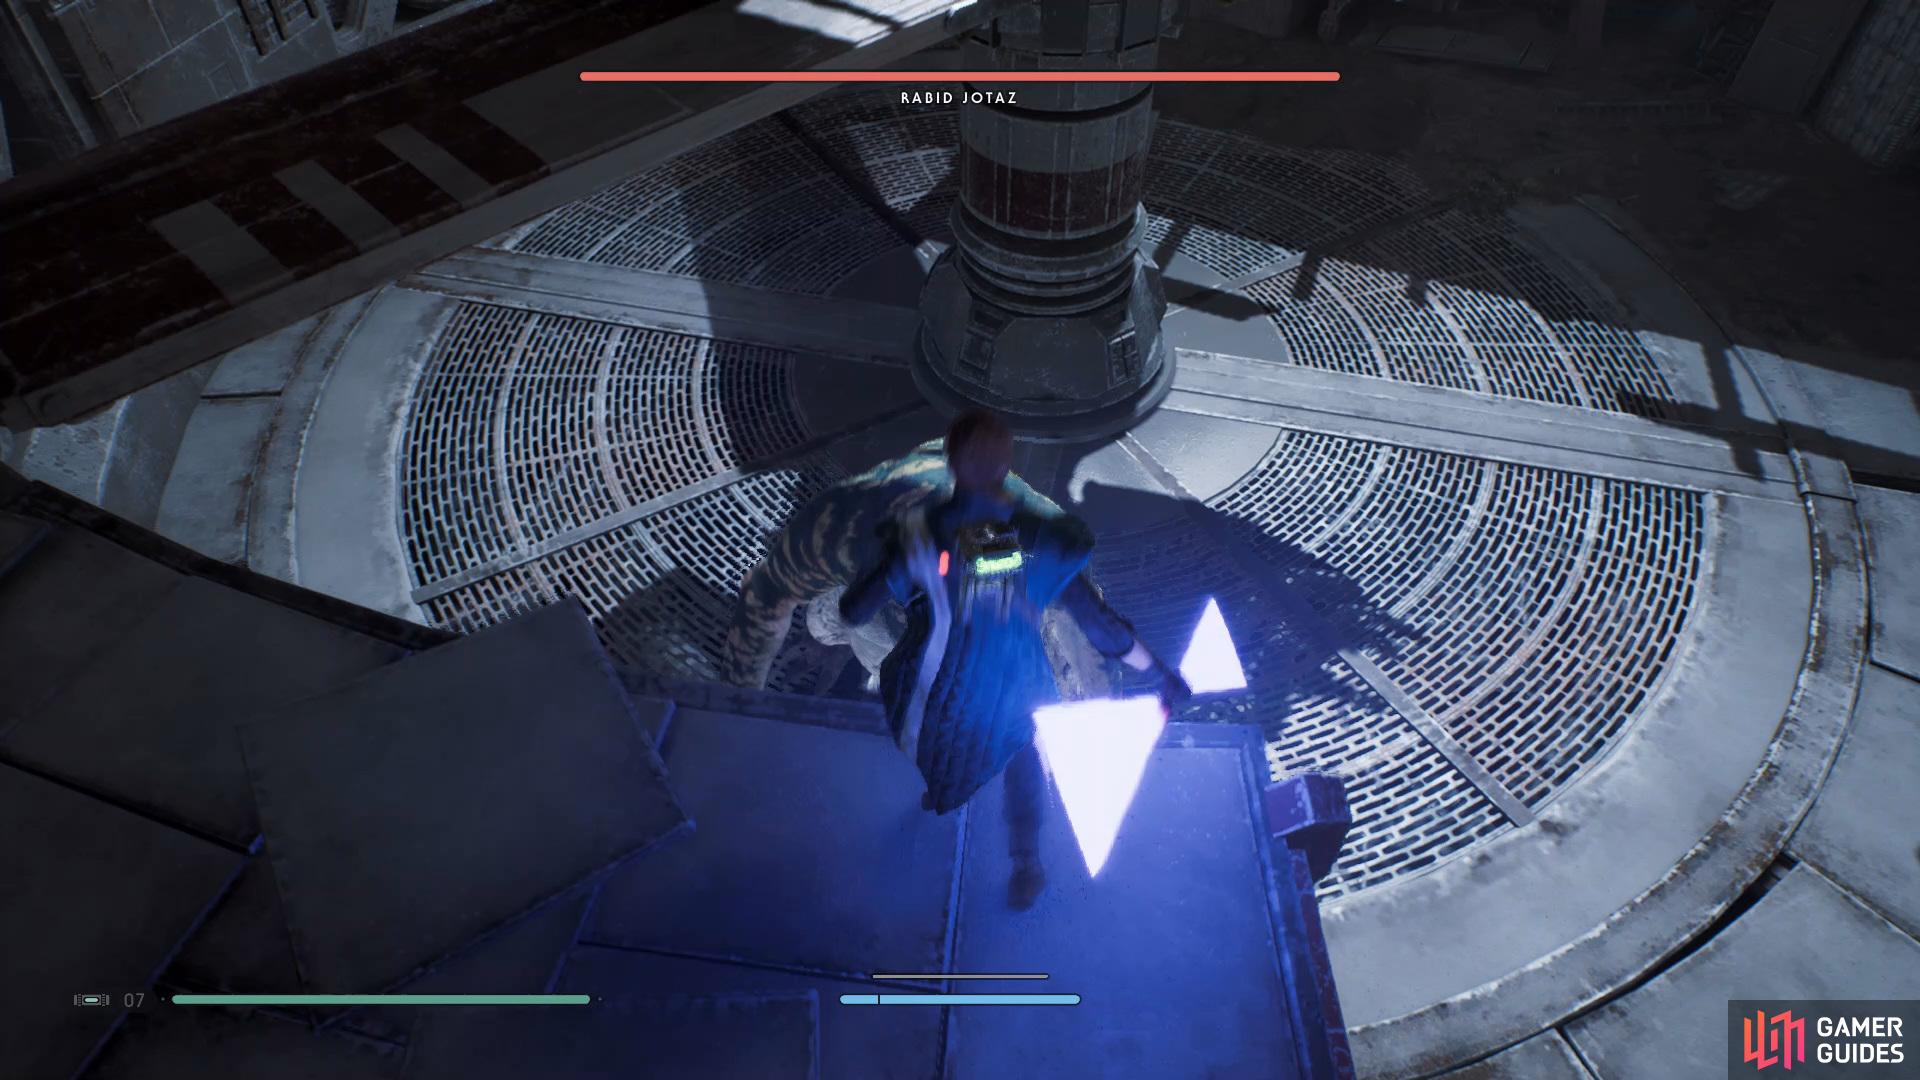
Hit the Rabid Jotaz from above to deal a good chunk of damage right from the start
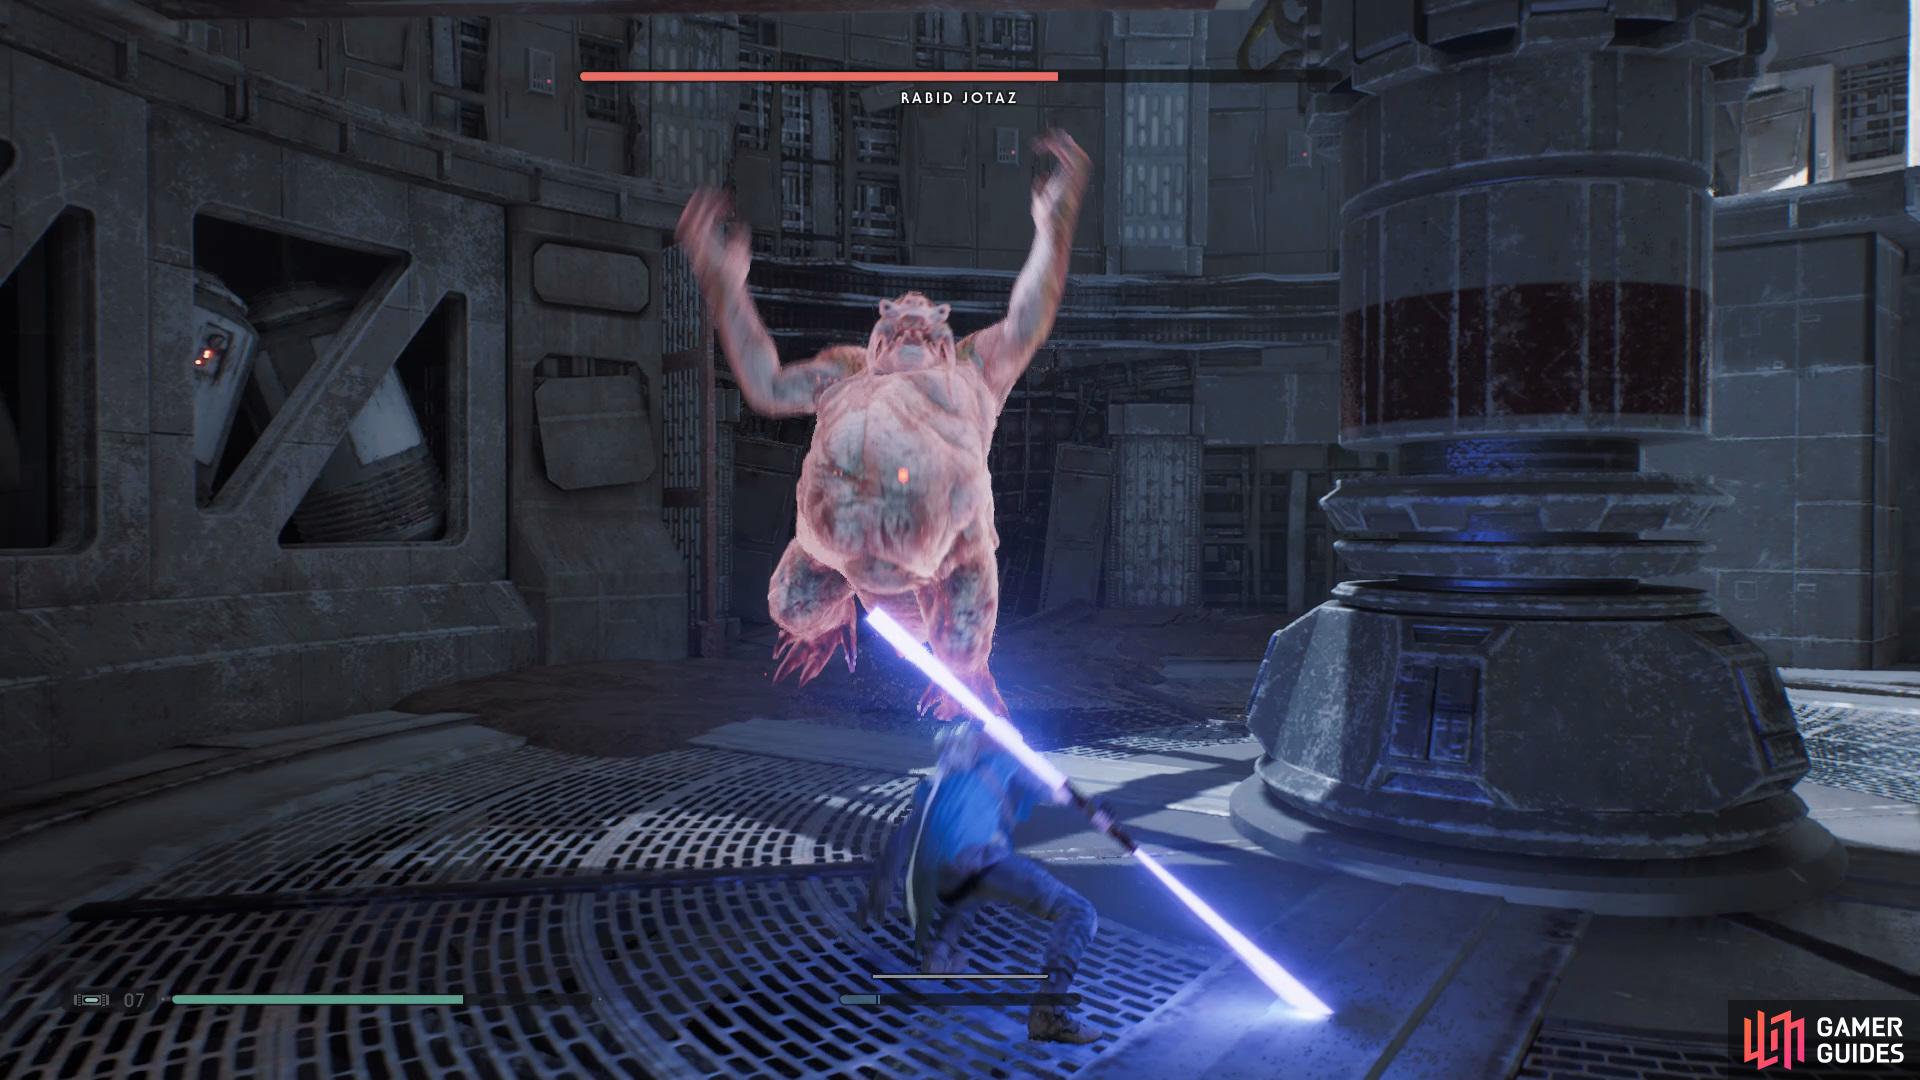
and then keep rolling away from him when he glows red.
Now go to the opposite side of Crash Site and allow BD-1 to open up a door, follow the path up until you have no choice but to jump into a battle with the final Legendary Beast, Rabid Jotaz. This boss is easily defeatable as he only performs one Red Attack which involves him jumping towards you to perform a swing. After the boss has been taken care of, Force Pull open the door and continue following the path until you have to drop down.
After you’ve defeated the Rabid Jotaz continue along the path and then dive into the first patch of water you see for a Chest
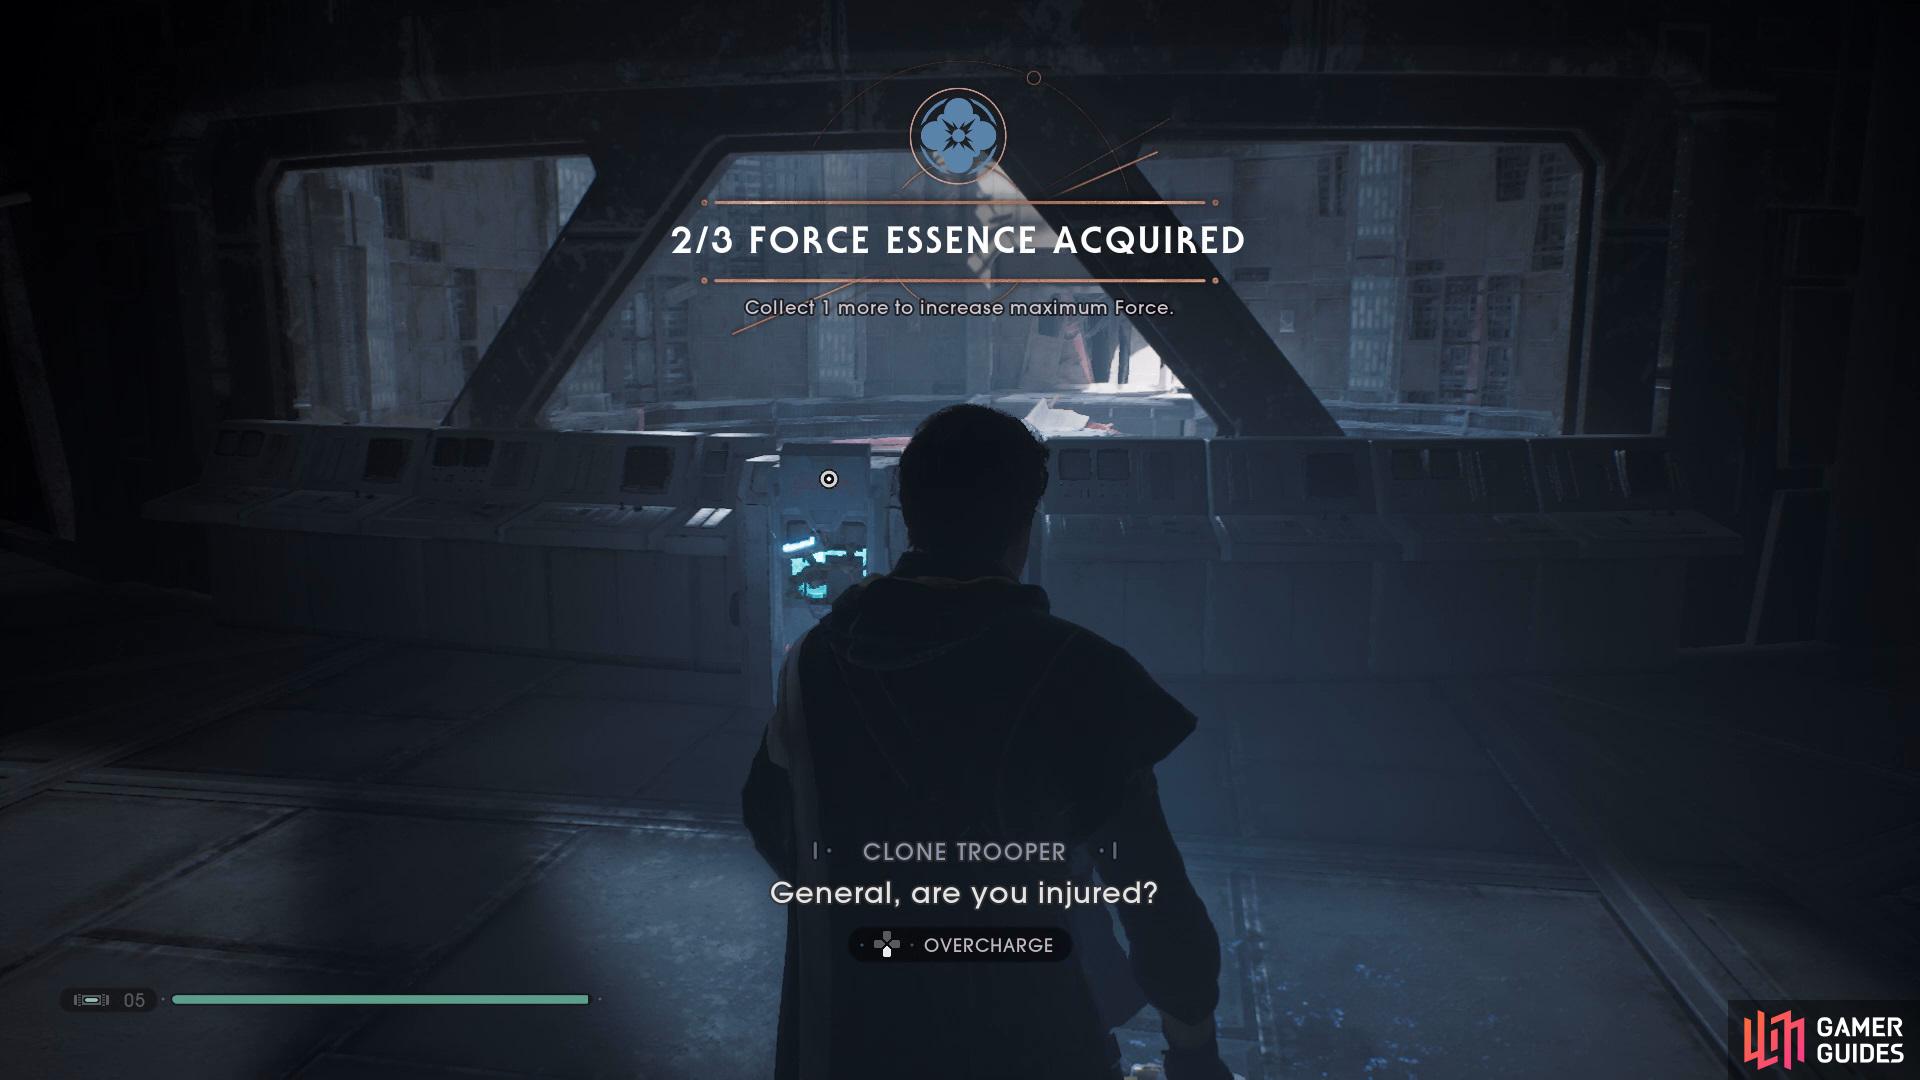
then keep going and eventually you’ll find a Force Essence.
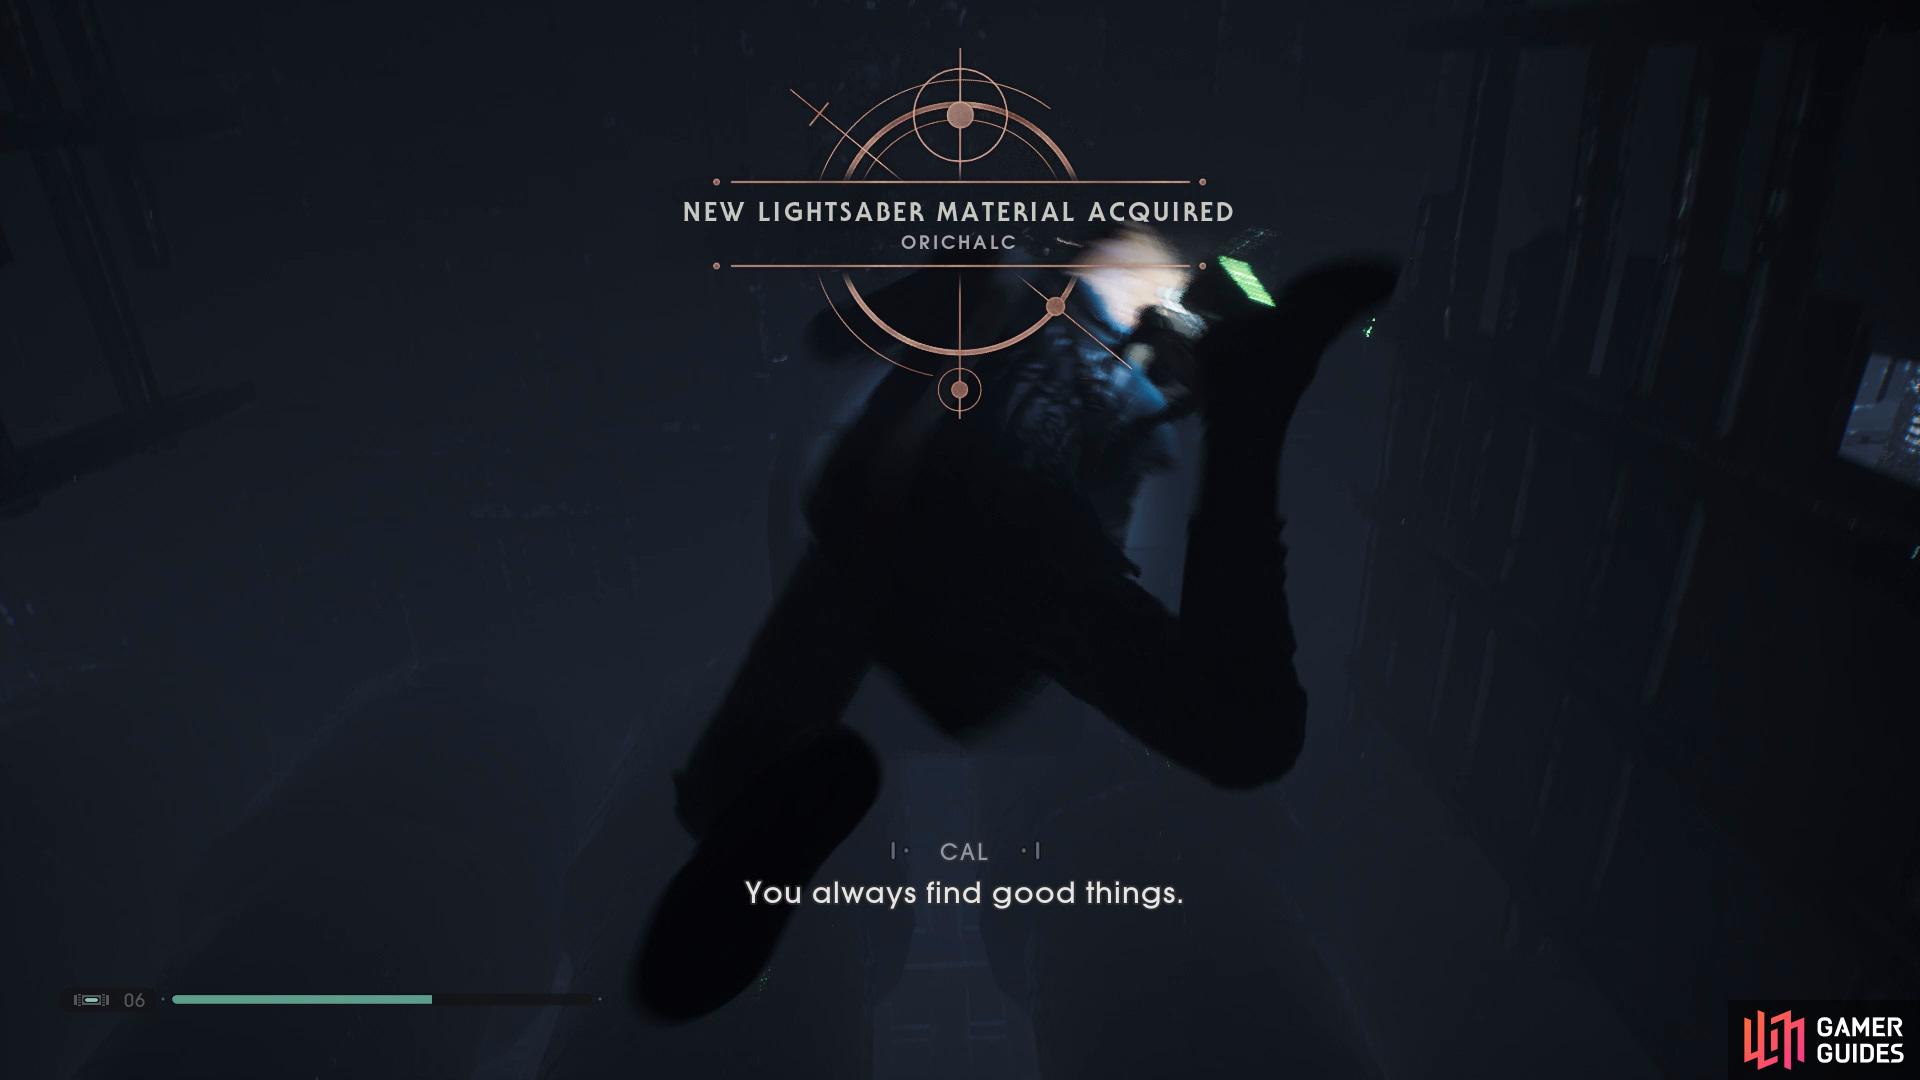
Here you’ll want to get BD-1 to overcharge the control panel which will open the door ahead, go through and dive into the next patch of water you see to find a Chest that contains the Orichalc Lightsaber Material. Continue ahead into the next room and swim across to destroy a pipe, now get BD-1 to overcharge another control panel to open the door ahead and take the lift up to find a Force Essence. Go back outside into the Crash Site and climb up onto the top of the ring in the center and keep climbing up to slide down into the Venetor Wreckage.
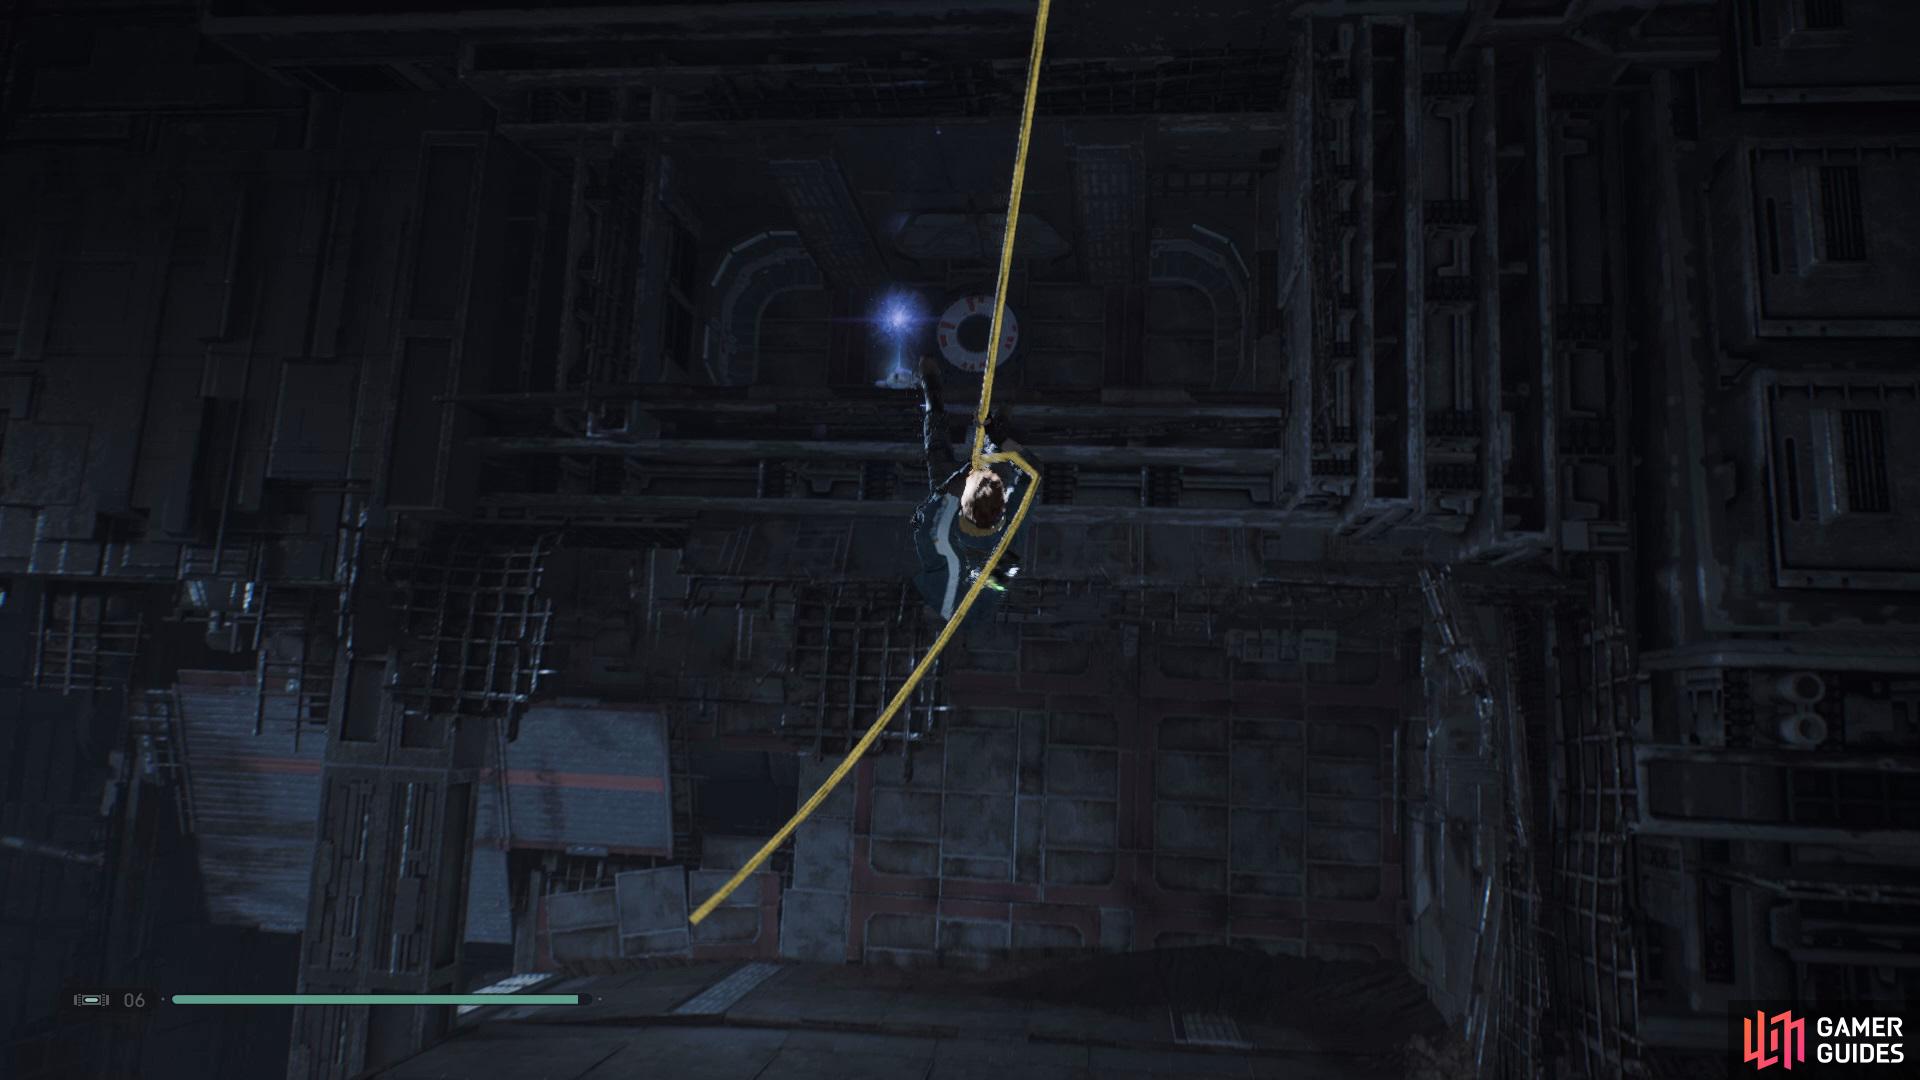
Keep climbing higher into the Venetor Wreckage and then use the rope to swing you up to the Force Essence.
Once you’ve landed into the water, swim all the way to the end of the area and jump up into a small room that has a Chest that contains Elemental Nature II Lightsaber Switch, now climb up onto the other platform and use the Meditation Point. Climb up until you see a rope and use it to swing up to a small area above which contains a Force Essence. Drop down and continue across, get BD-1 to move the platform around to allow you to walk across into the room ahead and then go through to find the Hiding Force Echo. Open up the shortcut and go through into the next room, continue climbing higher and activate the shortcut.
(1 of 4) Use the large container to let you reach the platform above and then cut the wire
Use the two ropes to swing over to the room on the opposite side and keep following the path ahead until you find another Meditation Point. Enter the next room to solve a short puzzle, here you’ll want to push the platform over to the right and then get BD-1 to overcharge the control panel which will bring the platforms up, climb up to the now raised platform and cut the wire. Drop back down, push over to the left and then Force Slow just in time to allow you to Wall Run across.
In the next room you’ll find three Chests which contain the Starfighter Poncho, Chromium Lightsaber Material, and Cantonica BD-1 Skin. Head outside and drop down to the left to find a Golden Chest that will give you a Stim Canister. At this point, you should have all the secrets and collectibles in the game and are now ready for the final showdown.
No Comments