

Exploring the Imperial Dig Site & Acquiring the Powered Zipline Upgrade
Get BD-1 to overcharge the panel which will give you access to the lift, take it down and return to the Mantis and set course back to Zeffo. Once you’ve landed and exited the ship go right and take the shortcut that you opened before leaving back into the Ice Caves, now follow the path over to the right and take the lift up to the Crash Site. Take the shortcut up to the left and get BD-1 to move the zip line towards you so you can take it down to the platform ahead.
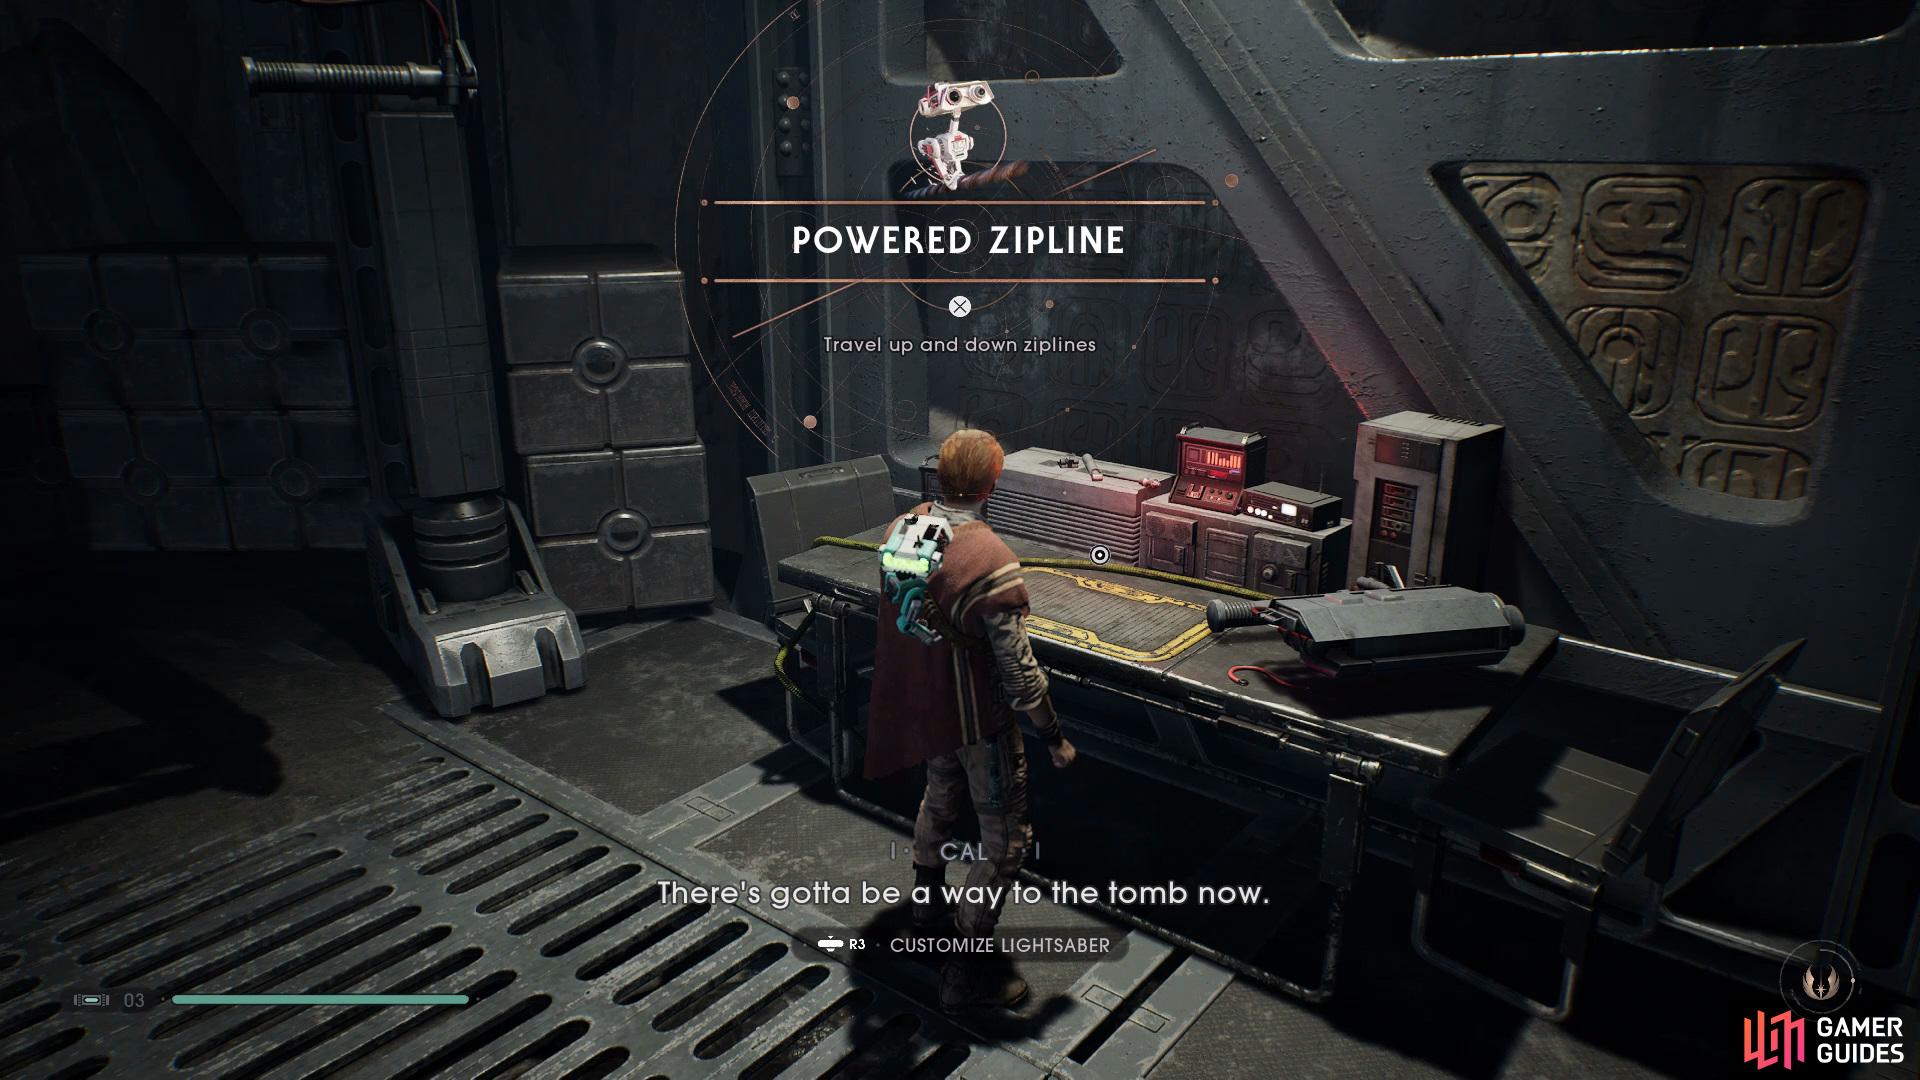
Obtain the Powered Zip line from the workbench in the Imperial Dig Site.
Go right and take the lift down into the Imperial Dig Site, drop down to find a Meditation Point and then get BD-1 to move the zip line down so you can use it, take a second zip line down further and head into the room ahead, here you’ll face two Security Droids as well as a Stormtrooper, simply hack the droid and watch them fight it out. After the enemies have been dealt with, interact with the workbench to acquire the Powered Zipline upgrade for BD-1.
Exit the room and go back up to the Meditation Point then move the zipline to go up and use it, now Wall Run over to another zipline and take it down, here you’ll face several Stormtroopers but they can easily be dealt with by Force Pushing them off the side. After the enemies have been taken care off head through the door ahead and follow the path around to the right, Force Push open the door and drop down to find the Guardians of the Tomb Force Echo, now open up the shortcut and head back up.
Take out the enemy ahead and get BD-1 to open the door, head through and Wall Run up to the left to obtain the Destructive Measures Force Echo, now go through the next door and drop down to the right, keep following the path around until you grab hold of a rope and then spin around to get on top of a container that holds the Discovering Relics Force Echo.
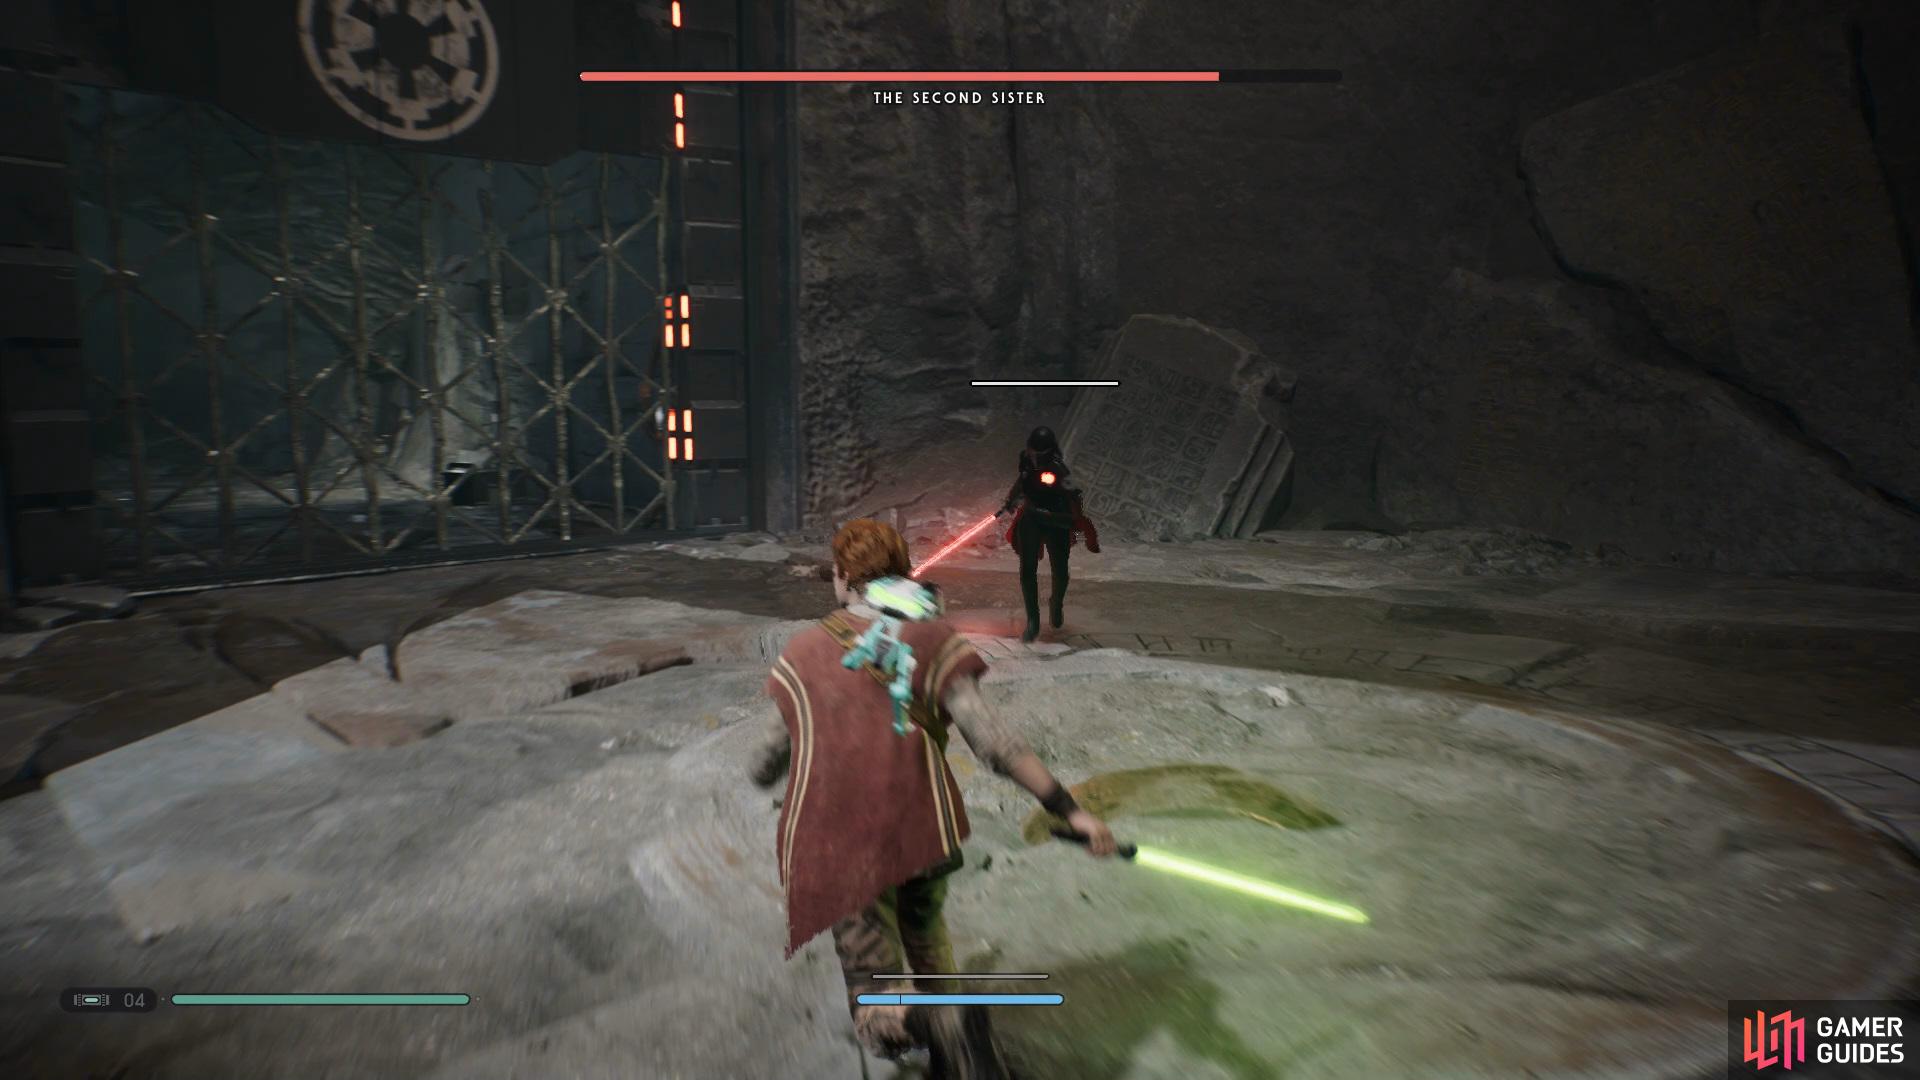
Use the rope to swing across to the other side and use the Meditation Point, after you’re done take the lift down ahead to face off against The Second Sister.
Boss: The Second Sister (Zeffo)
Boss: The Second Sister (Zeffo).
Here you’ll battle The Second Sister again but this time your goal is to get her down to half health. For this battle she will use some of the same attacks from the previous battle but with a few additions. This time around she’ll use a few Red Attacks that must be dodged, the first will involve her jumping into the air and stabbing the Lightsaber into the ground. The second will involve her charging up for a few seconds and then doing a powerful swipe.
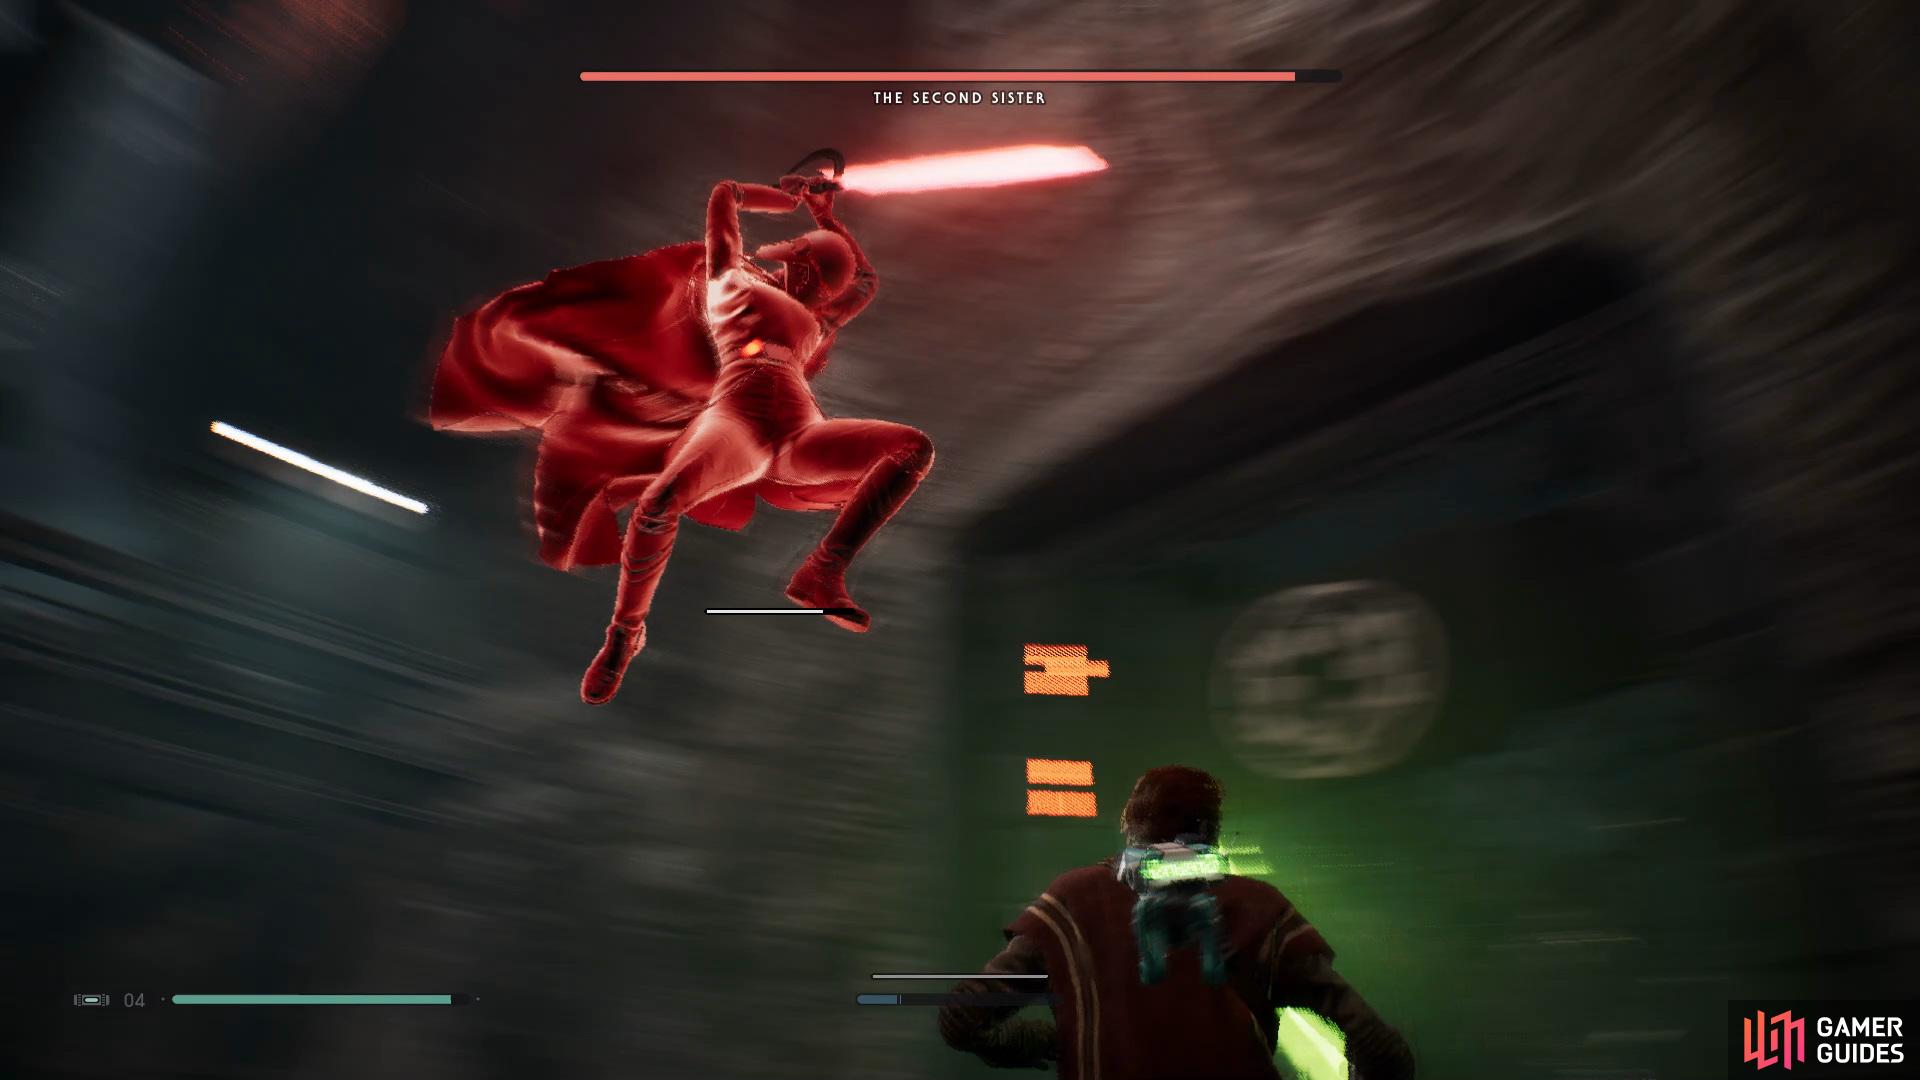
Quickly move out of the way when The Second Sister jumps up
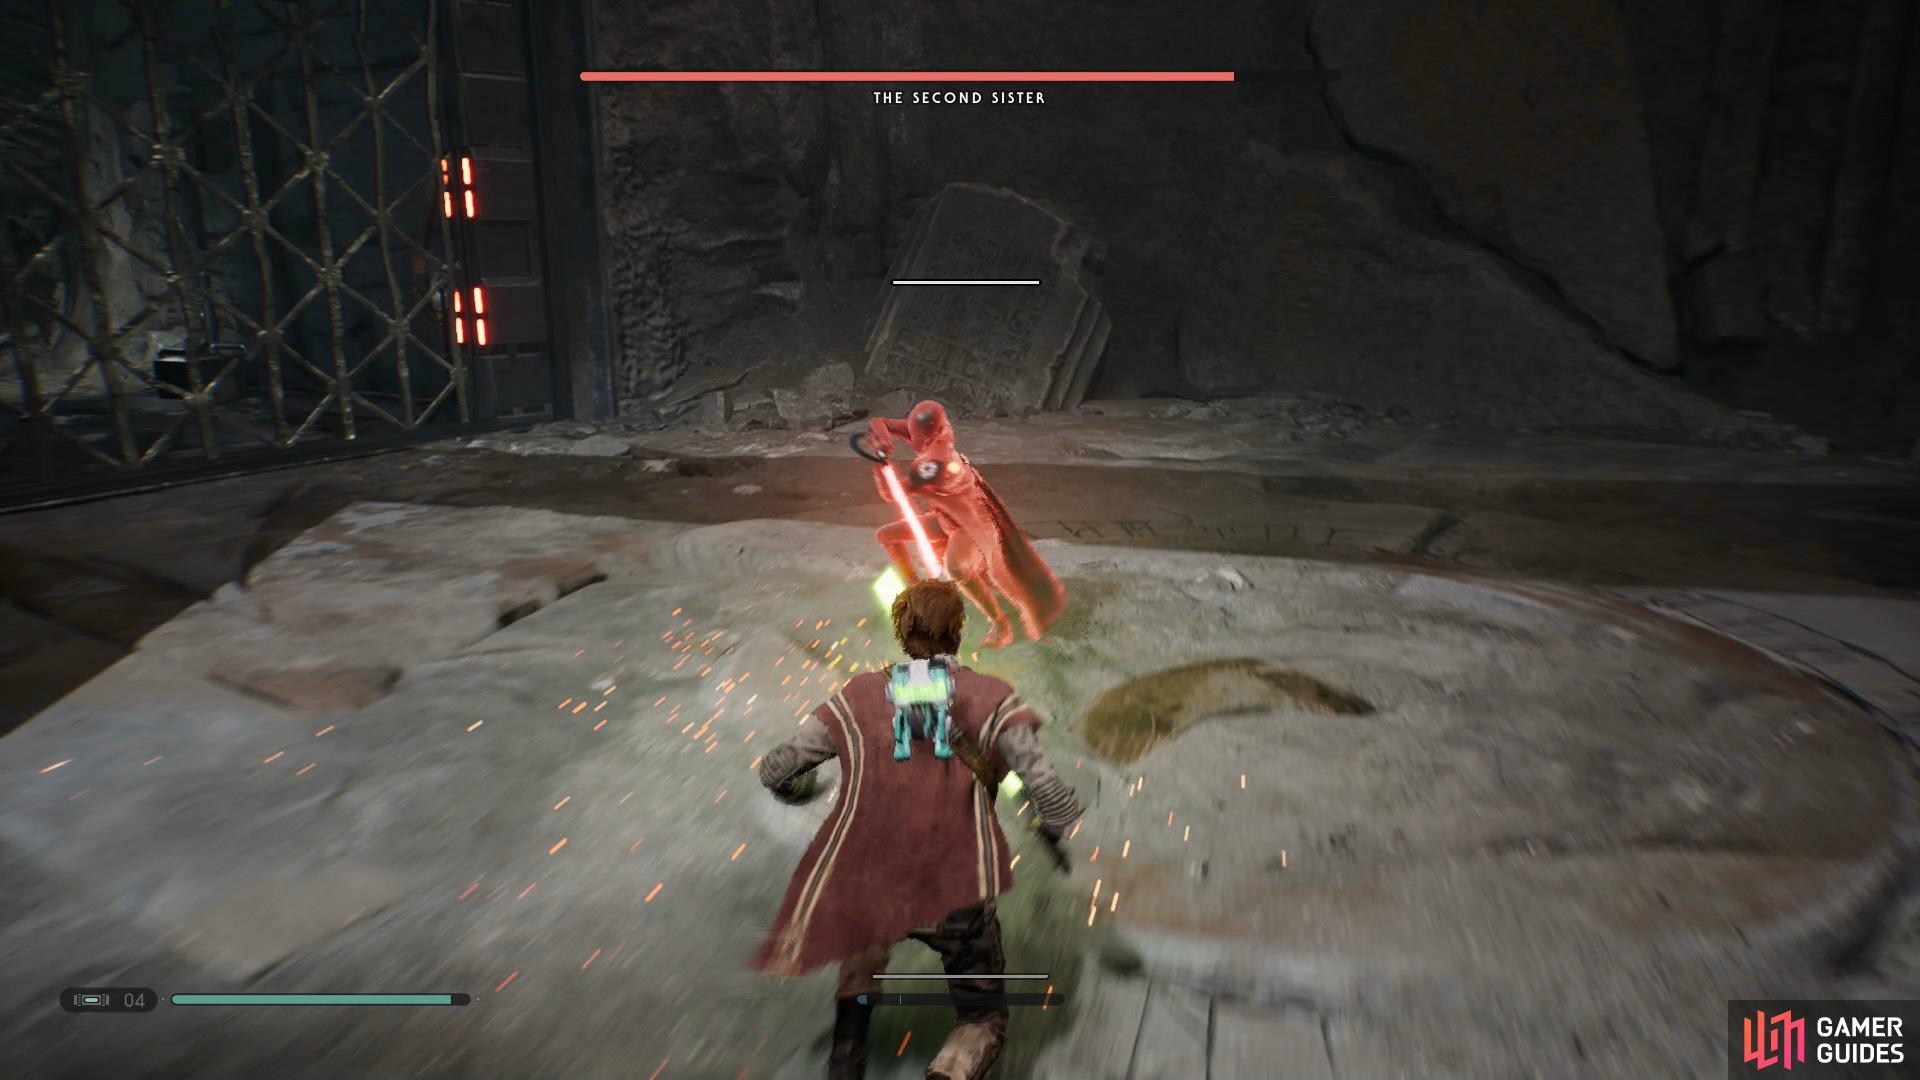
and stand back when she charges a swipe attack.
Although you know what the most dangerous attacks are, she still has more normal attacks that you need to be aware of. If you are standing at a distance she’ll dash towards you and attempt to stab you with her Lightsaber, and the second is when you’re standing close to her she’ll do a spin attack which will be very punishing as you can get stunned into it.
With the attacks covered you’ll need to know how to deal some damage of your own, in order to do this you’ll want to use Force Slow on her when she is dashing to each corner of the room and get a couple of attacks in from behind or if you’re feeling brave enough you can attempt to parry her.
Exploring the Tomb of Miktrull & Acquiring Force Pull
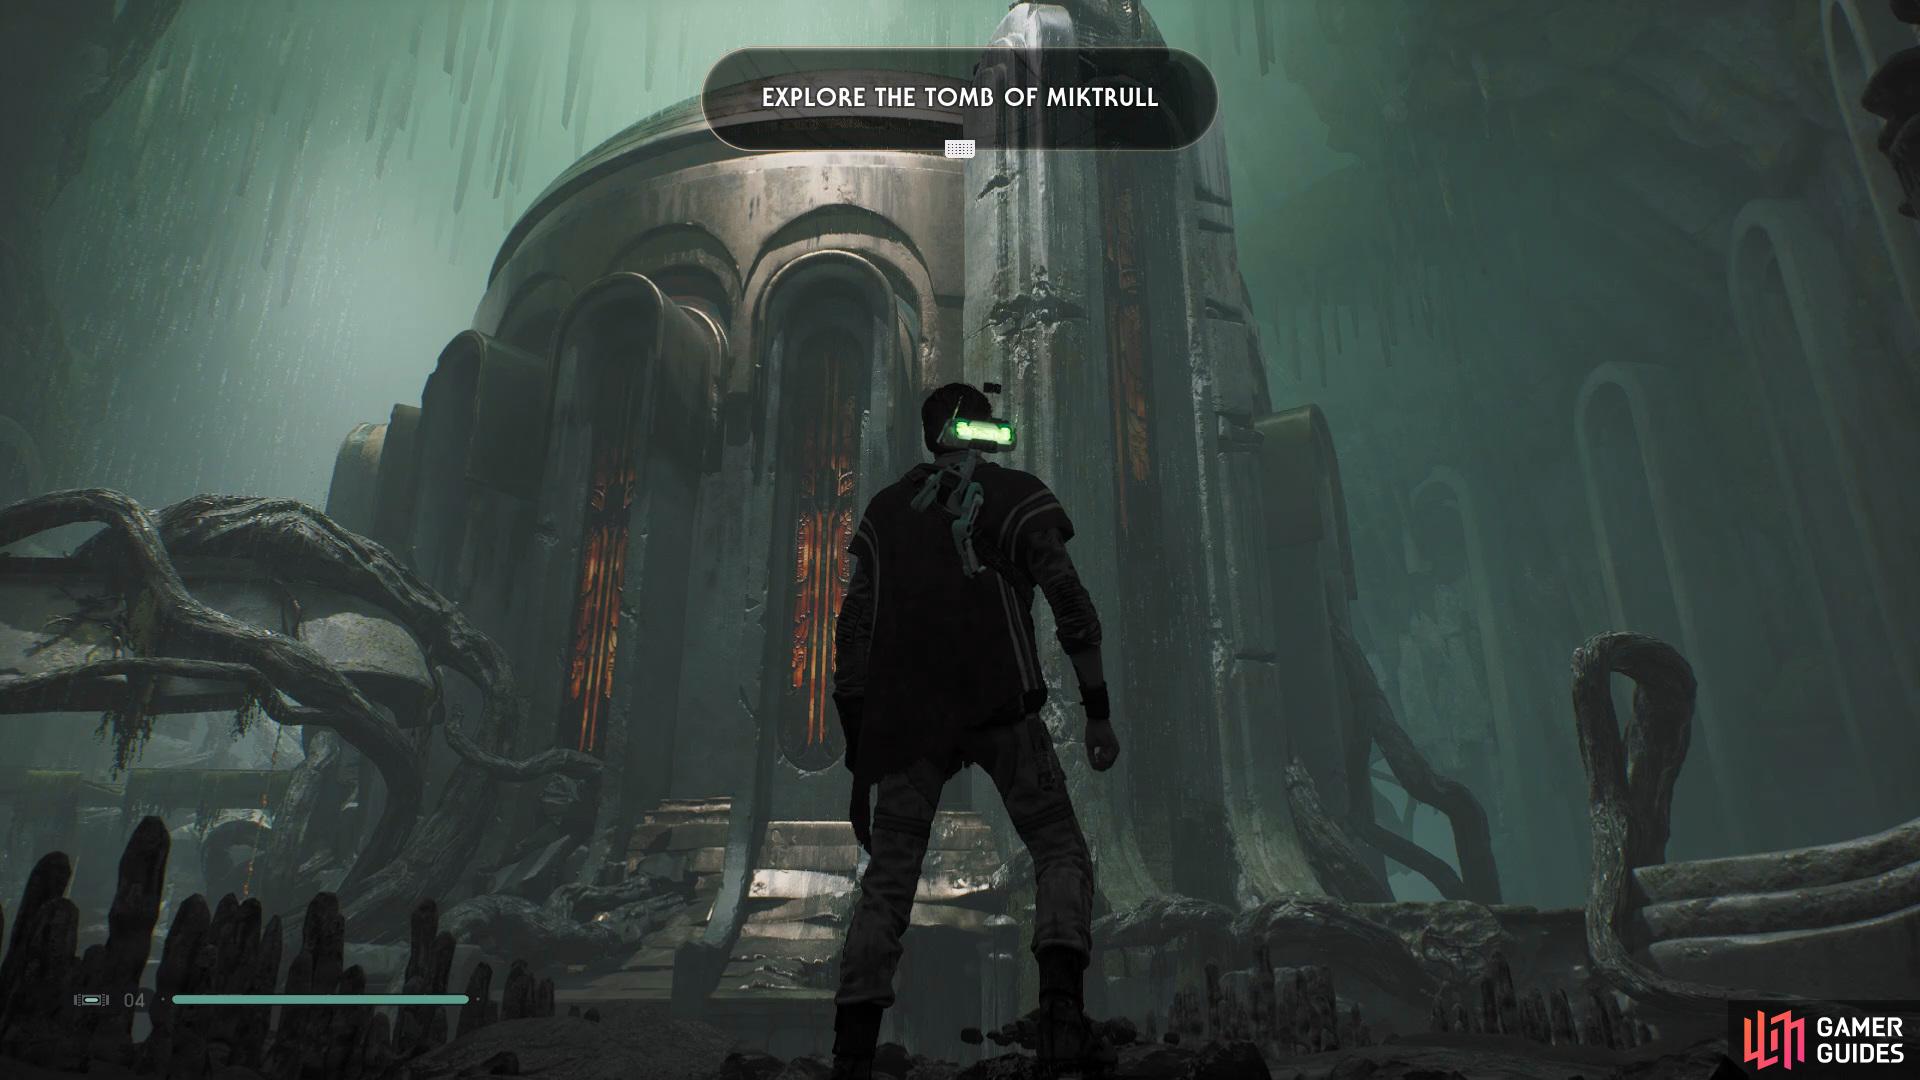
Tomb of Miktrull Entrance.
After you’ve survived the battle you’ll only have one way to go which is to adventure through the Tomb of Miktrull. Once you’ve entered the Tomb, follow the path along until you stumble across a Tomb Guardian, take him out and then Force Push the wall open on the right, now break open another wall and interact with the button inside to cause branches to burn away.
Proceed up the stairs and climb up the vines to reach the area above and then continue following the path around, Force Push the Stormtroopers off the side and take out the guardian to find a Chest behind it that contains the Greezy Money Mantis Paint Job alongside the Age of Extravagance Force Echo. Head back the way you came and Force Push open another wall, take out the enemies surrounding the area and then interact with the button in the center to activate a forcefield which will break down a chunk of the wall, now deactivate it and Force Push the block against the wall to allow you to climb up.
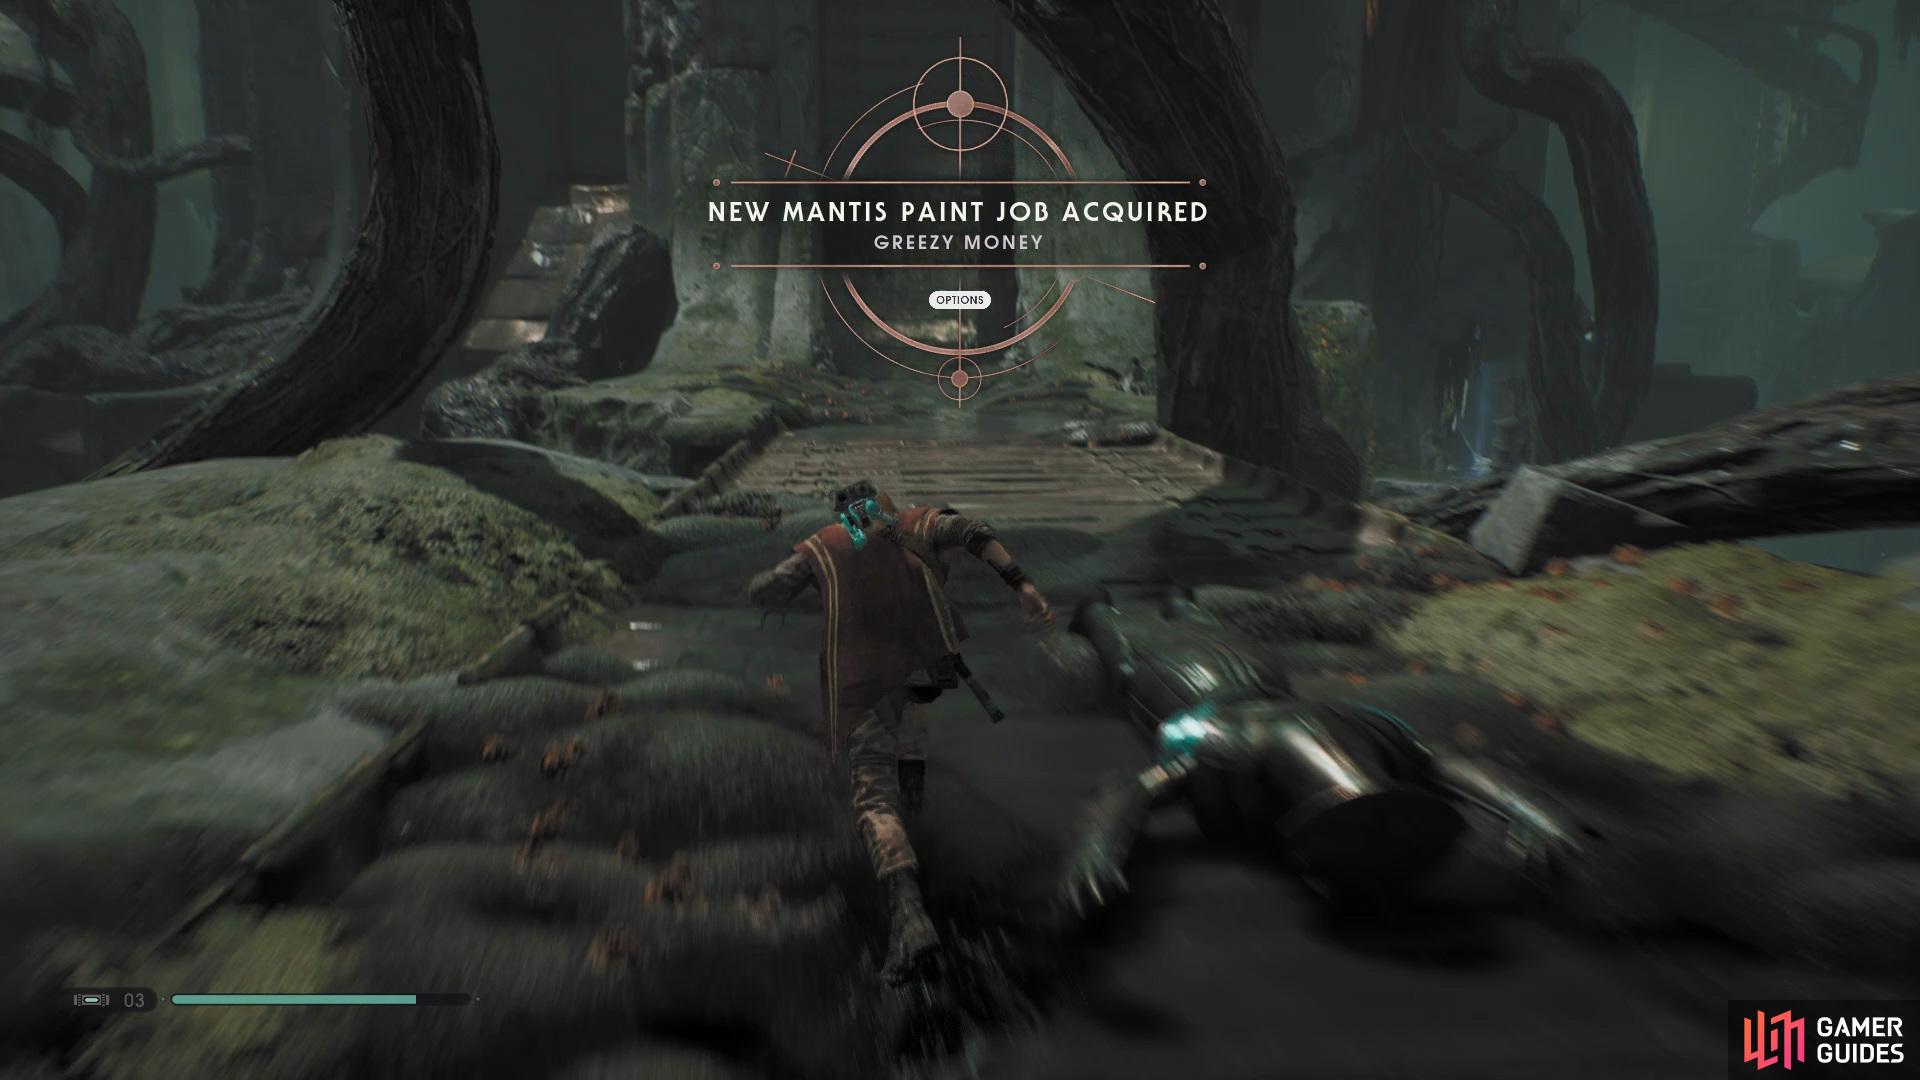
(1 of 3) Collect the Greezy Money Mantis Skin from a Chest that’s hiding on the bridge at the start
Use the Meditation Point and then continue following the path around, eventually you’ll come across a large open room that has a button waiting to be interacted as soon as you enter, press it and go down, make your way around to the center of the room to find another button and press it to continue around. You’ll see a single Skungus sitting on it’s own so Force Push it towards the wall behind you to find a Life Essence.
Interact with the final button of this room to bring the wall towards you and press it again to take it back, but be ready to use Force Slow on it before it goes so you can hang on to it and get to the other side. Now continue along and climb up onto a bridge and interact with another button to cause some lanterns to be attached to the left and then Force Push them towards the branches to open a shortcut.
Jump across and Force Push open another wall to gain access to a bridge, make your way across and push the enemy off the side, now slide down the slope and push more enemies off the side and make your way up to the right to break open another wall. Here you’ll need to climb around the pillars to make your way over to the opposite side, after you’ve made it continue onwards and jump past the opening and shutting walls.
Follow the instructions on screen
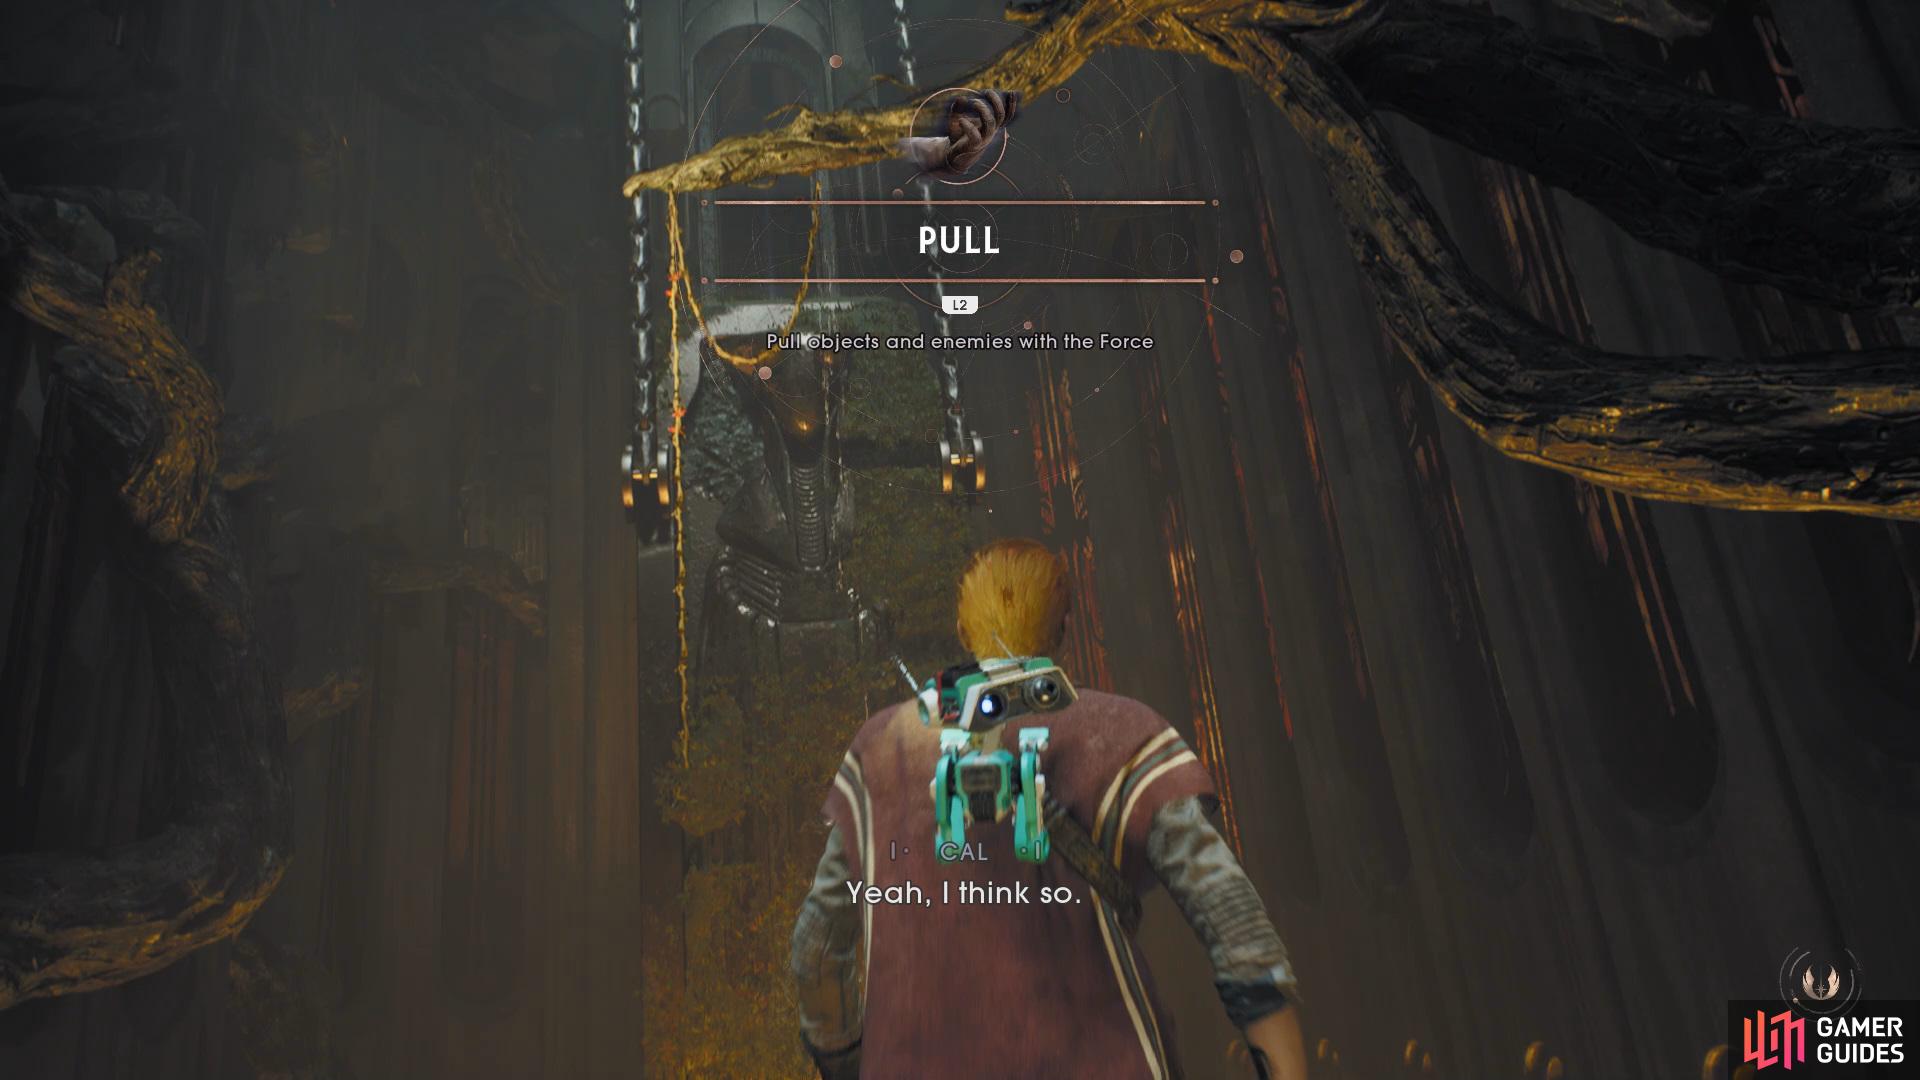
to acquire the Force Pull Ability.
Interact with the button to stop the walls from moving and then continue onwards through a tight gap, use the Meditation Point and then drop down to the right, grab hold of the vines on the platform in the center and climb up, take out the Stormtroopers by pushing them off the side and eventually a ship will destroy the platform causing you to fall. Here Cal will have another flashback to his childhood and you’ll learn Force Pull
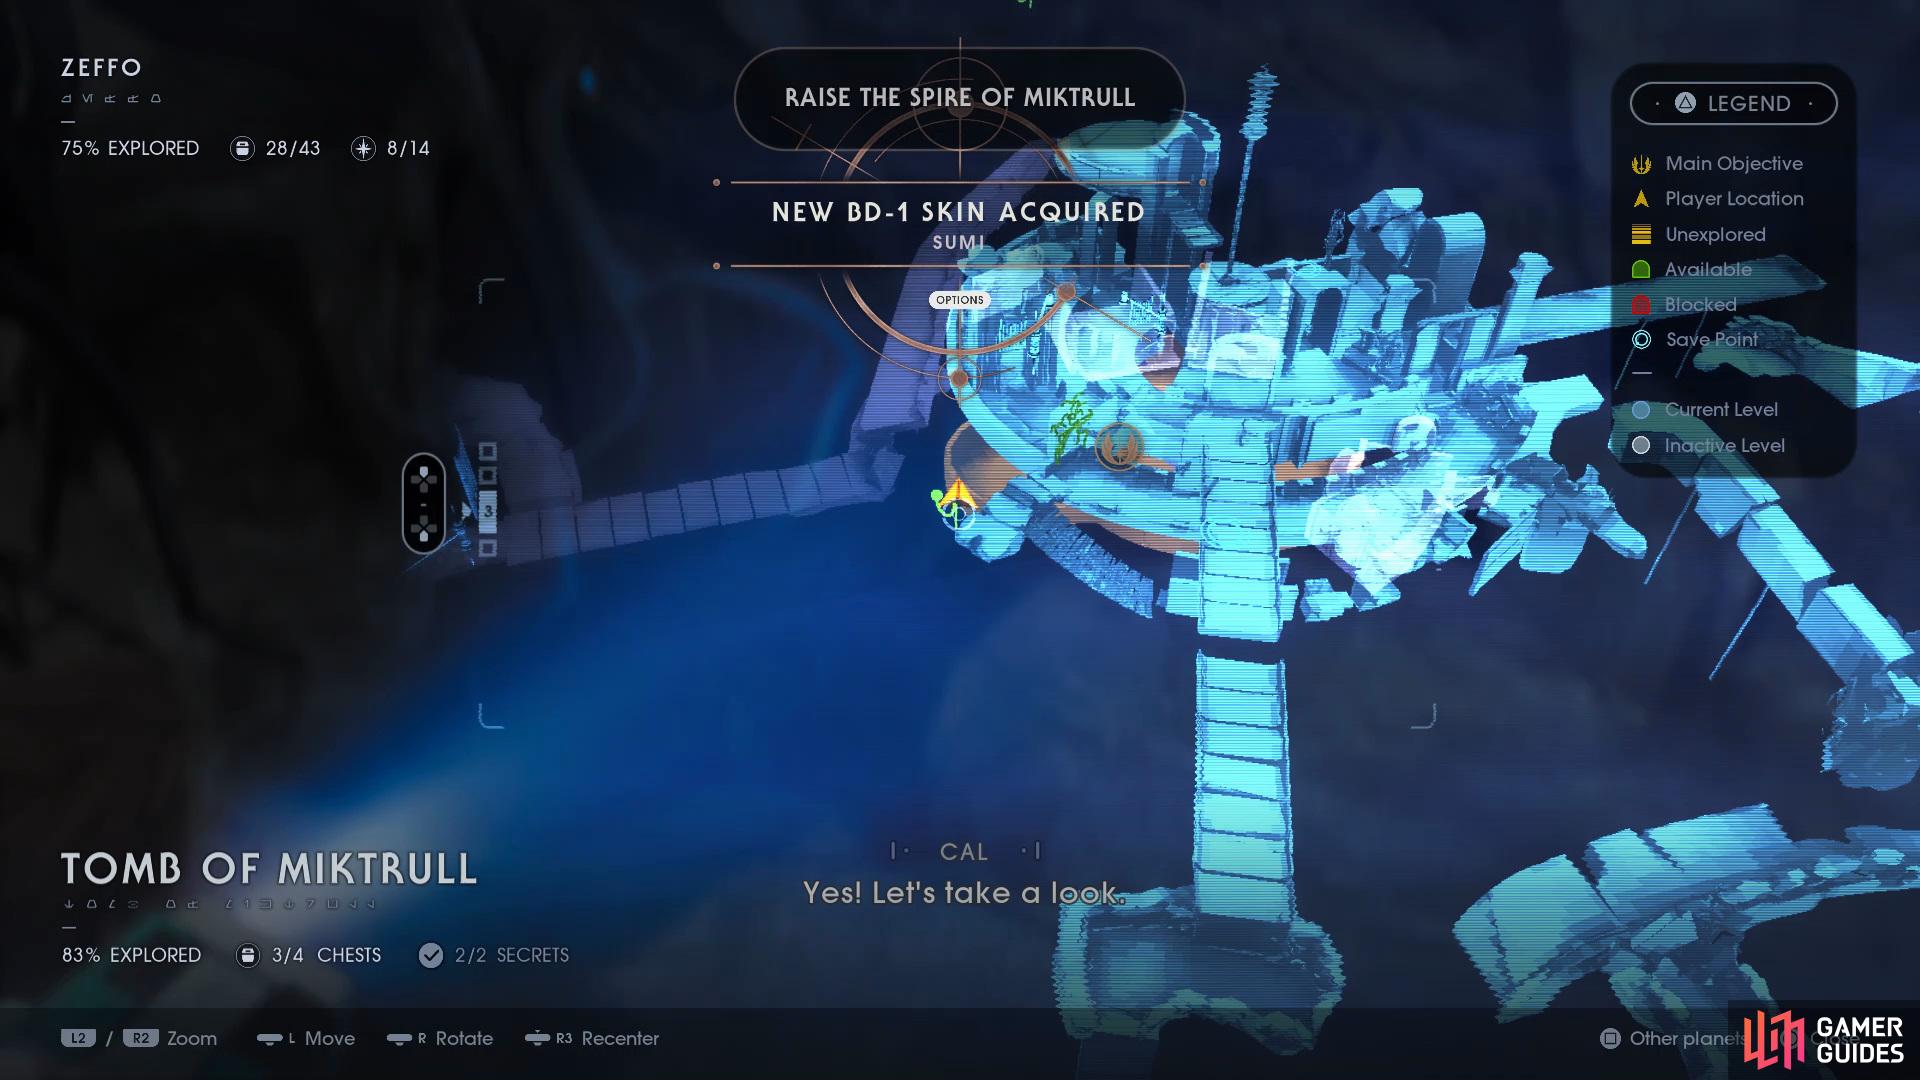
Raise the Spire of Miktrull
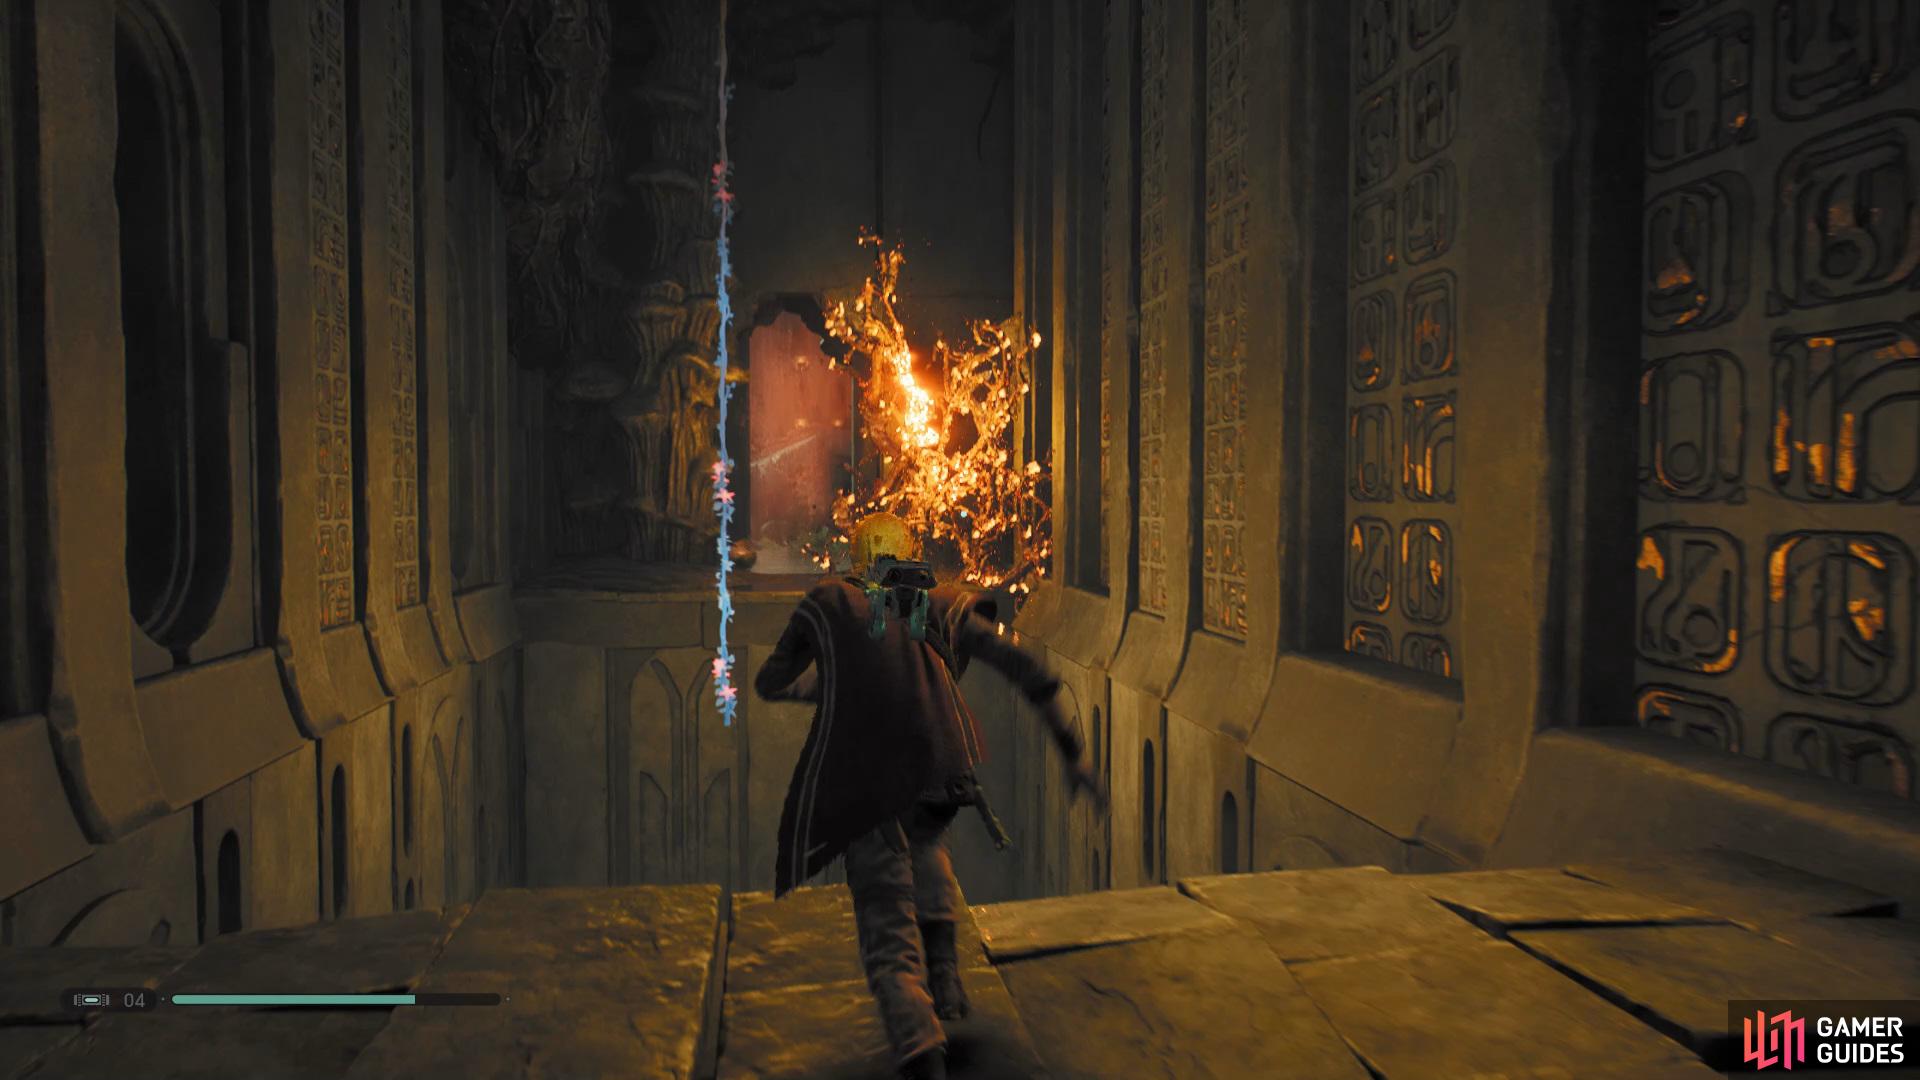
After you’ve regained control of Cal, hold in [L2/LT] to pull the rope towards you and swing across and climb up the wall, pull the lanterns towards you and throw it at the branches to allow you to climb up. Now go back the way you came and take out all the Stormtroopers that are blocking your path.

Use the Force Pull ability to take a lantern and throw it at the branch down to the left to free a Chest
that contains the Sumi BD-1 Skin.
Once all the enemies have been slain, pull the ropes down and swing across to the opposite side, now pull open the gate and attach it to the pillar to free your path. Head through the gate and kill the enemies and then take the path down to the left, open up another gate and you’ll be back to where the Spire is located. Make your way up to the second floor and go to where the Meditation Point is located and climb up, jump to the bridge behind and grab a lantern, now look down to the right and launch it at the branches that are blocking the Chest, open it to obtain the Sumi BD-1 Skin.
Make your way up and hop across the platforms, ignore the trooper and use Force Pull on the rope to swing across to the area in the distance, here you’ll need to grab a lantern and throw it at the branches and then head into the room on the right, swing across to grab another lantern and launch it at the branches, now interact with the button to stop the water from flowing, grab another lantern and throw it through the hole above and then finally, go into the room and collect the Zodiac Drifter.
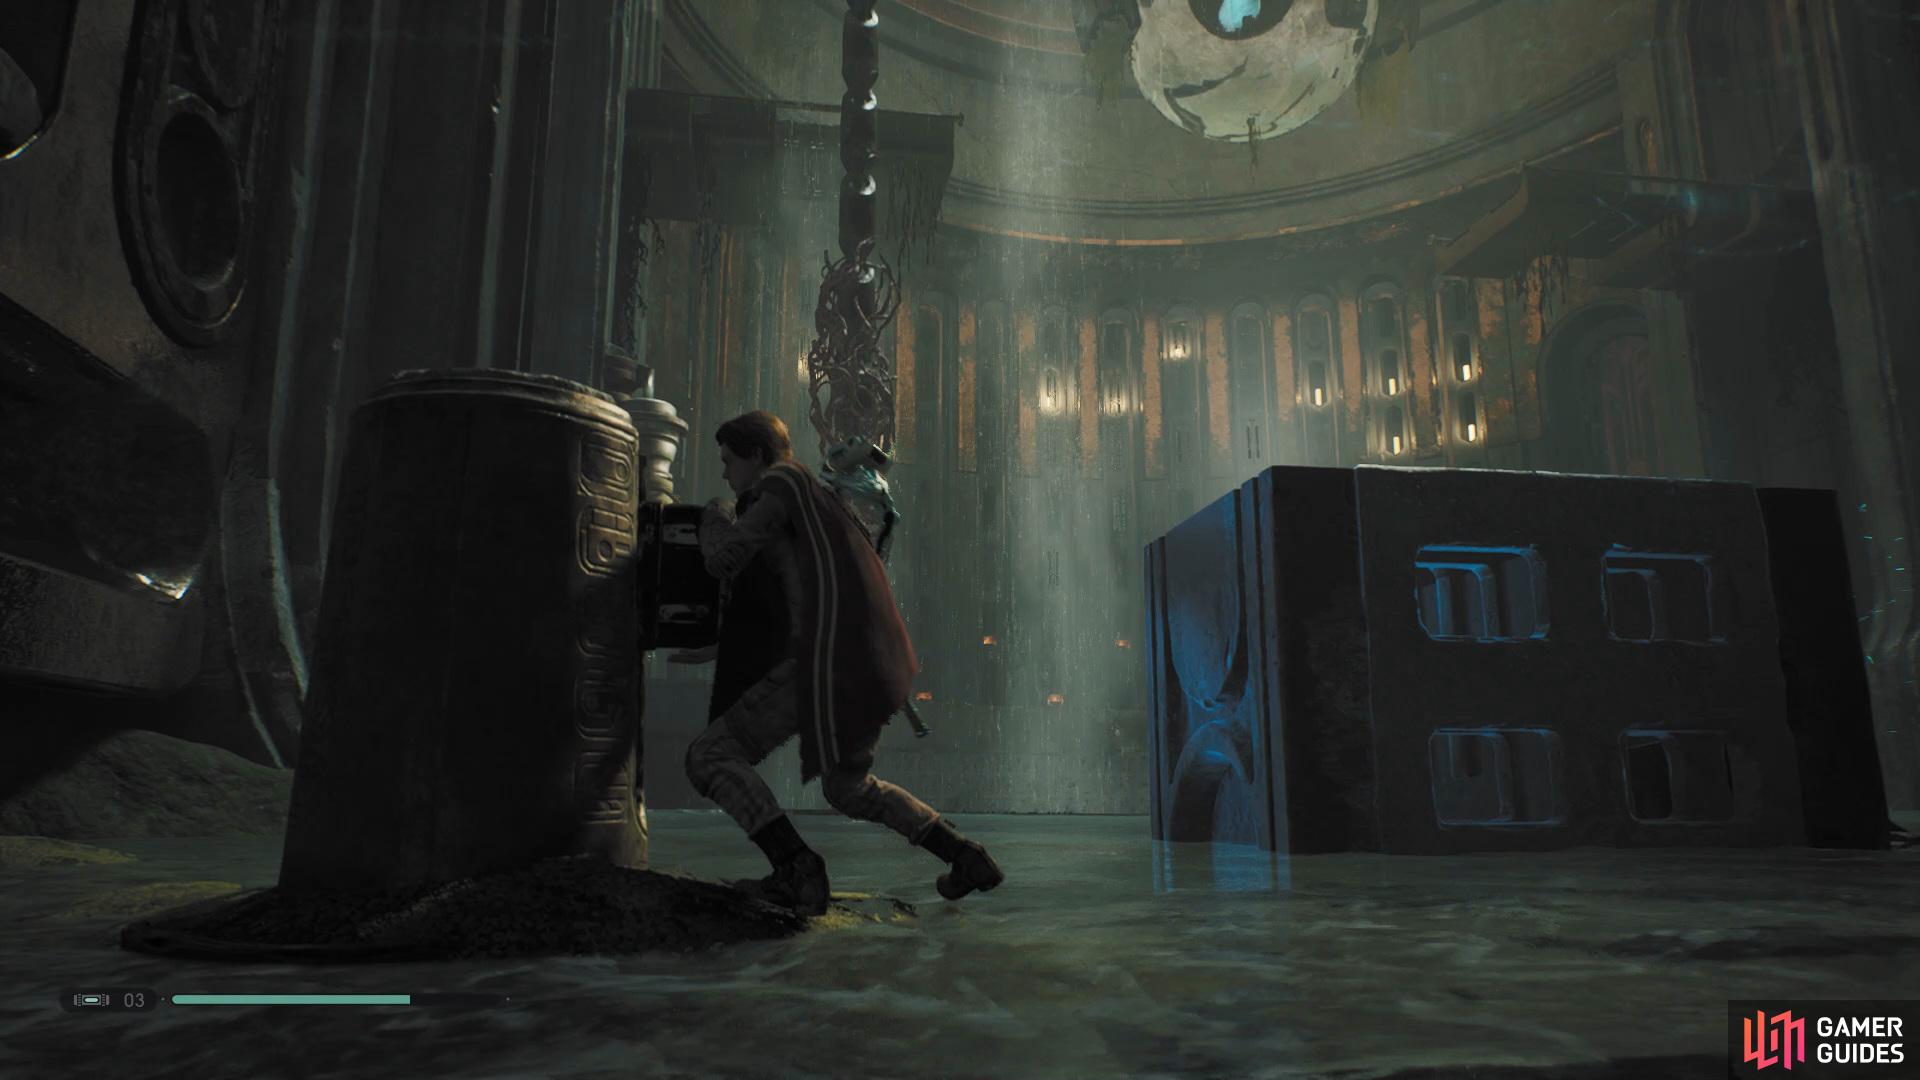
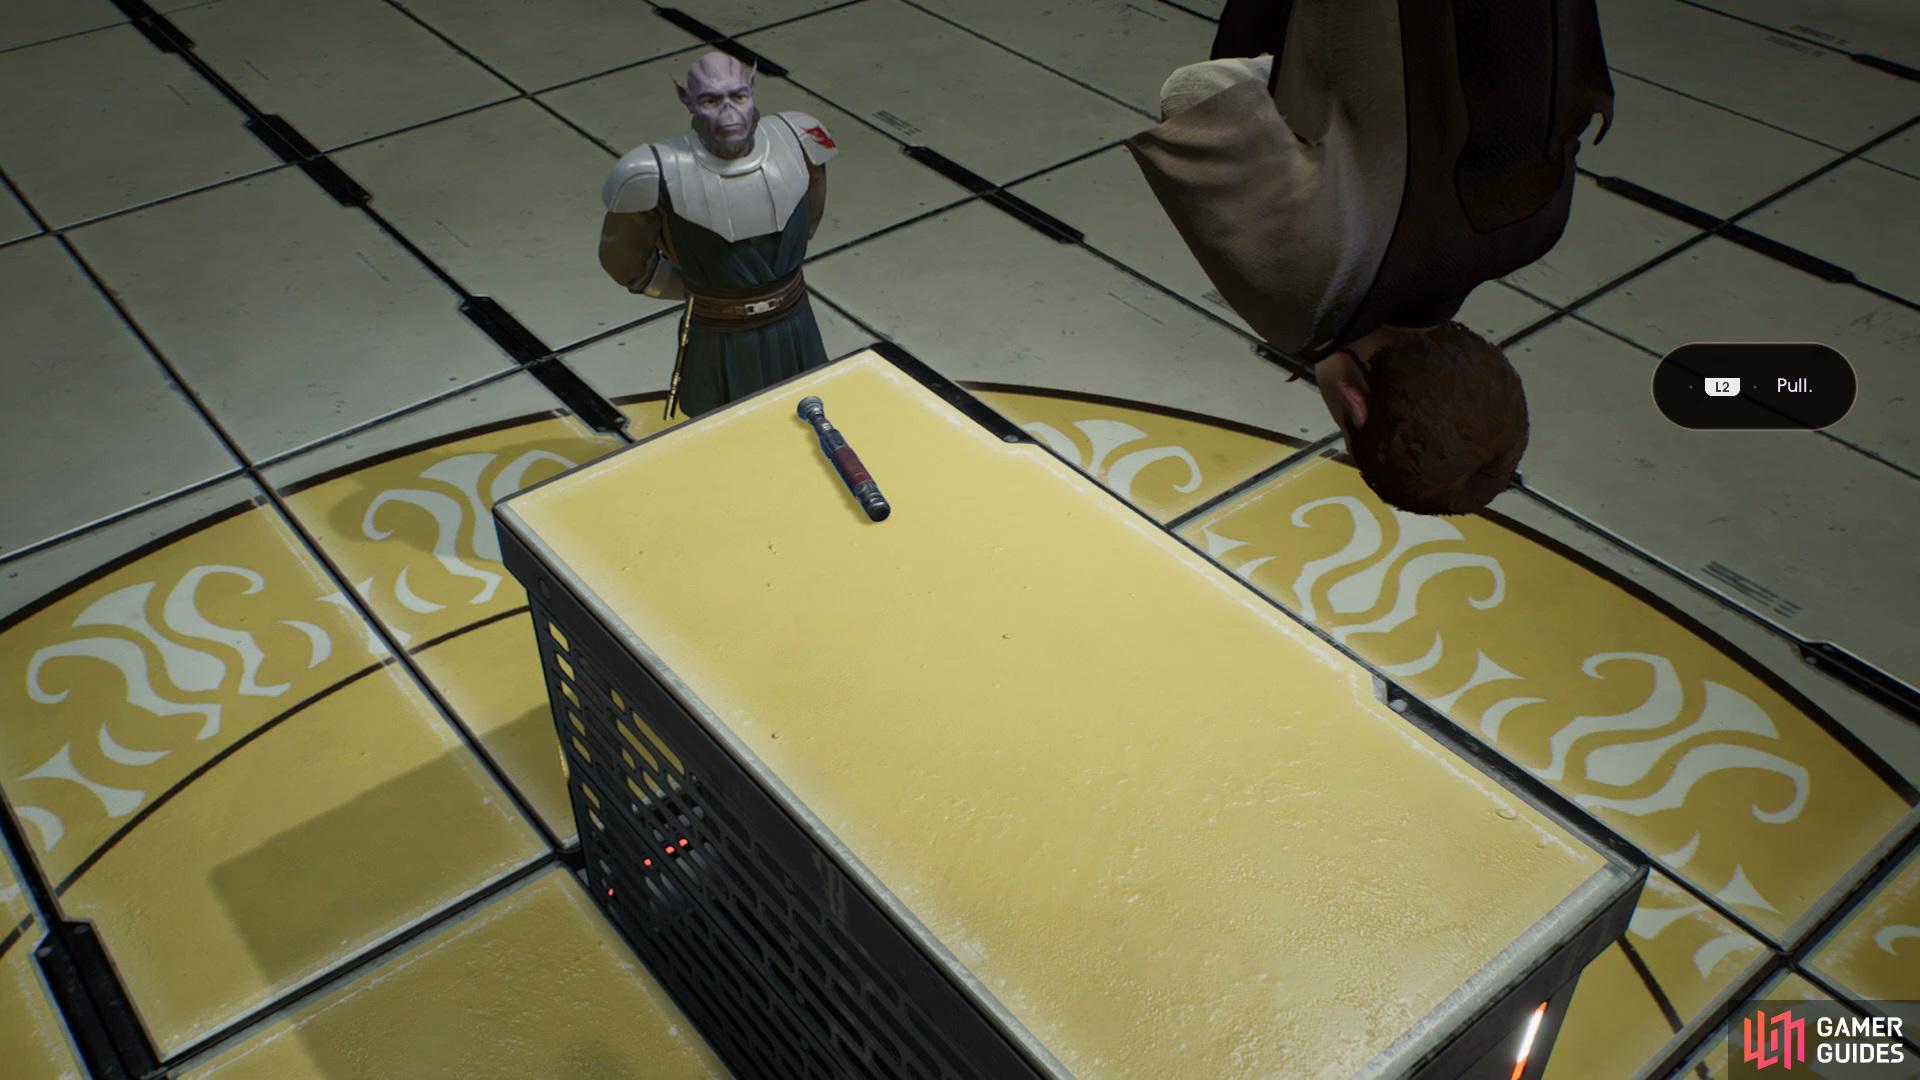
Go back to where the spire is located and climb up to the raised area, Force Push open the wall and go inside, now Force Pull a lantern which will burn away the branches giving you access to the Respected Symbol Force Echo, Take another lantern and turn around, throw it through the hole up above to burn away the branches on the opposite side then open the gate and climb up to obtain a Force Essence. Go back into the room and pull the ball up by Force Pulling the rope, now activate the force field and throw one or two lanterns into it, deactivate the force field and grab the lantern to launch it at the branches that are tied around the weight that’s holding the ball to cause it to break.
Now drop down and place the ball into the platform to cause the Spire to rise, head into it to enter a cutscene and then be taken up.


Locating a Stim Canister
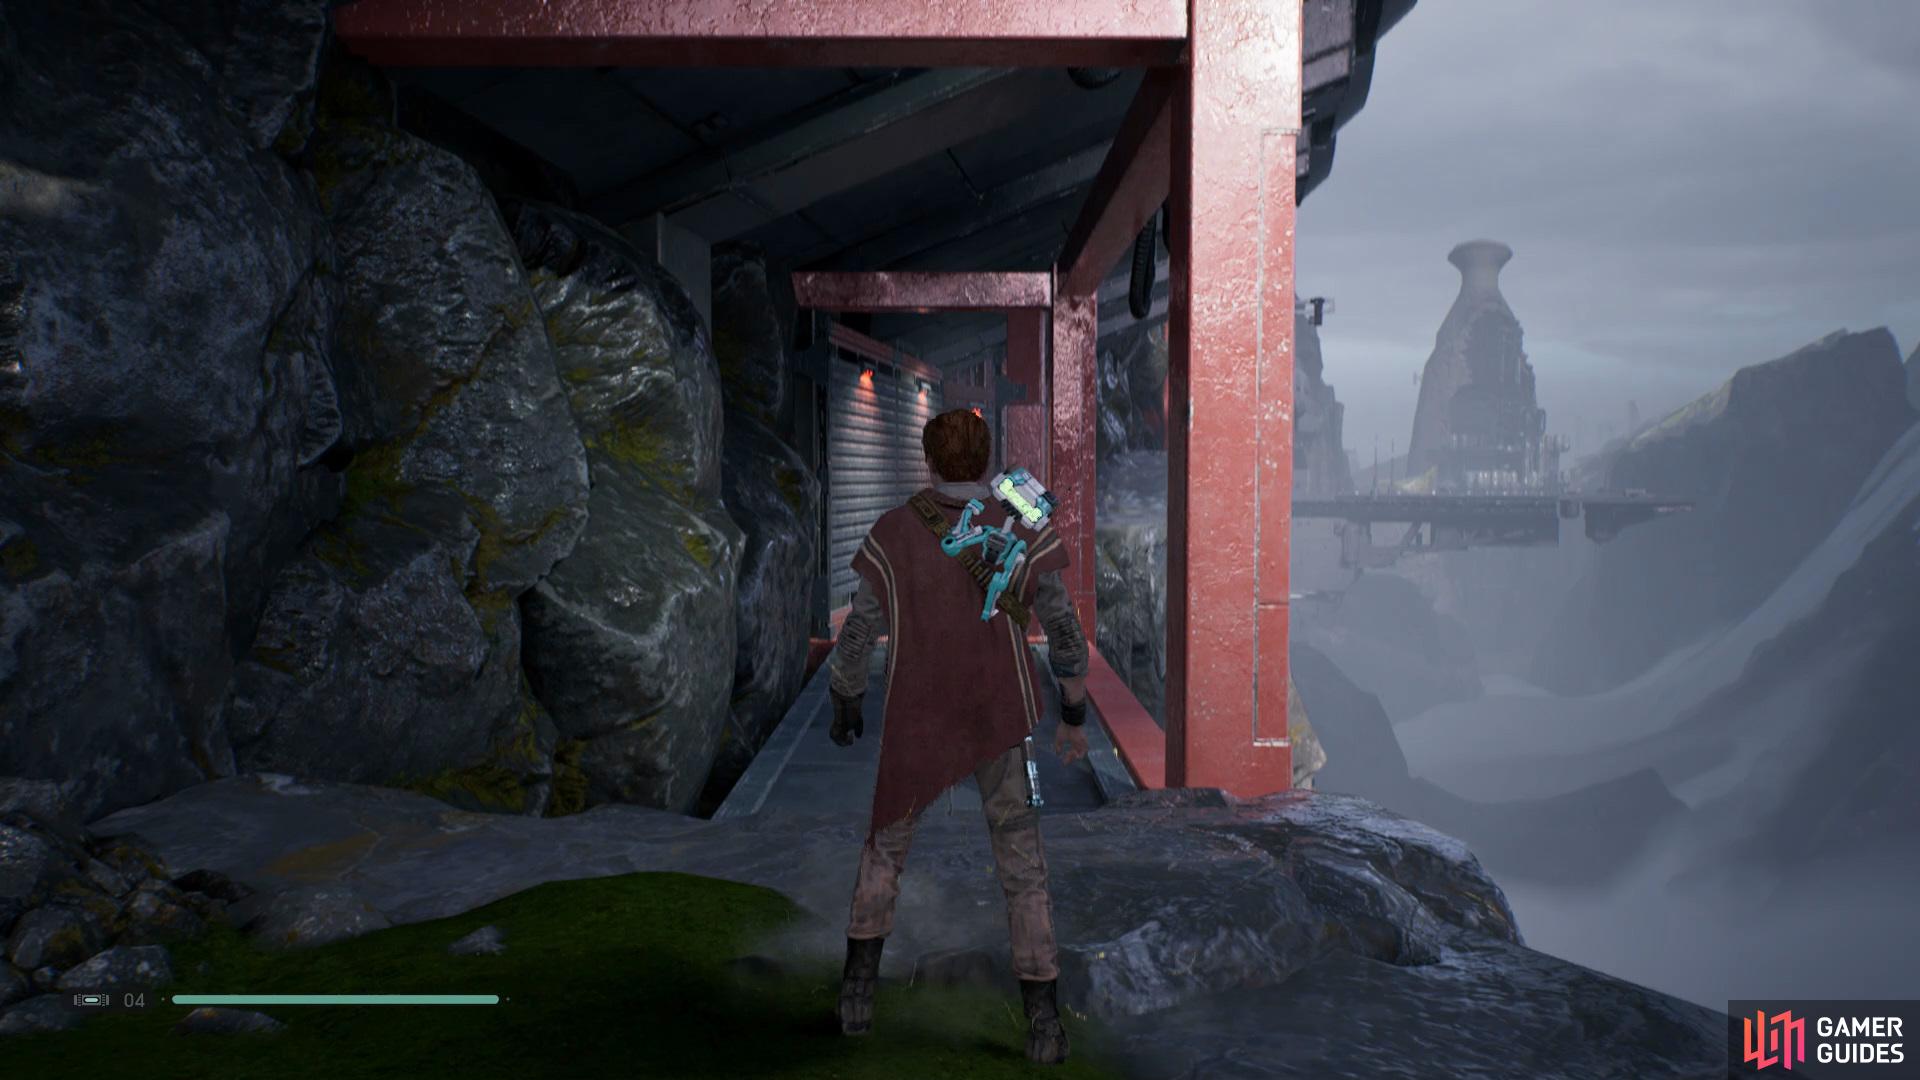
Tomb Exit.
After getting out of the Tomb you’ll want to take the only path available to the left and you’ll come across a workbench that will give BD-1 the Slice: Probe Droid upgrade, now continue onwards until you see a door in a room on the left, get BD-1 to open the door and then take the lift up to the Imperial Dig Site on the left.
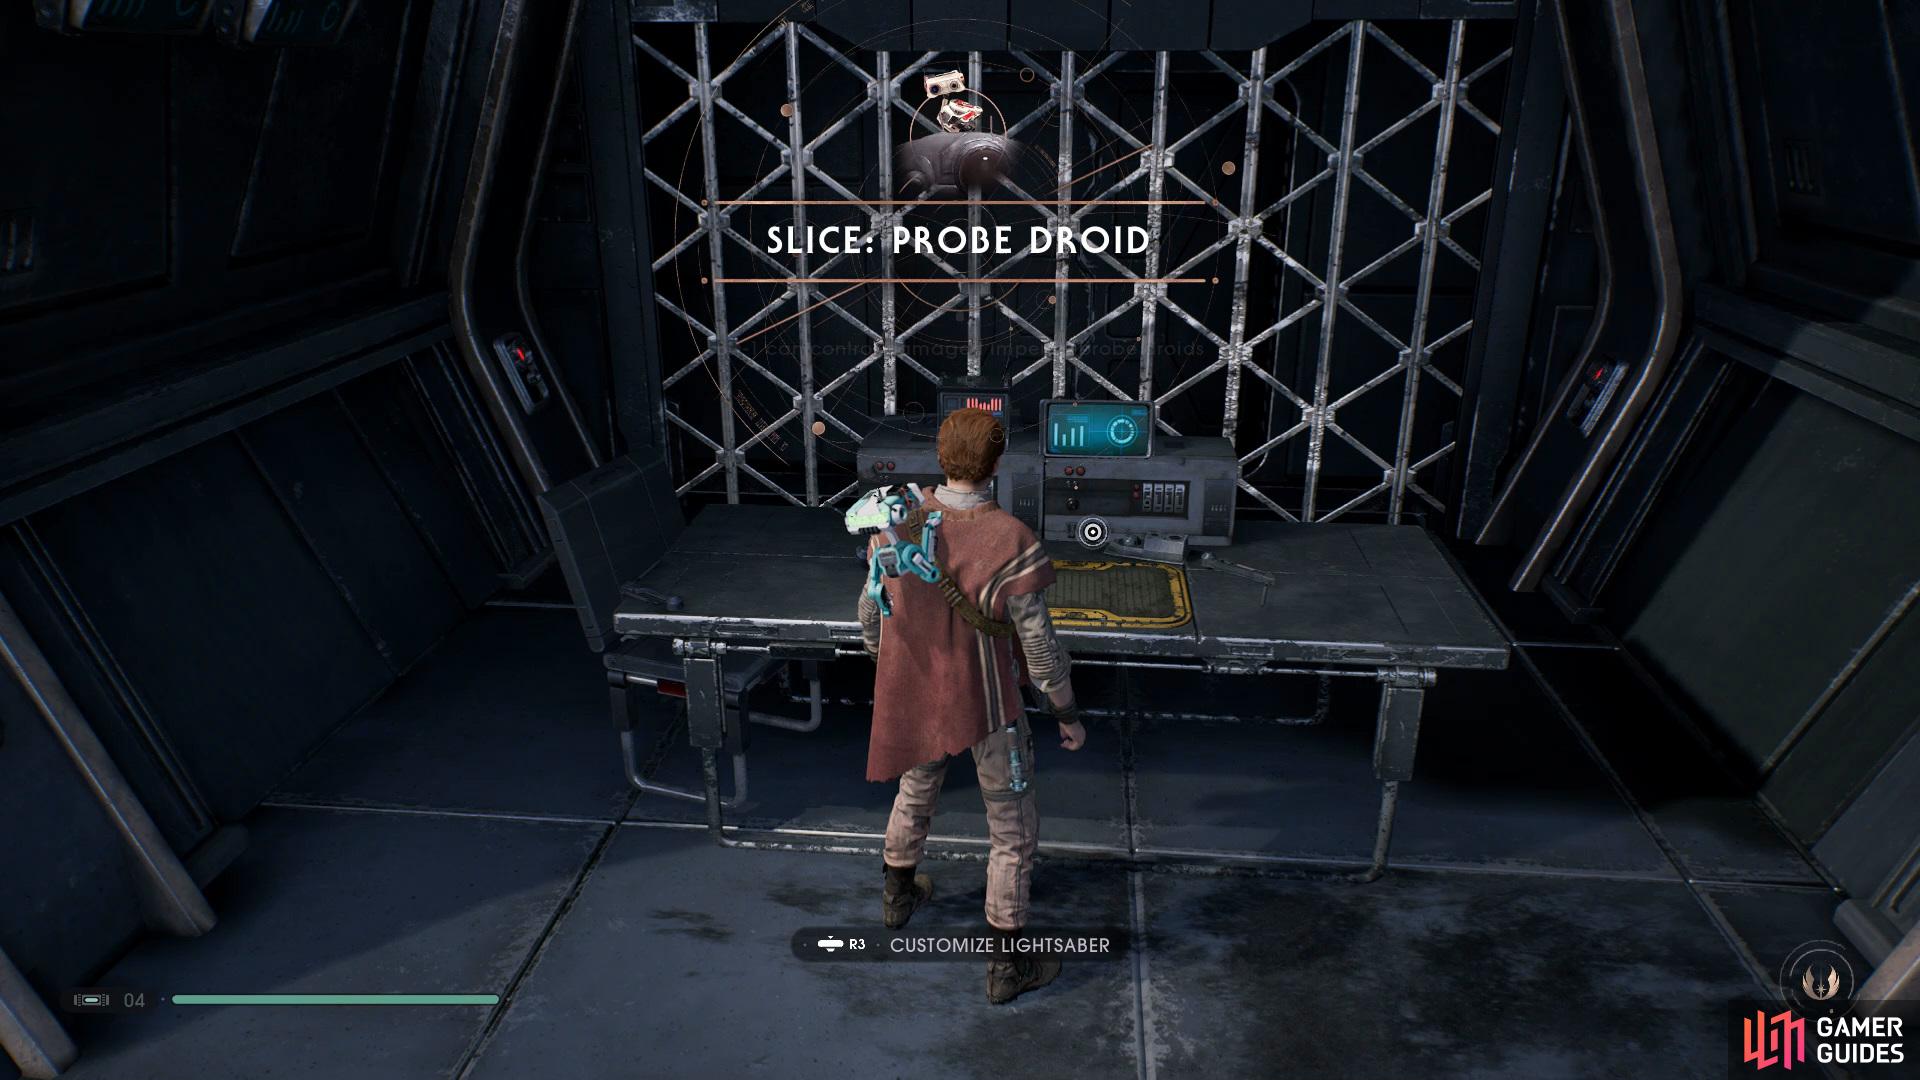
Obtain the Slice: Probe Droid upgrade from the workbench on the way out of the Tomb

and collect the Stim Canister from the golden Chest in the Ice Caves.
Make your way back up the platform before you entered the lift and fought the Second Sister but now go the other direction and use the rope to swing into the Ice Caves and open the golden Chest to get a Stim Canister.
Boss: Mich Murda
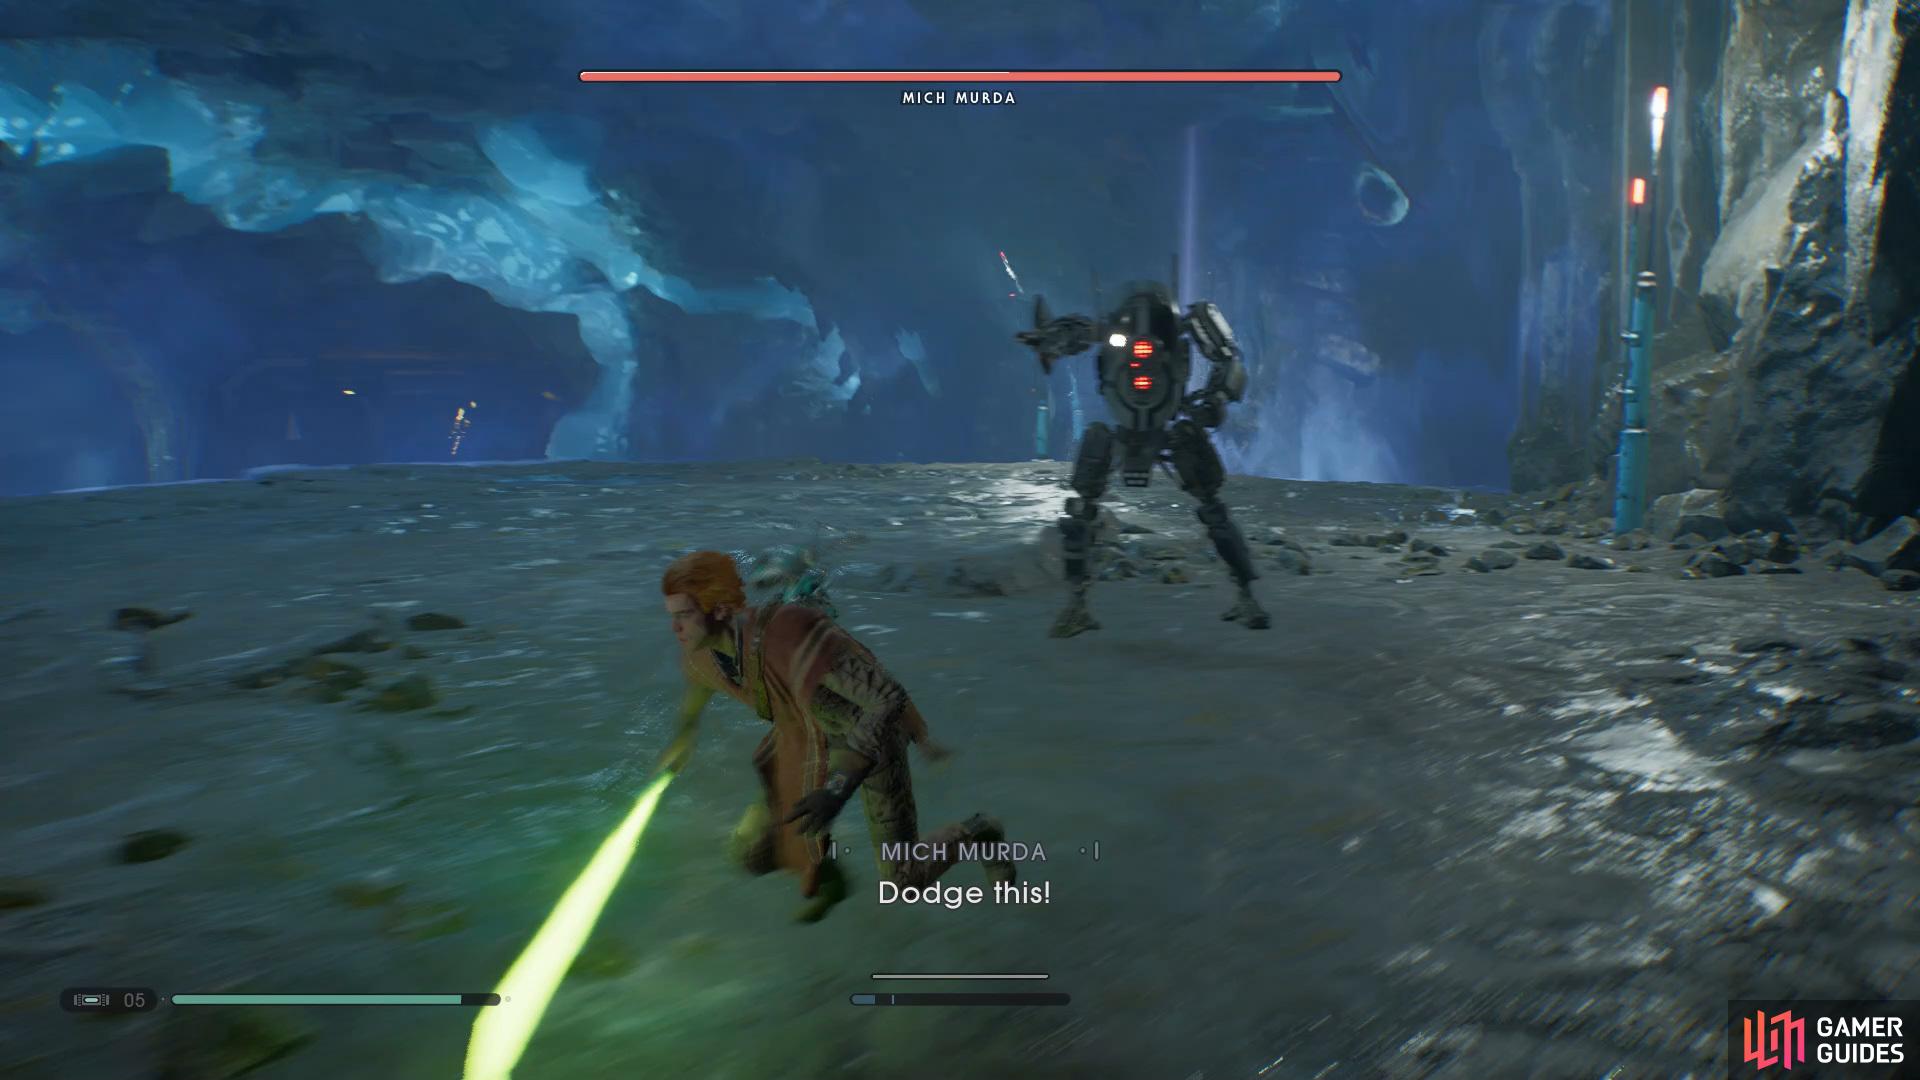
Boss: Mich Murda
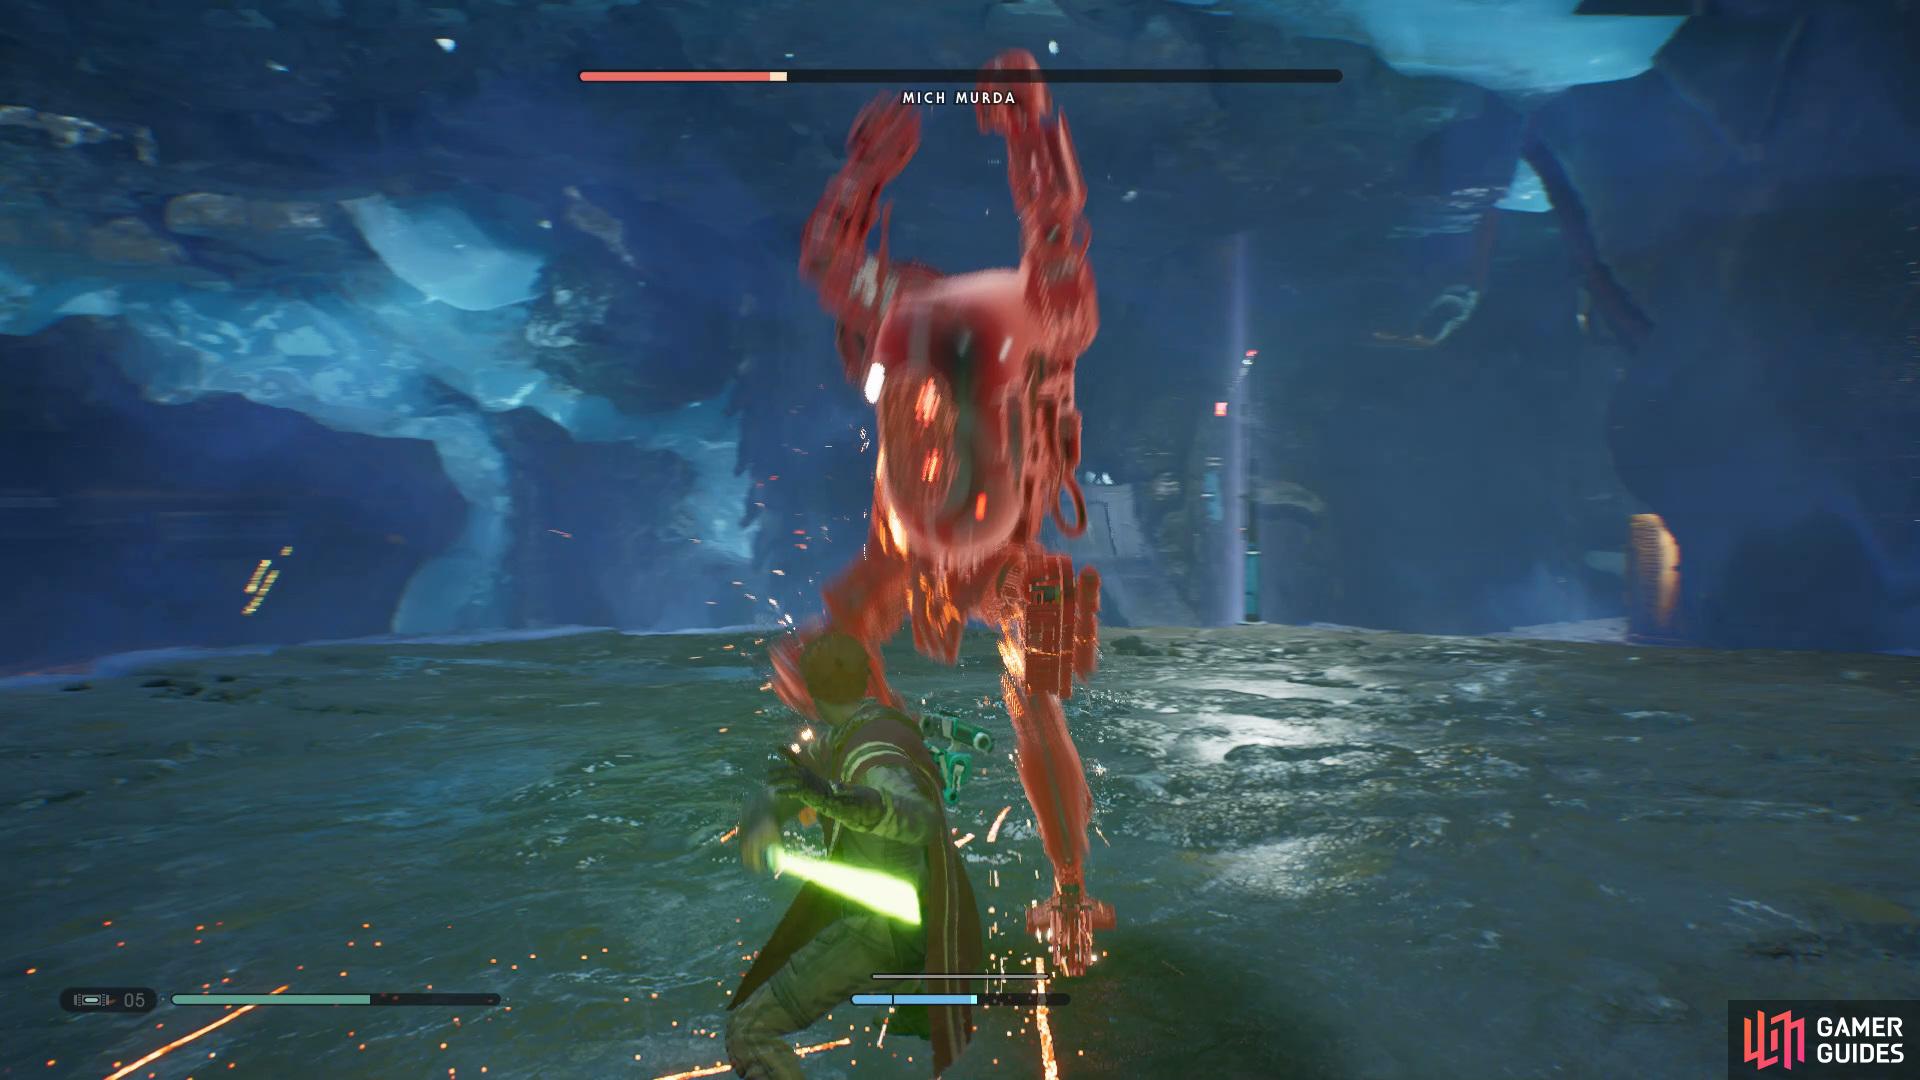
Once you’ve entered the Ice Caves you’ll need to fight Mich Murda, this boss cannot be killed during this battle but you need to take him down to a quarter to progress. In order to defeat this boss you’ll need to be ready to deflect any incoming bullets as well as his two powerful Red Attacks which include him slamming the ground or going in for a punch.
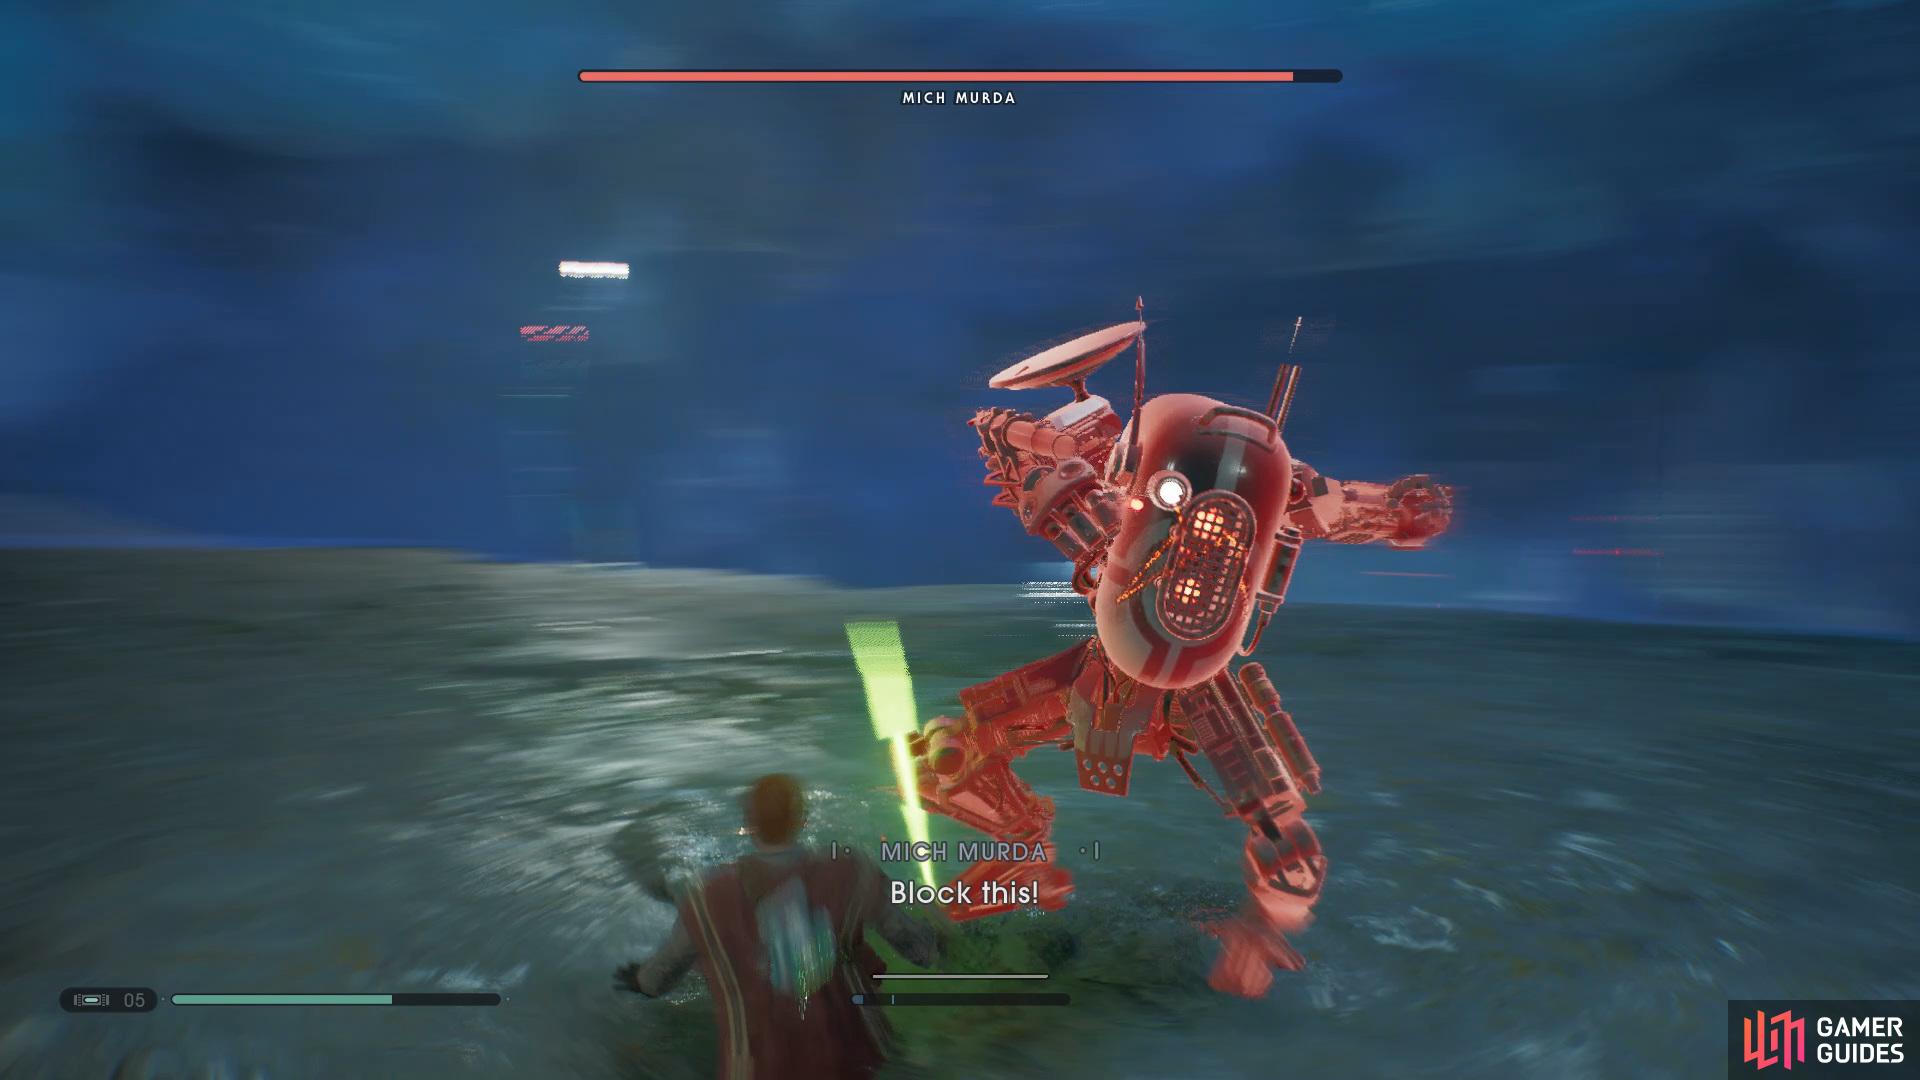
Watch out for Mich Murda’s attempt to punch
as well as his slam attack.
The easiest way to defeat Mich Murda is by using Force Slow and circling him to get a couple hits from behind and then backing away. After you get his health down you’ll be trapped and taken to somewhere unknown.
No Comments