
Obtaining Life Essence
Use the Holotable onboard the Mantis and set course for Dathomir. Once you’ve landed, exit the ship and make your way up to the Strangled Cliffs and you’ll face a new enemy, Lesser Nydak, to take them out, use Force Slow and circle him to avoid his constant swinging and ground slams. After you’ve taken him out, head to the right of the area and Wall Run to reach a slightly raised section and then climb up further by using the branches.
Once you’re up take a look over to the right and you’ll see a Chest that has the Yavin Prime BD-1 Skin inside, now turn around and use the corner of the wall to run up onto the platform above and then drop down to find Nightsisters Training Force Echo. Go back outside and make your way over to the opposite side of the area and Force Push the cage to open up a new path, continue pushing the cage until it falls off the side and then push it back against the wall to allow you to climb up and drop down to collect a Life Essence.
Open up the door and head back outside and make your way up to the upper area, continue following the initial path that you were taking and look to your right to find a Chest that contains the Magus Emitter. Proceed up the stairs and you’ll enter a short cutscene, after it has finished you’ll now face two Nightbrother Warrior’s. Although these enemies may look extremely tough, they aren’t as they can be taken down with a couple of hits.

Head towards the north on the upper section to find a Chest that contains the Magus Emitter
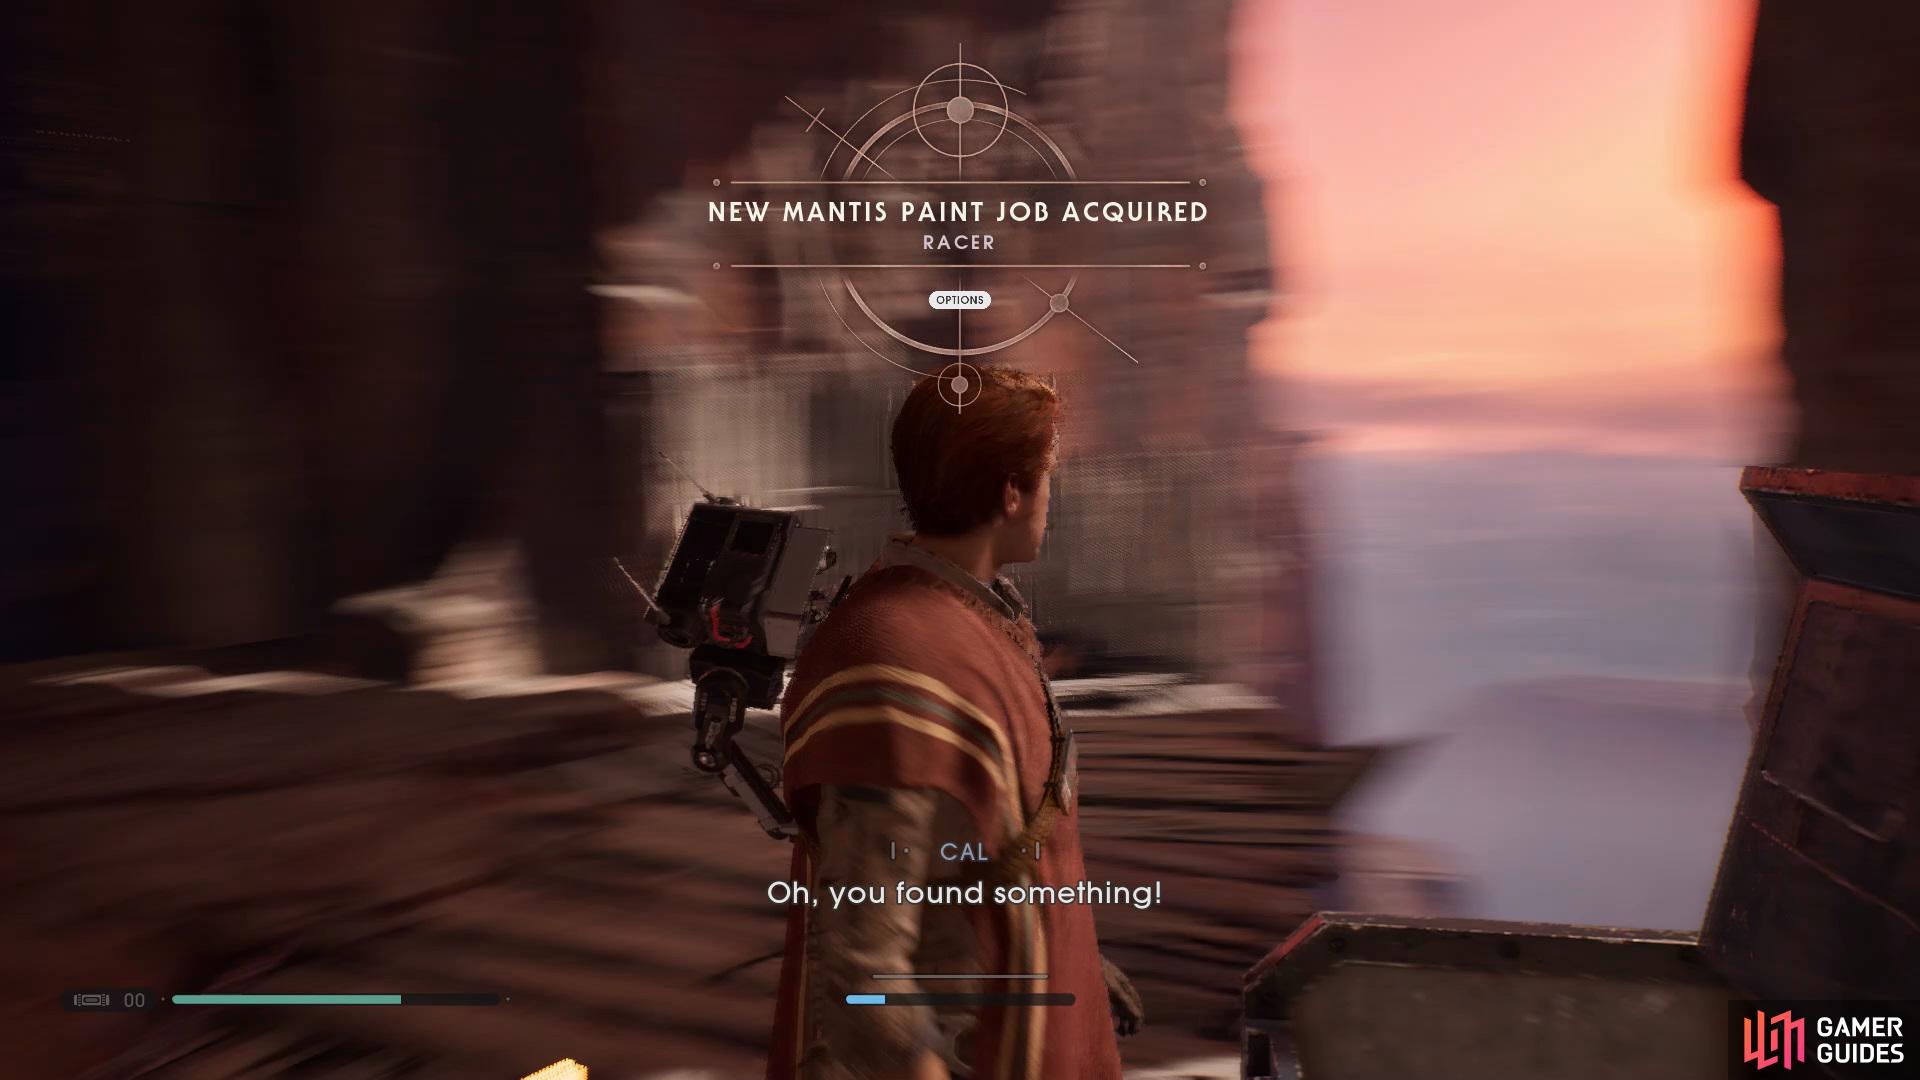
then continue progressing and you’ll find a Chest in a corner that contains the Racer Mantis Paint Job.
Use the ropes up ahead to reach a new path and use the Meditation Point to restock on any lost Stims, now use Force Push to throw the two warriors off the side and then Force Pull the archer towards you and take him out, continue following the path along and you’ll find a Chest on the edge of a wooden platform that contains the Racer Mantis Paint Job. Proceed into the next room and deflect the archer’s bullets back at them until they’ve been taken out and then use the right wall to reach the stick in the center and then take the left wall to reach the platform ahead.
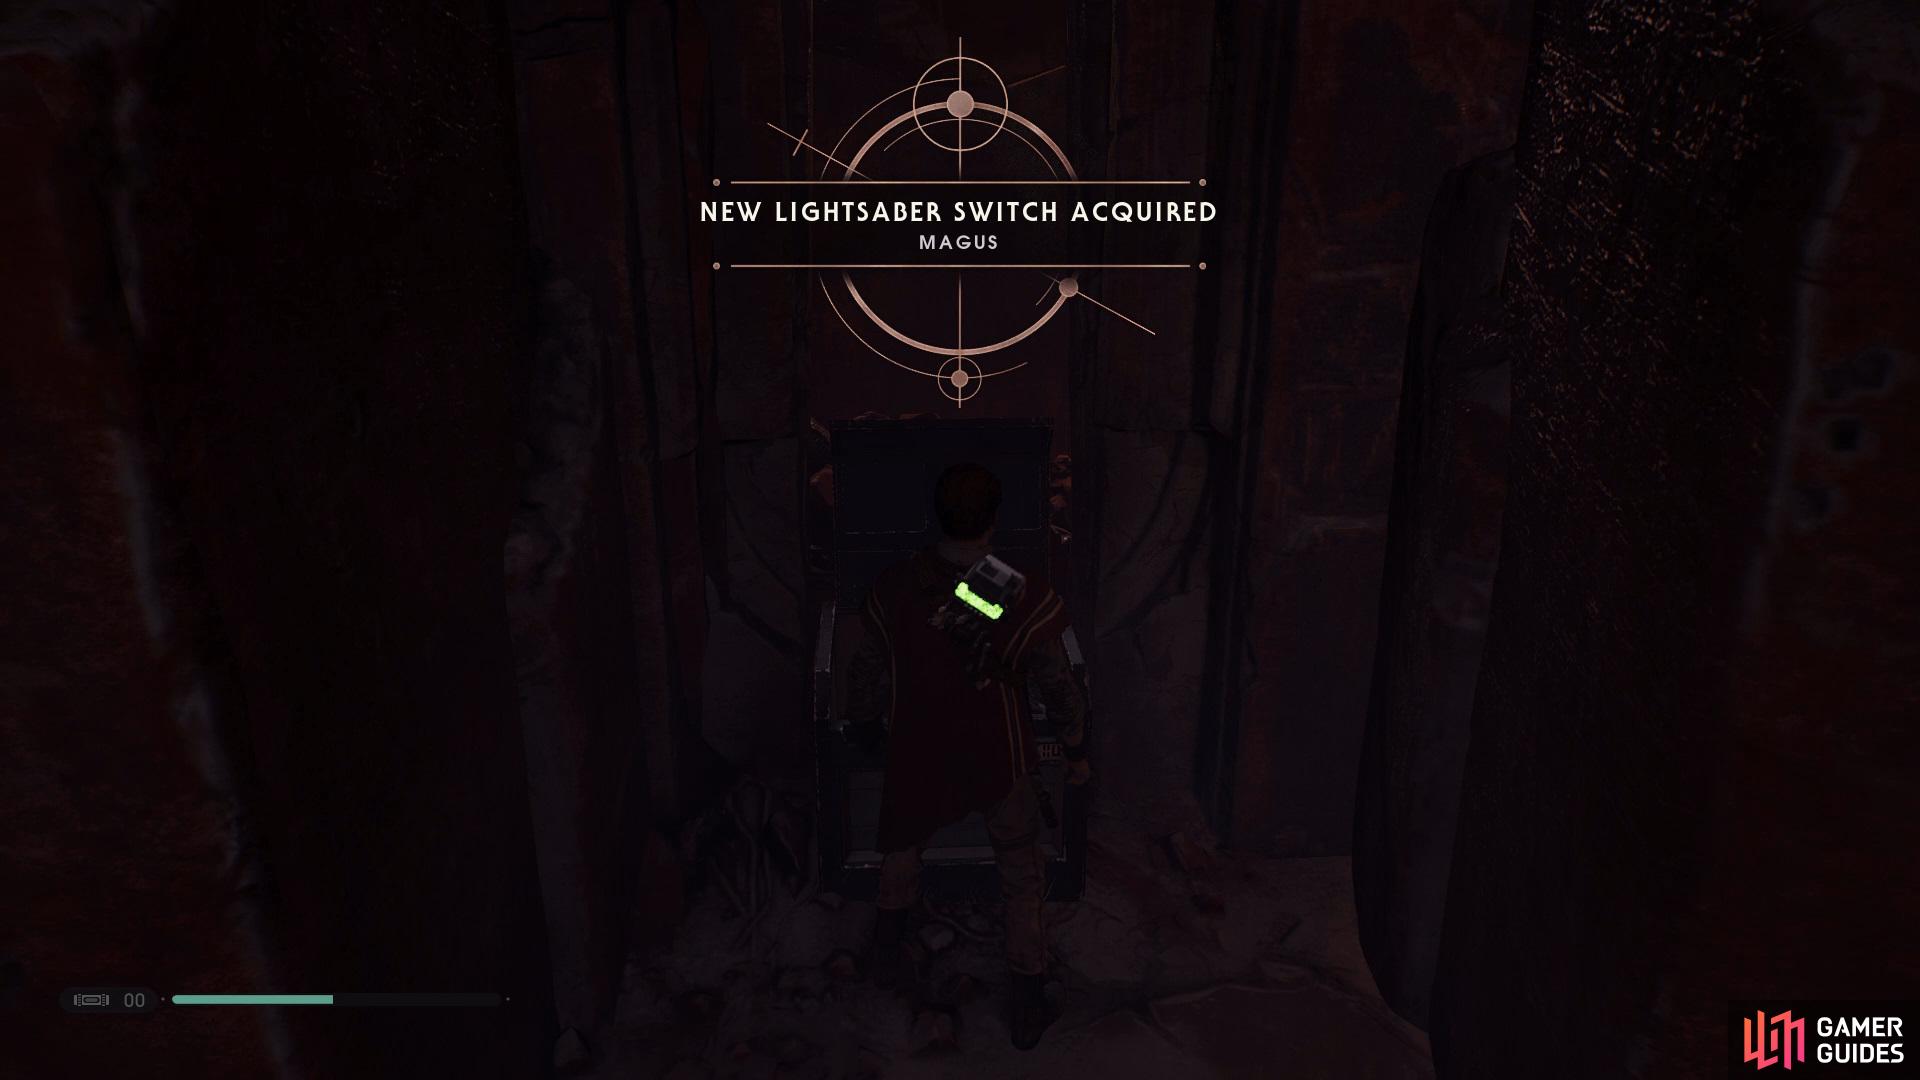
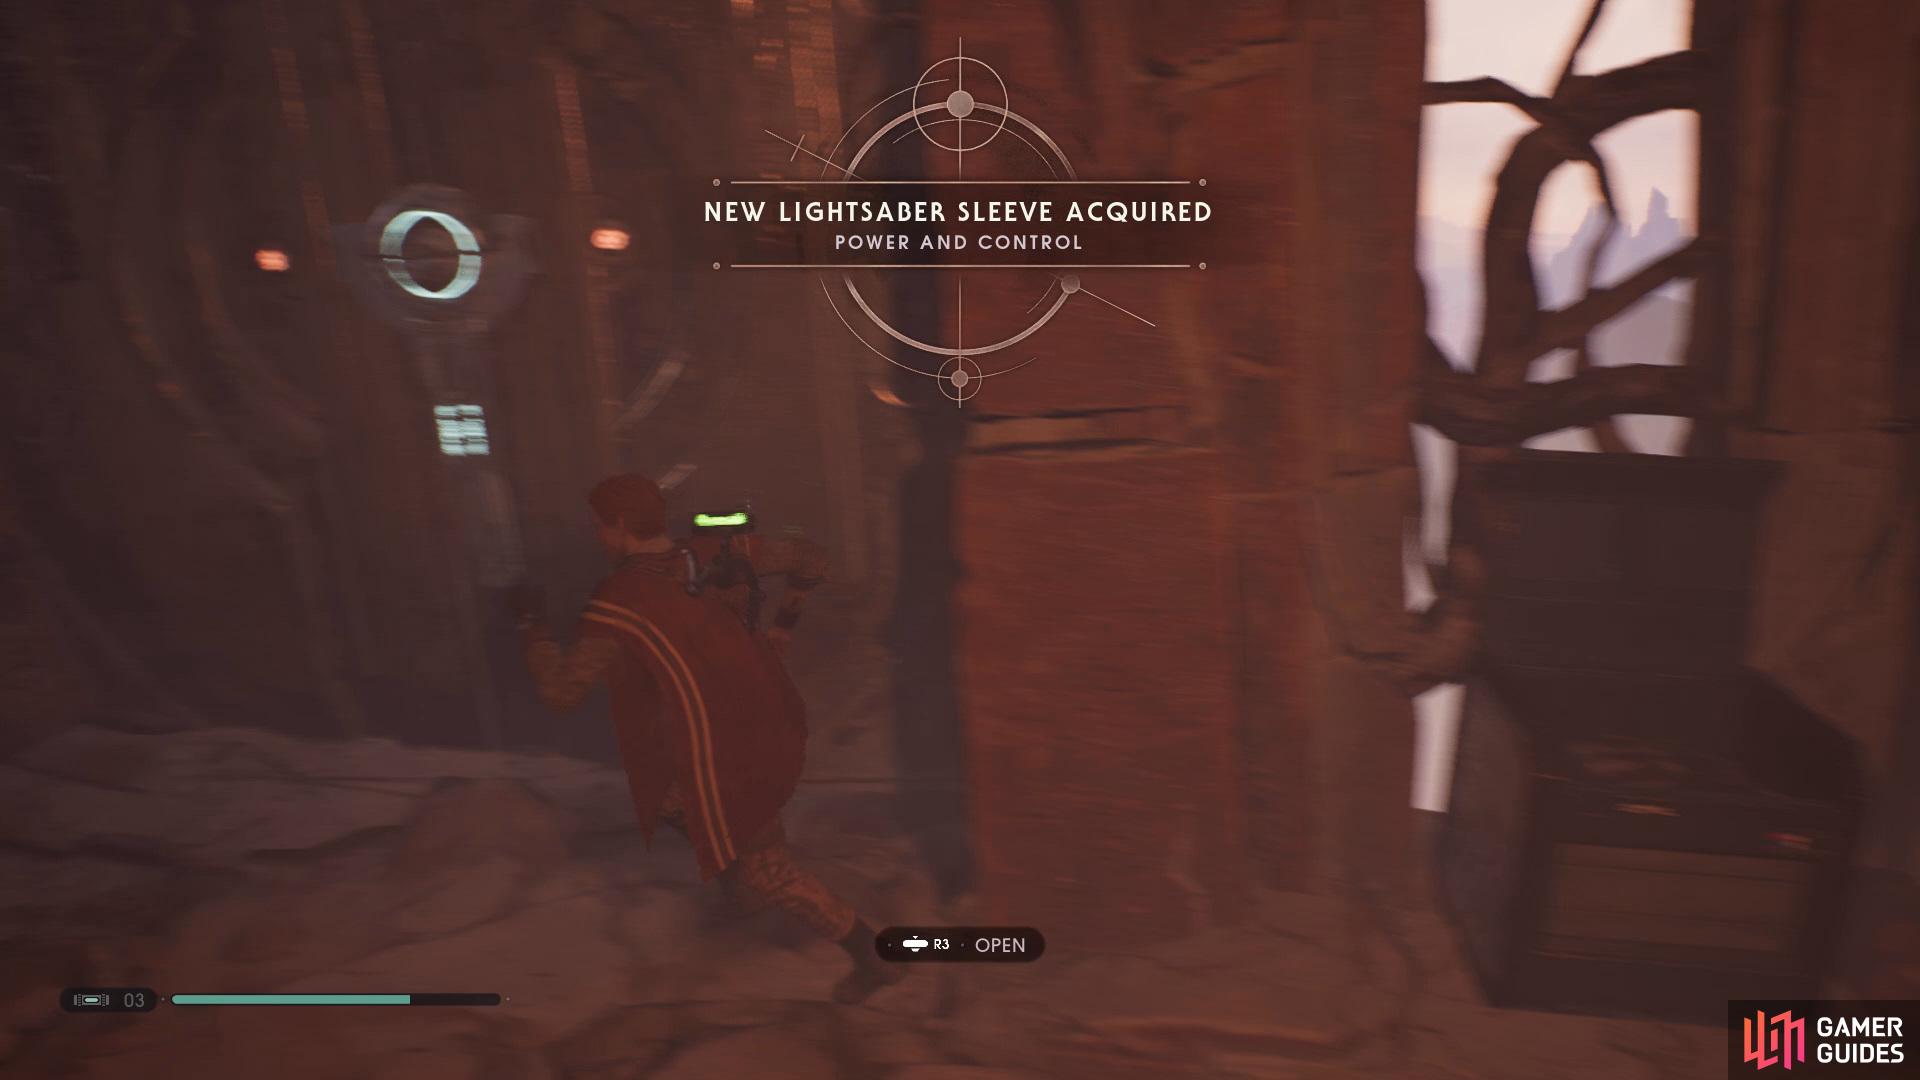
Continue along and then drop down into a small room and take out the enemies, open the Chest on the left to obtain the Magus Lightsaber Switch. Exit the small room and open up the shortcut ahead and go down the hill on the right to find a workbench that will give you the Magus Lightsaber Sleeve, proceed further into the cave and climb up to find another Life Essence.
Reach the Crumbled Ruins
The Wanderer.
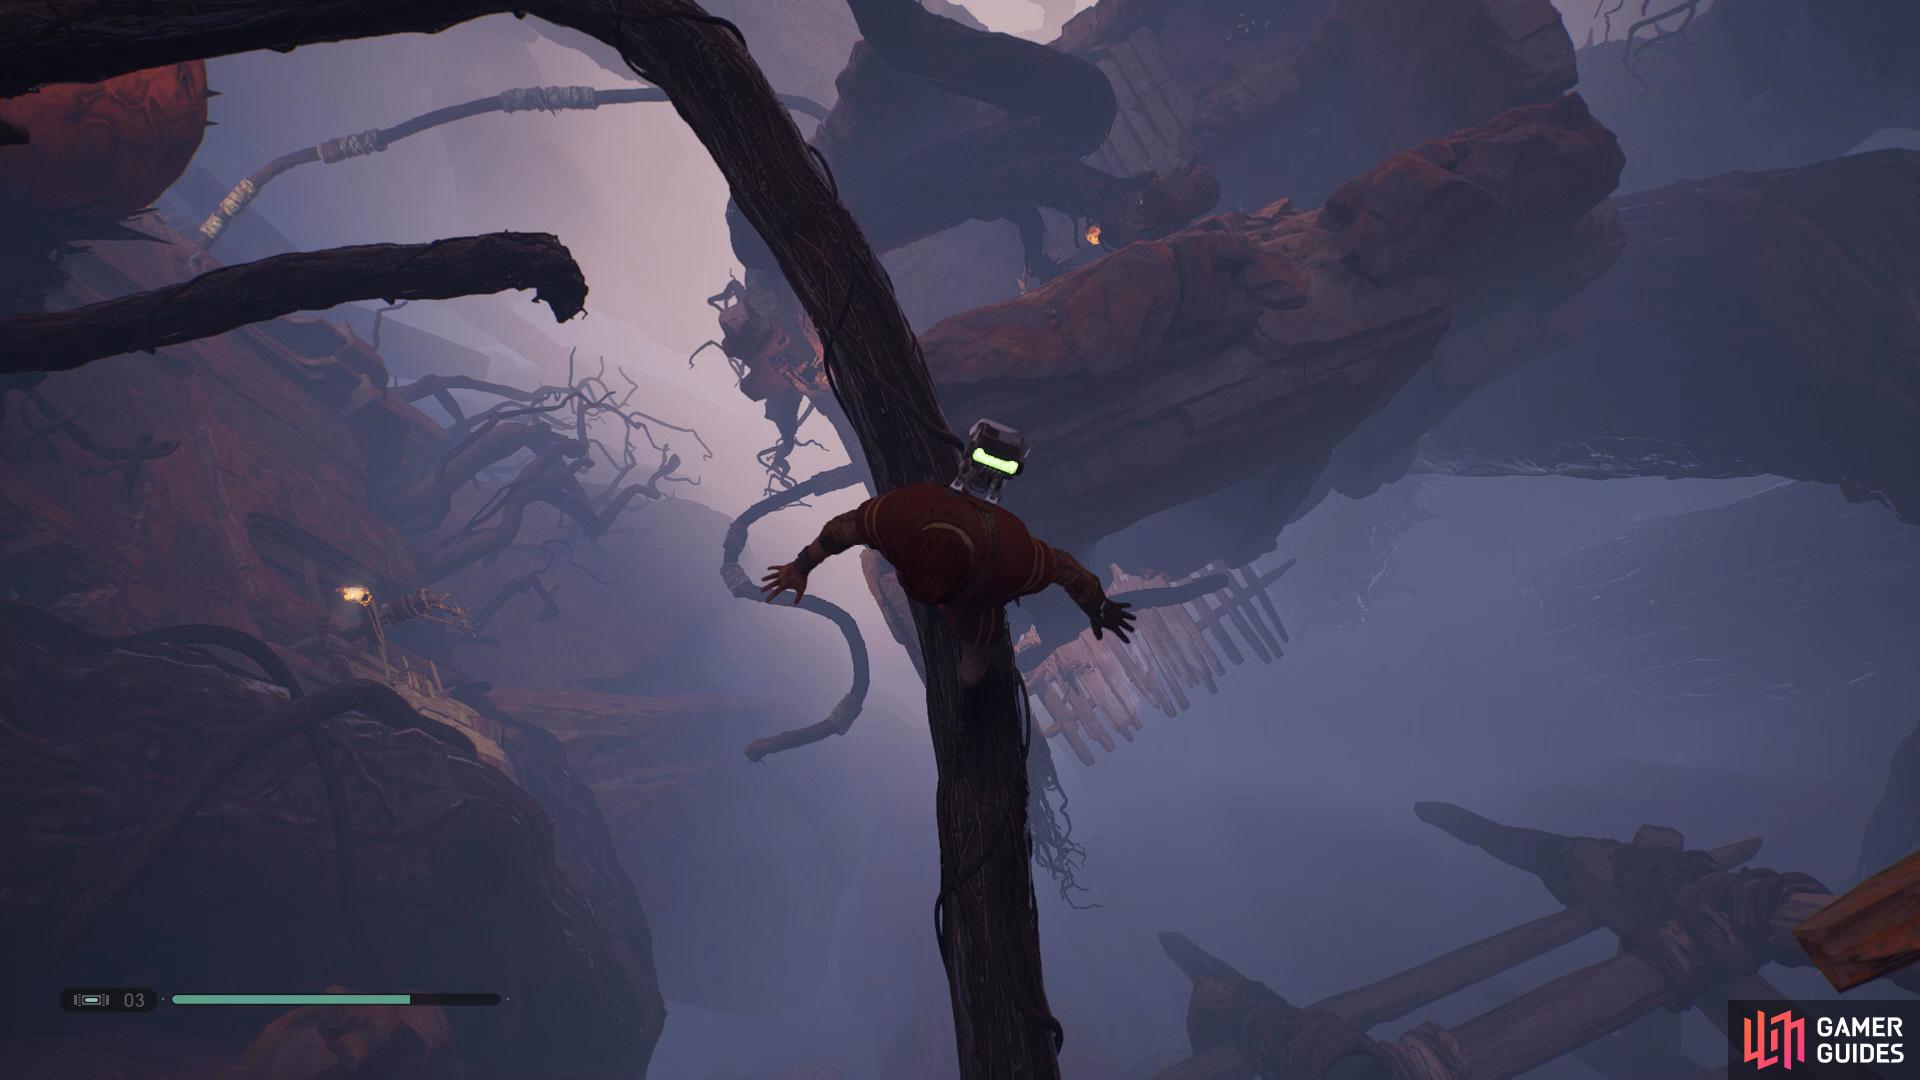
Exit the cave and go left to enter a second short cutscene, after the cutscene has ended you’ll need to continue onwards and Force Push all the enemies off the side and then another enemy will throw a rock down onto you causing the path to break. Once you’ve reached a safe platform to stand on, climb the branches on the left and then take the rope up, use the Meditation Point and then slide through the tight gap.
Stop in the center of the branch and drop down into a hidden room
to find a Chest that contains a Power and Control Lightsaber Sleeve.
Take out the three enemies that the Nightsister spawned in then Force Push the path open on your left, climb up and then use the branches to reach an area on the right that’s above. Take out the enemies and then continue climbing until you step foot on a branch, now stop at the center of the second branch and drop down into a hidden room that has a Chest that contains the Power and Control Lightsaber Sleeve, open the door for a shortcut and then turn around to take the lift up.
Head down the hill and take a left to find the The Chase Force Echo, then proceed into the next room and take out the enemies, climb up to the back area and then use Force Pull to bring the platform above down, allowing you to Wall Run up. Use the Meditation Point and then continue following the path around, drop down into the Nydak’s Lair and then take him out after BD-1 has scanned the wall, now bring the cage from the other side of the room towards you and use it to climb up.
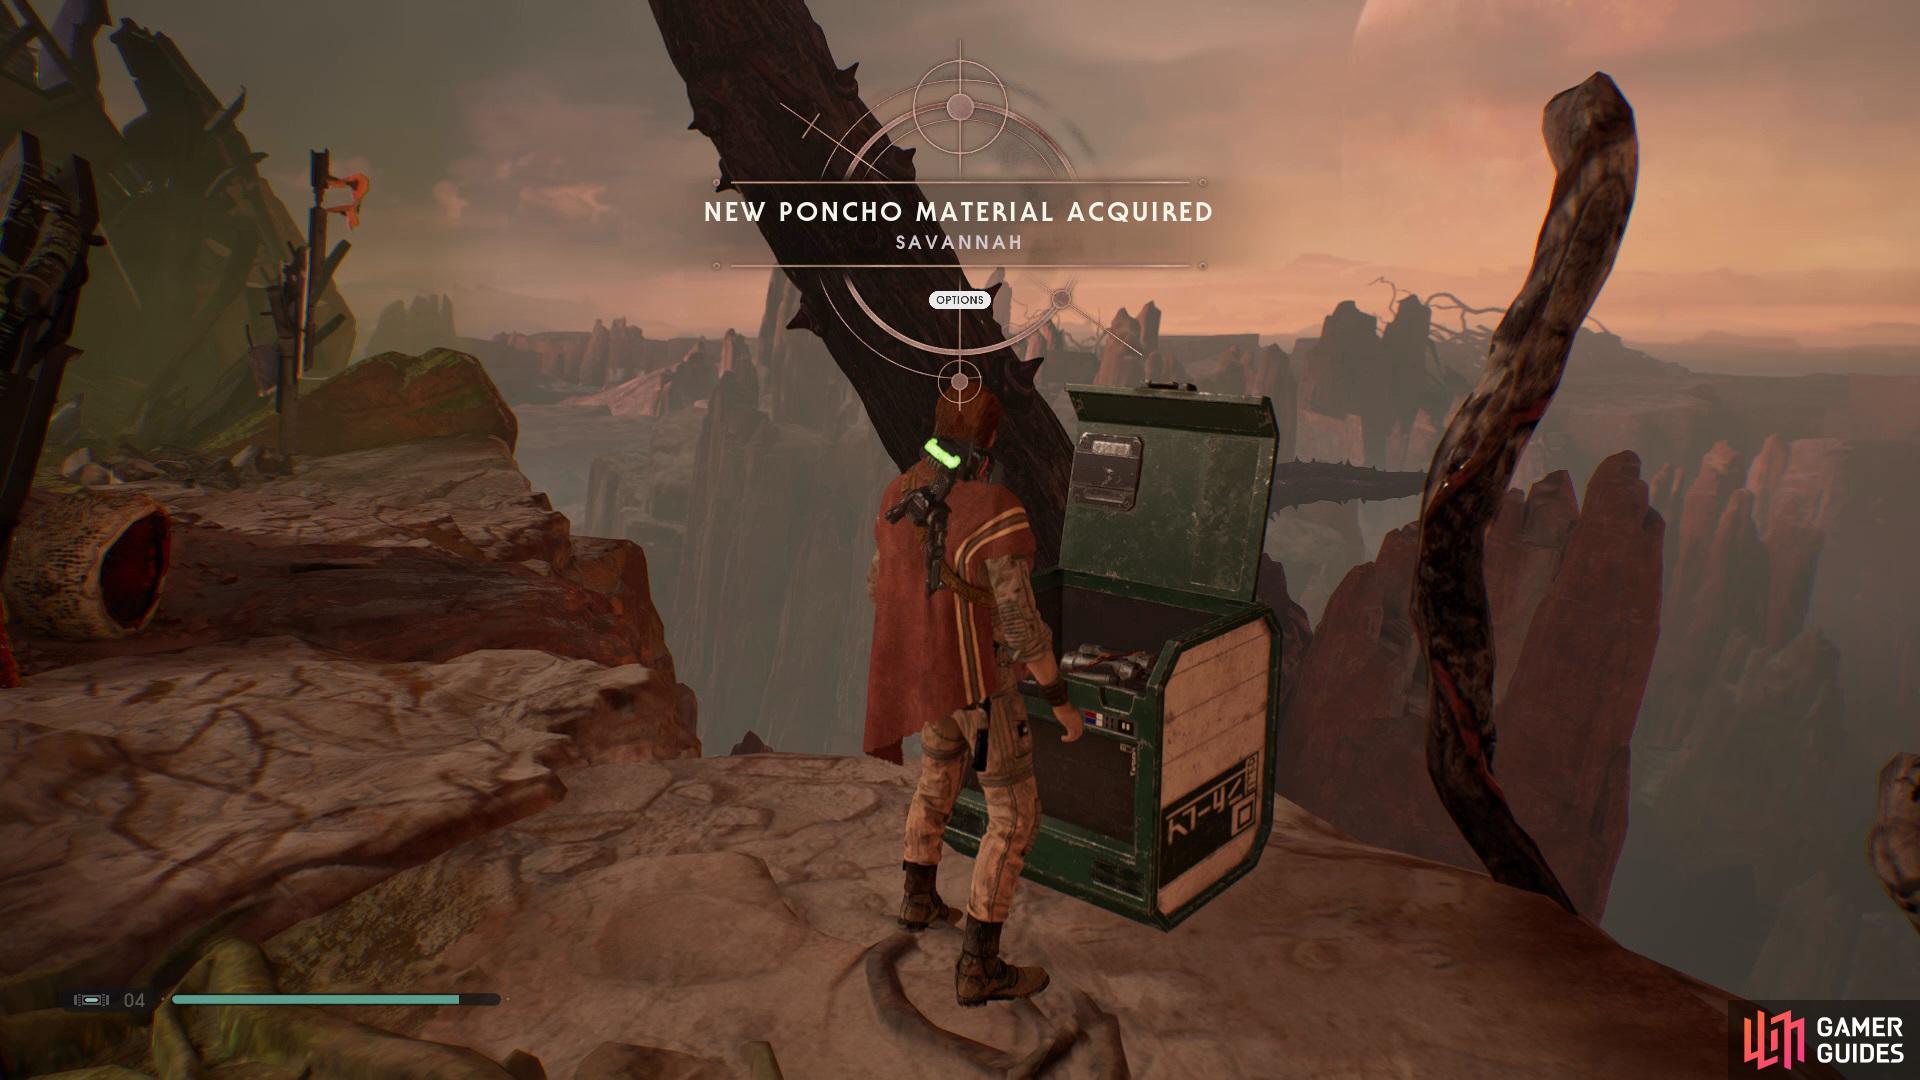
(1 of 4) Once you land in the swamp follow it around to find a Chest with the Savannah Poncho
Force Push open the wall and follow the path around until you enter the Nightbrother Village, keep dropping down until you reach the bottom and Force Pull the bridge down and quickly sprint past the ambush and slide down the hill on the left. Once you’ve landed in the Swamp of Sacrifice you’ll want to circle the area first to find two Chests that contain the Savannah Poncho and Power and Control Emitter, now climb up the branches to the right of the chest with the Emitter and follow the path around to drop into a secret room that has the final Chest of this area which contains the Power and Control II Lightsaber Switch.
Climb back out using the branches and then exit through the opposite side to enter the Witches Horn, drop down and interact with the body to initiate a boss fight.
Boss: Gorgara
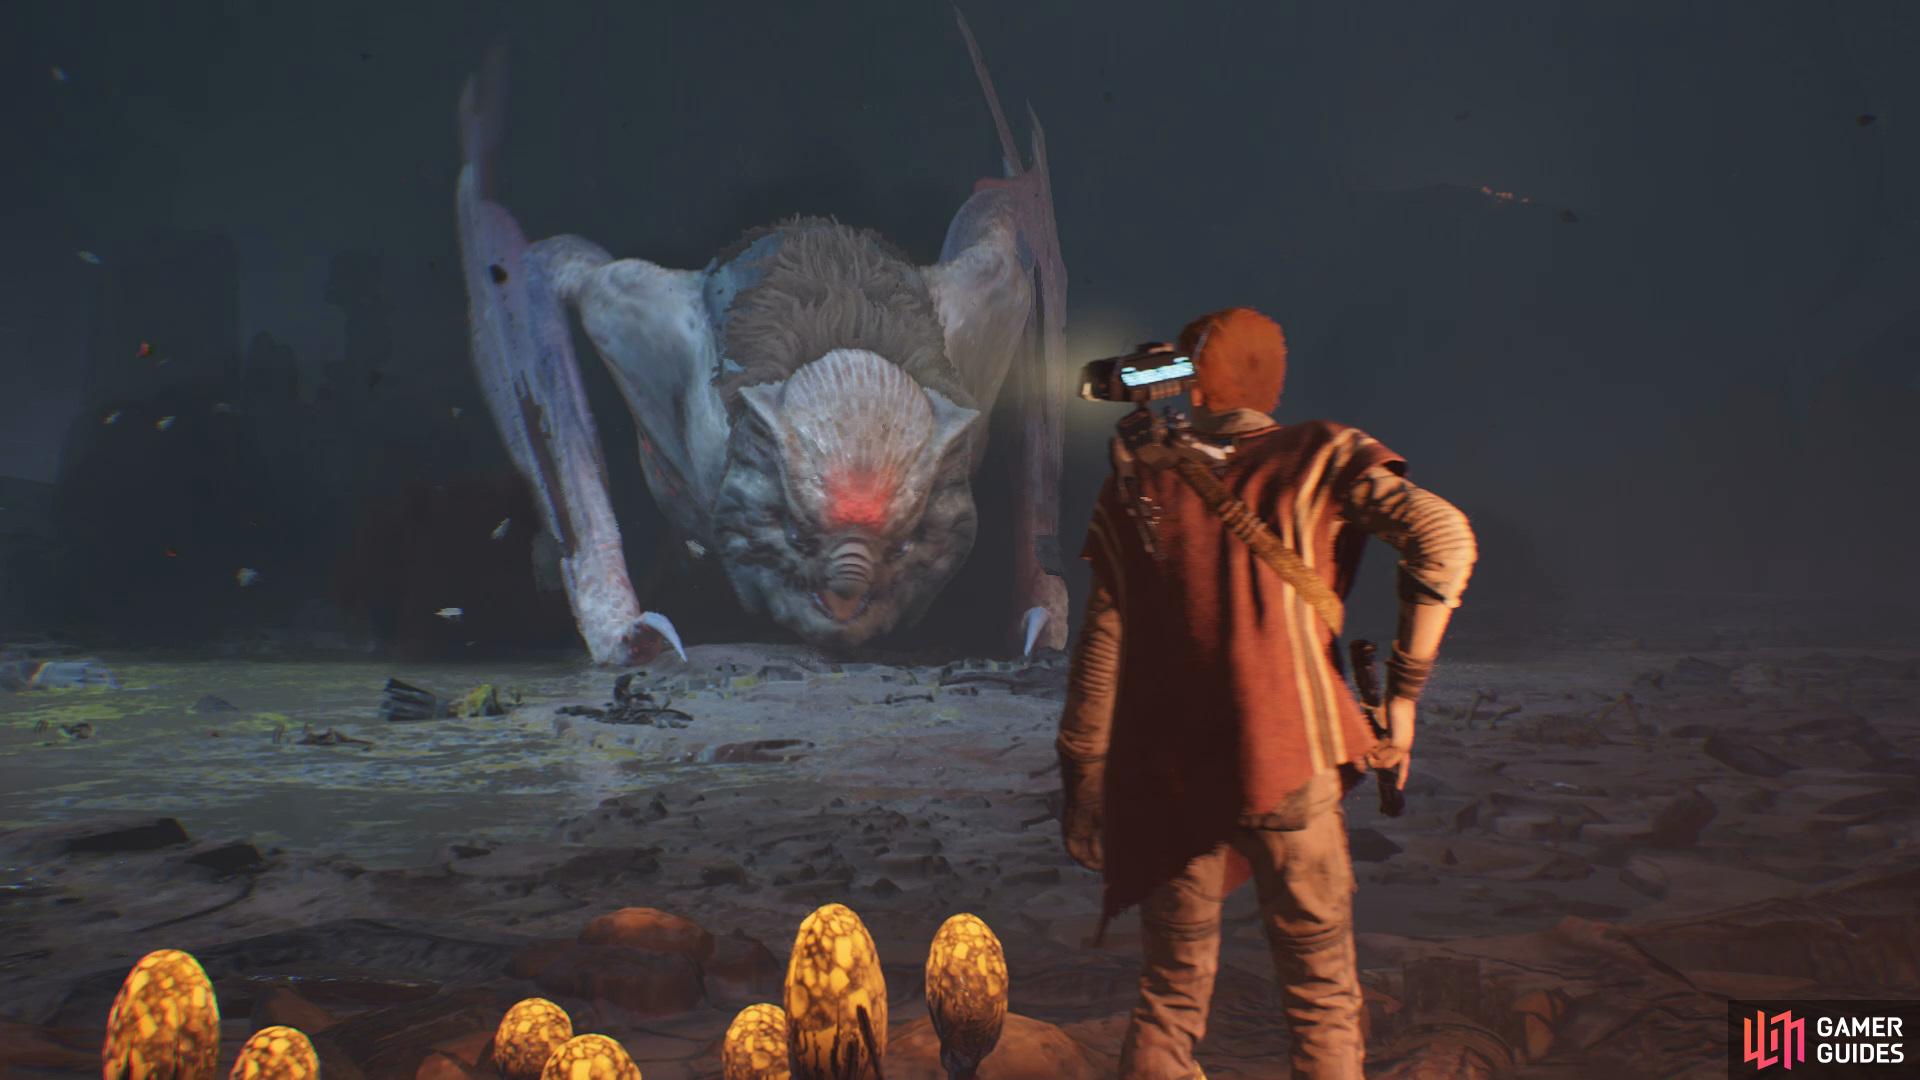
Boss: Gorgara
This boss takes a leap in terms of difficulty compared to the previous boss encounters as you find yourself dealing with interesting attacks that kill you quickly if you aren’t aware. Once the fight begins you won’t be able deal too much damage as you can’t get close enough so you’ll need to wait for the Gorgara to charge at you with his head and then dodge, here you’ll want to use Force Slow on him which will give you a few seconds to get a couple of hits.
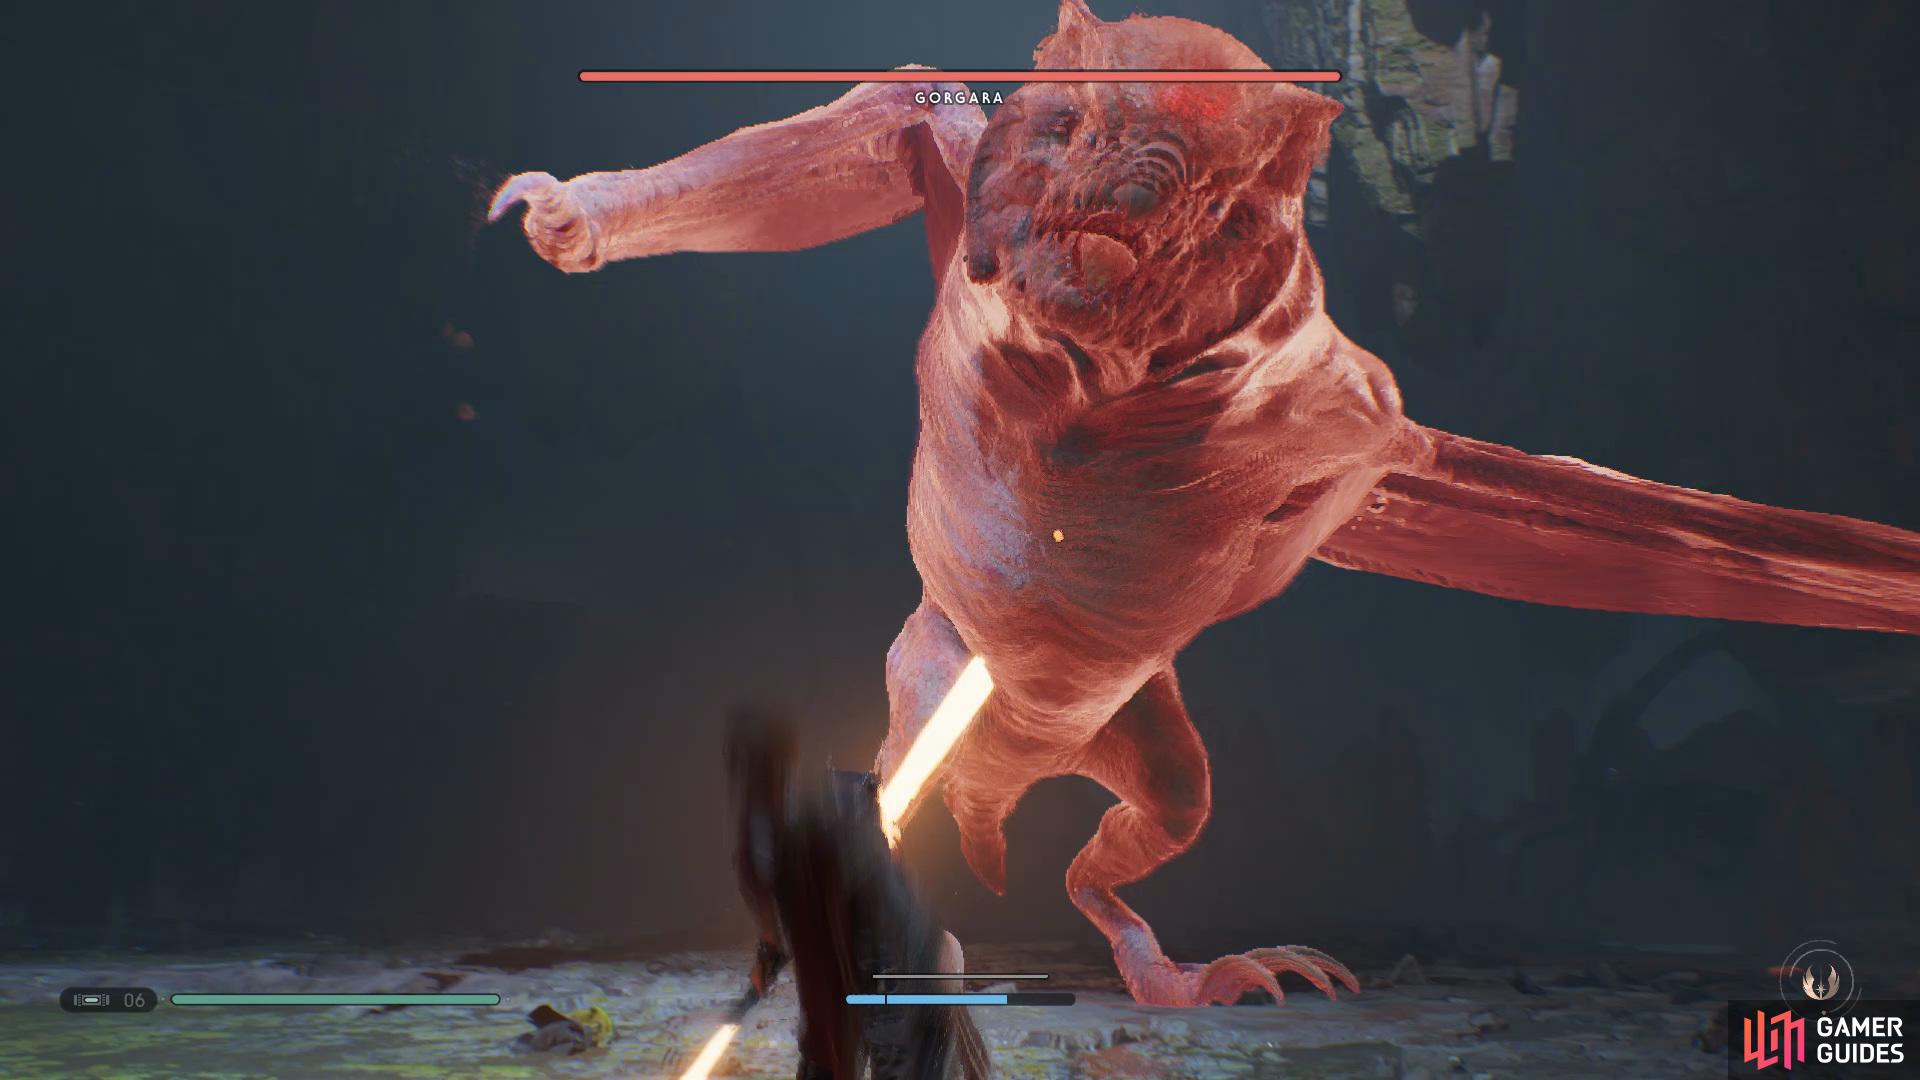
Whilst you’re waiting on him to do the charge, you’ll find yourself needing to dodge a Red Attack where Gorgara will attempt to swipe you with his wings. He’ll also do another Red Attack throughout where he punches the floor with one of his wings, if you get out of the way he’ll get it stuck in the ground for a few seconds allowing you to get a few hits in.
After you’ve dealt a little bit of damage he’ll fly up into the sky and fire a tornado in a straight line across the arena, simply keep on the move to avoid this attack. Immediately after the tornado attack he’ll slam into the ground causing a ring of mud to come up which you’ll have to jump over to avoid taking damage. Finally, after you’ve dodged the ring of mud he’ll dart across the arena two-three times.
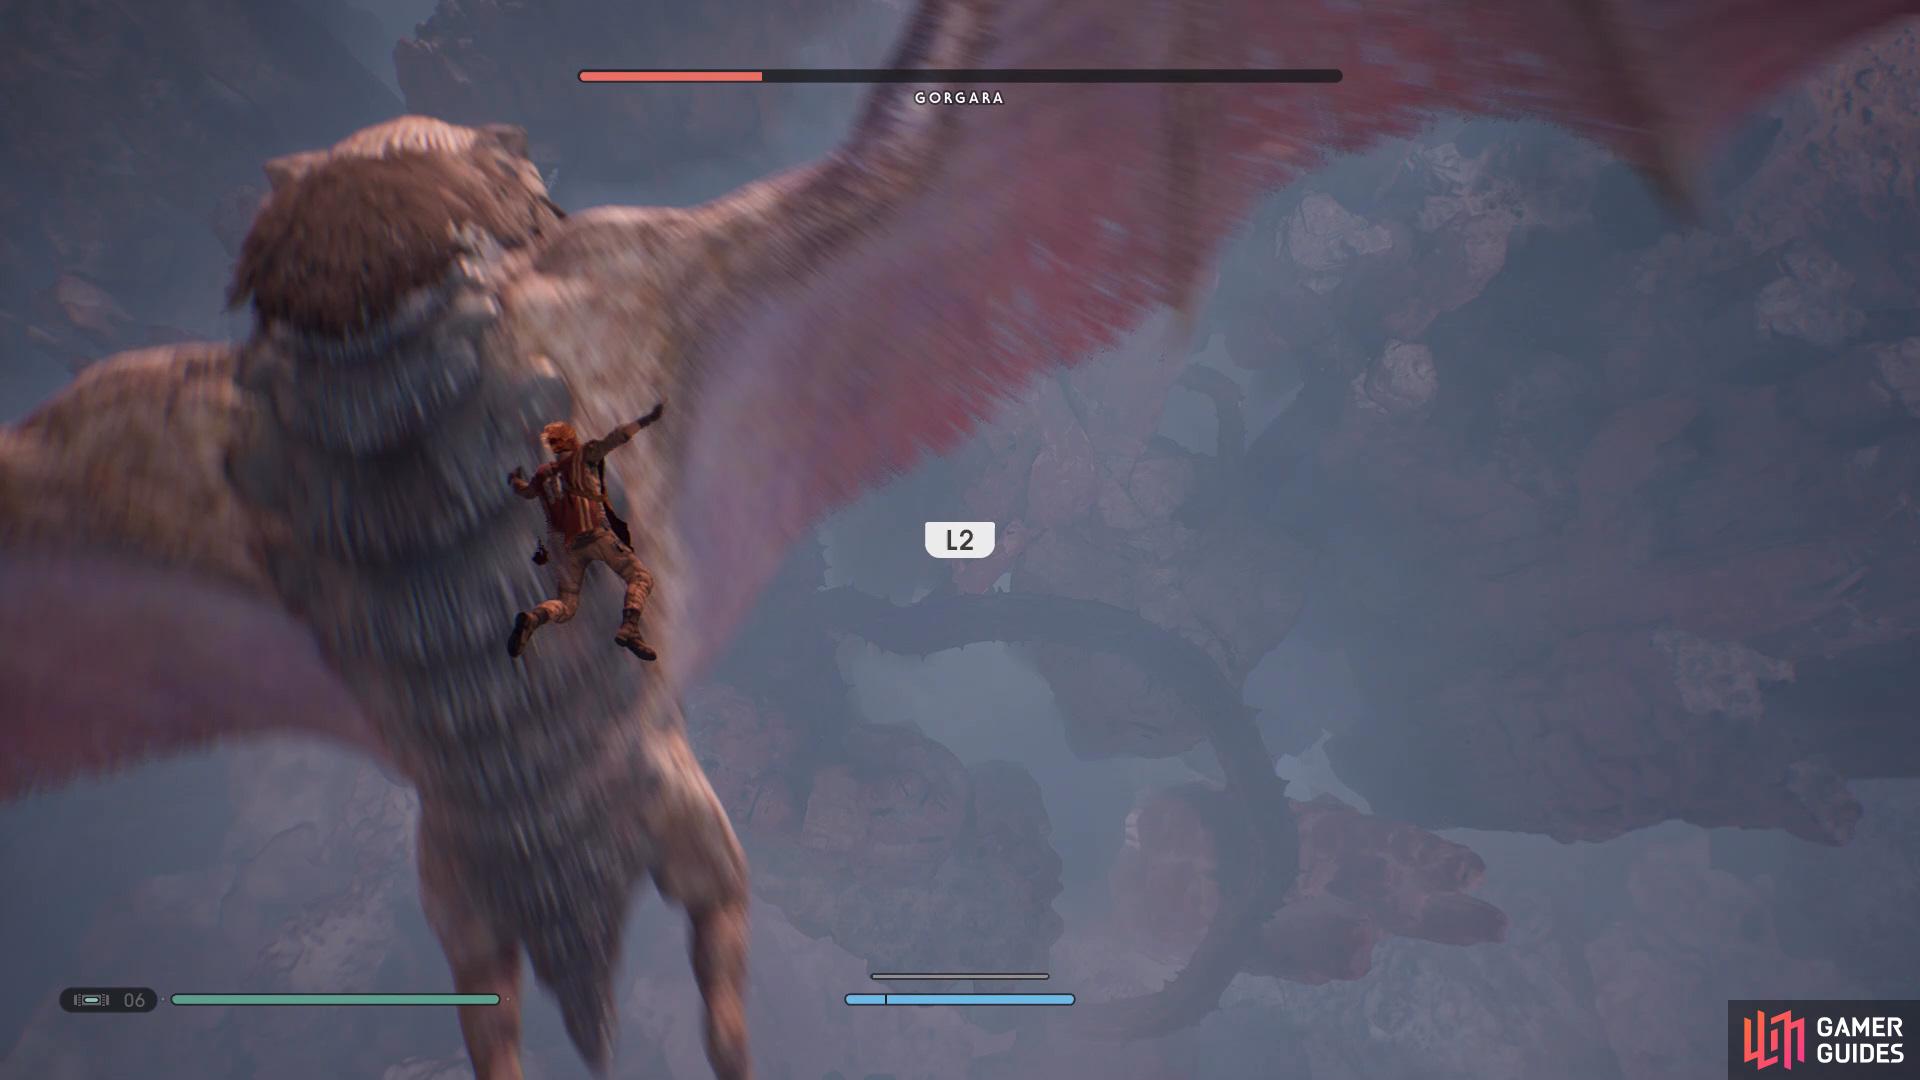
Later on there will be a flying section of the fight where you’ll need to fly towards him and press L2/LT.
Upon getting the boss down to a quarter health he’ll escape out of the arena, but the fight doesn’t end there. Interact with the body that initiated the fight and you’ll acquire the Climbing Claws, use it to climb up the wall behind the body and then follow the path ahead and use the Meditation Point. Now jump onto the wall and quickly climb up as the Gorgara will be chasing you, after you reach the top you’ll be grabbed and taken up into the sky where you’ll need to direct Cal over to the bird and land on him by pressing [L2/LT], repeat this two-three times and the boss will be defeated.
Obtaining a Force Essence
With Gorgara defeated you’ll now want to head back up to where he grabbed you and enter the room ahead to find a Chest that contains the Day of the Dianoga BD-1 Skin, now exit the room and head left to collect a Force Essence. Continue following the path down and drop back into the Swamp of Sacrifice, now Force Pull the wooden plank down on the opposite side and Wall Run into the Cliffside Fortress.
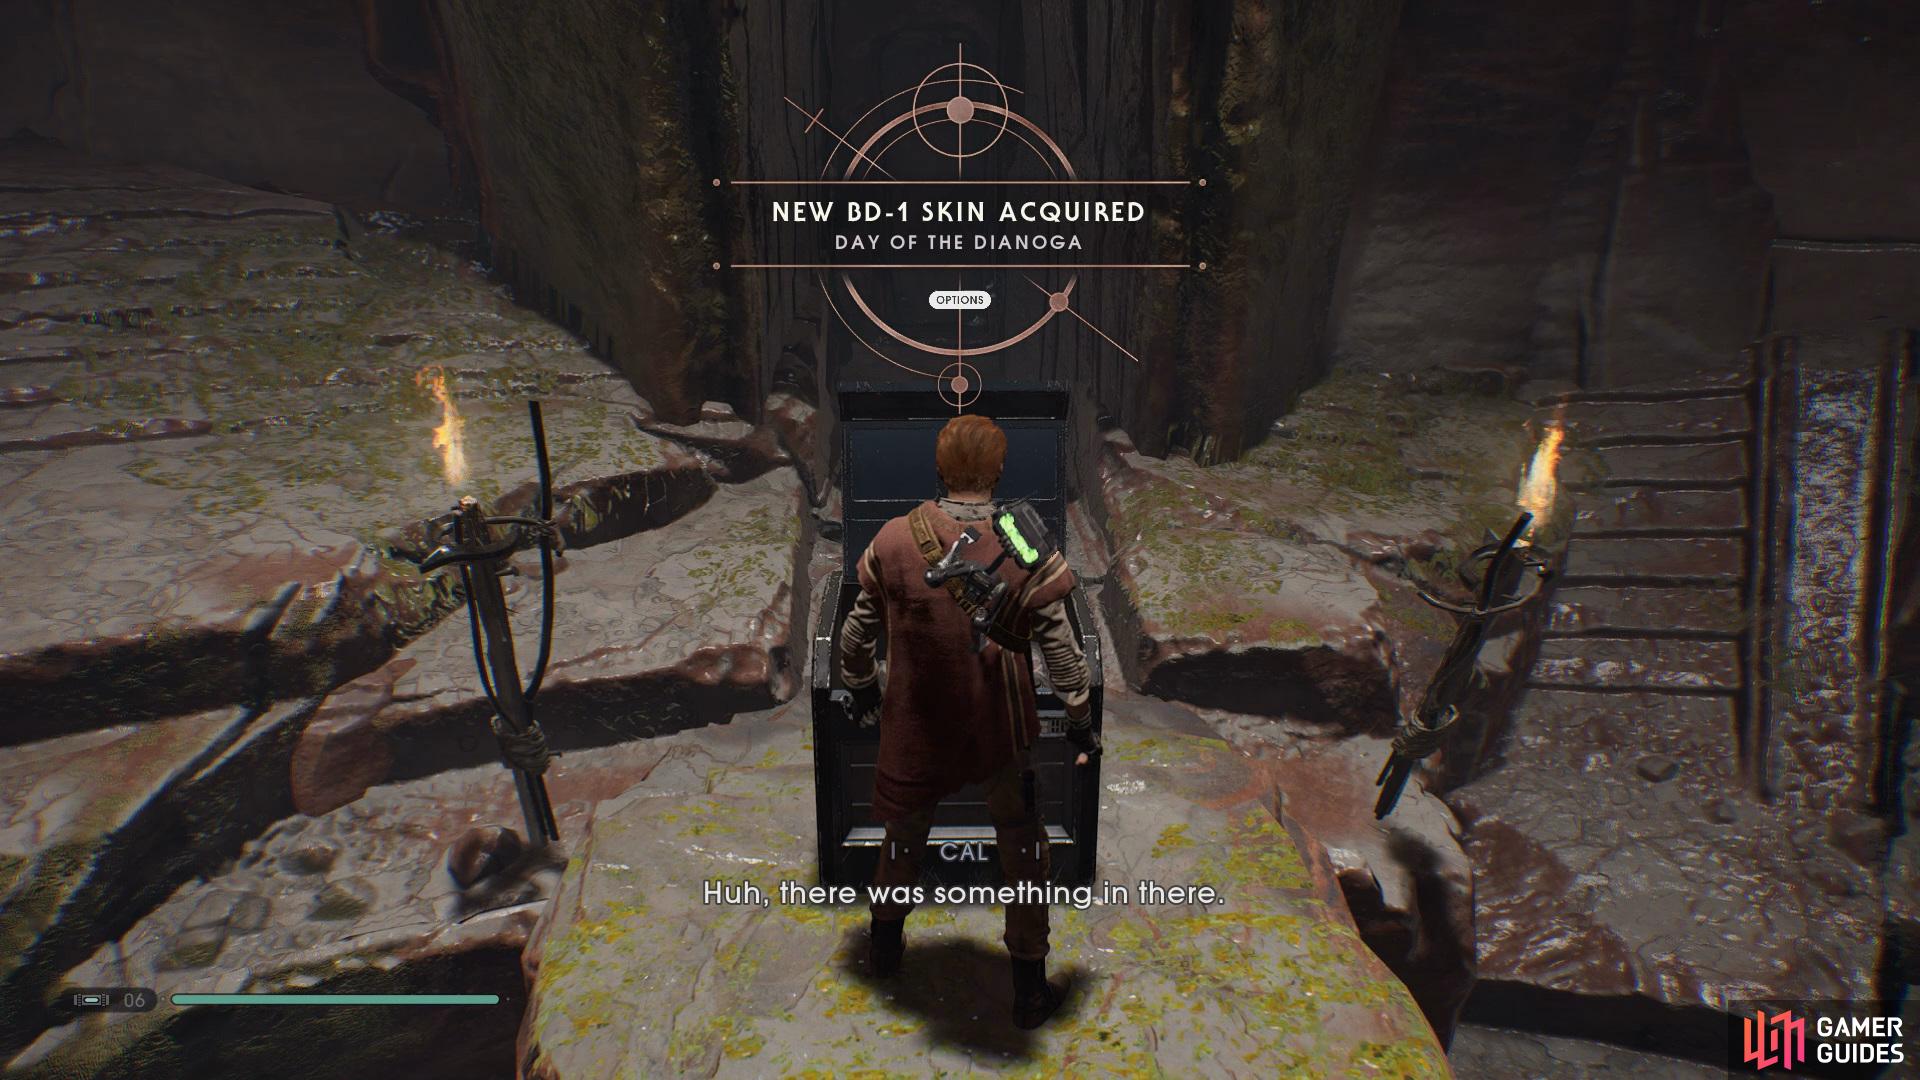
Go back to the area where the boss picked you up and then head into the room ahead to find a Chest that contains a BD-1 Skin
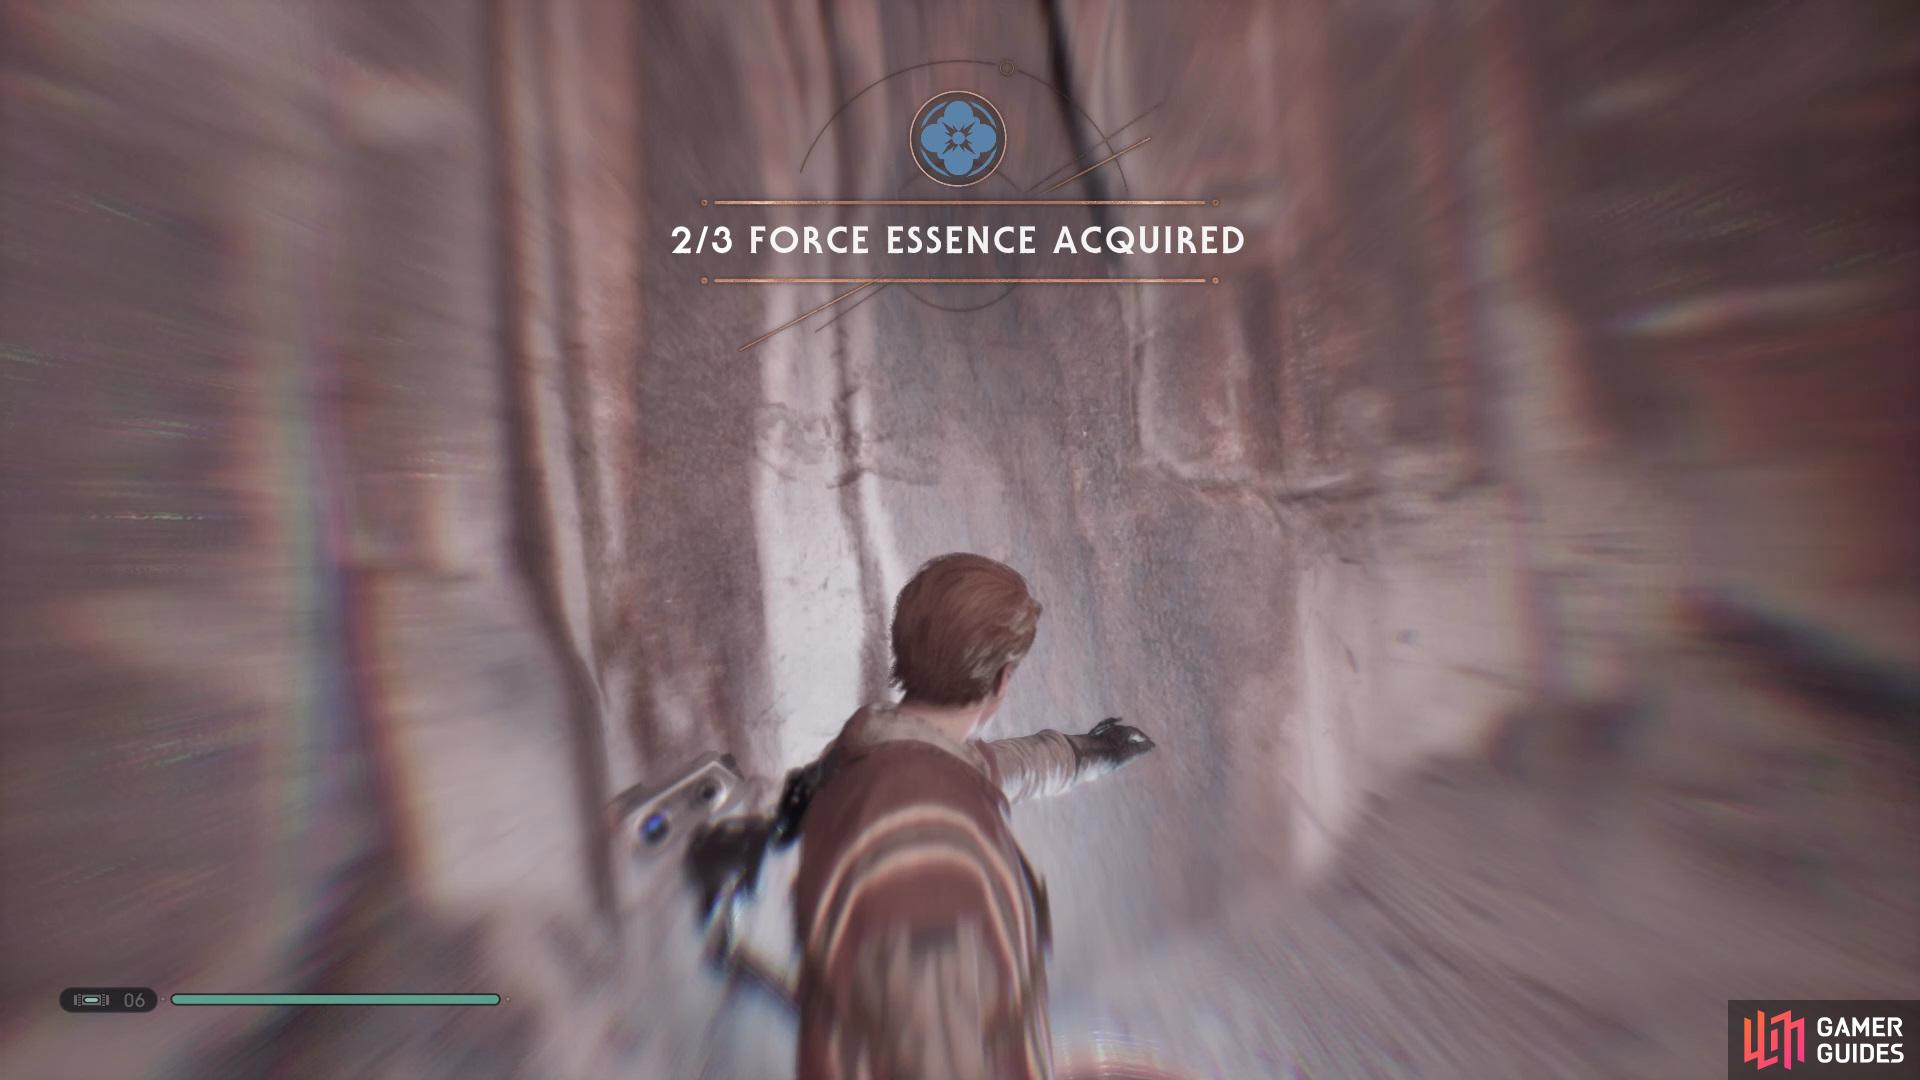
now exit the room and go left to find a Force Essence.
Take out the enemies and then Force Push the two wooden planks down in the back left corner and Force Slow them allowing you to Wall Run across to a wall that you can climb up, now climb down the wall in front and follow the path. Use the stick below the bridge to get over to the opposite side and go into the room on the left first to find the The Prisoner Force Echo alongside a Chest that contains the Vagabond Poncho, exit the room and take the next left to find another Chest that holds the Dolovite Lightsaber Material.
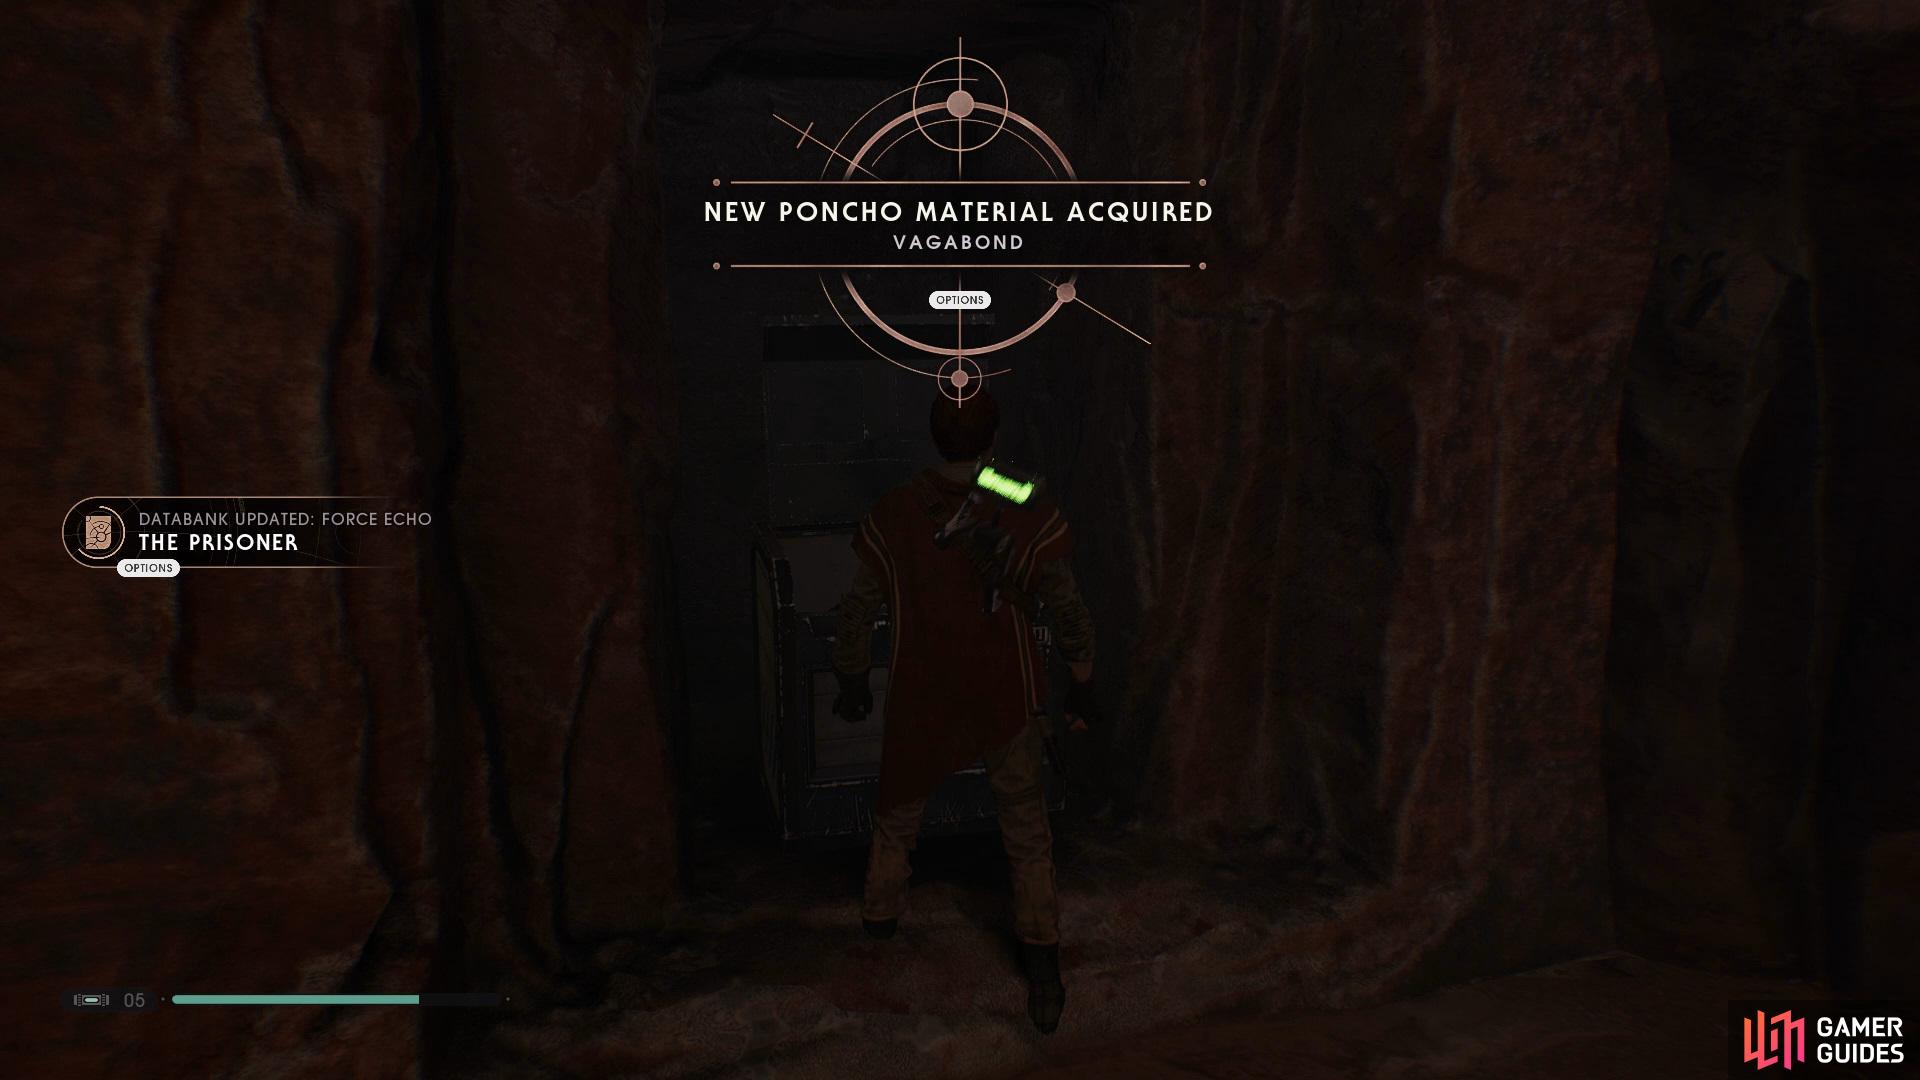
Head to the left of the cave to find a Chest with the Vagabond Poncho
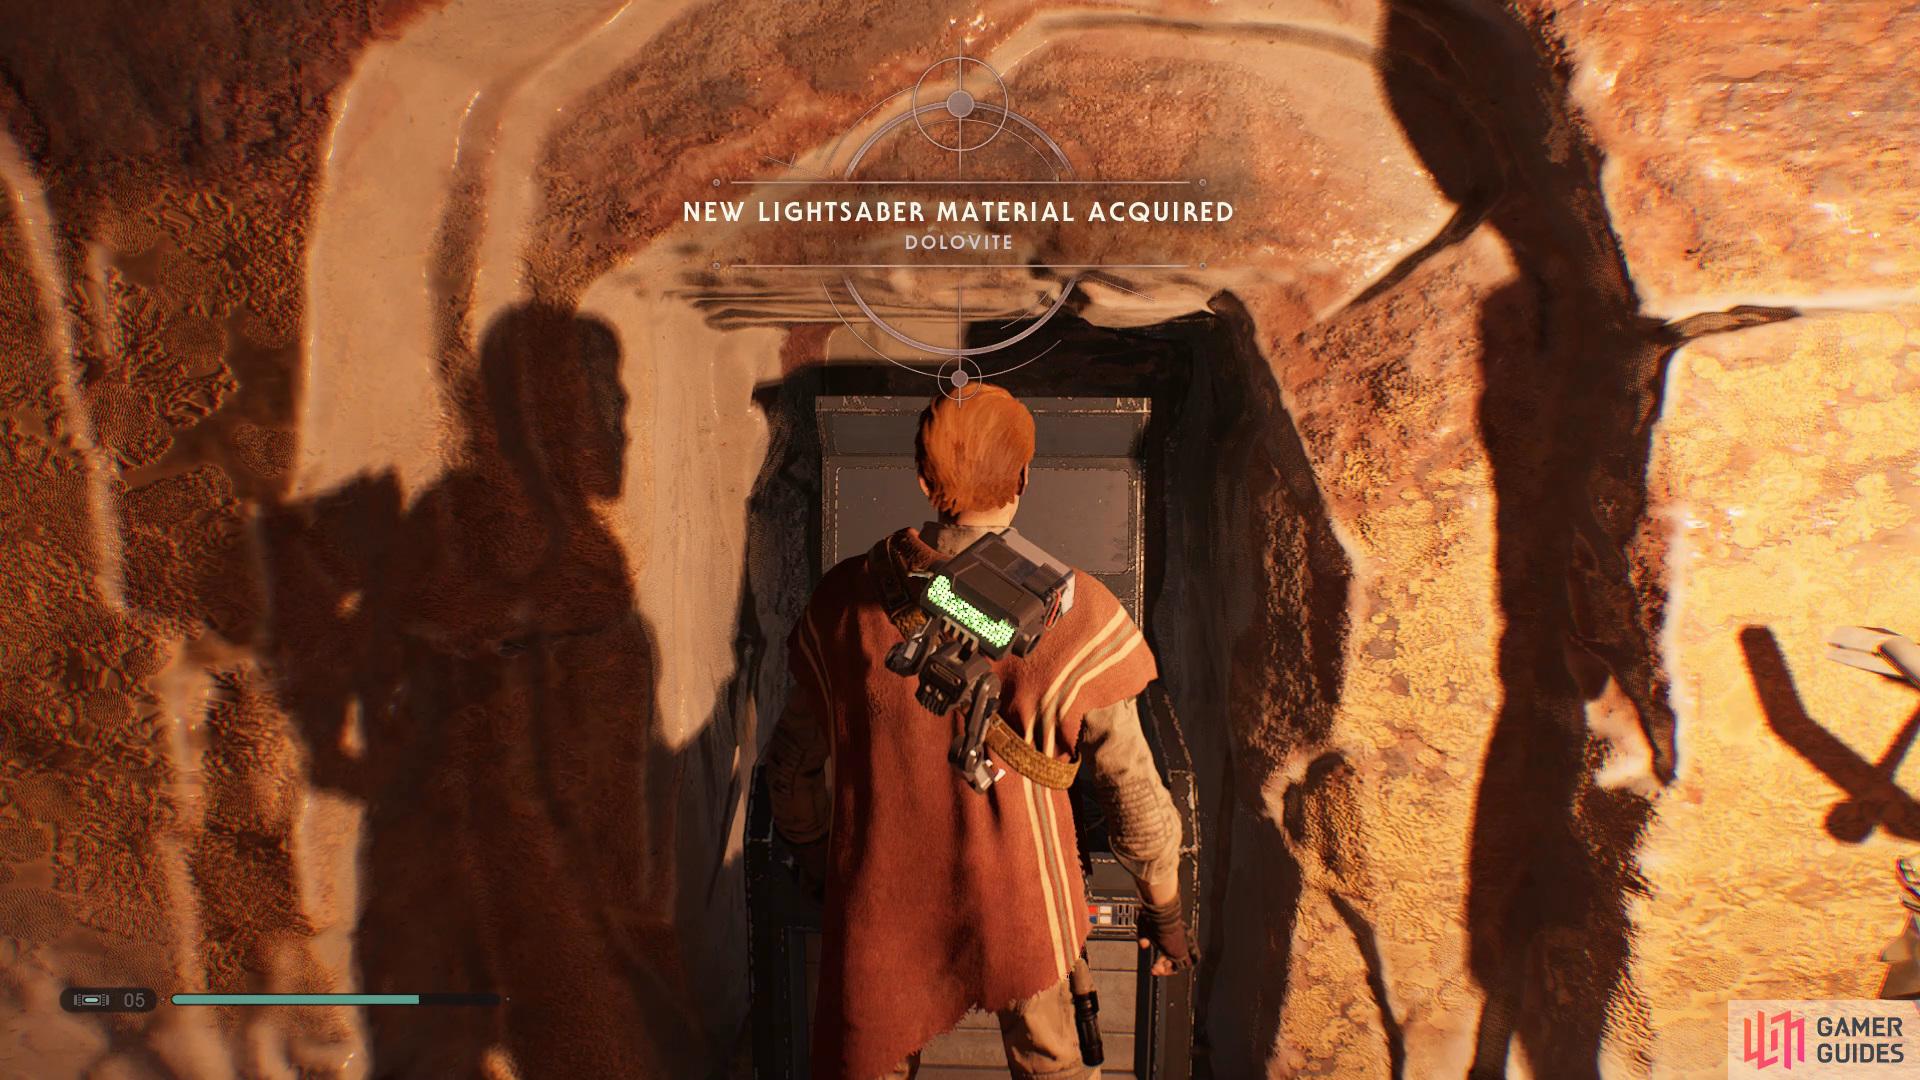
and then proceed to the right for another Chest that holds the Dolovite Lightsaber Material.
Continue following the path ahead and slide through the tight gap, climb up the wall on the left and take the wooden stick over the platform above which has a Meditation Point. Drop down into the village and take out all the enemies, then grab the cage from the left and place it against the back wall to allow you to climb up, now immediately look to your right to find a Chest that contains Aphelion Mantis Paint Job.
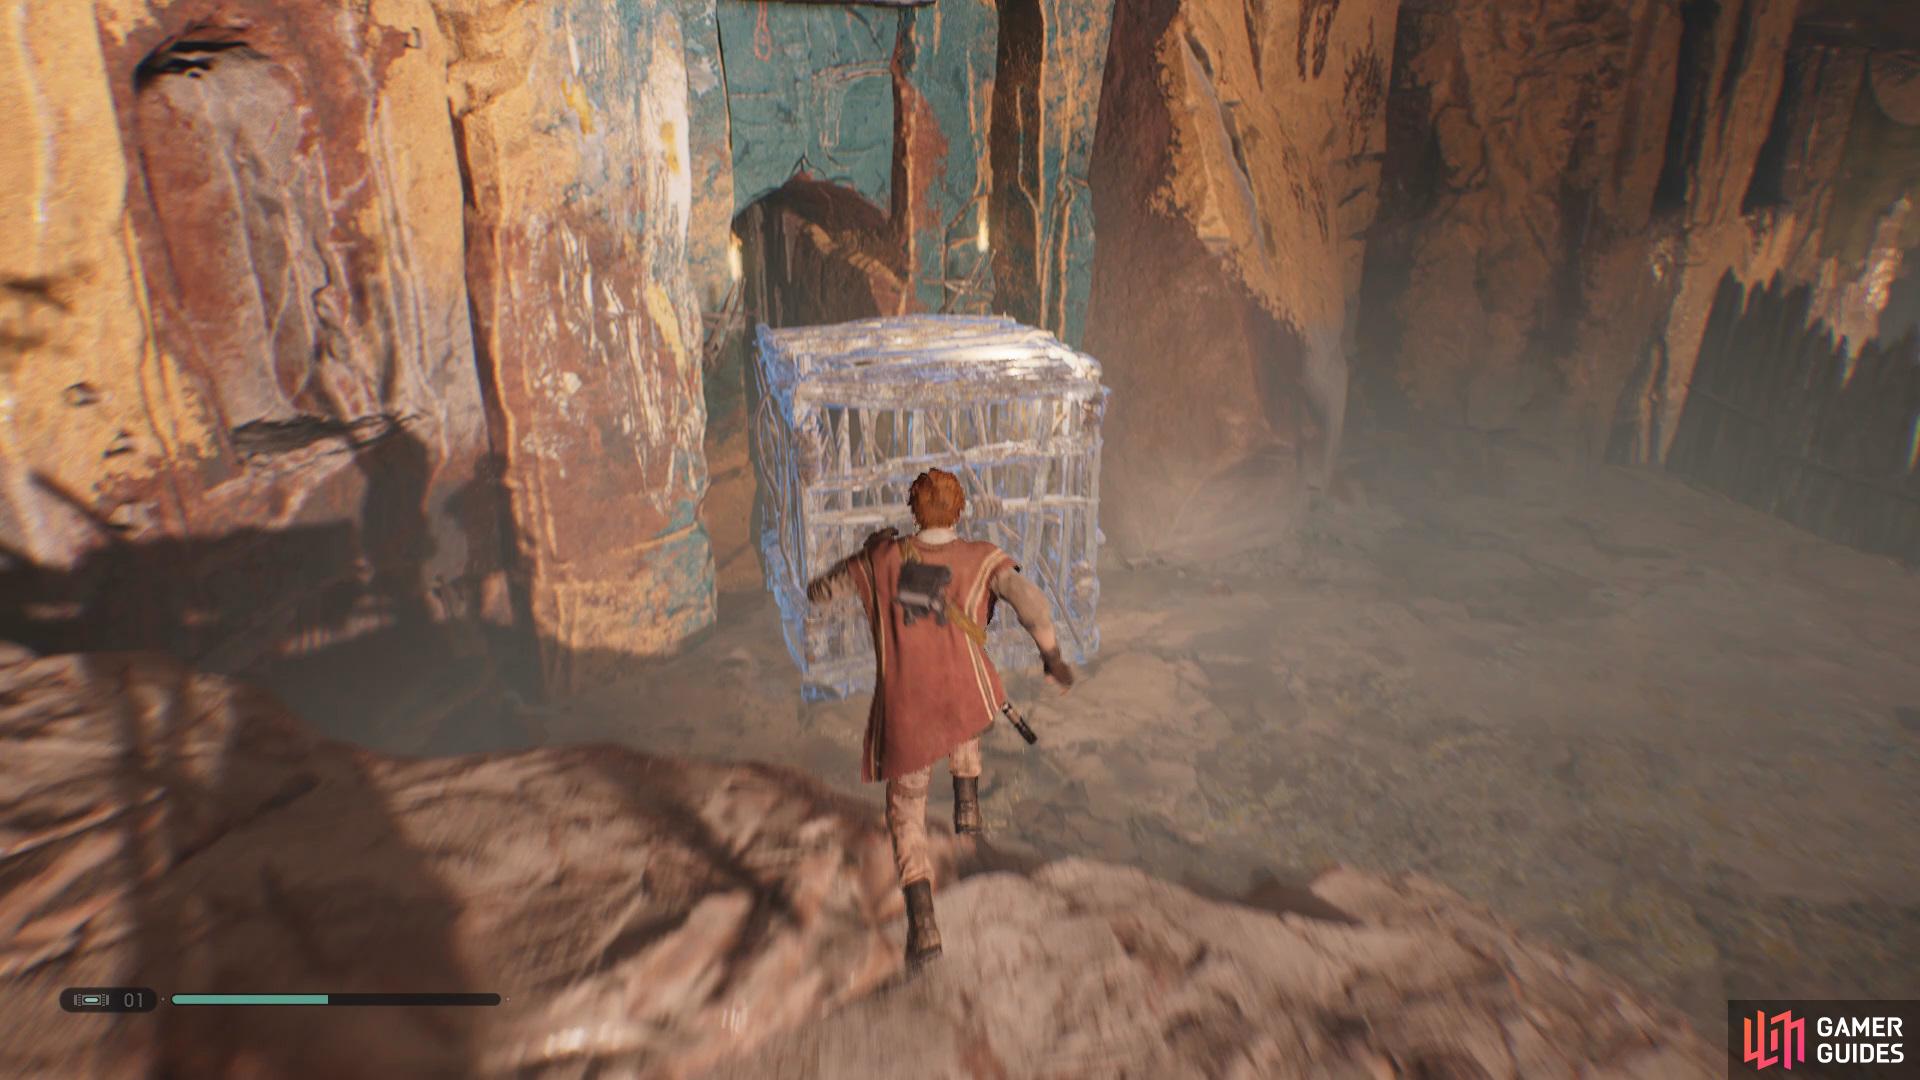
Grab the cage from the left of the room and place it against the wall ahead to allow you to climb up
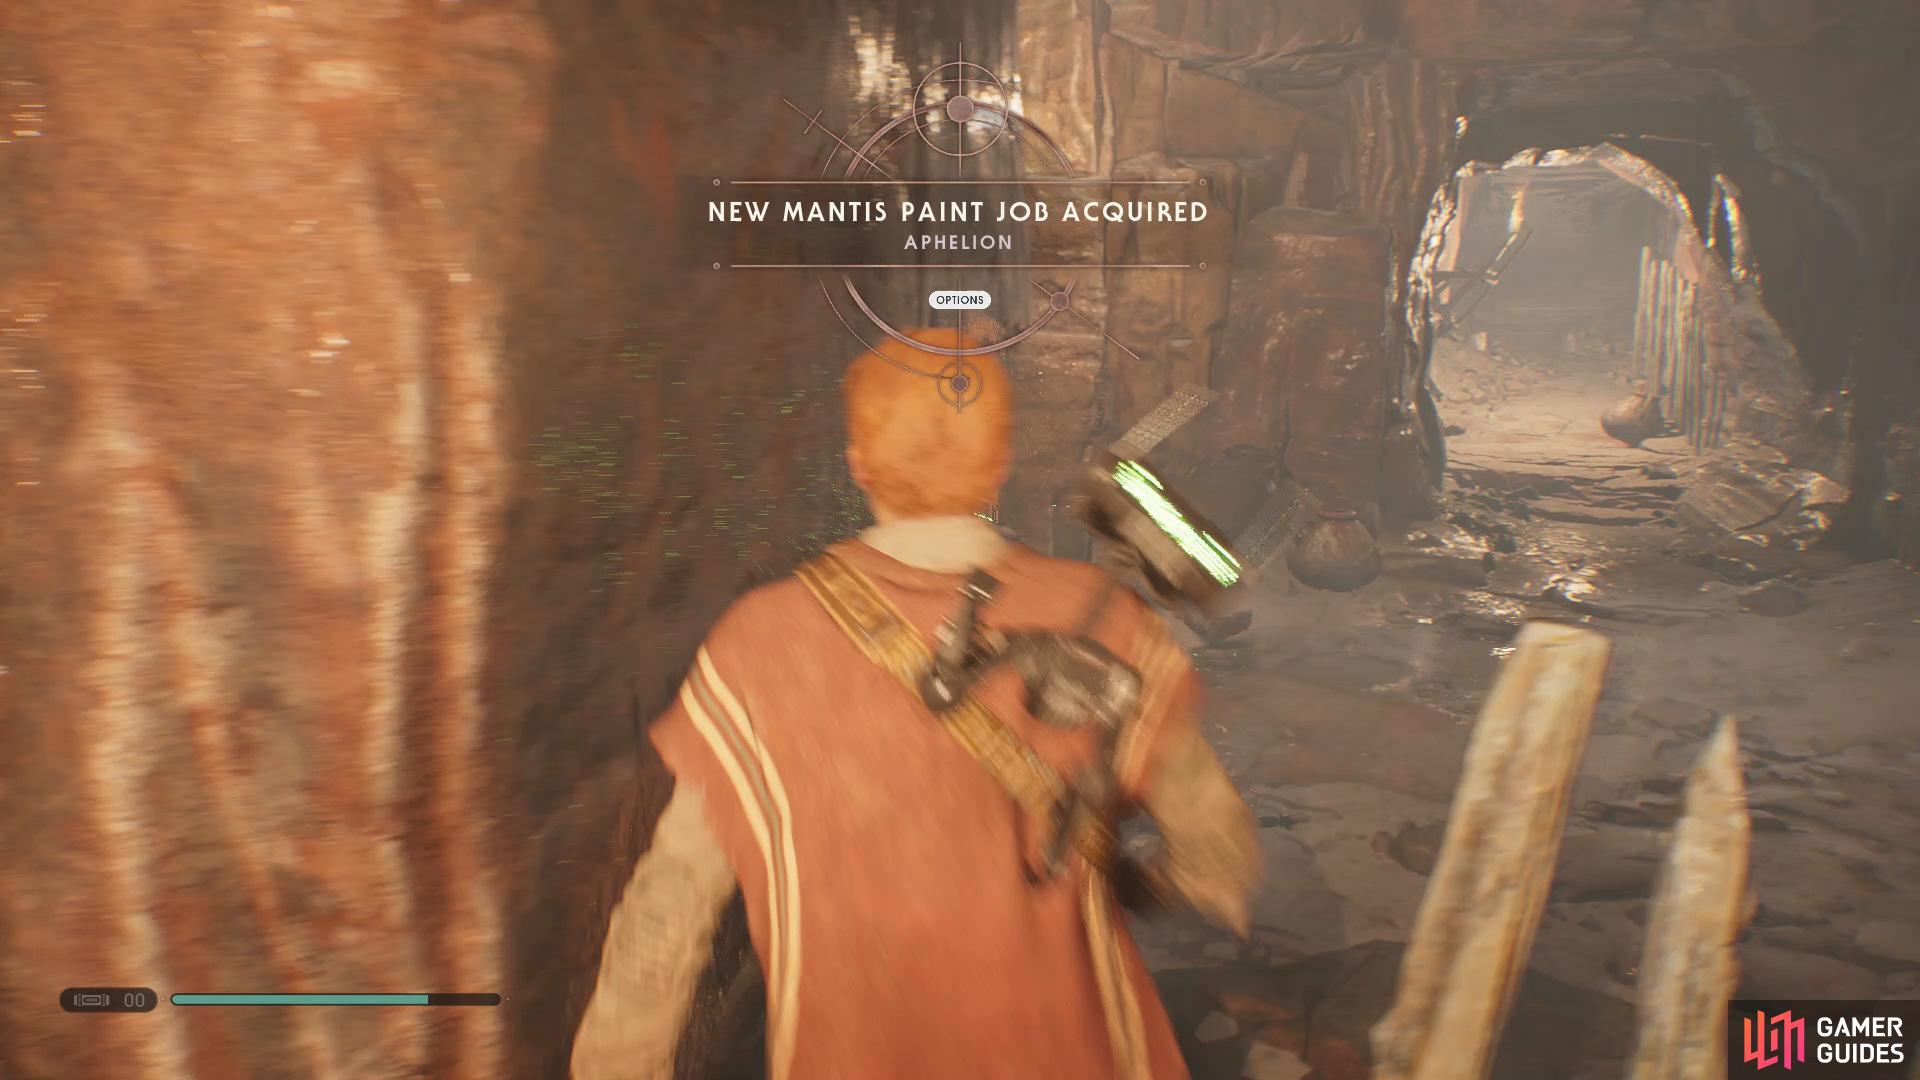
and then head right to find a Chest that contains the Aphelion Mantis Paint Job.
Take the path out and follow it around to find a rope that you can use to take up, now walk up the corridor and activate a shortcut. Continue further up the path and take another rope even higher, now slide through the gap on the left and then open the door up ahead to unlock a shortcut back to the start.
Cals Childhood Segment
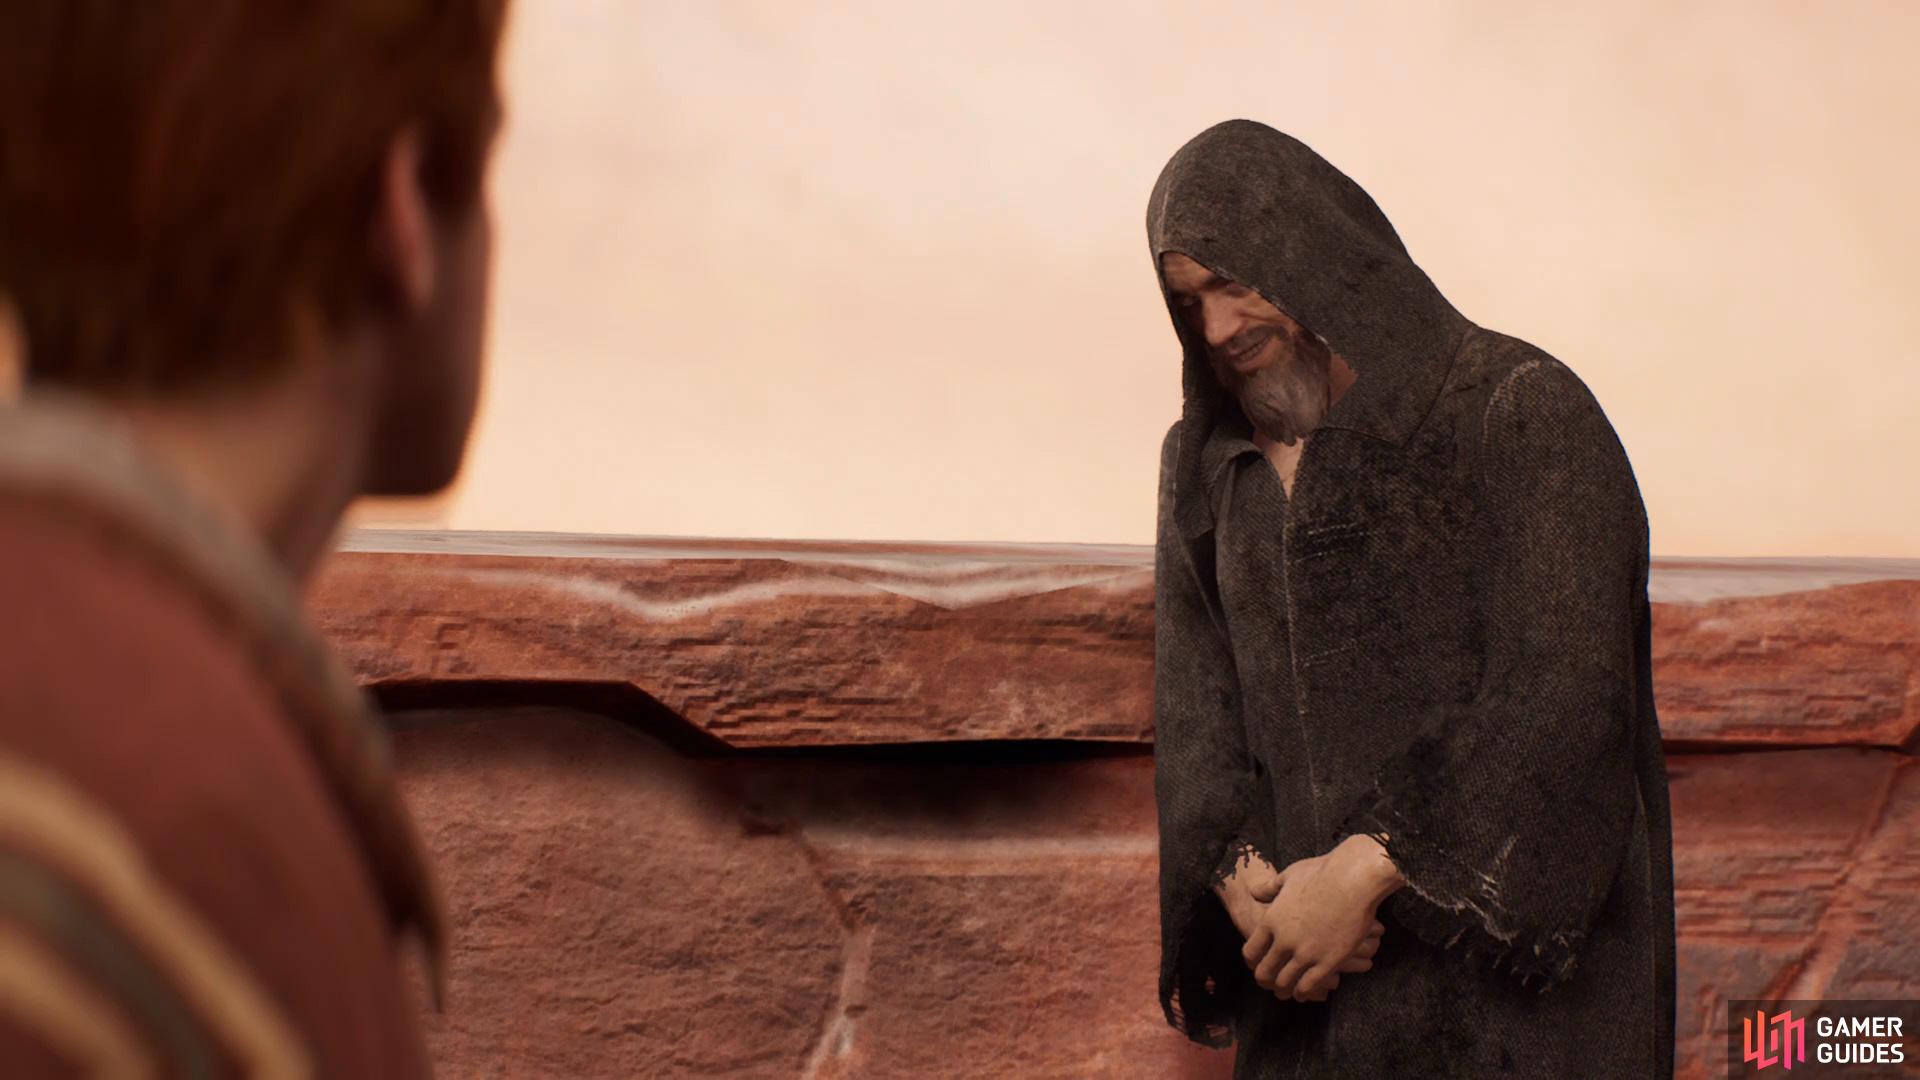
Make your way back to the place where you met the old man earlier and finally enter the Crumbled Ruins. Inside you’ll want to look to the back right corner to find a Chest the contains the Smuggler Mantis Paint Job, now interact with the back wall and then rest at the Meditation Point to cause Cal to have another flashback. Here you’ll want to follow the path forward until you reach the training room and then Jaro Tapal will set out a short course for Cal to get to the top.
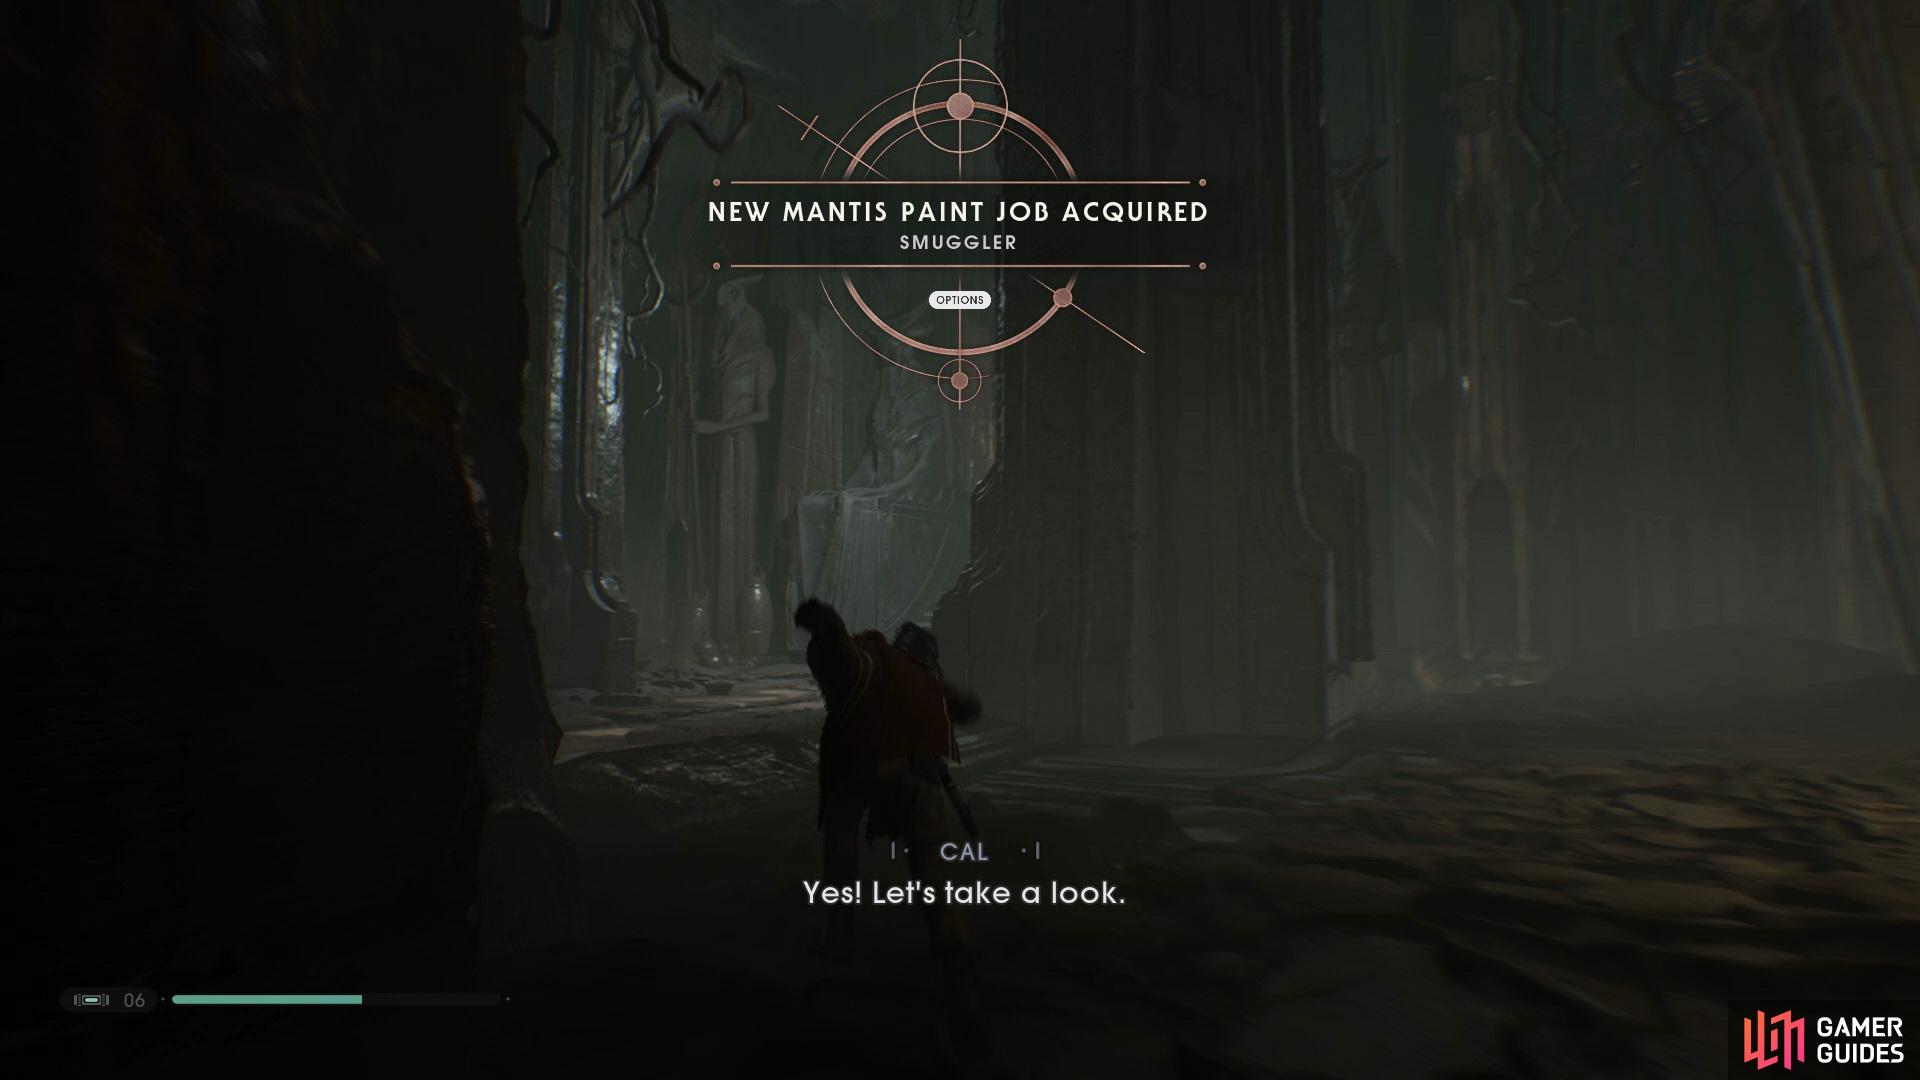
Find the Smuggler Mantis Paint Job in the corner of the room
and interact with the wall to cause Cal to have a flashback.
To begin hop along the platforms to gain some height and then grab onto the slightly pulled out platform and shimmy across to the platform over on the right, keep following the path around and deflect the bullets that are being fired at you, finally, hop into the room to view a cutscene. Due to the current circumstances you’ll need to keep sprinting ahead until you reach a dead end and then Force Pull the vent open and continue through, eventually you’ll reach a point where you need to climb up until you trigger a cutscene.
(1 of 4) Climb up the platforms in the center of the room and then use the slightly pulled out blocks to get across
After the cutscene has finished, climb higher until you find a small gap to go through and slide down, continue along and you’ll find a control panel that you’ll need to interact with. Finally, head through the door on the left to view another cutscene. Once you’ve regained control of Cal you’ll have a short battle with Jaro Tapal, simply keep hitting him until a cutscene is triggered.
Get to the Mantis
Once the cutscene has finished go back outside and then you’ll enter a cutscene. As soon as you regain control, sprint all the way back to the Mantis and then you’ll travel to a new planet.
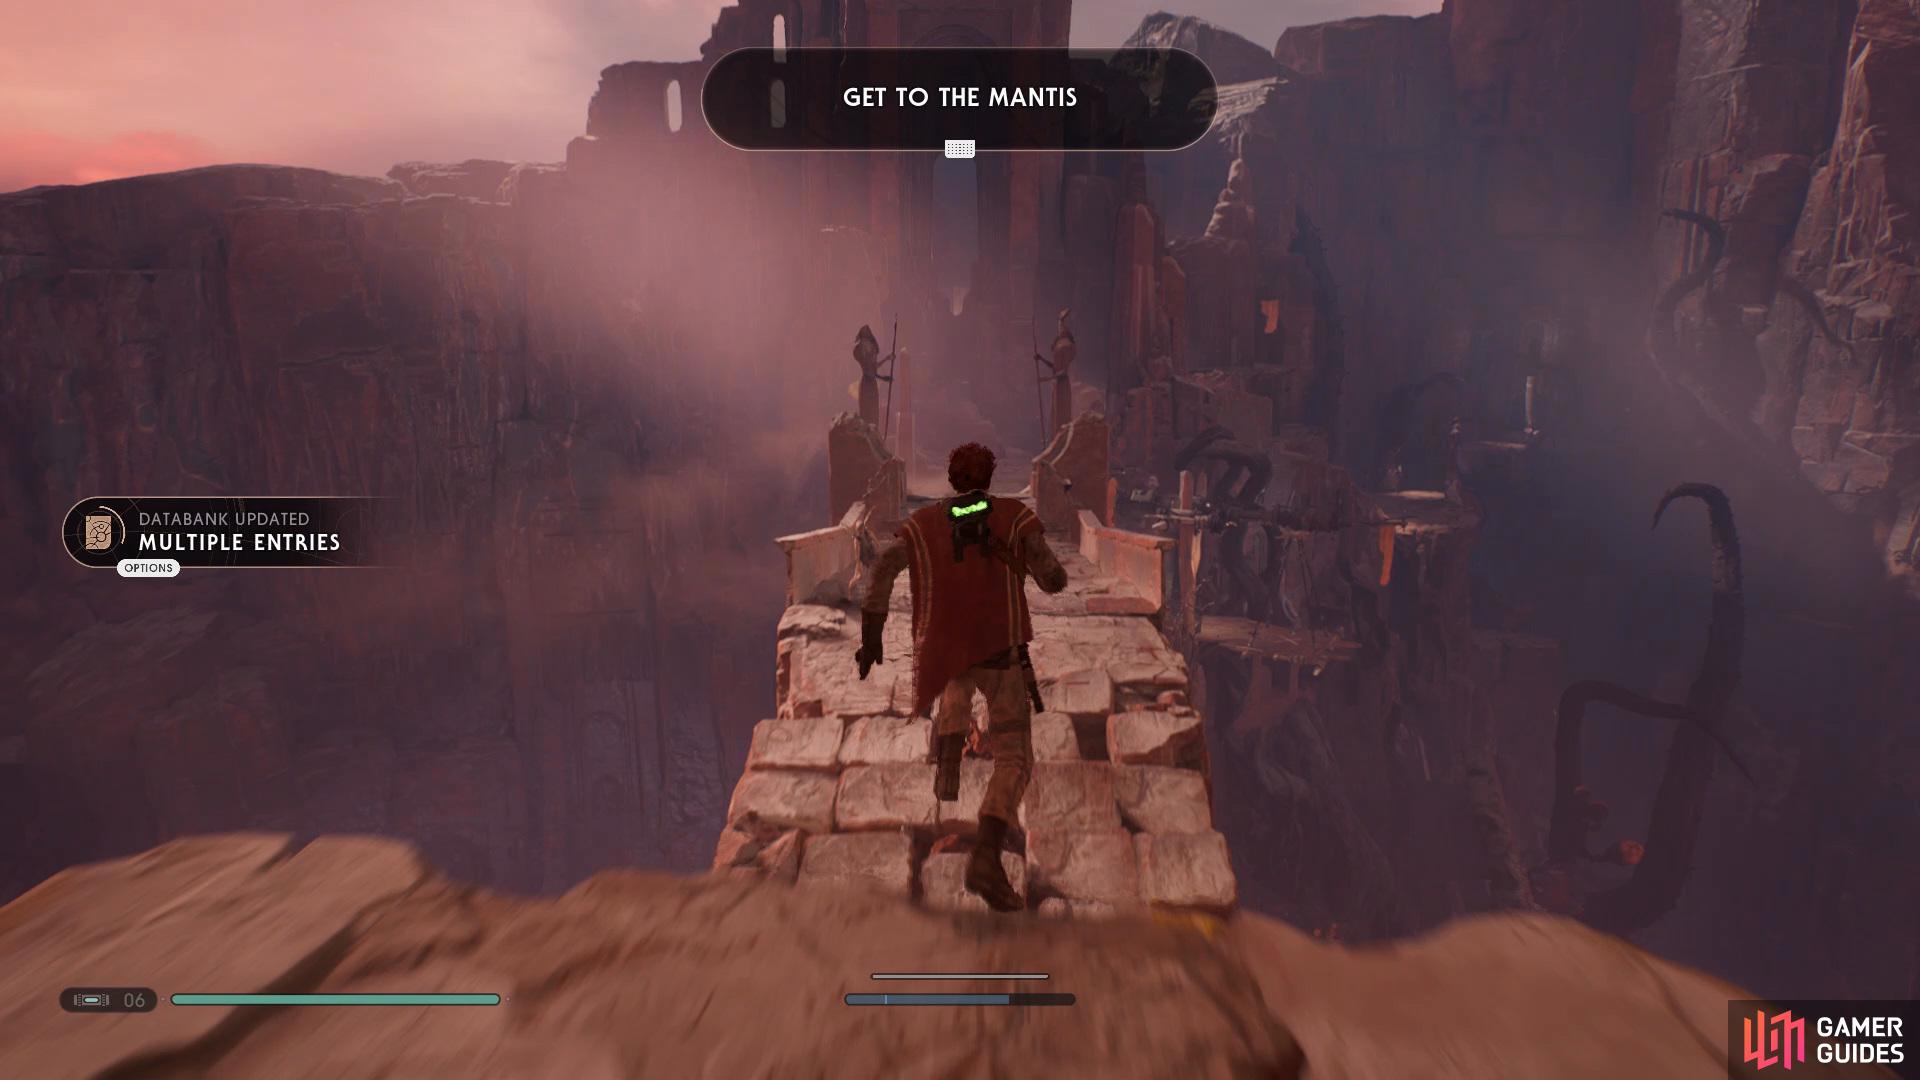
Sprint back to the Mantis.
No Comments